Blog by Dal Stanton
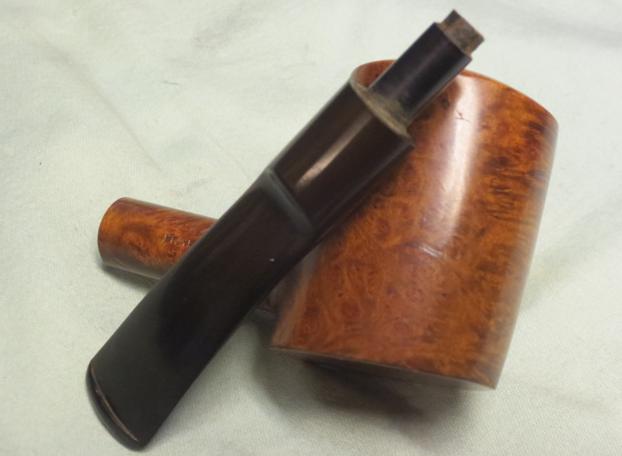
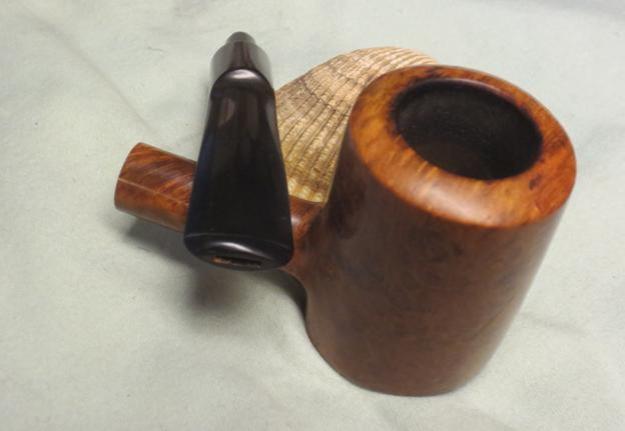
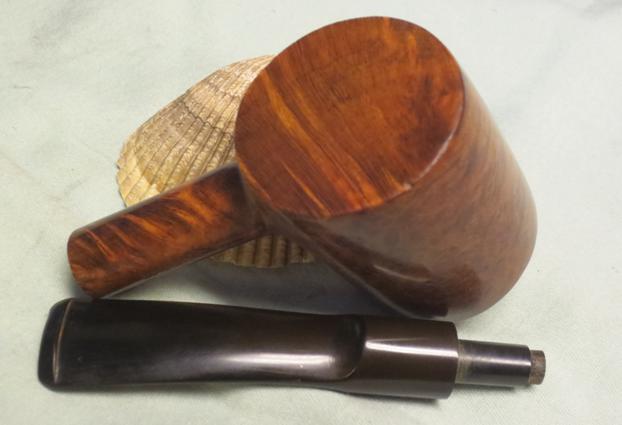
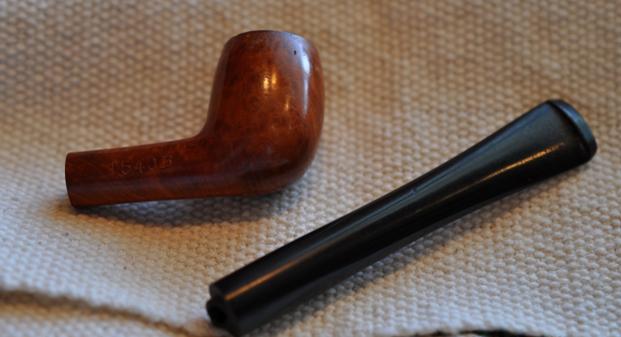
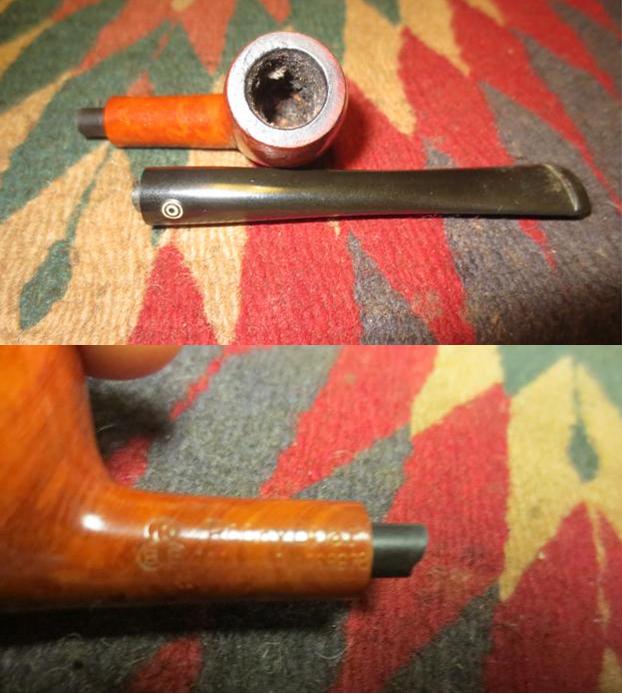
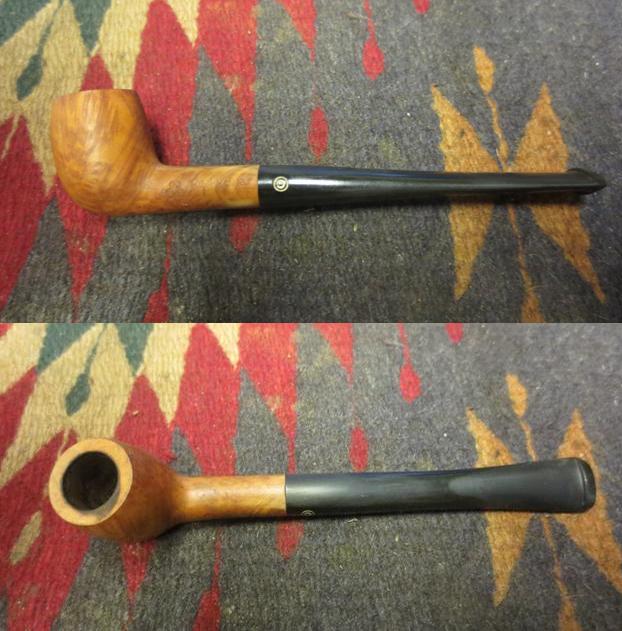
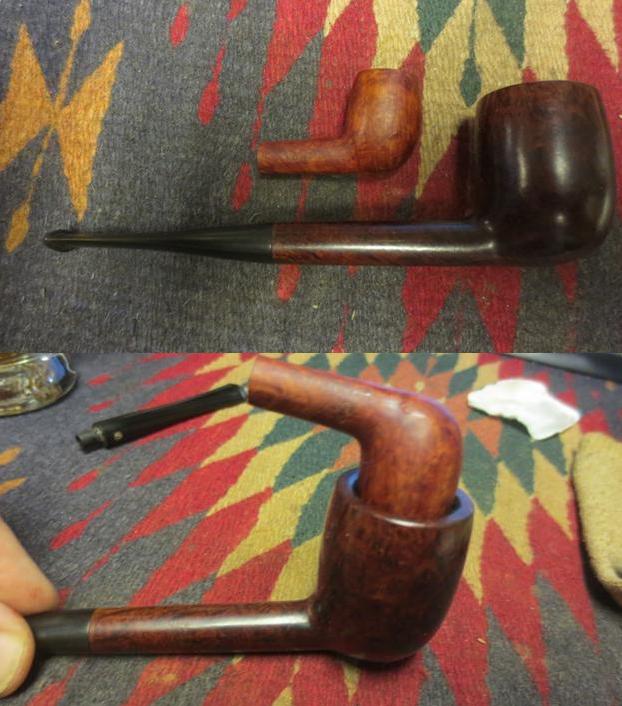
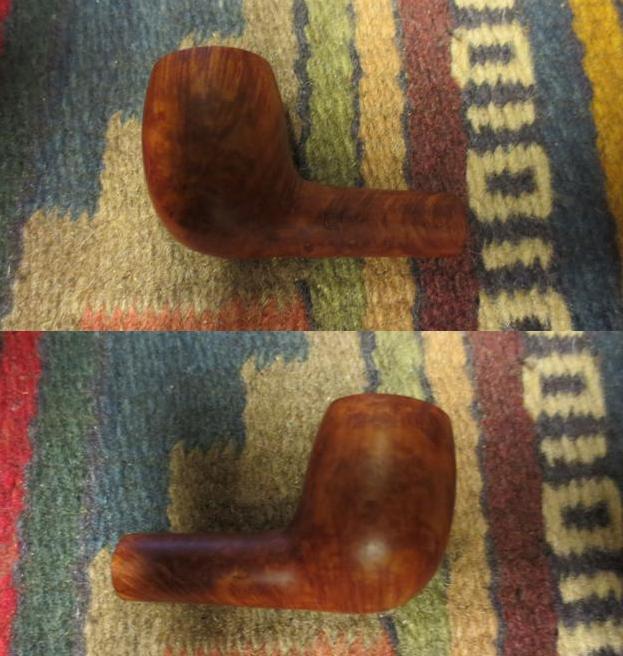
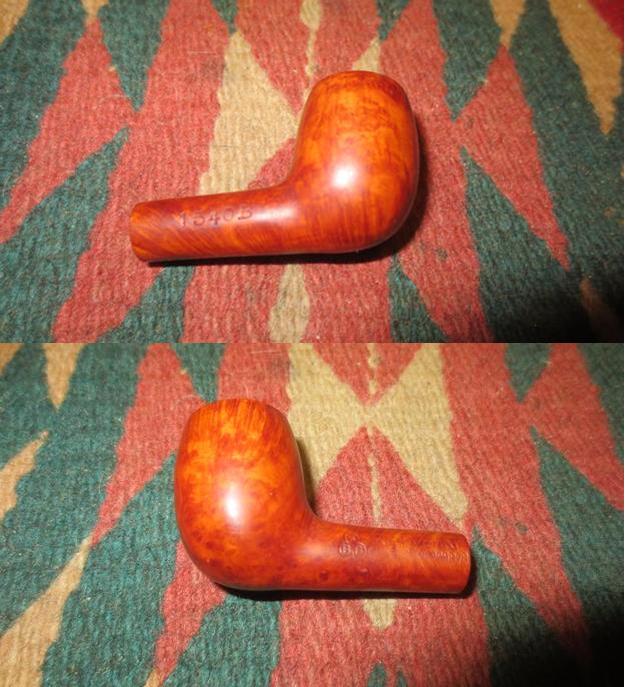
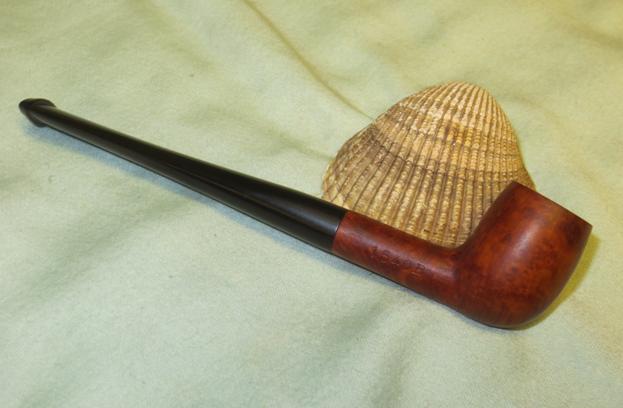
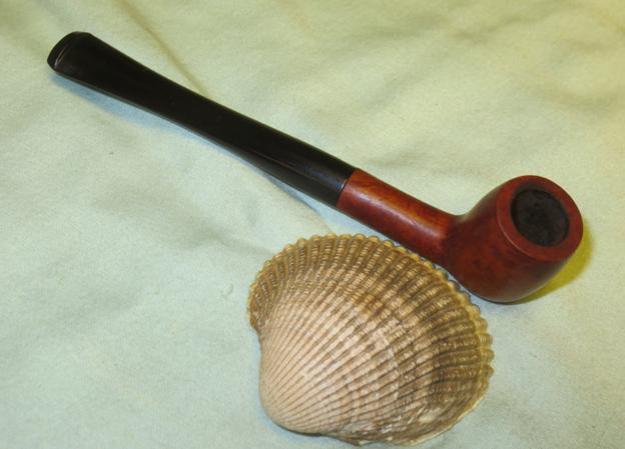
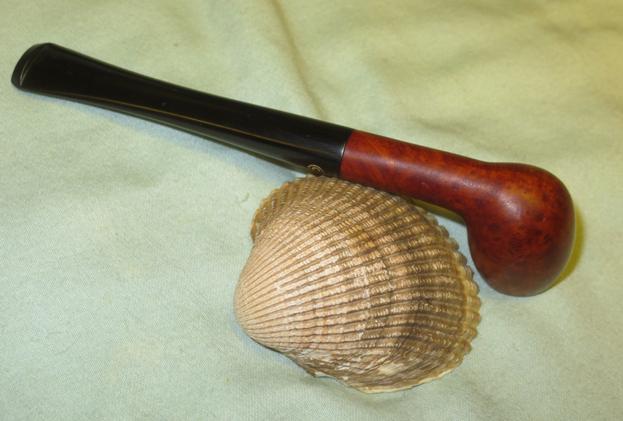
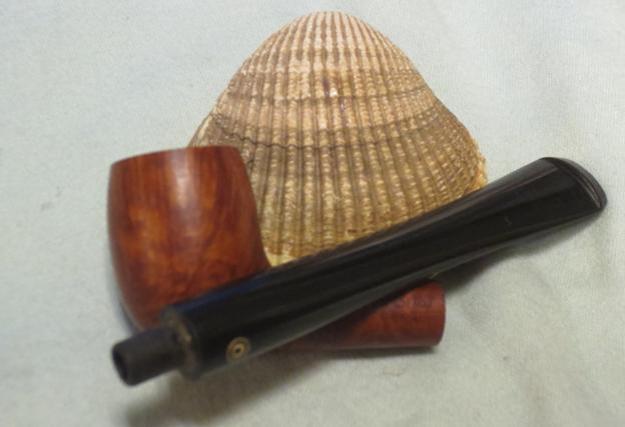
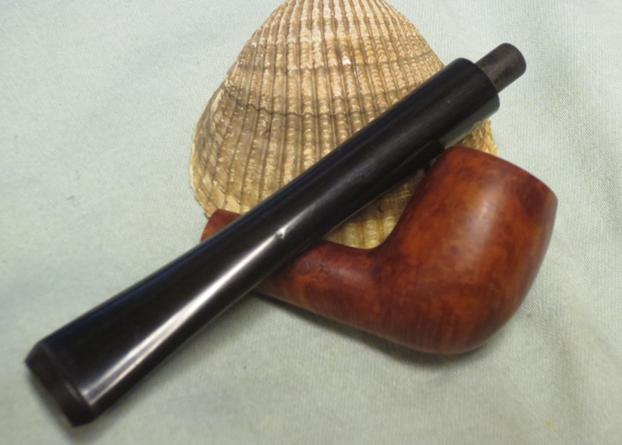
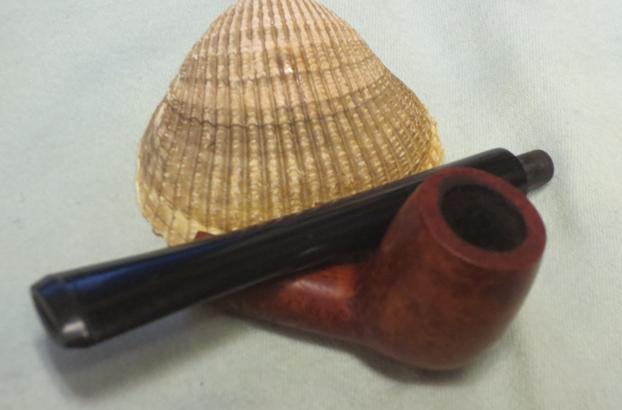
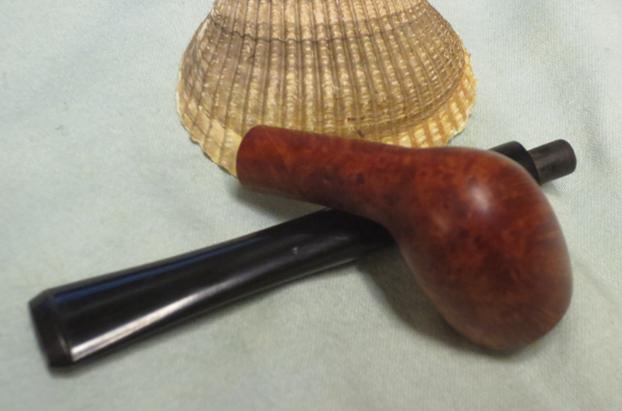
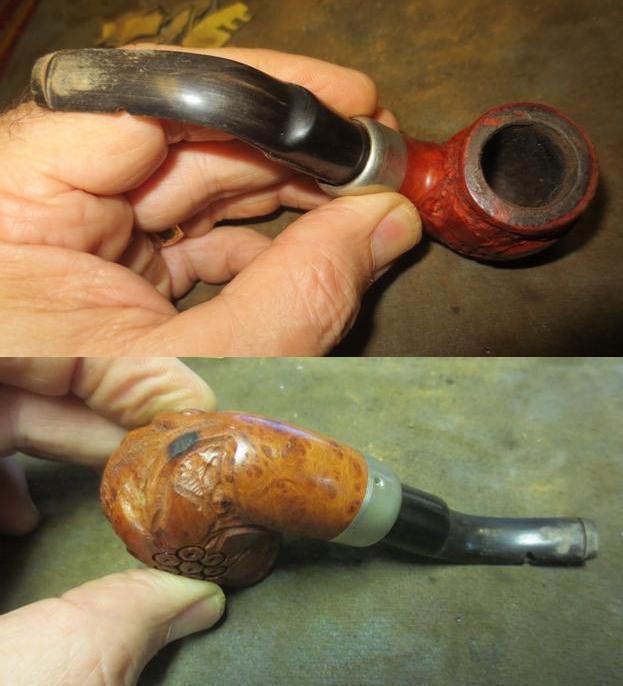
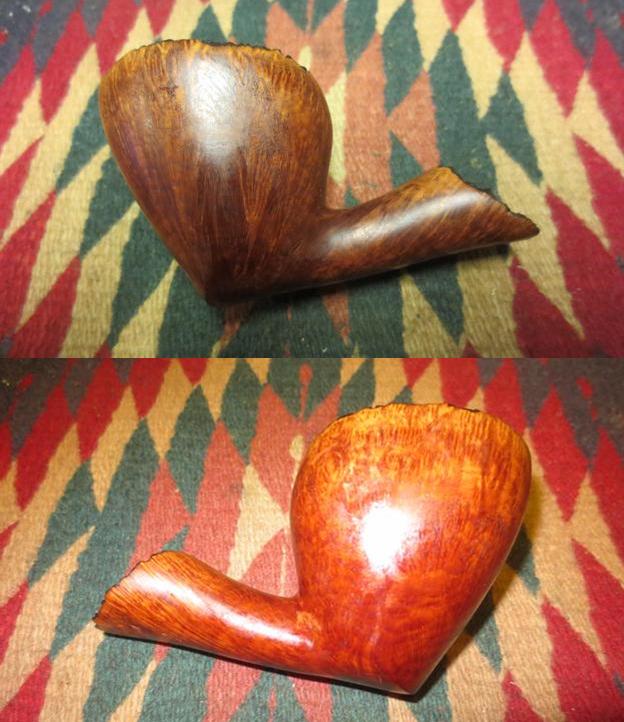
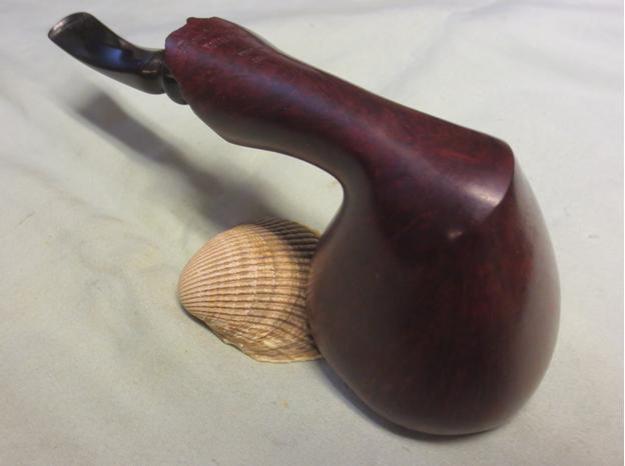
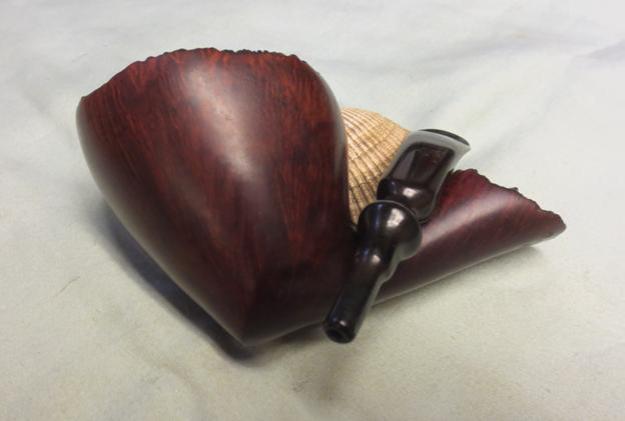
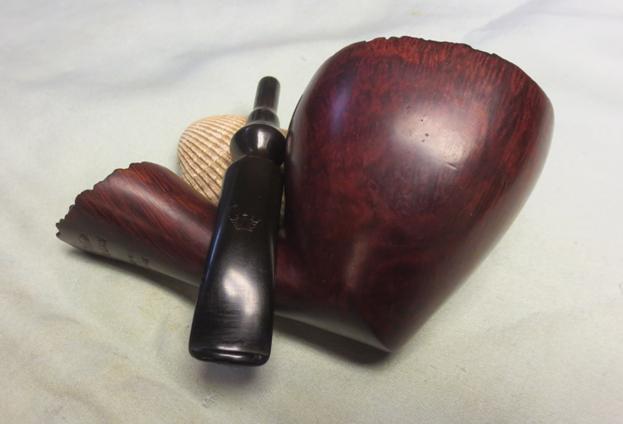
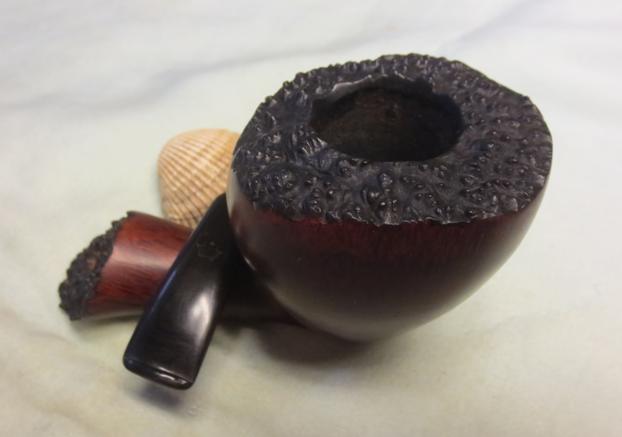
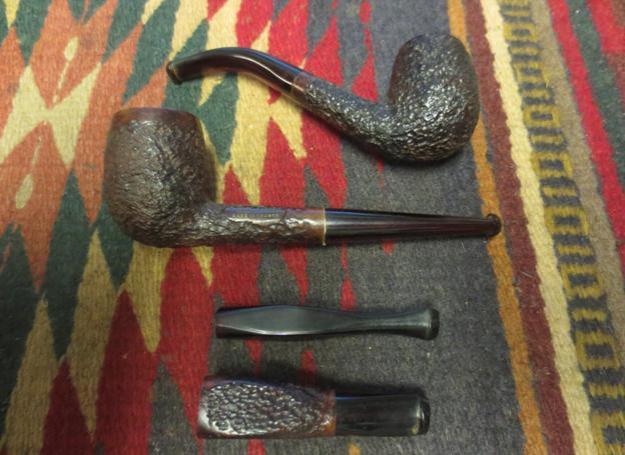
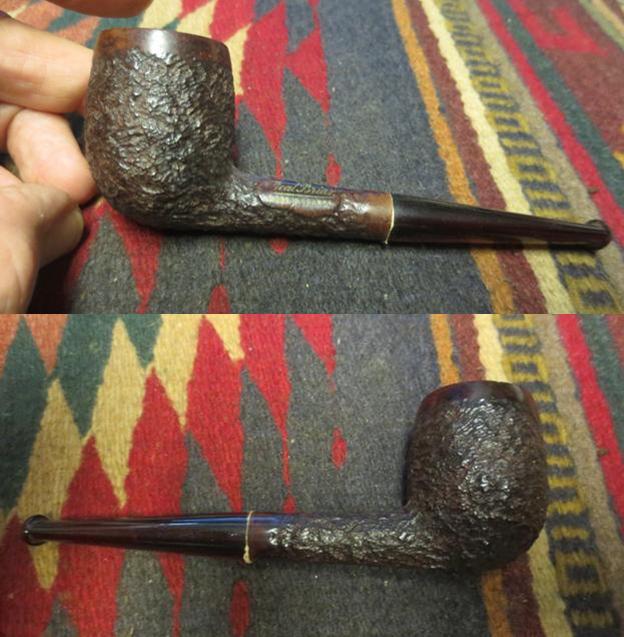
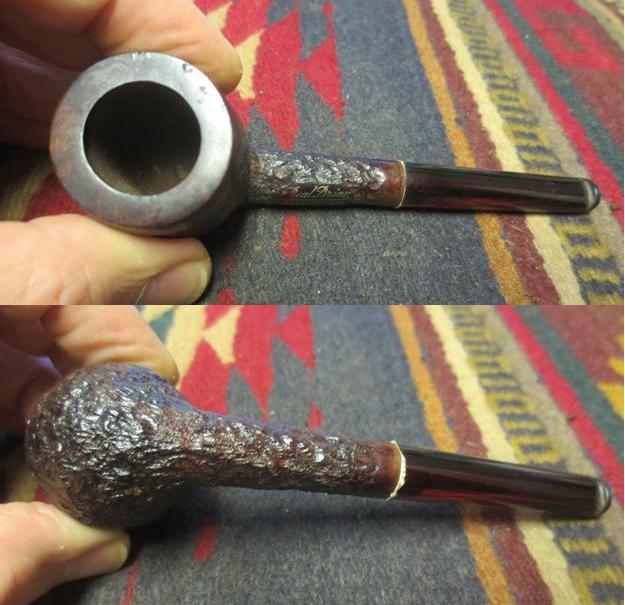
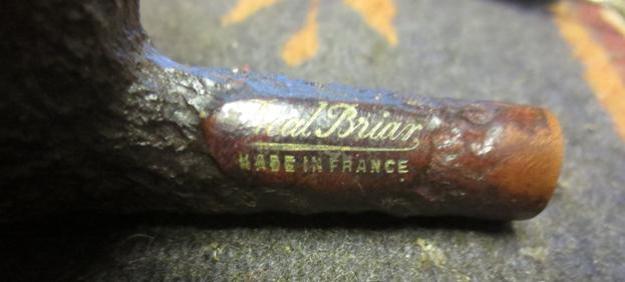
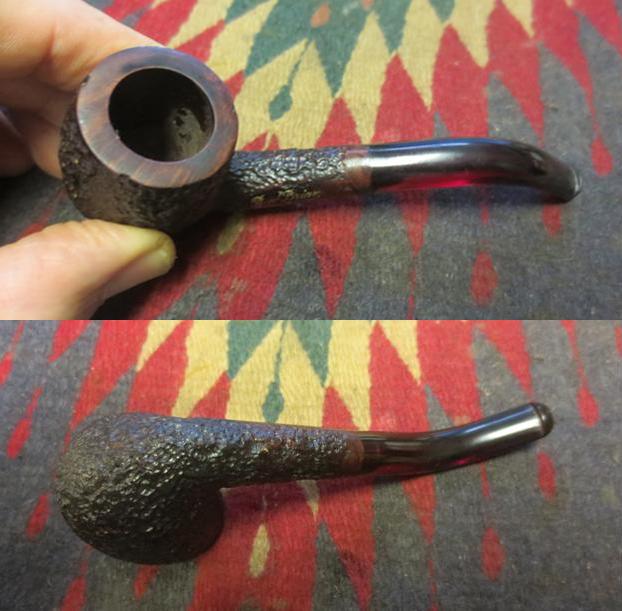
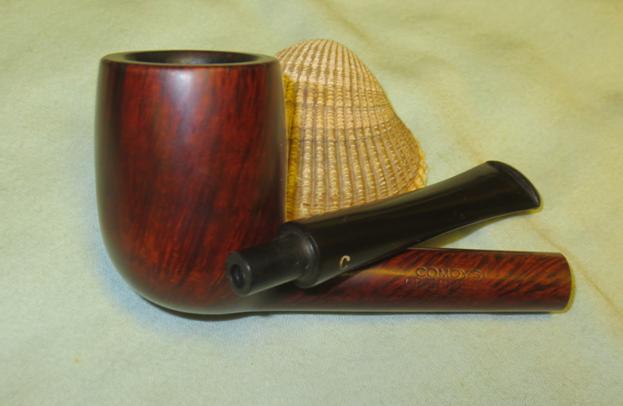
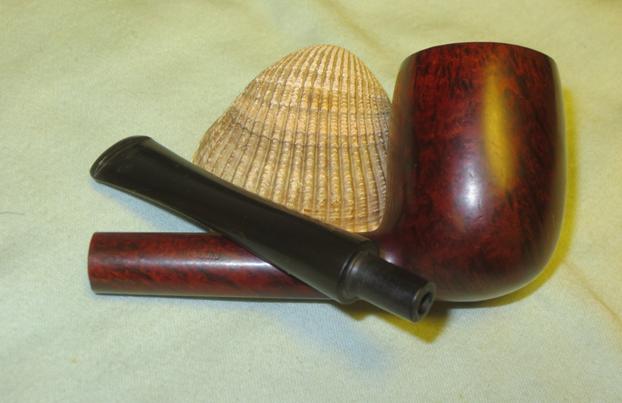
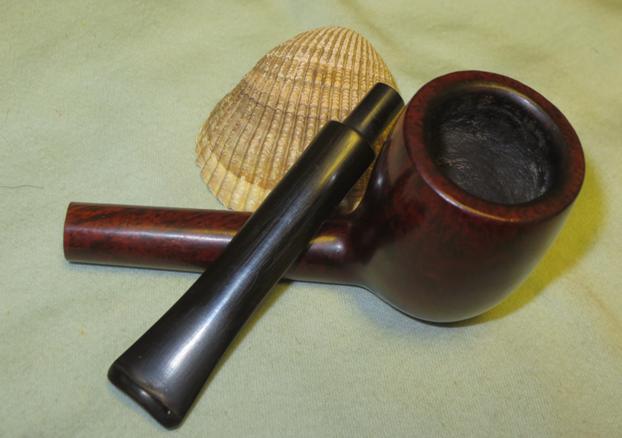
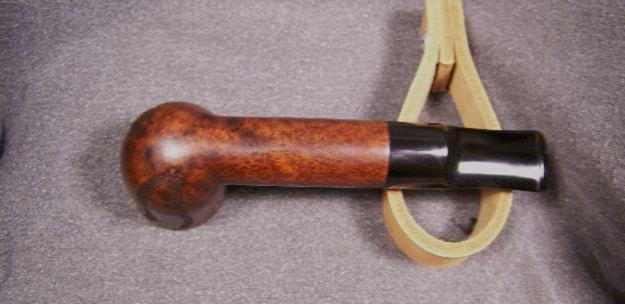
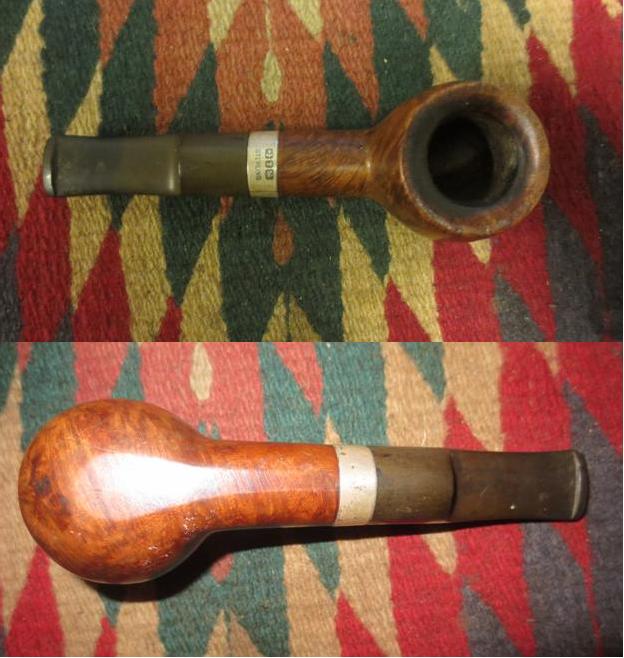
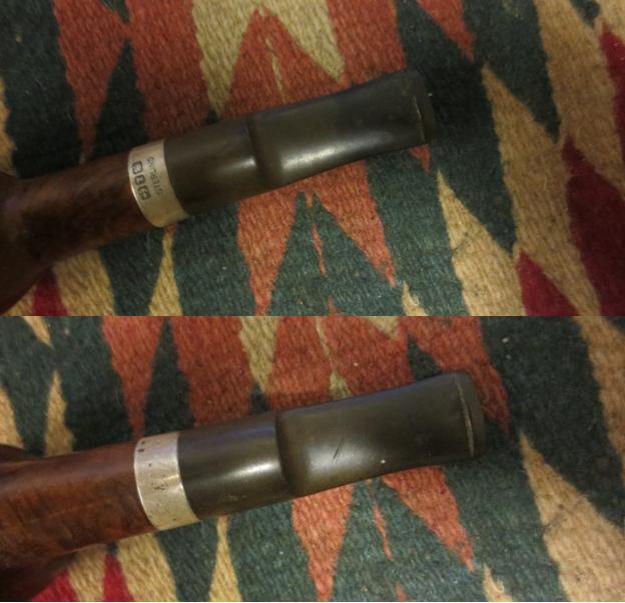
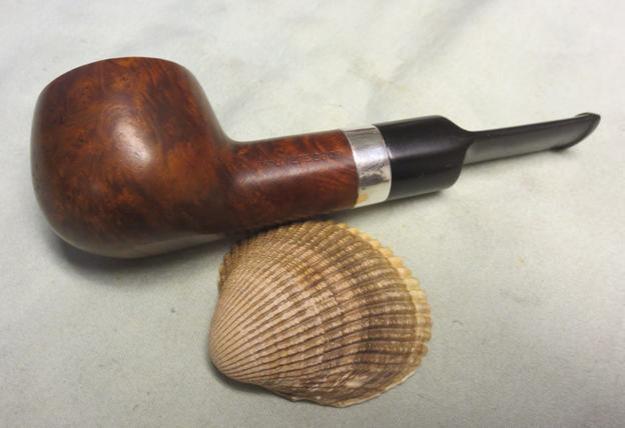
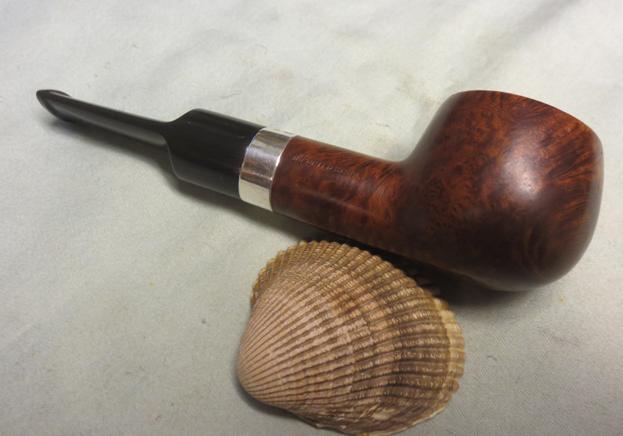
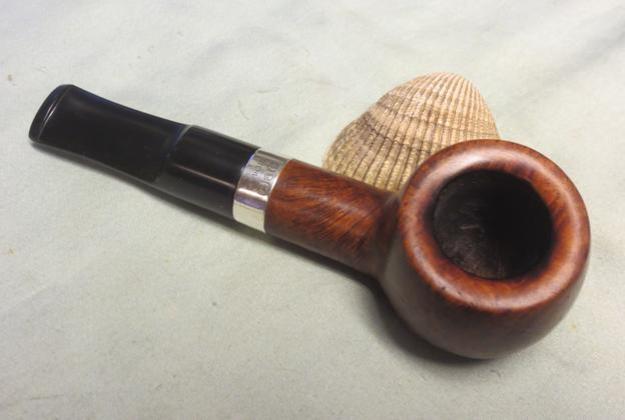
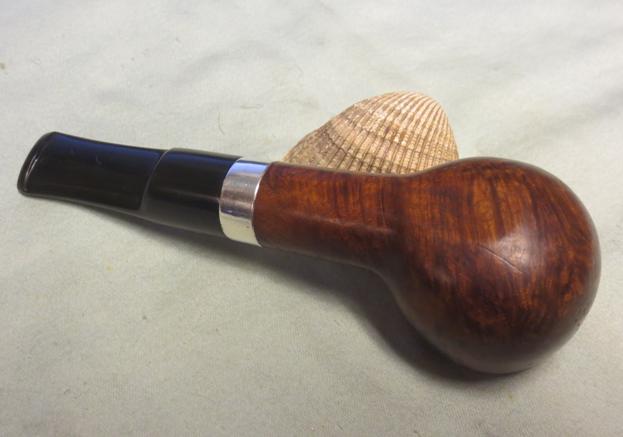
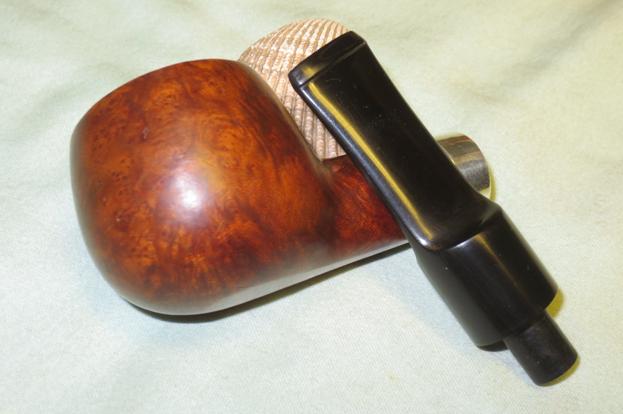
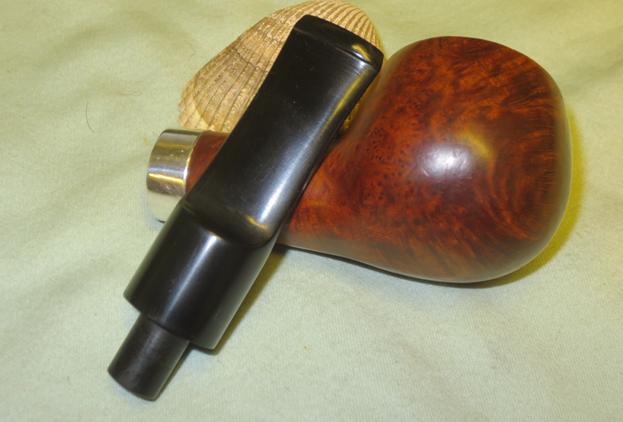
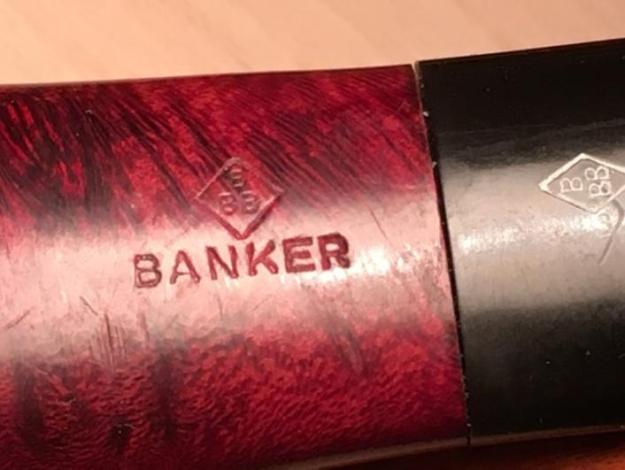
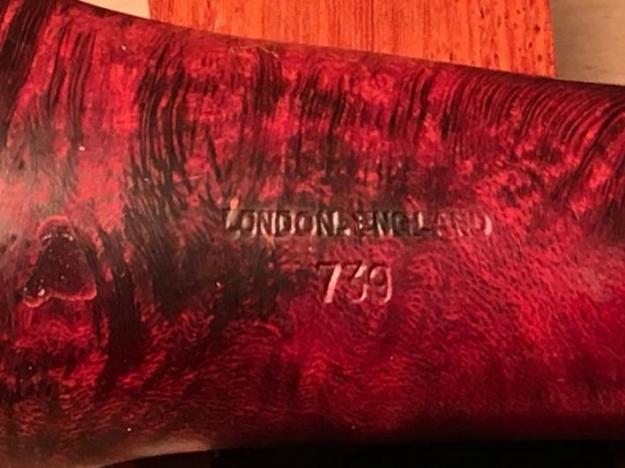
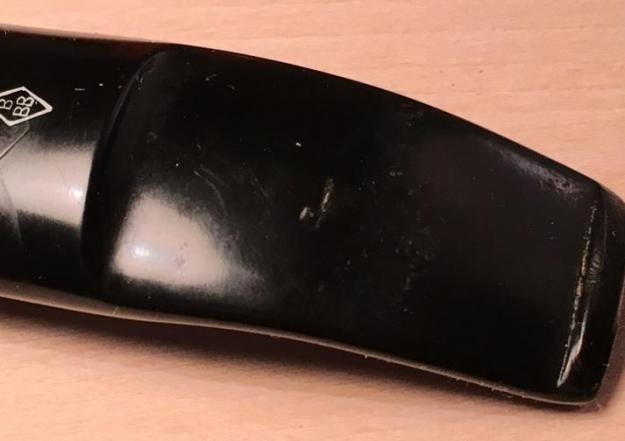
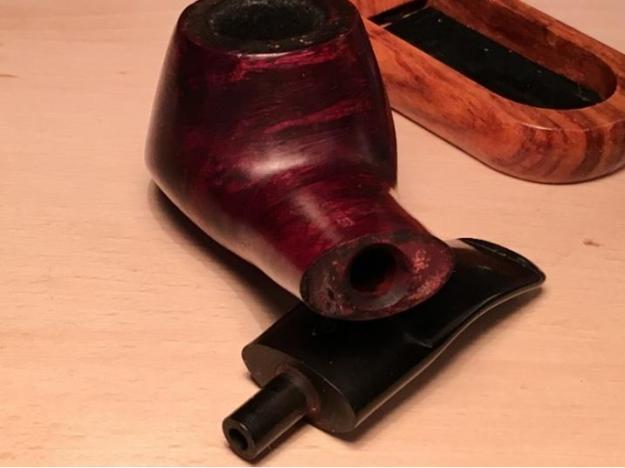
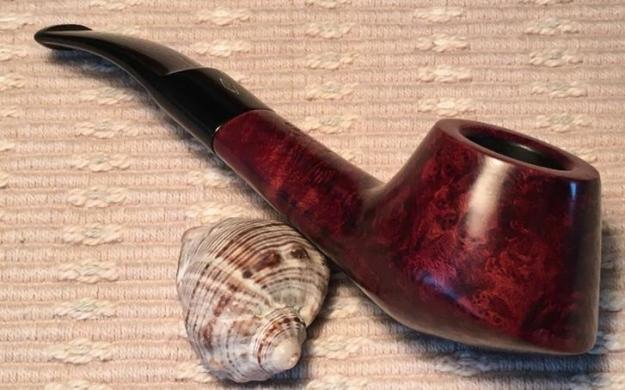
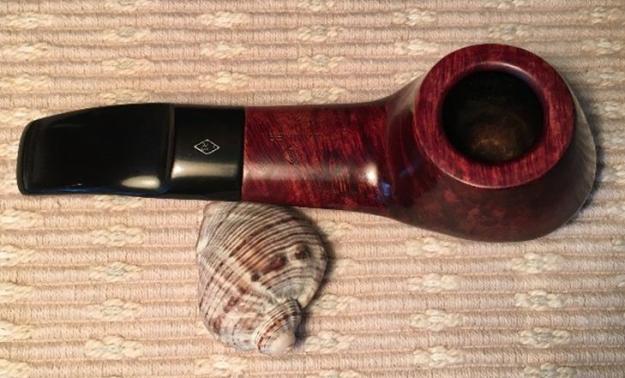
Last April, during one of my earlier visits to what I have affectionately named, ‘The Hole in the Wall’ antique store near the Zhenski Pazar (Women’s Market) in downtown Sofia, Bulgaria, my eyes locked on to a very handsome pipe that called out to me resolutely – “Take me home!” The pipe was a slightly bent volcano shape, brandishing a broad flattened oval shank and stem that drew my attention. In my small collection of pipes then, and even today, I have nothing like it. After taking in the unique shape, the briar grain, obscured by layers of grime and old wax, gave me an internal ‘wow!’ that I carefully kept hidden from the shop owner who would see my excitement as potential greater profit for him – so I played it cool. I looked at how the grain moves horizontally across the bowl and shank giving the appearance of a tiger pattern looking down on the shank. Looking straight at the bowl the grain looked like horizontal flames terminating on the sides of the bowl with Birdseye patterns – I was anxious to work on this pipe. The top of the shank was imprinted with the classic BBB diamond mark over Banker. Underneath the shank had London, England over 739. The stem top also had the white diamond BBB mark. I also spied another pipe in the basket that looked like a good candidate to bundle with the BBB Banker, a French Jeantet Fleuron 70-7 which helped me negotiate 30 Bulgarian Leva for the pair – about 16US. Not a bad deal at $8 a pipe! The first picture is the Jeantet followed by the BBB Banker after I arrived home from the ‘Hole in the Wall’ with my newest acquisitions: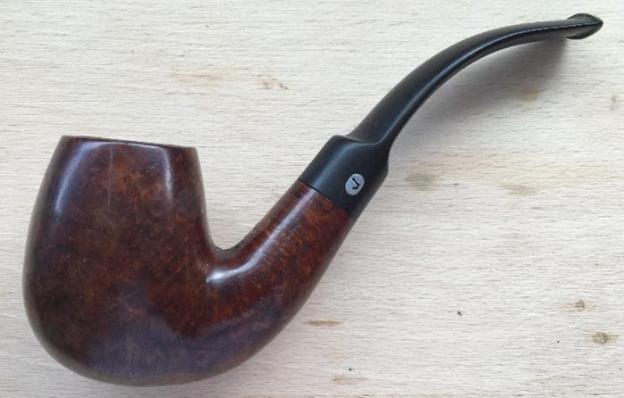
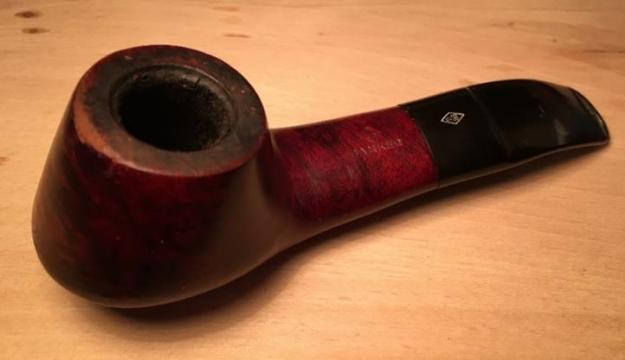
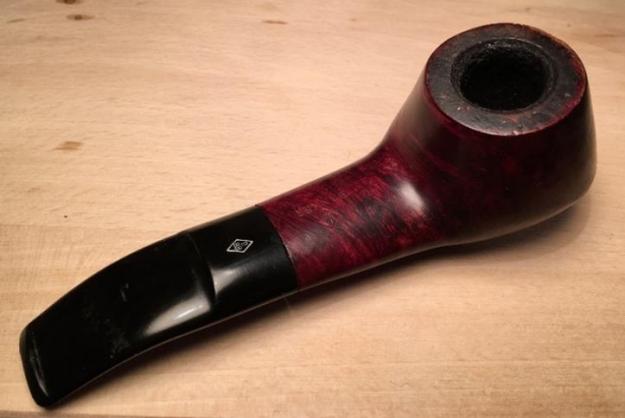
 I found a lot on the internet about the BBB name. The small blurb in Pipehill describes the evolution of the BBB moniker:
BBB: ” Best British Briar” is now a brand of the Cadogan Company (Oppenheimer group). American rights to use the brand name were sold to Wally Frank in 1980.
Founder of the brand in 1847: Louis Blumfeld. The oldest pipe brand name in the UK has been registered in 1876 (Blumfeld Best Briar).
Steve also posted a blog on the history of BBB pipes a few years ago using the French article:
https://rebornpipes.com/2012/08/05/history-of-bbb-pipes/
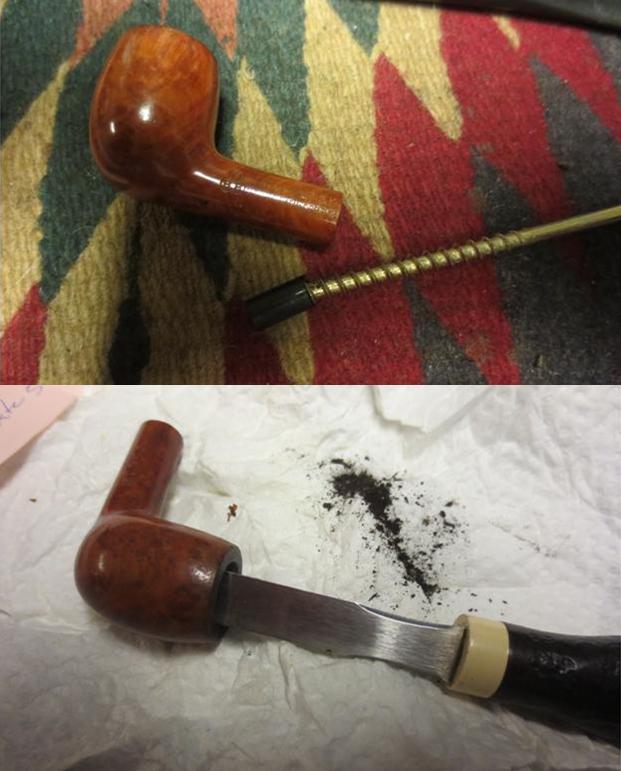
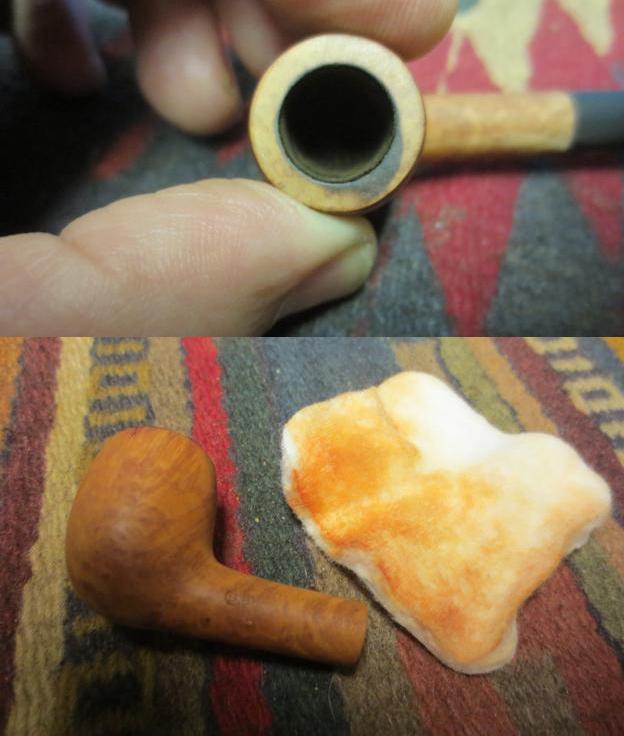
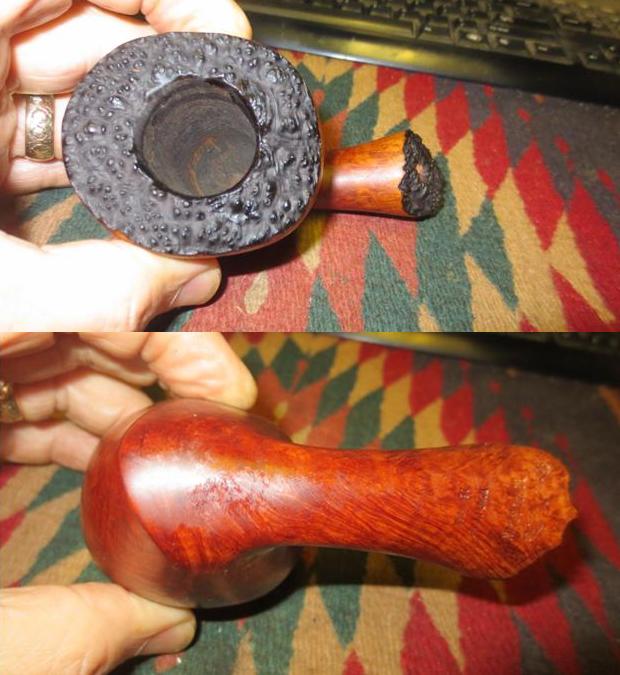
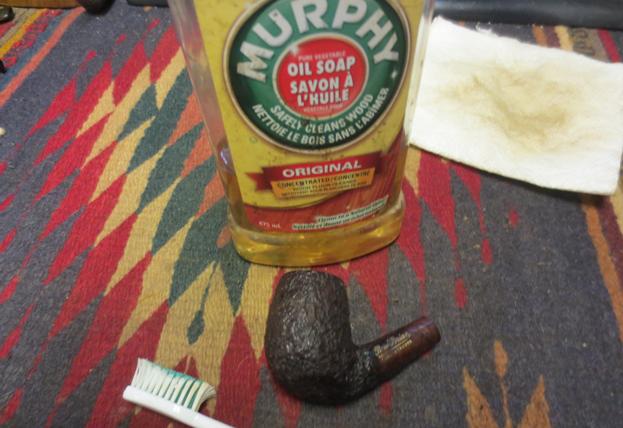
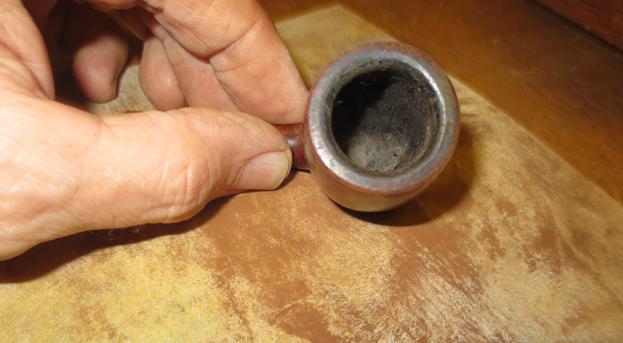
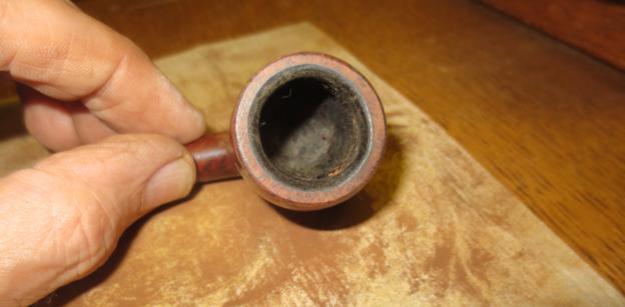
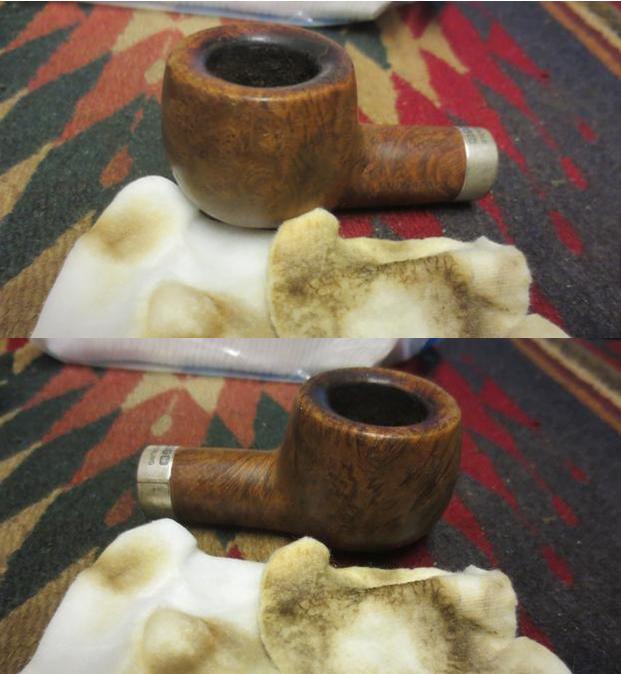
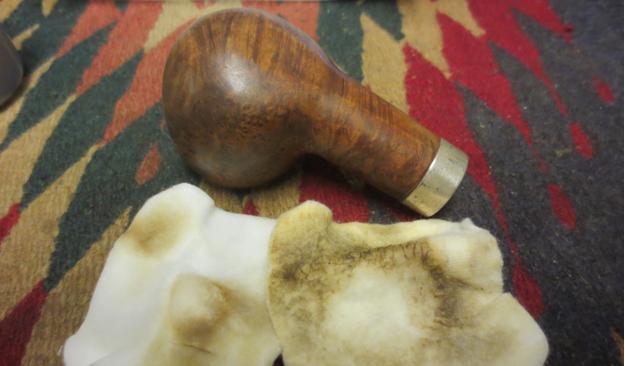
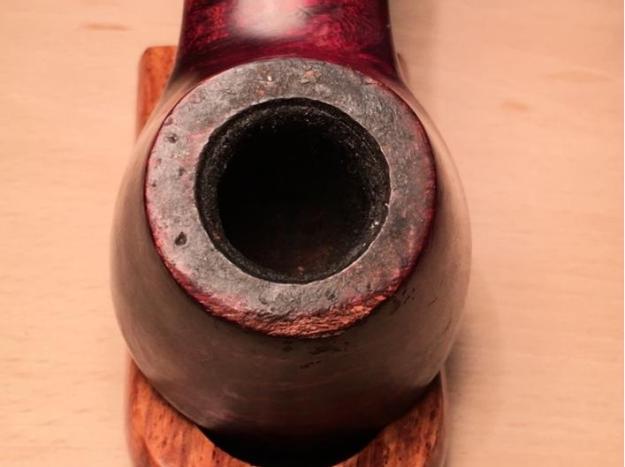
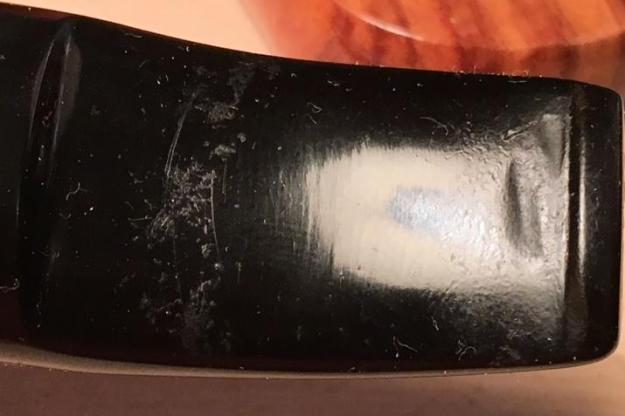
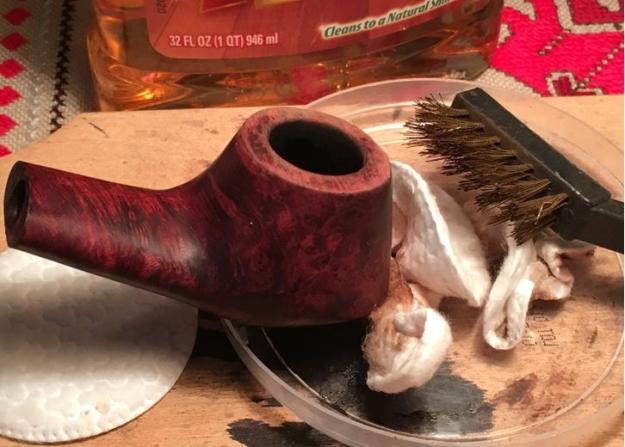
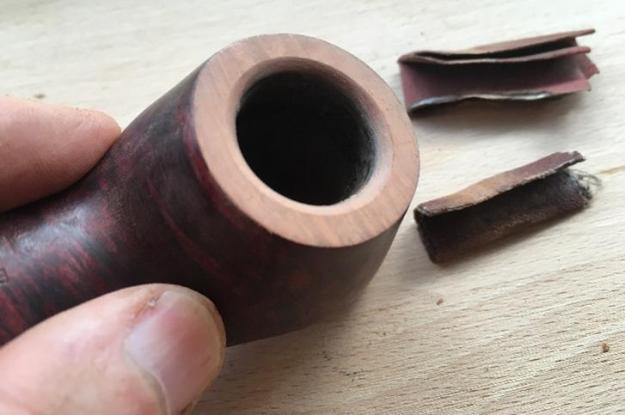
I discovered that there are many BBB collectors and enthusiasts in my research. Unfortunately, I could find nothing helping me to date or place my BBB Banker except some informed guesses comparing to the BBB stamps (pictured below) depicted in the French article Steve posted above which would probably date the Banker at the earliest in 1989 when the Cadogan Company consolidated manufacturing its various pipe lines at Southend-on-the-Sea, but more likely in the 2000s – not a terribly old pipe (Can anyone help me on that?):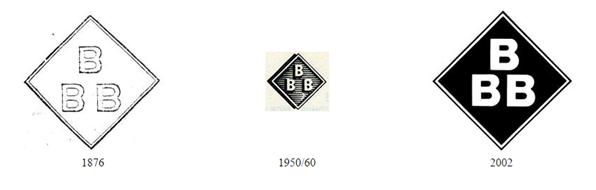 The condition of the Banker is generally good. There is some cake build up in the chamber but I still want to ream the bowl down to the briar for a fresh start and to be able to make sure there are no problems lurking beneath – which I really don’t expect. The rim has light grime and lava on it, but a significant wearing down of the front lip so that bare briar is exposed. The stummel looks to be in good shape – I detect one fill underneath but it looks to be solid and will blend well. The stummel grain is dulled and obscured by grime and oil build up. The stem is in good shape – showing almost no oxidation, but has a tooth dent on the lower side of the bit. I take a fresh close up of the rim to mark the progress. I begin with reaming the bowl with my Pipnet reaming kit. As I’ve become accustomed, I try to do the dirtier part of the cleanup on the 10th floor balcony adjoining our bedroom where my work-station is here in Sofia, Bulgaria. Sometimes I wish I had a basement work area, but we do what we must! I use only the two smaller blades of the four blades available to ream the cake down to the briar. I follow the use of the reaming blades with 120 grit sanding paper to clean the cake further and finish with 240 grit on the chamber wall. The bowl looks good. True confession – while I was reaming the bowl my thoughts drifted off to a Savinelli reaming knife – on the eBay block, that I’ve had my eye on – one like Steve often employs. There are still a few days left in the auction and I’m hopeful that I might add it to the arsenal! I’ll let you know! In order to get a better idea of the rim’s condition, I clean the external stummel with Murphy Oil Soap and work on the grime covering the rim. I use cotton pads with undiluted Murphy’s. I also employ a brass brush to work on the rim. After the cleaning, I take the stummel to the sink and rinse it with cool tap water. The pictures show the progress.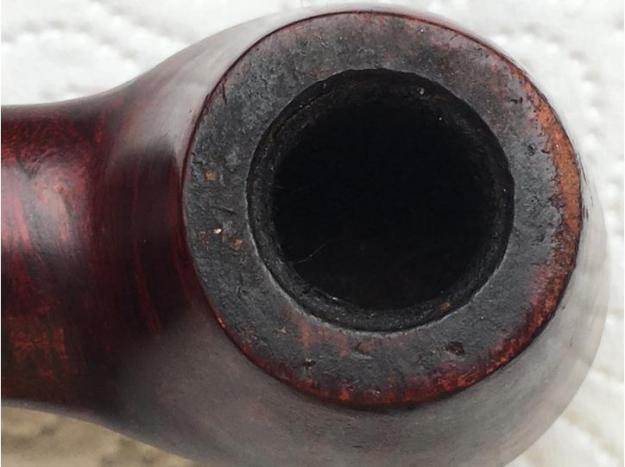

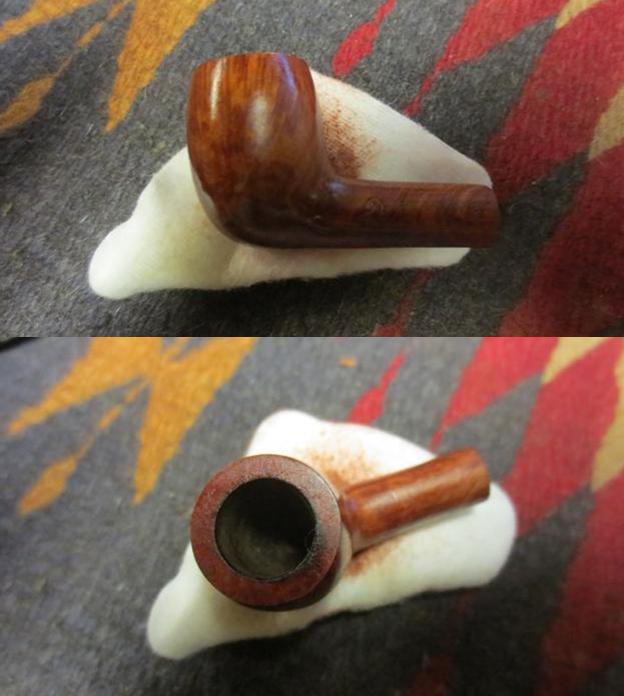
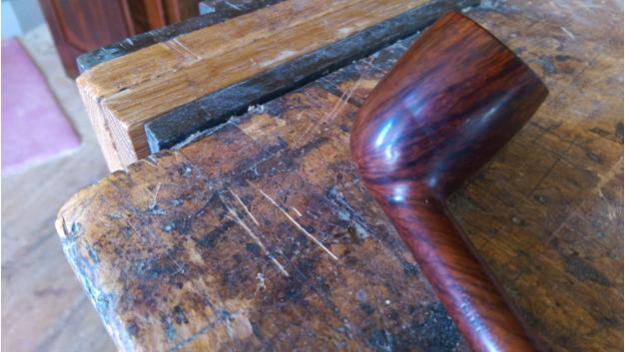
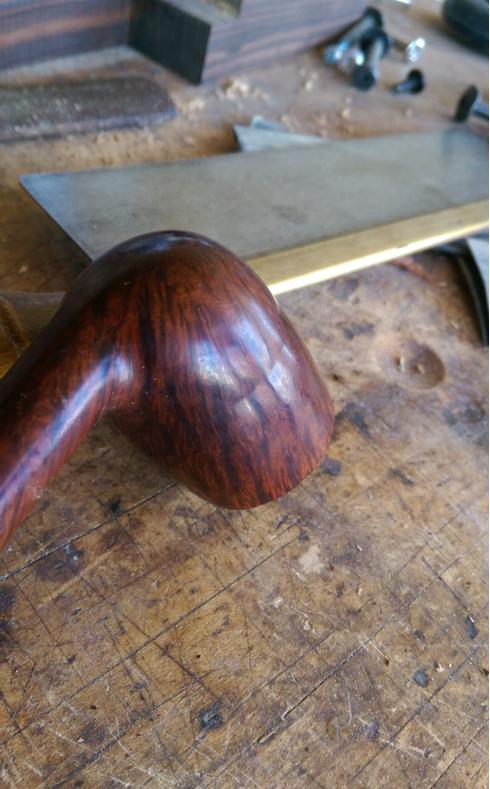
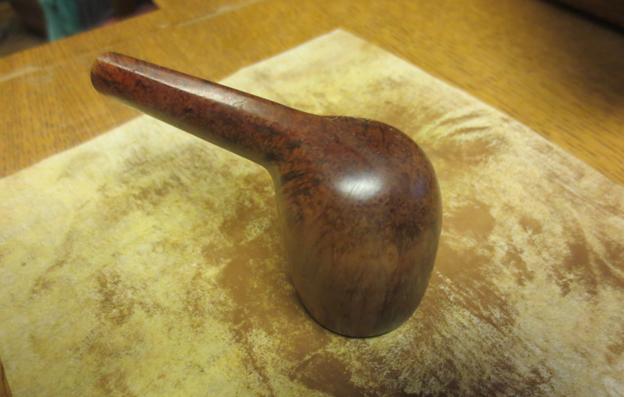
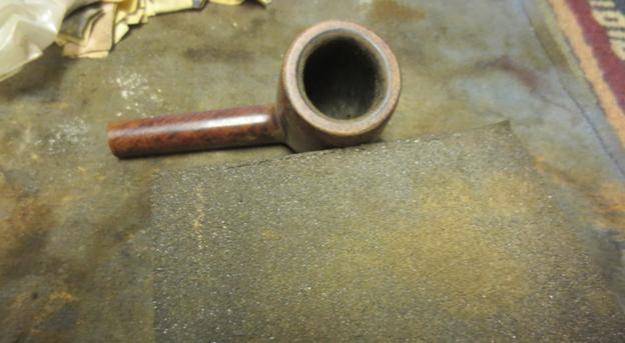
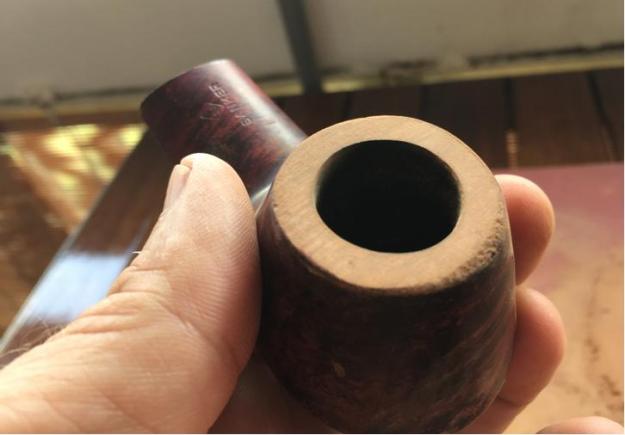
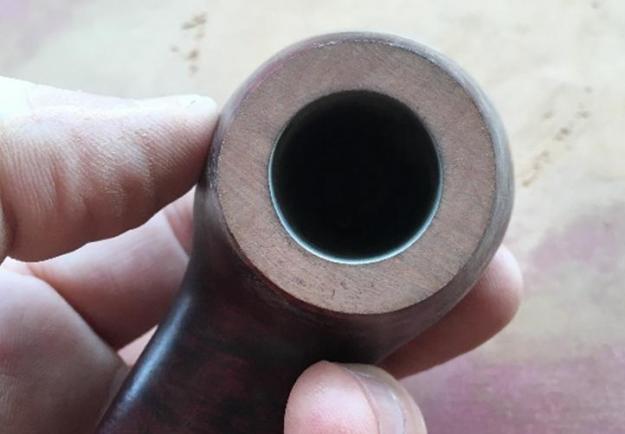
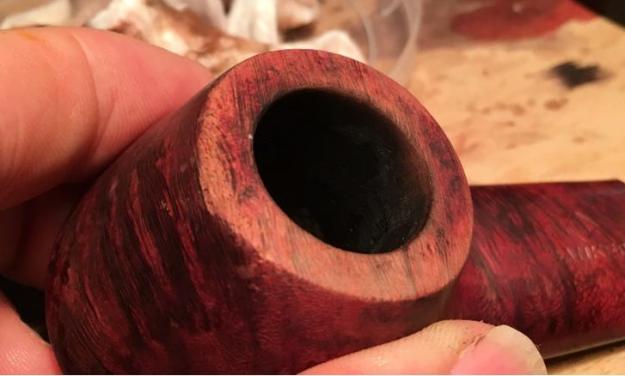 Ok, for you who have years of restorations under your belts, here are some newbie musings – your patience appreciated! At this point I realize I need to top the bowl to repair the front lip of the rim – it won’t take much but it is needed. When one takes the rim down to the bare briar, I’ve learned that one also must have a plan for matching the hue of the old stain if one desires to keep the old stain tone matching the bowl. I like the color scheme of the BBB Banker and I desire to keep it. To keep it, I need to match the rim color tone with the rest of the stummel AND I need to address the very minor scratches and wear marks on the stummel surface BUT NOT sand it aggressively to remove the stain. It is in some ways much easier to take the briar down to the wood with acetone and sanding and then apply new stain and voila! New surface and color all blended and ready to go. I know this situation calls for use of polishing compounds and such, which is a more passive approach to dealing with the surface – more opportunity to learn new things! So, I move forward with topping the bowl with the aim of maintaining the current rich, deep red tones – we’ll see how it goes. I took the BBB Banker to the topping board – 240 grit paper on a chopping block and rotated it on the paper in a gentle clockwise circle not applying too much pressure – letting the grit do its work. To make sure I wasn’t leaning into the damaged lip area as I rotated, I eyeballed that the damaged area was untouched during the early rotations which meant the topping was true – I took a picture at this point (second picture). I took off only enough to clear out the front lip problems. I think it went well and the bowl looks perfectly round. As I often like to do, to add a classy touch to the rim I bevel the inside lip. I make the initial cut of the bevel with 120 grit sanding paper followed by 240 grit. I’m satisfied with the bevel – not too much but just an accent. I use micromesh on the rim from 1500-12000 to complete the rim repair preparing it for stain later.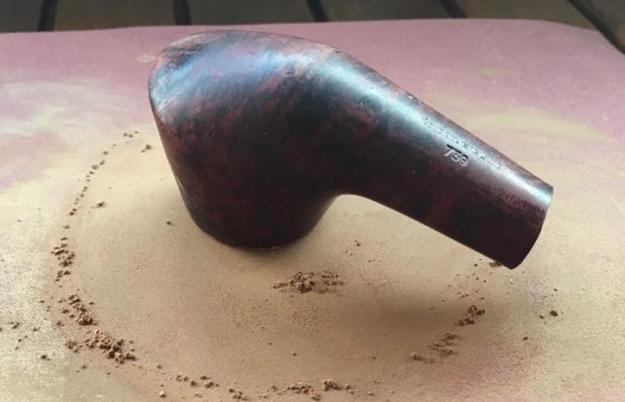
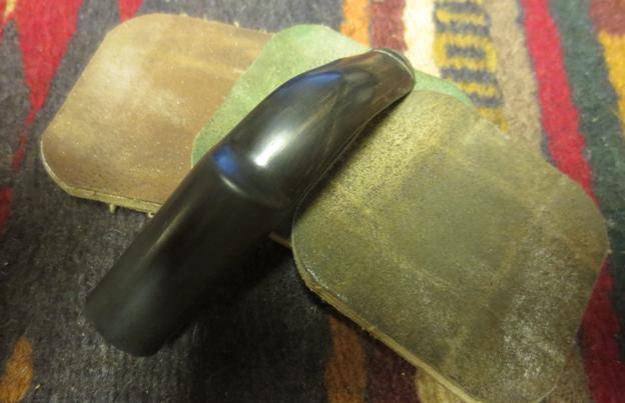
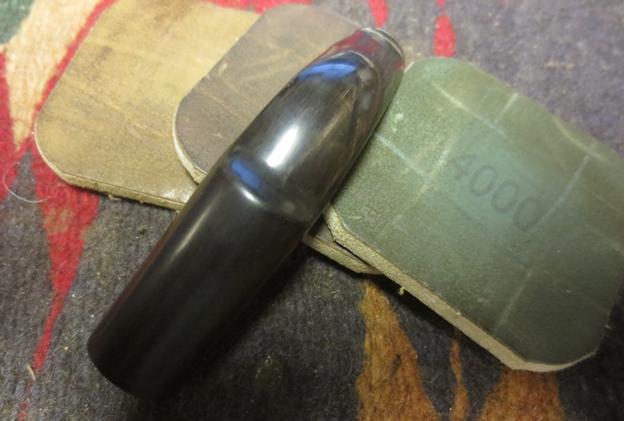
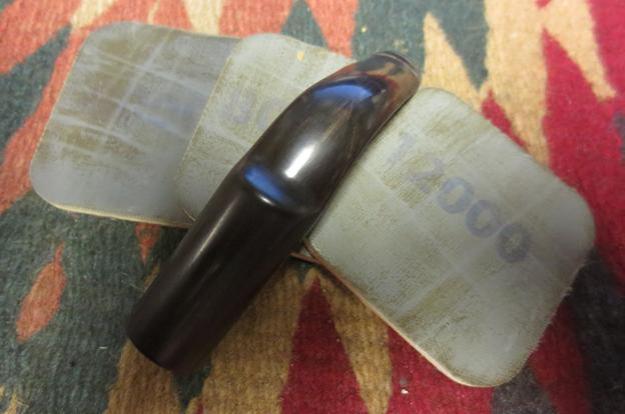
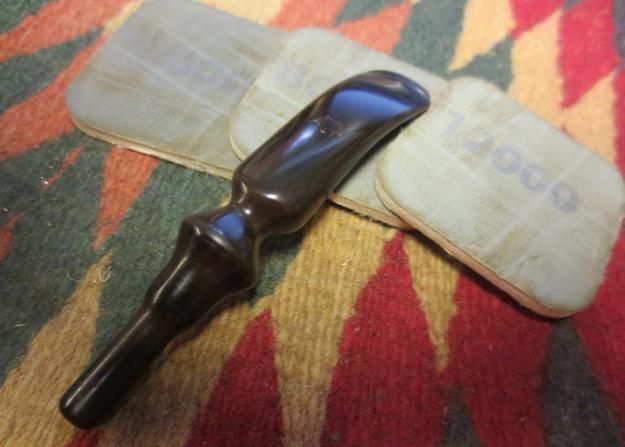
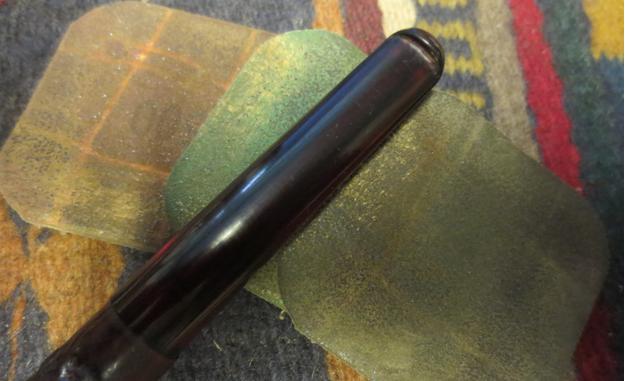
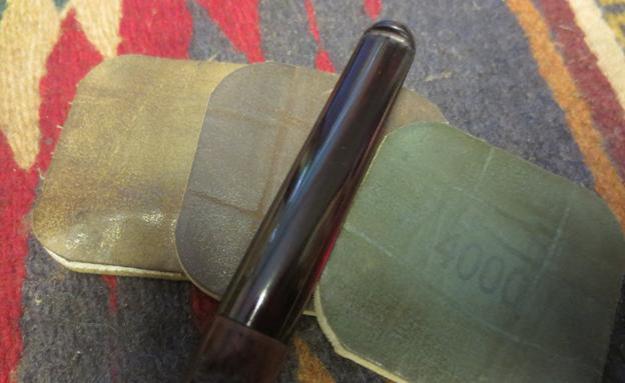
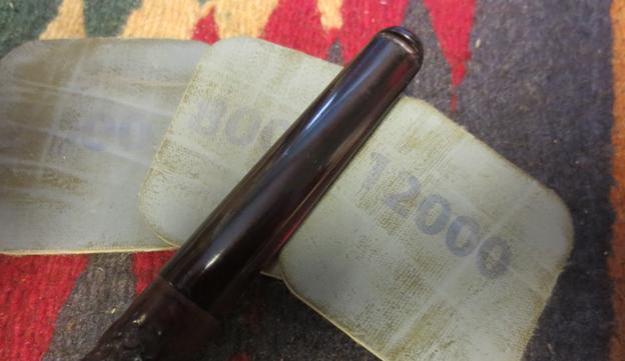
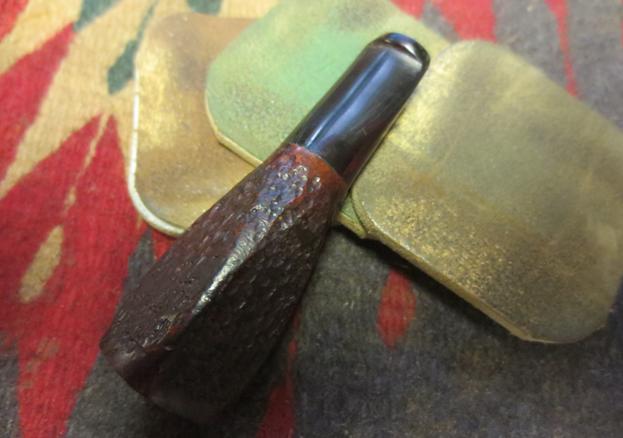
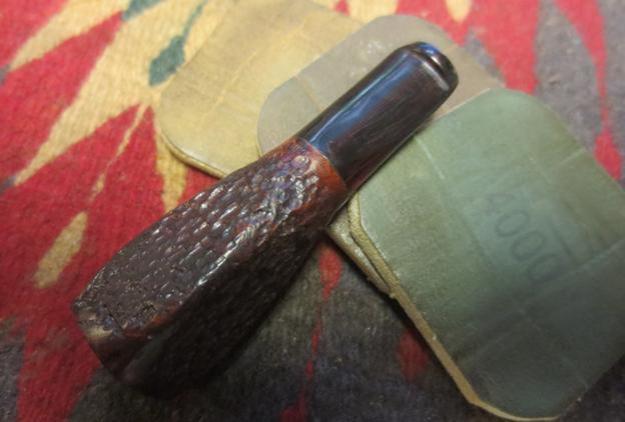
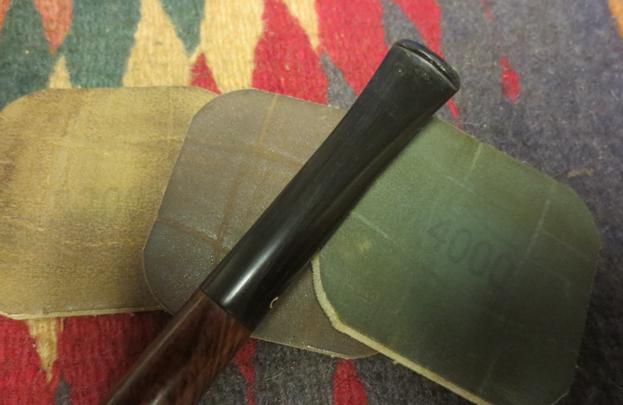
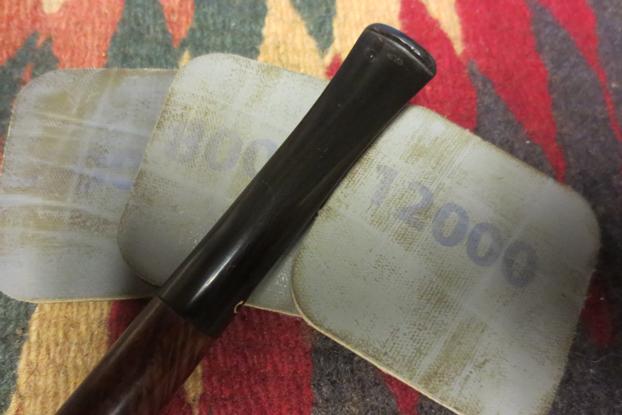
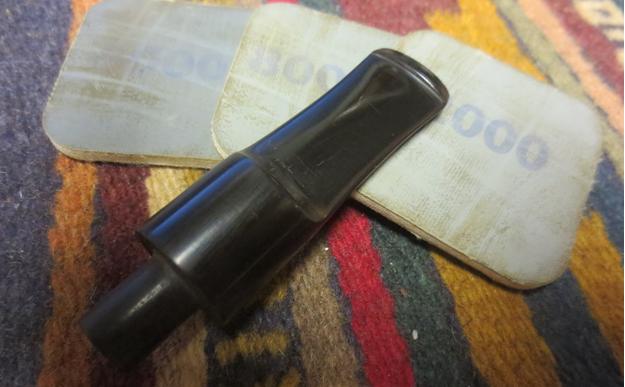
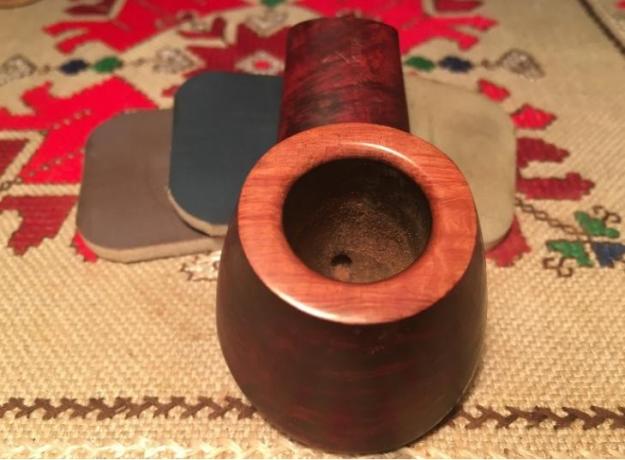 Now, the stummel surface. I have questions rolling through my mind regarding how aggressive I can be to remove small scratches and wear blemishes but maintain the original patina of the briar as it came to me. I elect to micromesh the stummel surface and leave the small blemishes. I do not start with the coarsest pad (1500) but at 2400 – gentle approach (though the first picture below shows the 1500 it was not used). I’m not sure this is the best plan but I can always back up to a more aggressive posture if I’m not satisfied with the results. After a quick email with Steve, I feel better about the course of action. I continue on the stummel with micromesh pads 3200-4000 and 6000-12000. I am loving the briar grain popping out through the micromesh process – one of God’s small creations each piece of briar. The pictures show the progress: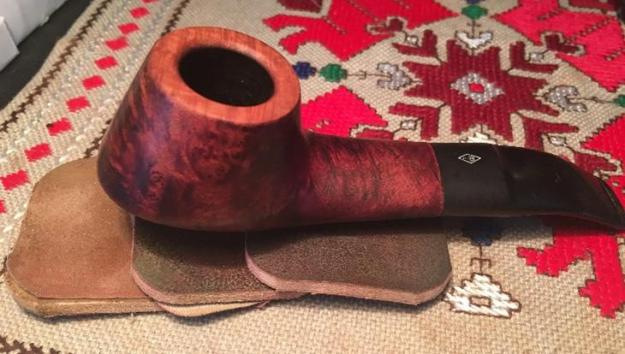
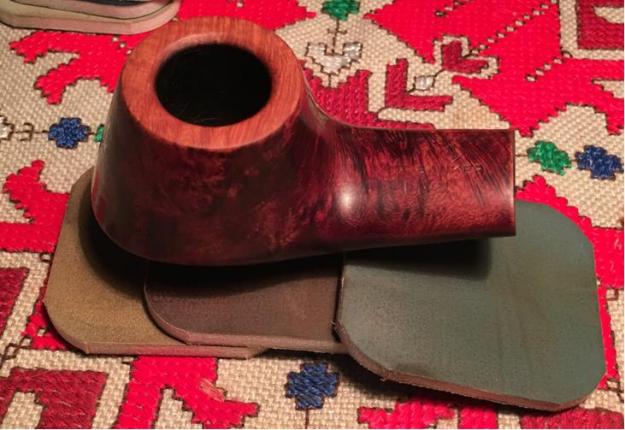
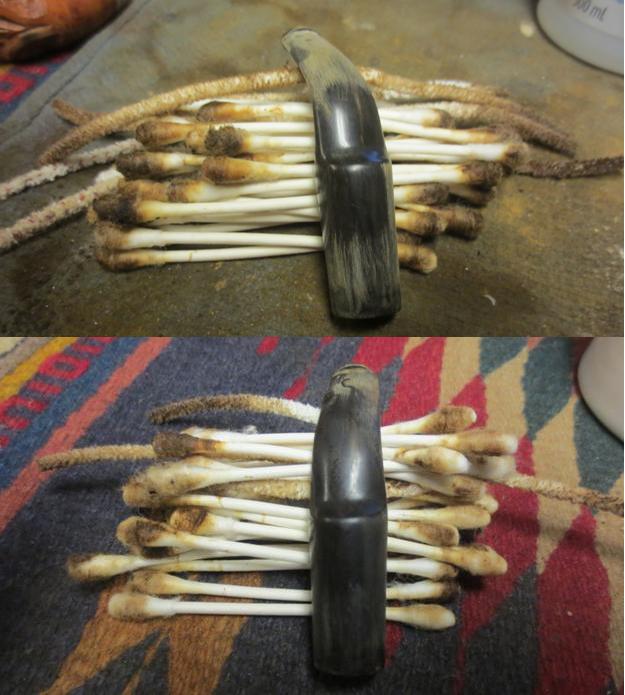
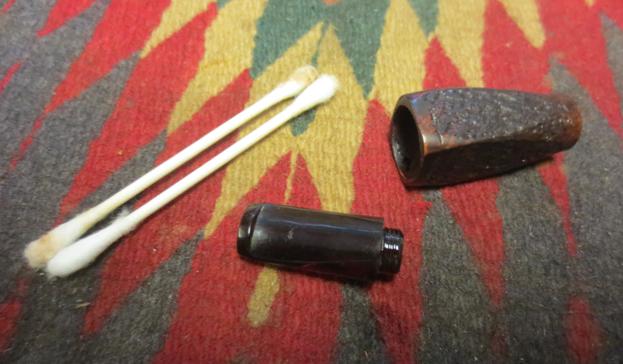
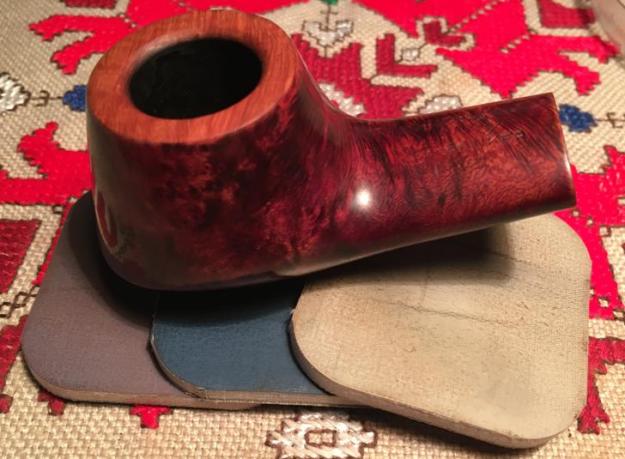 As I put the stummel aside to work on the stem, I realized that I was so involved in working on the externals that I forgot that I hadn’t cleaned the internal of the stummel nor stem. Before working on finishing the stem I decide to use the retort to clean the internals. Last time I used the retort, an alcohol saturated cotton ball was launched from the bowl during the process. I was gun-shy of the retort to begin with when I first acquired it – the launch didn’t help. Notwithstanding, I unwrap the retort, get out the vodka, and proceed to let the retort do its work. The pipe was surprisingly clean. After two retort cycles, I finished off with cleaning the internals of stummel and stem with Qtips and pipe cleaners dipped in alcohol. I think it’s better to clean internals earlier in the process….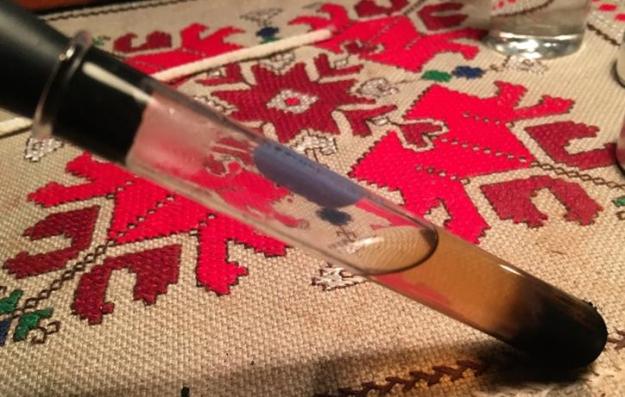
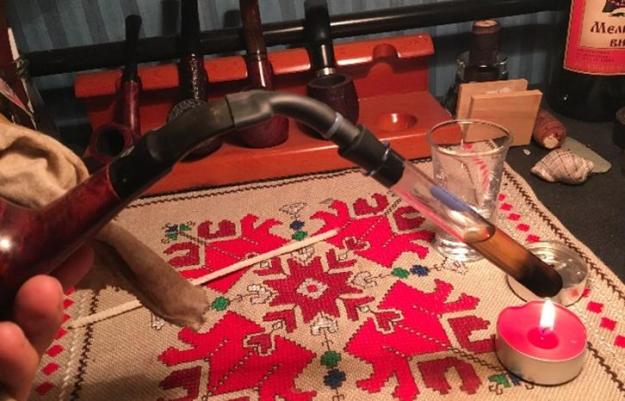
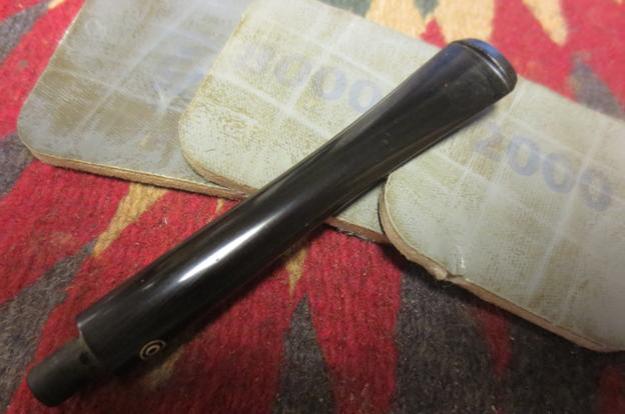
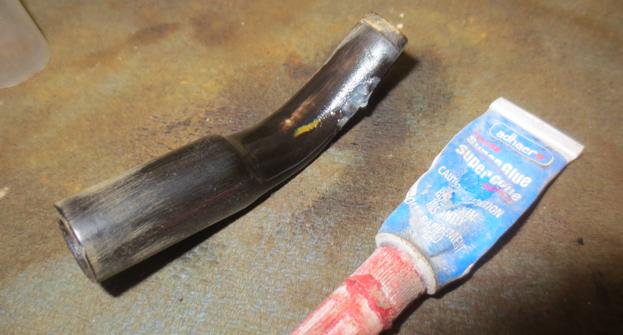
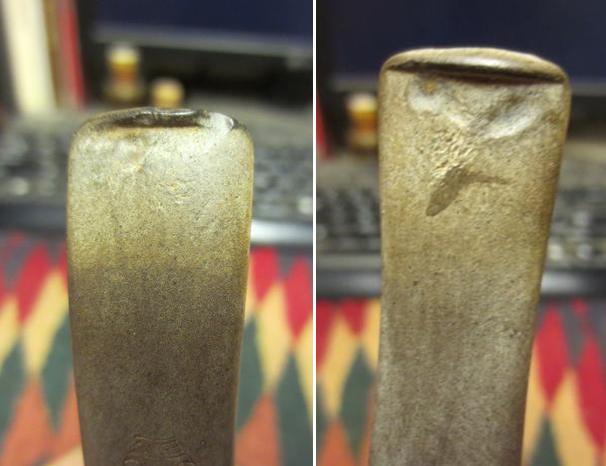
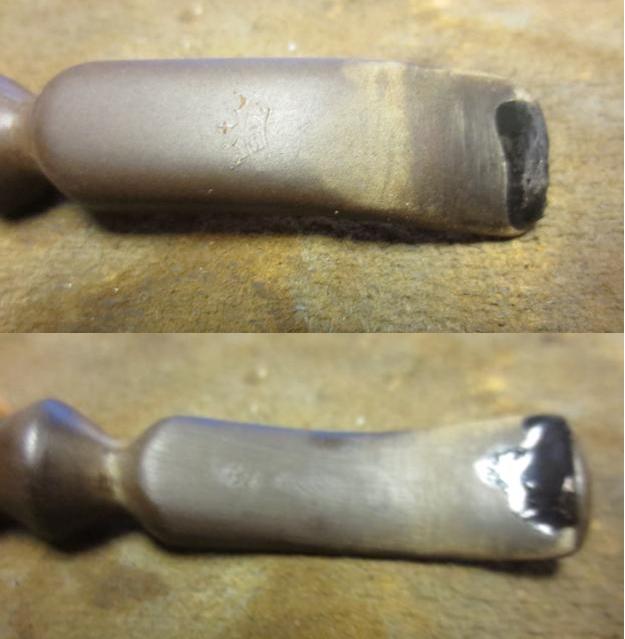
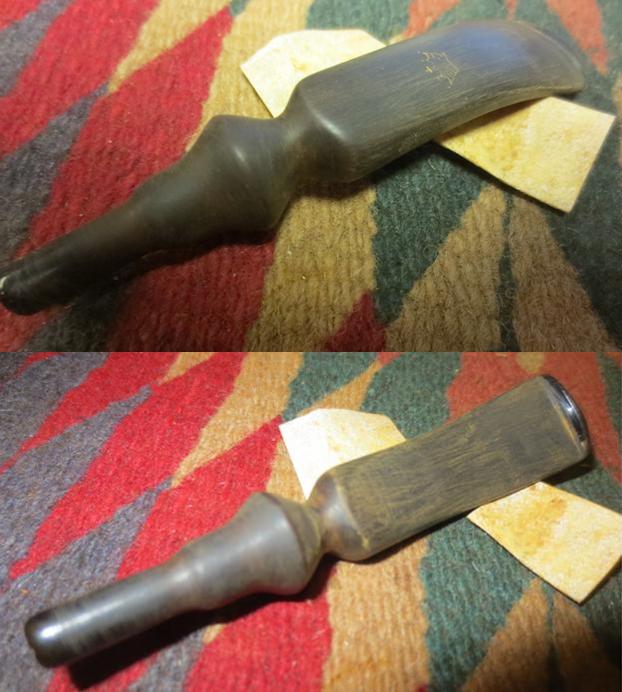
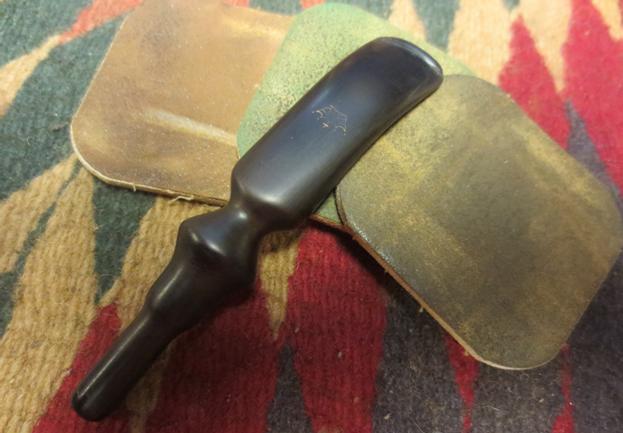
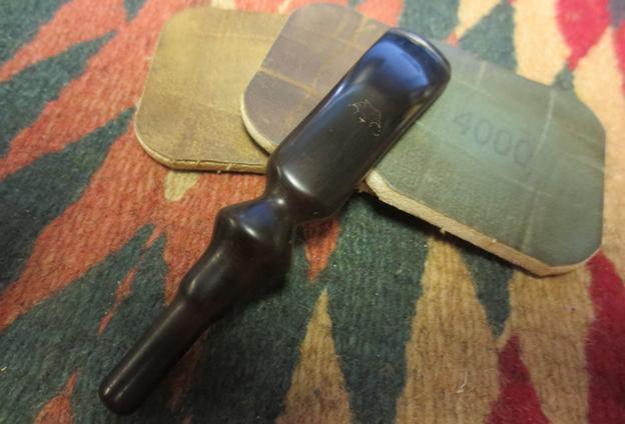
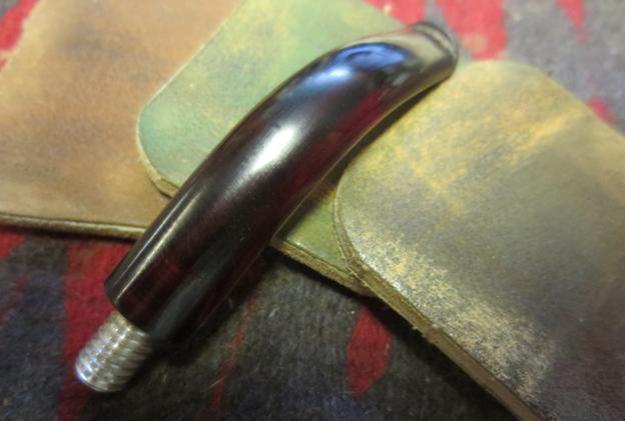
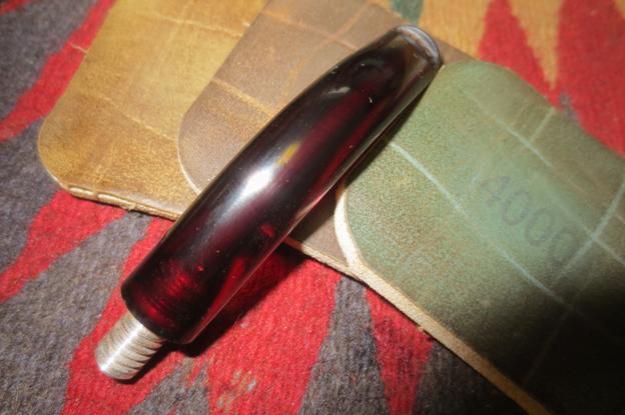
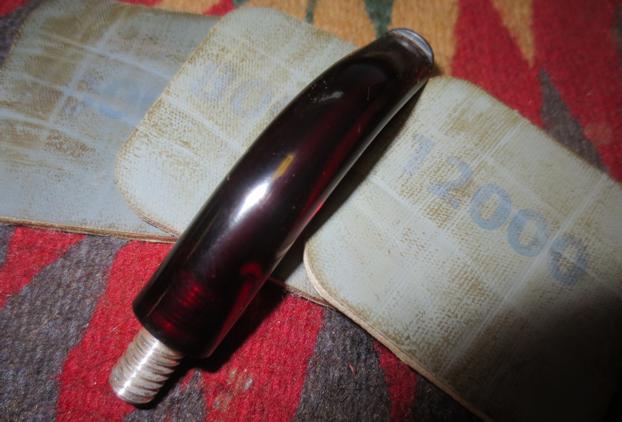
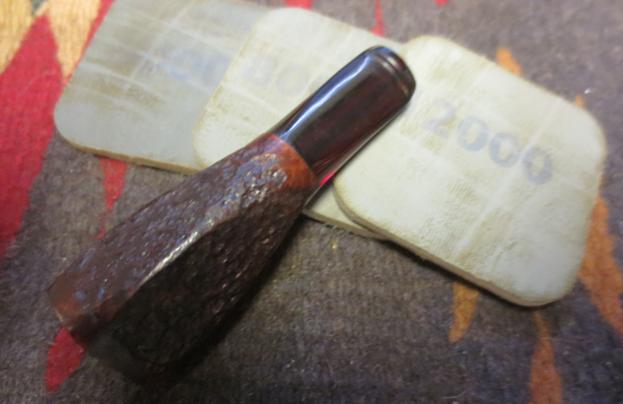
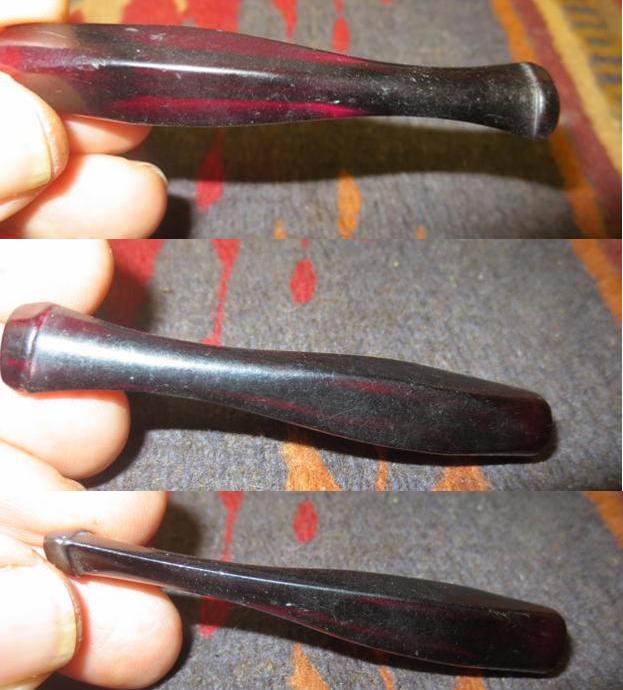
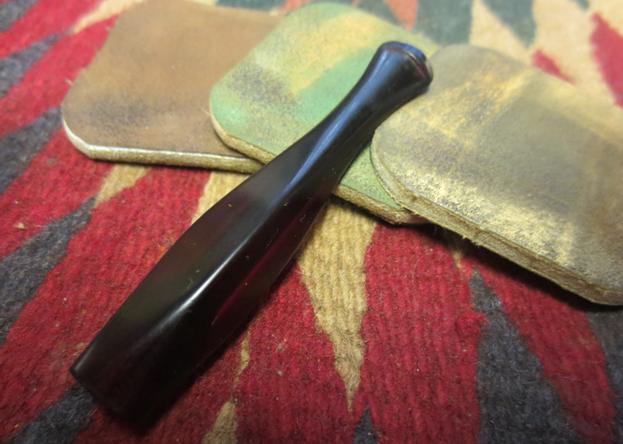
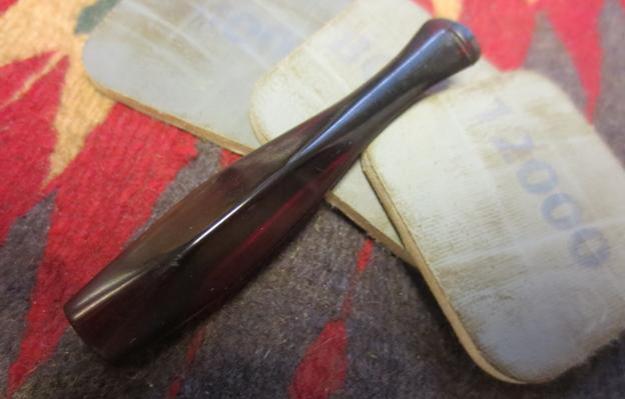
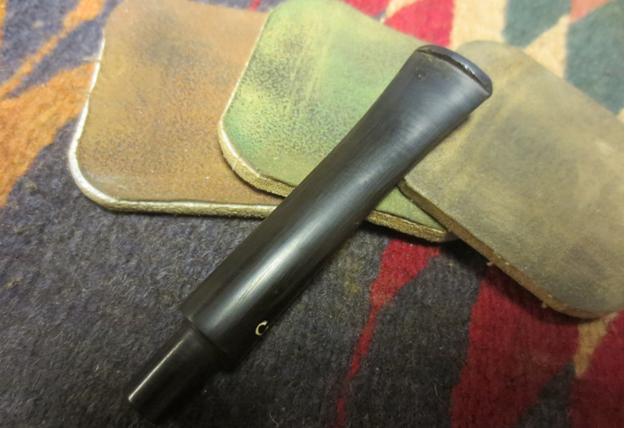
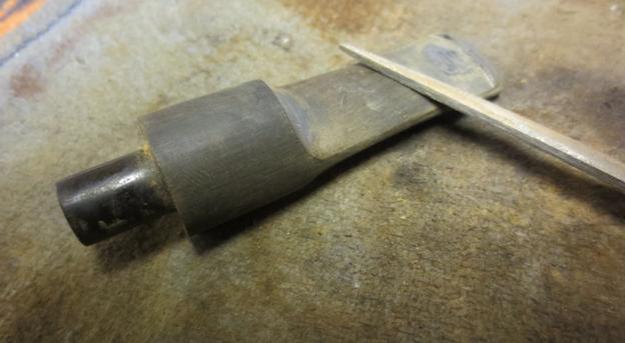
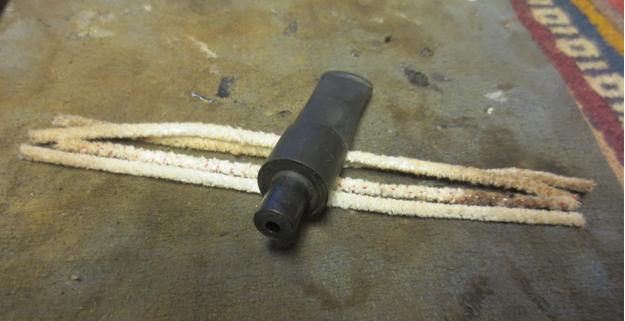
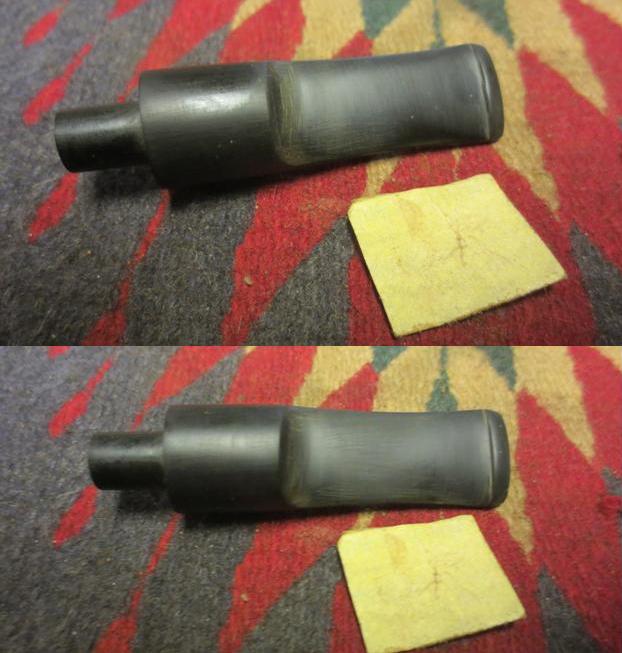
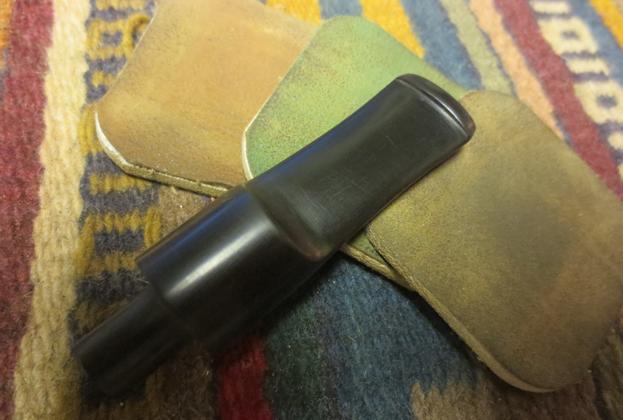
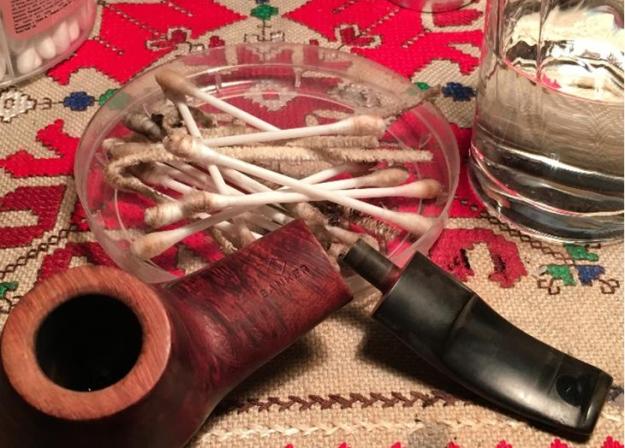 Now to the stem externals. Earlier, I applied black super glue to two significant tooth dents on the underside of the bit (visible in picture above). I use 240 grit sanding paper to remove the excess super glue removing traces of the dents as well as file marks after using a needle file to fine tune the shape of the button. There was very little oxidation on the stem or teeth chatter so I proceed to wet sand with micromesh 1500-2400 and apply Obsidian Oil to the stem. I follow by dry sanding using 3200-4000 micromesh pads and then the same with 6000-12000 and apply Obsidian Oil and set the stem aside to dry. I’m pleased with the vulcanite ‘pop’ – that wet reflective look is great.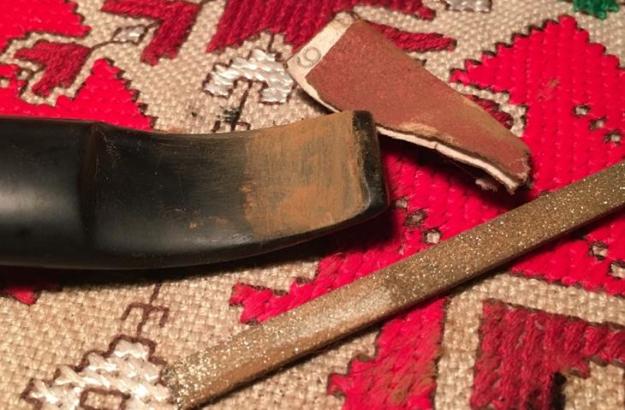
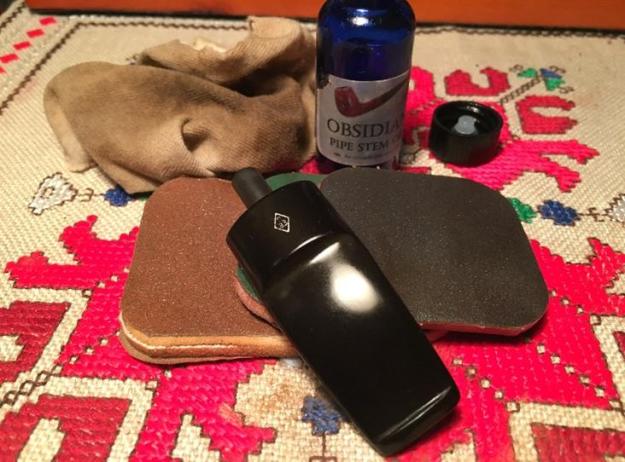
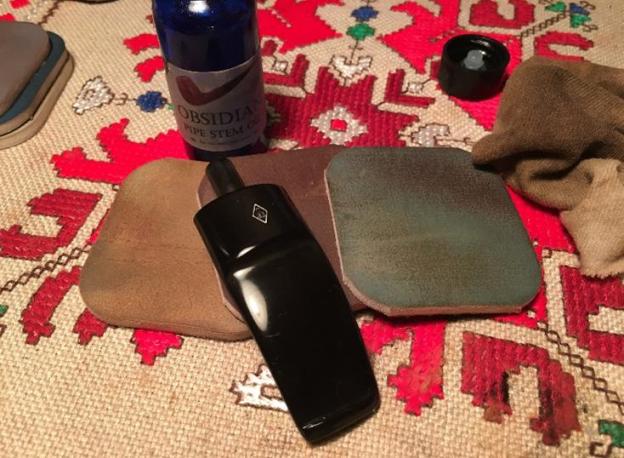
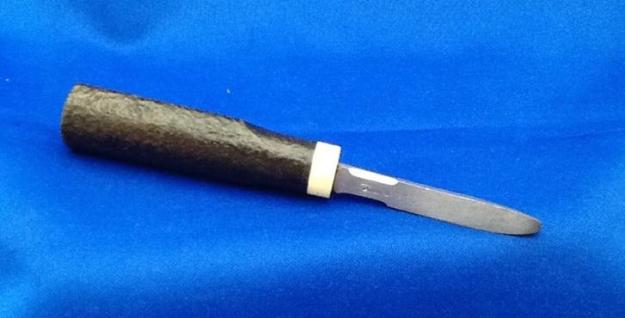
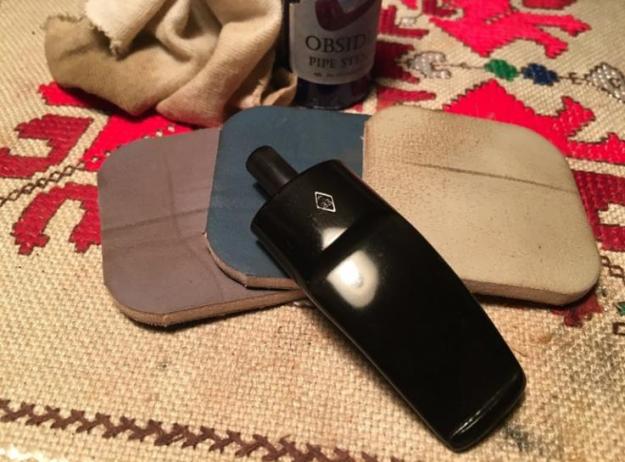 Well, I mentioned earlier that I was hopeful to add a Savinelli pipe knife to my tool box. Steve speaks highly of this tool and has increasingly put it to good use in his restoration work. He also posted a blog describing it when it arrived on his work table in Vancouver. When I saw one on the block in the eBay’s estate pipes in tobacciana listings a few days ago, I decided to watch the auction and see if I could snag it – it seemed to be calling out to me: “I want to live in Bulgaria!” As you would guess, others were watching too. I’m thankful that my bid was sufficient and my new Savinelli pipe knife will be delivered to my daughter and son-in-law who live in Denver. They will carry it with them to Bulgaria (along with some other supplies I’ve ordered including 32 oz. of Lane BCA Cavendish tobacco which I discovered with great enjoyment on my last trip to the US) when they visit in September! My son-in-law had no problem agreeing to find space in the suitcases when I bribed him with sharing bowls together of the Lane BCA! So, I’ll look forward to their arrival for the additional reasons that they will be packing new supplies and my new pipe knife!
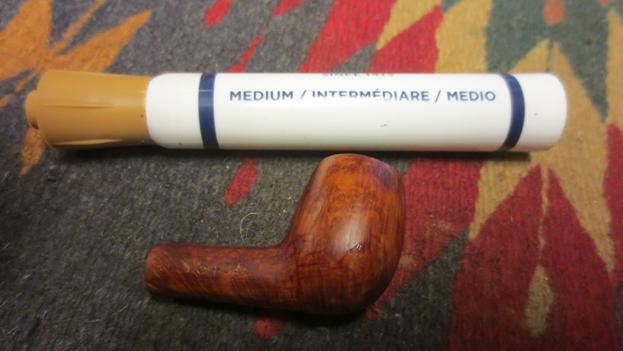
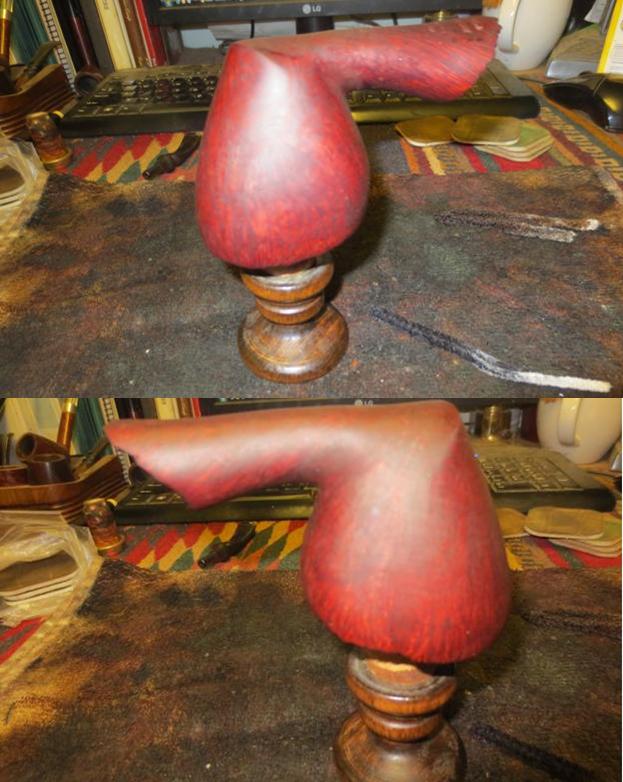
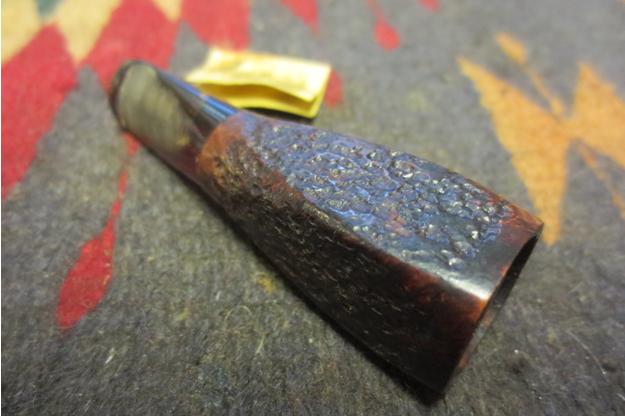
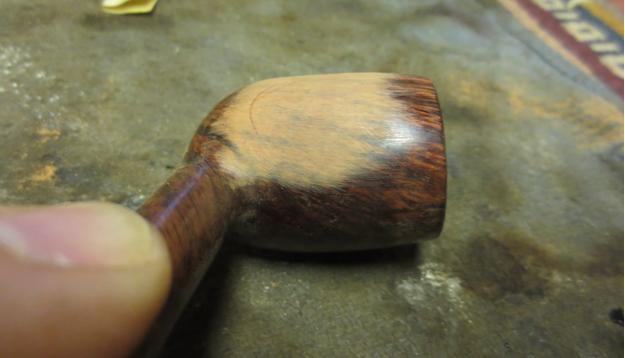
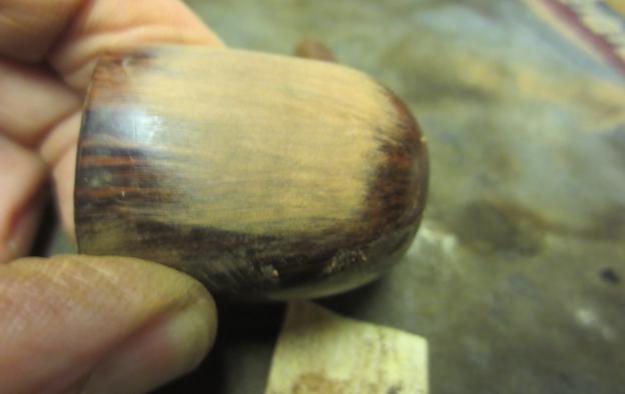
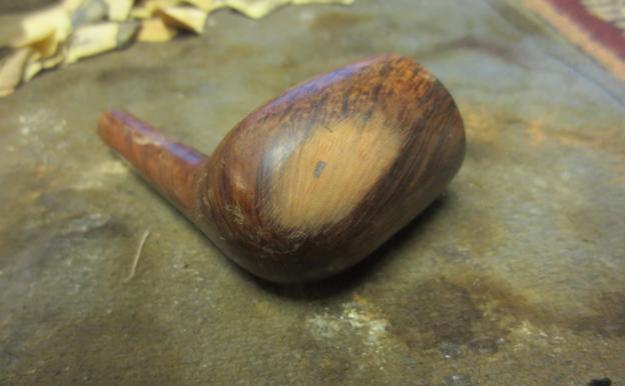
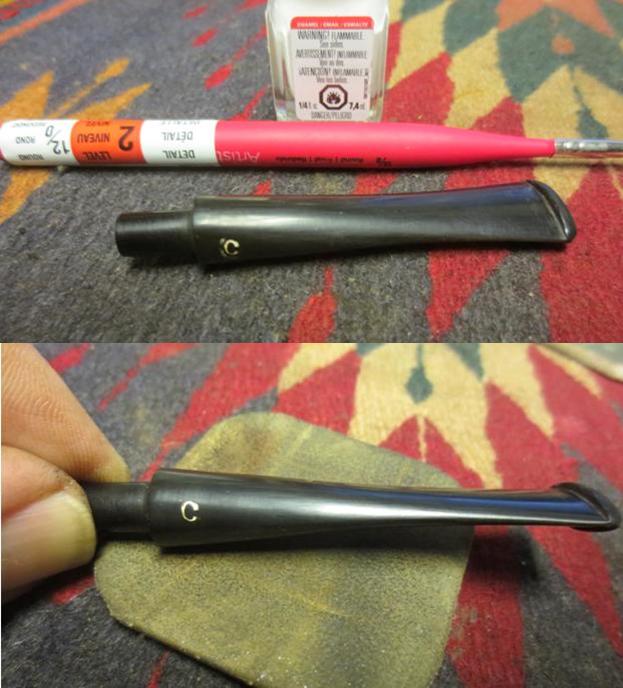
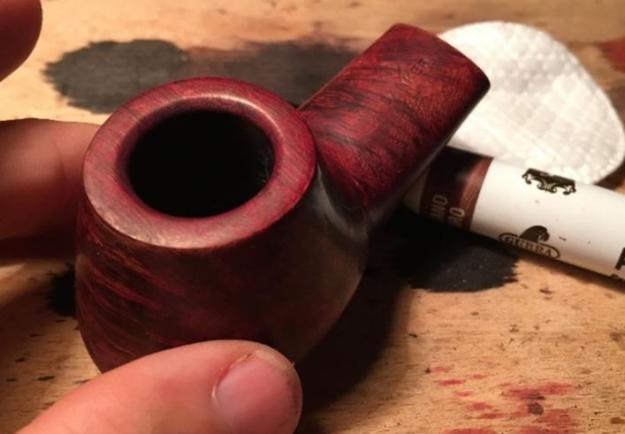
 The BBB Banker slightly bent volcano is now in the home stretch. After topping and sanding the rim with micromesh, I left the rim the bare wood until I finished the sanding of the stummel. I did this so that the stain I would eventually apply to the rim would be more closely matched. Using an Italian brand stick, I applied a dark Mahogany stain to the rim and before it dried, lightly wiped it with a dry cotton pad to remove uneven stain application – the first two pictures below show before and after application of the stick. I’m very satisfied with the match up of stummel and rim and am anxious to finish the stummel. Living on the 10th floor of a former Communist block apartment building and with my work station in my bedroom (shared with my gracious and understanding wife!) space is at a premium. My Dremel high speed tool is my workhorse when it comes to the polishing wheel. Starting with a felt wheel, I first purge the engaged wheel by using the flat edge of the Dremel’s metal tightening wrench against it. This softens the wheel and rids it of residue Tripoli caking from previous jobs. With the newly purged wheel, I begin the final polish of the BBB Banker applying Tripoli to the surface addressing the minor pits and scratches on the bowl surface that I did not sand out aggressively to guard the beautiful patina of this piece of briar.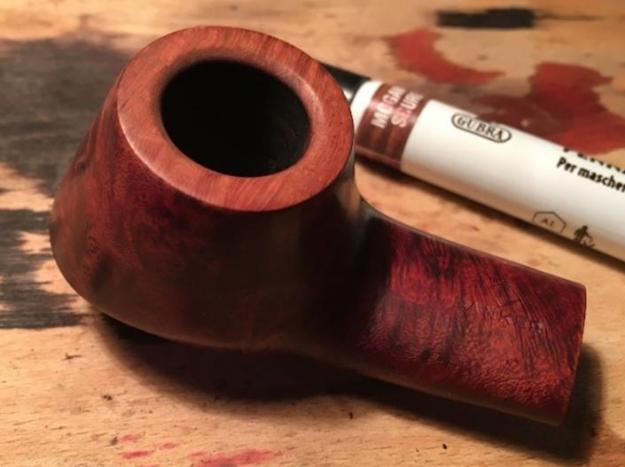
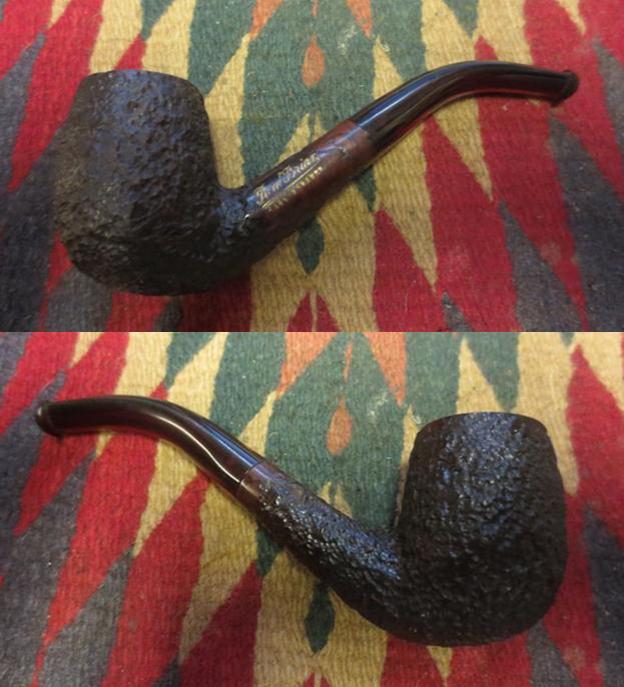
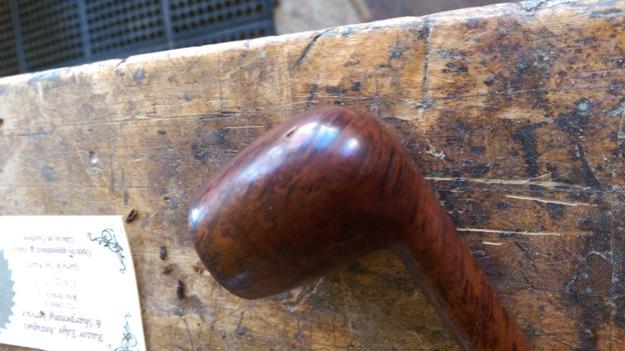
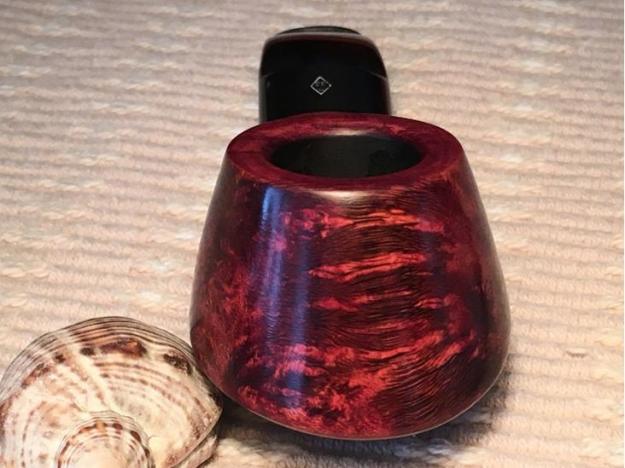
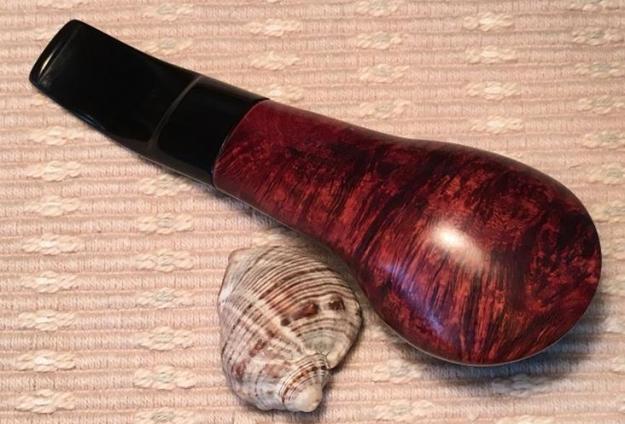
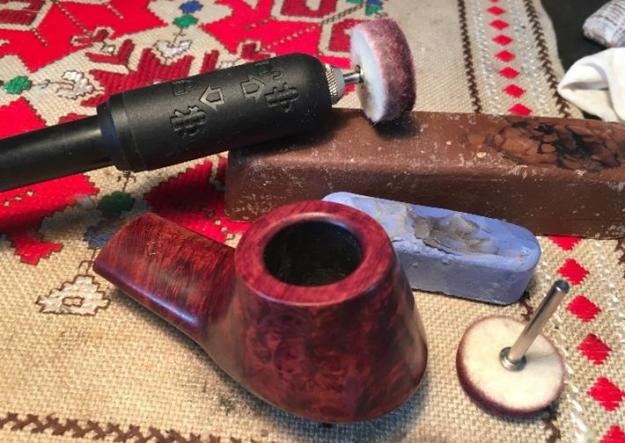 Finished with the Tripoli and Blue Diamond, I change to a cotton cloth wheel for the Dremel and apply several coats of carnauba wax. I use the slowest setting for the Dremel and keep a continuous circular rotation over the briar surface – oh my, does the grain pop! I cannot say exactly when this pipe was made, but if it’s been since 1989, someone employed by Cadogan Company’s Southend-on-the-Sea pipe making plant did an amazing job with the choice of this piece of briar and the volcano shape it became. The grain is beautifully showcased in horizontal movements laterally across the stummel so that one can see the horizontal flame grain facing the stummel straight on and then move to the sides of the stummel and see the grain emerge in Birdseye perspective and swirls. In the beginning I described the top-down view of the broad, flattened oval shank as reminiscent of tiger fir to me – now as I look at it zebra also comes to mind. Another example of the beautifully showcased briar grain in the Volcano shape is the broad landscape of its underside – from across the broad shank to the front lip of the volcano base, runs a robust dissecting flow of grain that is majestic from my vantage point. Yes, I confess, I’m a briar grain junkie. Its beauty reminds me of its Maker. With my last application of carnauba wax on stem and stummel, I change to a clean cotton cloth wheel and buff the entire stummel and stem. Then I give the BBB Banker bent volcano a brisk buffing with microfiber cloth to bring out the richness of this briar even more. I’ve enjoyed this restoration and look forward to loading the BBB Banker with its first bowl of tobacco in my hands. Thanks for joining me!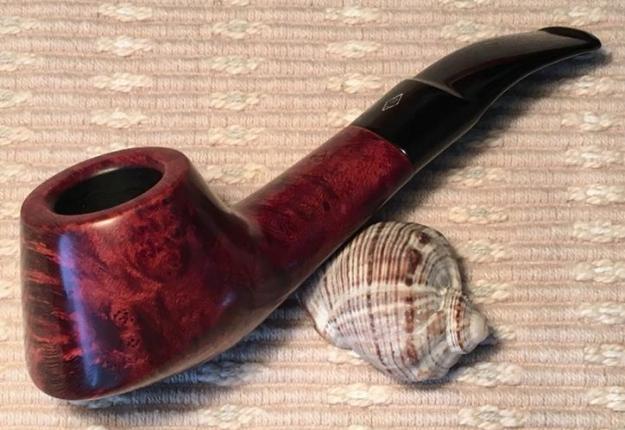

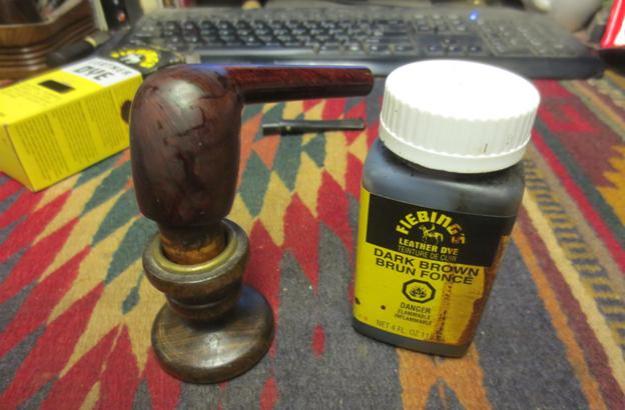
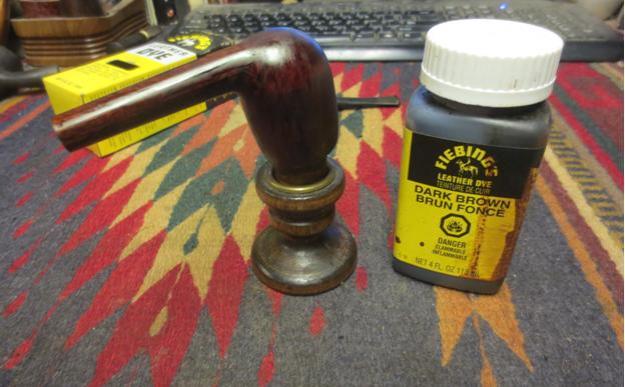
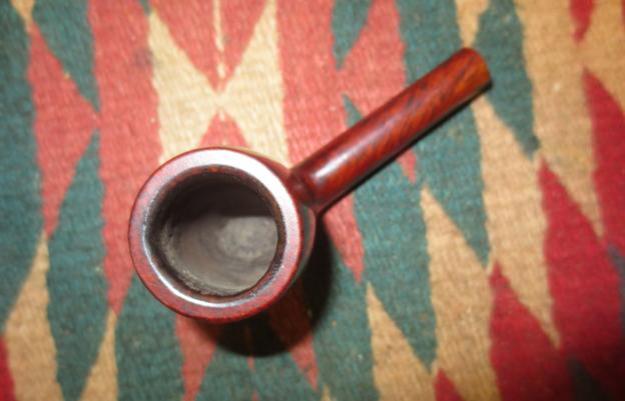
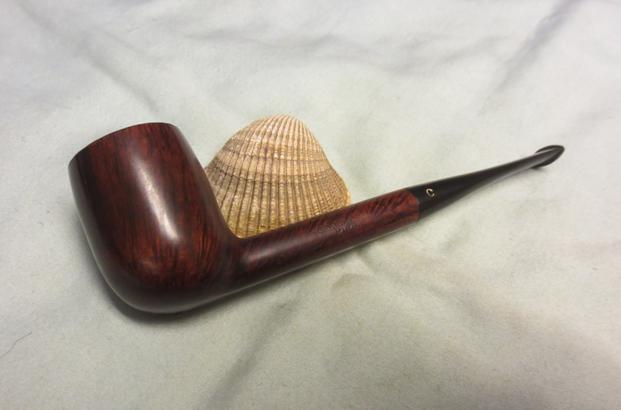
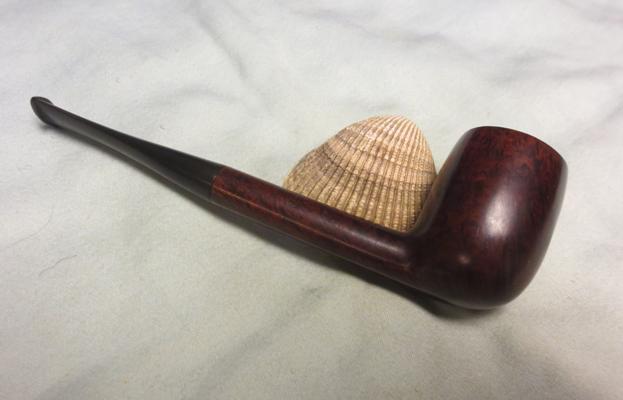
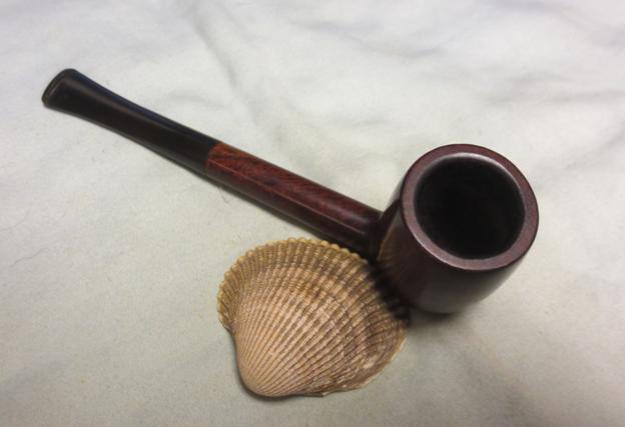
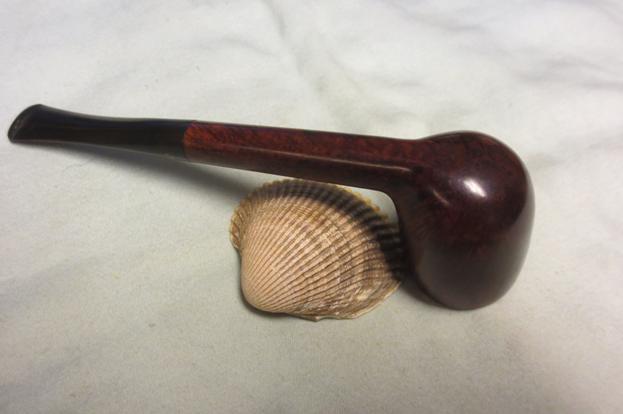
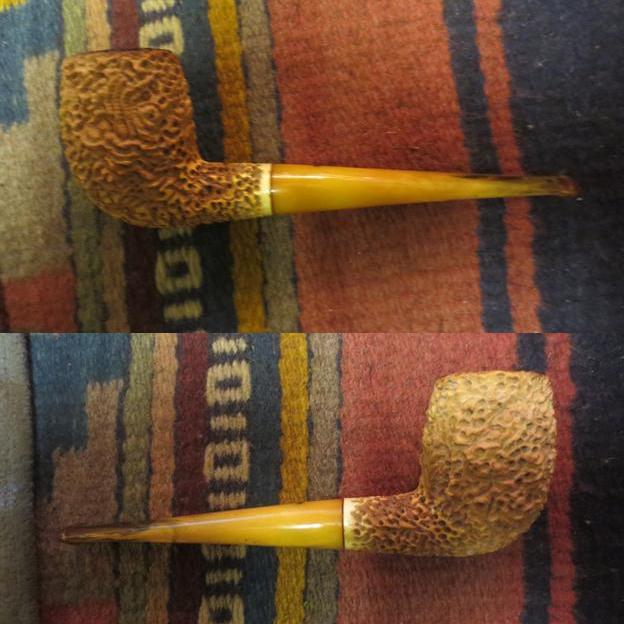
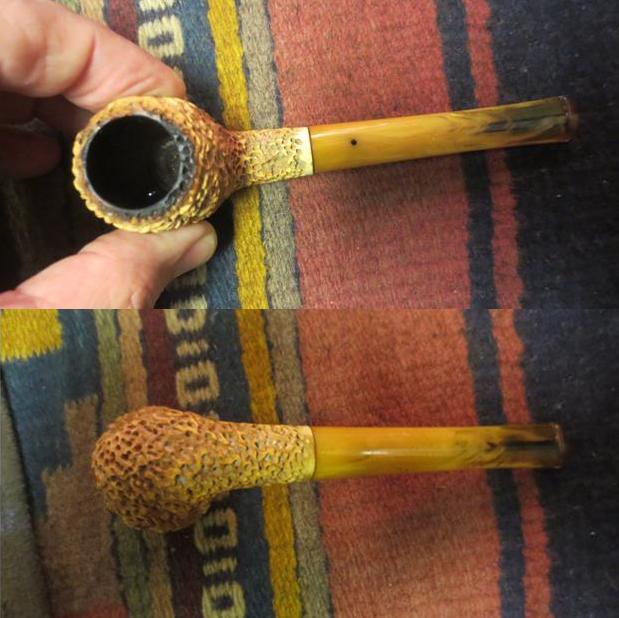
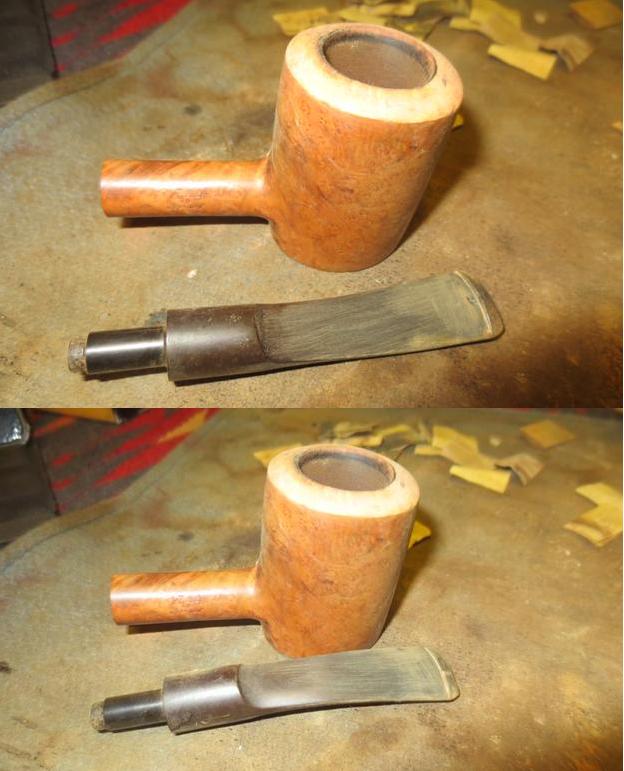
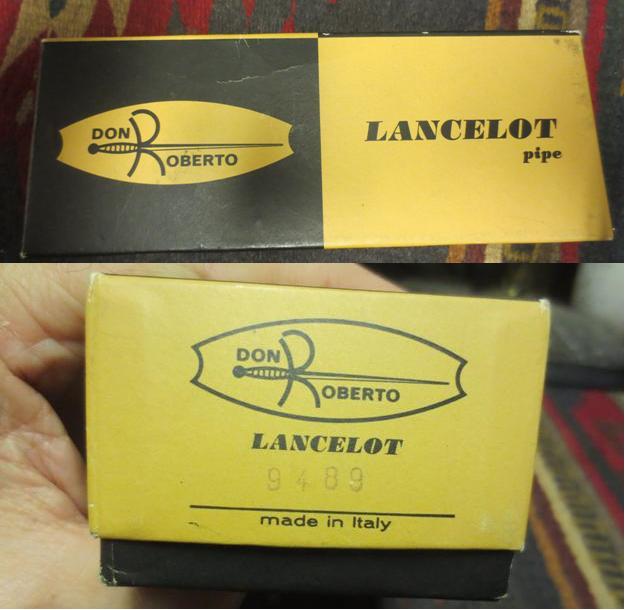 I took the box out of the bin of pipes awaiting restoration and brought it to my work table. I opened the box and found myself looking at a Cherrywood or a Poker shaped pipe. It was sitting on top of a pipe sock that did not look original.
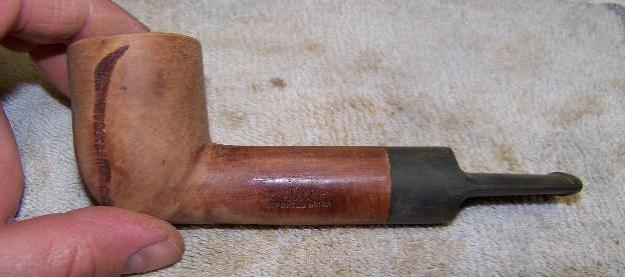
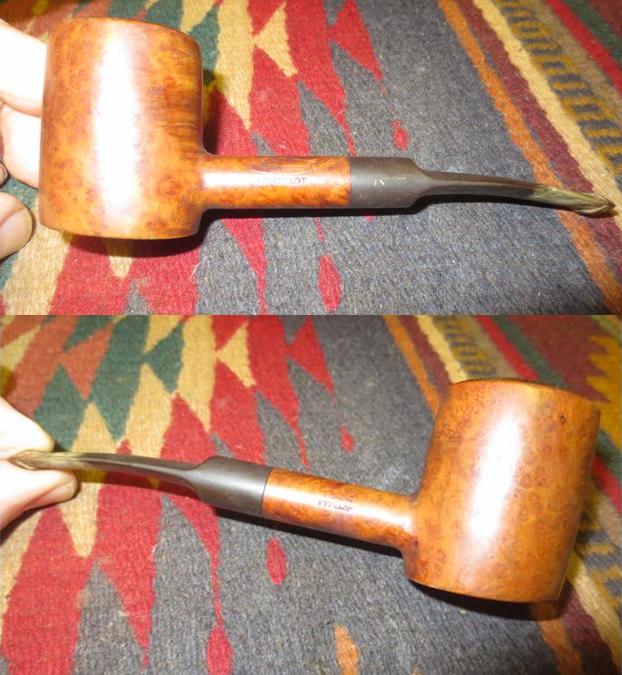
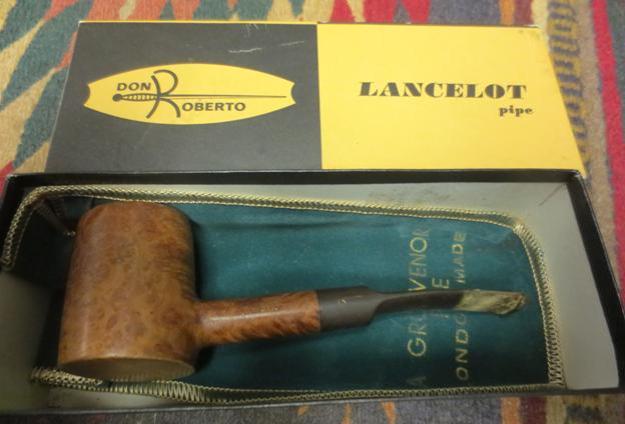 I took the pipe out of the box to have a look at it. The finish originally must have been virgin or oil finished. The stamping on the pipe was interesting – on the left side of the shank it was stamped with the logo like the one on the box, Don Roberto separated by at sword over Lancelot. On the right side of the shank it was stamped 1344 over Italy. There was something familiar to me about the shape and the shape number so I looked it up and found it on my GBD shape chart. 1344 was the number for a GBD Poker so the number and shape matched. The mystery to me was the Italy stamp. How does that fit into the picture? The stem also had a worn Don Roberto and sword logo on the left side of the saddle.
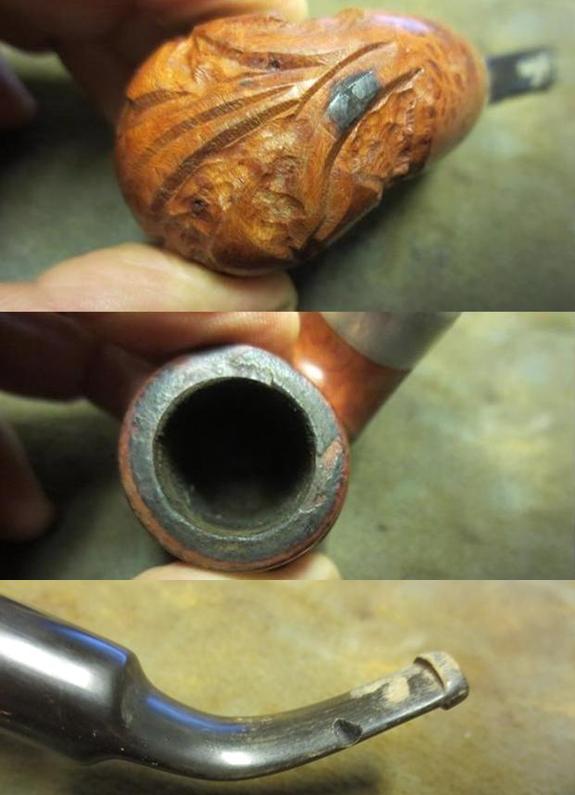
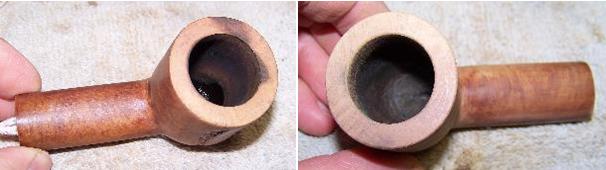
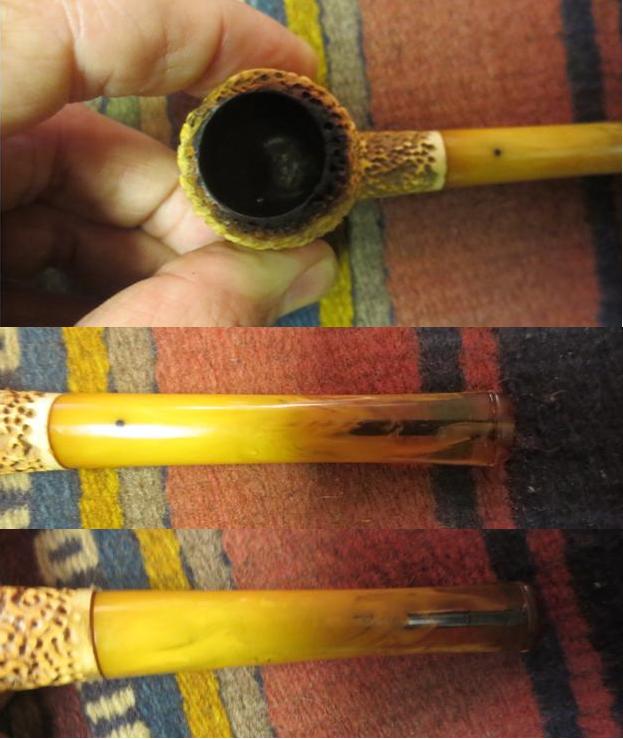
 The rim was in bad shape. It looked as if it had been knocked out on concrete. The entire crowned surface of the rim was covered with road rash – stippling left behind from the concrete. There was also some tars and oil on top of the damage. The inner edge of the bowl looked to be in round and undamaged and the inner bevel looked to be in good condition. There was a groove carved on the bottom of the bowl and part way up the front side. Probably it was cause by aggressive cleaning with pipe cleaners over the years but I cannot be sure. The stem had a heavy coat of calcification on the end and the button hiding quite a bit of tooth damage and tooth marks.
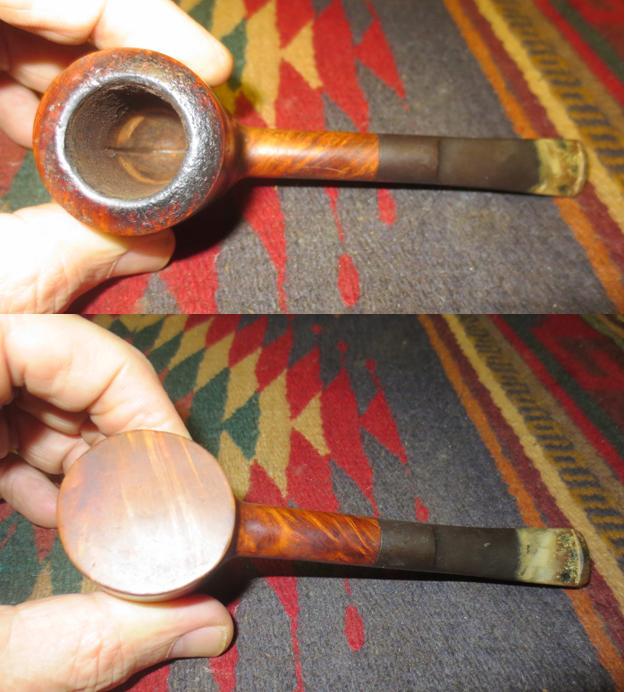 I took a close up photo of the rim top to more adequately show the damage to the crowned surface. The light cake in the bowl is also visible in the photo.
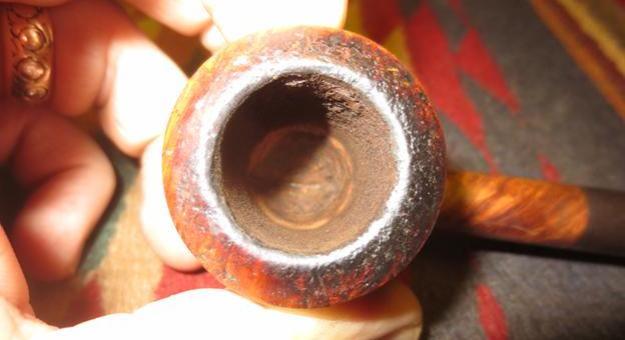 I sanded the crowned rim with a folded piece of 220 grit sandpaper to preserve the crown and not flatten it on a topping board. Care must be taken to keep the angle of the curve and the line around the top of the bowl sides equal. I sanded until I removed damage to the bowl top. I wiped down the bowl with acetone to remove the grime and the wax on the briar. The photo below shows the bowl top before I sanded out the scratches.
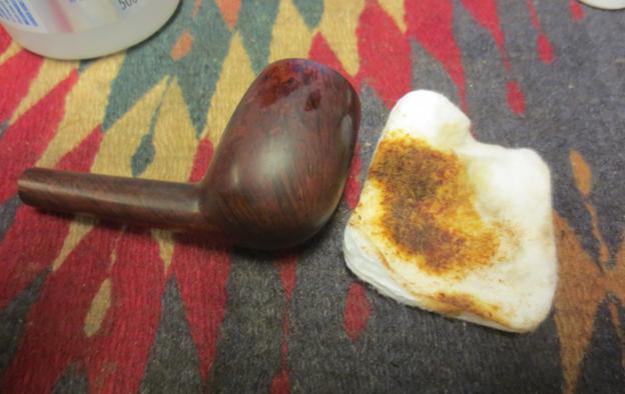
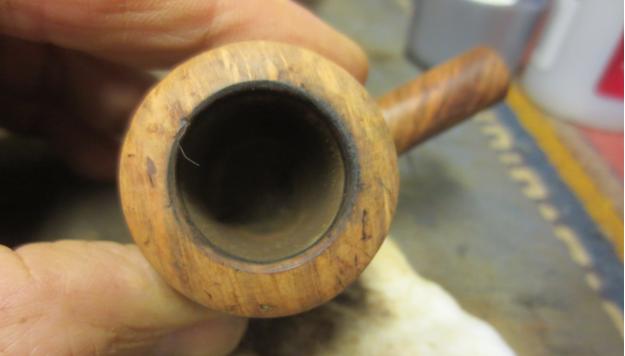 The next photos show the bowl after the scrubbing with acetone.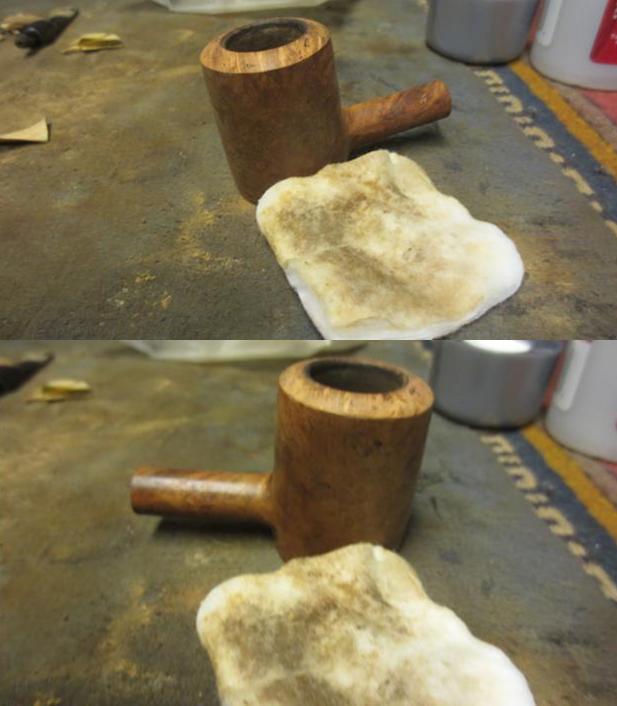
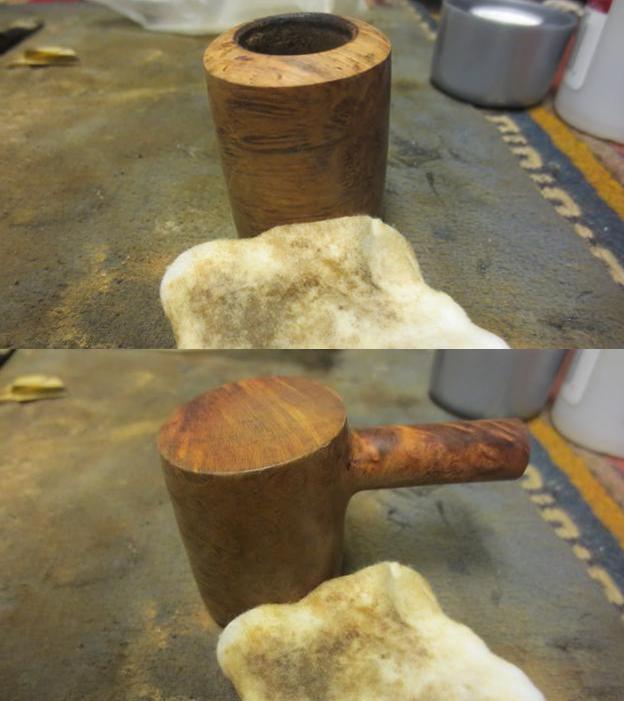 I sanded the rim some more with the folded 220 grit sandpaper and also worked on removing the calcification on the stem. It took a lot of sanding to get the rim smoothed out and also to remove the buildup on the stem.
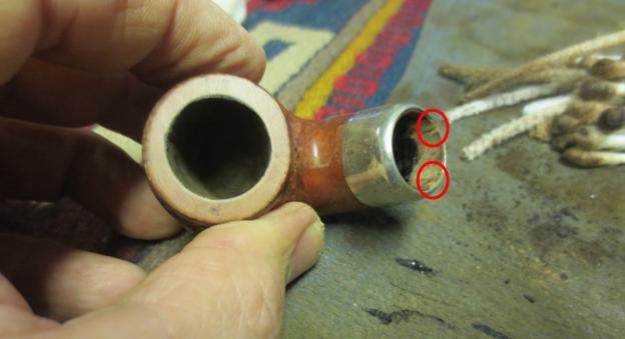
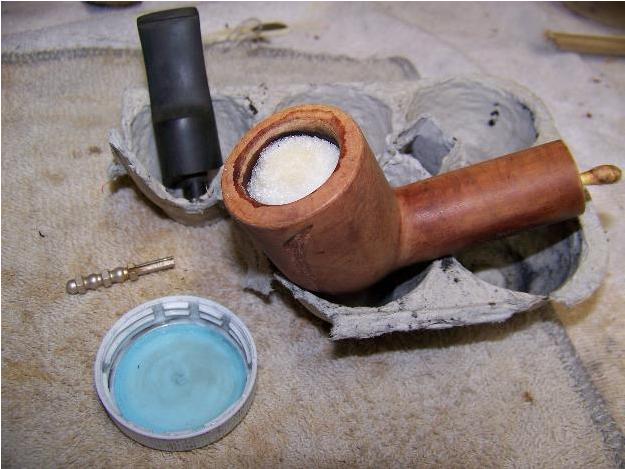
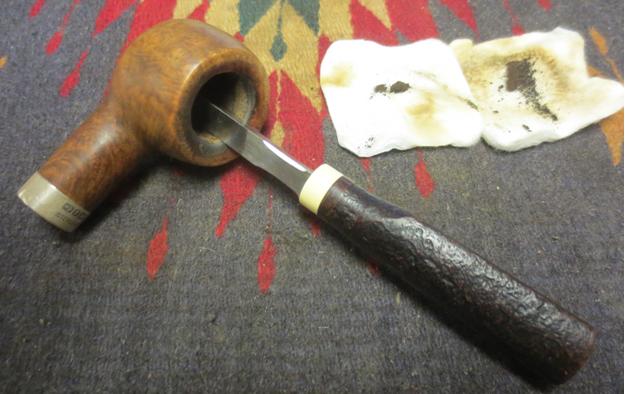
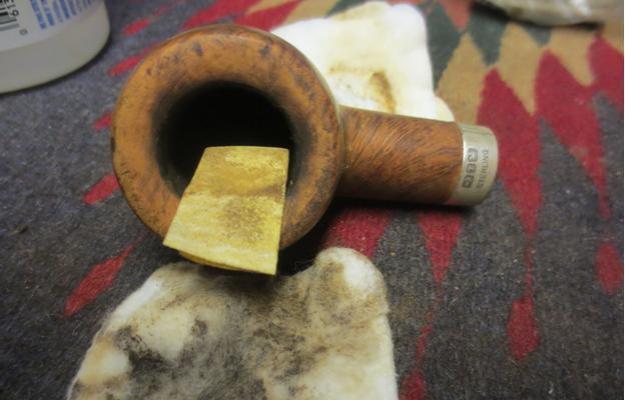
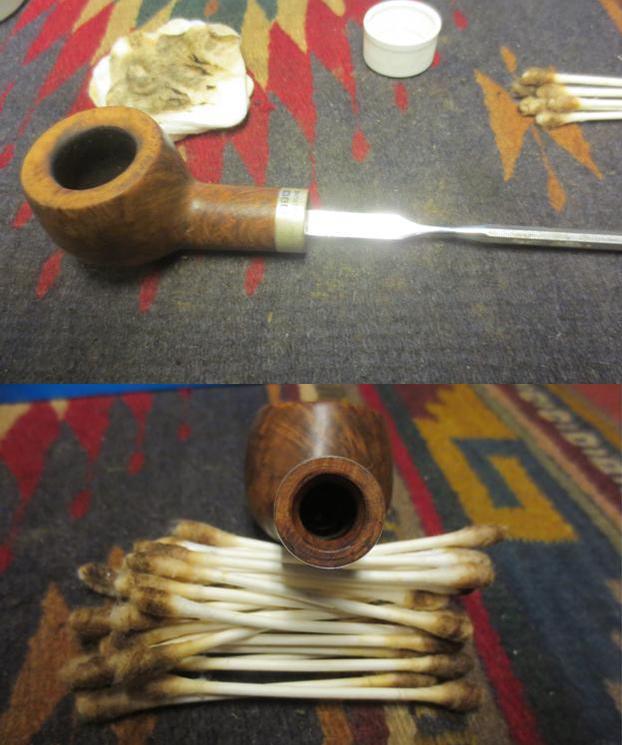
 There were a lot of tars and oils lining the walls of the mortise. I used a dental spatula to scrape the walls before scrubbing the mortise with pipe cleaners, cotton swabs and alcohol.
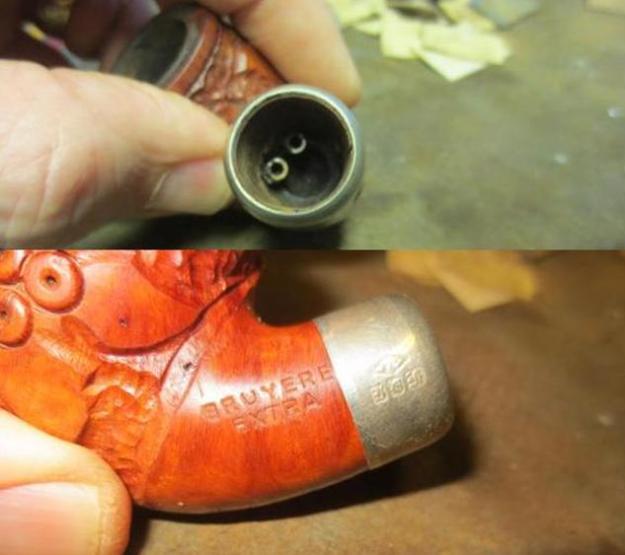
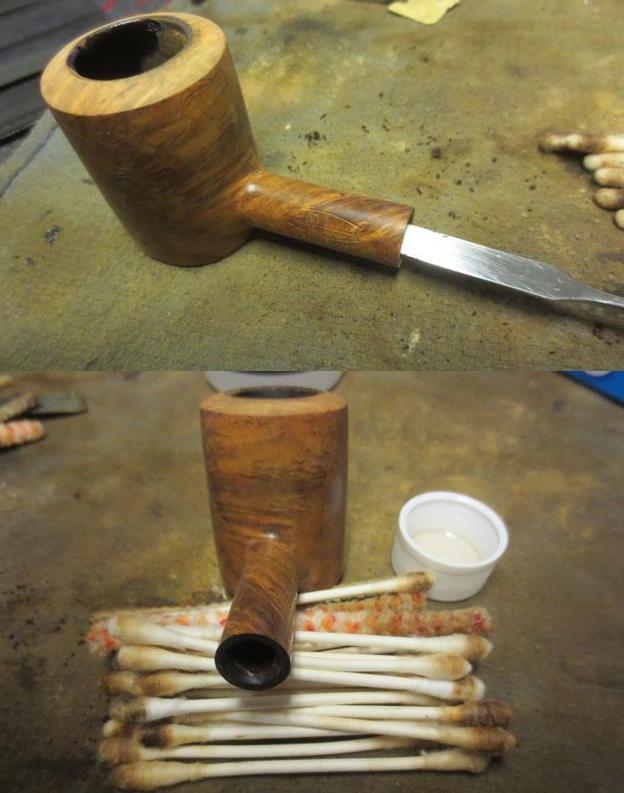 I scrubbed the airway in the stem with pipe cleaners and alcohol. As I cleaned it a small reducing ring popped out of the tenon. I have never figured out why people put these constrictors inside o the tenon but this one had one. It is shown in the second photo below. I used the spatula to scrape away the buildup on the stepped down area on the end of the tenon.
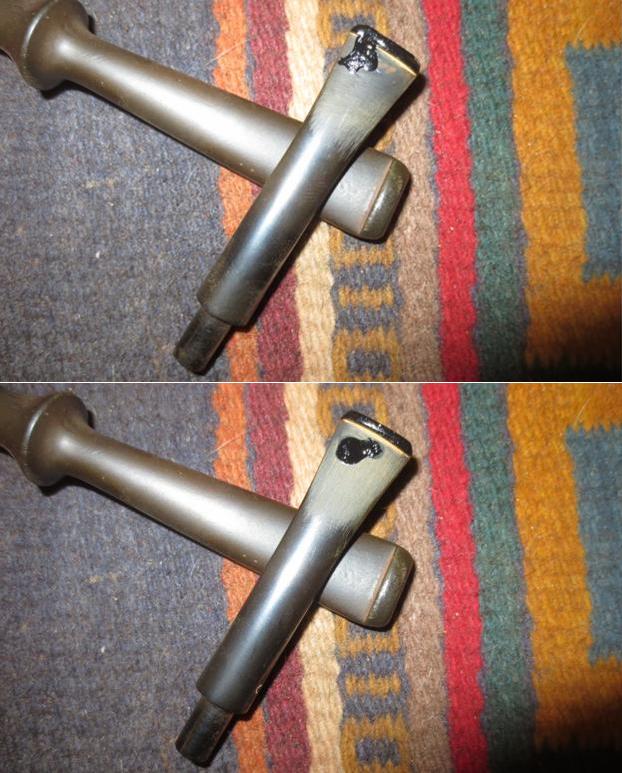
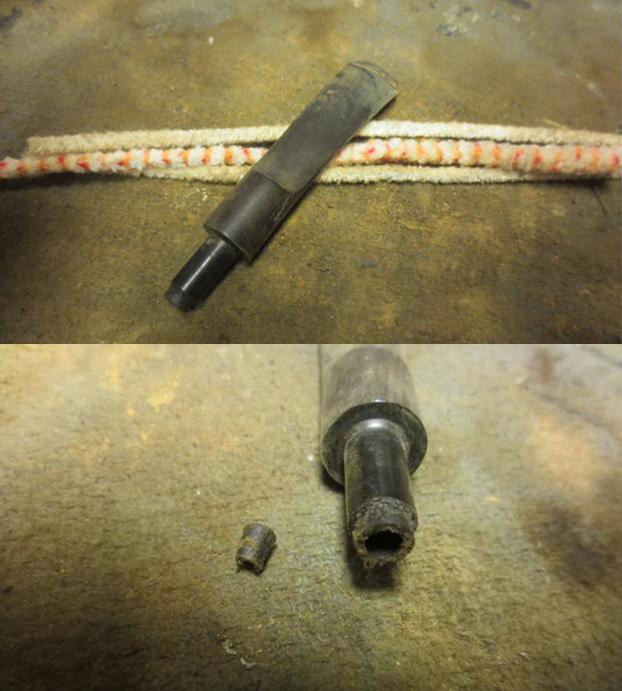 I used a drop of black super glue to repair a deep tooth mark on the underside of the stem near the button and also to repair a tooth mark in the surface of the top side of the button. I sanded the patch with 220 grit sandpaper to smooth it out and blend it into the surface of the stem.
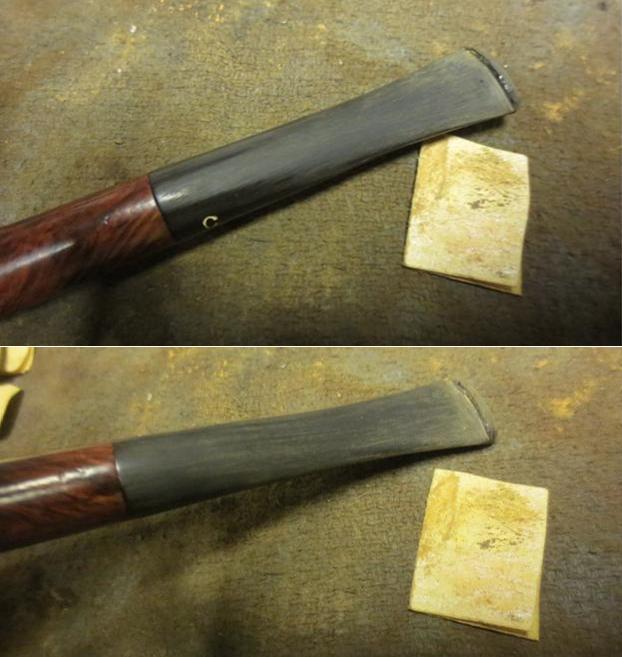
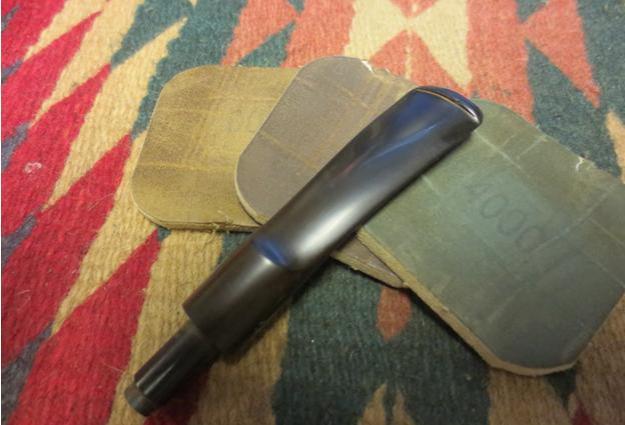
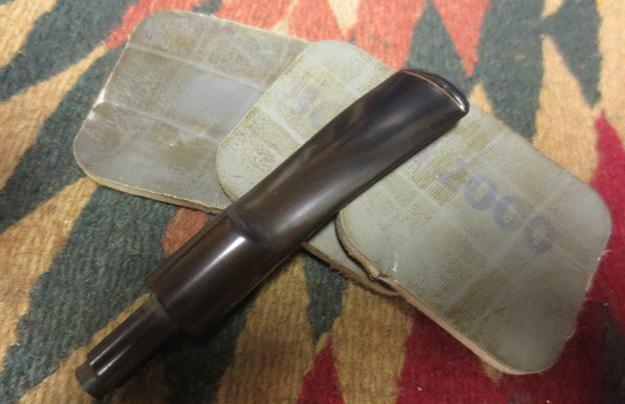
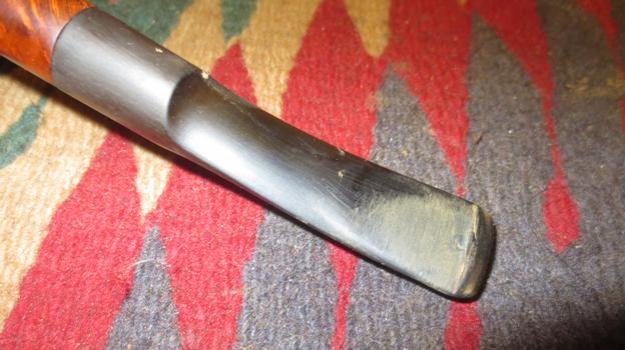 I wet sanded the stem with 1500-2400 grit micromesh sanding pads and gave the stem a rubdown with Obsidian Oil. I dry sanded with 3200-4000 and 6000-12000 grit pads and gave the stem a coat of oil between each set of three. I gave it a final rubdown of Obsidian Oil and set the stem aside to dry.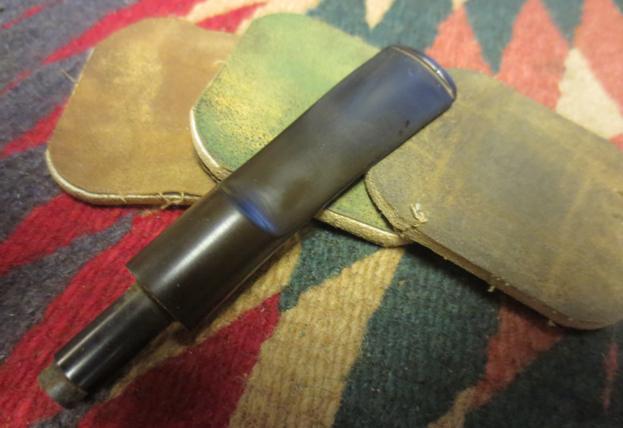
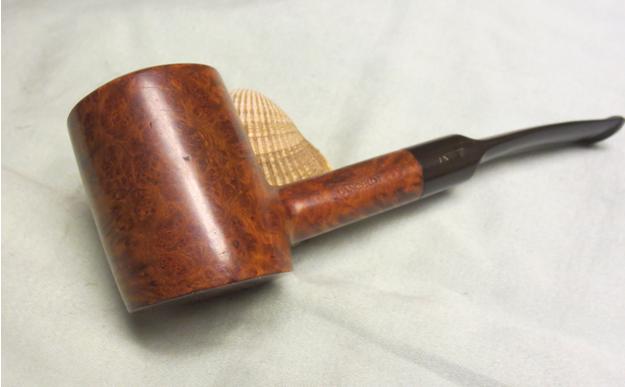
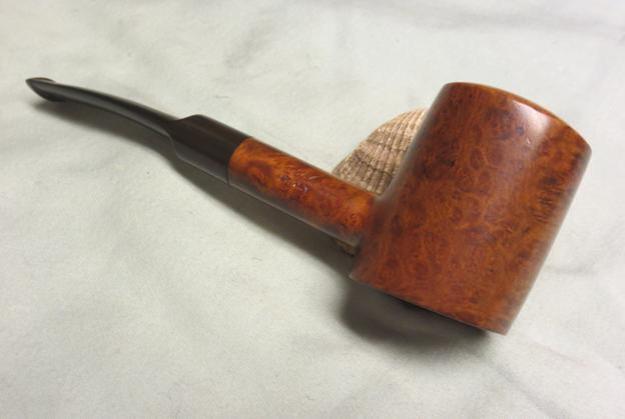
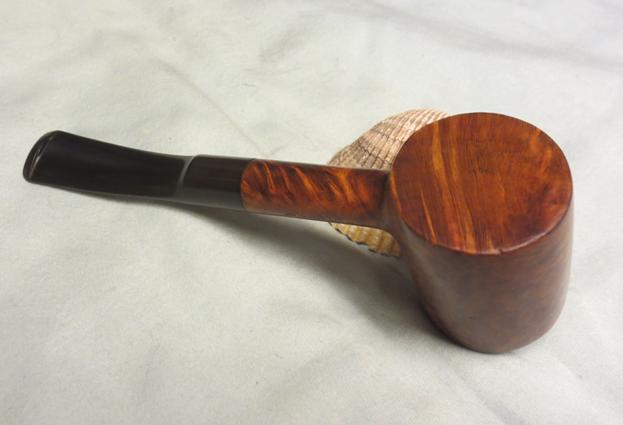
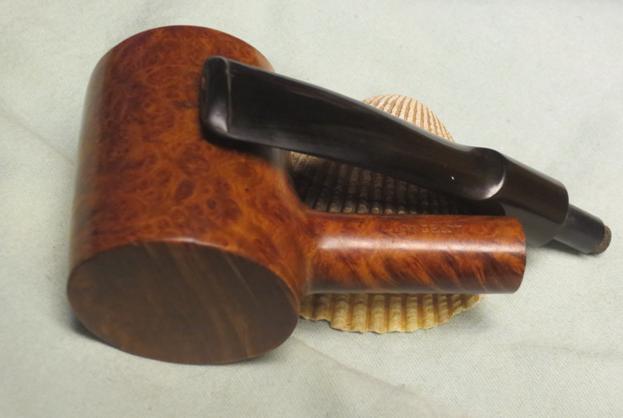
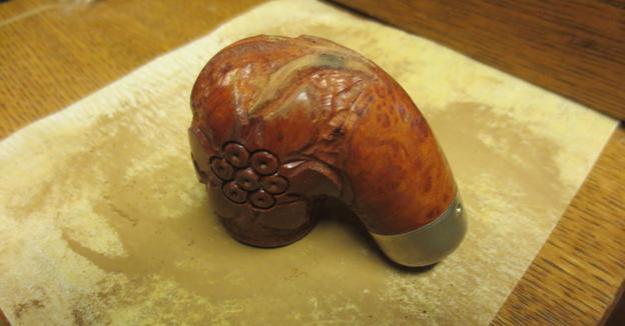
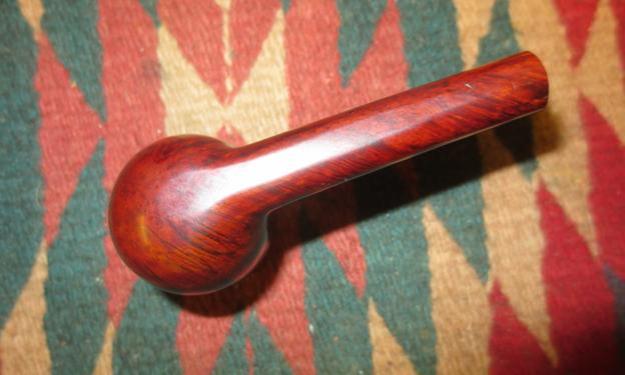
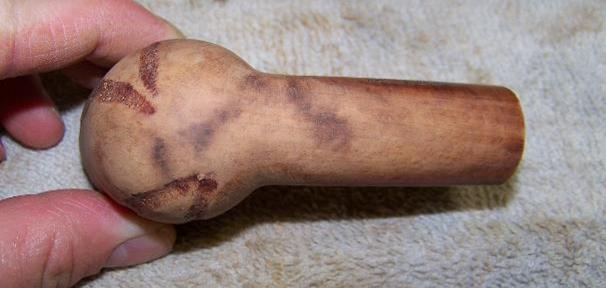
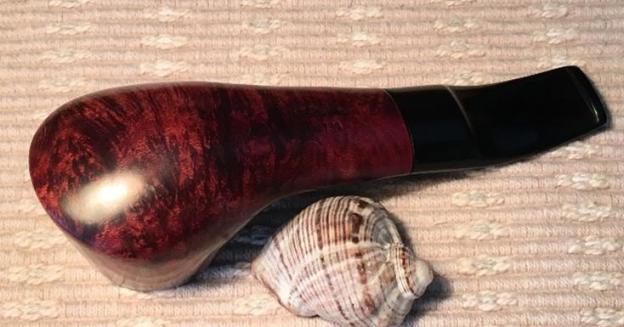
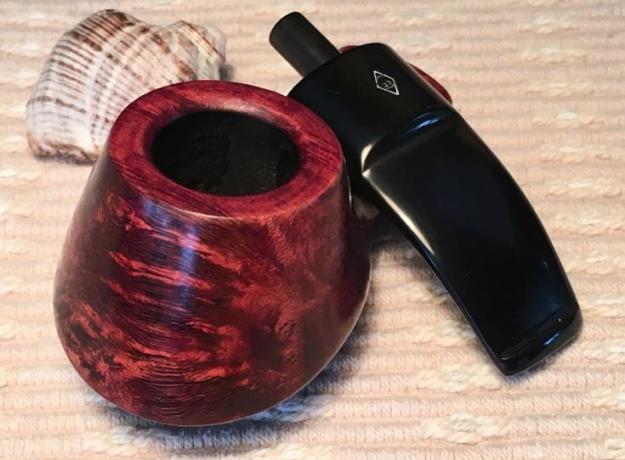
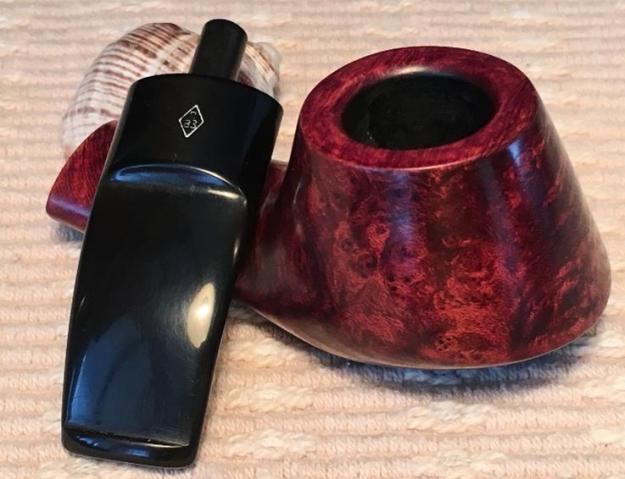
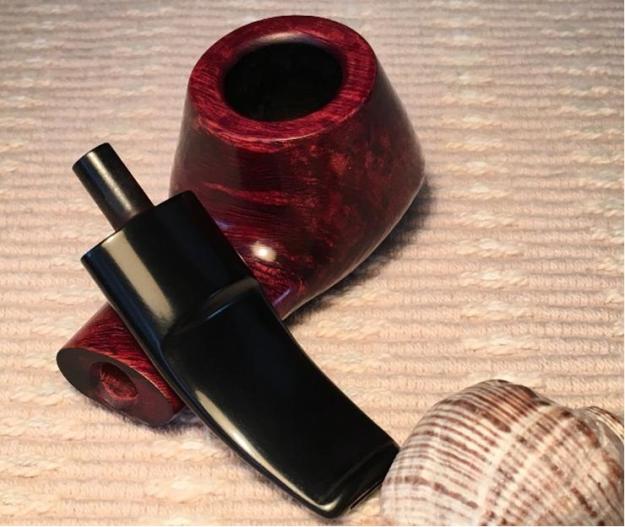
 I wet sanded the bowl and crowned rim with 1500-2400 grit micromesh sanding pads and dry sanded it with 3200-12000 grit pads. The polishing with the micromesh really made the grain stand out. The pipe is well laid out to follow the grain. The sides of the bowl are covered with birdseye grain that wraps around to the front and back to perfectly aligned cross grain. The top and bottom of the bowl as well as the shank all have cross grain as well. I cannot find a fill in the briar – it is one great looking piece of briar.
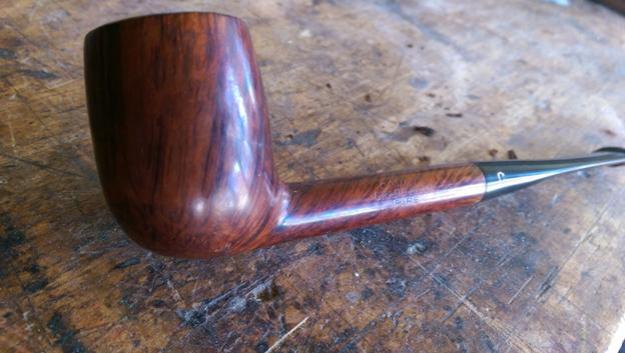
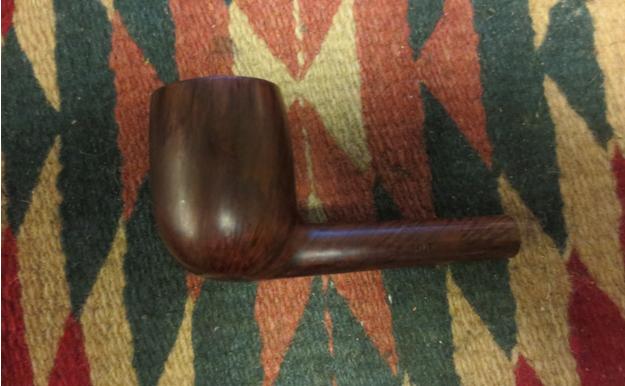
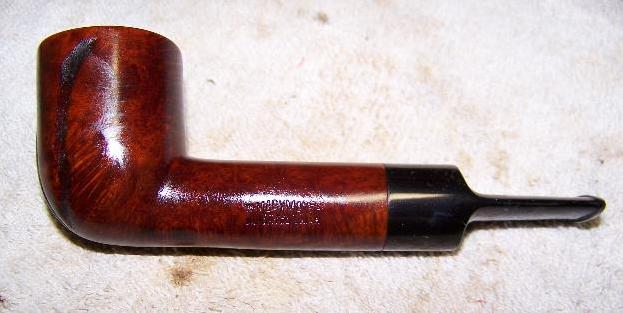
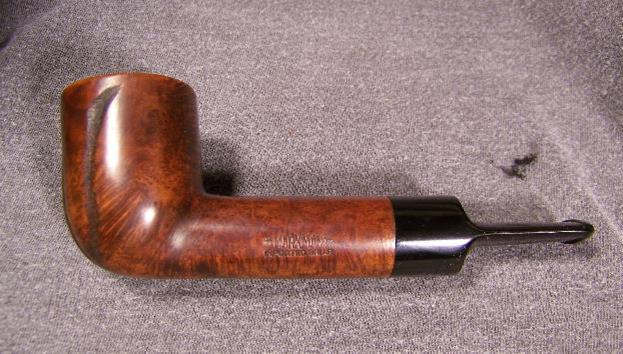
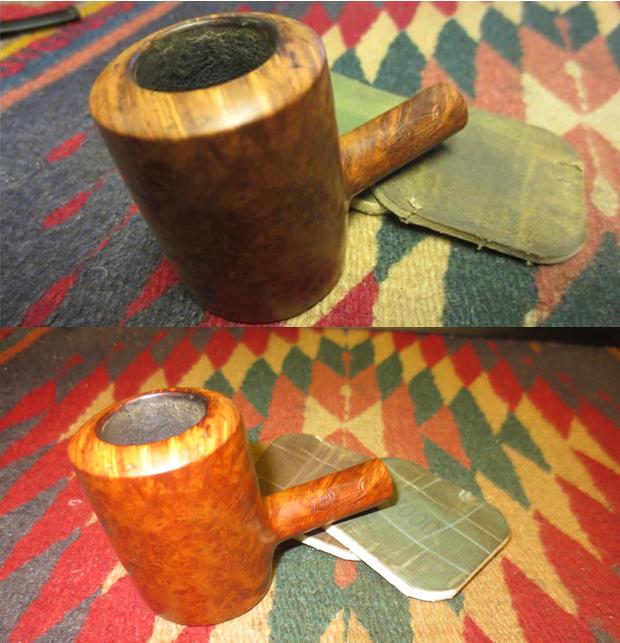 I buffed the bowl and stem with Blue Diamond on the wheel and then gave it multiple coats of carnauba wax. I buffed it with a clean buffing pad and then by hand with a microfibre cloth. The finished pipe is shown in the photos below. The layout of the grain with the shape of the pipe is exceptionally well done. Look at the stunning grain around the bowl. Thanks for looking.