by Steve Laug
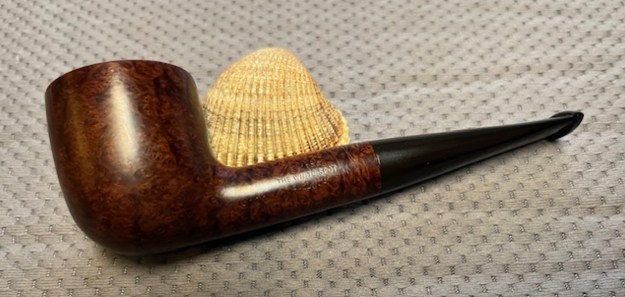
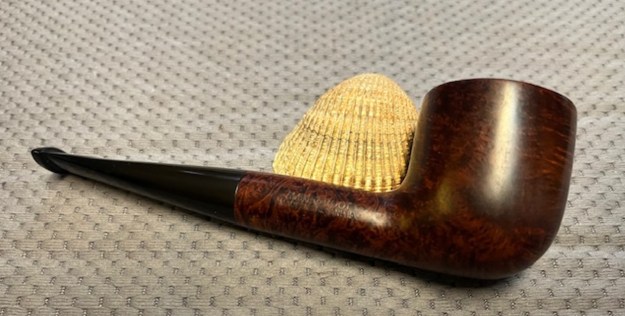
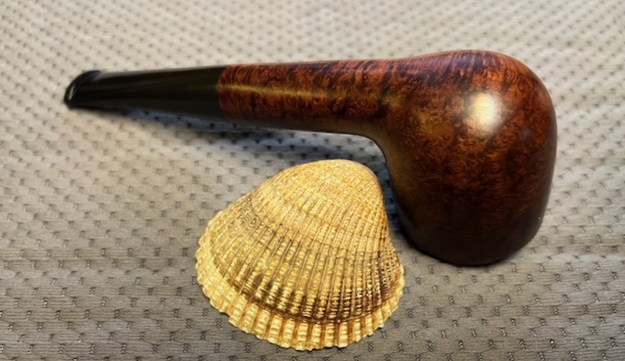
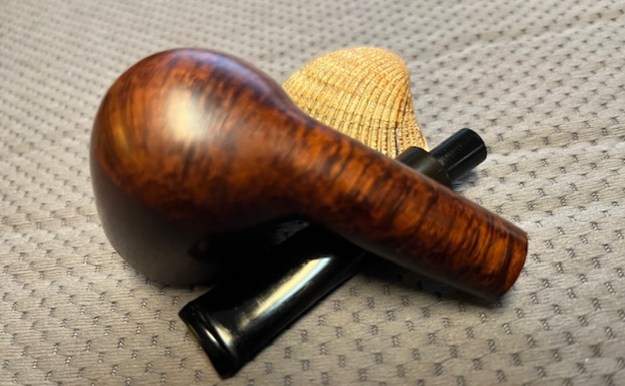
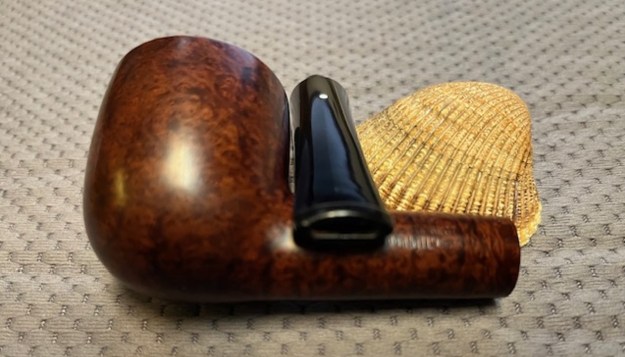
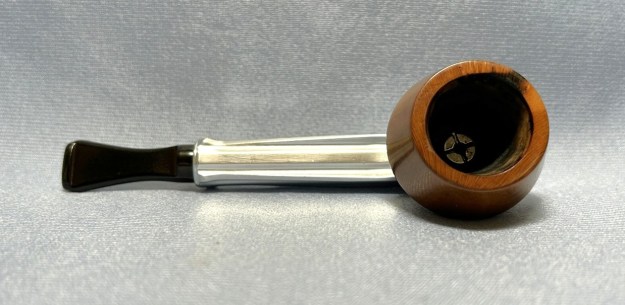
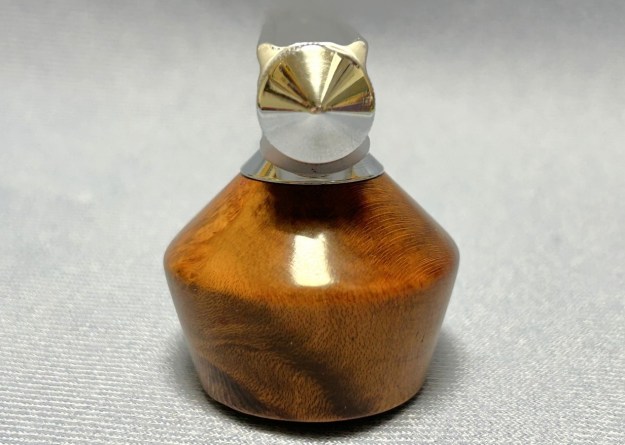
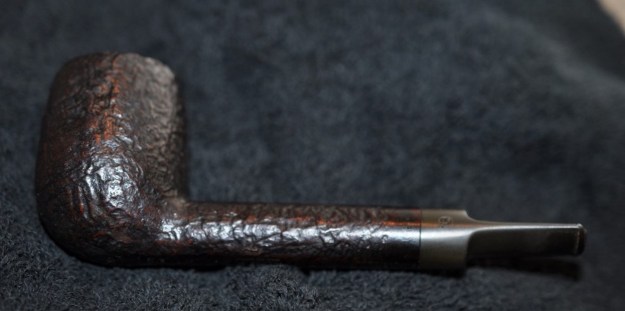
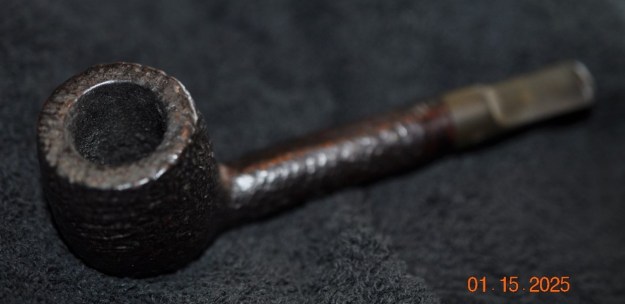
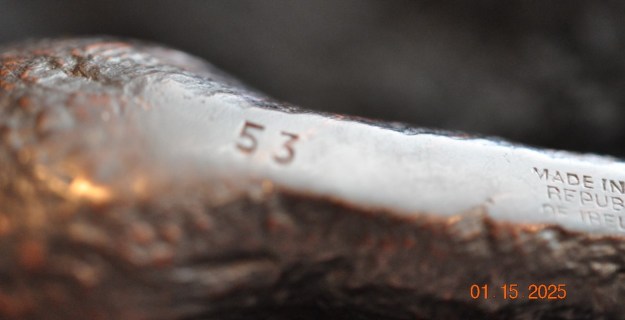
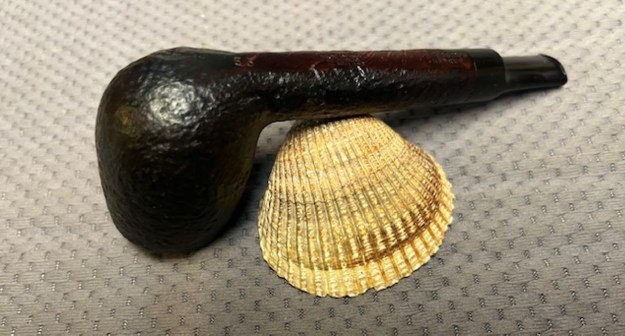
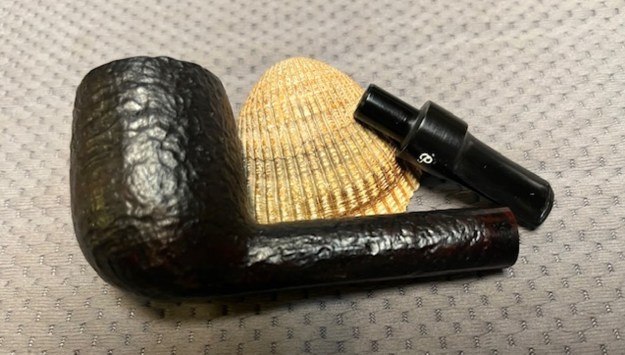
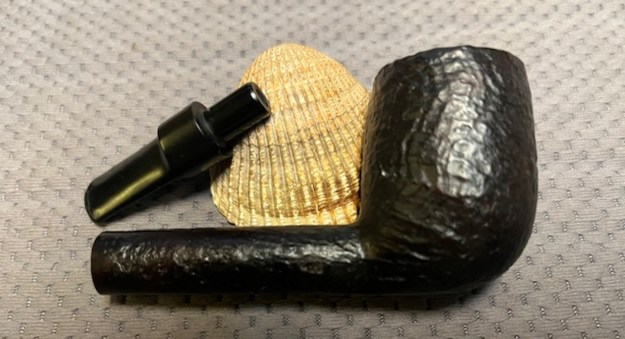
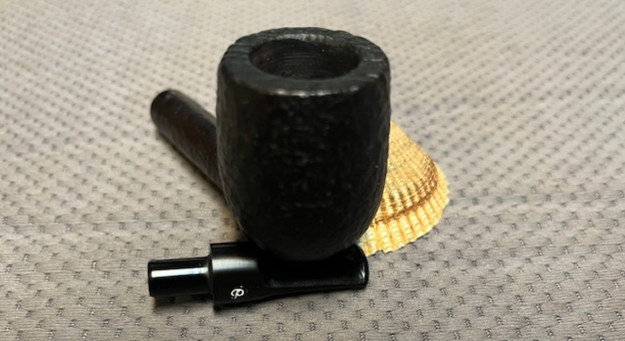
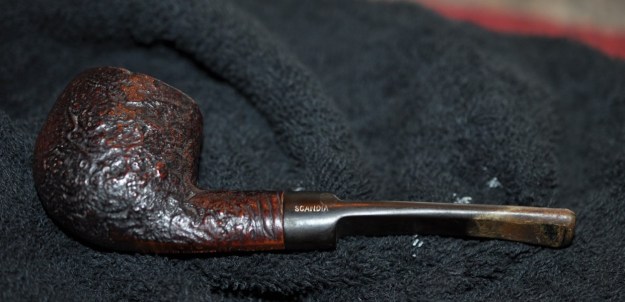
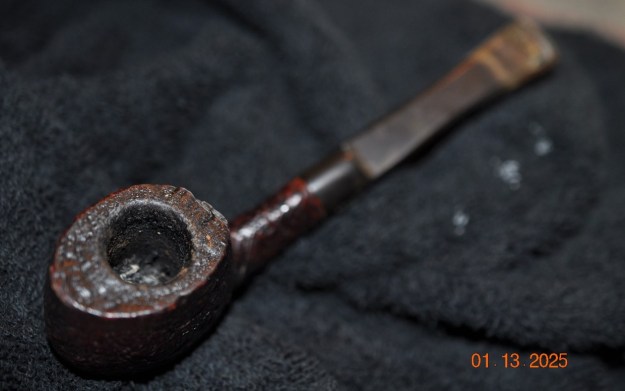
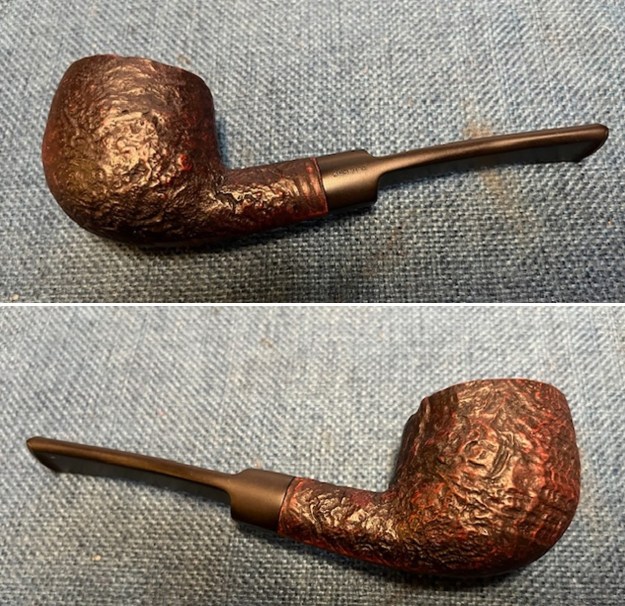
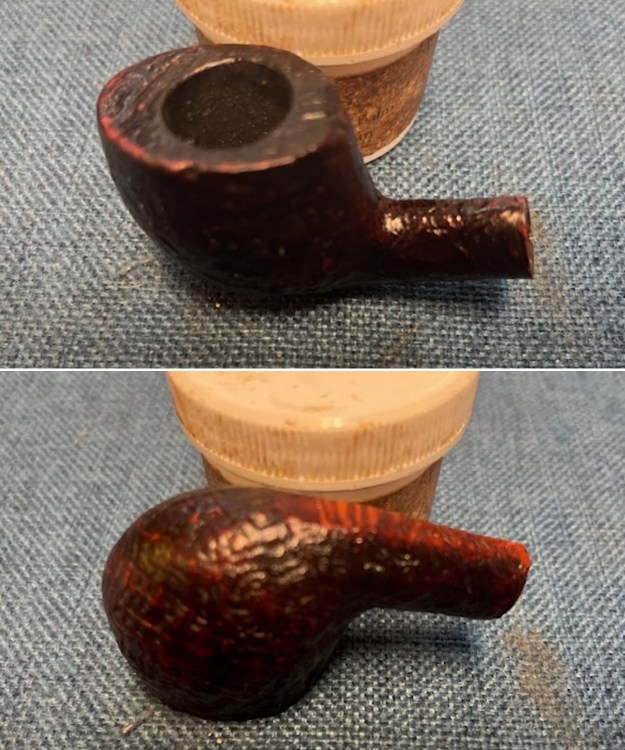
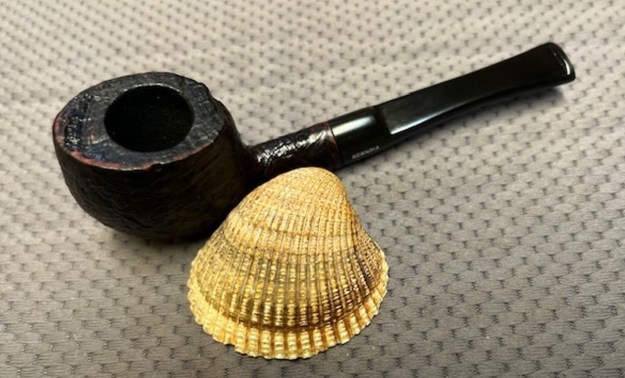
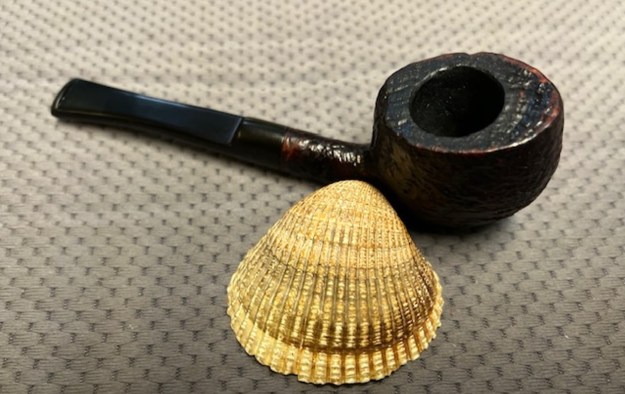
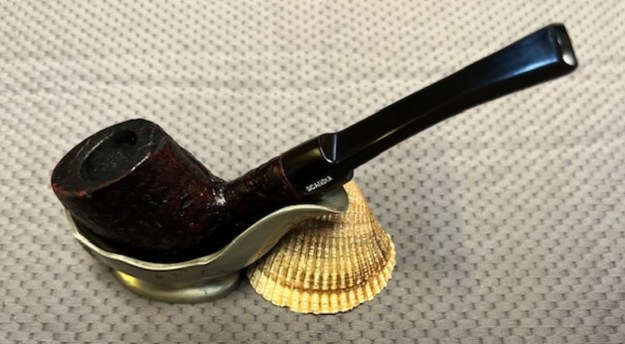
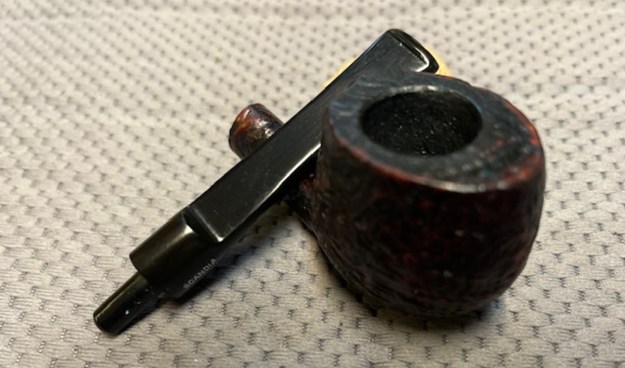
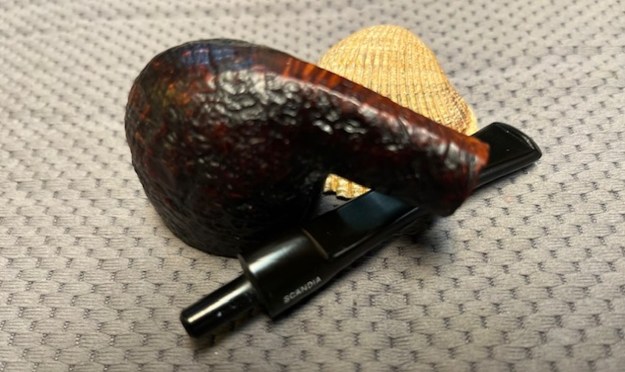
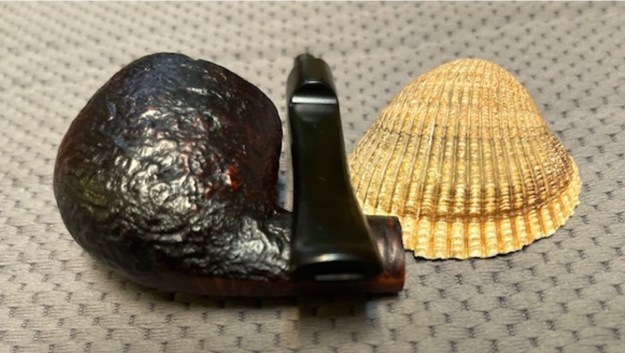
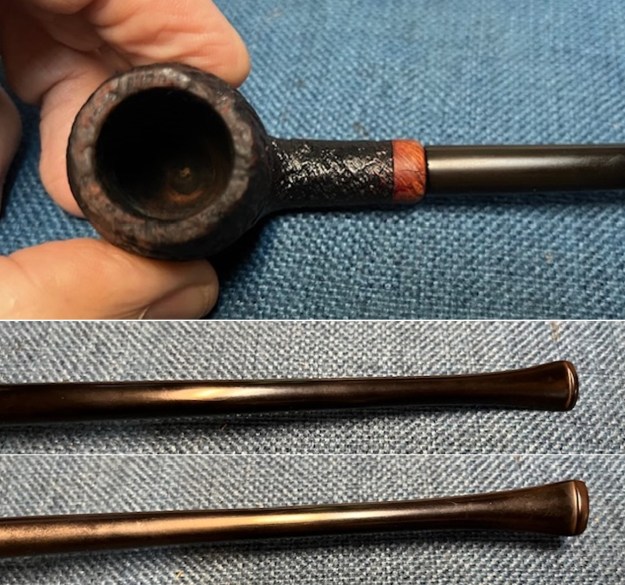
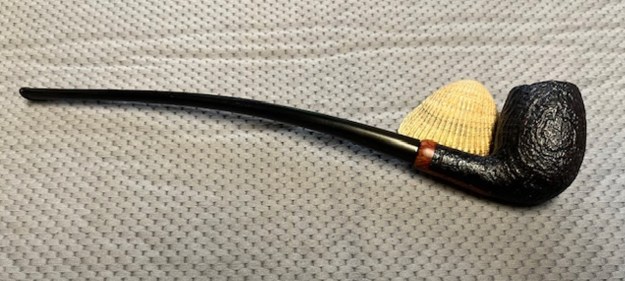
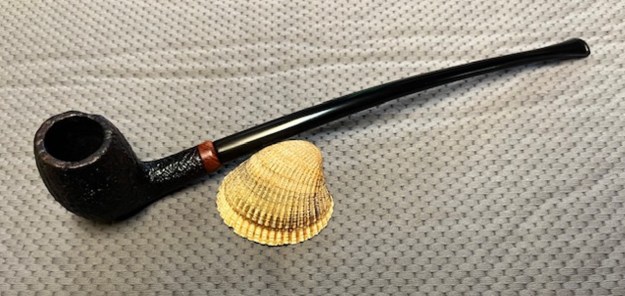
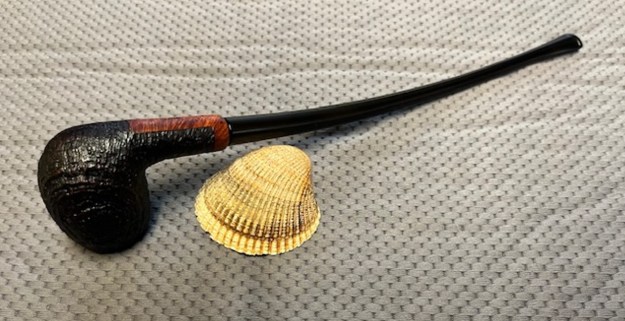
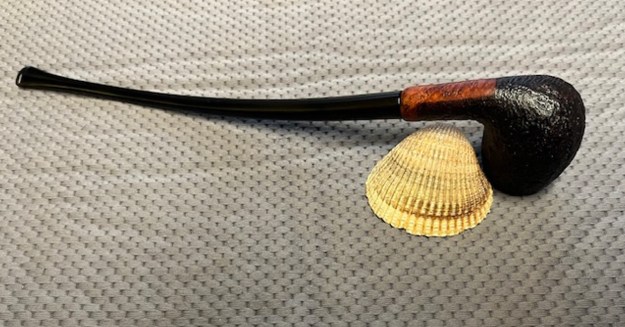
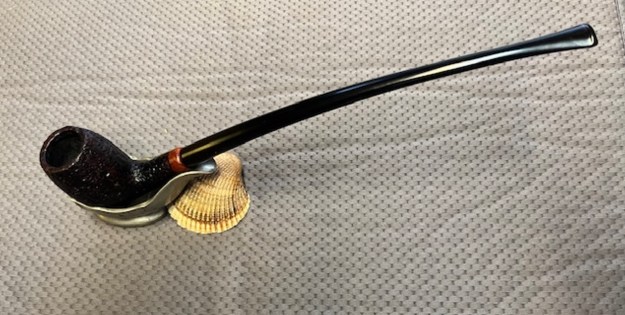
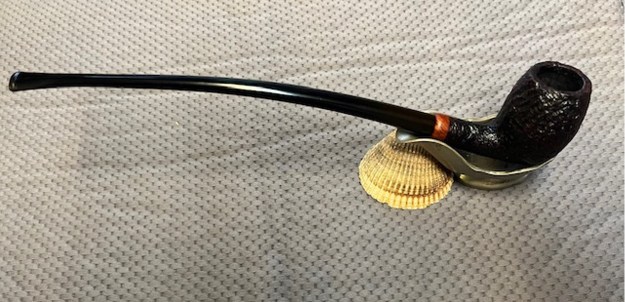
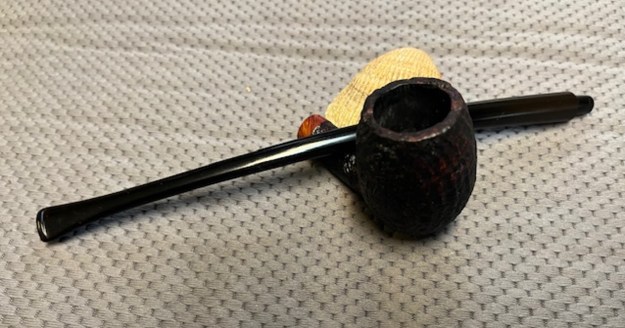
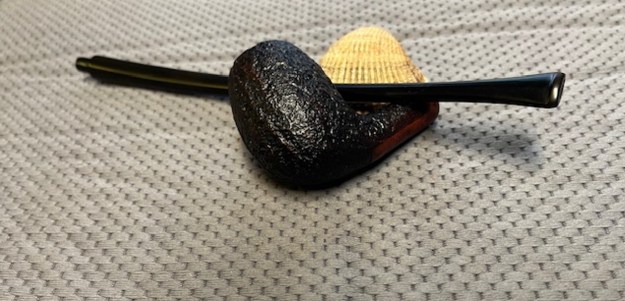
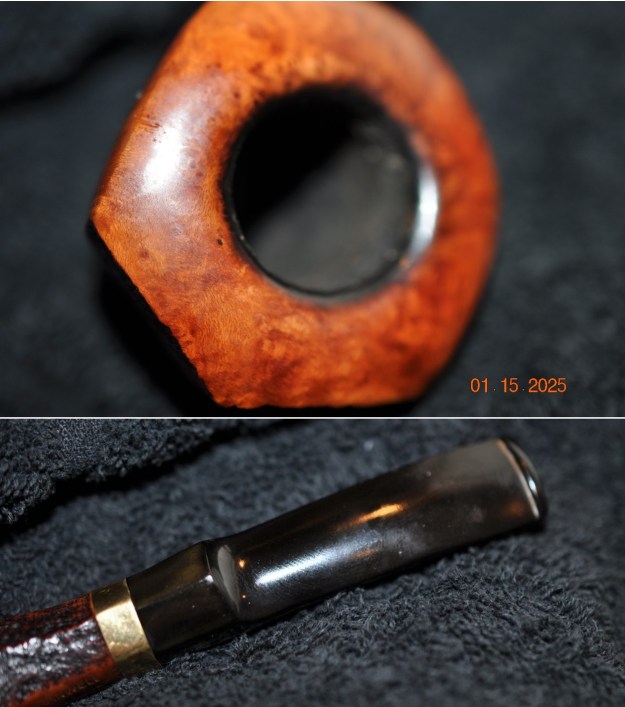
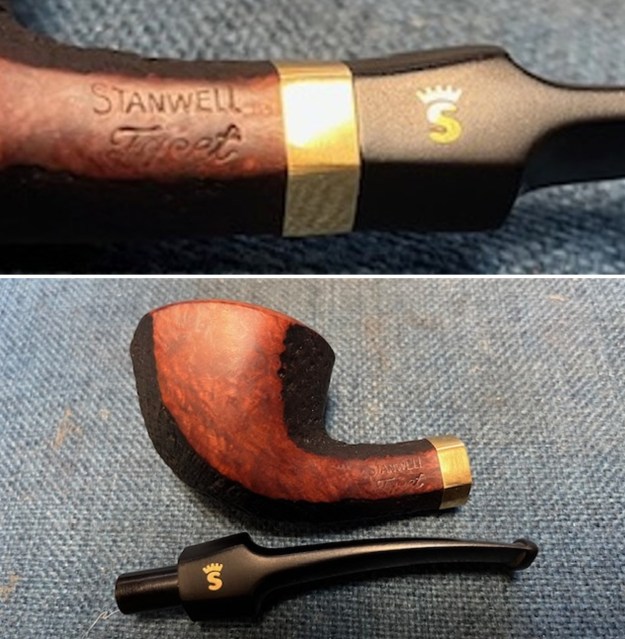
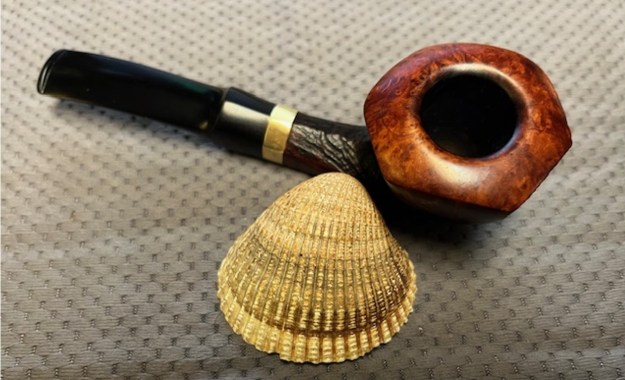
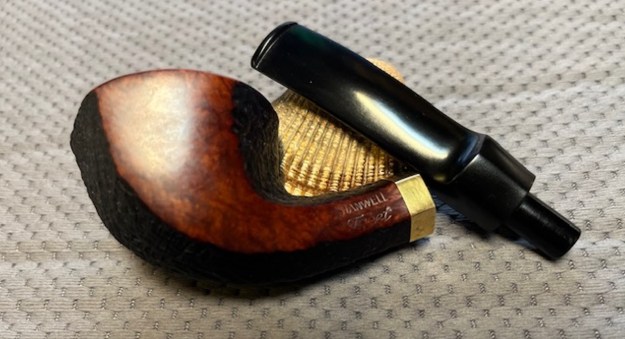
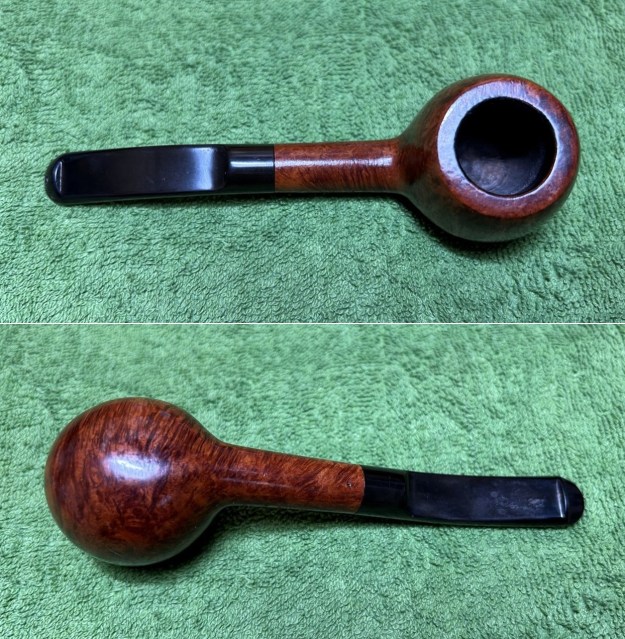
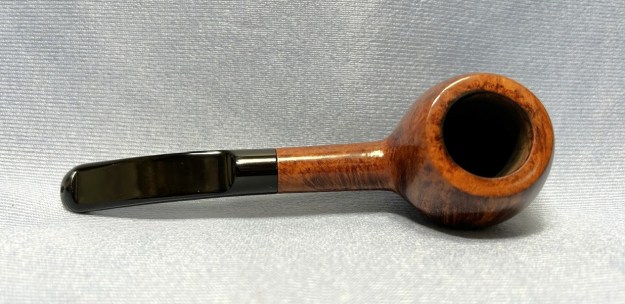
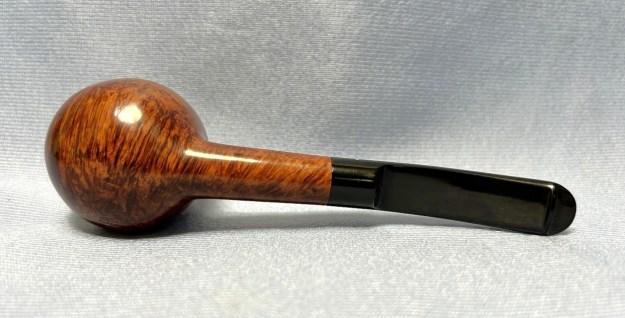
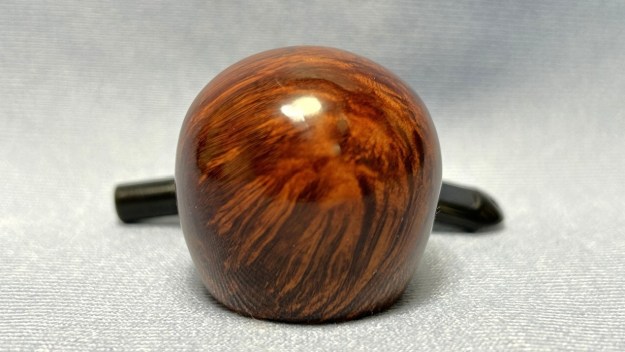
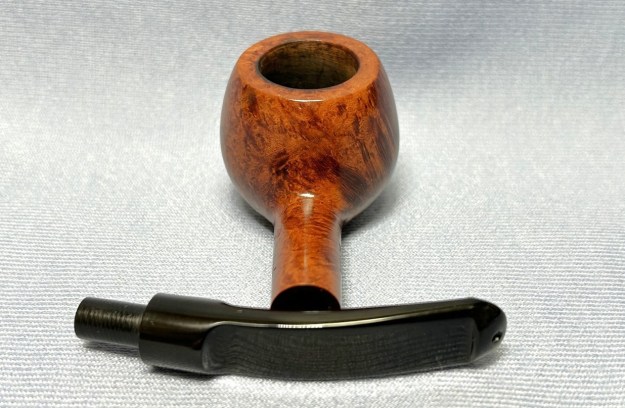
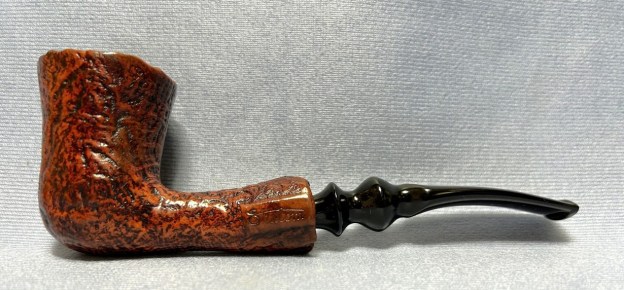
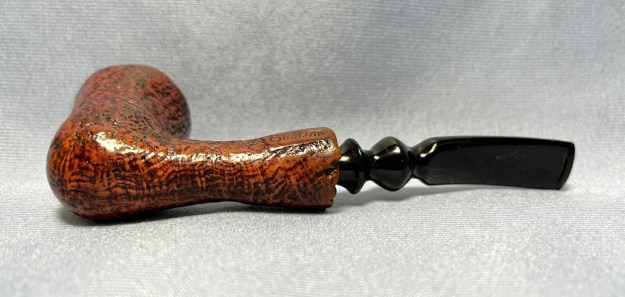
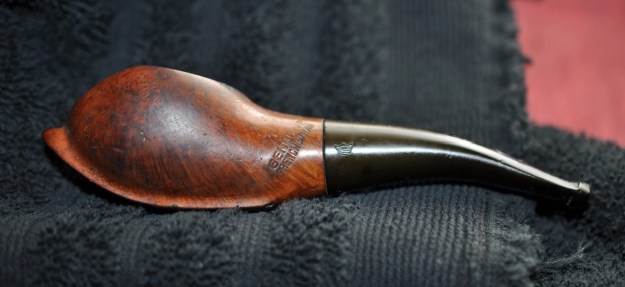
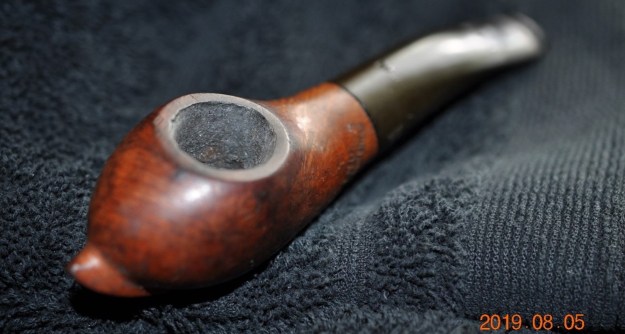
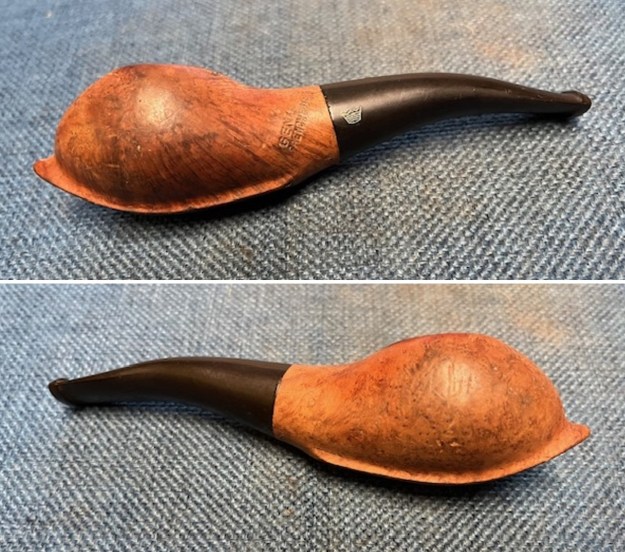
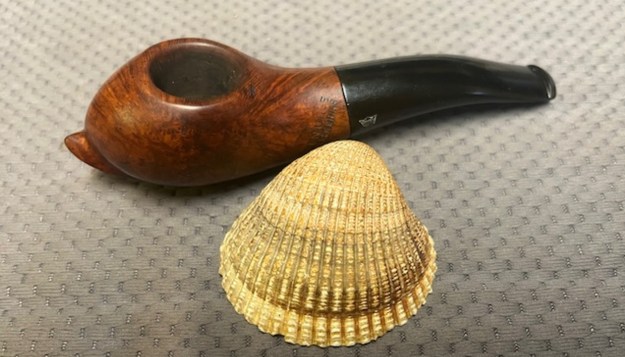
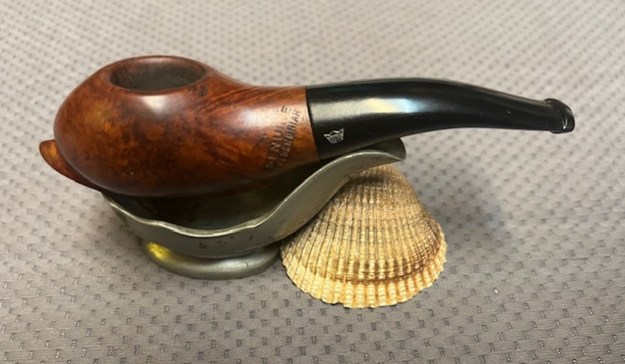
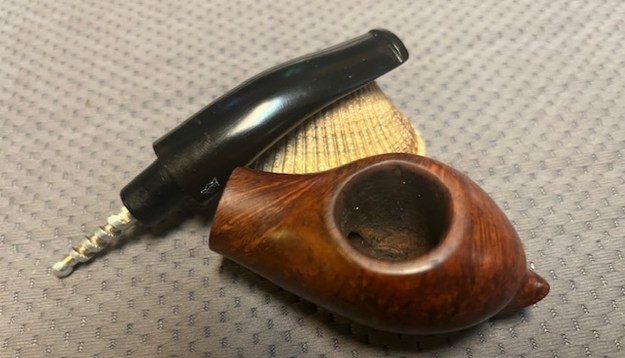
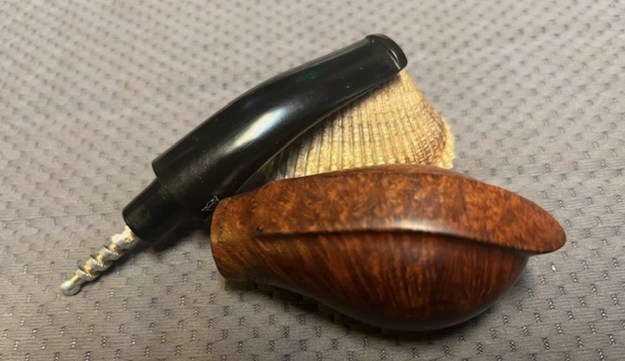
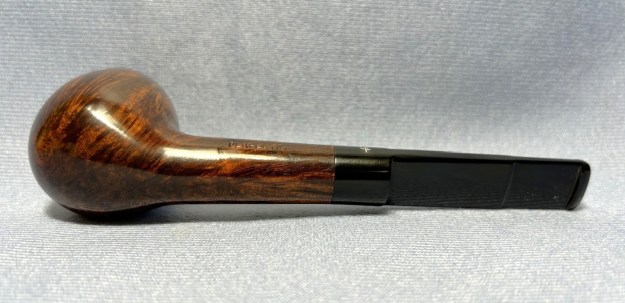
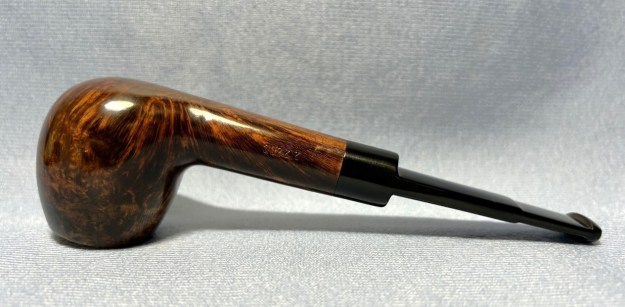
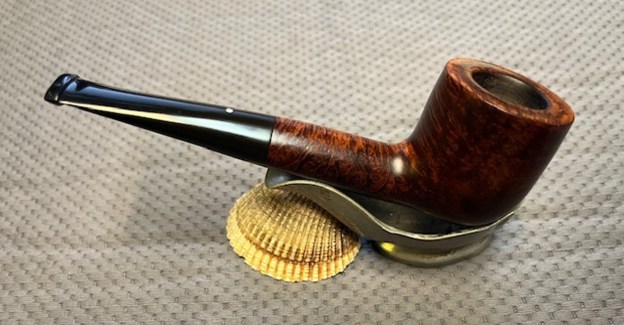
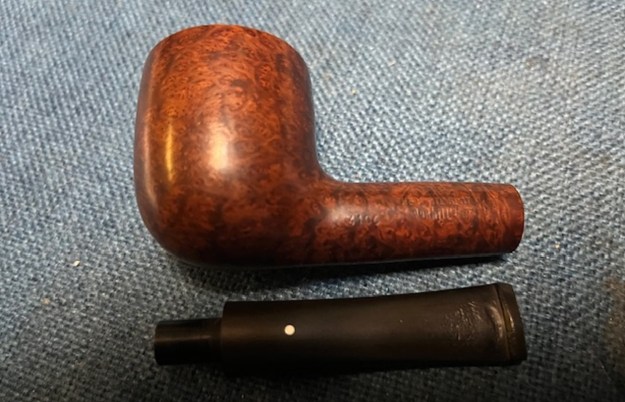
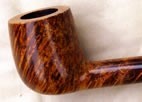
The first pipe on the table since I returned from my long Asia trip for work is one that was sent to me by Jim for restoration. It is a nice-looking Dunhill Amber Root Pot. The stamping on the left side of the shank reads 4106 (the shape number), near the bowl shank junction. It is followed by some unique stamping that reads Alfred [over] The White Spot [over] dunhill’s. On the right side it is stamped Amber Root [over] Made in England15. The pipe was in decent condition, just well used and stunk of an aromatic, vanilla tobacco. The outside of the bowl and shank were dirty and dull with hand oils but the flash on the photos shows the nice grain. The bowl had been reamed recently and there was no cake in the bowl. The rim top had some darkening around the inner edge and on the top. The inner edge has some damage and is slightly out of round. The outer edge looked good. The vulcanite taper stem was oxidized and had some light tooth marks on the top and underside ahead of the button. The shank of the pipe was quite dirty with the oils and tars of the aromatic tobacco that had been smoked in it. I took photos of the pipe when I brought it to my work table and before I started the clean up. Try to imagine how the pipe smelled. Even your imagination cannot begin to capture the smells of the briar in your hand. 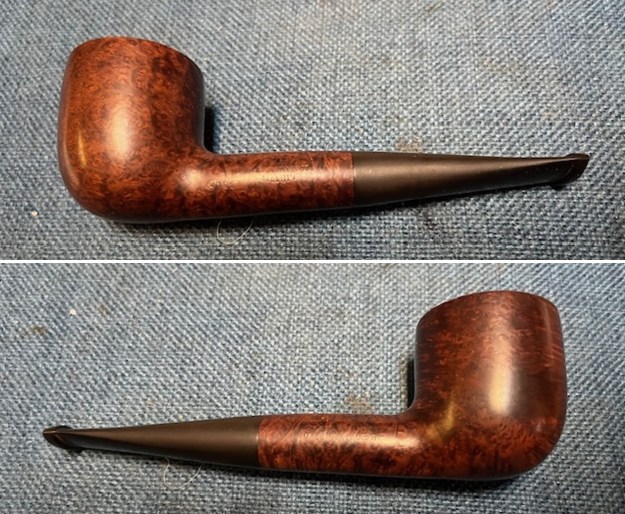
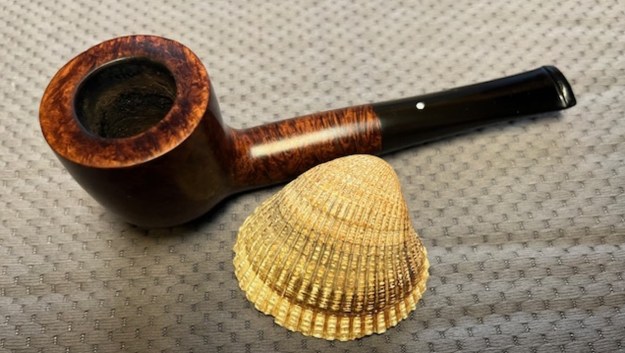
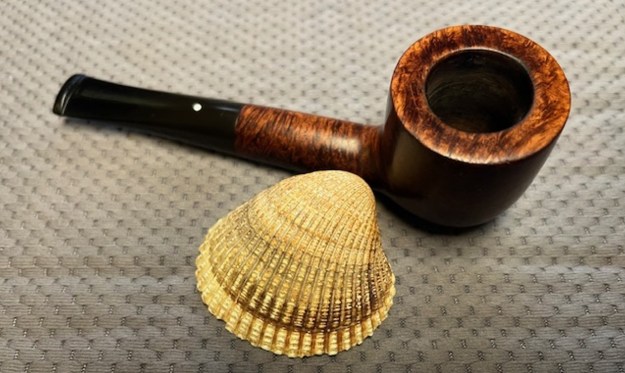
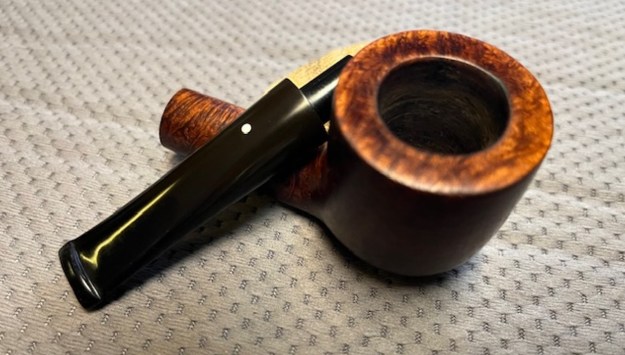
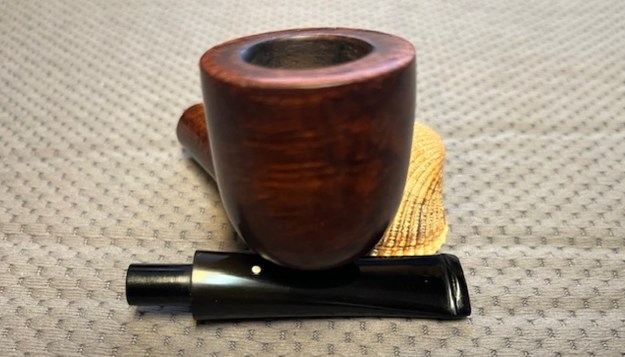
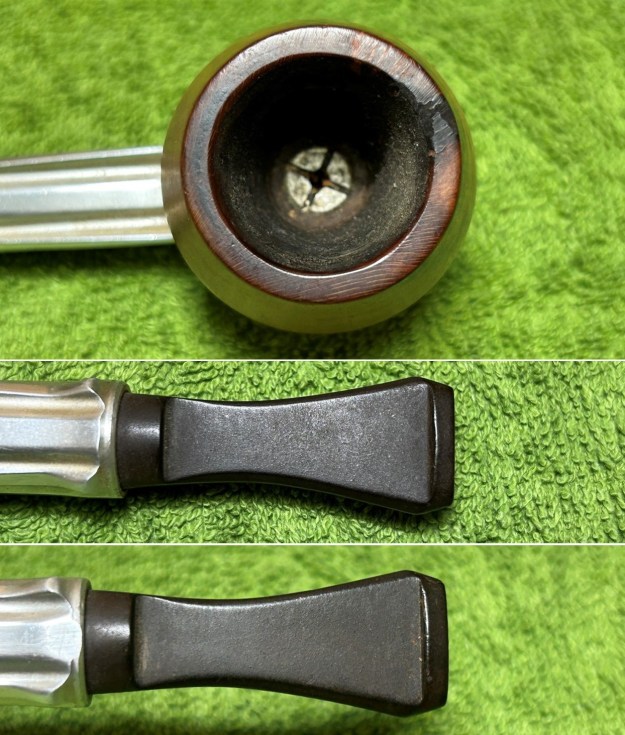
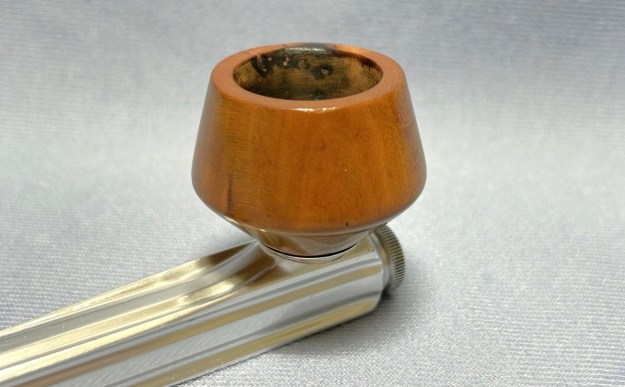
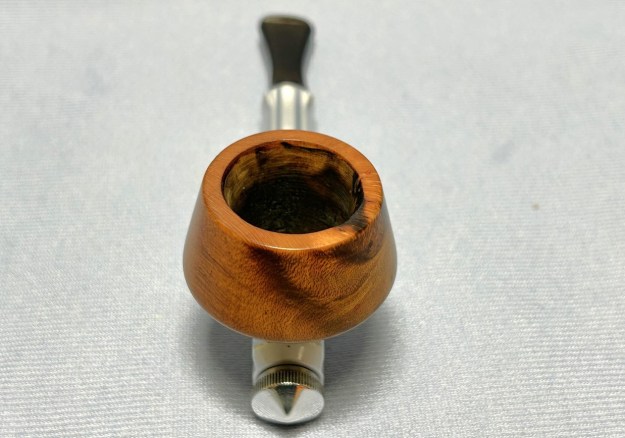
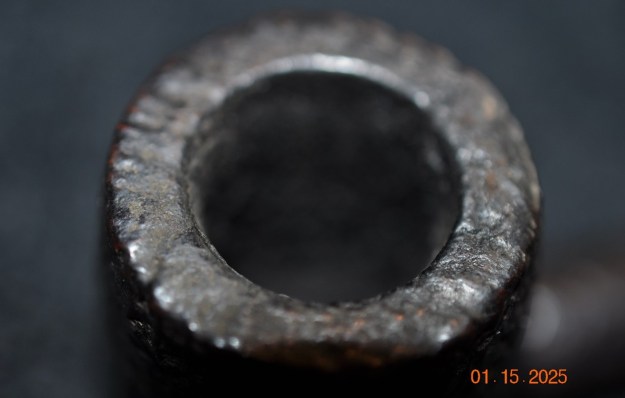
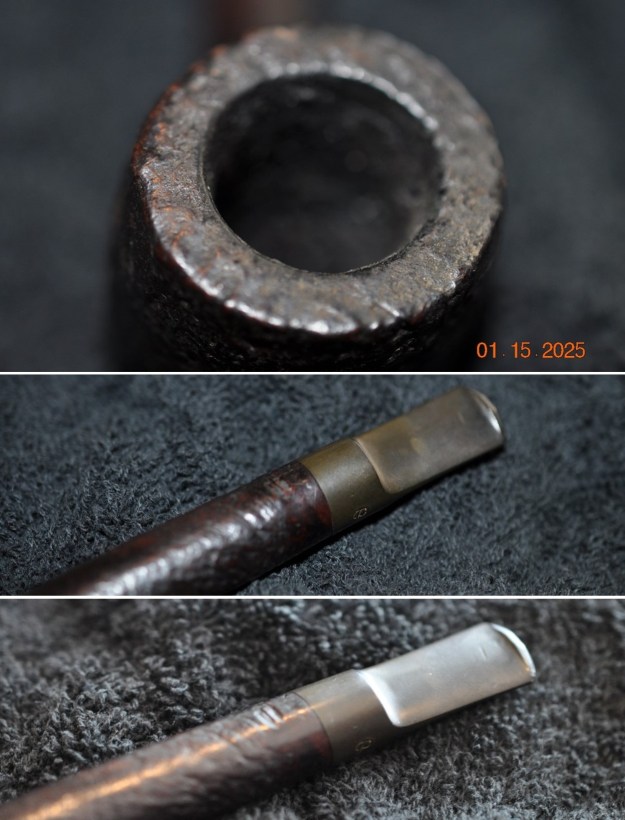
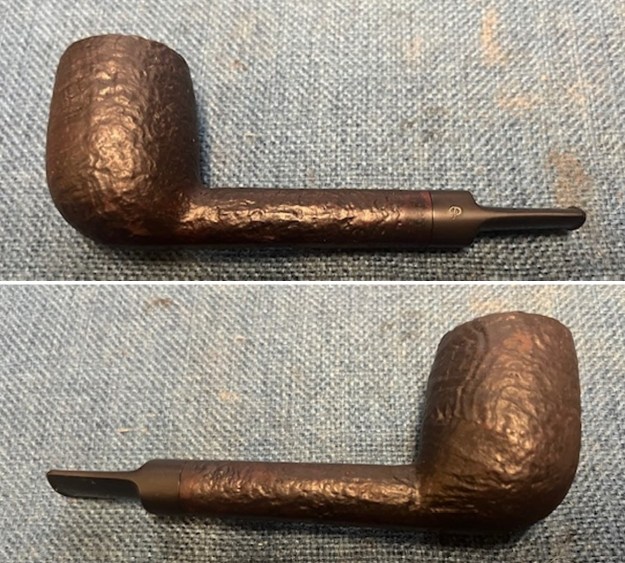
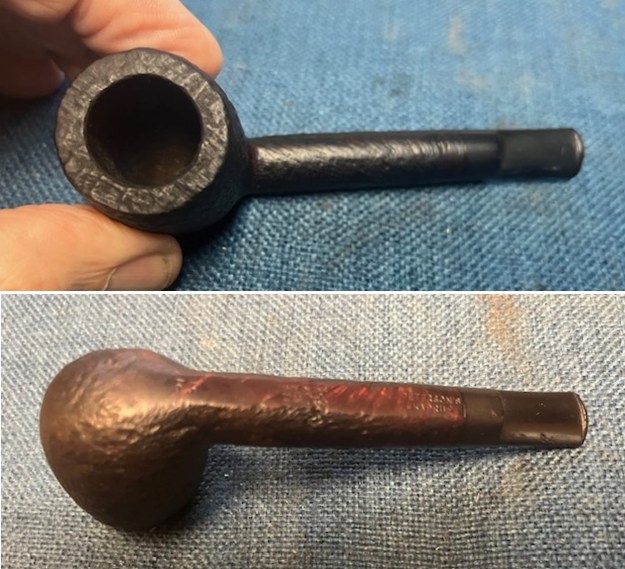
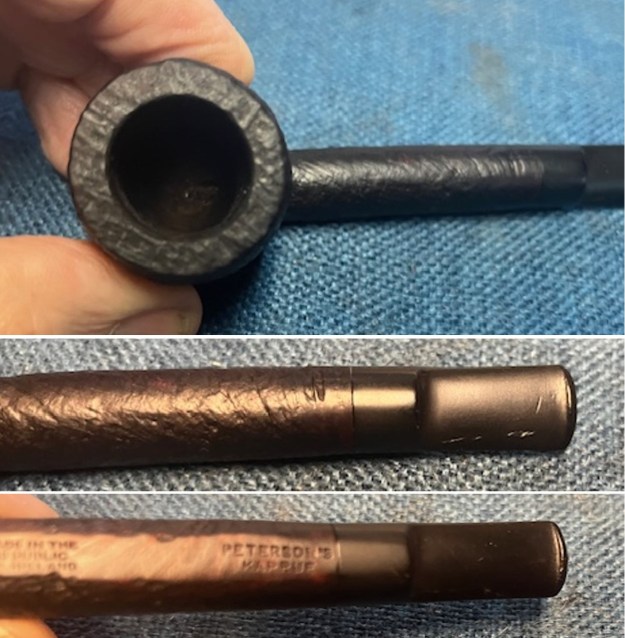
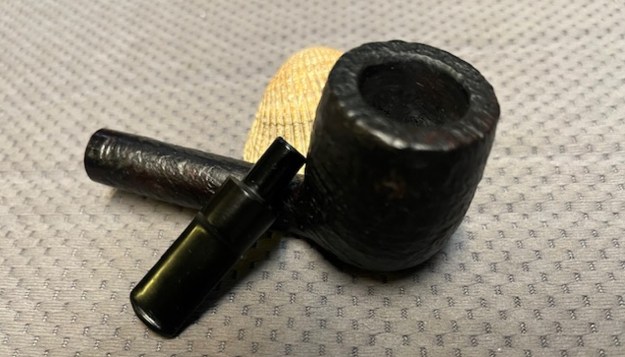
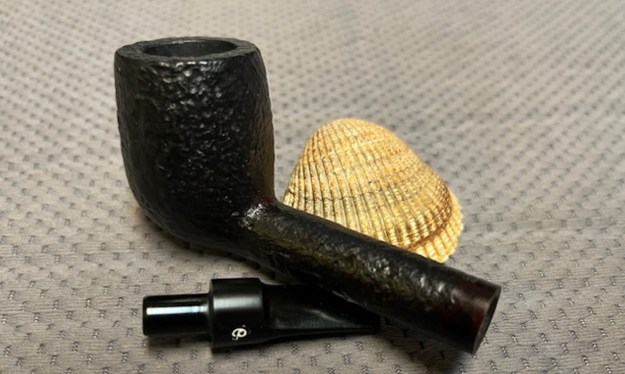
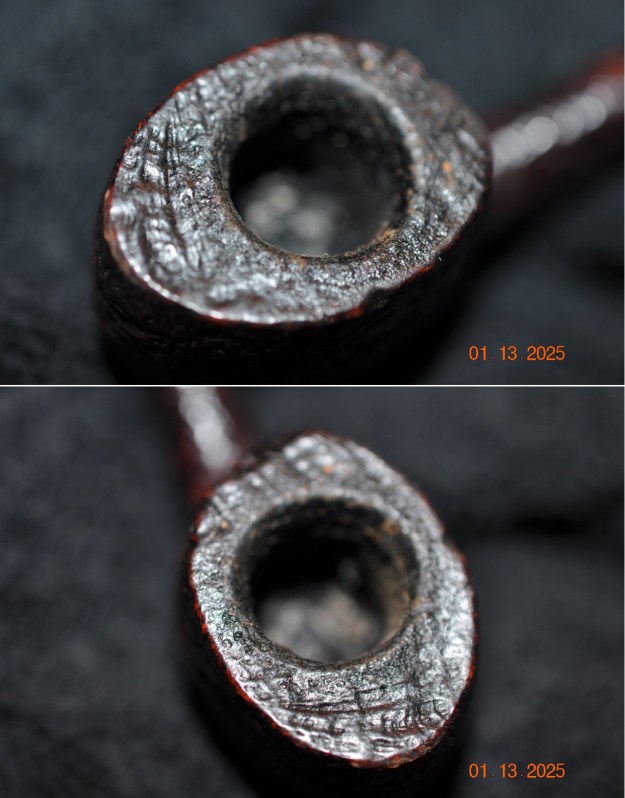
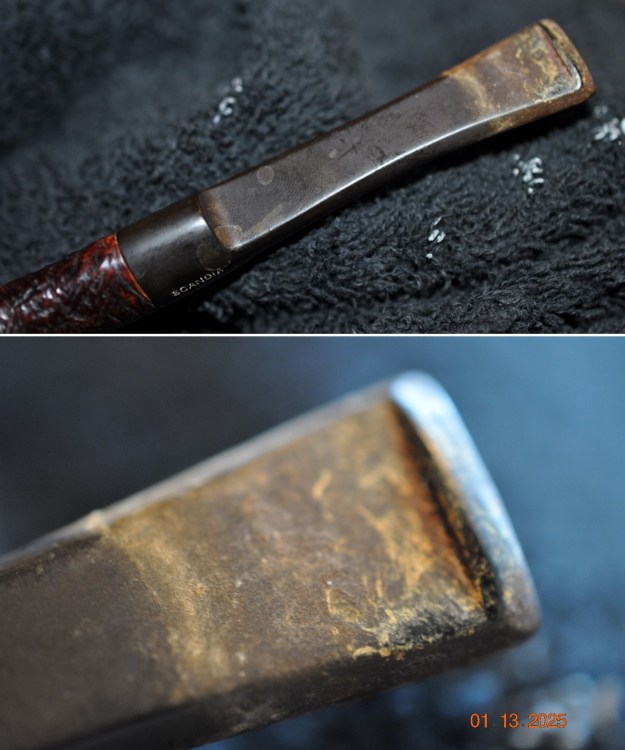
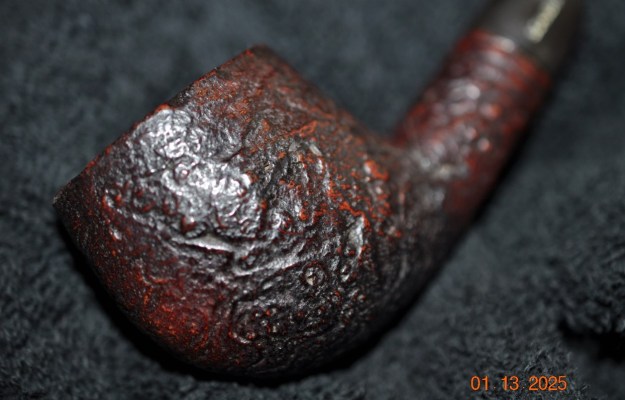
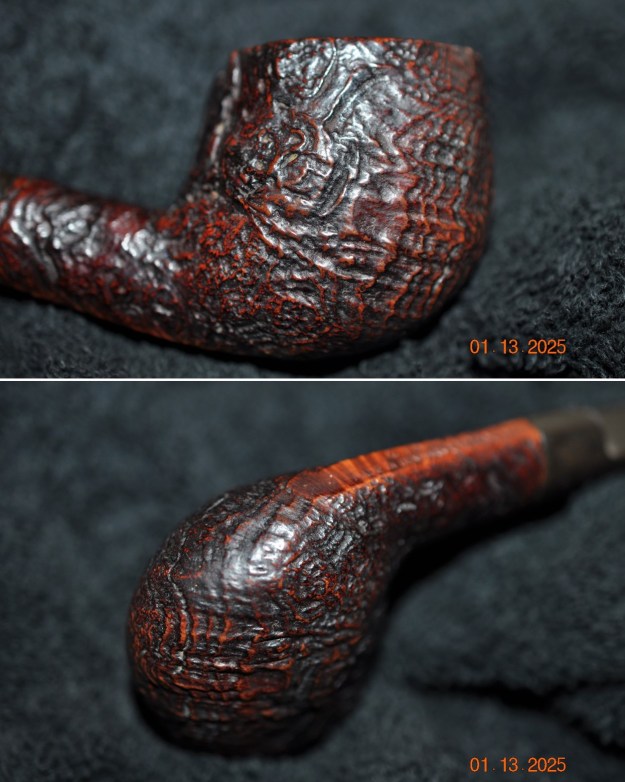
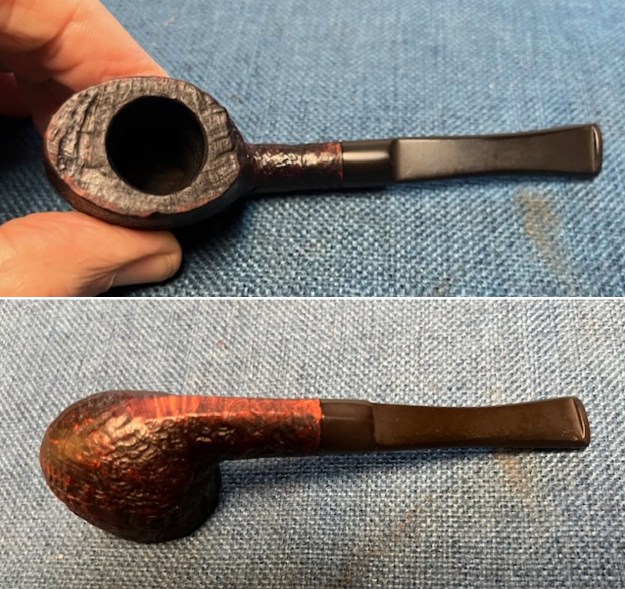
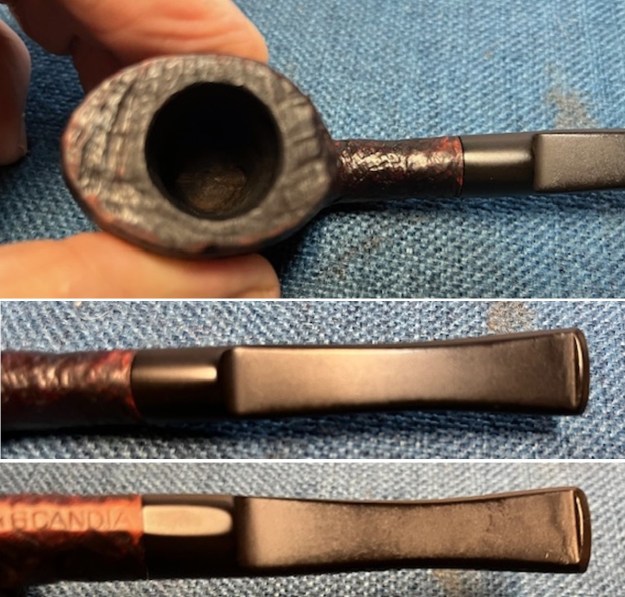
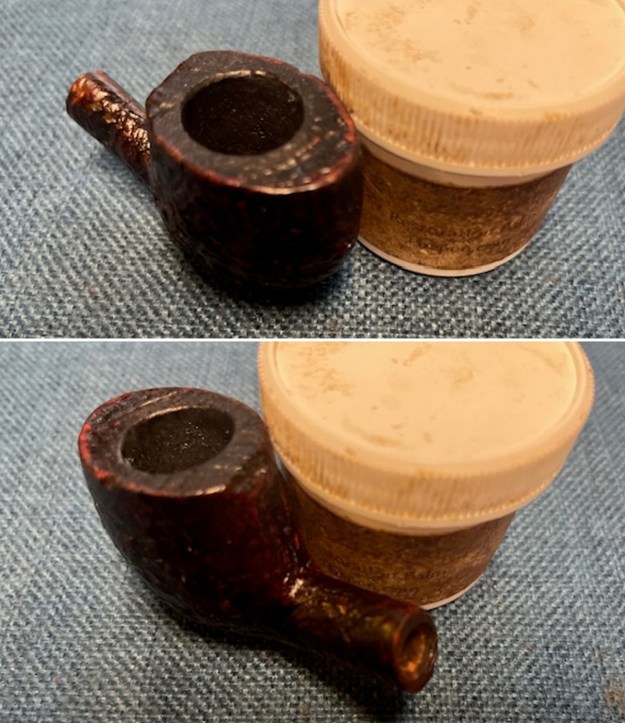
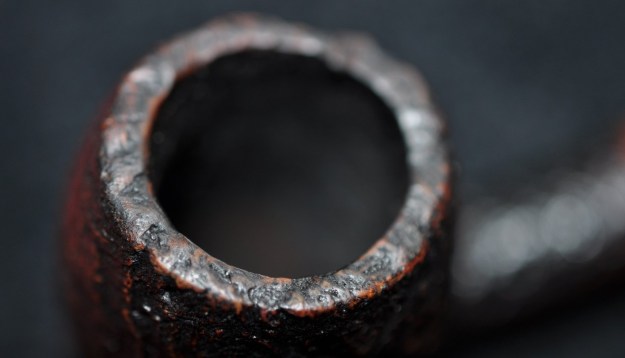
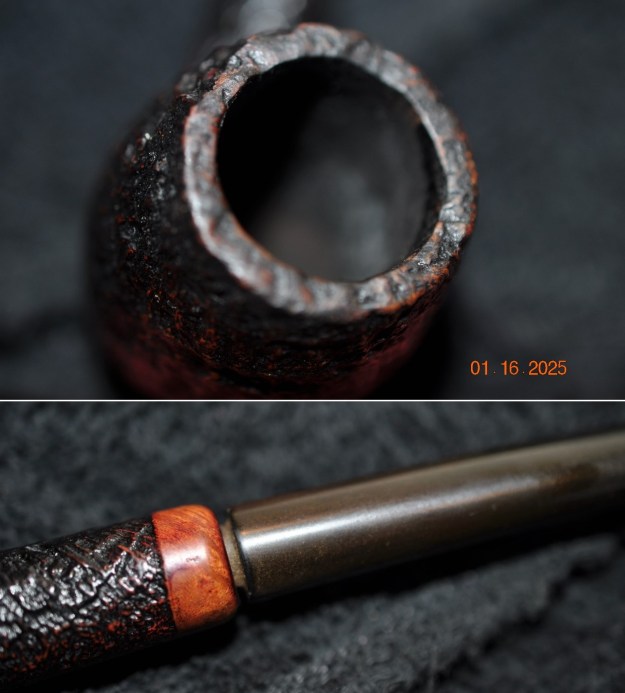
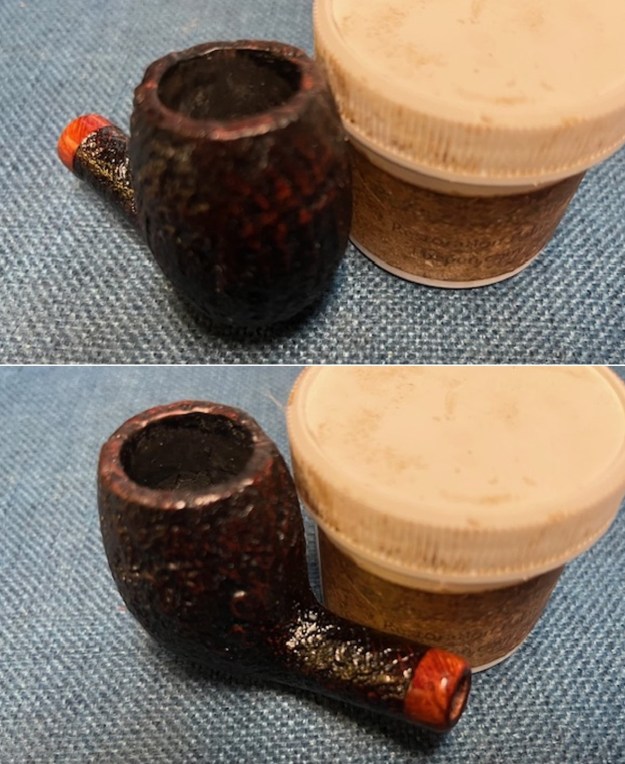
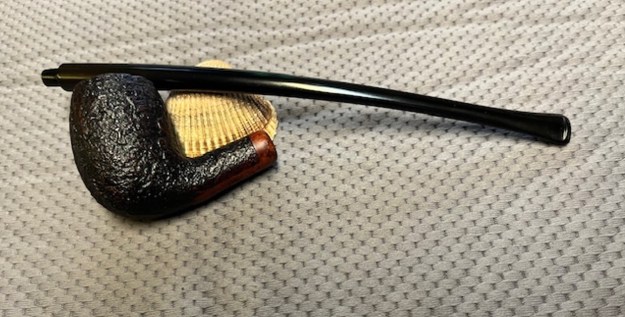
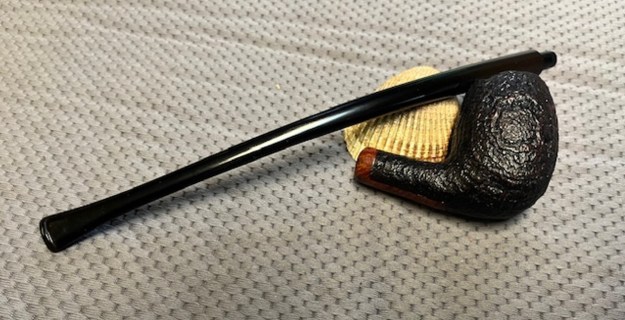
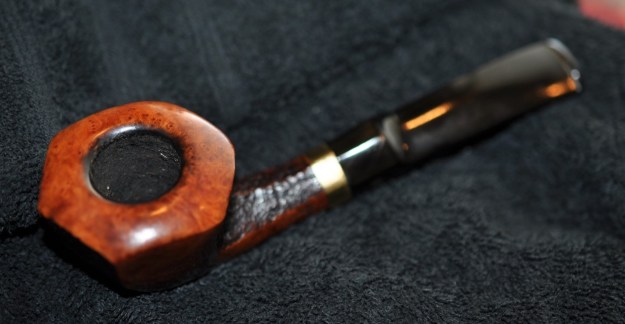
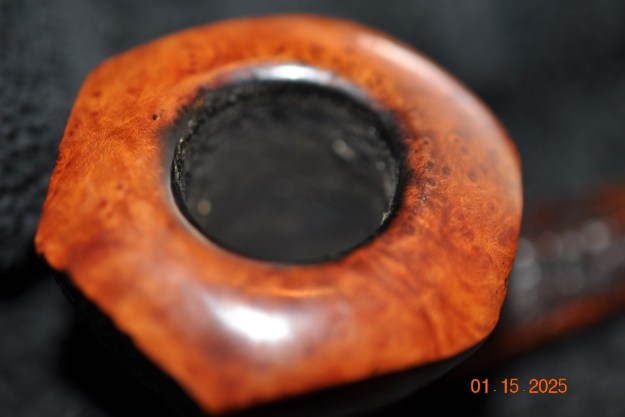
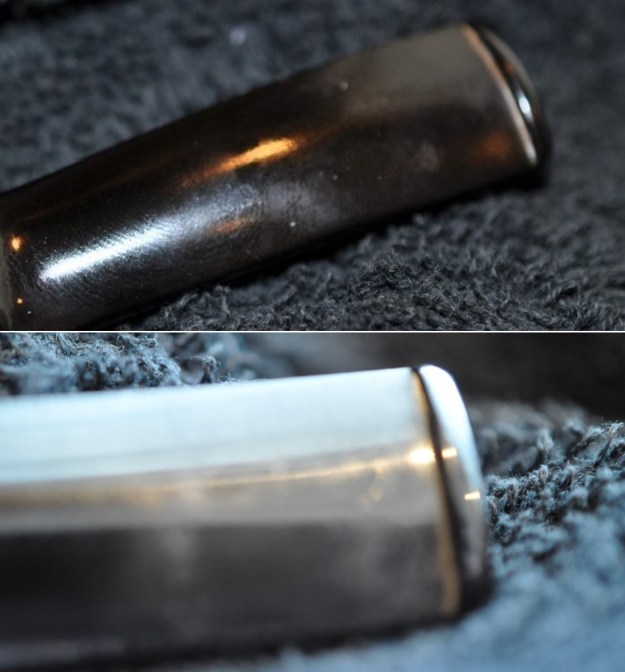
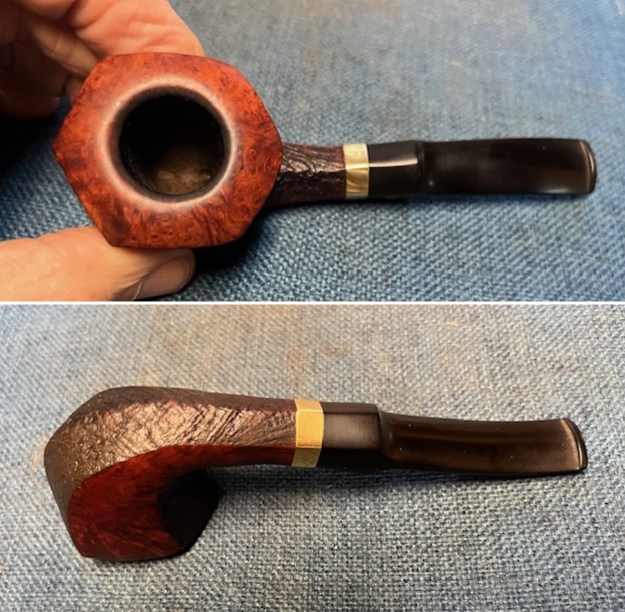
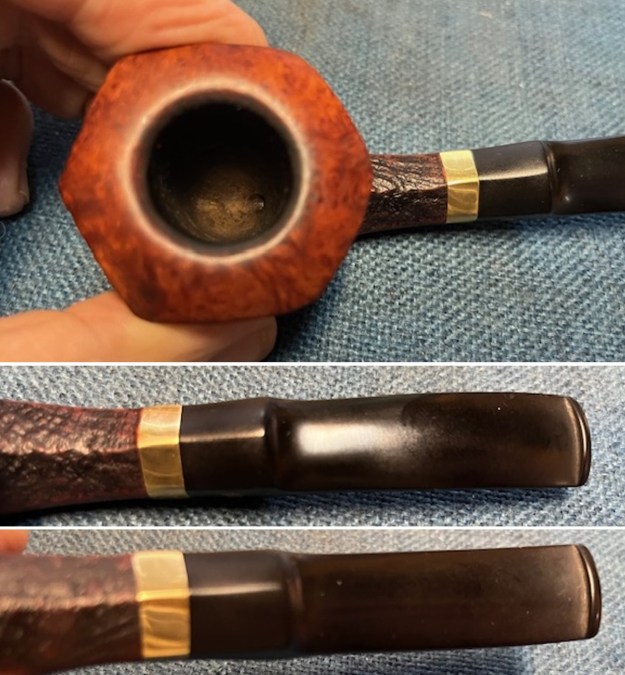
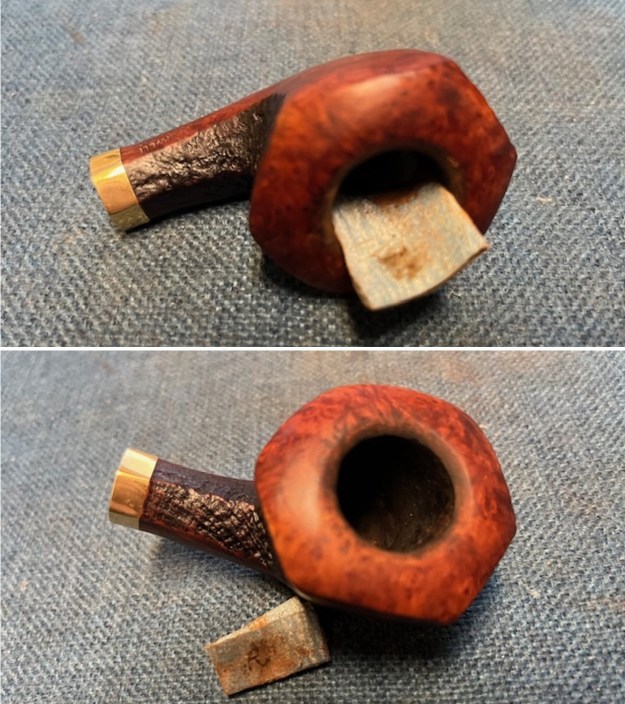
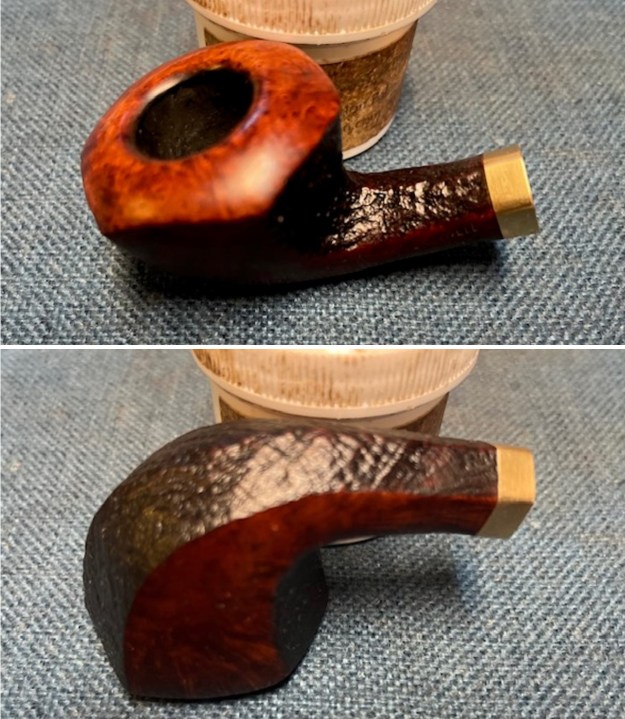
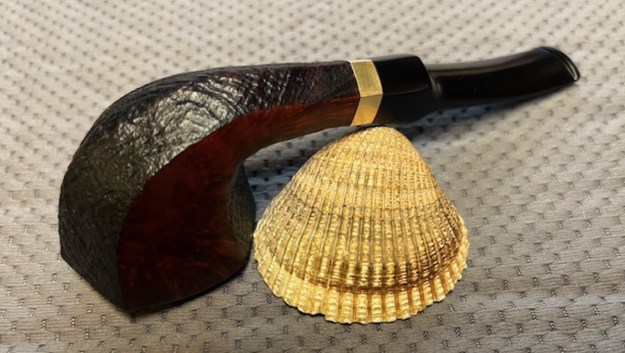
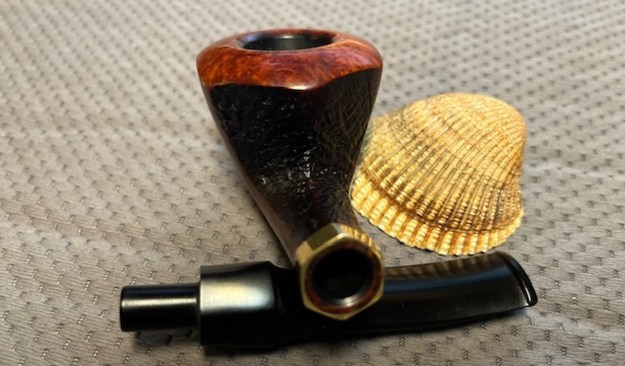
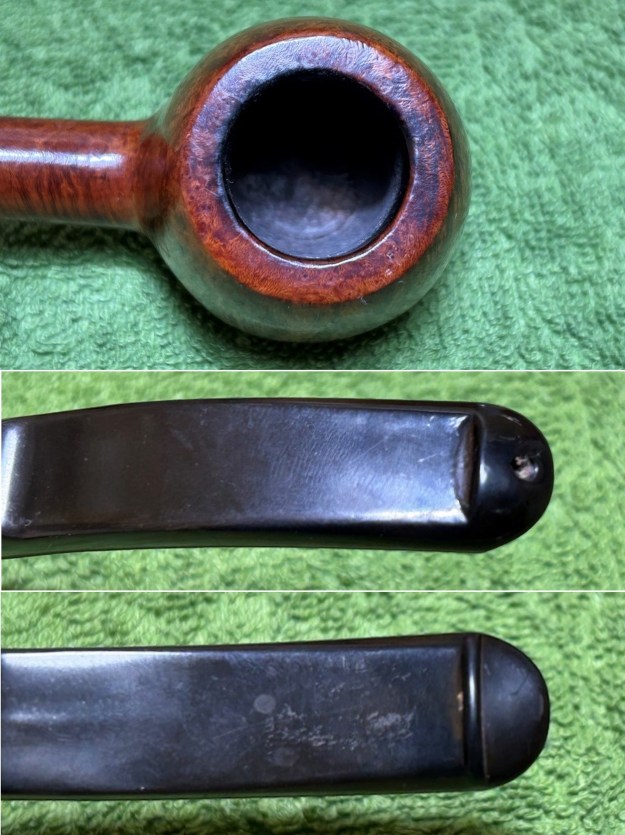
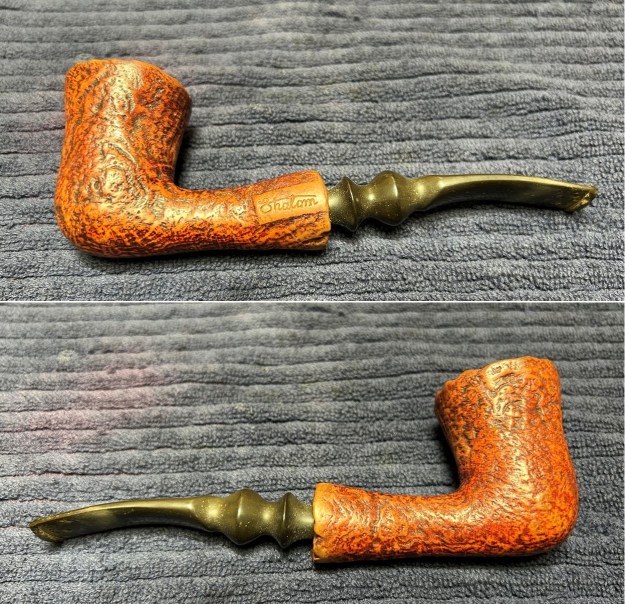
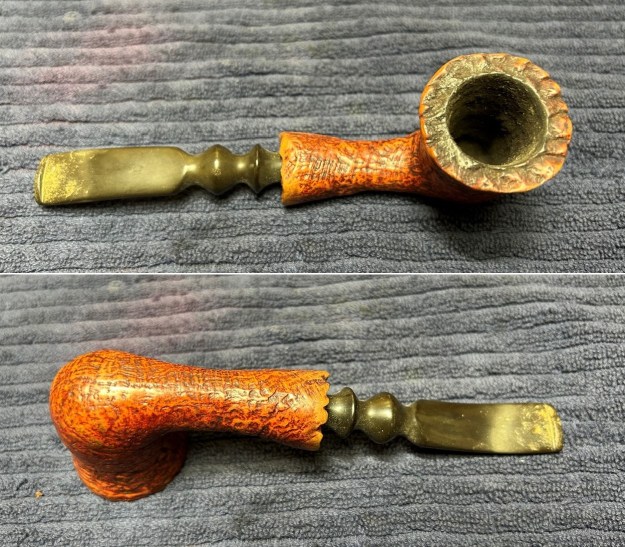
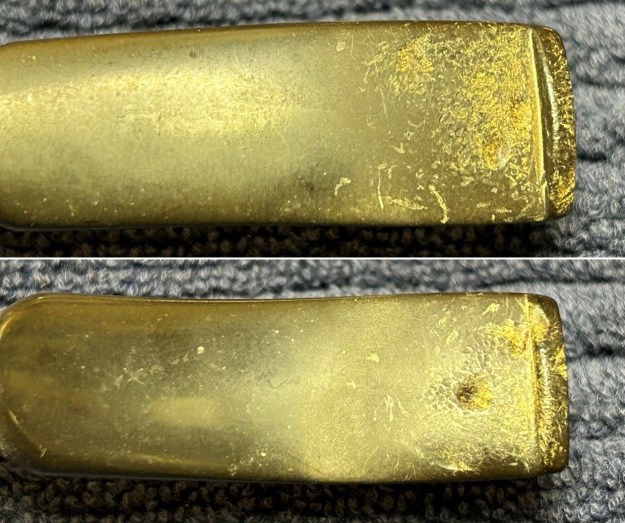
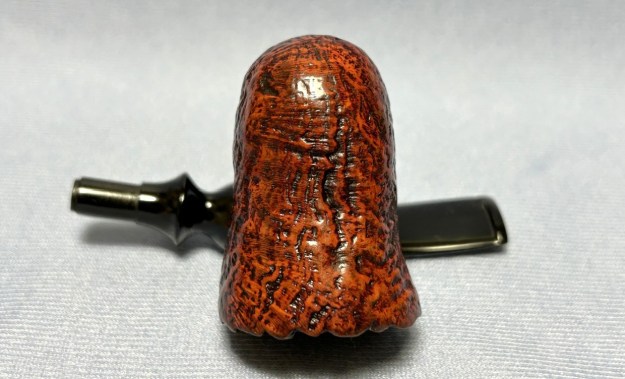
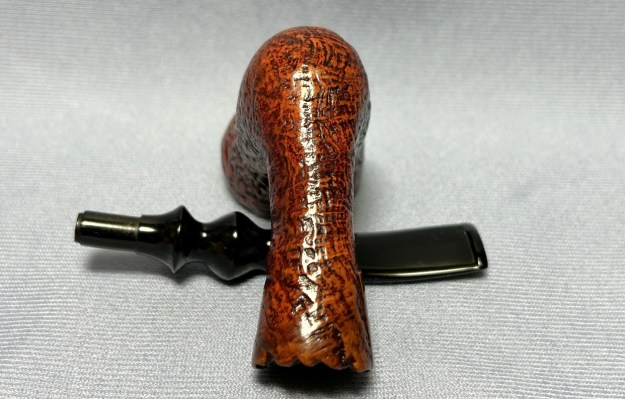
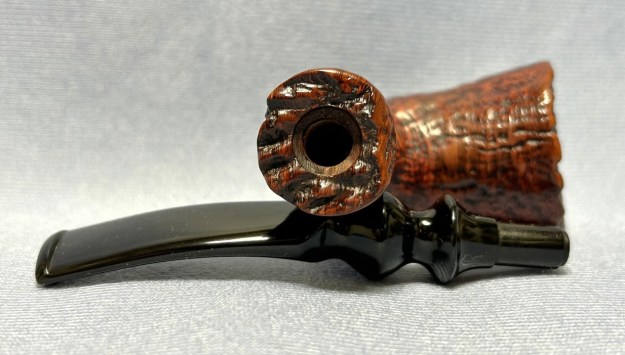
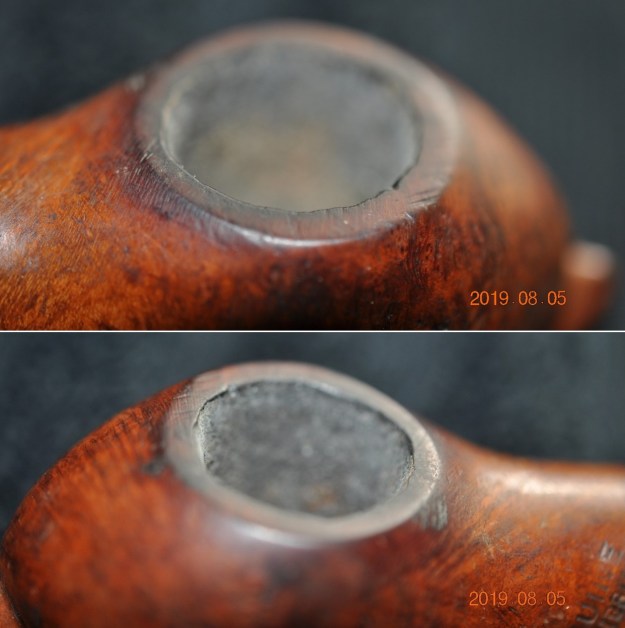
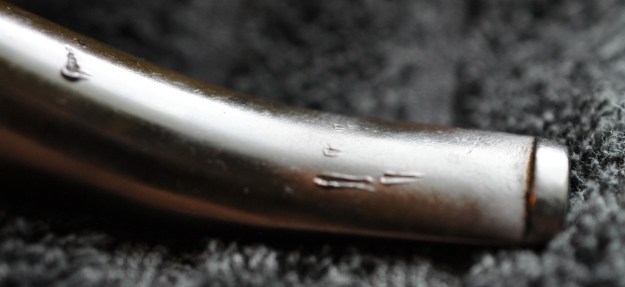
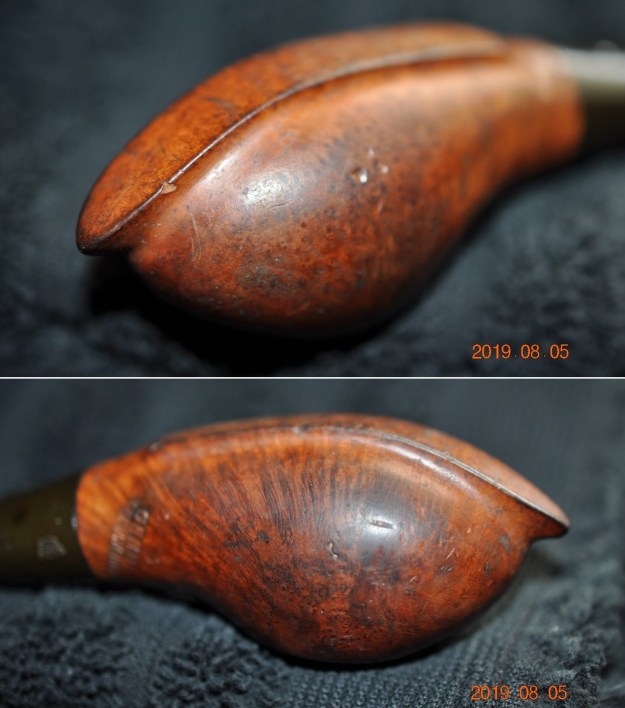
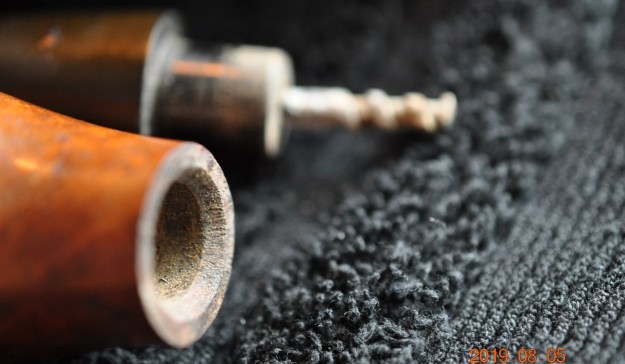
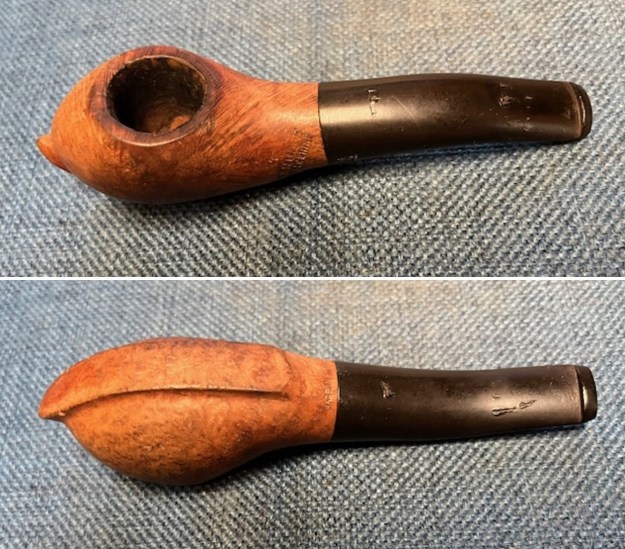
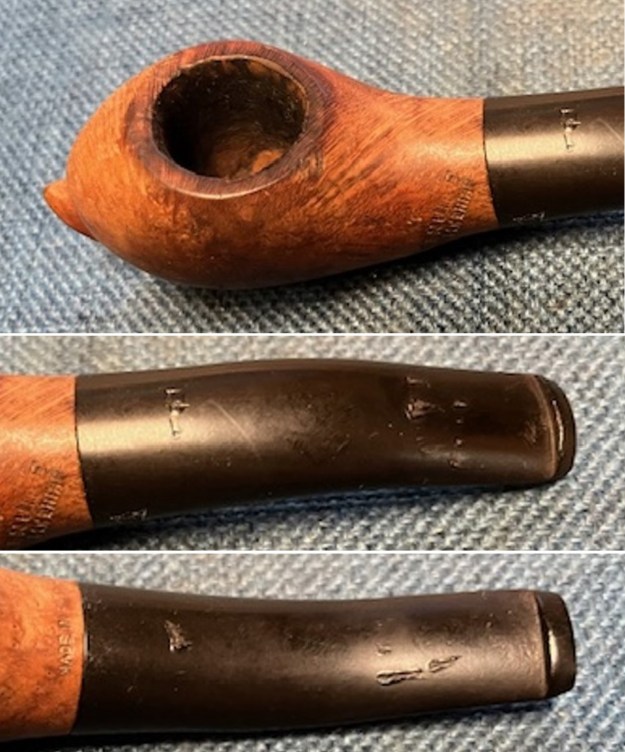
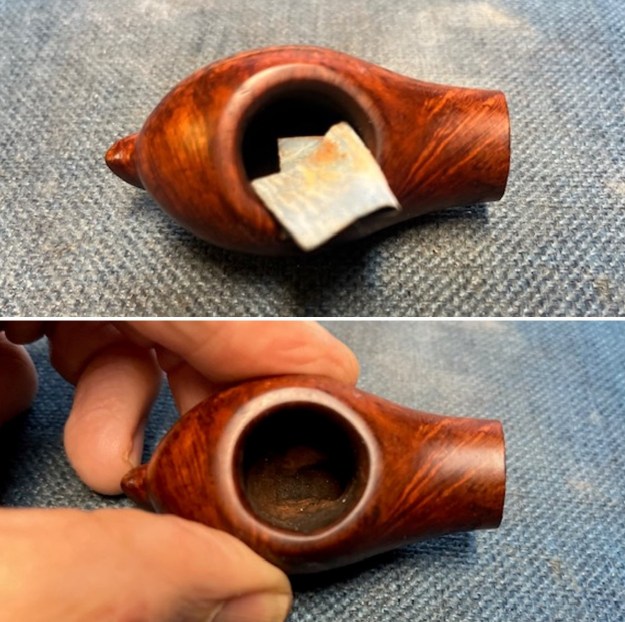
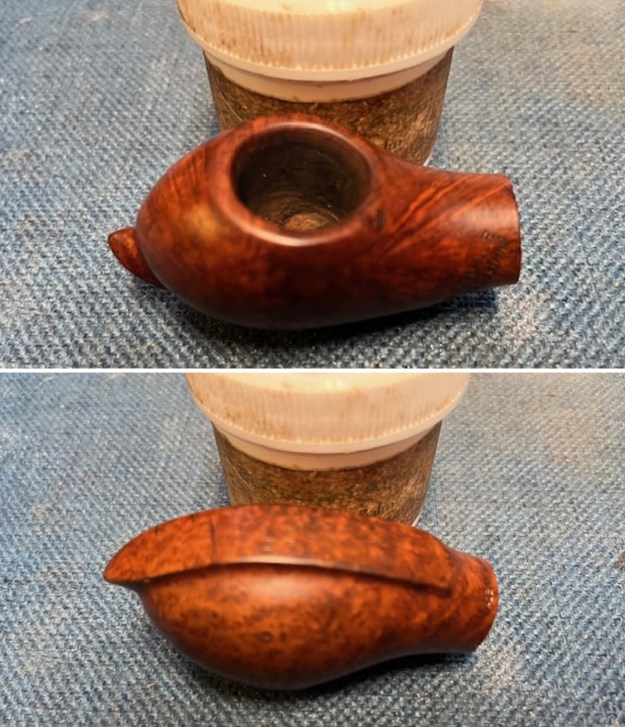
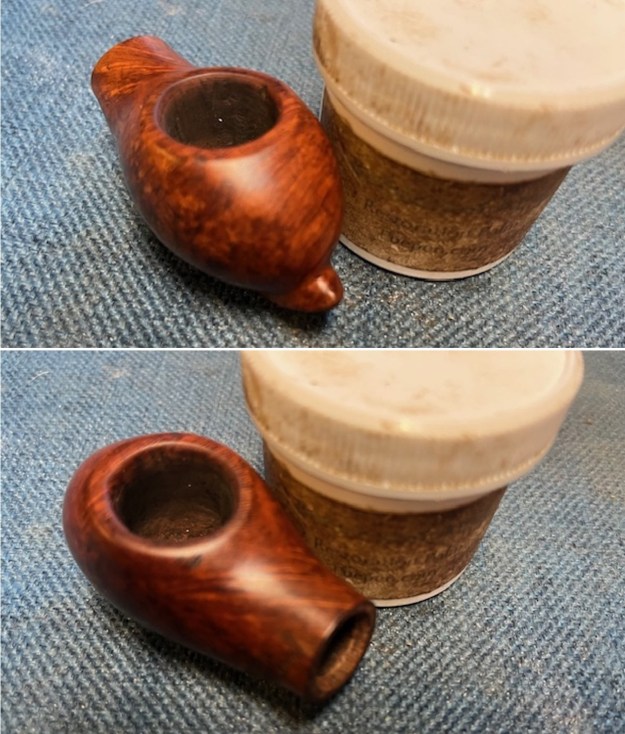
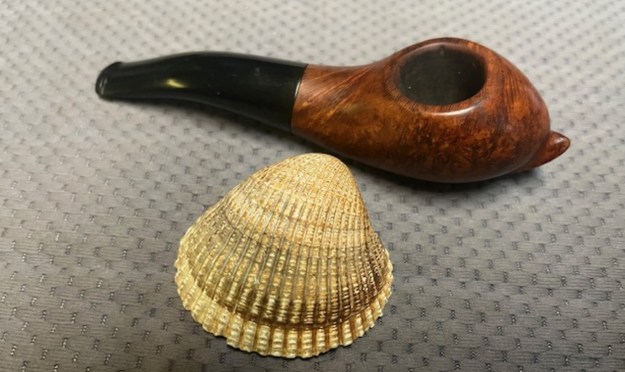
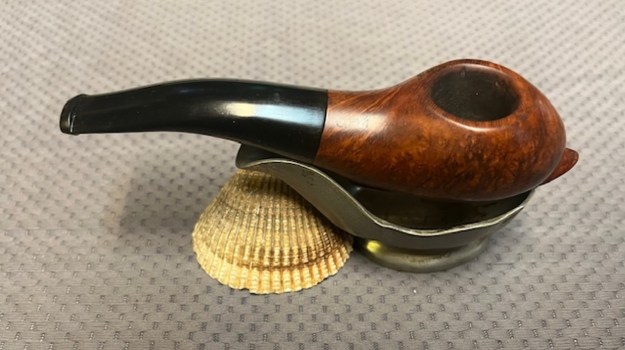
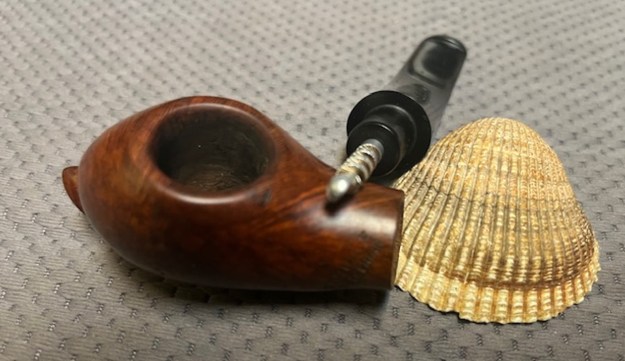
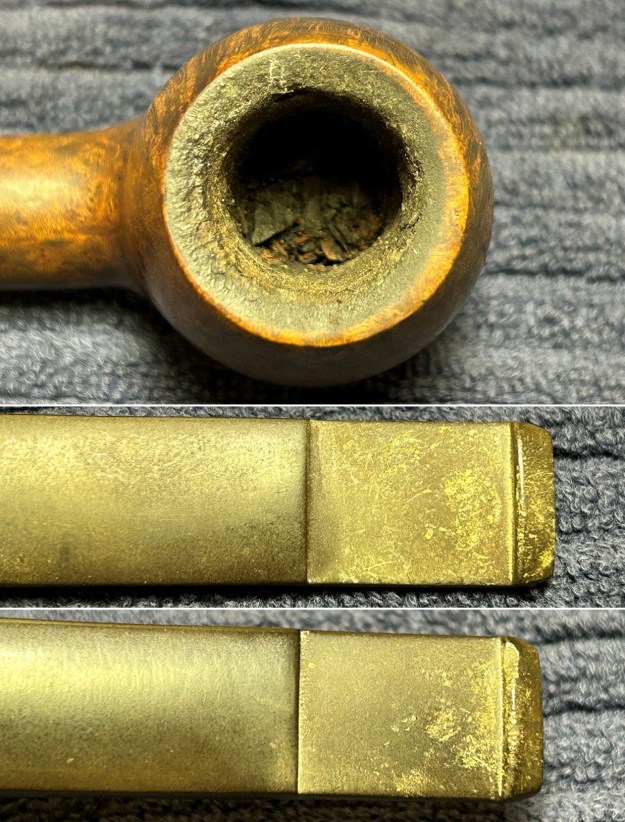
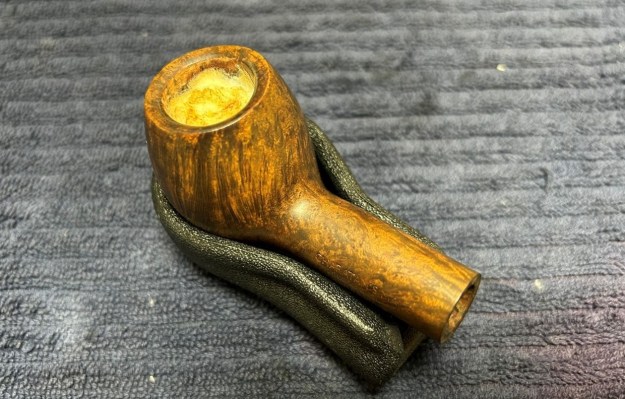
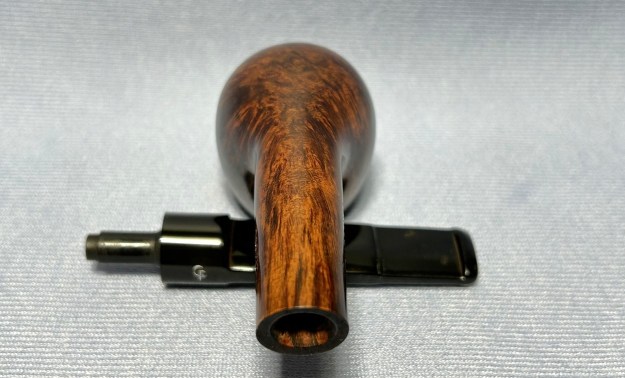
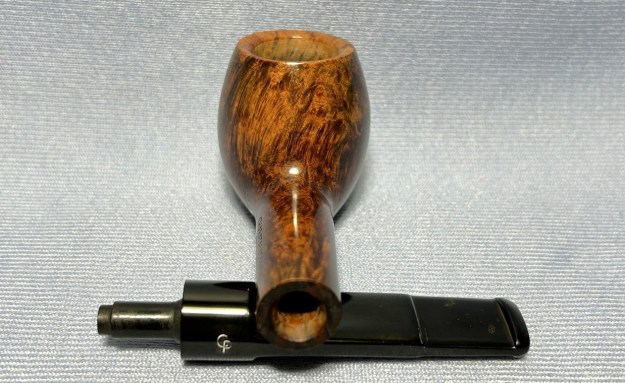
 The relatively clean bowl looks quite good. There are some nicks in the inner edge from zealous reaming that left it rough and damaged. The vulcanite, taper stem was dirty, lightly oxidized and has tooth chatter and marks on both sides. I took photos of the bowl, rim top and the stem to show the condition of both.
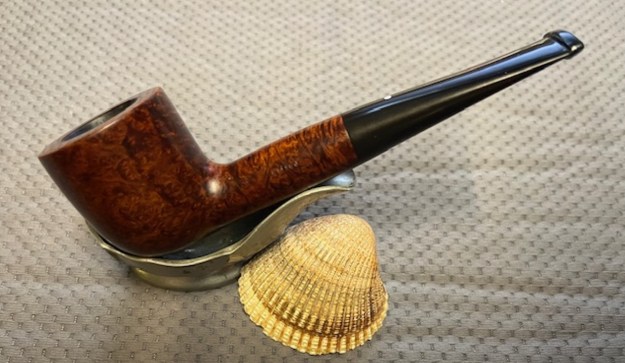
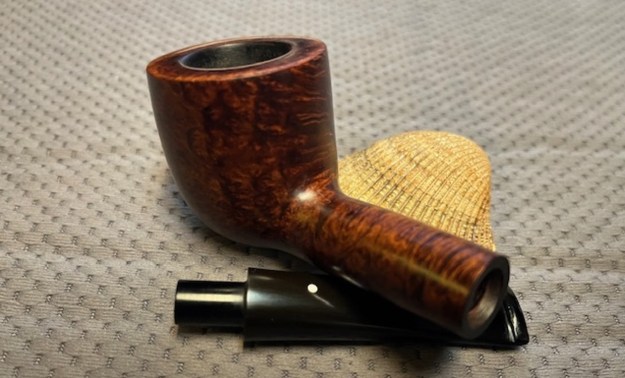
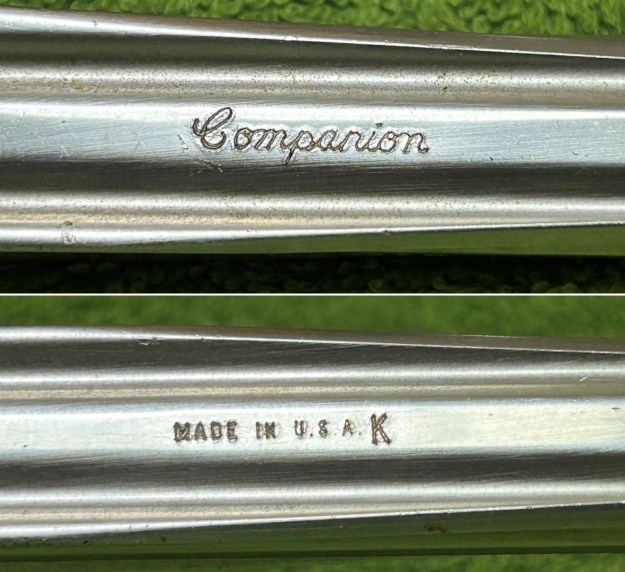
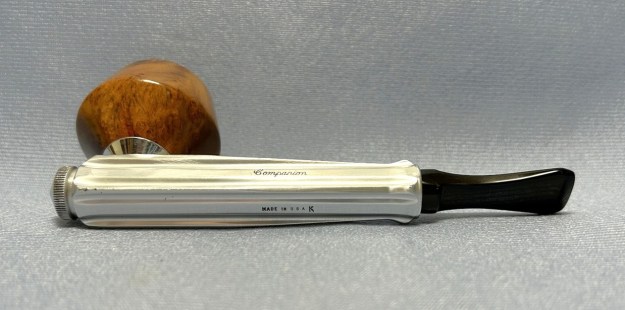
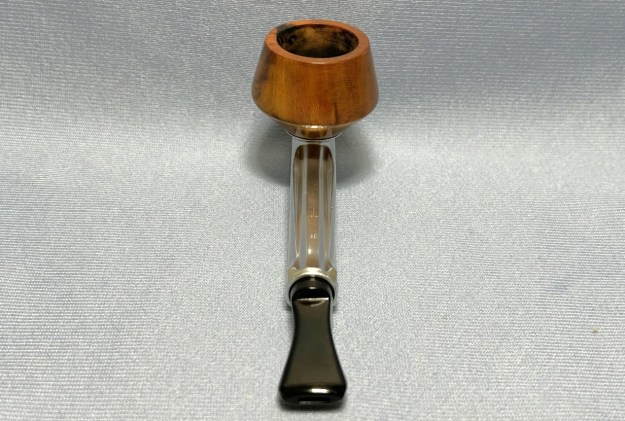
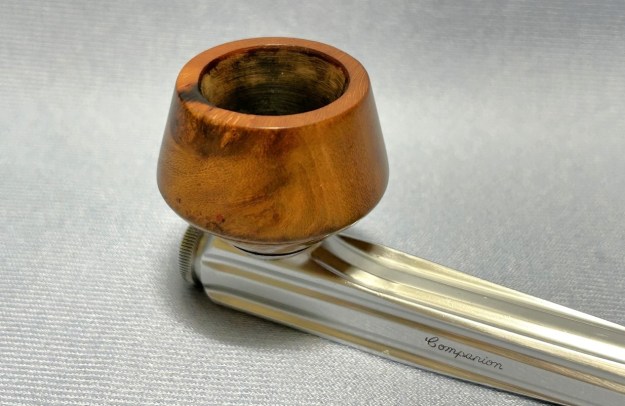
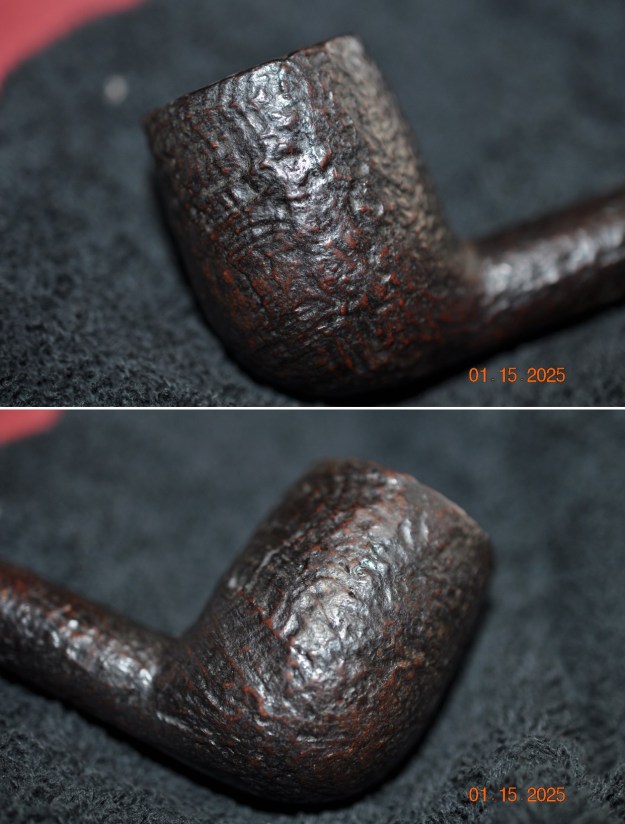
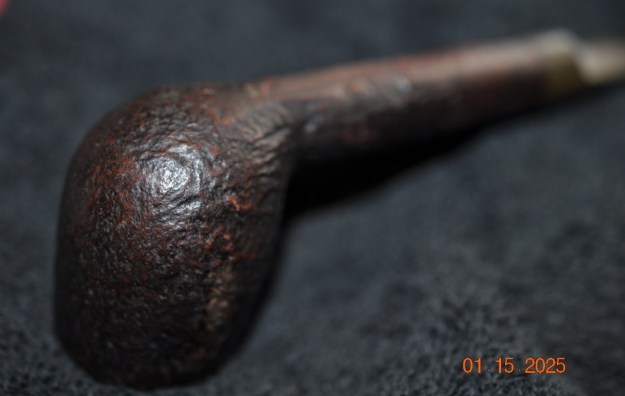
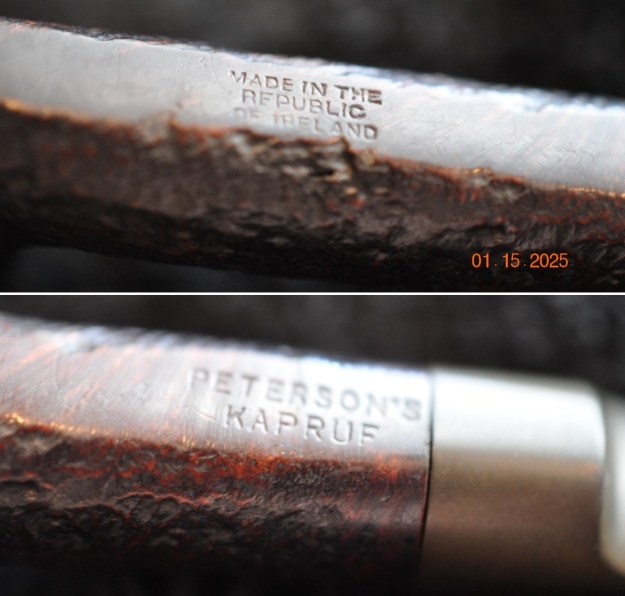
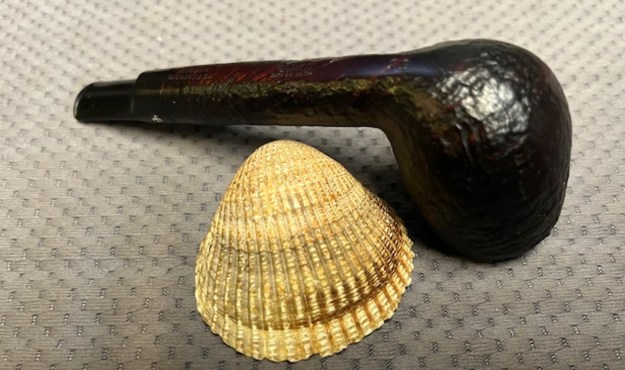
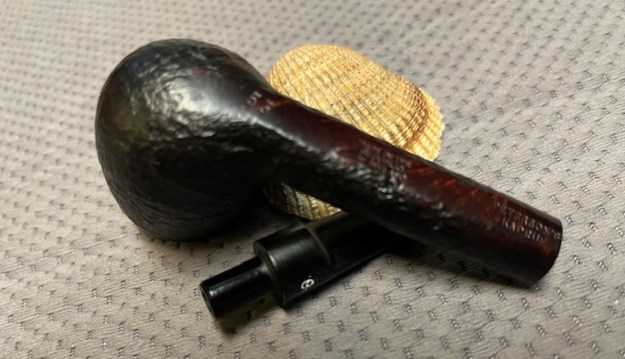
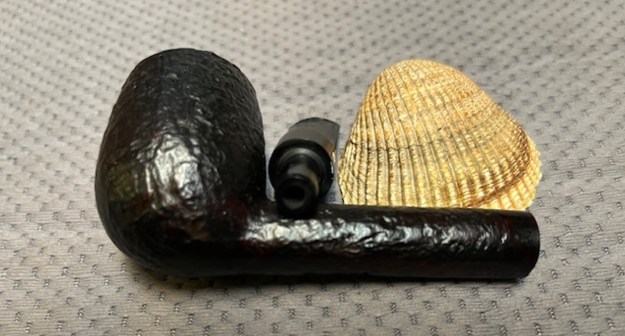
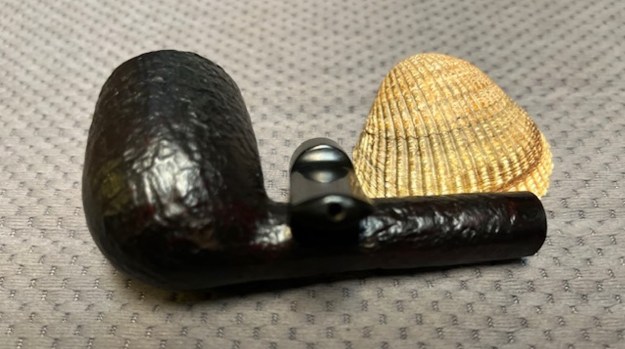
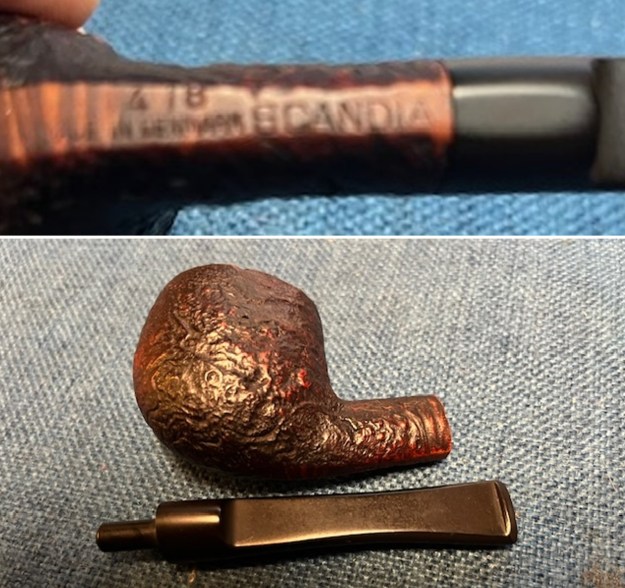
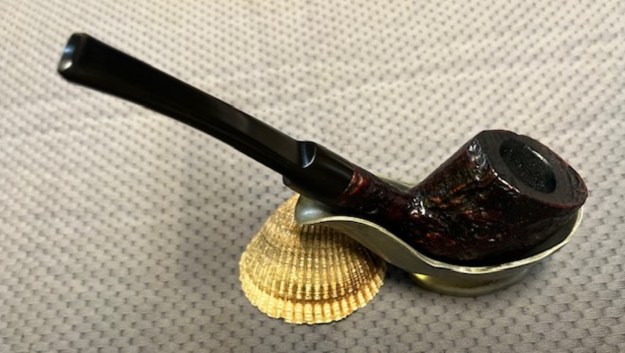
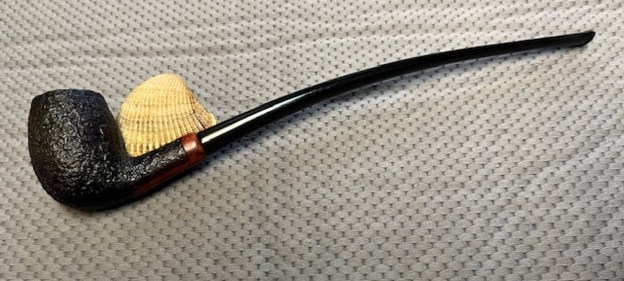
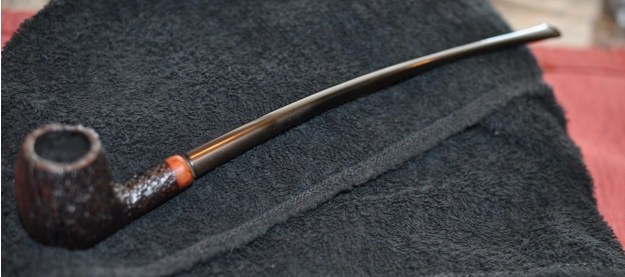
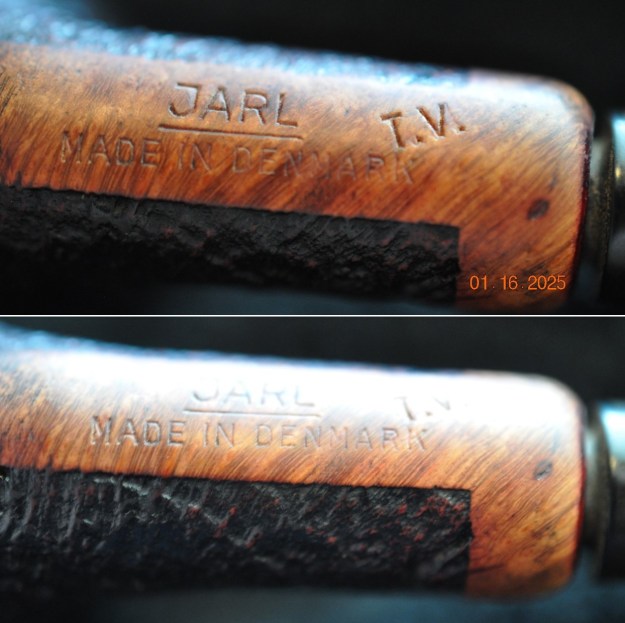
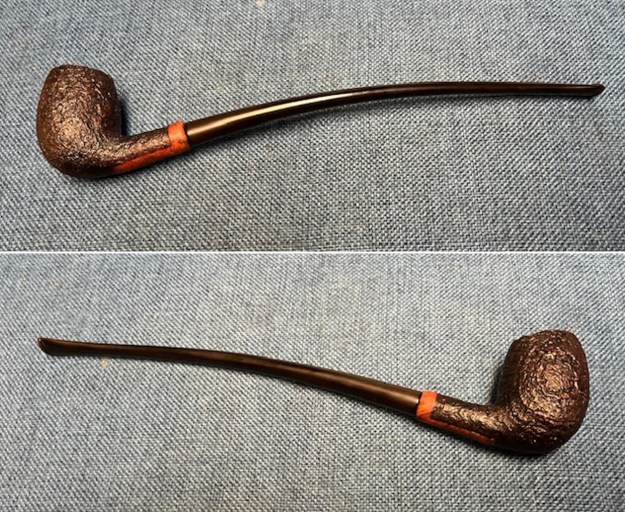
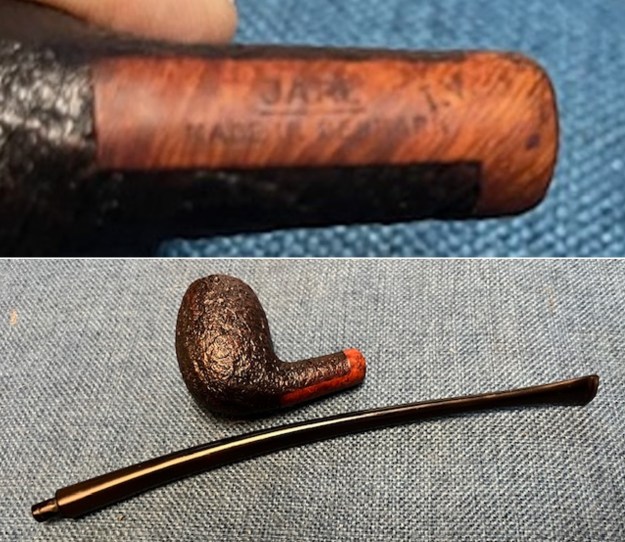
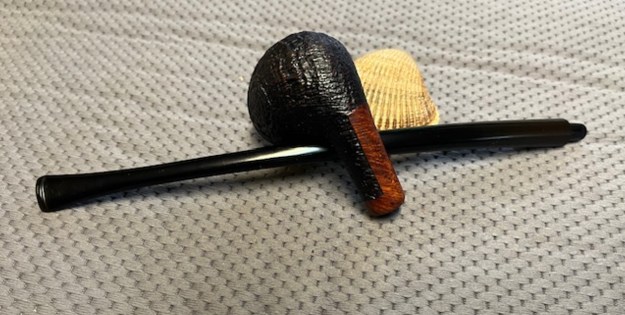
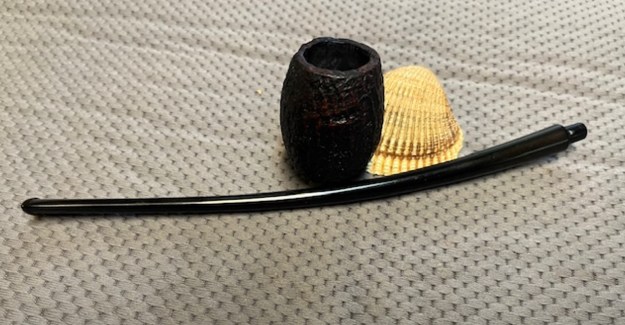
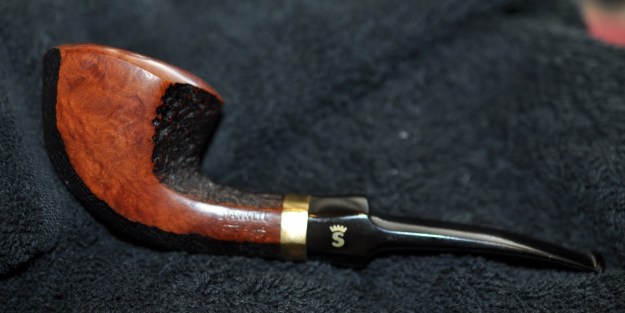
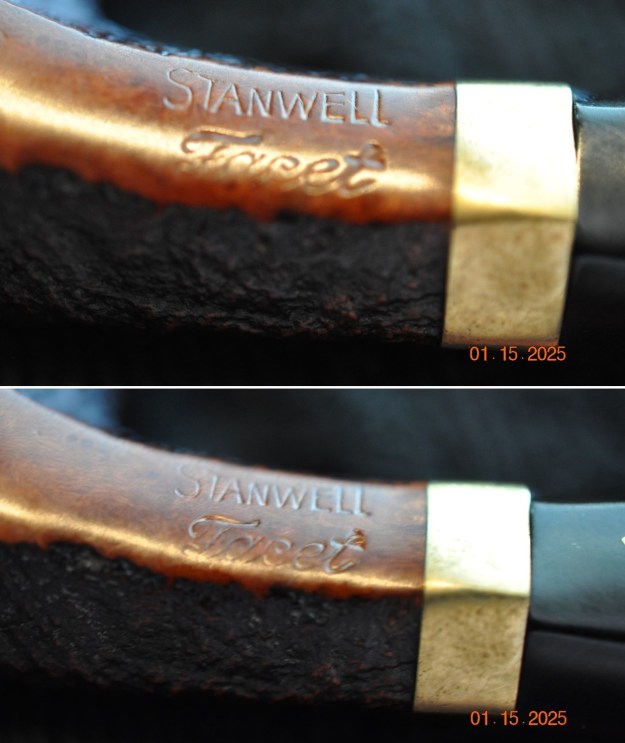
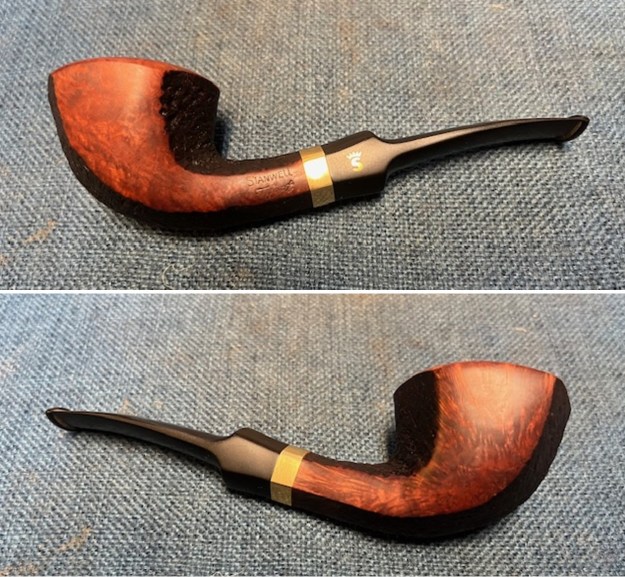
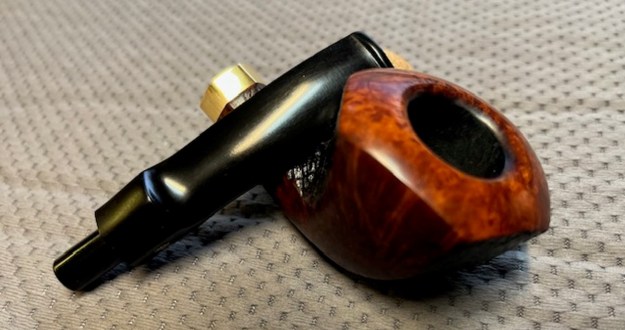
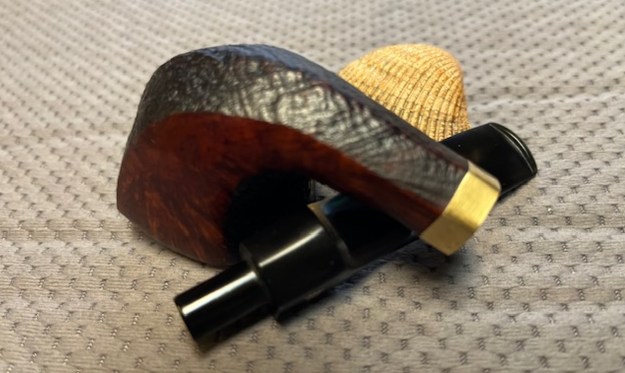
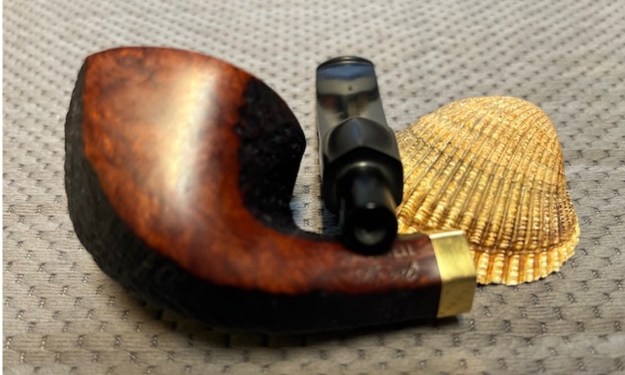
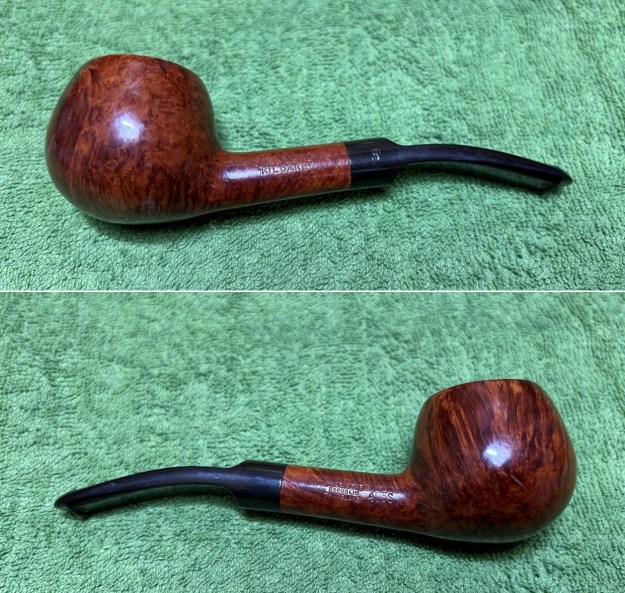
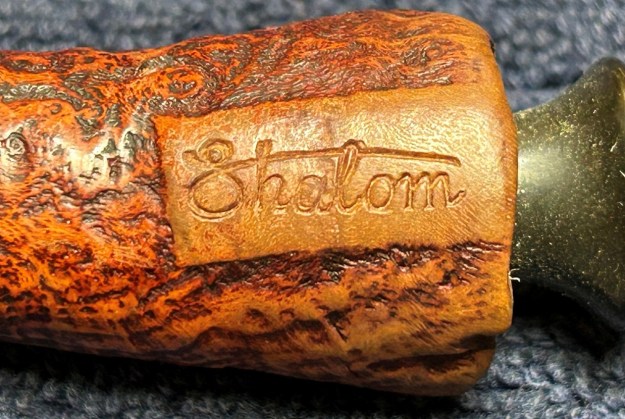
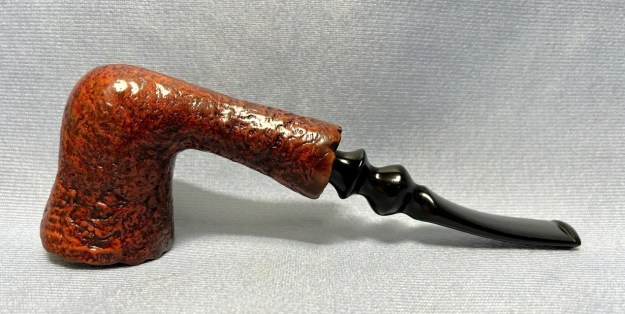
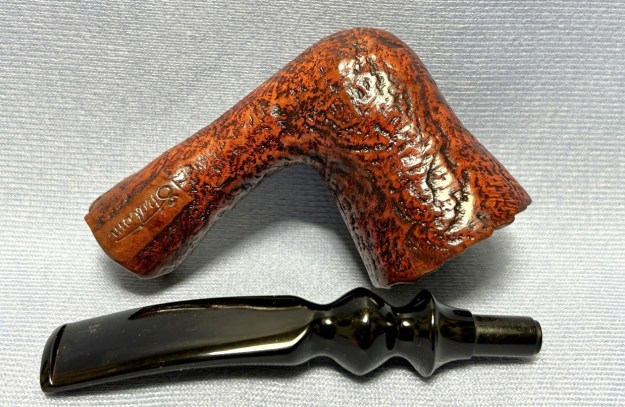
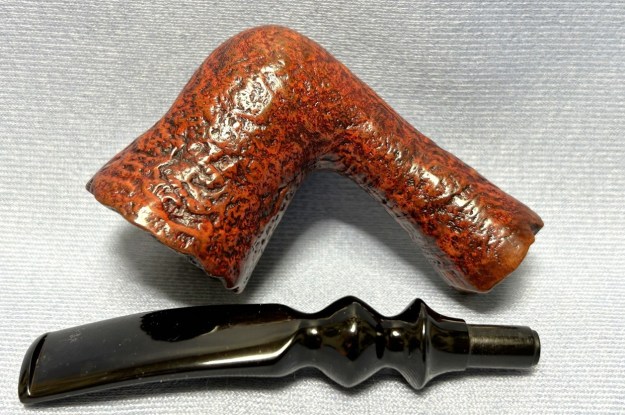
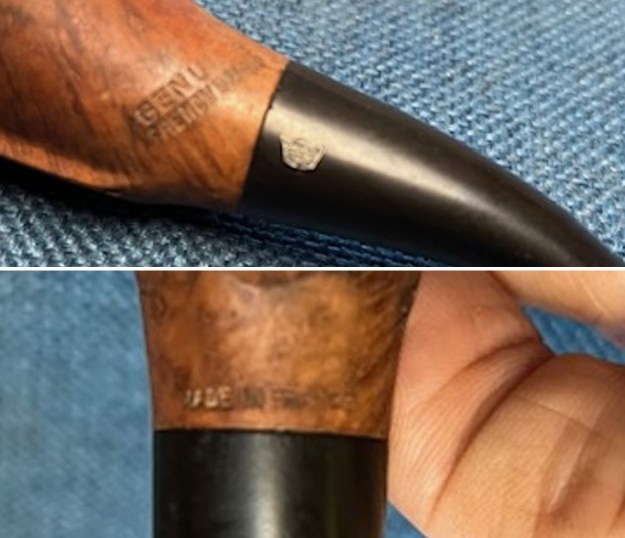
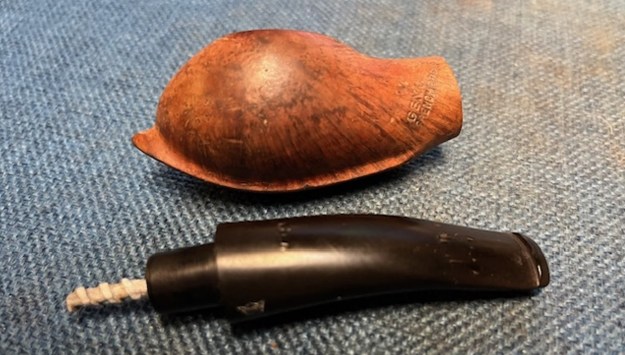
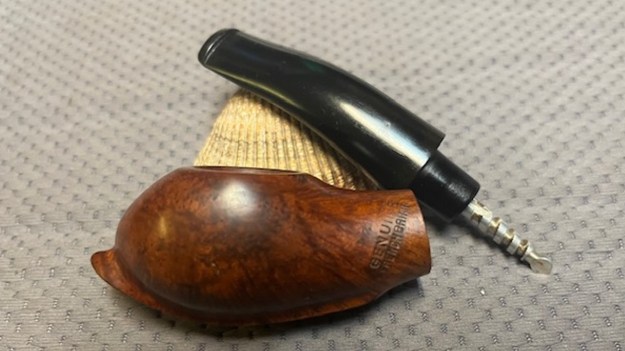
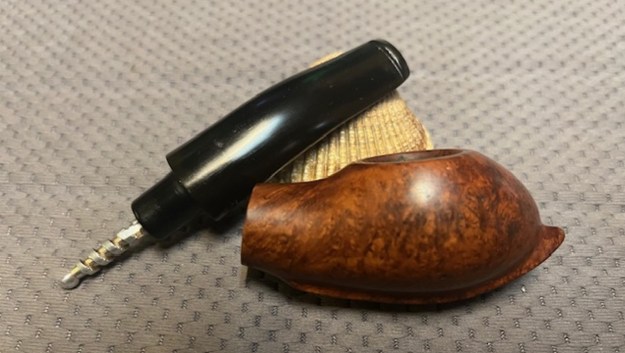
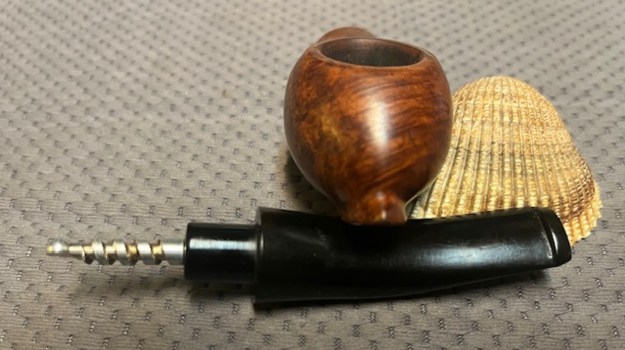
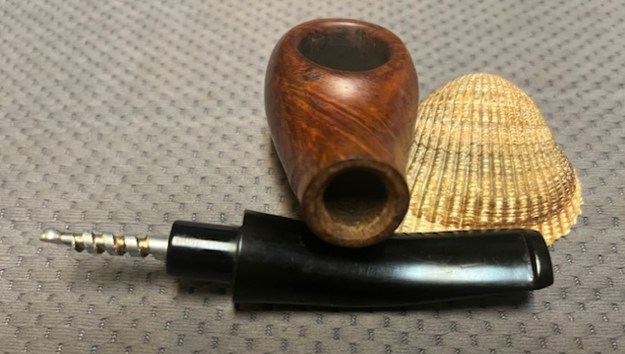
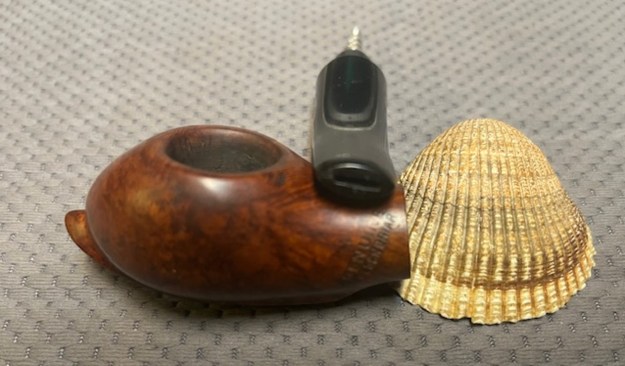
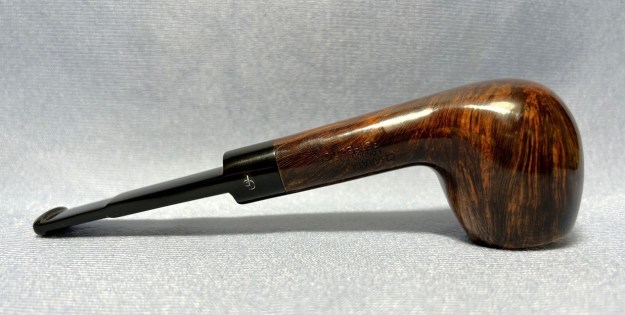
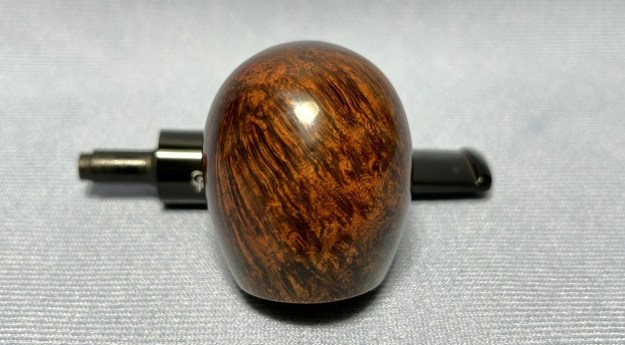
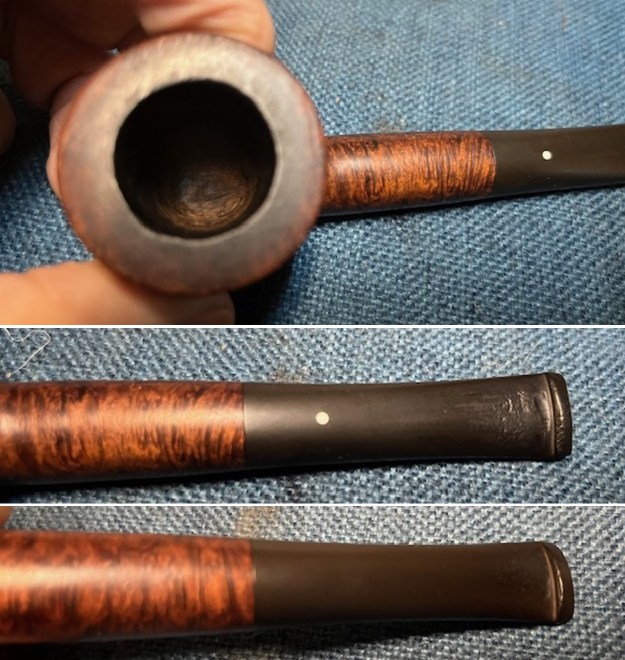 The stamping on the sides of the shank are shown in the photos below. It looks very good with portions of it faint but readable. It reads as noted and explained above. I tried to capture the detail in the photos below. I also took a photo of the pipe with the stem removed to show the proportion of this pipe. It is really a beauty.
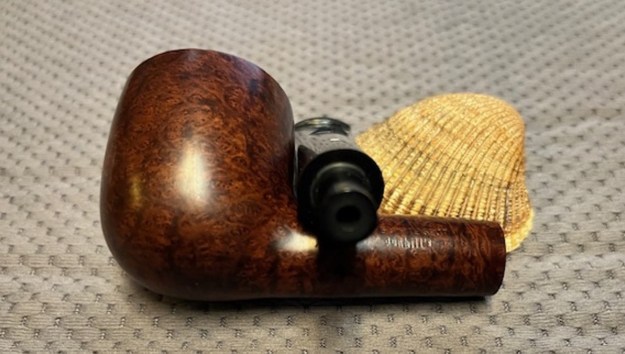
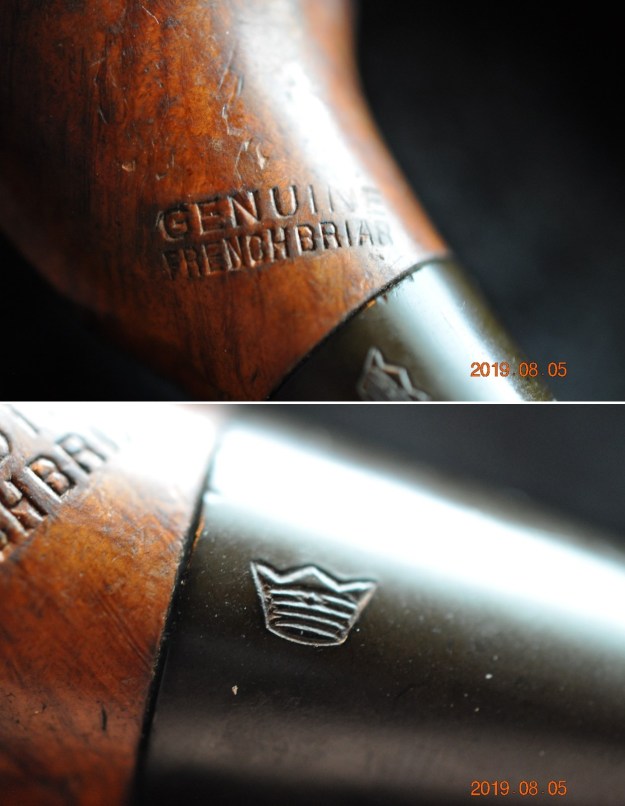
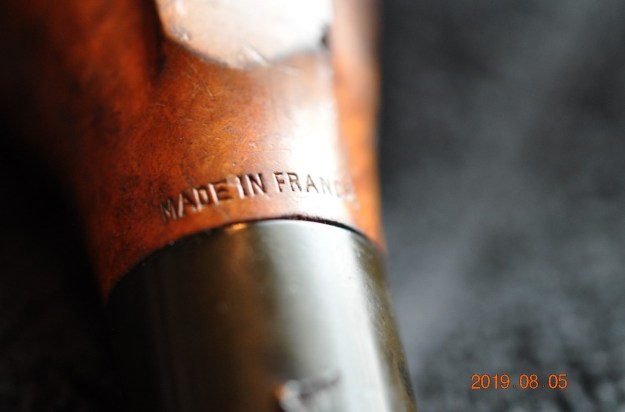
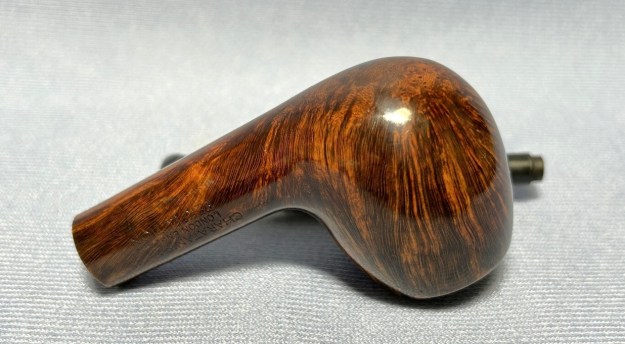
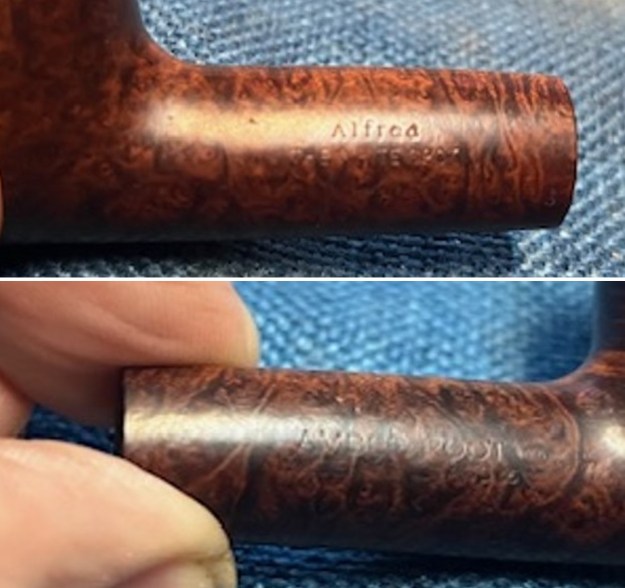
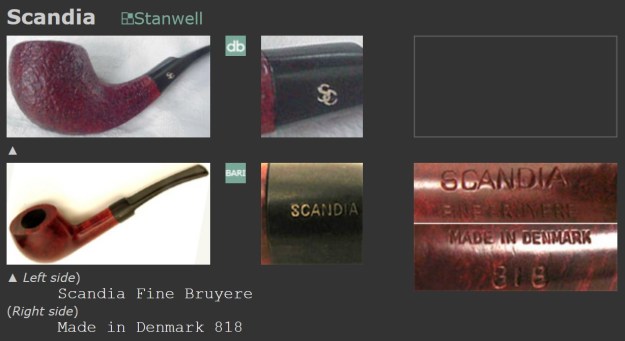
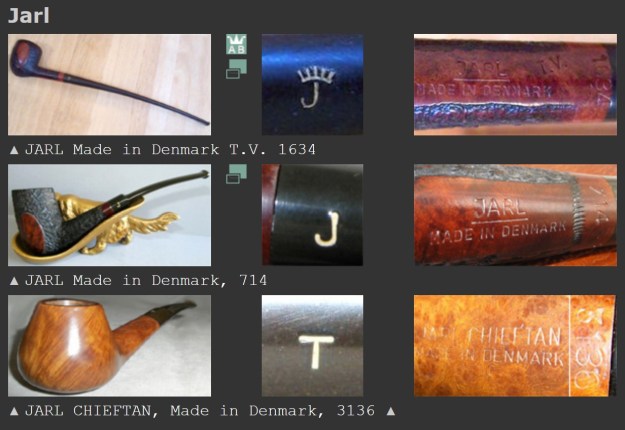
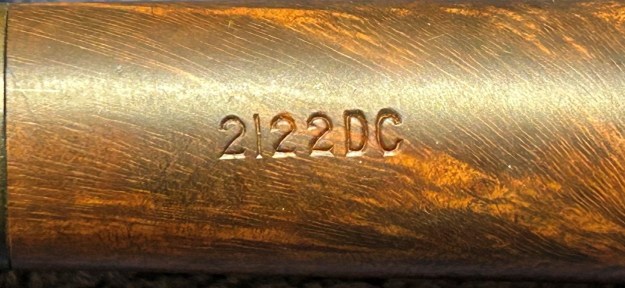
 I wanted to unpack the Dunhill stamping on the shank and work to understand each element of the stamp. I generally use the Pipephil site to gather as much initial information as possible (http://pipephil.eu/logos/en/dunhill/amber1.html). The stamping is interpreted as follows: The number 4106 is the shape number that unpacks as follows: the 4 is the bowl size, 1 is the normal identifier for a taper stem, 06 is the shape designation – a Pot. The Amber Root stamp refers to the finish. The superscript 15 following the D of England would give the date the pipe.
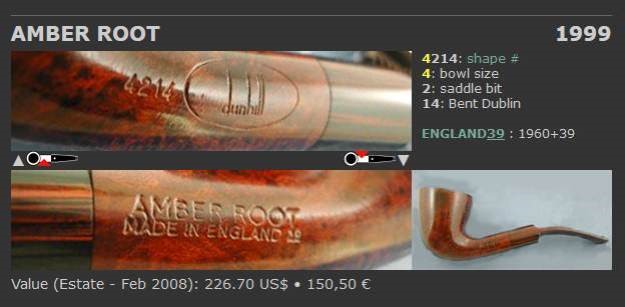 Pipephil also has some helpful dating keys on the site that are basically flow charts that you can walk through to date your pipe (http://pipephil.eu/logos/en/dunhill/cledat-en1.html). I turned to Part 1 of the Dating Key and followed the chart. This pipe has a number 15 following the D in England. There was no patent number so that took me to the section on the chart below (column one) which instructed me that the pipe could be dated as being made “posterior to 1954”.
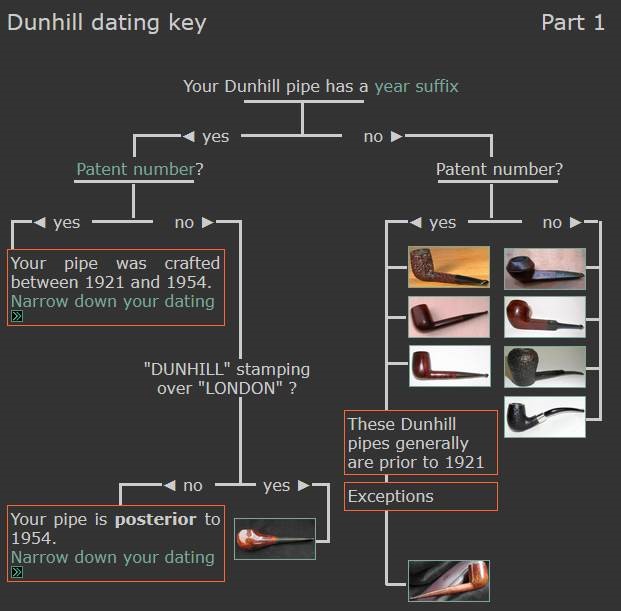 I followed the link under “Your pipe is posterior to 1954. Narrow down your dating”. That took me to Page 2 of the dating key (http://pipephil.eu/logos/en/dunhill/cledat-en1a.html). The last column (suffix 00, 01, 02…) led me to the section with a 15 after the D in England. There was a directive for dating the pipe spelled out as follows: 2000 + suffix which gives the pipe a date of 2015. From that I knew that the pipe was made in 2015. I chose this column rather than the second column which would have dated it as 1975 because of the date that the Amber Root was released by Dunhill being 1995. I hope that the logic of the dating is clear.
 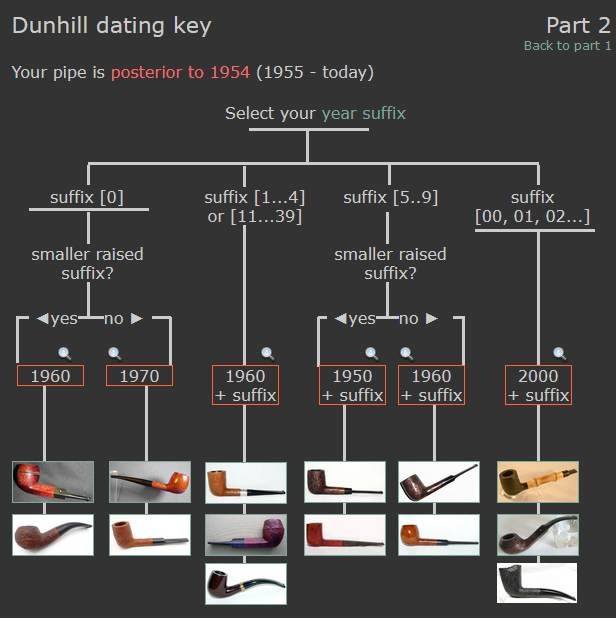 I then turned to Pipedia’s section on Dunhill pipes to get a bit of background on the Dunhill finishes (https://pipedia.org/wiki/Dunhill#Root_Briar). I quote:
 Amber Root – Introduced in 1995. A warm yellow-orange stain, reminiscent of the original Root Briar finish. Cumberland stems were used, although recently, Amber Root pipes have appeared with black stems. This is also a limited production pipe that is found in mainly Company stores and Principle Pipe Dealers. Straight grained pipes are made available in this finish under the name Amber-flame and are graded from one to three flames.
Note: While the Amber Root finish existed in the past with Cumberland and black Vulcanite mouthpieces (now we use usually the black Vulcanite variety only)[32].
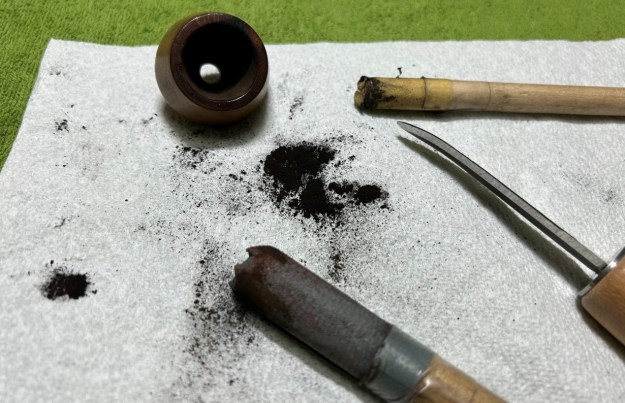
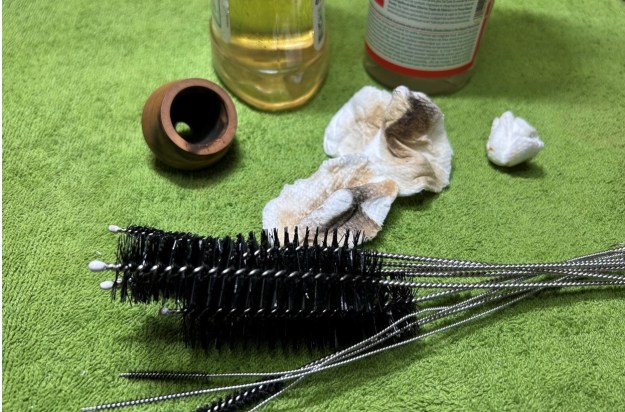
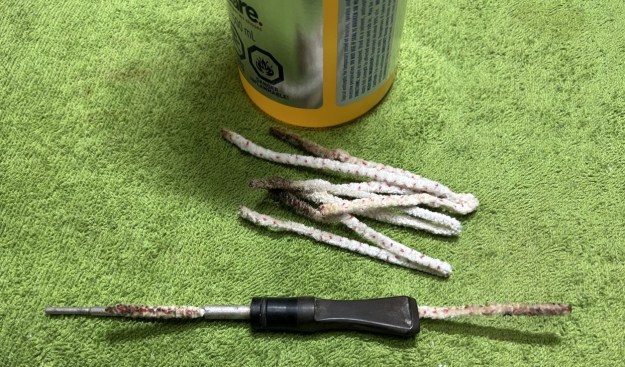
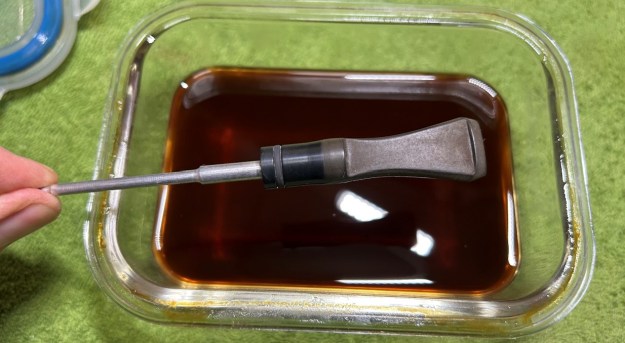
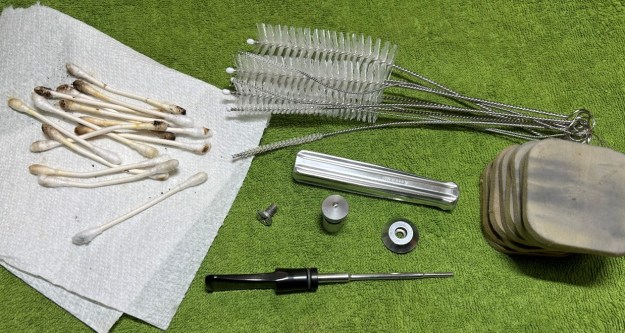
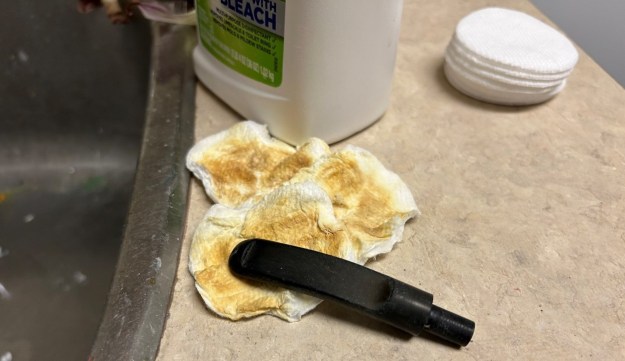
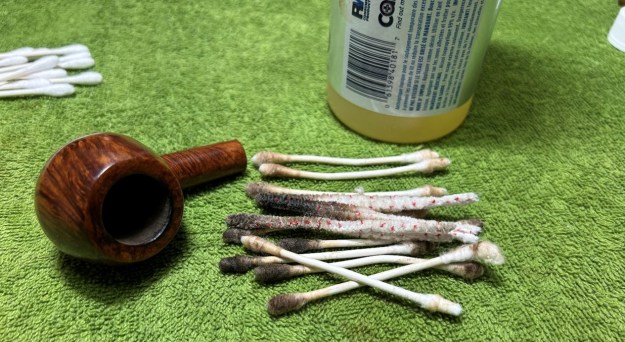
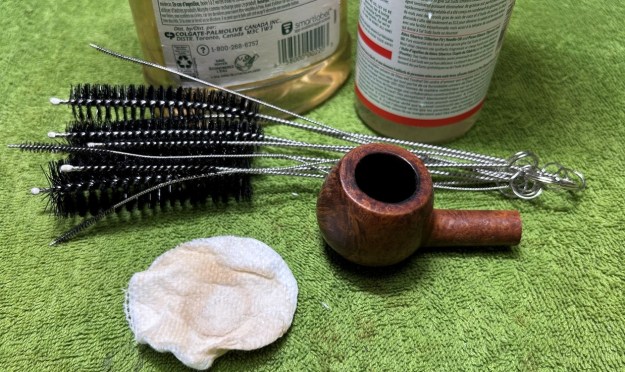
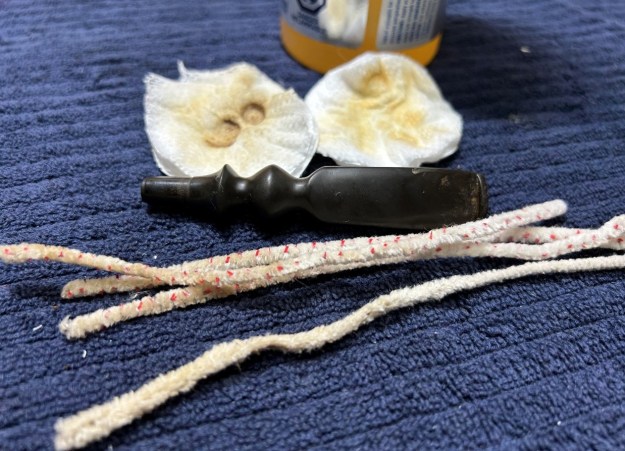
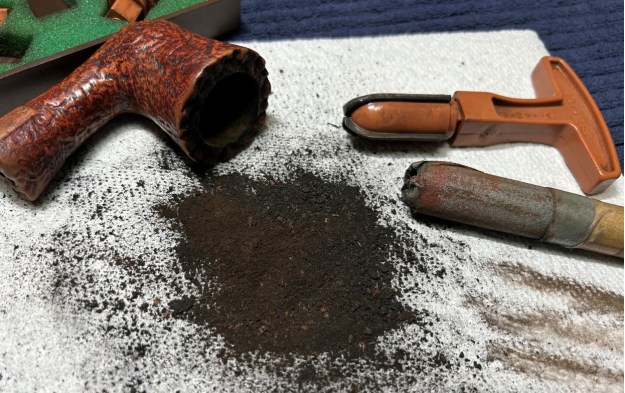
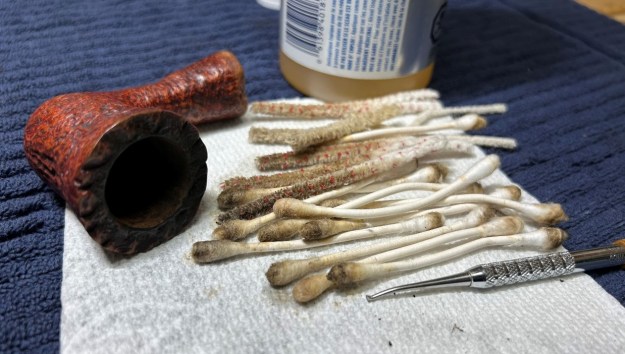
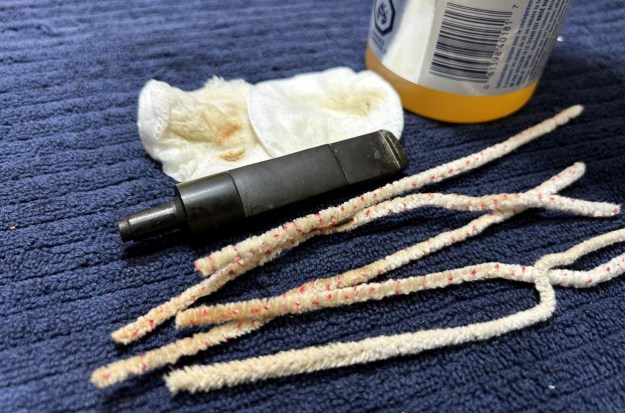
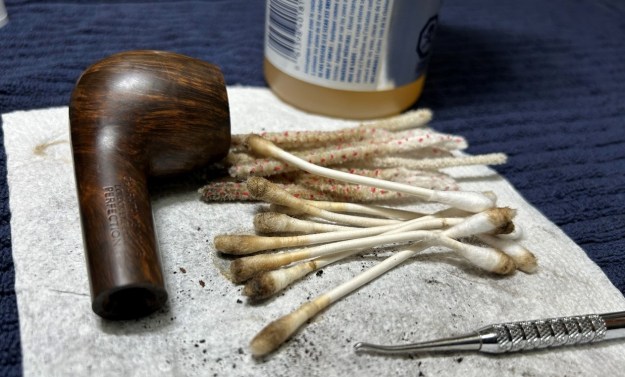
I have also included a chart from the site spelling out the Standard Pipe Finishes and giving a timeline. You can see that the Amber Root Finish (a smooth polished medium stain) was introduced in 1995 so this is definitely dates this 15 year stamped pipe to 2015. 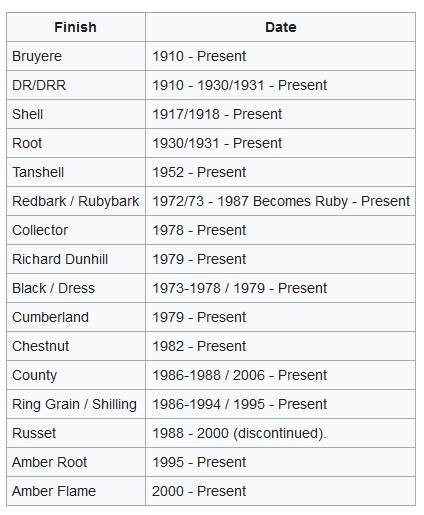 I turned to work on the pipe itself. I cleaned out the mortise and airway in the shank and the stem with alcohol, cotton swabs and pipe cleaners. I was able to remove a lot of the grime and oils in the shank but the stench of the strong aromatic still remained.
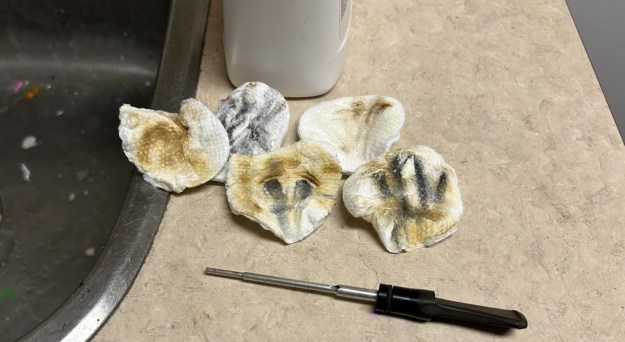
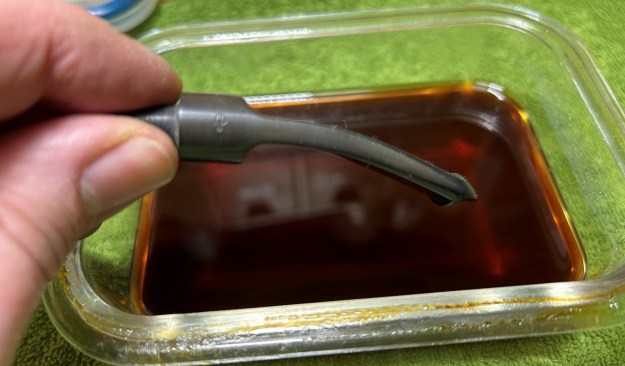
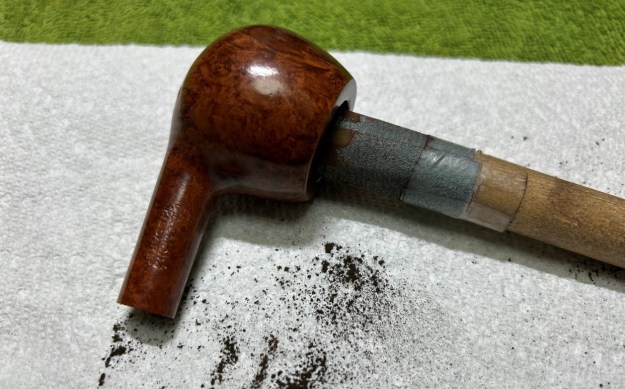
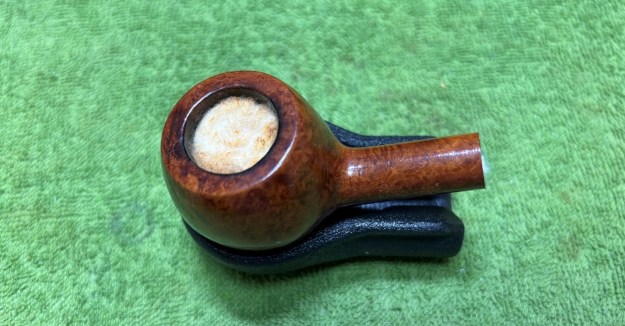
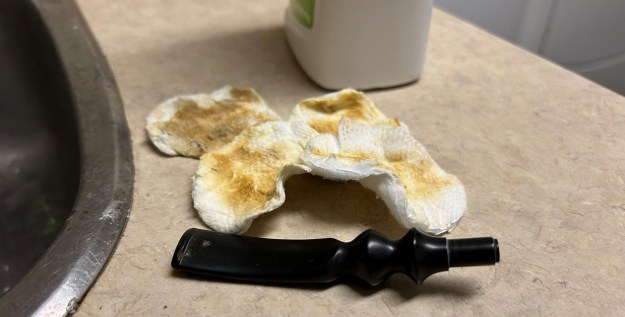
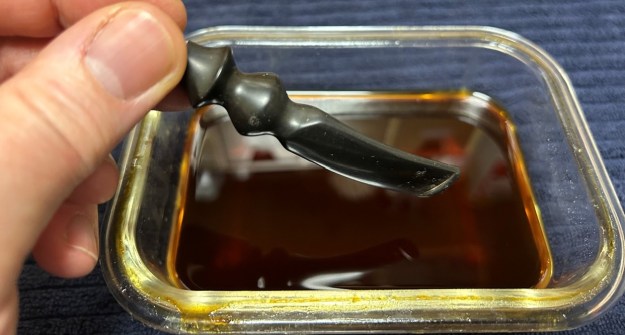
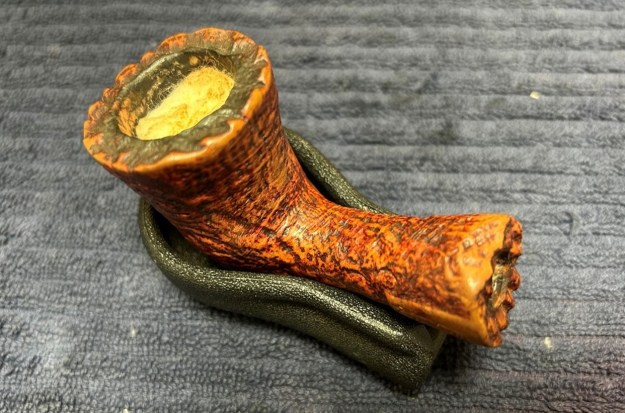
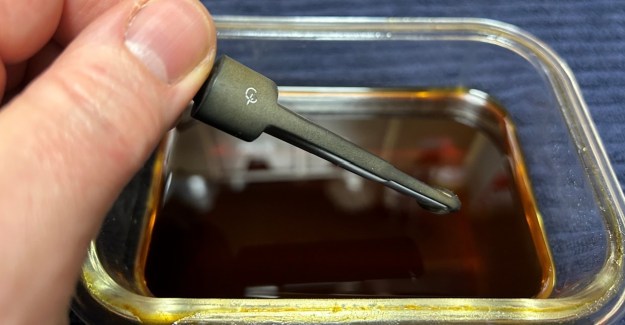
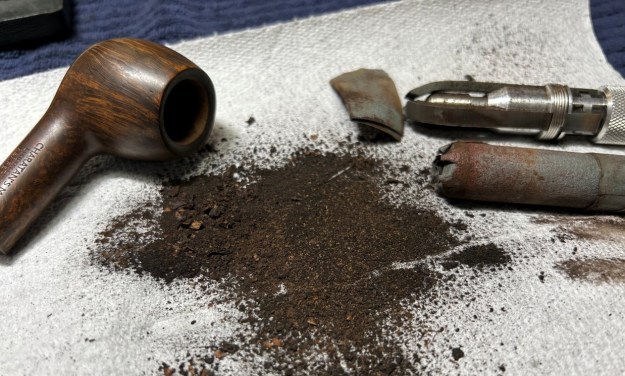
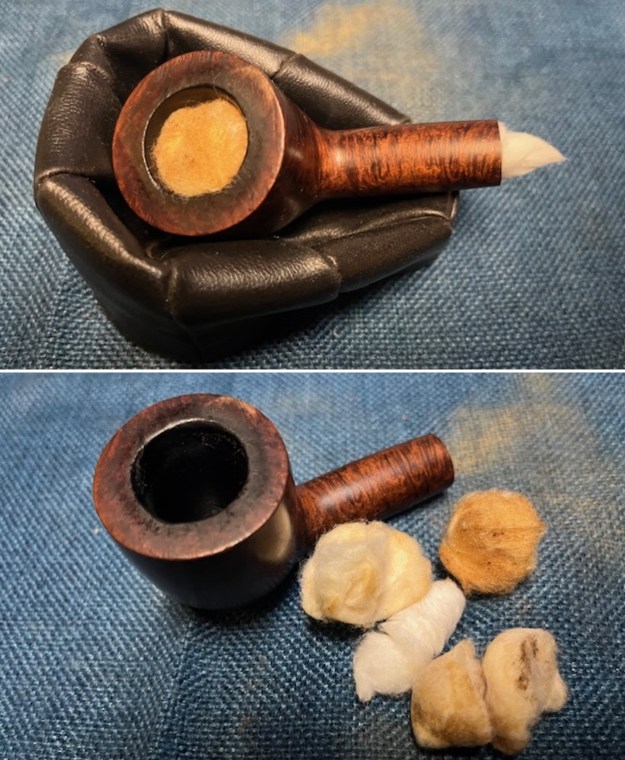
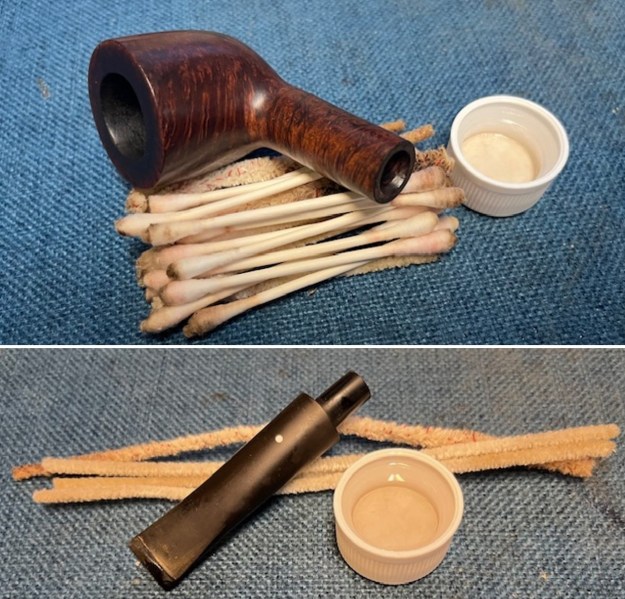 To help remove the ghost in the bowl I stuffed it with cotton bolls and rolled a plug from cotton for the shank end. I filled the bowl with 99% Isopropyl alcohol and let it sit overnight to wick out the strong oils and tars from the bowl walls and the shank. In the morning when I checked it the cotton was heavily darkened with the oils. I removed them and set the bowl aside to airdry.
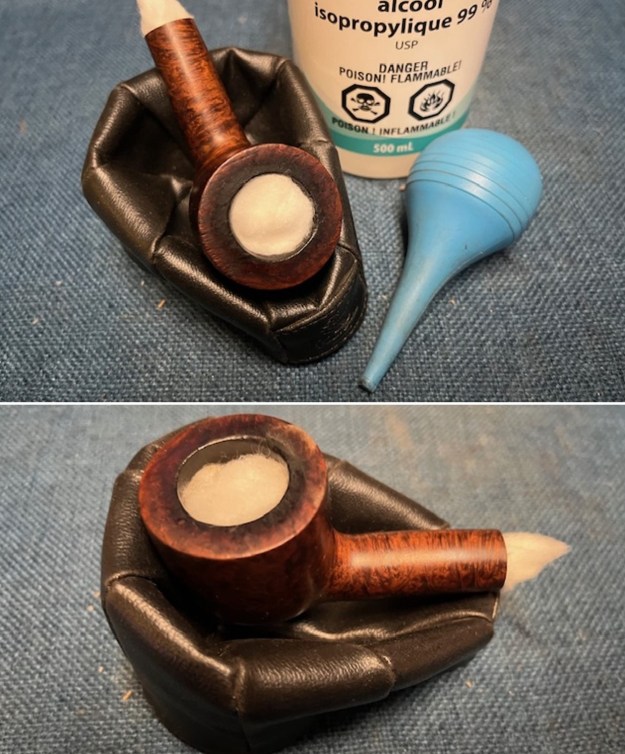
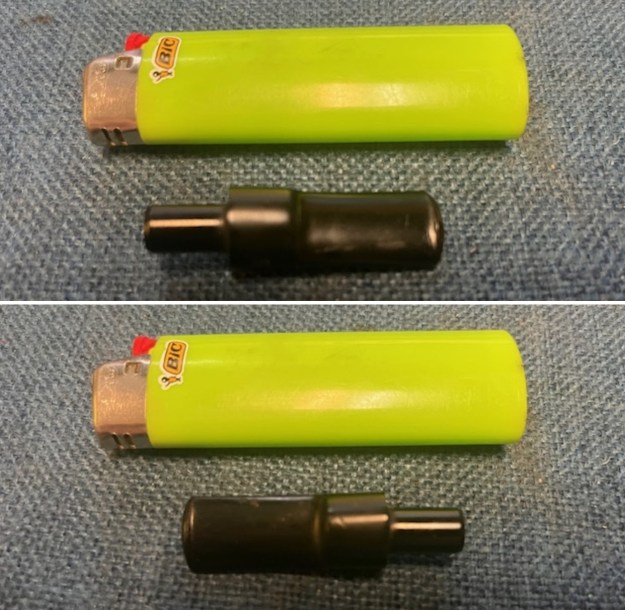
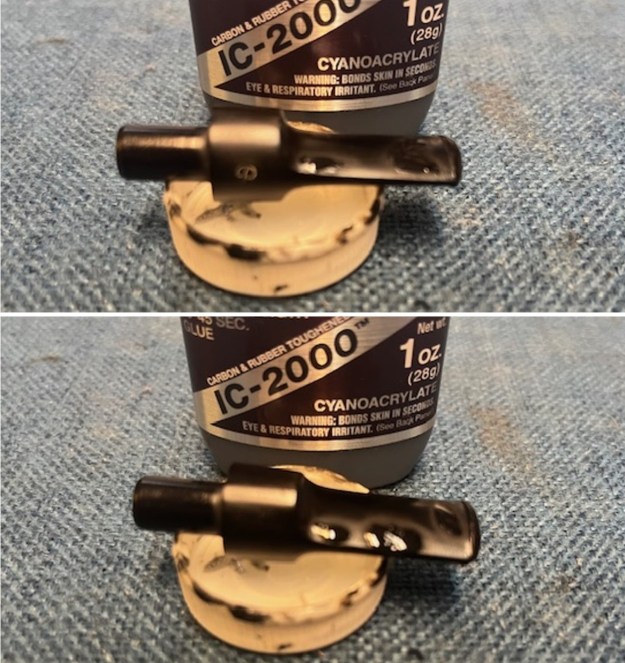
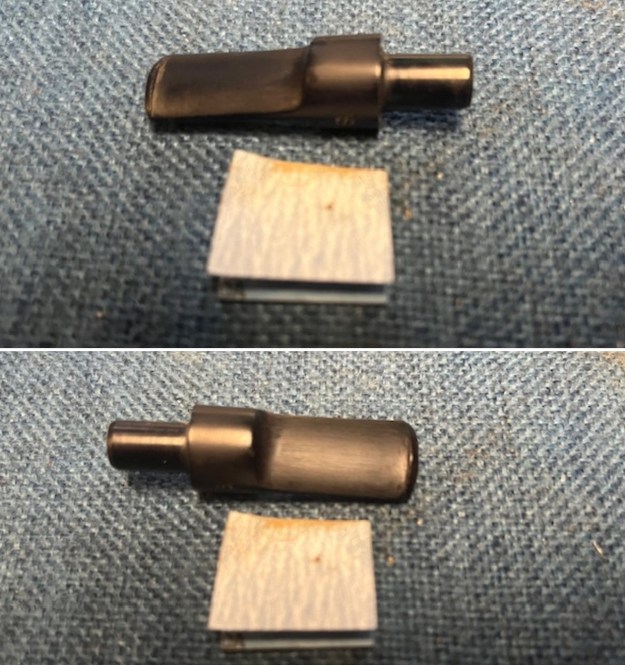
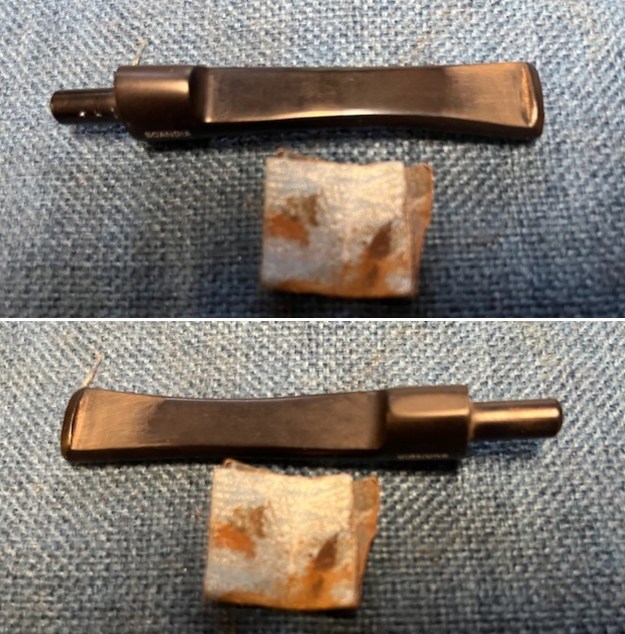
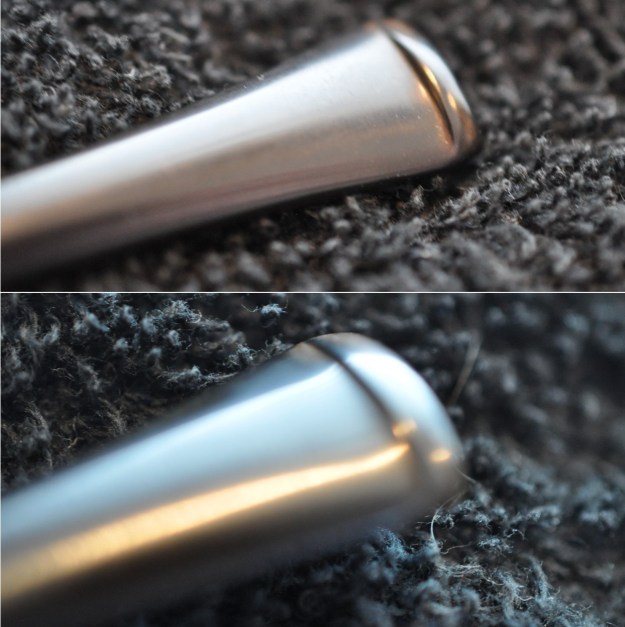
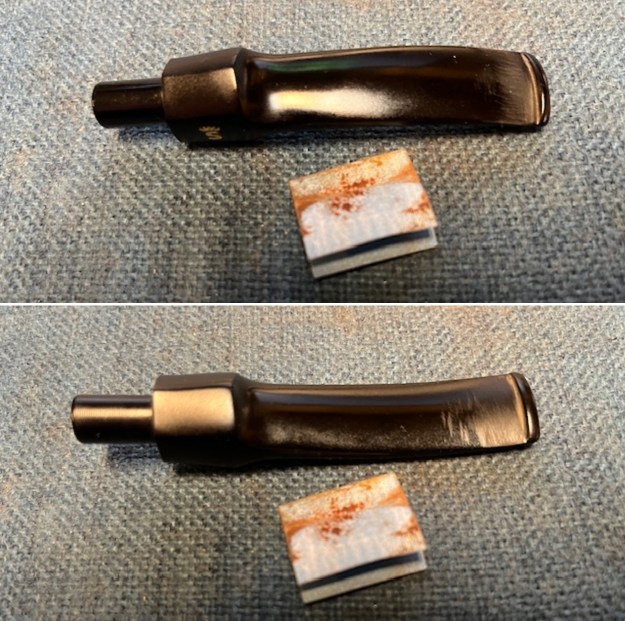
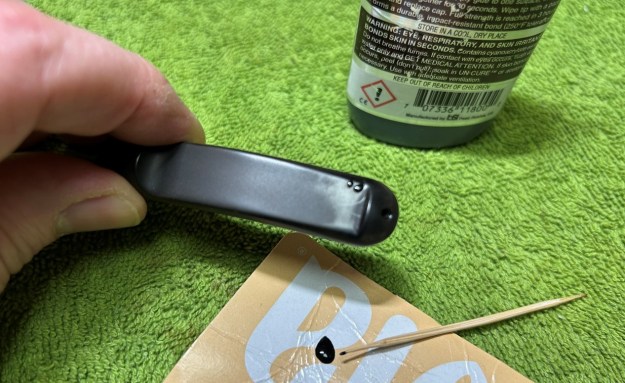
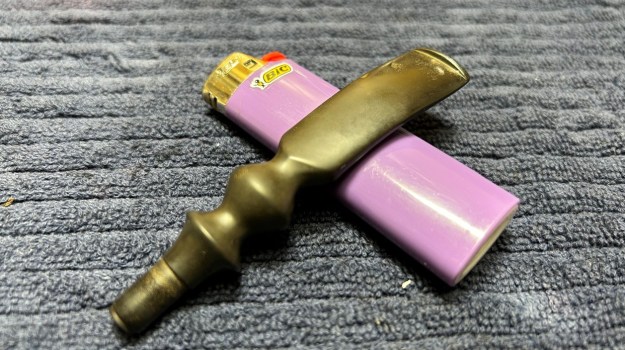
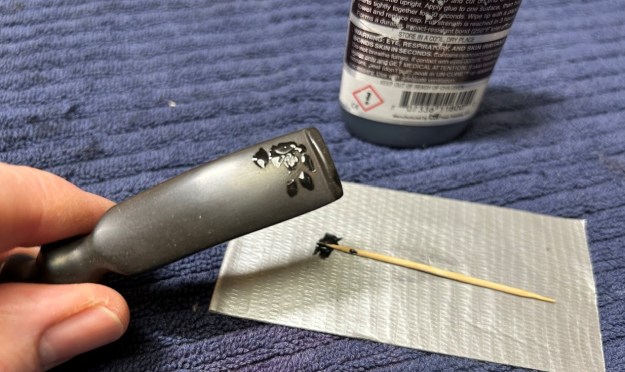
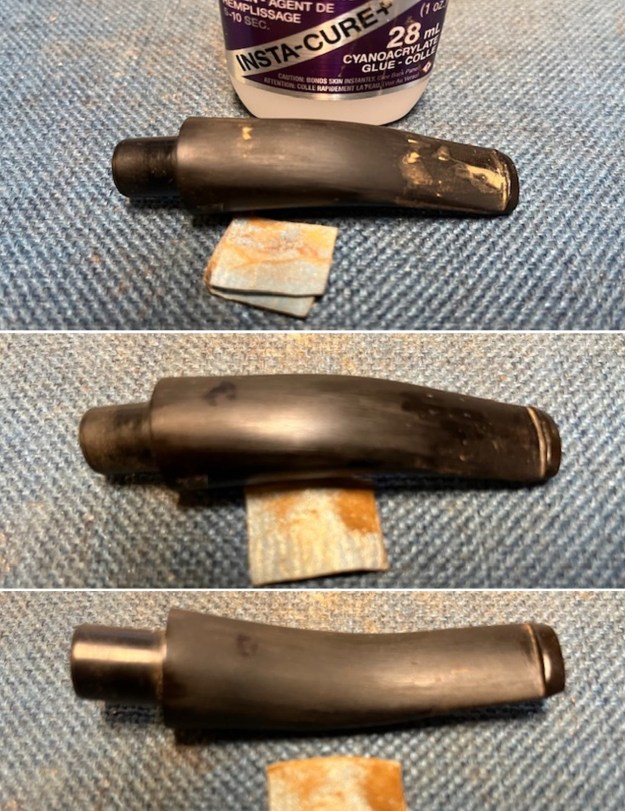
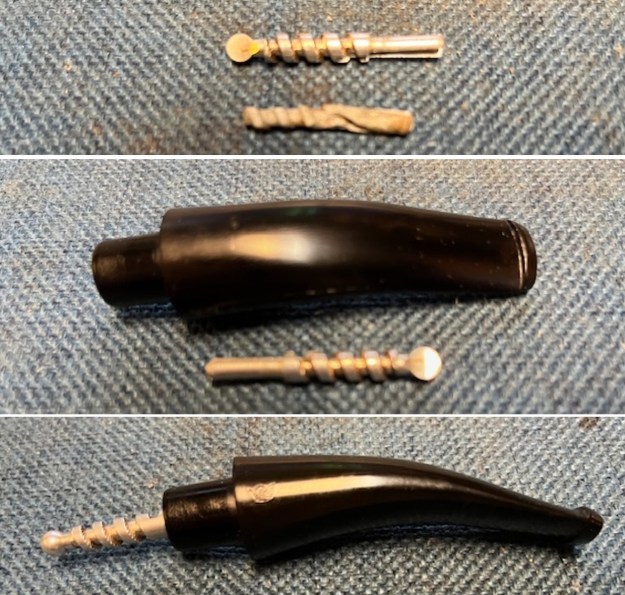
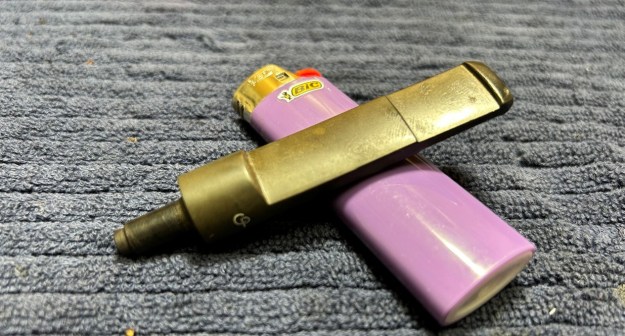
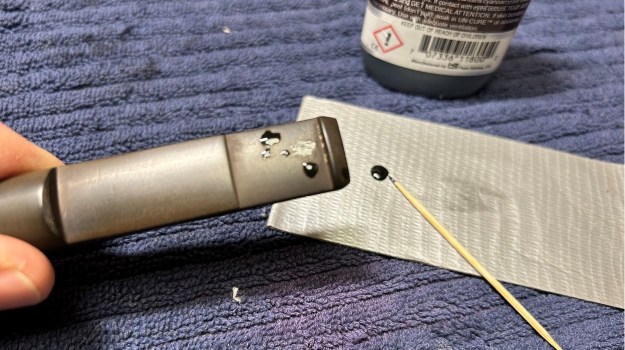
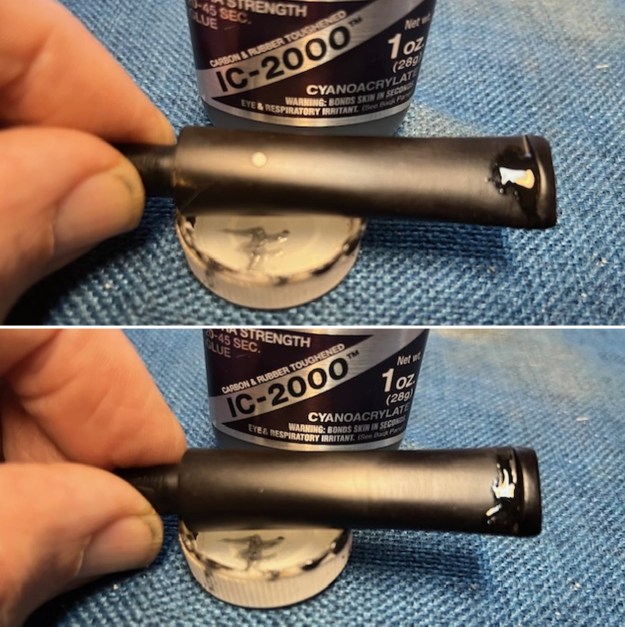
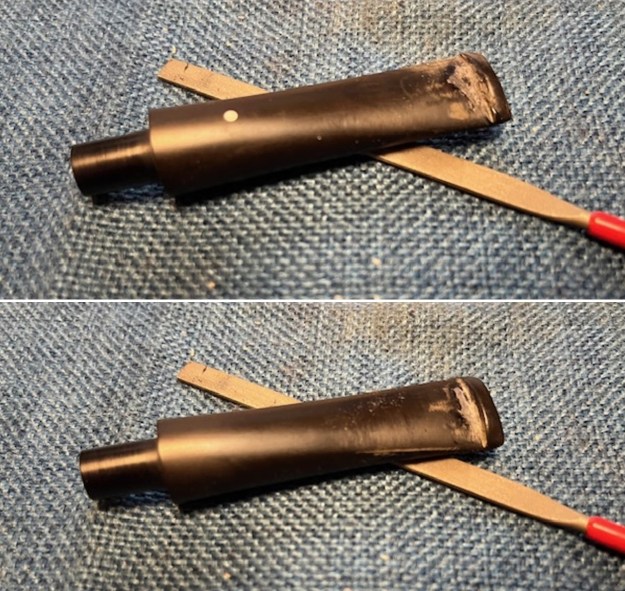
 I set the bowl aside to airdry after deghosting and turned to address the stem issues. I “painted” the surface of the stem with the flame of a Bic lighter to lift the tooth marks. I was able to lift them all considerably. I filled in the two deep marks – one on each side of the stem just ahead of the button – with black rubberized CA glue. Once it cured, I used a small, flat needle file to recut the button edge and flatten the repair. I sanded the repairs with 220 grit sandpaper to blend them into the surface. It looked significantly better at this point.
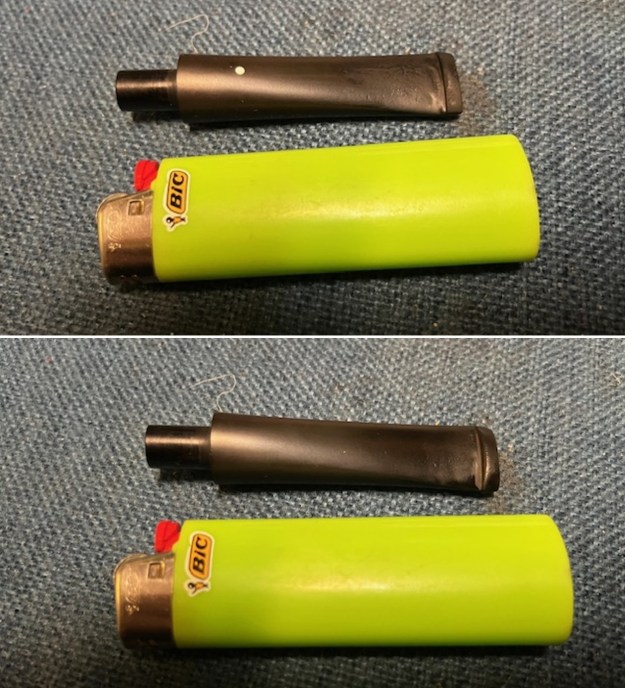
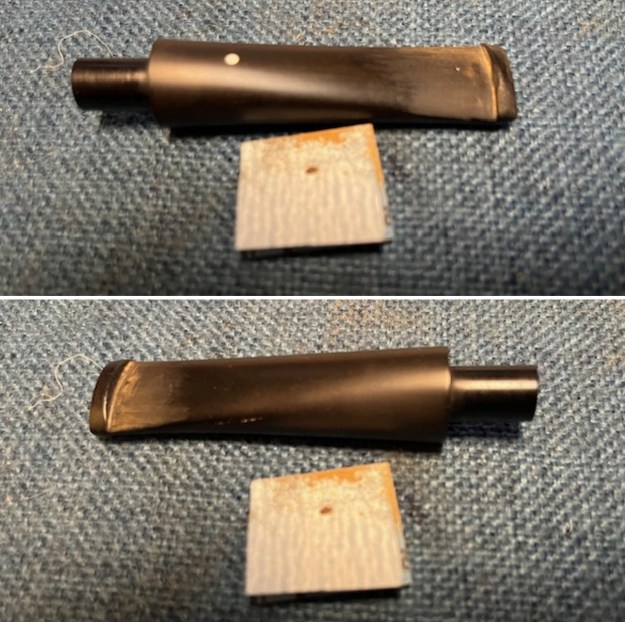
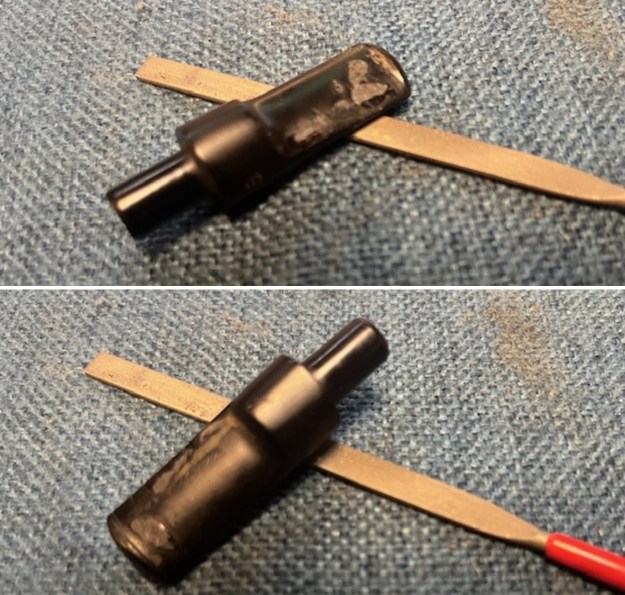
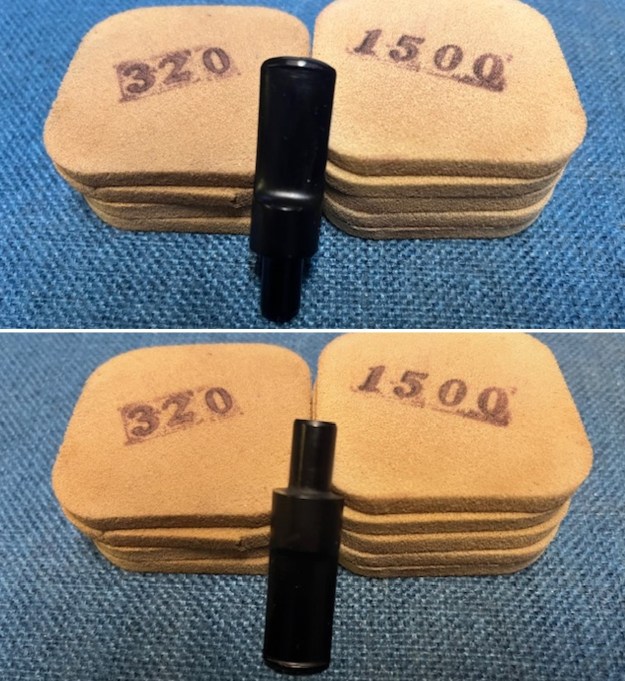
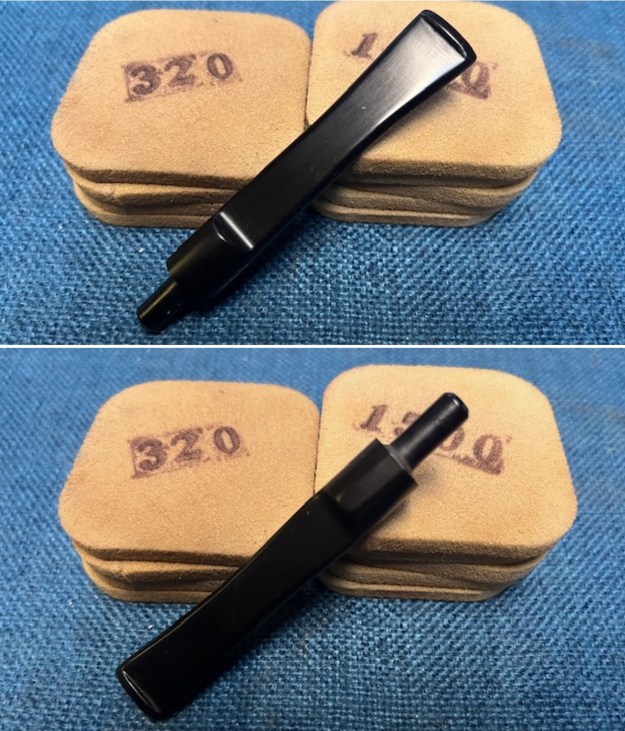
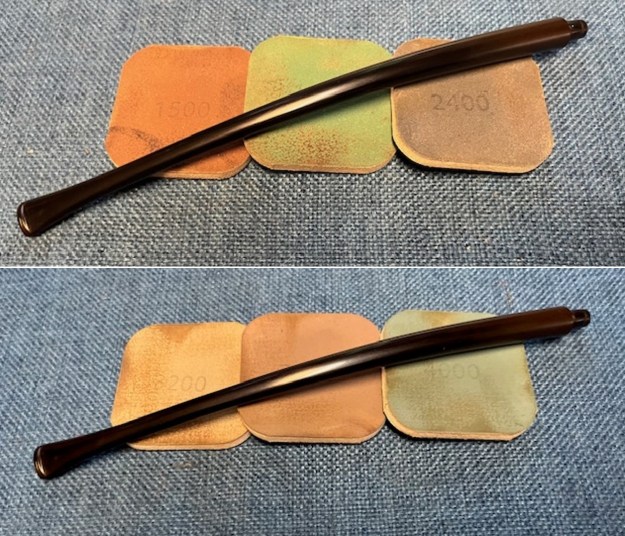
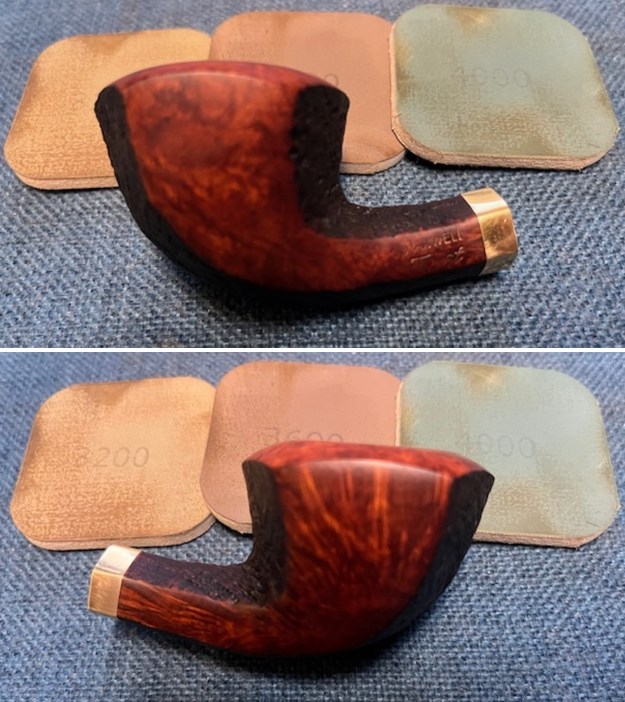
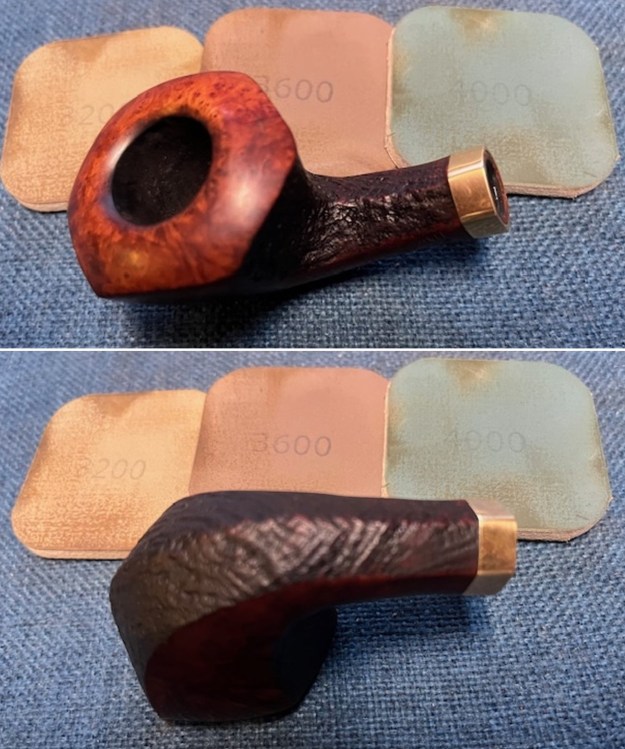
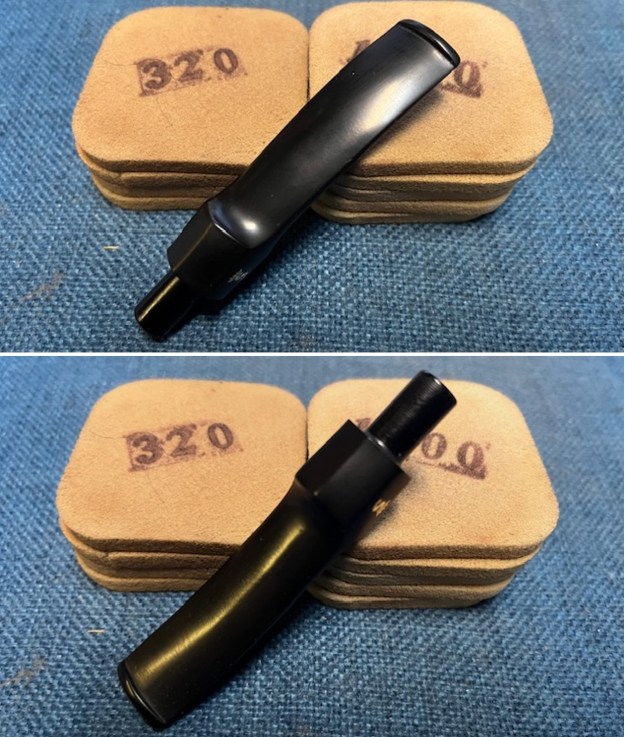
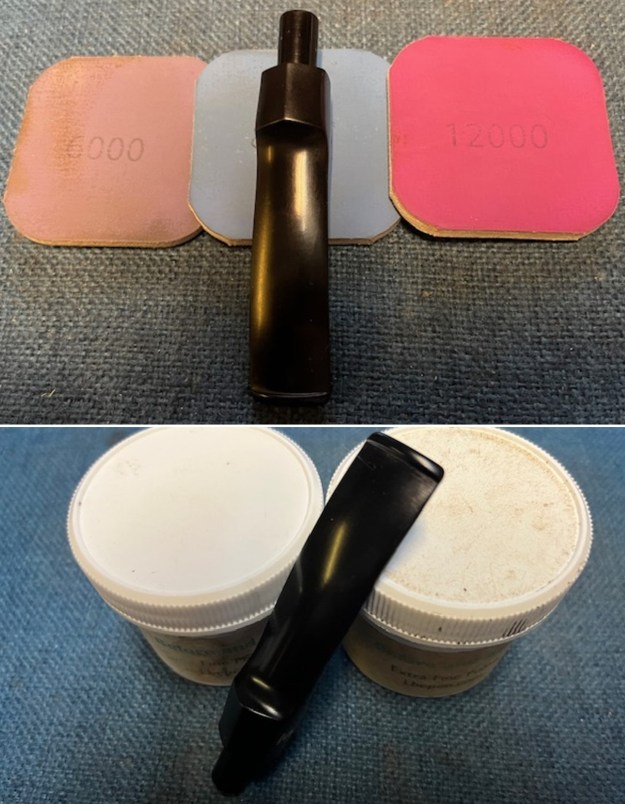
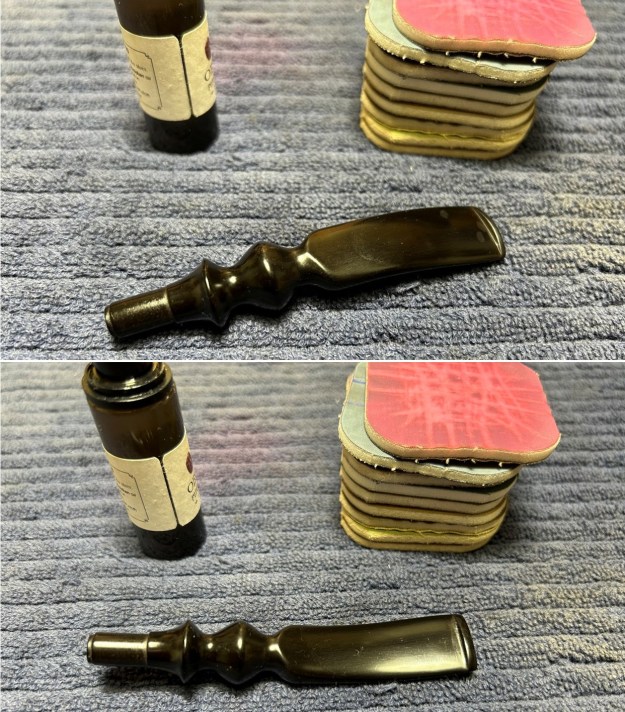
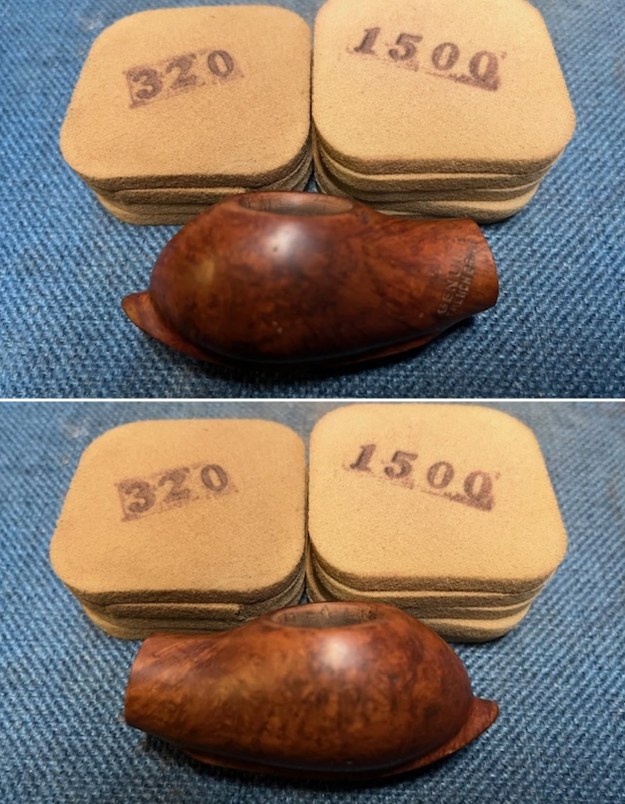
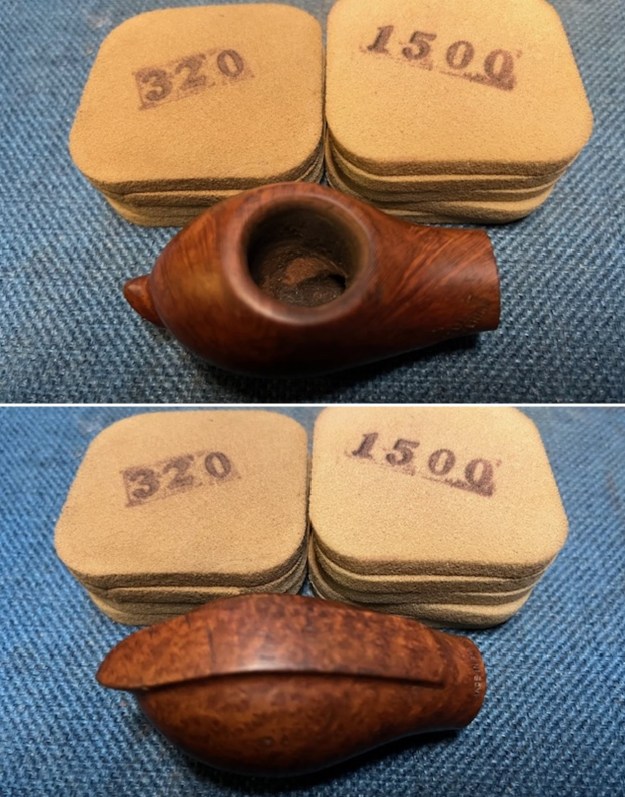
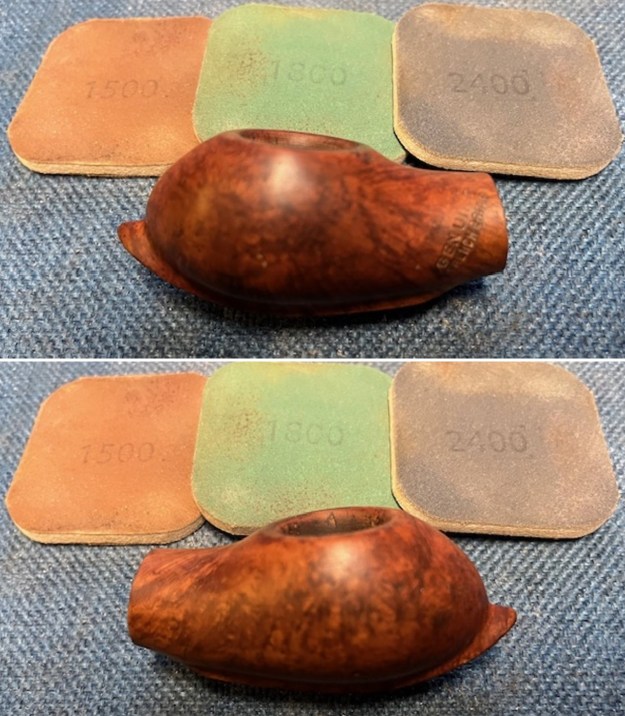
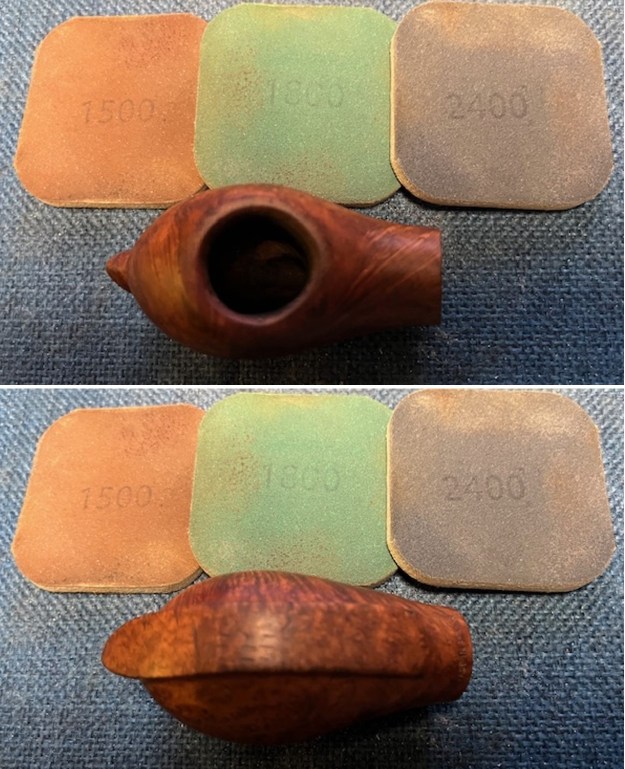
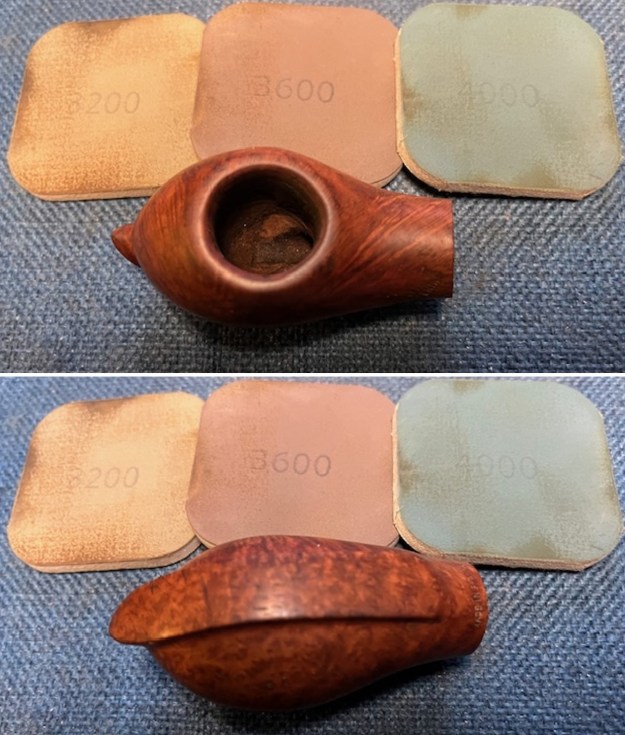
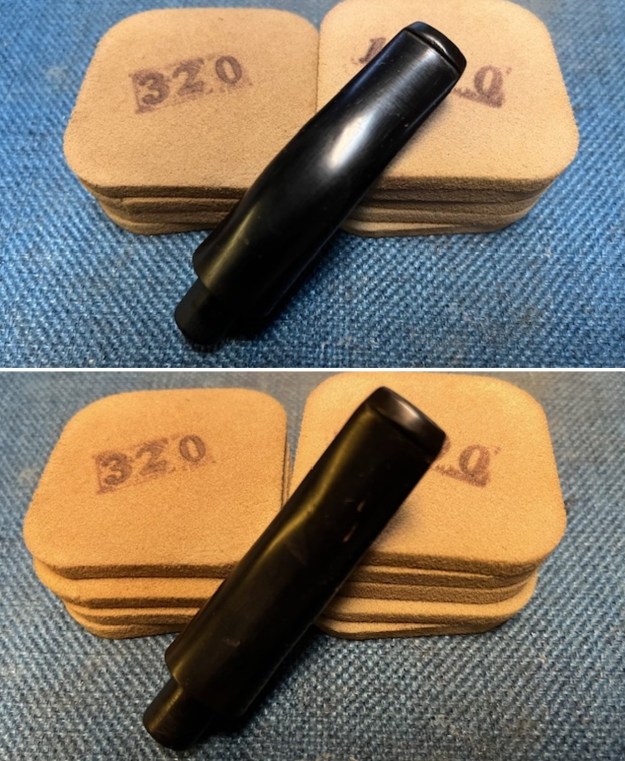
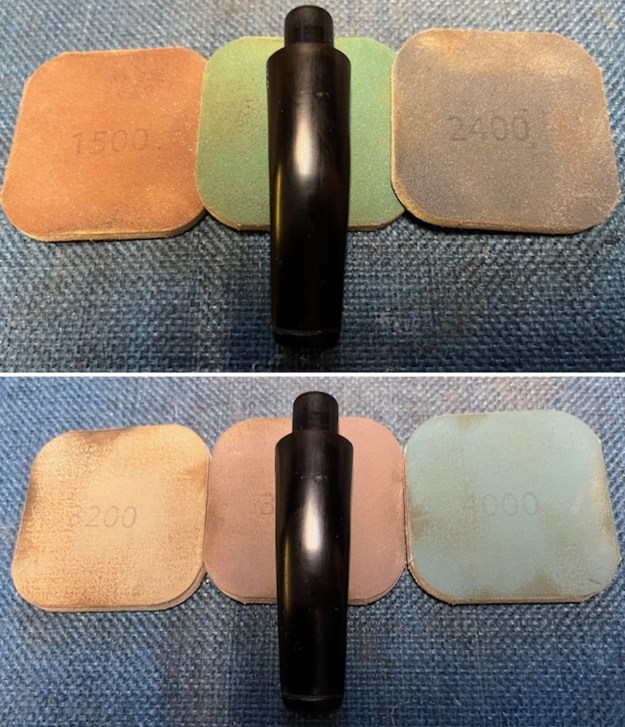
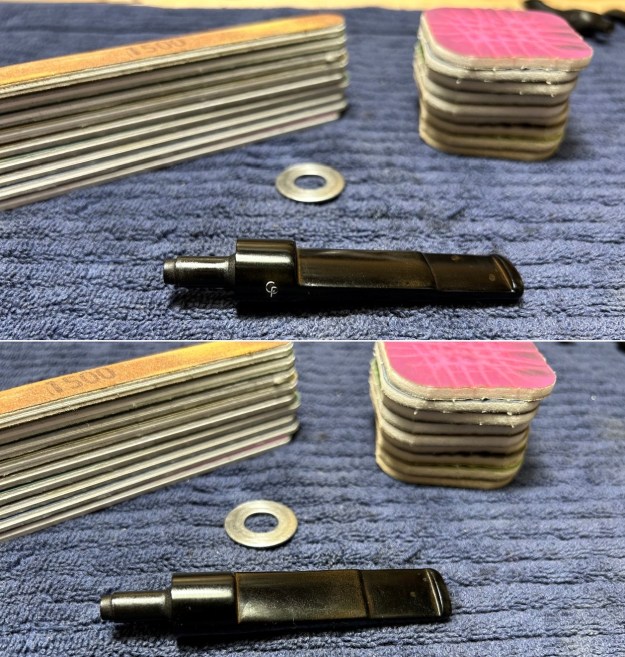
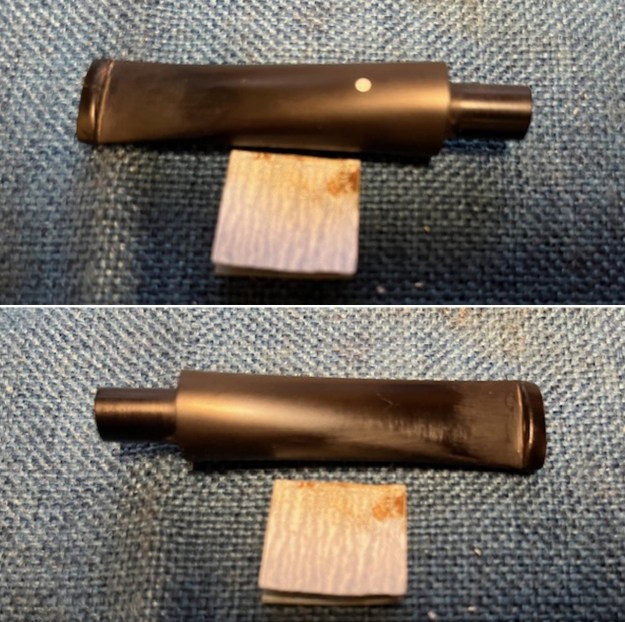 I sanded the stem with 320-3500 grit sanding pads to further blend in the repairs and remove the residual light oxidation on the stem surface. I am happy with the way that it looked at this point.
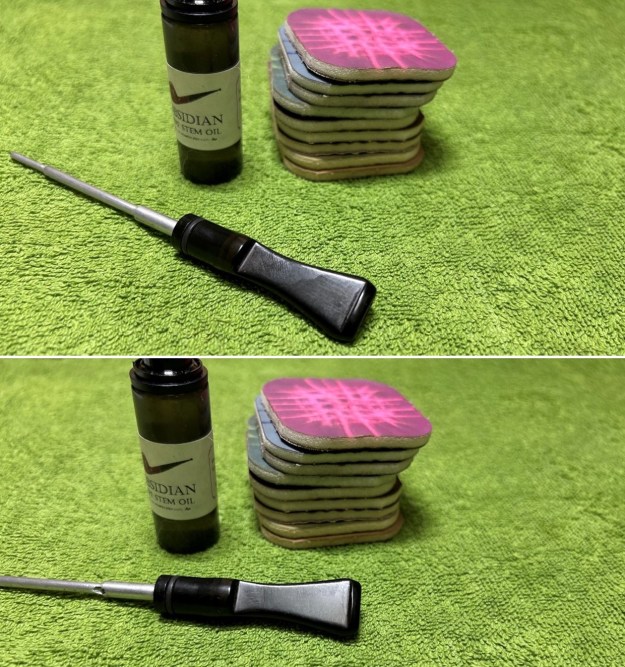
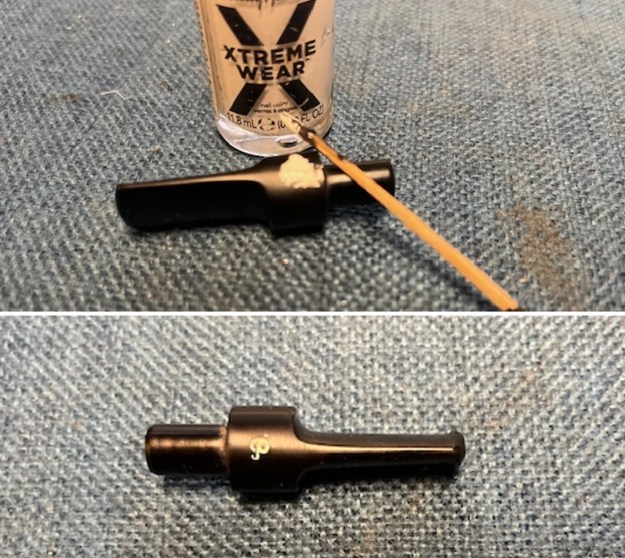
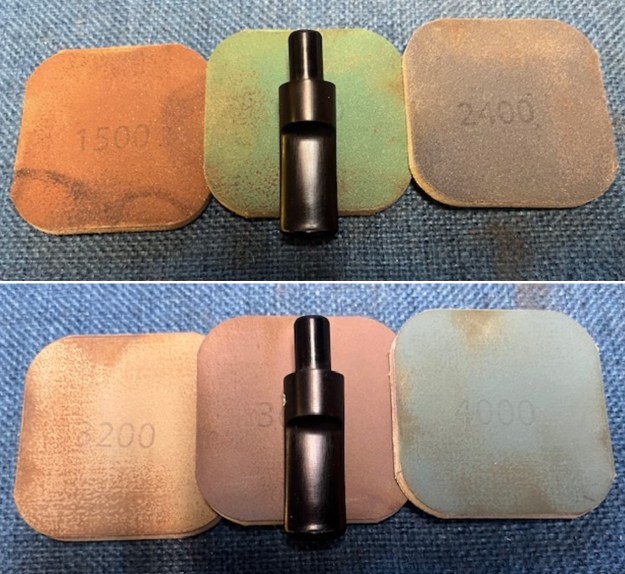
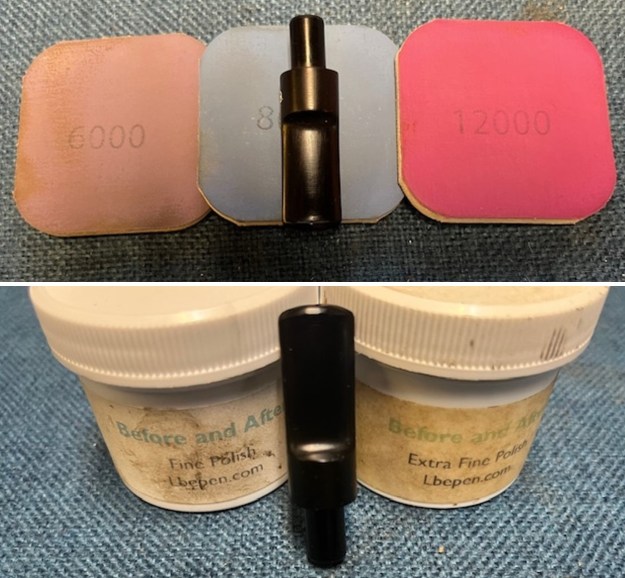
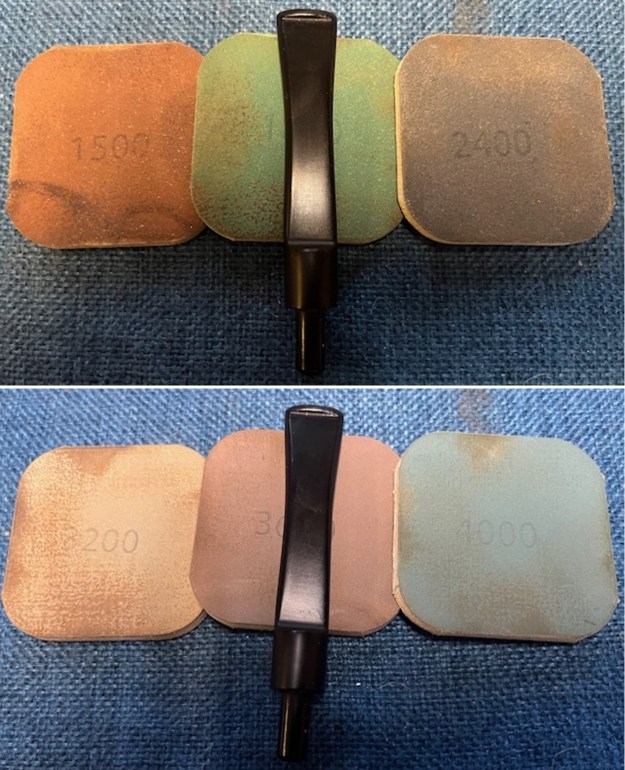
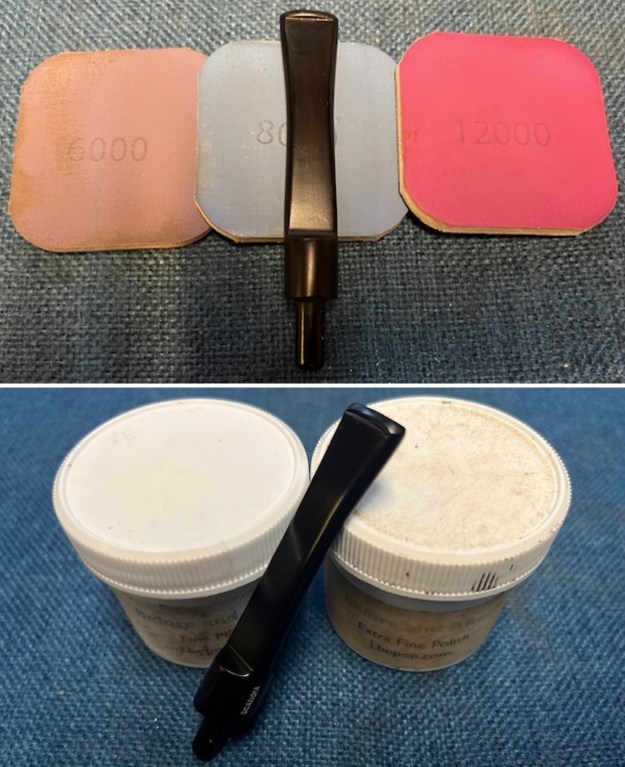
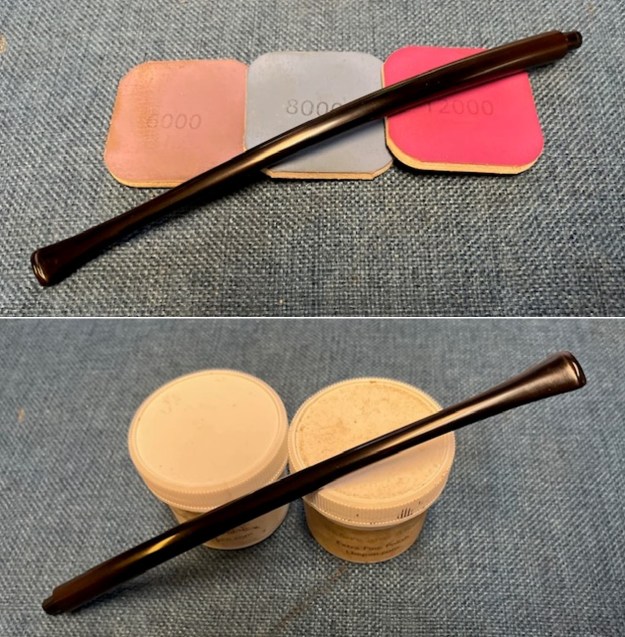
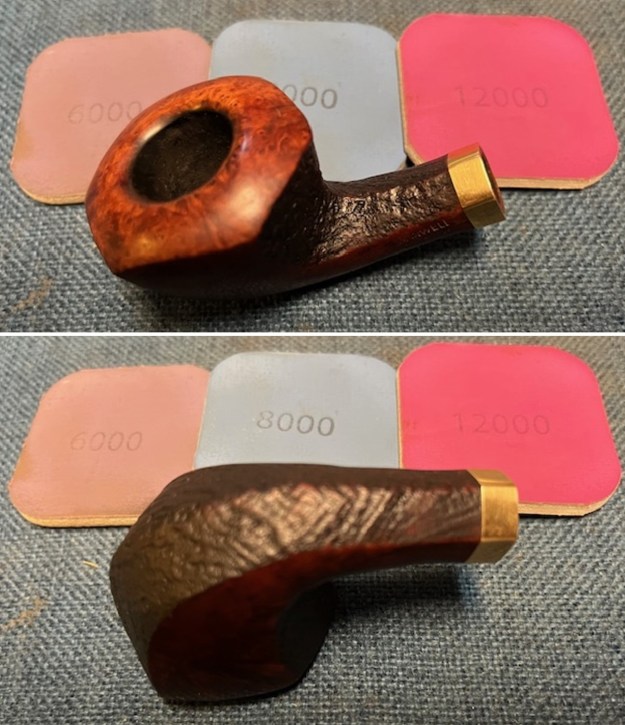
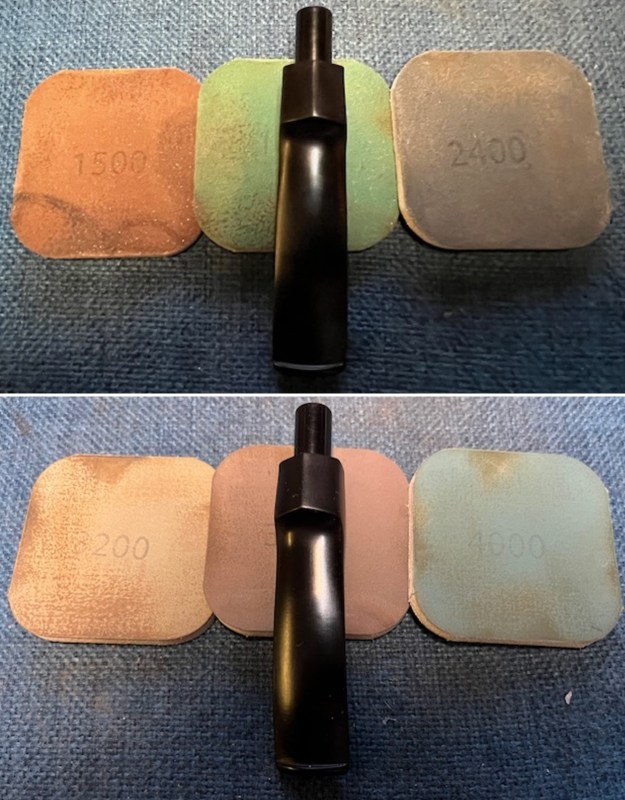
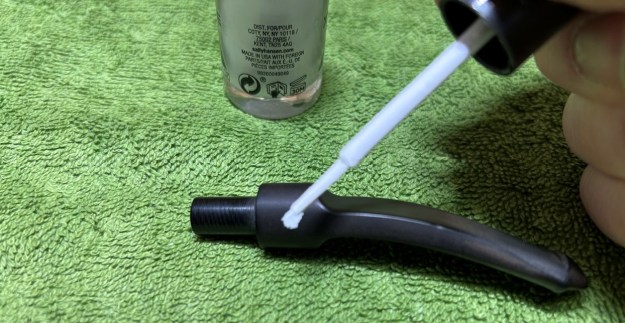
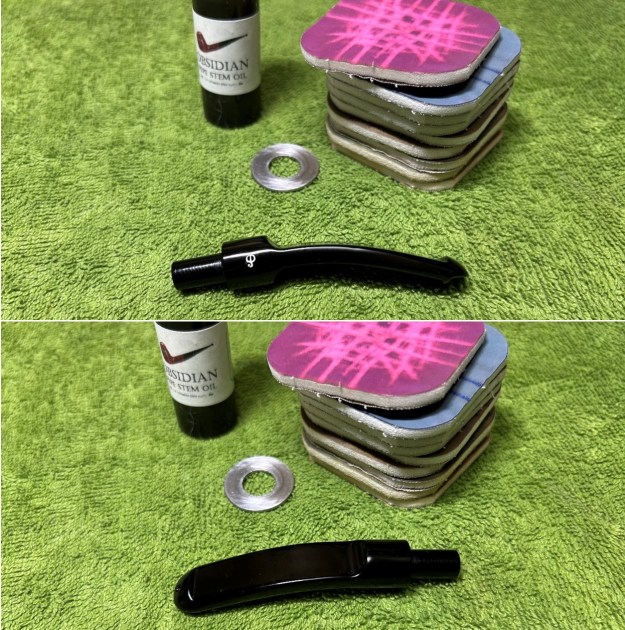
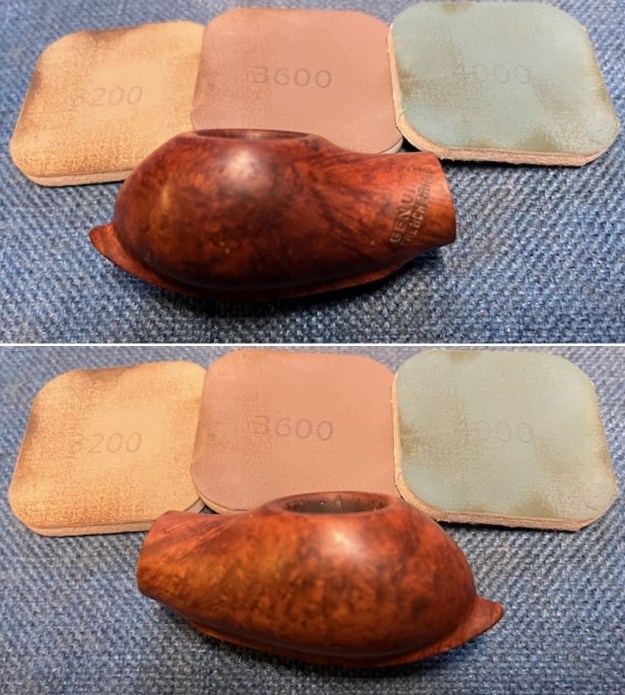
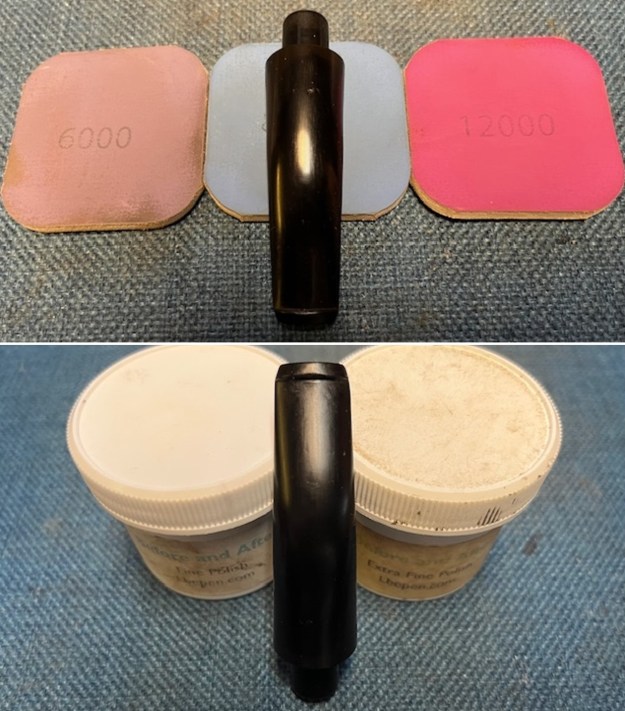
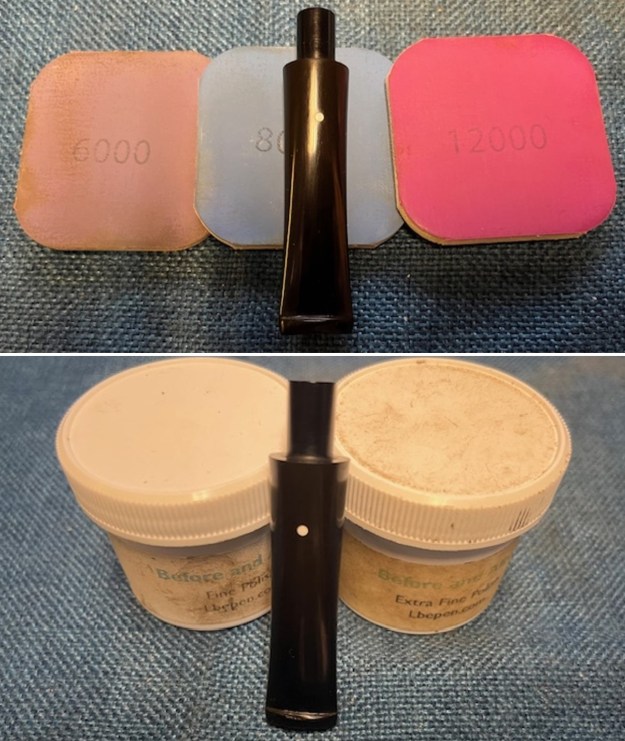
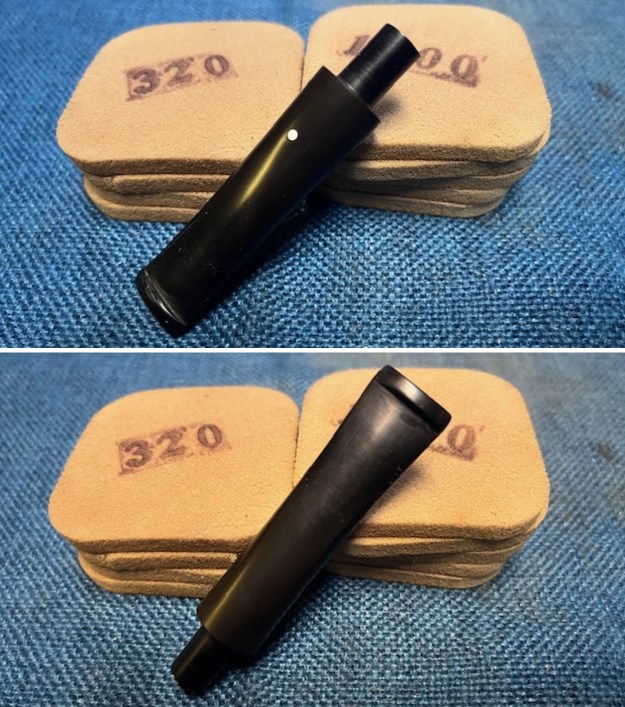 I polished the vulcanite with micromesh sanding pads – 1500-12000 grit pads. I wiped it down with Obsidian Oil after each sanding pad. I used Before & After Pipe Polish – both Fine and Extra Fine to further polish the stem.
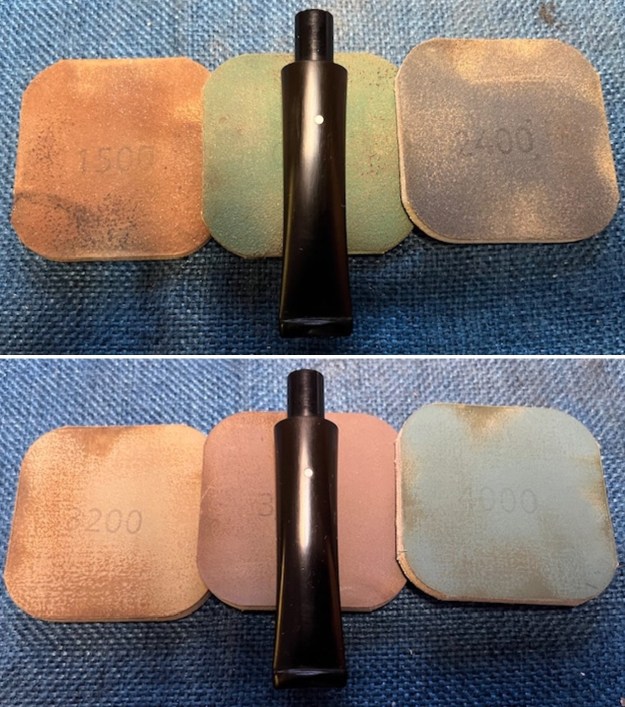
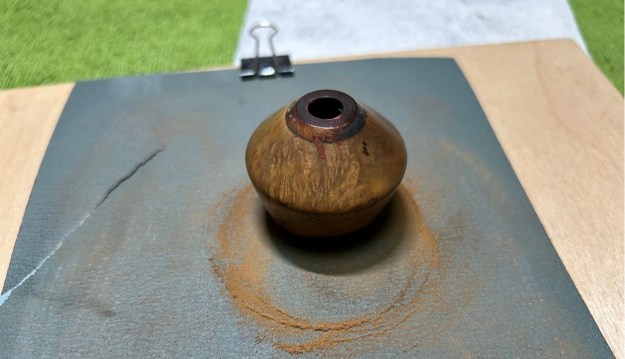
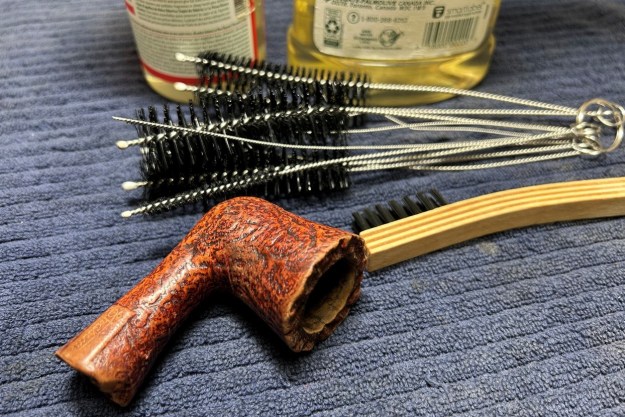
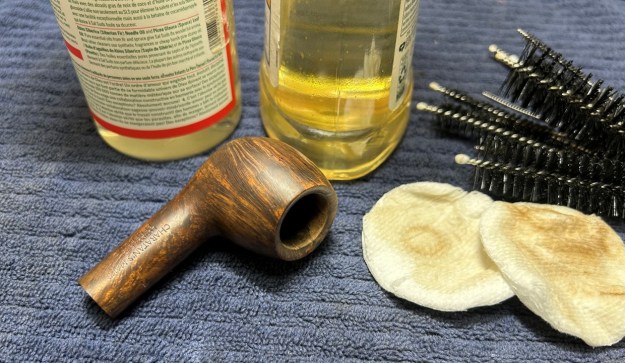
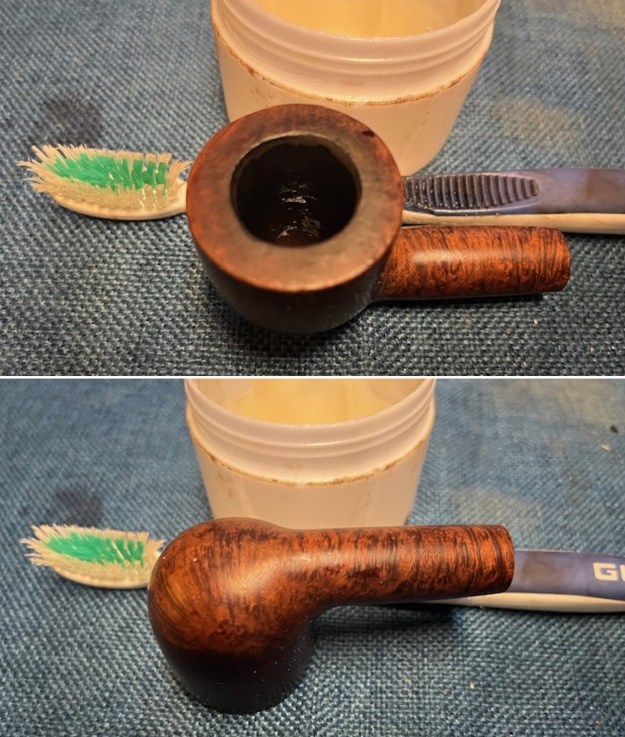
 I set the stem aside and went back to the bowl. I used some Before & After Briar Cleaner to remove the tars from the finish. I scrubbed the surface of the bowl with a tooth brush. I rinsed of the debris with warm water and dried it off with a soft cloth.
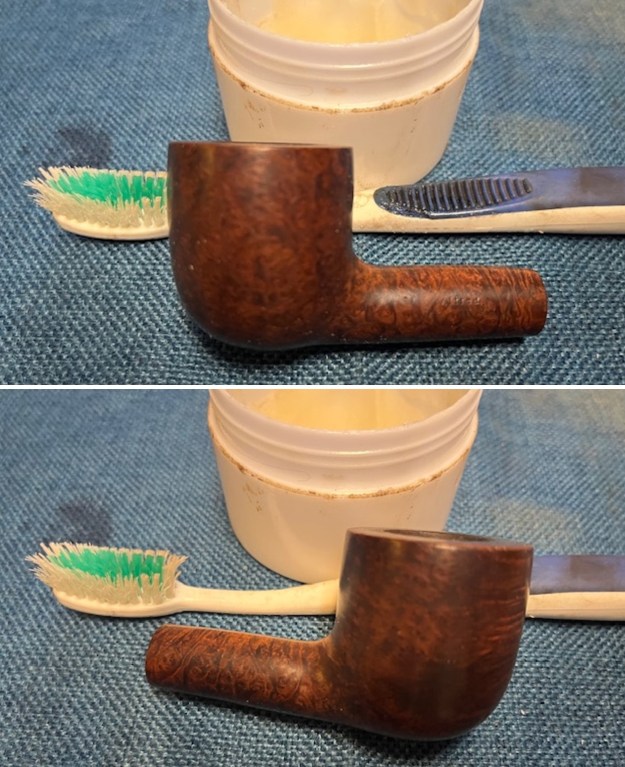
 I used a folded piece of 220 grit sandpaper to smooth out the rough inner edge of the bowl. I also sanded the scratches and the darkening of the rim top with the sandpaper. It did not take much and it looked much better.
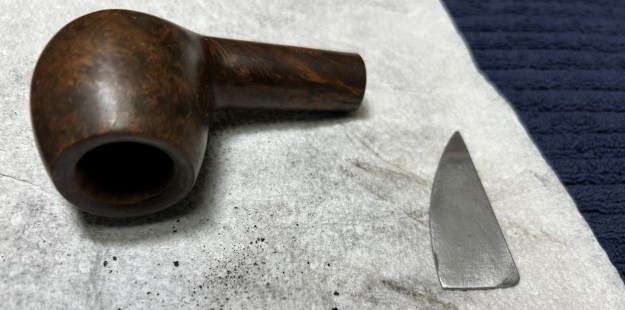
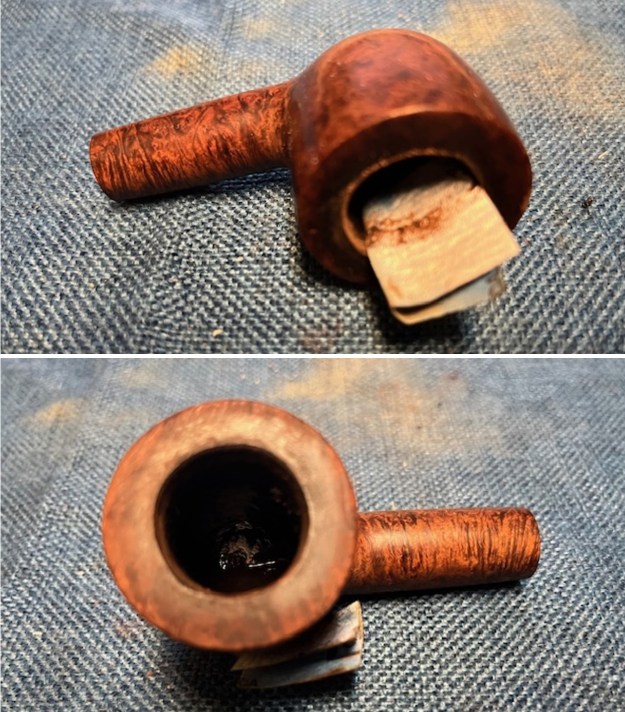 There was a dent on the right side of the bowl toward the heel. I used a damp cloth and a hot knife to steam the dent out as much as possible. I was able to lift it to a large degree but not completely with the steam.
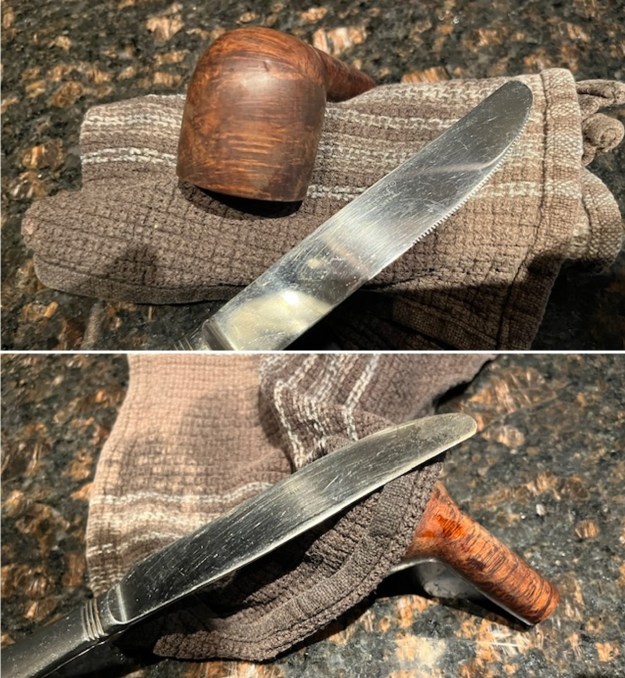
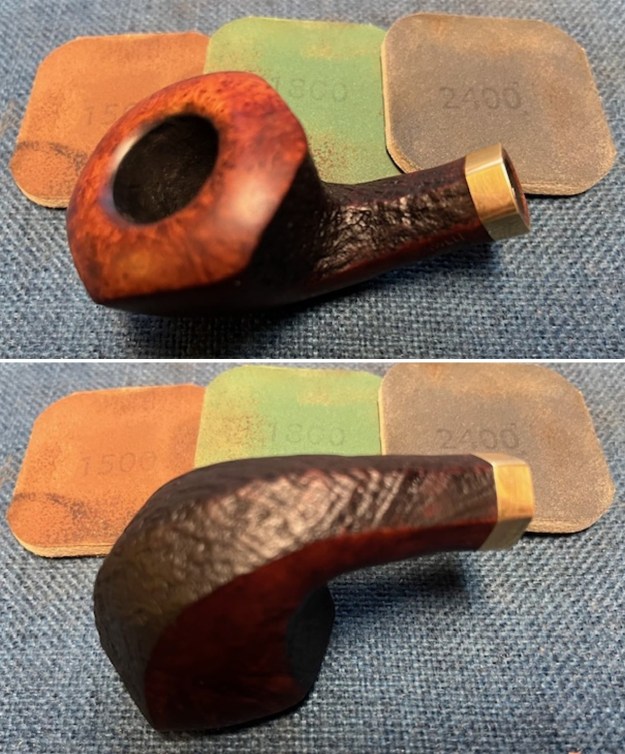
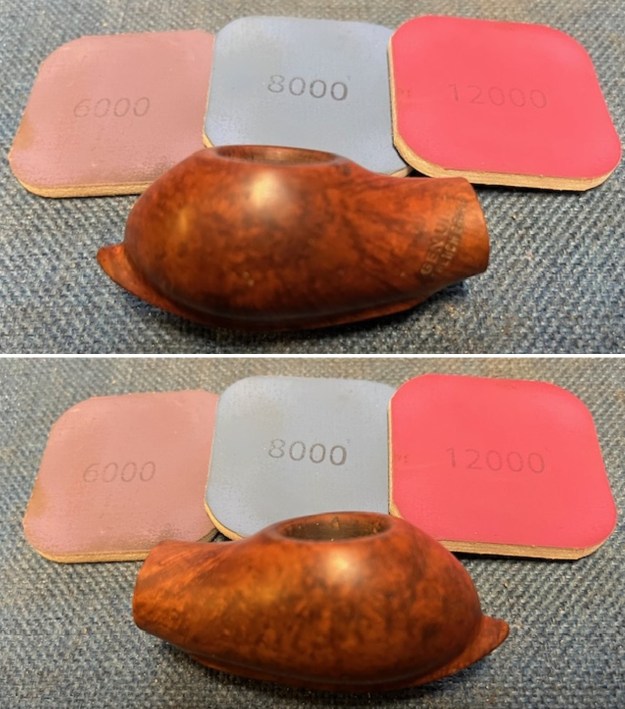
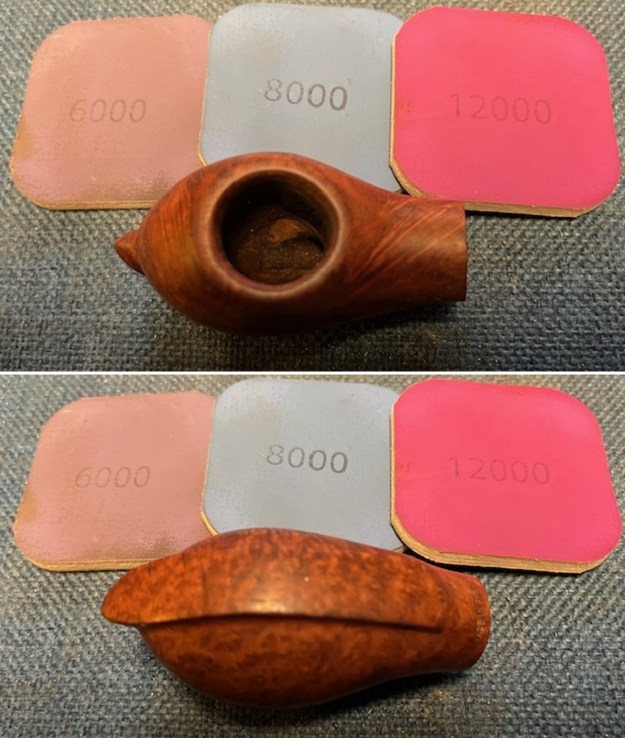
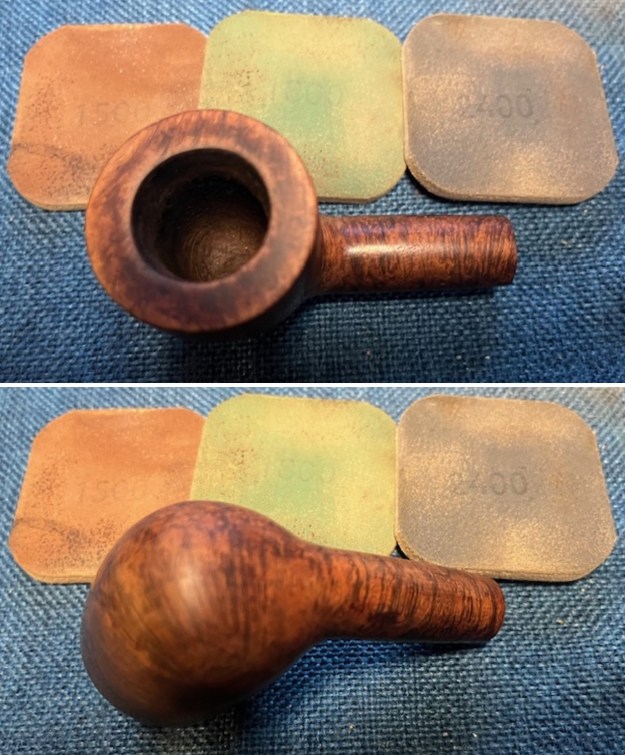
 I polished the rim top and bowl with micromesh sanding pads – dry sanding with 1500-12000 grit pads and wiping the bowl down with a damp cloth to remove the dust. The rim top and the bowl came out looking very good.
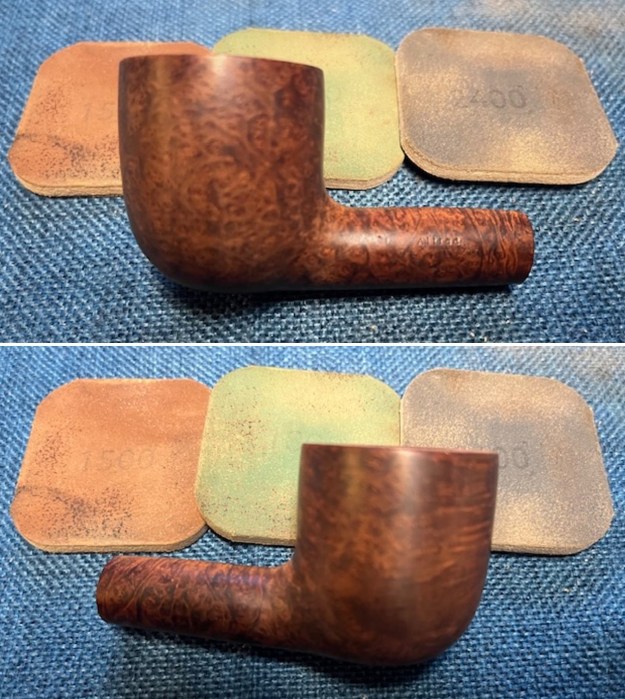
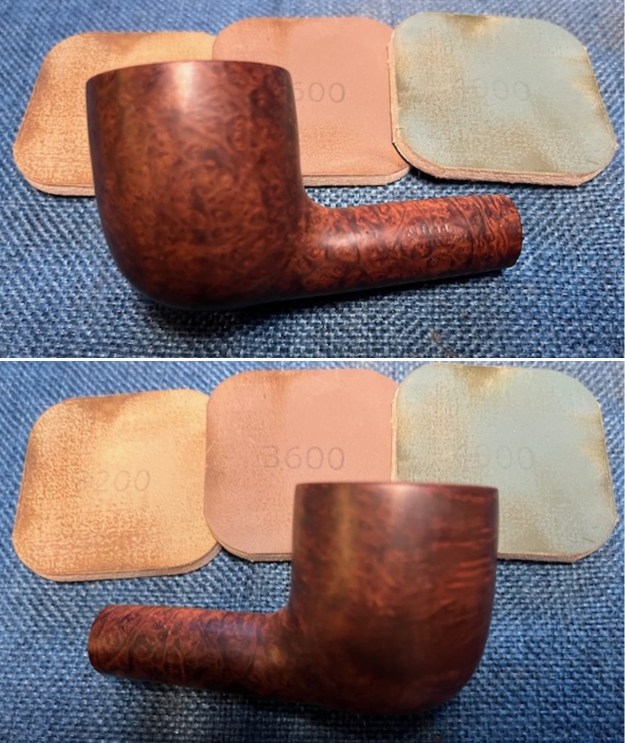

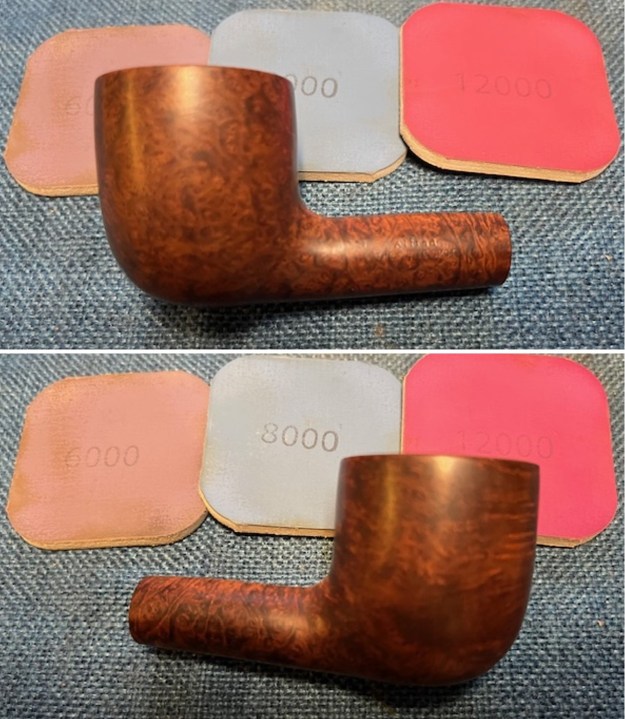
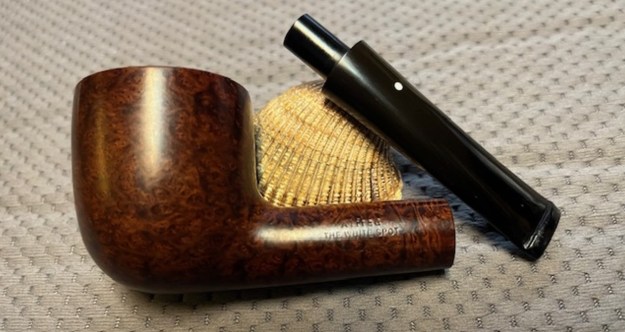
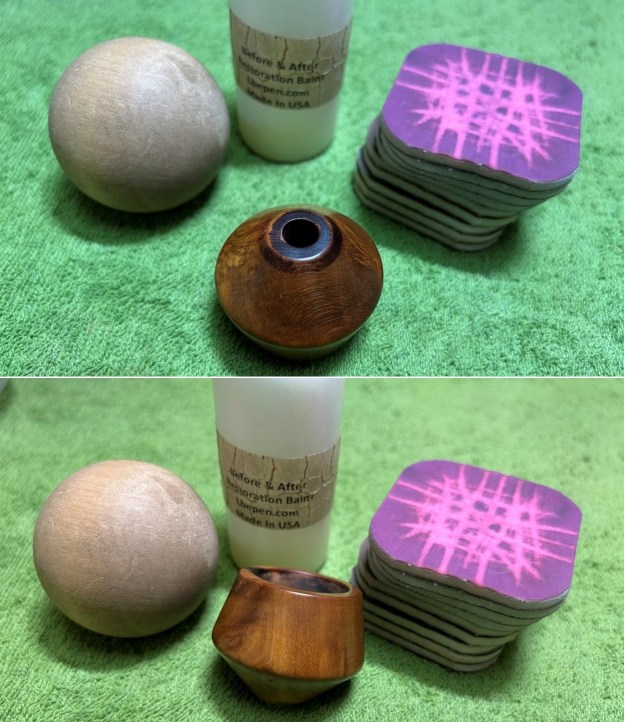
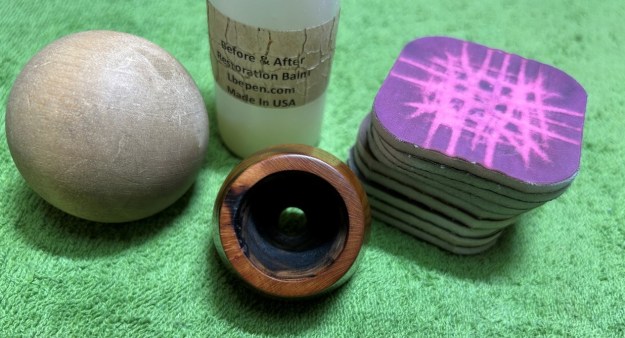
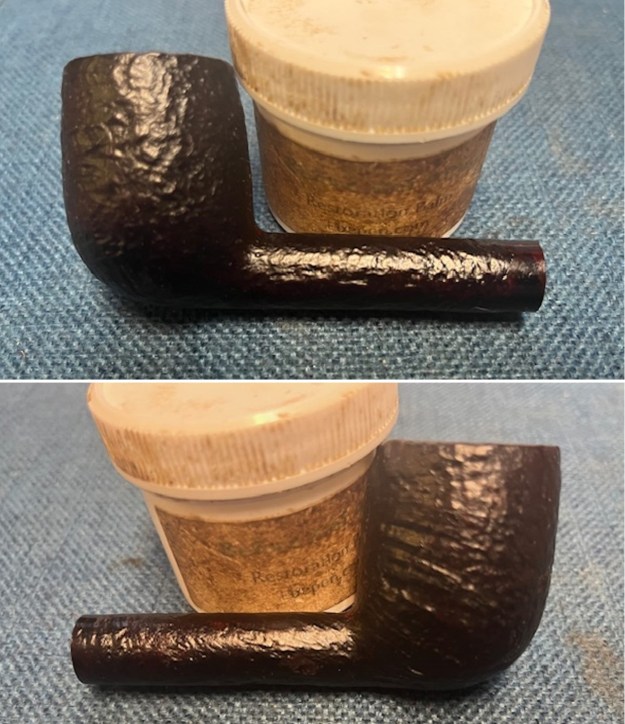
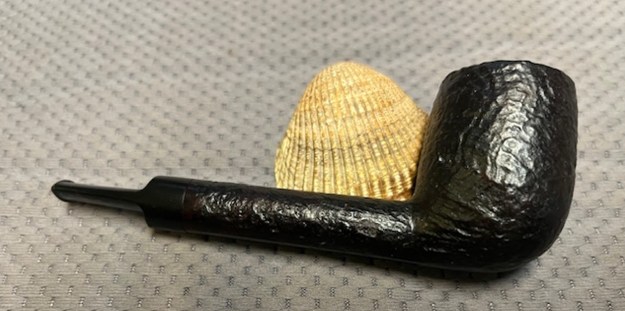
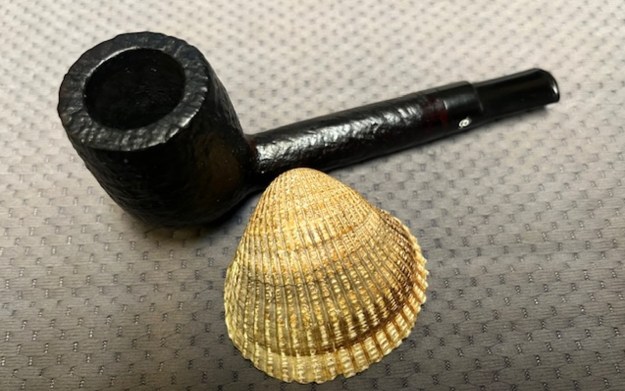
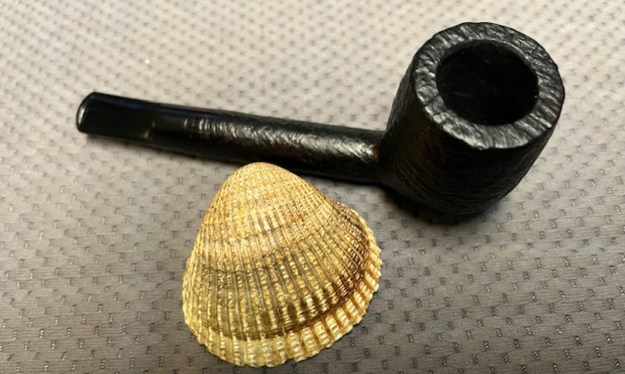
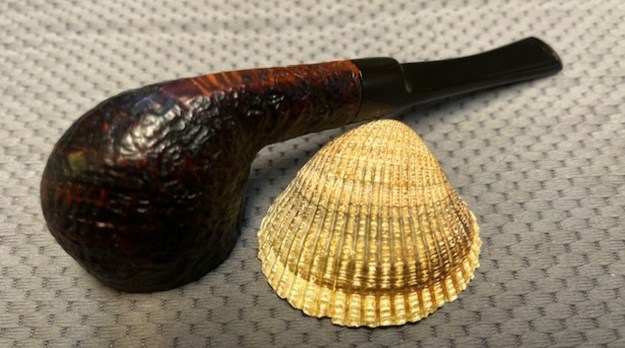
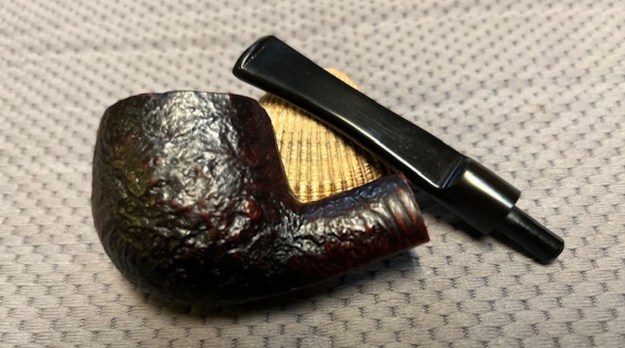
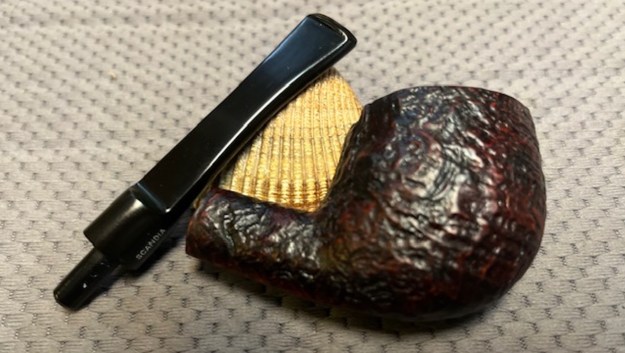
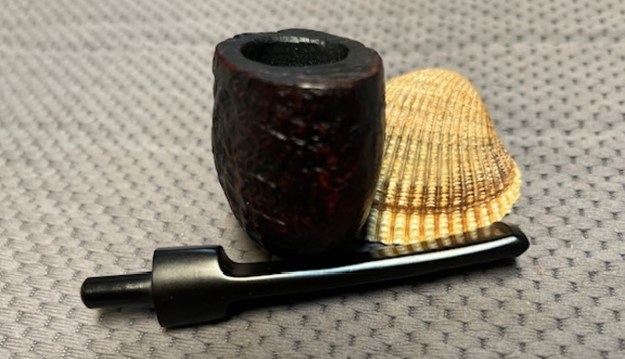
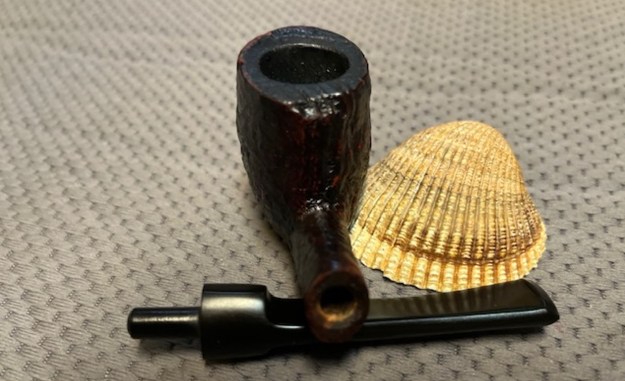
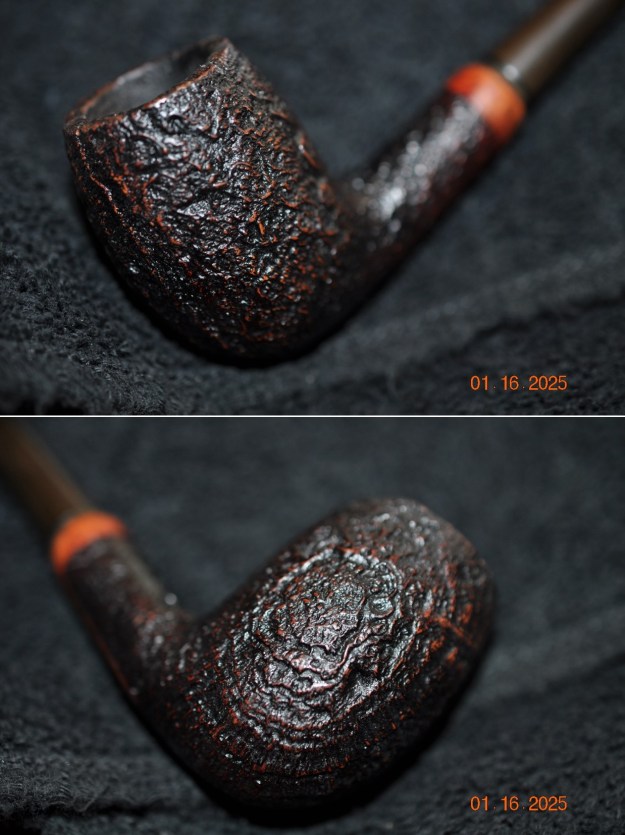
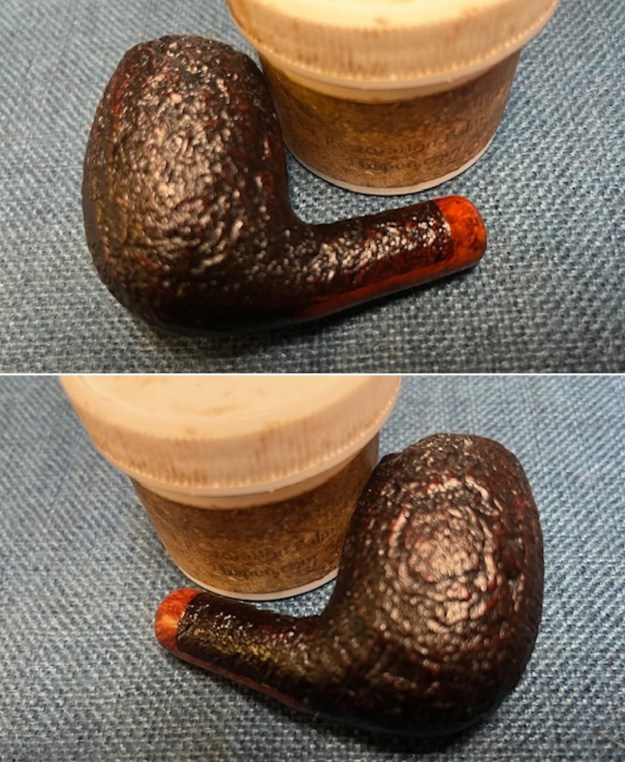
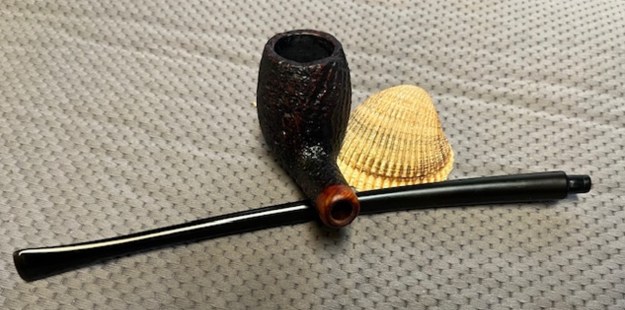
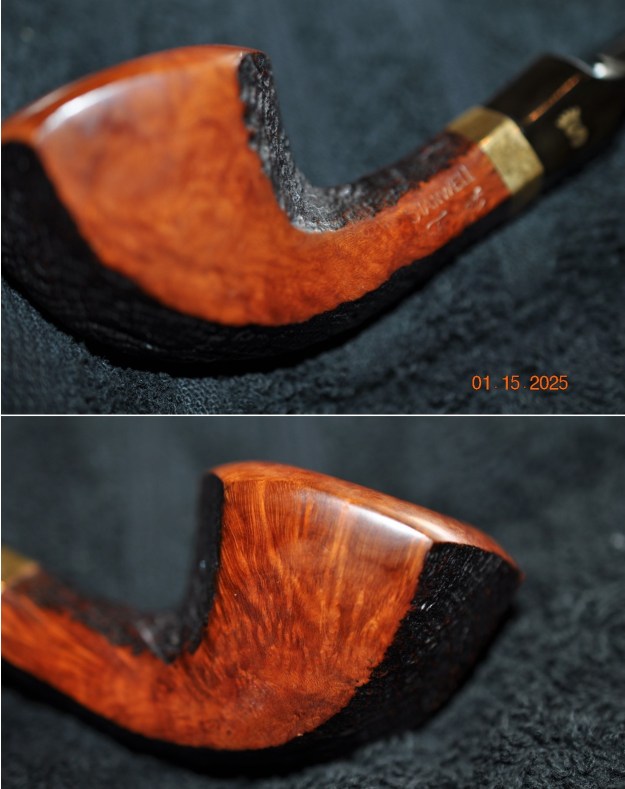
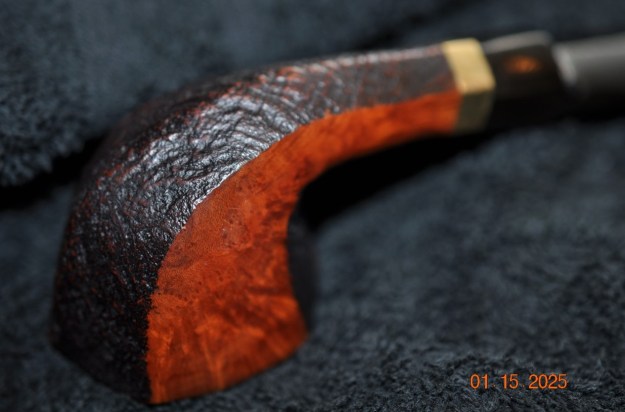
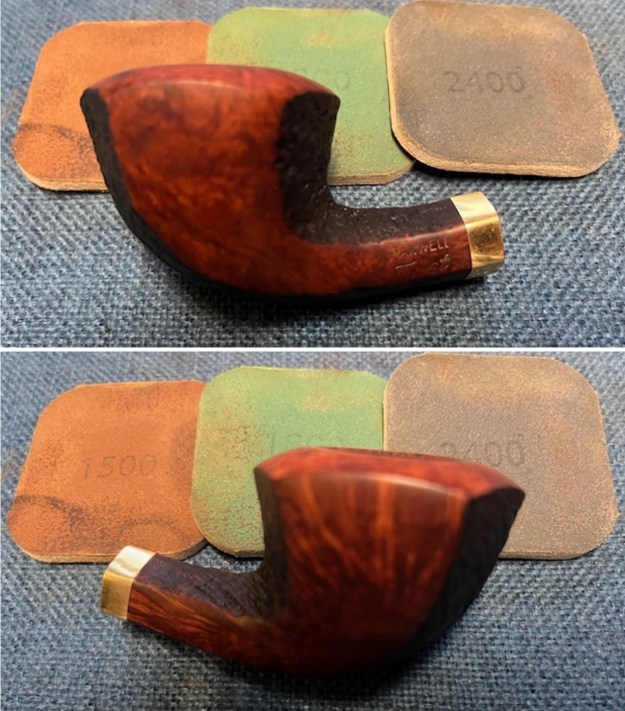
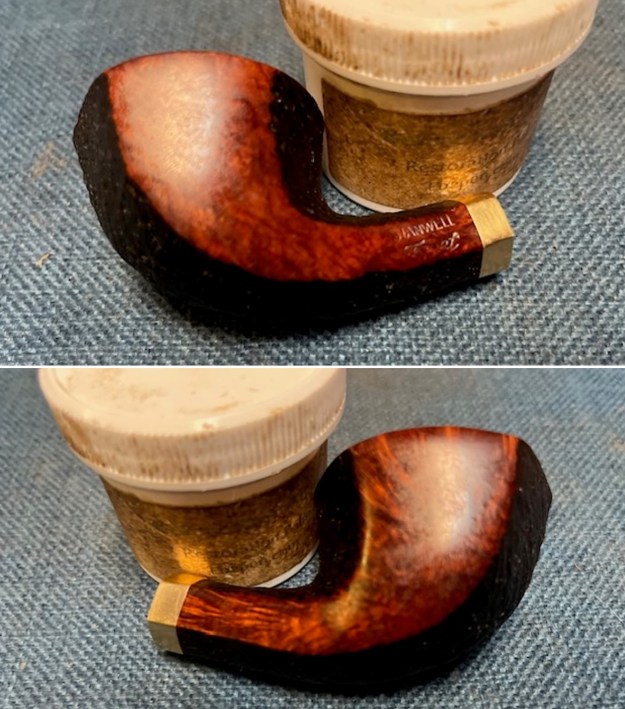
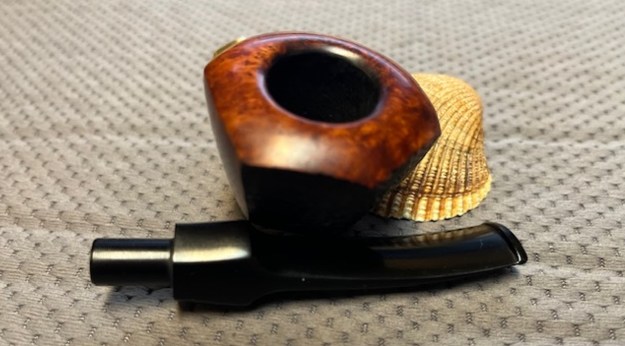
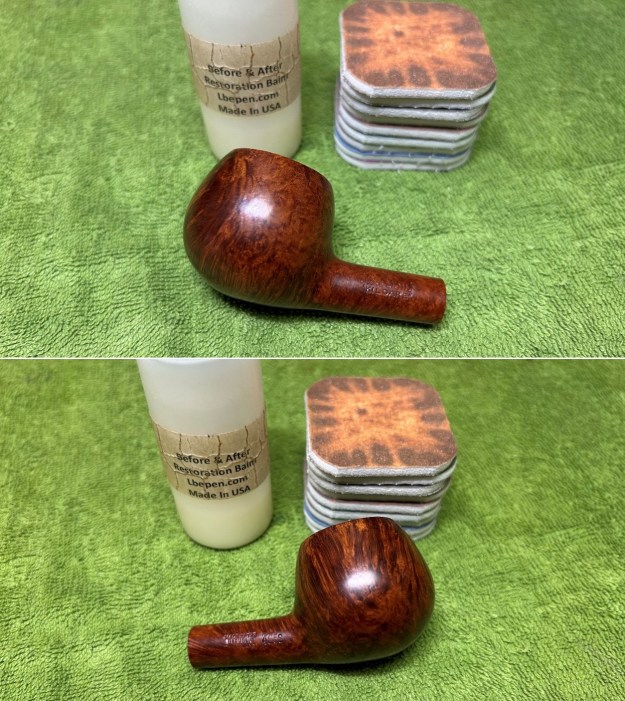
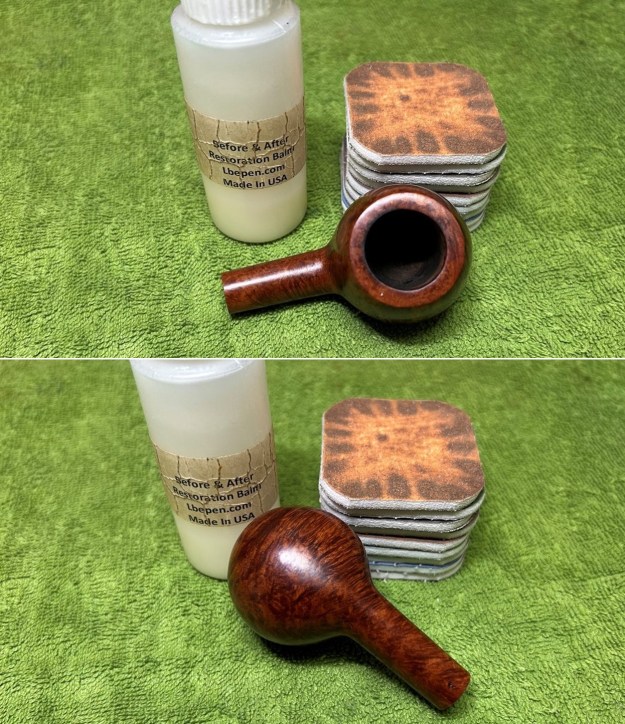
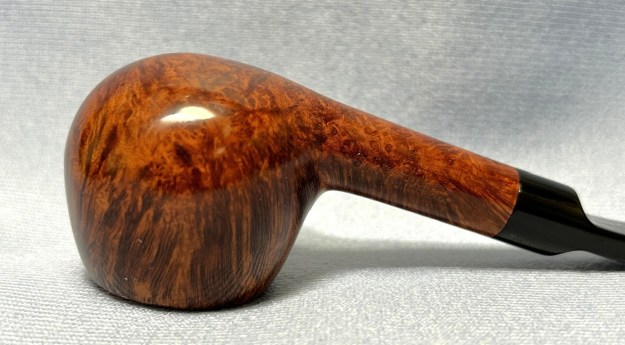
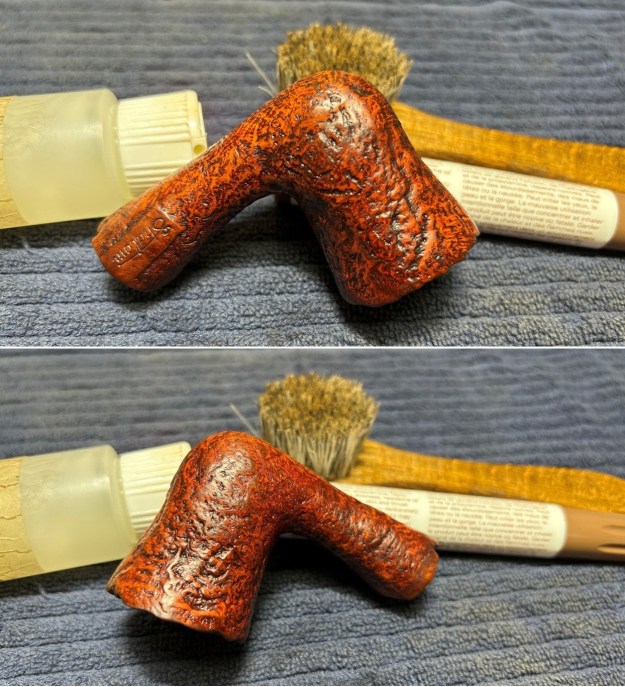
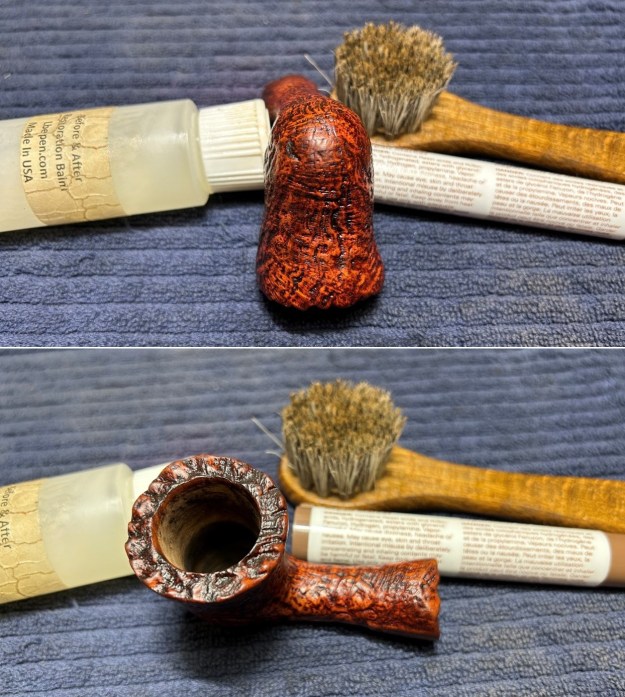
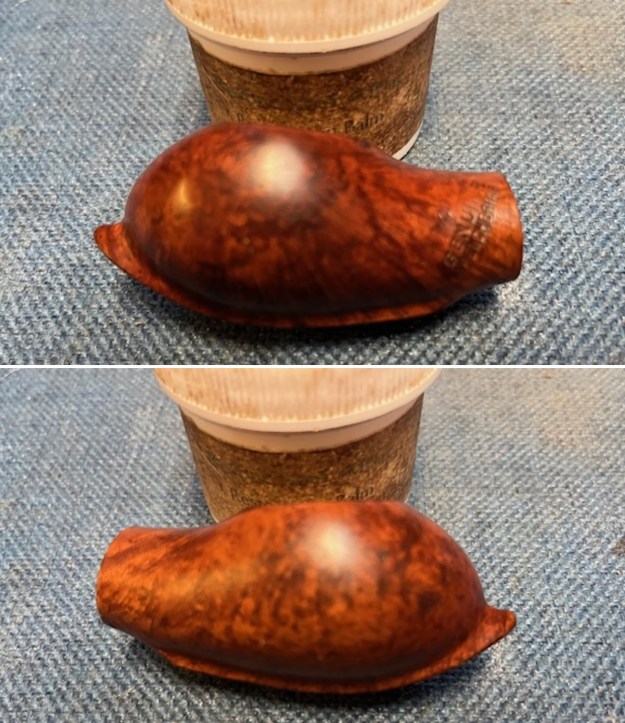
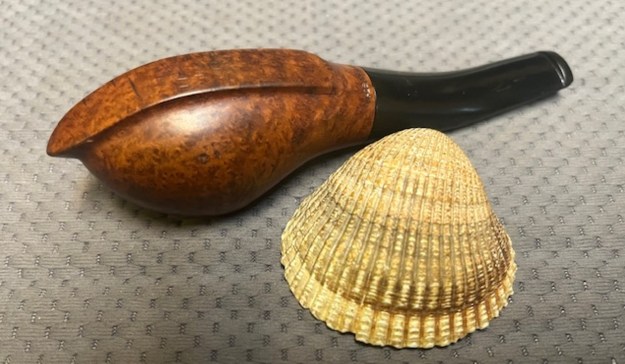
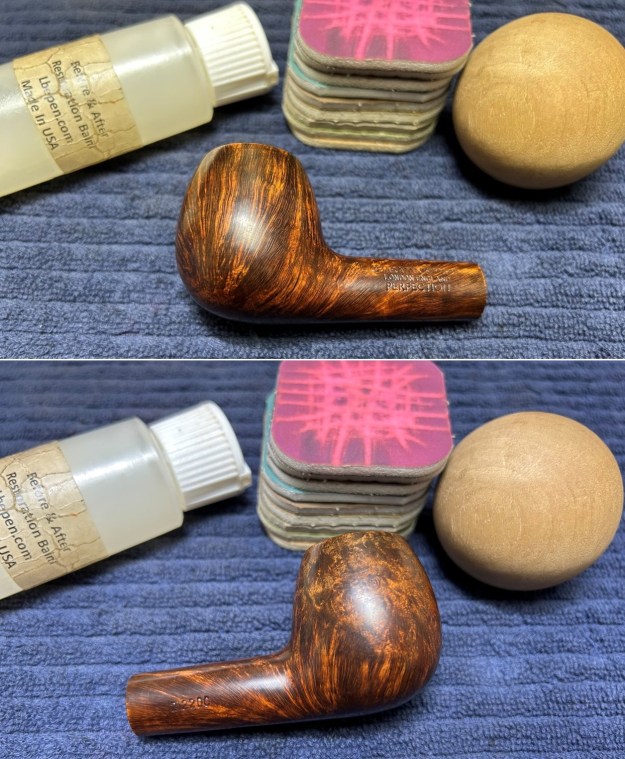
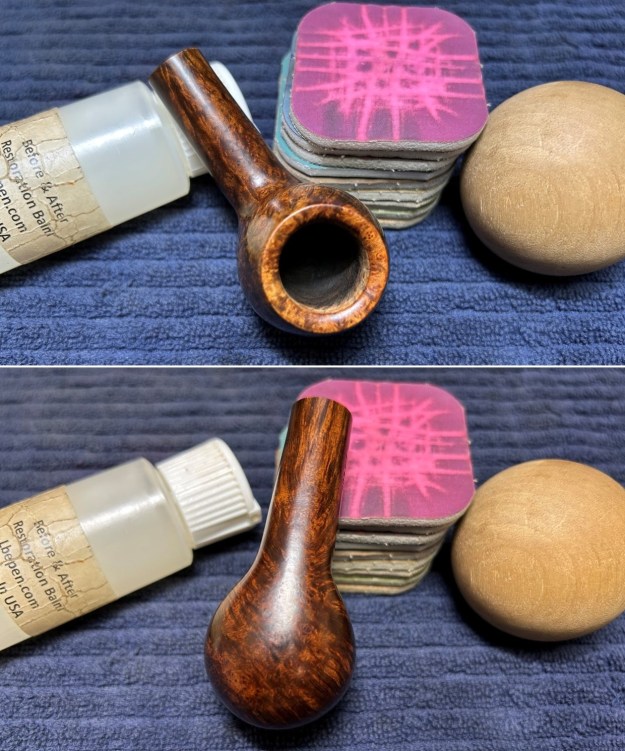
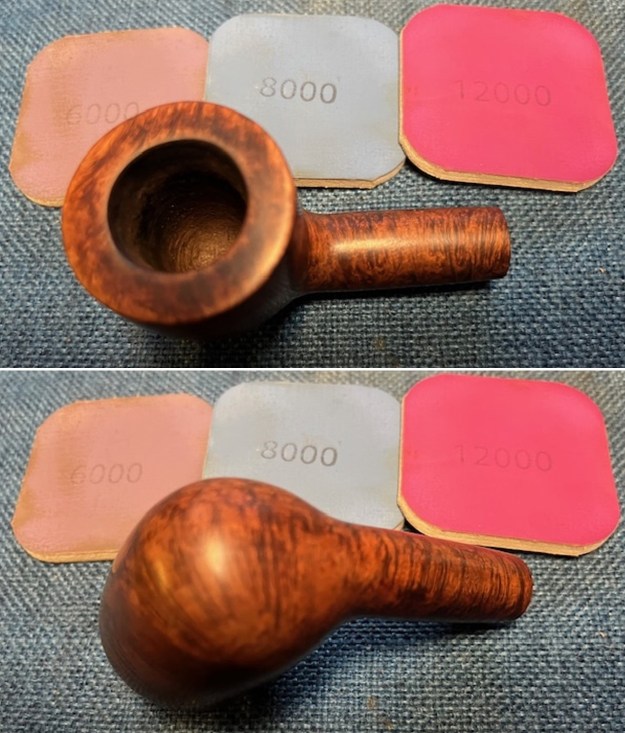 I worked some Before & After Restoration Balm into the surface of the briar with my fingertips to clean, enliven and protect the briar. I let the balm sit for 15 minutes and then buffed it off with a cotton cloth to raise the shine. The photos show the bowl at this point in the restoration process.
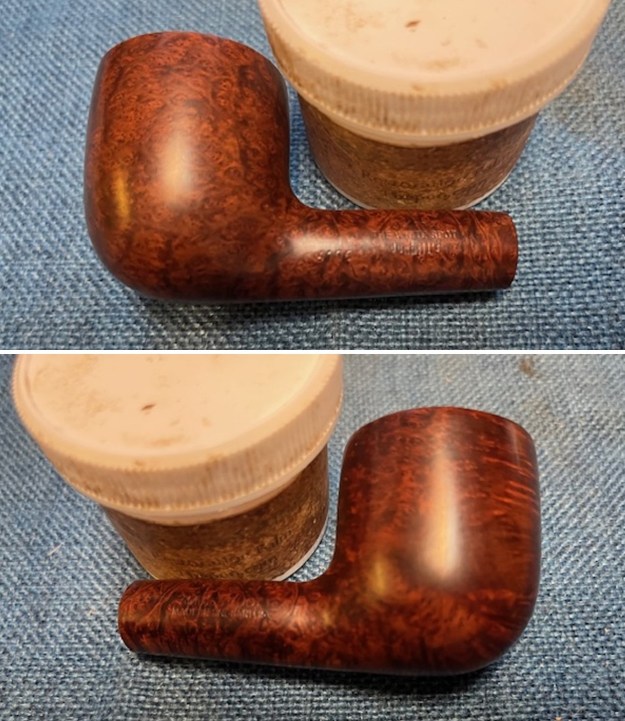

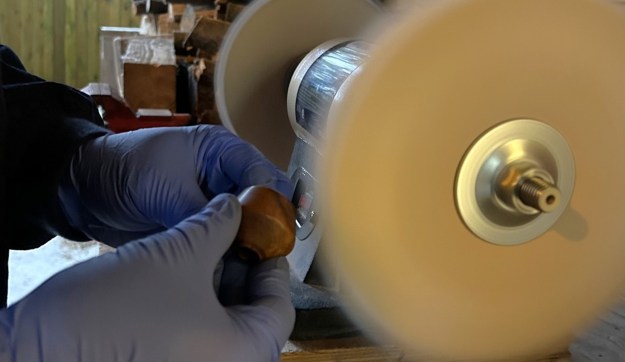
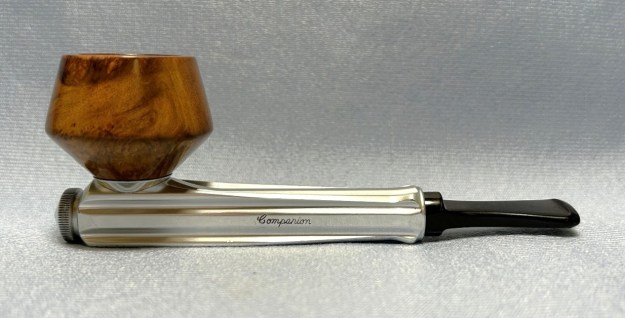
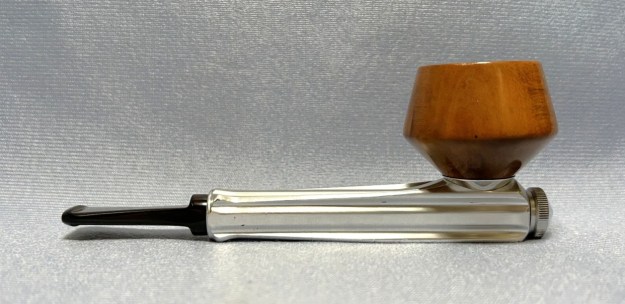
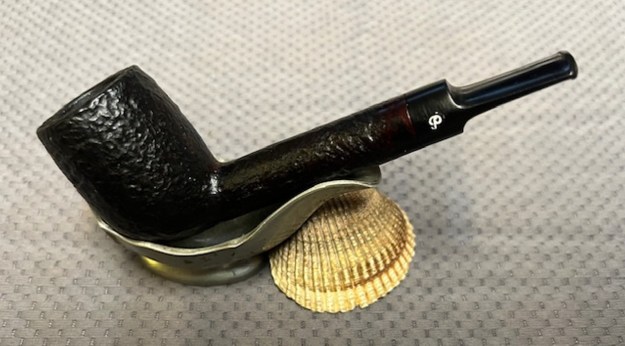
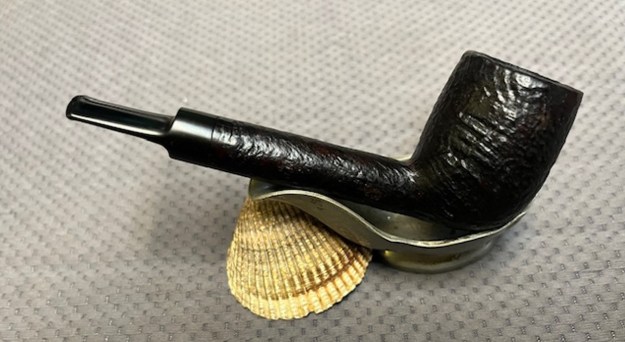
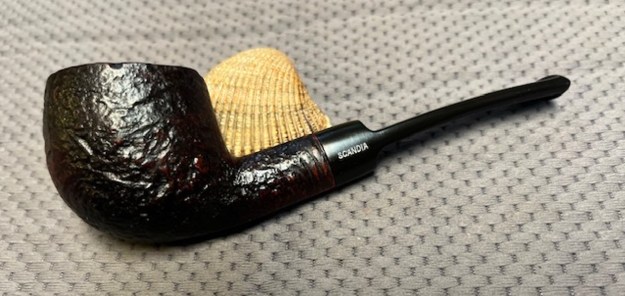
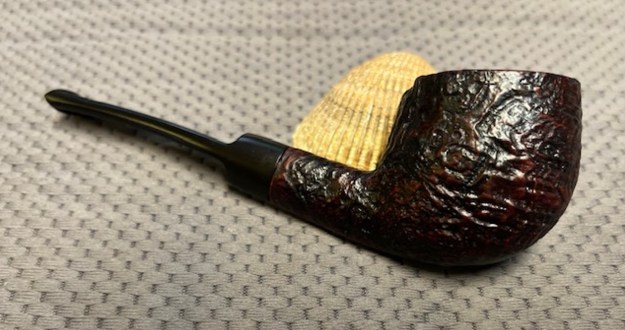
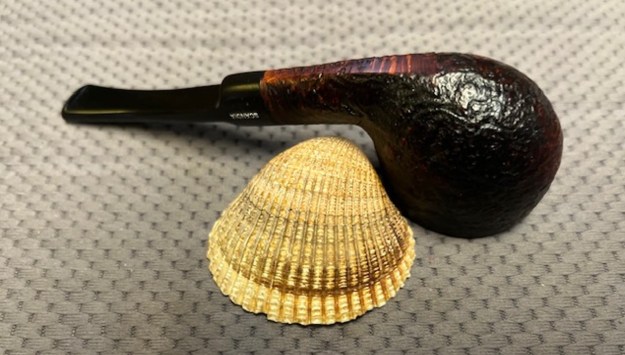
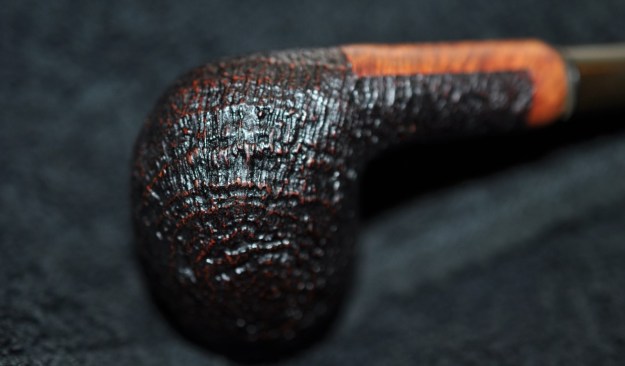
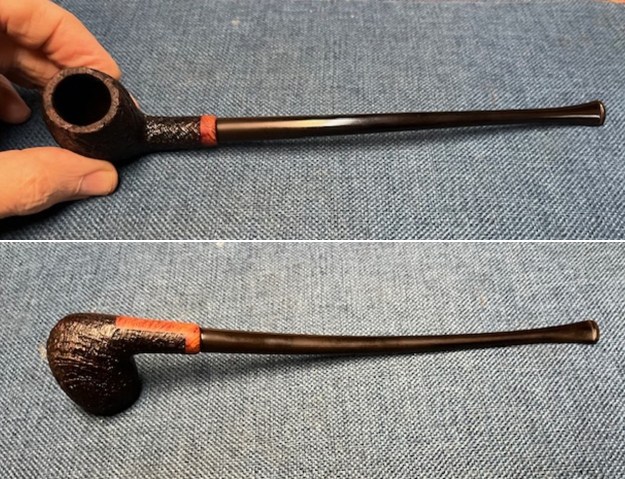
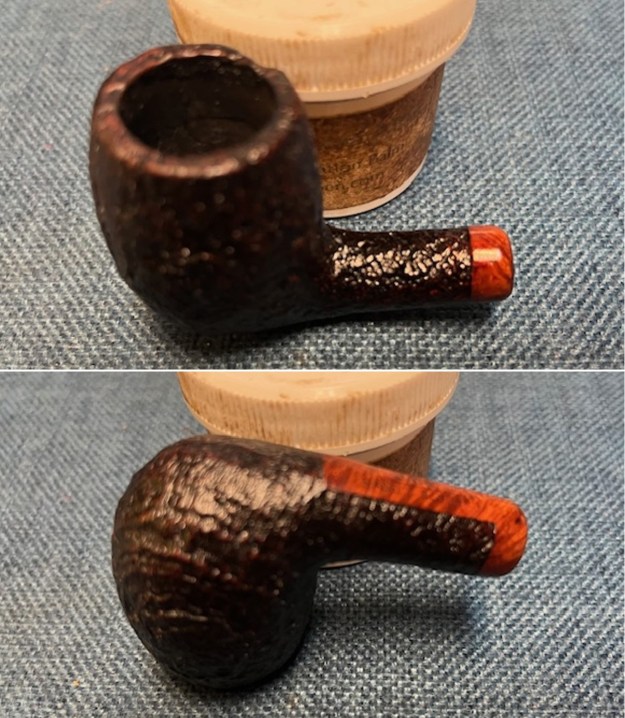
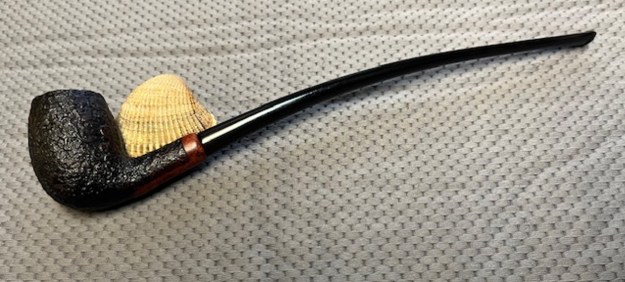
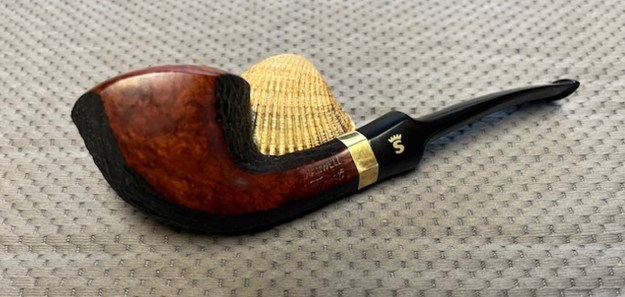
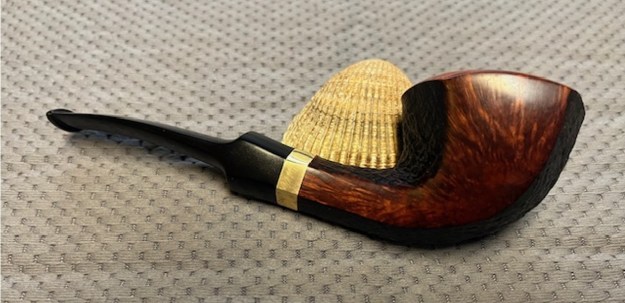
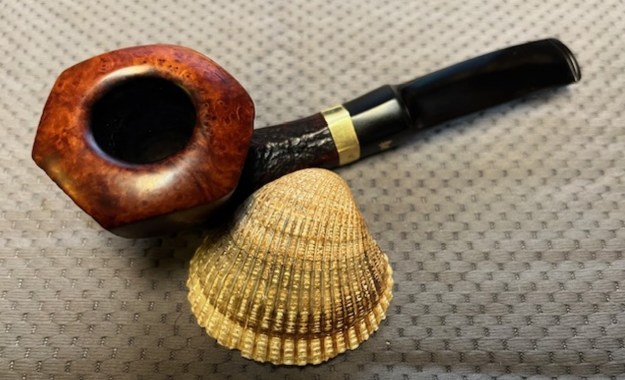
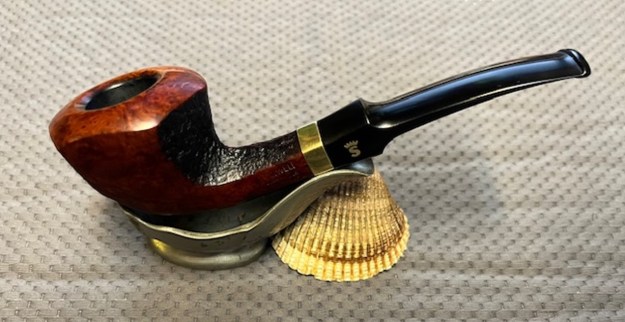
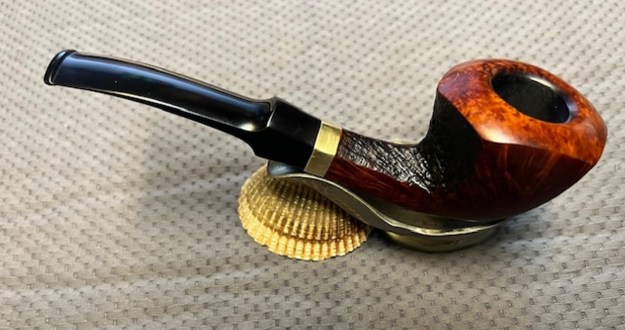
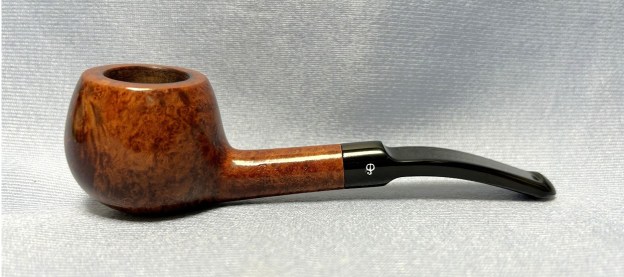
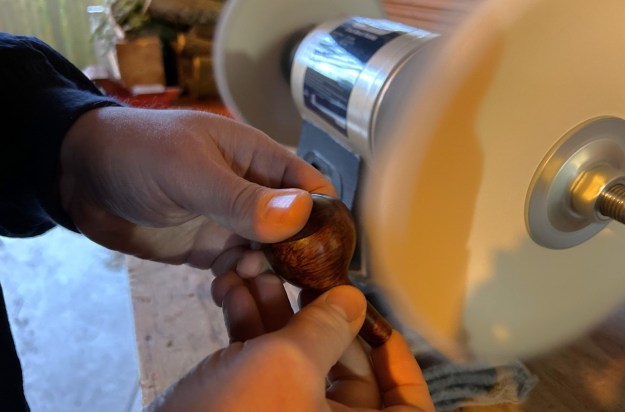
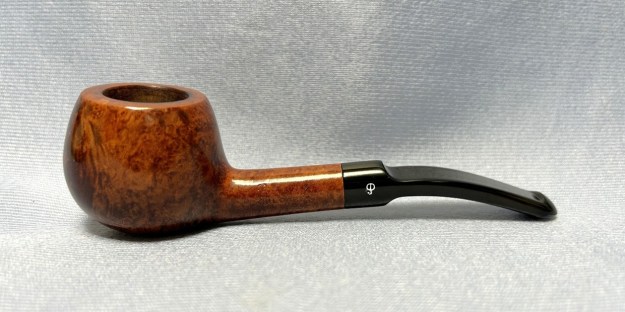
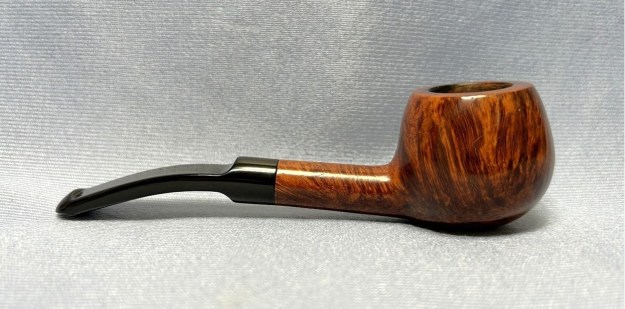
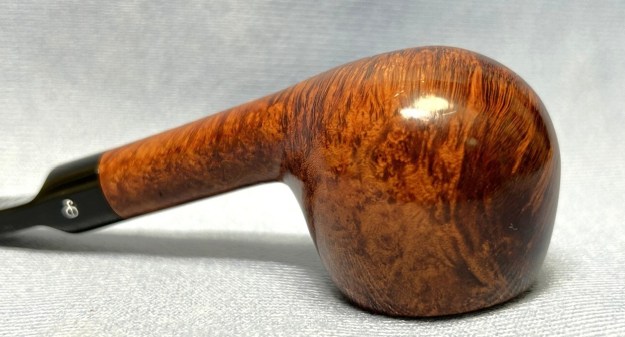
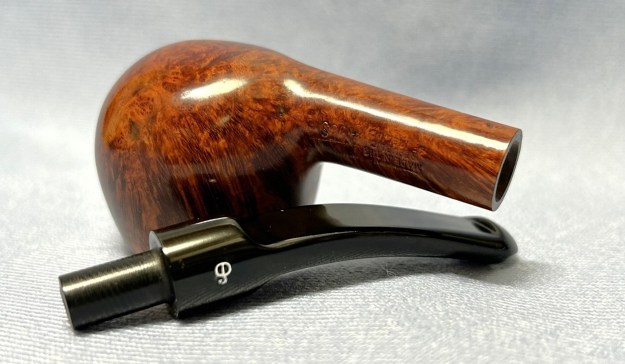
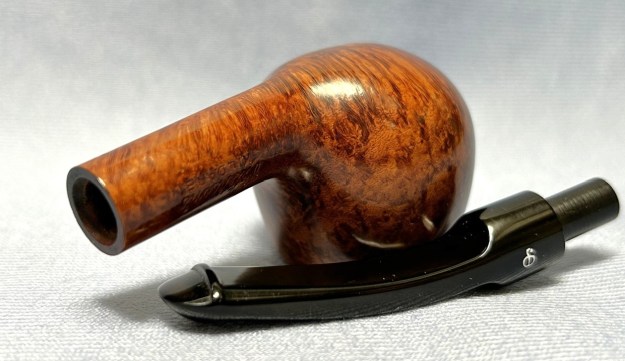
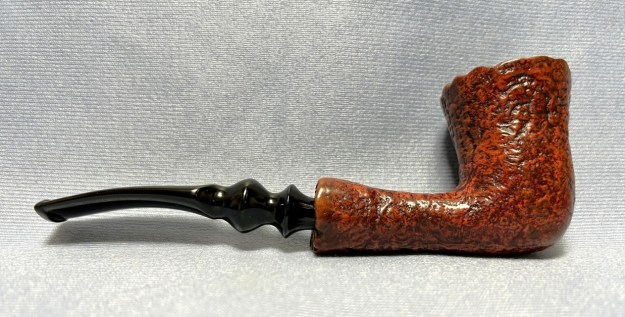
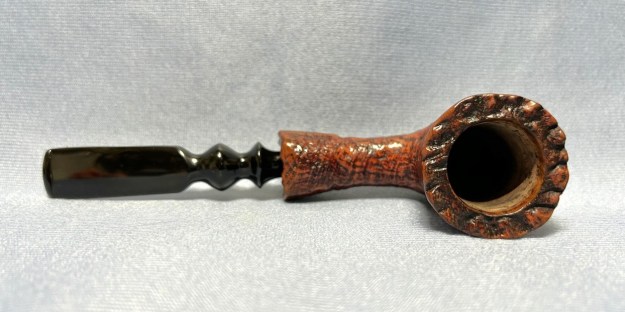
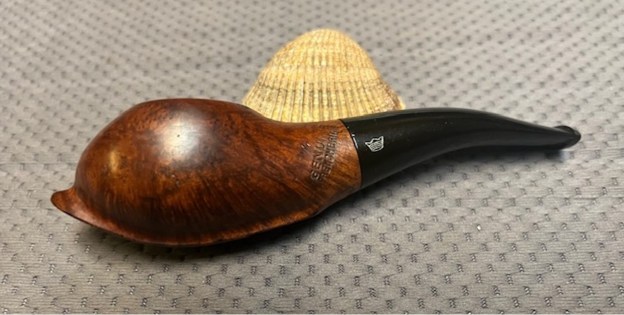
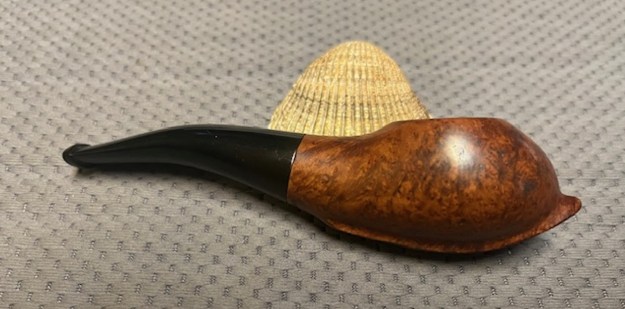
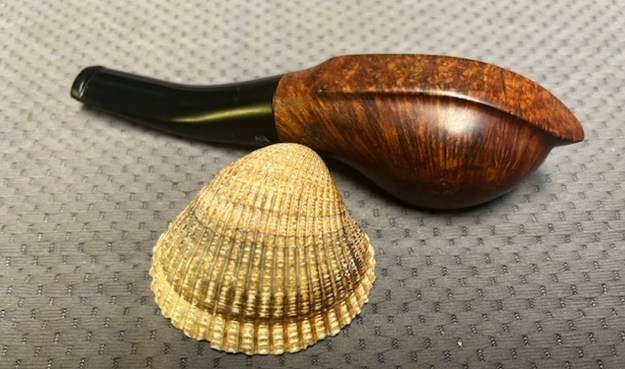
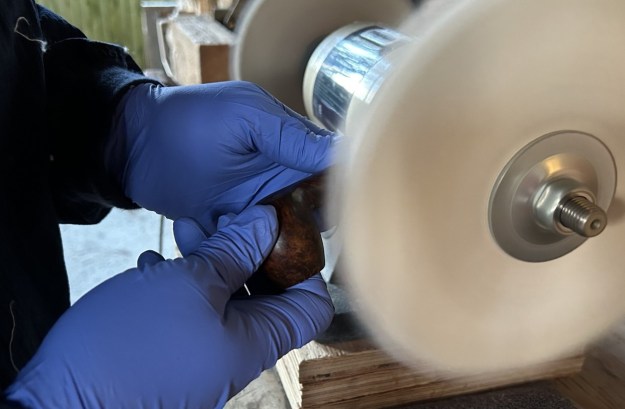
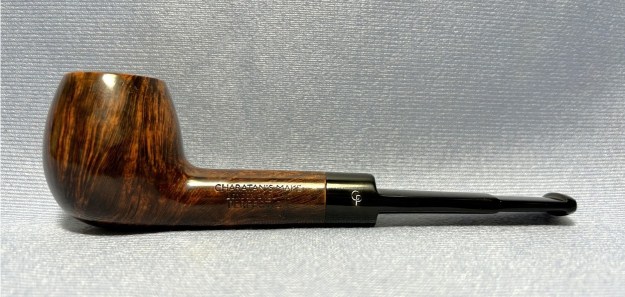
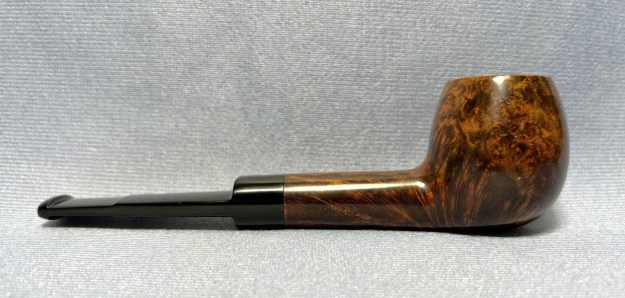
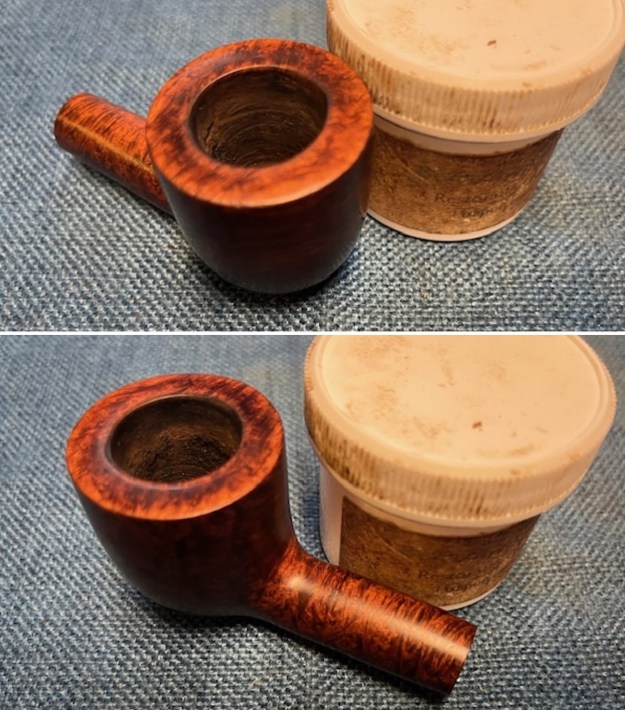 I rubbed the briar down with Before & After Restoration Balm. I worked it into the briar with my fingertips. The product works to clean, enliven and preserve the briar. I let it sit for 10 minutes then I buffed it with a cotton cloth to deepen the shine. The briar comes alive with the balm. This 2015 Dunhill Amber Root 4106 Pot with a vulcanite taper stem has a beautiful, unique Dunhill smooth finish with great grain. The medium orange brown finish highlights some great grain around the bowl and shank. It has a unique finish and the polished taper stem adds to the mix. I put the stem back on the bowl and buffed the pipe with Blue Diamond on the buffing wheel being careful to not buff the stamping. I gave the bowl and the stem multiple coats of carnauba wax on the buffing wheel and followed that by buffing it with a clean buffing pad. I hand buffed the pipe with a microfiber cloth to deepen the shine. The finished Dunhill Amber Root 4106 Pot is quite nice and feels great in the hand. Give the finished pipe a look in the photos below. The dimensions of the pipe are Length: 5 ½ inches, Height: 1 ¾ inches, Outside diameter of the bowl: 1 ½ inch, Chamber diameter: ¾ of an inch. The weight of the pipe is 1.55 ounces/44 grams. Thanks for walking through the restoration with me as I worked over another beautiful pipe. I will be sending it back to Jim on the weekend. I look forward to hearing what he thinks of this beauty. Thanks for your time.