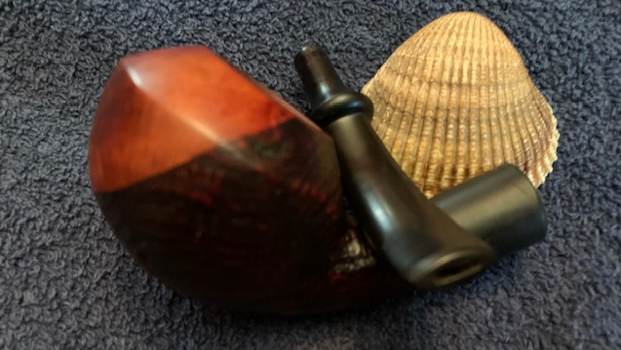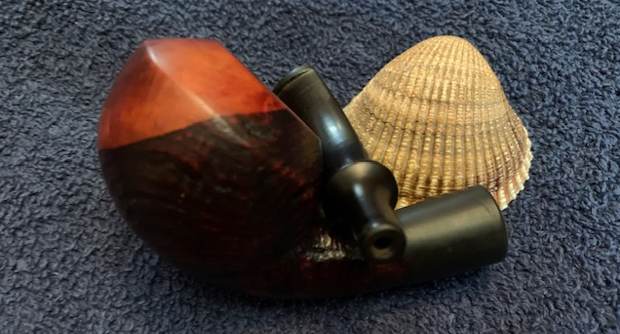
Blog by Steve Laug
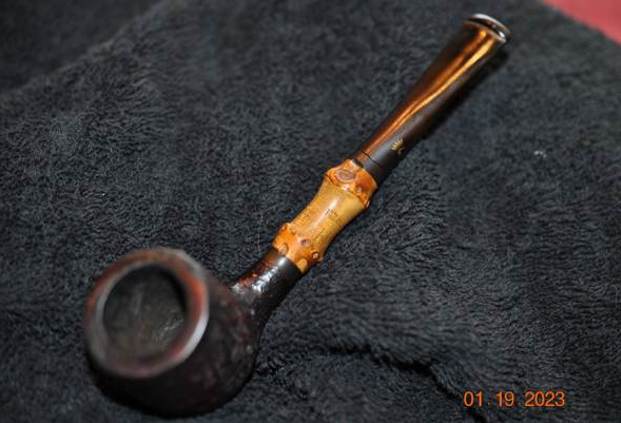
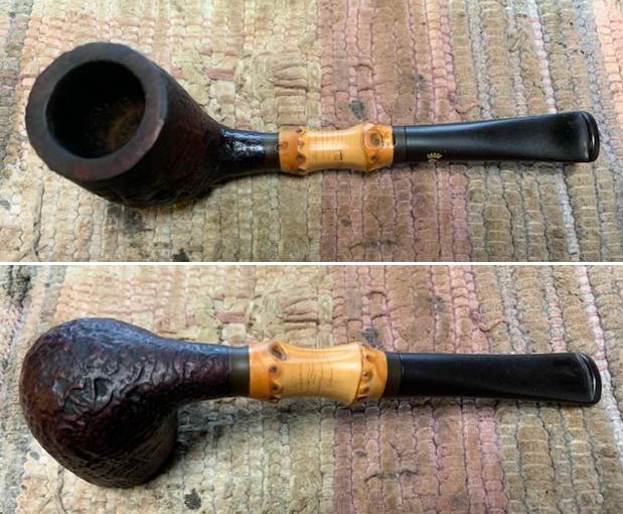
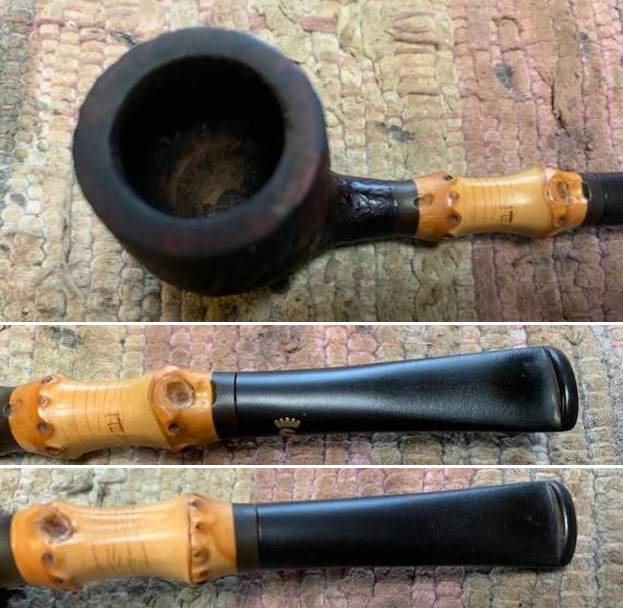
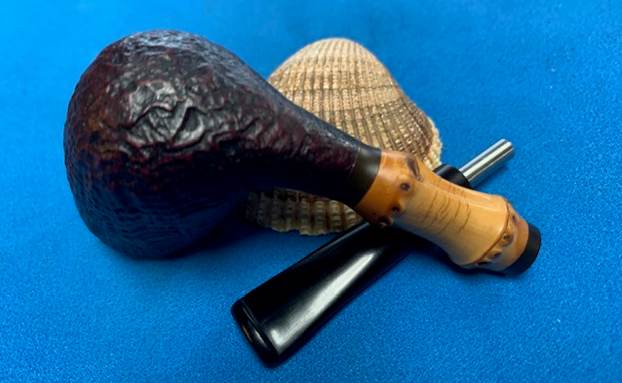
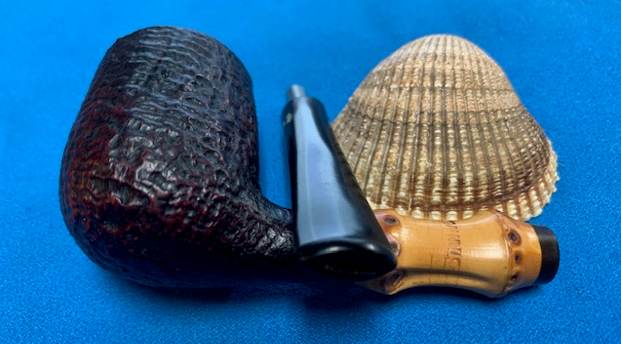
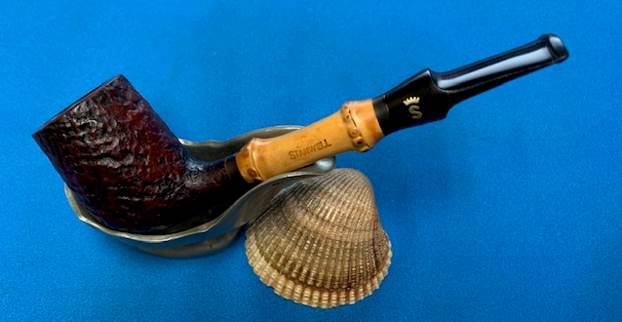
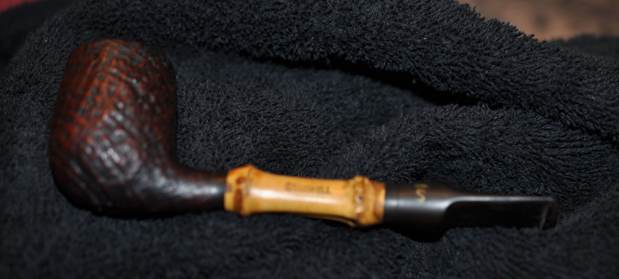
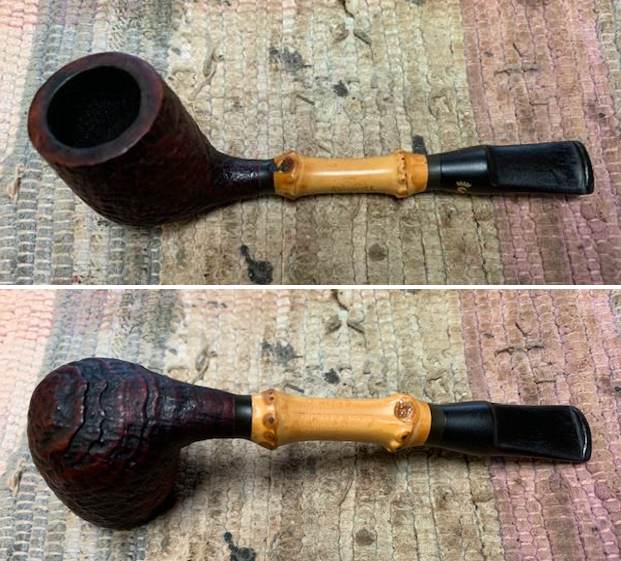
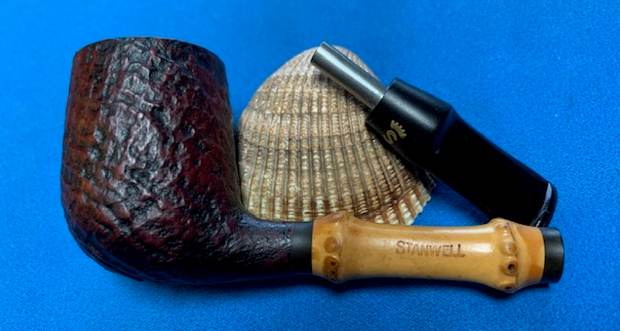
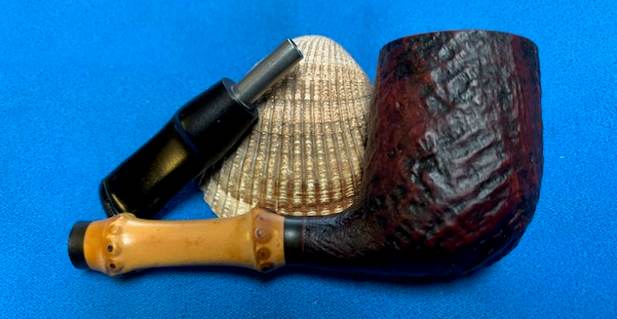
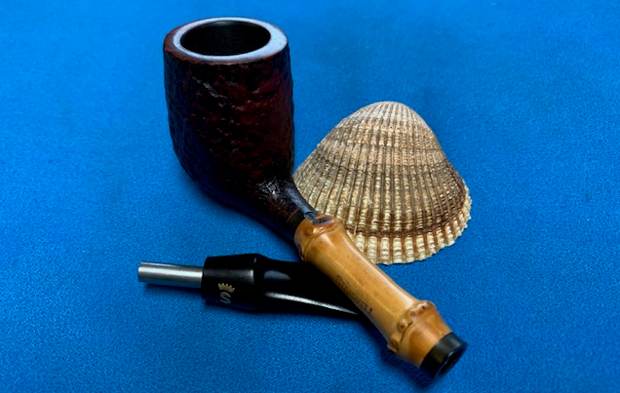
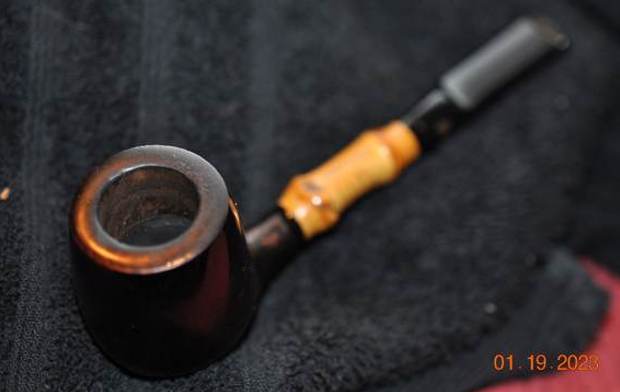
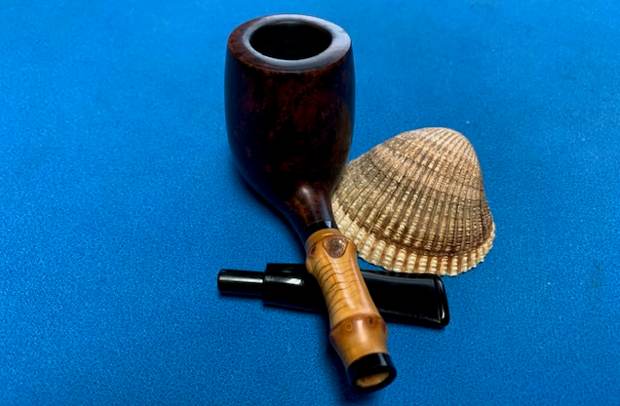
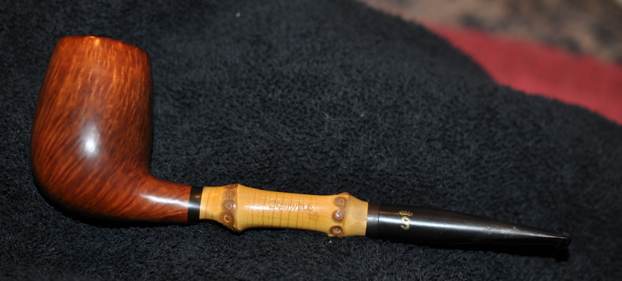
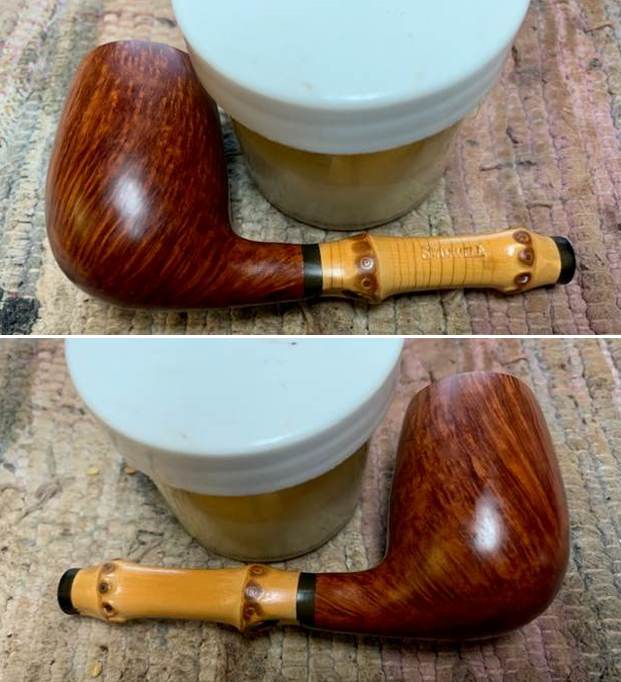
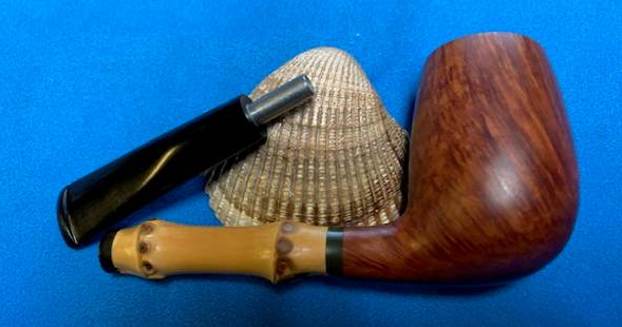
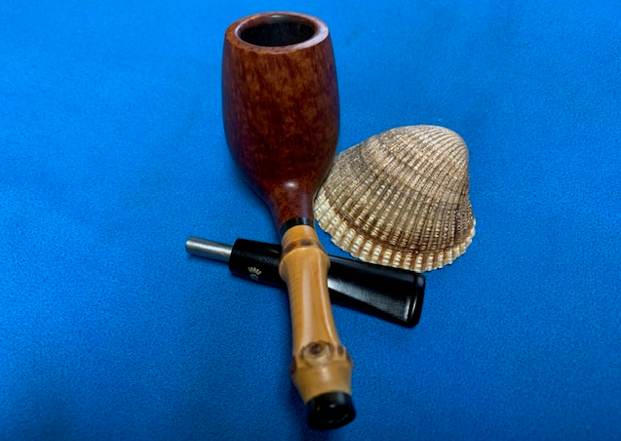
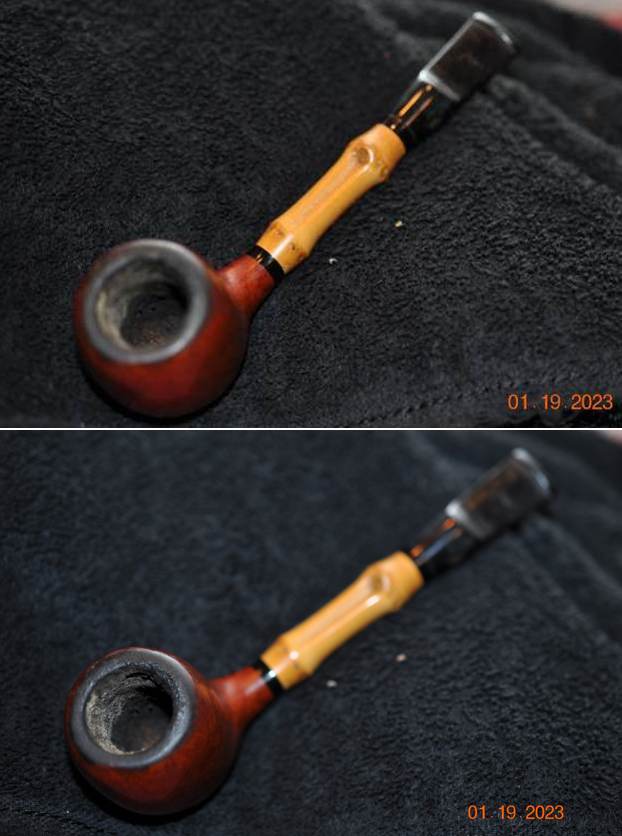
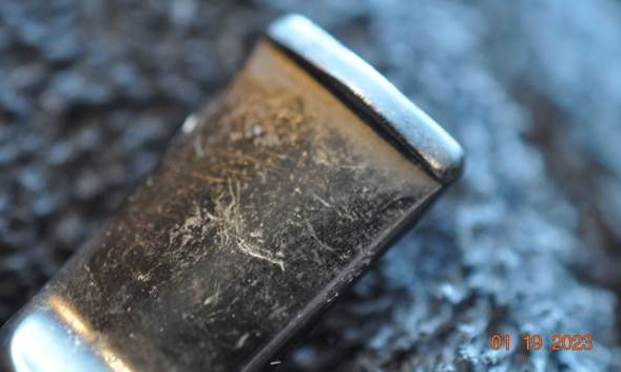
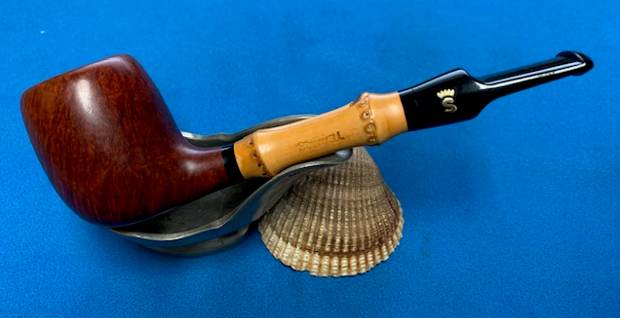
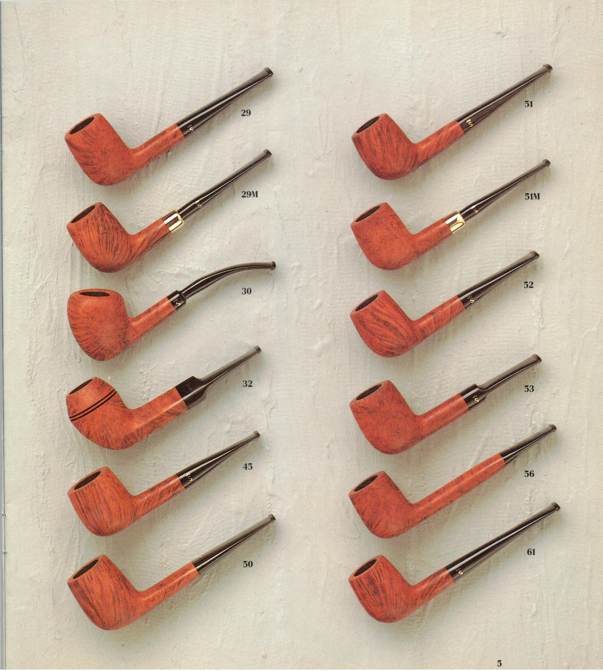
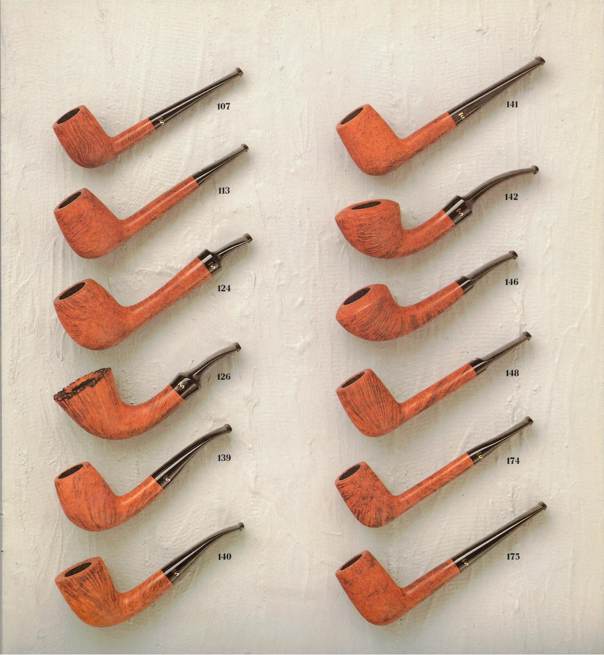
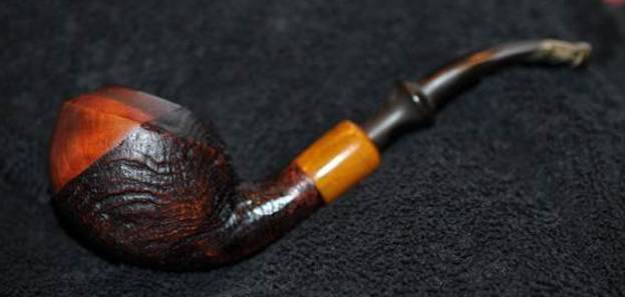
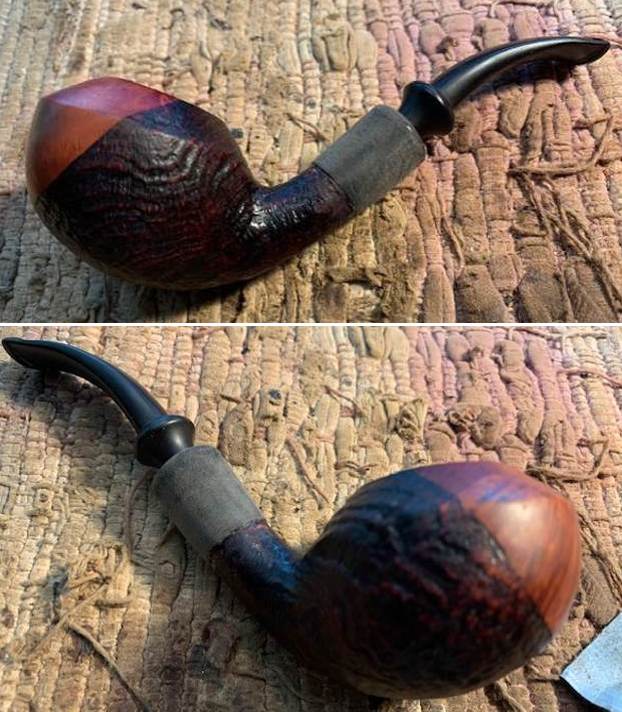
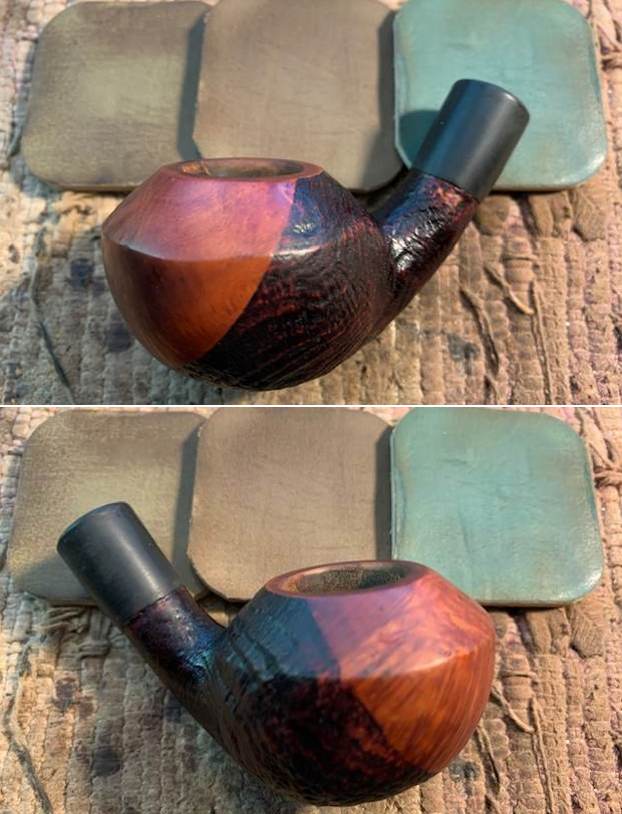
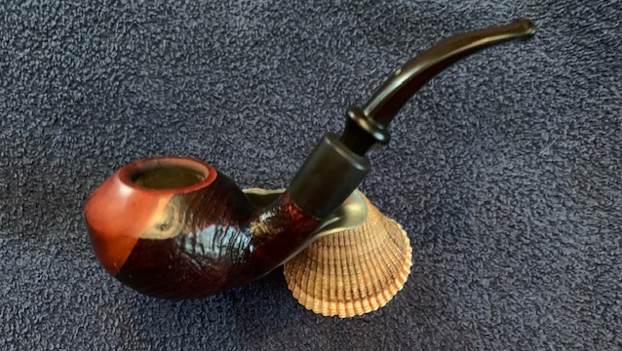
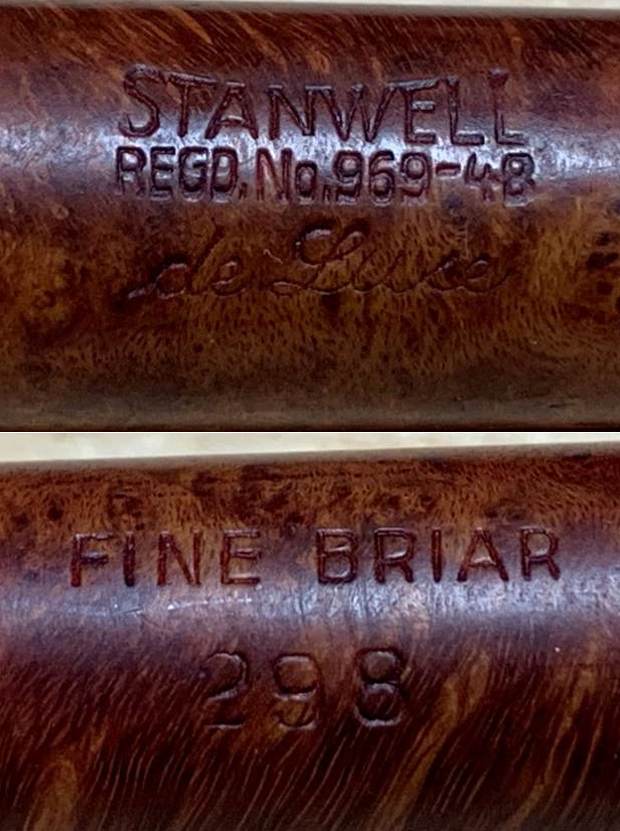
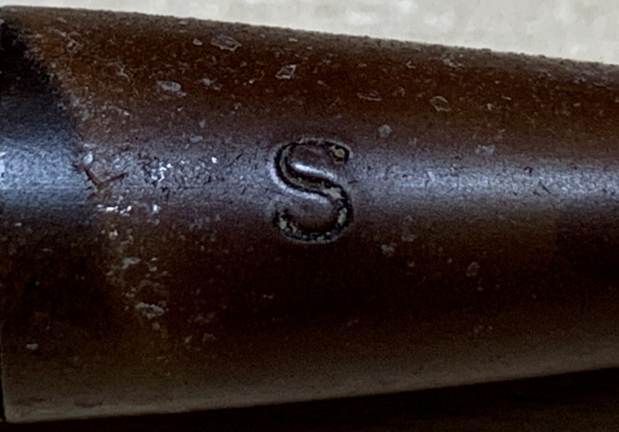
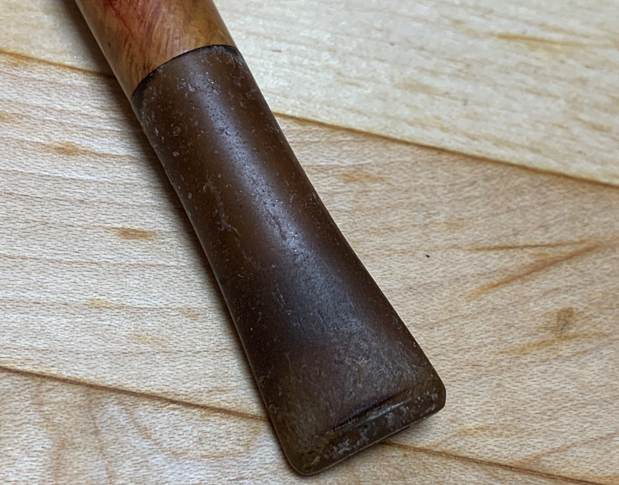
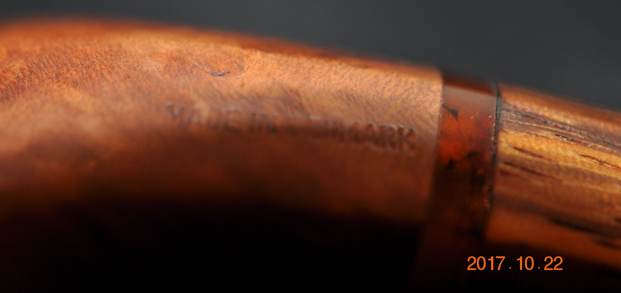
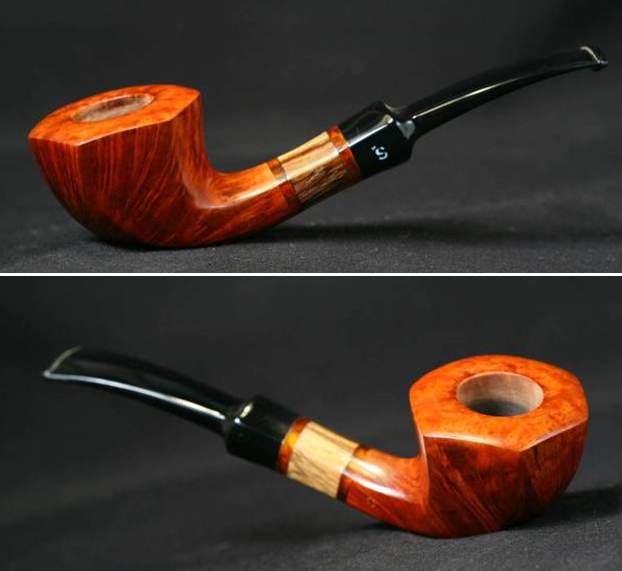
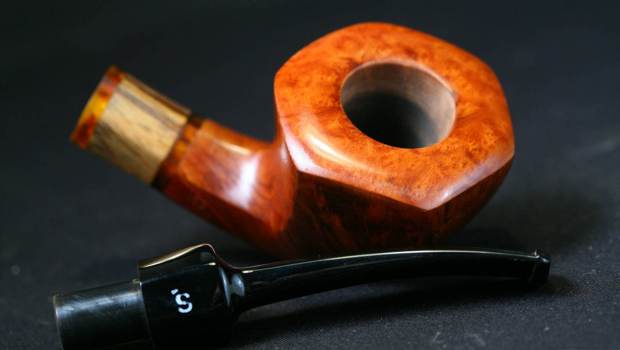
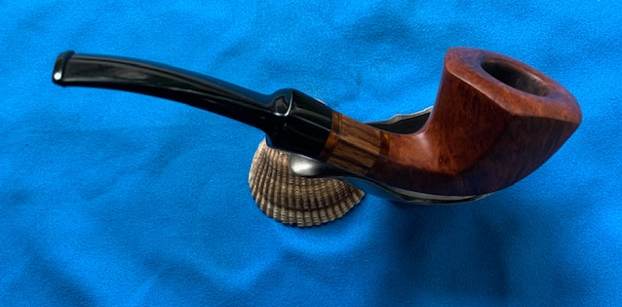
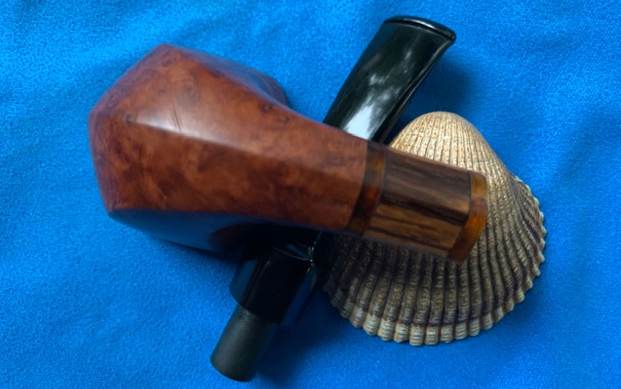
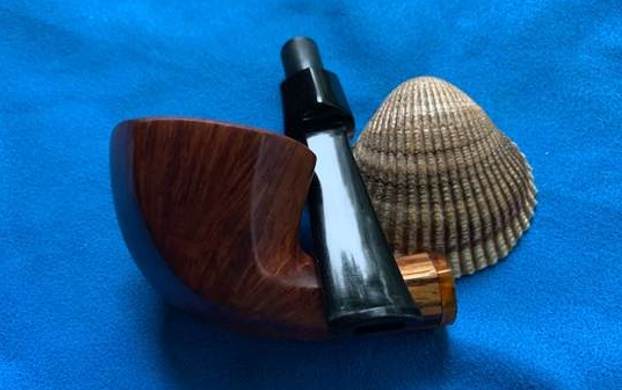
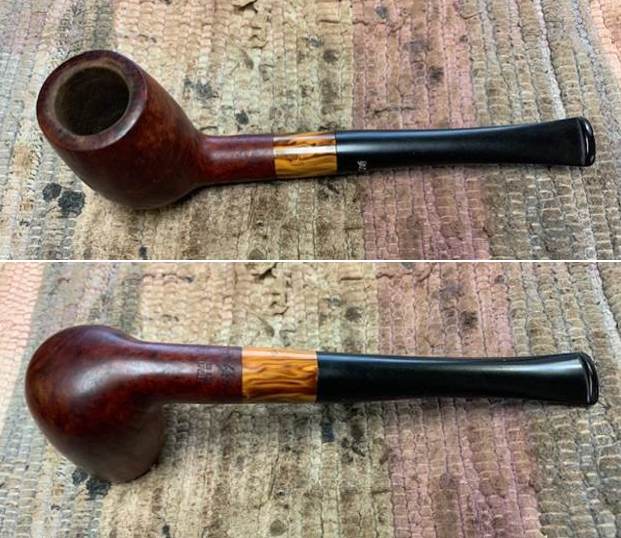
It is a rainy Saturday for me here in Vancouver so I decided to work on another one that was purchased on 01/10/2023 in a lot of pipes that came to us from Copenhagen, Denmark. This is a tall billiard almost a tall Brandy with a smooth finish and a variegated yellow/gold shank extension. It is another Made in Denmark Stanwell. The smooth finish on this pipe, around the bowl and shank has a mix of grain highlighted by the reddish brown stain. The pipe is stamped on the underside of the shank near the stem/shank junction and reads STANWELL [over] Made in Denmark [over] Buffalo. On the left side of the shank it has the shape number 141 stamped. The pipe was a well used pipe when Jeff received it. There was dust and grime ground into the finish. The mixture of brown stains highlights some beautiful grain under the dirt. The bowl was lightly caked and there was a light overflow of lava on the smooth rim top. The inner edge looked quite good. It had been reamed recently before we received it and there were scrape marks around the bottom of the bowl. They not grooves but rather smooth clean briar scraped by a reamer. The stem is vulcanite and was dirty, oxidized and had light tooth marks, chatter and scratches on both sides ahead of the button and on the button itself. There is a white crown S logo stamped on the left side of the taper stem. Jeff took photos of the pipe before he started his clean up work on it. 
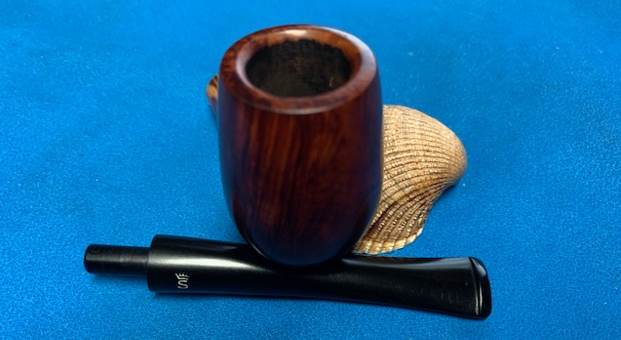
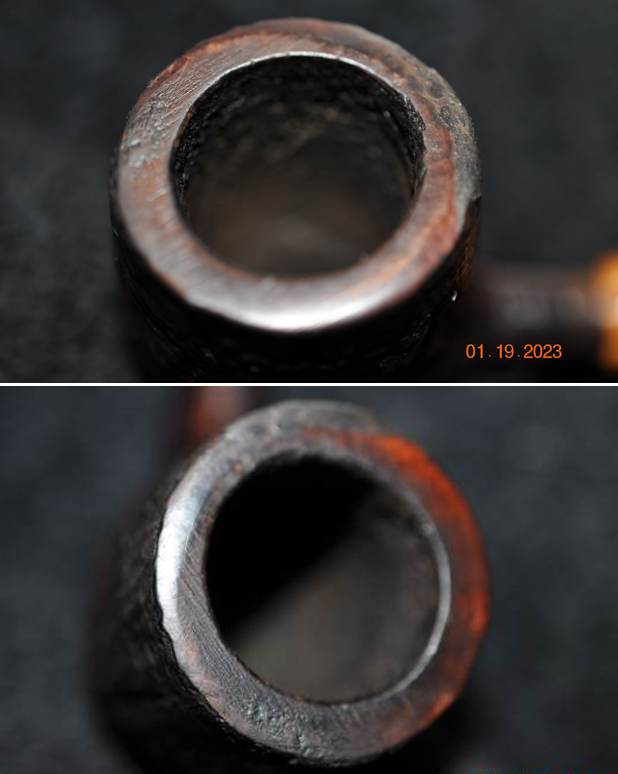
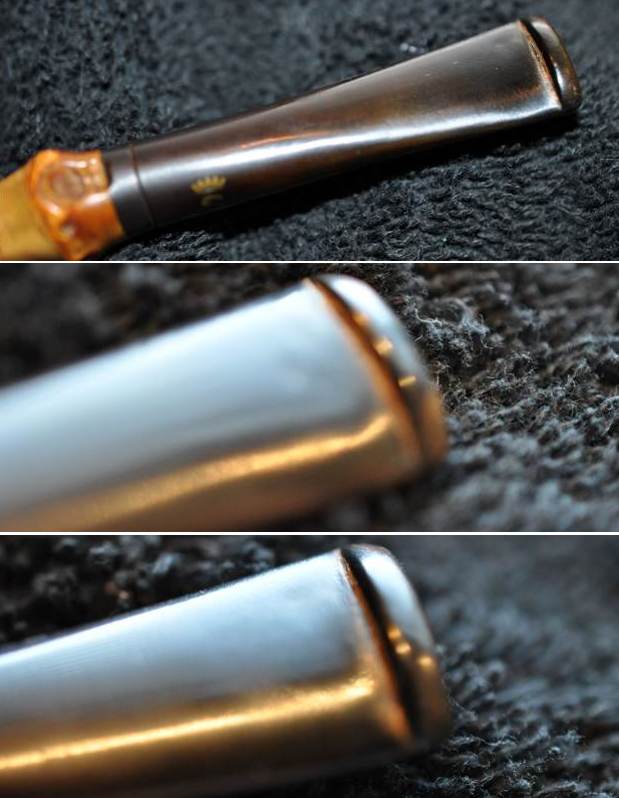
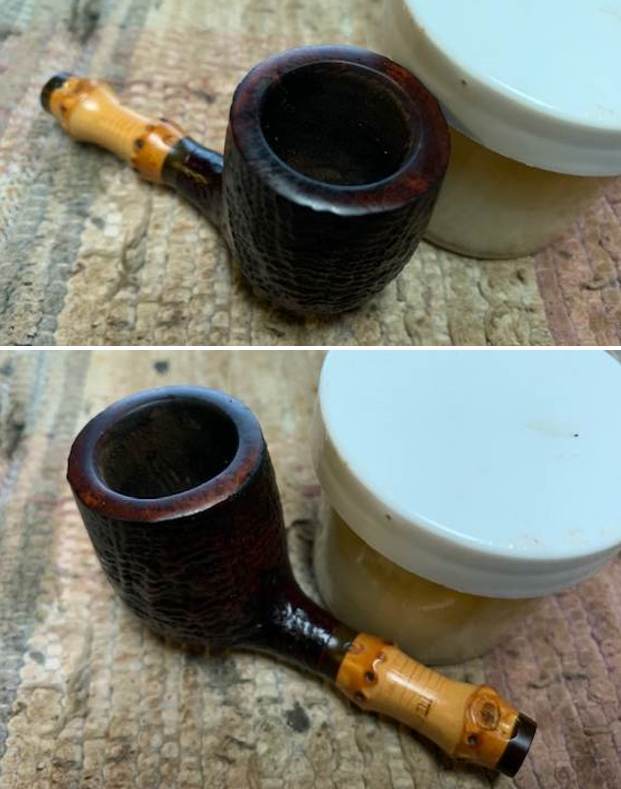
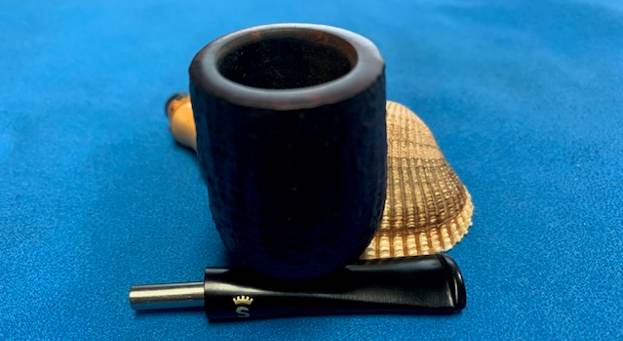
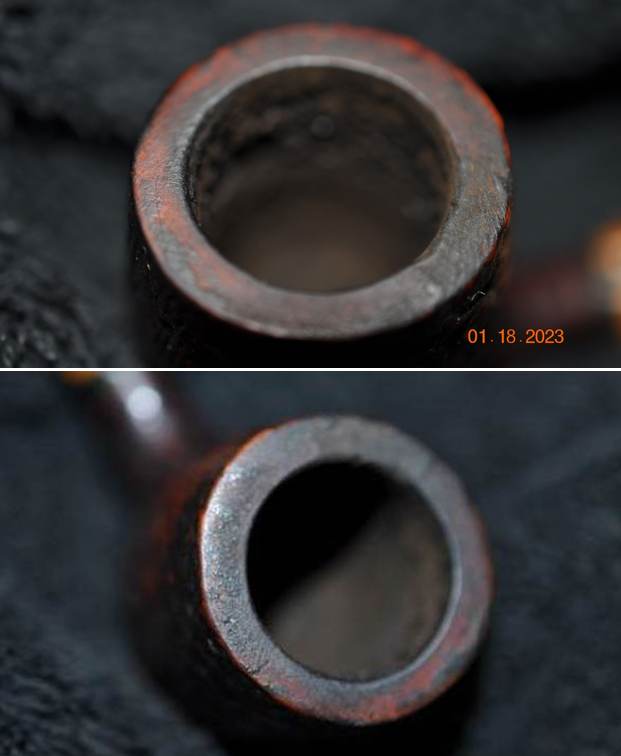
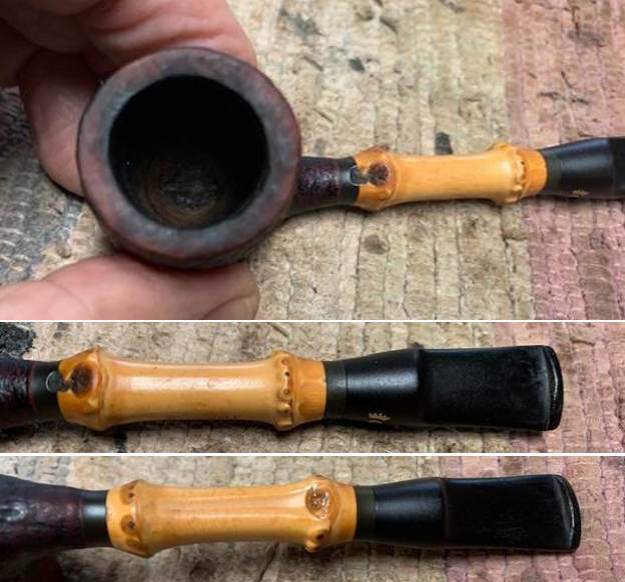
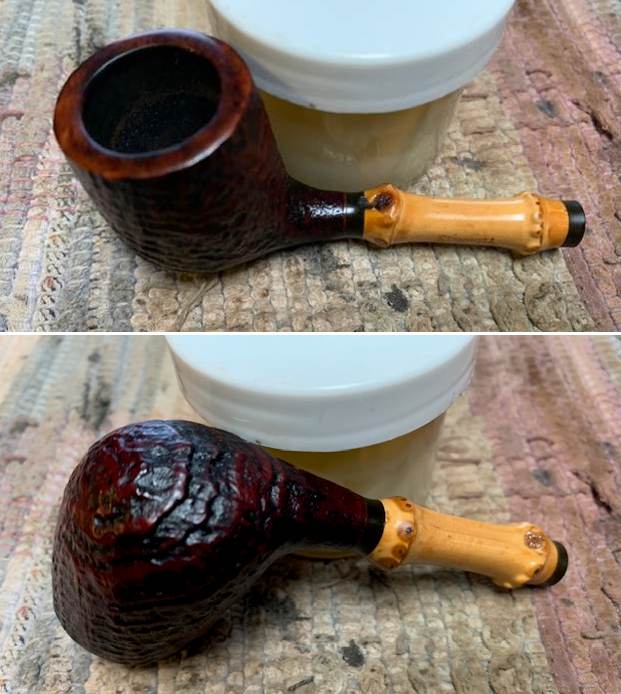
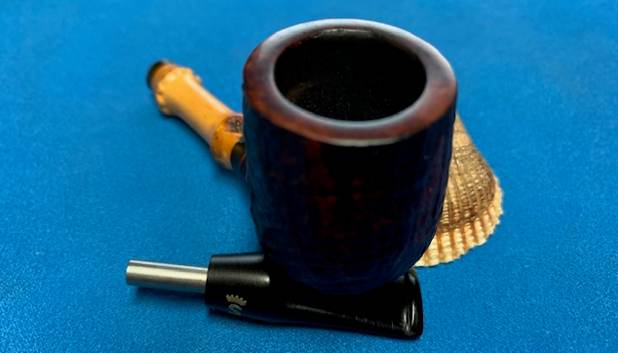
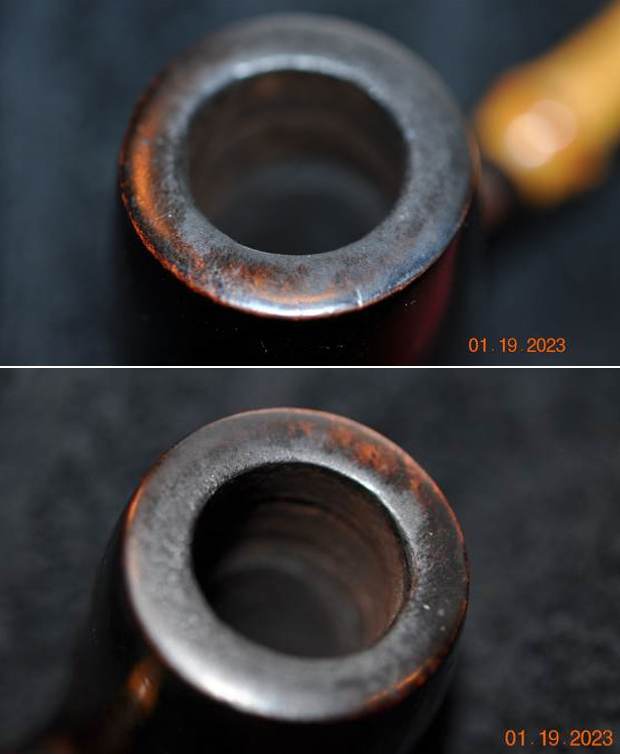
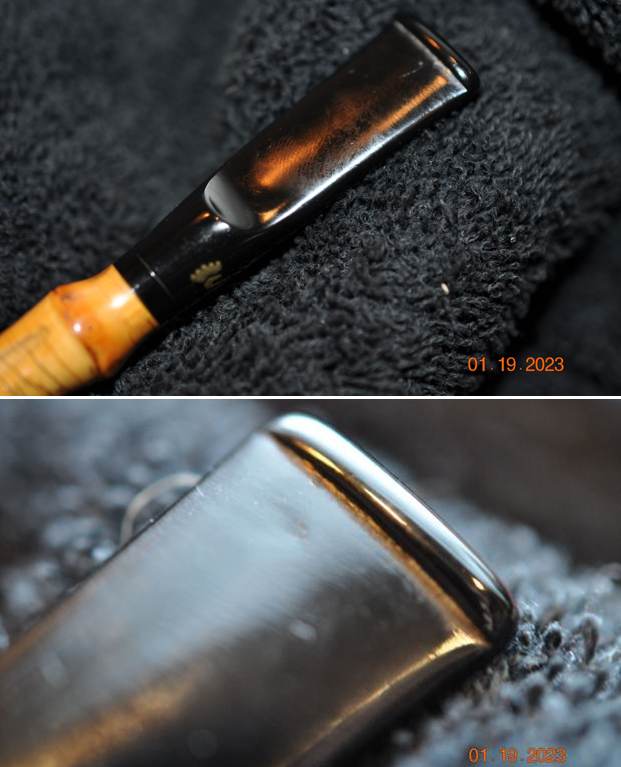
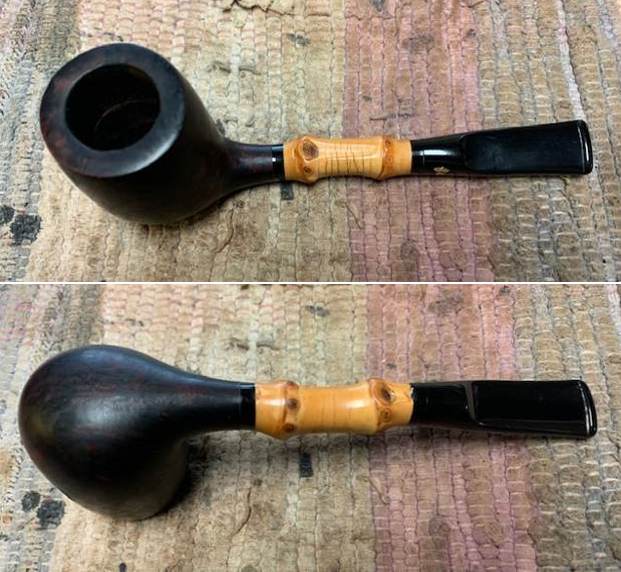
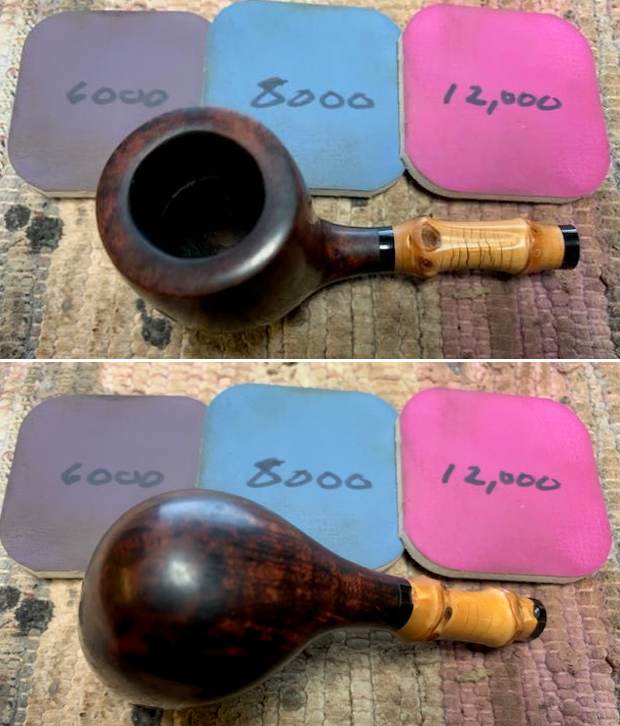
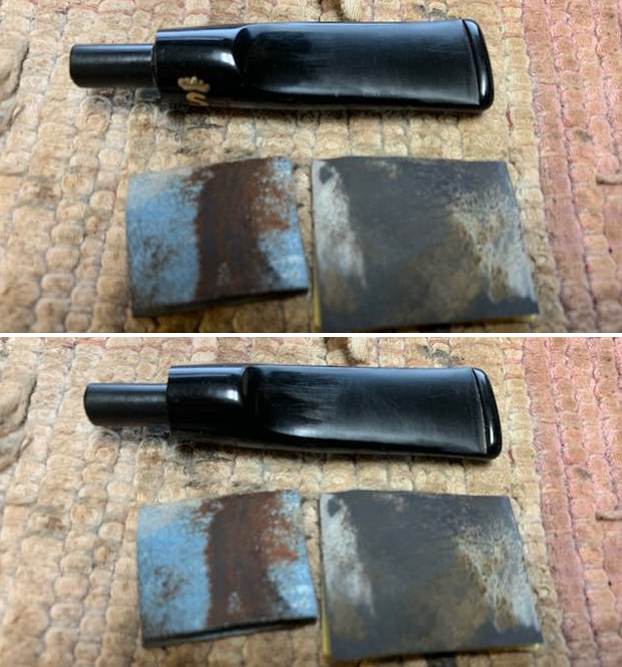
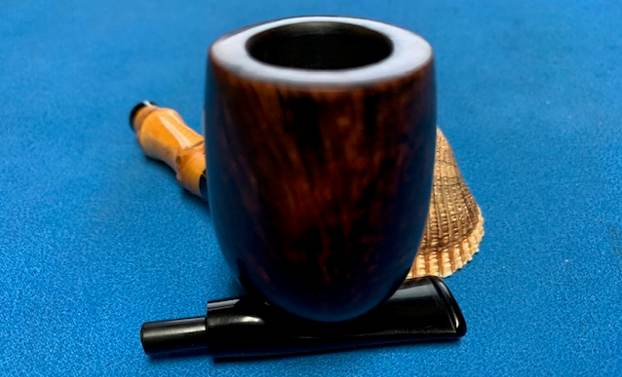
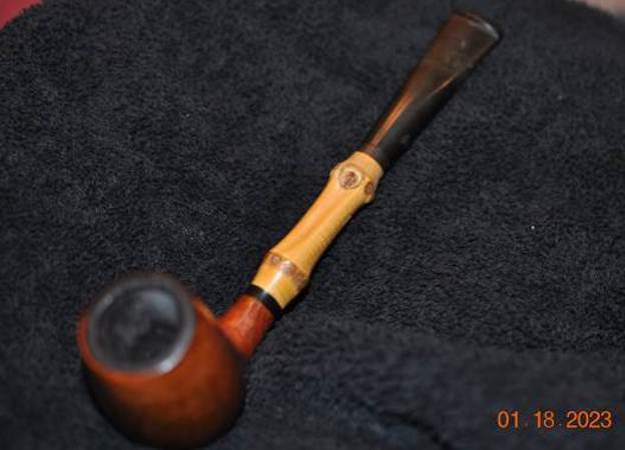
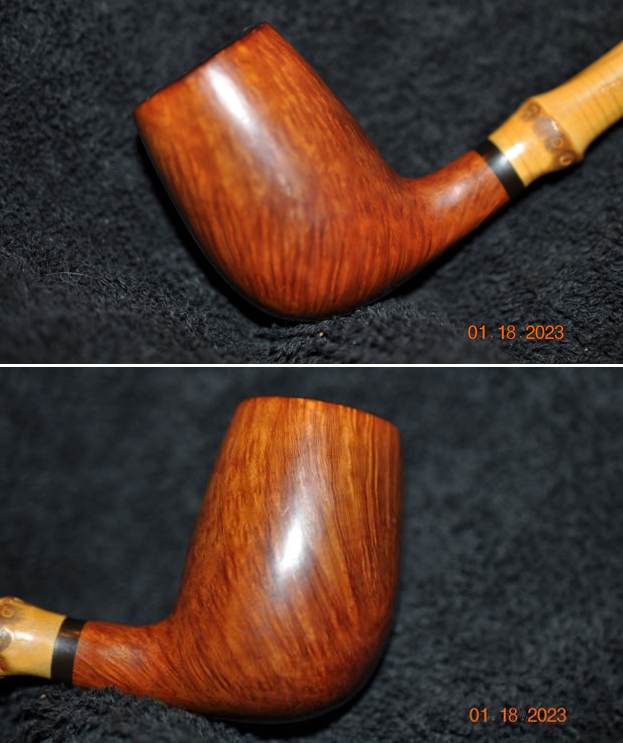
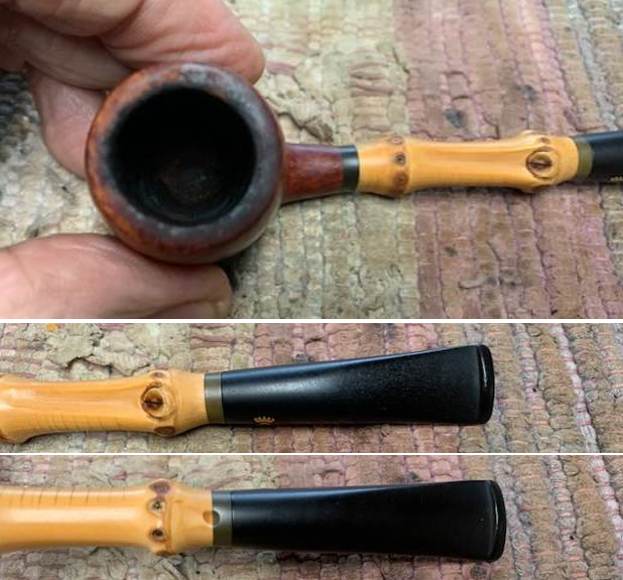
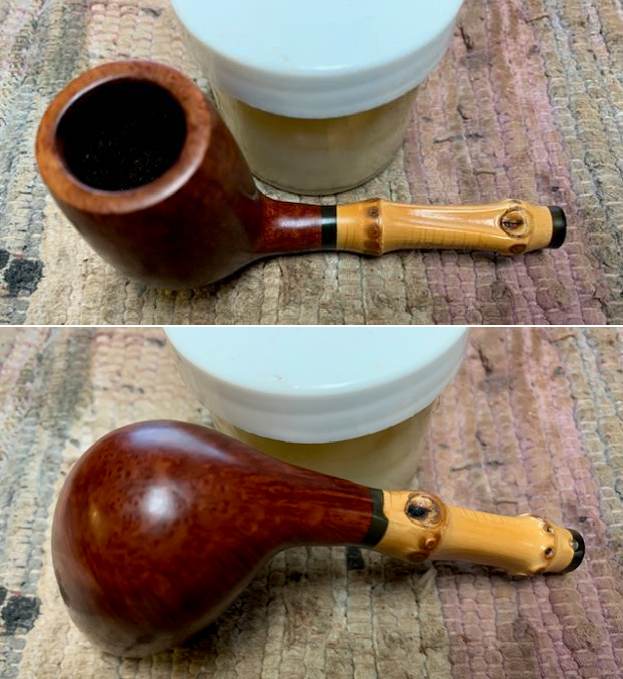
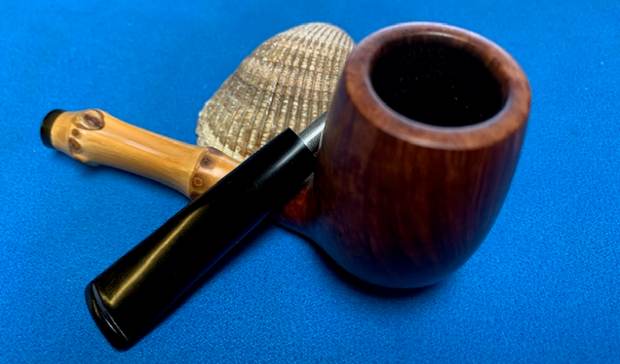
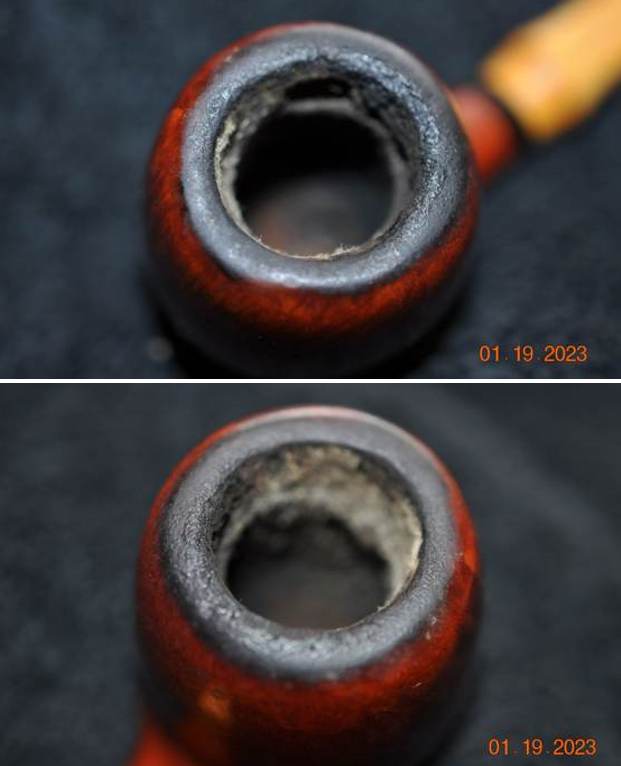
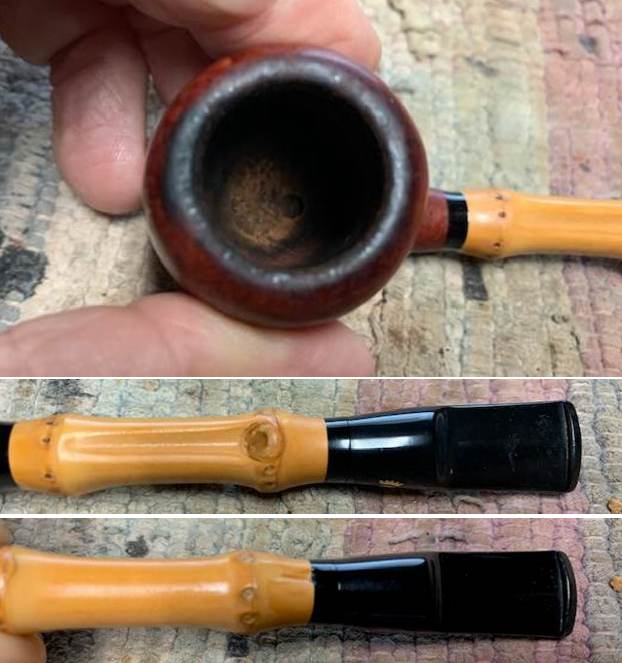
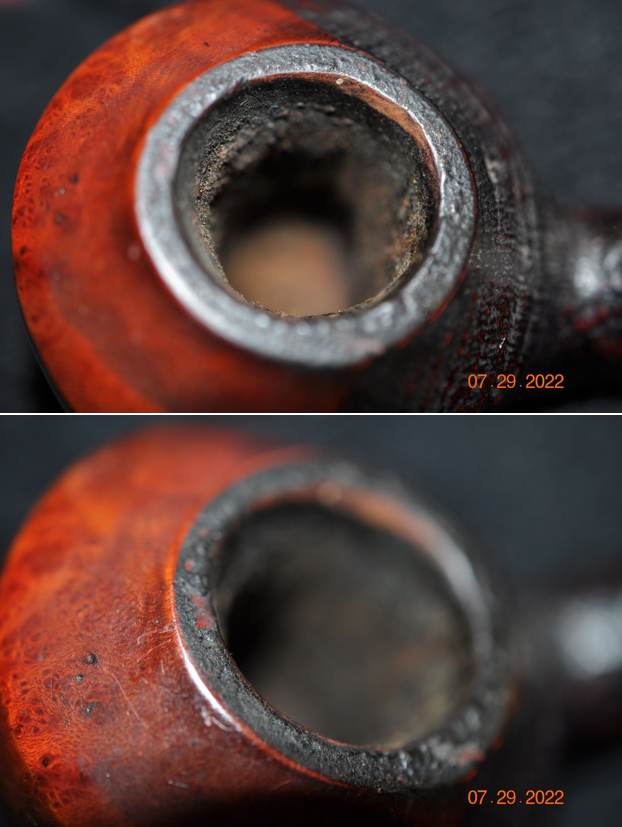
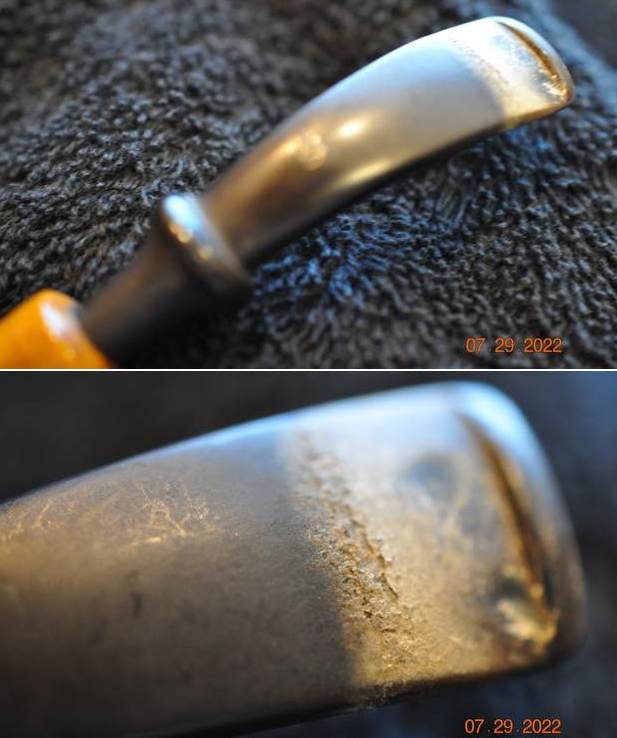
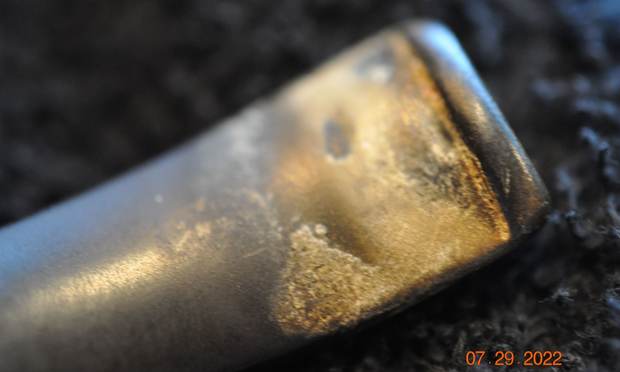
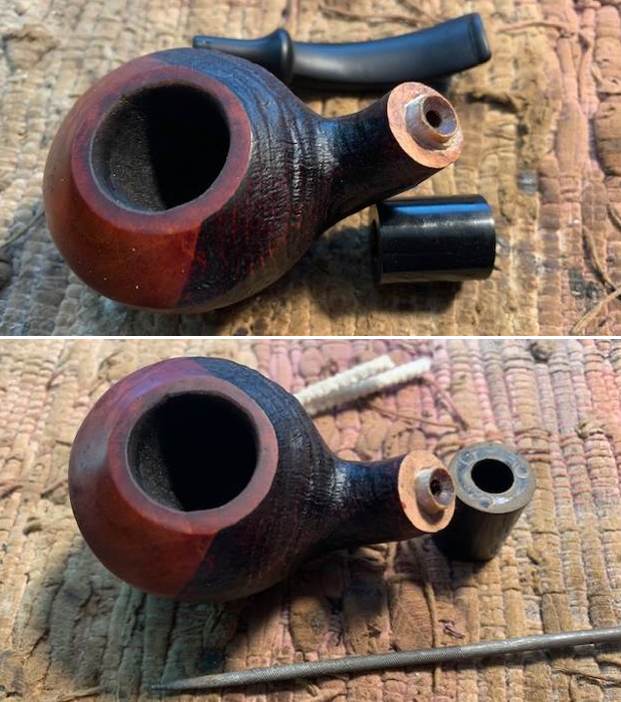
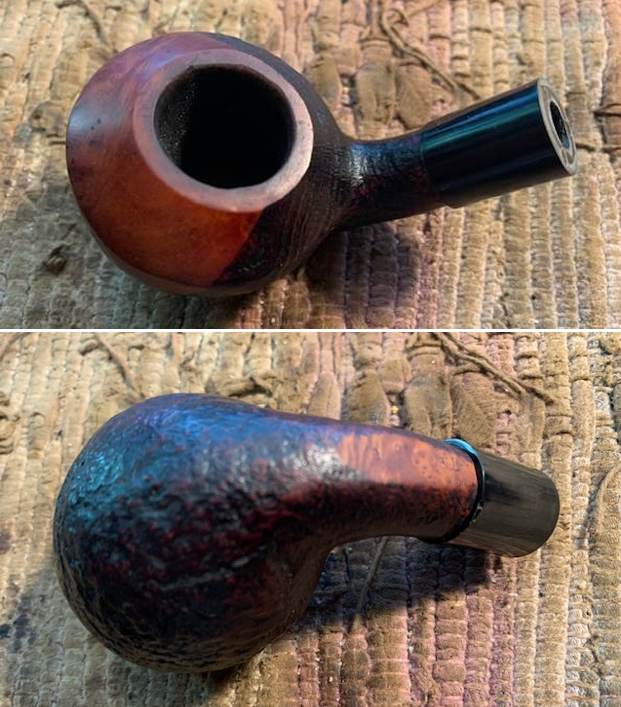
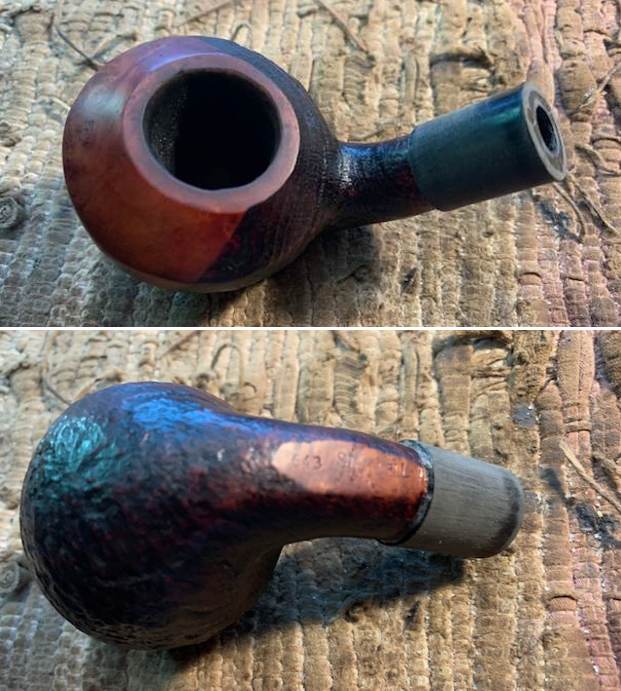
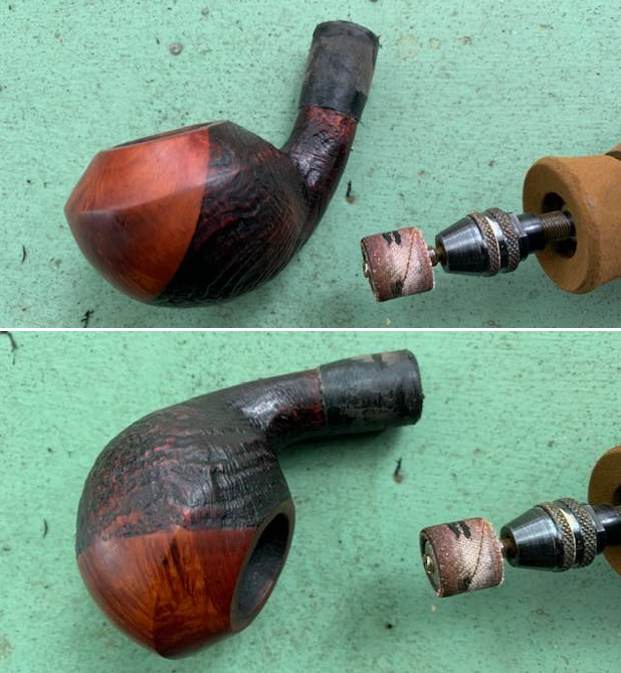
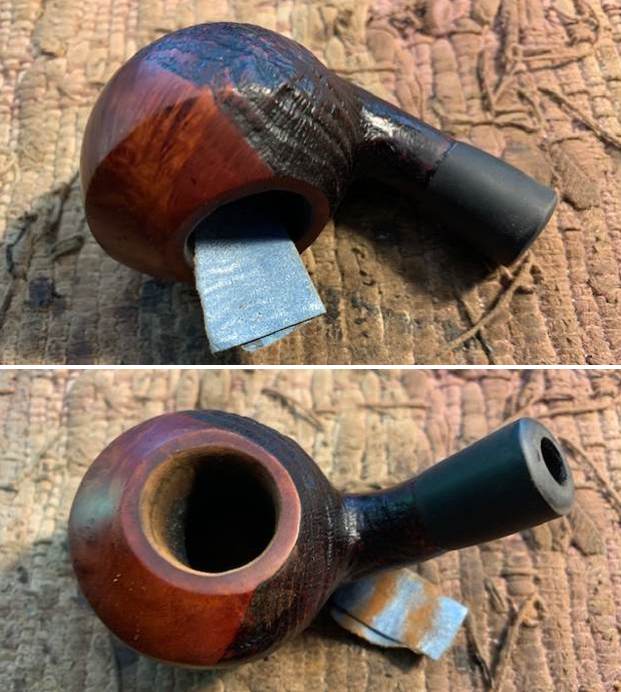
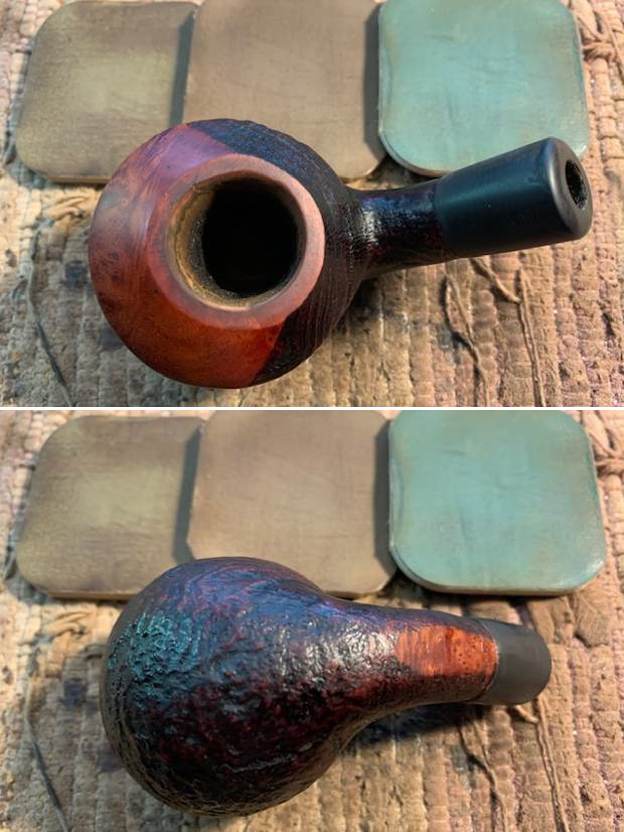
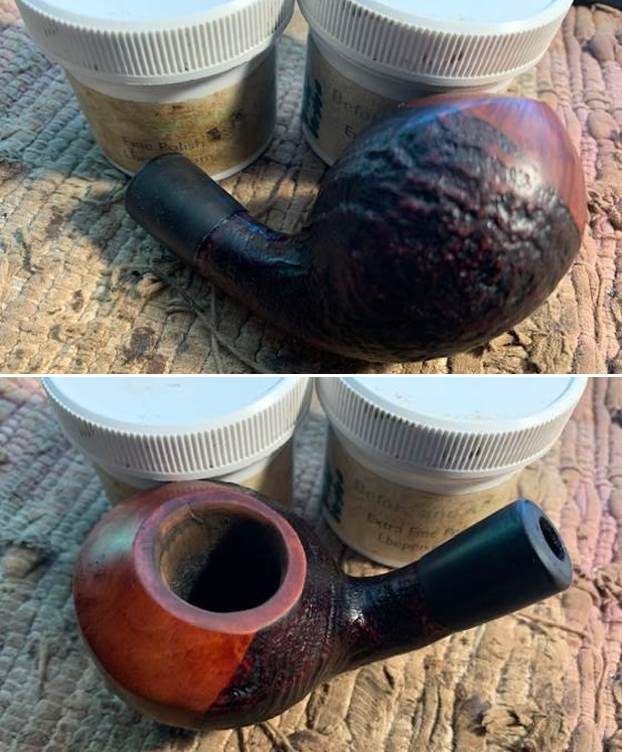
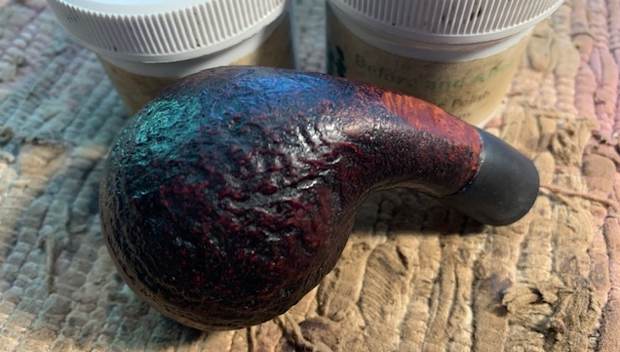
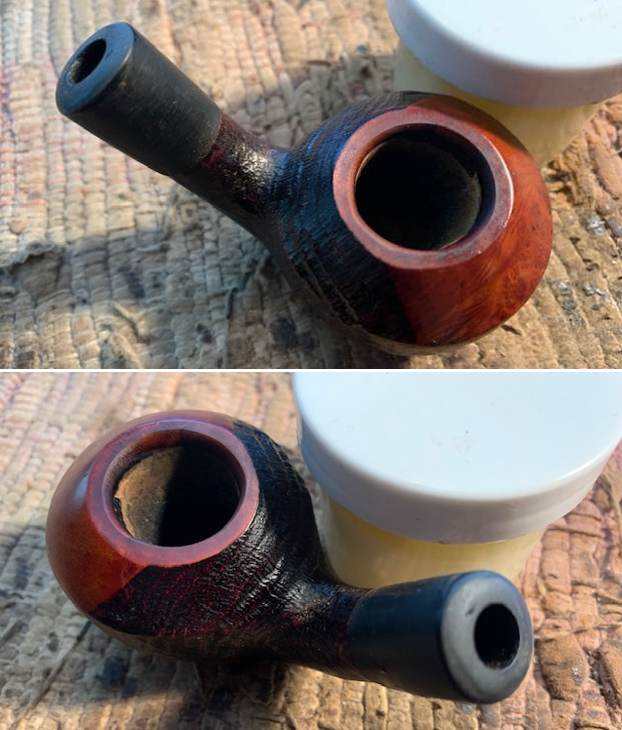
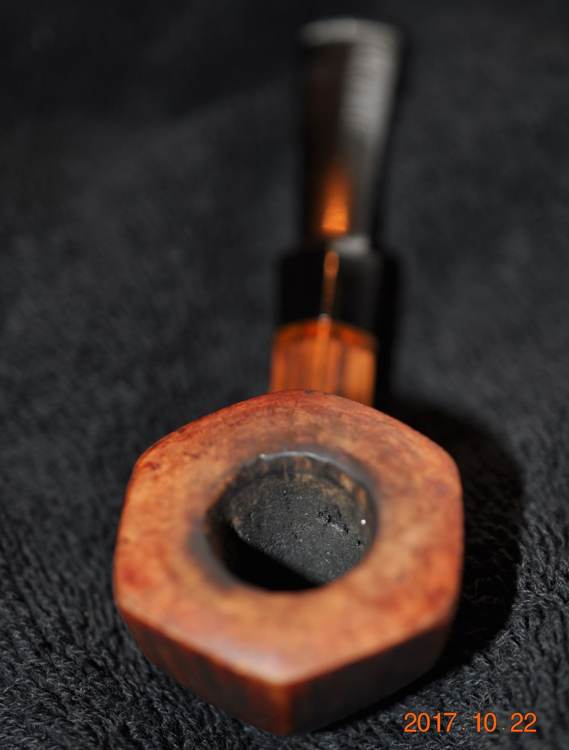
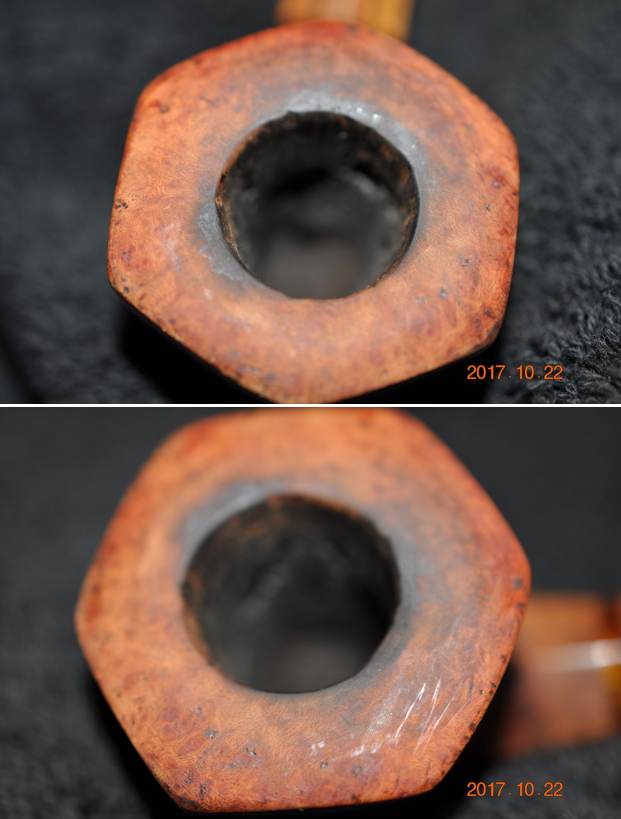
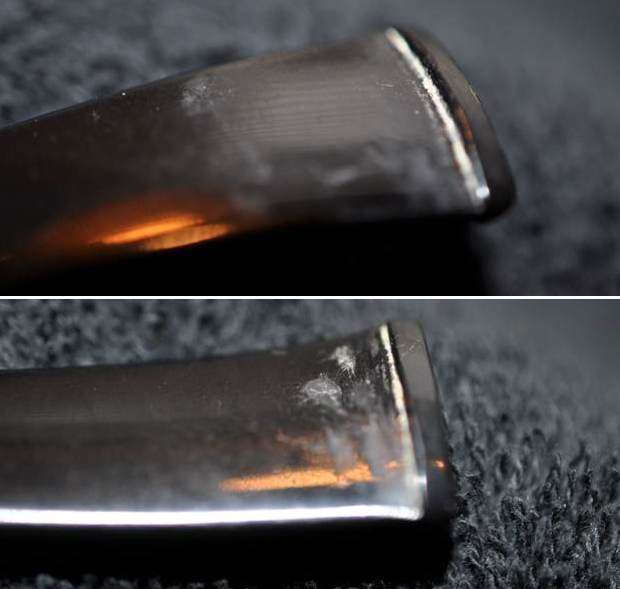
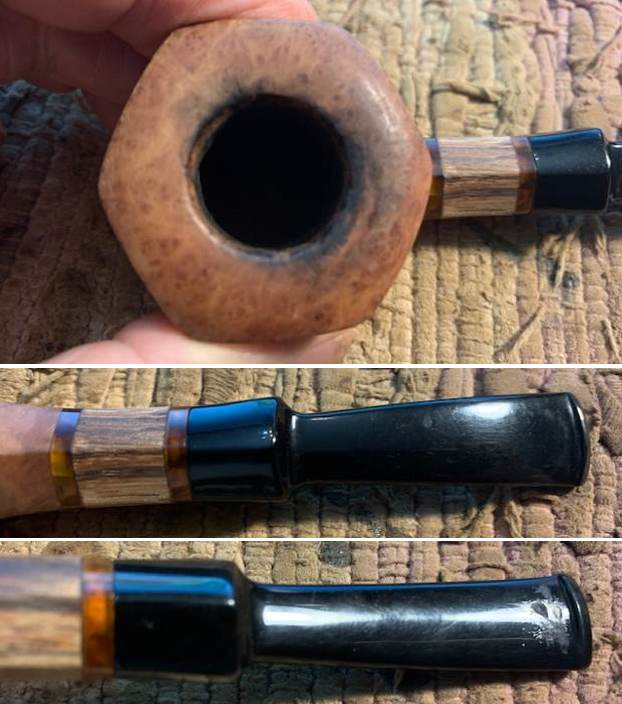
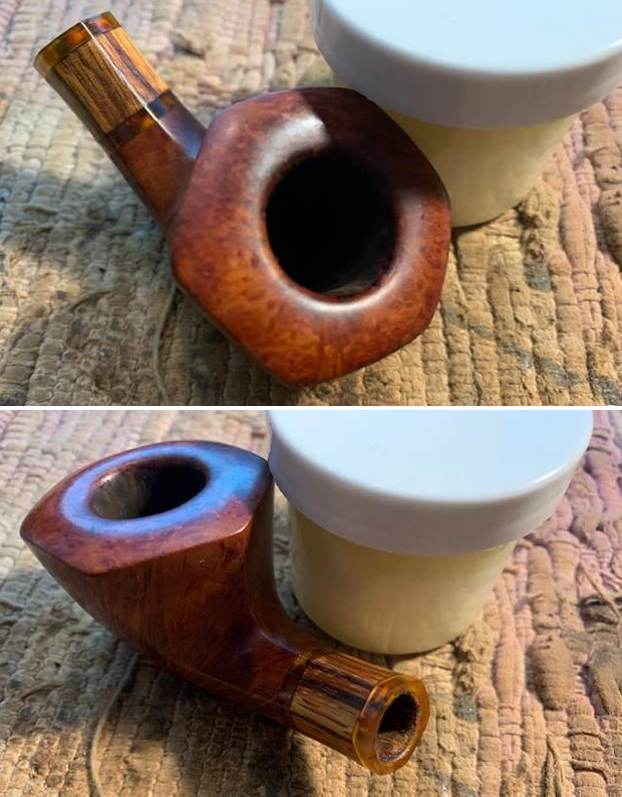
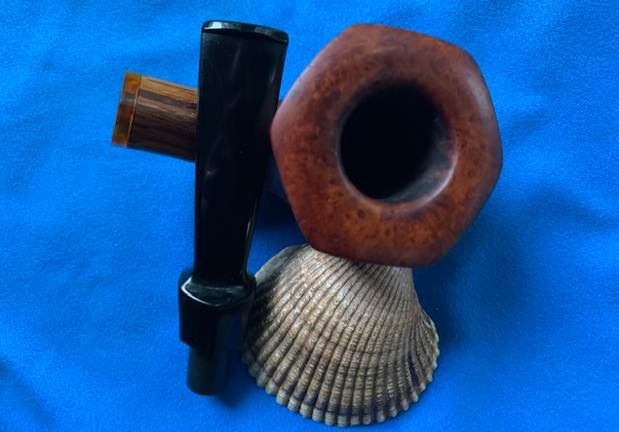
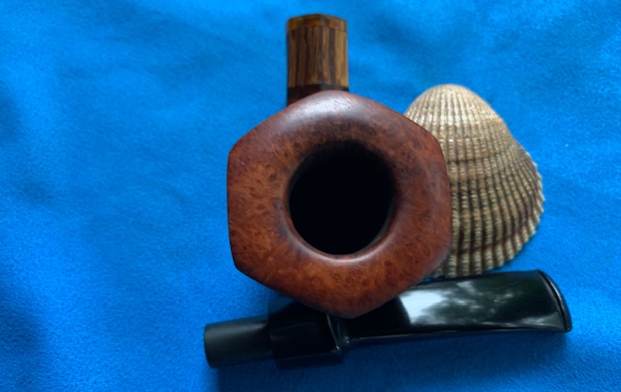
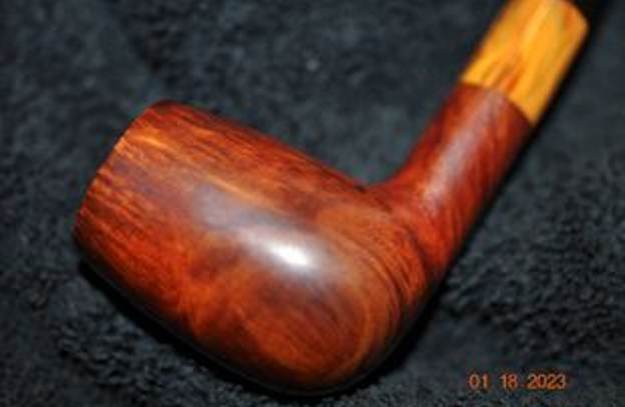
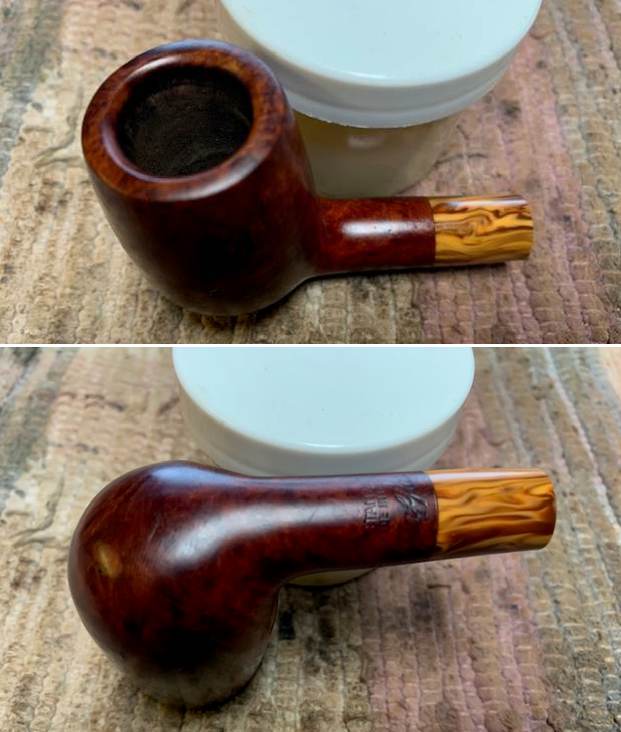
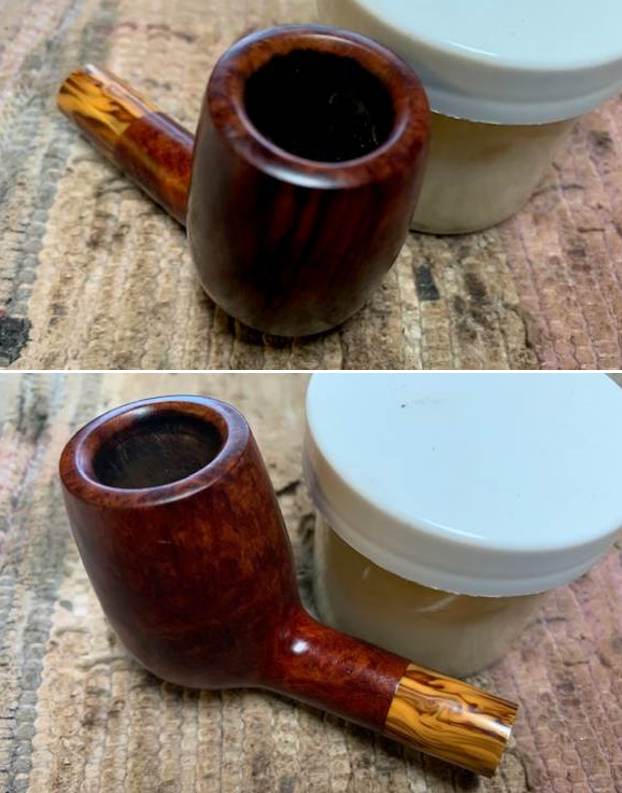
 He took photos of the bowl and rim top to show what they looked like before his clean up. You can see the scratches in the smooth rim top. The inner edge also shows some damage. He also took some of the stem to show the condition of both sides.
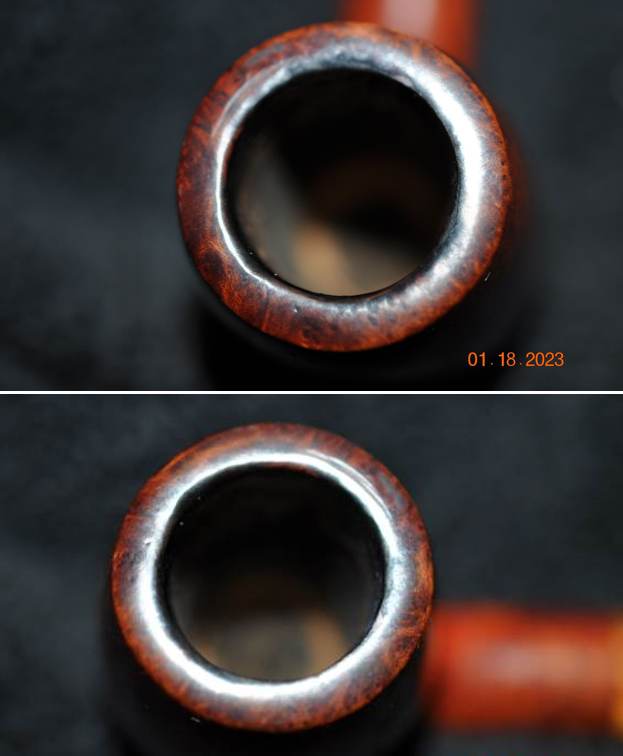
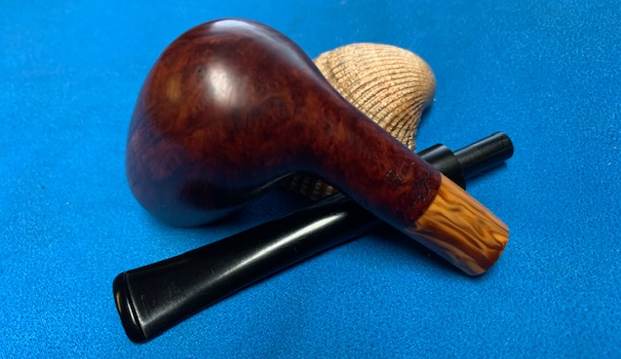
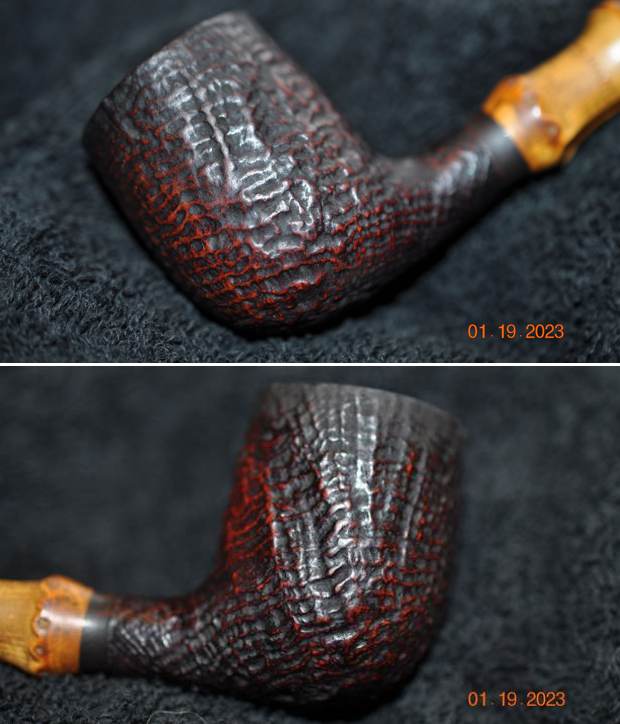
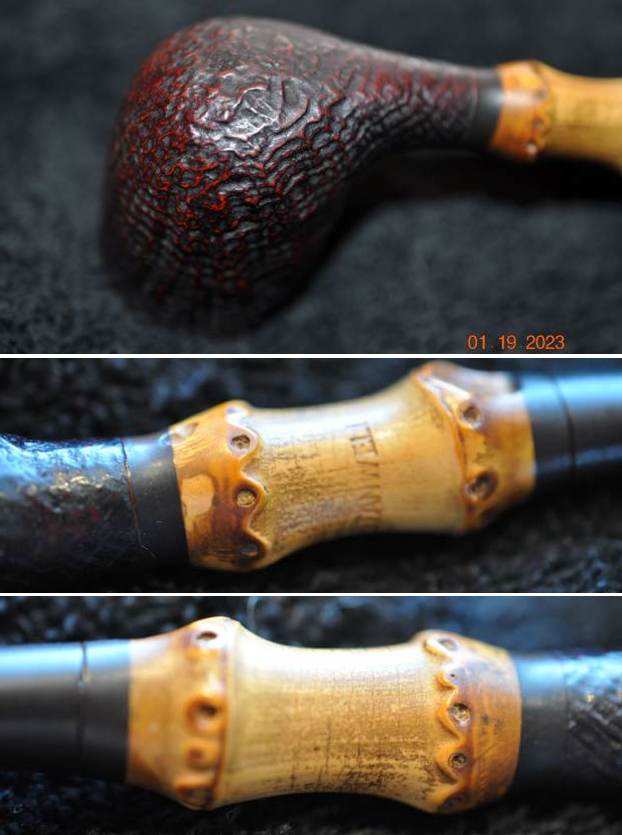
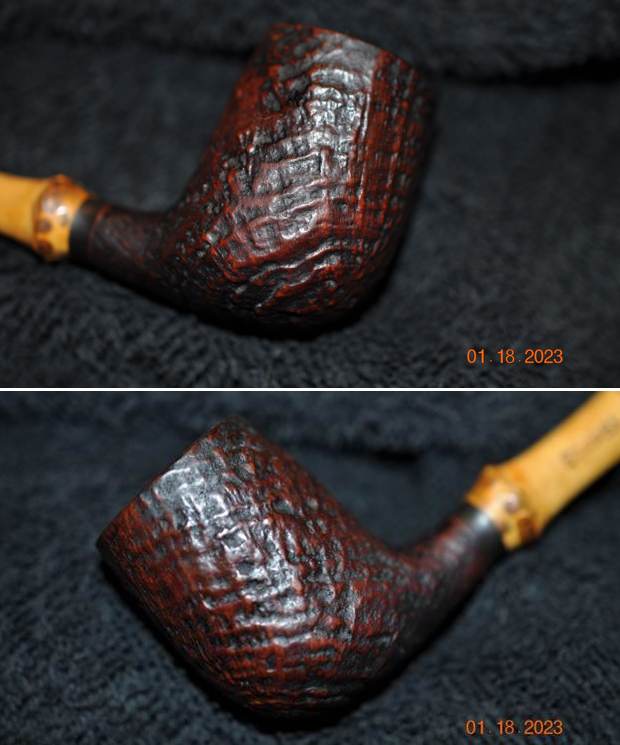
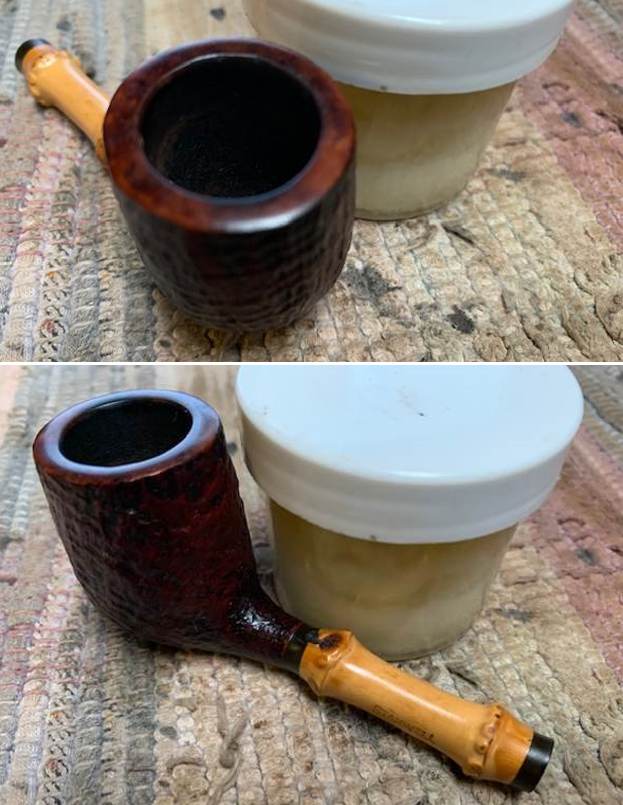
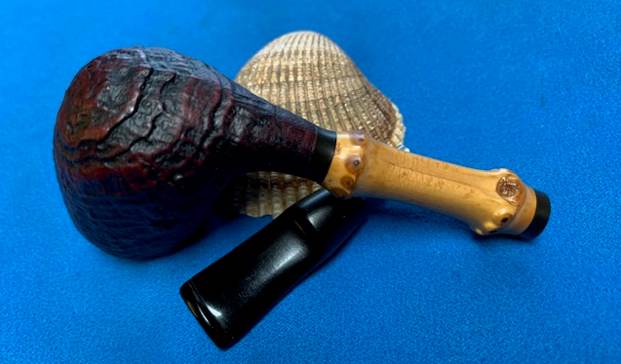
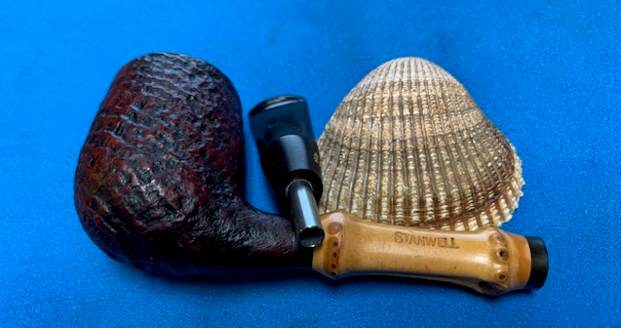
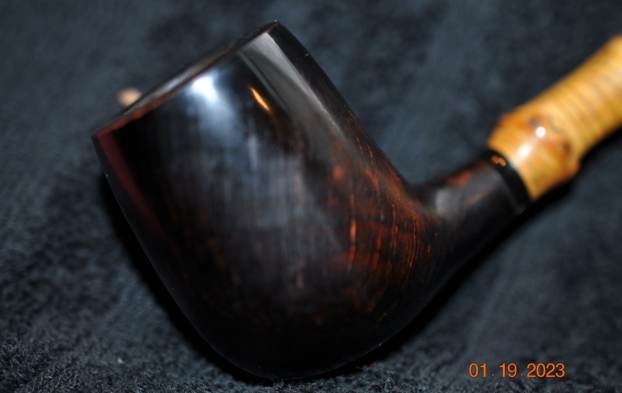
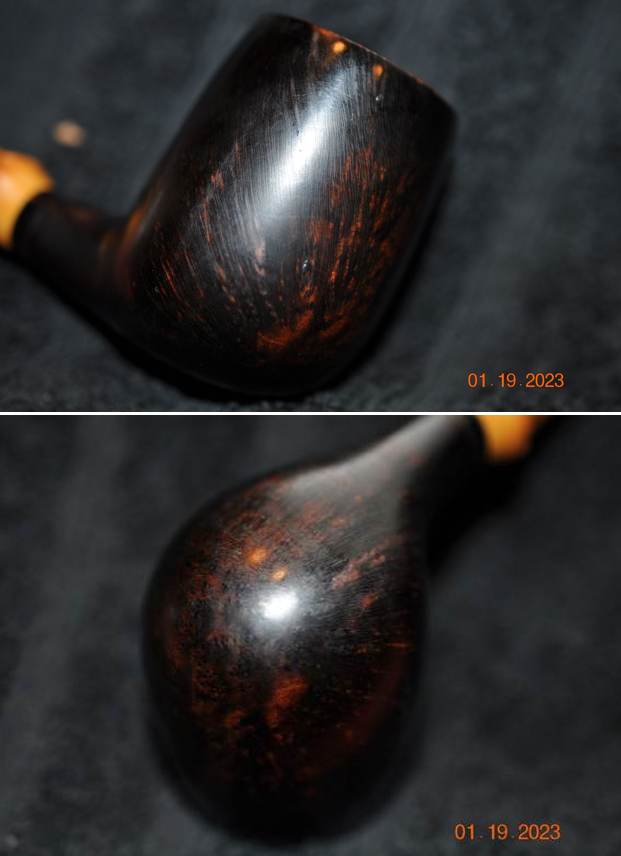
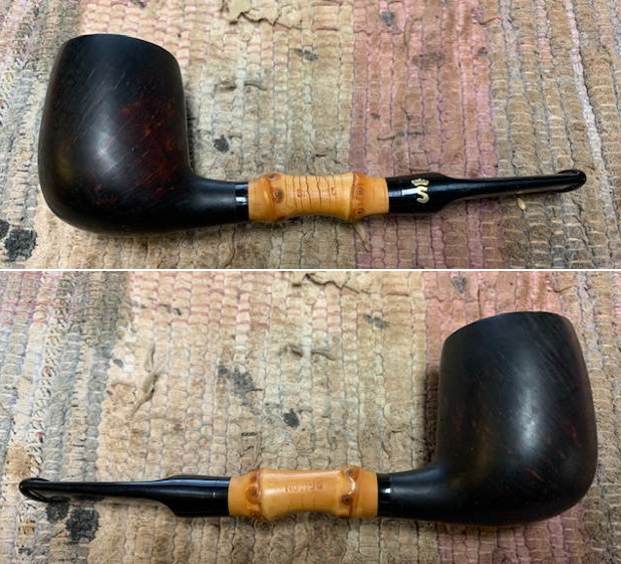
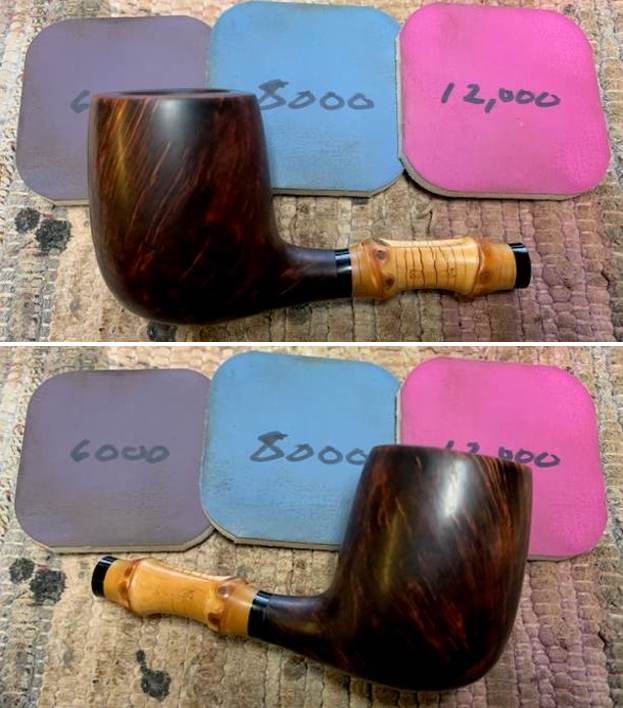
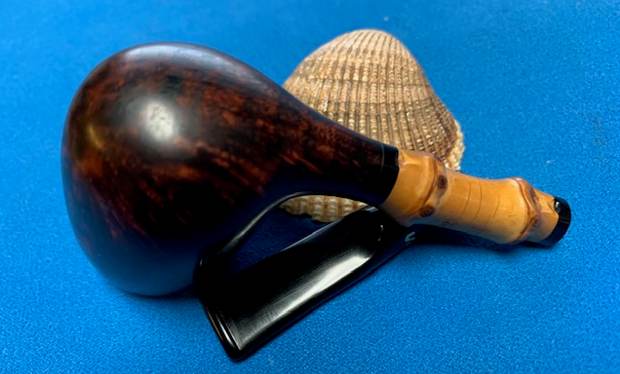
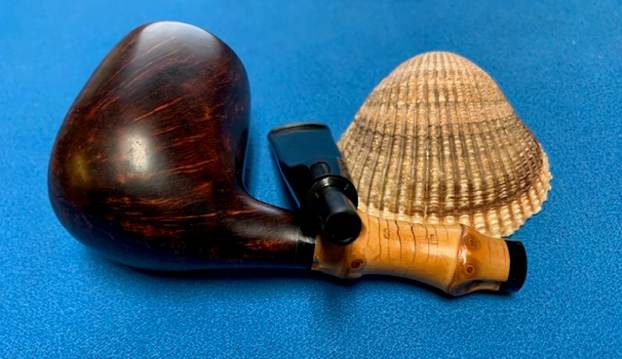
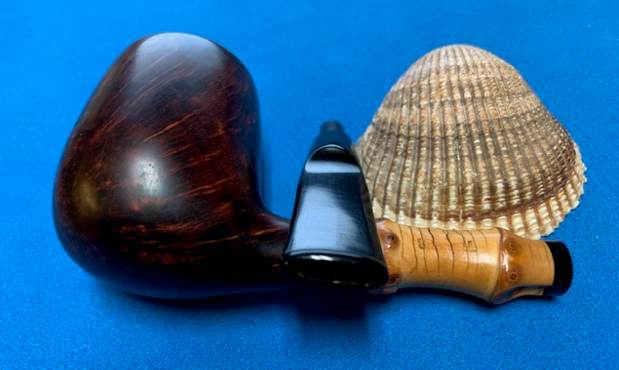
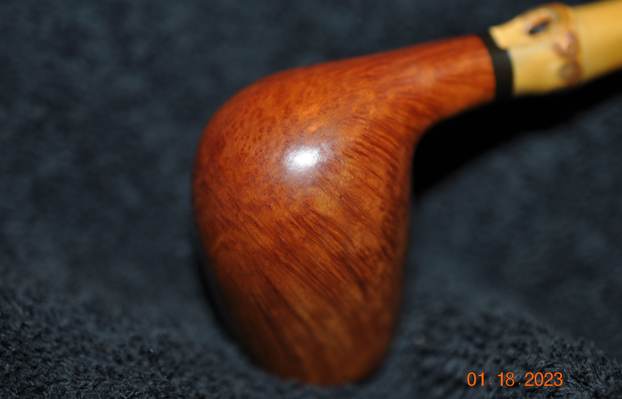
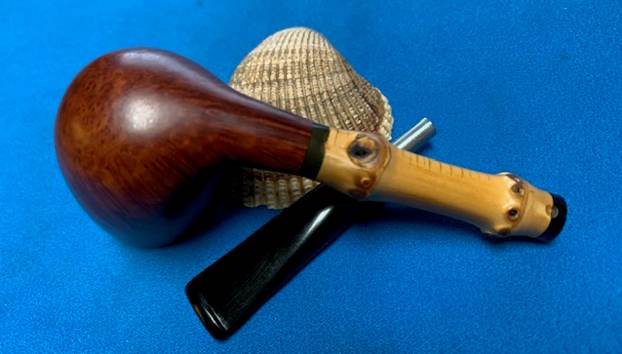
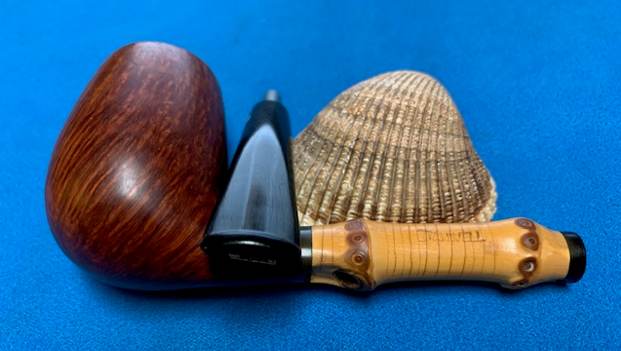
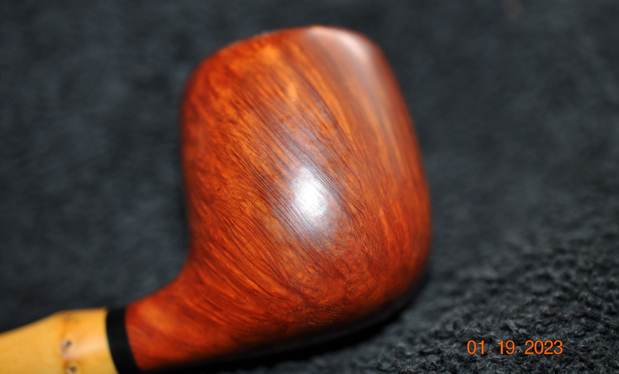
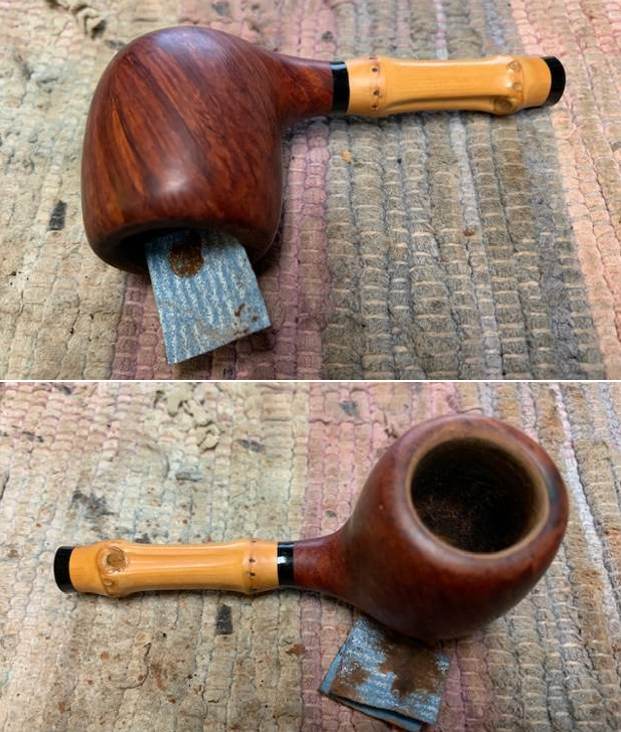
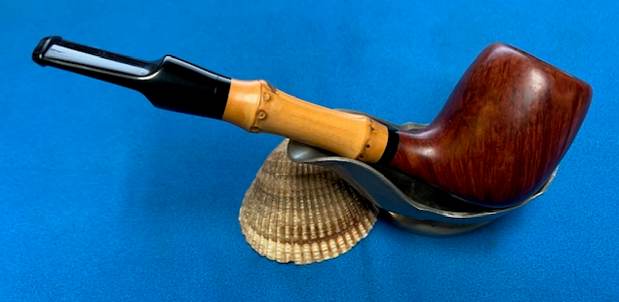
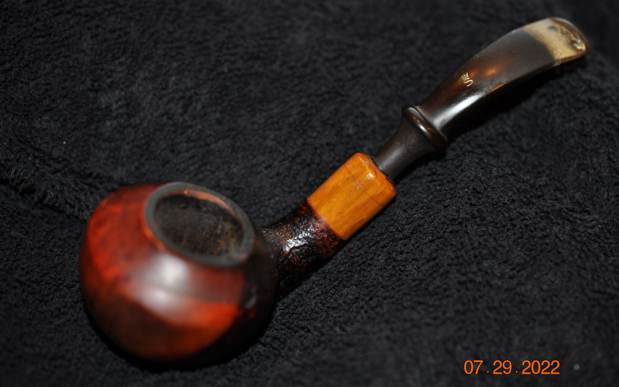
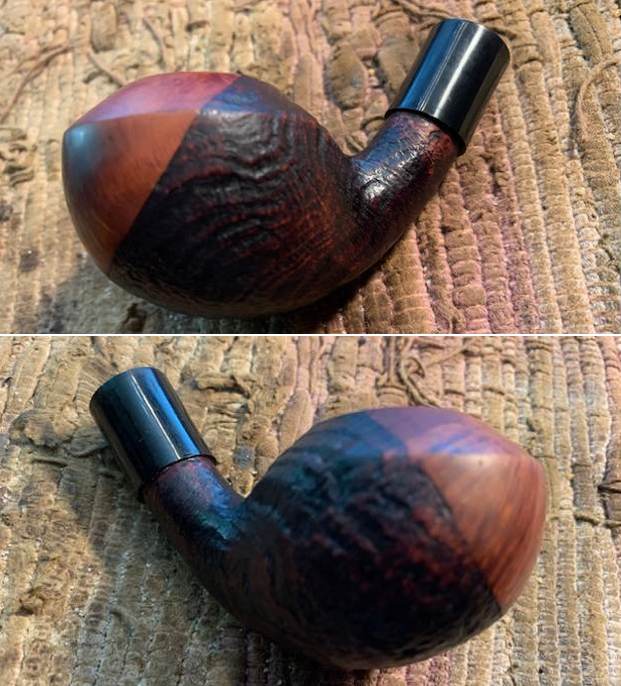
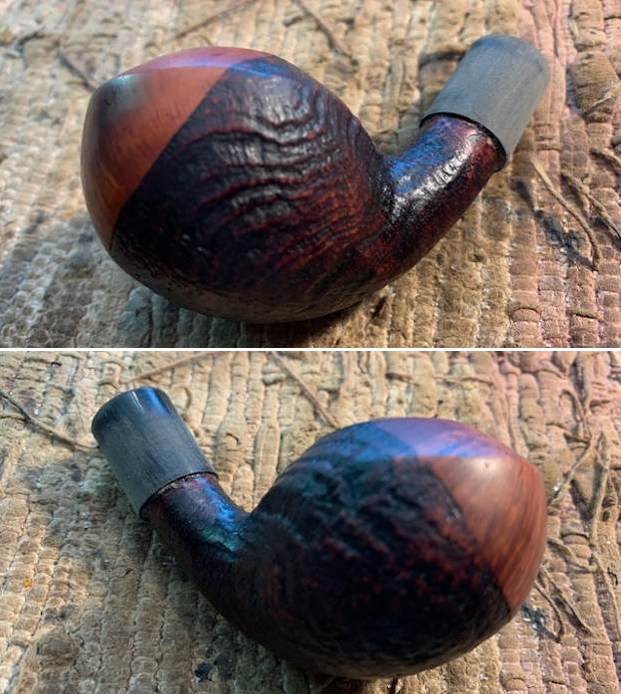
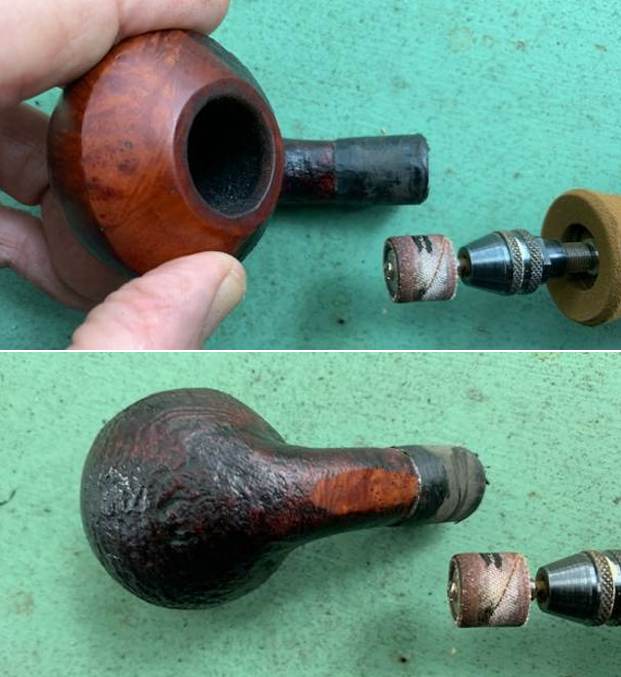
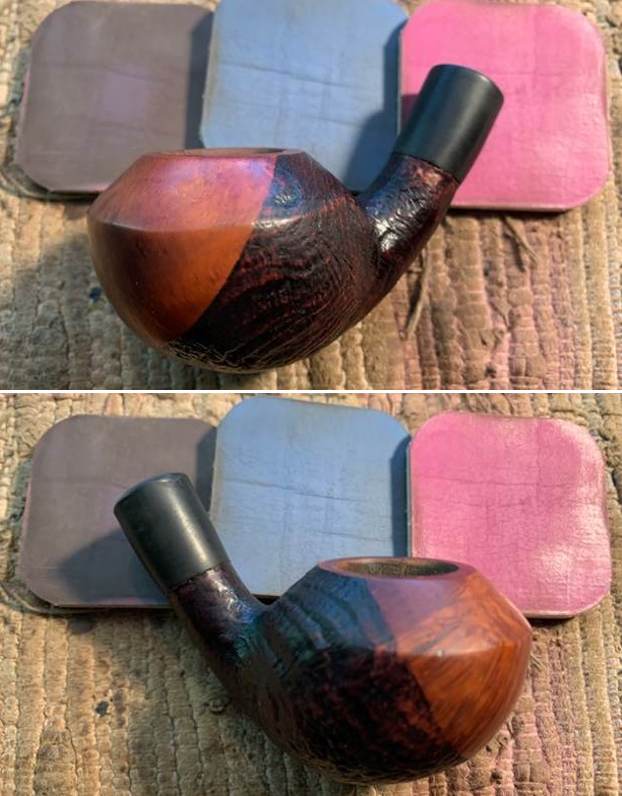
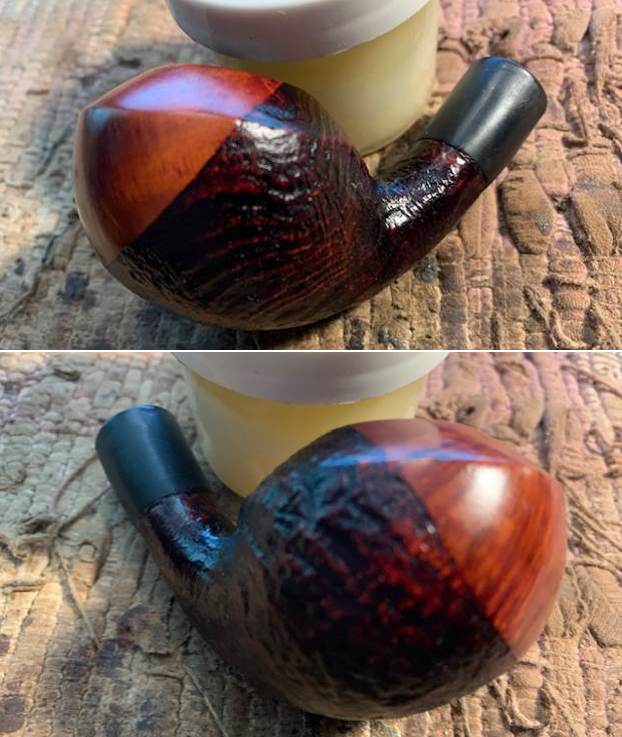
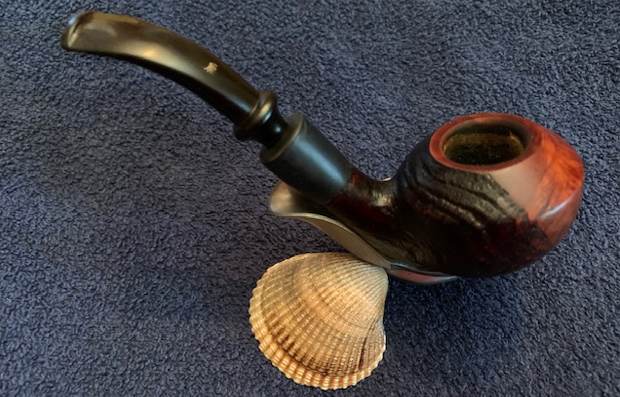
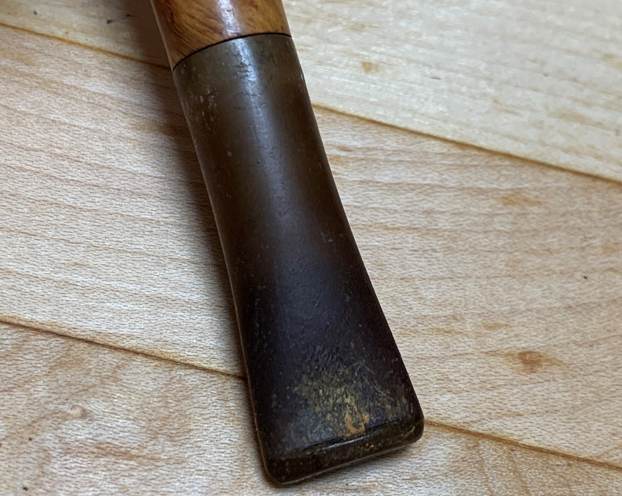
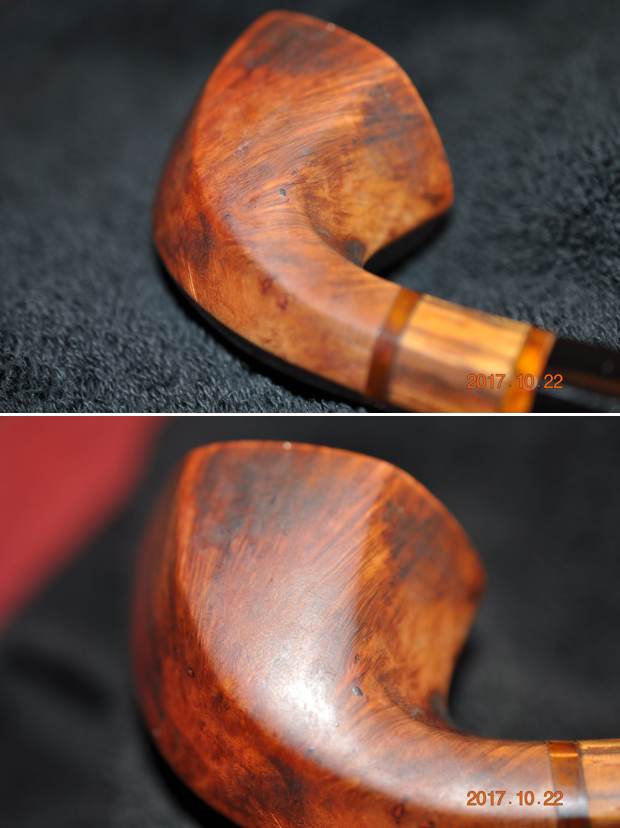
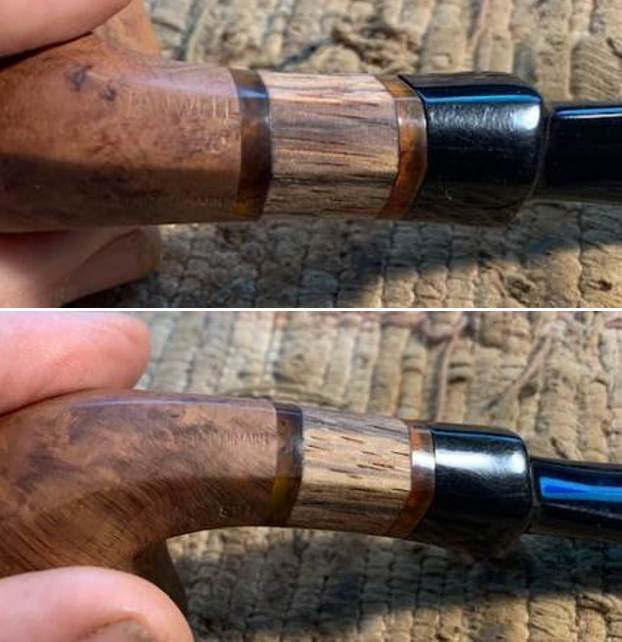
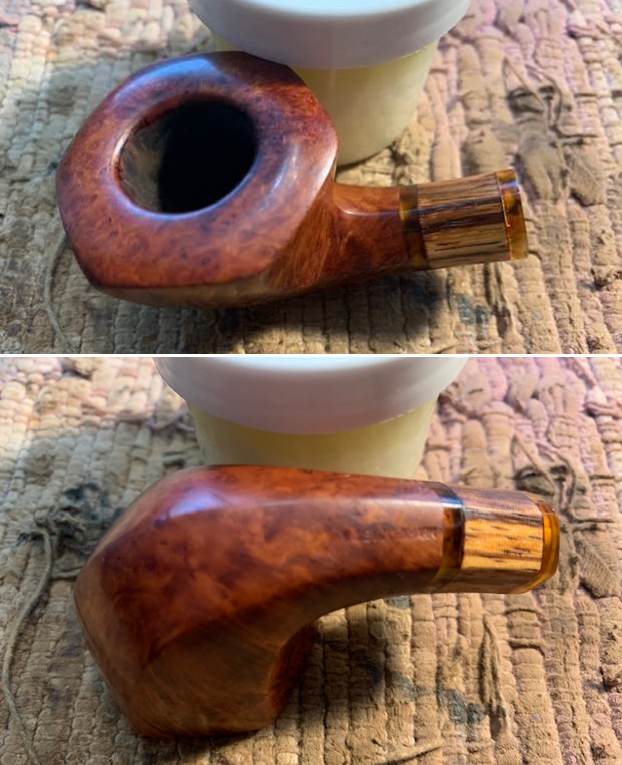
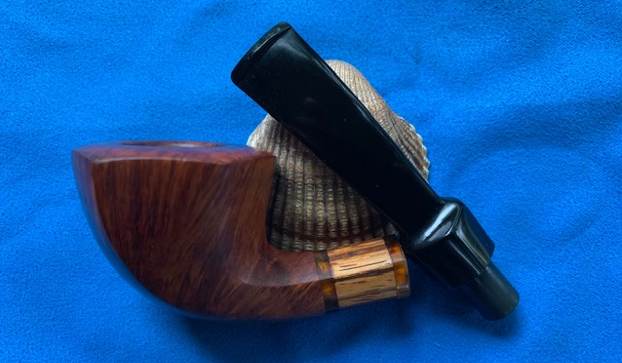
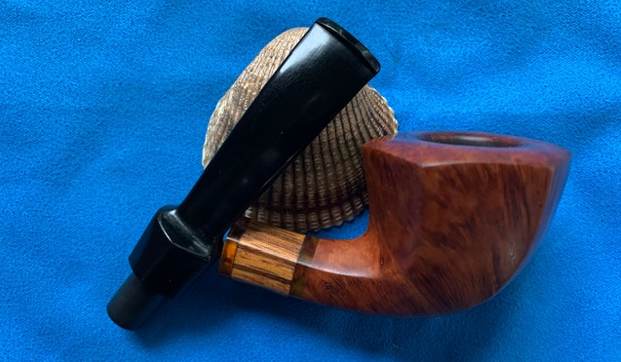
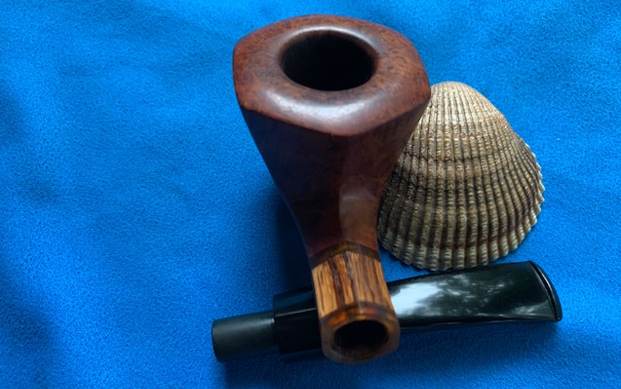
 The photos of the sides and heel of the bowl show the uniquely stained grain around the bowl and shank. The mixture of brown stains adds depth to the finish on the pipe. Even under the grime it is a real beauty. You can also see the swirls in the acrylic shank extension.
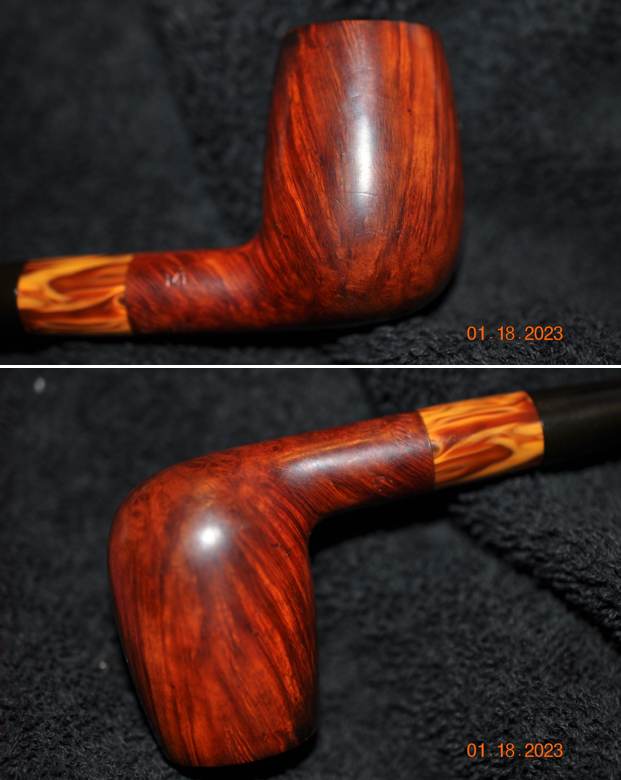
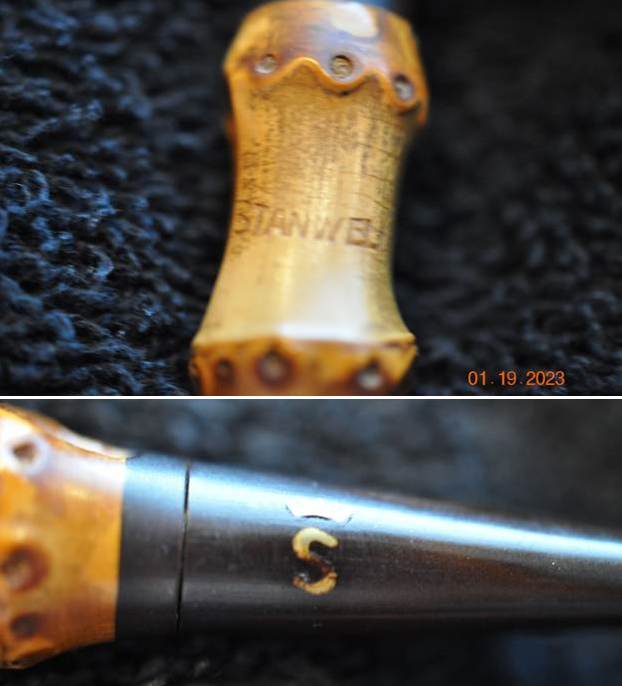
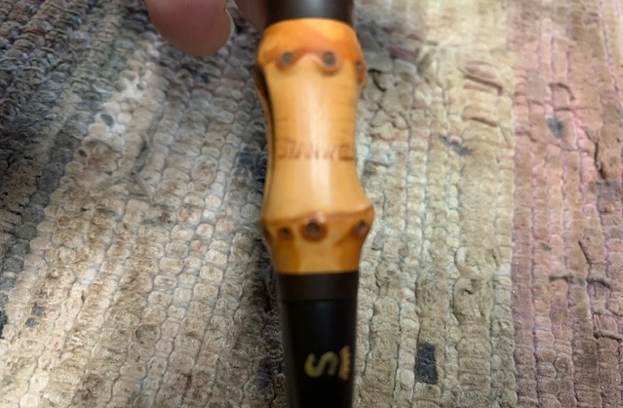
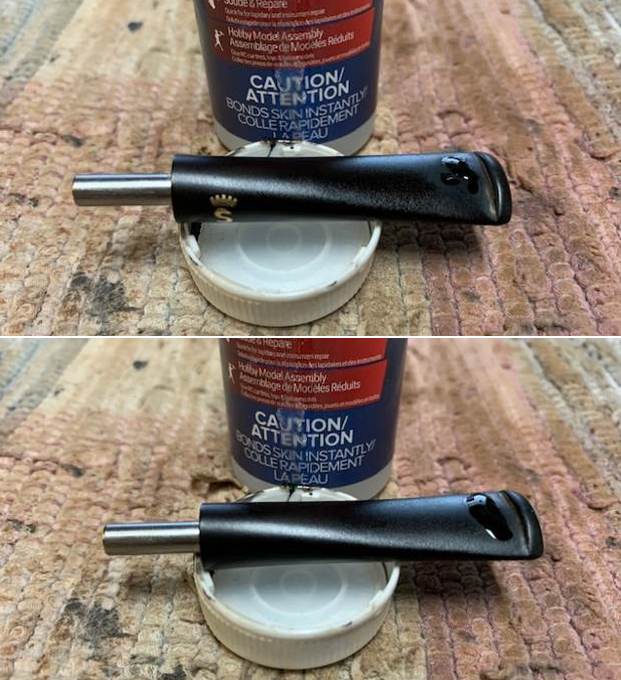
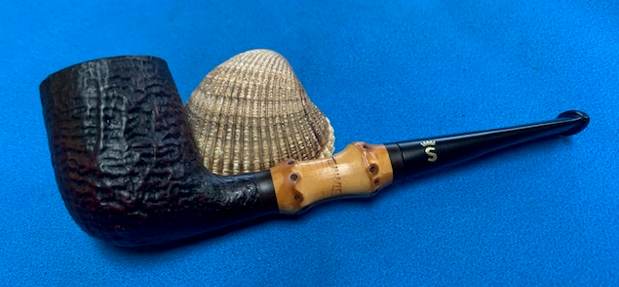
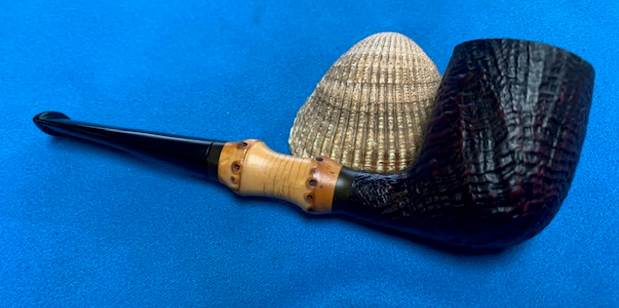
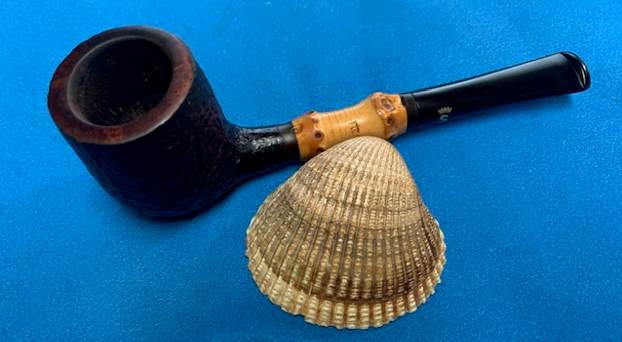
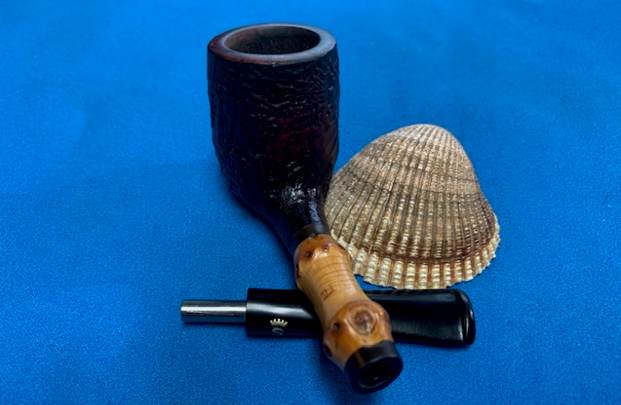
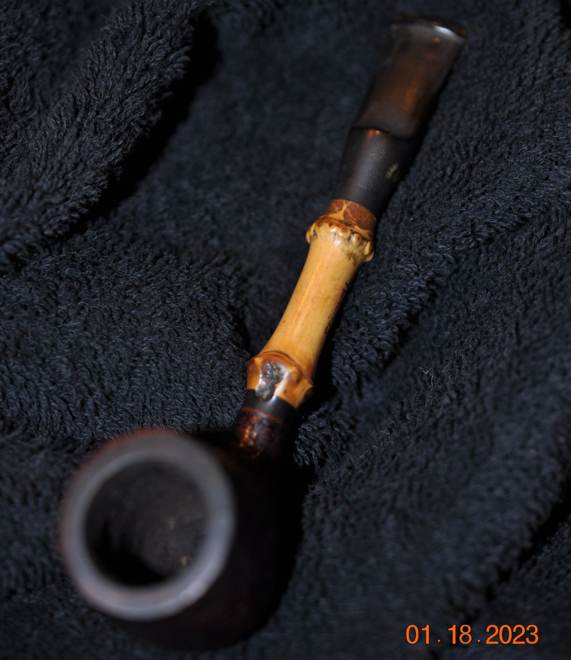
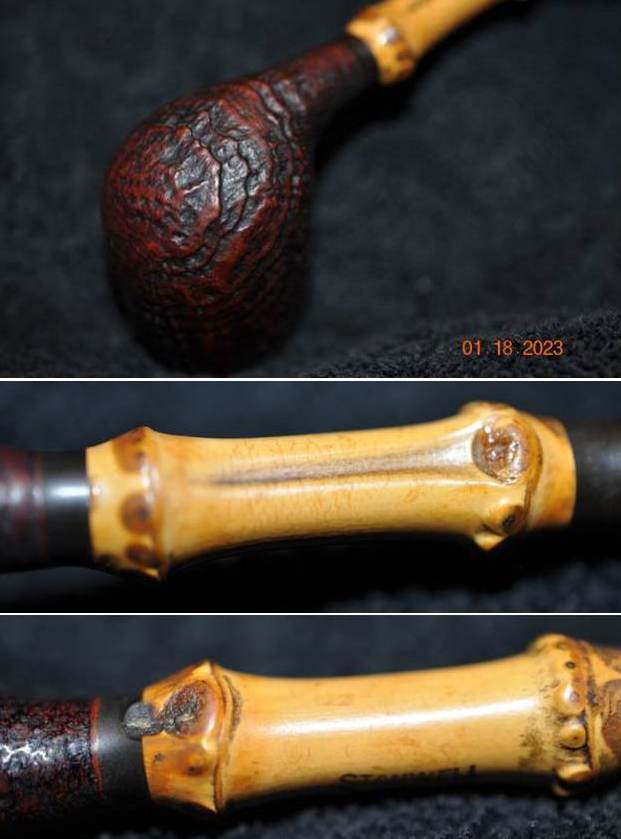
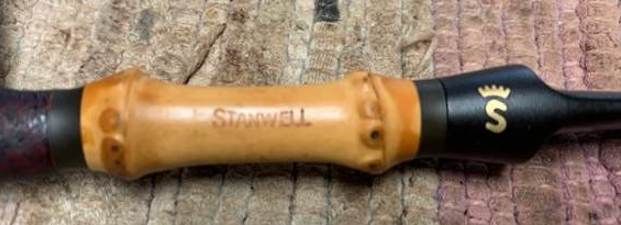
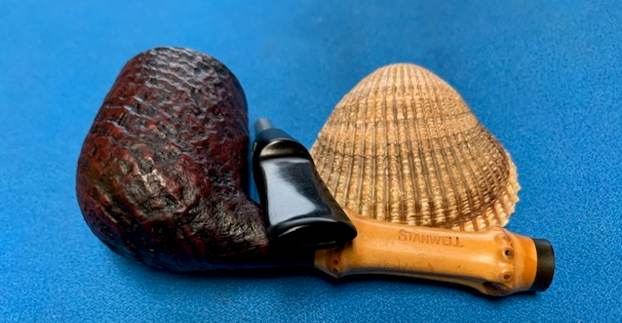
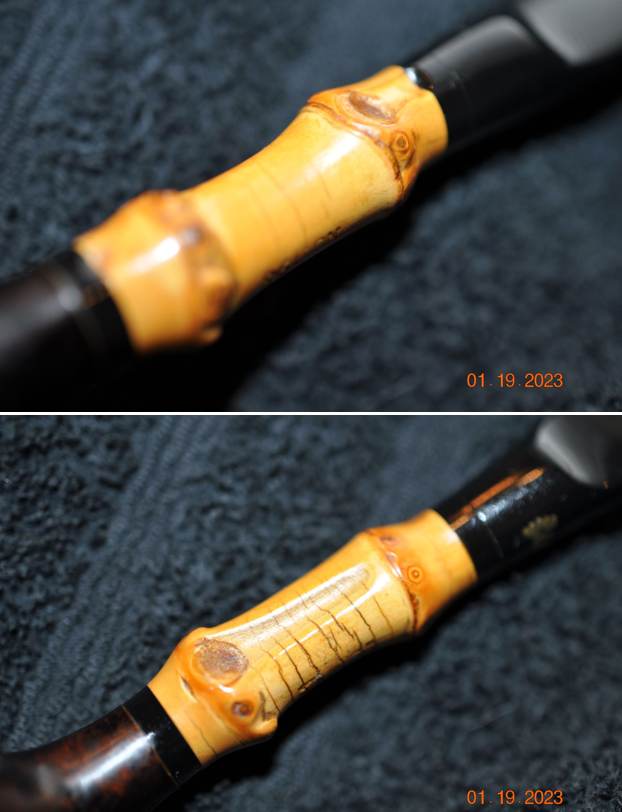
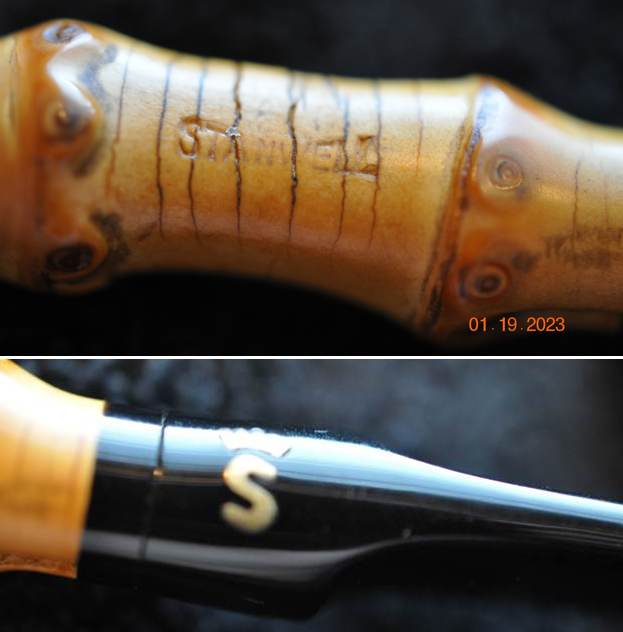
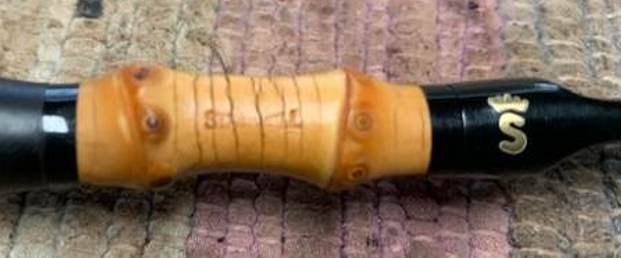
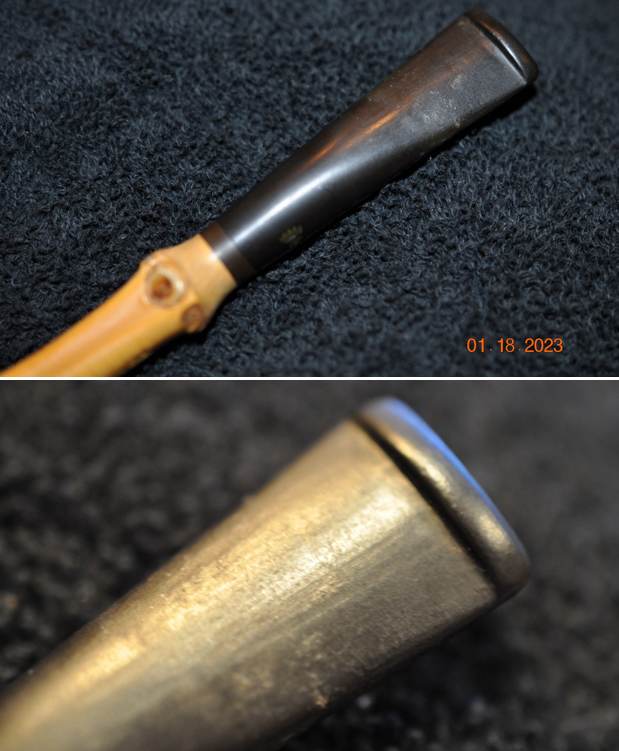
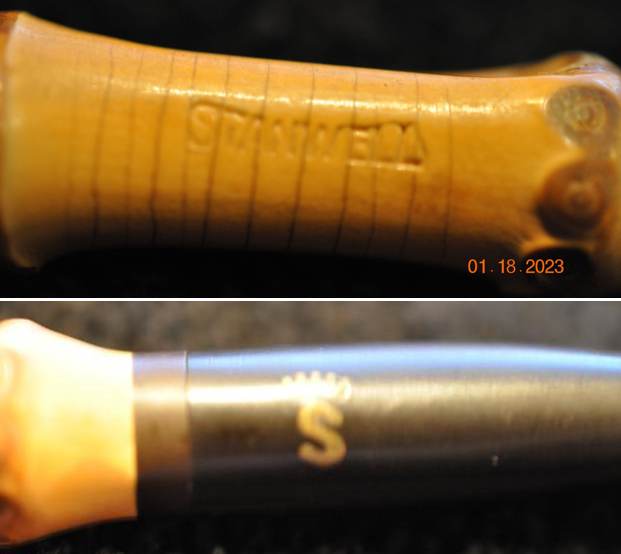
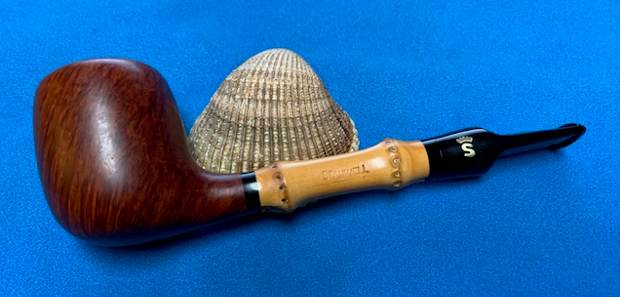
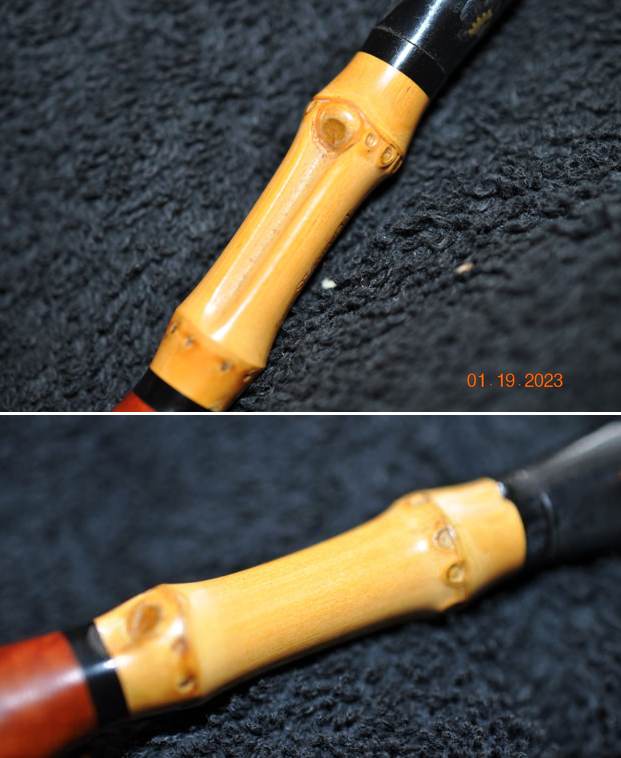
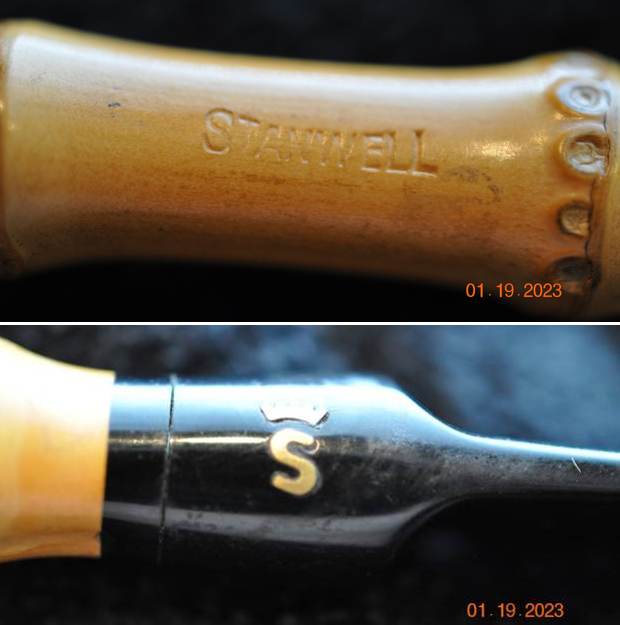
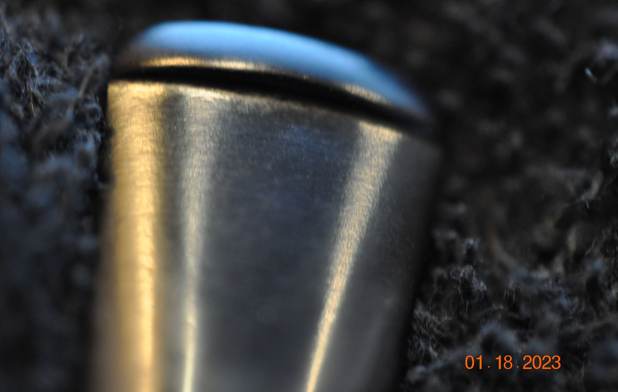
 The stamping on this one was around the bamboo horizontally and is shown in the photo below. It is clear and readable as noted above. The second photo shows the white stamped crown S on the stem side.
  Before I started my work on the pipe I wanted to see if I could find any information that would help me get a sense of the line. I turned to Pipephil to see if there was any listing on the Buffalo Line (http://pipephil.eu/logos/en/logo-stanwell.html). There was nothing listed.
I then turned to Pipedia (https://pipedia.org/wiki/Stanwell) for more information. The article is great and gives a lot of history on the brand. There were also links to a shape article by Bas Stevens that I originally published on rebornpipes. I looked up the 141 shape number to see who had designed that shape (https://pipedia.org/wiki/Stanwell_Shape_Numbers_and_Designers). I quote the information on shape 141.
- Billiard, medium size, conical bowl, full mouthpiece by Jess Chonowitsch.
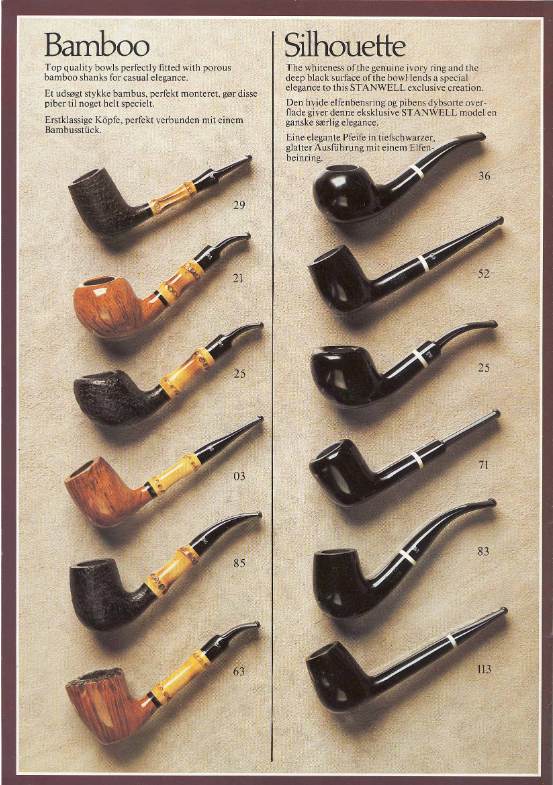
I found a listing on Smokingpipes.com that had a description of the Buffalo line of pipes (https://www.smokingpipes.com/pipes/estate/denmark/moreinfo.cfm?product_id=229371). I am including part of the description below.
A rather easy to spot Stanwell series, the pipes of the Buffalo line were distinguished by swirled pattern acrylic ferrules in colors reminiscent of water buffalo horn.
Now it was time to work on the pipe.
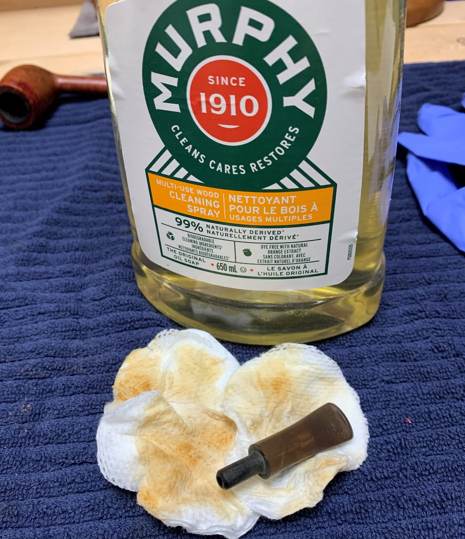
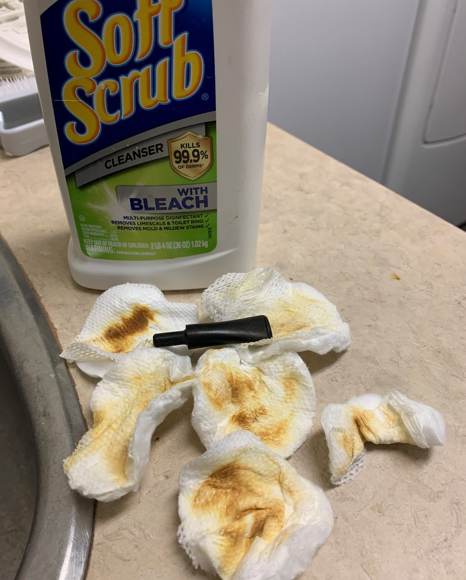
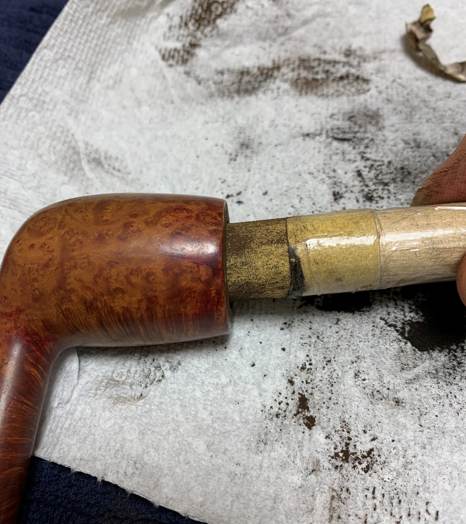
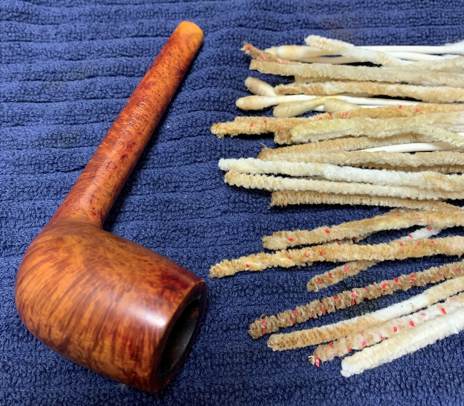
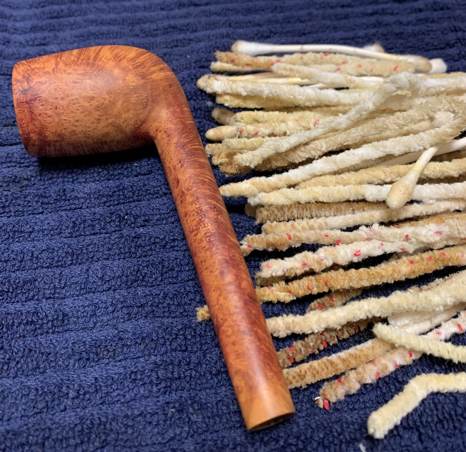
Jeff had thoroughly cleaned up the pipe. He reamed the pipe with a PipNet Pipe Reamer and cleaned up the remnants with a Savinelli Fitsall Pipe Knife. He scrubbed the bowl with undiluted Murphy’s Oil Soap with a tooth brush. He rinsed it under running warm water to remove the soap and grime. He cleaned out the inside of the shank and the airway in the stem with alcohol, cotton swabs and pipe cleaners. He scrubbed the exterior of the stem with Soft Scrub to remove the grime and calcification. He soaked the stem in Before & After Deoxidizer and rinsed it off with warm water. The pipe looked very good when it arrived here in Vancouver.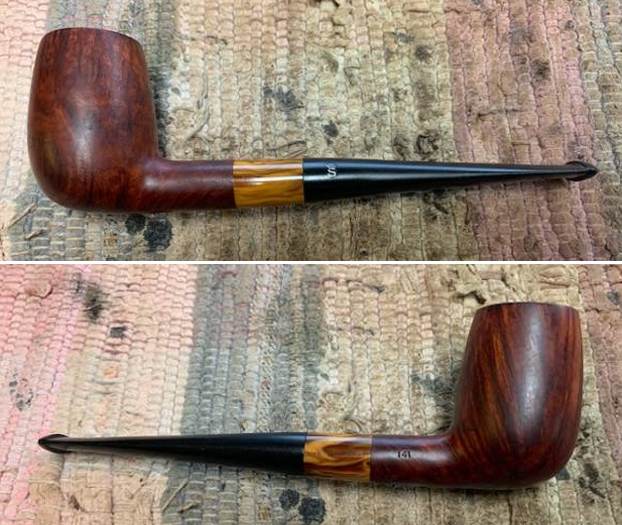
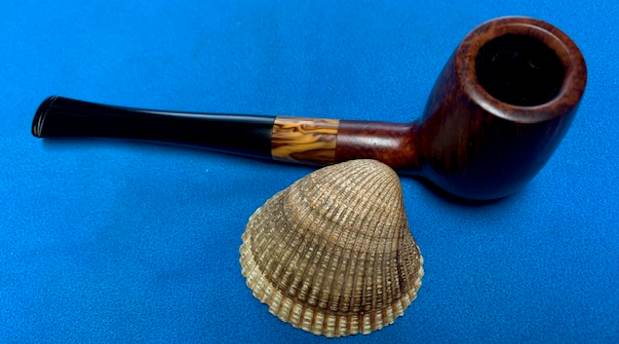
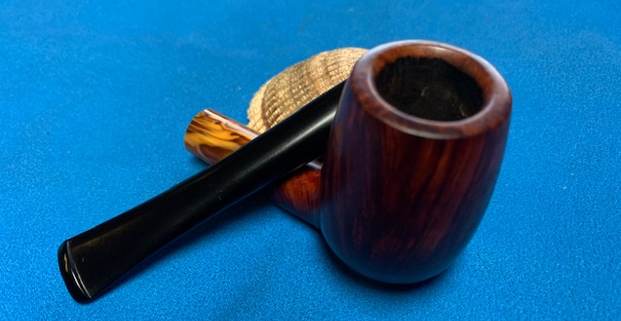
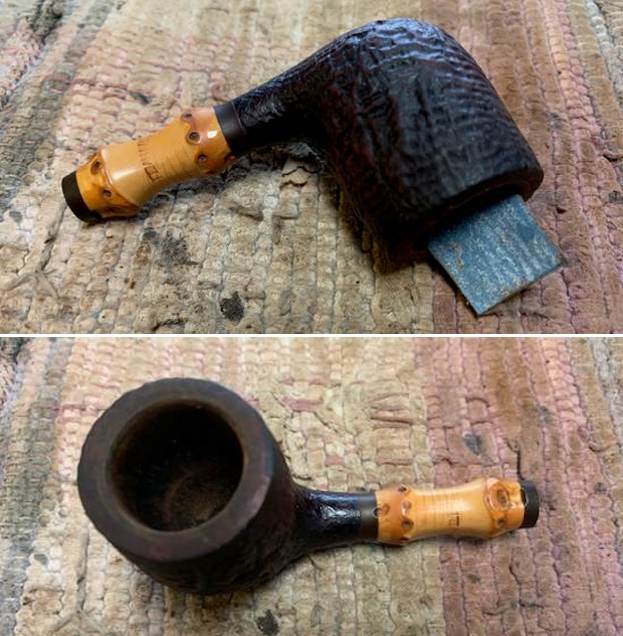
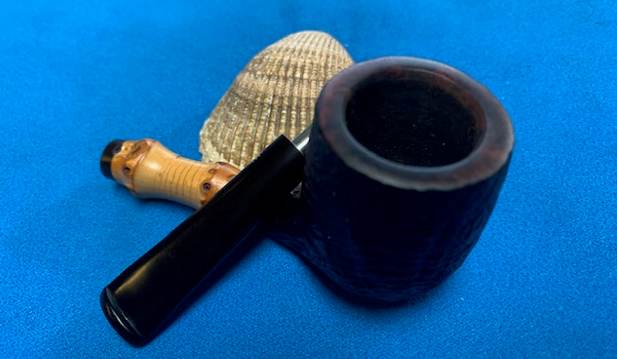
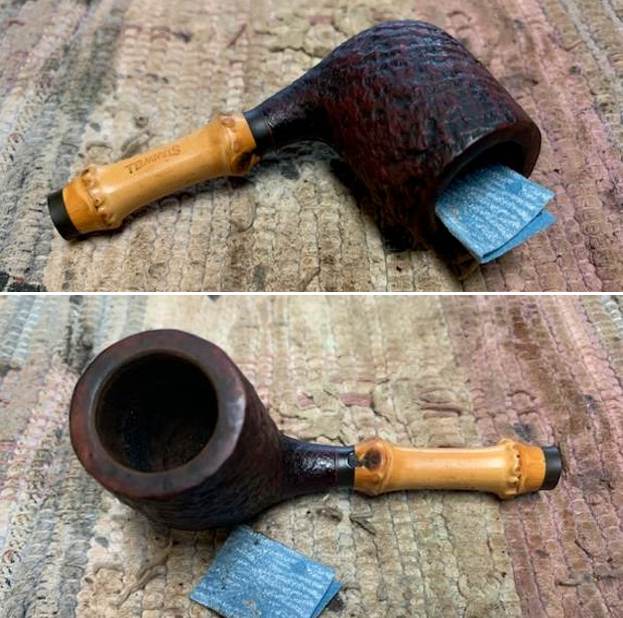
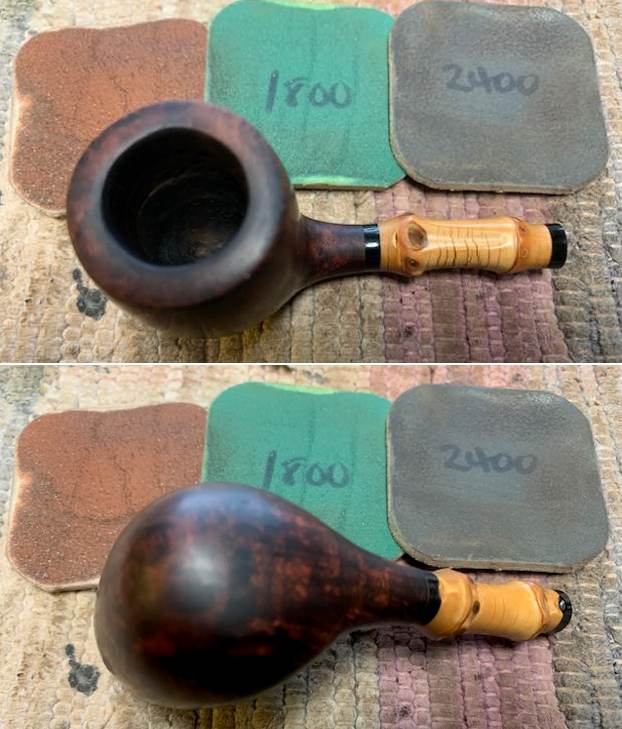
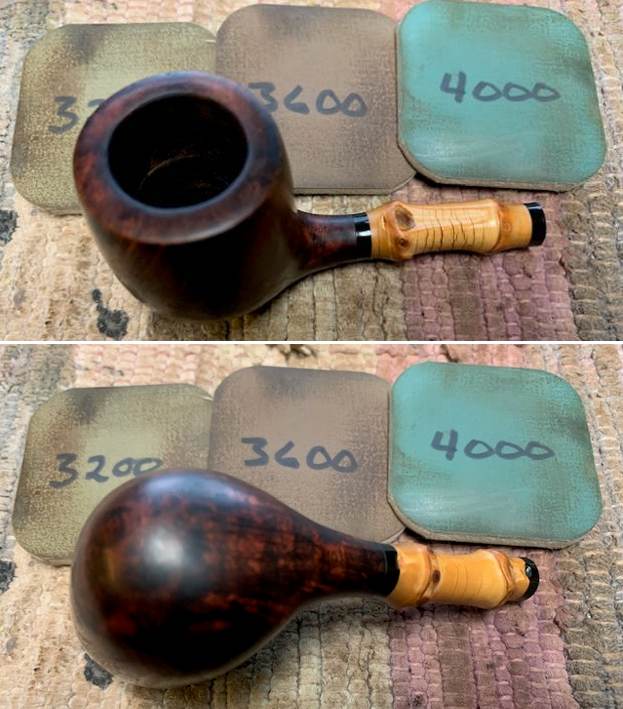
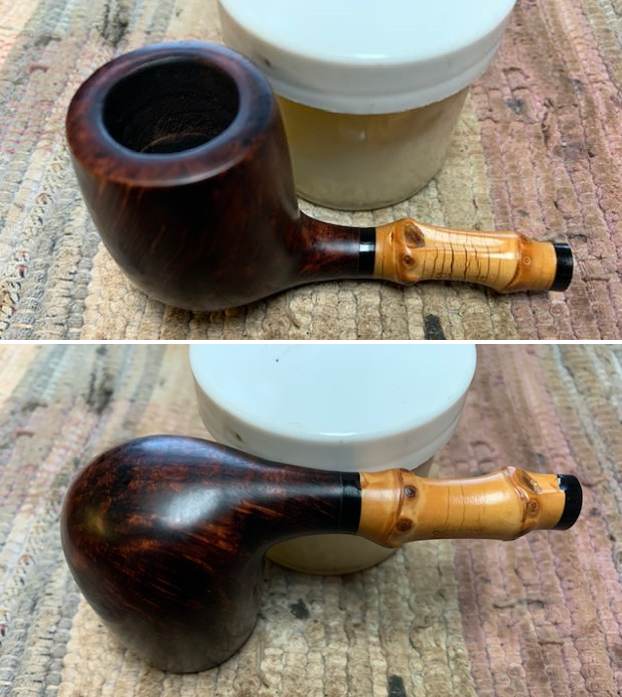
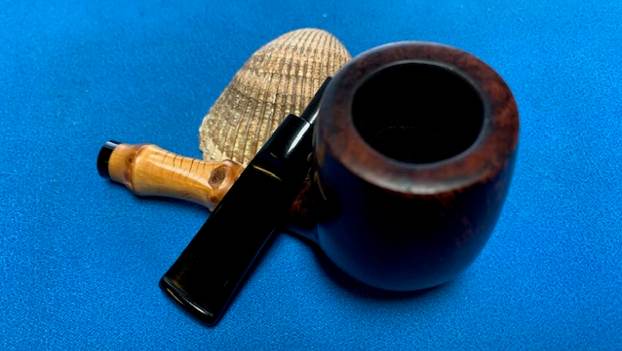
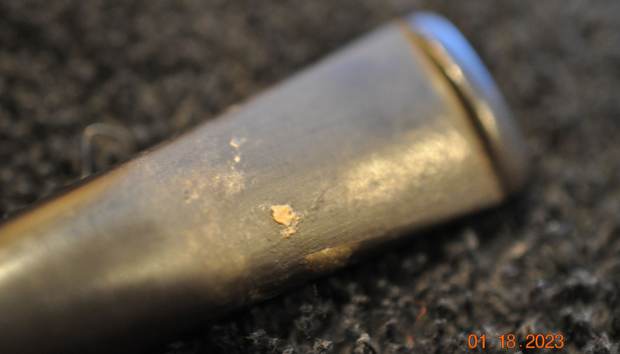
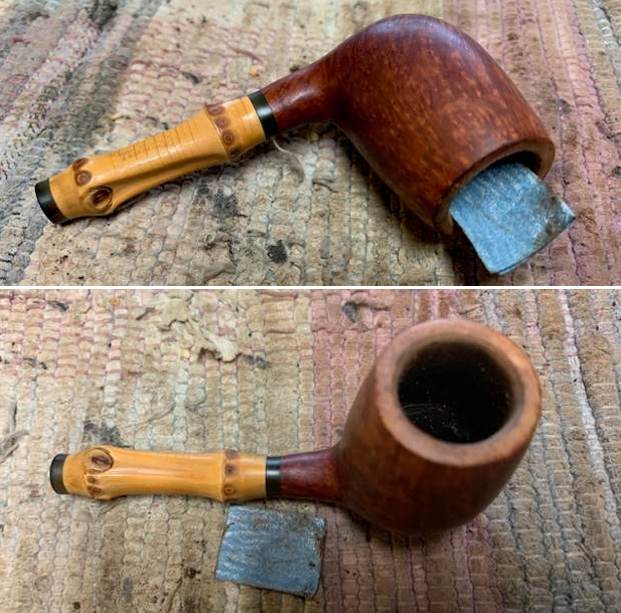
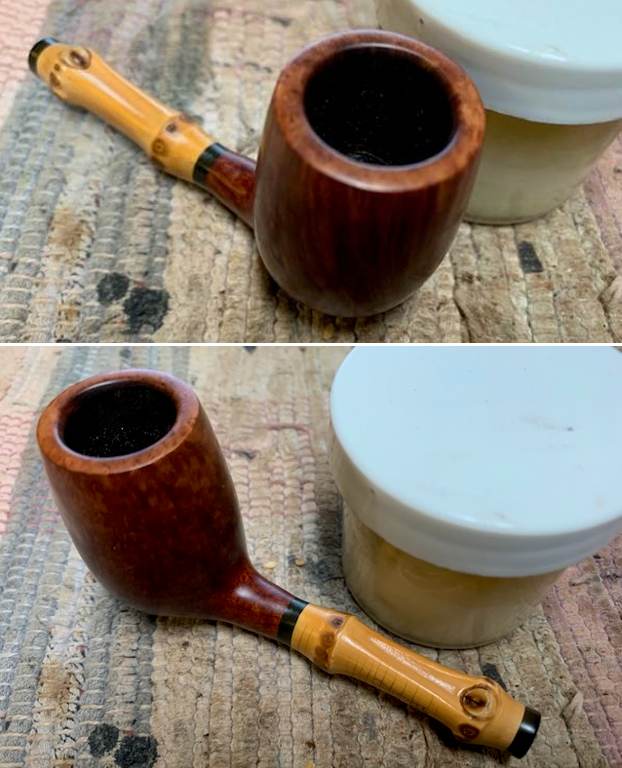
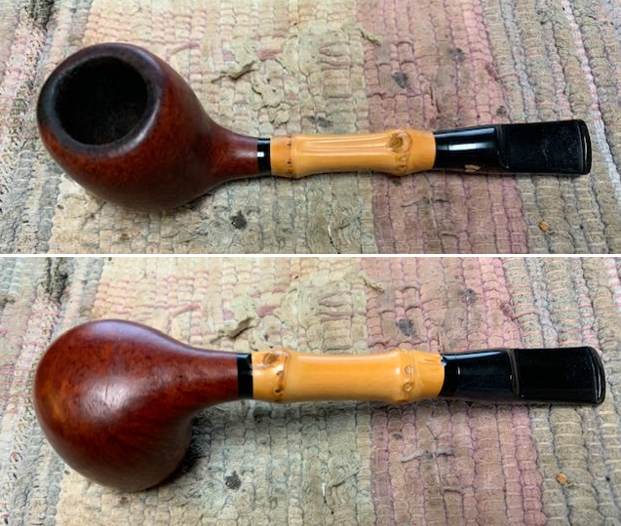
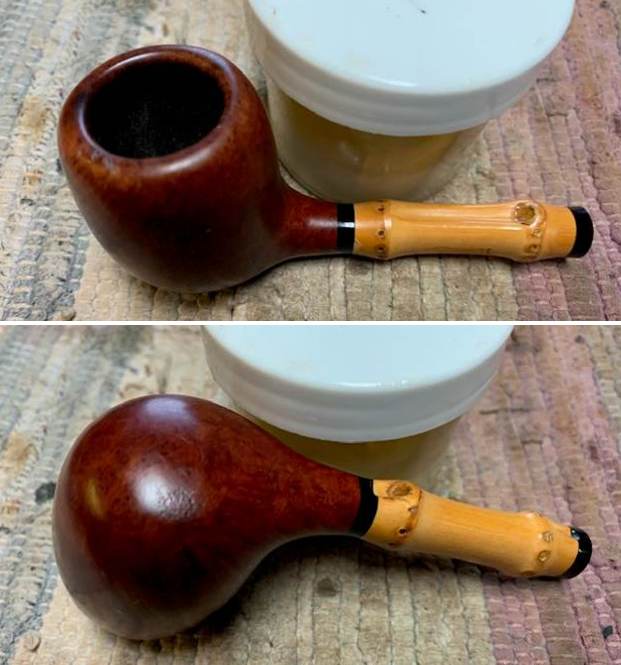
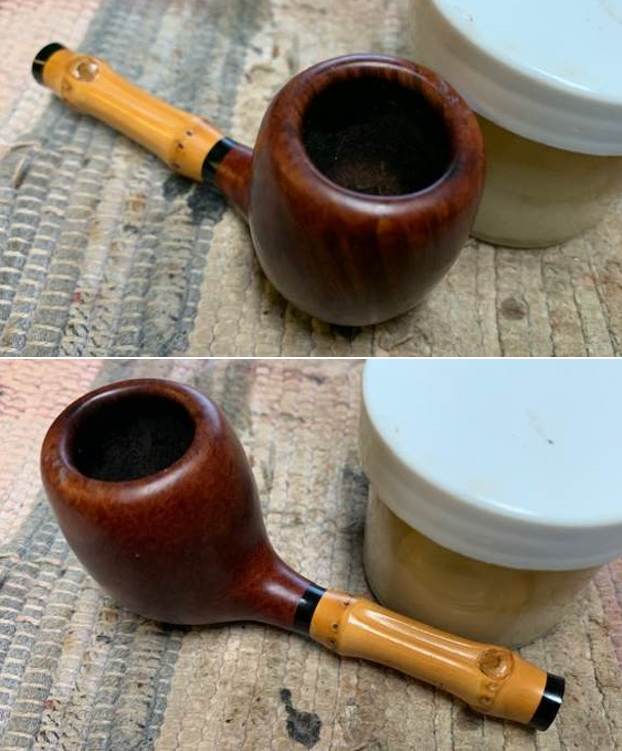
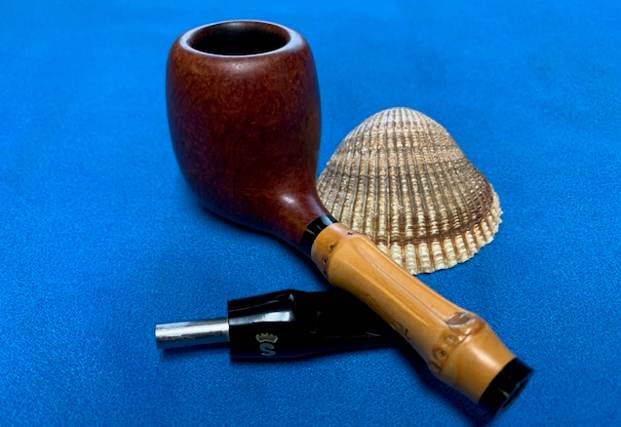
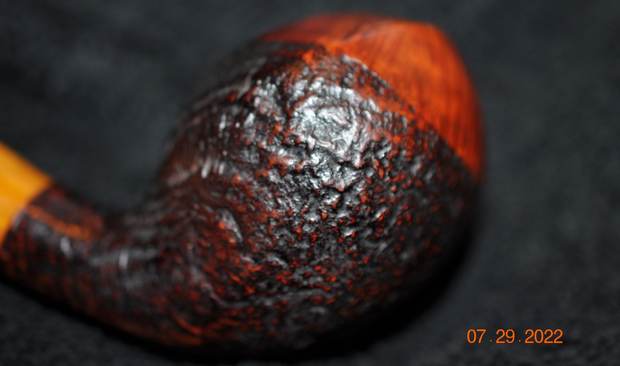
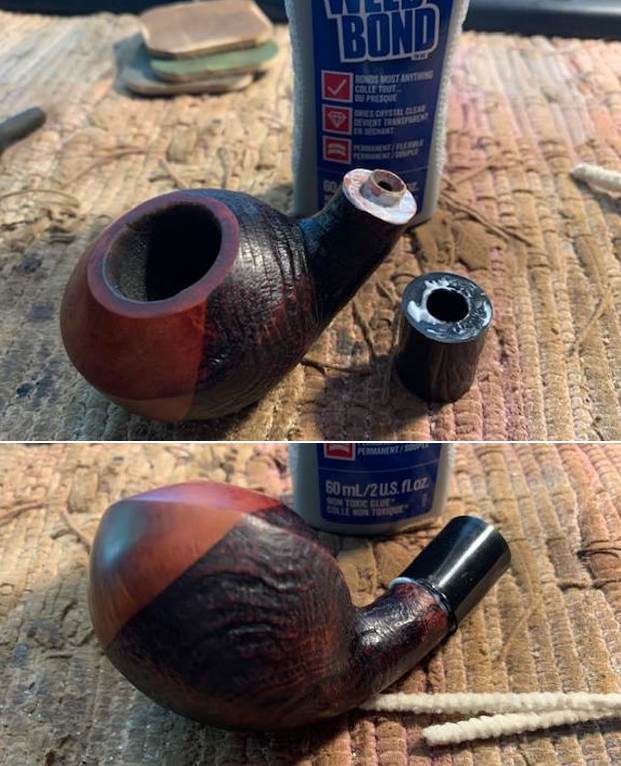
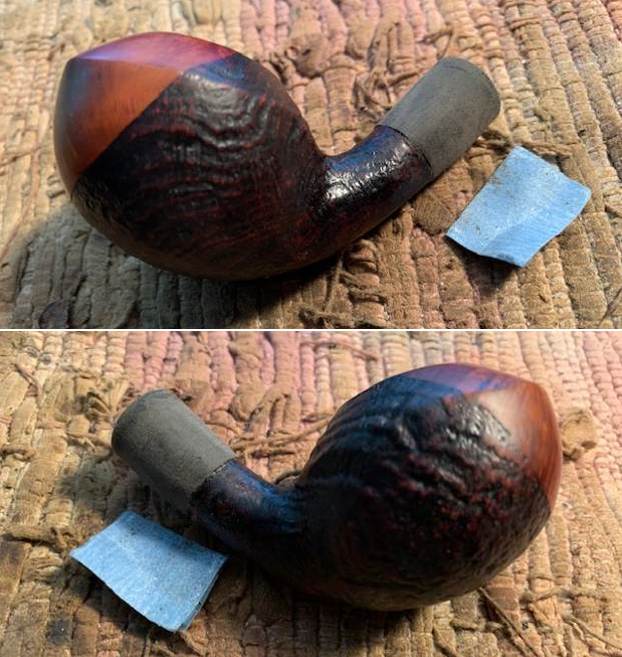
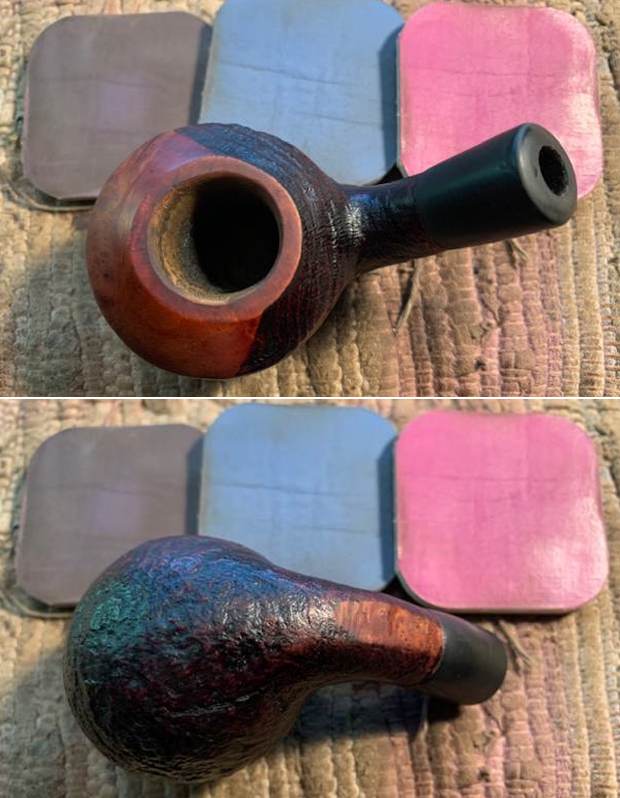
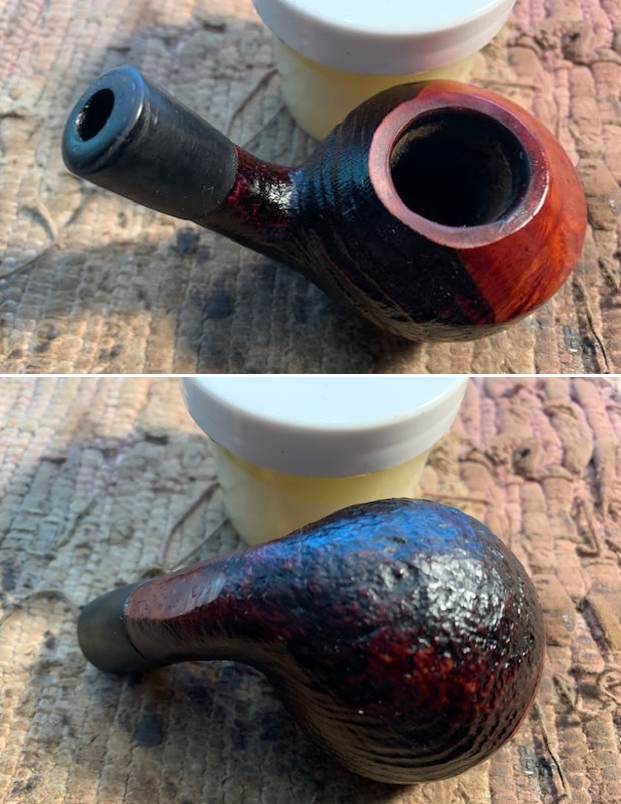
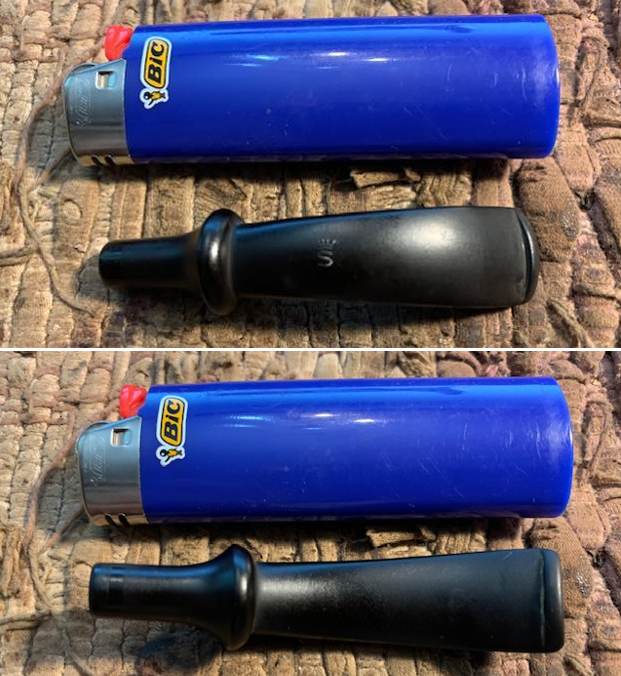
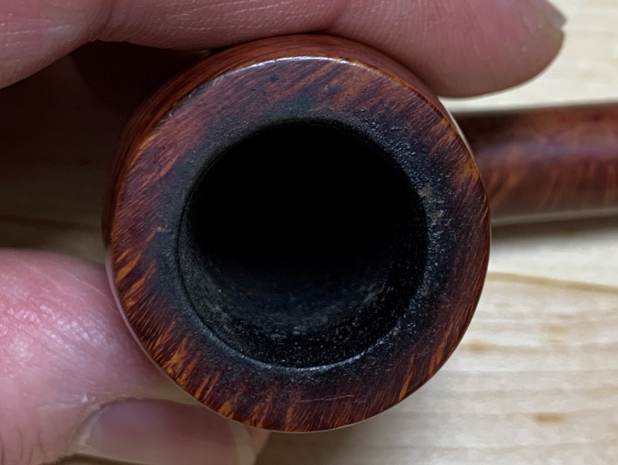
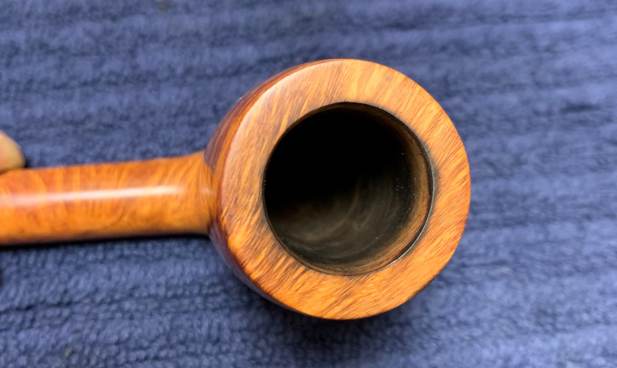
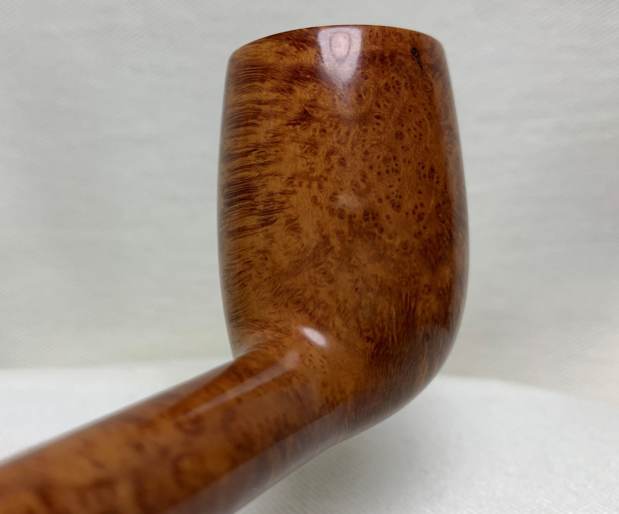
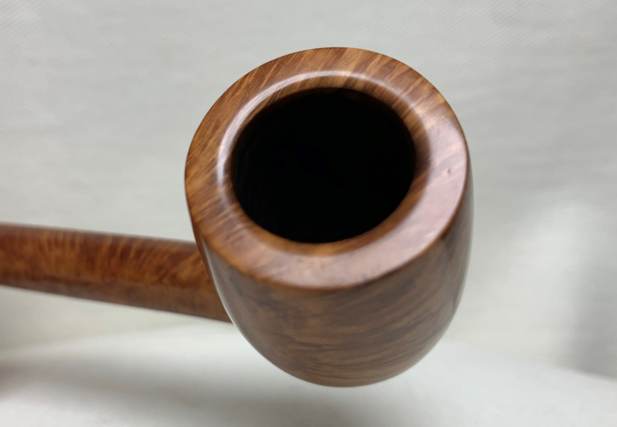
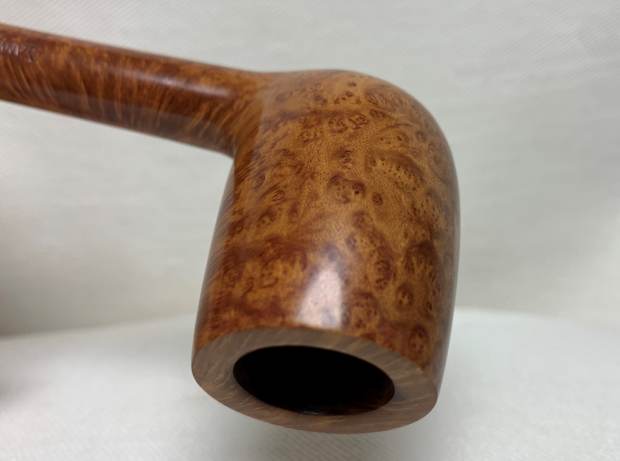
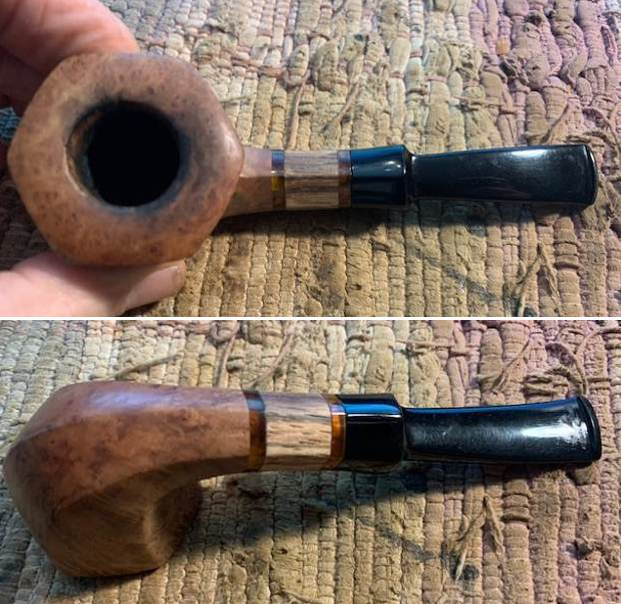
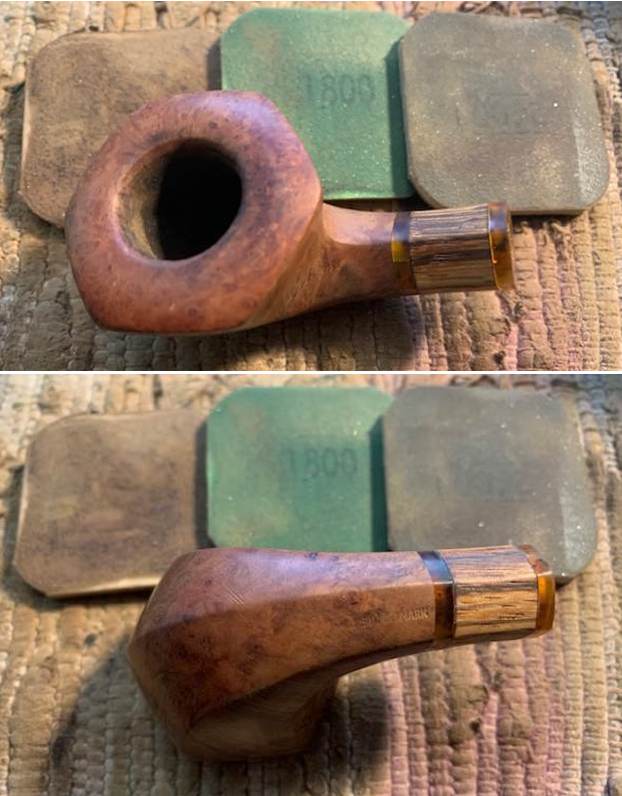
 I took close up photos of the bowl, rim and the stem. You can see the damage on rim top and inner edge. The bowl is quite clean inside with marks from a previous reaming on the bottom of the bowl. The acrylic stem is in good condition with light tooth marks and some chatter as noted above.
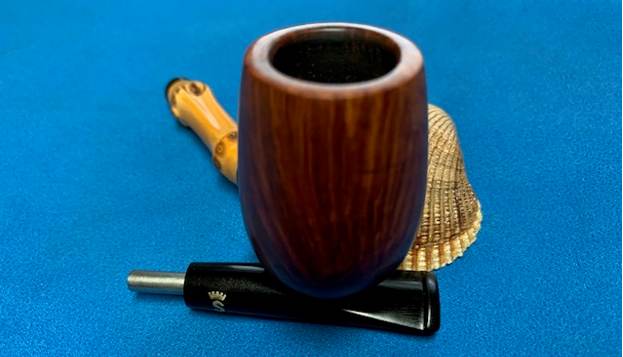
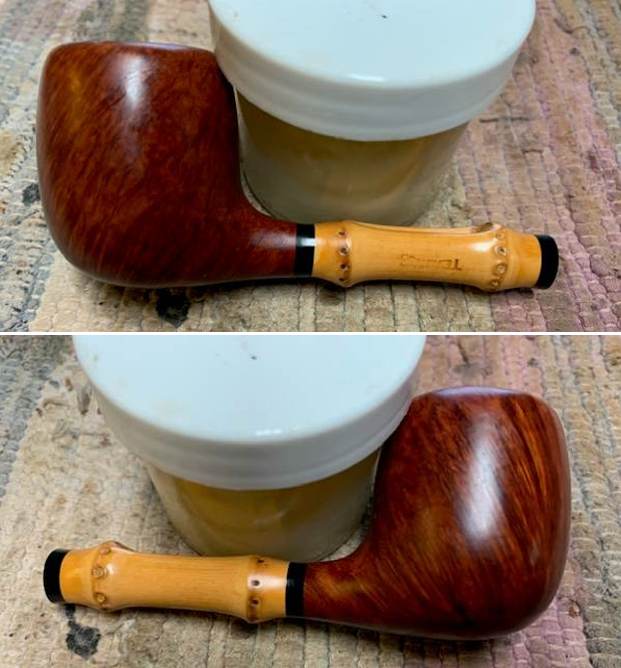
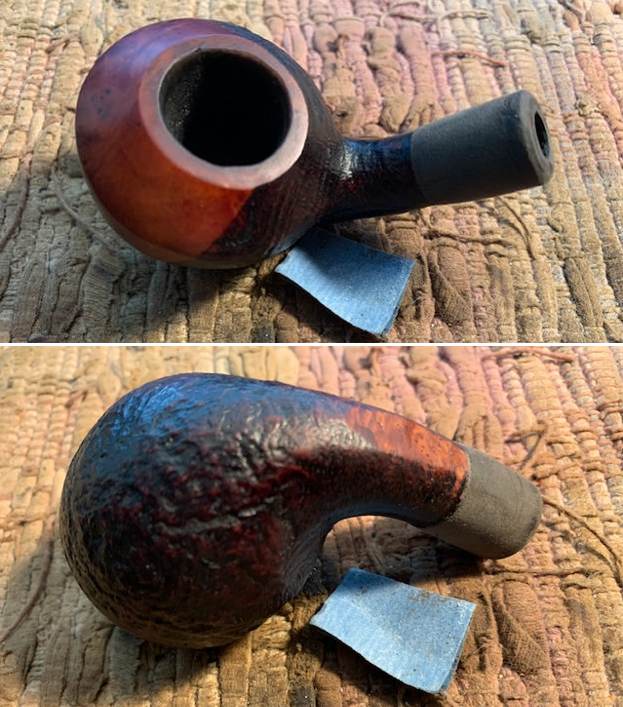
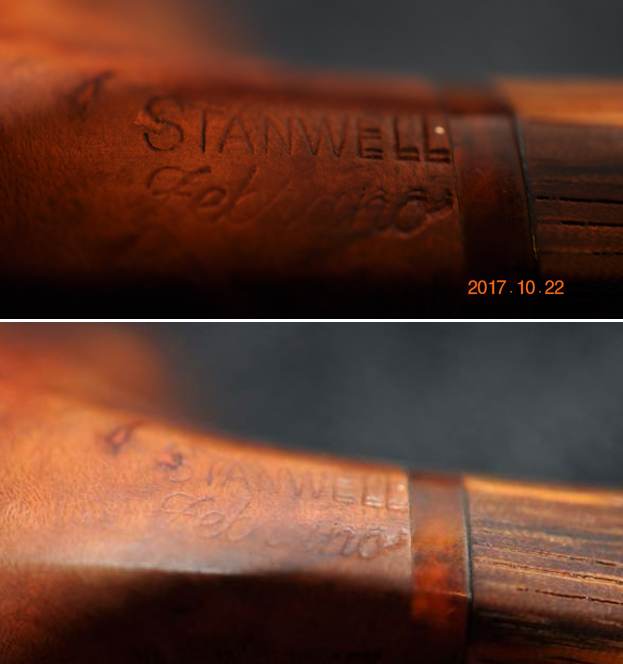
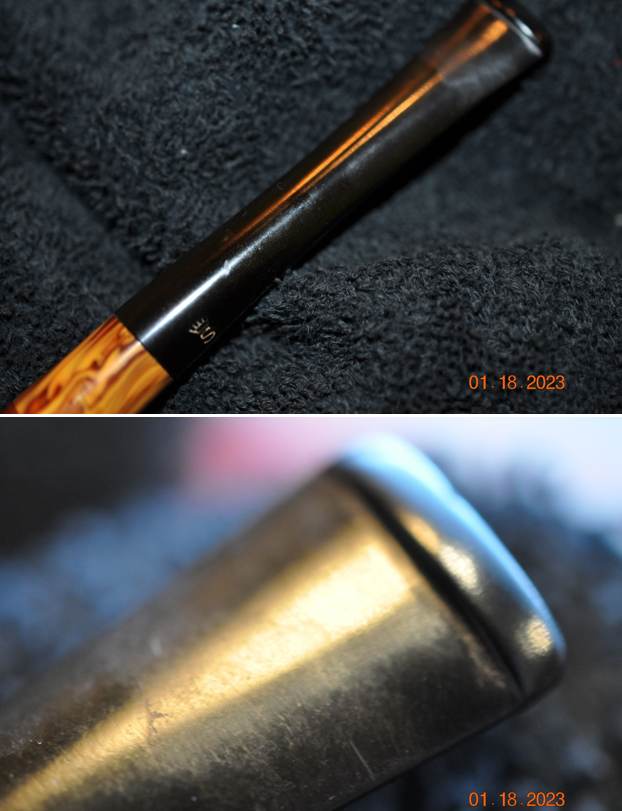
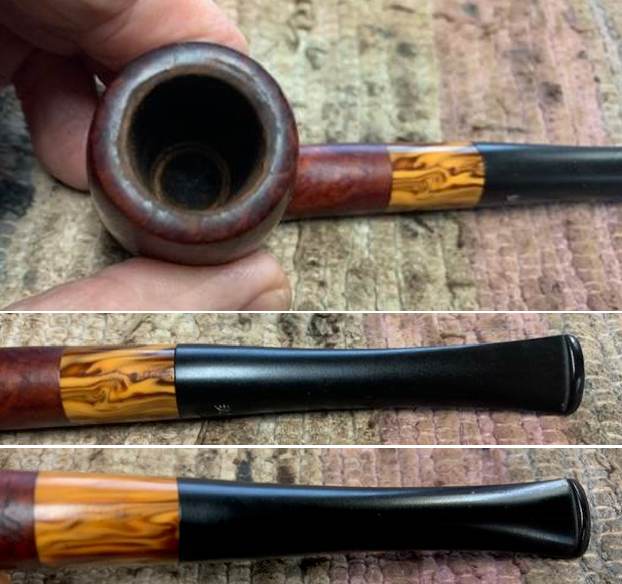 I took photo of the stamping on the underside and right side of the shank. It is clear and readable as noted above.
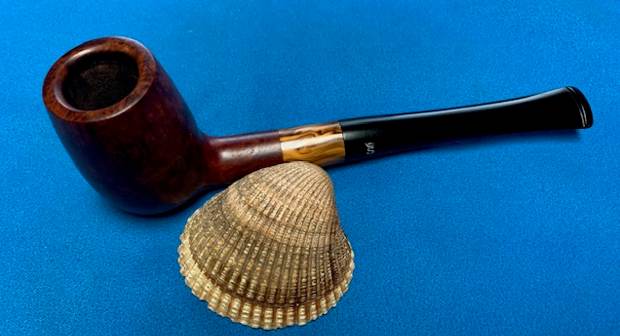
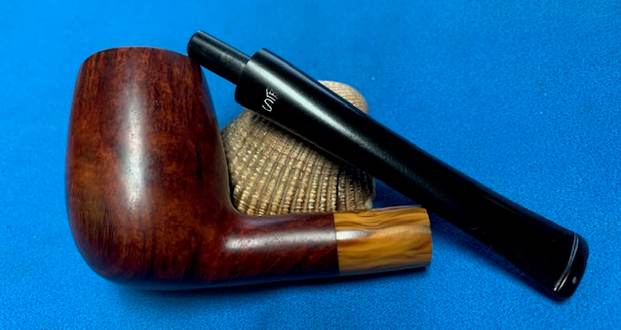
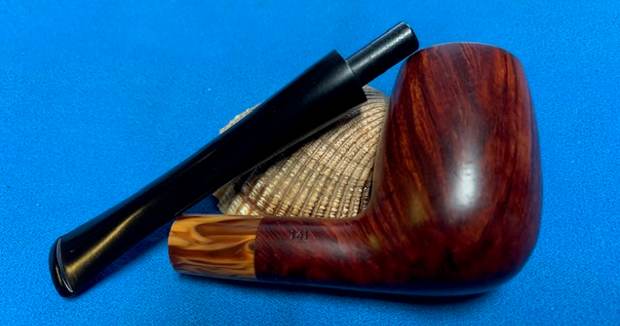
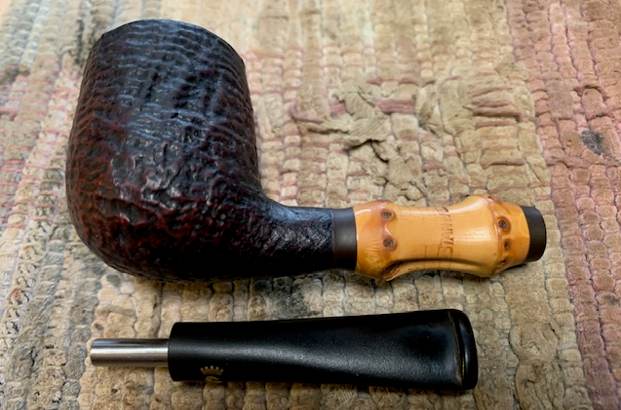
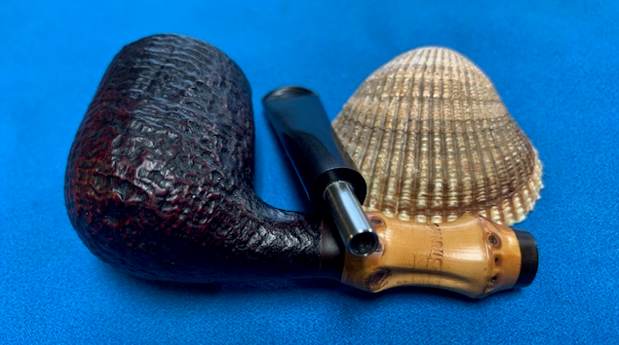
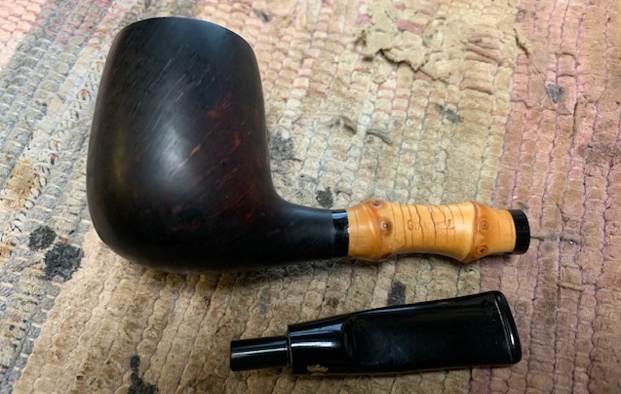
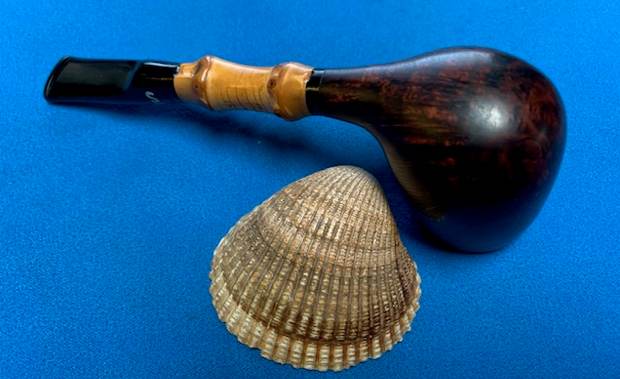
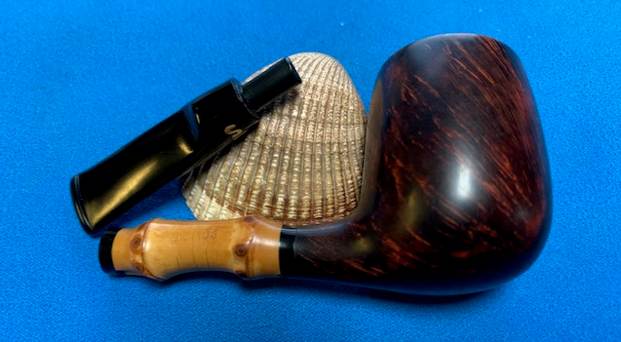
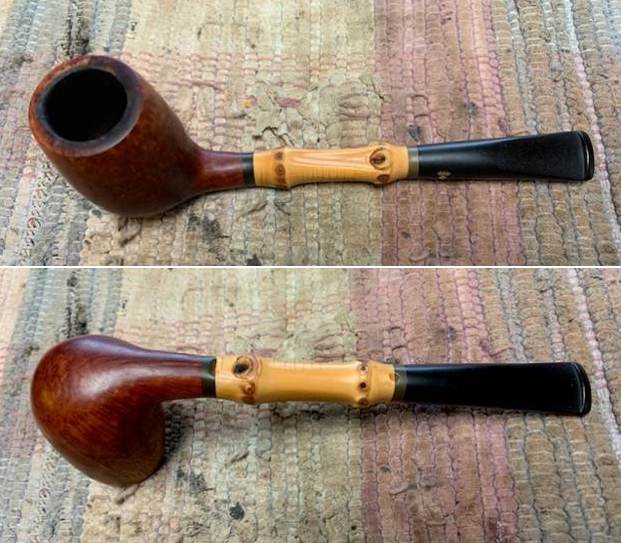
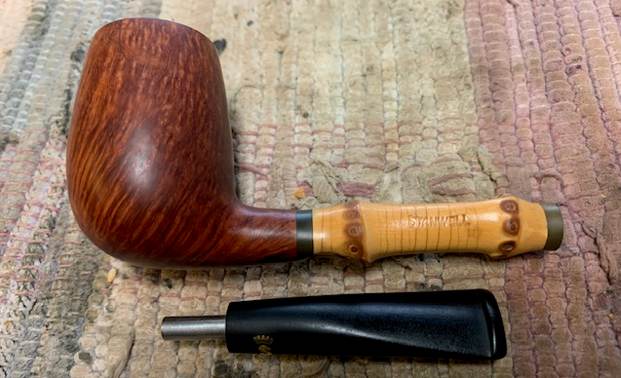
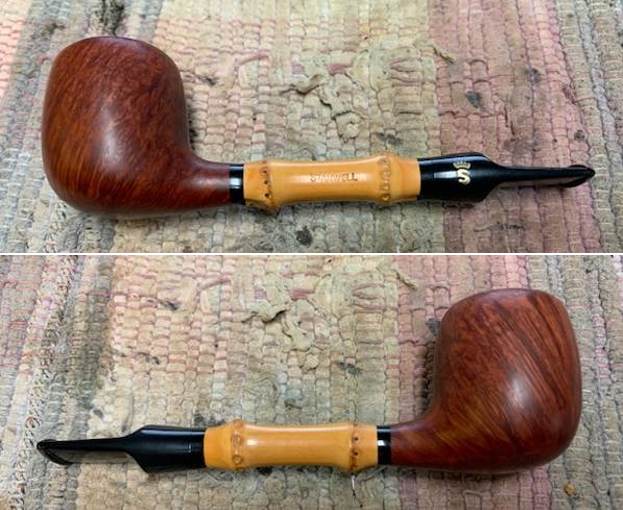
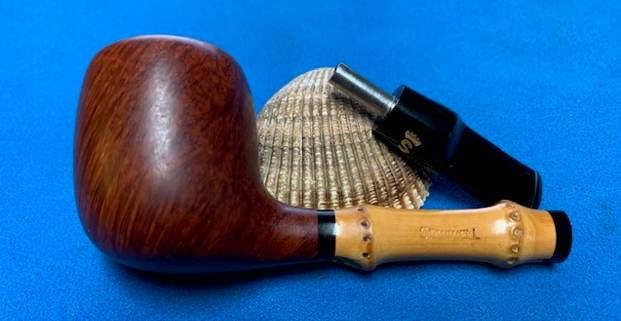
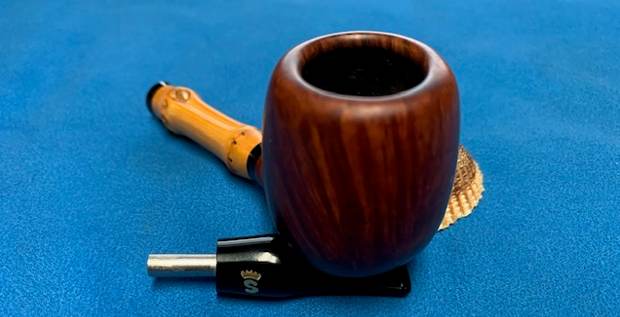
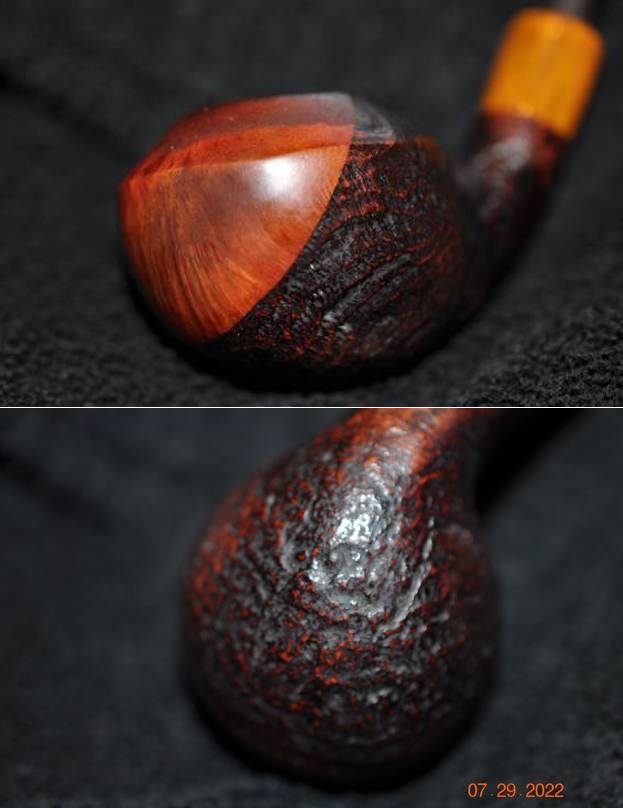
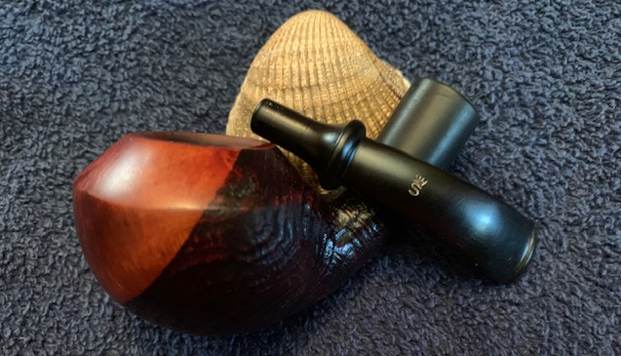
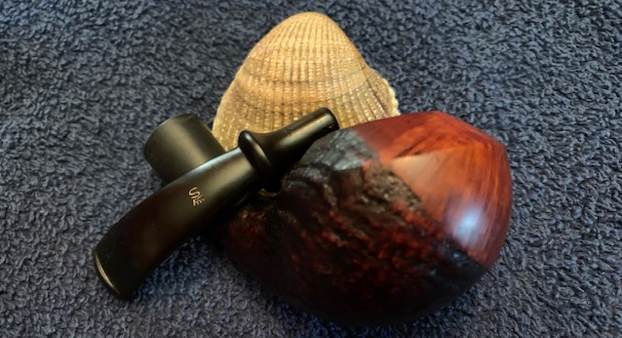
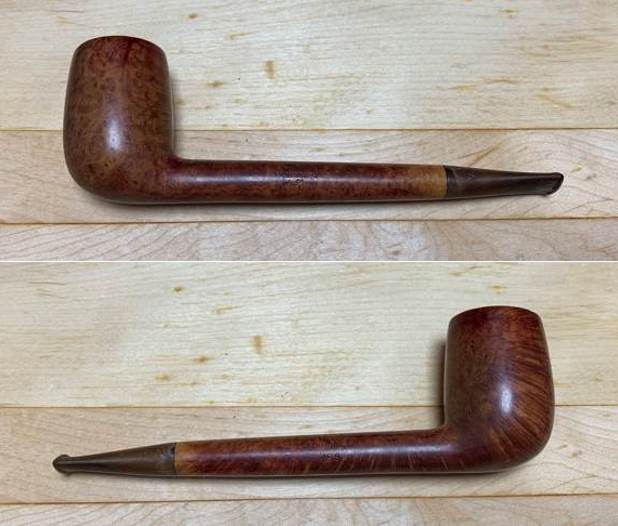
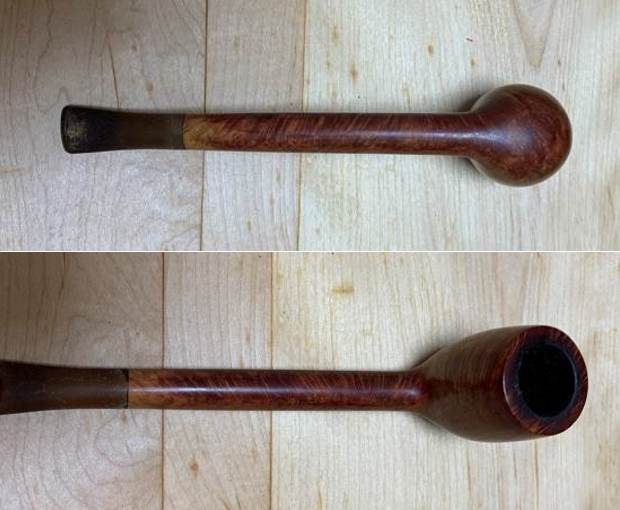
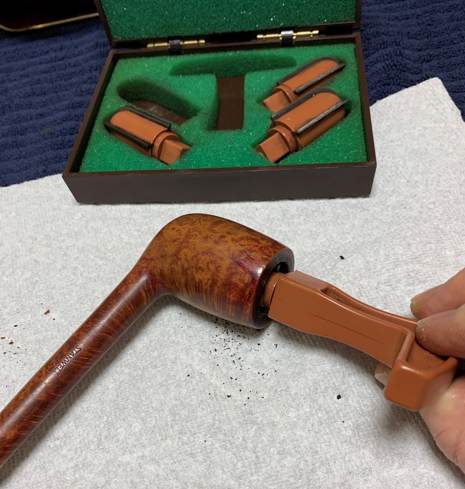
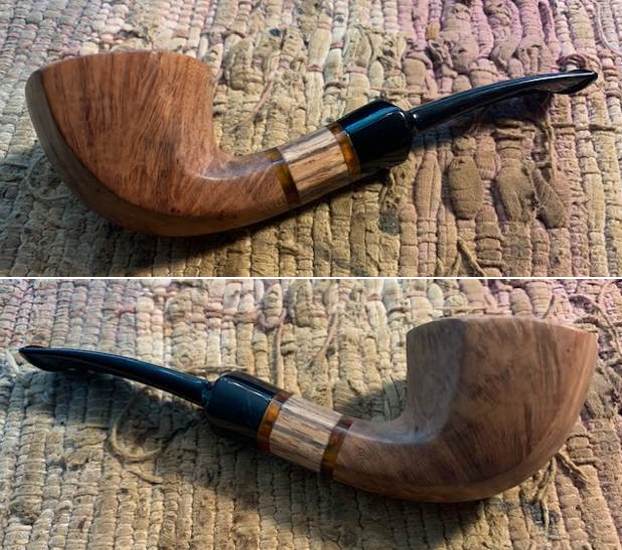
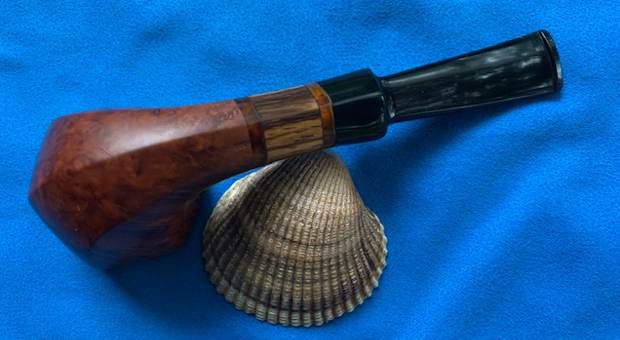
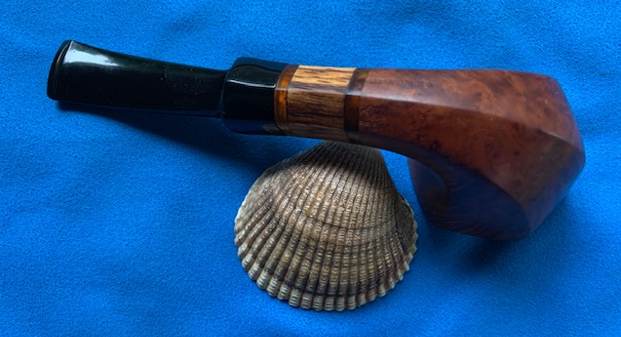
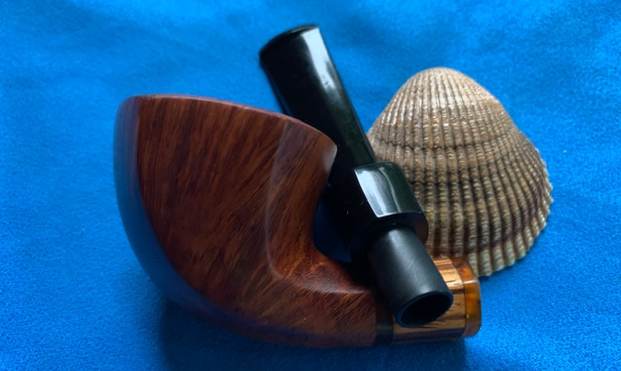
 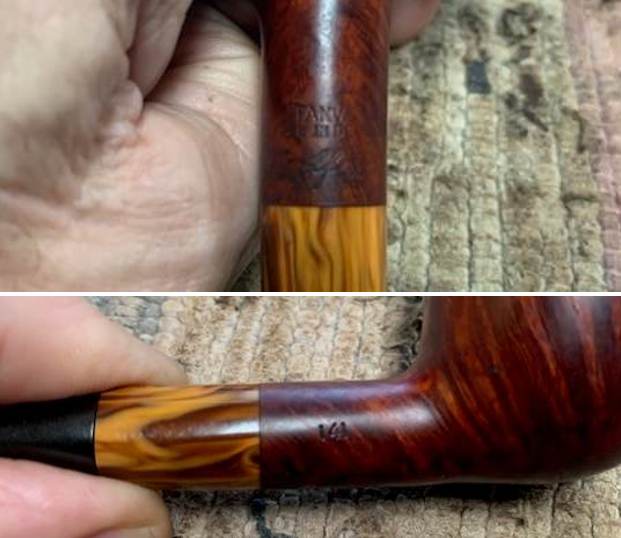 I removed the stem from the shank and took a photo to give a sense of the proportions of the pipe. The briar is quite beautiful and the dark and medium stains really make it stand out.
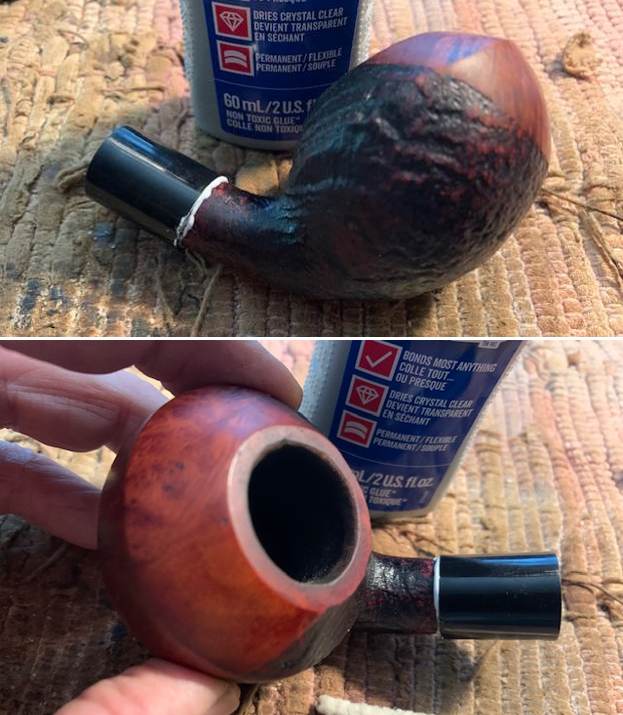
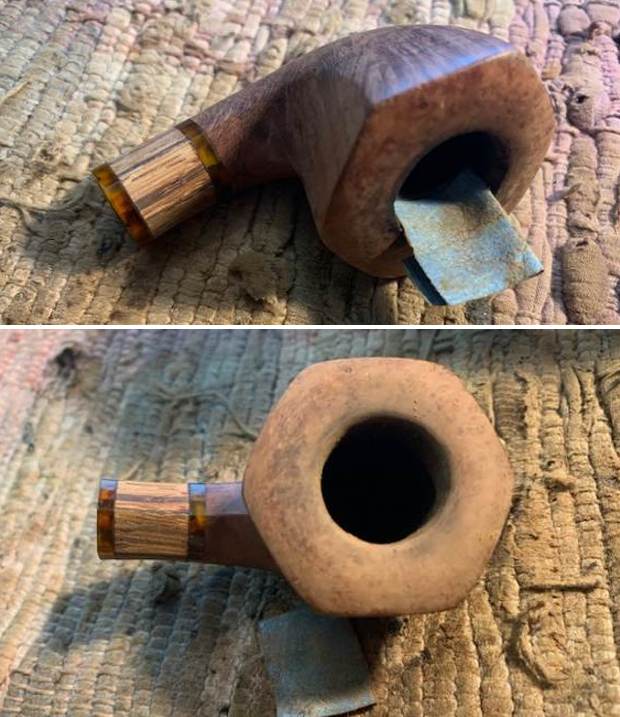
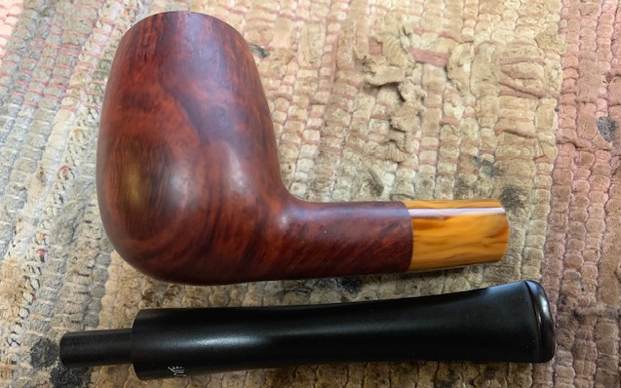 I started my work on the pipe working on the damage to the inner edge and the rim top with a folded piece of 220 grit sandpaper to bring the edge back into round and it looked much better.
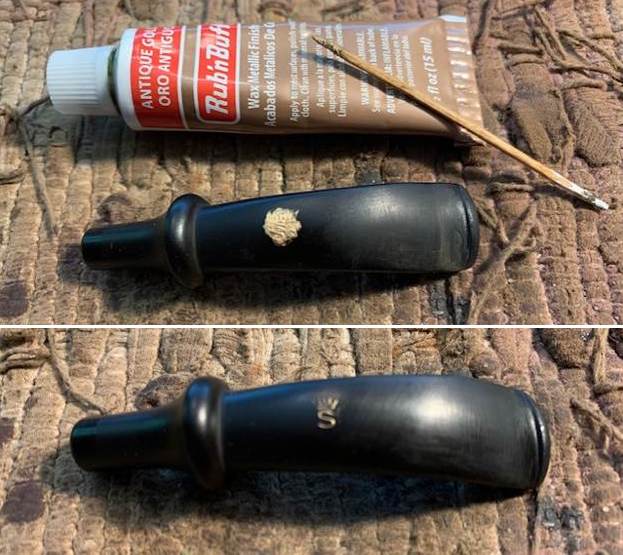
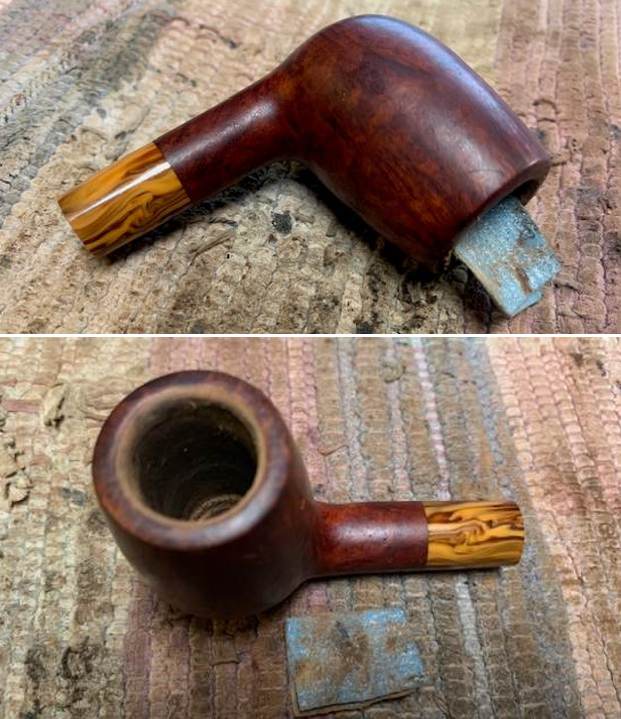 I used a Cherry stain pen to touch up the sanded edges and top spots on the rim top where I sanded it smooth and removed the damaged. The colour was a perfect match to the remainder of the bowl and shank.
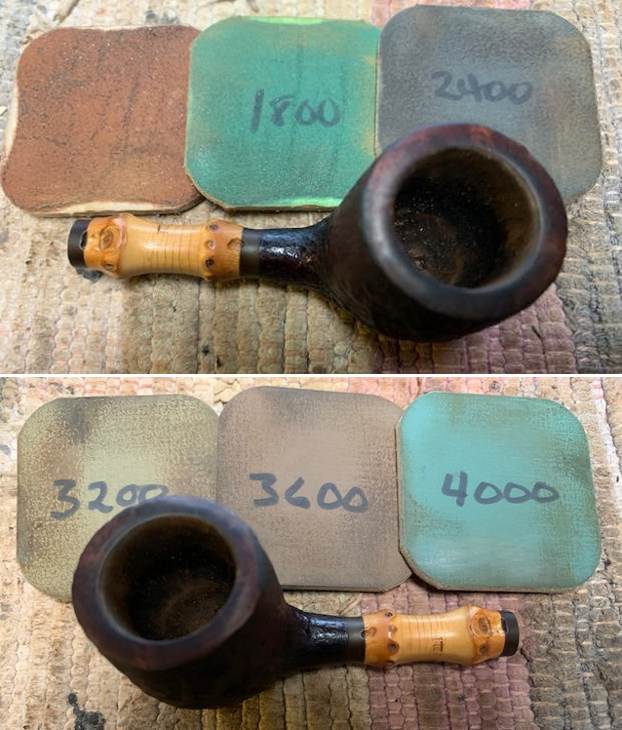
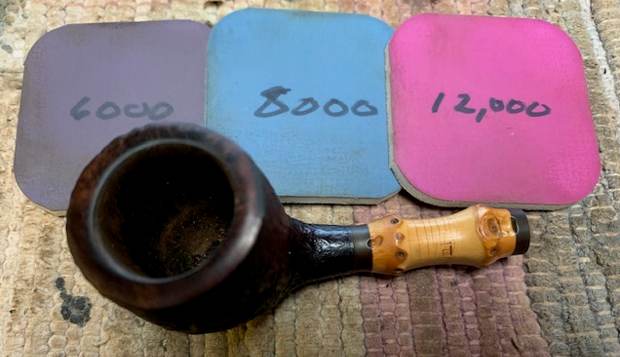
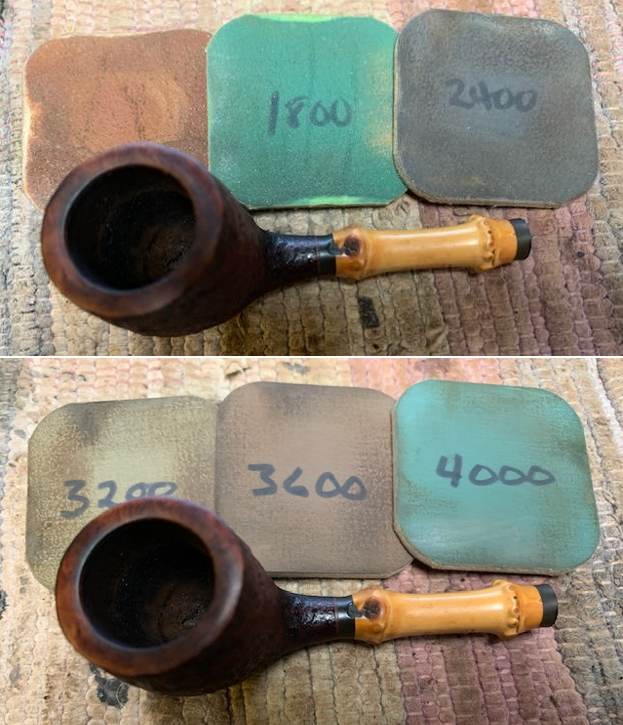
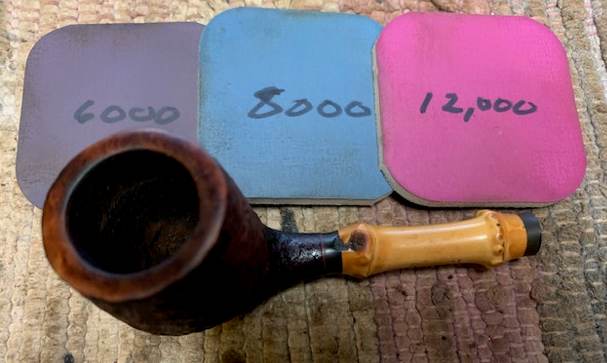
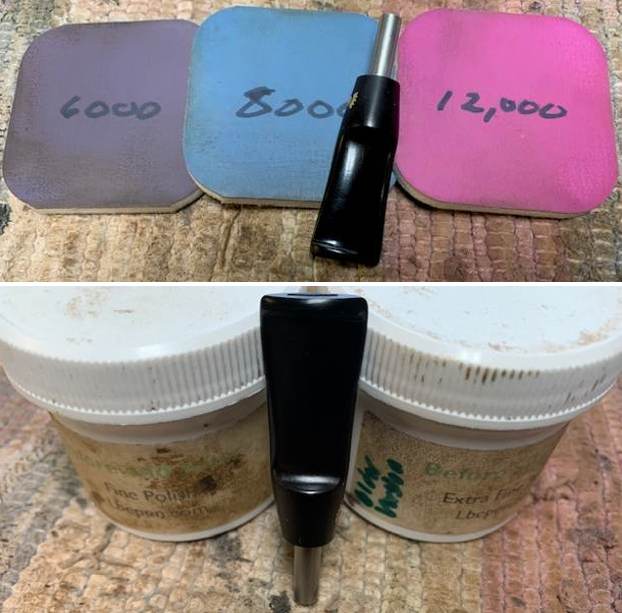
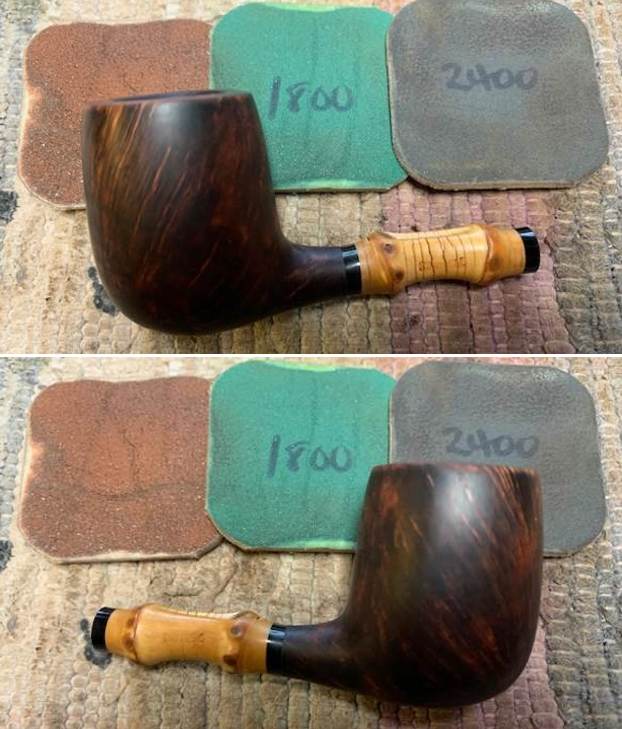
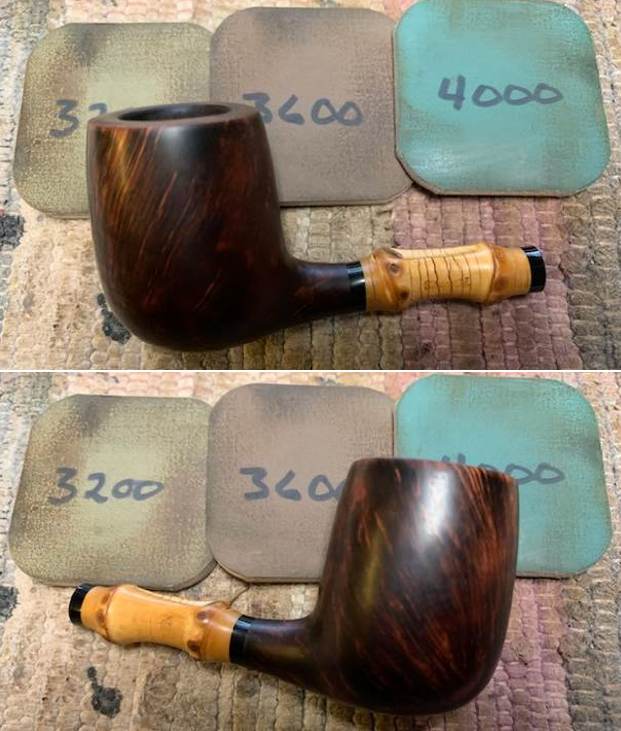
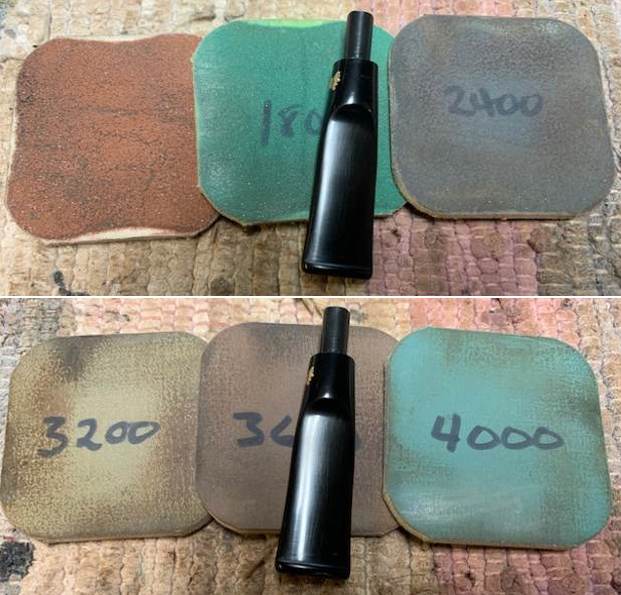
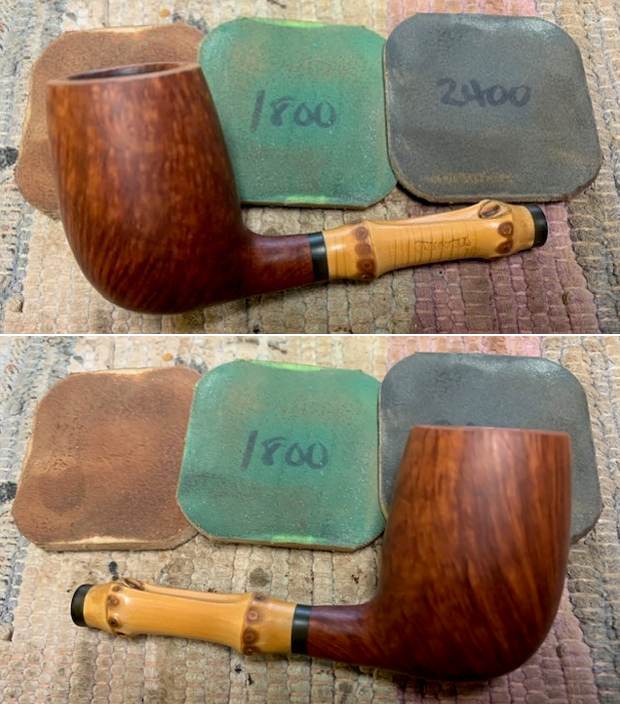
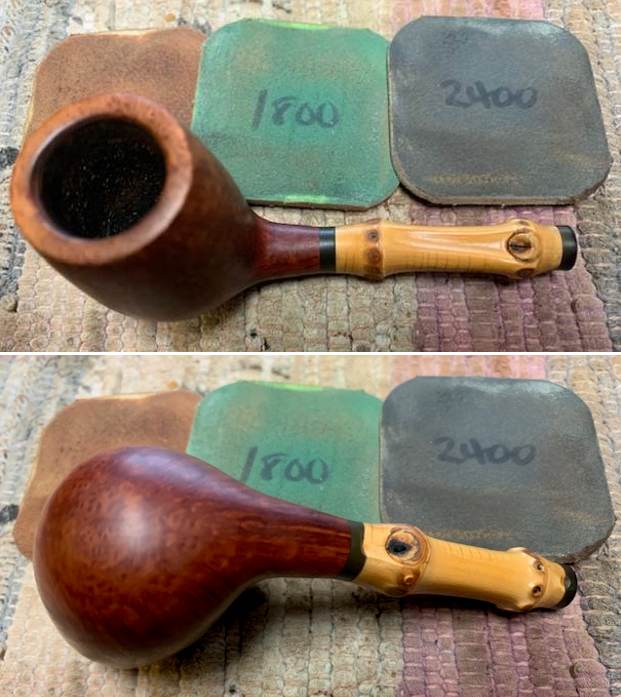
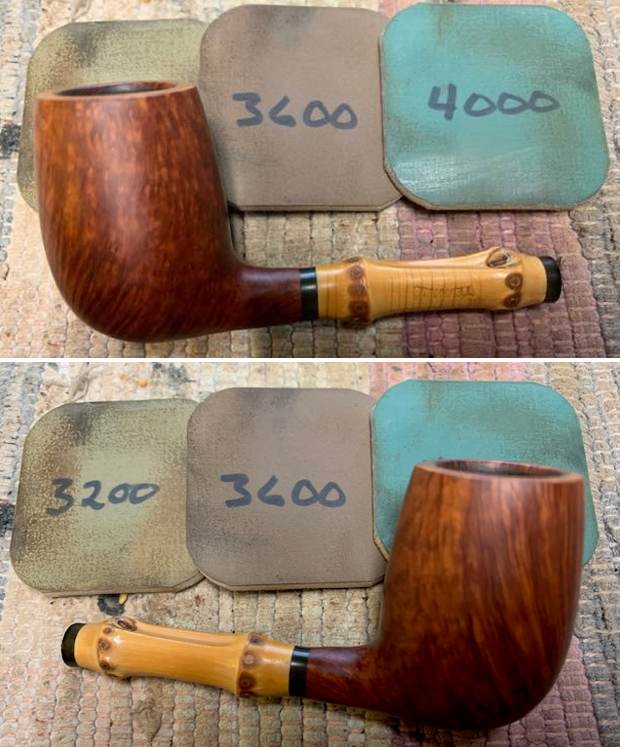
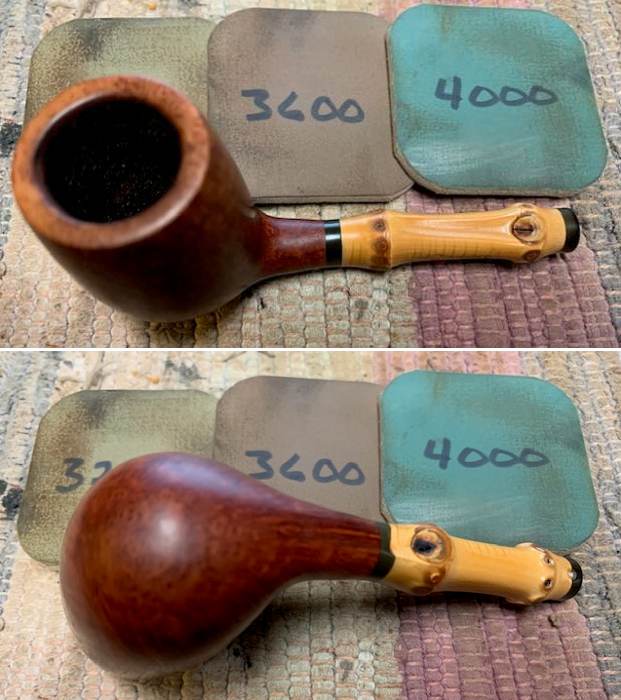
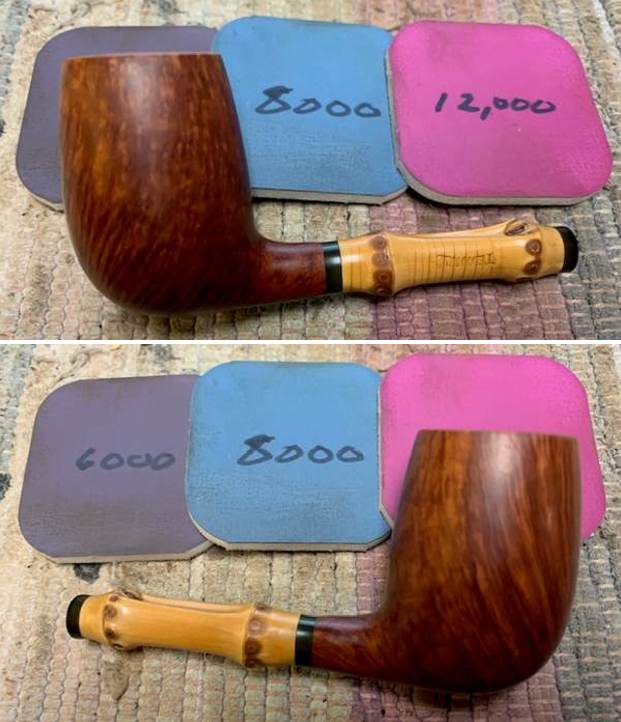
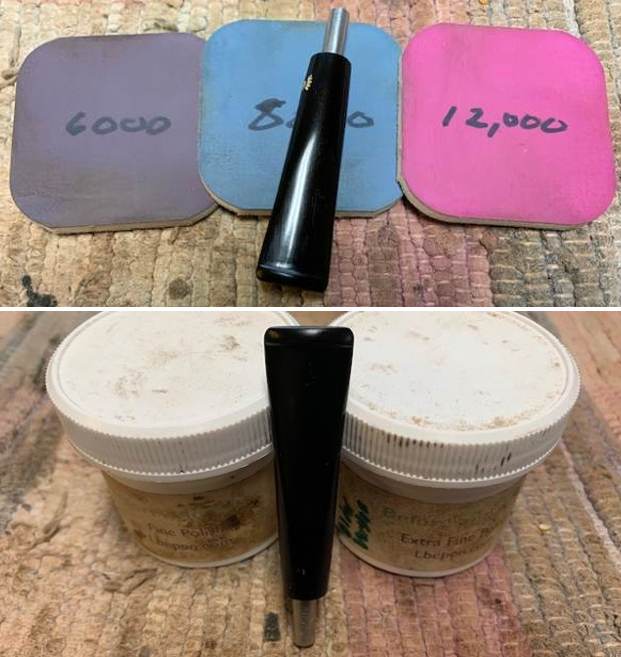
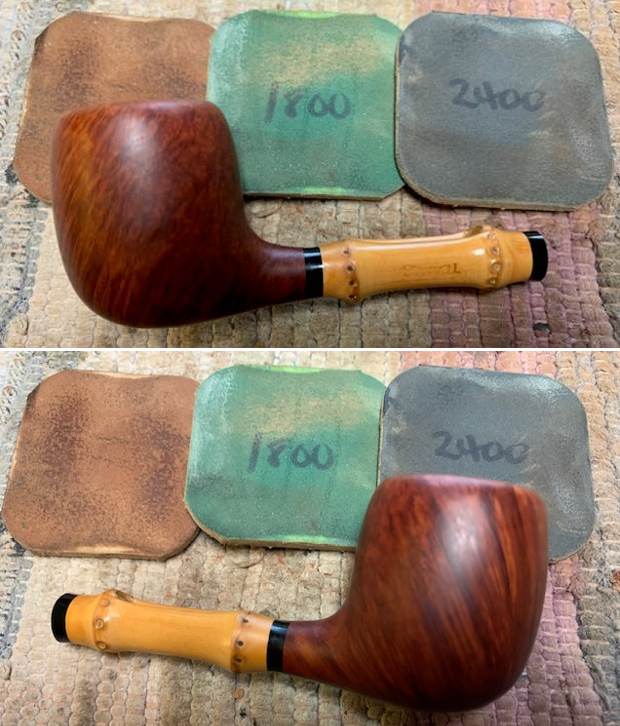
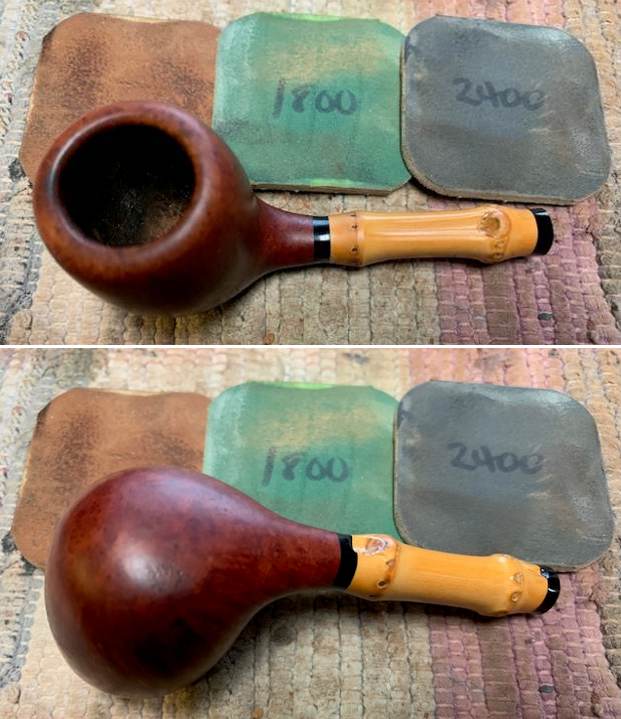
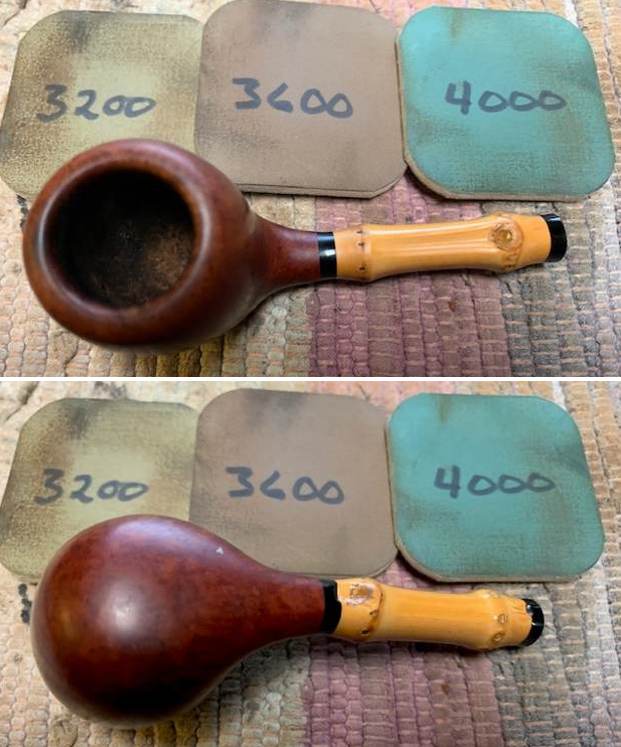
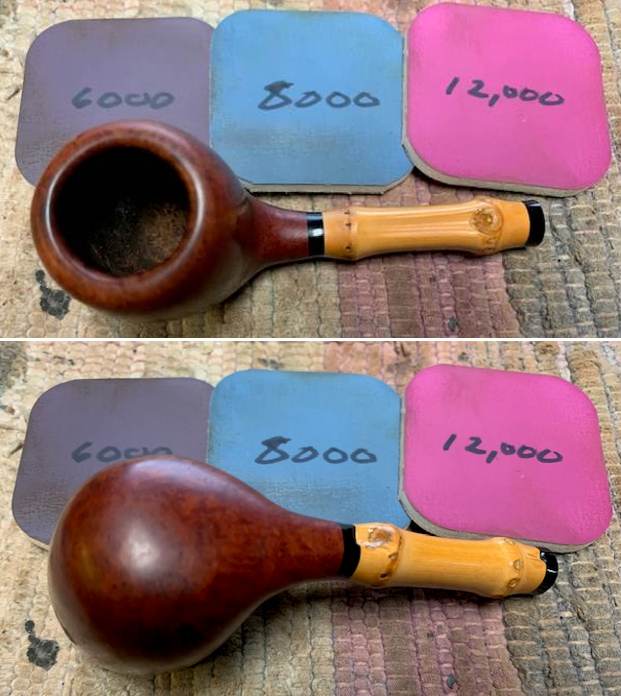
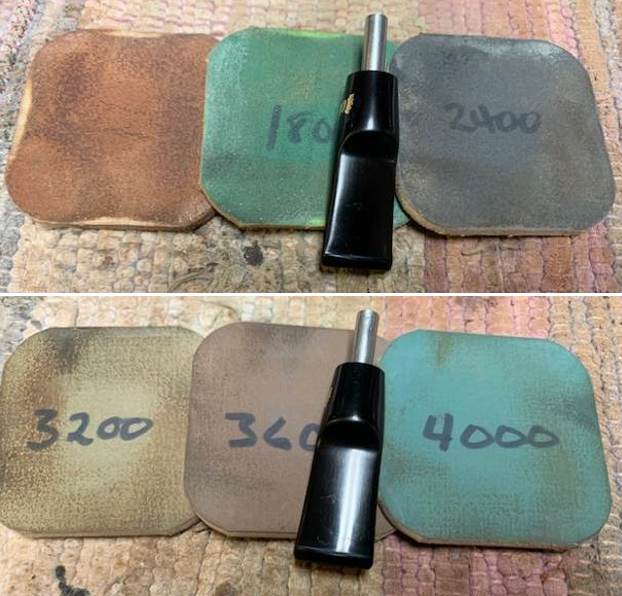
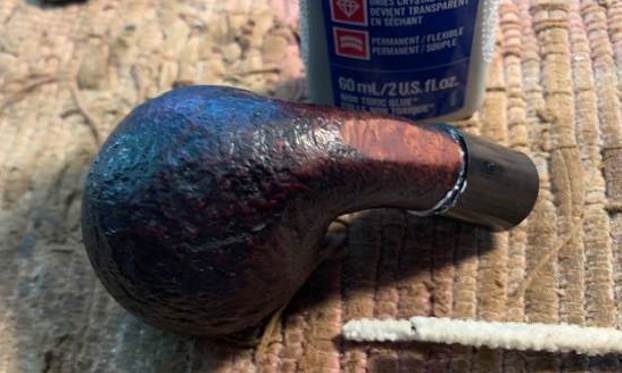
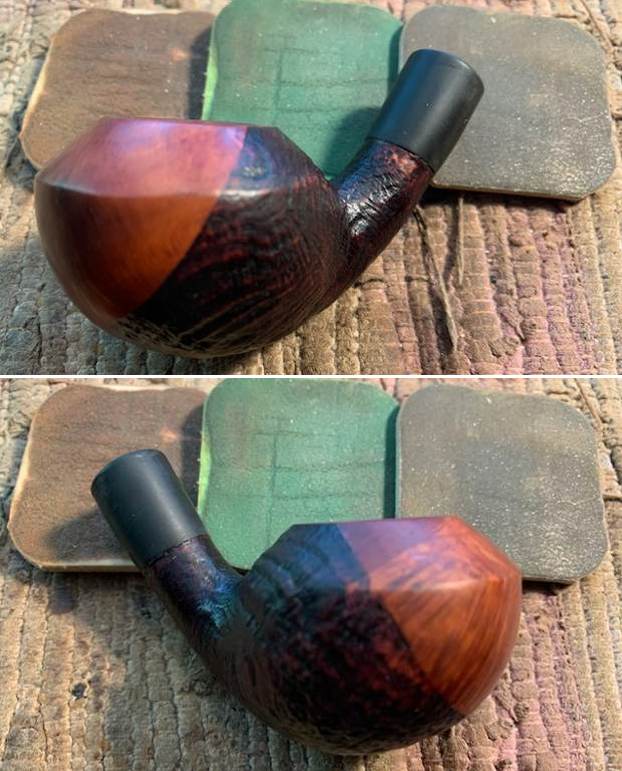
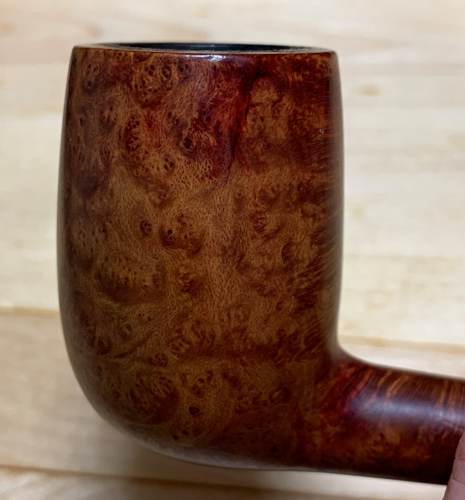
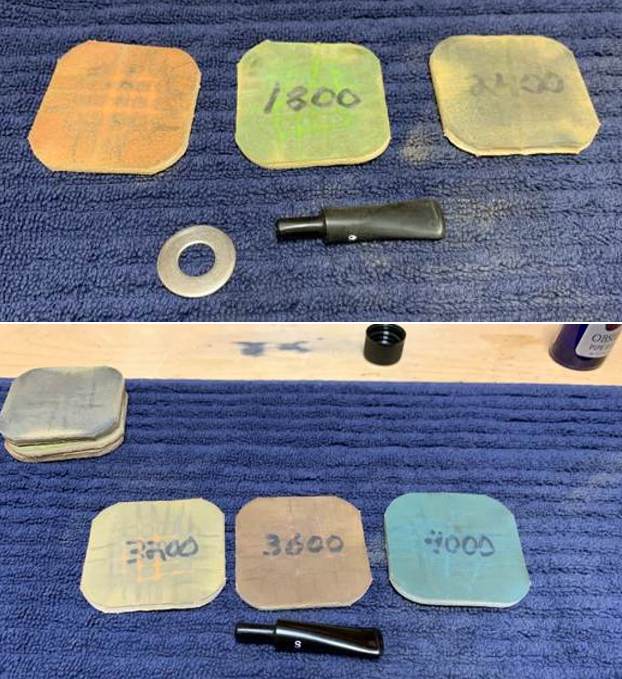
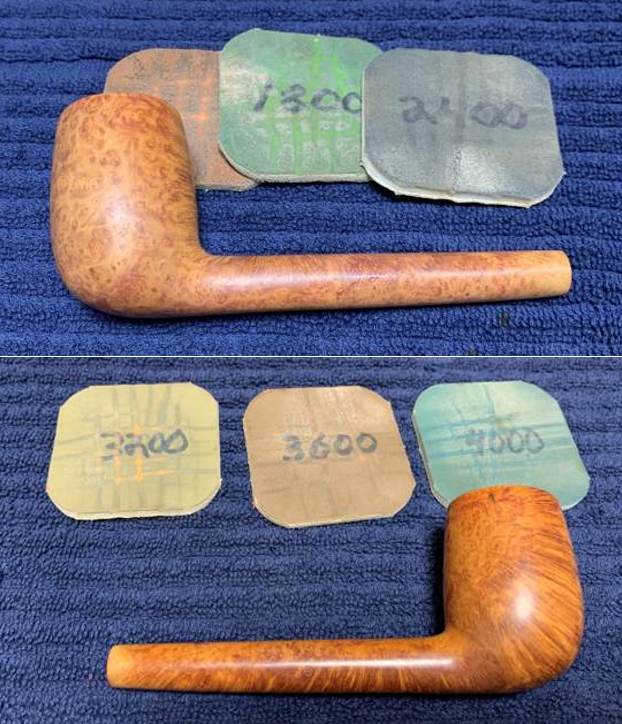
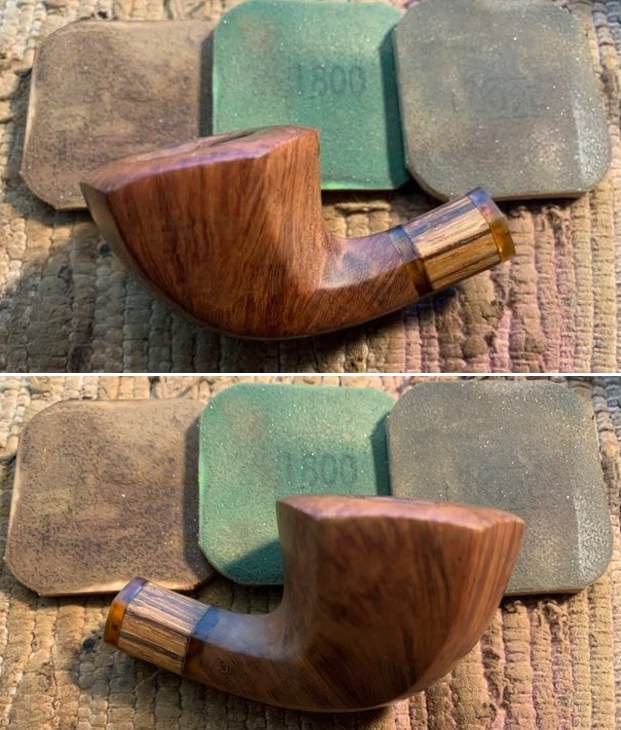
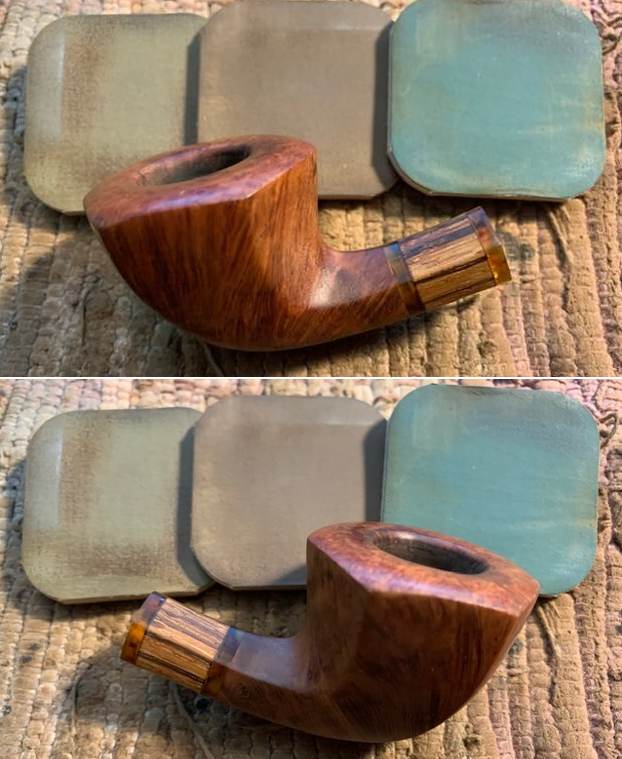
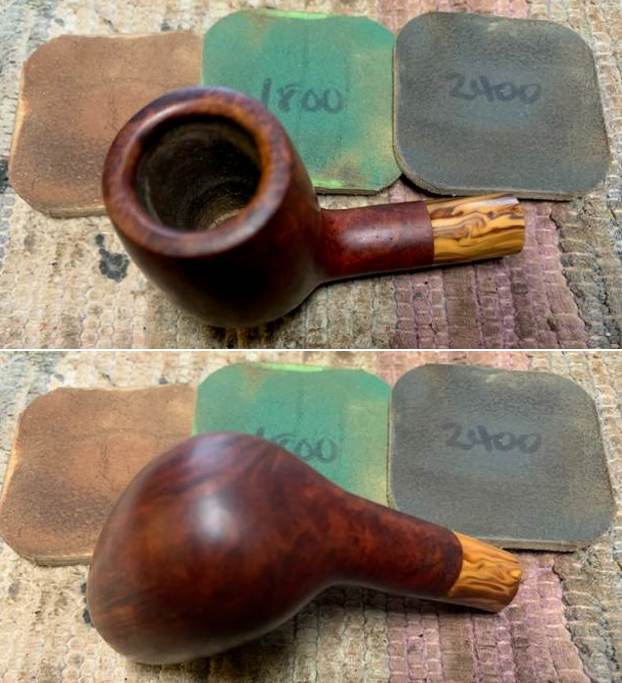
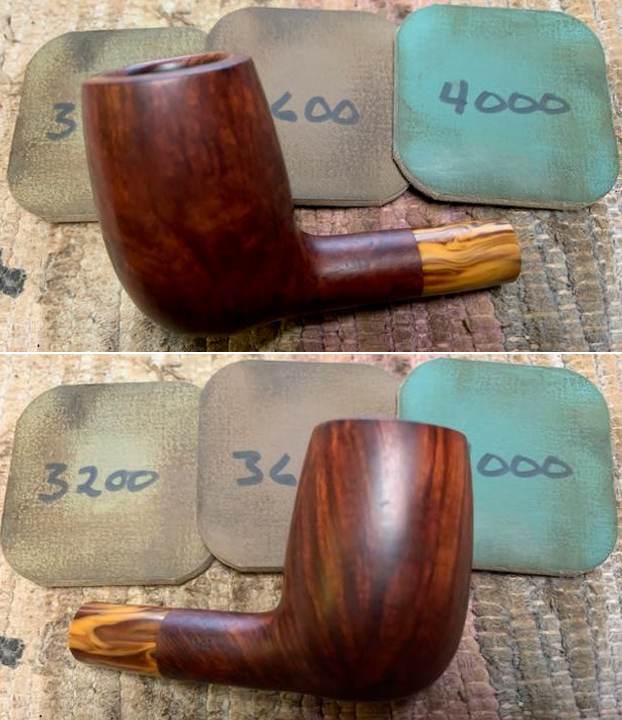
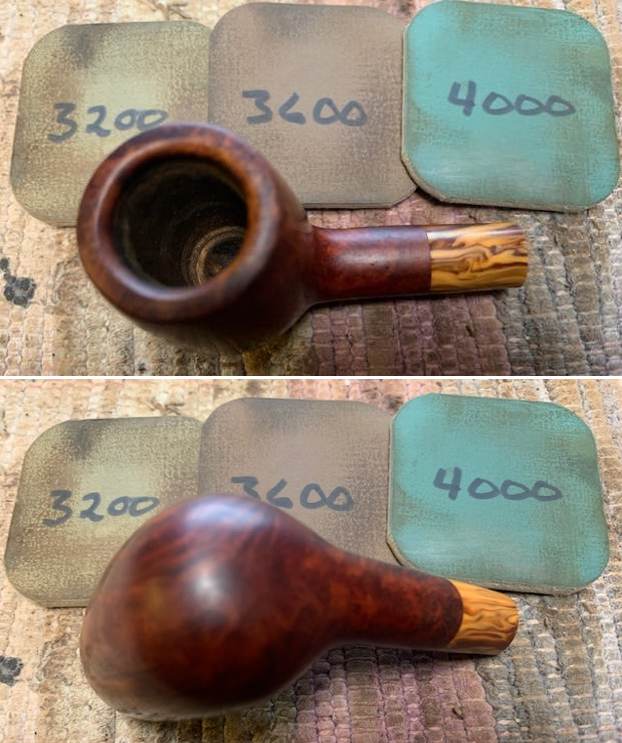
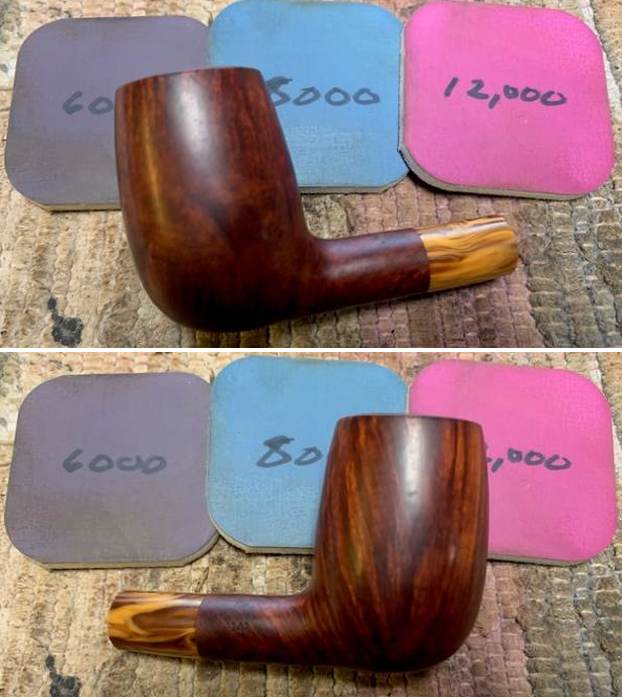
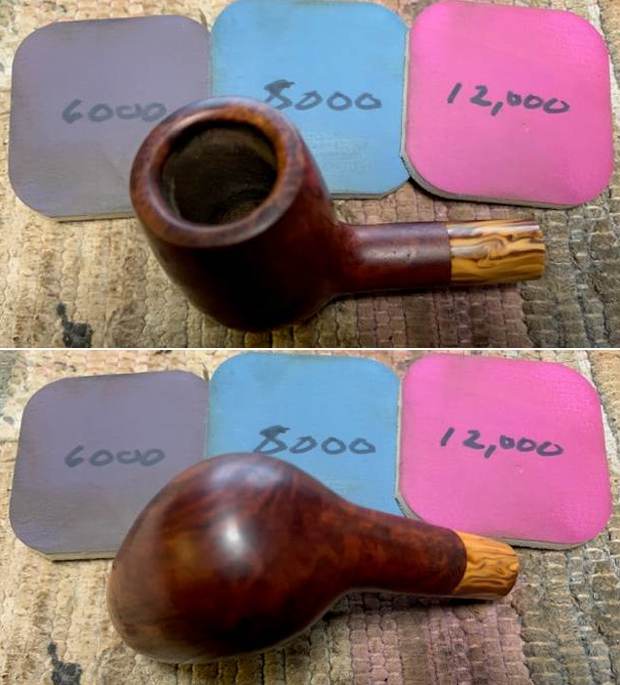
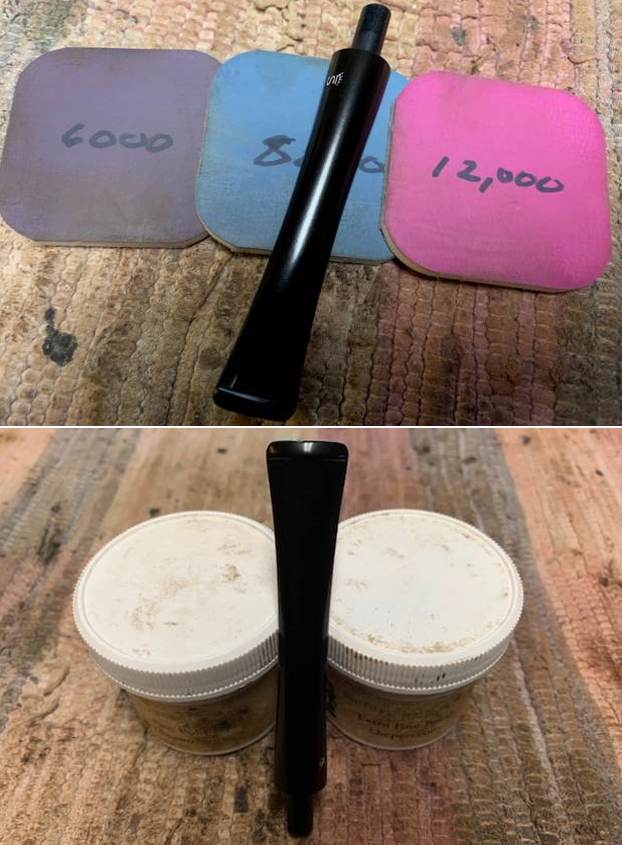
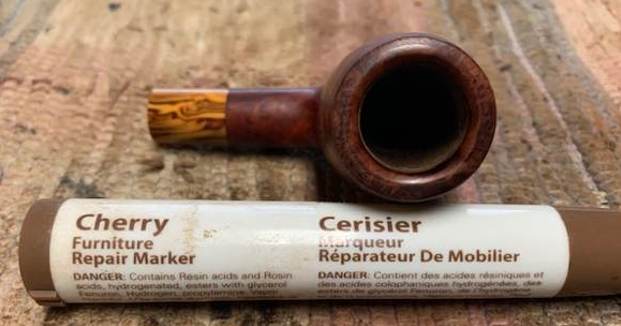 I polished the bowl and shank with micromesh sanding pads – dry sanding with 1500-12000 grit pads. I wiped the bowl down after each pad to remove the grit. The bowl began to take on a rich shine. It is a beauty.
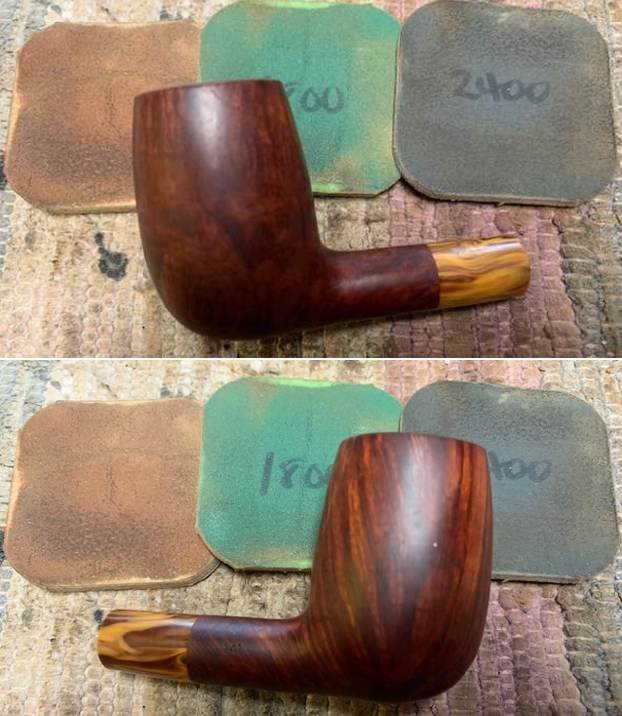
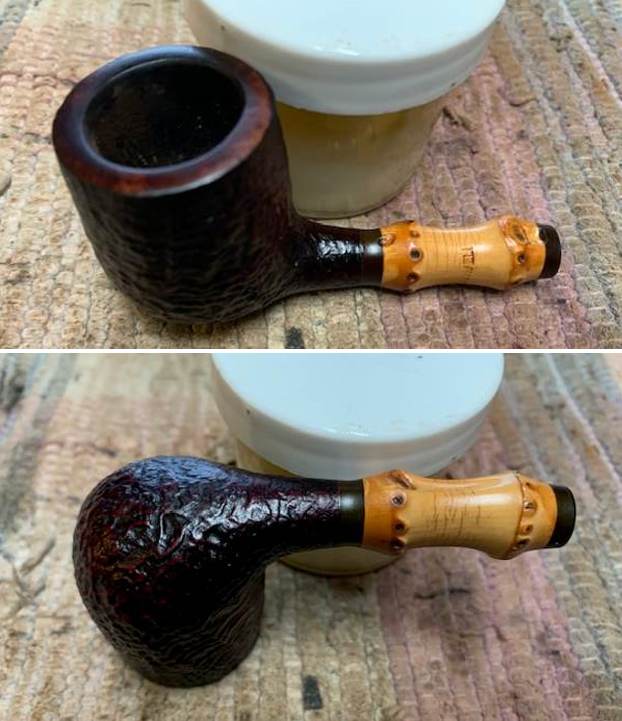
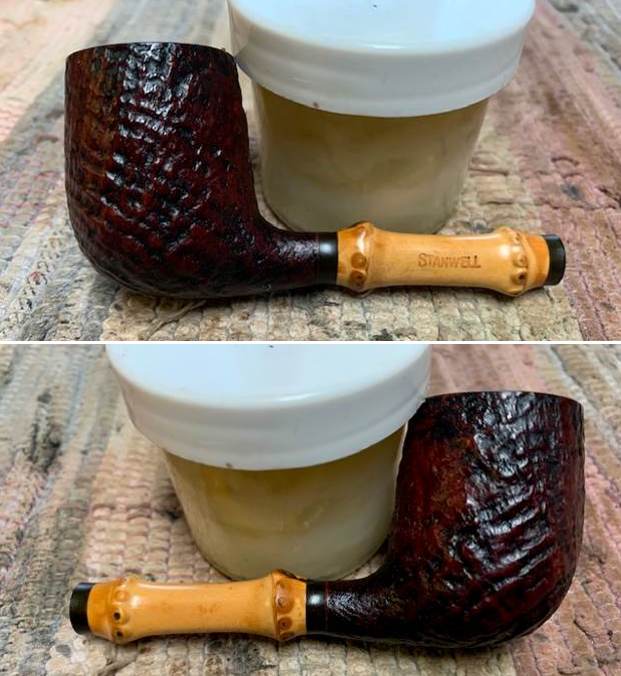
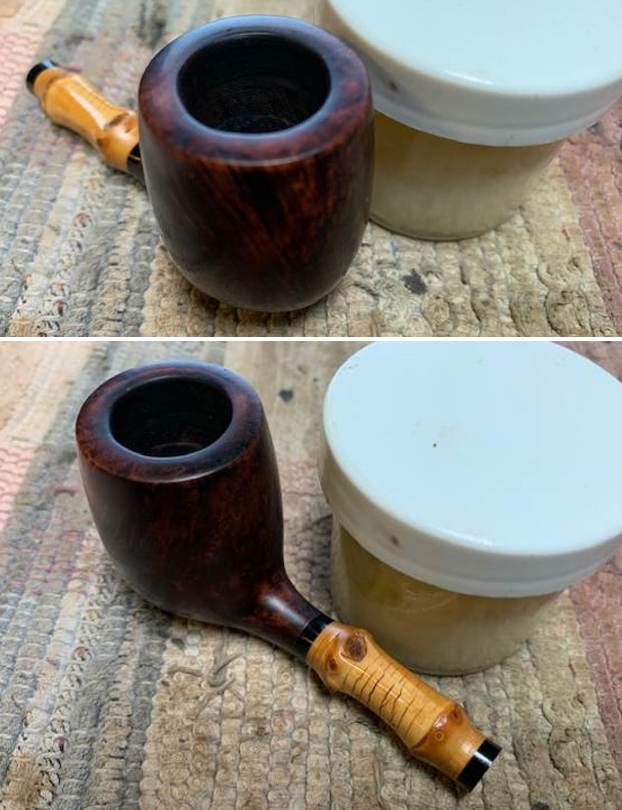
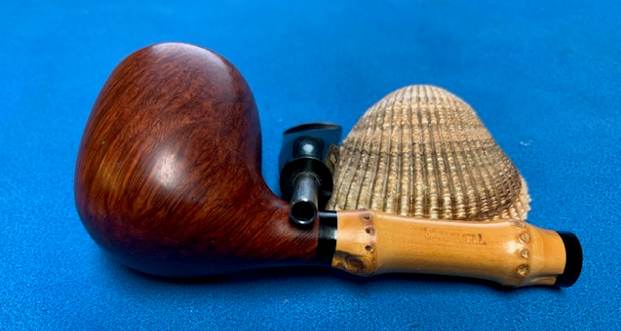
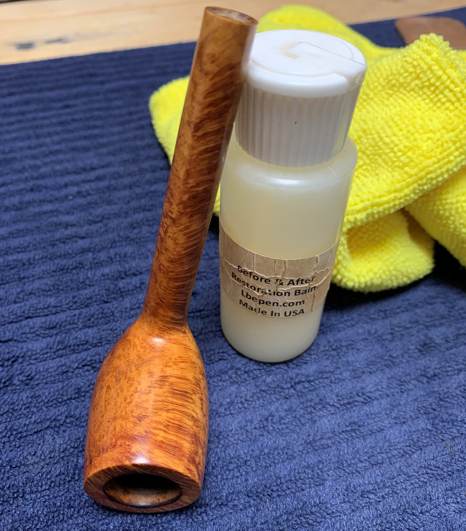
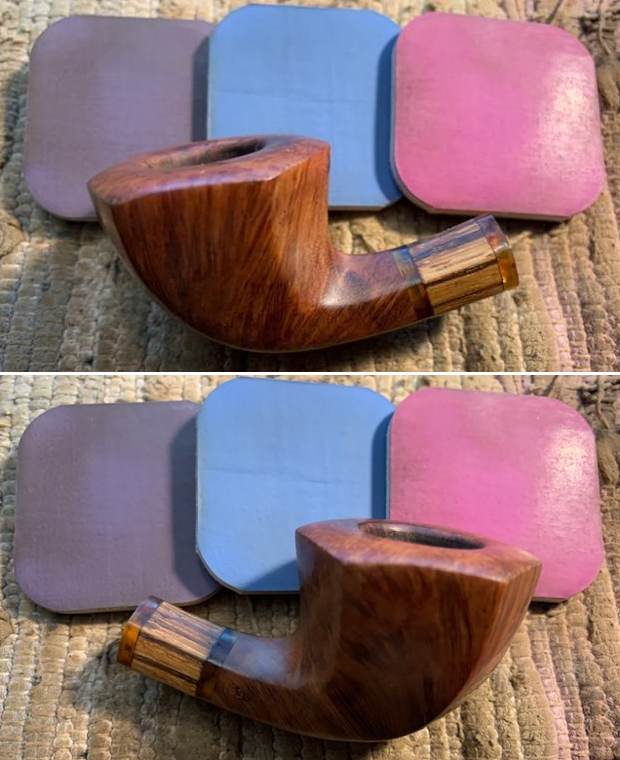
 I rubbed the bowl down with Before & After Restoration Balm. I worked it into the briar with my finger tips. I let it sit for 10 minutes and the Balm did its magic. It enlivens, cleans and preserves the briar. It certainly brought this bowl back to life. I buffed it off with a clean cloth and took the following photos.
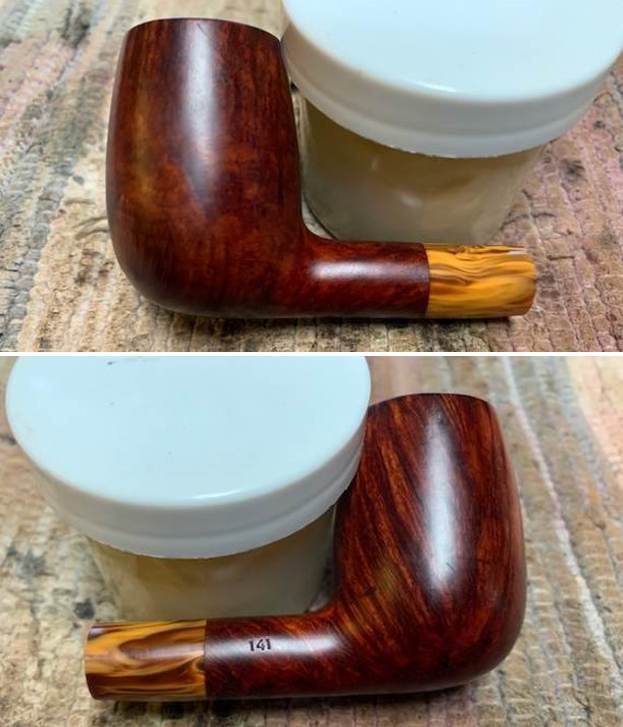
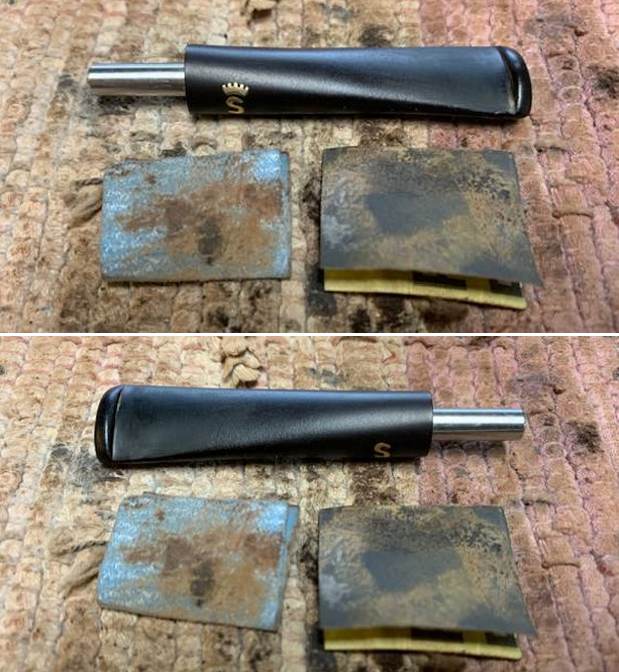
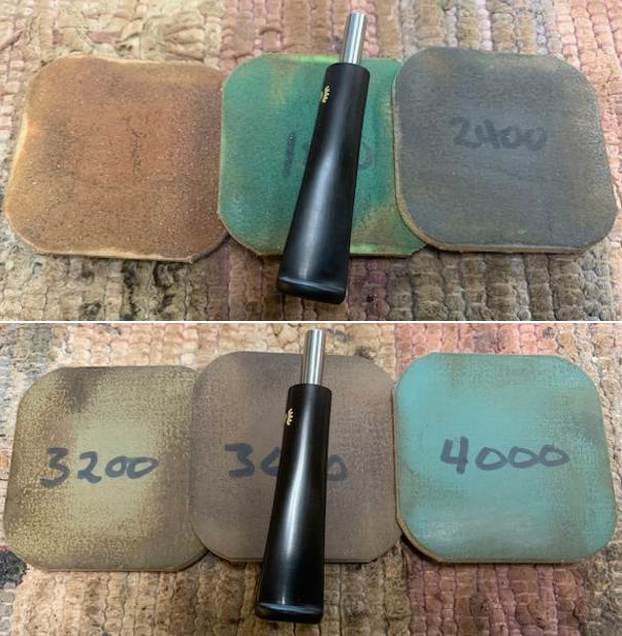
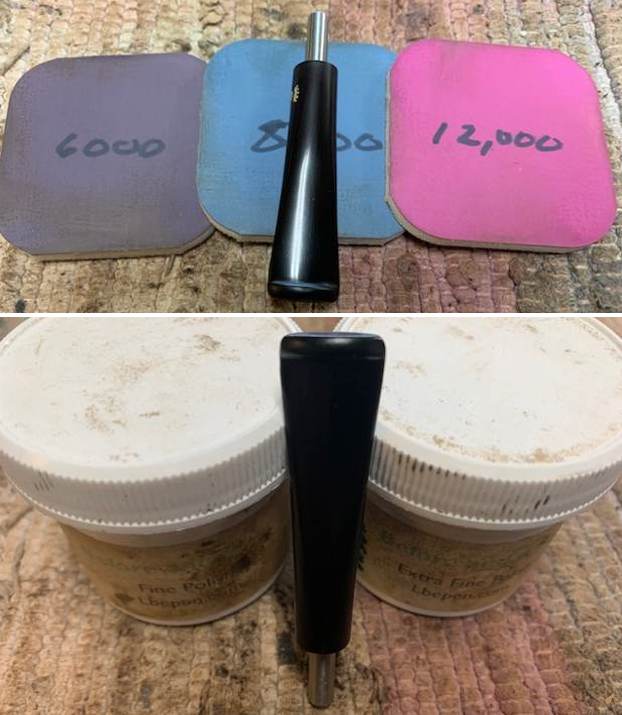
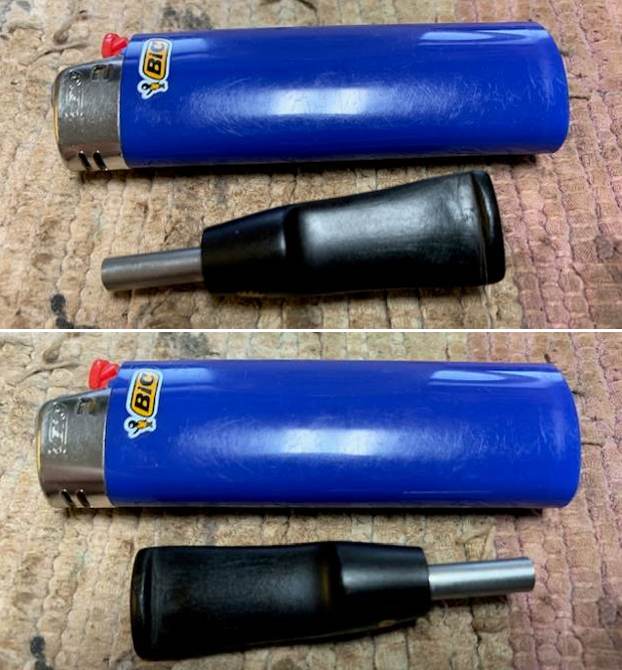
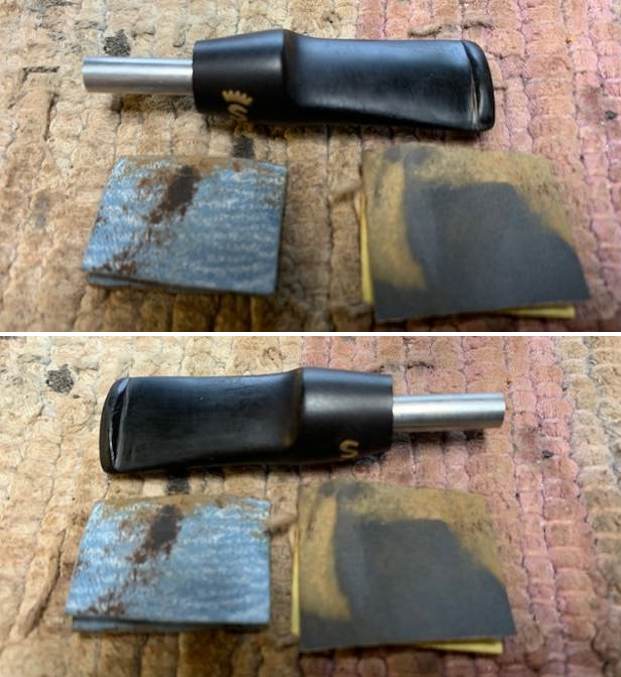
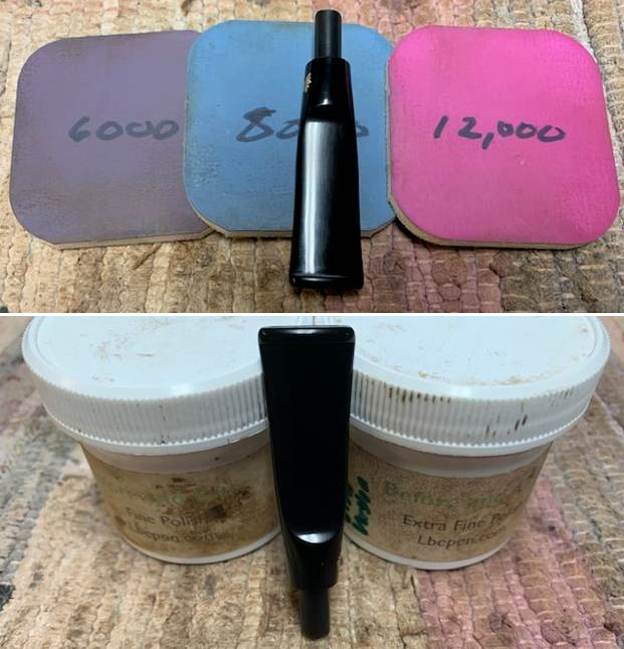
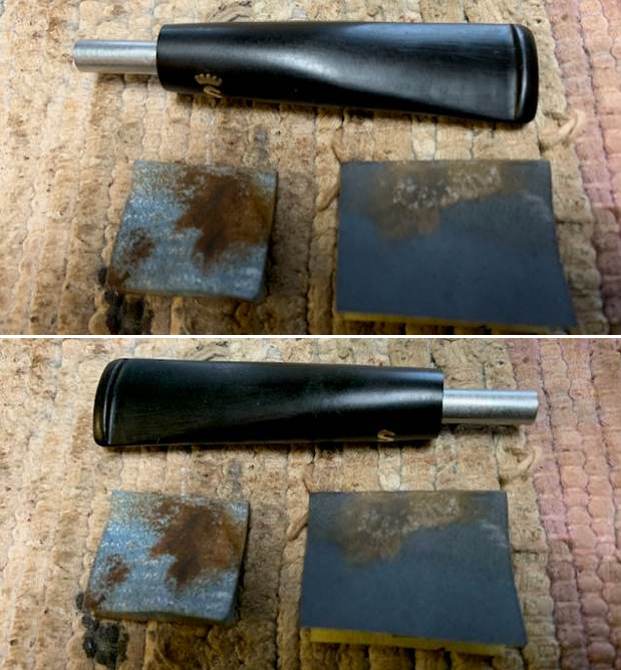
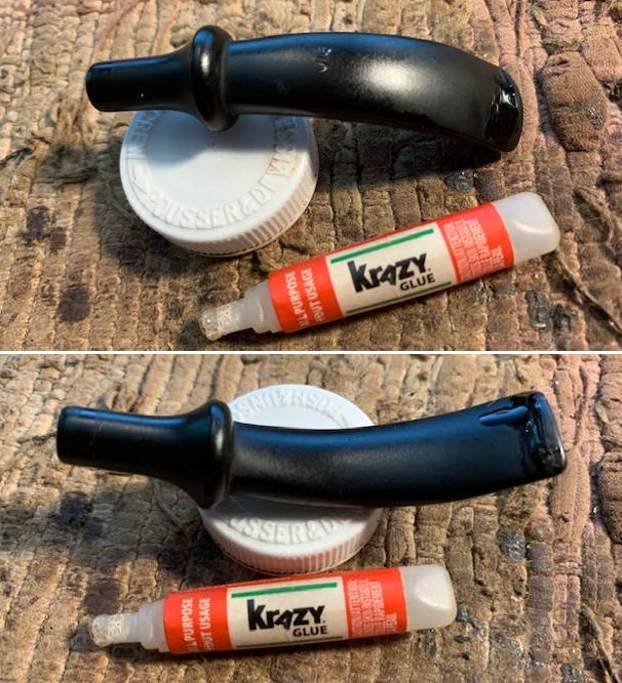
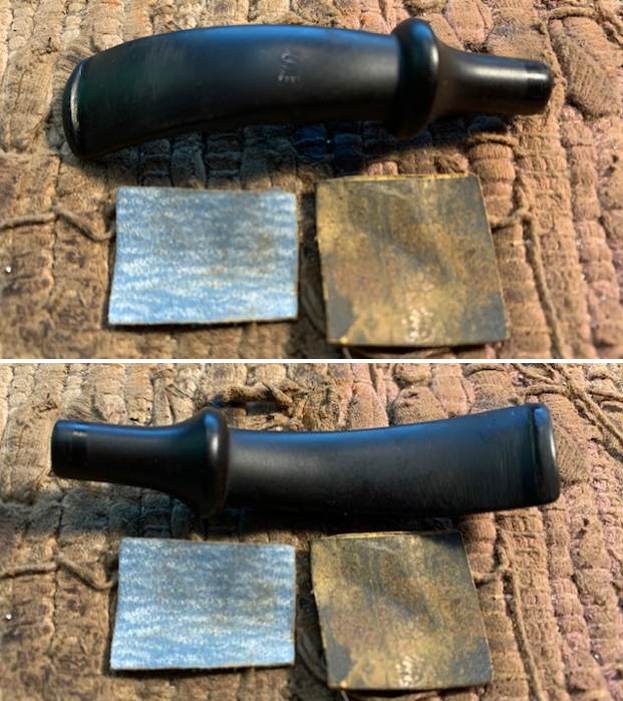
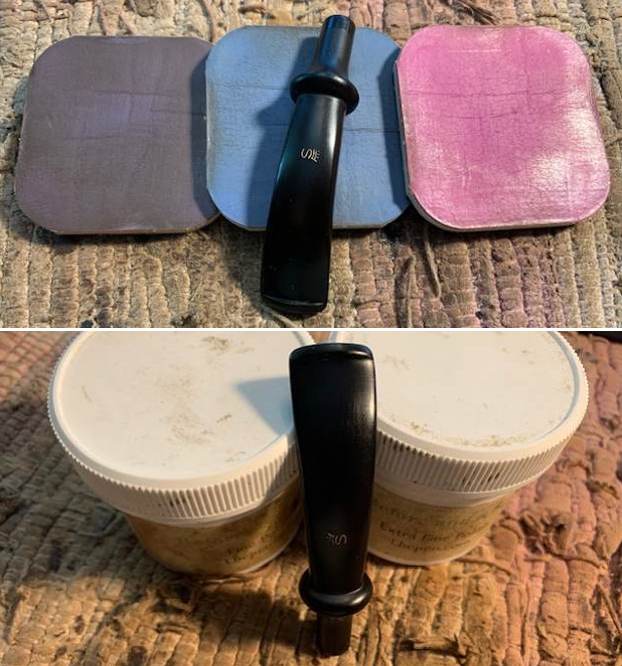
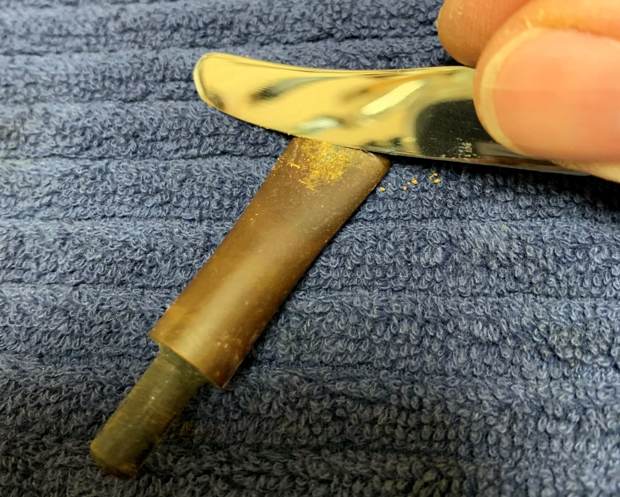
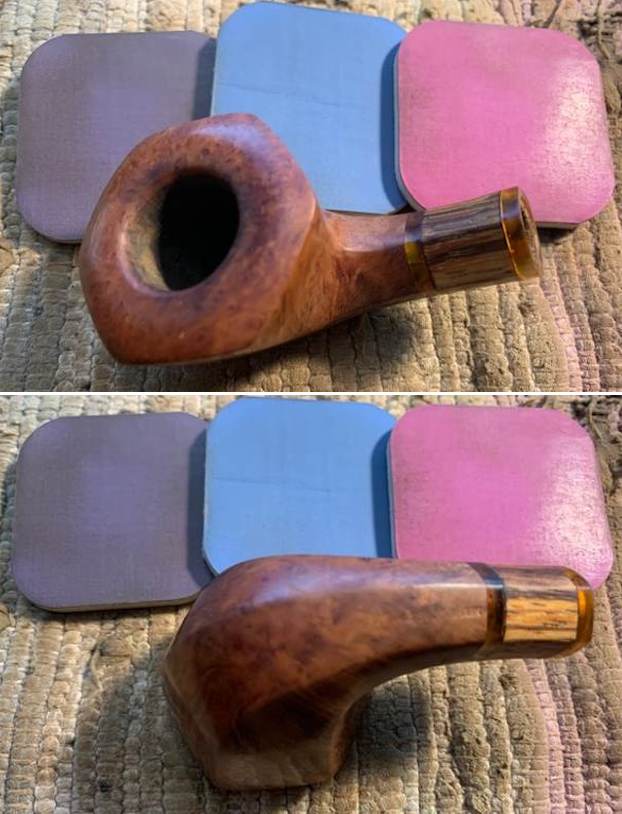
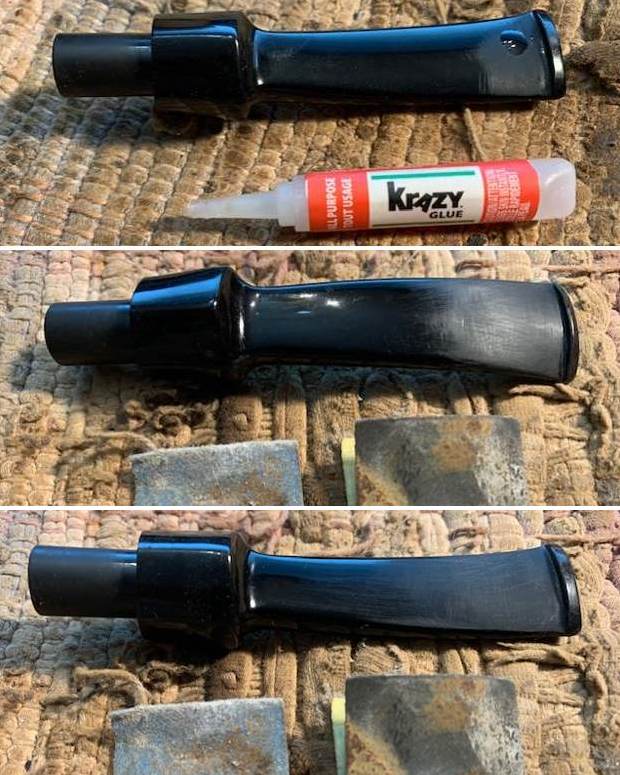
 I set the bowl aside and turned my attention to the stem. I polished the stem with micromesh sanding pads – 1500-12000 grit pads. I wiped it down with a damp cloth after each sanding pad. I used Before & After Pipe Polish – both Fine and Extra Fine to further polish the stem.
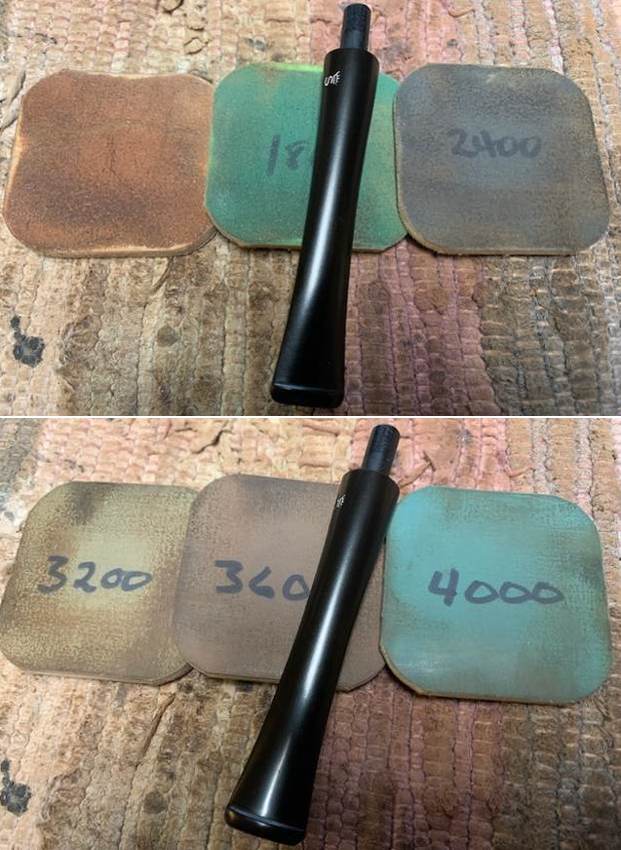
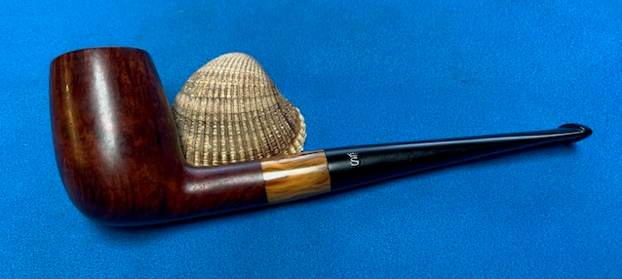
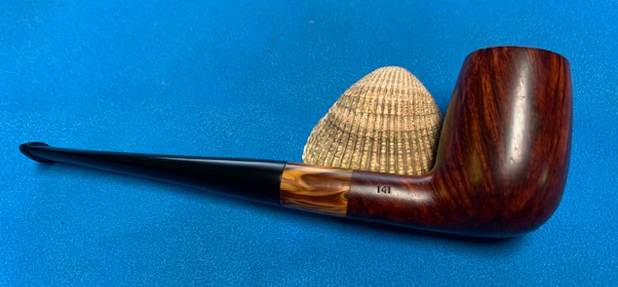
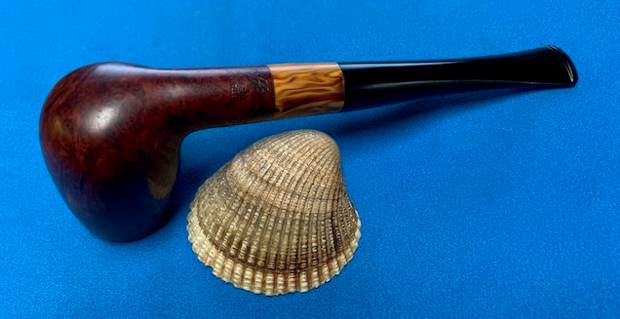
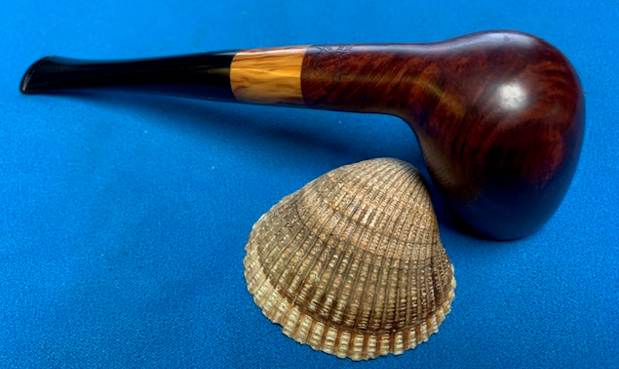
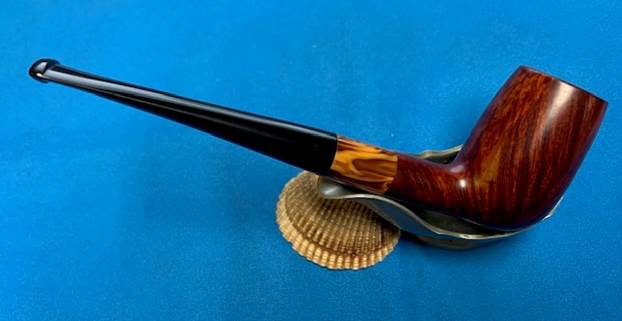
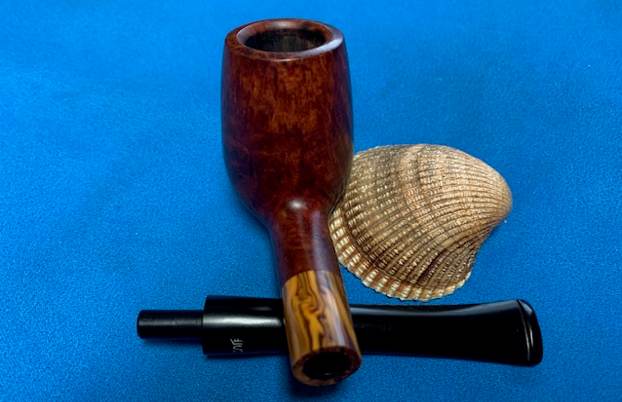
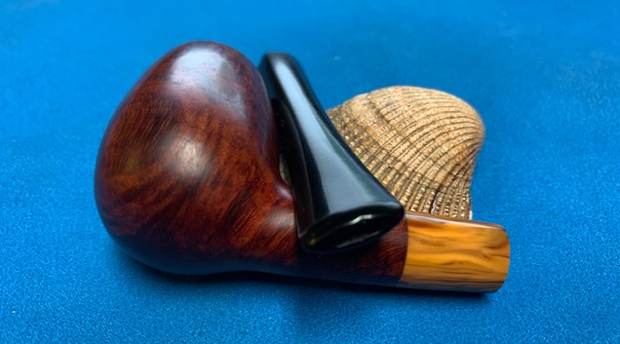
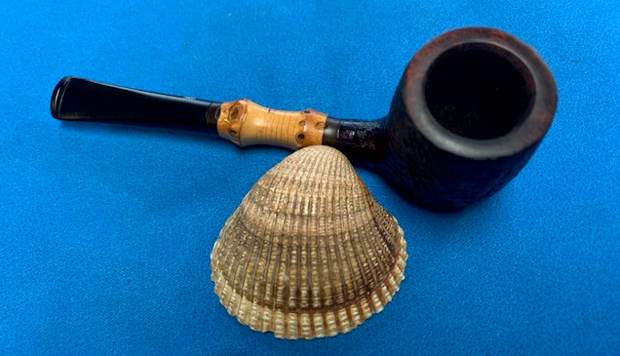
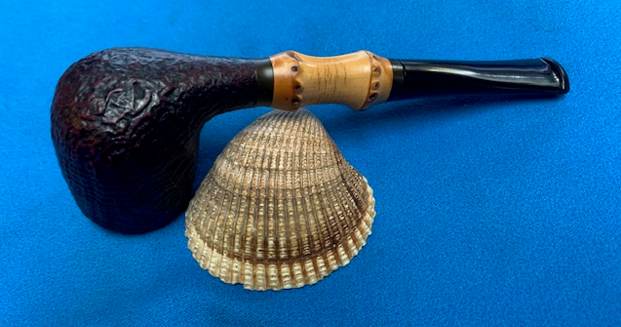
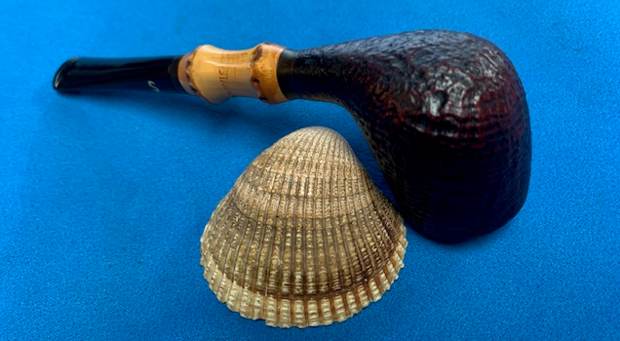
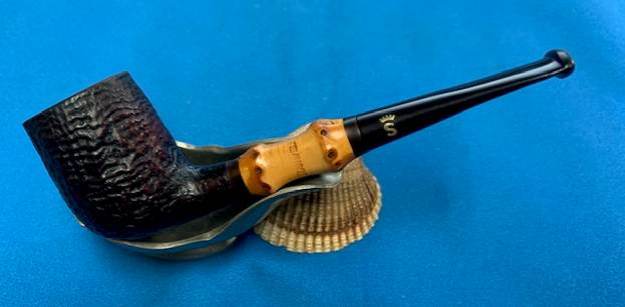
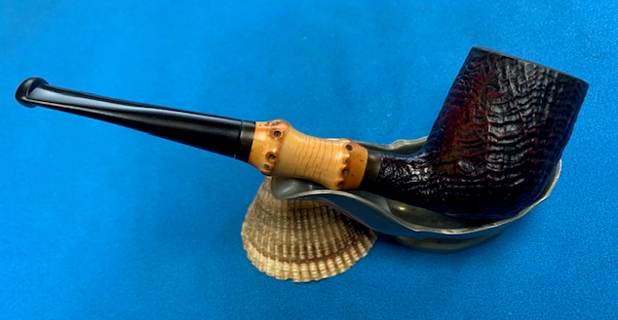
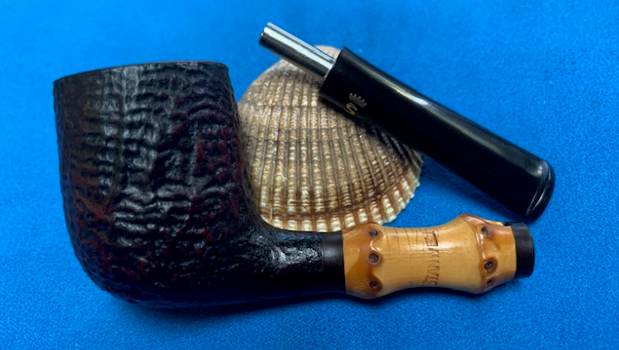
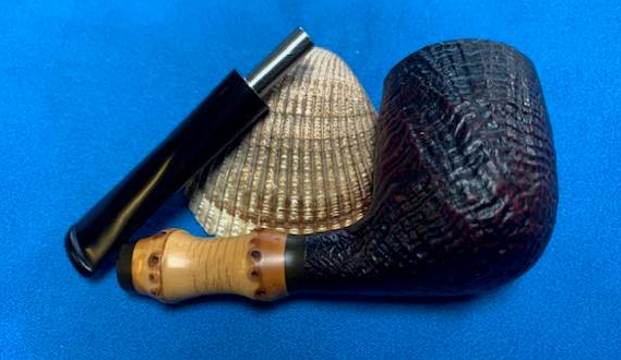
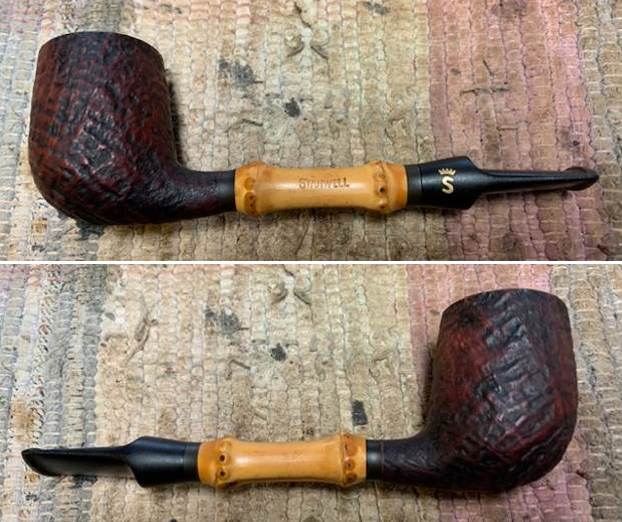
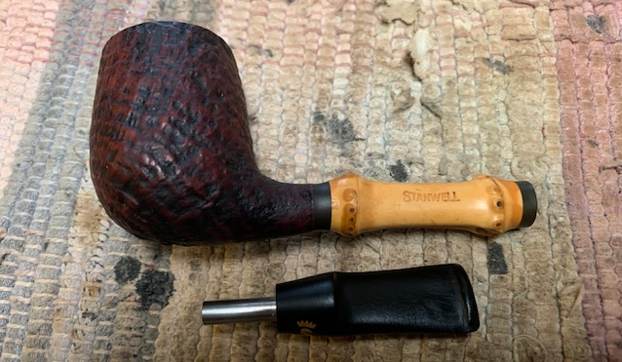
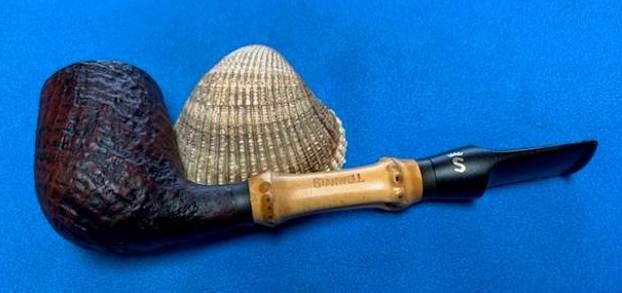
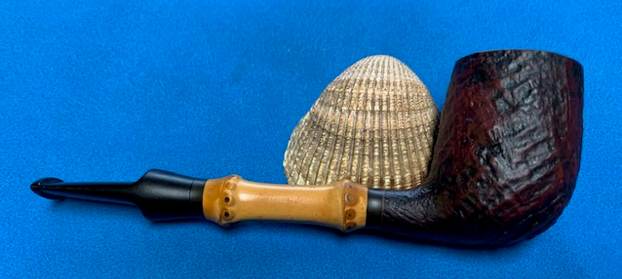
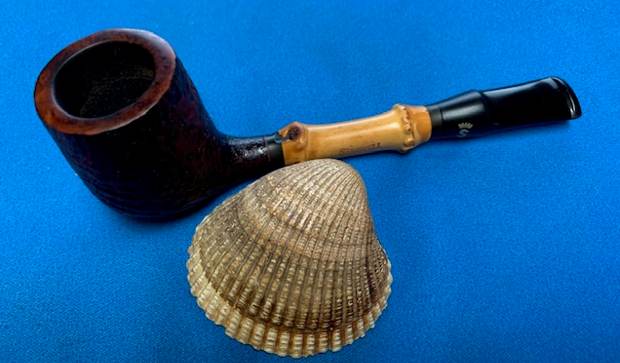
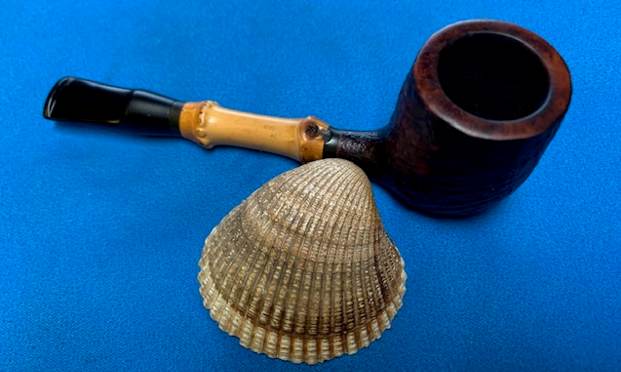
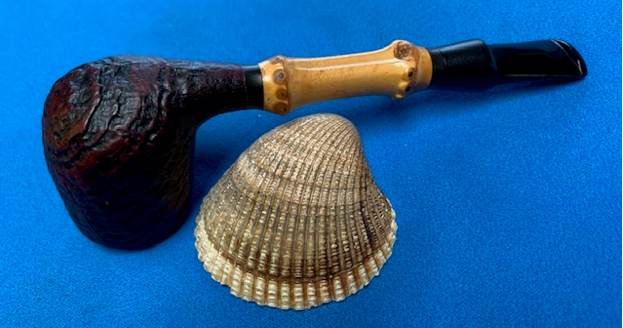
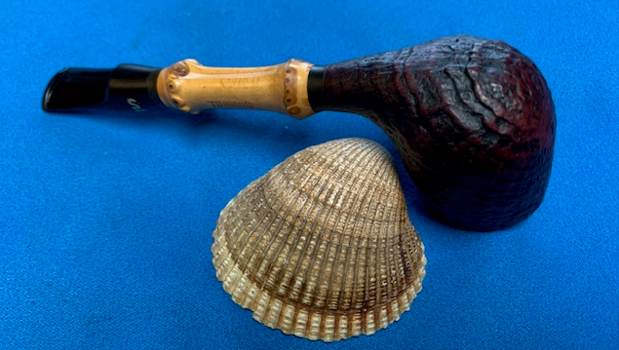
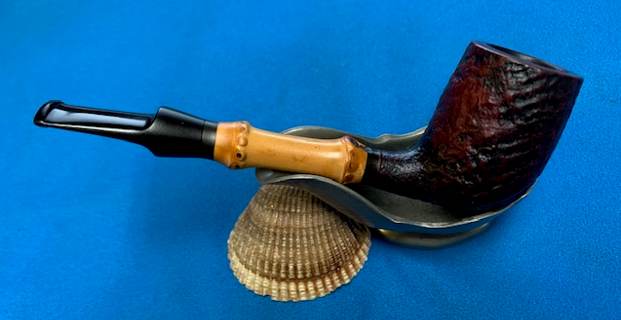
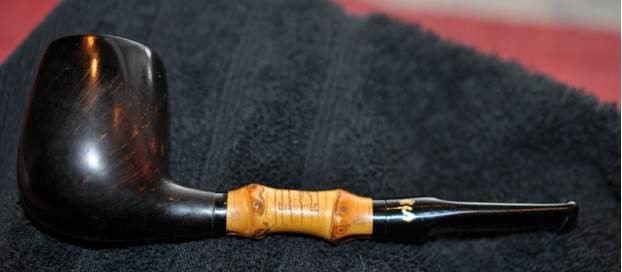
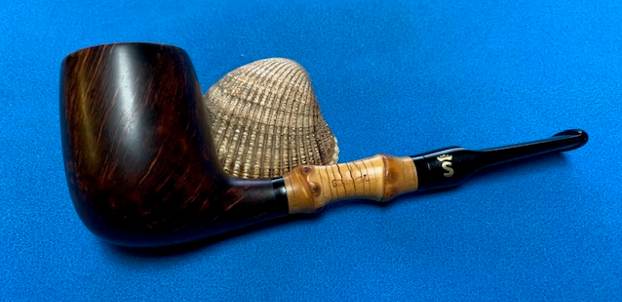
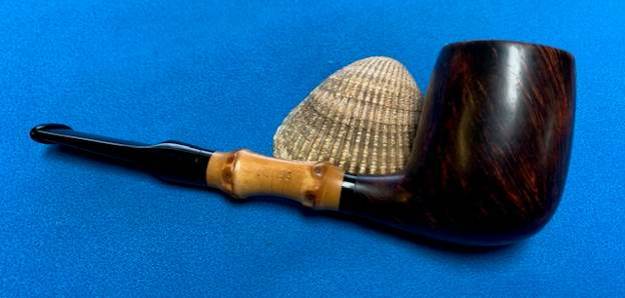
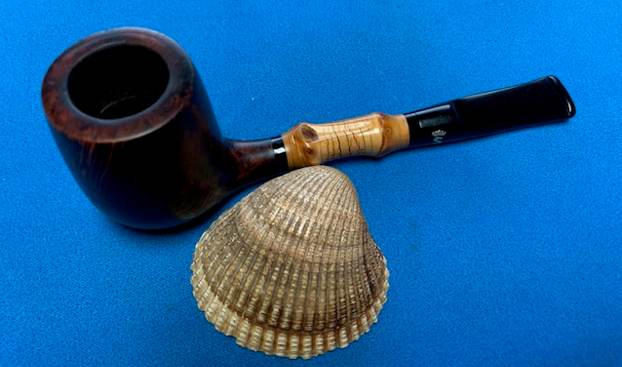
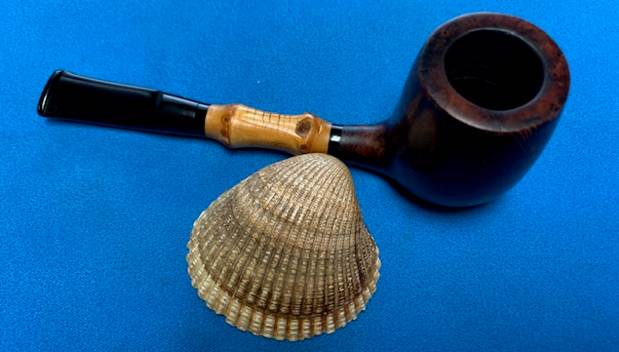
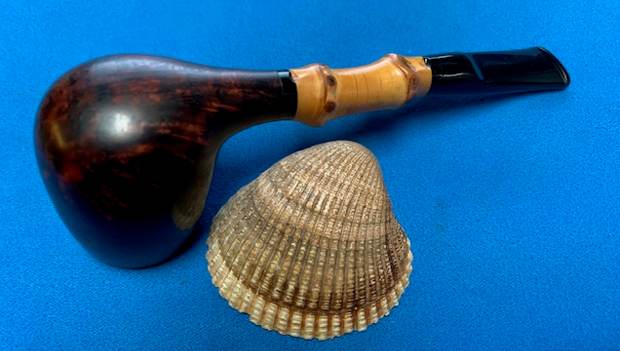
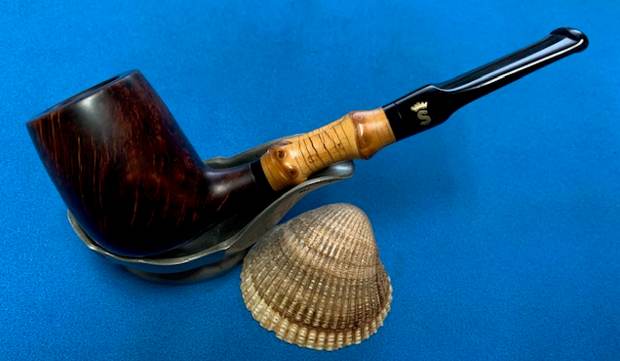
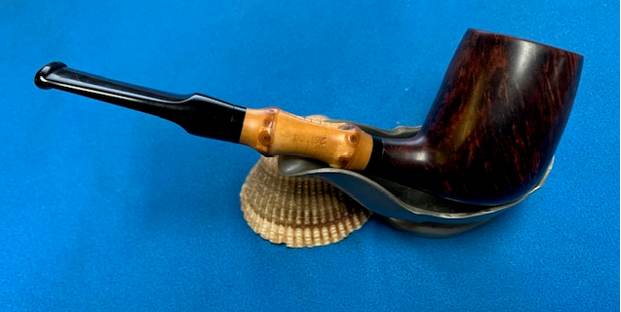
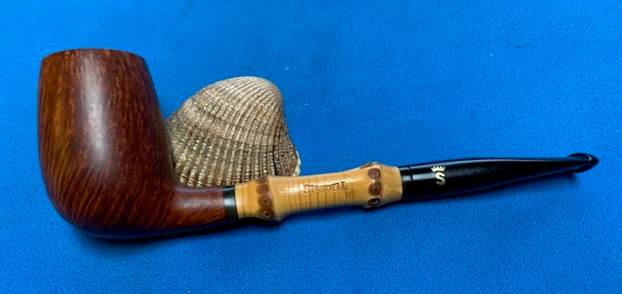
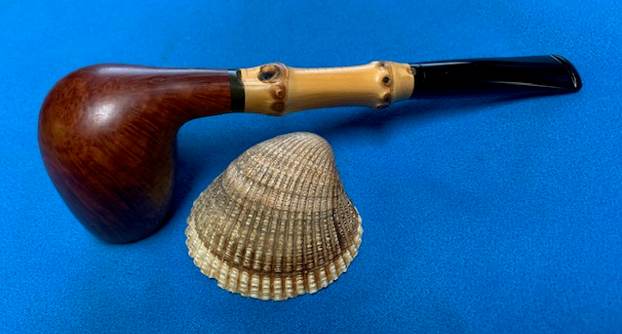
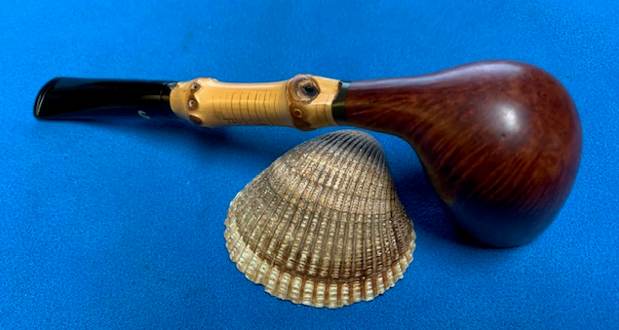
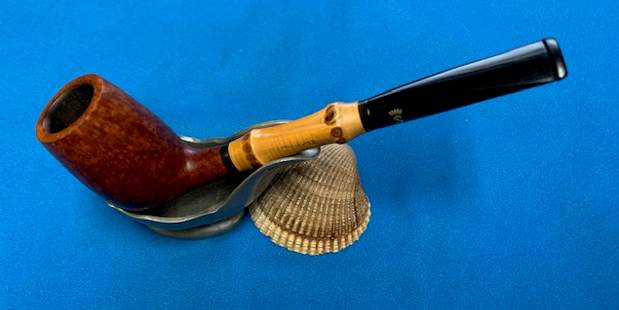
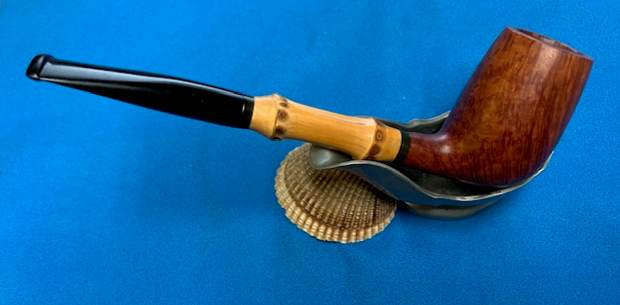
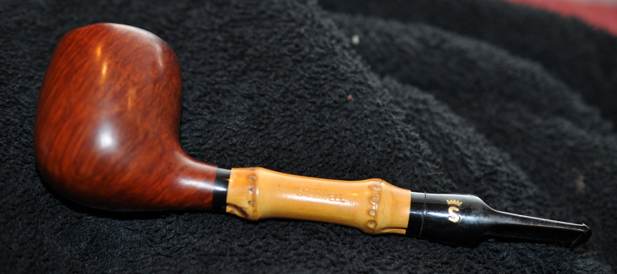
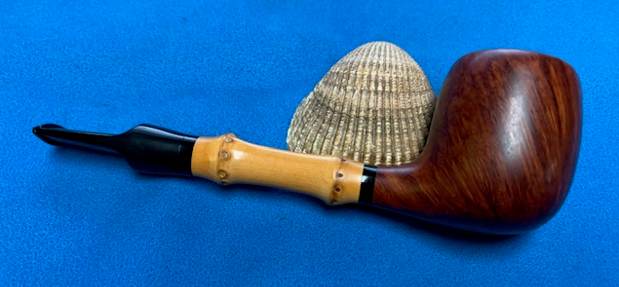
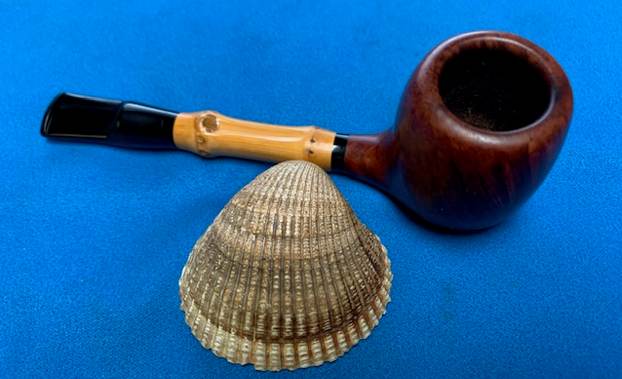
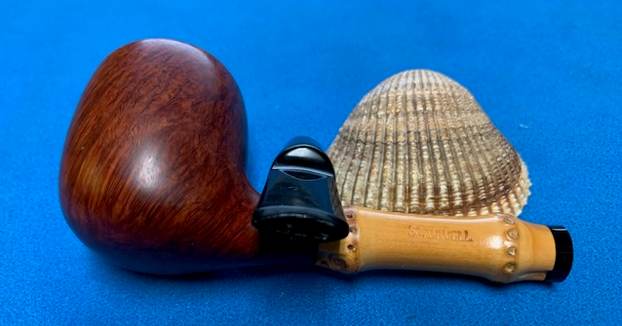
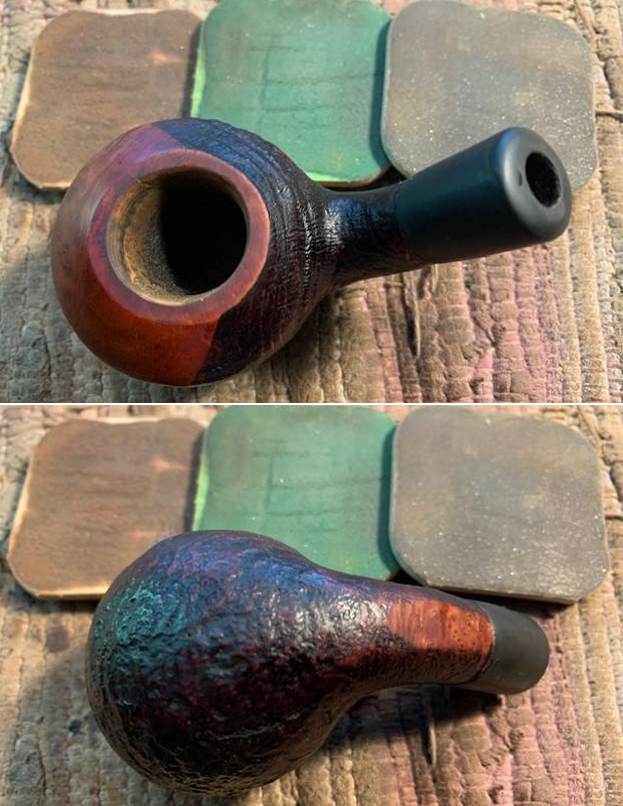
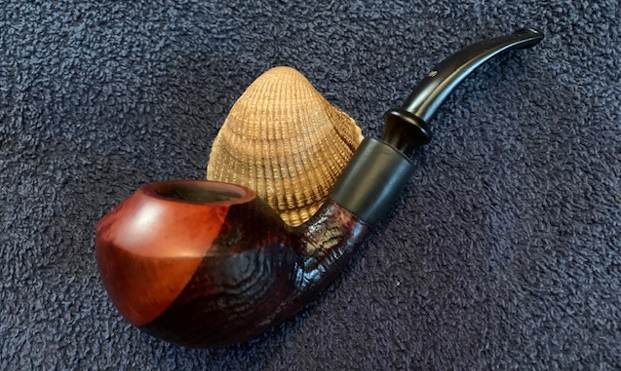
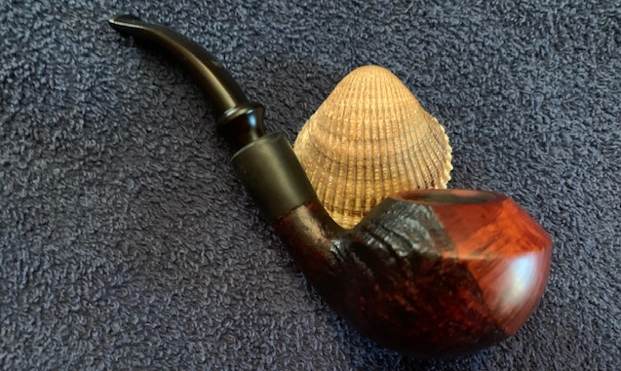
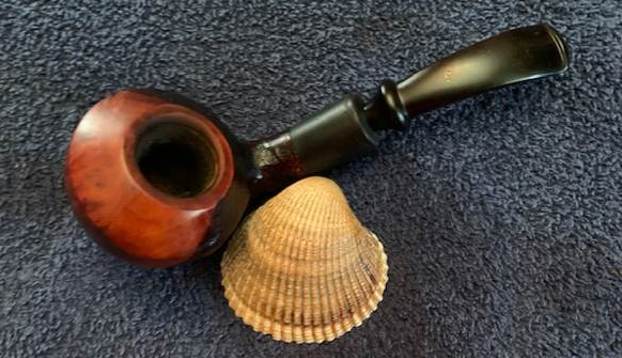
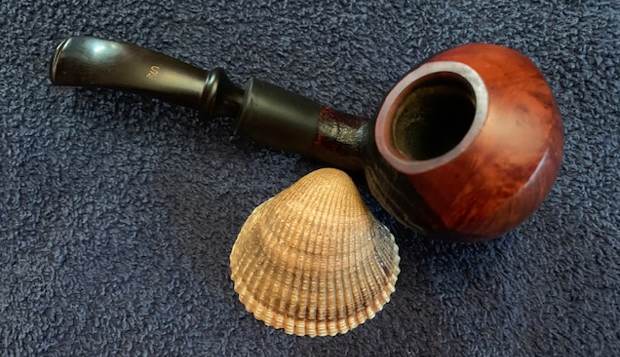
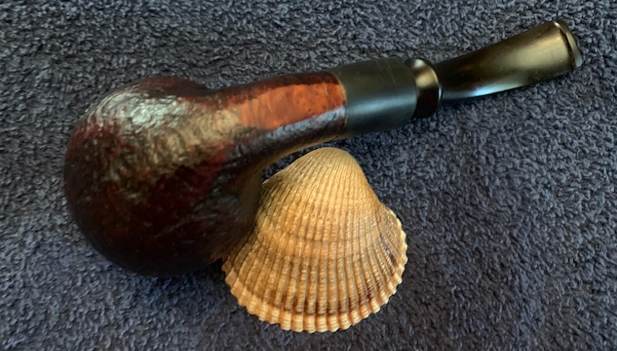
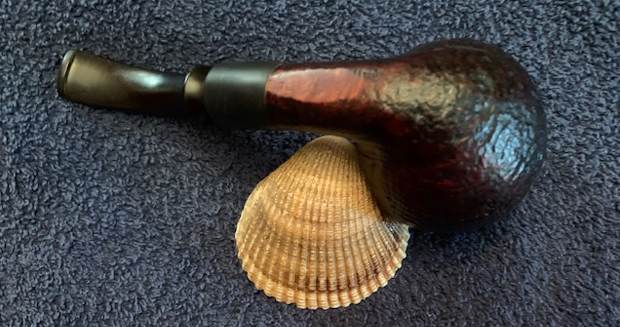
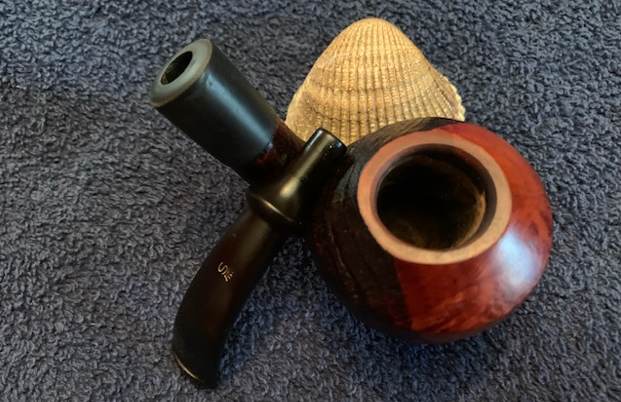
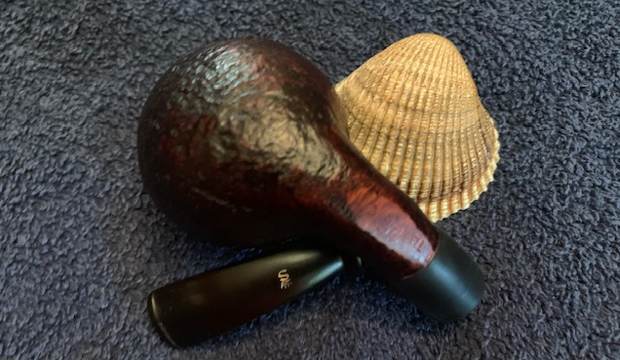
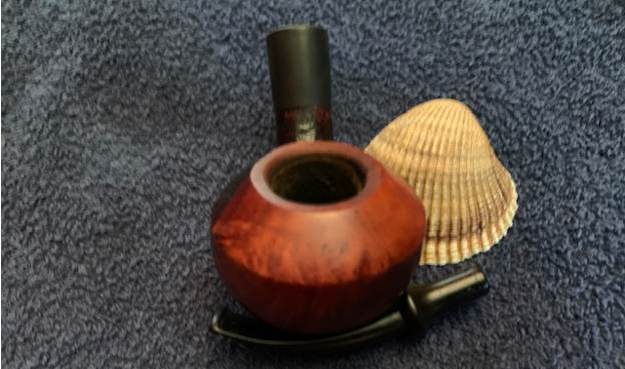
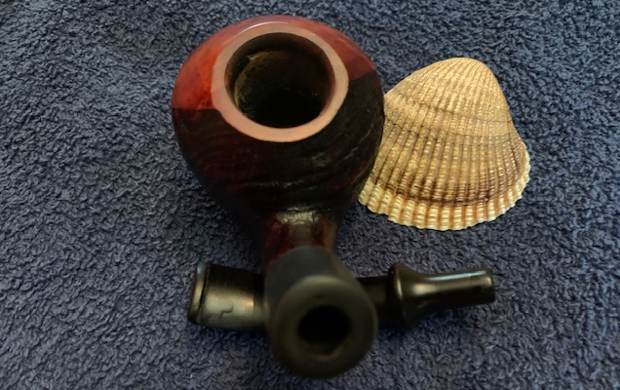
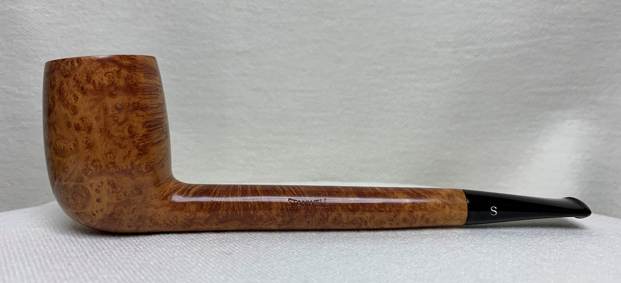
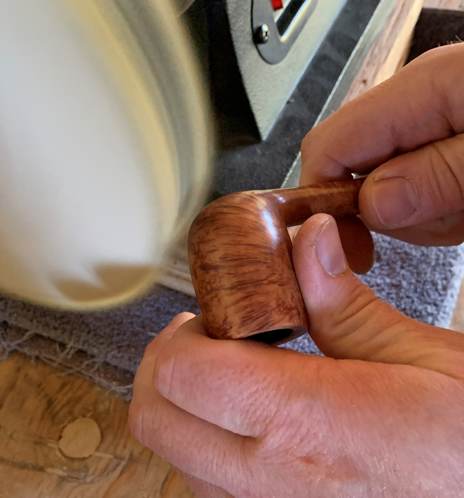
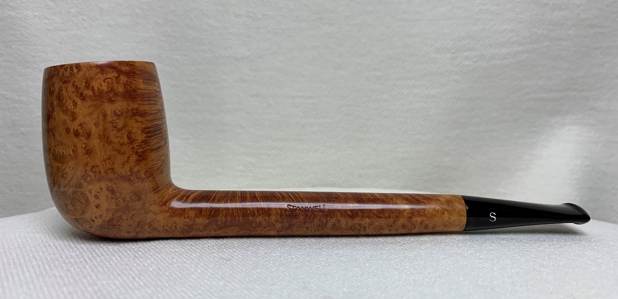
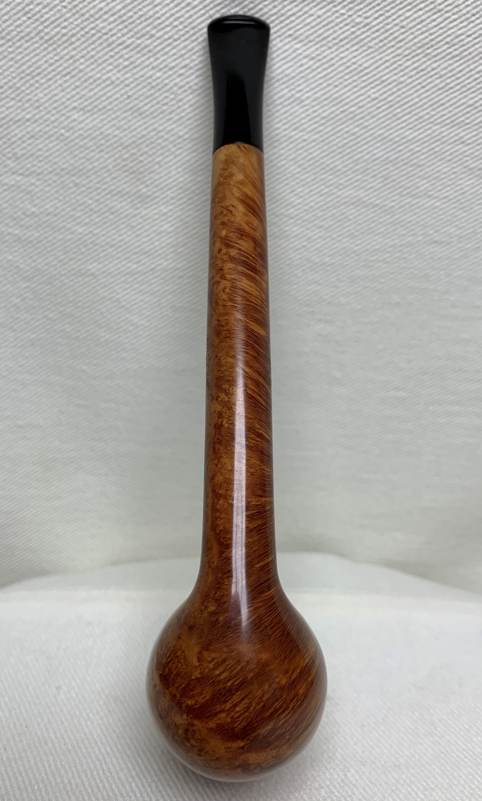
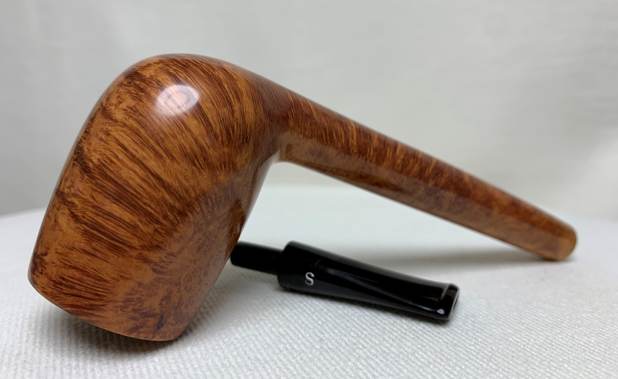
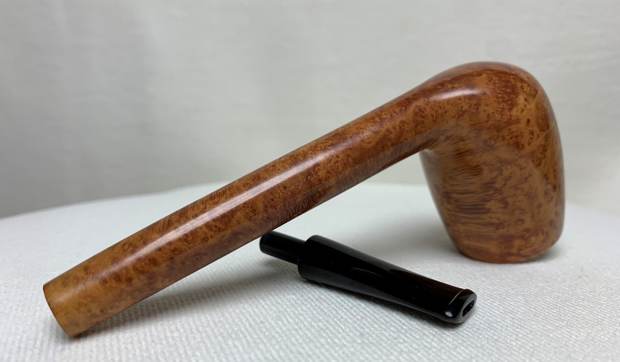
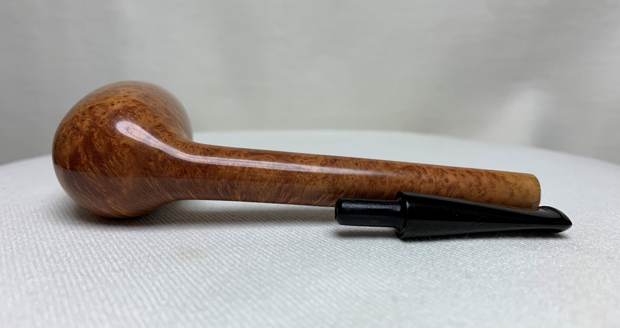
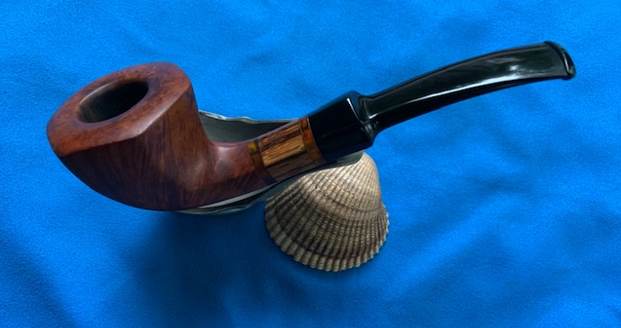
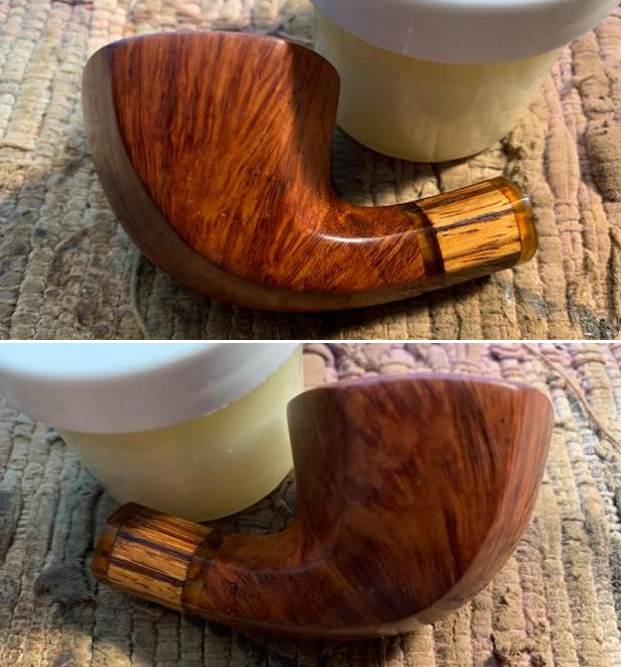
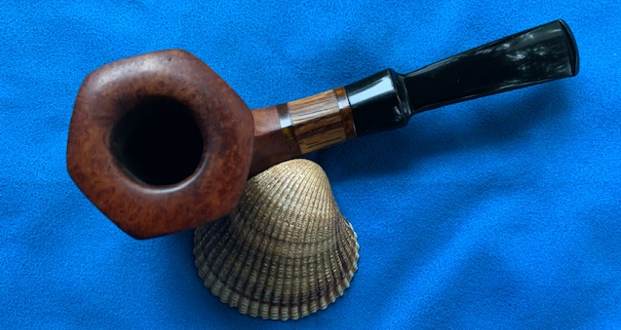
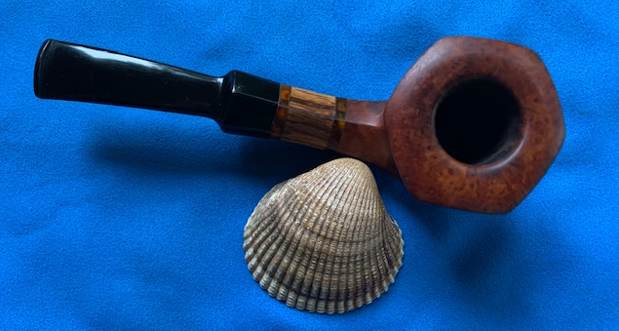
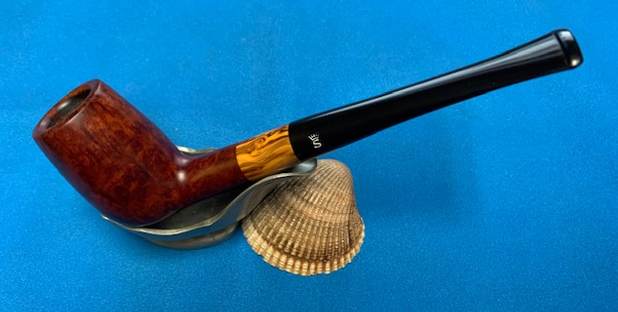
 This Stanwell Buffalo 141 Billiard with a vulcanite taper stem is a great looking pipe now that it has been restored. The mix of stains once cleaned up really highlights the grain and the polished sandblast finish is stunning. I put the stem back on the bowl and carefully buffed the pipe with Blue Diamond on the buffing wheel. I gave the bowl and the stem multiple coats of carnauba wax on the buffing wheel and followed that by buffing the entire pipe with a clean buffing pad. I hand buffed the pipe with a microfiber cloth to deepen the shine. The finished Stanwell Buffalo 141 Billiard fits nicely in the hand and feels great. Give the finished pipe a look in the photos below. The dimensions of the pipe are Length: 6 inches, Height: 2 inches, Outside diameter of the bowl: 1 inch, Chamber diameter: ¾ of an inch. The weight of the pipe is 40 grams / 1.41 ounces. I will be adding the pipe to the Danish Pipe Makers Section of the rebornpipes store. If you are interested in purchasing this pipe send me a message or an email. Thanks for reading this blog and my reflections on the pipe while I worked on it.