Blog by Dal Stanton
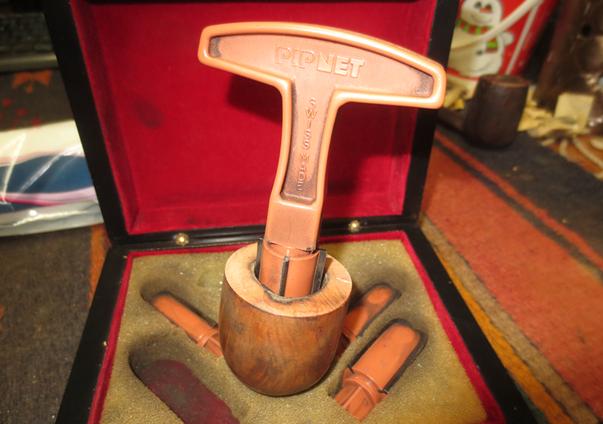
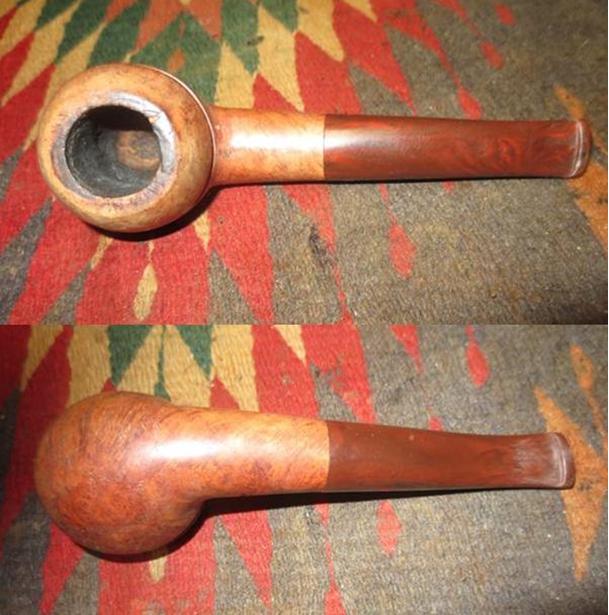
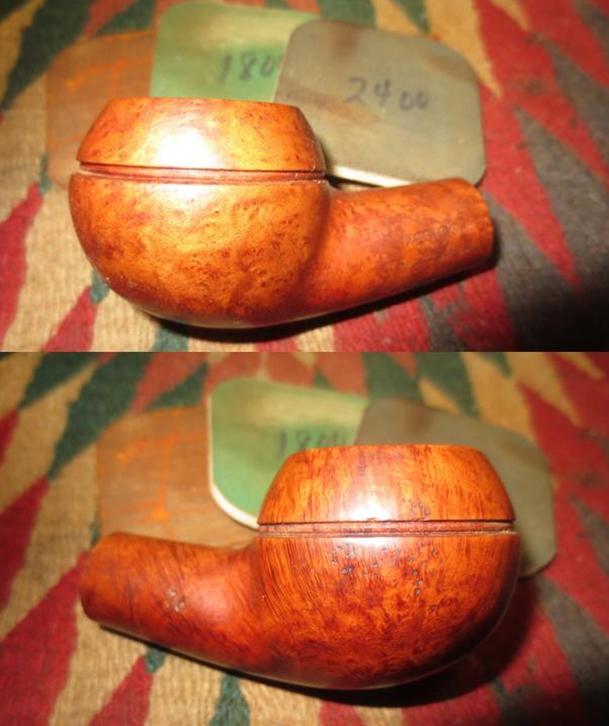
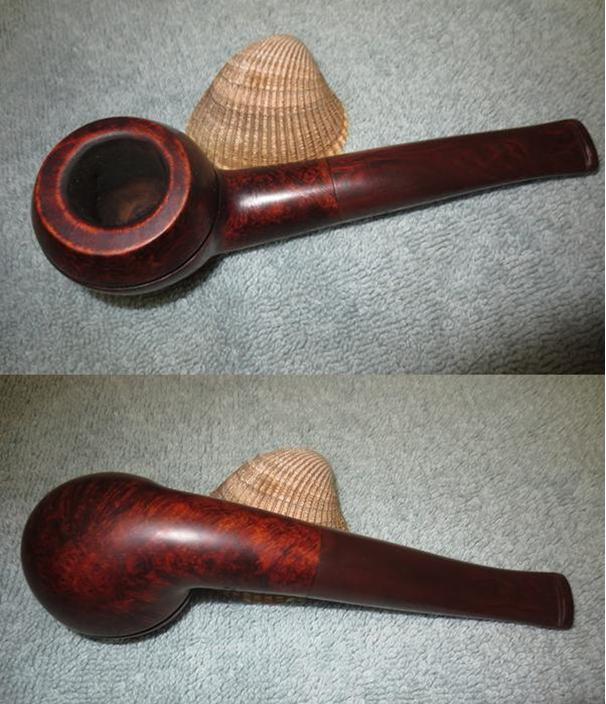
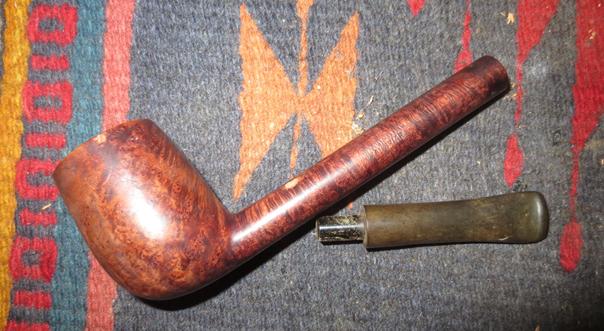
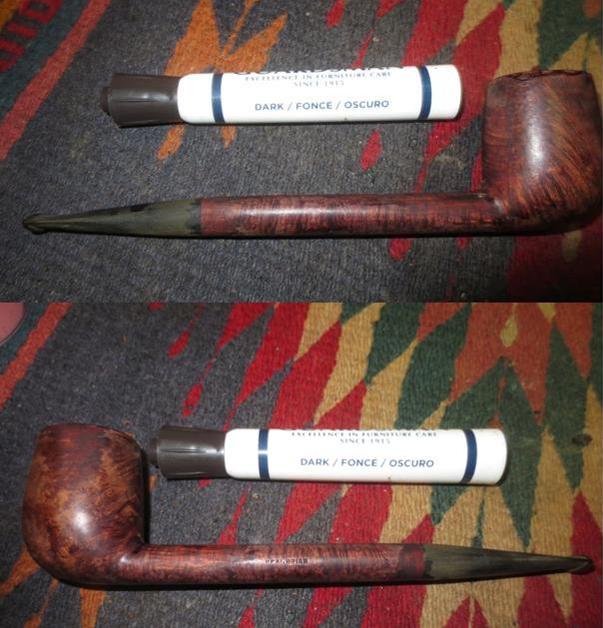
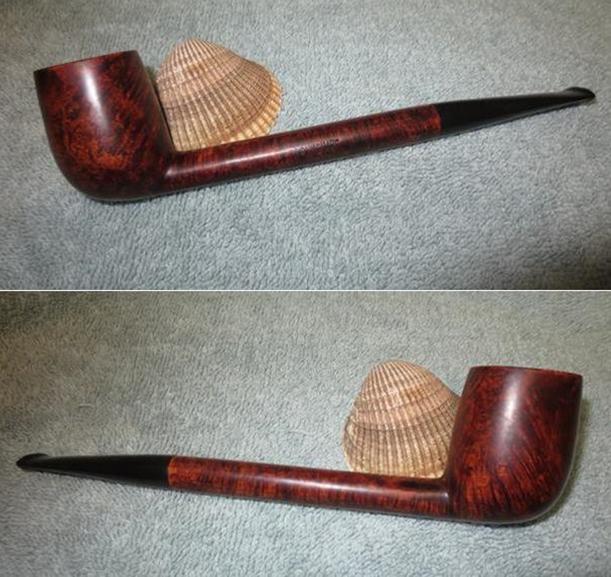
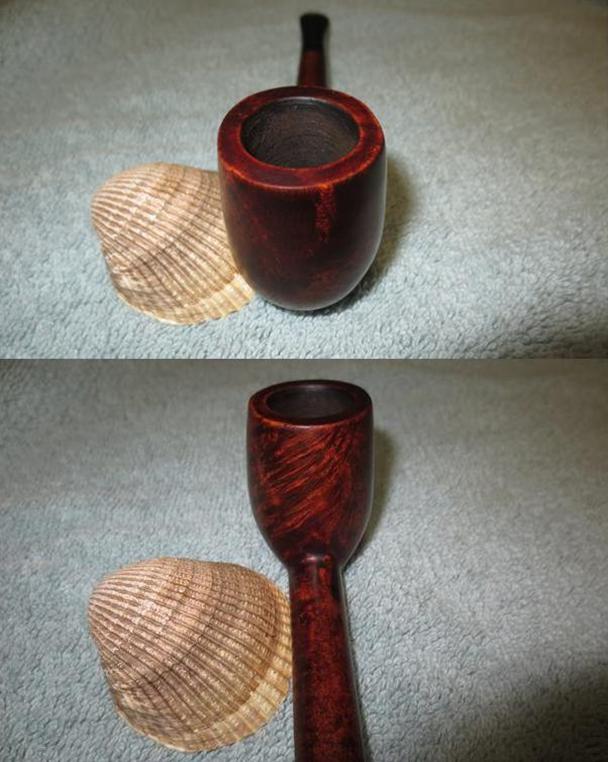
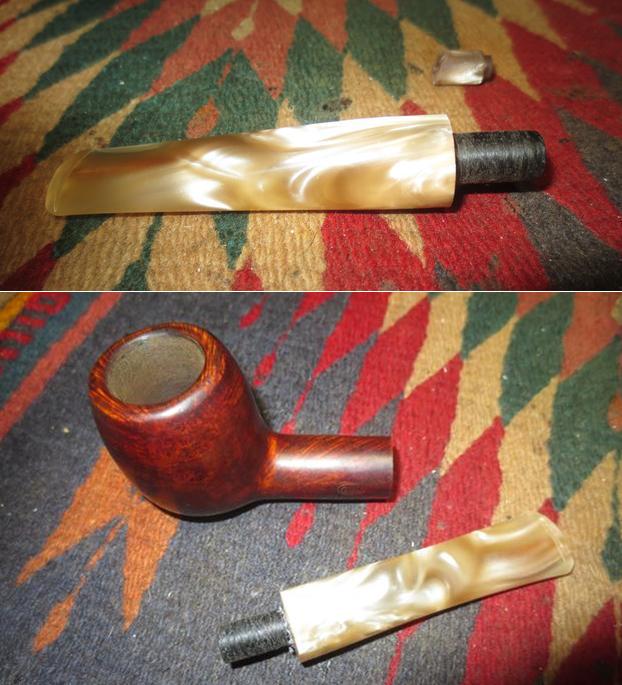
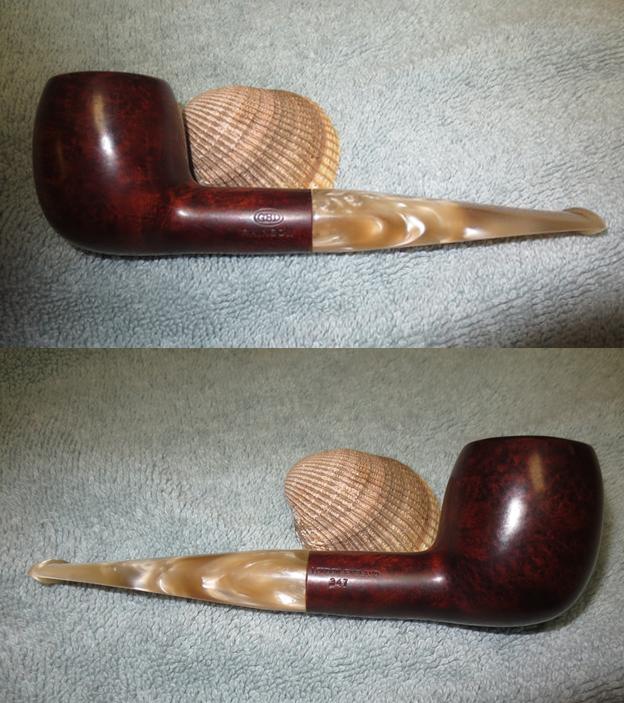
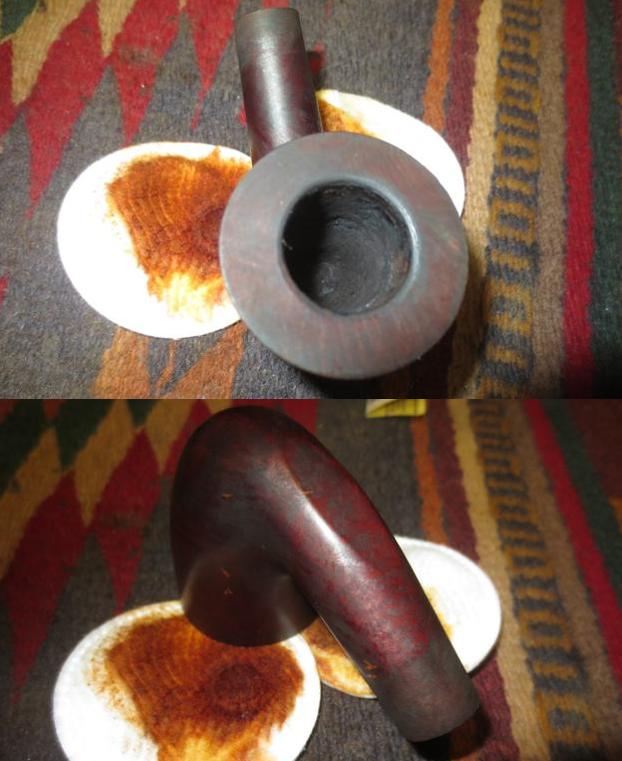
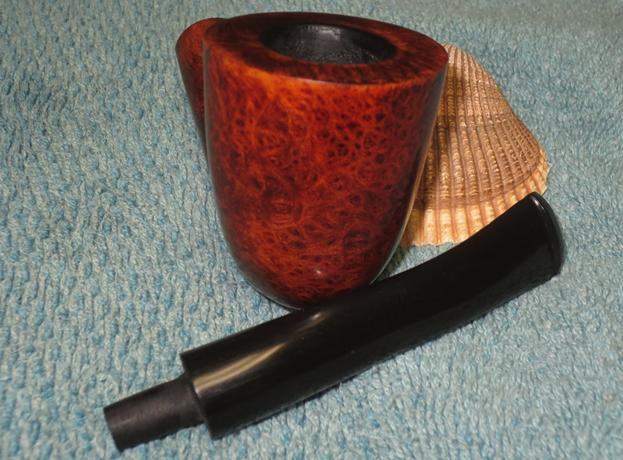
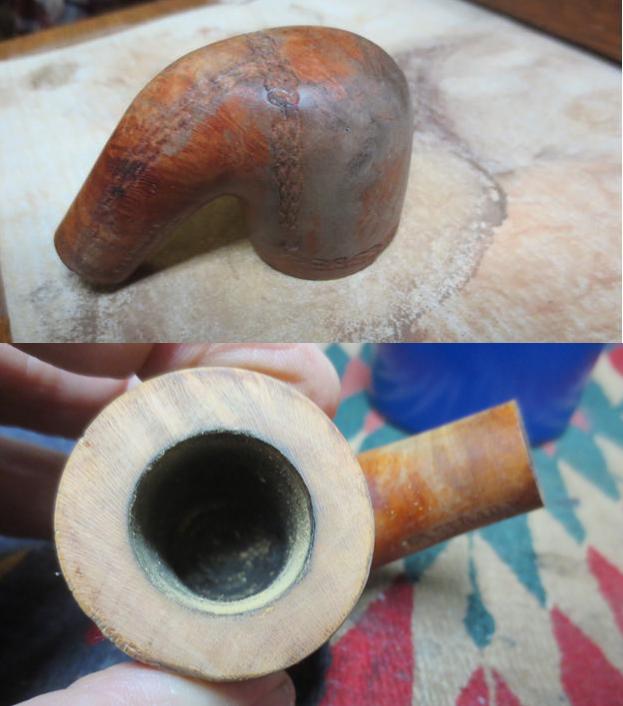
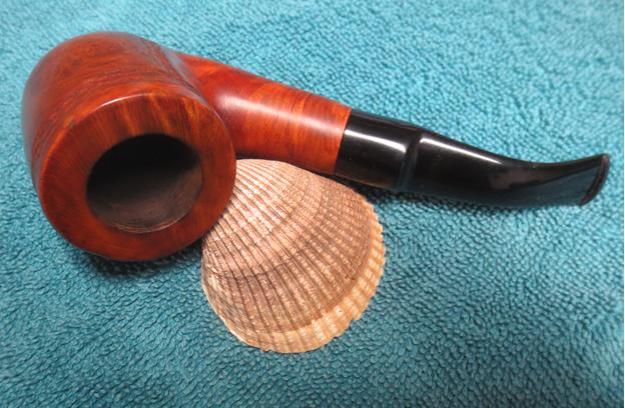
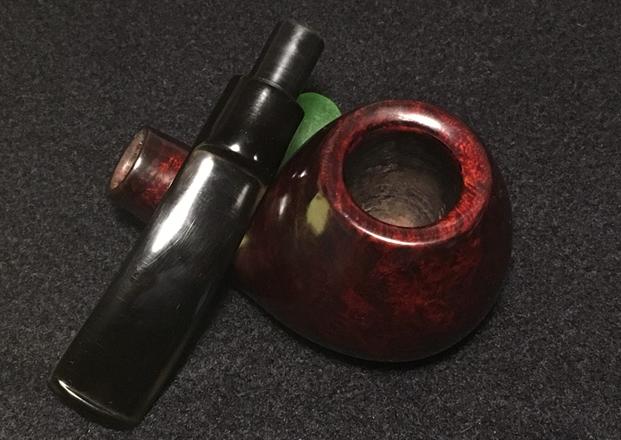
The Brandy before me now was a very nicely bundled pipe when I recently purchased the Stanwell Silver Mount which I’ve already restored (See HERE). I landed these pipes at the treasure trove I call the ‘Hole in the Wall,’ an antique shop in the center-city of Sofia, Bulgaria. My sites were on the Stanwell which was the prize, with its silver and class, but when I saw the Brandy, I plucked it out of the basket to bundle with the Stanwell – hopefully to land a more favorable purchase price for the pair. The Stanwell and Brandy came home with me that day, and the picture I took below commemorated that day’s finds. The next picture shows the results of the Stanwell Silver Mount’s restoration – a beautiful, dressy pipe.
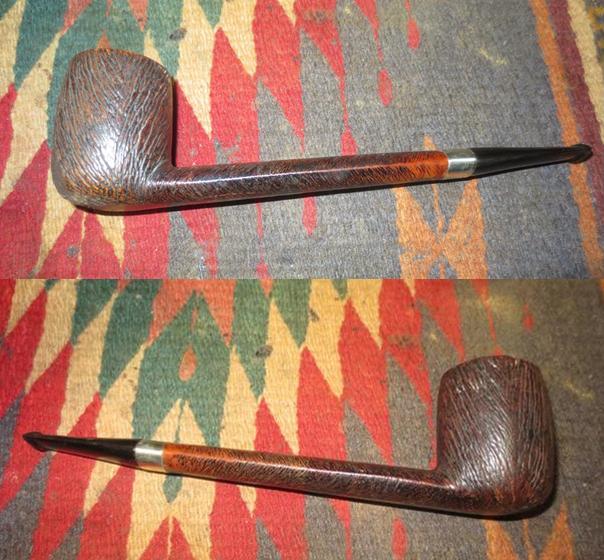
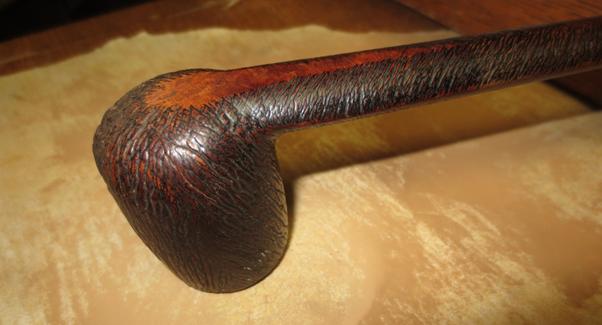
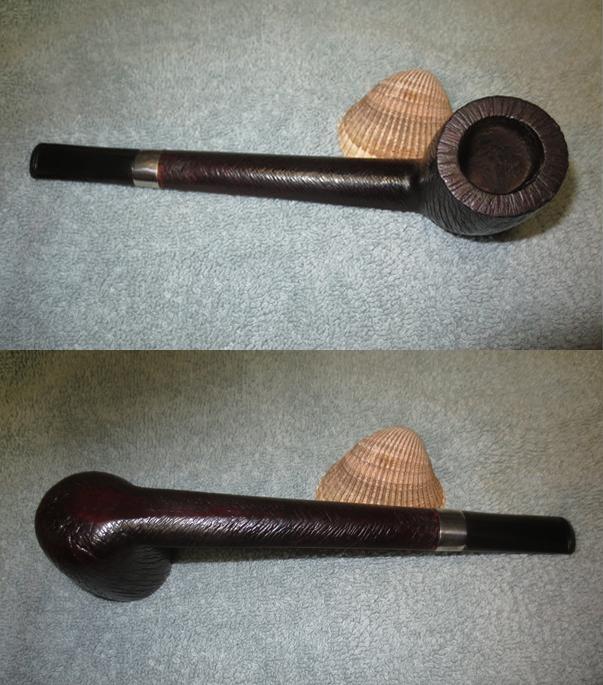
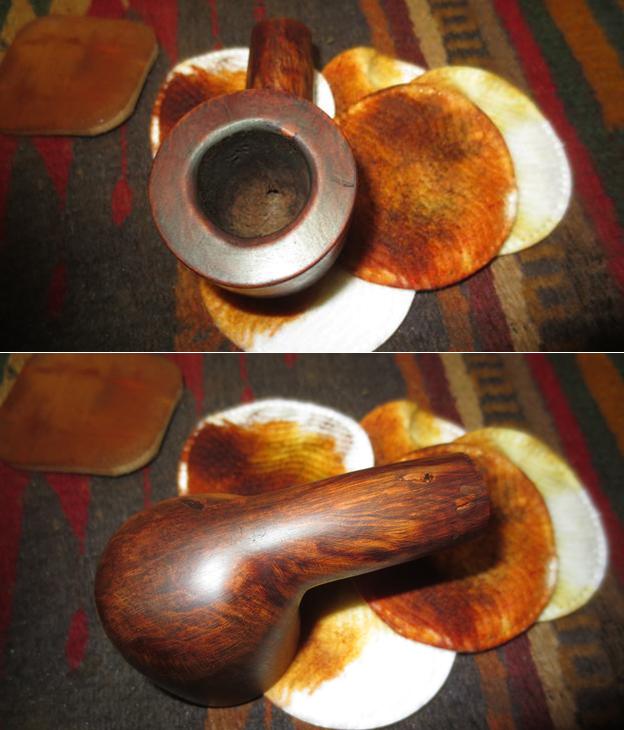
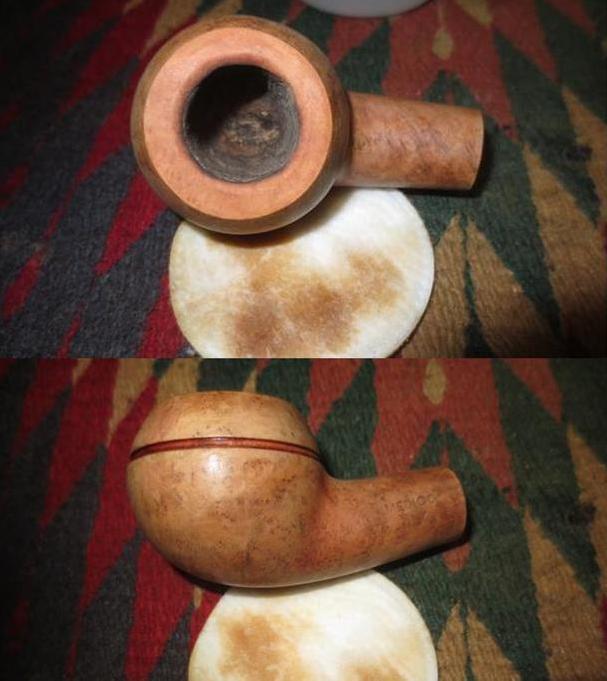
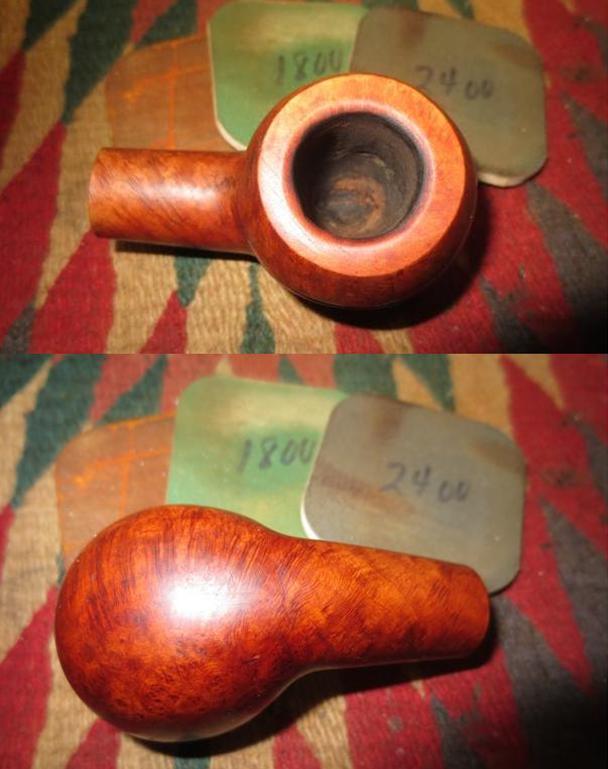
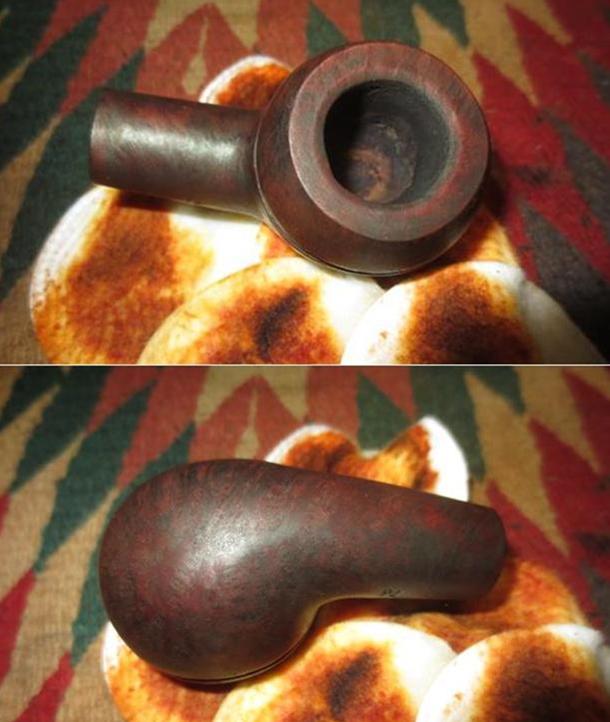
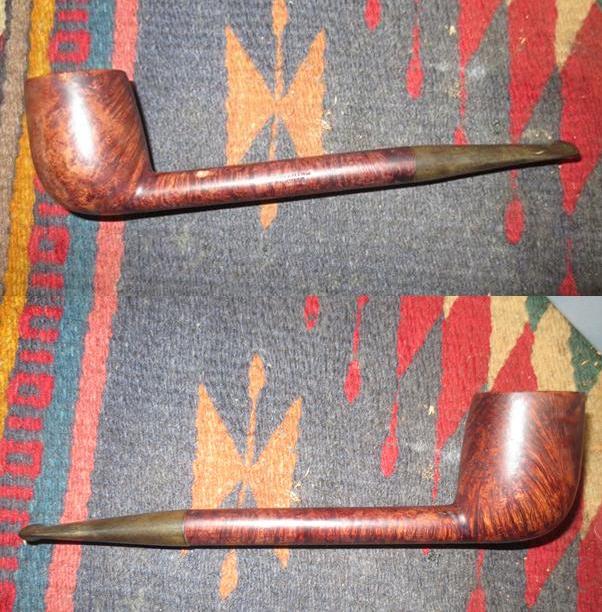
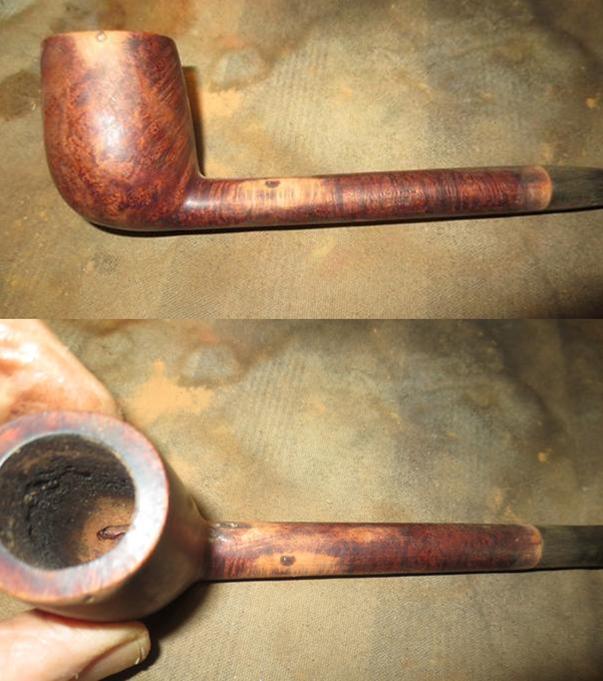
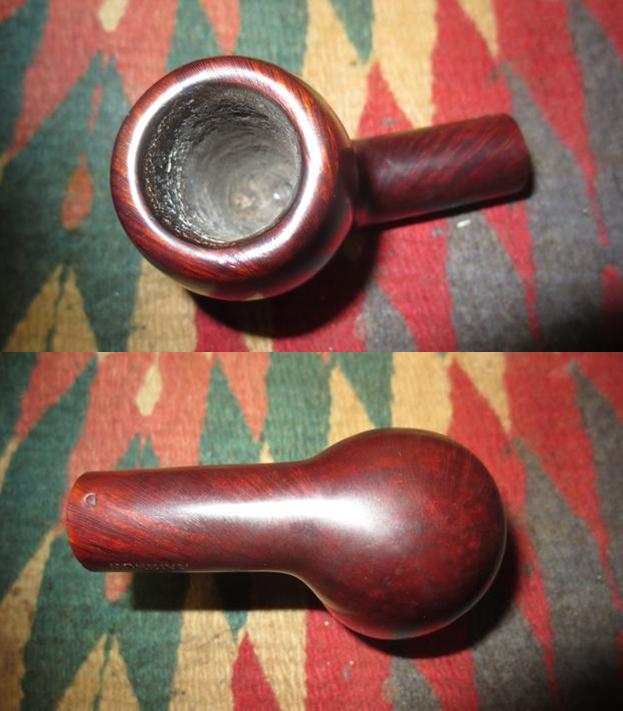
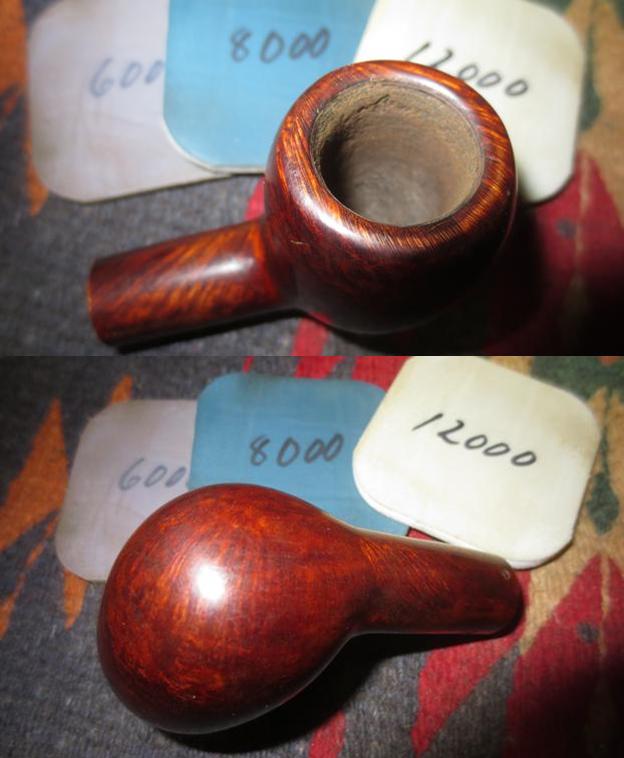
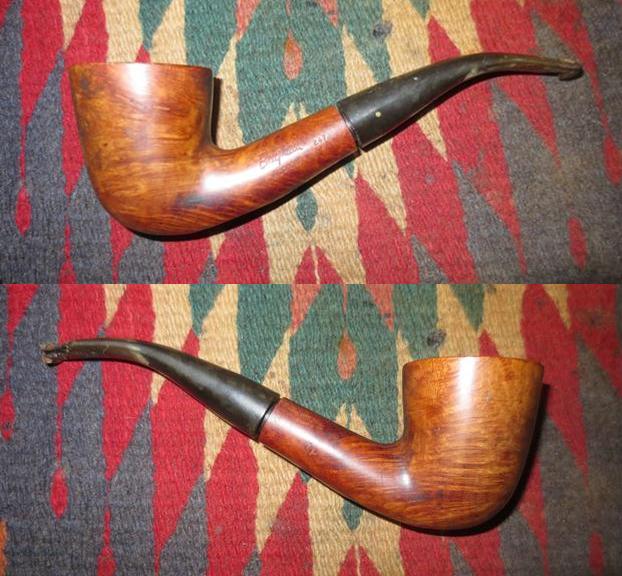
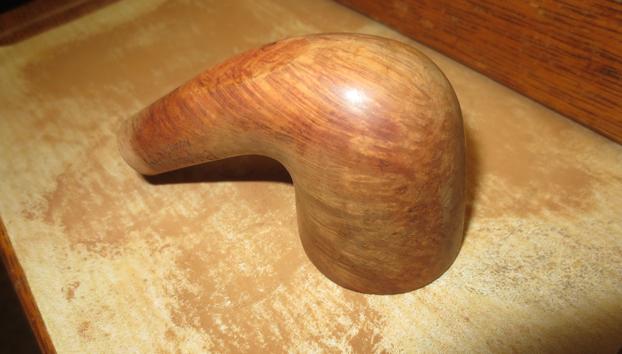
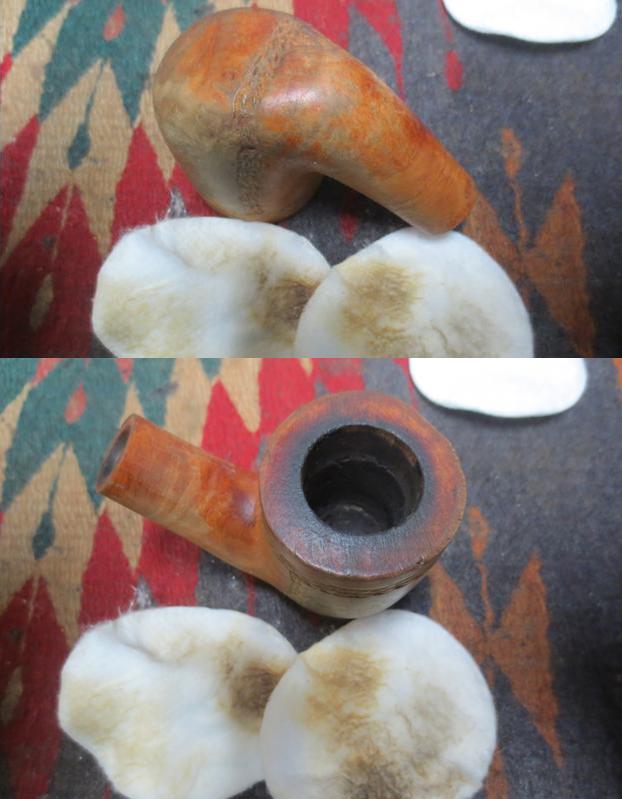
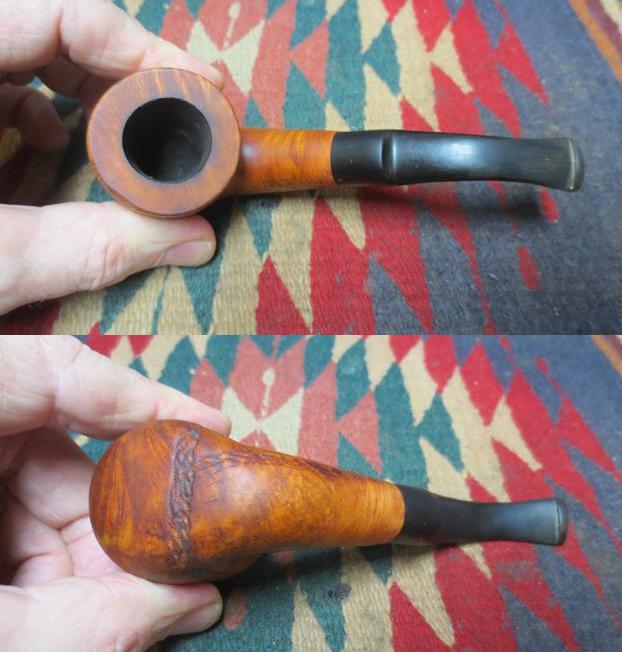
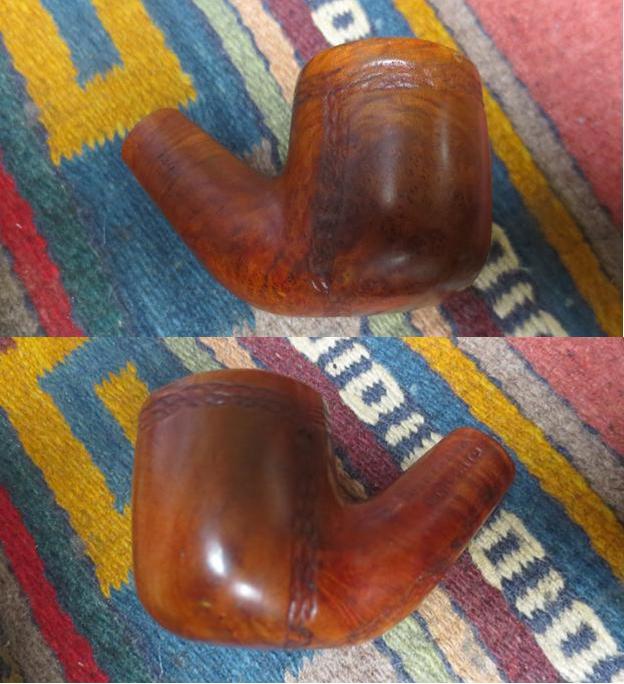
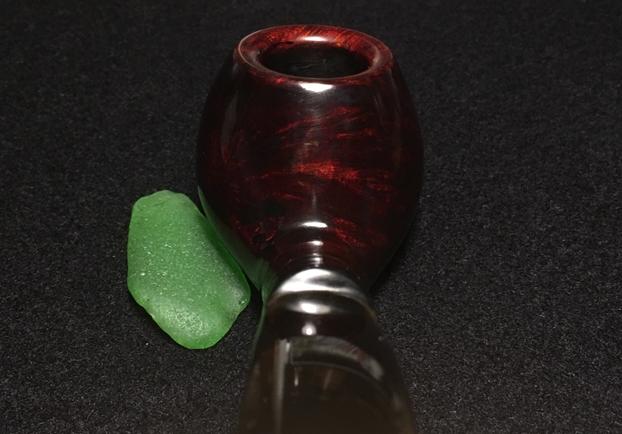
 The Brandy drew my attention as well because the bowl is a significant presence in the palm as I cradled the expansive bowl. When I first saw it, I thought it might be a Volcano shape because of the hefty, expansive base of the stummel and the tightly restrained cone moving upwardly culminating in the rim. Yet, looking at Pipedia’s Pipe’s Chart by Bill Burney (see below), my later thoughts were confirmed that this indeed is a Brandy – actually, the first in my collection. The stummel measures 1 3/4 inches in diameter at the broadest point of the ‘brandy glass’ bulge and the stummel tightens to the rim which measures 1 1/4 inches. The height of the stummel is 1 7/8 inches. This bowl is nicely shaped and proportioned – I like it!
 I take more pictures when I take the Brandy out of the ‘Help Me!’ basket and place him on my work table.
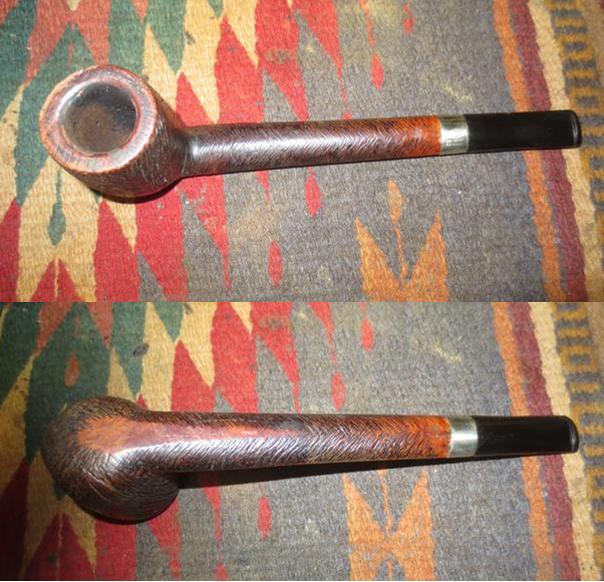
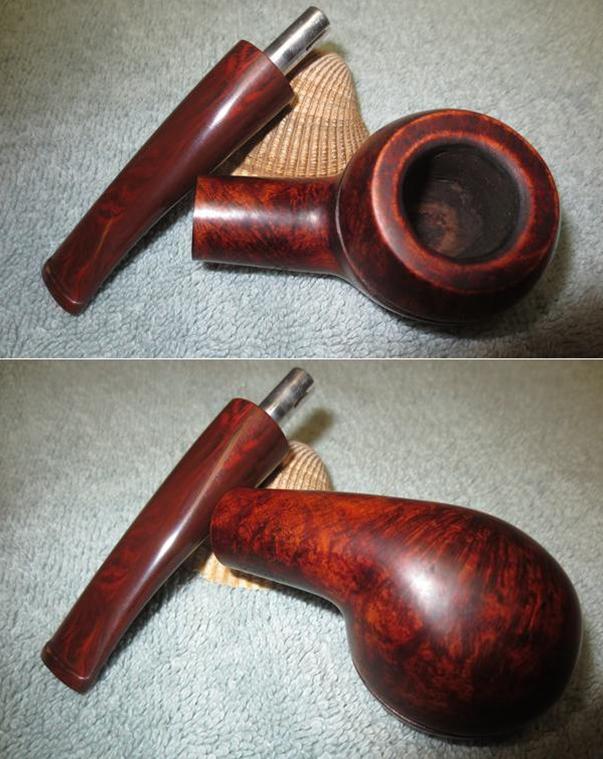
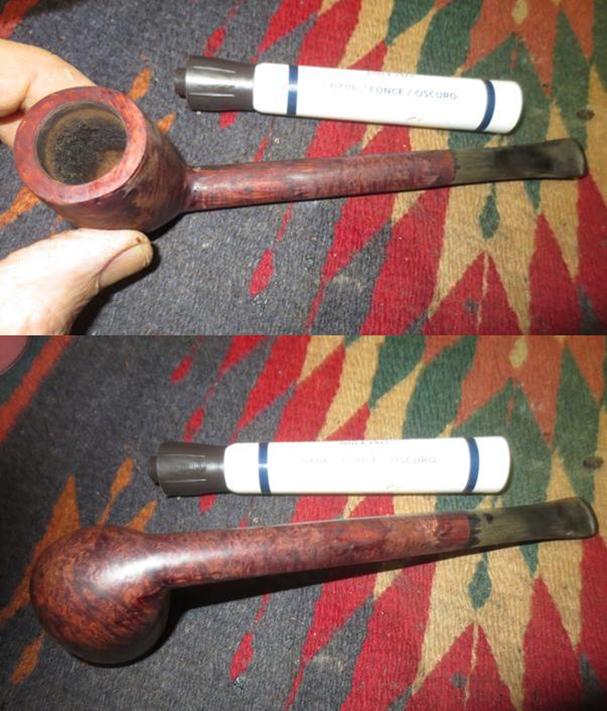
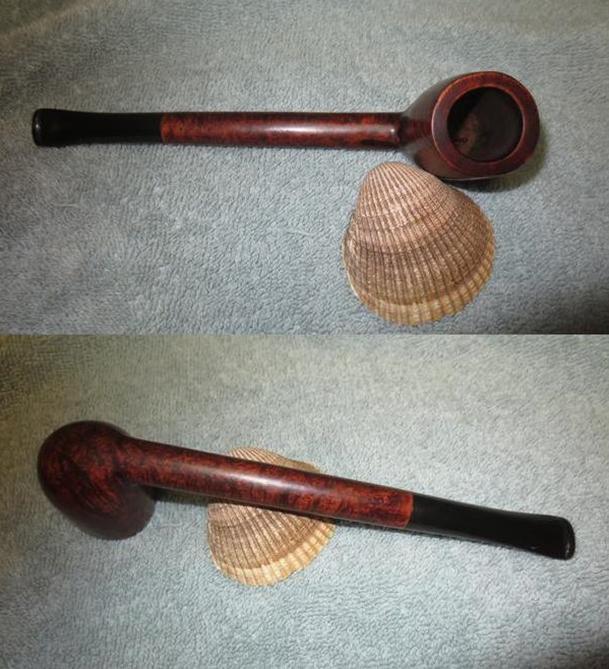
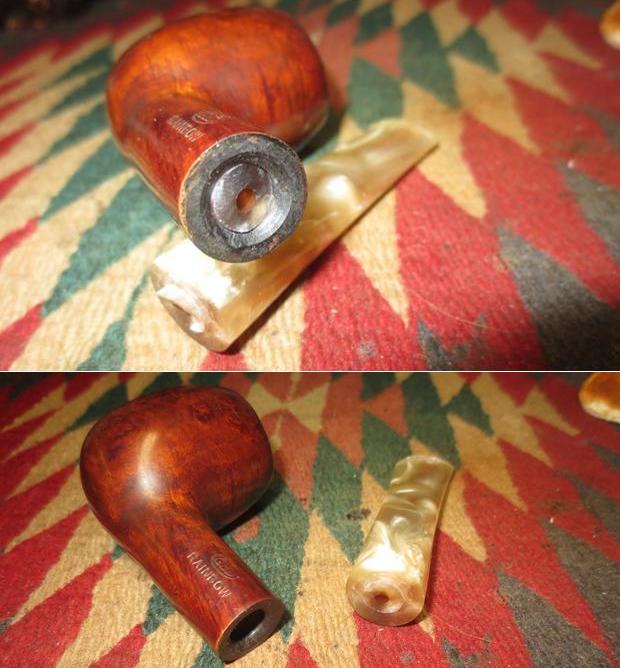
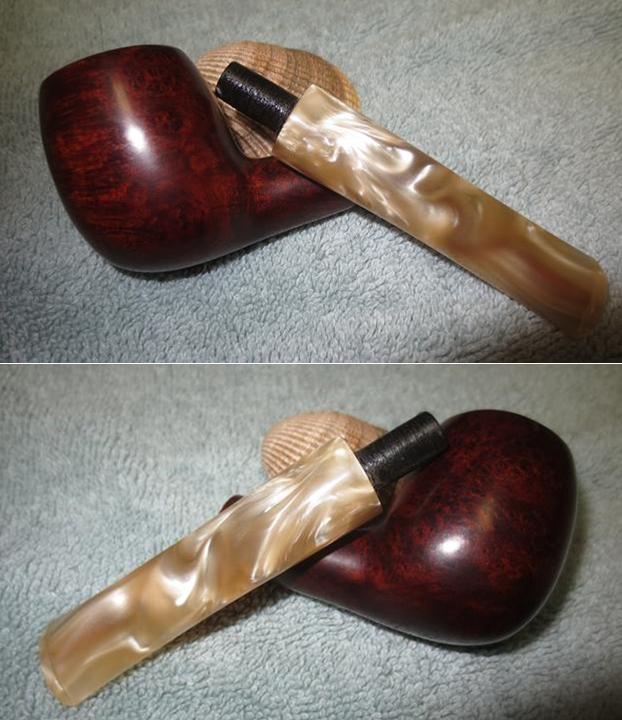
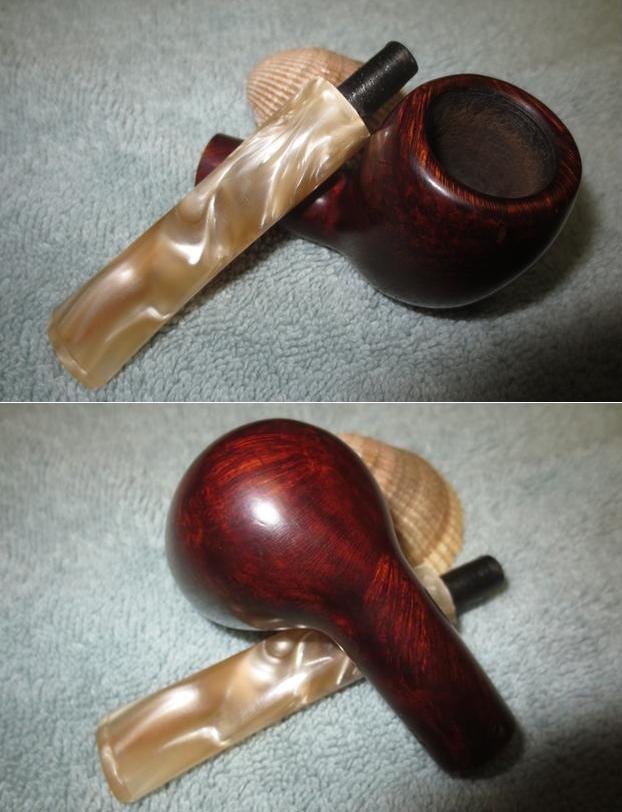
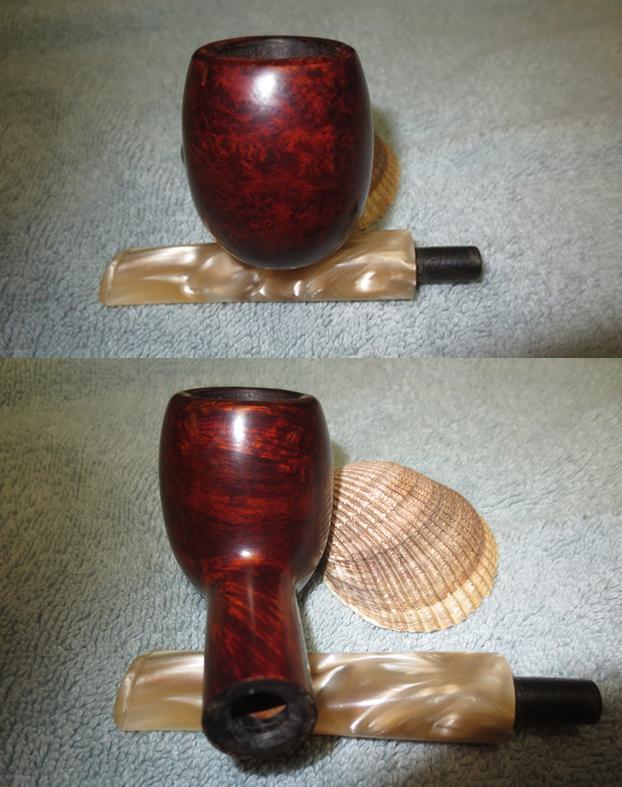
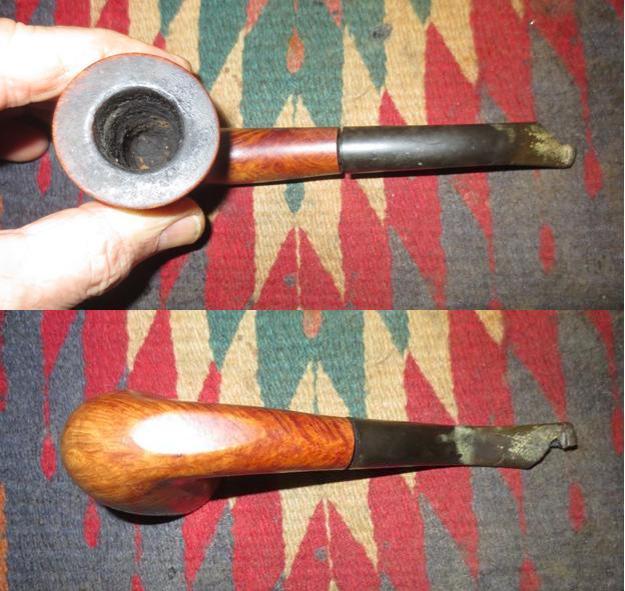
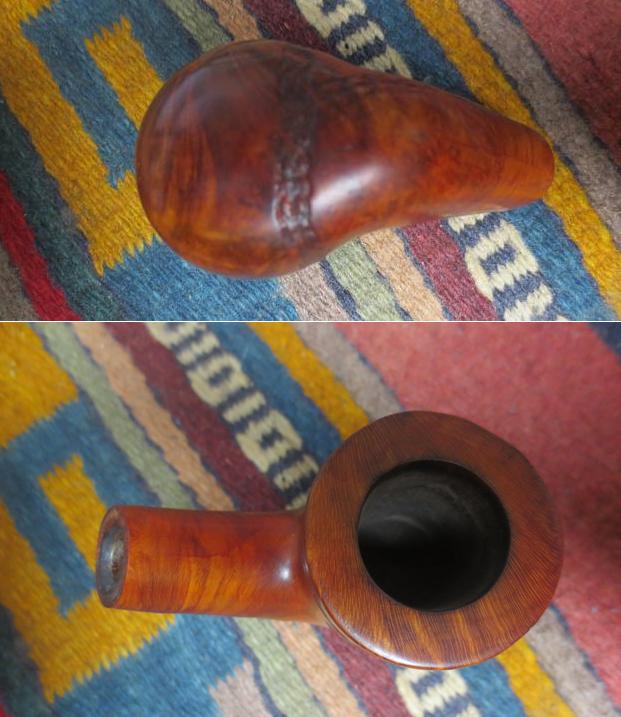


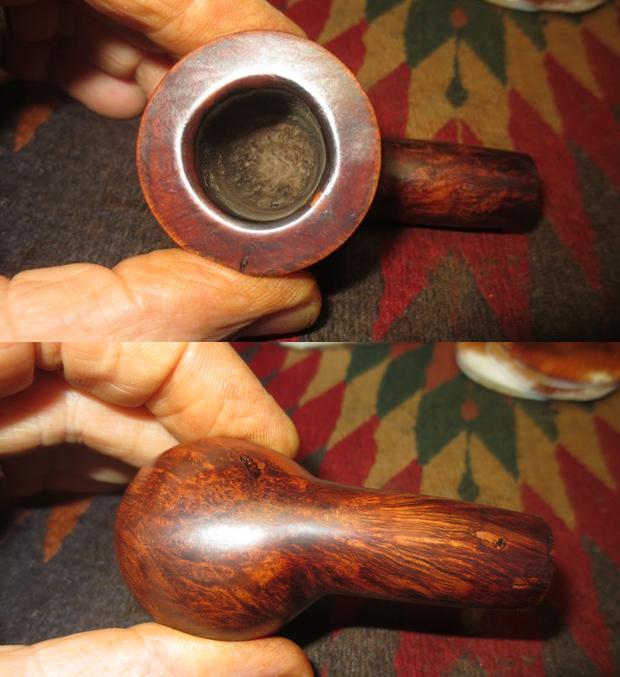
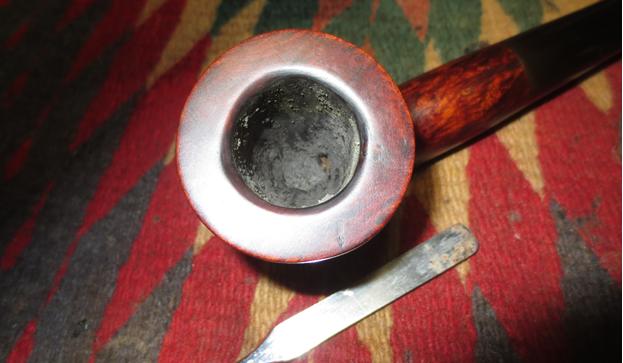
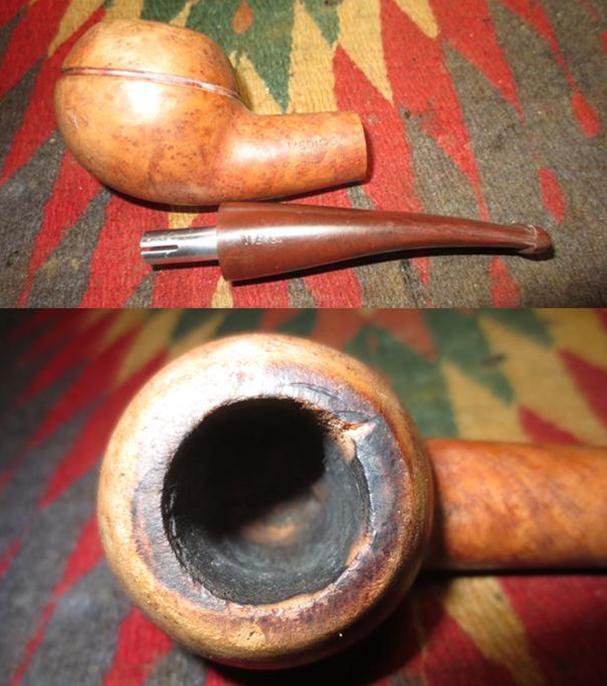
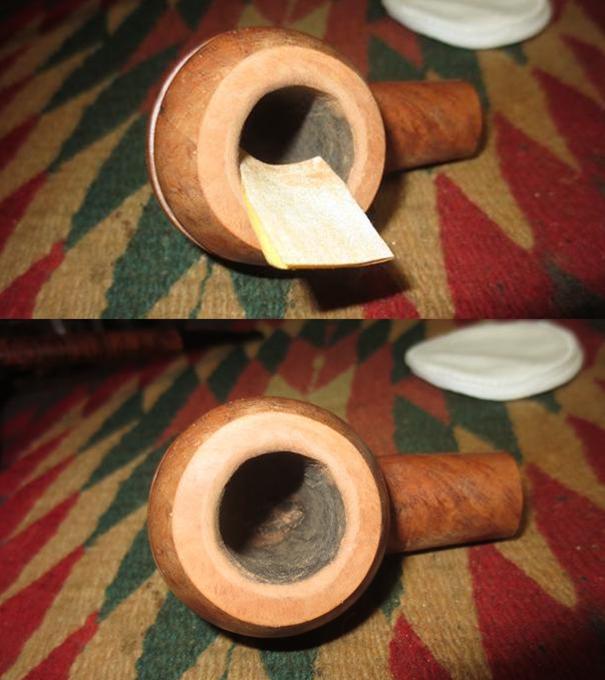
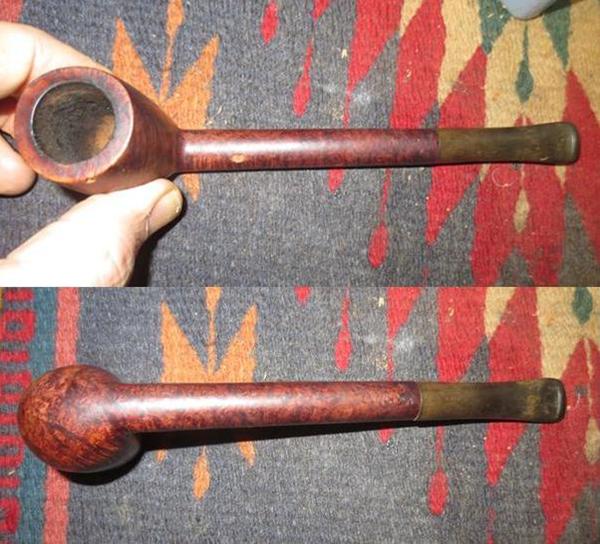
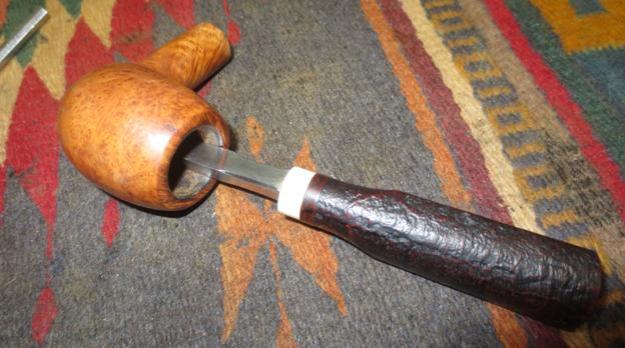
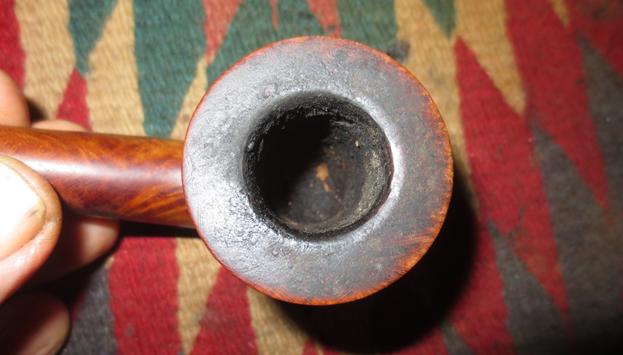
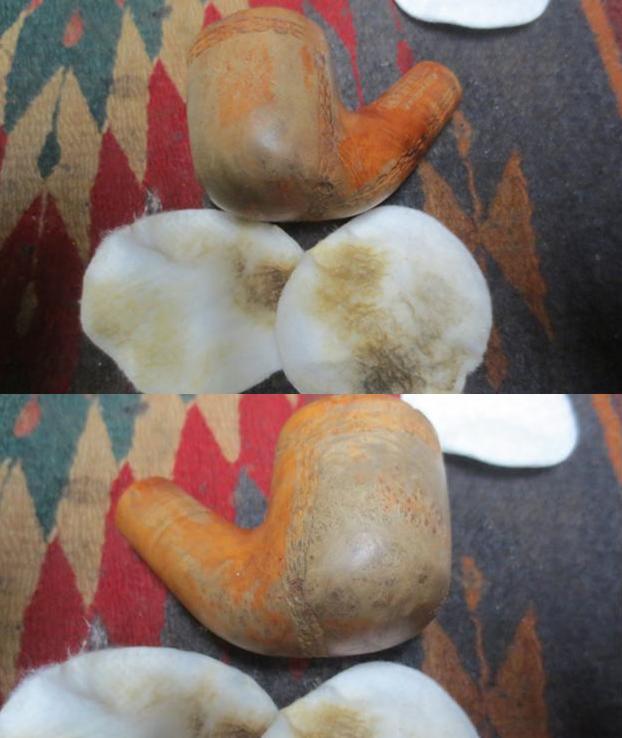
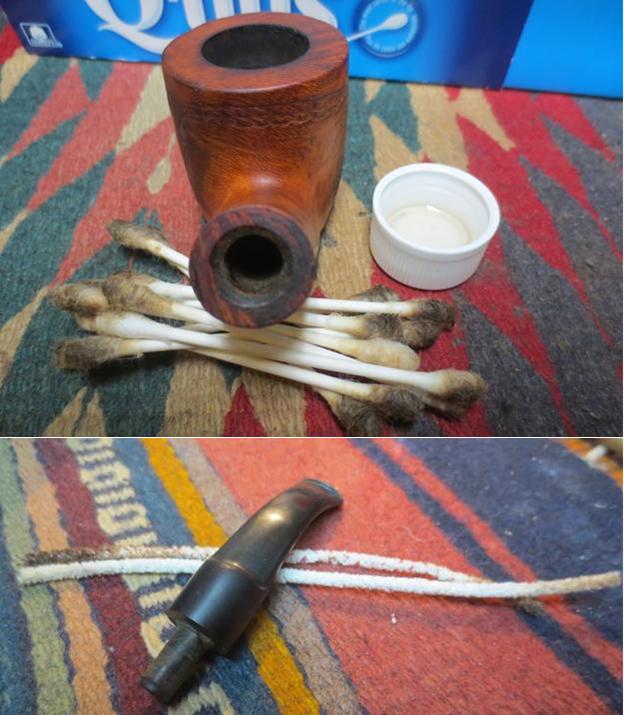
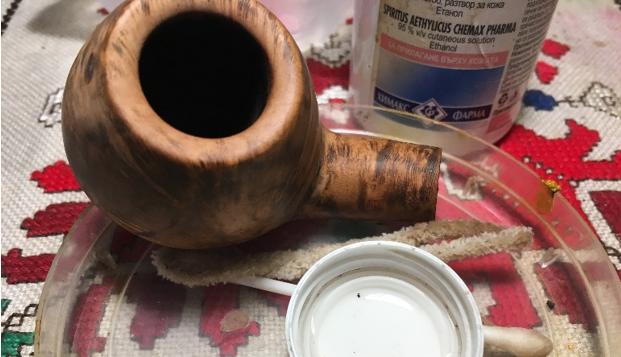
 With the stem in the Oxi-Clean, I continue with the clean-up of the stummel internals using cotton swabs and pipe cleaners dipped in isopropyl 95%. After moderate resistance, pipe cleaners and cotton swabs started coming out cleaner. Later, I will give the bowl a kosher salt/alcohol soak to further clean and freshen the internals and readying it for a new steward.
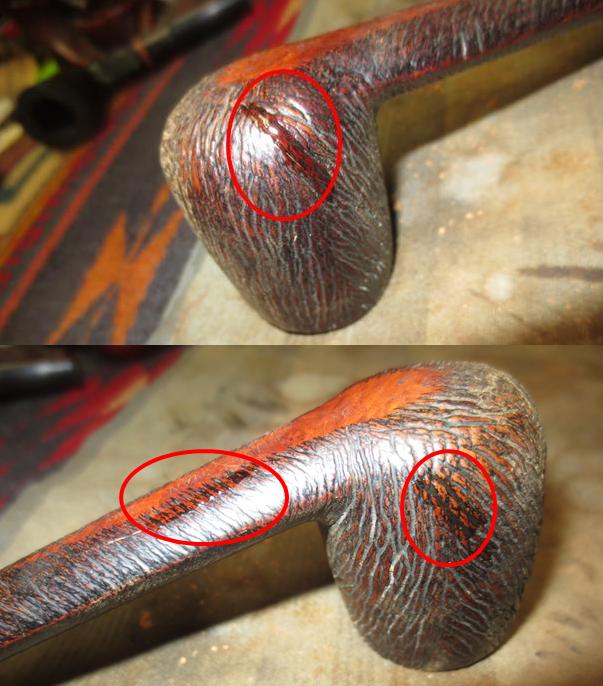
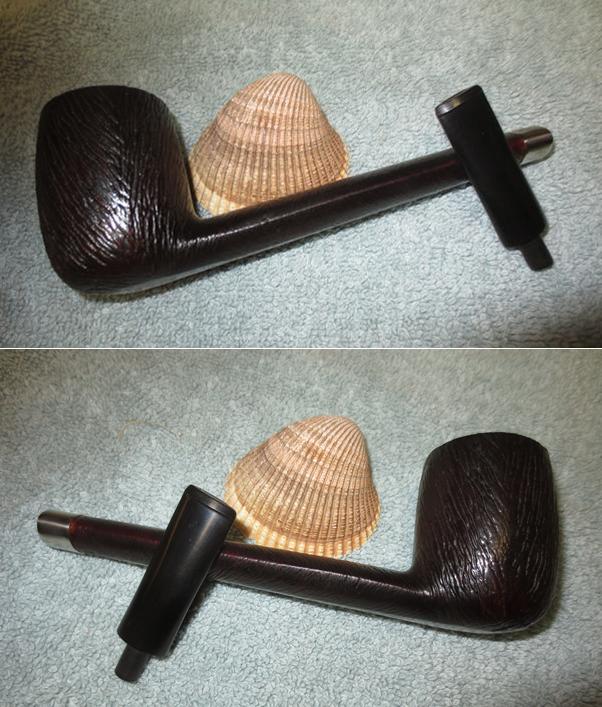
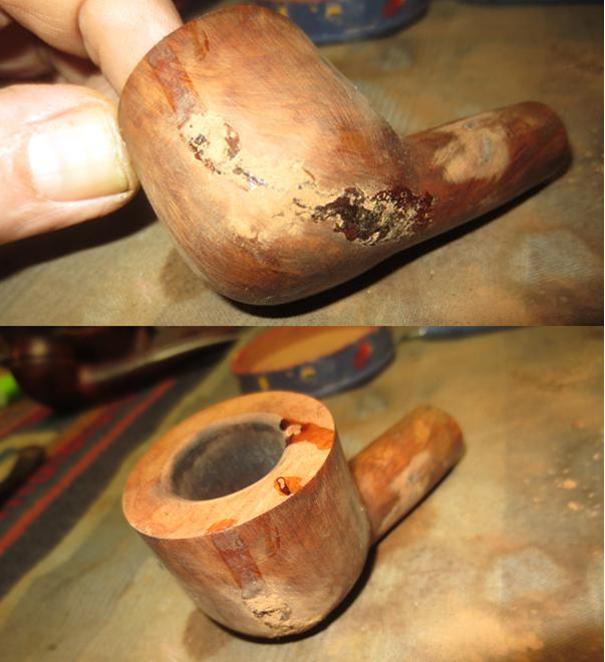
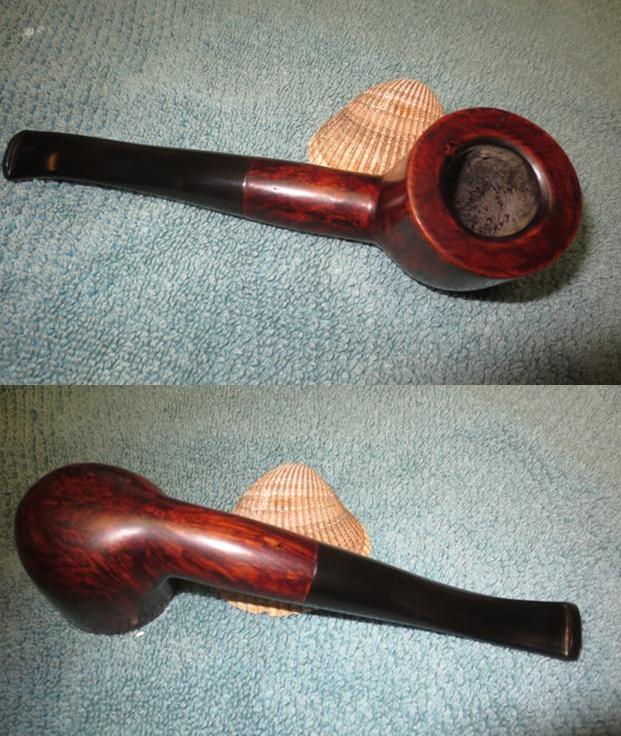
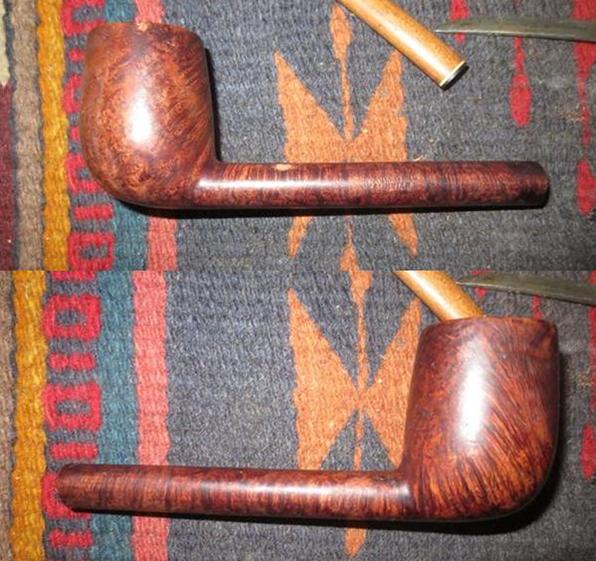
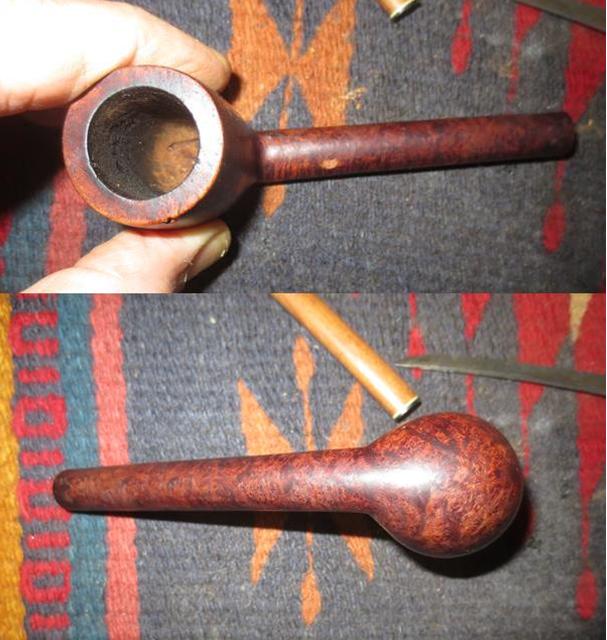
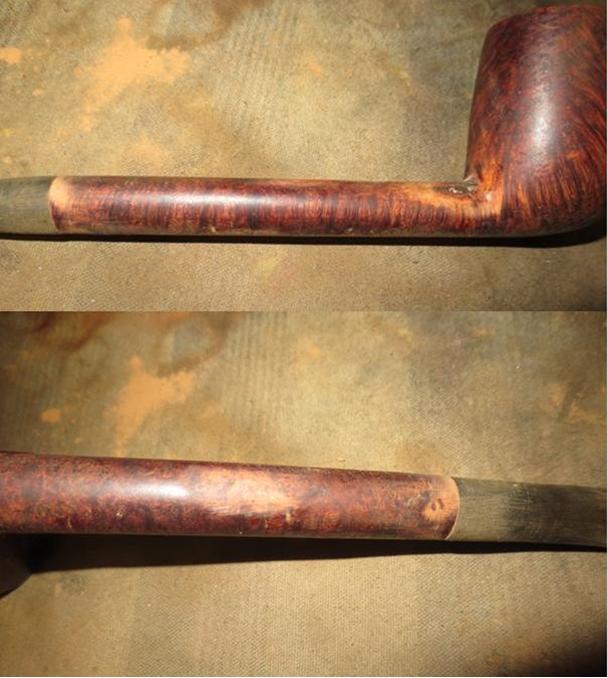
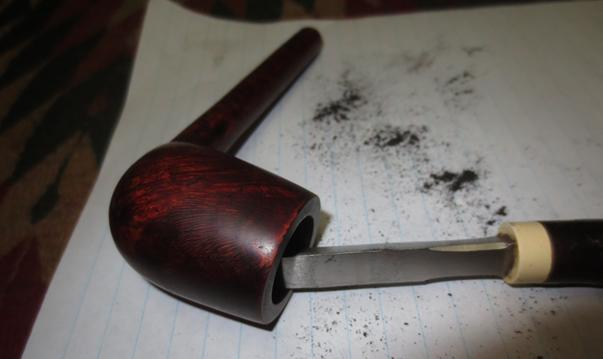
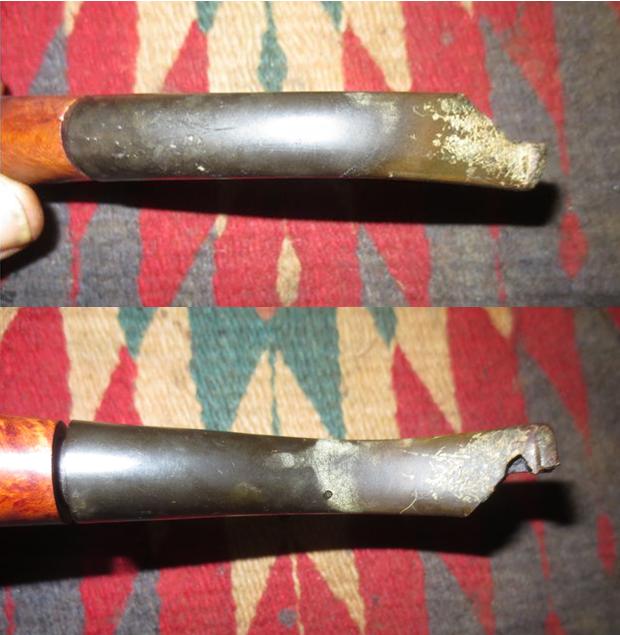
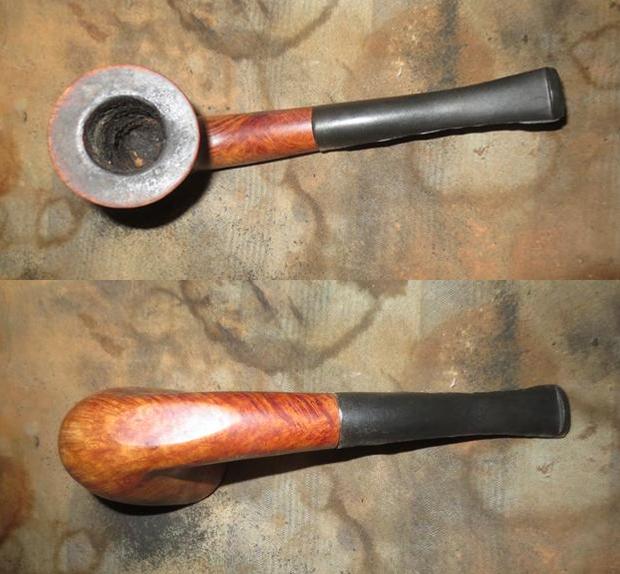
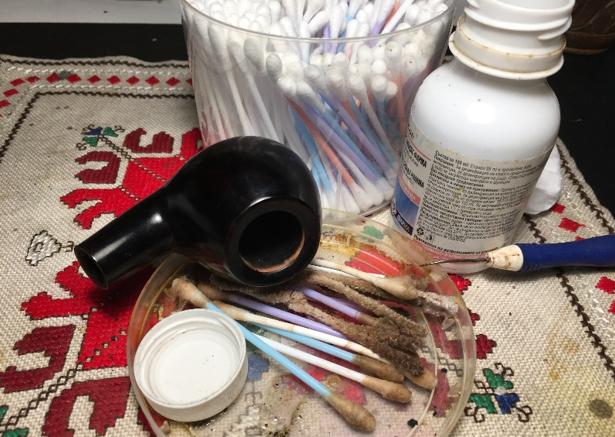 With the internals cleaned with the frontal approach, I now look at the external surface. I first scrub the rim and entire stummel with undiluted Murphy’s Oil to see if it makes much of a dent on the cloudy finish. I have my doubts. Well, after scrubbing the surface with Murphy’s Soap and I can see my reflection on the surface, I know that I’m dealing with an acrylic finish – the candy wrapper finish. For manufacturers of pipes that put this kind of finish on a pipe, I can only think of two reasons to do so – it is a more cost-effective mass application of shininess – a chemically produced sheen that takes minimal time and man-hours, and to hide imperfections in the briar. Switching to acetone to remove the finish, first, I use cotton pads, then the more persuasive help of 0000 steel wool. The finish comes off with little effort and I begin to see why the finish is dark – there are several fills that the dark stain was masking. I have no problems with darker hues to mask fills and imperfections, but I do not like the acrylic shine finish. Pictures show the progress and the surface revealed.

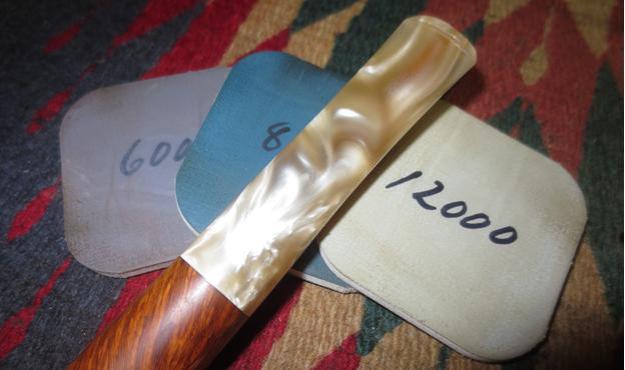
 Before dealing with the fills, I sand the outer surface of the stummel and rim with a course grade sanding sponge to remove the superficial nicks and damage. This works well. I follow with a medium grade then a light grade sanding sponge to smooth and clean the surface of imperfections.
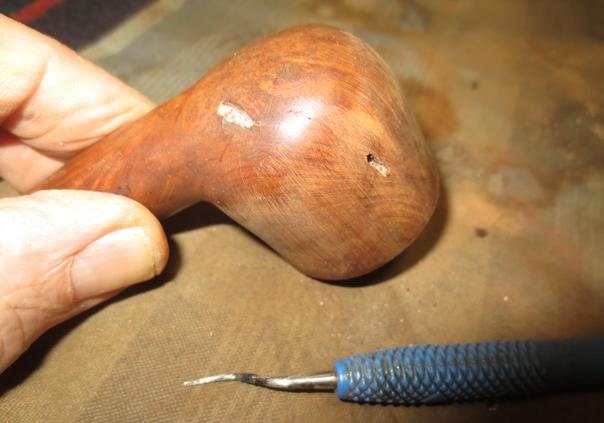
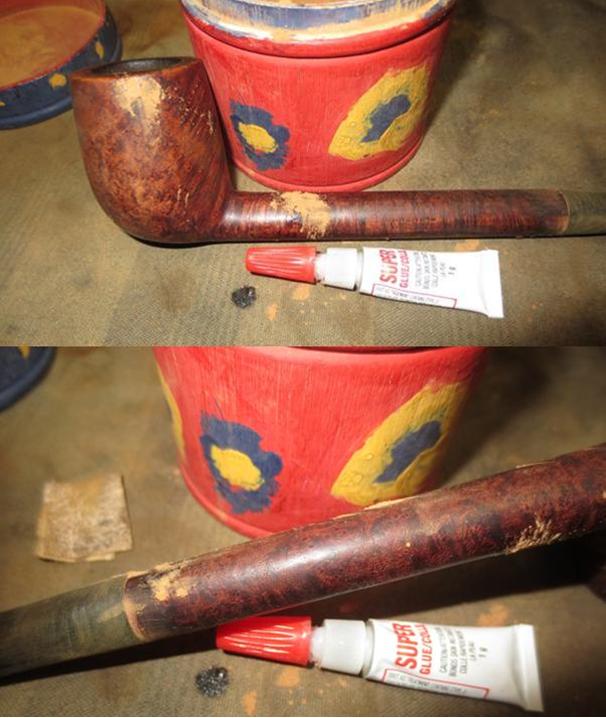
 I take a close look at the fills on the surface of the stummel and scrape them with a sharp dental probe to find out whether they are solid or if they are in danger of pitting. Generally, they seem to be in good condition. I do detect one pit and I drop-spot some super glue and apply an accelerator to cure the glue rapidly. When the superglue is fully cured, I use a flat needle file to file it down near to the briar surface, then I use a rolled piece of 240 grit paper to sand it down to the surface, removing all the excess glue. Then I use 600 grit paper just to smooth the surface of the patch.
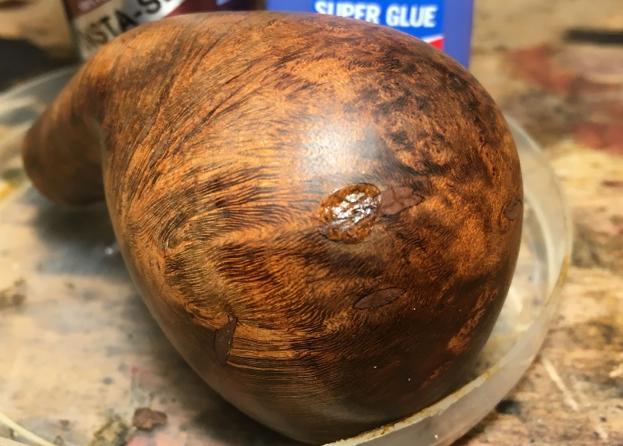
 Sanding with the sanding sponges removed most of the dents I detected earlier on the rim. I want to freshen the inwardly sloped bevel to improve the lines of the rim. I first cut an inner bevel with a rolled piece of coarser 120 grit paper. Then I follow this by using 240 and 600 grit paper over the entire surface of the rim from the lower inner lip to the higher rim edge. The result is a more tapered and sloped bevel and a crisper rim edge as the lower bevel blends into the upper slope. The pictures show the progress.
 Next, I wet sand the stummel with micromesh pads 1500 to 2400 and when I complete this cycle, what I see I am not expecting. Every fill on the stummel had softened and some had come out. Apparently, the fill was not glue based, but simply a colored wood putty that would sit underneath the acrylic finish. I haven’t seen anything like this up to this point. Oh well…. I take the sharp dental probe and continue to dig out all the old filler putty and clean the holes left behind. This restoration is taking an unexpected turn and it will take a bit of time to fill and sand down each of these 16 fill spots. With briar dust and superglue, I mix a batch of putty and apply putty to each hole. I leave excess over each fill area to be able later to sand each fill down flush to the briar surface. I put the stummel aside for the patches to cure for about 12 hours. The pictures show the digression.
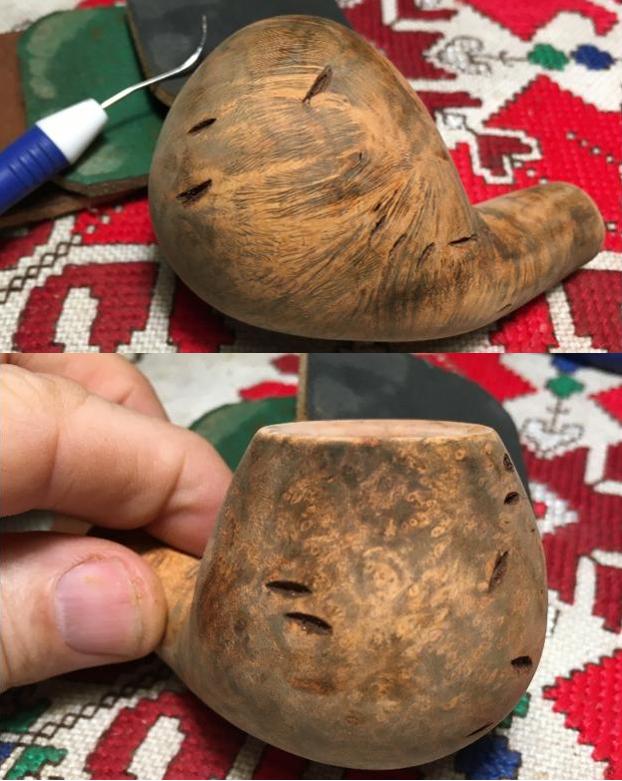
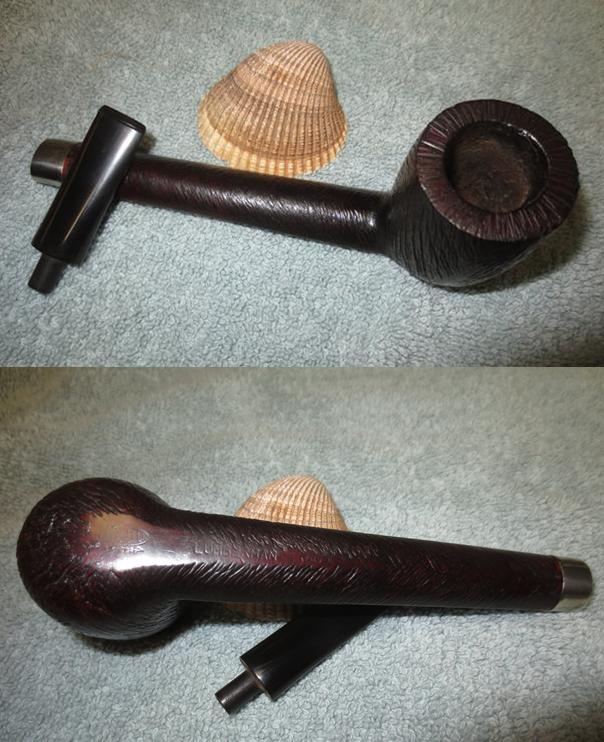
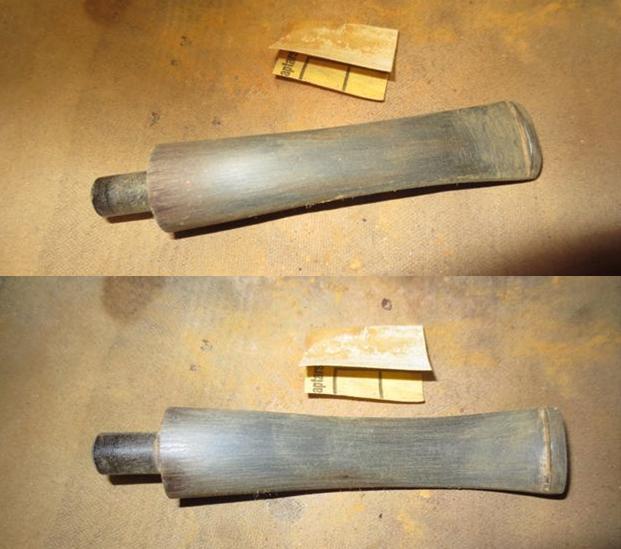
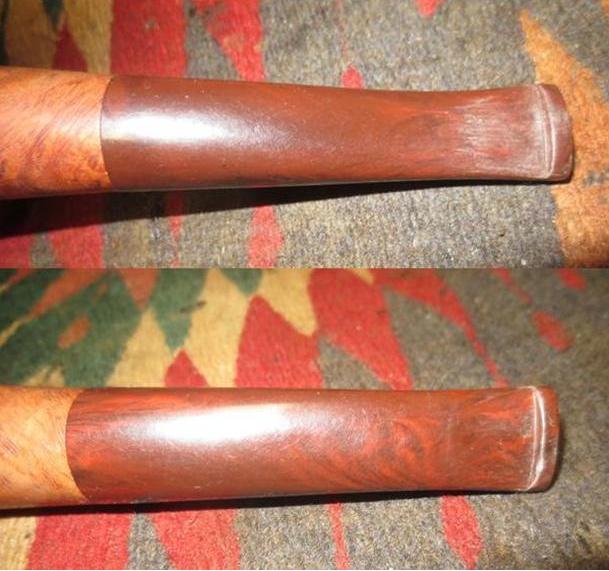
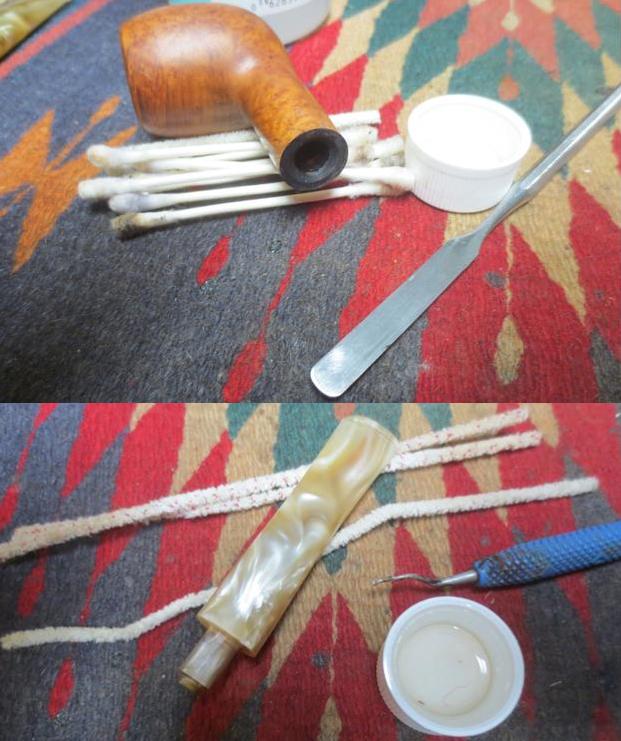
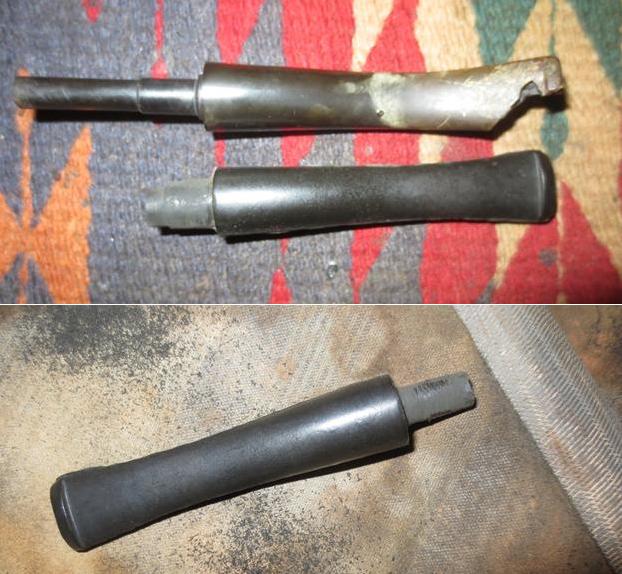
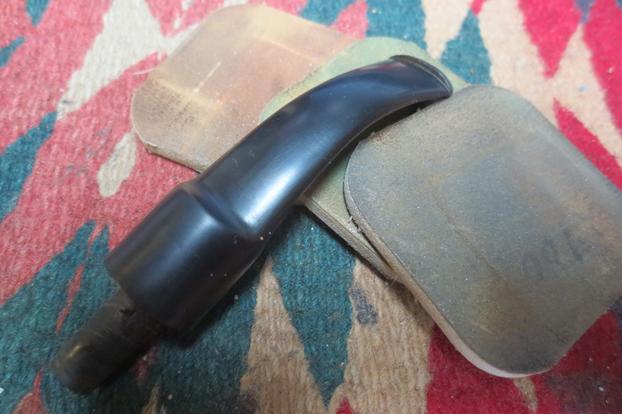
 With the putty patches curing, I take the stem out of the Oxi-Clean bath and take a picture of the oxidation raised on the stem. I then wet sand the stem with 600 grit paper followed by 0000 steel wool to remove the raised oxidation from the stem. The stem is looking good.
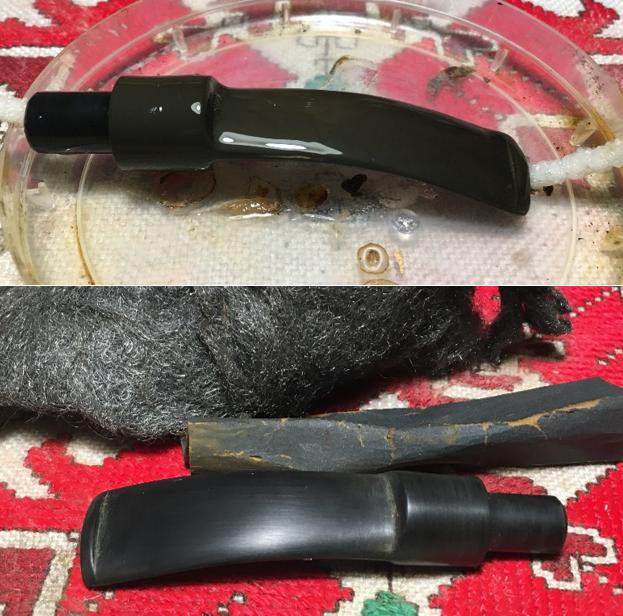 Before I proceed with the micromesh pad sanding, I clean the internals of the stem using pipe cleaners and cotton swabs dipped in isopropyl 95%. Using a sharp dental probe, I also dig out gunk from the slot. The stem internals were dirty but pipe cleaners eventually prevailed.
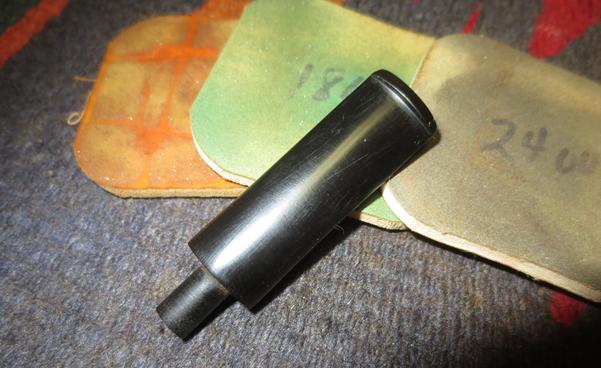
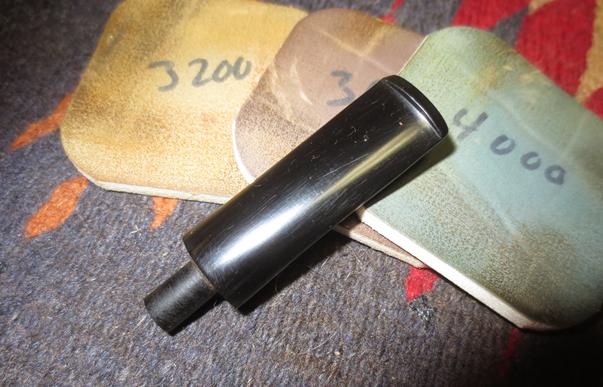
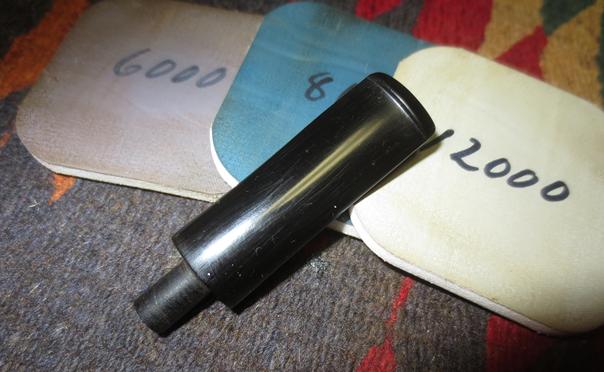
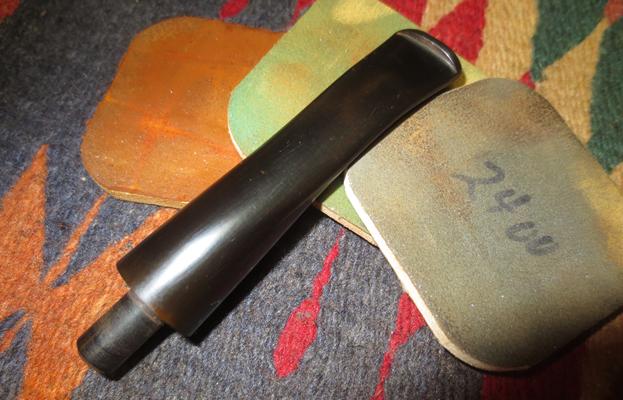
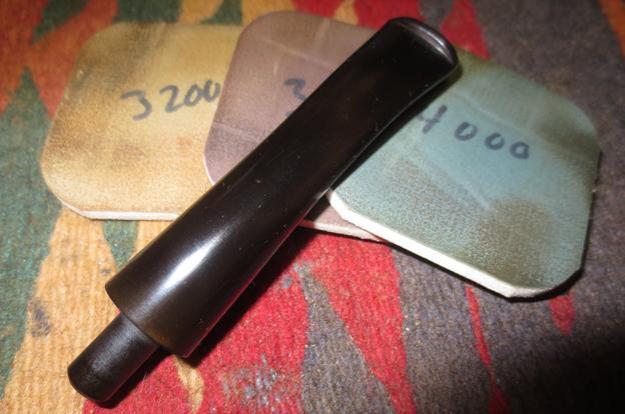
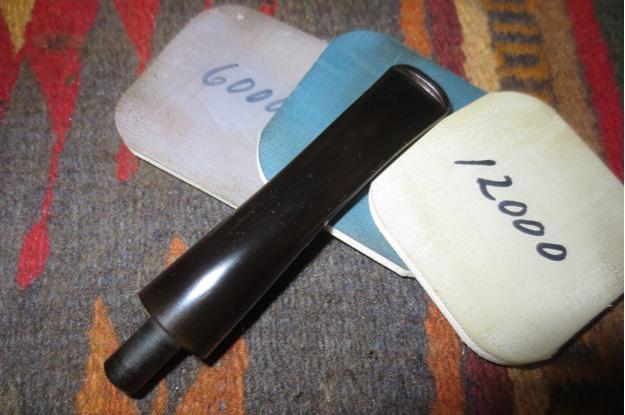
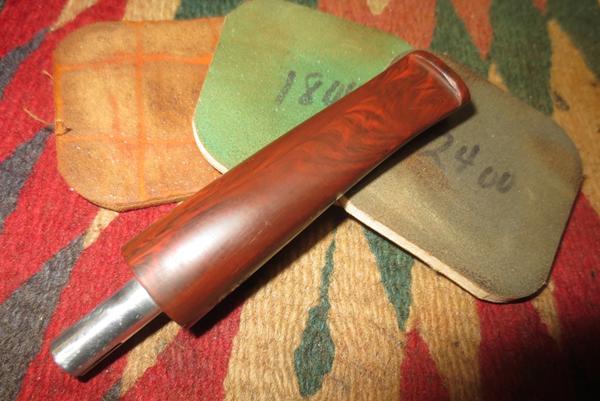
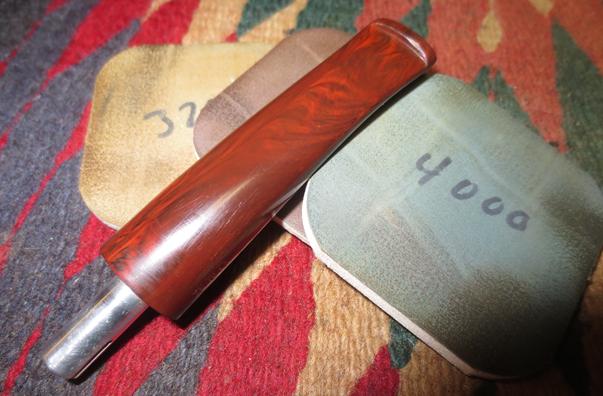
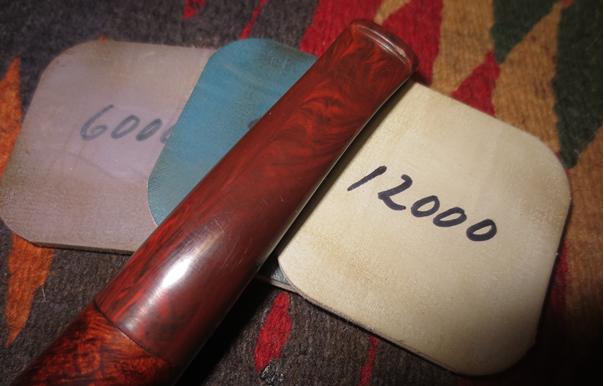
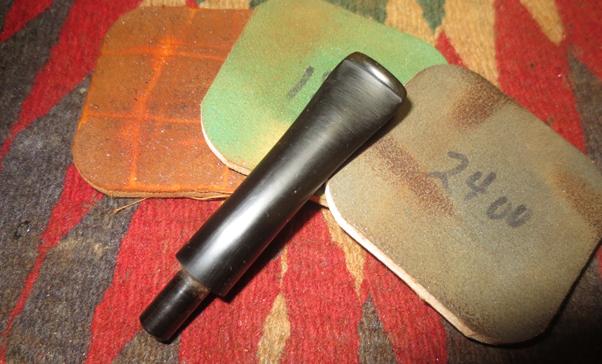
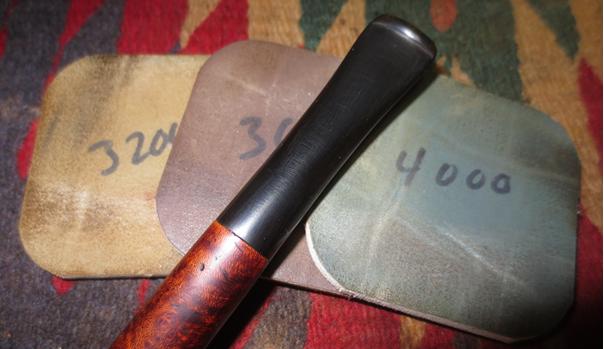
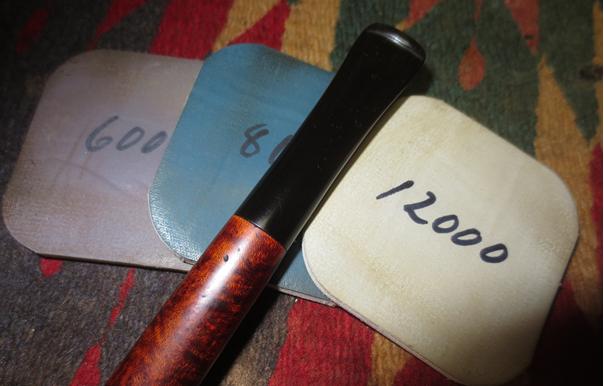
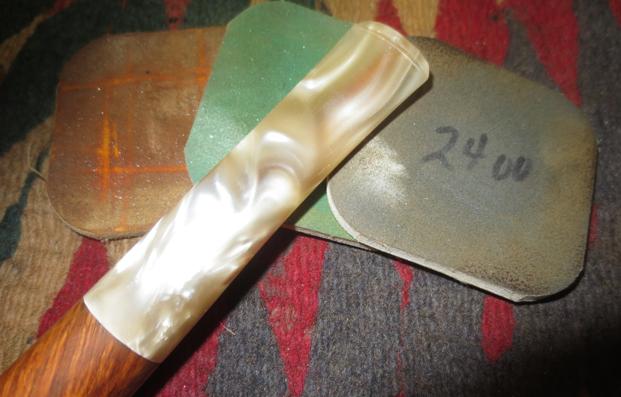
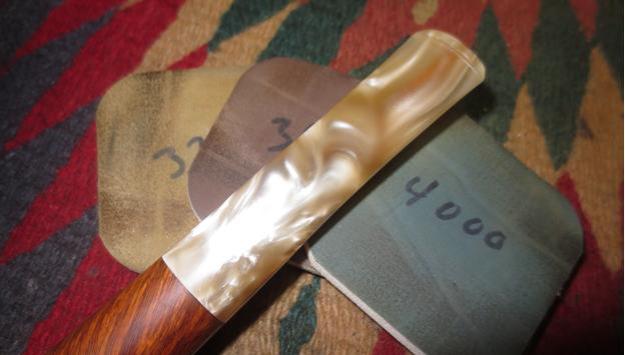
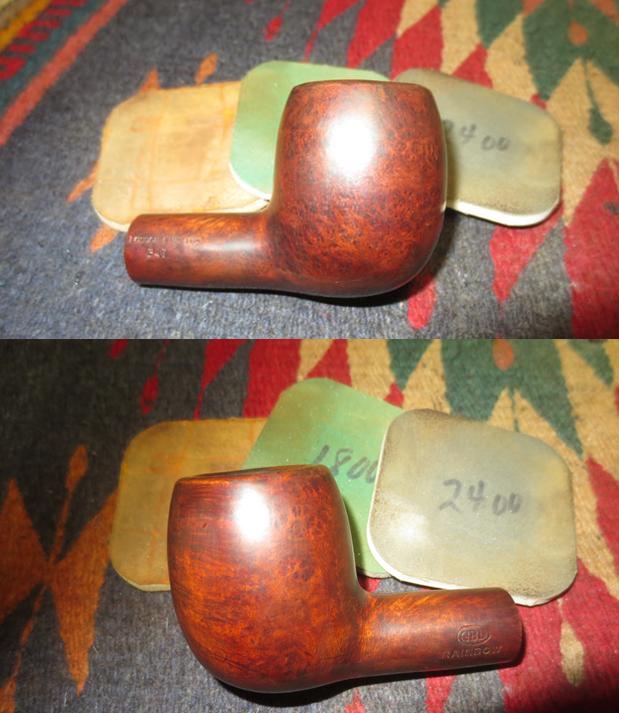
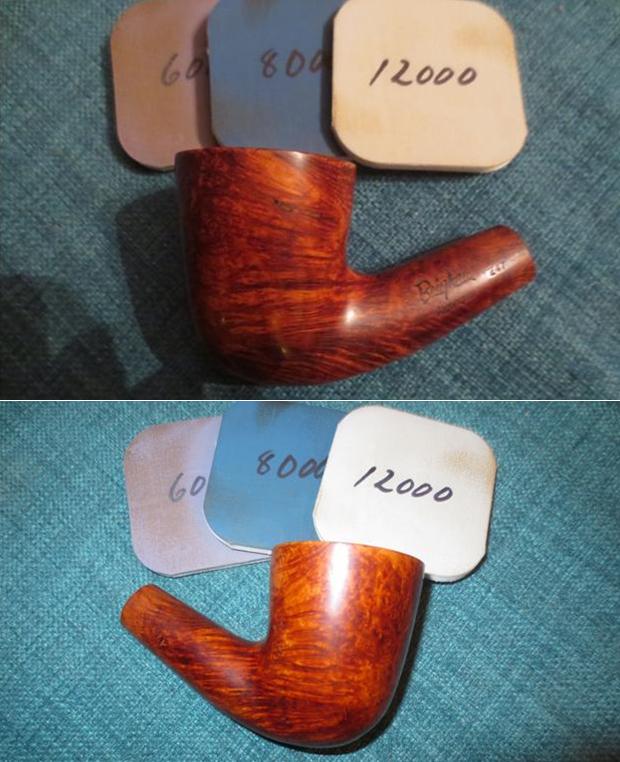
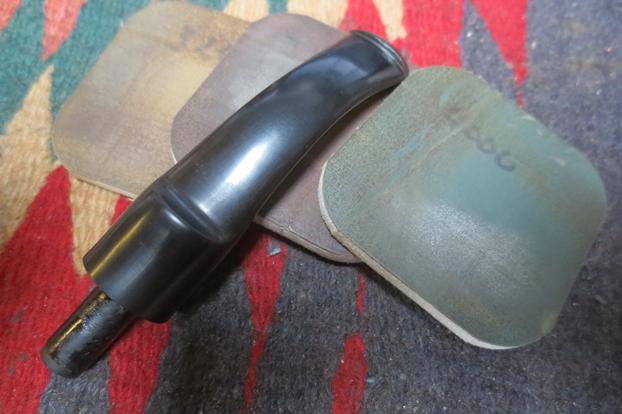
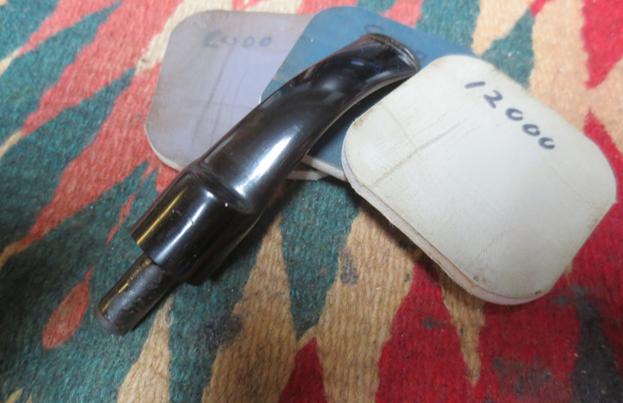
 I then begin the micromesh cycle by first wet sanding with pads 1500 to 2400, followed by dry sanding with pads 3200 to 4000, then 6000 to 12000. After each set of 3, I applied Obsidian Oil to the stem to revitalize the vulcanite. The pictures show the progress, and a slight interruption when my daughter FaceTime’s me from Nashville between cycles – the pictures also show this wonderful interruption! With the stem looking good, I put it aside and return to the stummel.
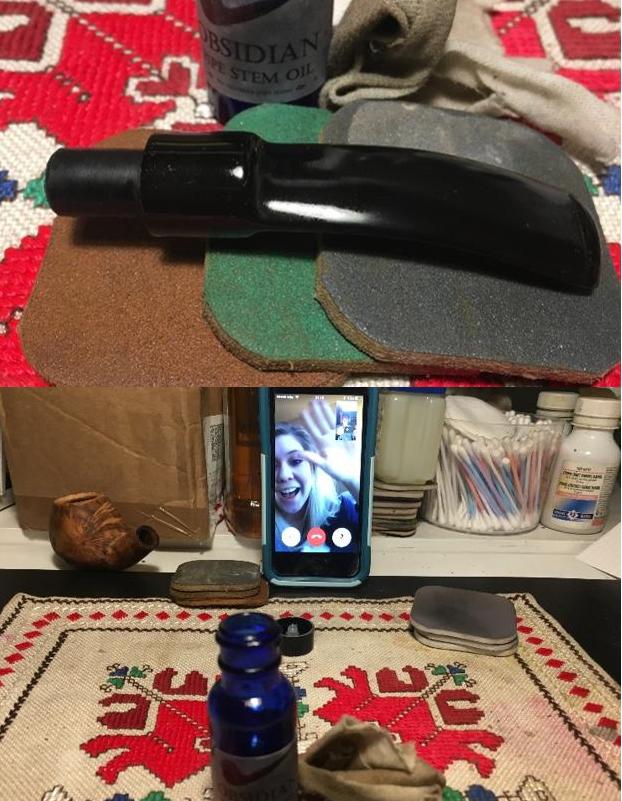
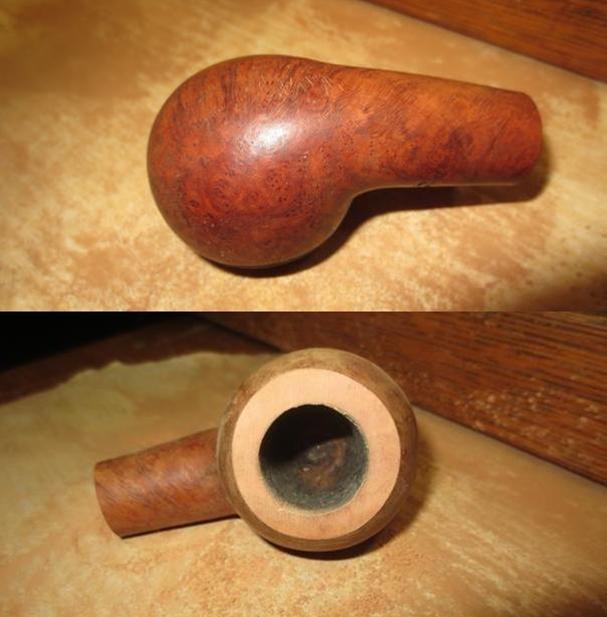
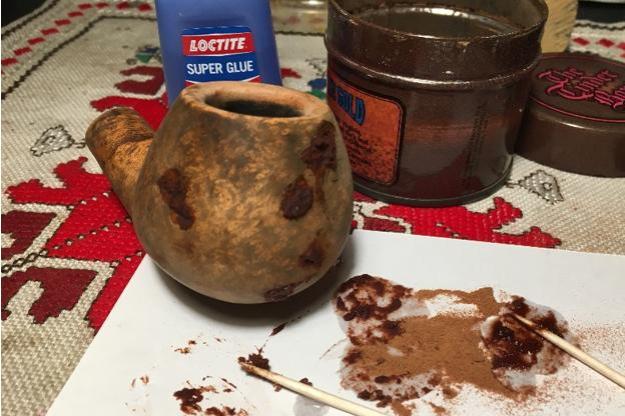
 After the briar dust patches cure on the stummel surface, I begin the long process of filing and sanding the excess putty off the patches to bring the putty flush with the briar surface. I first use a flat needle file to bring the excess almost to the surface and then I use 240 grit paper to smooth further, blending the patch with the surface. With as many fills that I had, it provided ample practice to perfect my approach! After smoothing all the briar dust putty patches, I find that some patches have small air-pockets revealed as I sand. With these, I spot-drop some superglue, apply an accelerator to rapidly cure the glue, then re-sand those areas until the patches blend with the surface. The pictures slow the slow progress.
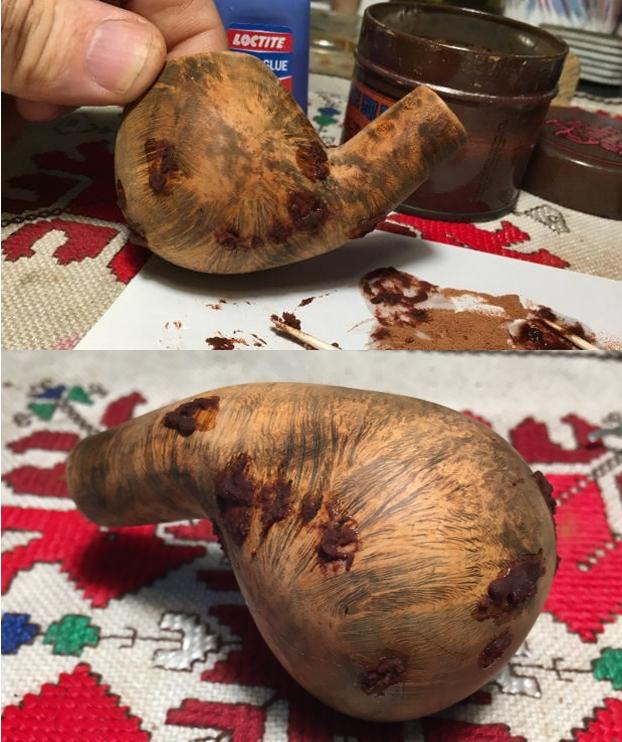


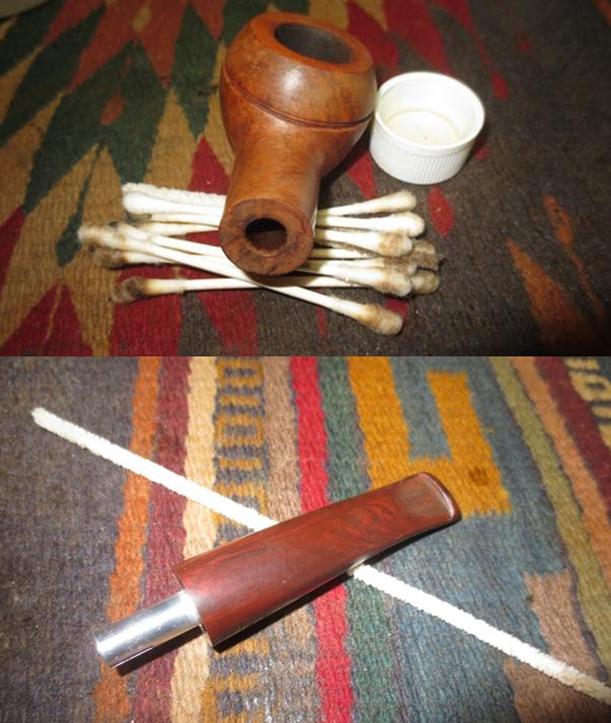
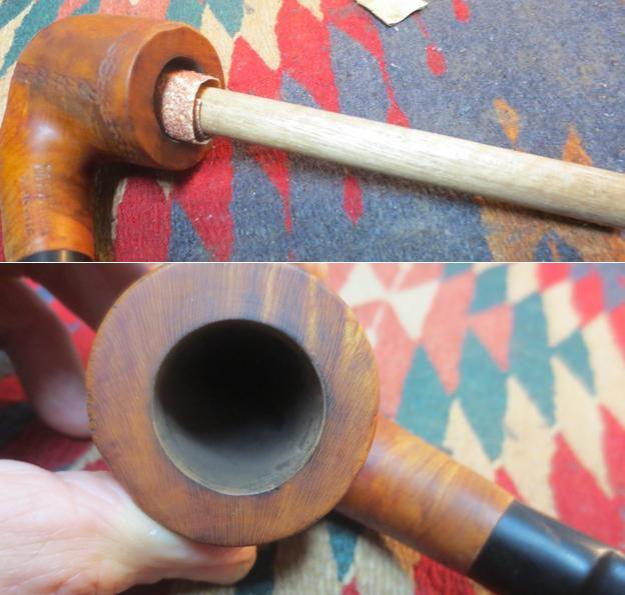
 With my day ending, I decide to clean the stummel internals further with a kosher salt and alcohol soak. This cleans further as well as freshen the stummel for a new steward. I stretch and twist a cotton ball to create a ‘wick’ to insert down the mortise. This helps draw out the oils and grime. Then I place the stummel in an egg carton for stability and fill the chamber with kosher salt. The kosher salt is without iodine which can leave a taste. I shake the stummel a bit with my palm over the chamber to displace the salt in the mortise a bit. I then fill the fire chamber with isopropyl 95% until it rises a bit over the salt. I then put the stummel aside for the night allowing the salt and alcohol to do the work.
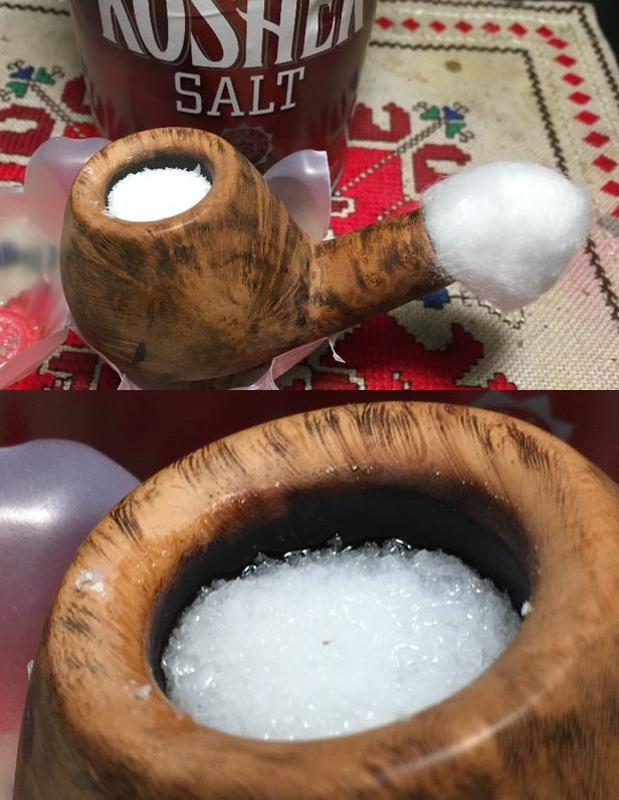 The next morning, the salt and cotton ‘wick’ had darkened signifying the job of drawing out tars and oils was achieved. I dump out the expended salt by thumping the stummel on the palm and tossing the wick. I wipe the chamber with paper towel, and then use multi-sized round bristled brushes in the chamber and mortise to rid the stummel of residue salt. I complete the cleaning job by plunging a few more cotton swabs and pipe cleaners into the mortise and draft hole and find that all the tars and oils have been removed. I determine the Brandy’s cleaning, ‘Completed’! The pictures show the progress.
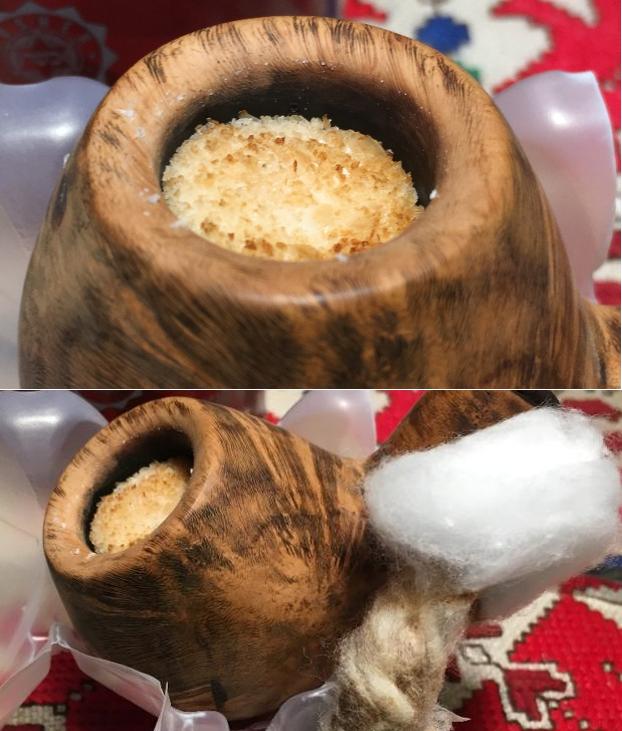

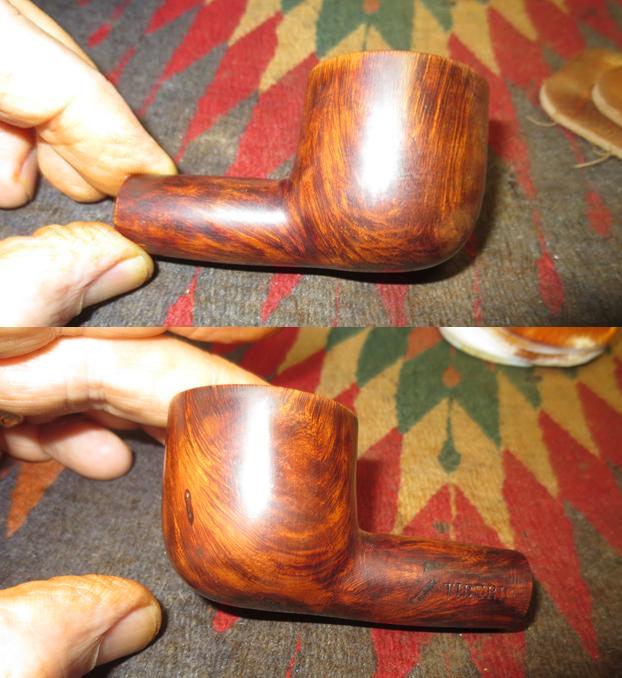
 I turn again to the briar surface of the stummel. With all the patch work done, I make a quick inspection of the surface looking for little shiny spots which would indicate that some residue excess of superglue was remaining on the briar surface. I quickly address these with a rapid sanding with 240 grit paper. From there, I return to a light grade sanding sponge and re-sand the entire surface aiming to help the blending with the plethora of patches and the briar surface.
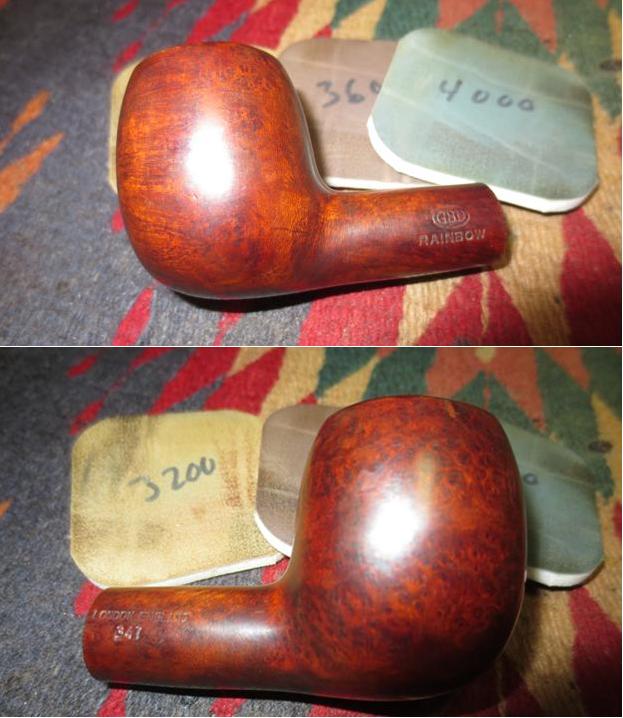
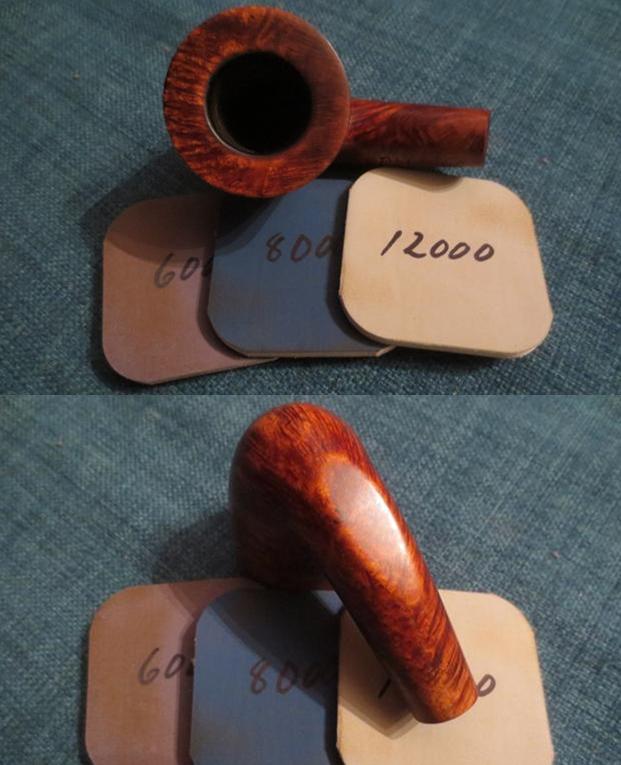
  I then proceed through the cycles of micromesh pads, 1500 to 12000. The volatile nature of the grain in this block of briar becomes evident – it is evident that the block was taken from the upper or outer regions of the briar bush’s ‘burl’. Its grain is more turbulent than you would find deeper inside the burl, where grains are a spectrum of non-existent to orderly currents of grain. This excerpt from an article from Pipes & Tobaccos (1999) about briar grains from R. D. Field, I found very helpful in understanding briar grains:
Any burl, whether it be 30 years old or 130, does not possess what we call grain in its totality. When a burl is split in half a variety of patterns are able to be discerned in that: The center of the burl has no grain. The center, or heart, contains all the liquid held in the burl which is red in color and is known as blood. The wood surrounding this blood is also of a reddish tint and is devoid of capillaries as the water has got to where it was meant to be for storage. Capillaries surround the center and, depending on the growing pattern of the burl and how it was split, can take the shape of straight grain, cross grain, flame grain, mixed grain, etc.
As we approach the upper part of the burl from where the branches emerge a pattern known as “branch wood” can be seen. Because the branches of the shrub actually start their growth within the burl the wood in these portions takes on some of the characteristics of the emerging branch. To look upon a swirling piece of briar devoid of other grain character (whether in a finished pipe or as part of the burl) is to look upon branch wood.
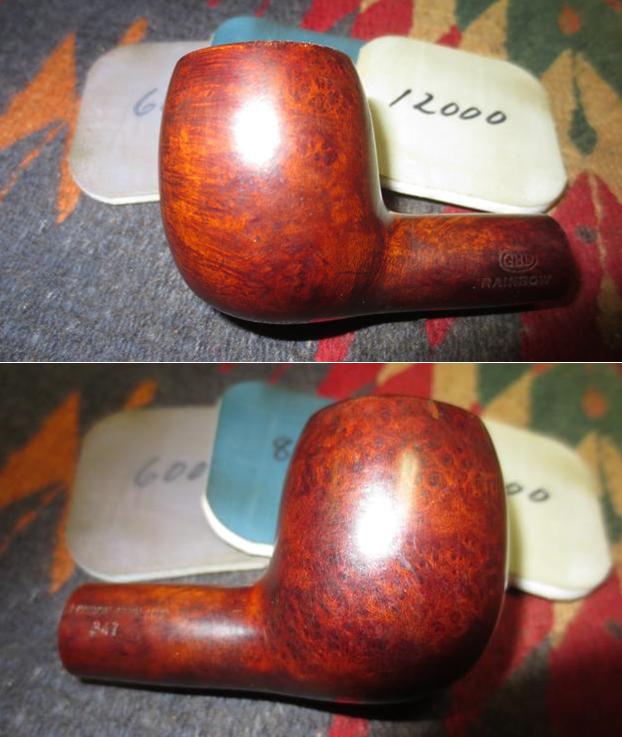
The many fills in this piece of briar I believe is due to it being an example of a block taken at a ‘branch wood’ formation seen in the pictures below. The pictures show the progression through the micromesh pad cycles.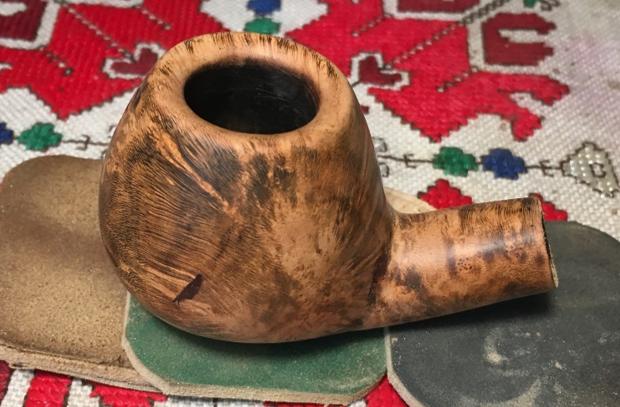

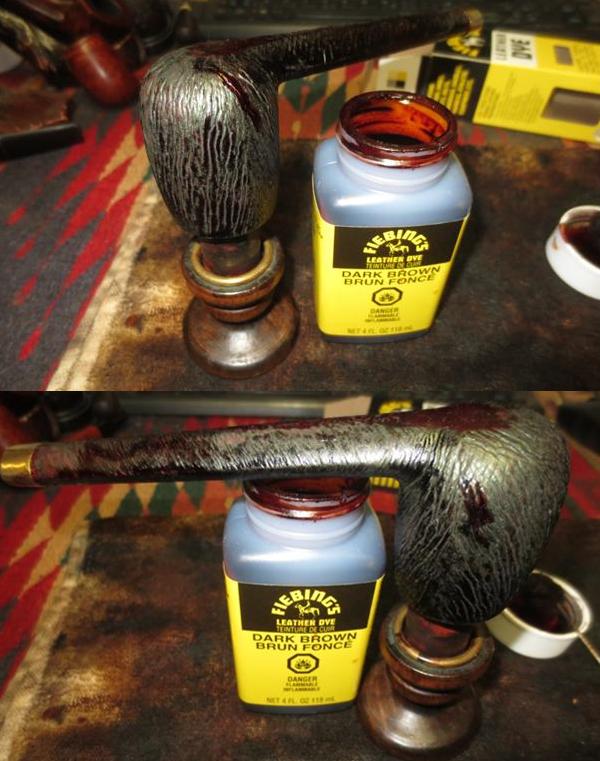
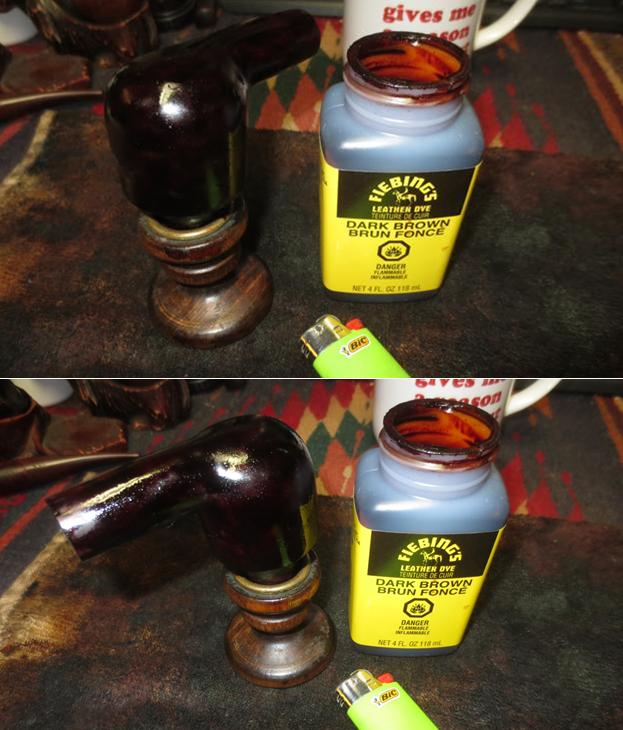
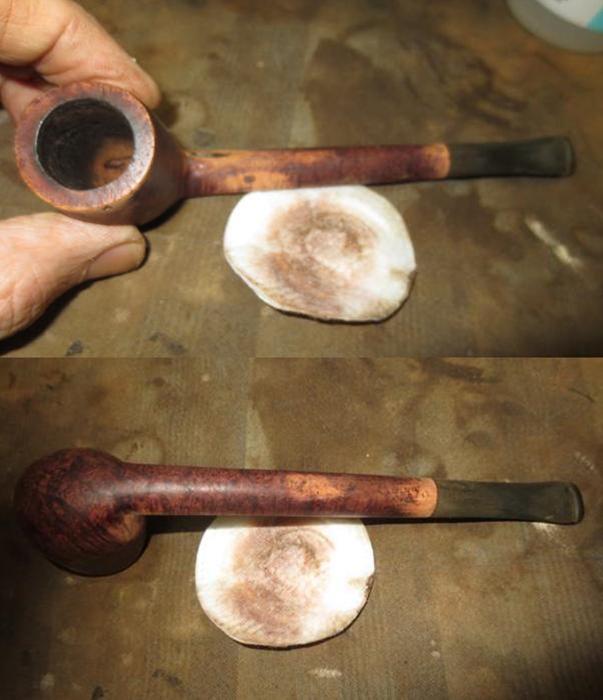
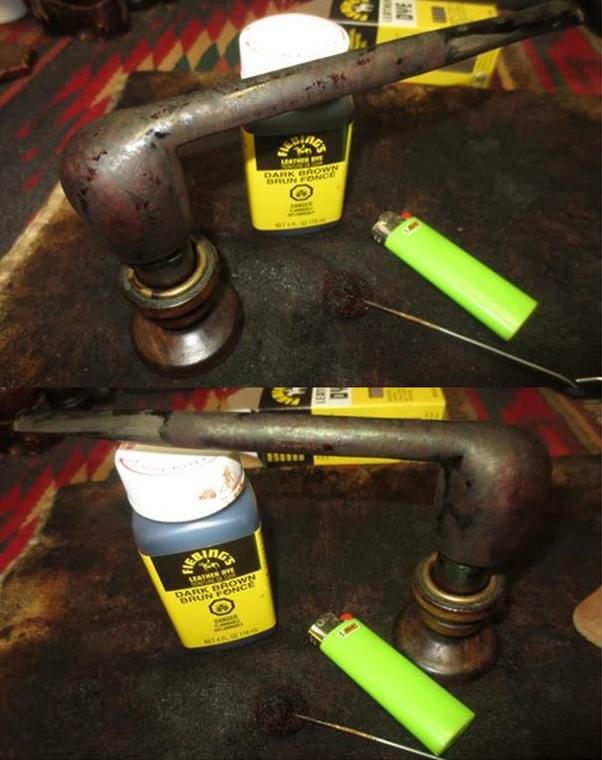
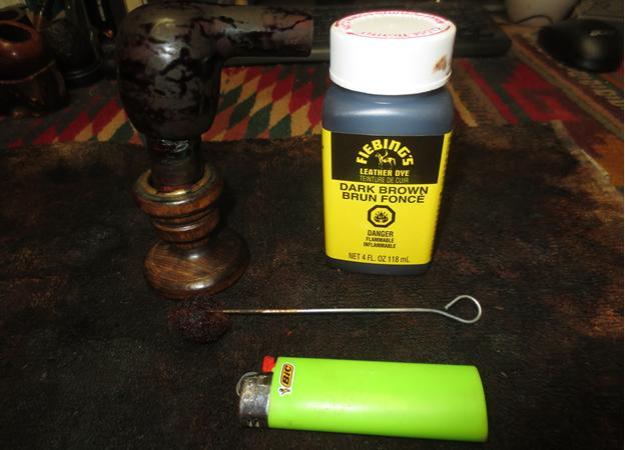
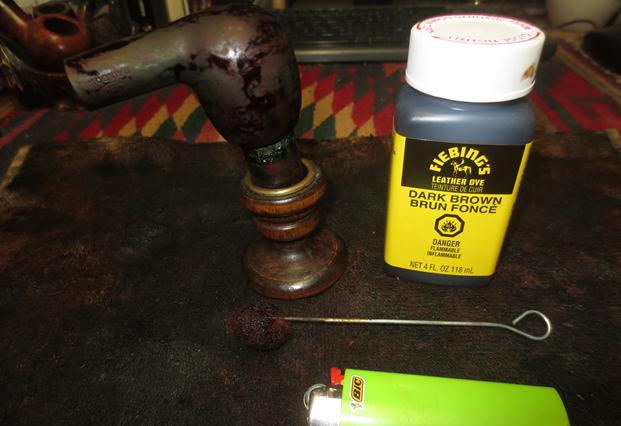
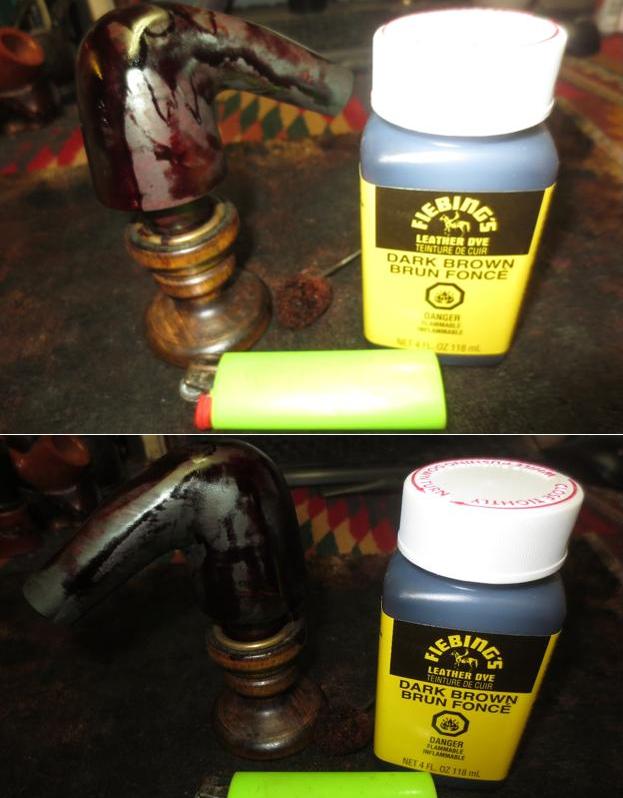
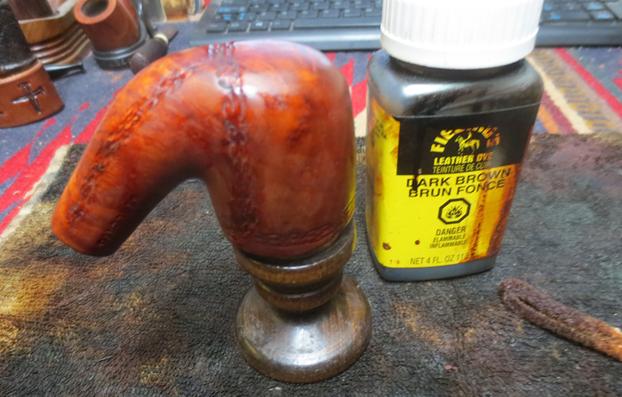
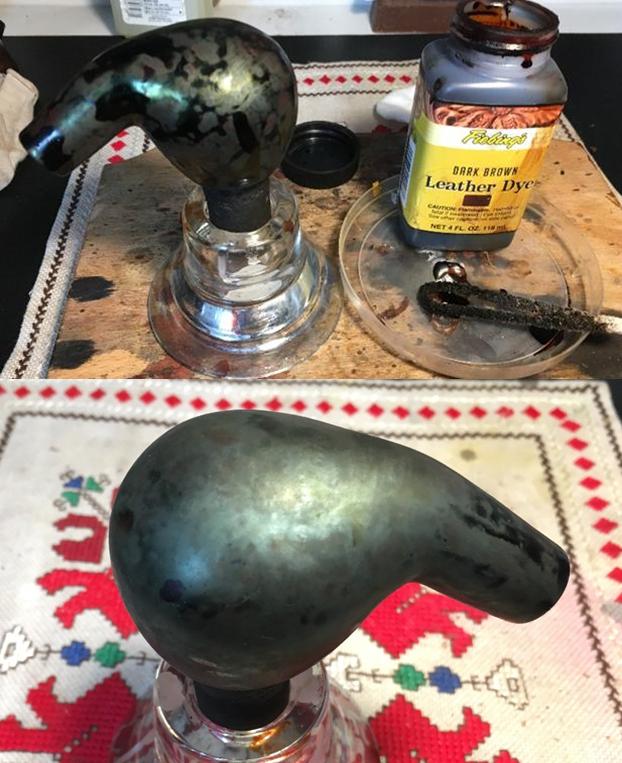
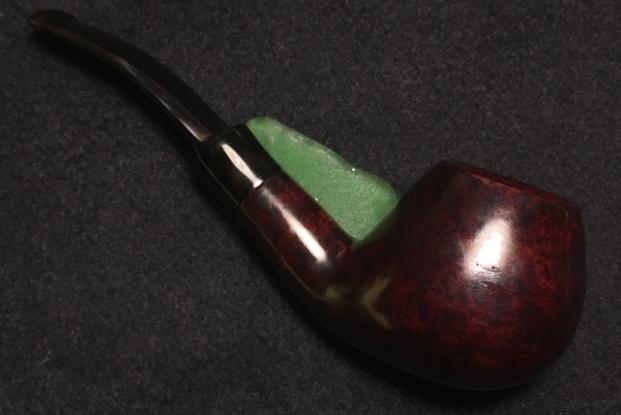
The next step in the project is to stain the stummel. I will aim for a darker hue but I want to contextualize this Brandy by bending the hue toward the reds using Fiebing’s Oxblood Leather Dye mixed with Fiebing’s Dark Brown Leather Dye including a hint of black, non-aniline dye. I found a picture on the internet (below) that envisions the perfect ambiance for this Brandy after he’s restored and recommissioned! I’m aiming for the darker hue of the brandy that is displayed. Dreamstime is doing a good job promoting the brandy glass, but truth be known, the Brandy shaped pipe I have would have been a better choice for display! Acknowledging a totally unscientific approach to the mixture, if I find the results too red, I will probably follow by a straight application of Fiebing’s Dark Brown Leather Dye as an overcoat.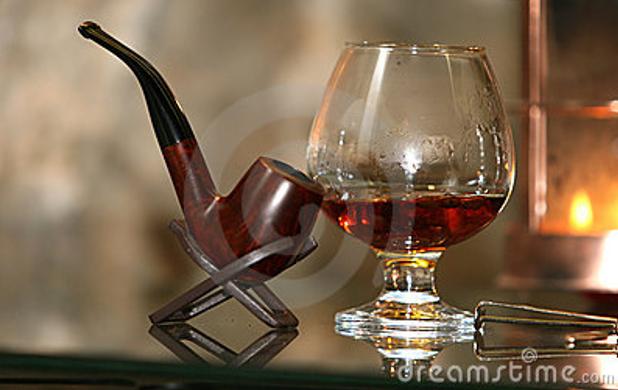 After the dyes are mixed in a shot glass, I heat the stummel with an air gun to expand the grains to absorb the dye more efficiently. Then, using a bent-over pipe cleaner, I apply the dye mixture liberally over the surface, utilizing a cork inserted into the mortise as a handle. When applied, I fire the stummel with a lit candle, and the alcohol in the dye immediately burns off and sets the dye in the grain. To make sure I’ve achieved total coverage, I repeat the process again, finishing by firing the dye, and putting the stummel aside to rest for several hours. The pictures show the staining process.
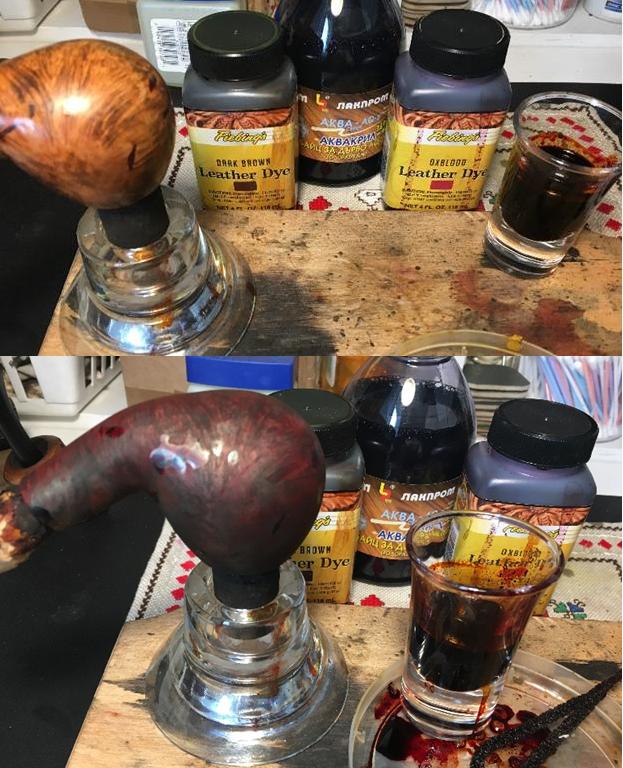
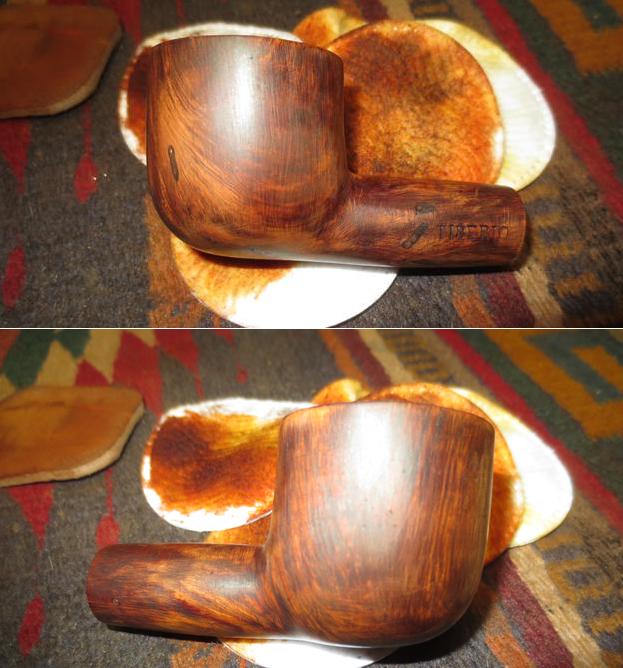
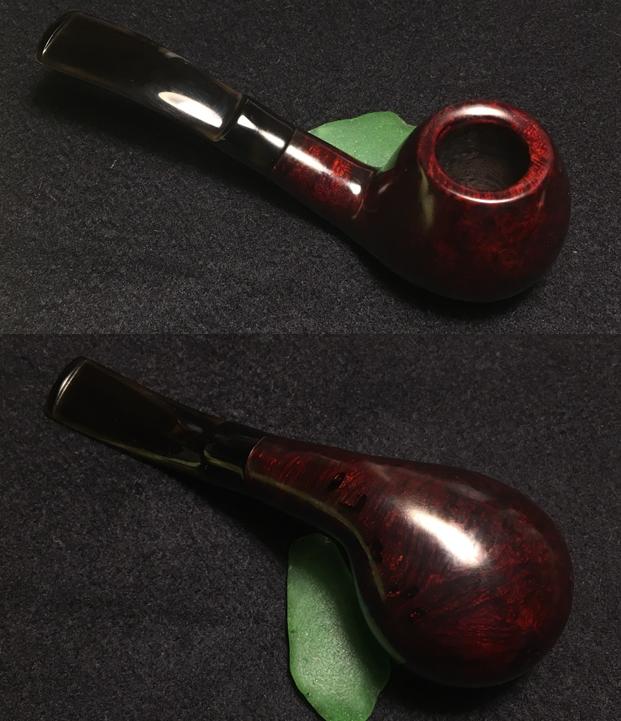
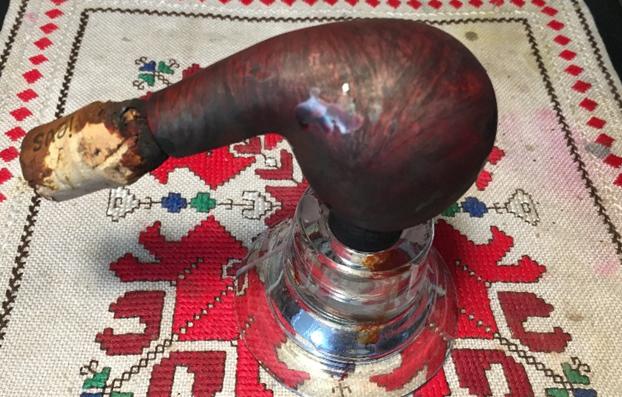 A little anxious to unwrap the flamed dye crust, my impatience wins out and I mount the felt wheel on the Dremel high speed rotary tool. I set the speed to the slowest available and using Tripoli compound I begin removing the crust to reveal the briar underneath. Then, using a cotton cloth wheel, I apply Blue Diamond compound to the stummel, also using the slowest speed available. After the Blue Diamond, I’m seeing two things – the hue is a bit redder than I wanted and I am seeing light spots that need darkening. I use a mahogany dye stick and darken the light areas to blend. Then, I take out the Fiebing’s Dark Brown Leather Dye, and set up for another application of dye to the stummel. With a folded pipe cleaner I apply Fiebing’s Dark Brown Leather Dye two times, as before, flaming after each application, then setting the stummel aside to rest. Pictures tell the story.
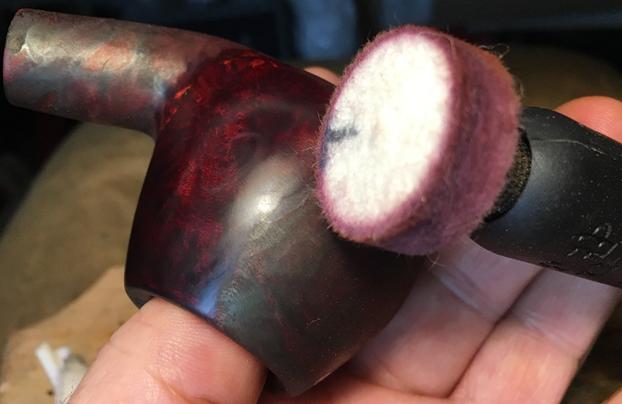
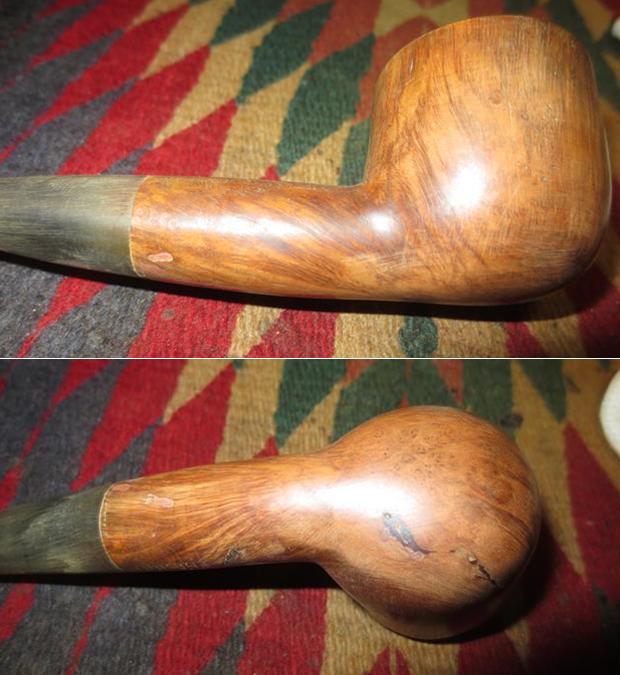
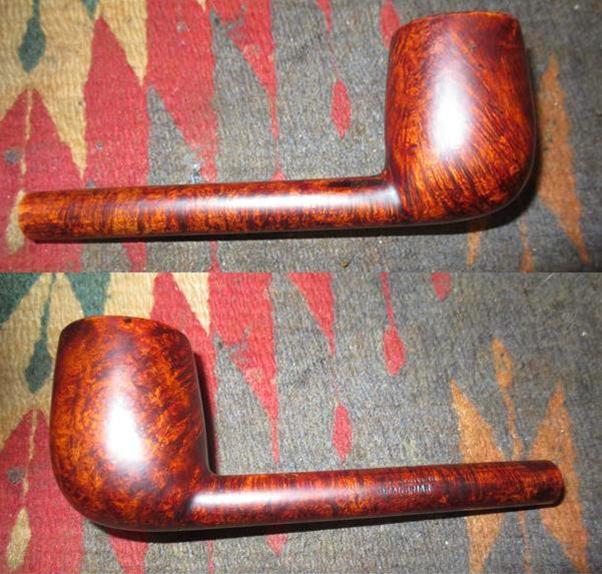
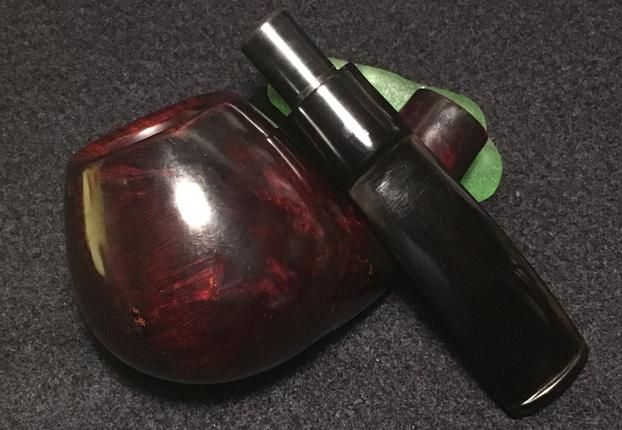
 After a few hours, I repeat the process of applying both Tripoli and Blue Diamond compounds to the stummel surface. Following the compound application I hand buff the stummel with a flannel towel to remove the residue compound dust on the stummel. I do this before applying the carnauba wax. Changing to the cotton cloth wheel on the Dremel, I increase the speed to 2, the second slowest speed of 5 – being the fastest. I reattach the stem and stummel and apply to both several coats of carnauba wax and then give the pipe a rigorous hand buff with a micromesh cloth to bring out the shine.
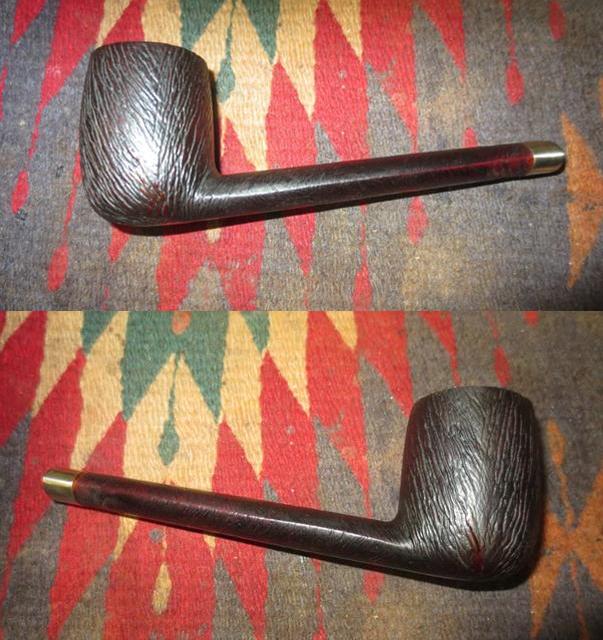
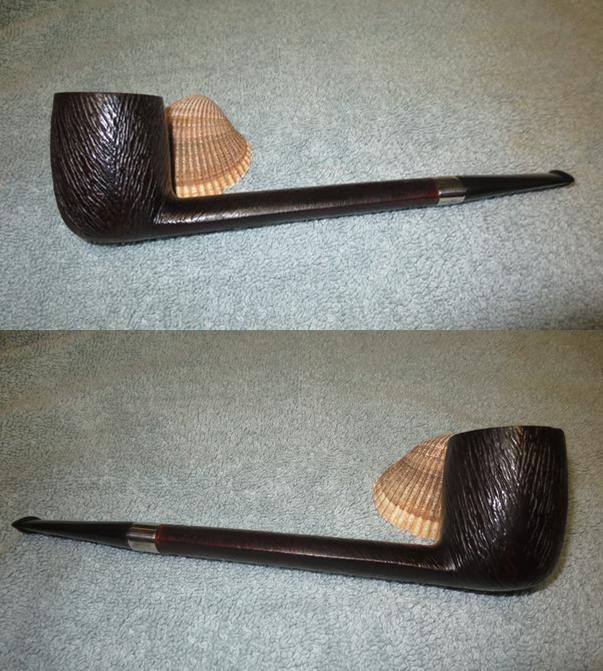
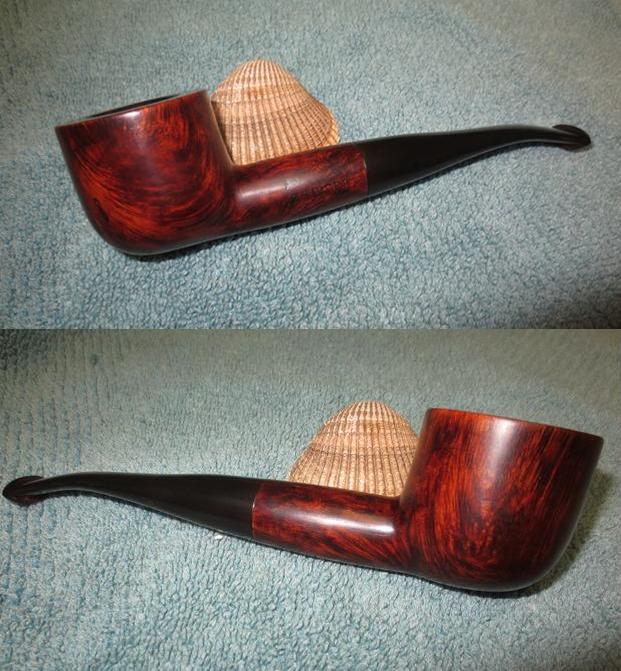
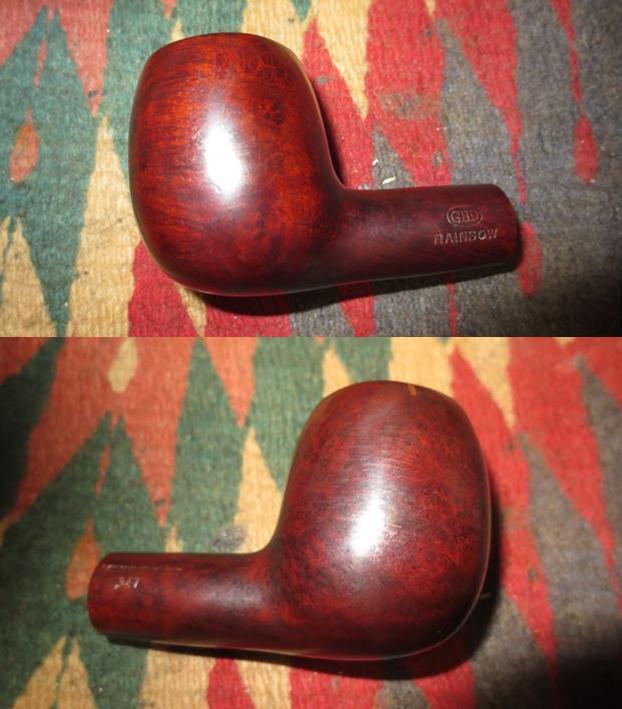
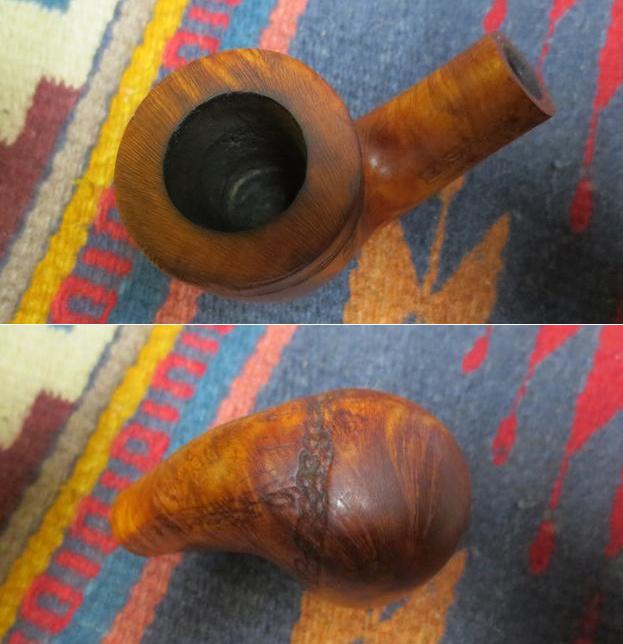
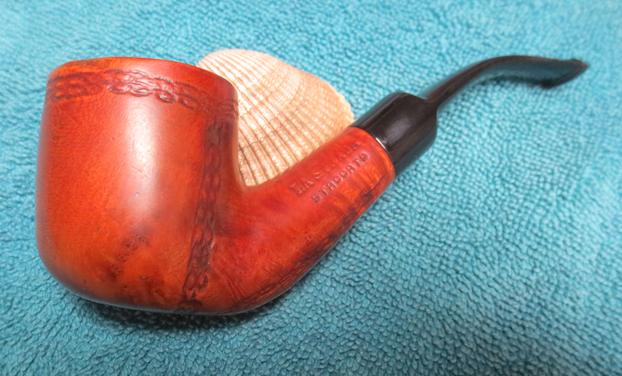
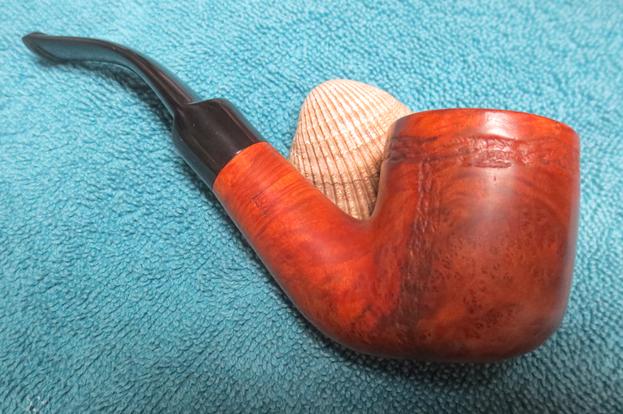
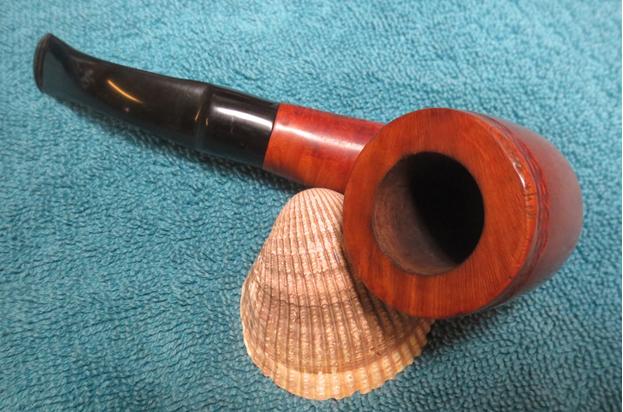
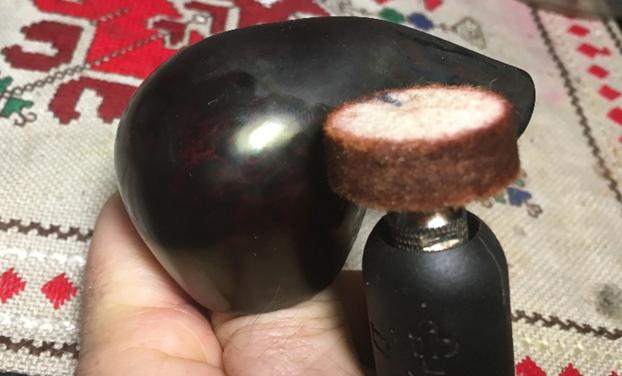 This Brandy Bent Unmarked had a lot going against it after I discovered the multitude of fills necessary to restore and recommission this pipe. Considering the odds against it, I think it looks very good. The grain is very expressive. I like the dark brown finish as the overcoat of the oxblood – it fits well the Brandy shape. I sell my restorations with the profits helping the work we do with the Daughters of Bulgaria – those sexually exploited and trafficked. This Brandy is ready to serve a new steward. If you’re interested in adopting him and helping the Daughters, check out The Pipe Steward Store. Thanks for joining me!


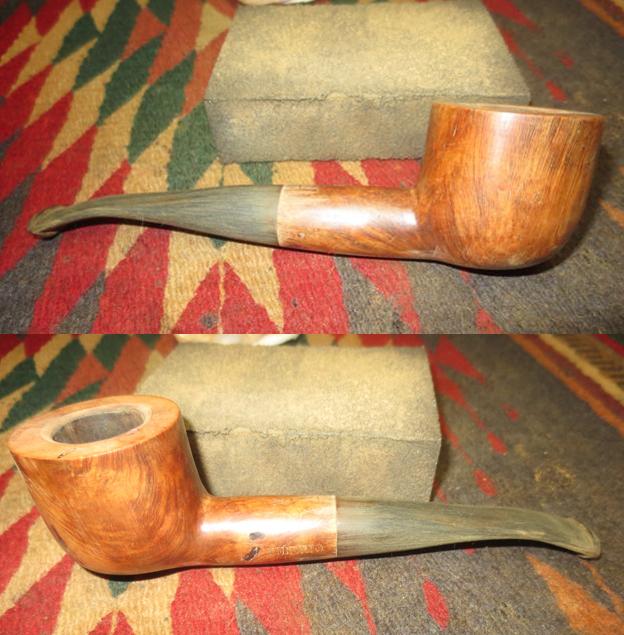
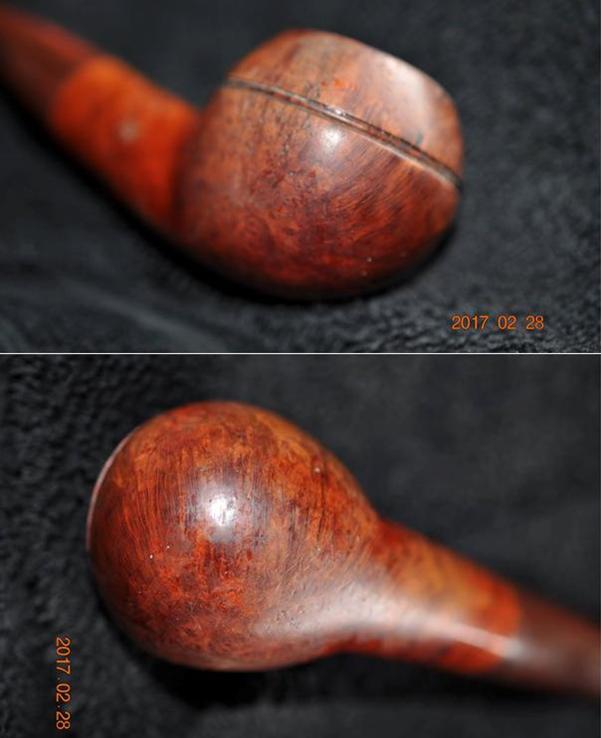
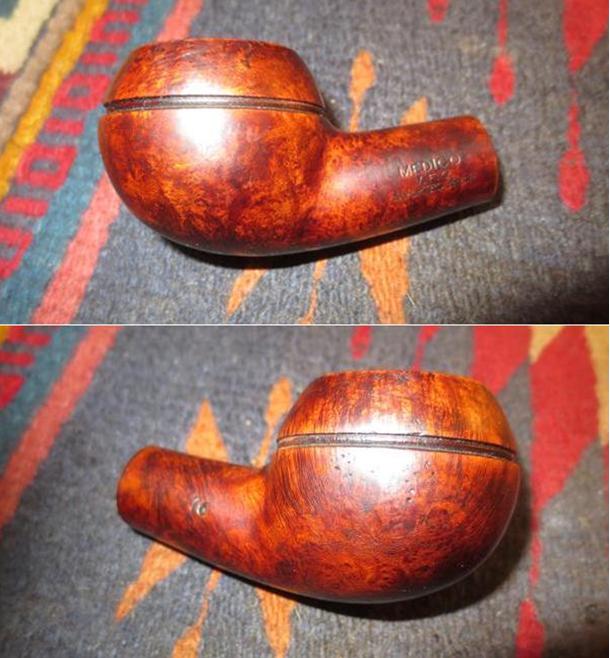
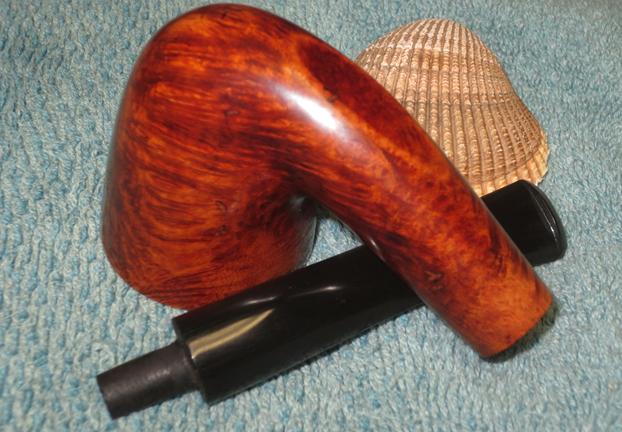
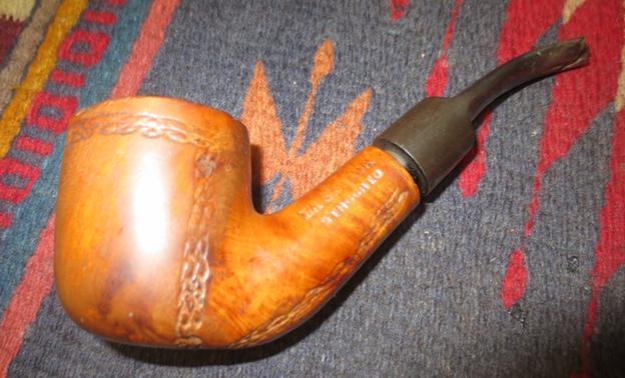
 This is the second pipe from the lot my brother Jeff picked up an estate sale a few weekends ago. He had received a call from the auction house that was running the sale to let him know that there were going to be some pipes in the sale. They said that many of the pipes were what they called higher end pipes. They talked a bit and he asked if they would mind sending him a list of the pipes that were coming up. They went one step better and sent him the two photos to the left of the pipes as a preview of what was going on sale. Using FaceBook Messenger we went through the pipes and picked the ones that we wanted to purchase. He would go to the sale the next day and see what he could find. It is times like this that I wish I lived close so I could go with him to these sales.
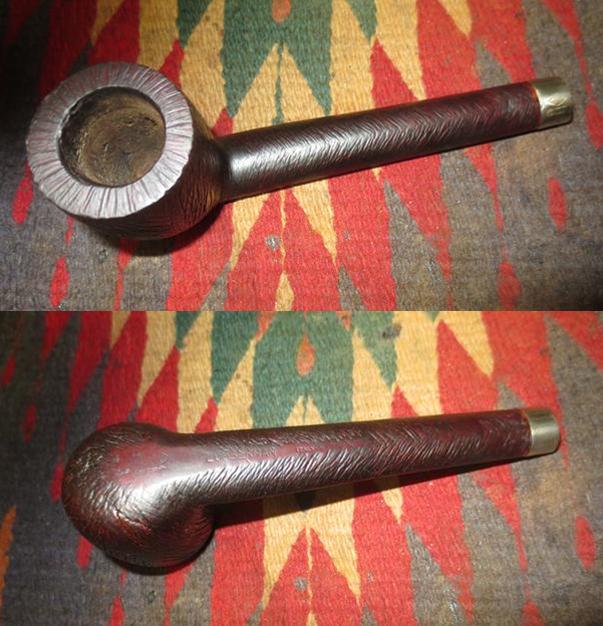
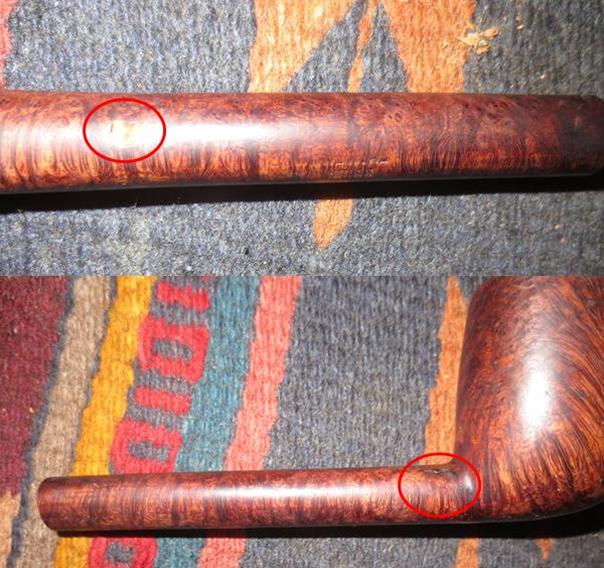
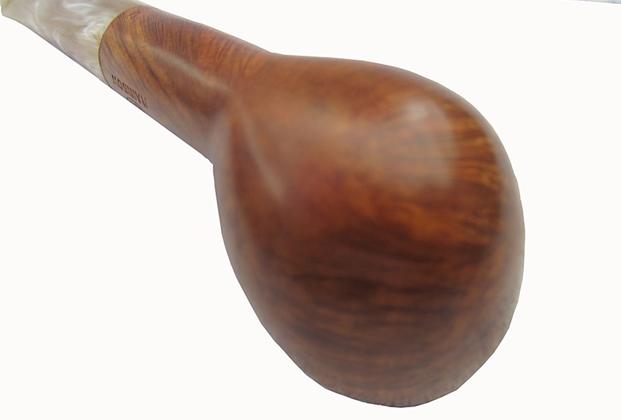
 The finish on the bowl was in pretty decent shape. The rim surface was dirty and had some tars and oil build up. Around the inner edge of the bowl some of varnish coat was peeling off and the briar was showing through. There were some dents and nicks in the surface. On the front right of the bowl there was a spot where the varnish was damaged like the bowl had been rubbed against a rough surface (it is visible in the second photo below). I would need to smooth out those areas and stain and give them a top coat to replace the shine. The finish on the sides and the bottom of the bowl was in excellent shape.
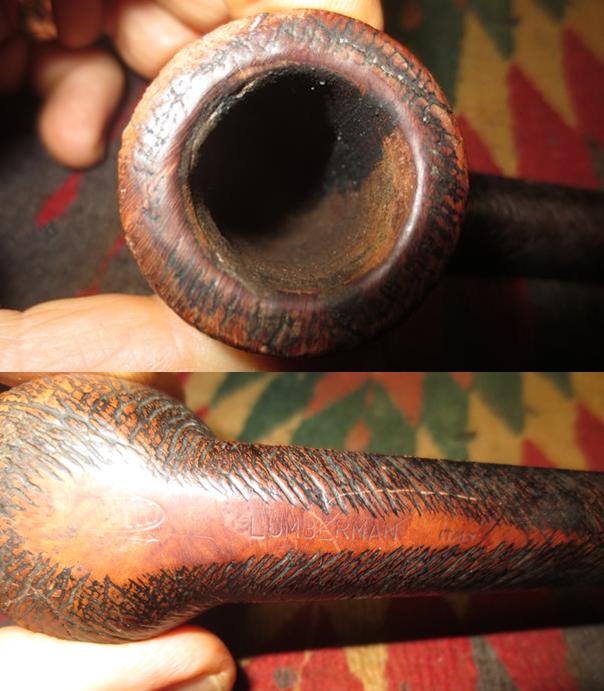
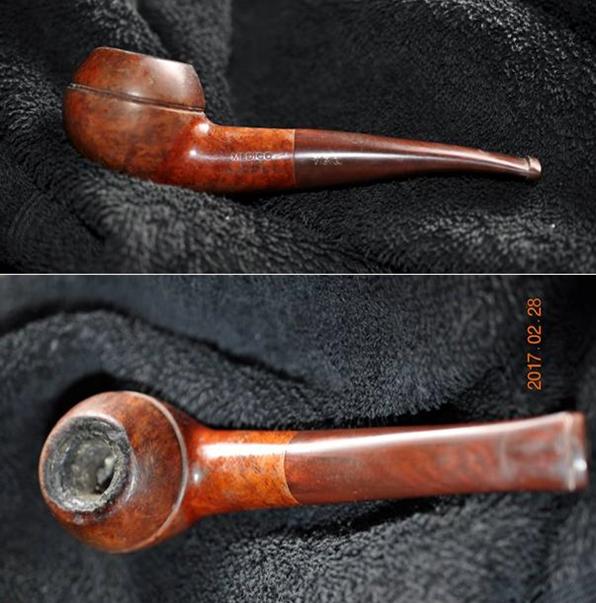
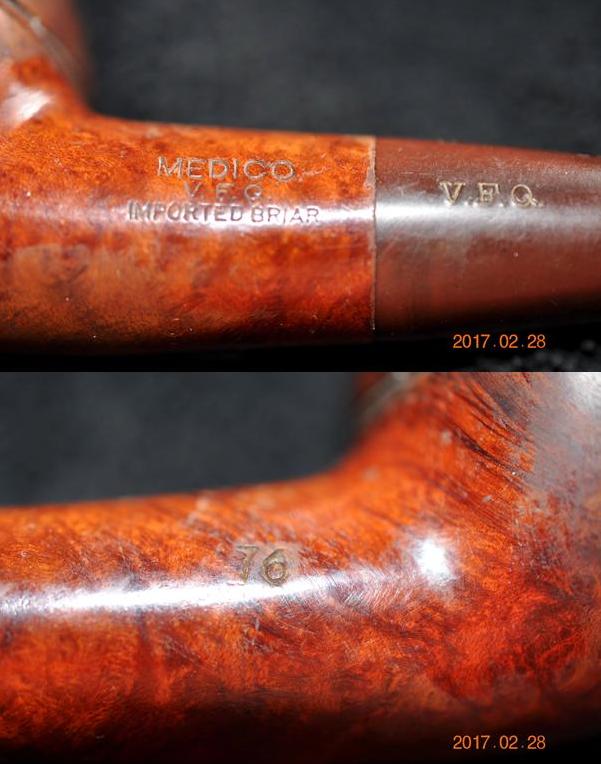
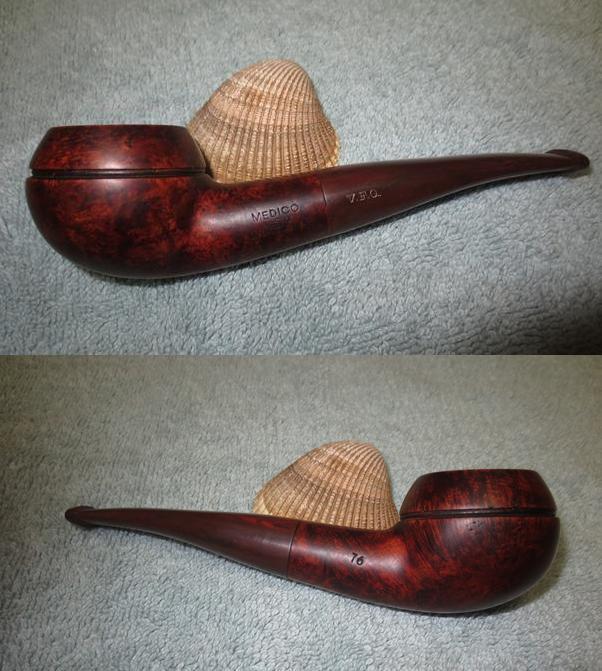
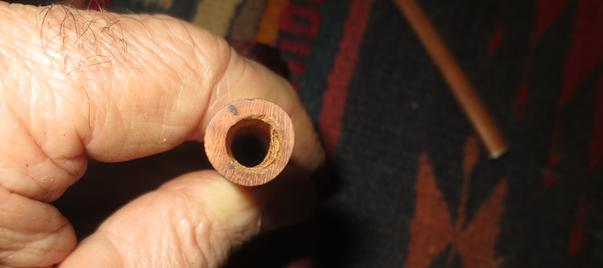
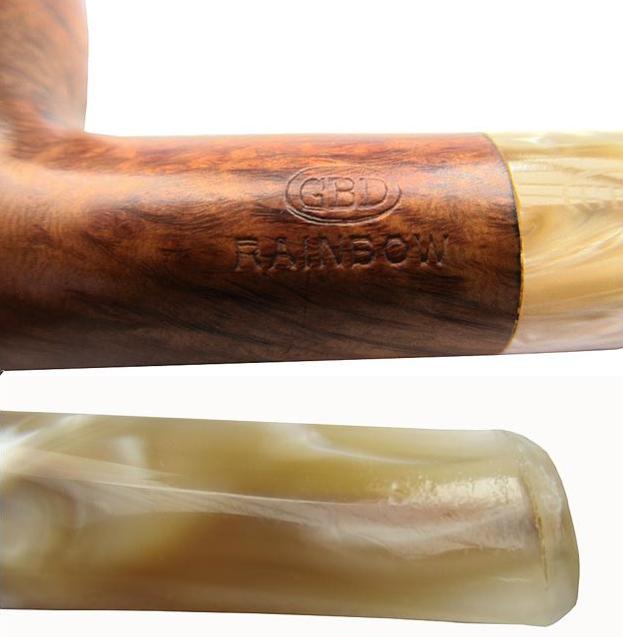
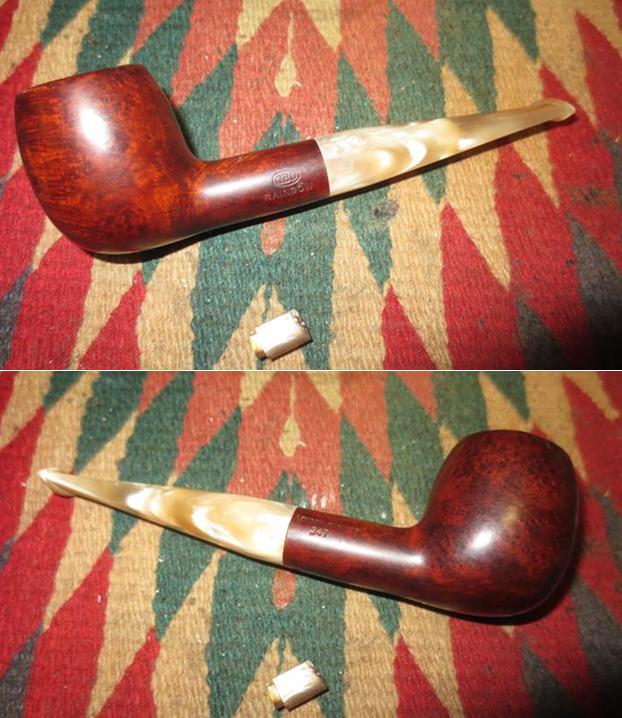
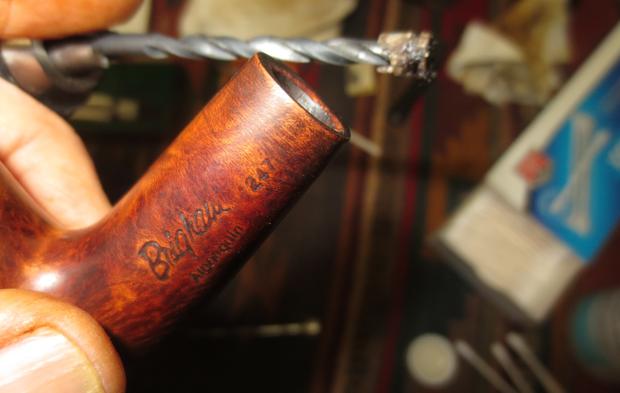
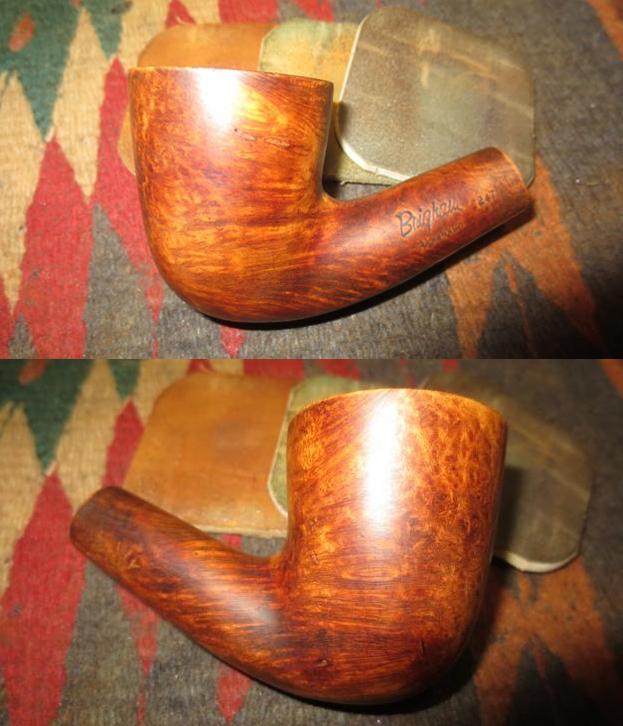
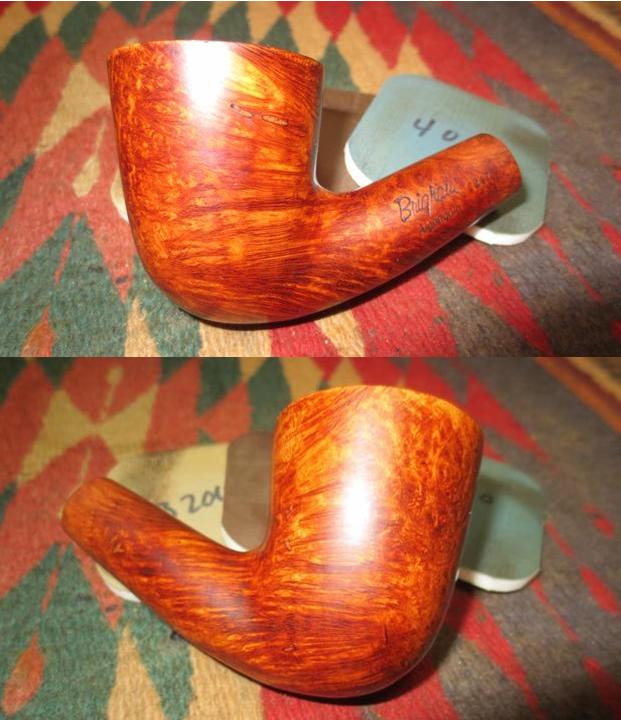
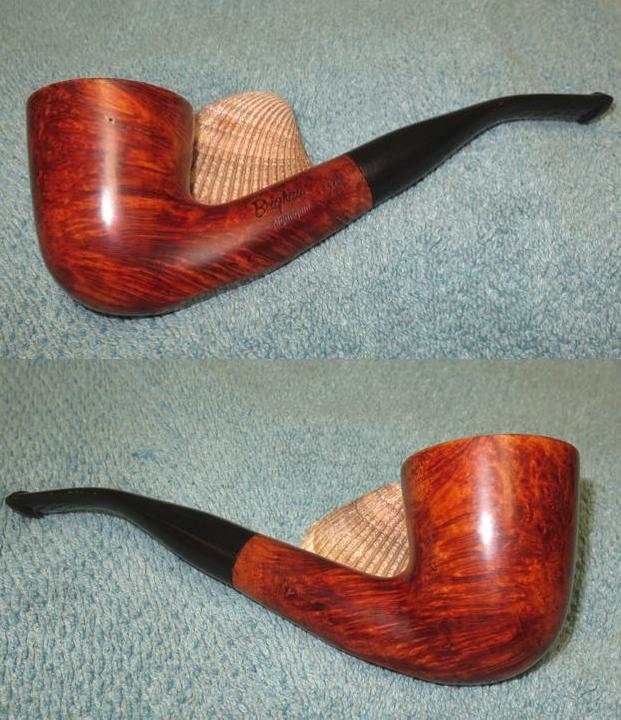
 The next two photos show the stamping on the pipe – the brand on the left side and the country of origin on the underside next to the silver band.
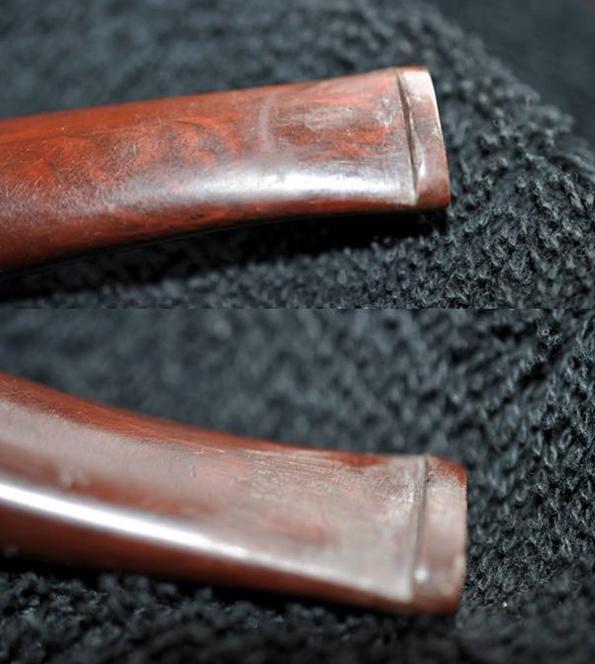
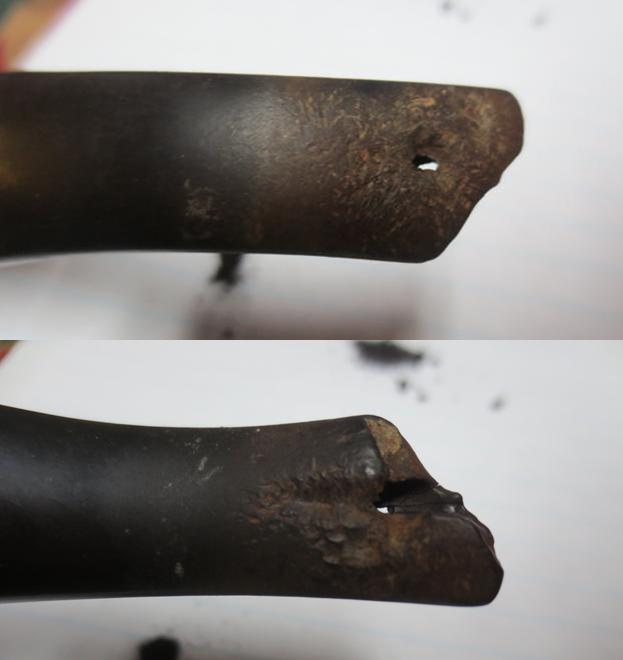
 The stem had tooth chatter on the top side next to the button and on top of it. On the underside there were tooth marks and chatter that would need to be sanded out. Fortunately none of them were too deep.
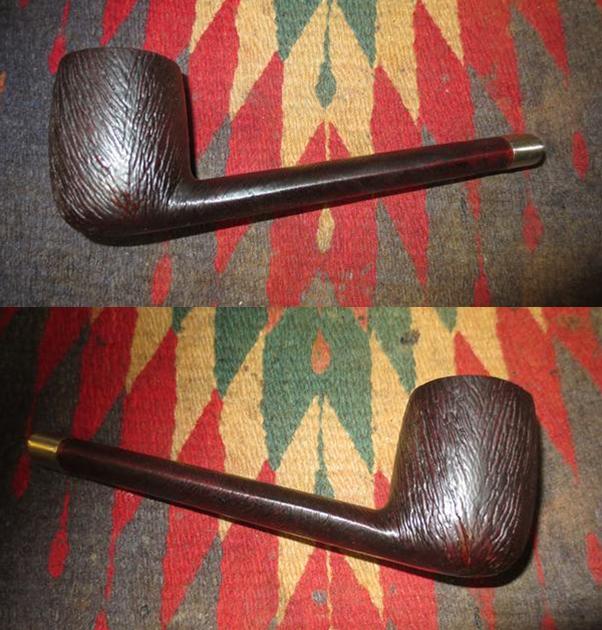
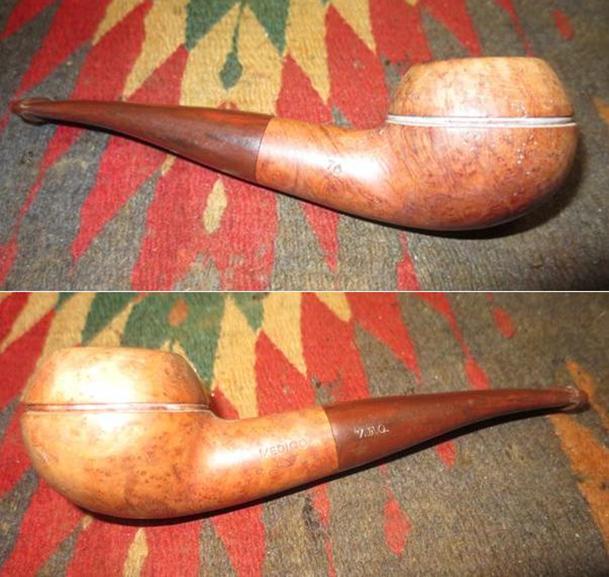
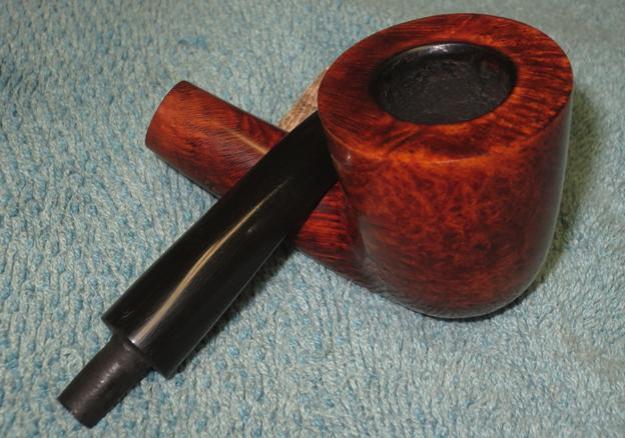
 Once again Jeff did his usual thorough cleanup of the pipe. He scrubbed the interior and exterior and sent me a very clean pipe that I only needed to put the finishing touches on. The next four photos show the pipe when I brought it to my work table. The pipe looked really good. The finish on the bowl sides, bottom and shank were in excellent condition. The scrape on the front of the bowl and the rim scrapes where the varnish coat was missing were clean and ready to repair. The stem was clean as well other than the light oxidation and the tooth chatter.
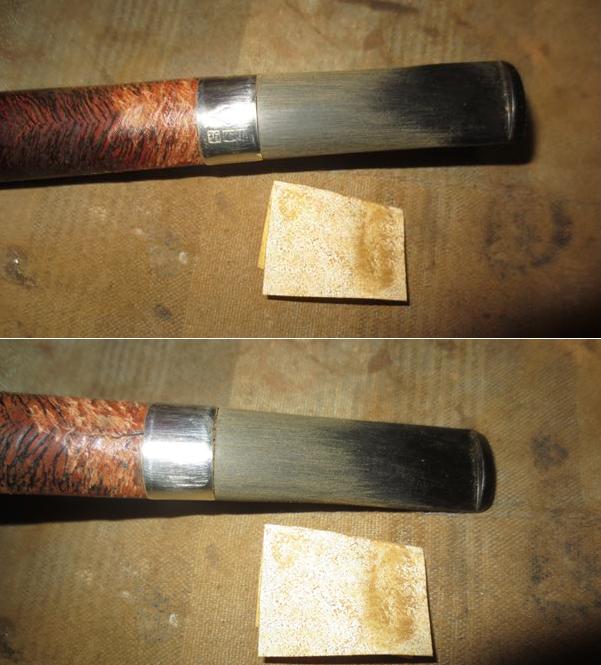
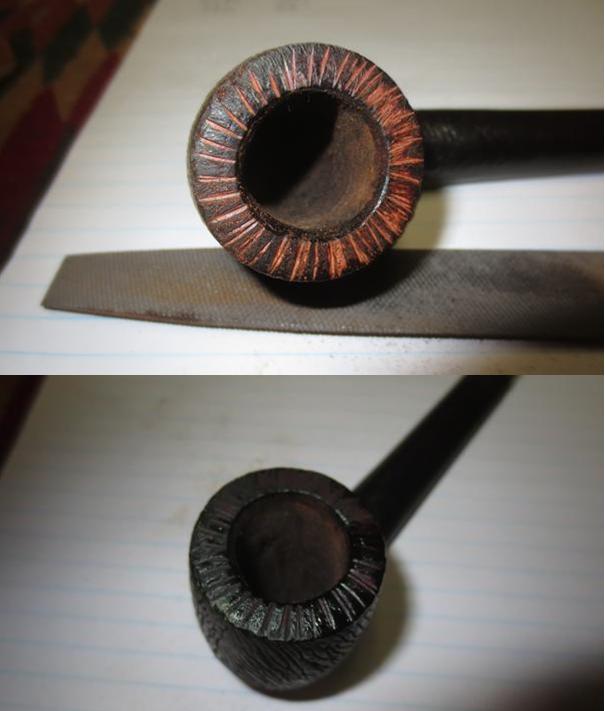
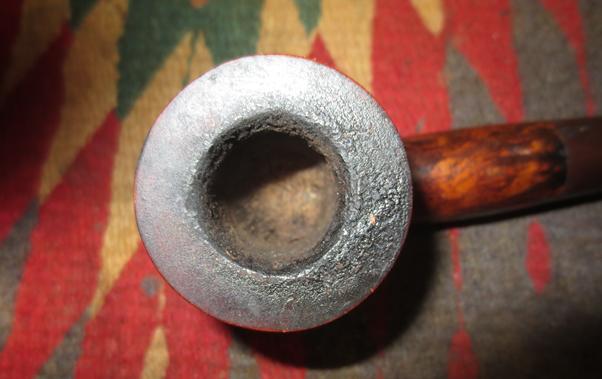
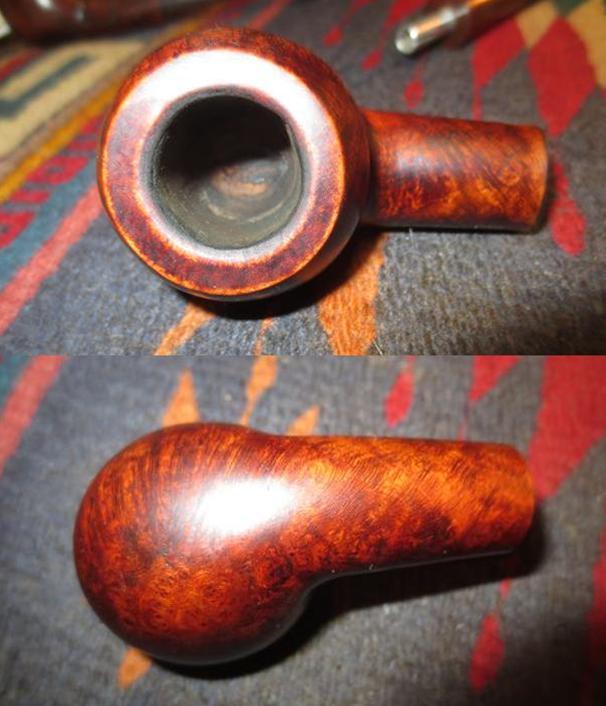
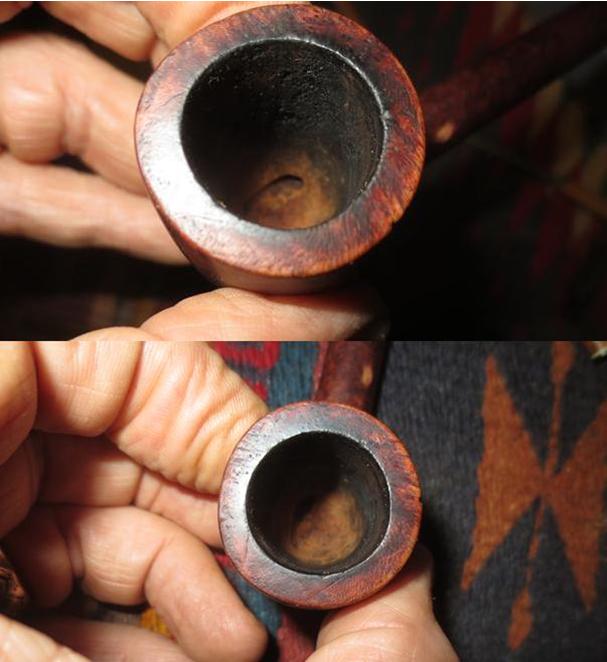
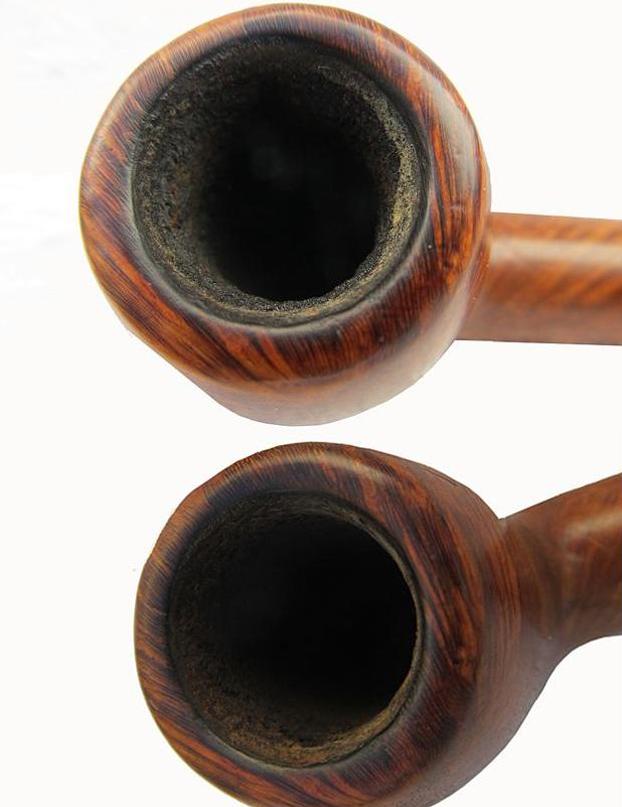
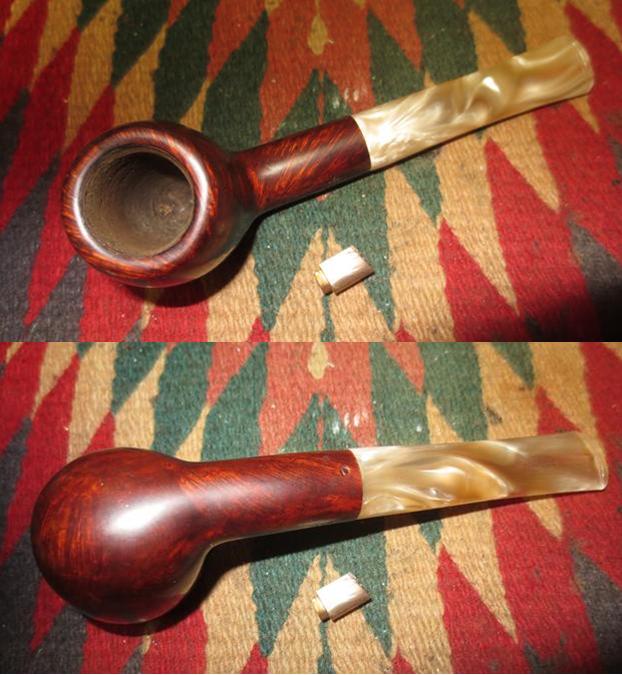
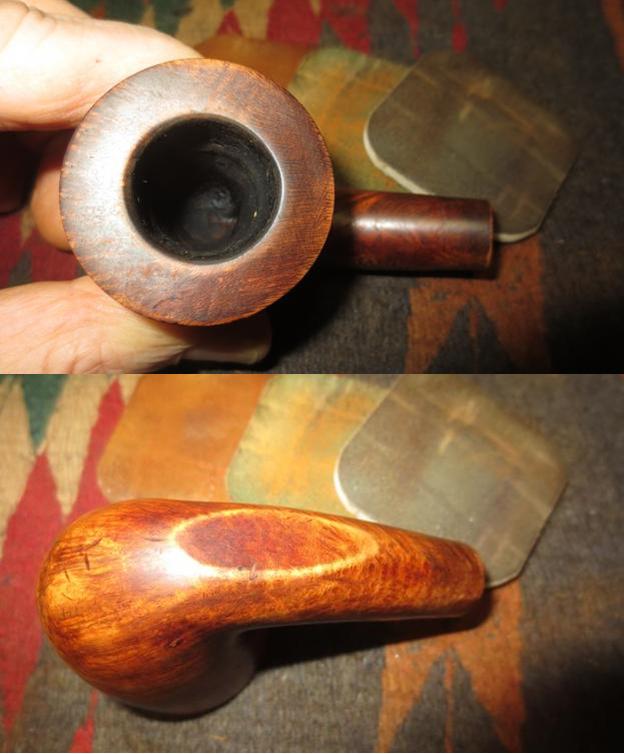
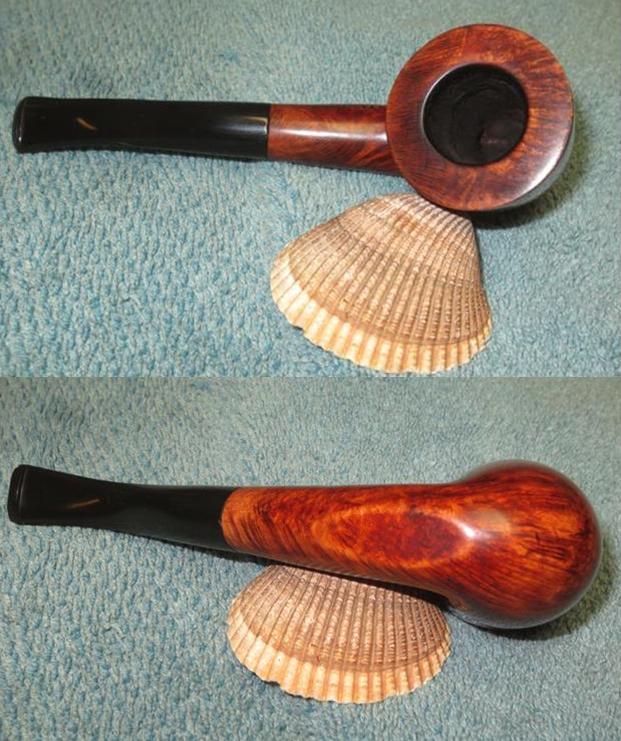
 I took a photo of the rim top to show the damage on the inner edge. You can see the area on the right side of the inner edge and the back side. There was also some damage on the front inner edge of the bowl. These would need to be sanded and repaired.
 The stem was very clean other than the tooth chatter and tooth marks.
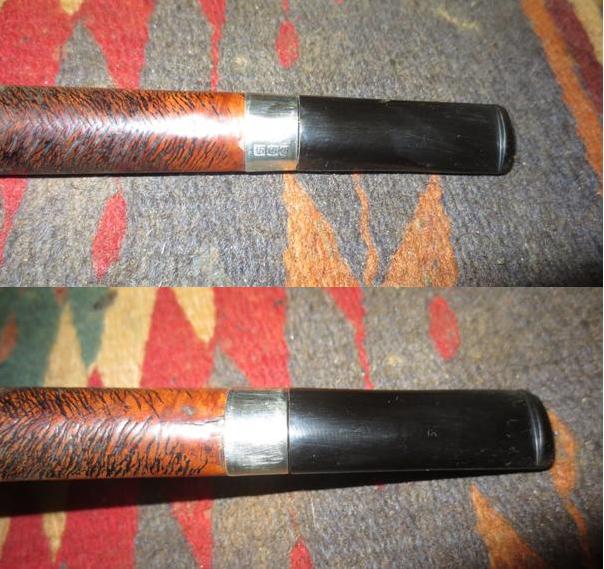
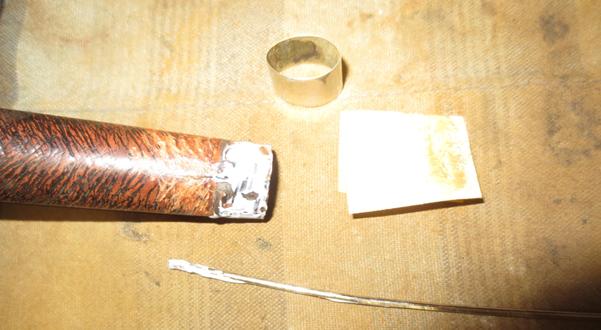
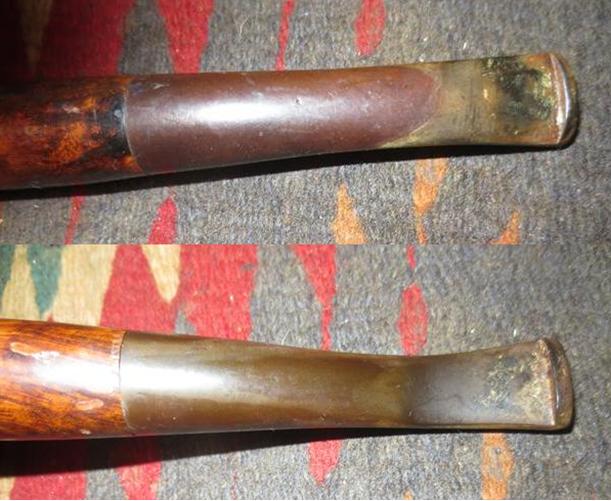
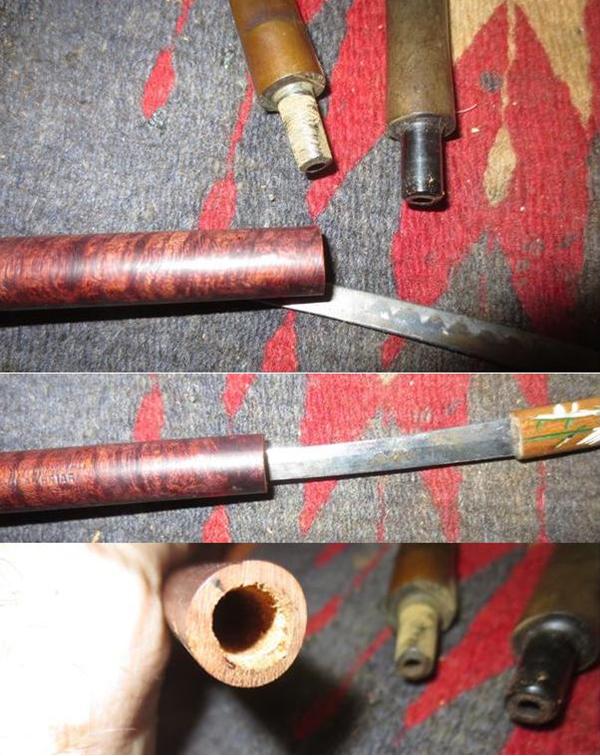
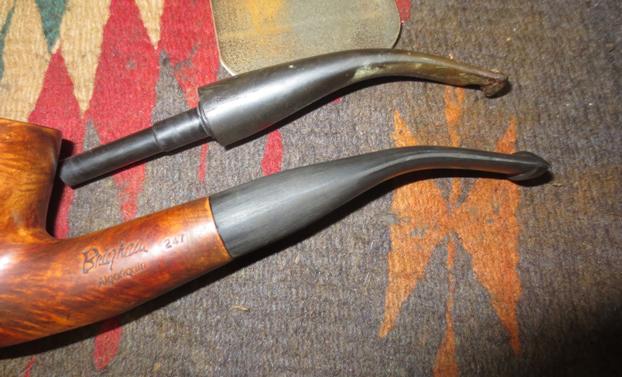
 When I removed the stem the silver band fell off in my hands. The glue that had held it in place had dried and cracked. I used a tooth pick to spread all purpose glue around the end of the shank and pressed the band in place.
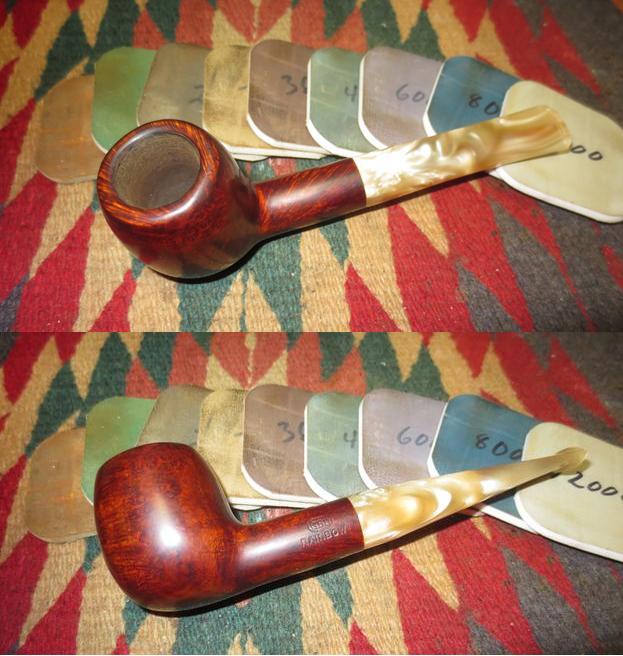
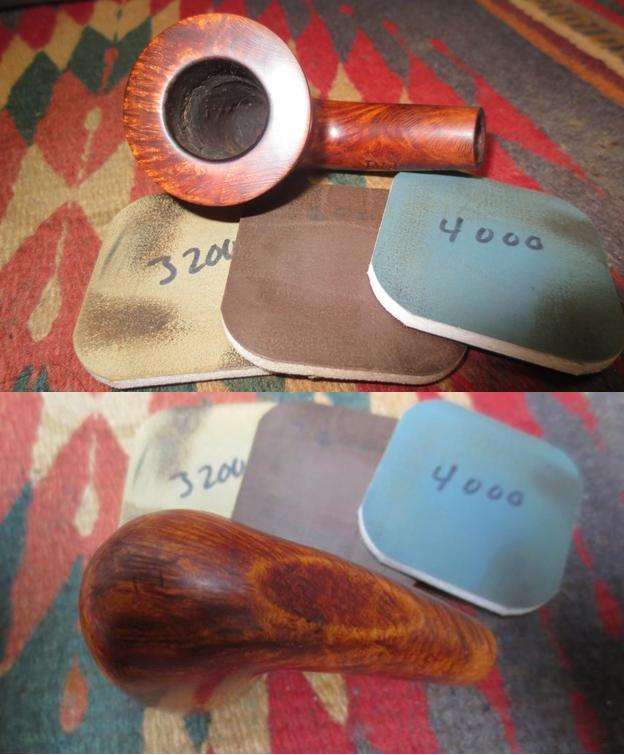
 I sanded the inner edge of the rim to remove the damaged finish. I used 1500-6000 grit micromesh sanding pads to smooth out the damaged areas. I wet sanded the areas to minimize the damage. I touched up the sanded areas with a dark brown stain pen. It matched the stain on the surrounding bowl.
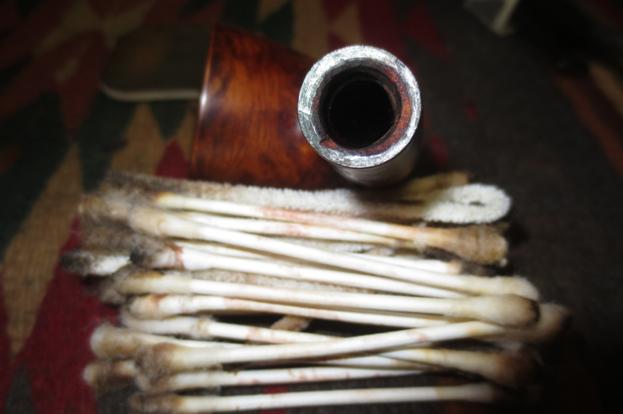
 I ran a pipe cleaner and alcohol through the mortise and airway in the shank and stem. The pipe cleaner came out very clean and showed that the pipe was spotless.
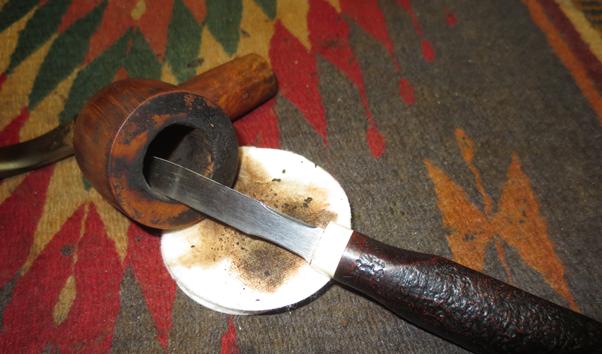
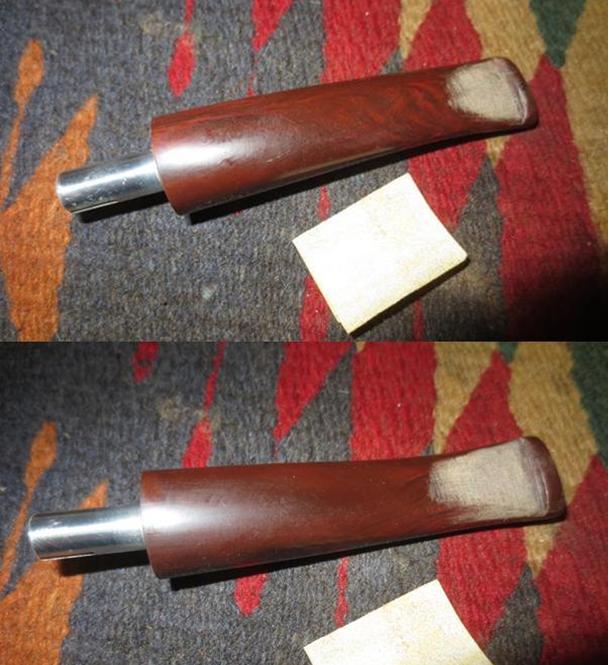
 I sanded out the tooth chatter and tooth marks with 220 grit sandpaper until the surface of the stem was smooth. Once I had it sanded smooth I polished it with micromesh sanding pad – wet sanding it with 1500-2400 grit pads and dry sanding it with 3200-12000 grit pads. I wiped the stem down with a damp cotton pad to remove the sanding dust after each pad so that I could see how it was polishing.


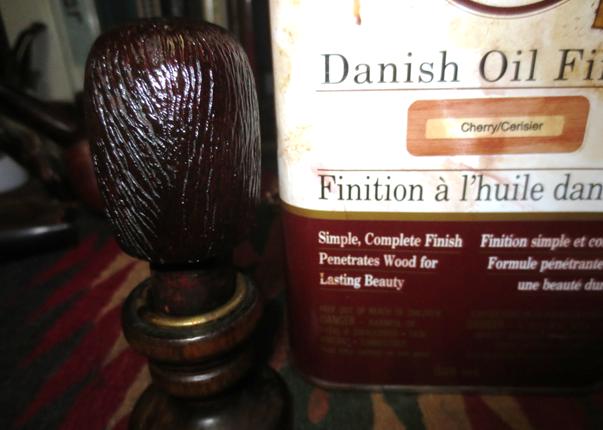
 To give the repaired areas on the rim top a shine like the rest of the bowl I buffed it with Blue Diamond and then applied some Cherry Danish Oil to the rim top with a cotton swab. I repeated the process until the top of the rim shone. It looked like the rest of the bowl once again. I buffed the bowl and stem with Blue Diamond polish on the buffing wheel. It polished out all of the minute scratches in the surface of the Lucite and the briar. It does a great job with a soft touch when polishing briar and the shine that the Blue Diamond gives Lucite is glassy. I gave the bowl and stem several coats of carnauba wax and buffed the pipe with a clean buffing pad to raise the shine. I hand buffed it with a microfibre cloth to deepen the shine. The finished pipe is shown in the photos below. It really is a beautiful looking pipe. The Dublin shape is perfectly laid out to maximize the grain. This one will soon be for sale on the rebornpipes store. If you are interested in adding it to your collection let me know either by email to slaug@uniserve.com or a private message on FaceBook. Thanks for looking.