by Steve Laug
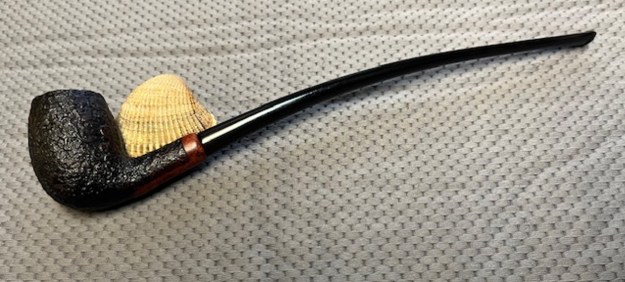
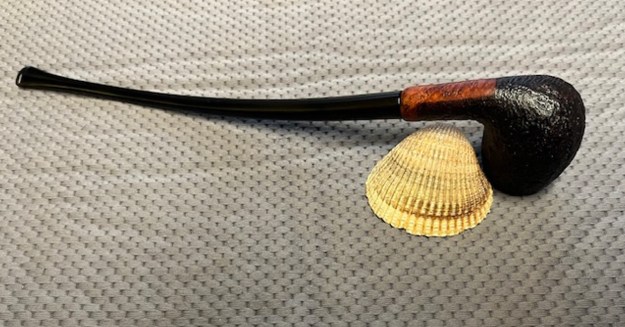
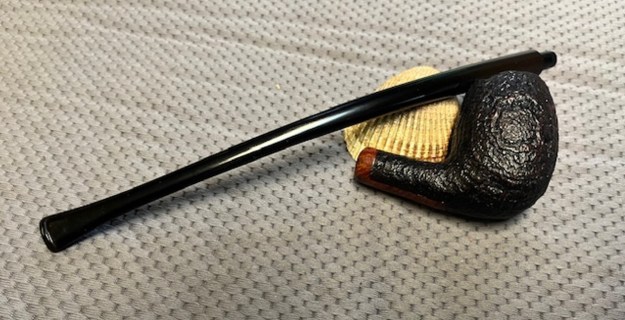
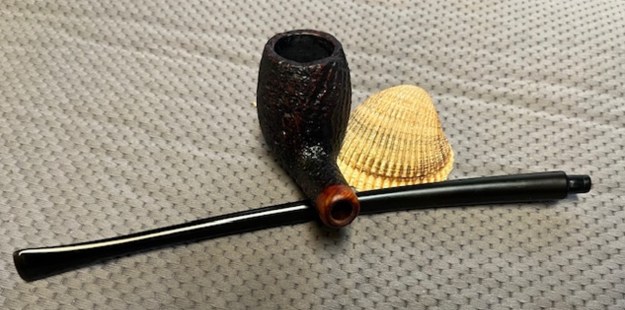
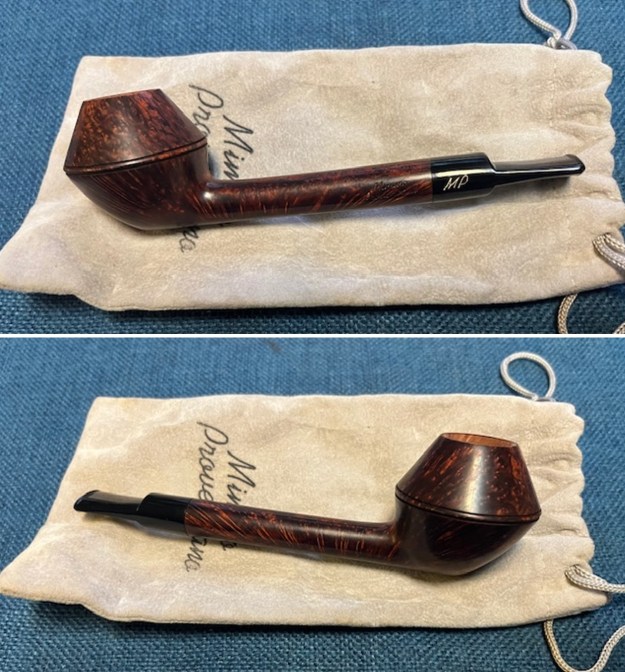
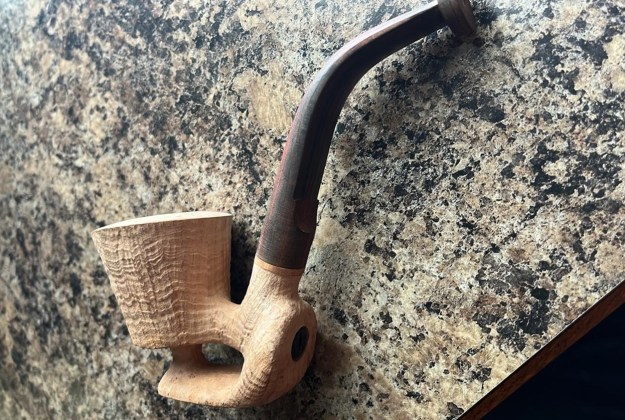
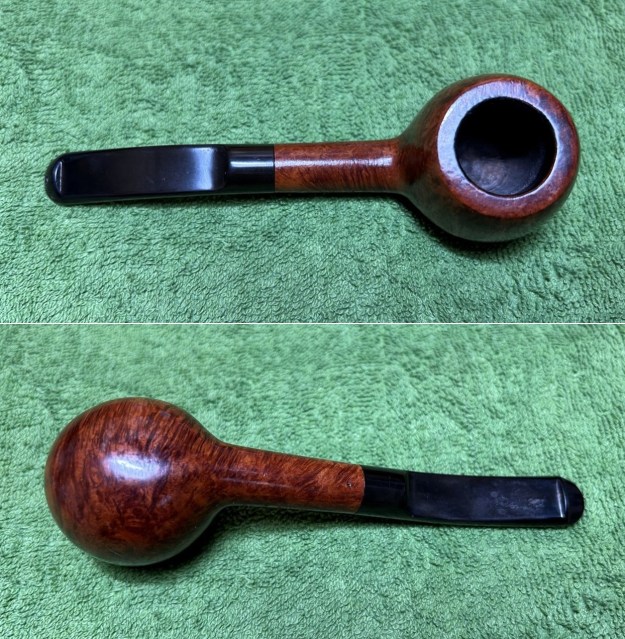
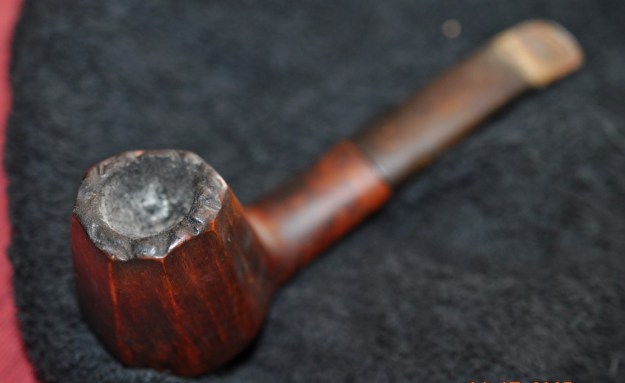
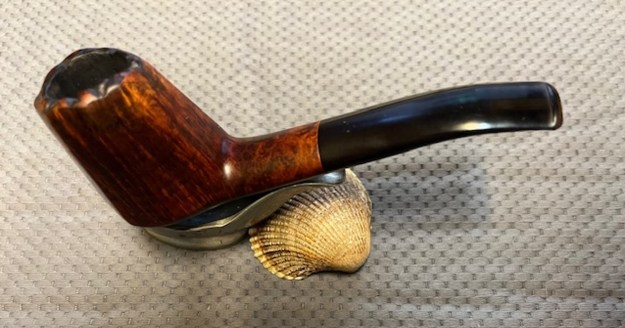
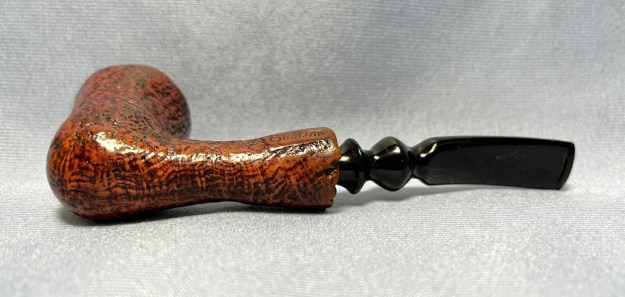
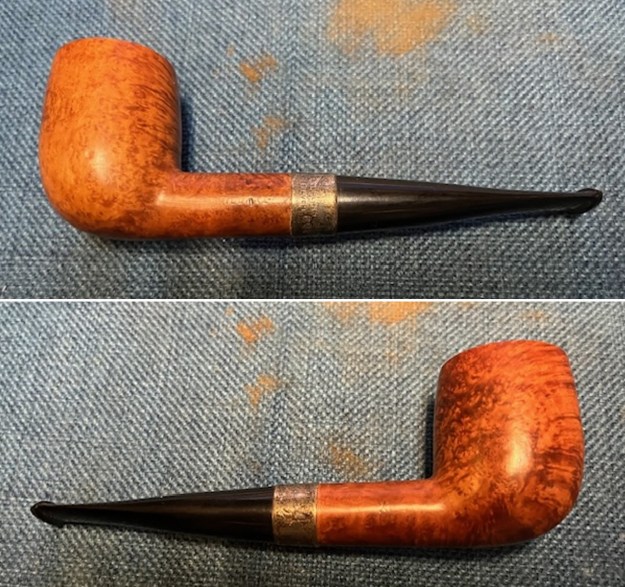
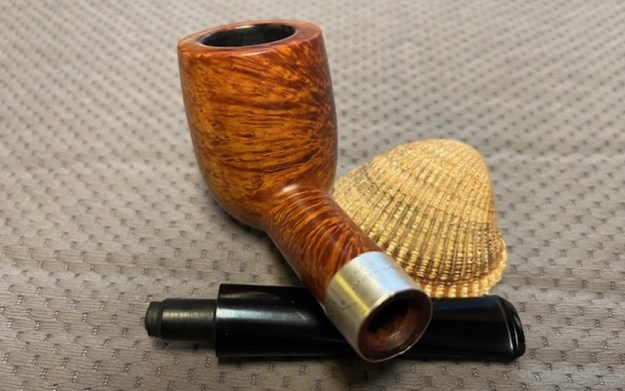
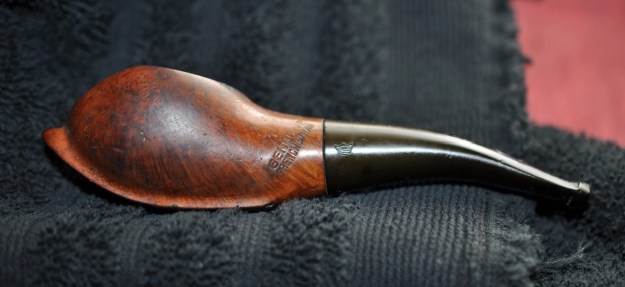
Once again it may seem I have endless choices of pipes to work on. While we do have a lot of pipes that are in the queue to be restored it is far from endless. This next pipe I chose to work on was one that was given to us by a wonderful lady in Flagstaff, Arizona, USA on 01/22/2019. The pipe is stamped on a smooth panel on the underside of the shank and reads Jarl T.V. [over] Made in Denmark. This one is a slightly bent Billiard shape with a sandblast bowl and shank. It has a long churchwarden style stem. There is a smooth briar around the shank end that is a great touch. The exterior of the pipe was dirty, with dust in the sandblast. There was a moderate cake in the bowl and some lava on the rim top. The stem was long and had a slight bend. There was no logo or stamping on the stem. It was lightly oxidized and had light tooth marks and chatter on both sides ahead of the button. Jeff took photos of the pipe before he started his clean up work.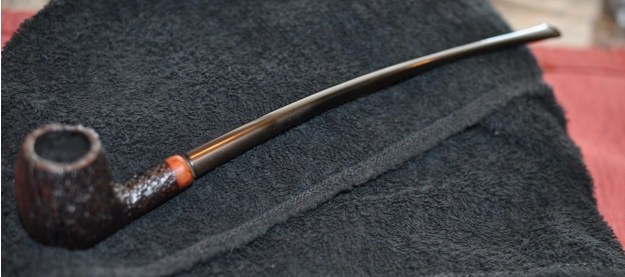
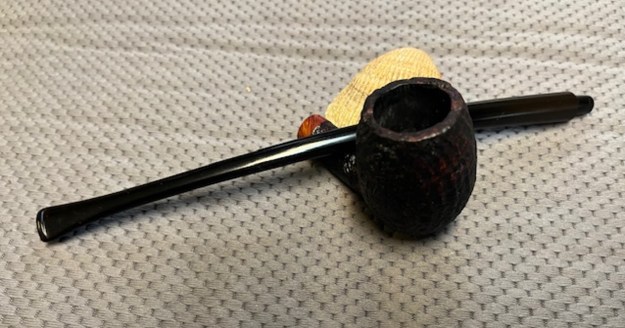
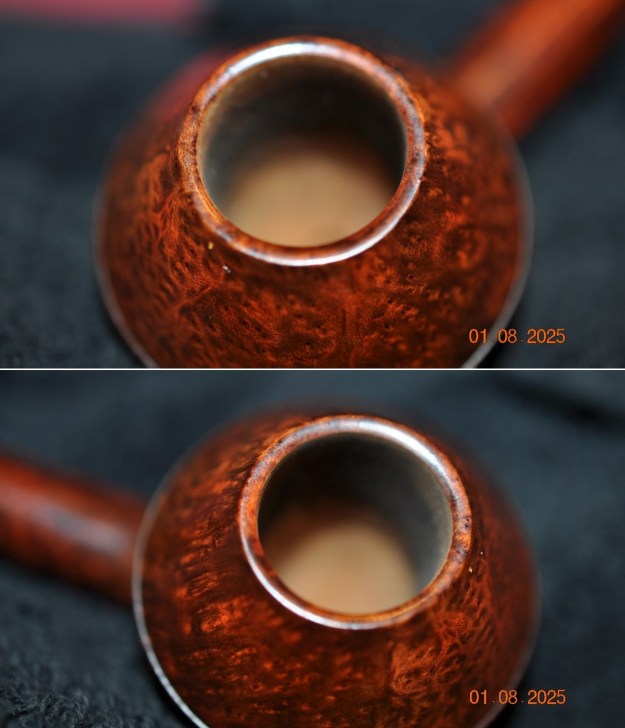
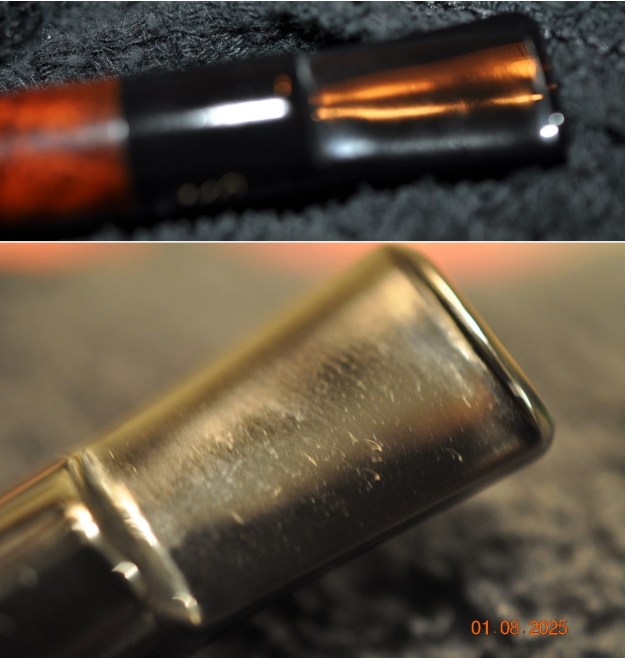
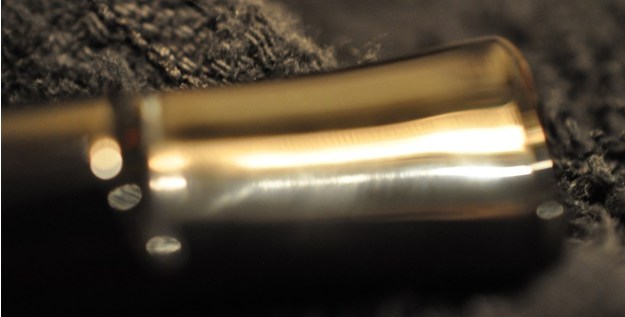
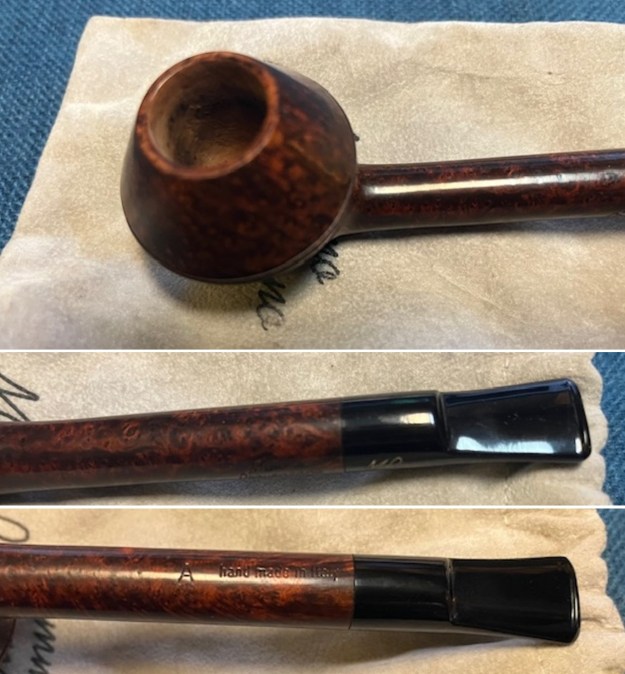
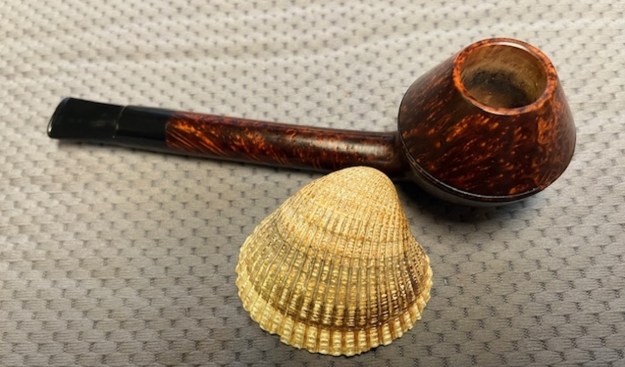
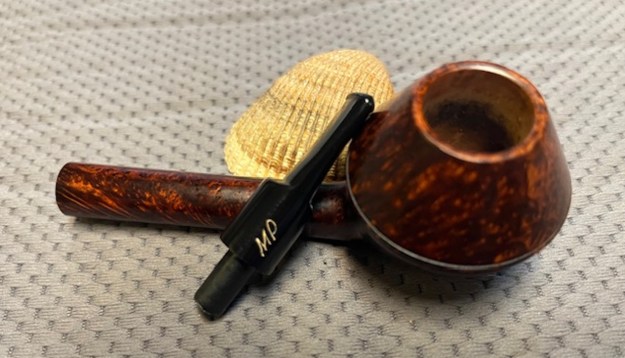
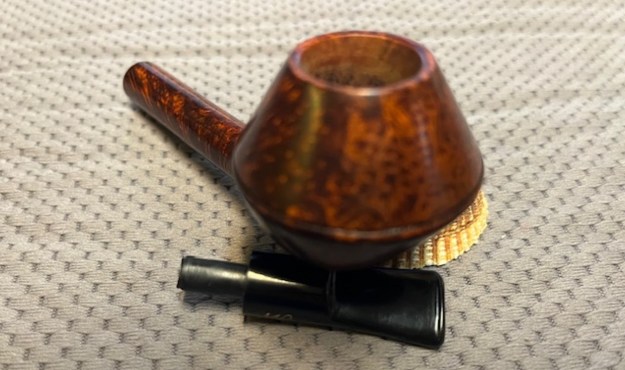
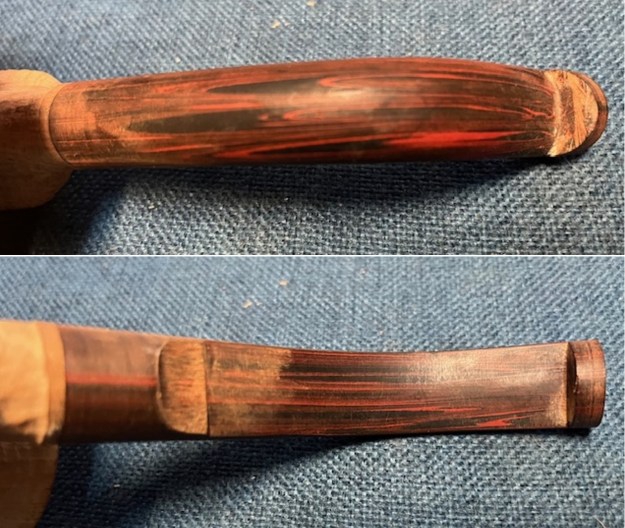
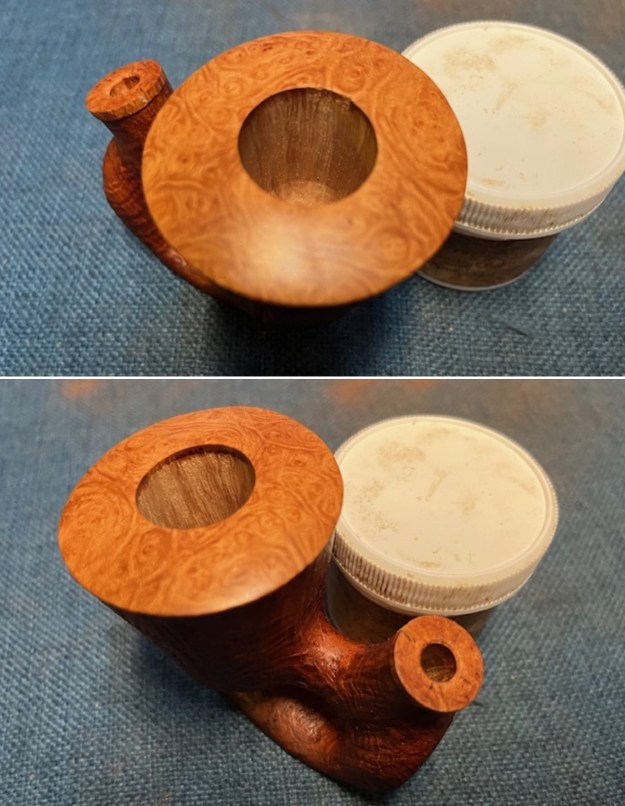
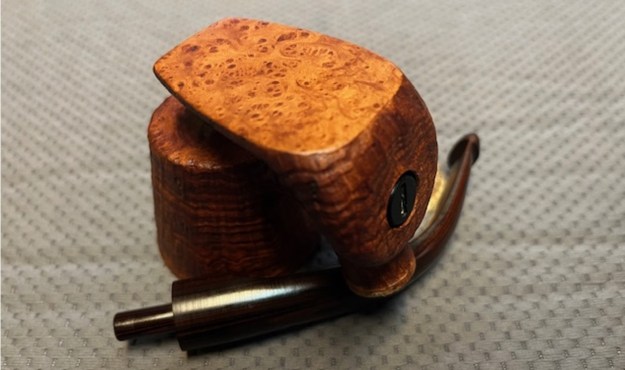
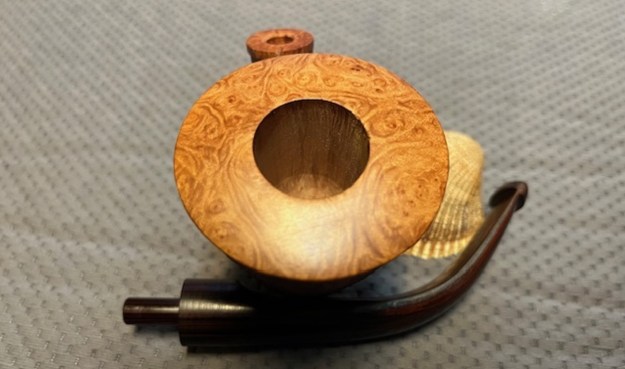
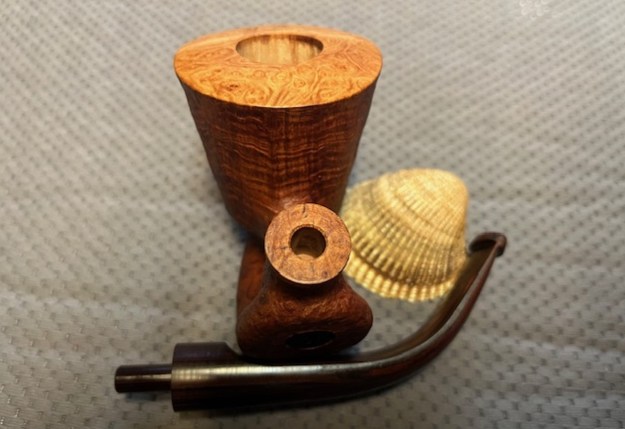
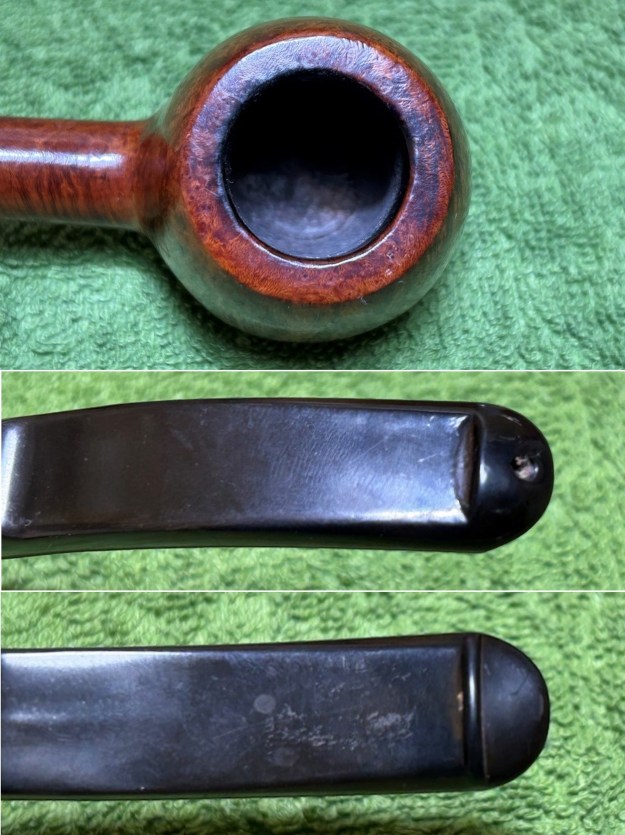
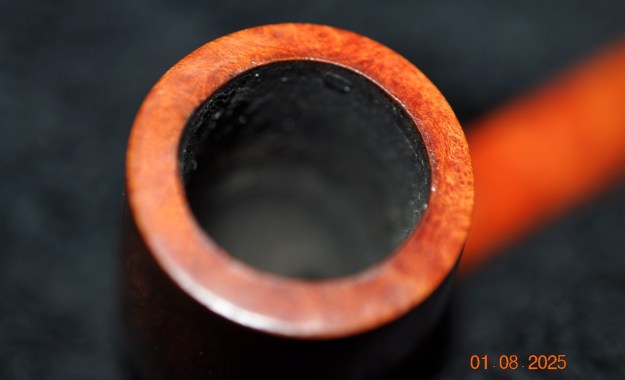
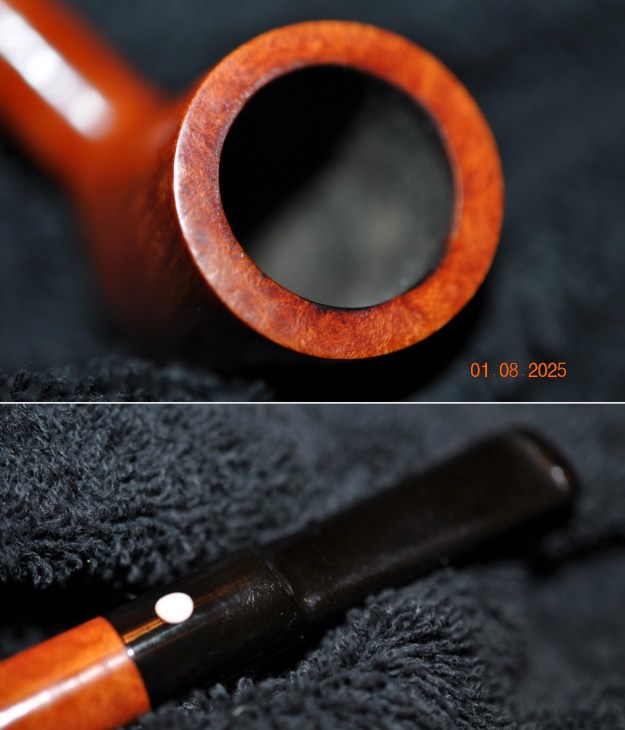
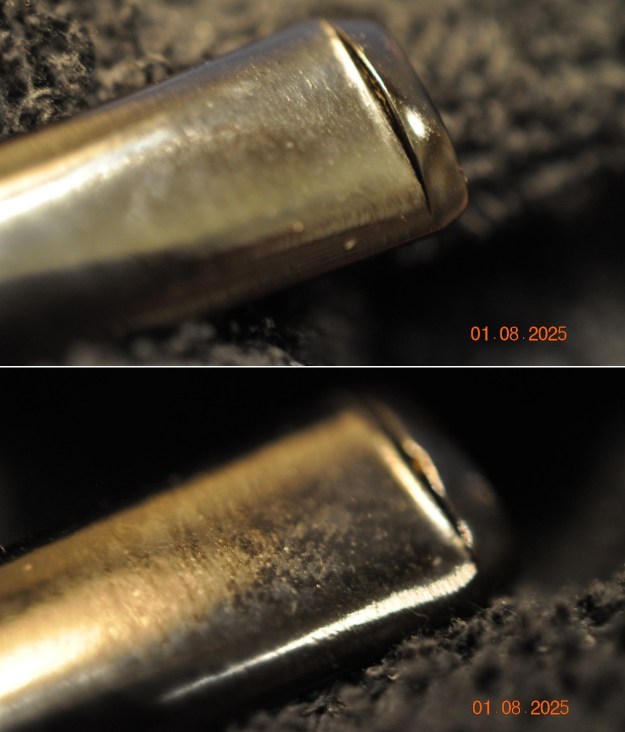
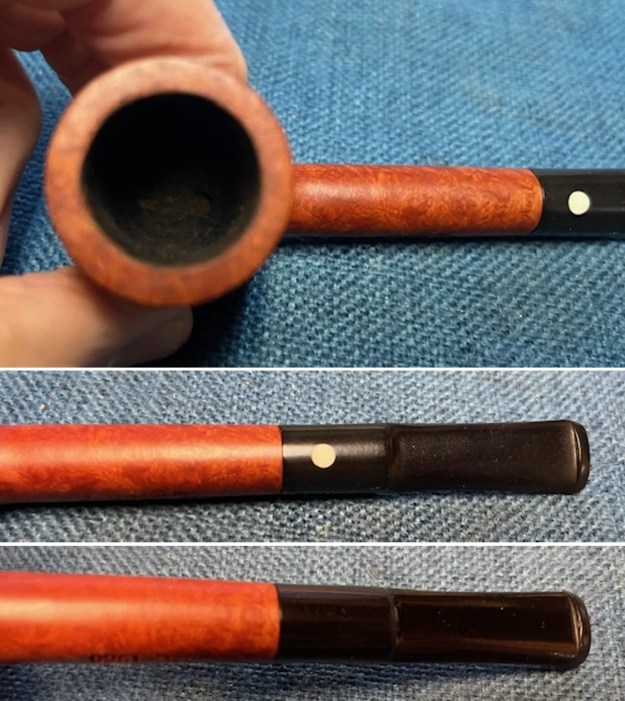
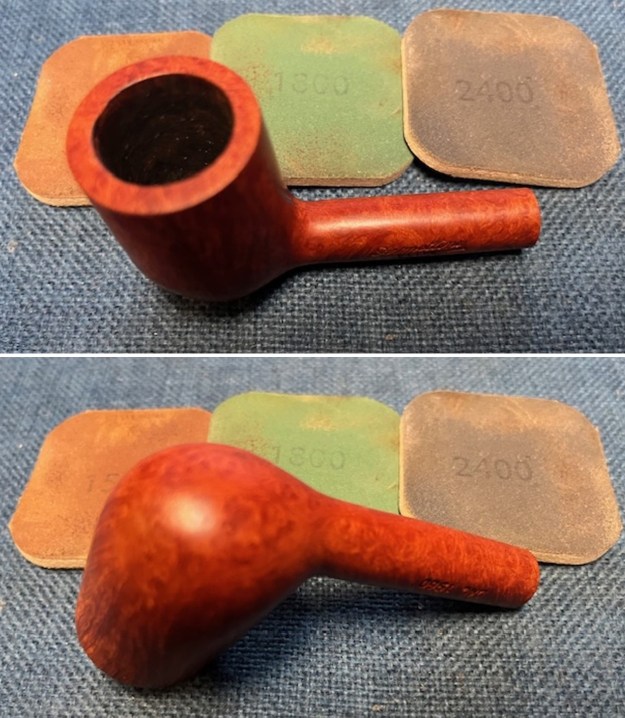
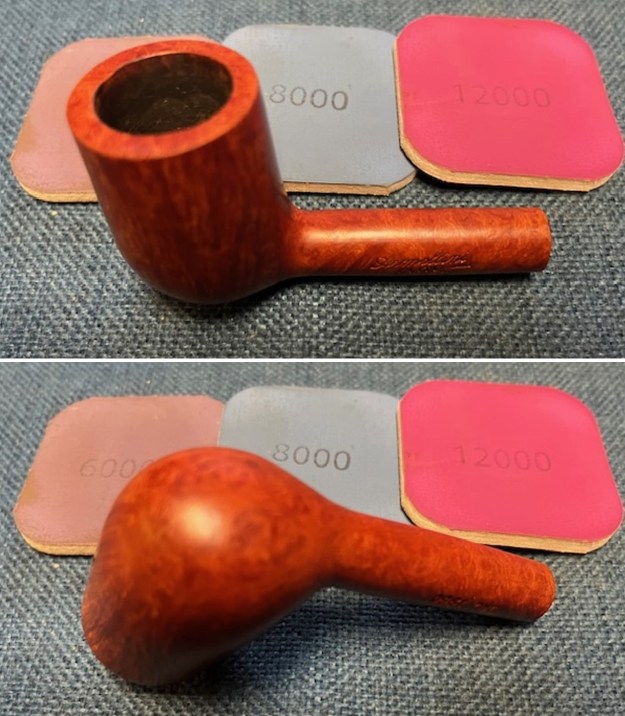
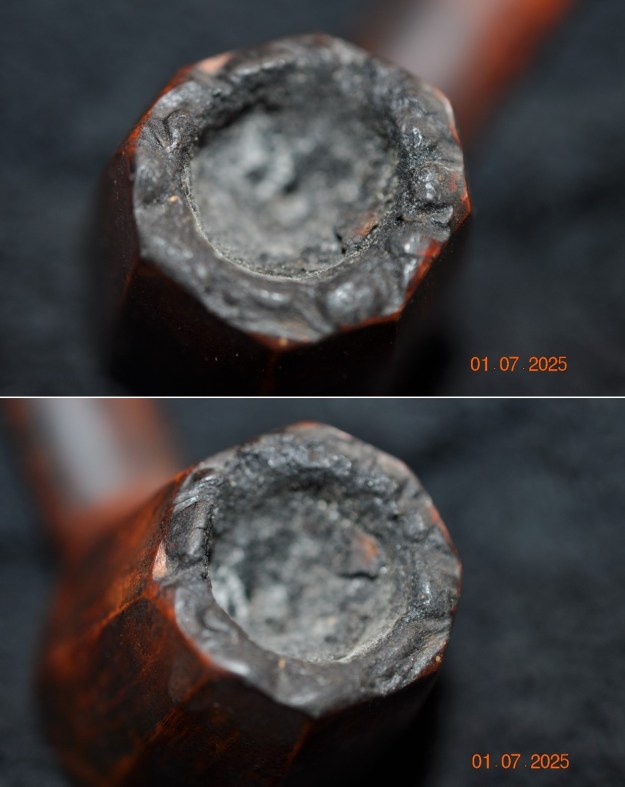
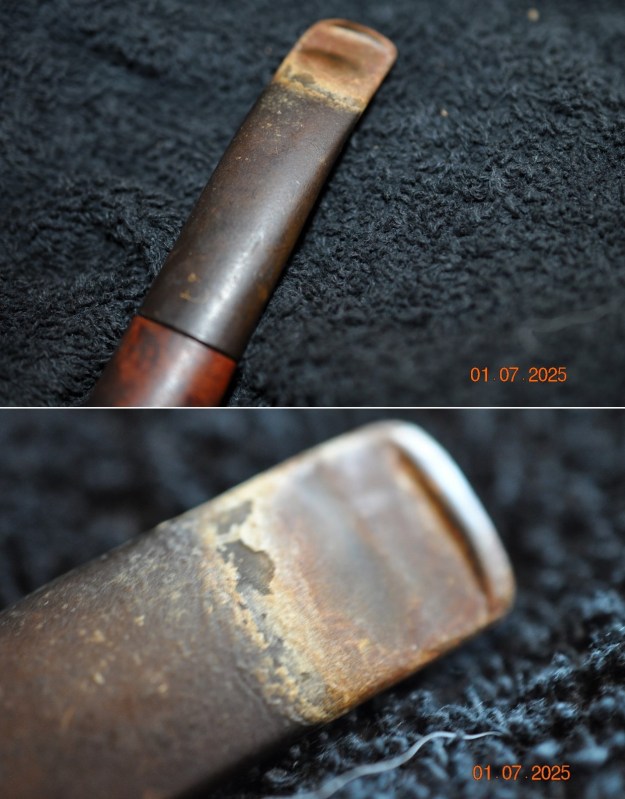
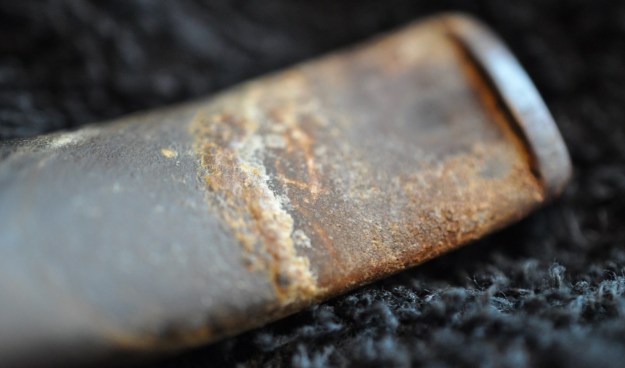
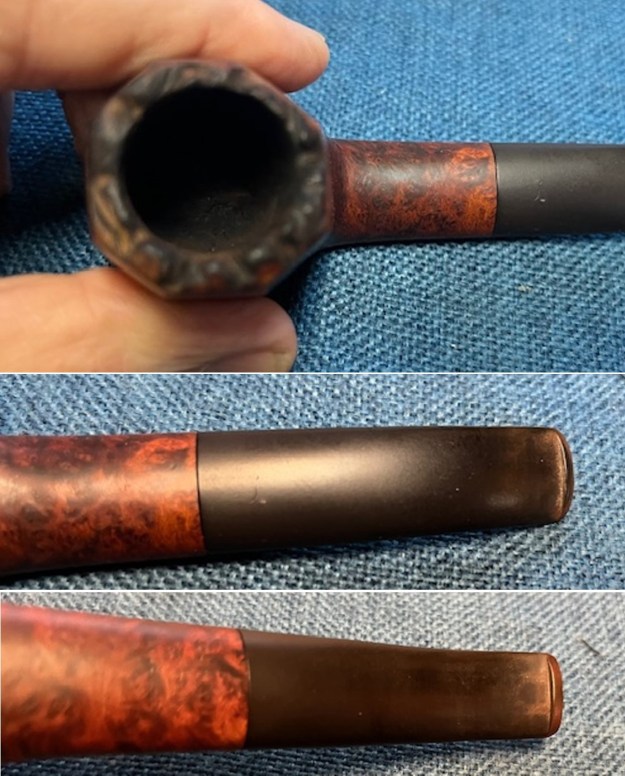
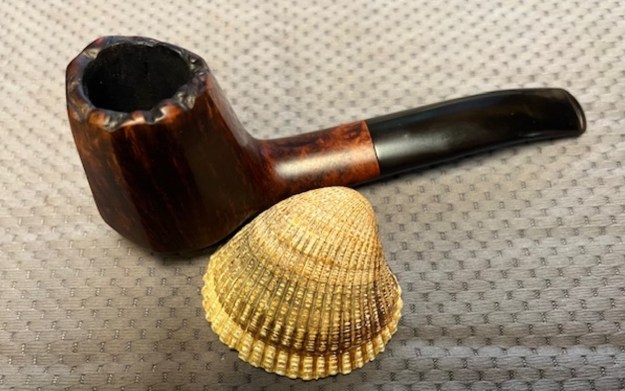
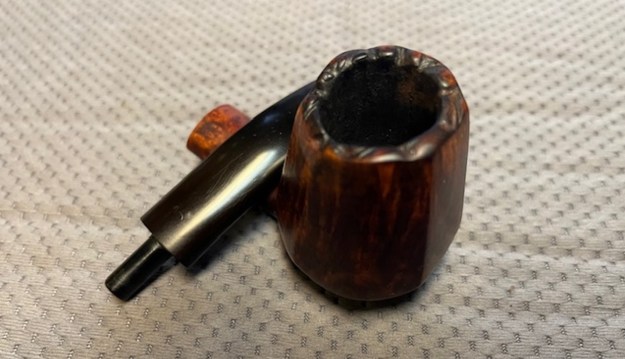
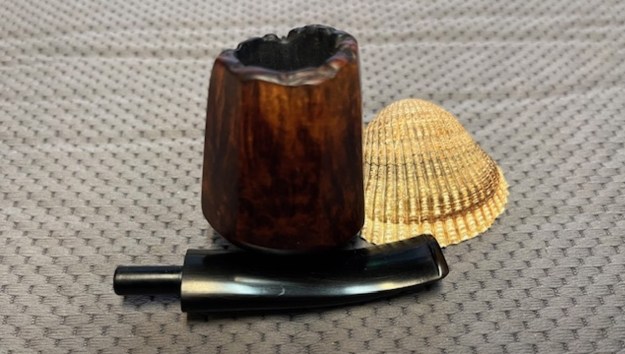
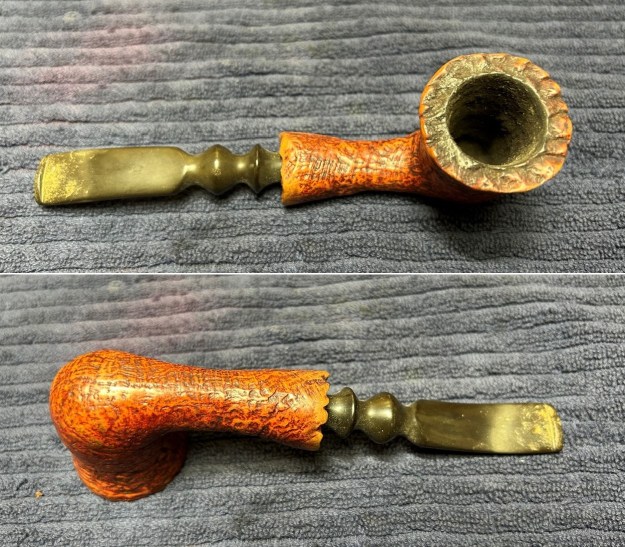
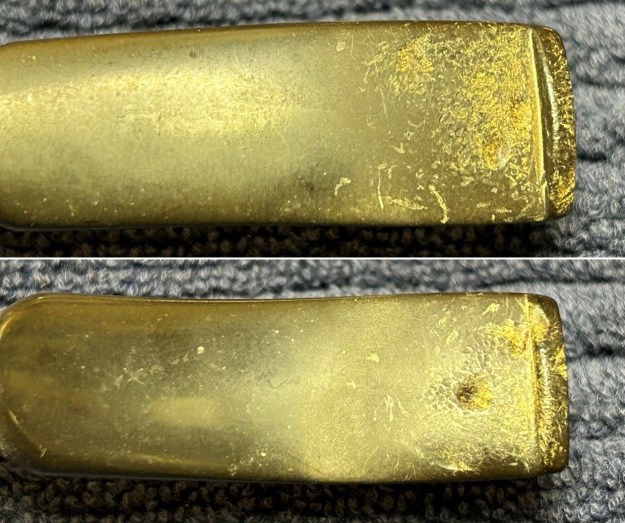
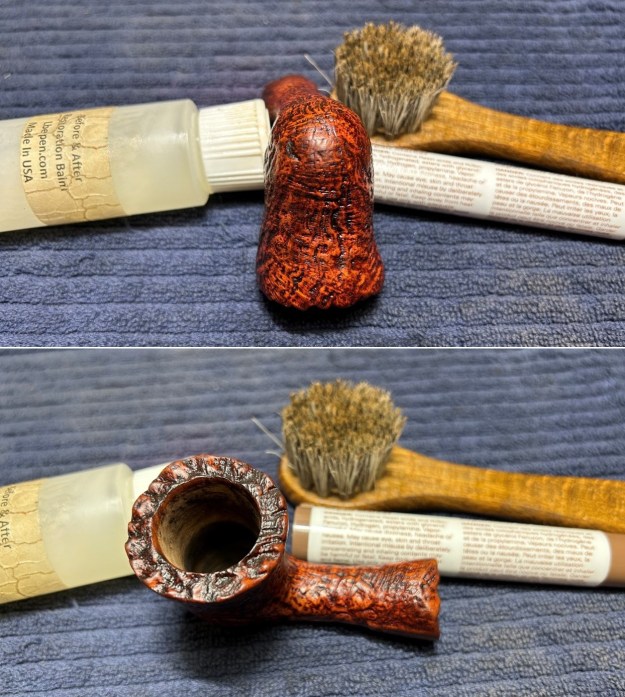
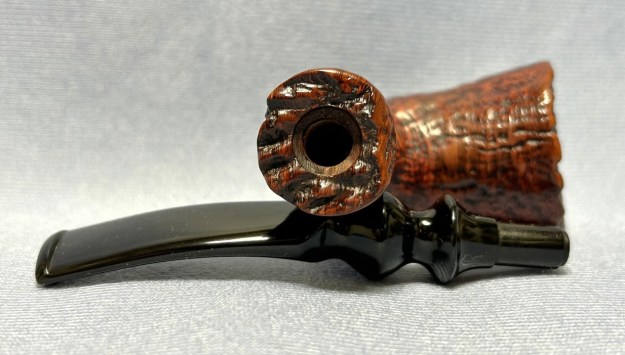
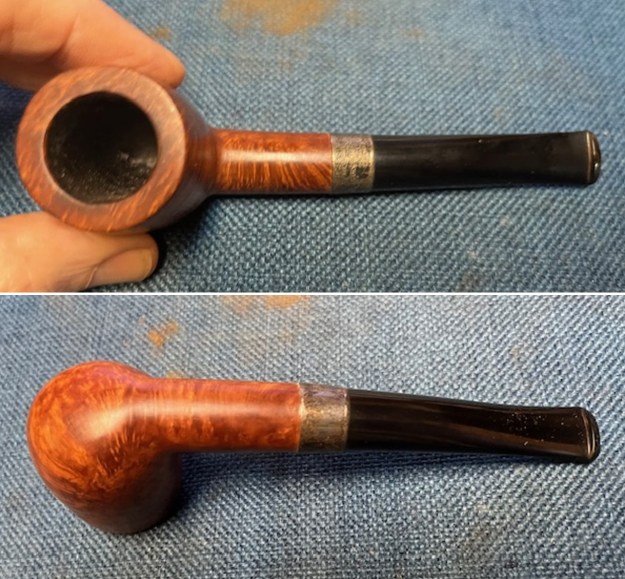
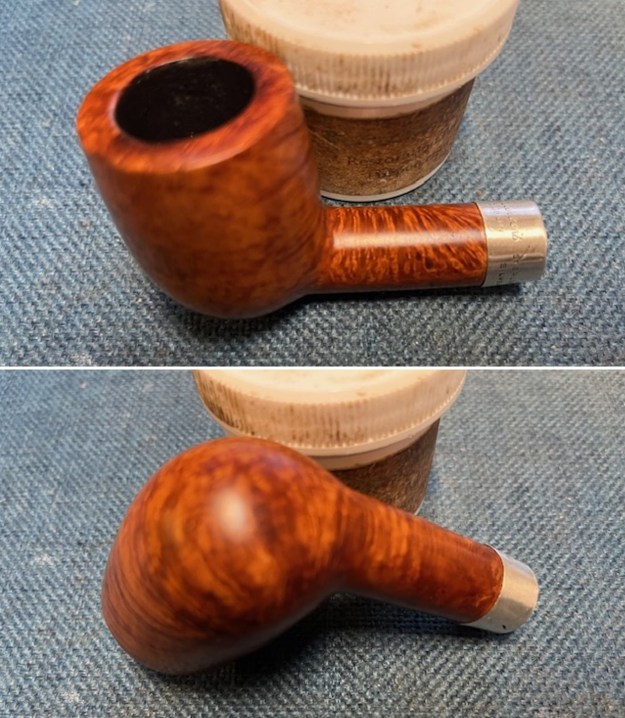
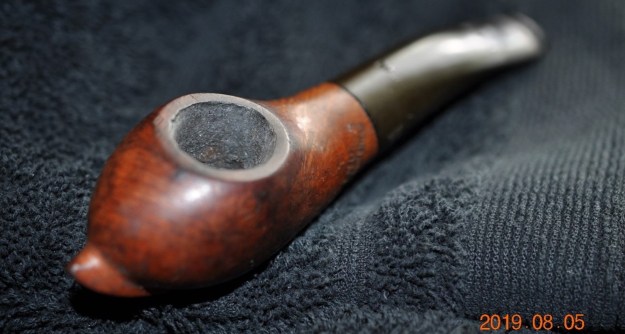
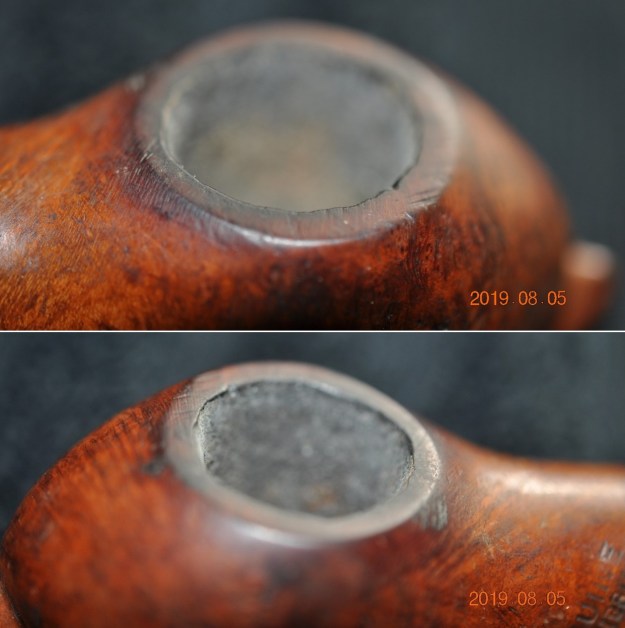
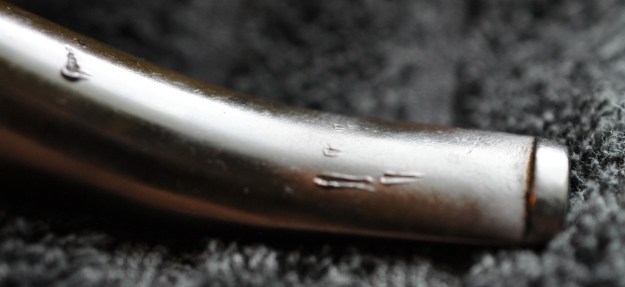
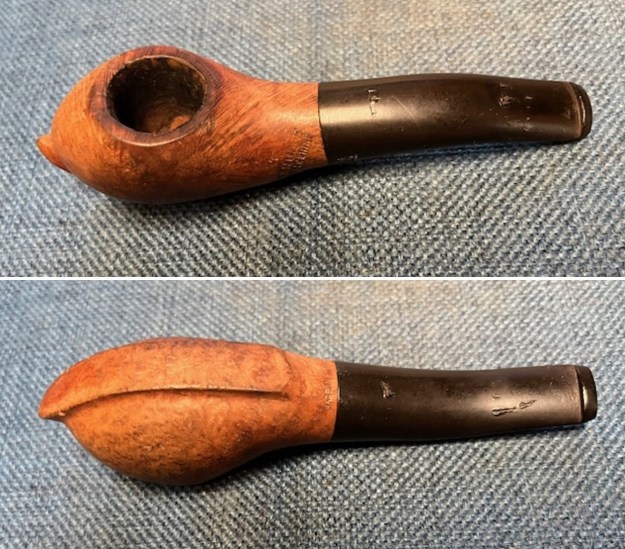
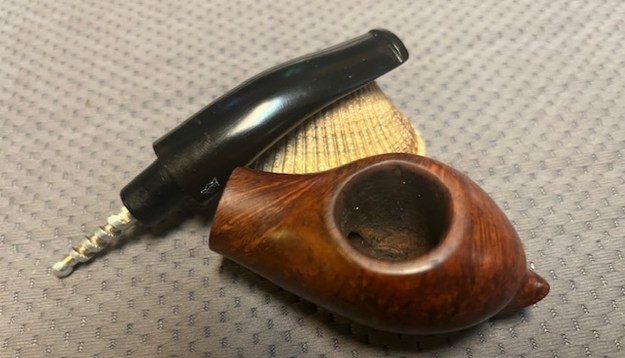
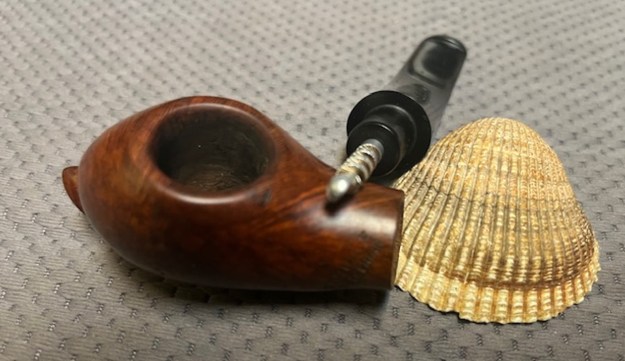
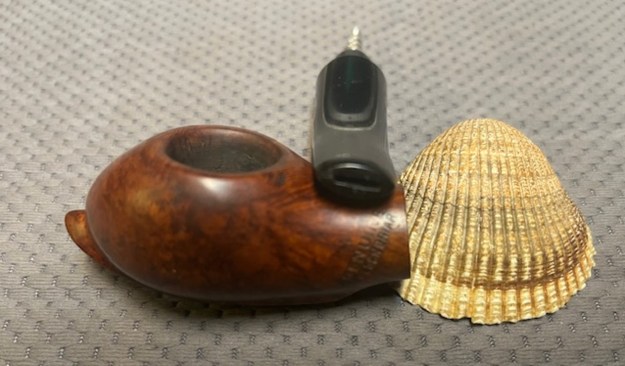
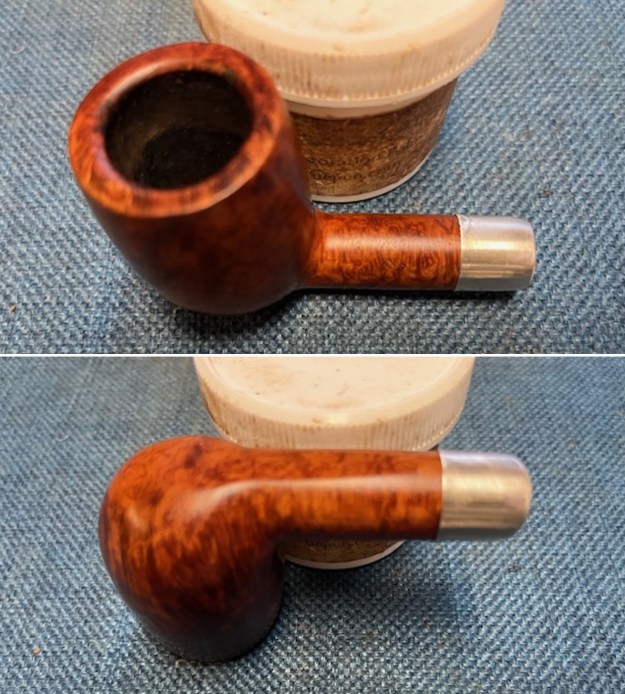
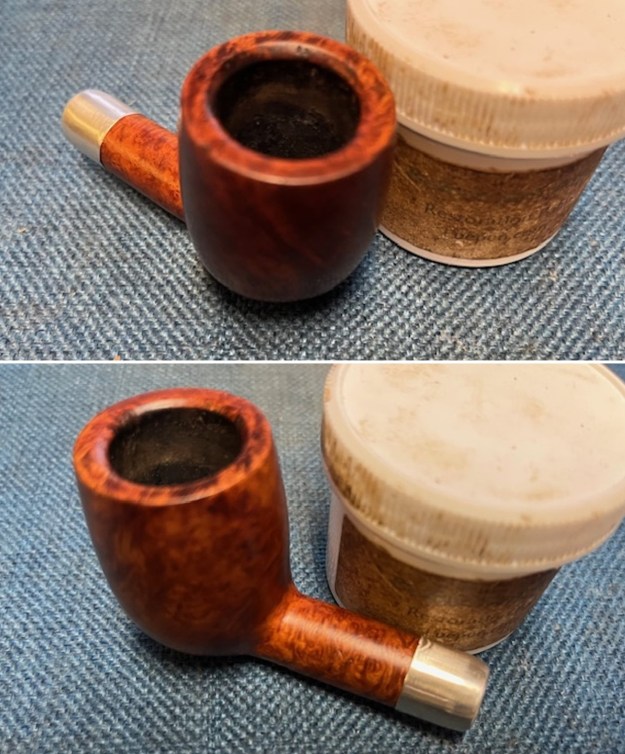
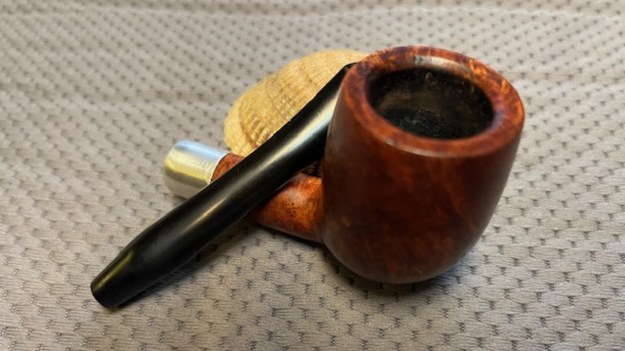
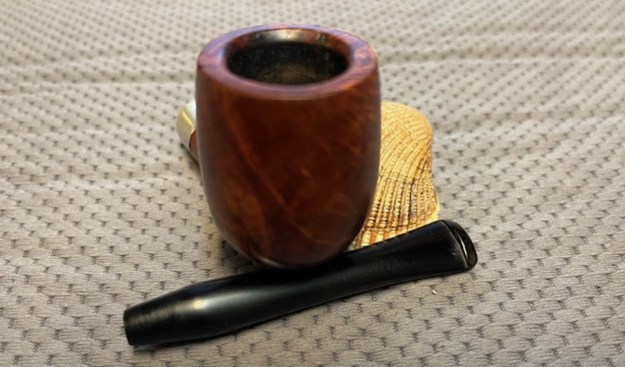
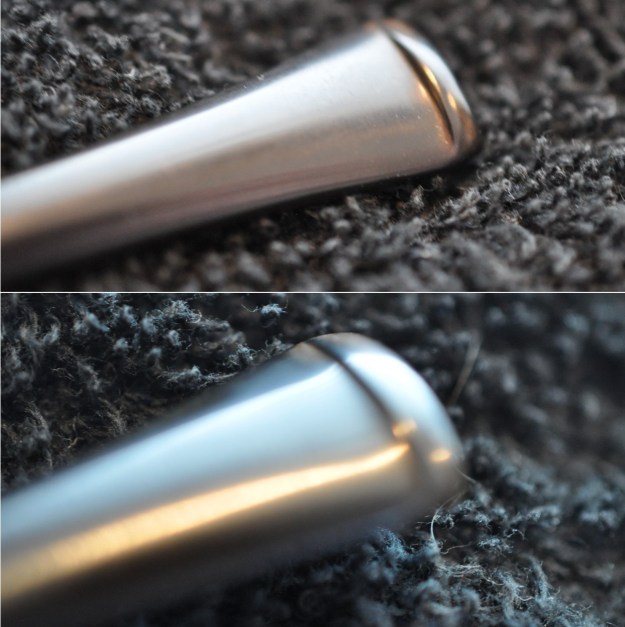
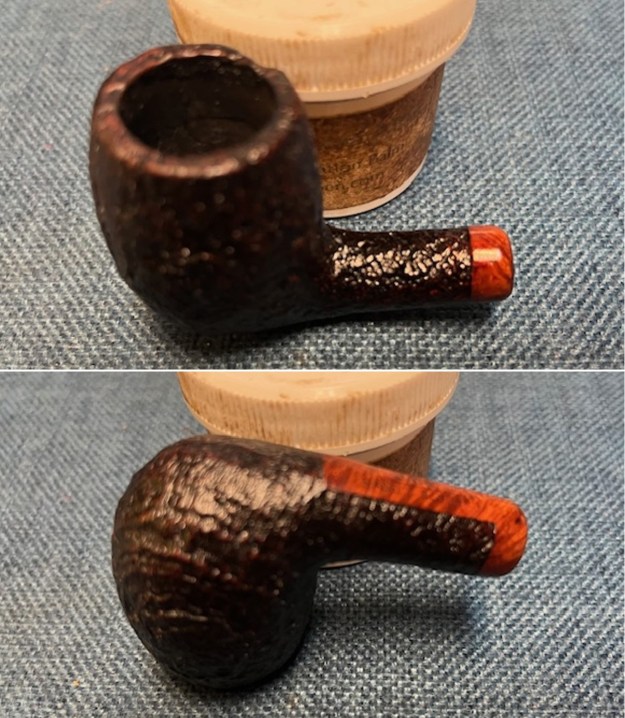
 Jeff took photos of the rim top and stem to show the general condition of the pipe. The bowl is heavily caked and there was lava on the rim top and the inner edge. The stem was lightly oxidized, calcified and had some tooth marks and chatter. It should cleanup very well.
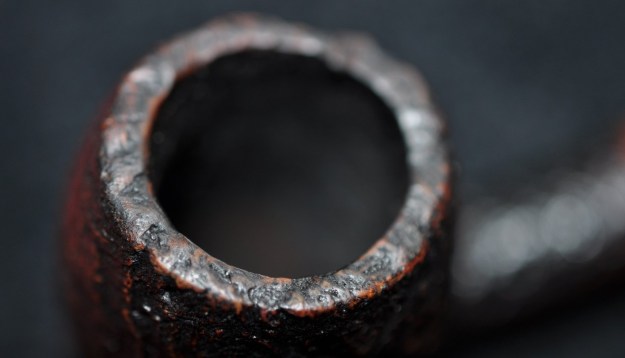
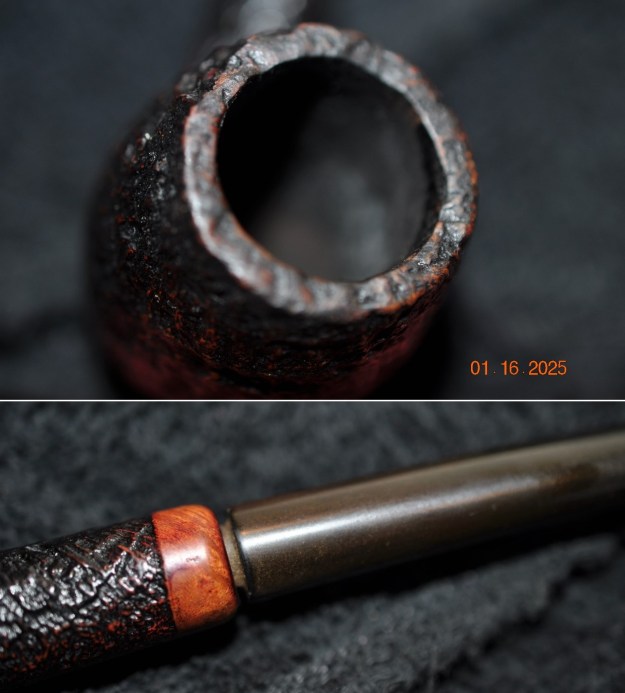
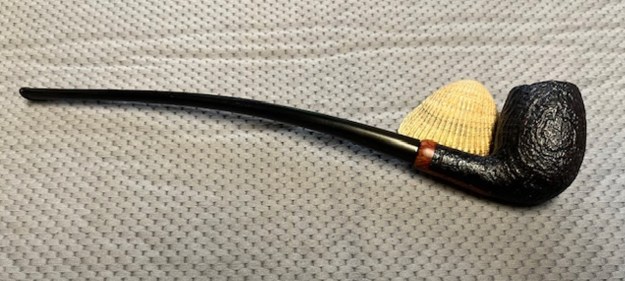
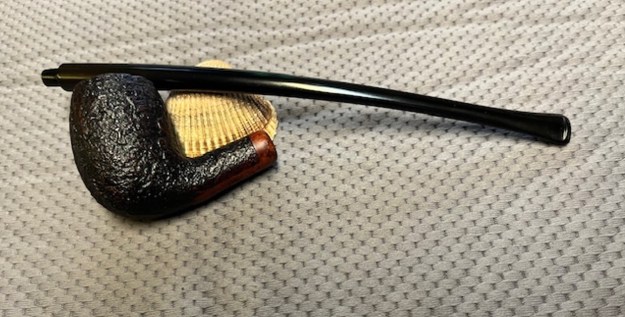
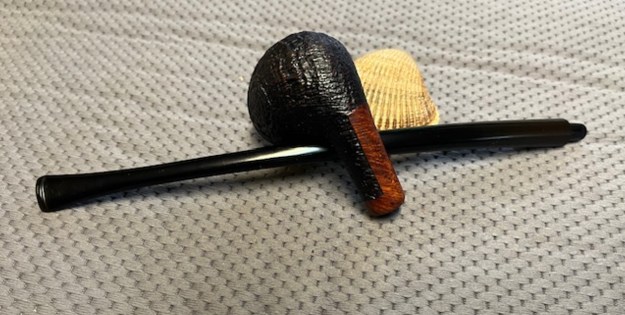
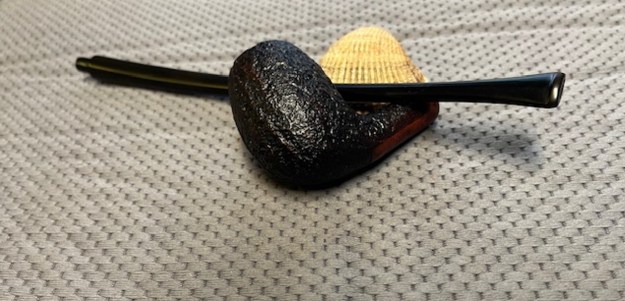
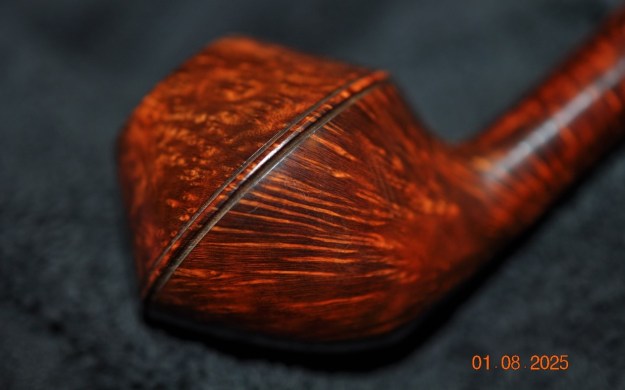
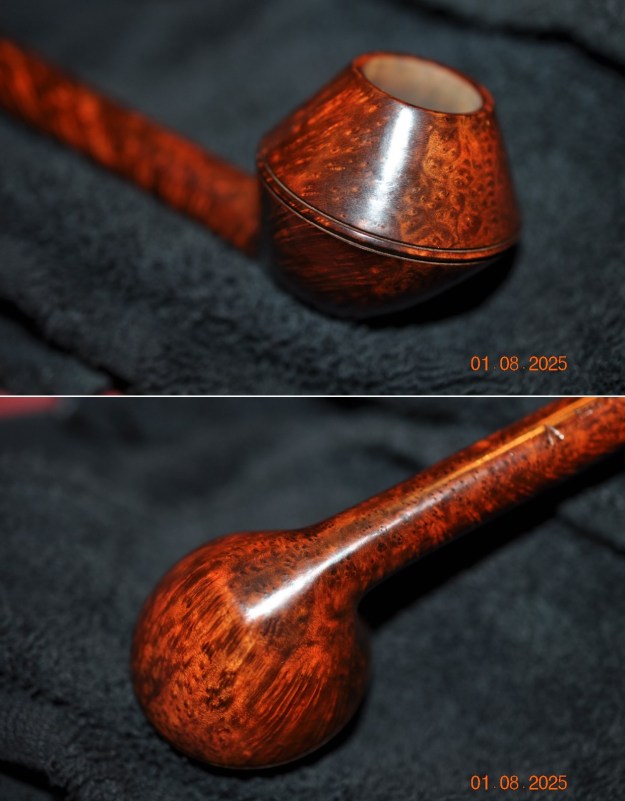
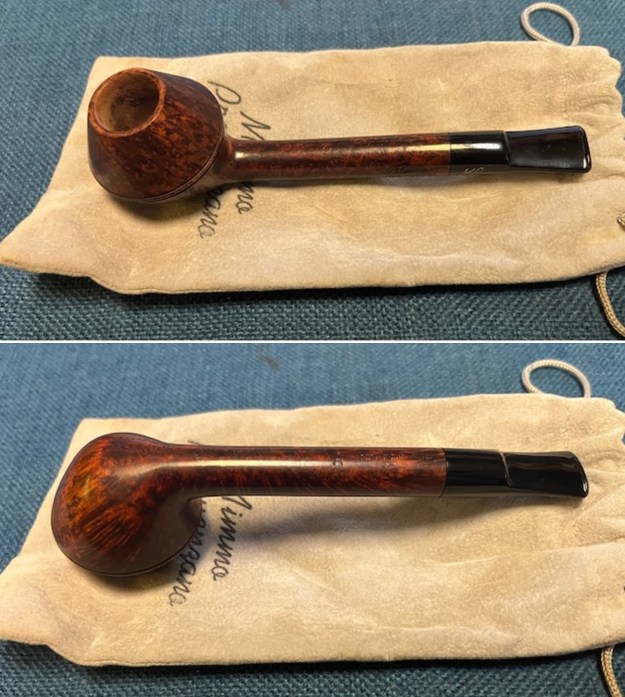
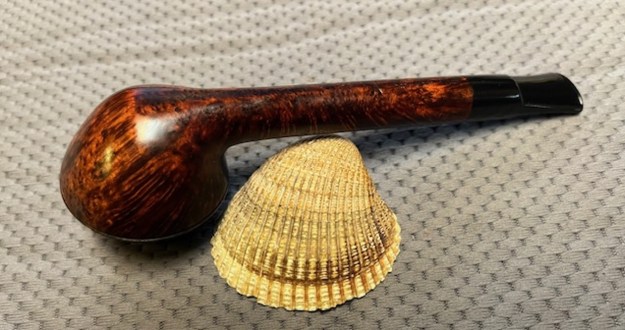
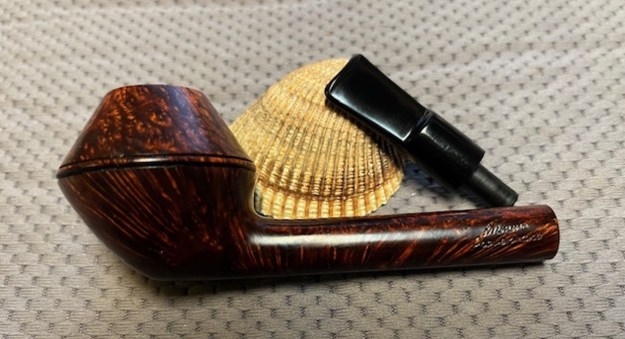
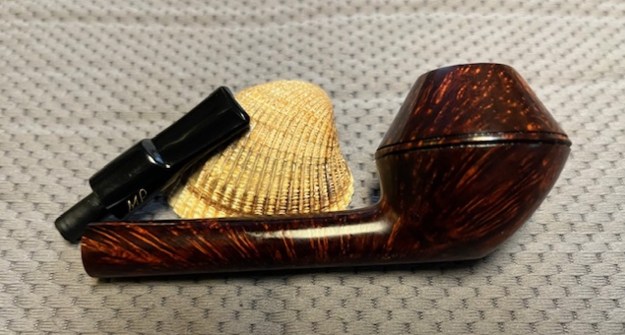
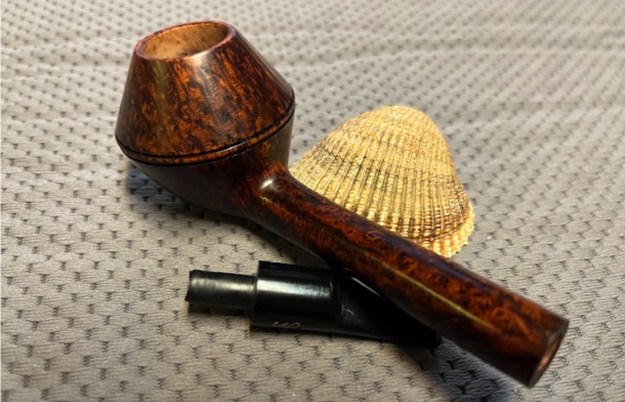
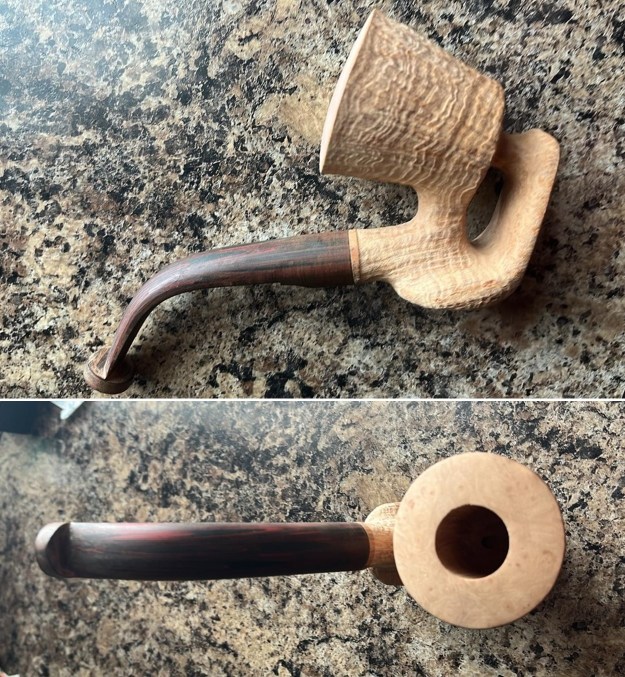
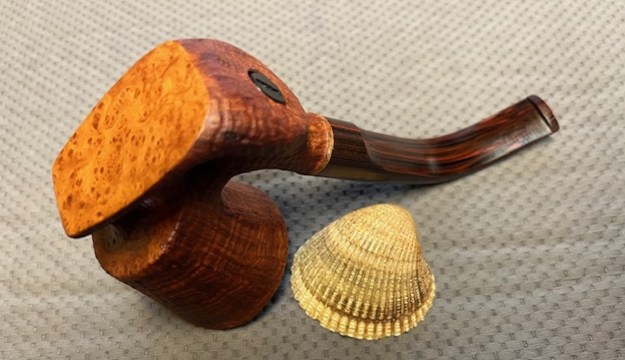
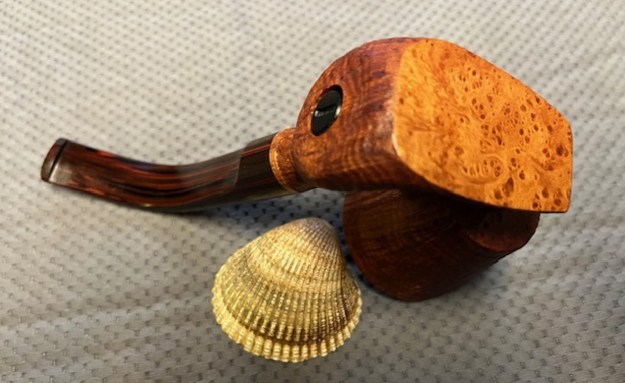
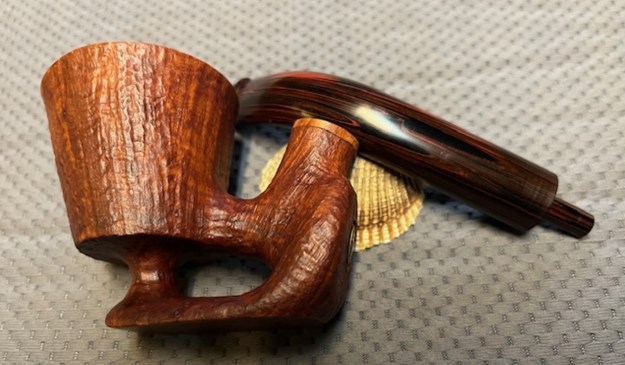
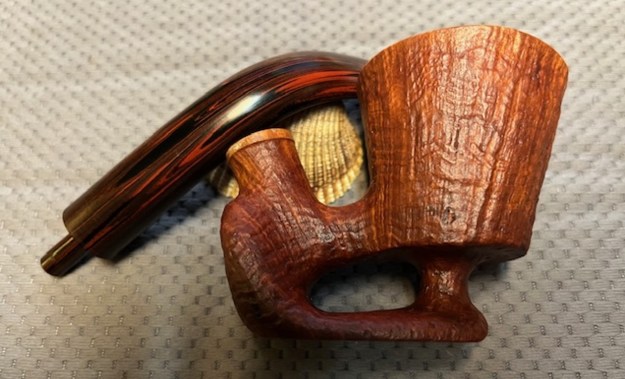
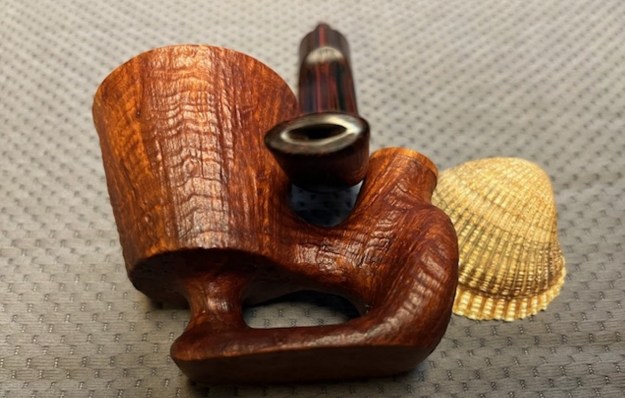
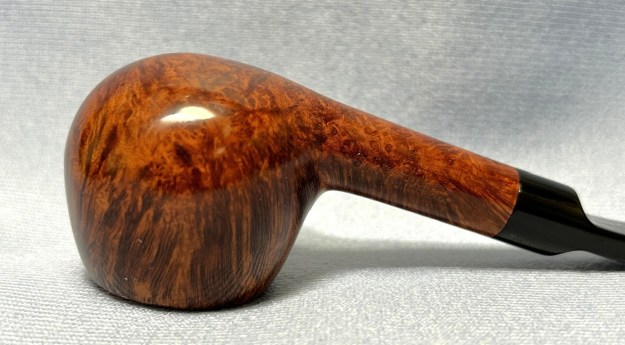
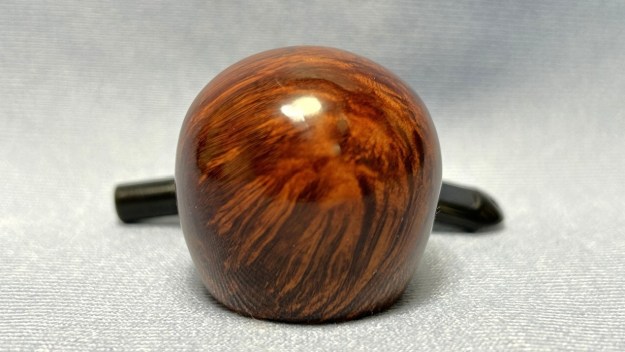
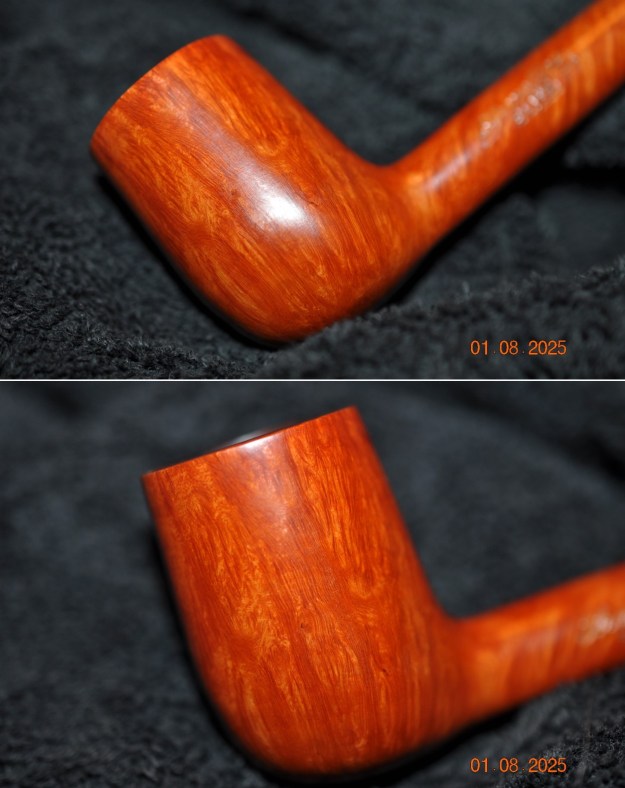
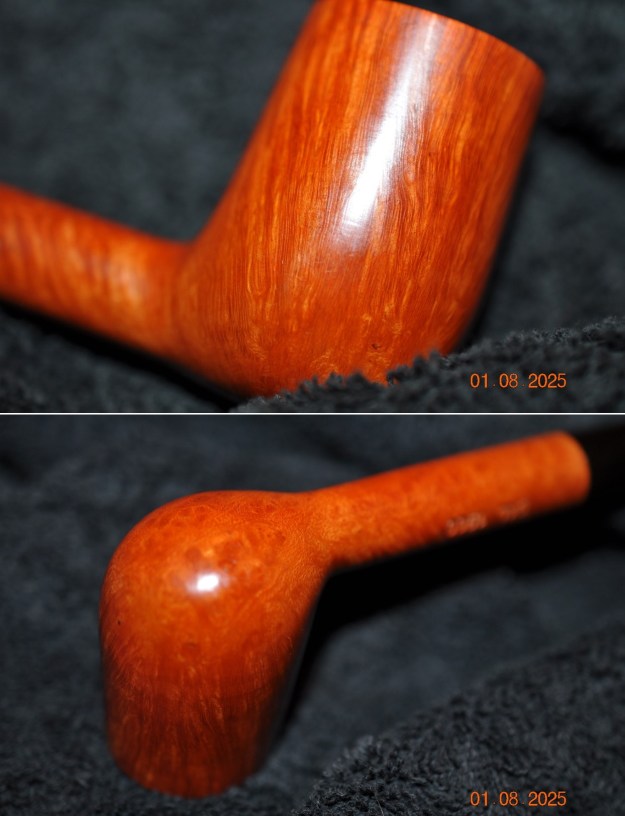
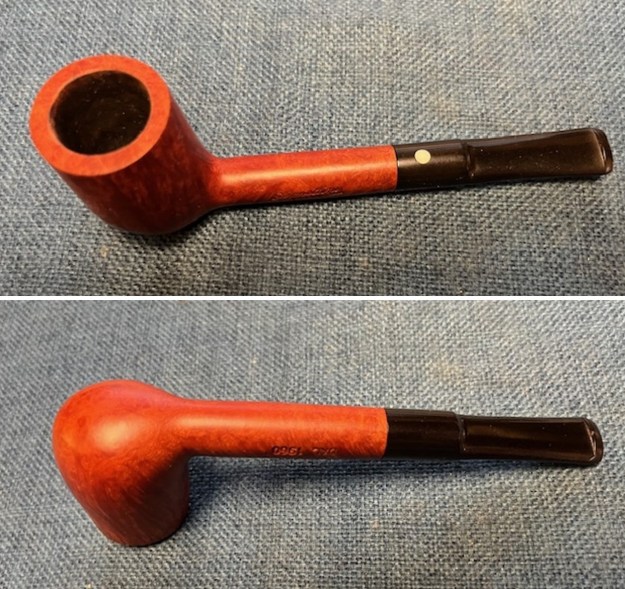
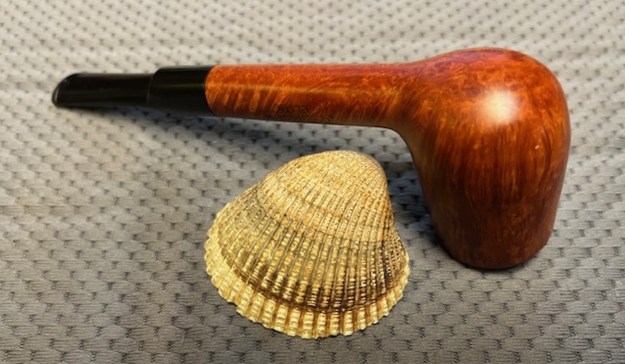
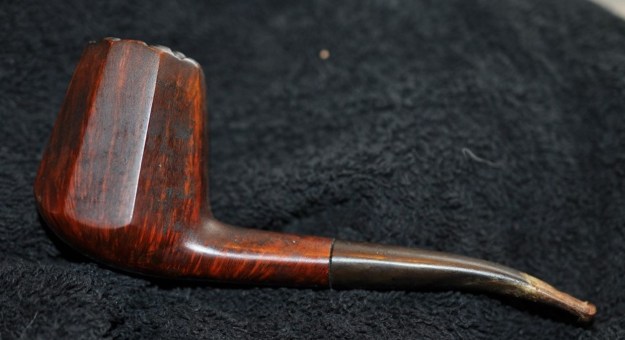
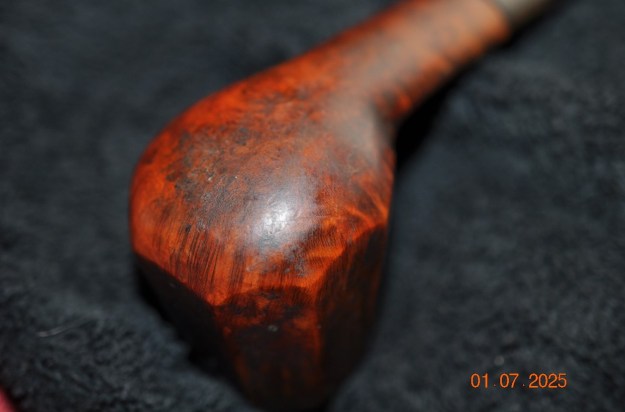
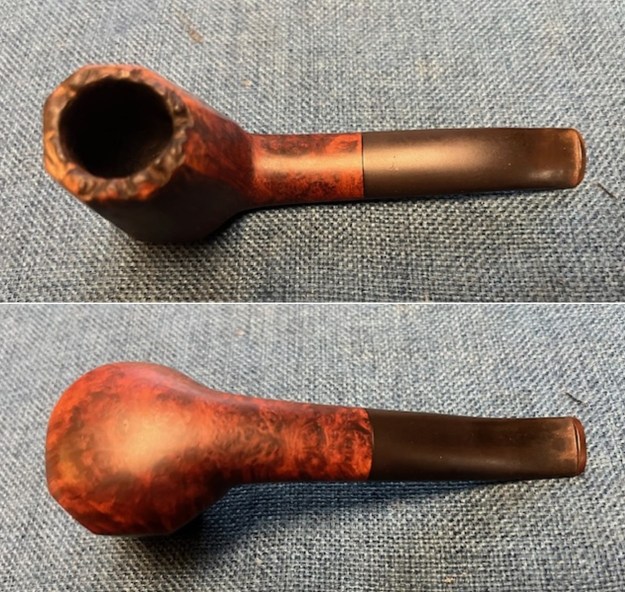
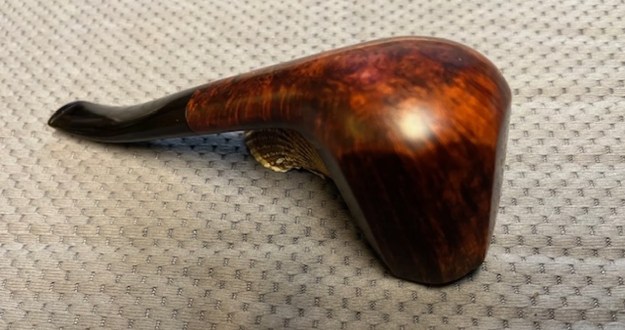
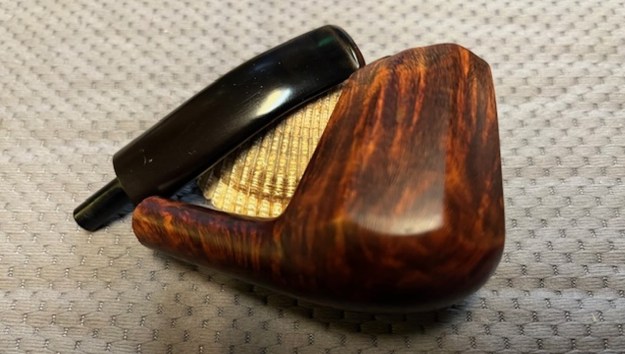
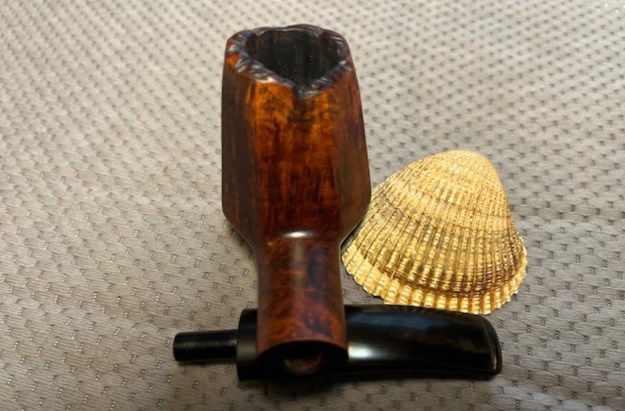
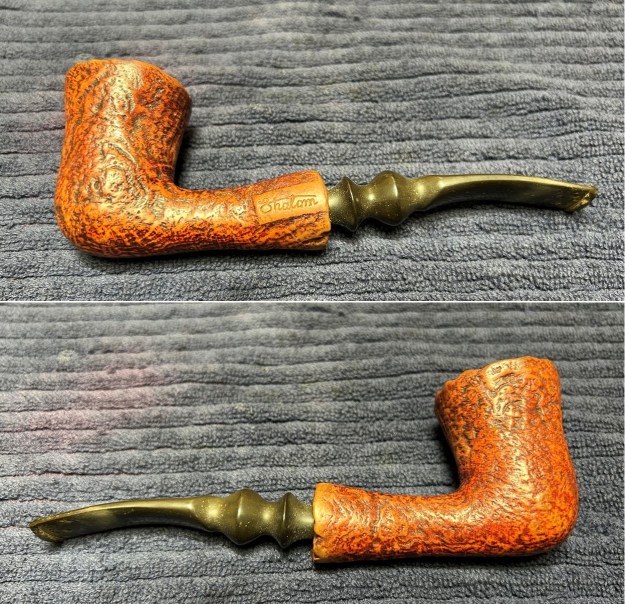
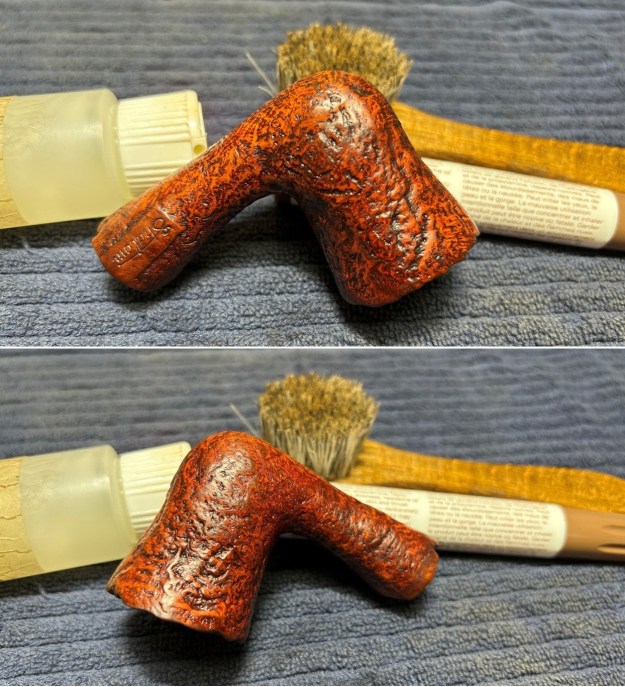
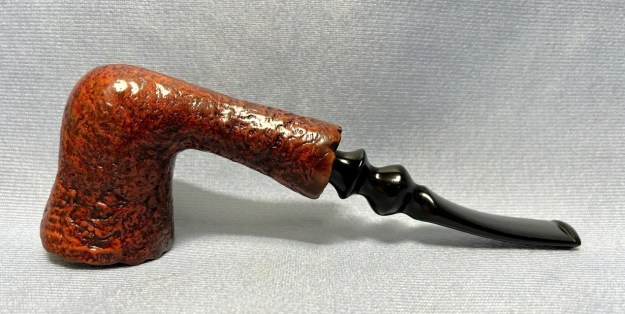
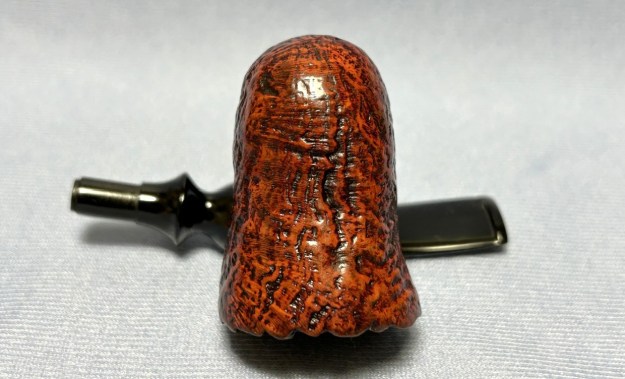
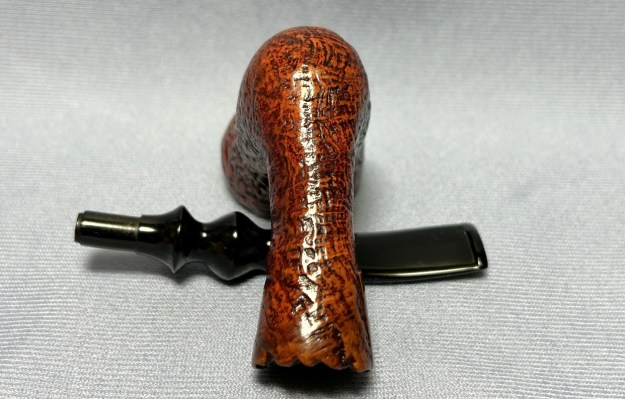
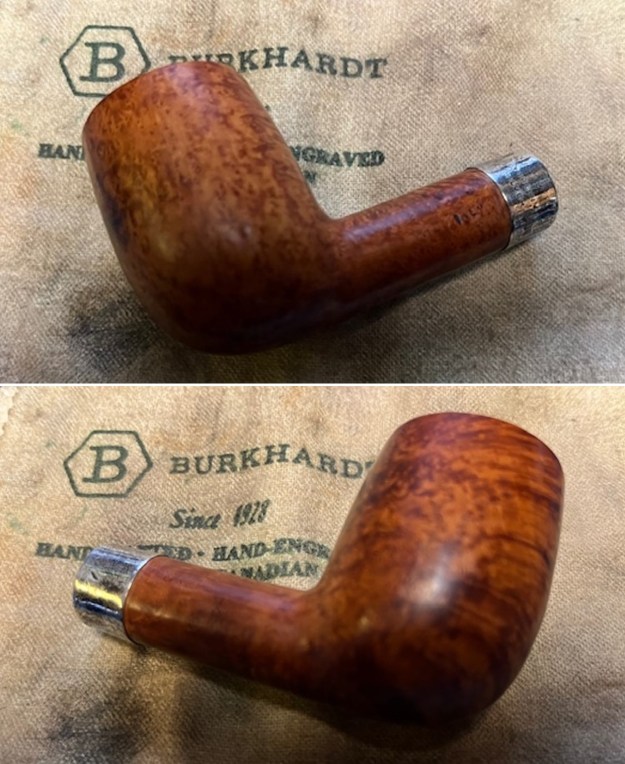
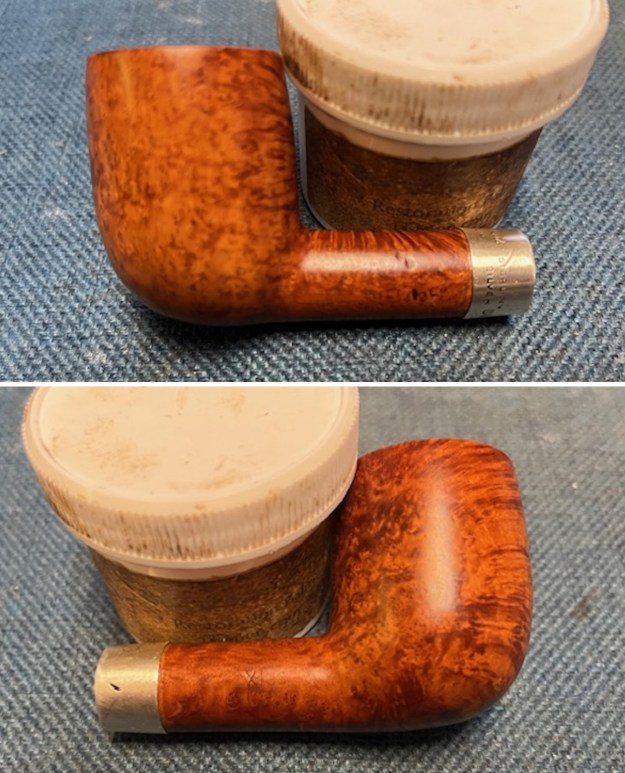
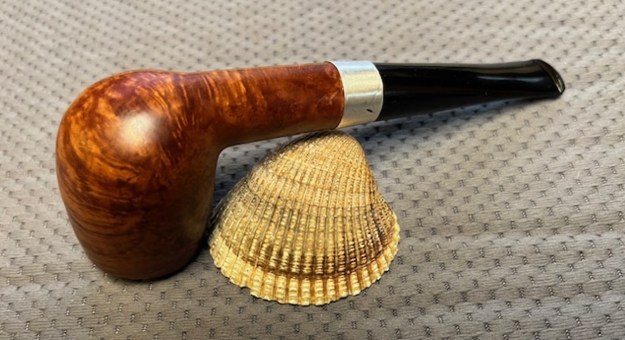
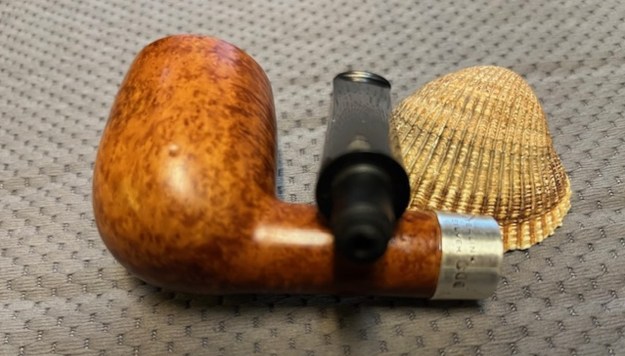
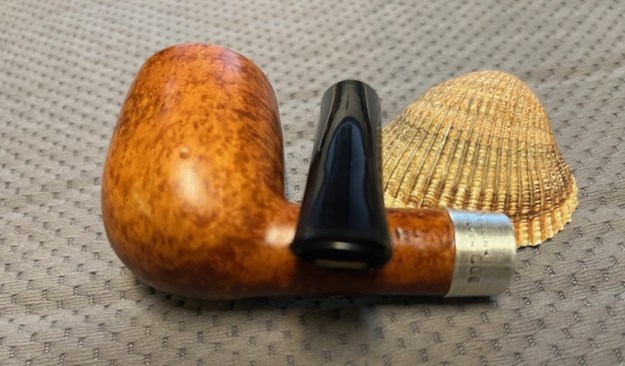
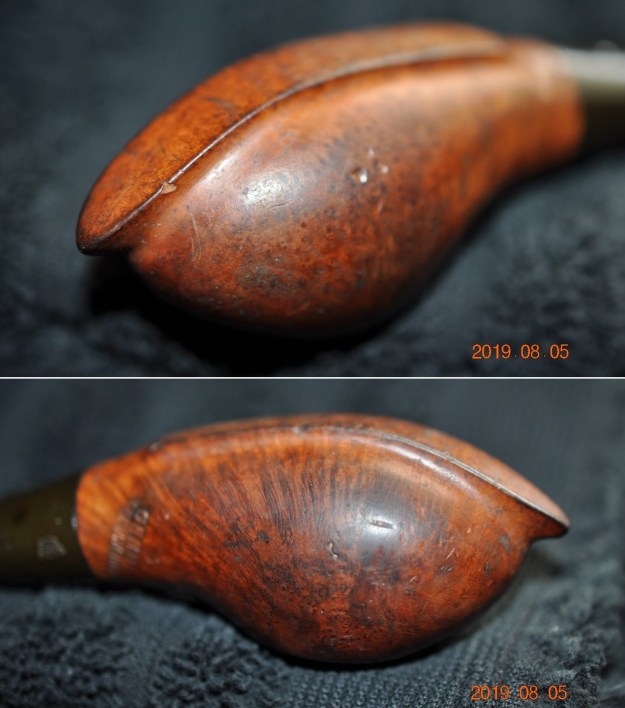
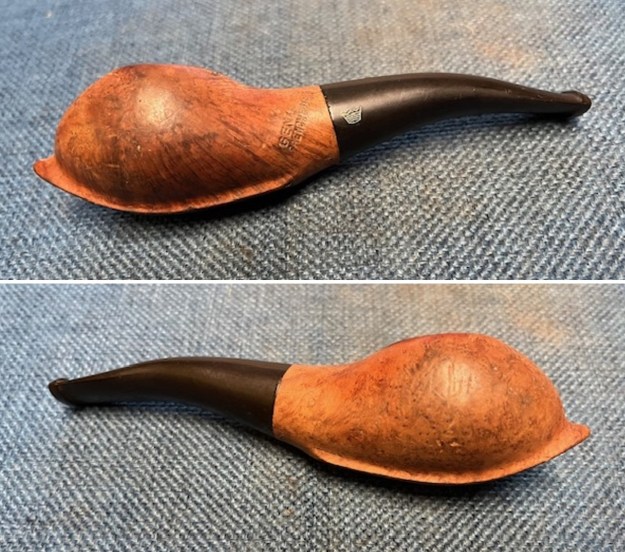
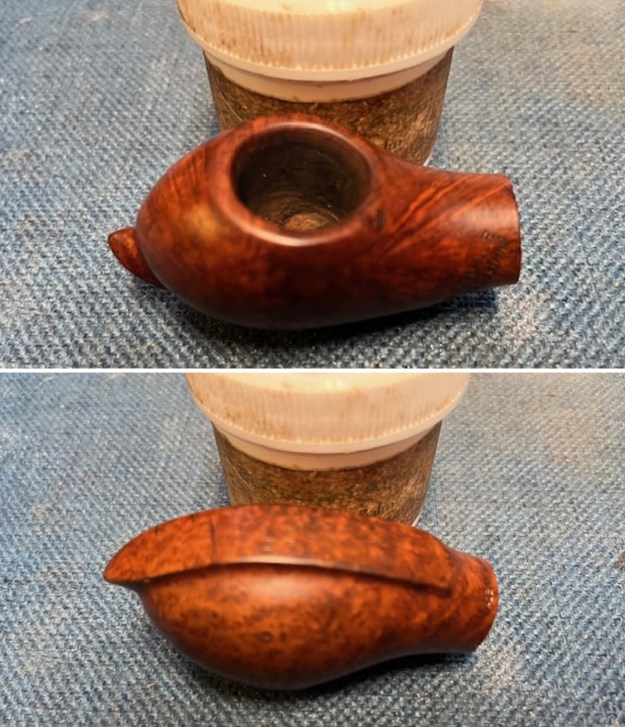
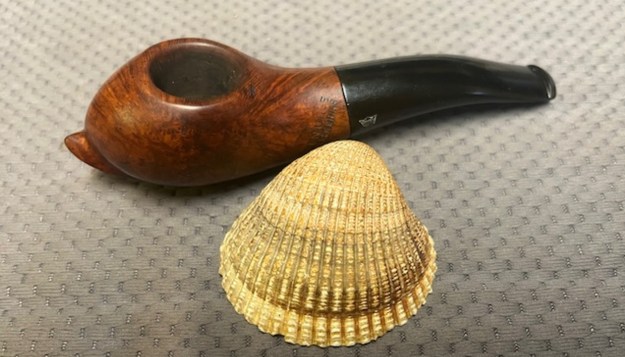
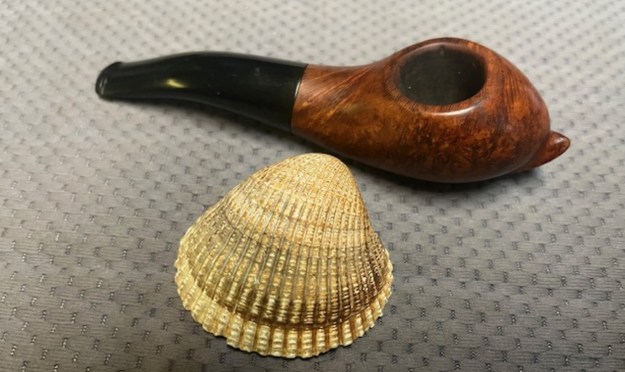
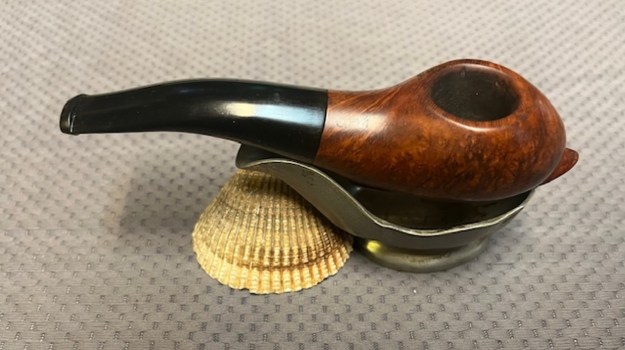
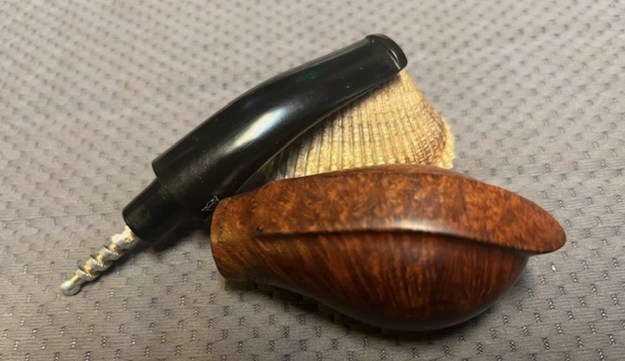
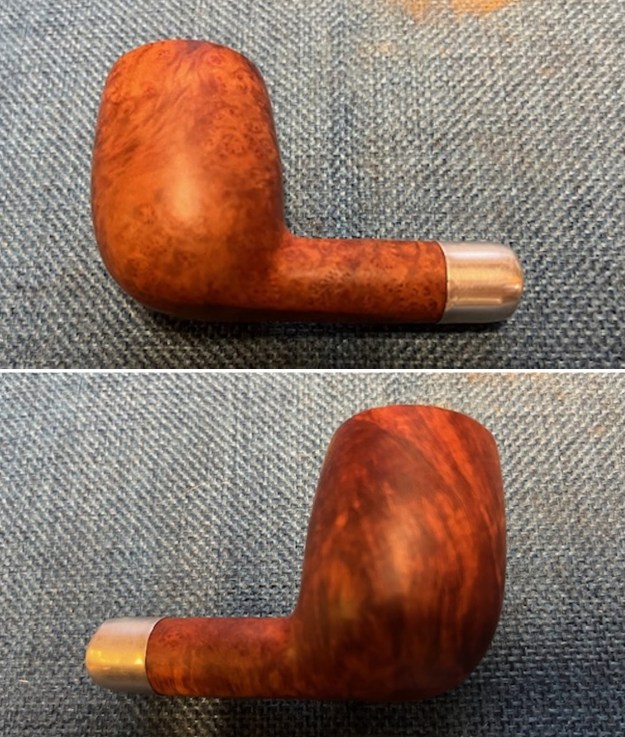
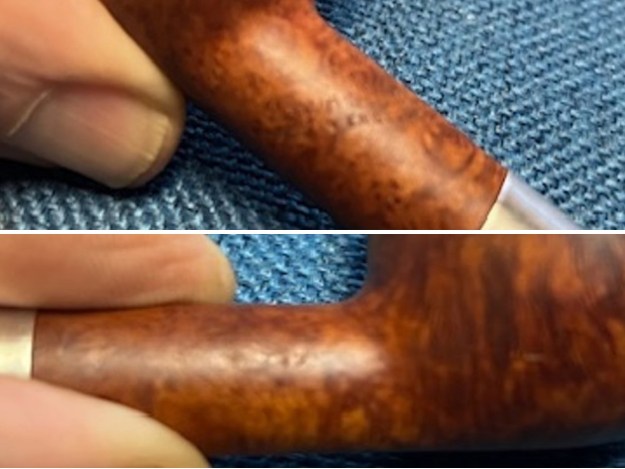
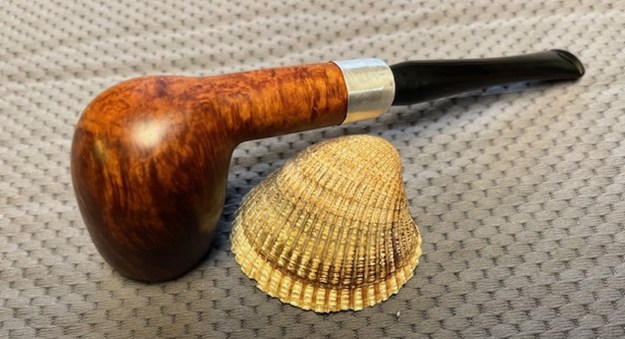
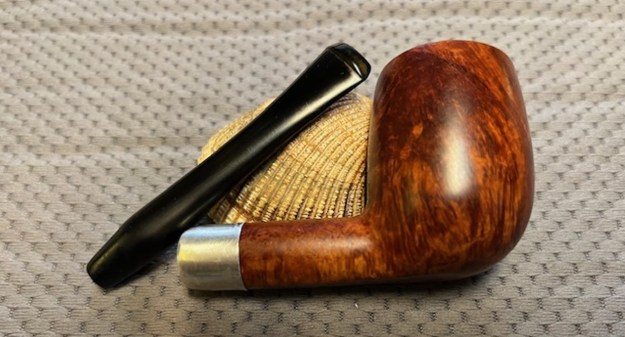
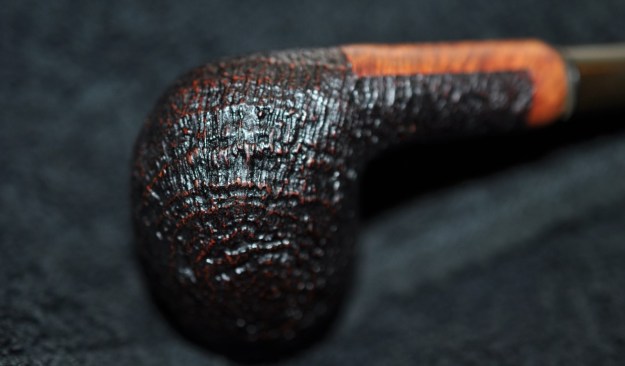
 Jeff took photos of the bowl sides and heel to show the smooth rim top, left and right bowl sides along with the beautiful blast that was around this bowl even though the grime on the finish hides it some. The pipe had obviously been well loved and cared for by the previous pipeman.
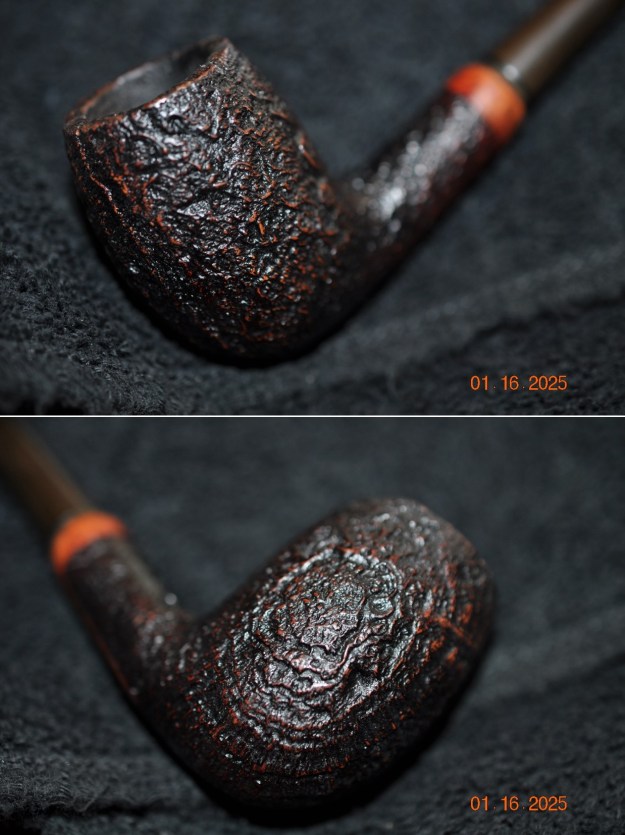
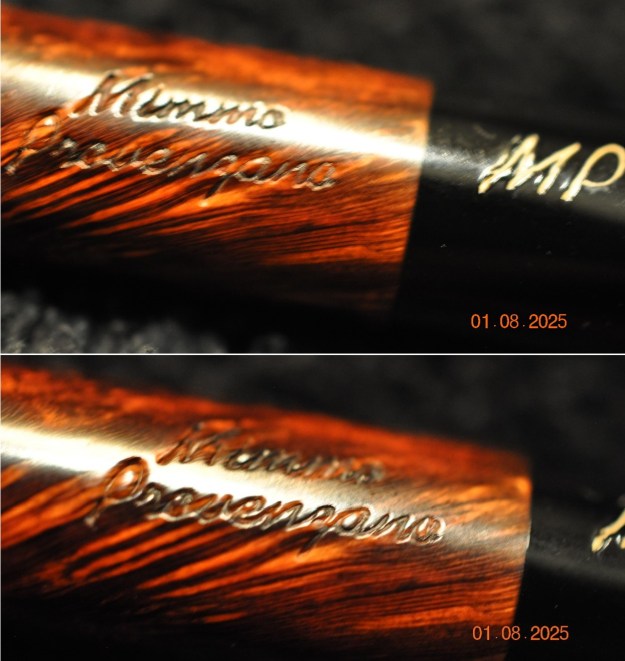
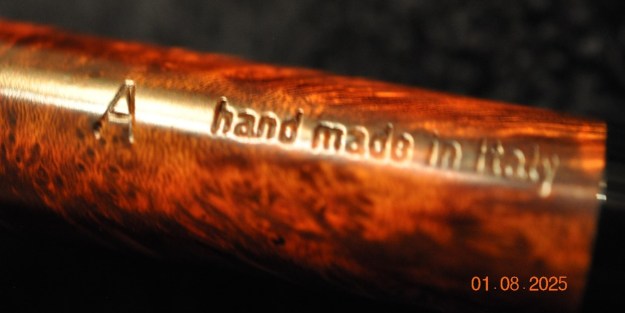
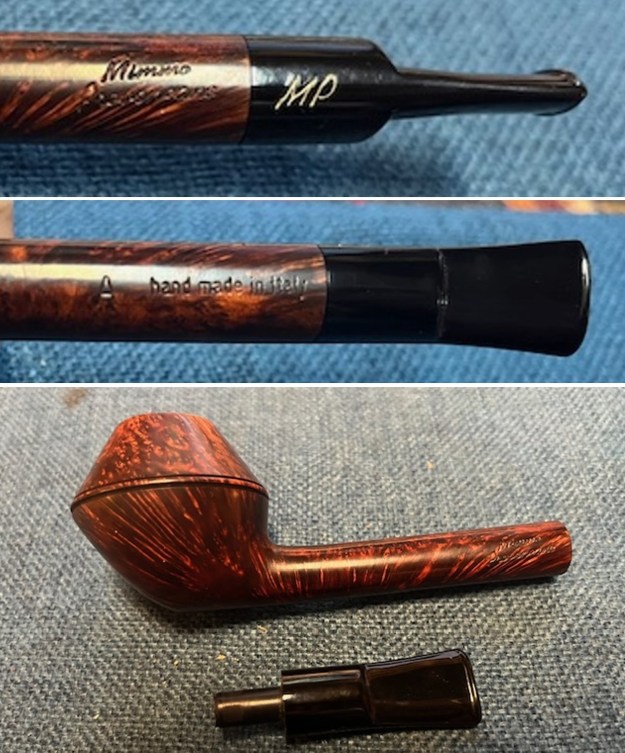
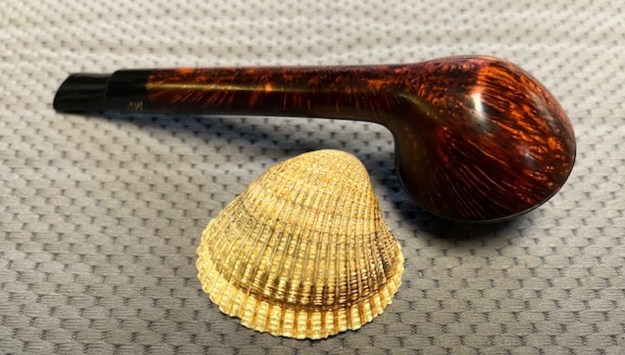
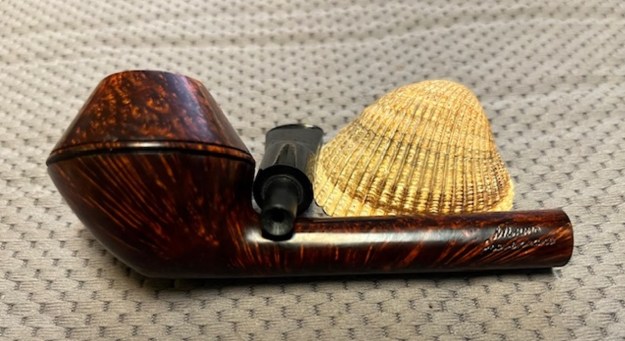
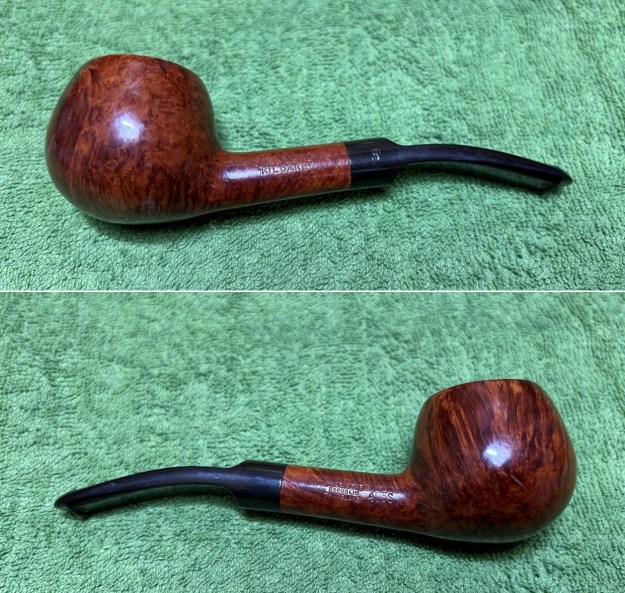
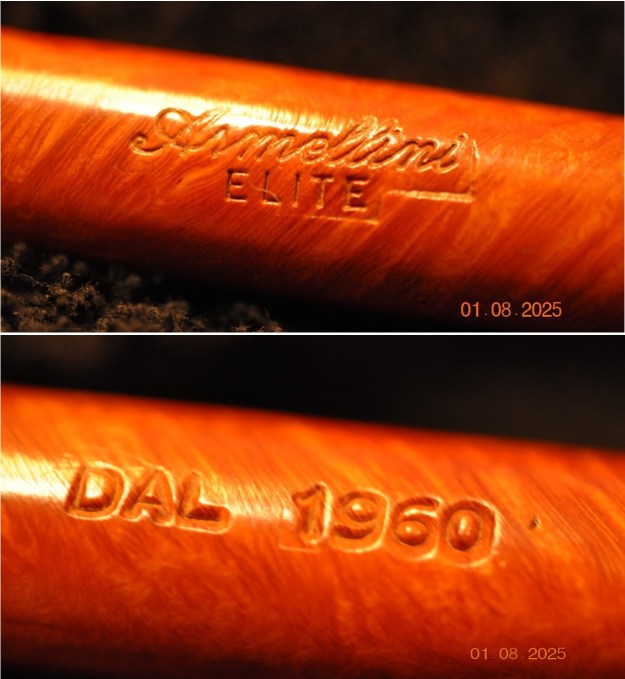
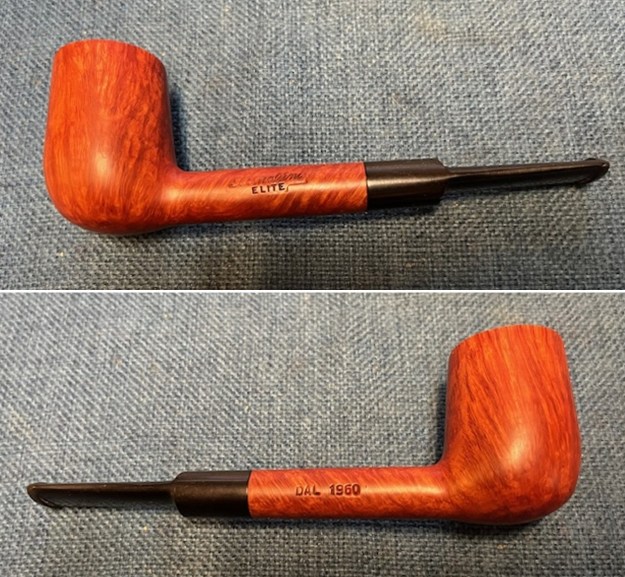
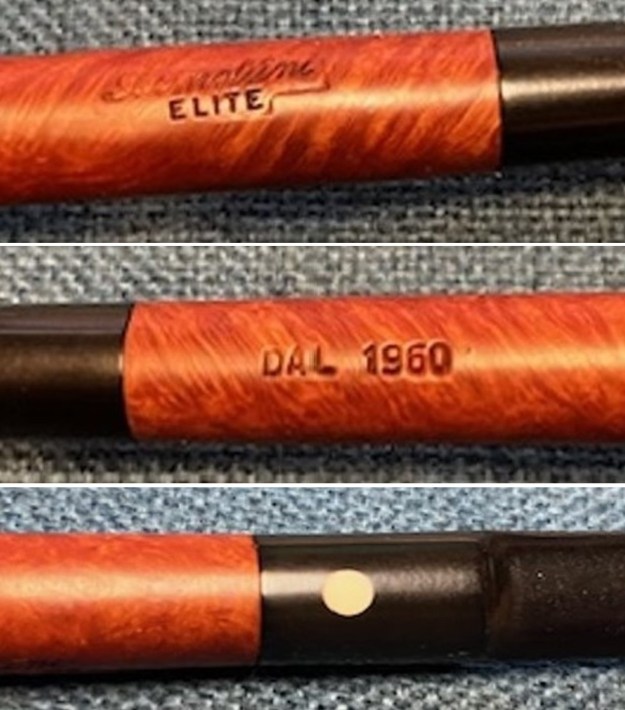
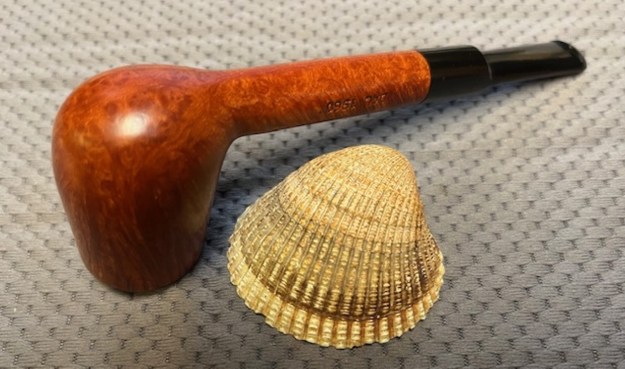
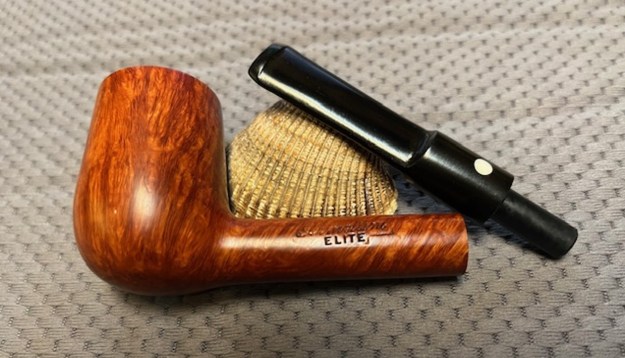
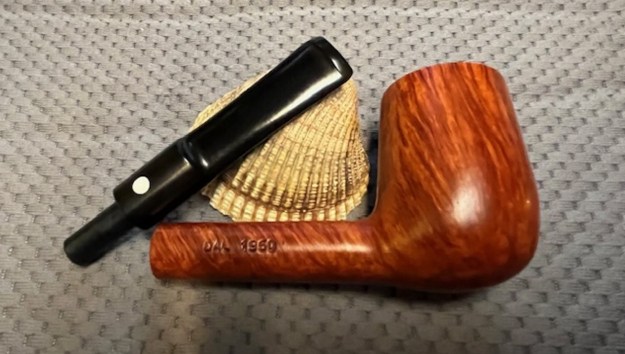
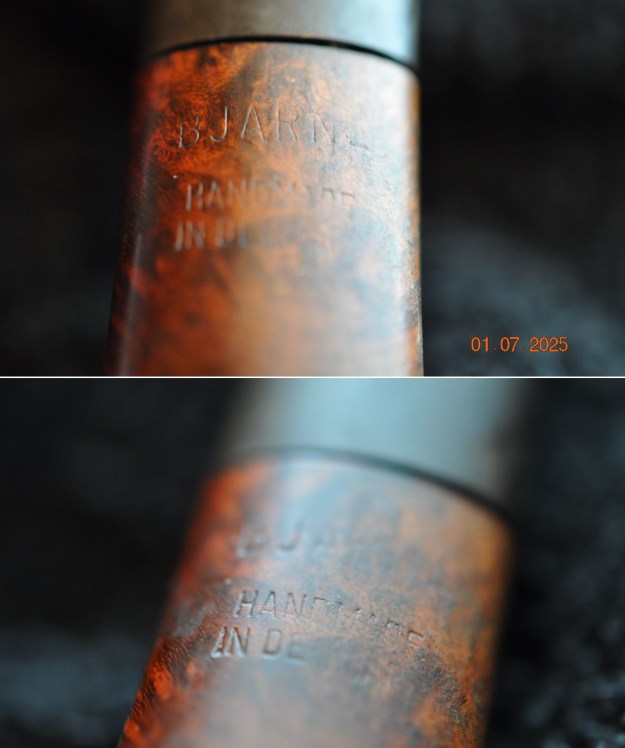
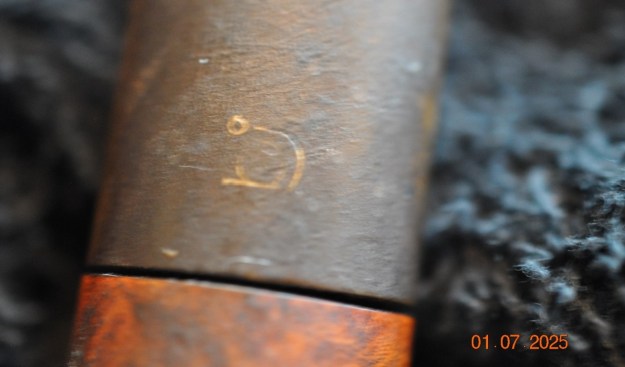
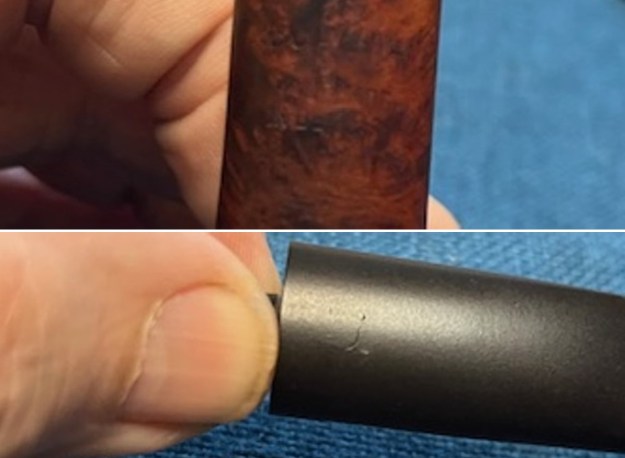
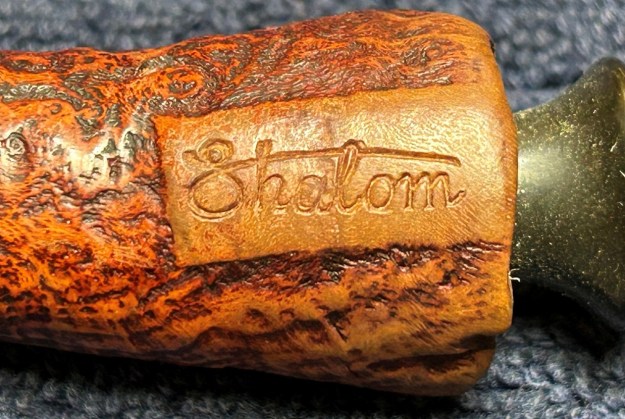
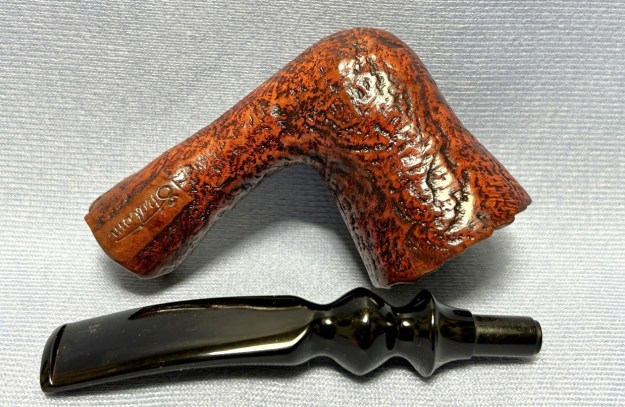
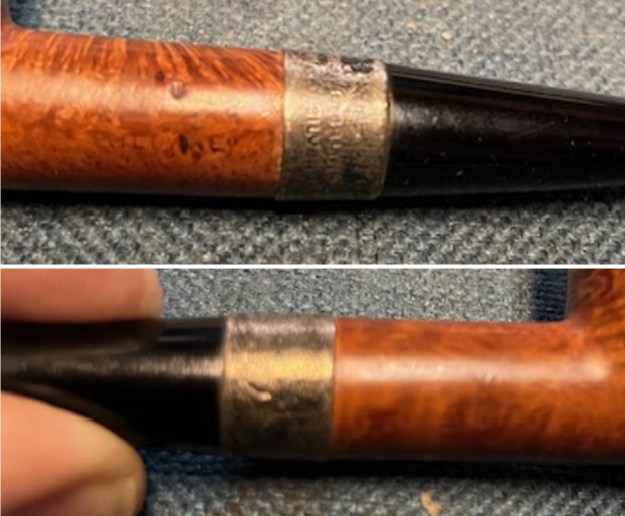
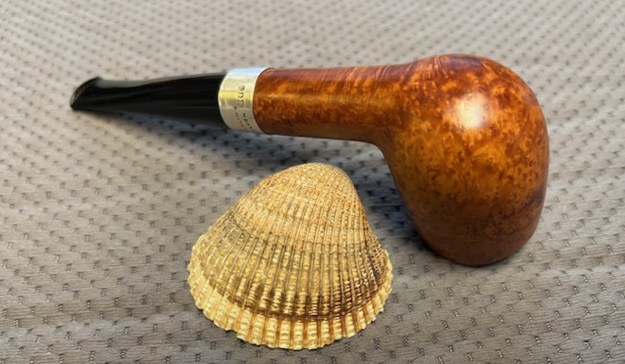
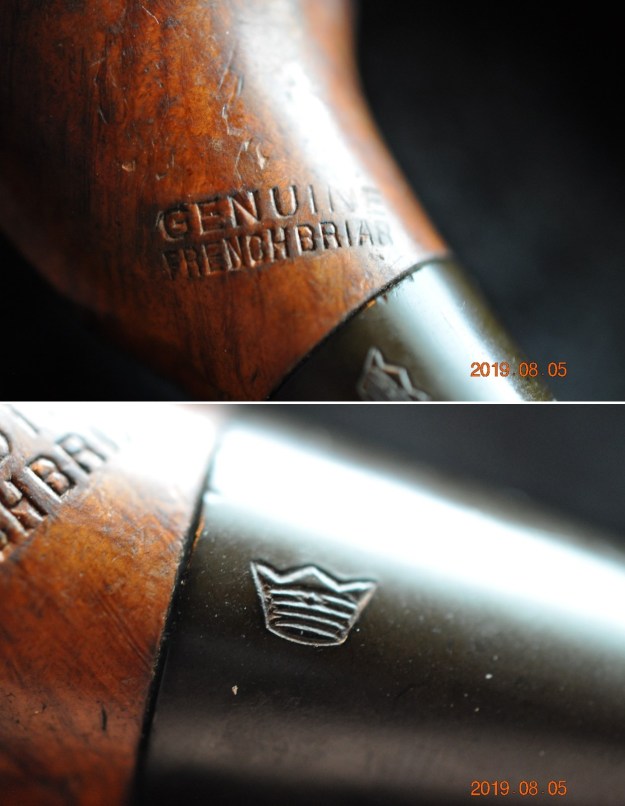
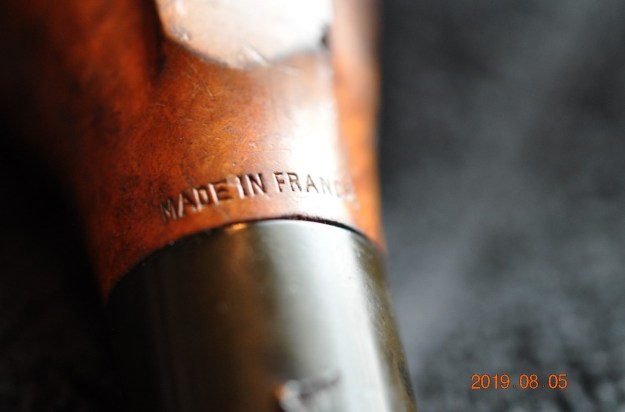
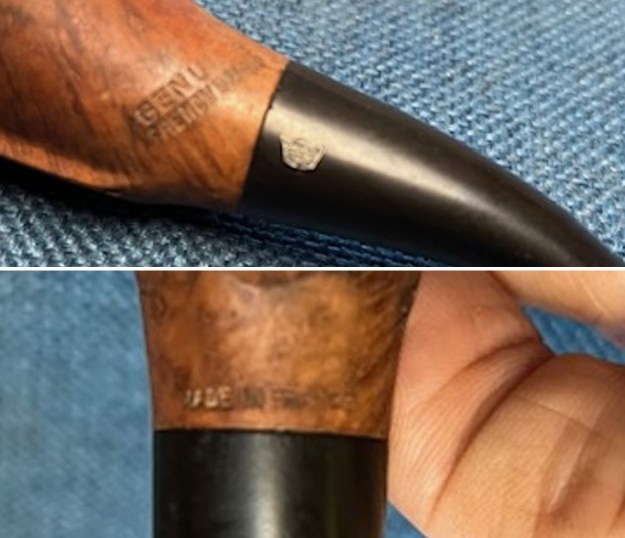
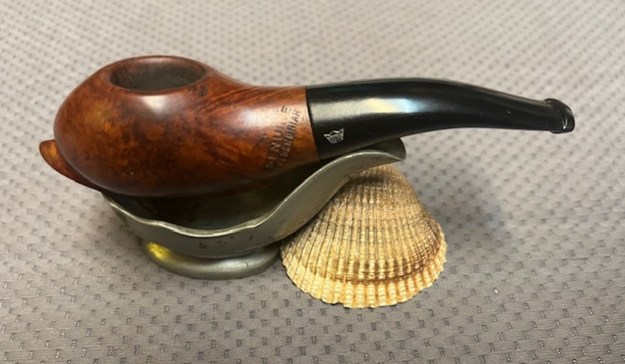
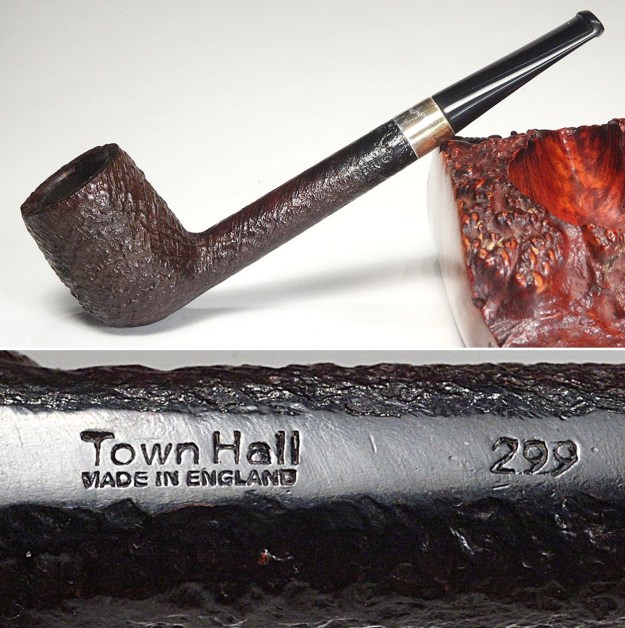
 He took photos of the sides of the shank to show the stamping. The stamping is clear and readable in the photos below as noted above.
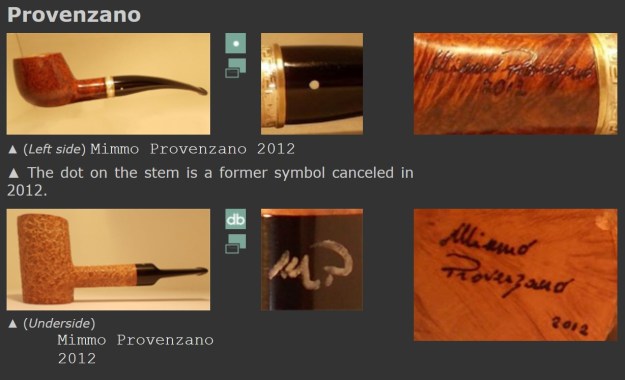
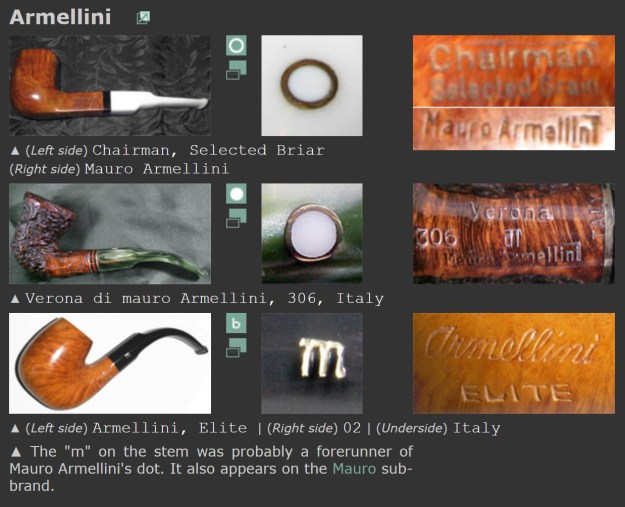
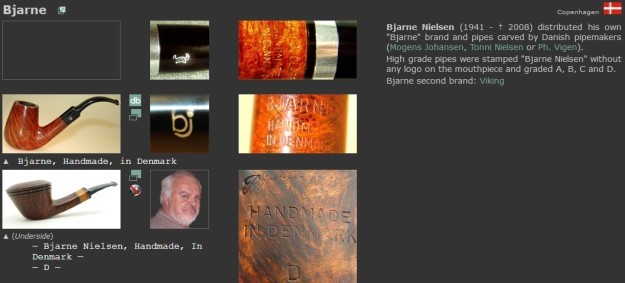
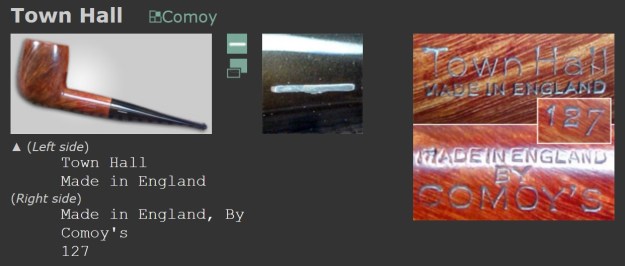
 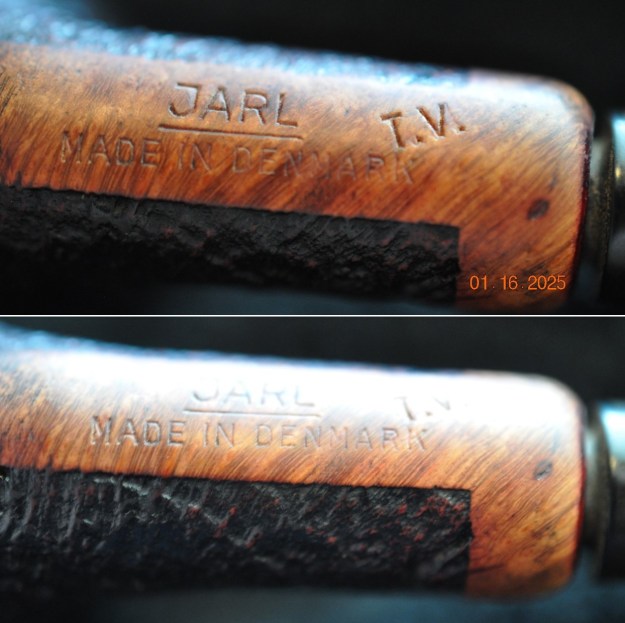 I turned to Pipephil for a review of the brand (http://www.pipephil.eu/logos/en/logo-j1.html). I did a screen capture of the section of the site that showed the Jarl T.V. pipe. It says that the brand was carved by Jorgen Larsen.
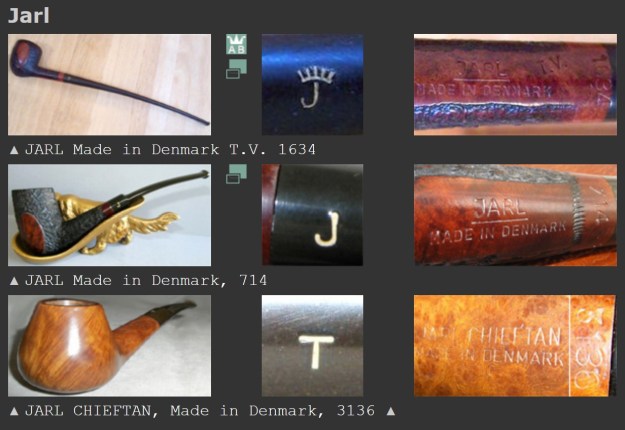 I turned to Pipedia for further information regarding the brand (https://pipedia.org/wiki/Jarl). I quote below:
In December of 2010 Ellen Jarl wrote that Jarl pipes were made by her grandfather, Niels Mogens Jørgensen in a little factory in the town of Bramdrupdam, just outside Kolding, Denmark. We have no reason to doubt that Niels Mogens Jørgensen is the maker of these pipes.
There was a difference regarding the maker of the pipes. Pipephil identified the maker as Jorgen Larsen and Pipedia says it is Niels Mogens Jorgensen. It appears that the information on Pipedia has more proof that the maker is Niels Mogens Jorgensen. I am proceeding with that information in this restoration.
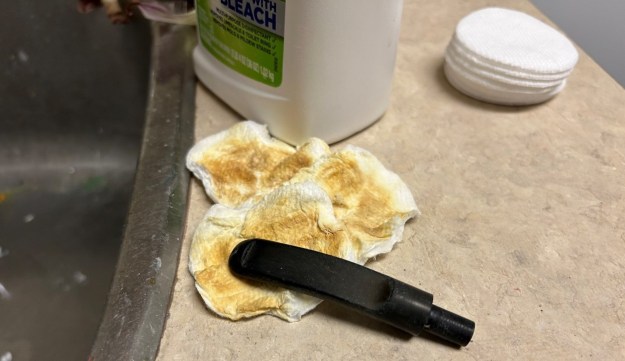
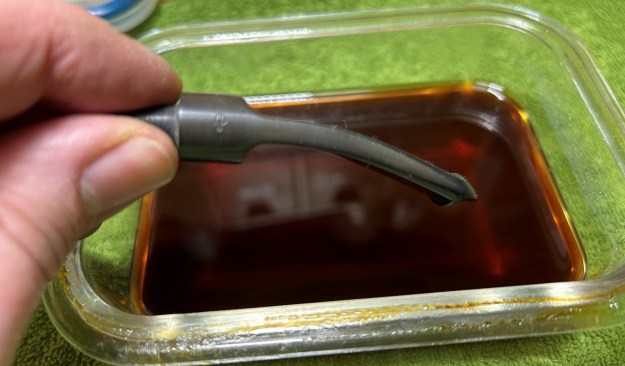
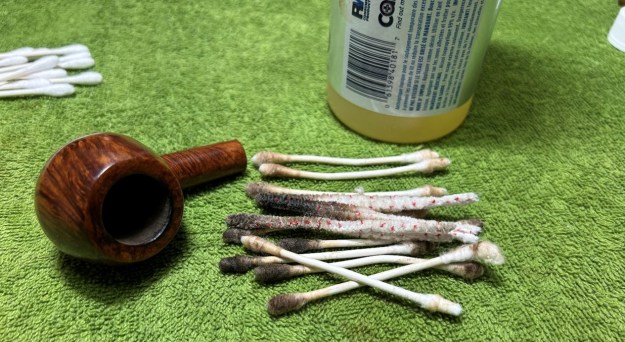
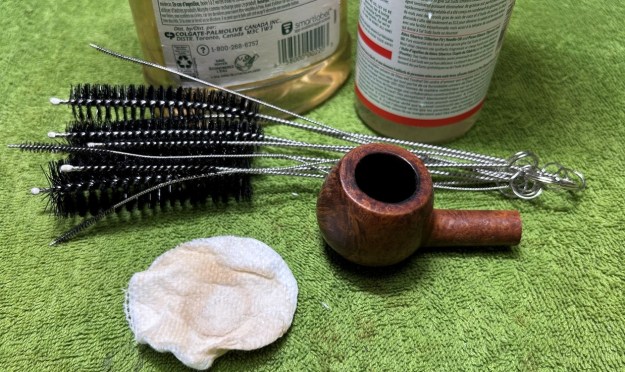
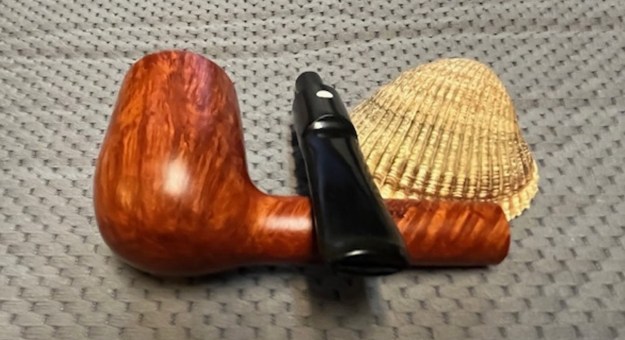
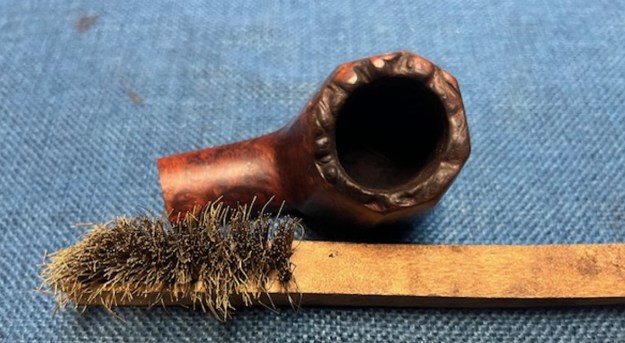
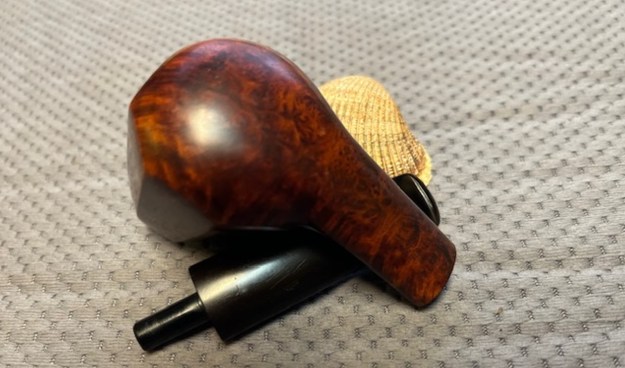
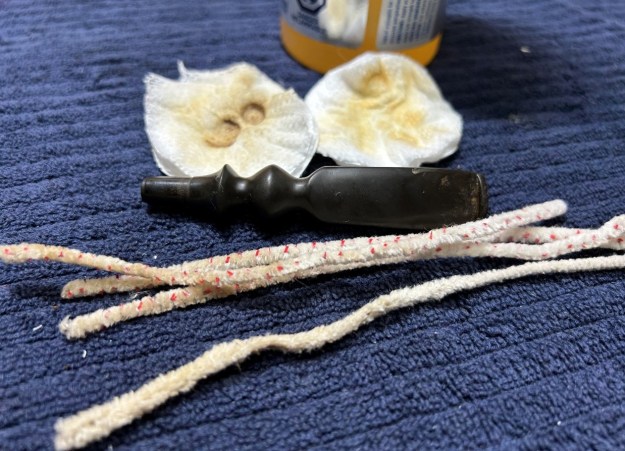
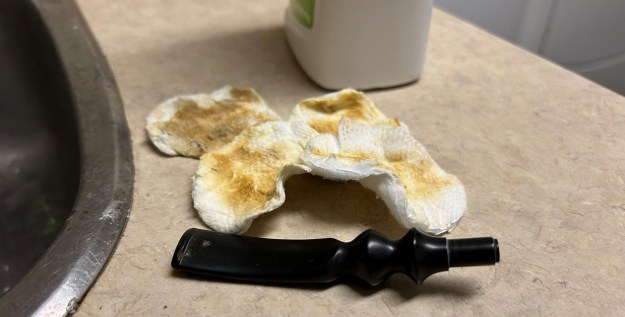
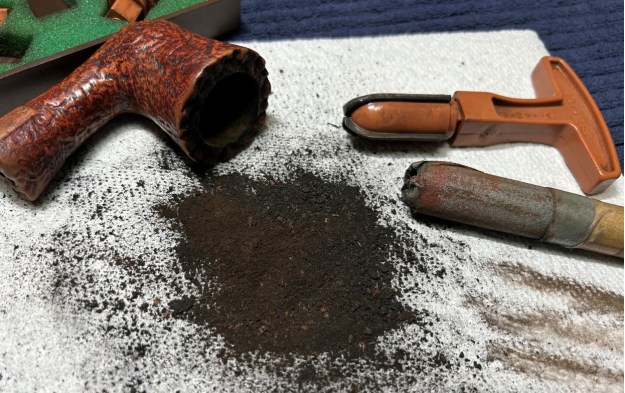
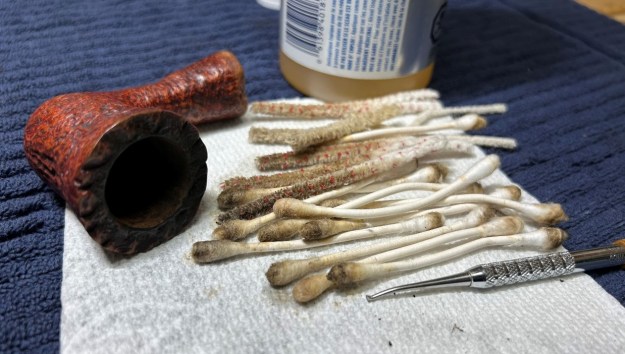
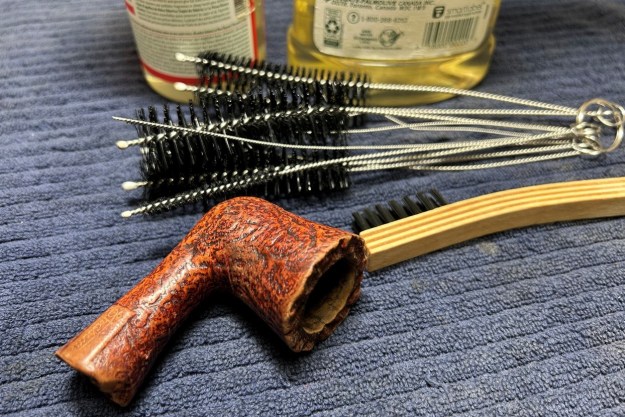
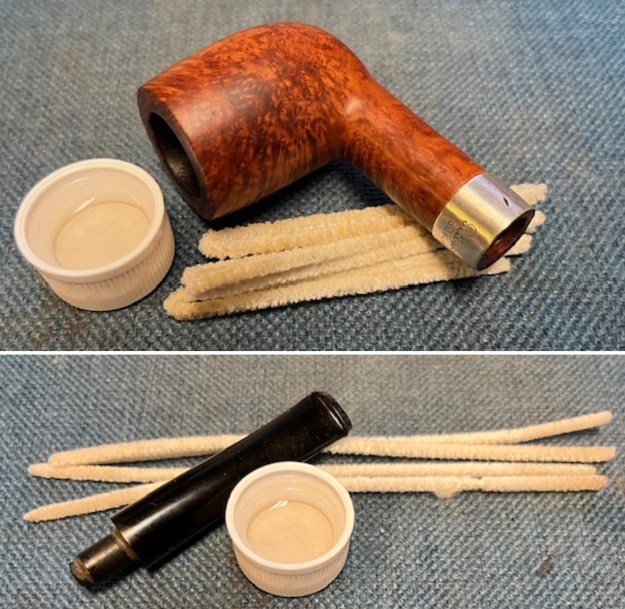
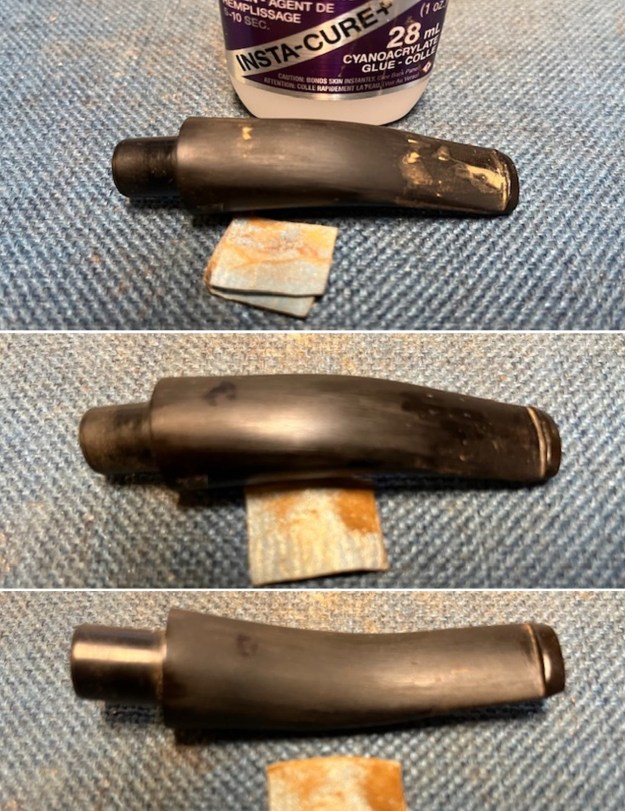
Jeff had thoroughly cleaned up the pipe. He reamed the pipe with a PipNet Pipe Reamer and cleaned up the remnants with a Savinelli Fitsall Pipe Knife. He scrubbed the bowl with undiluted Murphy’s Oil Soap with a tooth brush. He rinsed it under running warm water to remove the soap and grime. There was some darkening on the inner edge of the rim and top that would need to be dealt with. He cleaned out the inside of the shank and the airway in the mortise and the stem with alcohol, cotton swabs, shank brushes and pipe cleaners. He scrubbed the exterior of the stem with Soft Scrub to remove as much of the oxidation as possible. The vulcanite stem was clean but had light tooth marks and chatter on both sides ahead of the button. There was no logo on the stem or stamping of any kind. I took photos of the pipe before I started my work on it. 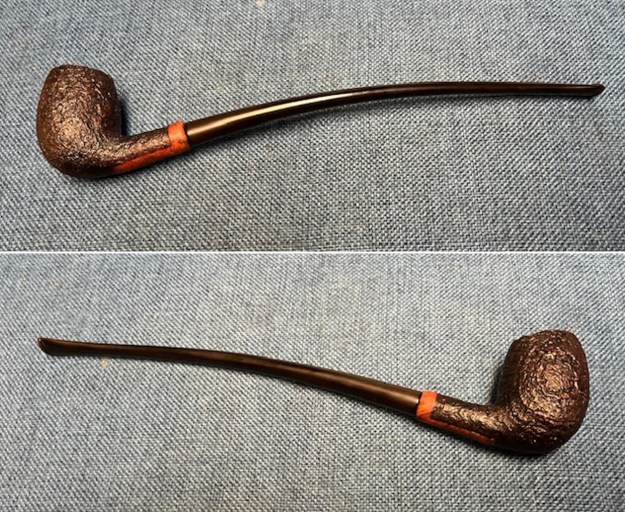
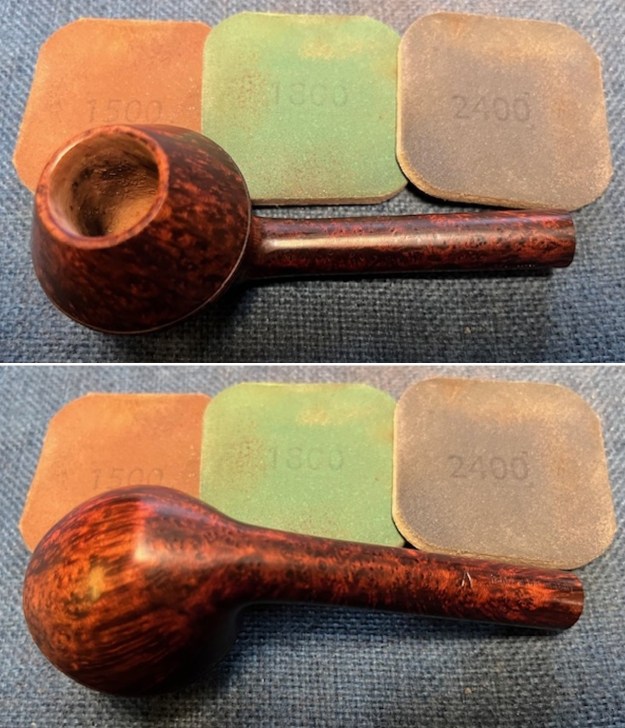
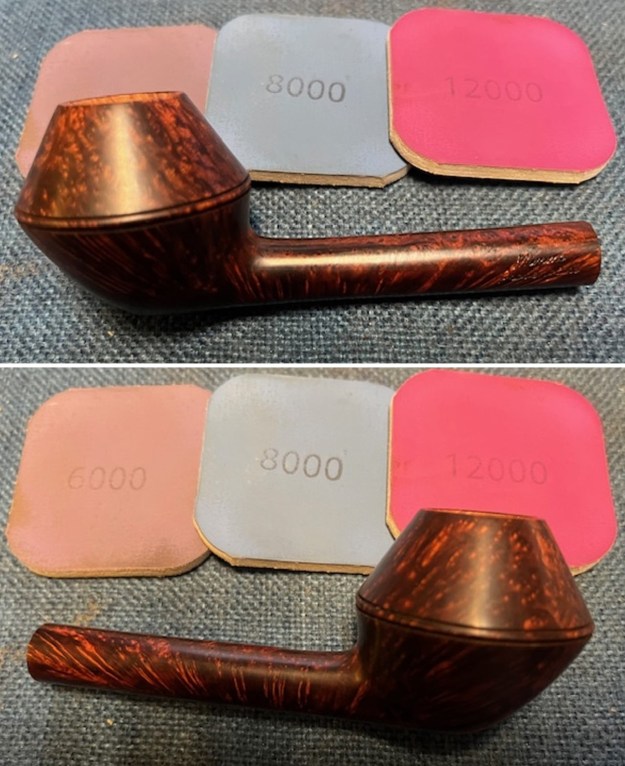
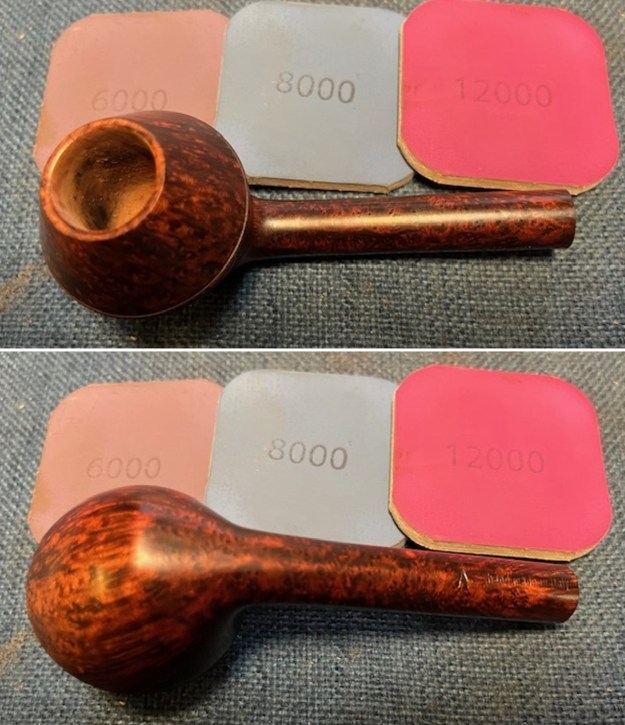
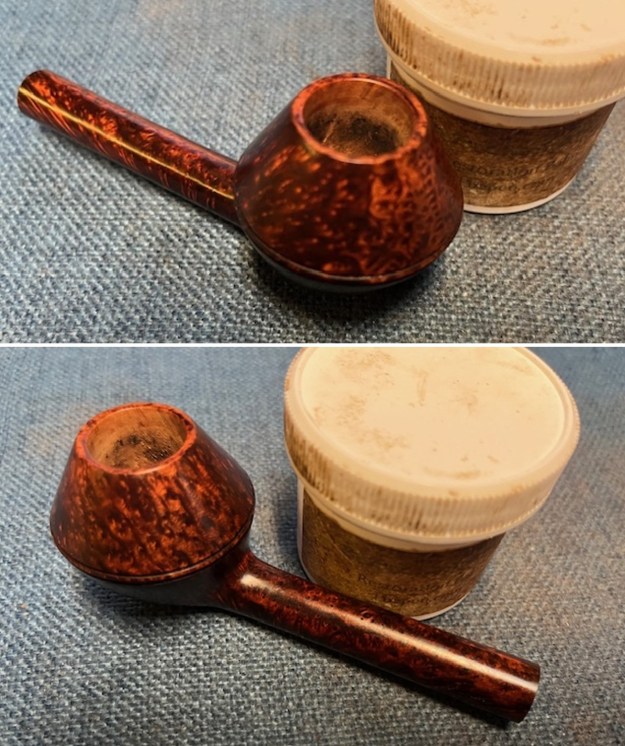
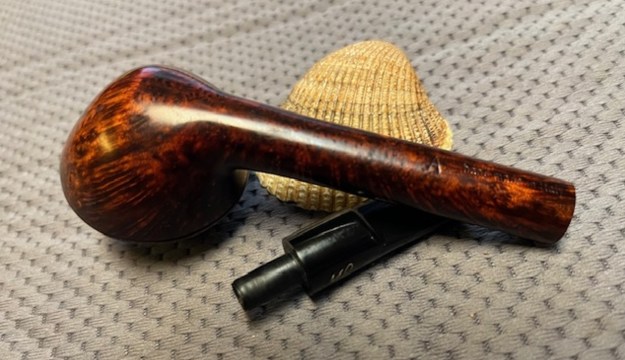
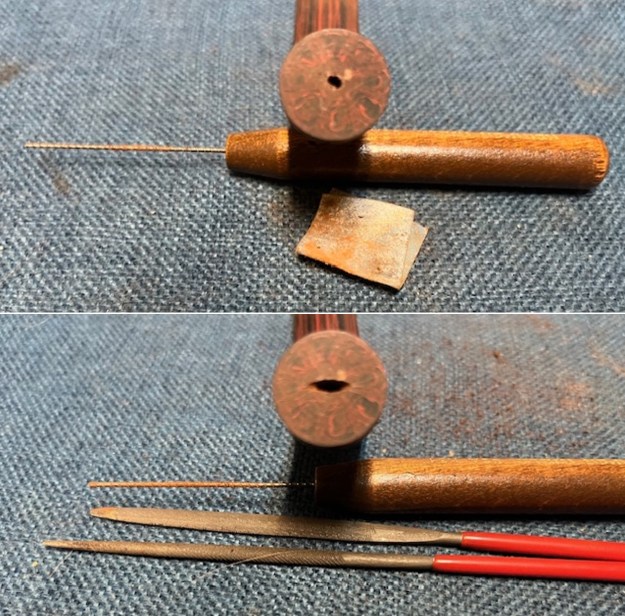
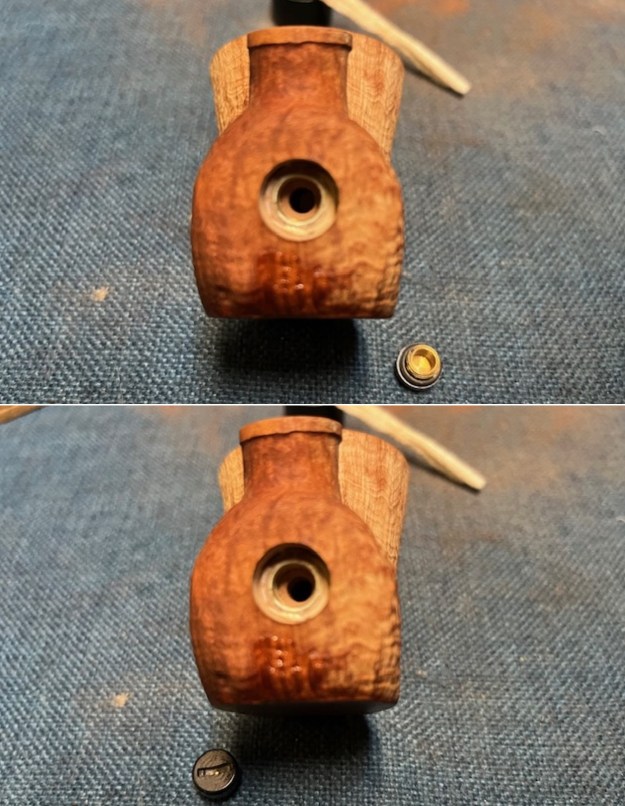
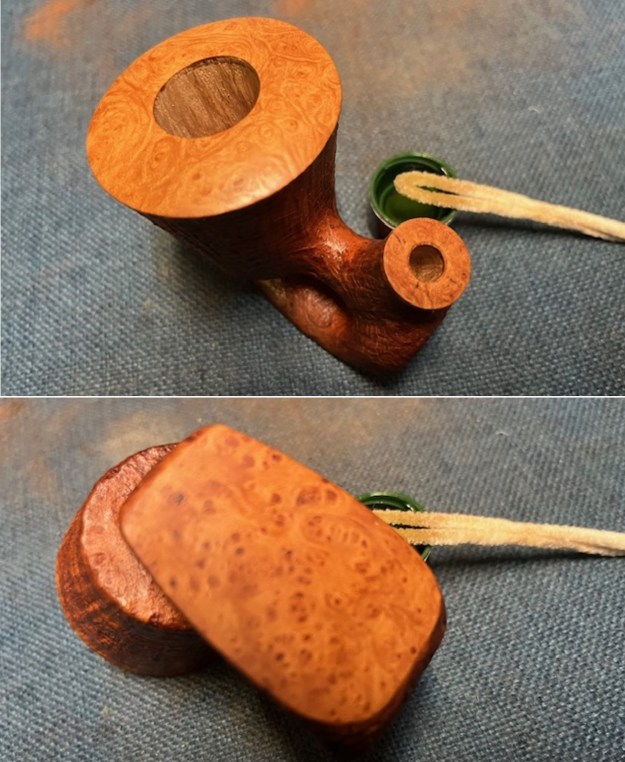
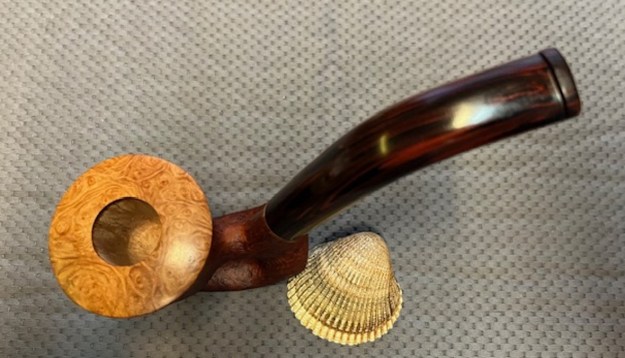
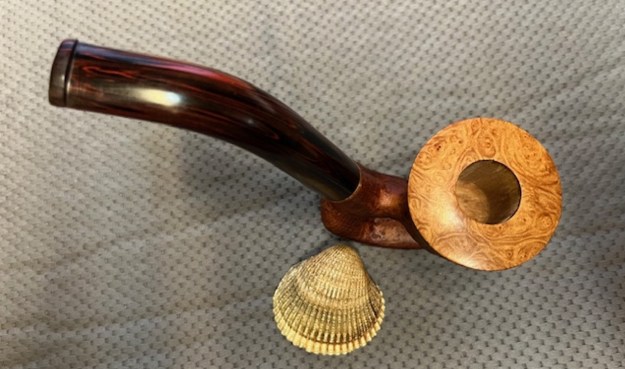
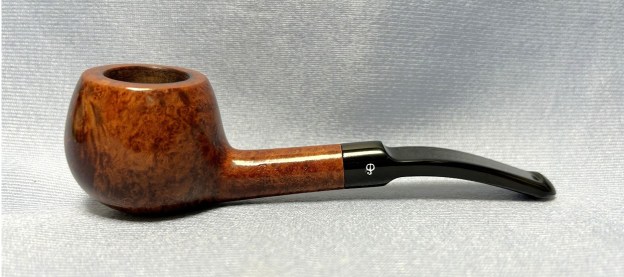
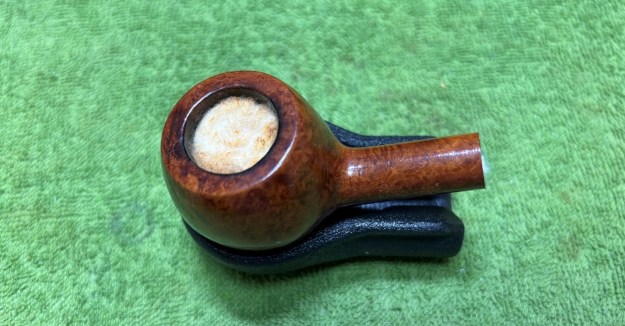
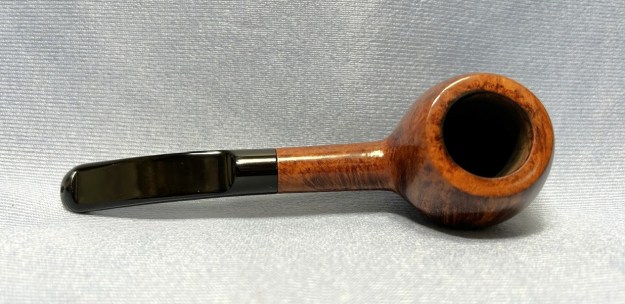
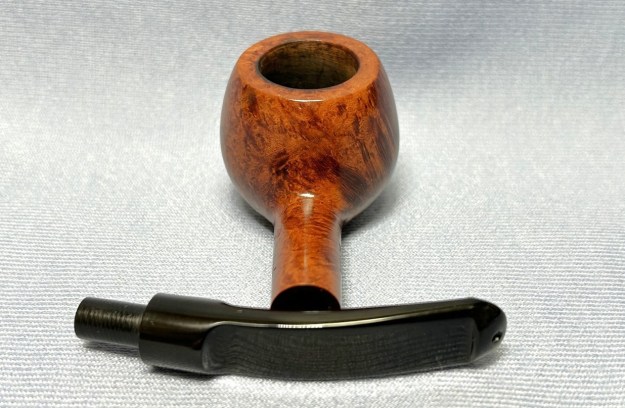
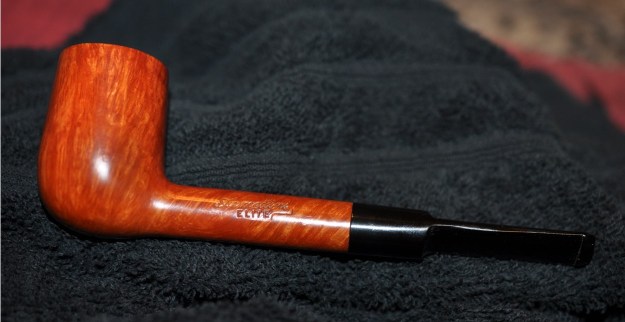
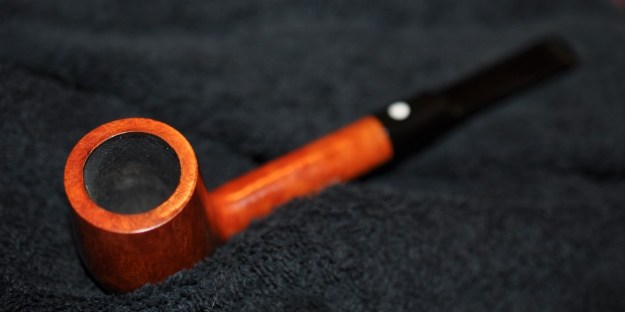
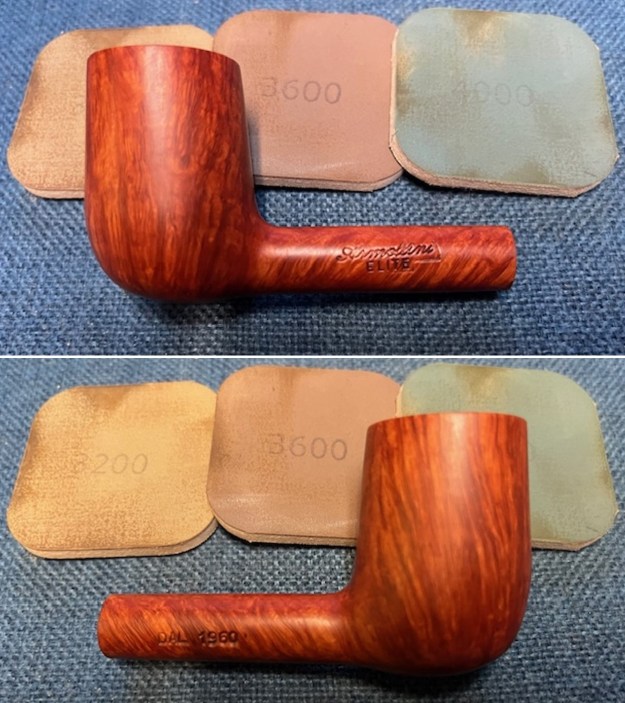
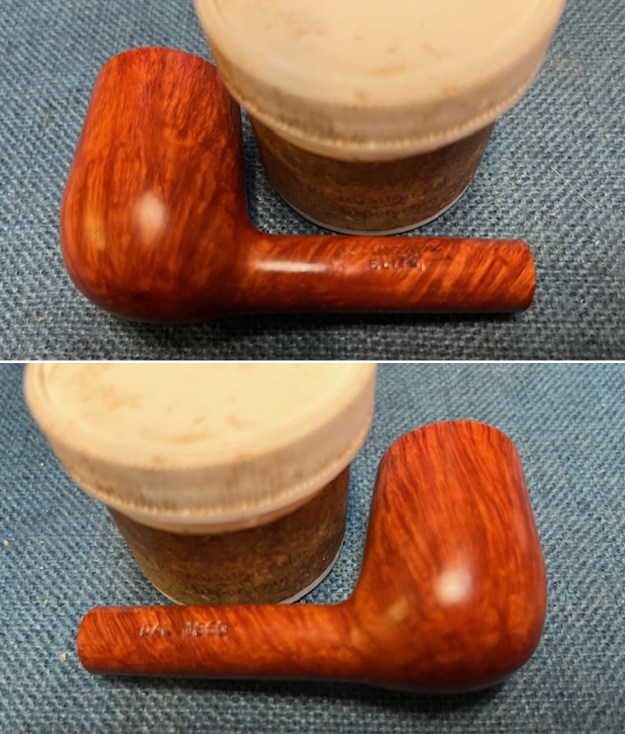
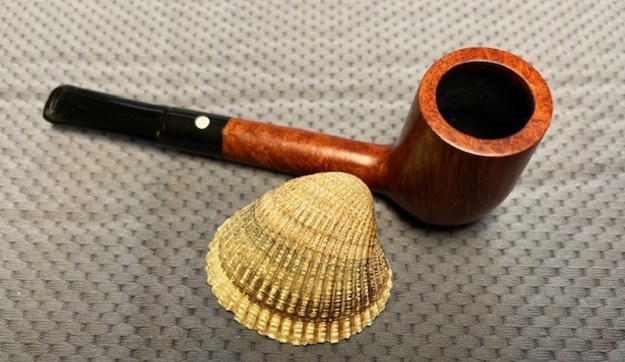
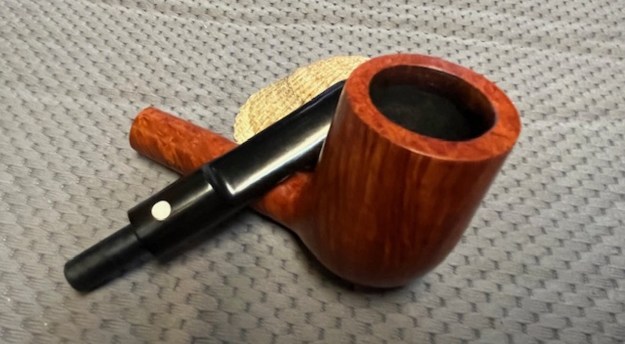
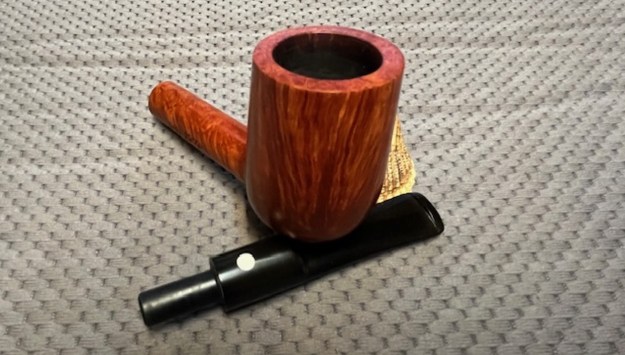
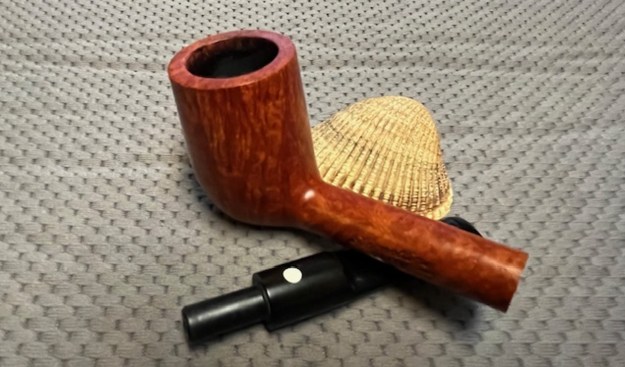
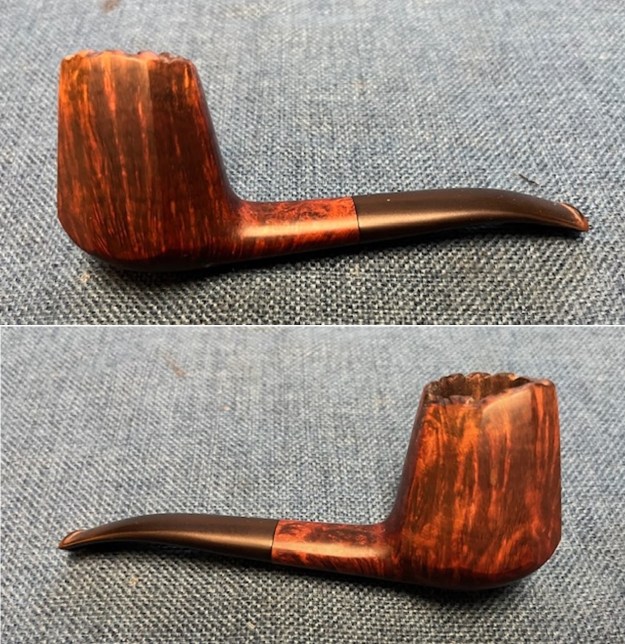
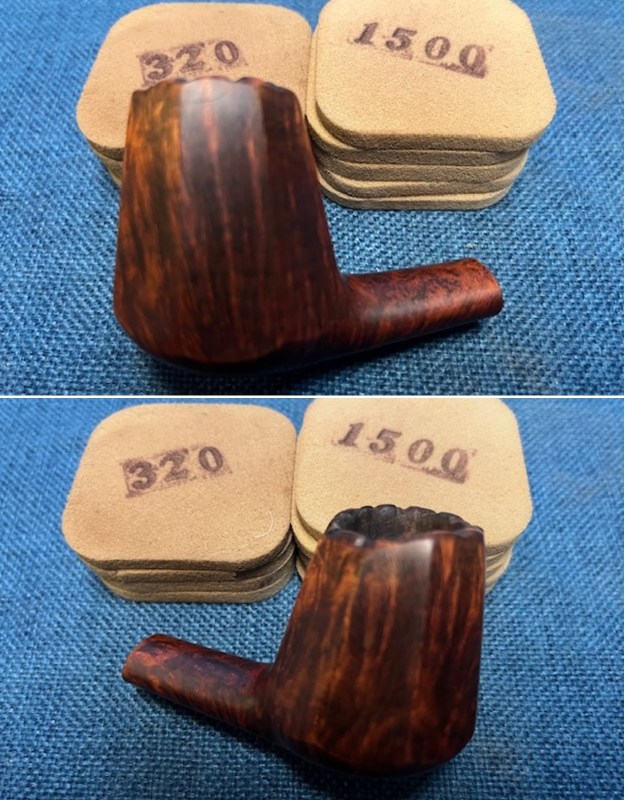
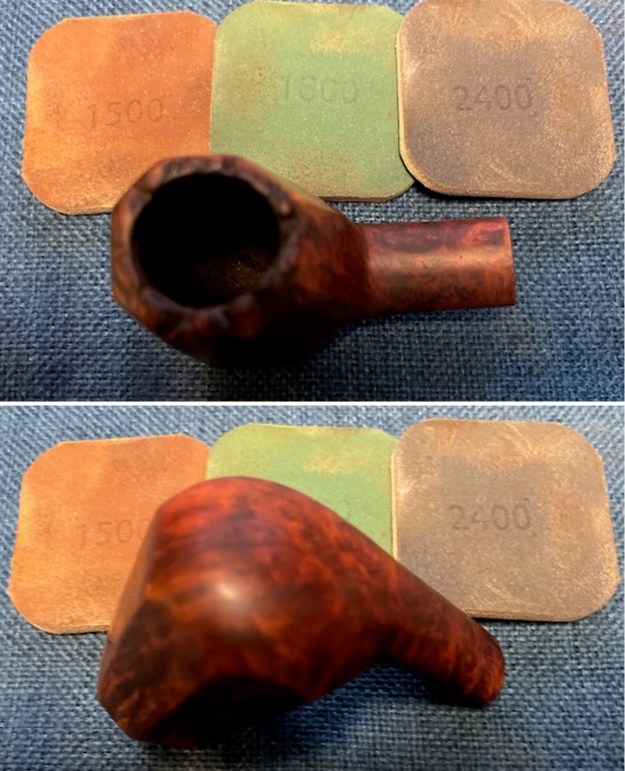
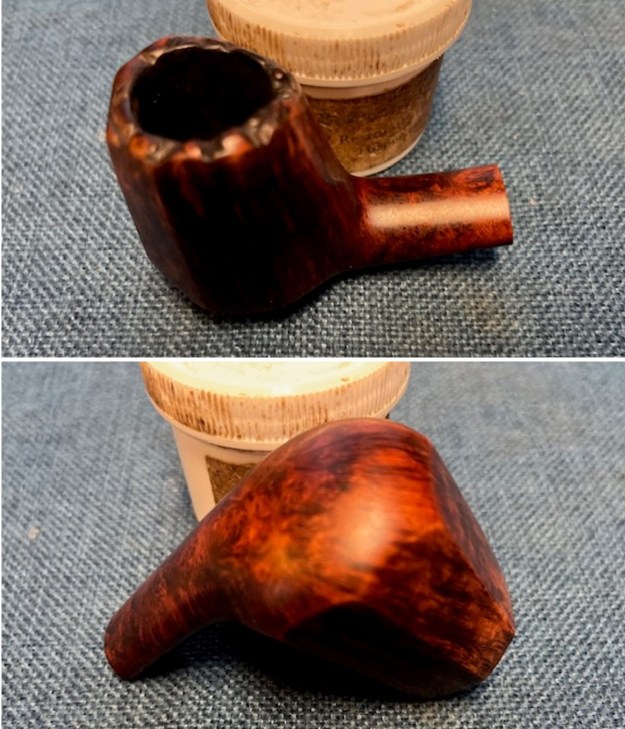
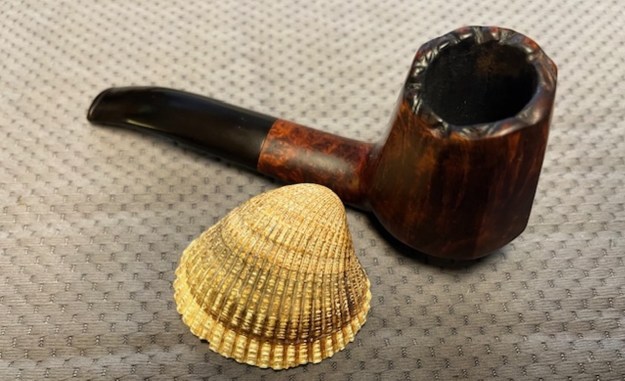
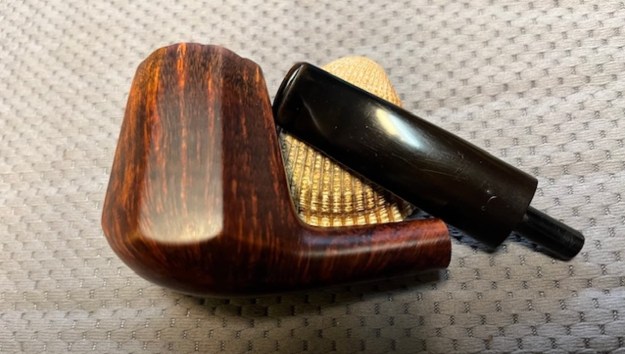
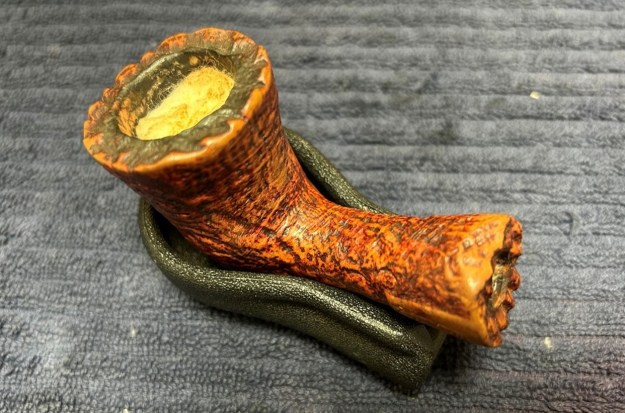
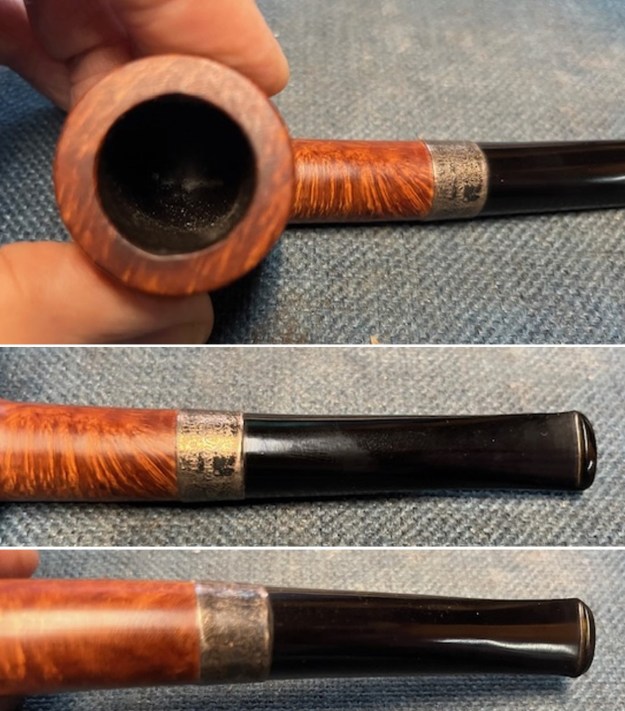
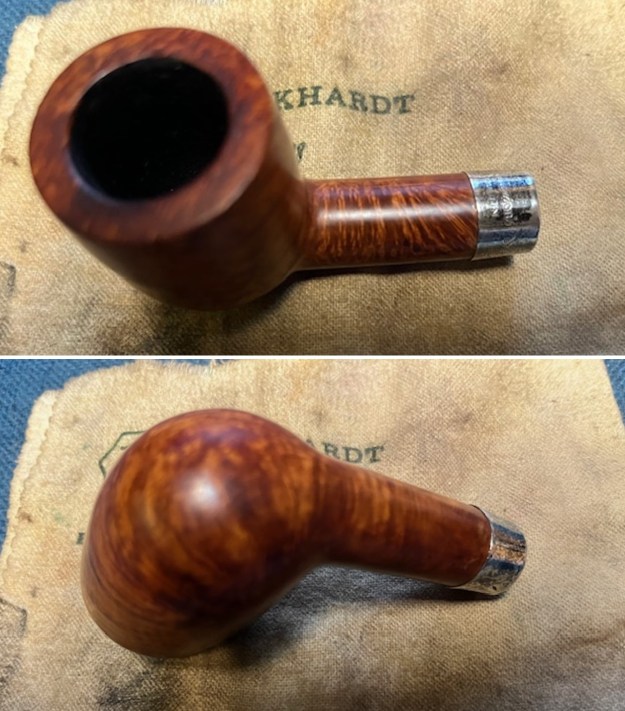
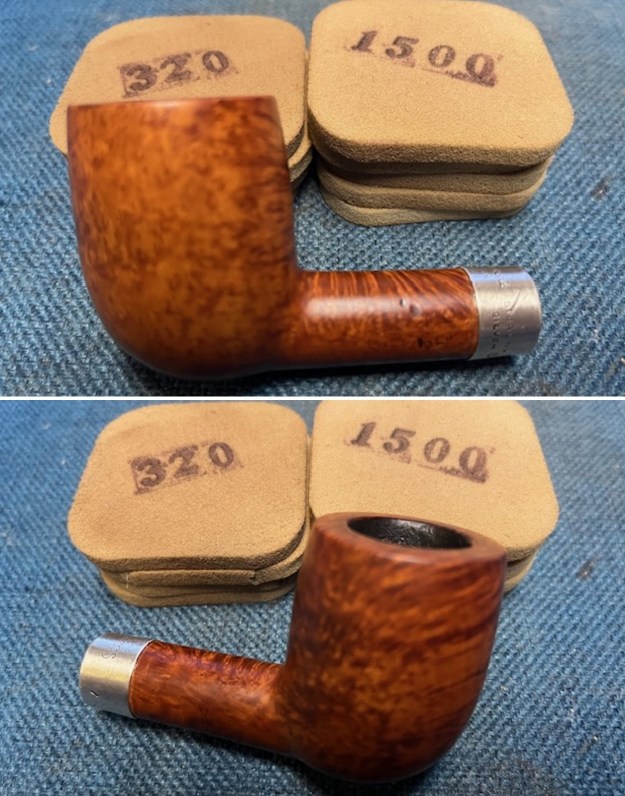
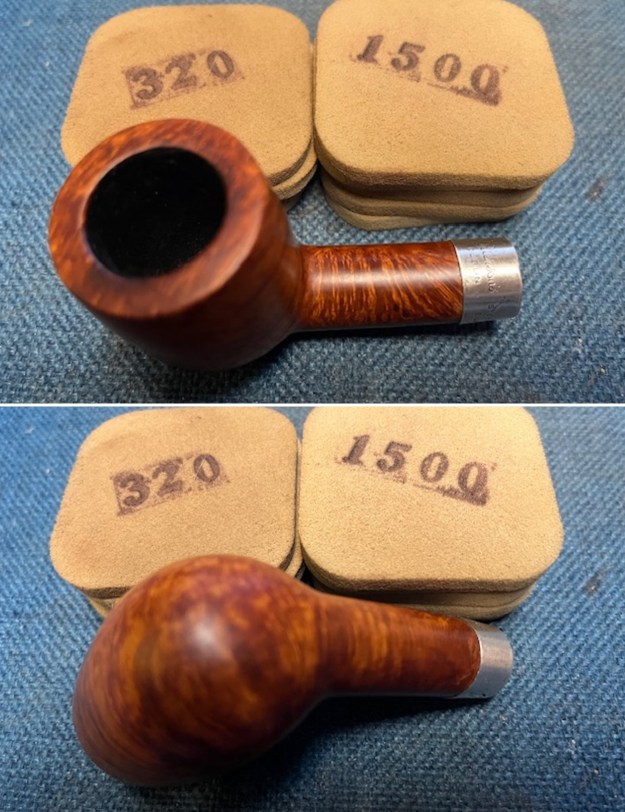
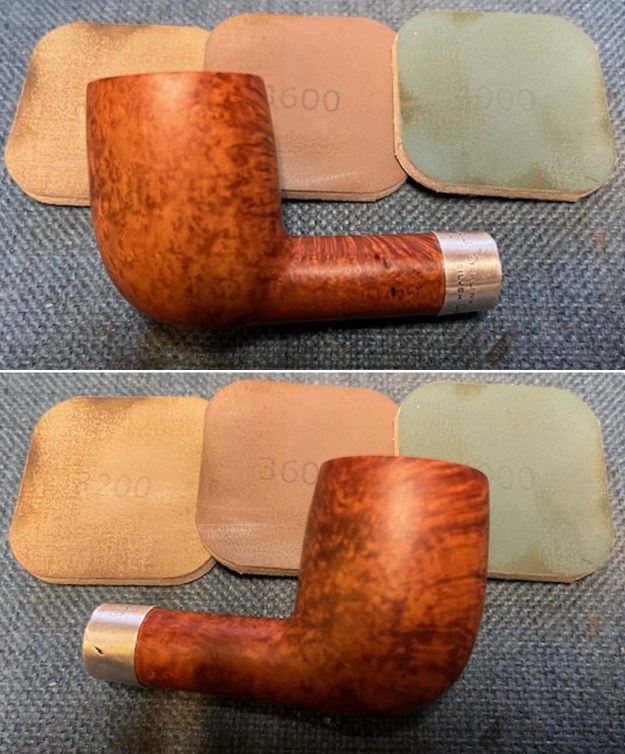
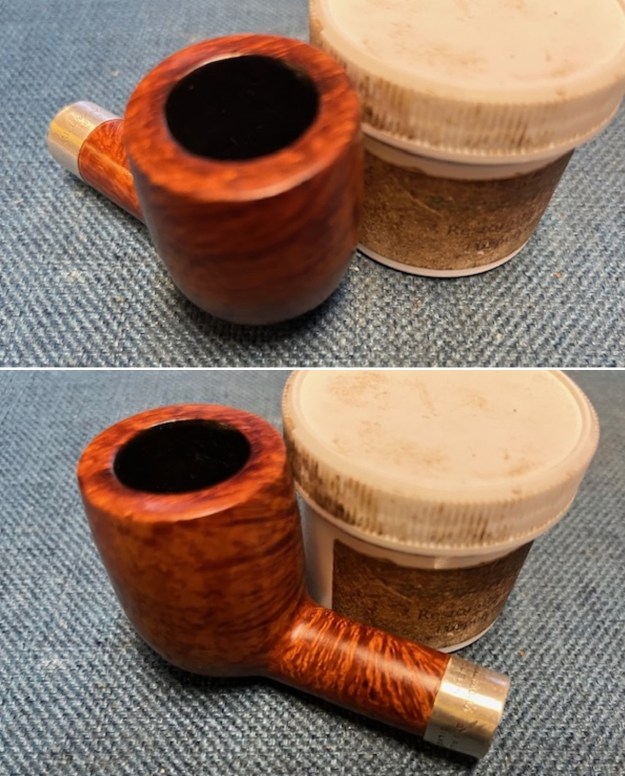
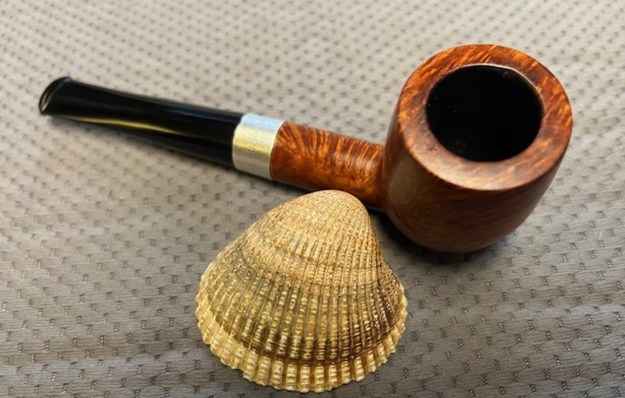
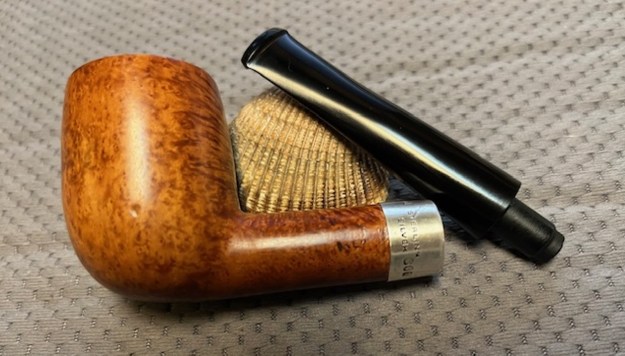
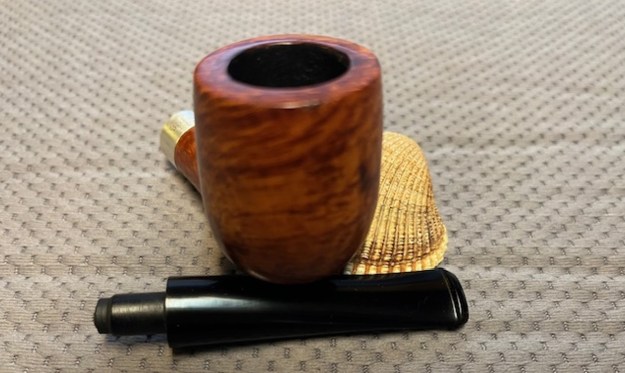
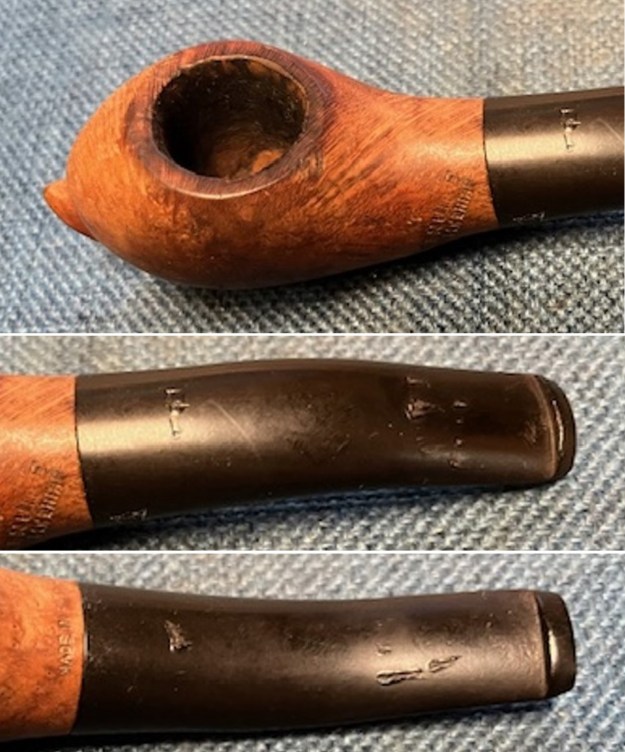
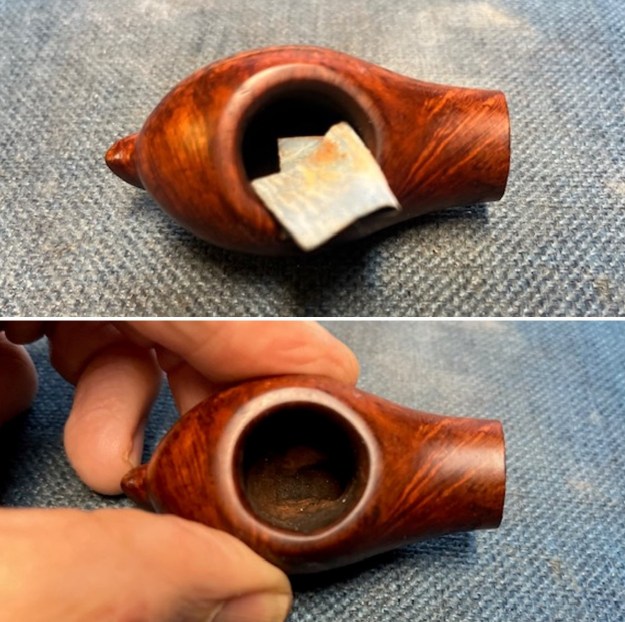
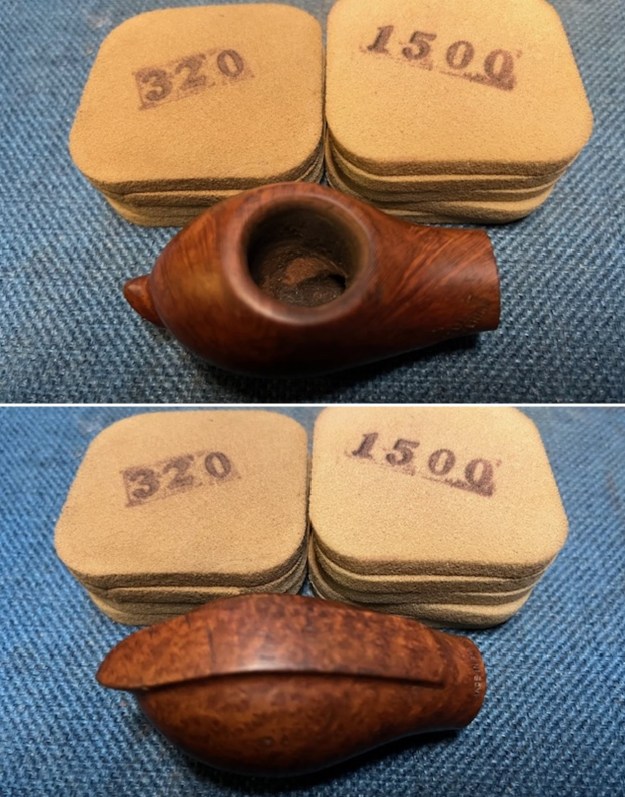
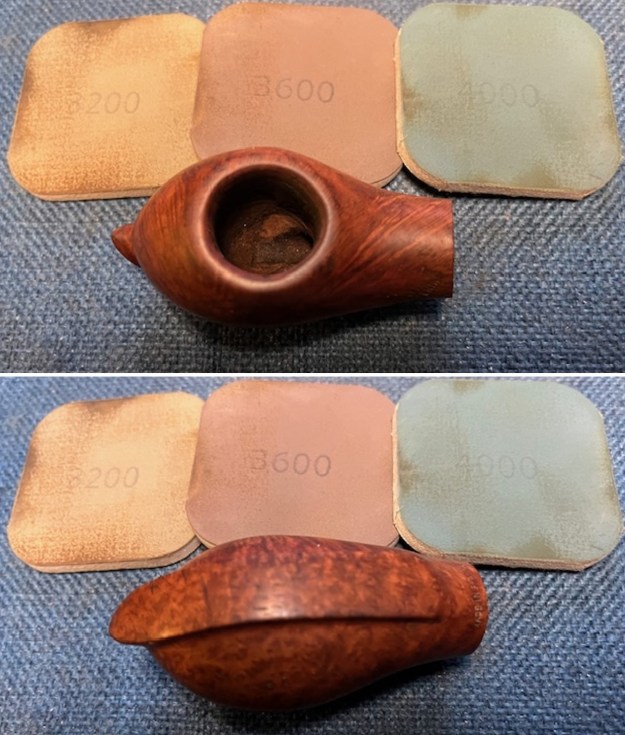
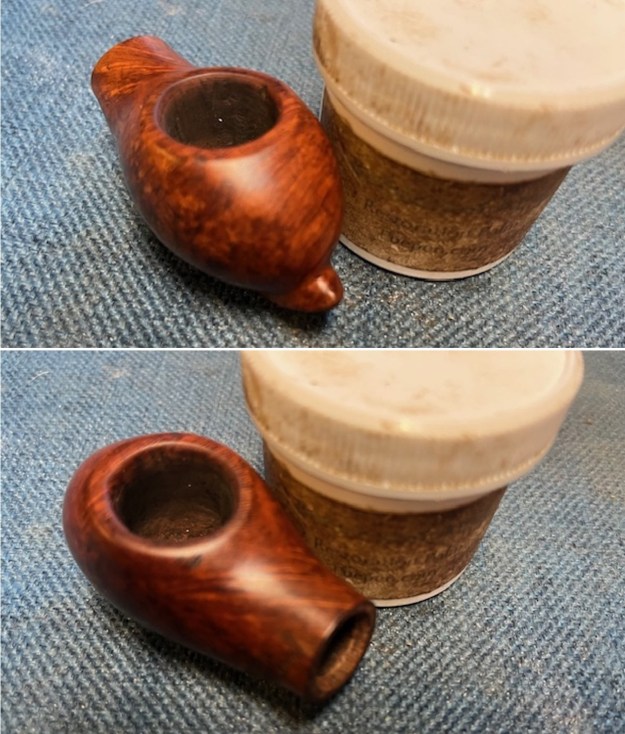
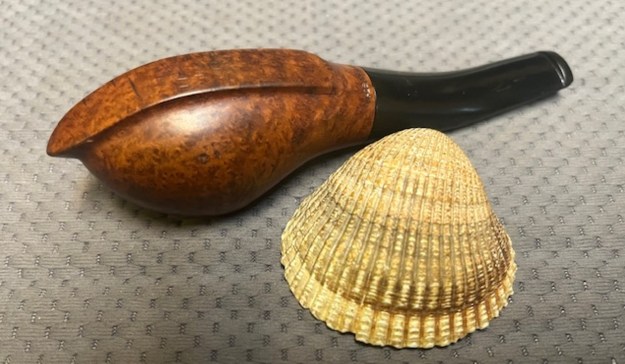
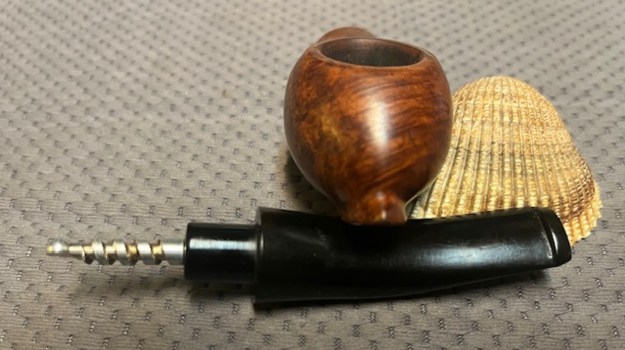
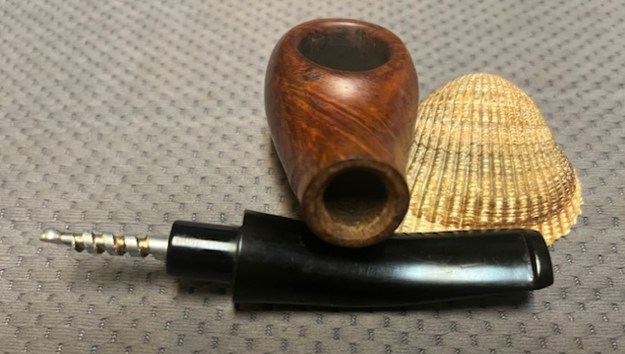
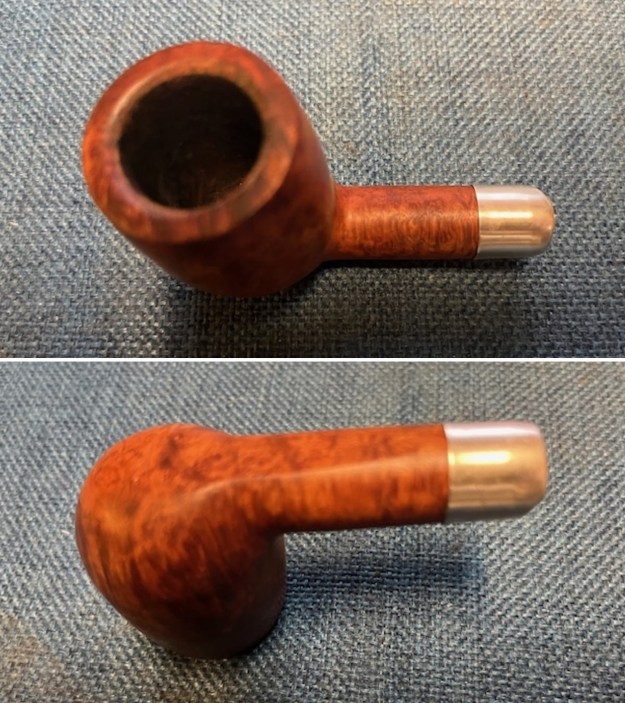
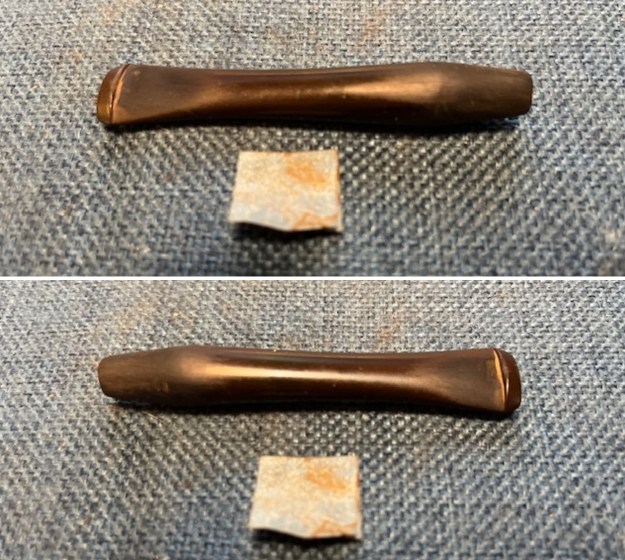
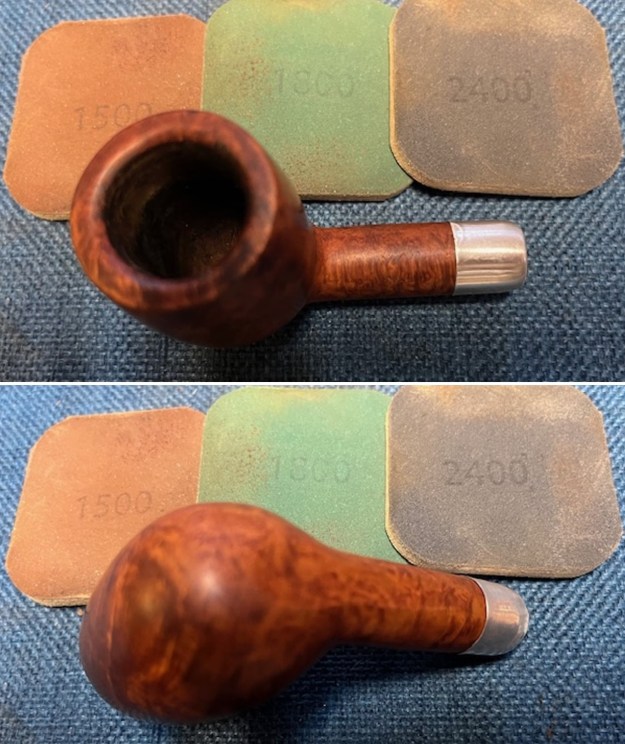
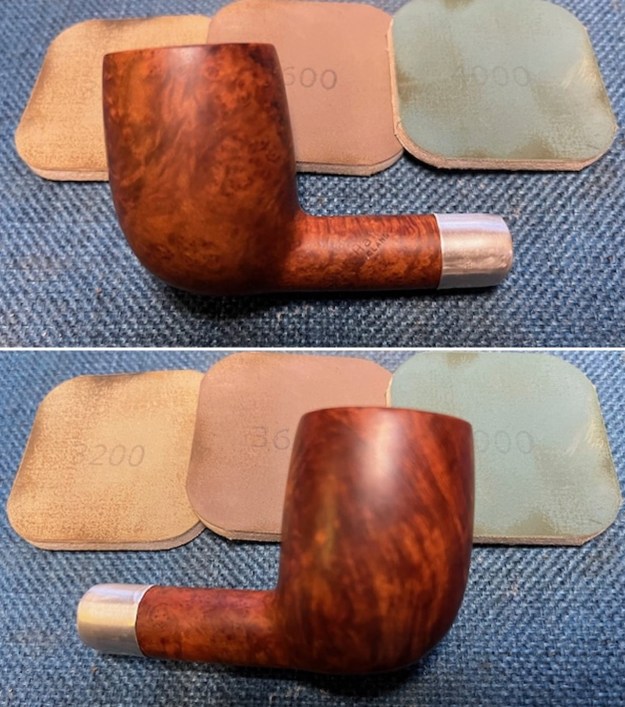
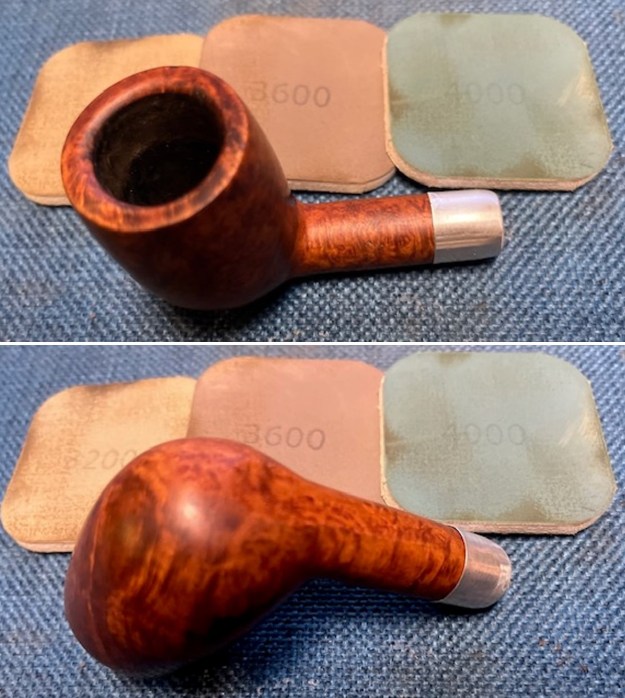
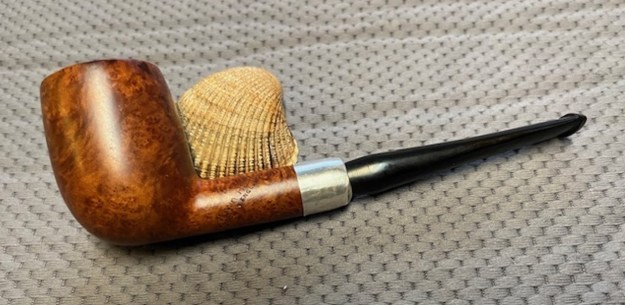
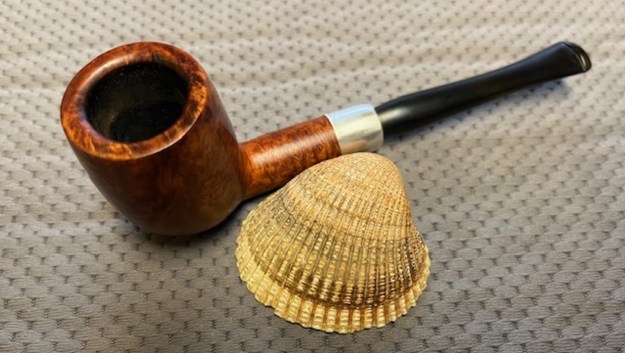
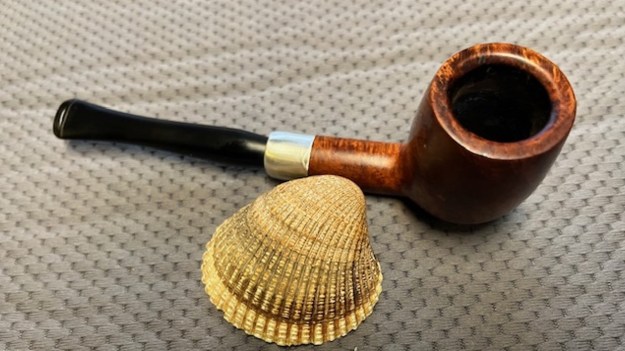
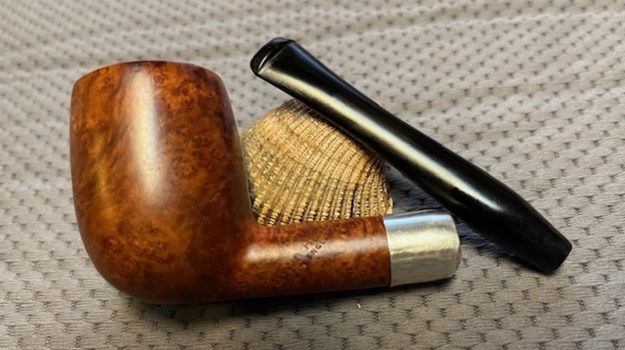
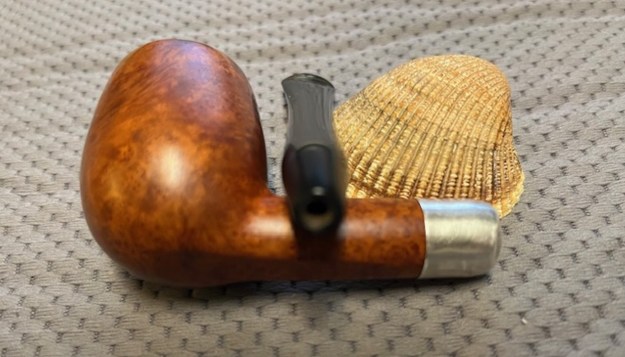
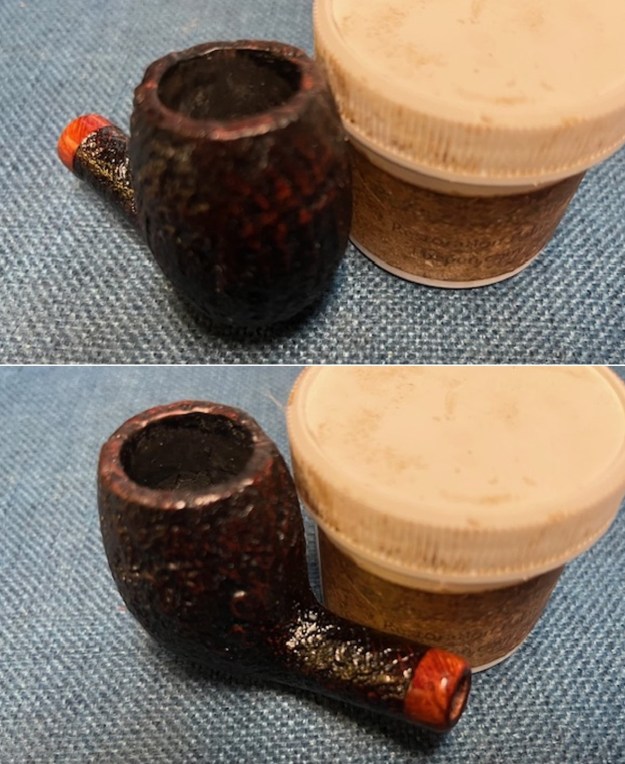
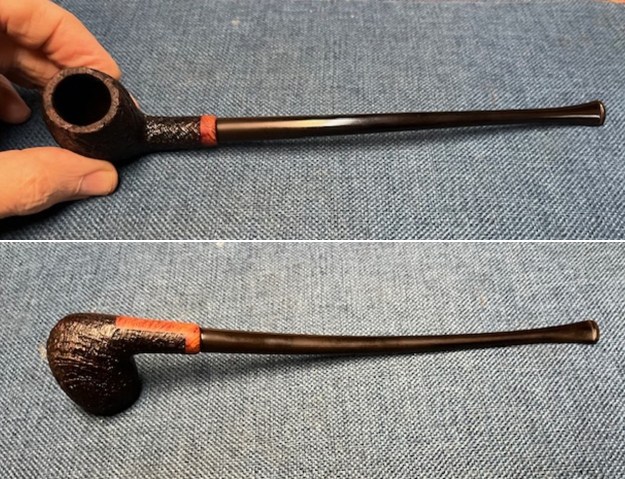 I took photos of the bowl and rim top to show how well it had cleaned up. The edges and top were very clean and in excellent condition. The stem had some tooth chatter and light marks just ahead of the button.
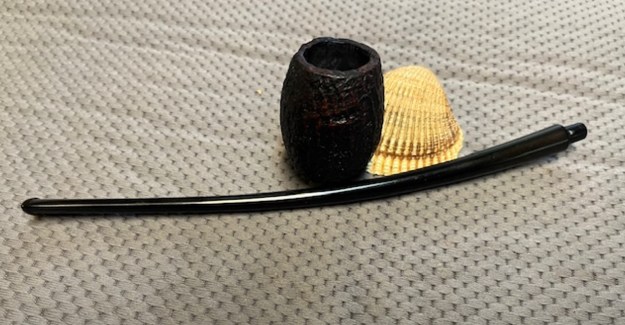
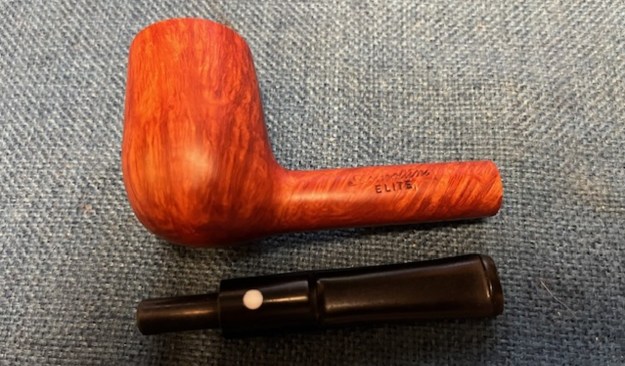
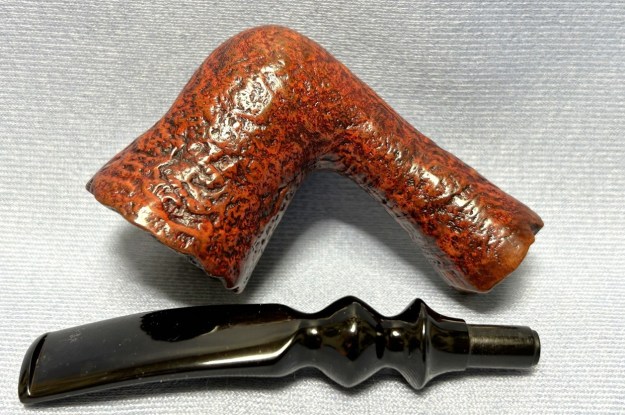
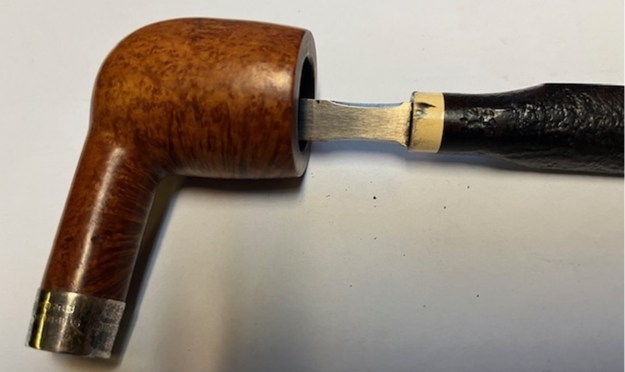
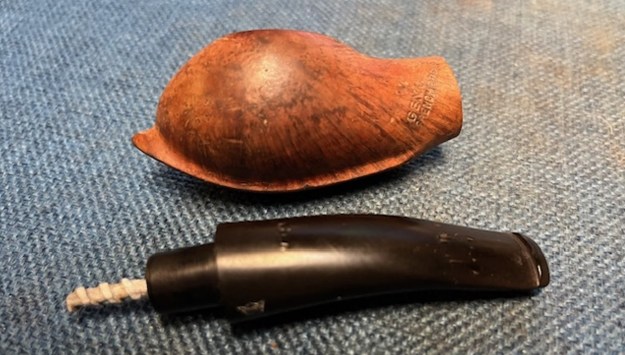
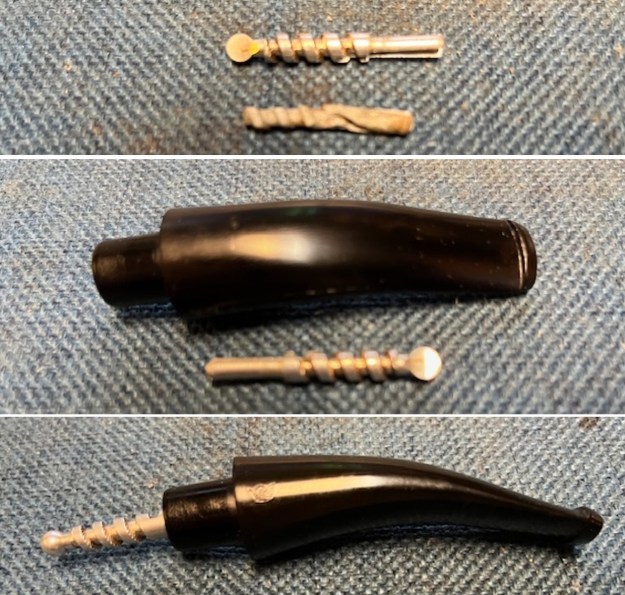
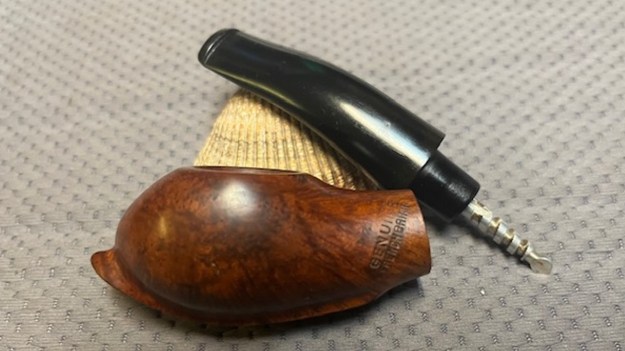
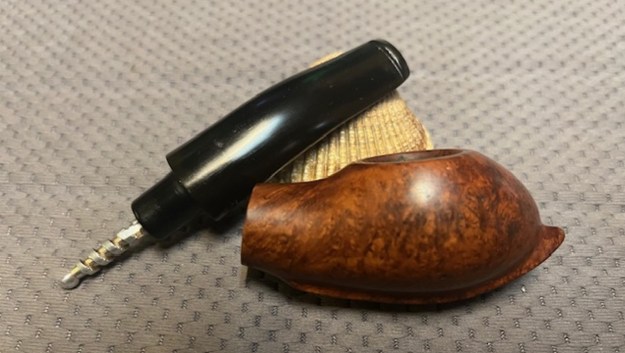
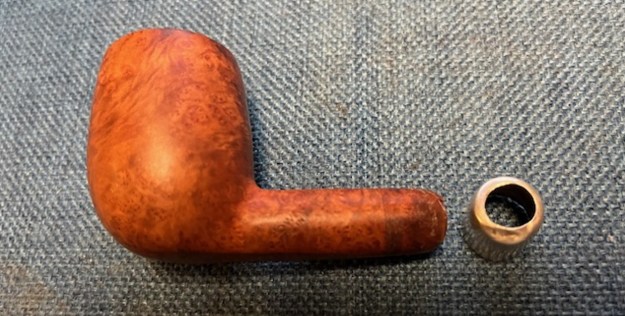
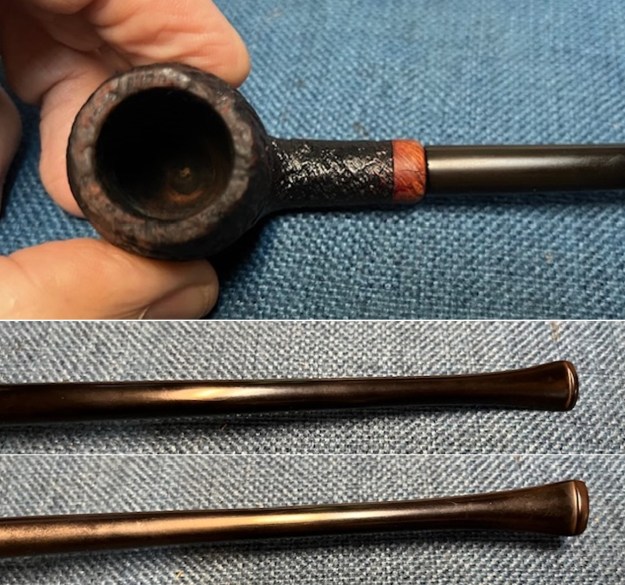 I took photos of the stamping on the smooth panel on the underside of the shank. They are readable as noted above. I took the stem out of the shank and took a photo of the overall look of the pipe.
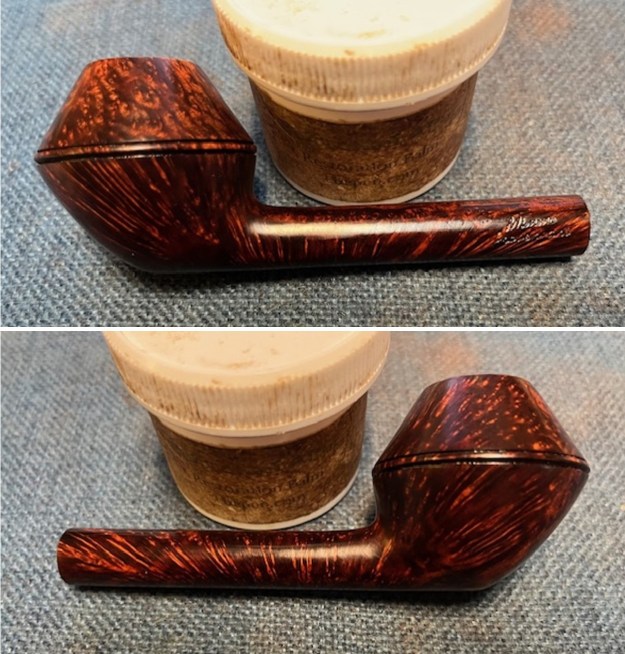
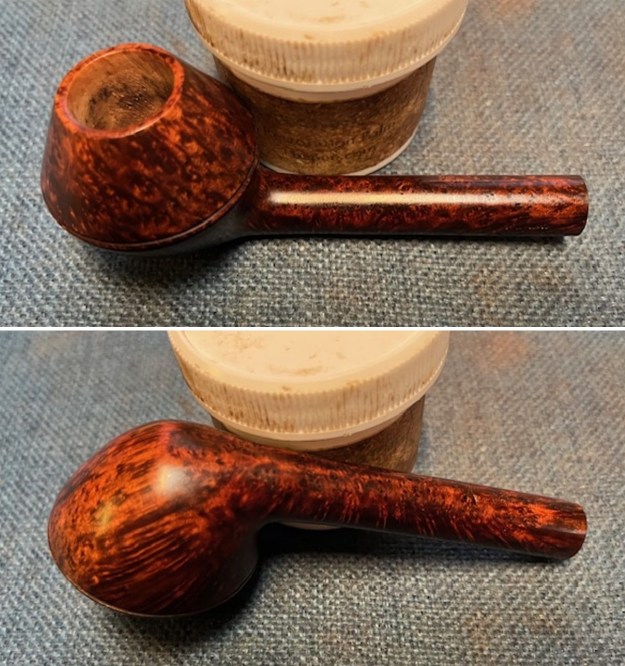
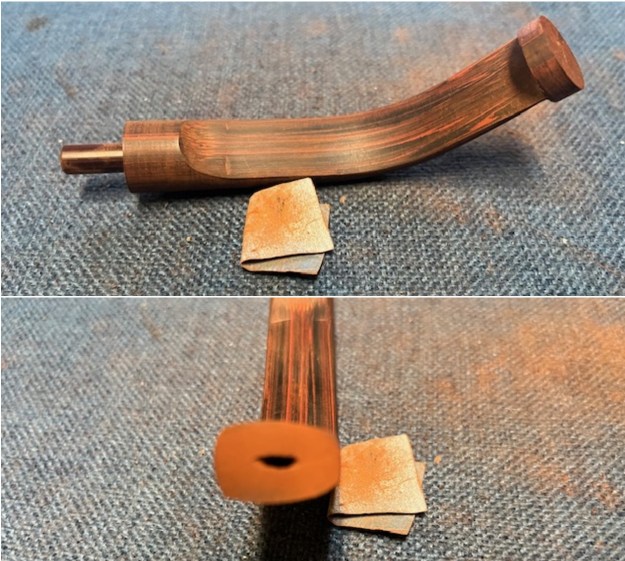
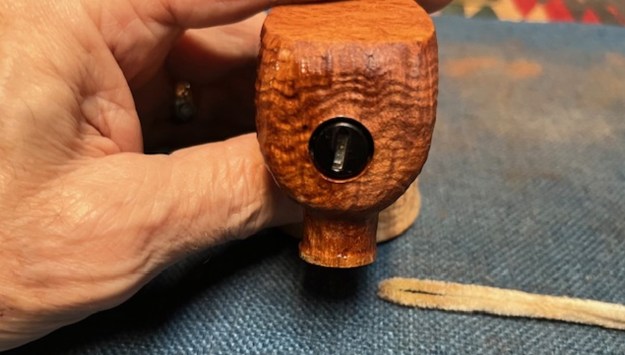
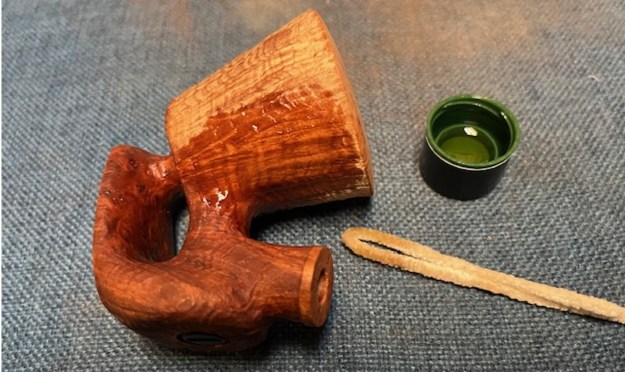
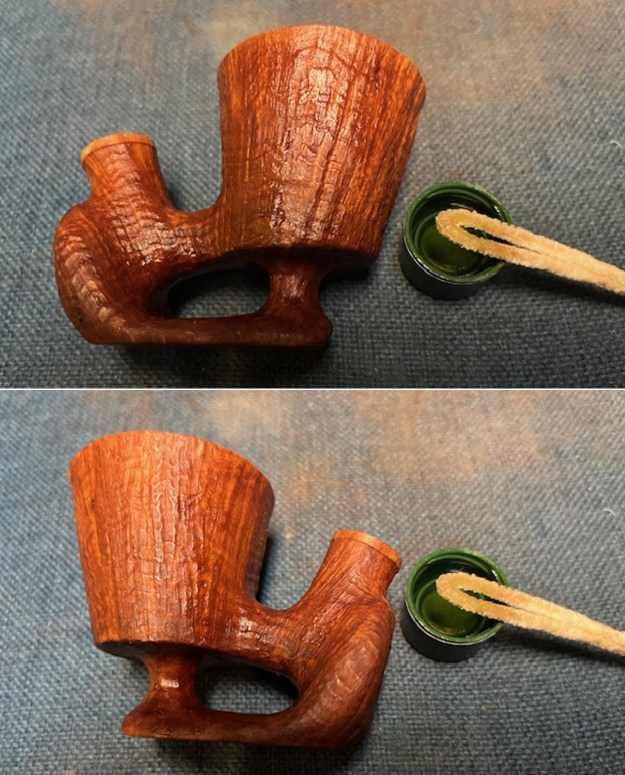
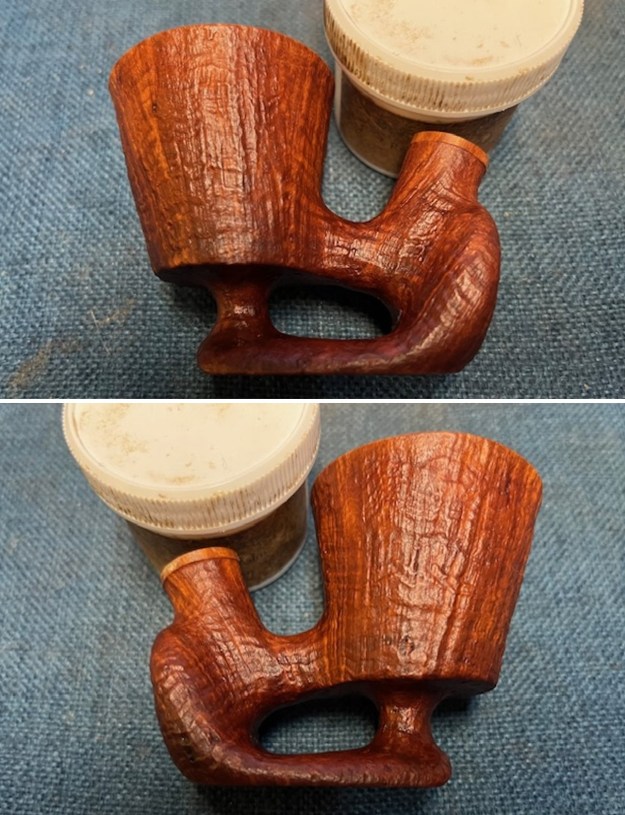
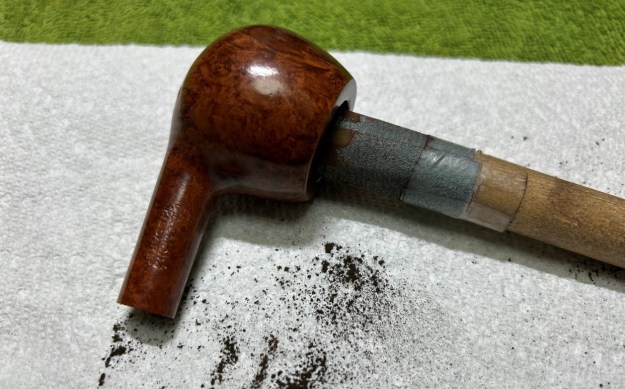
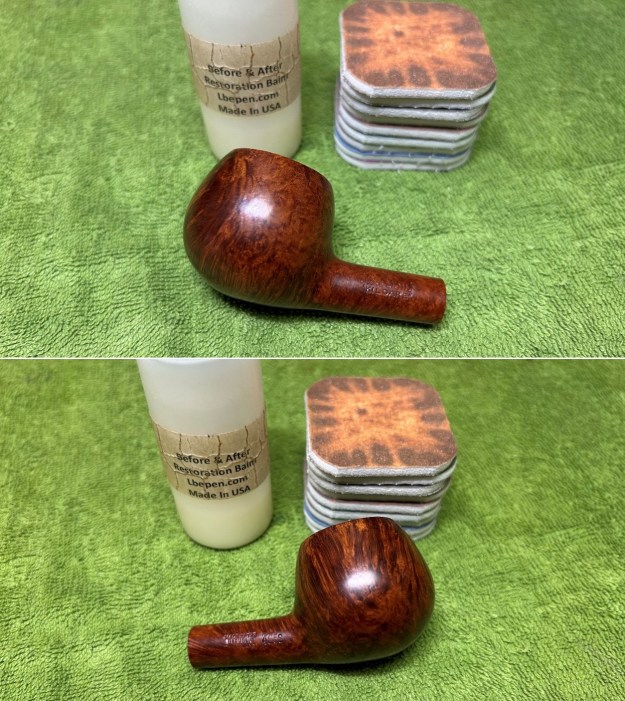
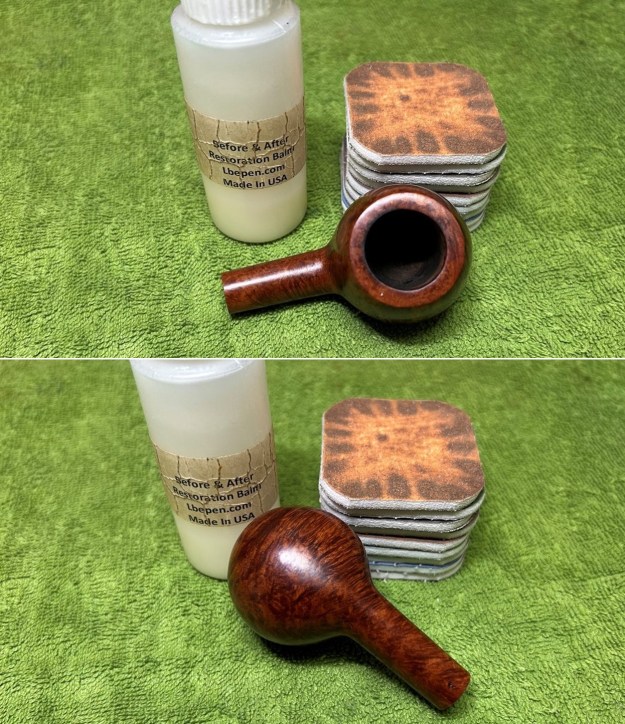
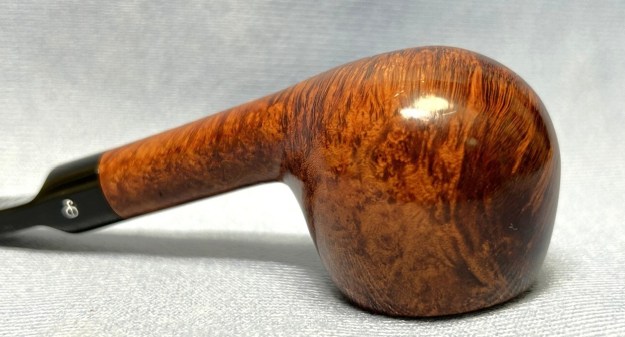
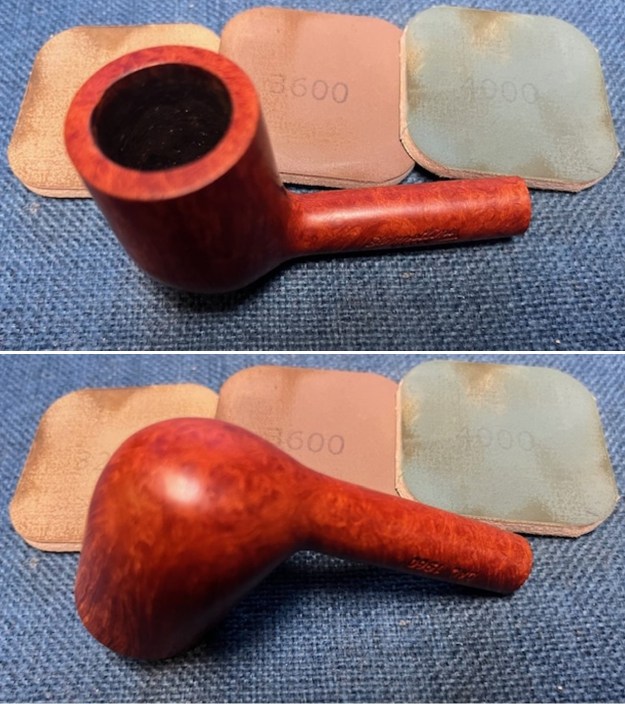
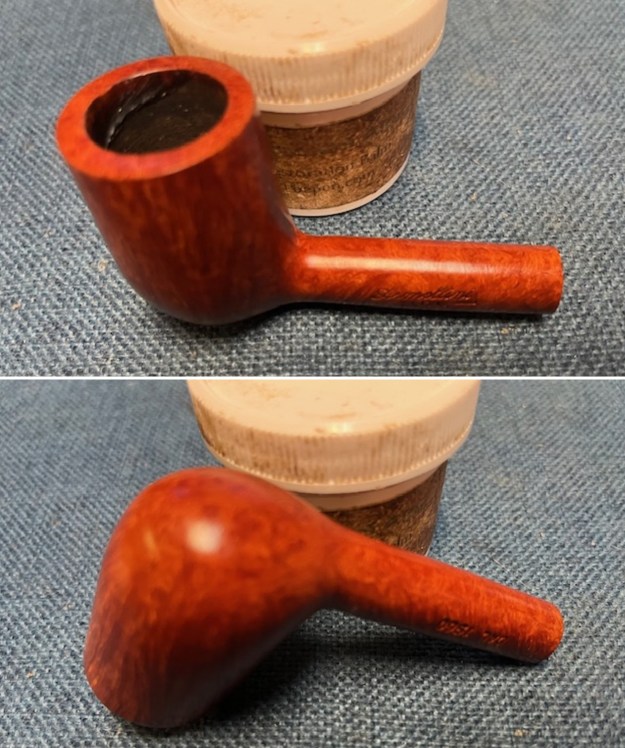
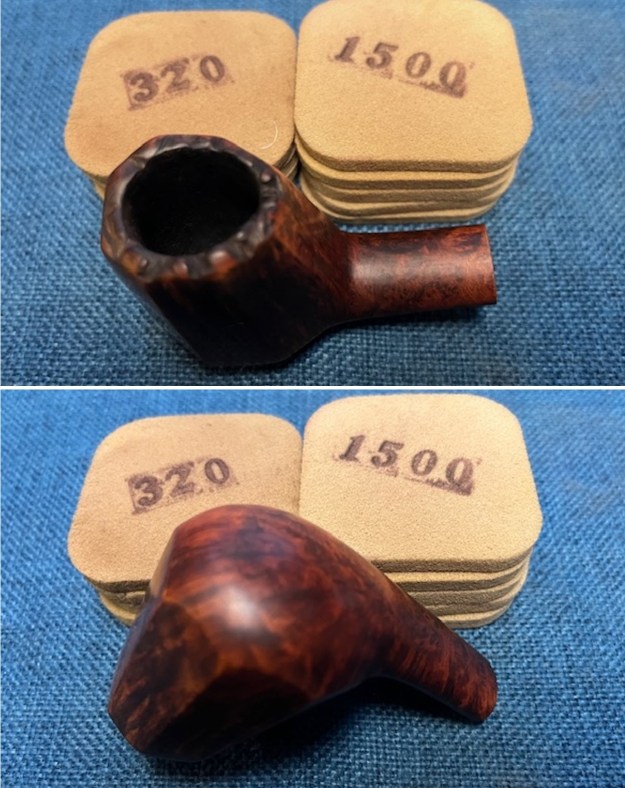
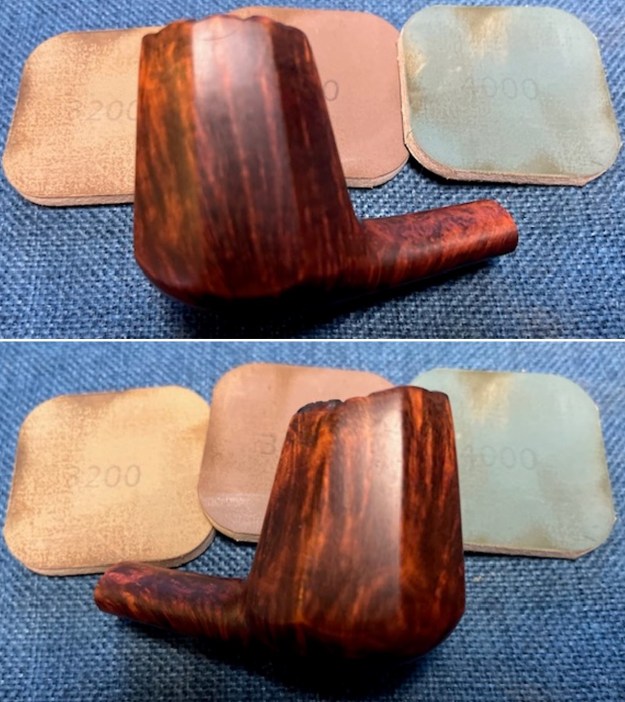
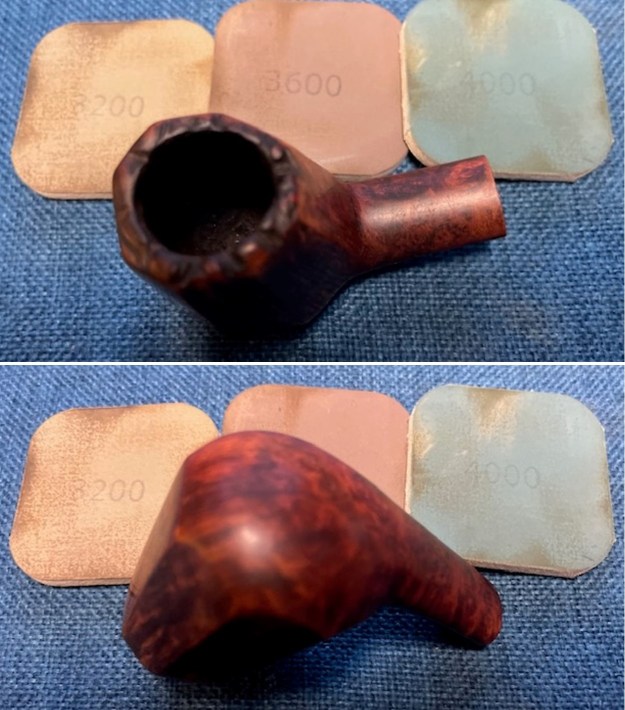
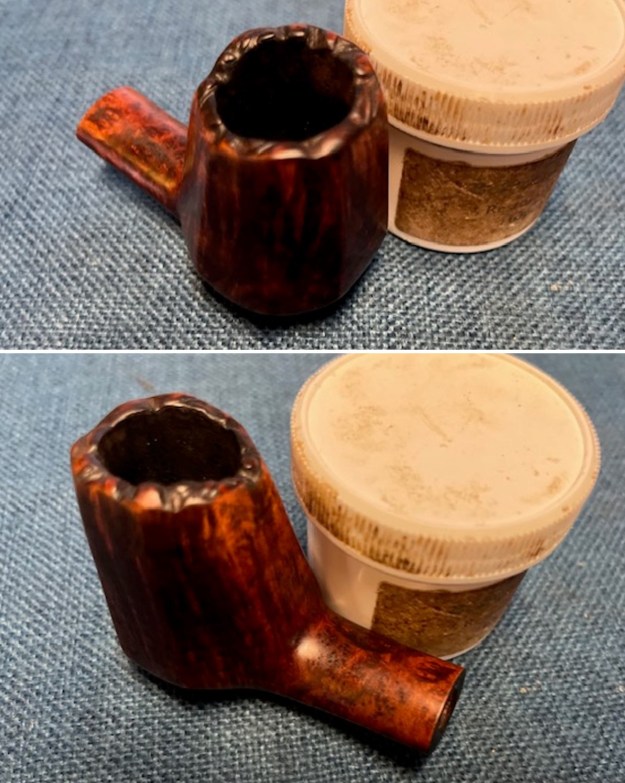
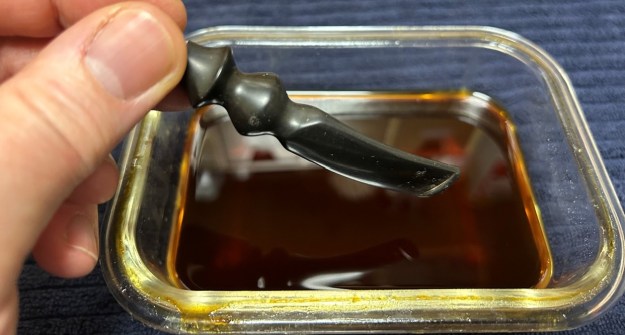
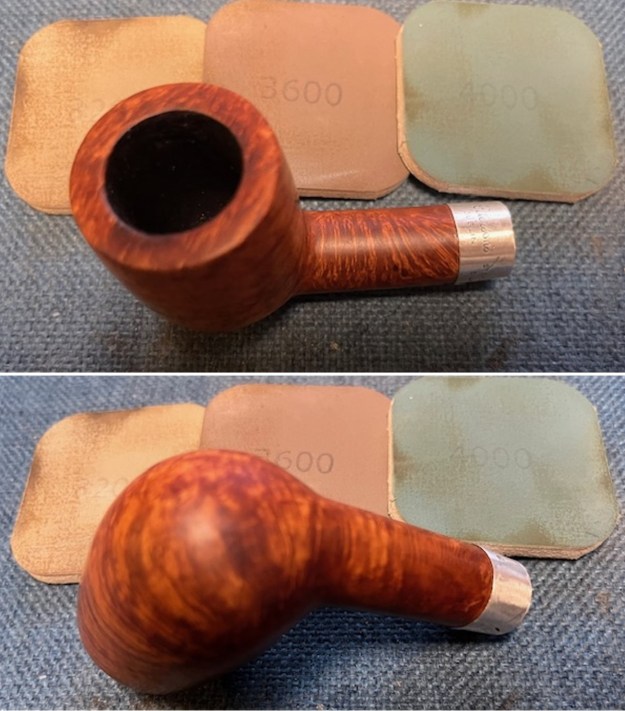
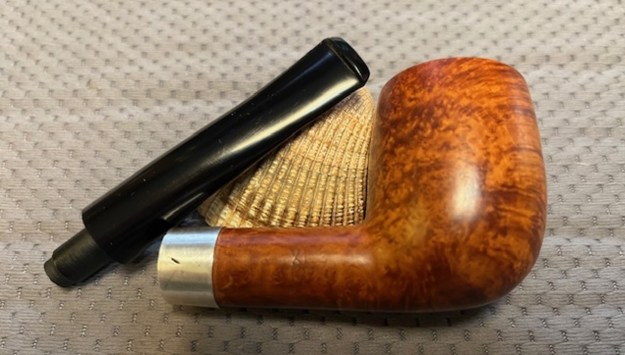
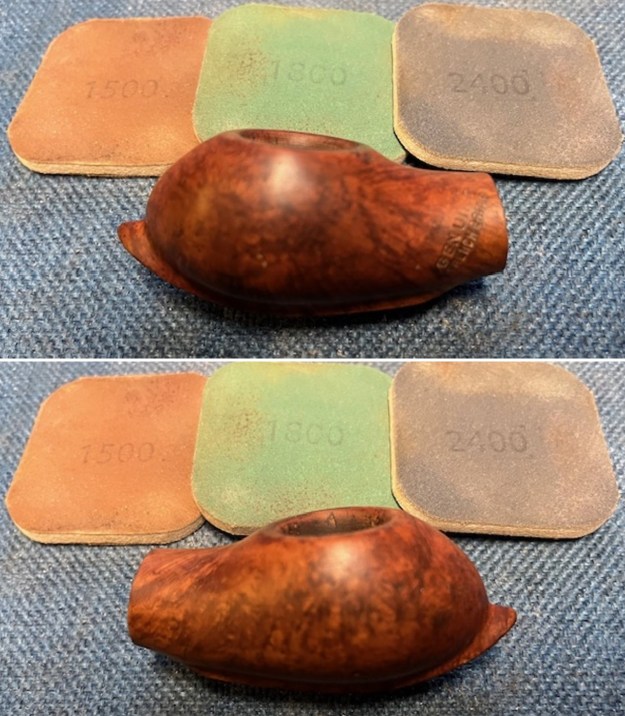
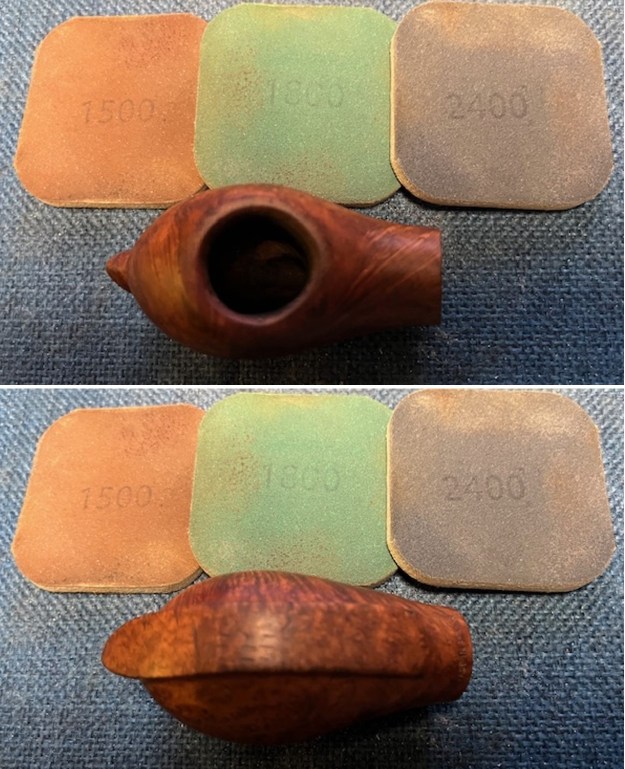
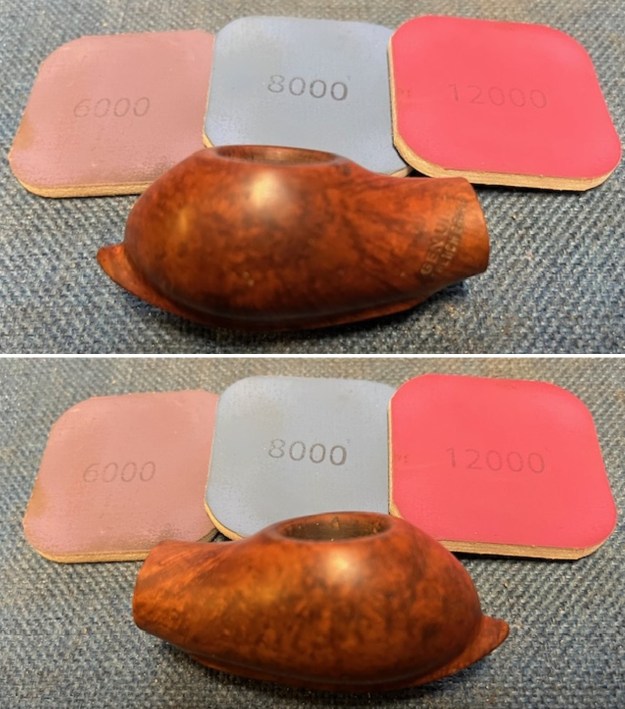
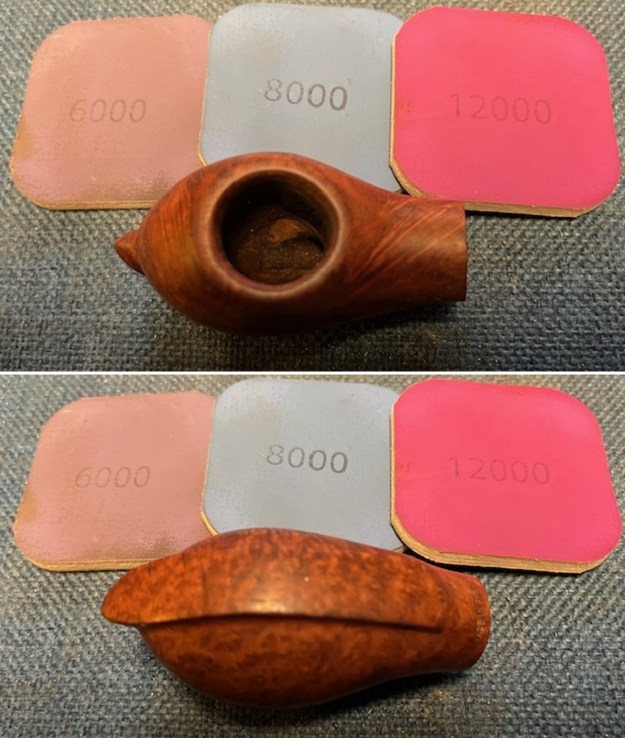
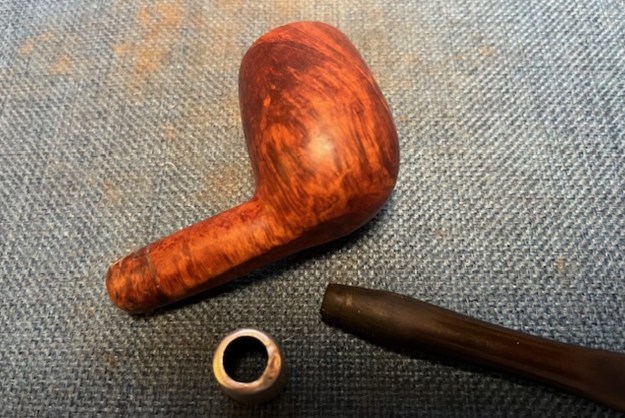
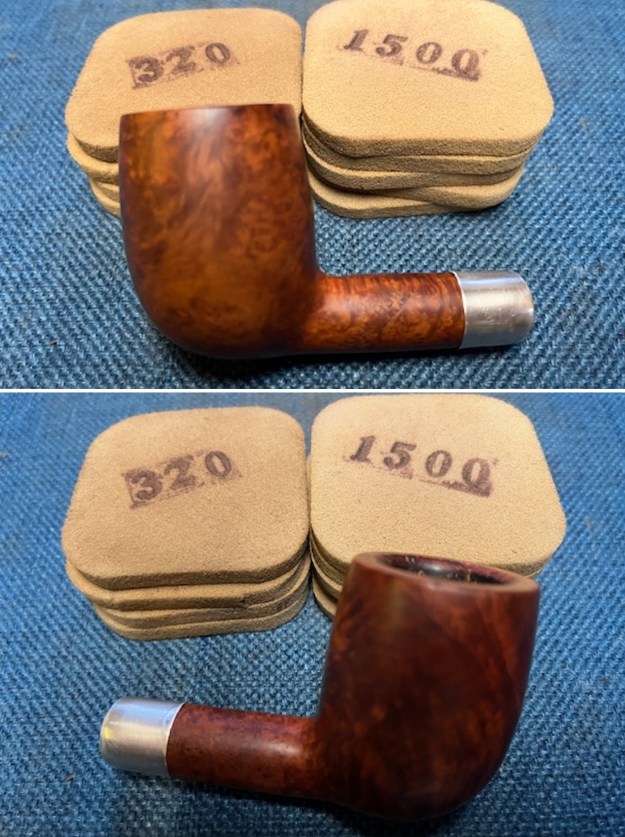
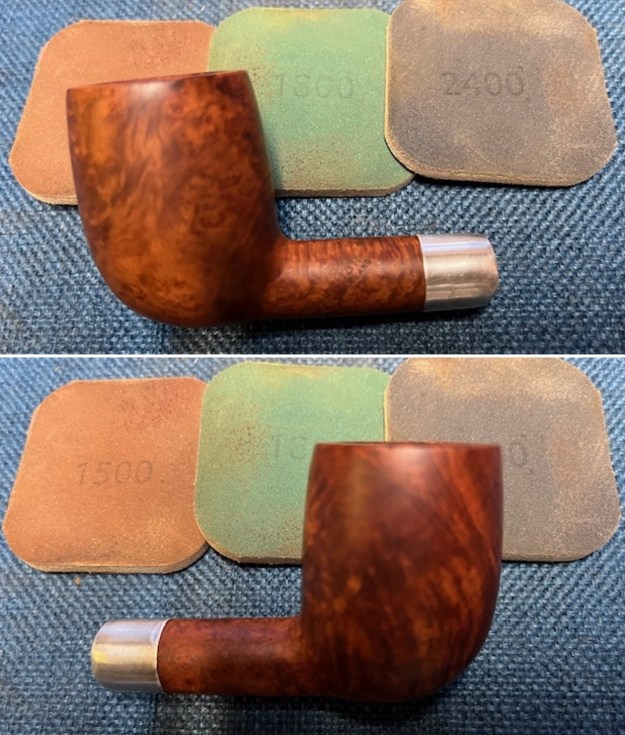
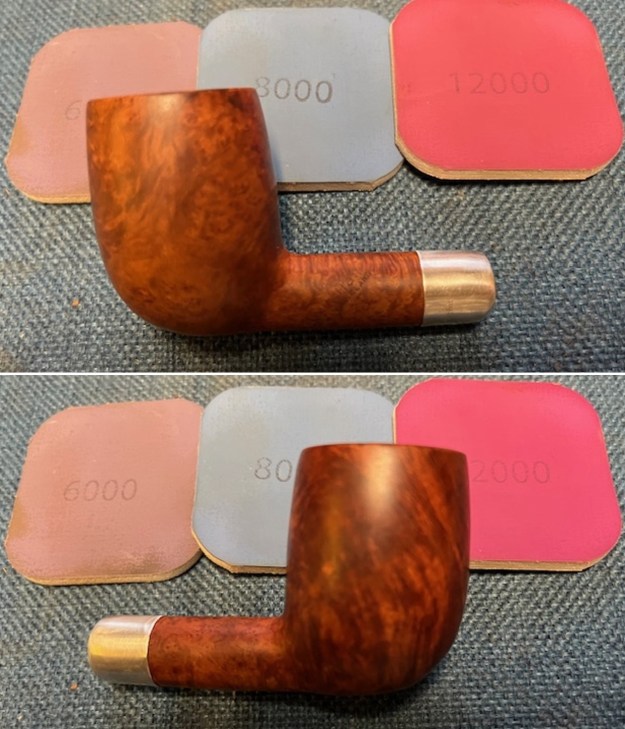
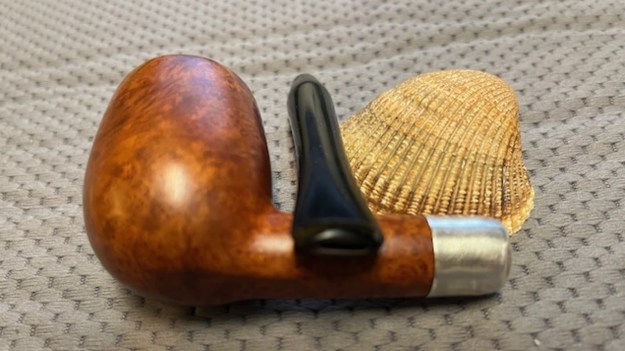
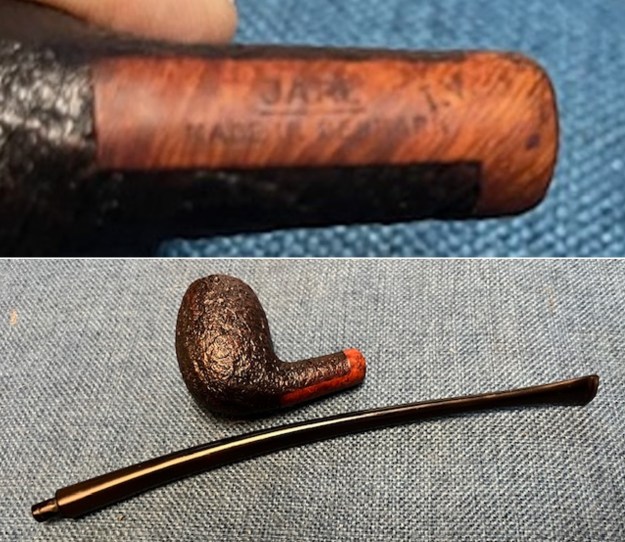 I started my work on the pipe by rubbing the bowl down with Before & After Restoration Balm. I worked it into the surface of the bowl sides and shank with my fingertips. The product works to clean, enliven and protect the briar. I let the balm sit for a little while and then buffed with a cotton cloth to raise the shine.
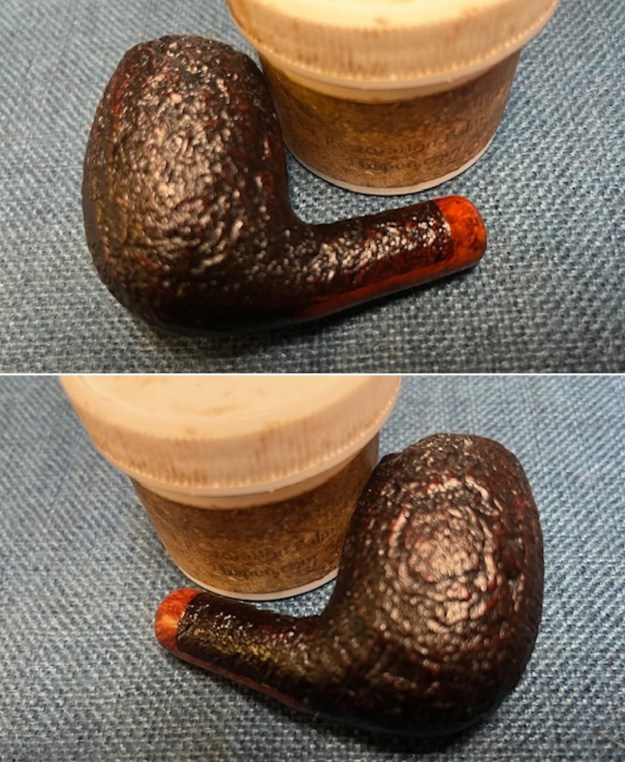
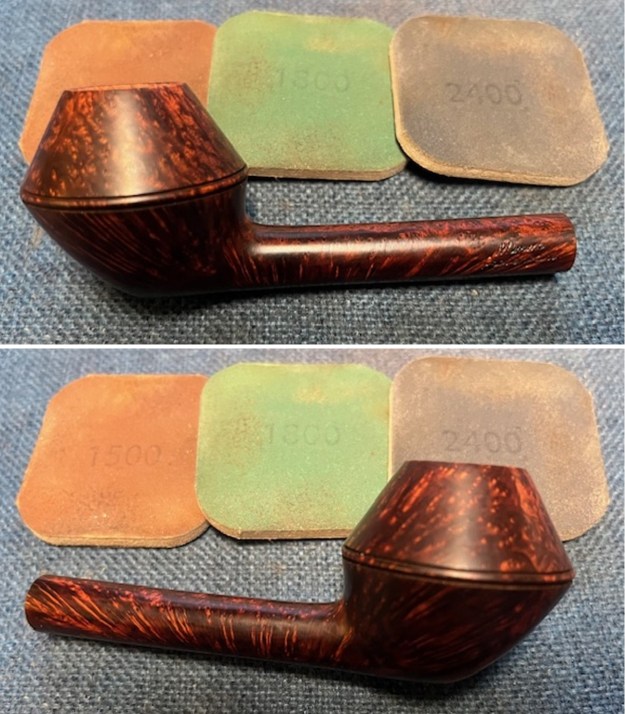
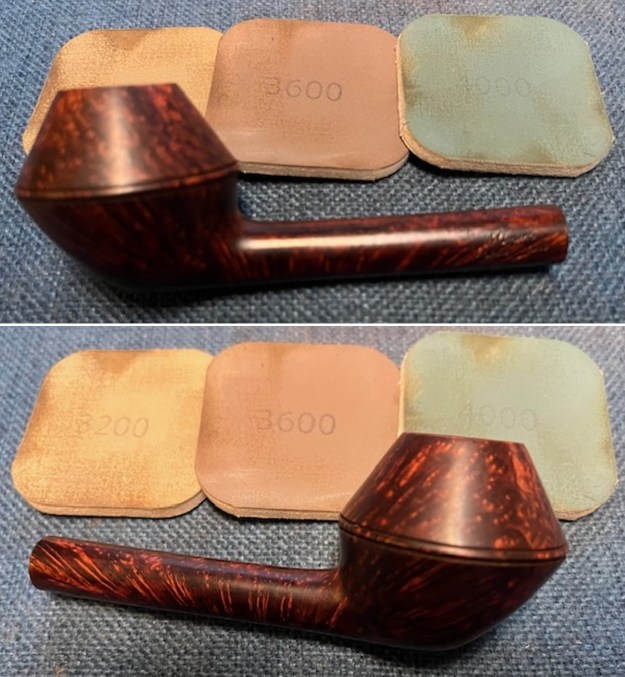
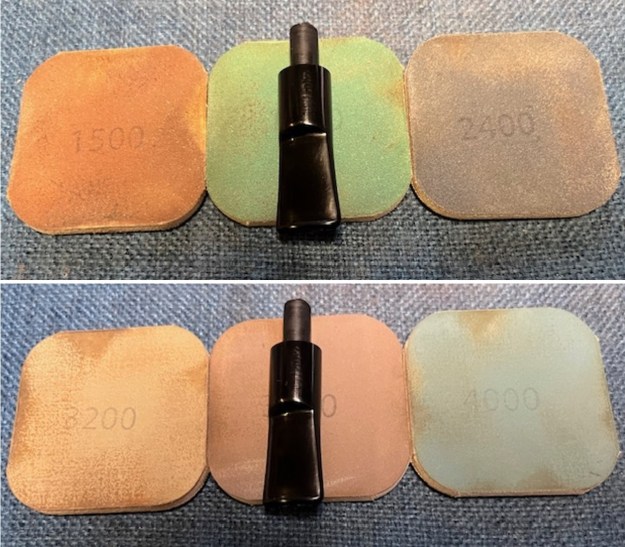
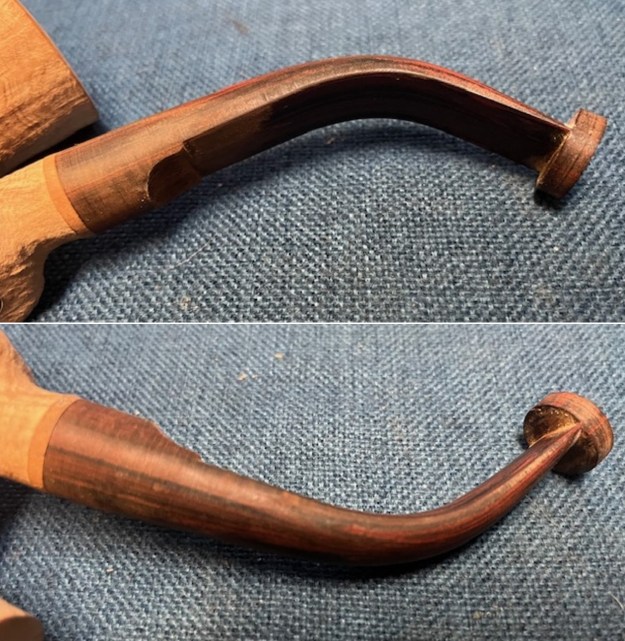
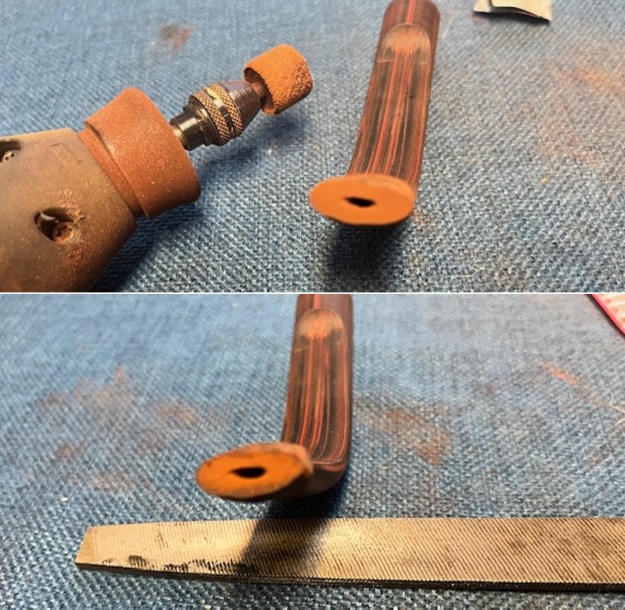
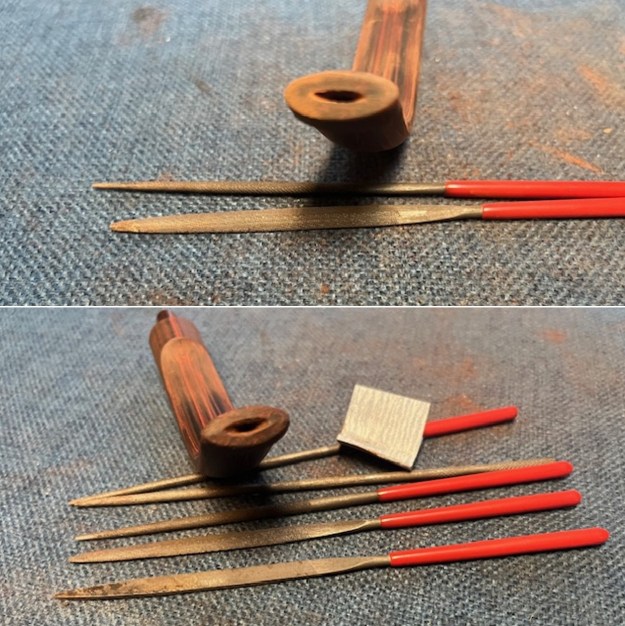
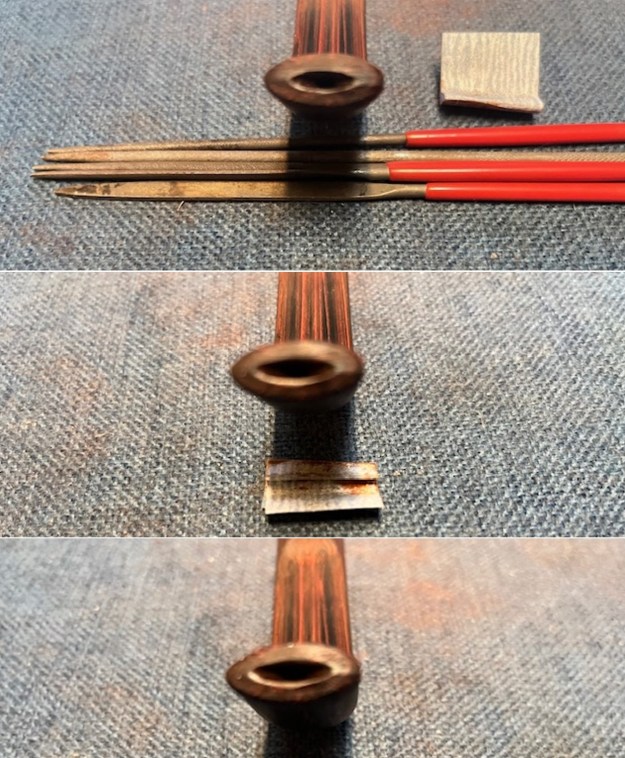
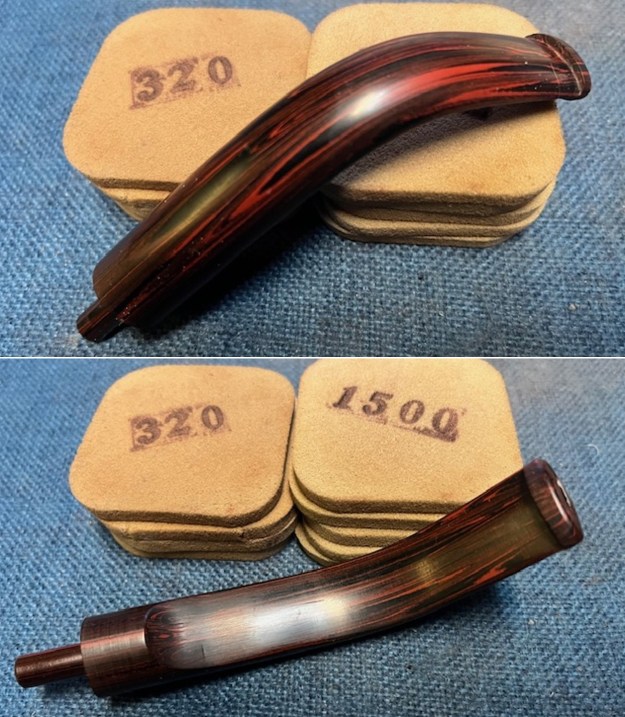
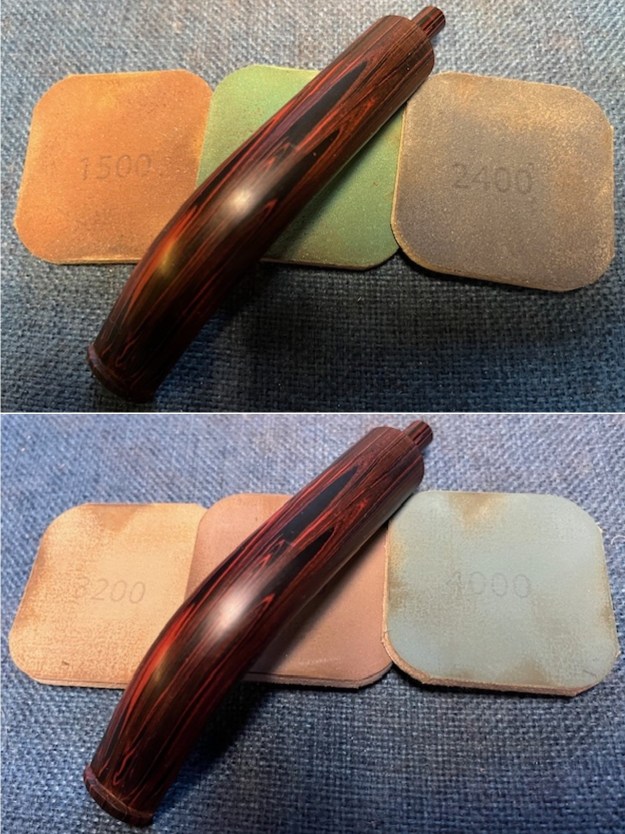
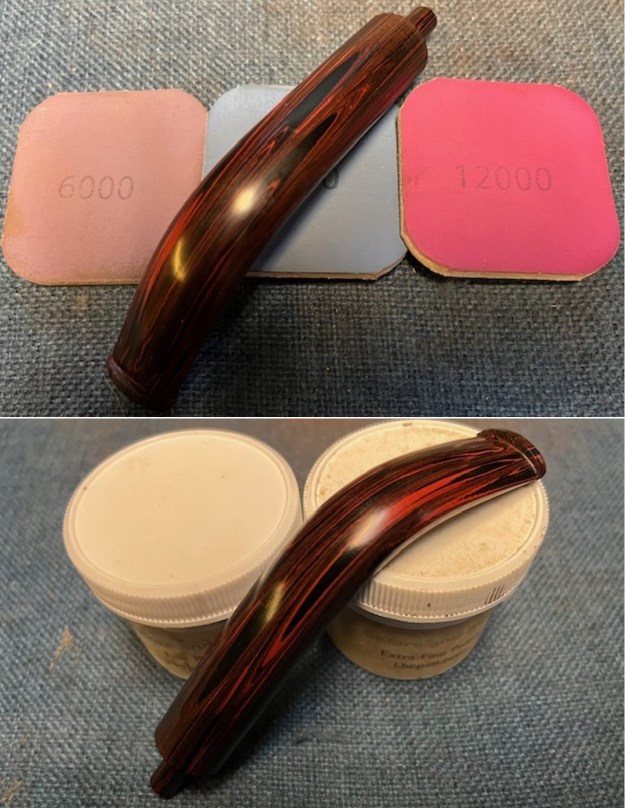
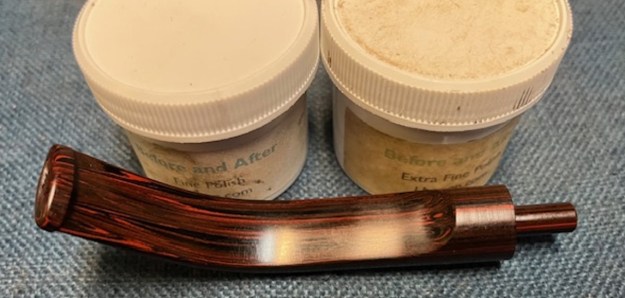
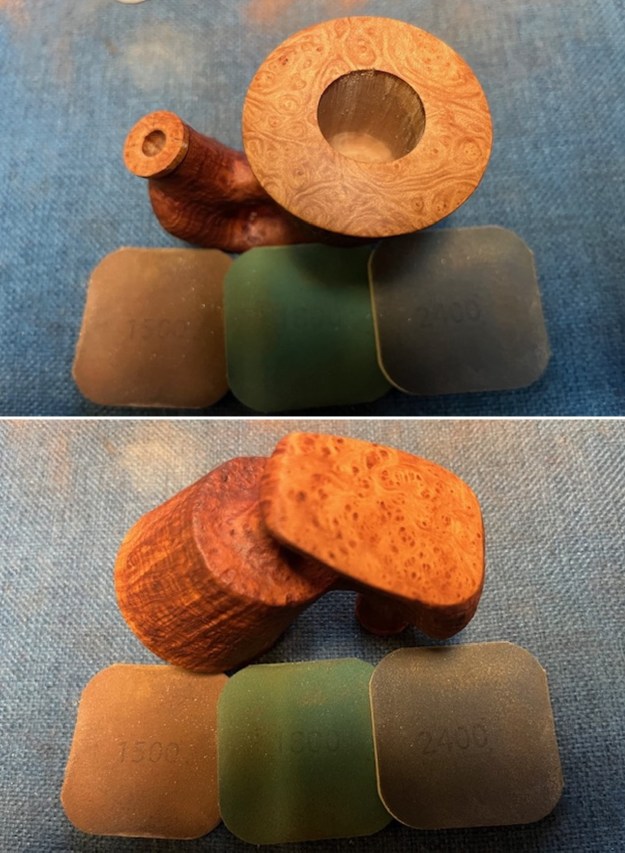
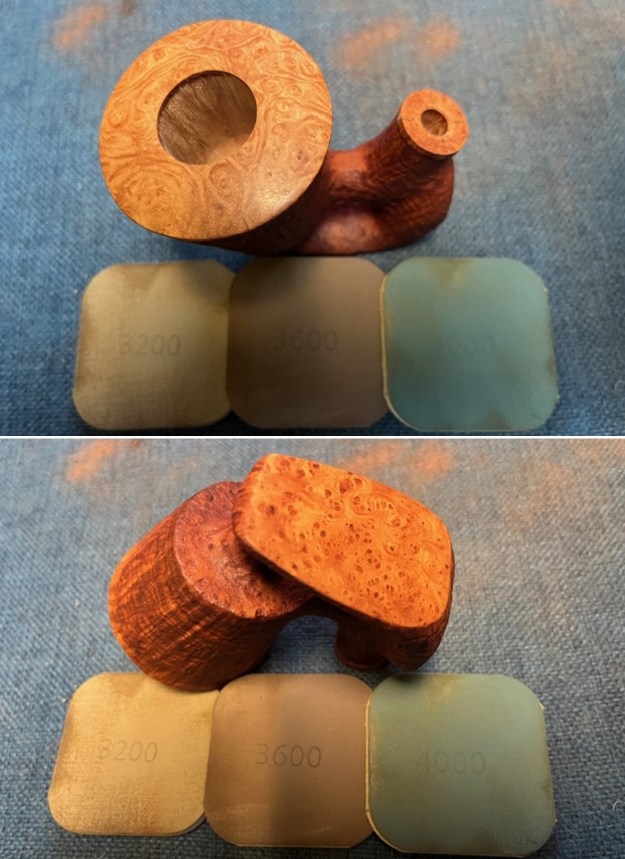
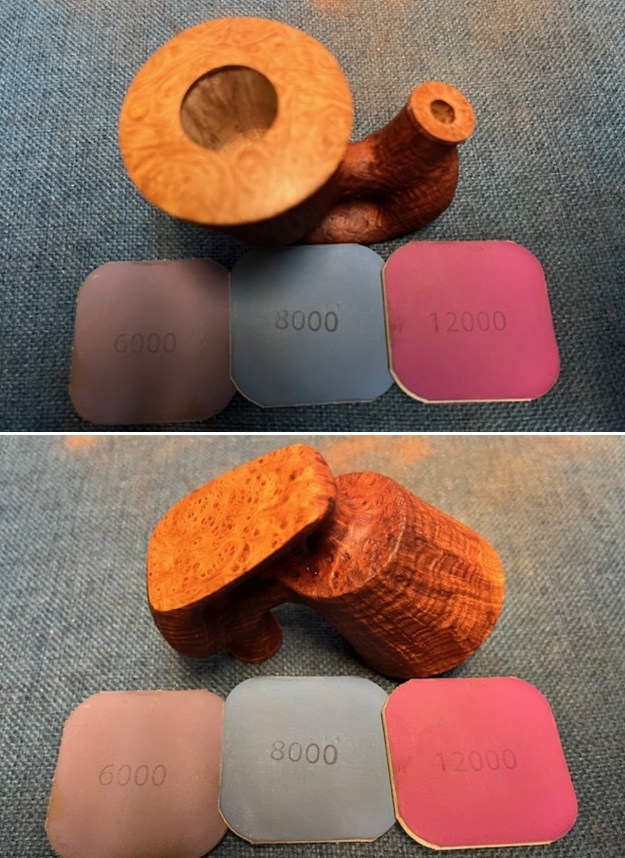
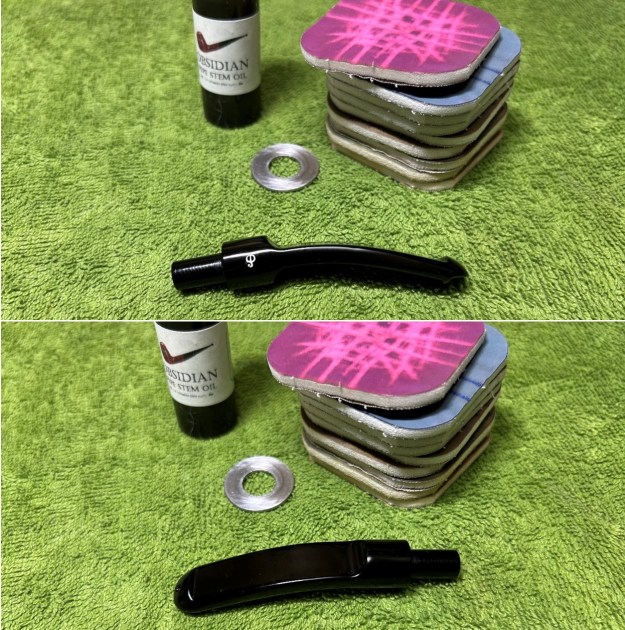
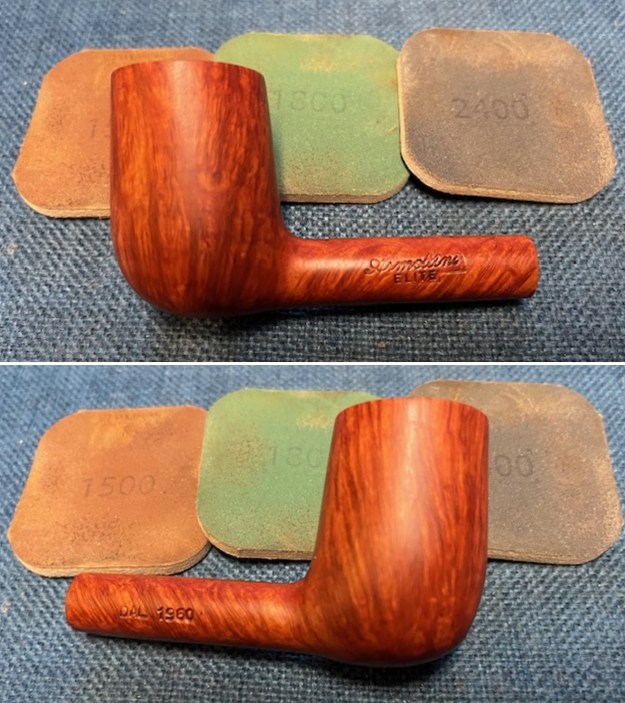
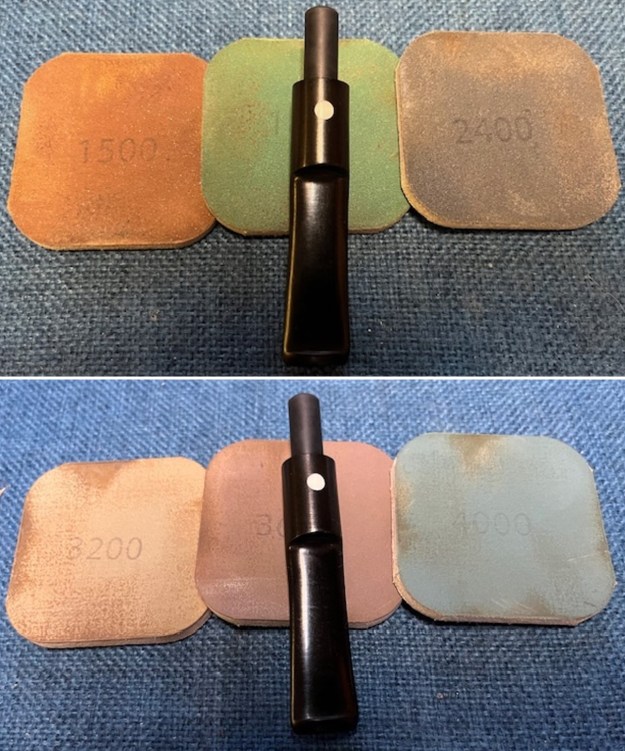
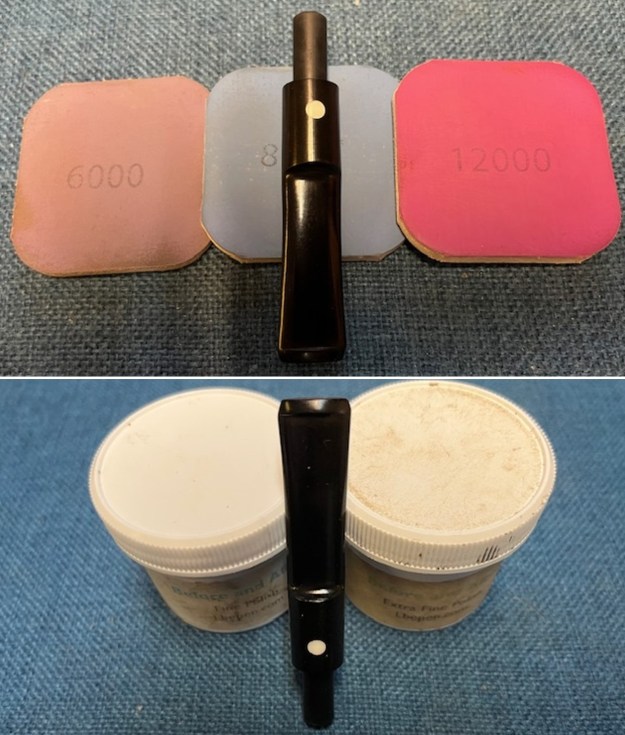
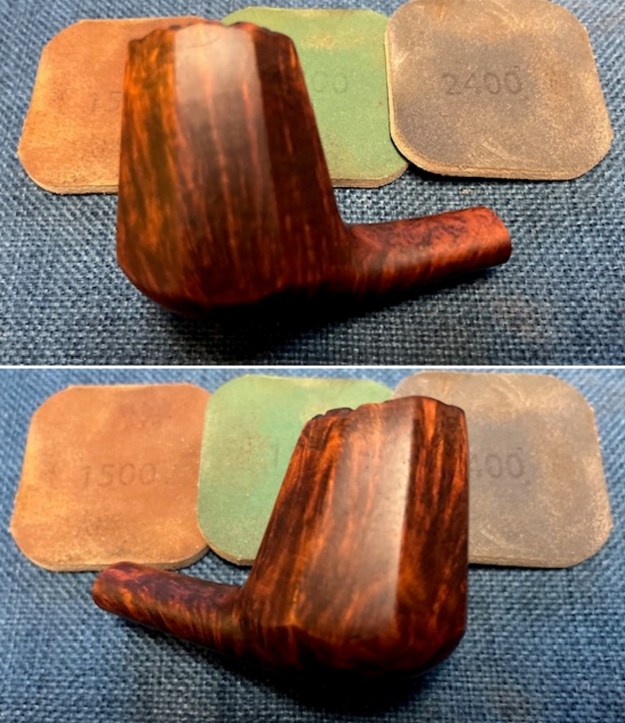
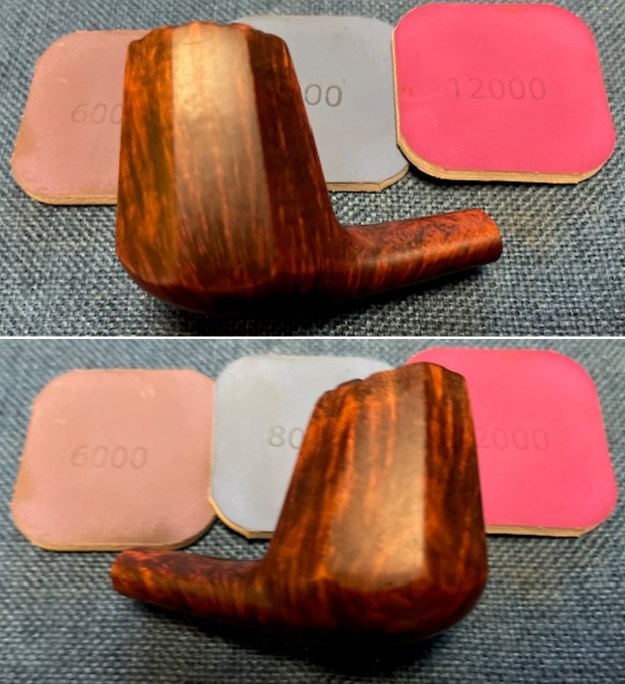
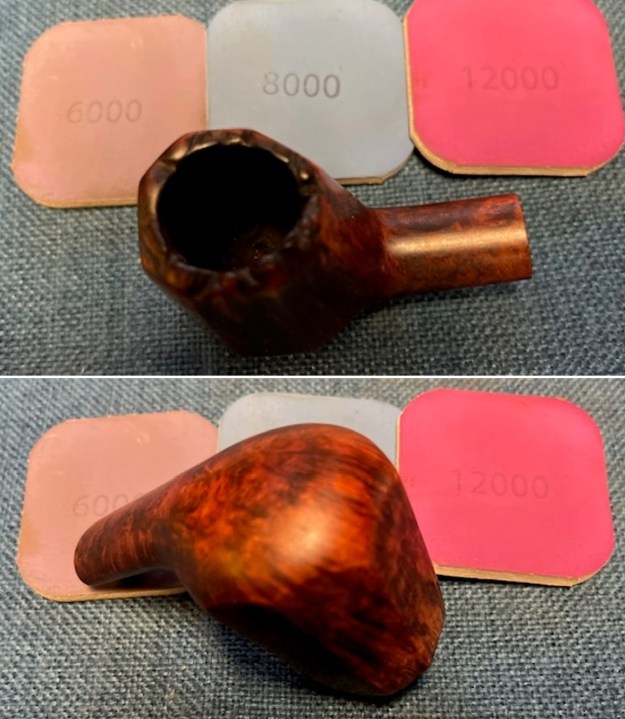
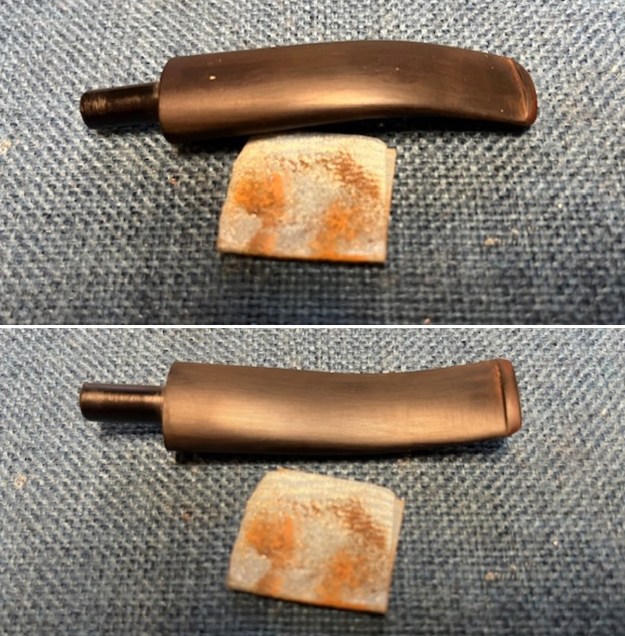
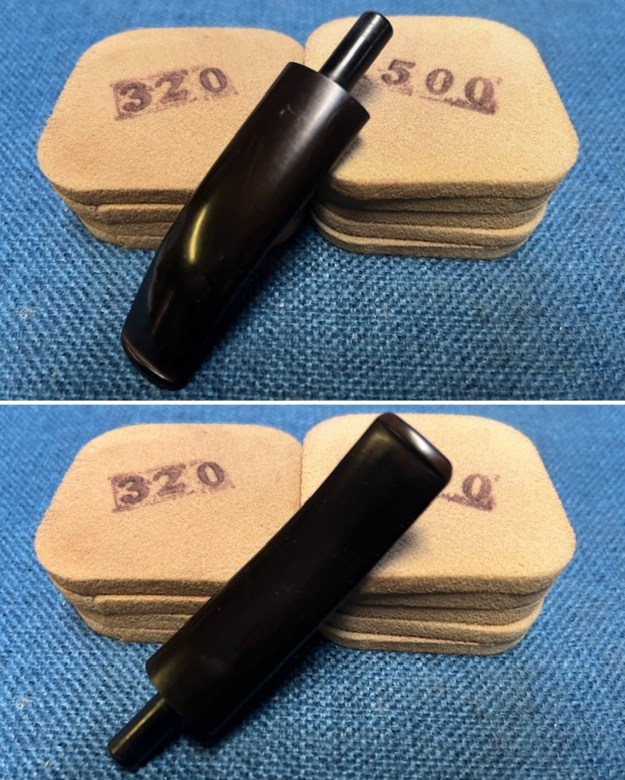
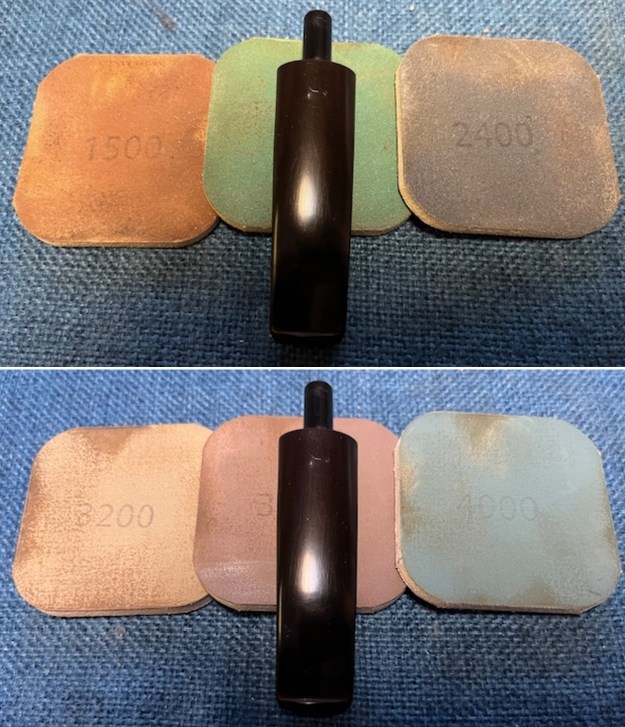
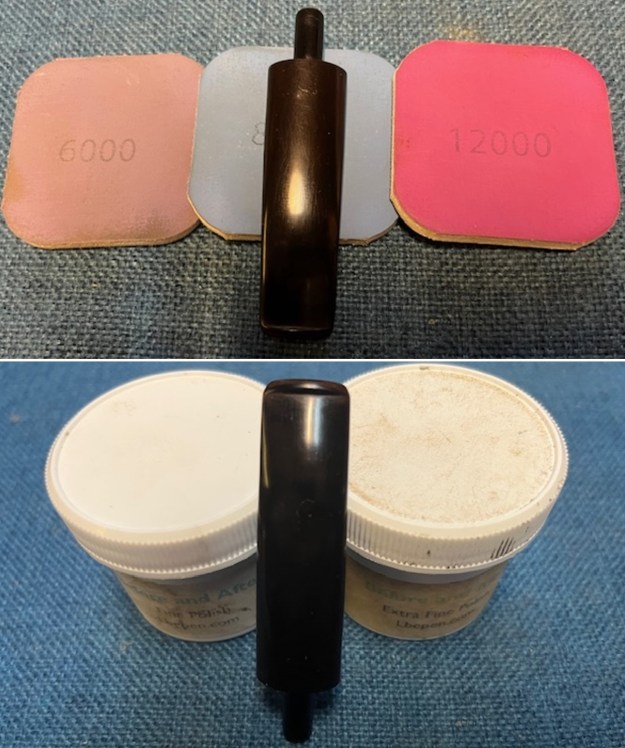
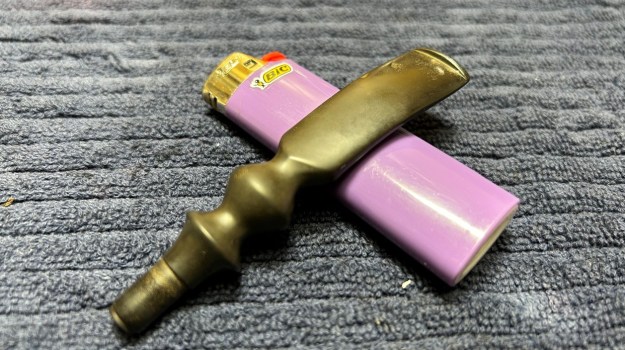
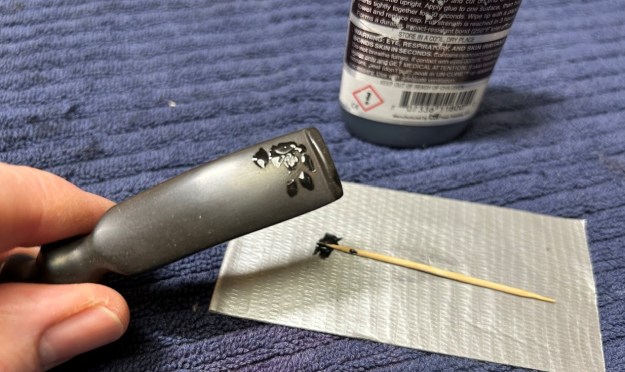
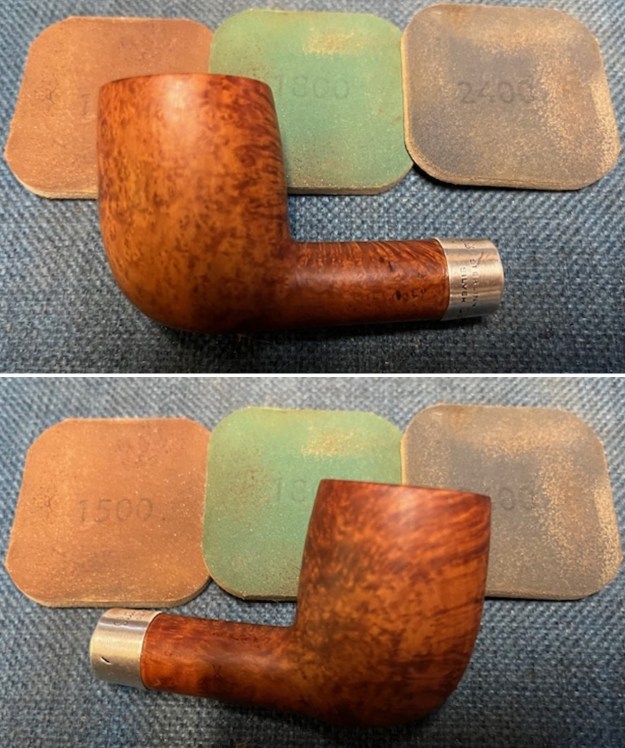
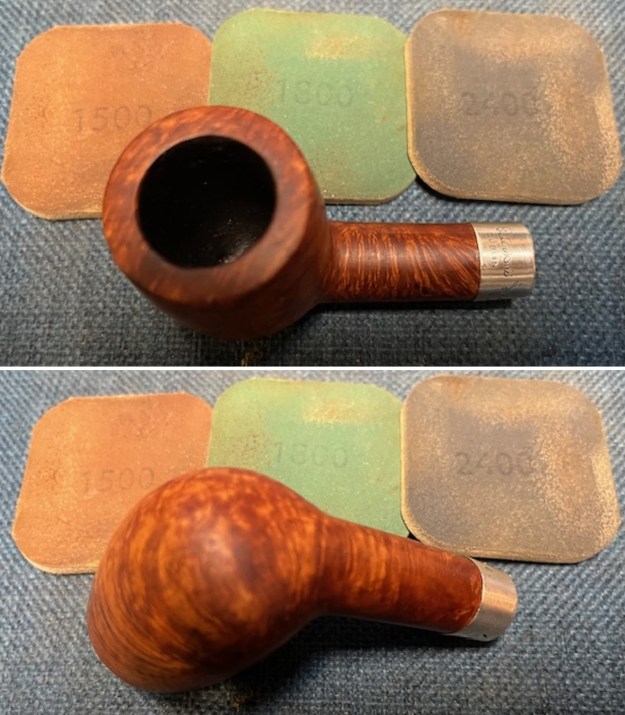
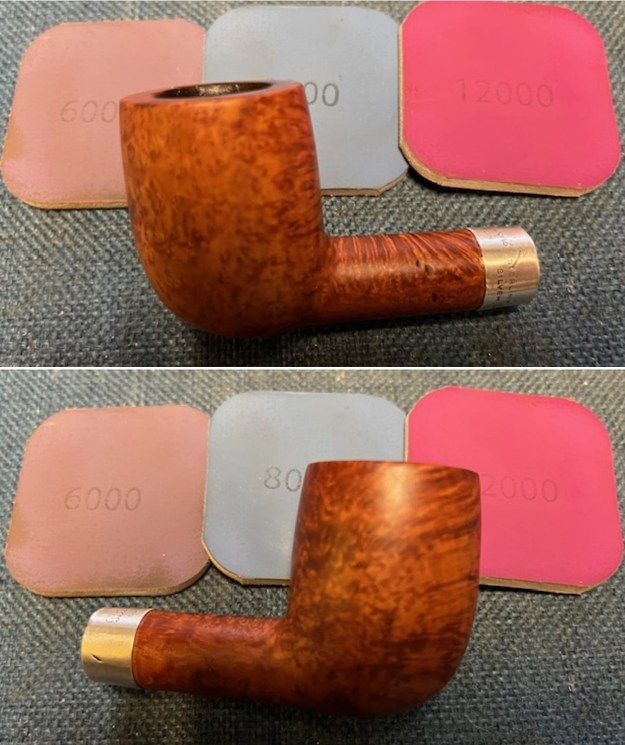
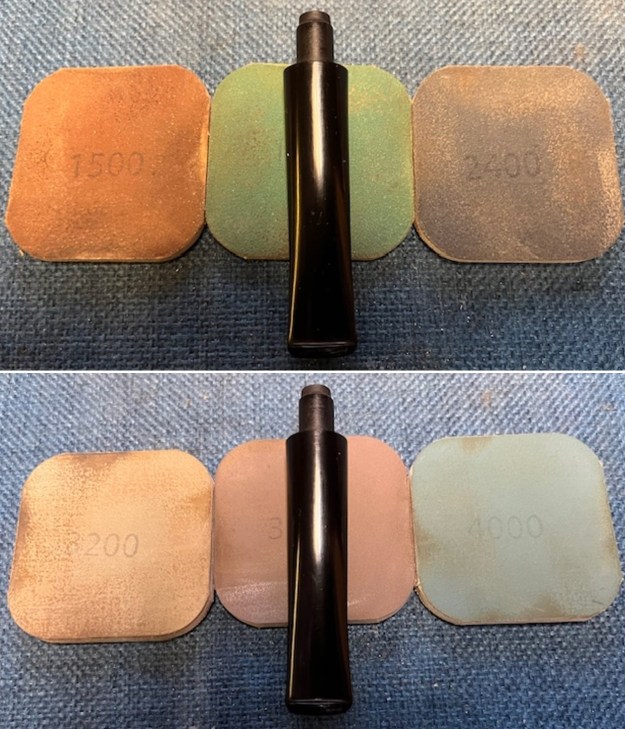
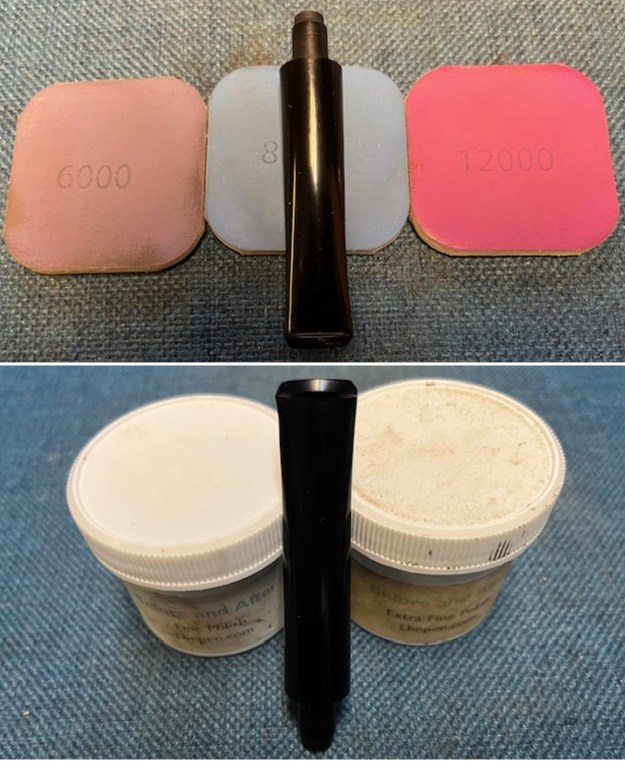
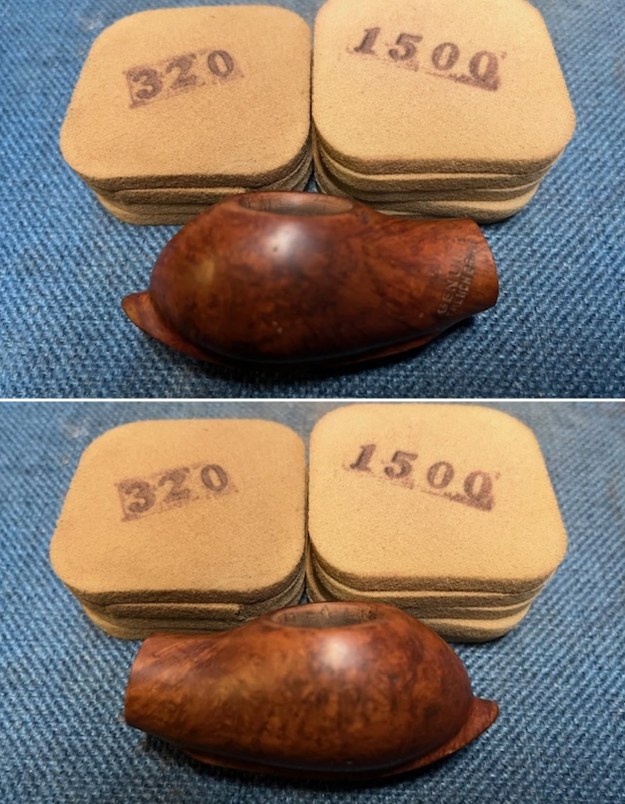
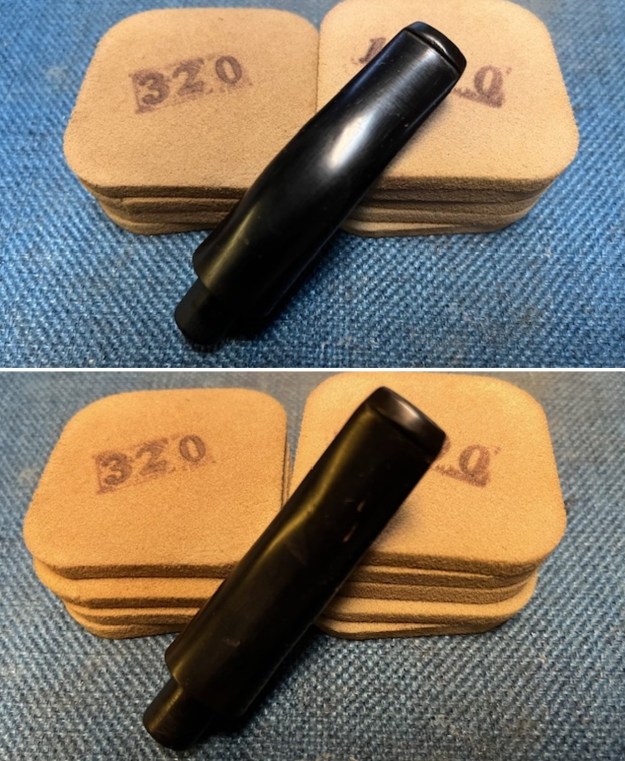
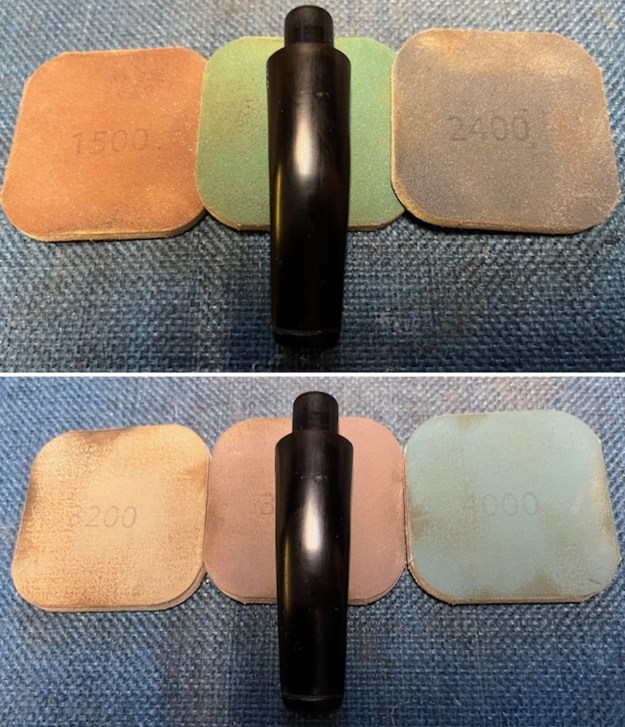
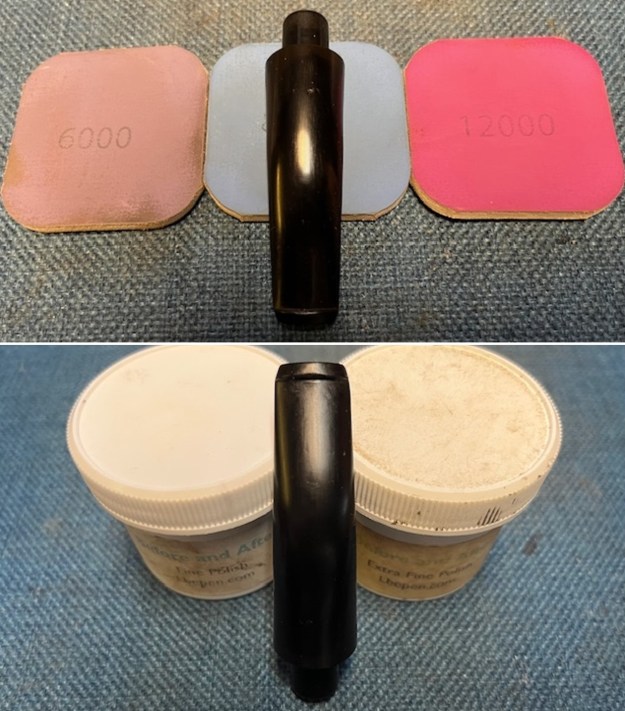
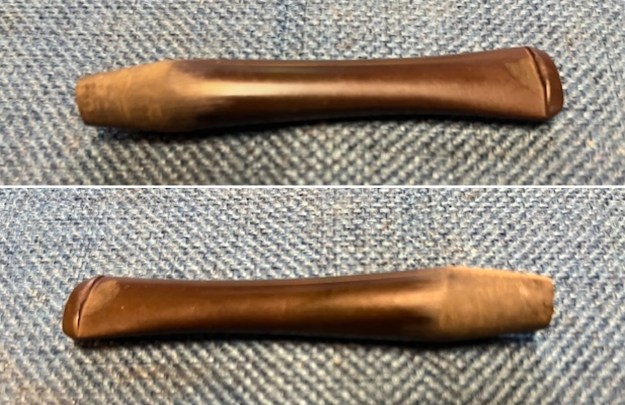
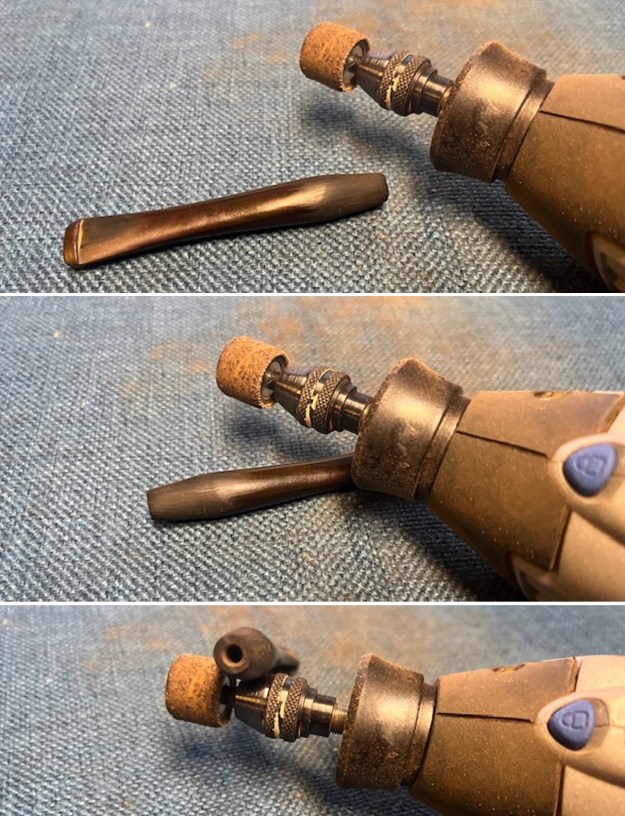
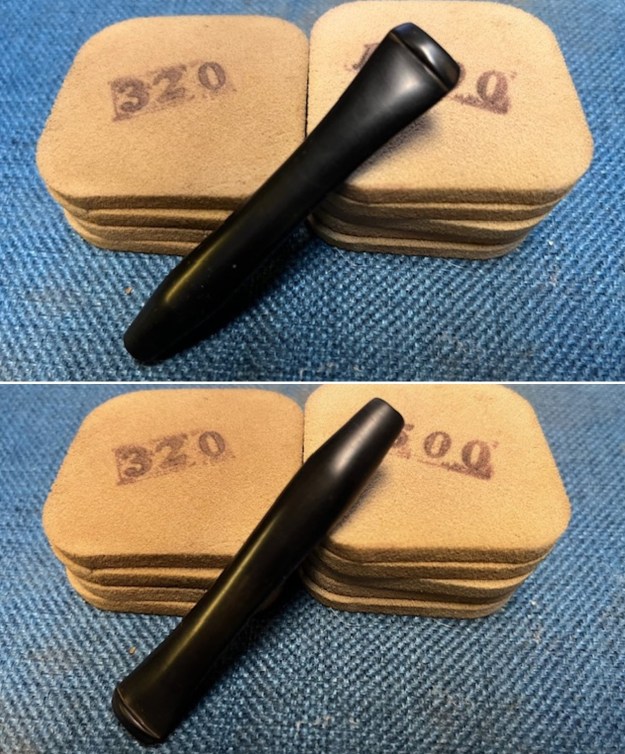
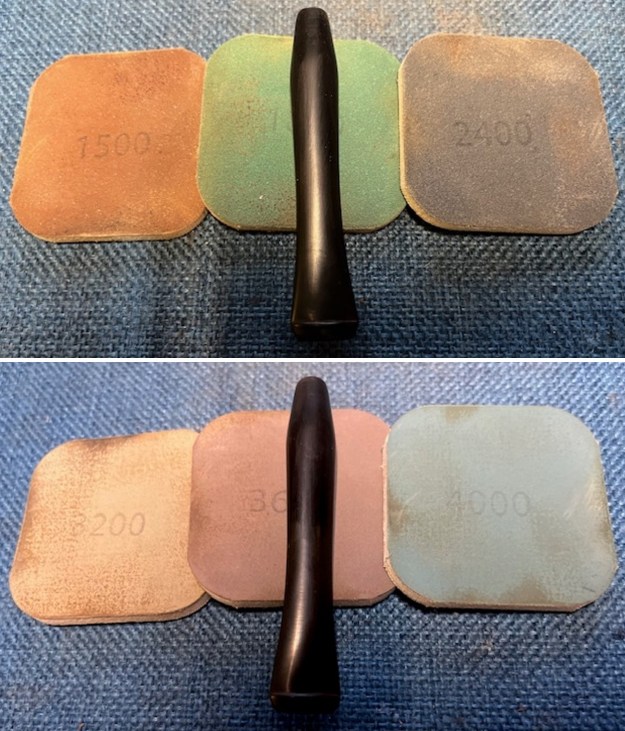
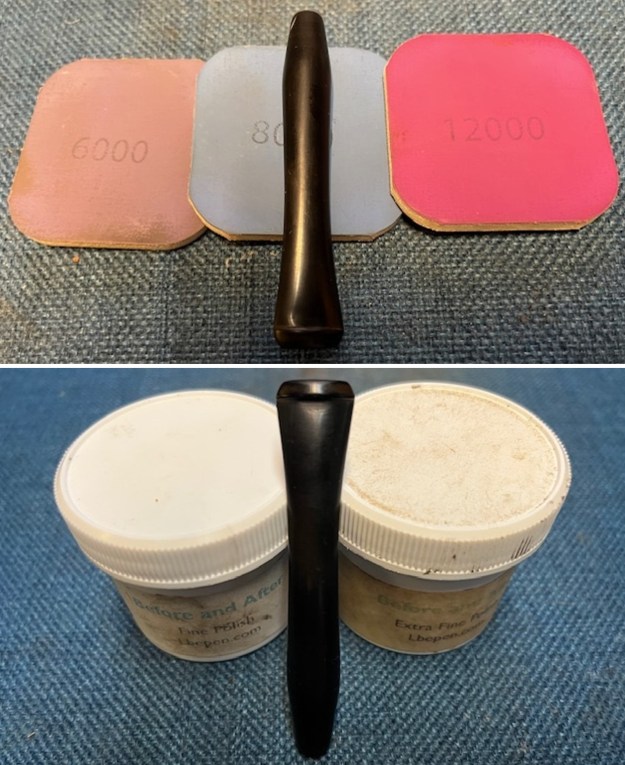
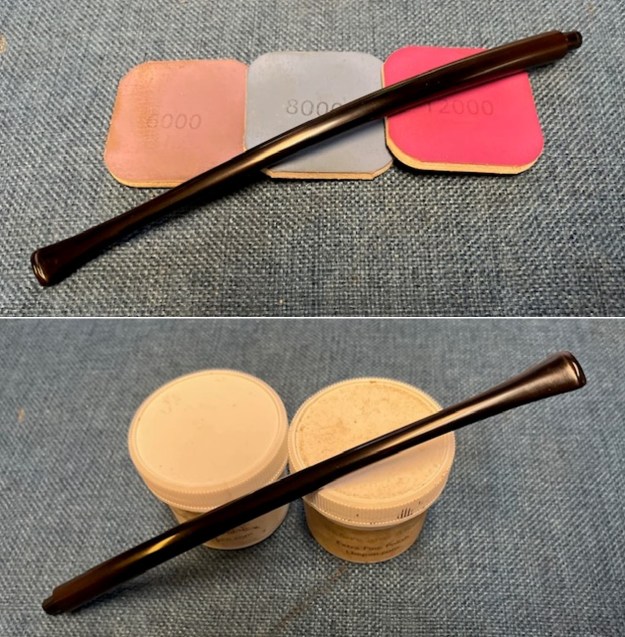
 I set the bowl aside and turned my attention to the stem. The stem was in good condition and I was able to start sanding out the chatter and marks with 1500-12000 micromesh sanding pads. I wiped the stem down after each pad with an Obsidian Oil impregnated cloth. I polished it with Before & After Pipe Stem Polish – both Fine and Extra Fine and gave it another coat of Obsidian Oil.
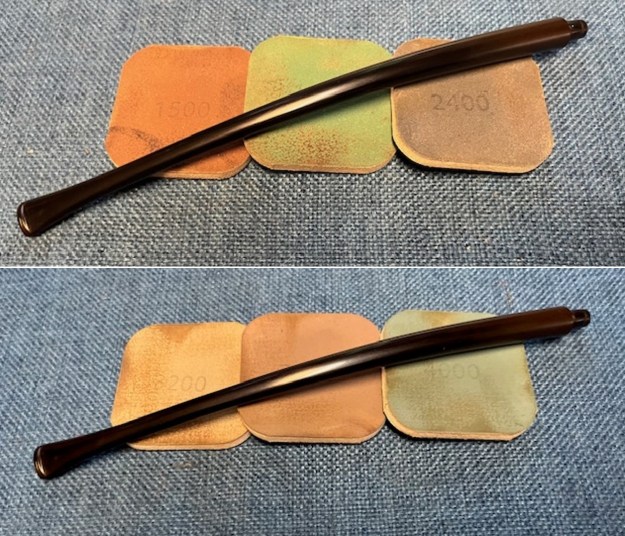
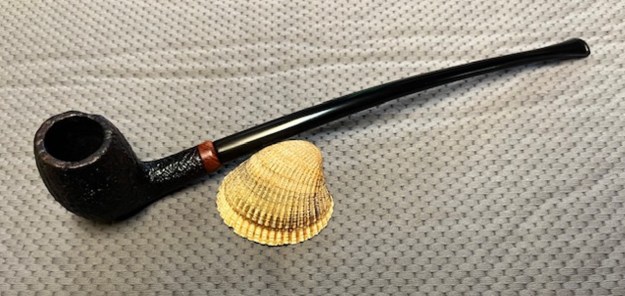
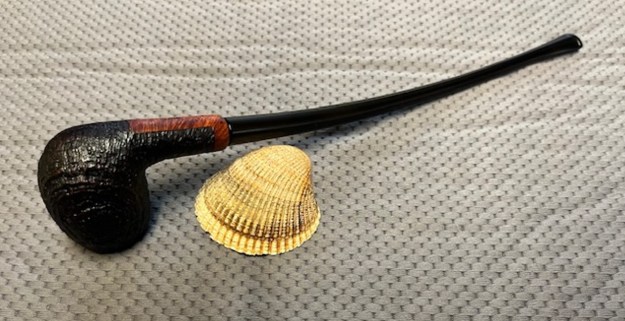
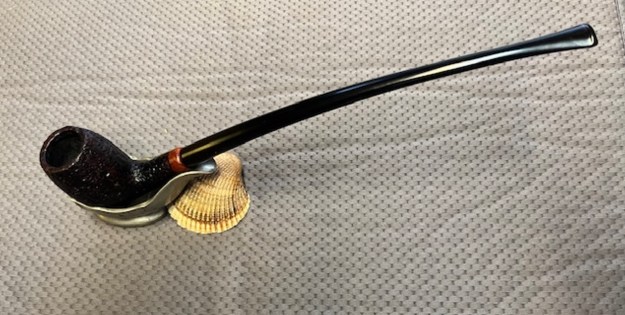
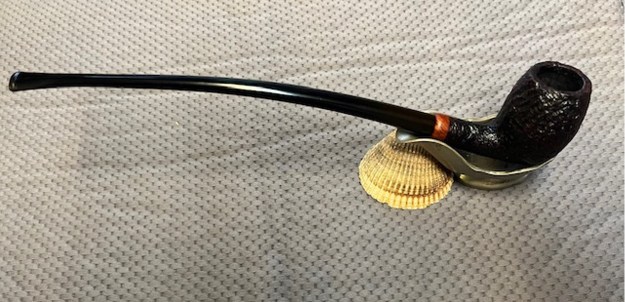
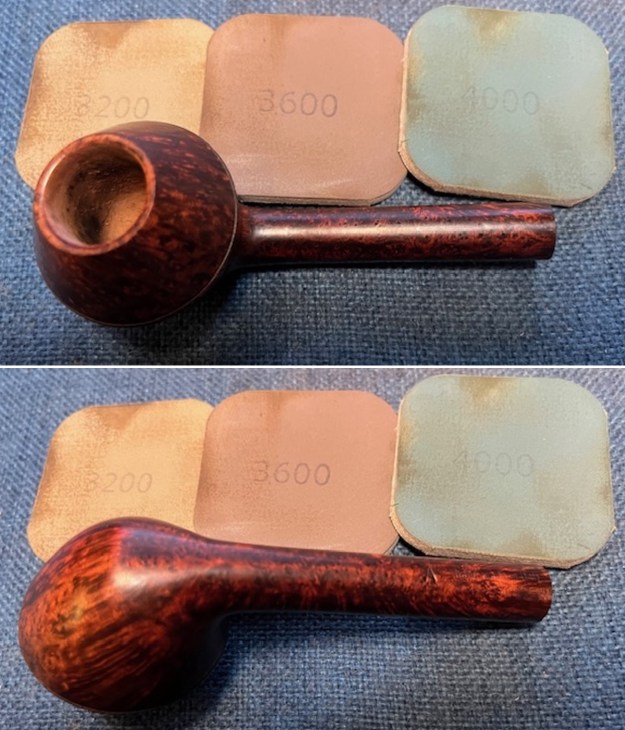
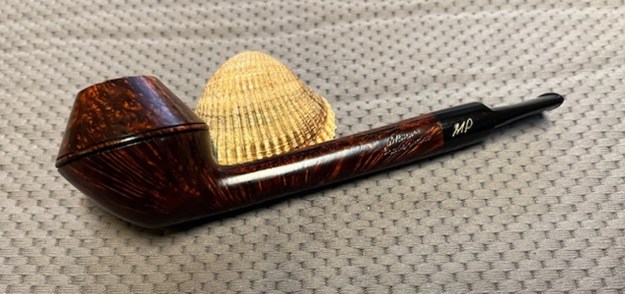
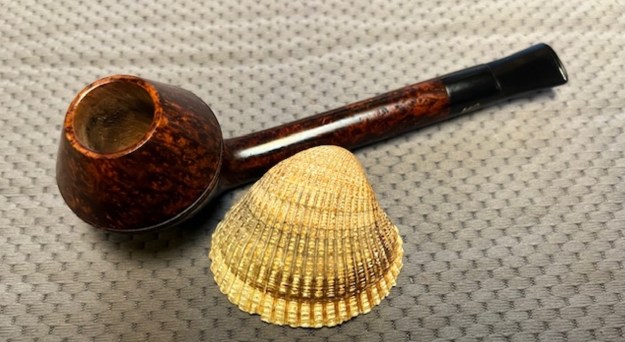
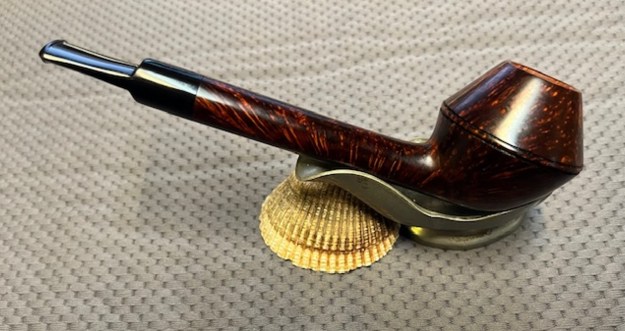
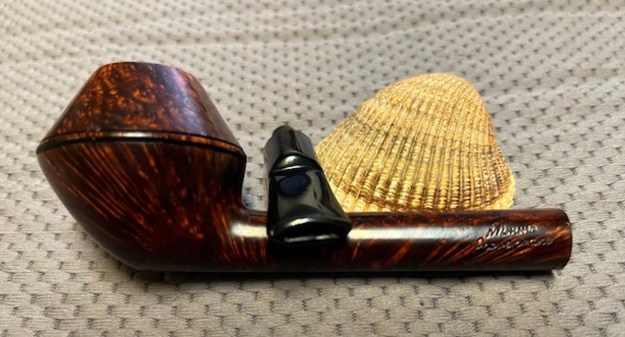
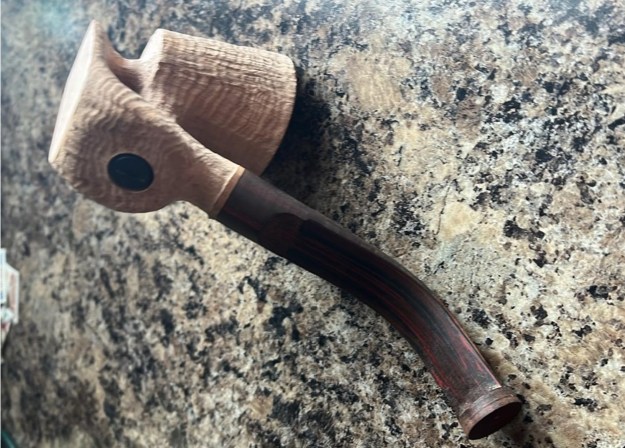
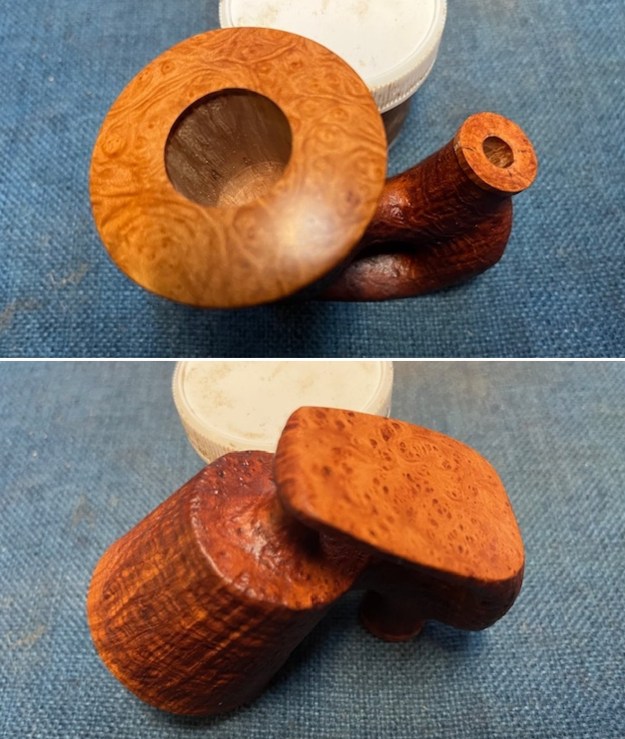
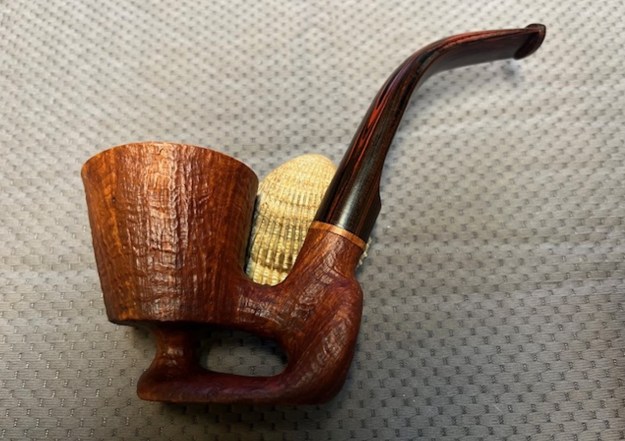
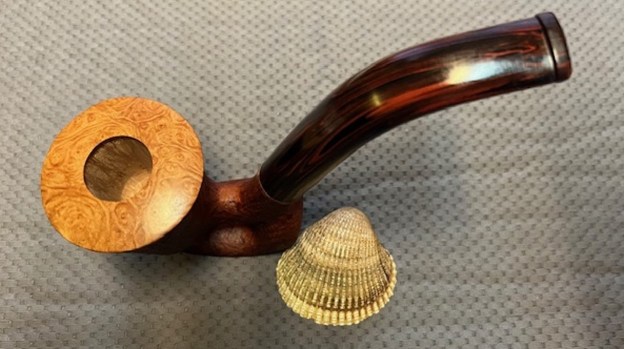
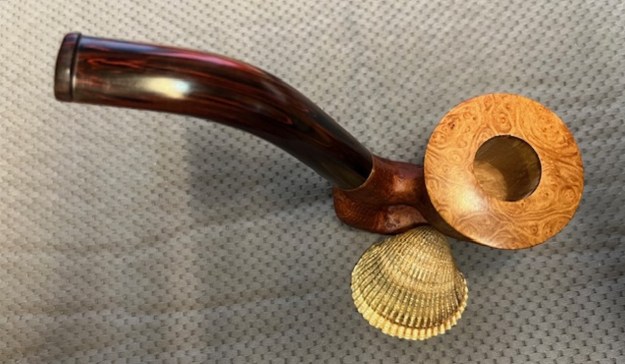
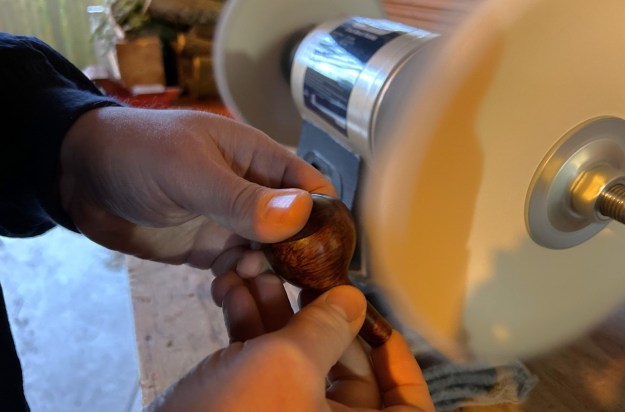
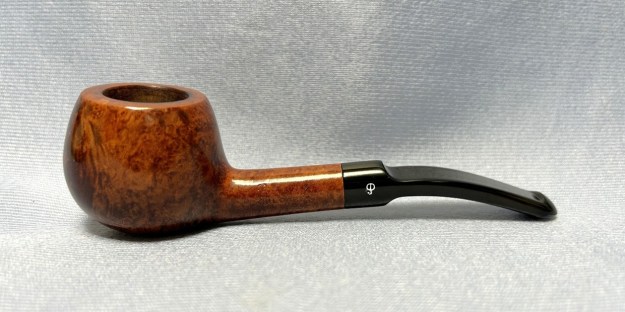
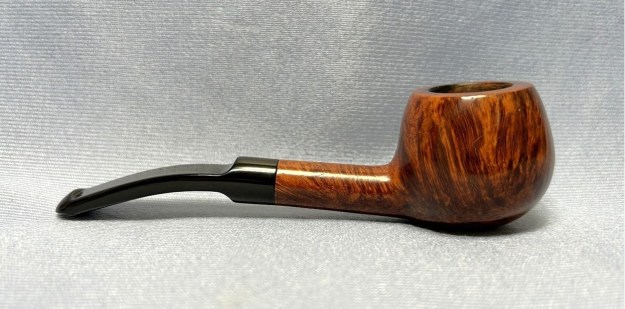
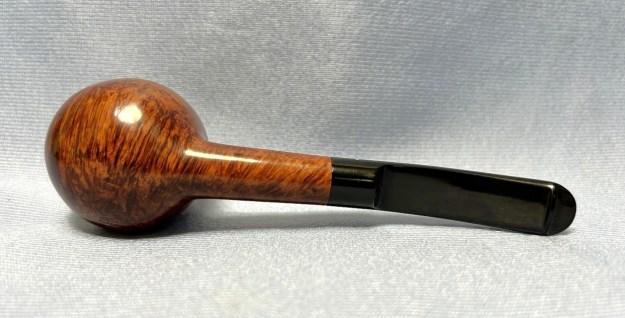
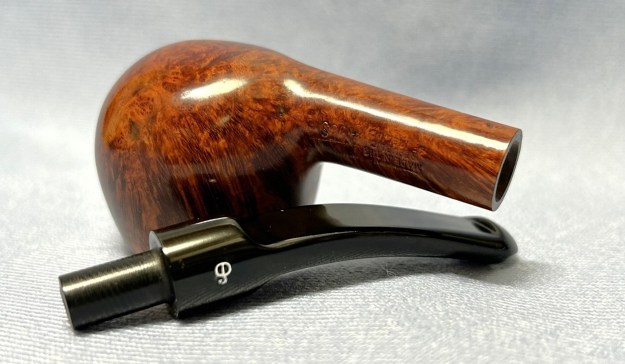
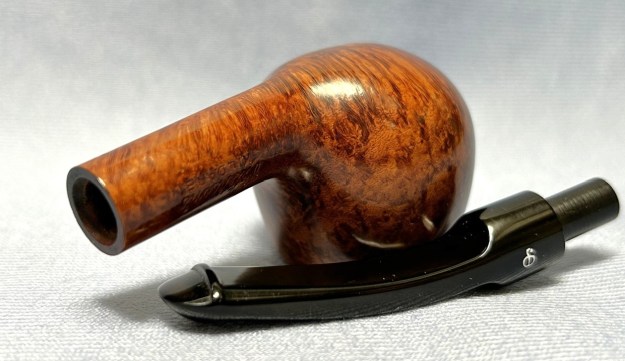
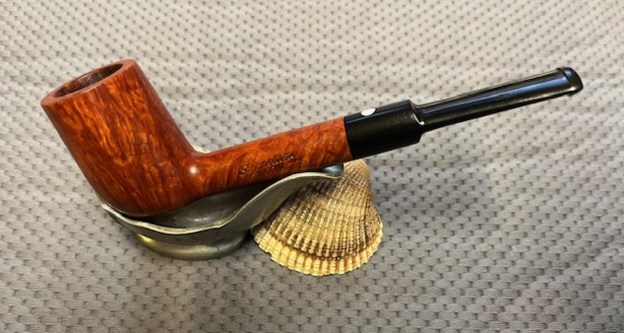
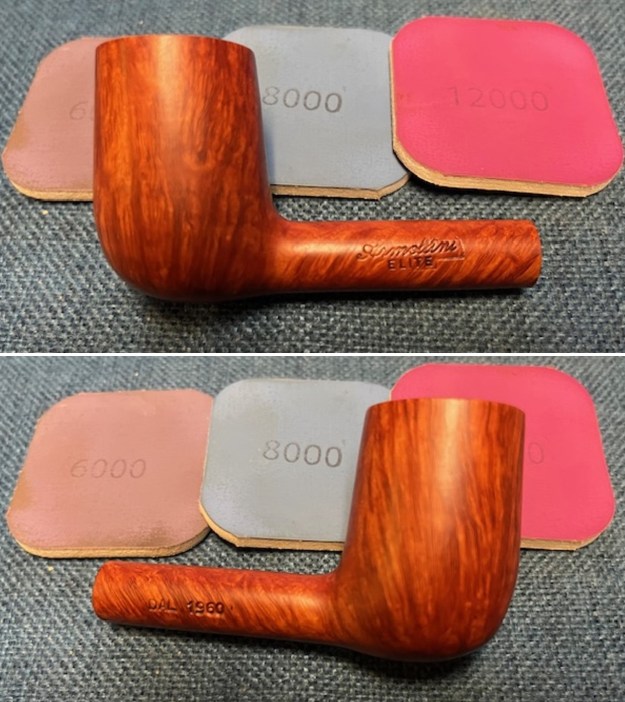
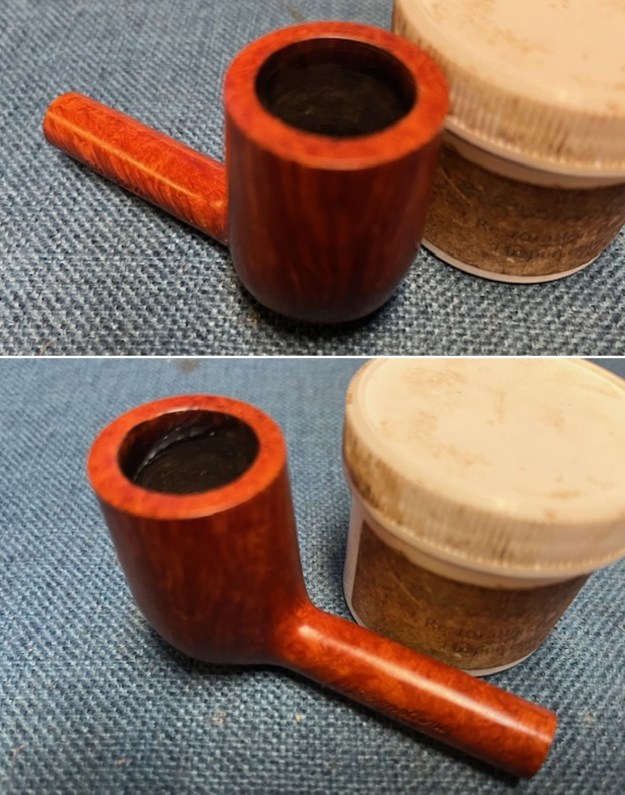
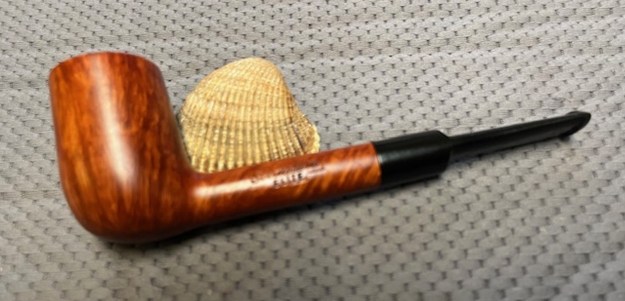
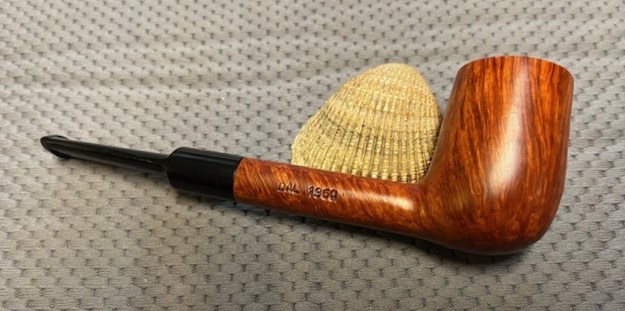
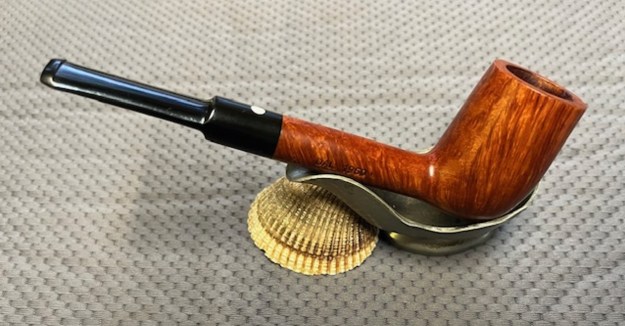
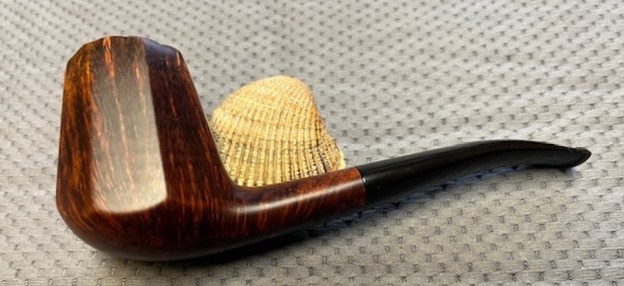
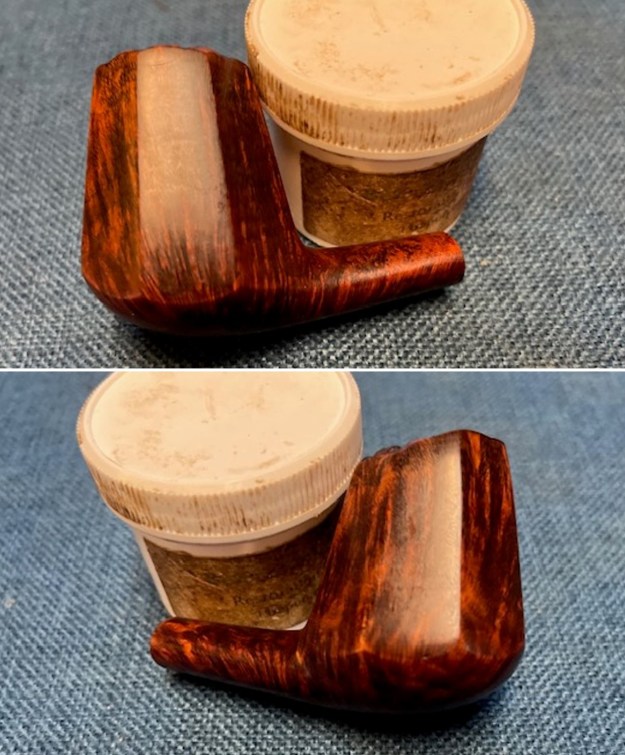
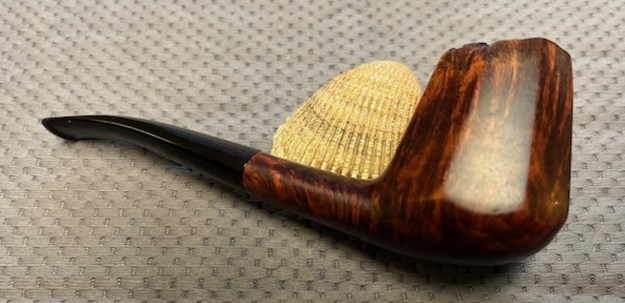
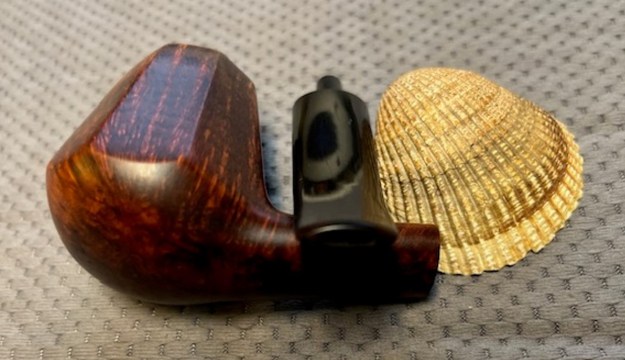
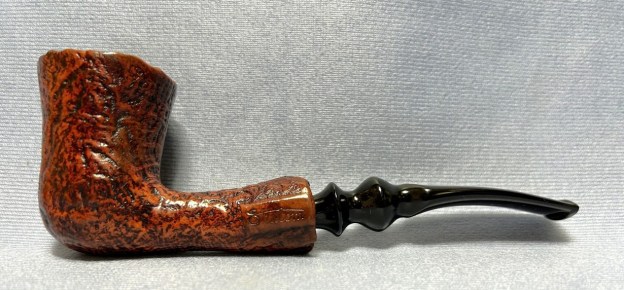
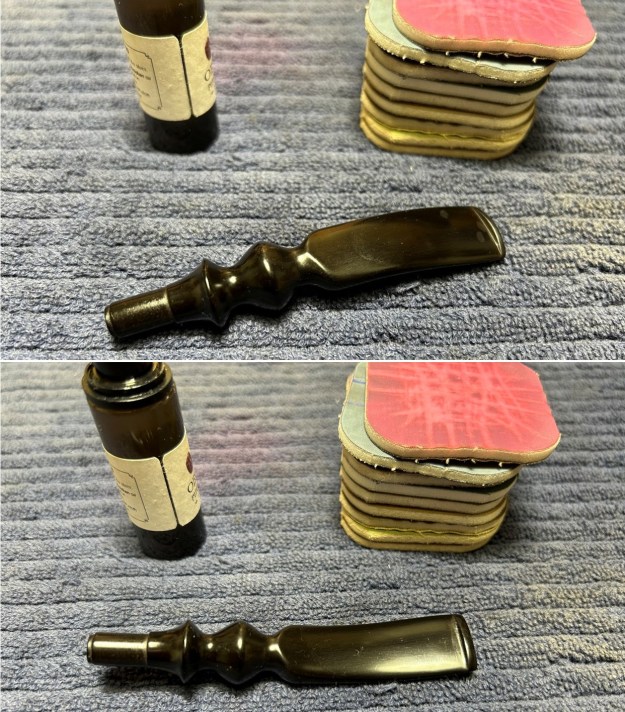
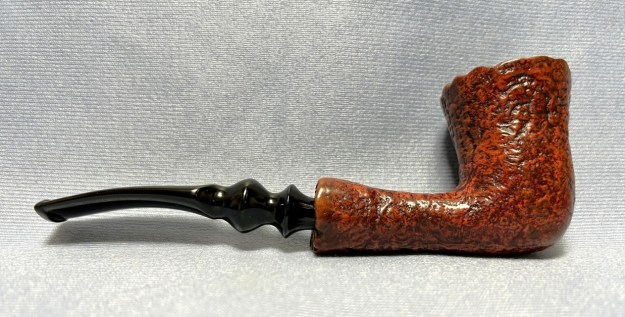
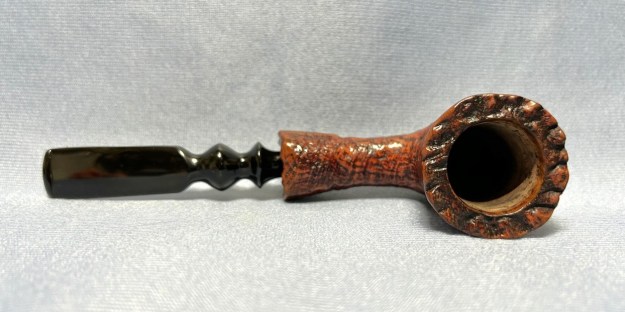
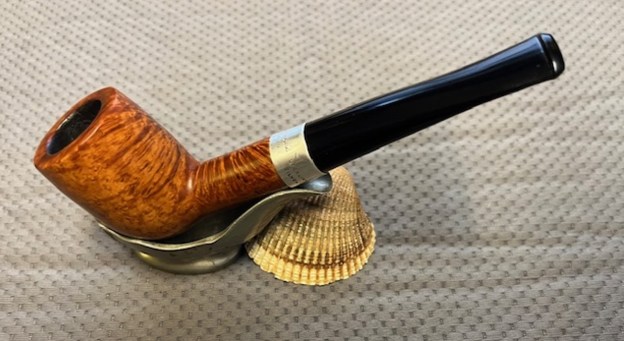
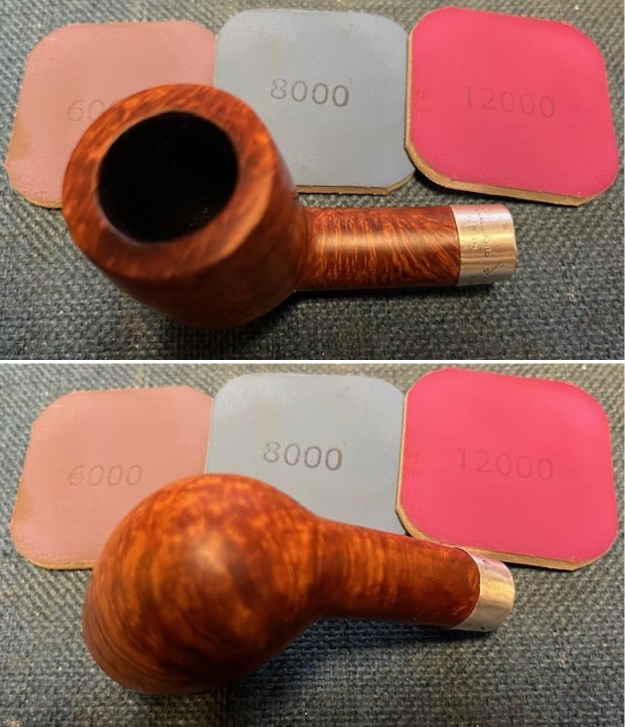
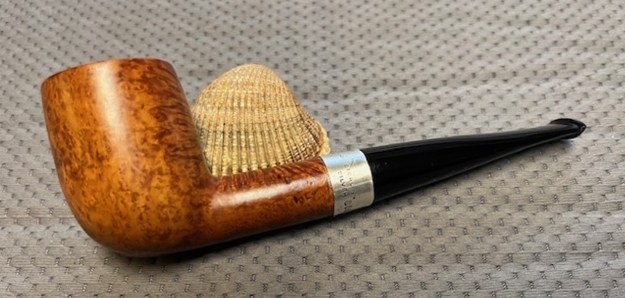
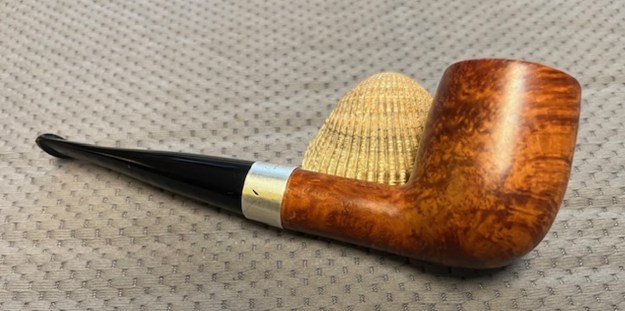
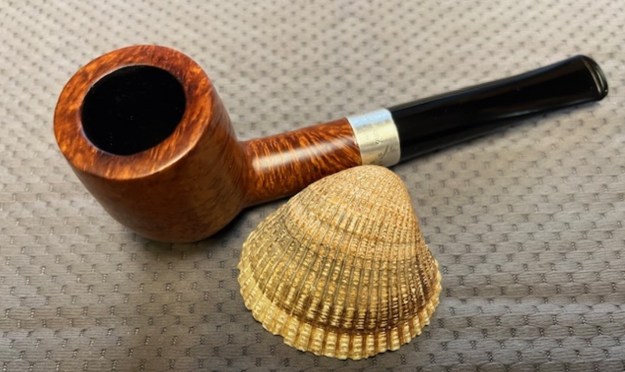
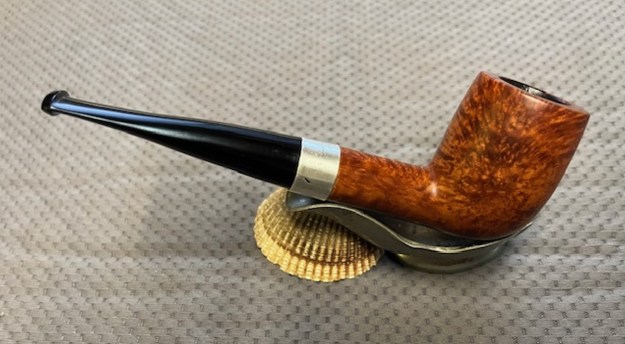
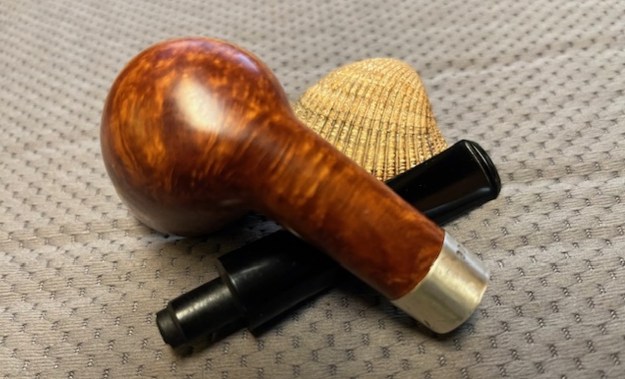
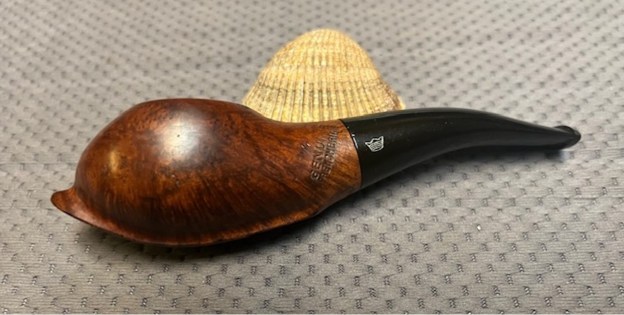
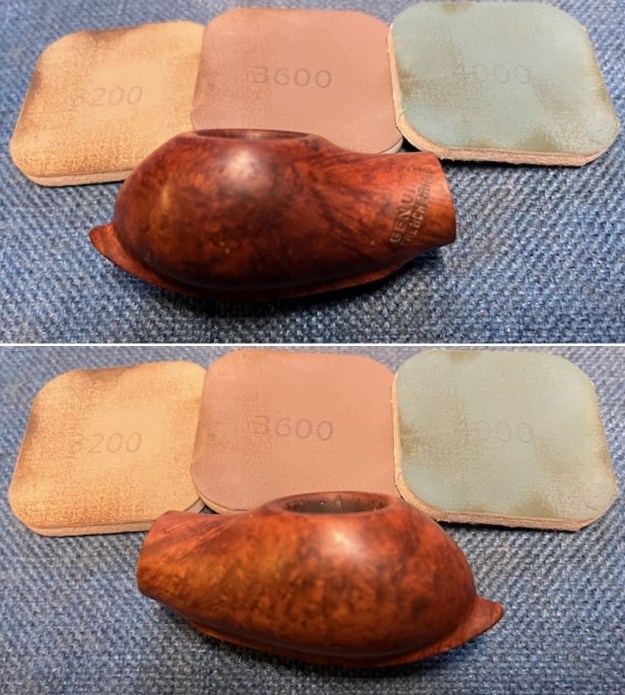
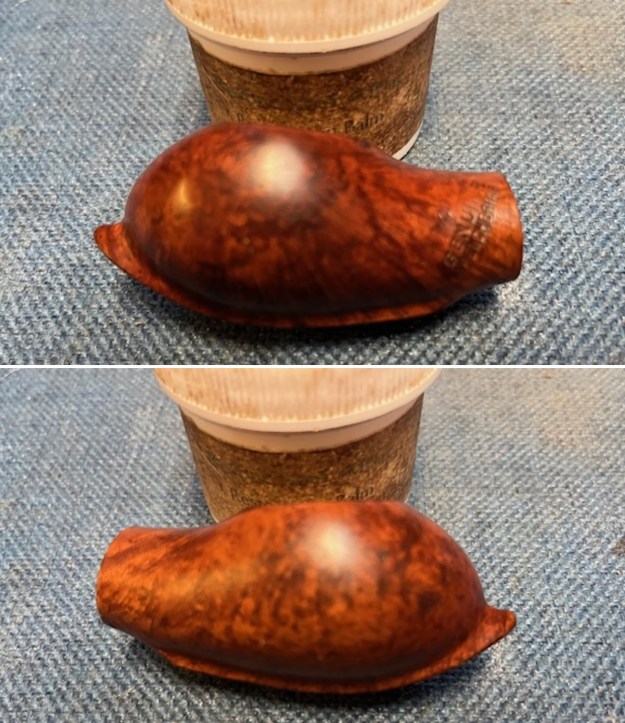
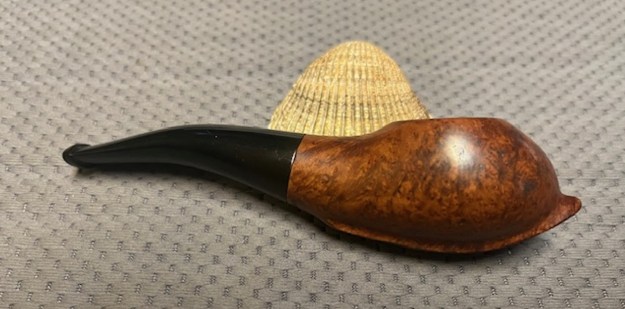
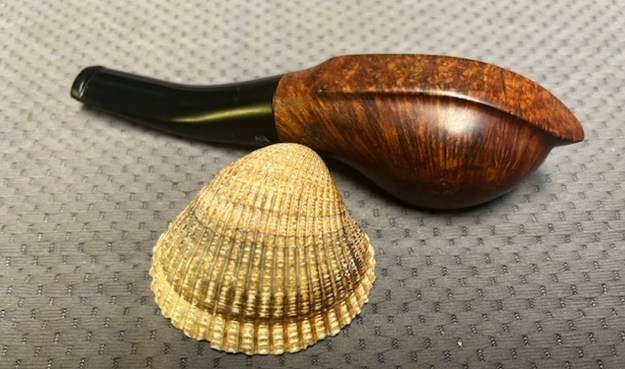
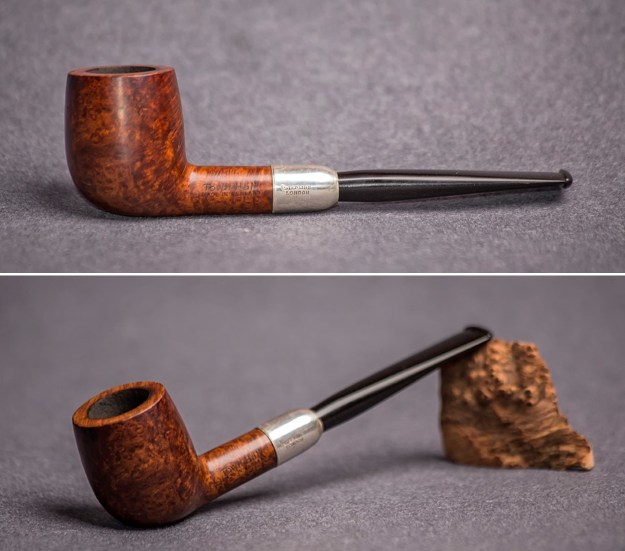
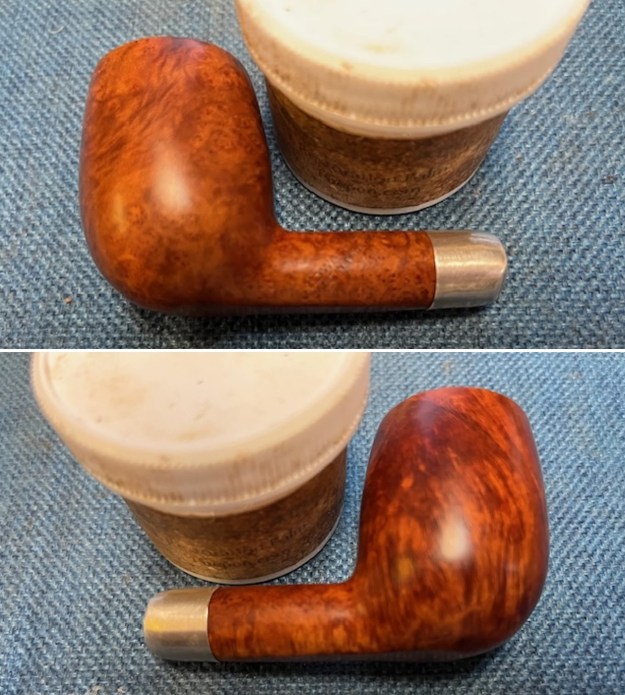
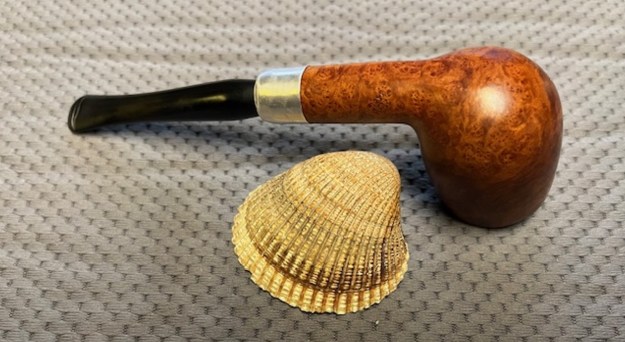
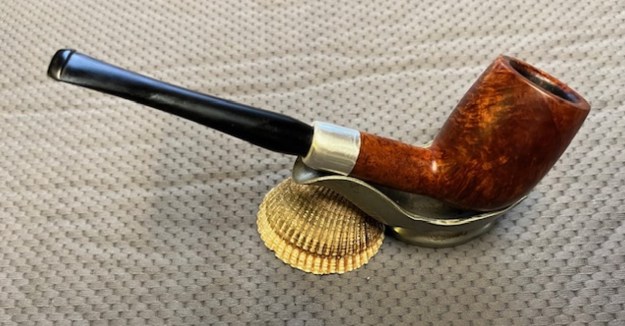
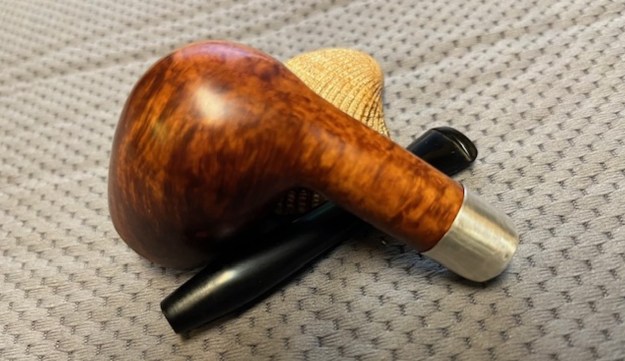
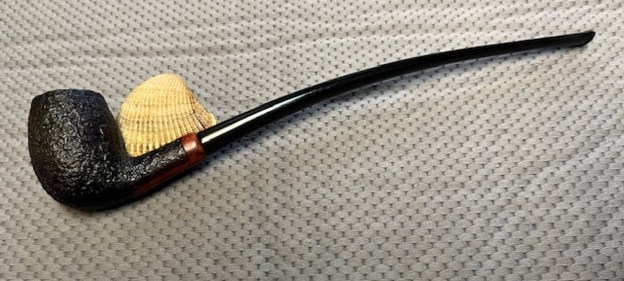
 I always look forward to this part of the restoration when all the pieces are put back together. I put the pipe back together and buffed the bowl and stem with Blue Diamond on the buffing wheel. I gave the bowl multiple coats of Conservator’s Wax and the stem multiple coats of carnauba wax. I buffed the pipe with a clean buffing pad to raise the shine. I hand buffed it with a microfiber cloth to deepen the shine. It is fun to see what the polished bowl looks like with the sandblast standing out clearly and the smooth rounded shank end contrasting well. The black vulcanite stem stands out as a shiny black contrast to the colours of the bowl. This Jarl T.V. pipe or Churchwarden is beautiful and feels great in my hand. It is one that could be clenched and smoked while doing other things as it is very light weight and well balanced. It must have been a fine smoking pipe judging from the condition it was when we received it. Have a look at it with the photos below. The dimensions are Length: 10 inches, Height: 2 inches, Outside diameter of the bowl: 1 1/8 inches, Chamber diameter: ¾ of an inch. The weight of the pipe is 1.09 ounces/32 grams. This is one that will go on the rebornpipes online store in the Danish Pipe Makers Section shortly. If you want to carry on the legacy of the previous pipe man let me know. Thanks to each of you who are reading this blog. Remember we are not pipe owners; we are pipemen and women who hold our pipes in trust until they pass on into the trust of the next pipeman or woman.