Blog by Steve Laug
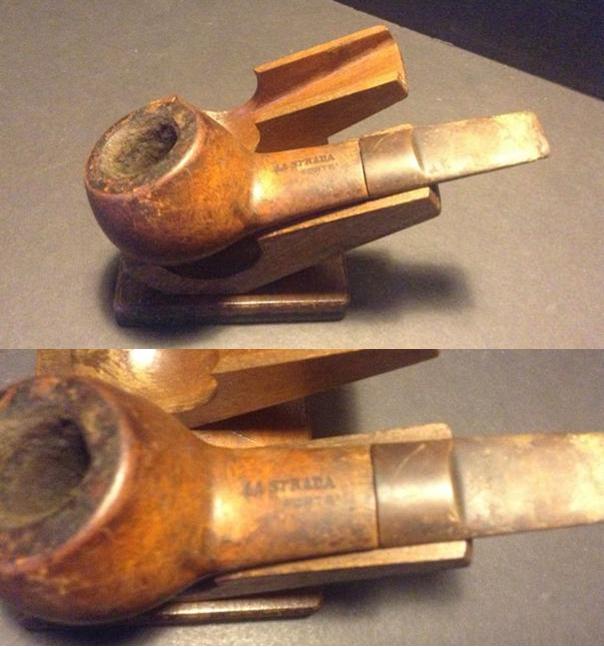
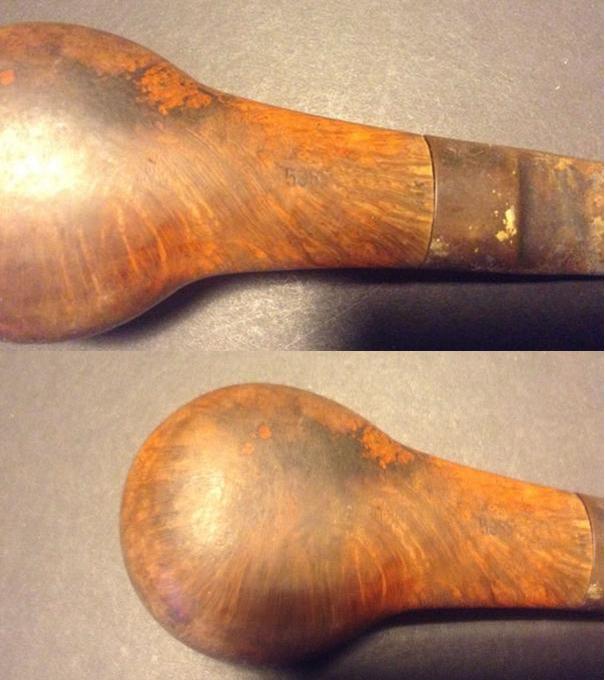
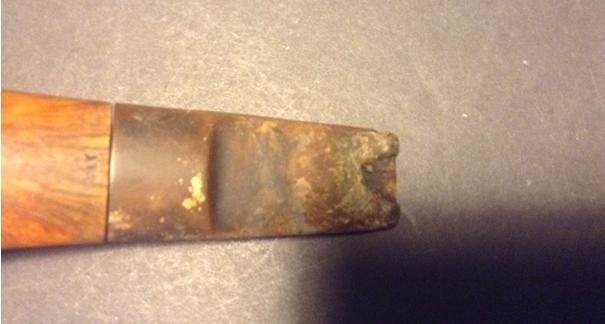
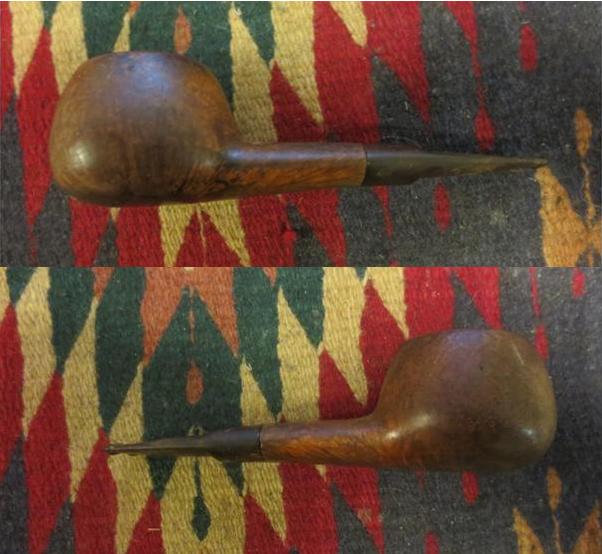
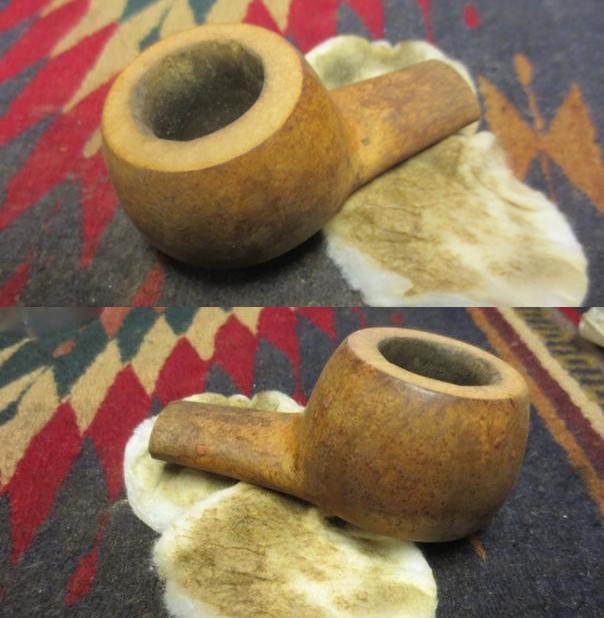
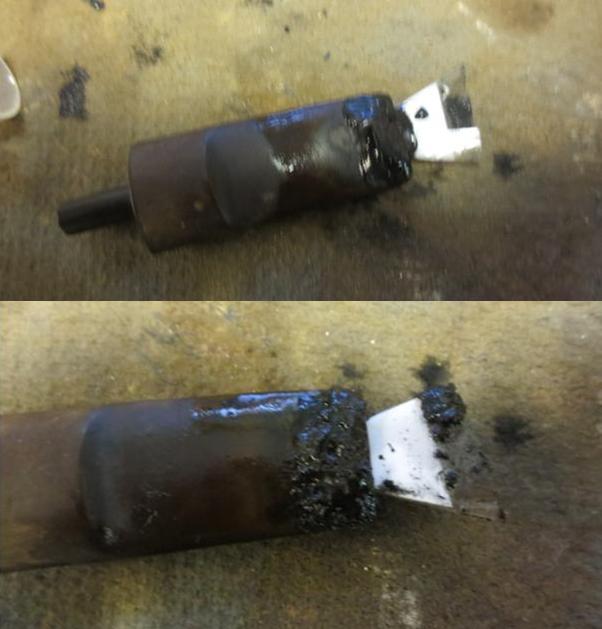
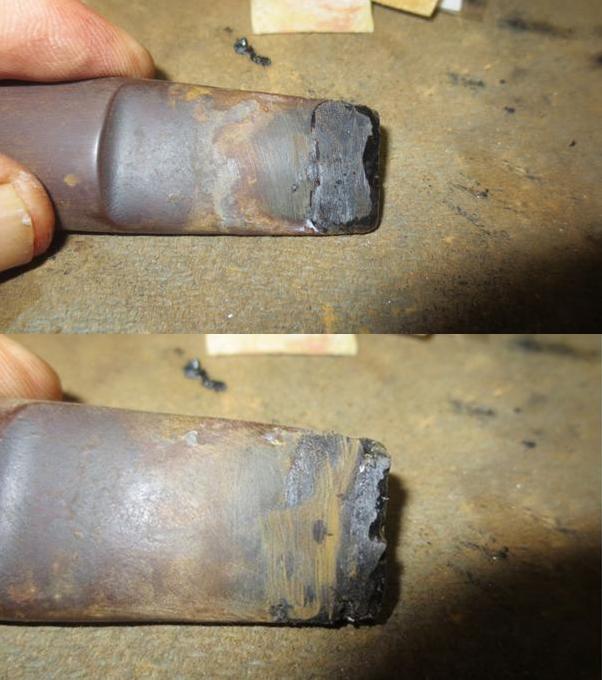
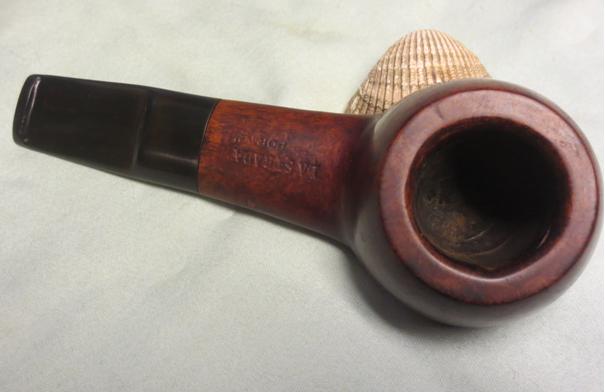
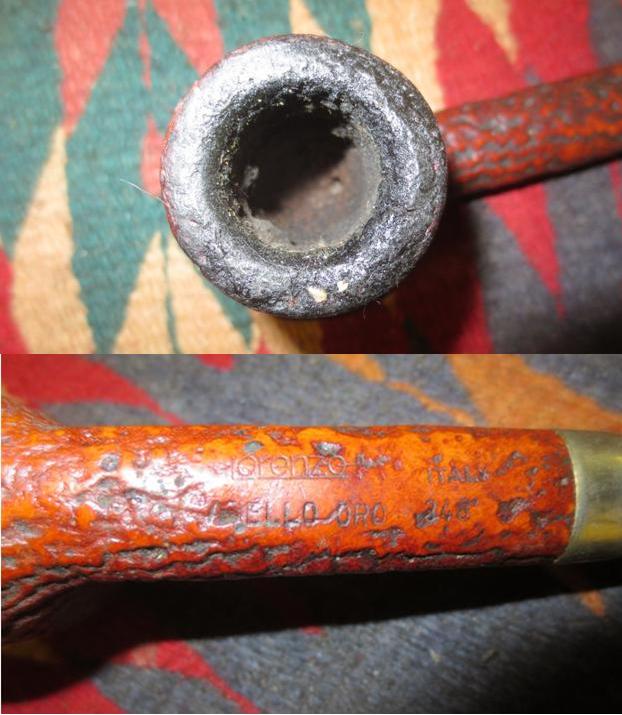
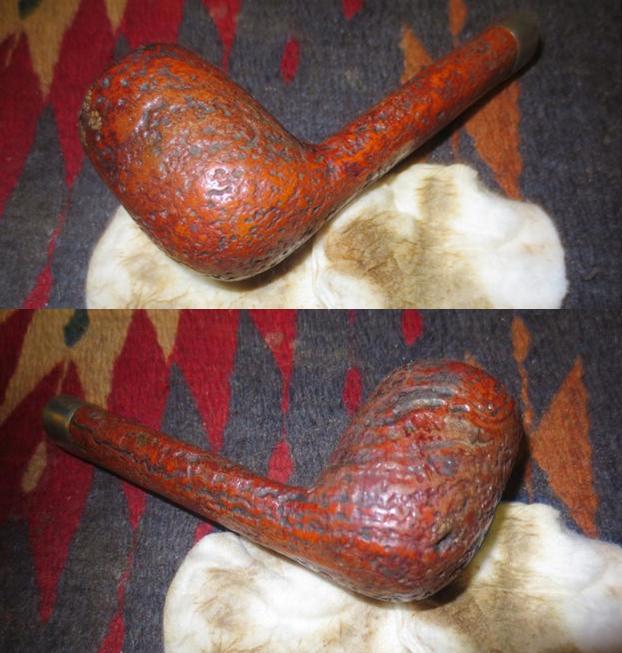
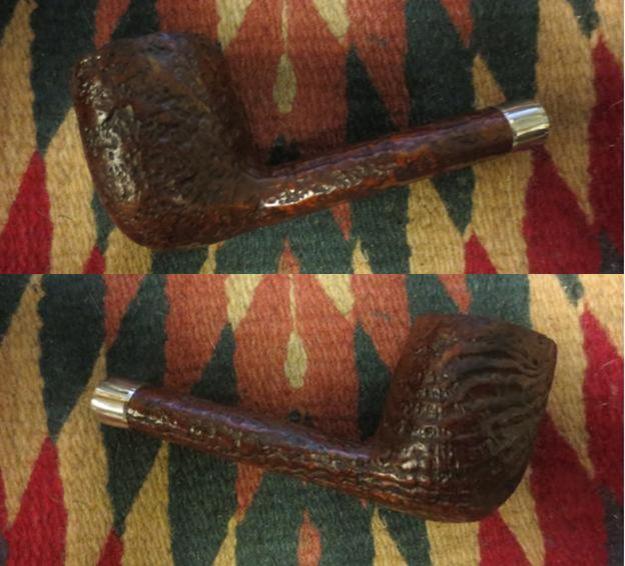
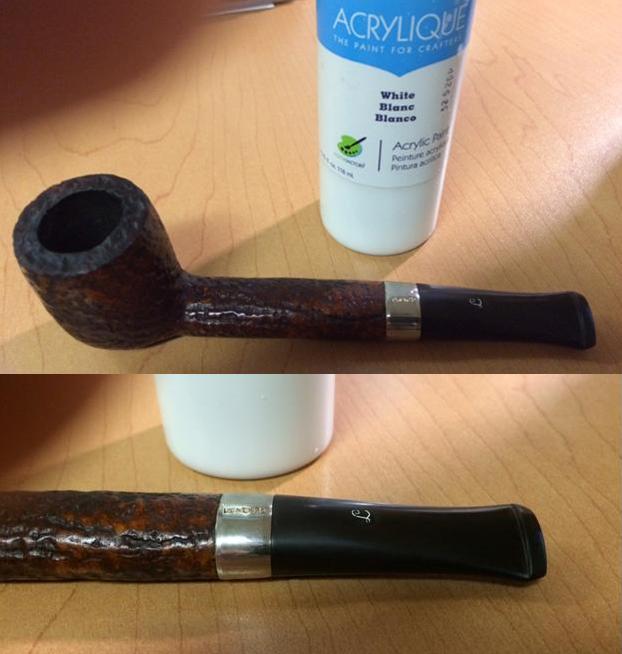
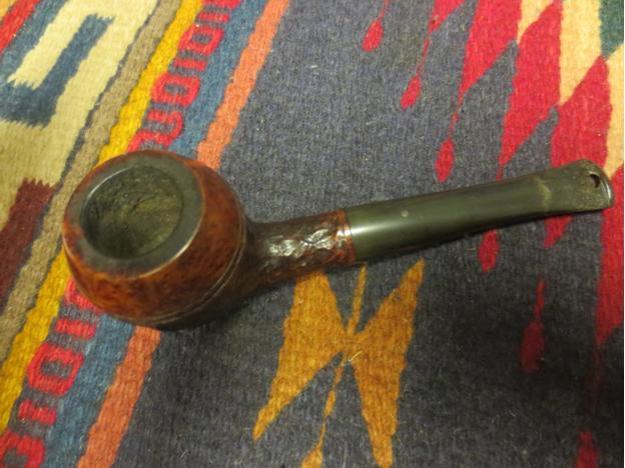
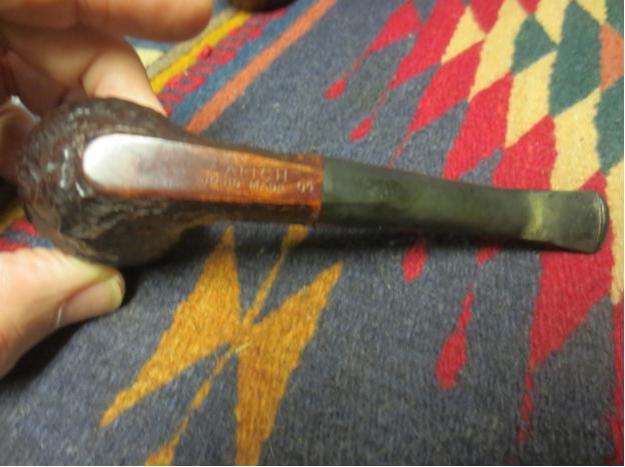
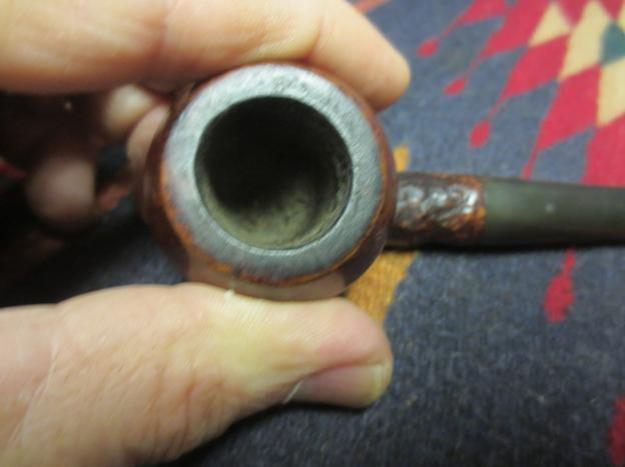
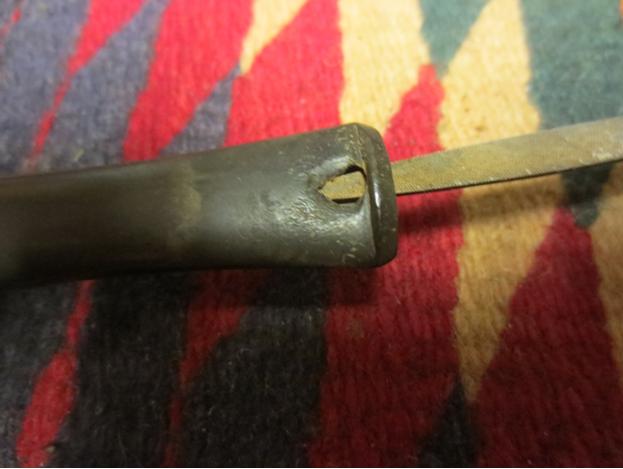
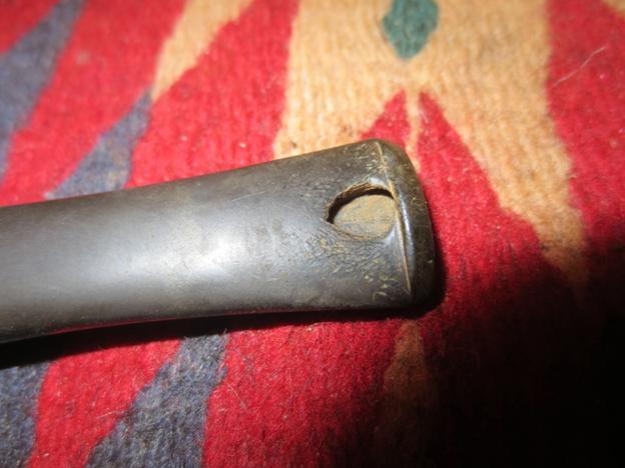
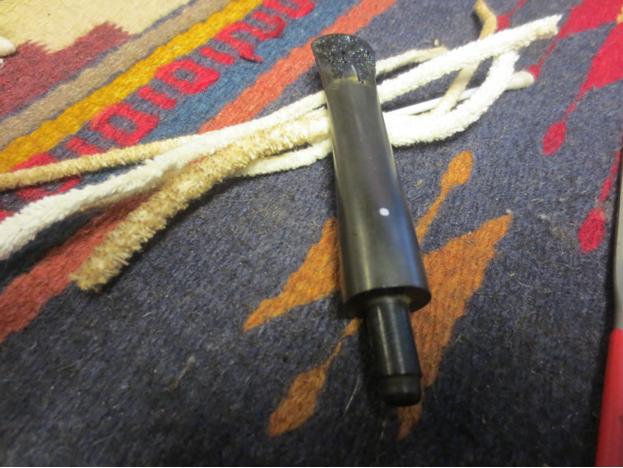
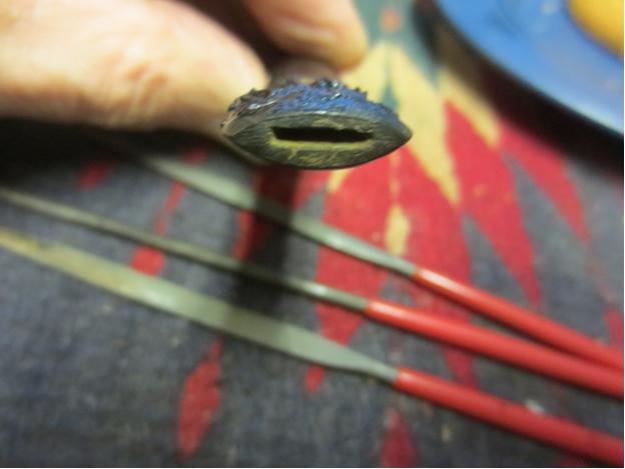
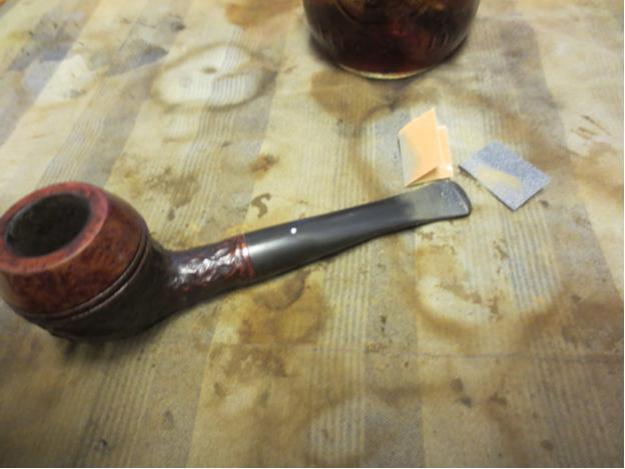
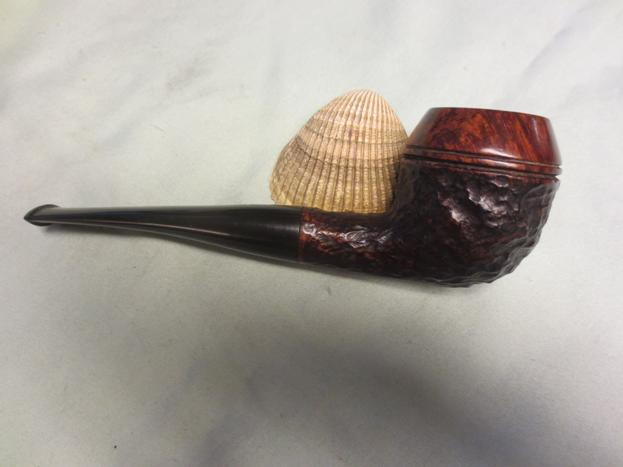
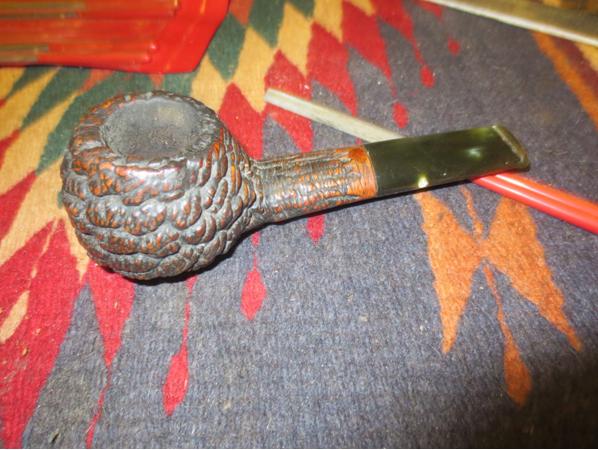
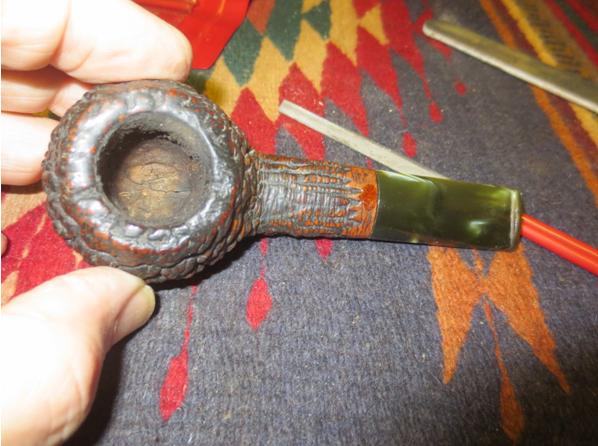
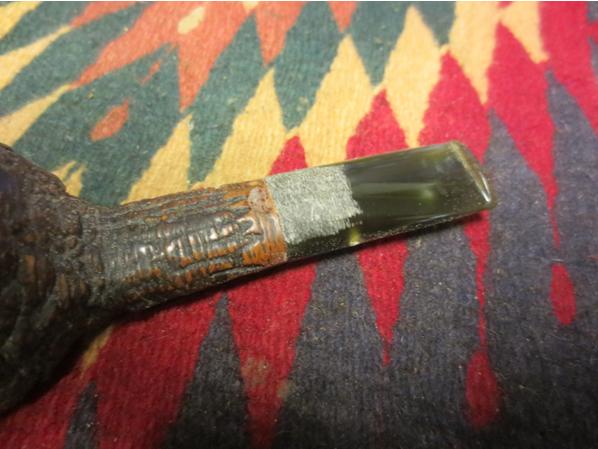
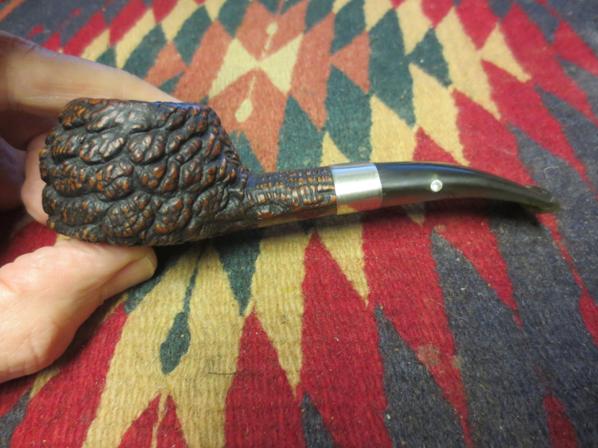
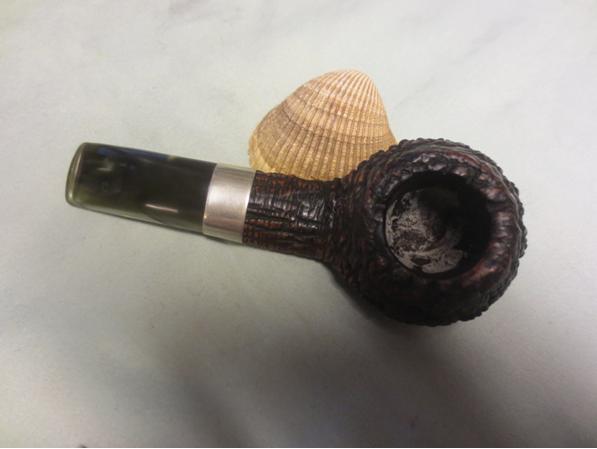
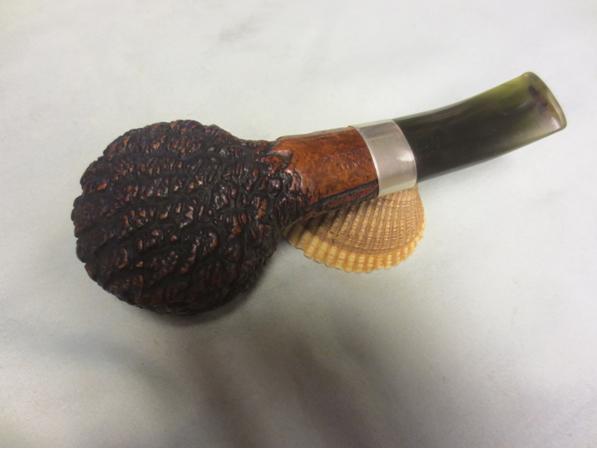
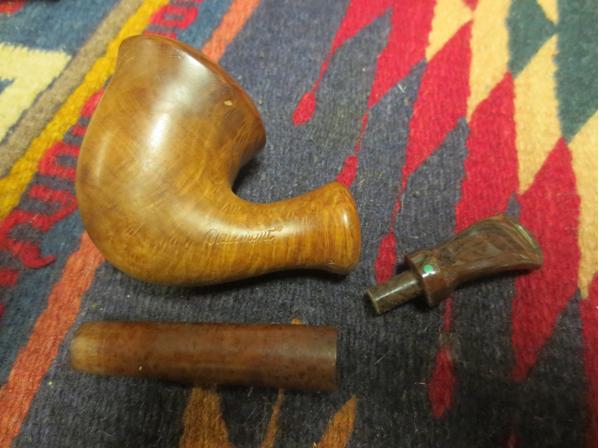
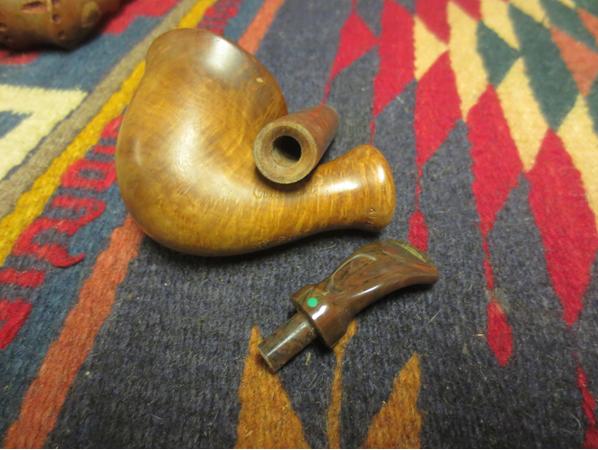
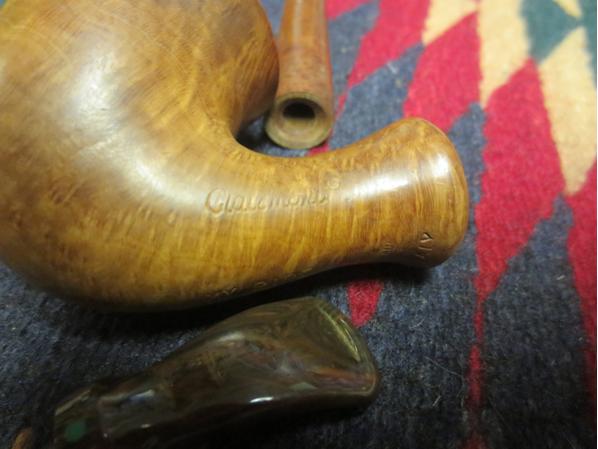
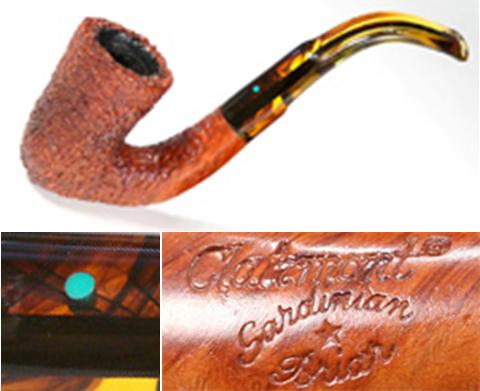
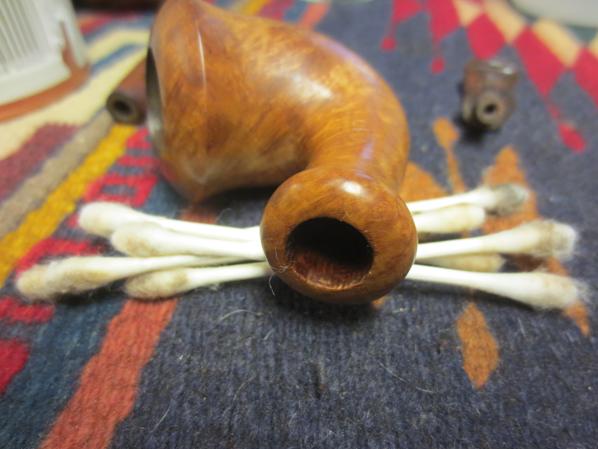
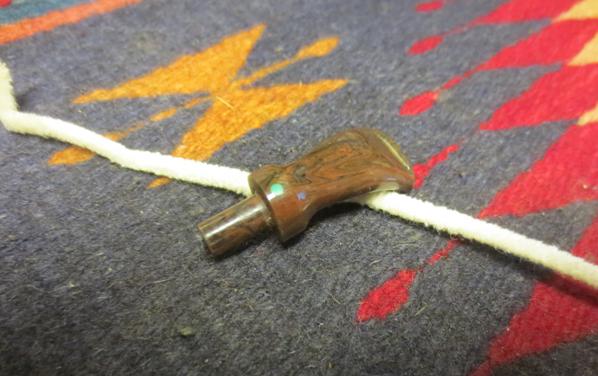
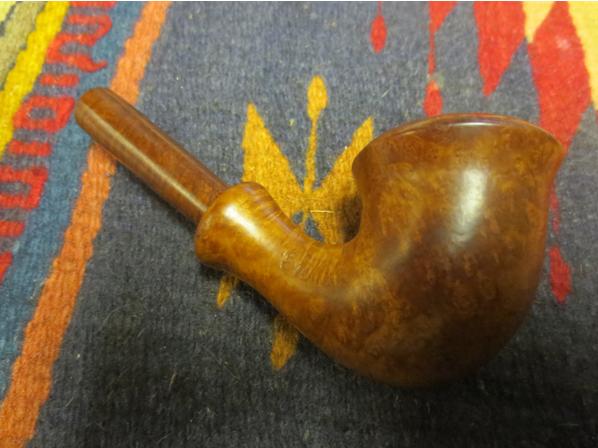
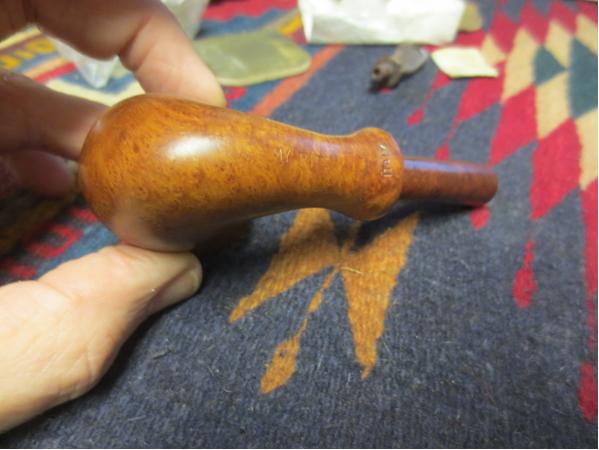
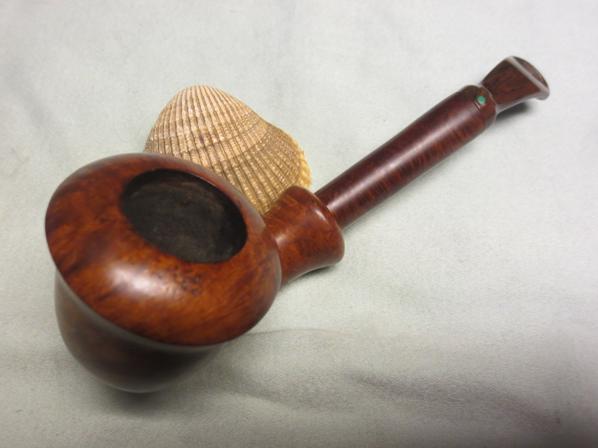
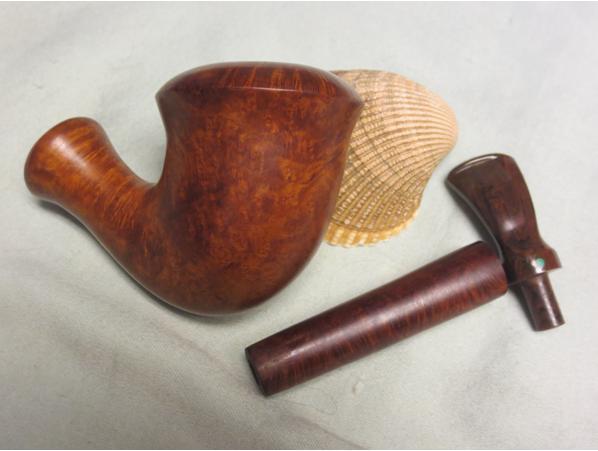
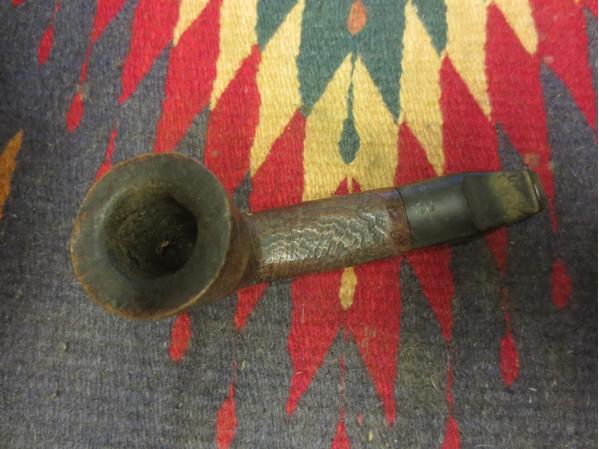
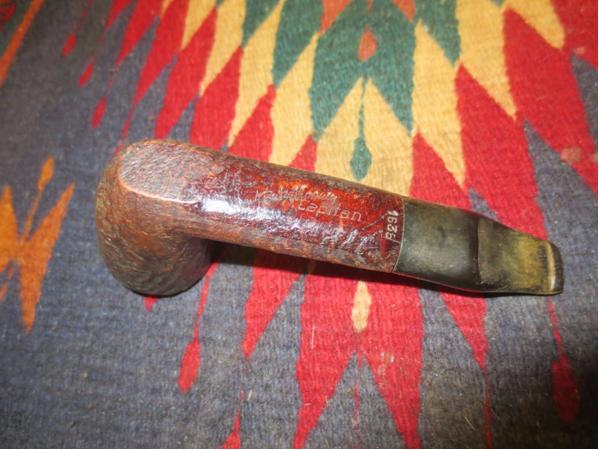
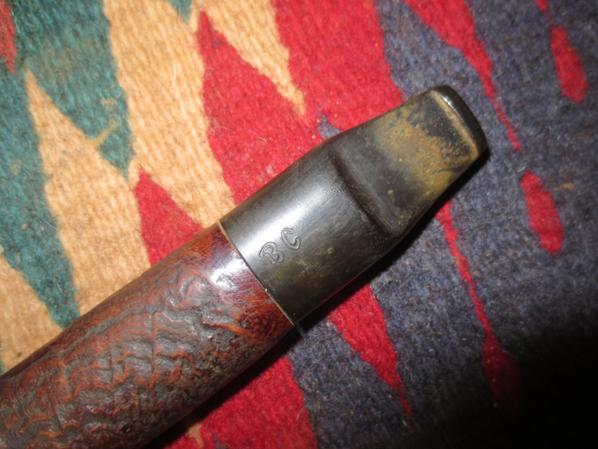
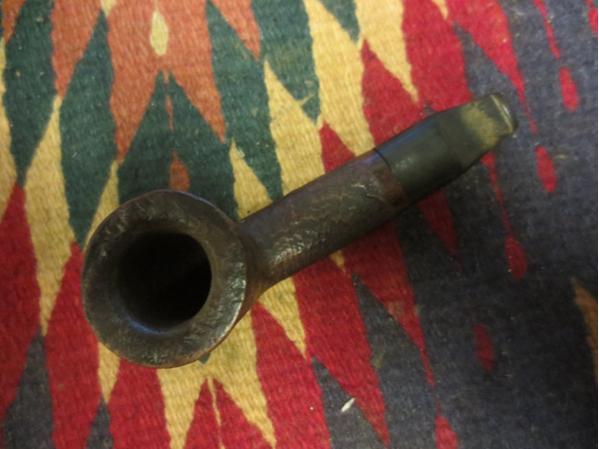
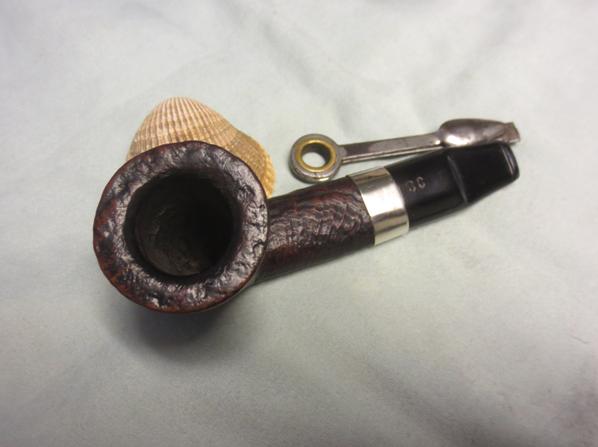
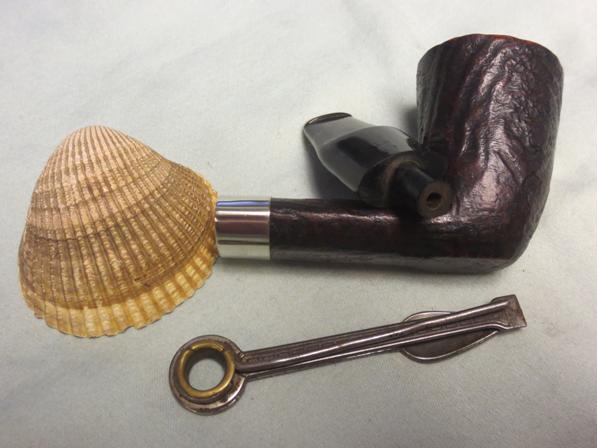
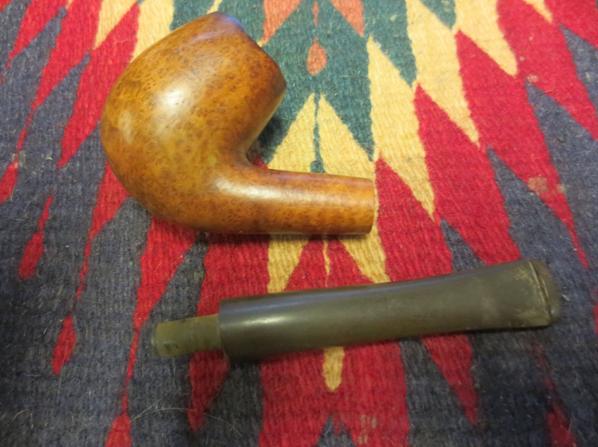
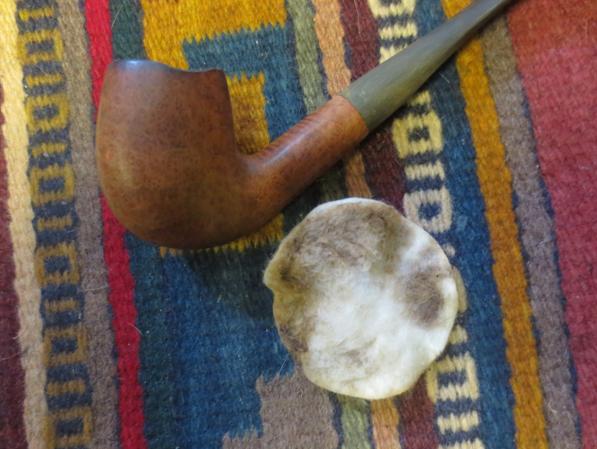
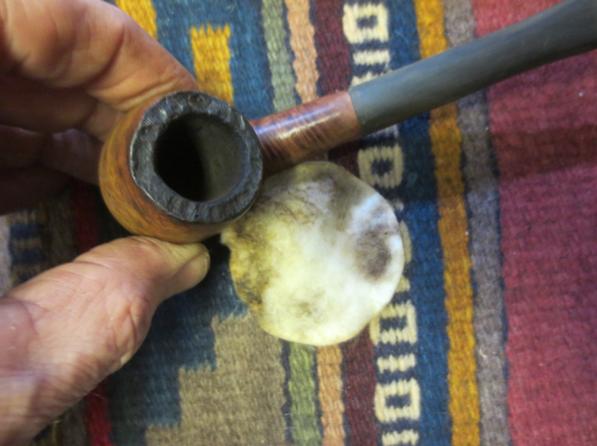
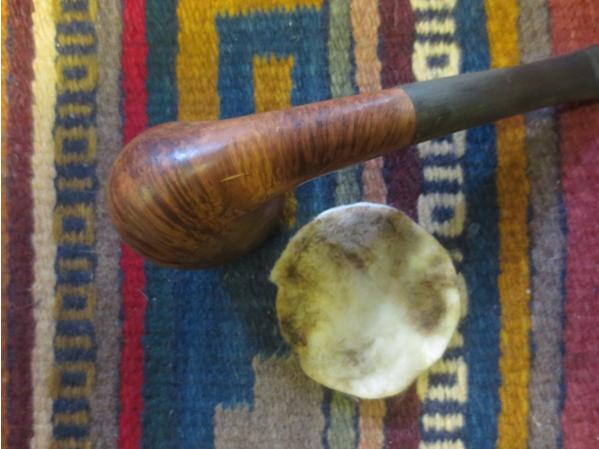
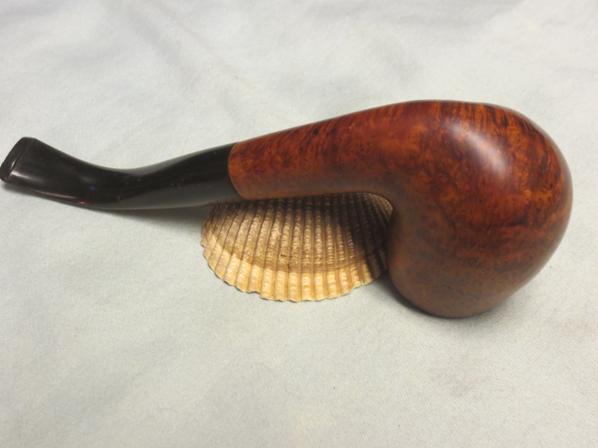
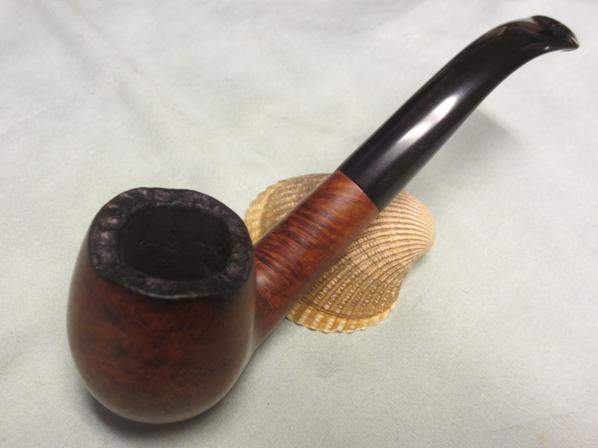
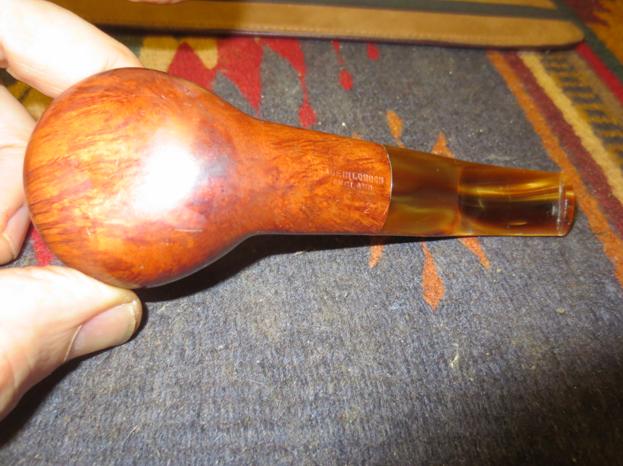
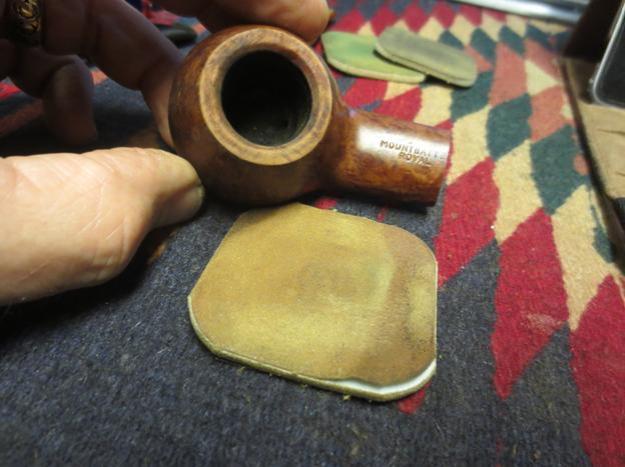
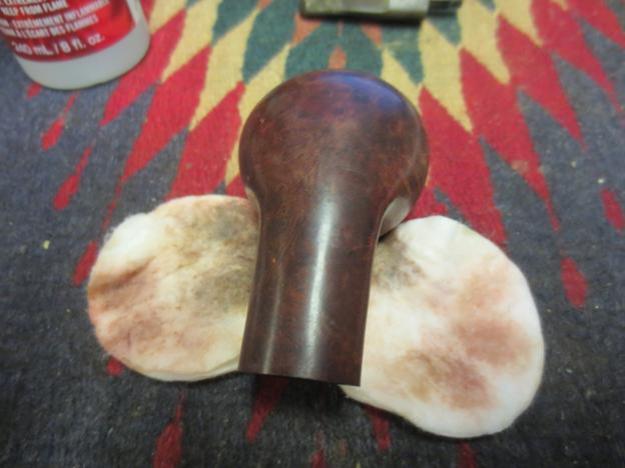
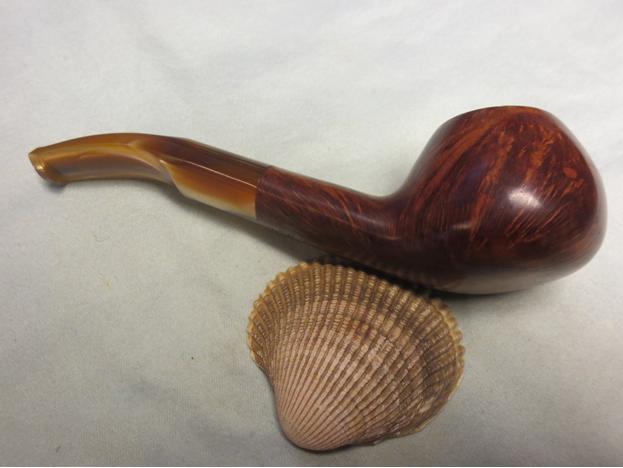
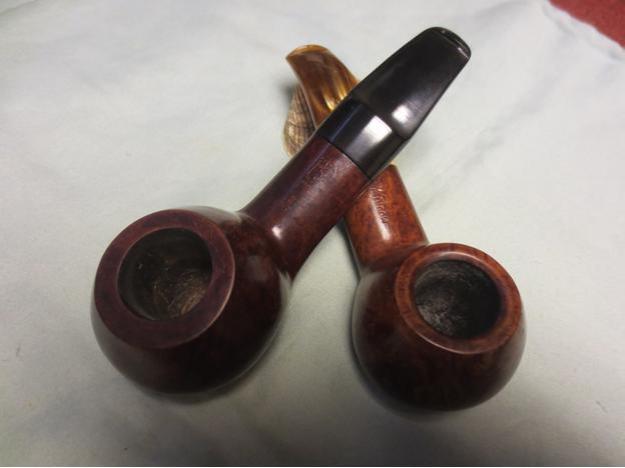
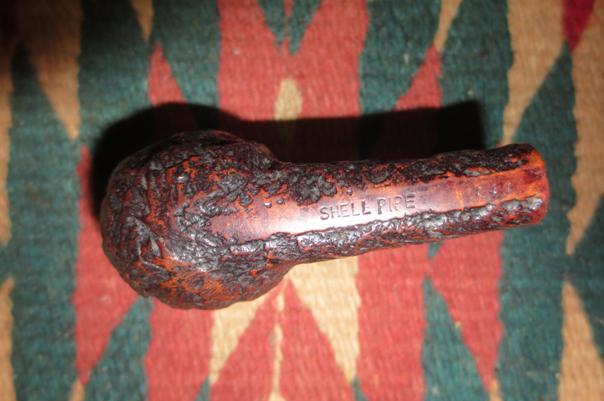
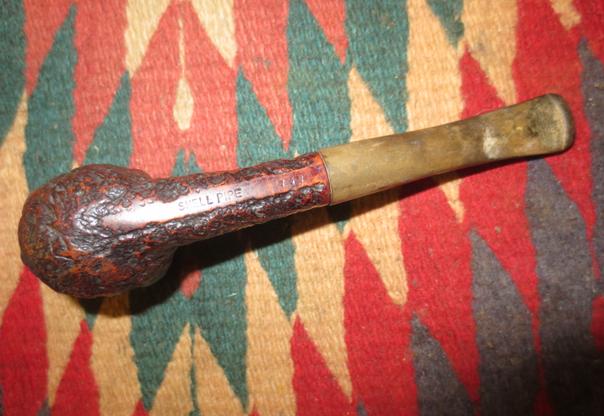
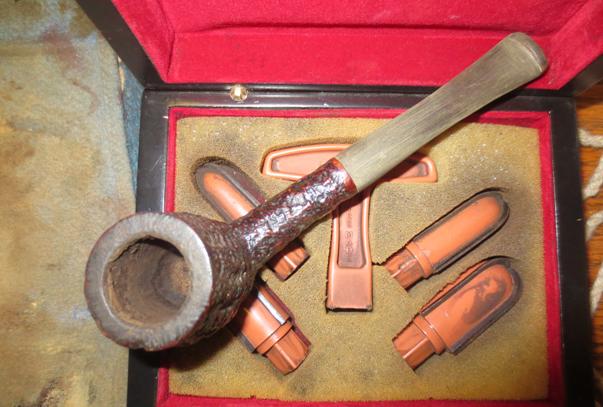
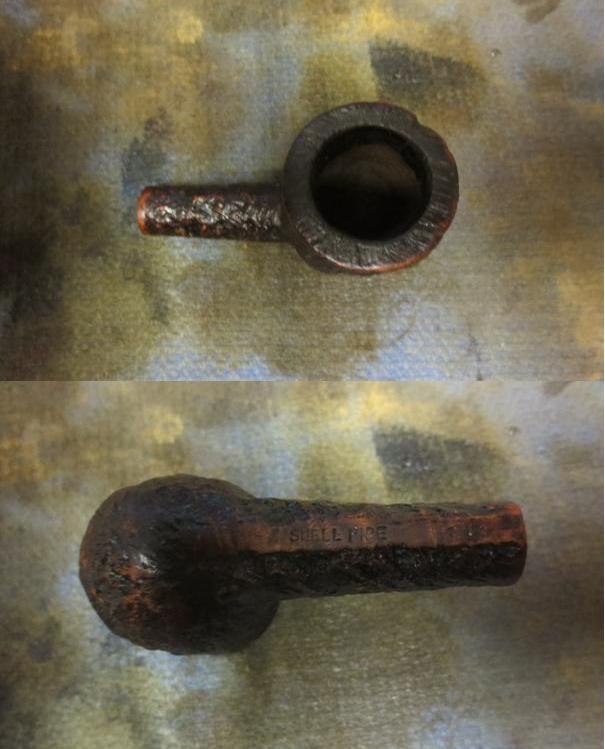
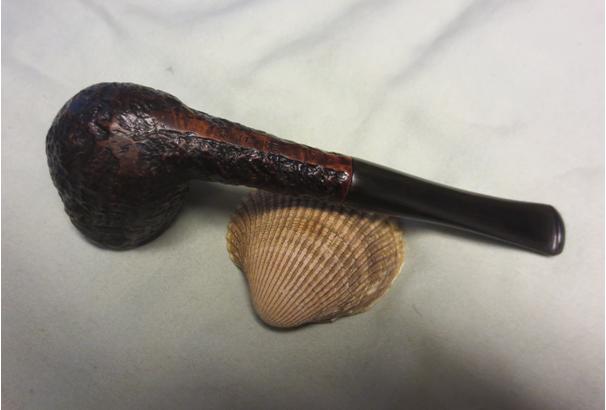
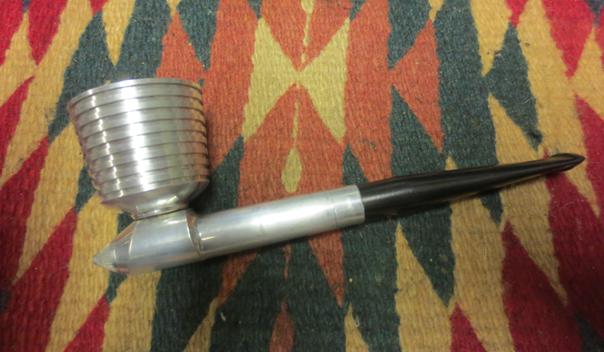
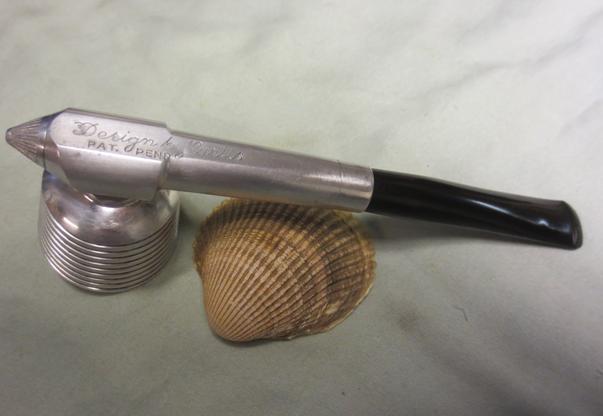
My brother sent me pictures of the first pipe in this pair of Mountbattens and wondered what I thought of it. We decided that it was worth a bid as the shape interested me. I had no idea who produced Mountbatten pipes, but this one had the look of an older one. The narrow taper on the stem back to the button, the darker stain, the narrow slot in the rounded button and the stepped down tenon all pointed to a pipe from an older time period. This one was stamped on top of the shank Mountbatten over Made in England. On the right side of the oval shank it bore the shape number 819. The finish was in decent shape other than a badly beat up rim top. The cake in the bowl was pretty thick. The stamping was distinct and clear. There were some dents and dings in the bowl sides. The stem had what appeared to be a surface logo on top of the saddle. It was not stamped and was peeling on one edge. It was oxidized and had some tooth marks on the top and underside near the button edge. The slot was so narrow that a pipe cleaner would not easily pass through to the bowl.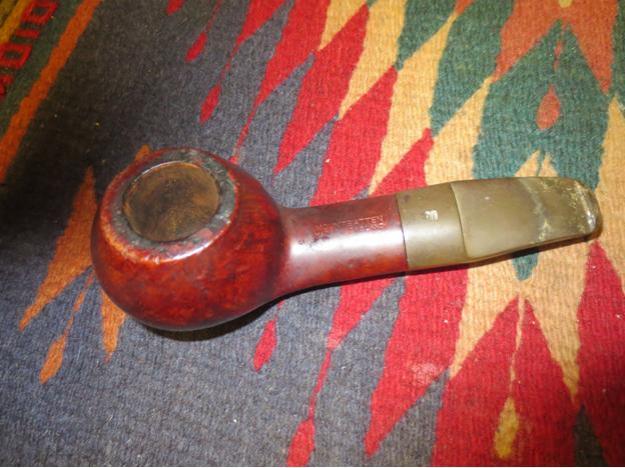


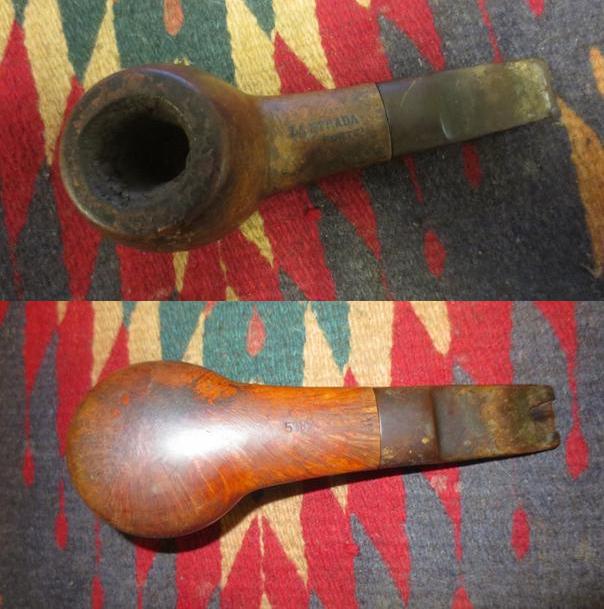
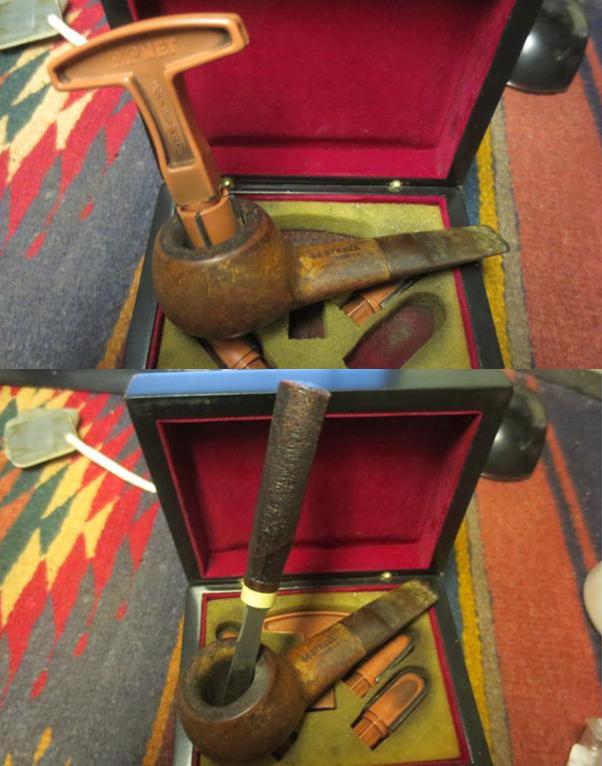
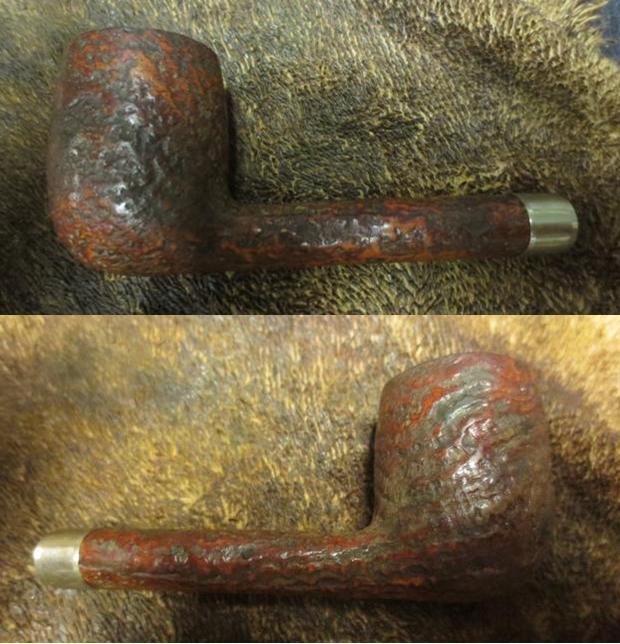
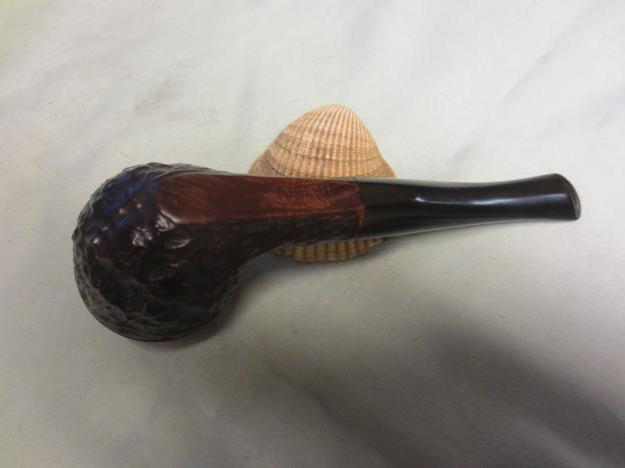
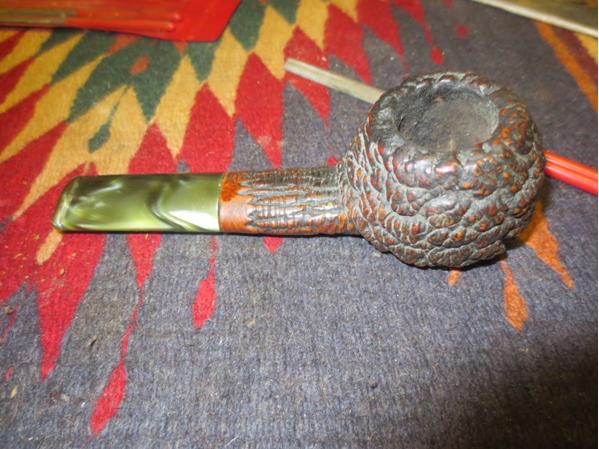
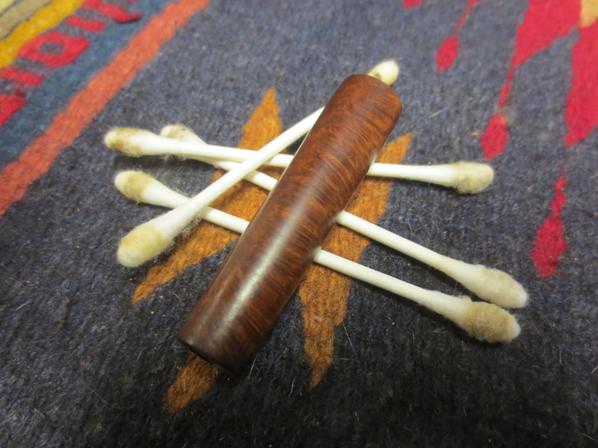
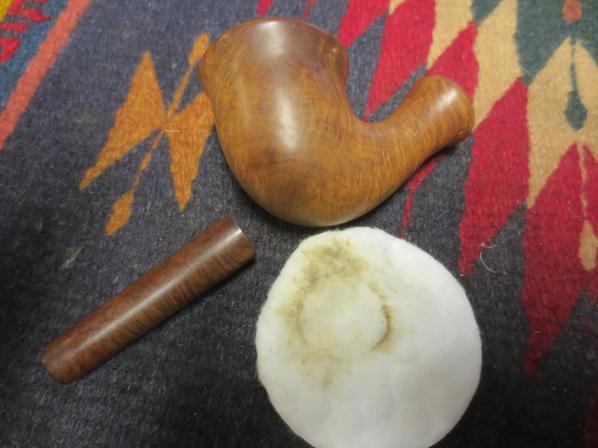
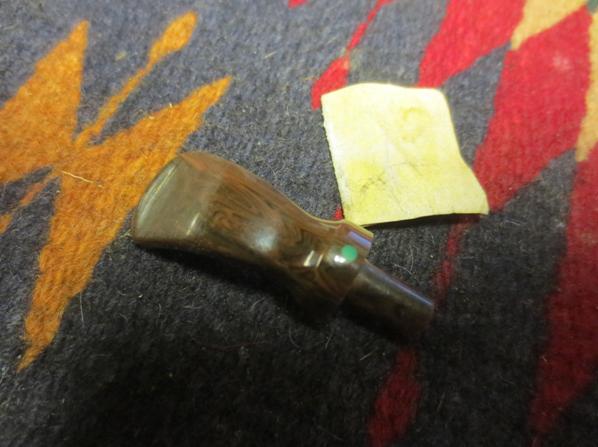
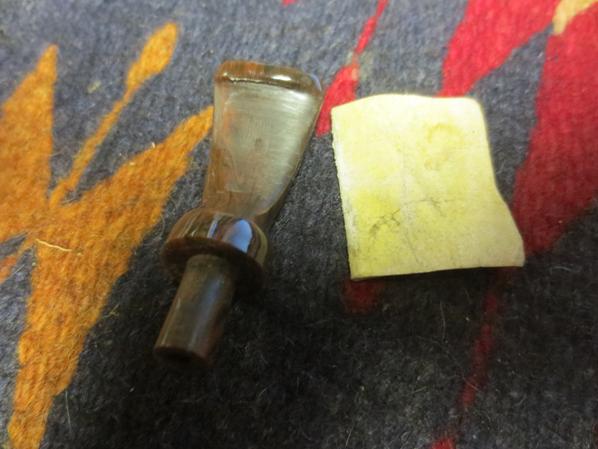
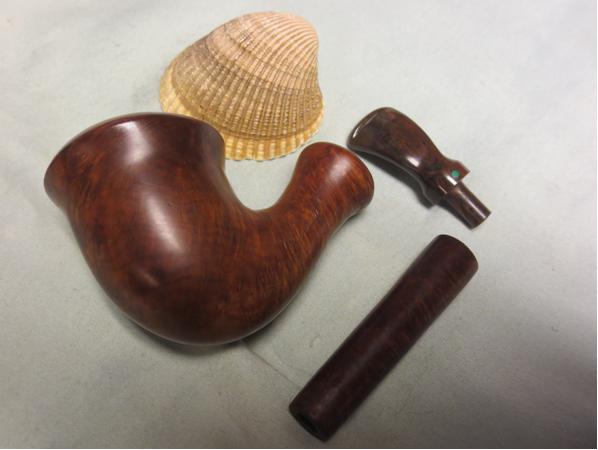
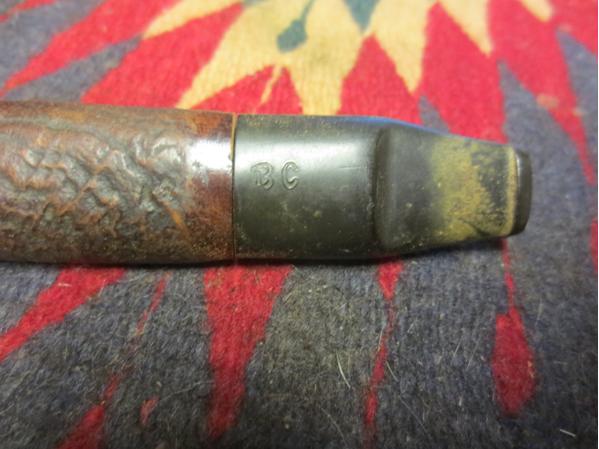
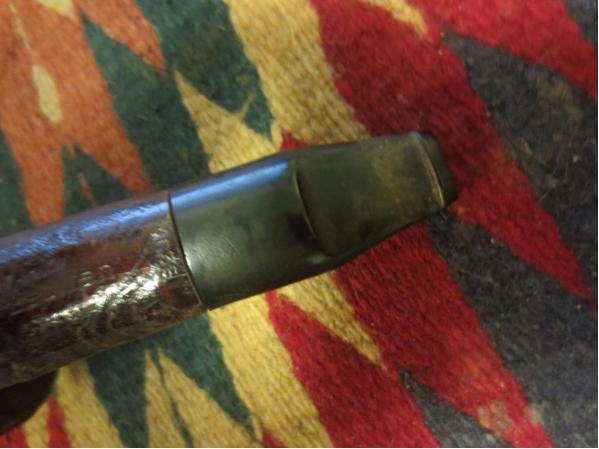
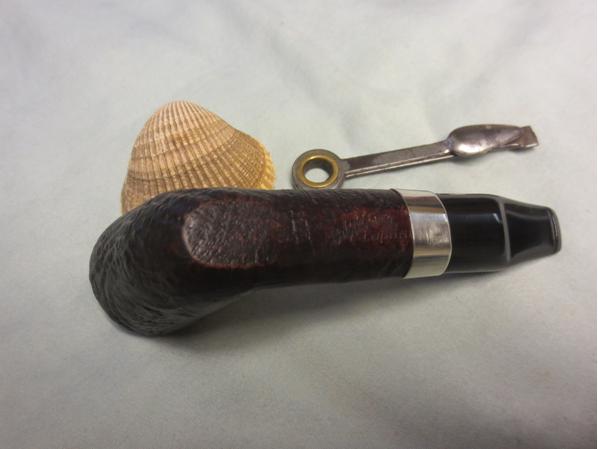
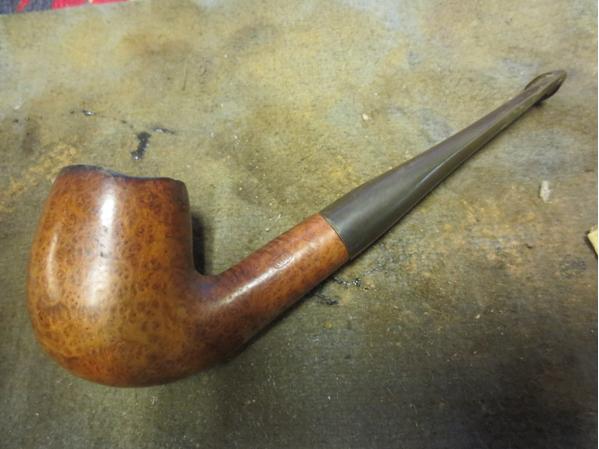
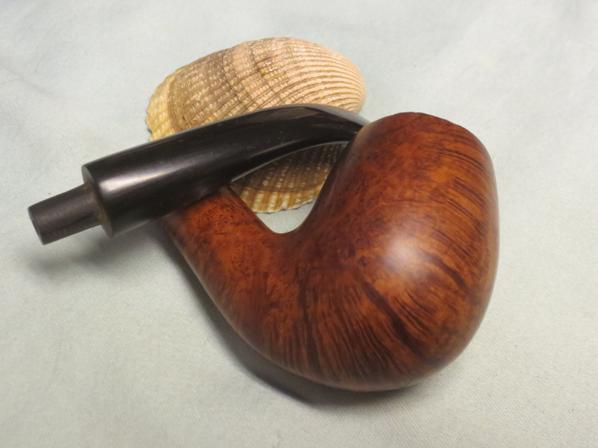
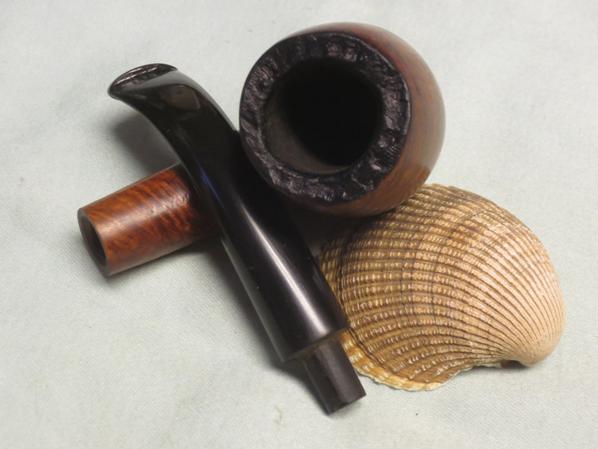
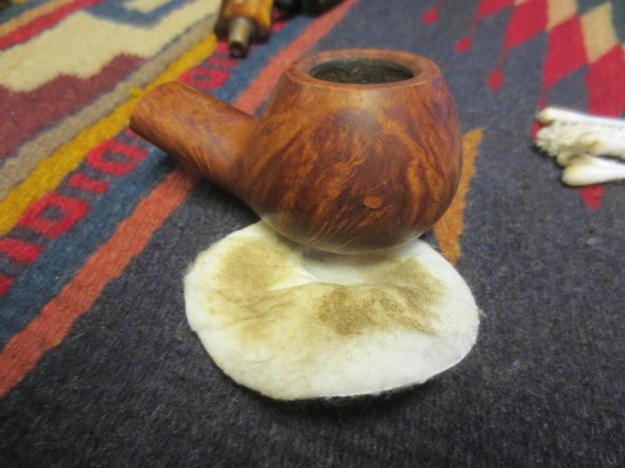
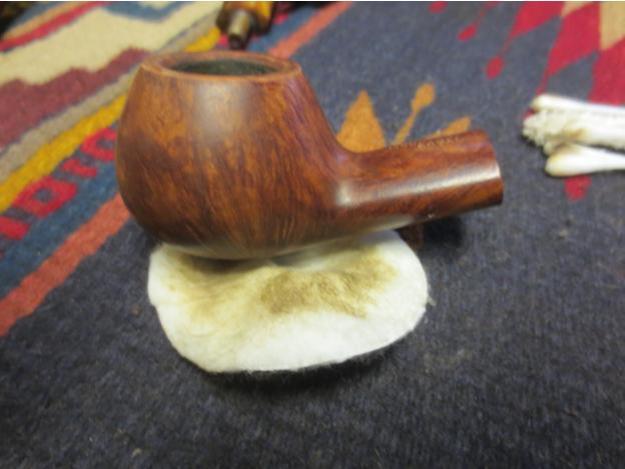
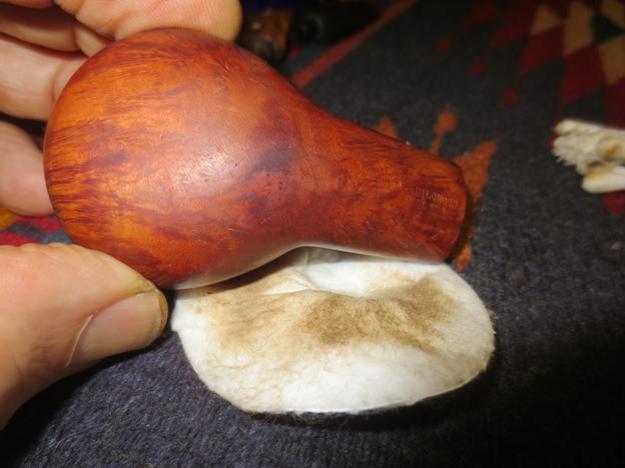
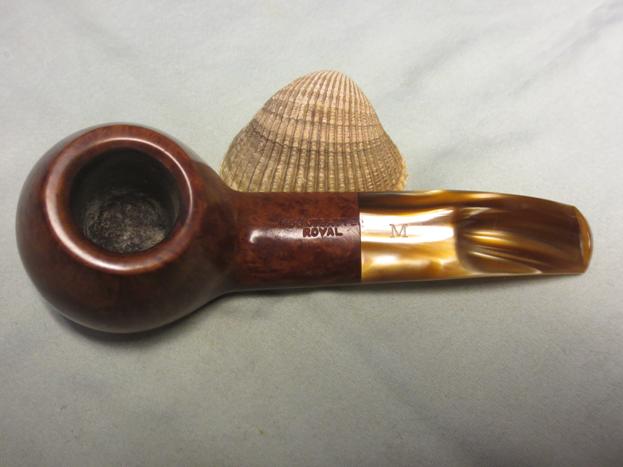
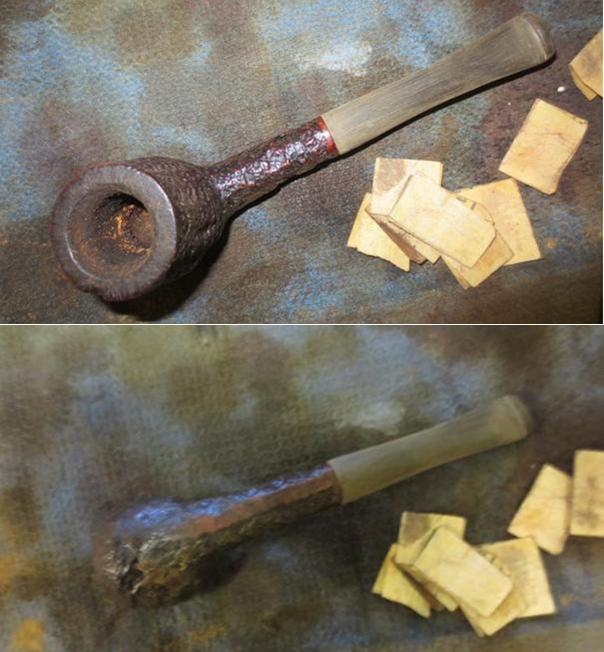
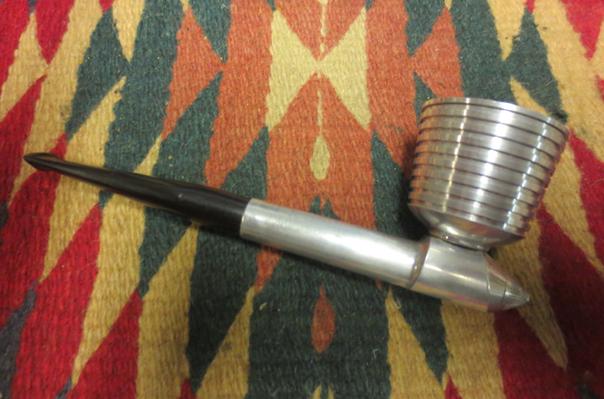
 He sent a picture of the second one as well – same shape as the first but having a different shape number and a Lucite stem. It was a newer version of the pipe. The shape was similar but slightly smaller. The taper on the stem was not as drastic and flowed to the button ending at the button almost the same width as the beginning at the saddle. The button shape, the shape and style of the slot in the button end, the stamping of the M on the top of the saddle all were signs of a newer version. This one was stamped on top of the shank Mountbatten over Royal. On the underside of the shank it was stamped Made in London over England. Under that near the stem shank union was the shape number. It was different from the older one – 207. The finish on this one was lighter and more of a matte. There were also quite a few fills in the sides of the bowl that were pink putty. They were pretty well blended into the grain so they would be fine. The bowl had a light cake in it and the beveled inner edge of the rim was darkened and had some lava that ran over the top edge. The Lucite stem was in good shape with some small tooth marks on the top and underside near the button.
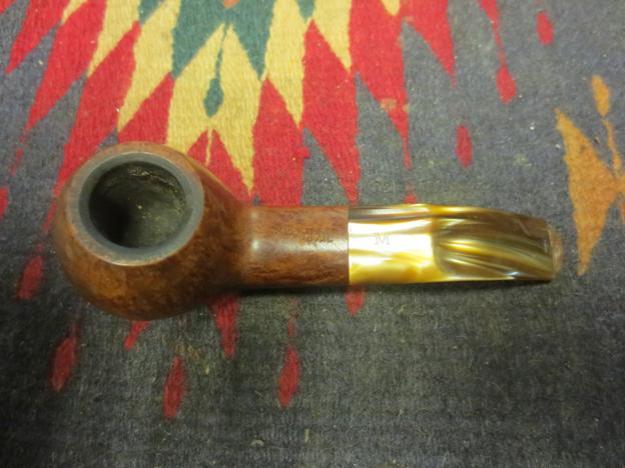
 This would be a fun pair of pipes to clean up and restore. Before I started to work on them I decided to do a bit of research on the brand. I started with my usual first stop – PipePhil’s Logo and Stampings site. I found out there that the pipe was made by Charatan. There were pictures of a variety of stampings on the stem and some beautiful looking pipes but no other information. Here is the link to that page: http://www.pipephil.eu/logos/en/logo-m7.html.
I did some further digging and found a link on Pipes Magazine’s forum where the brand was discussed: http://pipesmagazine.com/forums/topic/mountbatten-pipe. There was a discussion on that thread regarding the brand. Quite a few of the respondents originally said that the brand was a Charatan second. There was one dissenting voice that led to more responses similar in tone. The fellow said that the pipe was not a second. There was a quote from another site.
I googled the information and found that the quote came from a thread on pipes.org. Here is the link: http://pipes.org/forums/messages/23/45025.html?1169997817 I quote the original dissenter on the Pipes Magazine site in full because of the information that it gives. The original poster was Bill Ramsey. Here is Bill’s reply:
“Friends, after 40 years of nosing around pipes, what I have gleened is this: Charatan sold its seconds under private labels and later acquired the English rights for Ben Wade for just this purpose. Mountbatten, on the other hand was not a “second”(in that there was some physical deformity in the pipe) but rather a first line production from Charatan’s apprentice program. Each Charatan carver might have four or six apprentices at any one time of various skill levels. As they improved and started cutting pipes themselves, these pipes had to move… thus the Mountbatten. These were made on Charatan tooling with Charatan materials and teaching. Bear in mind that there was a high attrition rate and , perhaps, one apprentice in nine or ten made it to cutting their own bowls much less a Charatan carver. This is why you see more Charatans than Mountbattens on the market. You’re never going to put your kid through college by selling one but you’ve got a day to day workhorse of the first order. Good luck and happy puffing.”
That was just the kind of information I had been looking for. I close this section on the history of the brand with a quote that pretty well sums up the details that I had learned. It is taken from the same conversation that is traced in the last link above. “Yup now I know Mountbatten pipes were the fruit of an apprentice’s labor made under the supervision of a Master Pipe Maker at Charatan, most likely in the pre-Lane era; not a second, but a “sub-brand” (even though many experts still classify them as seconds anyway).”
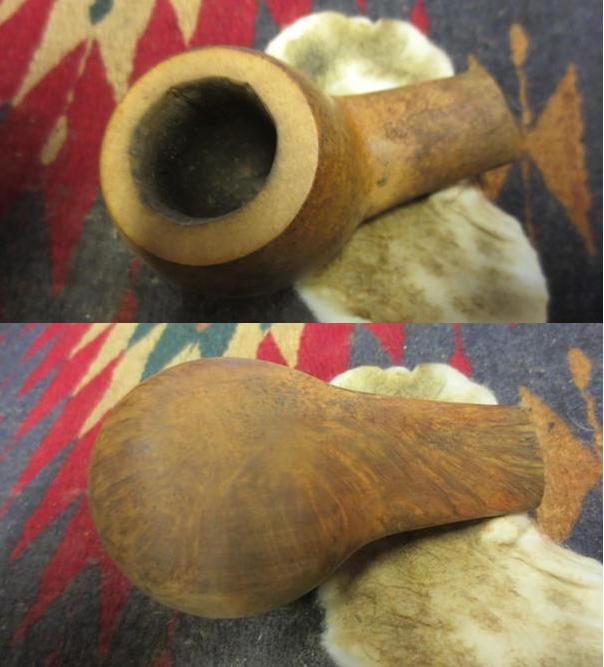
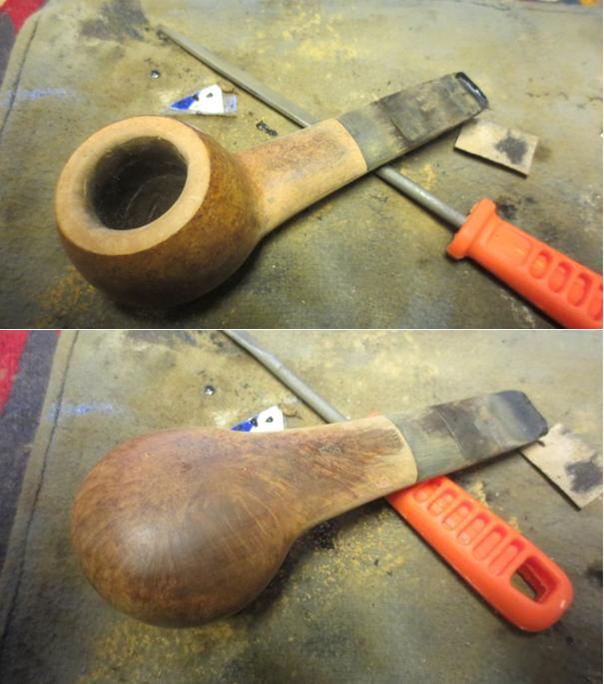
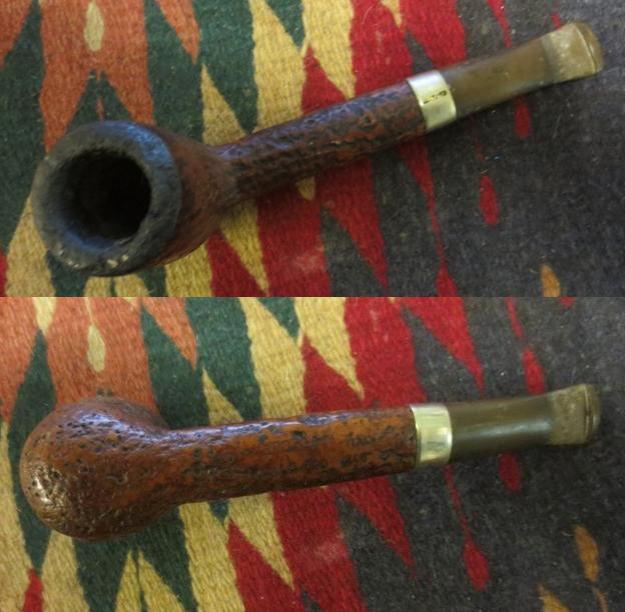
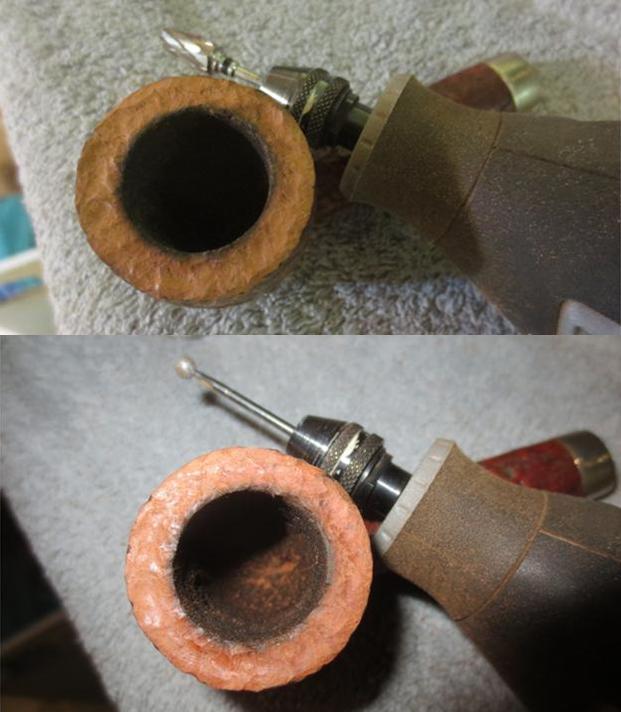
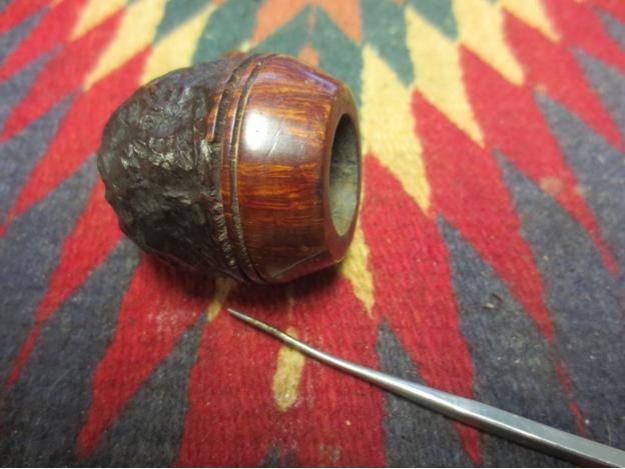
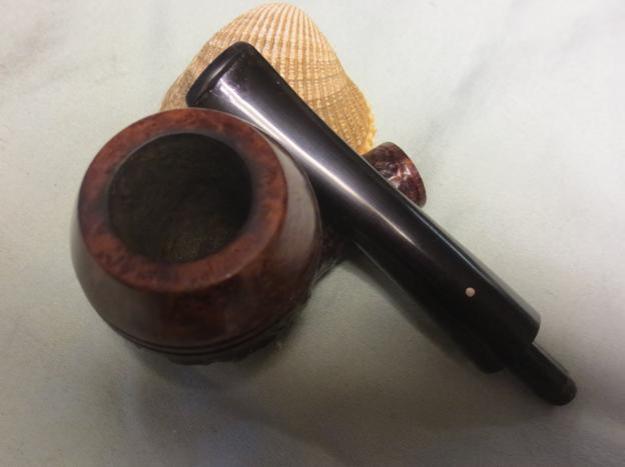
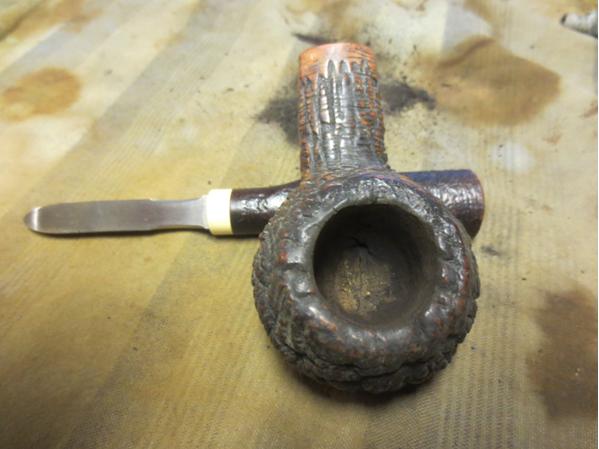
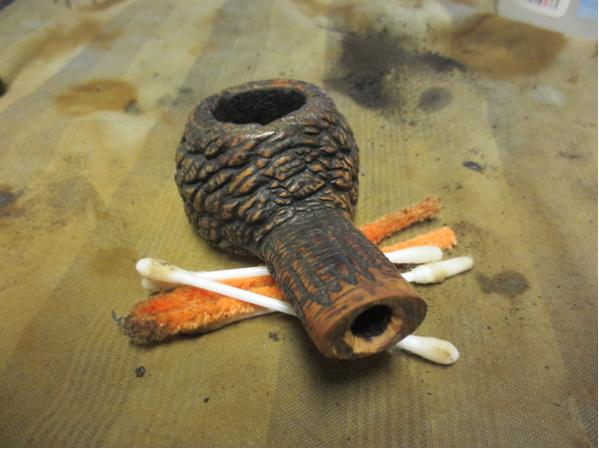
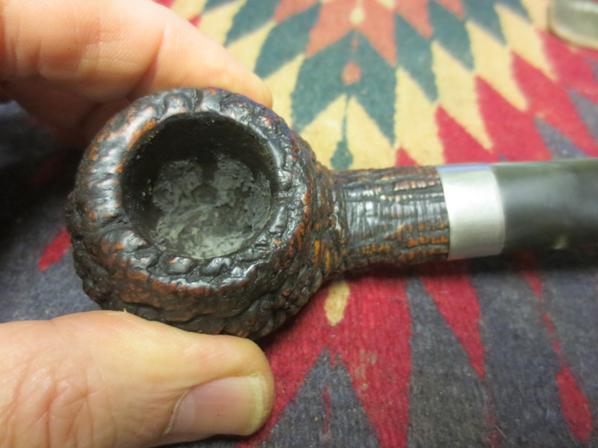
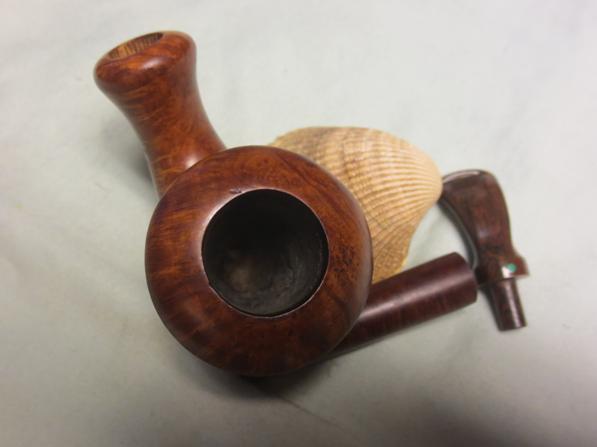
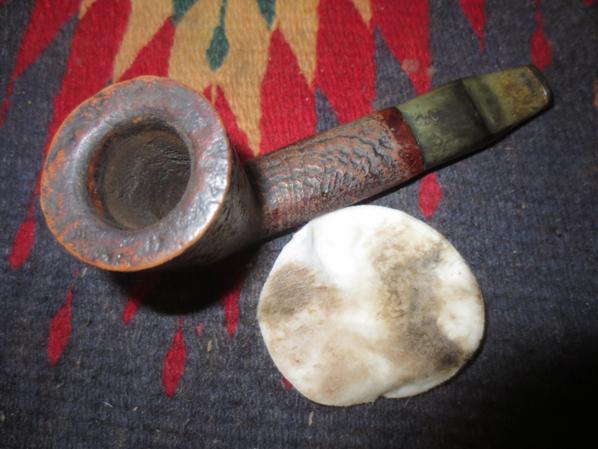
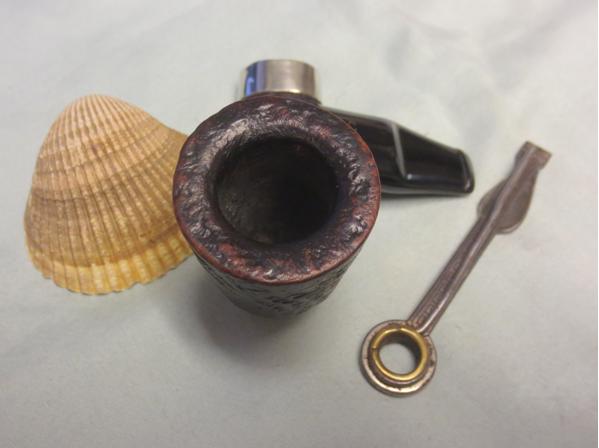
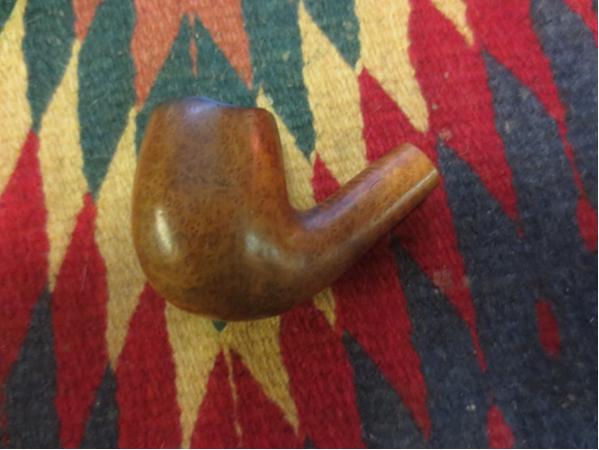
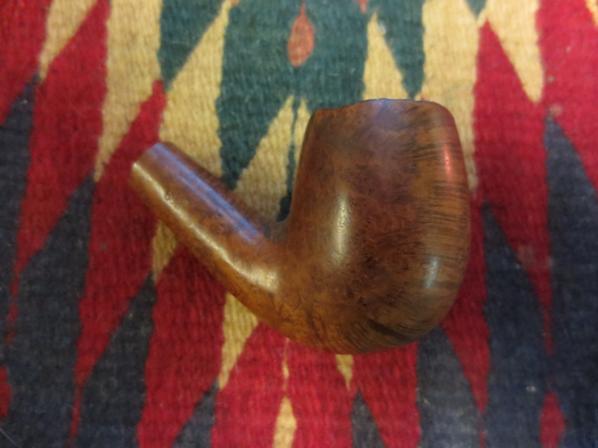
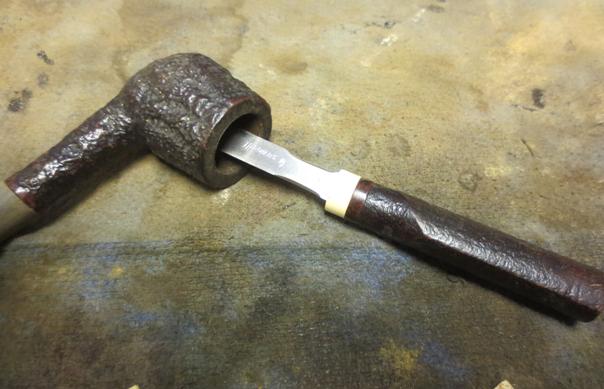
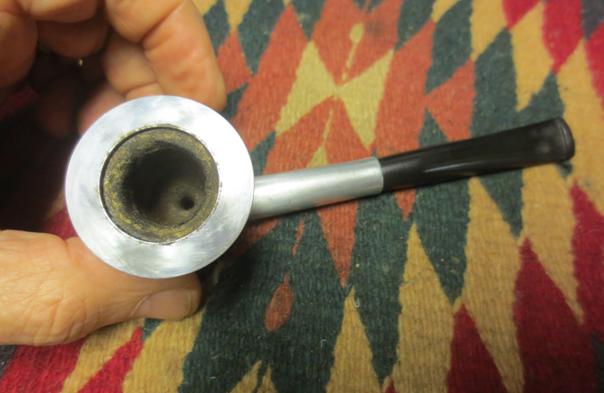
A bit better educated about the pipes I was working on I was ready to start the refurbishing process on them both. I took some close up photos of the rims of both pipes. The first one is the older 819 pipe and the second is the newer 207 bowl. The damage to the first bowl would require topping while that on the second was less extensive and would only need a cleanup.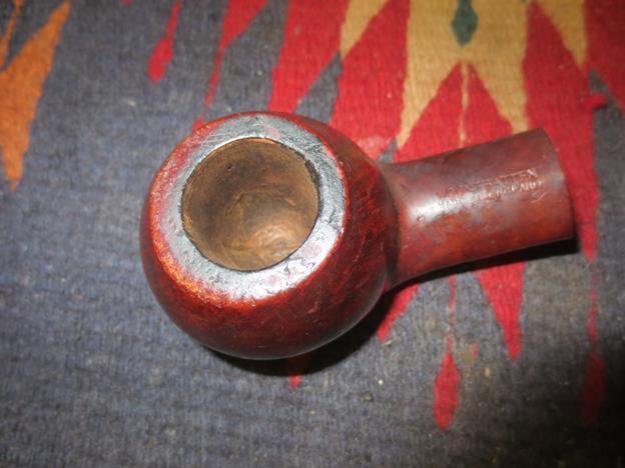
 I set up my topping board and topped the 819 carefully so as not to remove more of the top than necessary to flatten and remove the damage to the outer edge of the bowl and rim.
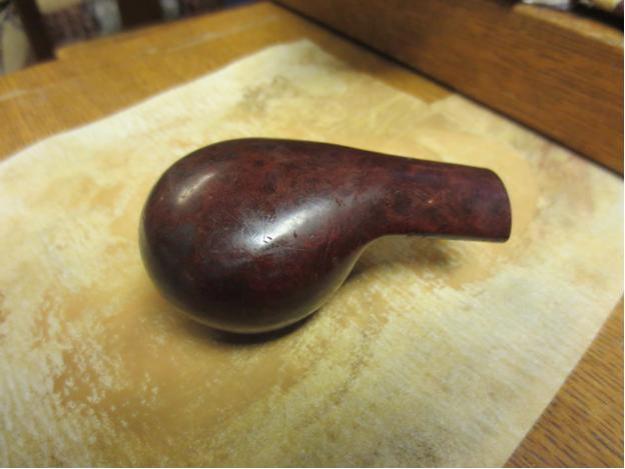
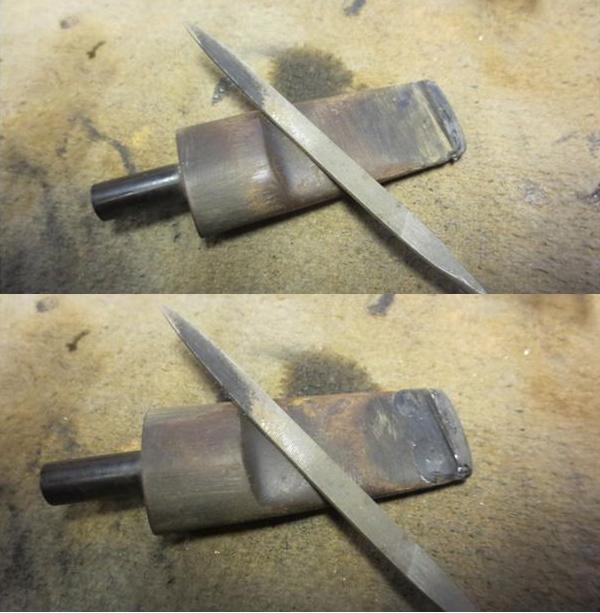
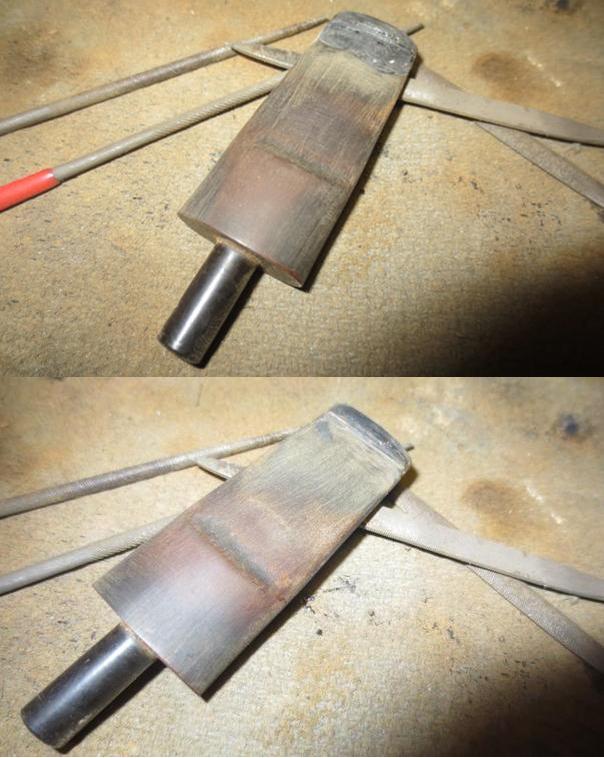
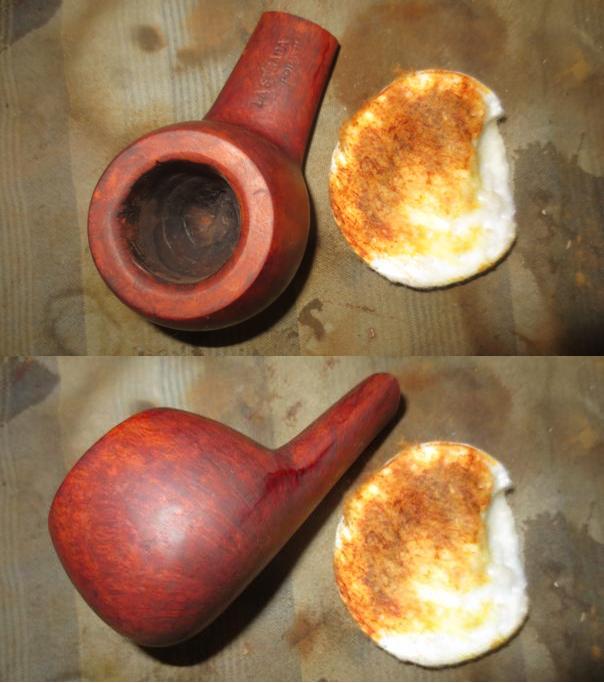
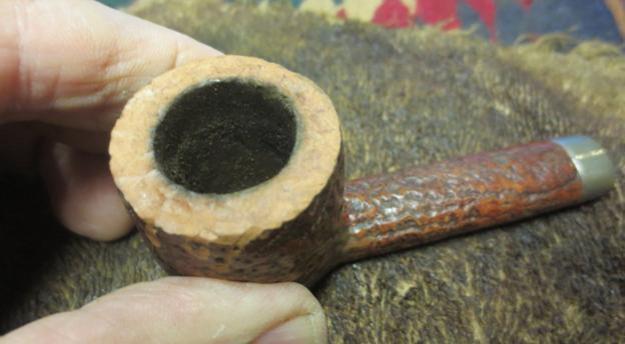
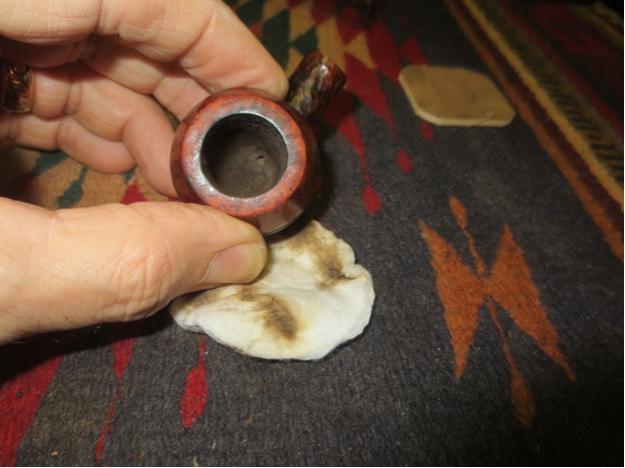
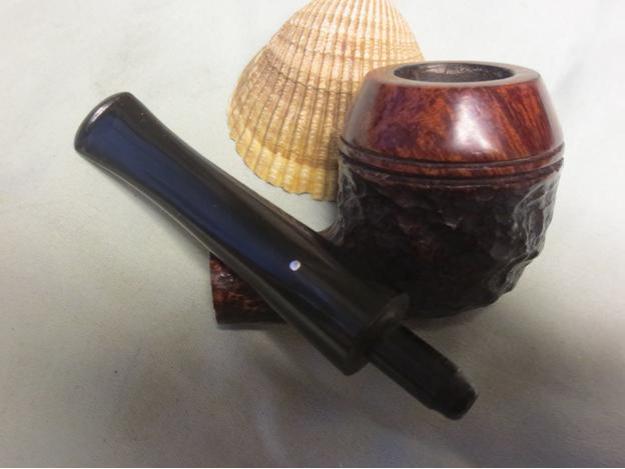
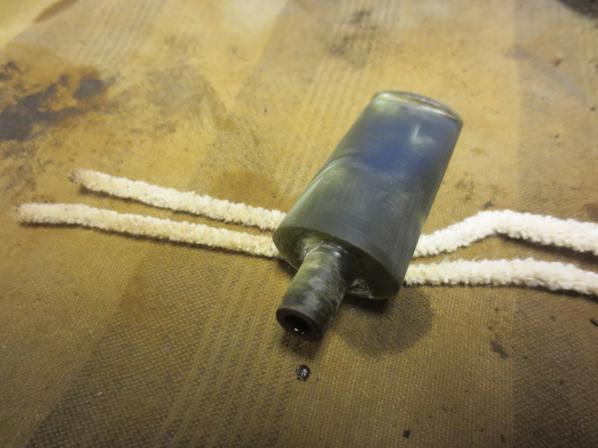
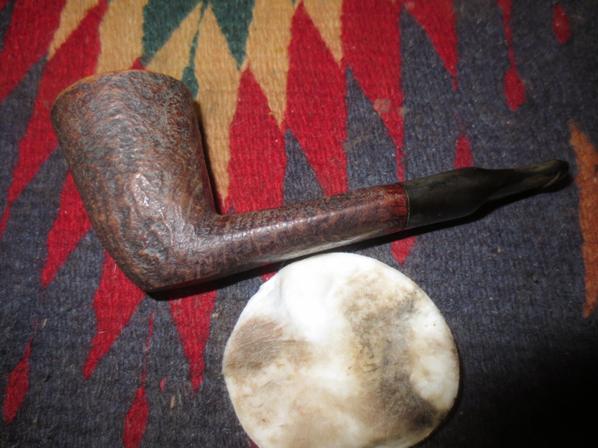
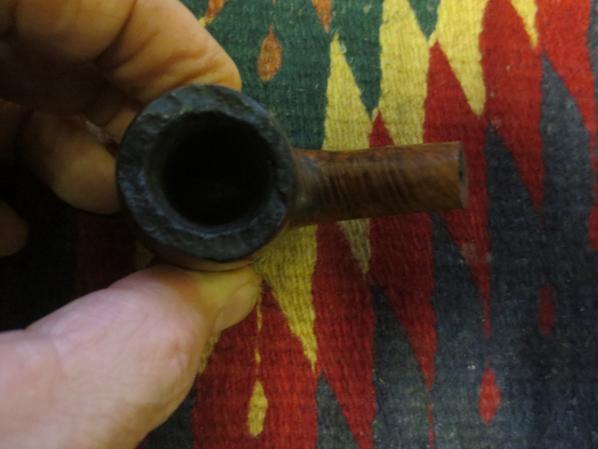
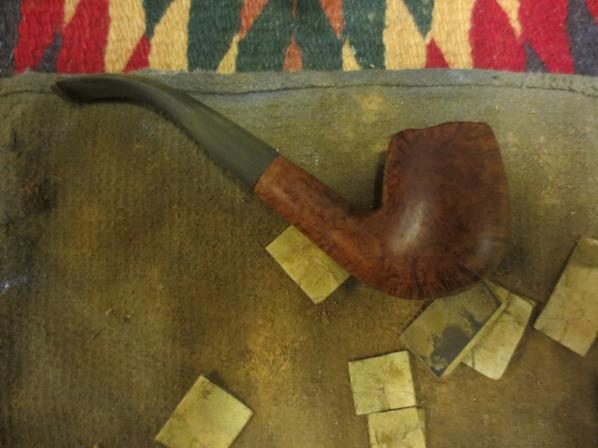
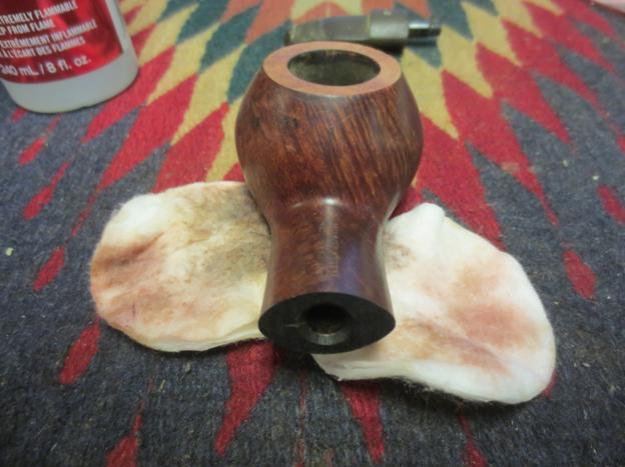
I reamed the bowl of the newer bowl with the Savinelli Pipe Knife and took out the thin cake that was on the walls. I used a flat penknife blade scrape the lava from the rim face and the inner bevel on the rim and then wet sanded the top with 1500-2400 grit micromesh sanding pads. The photo below shows the cleaned up rim surfaces.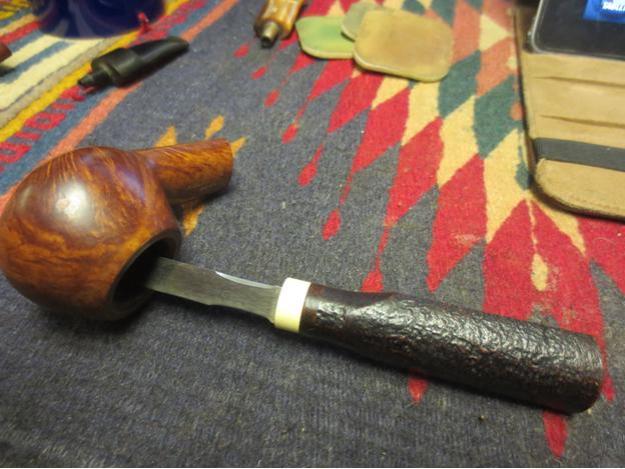
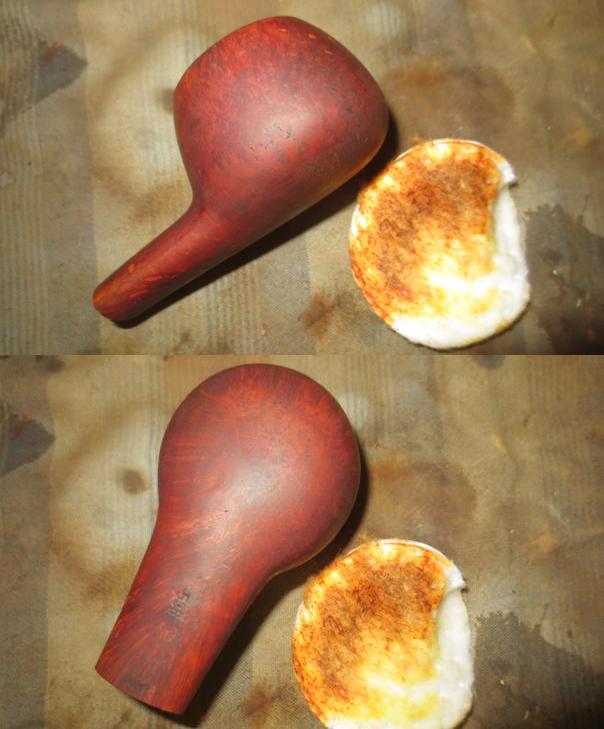
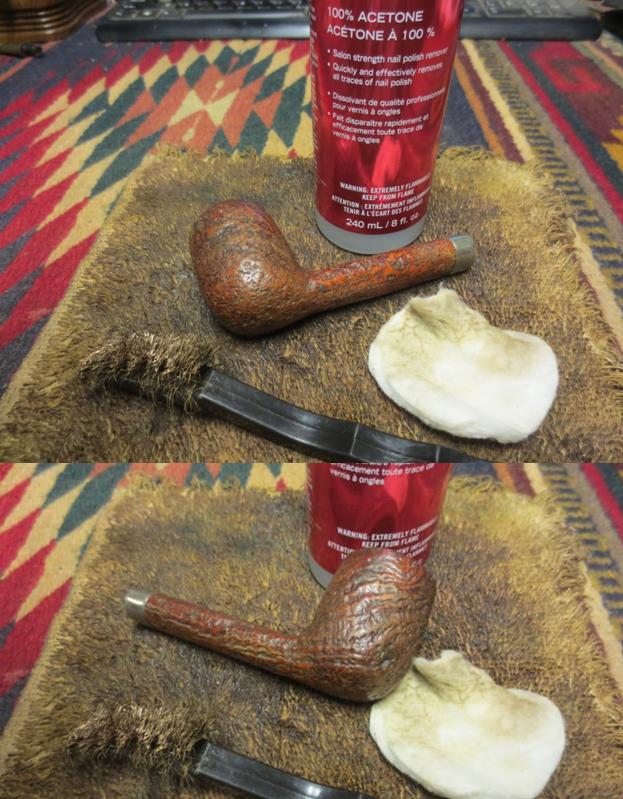
 I carefully scrubbed the bowl walls and shanks with alcohol on a cotton pad to remove the grime. It did not take much scrubbing to clean up both bowls.
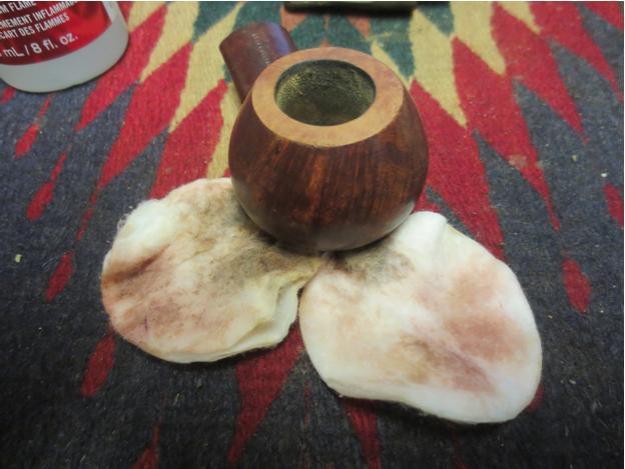


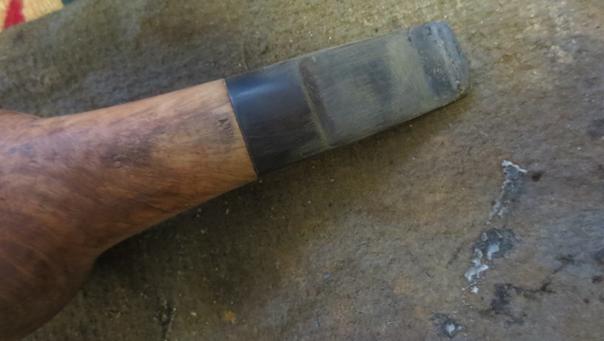
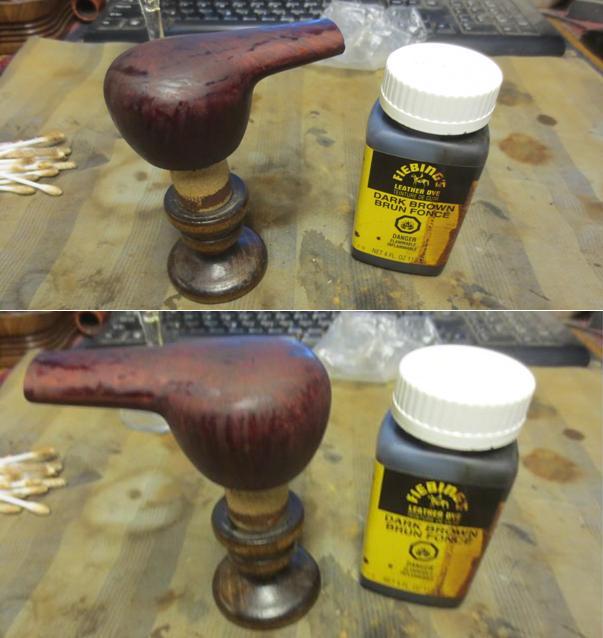
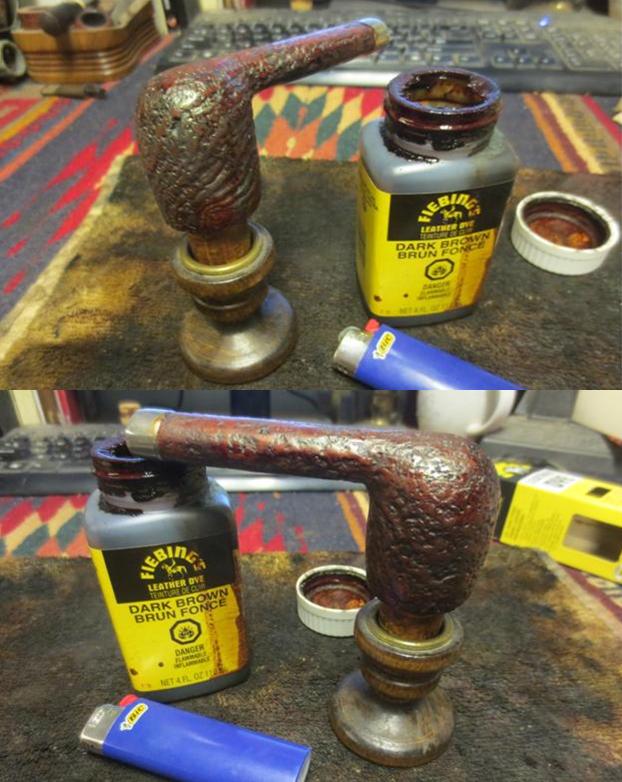
I sanded the topped bowl on the older, darker pipe with 1500-2400 grit micromesh sanding pads until the scratches left behind by the topping were gone. I then stained the top of the bowl with a dark brown stain pen. I stained the top of the lighter, newer bowl with a light brown stain pen to match the bowl sides.

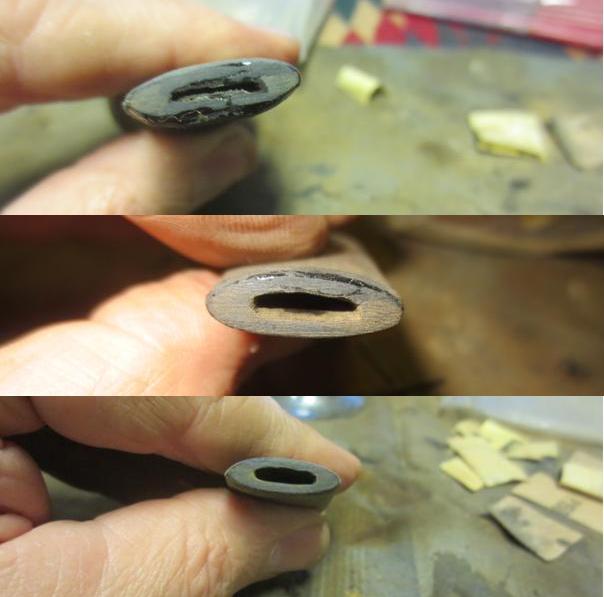
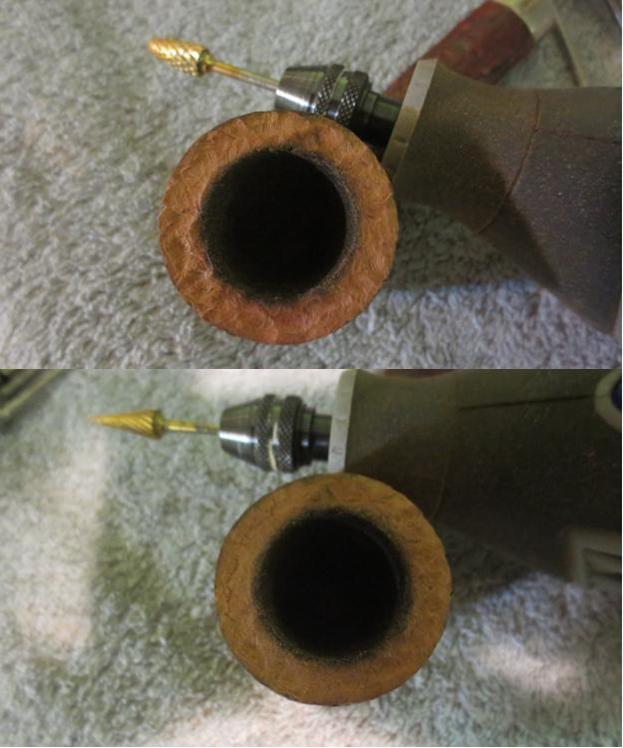
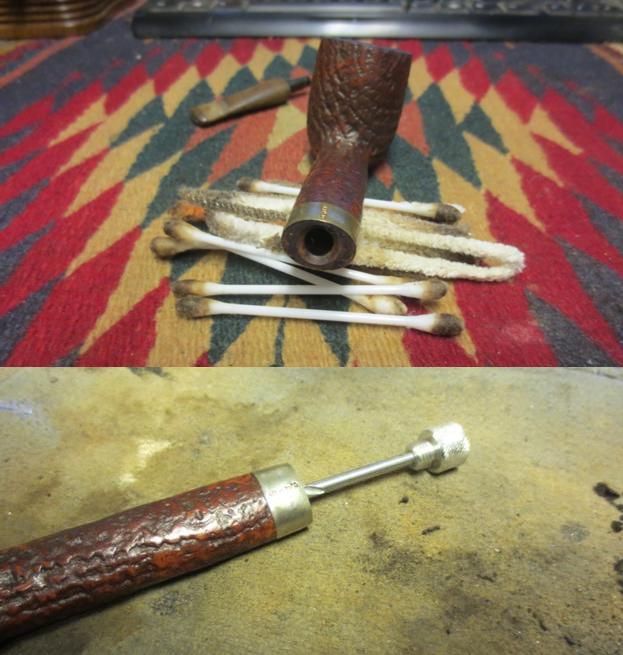
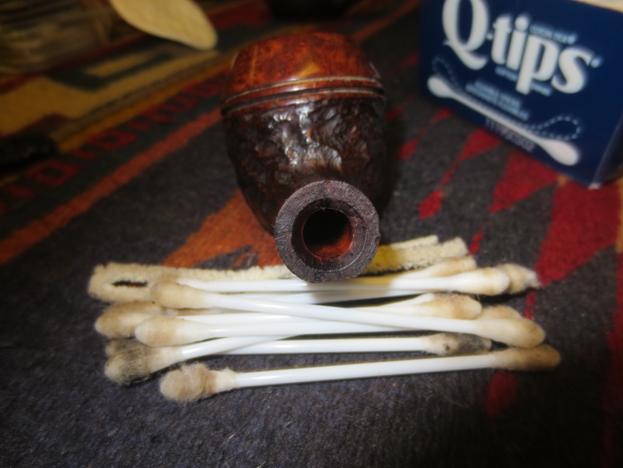
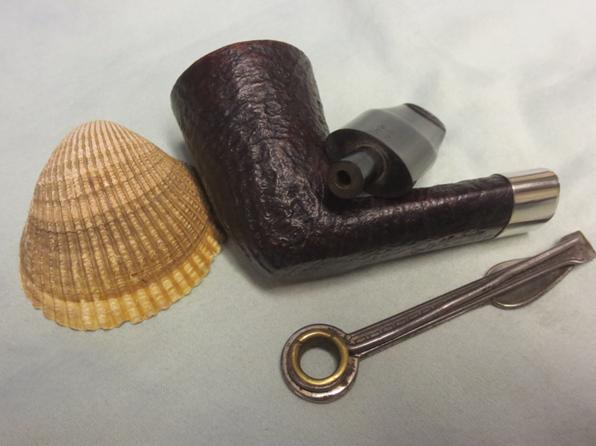
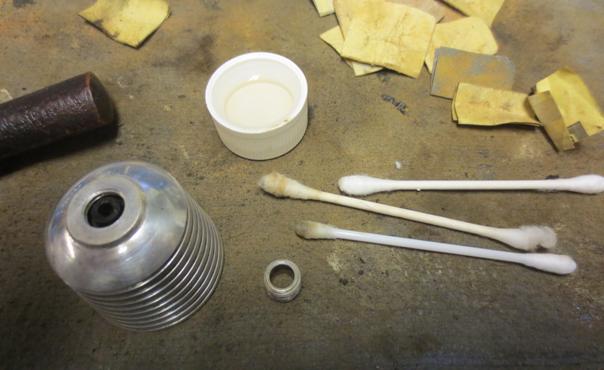
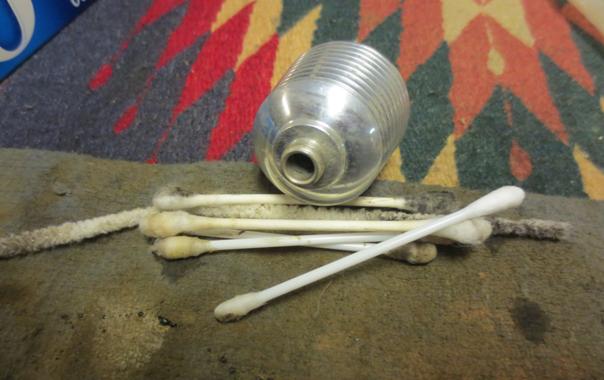
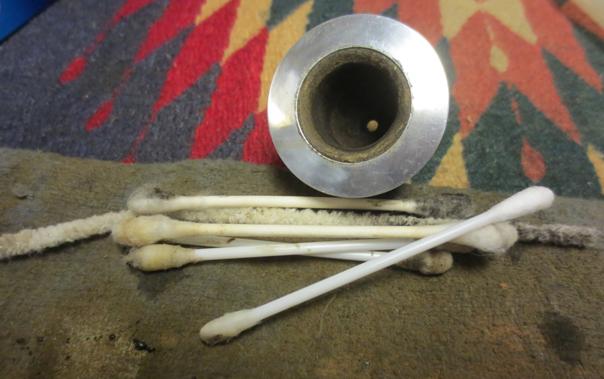
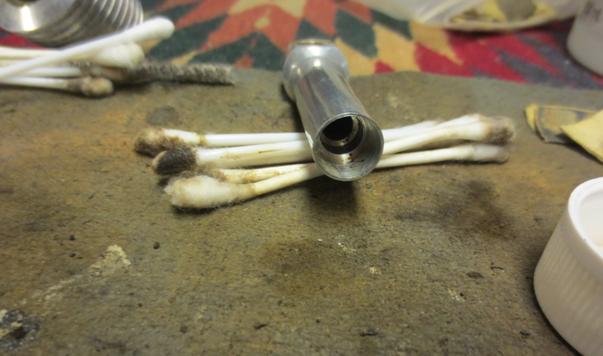
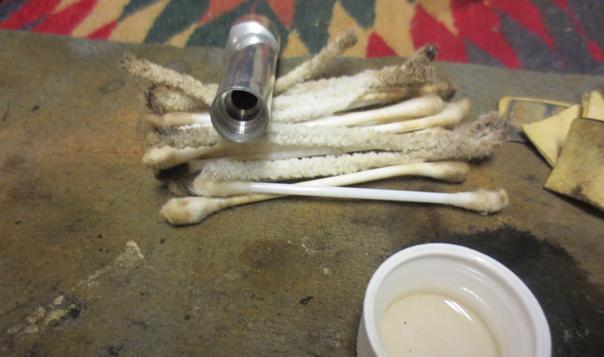
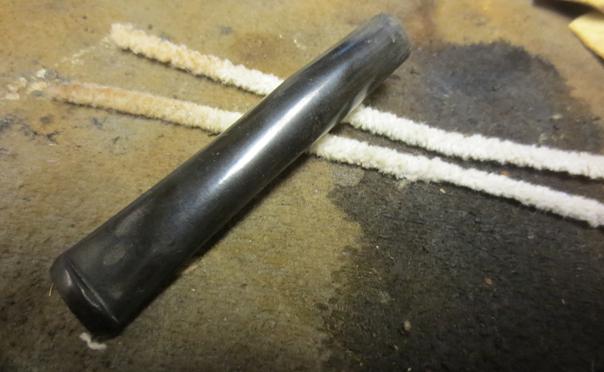
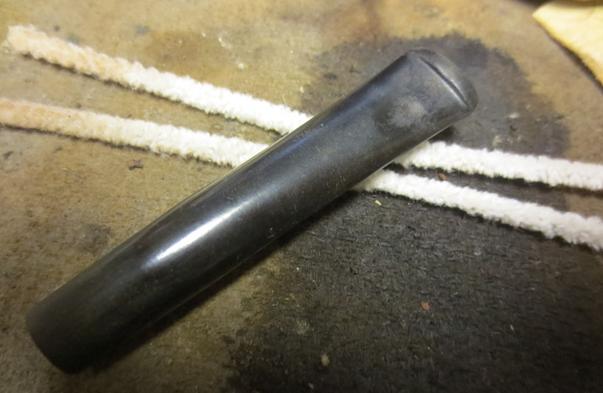
I cleaned the internals of both pipes: mortise, airway in the shank and stem and the slot in the button with alcohol, cotton swabs and pipe cleaners.
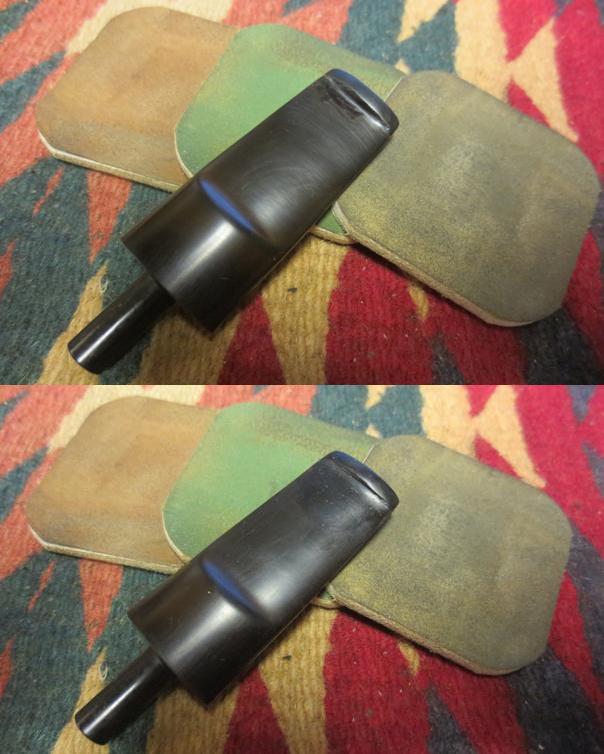
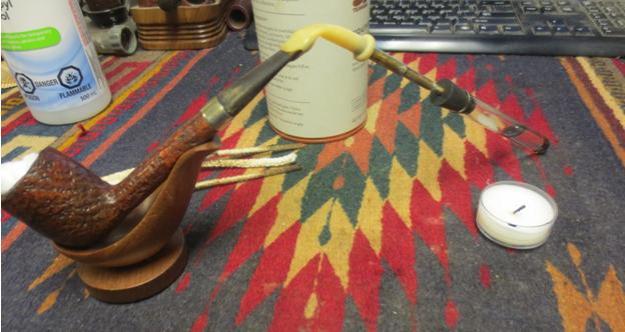
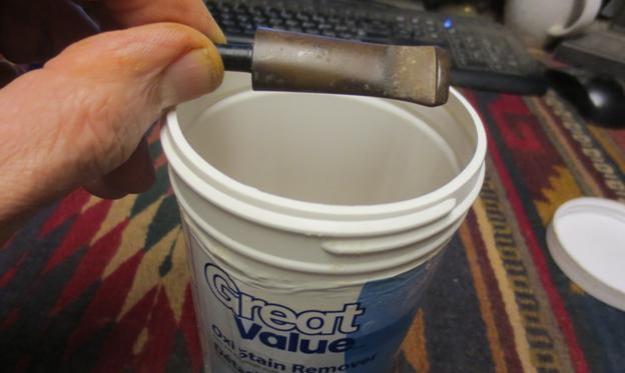
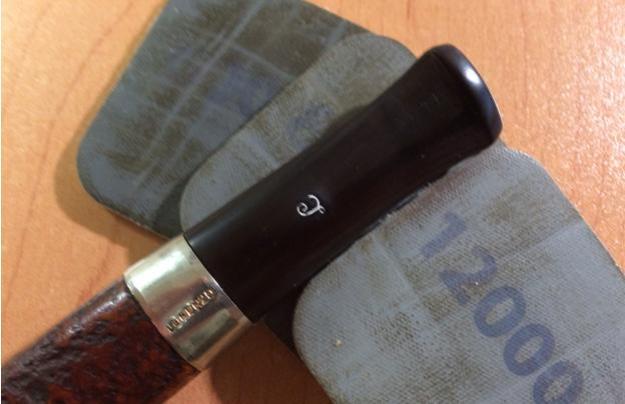
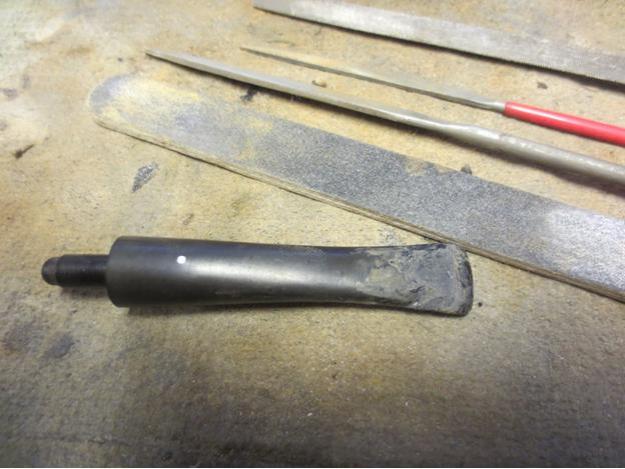
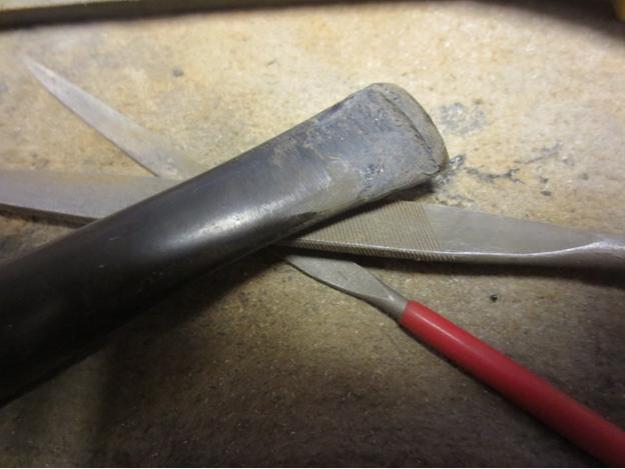
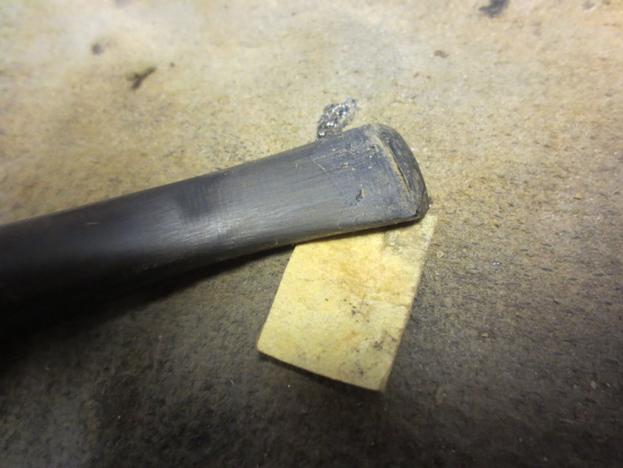
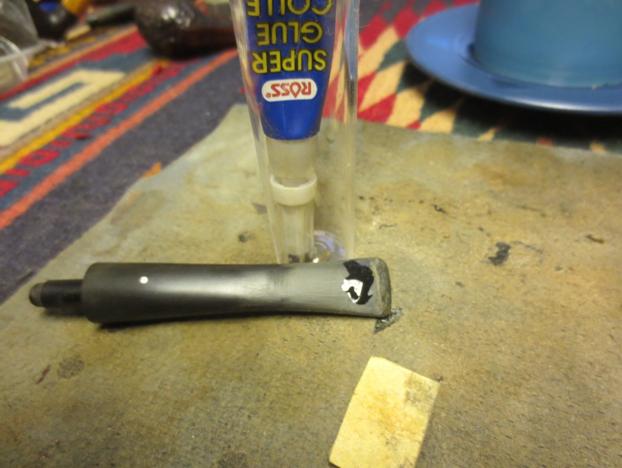
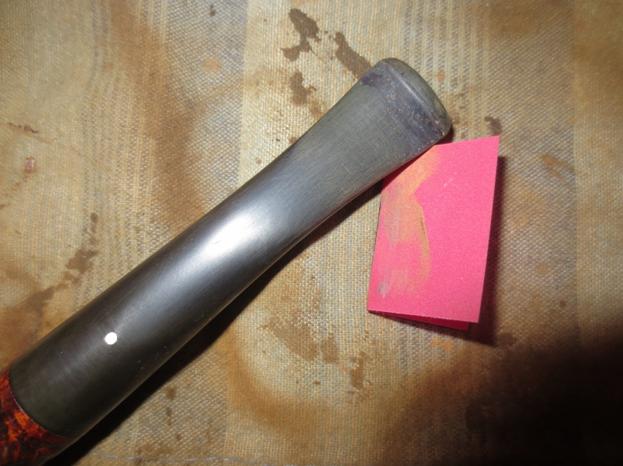
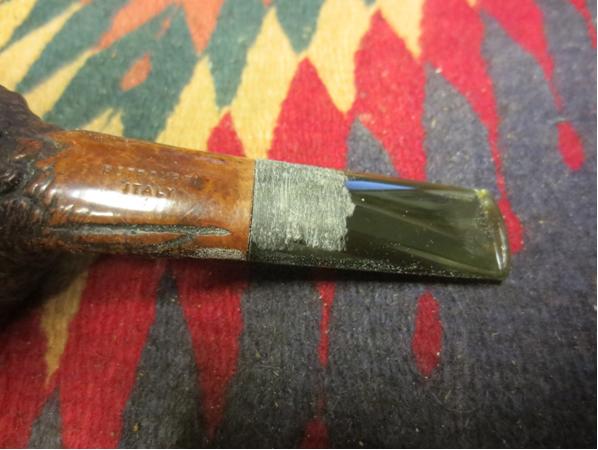
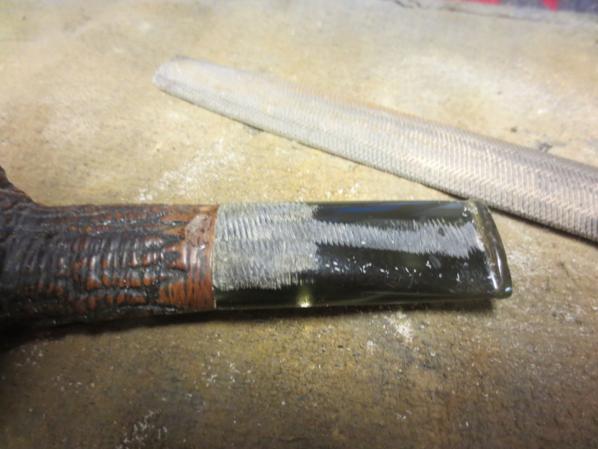
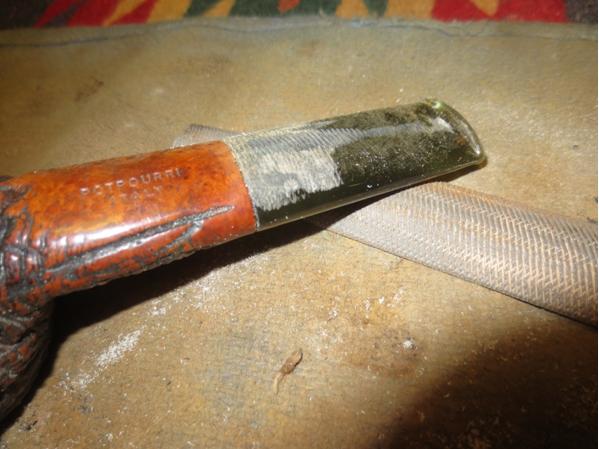
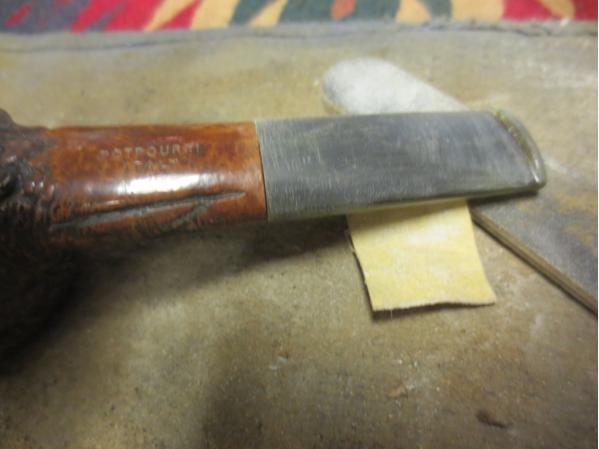
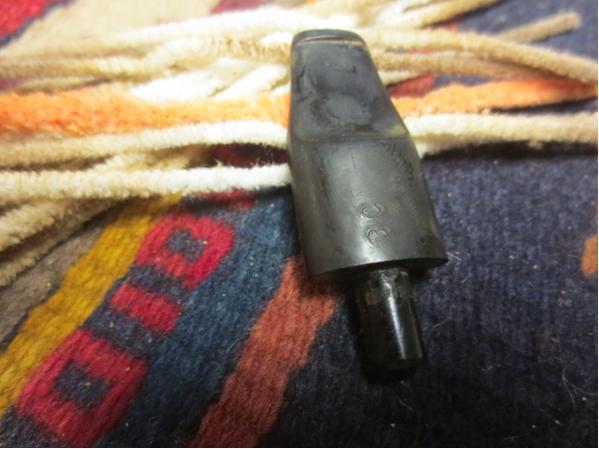
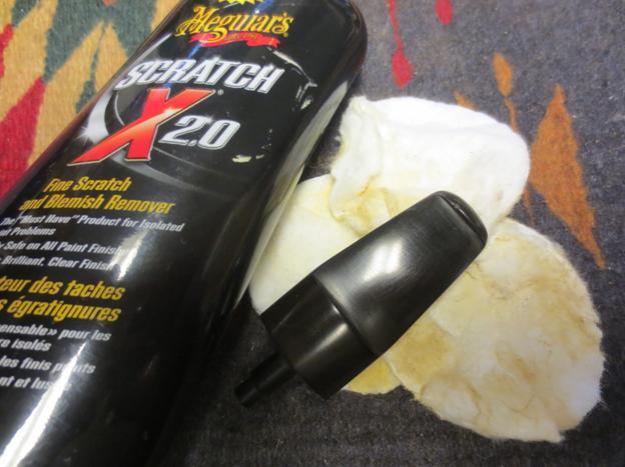
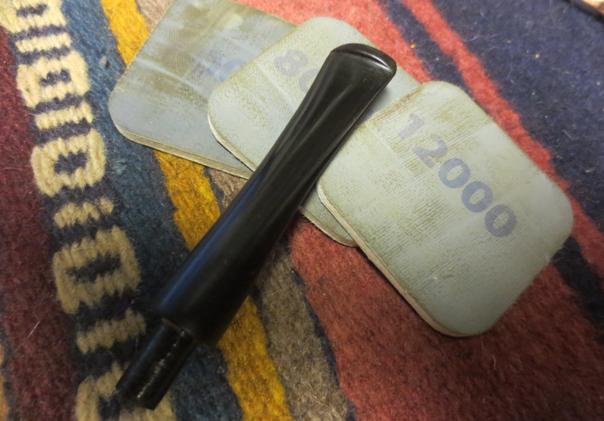
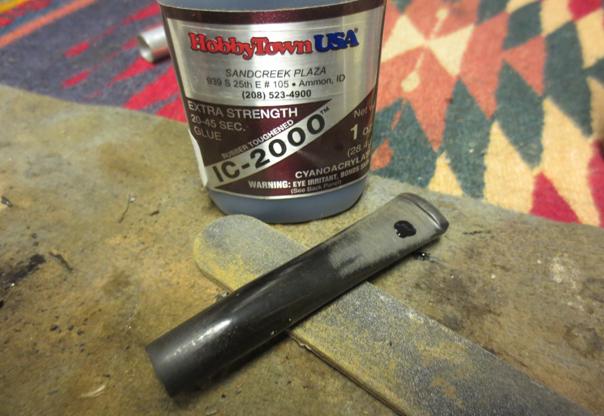
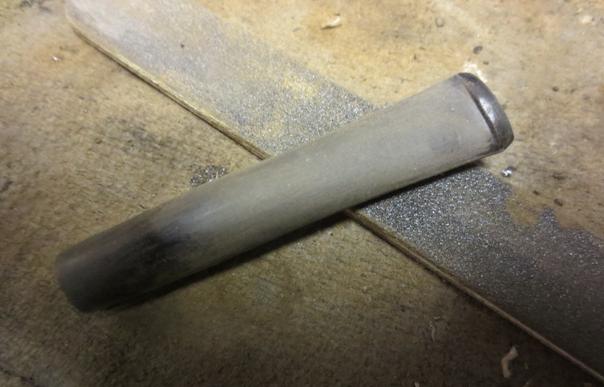
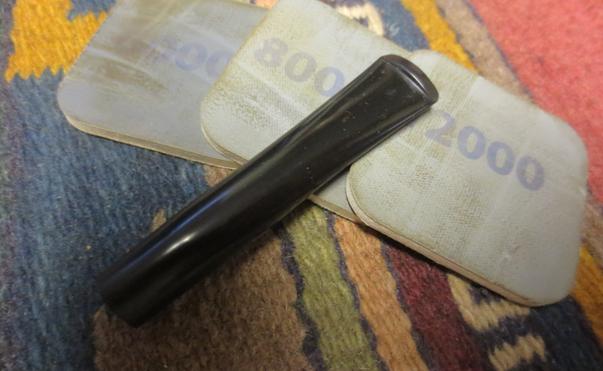
The stem clean up on each of the pipes was slightly different. The vulcanite stem needed the most attention. I sanded the tooth marks on the top and bottom side of the stem next to the button with 220 grit sandpaper and followed that with 280-600 grit sandpaper. I soaked it in Oxyclean overnight to soften the oxidation. I removed it in the morning and after drying it off scrubbed it with Meguiar’s Scratch X2.0 to remove the softened oxidation.

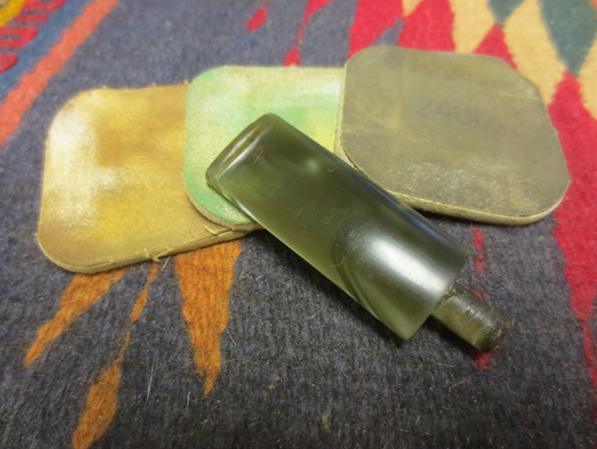
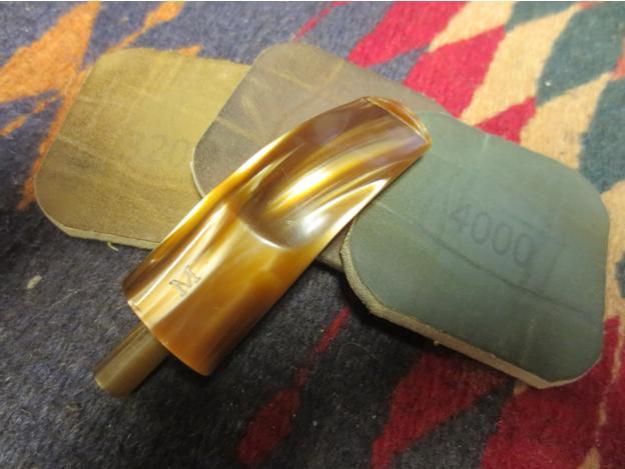
 The Lucite stem was much easier to work on. I sanded the tooth marks on both the top and underside of the stem at the button with 220 grit sandpaper to remove them. It took some focused sanding to remove the two marks but once I was done sanding them they were no longer visible.
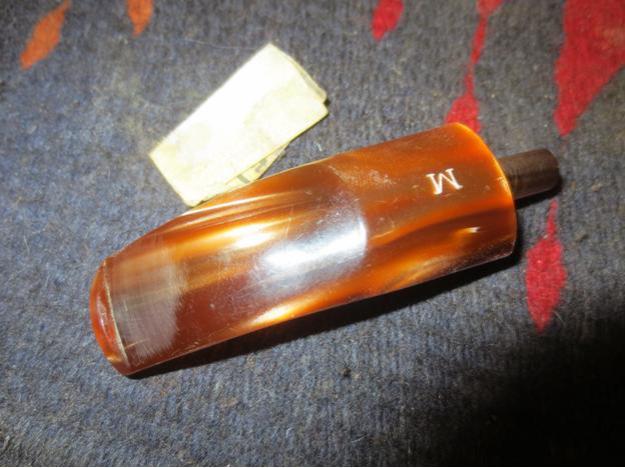
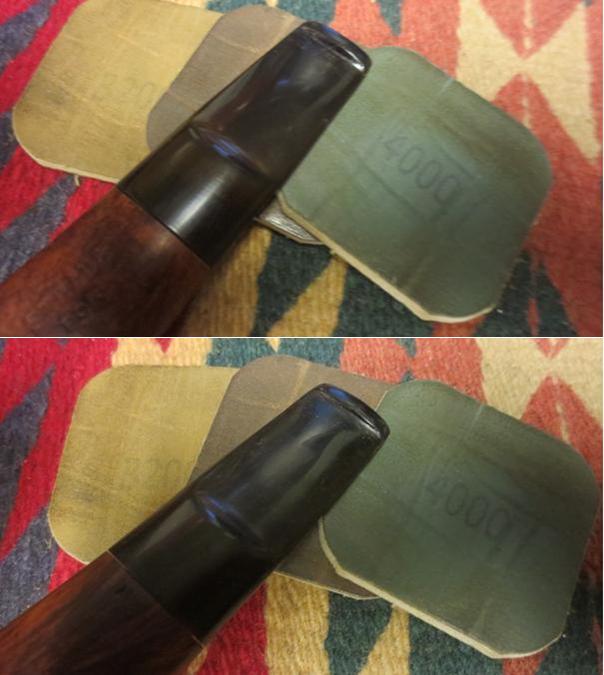
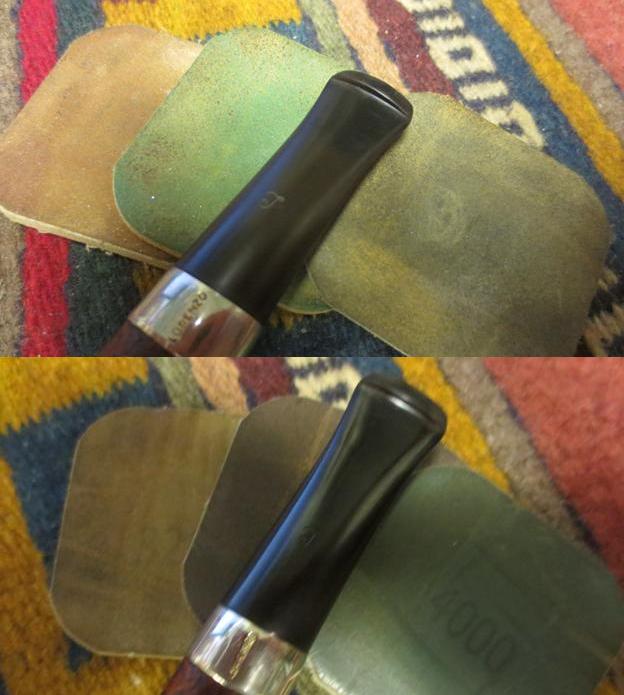
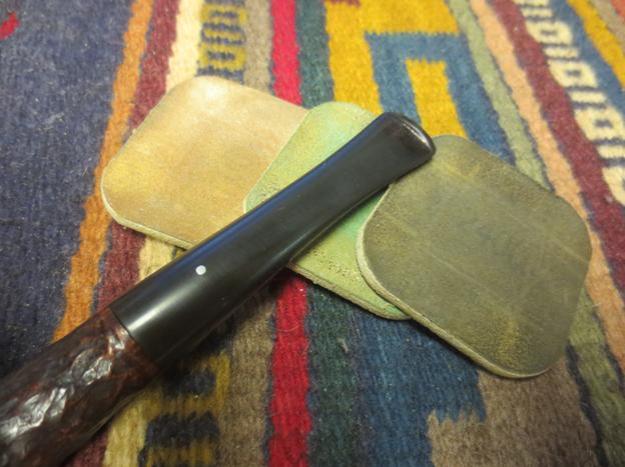
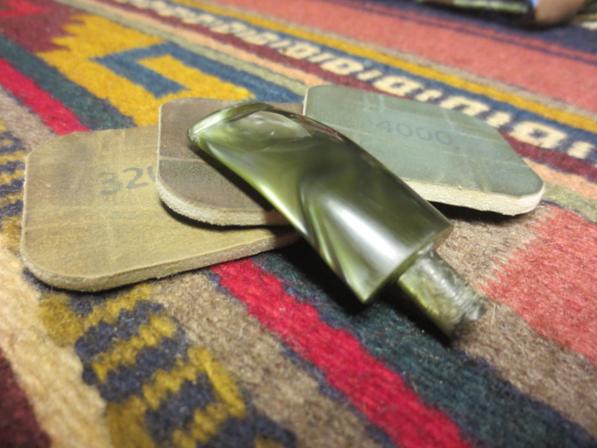
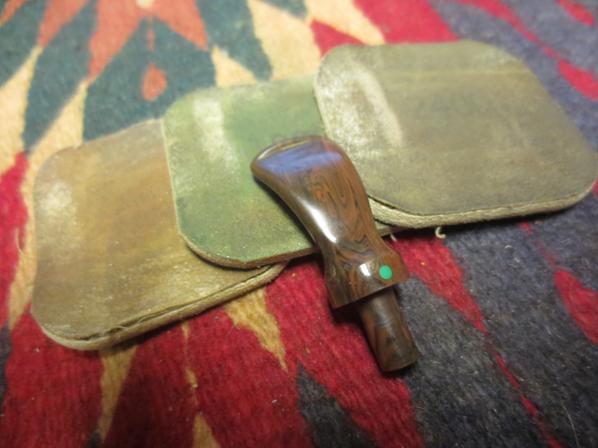
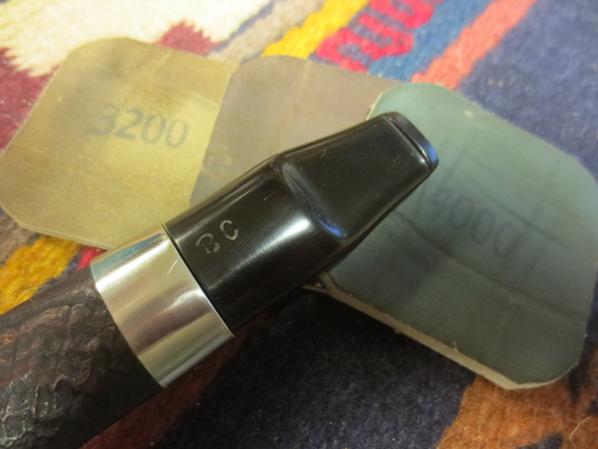
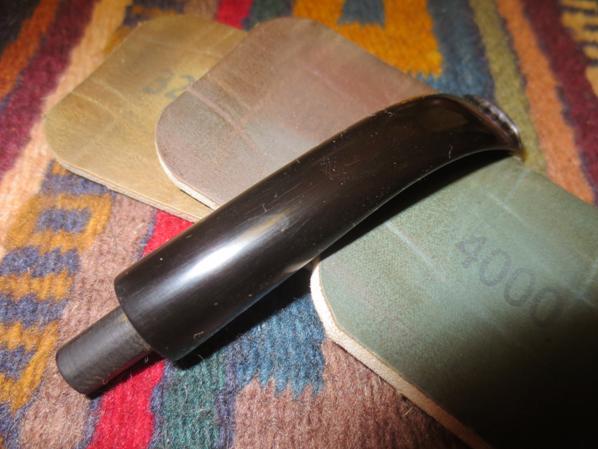
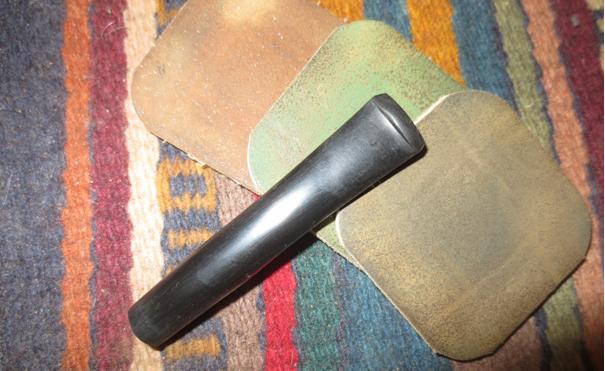
 With the oxidation taken care of on the vulcanite stem and the tooth marks removed from both stems it was time to work on them with micromesh sanding pads. I wet sanded both stems with 1500-2400 grit micromesh sanding pads.
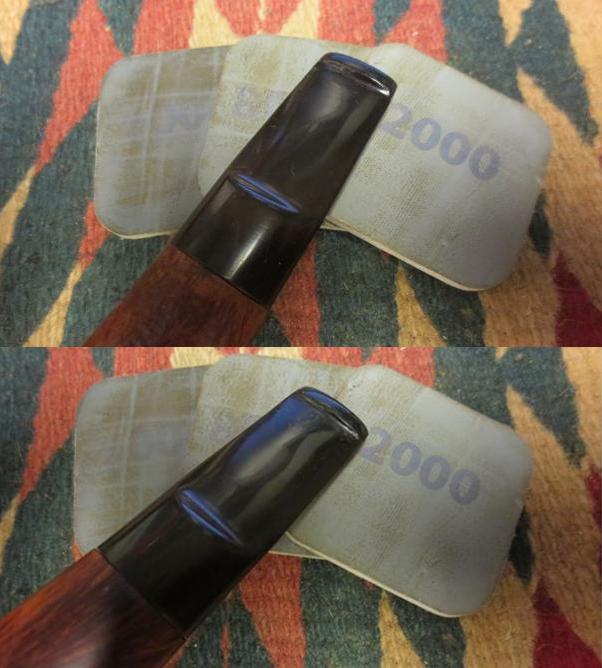
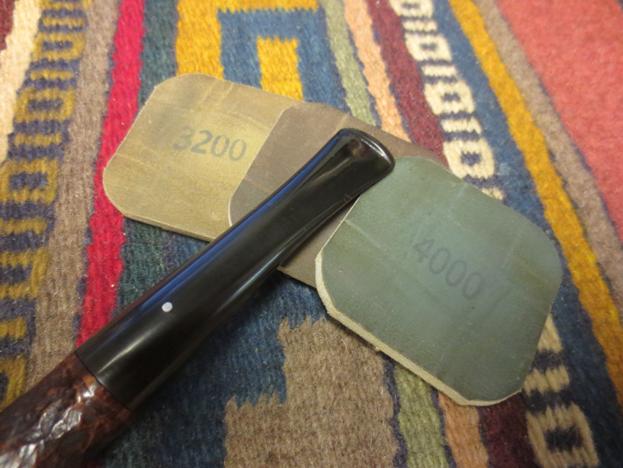
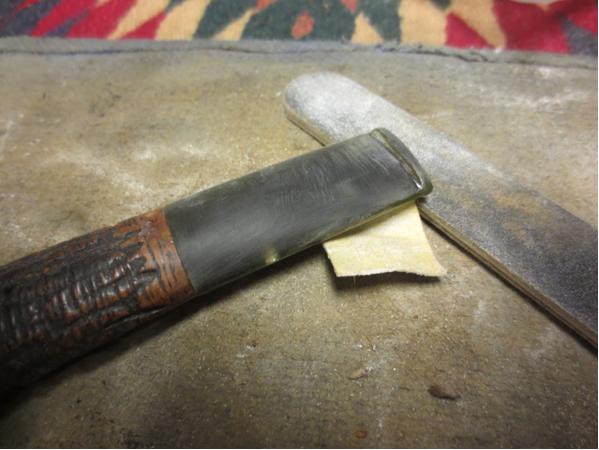
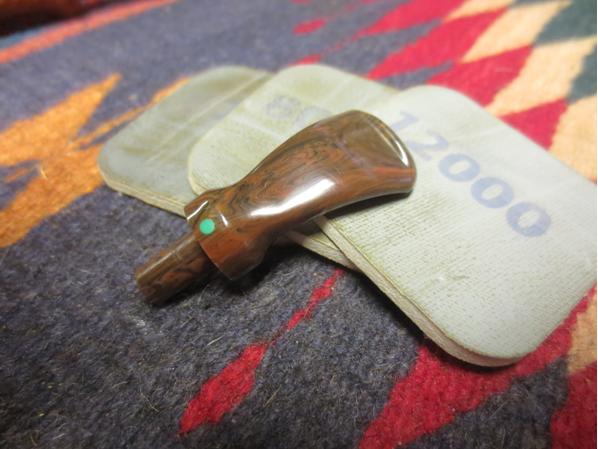
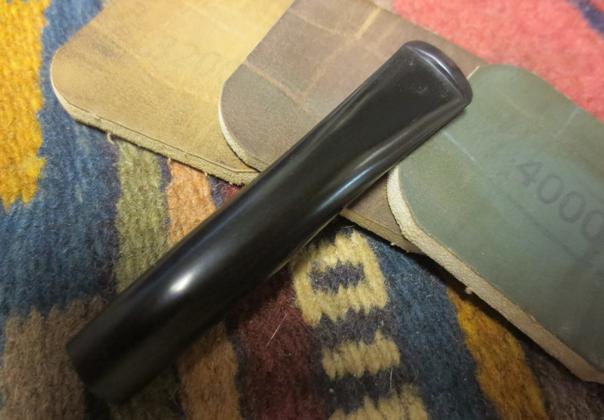
 I wiped the vulcanite stem down with Obsidian Oil and then dry sanded both stems with 3200-4000 grit micromesh sanding pads.
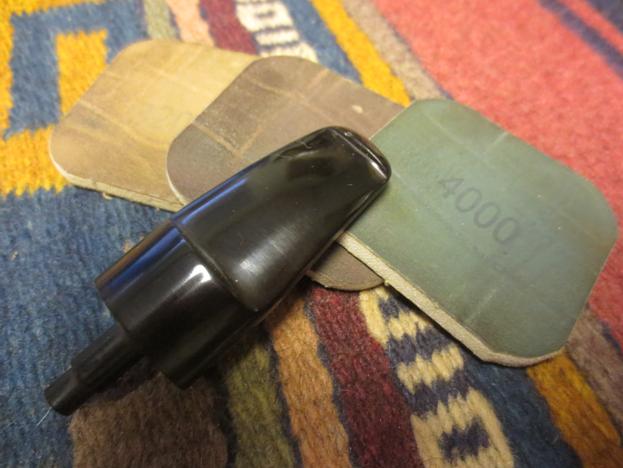
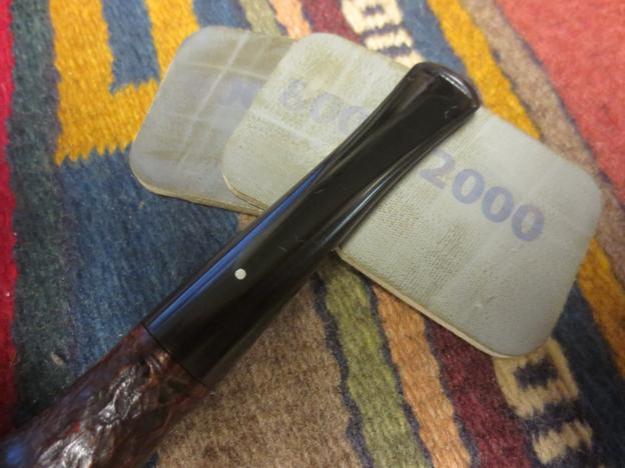
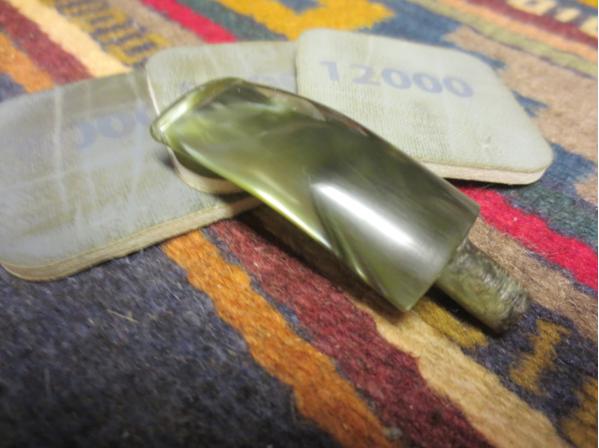
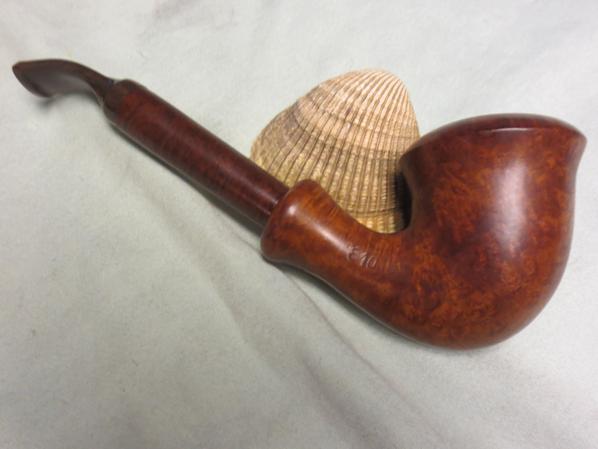
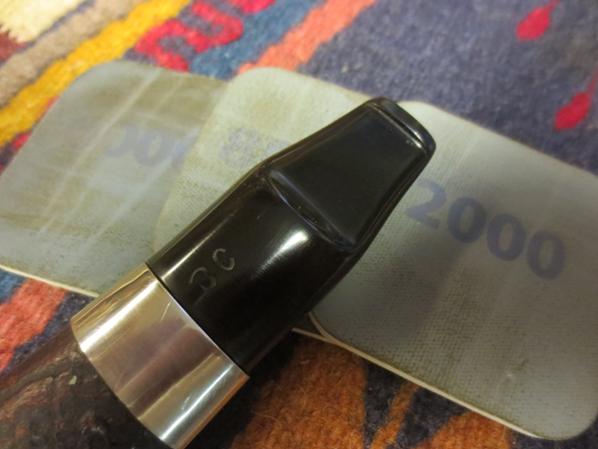
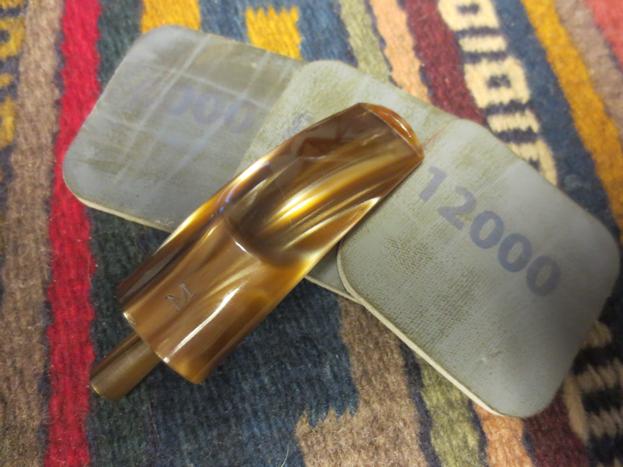
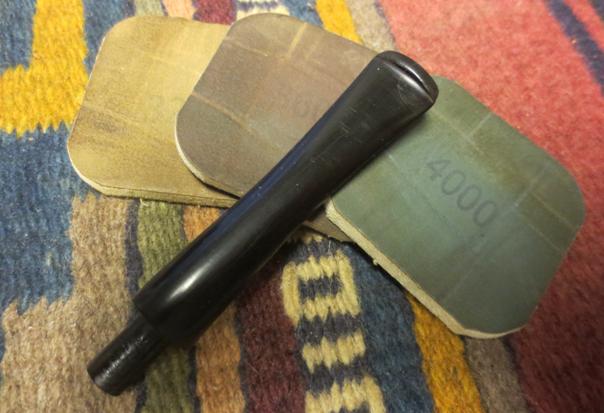
 I wiped down the vulcanite stem with another coat of oil. I sanded both stems with 6000-12000 grit micromesh sanding pads. I gave the vulcanite stem a final coat of oil and set it aside. Once the oil dried I would put the stems on the bowls and buff them.
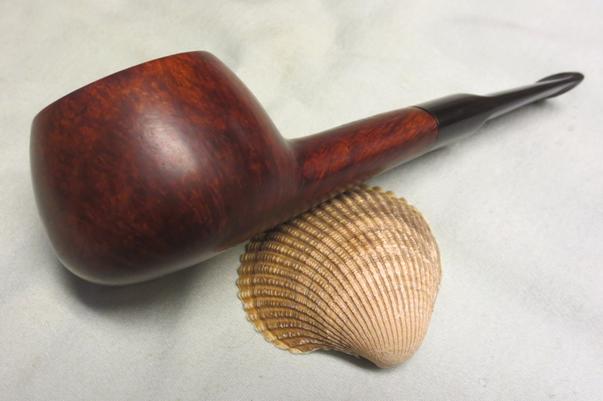
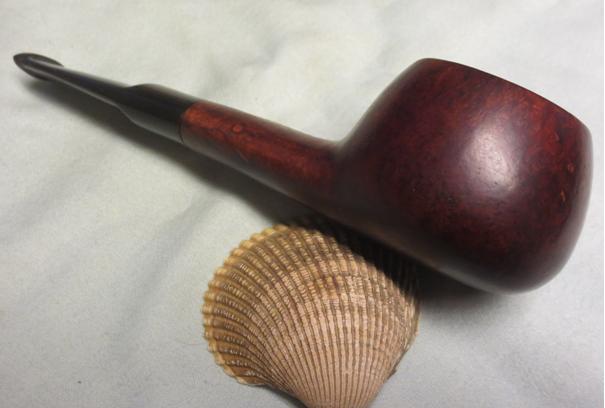
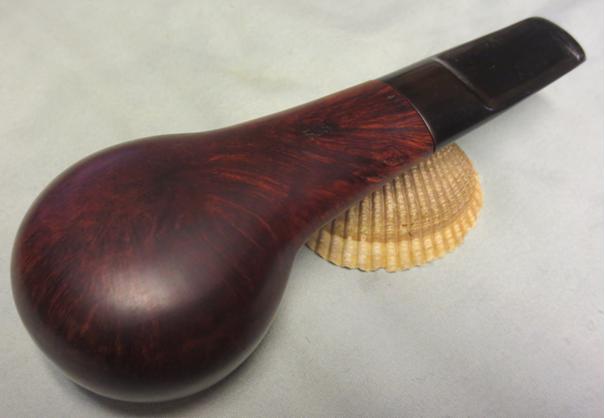
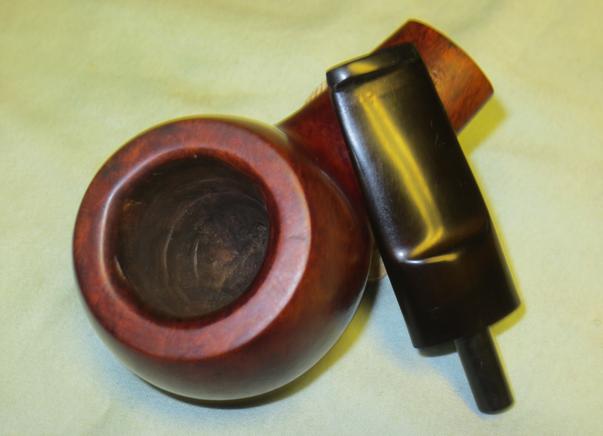
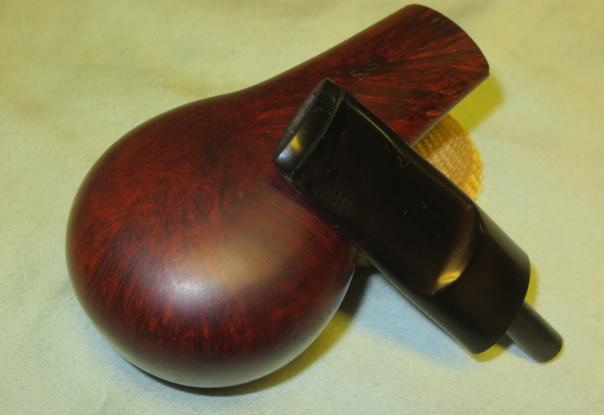
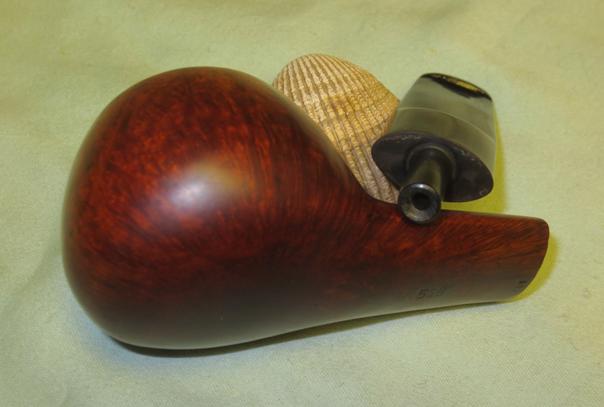
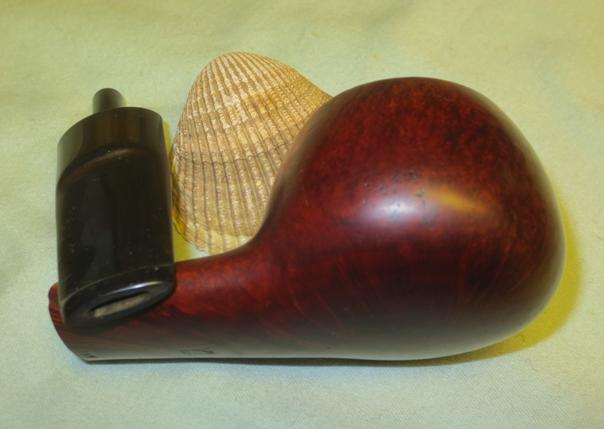
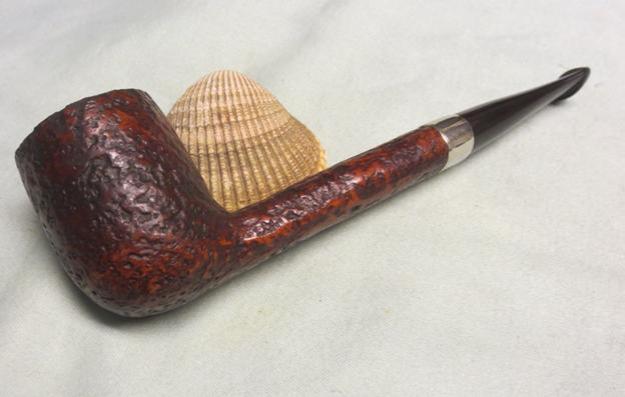
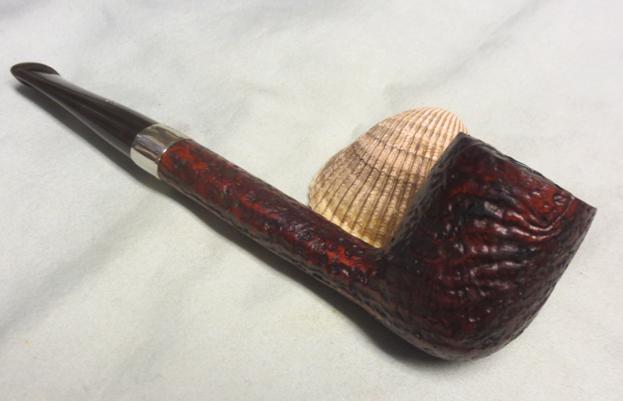
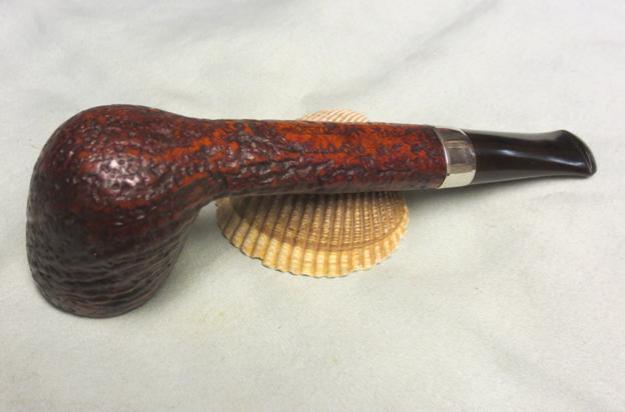
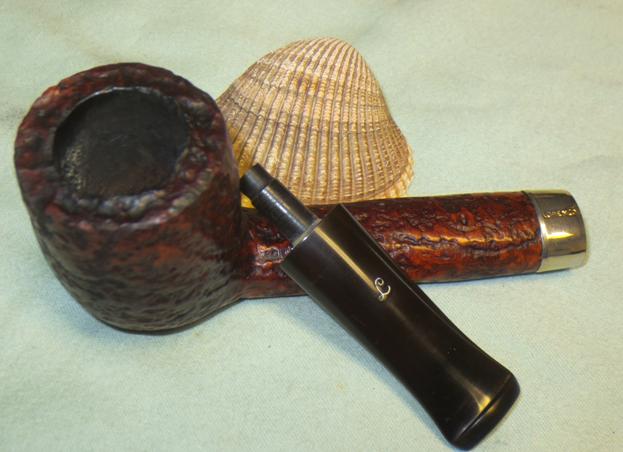
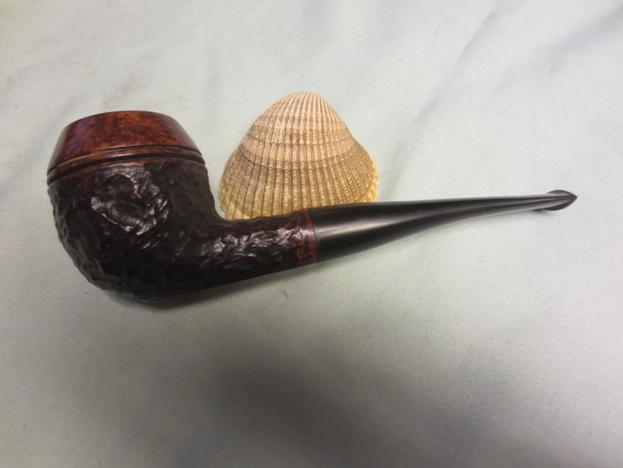
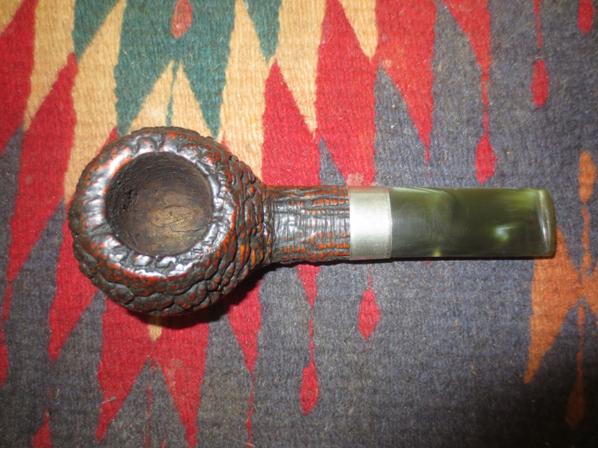
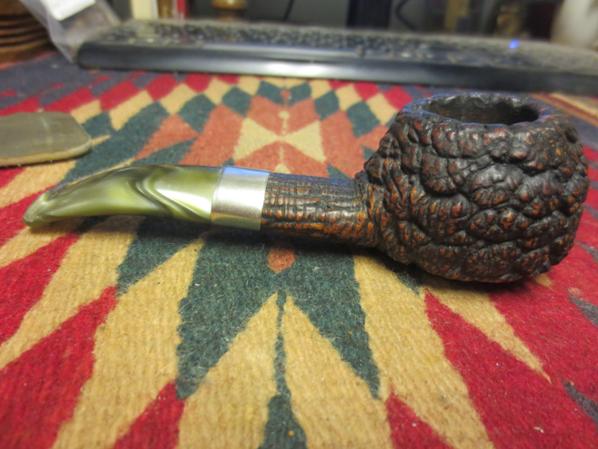
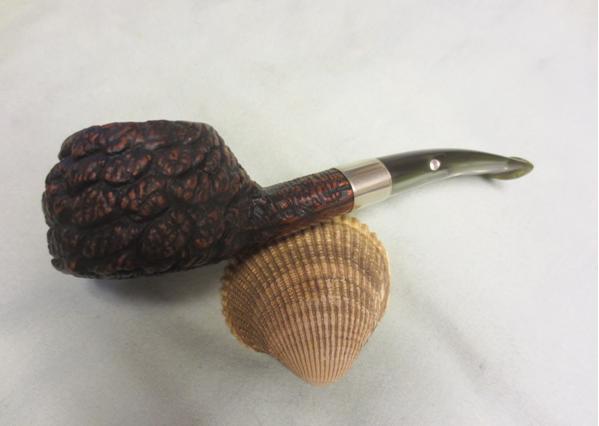
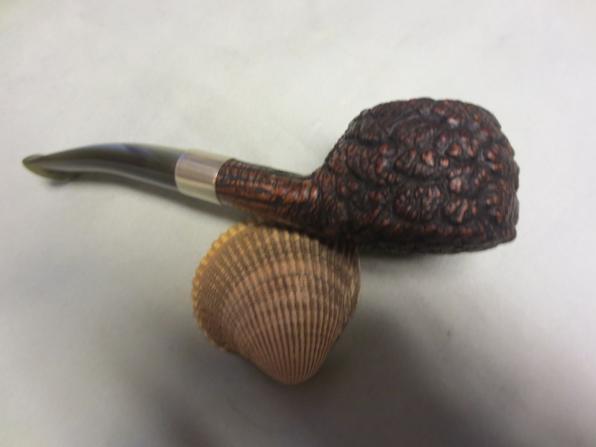
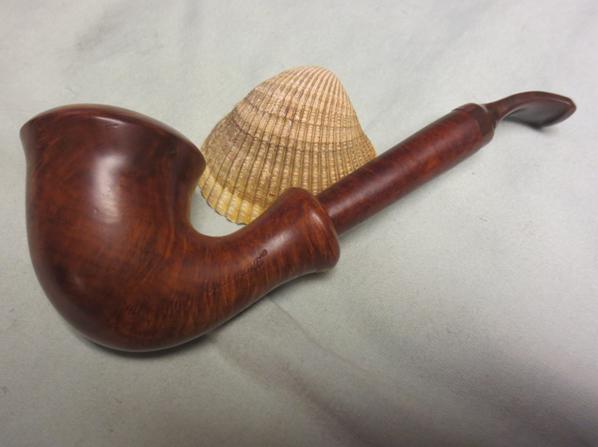
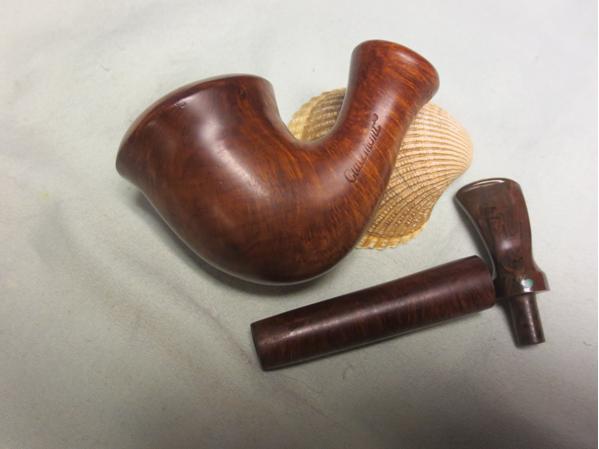
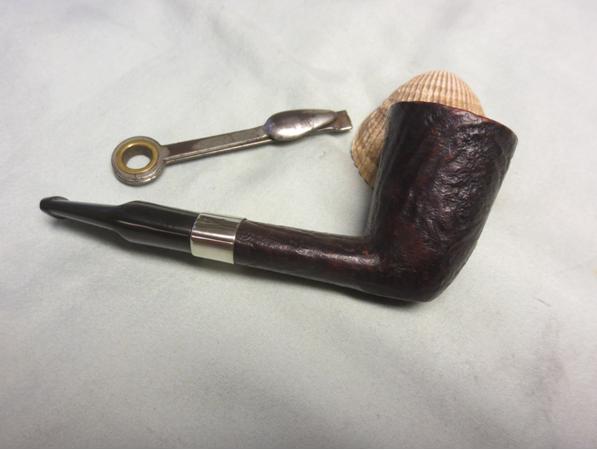
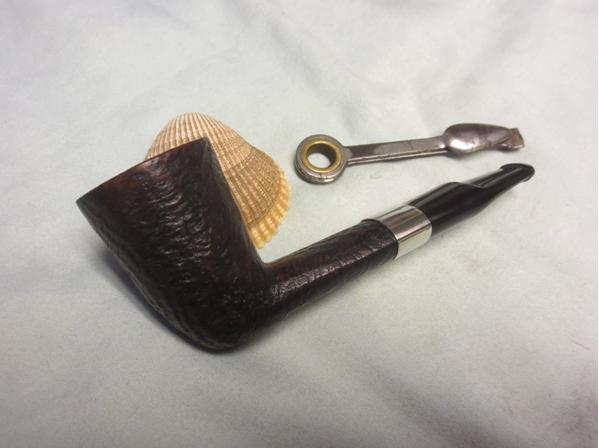
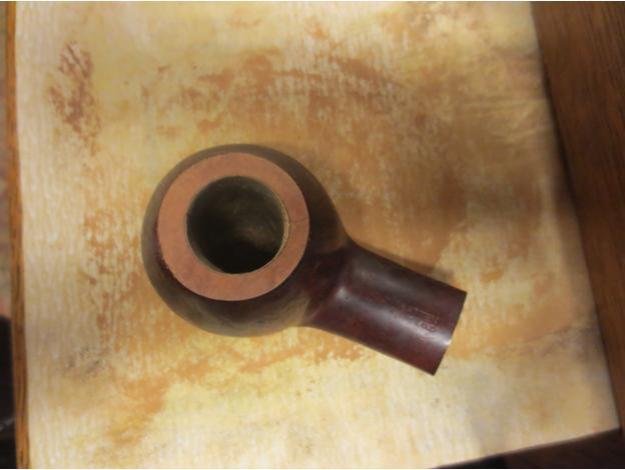
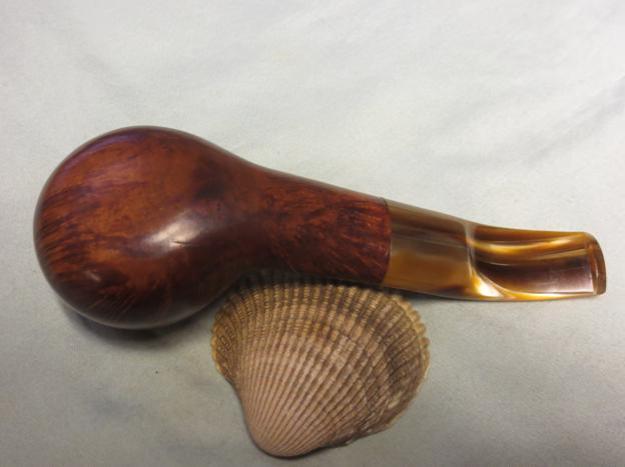
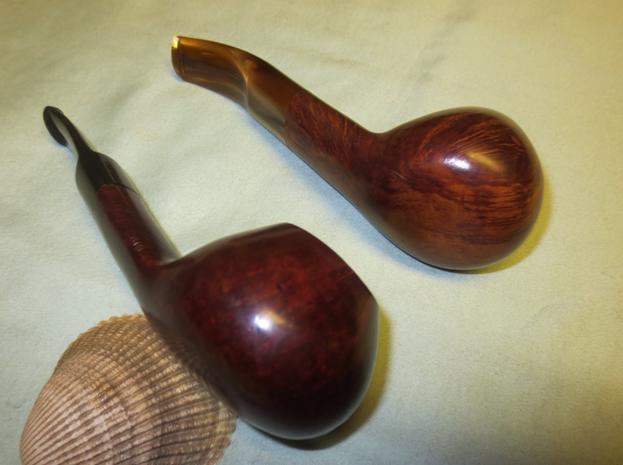
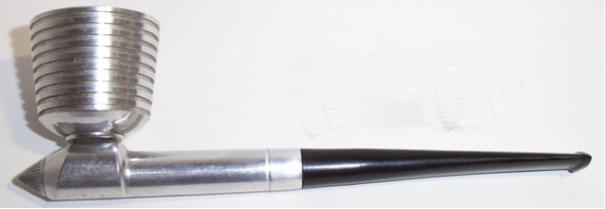
 I put the stems back on the pipes and gave them a final buff with Blue Diamond polish on the wheel. I gave both multiple coats of carnauba wax and buffed them with a clean buffing pad to raise the shine. I hand buffed them with a microfibre cloth to add depth to the shine. The finished pair are shown in the photos below. The young apprentice carvers at Charatan did a great job in shaping and finishing these two pipes. They look great together. The mystery to me is the different number stamps on the pipes. They are similar in shape even though the newer is a little smaller. They look like they came from the same shape chart in terms of appearance. I suppose I will never know why the numbers are different but I do know that both should be great smoking pipes. Thanks for looking.


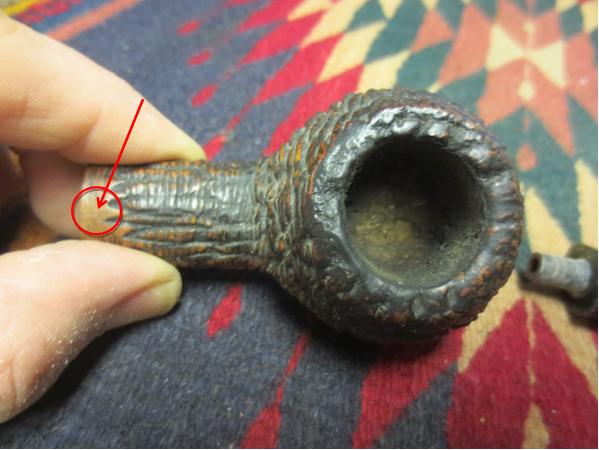
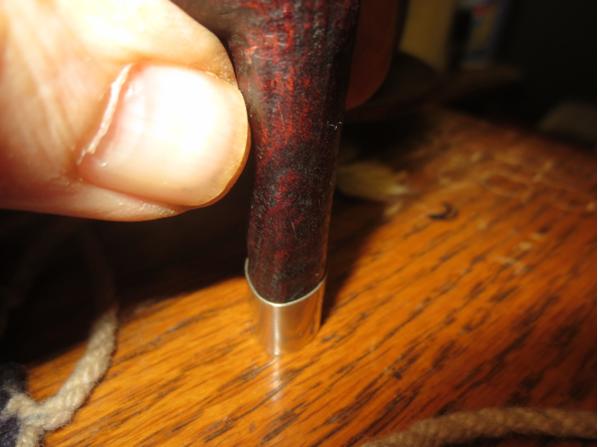
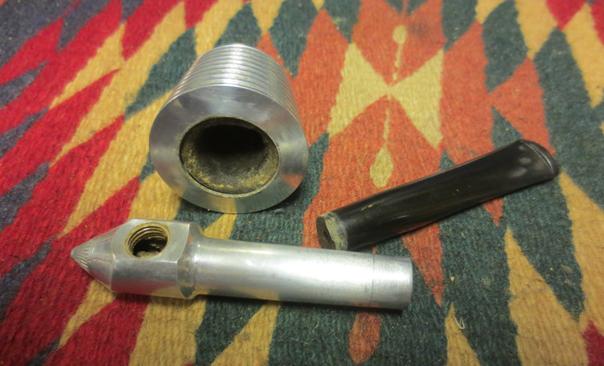
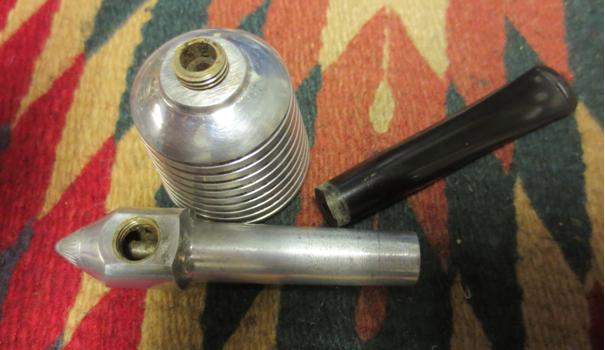
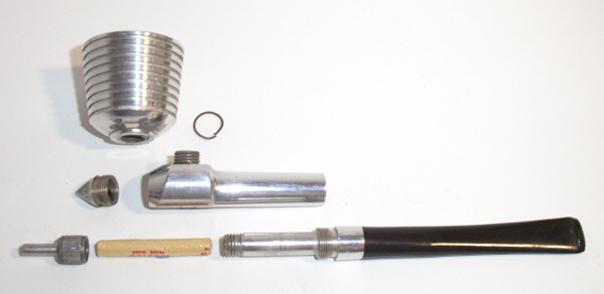
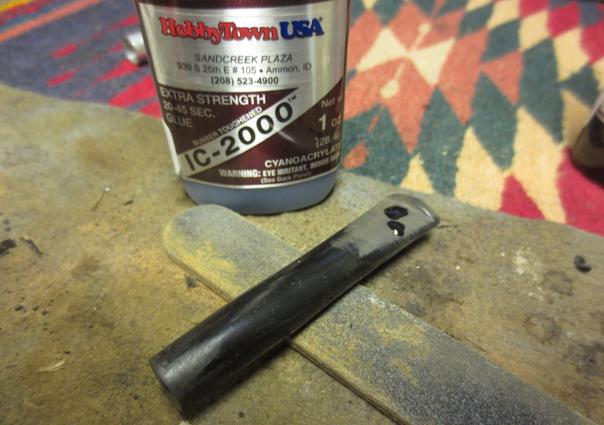
 I went through my can of stems and found a stem that would fit with a bit of adjustment. I sanded the tenon in order to get a proper fit in the mortise of the bowl. The stem was slightly larger in diameter than the shank end and would need to be reduced to fit. The star on the stem would disappear once the stem was properly fit in the shank.
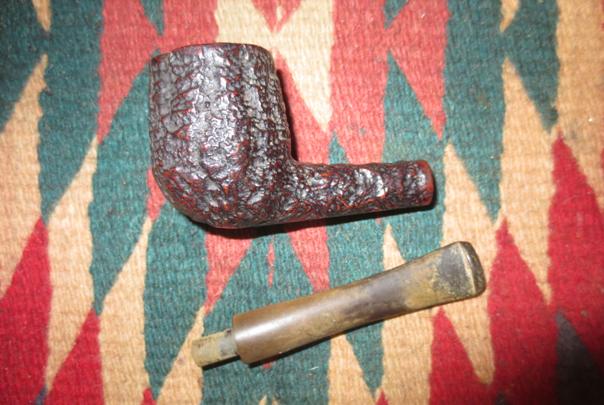


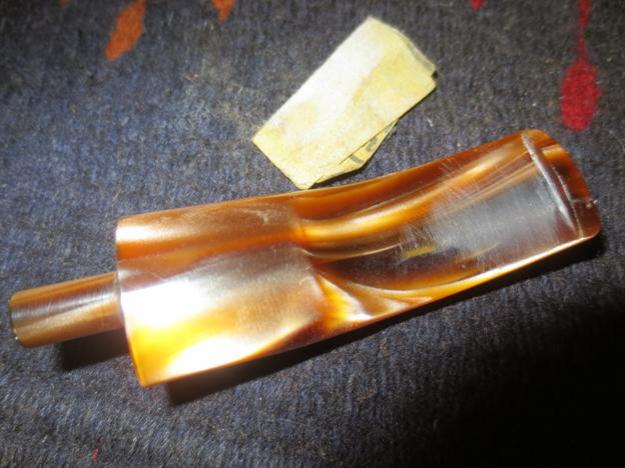
 I used the Dremel and sanding drum to reduce the diameter of the stem to match the shank. I sanded it with the stem in the pipe to make sure that I could match the stem and shank. I sanded it as close as possible with the Dremel and then worked on it by hand to get the lines of the fit correct.
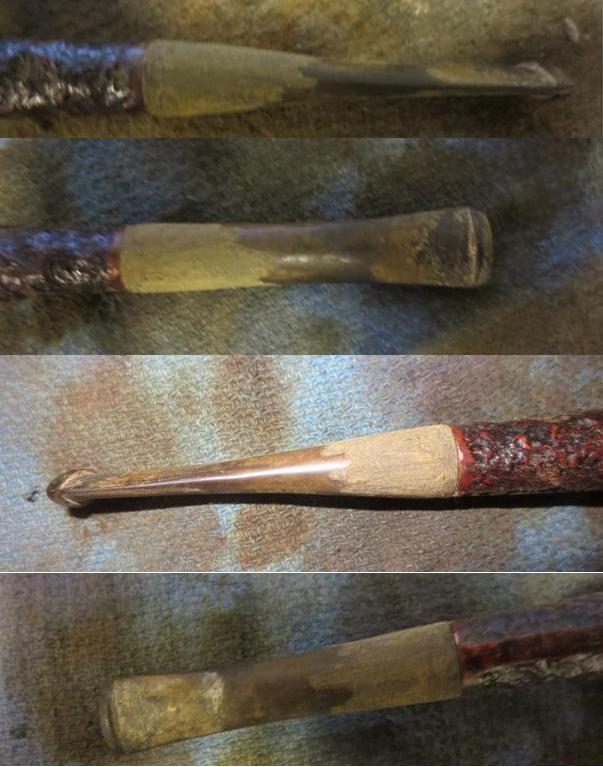 I sanded the stem with 220 grit sandpaper to remove the scratches left behind by the Dremel sanding drum and to fine tune the fit against the shank.
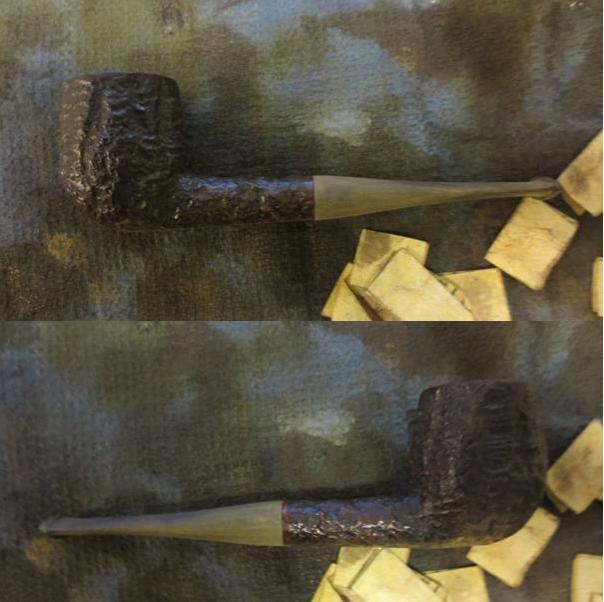
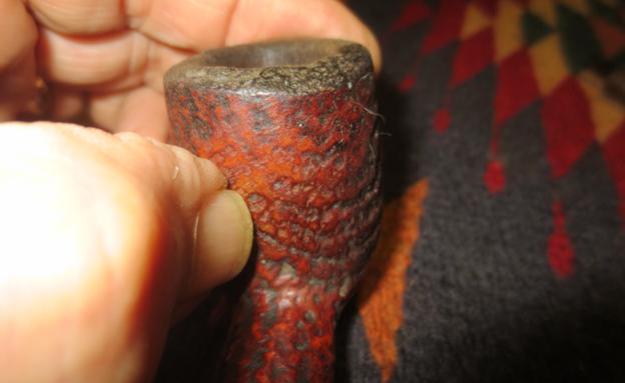
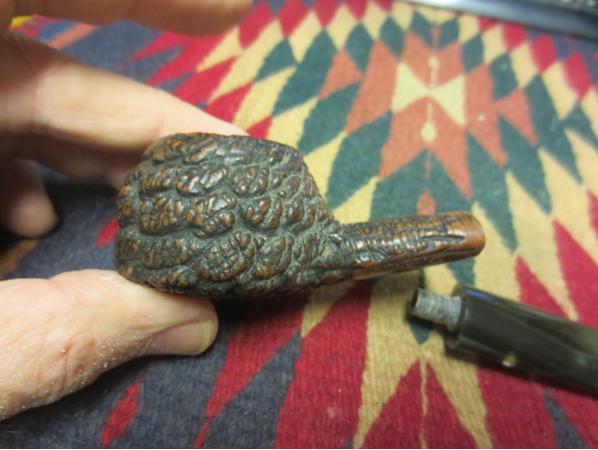
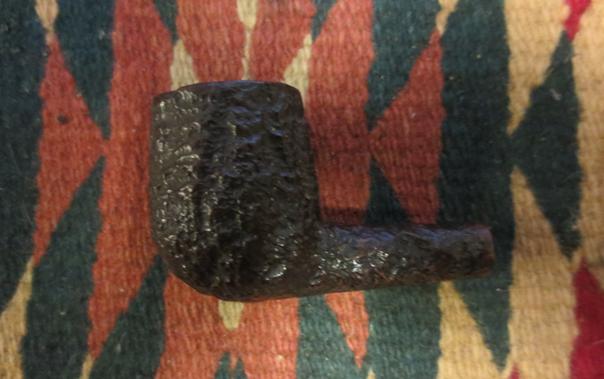
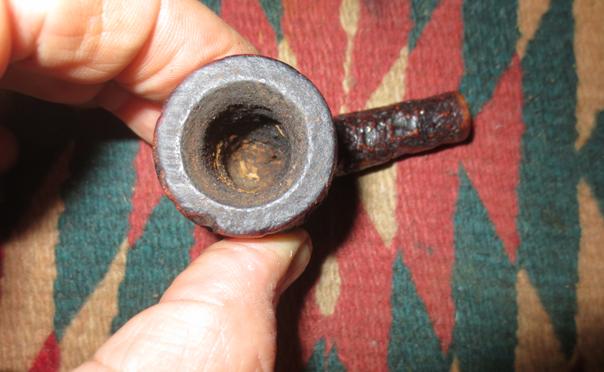
 With the stem fit completed I turned to the bowl. I took a close-up photo of the bowl to show the build up on the rim and the state of the cake in the bowl.
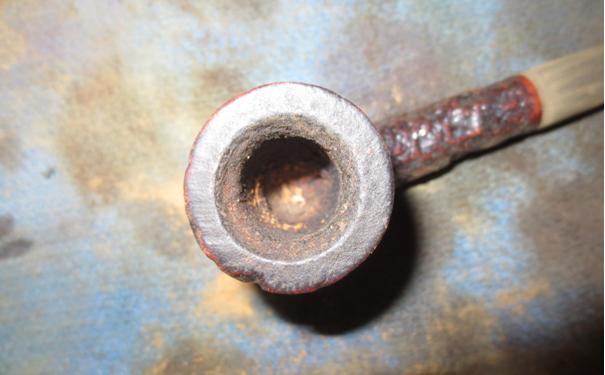 I reamed the bowl back to bare briar with a PipNet pipe reamer and finished cleaning it up with a Savinelli Pipe Knife.
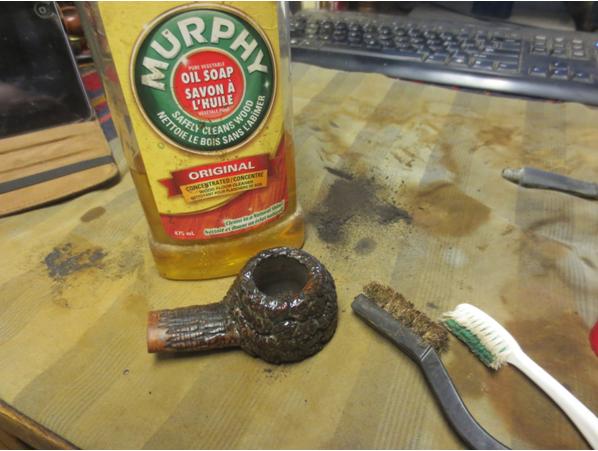
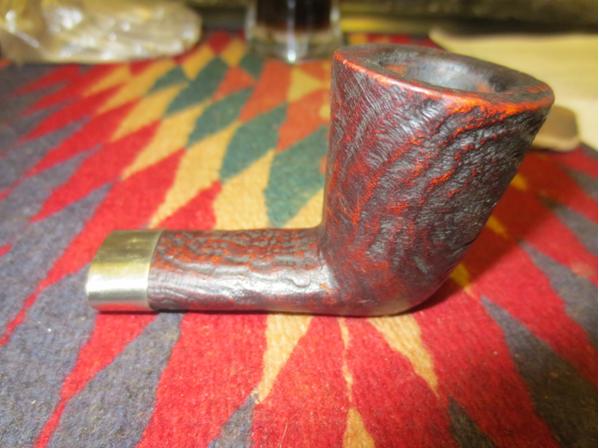
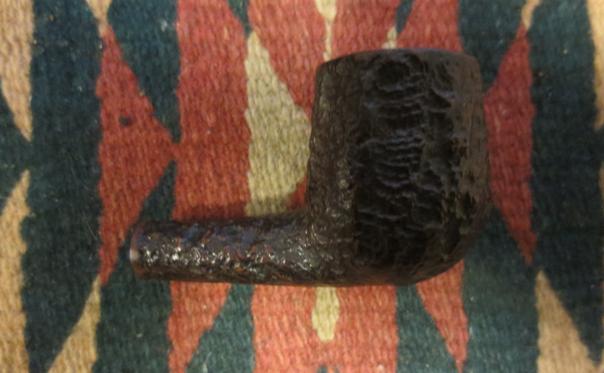
 I scrubbed the sandblast/rusticated finish with Murphy’s Oil Soap and a tooth brush and worked on the rim with a wire brush.
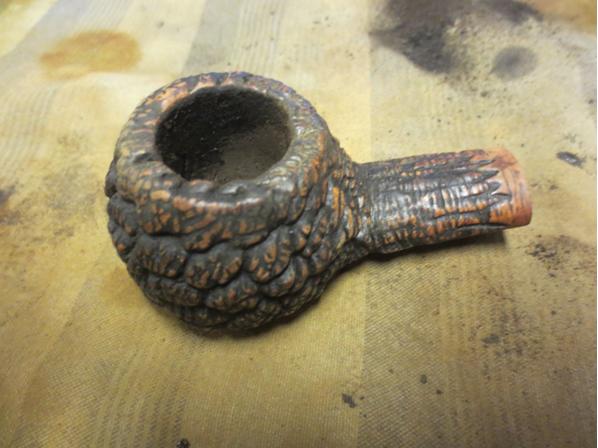
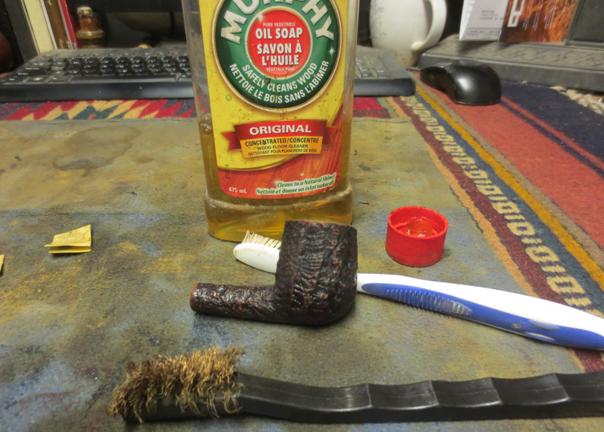 I rinsed the bowl with warm water under the tap (being careful to keep it out of the inside of the bowl). The cleaned briar is shown in the next series of photos.
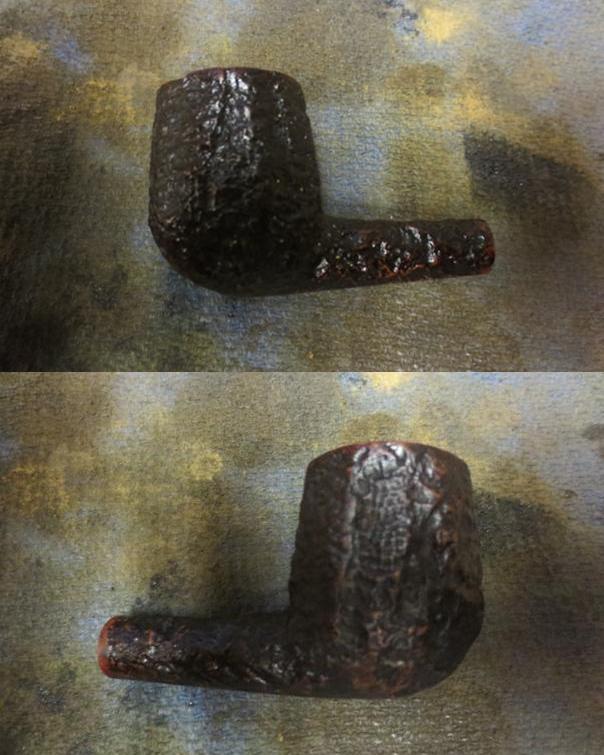
 I cleaned out the airway in the stem, mortise and airway in the bowl with pipe cleaners, cotton swabs and alcohol.
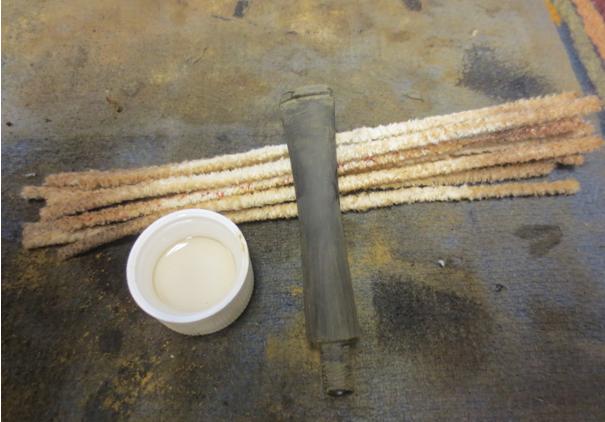
 With the bowl cleanup finished and the internals on the stem down it was time to work on the finish of the stem. I wet sanded it with 1500-2400 micromesh sanding pads and gave it a coat of Obsidian Oil. I dry sanded it with 3200-4000 grit micromesh pads and gave it another coat of oil. I finished sanding it with 6000-12000 grit pads and gave it a final coat of Oil. I let it sit until the oil was dry.
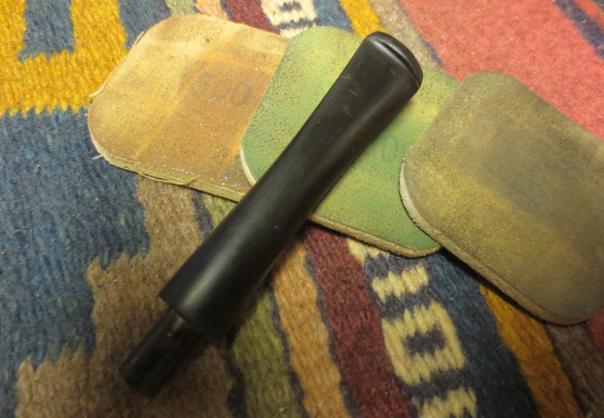
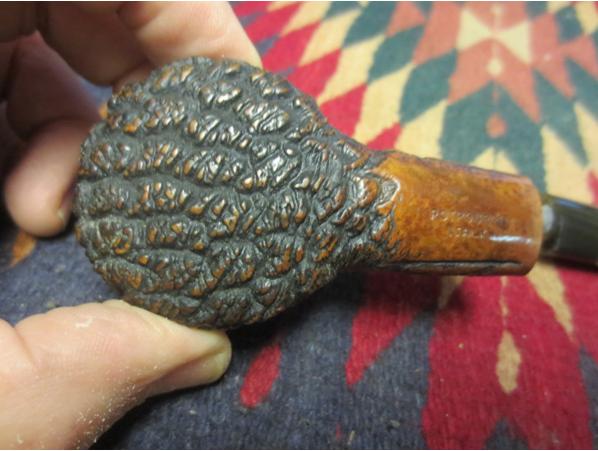
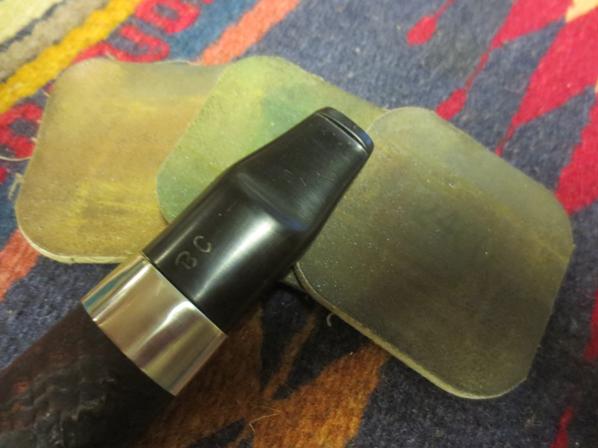
 I buffed the bowl and stem with Blue Diamond on the wheel. I used a light touch on the bowl and a heavier touch on the stem as I did not want to get the polishing compound in the grooves and crevices of the blast. I gave the stem multiple coats of carnauba wax and buffed it with a clean buffing pad. I gave the bowl several coats of Conservator’s Wax and buffed it with a shoe brush. I hand buffed the finished pipe with a microfibre cloth. The finished pipe is shown below. I am pleased with the outcome. The bowl from Sofia, Bulgaria and the new stem from Canada work well together. Thanks for looking.


![thumbnail_20160709_144214-1_resized[1]](https://rebornpipes.com/wp-content/uploads/2016/06/thumbnail_20160709_144214-1_resized1.jpg?w=625&h=313)
![thumbnail_20160709_144222-1_resized[1]](https://rebornpipes.com/wp-content/uploads/2016/06/thumbnail_20160709_144222-1_resized1.jpg?w=625&h=682)
![thumbnail_20160709_144234-1_resized[1]](https://rebornpipes.com/wp-content/uploads/2016/06/thumbnail_20160709_144234-1_resized1.jpg?w=625&h=651)
![thumbnail_20160709_144253-1_resized[1]](https://rebornpipes.com/wp-content/uploads/2016/06/thumbnail_20160709_144253-1_resized1.jpg?w=625&h=683)
![thumbnail_20160709_144305-1_resized[1]](https://rebornpipes.com/wp-content/uploads/2016/06/thumbnail_20160709_144305-1_resized1.jpg?w=625&h=568)