Blog by Steve Laug
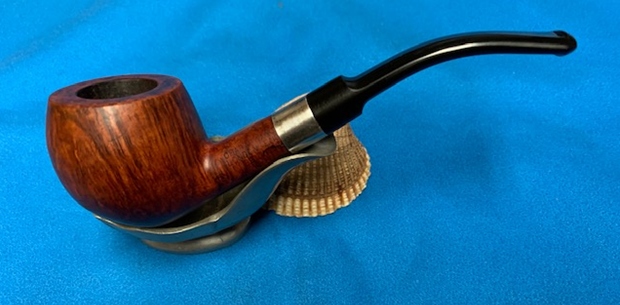
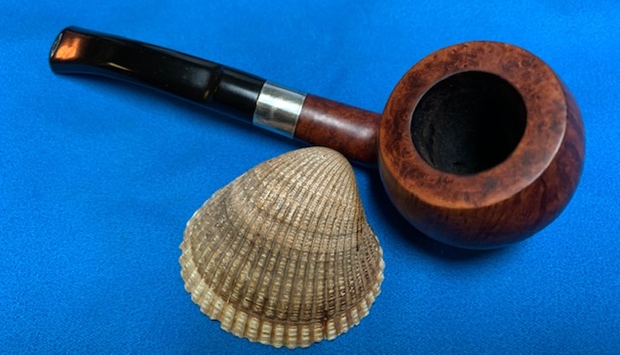
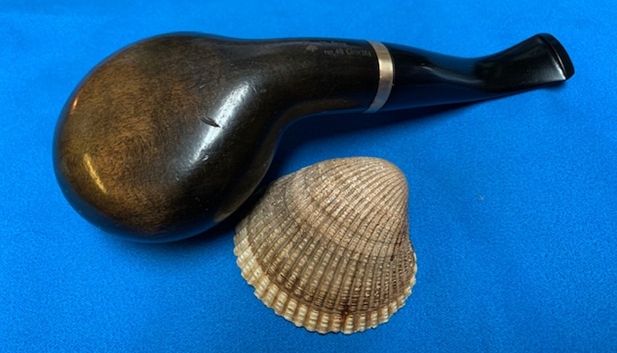
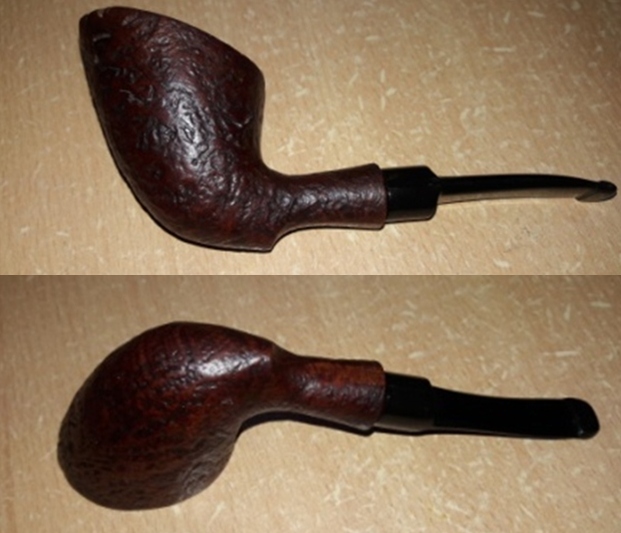
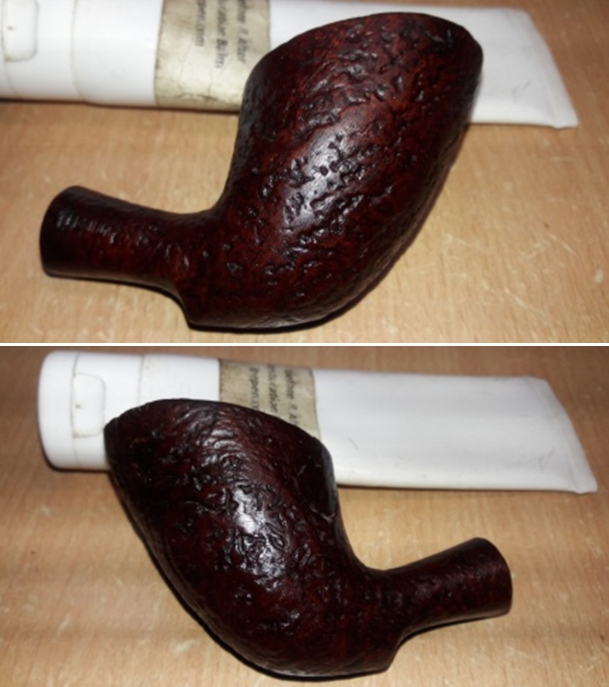
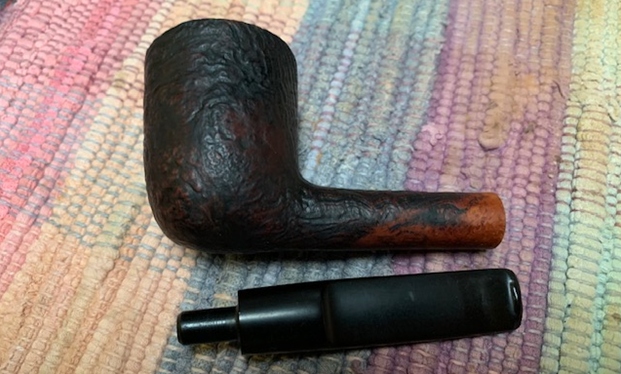
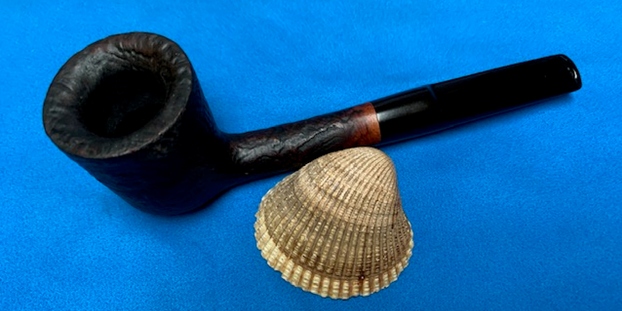
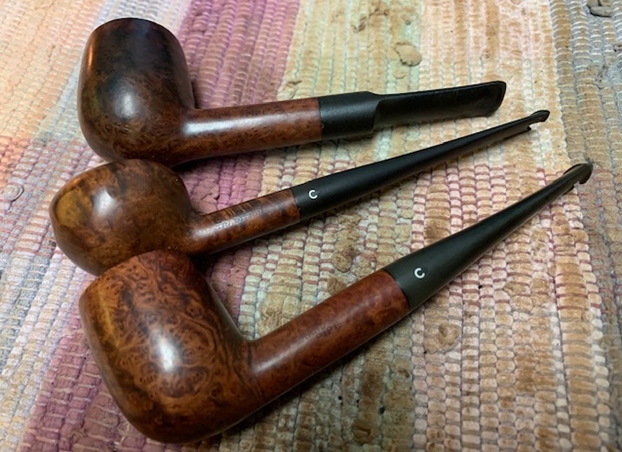
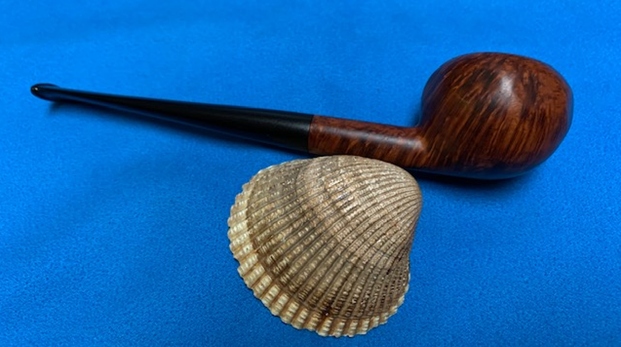
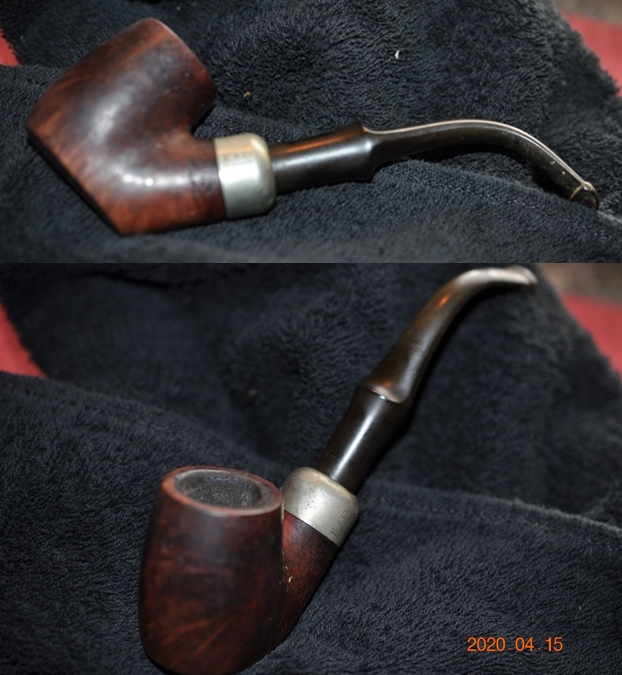
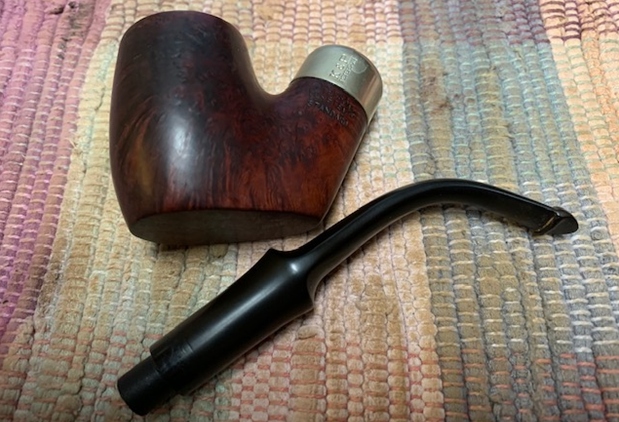
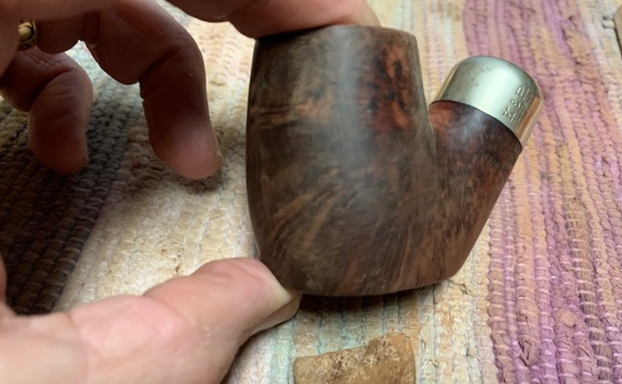
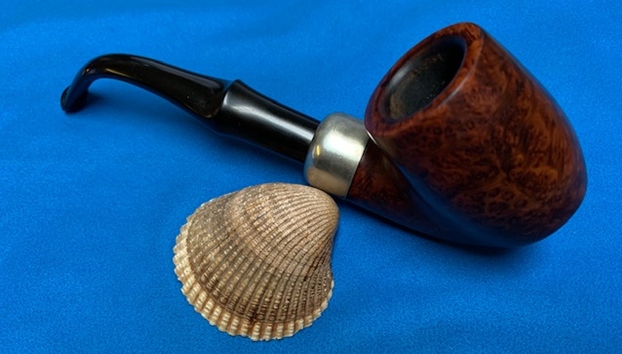
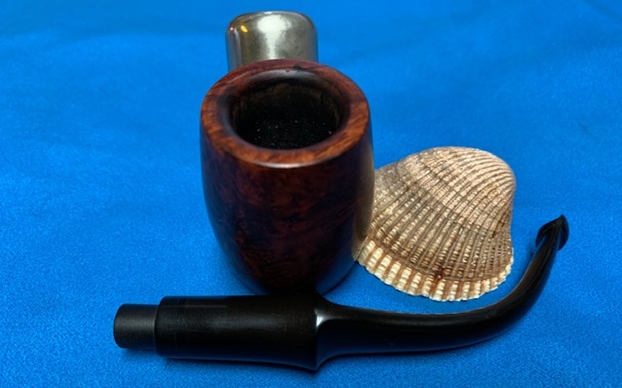
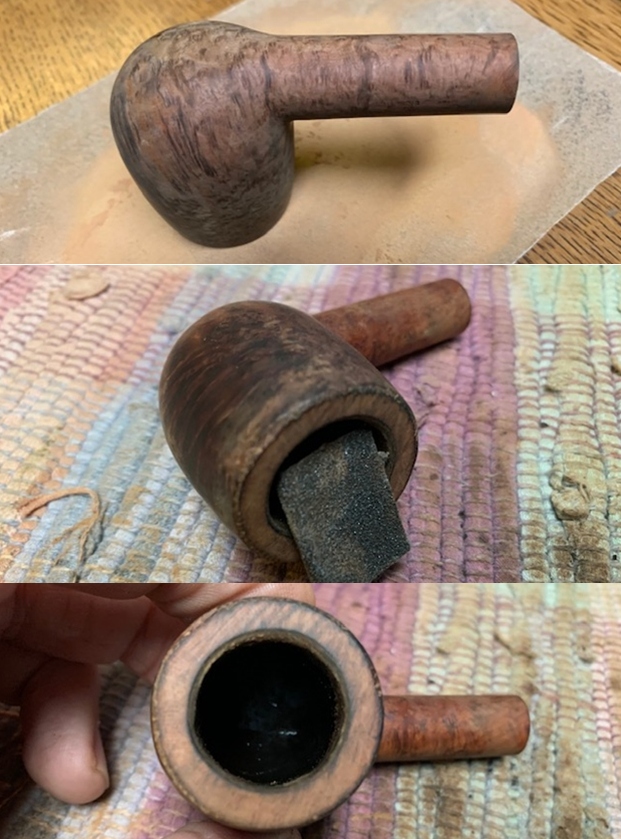
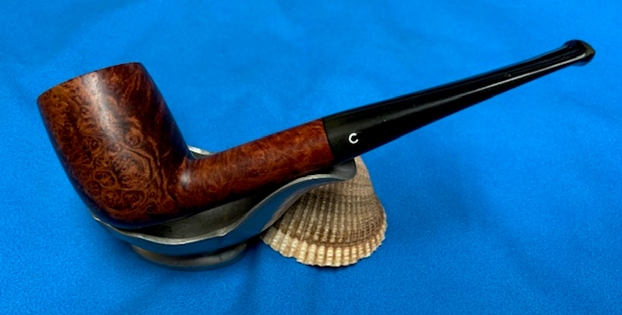
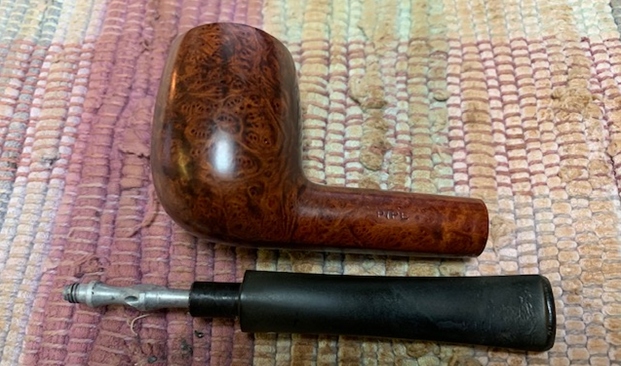
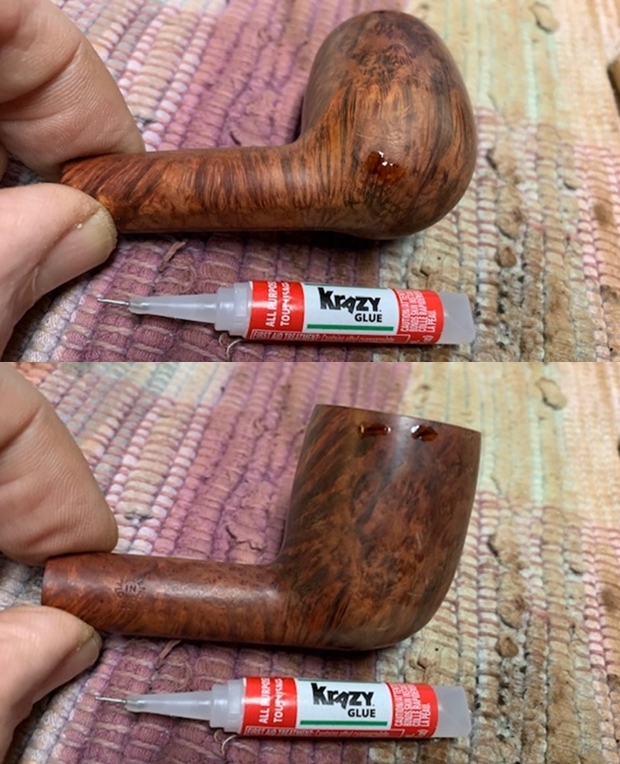
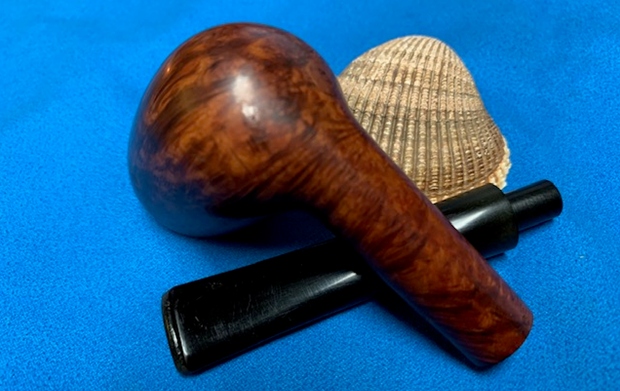
The next pipe on the work table came to us from a group of pipes that we purchased from fellow in Cornwall, Pennsylvania, USA. The pipe is an interesting looking piece. It has a unique shape and certainly not one that I would readily identify as a Sasieni shape but it is! It is a smooth finished forward canted Volcano shaped pipe with some nice grain around the bowl. The pipe is stamped on the topside of the shank and reads Sasieni [over] Two Dot [over] London Made. On the right side of the shank it is stamped with the shape number 60 near the bowl and the rugby shaped Made in England COM stamp near the stem. There was a lot of grime ground into the smooth finish on the briar. There were also to small pinholes in the right side of the mid bowl that are strange. The bowl was heavily caked with a lava coat flowing onto the top of the rim. The inside and outside edges looked to be in good condition but we would know more once Jeff had cleaned it. The stem was oxidized, calcified and had tooth chatter and marks on the top and underside near the button. There were two light blue dots on the top of the oval saddle stem. It had promise but it was very dirty. Jeff took some photos of the pipe before he started his cleanup work. 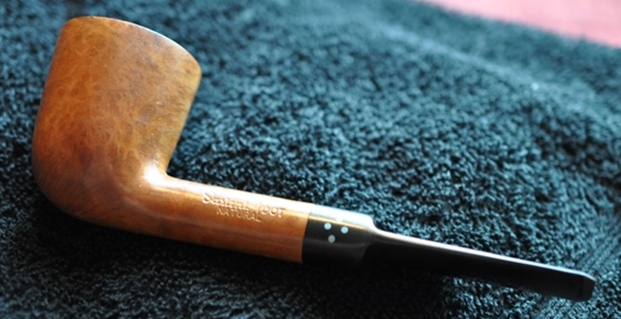
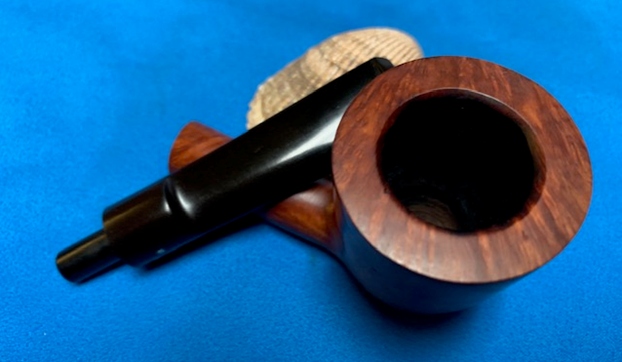
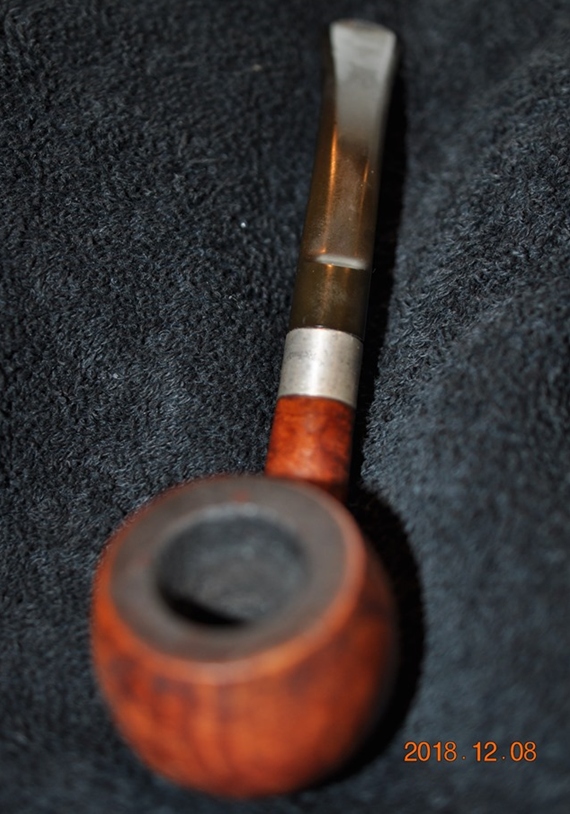
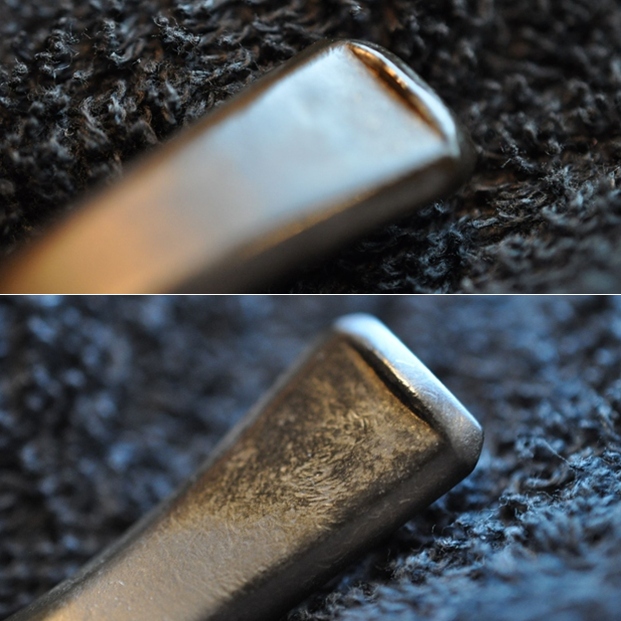
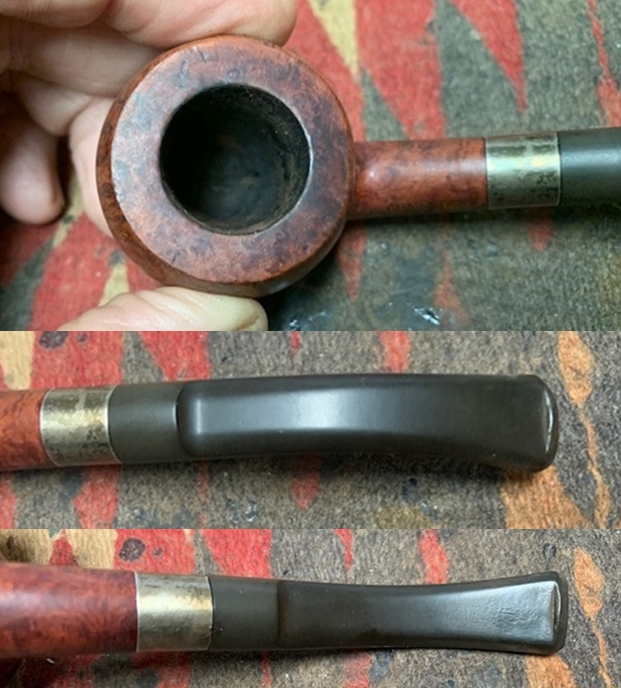
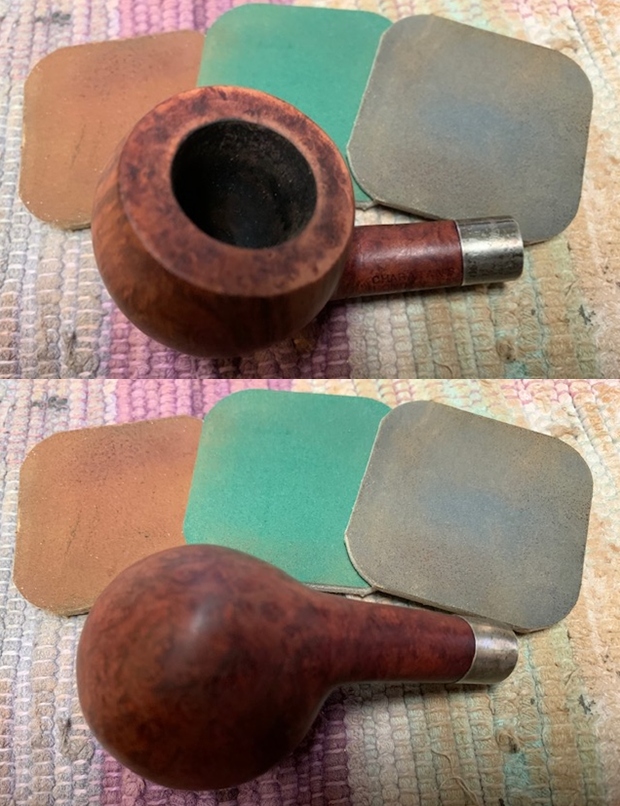
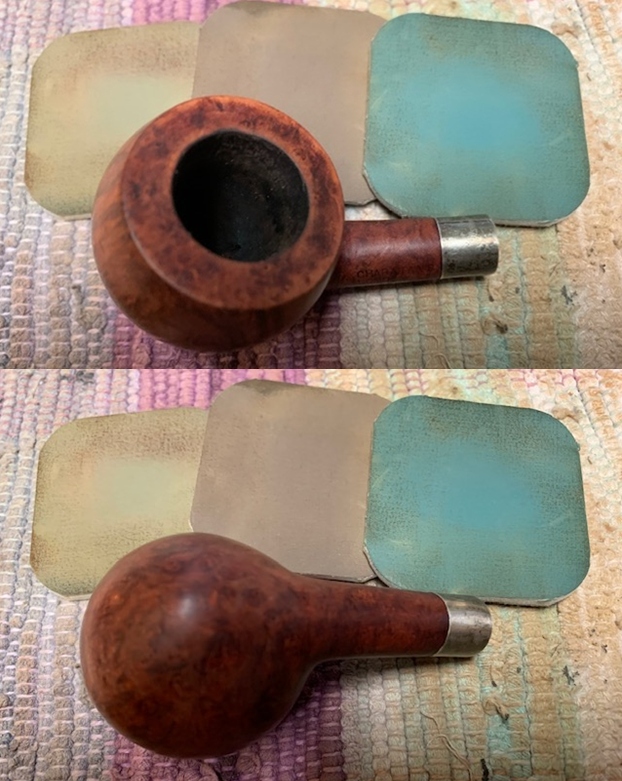
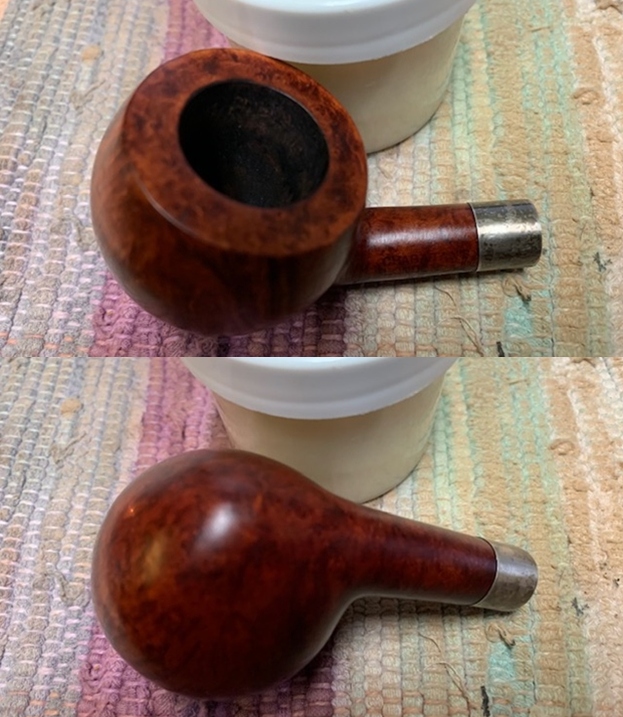
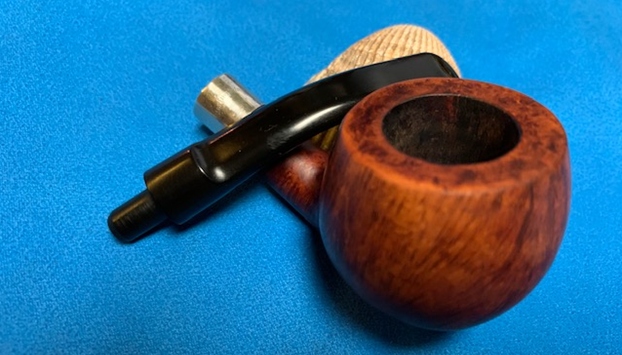
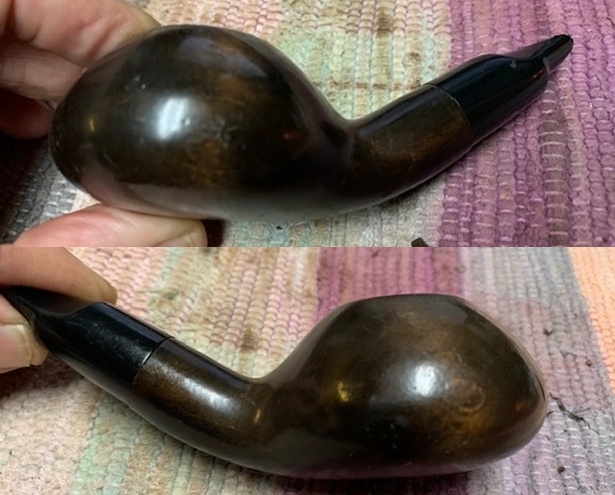
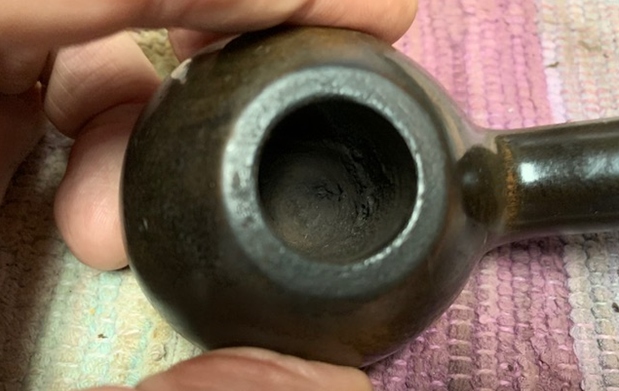
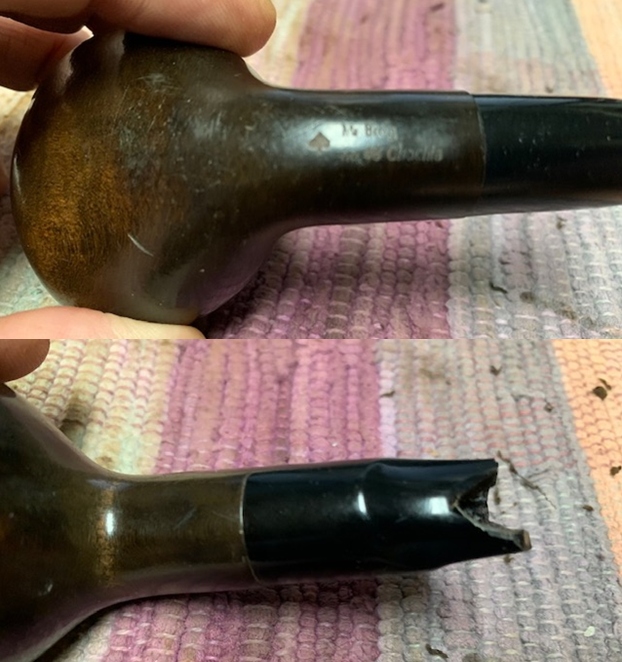
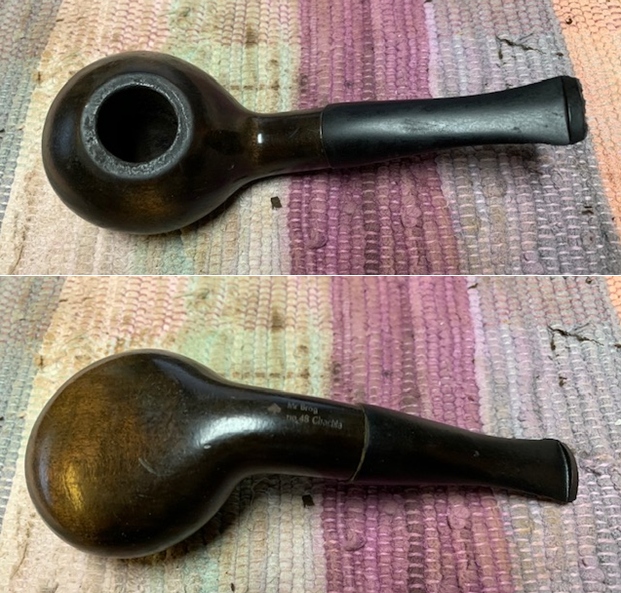
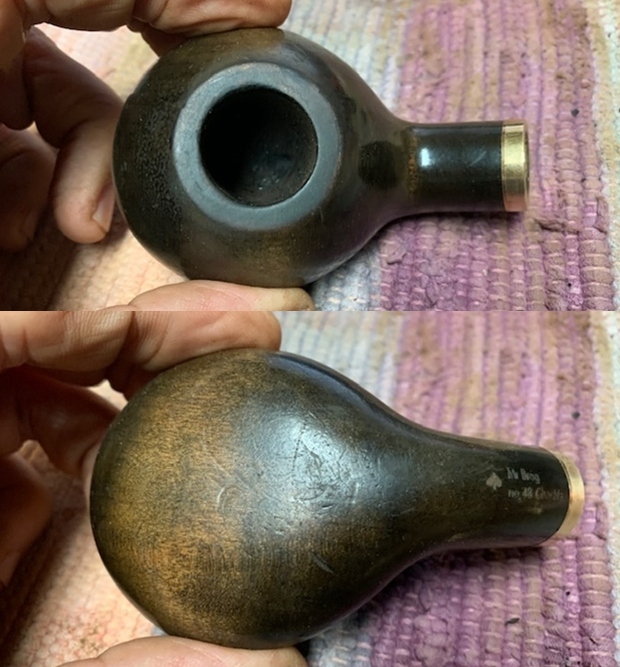
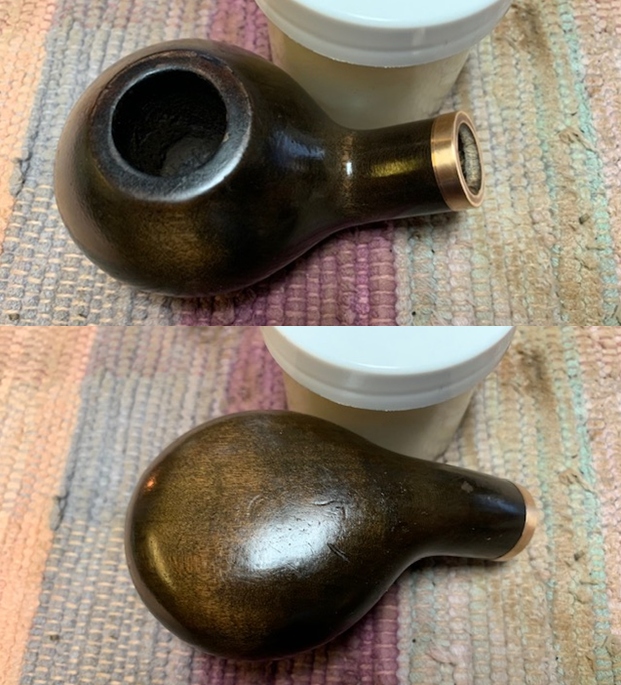
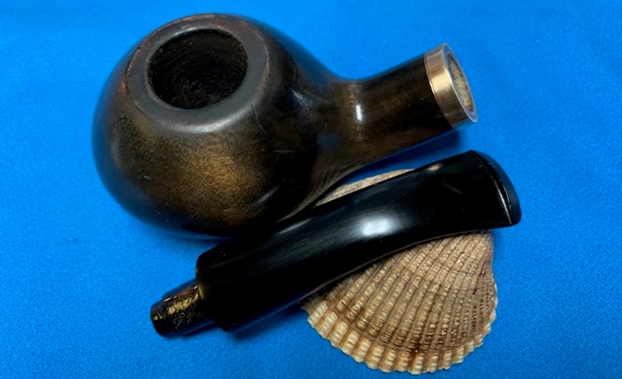
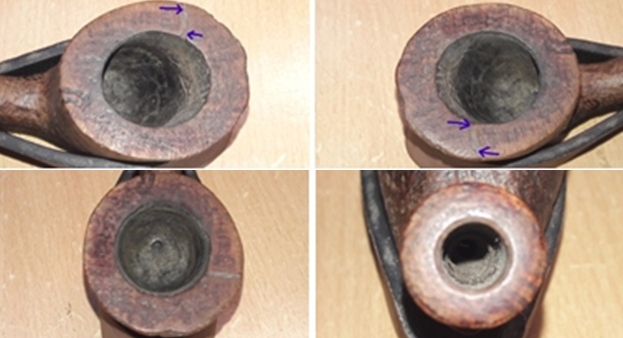
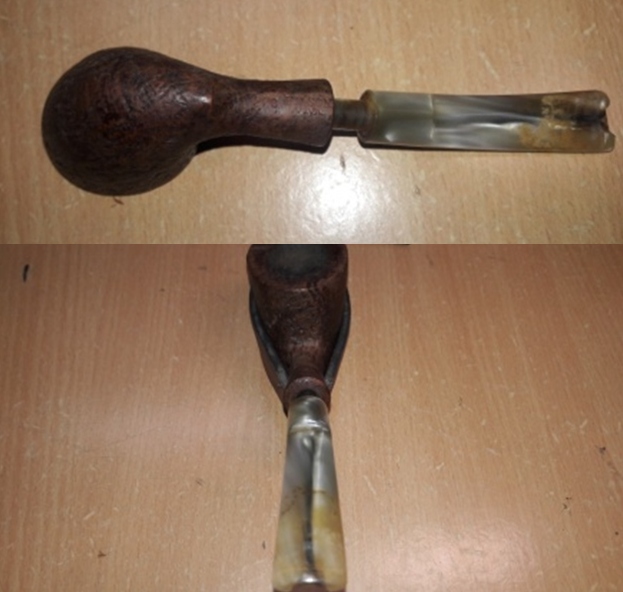
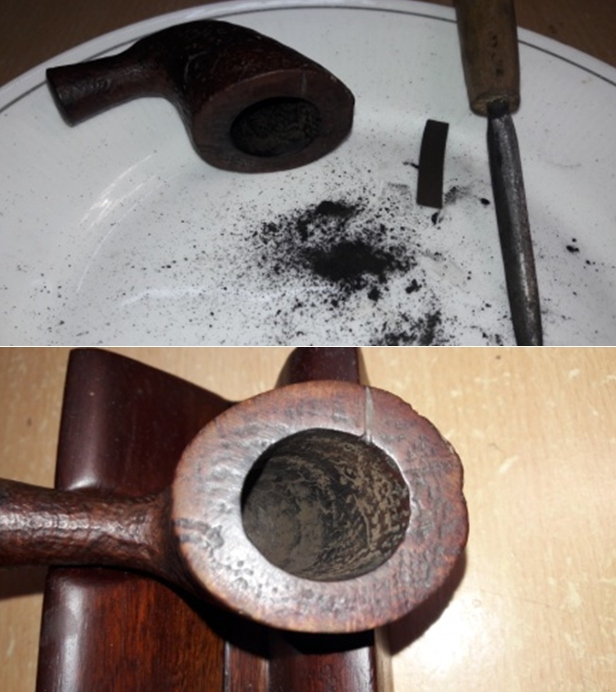
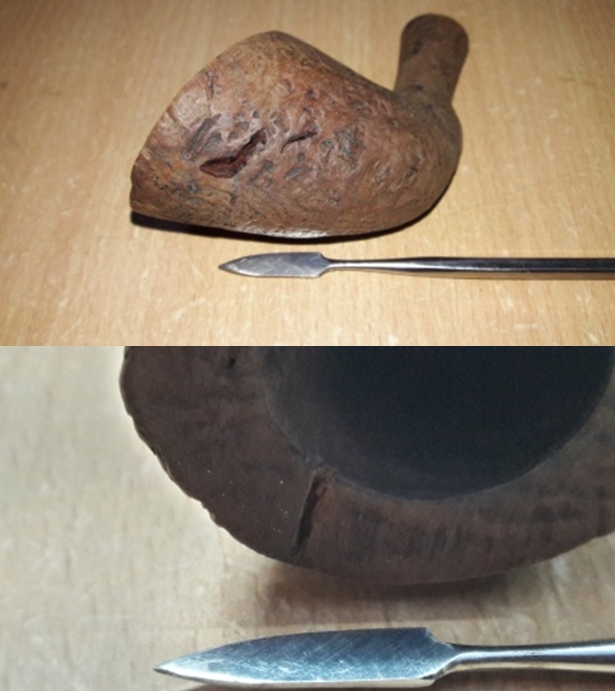
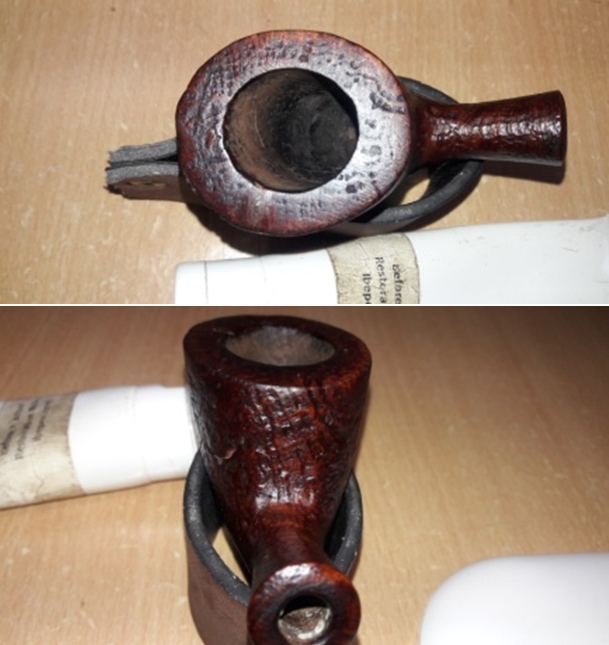
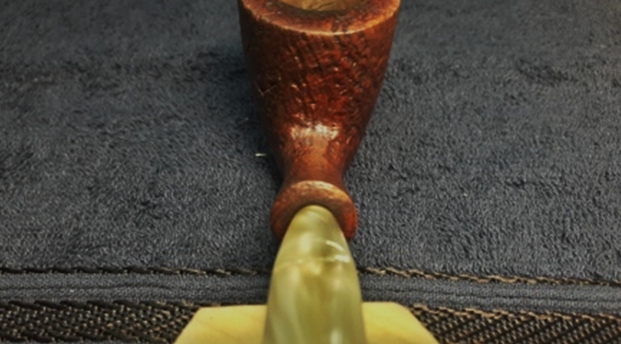
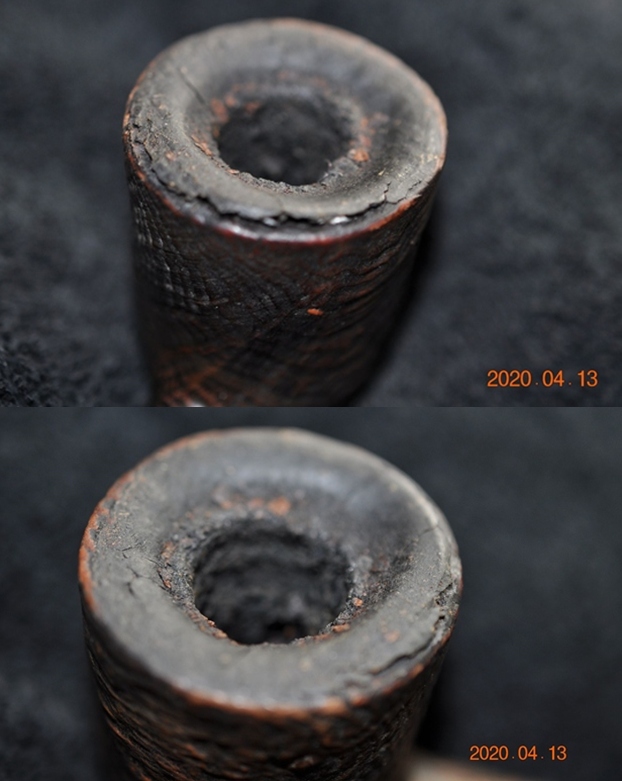
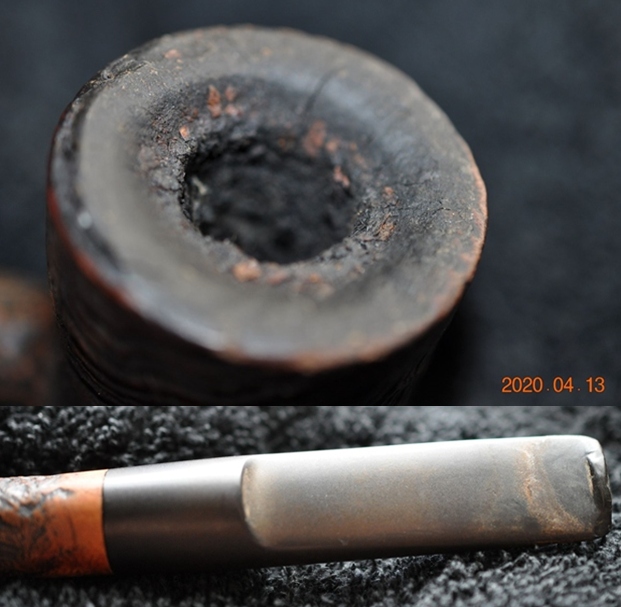
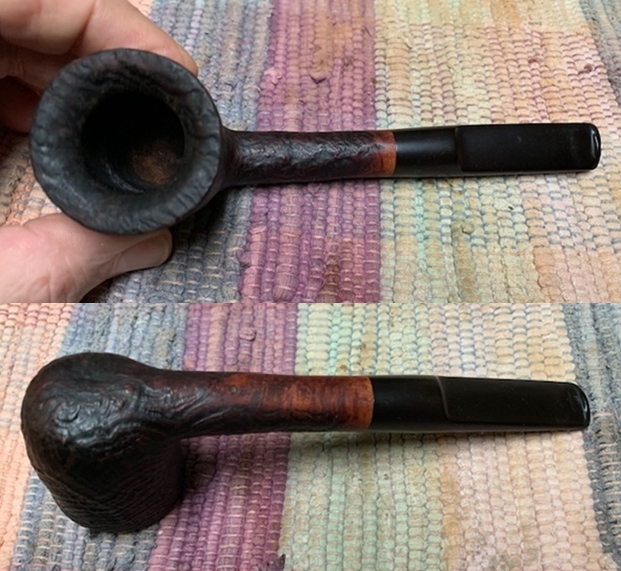
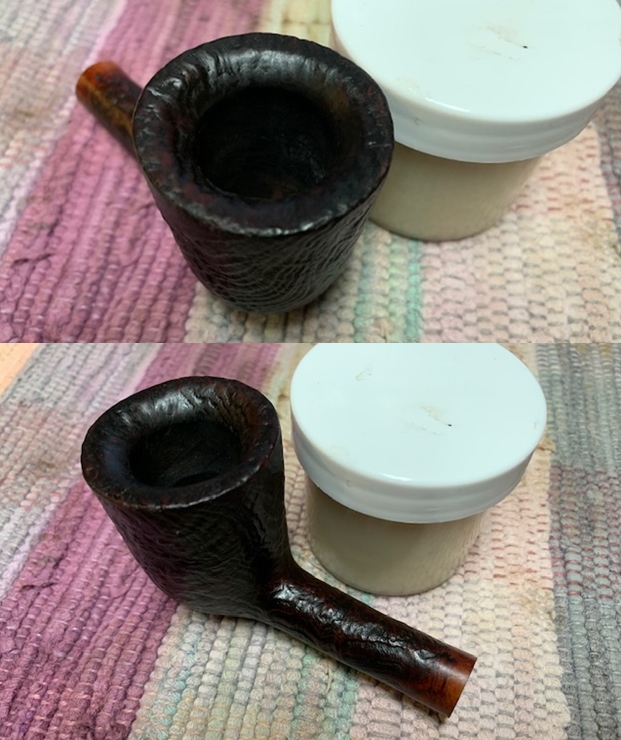
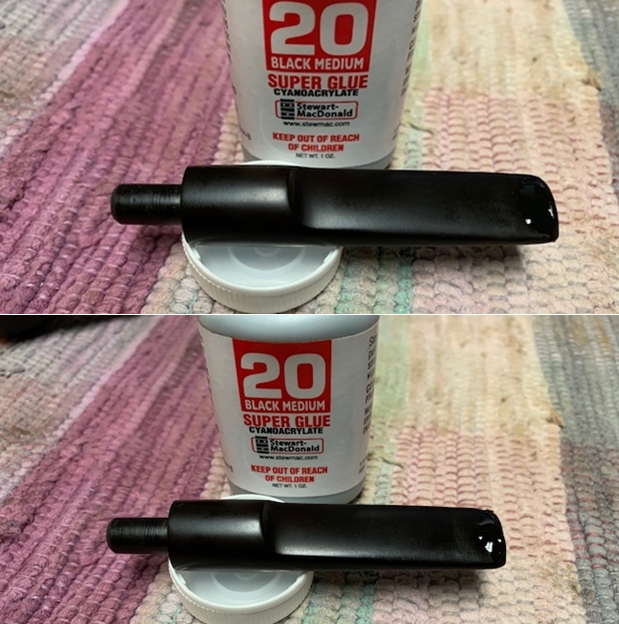
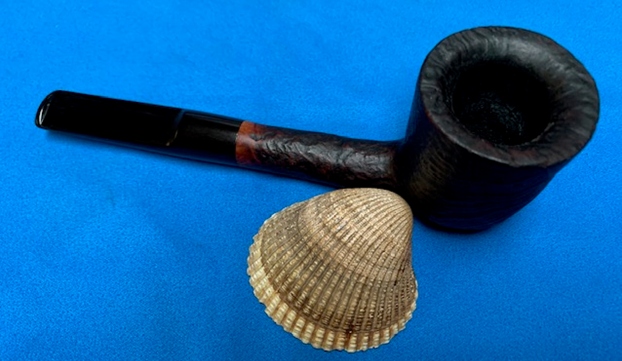
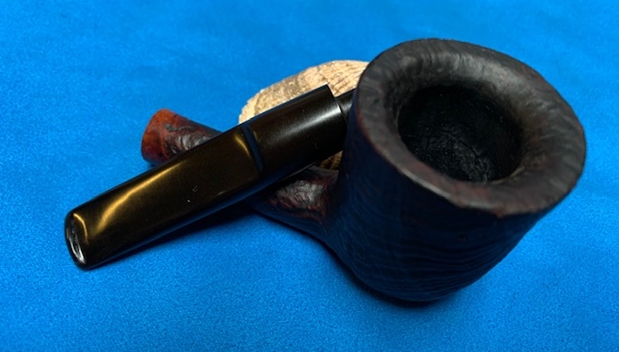
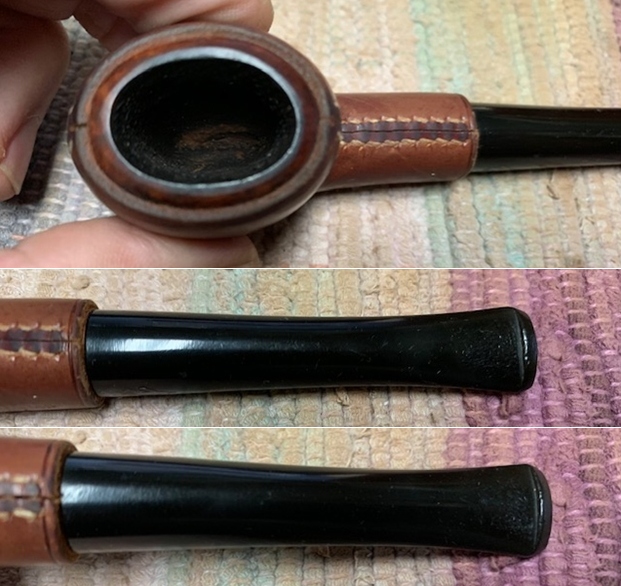
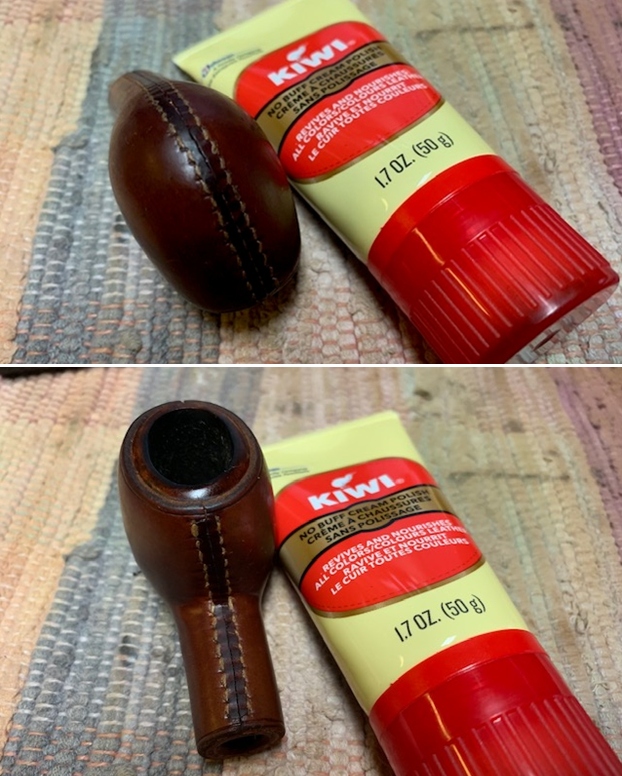
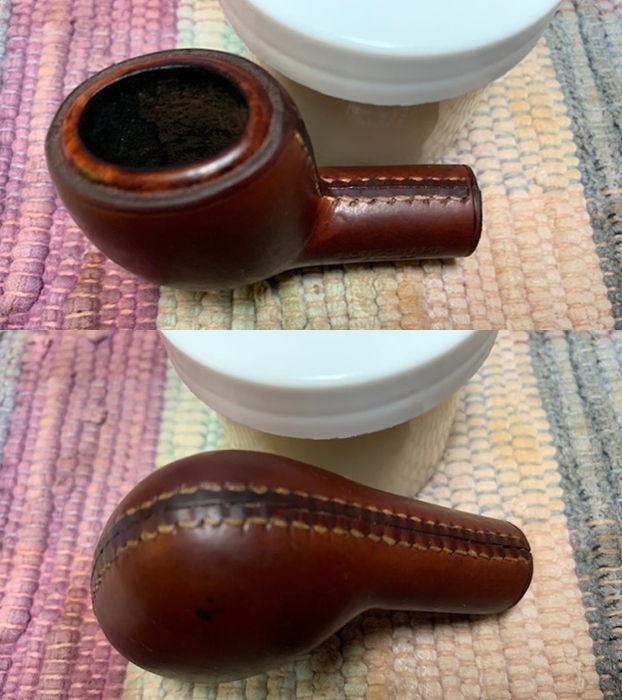
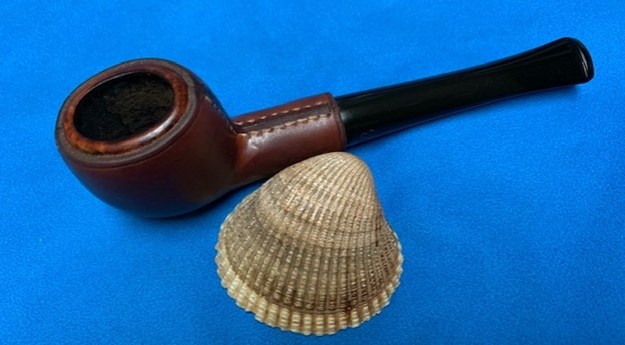
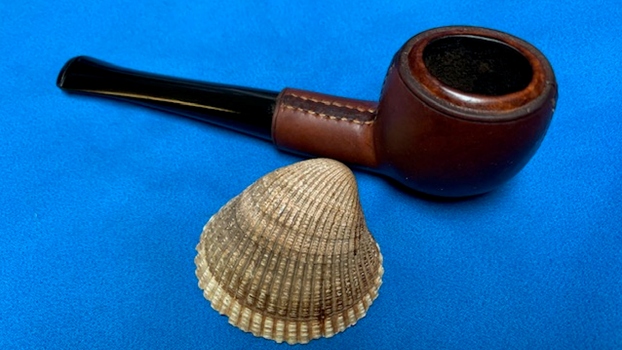
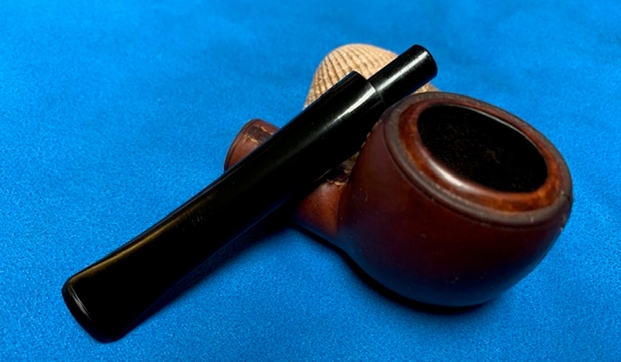
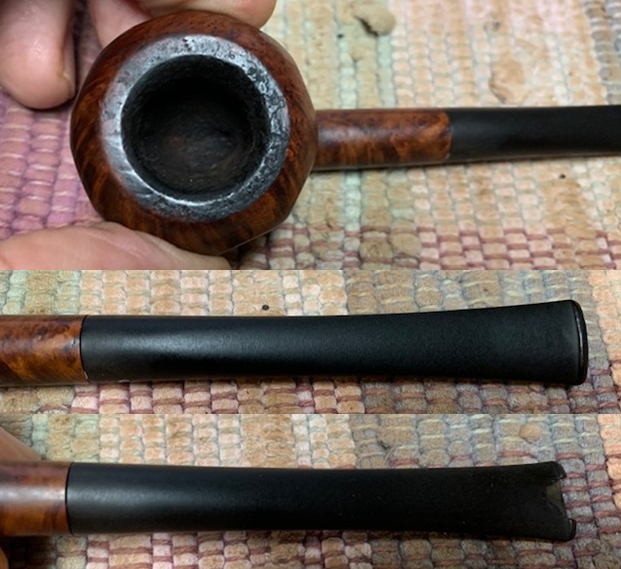
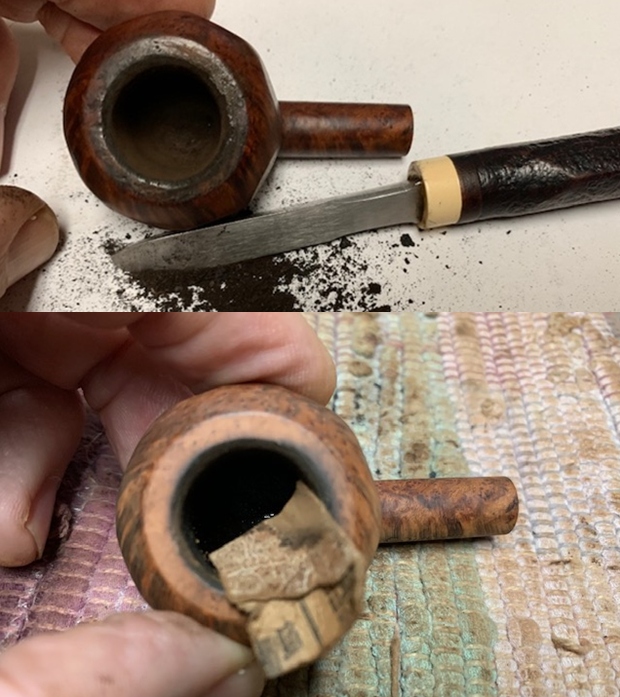
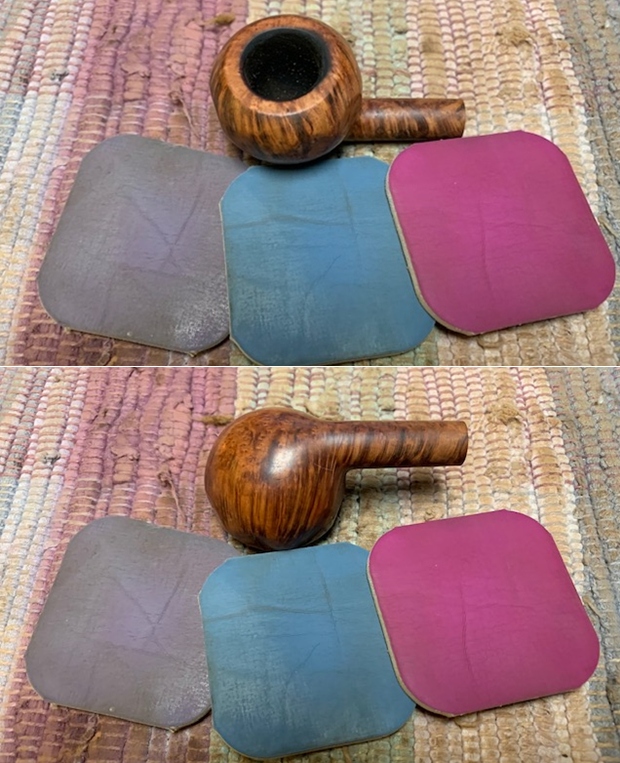
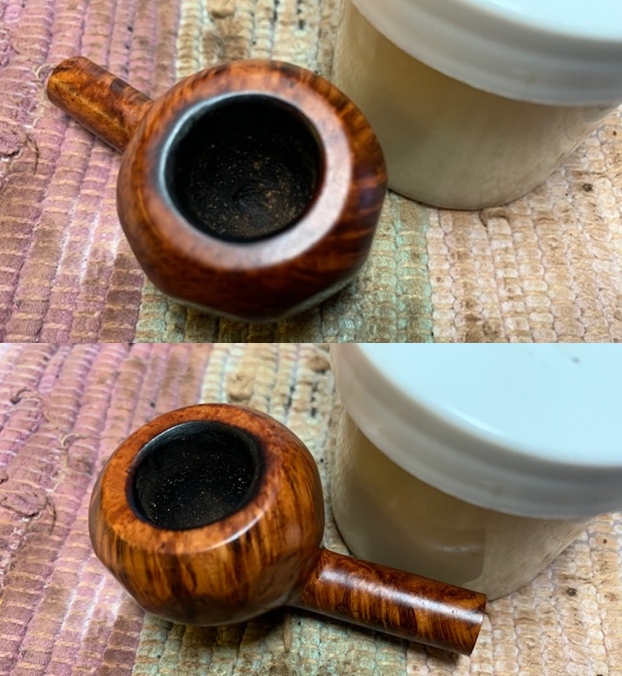
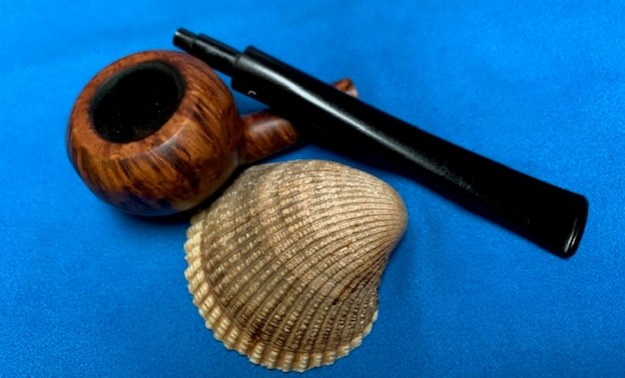
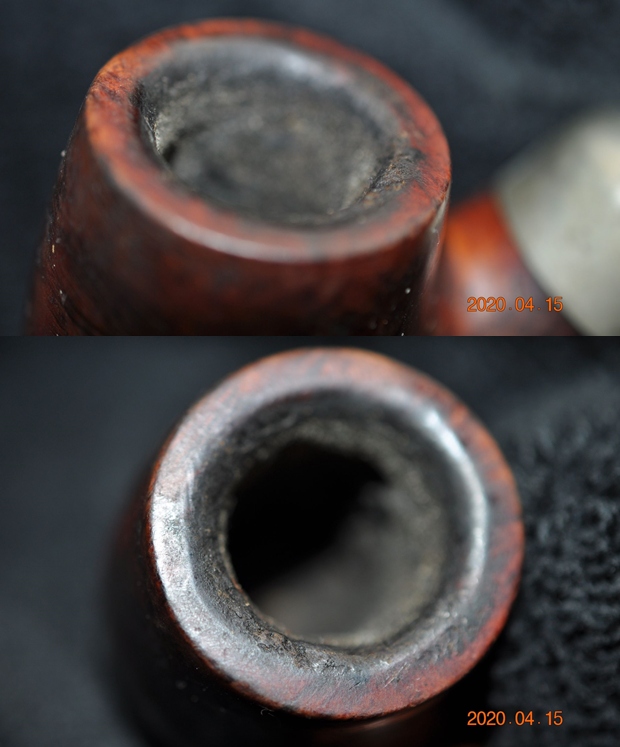
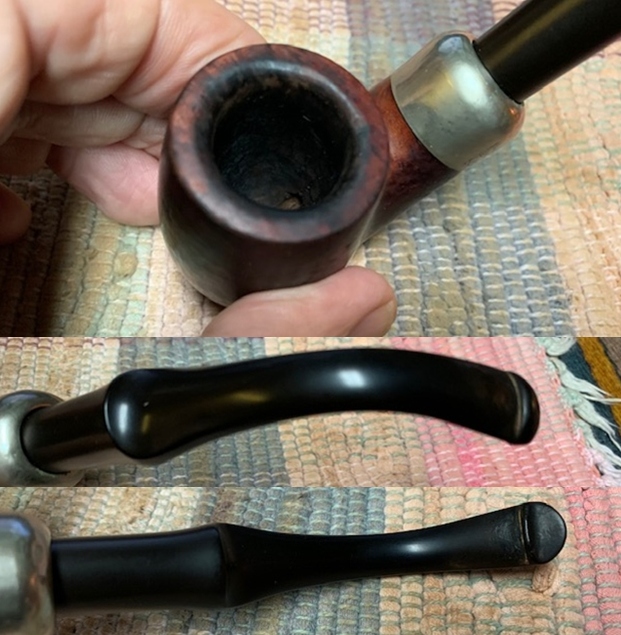
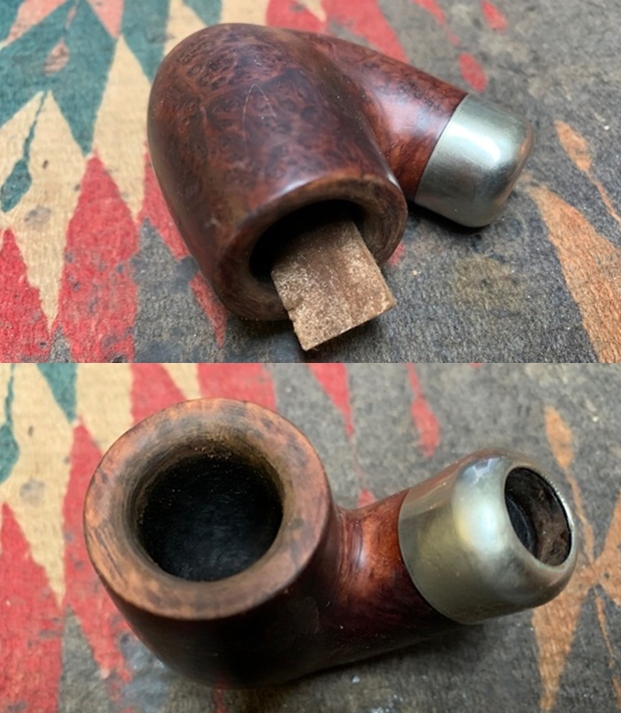
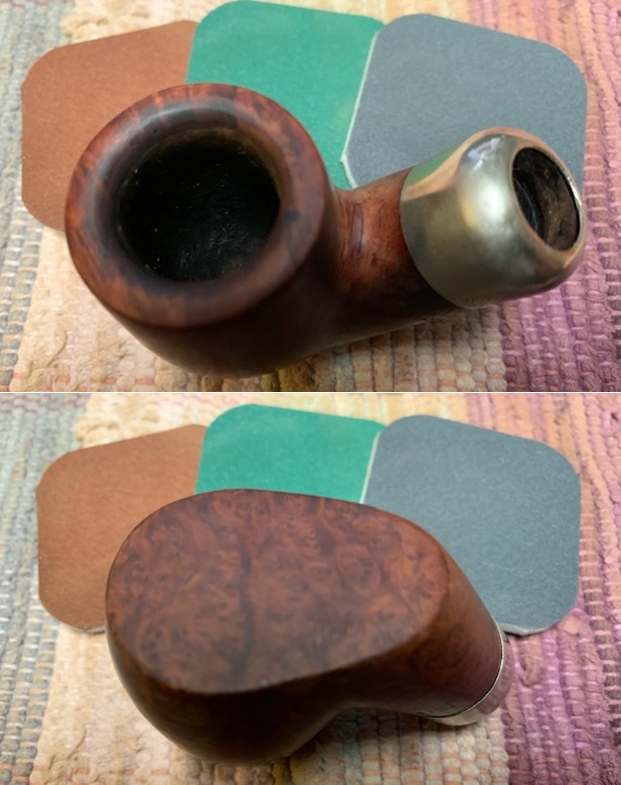
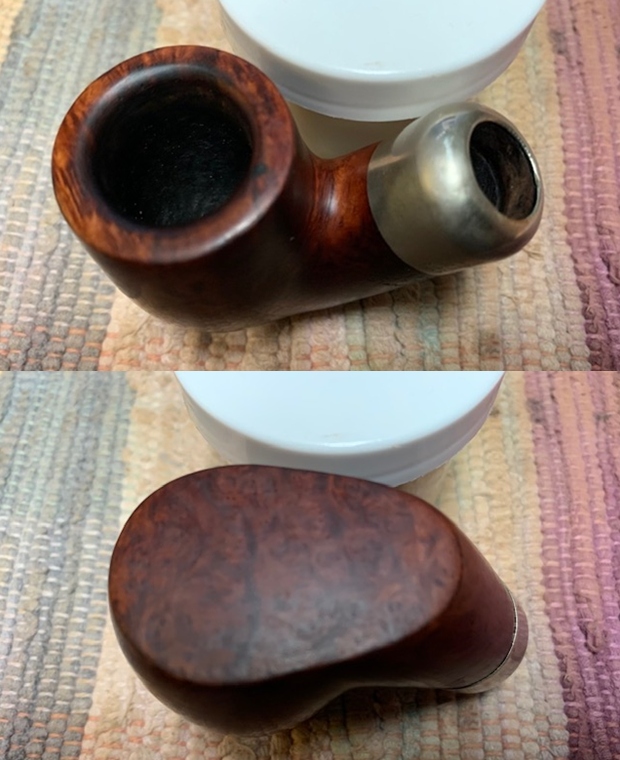
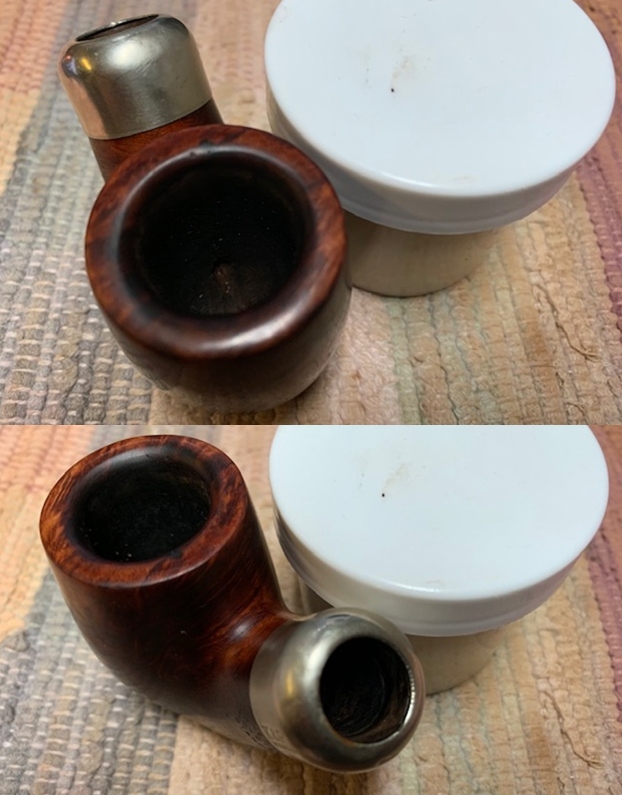
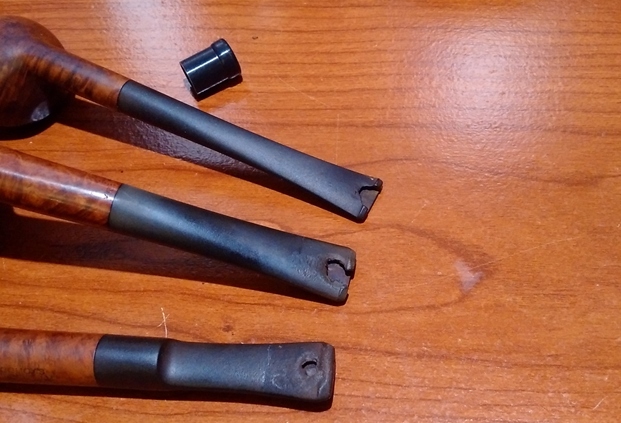
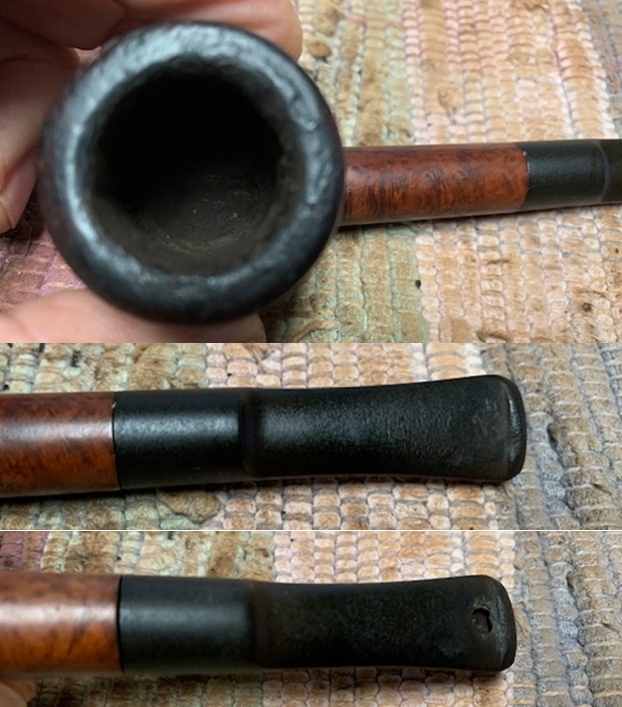
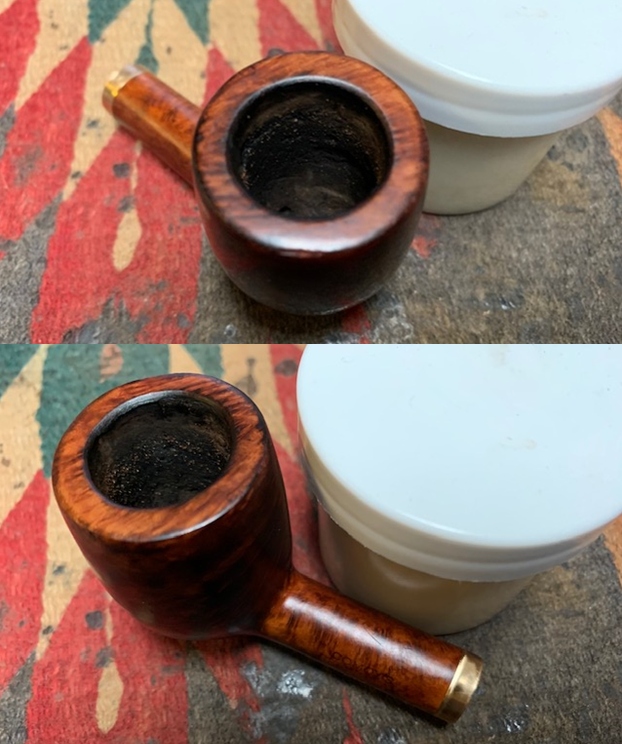
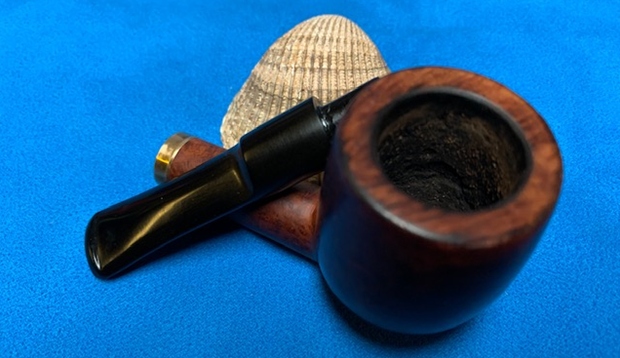
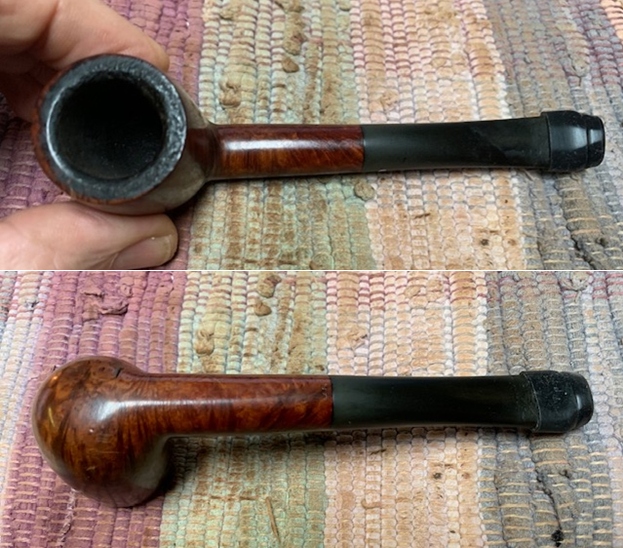
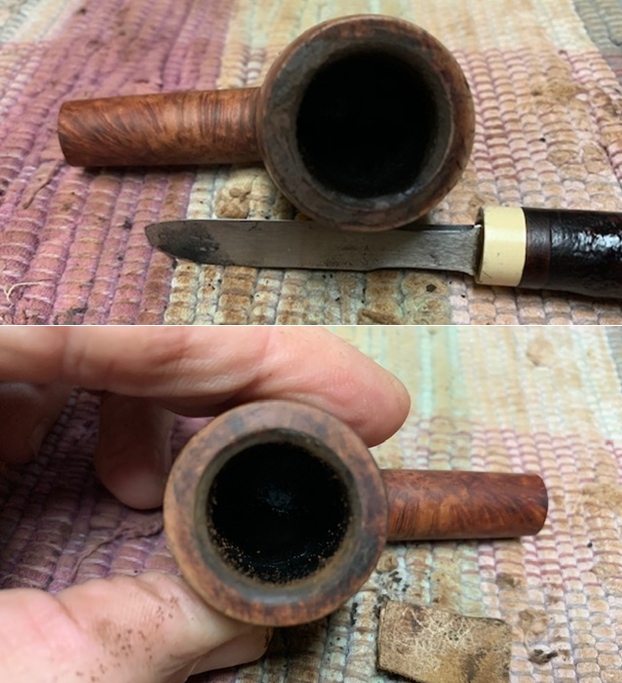
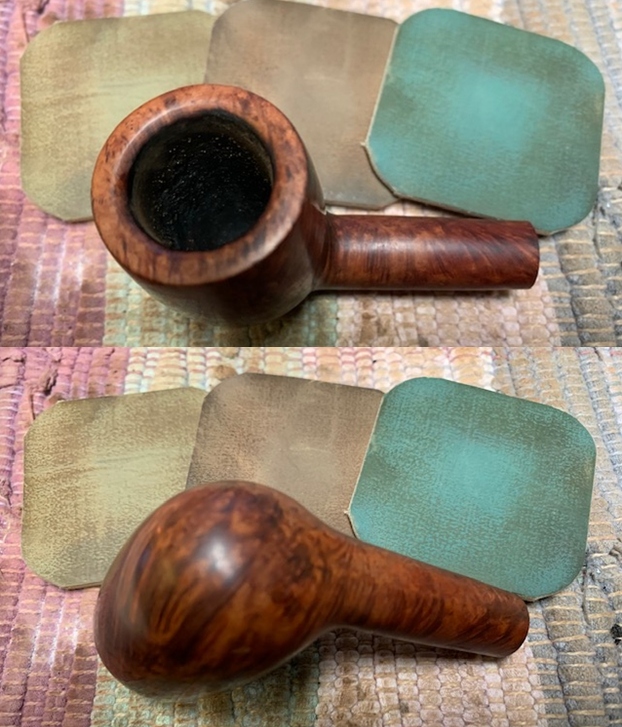
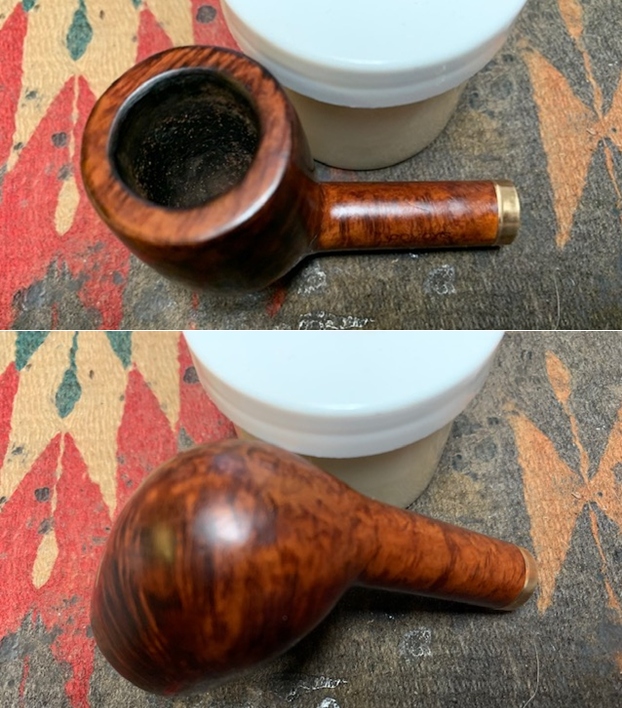
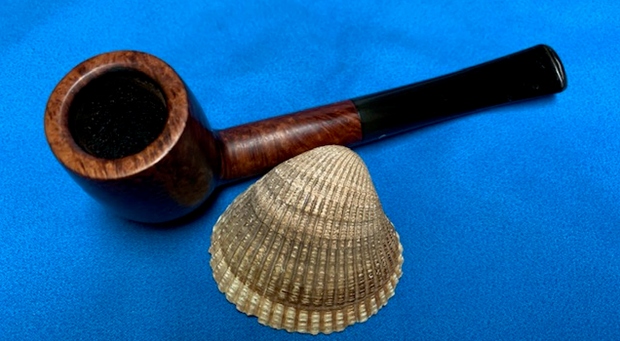
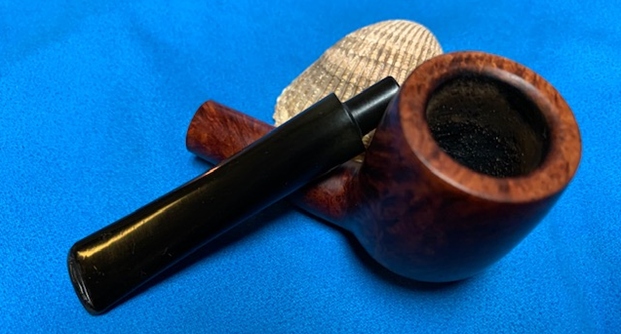
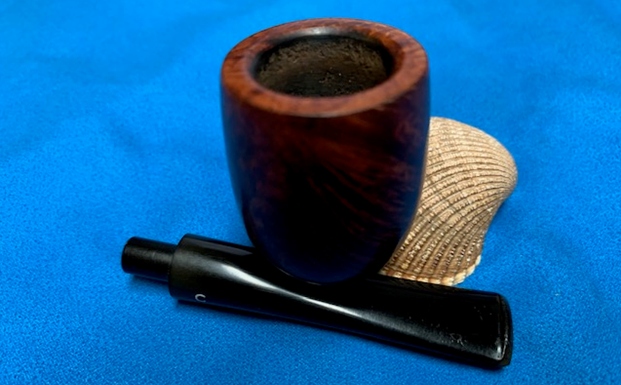
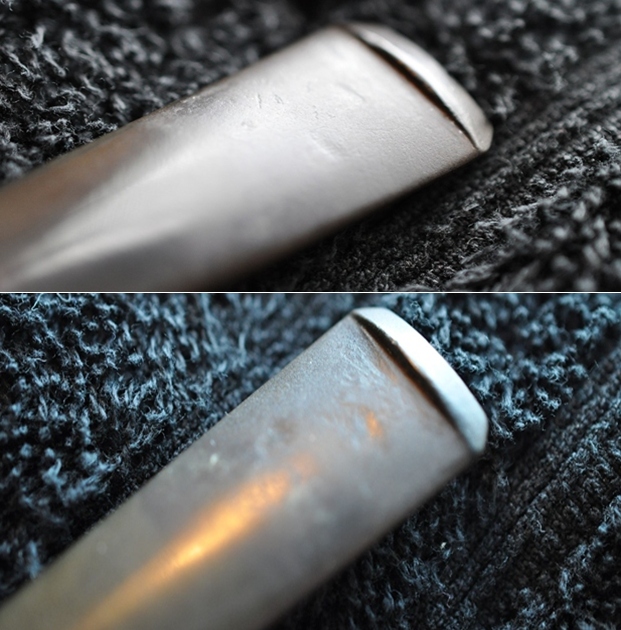
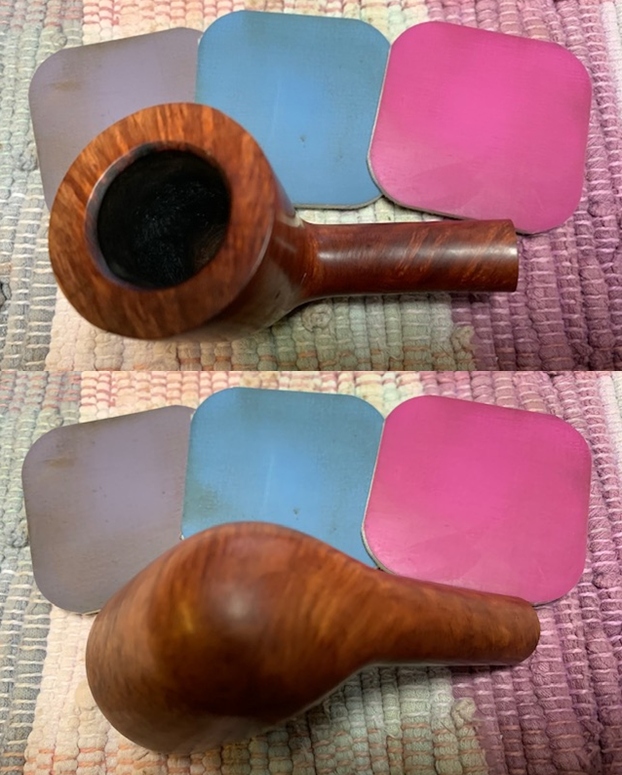
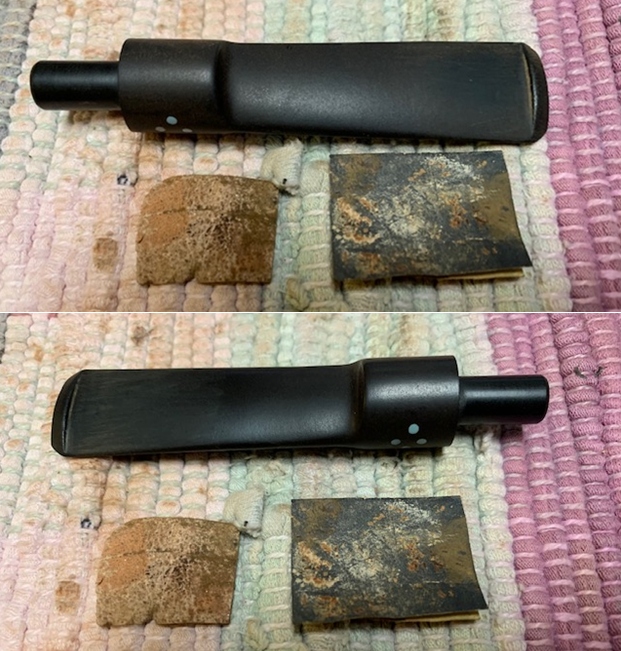
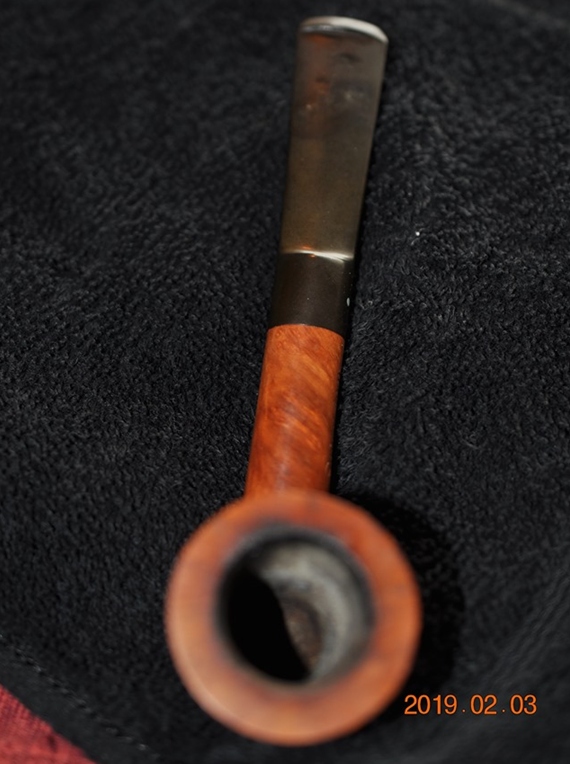 He took a photo of the rim top and bowl to give a clear picture of the thickness of the cake and tobacco debris as well as the lava on the rim top and inner beveled edge. He also took photos of the top and underside of the stem to show the oxidation and the chatter and tooth marks.
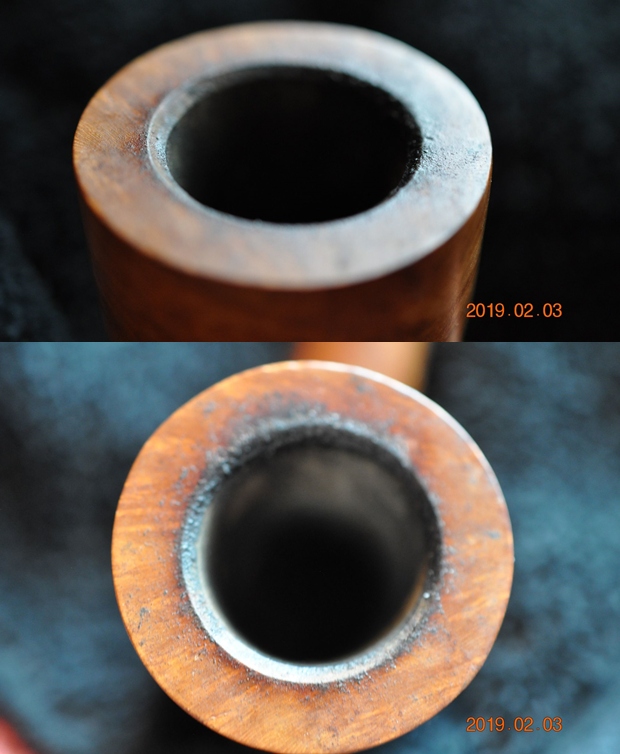
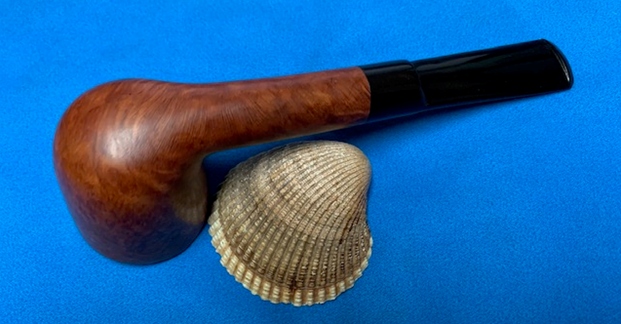
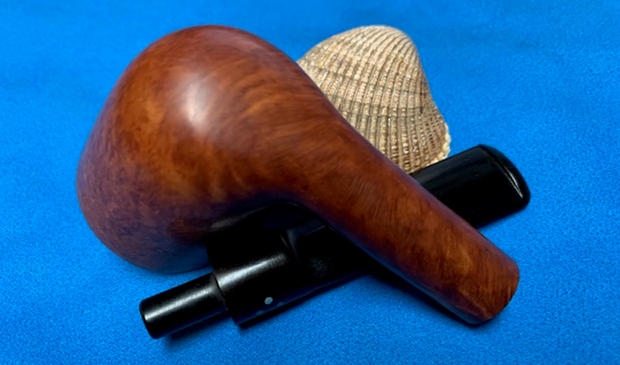
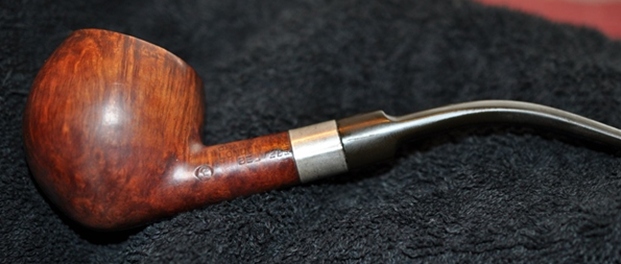
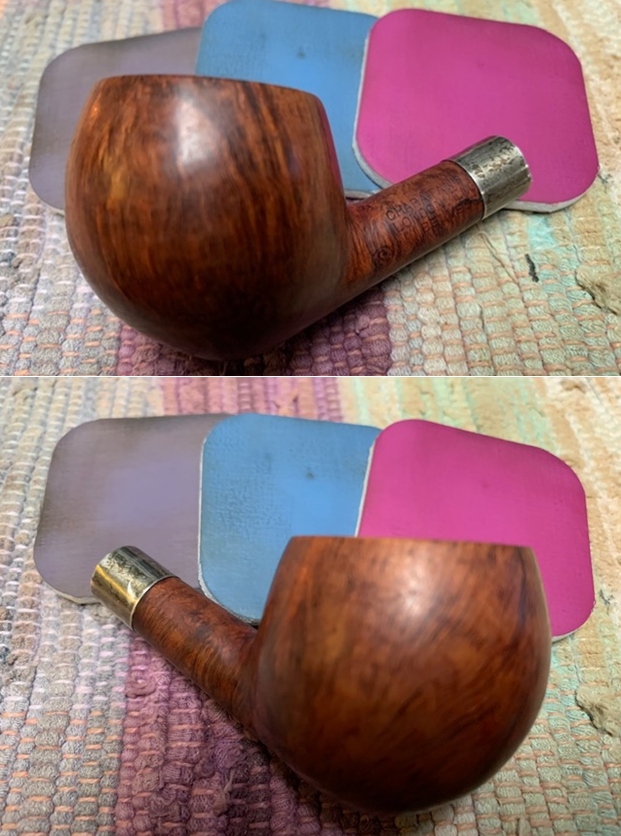
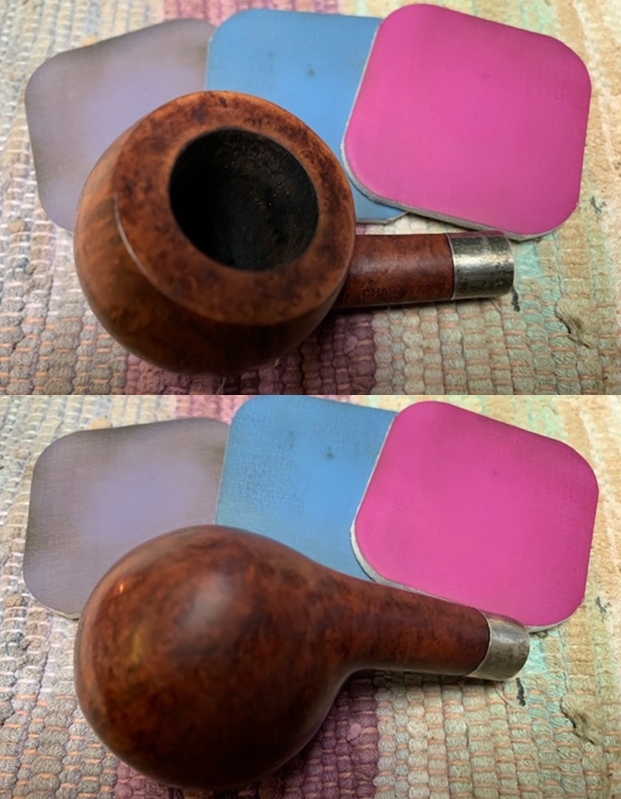
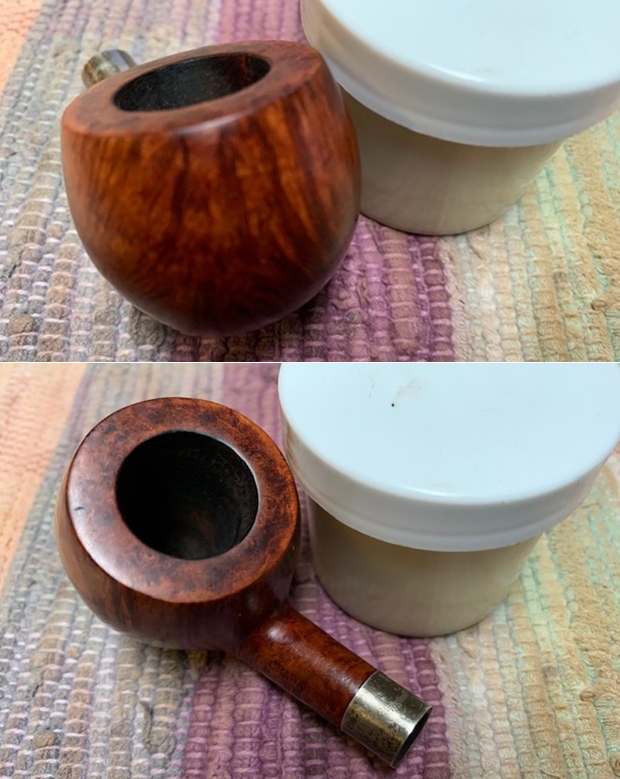
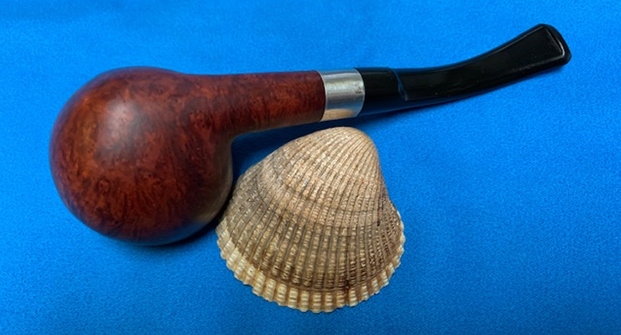
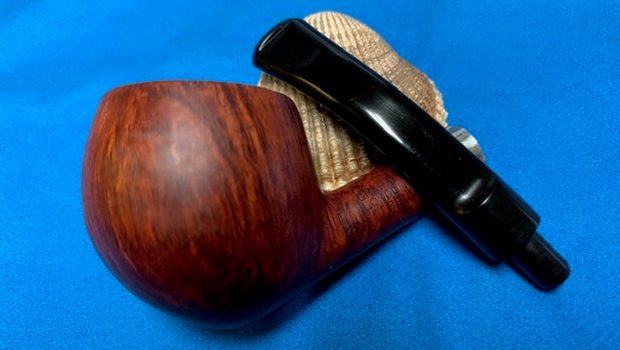
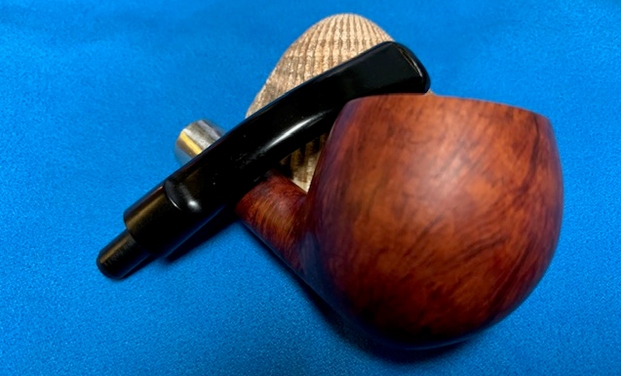
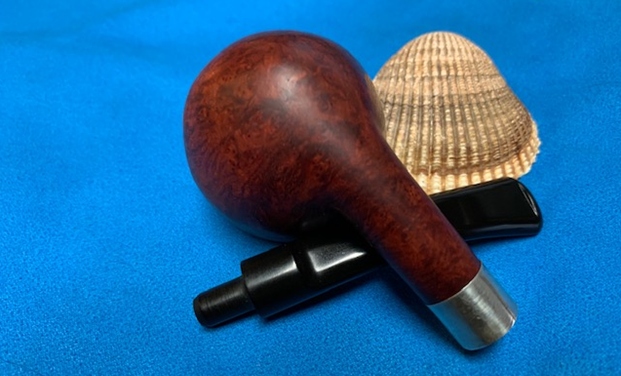
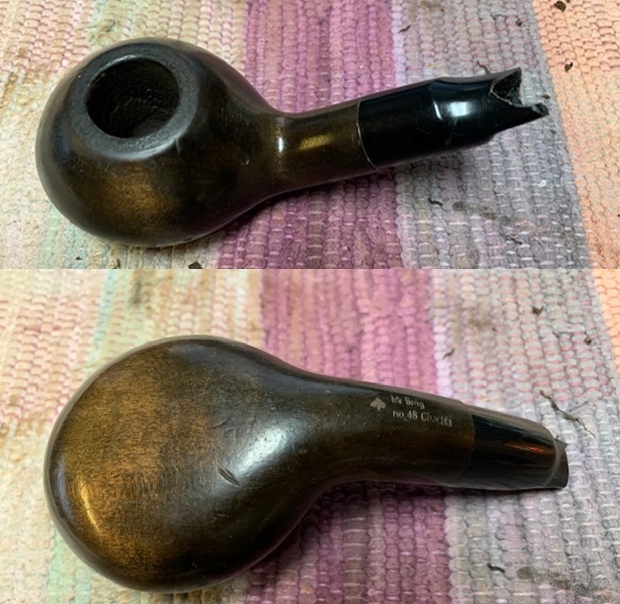
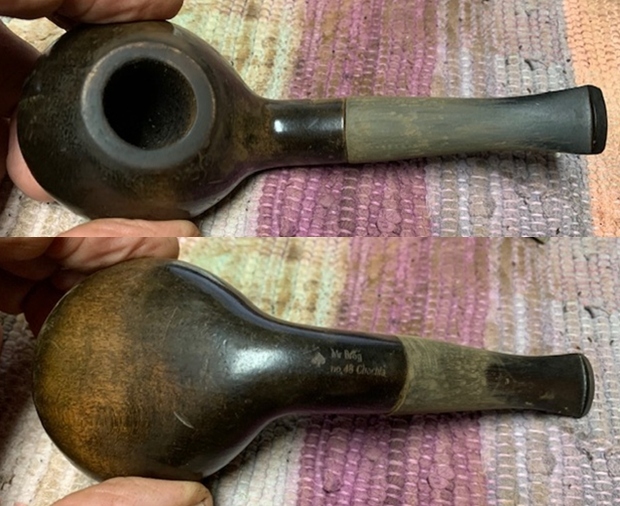
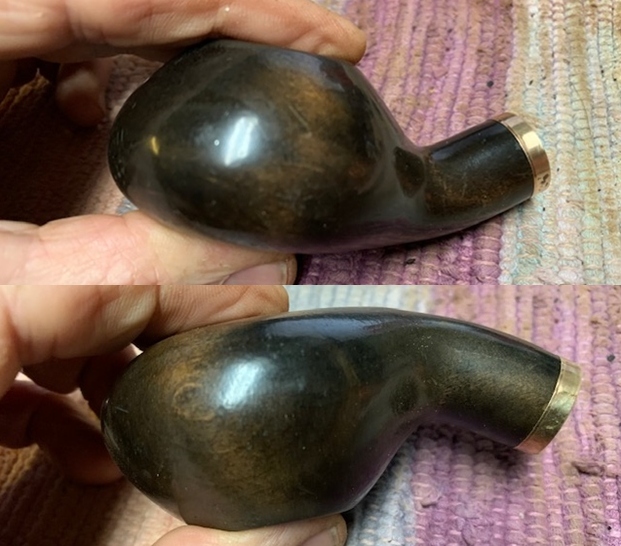
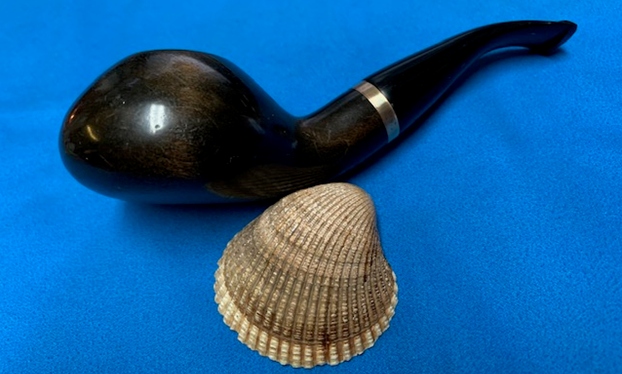
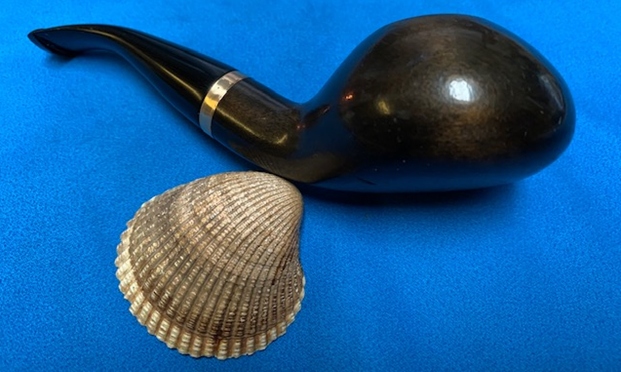
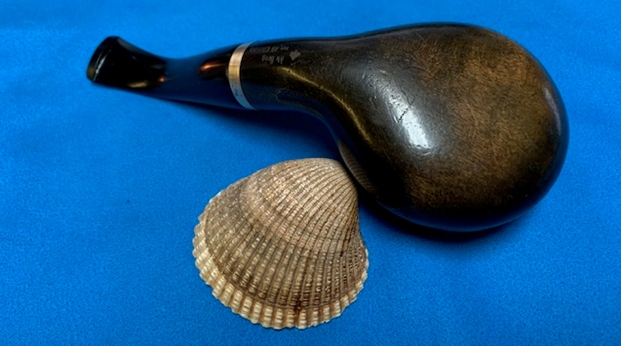
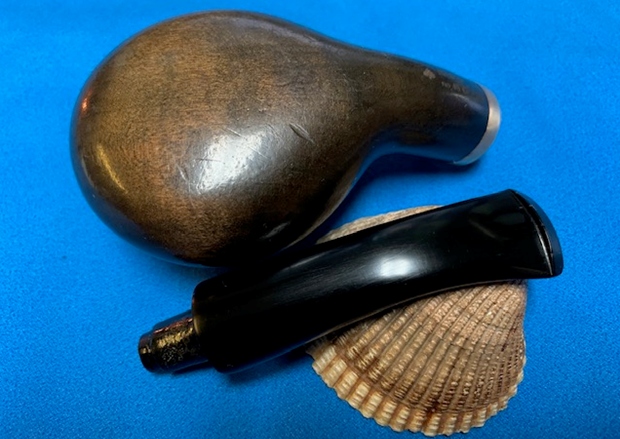
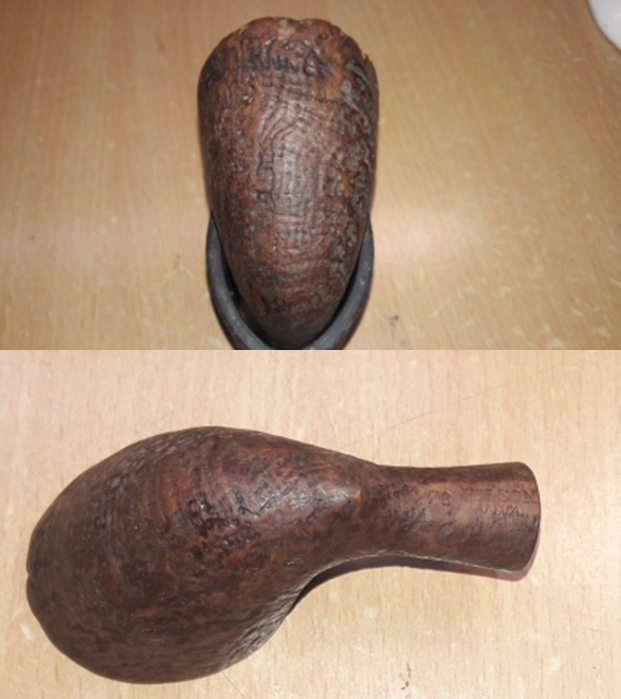
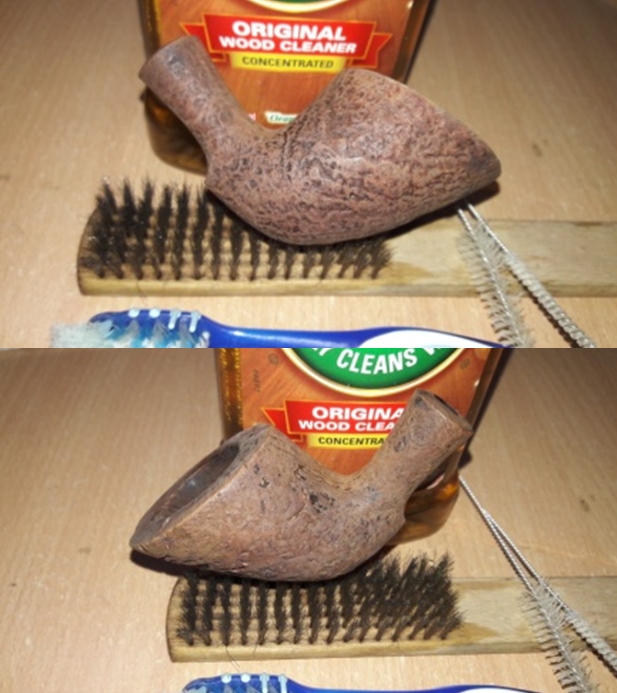
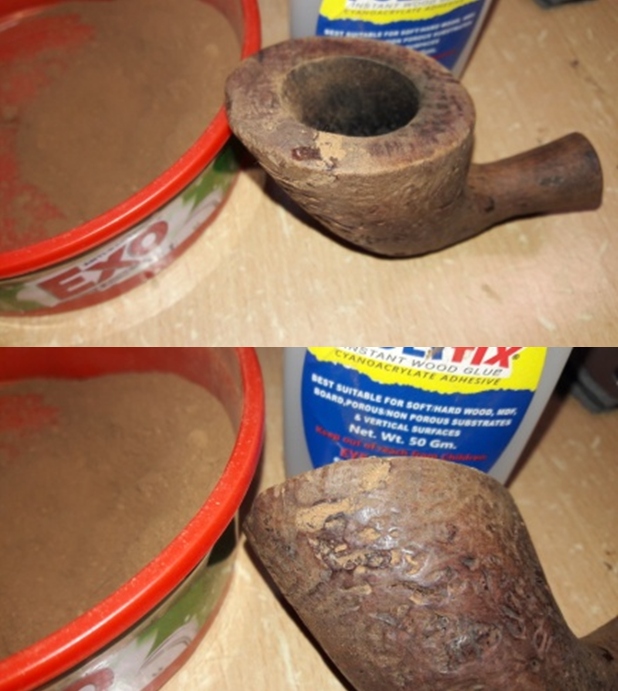
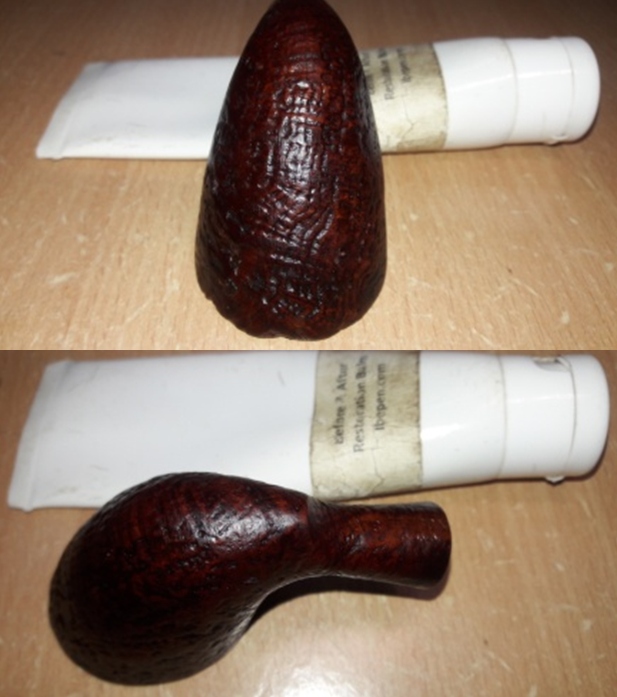
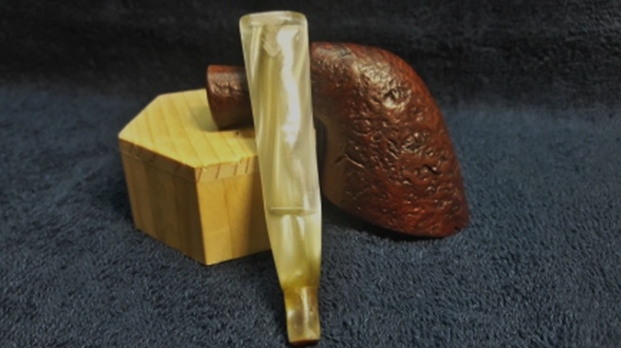
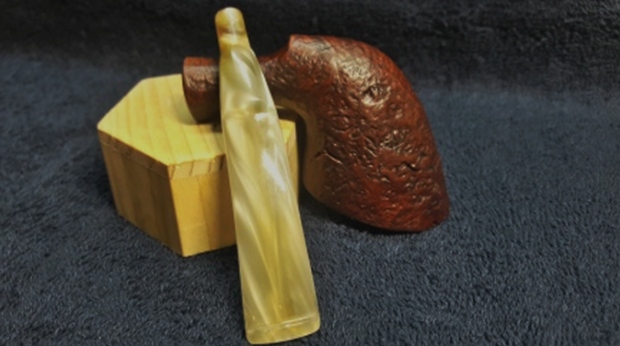
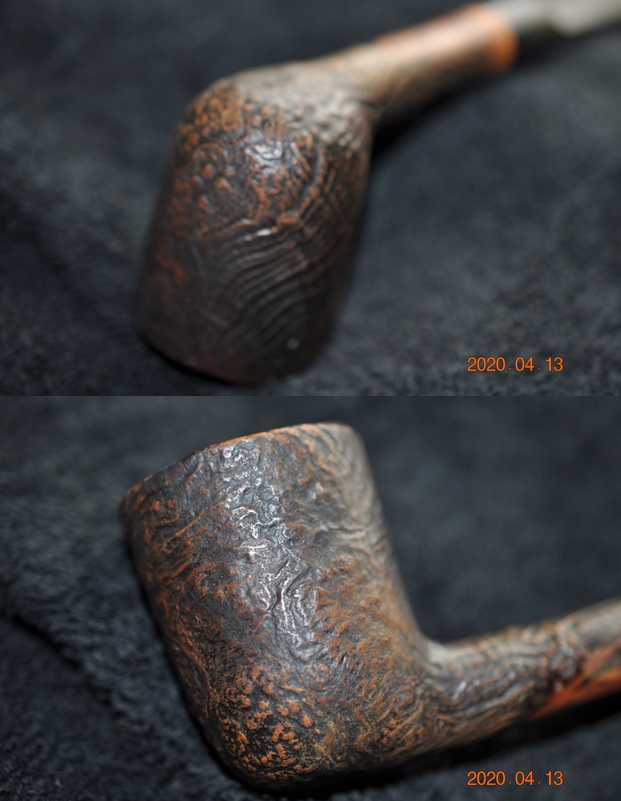
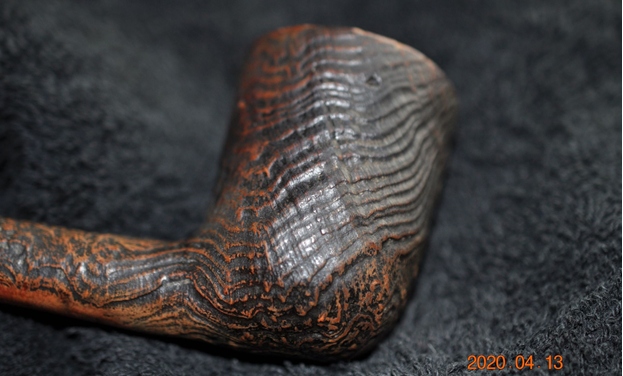
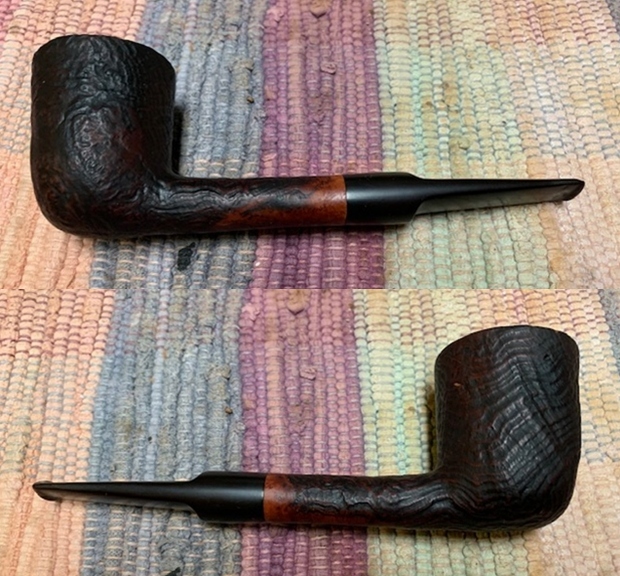
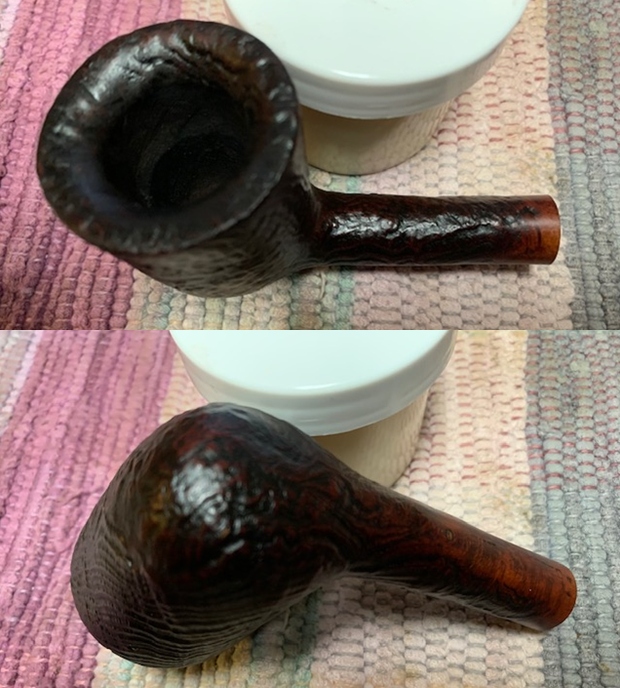
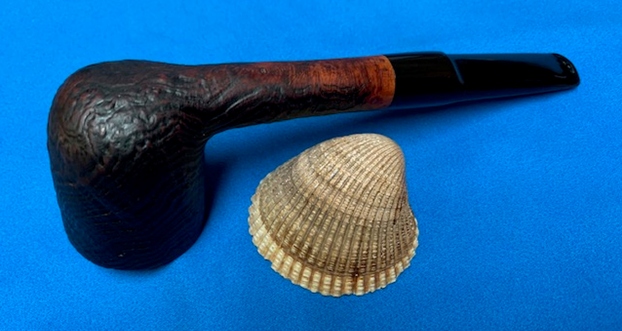
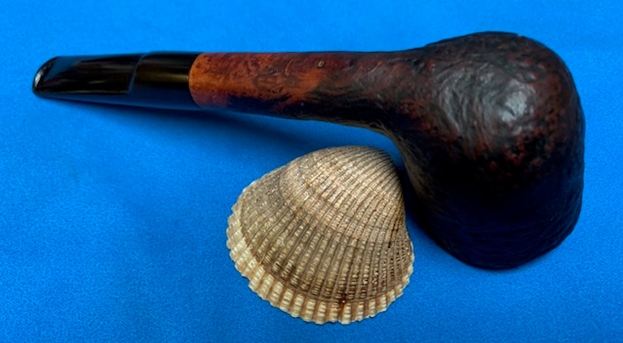
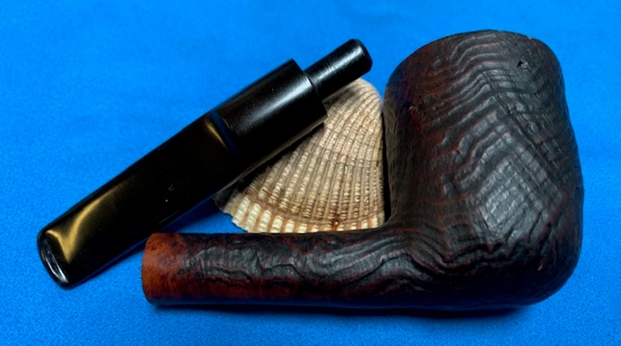
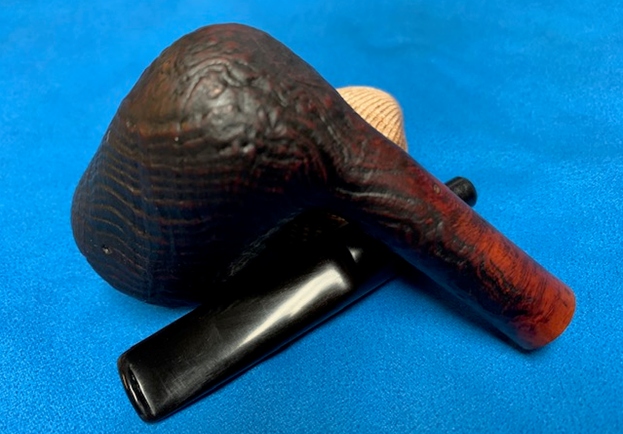
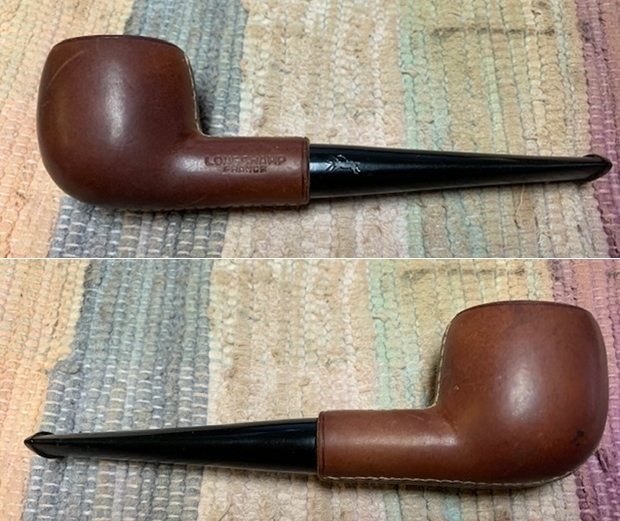
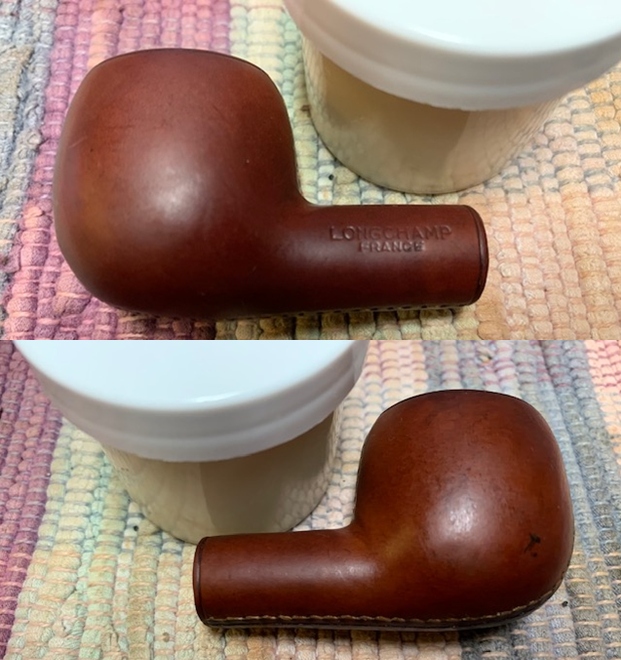
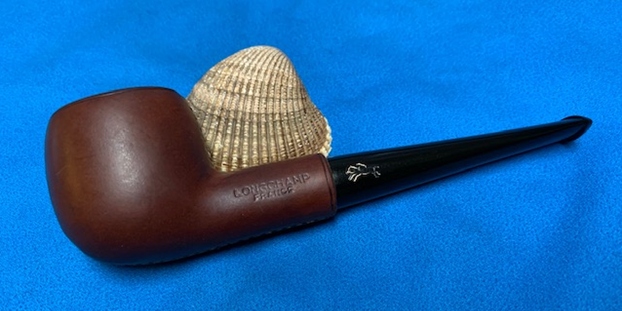
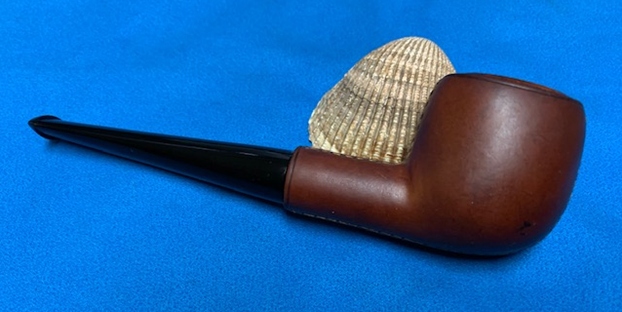
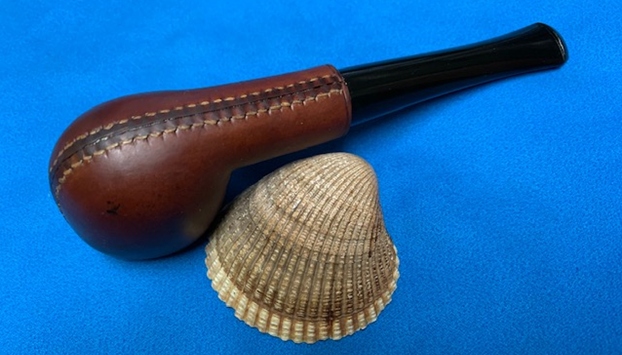
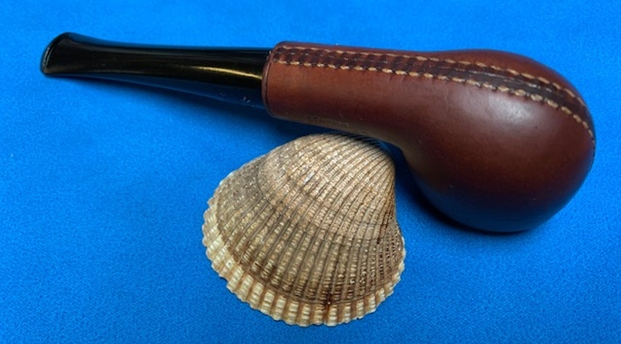
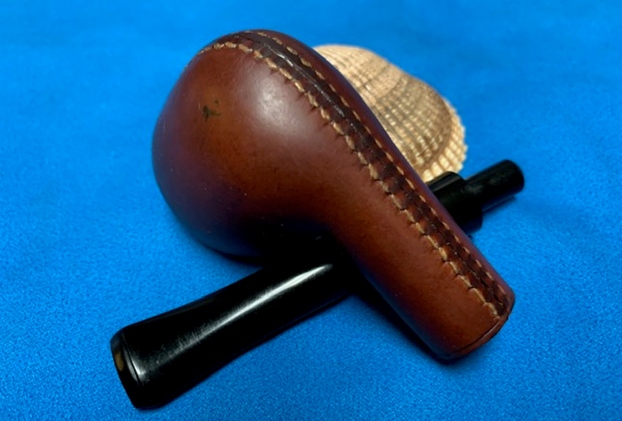
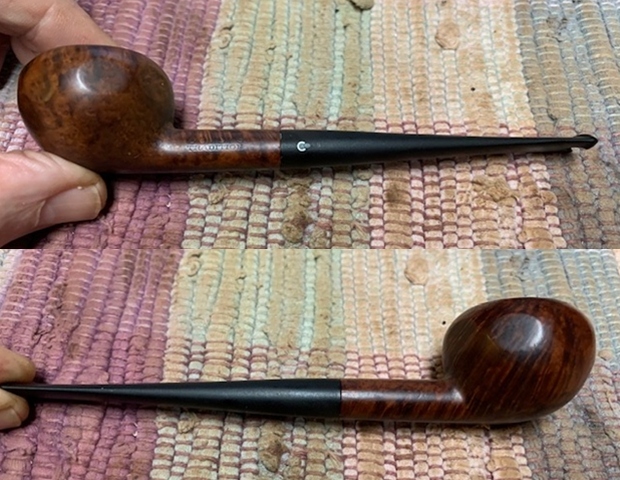
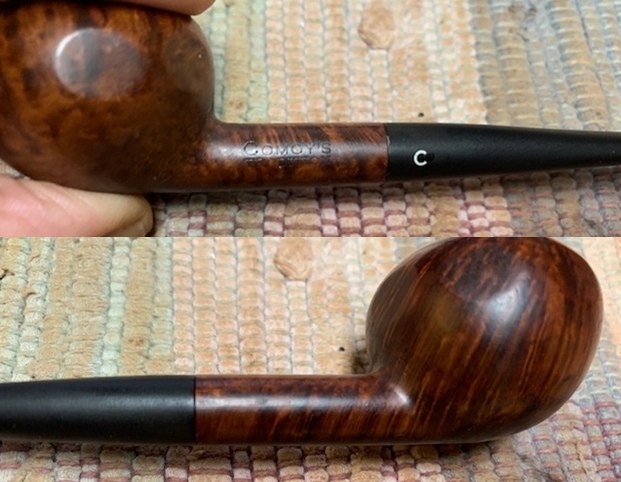
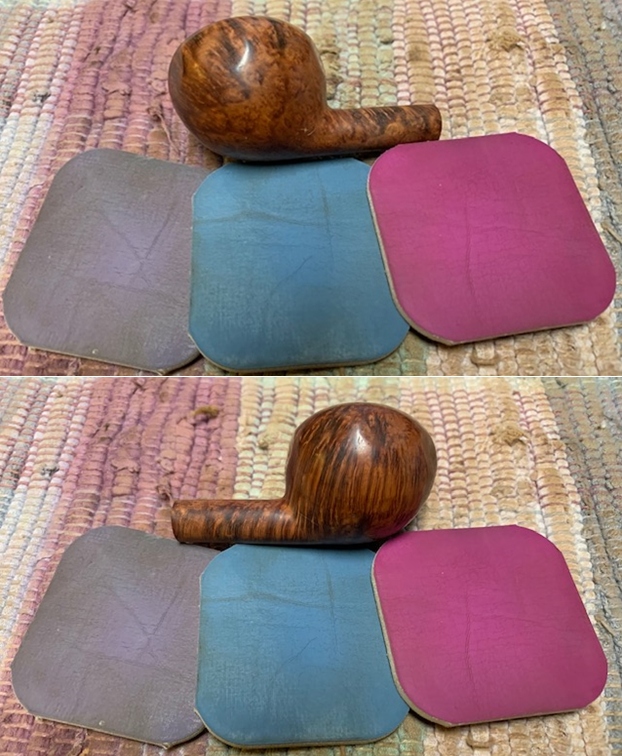
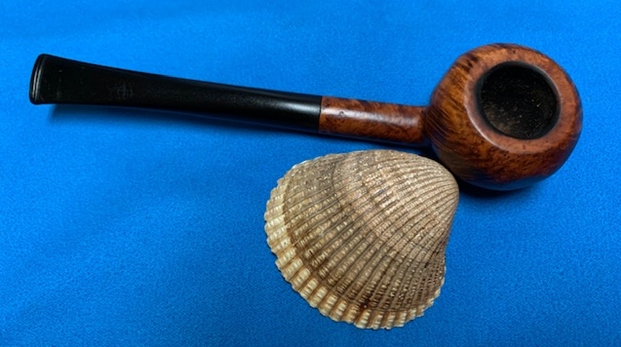
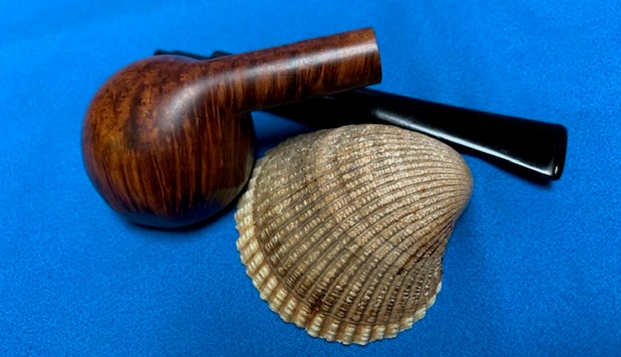
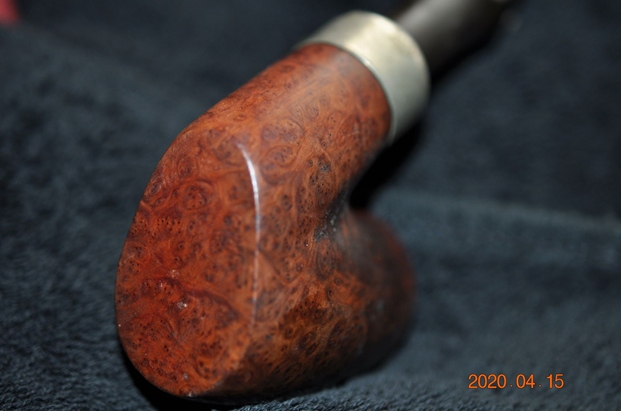
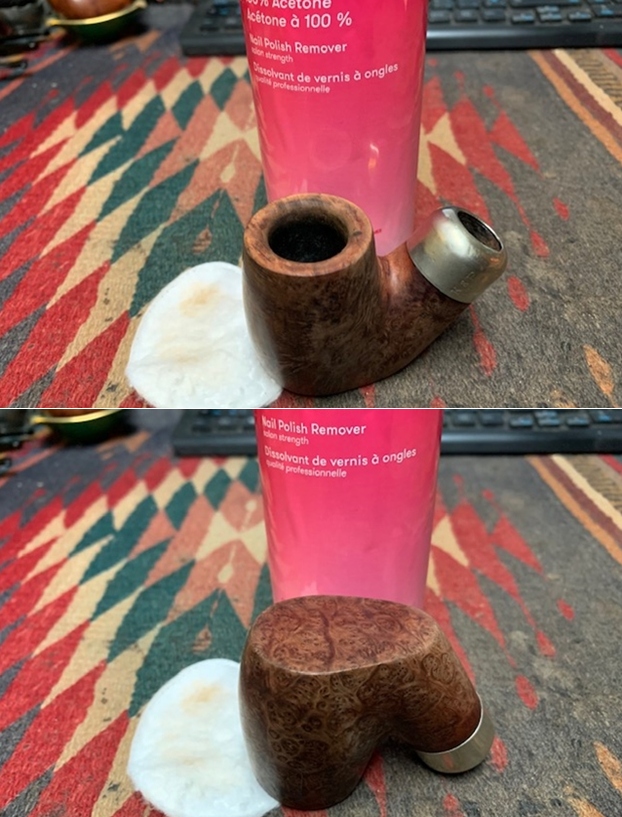
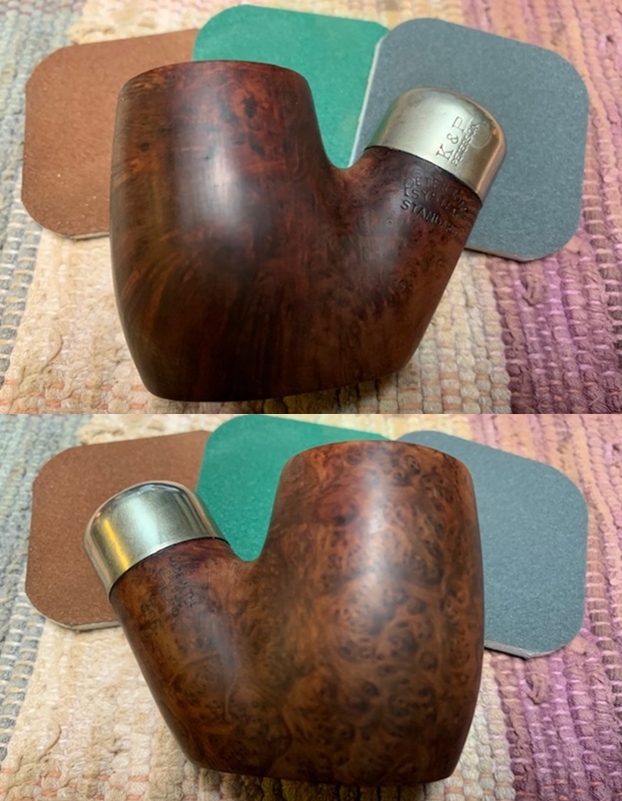
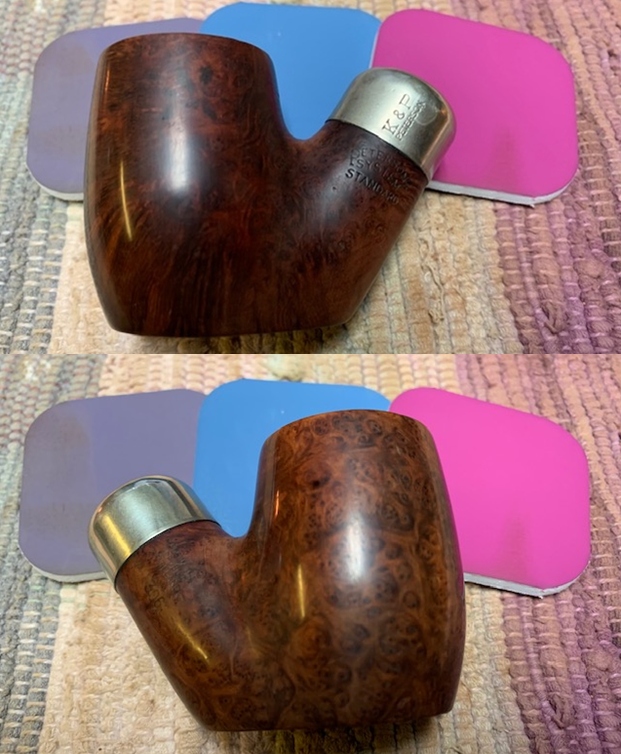
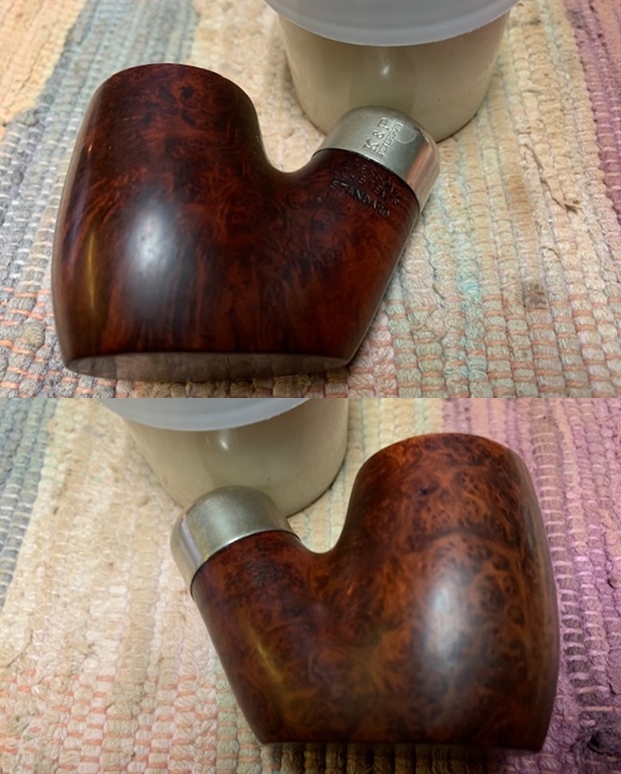
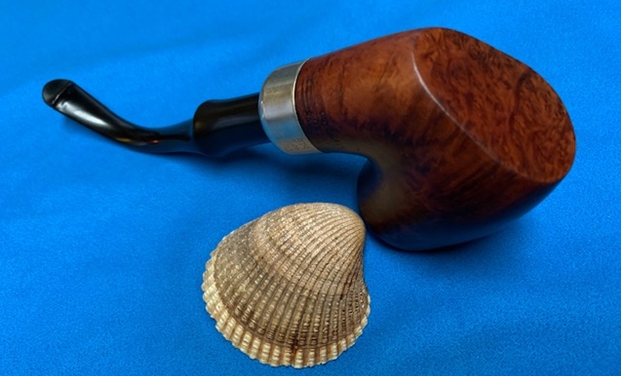
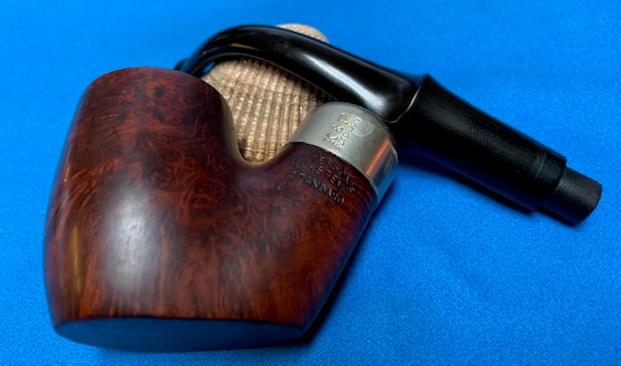
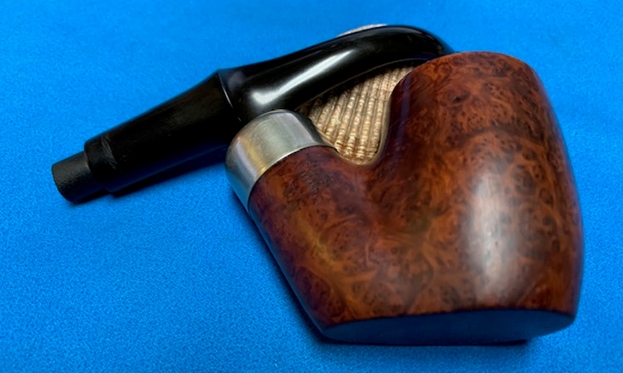
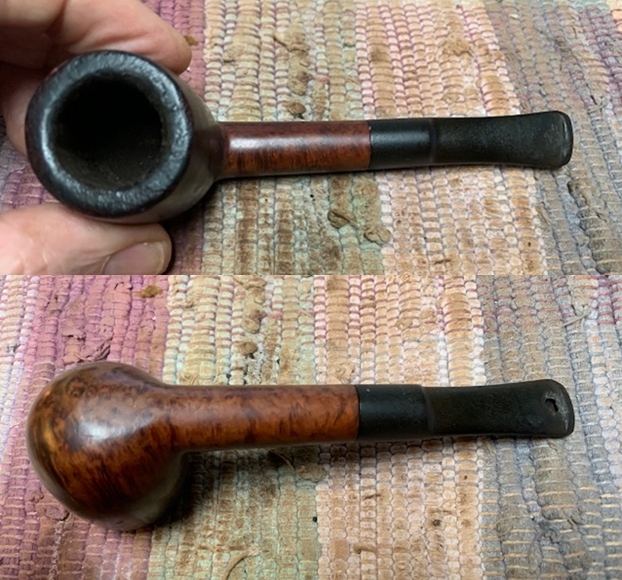
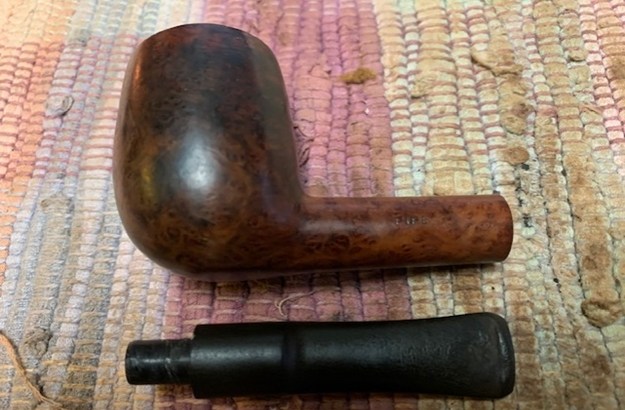
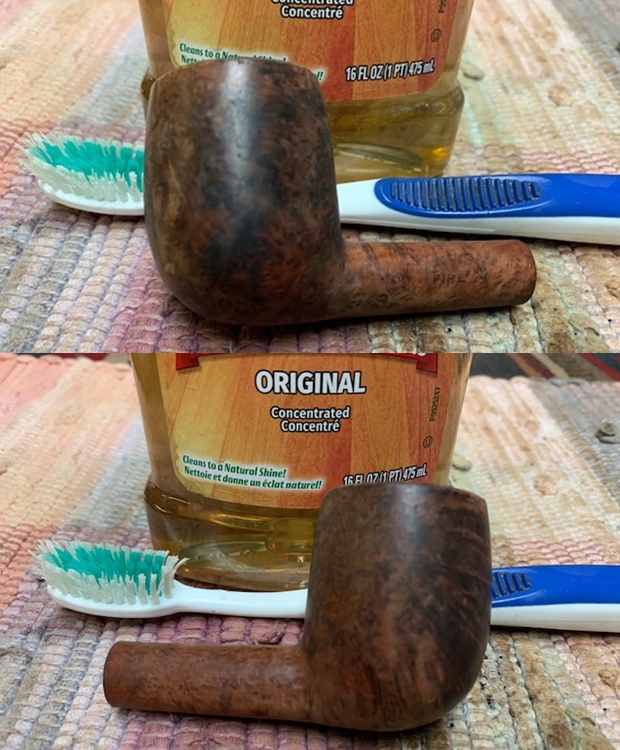
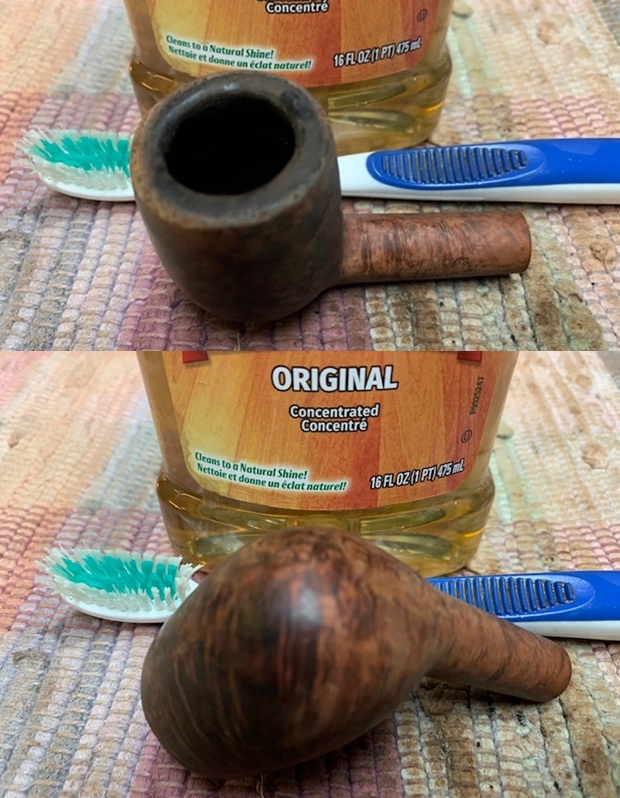
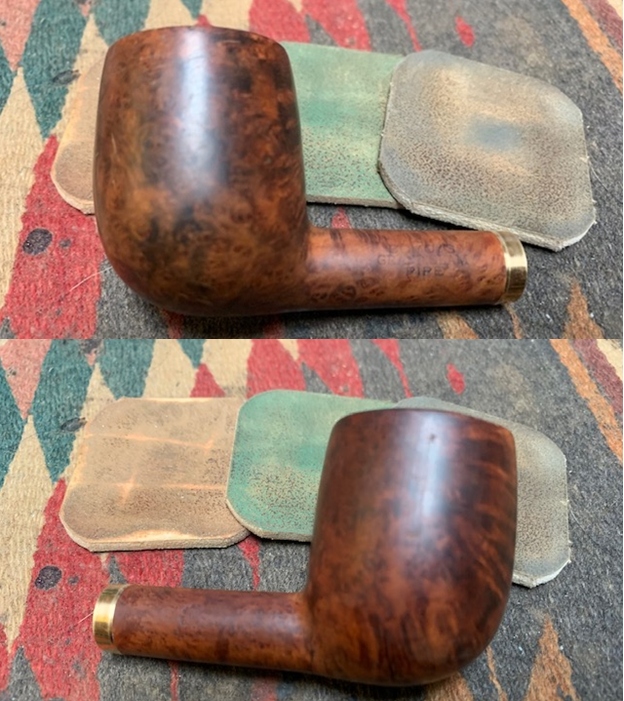
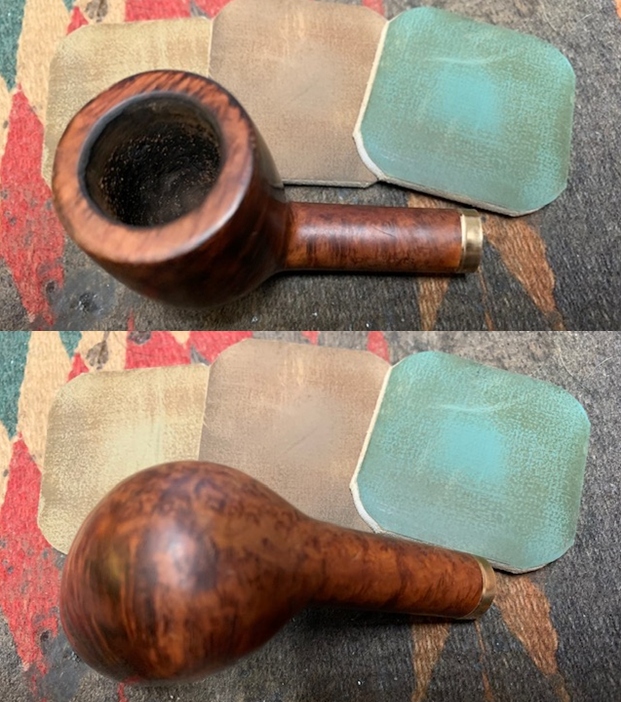
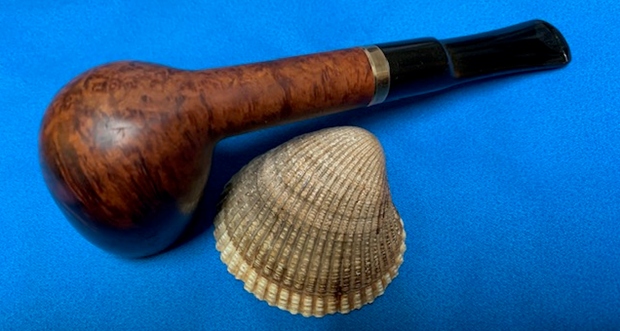
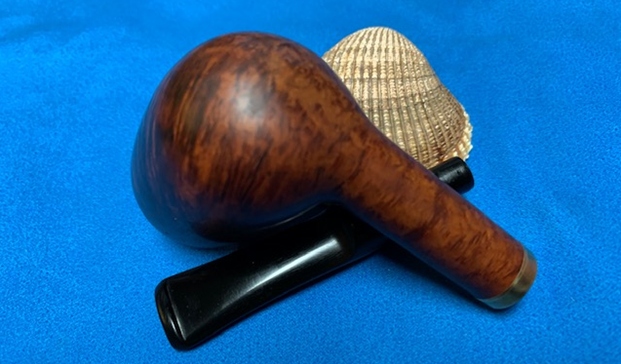
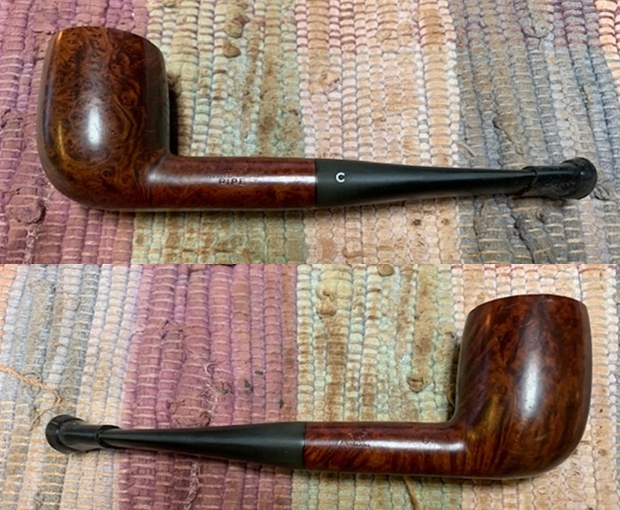
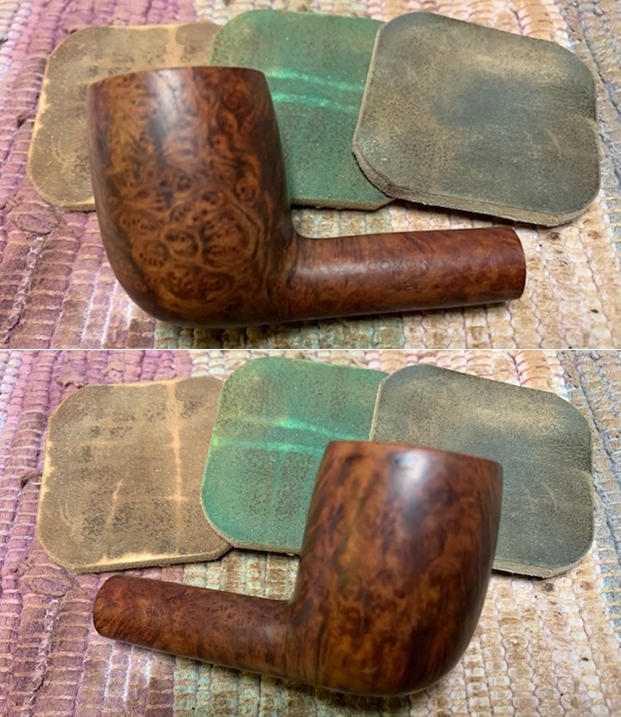
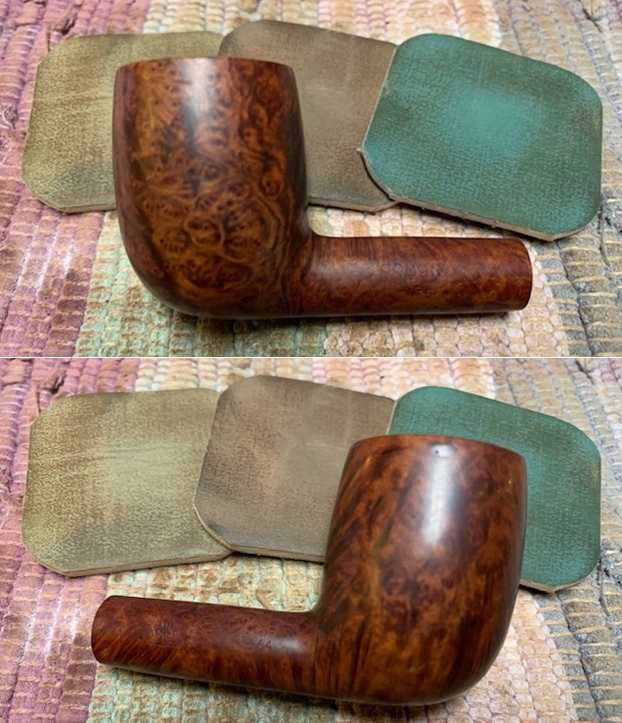
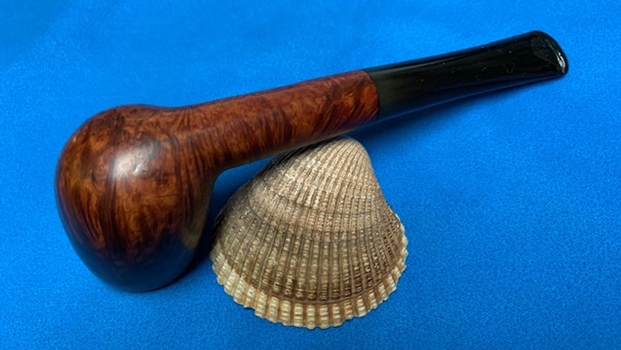
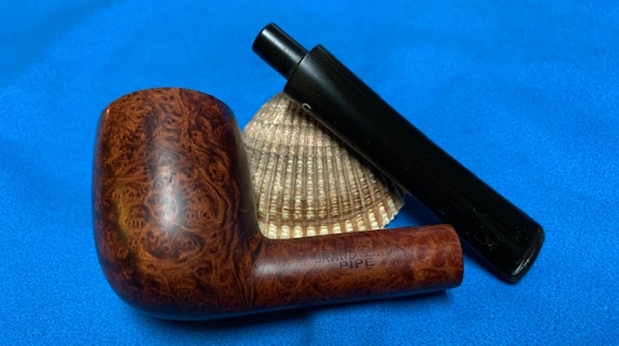
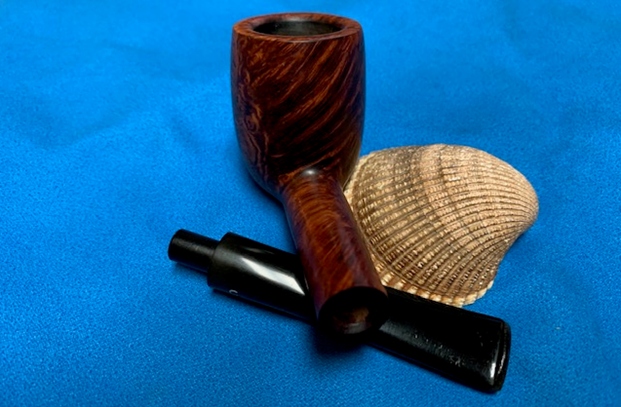
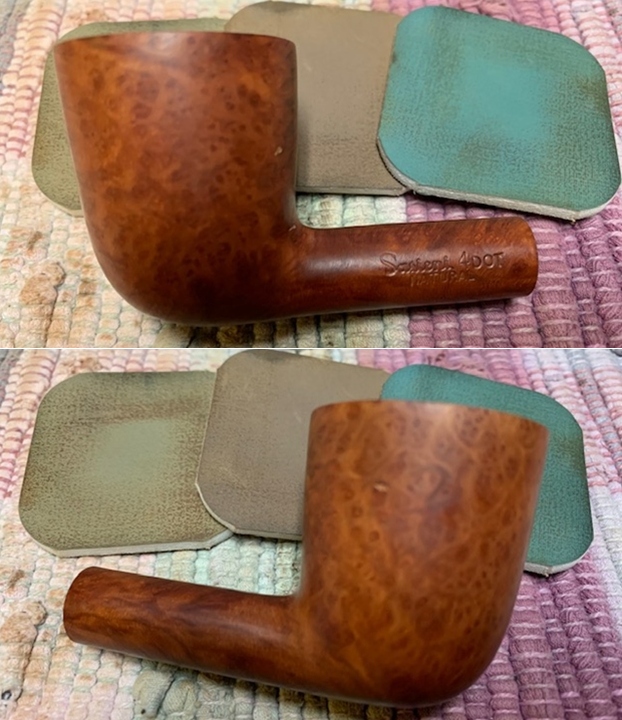
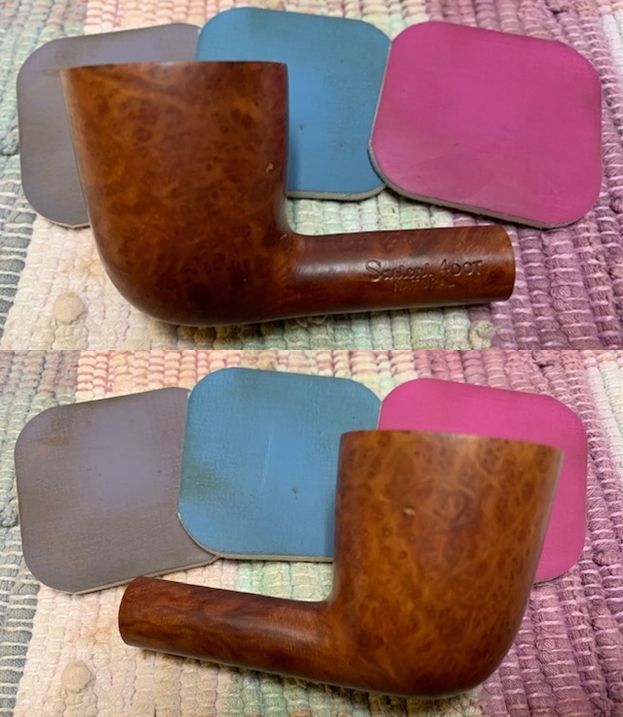
 Jeff took photos of the sides and heel of the bowl to give a picture of what the briar looked like. There looks like there may be some nice grain around the sides under the blah finish and grime.
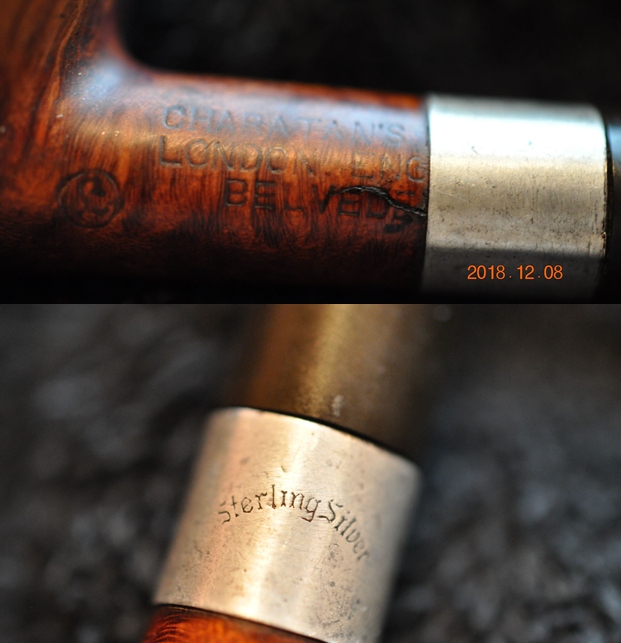
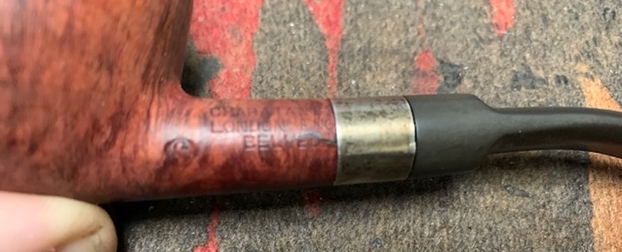
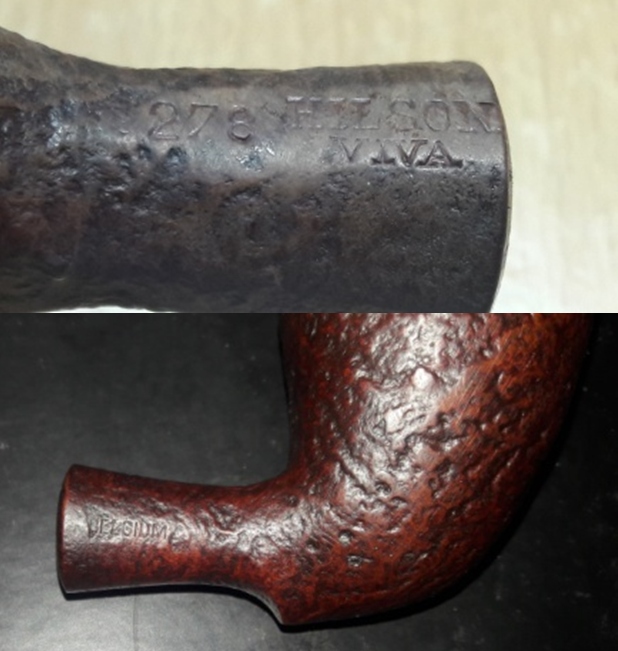
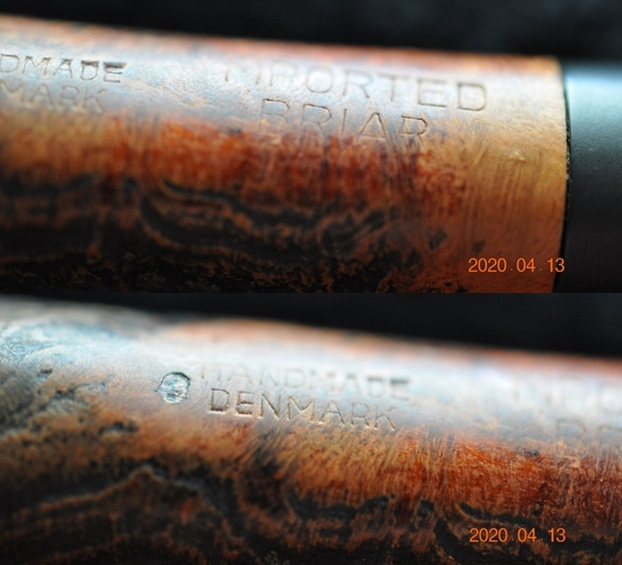
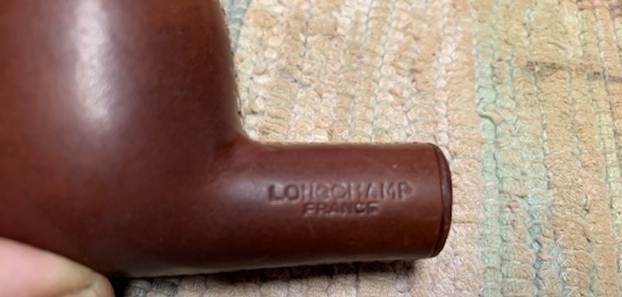
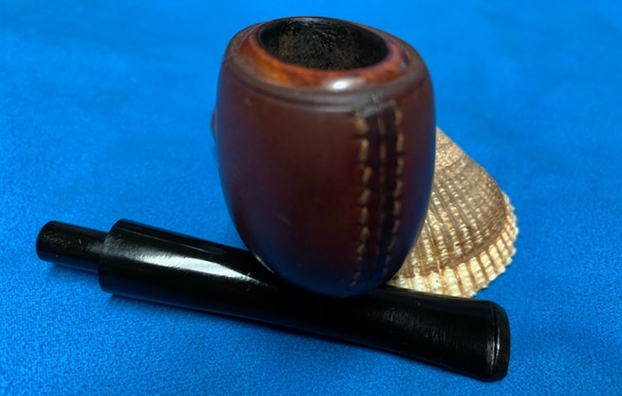
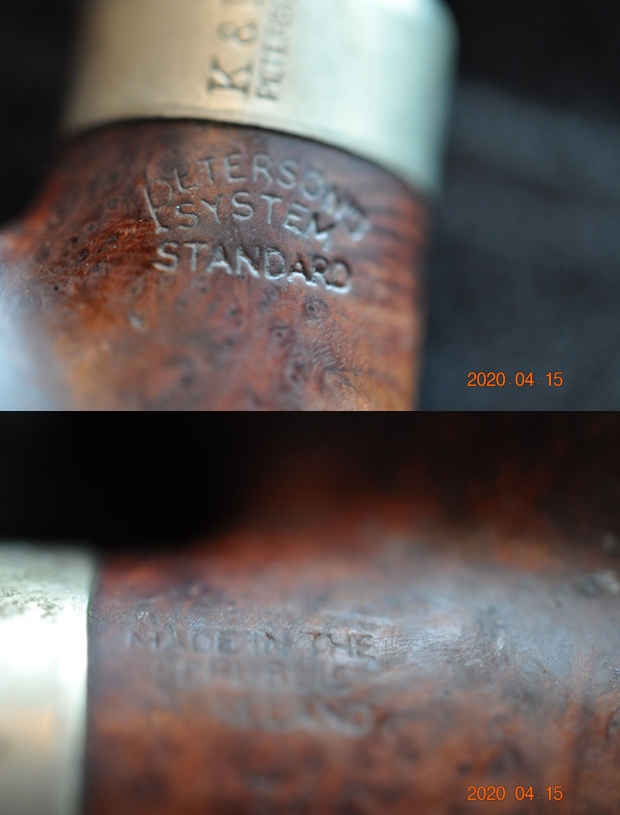
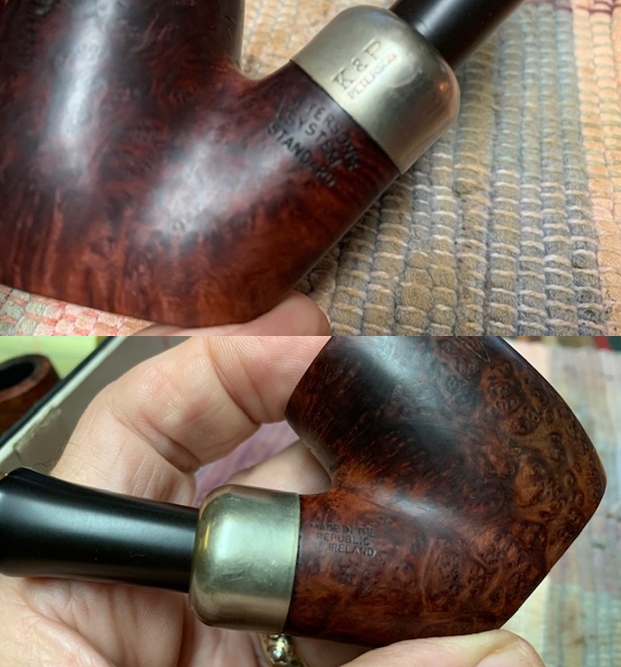
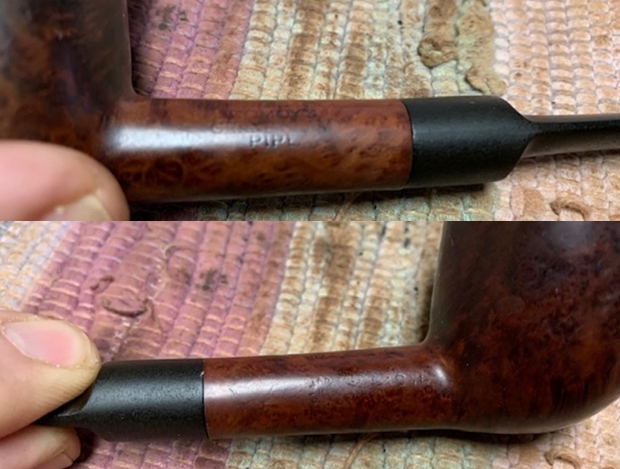
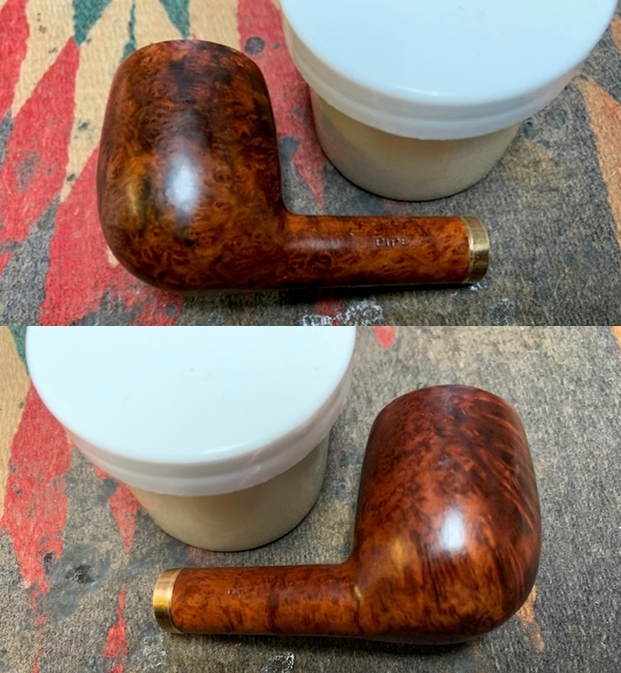
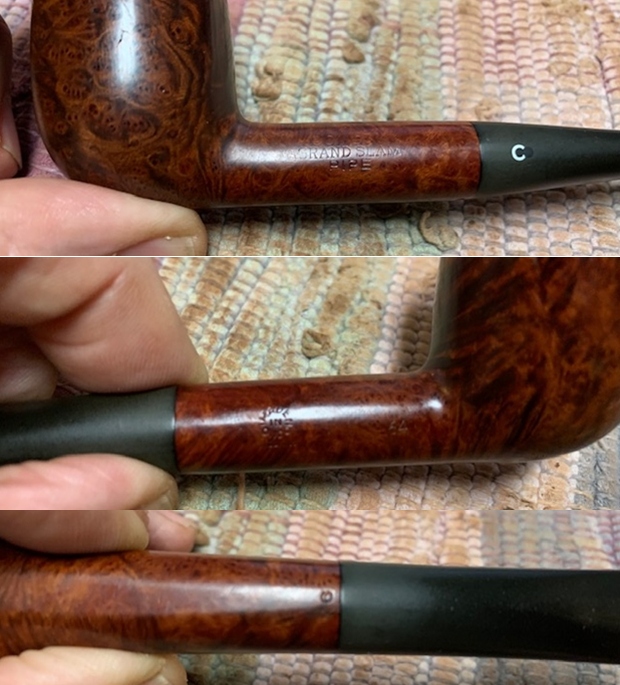
 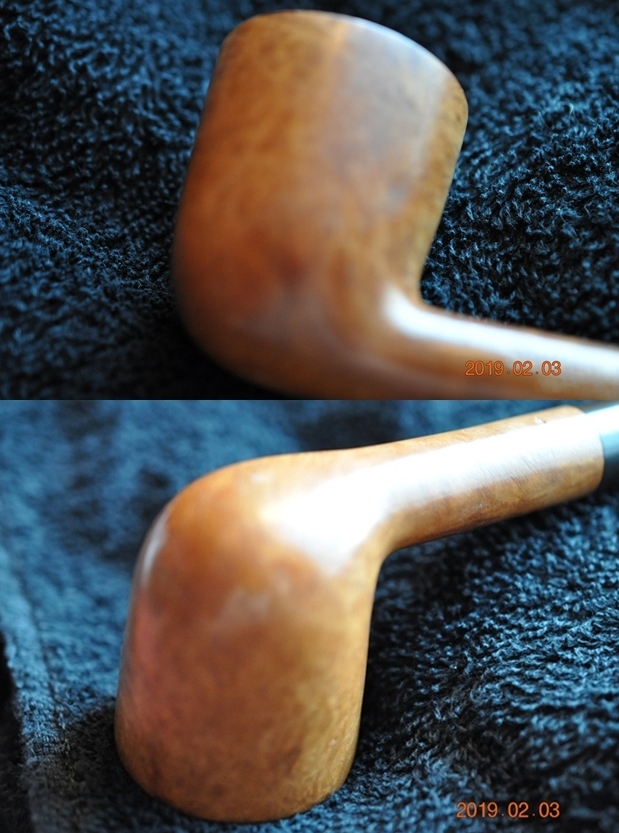 The stamping on the right and undersides of the shank are clear and readable and read as noted above. The 4 light blue dots are visible in the photo below.
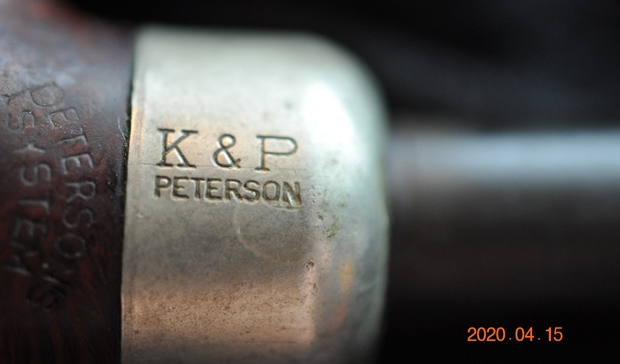
 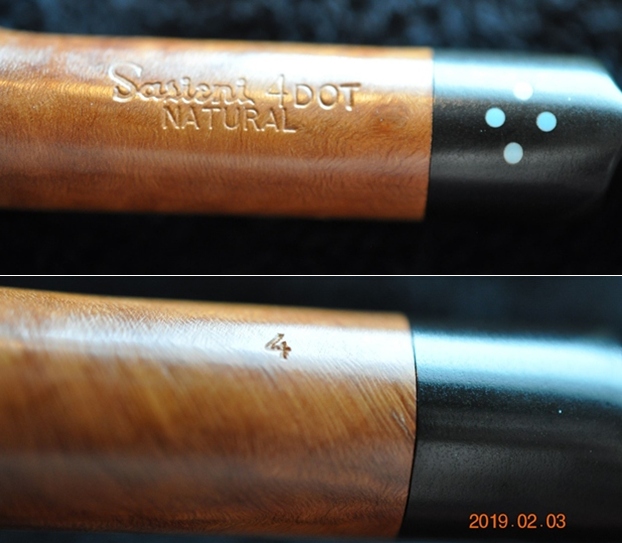 I turned to Pipephil’s site and specifically the timeline for Sasieni that is included there to see when the Four Dot changed to 4 Dot (http://www.pipephil.eu/logos/en/infos/sasieni-timechart.html).I have included a screen capture of the timeline below.
 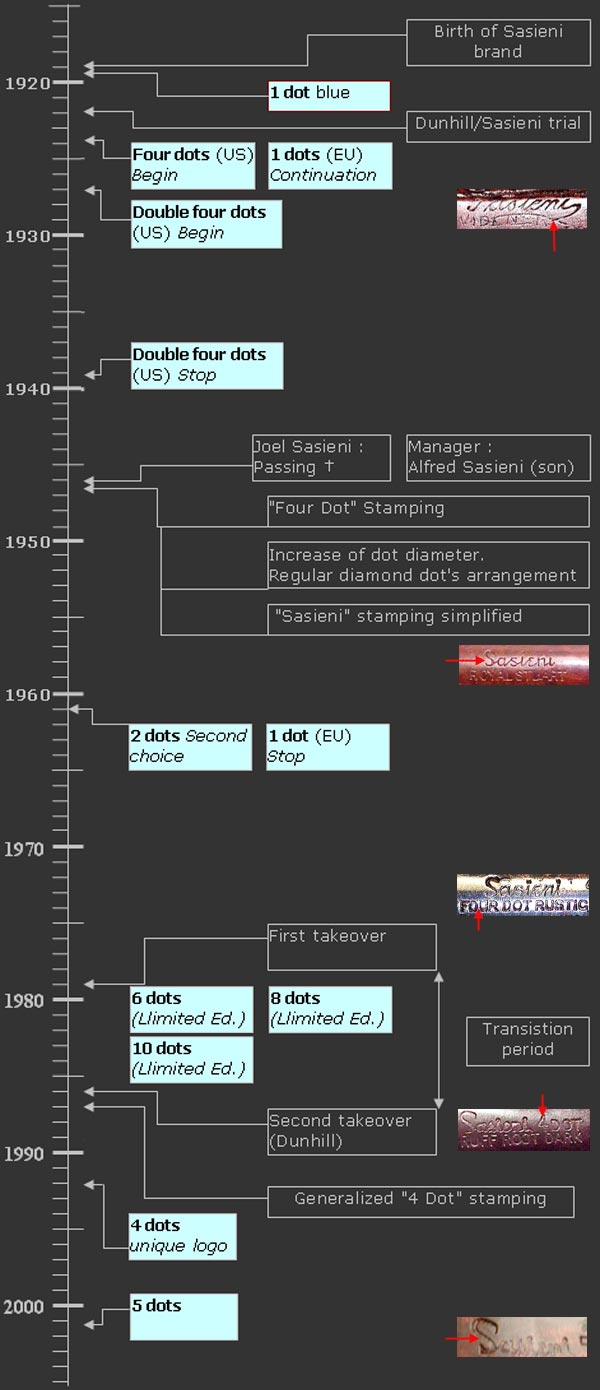 From the time line I was able to learn that the 4 Dot stamping was introduced in the late 1980 – perhaps 1987. Thus I knew that I was not dealing with an earlier family period pipe but a newer one relatively speaking.
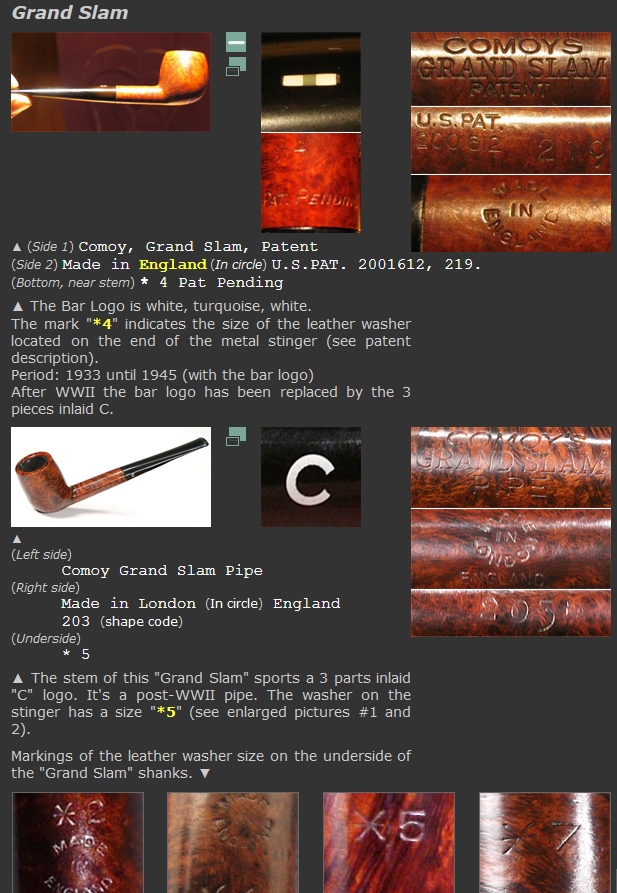
I turned then to Pipedia to focus in on that period and get an idea of where this pipe fit in the timeline and the hierarchy of the brand (https://pipedia.org/wiki/Sasieni). I found the section I was looking for in the article and have included it below. For more information on the brand be sure to read the full article.
…Somewhat later still, this was modified to reflect the finish, e.g. Four Dot Walnut, or Four Dot Natural. All these changes seem to have been made in the years between 1946 and 1950. Therefore a pipe with new style dots and old style stamping almost certainly has a replacement stem.
This system changed little if at all in the ensuing thirty years. When the company was sold in 1979, one of the first things the new owners did was to eliminate the town names from the shanks. The dots were enlarged yet further, and the Sasieni name, though still done in script, was larger, as was the rest of the shank nomenclature, which in all other ways was similar to the Pre-Transition nomenclature. While these pipes are not as collectible as the family made pipes, they were made with care and are high quality.
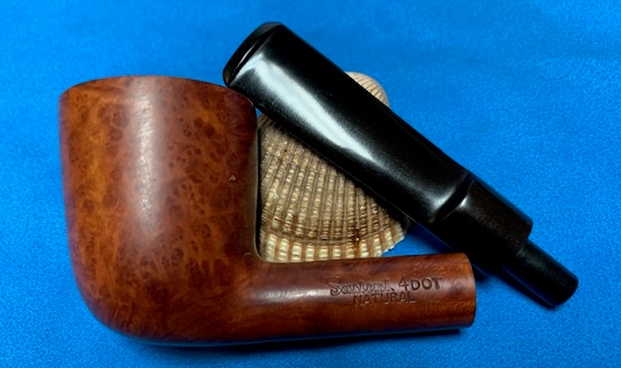
The nomenclature changed again in 1986, with the sale of the company to the Post-Transition firm. The three line nomenclature was changed to two lines, with the first reading “Sasieni 4 Dot” and the second identifying the finish, e.g. Natural, Walnut, or Ruff Root. Note how 4 Dot is spelled, using an Arabic numeral 4, as opposed to spelling out the word “four”. This is the easiest way to spot a Post-Transition Sasieni, as the new company has used both script and block lettering to spell the word “Sasieni” on the shank.
Now I knew I was working on a Post-Transition Sasieni made after 1986. It bore the Sasieni 4 Dot stamp and the second line Finish stamp – in this case Natural. It clearly differentiated this 4 Dot for the Four Dot pipes that I have worked on in the past.
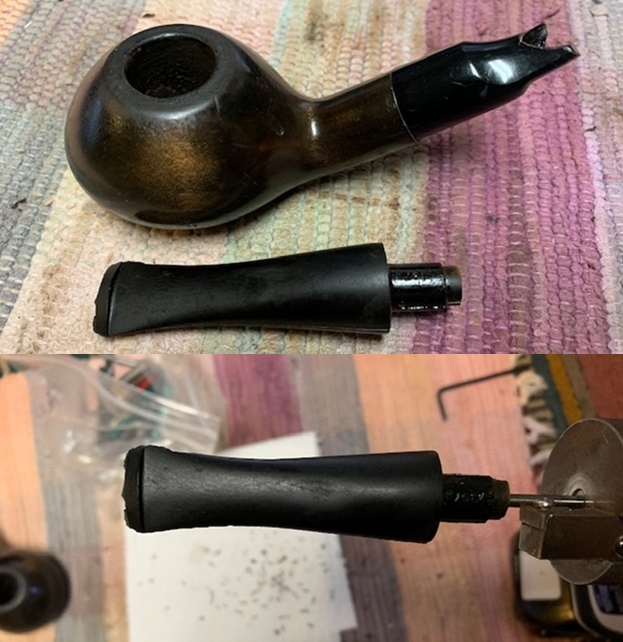
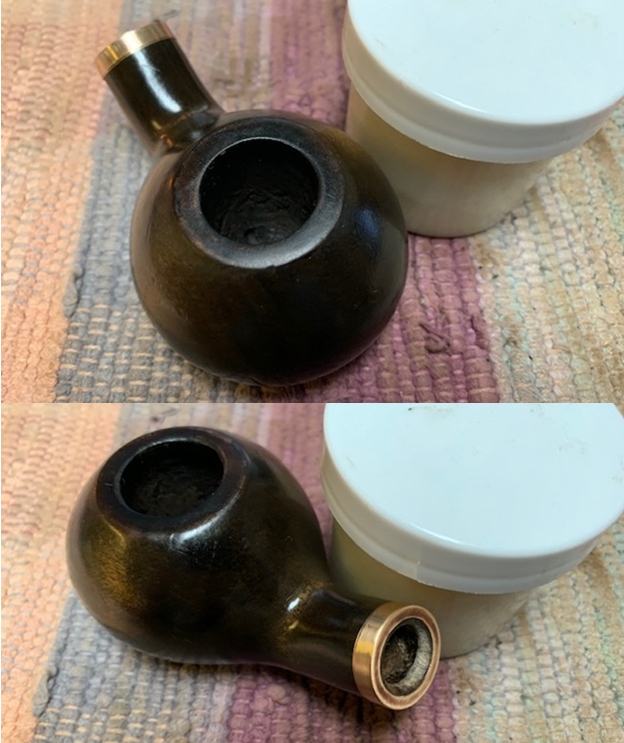
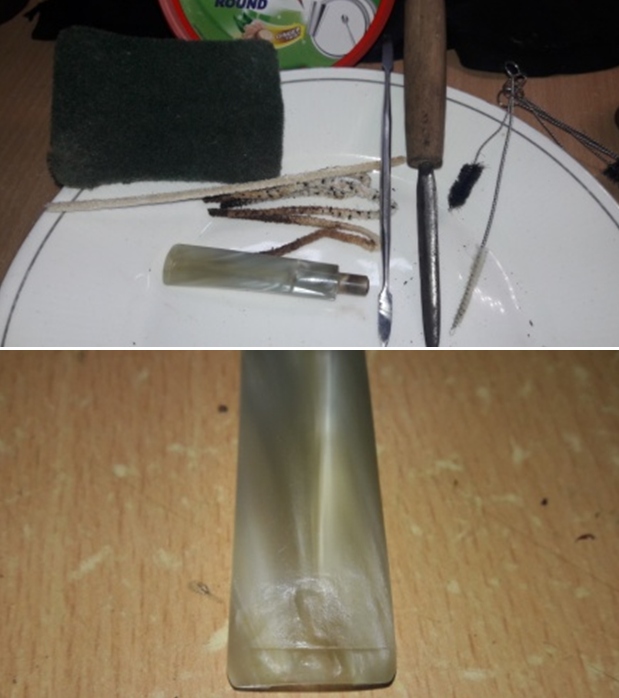
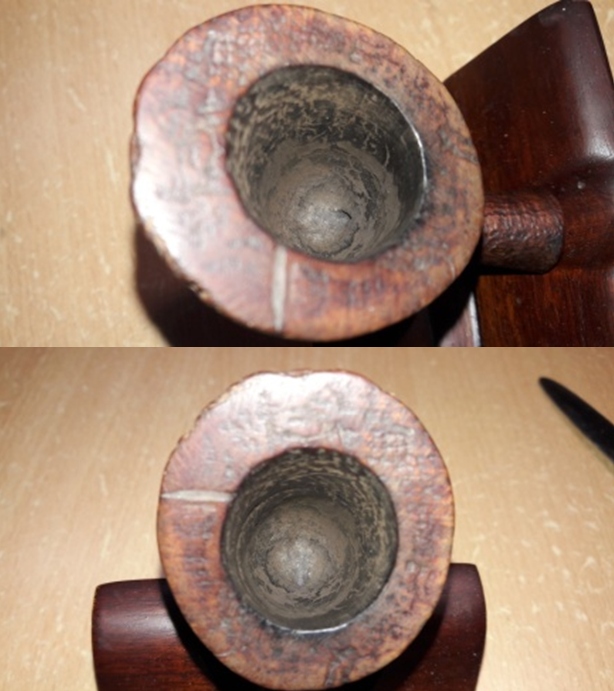
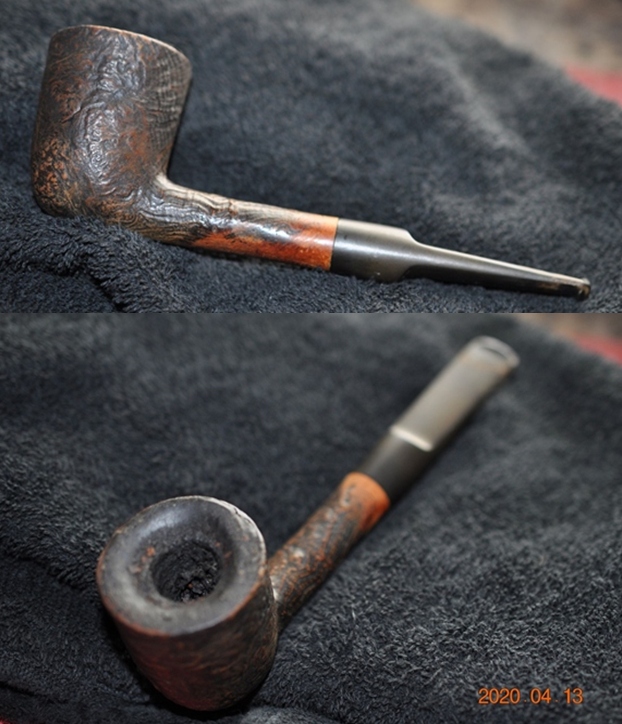
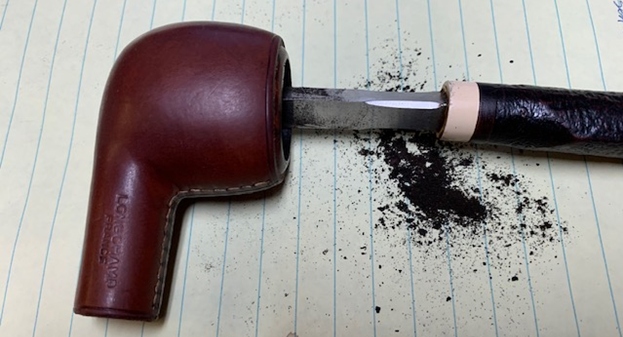
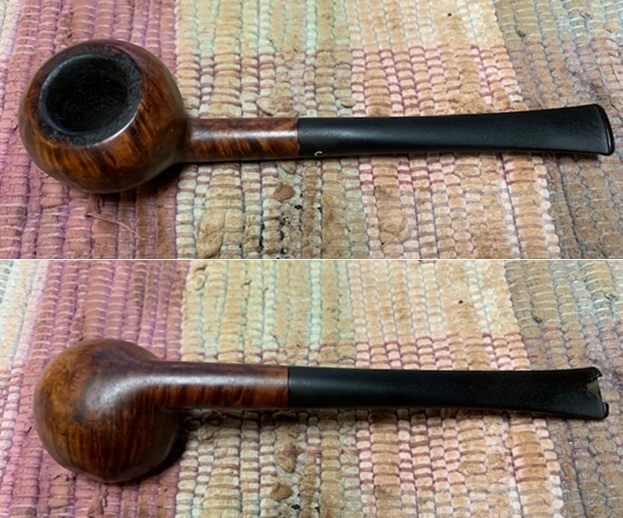
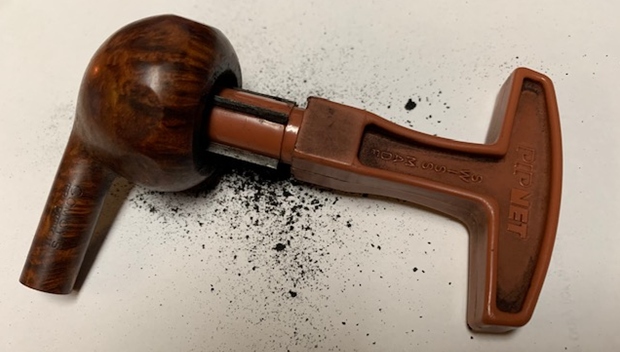
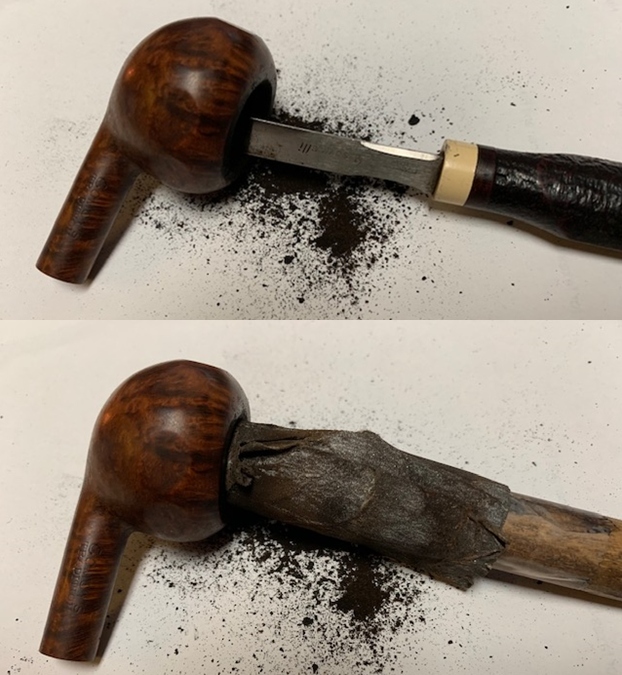
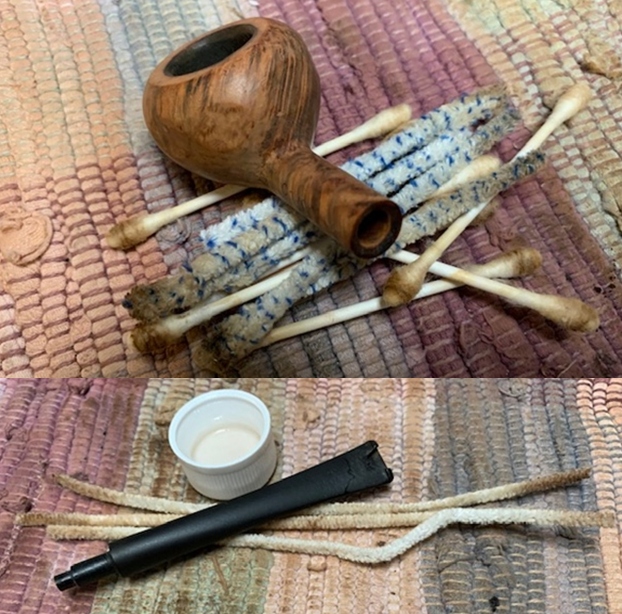
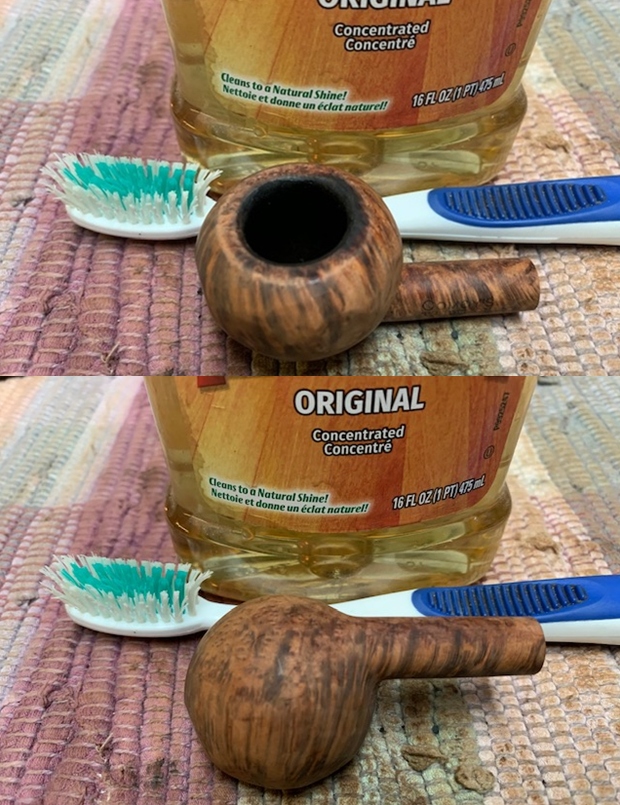
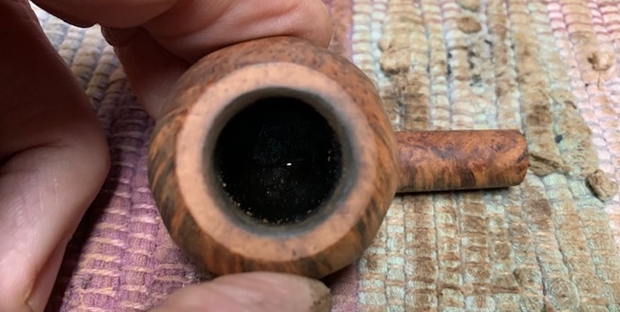
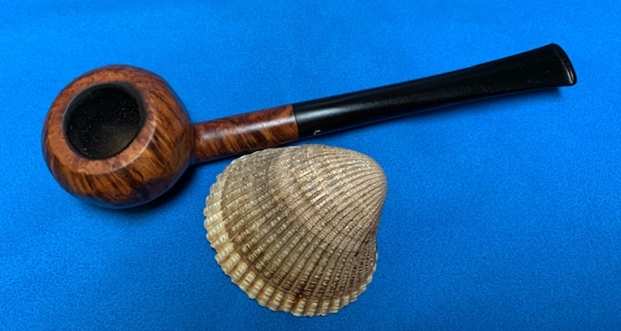
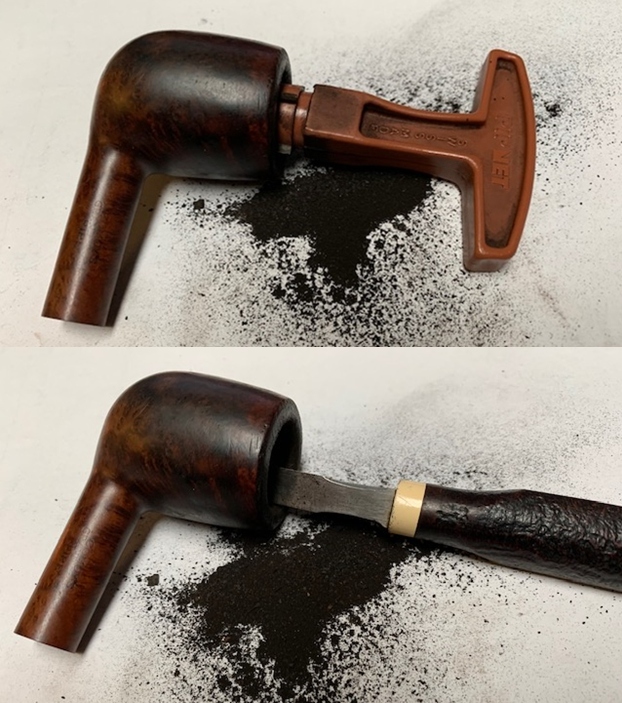
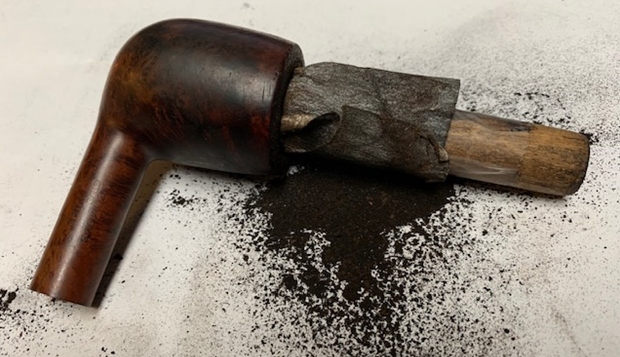
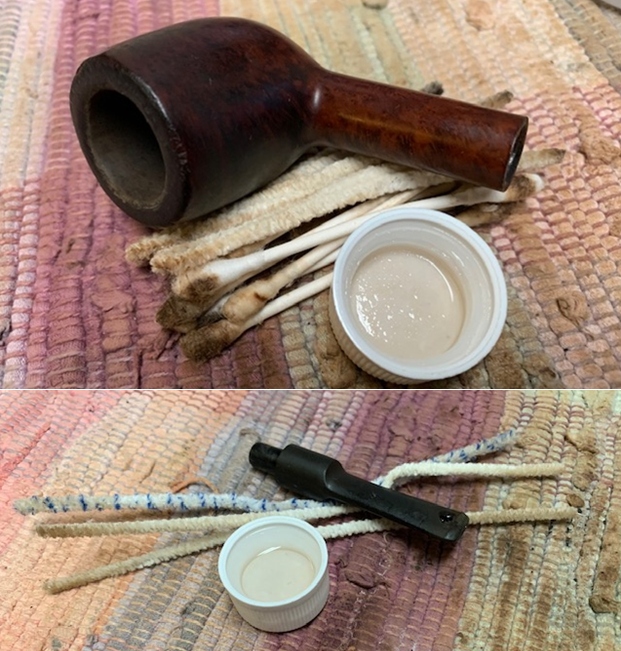
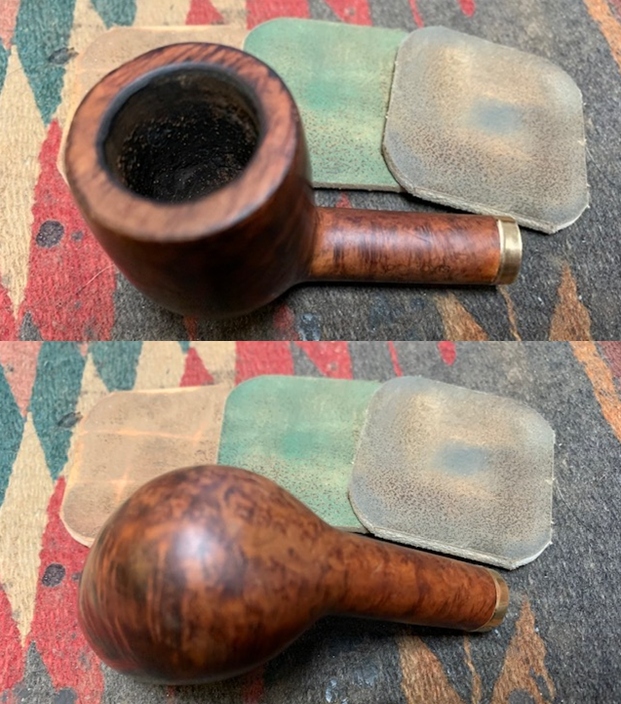
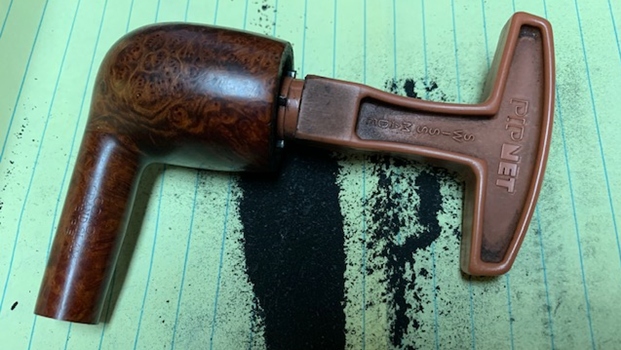
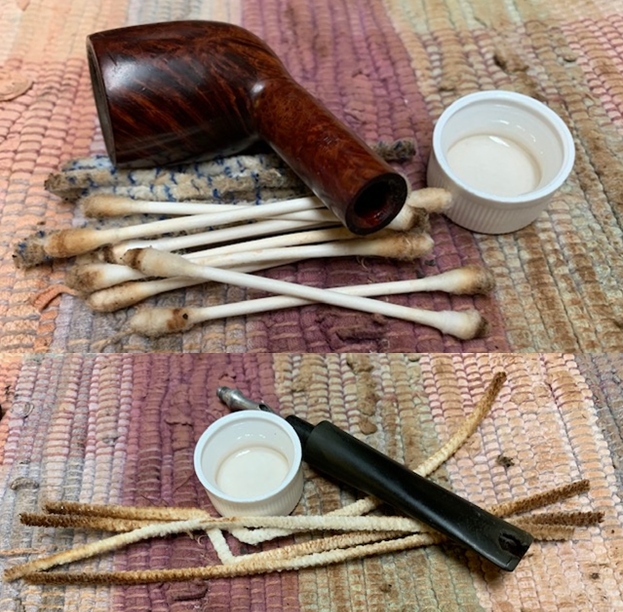
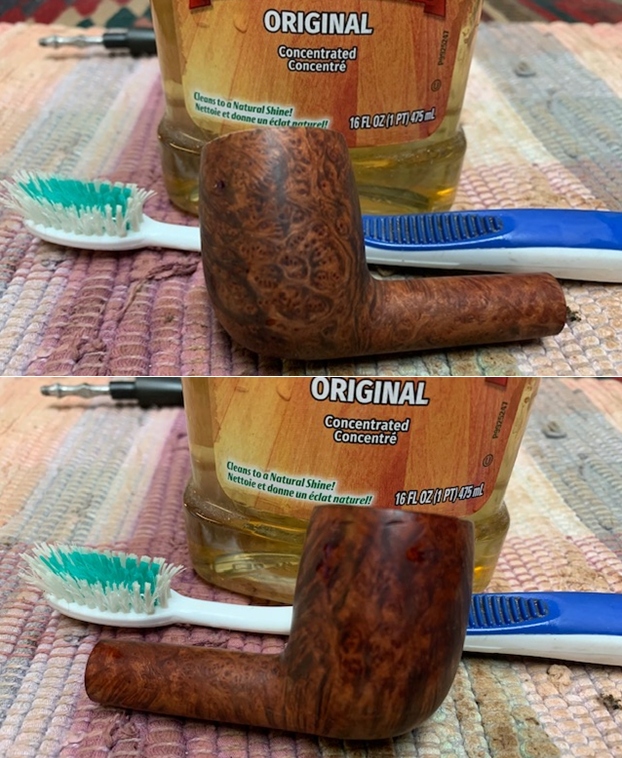
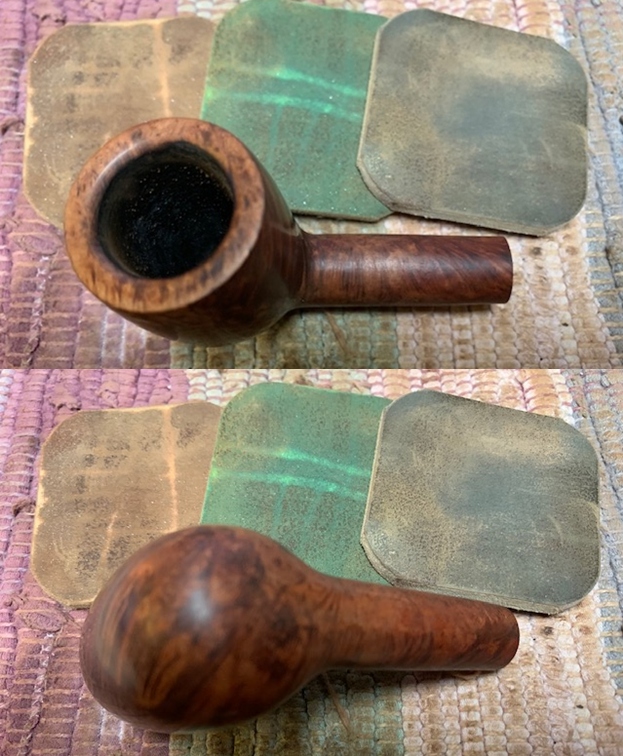
Now on to working on the pipe. Jeff had cleaned up the pipe with his usual penchant for thoroughness. He reamed the pipe with a PipNet pipe reamer and removed the rest of it with a Savinelli Fitsall Pipe Knife. He scrubbed the bowl with undiluted Murphy’s Oil Soap with a tooth brush. He rinsed it under running warm water to remove the soap and grime. He cleaned out the inside of the shank and the airway in the stem with alcohol, cotton swabs and pipe cleaners. He soaked the stem in Before & After Deoxidizer and rinsed it off with warm water. I took photos of the pipe once I received it. 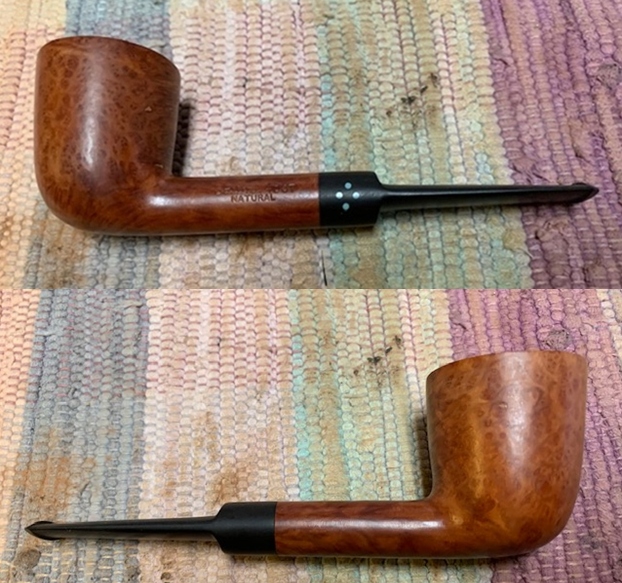
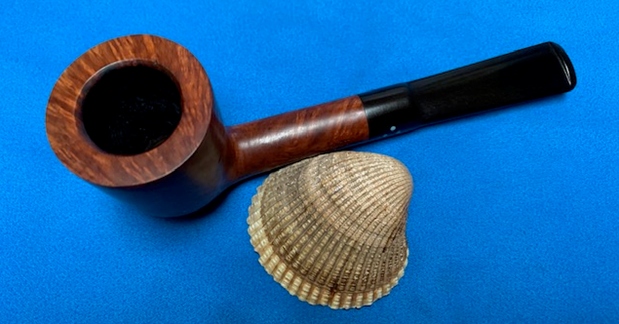
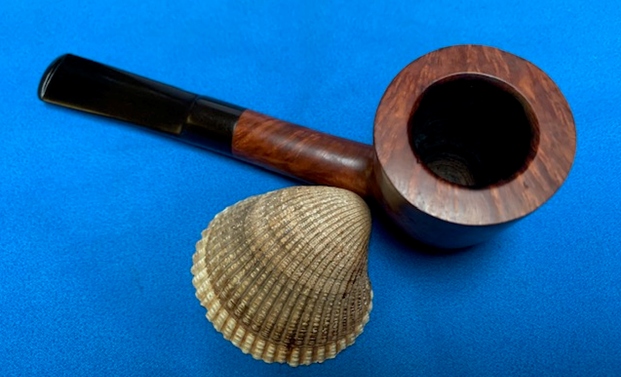
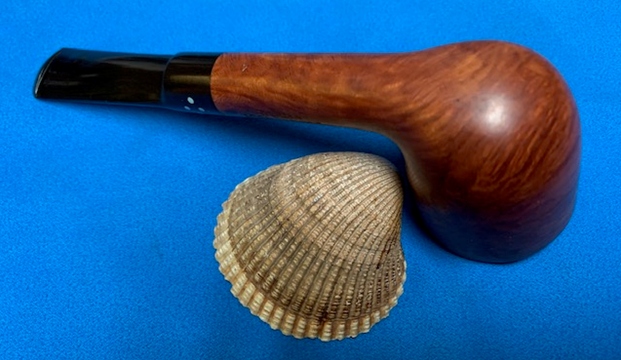
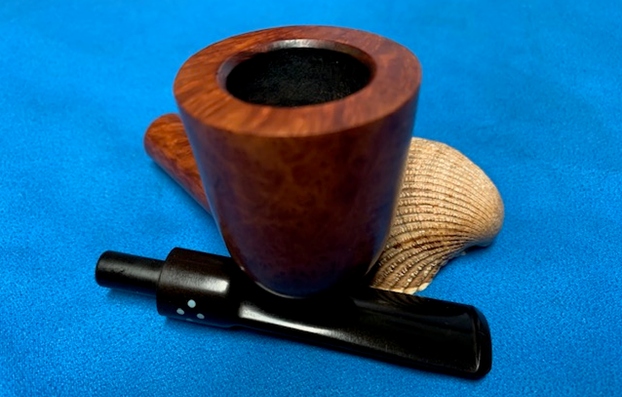
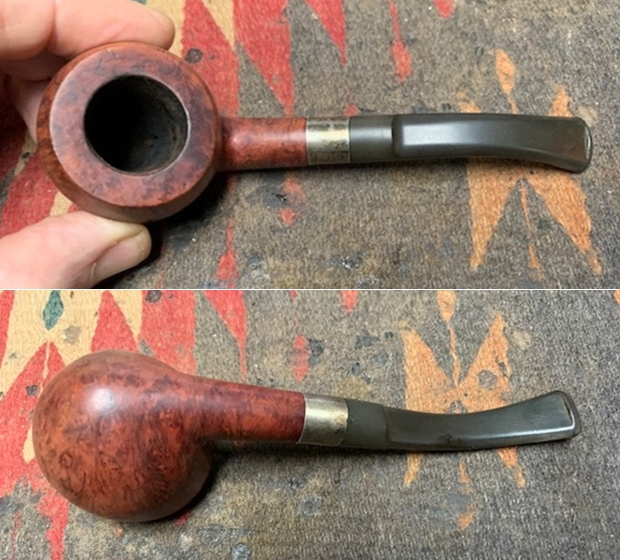
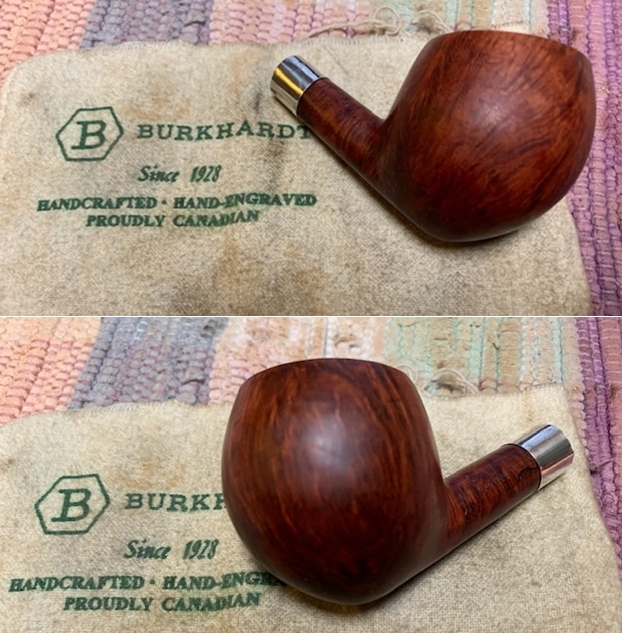
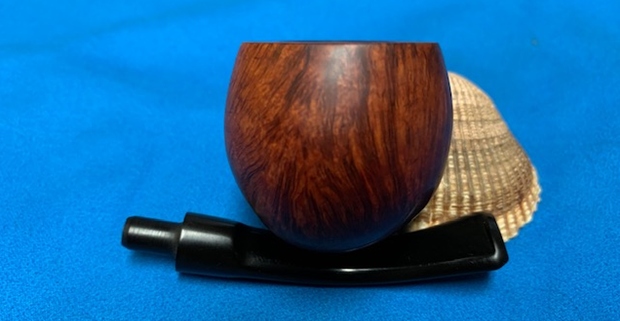
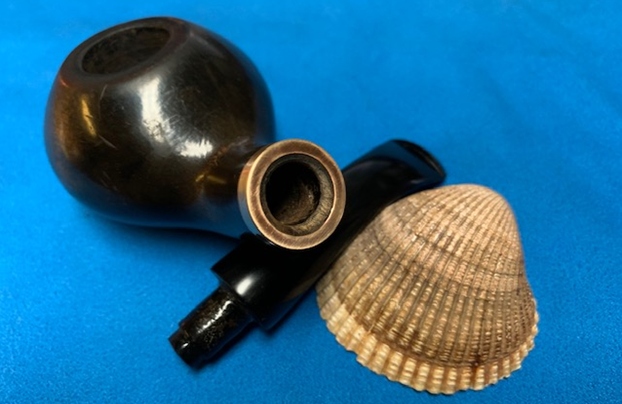
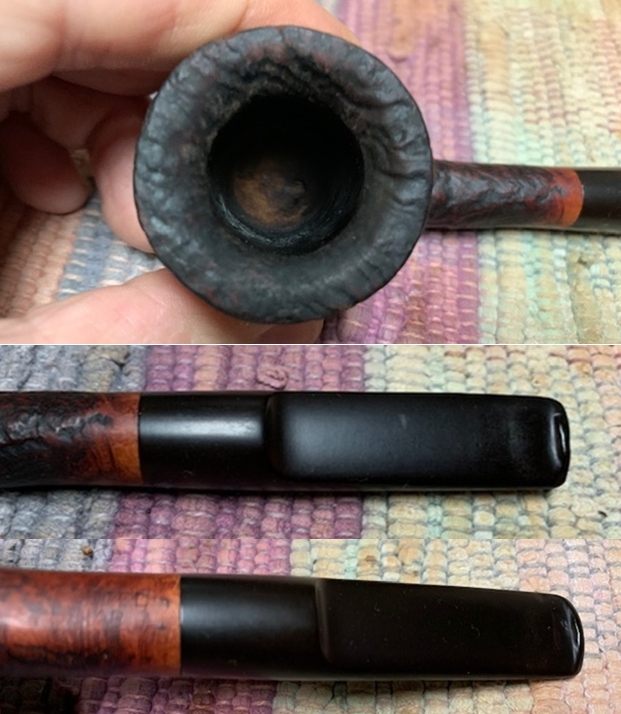
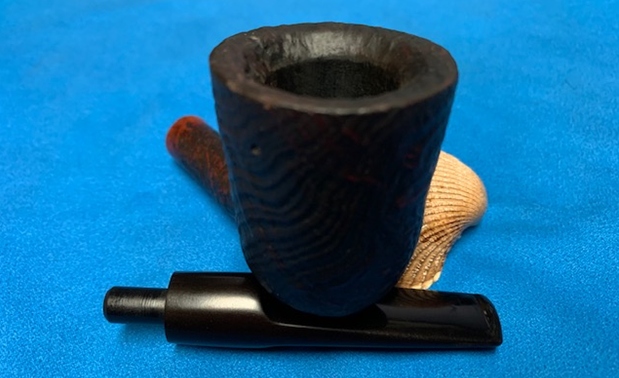
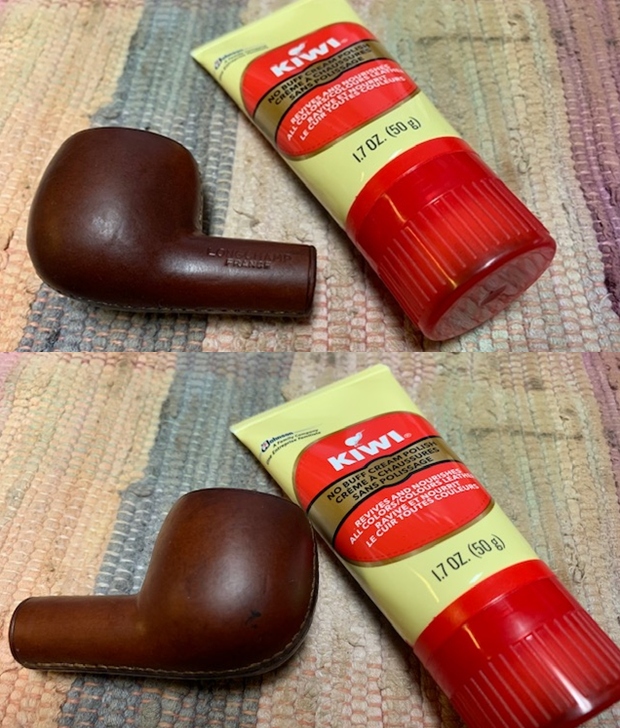
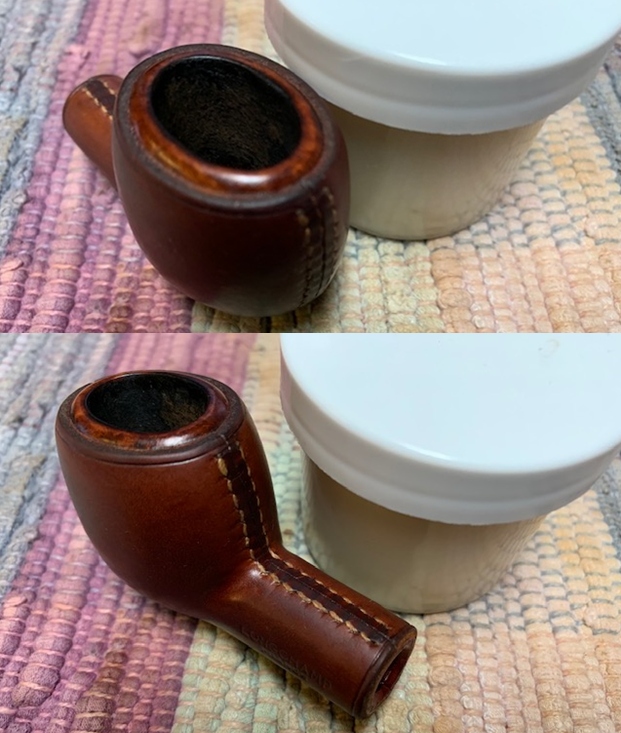
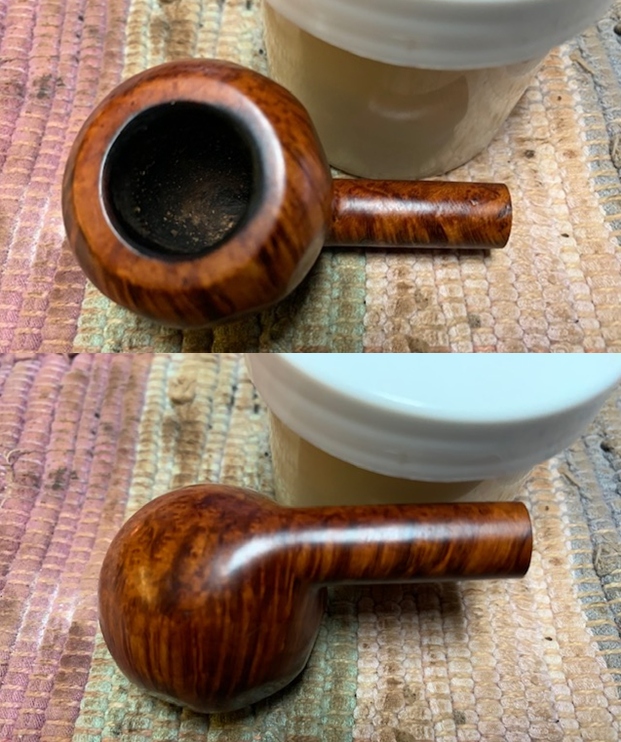
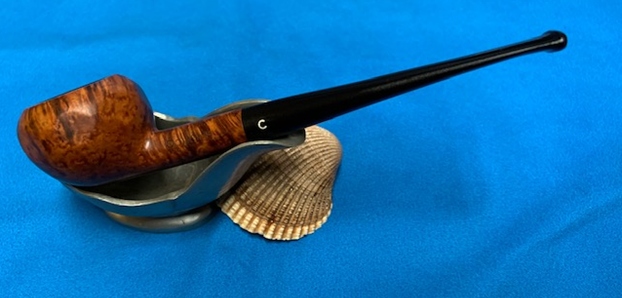
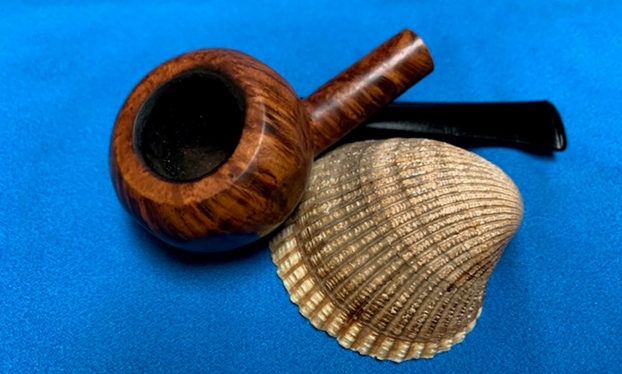
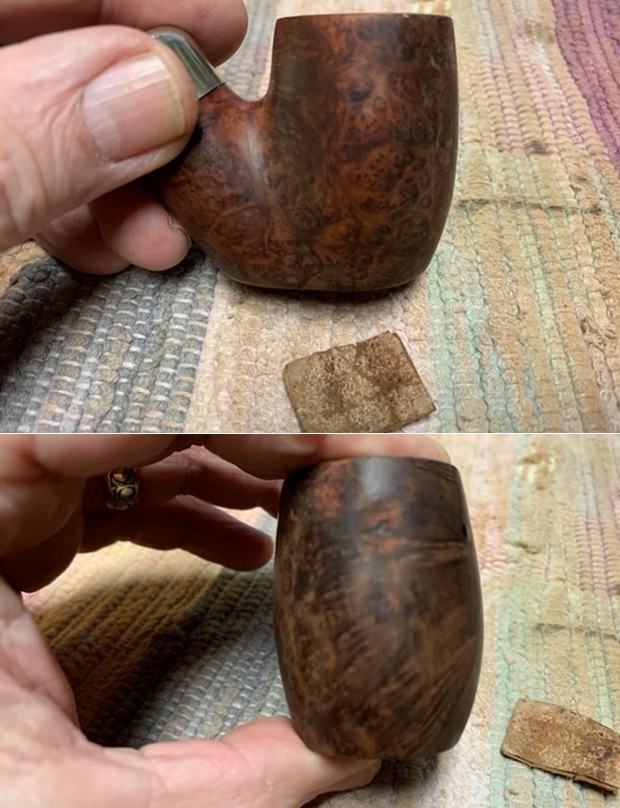
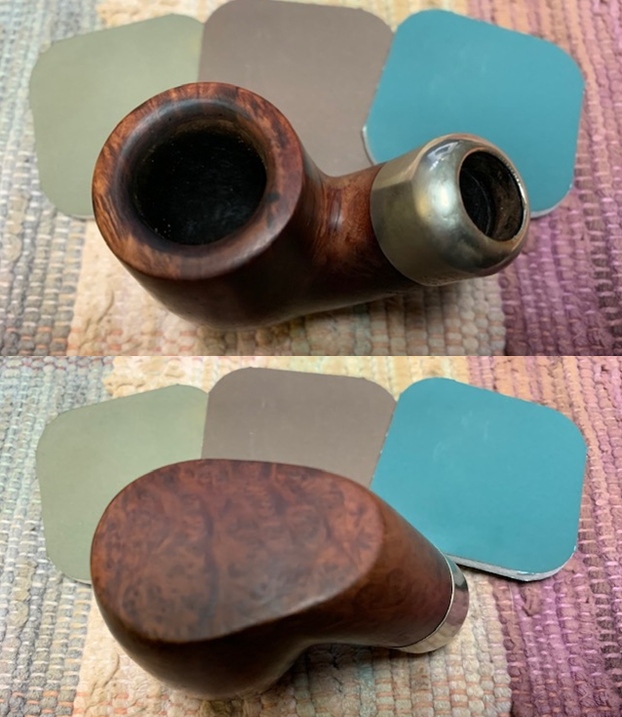
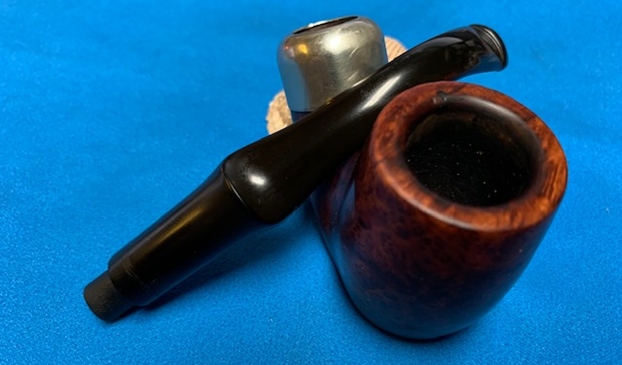
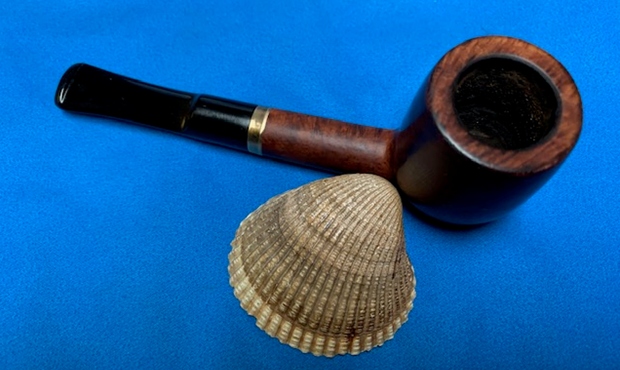
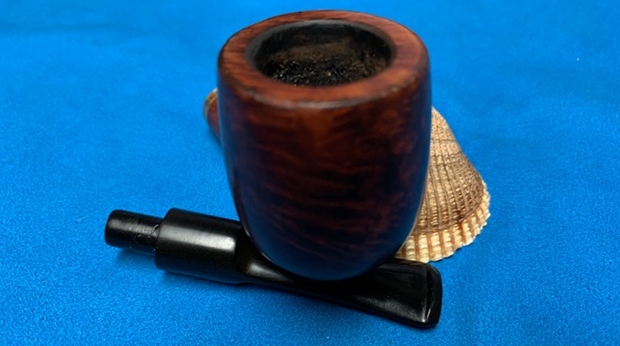
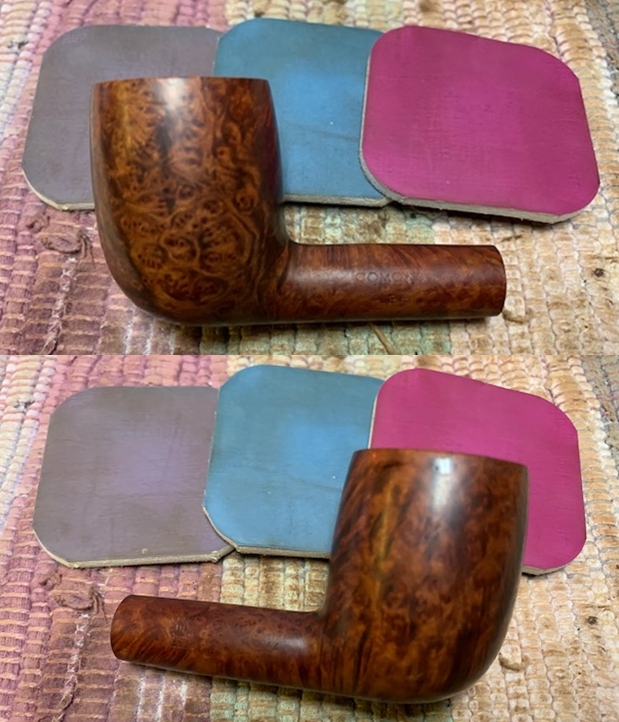
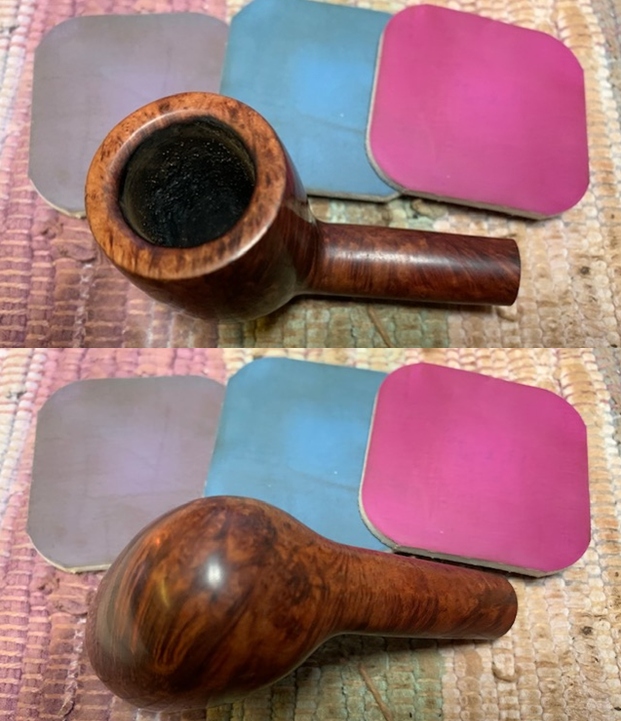
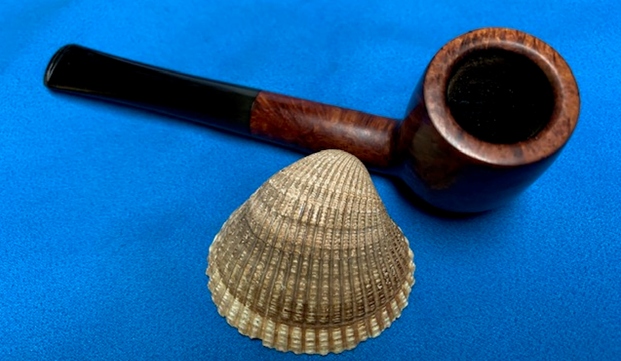
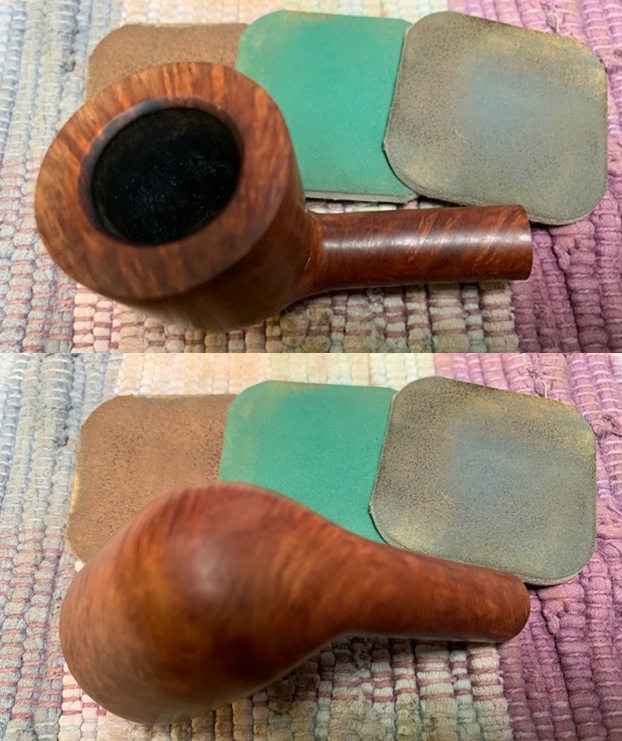
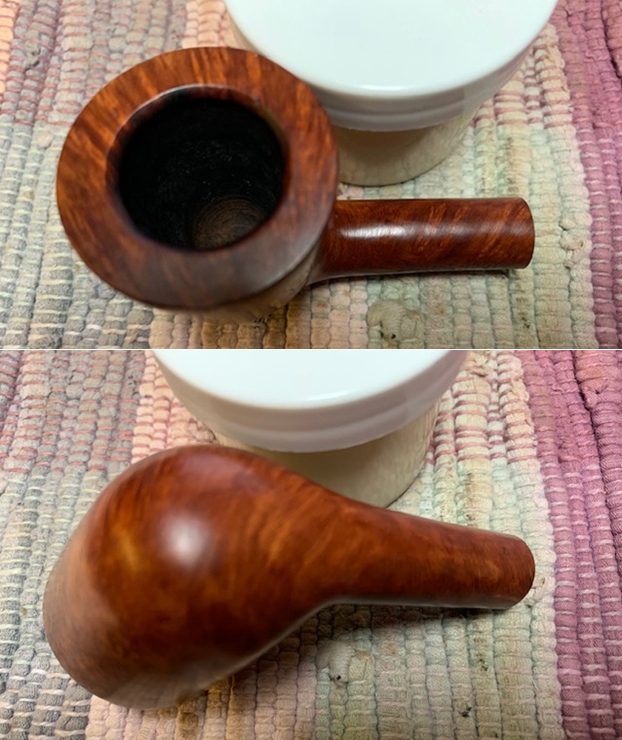
 The rim top cleaned up really well. The rim top and outer edge of the bowl appear to be in good condition. The beveled inner edge also looked good. The stem surface looked good with a few small tooth marks and chatter on both sides near the button. There was also some remaining oxidation visible on the stem.
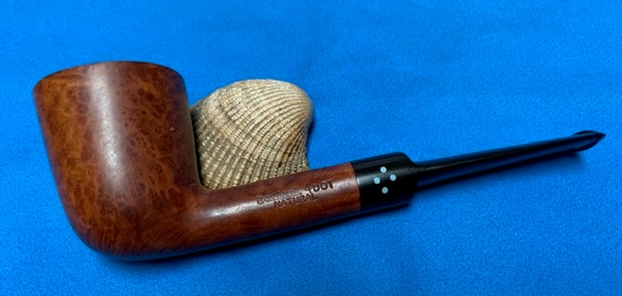
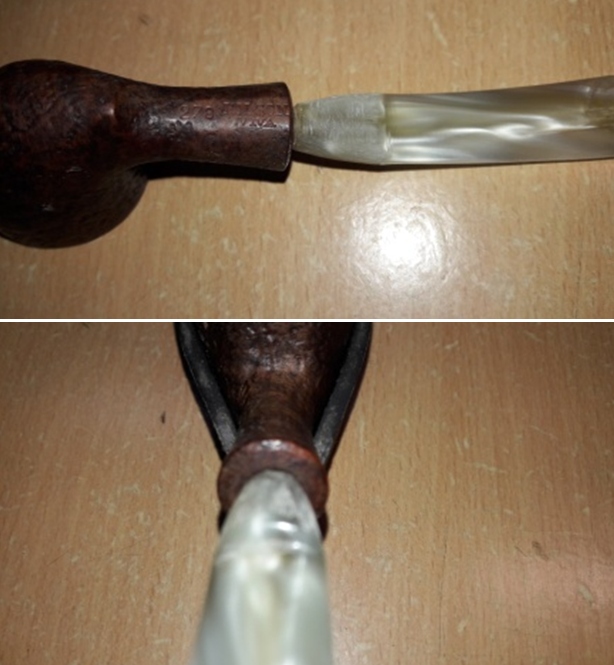
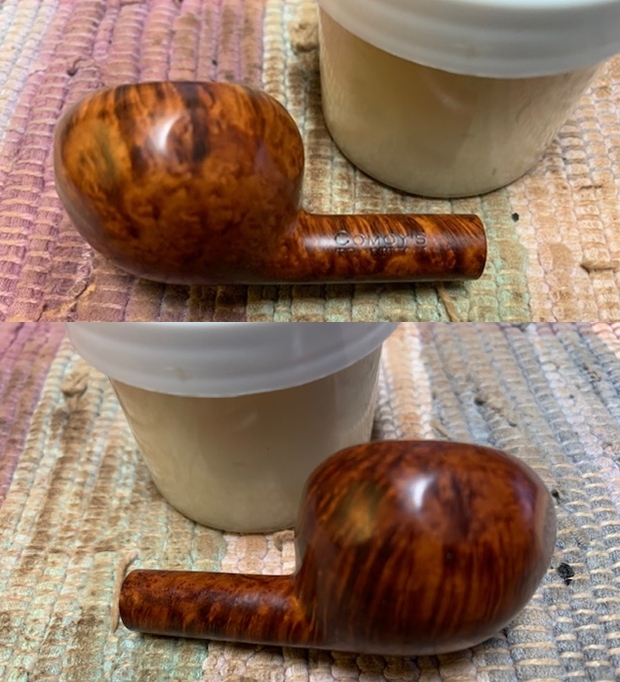
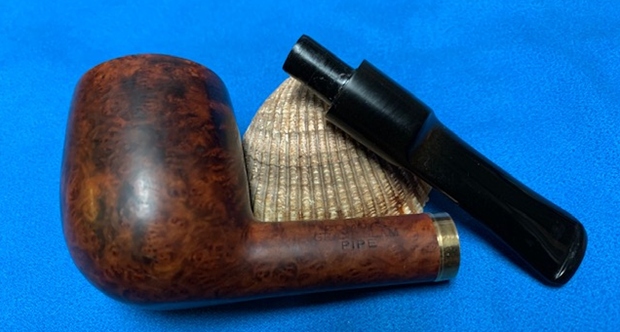
  The stamping on the left and underside of the shank is clear and readable and reads as noted above.
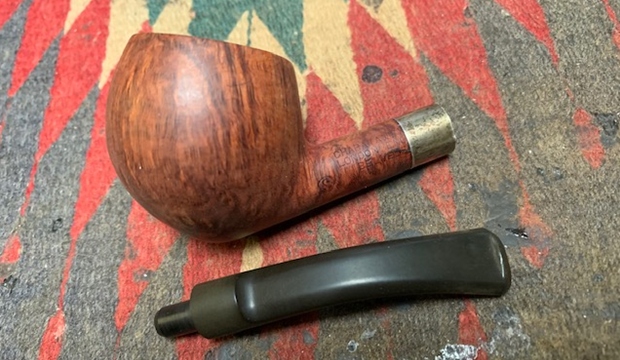
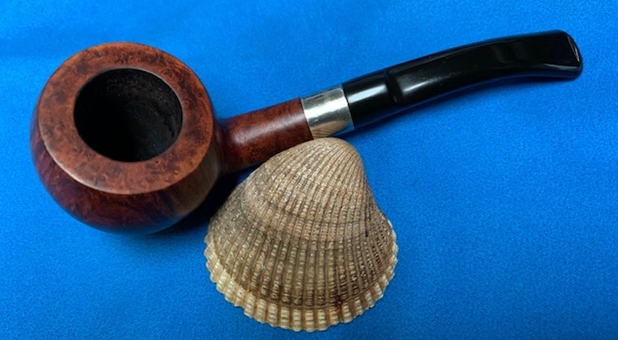
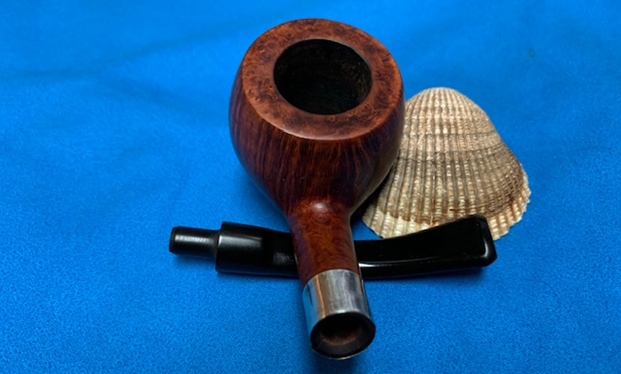
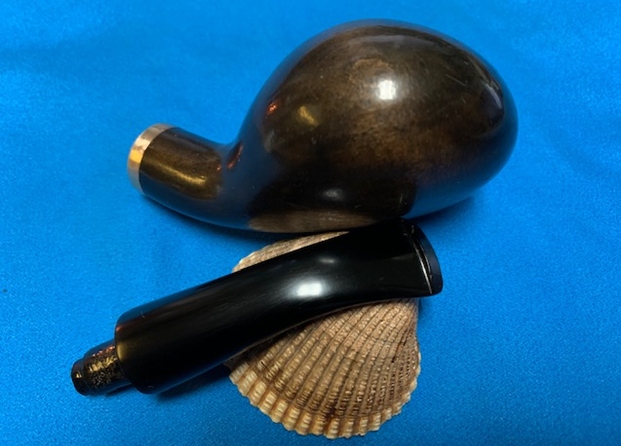
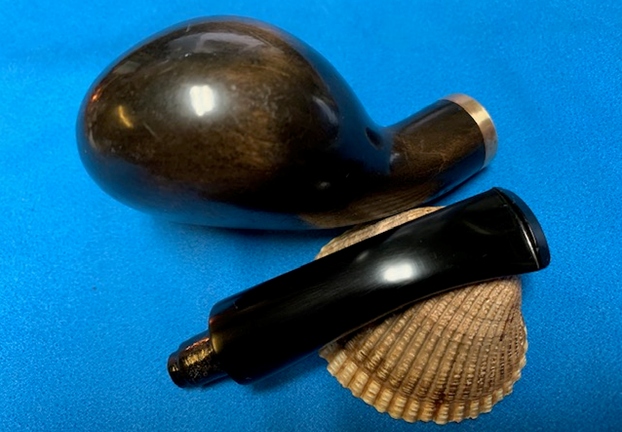
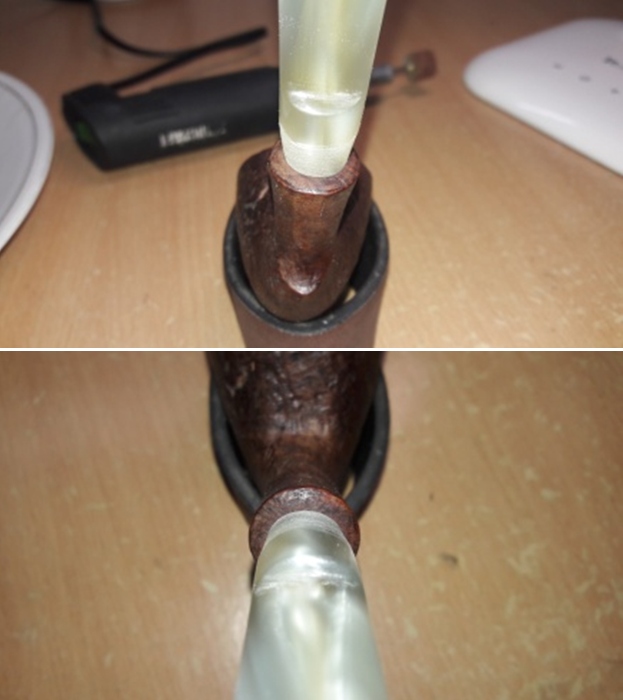
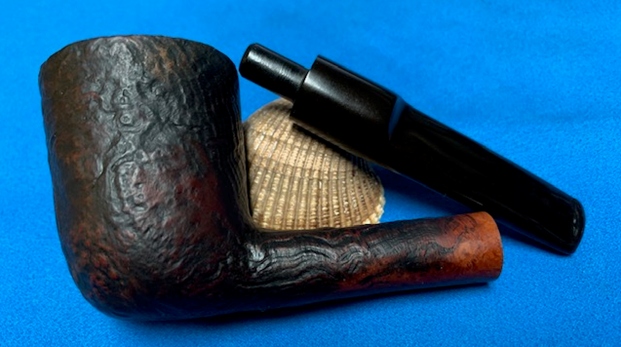
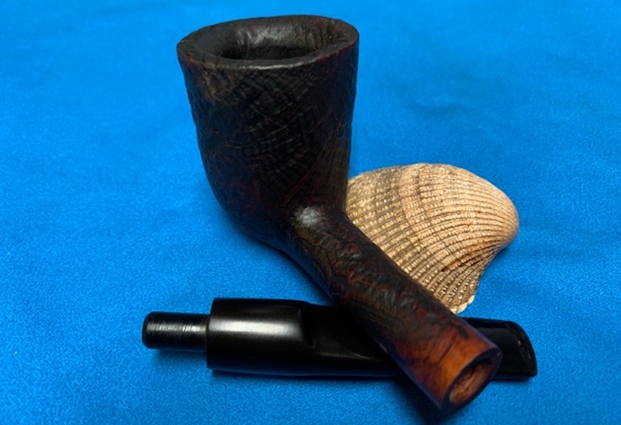
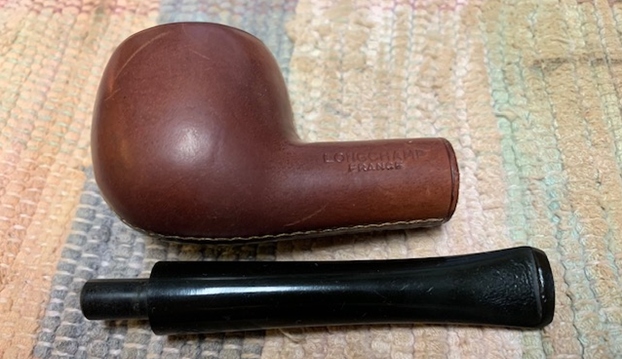
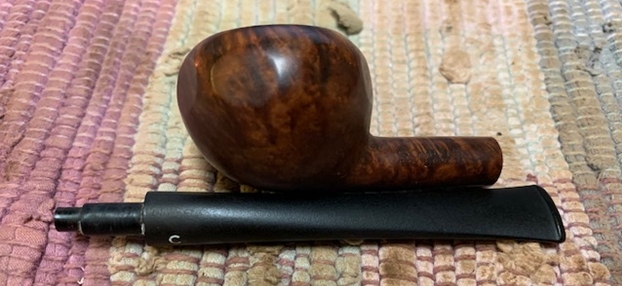
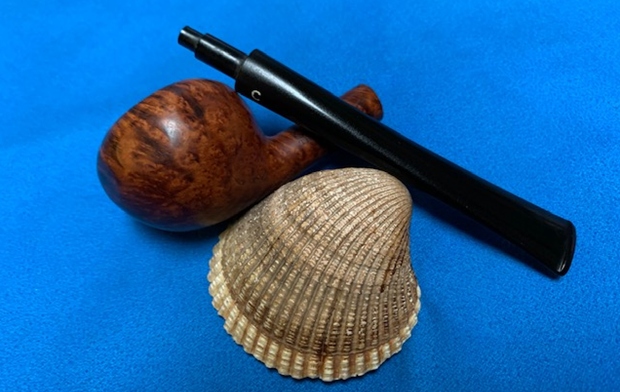
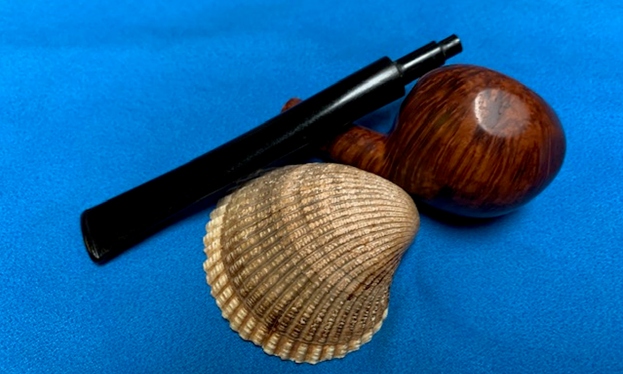
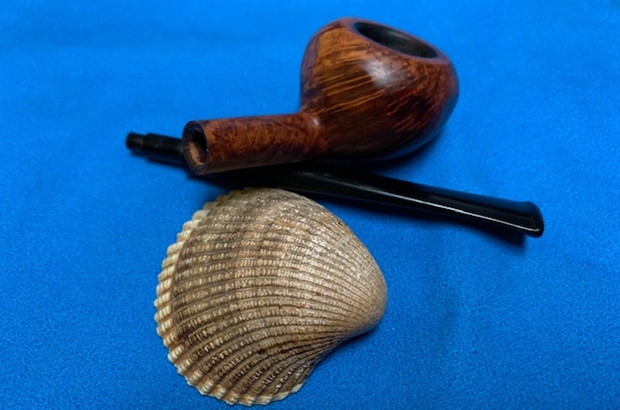
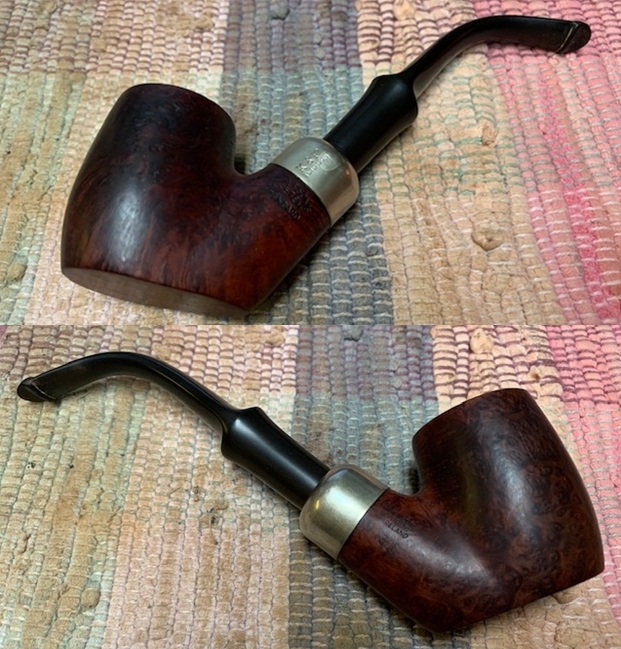
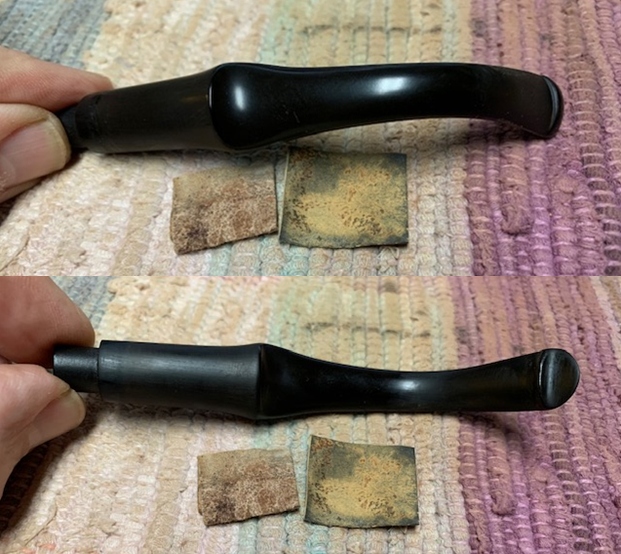
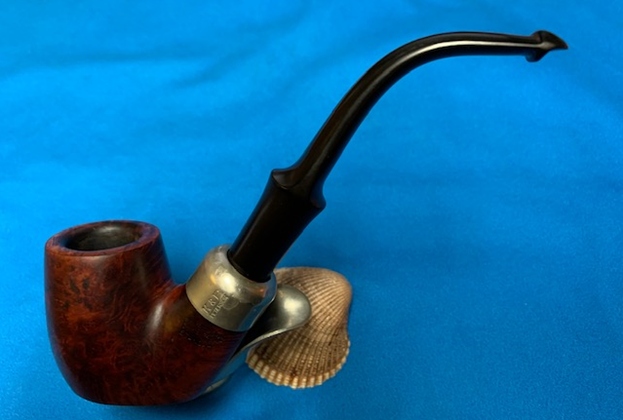
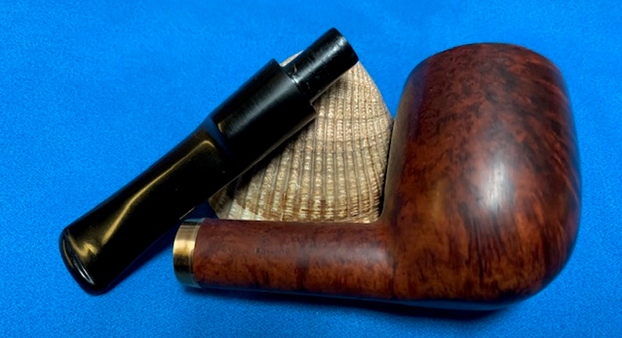
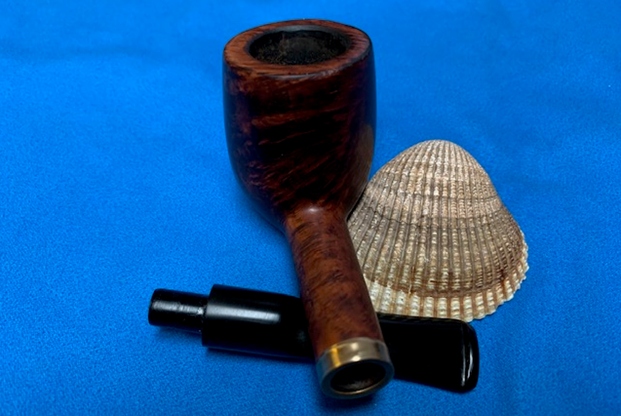
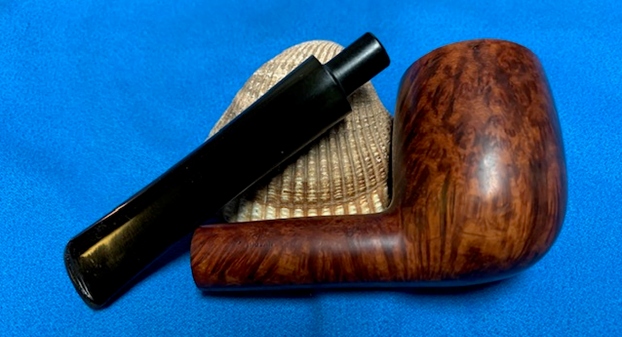
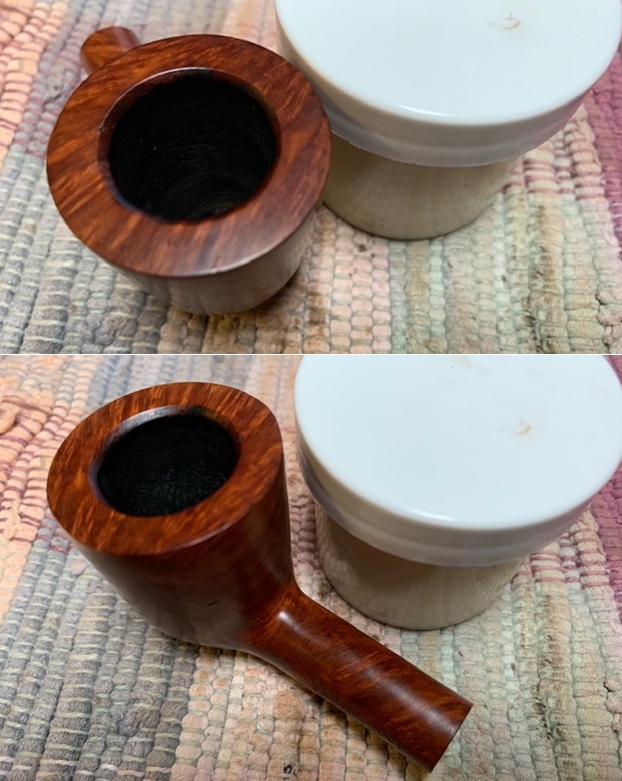
 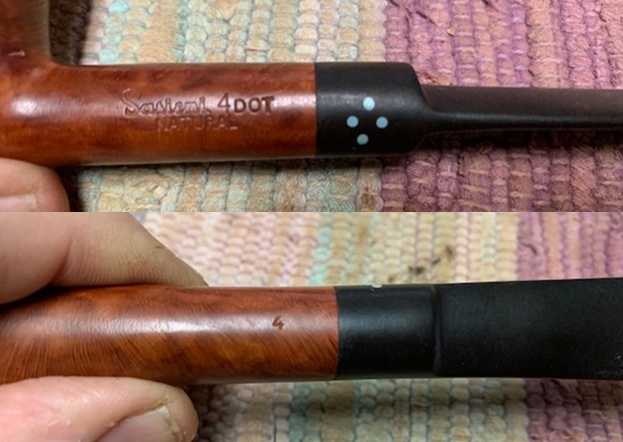 I removed the stem and took a photo of the pipe to give a sense of the whole. The stem is a saddle with 4 Blue dots on the left side.
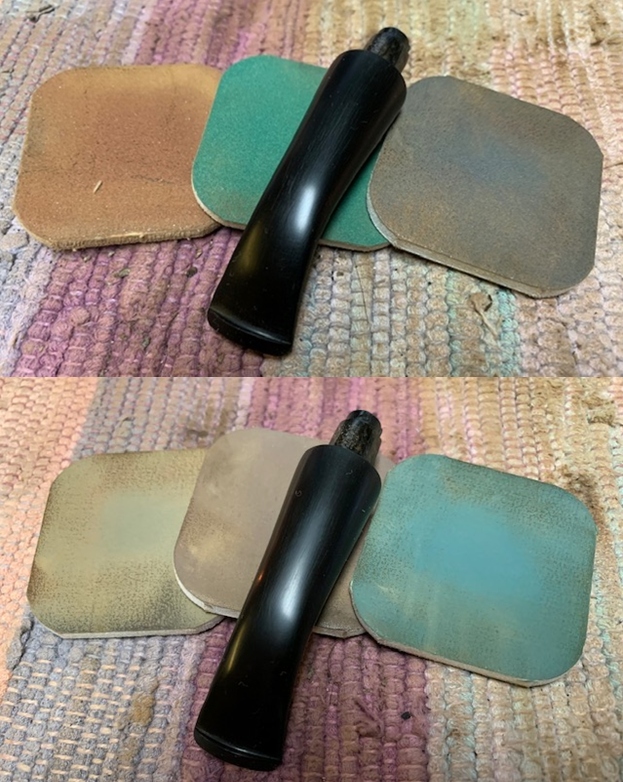
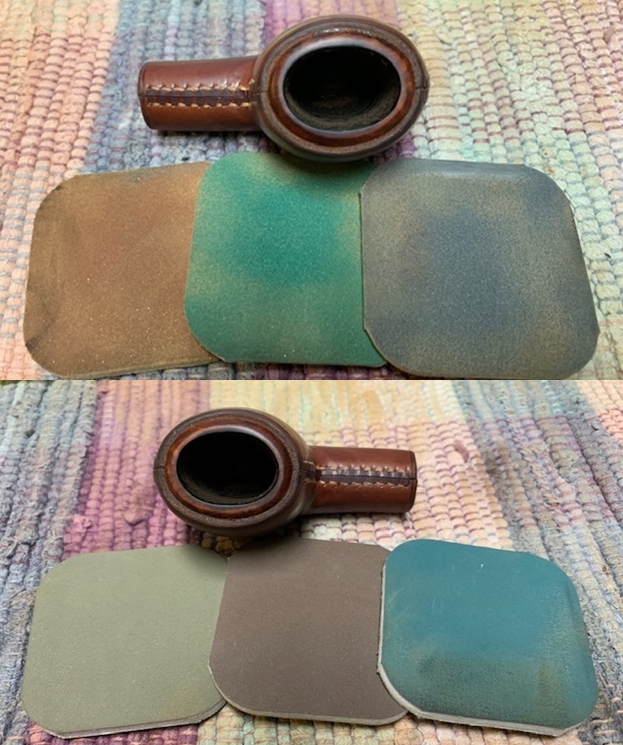
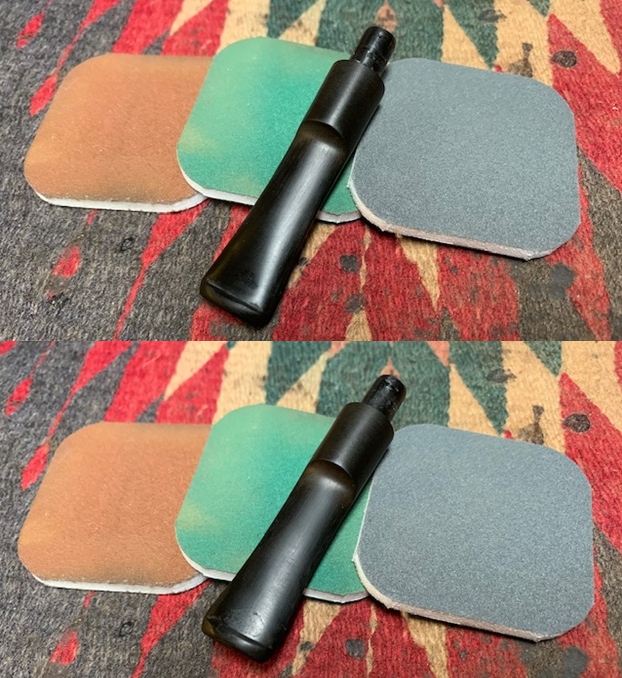
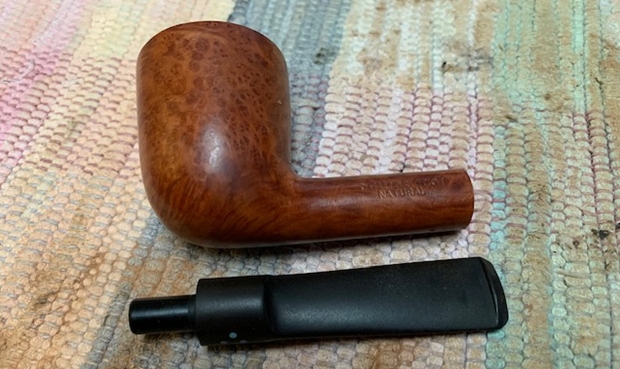 Now it was time to do my work on the pipe. I polished the repaired areas and the rest of the briar with micromesh sanding pads – wet sanding with 1500-12000 grit pads and wiping it down after each pad with a damp cloth.
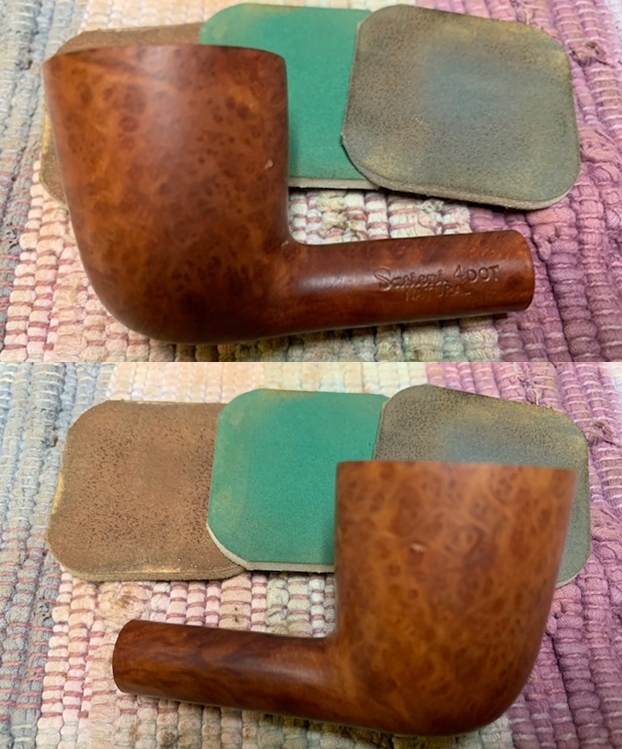

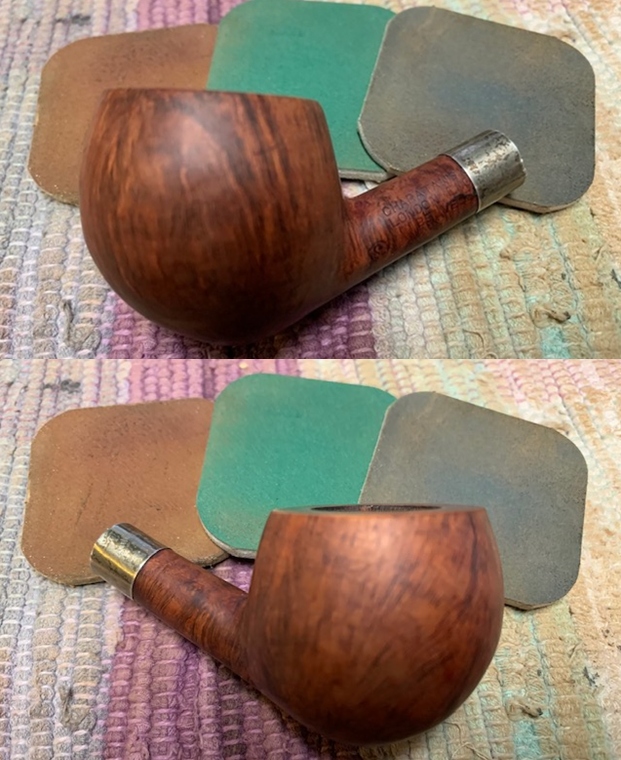
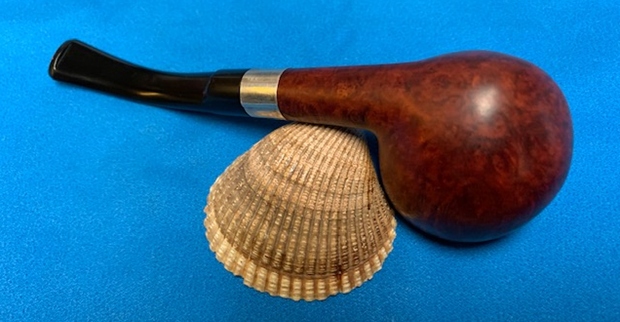
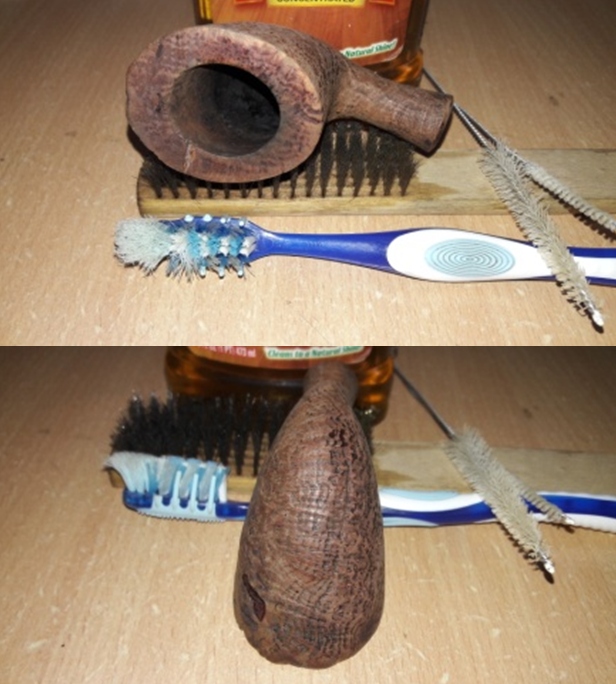
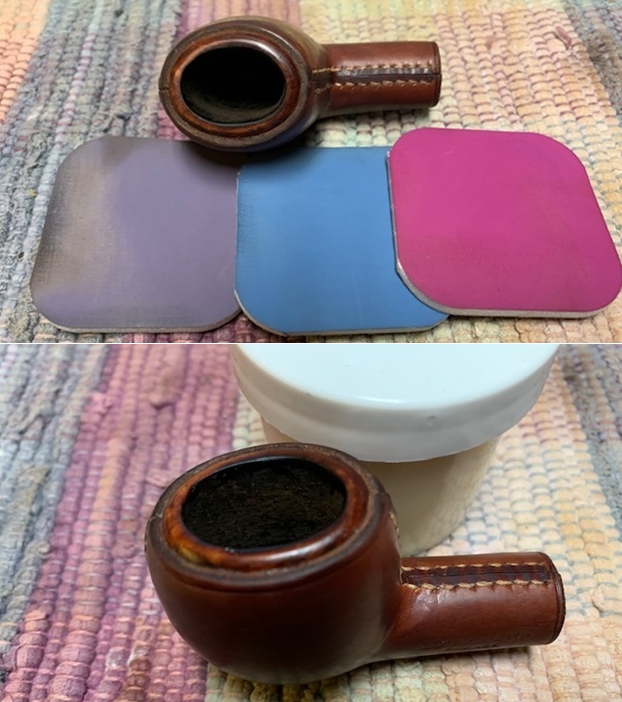
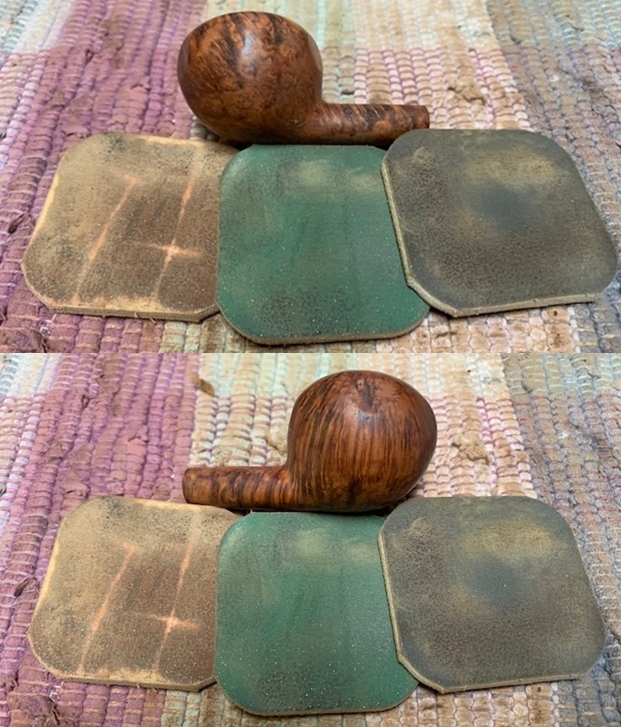
 I rubbed the bowl and shank down with Before & After Restoration Balm. I worked it into the surface of the bowl sides and shank with my fingertips to clean, enliven and protect the briar. I let the balm sit for a little while and then buffed with a cotton cloth to raise the shine. The grain came alive and the flaws while visible look better than when I began.
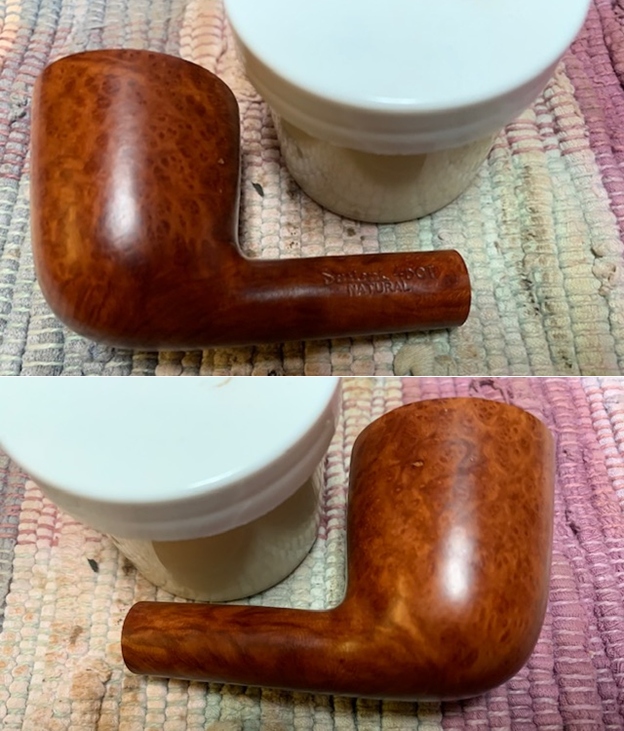
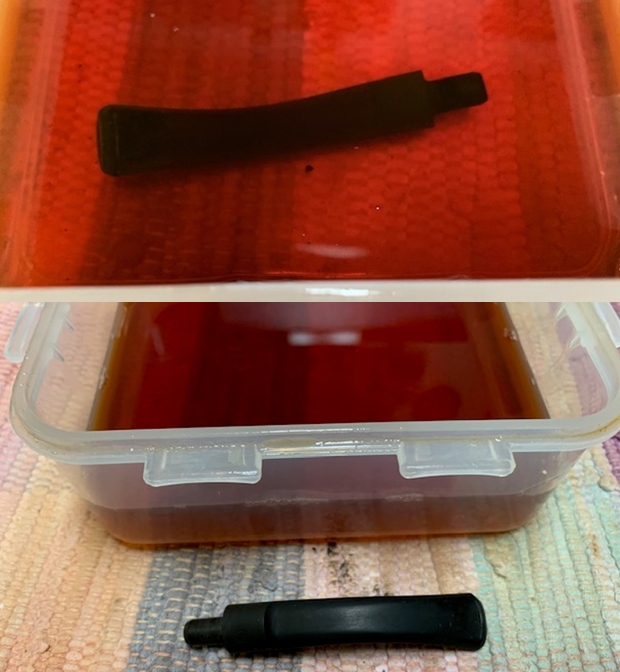
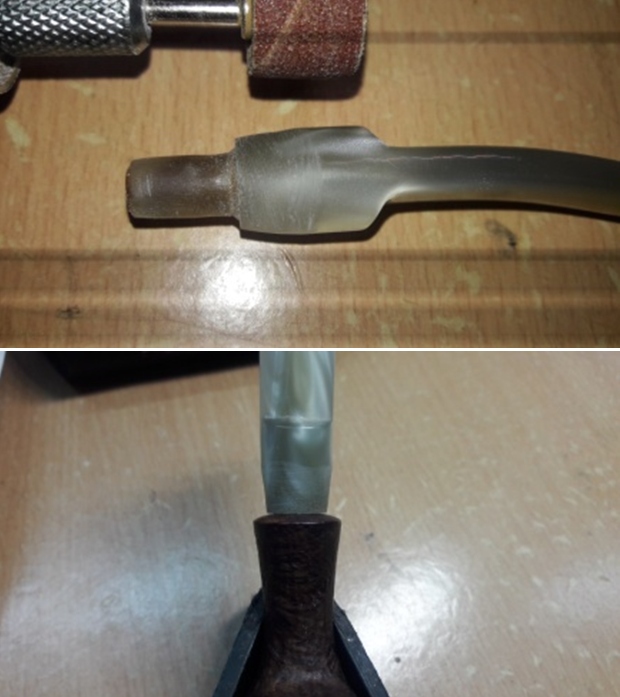
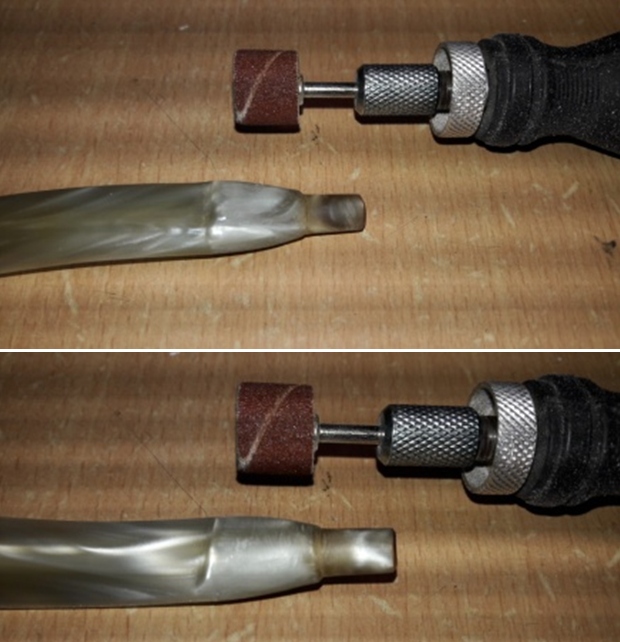
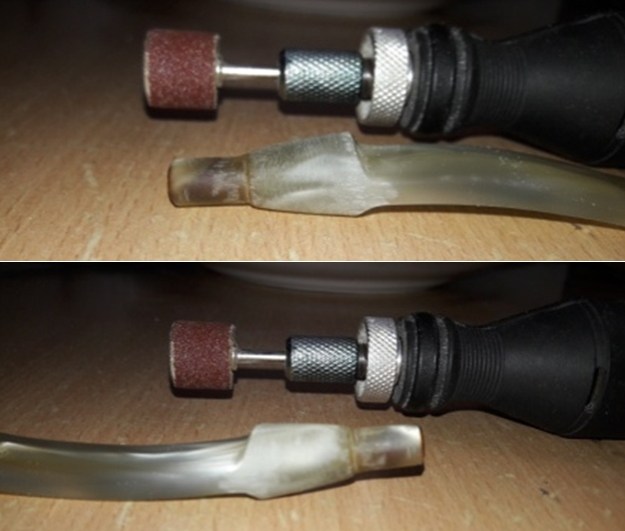
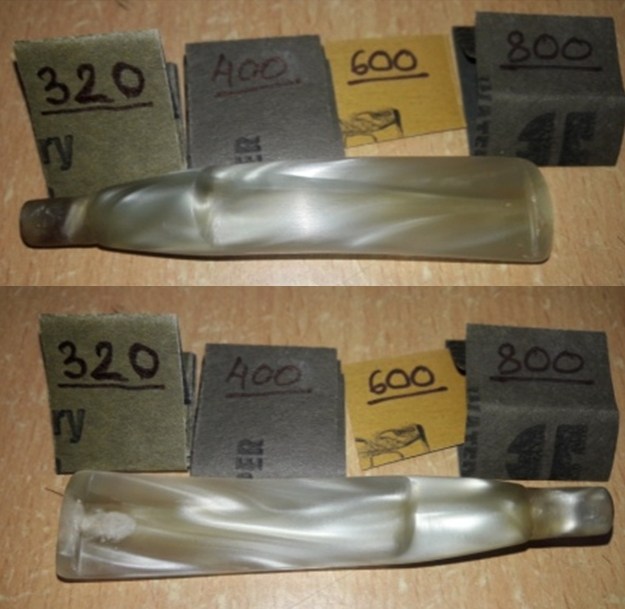
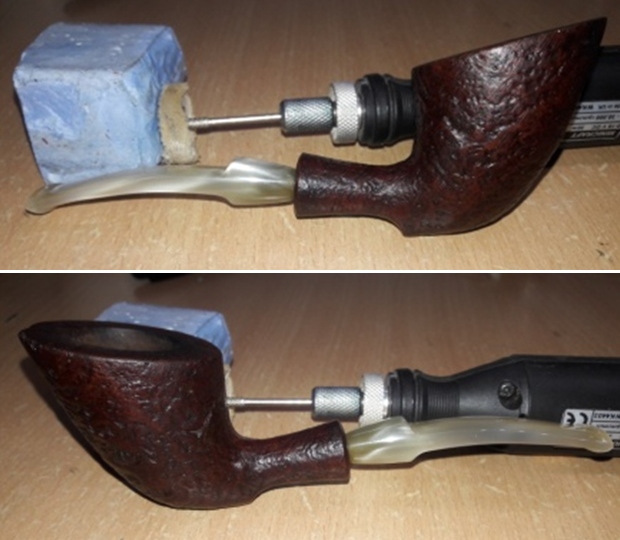
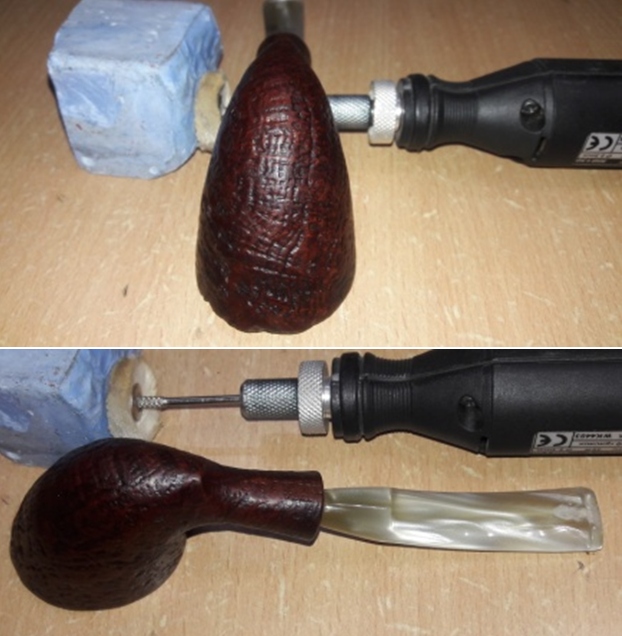
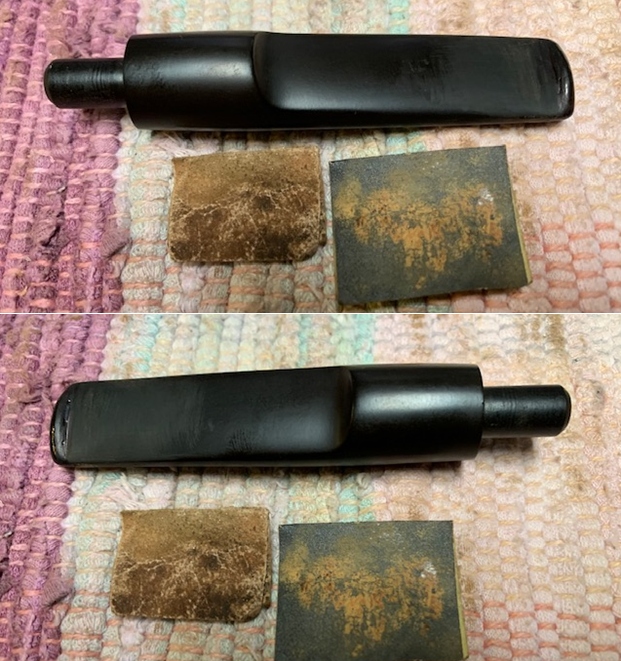
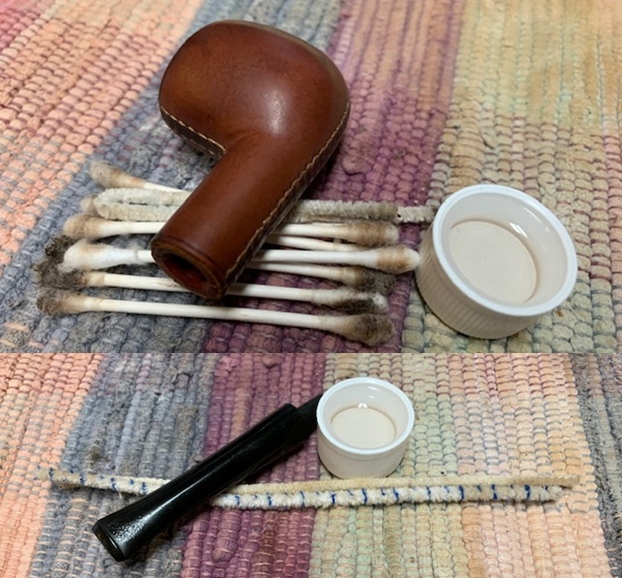
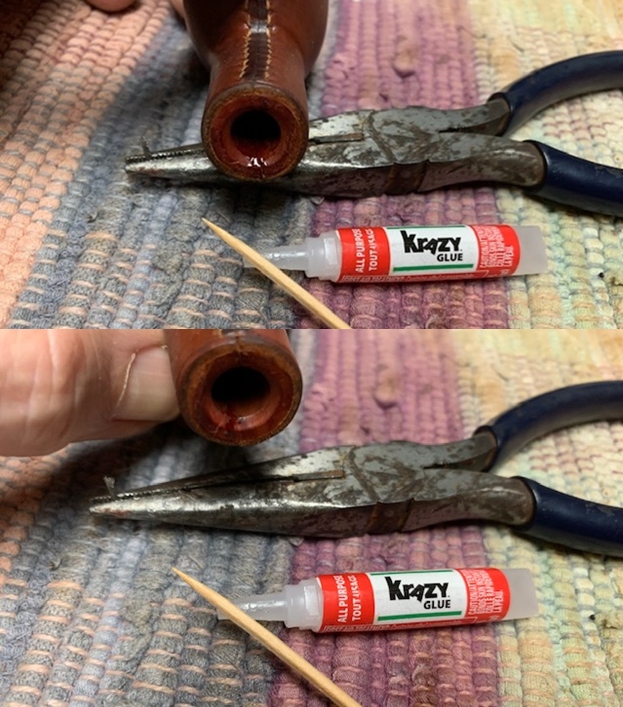
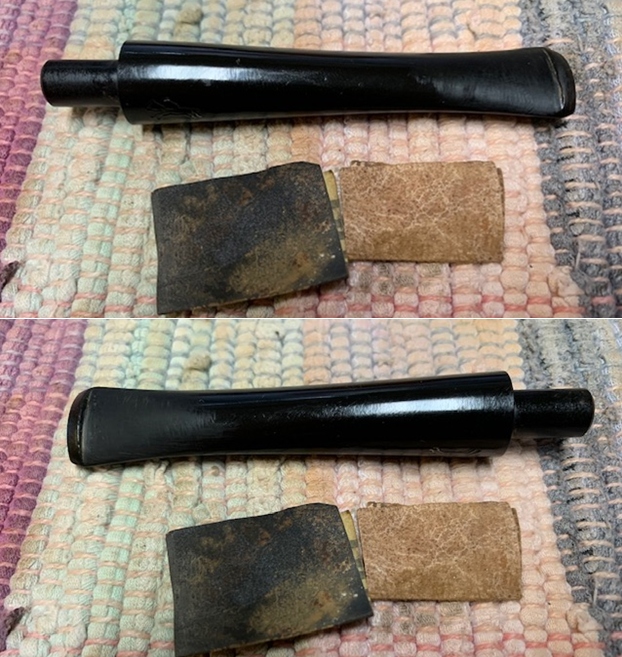
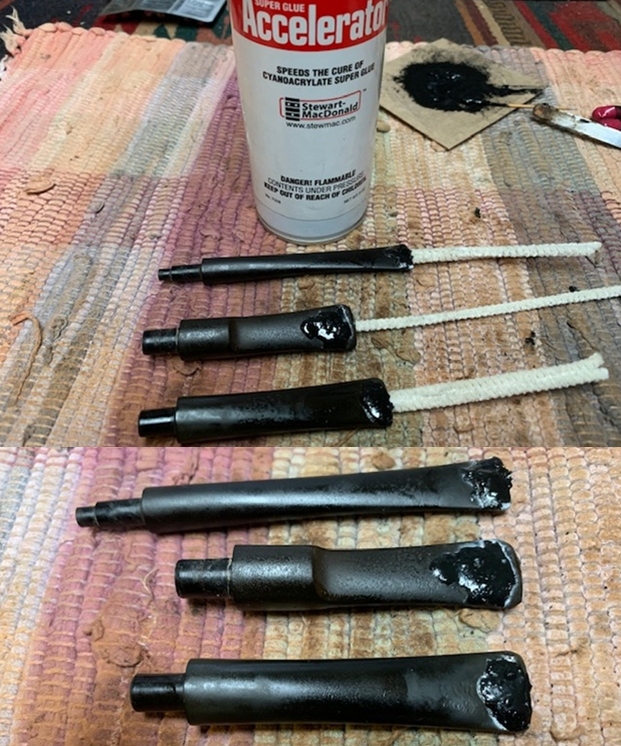
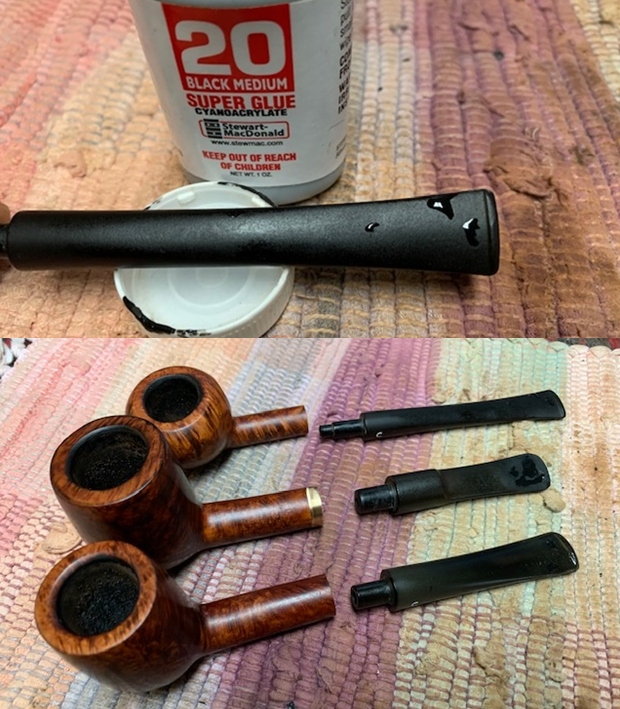
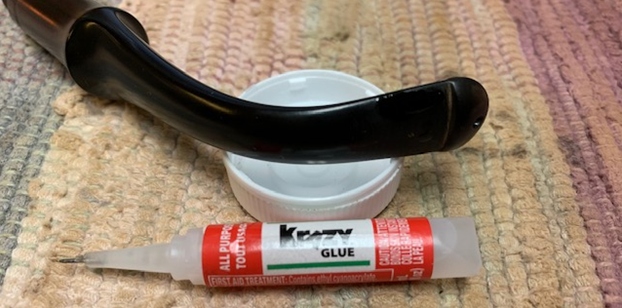
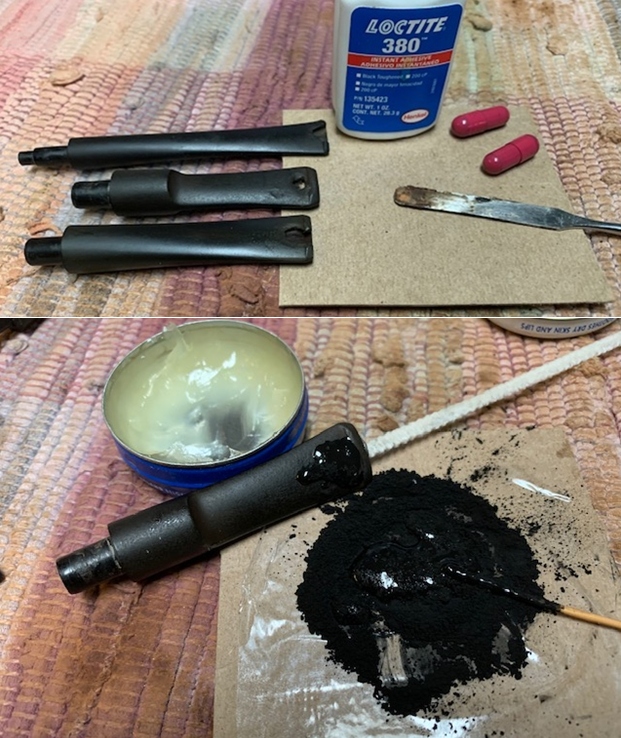
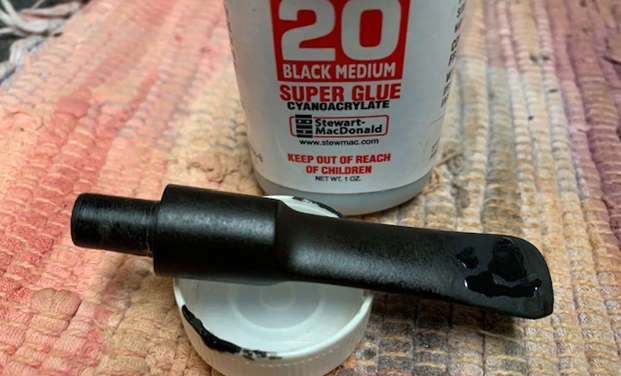
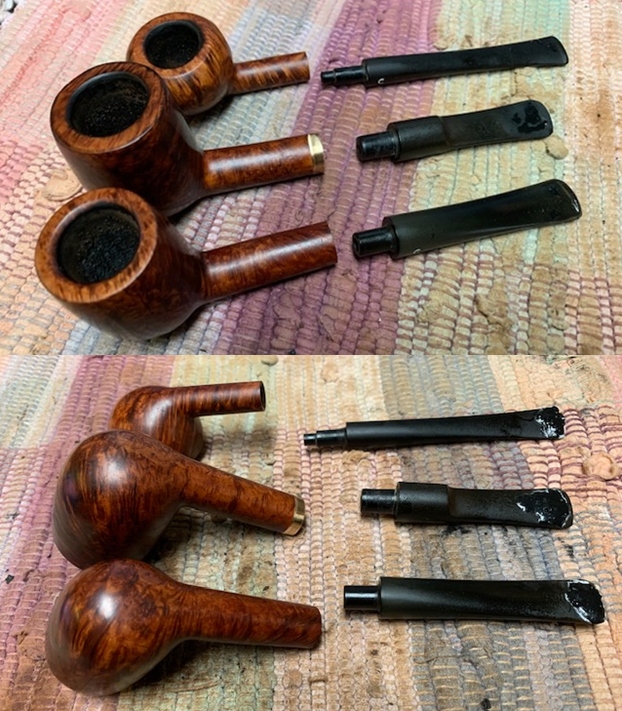
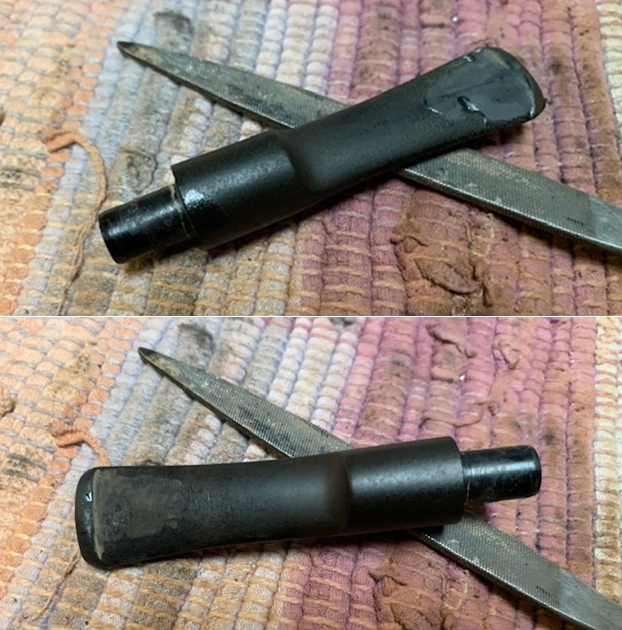
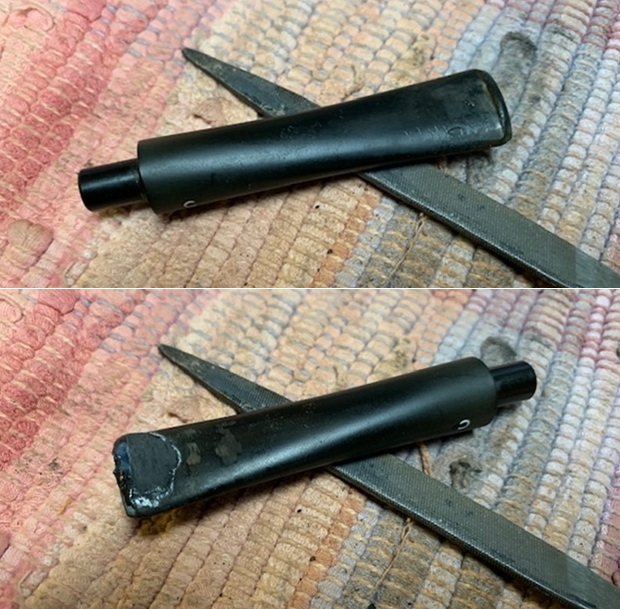
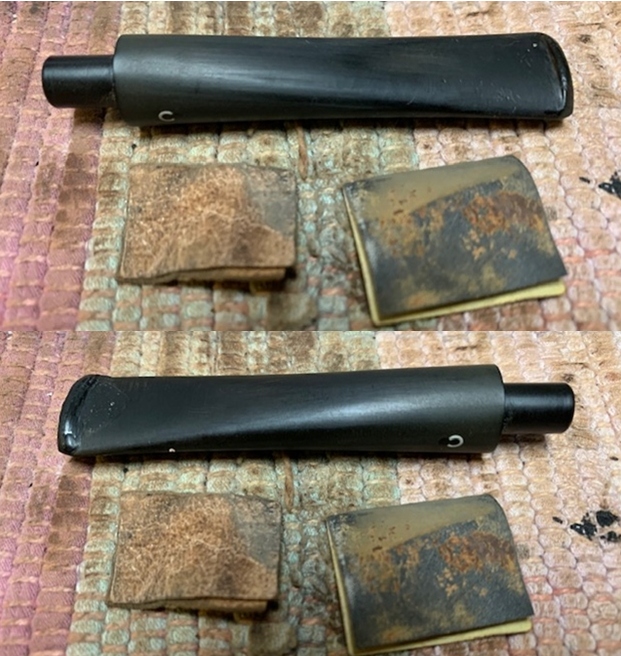
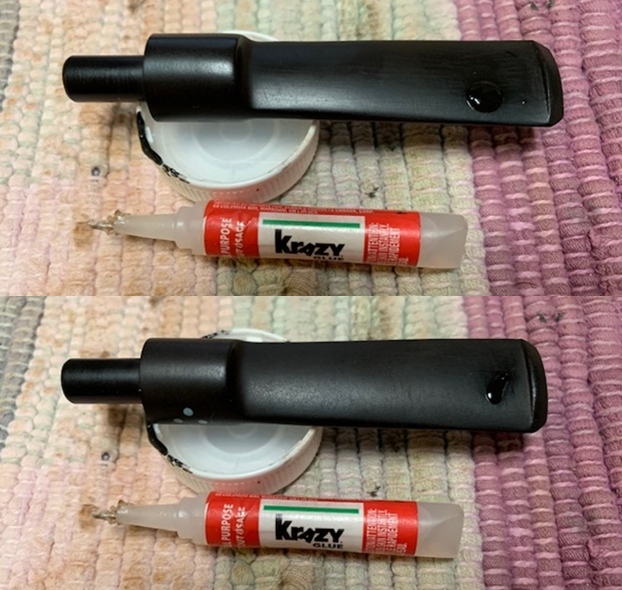
 I set the bowl aside and turned to work on the stem. I “painted” the stem with the flame of Bic lighter to lift the tooth marks in the surface of the vulcanite. While I was able to life most of them a few remained on each side. I filled these in with clear super glue. Once the repairs cured I sanded them out with 220 grit sandpaper to blend them in and started the polishing with 400 grit wet dry sandpaper.
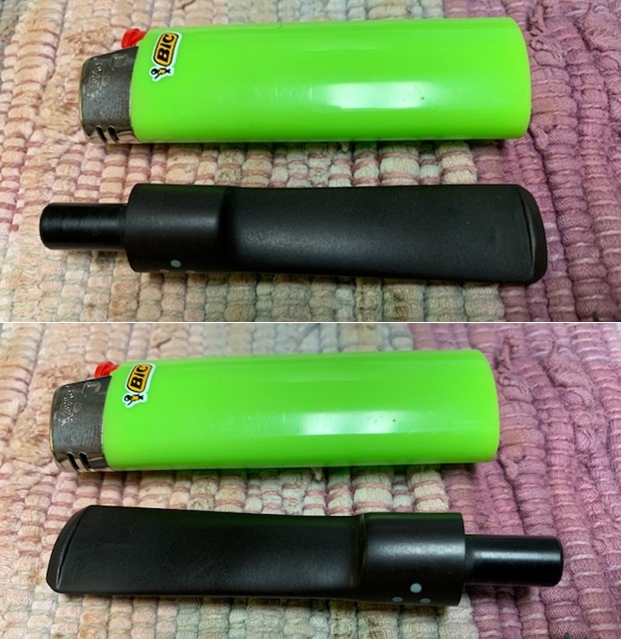
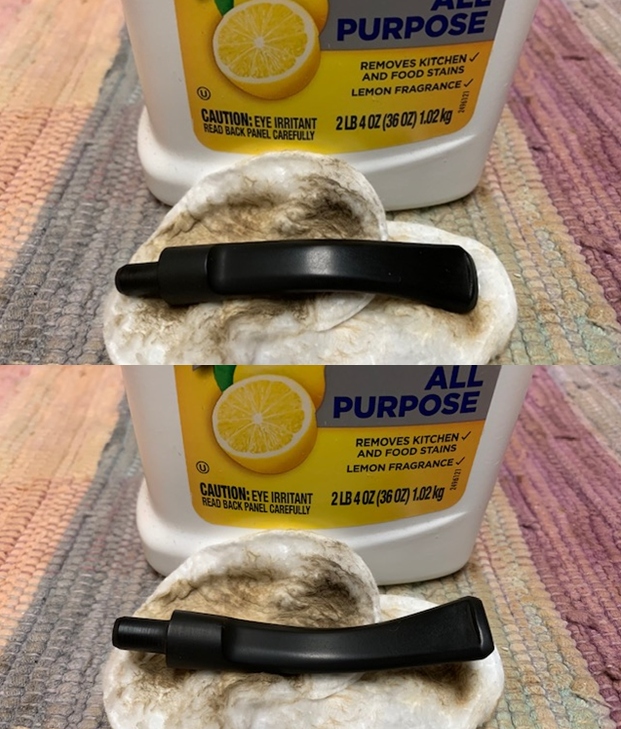
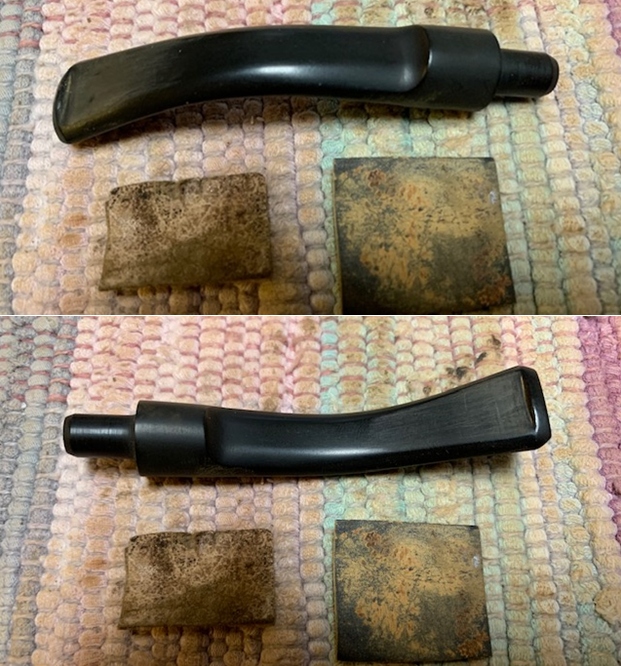
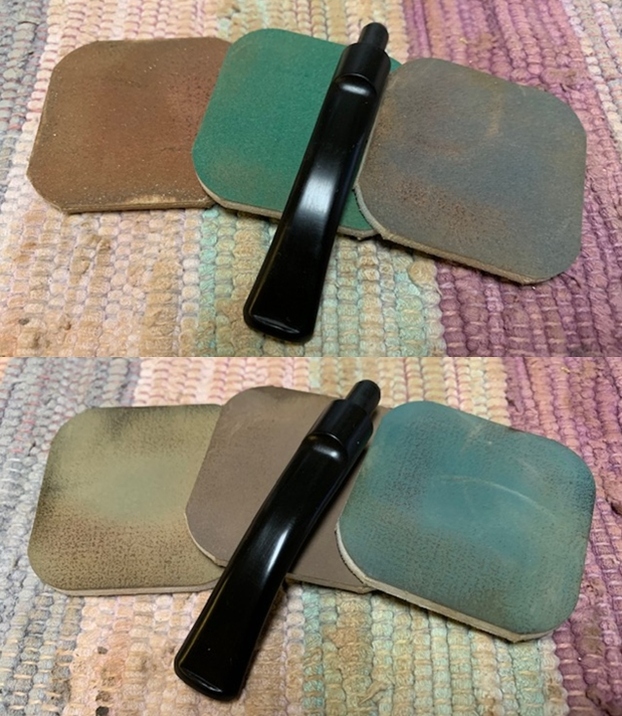
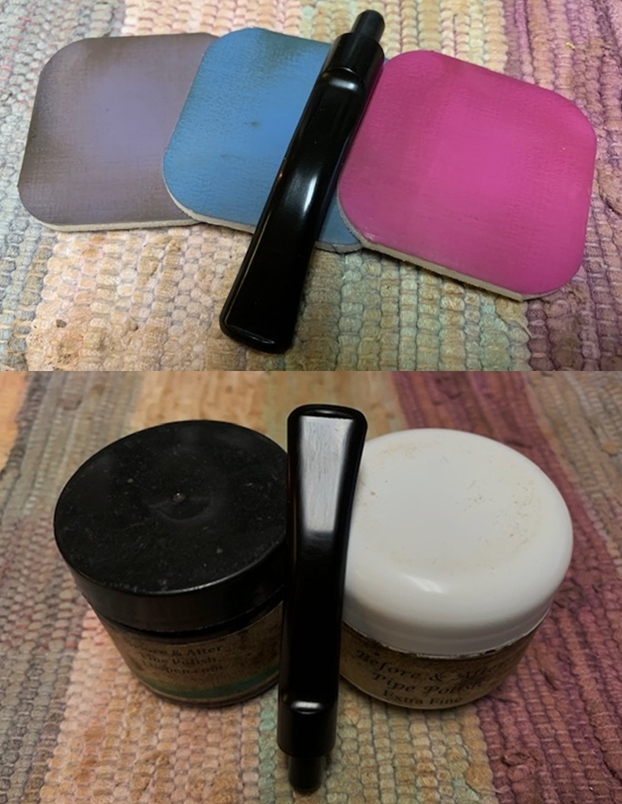
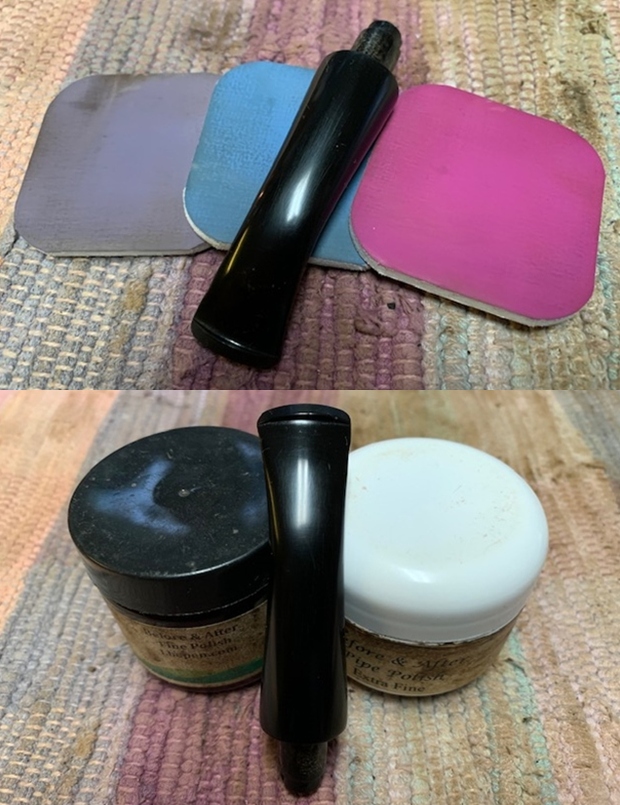
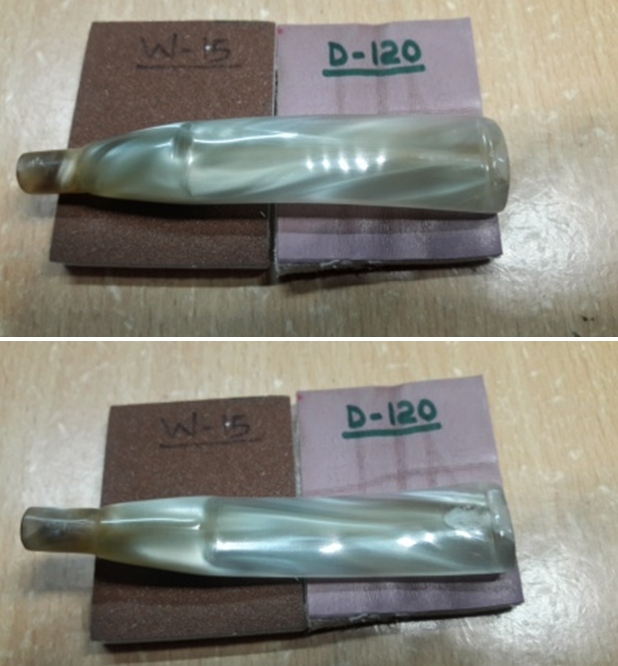
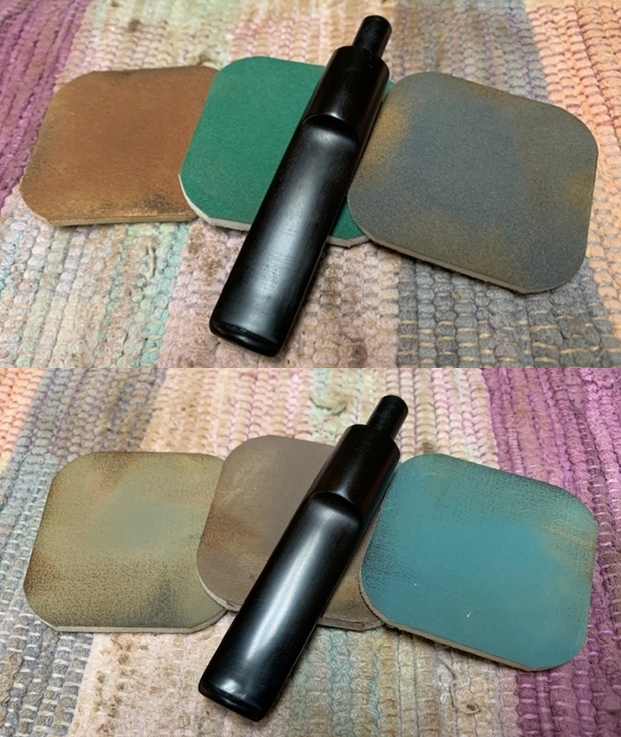
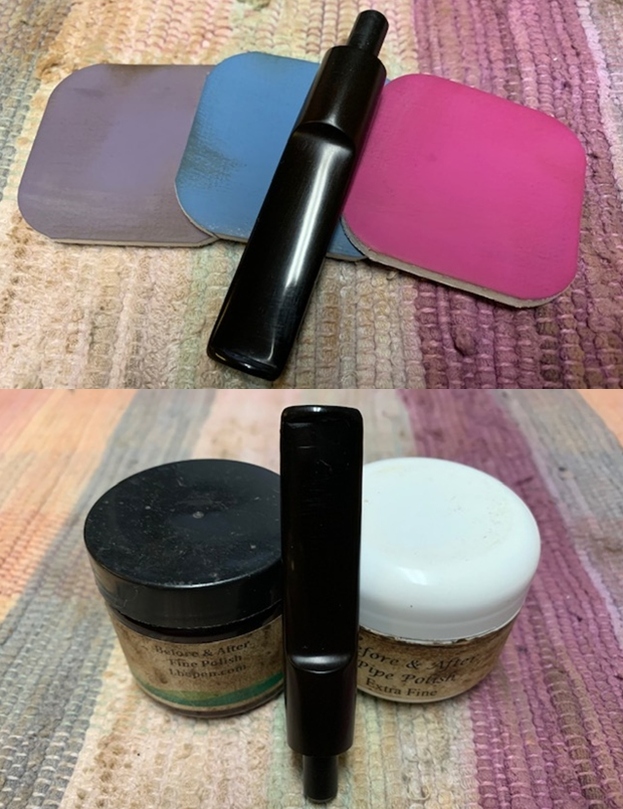
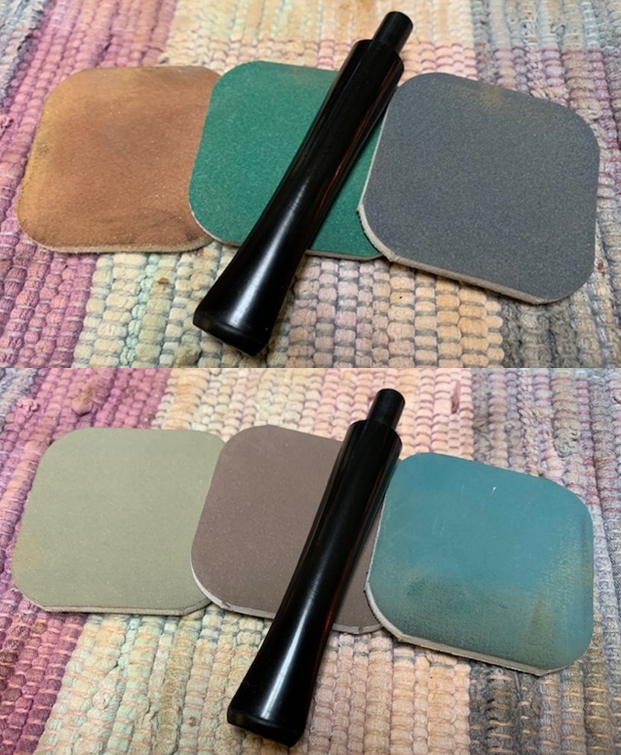
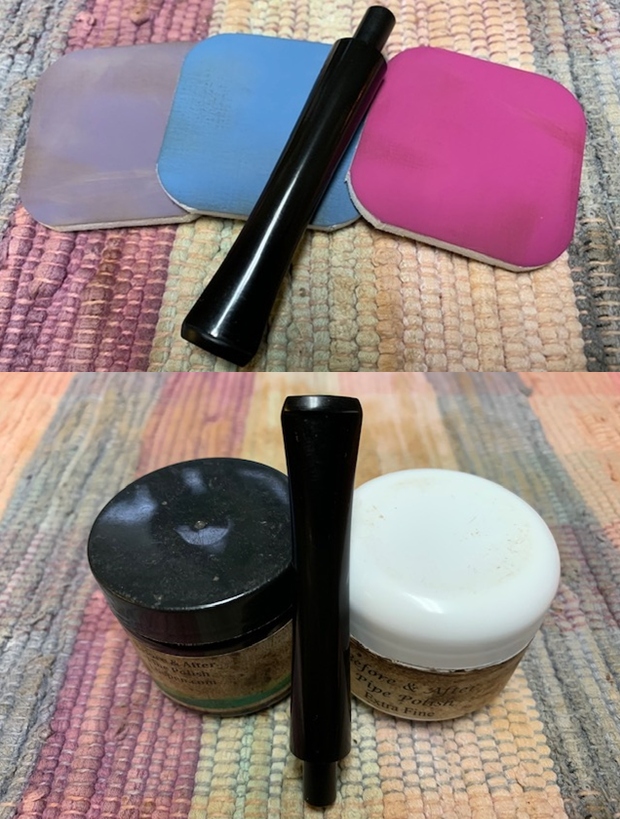
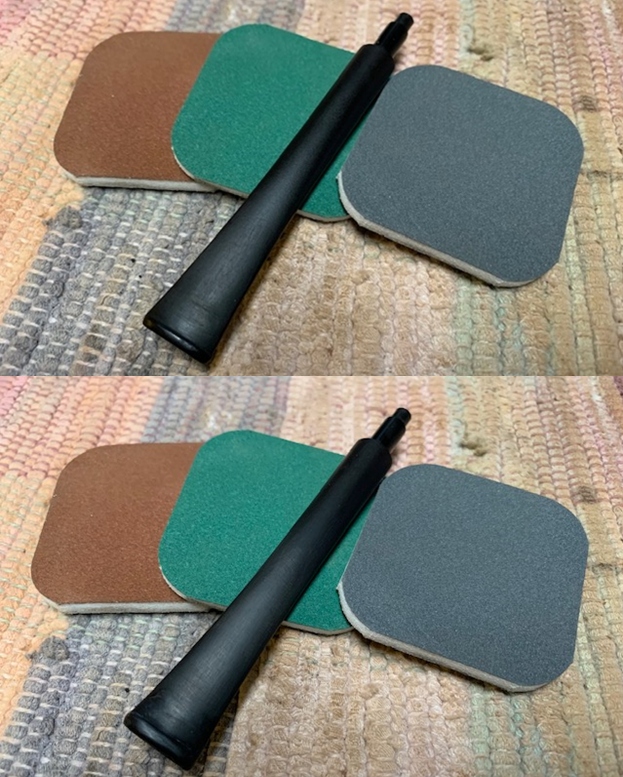
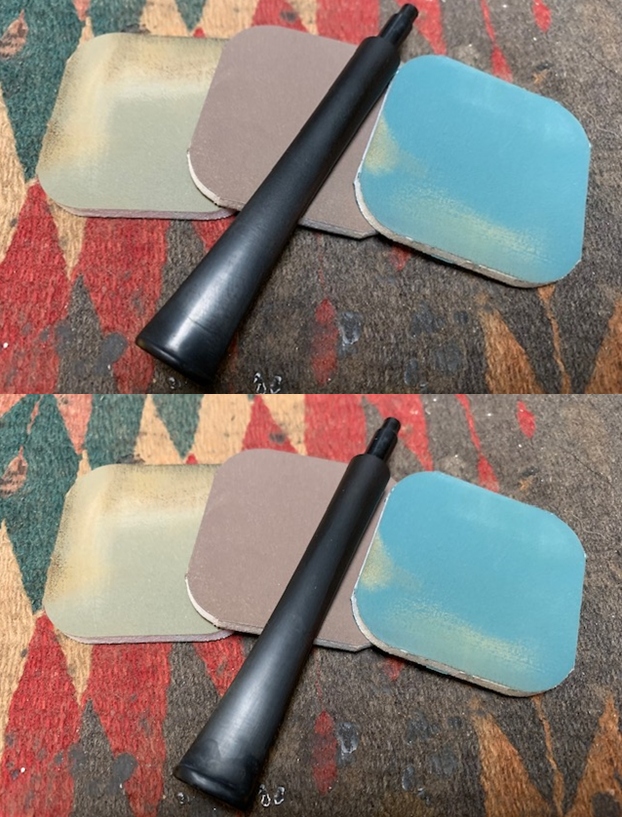
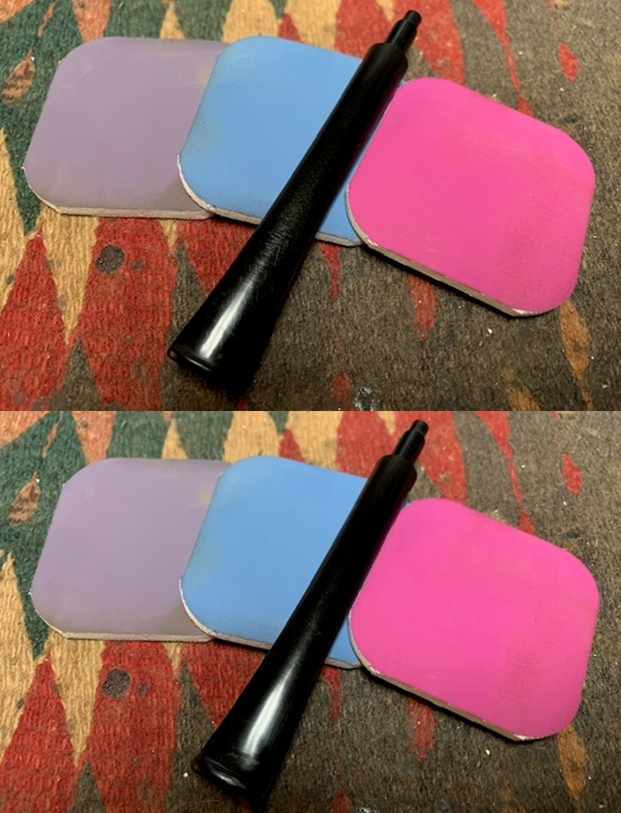
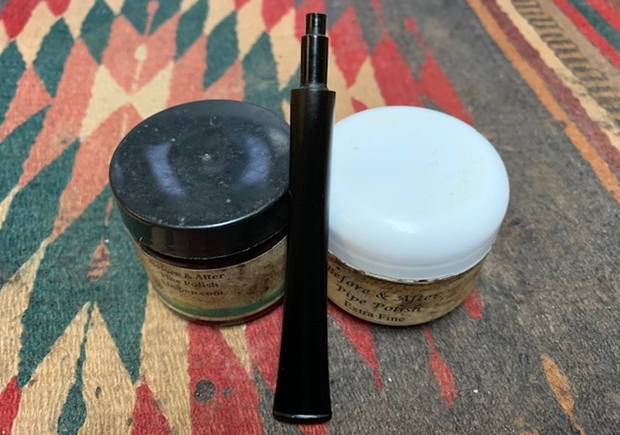
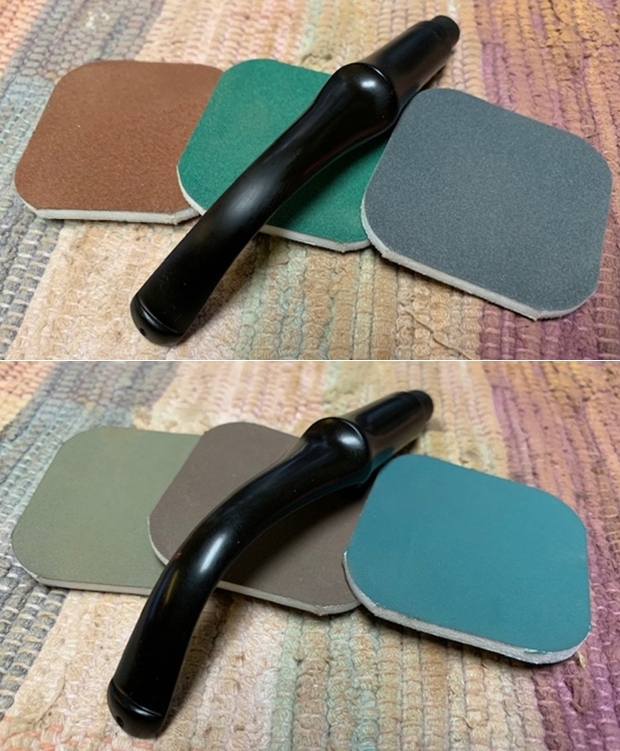
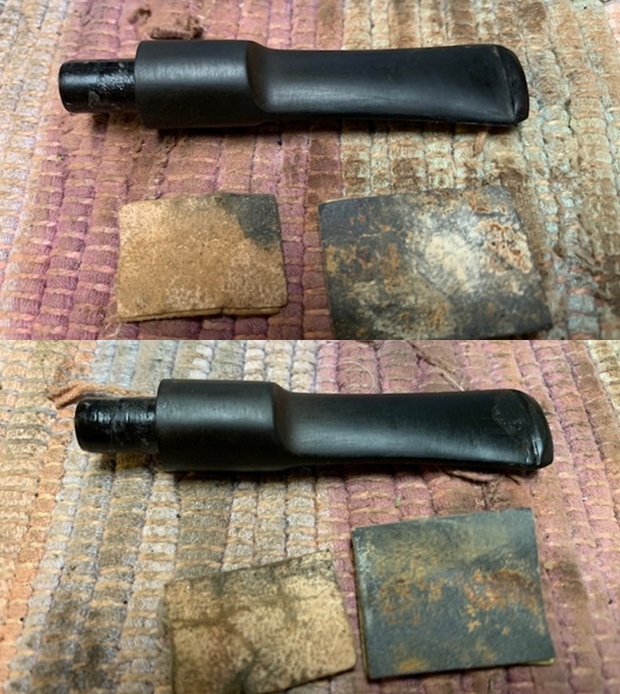
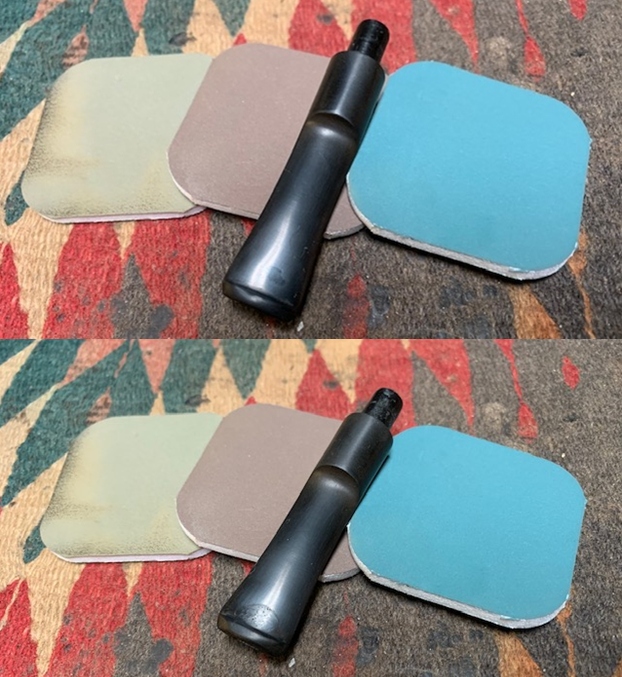
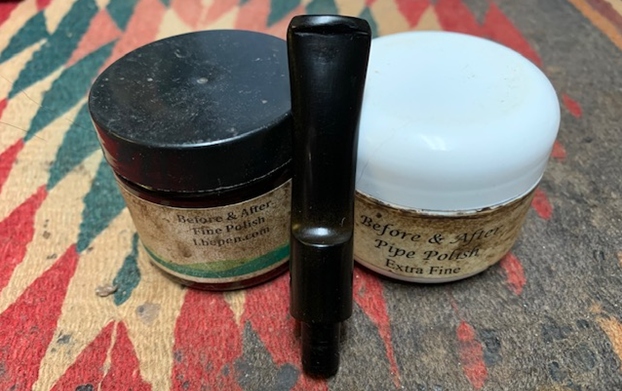
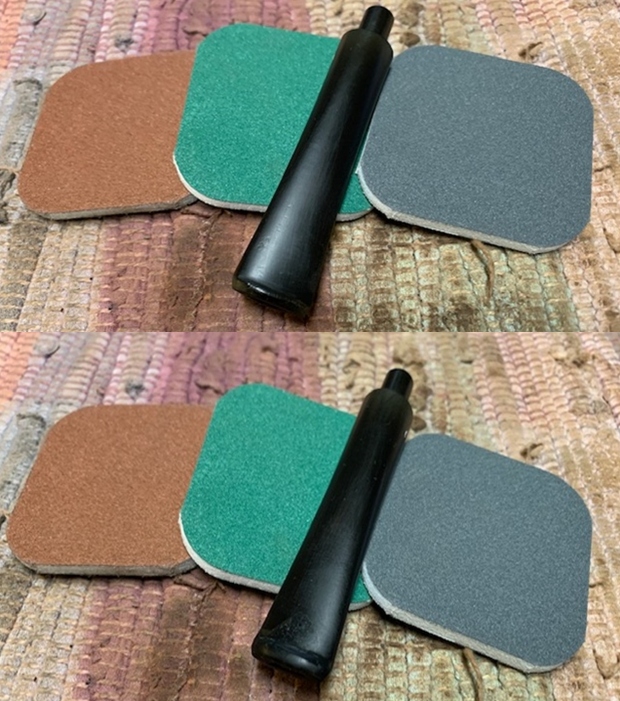
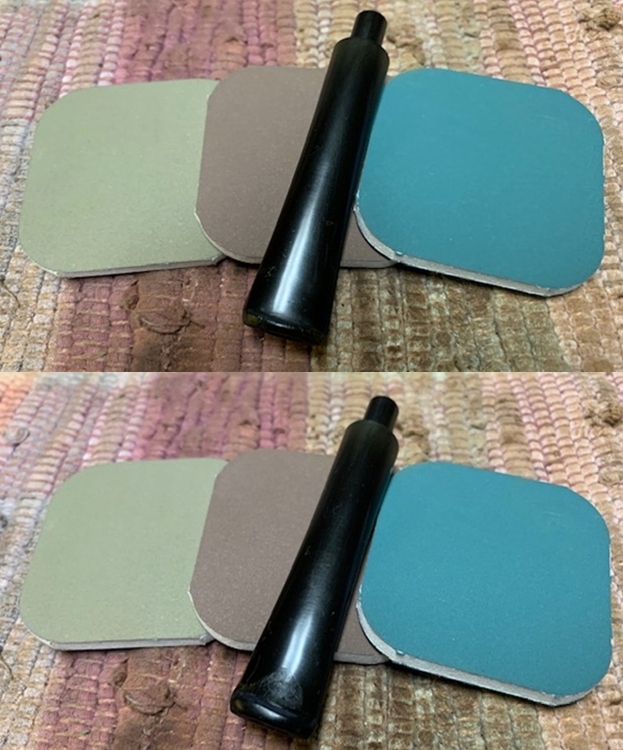
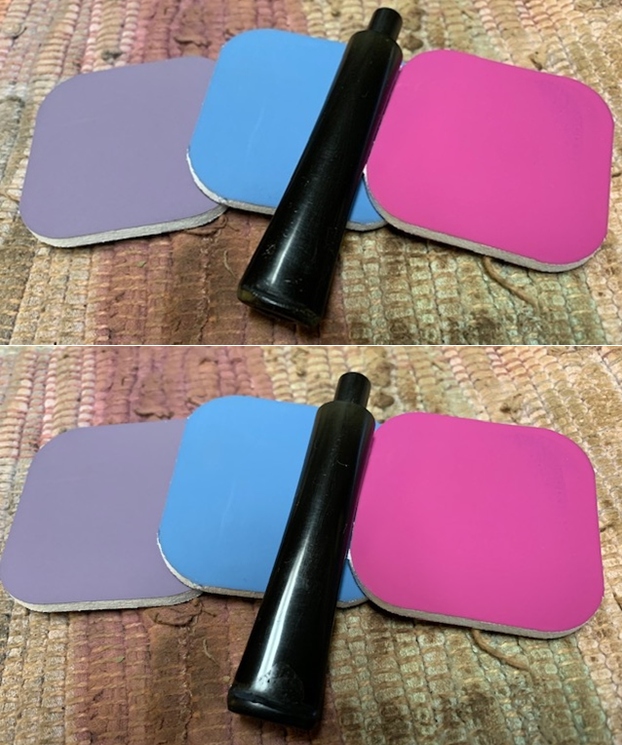
 It was in good condition and the tooth marks were light so I figured they would polish out fairly easily. I polished the vulcanite stem with micromesh sanding pads – 1500-12000 grit pads. I wiped it down with Obsidian Oil after each sanding pad. I used Before & After Pipe Polish – both Fine and Extra Fine to further polish the stem.
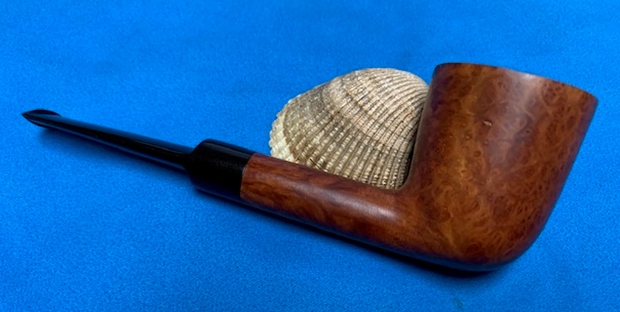
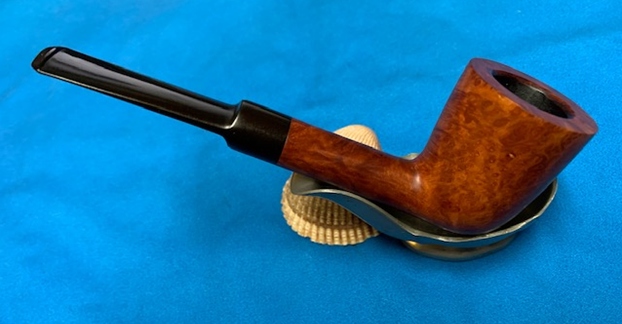
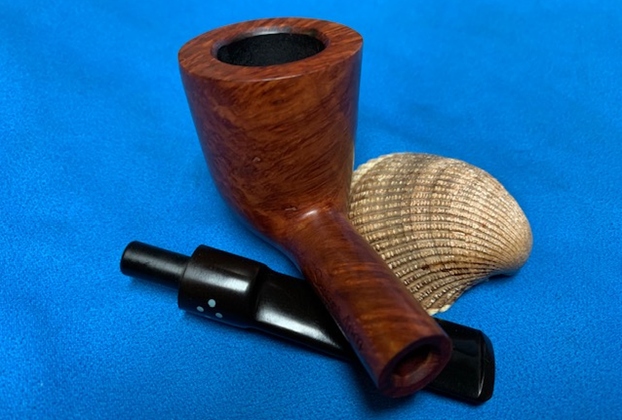
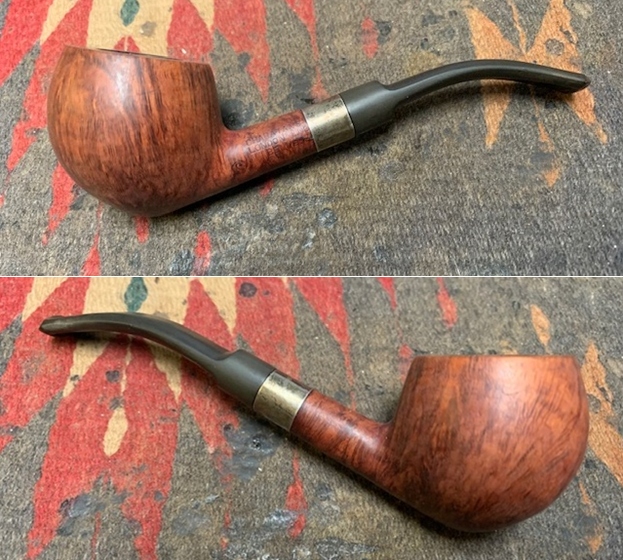
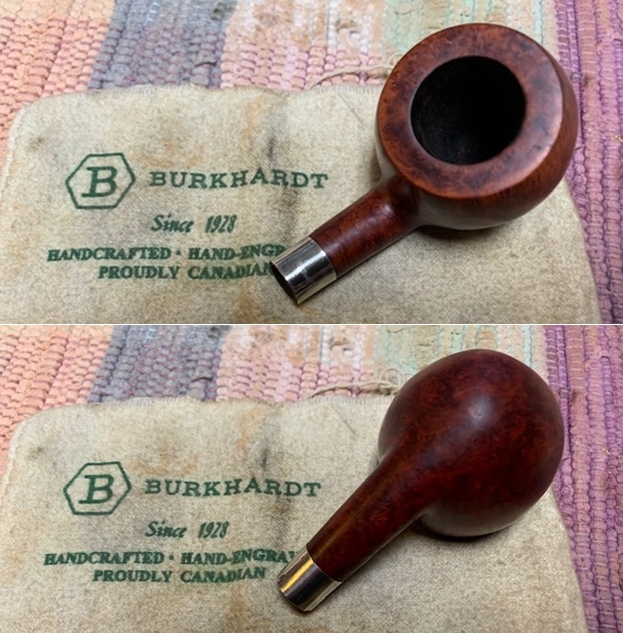
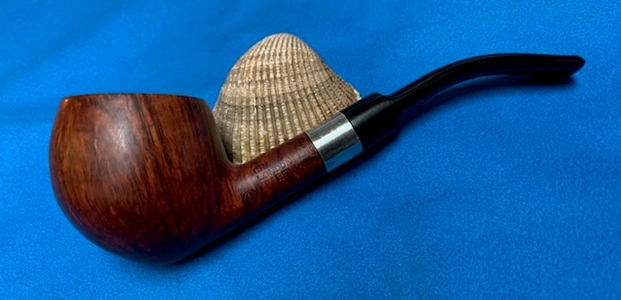
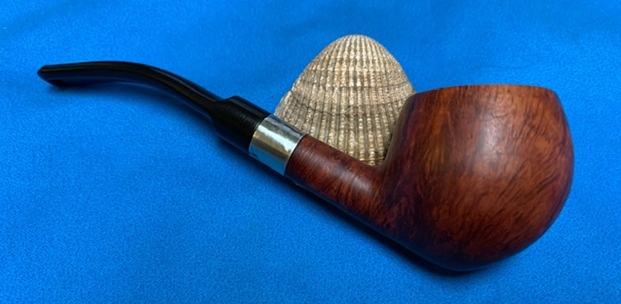
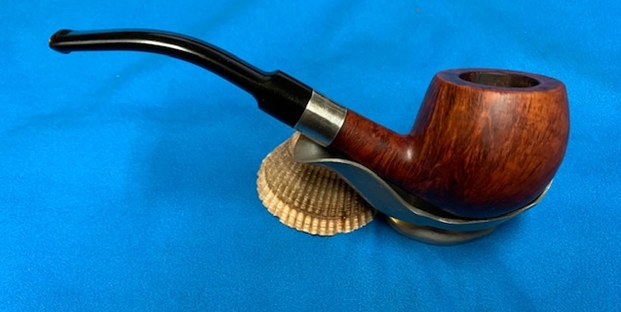
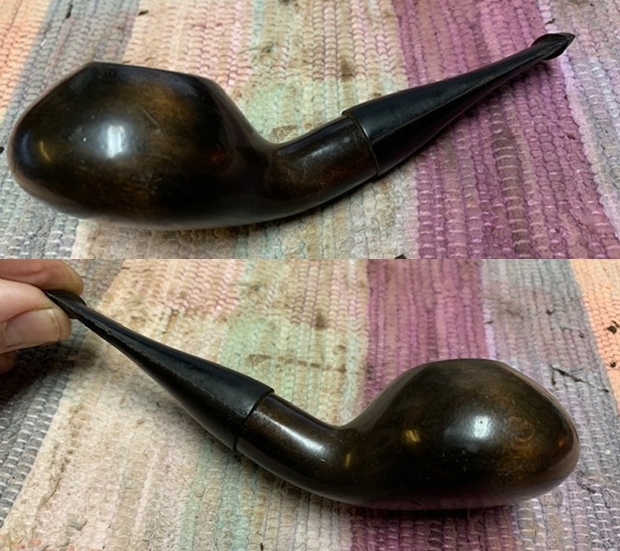
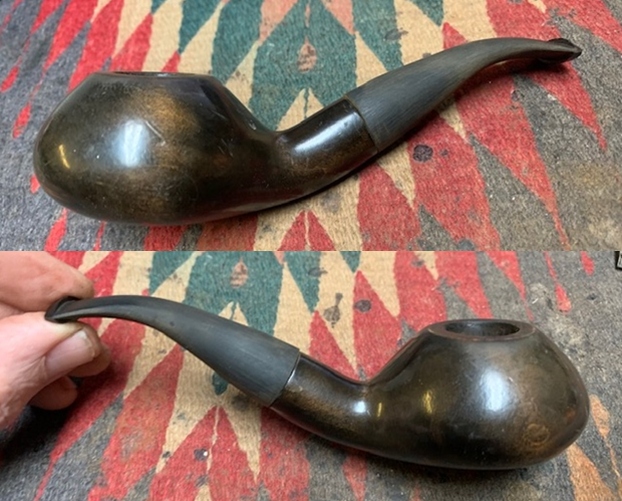
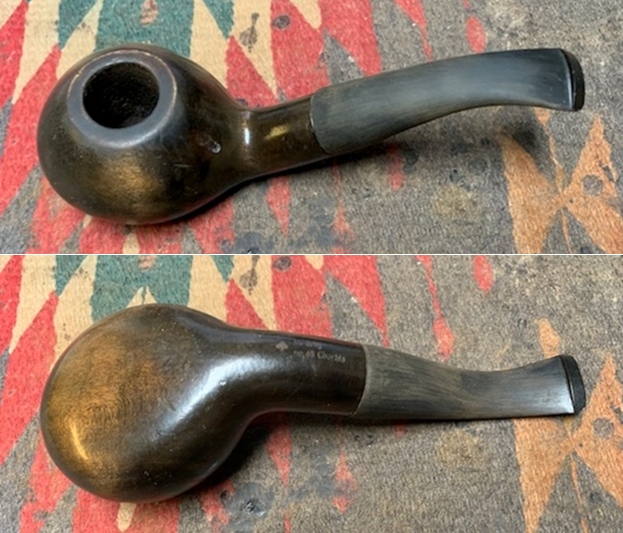
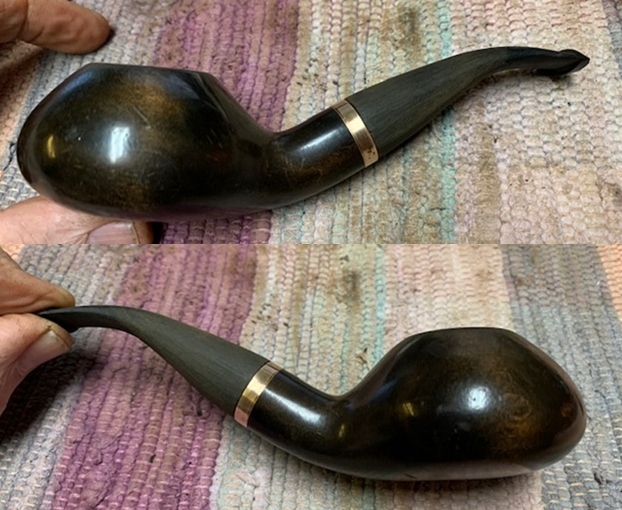
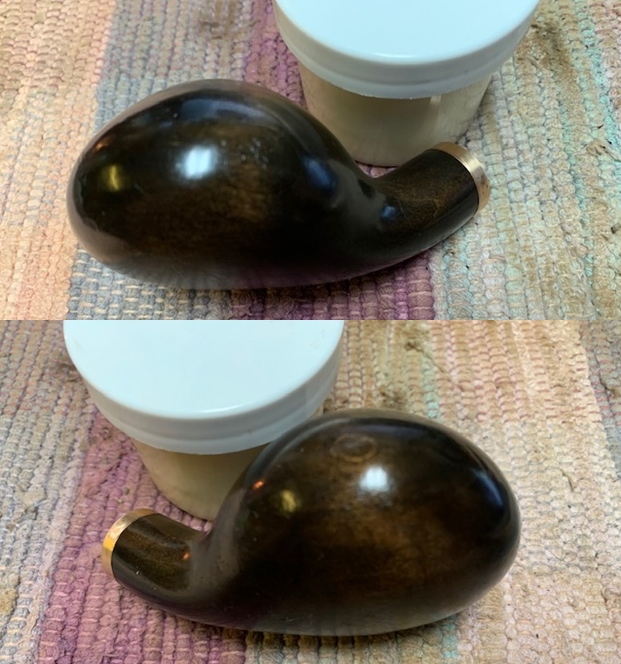
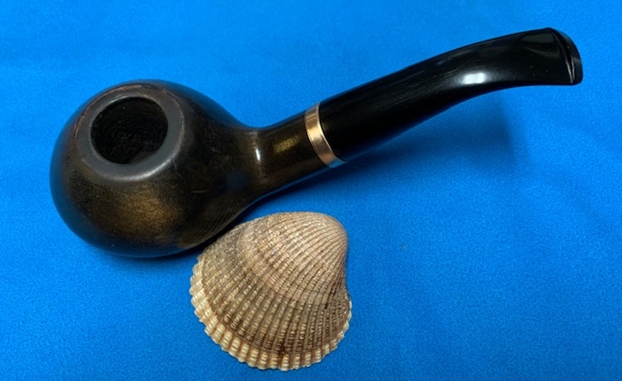
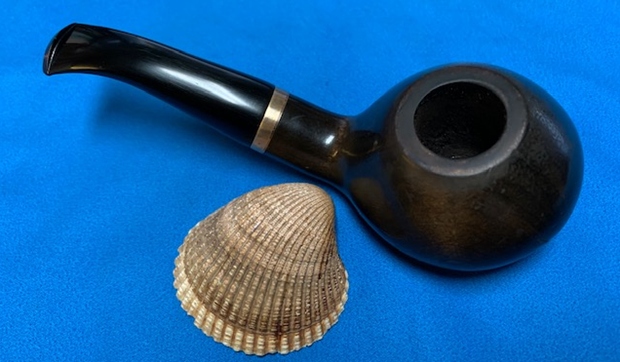
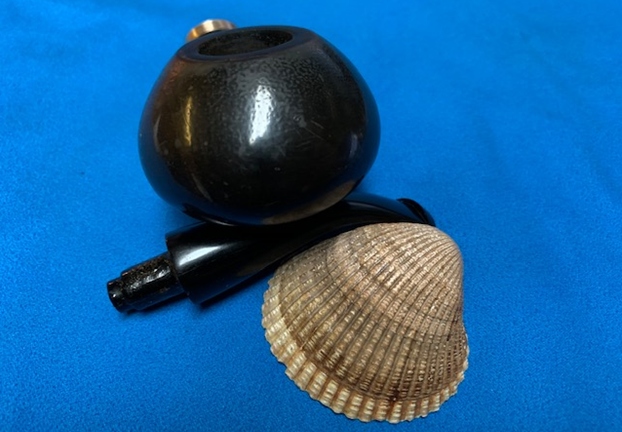
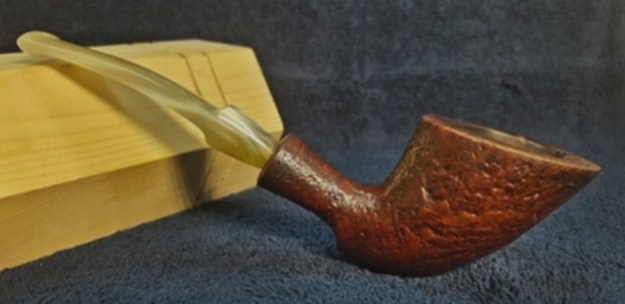
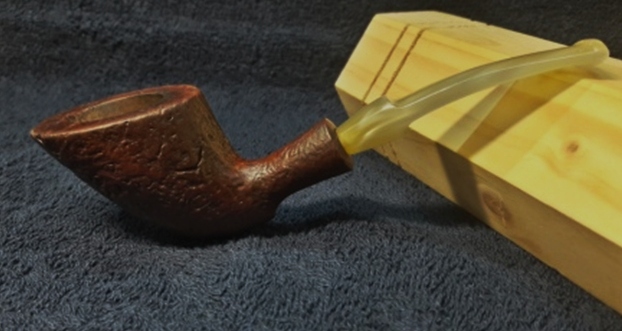
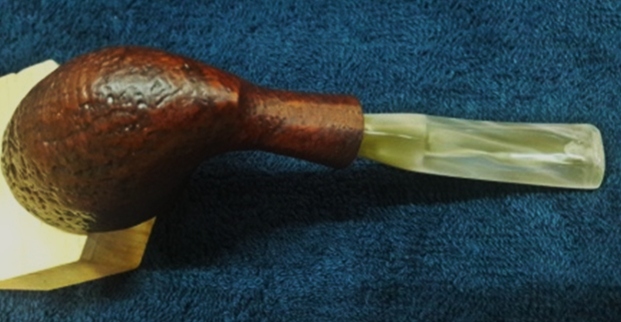
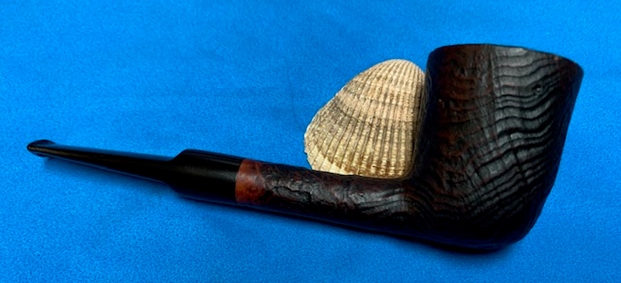
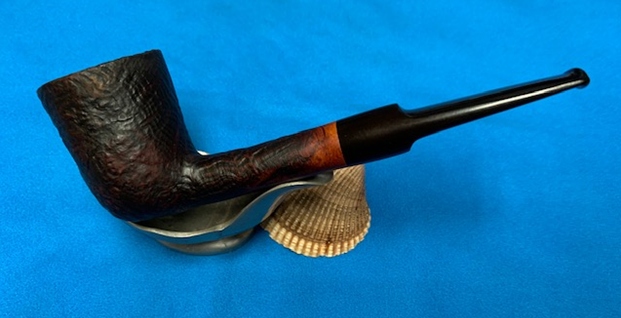
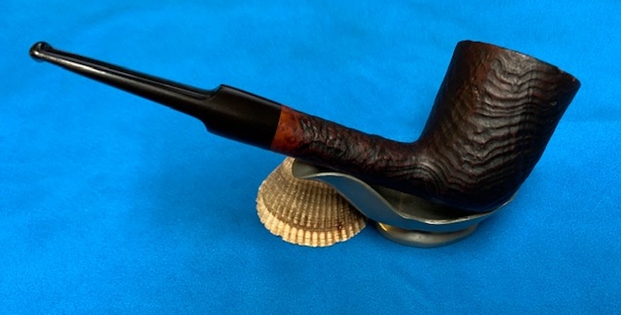
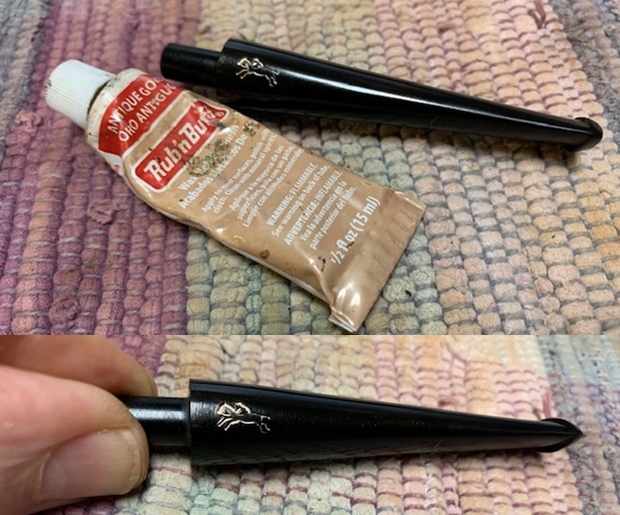
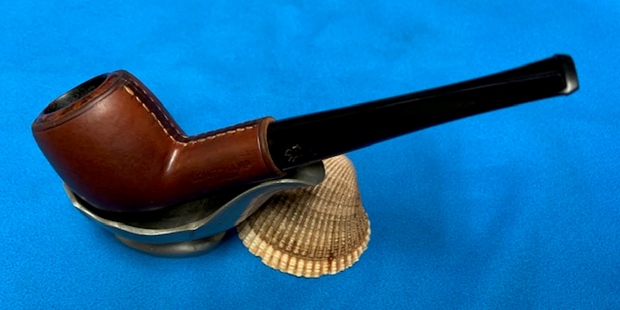
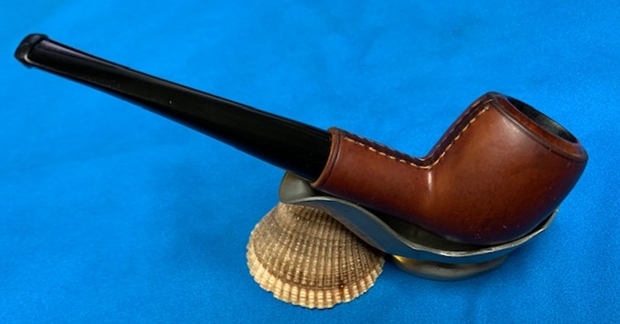
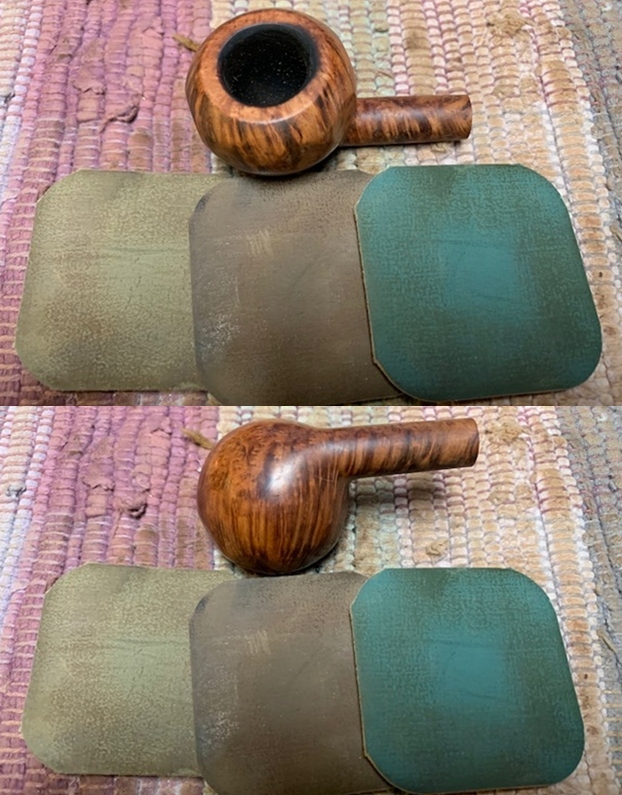
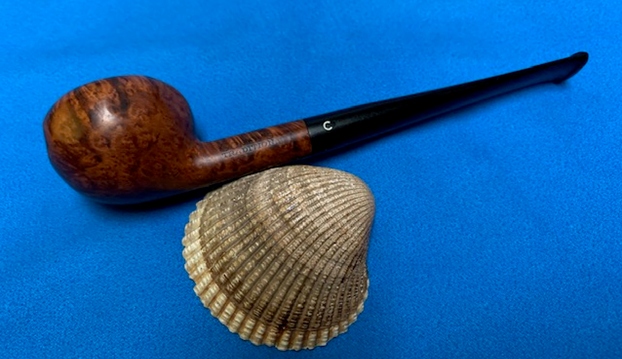
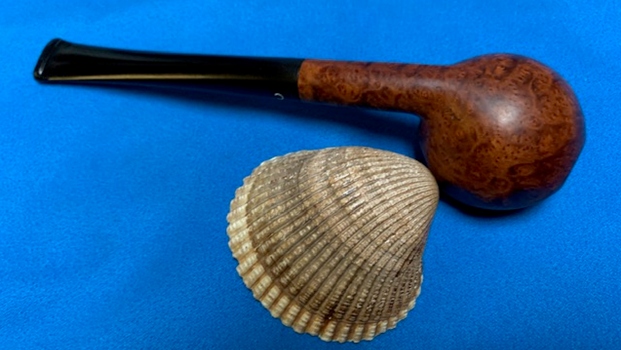
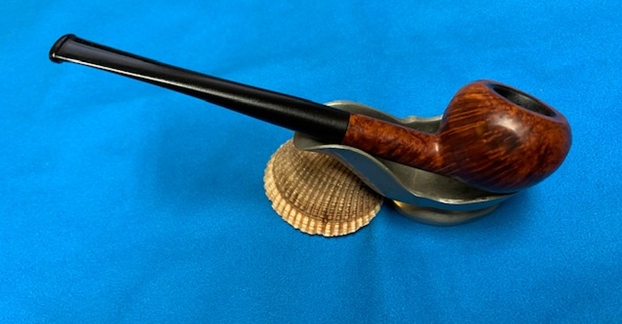
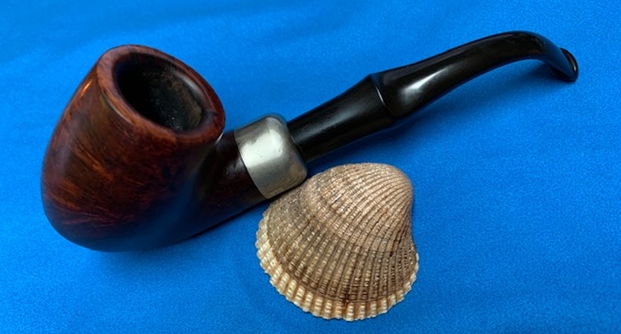
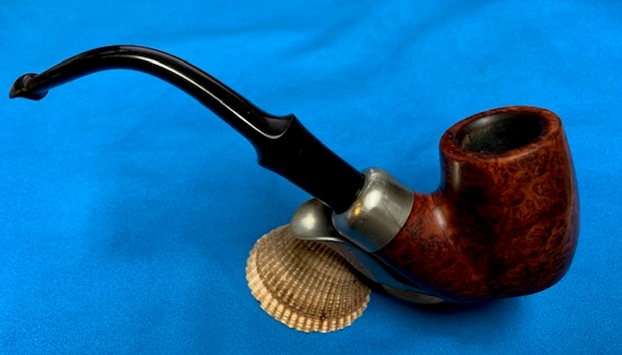
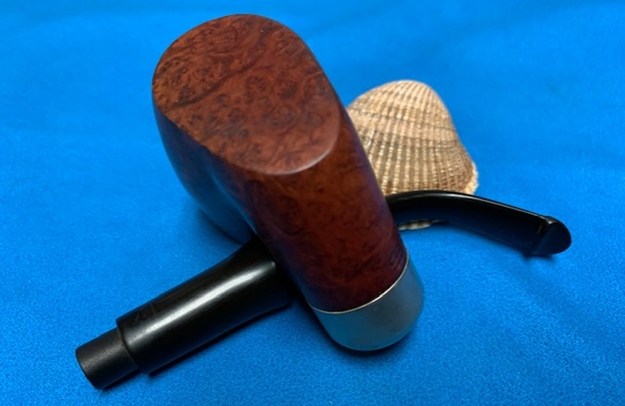
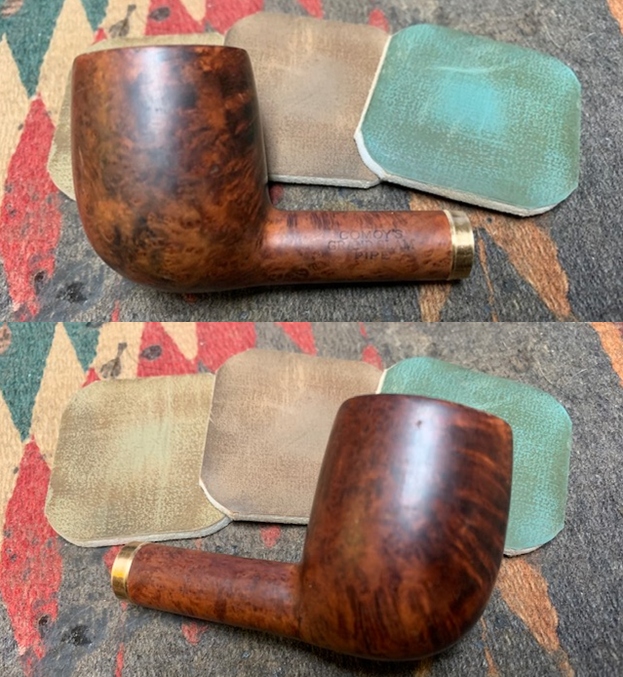
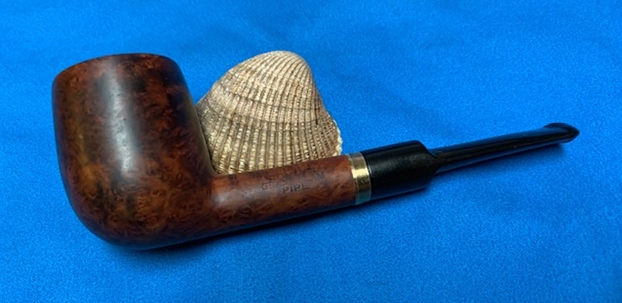
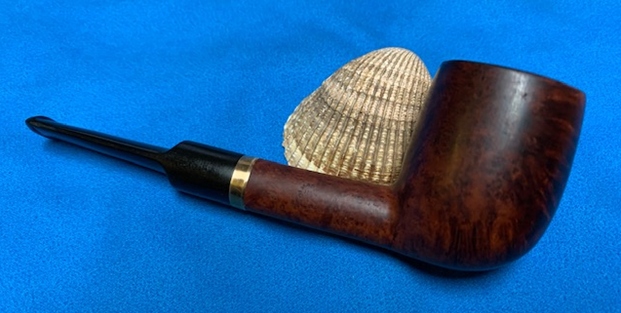
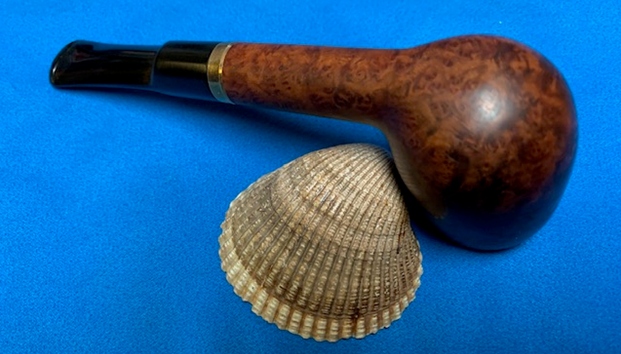
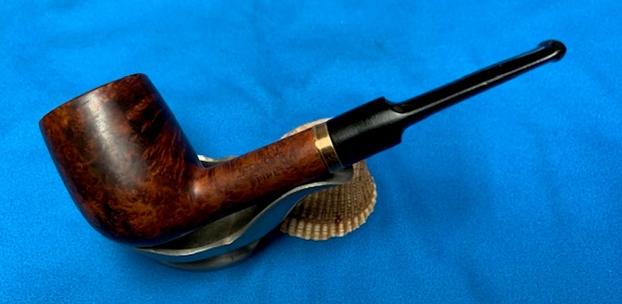
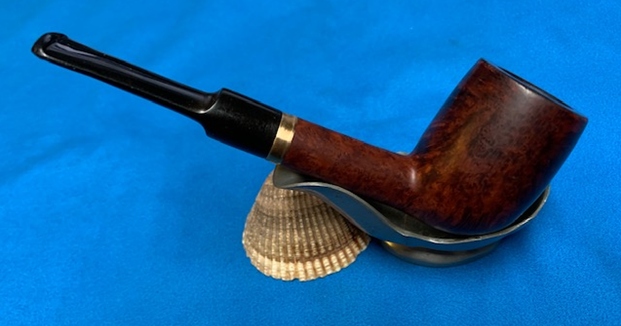
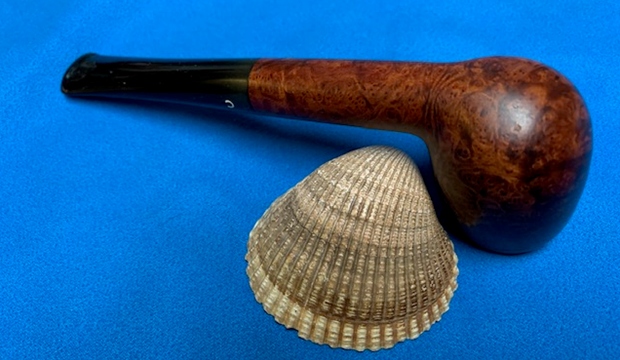
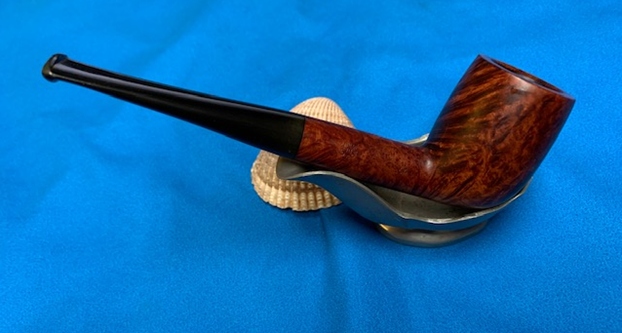
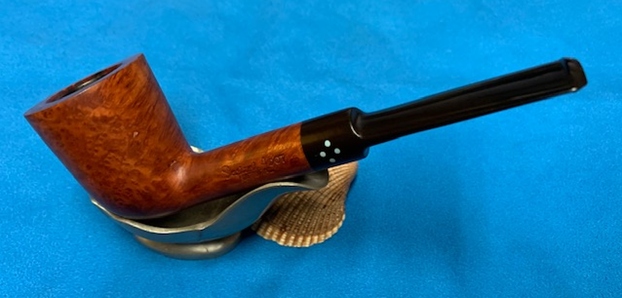
 This Post-Transition Sasieni 4 Dot Natural Dublin is a great looking pipe now that it has been restored. The Natural finish around the bowl is quite beautiful and highlights the grain and works well with the polished vulcanite saddle stem. I put the stem back on the bowl and carefully buffed the pipe with Blue Diamond on the buffing wheel using a light touch on the briar. I gave the bowl and the stem multiple coats of carnauba wax on the buffing wheel and followed that by buffing the entire pipe with a clean buffing pad. I hand buffed the pipe with a microfiber cloth to deepen the shine. The finished Sasieni 4 Dot sits nicely in the hand and feels great. Give the finished pipe a look in the photos below. The dimensions of the pipe are Length: 5 ½ inches, Height: 2 inches, Outside diameter of the bowl: 1 ½ inches, Chamber diameter: 7/8 of an inch. I will be putting it on the rebornpipes store shortly. If you are interested in adding this pipe to your collection send me a message or an email. Thanks for reading this blog and my reflections on the pipe while I worked on it. There are many more to come!