Blog by Steve Laug
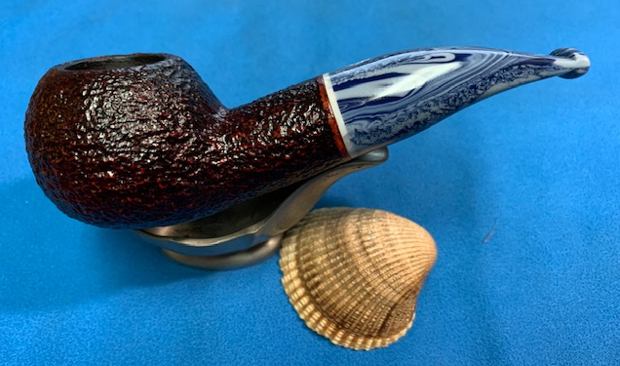
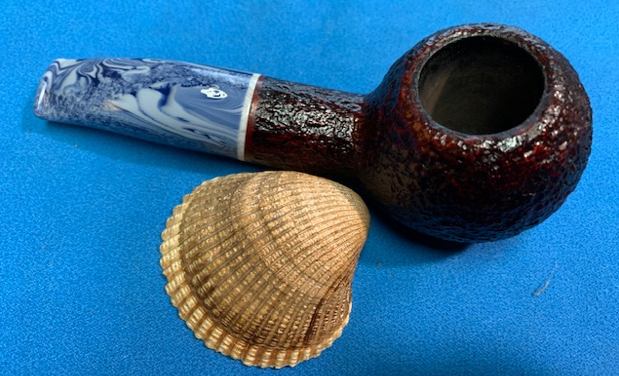
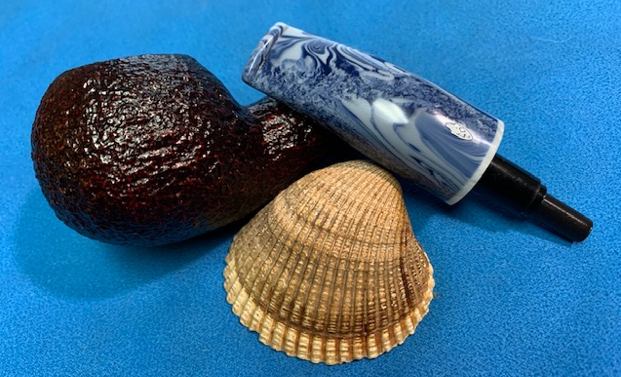
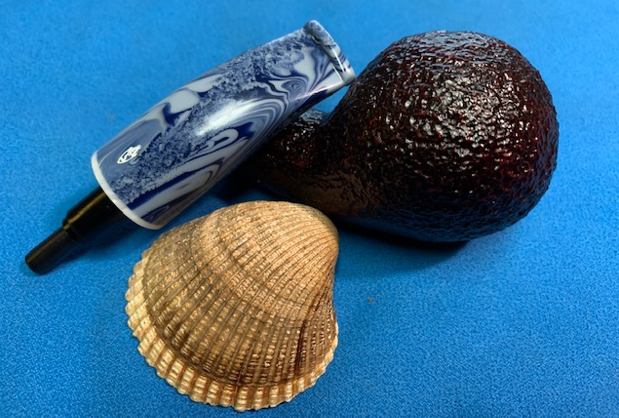
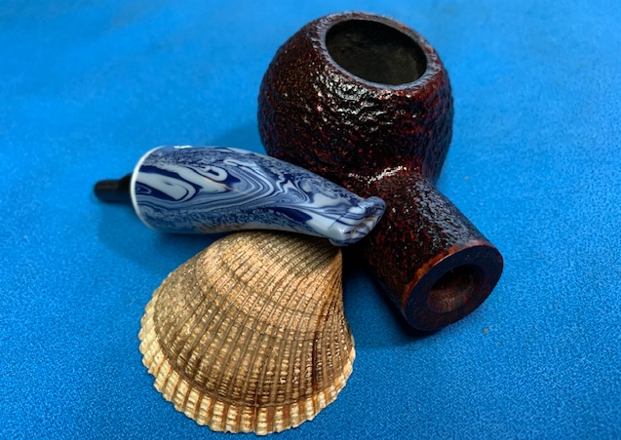
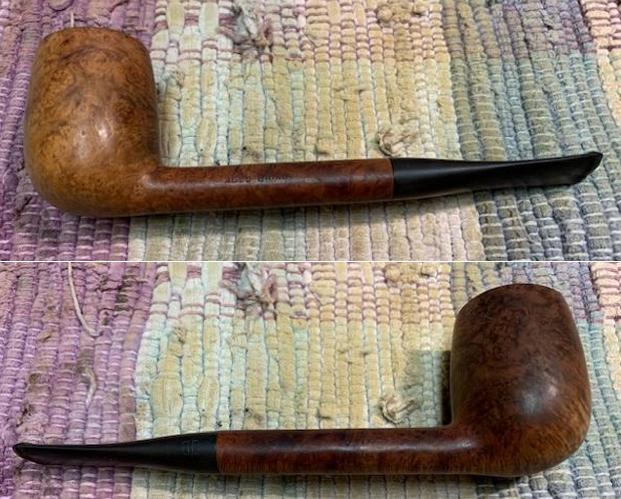
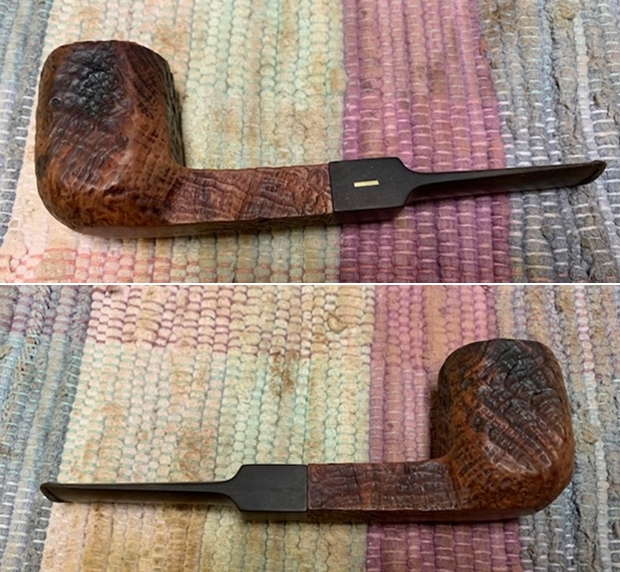
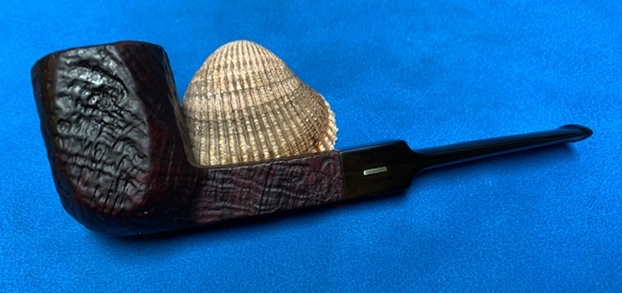
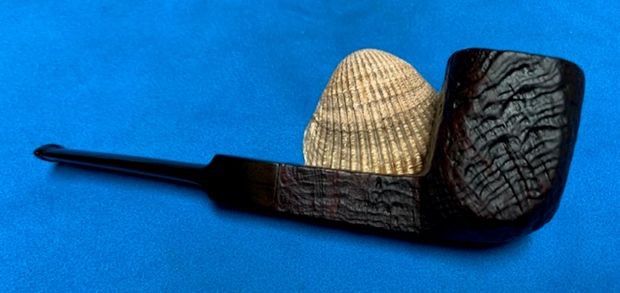
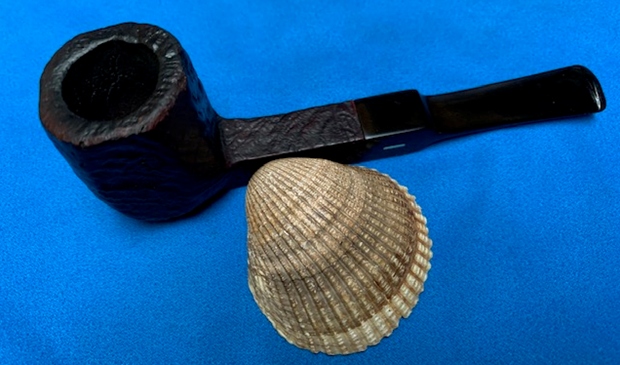
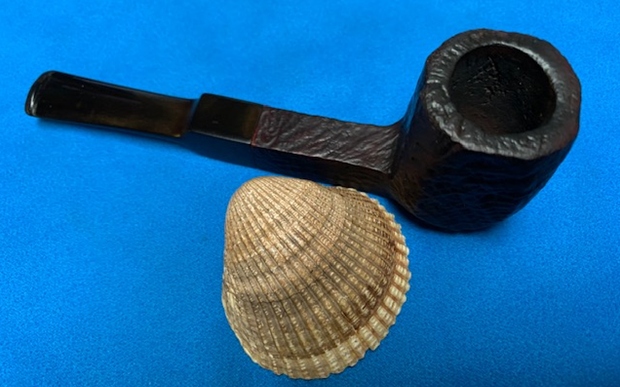
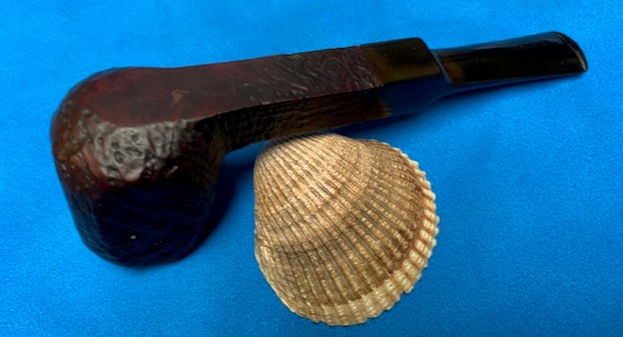
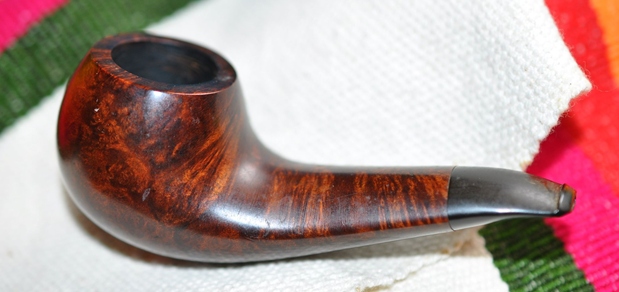
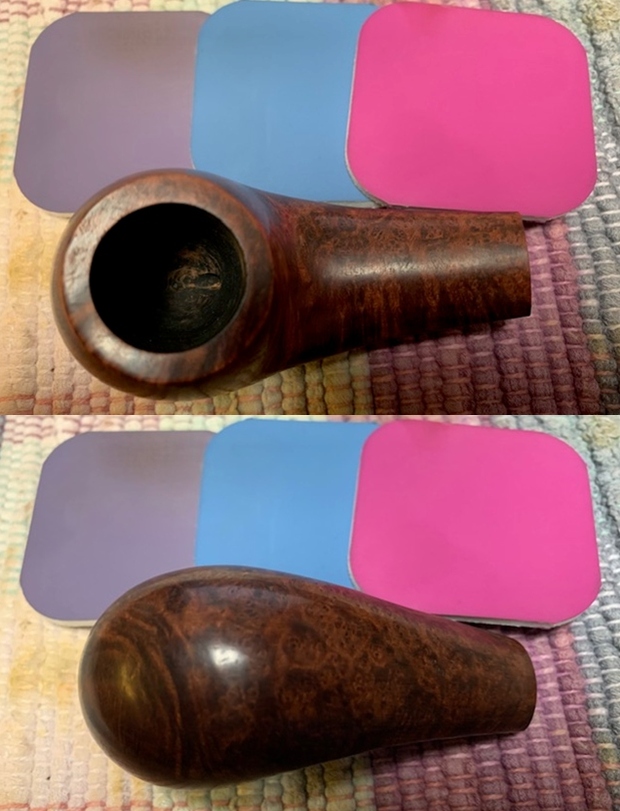
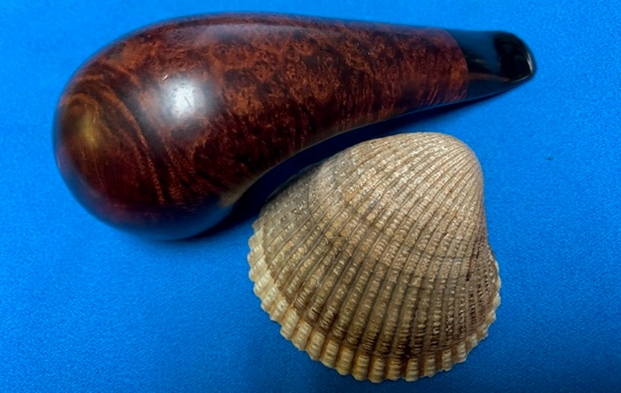
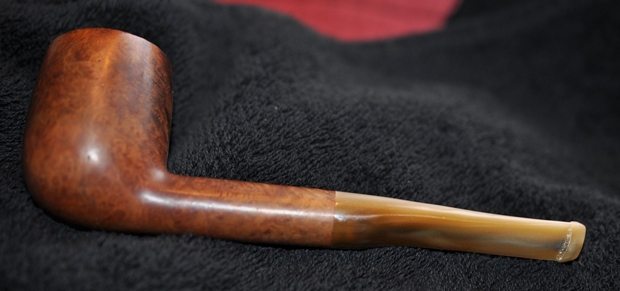
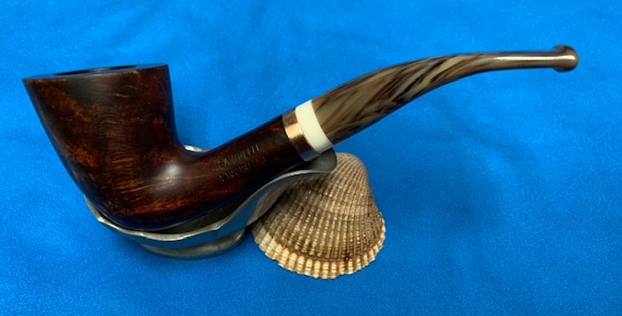
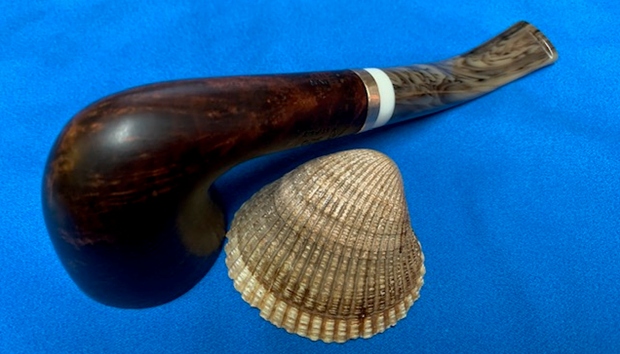
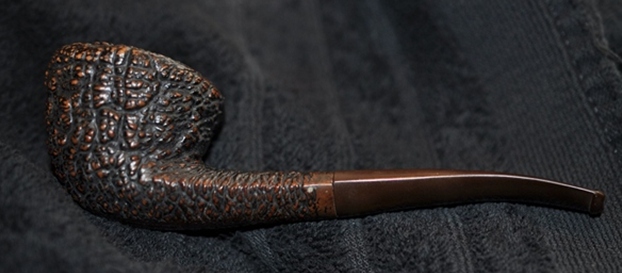
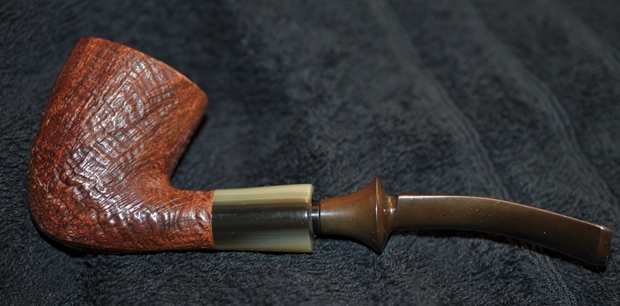
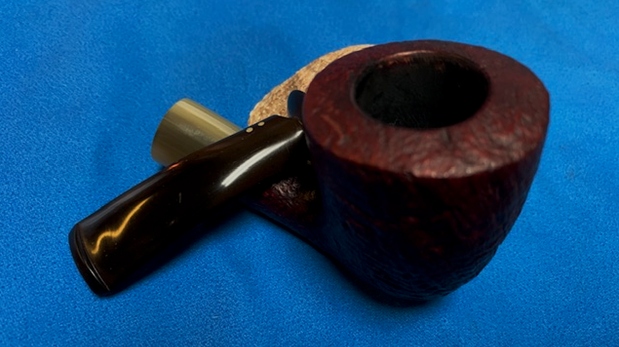
The next pipe I am working on is a beautiful looking Savinelli Oceano 320KS with a swirled blue and white stem and a tightly rusticated bowl. It is stained with an oxblood stain that gives it a red tint in the light. There appears to also be a black stain as an undercoat. The pipe is originally made for the Savinelli Balsa Filter System. The fellow I traded it with said the stem was just too thick for his liking and he was looking to trade it for something he would use. I have included the photos that he sent of the pipe as we talked.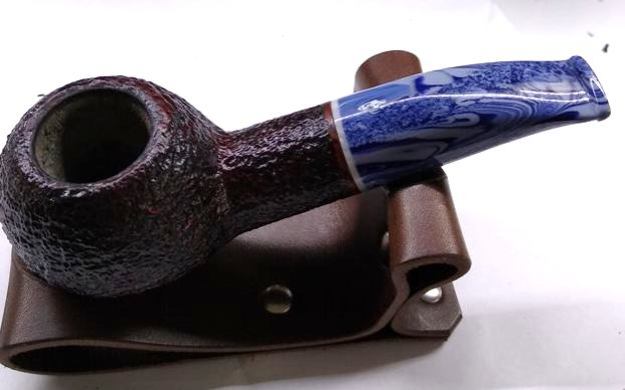 The pipe was in great condition. It had a light cake in the bowl which concurred with the fact that he stated he did not smoke it much. The stem was in great condition with some light tooth chatter but nothing serious on either side. He also said that he had the pipe sock it came with and the box as well. He also said he would throw in the balsa filters with the pipe. Over the course of quite a few emails we struck a deal and the pipe came to me.
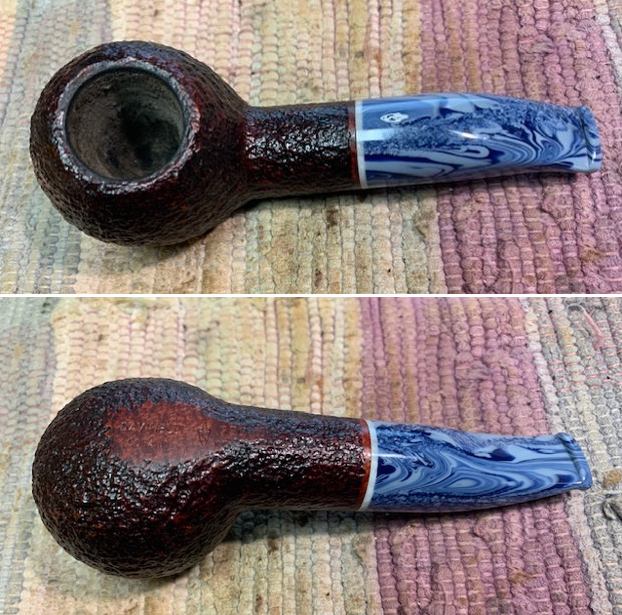
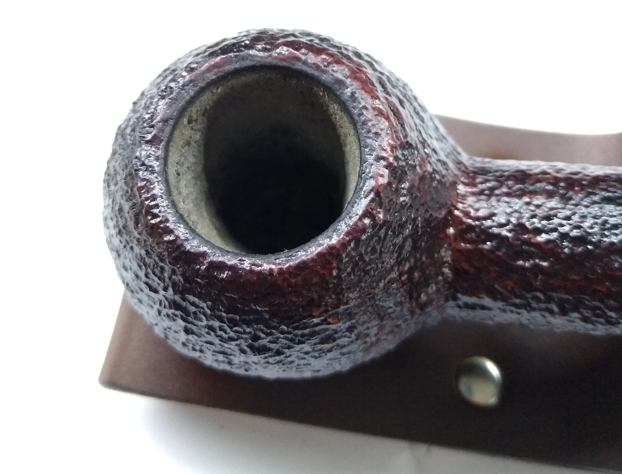
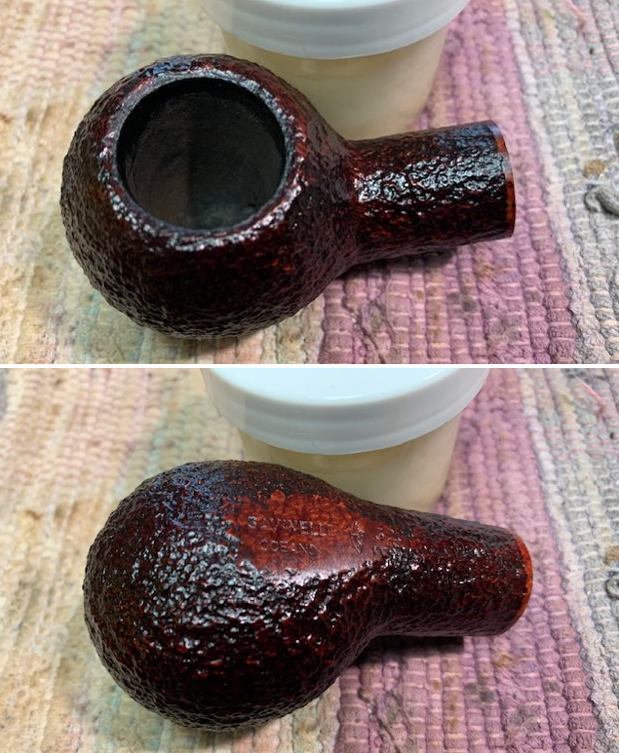
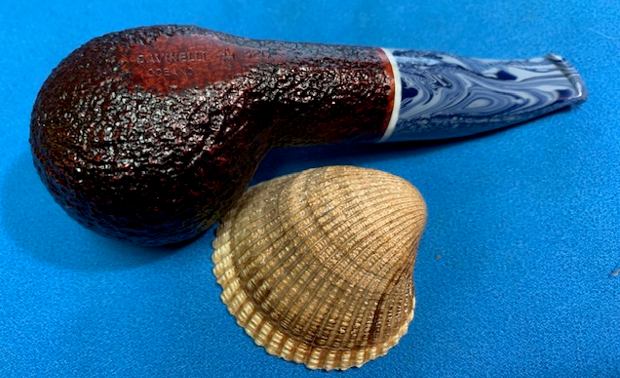
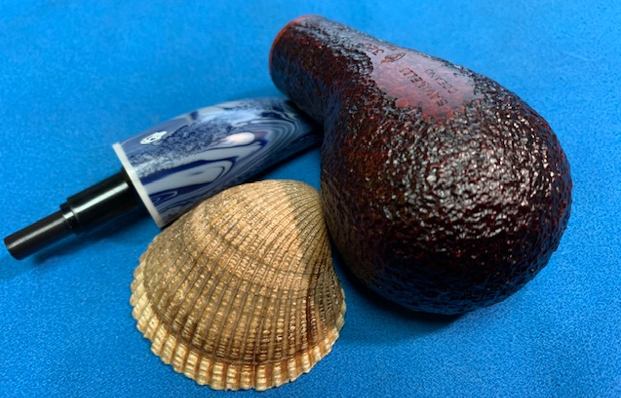
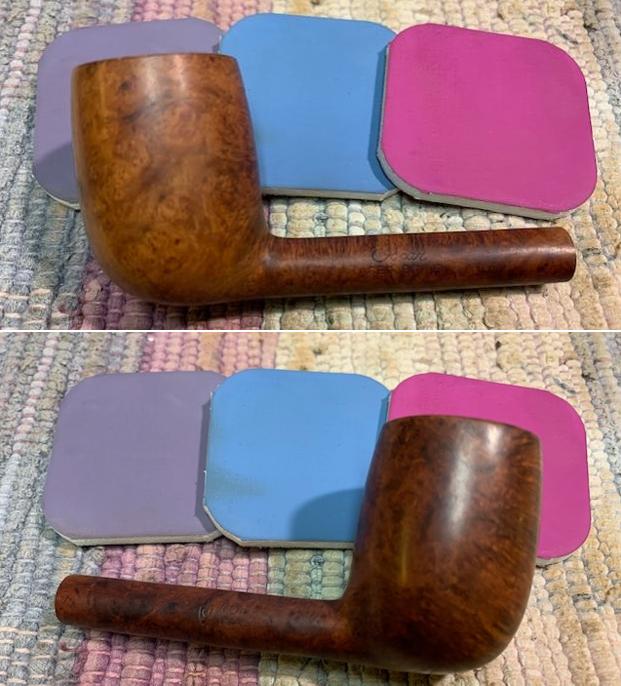
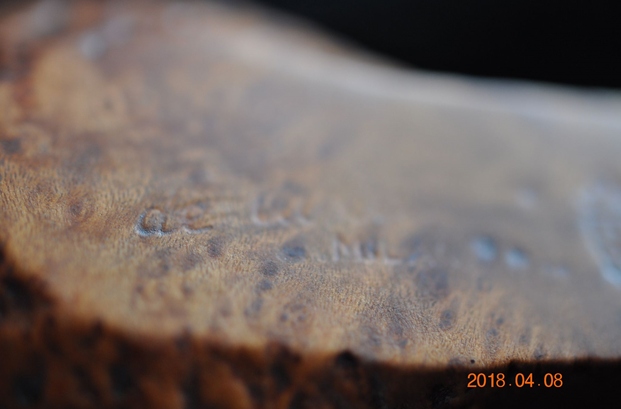
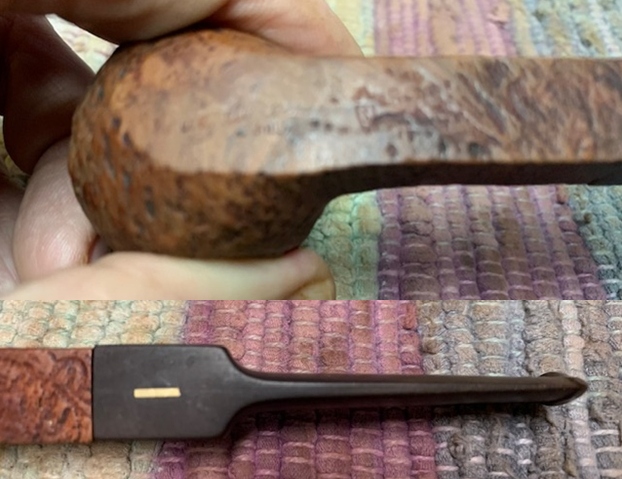
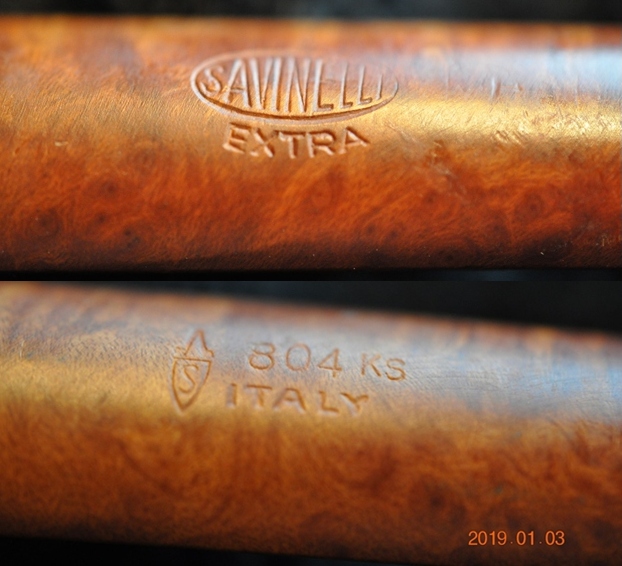
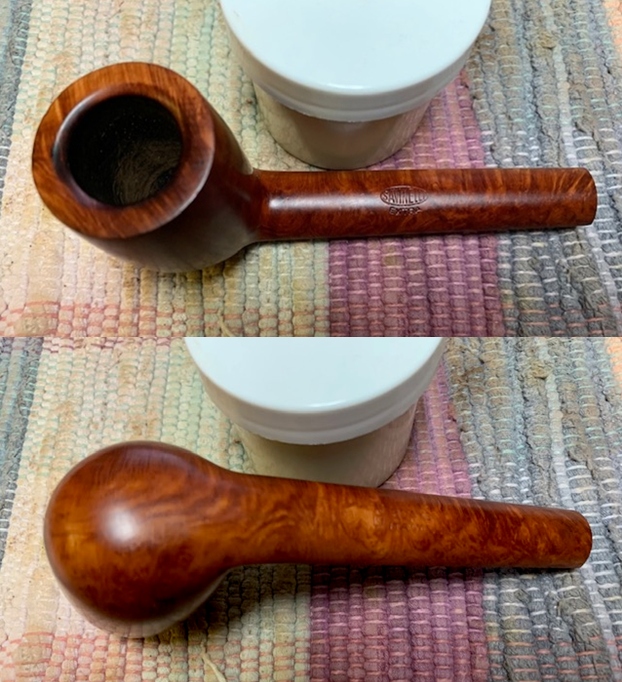
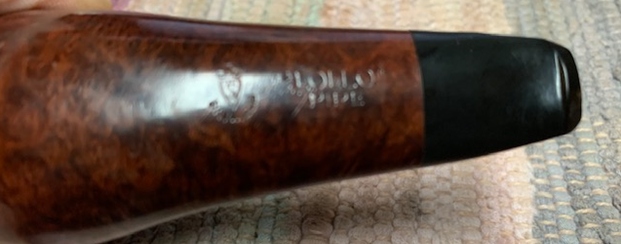
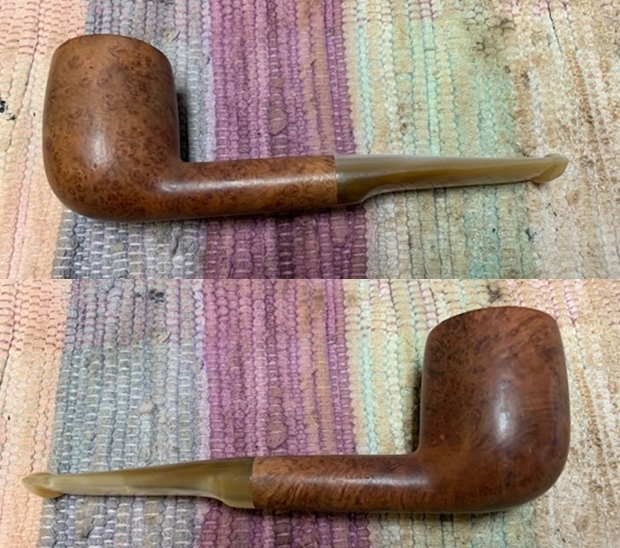
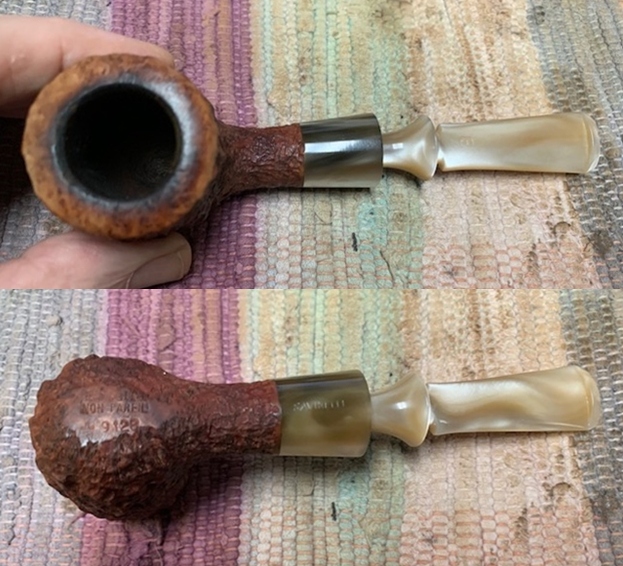
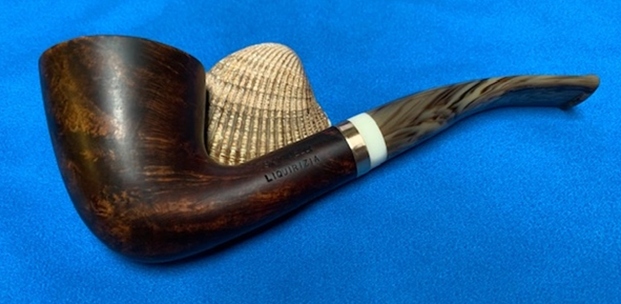
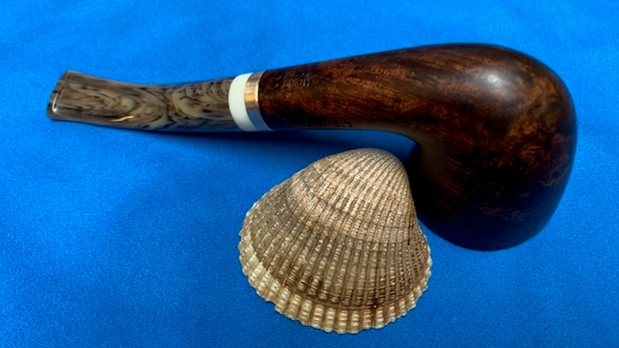
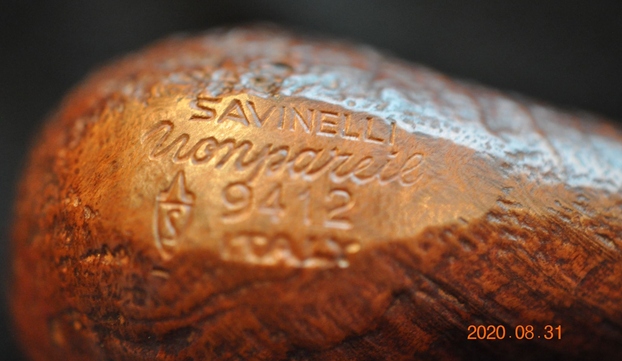
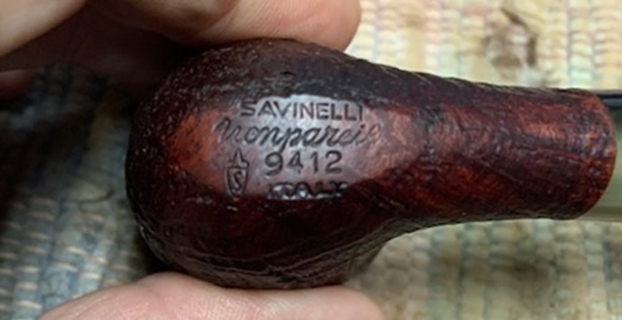
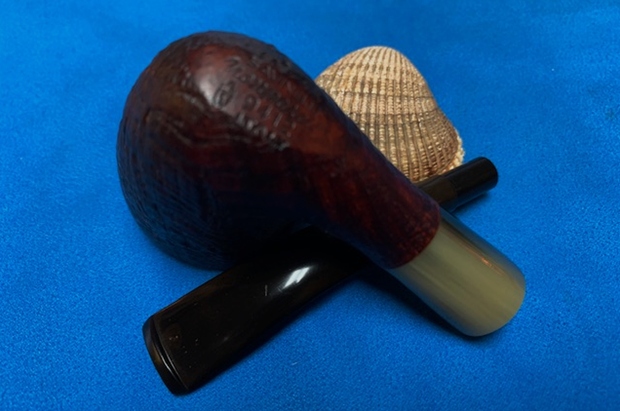
 The stamping on the heel was clear and readable as he had mentioned – Savinelli Oceano 320KS.
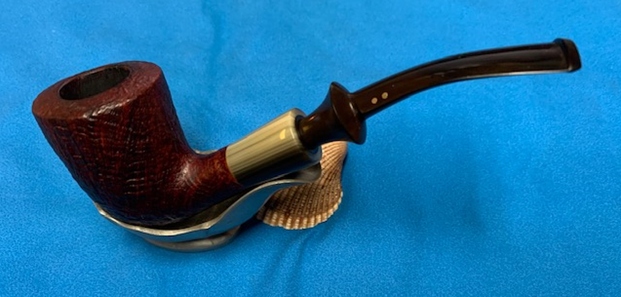
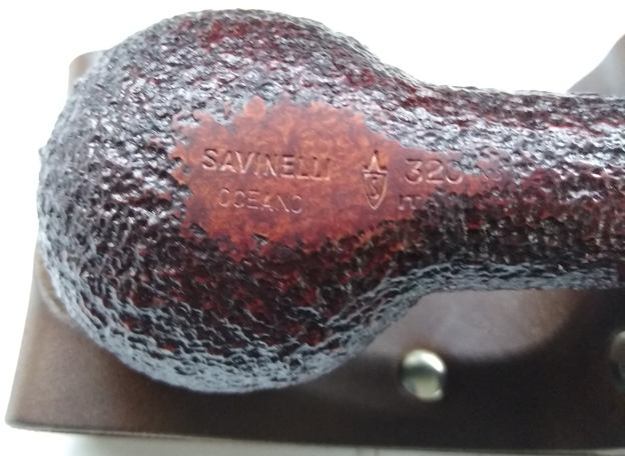 When the pipe arrived in Vancouver I unpacked it and this is what I saw. It came in the original Savinelli Pipe box and included the blue sock, a small booklet in multiple languages on pipe smoking and care and a bag of Balsa Filters. In our discussions I had come to believe the pipe was a filter pipe and unpacking seemed to confirm that for me. Little did I know that once I removed the stem I would see the adapter insert that converted it to a non-filter pipe. The added removable adapter allows the pipe to be smoked with or without a filter.
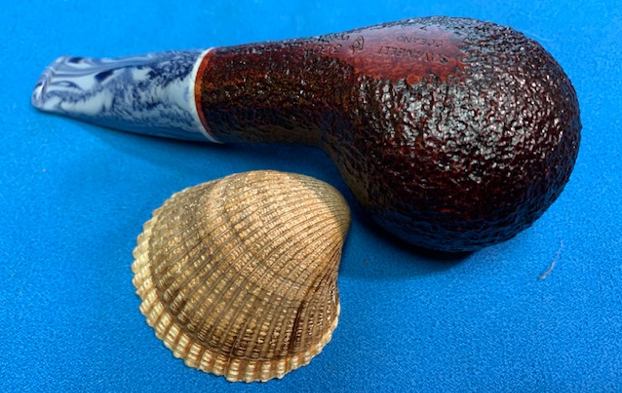
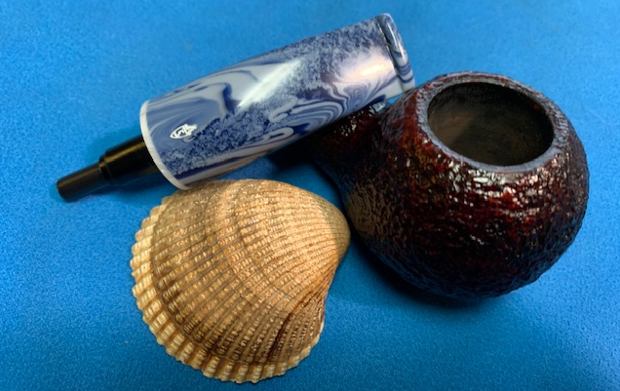
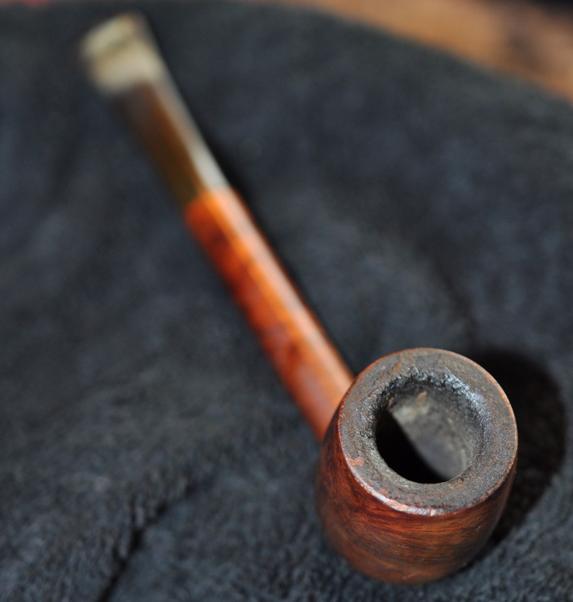
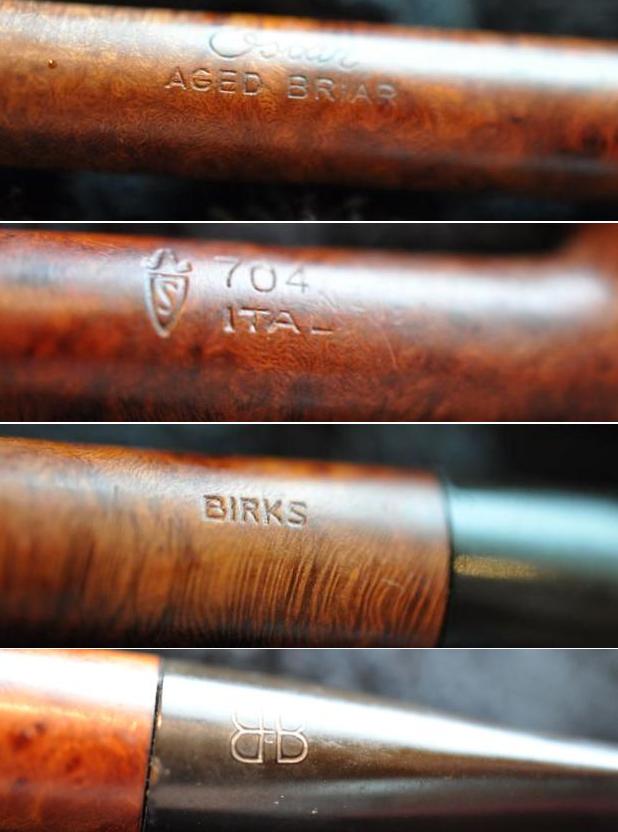
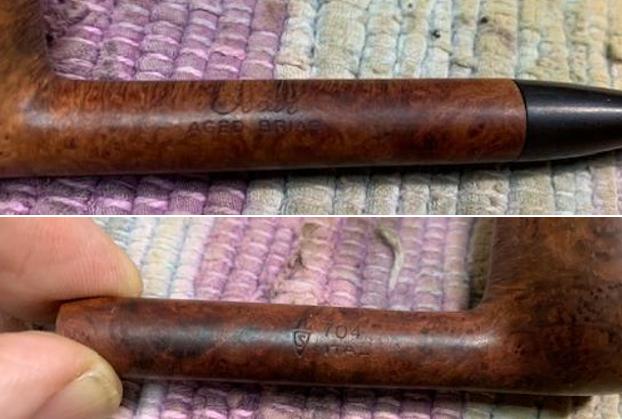
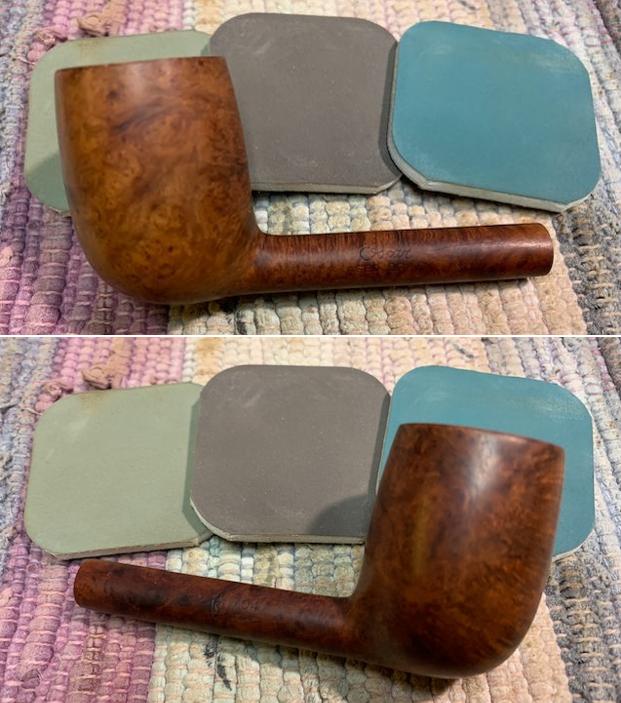
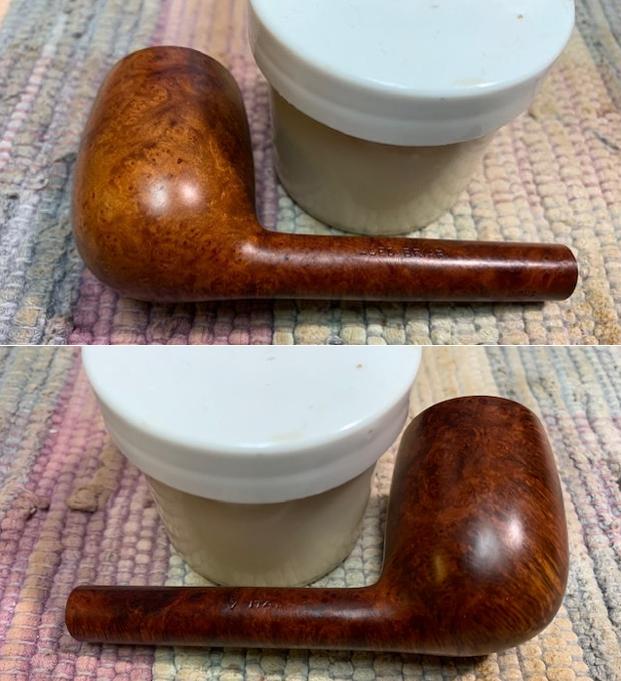
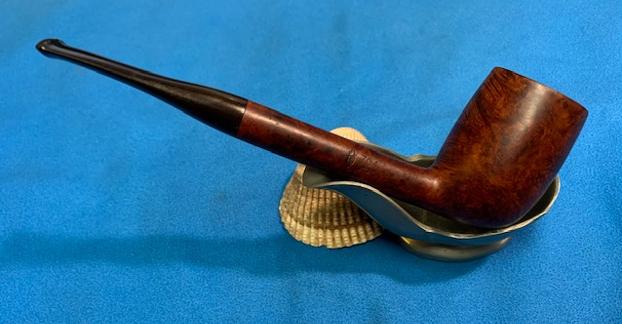
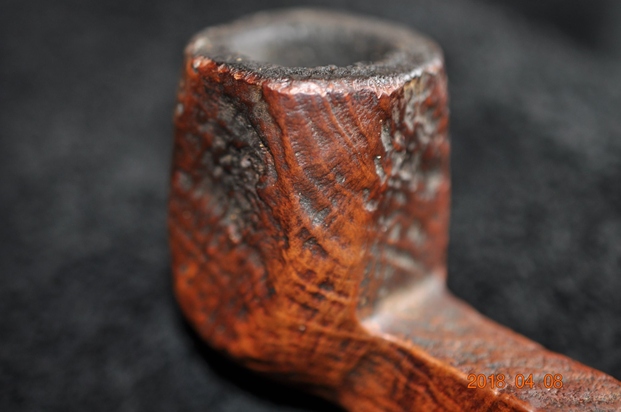
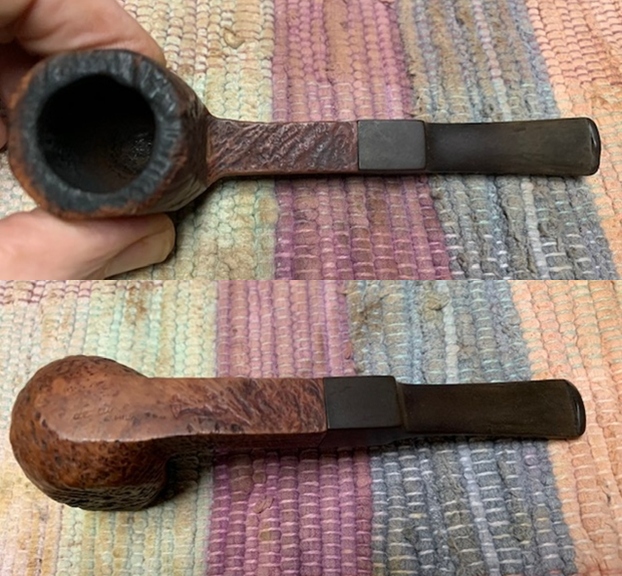
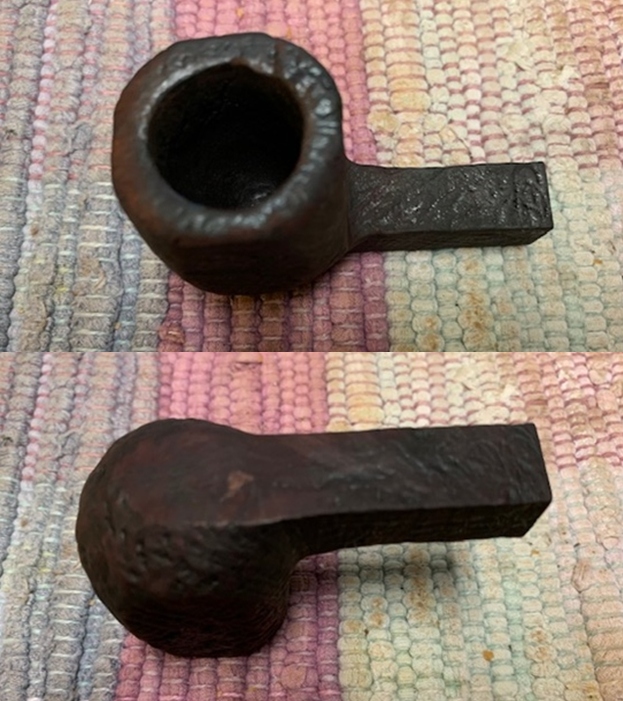
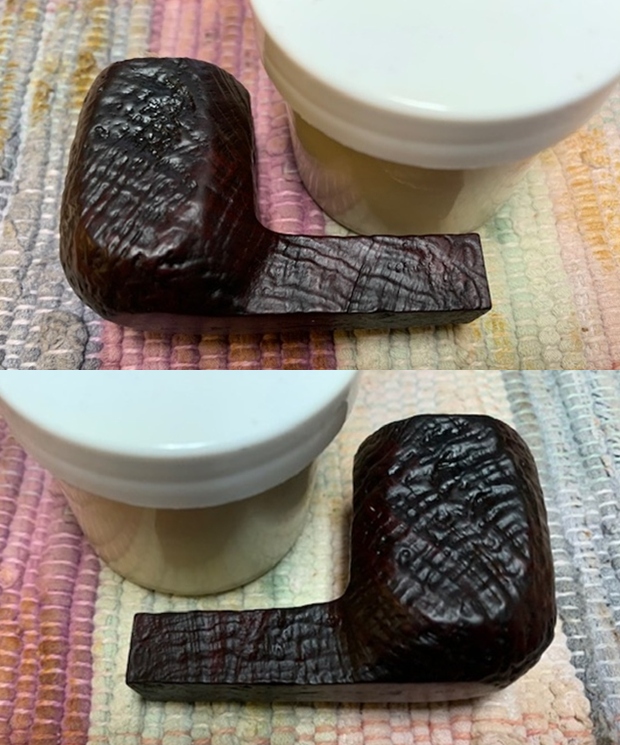
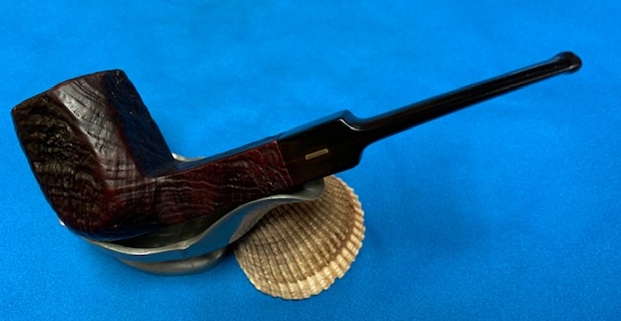
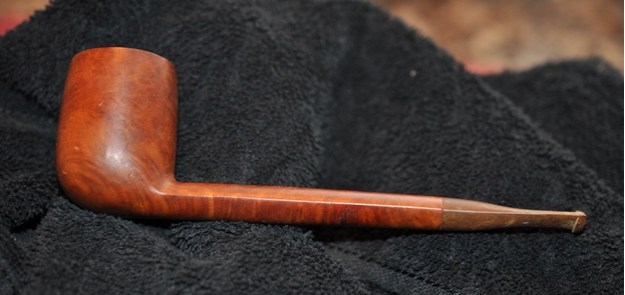
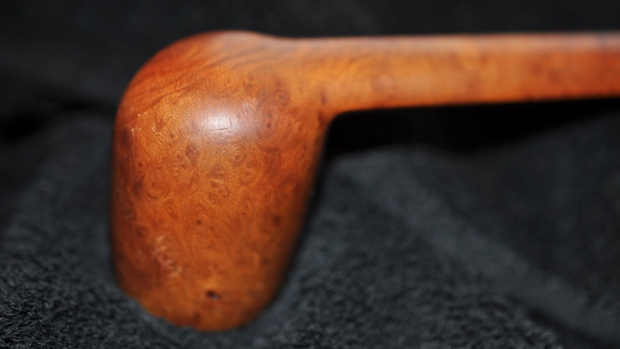
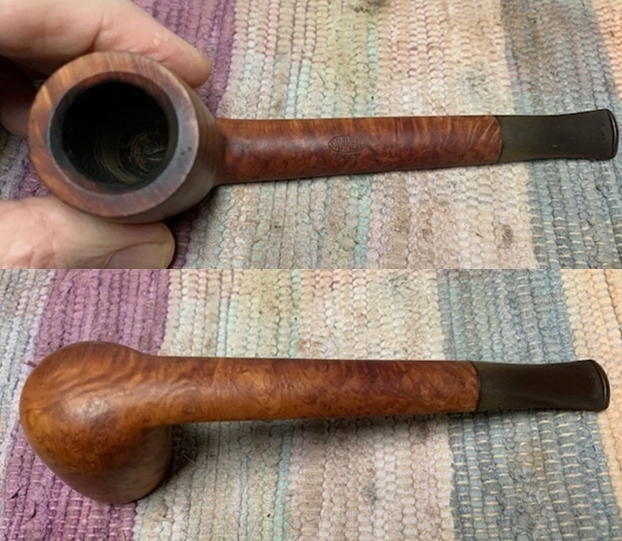
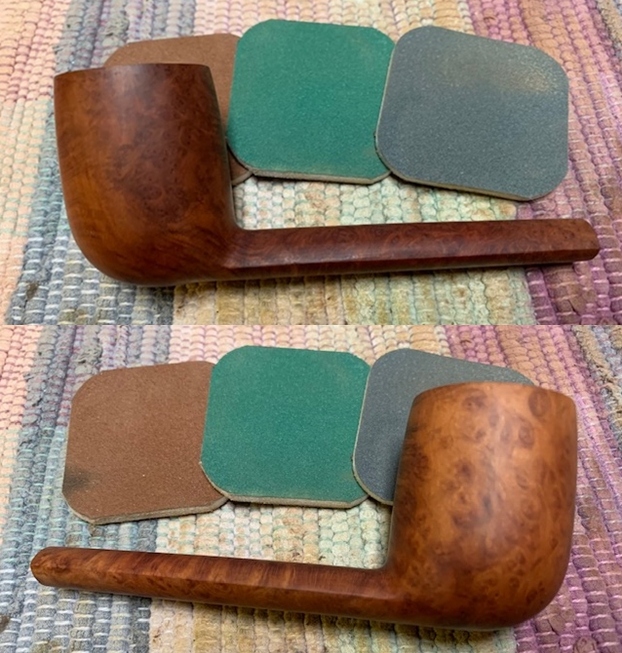
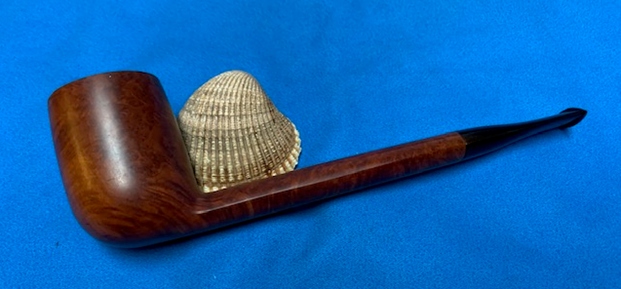
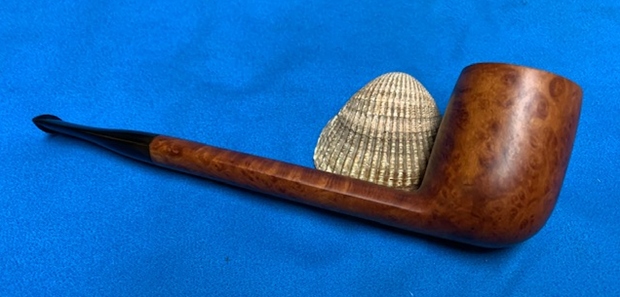
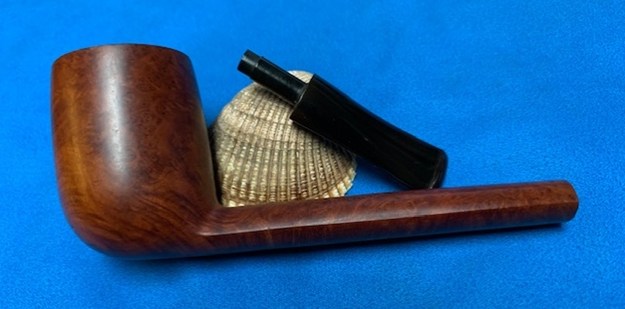
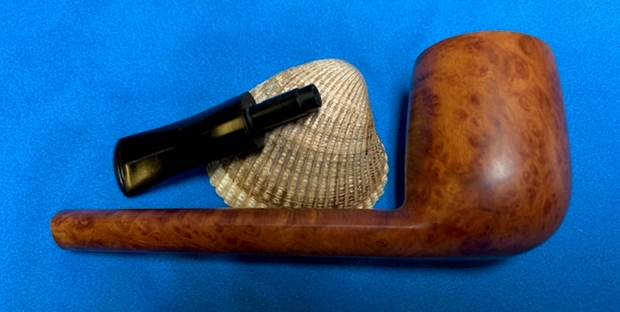
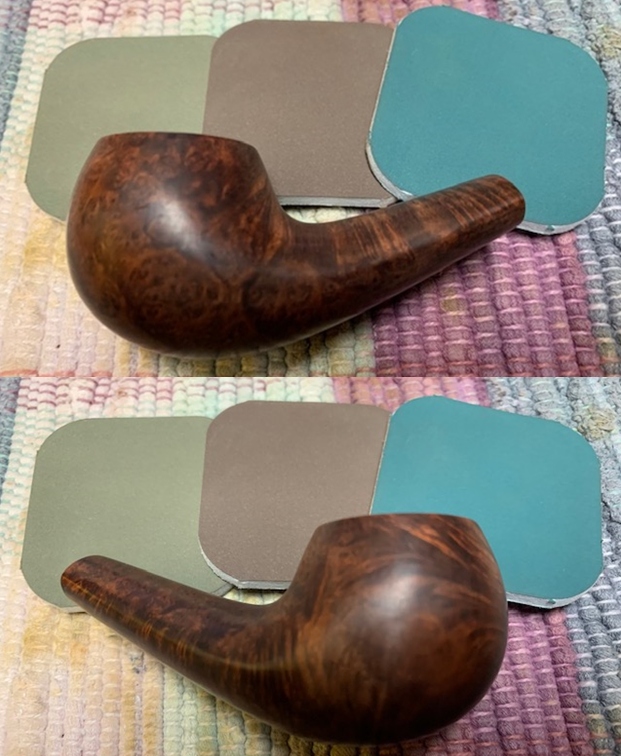
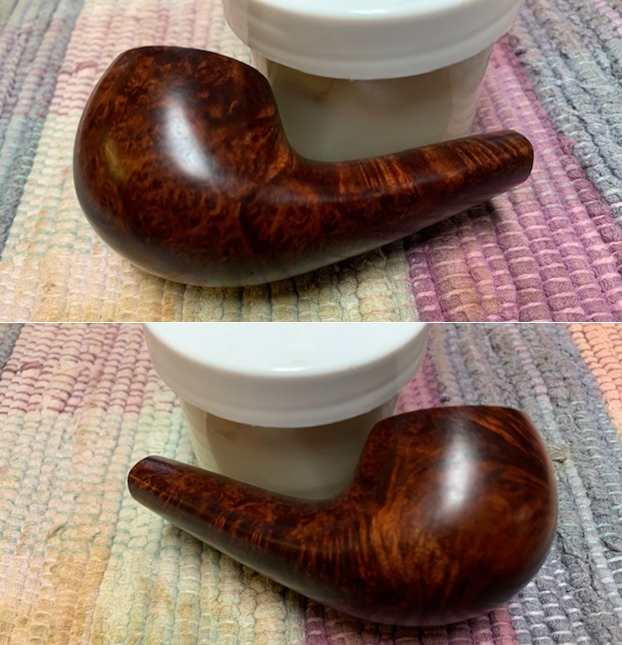
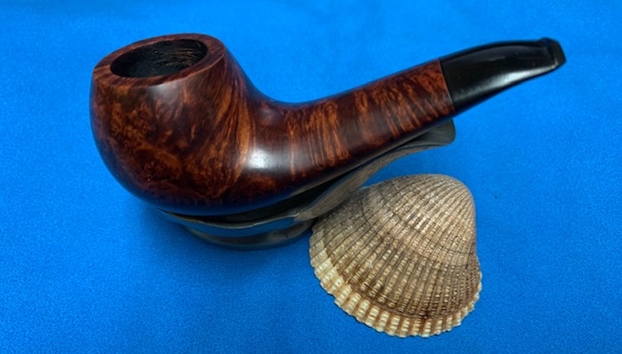
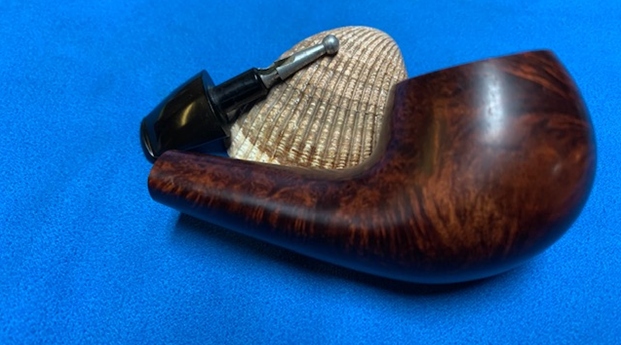
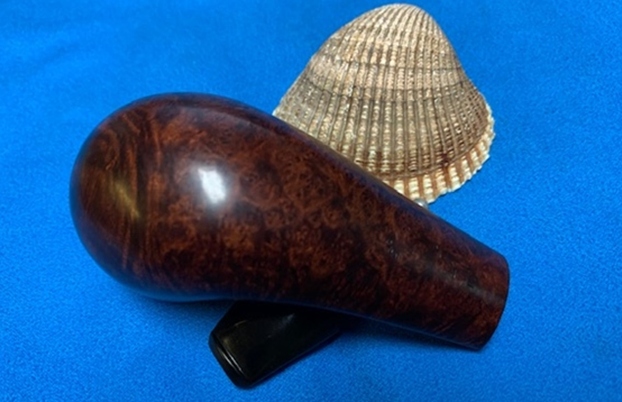
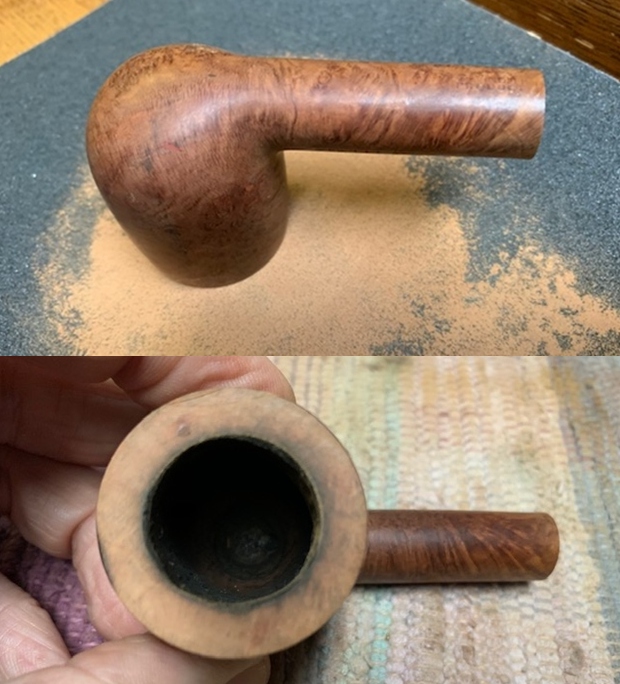
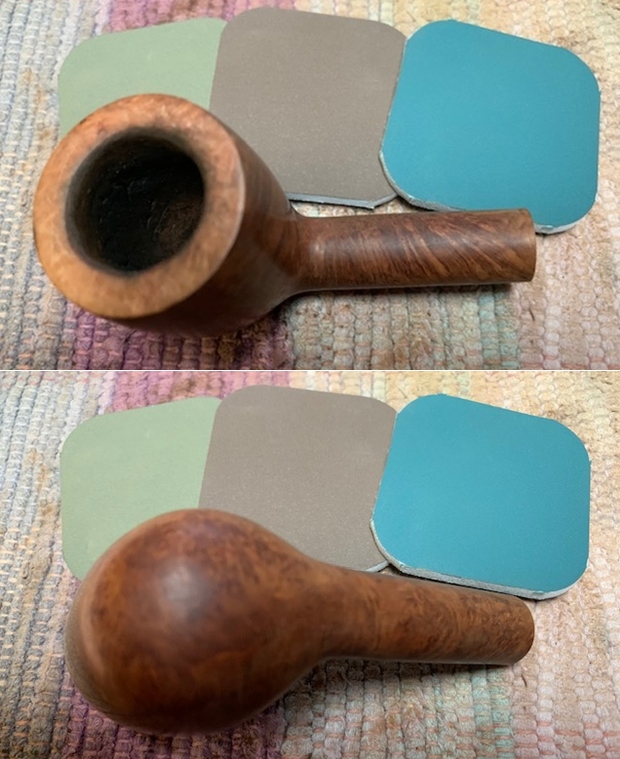
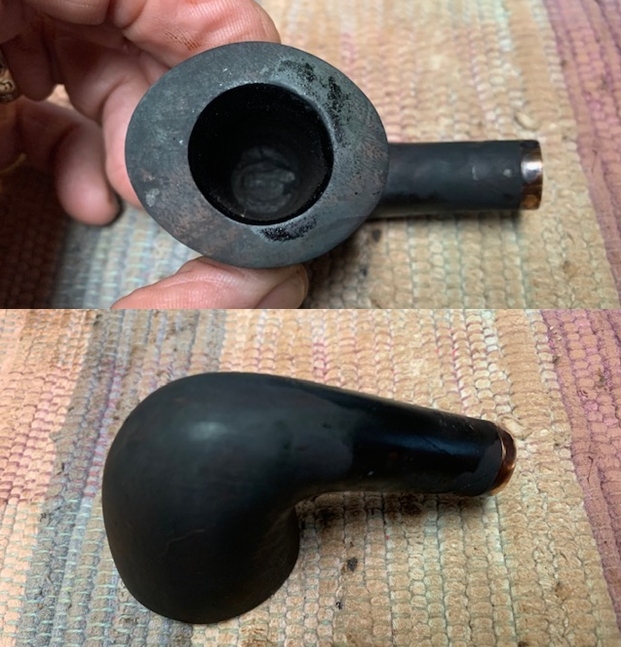
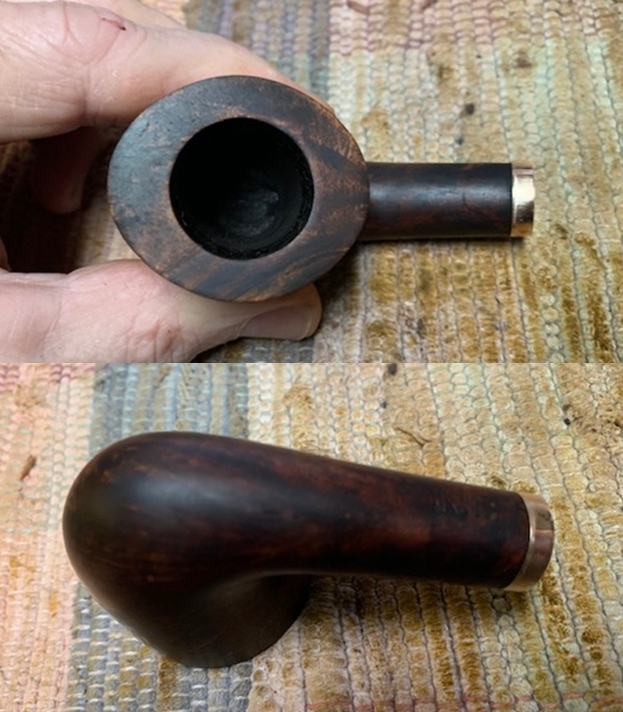
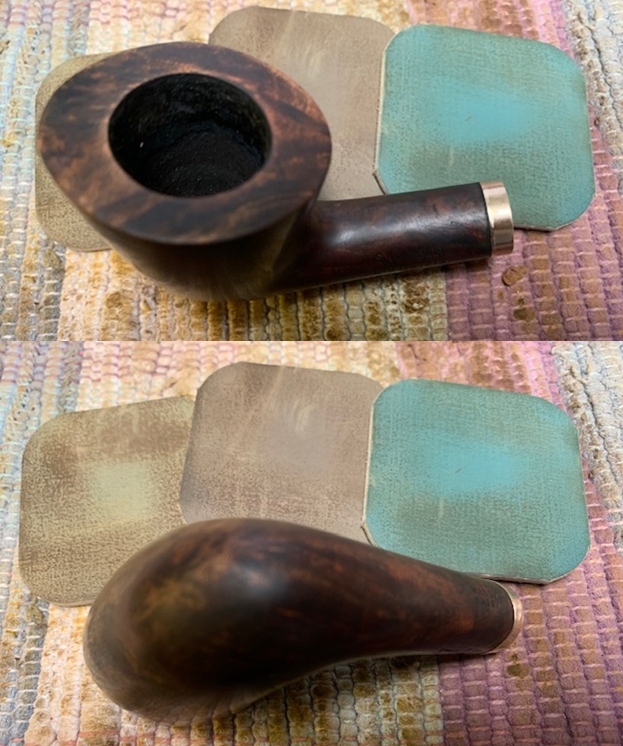
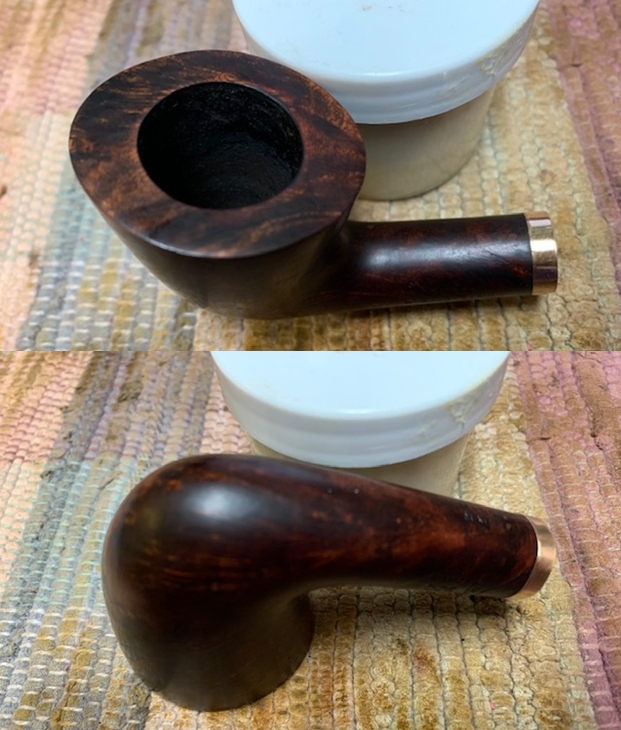
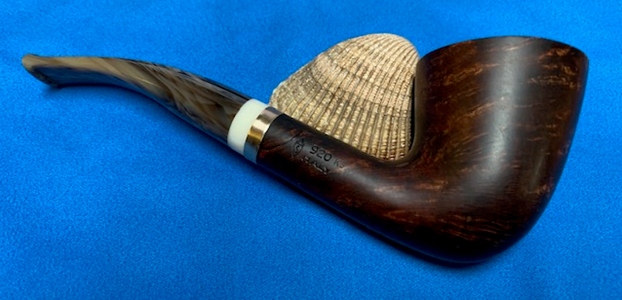
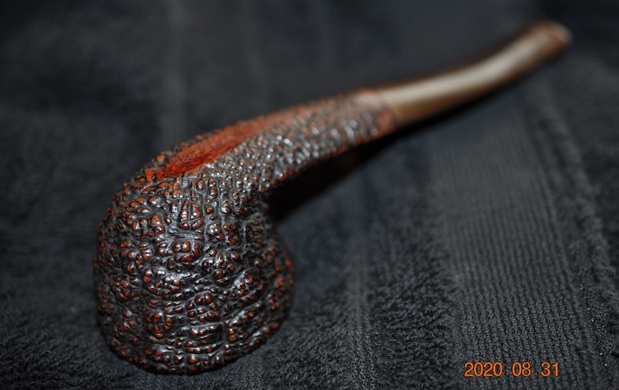
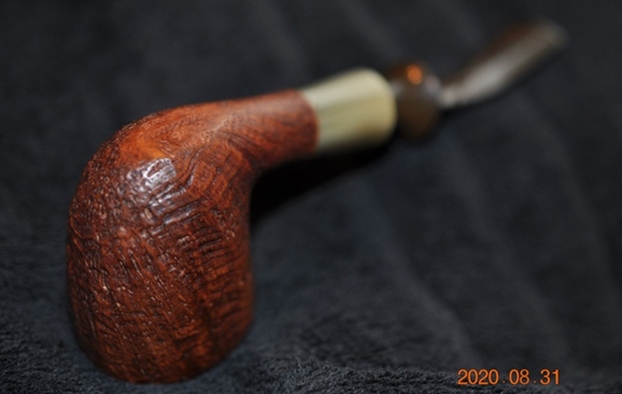
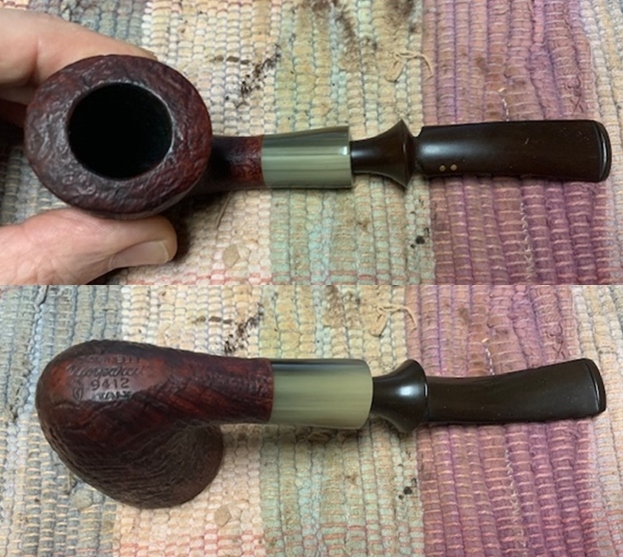
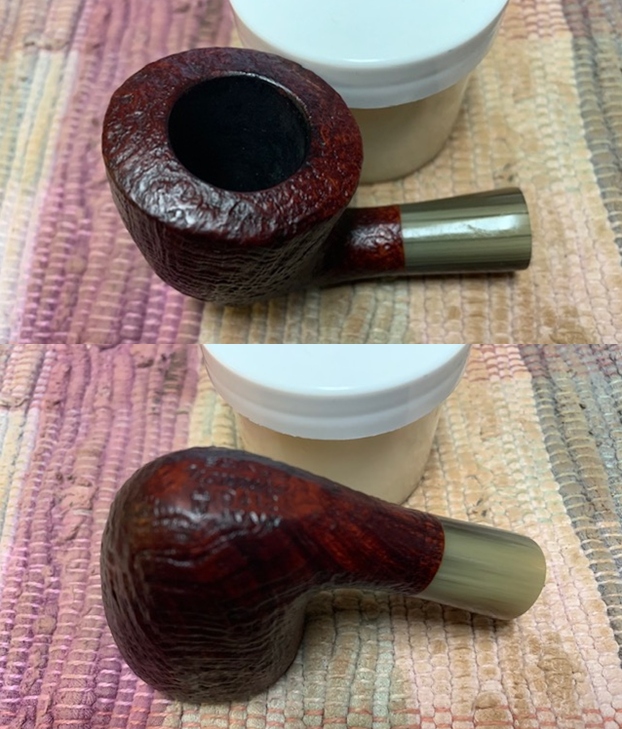
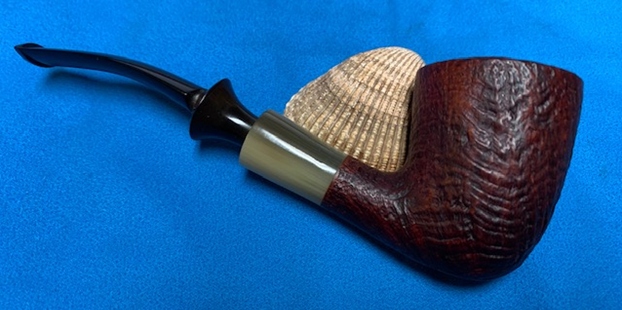
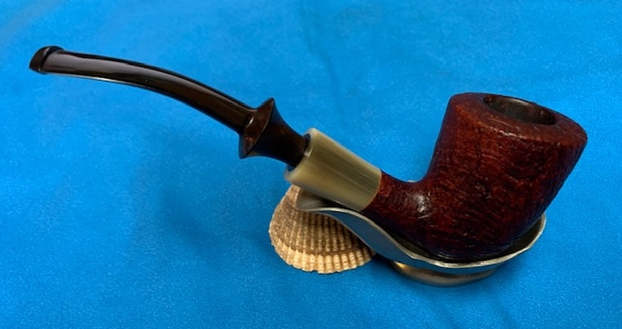
 I took photos of the pipe before I started my clean up work on it. You can see the light cake in the bowl and the ash on the walls. The pipe had a strong aromatic aroma to it that I would need to remove before reselling it to the next pipe smoker. The finish was in great condition and the stem was free of tooth marks and only had some light chatter on the surface near the button on both sides. It is stamped on the heel of the bowl and reads Savinelli [over] Oceano followed by the Savinelli S Shield logo and the shape number 320 and a faint KS [over] Italy.
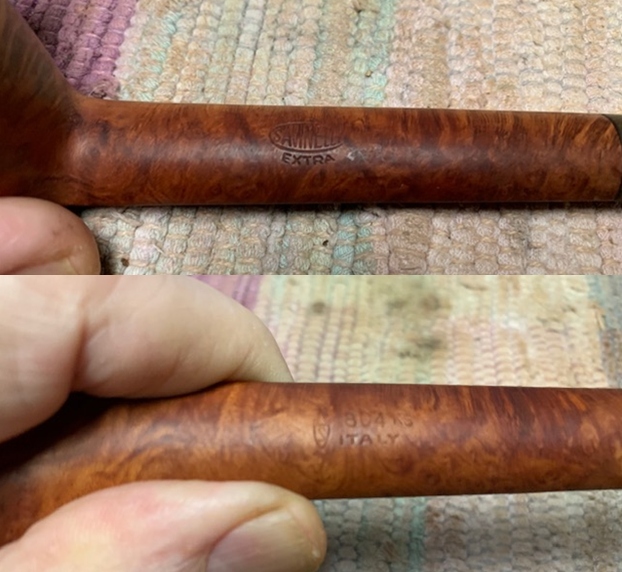
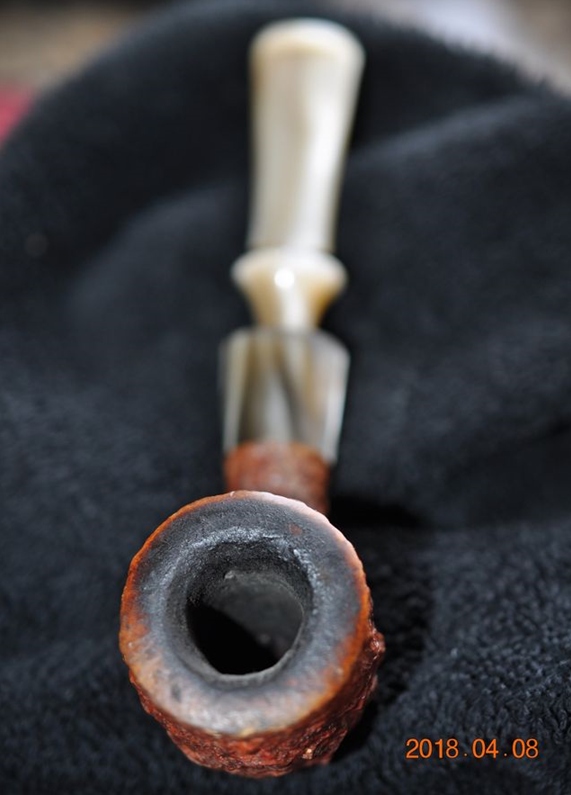
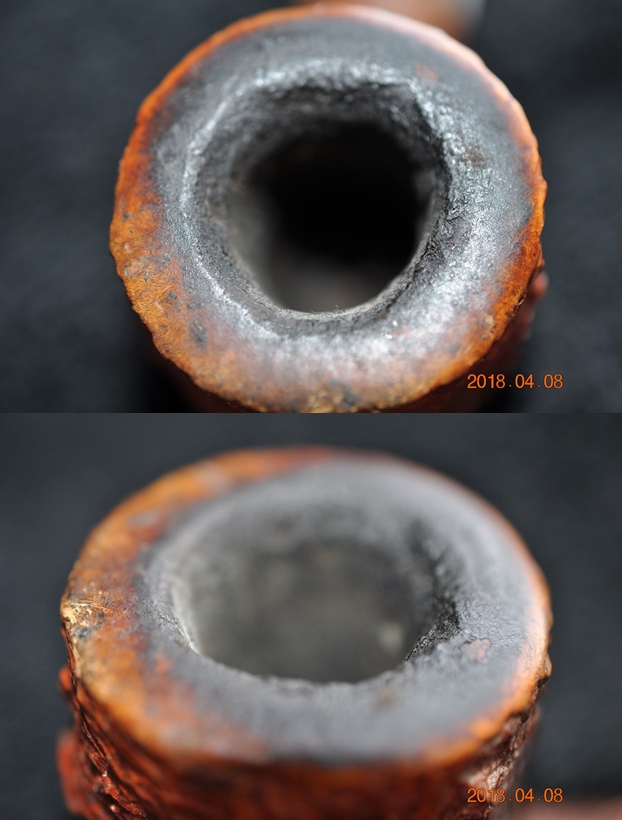
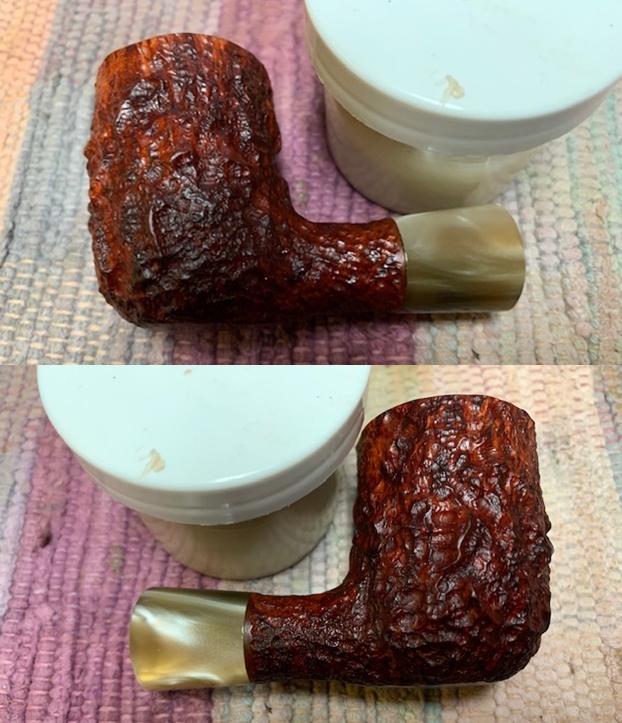
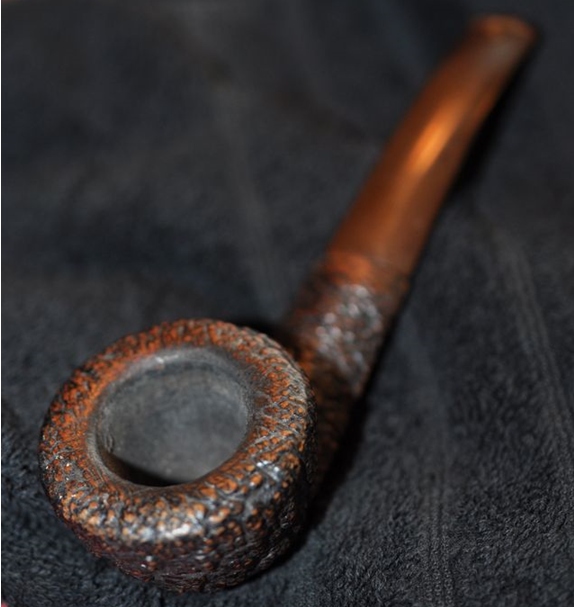
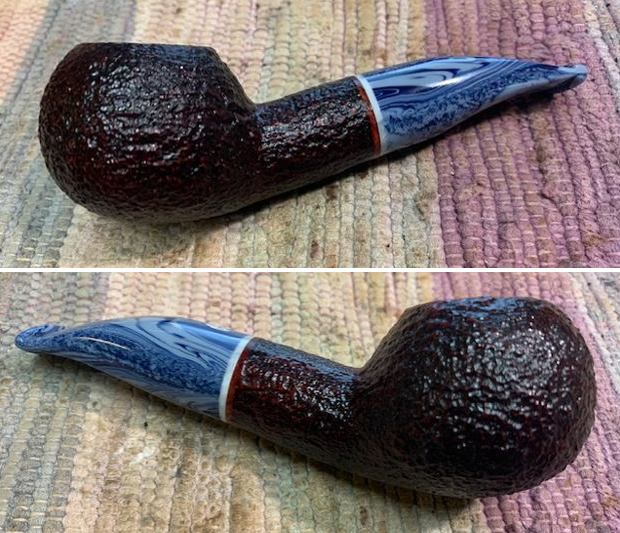
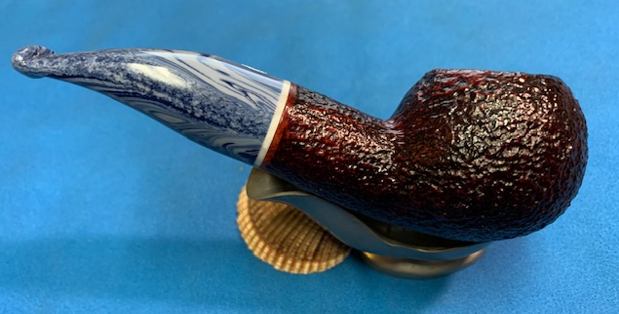
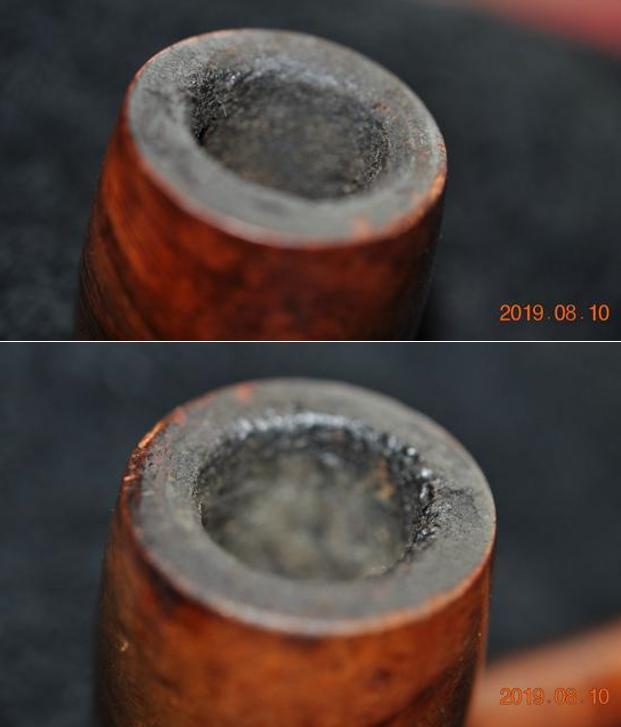
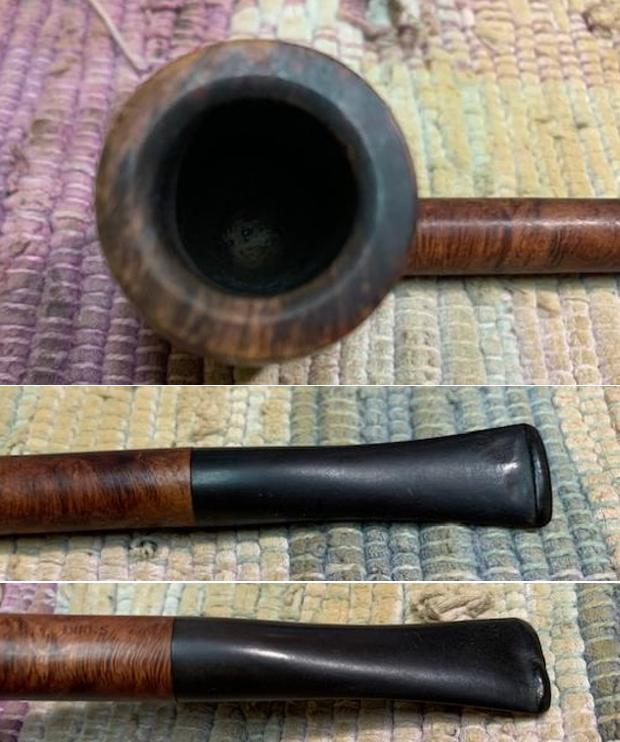
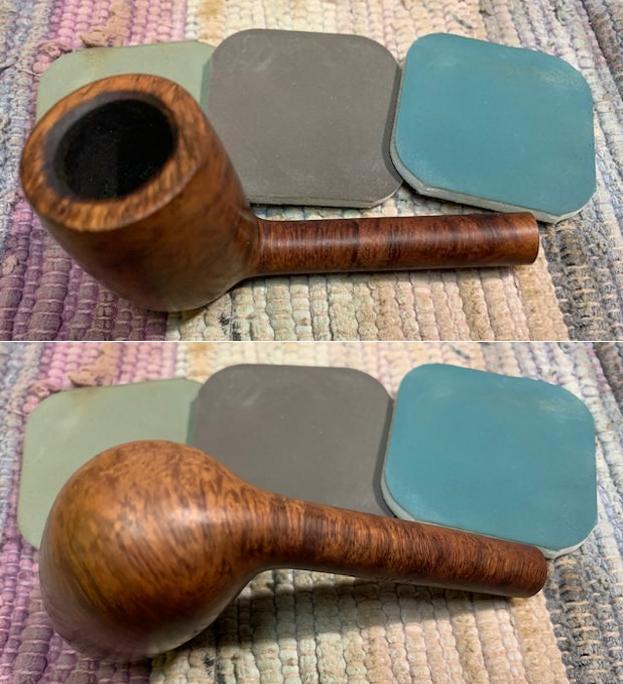
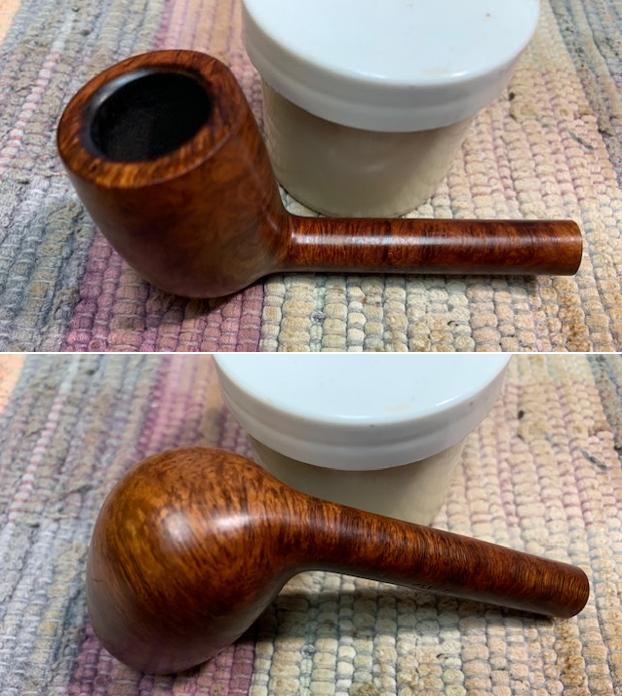
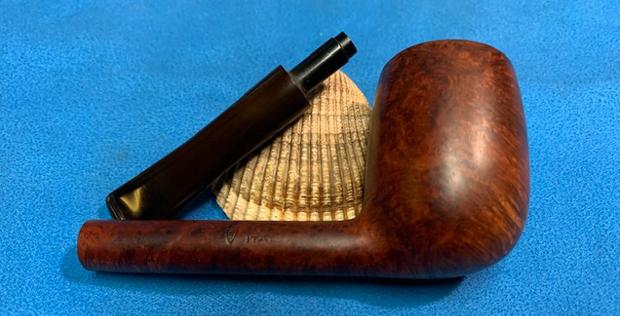
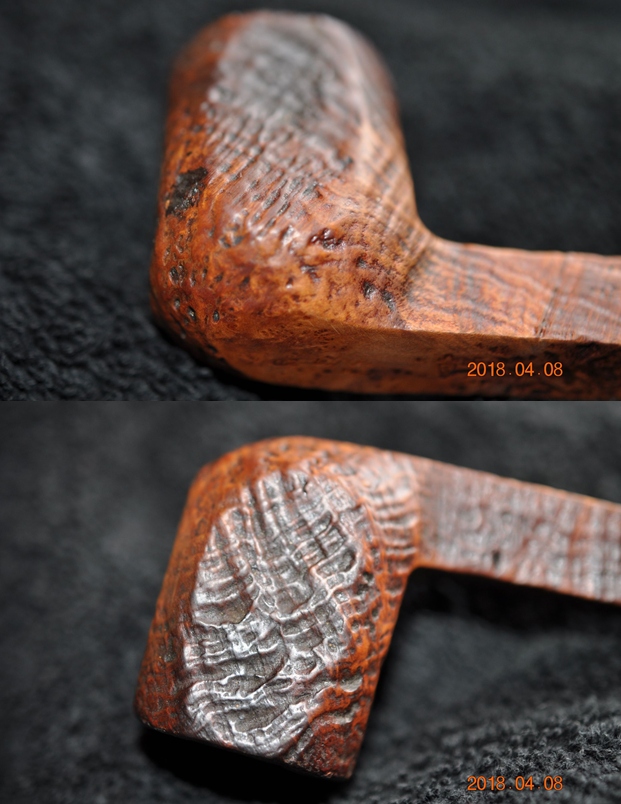
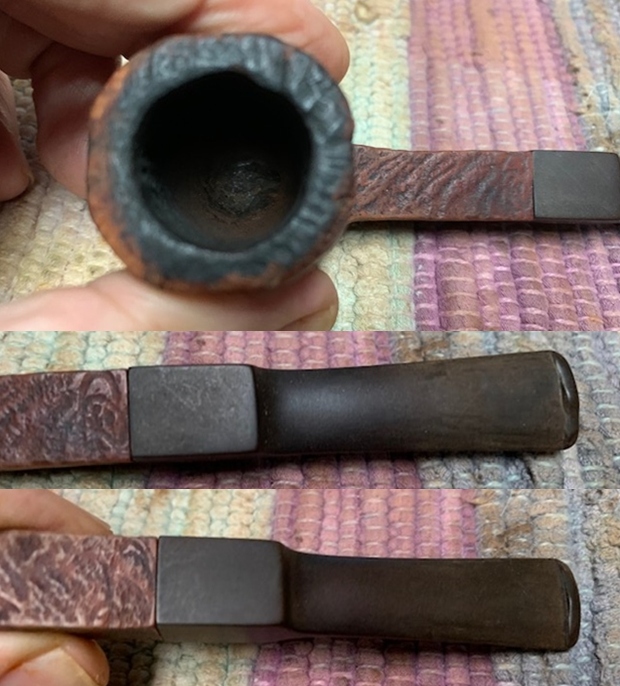
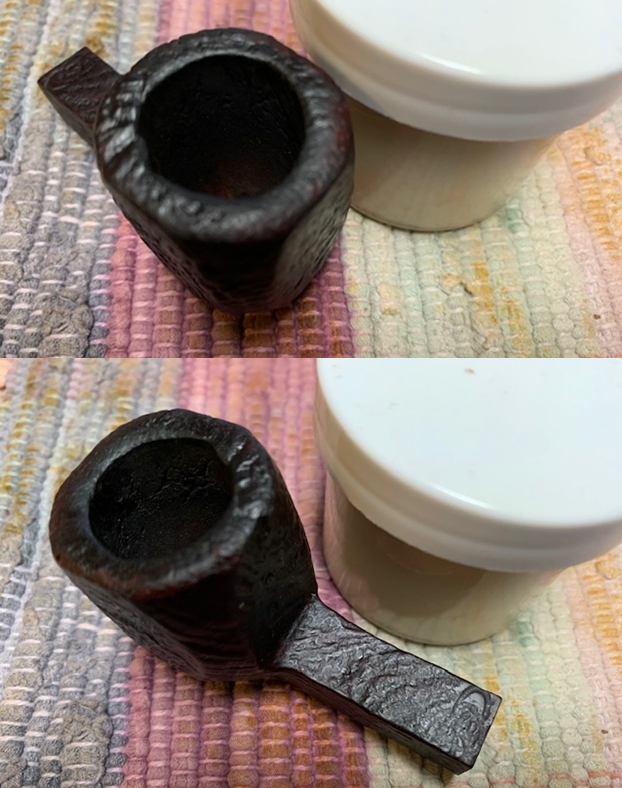
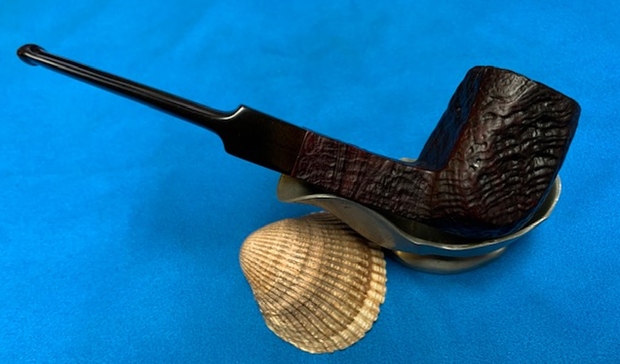
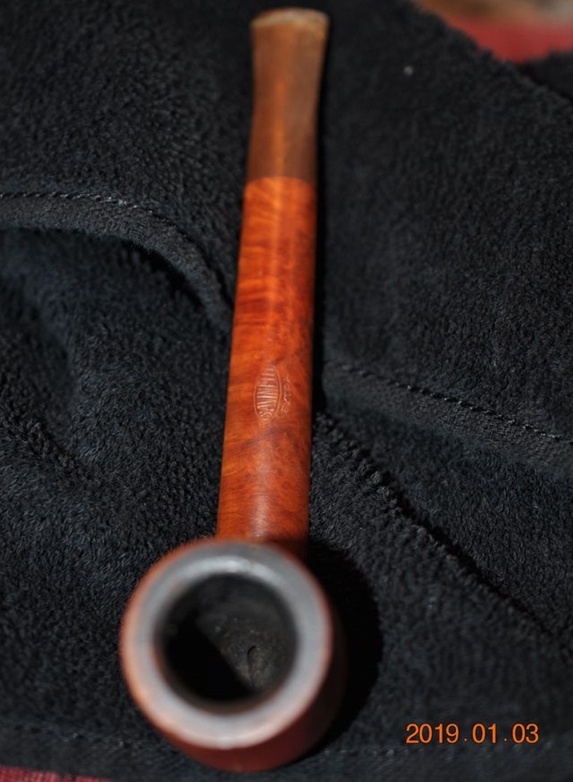
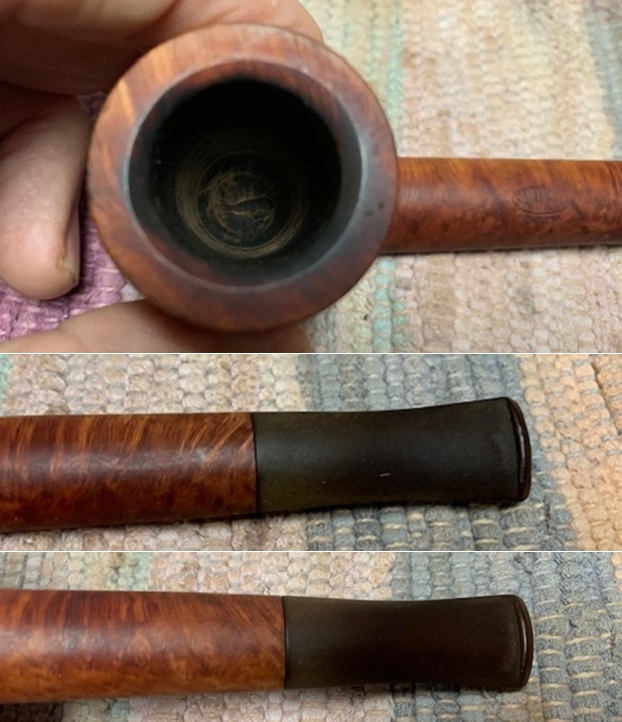
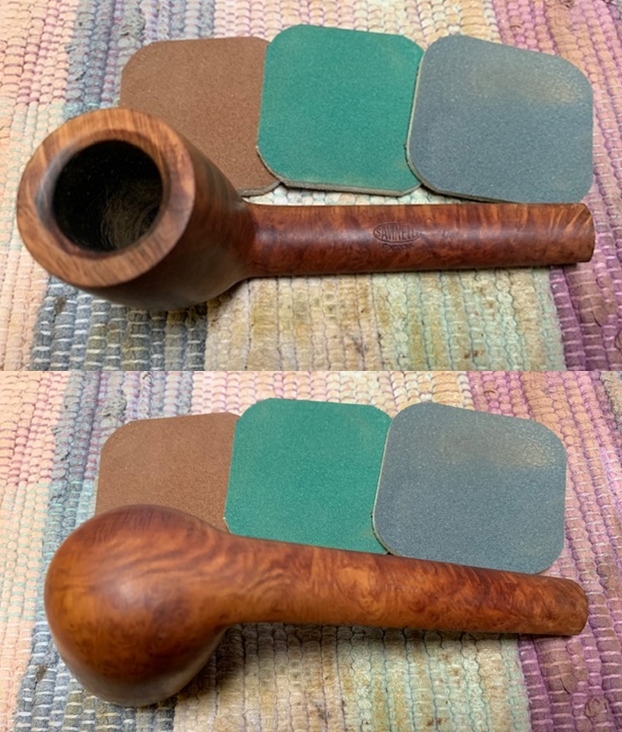
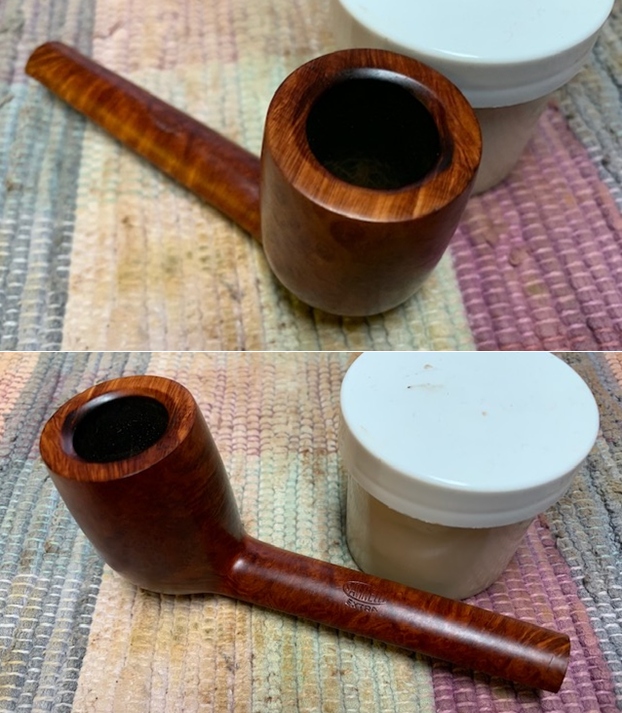
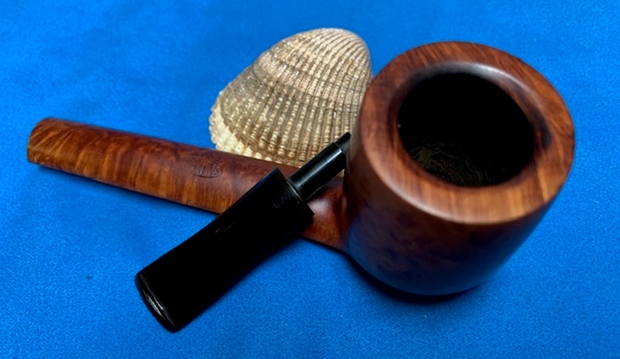
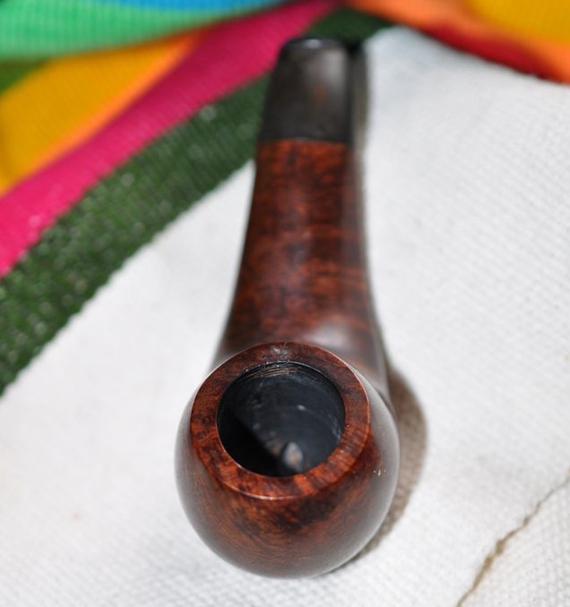
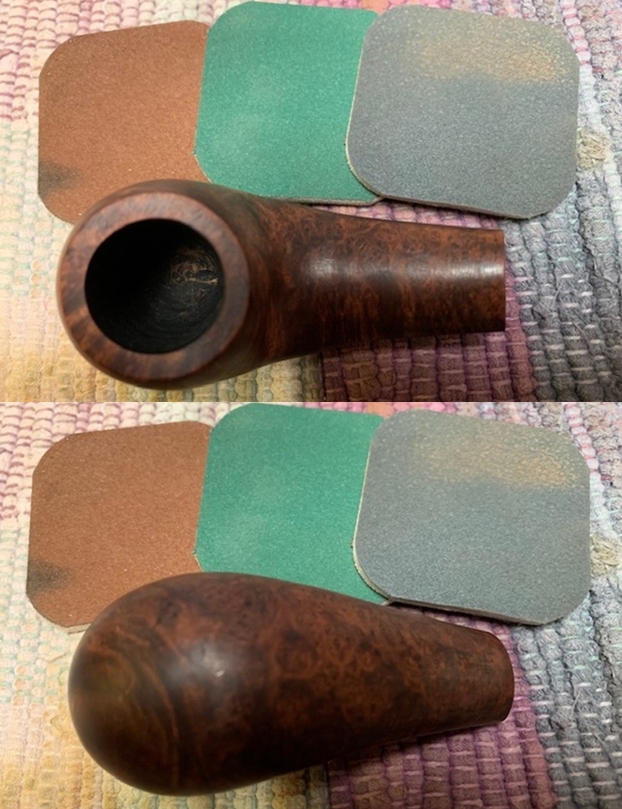
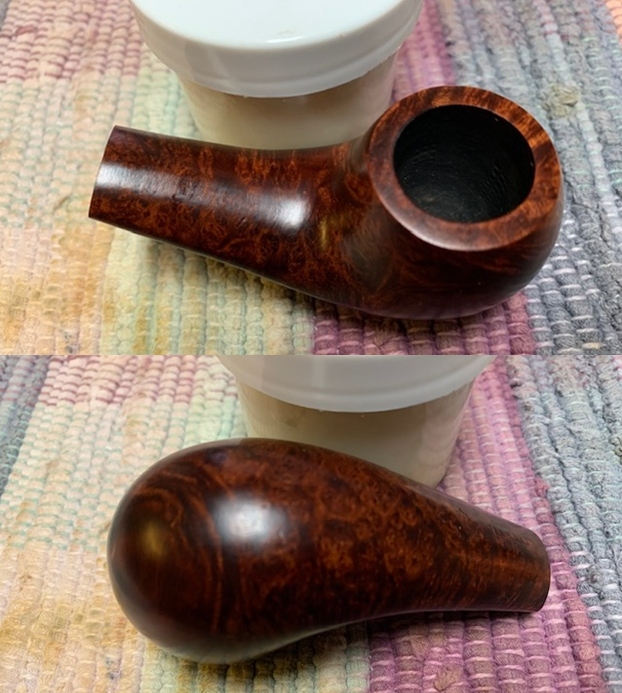
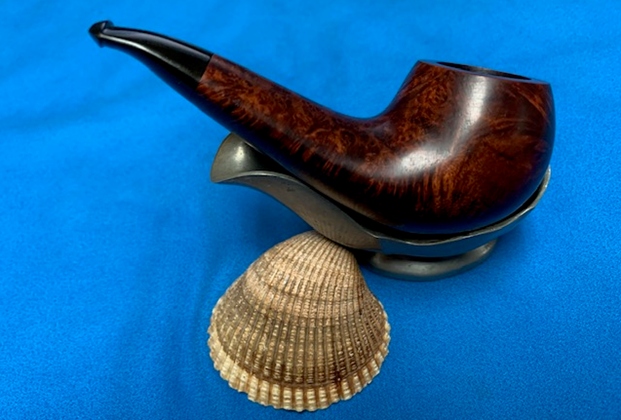
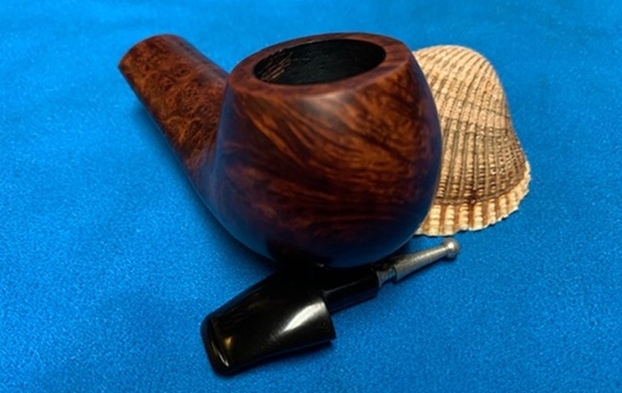
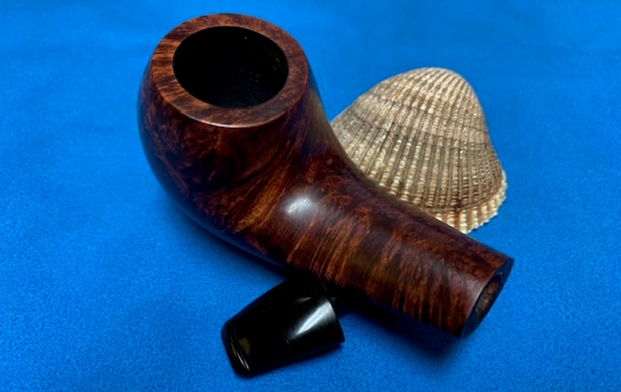
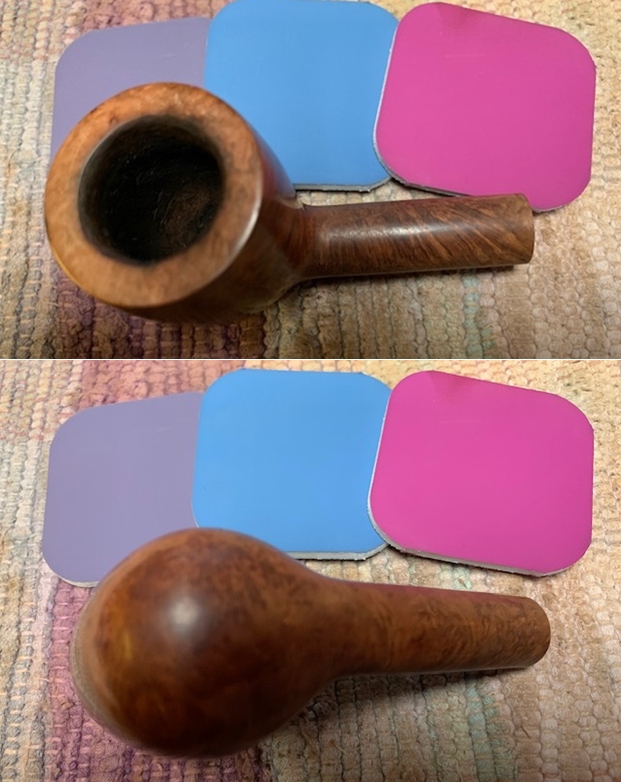
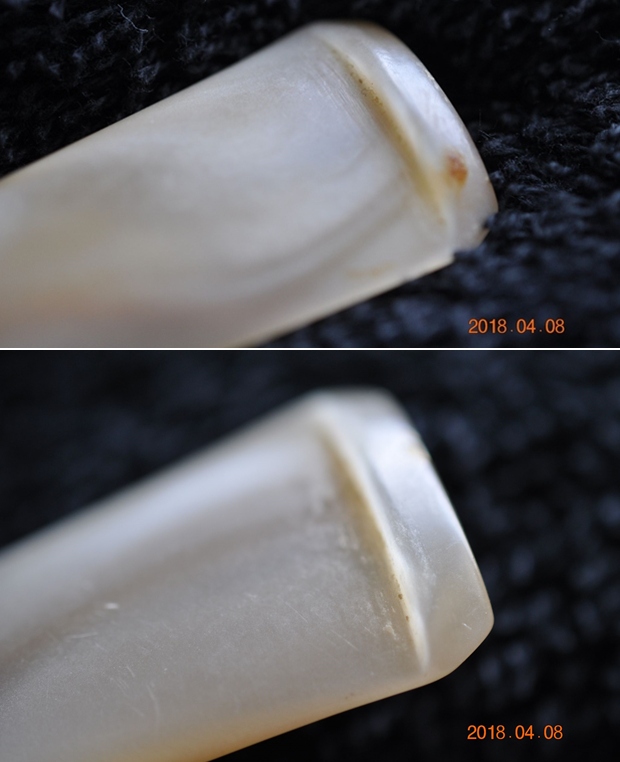
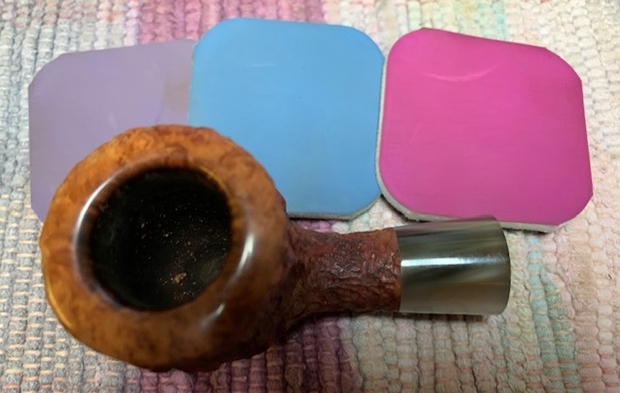
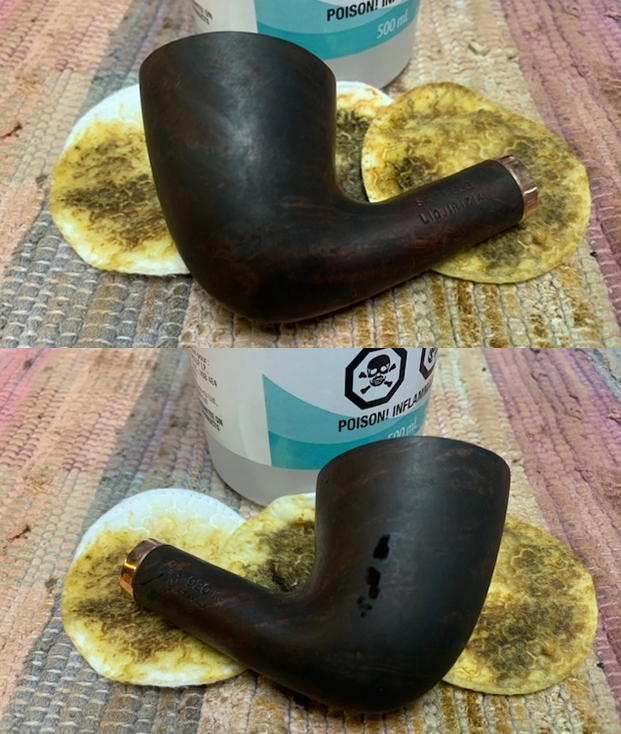
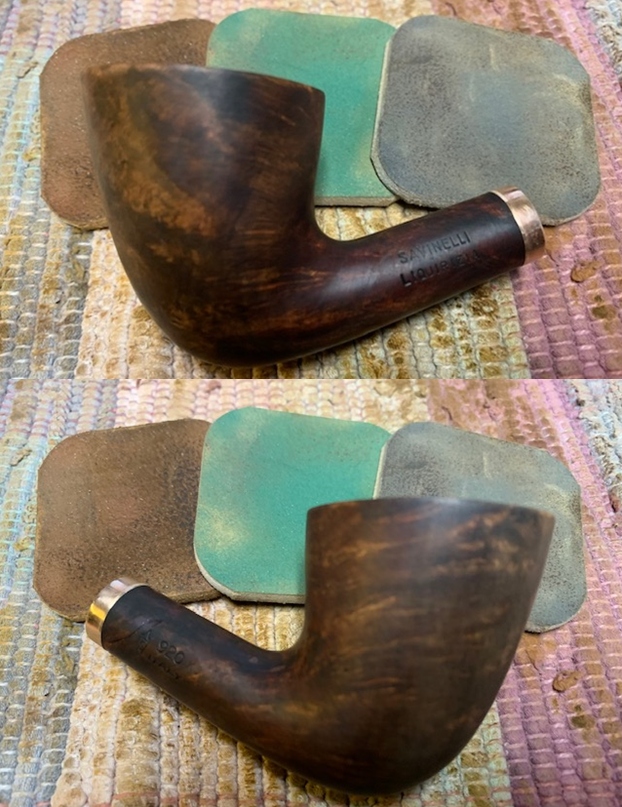
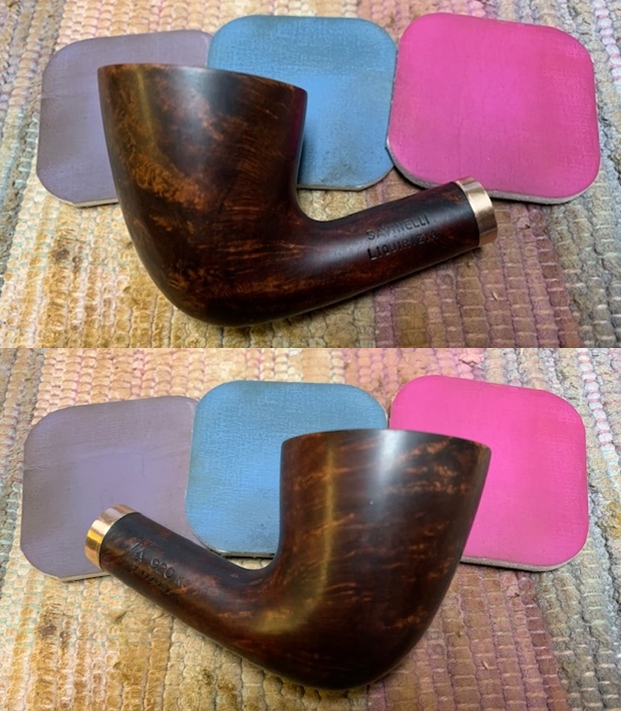
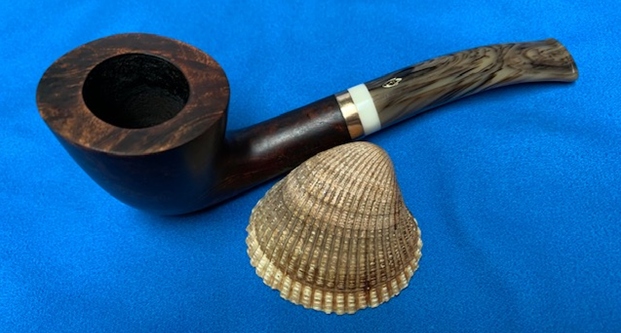
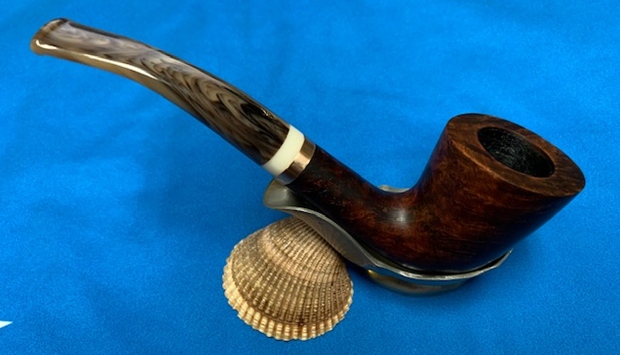
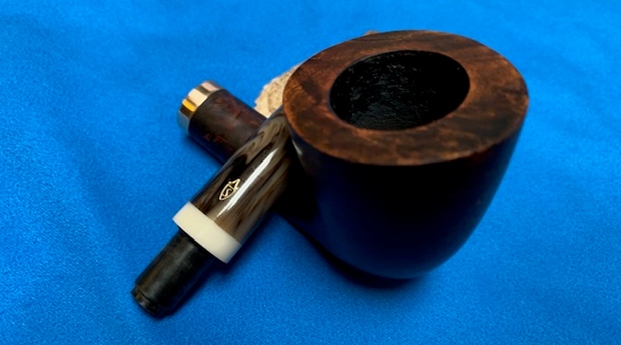
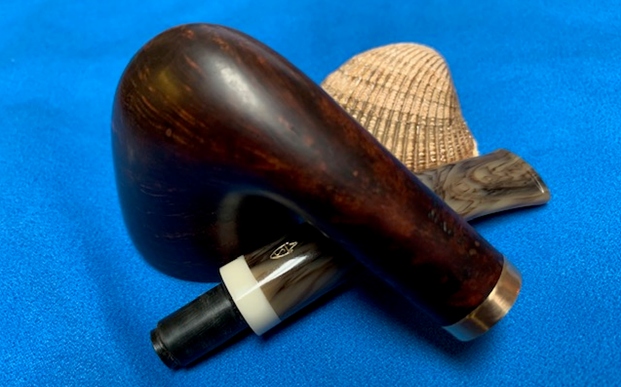
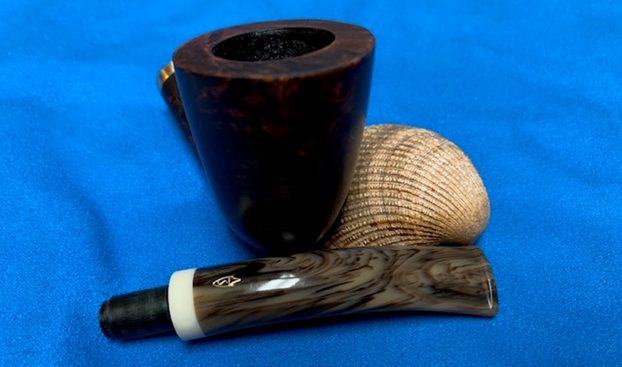
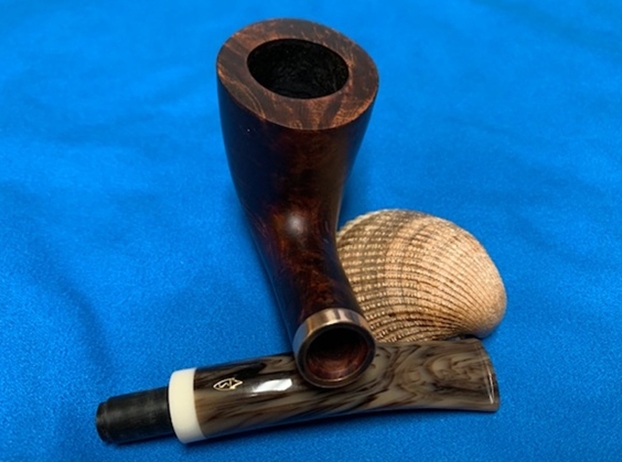
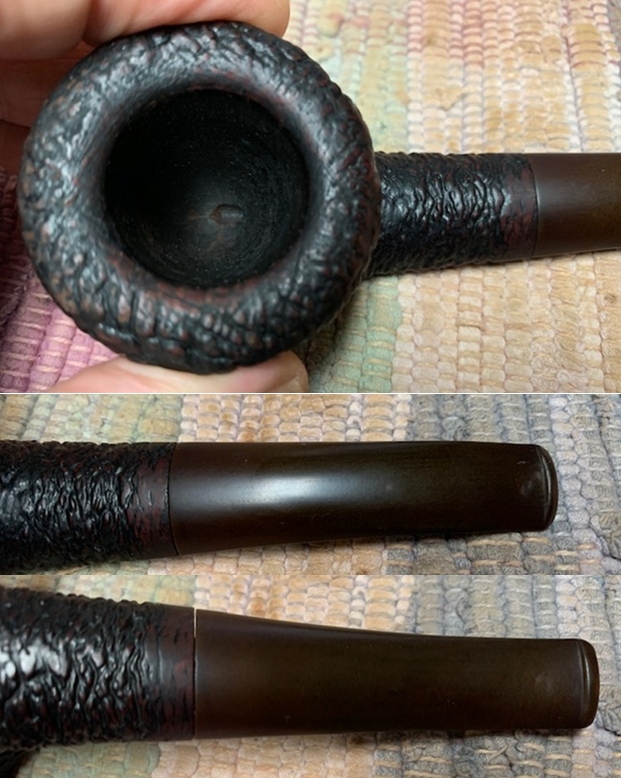
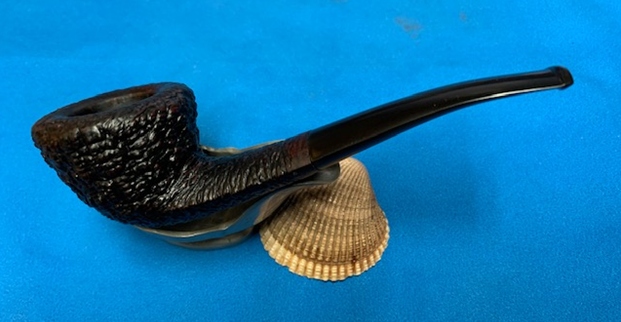
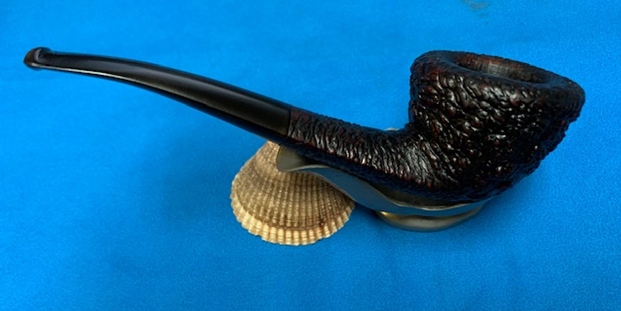
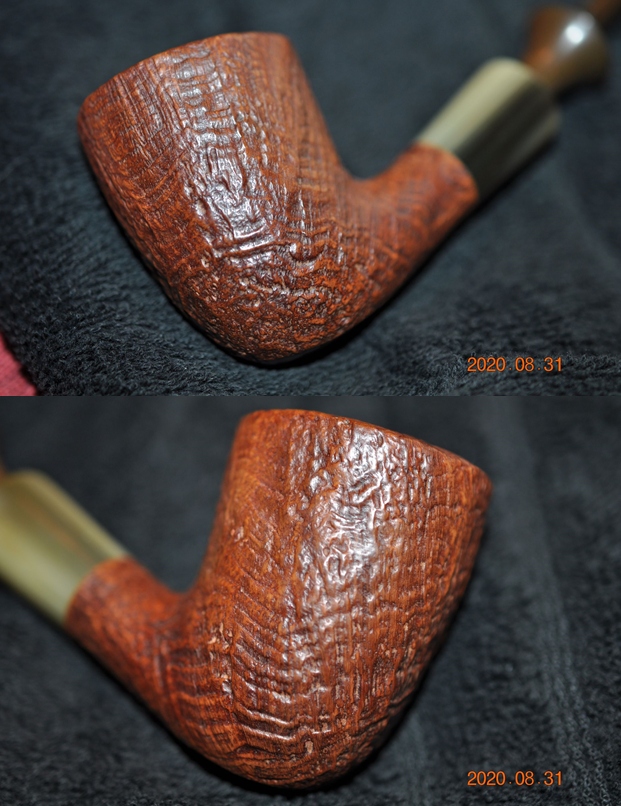
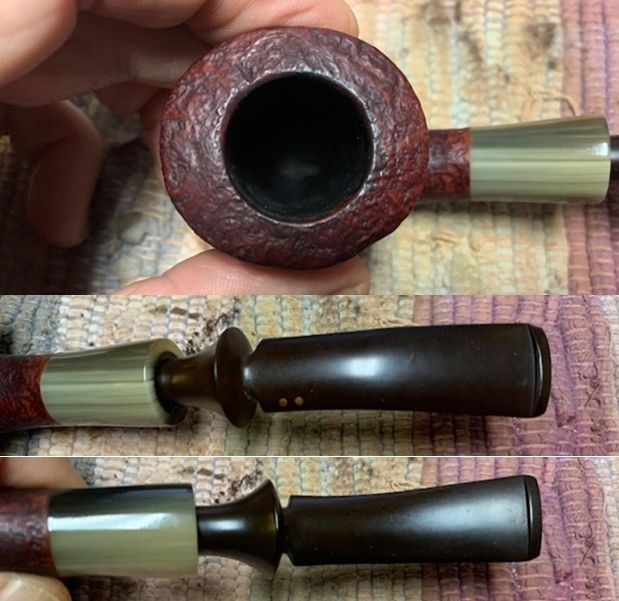
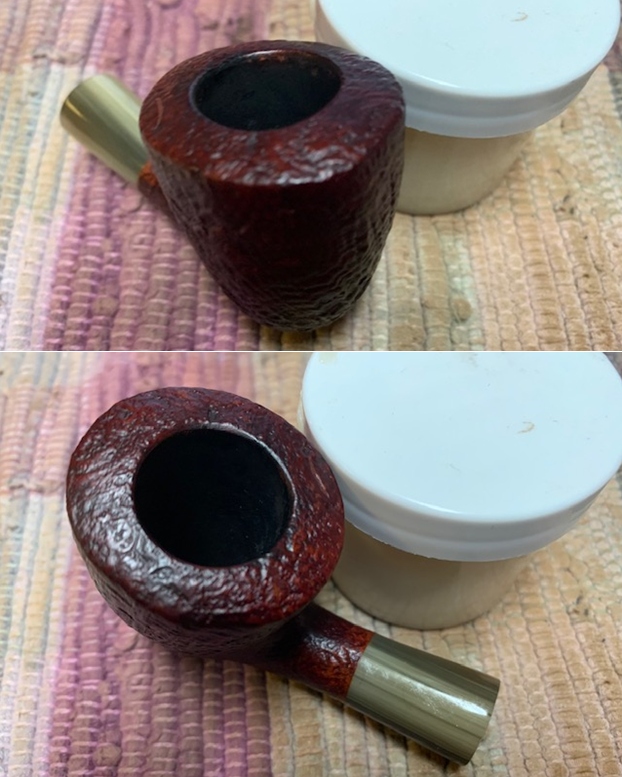
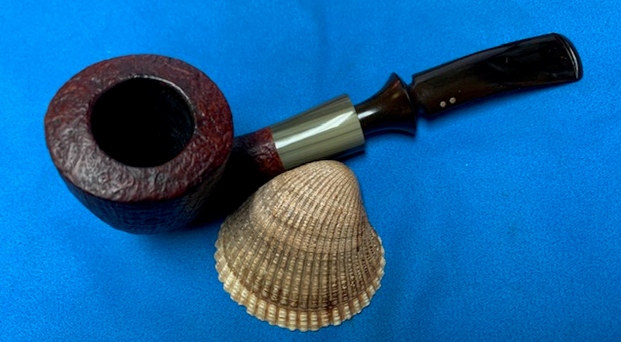
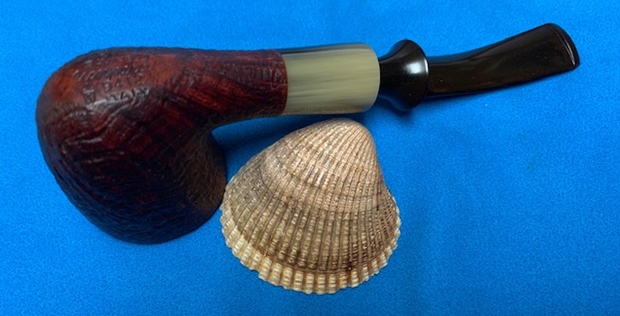
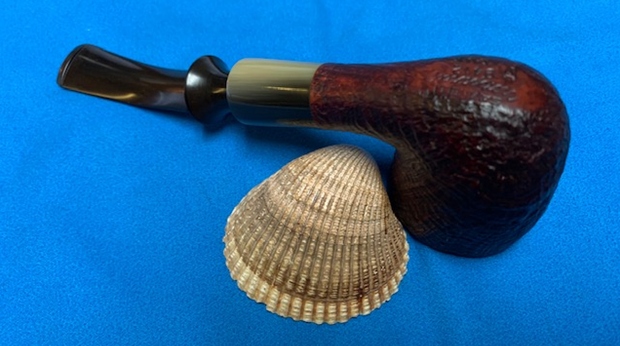
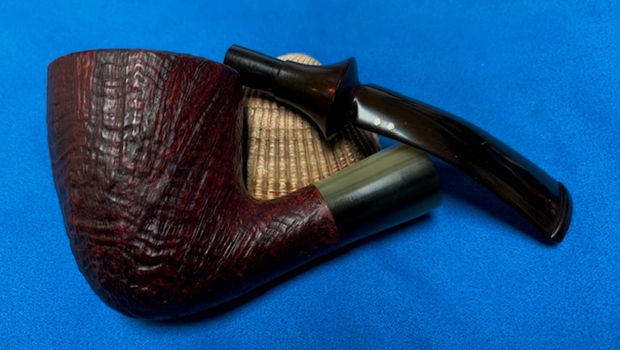
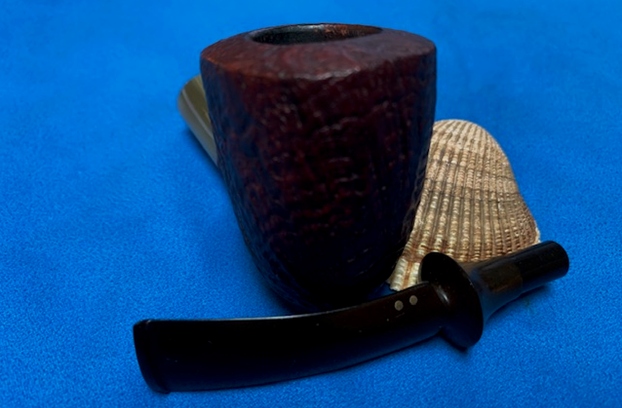
 I took photos of the bowl and rim top to show the condition. You can see the thickness of the cake in the bowl and general cleanness of the rim top. The stem looks very good other than faint tooth chatter that is hard to capture in the photos.
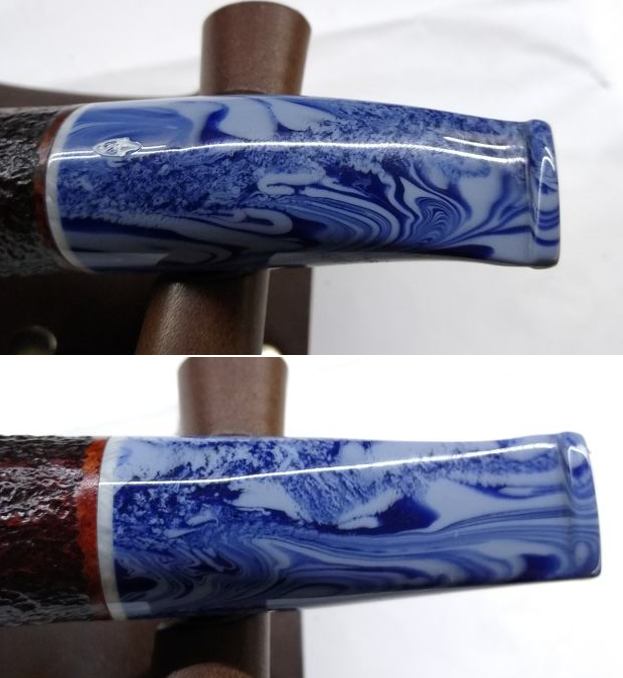
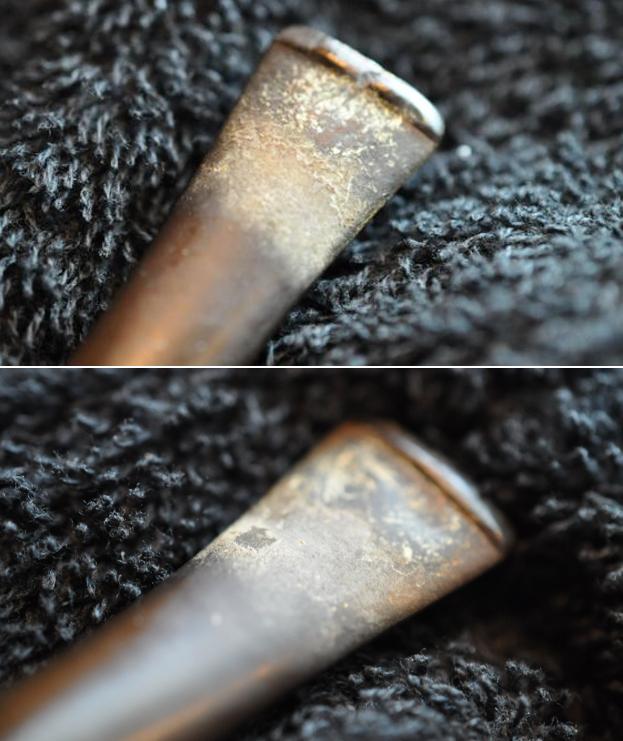
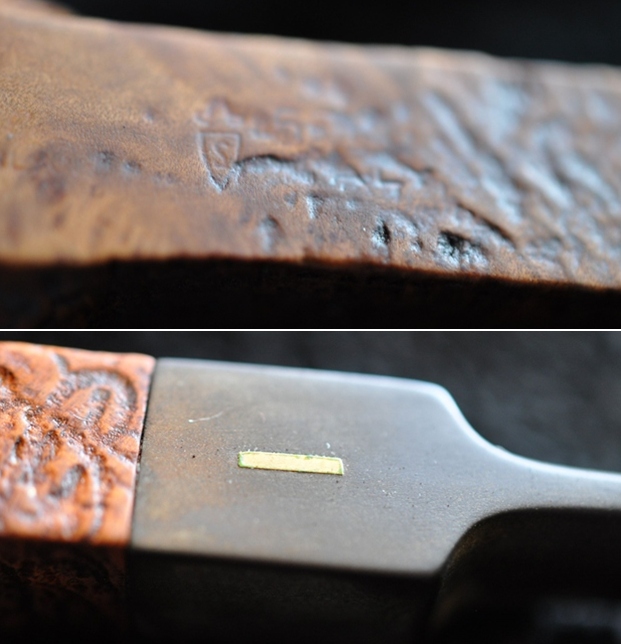
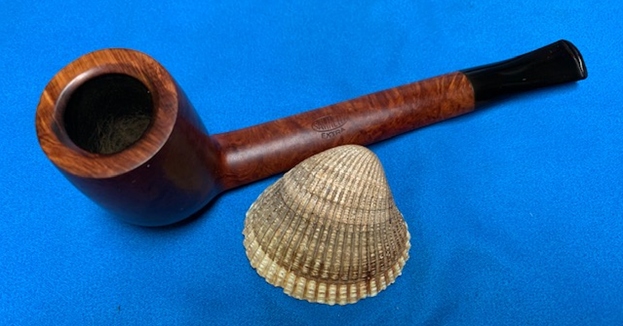
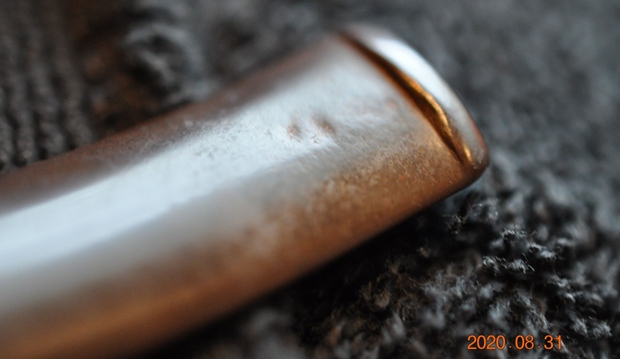
 I took a photo of the stamping on the shank and it read as noted above. There is also a Savinelli S Shield logo on the top of the stem.
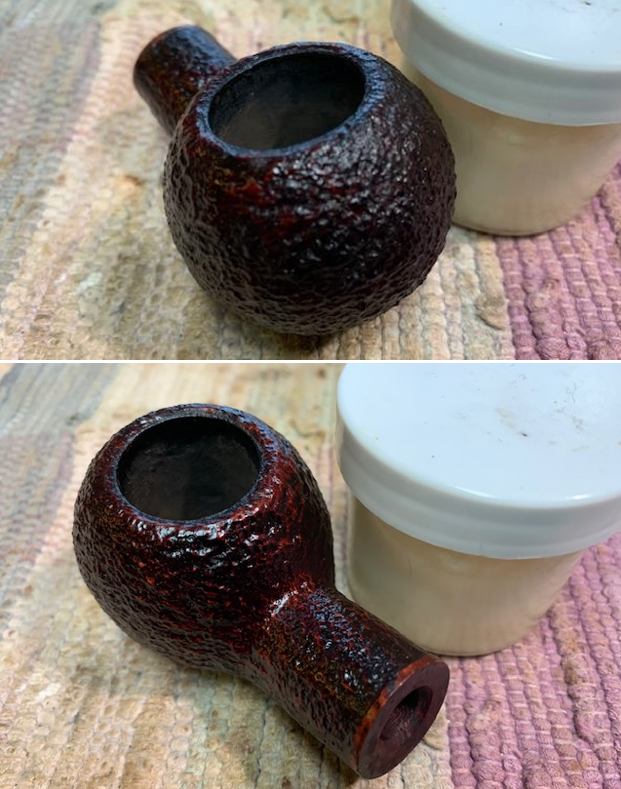
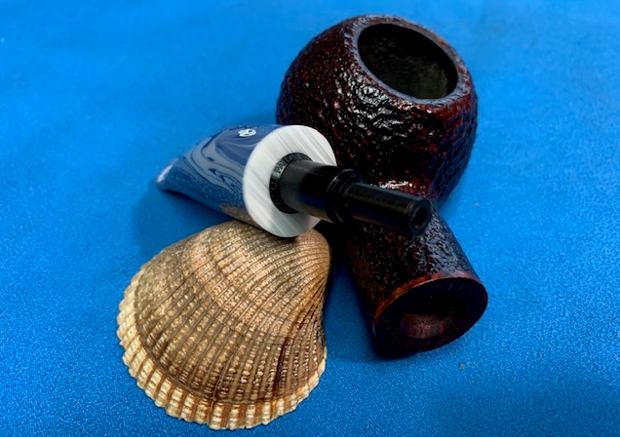
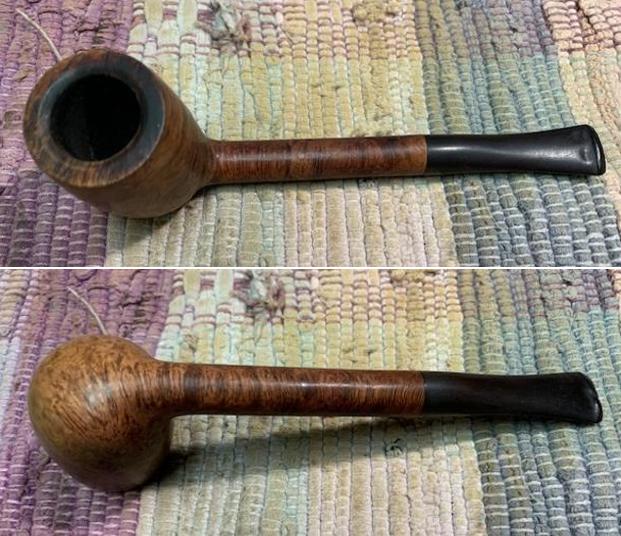
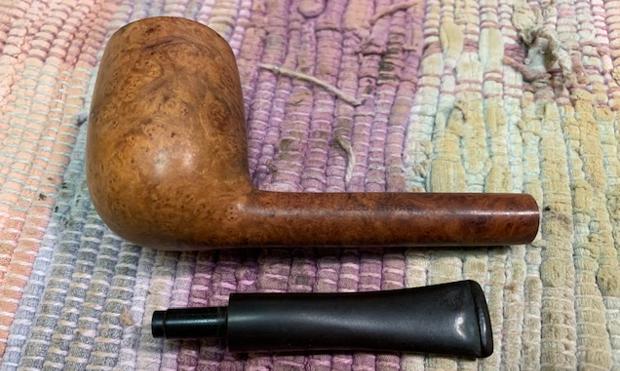
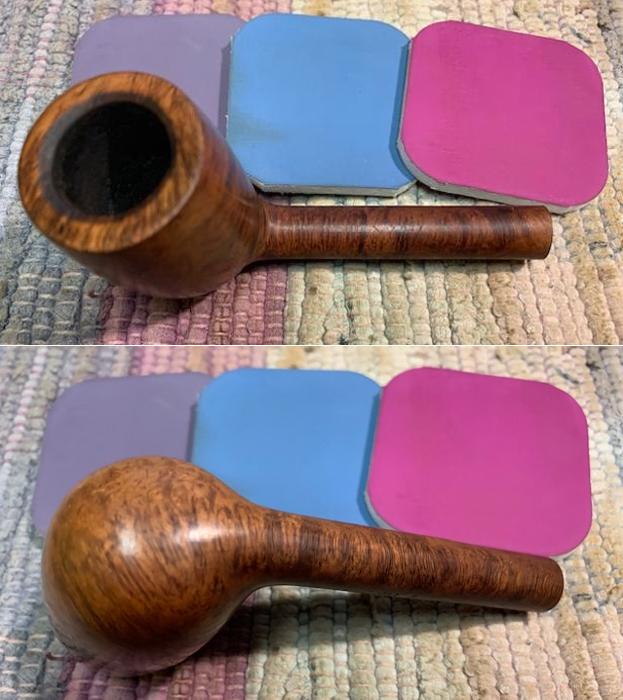
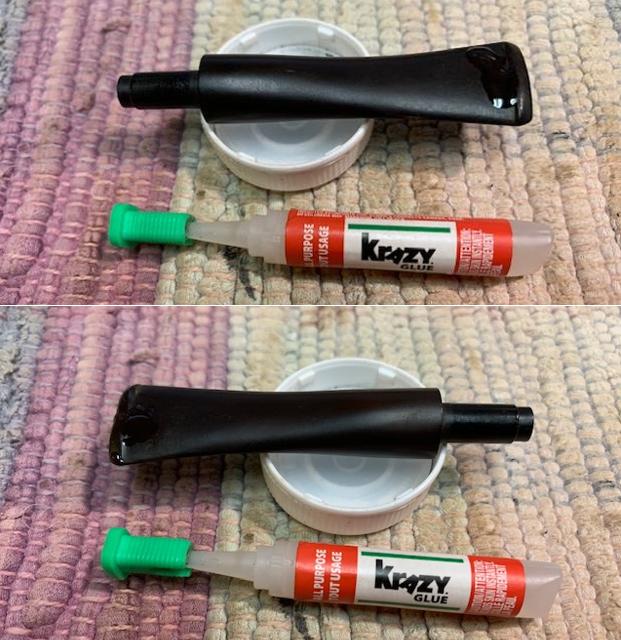
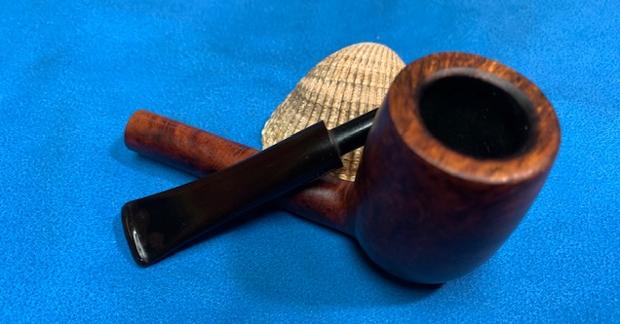
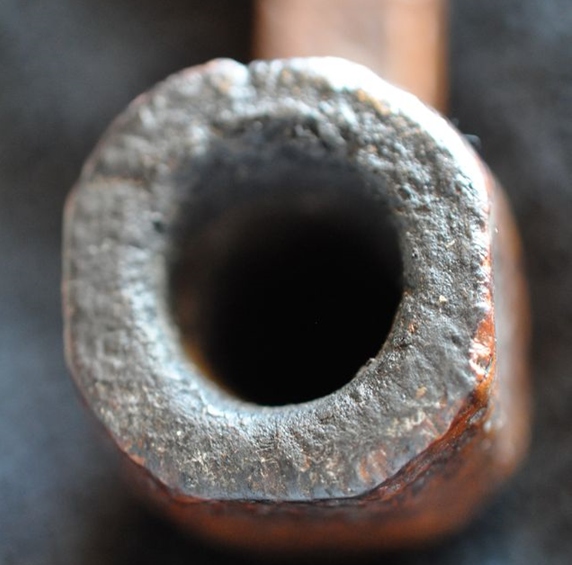
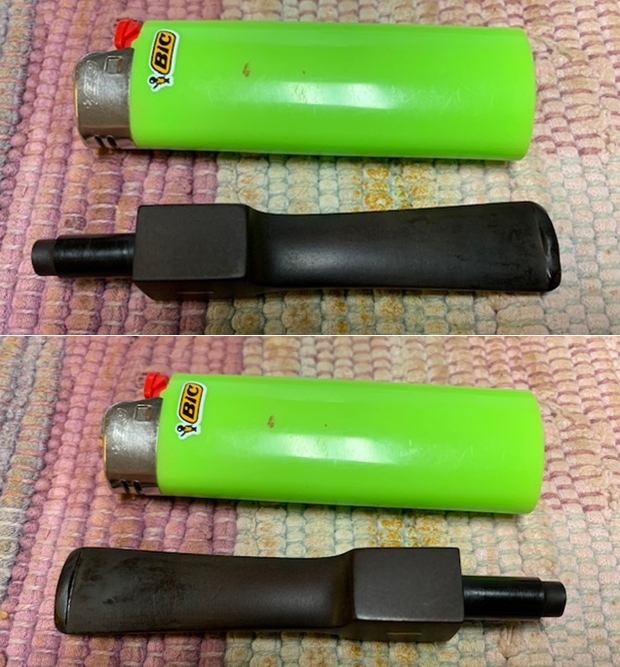
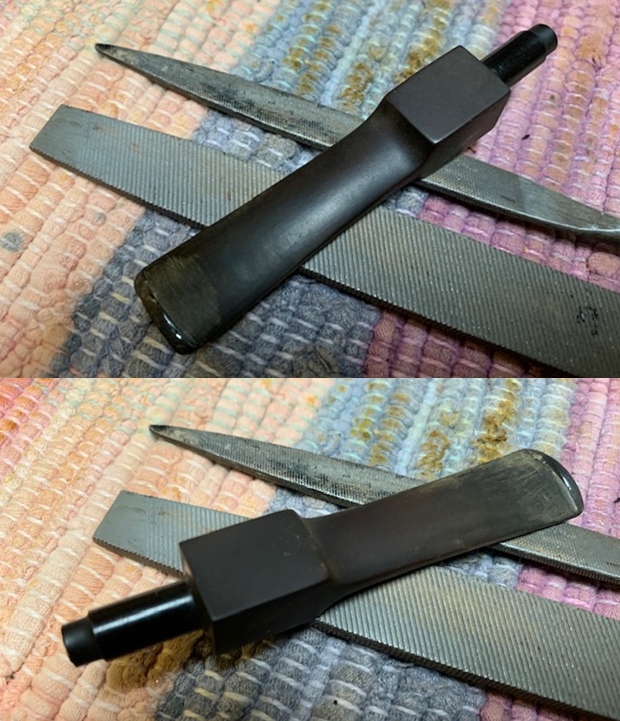
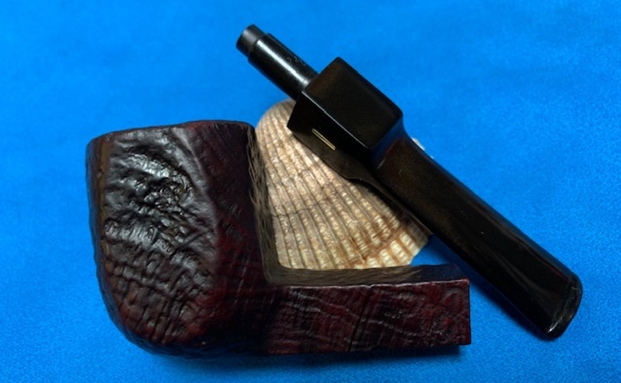
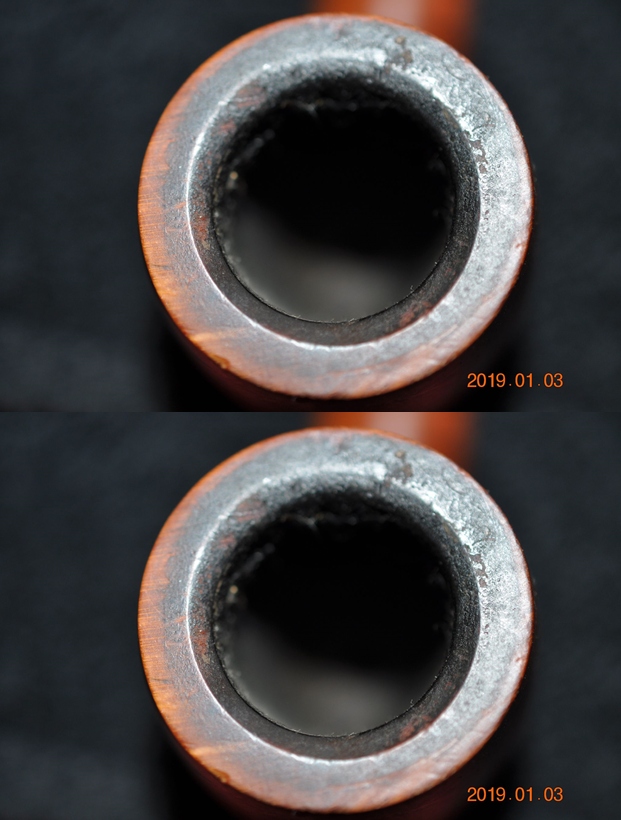
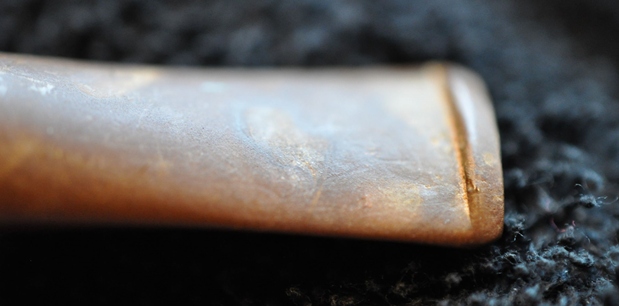
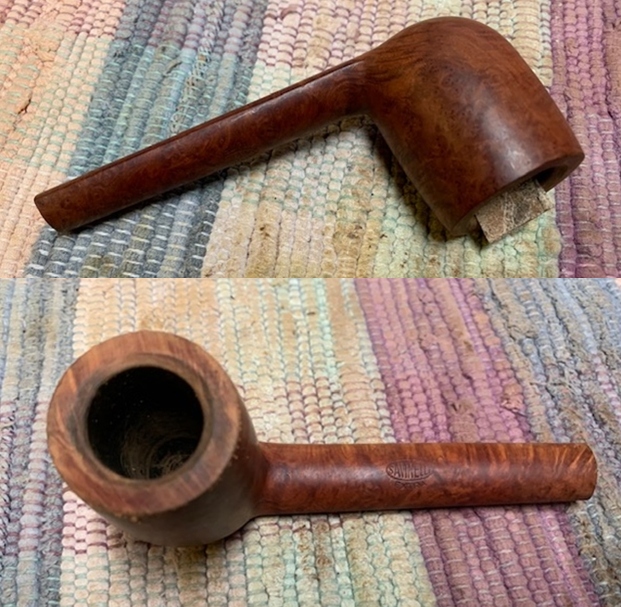
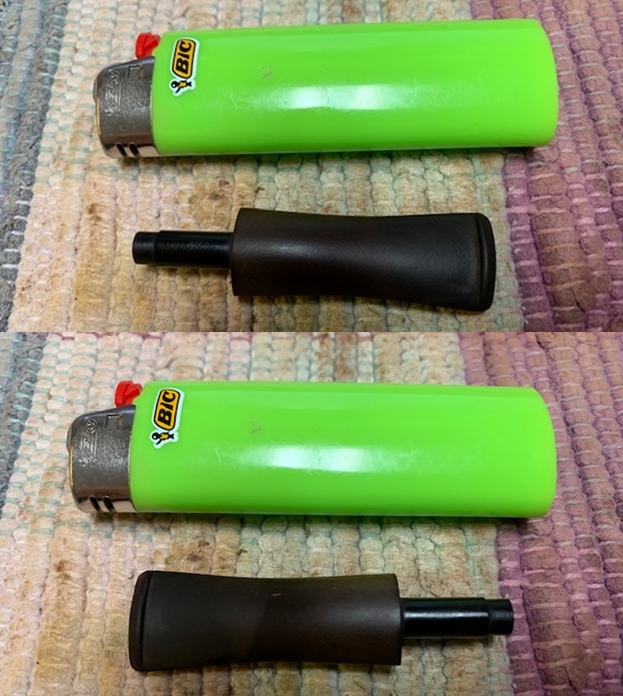
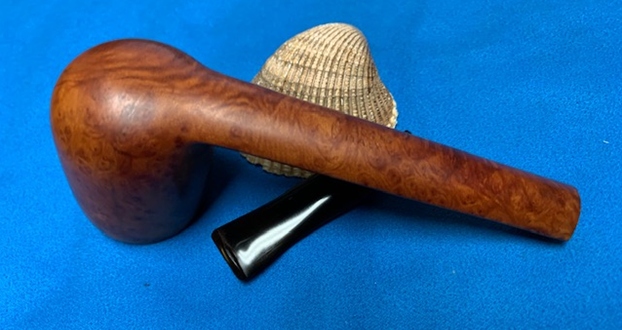
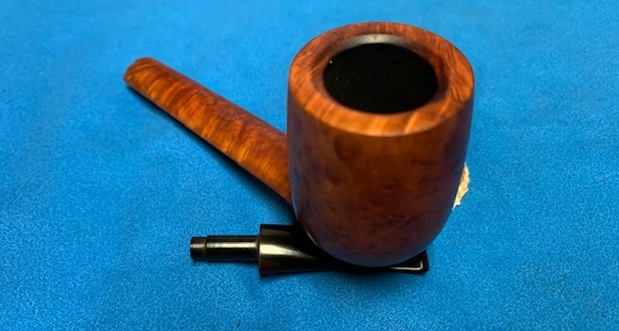
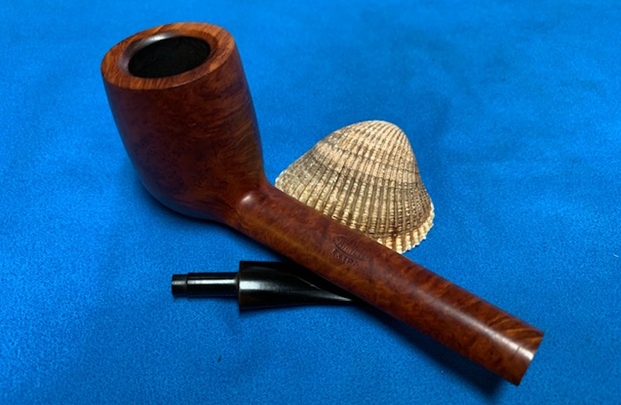
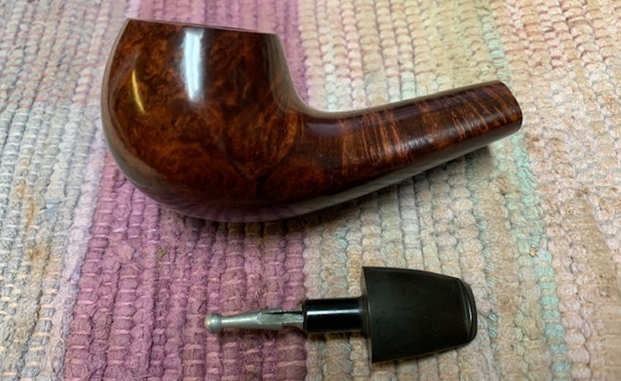
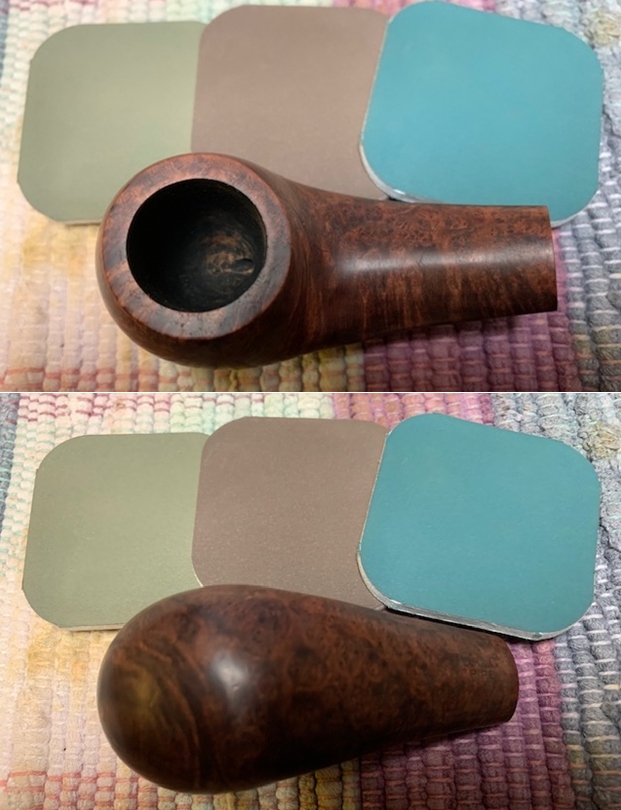
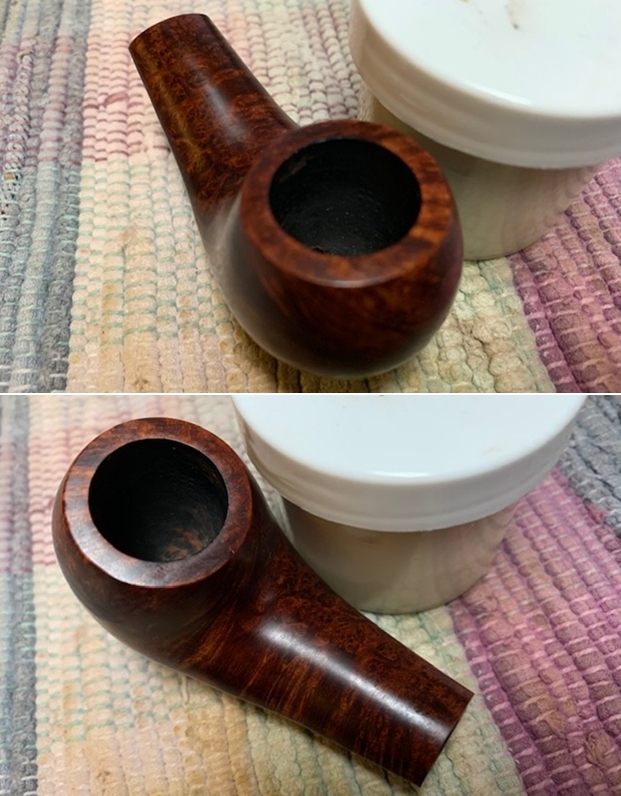
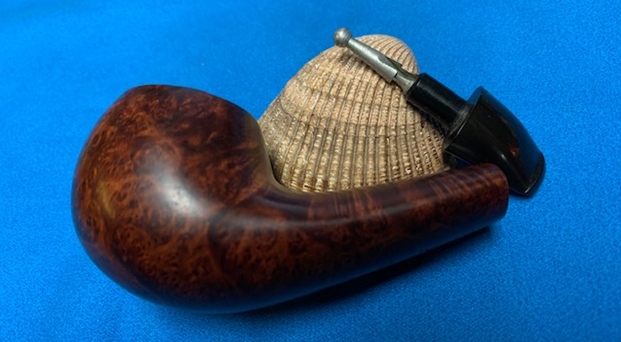
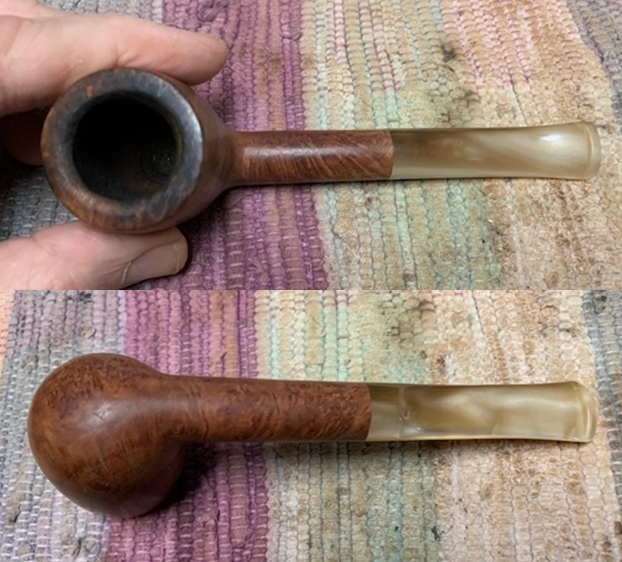
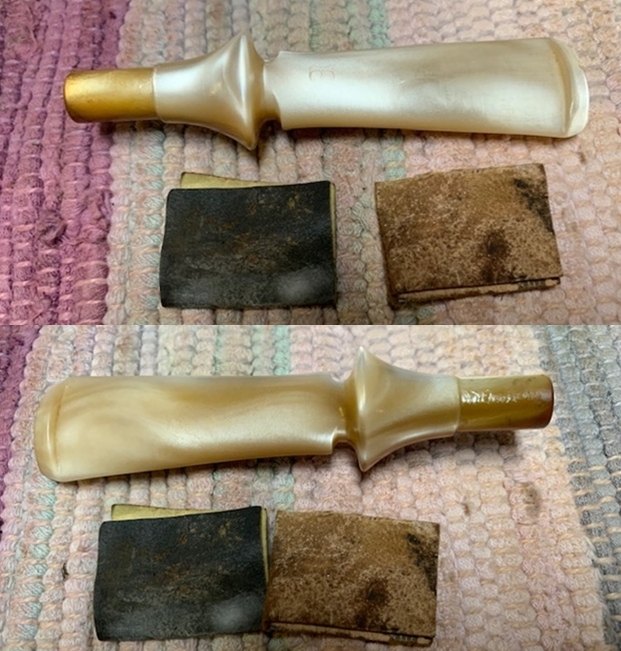
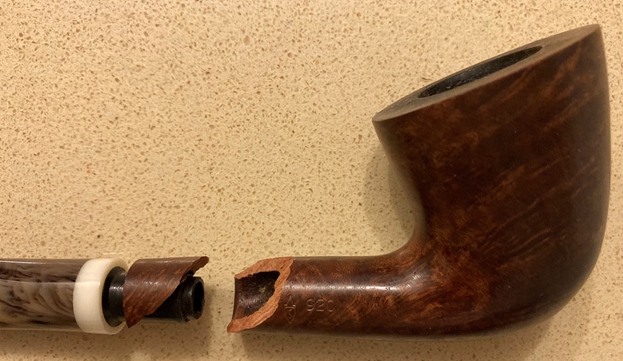
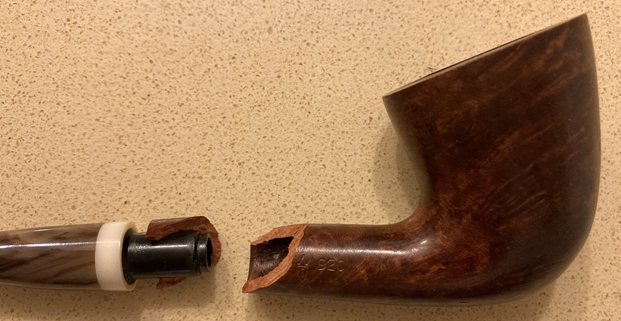
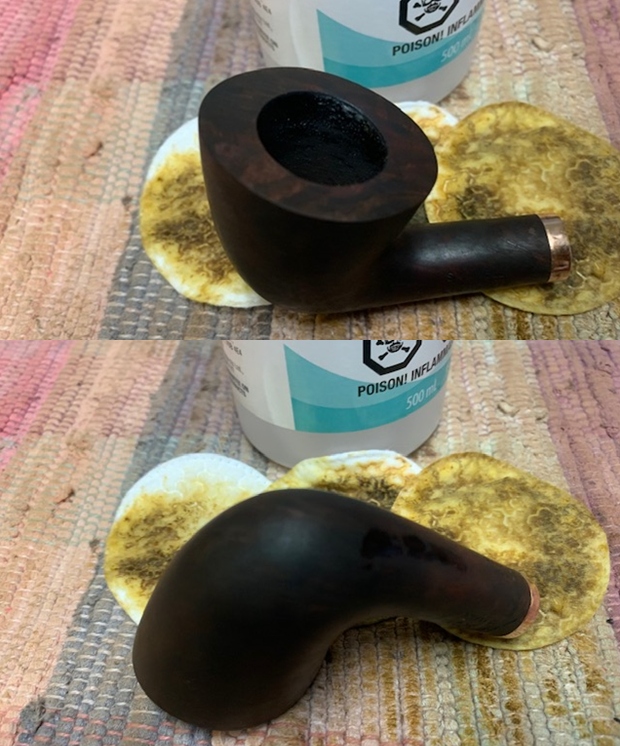
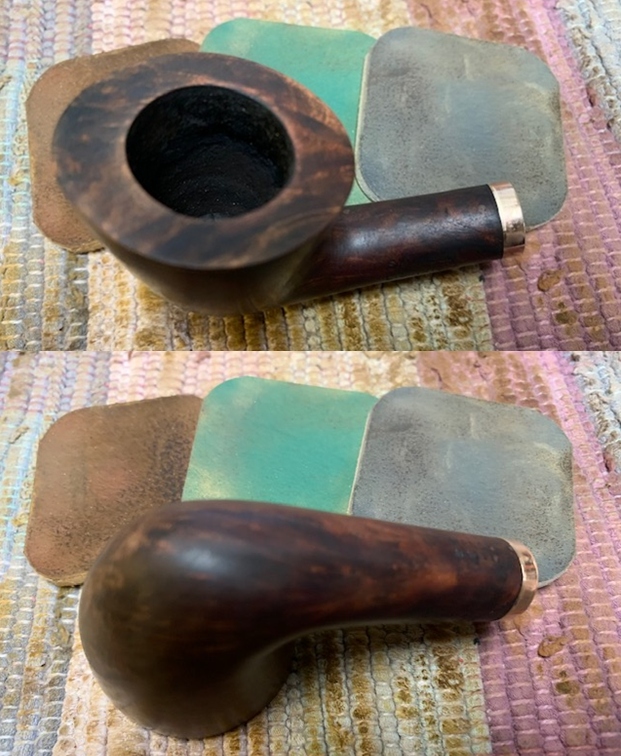
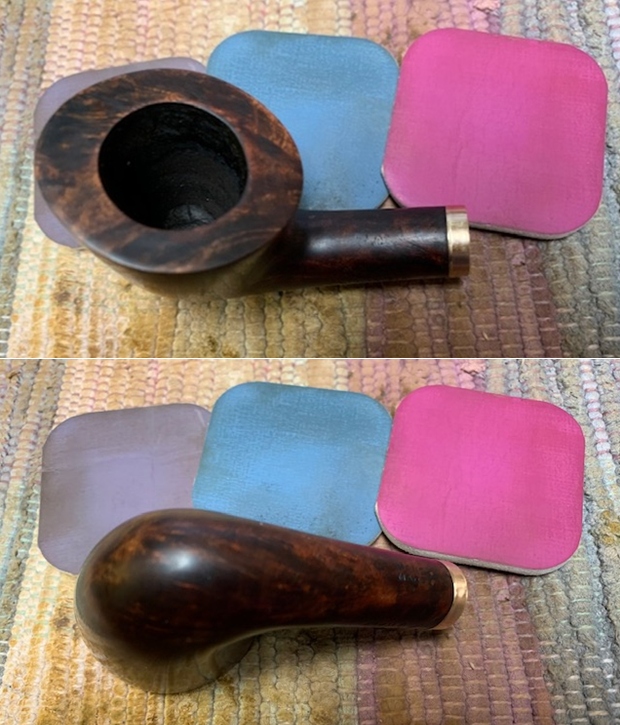
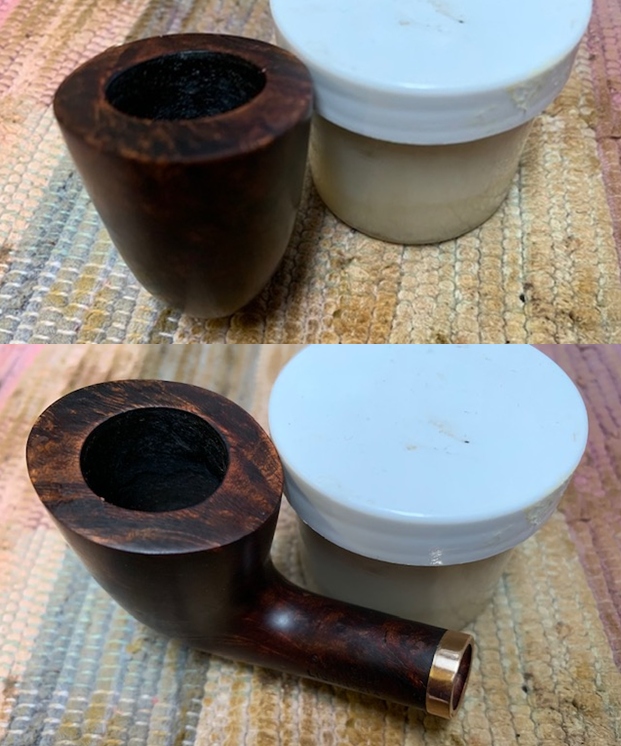
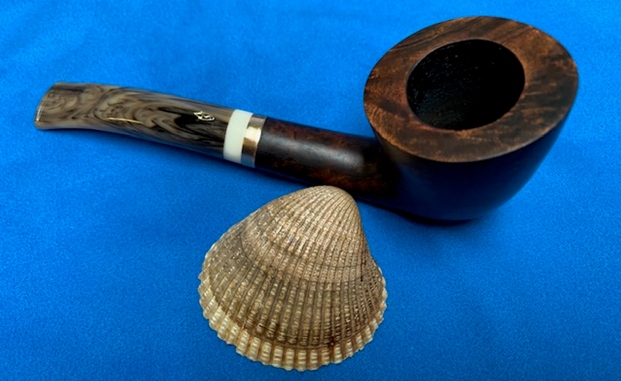
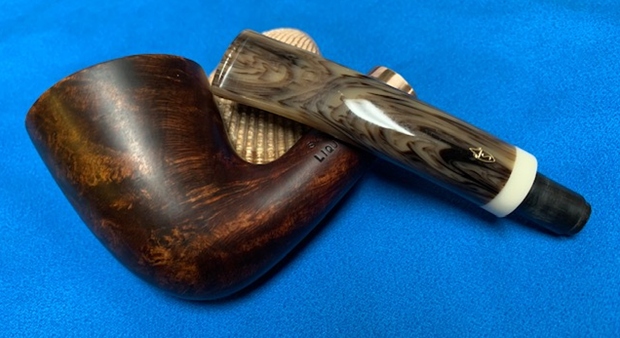
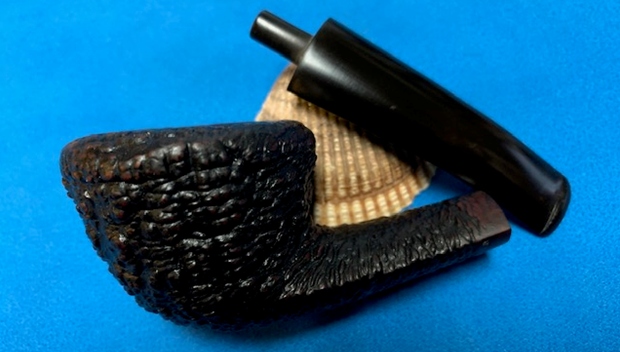
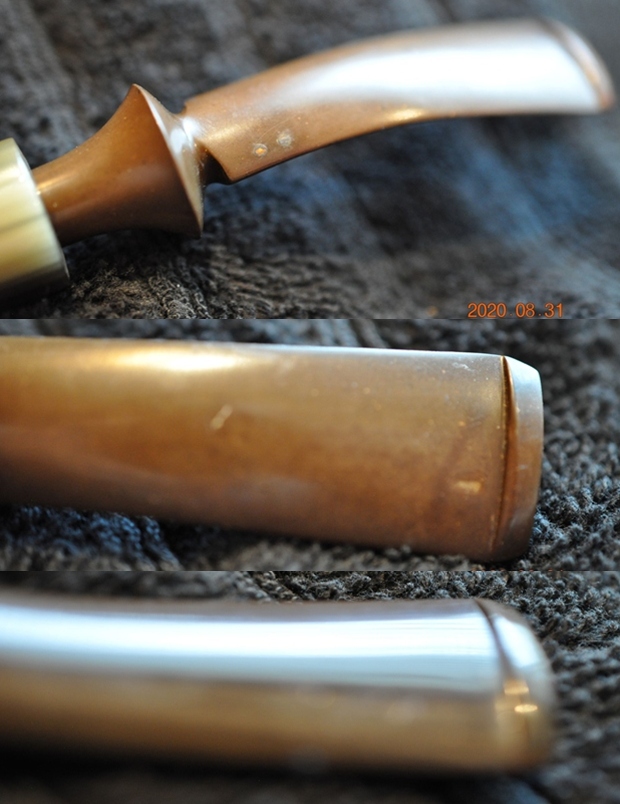
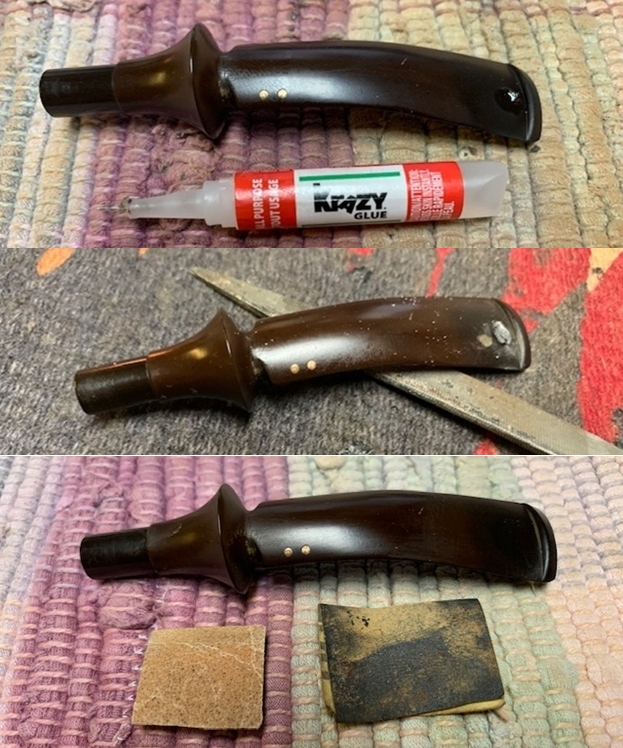
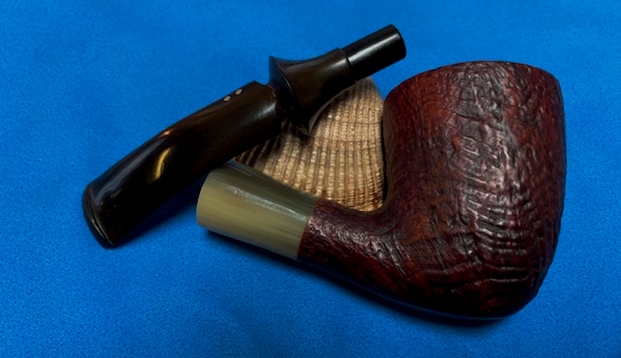
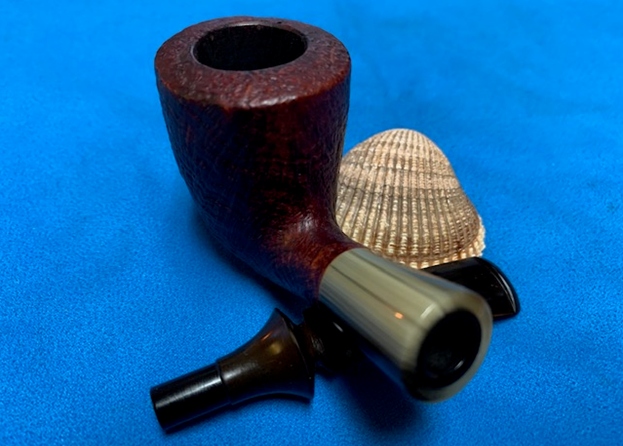
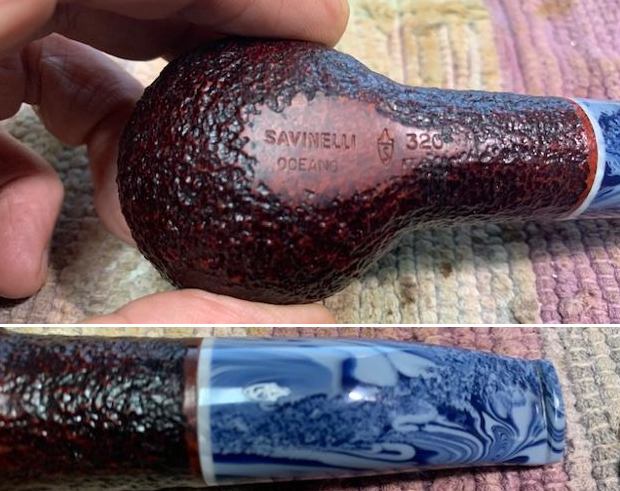 I removed the stem to show the parts of the pipe. In the first photo you can see the adapter in place in the tenon converting it to a standard pipe. The second photo shows the adapter removed and the filter version of the same pipe. It is made for the 6mm filters – Balsa or otherwise.
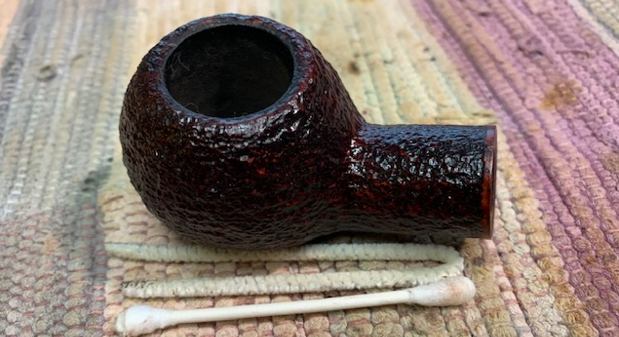
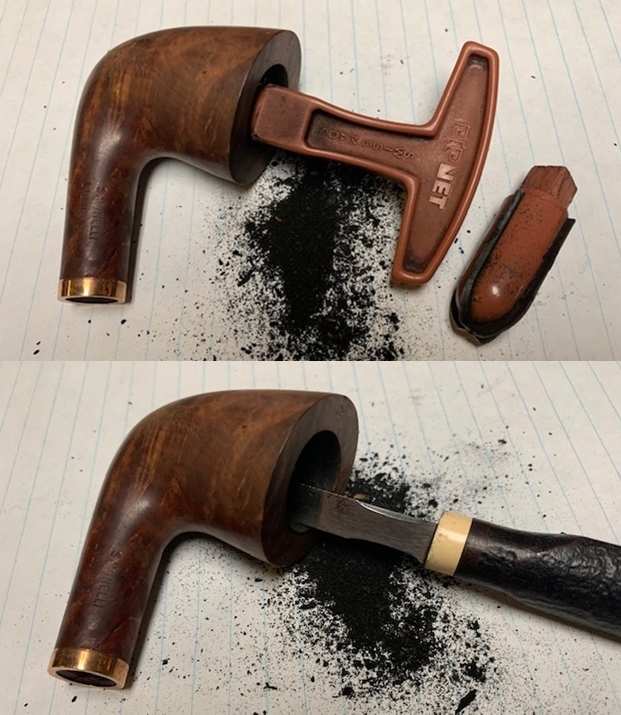
 Now it was time to clean up the pipe and try to exorcise the strong and prevalent ghost that was “haunting” the bowl. STEP 1: I reamed the bowl back to briar with a Savinelli Fitsall Pipe Knife and then sanded the walls smooth with a piece of dowel wrapped with 220 grit sandpaper.
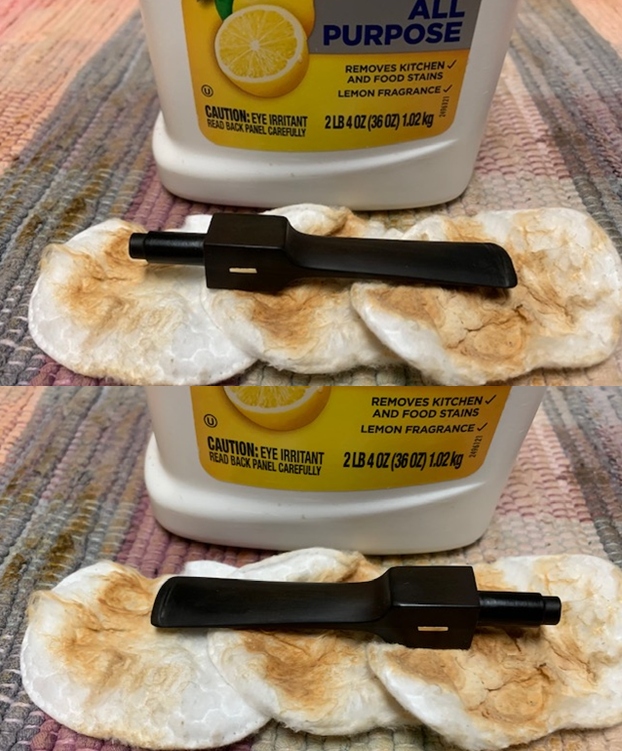
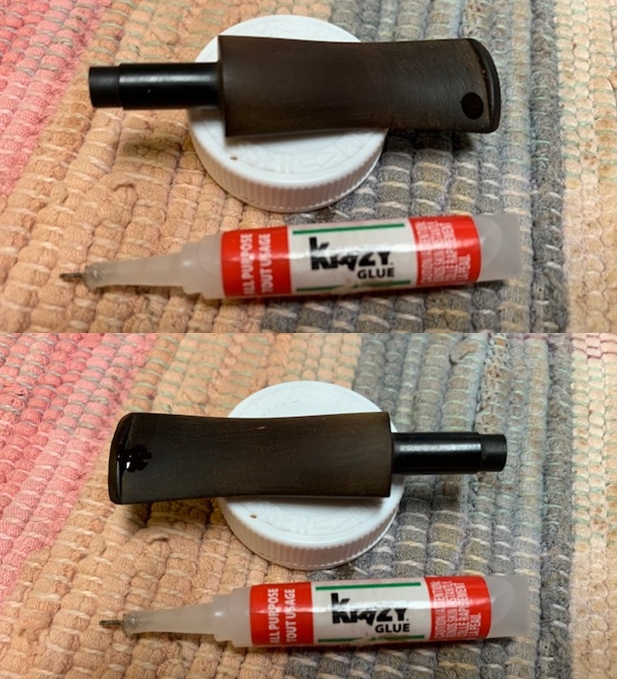
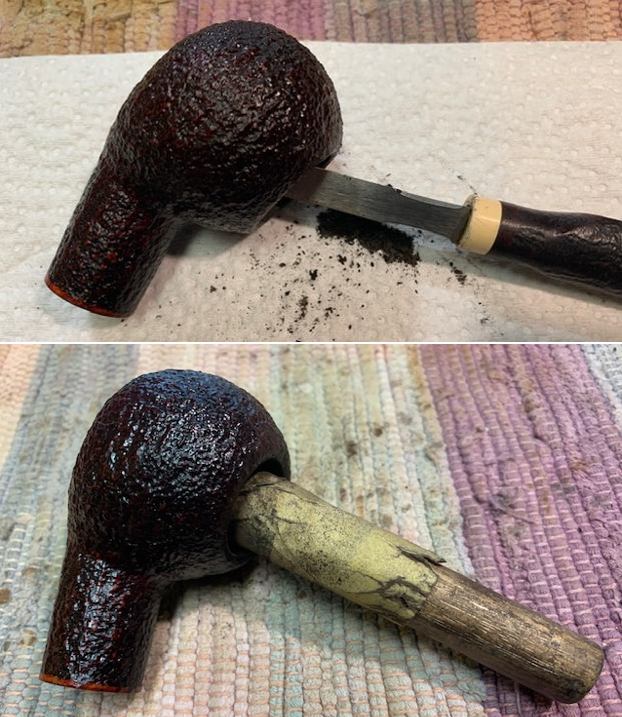 STEP 2: I scoured the inside of the mortise and the airway in the shank and stem with pipe cleaners, cotton swabs and 99% isopropyl alcohol. I was a little surprised to not only see the tars and oils coming out of the shank but also some oxblood stain that was present under the “gunk”. The stem cleaned up nicely as well. I removed the adapter and cleaned both it and the airway in the tenon.
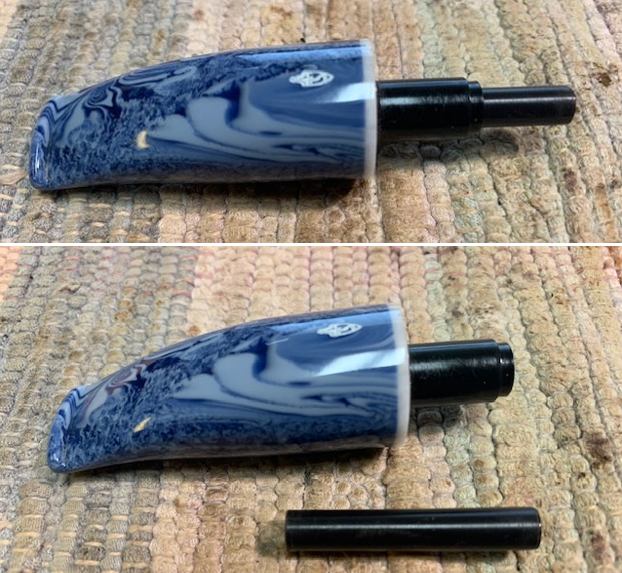
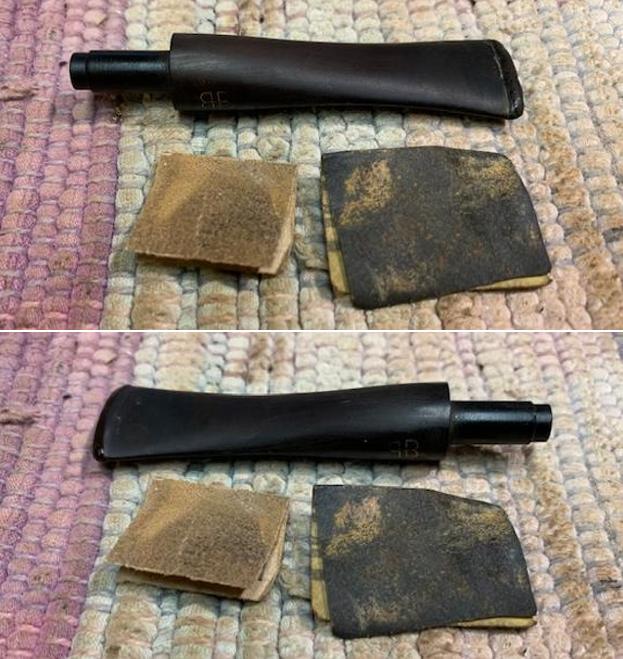
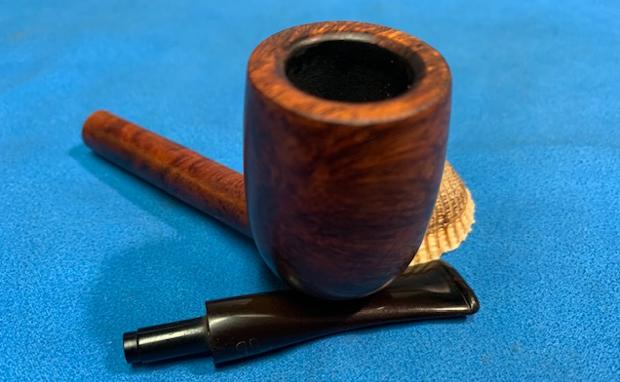
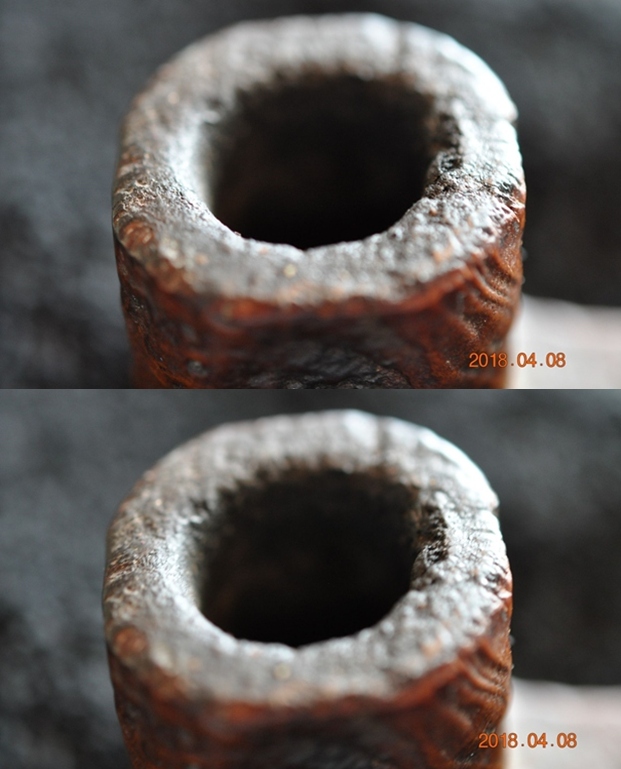
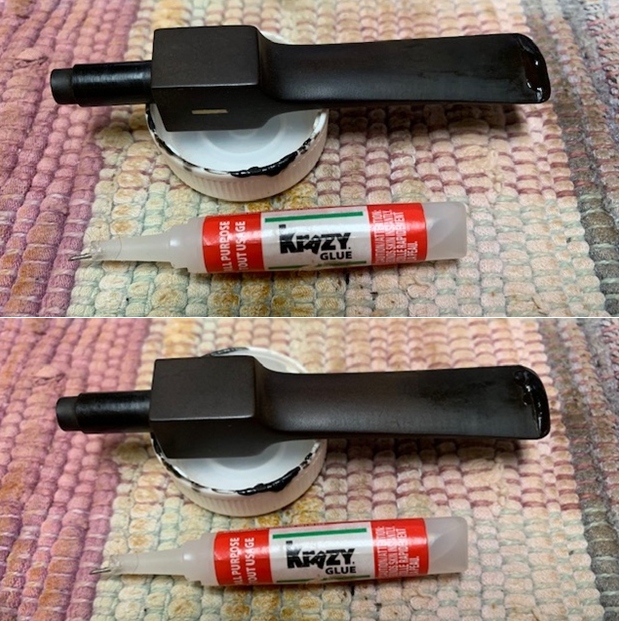
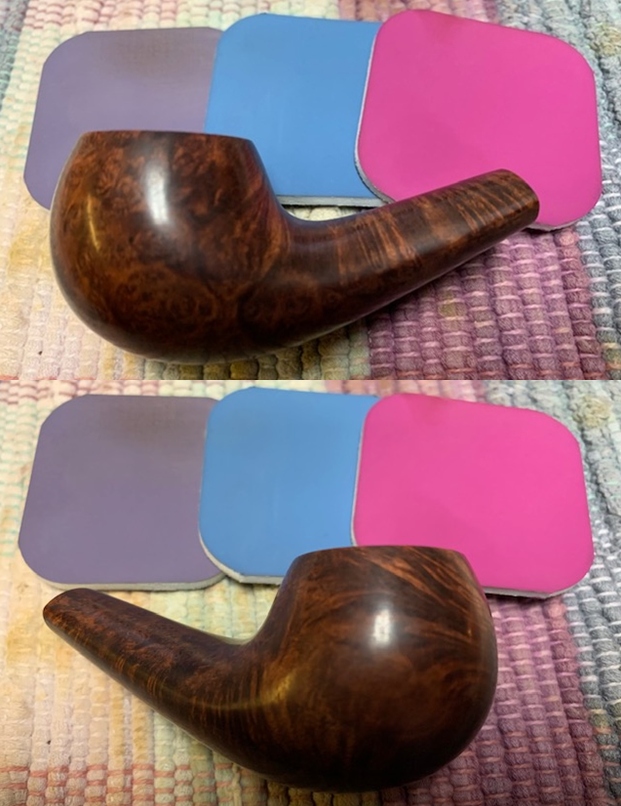
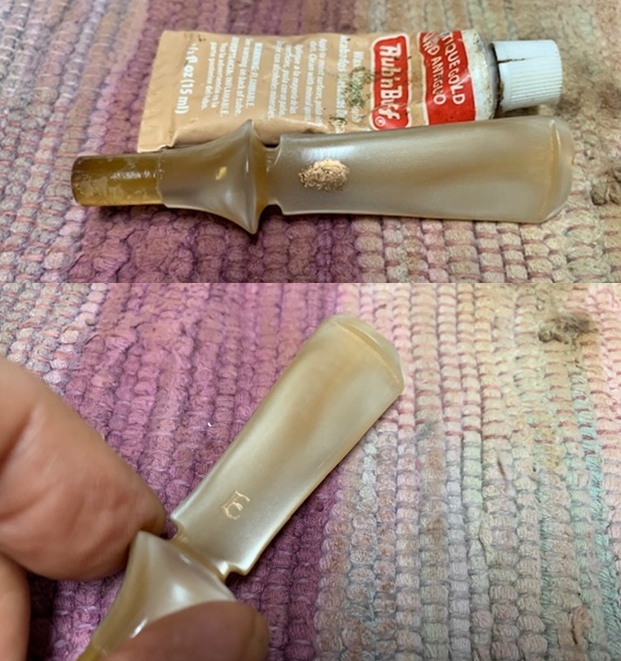
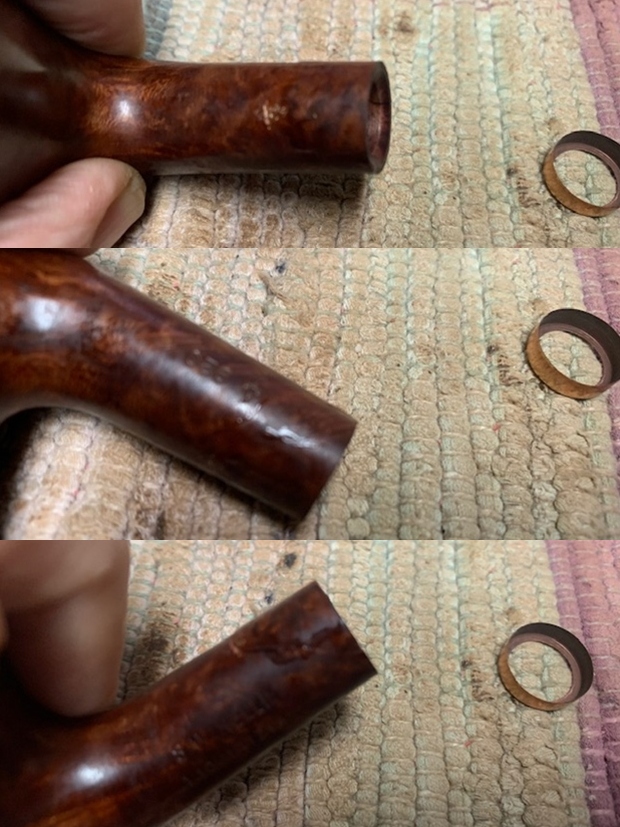
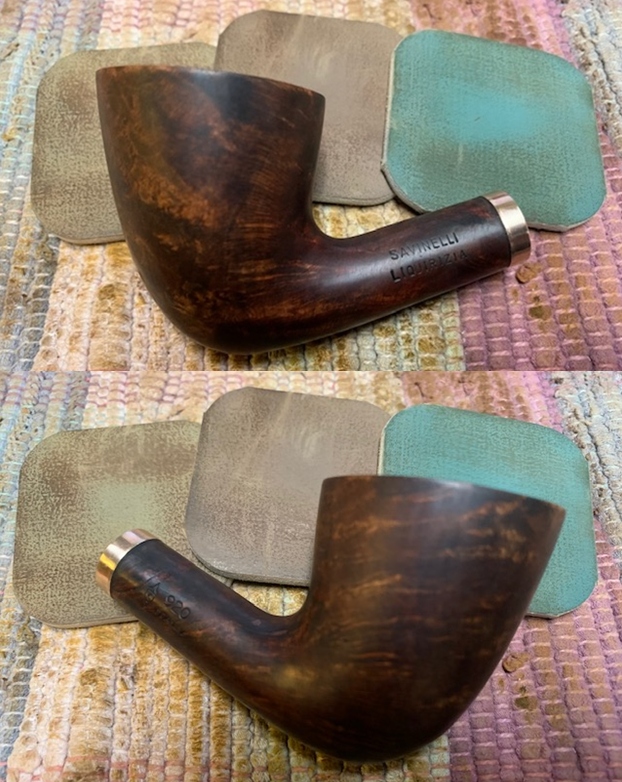
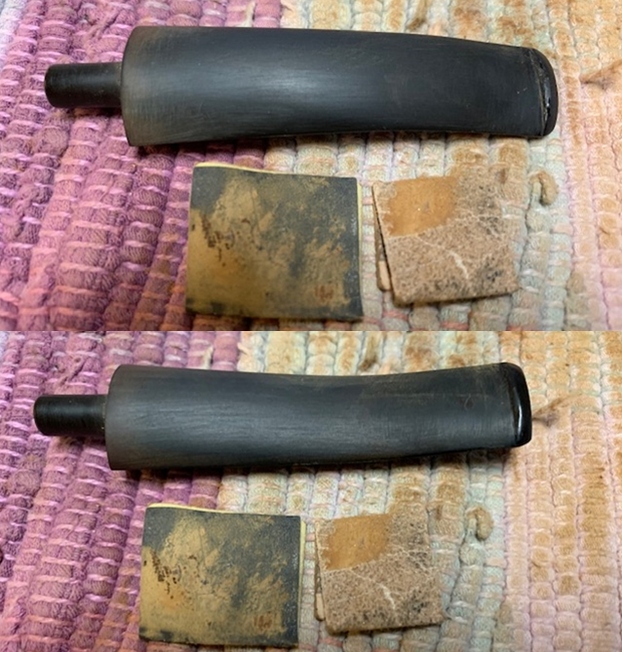
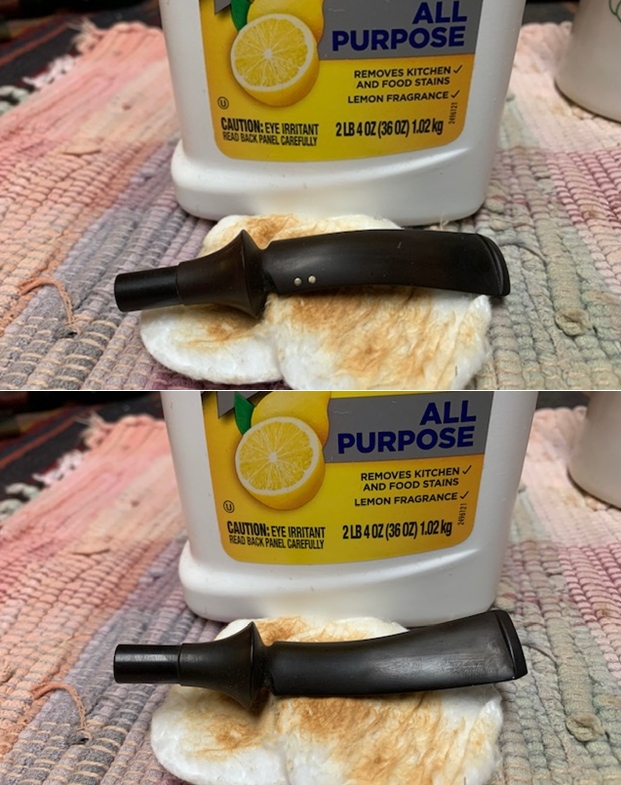
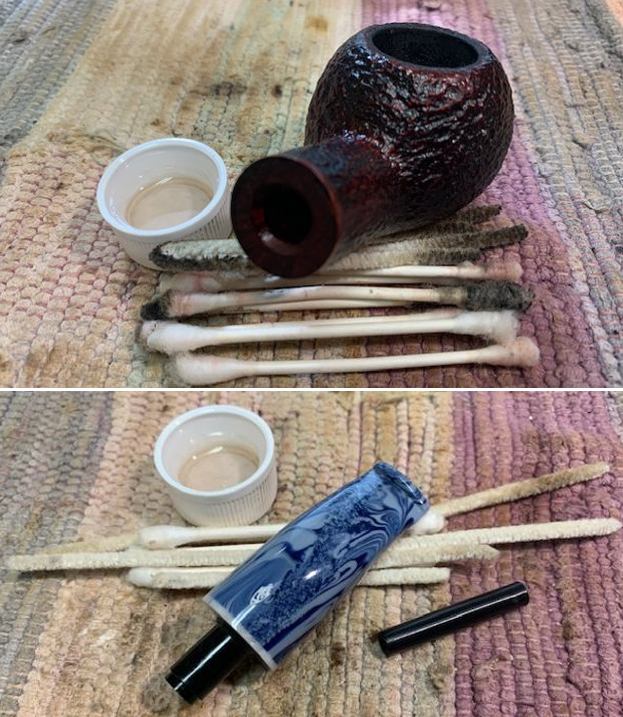 I took photos of the adapter in place and removed from the cleaned stem. It is a great looking stem.
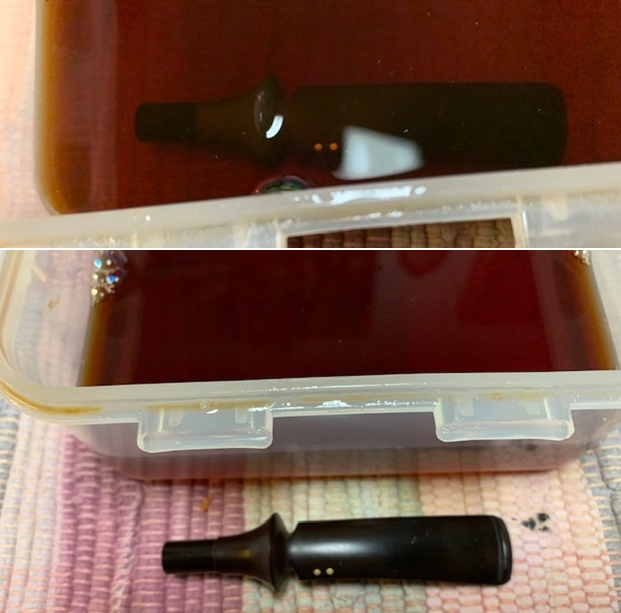
 STEP 3: I stuffed the bowl with cotton bolls and twisted one into a wick and turned it into the shank and filled the bowl with 99% isopropyl alcohol being careful to not splash any on the finish of the bowl and damage it. I set the bowl upright in an old ice cube tray that I use for this purpose and left it over night.
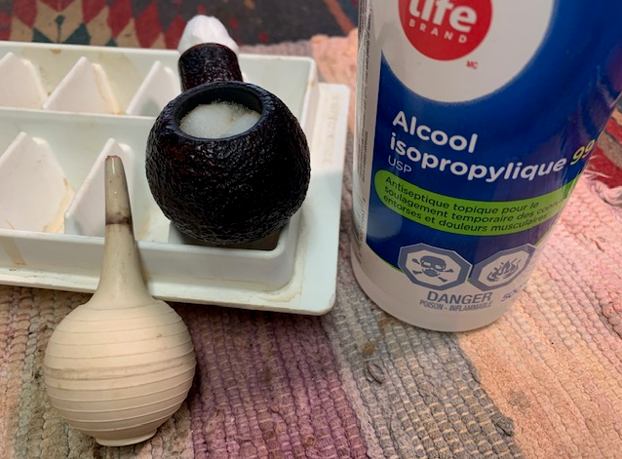 In the morning I took a photo of the filthy cotton bolls and wick that had drawn the oils and tars from the bowl and the shank of the pipe. I twisted the wick out of the shank and used a dental pick to remove the cotton bolls from the bowl. I cleaned out the shank with alcohol, pipe cleaners and cotton swabs to make sure it was clean. Once it had dried the bowl smelled much better though there was still a slight remnant of the ghost.
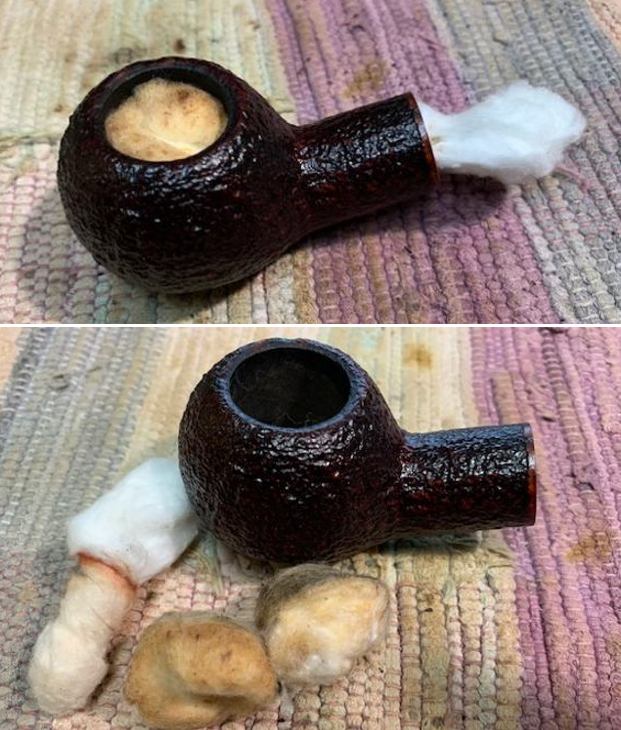
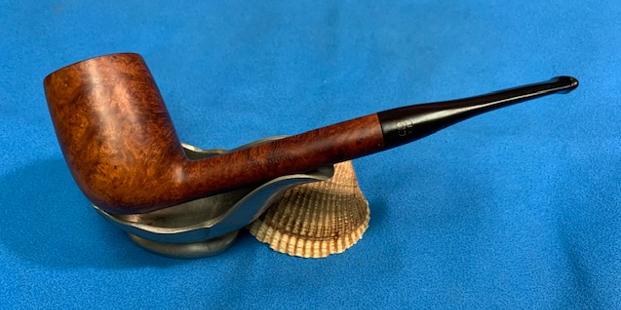
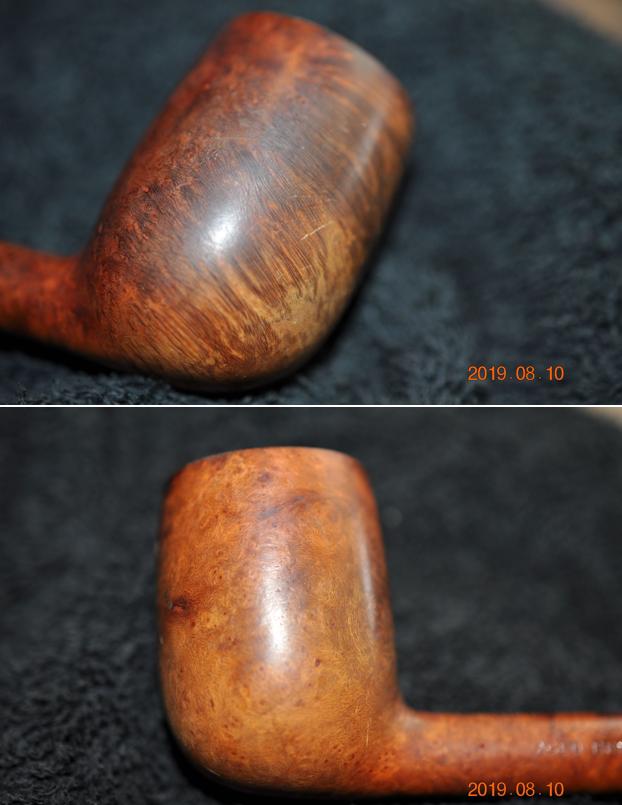
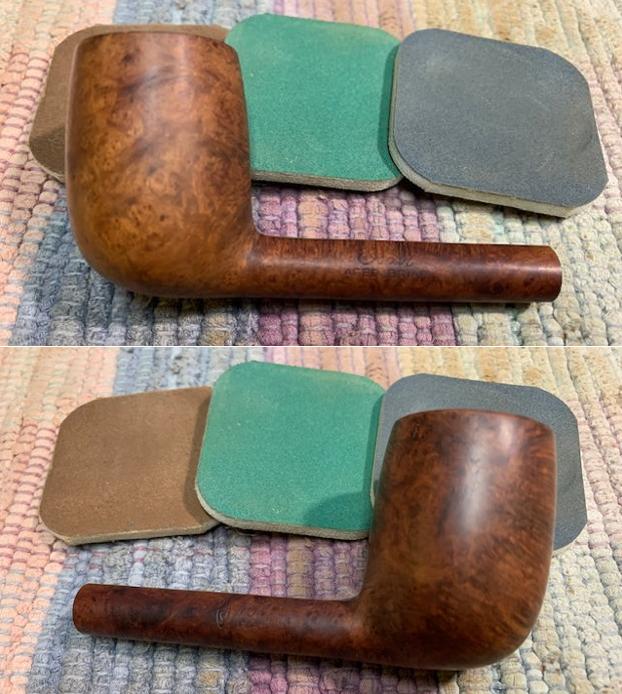
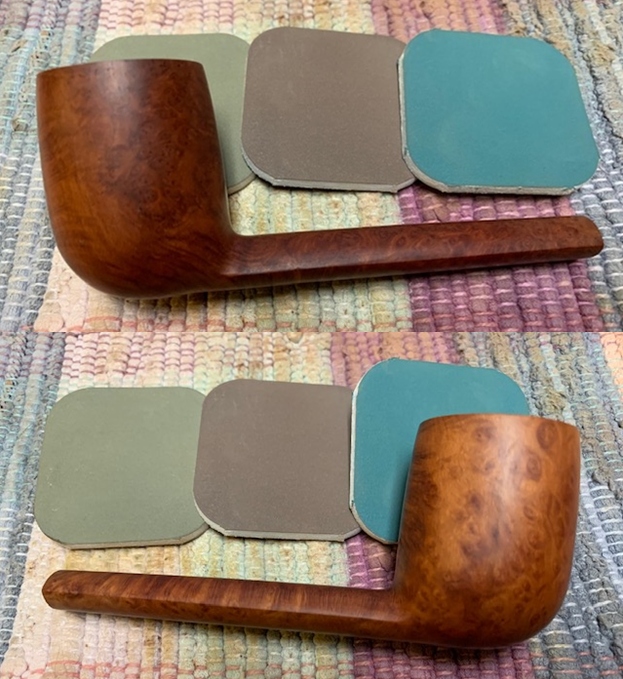
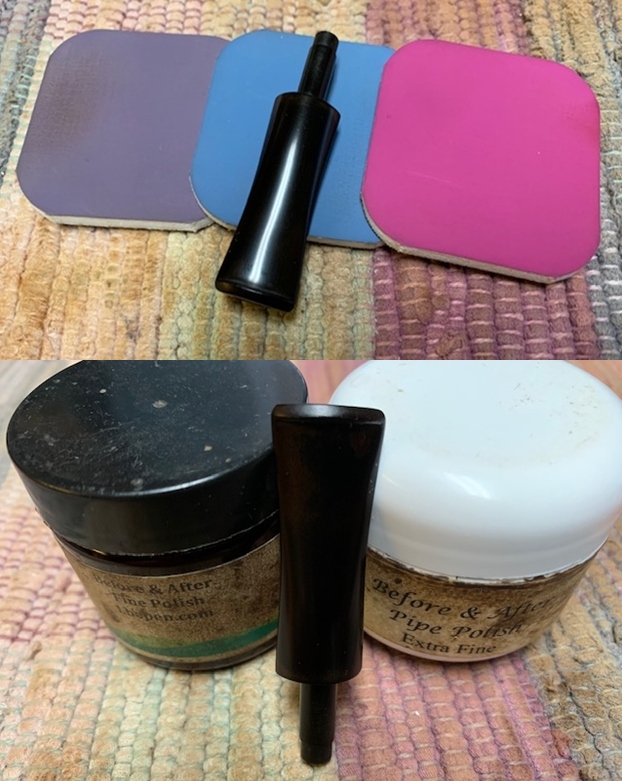
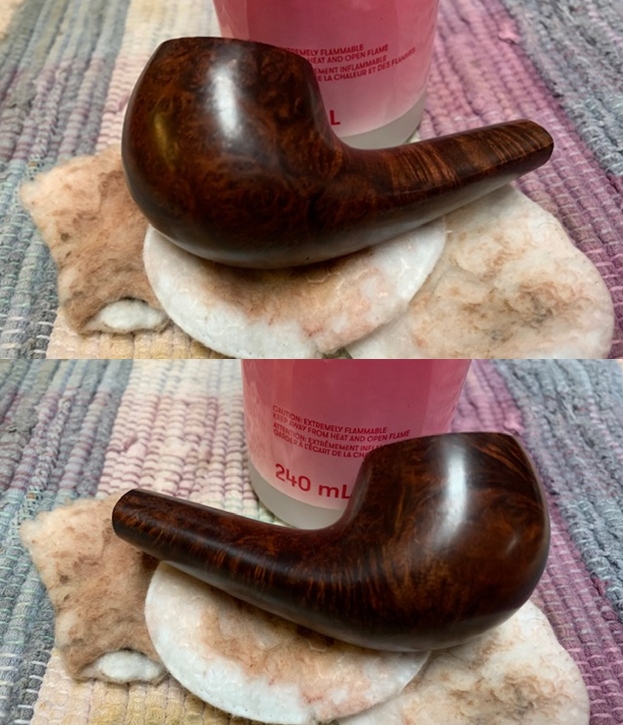
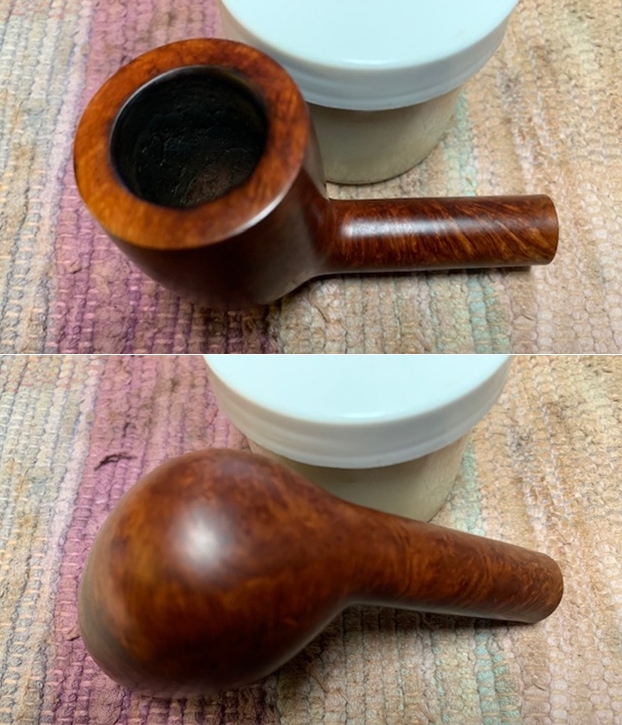
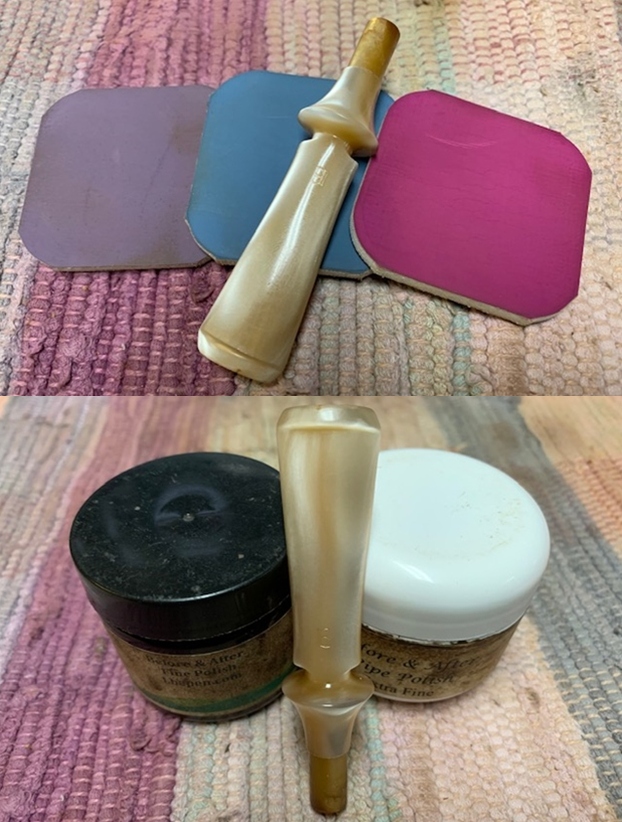
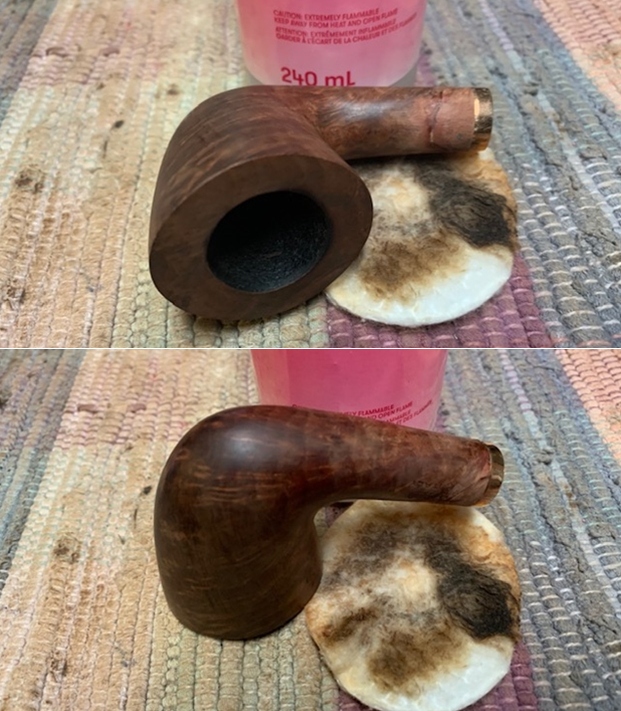
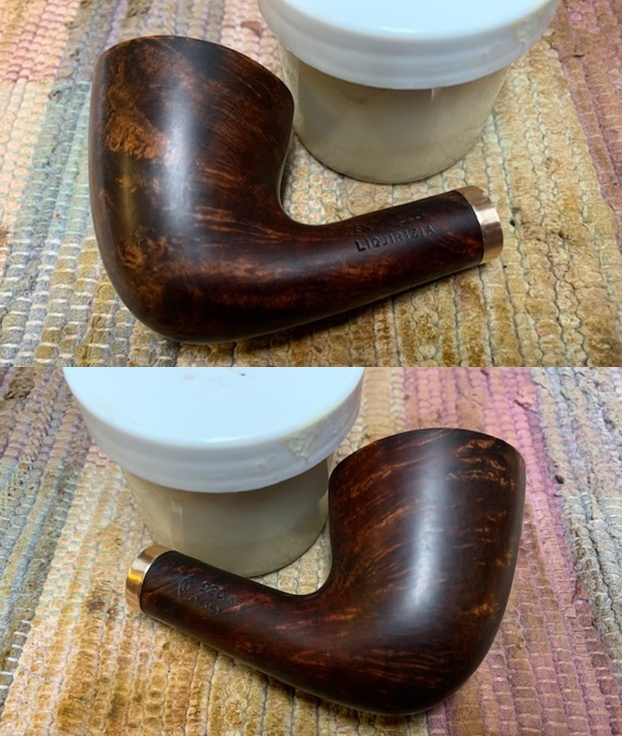
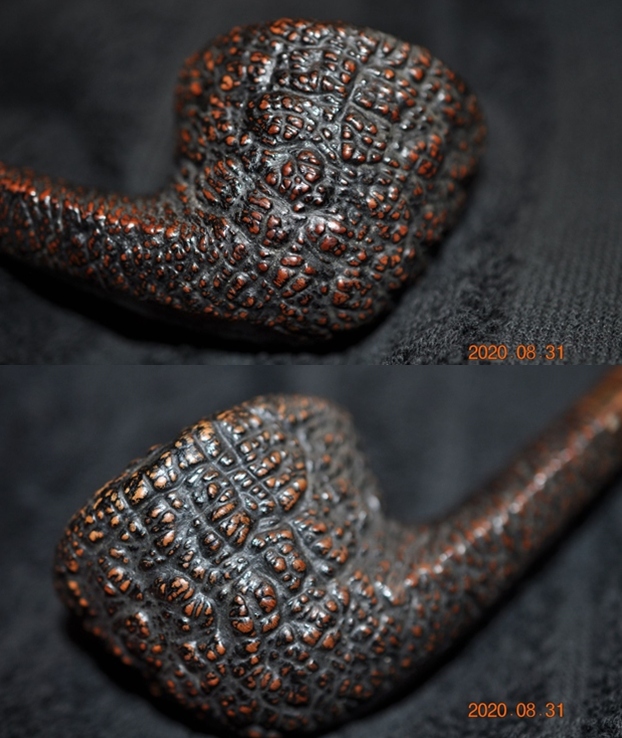
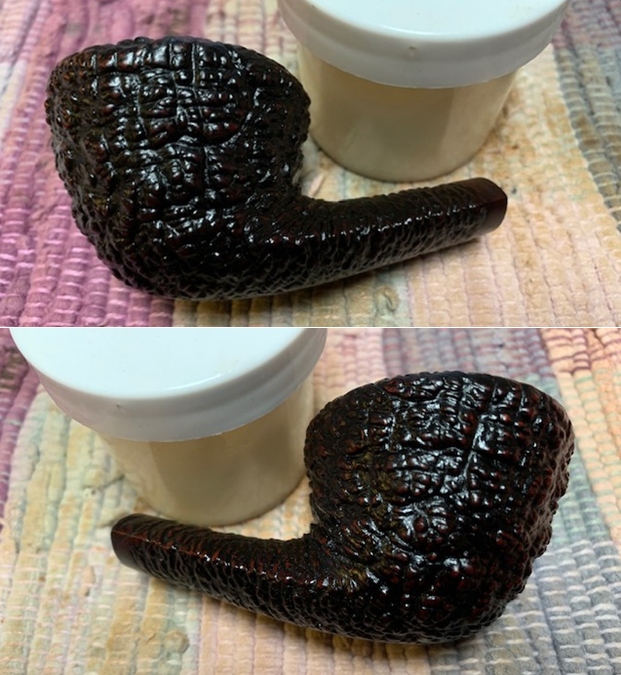
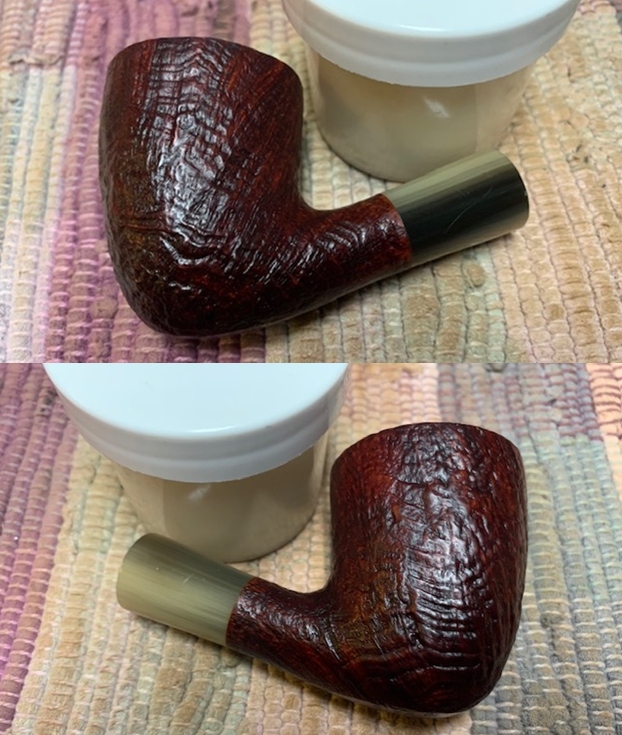
 With the bowl clean and smelling sweeter, I decided to rub the bowl down with some Before & After Restoration Balm. I worked it into the rustication with my finger tips and a horse hair shoe brush. The product is spectacular and works to clean, enliven and protect the finish on briar. I let it sit for 10 minutes then buffed it off with a soft cotton cloth. I really like the way a pipe looks after this process and this one is no exception.
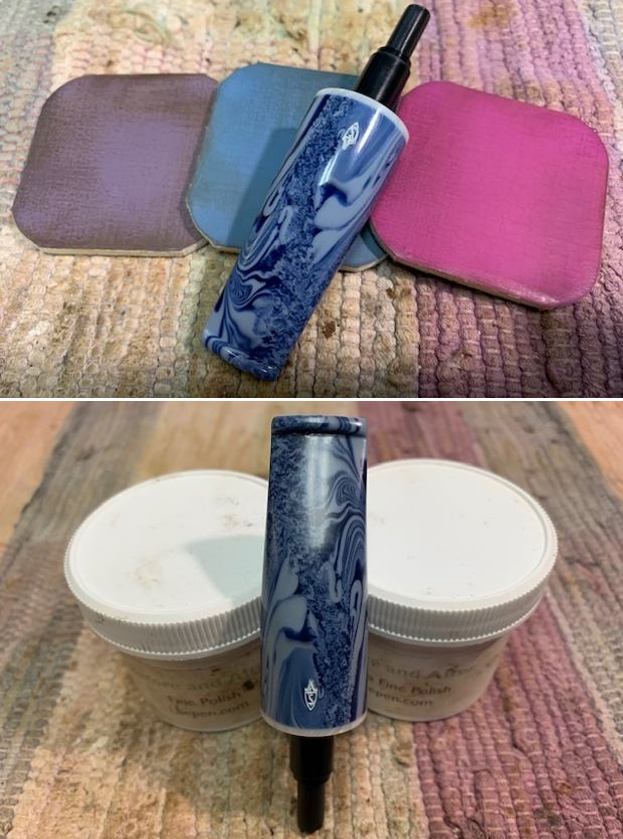
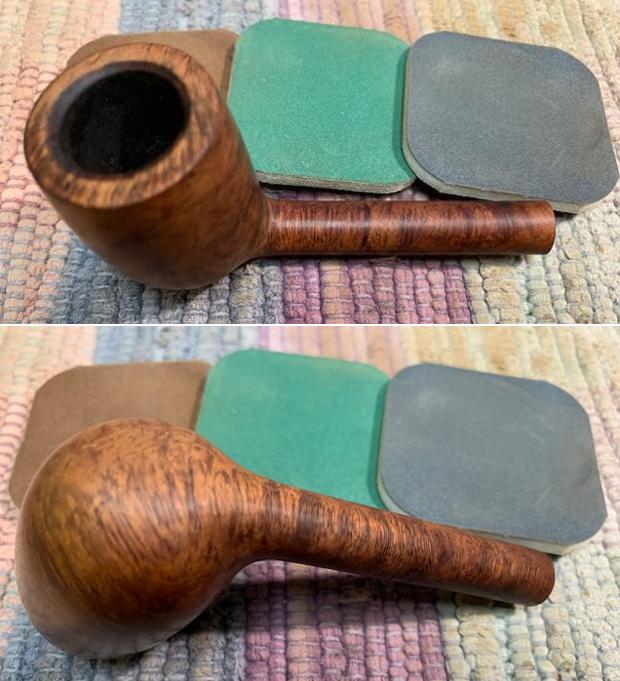
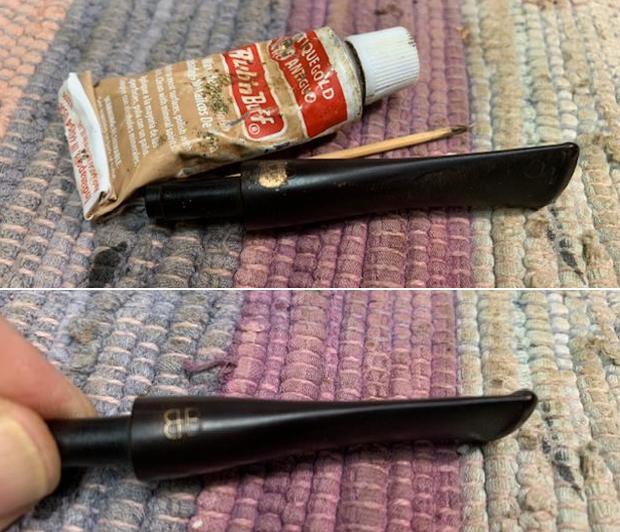
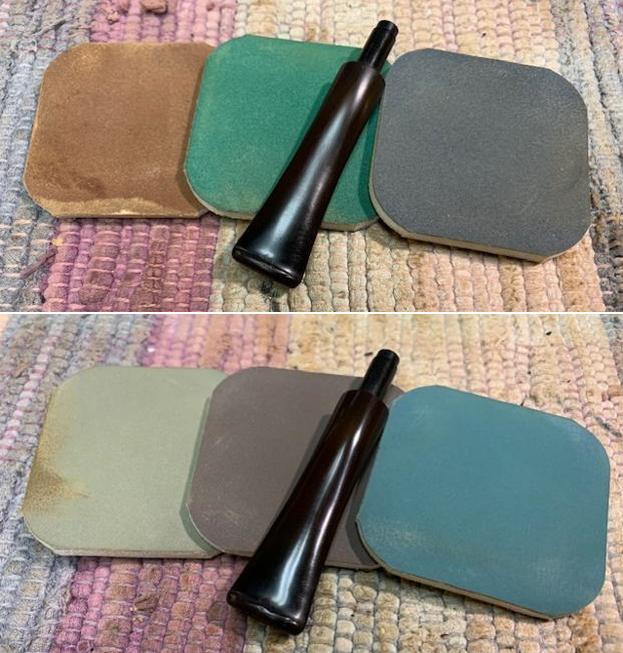
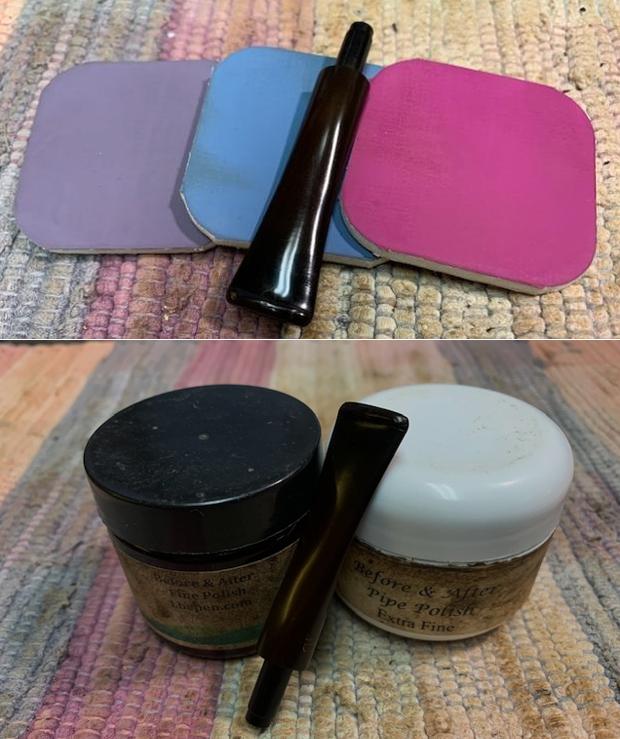
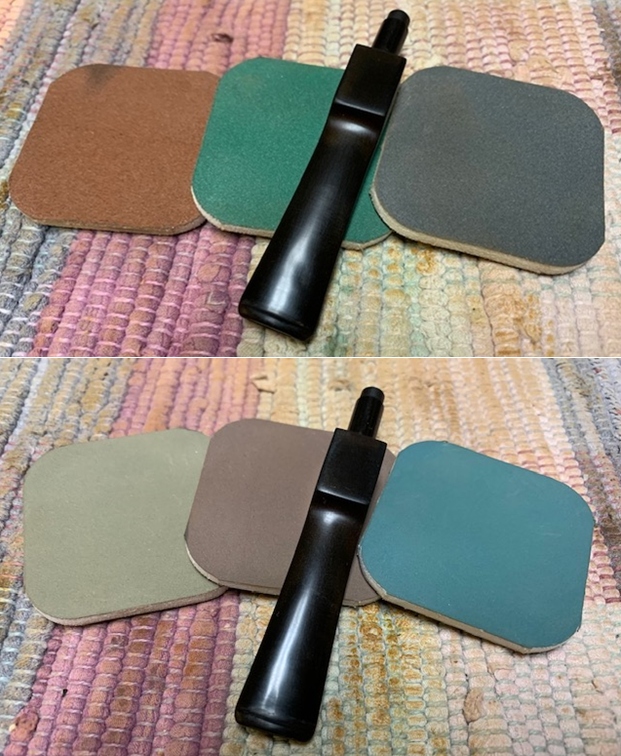
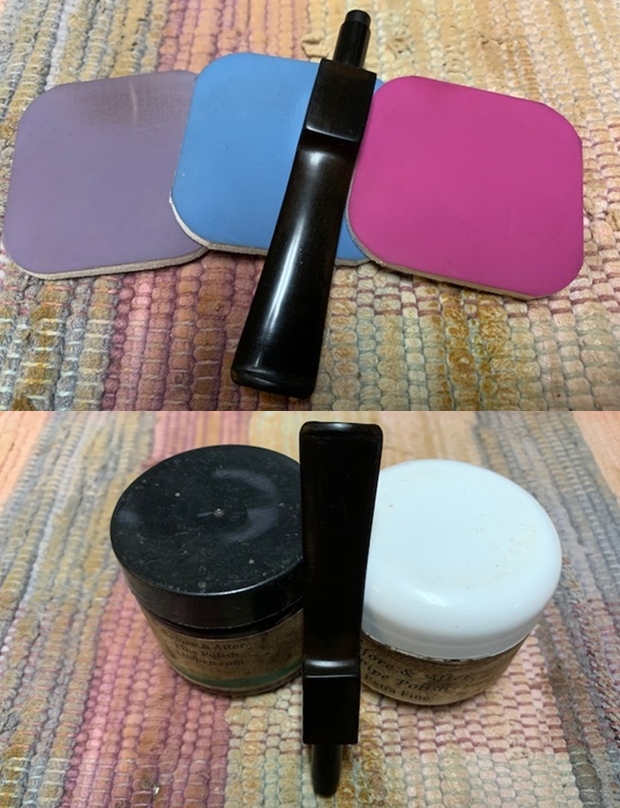
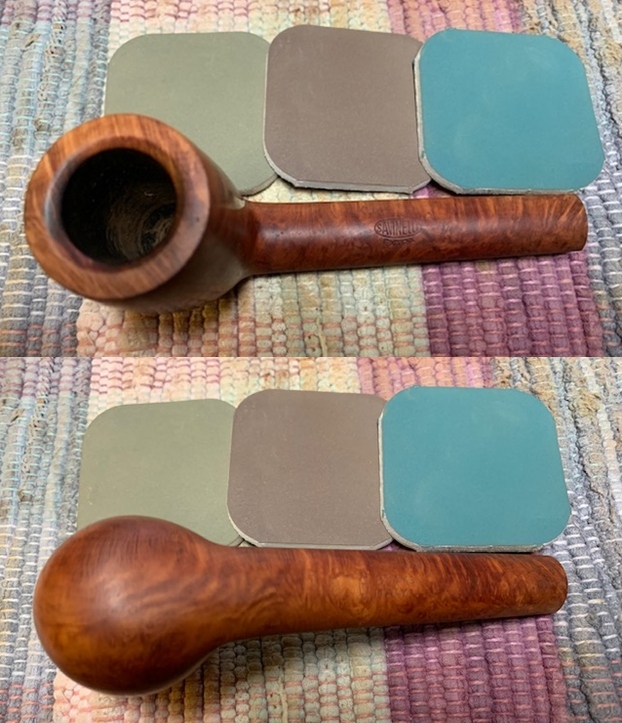
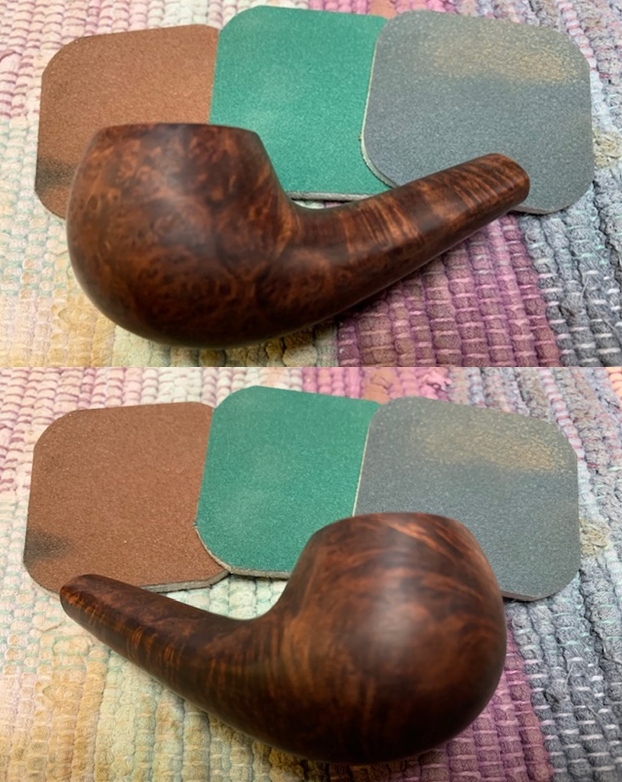
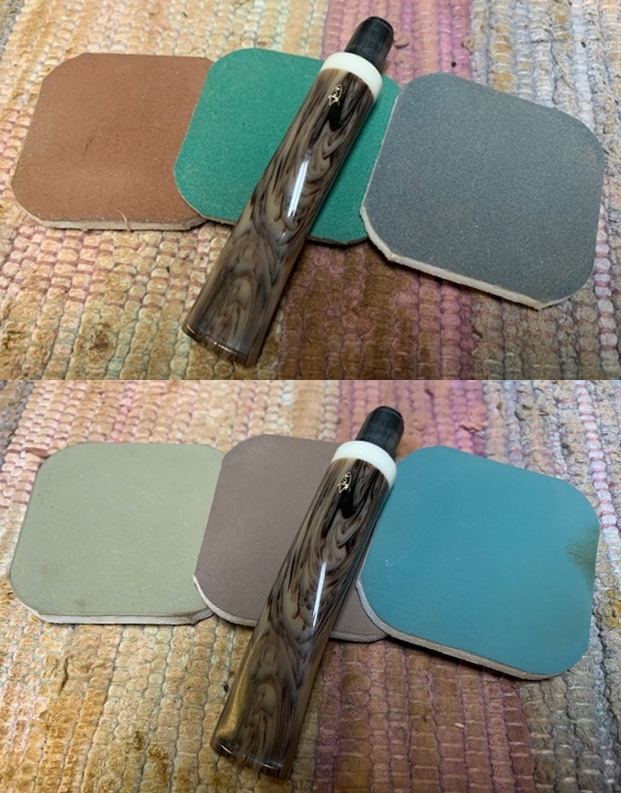
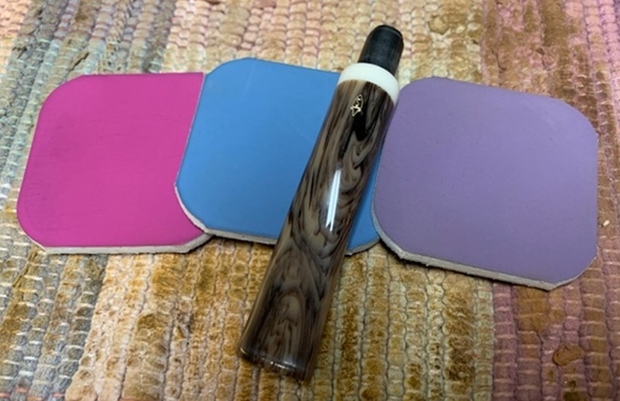
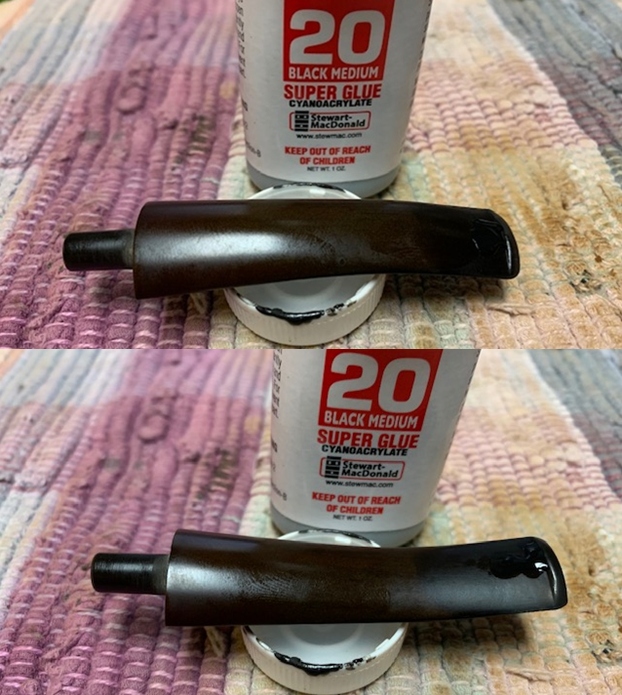
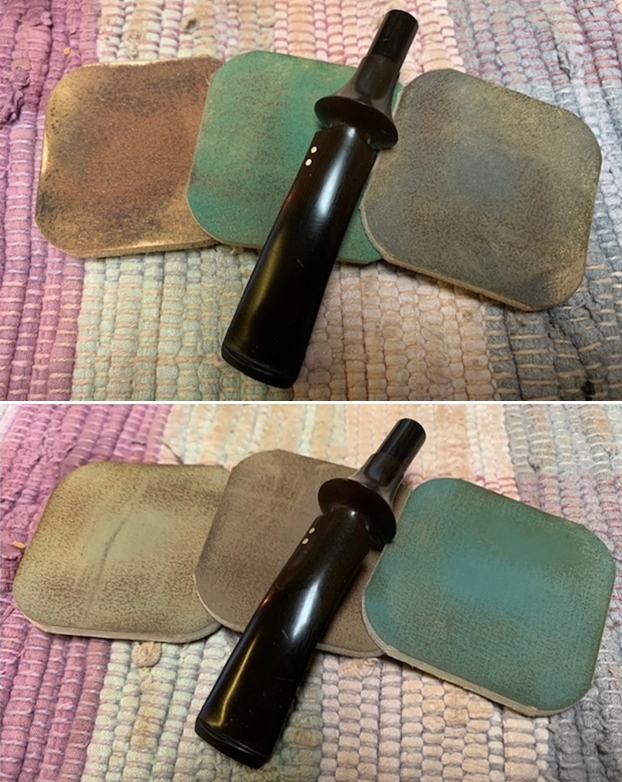
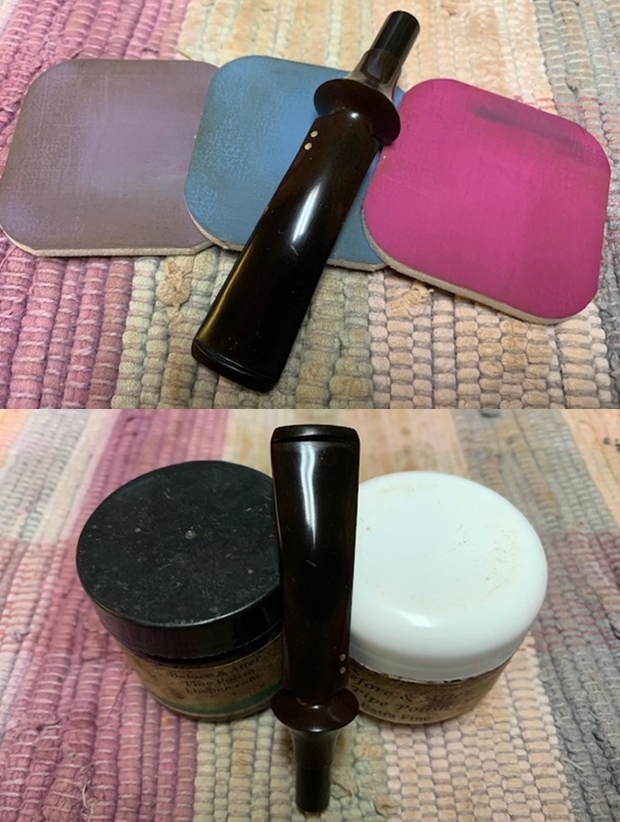
 I set the bowl aside and turned my attention to the stem. I polished out the tooth chatter with micromesh sanding pads. I dry sanded with 1500-12000 and wiped the acrylic down with some Obsidian Oil on a cloth. I know that it does nothing for acrylic but I find that it really picks up the debris left behind by the sanding pads. I finished polishing it with Before & After Pipe Stem Polishes – both Fine and Extra Fine and wiped it down a final time with Obsidian Oil.
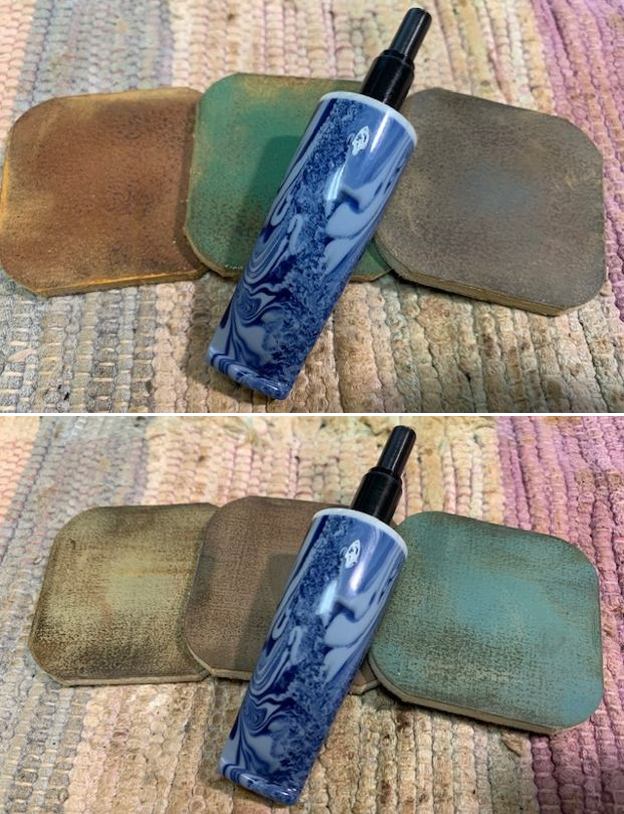
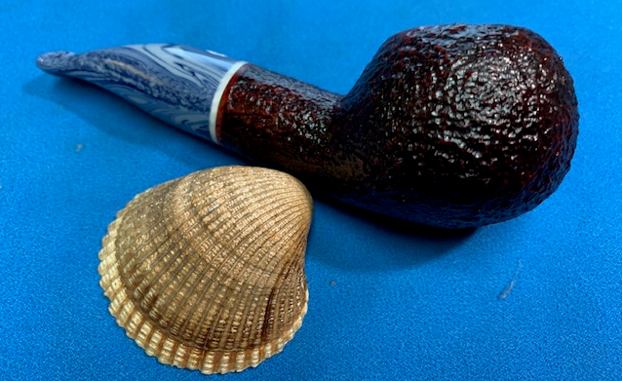
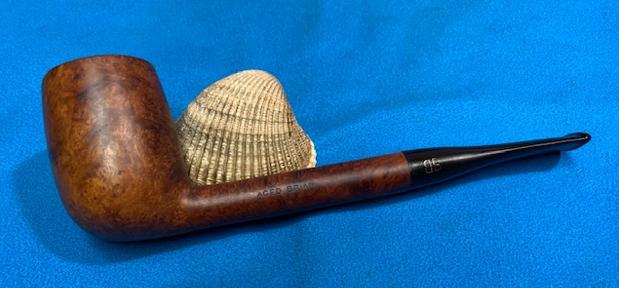
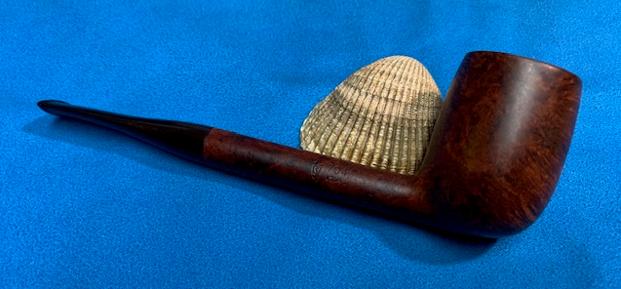
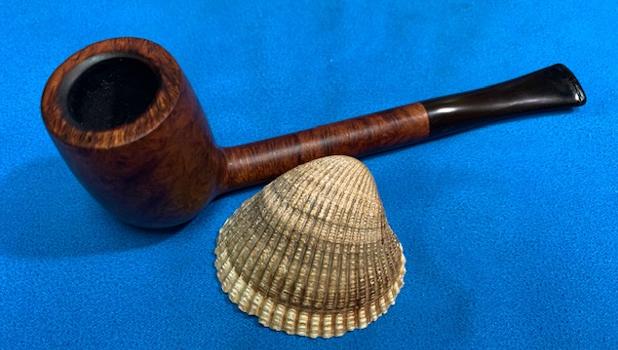
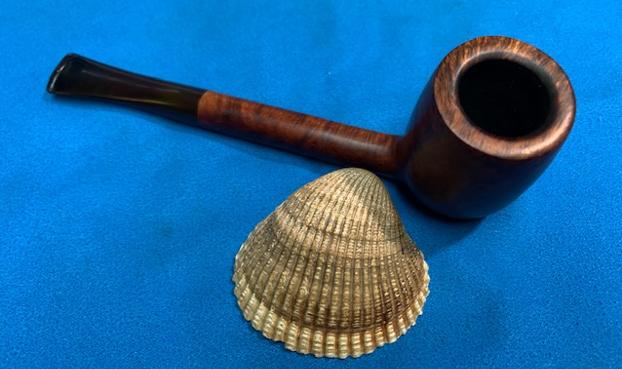
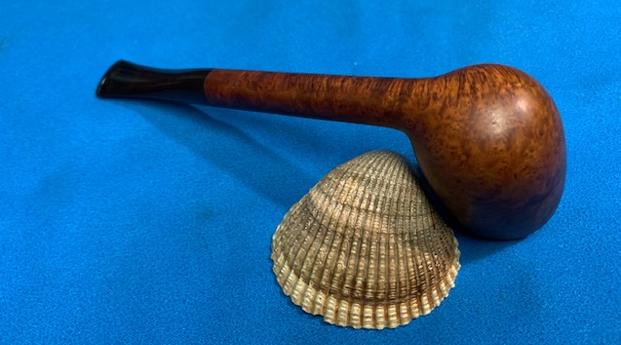
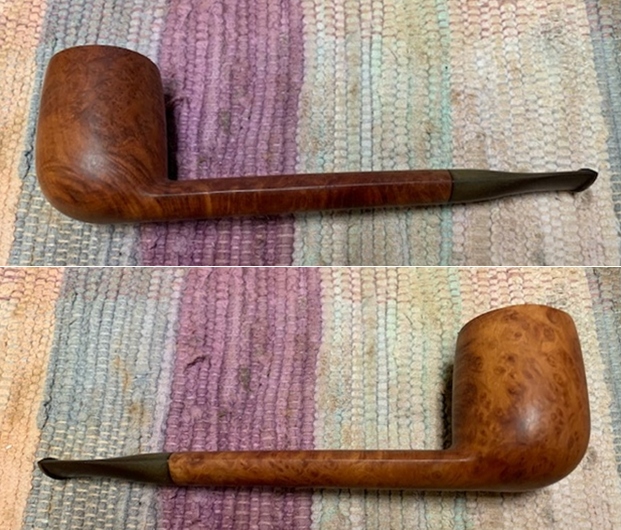
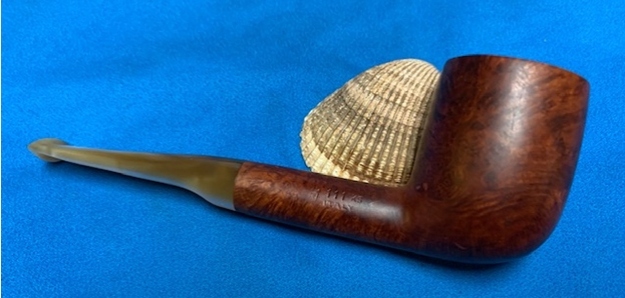
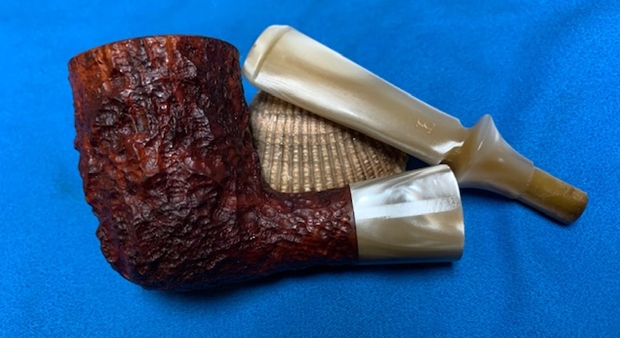
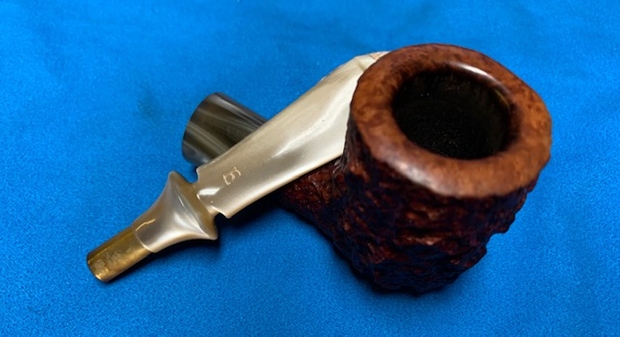
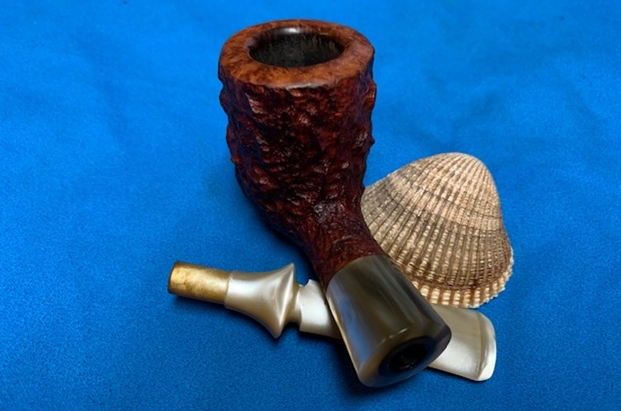
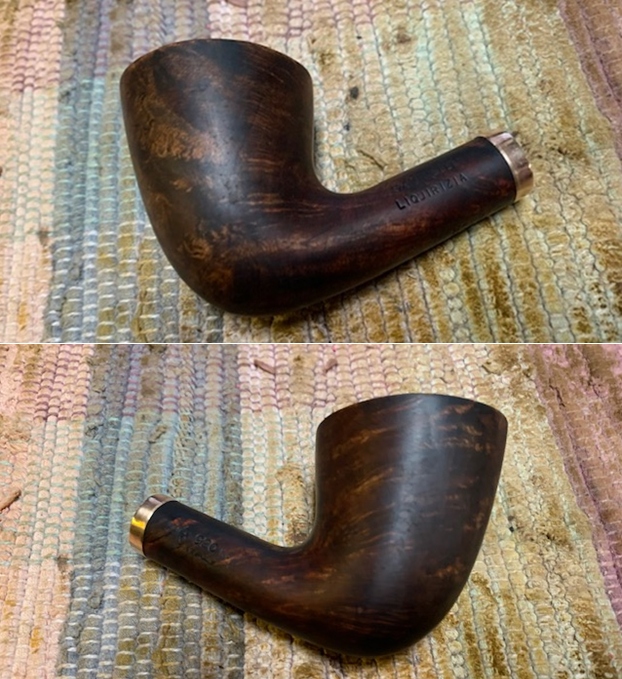
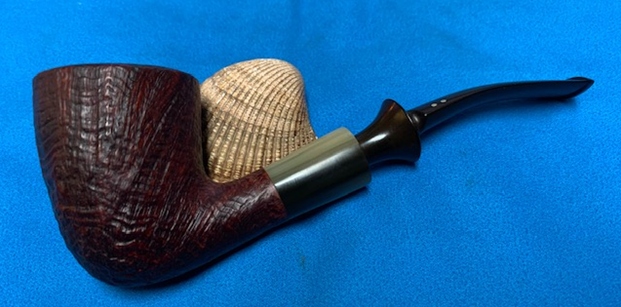
 With the bowl and stem finished I put the Savinelli Oceano 320KS back together and buffed it on the buffer. I gently buffed the briar with Blue Diamond so as not to clog the valleys and crevices of the finish and buffed the stem with a bit heavier touch to raise a shine. The classic Author shape really looks good with the dark reddish brown stain and the swirled blue acrylic stem. It is a beautiful pipe. The dimensions of the pipe are – Length: 5 ½ inches, Height: 1 ¾ inches, Outer diameter of the bowl: 1 ½ inches, Chamber diameter: 1 inch. The weight of the pipe is 2.47 ounces/70 grams. If you are interested in adding this pipe to your rack let me know via email or messenger. It will be added to the rebornpipes store shortly in the Italian Pipe Makers section. Thanks for walking through the clean up of this beauty.
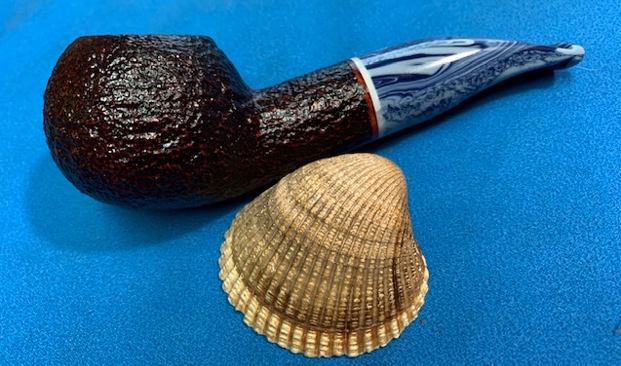


