Guest Blog by Robert M. Boughton
Member, North American Society of Pipe Collectors
http://www.roadrunnerpipes.com
http://about.me/boughtonrobert
Photos © the Author
“Love bravely, live bravely, be courageous, there’s really nothing to lose.”
— Jewel (Jewel Kilcher), singer-songwriter, guitarist, actress, author and poet
INTRODUCTION
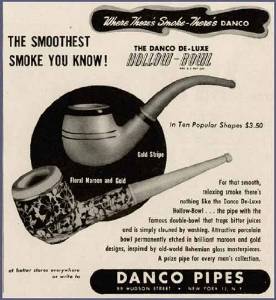
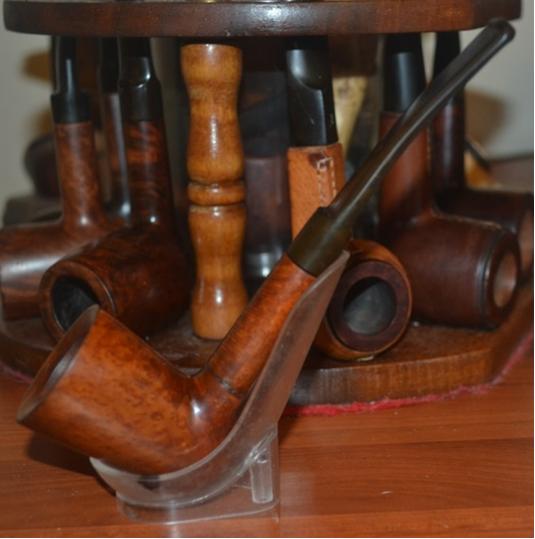
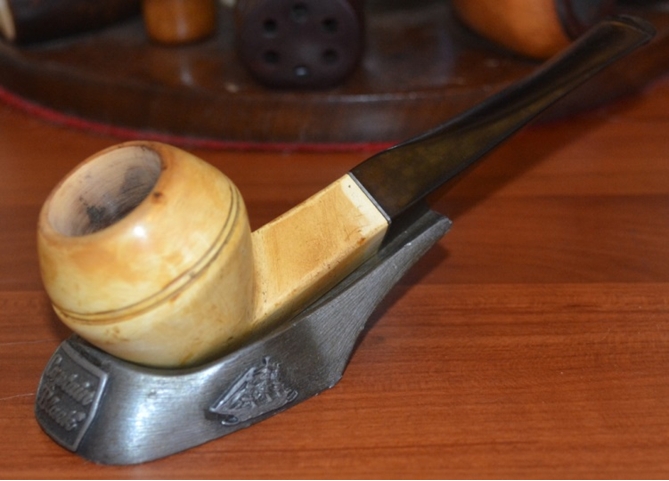
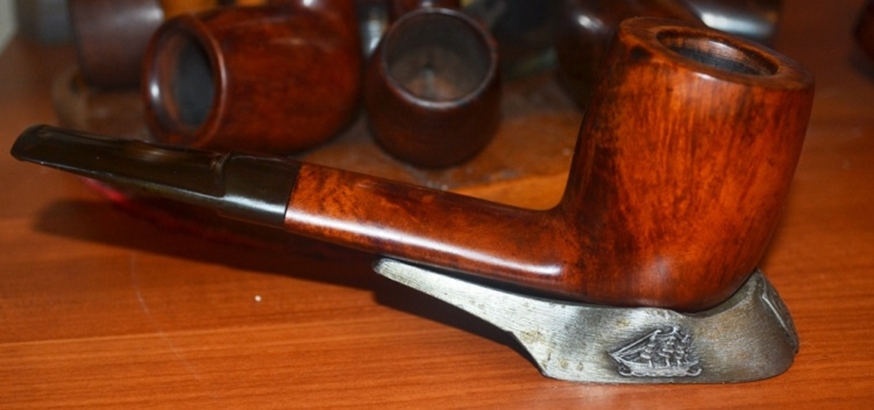
Indeed, I endeavor to live life to the fullest and take calculated risks. But be advised, the good lady, Jewel, is not altogether correct. This, therefore, is a cautionary account of a wonderful Gilpin, being the product of a maker called Salisbury.
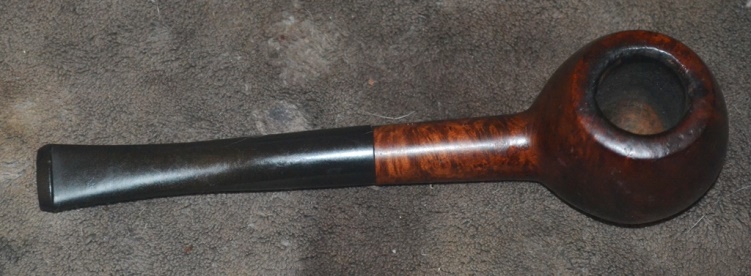
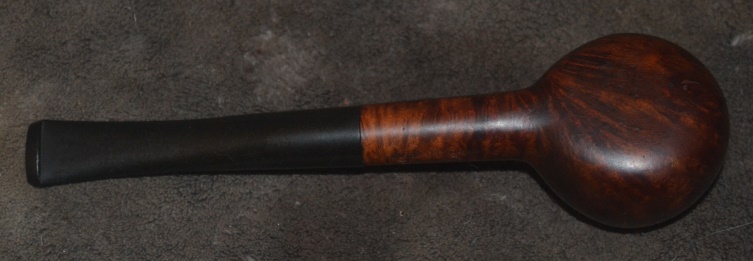
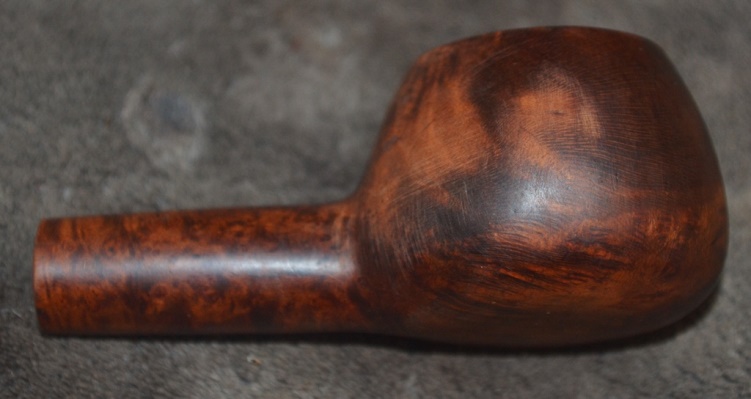
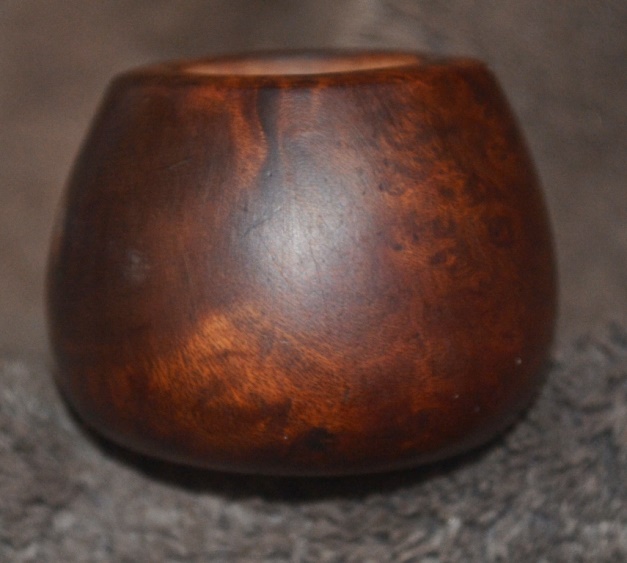
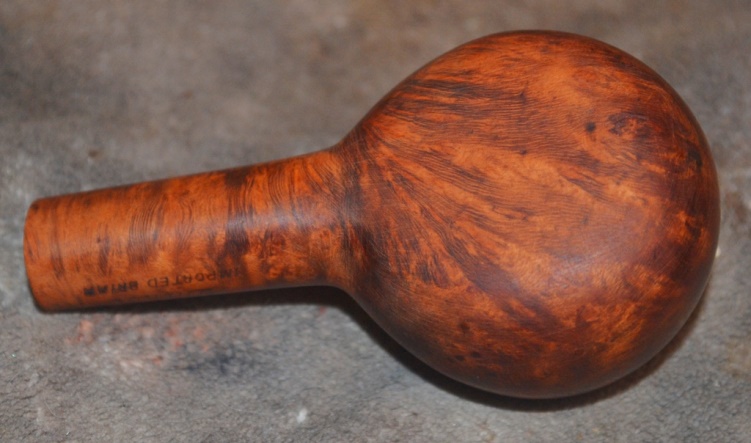
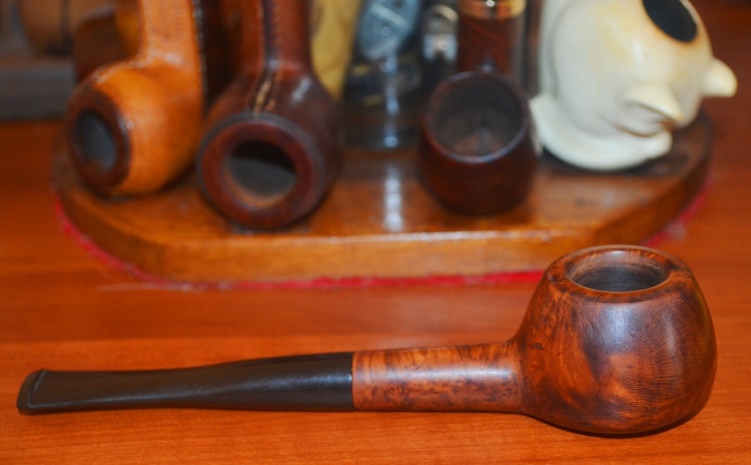
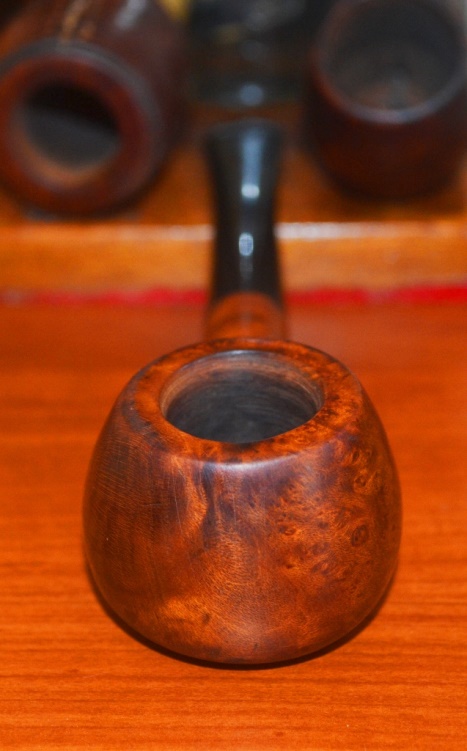
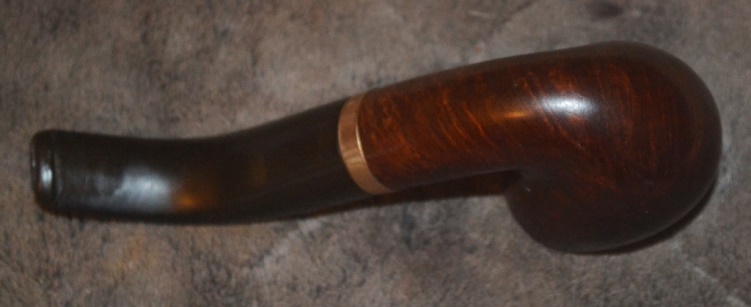
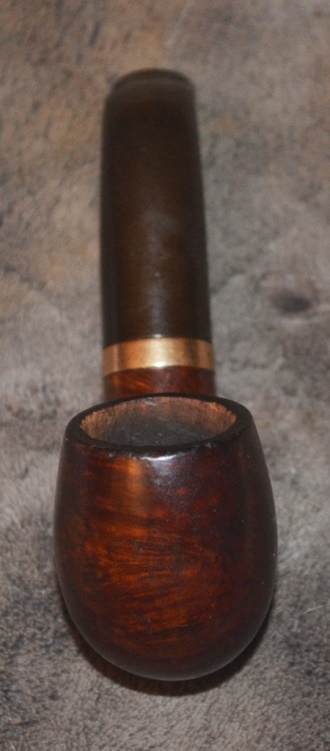
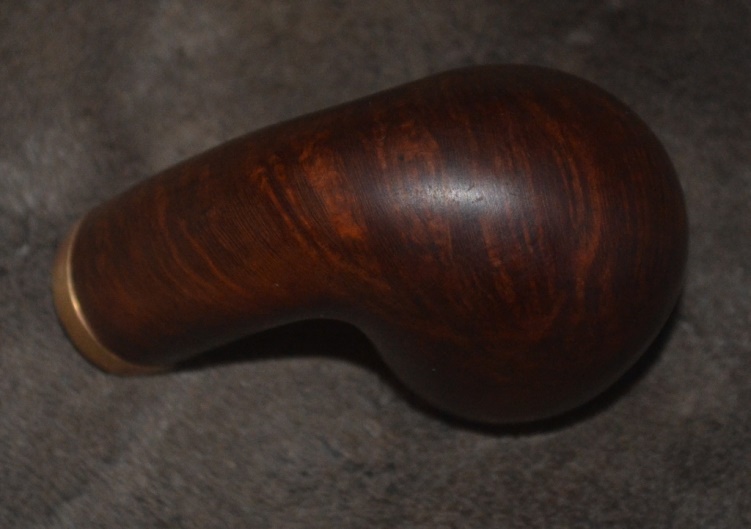
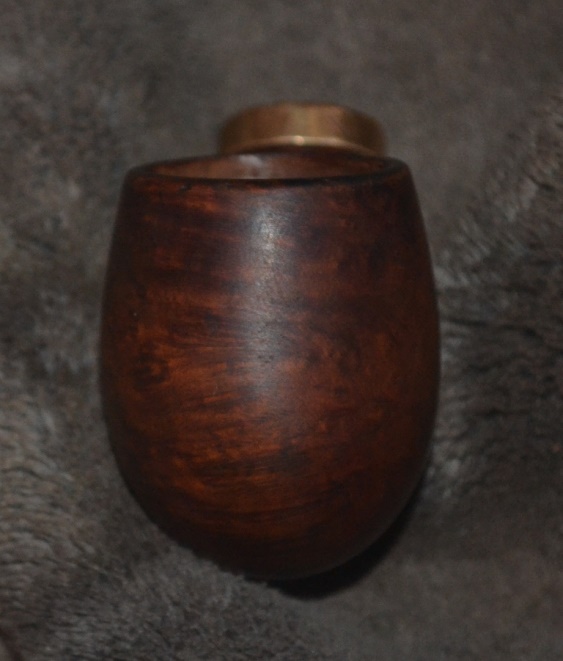
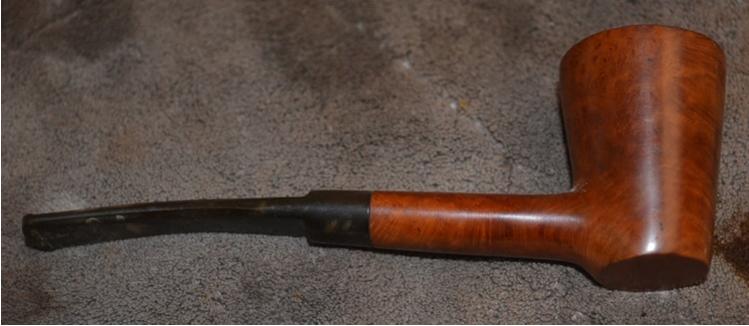
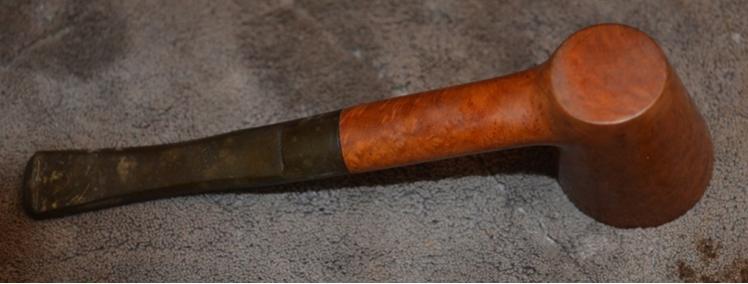
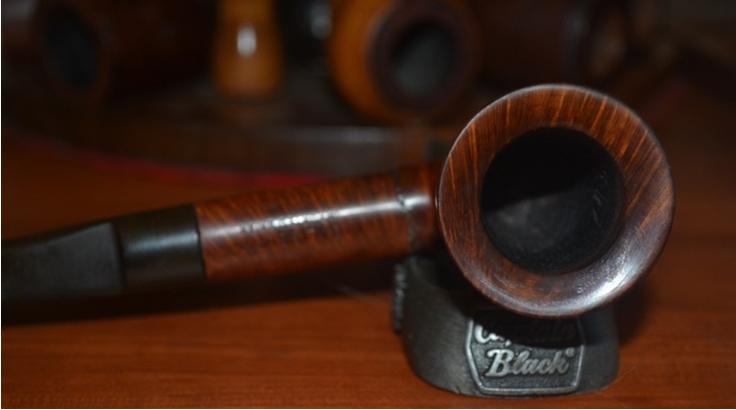
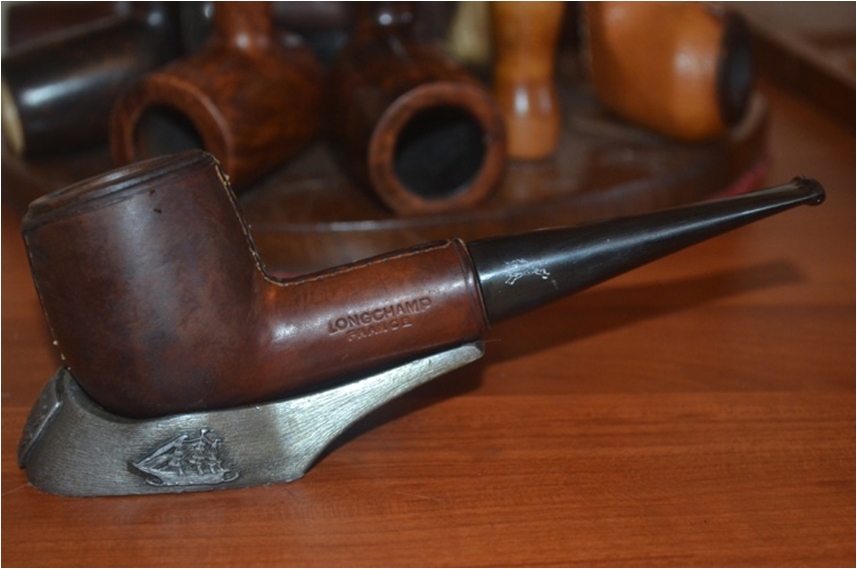
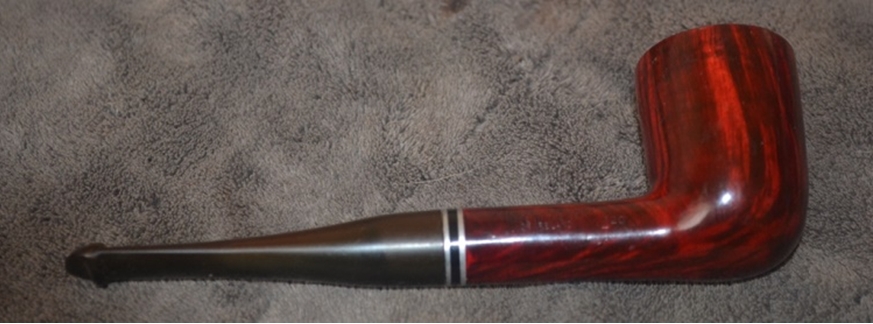
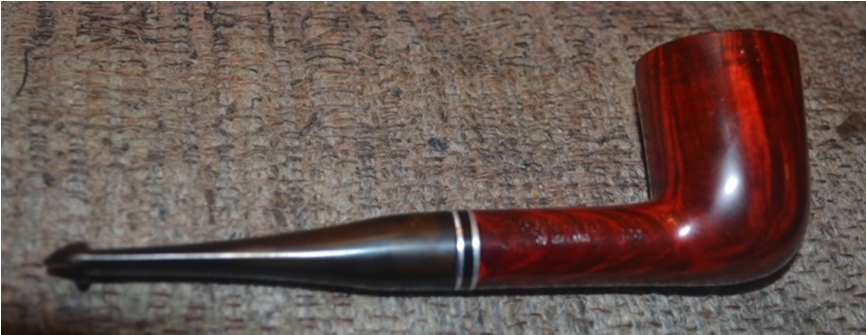
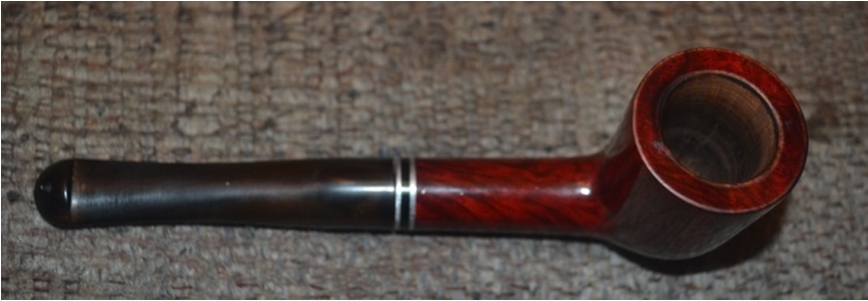
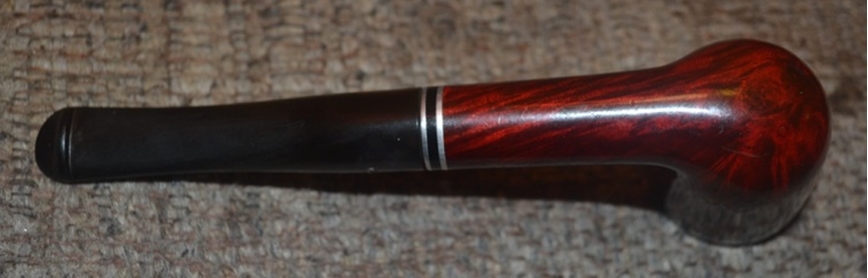
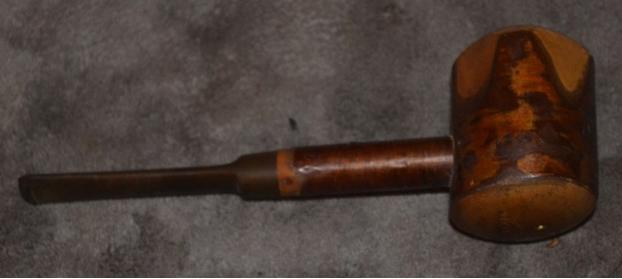
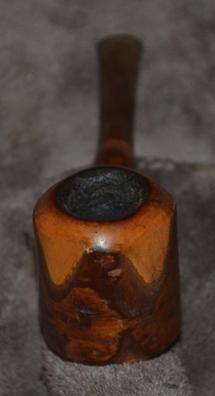
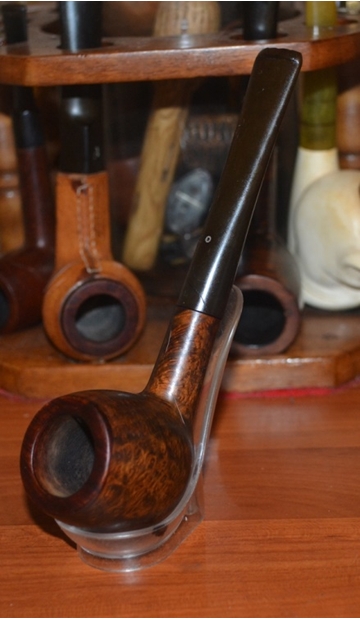
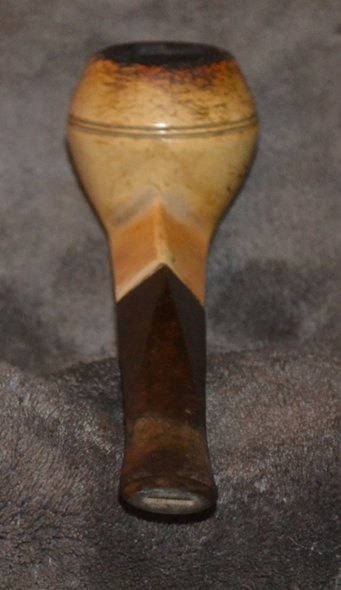
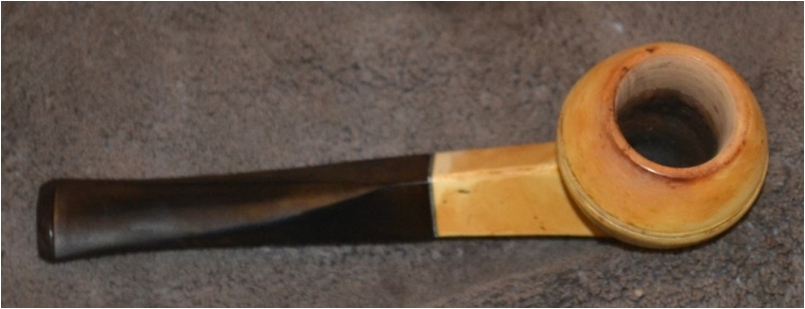
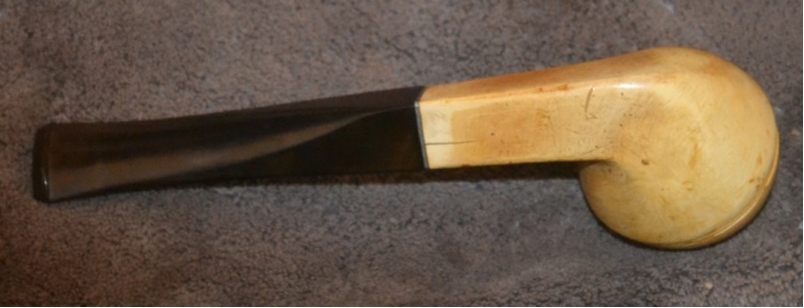
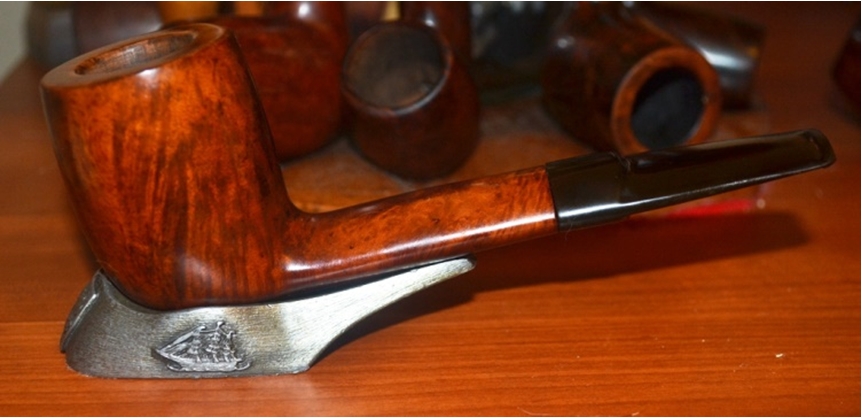
Because of its humble background that defies my concerted attempts to trace the brand even to a country of origin, the 5-1/2″ long pipe (from the front of the small, flat, rounded base to the lip of the stem) with a 1-7/8″ bowl height, though an uneven mix of birds-eye and erratic lines, is nevertheless a fine example of engineering, briar quality and the ultimate smoking pleasure that results. I believe Salisbury is or was a small, independent pipe shop, or perhaps just the name of the town where a modest craftsman who created the Gilpin lived.
RESTORATION
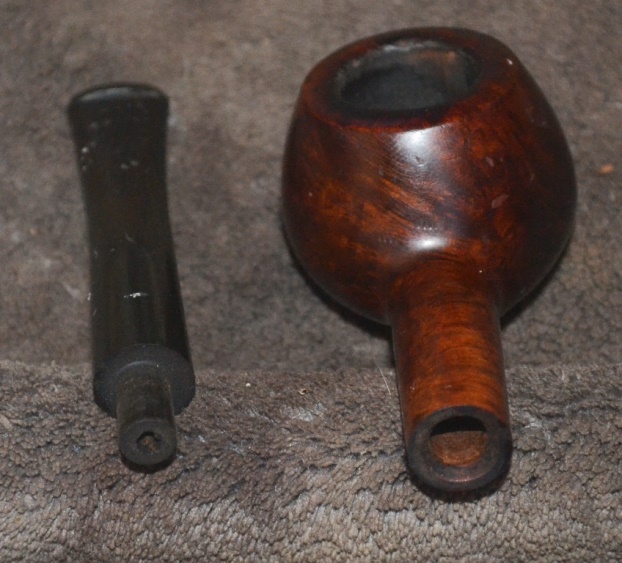
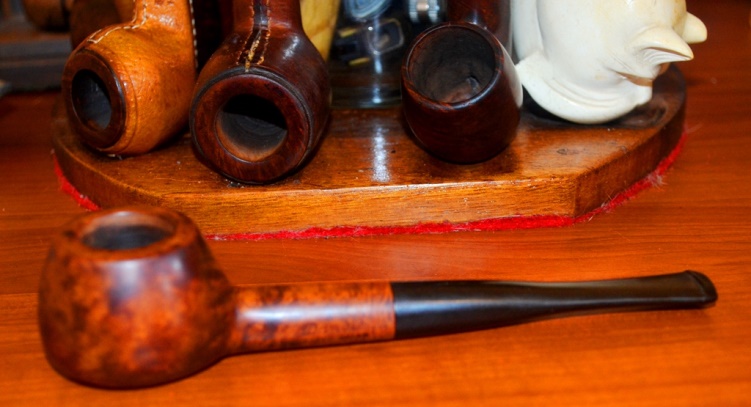
For anyone who has read my other recent blogs, the beginning of this part will come as a given. More for the benefit of others, I have to say this unfortunate pipe, which came as part of a lot I purchased online because I could see through the beast to the beauty inside, was not treated well by its former owner. Exercising the utmost restraint, I will forego any judgment calls as to the personality of that ignorant individual and just get to proof of where I started. The only redeeming factor is that there was nothing wrong with the interior structural character of the Gilpin.


 Needless to say, the pipe was as thrashed as the others in its lot, to my benefit since, taken as a whole, the collection did not appear to be worth my overbid that succeeded in scaring off the other contenders, and I won for next to nothing.
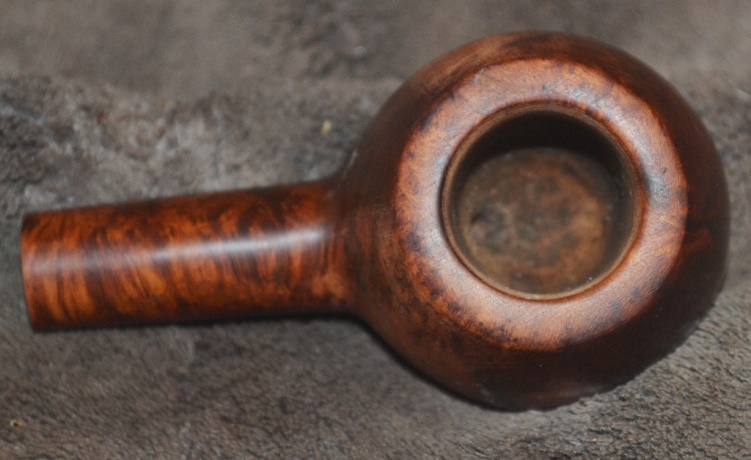
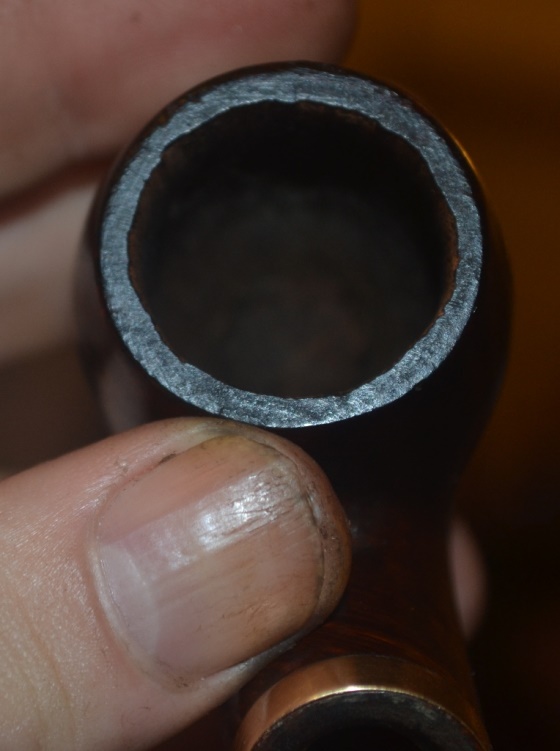
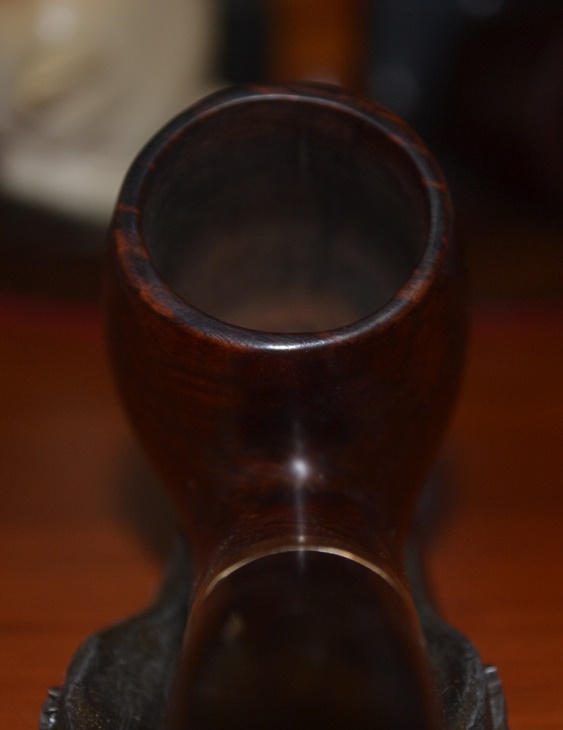
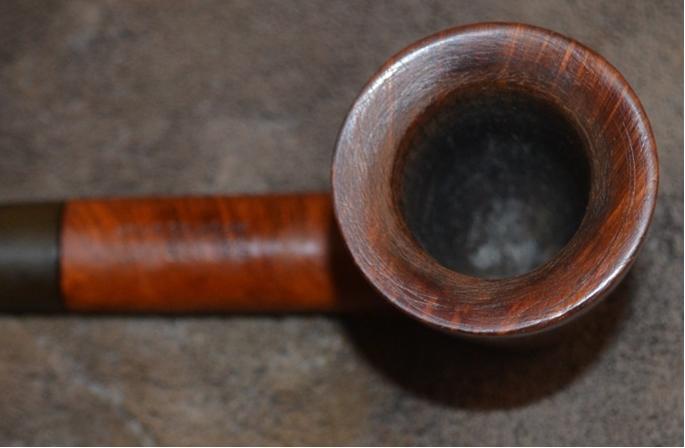
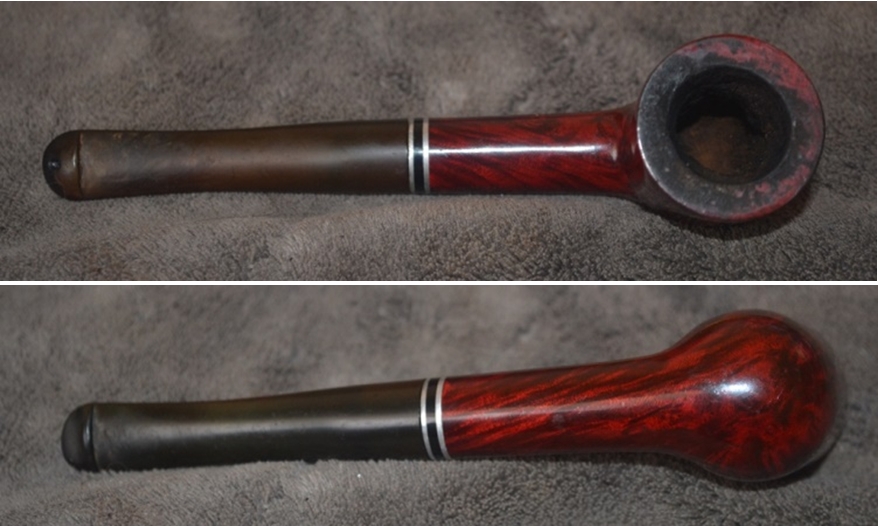
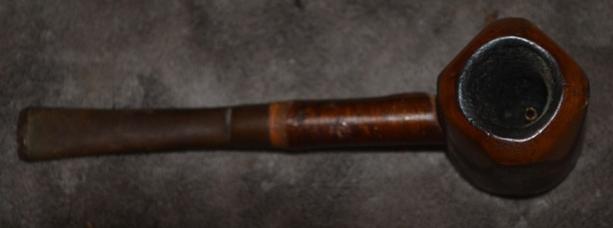
When I finished with my reamer and 150-grit paper on the chamber, I had removed enough cake both to fill three bowls and to rest my softened case against the previous individual who had possession of this pipe.
 For the rim I started with 220-grit paper and then, as the wood began to peek through, finished the removal of the serious burning with 1500 micromesh.
 The uniform scratches all around the rim indicated a need for slow work with 400-grit paper and 2400 micromesh to achieve smoothness.
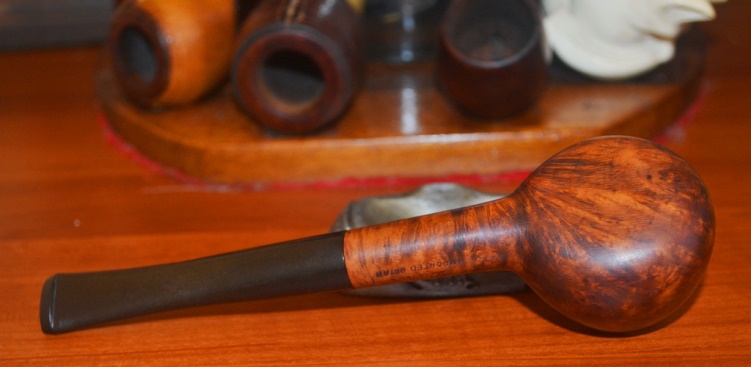
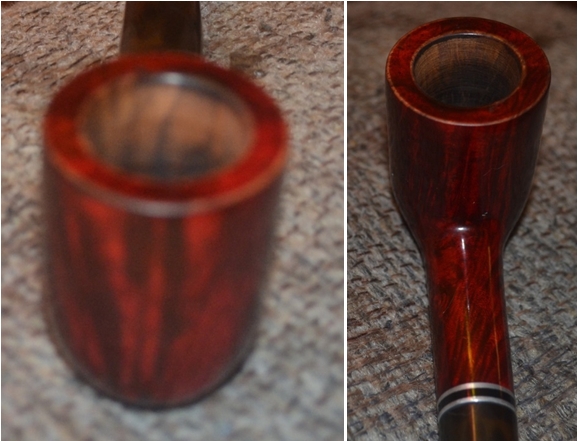
 I re-stained the rim a light brown and hand-buffed it with 2400 micromesh.
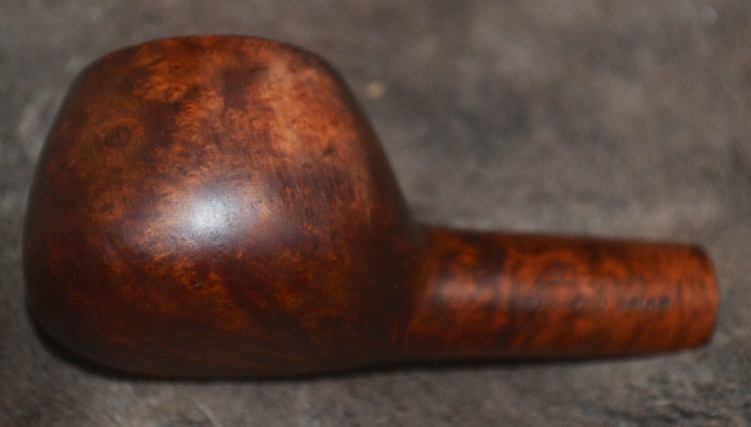
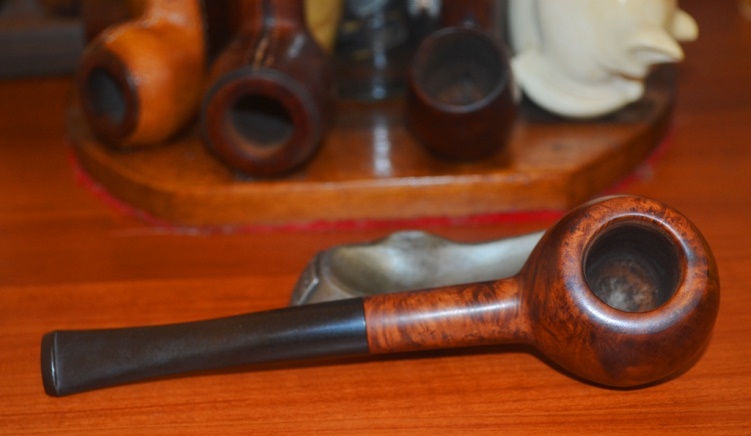
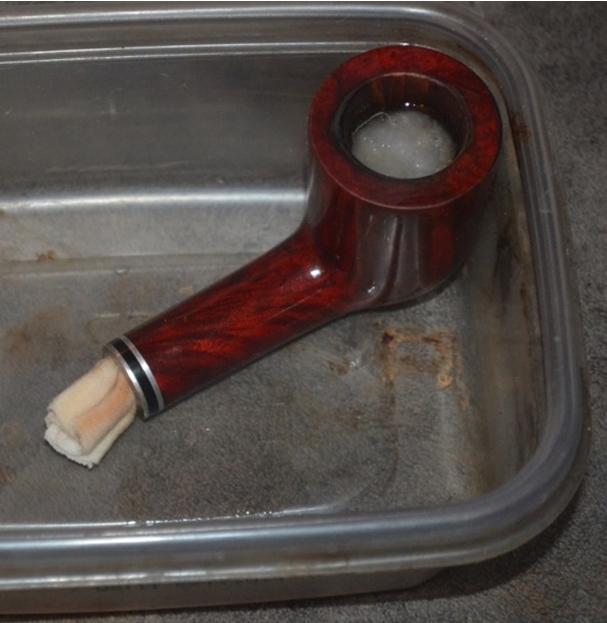
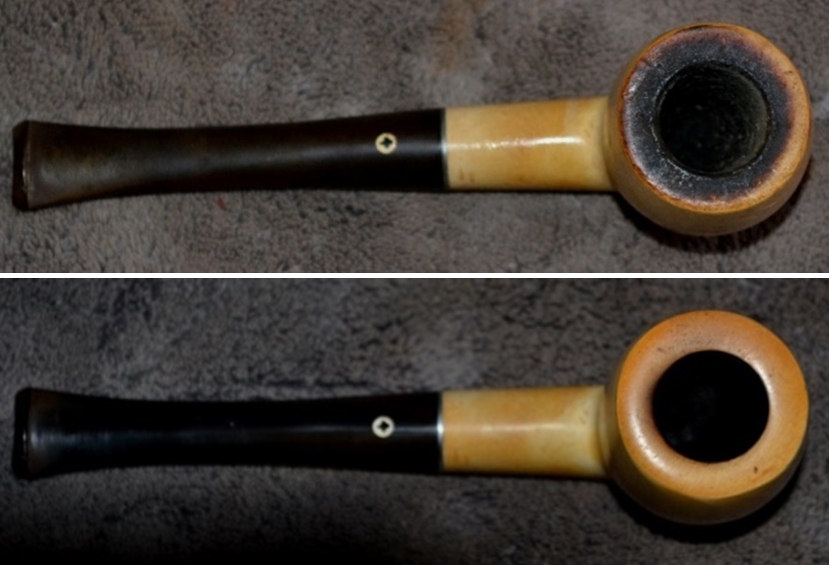
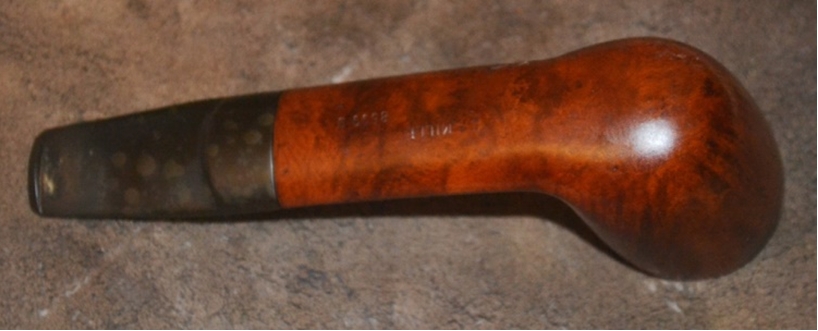
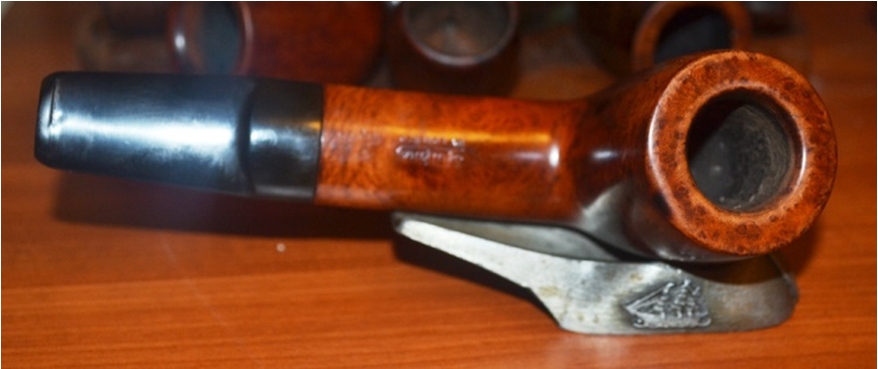
The stem on the Gilpin was so roughed-up and discolored that it proved to be the most difficult part of the restoration. Beginning with vigorous sanding using more 220-grit paper, I spent close to a half-hour removing the blemishes that must have contributed to the collectors who also bid on this lot giving up after my one max offer of $40. I paid $22.50 for the four pipes. I finished my labor on the stem with 1500 micromesh, then 3200.
THE FATAL CRISIS
After cleaning and sanitizing the near-finished Gilpin, I had only to polish the stem and wood on my twin fixed-speed buffers. I know, I know! I can’t count the times my friend and mentor, Chuck Richards, and other restorers more experienced than I have admonished me to have a firm grip on the material being buffed when using this type of inexpensive tool. And I swear to all that is holy to me that I did just that. Read on, and I shall tell you the tale.
Starting with the stem, using red Tripoli and White Diamond, the result was perfect. I moved on to the bowl and shank, buffing them to a beautiful sheen with white Tripoli, White Diamond and the last touch of carnauba. I was, in fact, in the act of removing the beautiful briar from the carnauba wheel.
And that was when…
Well, that was when the unthinkable happened. You know by now where this is going. The precious piece of wood got away from me and, thanks to my not having set up a soft net for such contingencies, flew at warp speed straight into the wall a mere few inches behind the buffer.
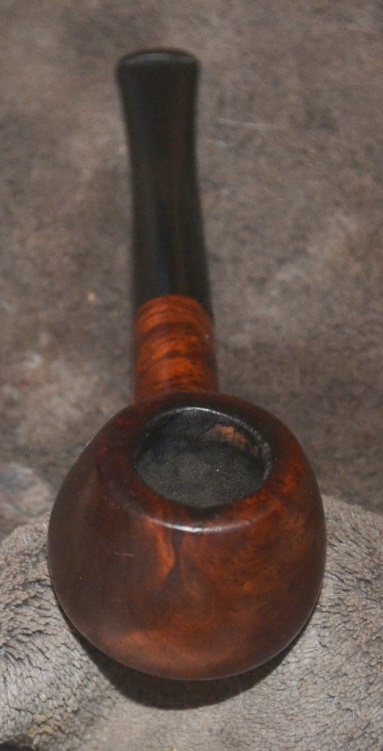
I actually heard the sound of the snap, although I could not see where the consequence of my mistake came to rest. As a nauseating, heartbroken sickness spread from my stomach to the rest of my body and mind in one breathless heartbeat, I switched off the second buffer and leaned over the edge of the stand and spotted the bowl on the carpet – with a jagged break in the shank near the draught hole.
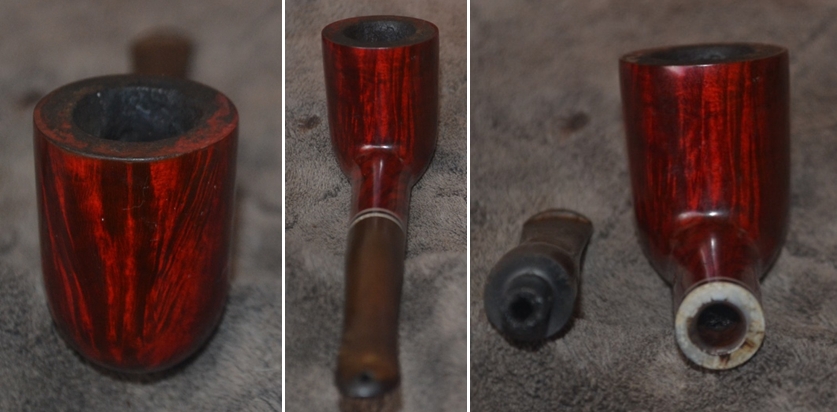
Of all the accursed luck! Right before the frigging draught hole! (That, for your information, was not the adjective I in fact shouted out loud in a maelstrom of horror and self-flagellation.) Even through the mental fog that swirled inside my addled head and made my sight blur, I had a good idea of the significance of that location, more or less the hottest place on a pipe, as opposed to the stem end, where I might have had a fighting chance to Super Glue it back together and band the sorry, mortally wounded Gilpin.
But where was the other piece? I grew frantic in a way I had not experienced in years. Standing there where I had frozen, without moving my feet, I searched everywhere around the stand until at last, turning only my head, I found the missing piece of the shank. It was behind me by a box near the middle of the room.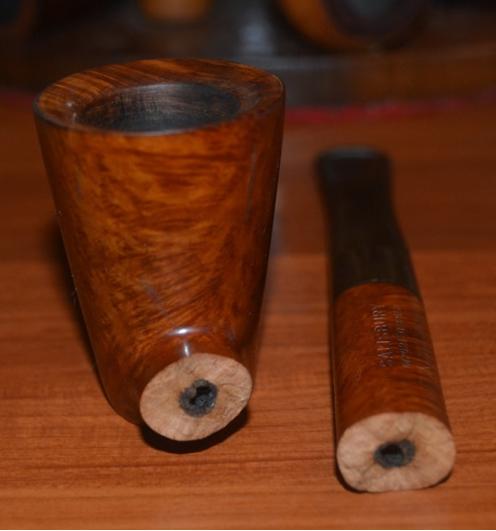 And so it came to pass, the next day at my tobacconist, that I took the all but ruined pipe, in its three clean and sparkling pieces that seemed to mock me, and at least having calmed down enough to smile for Chuck as I handed him the violated parts said:
“The one that got away.”
“What’s this?” Chuck said with his grin of curious amusement.
“The one that got away,” I said again. “You know how often you’ve told me to be extra careful holding pipes on the buffers I have. Well, one finally got away.”
Recounting my story to him, I saw his big, warm smile emerge and felt so much better, even though I knew in my heart that he would confirm that the hapless Gilpin was beyond repair for purposes of selling.

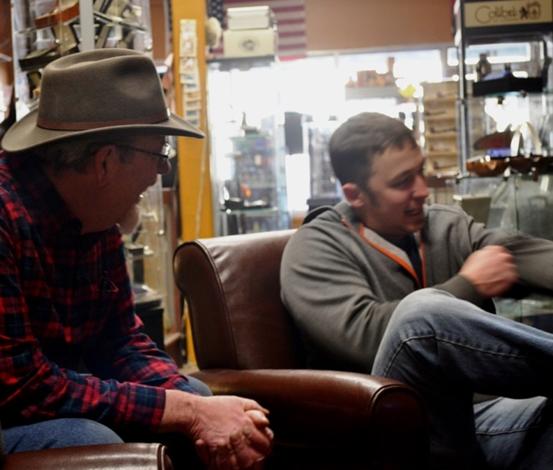
Chuck and Chad
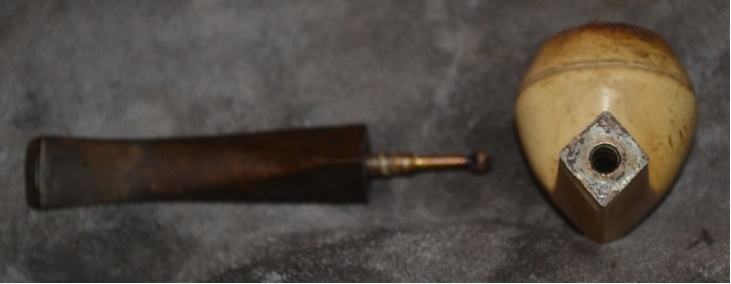
As luck would have it, though, if such a phrase could even be conceived to apply to this calamity, the fractured pipe was not beyond repair for what Chuck called a shop pipe, or one to be enjoyed by myself while restoring others. All I needed to do was find some sort of short rod to anchor the two parts of the shank in place and Super Glue them together without letting any of the glue seep inside.
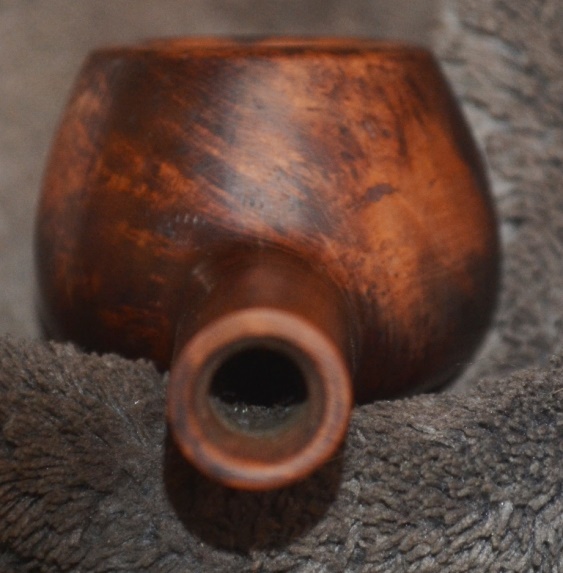
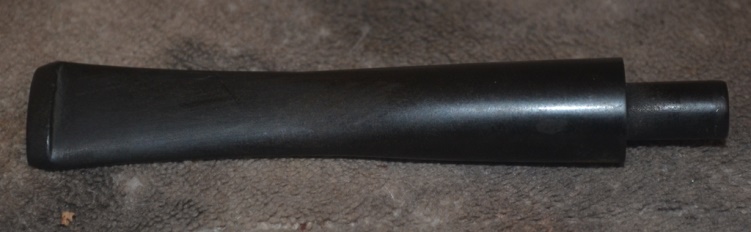
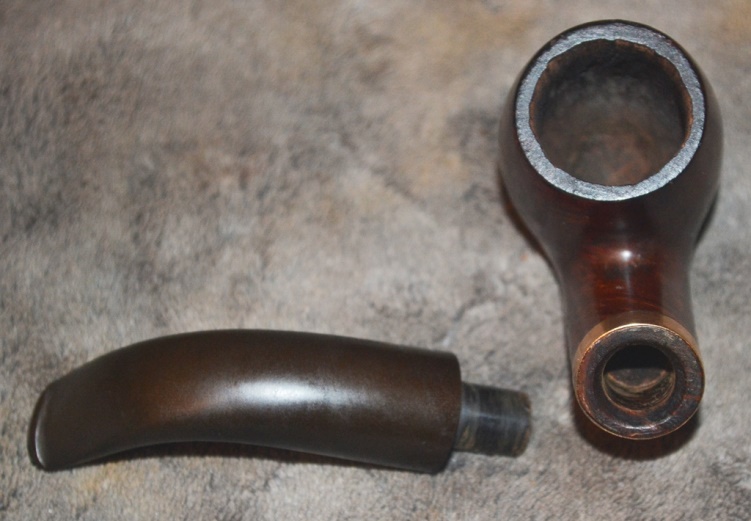
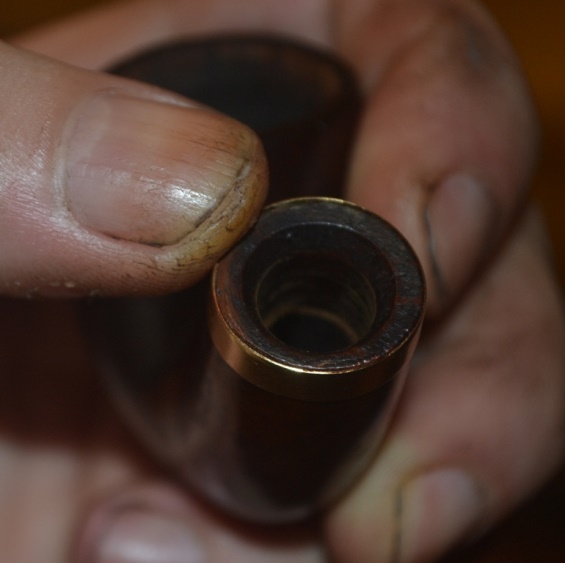
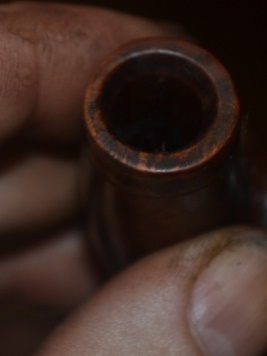
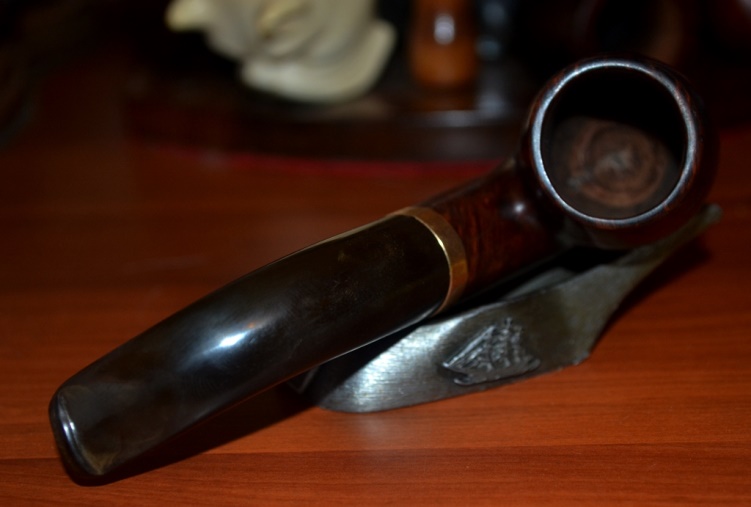
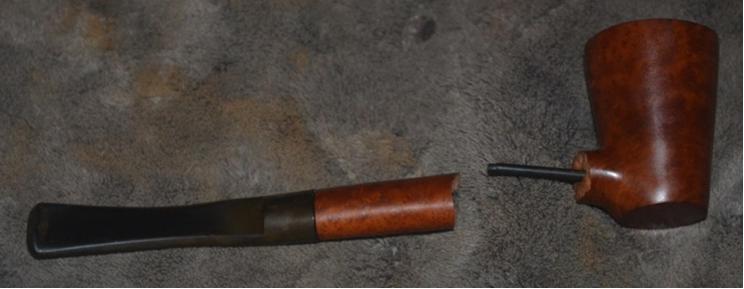
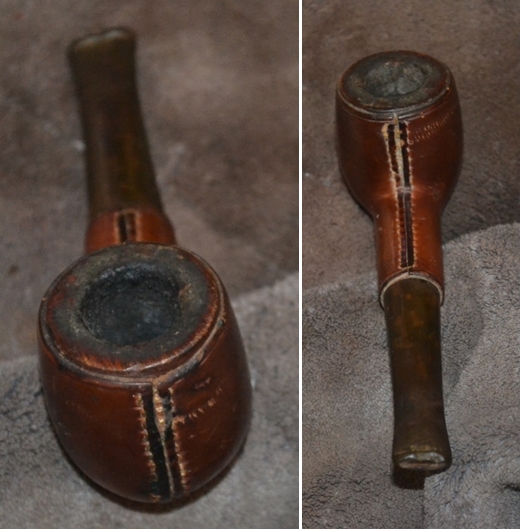
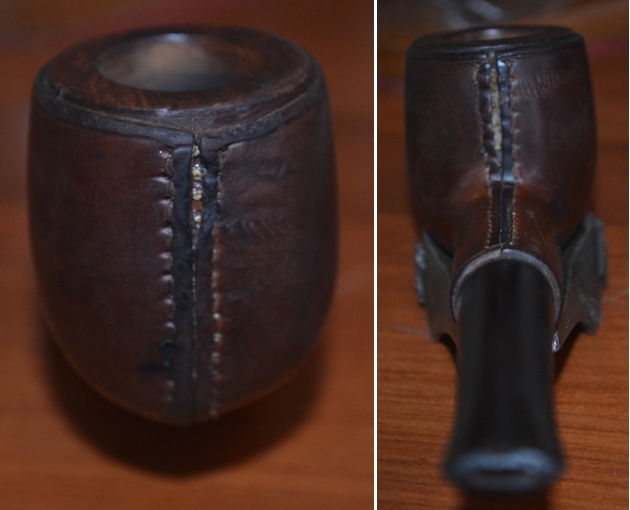
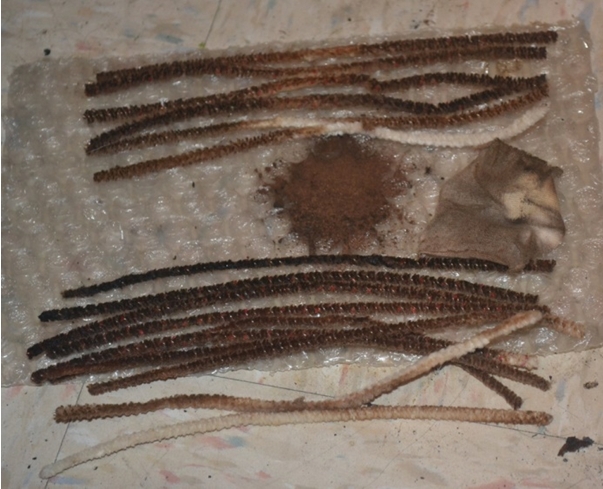
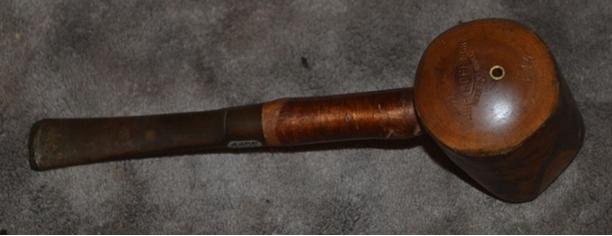
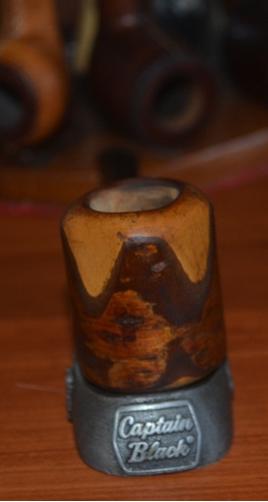
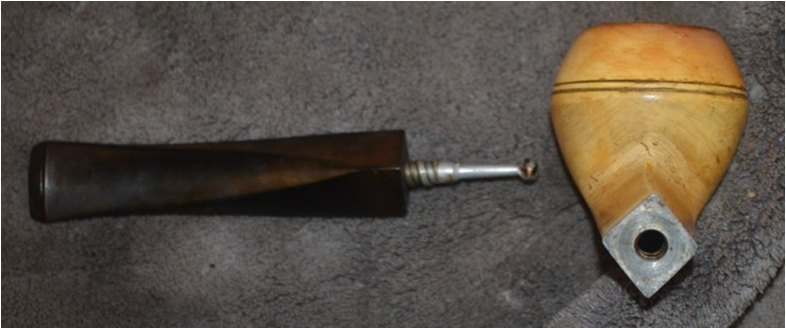
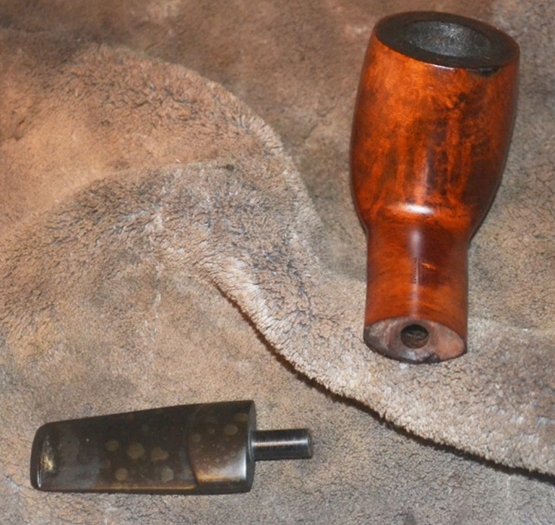
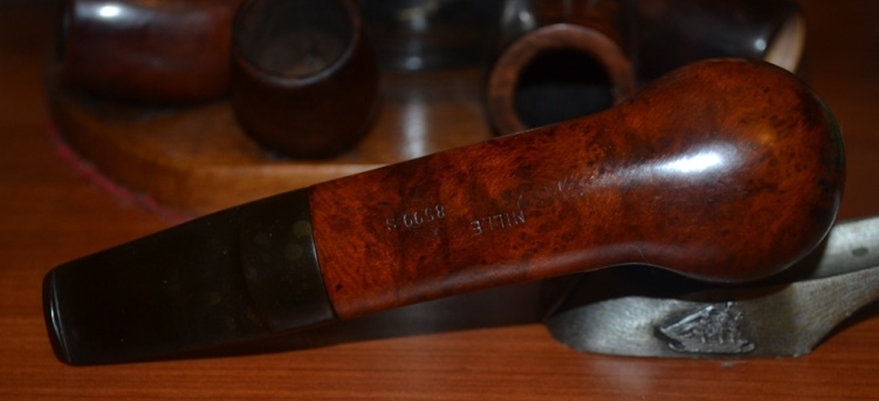
I can do that, I thought, and a local hardware store where I could find such a thing came to mind. The next day I visited the store and searched through the limited possibilities. I spotted a 315-piece box of assorted sizes of spring steel, black oxidized roll pins, and after much thought decided what the heck. One of the two smallest pins, I concluded, would fit the bill. Choosing the smallest, which was 1/16×3/16″ in size, I inserted one end of the roll pin into the bowl end of the shank, as is obvious in the photo above. With great care, I applied Super Glue around the exposed wood of the same end and fitted the other piece of the shank, without the stem, over the pin and into place, lined up in a perfect match.
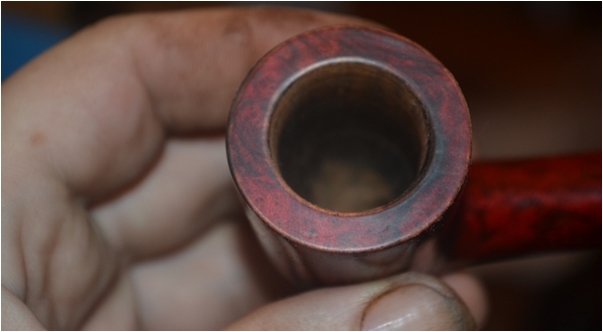
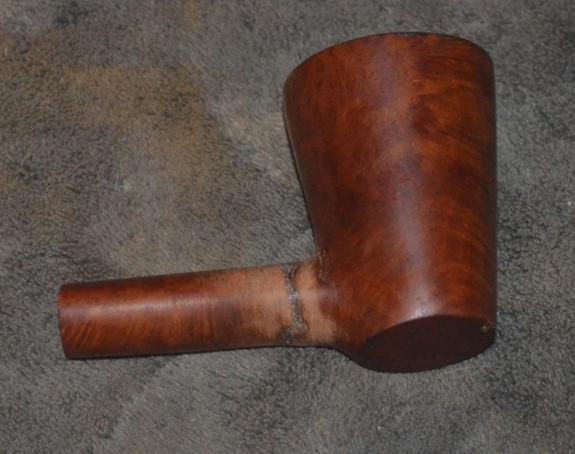 The next step I chose, after letting the glue set, was to use 400-grit paper to smooth the dried scab of glue as well as I could. In the process, of course, some of the finish came with it, but that was easy to fix with a small amount of brown boot stain around the lighter area.
I flamed it and used 2400 micromesh to remove the char. At that point, the dreaded time to return to the buffers had arrived, and so there I went. Taking a deep breath and telling myself whatever happened was okay, I felt a calmness come over me. I turned on the two buffers and re-did the entire bowl and shank with red and white Tripoli, White Diamond and carnauba

 Only the knowledge that I would be smoking the finished pipe alone in my little shop and thinking of this black experience every time consoled me.
CONCLUSION
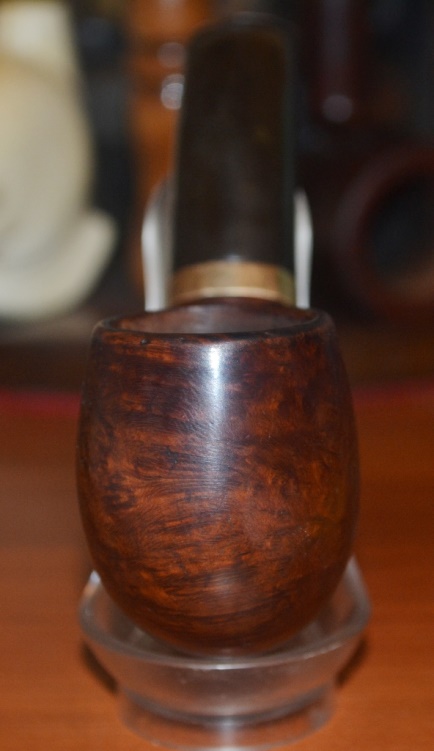
I have been smoking a bowl of Cornell & Diehl Sunday Picnic in my new shop pipe as I finish up this most excellent example of how not to restore a pipe. The Gilpin is every bit as good as I expected, but of course I remain unhappy with the end. I would much rather have concluded on a happy note with the Salisbury whole and rejuvenated and ready to sell, but life sometimes takes cruel turns.
Then again, maybe the beautiful, aptly named Jewel had it right.
 INTRODUCTION
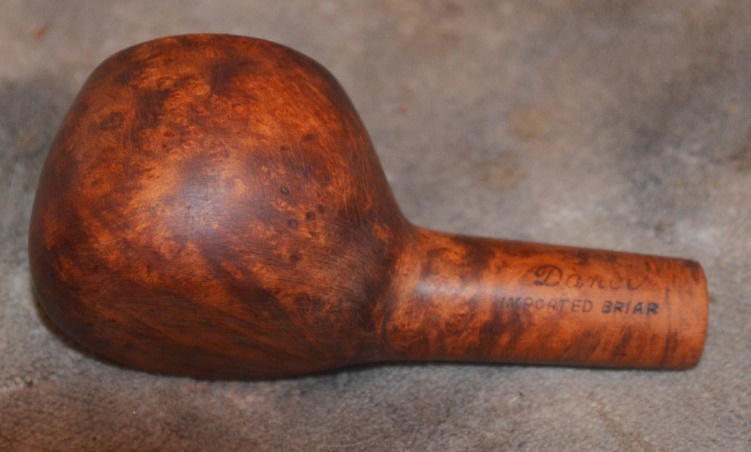
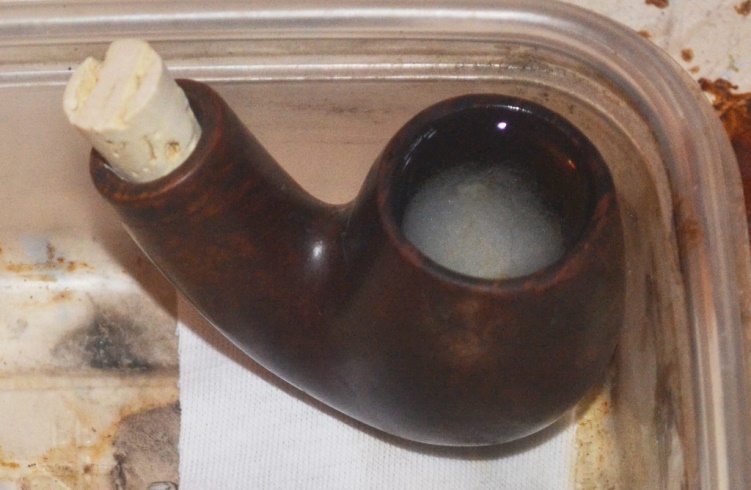
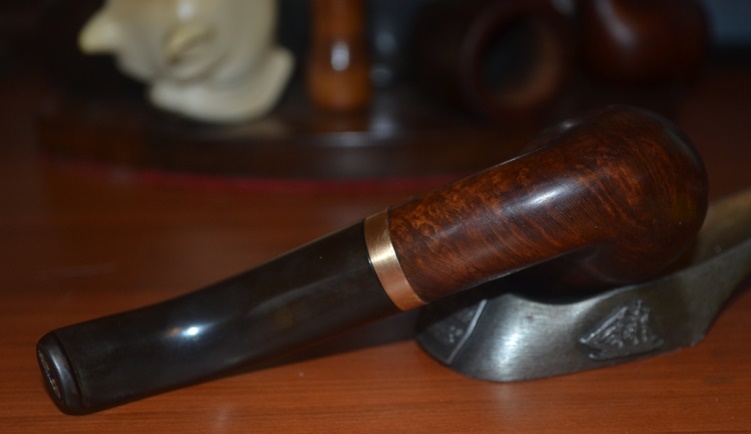
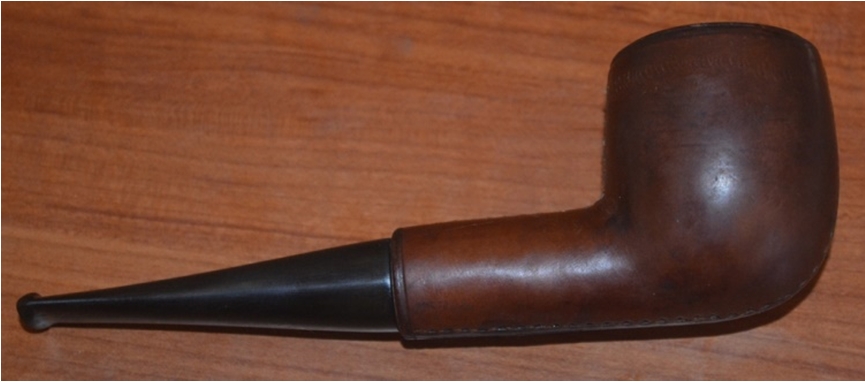
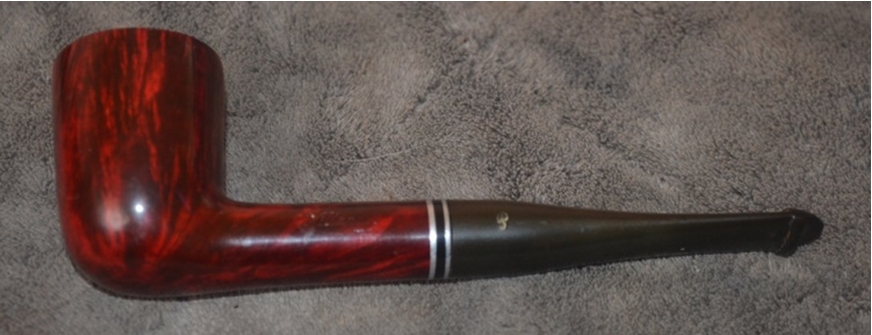
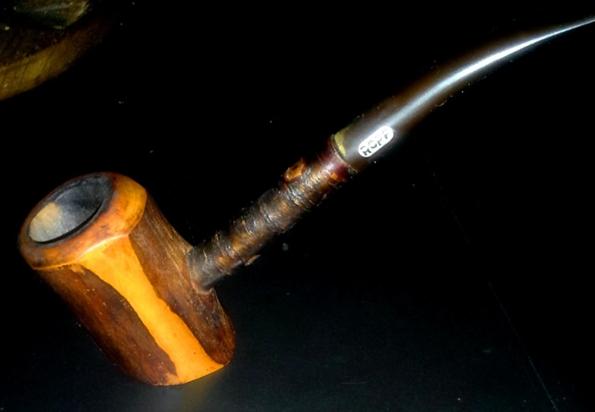
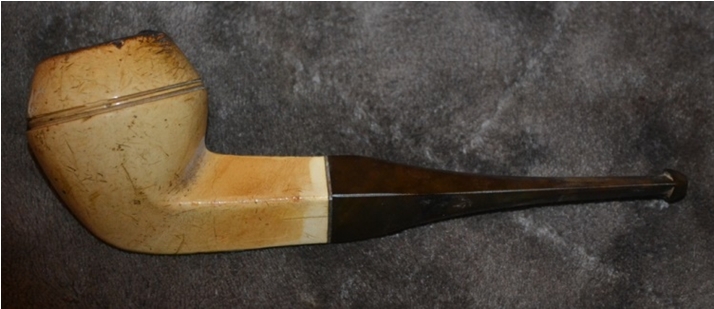
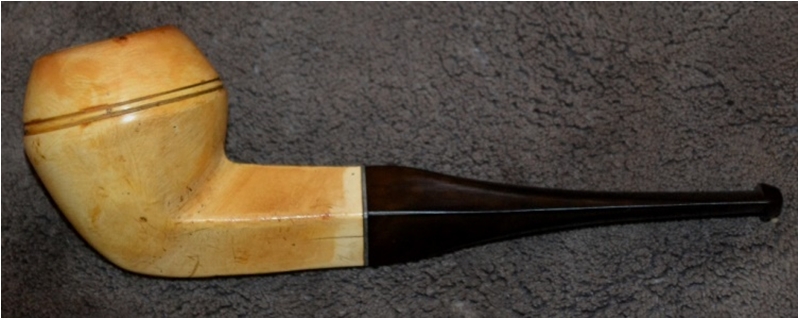
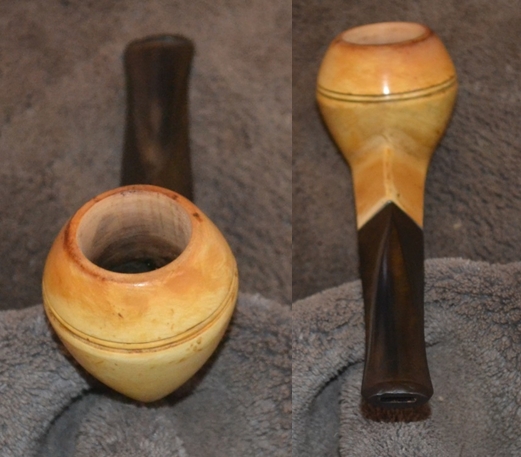
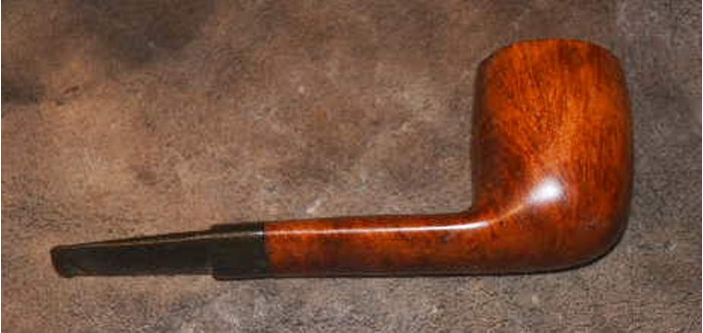 The massive, gorgeous billiard (measuring 5-3/4″ x 2″ in length and height with an outer rim diameter of 1-3/8″ and chamber dimensions of 7/8″ x 1-7/8″), as seen in this photo side angle as I received it in a pipe lot I bought online, is nothing less than gigantic all around. Even the relatively flat shank leading into the stem is an inch across. But, as will be shown in the next part of this blog, from other angles the pipe, which at least on my screen is the actual size, had its share of problems.
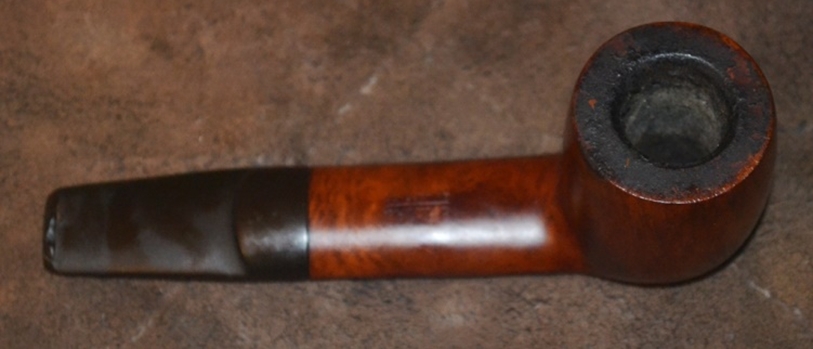
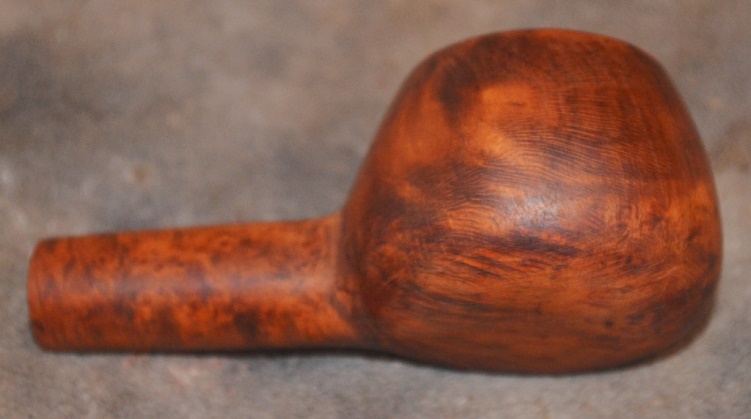
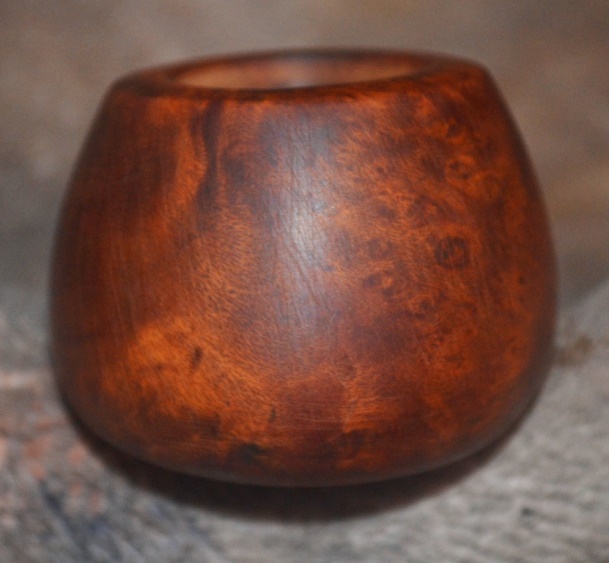
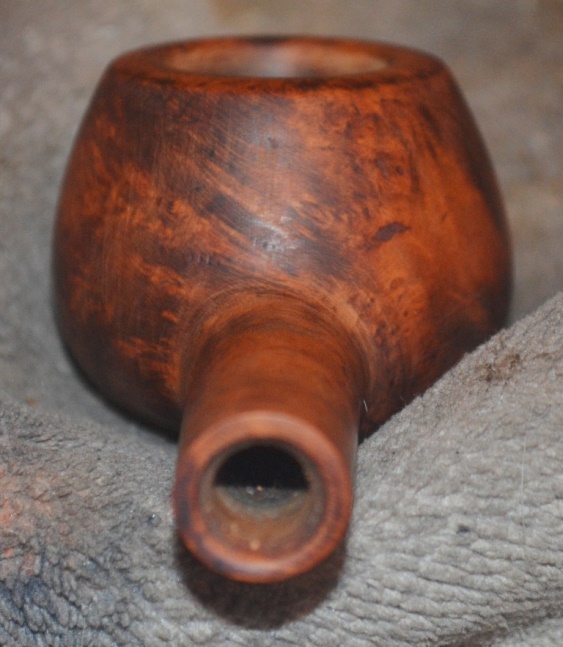
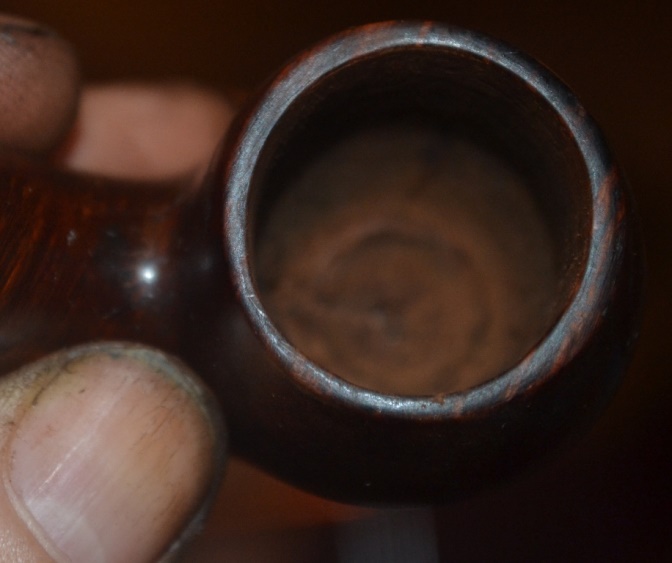
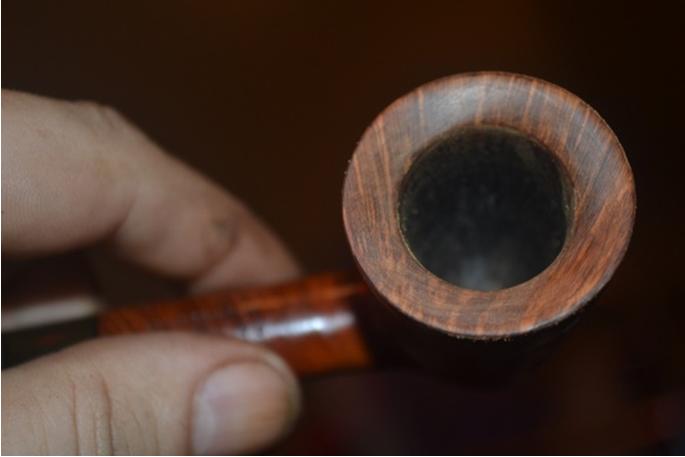
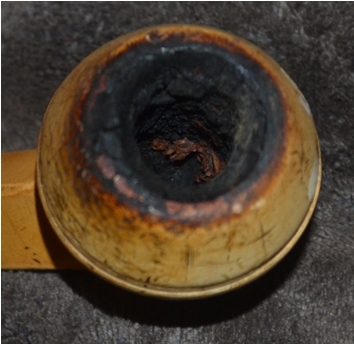
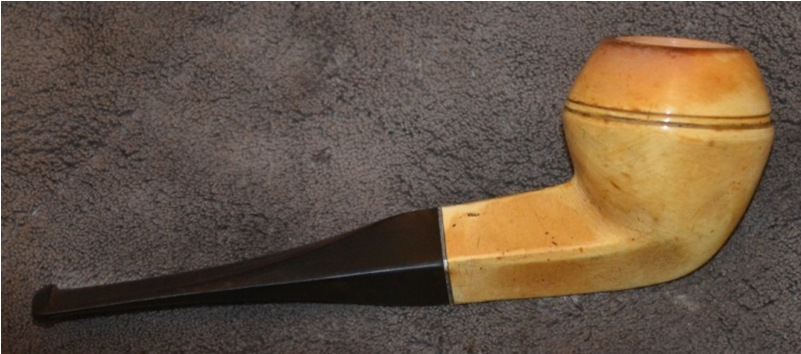
 The blackened rim and badly caked chamber were easy enough to fix. I started on the chamber with my reamer and took out the majority of the carbon buildup, then switched to 150-grit paper followed by 400 before finishing with 800. The rim came clean with super fine steel wool before 1500 micromesh, then 2400, 3600 and at last 8000. So far, that is the finest grade of micromesh I have used, and it worked well.
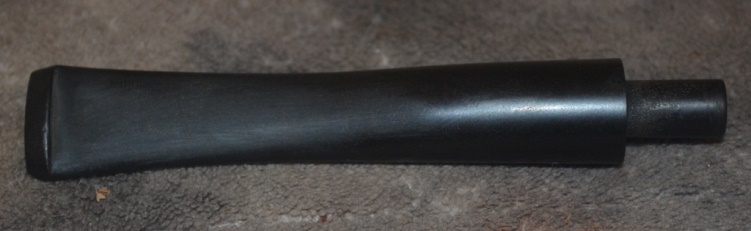
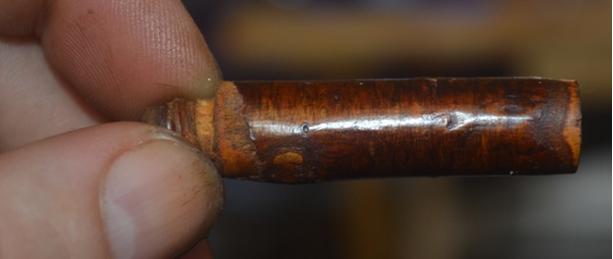
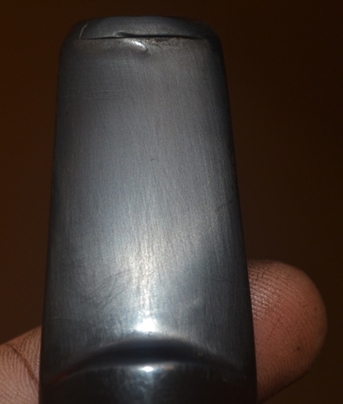 Still, the tooth marks remained, and since my recent order of Black Hyper Bond, a.k.a. Super Glue, had arrived, I was presented with my first opportunity to try it on a stem. The hard part proved to be not squirting out too much.
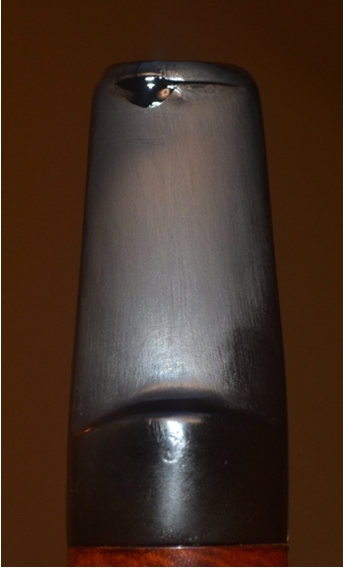 A couple of hours later, long after I had prepared the nice hunk of briar for buffing, I returned to the stem and tried 2400 micromesh to remove the dried glue bump. After that, I finished it with 3600.
 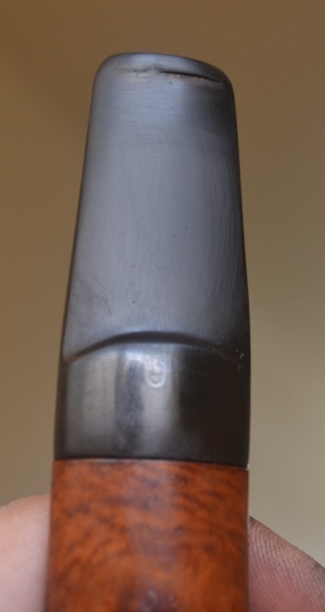 As I noted, this was my first time filling in a hole, so the result is not perfect, but I think it looked much better than before.
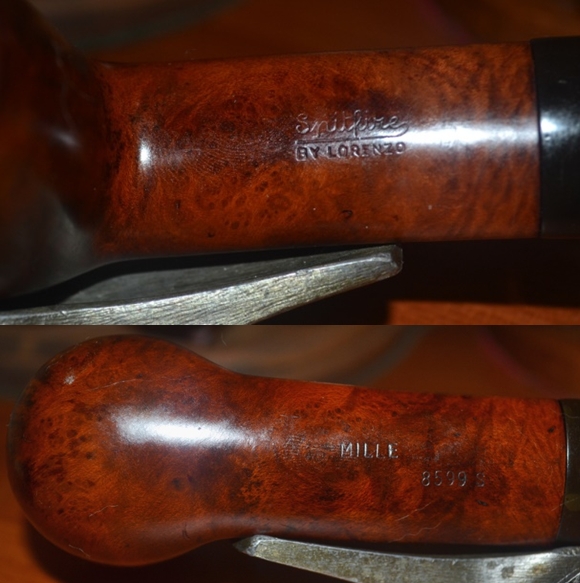
 CONCLUSION