Blog by Steve Laug
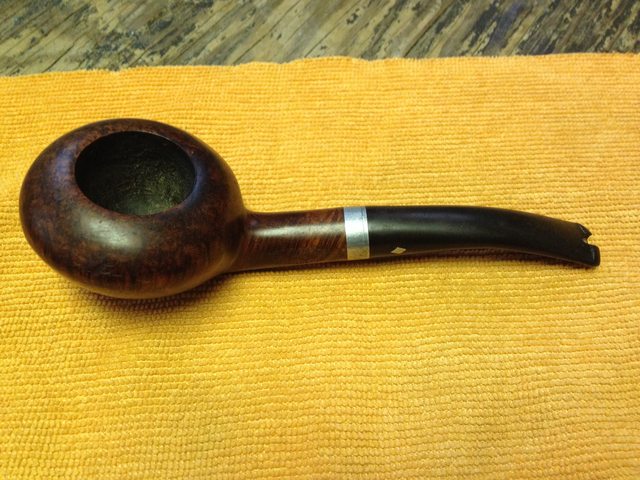
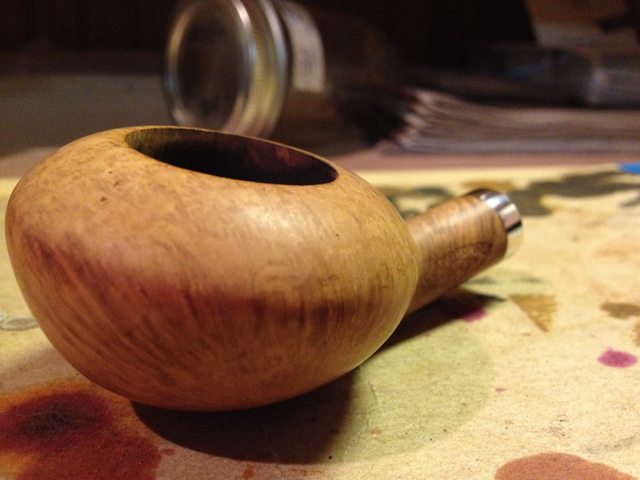
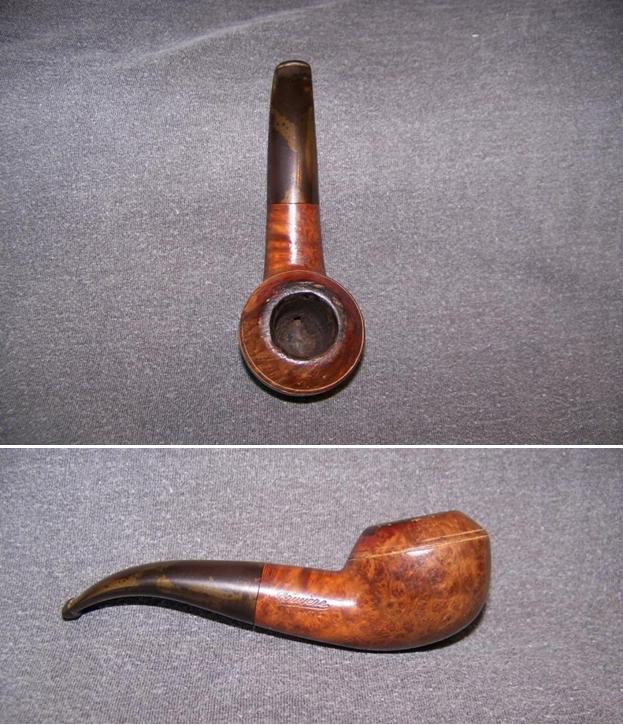
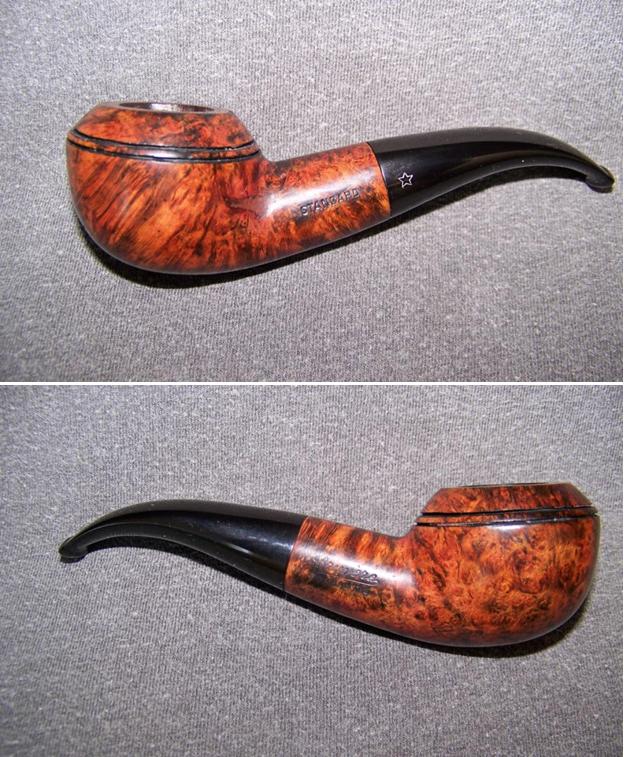
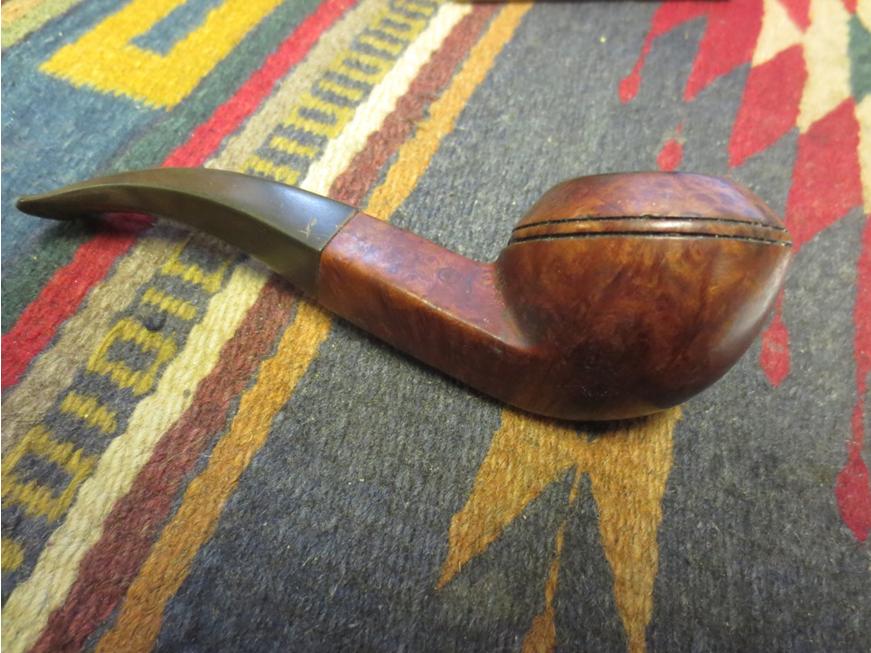
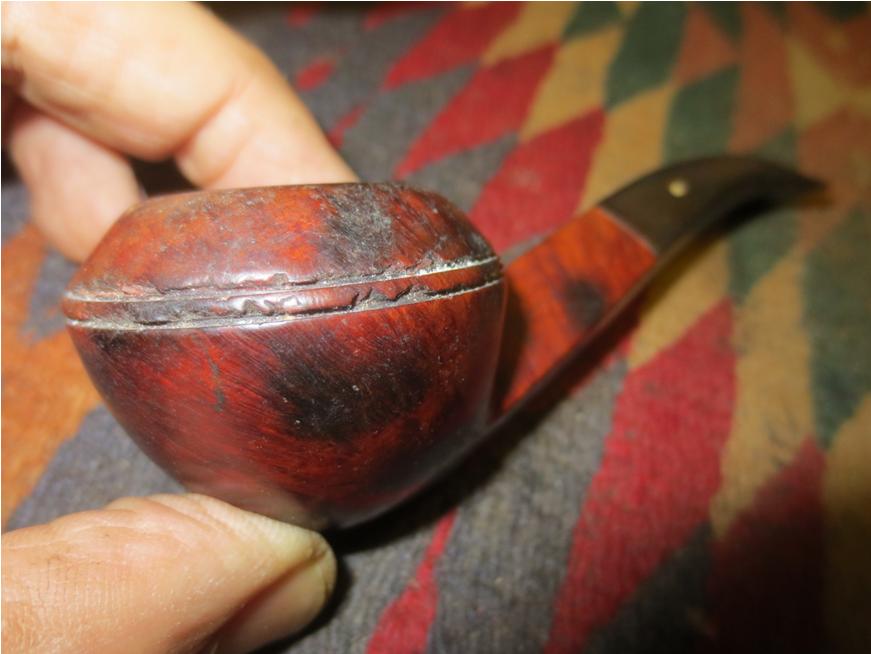
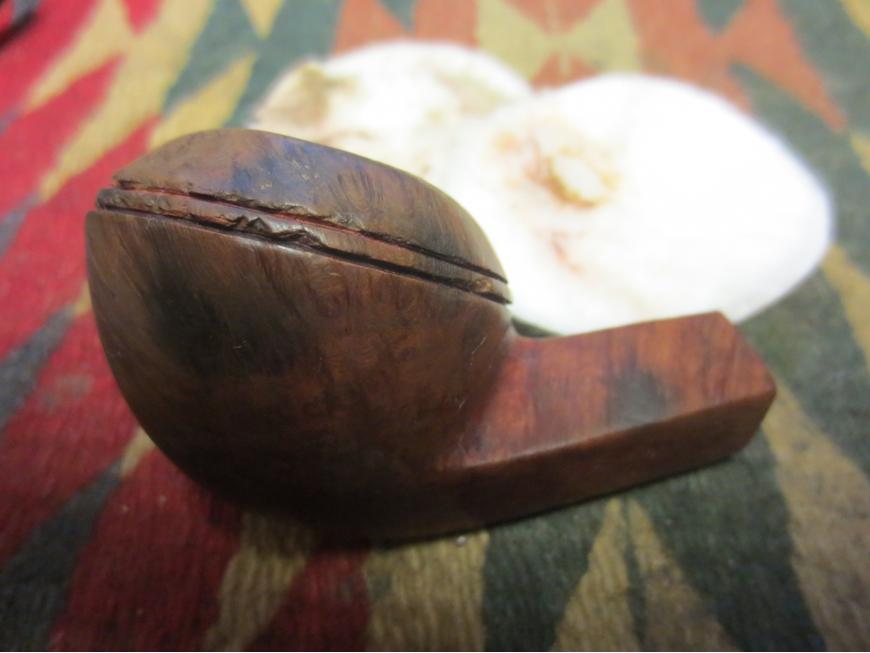
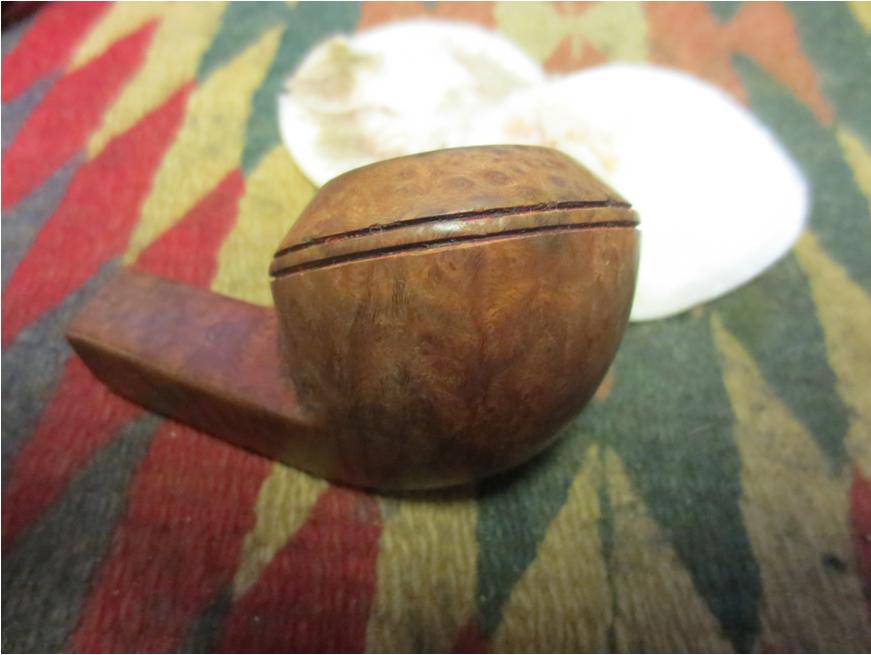
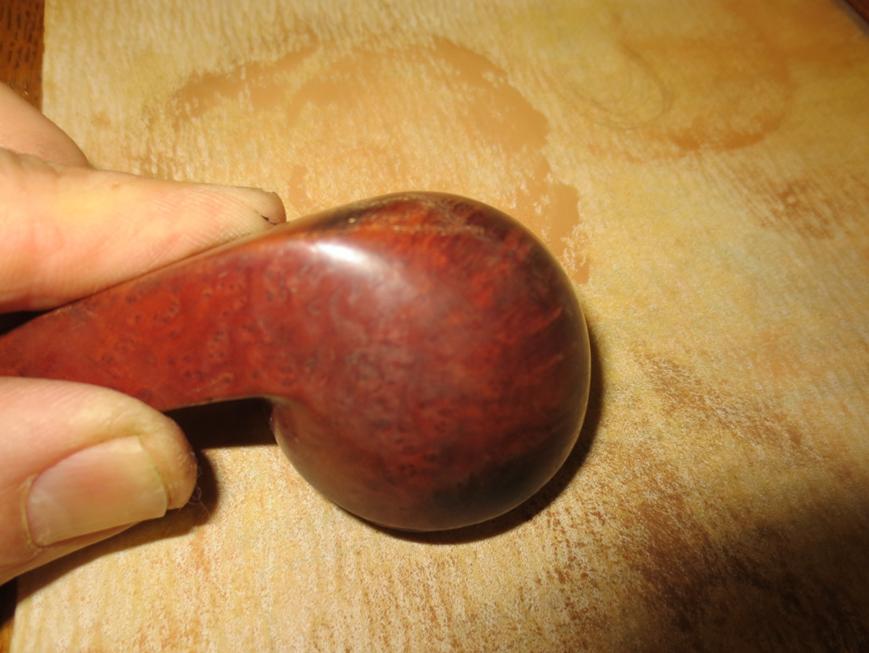
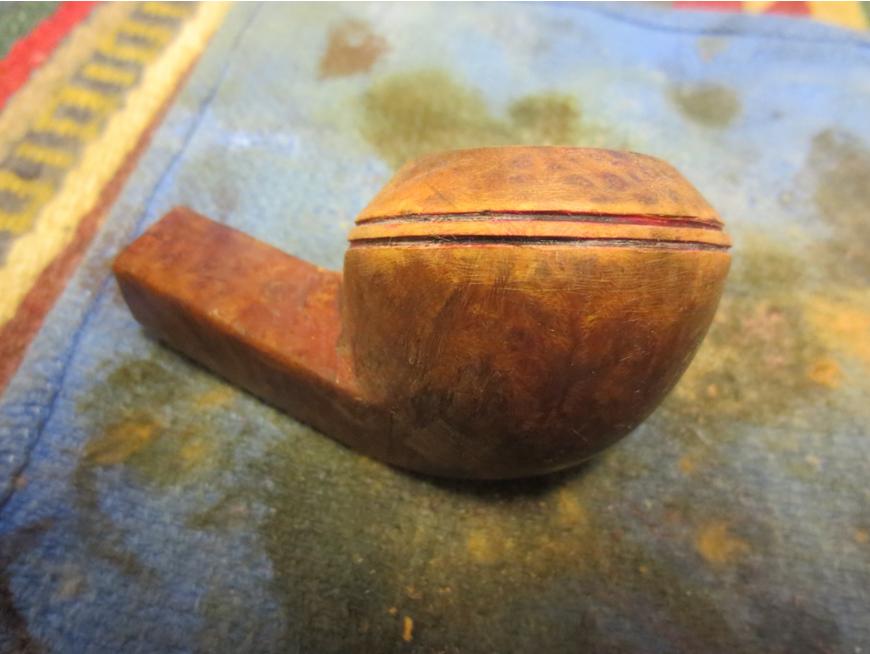
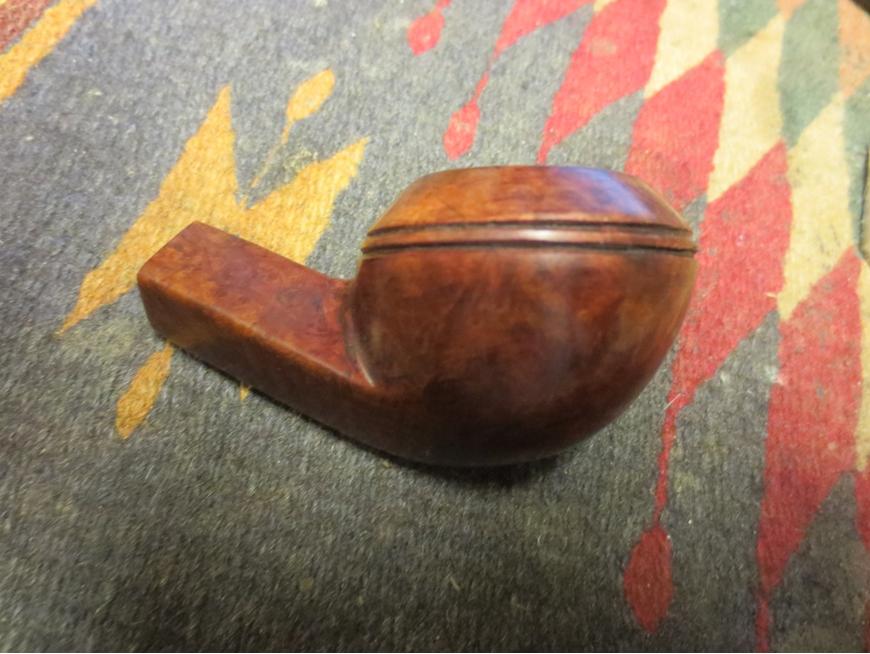
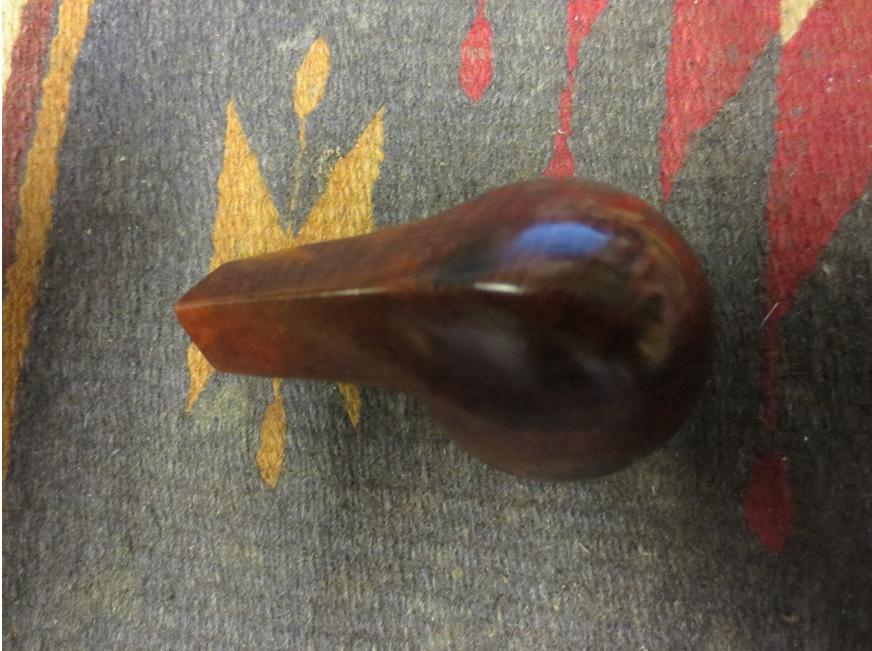
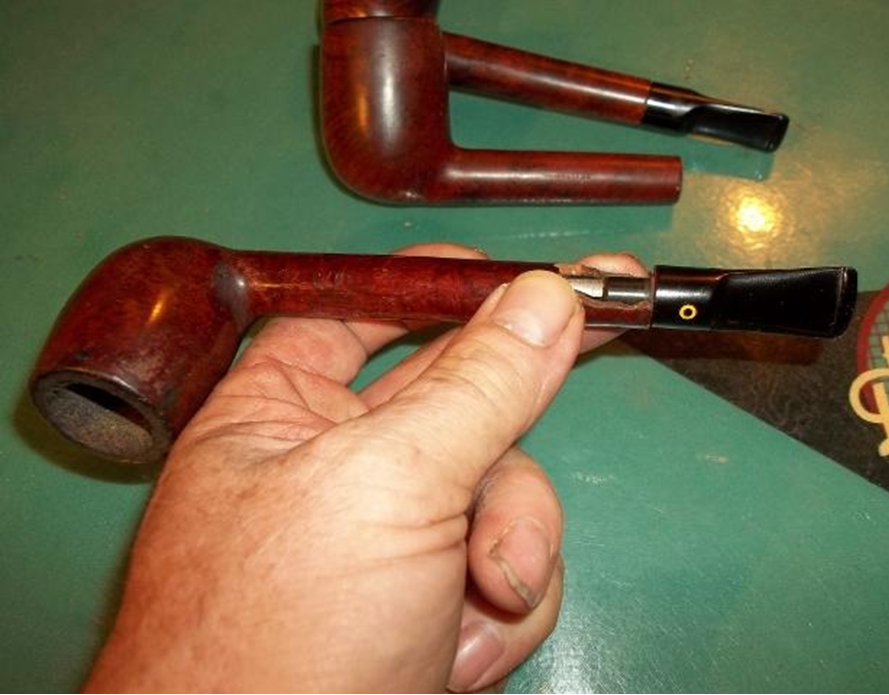
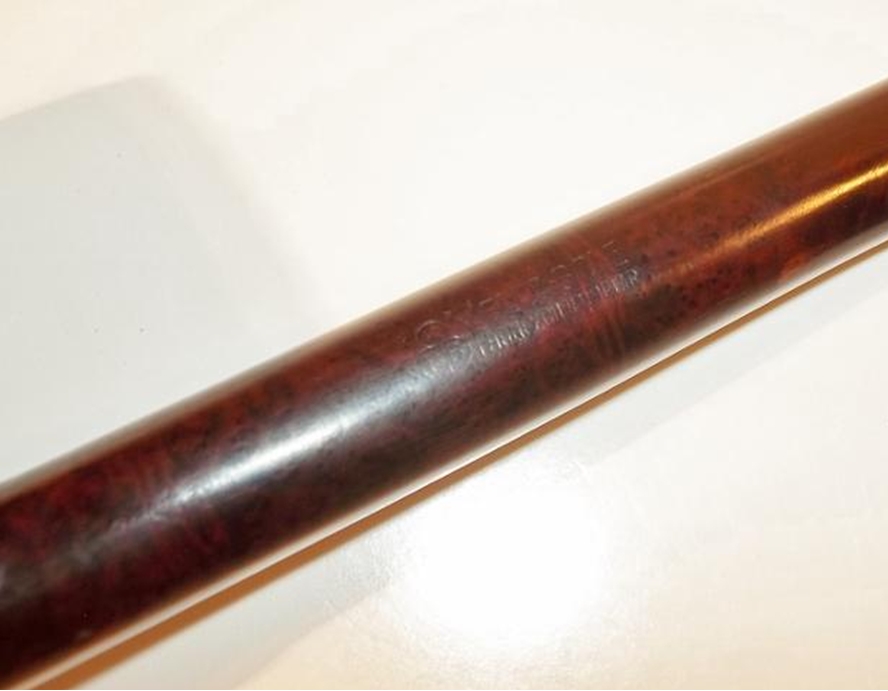
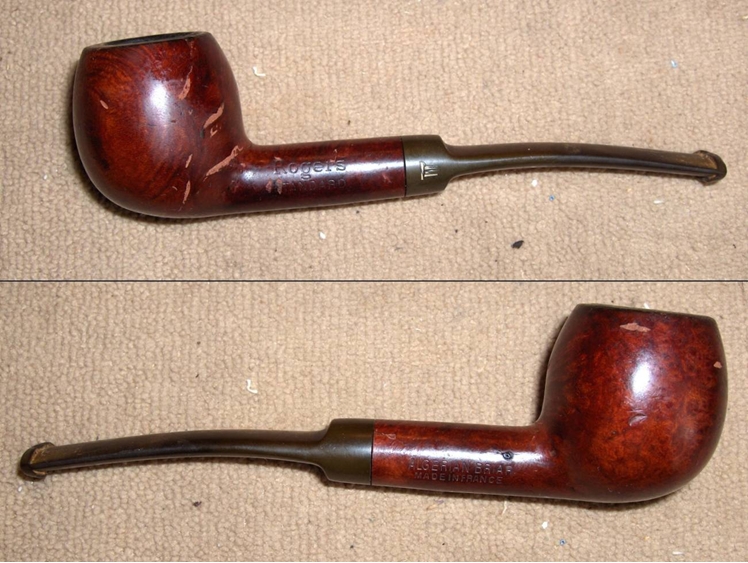
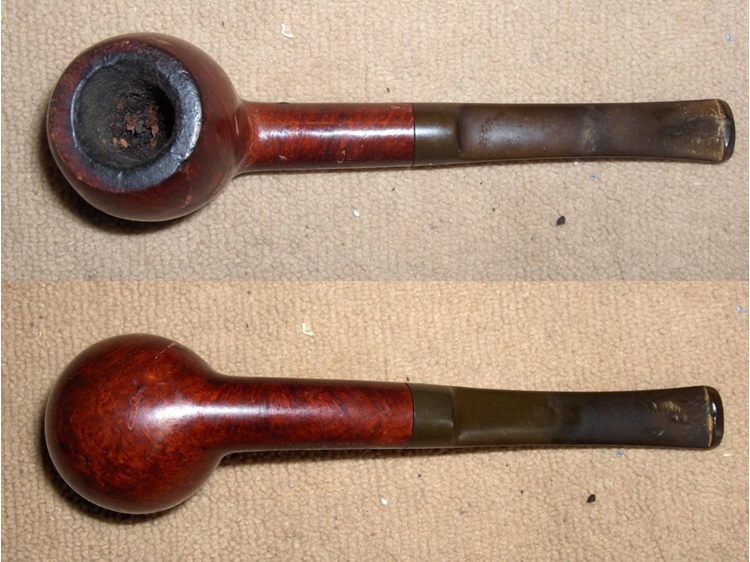
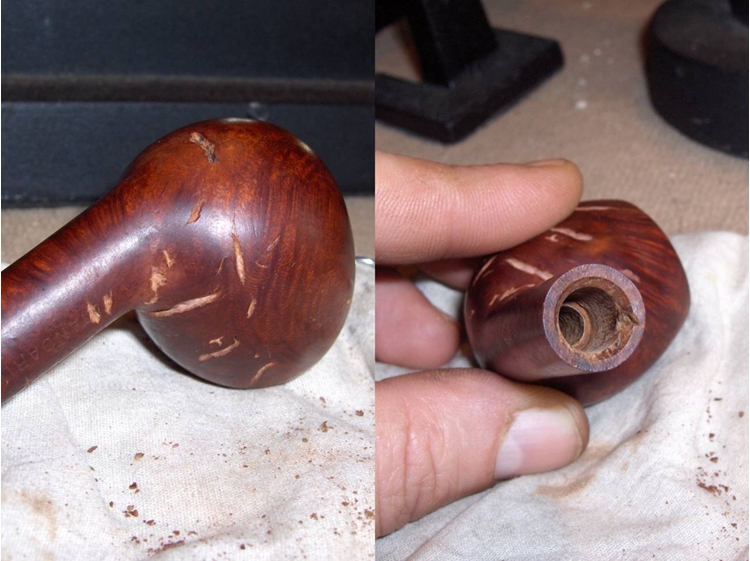
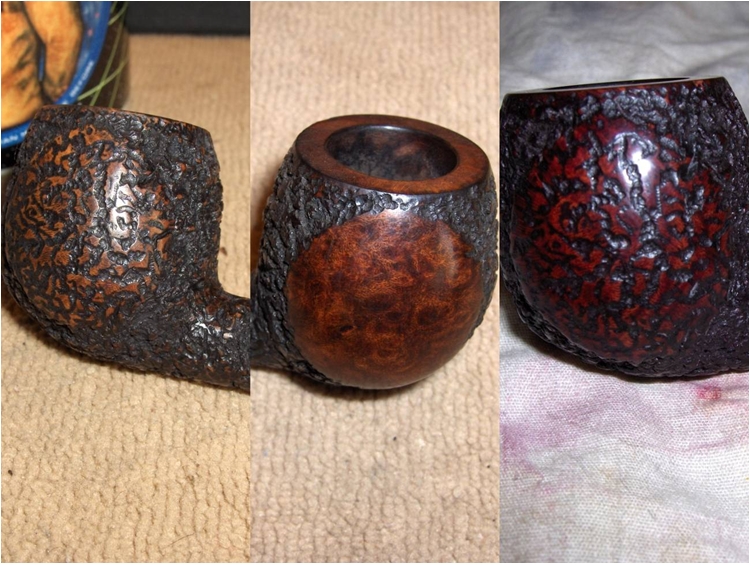
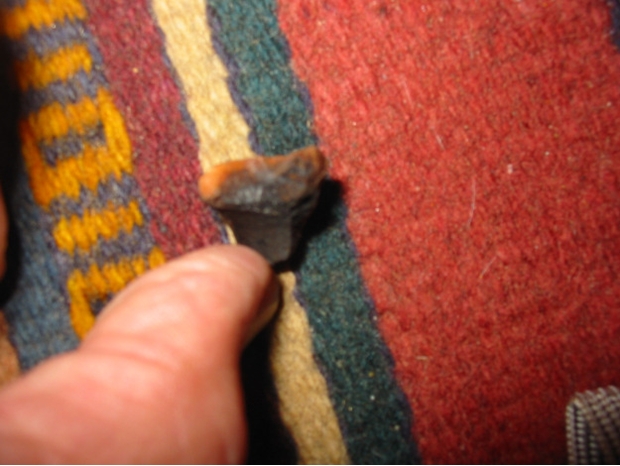
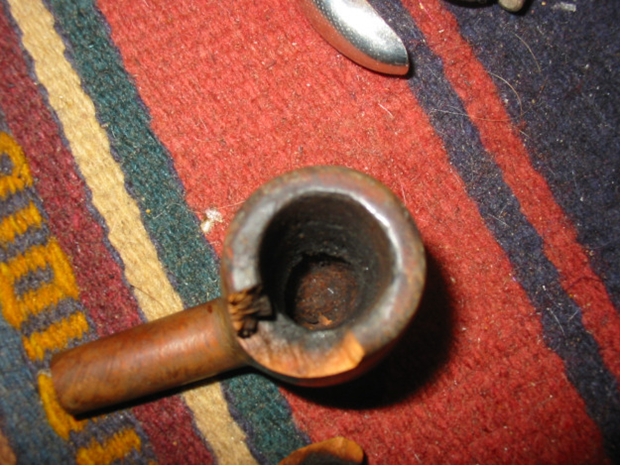
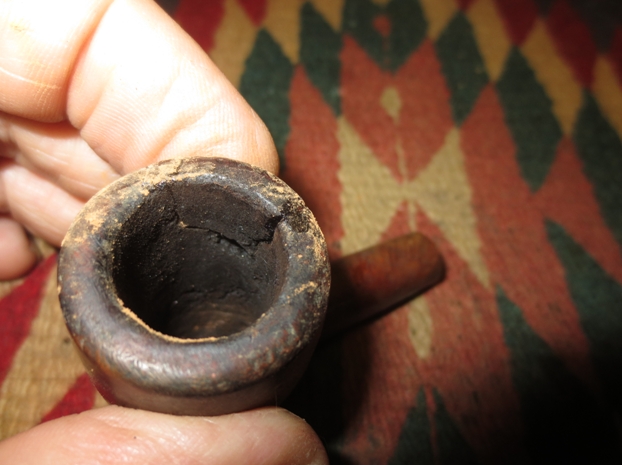
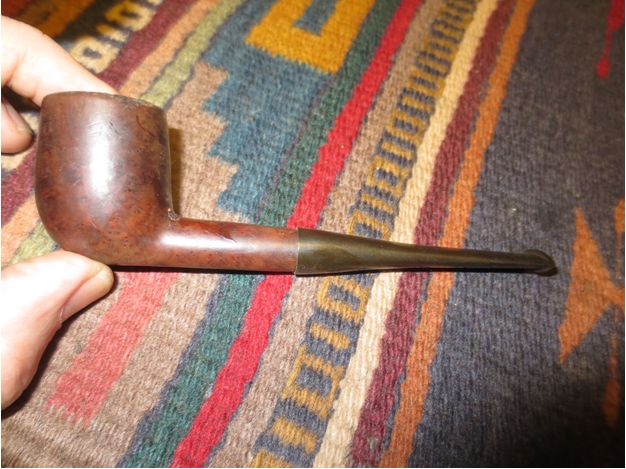
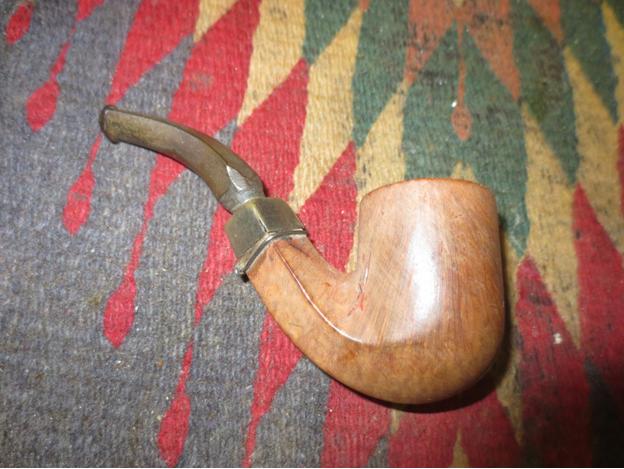
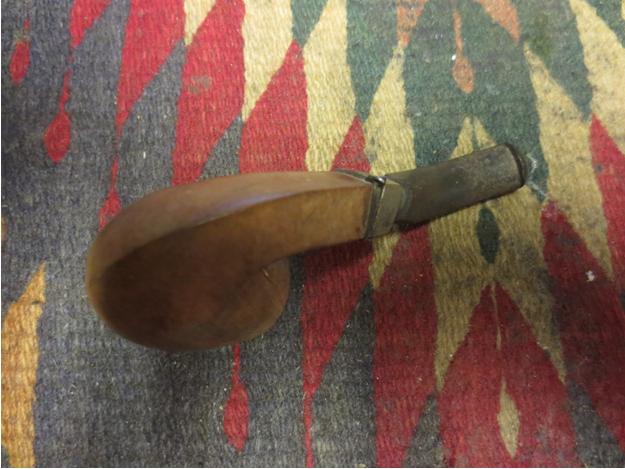
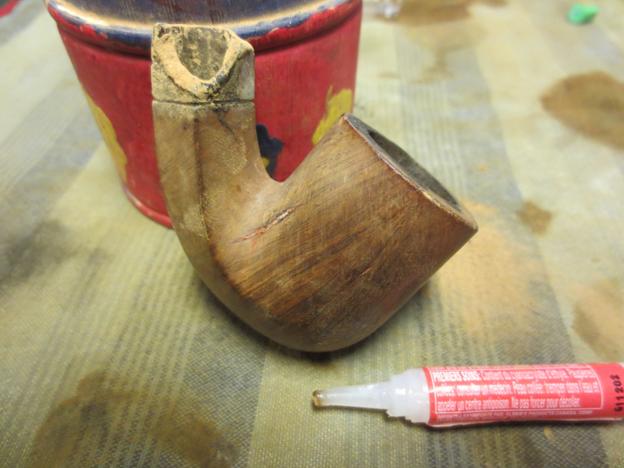
When I was traveling in Idaho my brother and I took the family for a trip to Jackson Hole, Wyoming. On the way we stopped in a little town called Victor, Idaho. There was an antique shop there in the town and I found four more old pipes. The first of these reminded me of an old WDC Diamond shank billiard that I have. This one was stamped YORK on the left side of the shank and from research it may have been made by KBB. It was in rough shape. The shank had been cracked and repaired with glue and a piece of twisted wire. The stem obviously had a broken tenon and the previous owner had carved it down to fit in the shank anyway. The bowl had a thick cake and the finish was gone. The rim was damaged on the front outer edge and there was some tar on the rim.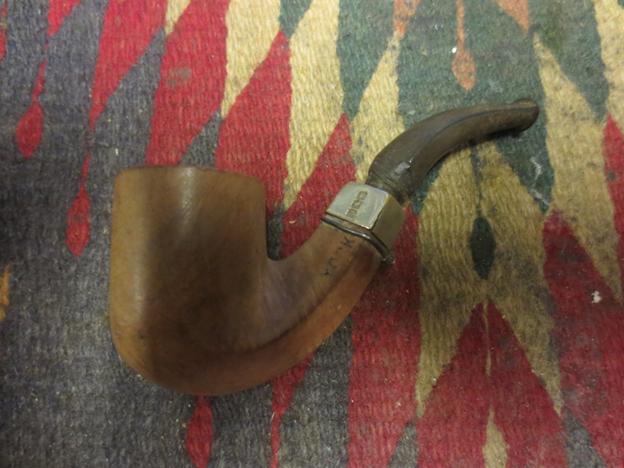
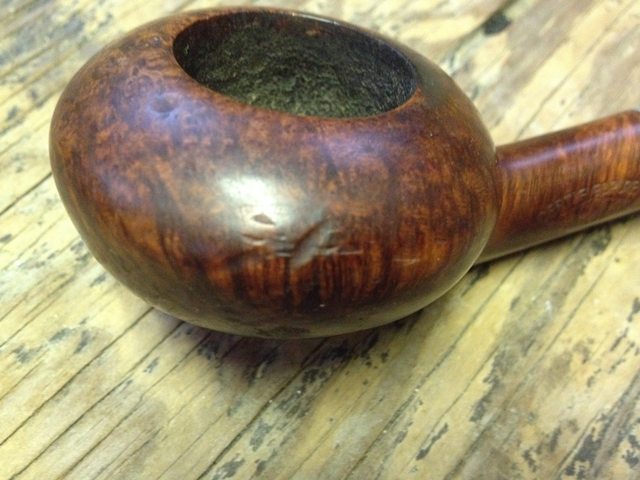
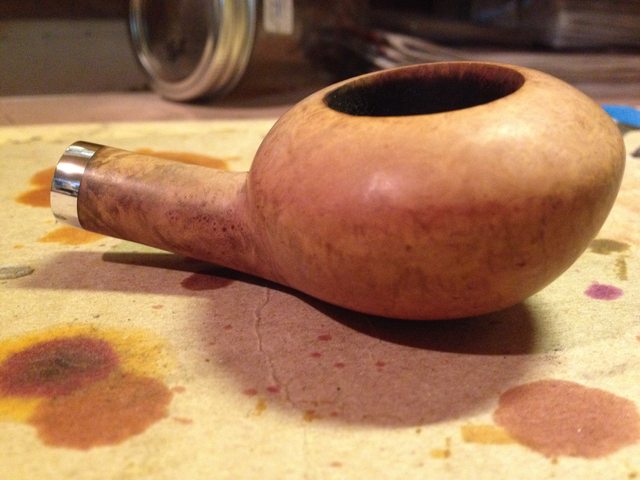
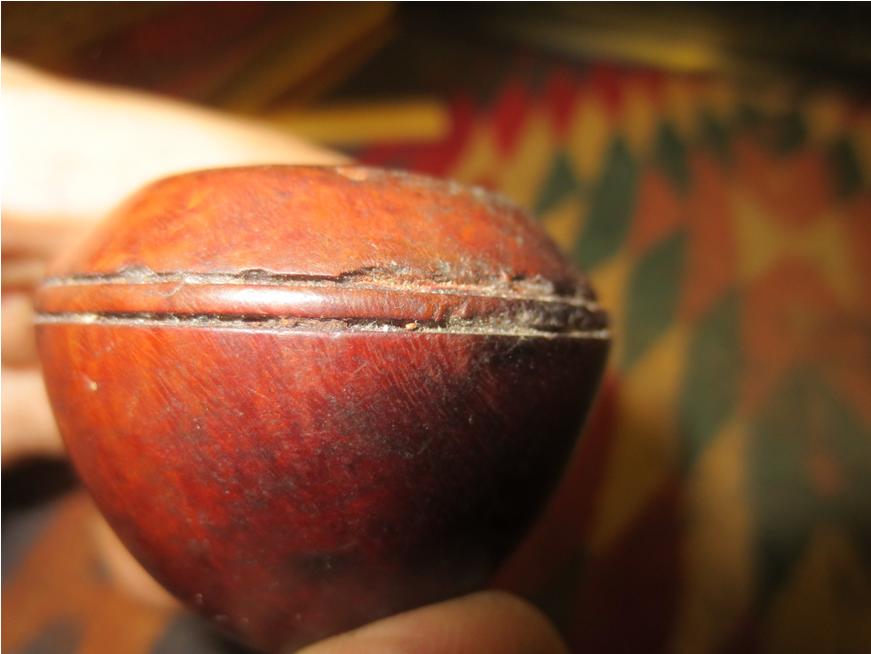
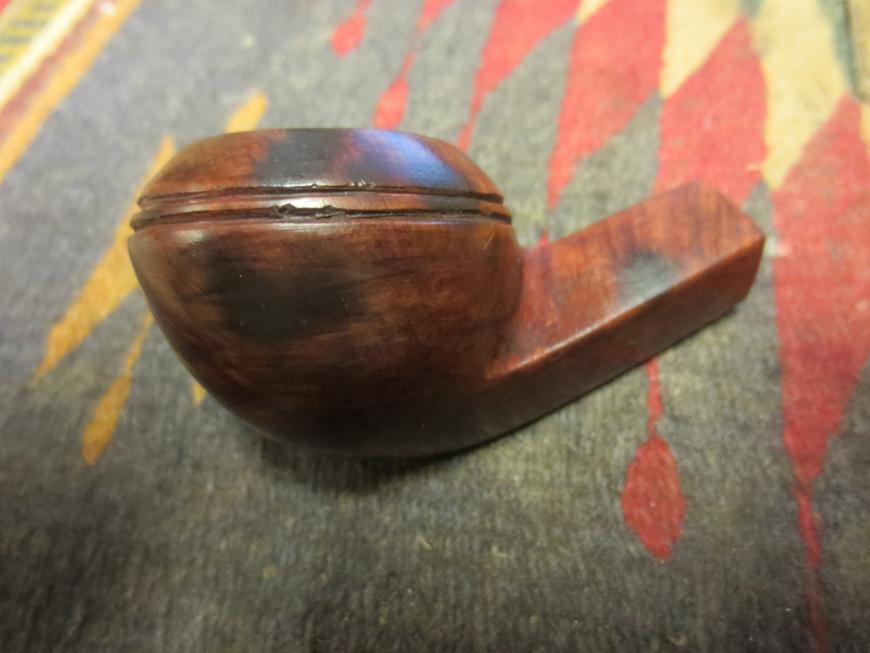
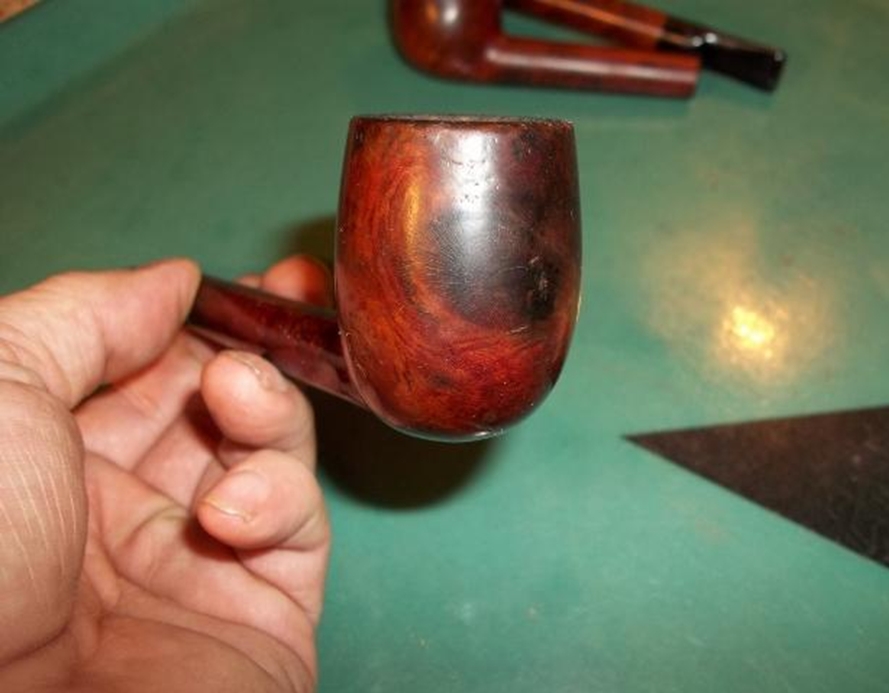
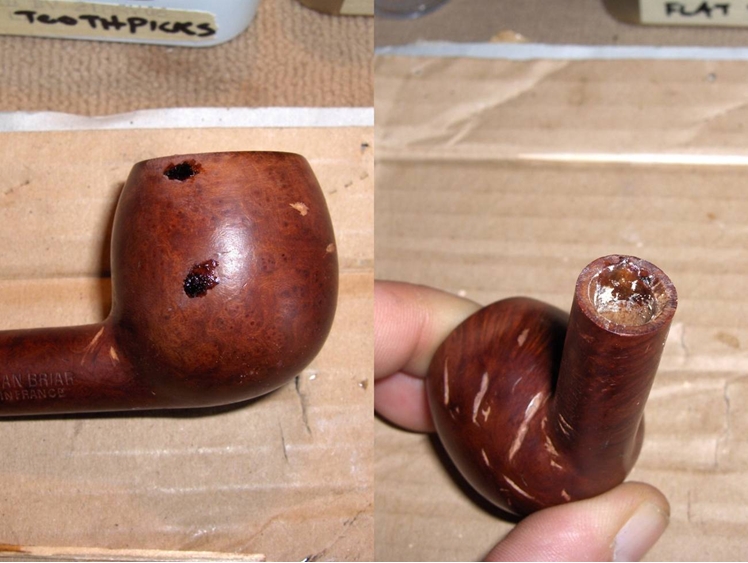
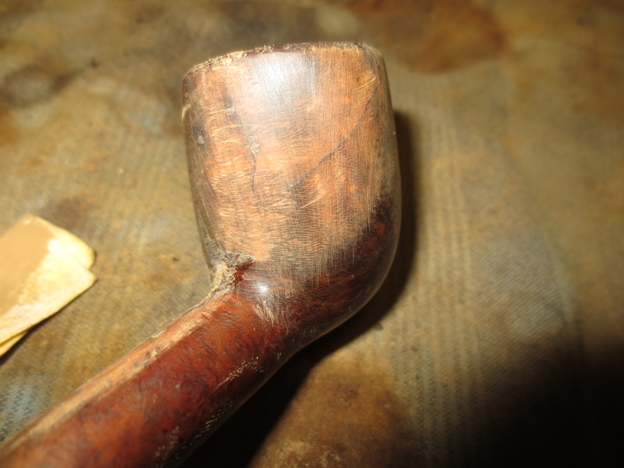
 On the right side of the bowl near the shank junction there was a pink putty fill that was coming out. Most of the putty had fallen out of the briar. This would need to be repaired.
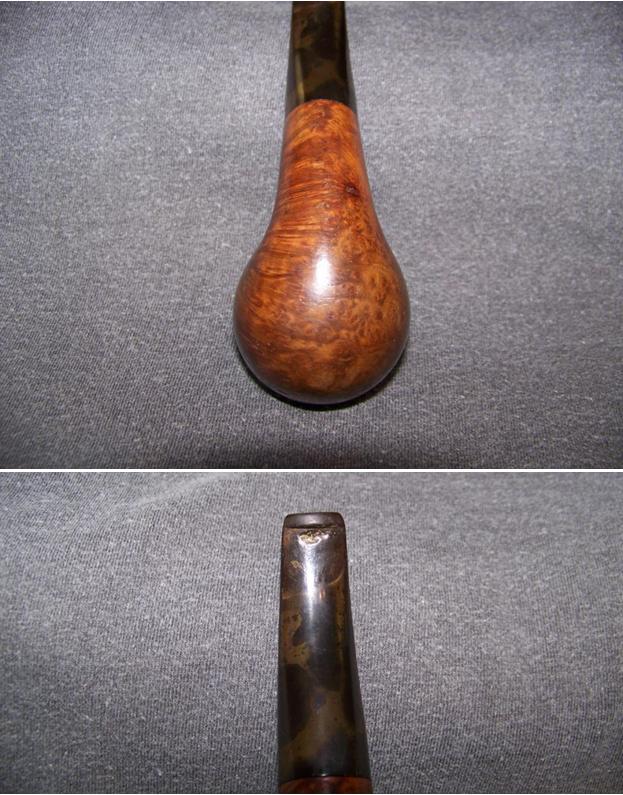
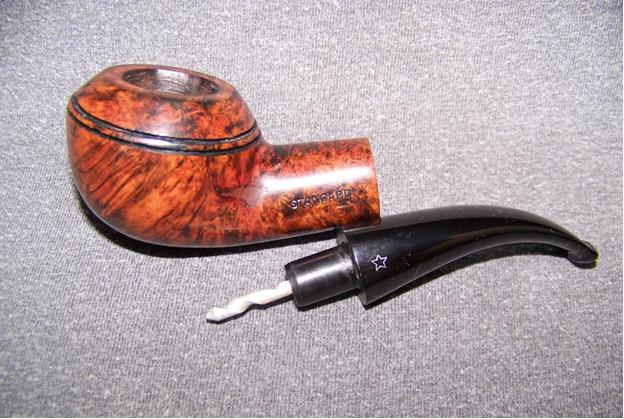
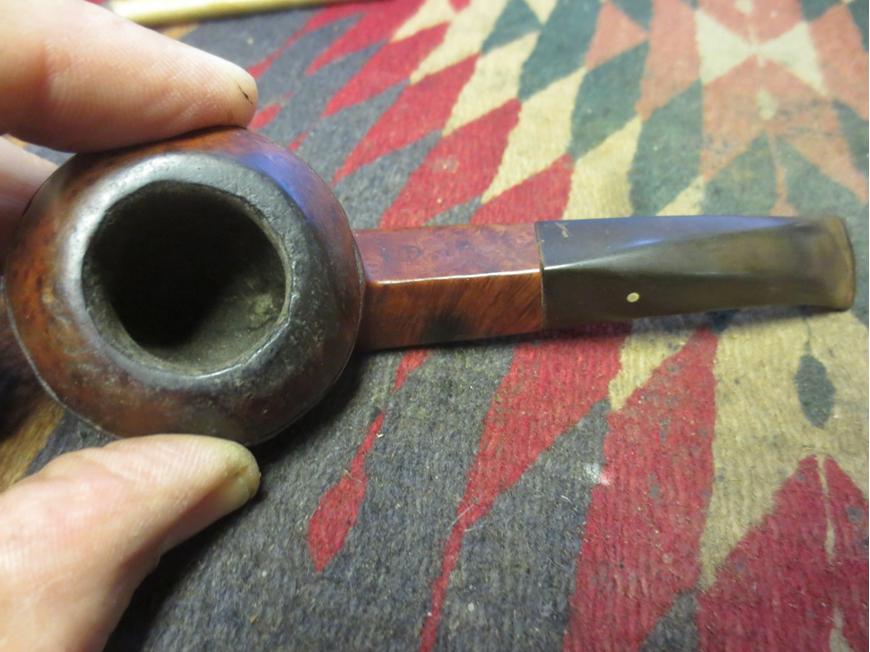
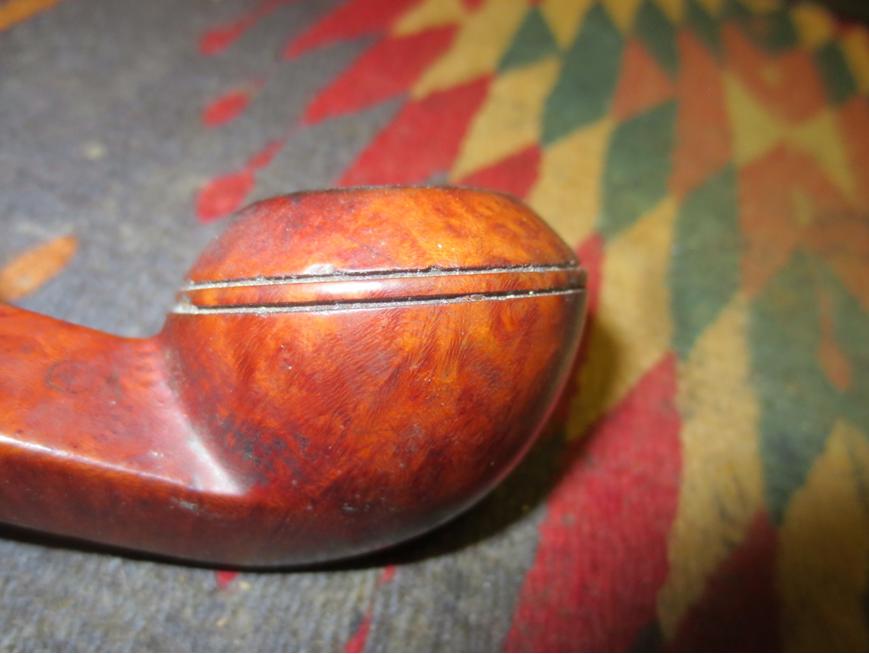
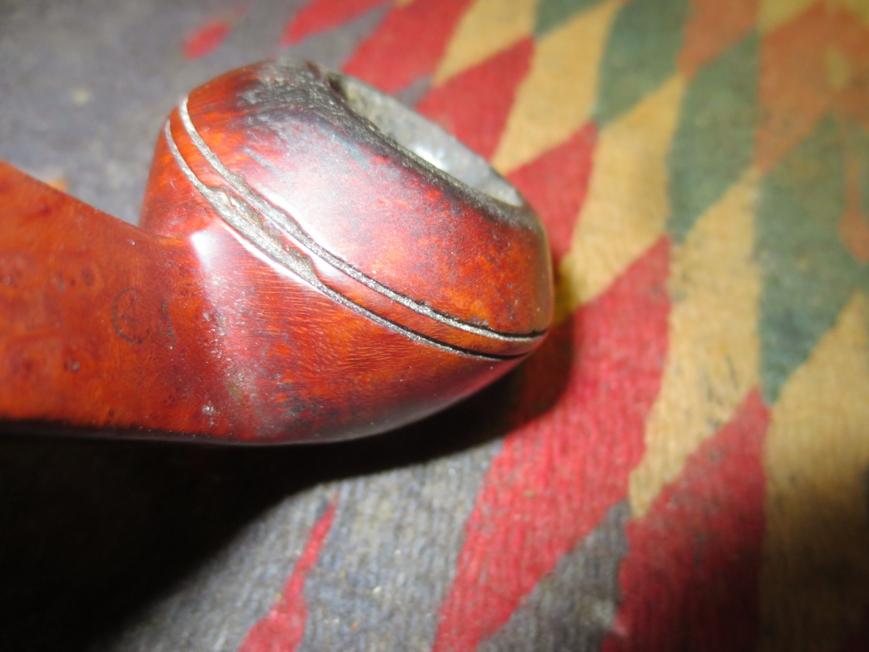
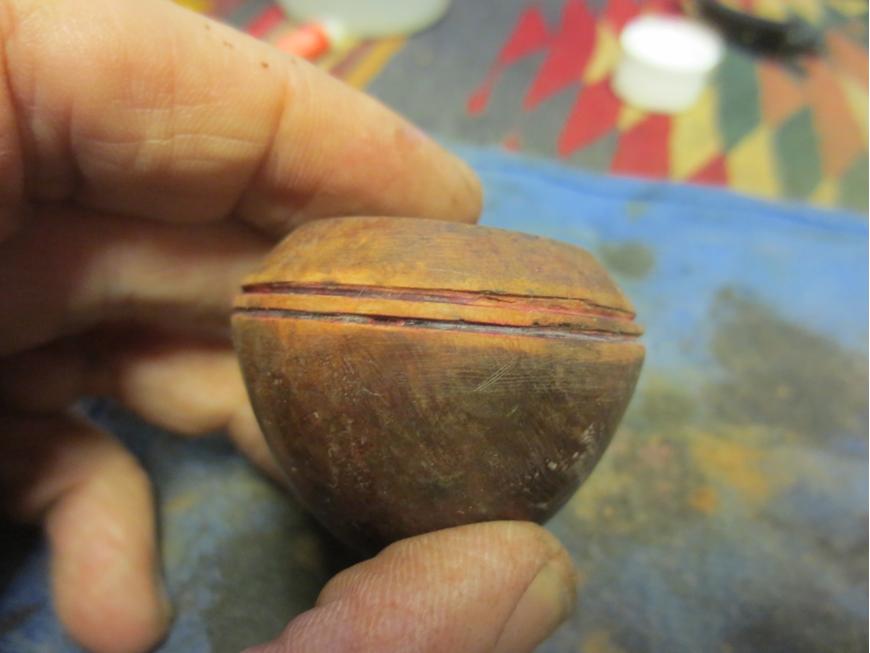
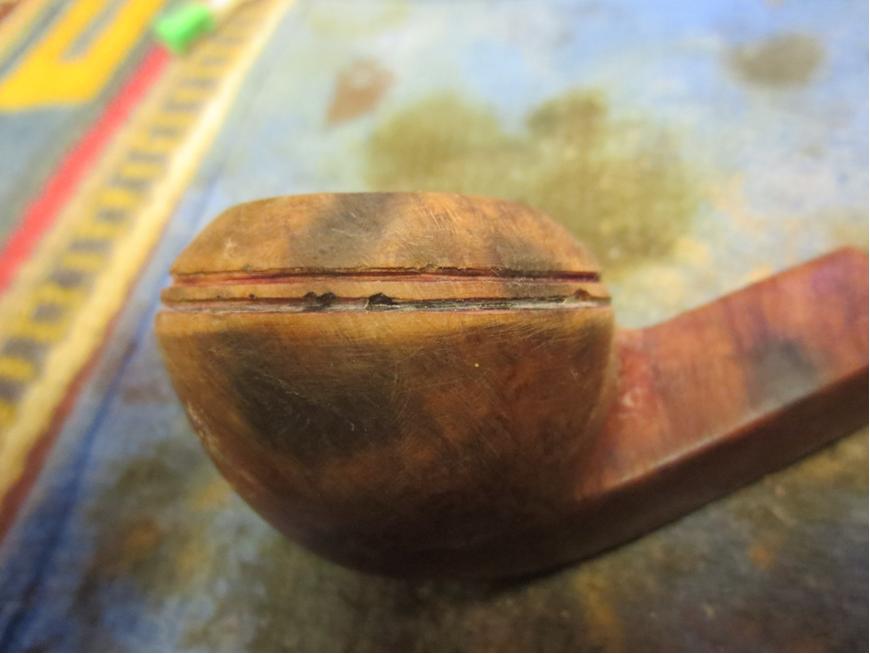
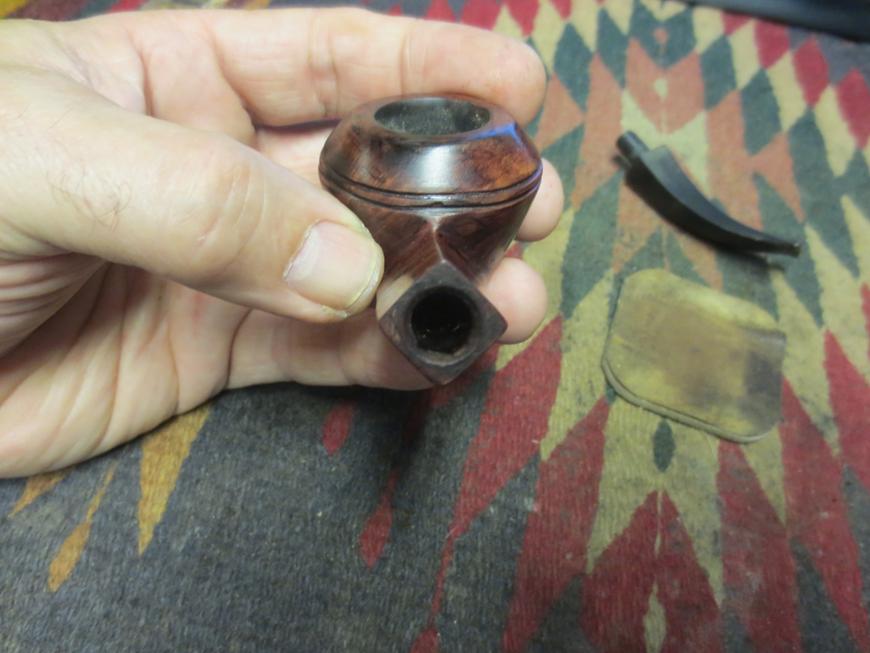
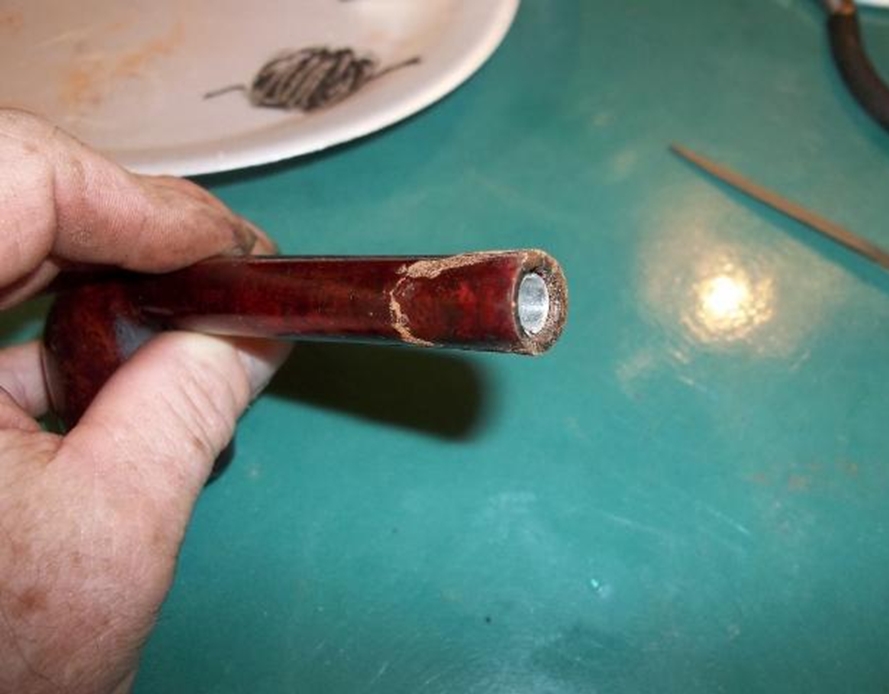
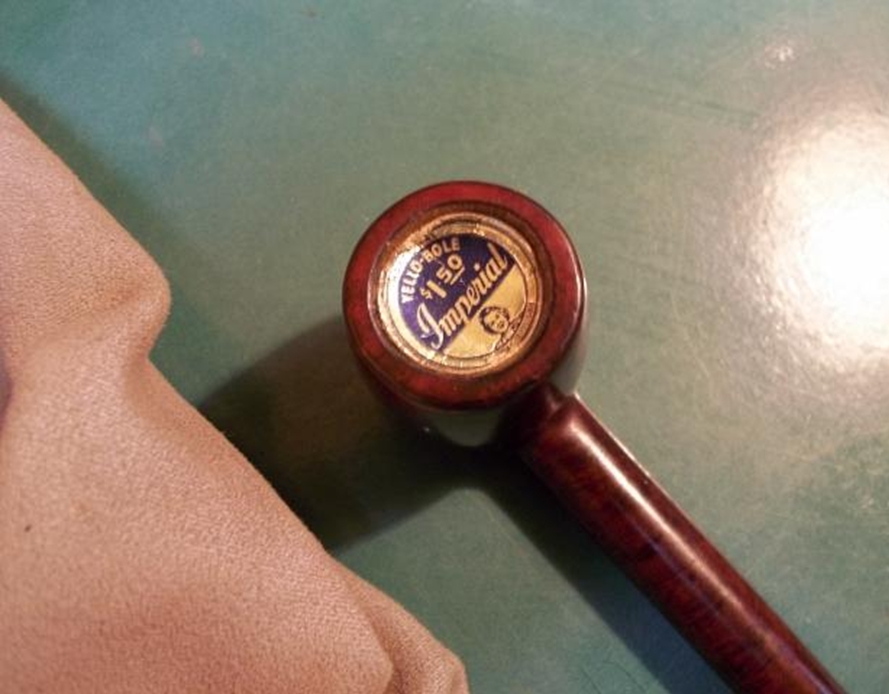
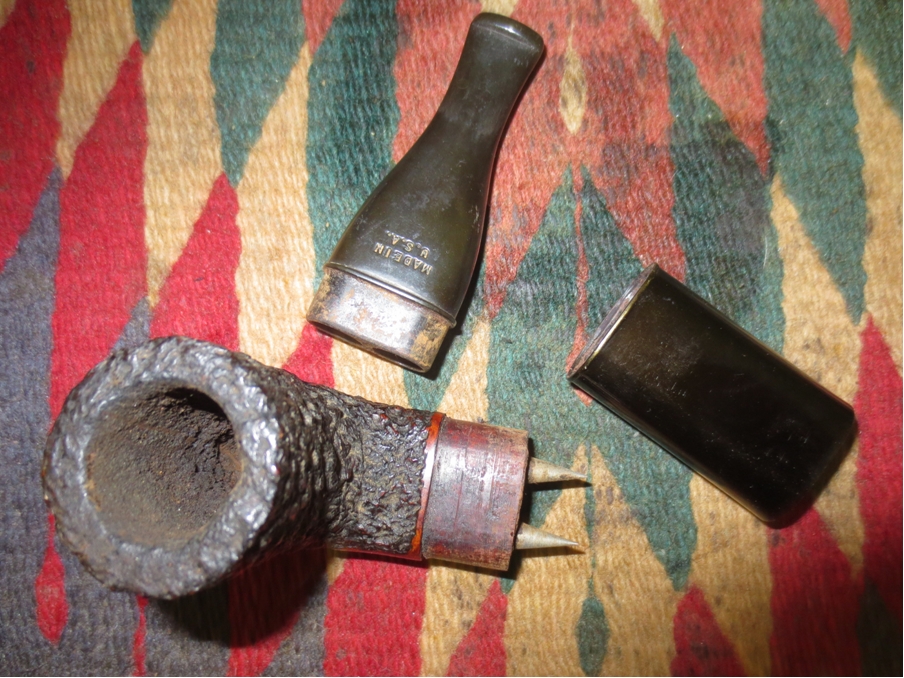
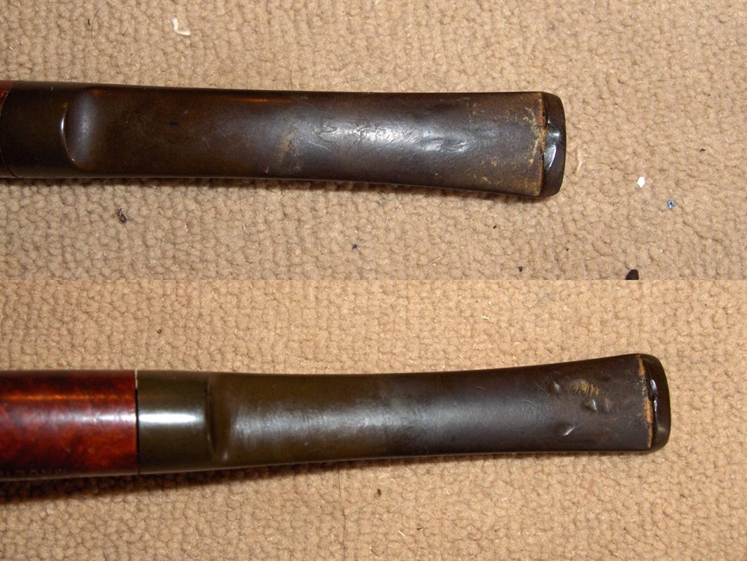
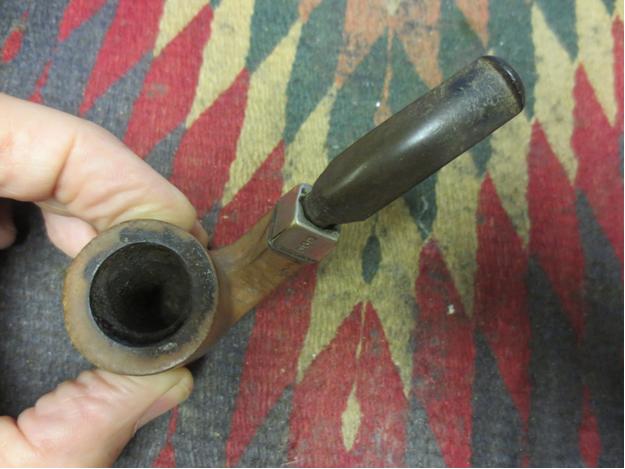
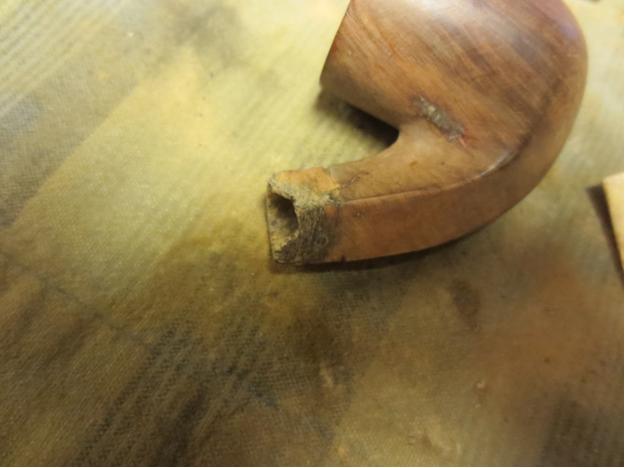
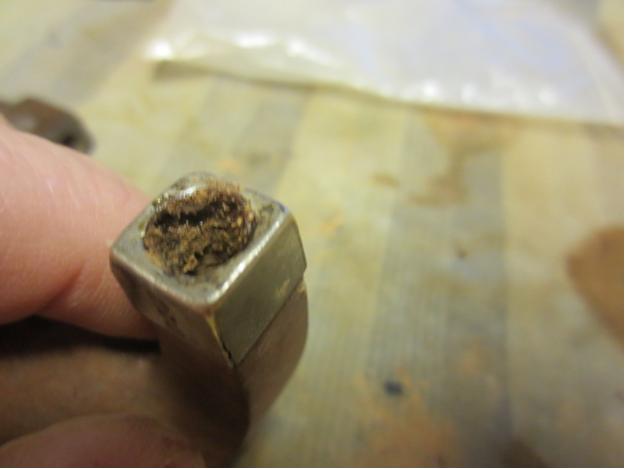
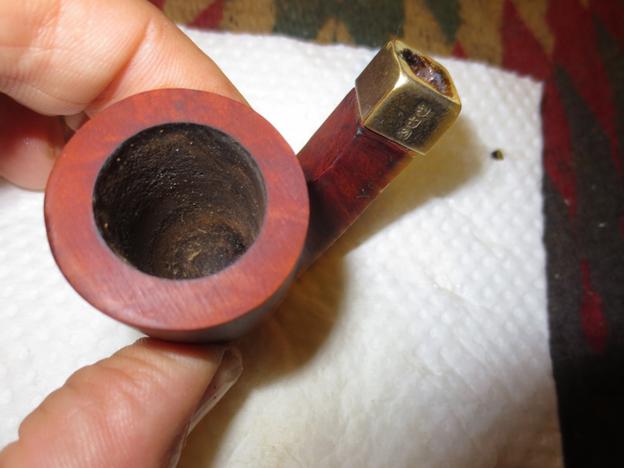
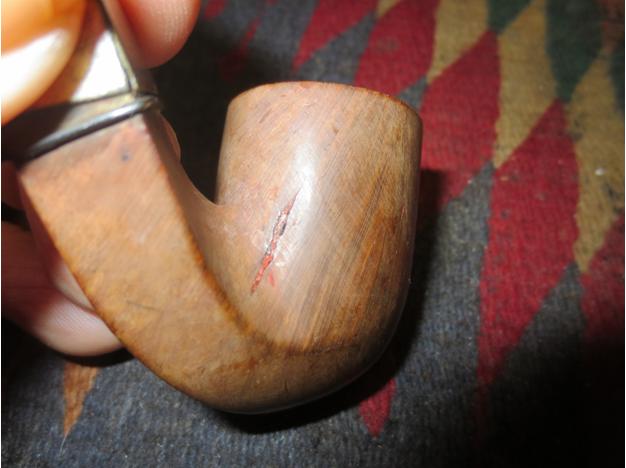 When I got back home I took the pipe out of the bag to have a look. The silver end cap had some hallmarks but they were the faux hallmarks that I have found on older American made pipes to give them a touch of class. All four edges of the band were split. I removed the stem and looked inside the mortise and could see that a major part of the briar was missing on the right side of the shank under the cap. With little effort I removed the cap and sure enough a huge chunk was missing out of the briar. In fact the whole right side under the cap was gone. There was a small crack that had been repaired earlier. There was a small hole in the shank to stop the crack and the crack was glued and clamped with the wire. This was going to take a bit of work to bring it back from the brink of destruction.
 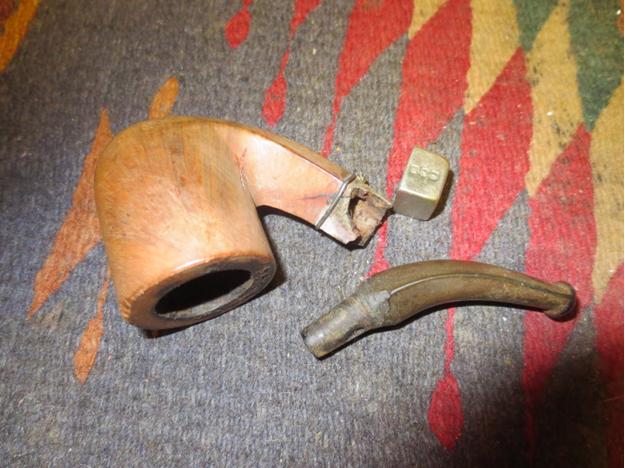 I clipped the wire with a pair of wire cutters so that I could work on repairing the broken portion of the shank. This repair would take some careful and time consuming work to rebuild the missing portion of briar.
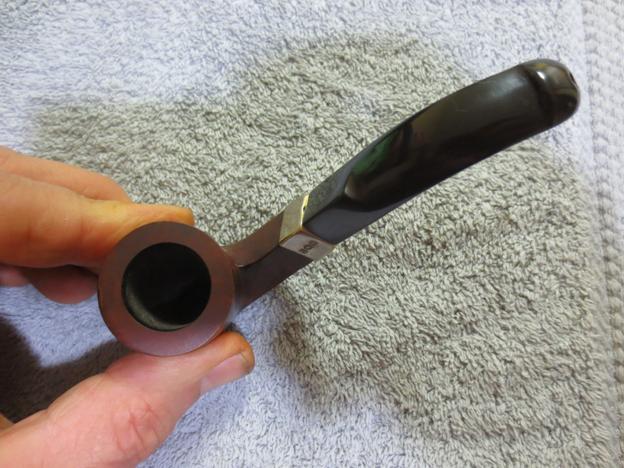
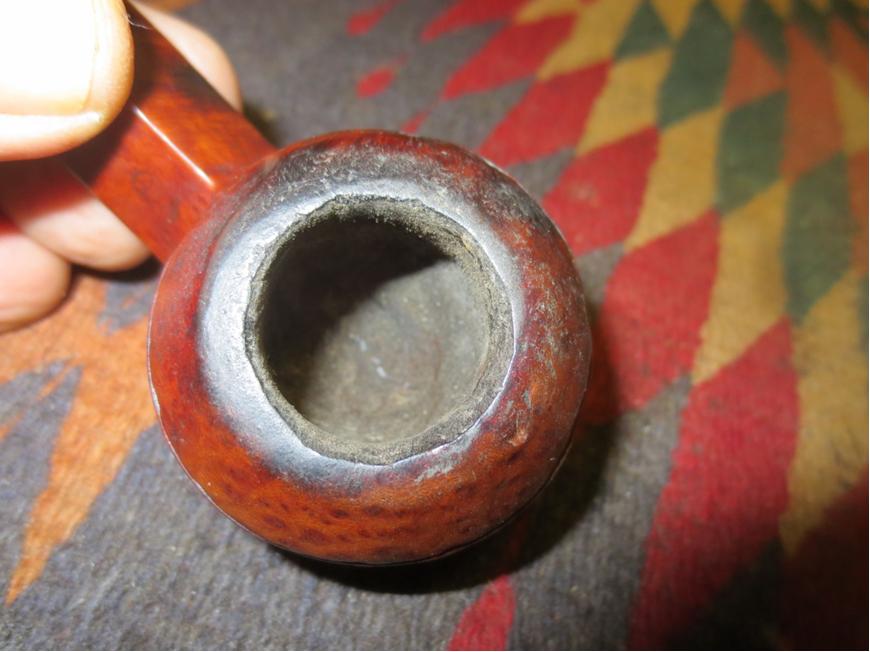
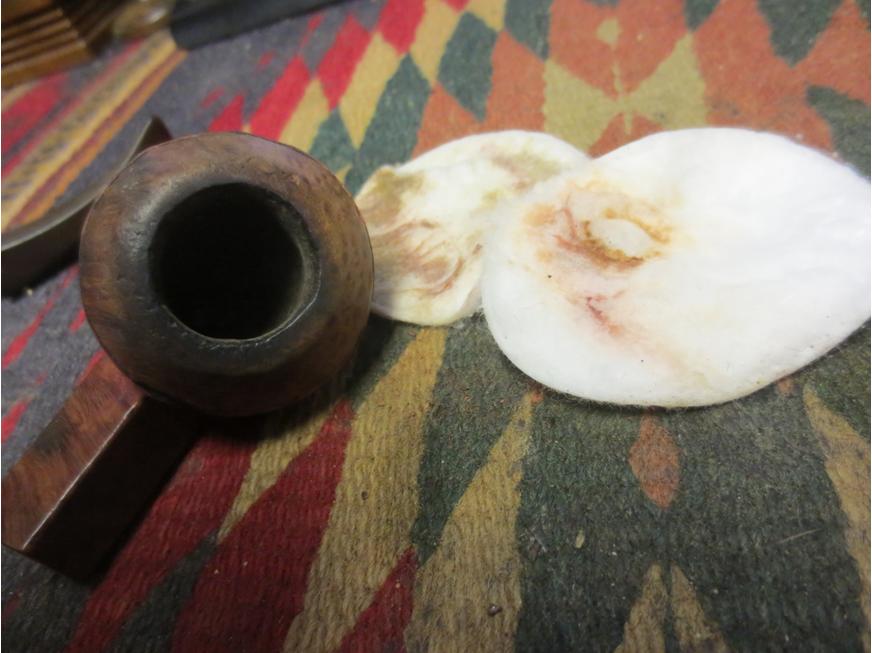
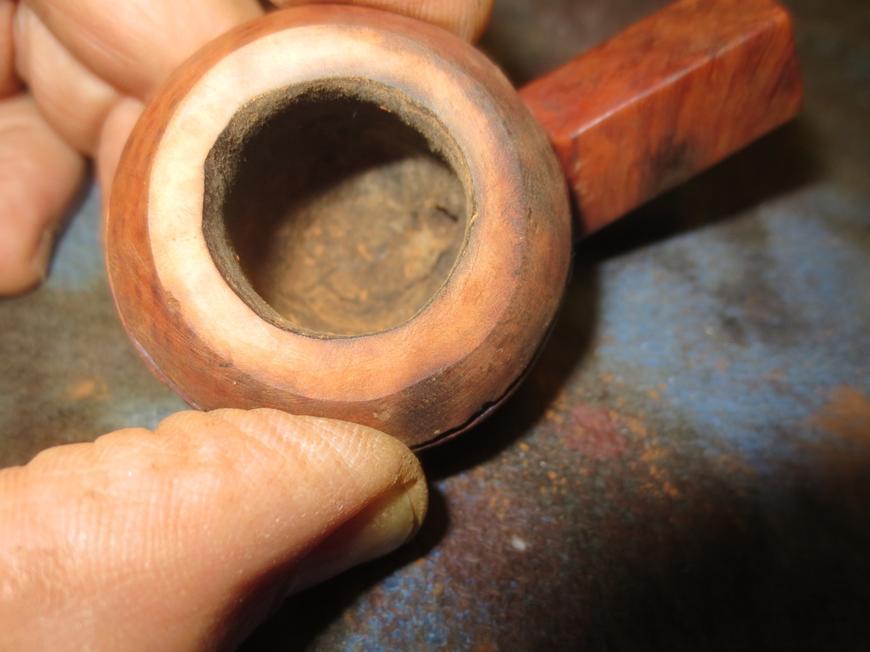
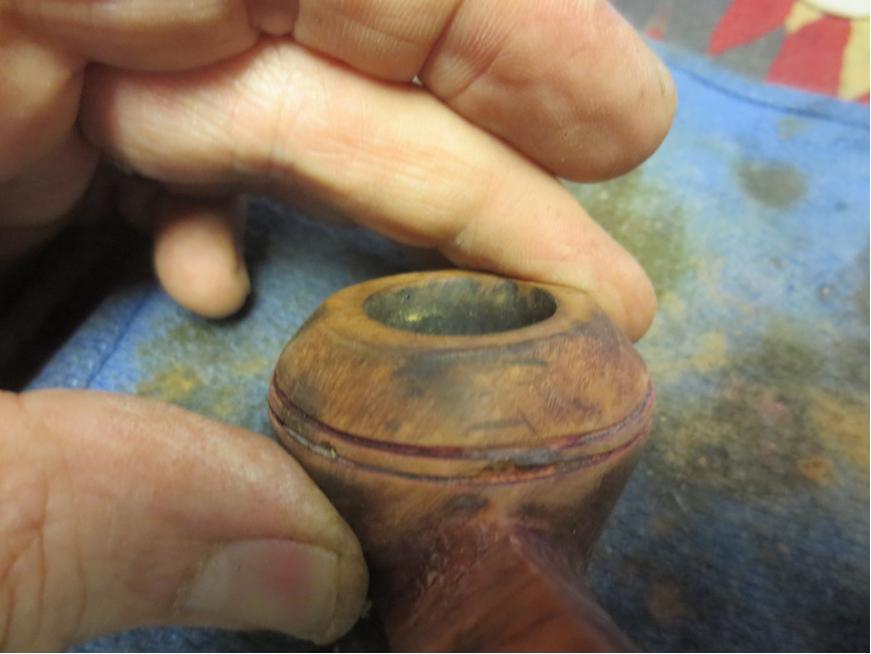
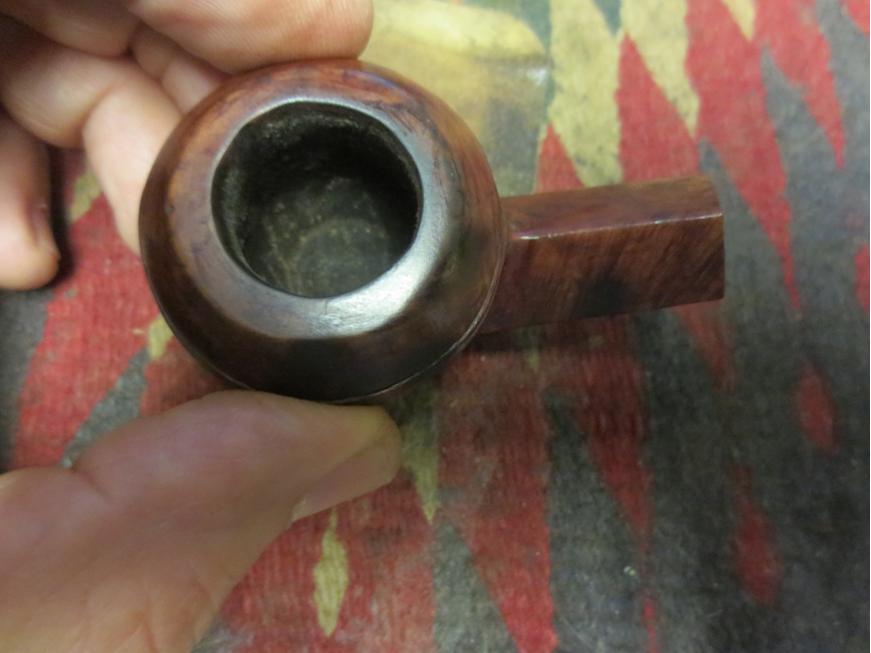
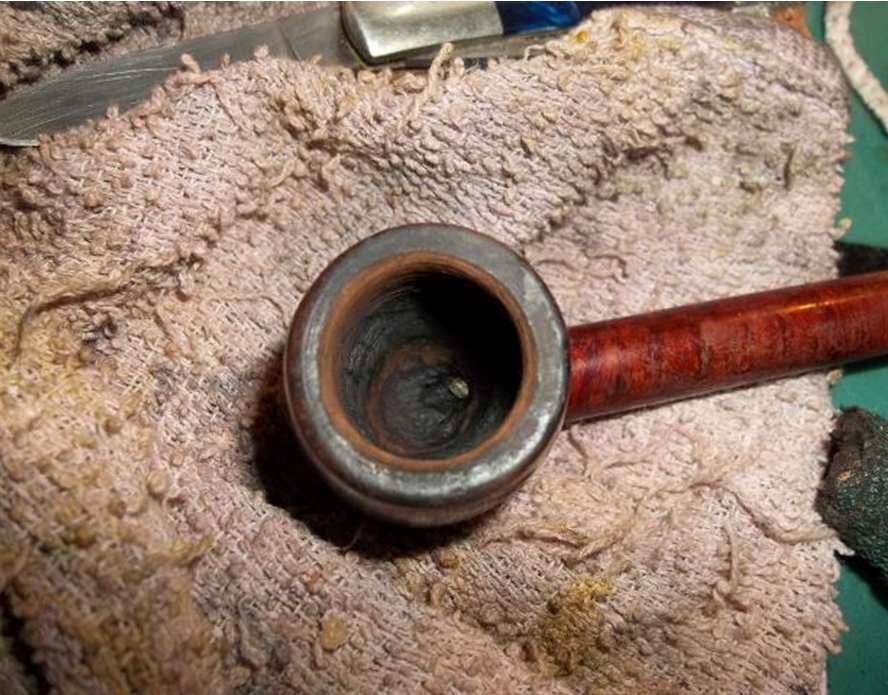
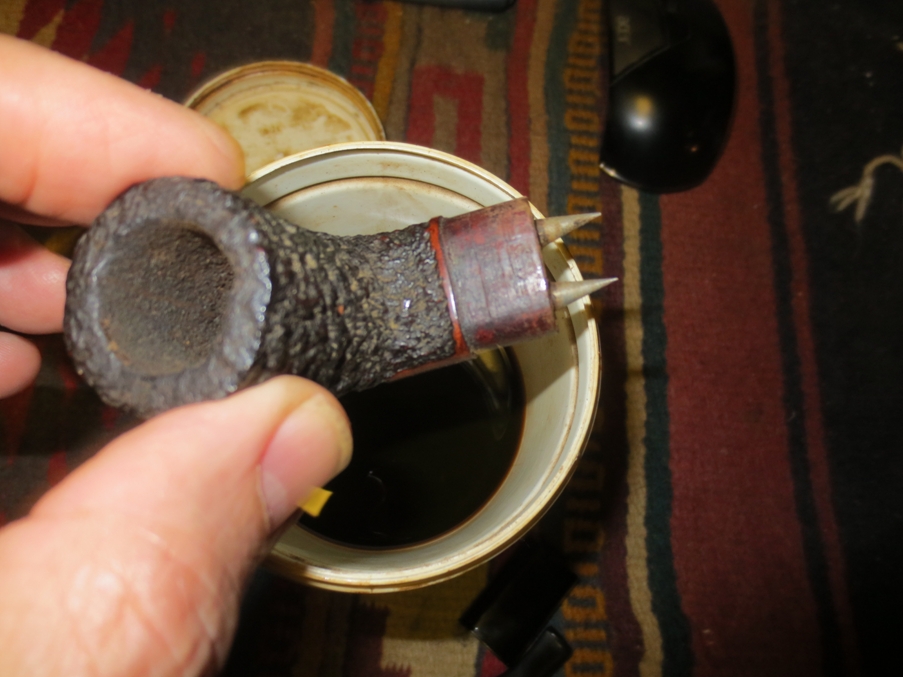
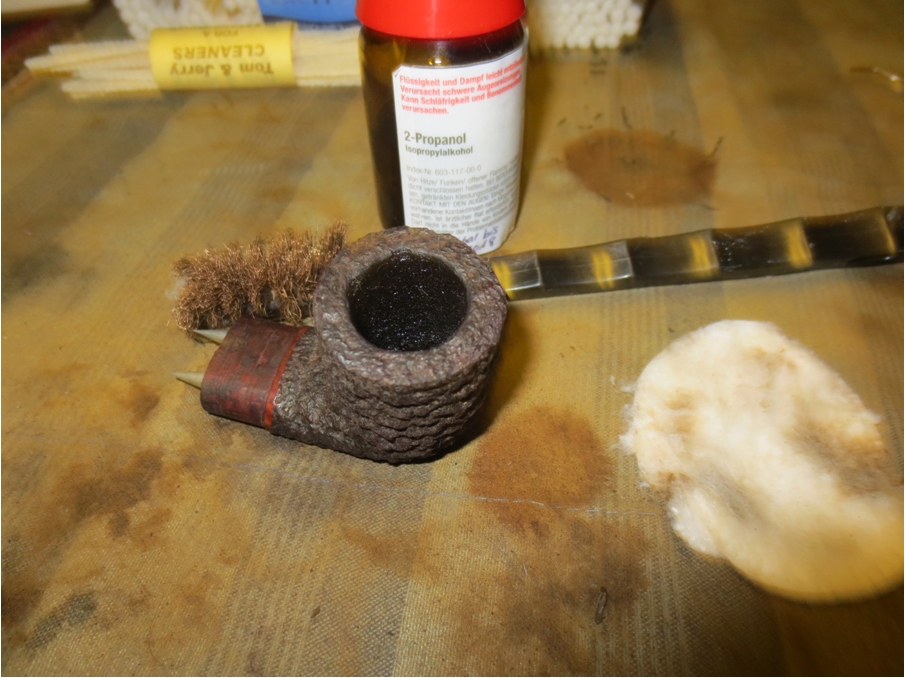
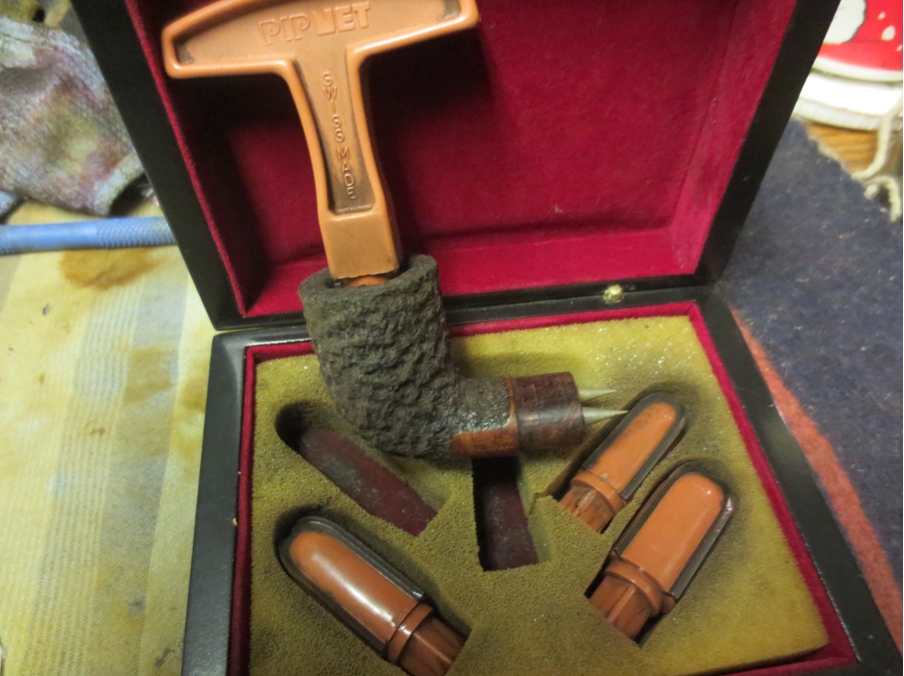
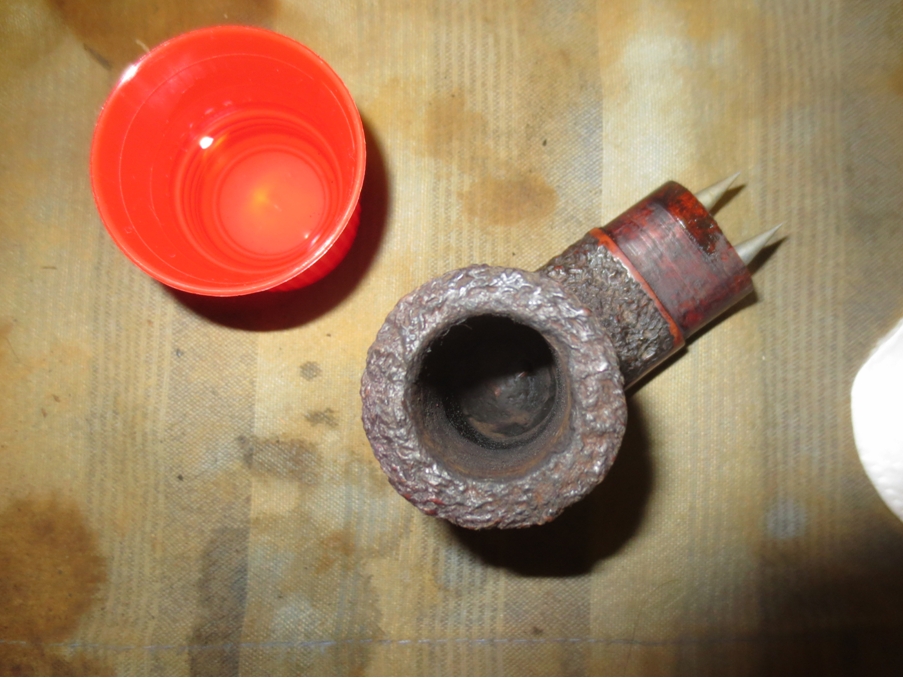
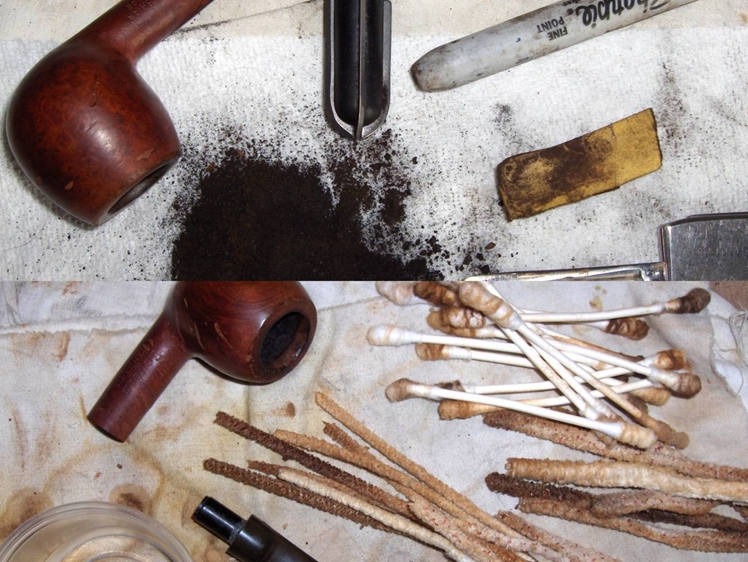
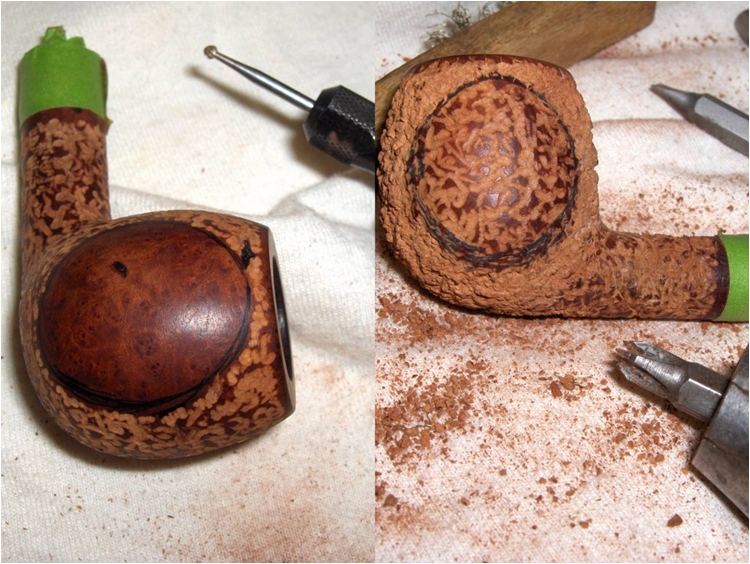
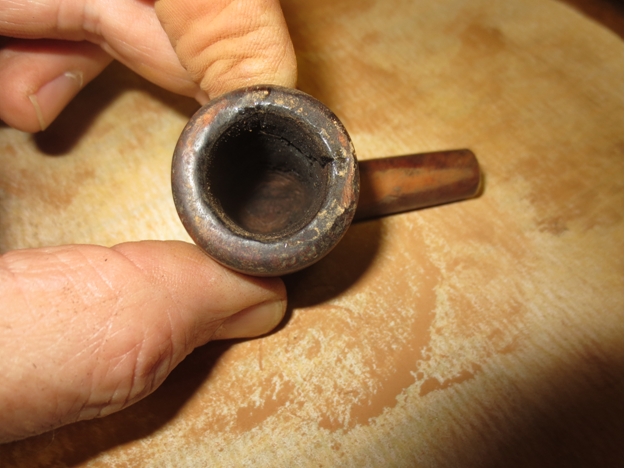
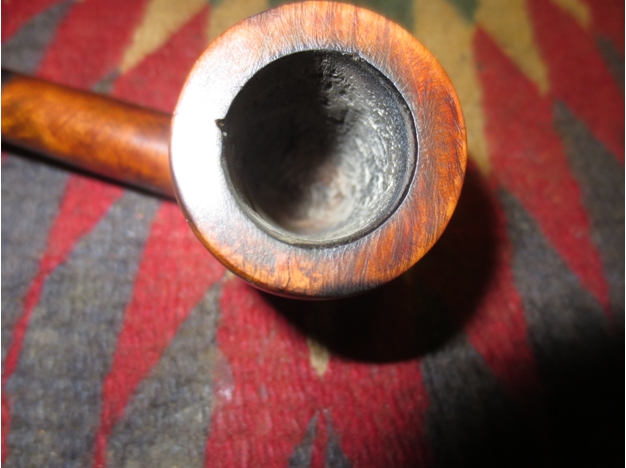
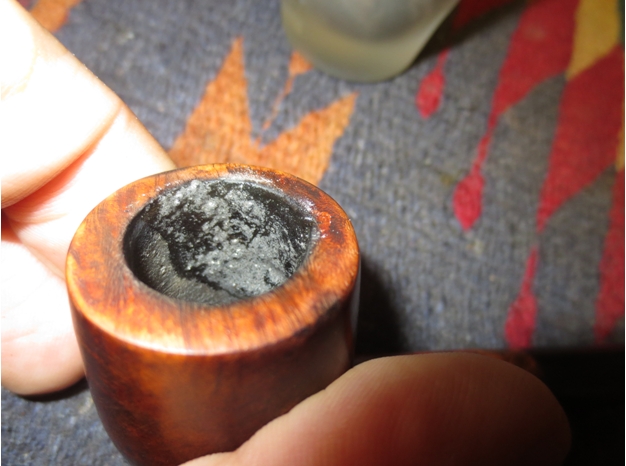
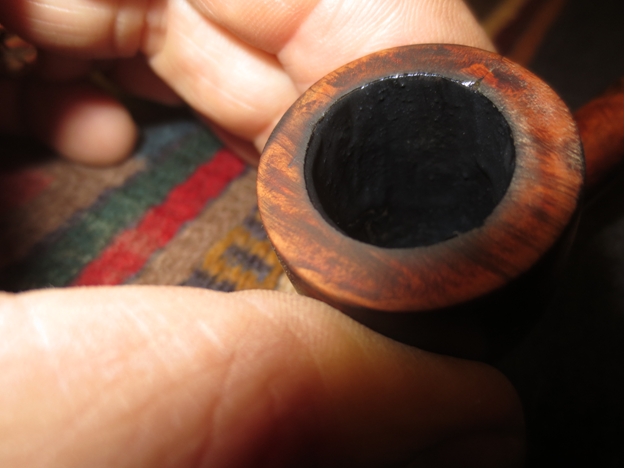
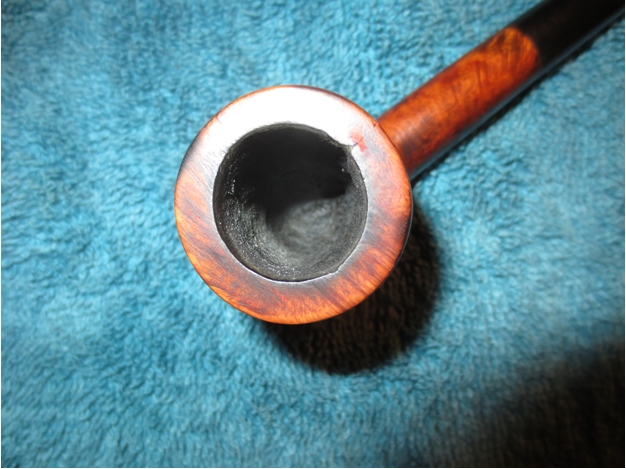
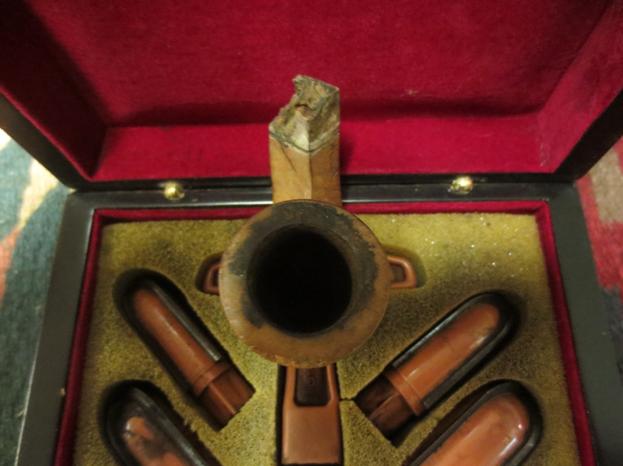
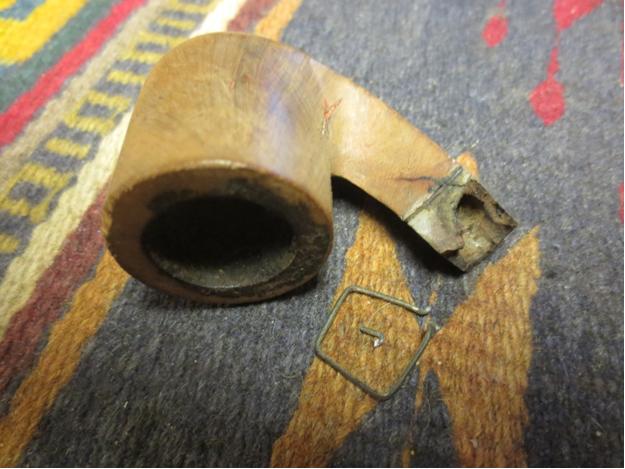 I reamed the bowl to clean out the thick cake. It was crumbling so I wanted it removed so that the repair of the shank would be less dirty. I use a PipNet reamer to take the cake back to the bare briar.
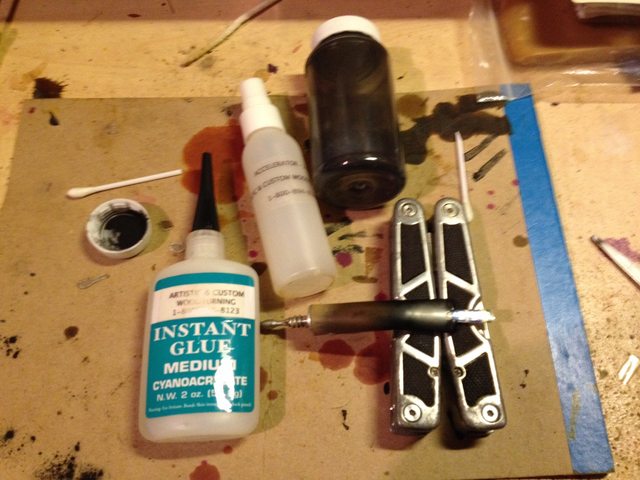
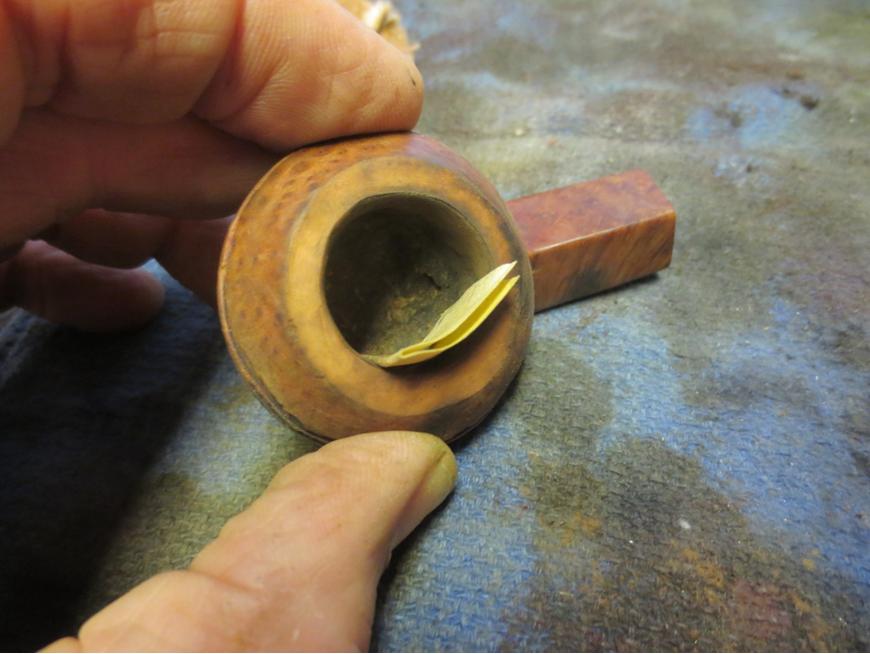
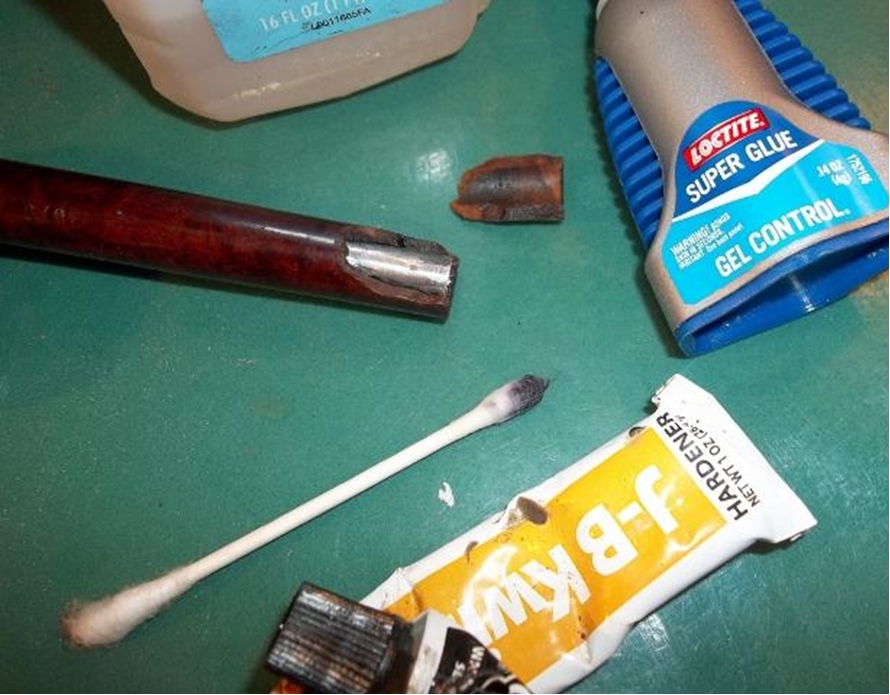
 The first step in rebuilding the broken area was to clean up the damaged ends of the remaining briar. Once it was clean I put clear super glue on the raw edge of the broken spot and tamped the end into some briar dust. I repeated the process until the edge was repaired as much as possible with this method.
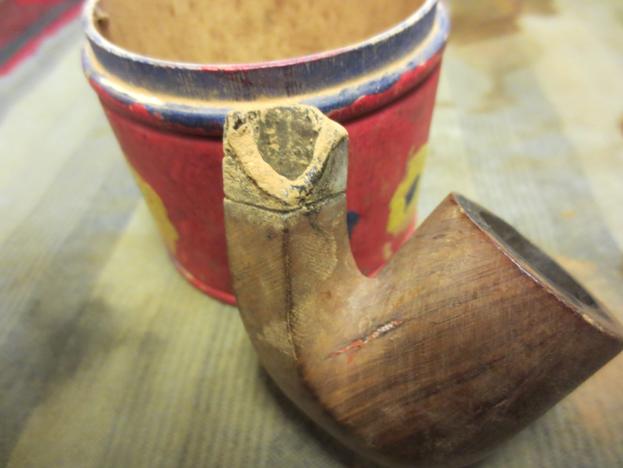
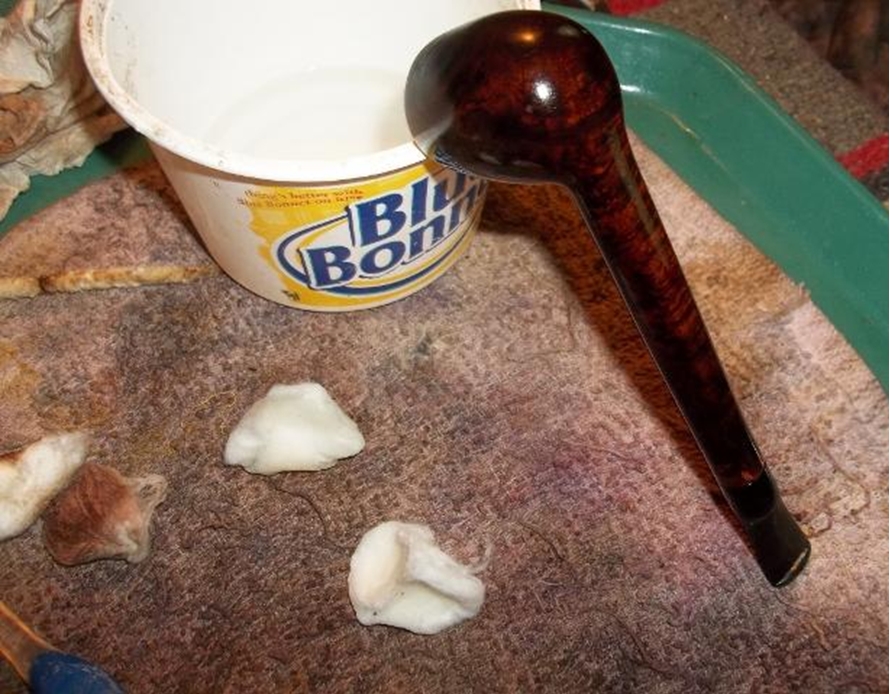
 During the process I also picked out the broken putty fill and replaced it with briar dust and super glue.
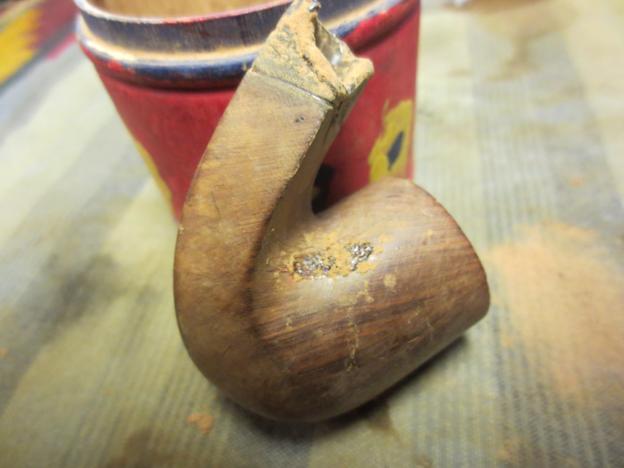 I sanded the flat surface of each of the four sides of the diamond shank smooth with 220 grit sandpaper until the cap slid easily over the shank. I also faced the end of the shank on the topping board.
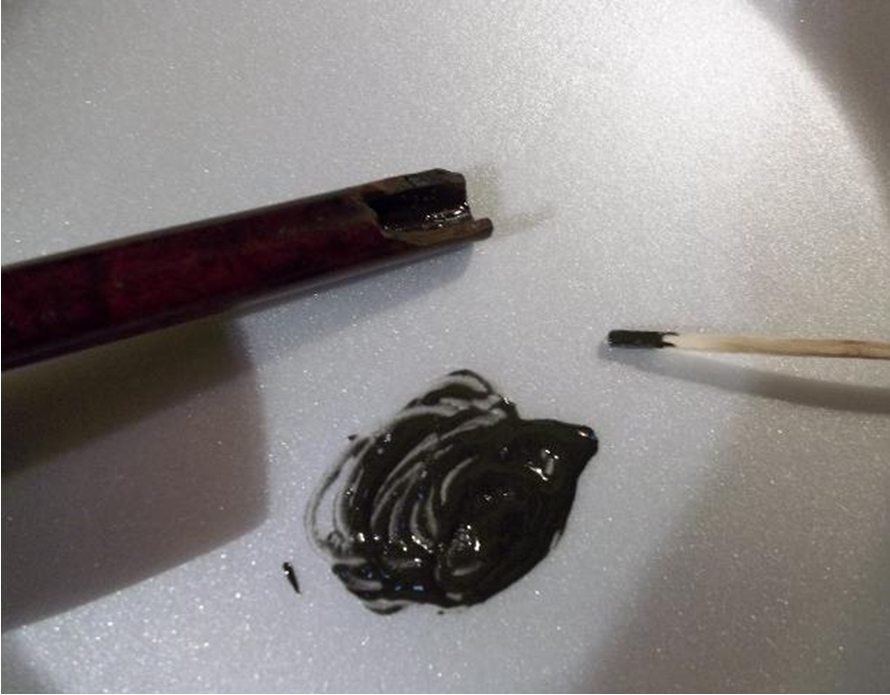
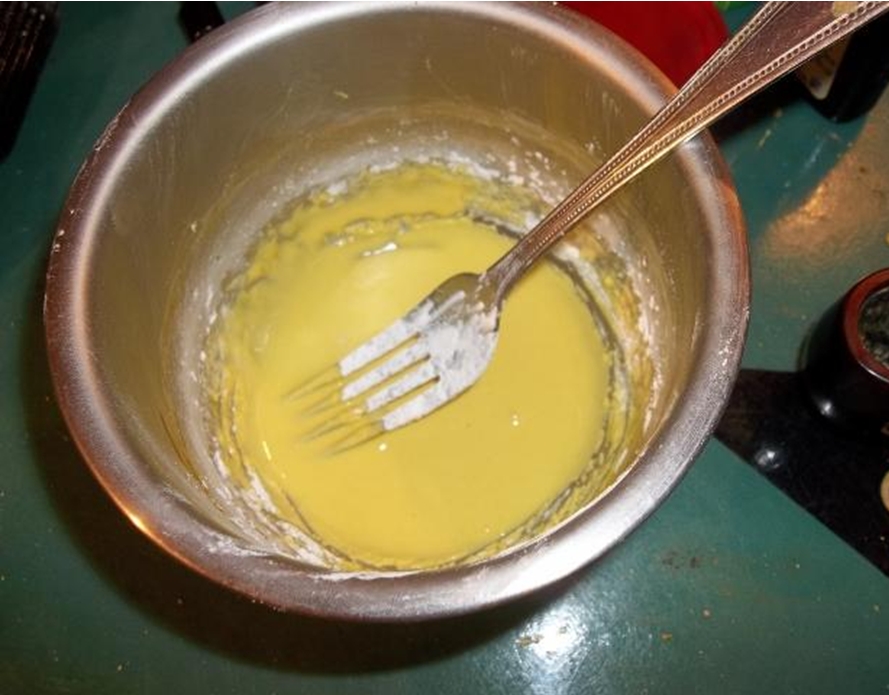
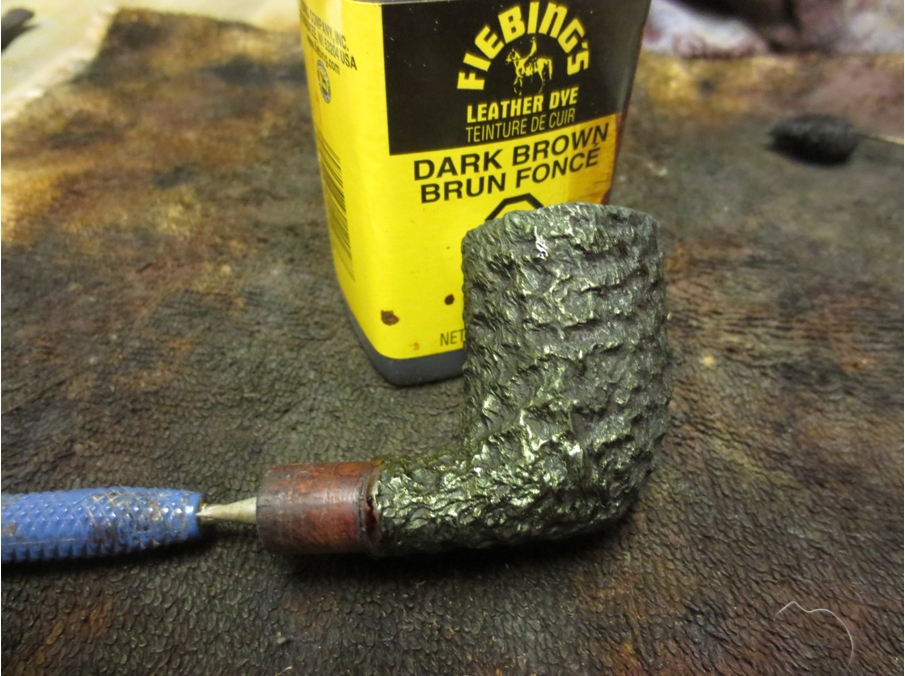
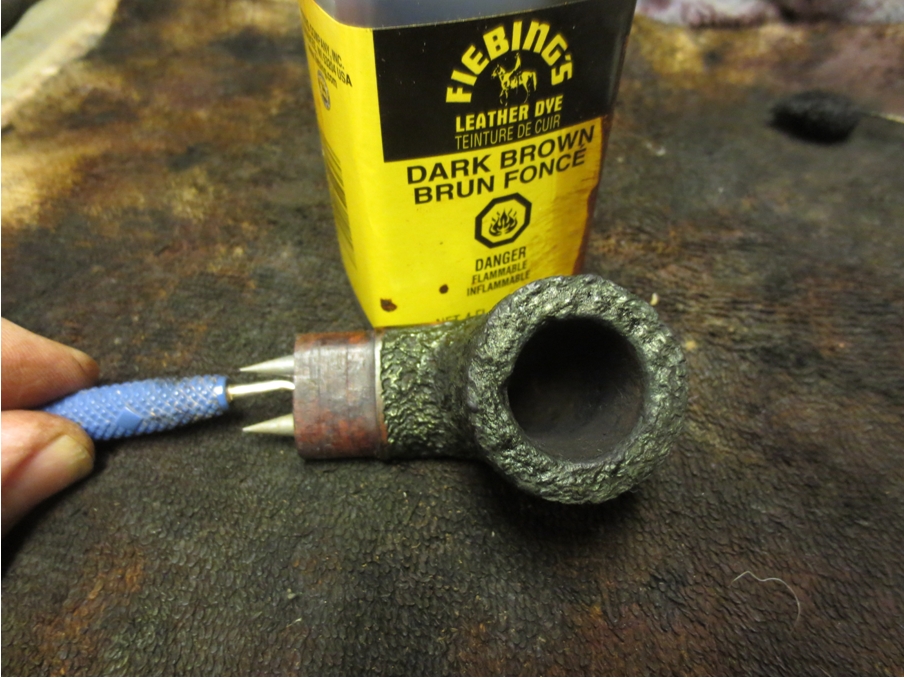
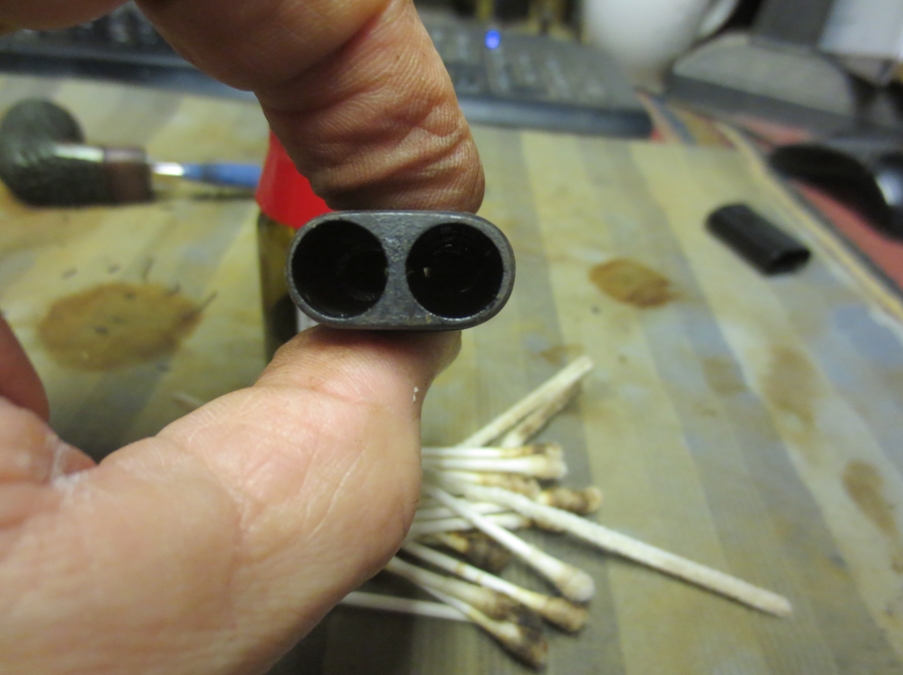
 The next step in the process of rebuilding the shank and the mortise was a little more difficult than the briar dust and super glue rebuild. It involved working on the internals of the shank. I glued the end cap in place with wood glue and clamped it in place to take care of small splits in the edges of the metal cap. Once that dried and set, I mixed white wood glue with briar dust to make putty. I tamped the mixture into the remaining areas of the shank with a dental pick and dental spatula until the area was filled solid looking once again. The next two photos show the rough repair on the inside of the mortise and shank. The broken area is gone! The holes are filled in and the repair is complete. Once the glue set I would have to clean up the mortise and make the walls smooth. The edges of the metal cap, looking at it from the end are damaged and I will not be able to repair them.
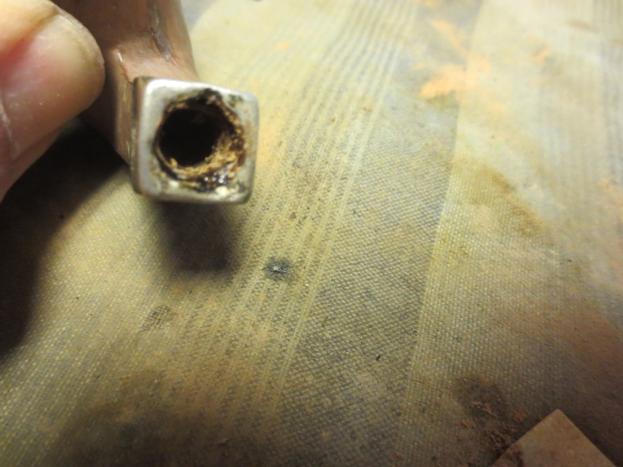
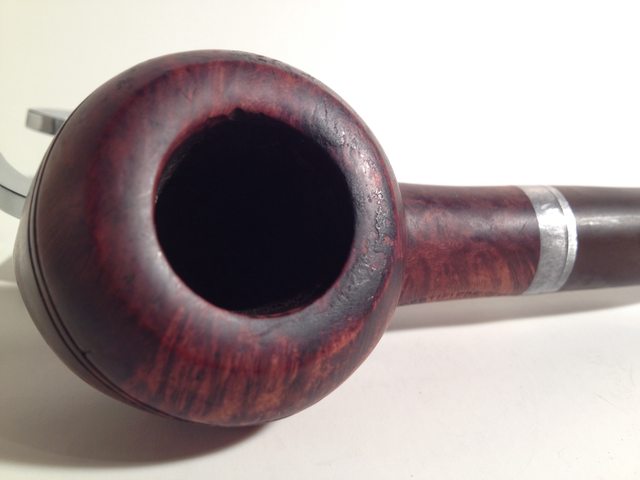
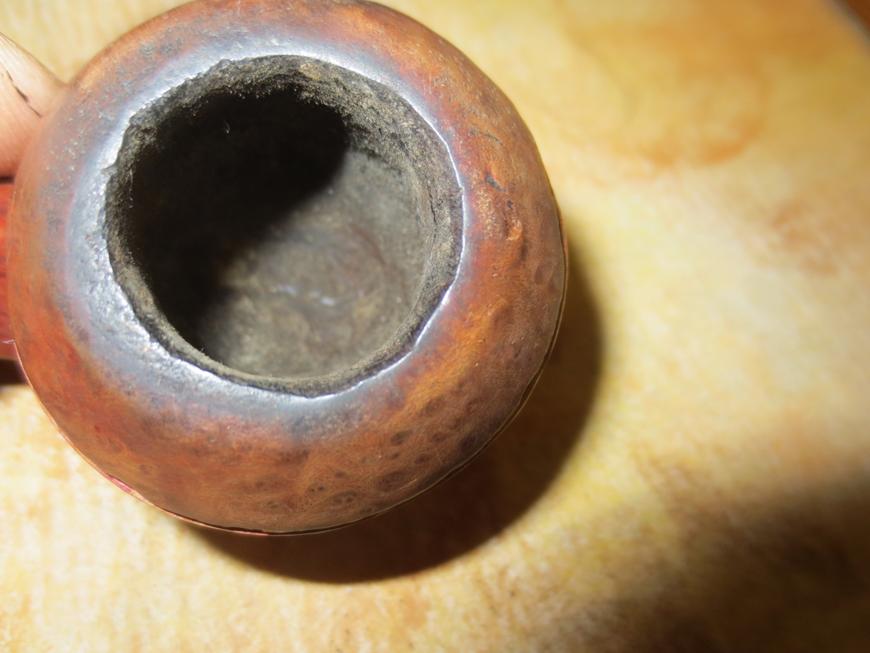
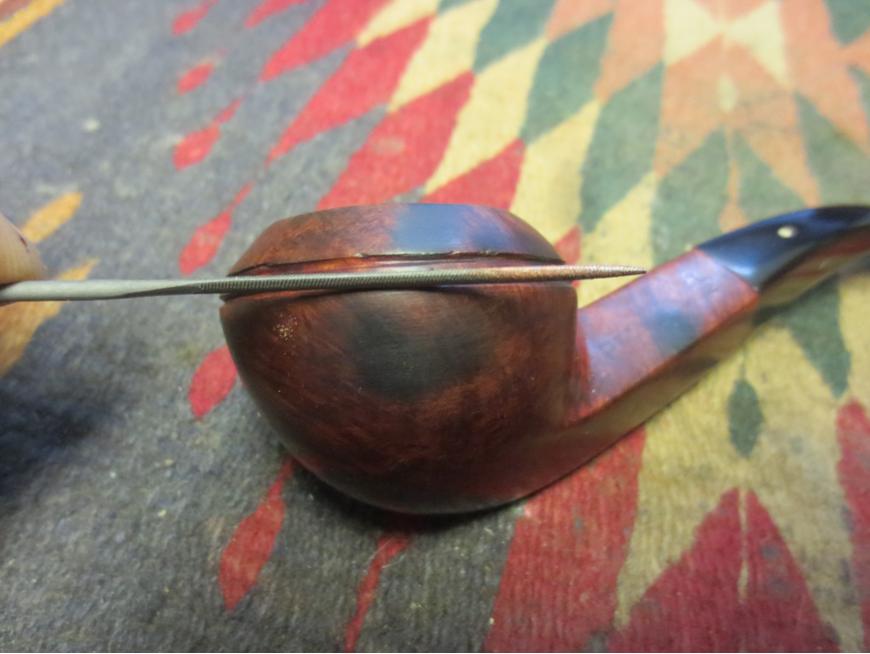
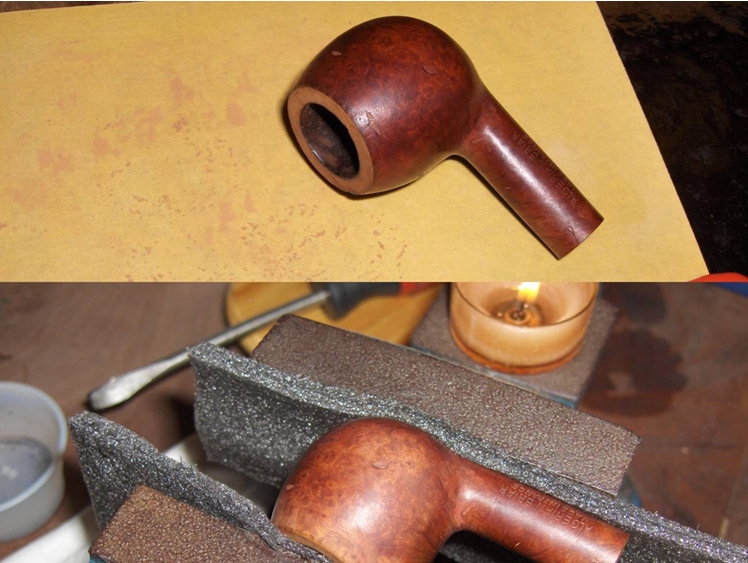
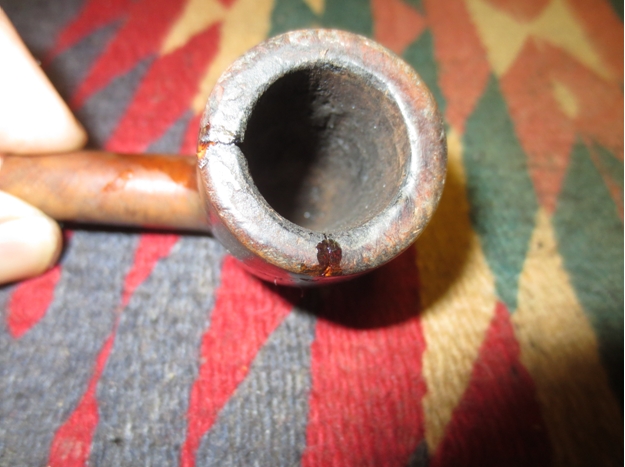
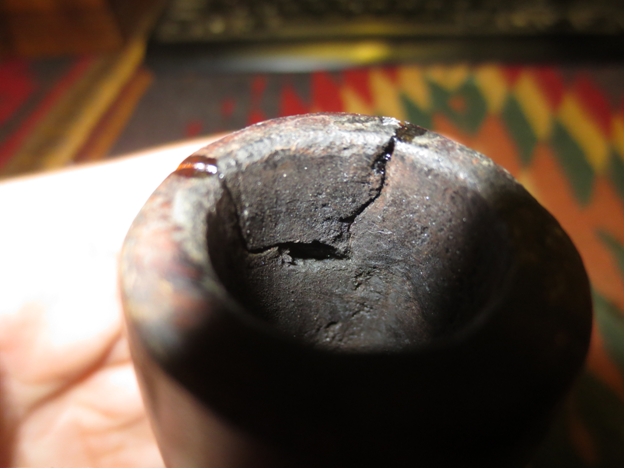
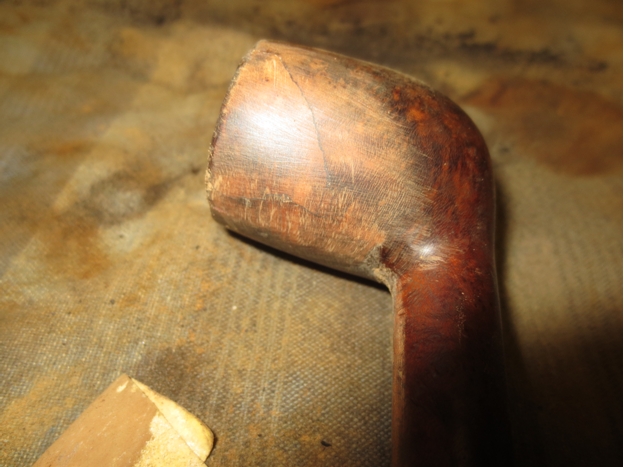
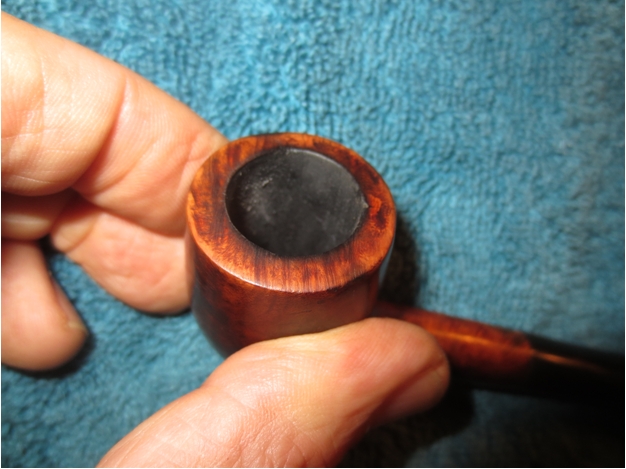
 While the shank repair cured I worked on the rim. There was a thick tar build up that was like rock on the back edge and the front edge of the rim had been knocked against something hard and was rough.
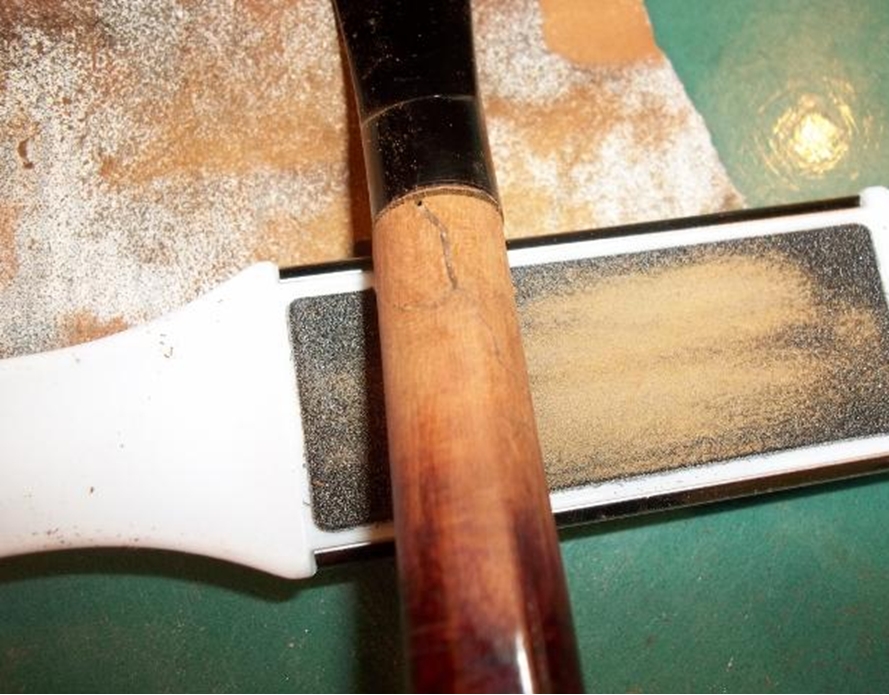
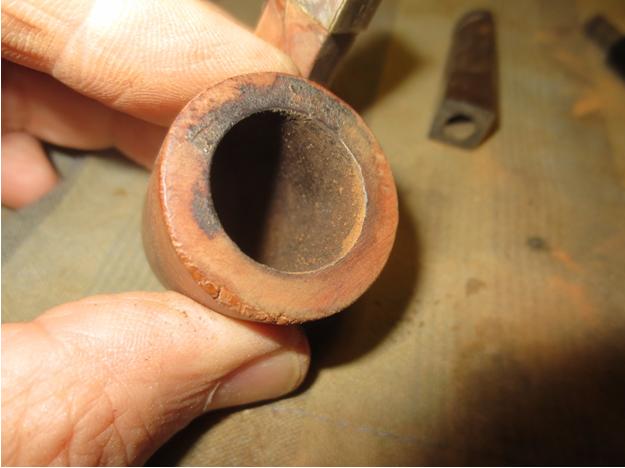 I decided to top the bowl to remove the rock hard tar and also minimize the damage to the front of the bowl. I used a topping board with 220 grit sandpaper and worked the rim against the sandpaper until the damage was minimized. Once I had it smoothed out I put some briar dust and super glue on the remaining divot on the front edge of the bowl as a fill. When it dried I sanded it smooth and lightly topped the rim once more to even out the repair with the rest of the rim. (That picture will be shown shortly.)
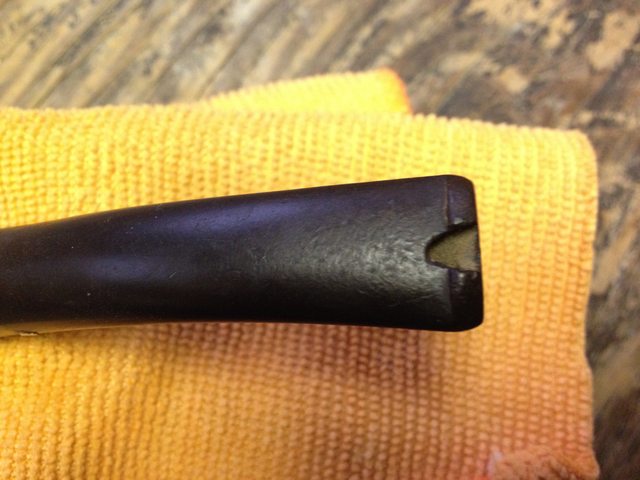
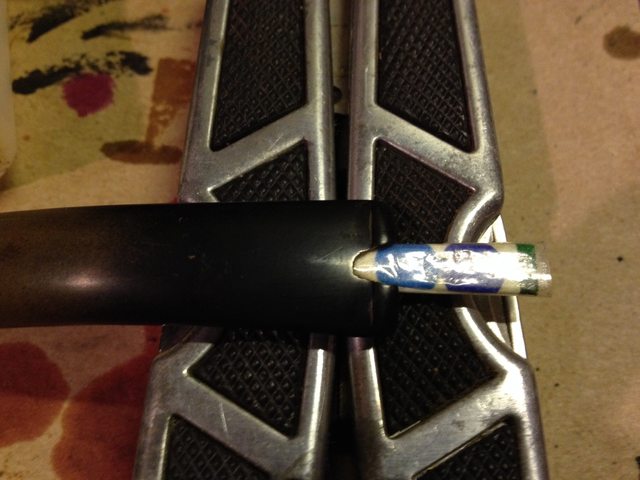
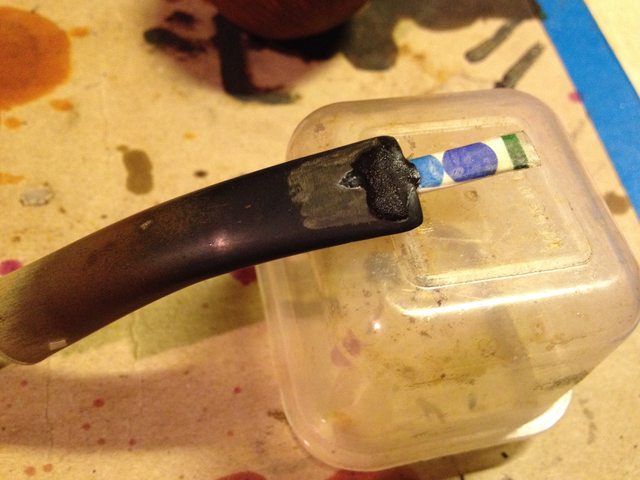
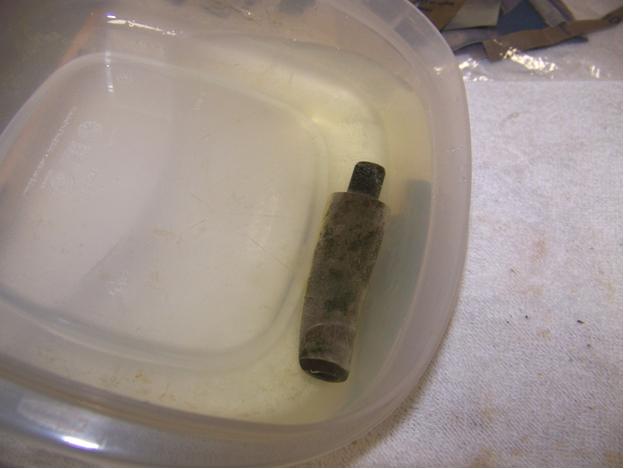
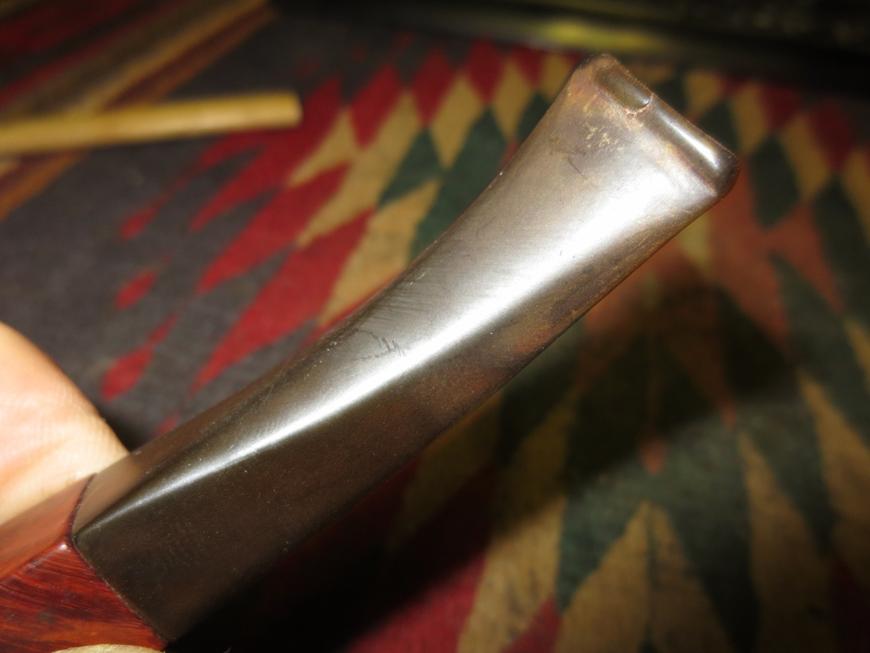
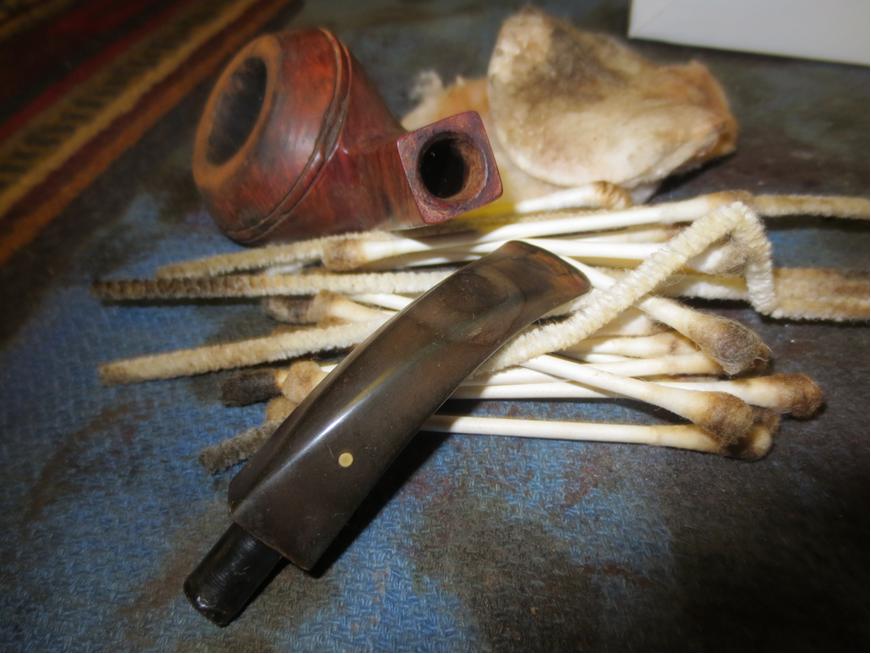
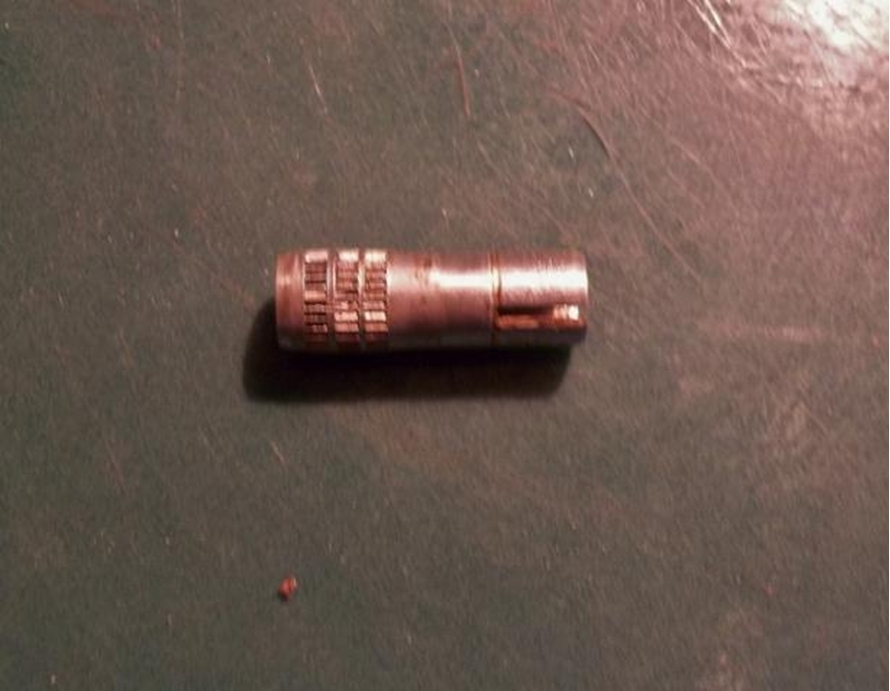
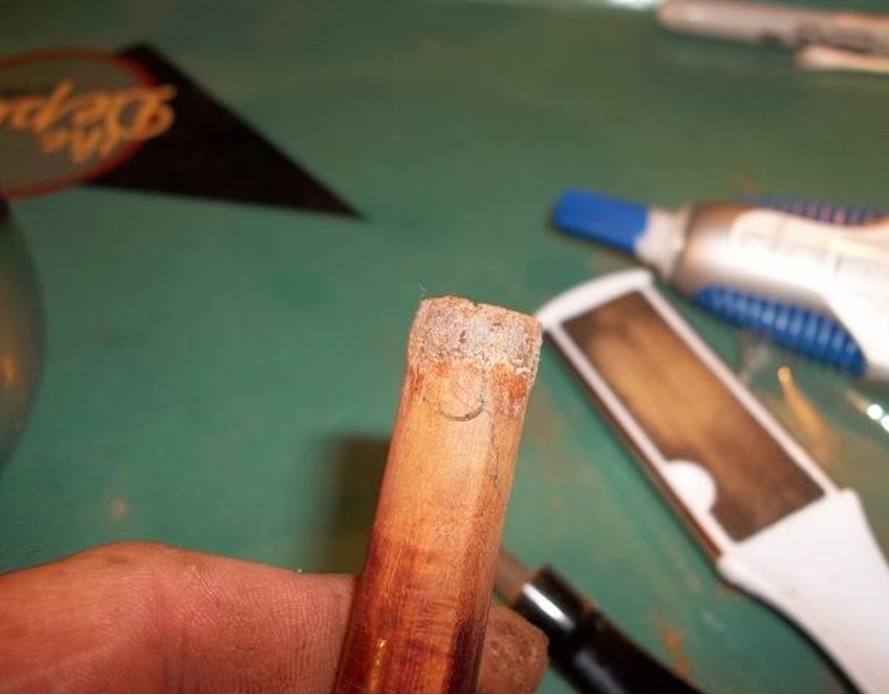
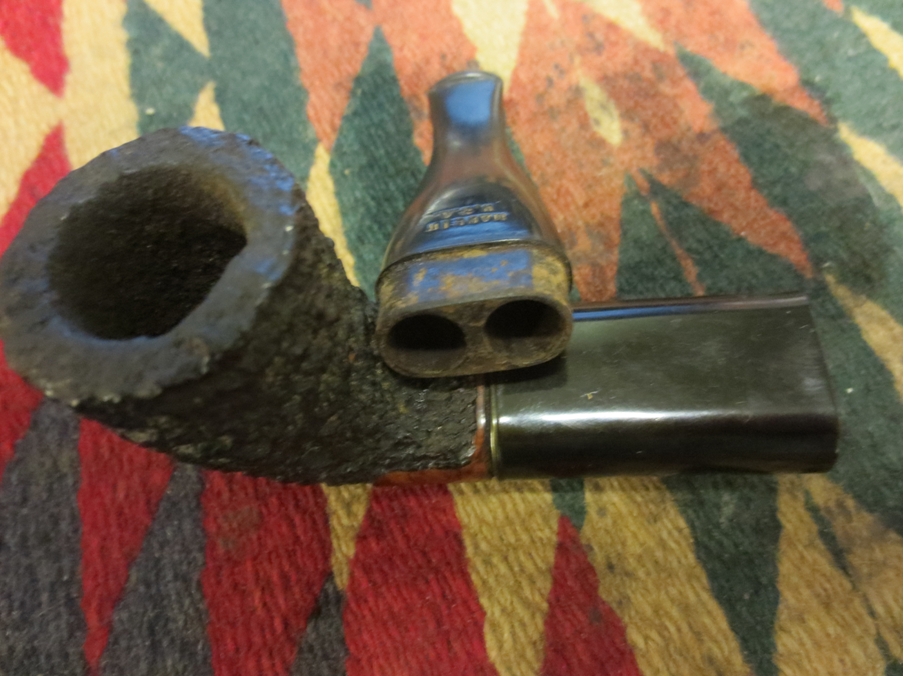
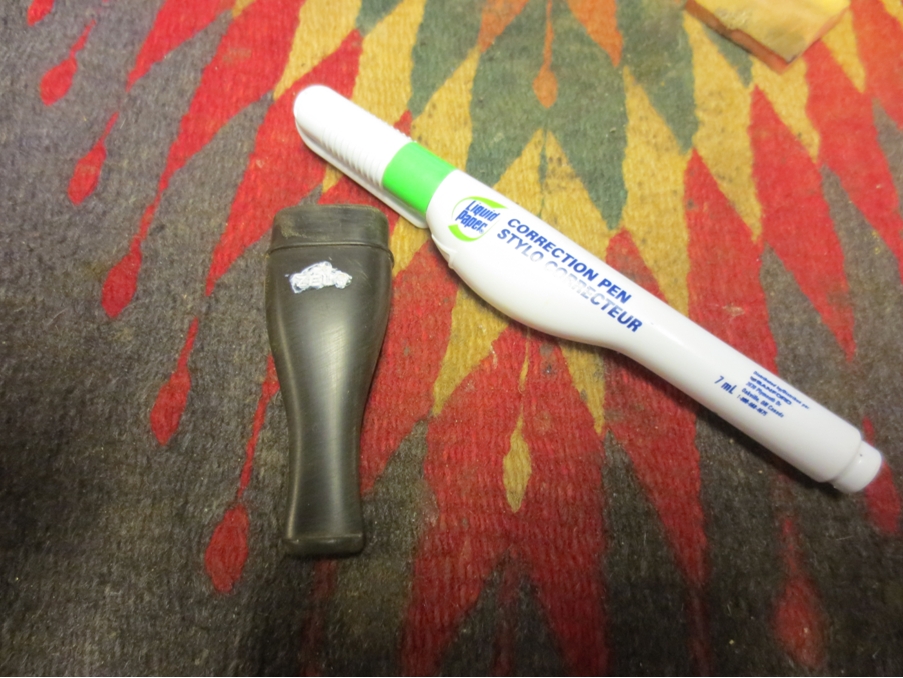
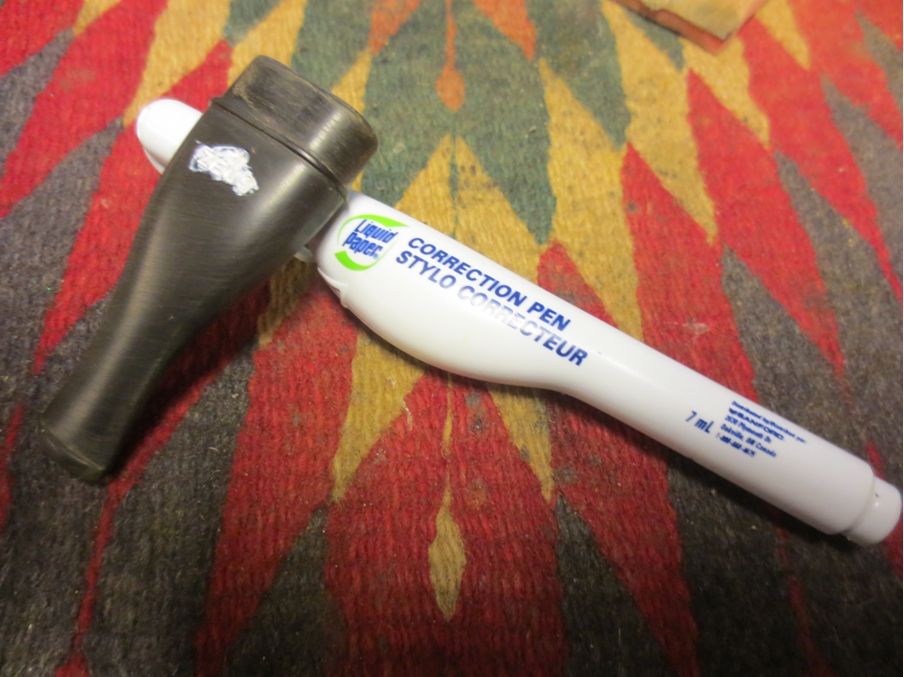
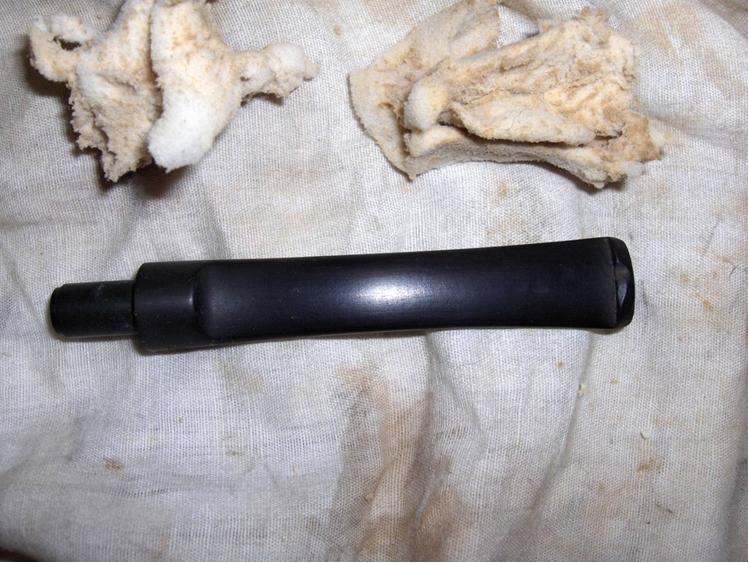
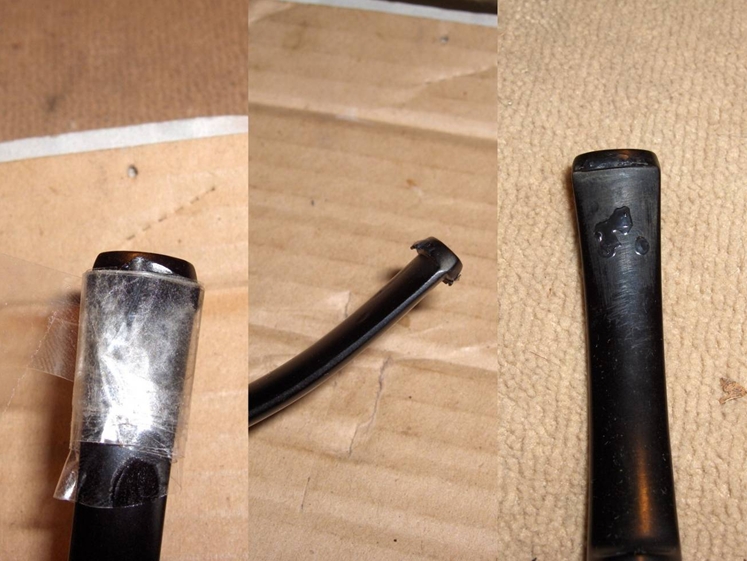
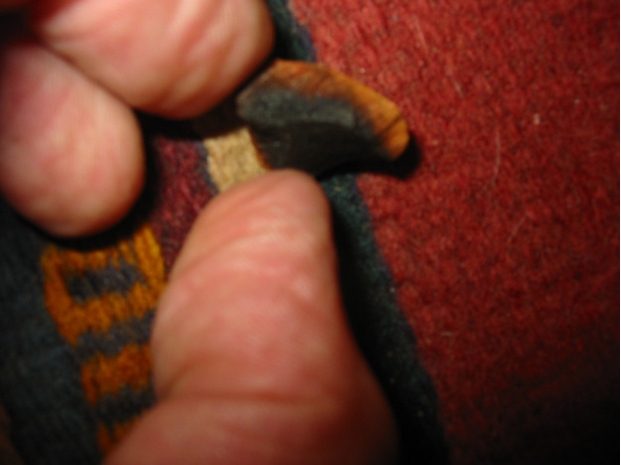
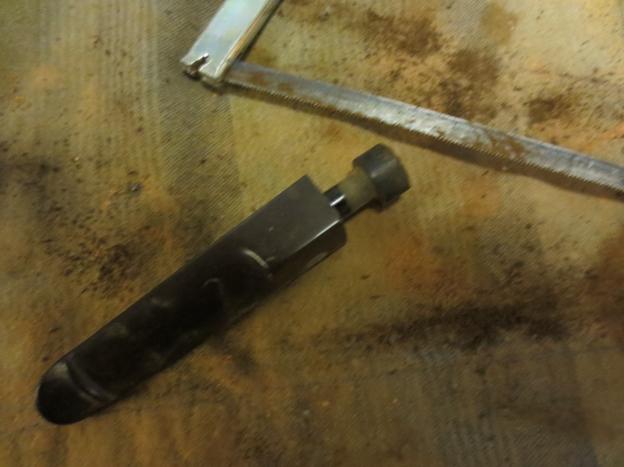
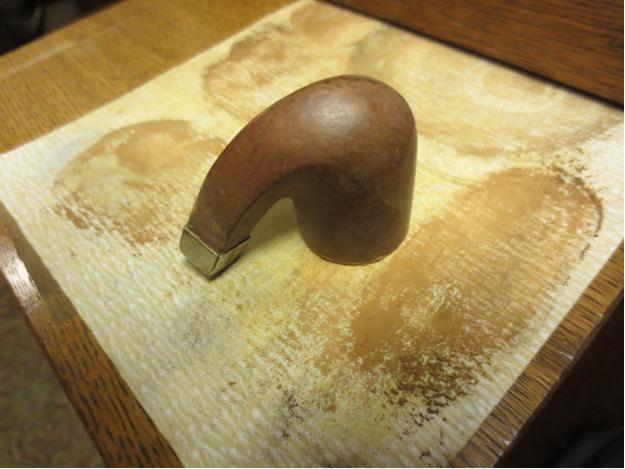 The stem that came with the bowl was damaged beyond repair. It had been repeatedly been cut off by the previous owner and hacked at until it fit in the damaged tenon. It was not a stem I would use again on this pipe. I went through my can of stems and found a faux p-lip stem – the airway came out the end of the button rather than on the top. It was old enough to work on this pipe and with some modification I thought it would look just right. The problem was that it did not have a tenon. When I found it the tenon was missing and the end of the stem had been drilled out to receive a replacement tenon. I am currently out of Delrin tenons so I used a thin vulcanite stem as the sacrificial tenon. I glued the tenon on the donor stem in place in the diamond shaped stem with super glue and then cut off the stem with a hacksaw. I left a piece of vulcanite that was longer than necessary so that I could work it to a proper fit in the repaired shank.
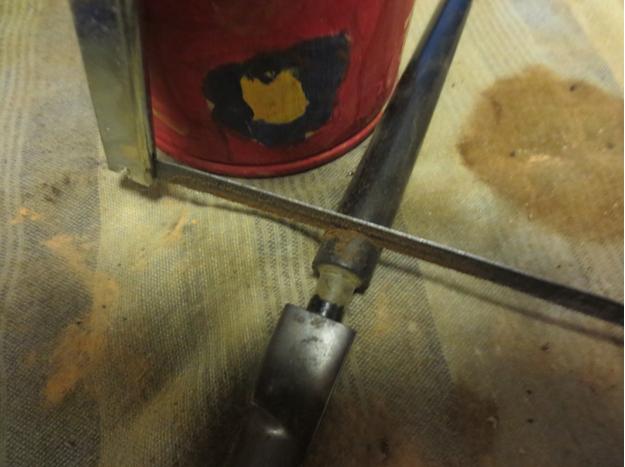
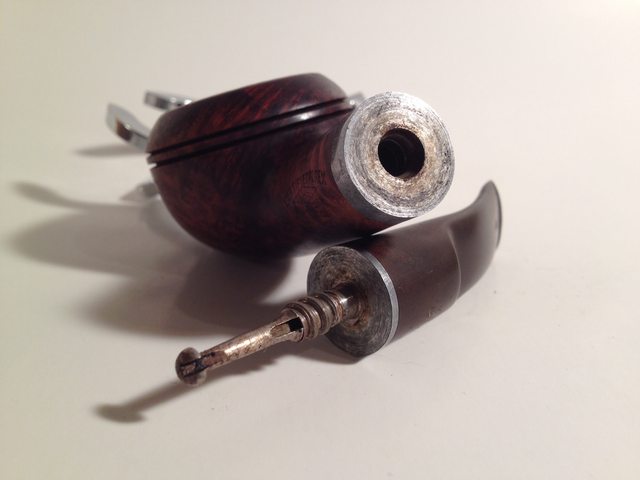
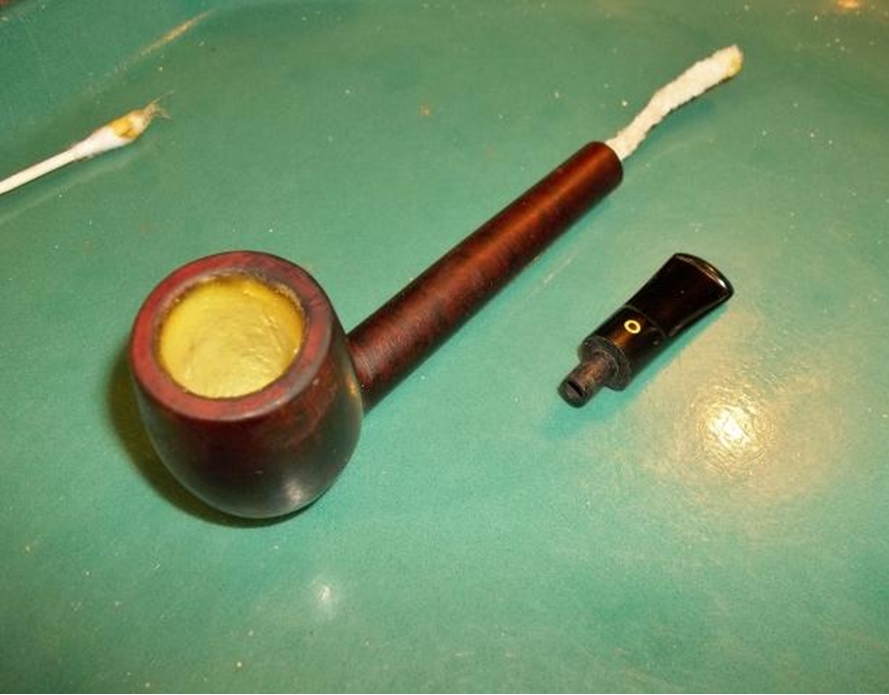
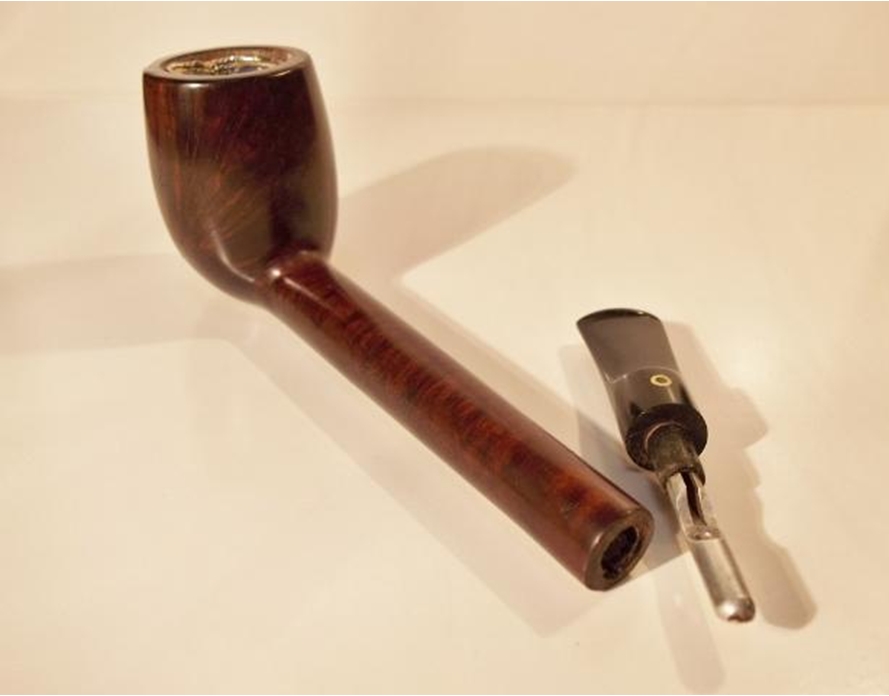
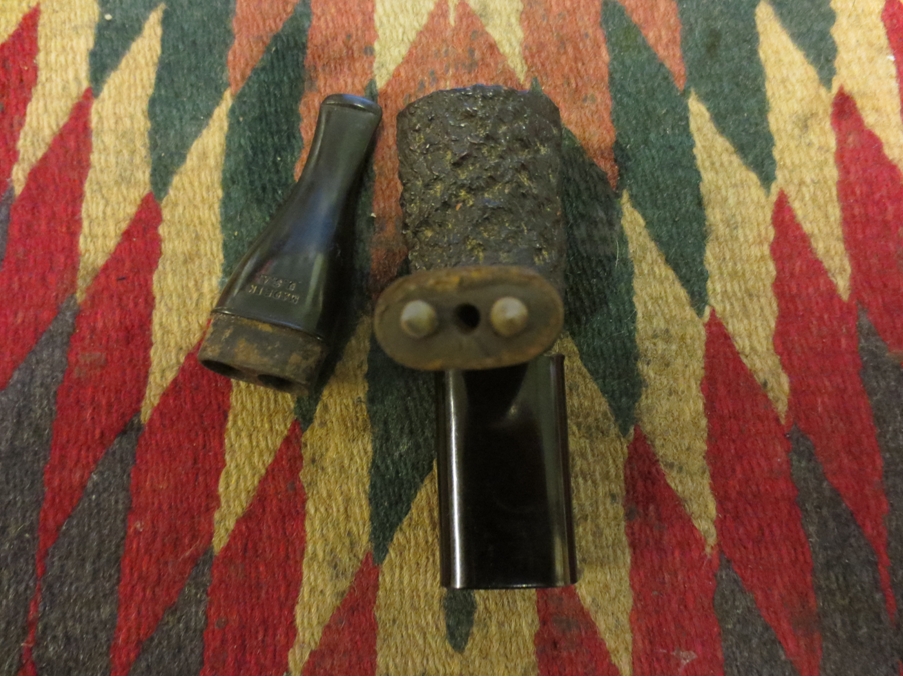
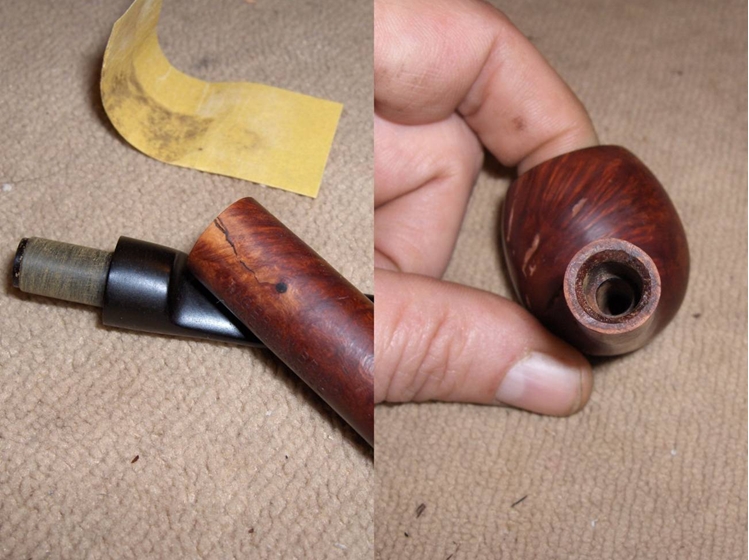
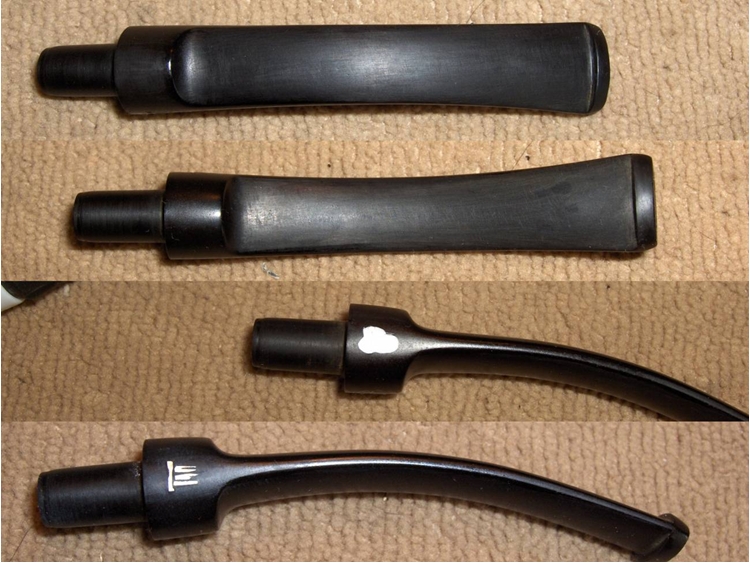
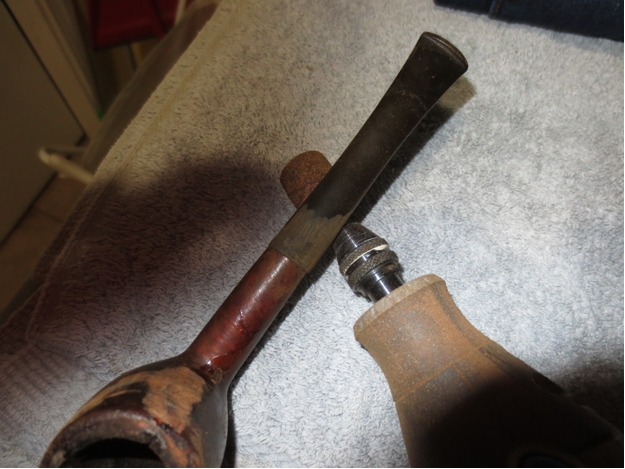
 The next photo shows the repaired stem and tenon and the topped bowl before I put the two parts together. I used a Dremel to remove the excess material on the new tenon and shortened it to the depth of the mortise in the shank.
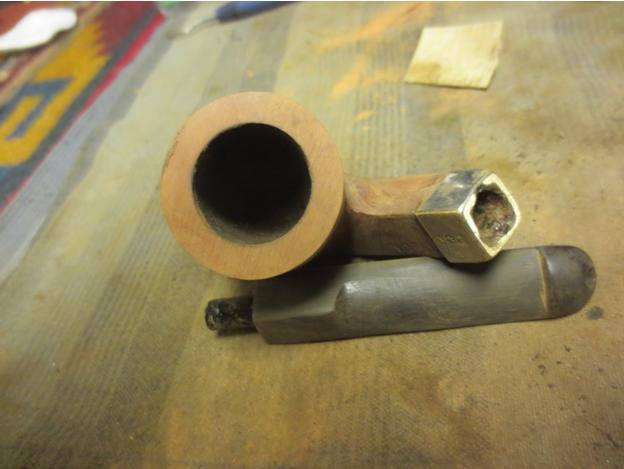 The next photo shows the repaired fill on the bowl side with another photo of the new stem.
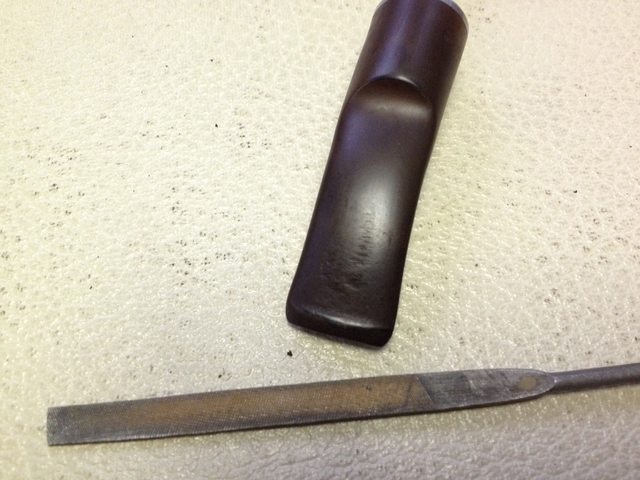
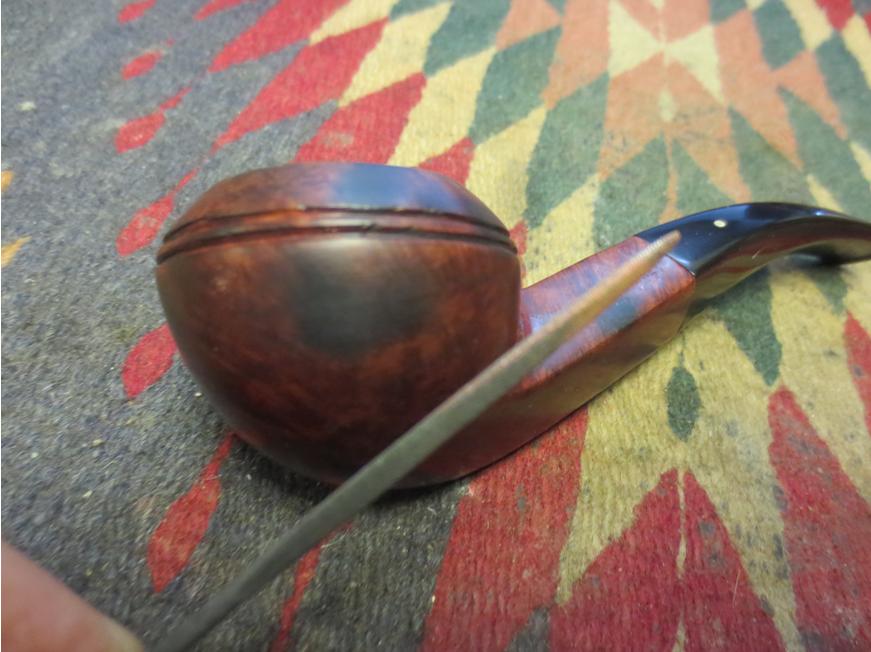
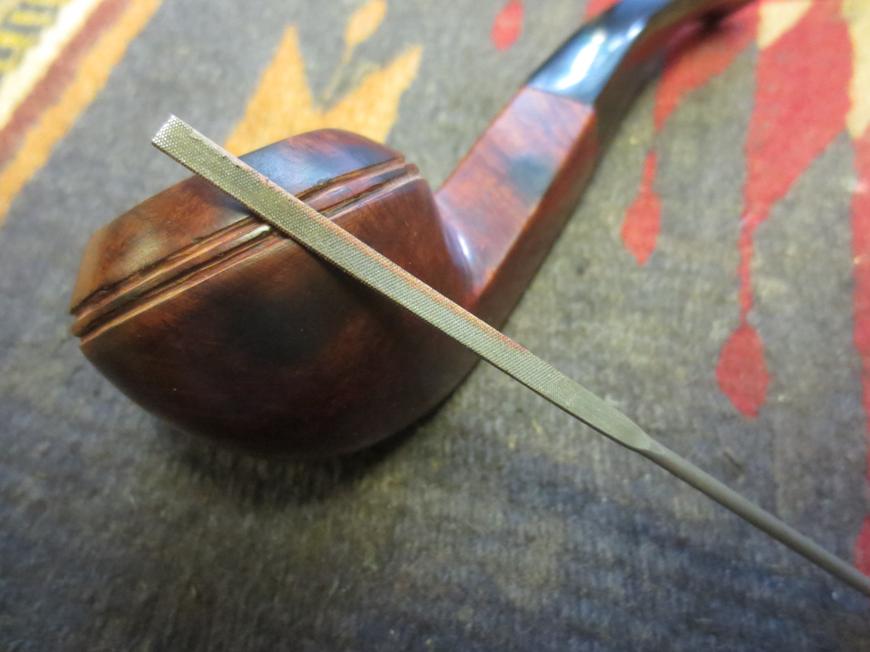
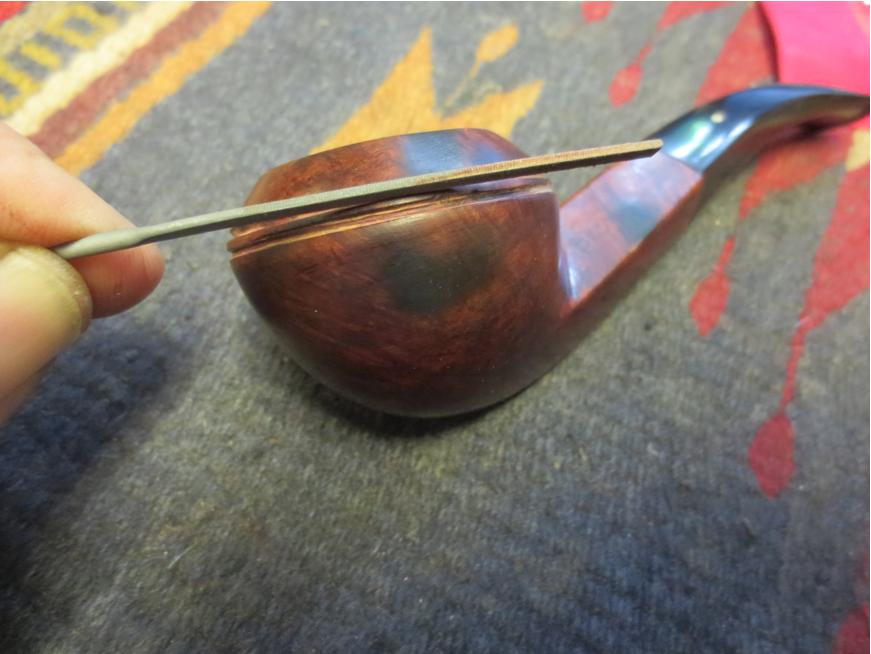
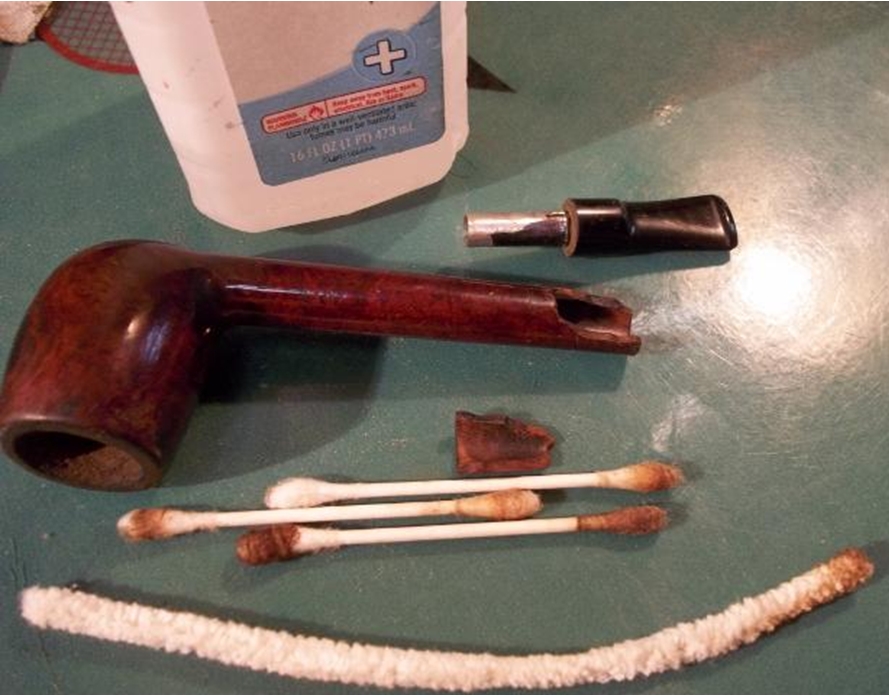
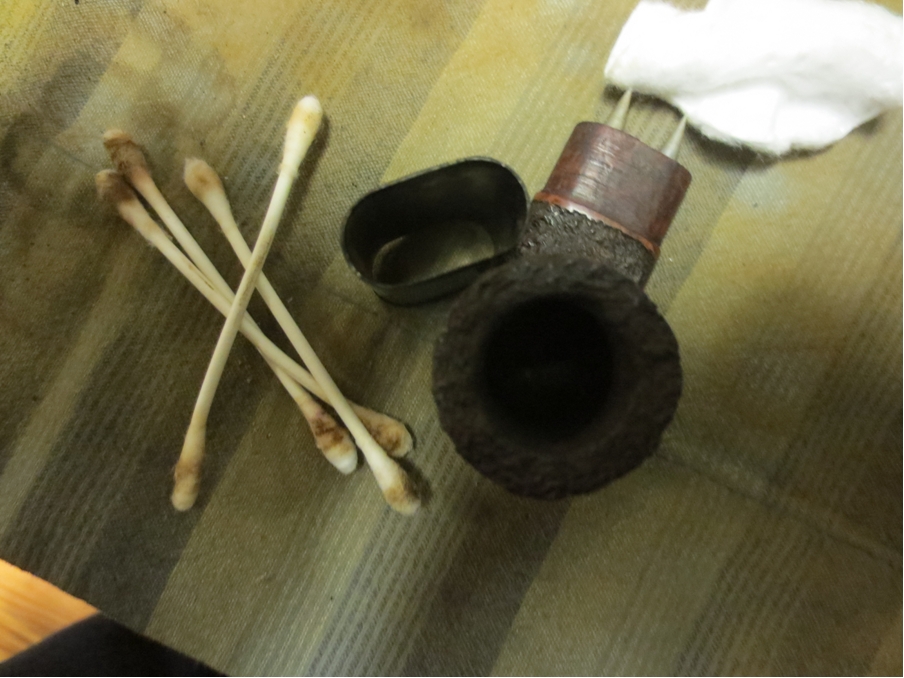
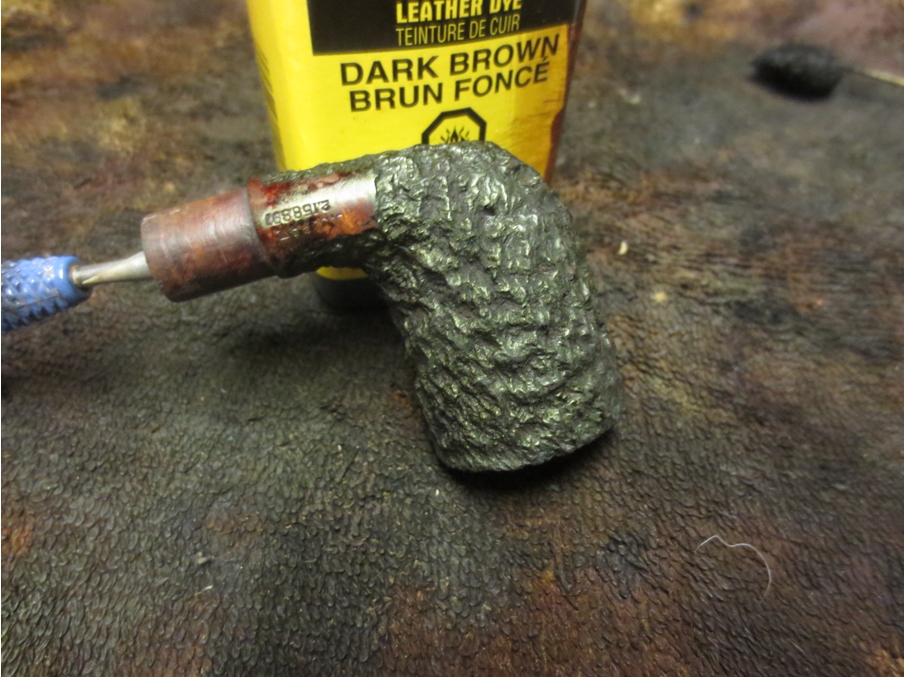
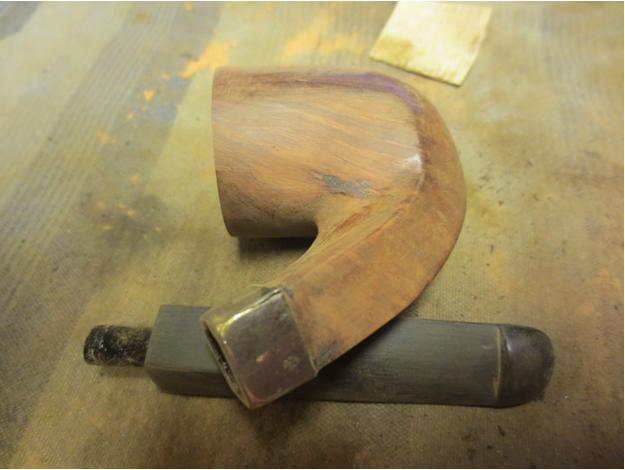 Once the shank repair was dry I used a needle file to clean up the rough areas and smooth out the inside of the mortise. I gave it several more coats of glue and briar dust to buildup the areas that had shrunk as the glue dried. I continued to work it with the files and sandpaper until the fit was correct. I cleaned out the airway to the bowl and the inside of the mortise with alcohol, cotton swabs and pipe cleaners in preparation for putting the new stem in place.
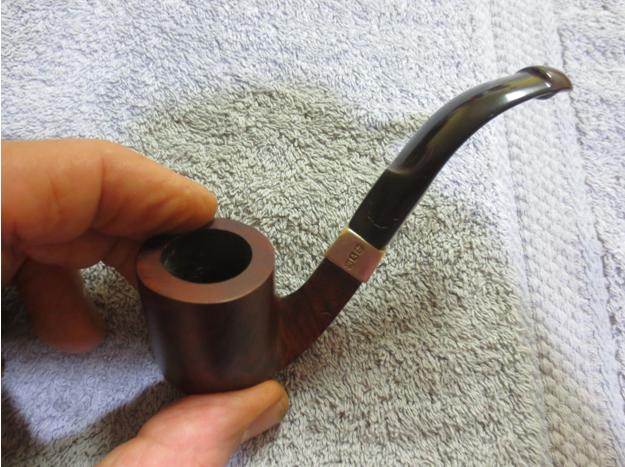
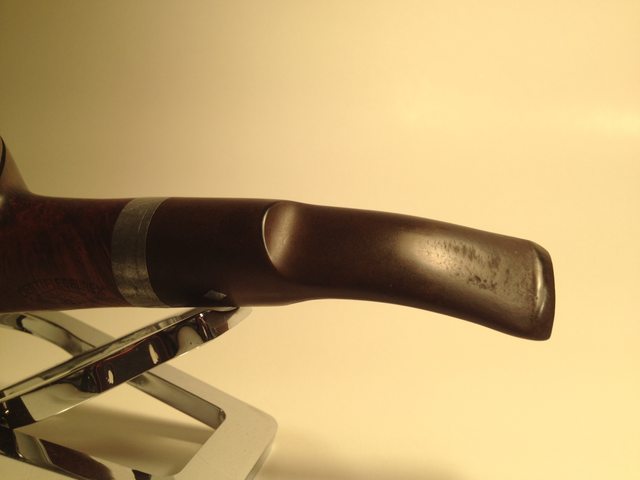
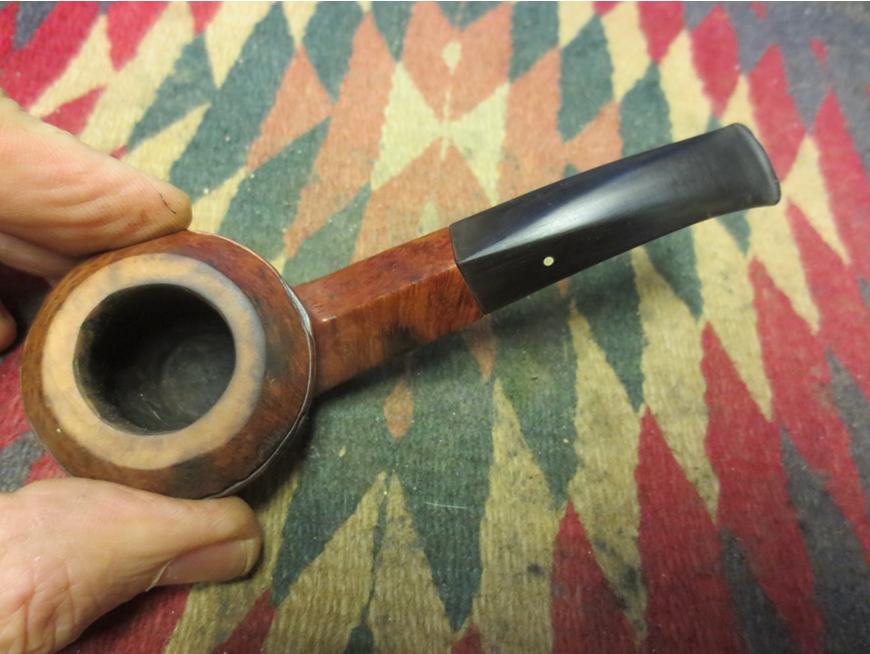
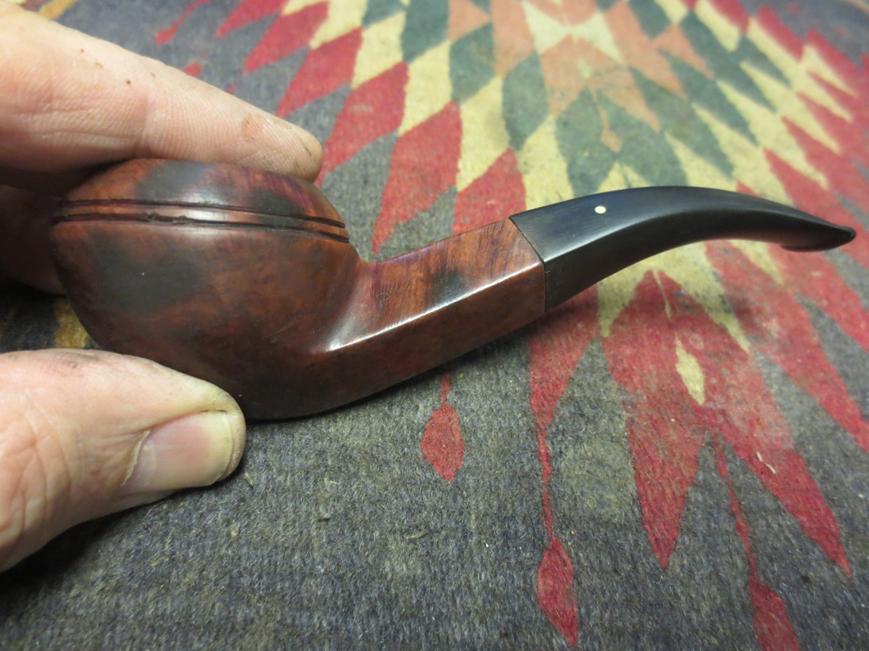
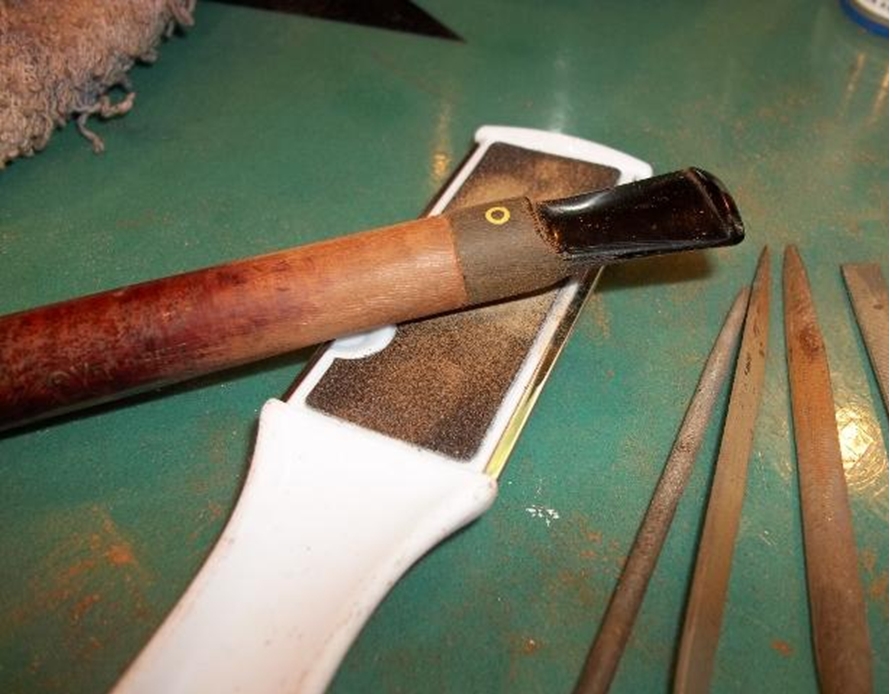
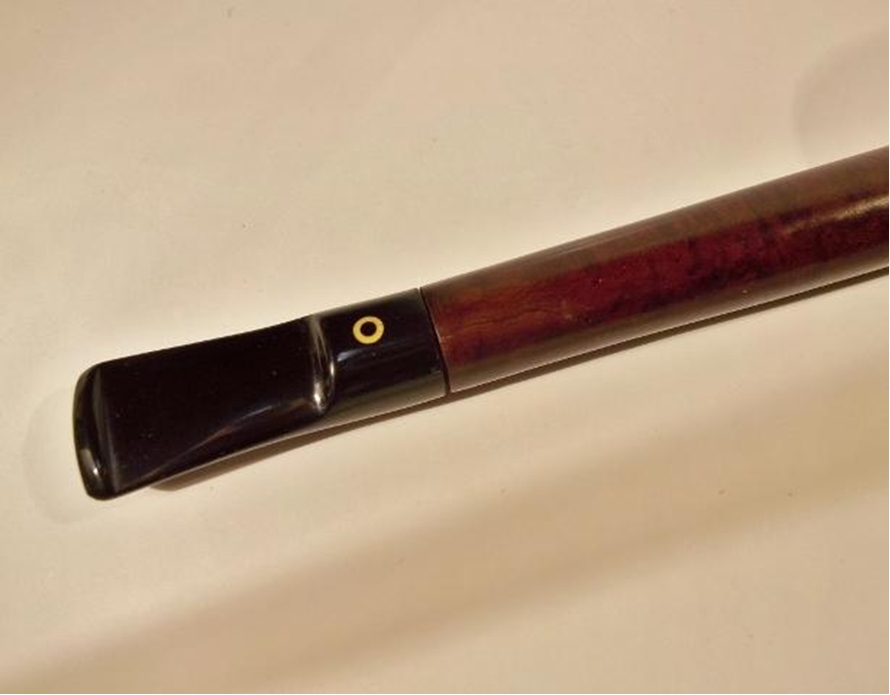
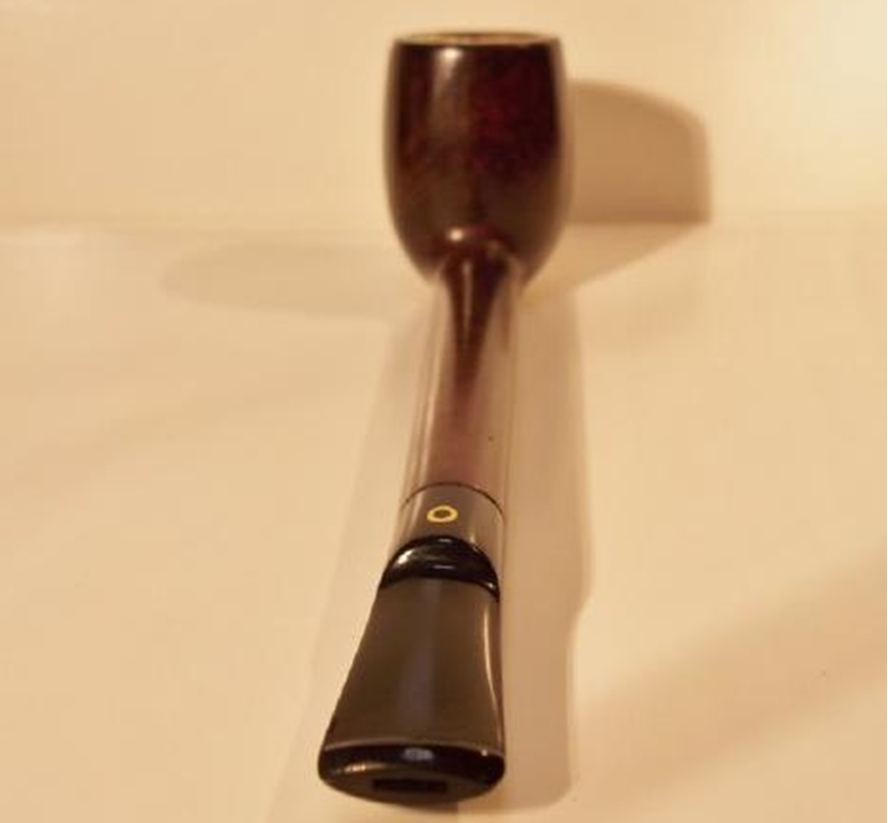
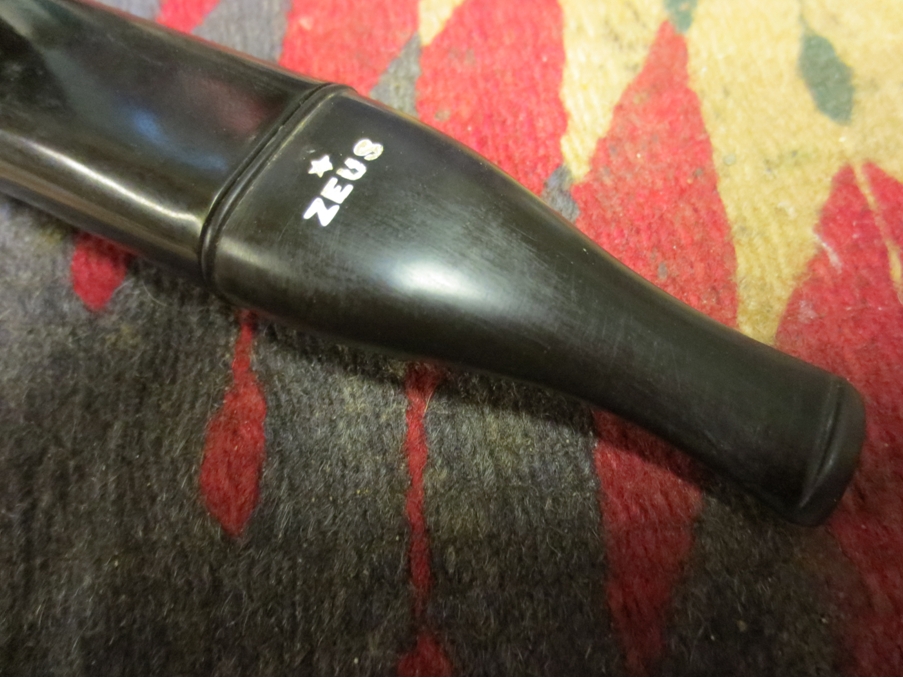
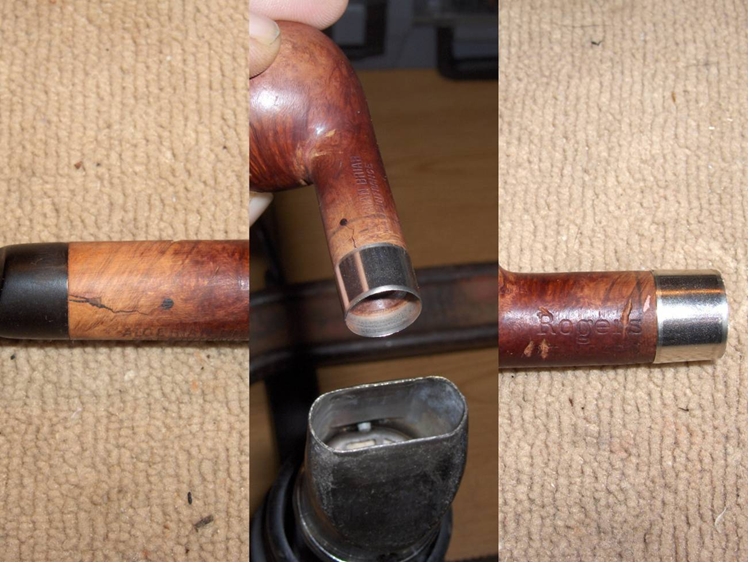
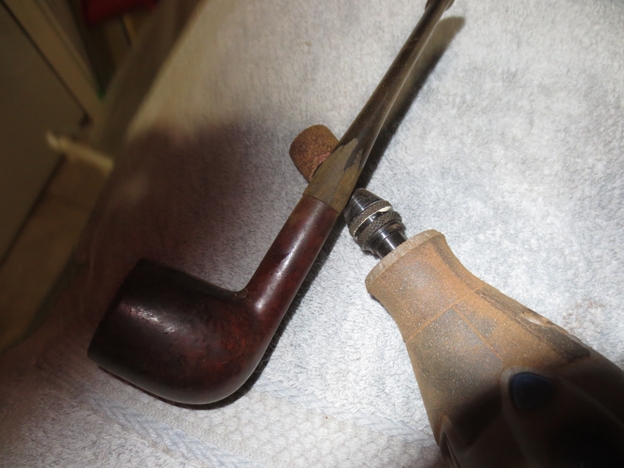
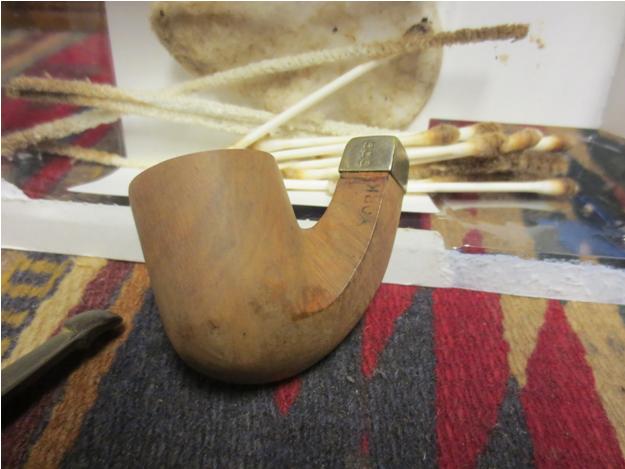 The next two photos show the newly fit stem. There was still work to do to fine tune the flow of the diamond stem sides to match the flow of the diamond shank but the look is clear at this point in the process.
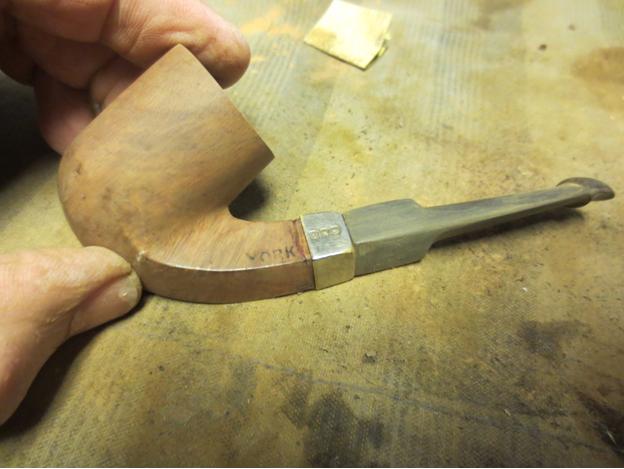
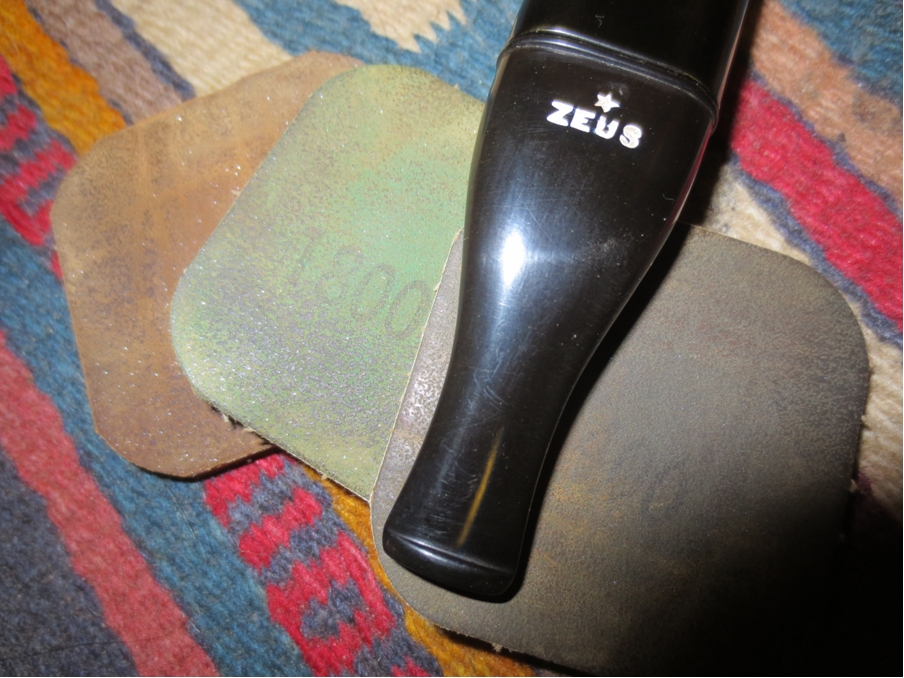
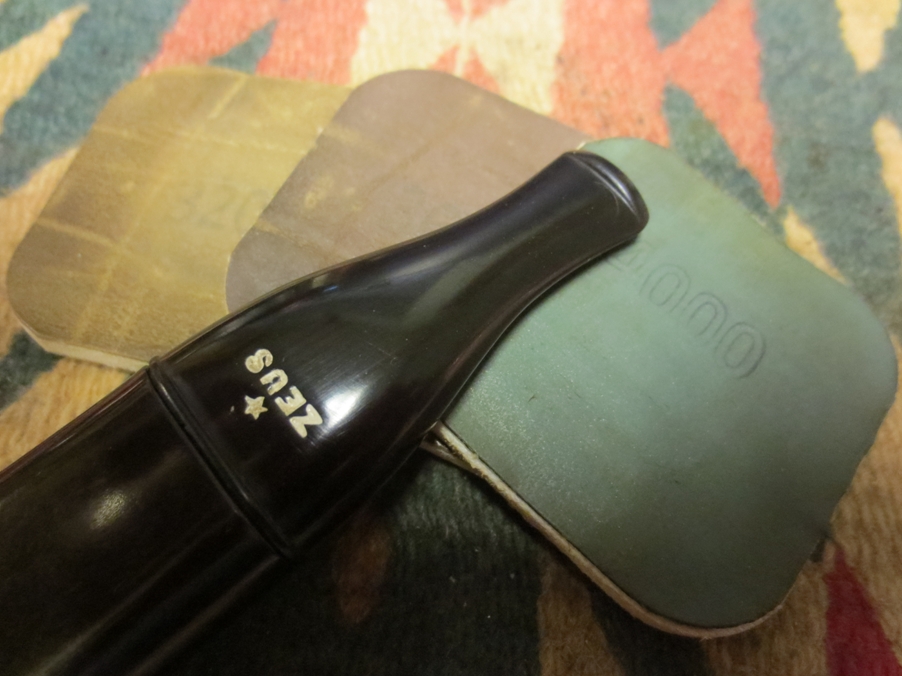
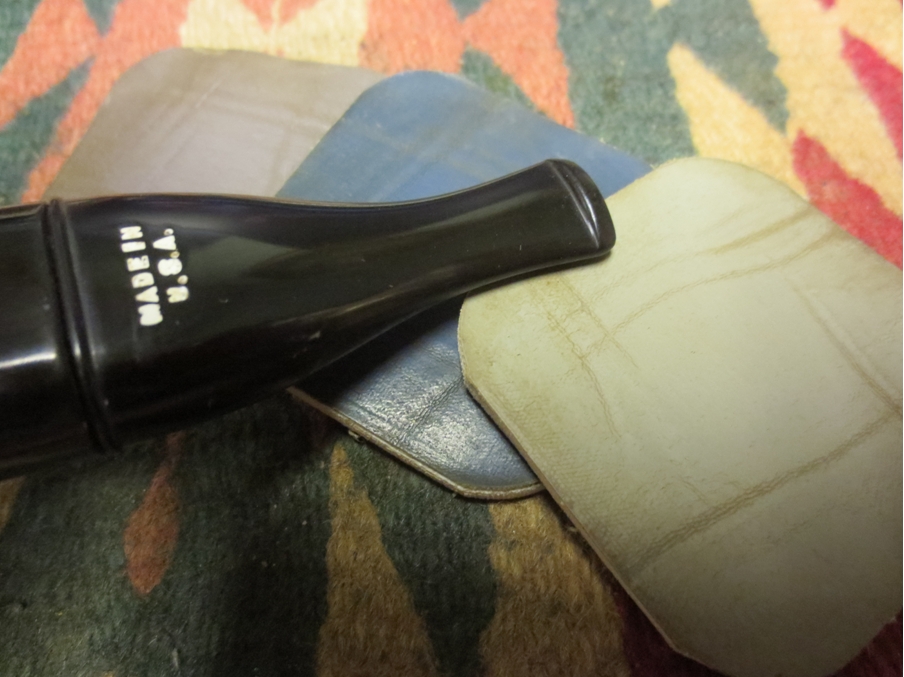
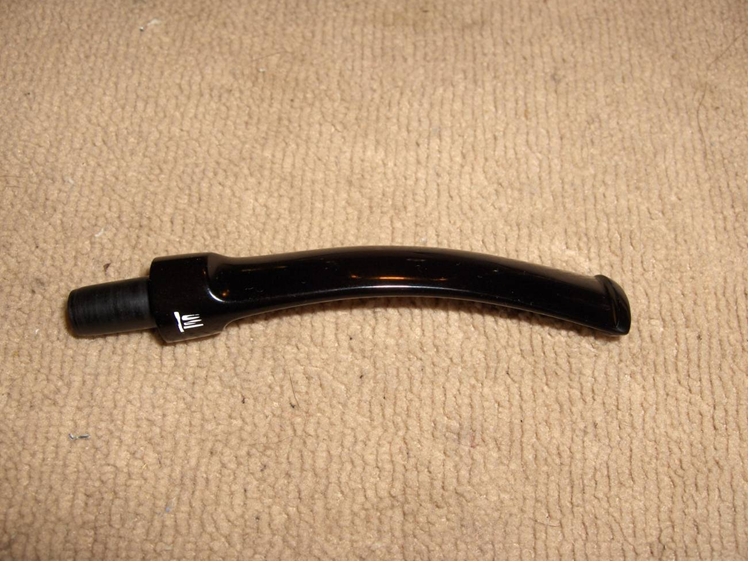
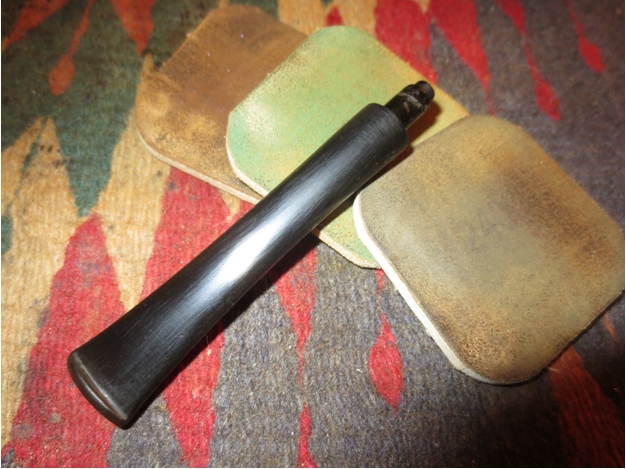
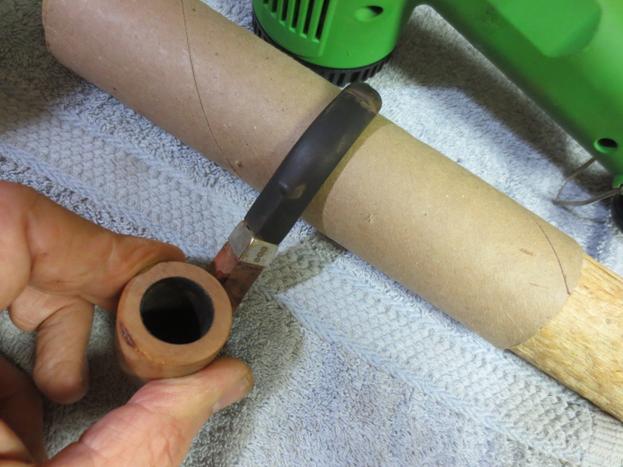
 I sanded the stem with 220 grit sandpaper and with a medium and a fine grit sanding sponge to fine tune the fit. When I had it the way I wanted, it was time to bend the stem. I used my heat gun to do the work. In this case I quickly set it up on the dryer in our laundry room (shh don’t tell my wife I did this) and heated the stem. I bent it over an old rolling pin that I use for this purpose until the bend in the stem matched the curve of the bottom of the bowl. I set the bend by holding the stem under cool running water.
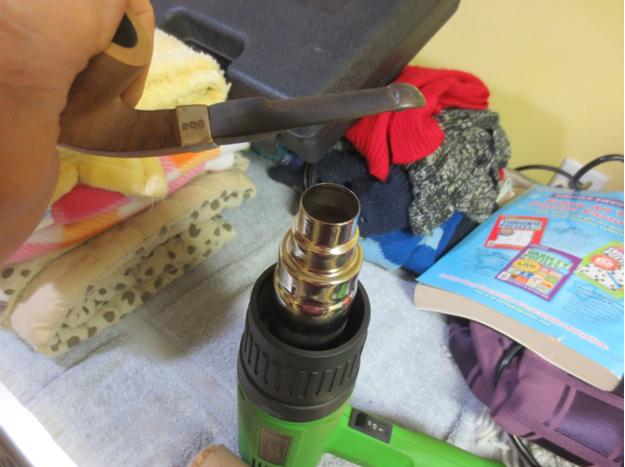
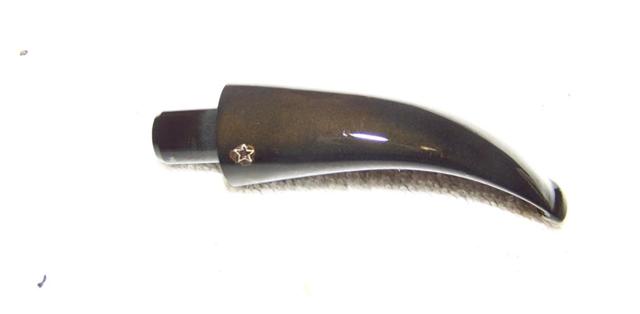
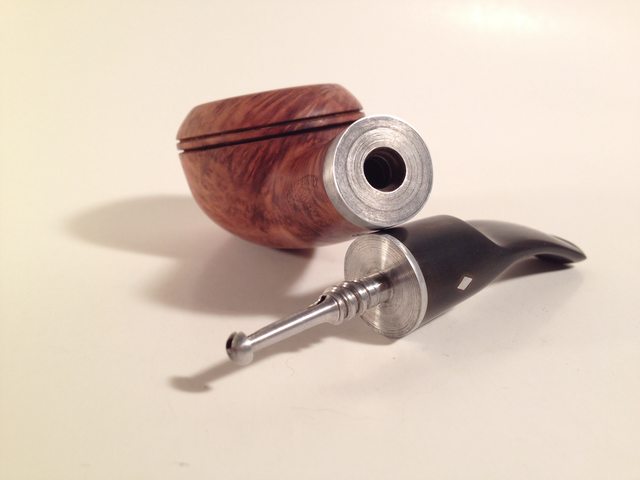
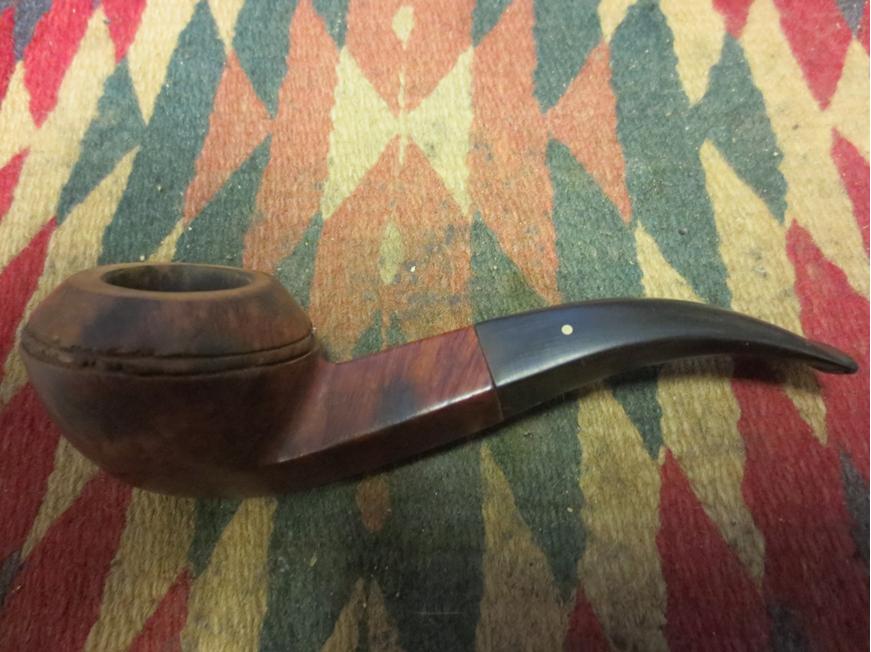
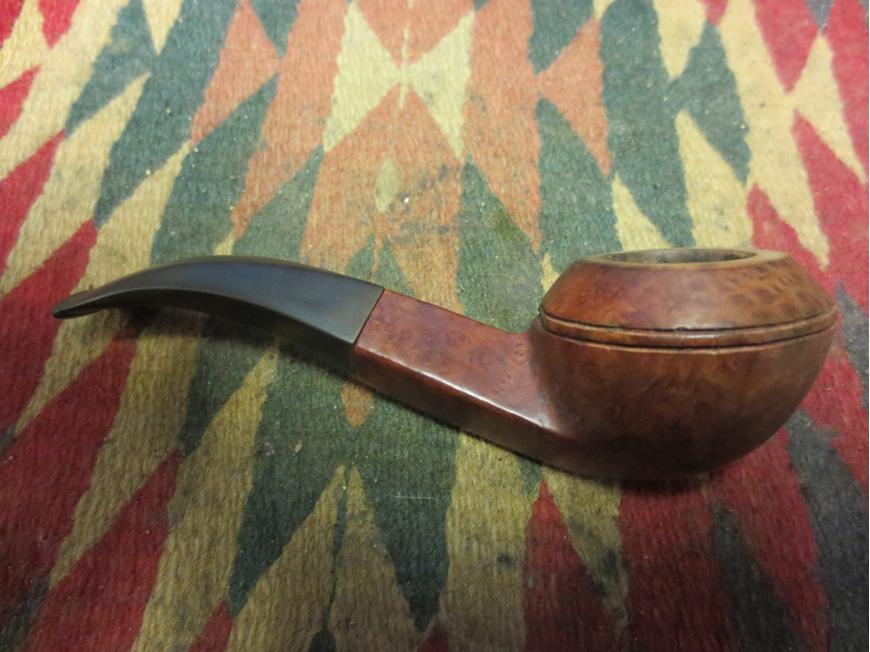
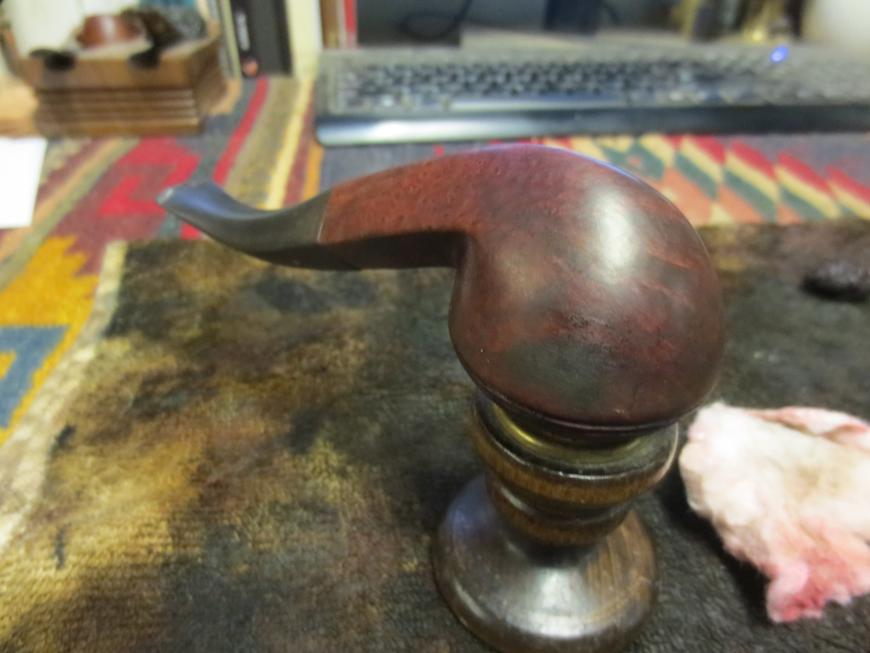
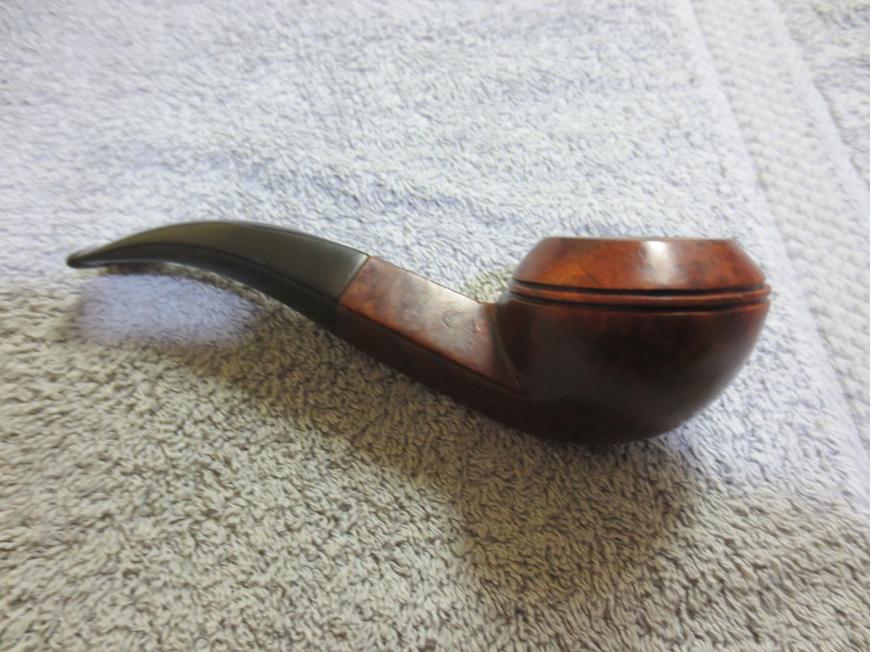
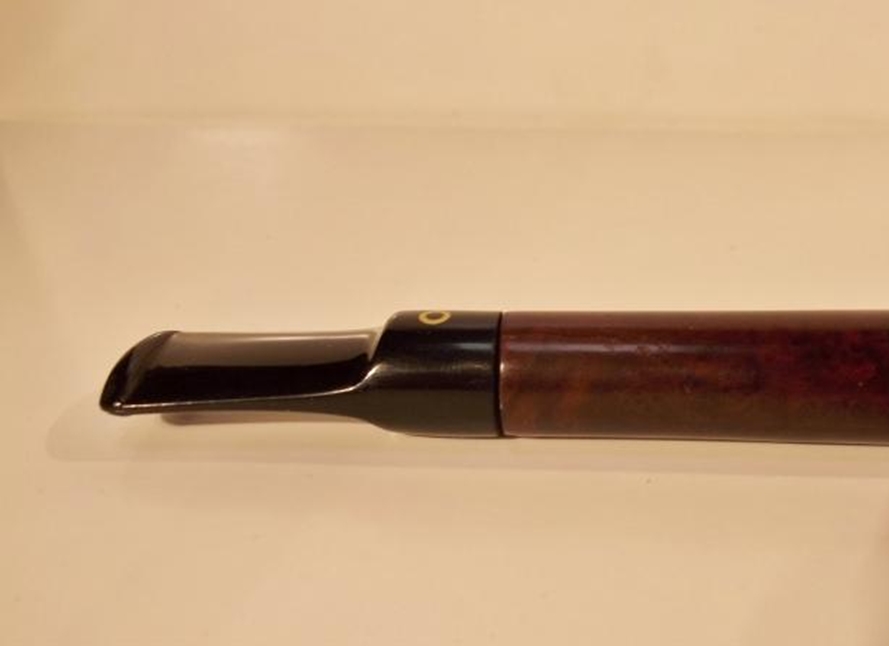
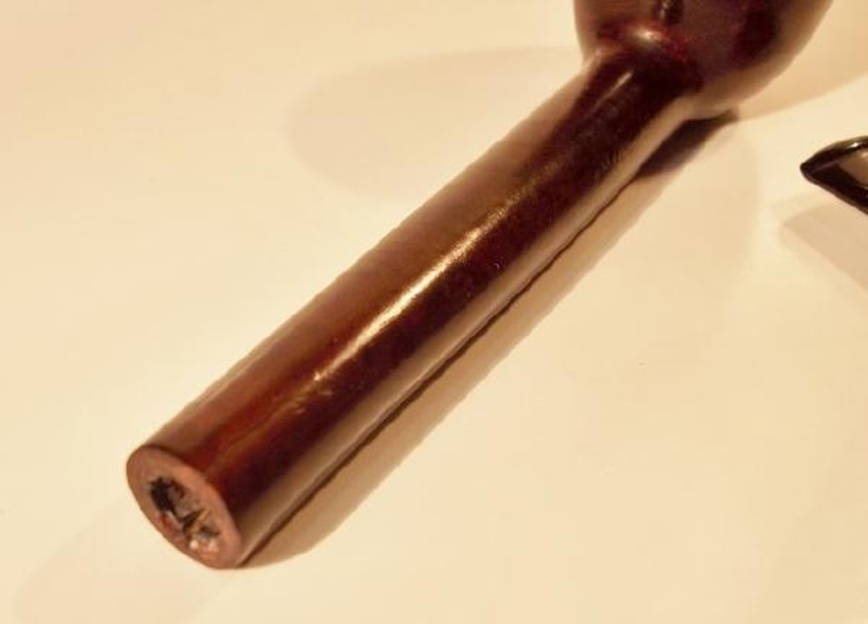
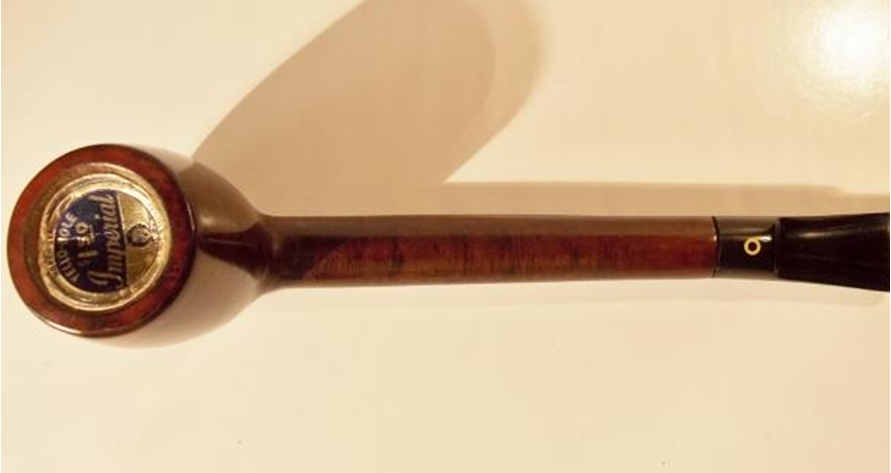
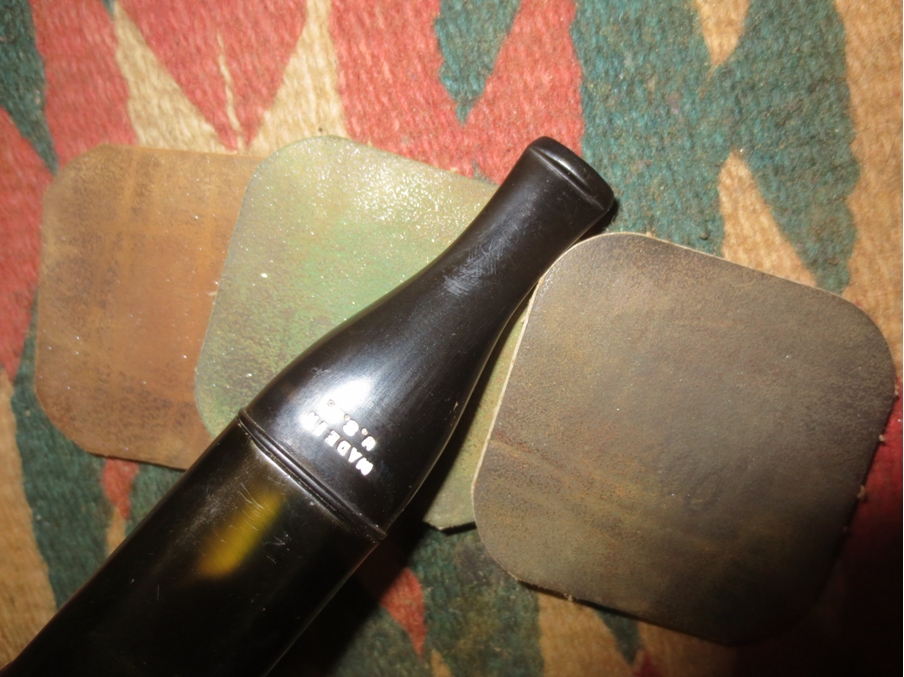
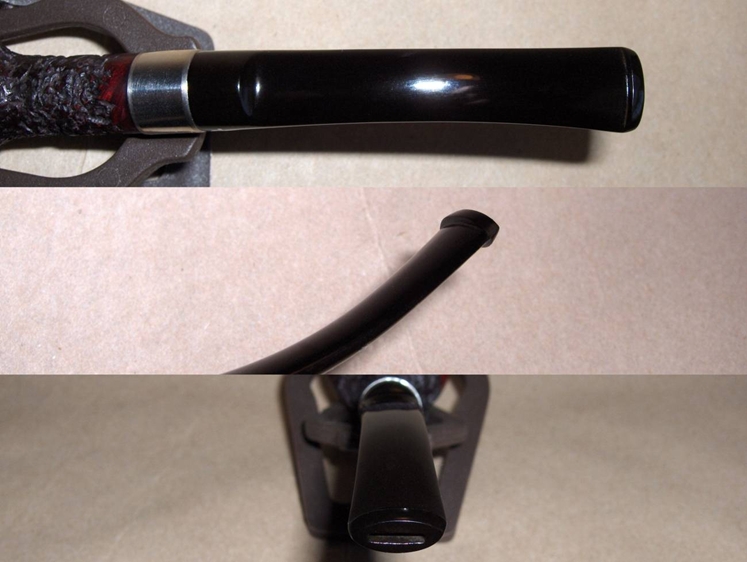
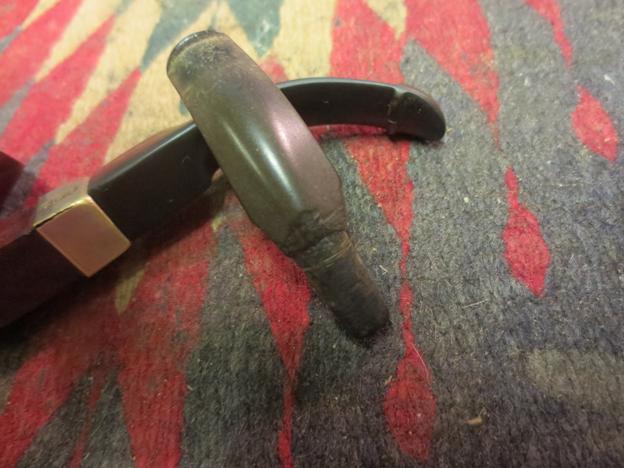
 The next two photos show the newly bent stem and give an idea of how it will look with the pipe once it is finished.
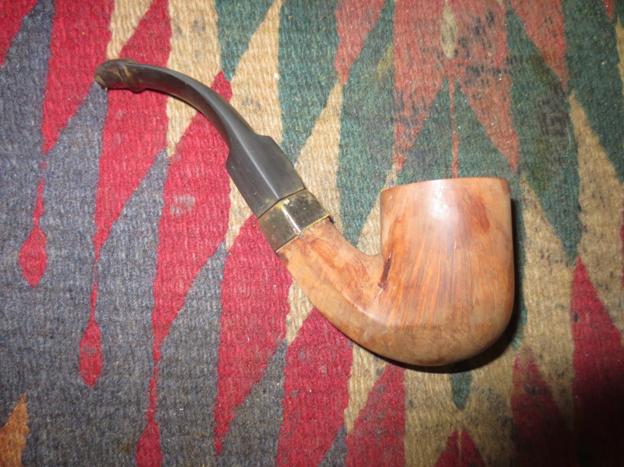
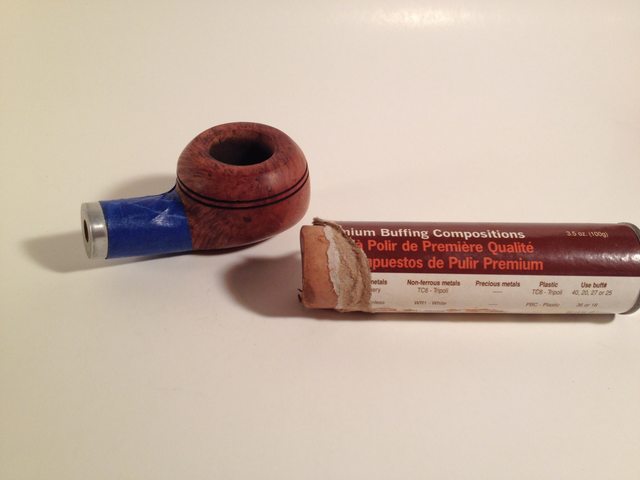
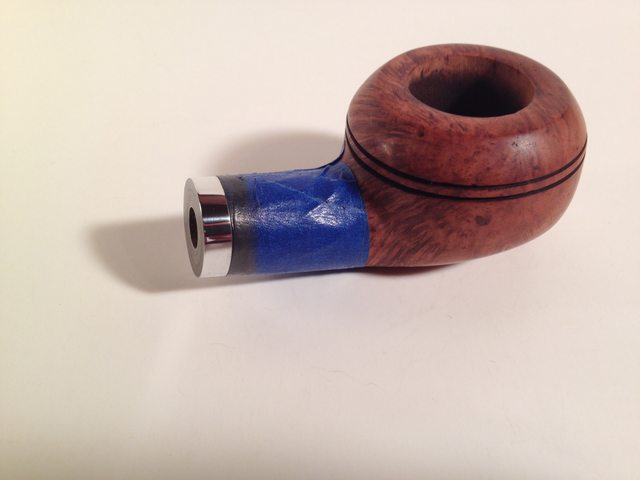
 With the easiest part of fitting a stem completed I went on to do the laborious and tedious part of sanding and more sanding to get the fit just right. To do this without rounding the edges of the stem at the shank stem junction I use a plastic washer placed between the two areas. I sanded the stem with 220 grit sandpaper to smooth out the transition and make the angles square (or at least as square as possible on these old pipes where every side has a different angle and width).
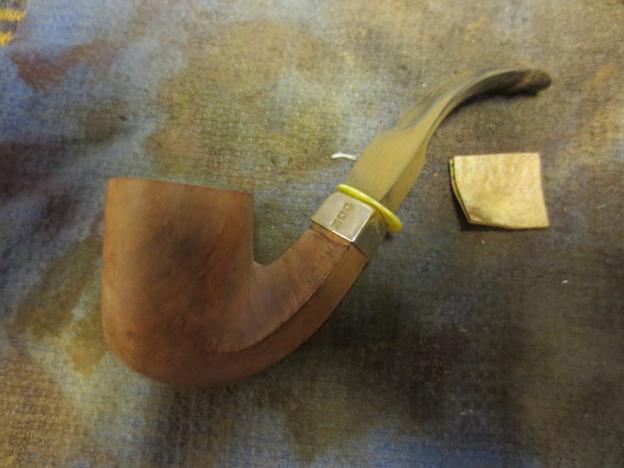 When I had the fit of the stem correct it was time to polish it. I wet sanded with 1500-2400 grit micromesh sanding pads and rubbed the stem down with Obsidian Oil.
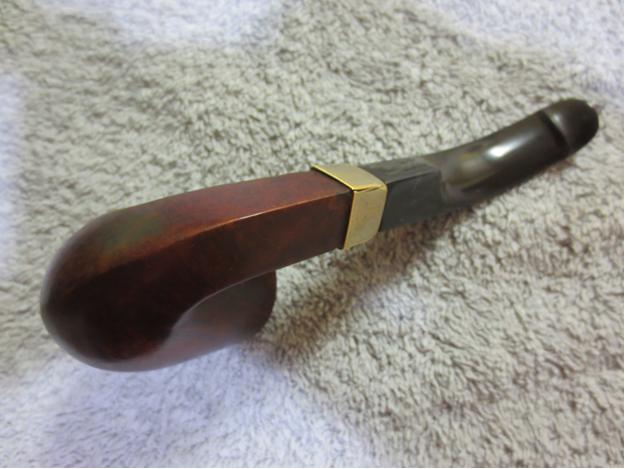
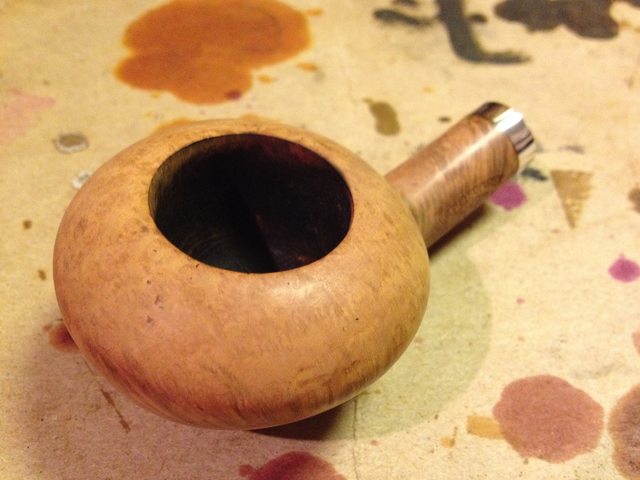
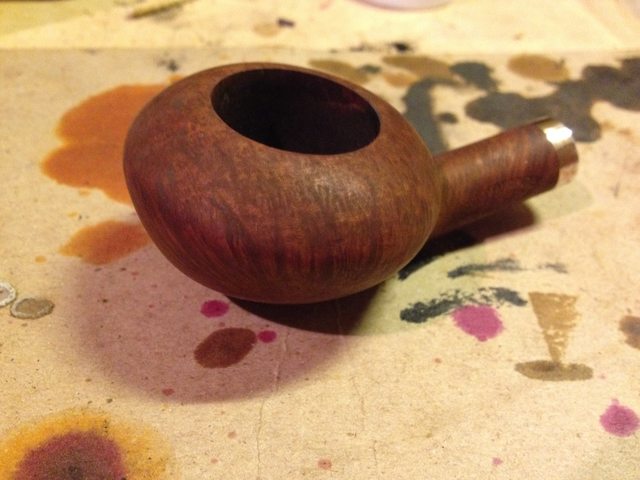
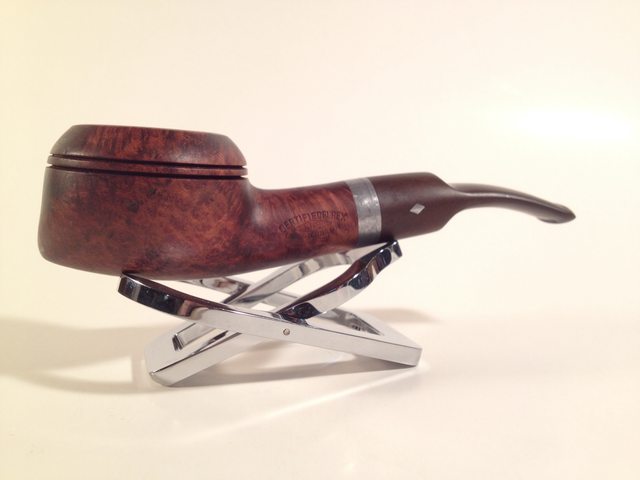
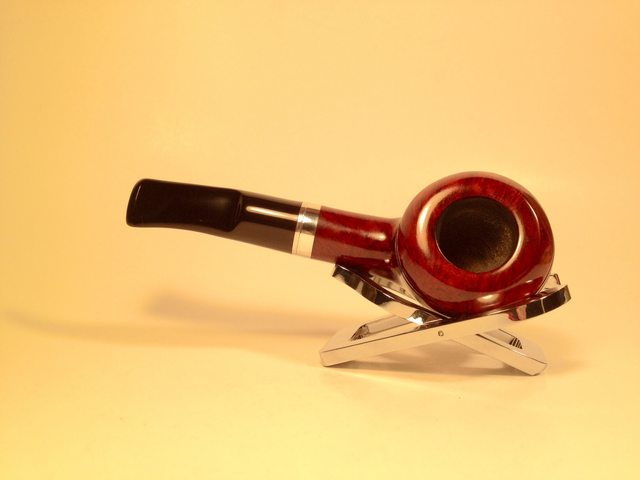
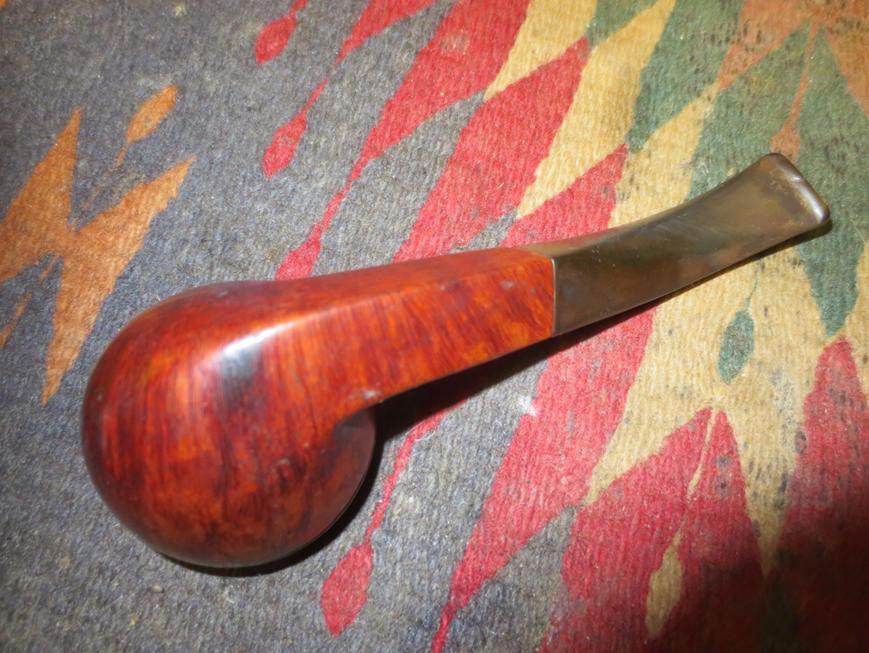
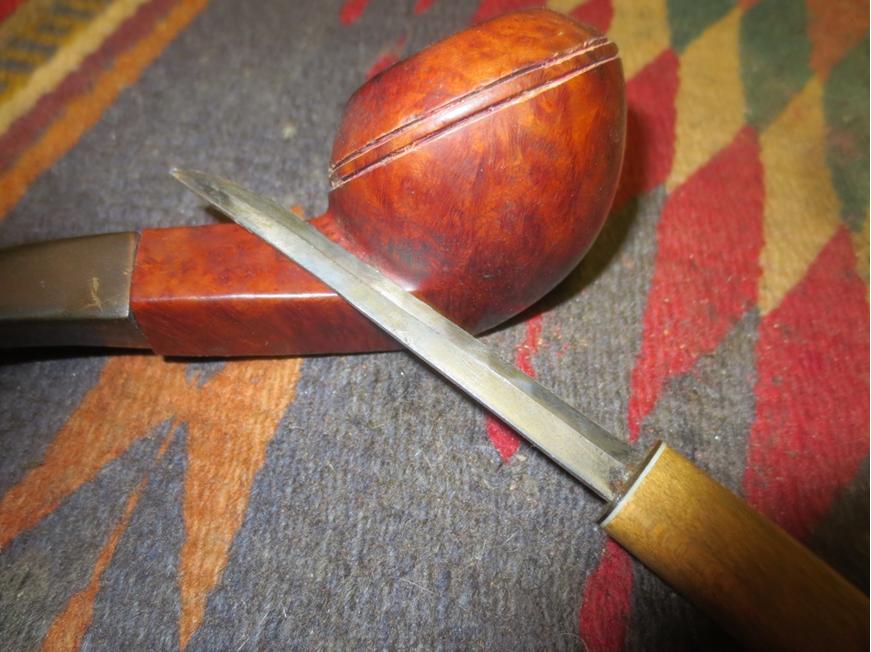
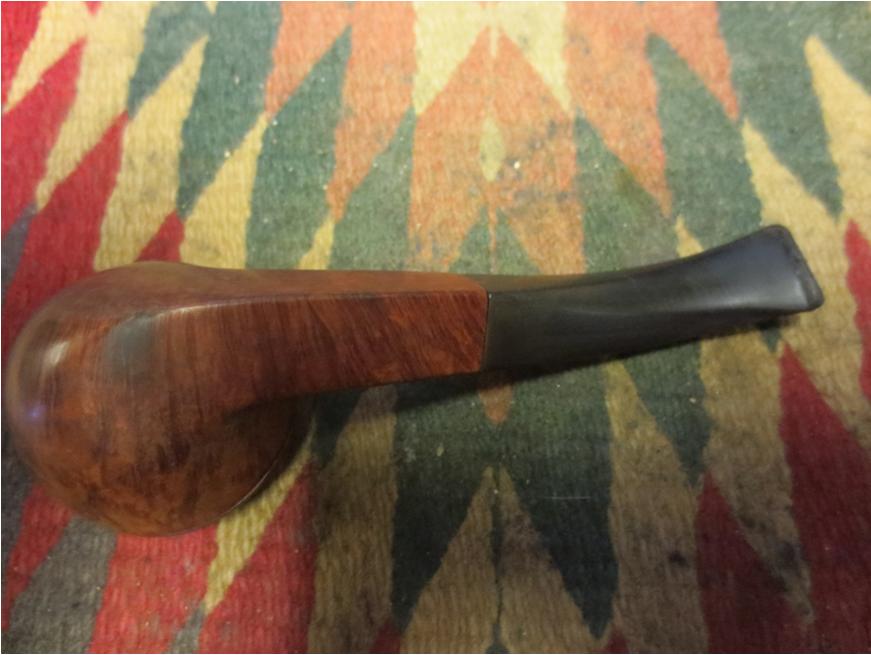
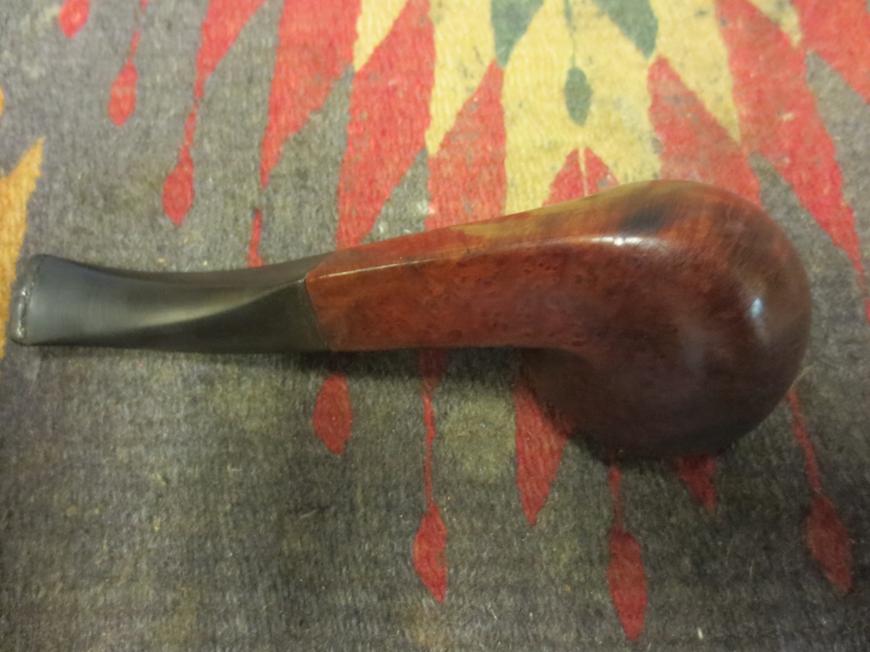
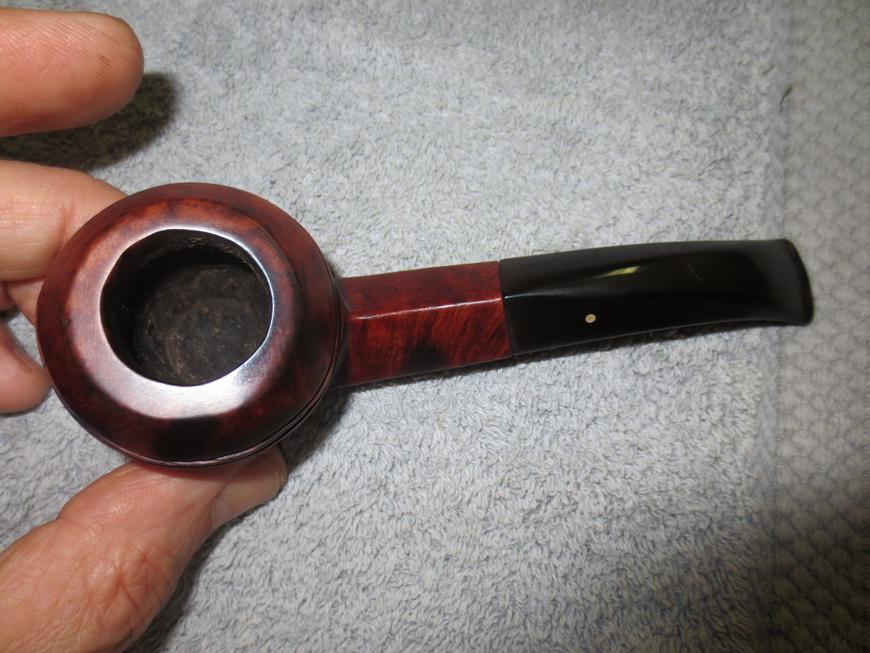
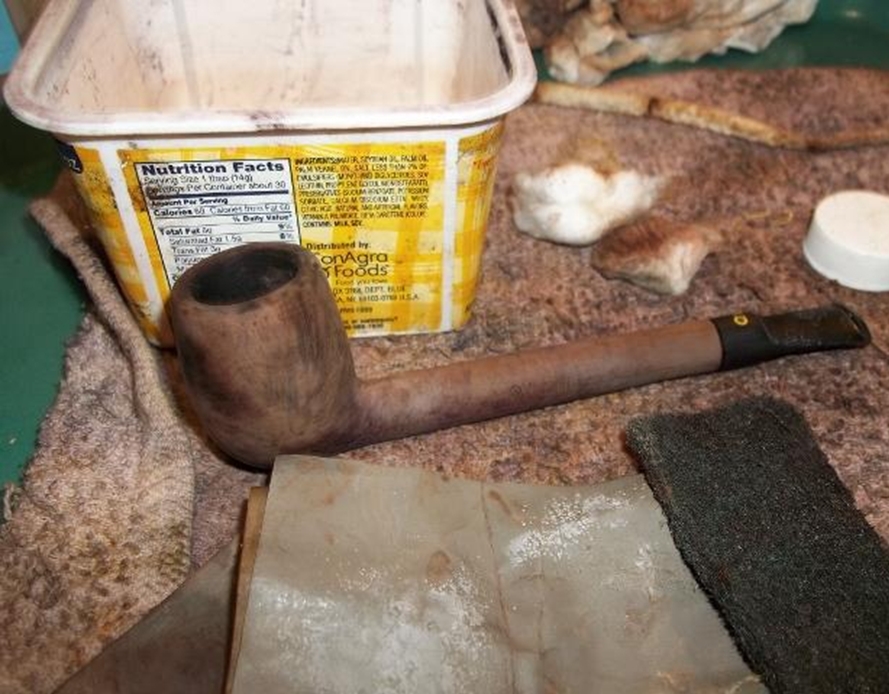
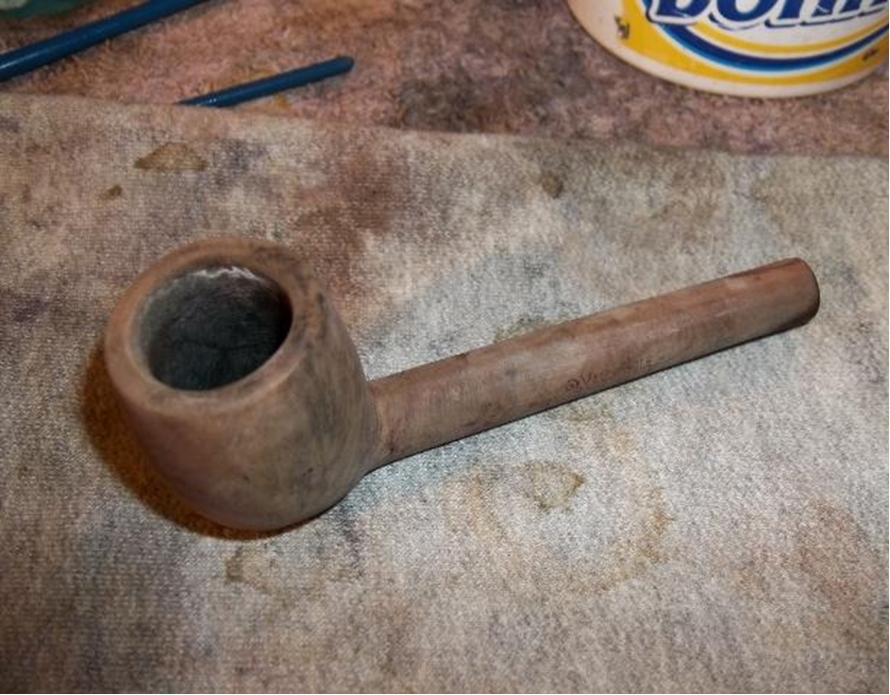
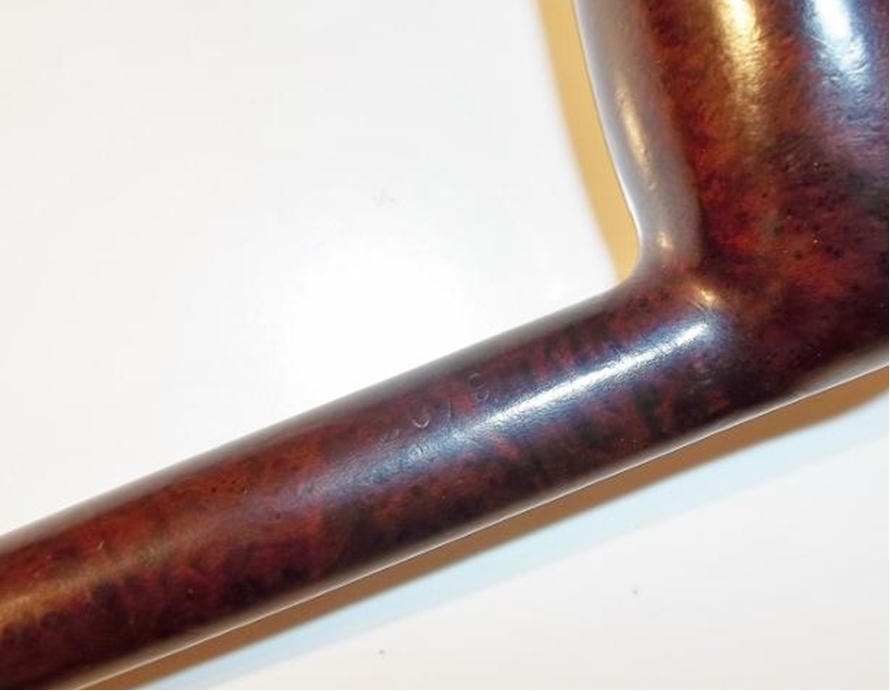
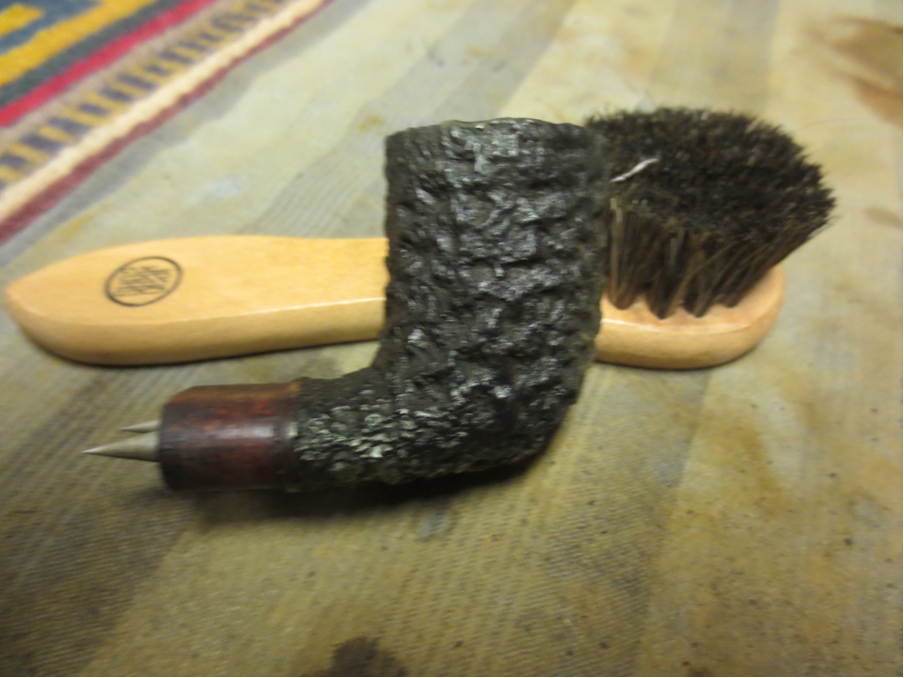
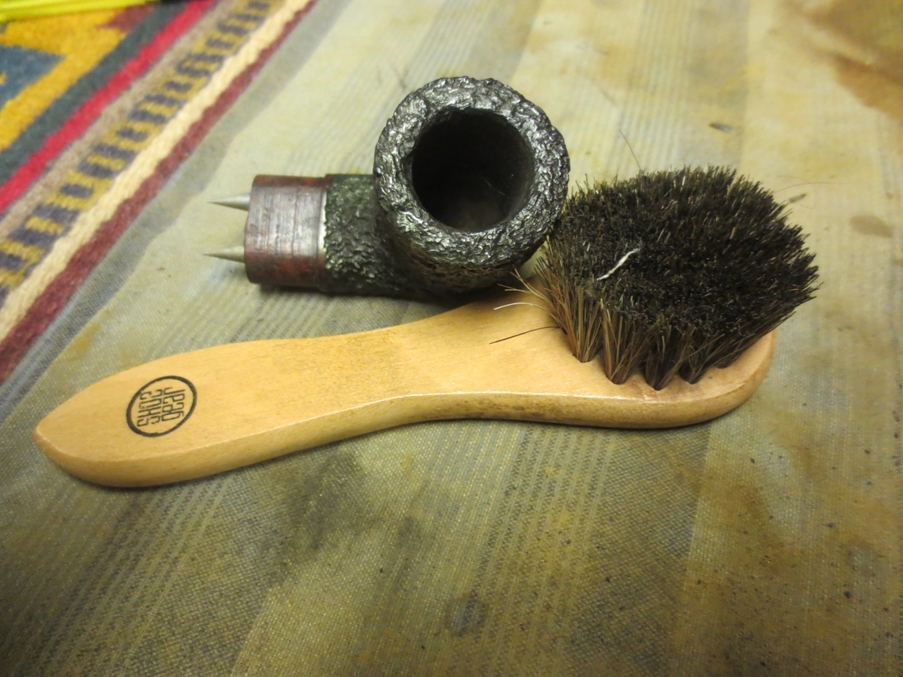
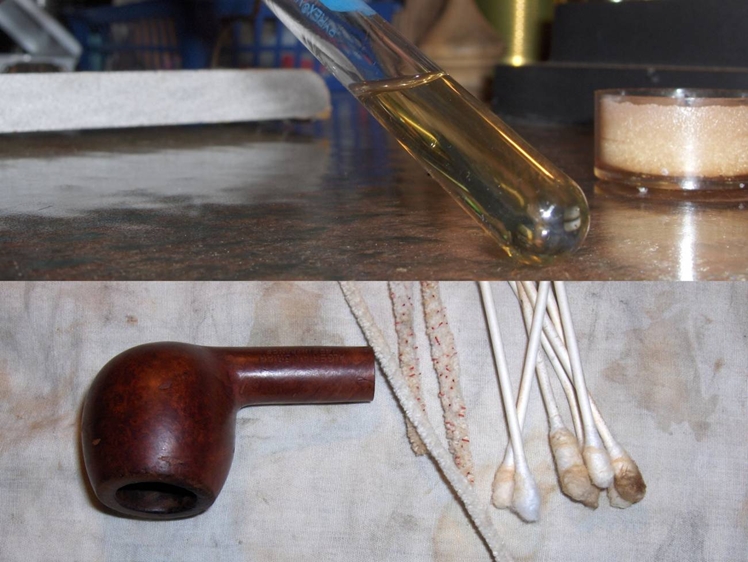
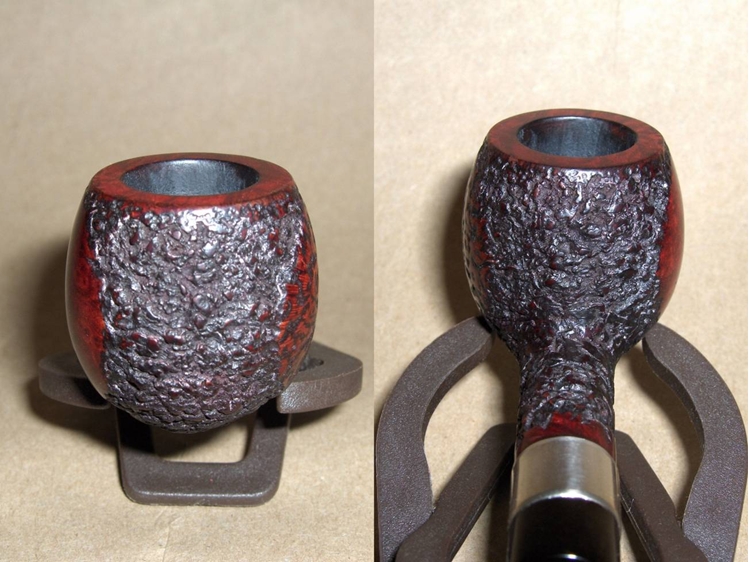
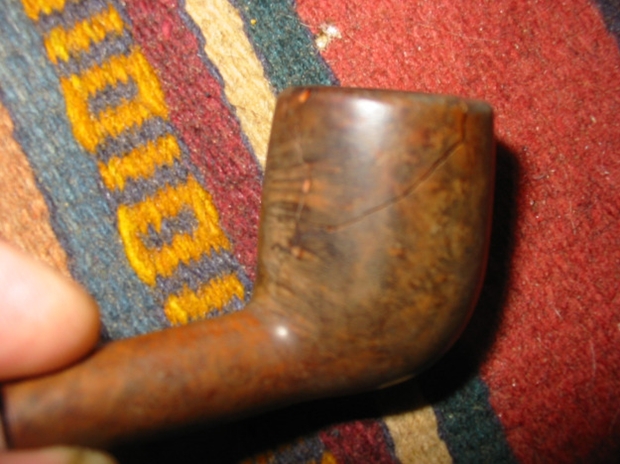
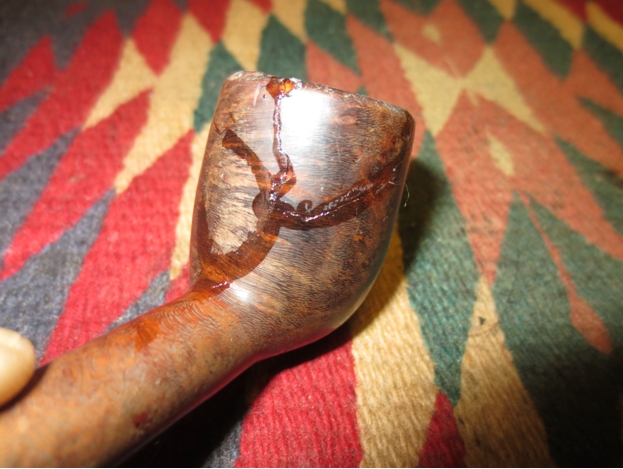
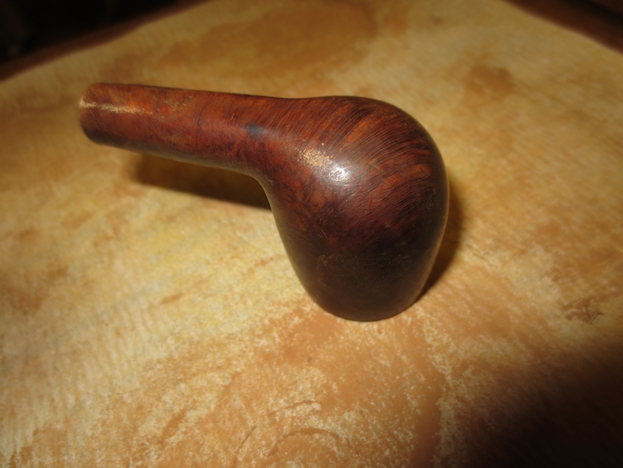
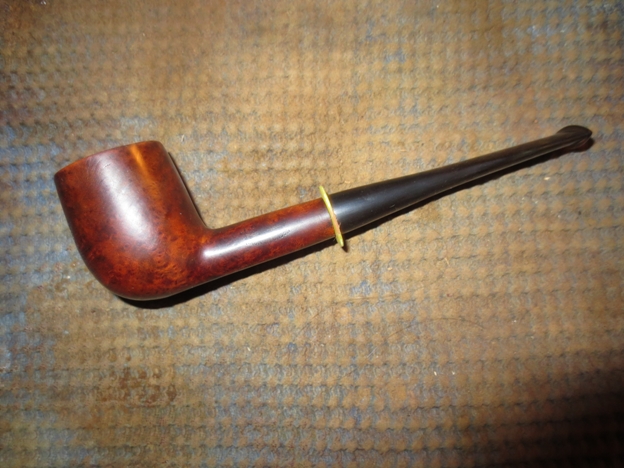
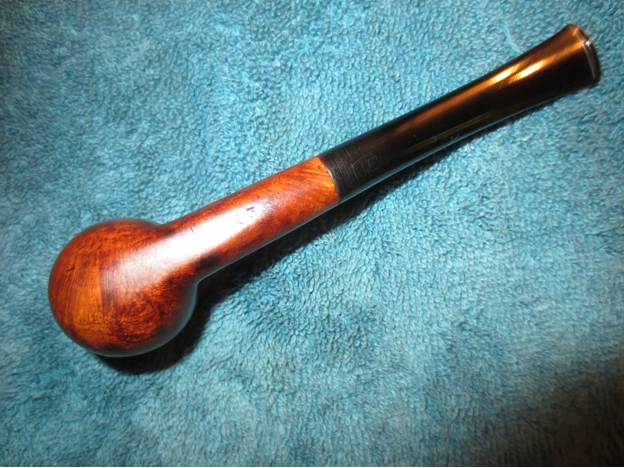
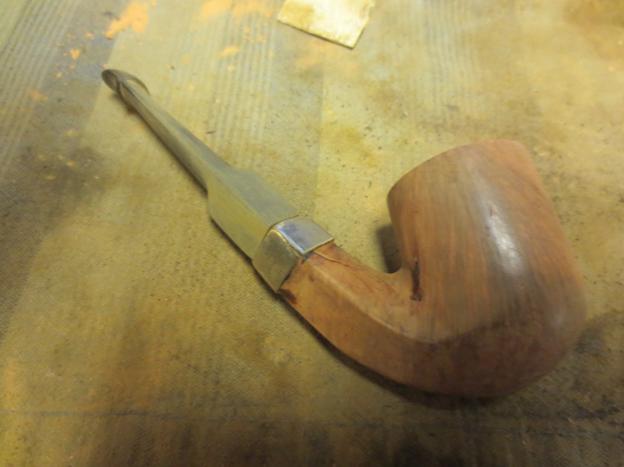
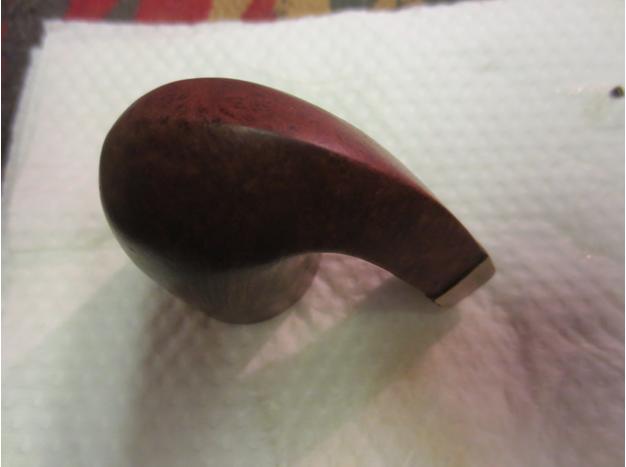
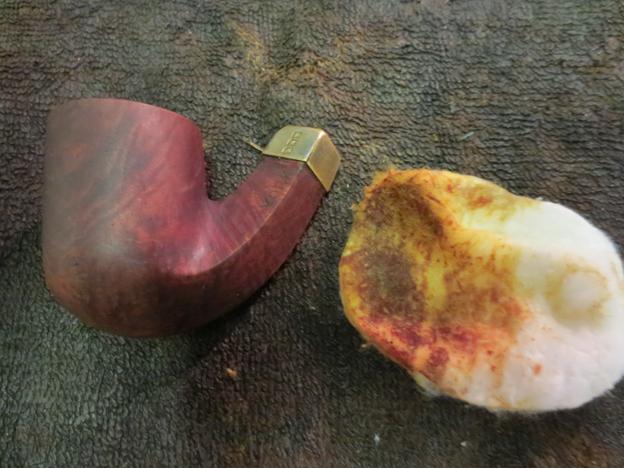
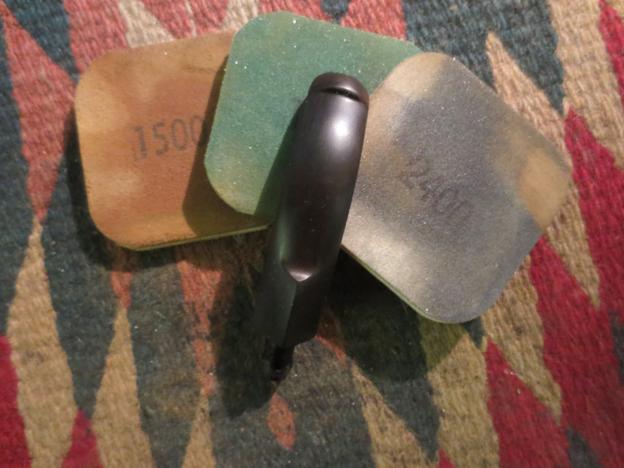 I needed a break from the stem work so I turned my attention to the bowl. I rubbed it down with a light coat of olive oil to highlight the grain. I took a few photos to show what it looked like at this point. It is certainly looking far different than it did when I started working on it. There is a deep richness in the red tones of the briar.
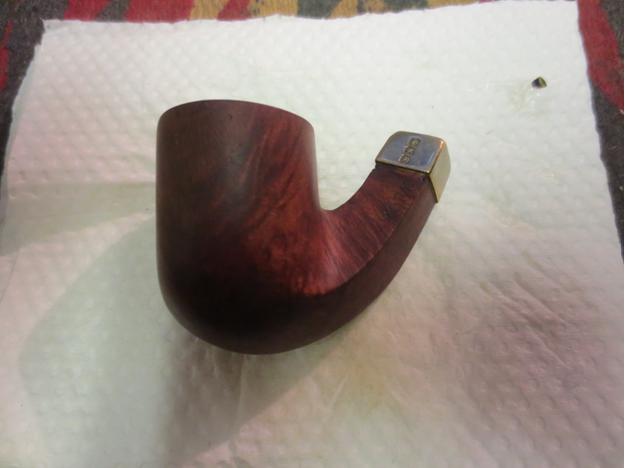

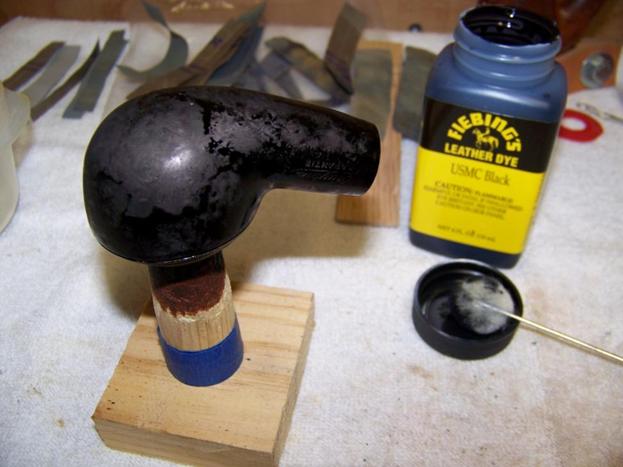
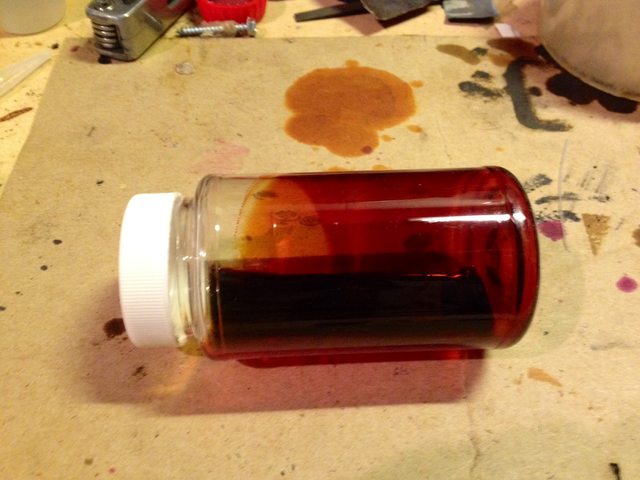
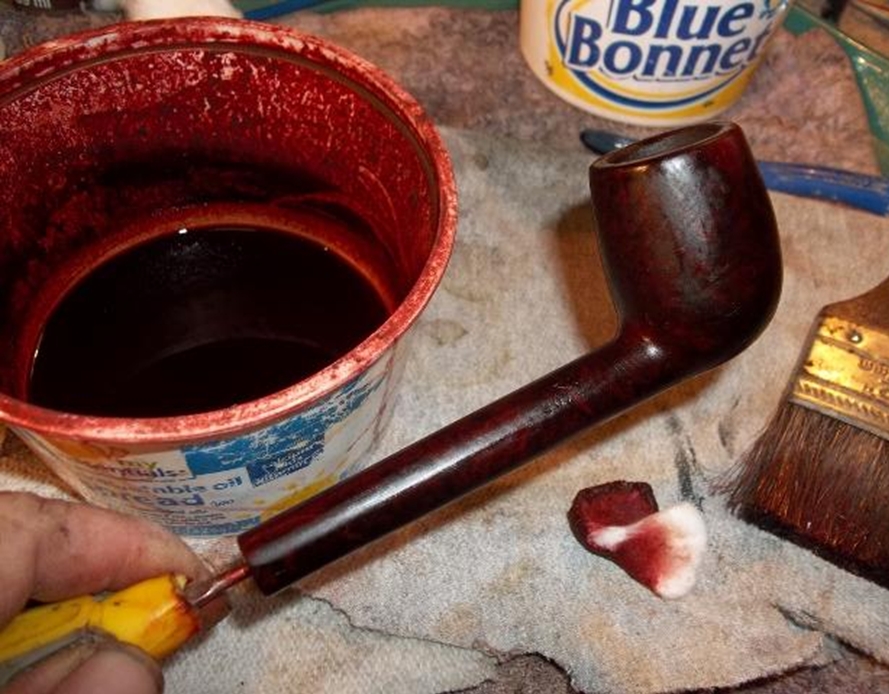
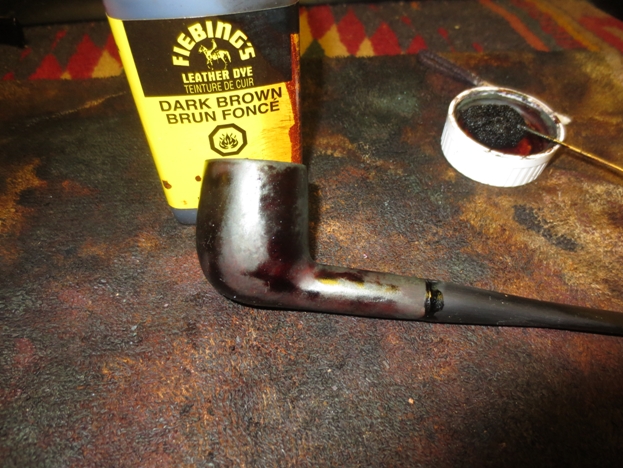
 I decided to highlight those tones with a dark brown aniline stain thinned by 50% with some isopropyl alcohol. I applied it and flamed it to set it in the grain.
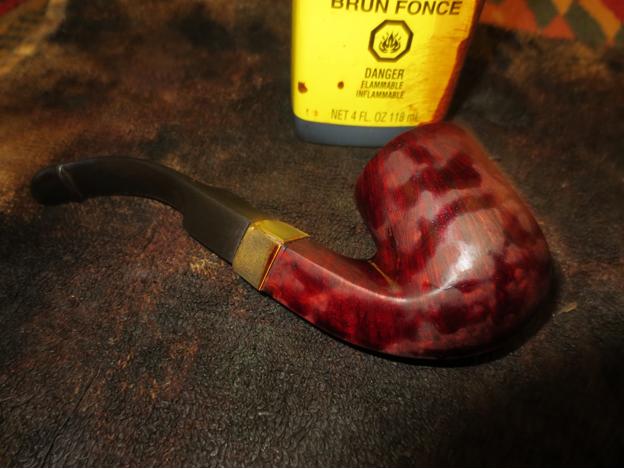 I hand buffed it with a cotton cloth to get an idea of the coverage. It was still too dark to my liking so I would need to address that.
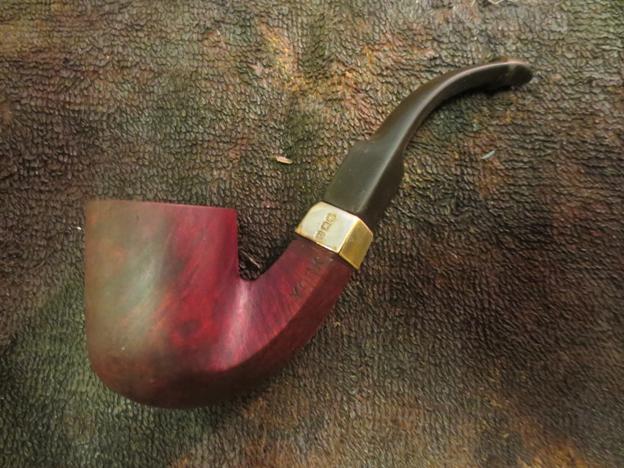
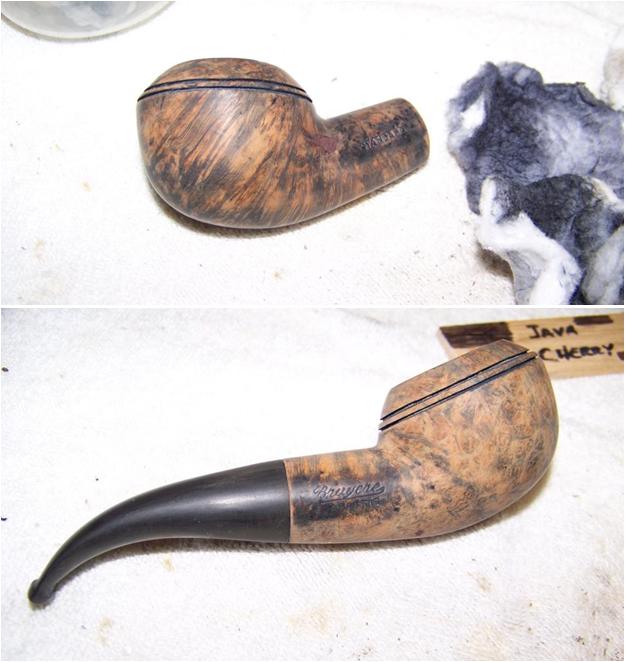
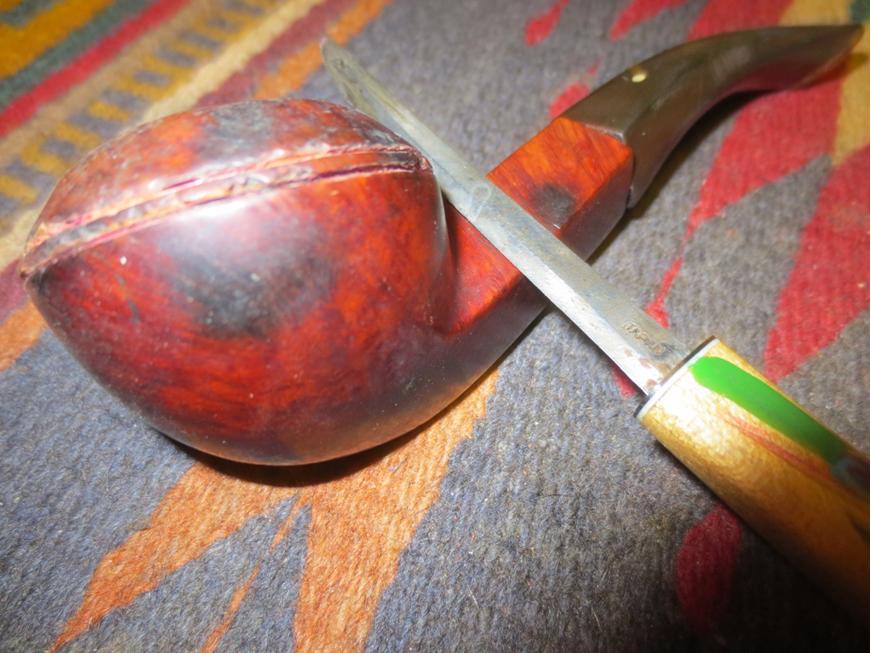
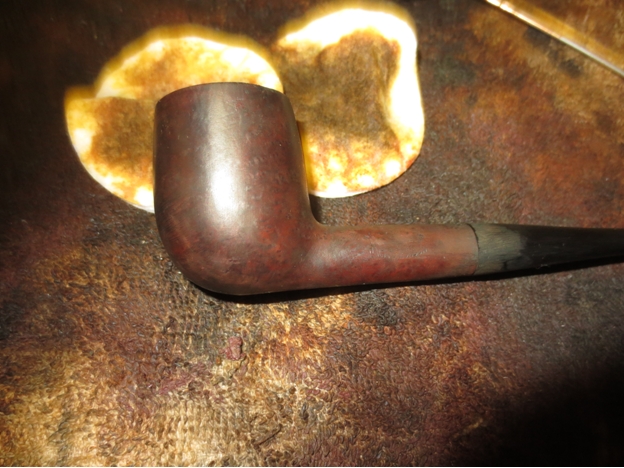
 I wiped the bowl down with some acetone on a cotton pad to remove some of the stain and make the grain show through better.
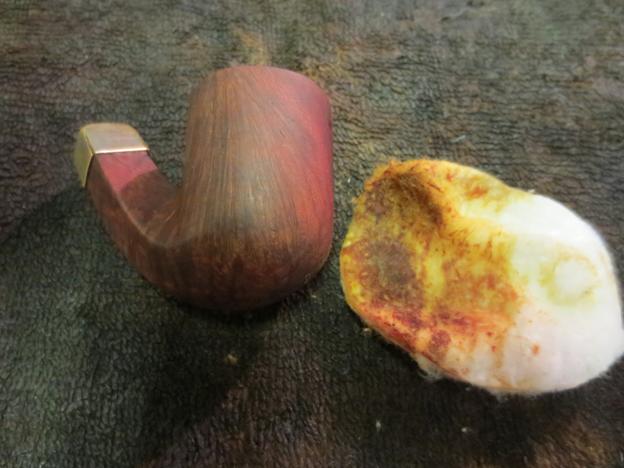
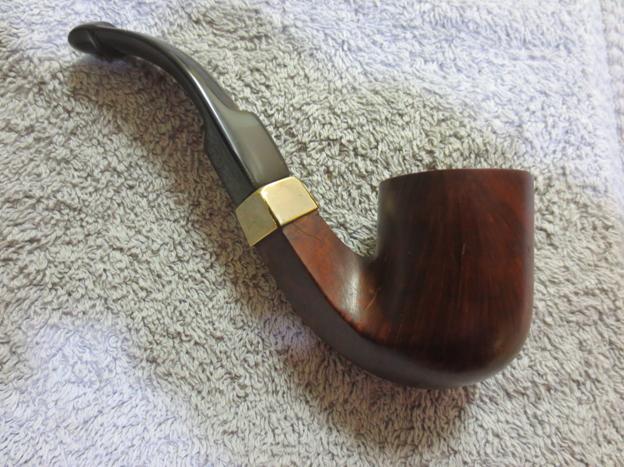
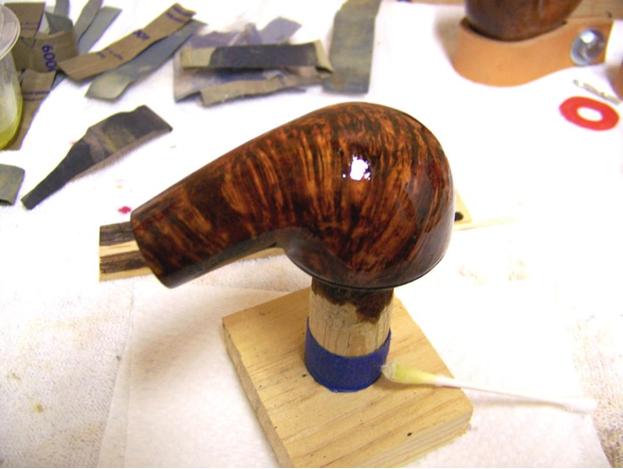
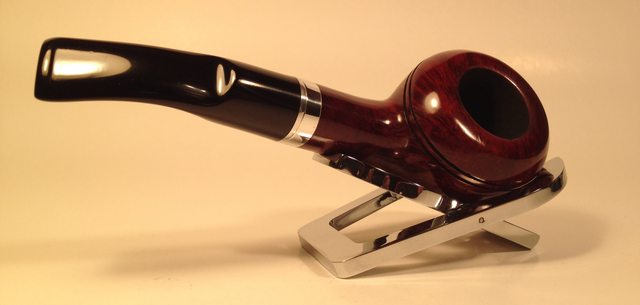
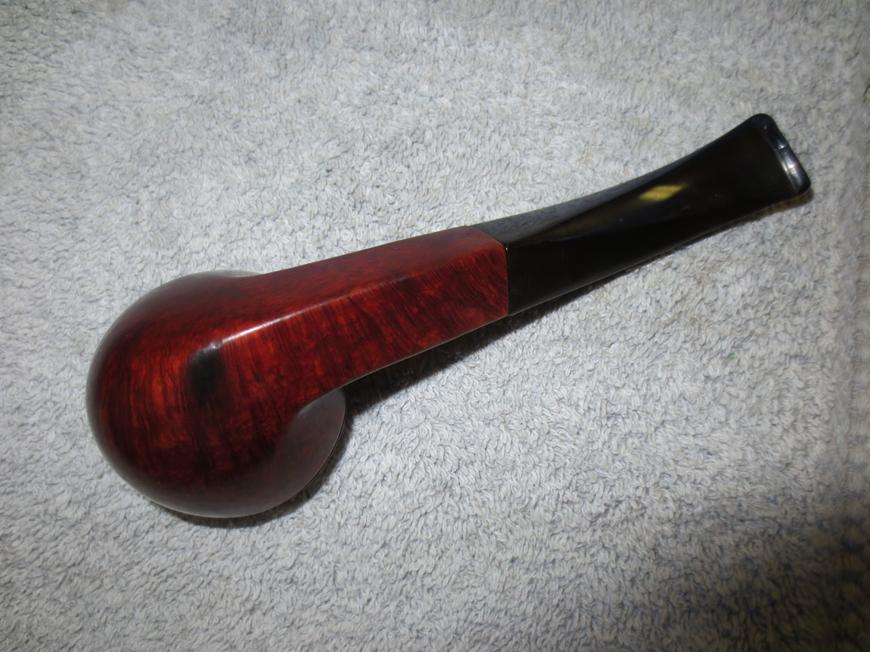
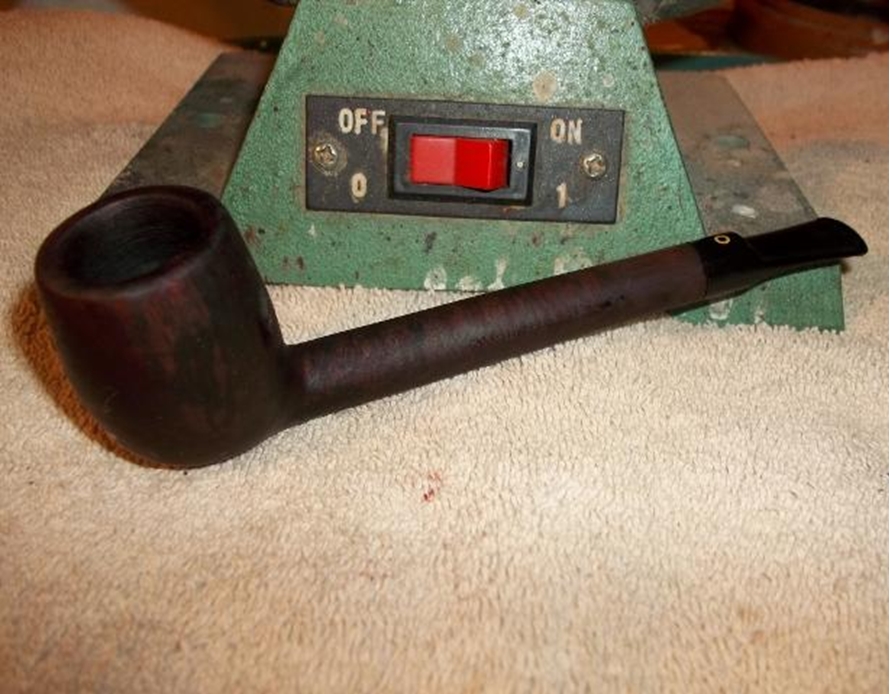
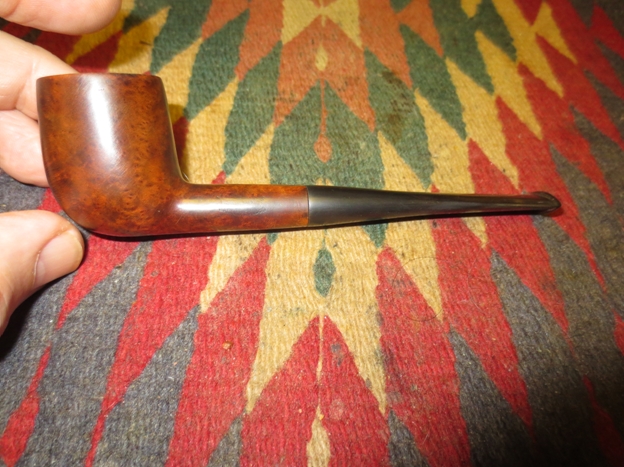
 I buffed the bowl with White Diamond and then gave it the first of many coats of carnauba. I don’t know about you but by this point in a long refurbishment I get a bit anxious to see what I have accomplished. It always seems that it is going to go on forever so I rewarded myself by putting the stem in place and taking a few photos to see what I had achieved.
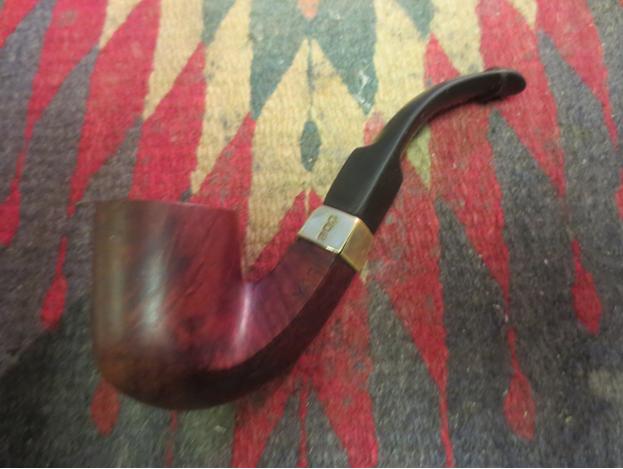
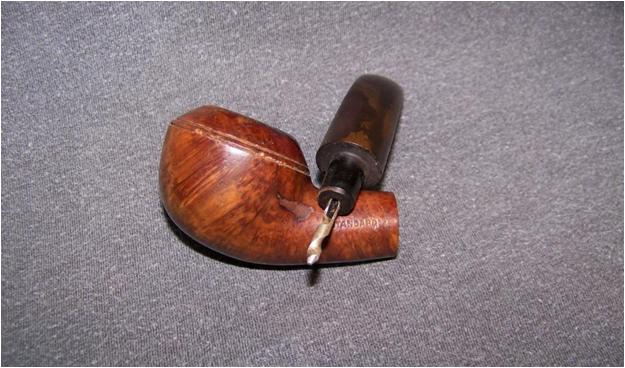
 For comparison purposes I took the next two photos of the pipe with the old stem next to the new one. You can see how badly hacked the vulcanite was from the previous owners salvage work on his broken pipe. The pipe is beginning to look like a very different pipe than when I started. That always encourages me!
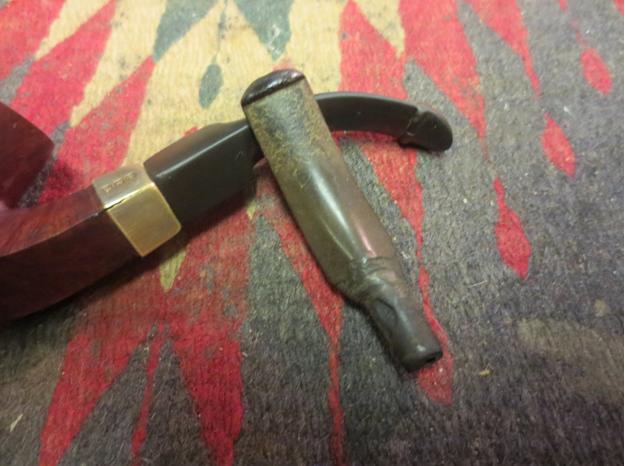
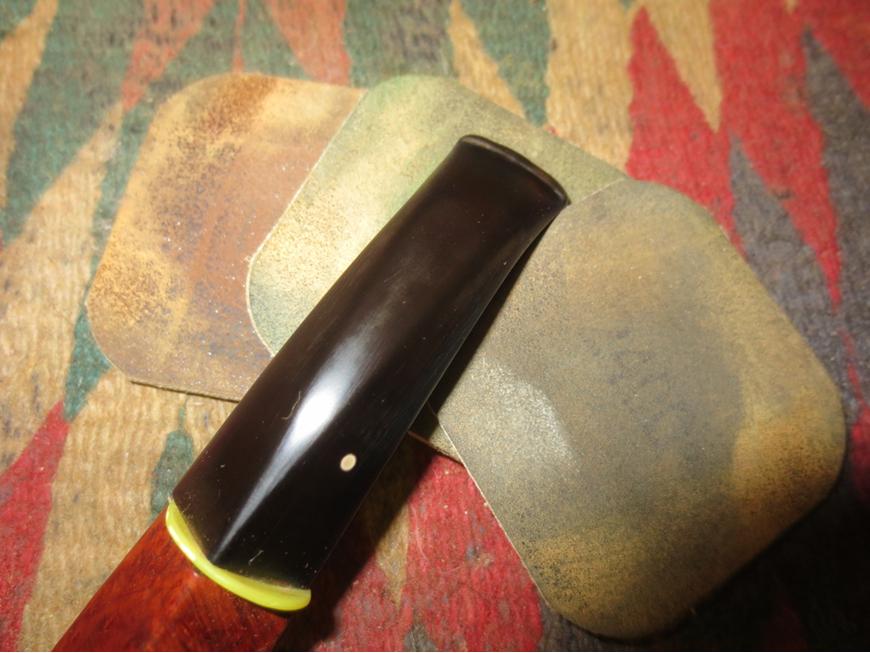
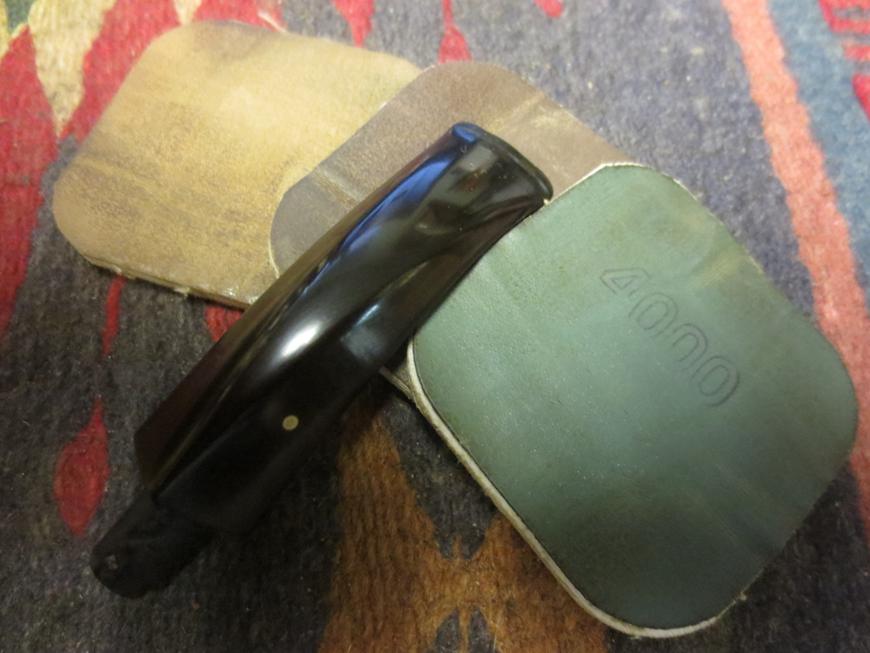
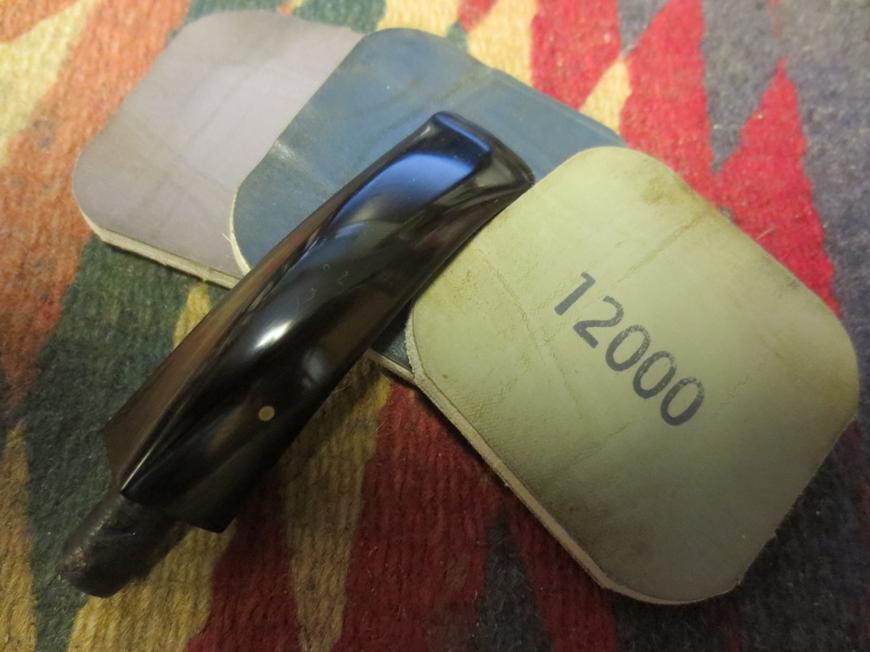
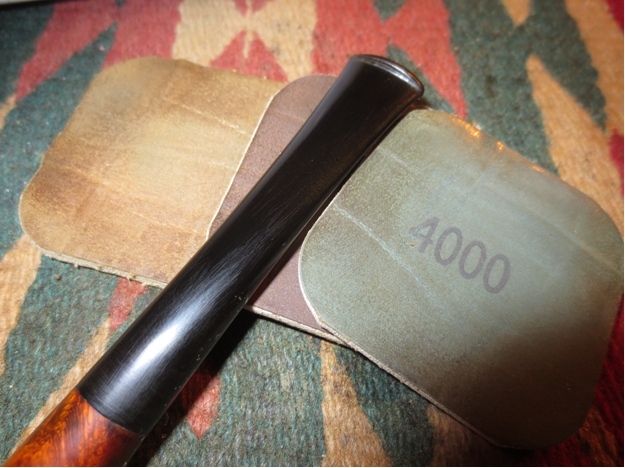
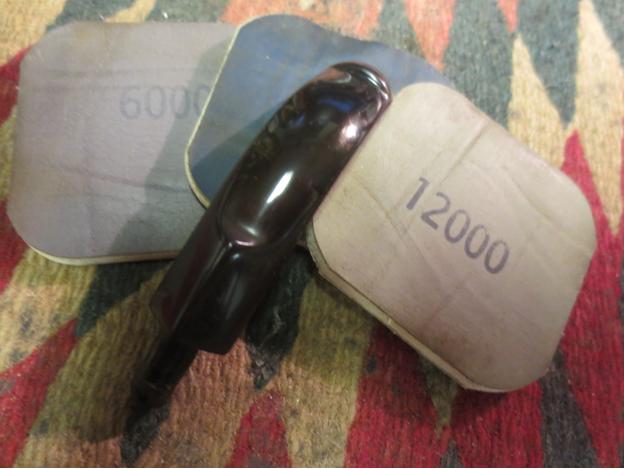
 Now it was time to finish up with this long project and get the stem done. I dry sanded it with 3200-4000 grit micromesh sanding pads and then rubbed it down with Obsidian Oil once again. I then dry sanded it with 6000-12000 grit pads and gave it a final coat of oil and let it soak into the vulcanite.
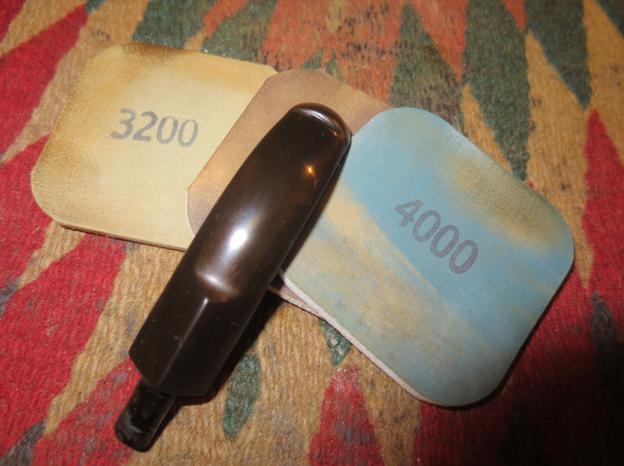
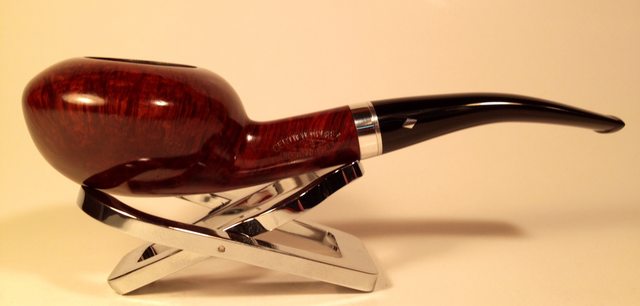
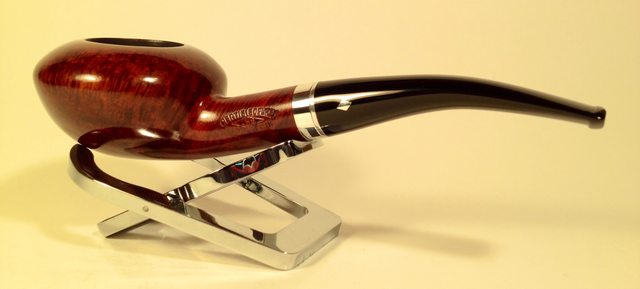
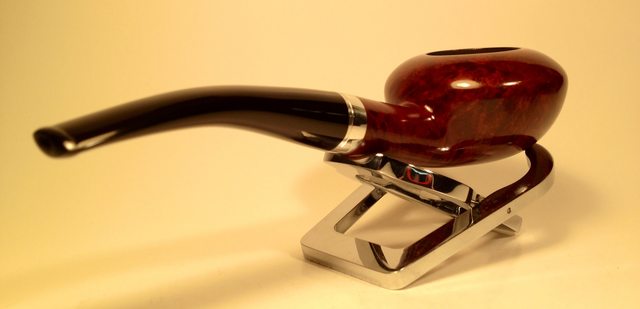
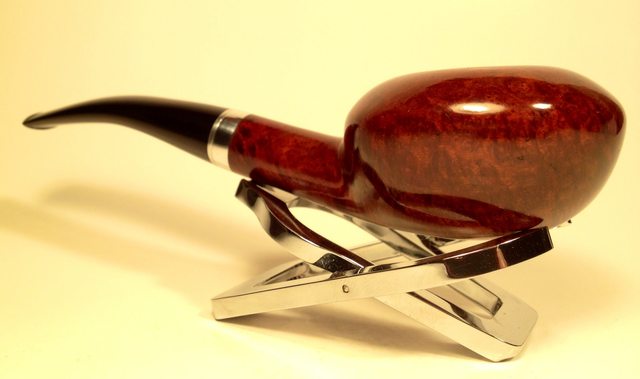
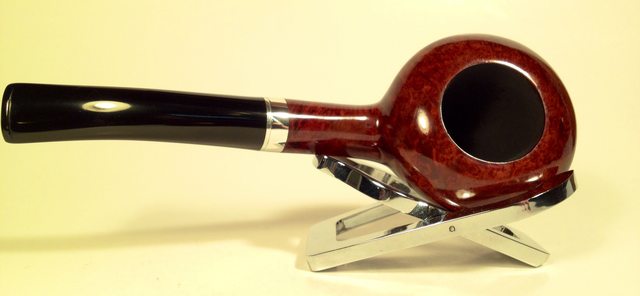
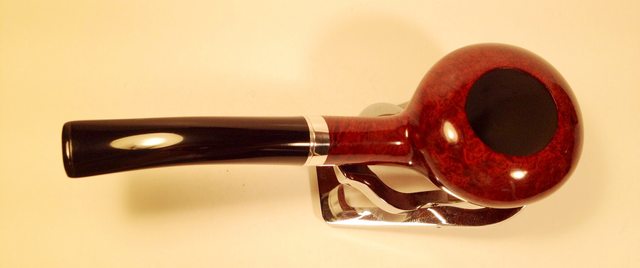
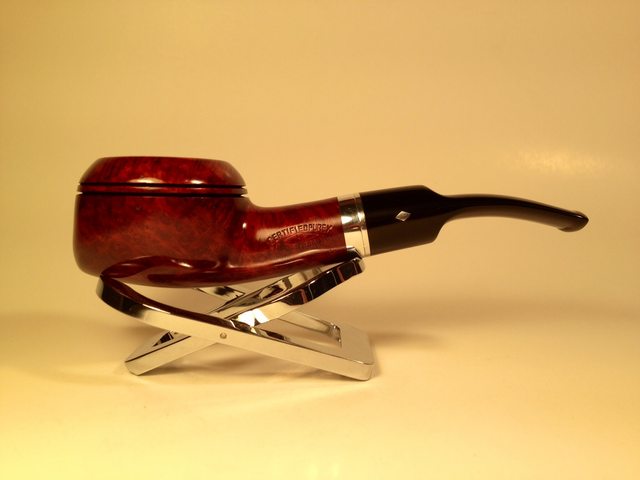
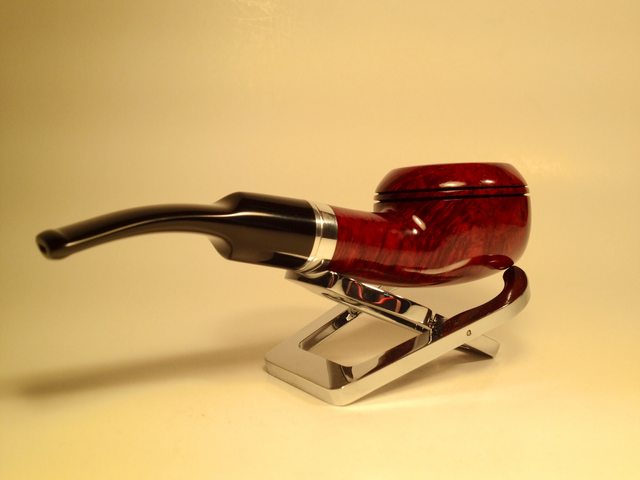
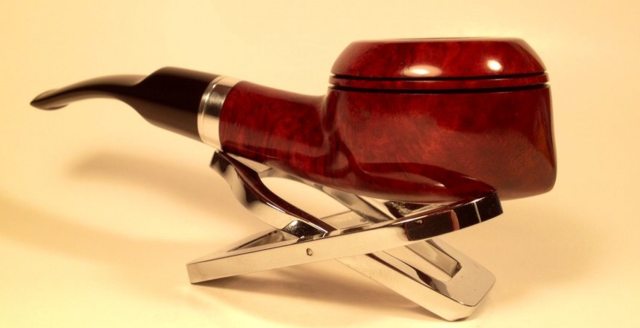
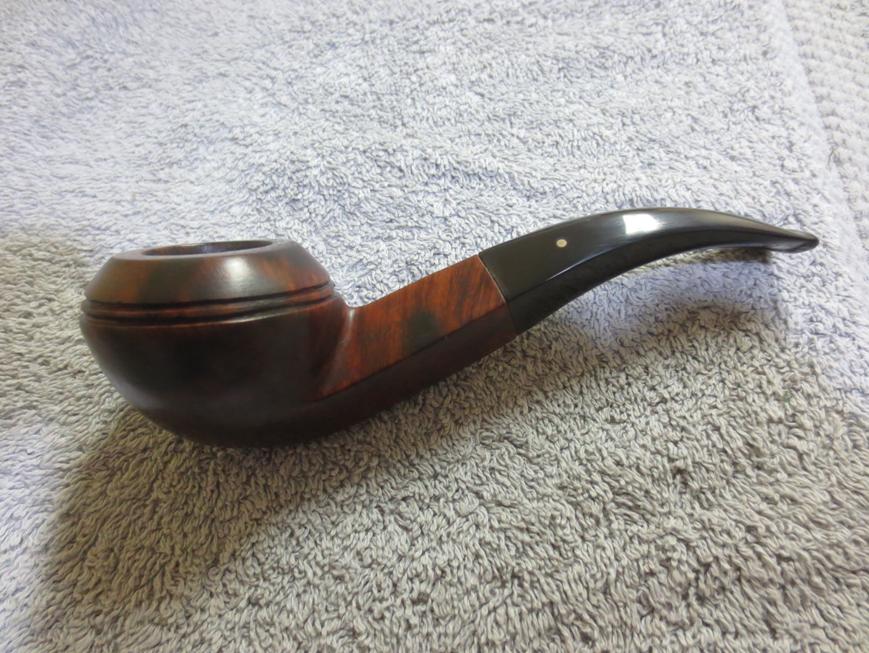
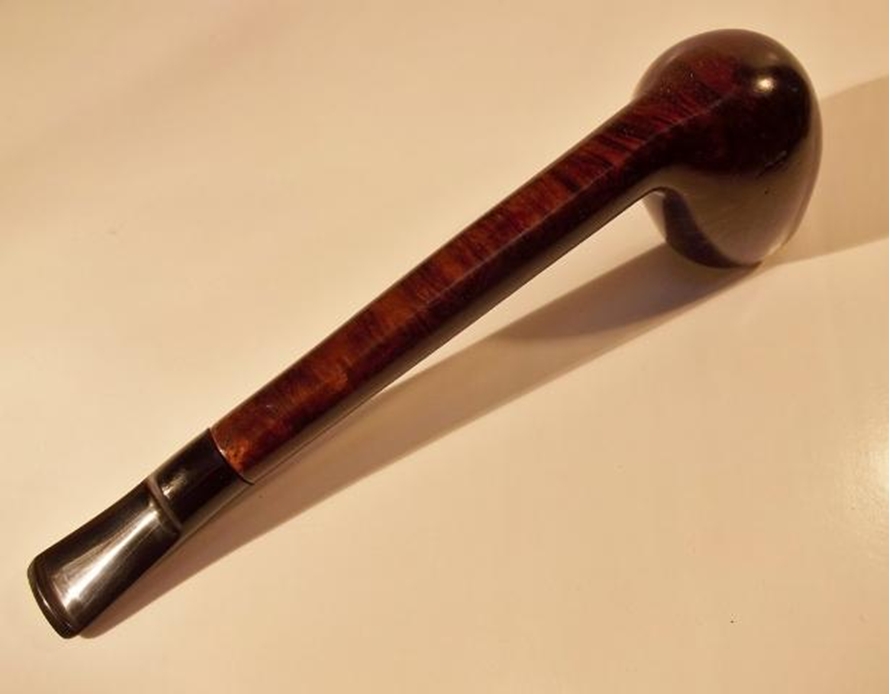
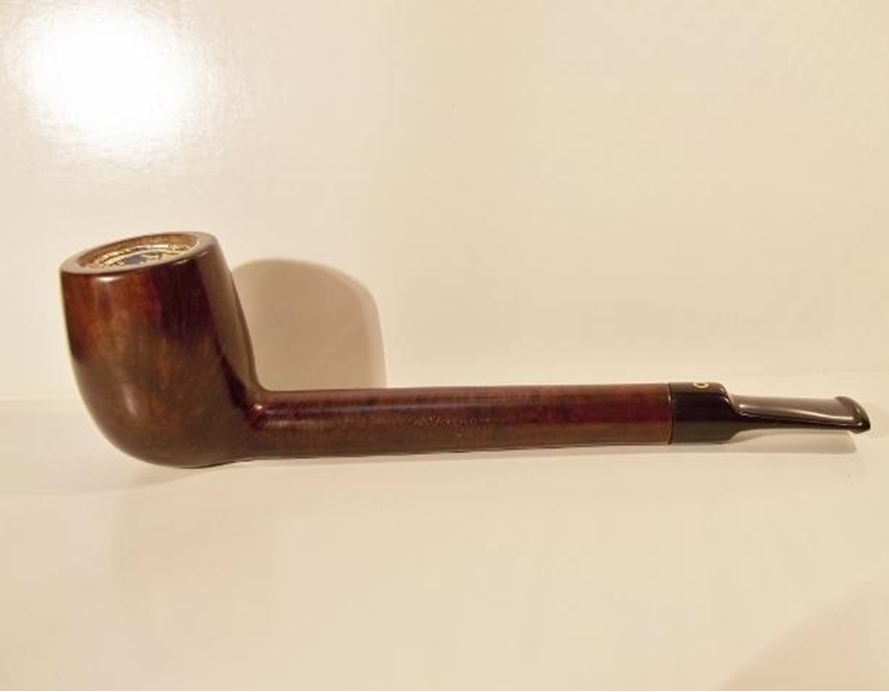
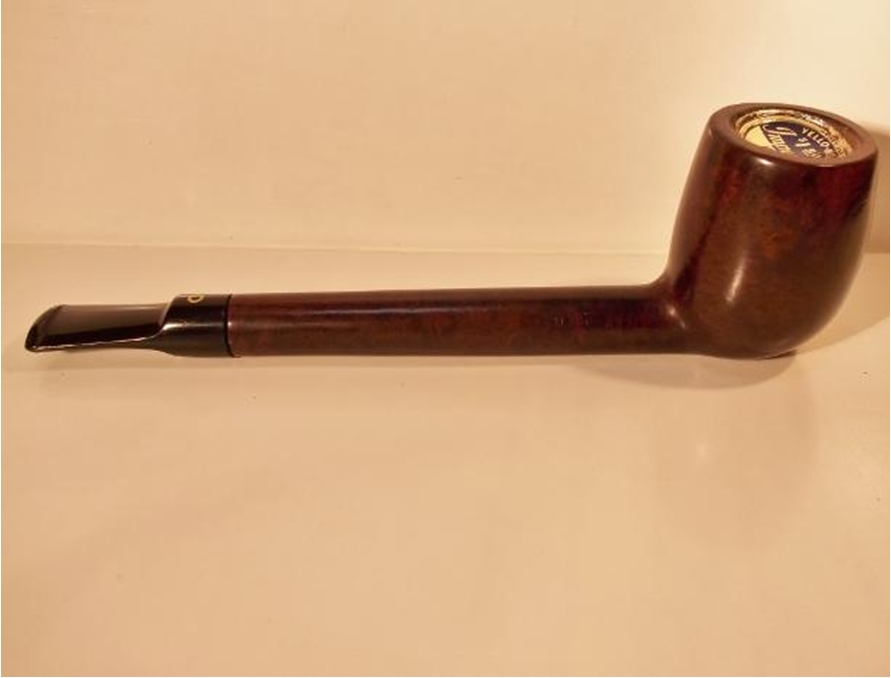
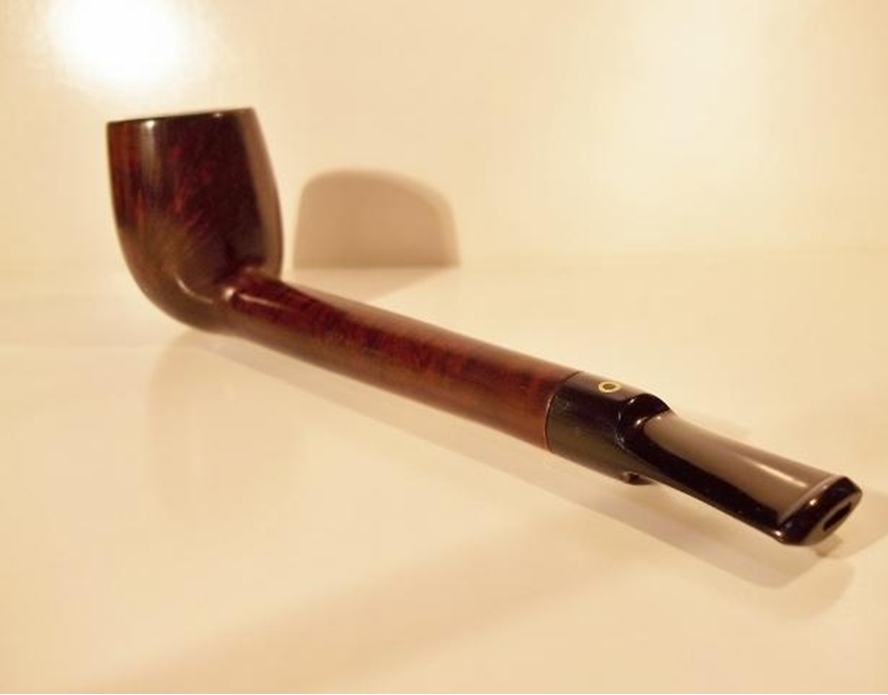
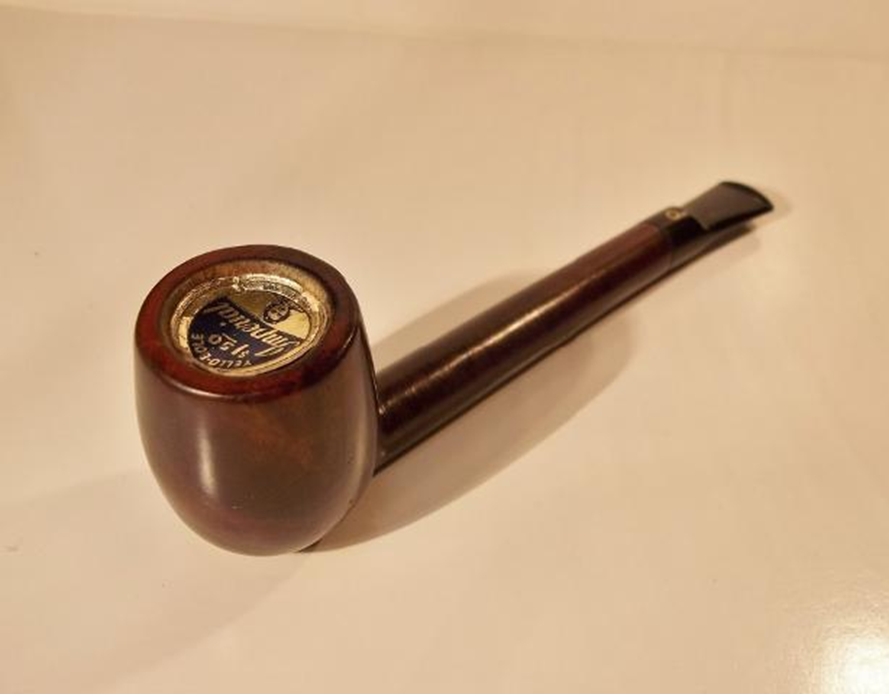
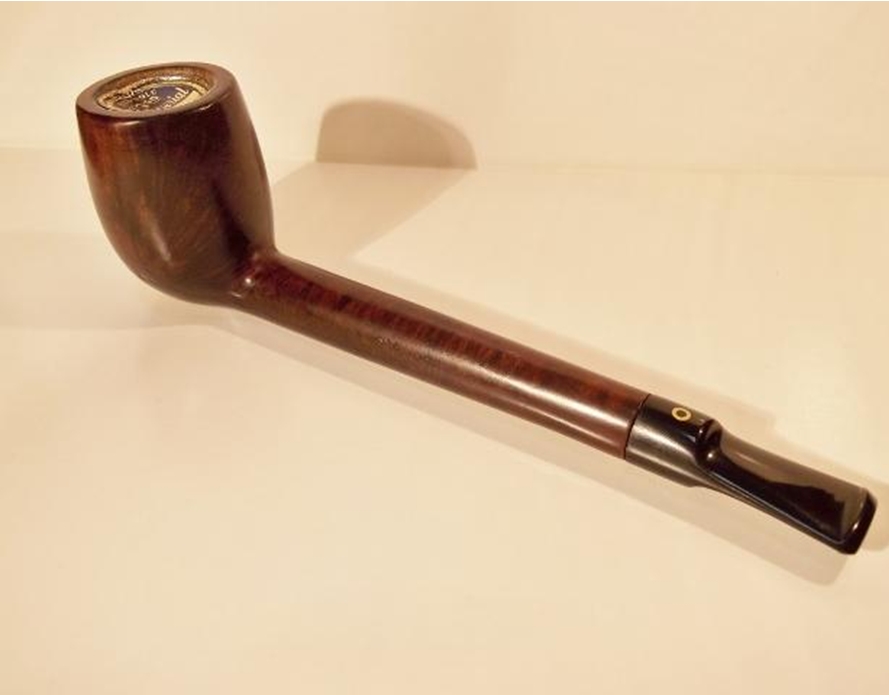
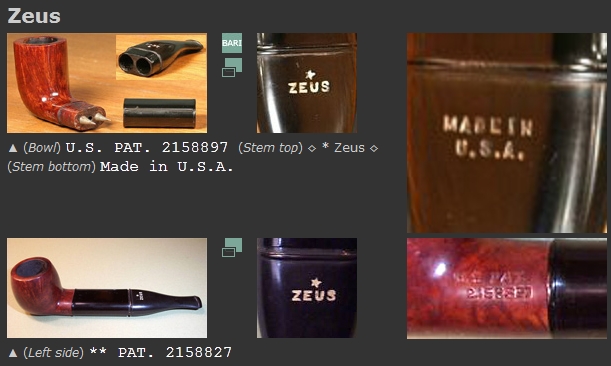
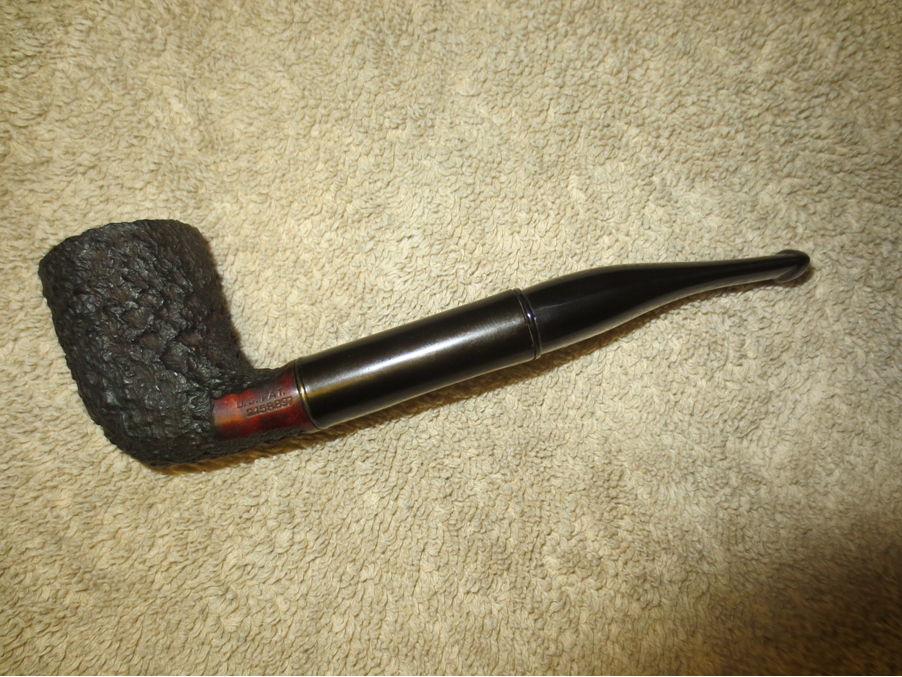
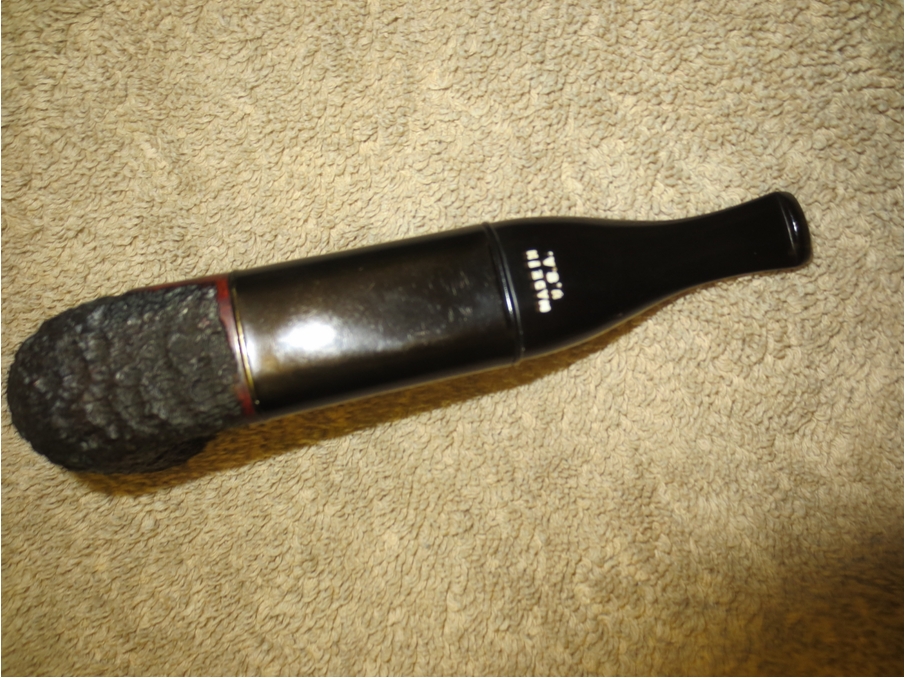
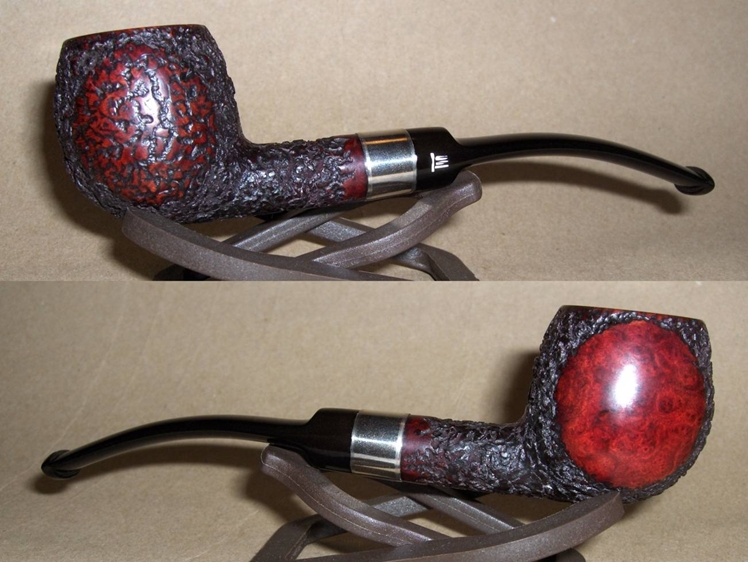
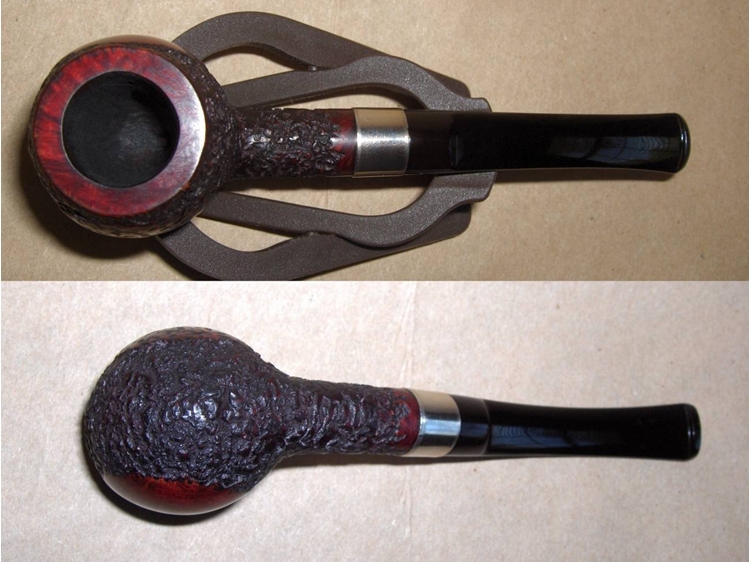
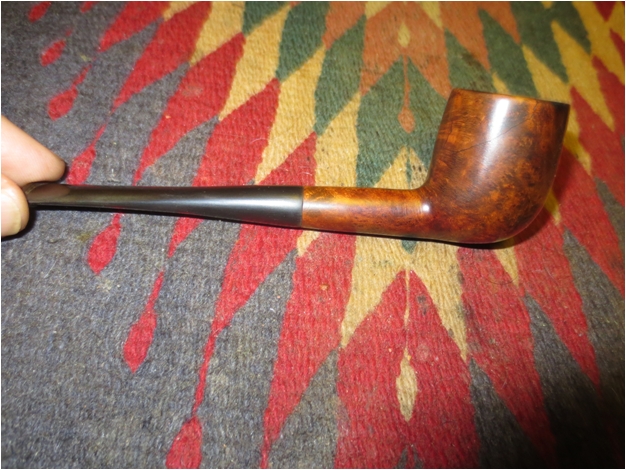
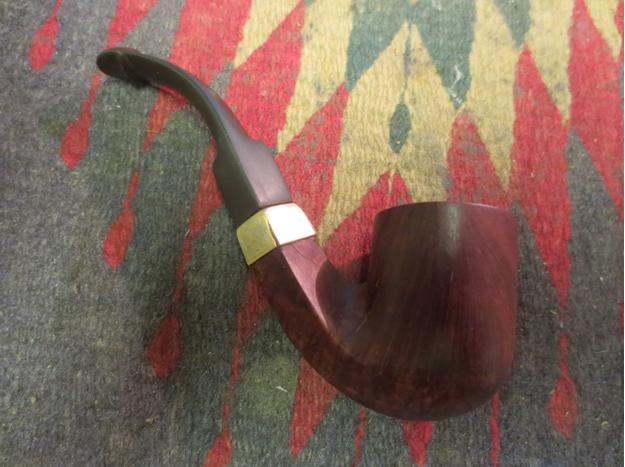
 I buffed the stem and bowl with Blue Diamond and then gave them both multiple coats of carnauba wax. I buffed them with a clean soft flannel buff to raise the shine and then hand buffed the pipe with a microfibre cloth to finish. The completed pipe is shown below. It has come a long way from the pipe I started on this morning. I had a quiet day at home and between reading and napping finished the work on this old timer. From what I can find out in my research and from Who Made That Pipe, the pipe may well be from the old KBB pipe works. Thanks for looking.