Blog by Pam Otto
It is with pleasure that I introduce to you all the work of one of our readers, Pam Otto. I think as you read this first blog of hers posted here that you will join me in hoping we have not heard the last of her. She has done work on this Parker that rivals what an early writer, Gan Barber did with a Peterson. (If you did not read it or don’t remember here is the link: https://rebornpipes.com/2012/10/03/all-the-kings-horses-and-all-the-kings-men-a-petersen-adventure-gan-barber/). Pam has done the work a masterful job of rebuilding this old pipe. Its finished beauty is amazing. Thank you Pam for being willing to post here. It is a privilege to have you here. Without further ado, here is her post. — rebornpipes
I discovered the hobby of pipe restoration about a year and a half ago and jumped in with both feet. I soon discovered Reborn Pipes and Steve, let me tell you, my life hasn’t been the same since. Thanks so much for the information, techniques and methods you share, and for this opportunity to contribute to your blog.
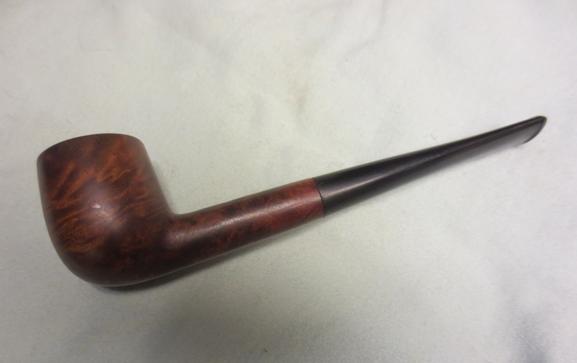
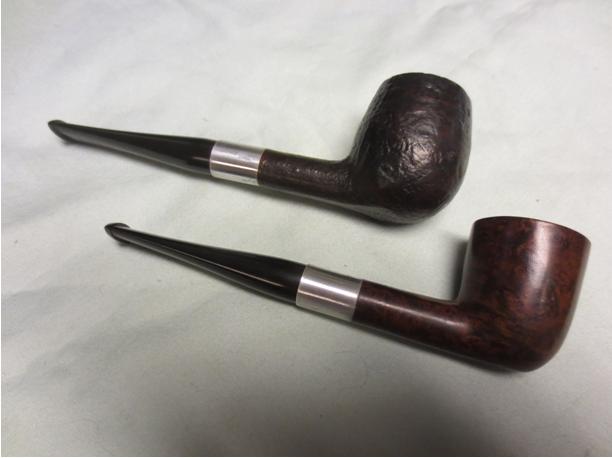
Most of the pipes I’ve worked on, and learned on, have arrived through the “usual channels”–flea markets, estate sales and of course eBay. But this particular pipe, a Parker Super Bruyere, came via a more unusual route.
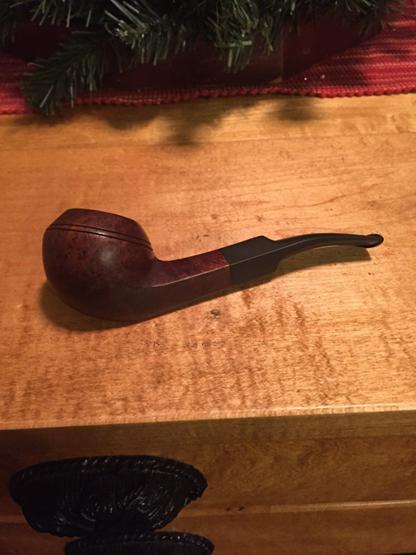
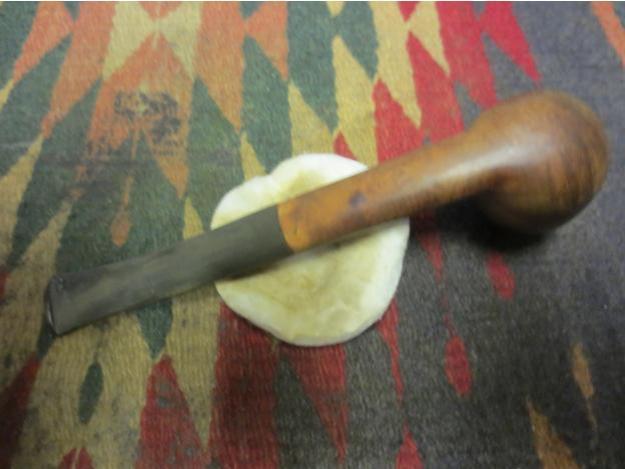
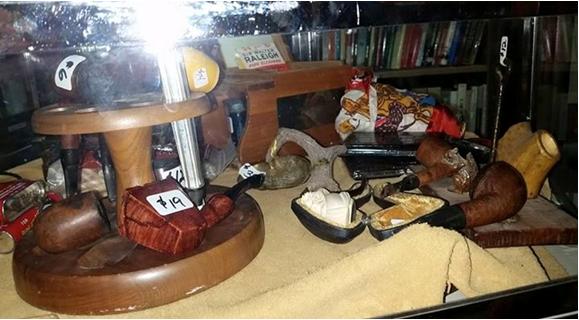
I was at work one recent Saturday (I manage a nature center when I’m not fiddling with pipes) when I received a text message from my friend Suzi. It contained this photo, along with the words, “Thought of you at Geneva Mothers Club bazaar!” One look at that pic and I knew work could wait. I jumped in the car and within minutes arrived at the craft show location.
I half walked, half jogged up to the building, paid my entrance fee and made my way through the throng—a well-dressed, Ladies Who Lunch crowd—in search of a sign that read Exit 22E. A subsequent text from Suzi had given this added detail, which turned out to be absolutely essential in navigating the cavalcade of vendors.
After a couple of wrong turns I at last found the booth, staffed by a pleasant woman peddling hand-crafted snowman décor. With sawdust and a little mud crumbling off my jacket, I reached for her basket of “Frosty’s Pipes” and began laying them out on the counter. We exchanged pleasantries—the woman and I—and she told me that the pipes were US$4.95 each. She also encouraged me to consider a snowman for my front door. But by then I wasn’t really listening.
I emptied the basket and studied what Frosty had to offer, eventually deciding on five Yello Boles of various vintages going back to Honey Cured Briar; a Medico Ventilator I want to try unventilating; and the Parker.
Clutching my prizes, swathed in tissue paper within a plastic Wal-Mart bag, I then faced the daunting task of navigating back through the crowded aisles. (Exit 22E, it turns out, was for emergencies only.) Along the way I bumped into Suzi and excitedly showed her the pipes—especially the Parker—while she in turn showed me the handmade greeting cards she’d found. Both happy with our purchases, we went our separate ways—she to peruse more holiday wares, I to head home and triage my treasures. Spread out on the dining room table, the pipes ran the gamut from barely touched to smoked nearly beyond recognition. Oddly enough, rather than dismiss pipes in poor condition, I find myself drawn to them. Clearly their previous owners found them quite delectable; there’s a good chance some of that former glory remains. And so it was that the Parker went to the front of the line.
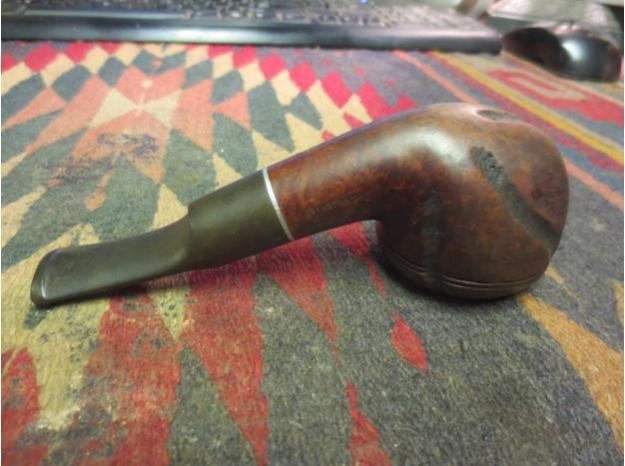
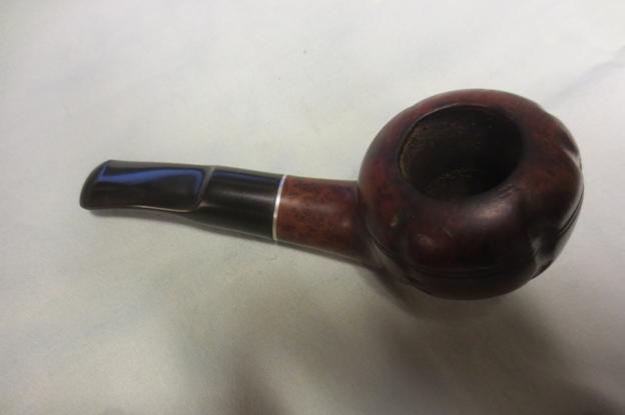
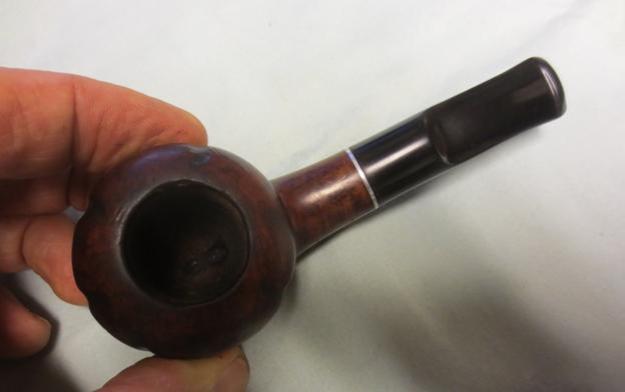
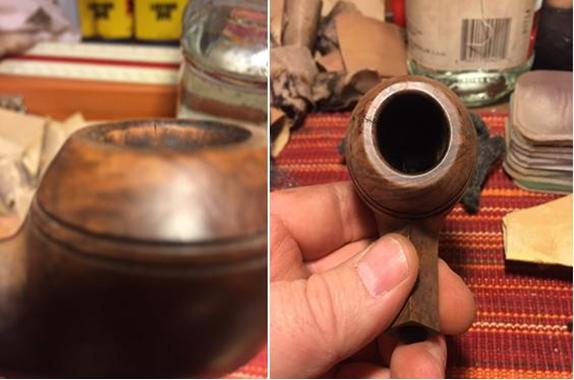
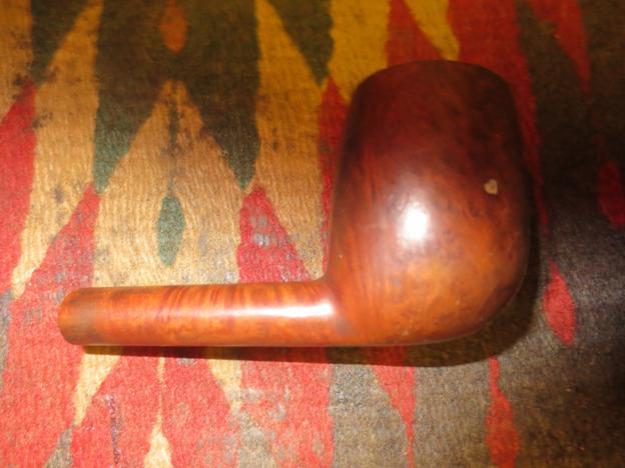
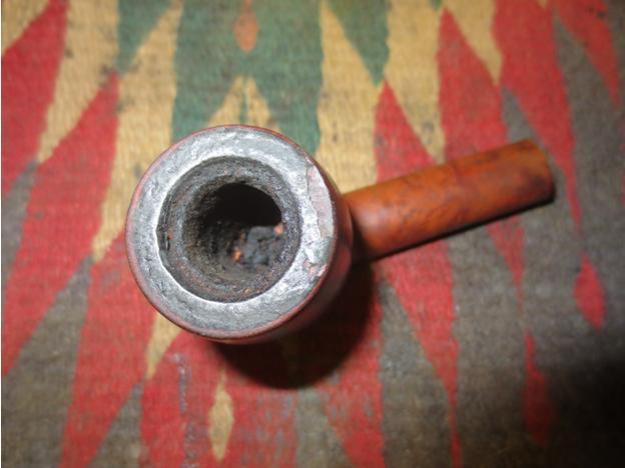
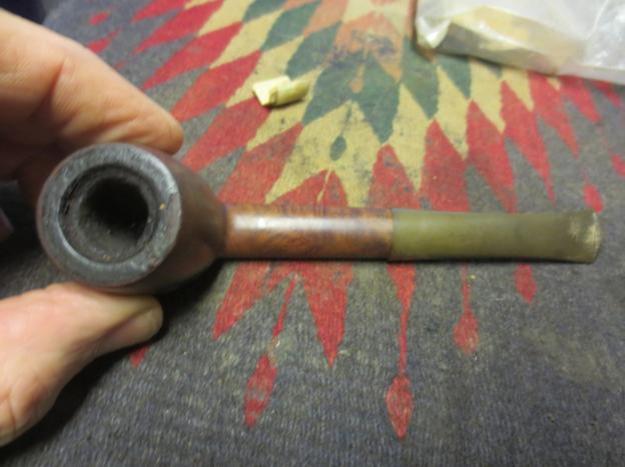
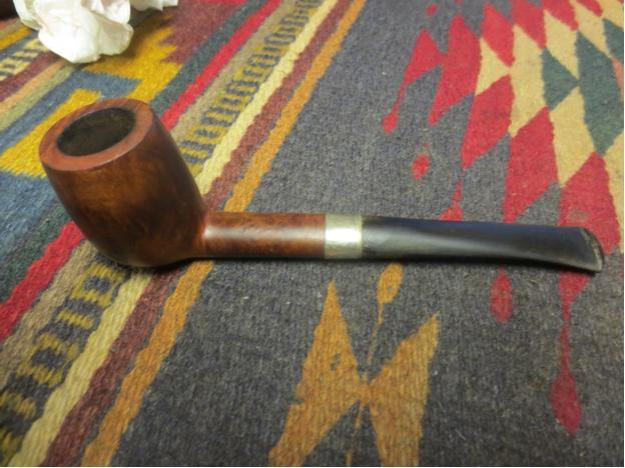
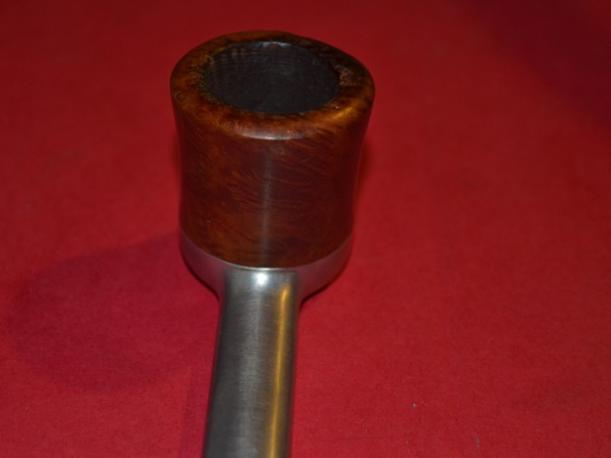
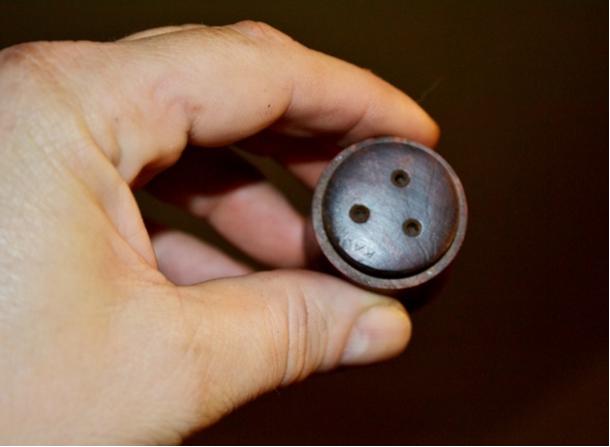
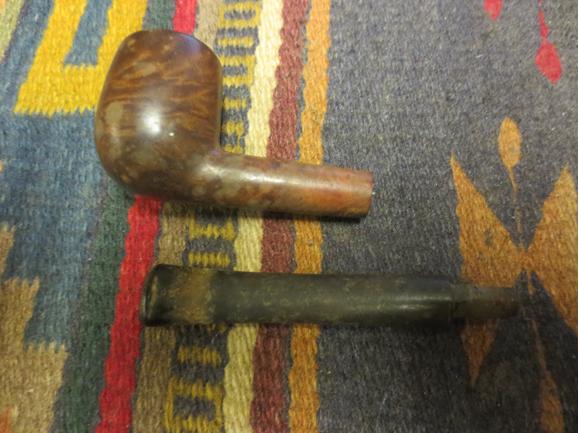
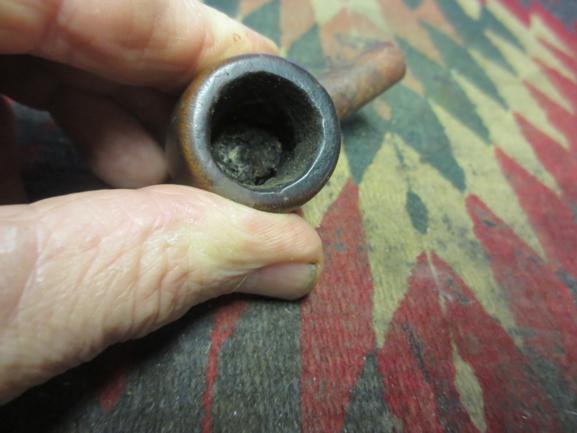
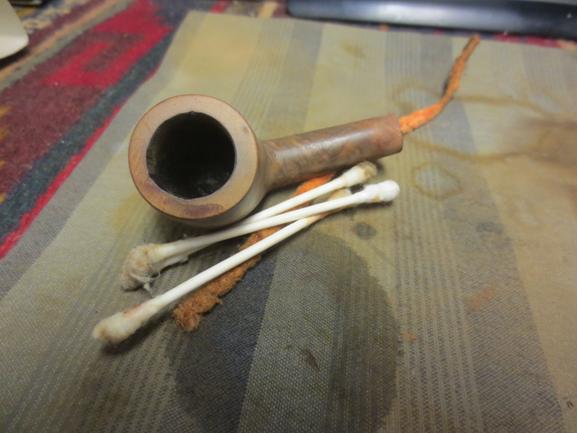
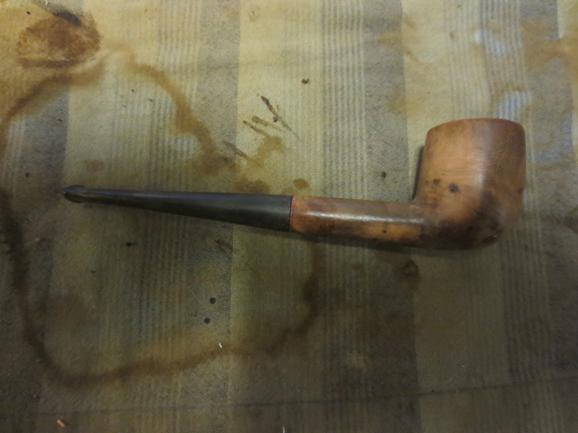
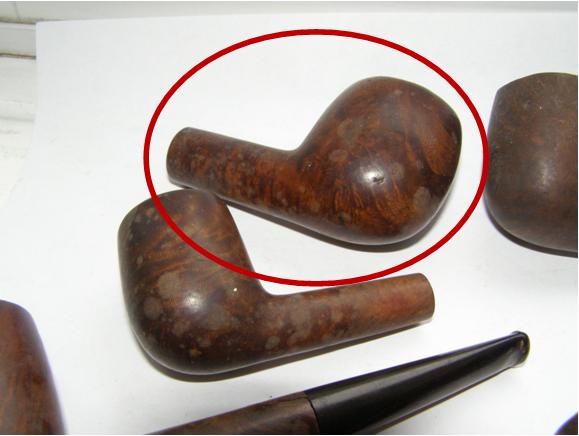
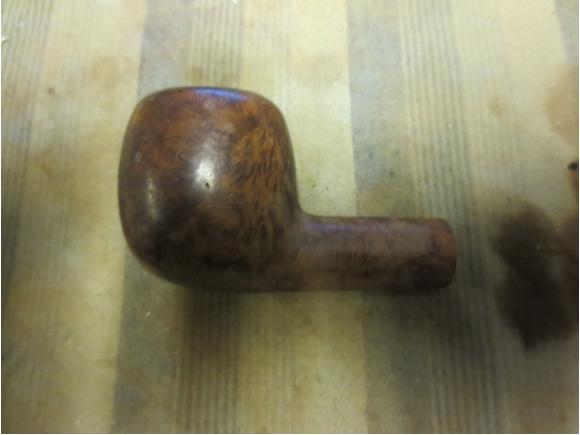
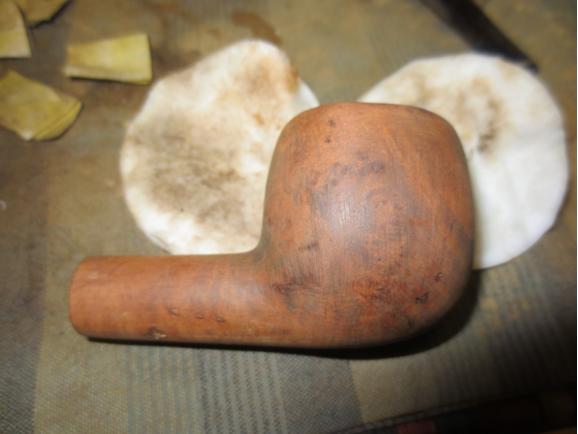
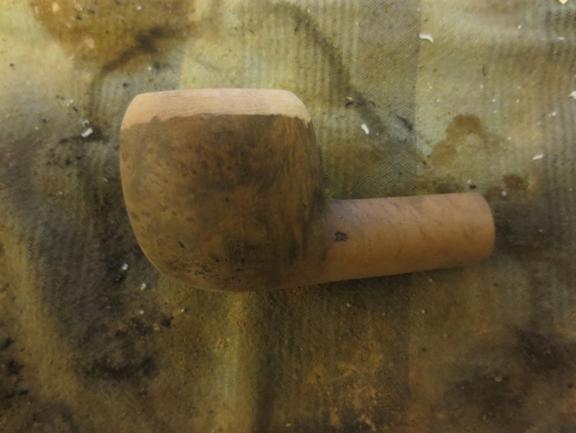
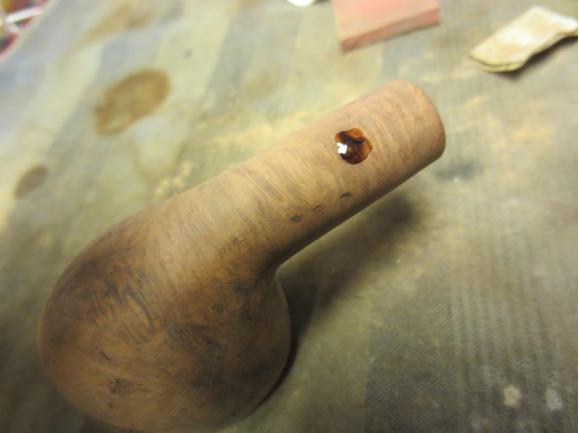
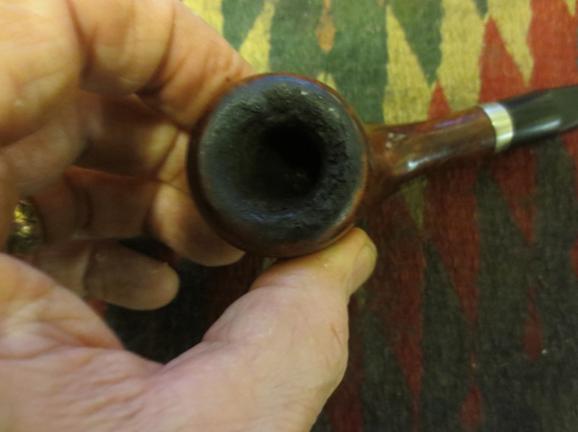
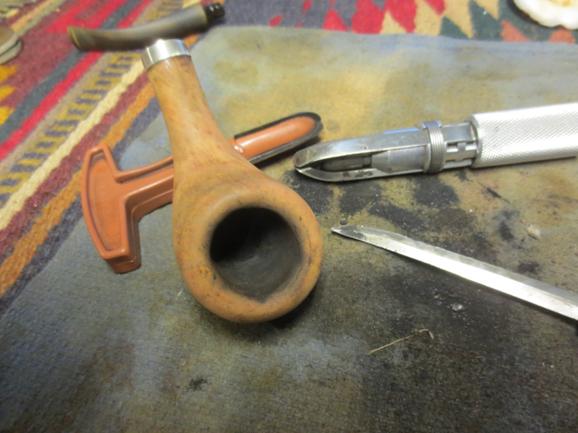
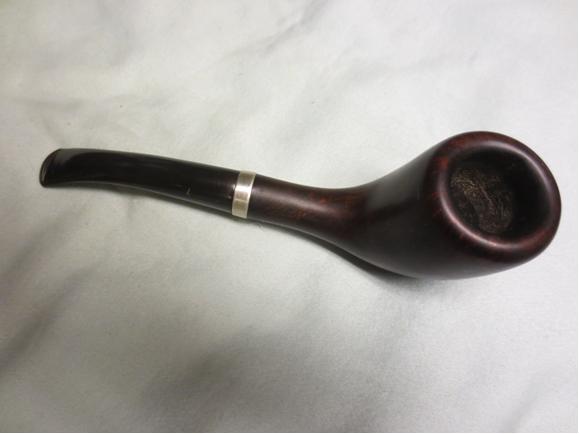
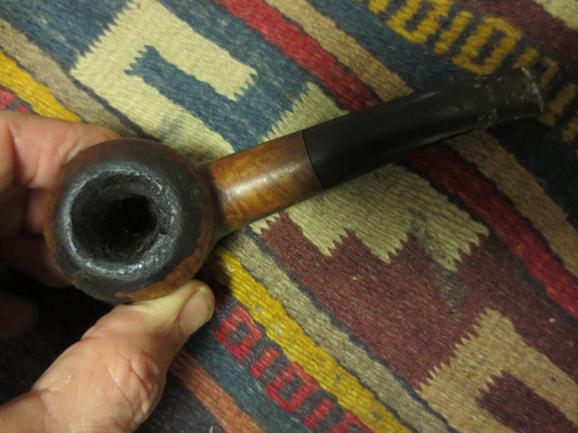
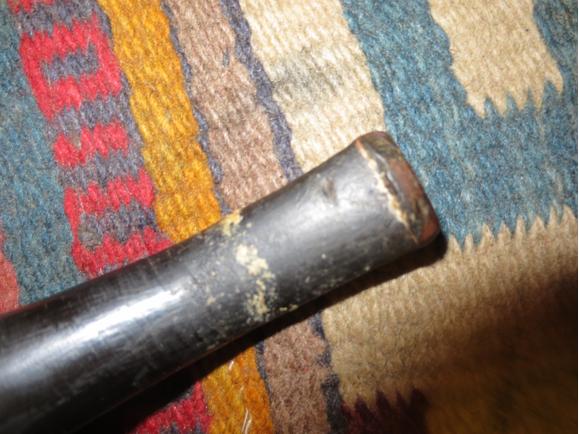
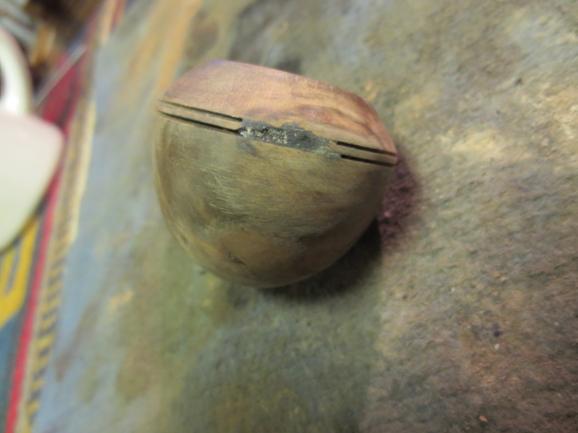
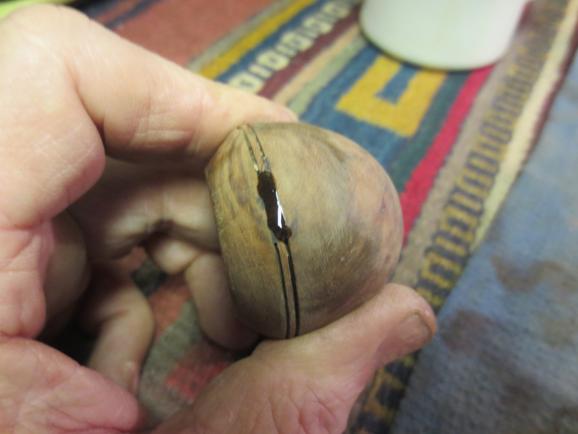
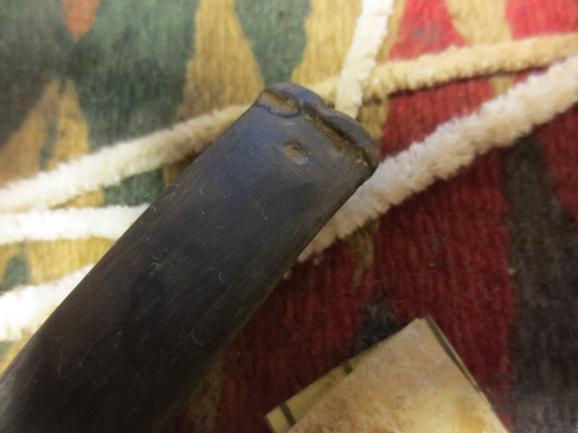
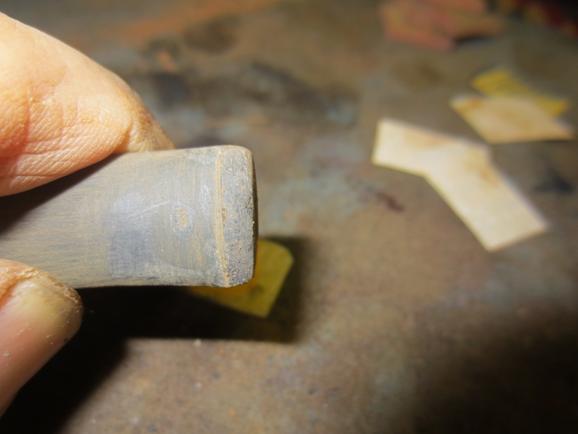
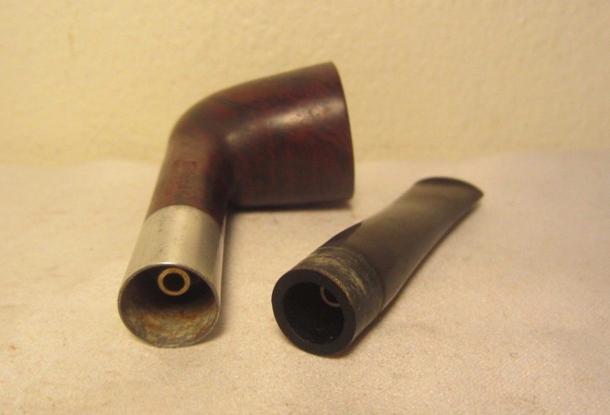
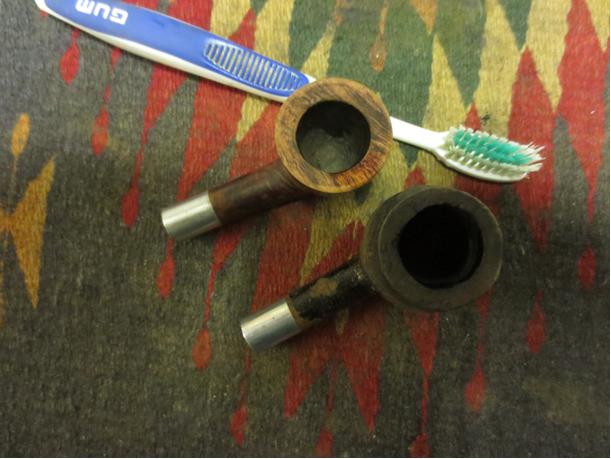
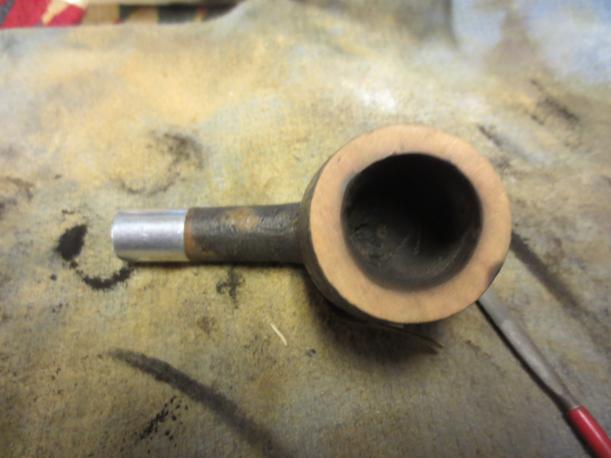
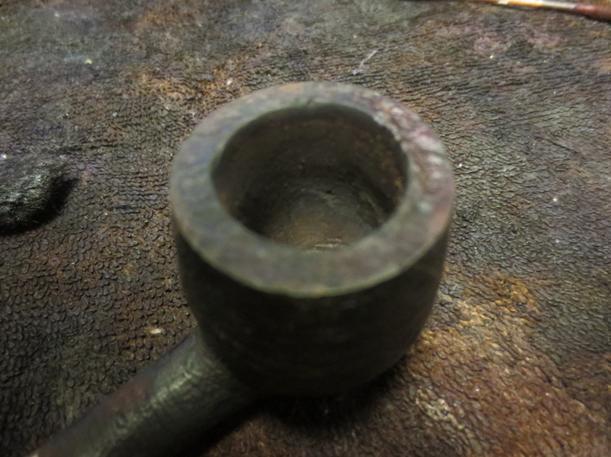
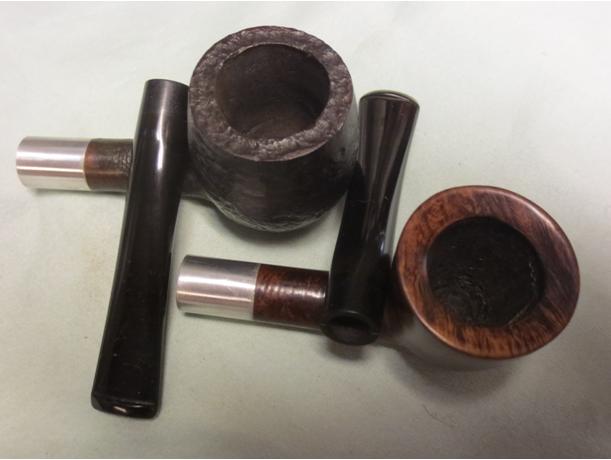
Carbon clogged the bowl and had fractured the briar in three separate places, the cracks pervading the crusted rim and converging at the bottom of the bowl. The shank too was obstructed with decades of hardened goo, to the point where the mortise could accommodate only about half of the stem’s tenon.


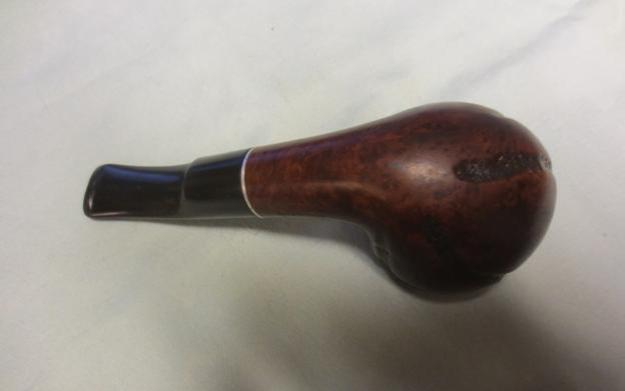
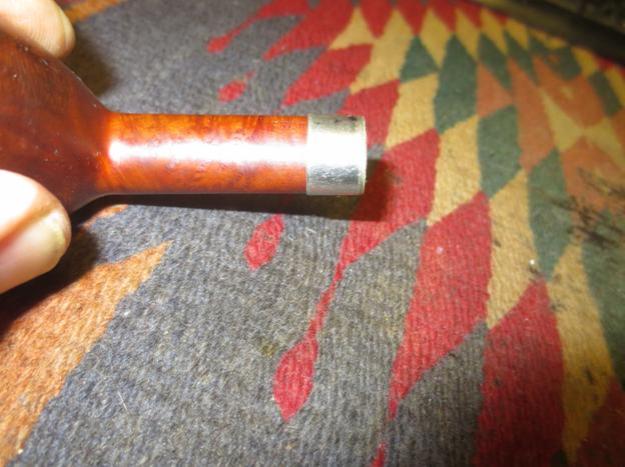
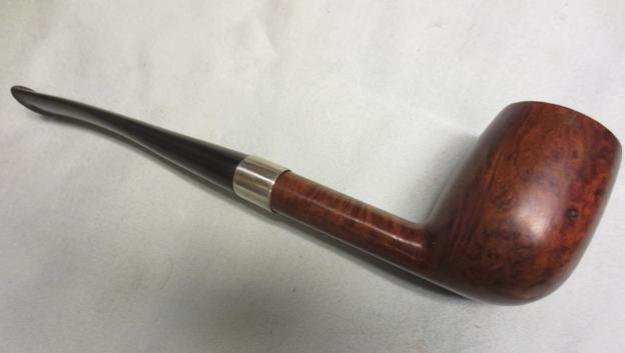
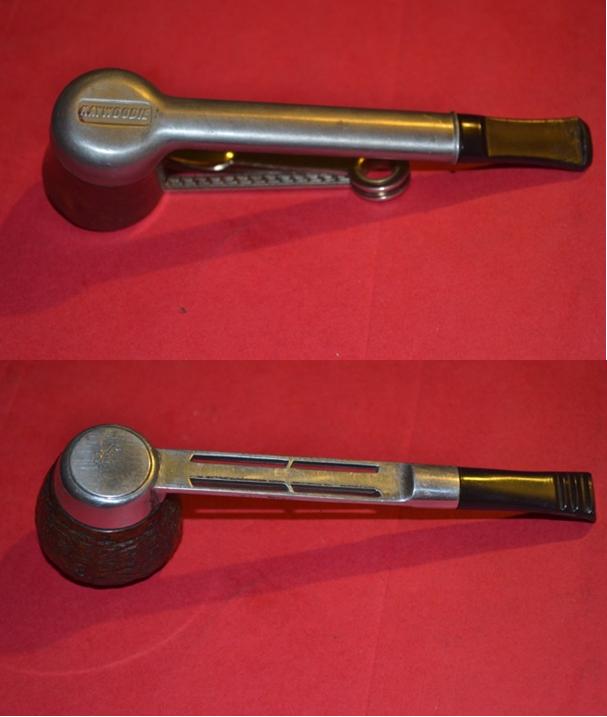
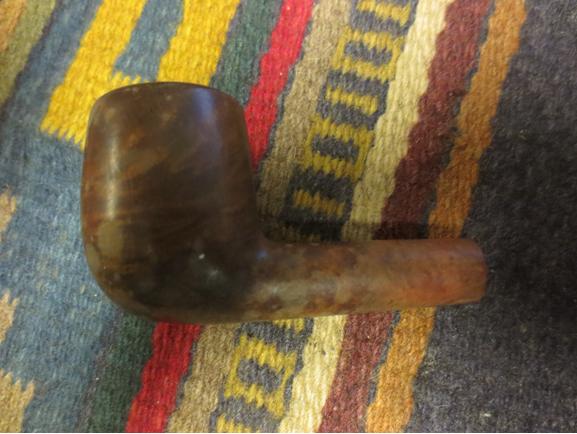
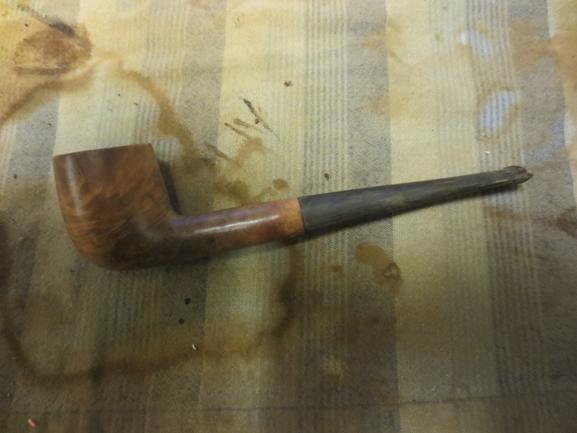
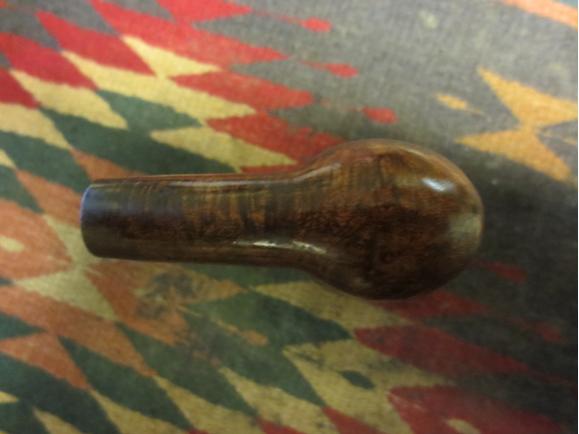
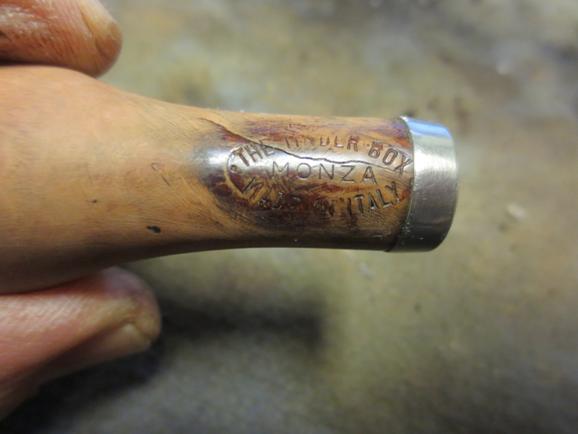
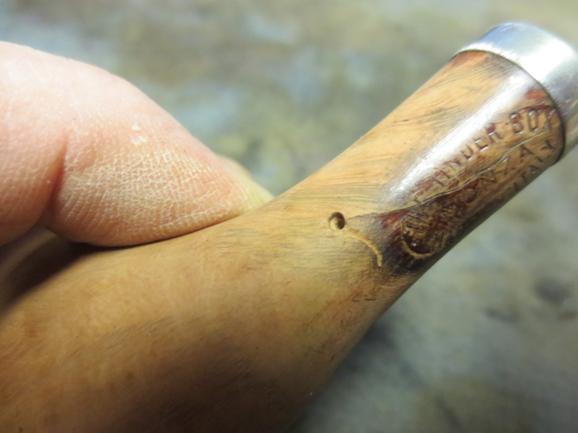
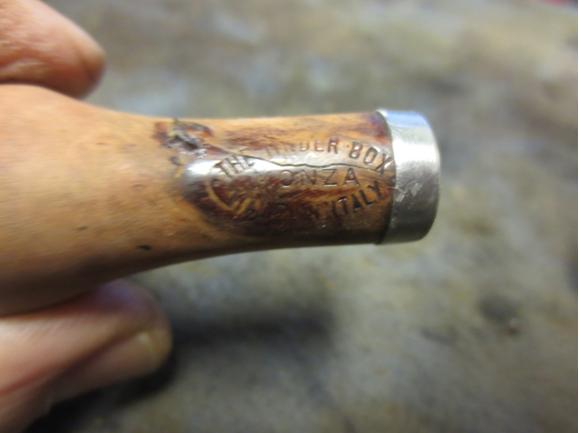
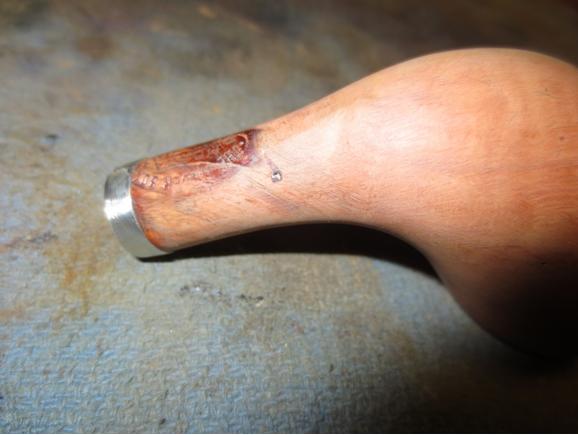
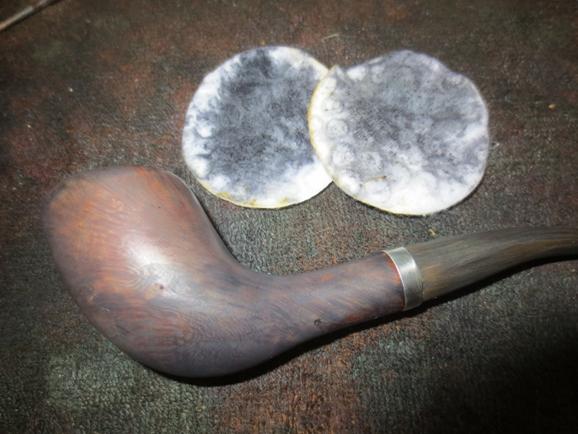
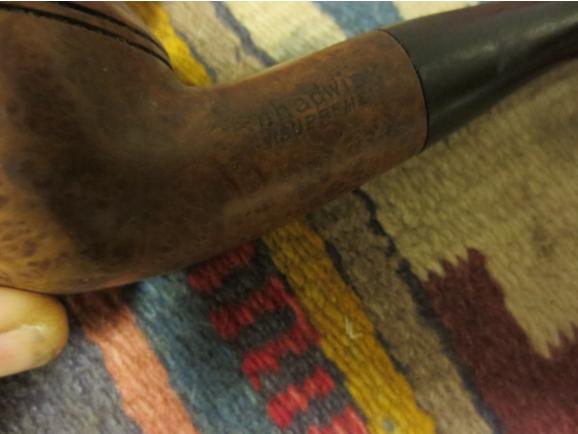
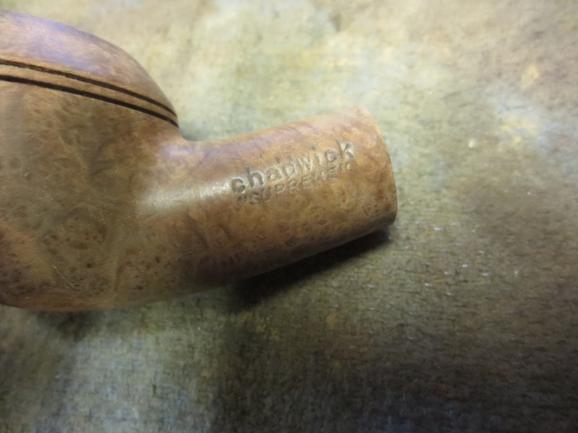
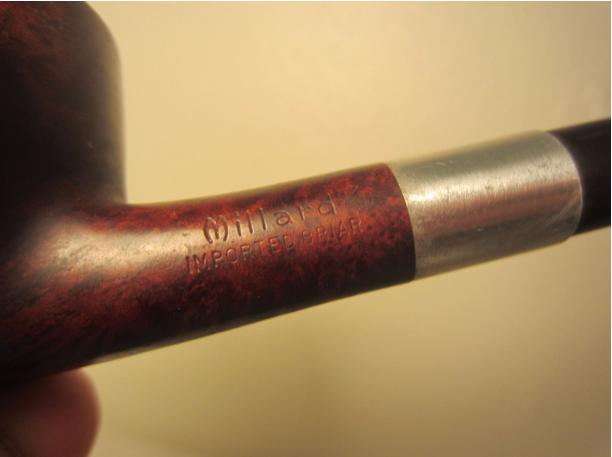
 I turned up the lights and rubbed the shank a bit in an effort to remove some surface grime and get a better look at the shank’s stampings. The left side bore a faint PARKER SUPER BRUYERE, the SUPER inside a diamond; closer to the bowl was stamped the number 5. The right side read MADE IN LONDON over ENGLAND and the number 18. Below this was PAT. NO. 116989/17 and, about 5mm toward the bowl, a capital letter T.
I did a quick check of Pipedia and PipePhil for Parker date codes and discovered that this old boy* dates to 1941. (*As a female, I find it funny that men tend to refer to pipes in the feminine, i.e. she/her. To me they’re clearly male. But to each his or her own, right?)
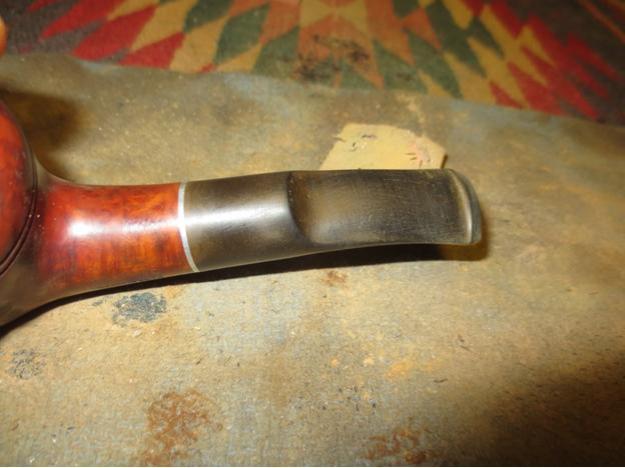
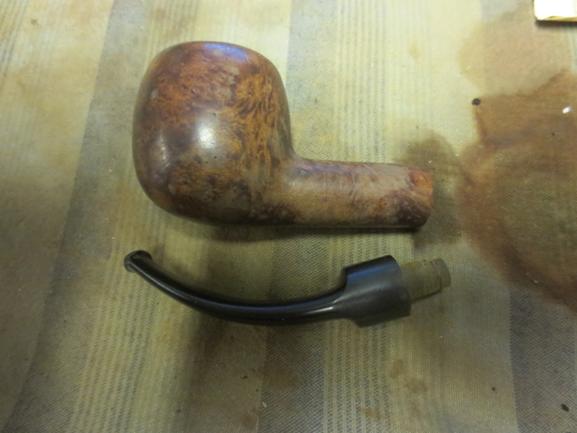
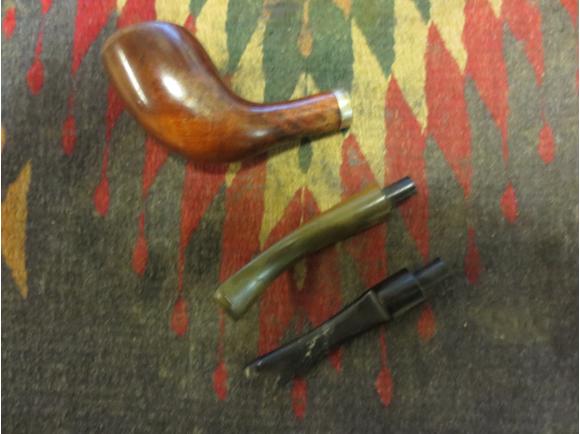
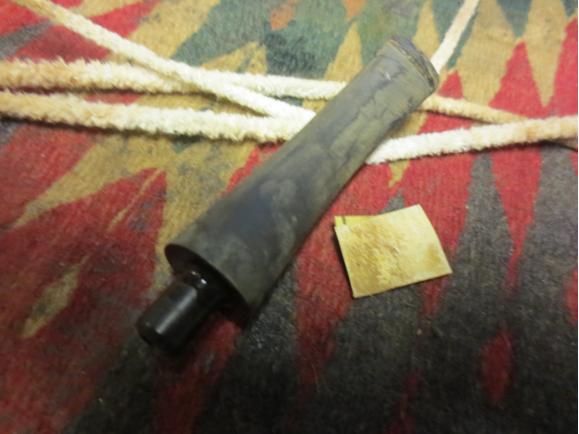
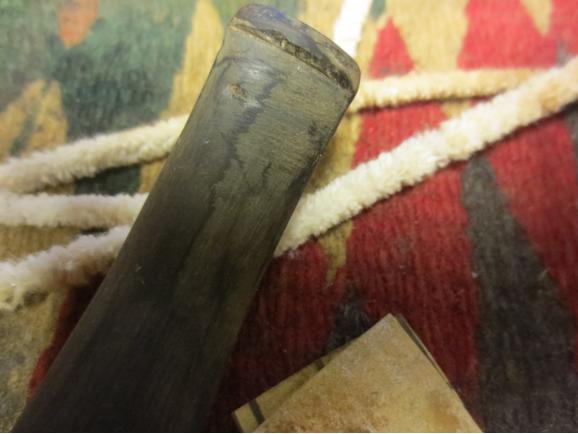
At any rate, I couldn’t wait to get started on the pipe’s revival. I started by gently pulling the stem from the shank and laying it aside. For all its years of service, its oxidation was minimal. There were some troubling dings, one nearly marring the P logo, but the delicate work they would require could wait.
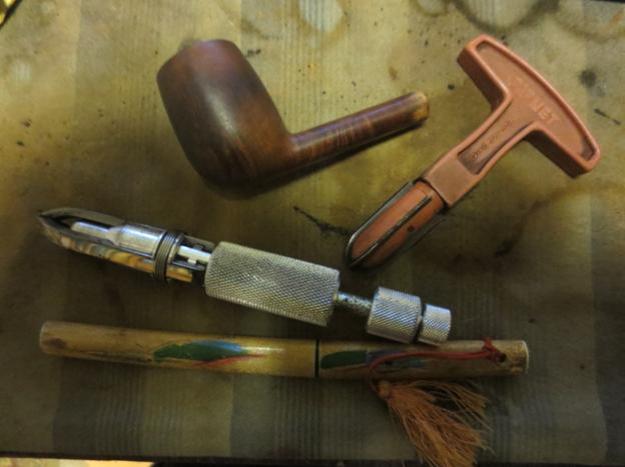
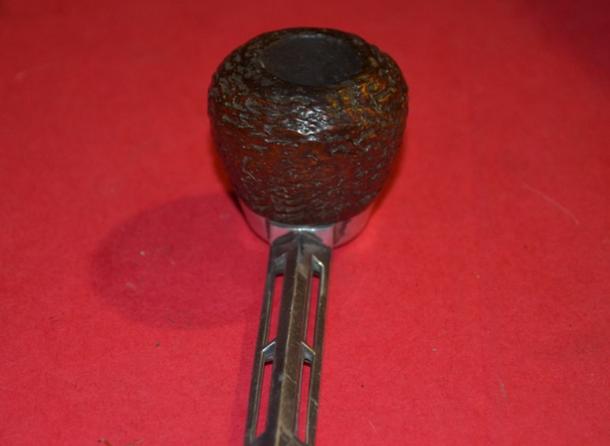
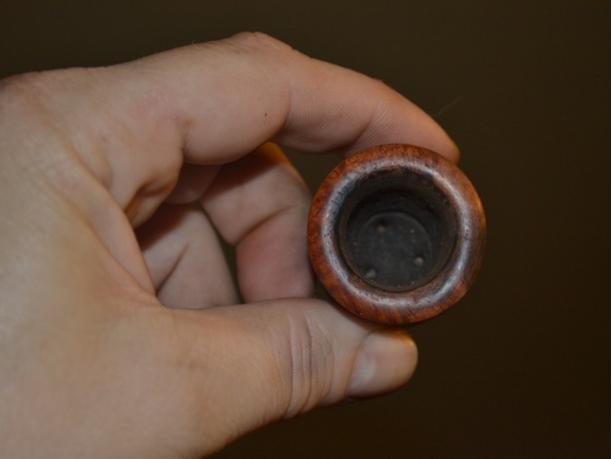
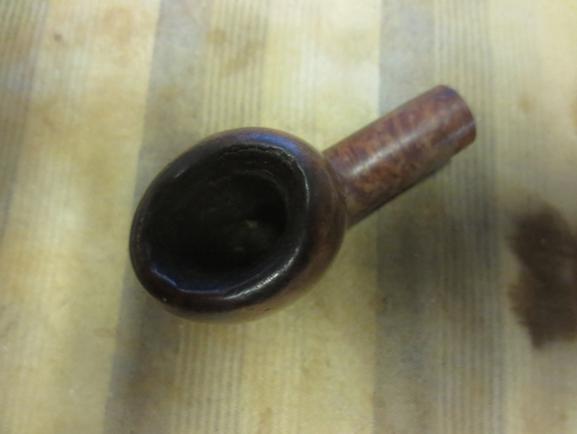
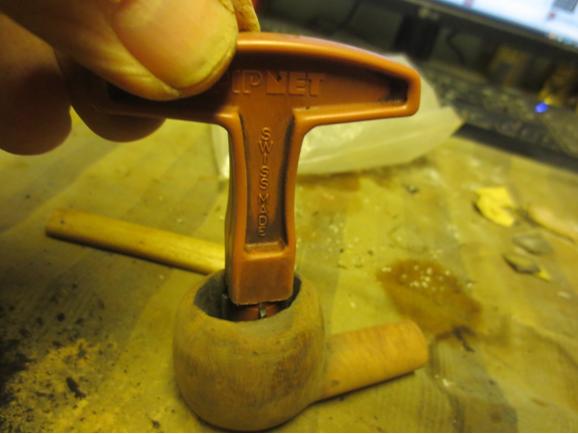
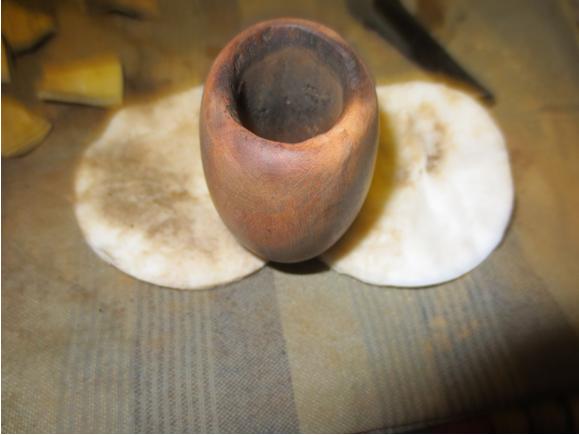
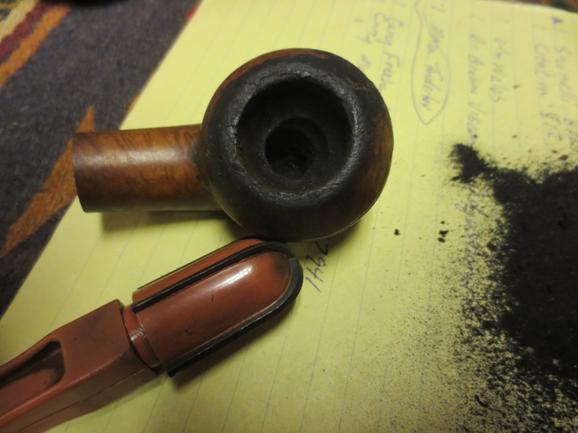
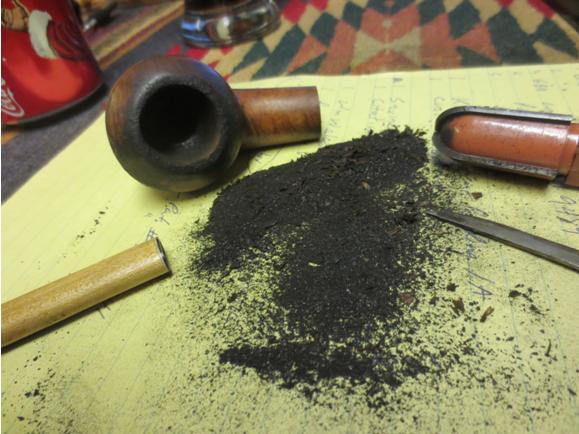
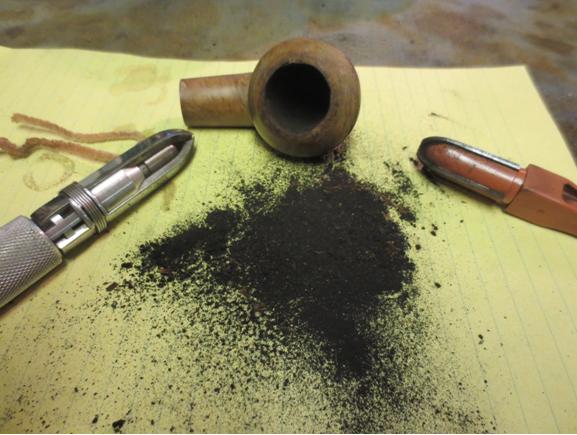
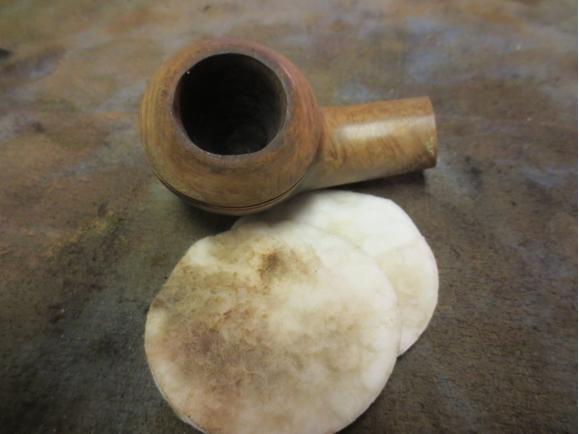
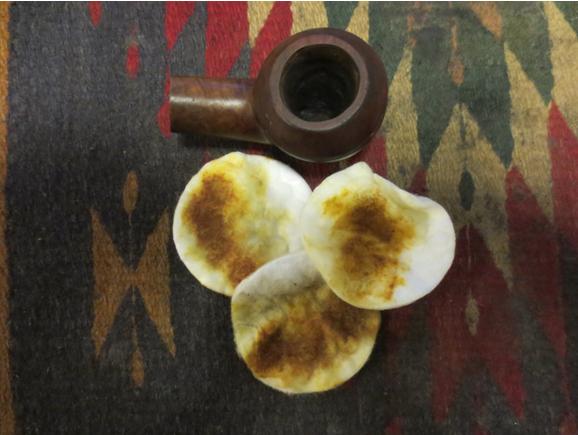
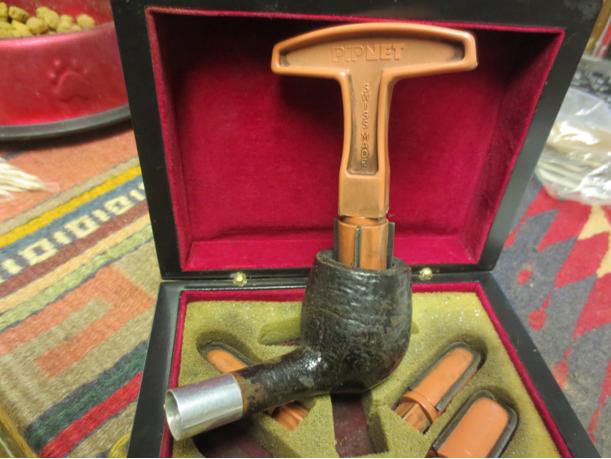
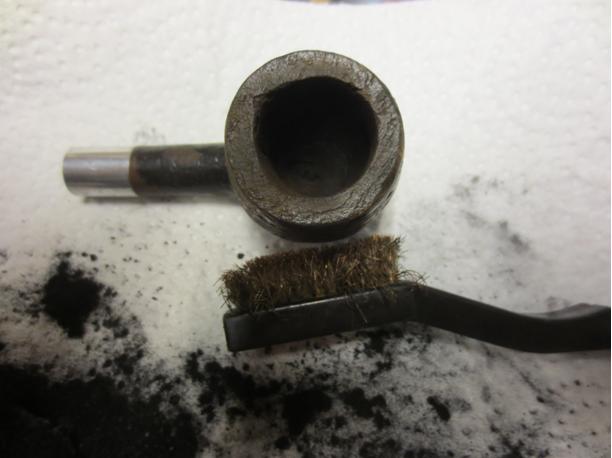
Instead I turned my attention to the amazing carbon cake. I tried to picture the very last time the previous owner loaded up the bowl. Roughly half its original capacity remained and the draw, if there was one at all, probably caused some pulled lip and/or cheek muscles. I put the smallest head on my Pipnet and gently twisted it inside the cake. I expected the bowl to disintegrate immediately but, no, that took a good two or three turns more.
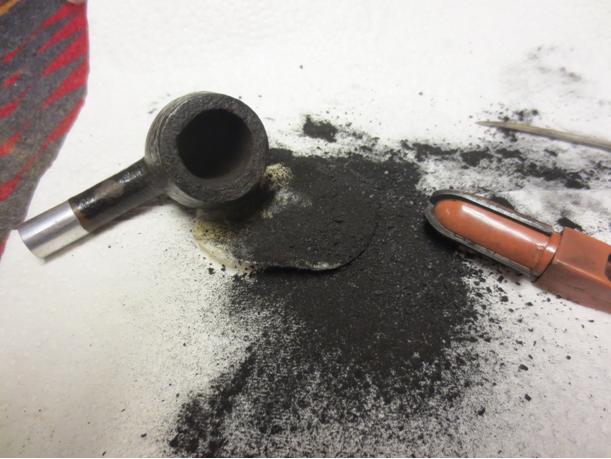
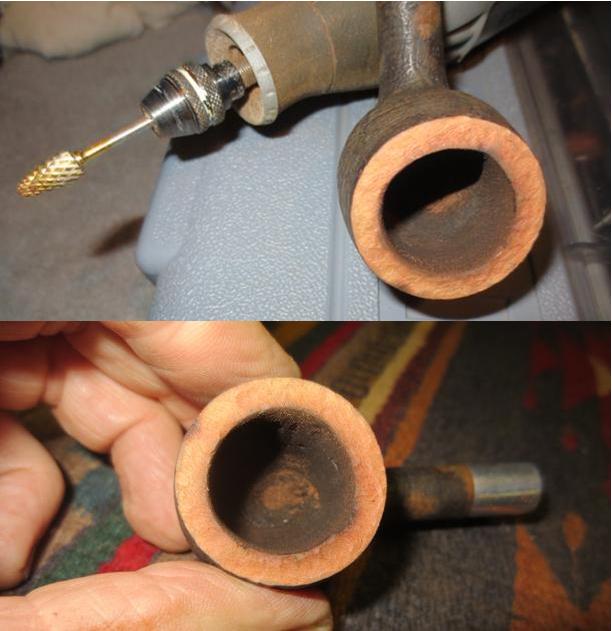
Moments later, with three distinct pieces in my hand and a lot more carbon to remove, I headed down to the garage and the Dremel. Even though this tool and its potential for destruction scares the bejeebers out of me, when equipped with a sanding barrel it does make quick work of hardened cake. A few minutes later I returned to my dining/work table blackened with carbon (thank goodness for dust masks and goggles) but with three much-cleaner pieces of briar to assess.
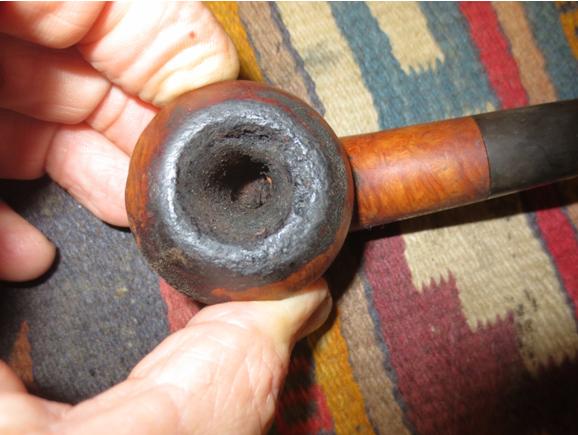
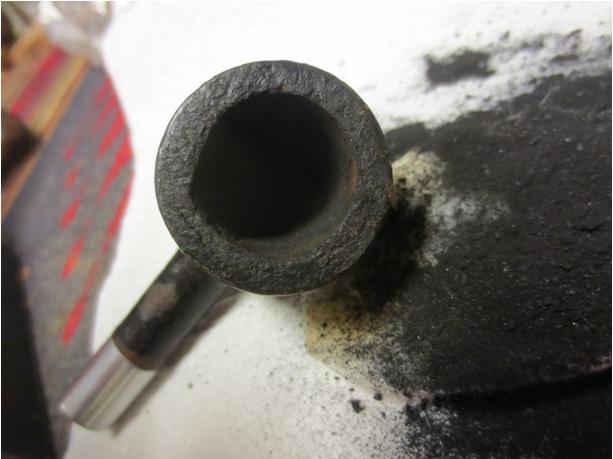
Parts of the bowl were not only caked but also charred, so I’d had to remove a considerable amount of material. Worse, due to the uneven nature of the char, the bowl innards were something less than round.
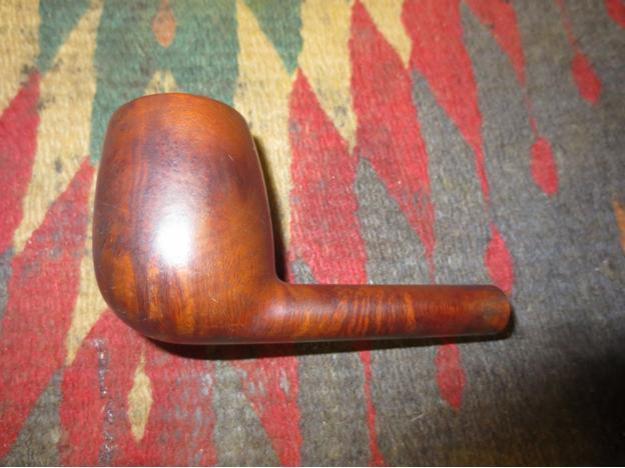
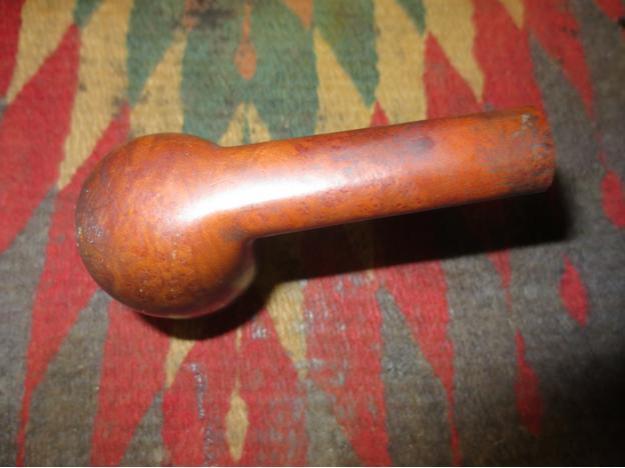
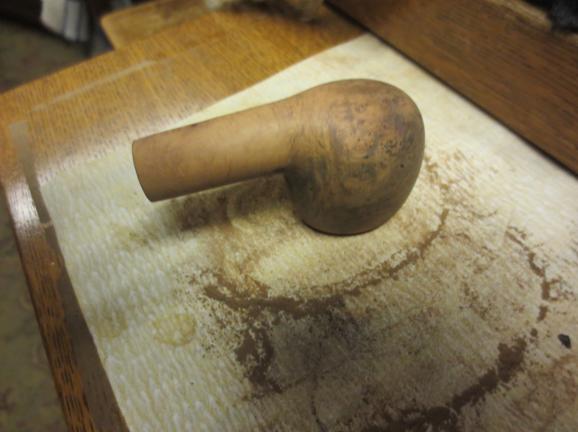
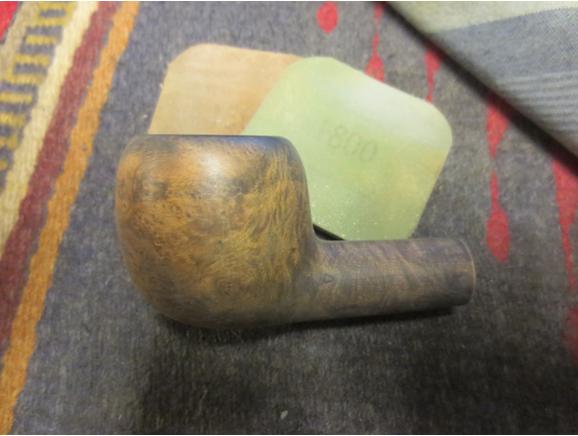
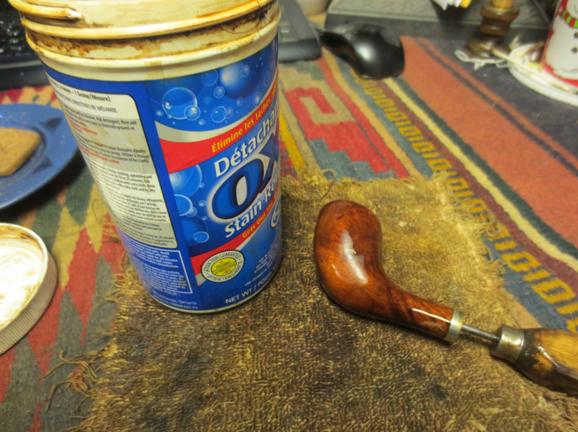
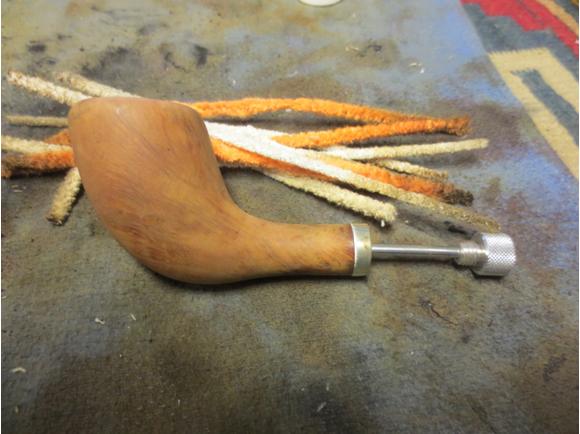
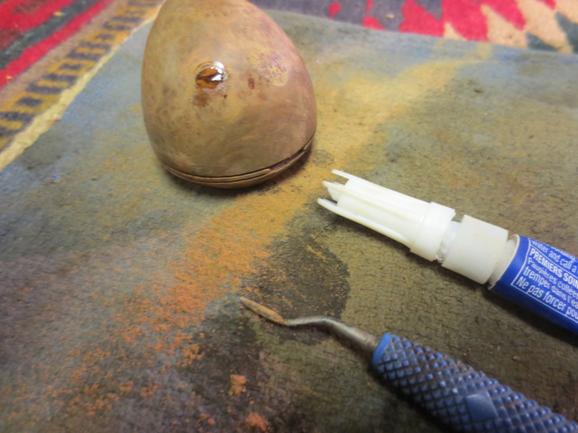
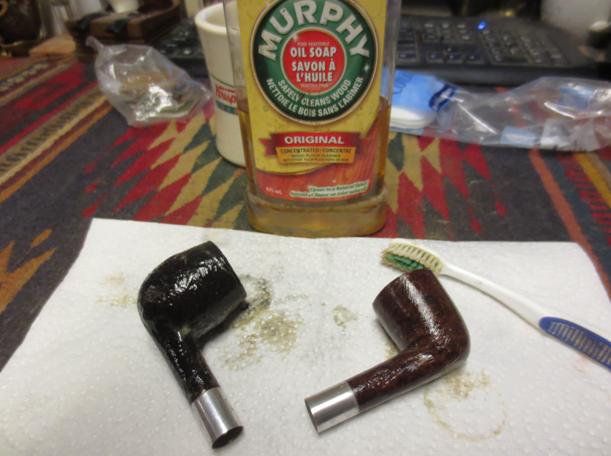
The good news tho was that all the breaks were clean, and the three pieces fit neatly back together. Before reassembly I scrubbed the outer surfaces with straight-up Murphy’s Oil Soap, then wiped them down with a damp towel. The grain that was hiding beneath the grunge made me smile. I mixed up some JB Weld and applied it to the breaks, placing more on the inner edges than the outer. I reunited the individual parts, pressed and held them together for a couple of minutes, smoothed the interior with a toothpick and then set the bowl aside to cure.
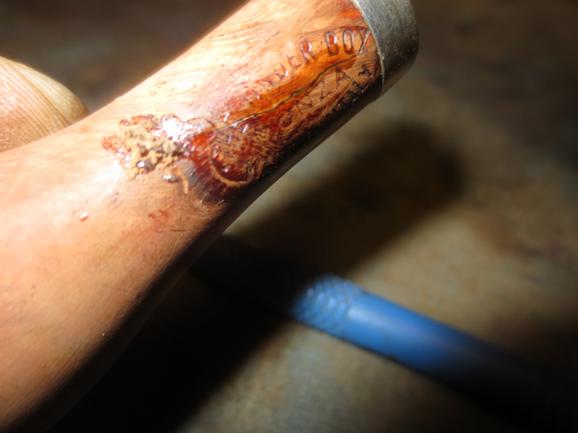
A combination of demands at work as well as home meant that it was another week before I returned to the Parker. I tried twisting and turning the bowl and thankfully the “welds” held. JB Weld is tough stuff. 🙂 I ran a needle along the external surfaces of the cracks to clean out any loose debris, then applied briar dust and super glue.
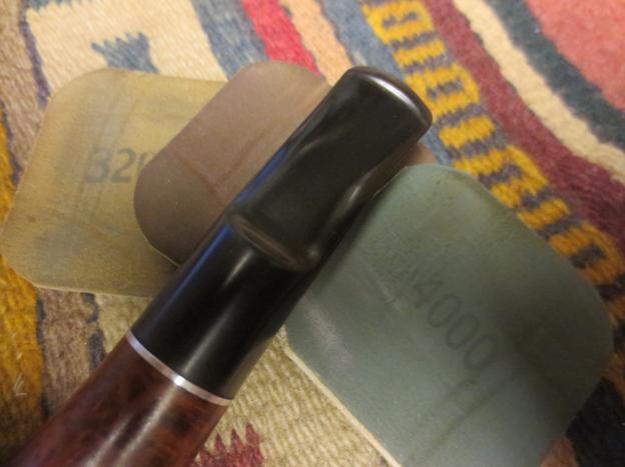
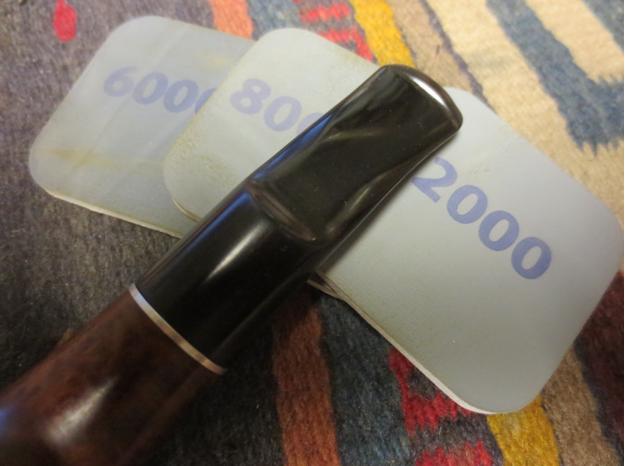
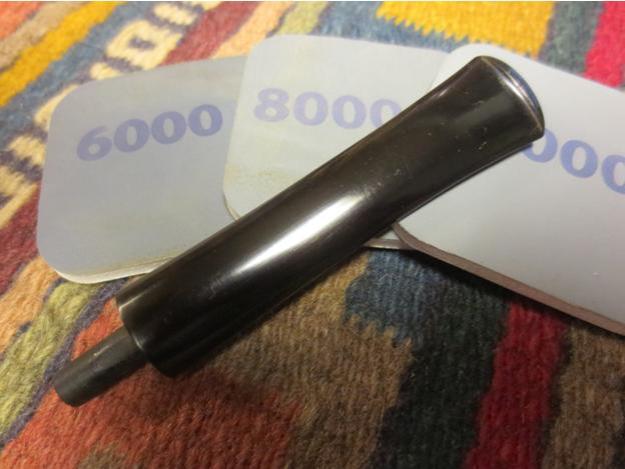
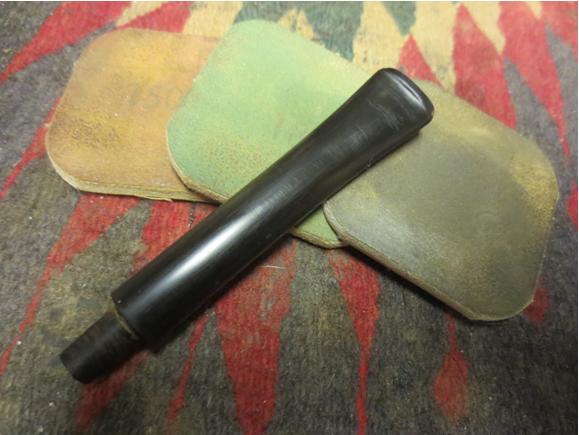
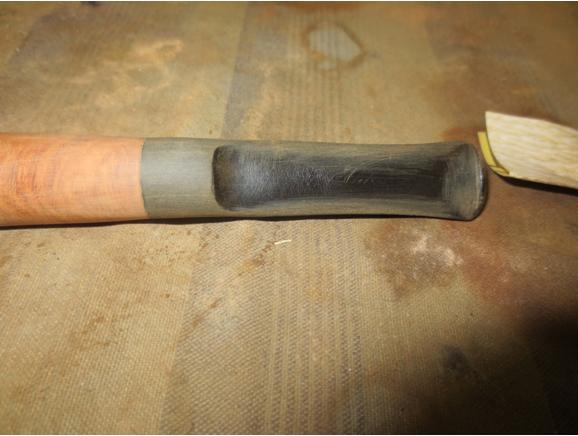
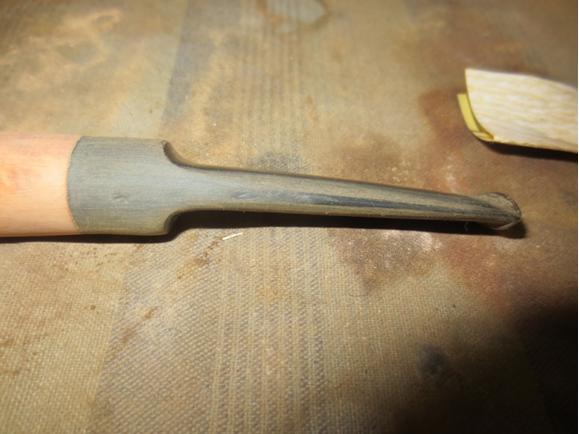
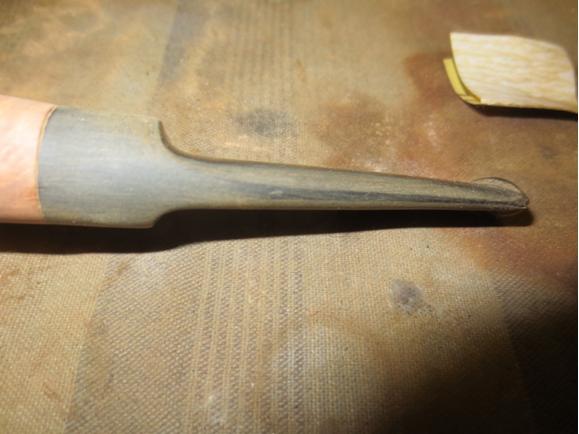
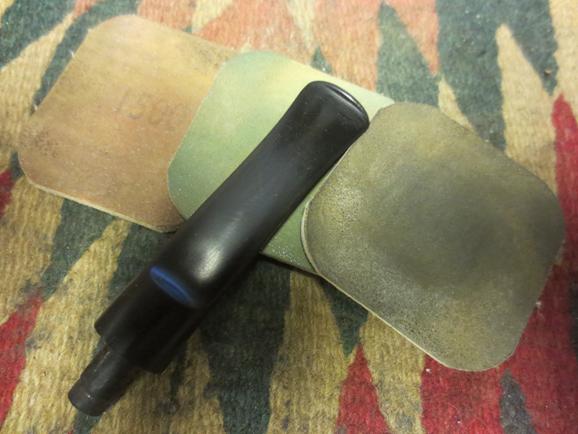
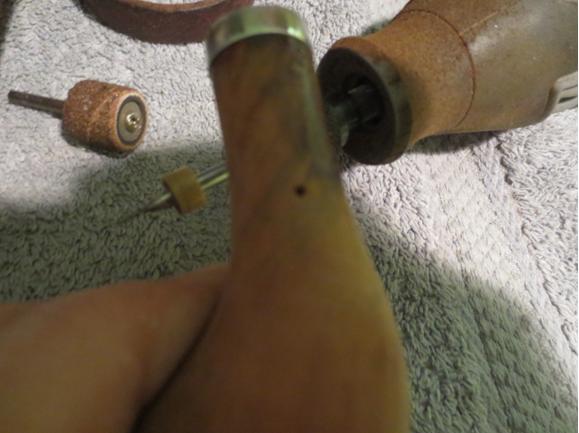
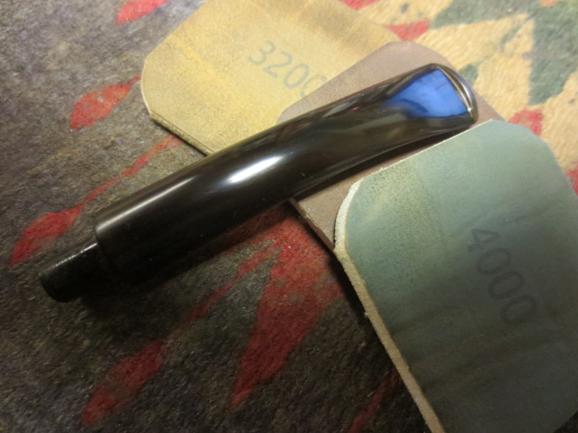
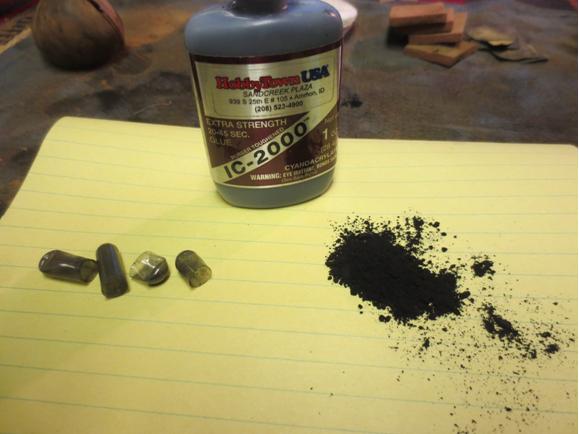
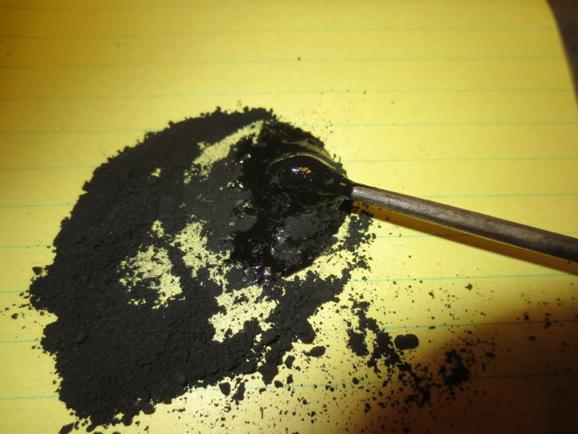
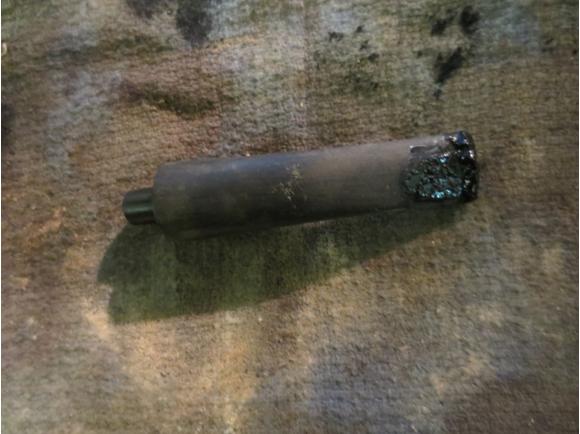
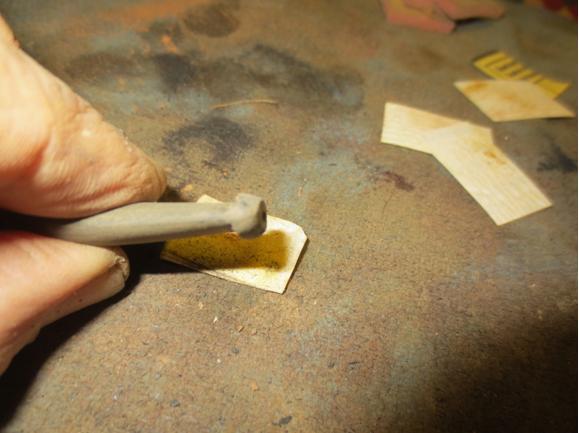
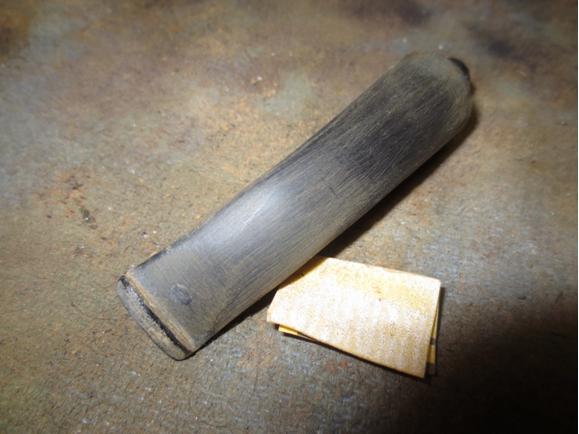
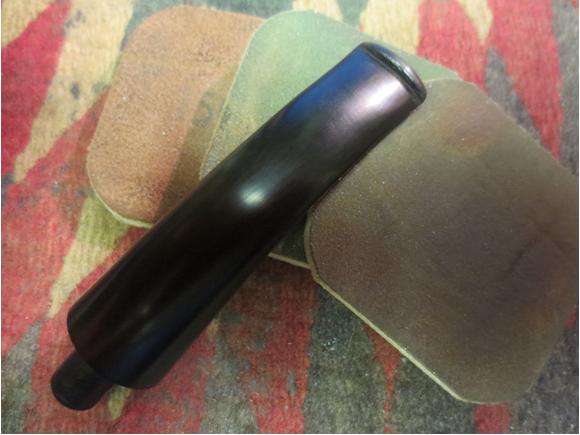
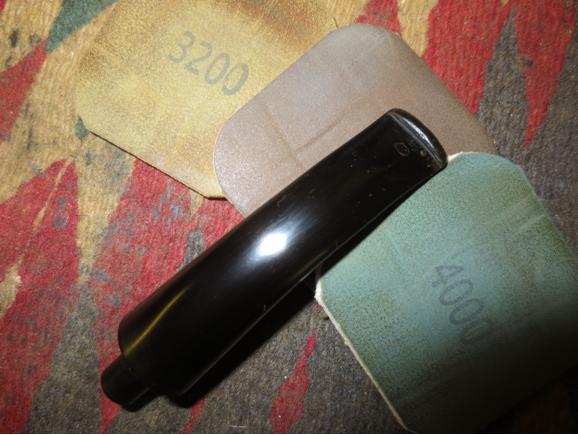
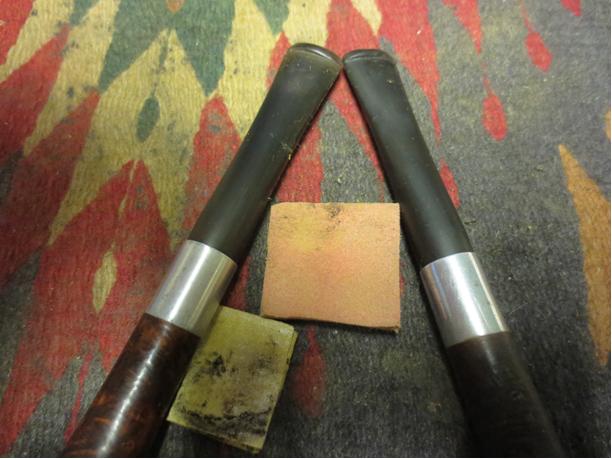
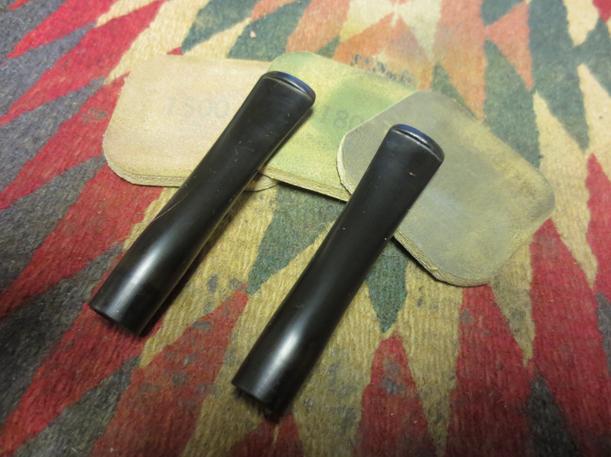
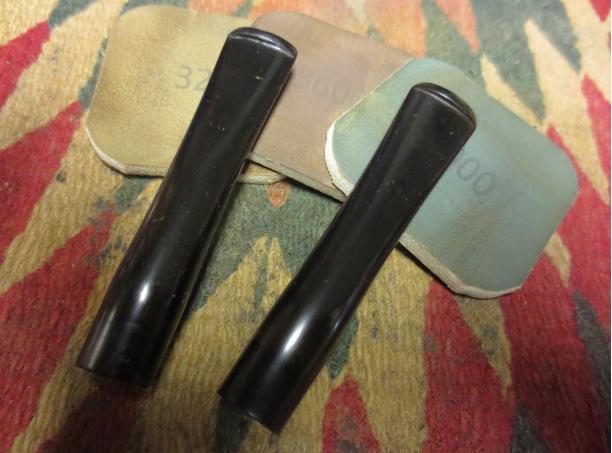
 While waiting for the glue mixture to cure, I began work on the stem. Starting with a small, folded bit of 220 grit paper, then 400 and 600, I gingerly worked on the small gouges near the base. If it weren’t for their location near the logo, I would have tried using a flame and then sanding. But I opted instead to make the raised edges flush with the stem, then mixed powdered charcoal with super glue and filled in the small cavities that remained. After curing, I sanded the patches smooth.
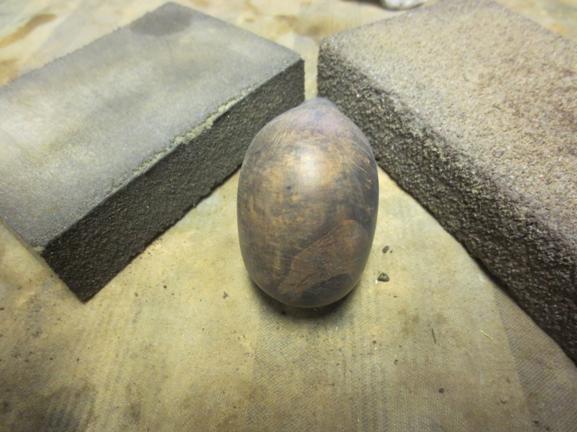
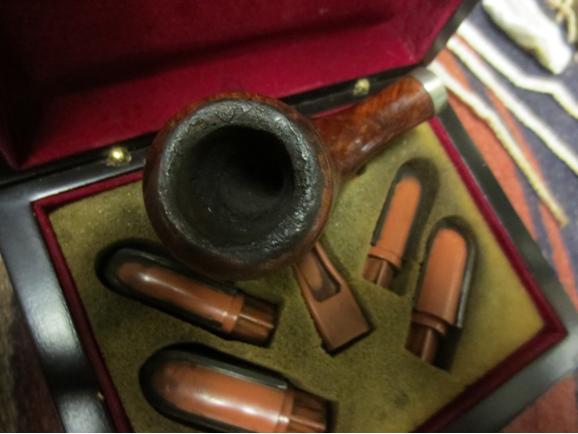
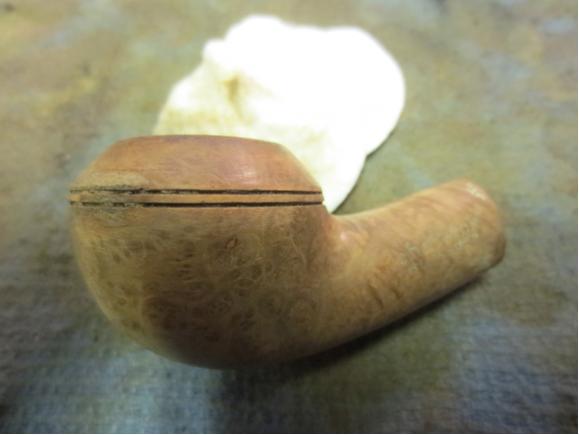
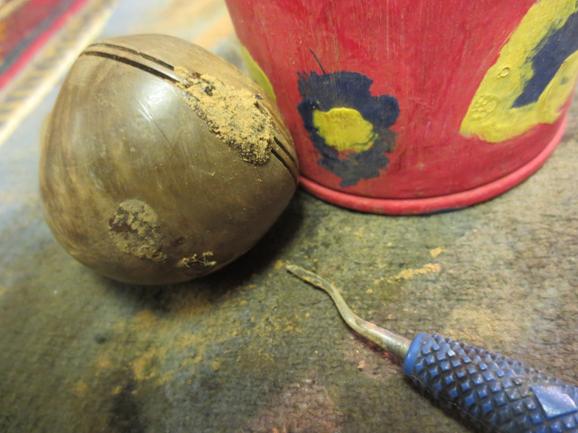
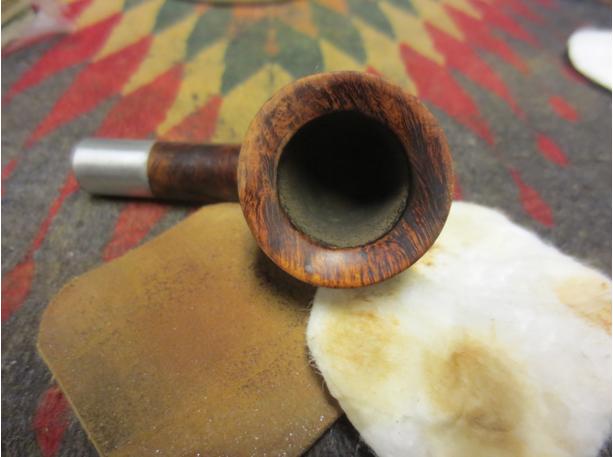
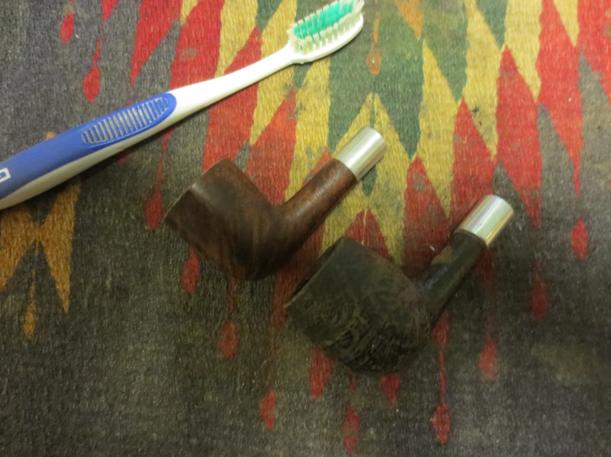
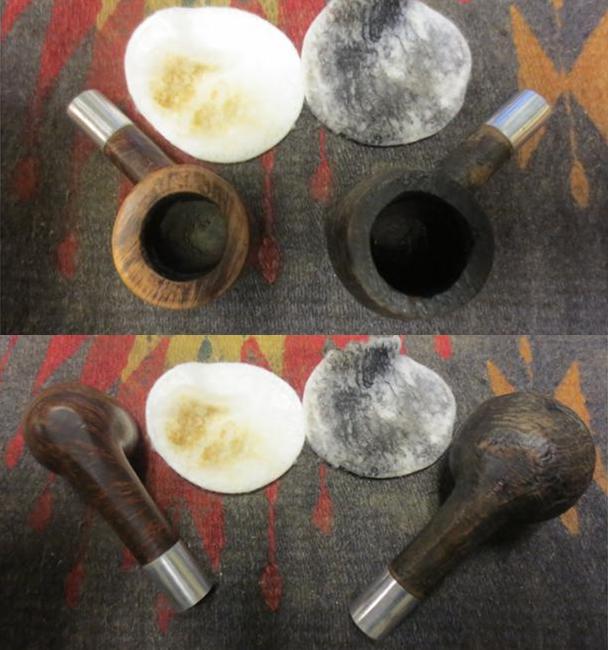
I also decided to experiment with the inside of a cigar box as background for picture taking. The next day I sanded the briar-dust crack repairs with a succession of 220, 400 and 600 grit sandpapers. I also topped the bowl with that same sequence to see how the cracks appeared from the top down.
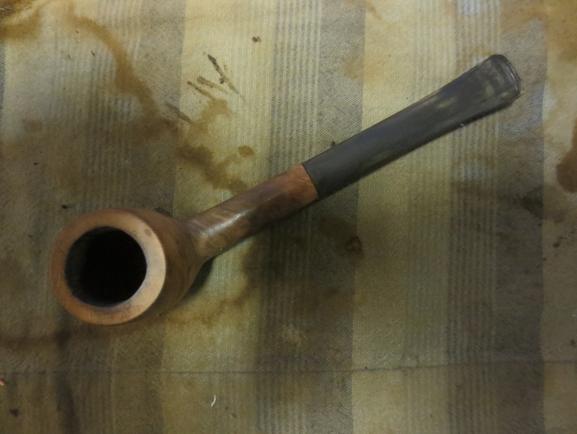
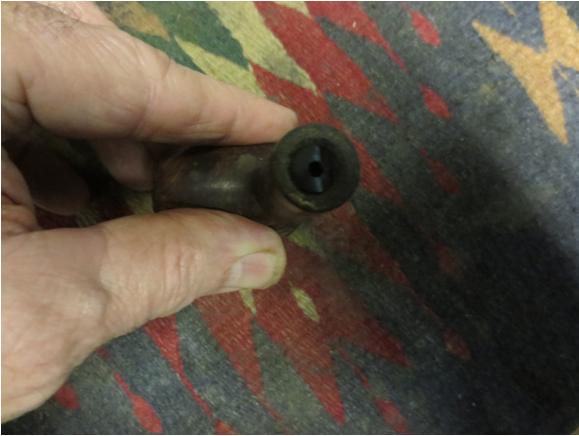
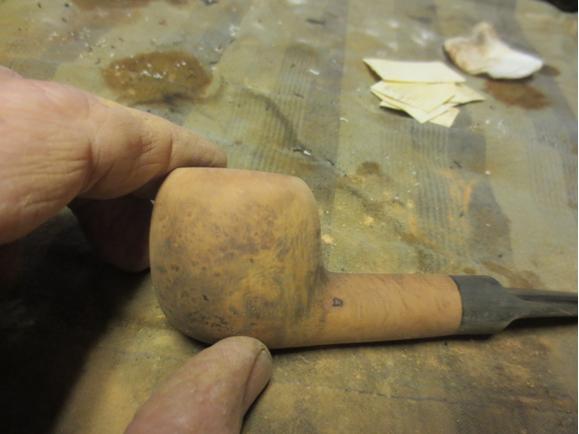
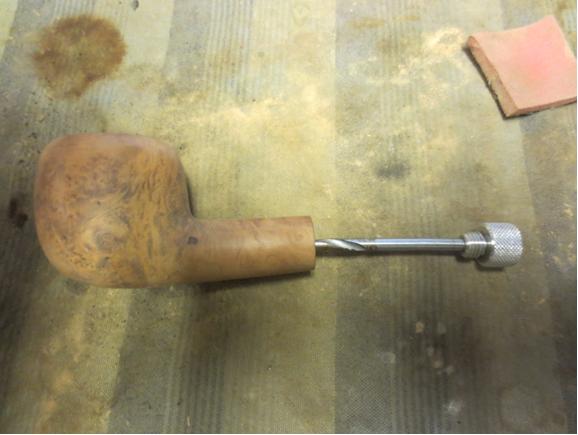
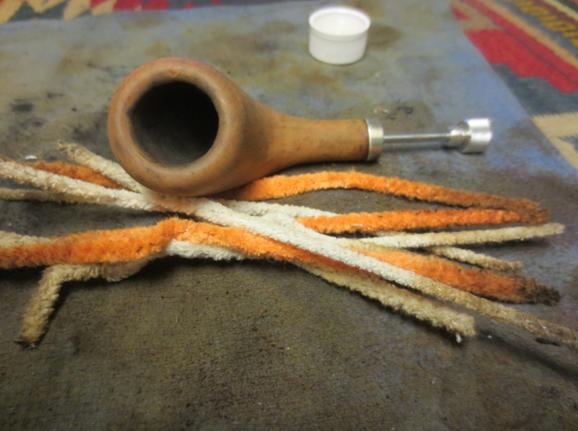
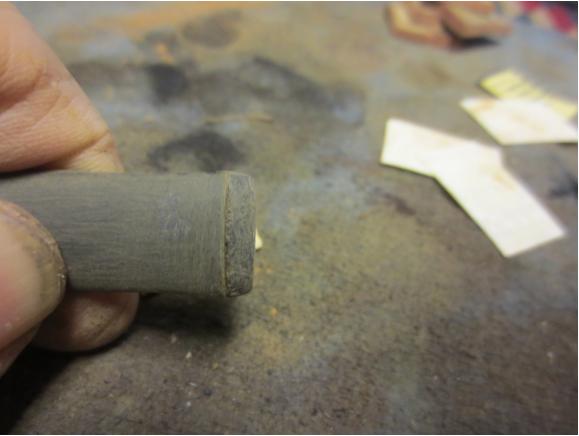
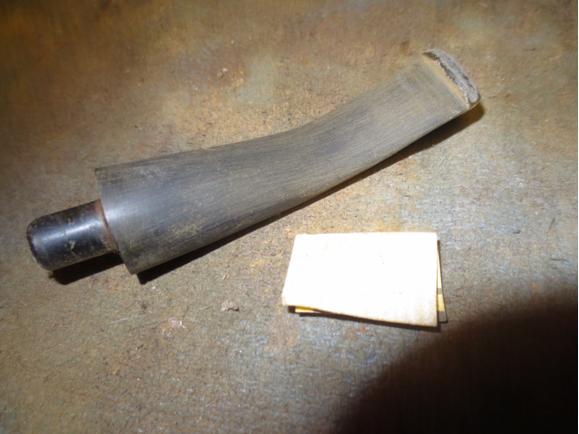
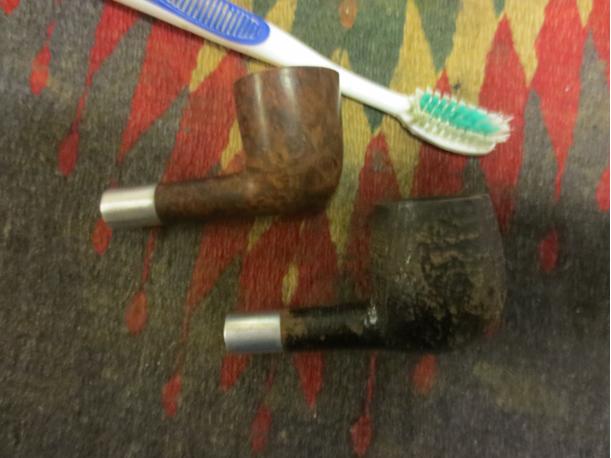
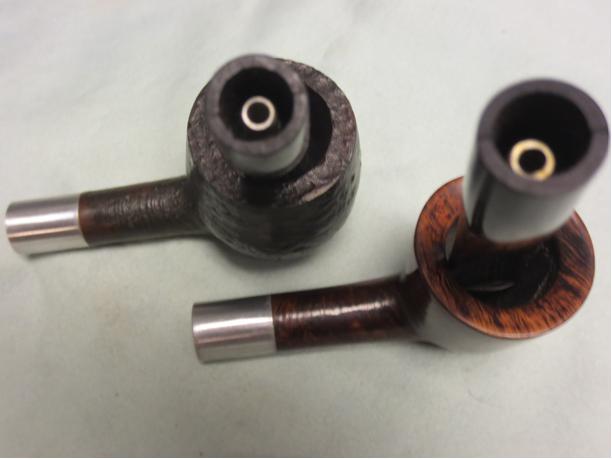
 I put the stem back in the shank to size up how things were coming along and, when it only went in halfway, remembered that I still had a lot of internal cleaning to do.
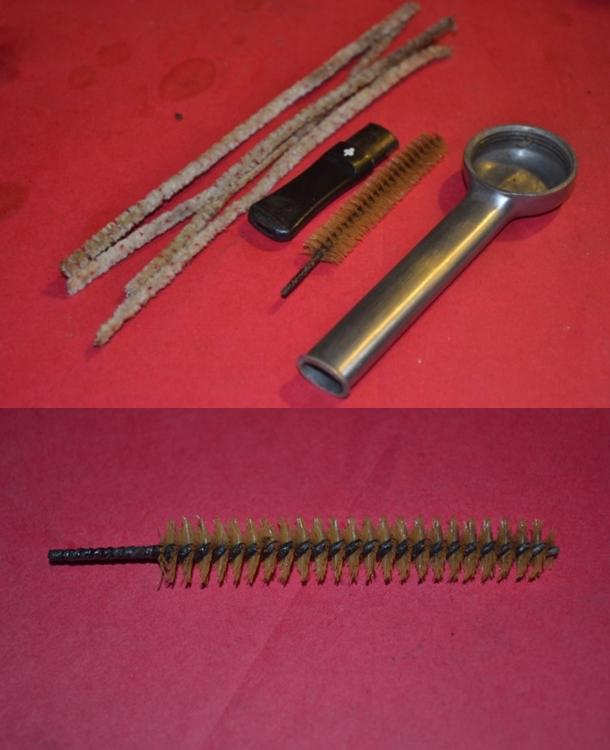
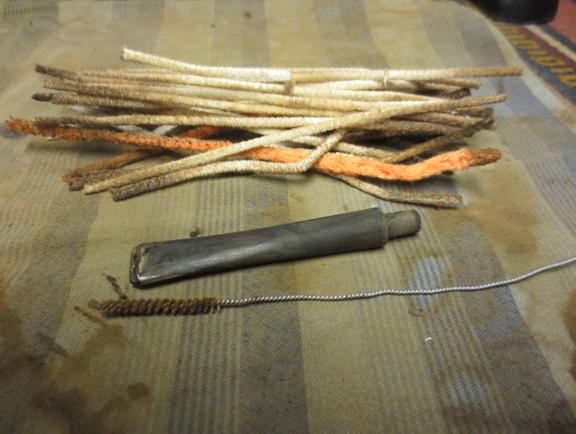
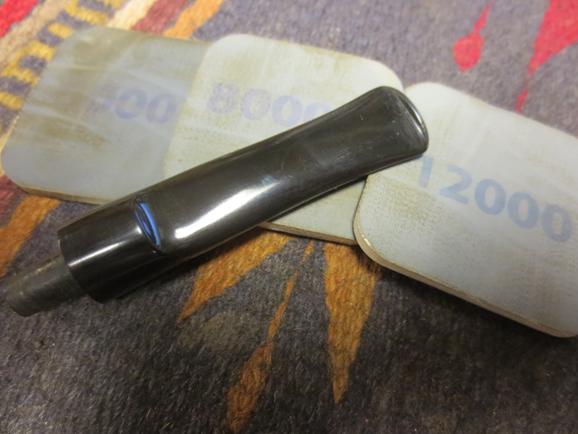
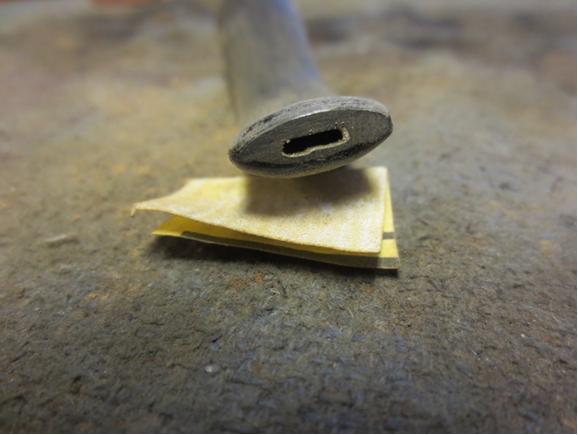
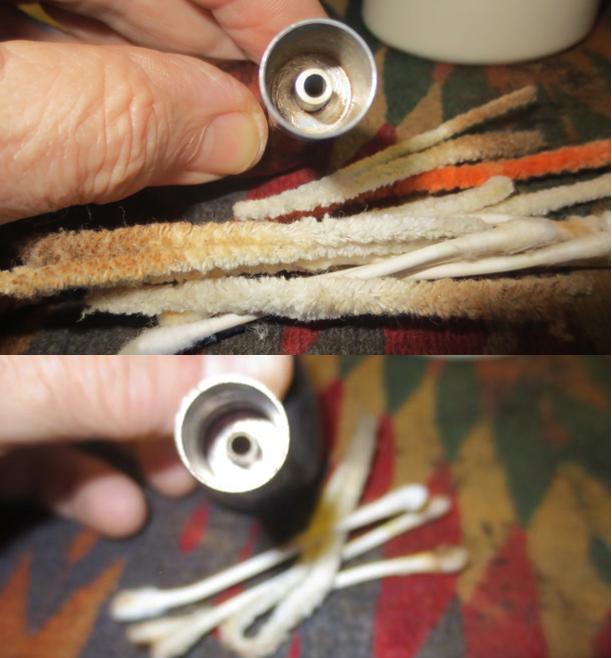
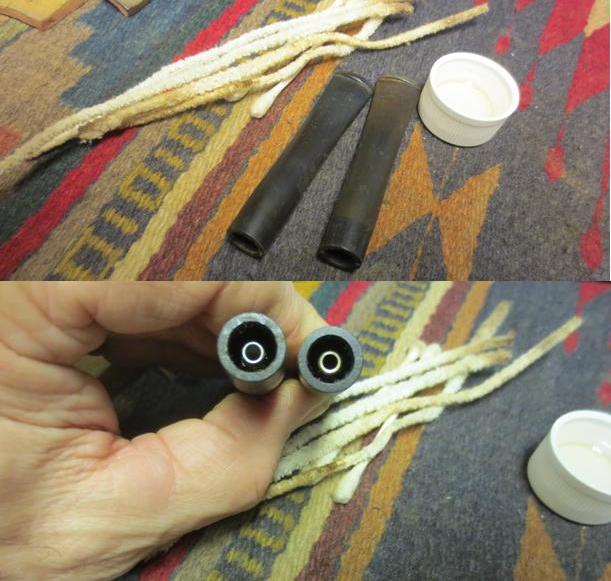
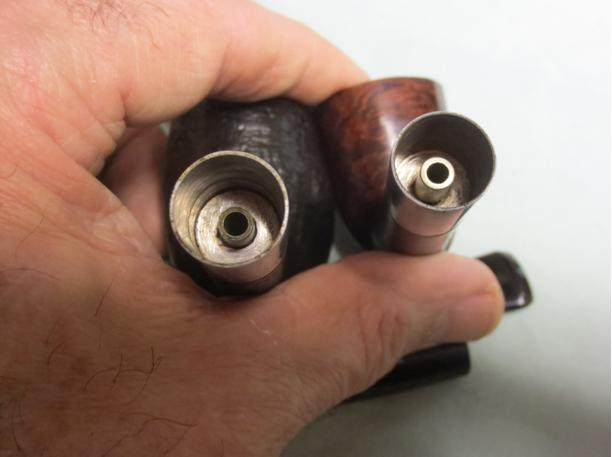
I dipped a bristle pipe cleaner in 91% isopropyl alcohol and threaded it through the stem, then set it aside to soak. I attempted to do the same with the shank, but it was so clogged I had to first abrade away whatever gunk I could reach with a round needle file.
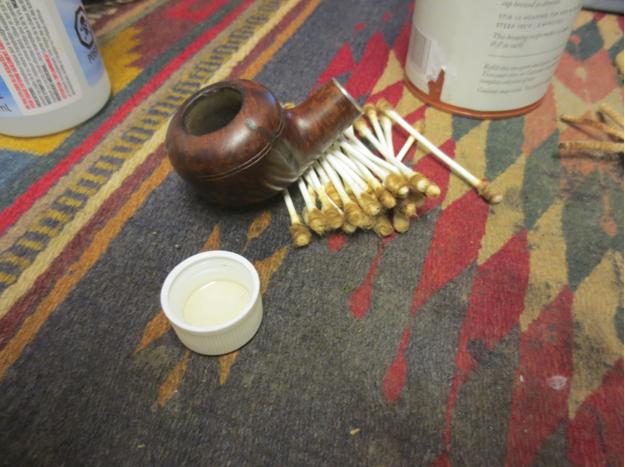
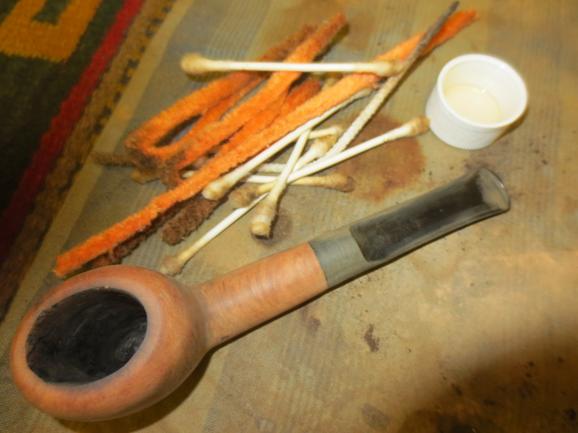
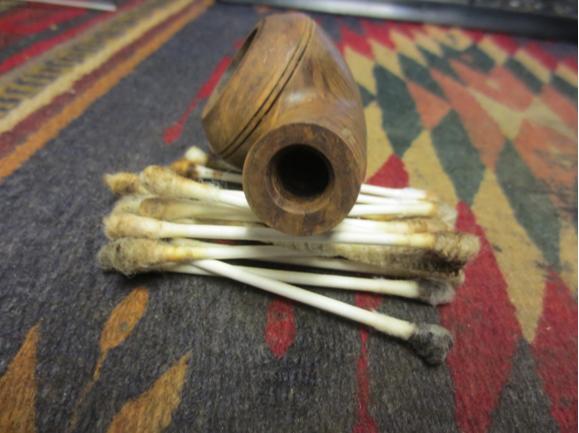
I dripped some alcohol down the shank and eventually was able to poke through to the bowl with a bristle cleaner—the first of many. I worked for about an hour, switching between bristle cleaners and cotton swabs, before finally finishing up with a few regular pipe cleaners.
The stem took a little less time, maybe 30 minutes, and a dozen bristle and regular pipe cleaners combined.
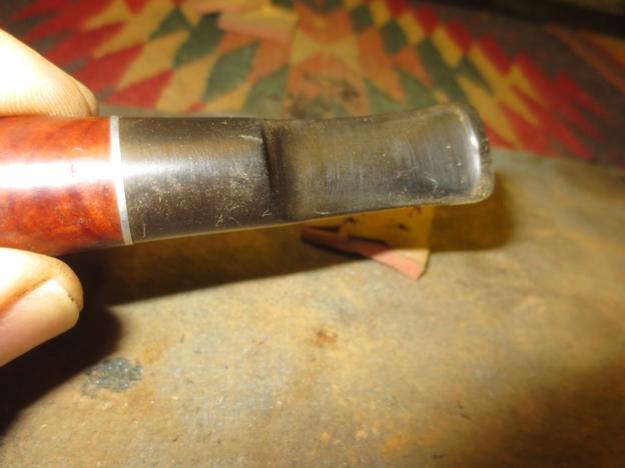
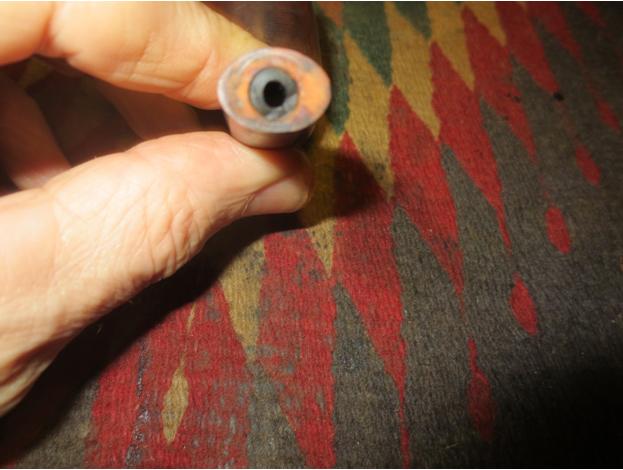
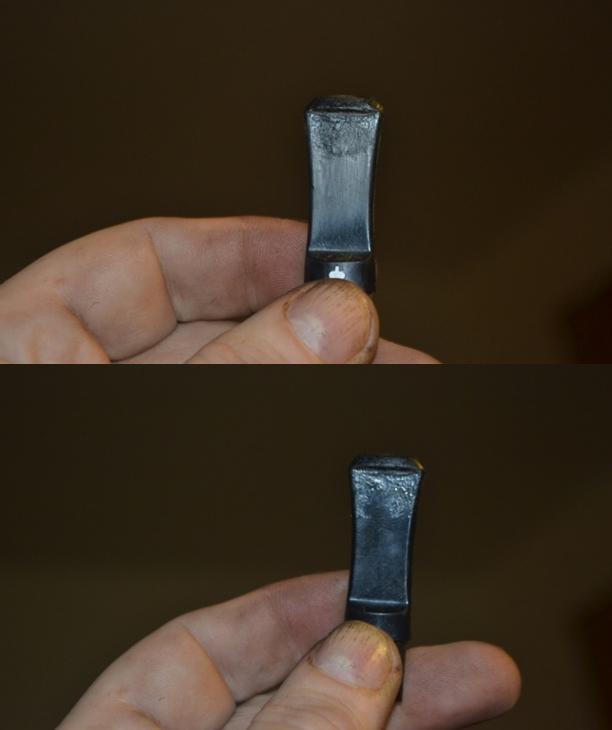
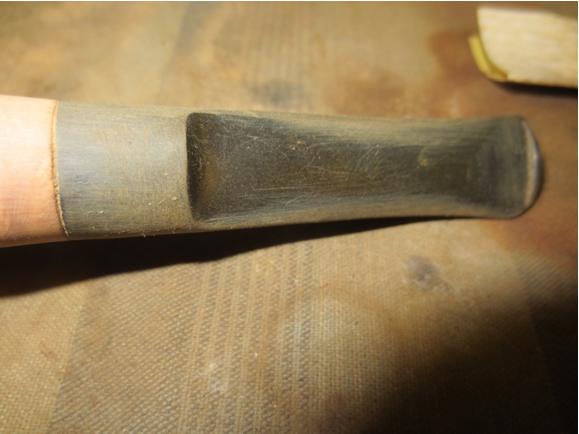
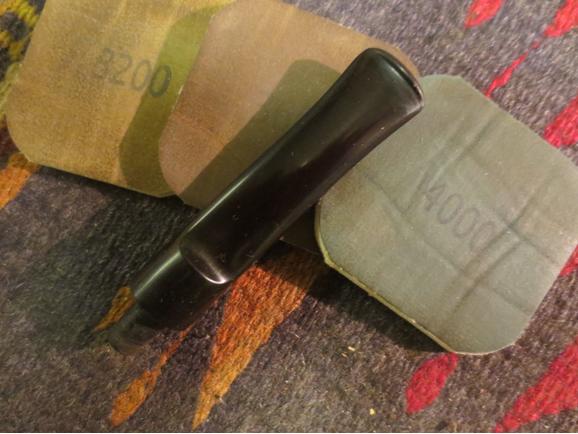
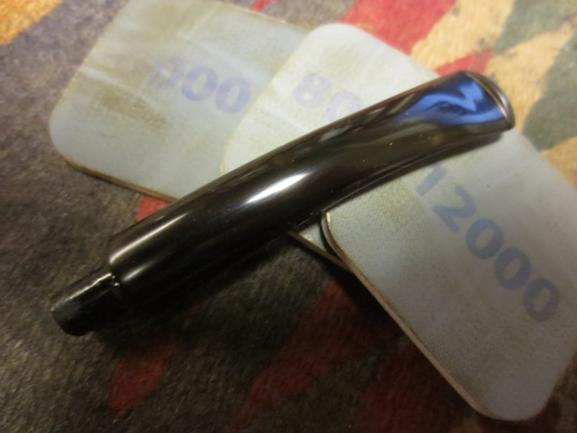
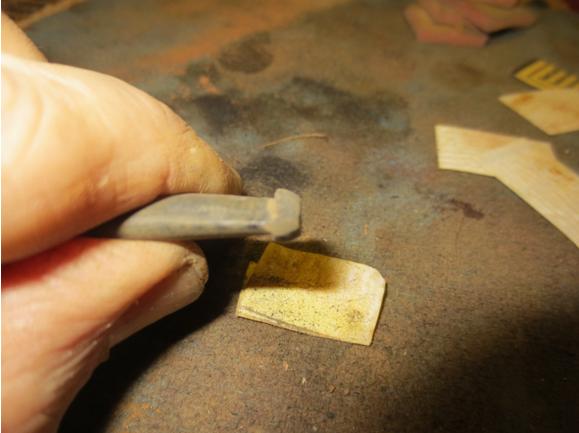
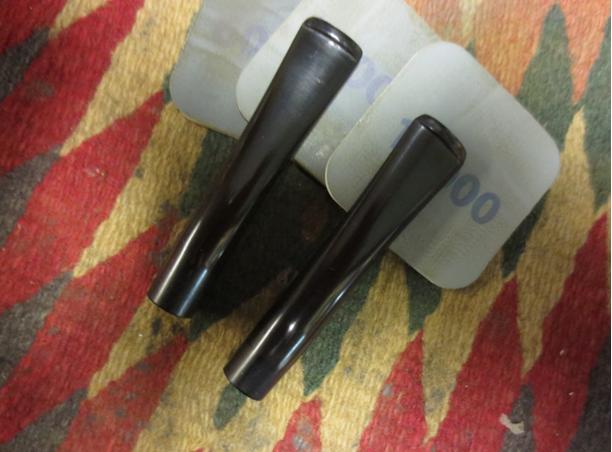
The P logo on the stem was a little worse for wear. The lower right side of the diamond, as viewed from the button end, was virtually nonexistent. Using an Exacto blade, I pushed on the faint outline that remained until there was a slight indent. It wasn’t quite as deep as the other three sides of the diamond, but I thought it prudent to stop before I went too far.
I tried using white nail polish to brighten up the logo but, perhaps because the bottle was 20 years old, the results weren’t quite what I was looking for. I wiped away the nail polish residue and applied Liquid Paper white correction fluid, which I’ve had success with in the past. I would say the results were “Meh,” except that, in looking up other Parkers online, it would appear that their stem stampings are not always super-crisp. Rather than waste more time on a detail that probably can’t improve a whole lot more, I decided to celebrate its unevenness and move along to the next step: resolving the bowl’s myriad issues.
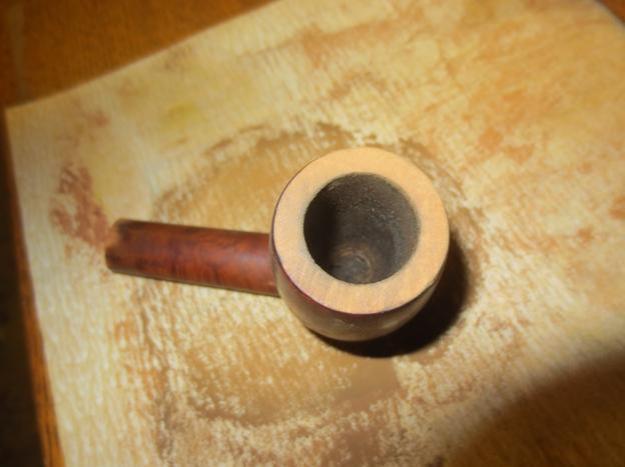
Using 220 grit sandpaper, I moved along the inside of the bowl, sanding away excess JB Weld along with microns of briar. I eyeballed the progress as I went, hoping for a shape that approximated round. When I was satisfied it was as close as it could get, I mixed up a small batch of Steve’s sour cream-n-powdered-charcoal bowl coating and applied it, first with a dental spatula, then a folded pipe cleaner. I used my index finger for a final smoothing.


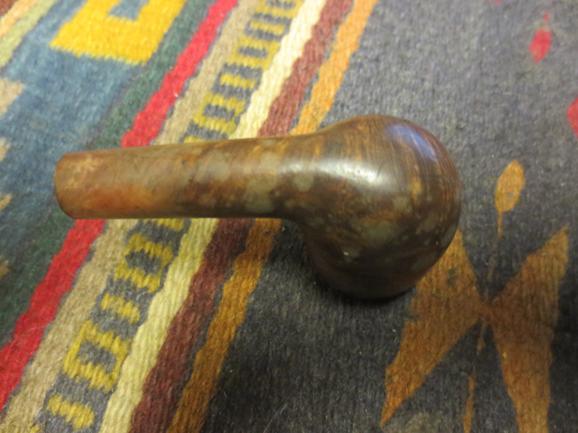
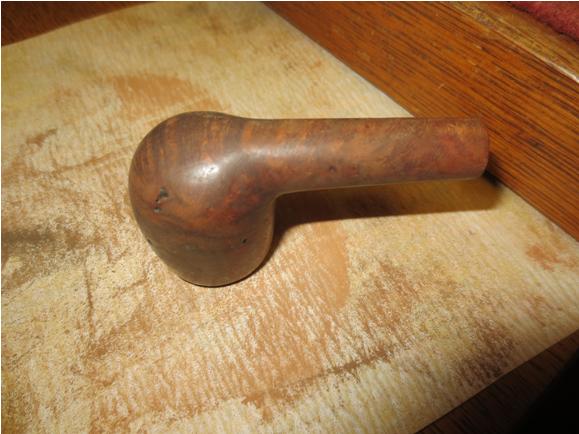
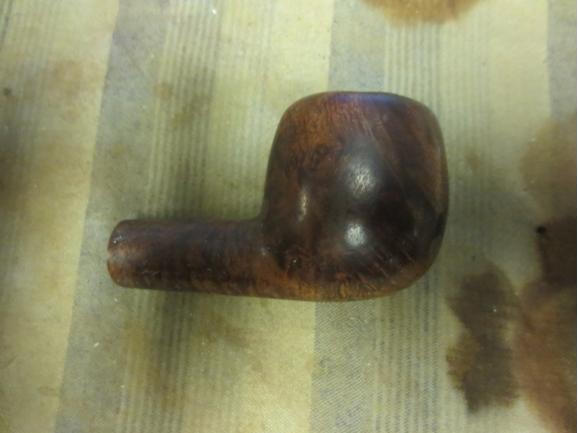
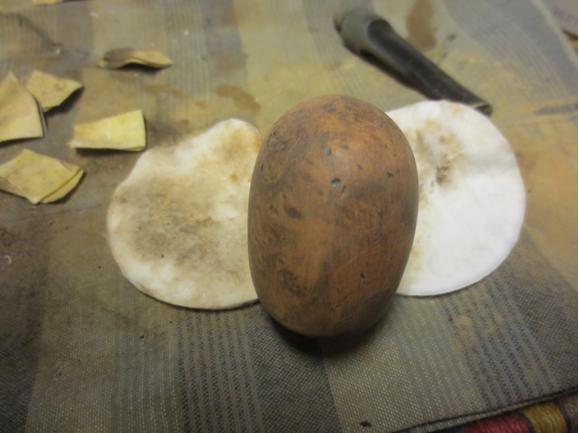
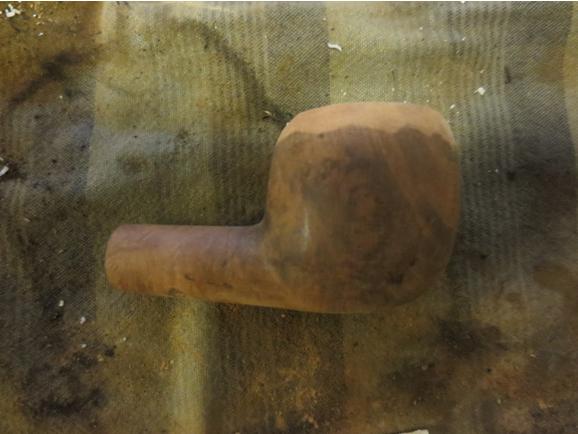
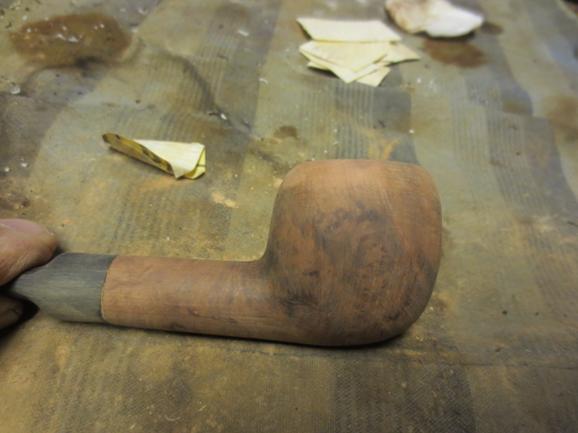
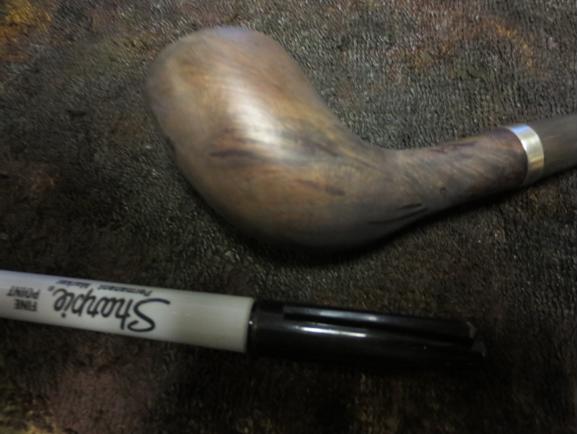
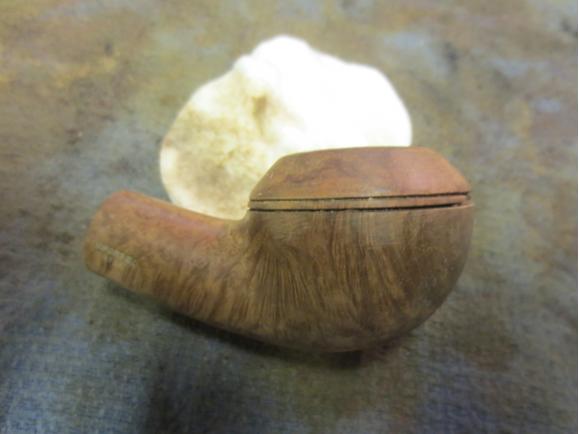
 It was during this process that I noticed the left exterior of the bowl was itself somewhat flattened. Maybe a few too many whacks on a tabletop or boot heel?
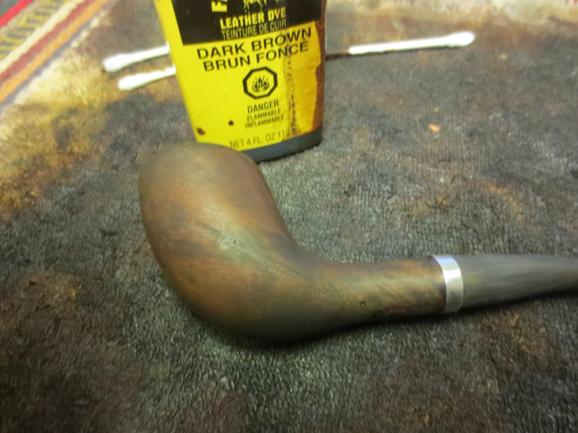
Whatever the reason, I moistened a towel, heated a table knife and proceeded to steam the area. Maybe it worked, maybe it’s just wishful thinking, but the flatness did seem to raise up a bit. With that issue addressed, it was time to start staining.
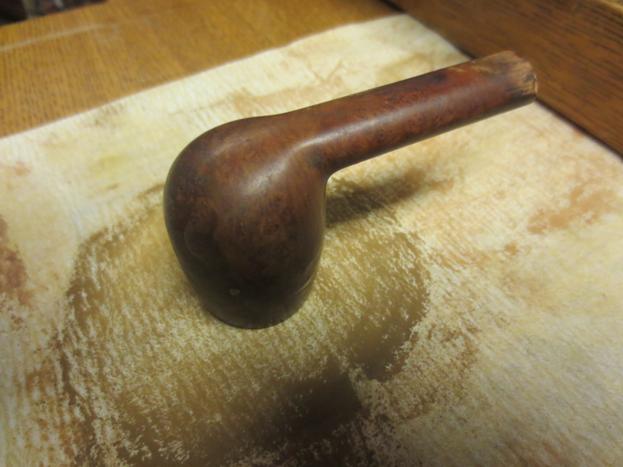
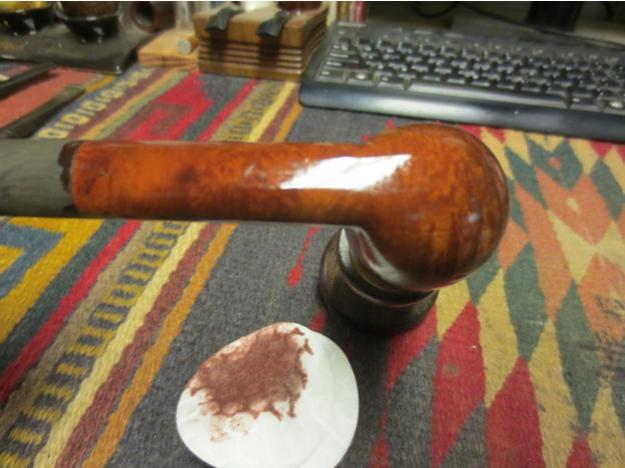
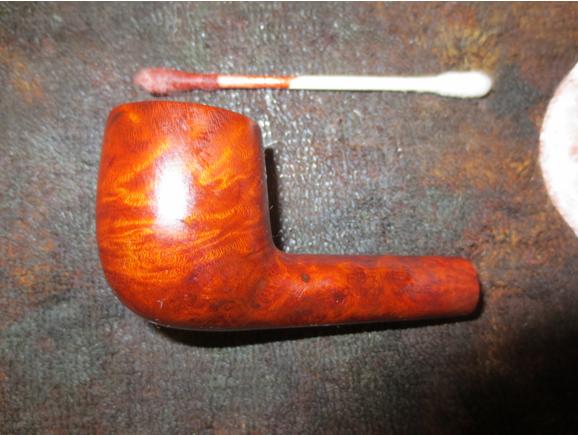
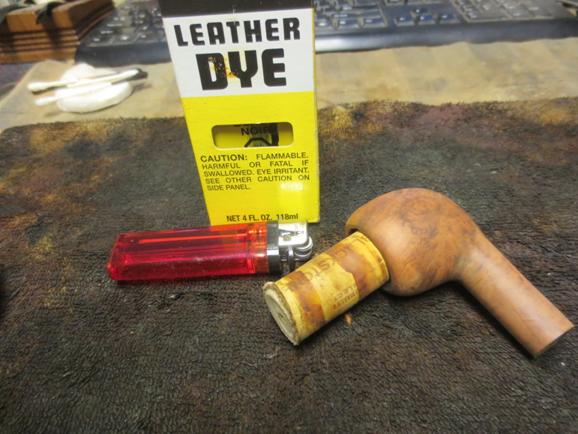
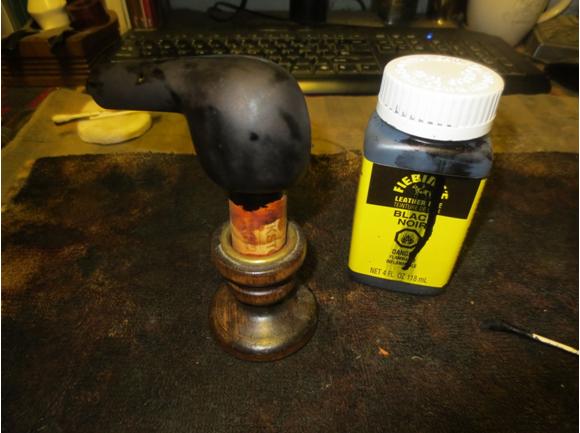
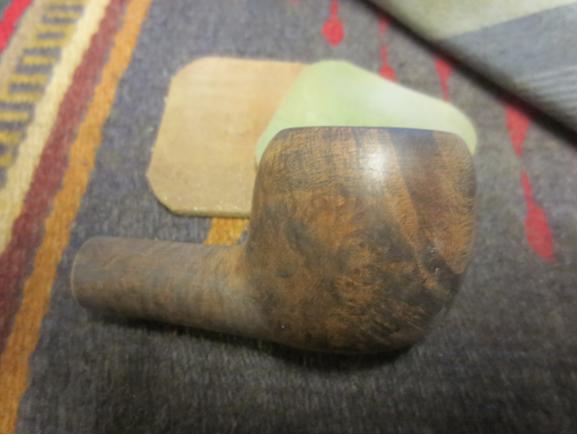
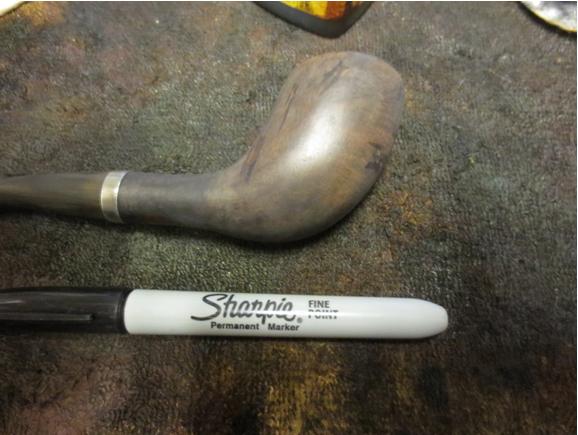
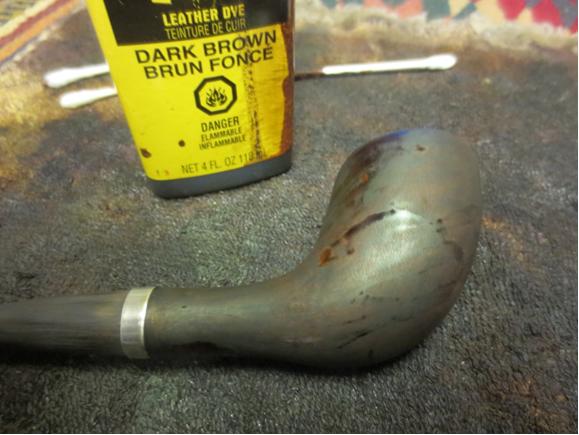
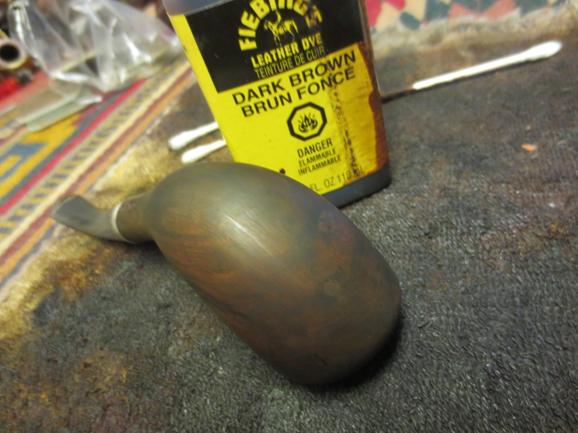
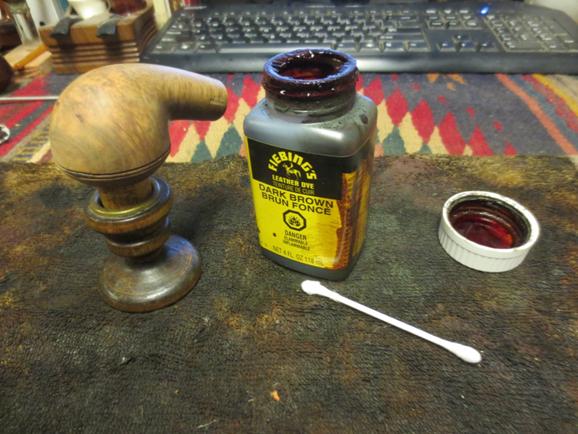
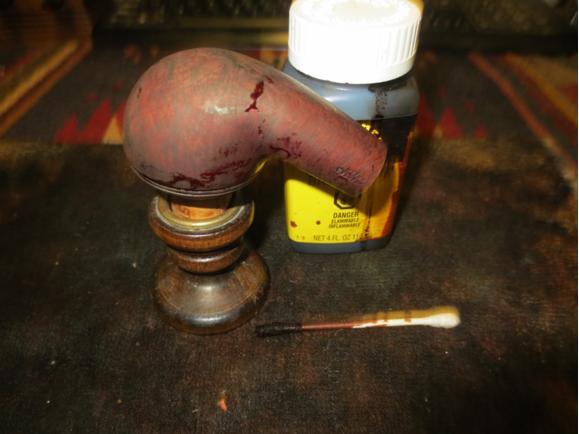
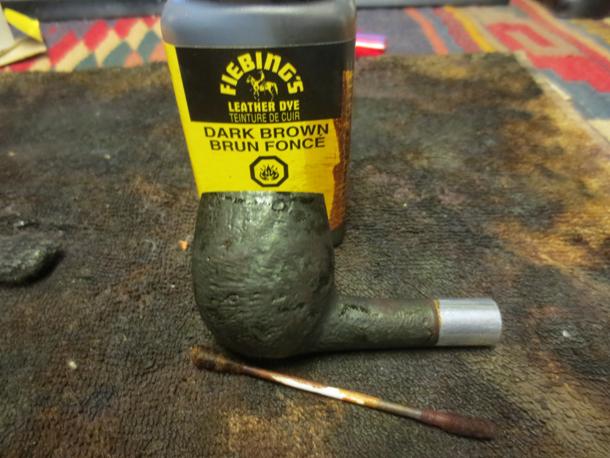
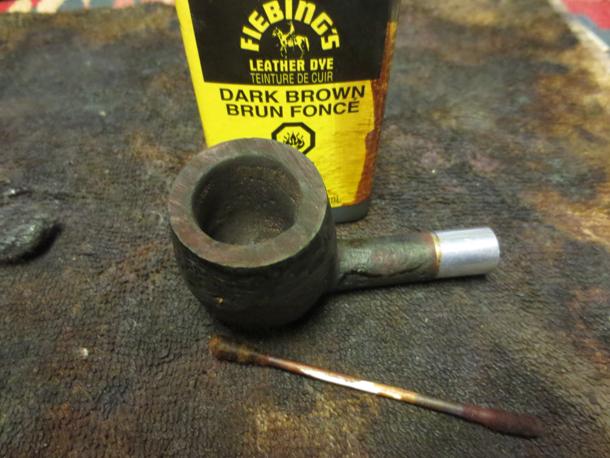
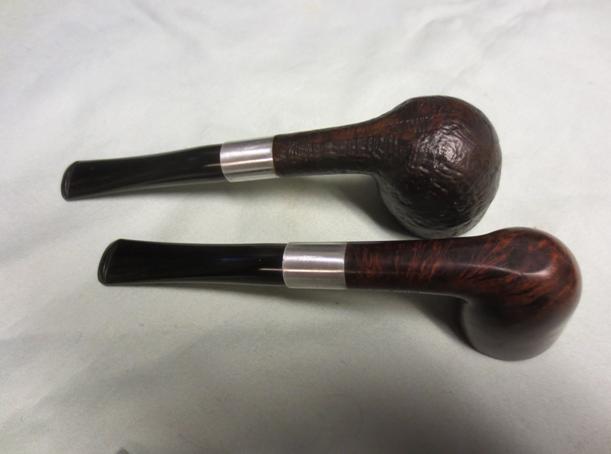
When I’d cleaned up the briar with the Murphy’s Oil Soap, the grunge on the towel included a considerable amount of red pigment. Hoping to recreate the same hue, I swabbed the bowl with oxblood aniline stain, wiped it immediately with an absorbent cloth, then swabbed it with dark brown stain and wiped again. After a few touch-ups I was satisfied that the coverage was even, and flamed the stain with a lighter.
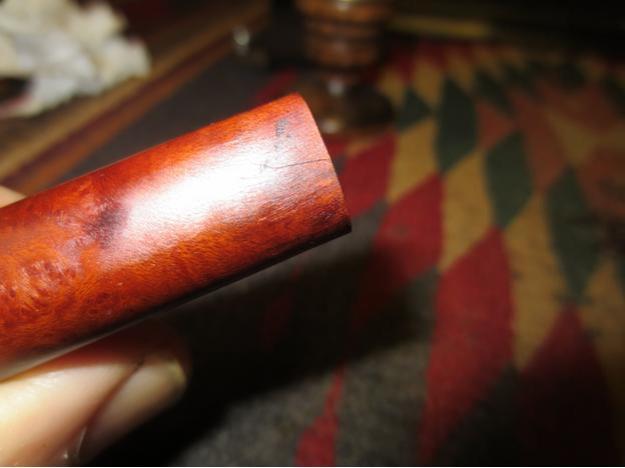
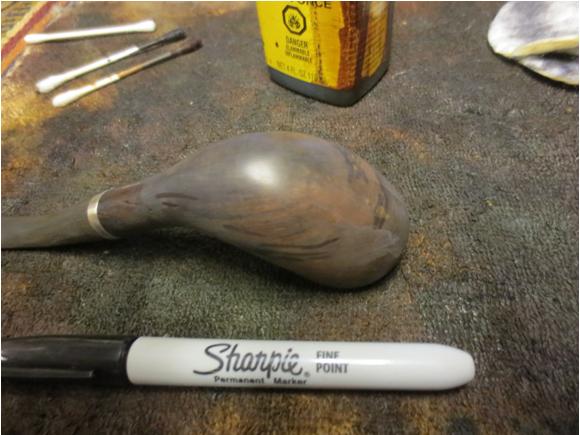
The seams where the bowl had been mended were still a little too visible for my taste, so I went at them with a black Sharpie marker. A quick dab with the marker followed by a quick wipe with my finger helped the cracks blend in a little more.
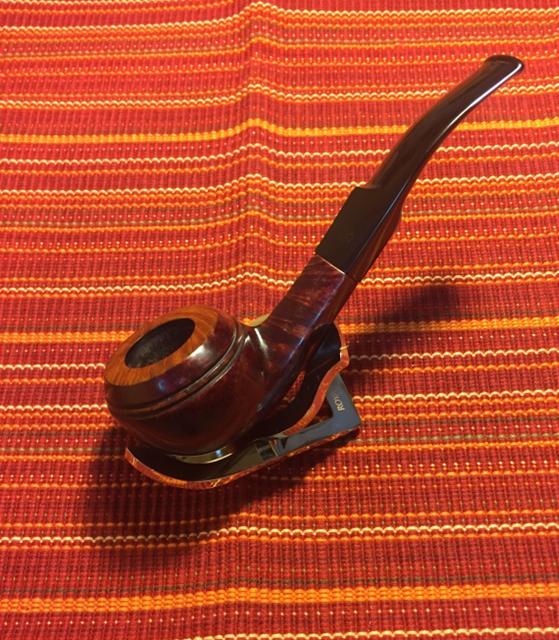
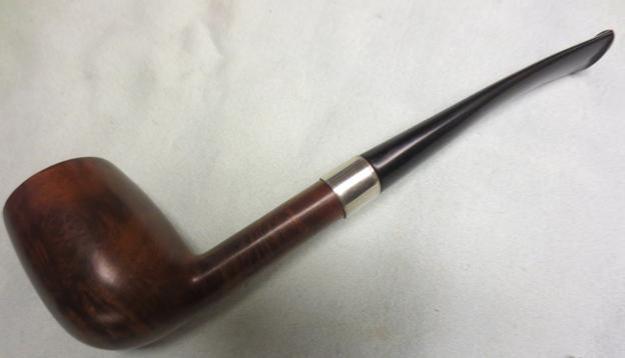
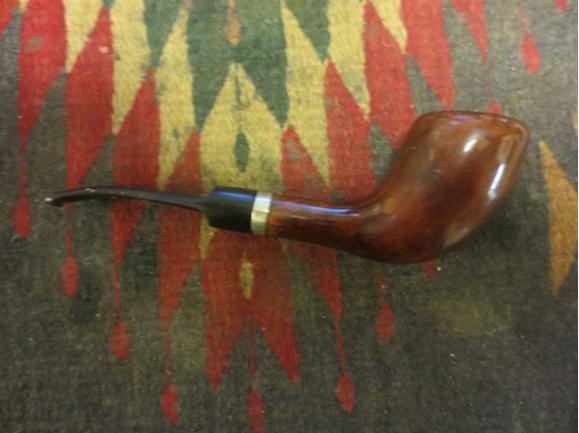
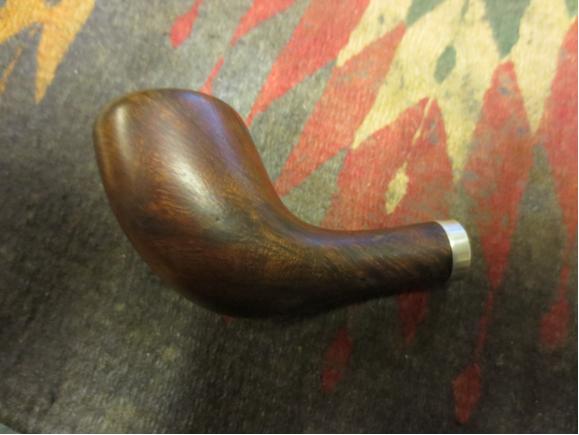
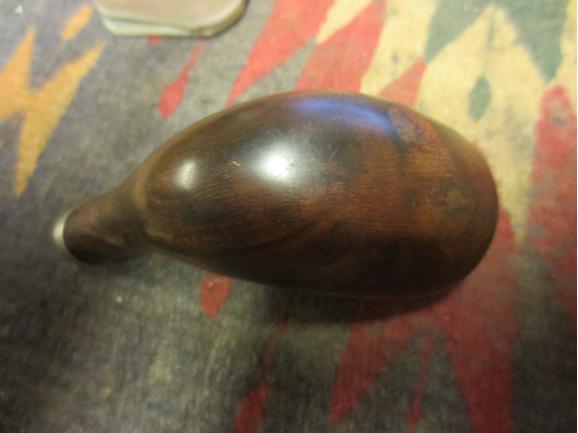
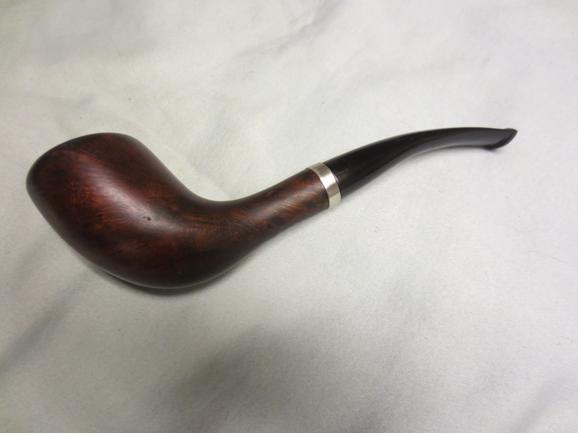
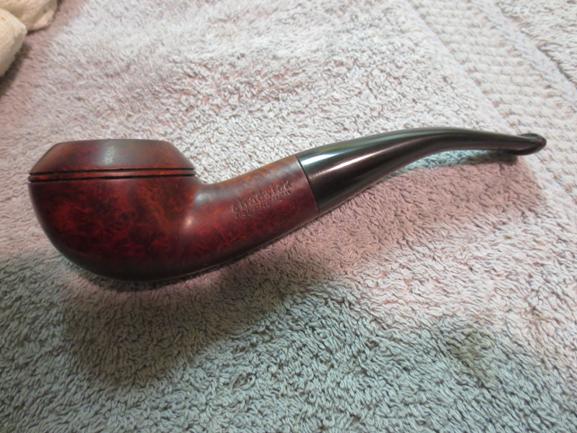
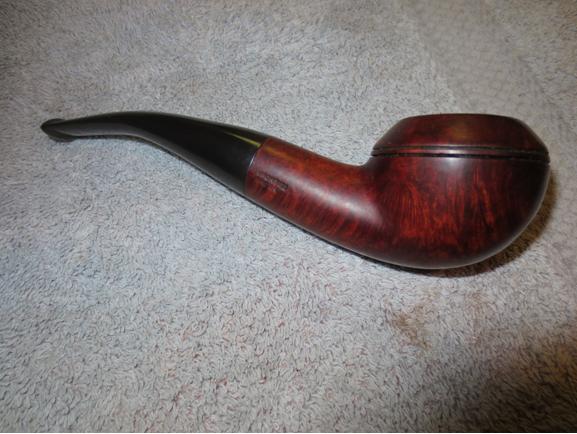
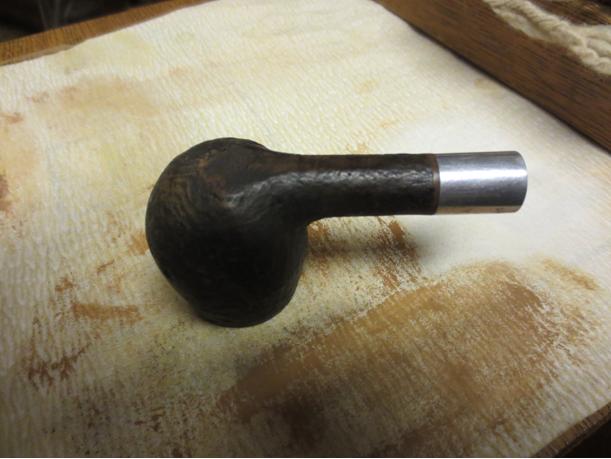
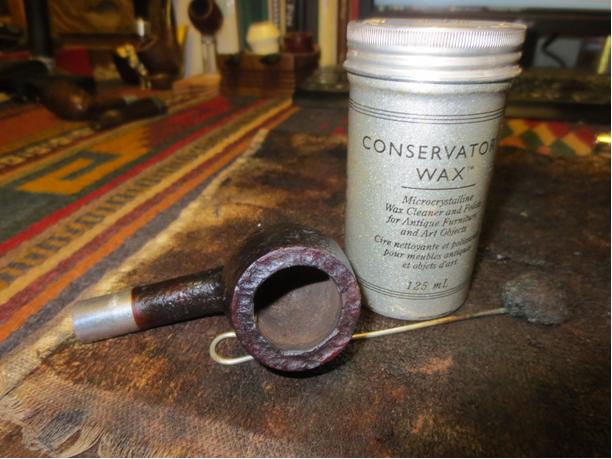
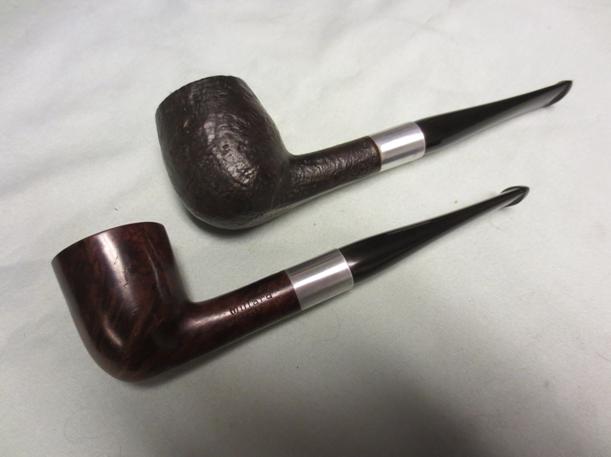
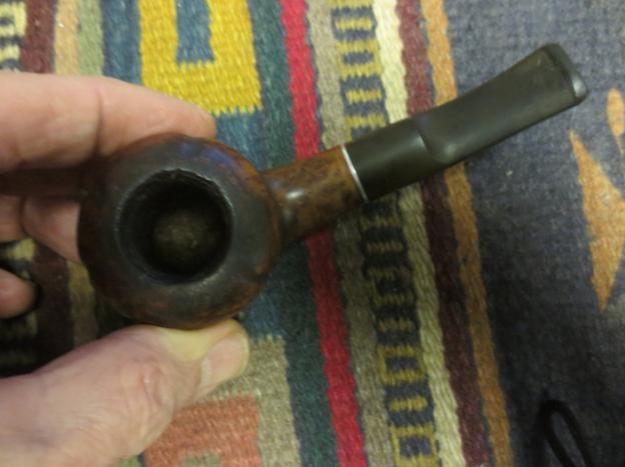
At this point I decided this Parker was about as reborn as he was going to get. Down to the garage workshop we went, one last time, to apply some carnauba. Only then did I realize just how cold our recent cold snap has been. I brought the wax bar inside to warm up a bit, then went back to the garage for a couple quick coats. More will come, after the next thaw.
If you look at the pipe up close, the cracks are still apparent. But like a bad memory, they fade with some distance. This is one pipe Frosty is going to have to do without.


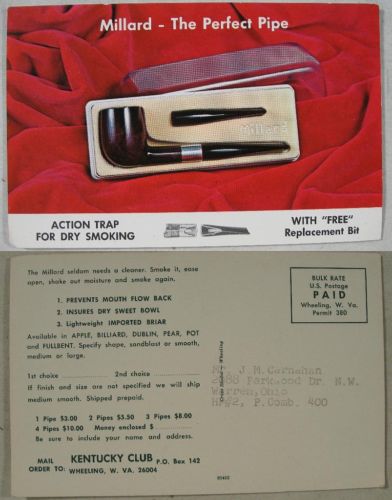
 I quote from Pipedia: “Arlington Briar Pipes Corporation was founded in 1919 in Brooklyn, New York, and produced the Arlington, Briarlee, Firethorn, Krona and Olde London brands among dozens of others, primarily acting as a subcontractor making pipes to be sold under other brand names. Among others, in the 1950’s, Arlington turned pipes for the famed Wilke Pipe Shop in New York City. The corporation was dissolved by the State of New York as inactive on December 6, 1978. Arlington Briar Pipe Corporation, located at 200 Kosciusko Street, Brooklyn, New York, registered only a single brand trademark, the Arlington brand, the trademark for which was applied for on November 13, 1962 and granted on February 25, 1964. Jack Kaye, of Arlington Briar, was also granted a patent for a combined mirror and stand in 1967.”


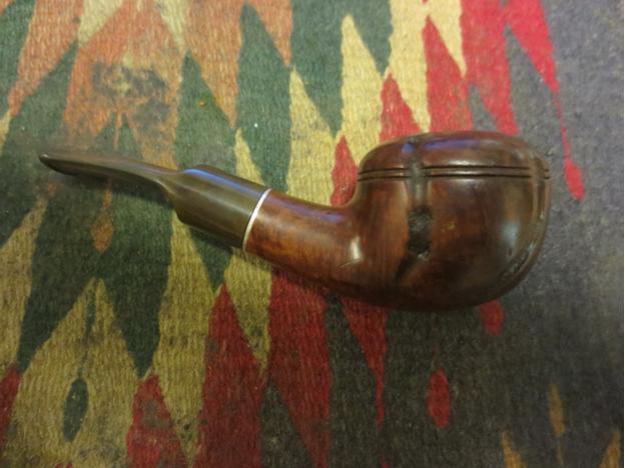
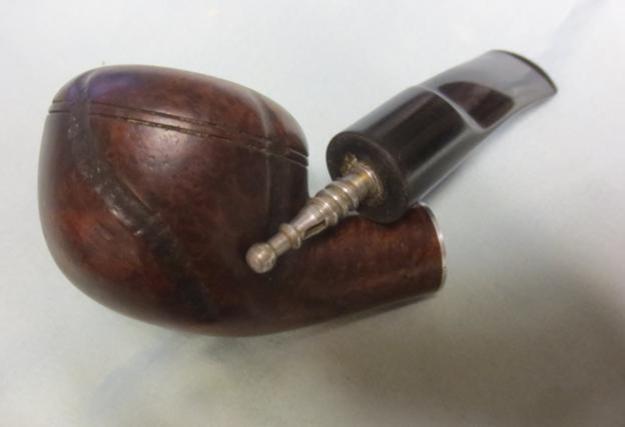
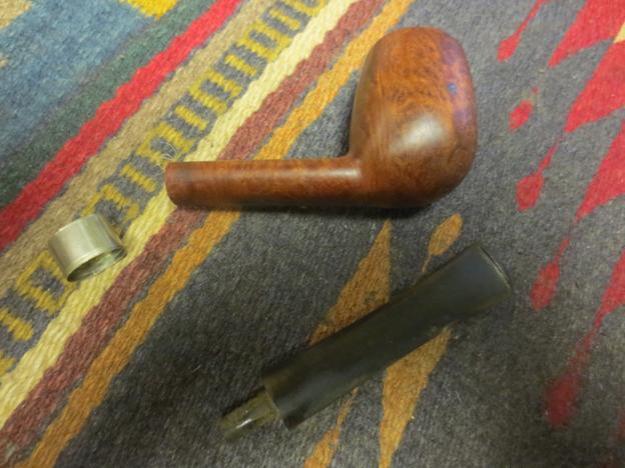
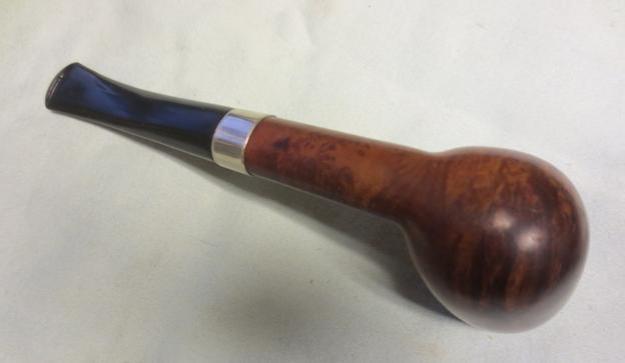
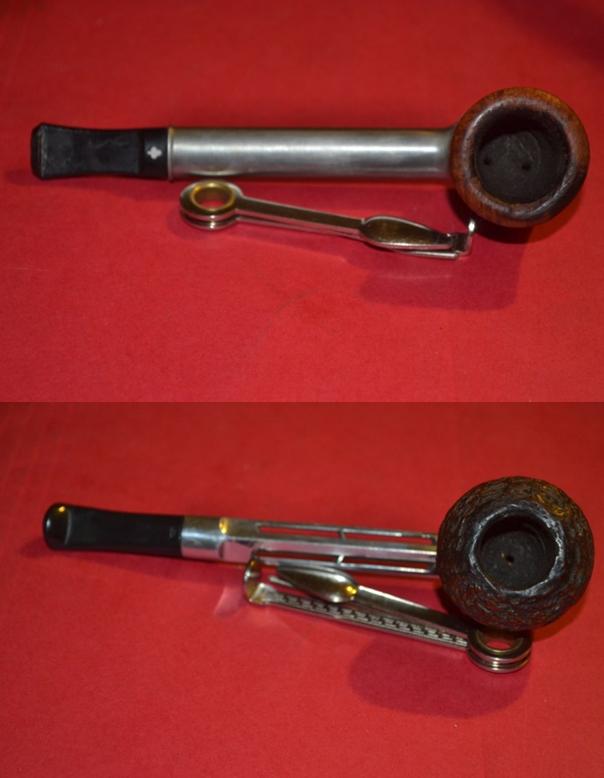
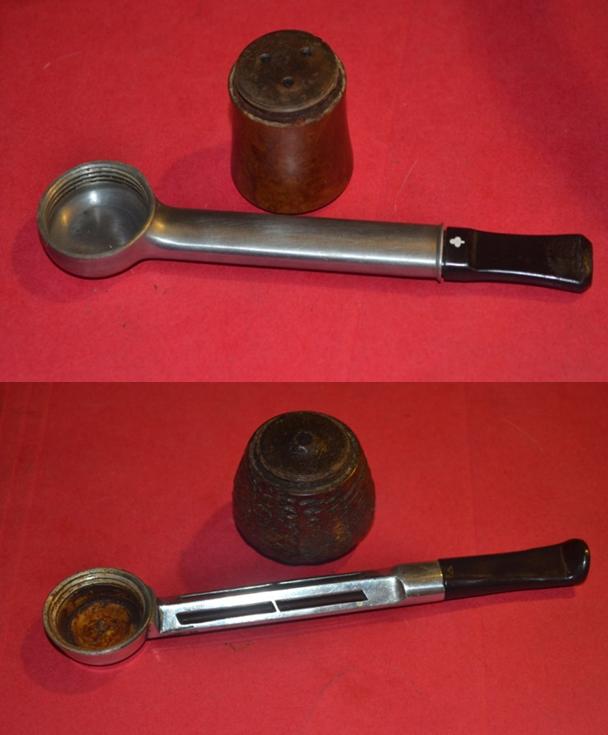
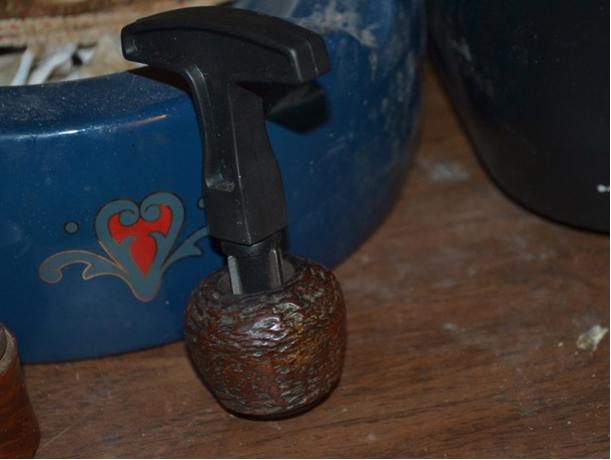
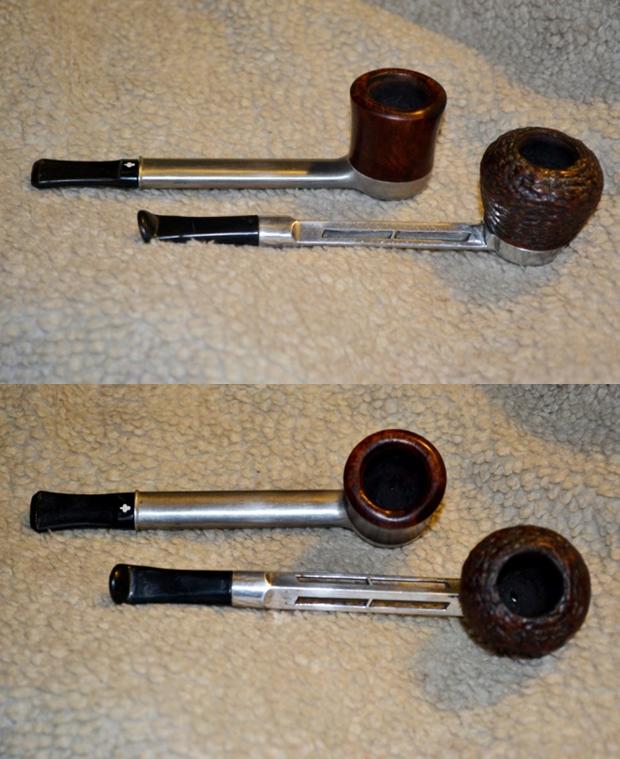
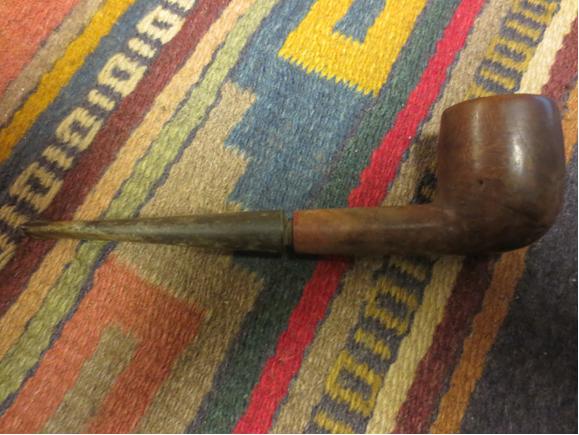
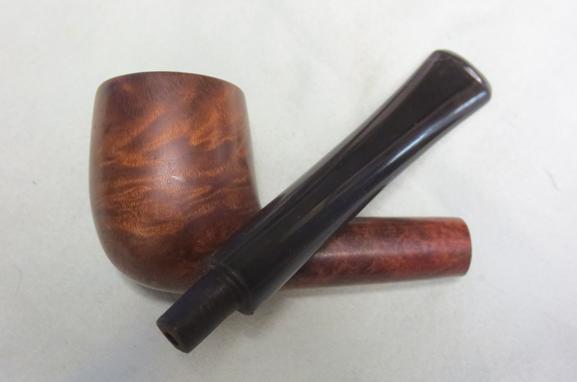
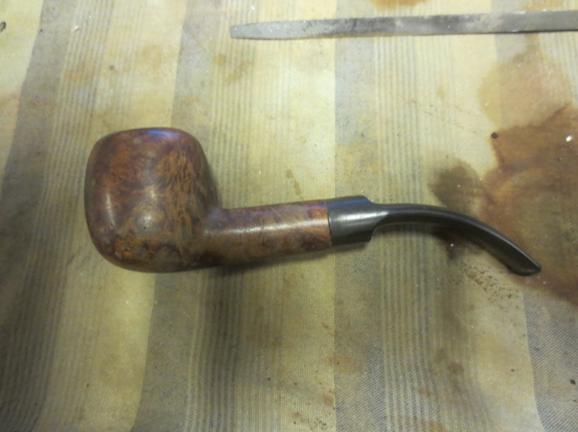
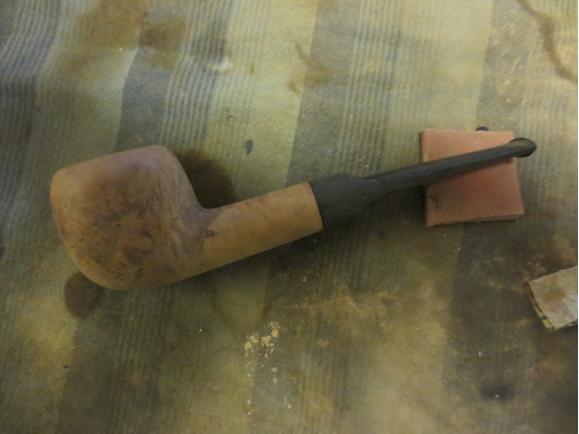
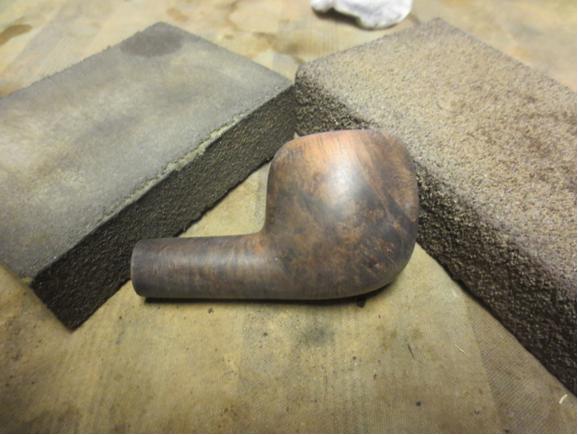
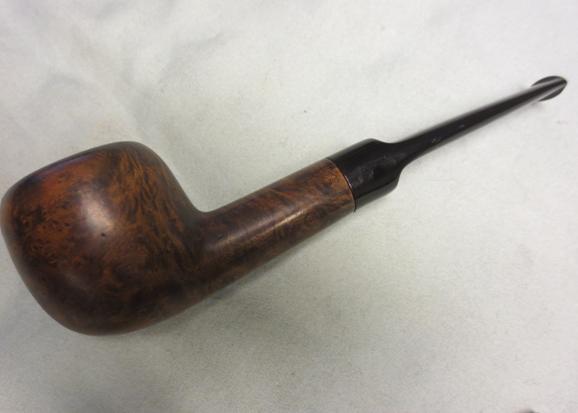
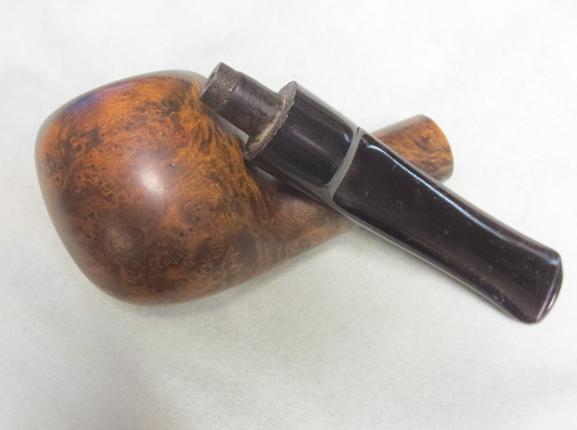
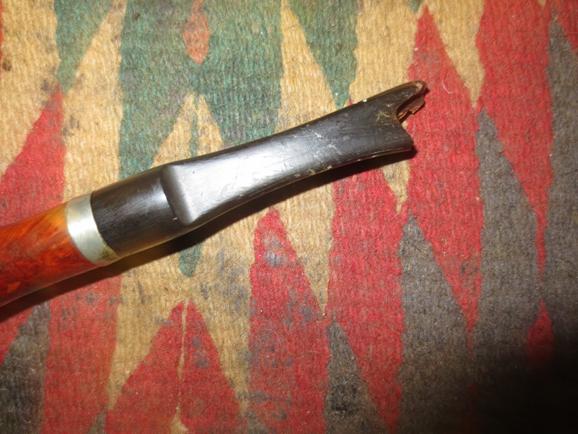
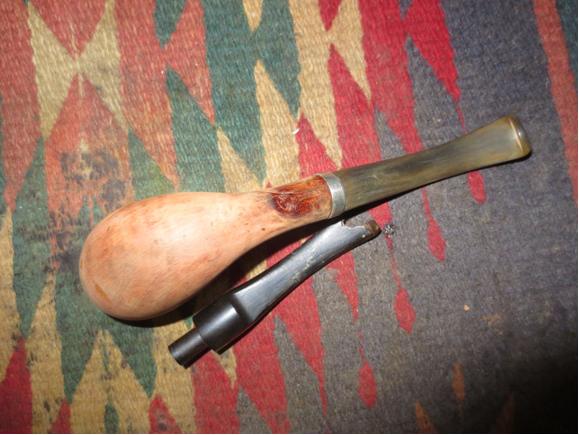
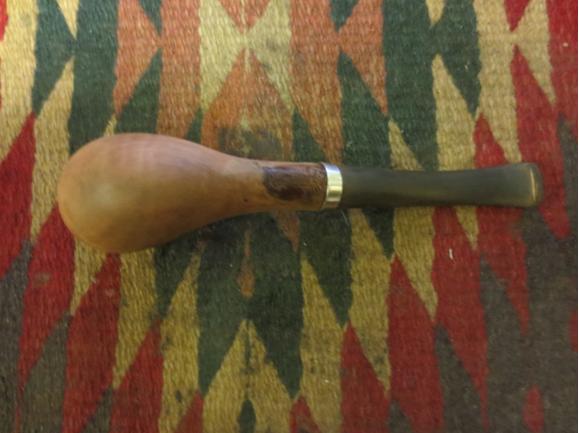
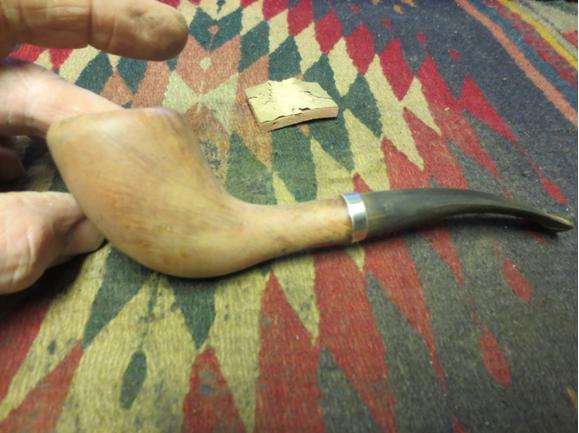
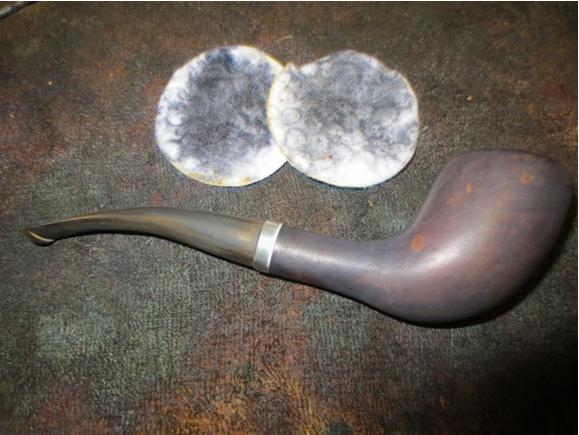
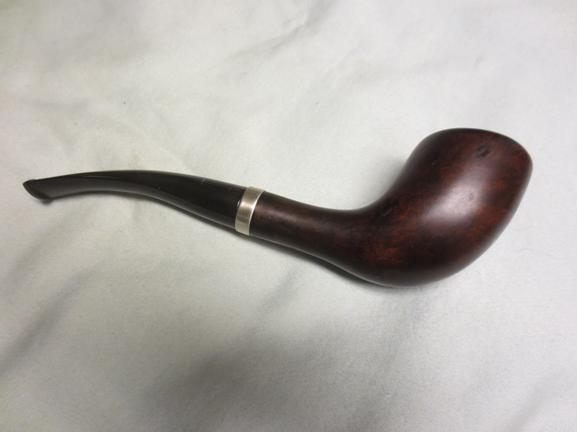
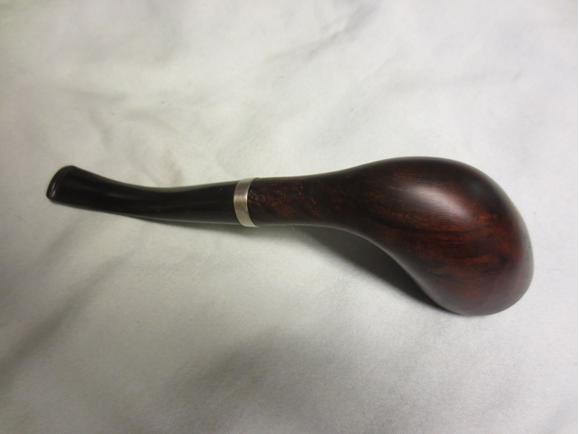
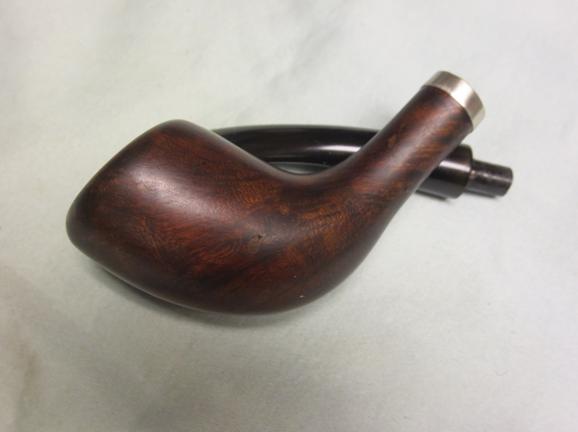
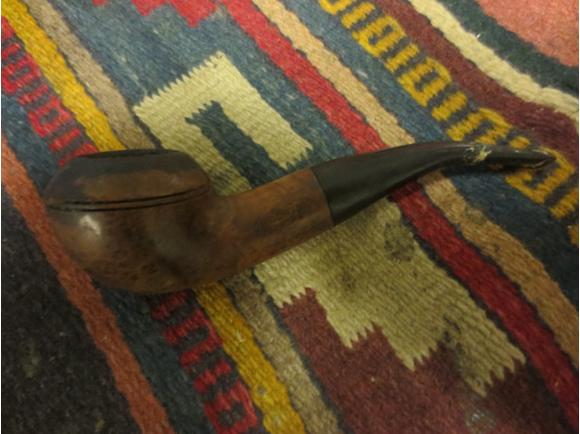
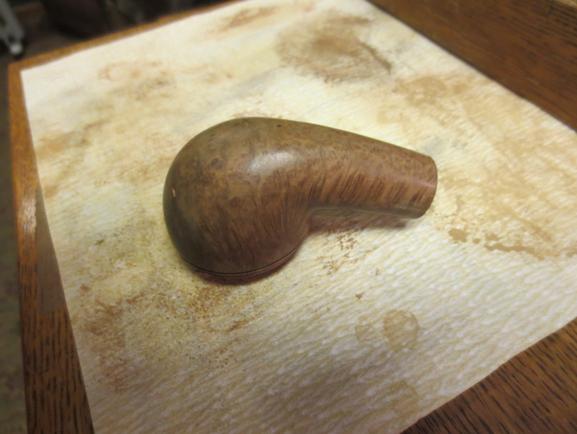
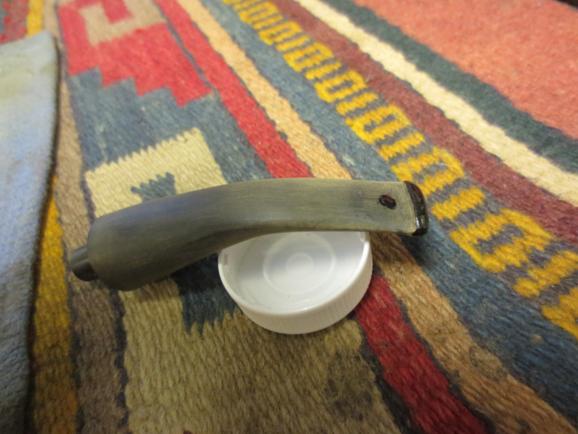
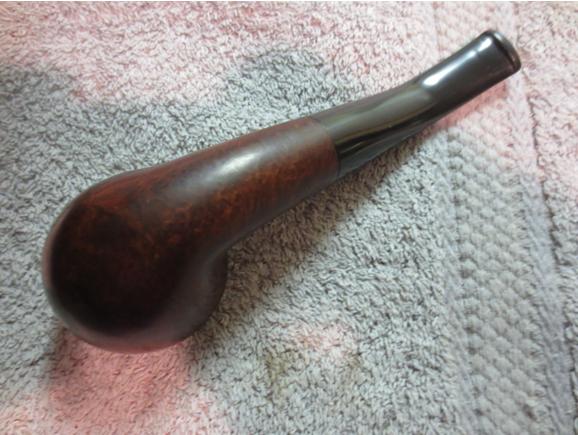
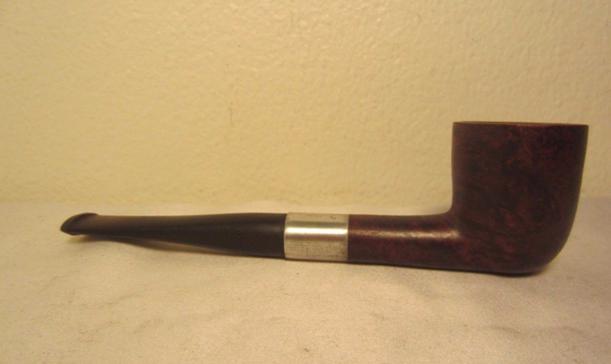
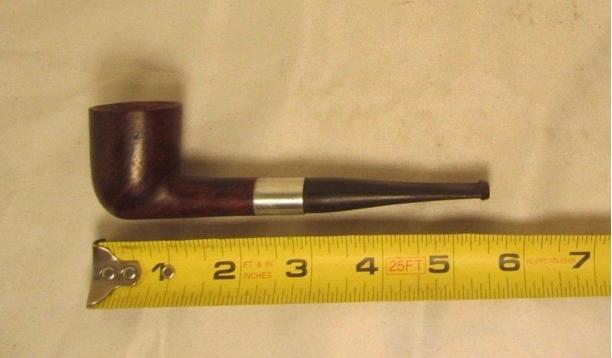
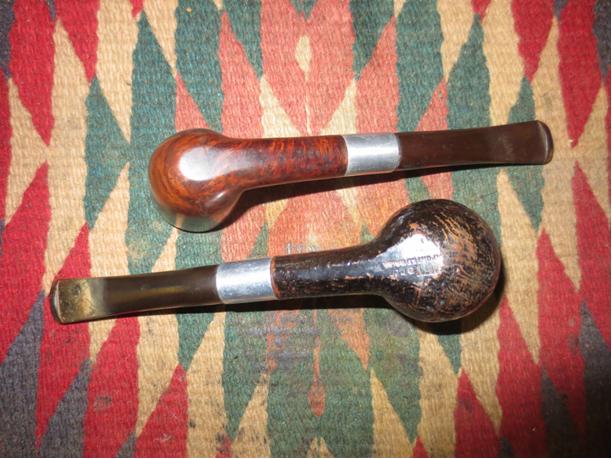
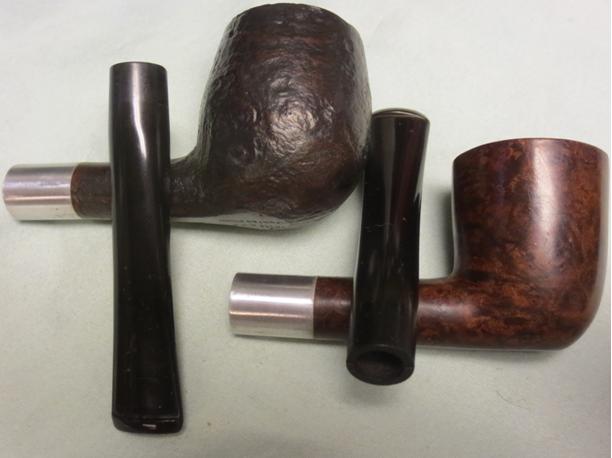
 When it arrived I brought it to the work table and took my own set of photos. The overturned stem makes the pipe look awkward.

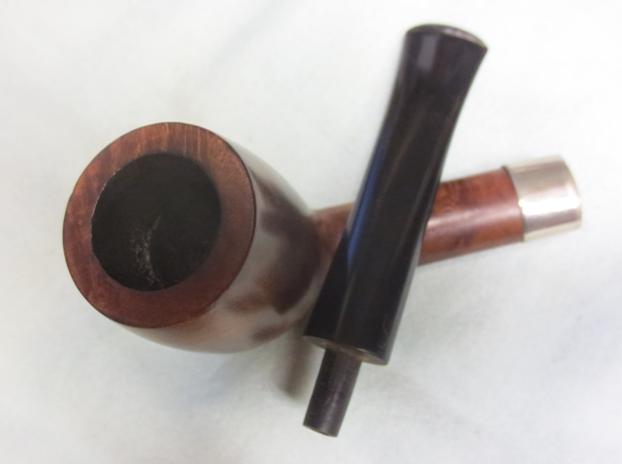
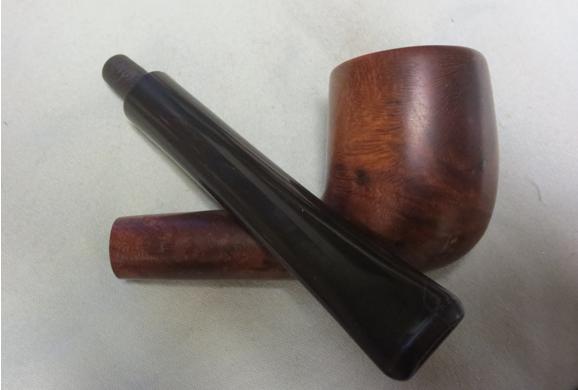
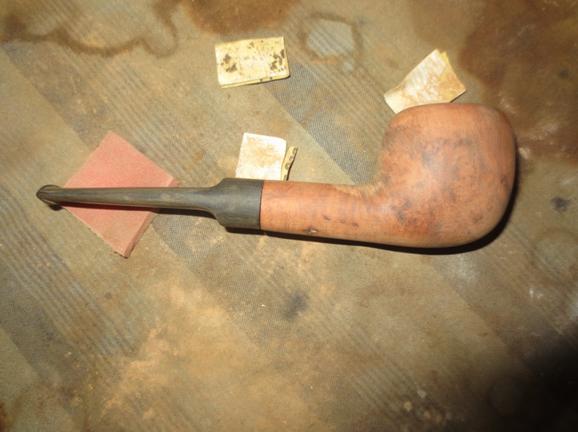
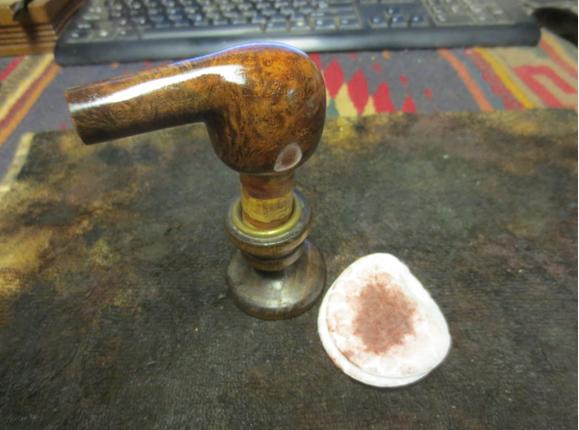
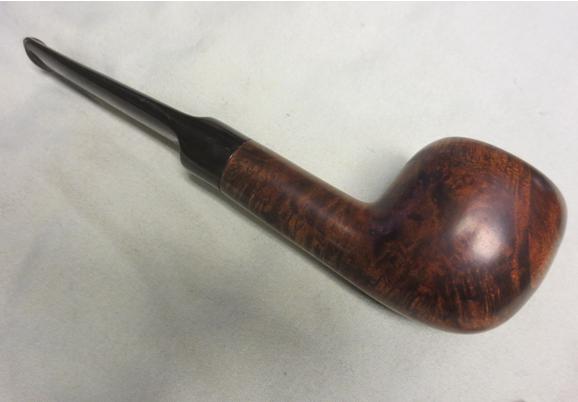
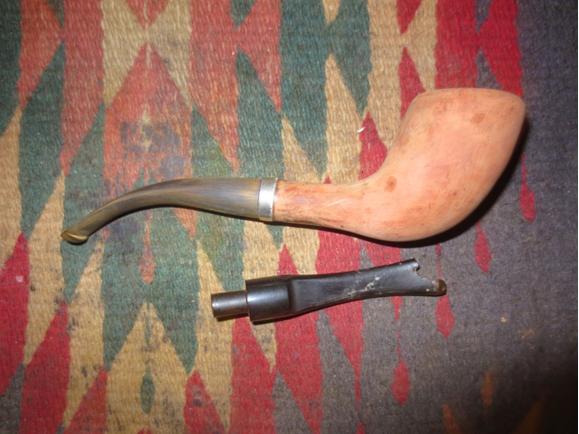
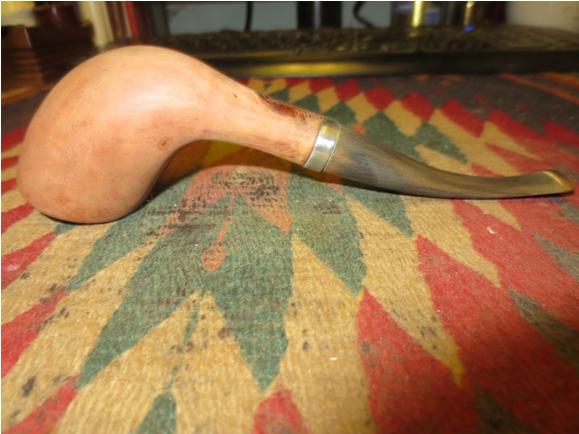
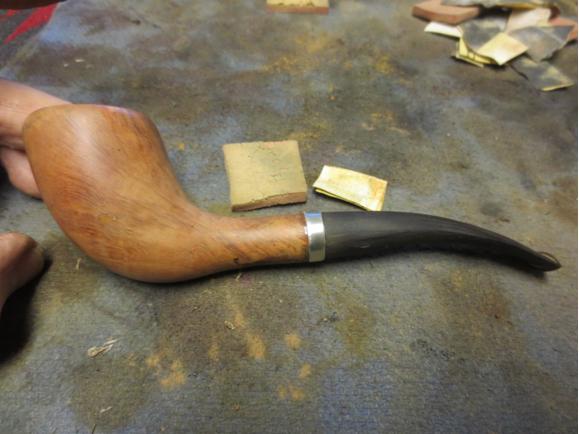
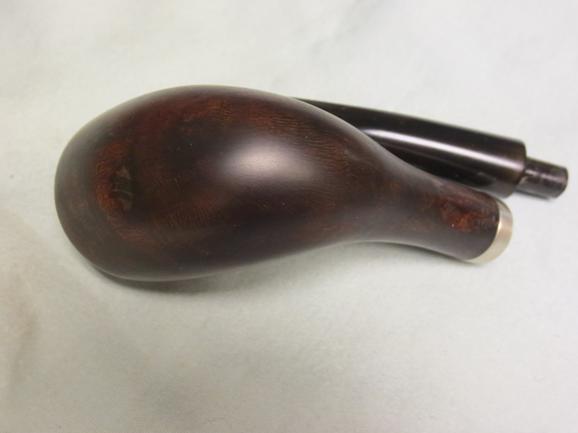
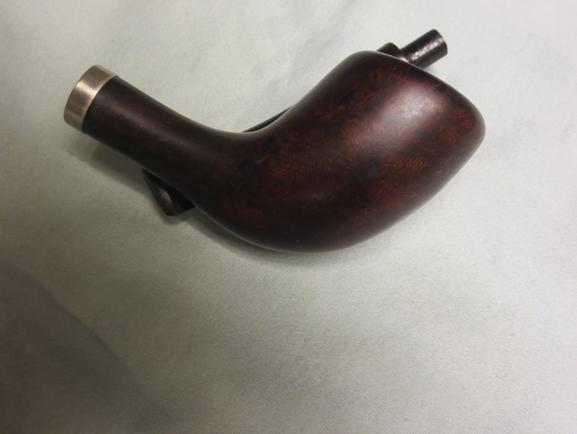
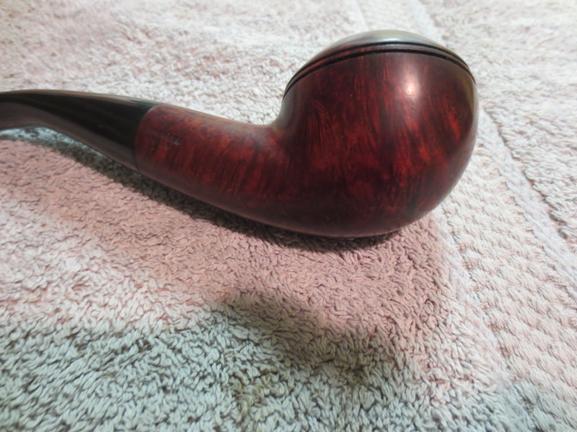
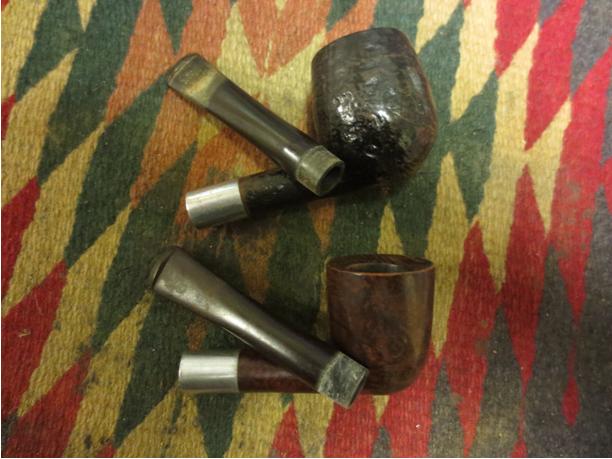
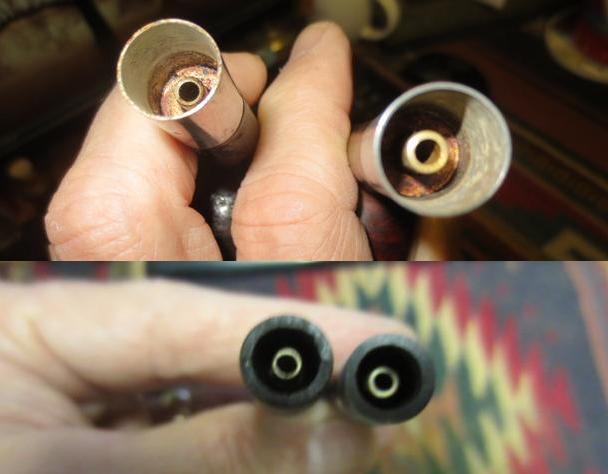
 I unscrewed the stem and heated the stinger and tenon with a lighter until the glue softened in the stem. Once it was warm the stem was quite easy to turn and align.
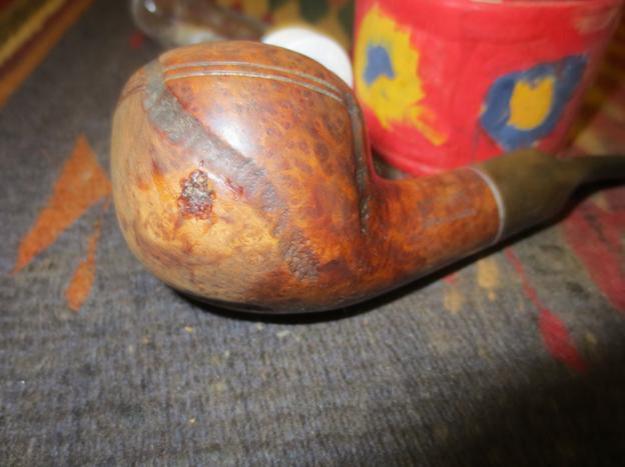
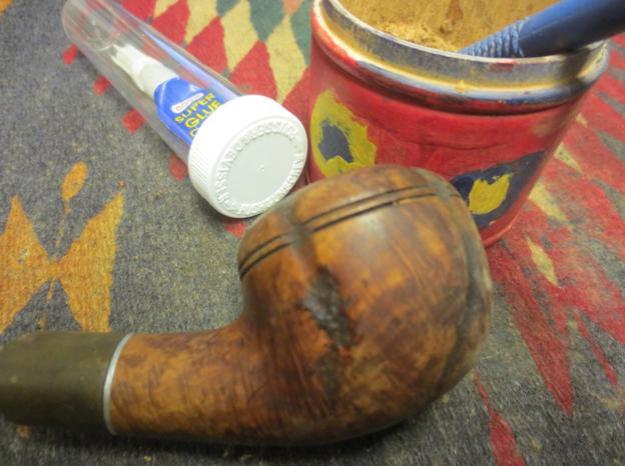
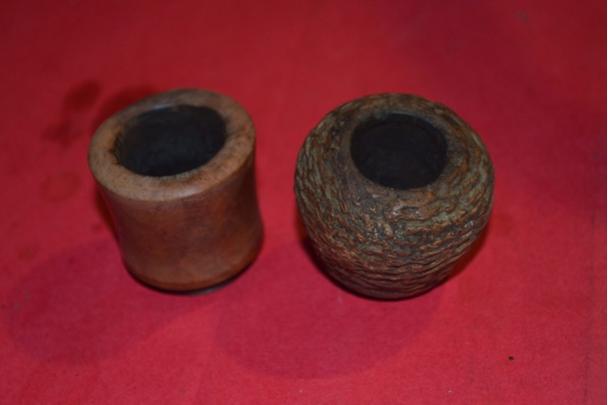
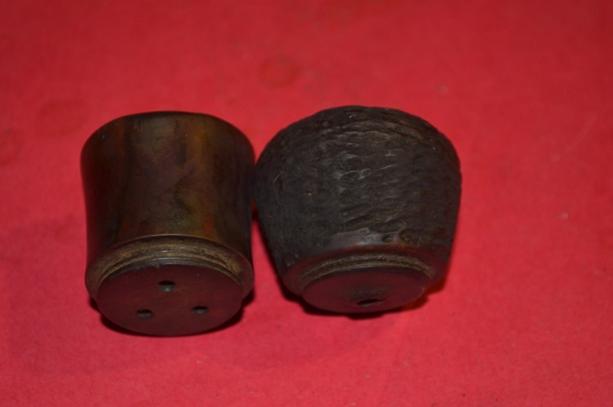
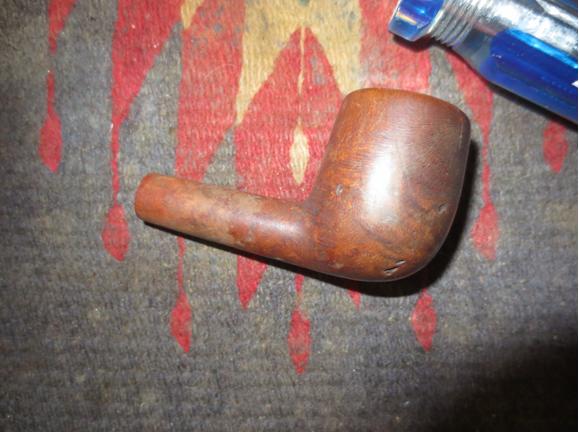
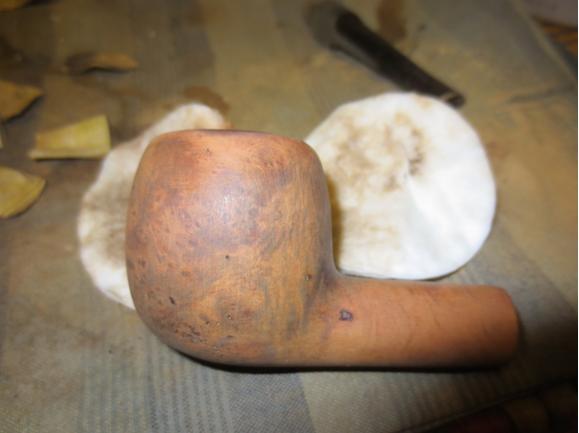
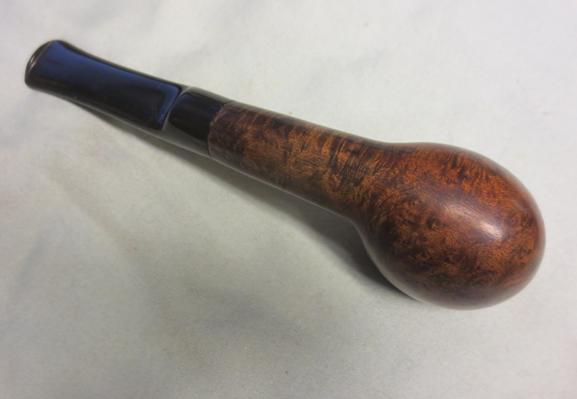
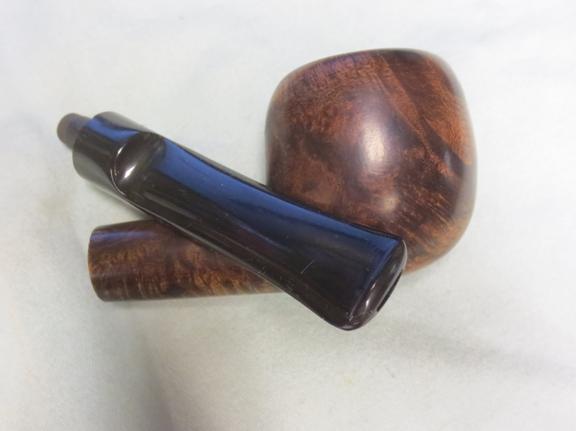
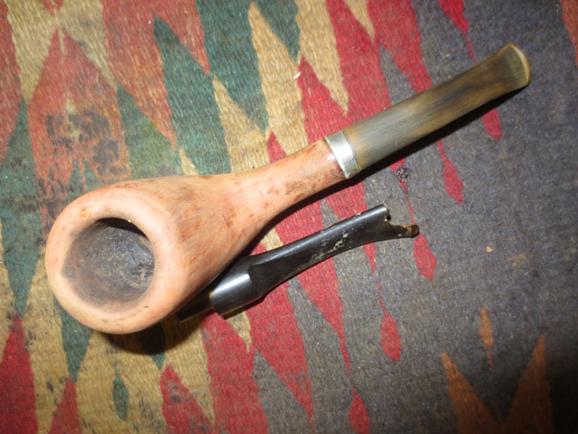
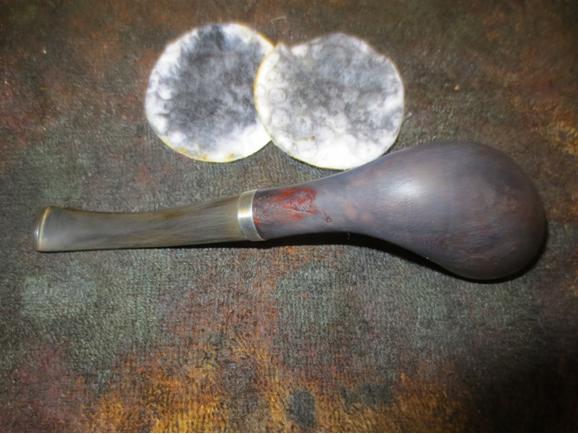
 I took the next two close-up photos to show the size of the pink putty fills on both the right and left side of the bowl. These pink fills would have to go as they are very hard to stain or mask.
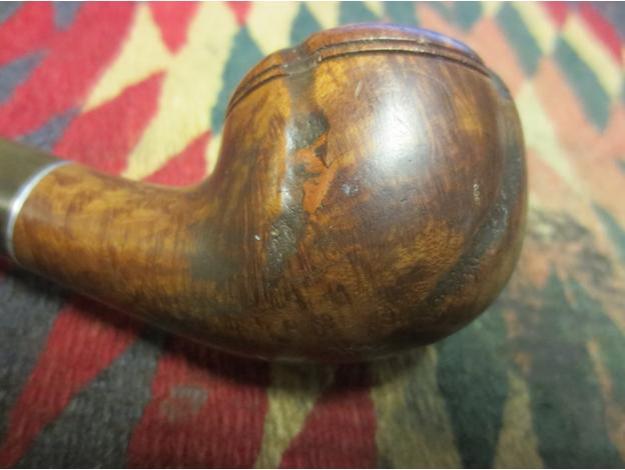
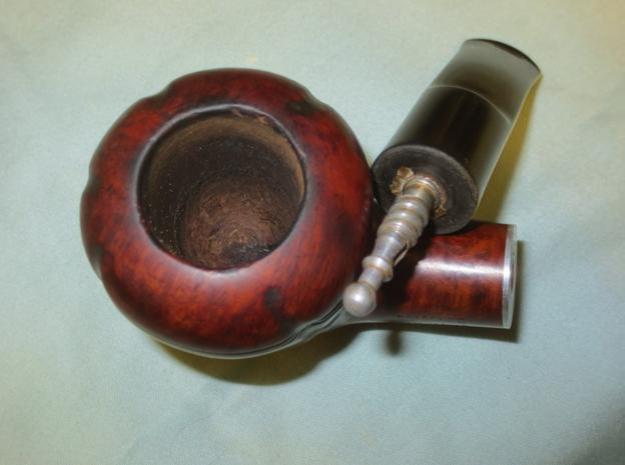
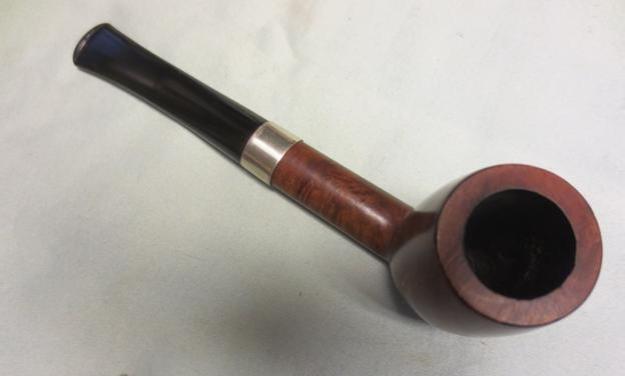
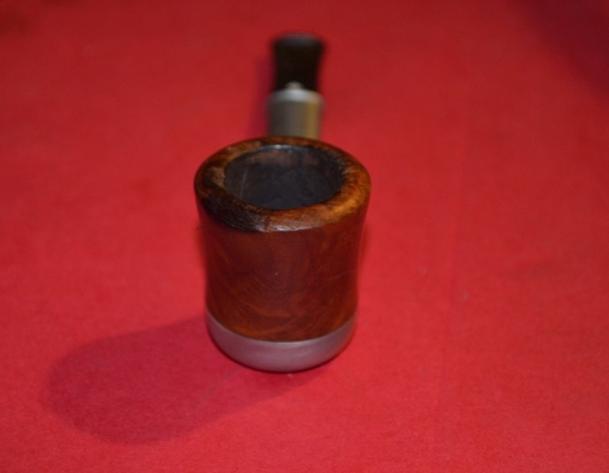
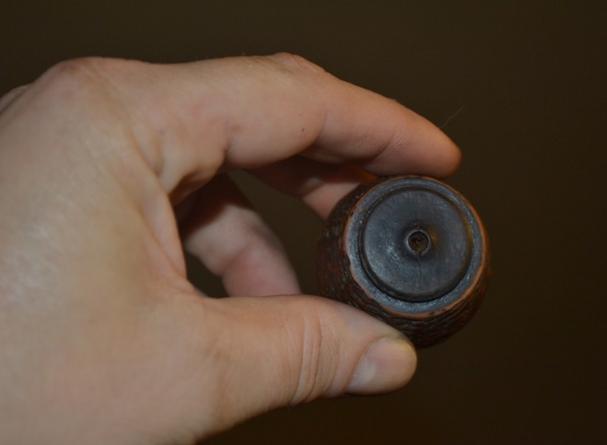
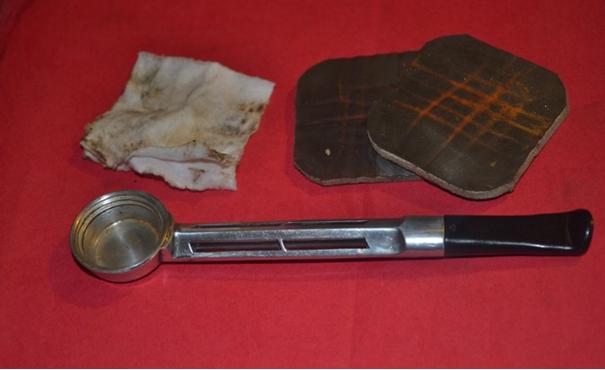
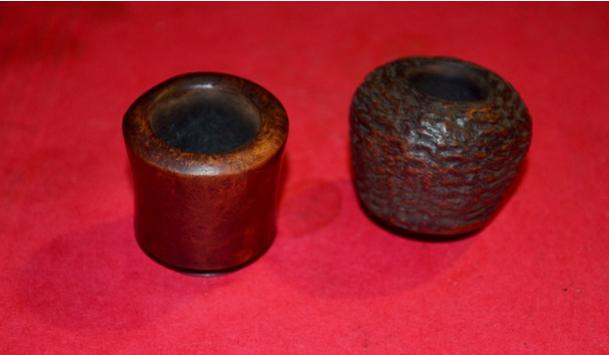
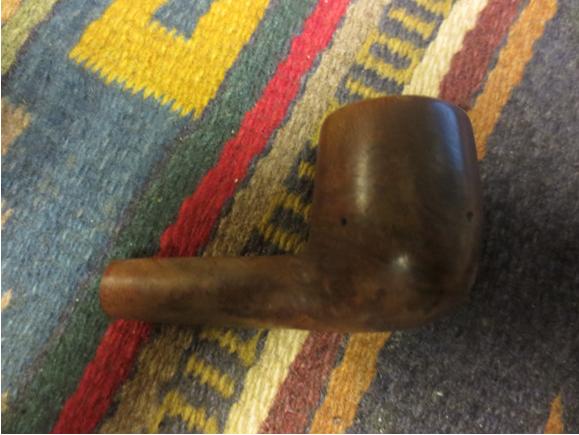
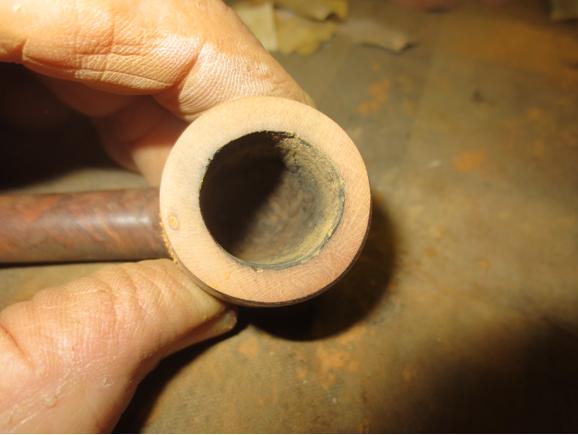
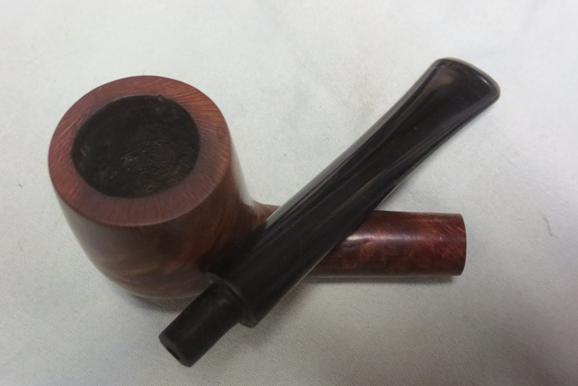
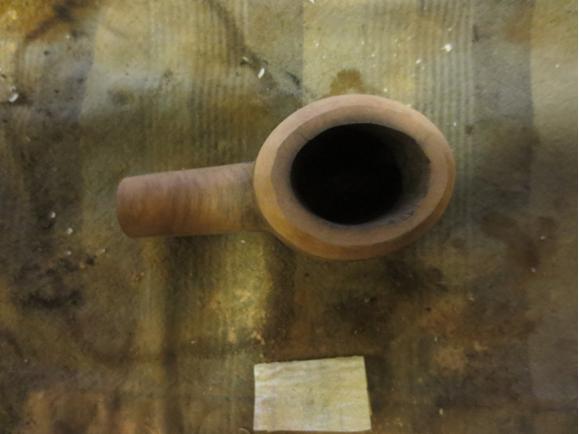
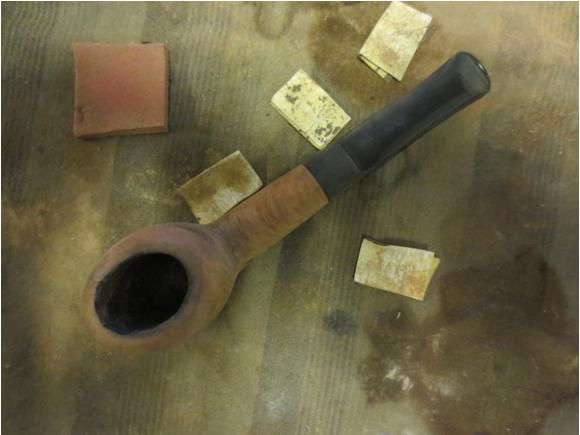
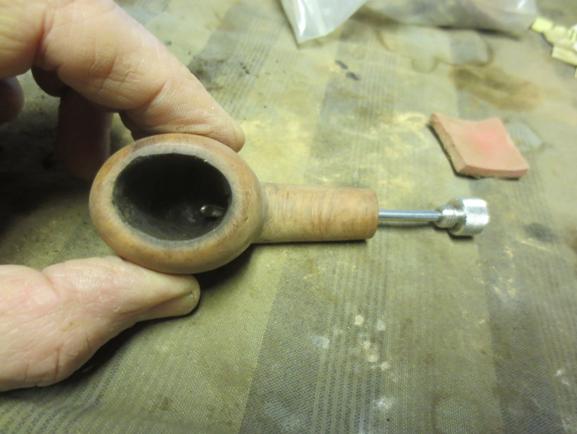
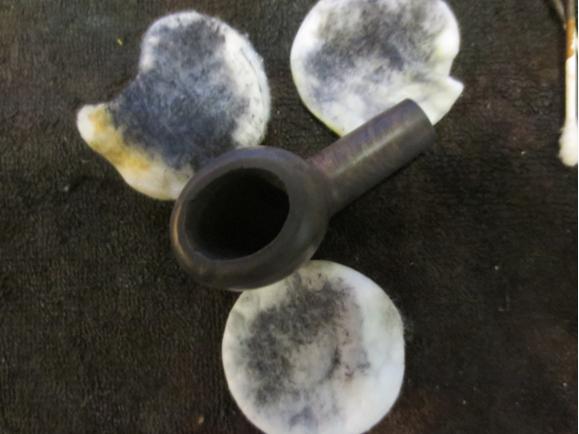
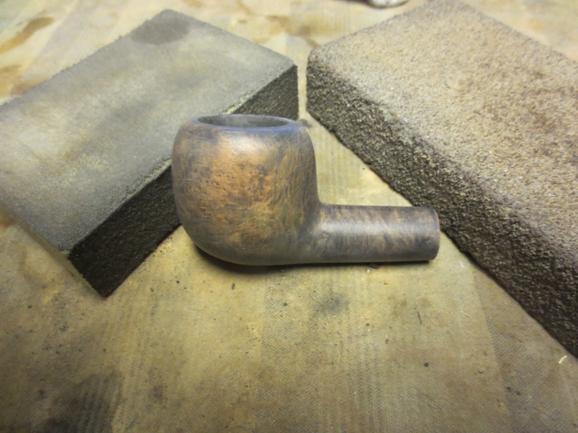
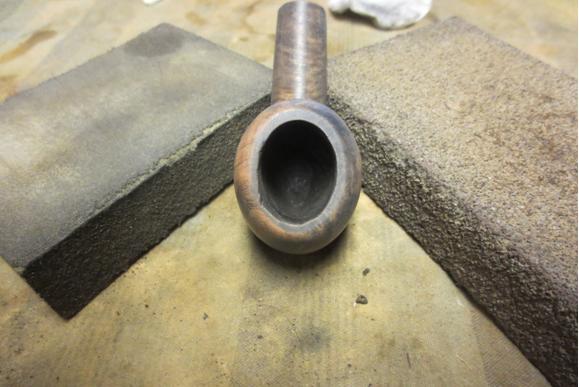
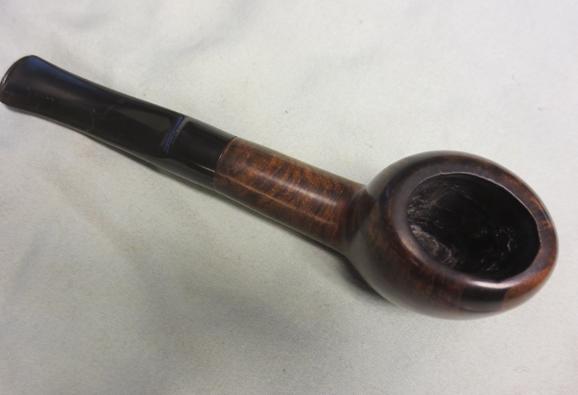
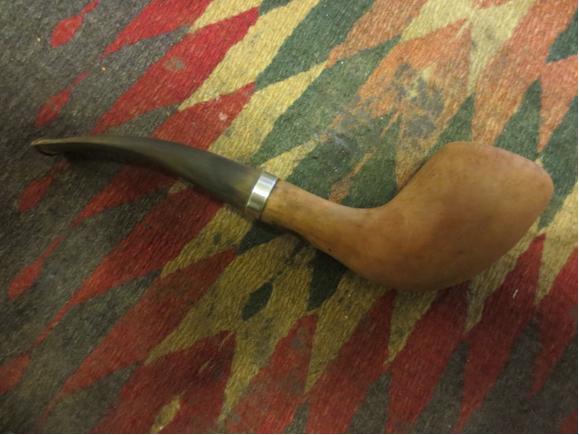
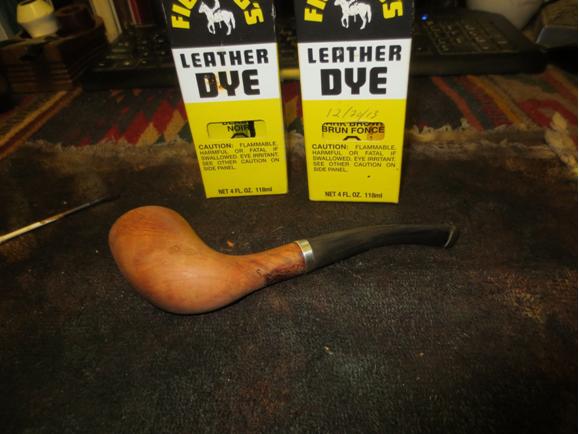
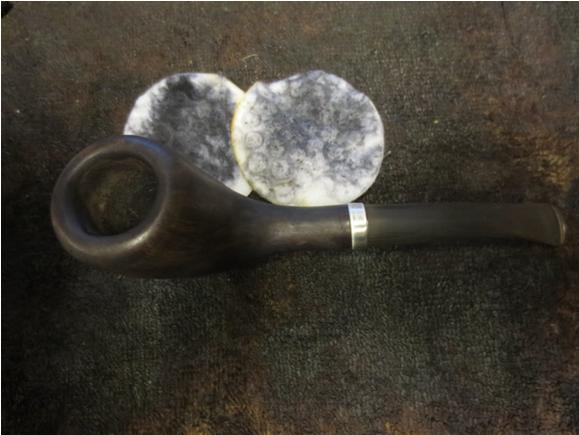
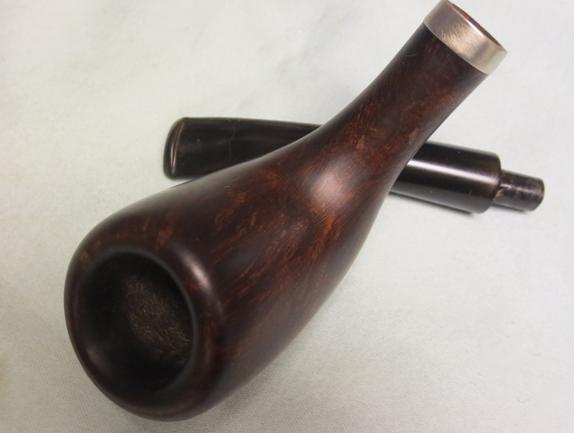
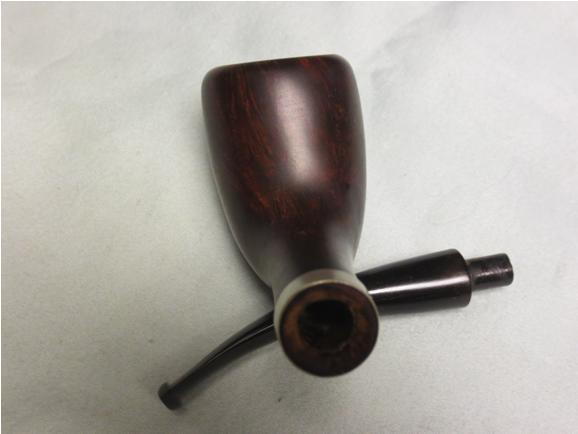
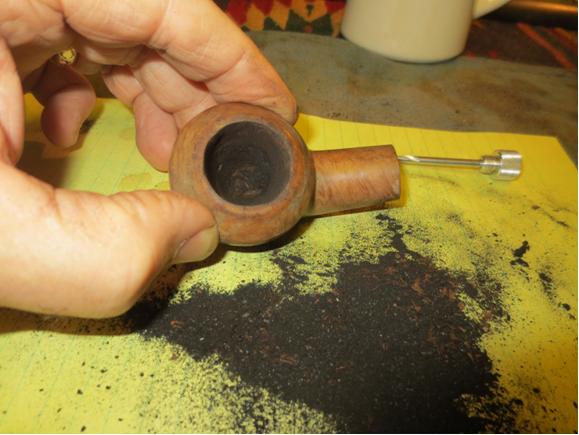
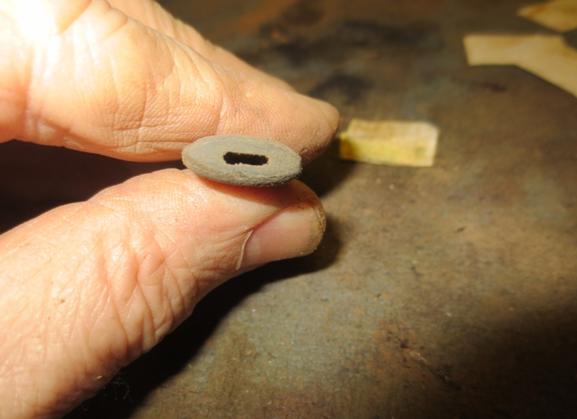
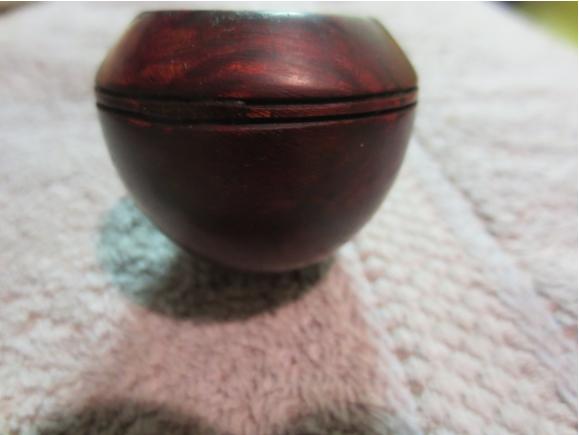
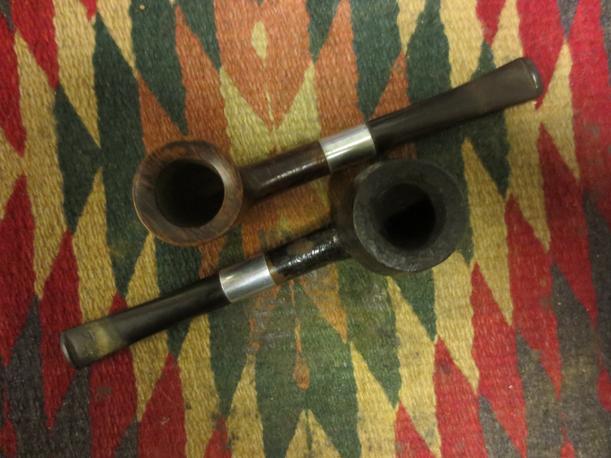
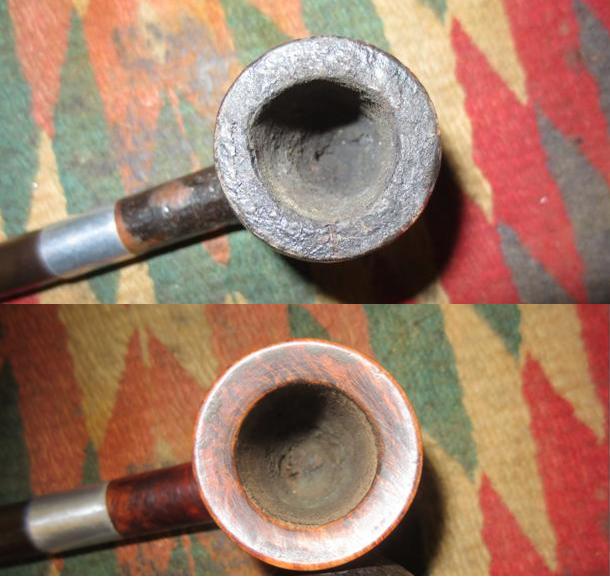
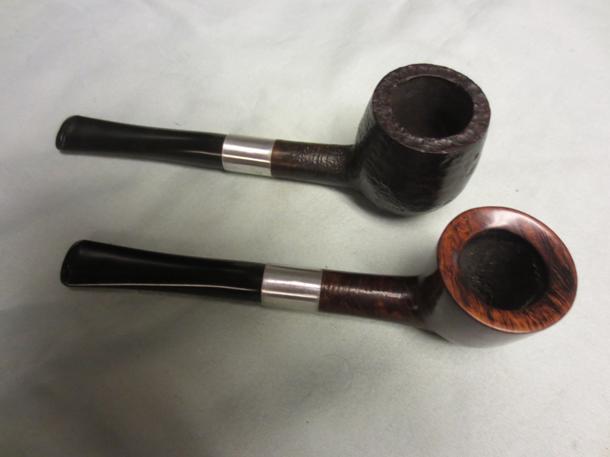
 I reamed the bowl with a PipNet reamer using the largest cutting head. I was able to ream back the cake to briar and at the same time clean up the inner edge of the rim. The edge was not as damaged as I thought it might have been.
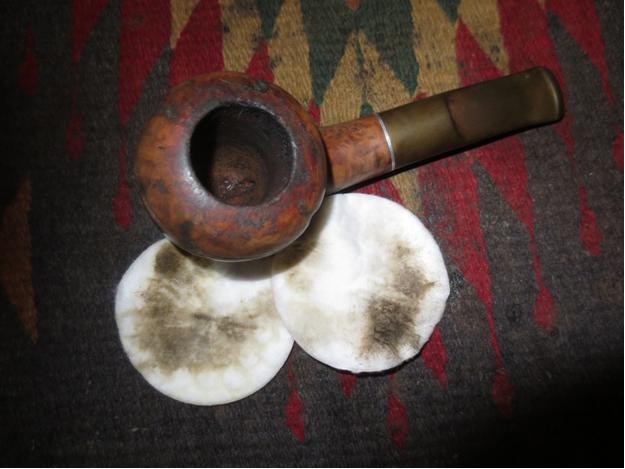
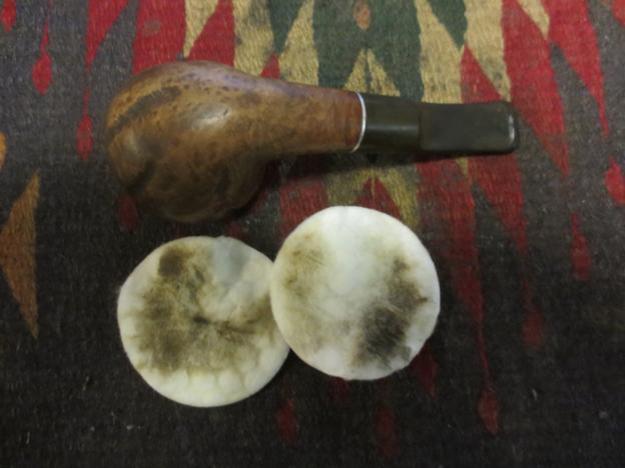
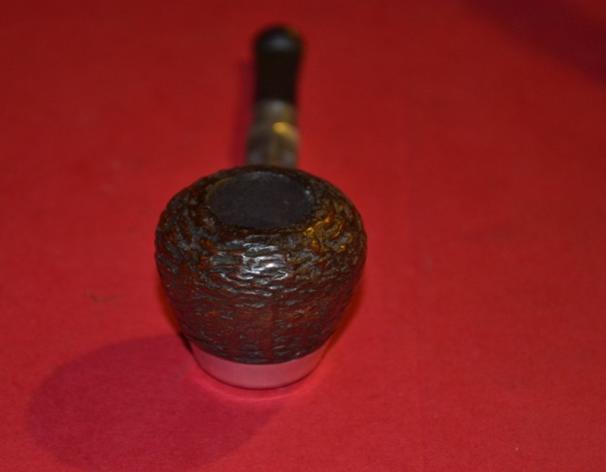
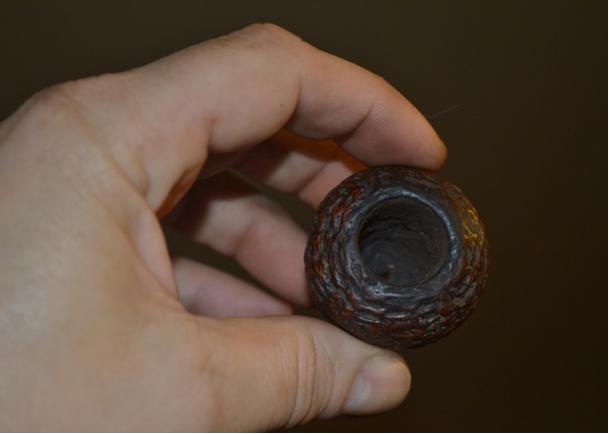
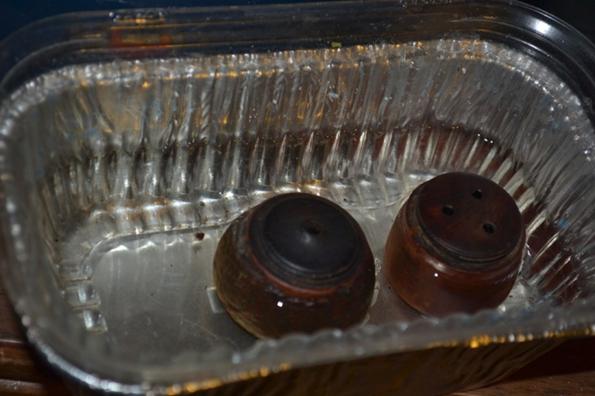
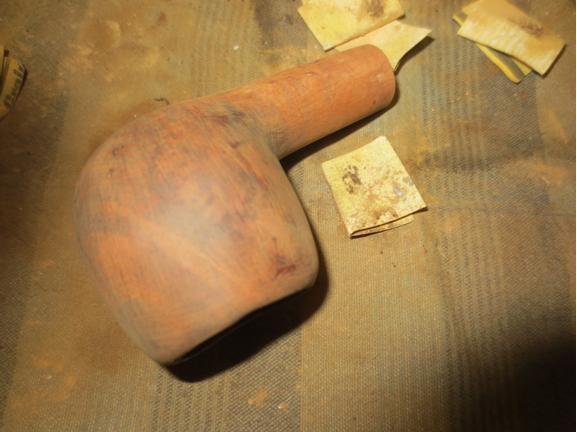
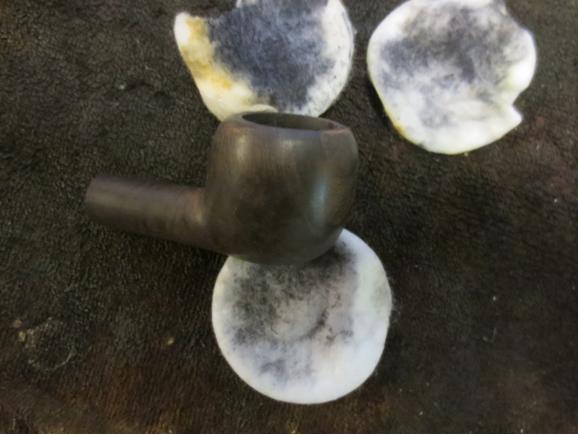
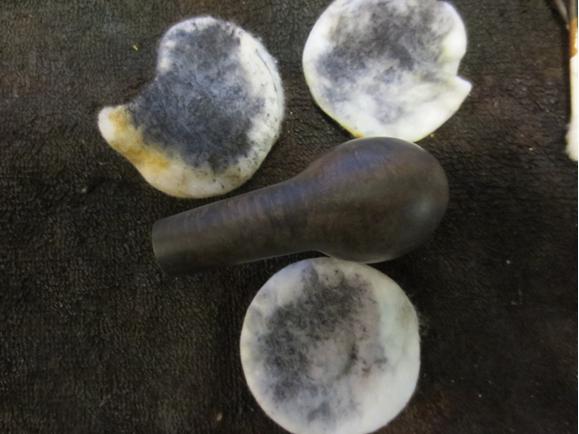
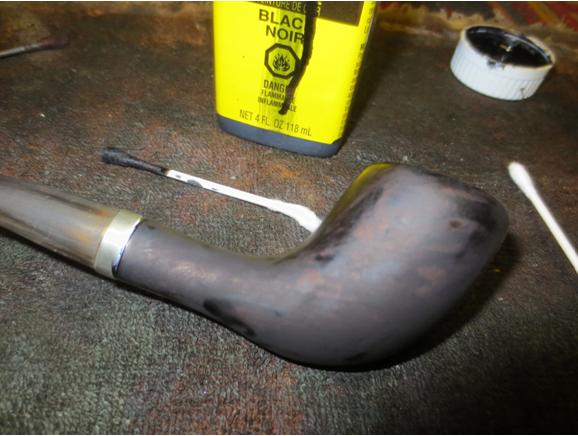
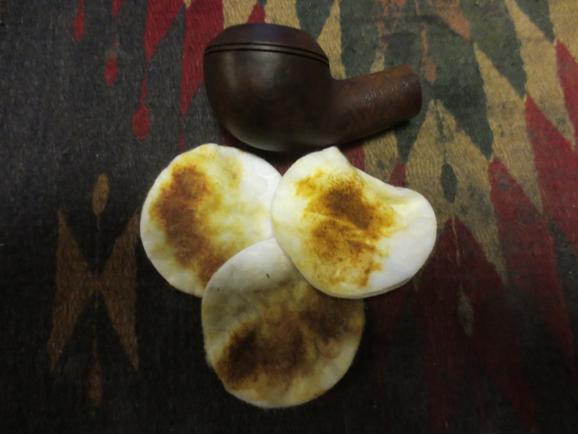
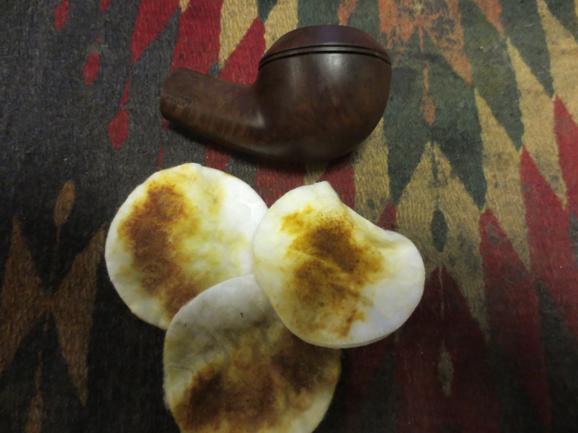
 I cleaned the surface of the bowl with acetone on cotton pads to remove the finish and the grime. I scrubbed the lava on the rim to see if I could remove it.