Blog by Steve Laug
Earlier in July I received an email from Peter, a fellow in California regarding a pipe repair he needed. He wrote as follows.
Hi, I’m just wondering if you can repair a Stanwell pipe for me? The stem broke off inside the pipe. Thanks for your time, Peter.
I wrote him back asking for photos so I could have a look at it. I figured he meant that the tenon snapped off inside the shank but I wanted to be certain. He replied
Thanks so much for your very fast response. Pictures are below. Best wishes, Peter
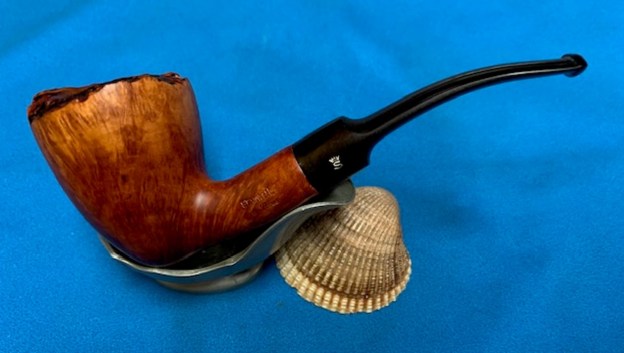
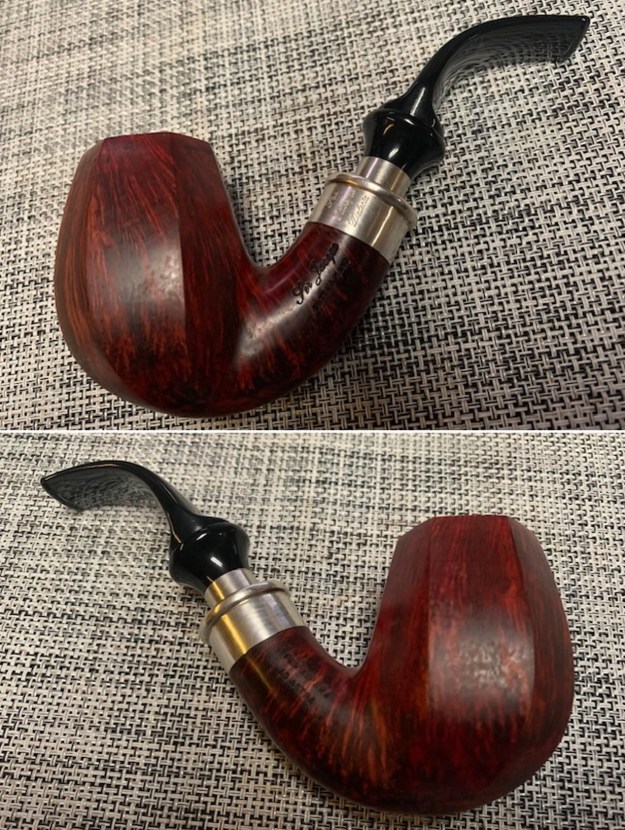
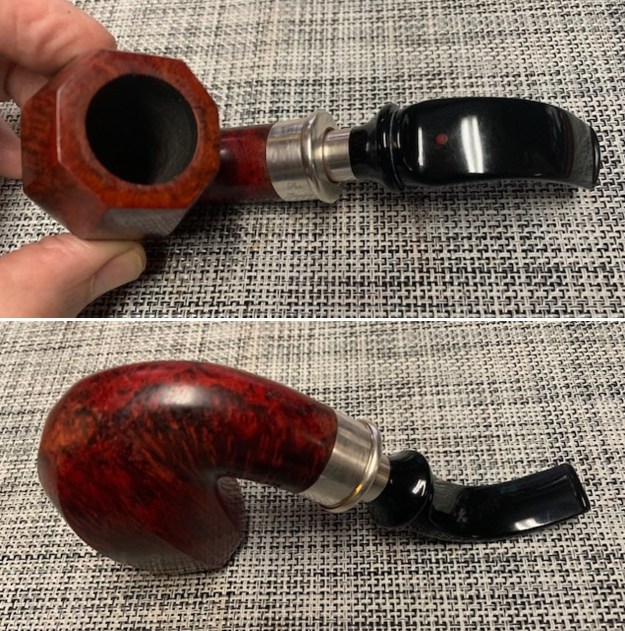
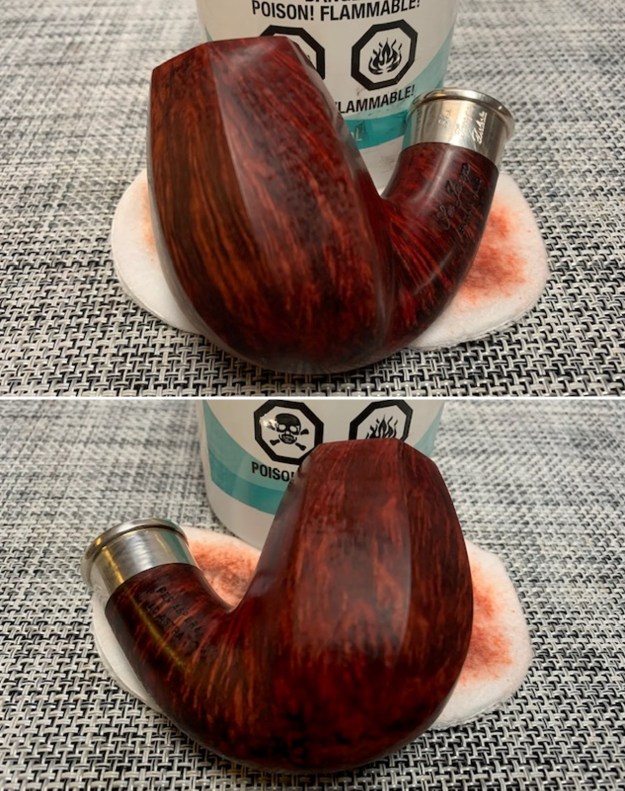
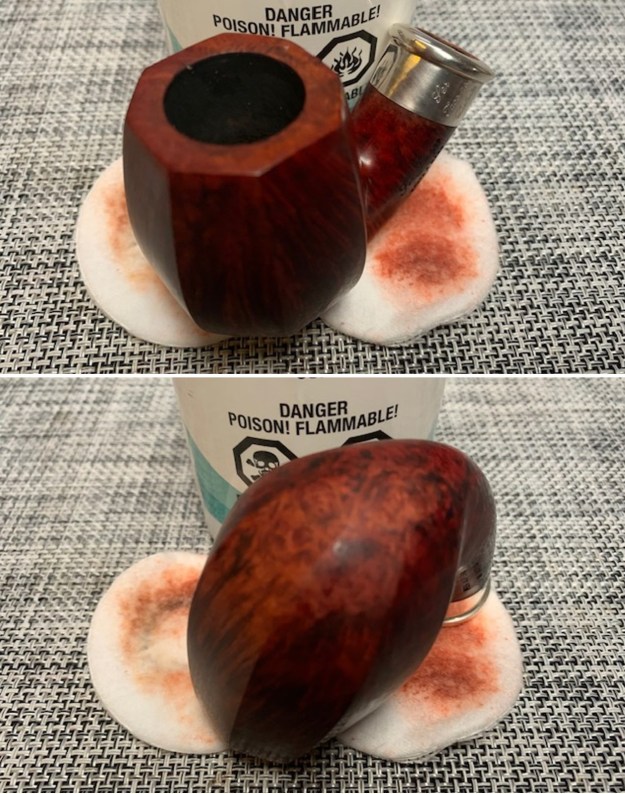
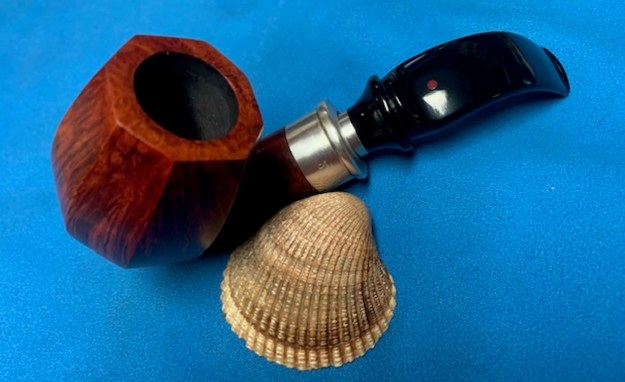
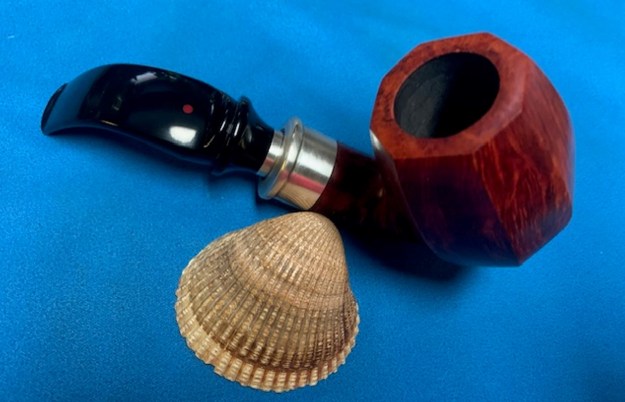
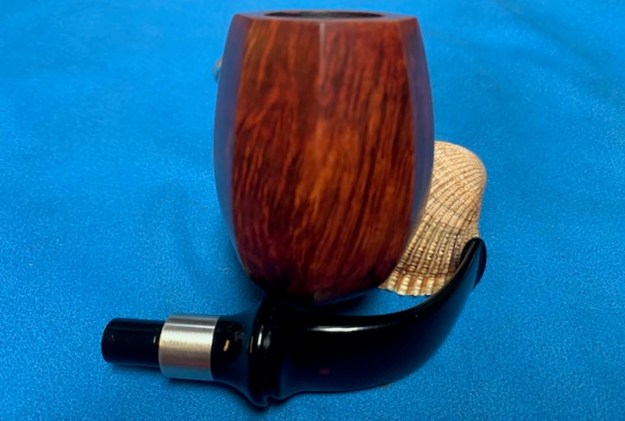
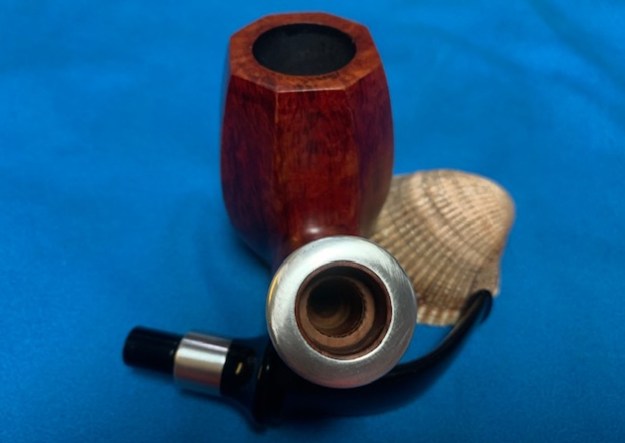
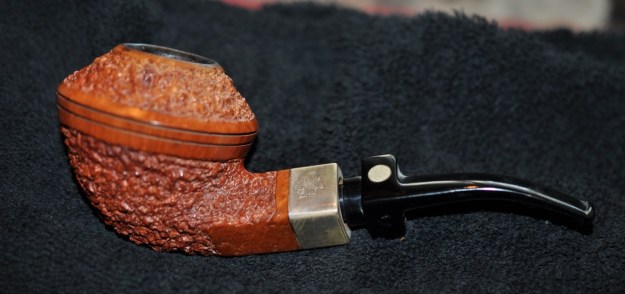
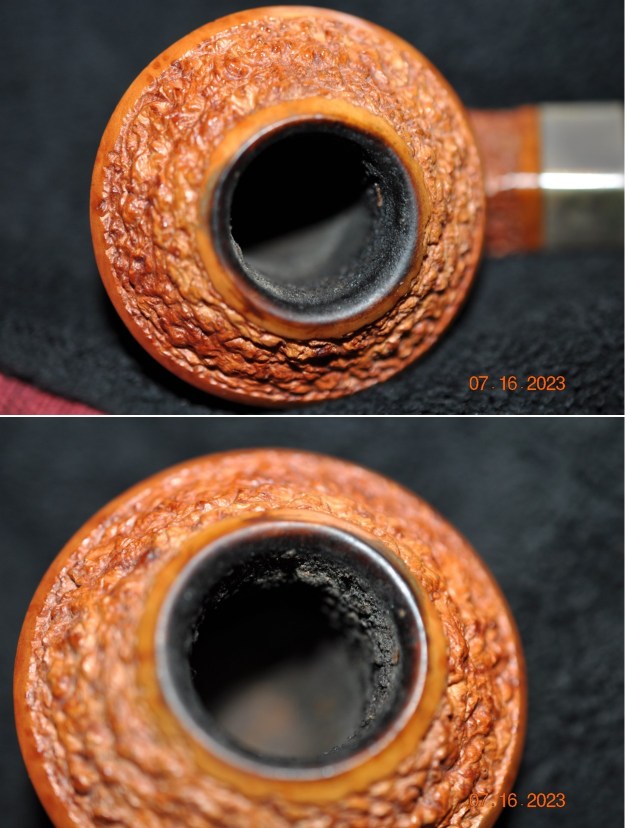
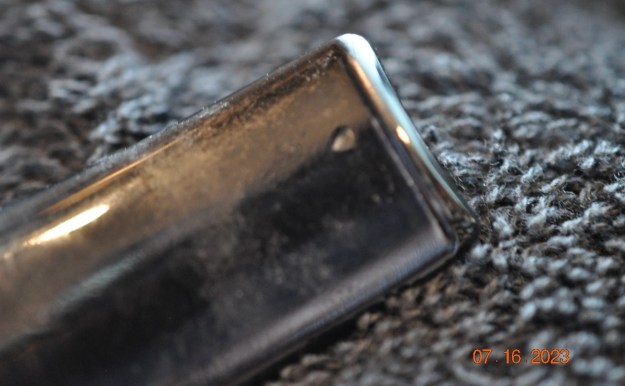
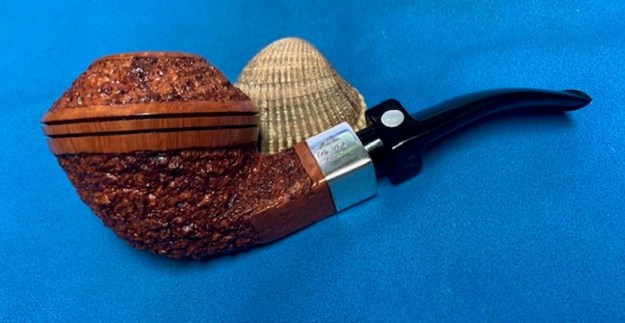
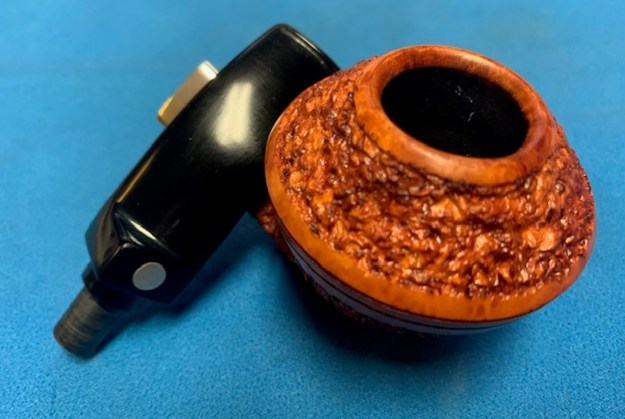
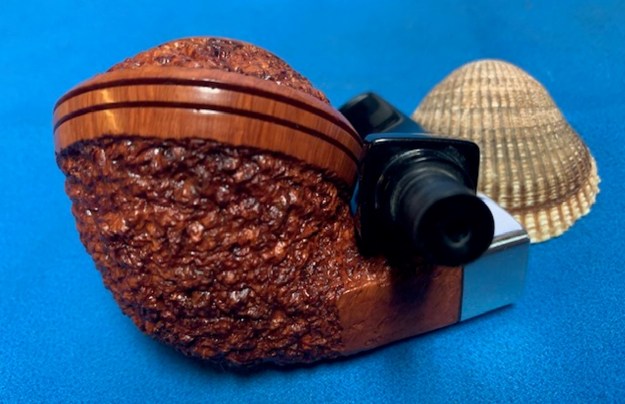
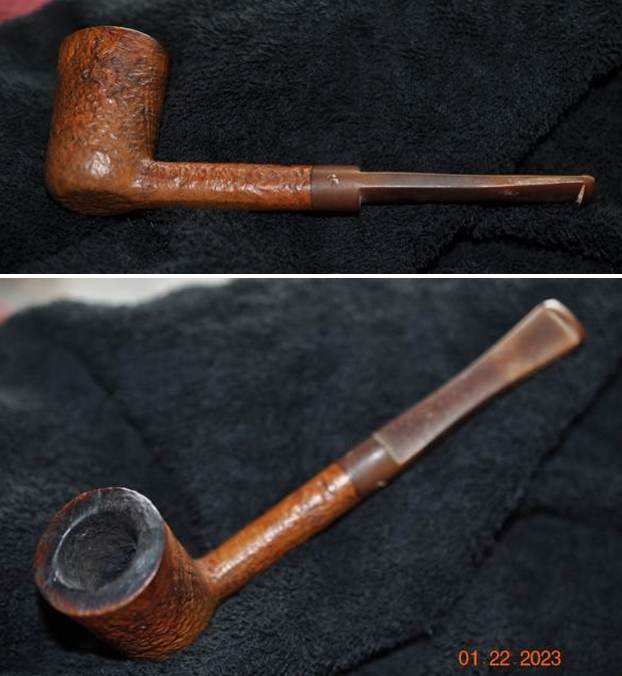
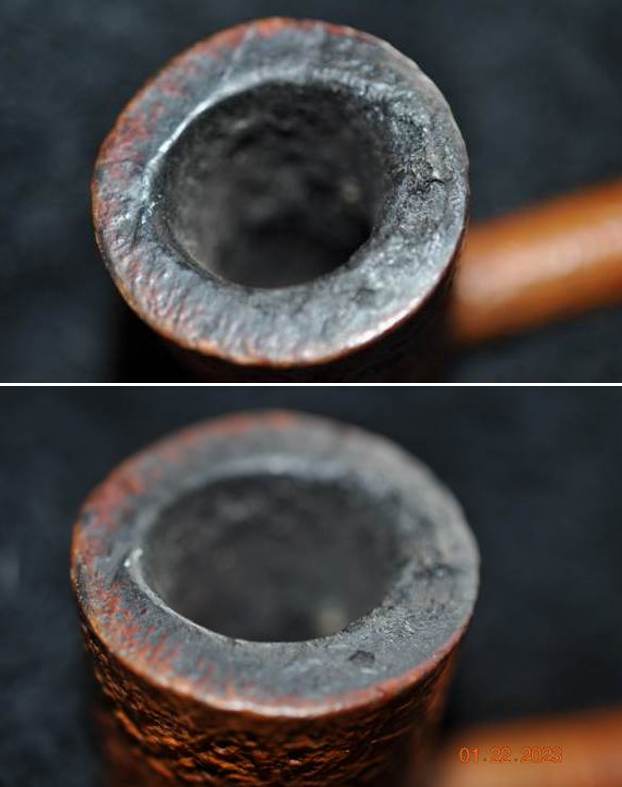
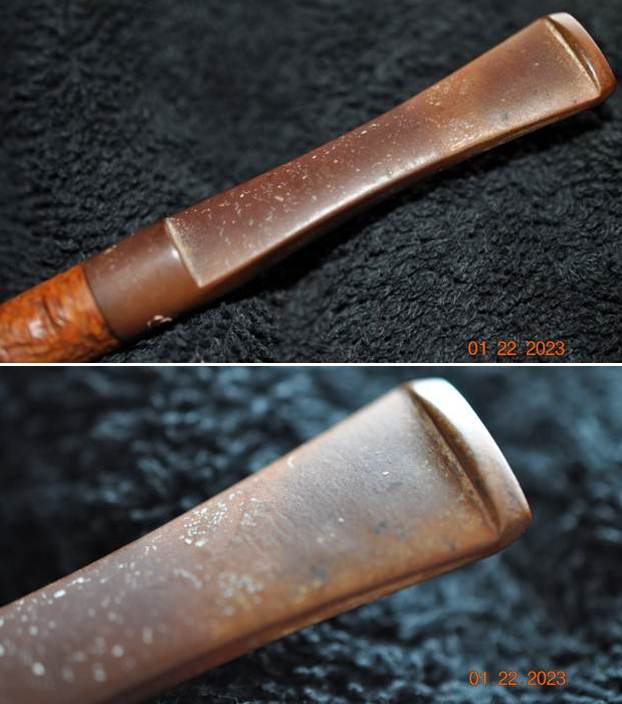
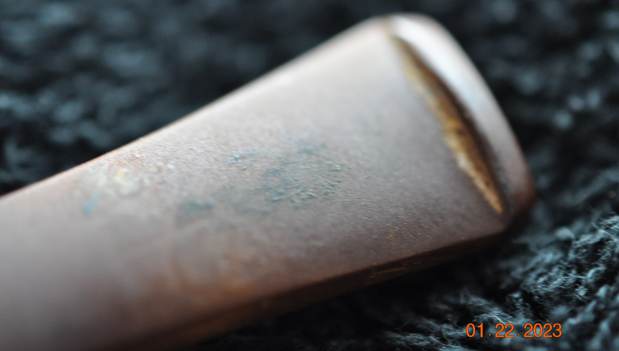
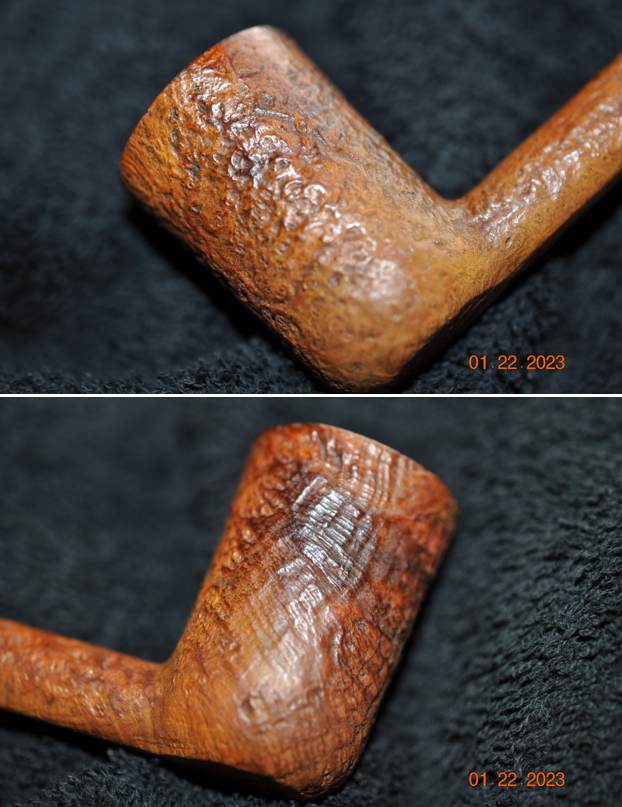
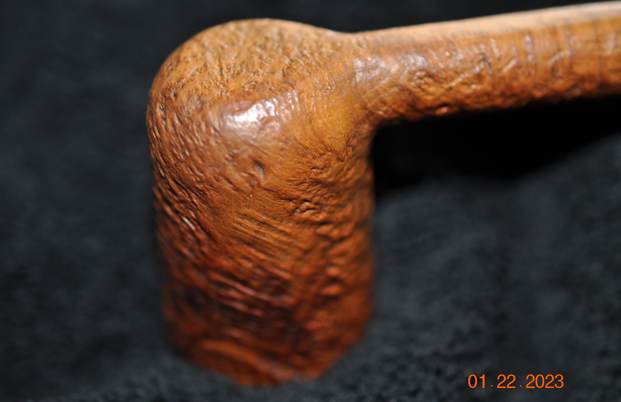
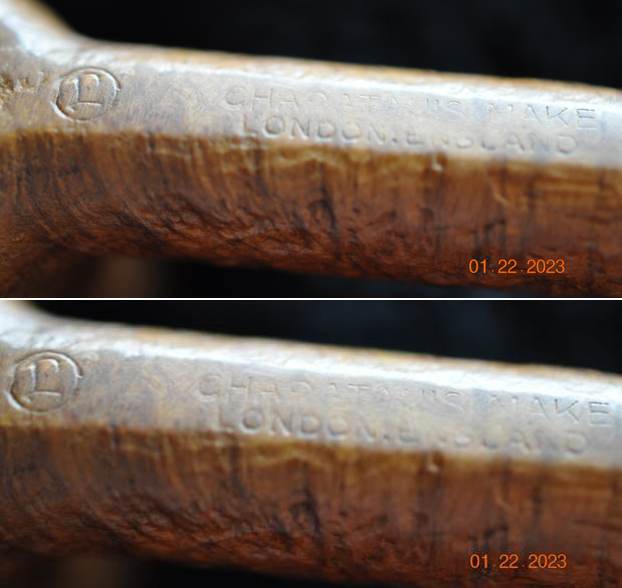
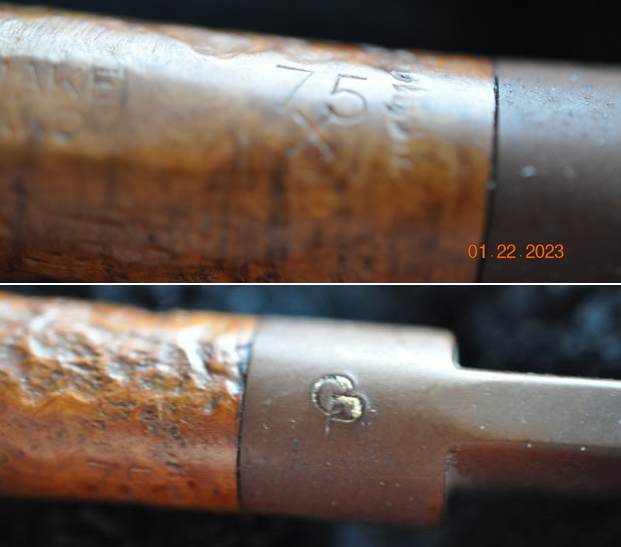
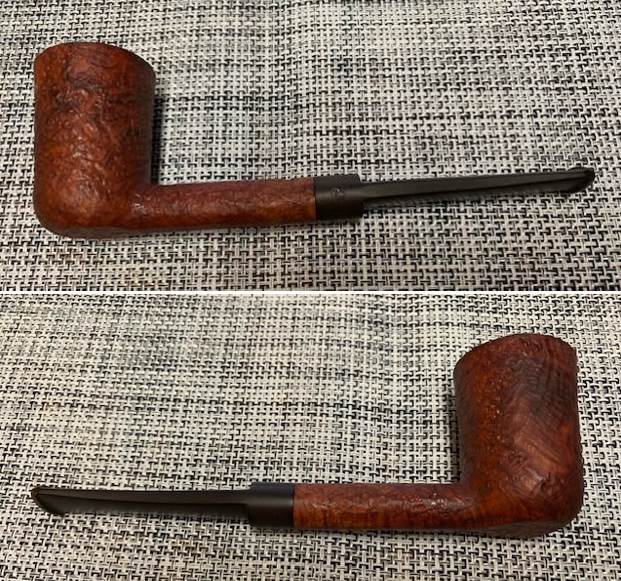
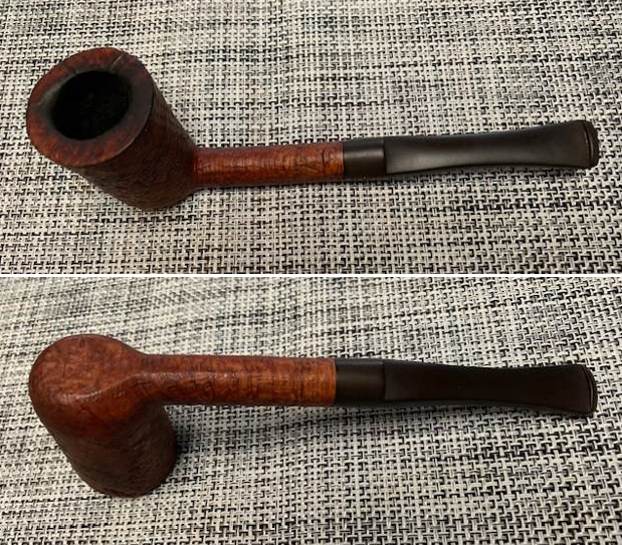
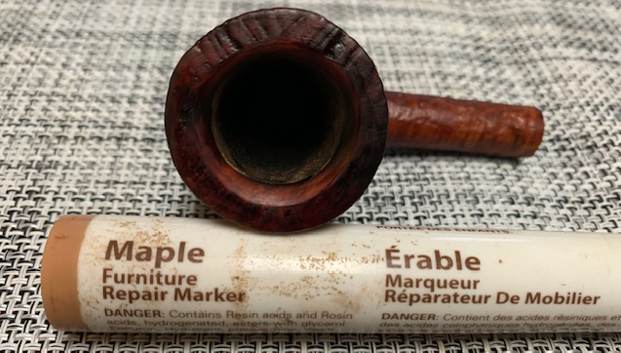
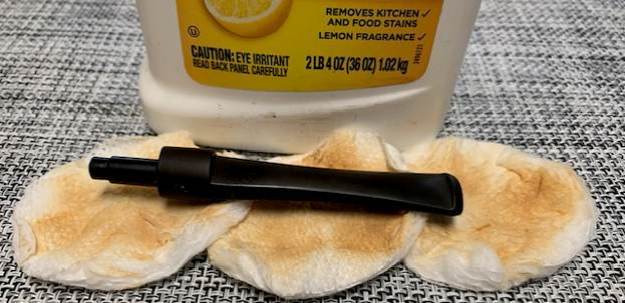
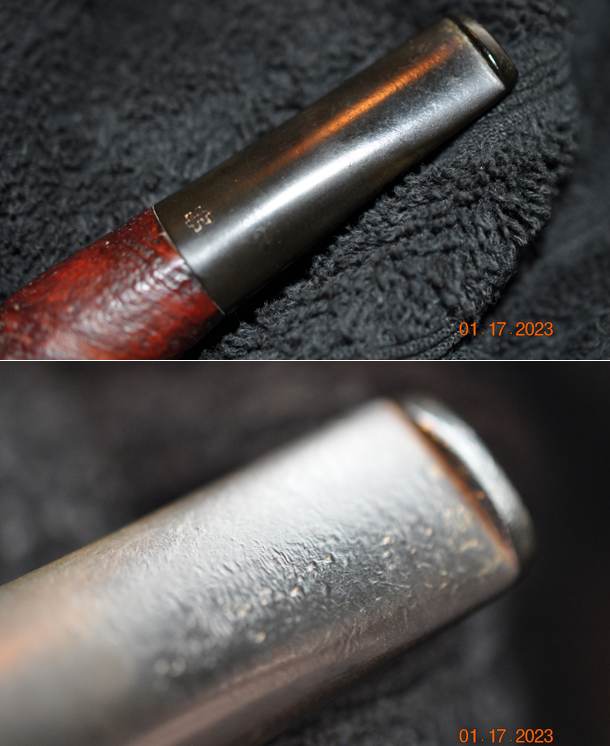
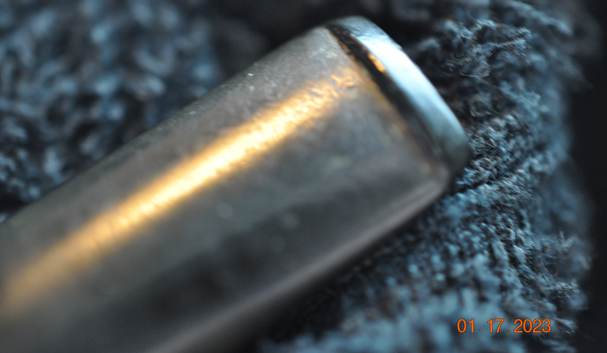
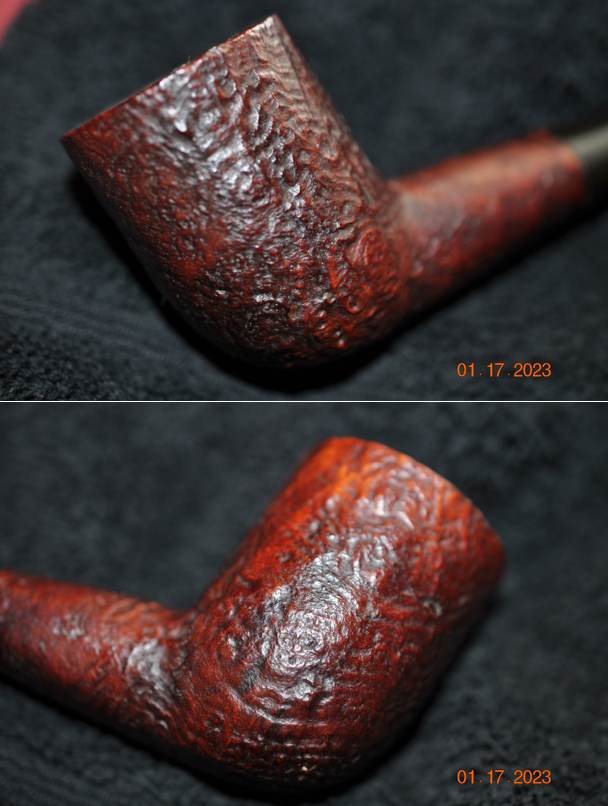
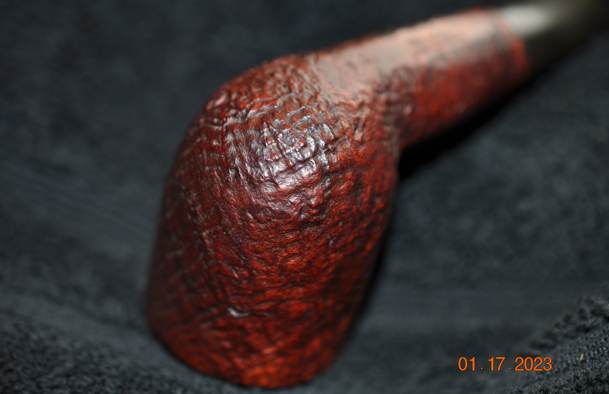
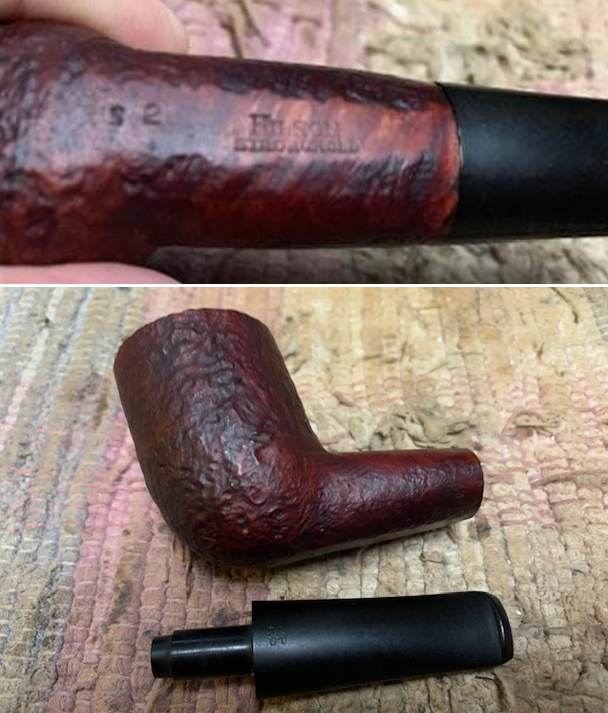
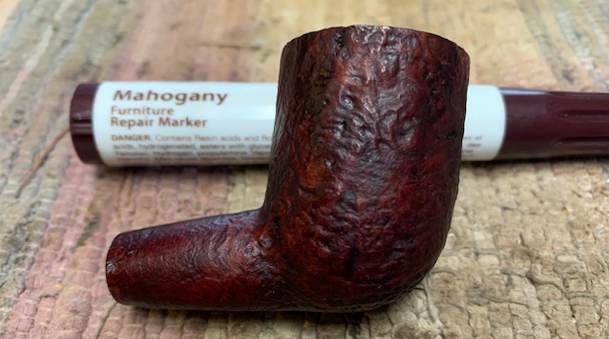
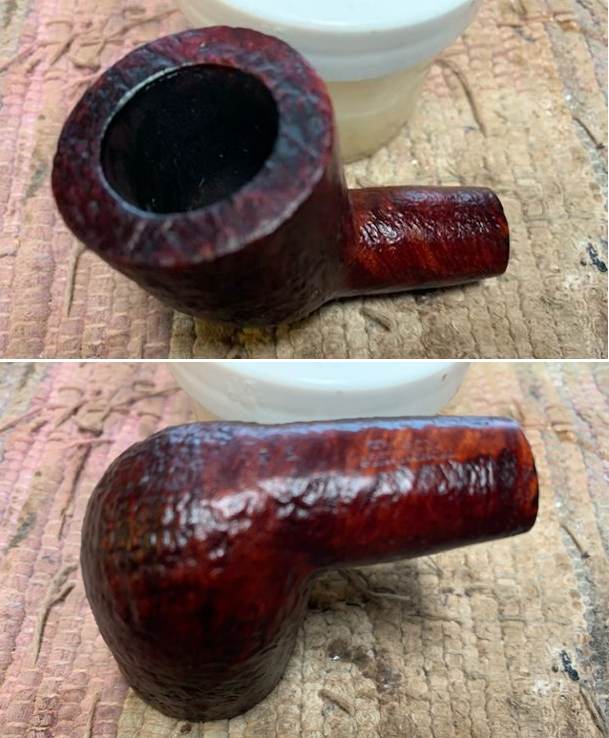
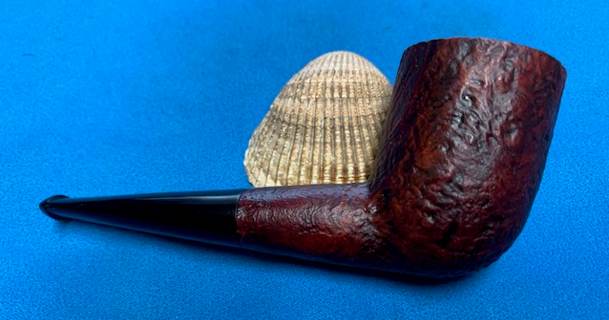
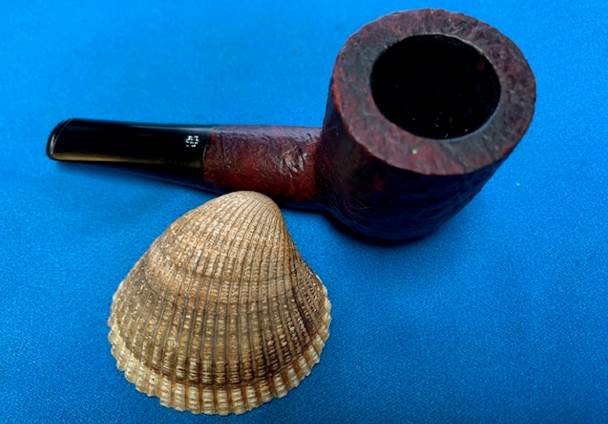
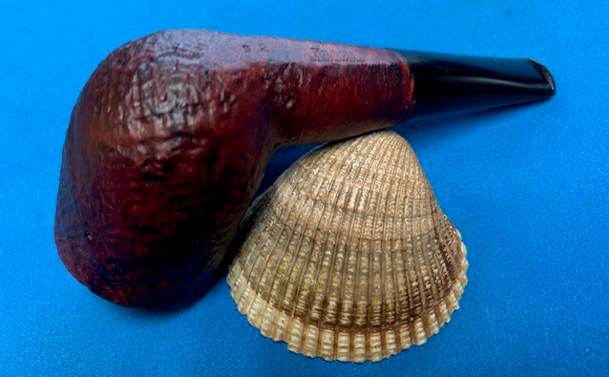
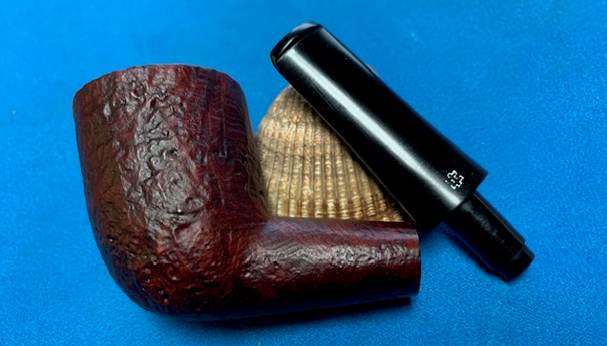
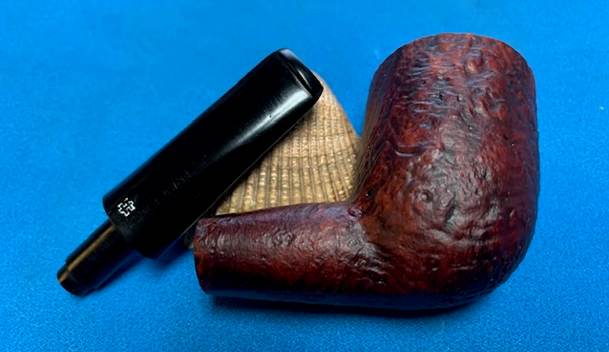
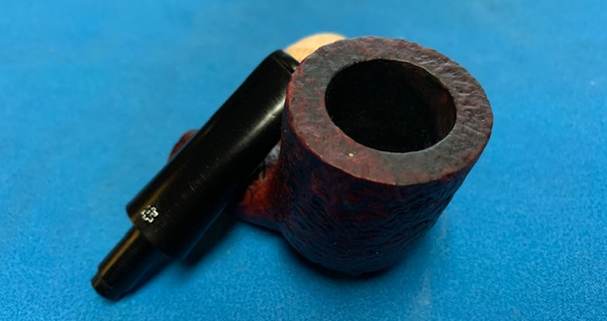
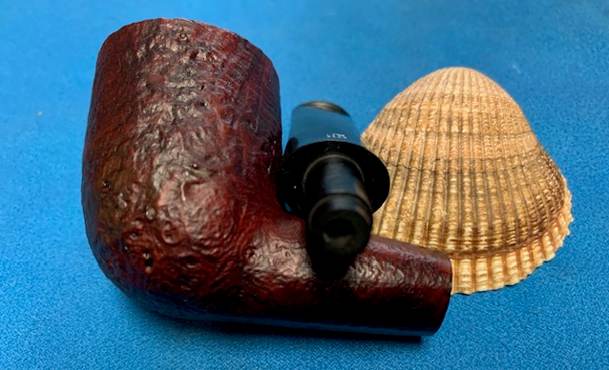
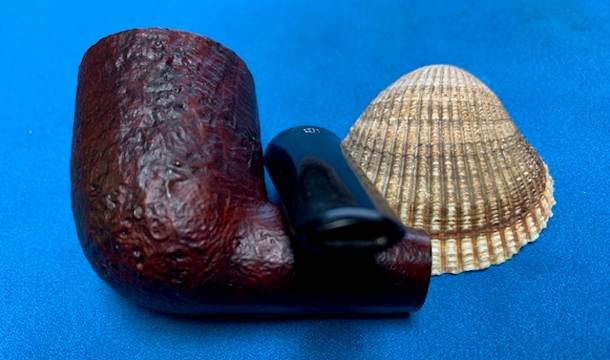
 We chatted back and forth a bit and Peter decided to send the pipe to me. I received it yesterday and here is what I saw once I unwrapped it. The photos tell the story but here is my review of it. The finish was dirty and worn. The bowl had a thick cake and there was lava buildup flowing along the inner edge and into the plateau on the rim top. The stem was snapped off leaving the tenon in the shank. Fortunately, there was no damage to the shank itself. It did not have any cracks in the sides. The shank end showed a lot of tar buildup. The tenon was still in the shank. The snap at the stem was fairly clean and would just need to be flattened. The stem itself showed a lot of oxidation, calcification and light tooth marks and chatter on both sides ahead of the button. The pipe was stamped on the left side and read Stanwell [over] de Luxe. I could not see any other stamping on the shank. There was a gold crown S on the left side of the saddle stem. This was going to be fun to bring back to life.
 I decided to begin working on the pipe by trying to pull the broken tenon with my usual methods. I put the bowl in the freezer for 30 minutes, then inserted a screw into the airway in the shank. I wiggled the screw and tried to break it free. It was no use. I used a qtip to dribble alcohol around the edges of the broken tenon in the shank. I repeated that several times and let it sit. I was still unable to remove the broken tenon in the shank. It was stuck and nothing seemed to loosen it.
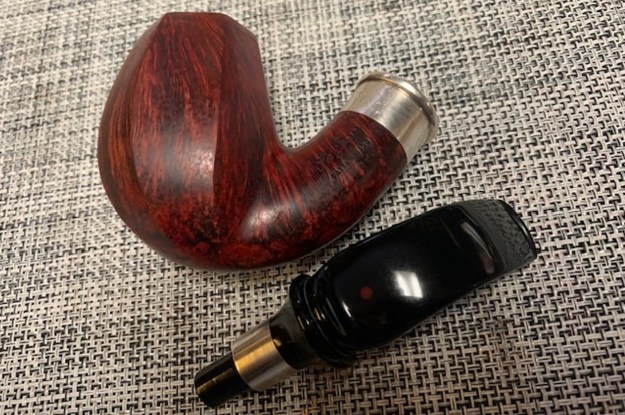
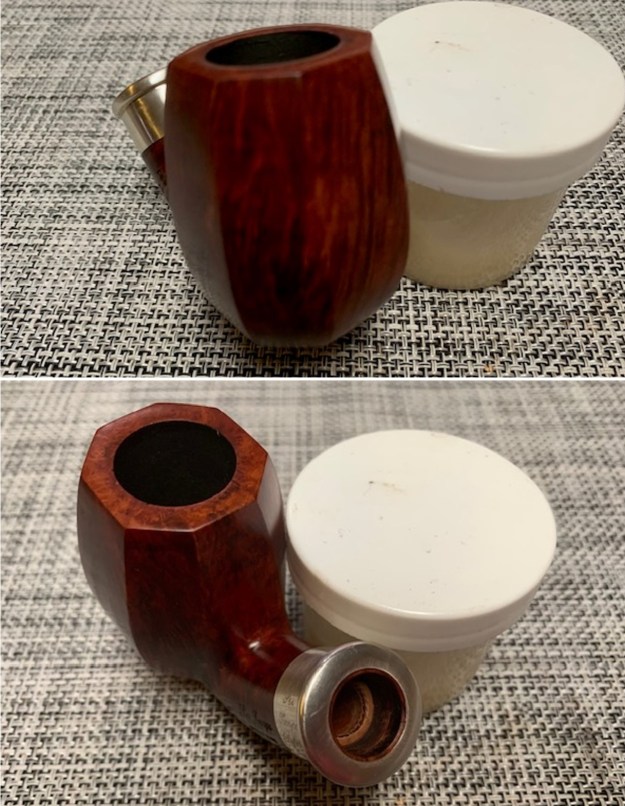
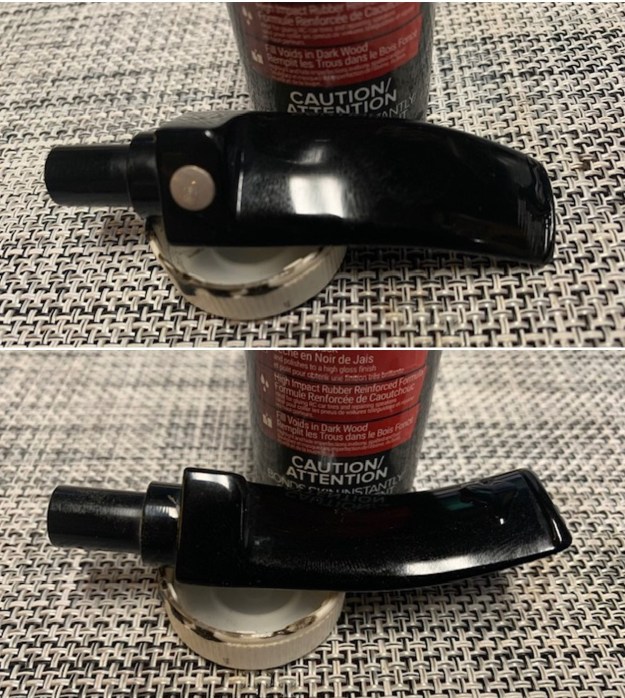
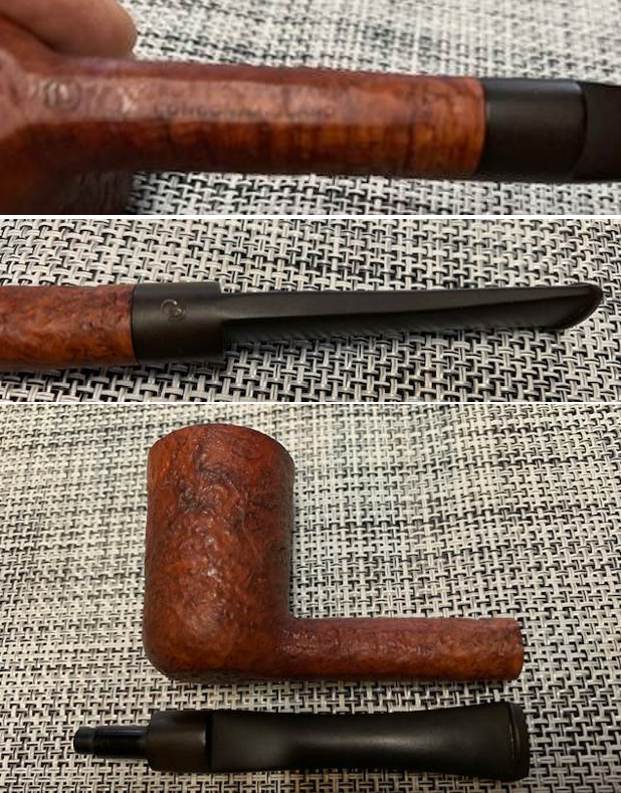
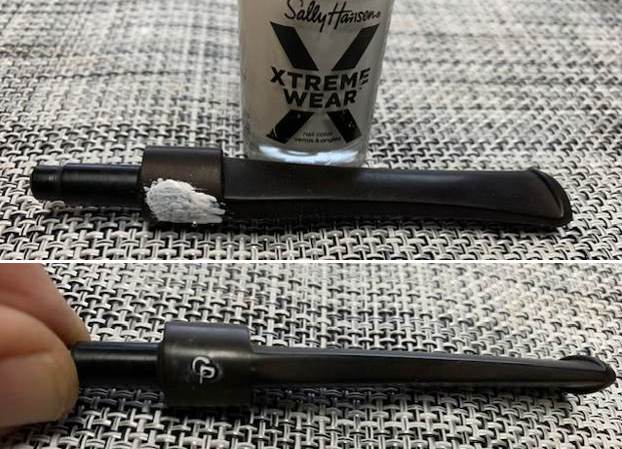
  With the tenon being stuck in the shank I stepped up the process and drilled it out. I started with a drill bit slightly larger than the airway. I have had good success in drilling and in the process having the tenon come out on the drill bit. In this case I worked through four drill bits until I used one that was slightly small than the mortise. I then scraped out the remainder of the bits of vulcanite in the shank with a small pen knife until the walls were clear. I took a photo of the pipe at this point in the process – the tenon drilled out, a replacement tenon and the stem. Now it is ready for the next part of my work.
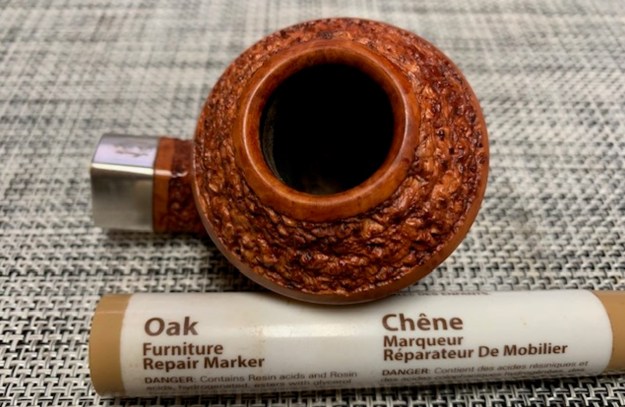
 I set the stem and tenon aside so that I could work on the bowl and shank. I reamed the bowl with a PipNet pipe reamer. I took the cake back to bare walls so I could check out the walls for damage or checking. It looked very good. I scraped out the remnants of the cake with a Savinelli Fitsall Pipe Knife and then sanded it with a piece of 220 grit sandpaper wrapped around a piece of dowel to smooth out the walls of the bowl.
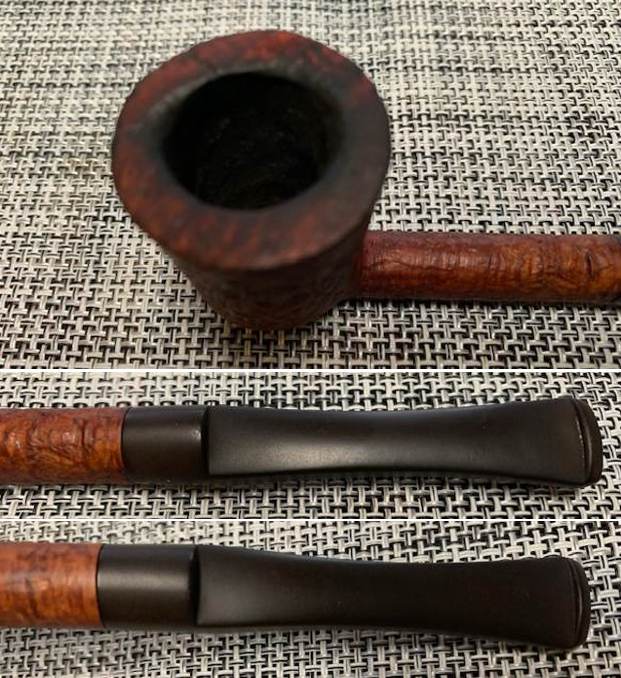
 I worked on the buildup in the plateau surface of the rim top with a brass bristle wire brush. I was able to remove the heaviest part of the lava in the grooves of the plateau surface. It looked better but would need to be scrubbed.
  I scrubbed the exterior of the bowl with a tooth brush and undiluted Murphy’s Oil Soap. I scoured the surface of the briar and rinsed and repeated the process until the bowl was clean and the rim top looking very good.
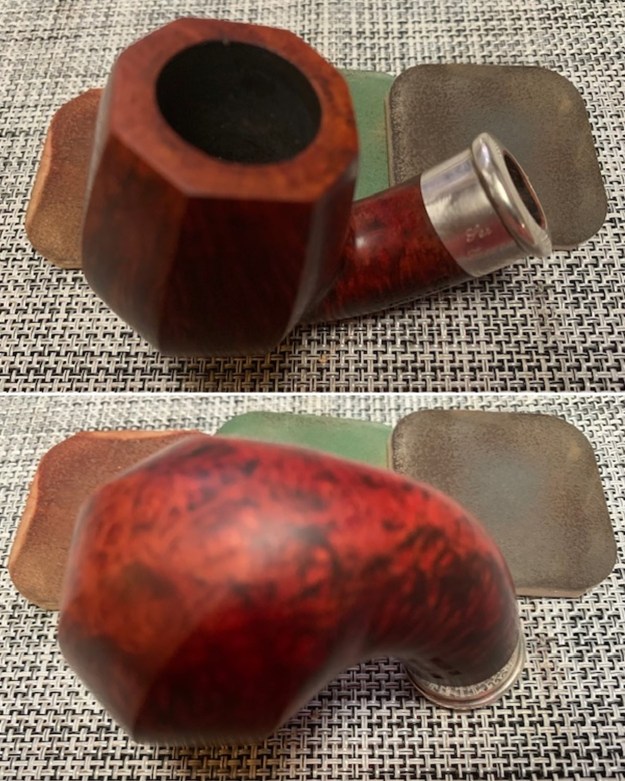
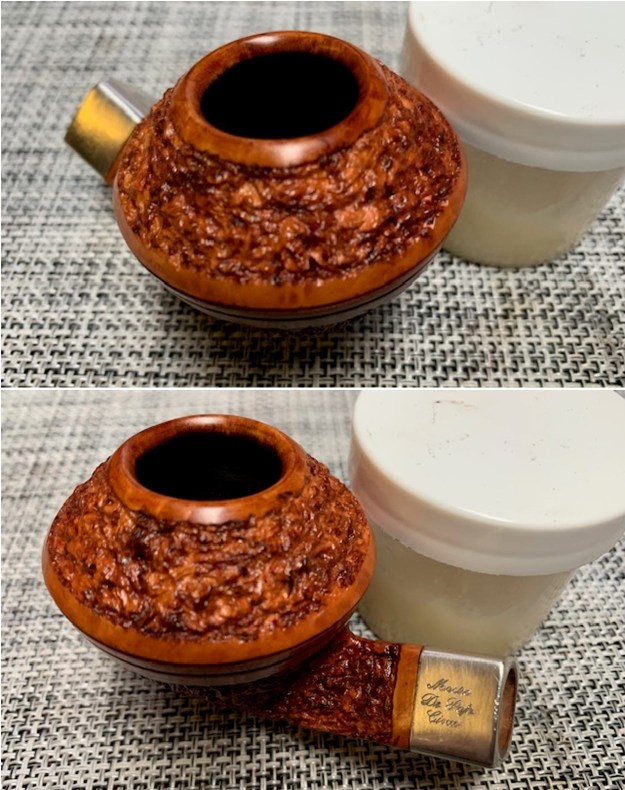
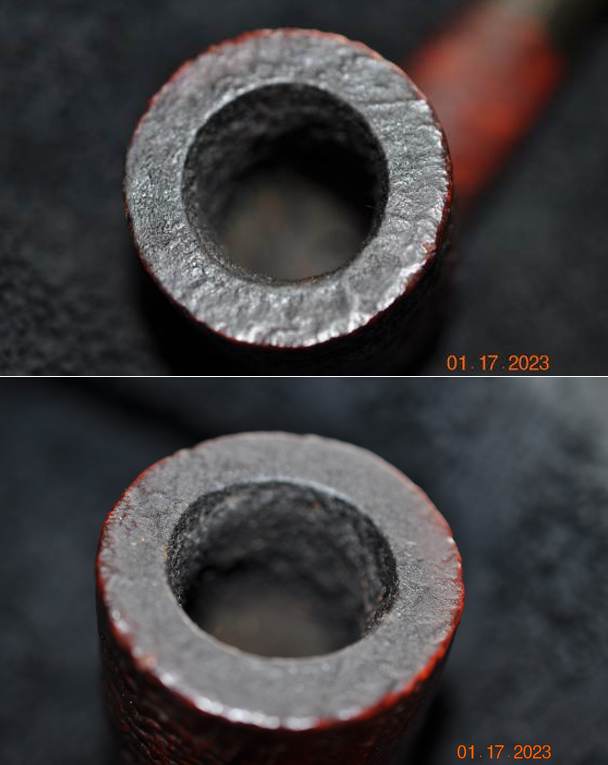
 I cleaned up the darkening on the smooth bevelled portion of the inner rim edge next. I used a folded piece of 220 grit sandpaper to remove the damage and also smooth it out. I touched up the deep grooves in the plateau with a black Sharpie pen. The rim top and edge look very good.
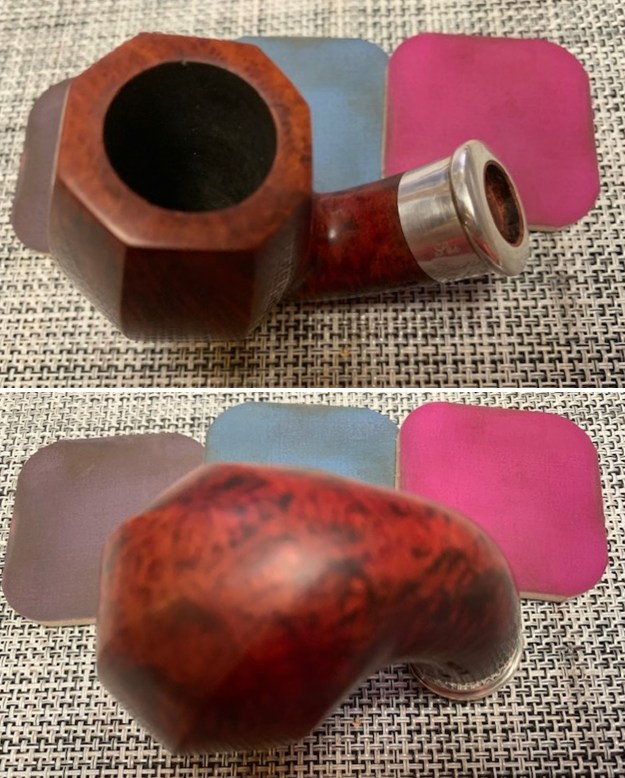
 I polished the smooth rim top portions and the exterior of the pipe with micromesh sanding pads – dry sanding with 1500-12000 grit sanding pads. I wiped the bowl down after each sanding pad with a damp cloth to remove the sanding dust and debris. By the last pad it was looking very good with a shine in the briar that highlights the grain.


 I cleaned out the shank and mortise with alcohol, cotton swabs and pipe cleaners. I wanted to remove the oils and tars so that I would have a clean surface for the new tenon that I was fitting in the shank. It cleaned up and certainly smelled better once cleaned.
 I worked some Before & After Restoration Balm into the surface of the briar with my fingertips and a horsehair shoe brush to get into the plateau top. The product works to clean, preserve and protect the briar. I let it sit and work into the briar for 10 minutes then wiped it off with a cotton cloth. I buffed the briar with a clean cloth. The bowl is starting to look beautiful and there is a shine developing.

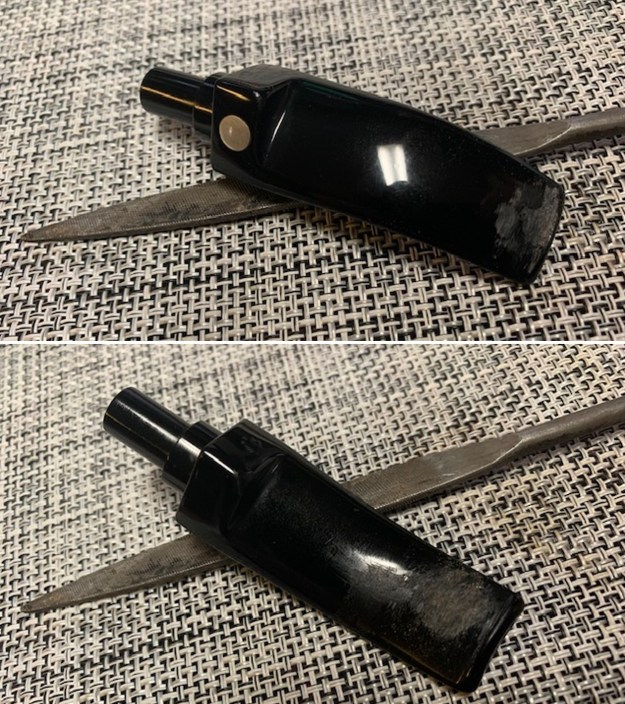
 At this point the bowl was finished until I finished with the new tenon insertion. I set the bowl aside and took a photo of the new tenon and the tools for reducing the diameter to fit in the shank. I used the Dremel and a sanding drum to reduce the diameter. I cleaned up the work with a file and then 220 grit sandpaper to get it to a point where the tenon fit in the shank.
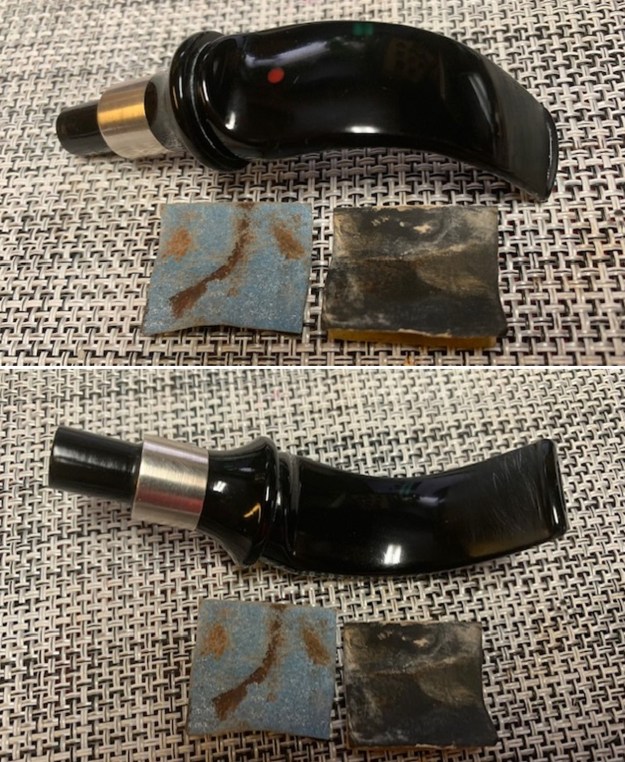
 I put the stem in a bath of Briarville’s Pipe Stem Deoxidizer and set it aside while I worked on the tenon fit. I left it in the bath for three hours and then removed it and rubbed off the bath with a paper towel. The surface of the stem looked significantly better at this point. The oxidation was greatly reduced, the calcification was gone and the stem showed improvement. The tooth marks would still need to be worked on but there was progress.
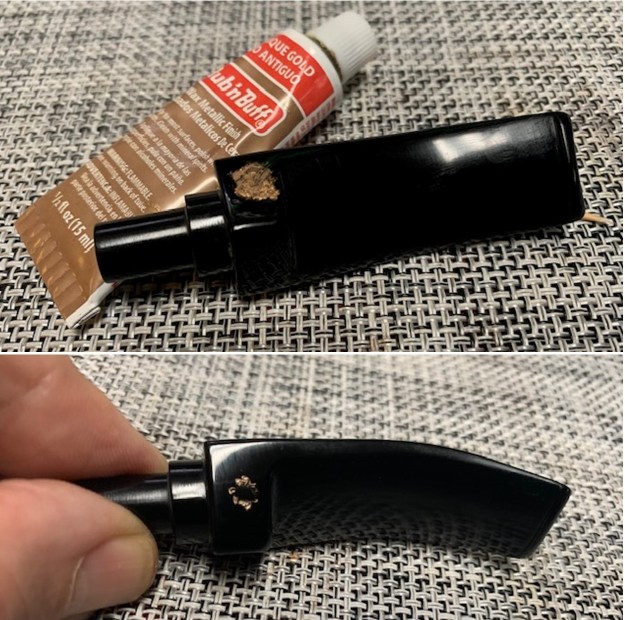
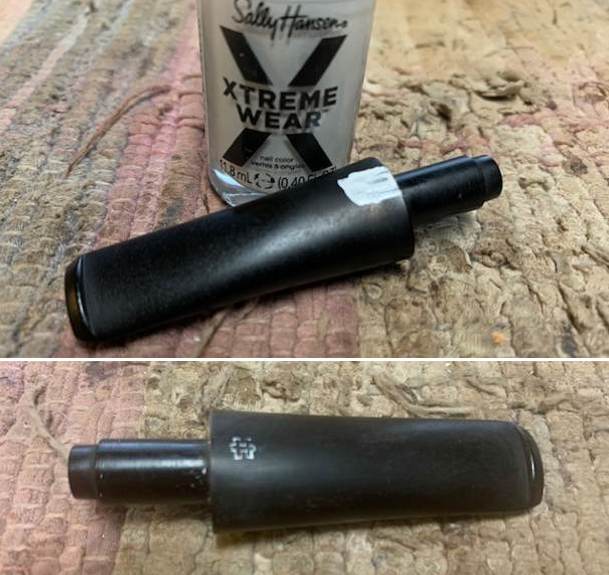
 I cleaned out the airway in the stem with pipe cleaners and alcohol the drilled the airway to match the diameter of the new tenon insertion. I started with a drill bit the same size as the airway and gradually increased the bit size until it matched the outside diameter of the tenon. I took a photo of the newly drilled end of the stem. I cleaned up the airway once again in preparation for gluing the new tenon in place. I wiped the tenon end down with black CA glue and then aligned the tenon and the mortise. I pressed the tenon in place in the stem and set it aside to cure. Once it cured I took a photo of the stem and new tenon with the bowl before putting them back together.
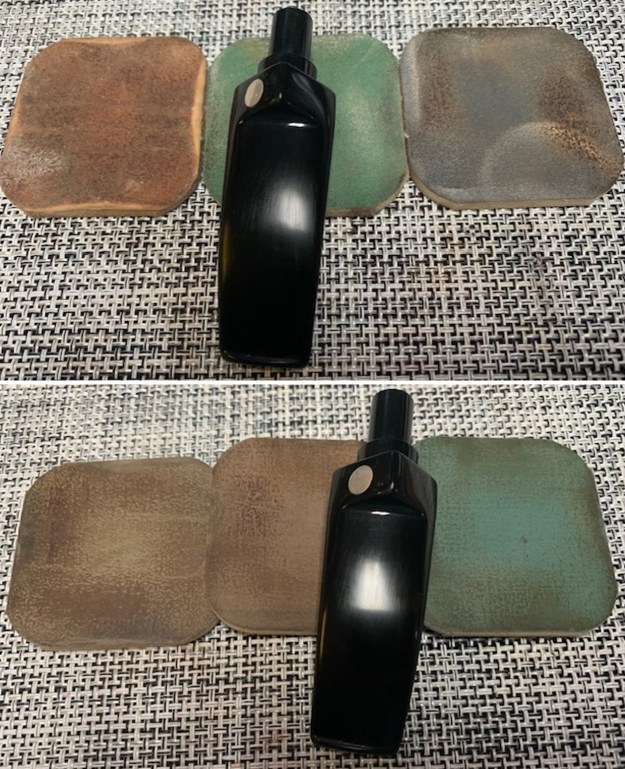
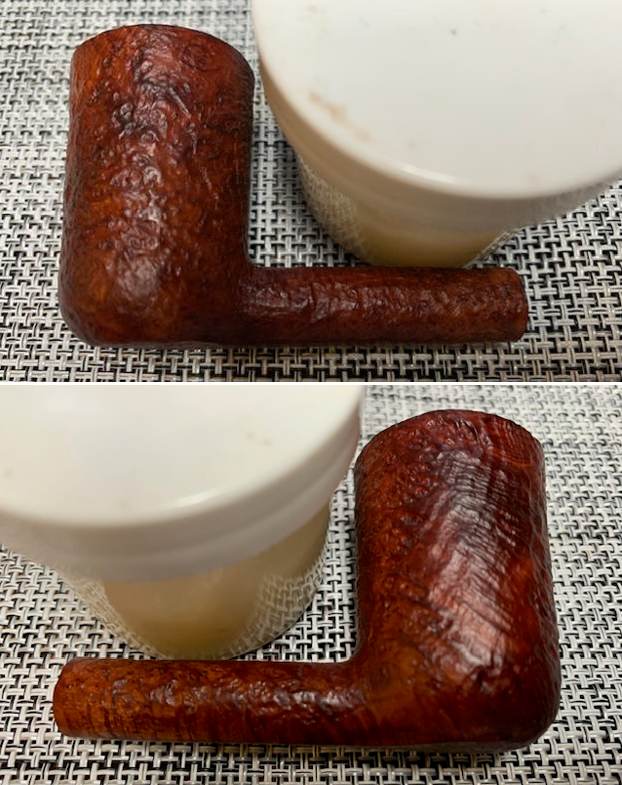
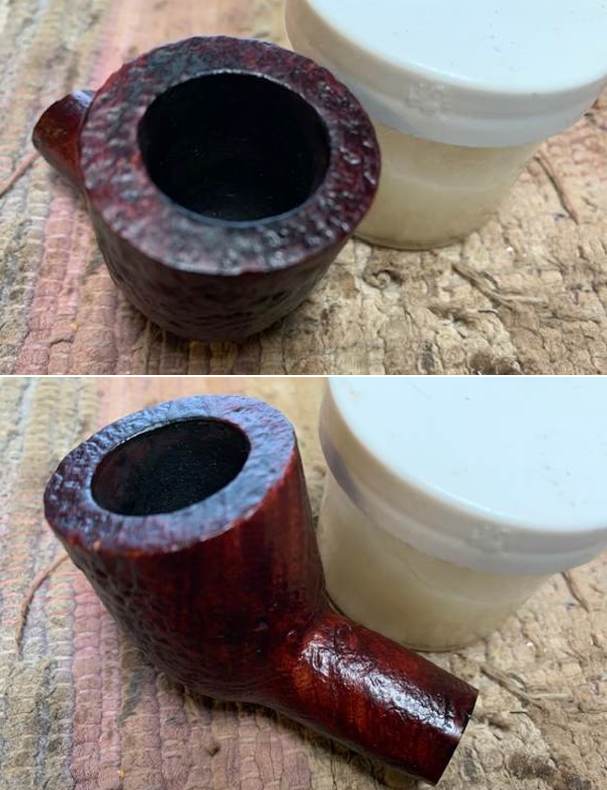
 Once the glue cured I fit the stem in the shank. As seems to be very usual when I do this kind of thing the fit against the shank was not perfect. I would need to shape the stem and shank to make the fit and flow perfect. I took photos of the pipe at this point. The fit is not far off but just enough to be noticeable in the photos on the top and underside and slightly on the right and left sides.
 I sanded the shank and the stem to match and make the transition smooth all the way around the junction. I used 220 grit sandpaper and sanded it in place on the shank. I had to remove briar and vulcanite on the sides of the shank according to the transition. When finished it looked much better.
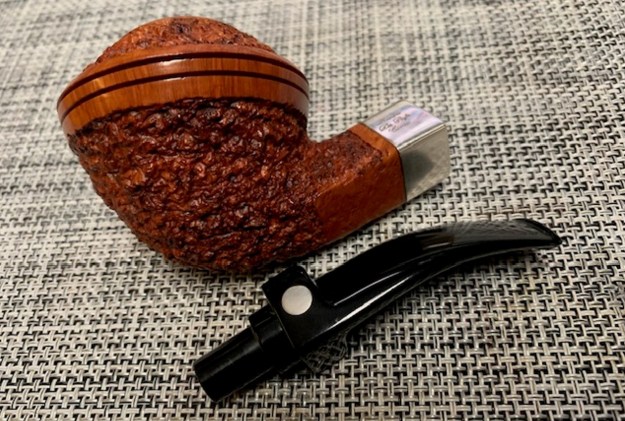
 I polished the sanded areas with micromesh sanding pads to make them smooth. I used an Oak stain pen to touch up the sanded areas and blend them into the rest of the bowl and shank. It blends in very well.
 I rubbed it down once again with Before & After Restoration Balm. I worked it into the surface of the briar and let it sit for 10 minutes then buffed it off with a soft cloth. I polished the bowl with a cotton cloth and set it aside.

 I set the bowl aside and turned my attention to finishing the work on the stem. I “painted” the stem surface with the flame of a lighter to lift the tooth marks. I was able to lift them significantly. I filled in what remained with black CA glue. Once the repair cured I used files to smooth out the surface of the repair. I sanded it with 220 grit sandpaper to blend them into the surface of the stem. I started the polishing of the stem with 600 grit wet dry sandpaper.


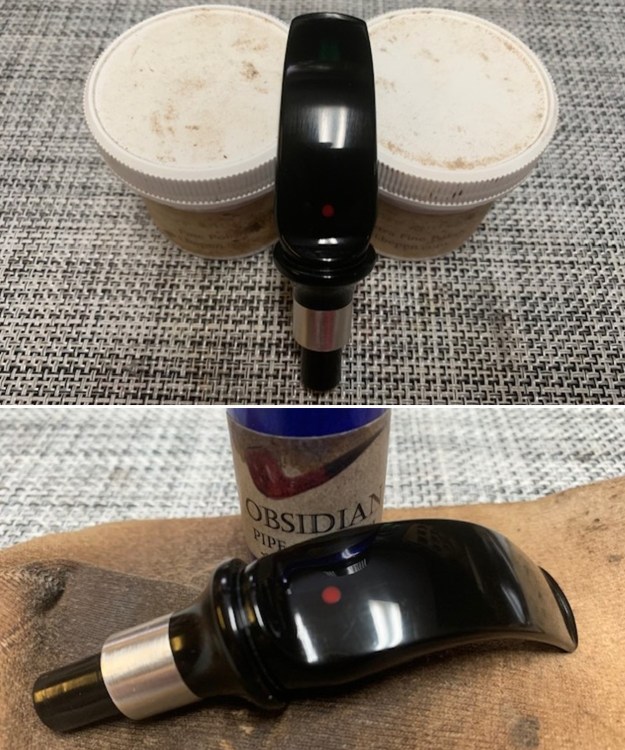
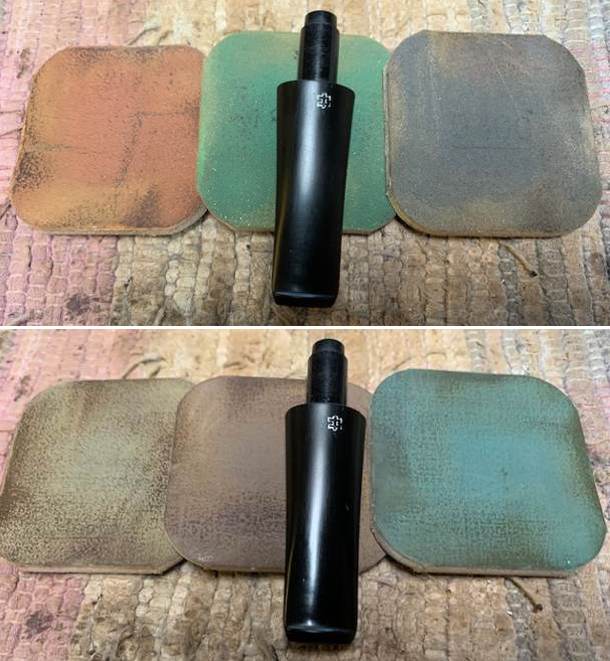
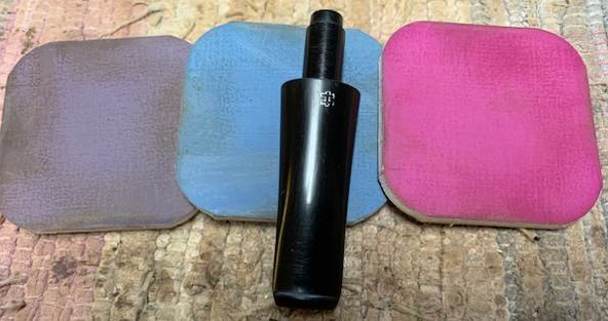
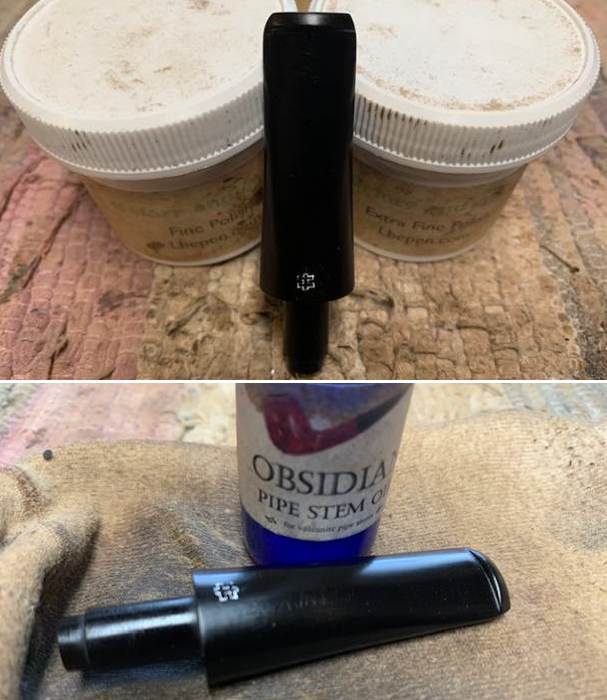
 I polished the stem with micromesh sanding pads – dry sanding with 1500-12000 grit pads. I wiped the stem down after each sanding pad with Obsidian Oil.
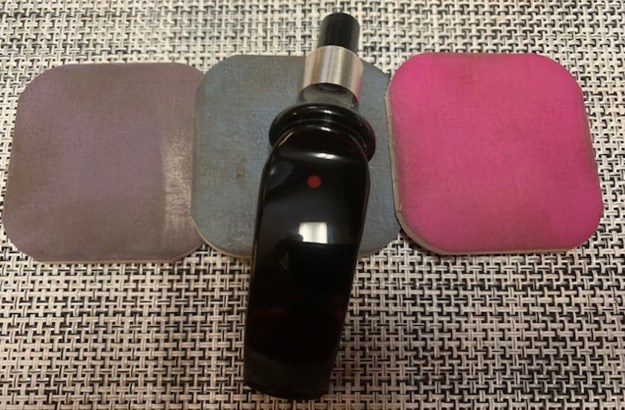
 I finished polishing the stem with Before & After Pipe Stem Polish – Fine and Extra Fine. I rubbed it into the surface of the stem and buffed it off with a cloth and buffed it to a shine.
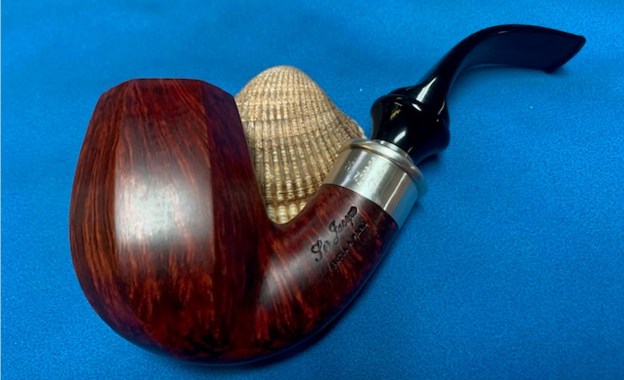
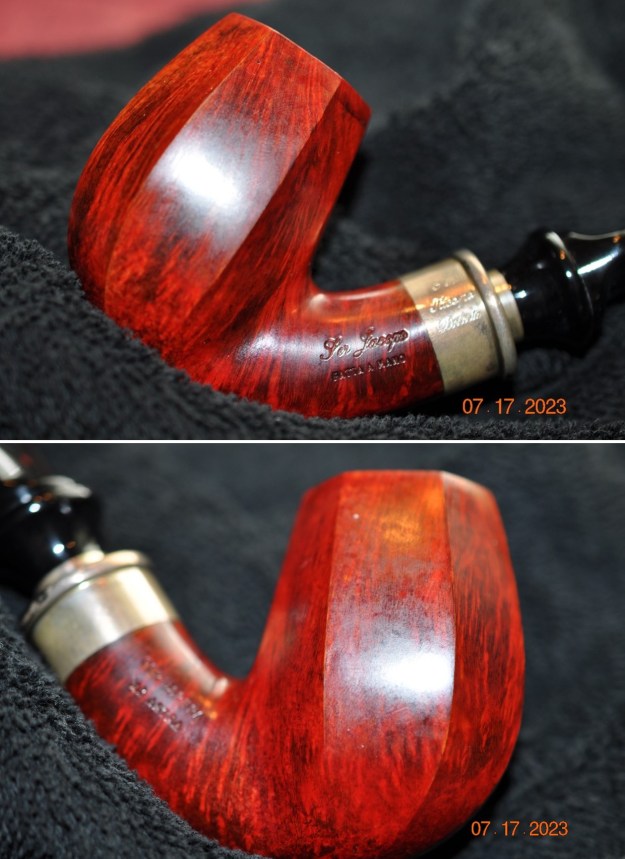
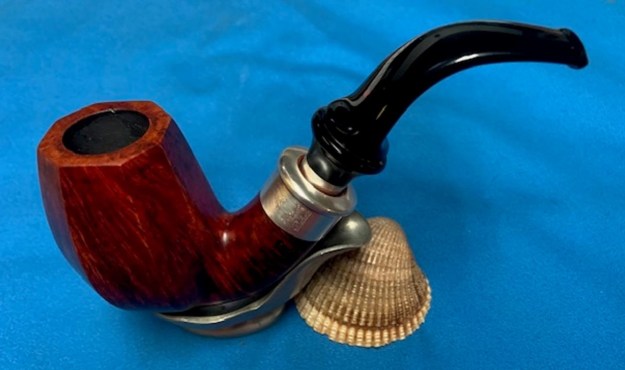
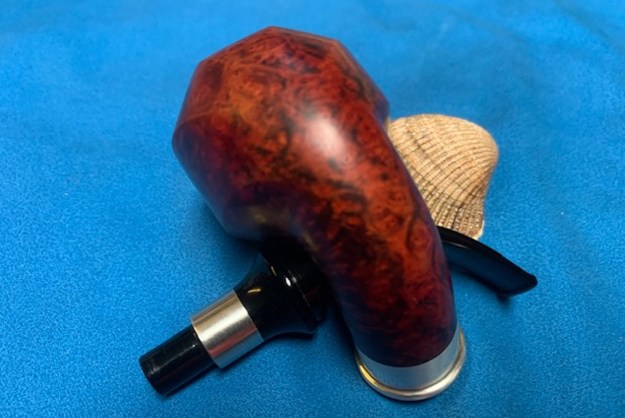
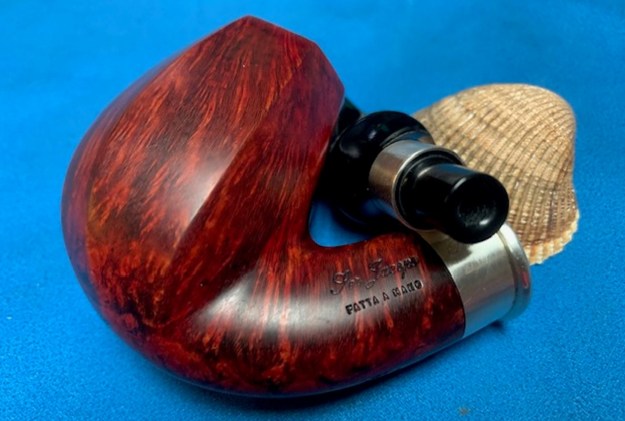
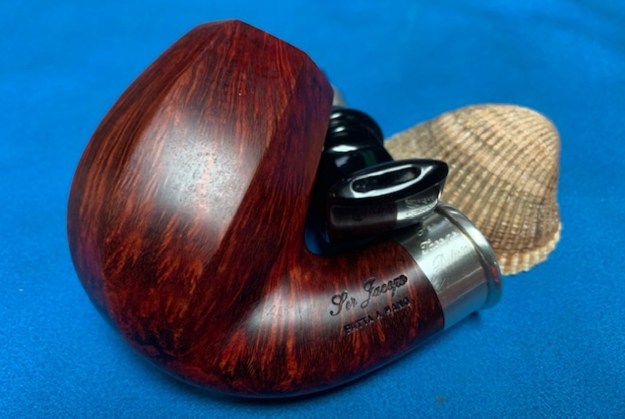
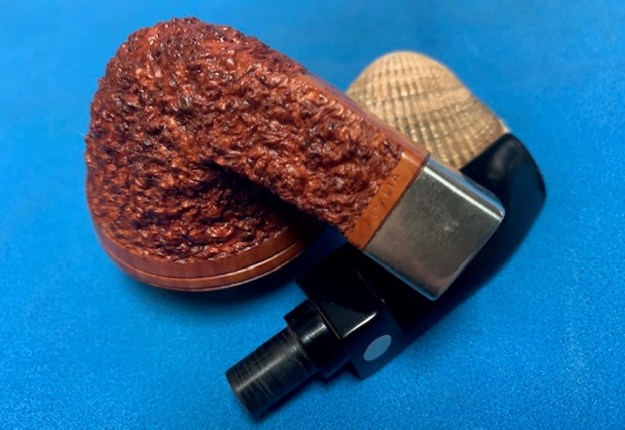
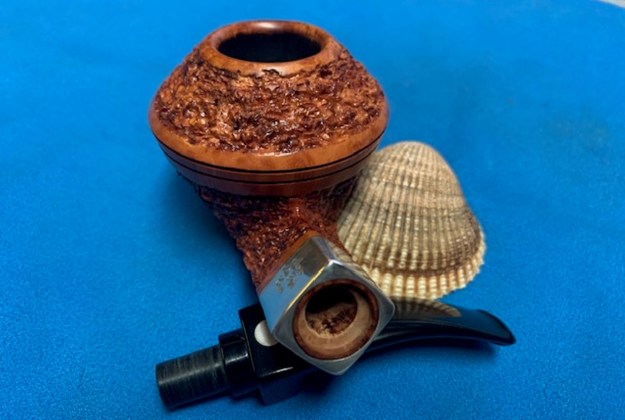
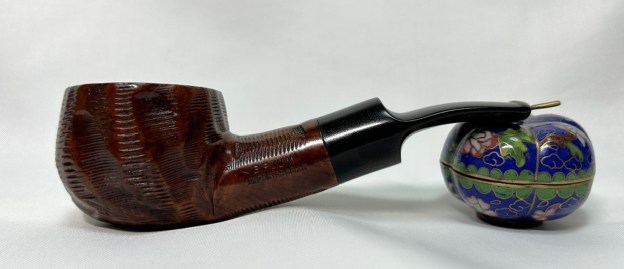
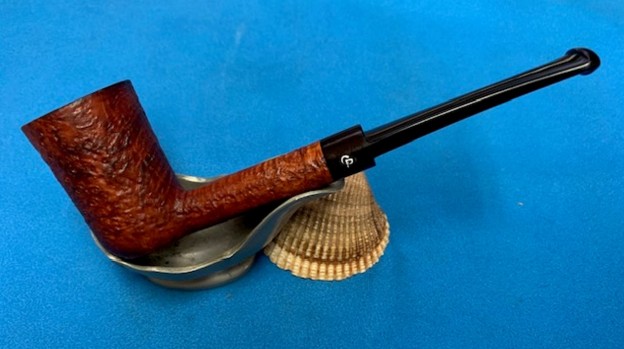
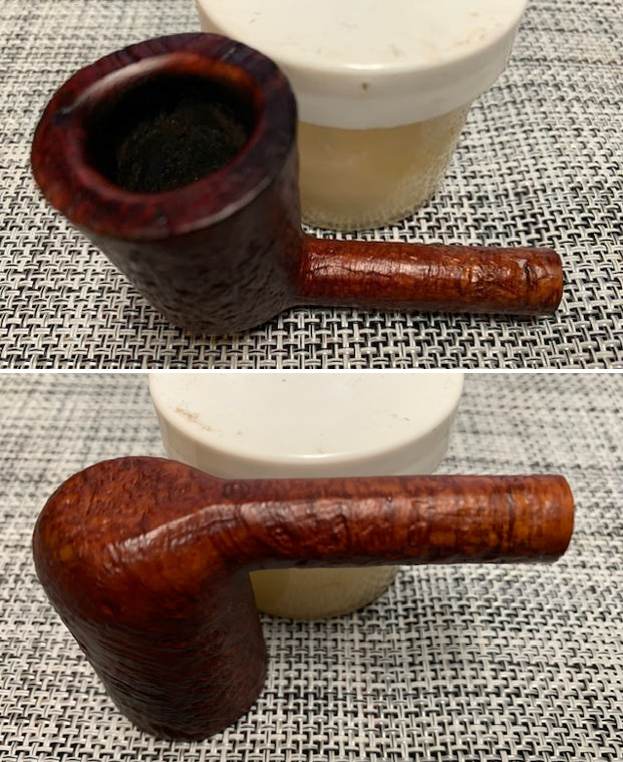
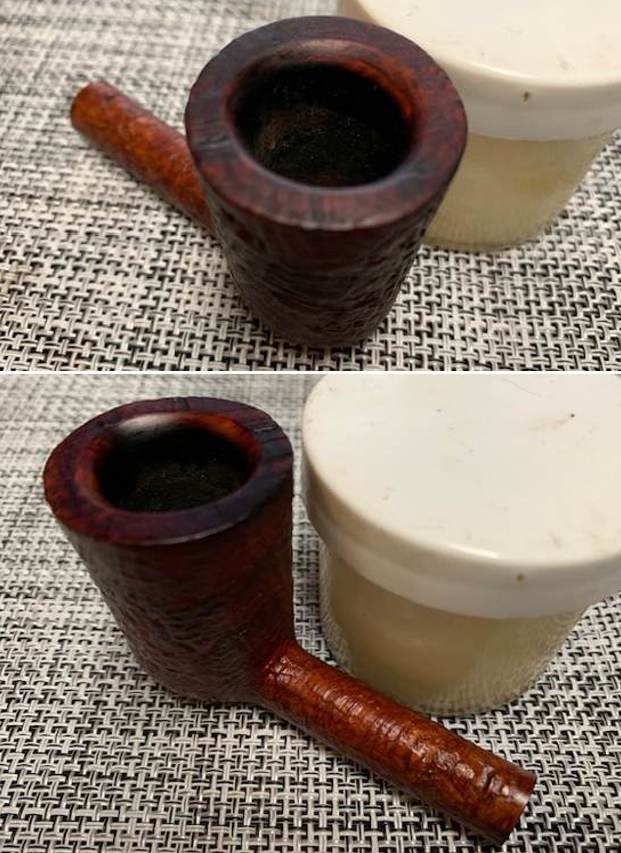
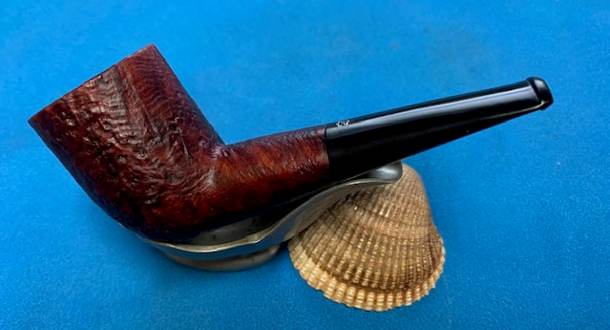
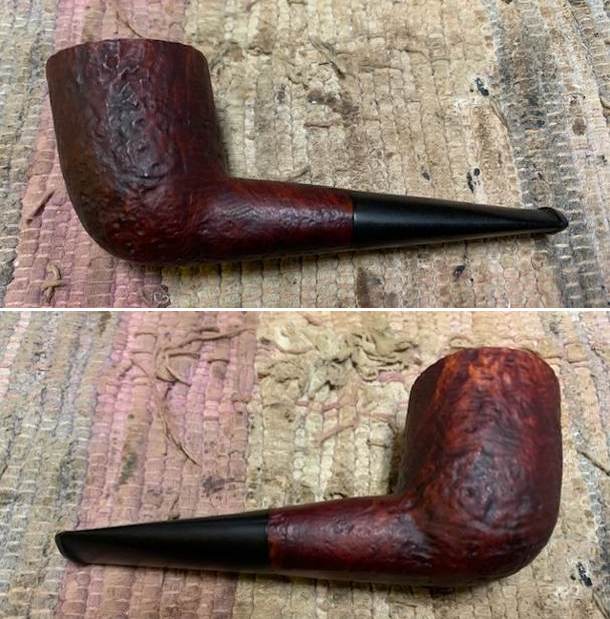
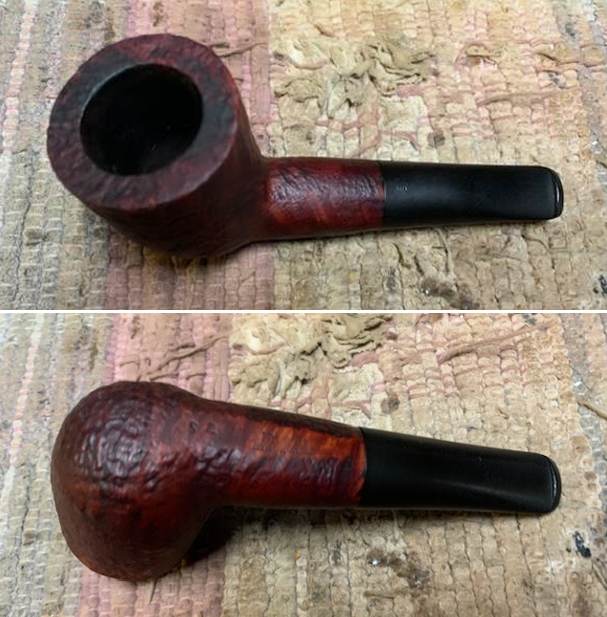
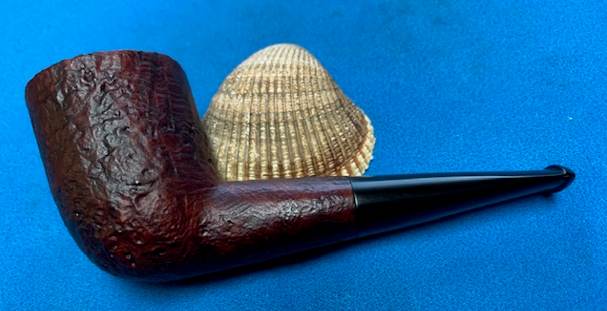
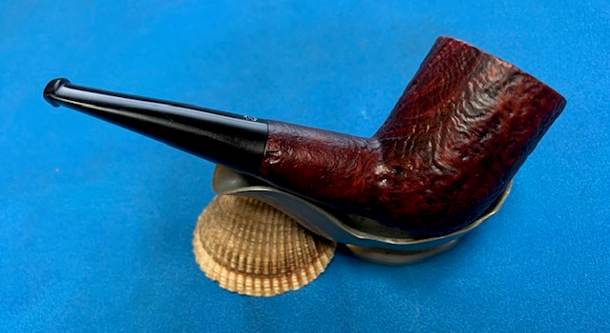
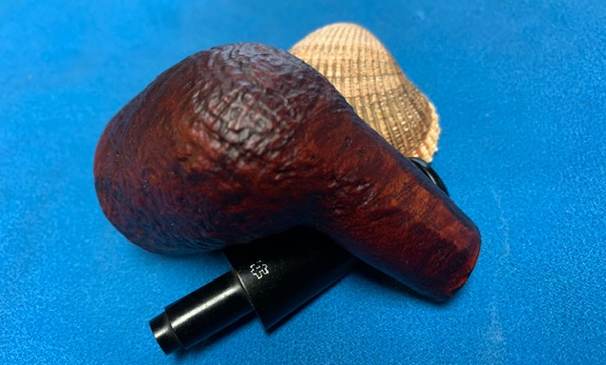
  I am really happy with the way that this Stanwell Danish Made de Luxe Freehand turned out. It really is a beautiful looking pipe with a great shape and smooth finished bowl and plateau on the rim top. The original vulcanite saddle stem is cleaned up nicely. The polished black of the stem works well with the briar and the plateau portions. The briar really came alive with the buffing. The rich brown stains of the finish gave the pipe a sense of depth with the polishing and waxing. I put the stem back on the bowl and carefully buffed the pipe with Blue Diamond on the buffing wheel using a light touch on the briar. I gave the bowl and the stem multiple coats of carnauba wax on the buffing wheel. I buffed the pipe with a clean buffing pad to raise the shine. I hand buffed the pipe with a microfiber cloth to deepen the shine. The finished Stanwell de Luxe really is a beauty and feels great in the hand and looks very good. Give the finished pipe a look in the photos below. The dimensions of the pipe are Length: 6 inches, Height: 2 ¼ inches, Outside diameter of the bowl: 1 ¾ inches, Chamber diameter: ¾ of an inch. The weight of the pipe is 56 grams/1.98 oz. The pipe will be going back to Peter very soon. I look forward to hearing what he thinks about it. Thanks for reading this blog and my reflections on the pipe while I worked on it. It was a fun one to work on!
As always, I encourage your questions and comments as you read the blog. Thanks to each of you who are reading this blog. Remember we are not pipe owners; we are pipe men and women who hold our pipes in trust until they pass on into the trust of those who follow us.


