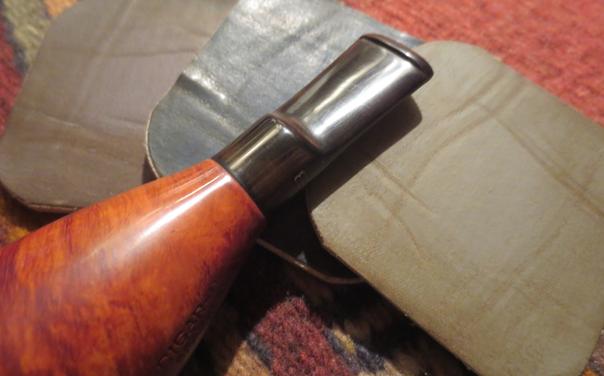
Blog by Steve Laug
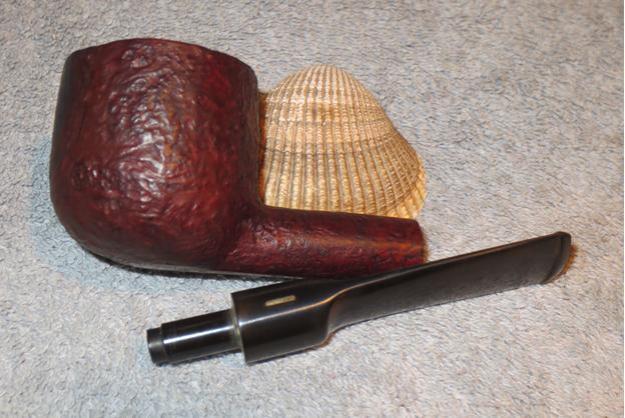
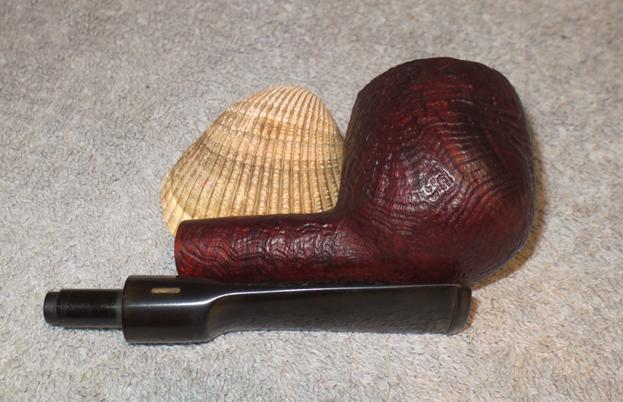
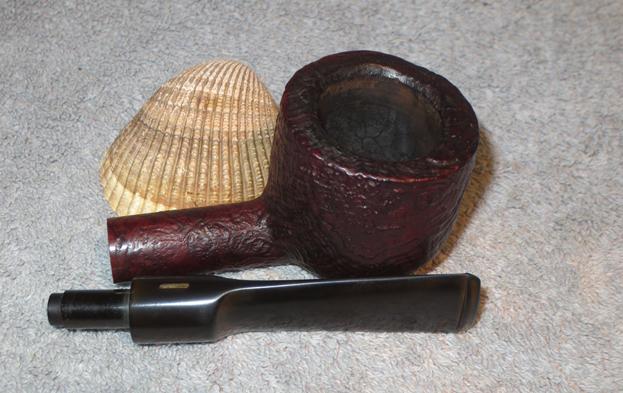
Often a pipe crosses my work table that has a dual attraction – it had obviously been someone’s favourite pipe or it was one that belonged to a loved one and it was severely damaged with a cracked bowl that provides a challenge. No one wants to throw away a pipe that is part of a family history and has deep personal stories attached. The cracked bowl can make that appear to be the only choice. However, it is not the only choice as there are other options. Each of these options has been used repeatedly by me or by one of the other writers on rebornpipes. They do work well and provide more years of service from a cracked pipe.
Method #1 The bowl can be shortened if the cracked portion is high enough on the bowl.
Method #2 A cracked bowl can be shortened and a new section can be spliced on top of the remaining bowl. The original height can be restored.
Method #3 The crack can be filled in and repaired with a mixture of briar dust and super glue that is used like putty. Others have used chimney repair/mortar repair mix or JB Weld to repair the cracks.
Method #4 The cracks can be stitched together with small pieces of wire set at angles to pull the crack back together.
In this blog I will explain each of these methods of dealing with cracked bowls. I will talk through the process of each of the four options and provide photos to illustrate the work. Each of the photos come from previous blog posts on rebornpipes.
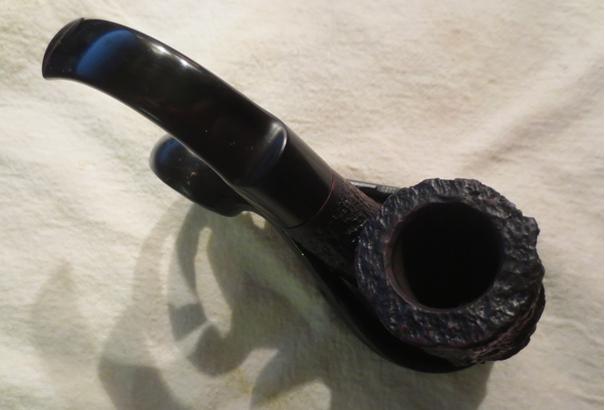
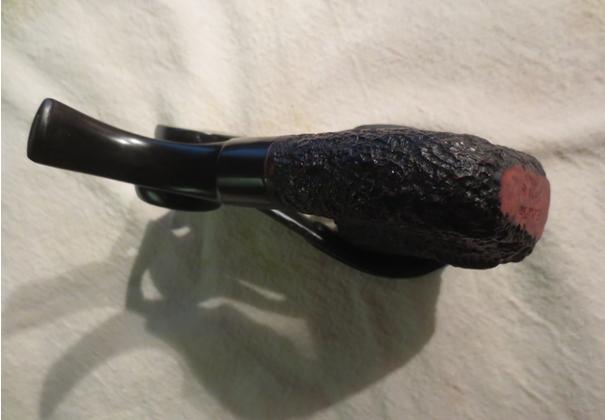
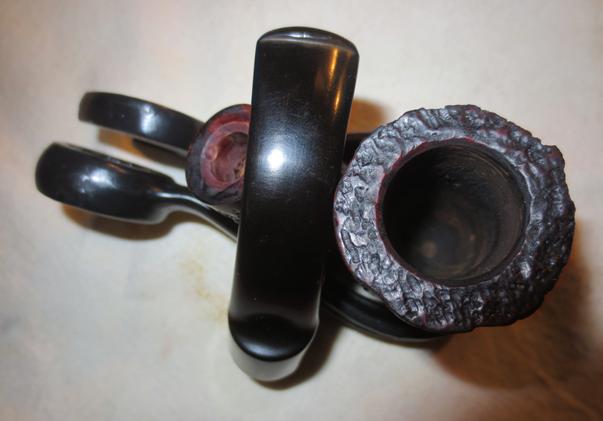
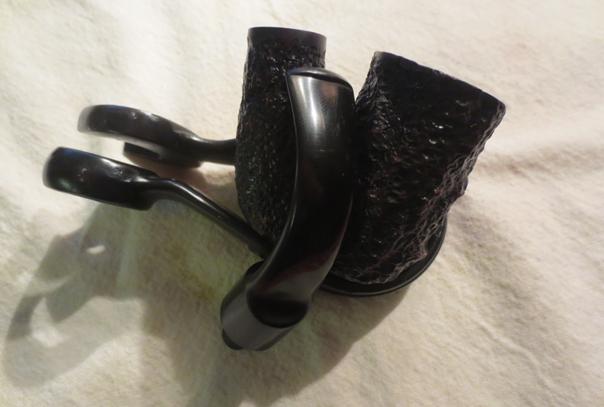
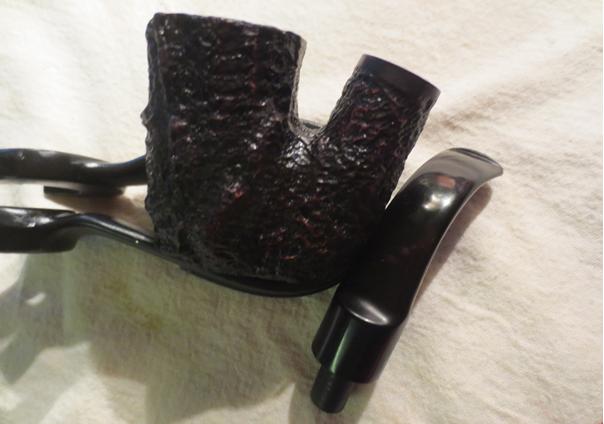
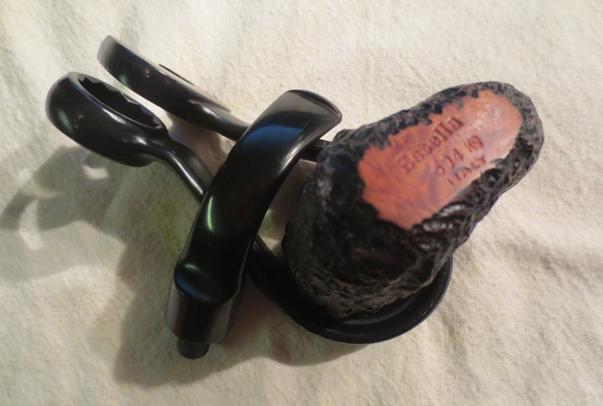
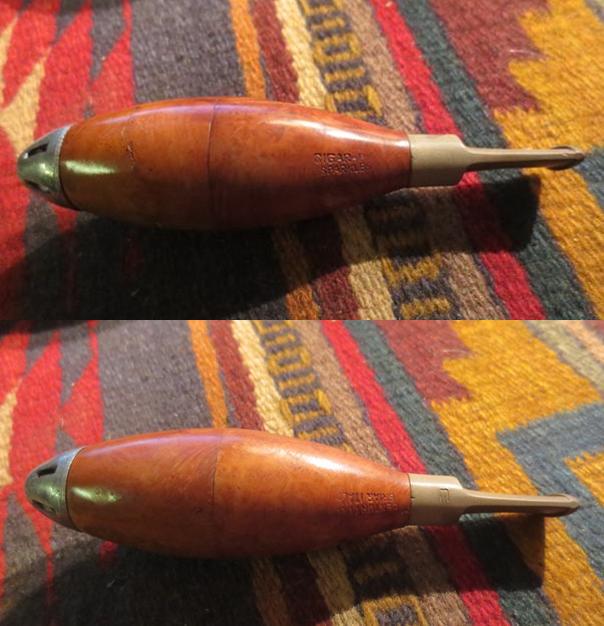
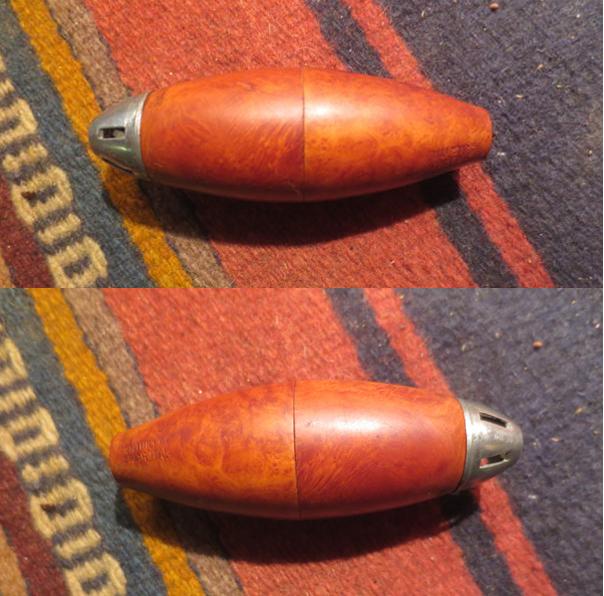
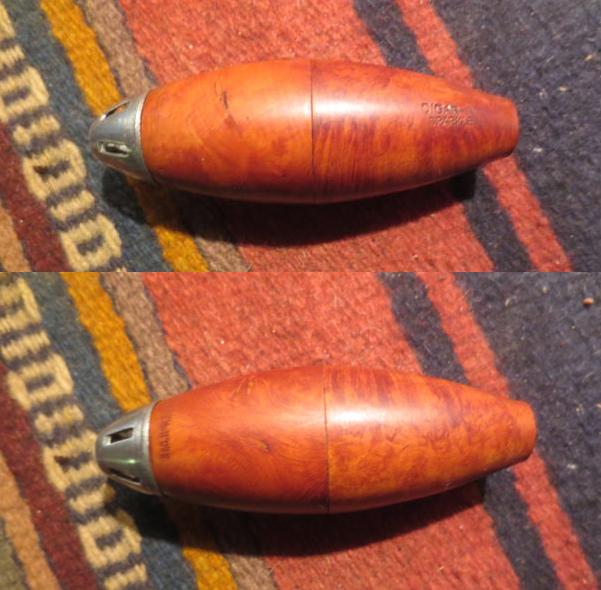
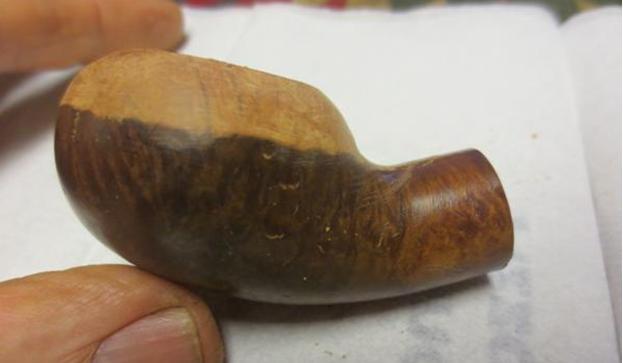
Method #1 Shortening a cracked bowl. This is by far the easiest method of repairing a cracked bowl. I only use this method in cases where the crack is not long and the look of the bowl once I have removed the offending portion is still pleasing to the eye. I have received bowls that were cut off this way and were just too ugly to leave. (The photos that I am using on this repair came from a pipe purchased on eBay from the Dutchman. It was a Rhodesian that he had cut off and then sold the pipe as fully restored. It was not! I reshaped the pipe and reclaimed it.) My methodology is basic and straightforward.
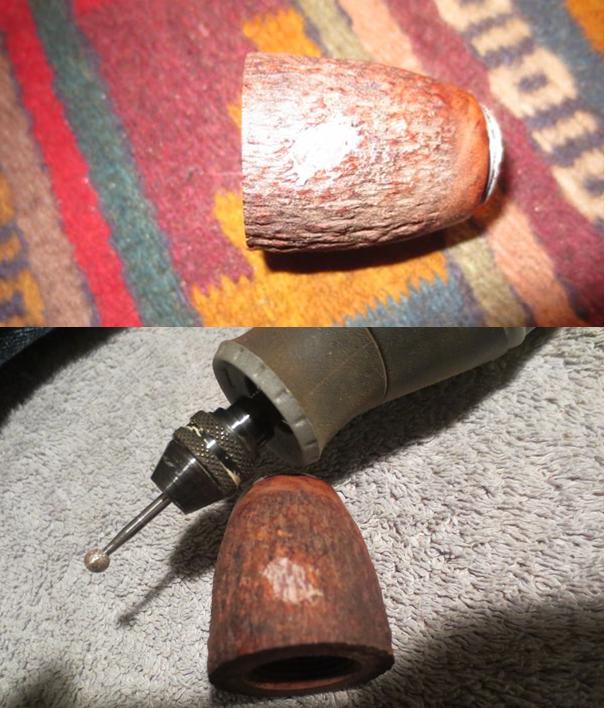
1. Use a microdrill bit on a Dremel to drill a pin hole at the end of the crack. This stops the crack from spreading further.
2. Cut off the cracked portion of the bowl using a coping saw, table saw or band saw. I have even used a Dremel and sanding drum to bring it reasonably close to the finished height.
 3. Top the newly cut off bowl to ensure that it is straight and smooth. Check it often in the process to make sure that things are straight.
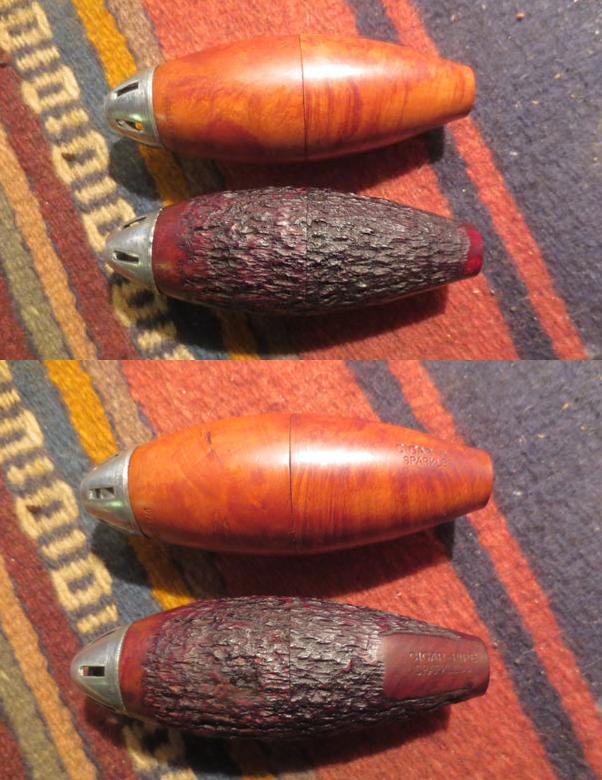
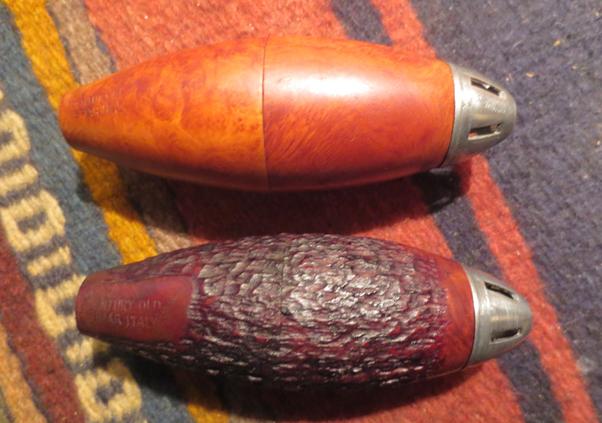
4. Reshape the new top of the bowl either by hand or with the Dremel to give it a finished look that tapers upward from the bulging sides of the bowl. (This pipe took a lot of shaping work. The next three photos give different angles of the progress along the way.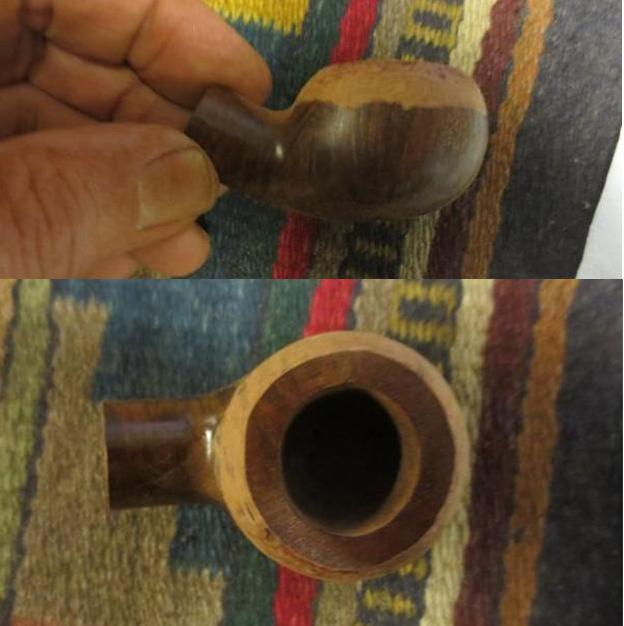
 5. Sand out the scratches left behind by the Dremel sanding drum and fine tune the shaping of the bowl and rim with 220 grit sandpaper. I have found that this grit of sandpaper is very effective for shaping and leaves behind scratches that are easier to sand out than 180 grit or coarser grits. It still cuts away the excess but does not leave a lot of damage to the finish to repair.
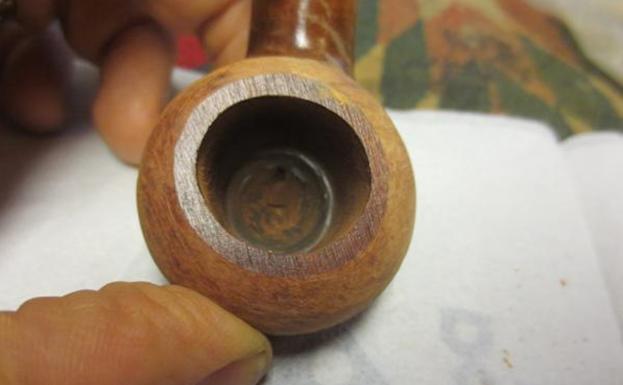 6. Sand the bowl with a medium and a fine grit sanding sponge. This will polish the briar and when you have finished with it you will see the scratches that have been left behind that require further attention.
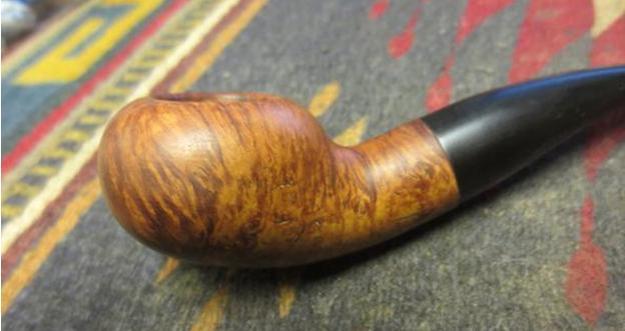 7. Wipe the entire bowl and shank down with acetone to remove the finish on the lower portion of the bowl. It will also remove a lot of the stain that is present in that portion so that blending in the two areas of the bowl is easier to achieve.
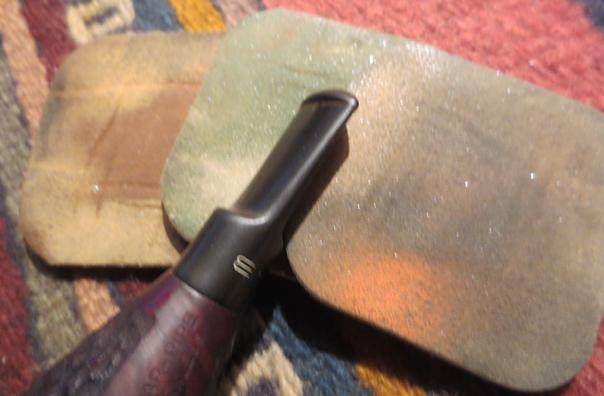
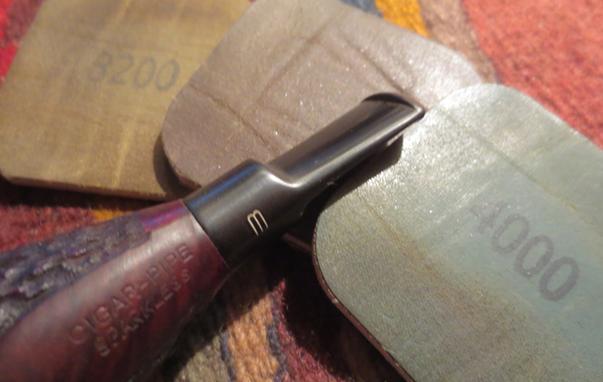
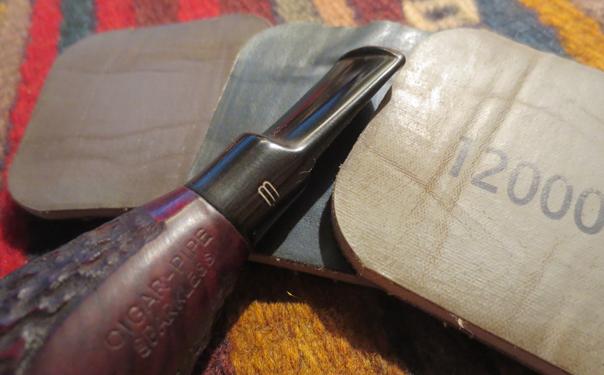
8. I finish sanding the bowl with micromesh sanding pads – wet sanding it with 1500-2400 grit pads and dry sanding it with 3200-12000 grit pads. Each successive grit of micromesh sanding pad polishes the bowl more. The bowl is ultimately very smooth and the scratches that remain stand out and can be addressed by repeating the process noted in 5 and 6 above.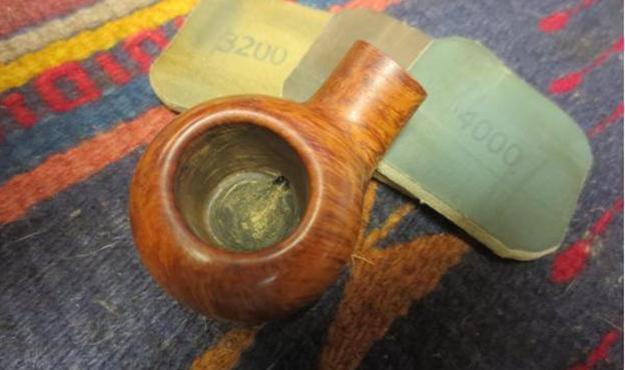 9. Heat the bowl with a heat gun or blow dryer and stain it with an aniline based stain. The heated briar opens the pores so that the stain is taken in. I light the stain on fire with a lighter and it sets it in the grain.
10. If the stain is too dark, wipe it down with a cotton pad and alcohol.
11. Buff it with Blue Diamond and give it several coats of carnauba wax. Buff it with a clean buffing pad to raise the shine.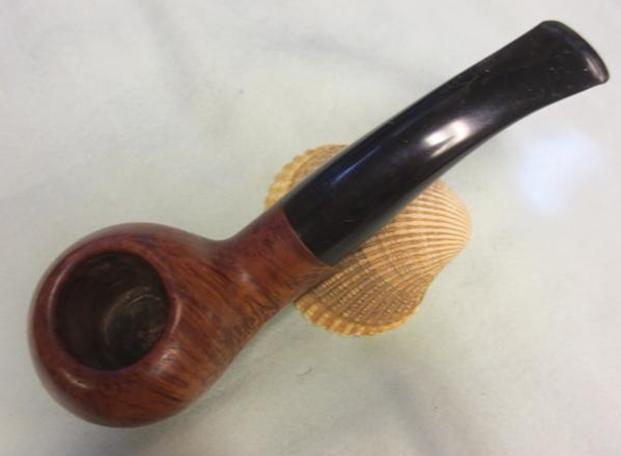 12. If you have done a good job reshaping the bowl it will look natural. Examples of this are a billiard that with shortening become a pot, an apple that with shortening becomes a prince… etc.
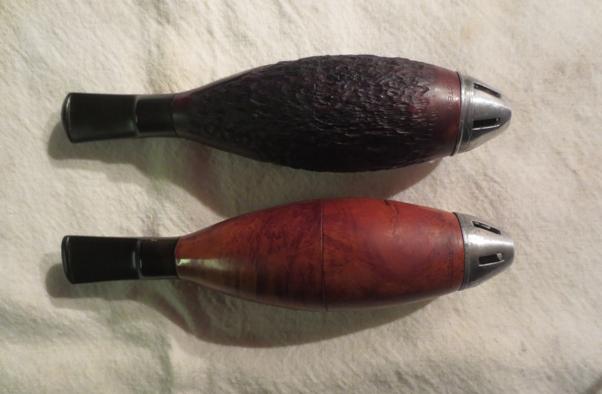
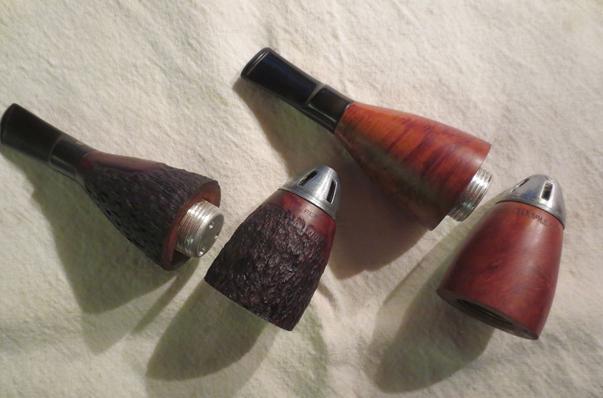
Method #2 Splicing two bowls together. A cracked bowl can be shortened and a new section can be spliced on top of the remaining bowl. The original height can be restored. This method is labor intensive and involves cutting the bowl off of a donor pipe that is junk and then working to fit it to the cut off base of a cracked bowl.
1. Cut of the cracked portion of the bowl and flatten the remaining base and shank on a topping board.
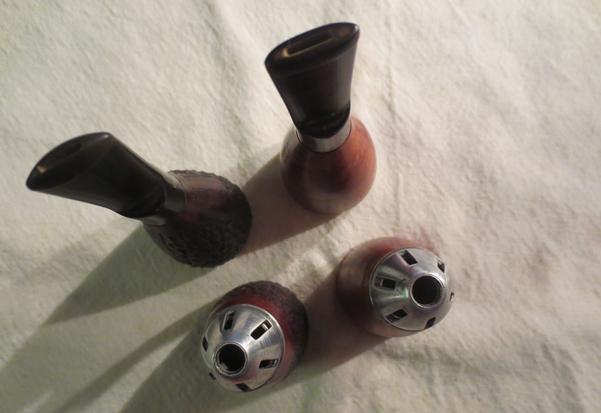
2. Cut off the donor bowl the same height as the cracked portion you removed from the other bowl. Don’t worry about diameter or finish at this point.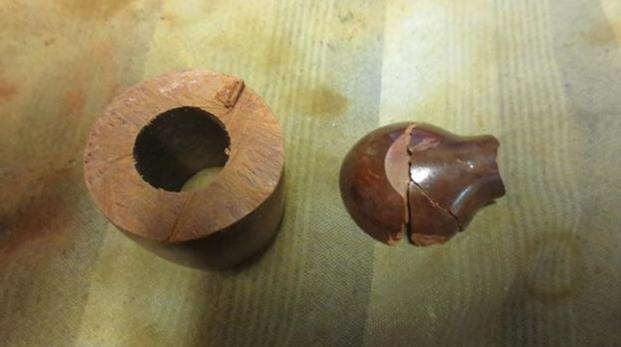 3. Drill a series of microdrill holes in the base. These will go around the bowl centered in the briar that remains of the bowl walls.
 4. Cut off pieces of stiff metal or a paper clip. In this case I used small brads. These pieces need to be about 3/4 to 1 inch tall.
5. Set the wires in the drilled holes in the base of the pipe. They should stand straight up all around the bowl.
6. Set the cut off bowl on top of the wires and line up the front, back and sides. Push down on the bowl hard enough to mark the holes that need to be drilled on the cut off bowl but not too hard as you will bend the wires.
7. Remove the cut off bowl and microdrill the holes in that portion to match the bottom.
8. Super glue the pins or wires in place in the base. Once the glue sets put the top portion of the bowl on the pins. Do not push it into place at this point. 9. Paint the surfaces of the both pieces of the bowl with a two-part epoxy and slowly press the top portion of the bowl onto the pins. Maneuver it until the bowl lines up on the bottom portion.
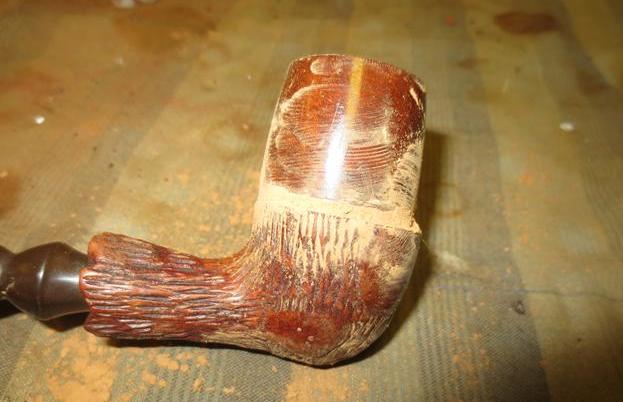 10. Let the epoxy cure. Then use a Dremel and sanding drum or a spade drill bit to even out the inside of the bowl. You want a clean fit of the bowl sides so that there is no ledge or shelf between to two halves.
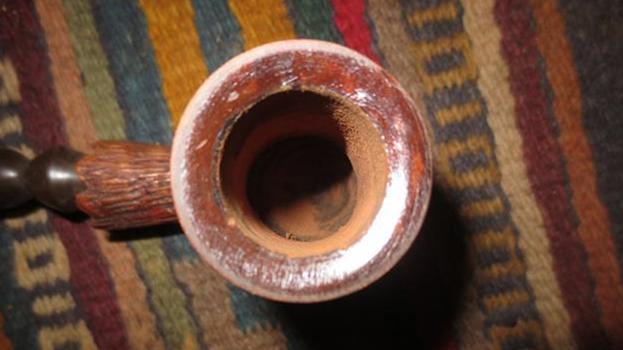 11. Use a Dremel and sanding drum to reshape the bowl so that the parts align and the transition is smooth and the bowl looks natural. Fill in any gaps in the joint with super glue and briar dust.
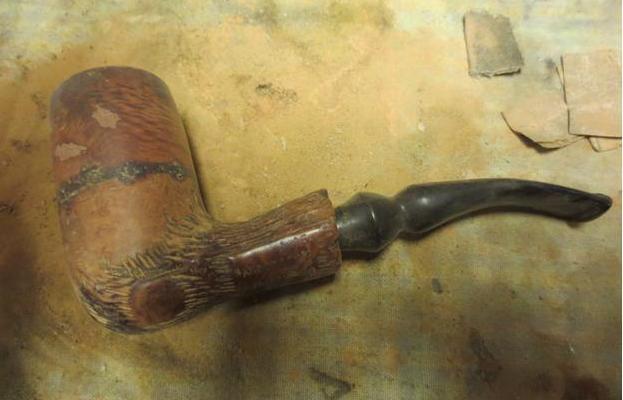 12. At this point you have a choice. You can either rusticate the entire bowl or you can rusticate the joint of the two bowls.
13. Mix a batch of bowl coating using charcoal powder and sour cream or plain yogurt. Stir them together until you get a charcoal grey paste. Paint the inside of the bowl with the mixture using a folded pipe cleaner. Make sure to smooth it out. Set the bowl aside to dry. Once it cures the inside is complete.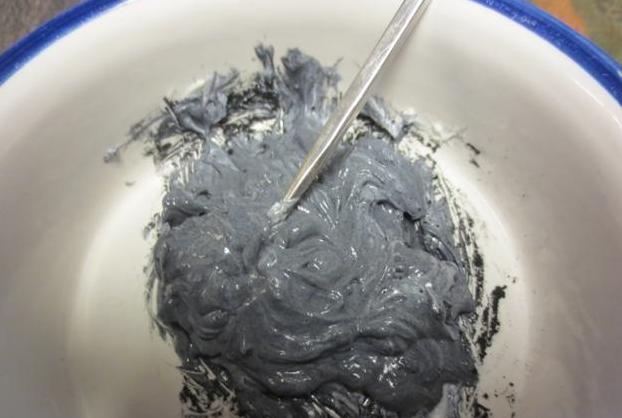
 14. Stain the bowl and rim to your own taste. If you rusticate it you can do a contrast between black and brown or even different browns to accentuate the grooves and smooth portions.
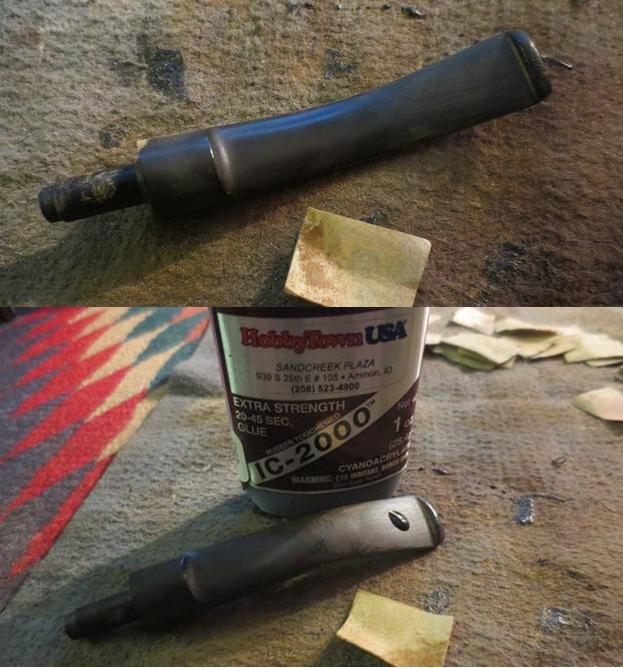
Method #3 Filling the crack. The crack can be filled in and repaired with a mixture of briar dust and super glue that is used like putty. Others have used chimney repair/mortar repair mix or JB Weld to repair the cracks.
1. Drill a pin hole at the end of the crack to stop it from spreading further down the bowl or across the bowl.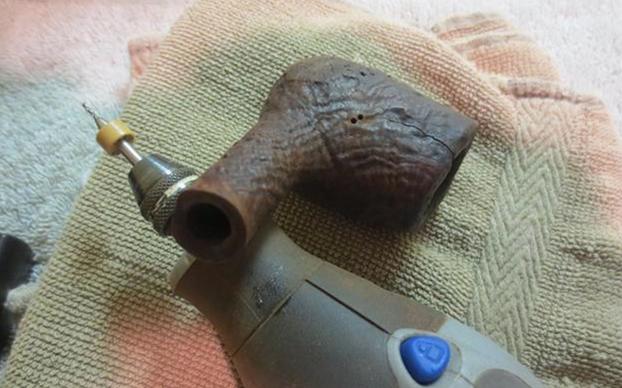 2. Clean out the crack in the bowl with a dental pick to remove the debris and any dust from the crack.
3. Press briar dust into the crack with a flat blade or a dental spatula. I use the dental pick to make sure that there are no air pockets in the dust.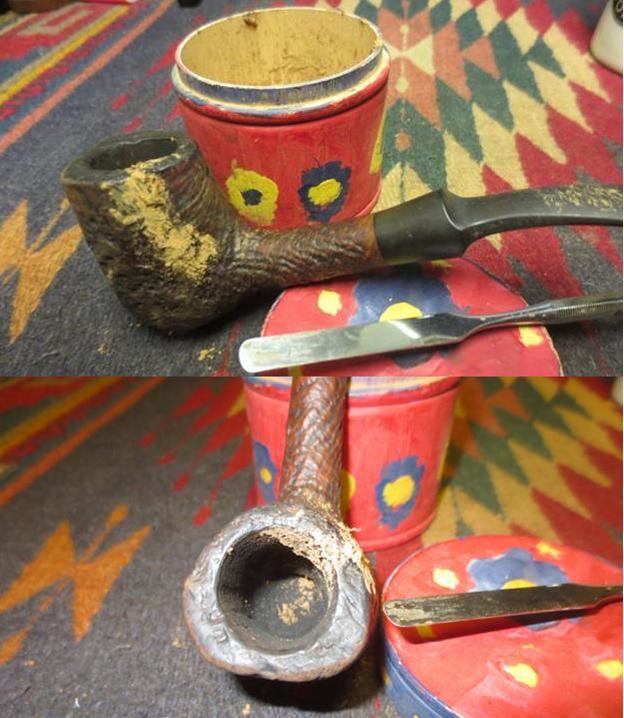 4. Some folks vary the slightly and mix the slow curing super glue and briar dust on a small jar lid and press the mixture into the crack. Personally I use the method I explained above and put the glue in afterwards. Both methods or variations will work.
5. Fill in the crack over the briar dust with clear super glue. I have found that this takes time and should be done slowly so as not to overdo.
6. Press more briar dust into the super glue to ensure that the crack is filled in.
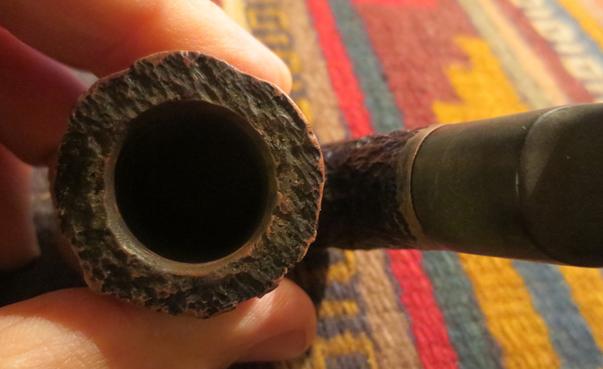
7. Once the repair is cured I sand the patch with either a folded piece of 180 grit sandpaper or a Dremel and sanding drum. I sand it until it is even with the bowl sides. I love using this method on sandblast pipes as it is easy to blend the repair into the finish.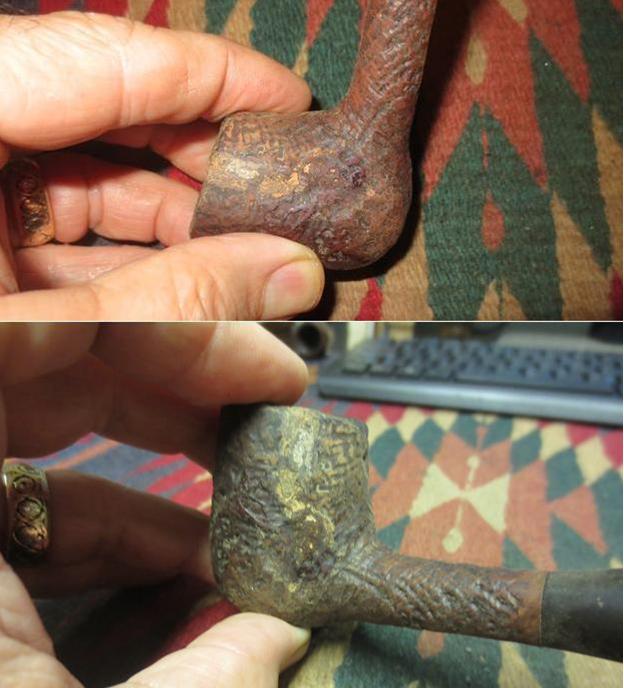 8. Smooth out the sanded area with 220 grit sandpaper and then with micromesh sanding pads.
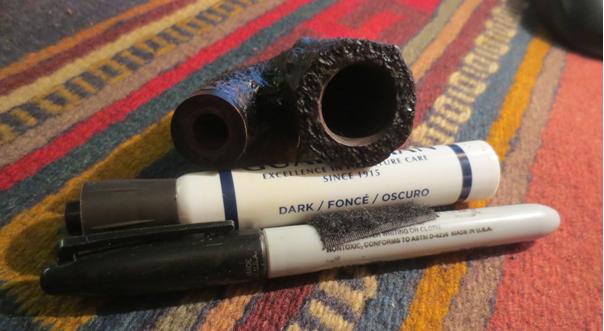
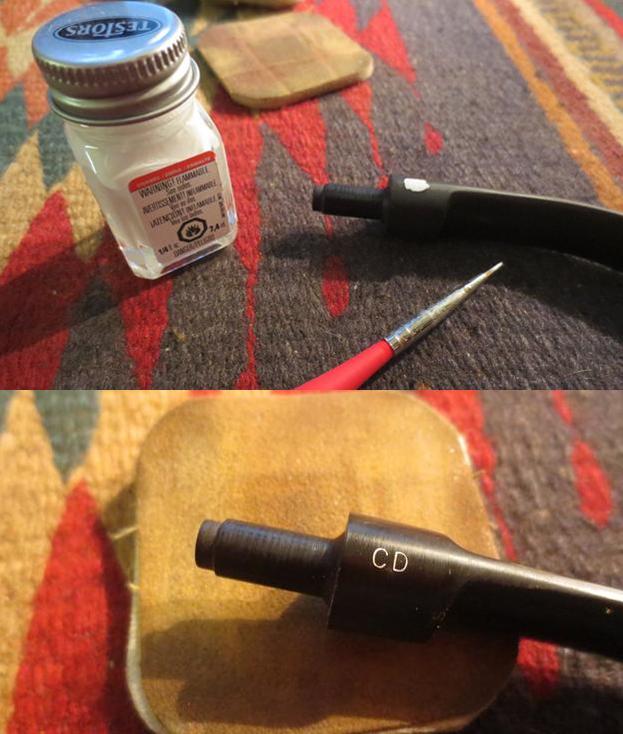
9. I use a stain pen or a black sharpie to stain the repair and then restain the entire bowl to blend in the patch with the bowl colour.
 10. Mix a batch of bowl coating using charcoal powder and sour cream or plain yogurt. Stir them together until you get a charcoal grey paste. Paint the inside of the bowl with the mixture using a folded pipe cleaner. Make sure to smooth it out. Set the bowl aside to dry. Once it cures the inside is complete.
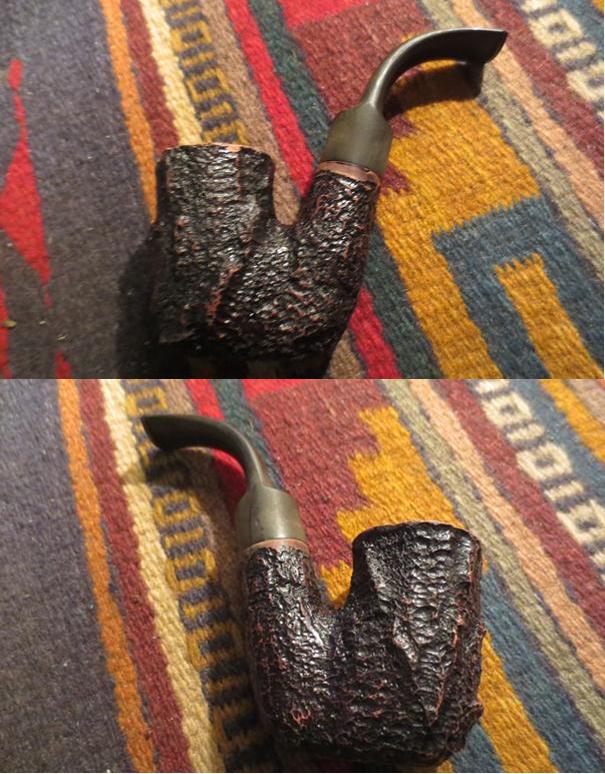
Method #4 Stitching the Cracks. The cracks can be stitched together with small pieces of wire set at angles to pull the crack back together. This method was used by Charles Lemon on a pipe we worked on together. The pipe traveled back and forth across Canada. Charles stitched the bowl together with brass wire. Here is his methodology. With this method I am giving more detail to explain the process.
1. There were two major cracked areas at the front and back of the bowl. Both cut all the way through the chamber walls, all but slicing the bowl in half lengthwise. The front crack looked like a clean break running from the rim down the face of the bowl to the bottom of the tobacco chamber. The rear crack wasn’t as straightforward. Instead of a single linear crack, the damage at the rear started at the rim, dropped down to roughly the centre of the bowl, and took a sharp left as it sought out an old fill – a natural weak spot in the briar. From the fill the crack had “spidered”, with thinner cracks running up, down and across the bowl. The cracks could be visibly moved by squeezing and releasing the bowl. Without some way to lock the briar in position, the bowl would have to be retired.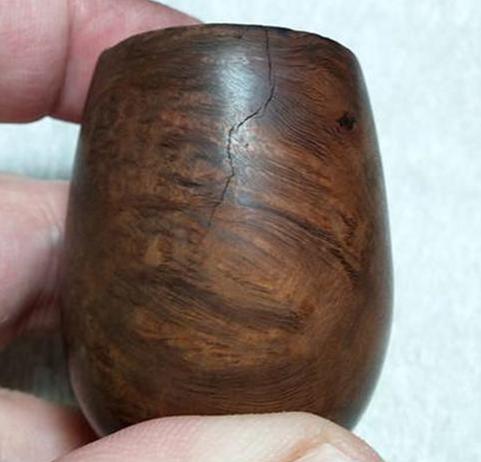
 2. Drill a pin hole at the end of each of the cracks to ensure that the existing spider cracks did not run further into the briar. Be careful not to drill through to the tobacco chamber. These “end cap” holes would stop the cracks.
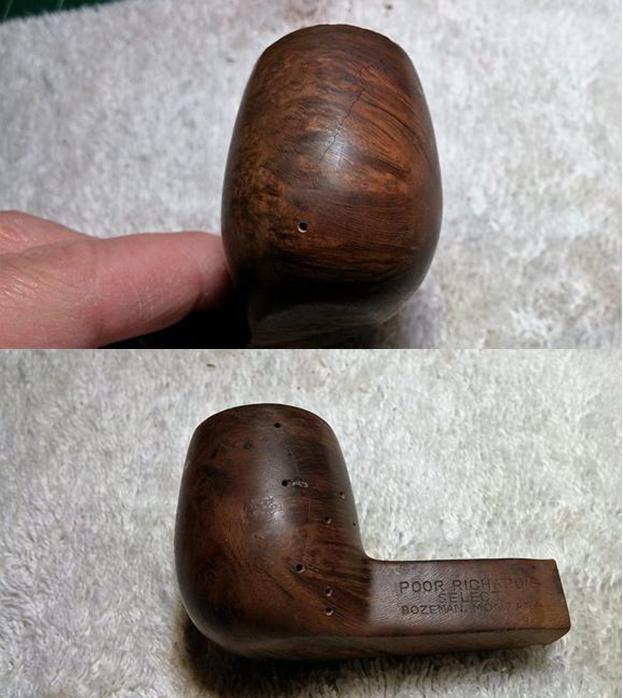 3. In a bowl as seriously damaged as this one glue alone would not provide sufficient holding power to keep the cracks tight and immobile. There would need to be some sort of physical reinforcement of some kind to ensure that the bowl stayed in one piece after being placed back in service.
Charles and I took on this pipe as a challenge to a conversation we had had earlier regarding when or if a bowl was irreparable.
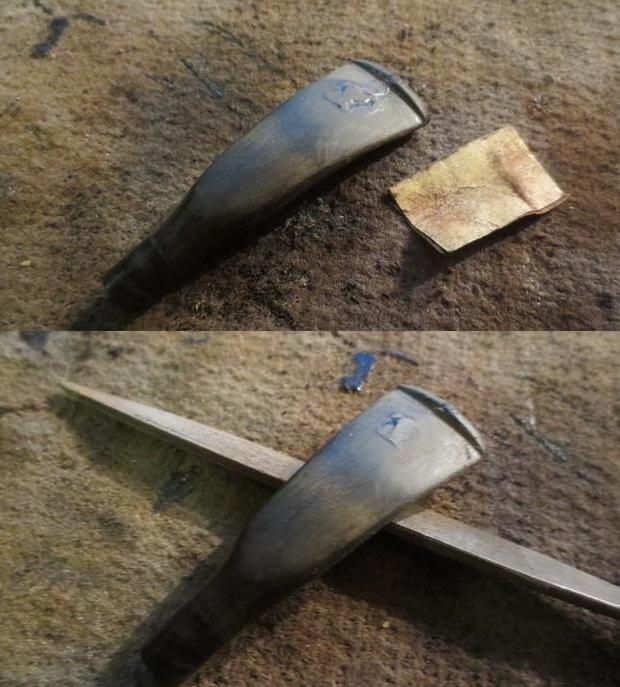
4. The cracks would have to be pinned using metal wire. In this case a length of 1.2mm brass rod did the trick. Match the diameter of the rod to a micro drill bit and drill pin shafts across the crack, through the curved walls of the bowl, without drilling into the chamber. These shafts only had one end and the pin would be inserted across the cracks.
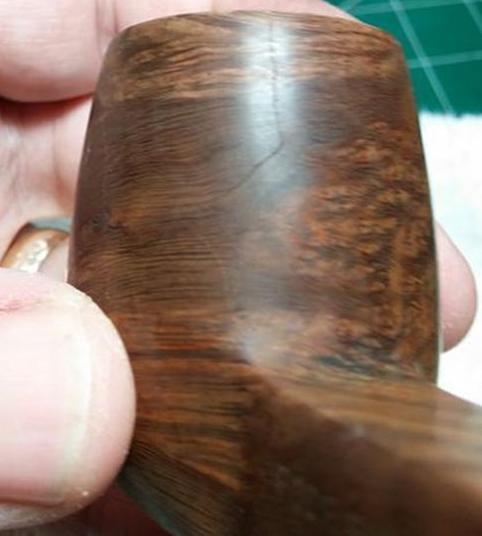
5. The next close-up picture shows the flat angle of the drilling. A brass rod is in position to show how the process will work. The rod length was marked and then cut shorter so that when fully seated in the shaft, the outer end of the rod would be below the outer surface of the briar. The brass pin was roughened with 220-grit sandpaper to give the glue more gripping surface. Super glue was dripped into the shaft before pushing the pin home.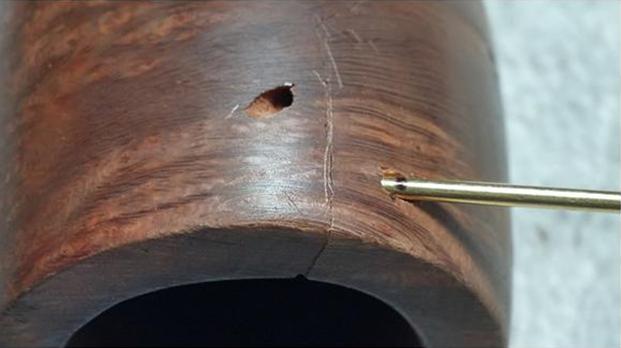 6. The second shaft was at an angle relative to the first one – in the photo it is clear that it’s not even close to parallel. This is deliberate. Each pin was drilled at an opposing angle to its neighbours. Doing this assured that any movement of the briar as it heats and cools will be blocked by one or more pins. If the pins were parallel, pressure in the wrong direction could push the crack open again.
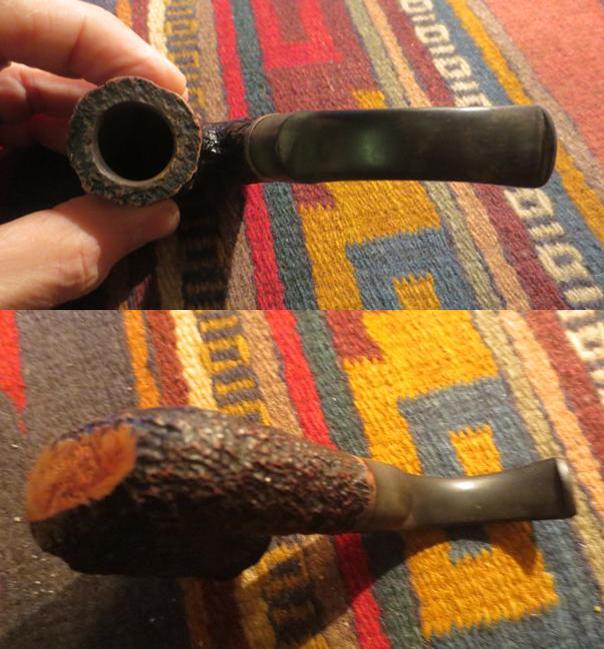
7. In all ten brass pins were installed – four in front and six in back – and seven end cap holes were drilled to stop the cracks (all but one of these in the back). The red lines in the photos below show the direction of the pin shafts. You can see how the pins work to stitch the crack shut. The front repair doesn’t look too bad, but the rear of the bowl looks like it was attacked by termites!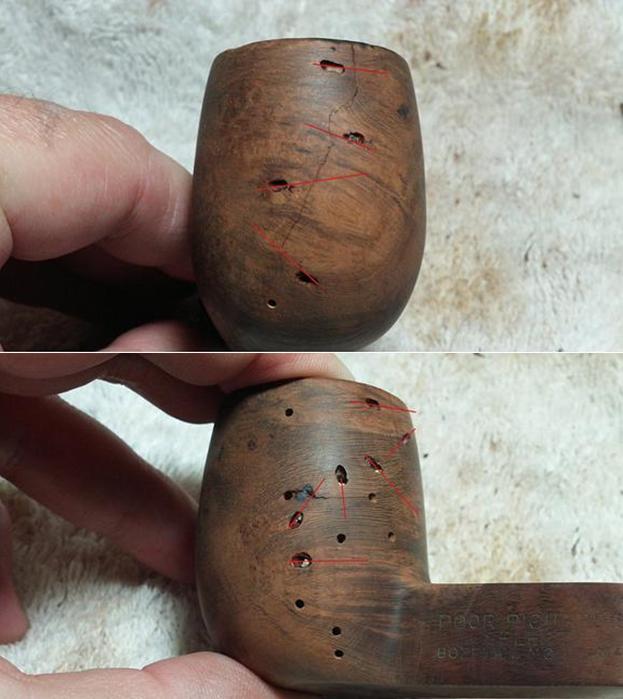 8. With the pins in place the crack no longer moved. The lack of movement shows that the bowl was acting as a single piece of briar instead of several bits of loosely connected wood.
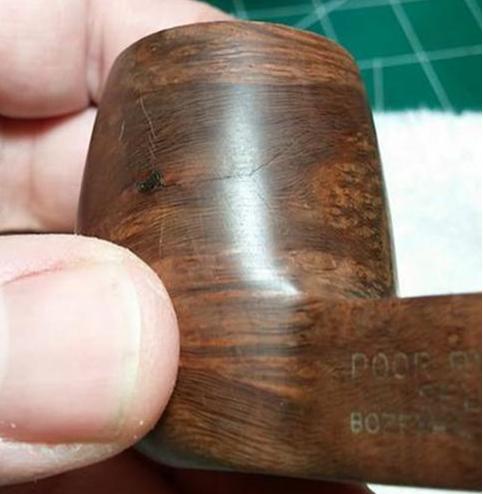
9. Patch the 17 end cap and the pin holes with super glue and briar dust as shown in the photos below.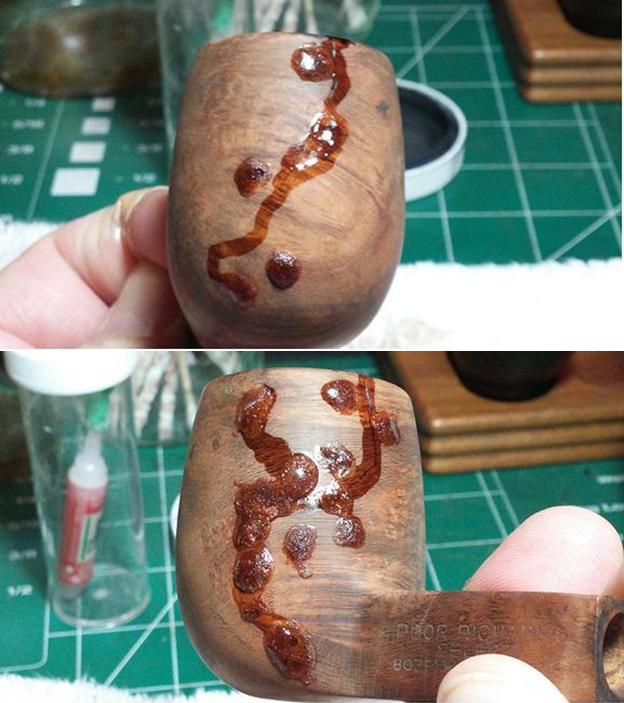 10. When the glue has cured in the fills, file and sand the patches until they are flush with the surface of the briar.
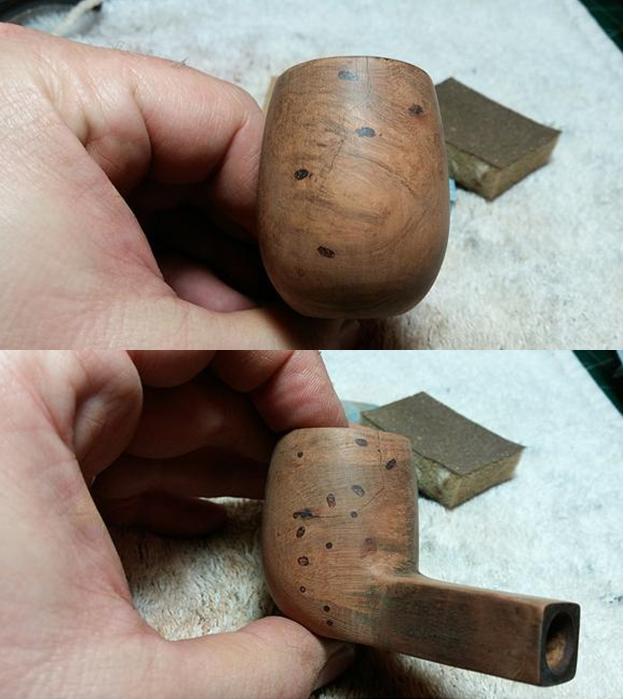 11. Sand the entire bowl with micromesh sanding pads to remove the scratches in the briar and further blend the repairs into the briar. The photo below shows the filled end cap and rod holes. They are smooth and flush with the briar.
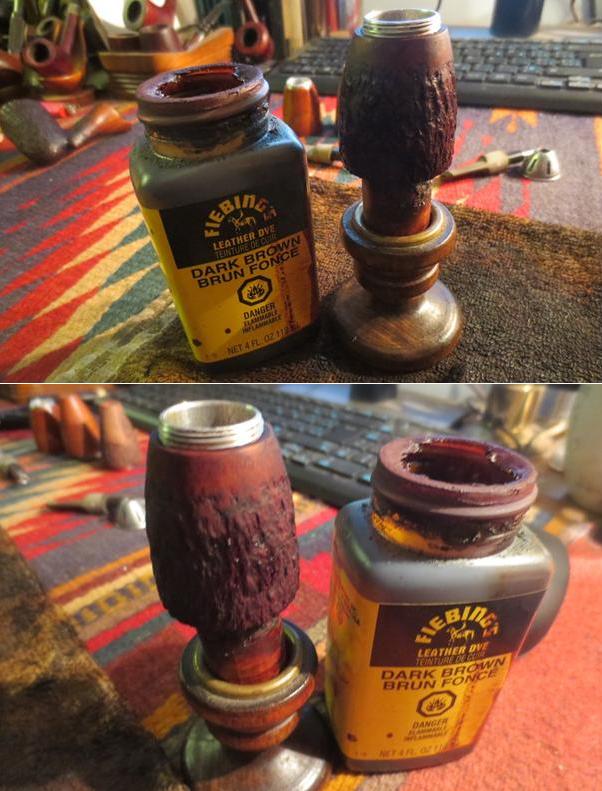
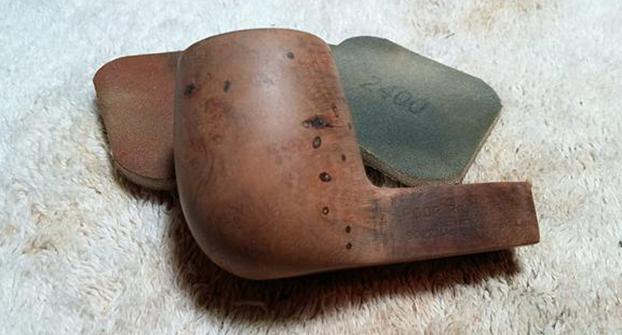 12. At this point the bowl is ready to stain. The large number of repairs required a darker finish than would have originally been used on this pipe. In this case the stain undercoat was Fiebing’s Black water-based leather dye. This was used to bring out the grain. When that coat had dried the bowl was polished with 0000 steel wool and water. This left the grain stained black while the rest of the wood remained lighter. The second stain coat was a wash of Fiebing’s Dark Brown stain diluted about 50% with alcohol that was used as a wash over the briar repeatedly until the coverage was good. After that coat had dried a medium stain pen was used over the repaired fills to help push them to the background without obliterating the grain altogether.
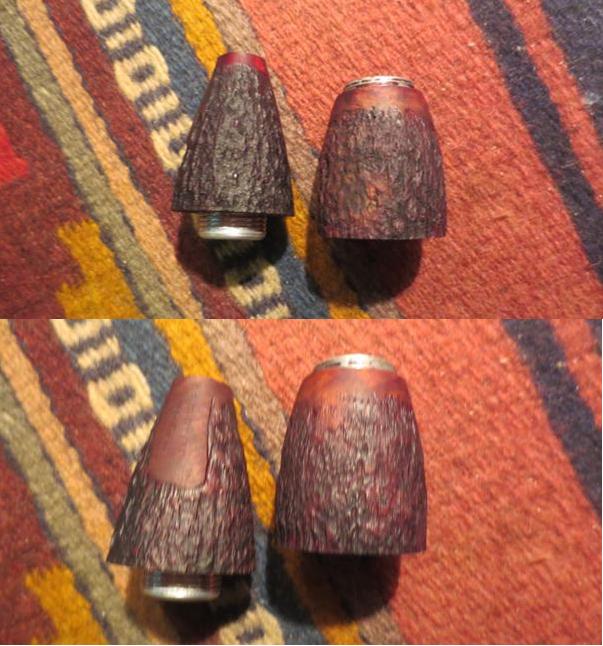
13. Buff the pipe with White Diamond on the buffing wheel and give it multiple coats of carnauba wax. Buff lightly with a clean buffing pad to give the pipe a shine. In the photo below you will note that the fills and cracks have disappeared almost completely. The stain is translucent enough to allow the grain to shine through. The cracks across the rim are hard to find. The repairs are still visible under strong light, but the repair passes the casual inspection test.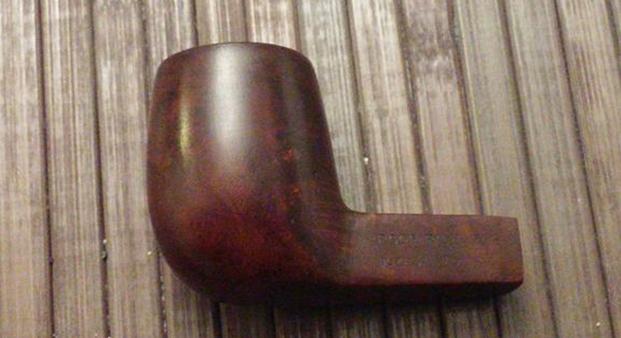 14. To further stabilize the repair JB Weld was pressed into the cracks on the inside of the bowl. After the JB Weld had cured sand out the excess. The idea is to only leave the JB Weld in cracks themselves and leave behind smooth chamber walls.
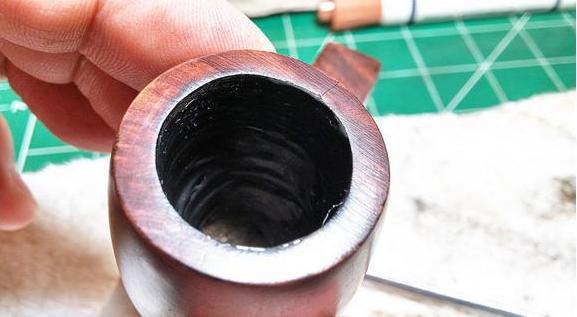 15. Mix a bowl coating of either the kind described in the other methods above or the one that Charles used on this pipe. He mixed activated charcoal powder and maple syrup. He coated the walls with the syrup and then packed the bowl with charcoal powder. Once dry dump out the excess powder. The coating provides an extra layer of protection for the repairs as well as a consistent surface upon which to build a new layer of cake.
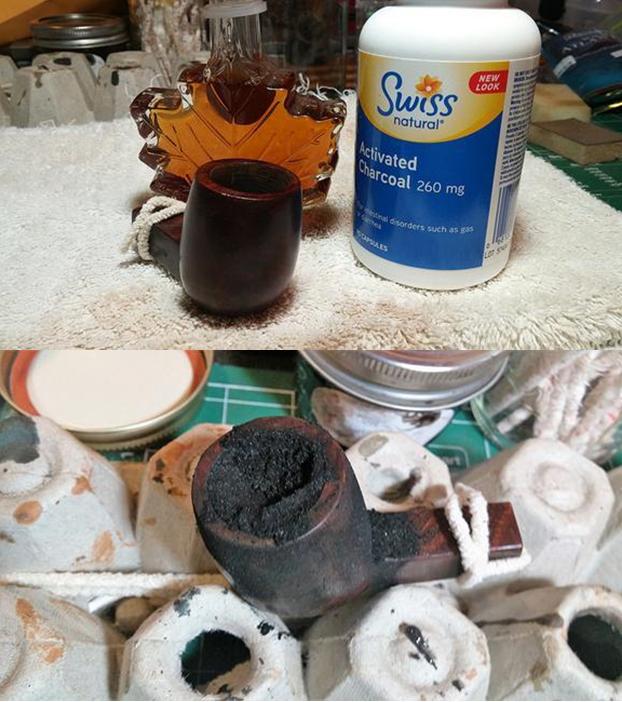 16. Wipe down the bowl exterior and let the interior cure.
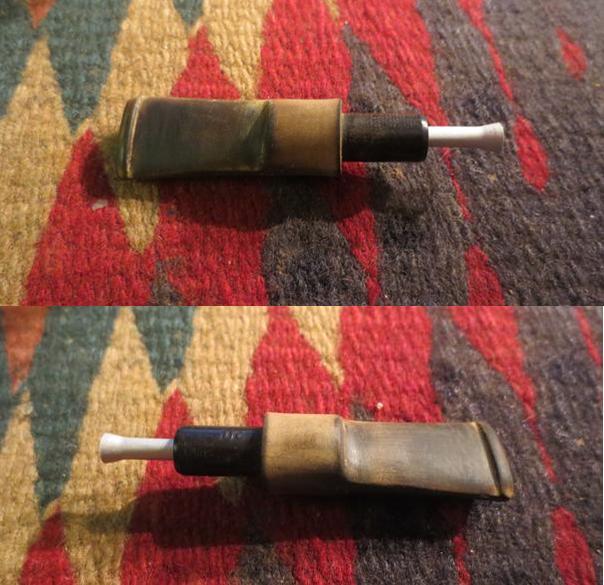
17. The photo below shows the repaired rim and the repaired interior with the bowl coating. The pipe was finished.

In all of the methods used the repaired pipes have been repeatedly smoked since the repair was made and there is no sign of cracking continuing or spreading. Each bowl has begun to build up cake and the pipes are serving well in delivering a cool dry smoke. The old battered and repaired pipe has a restored dignity and will last for more years to come.
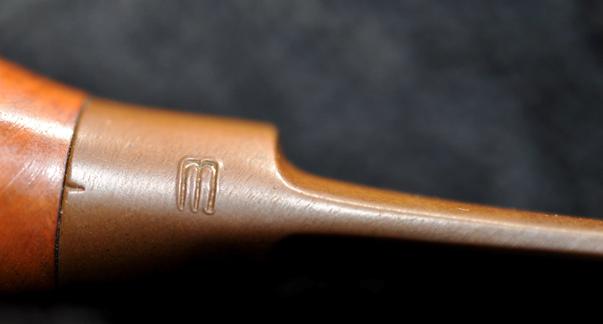
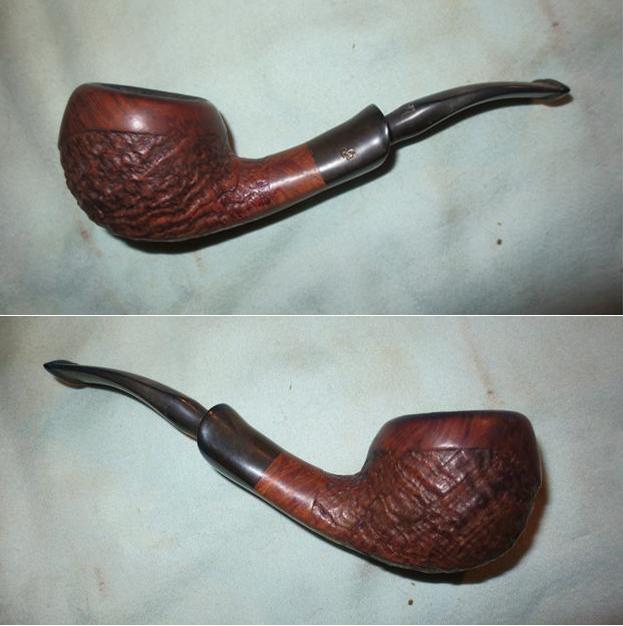
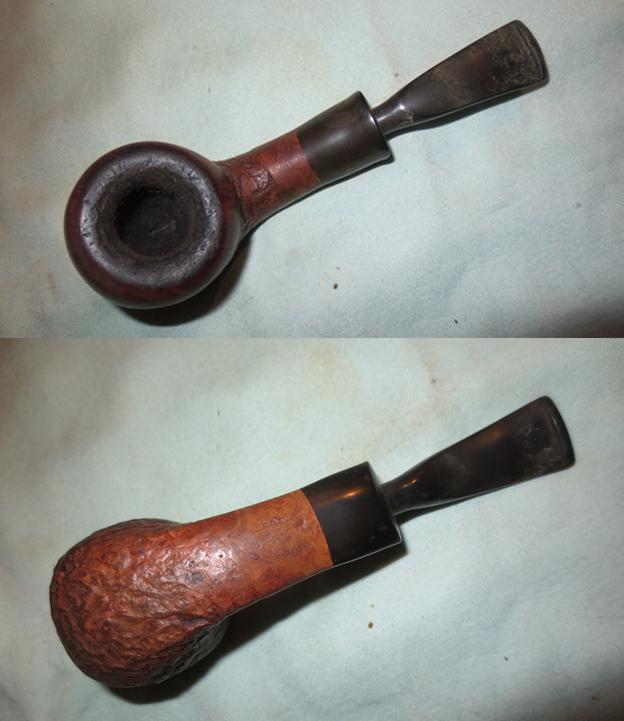
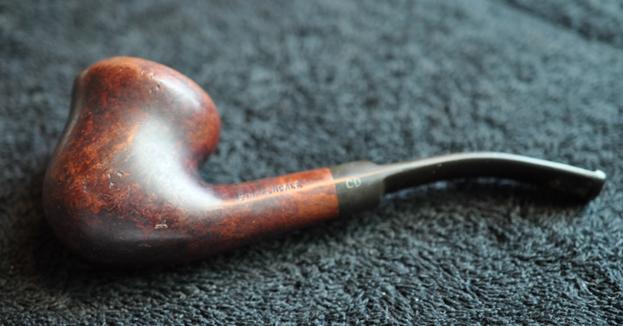
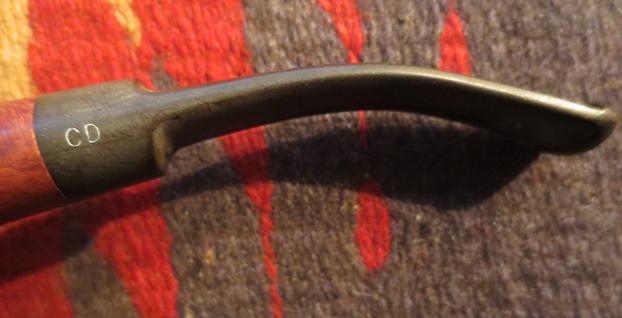
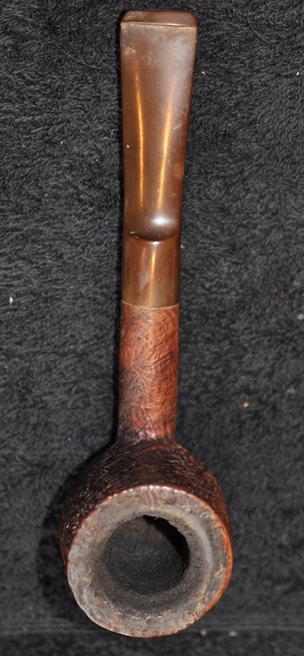
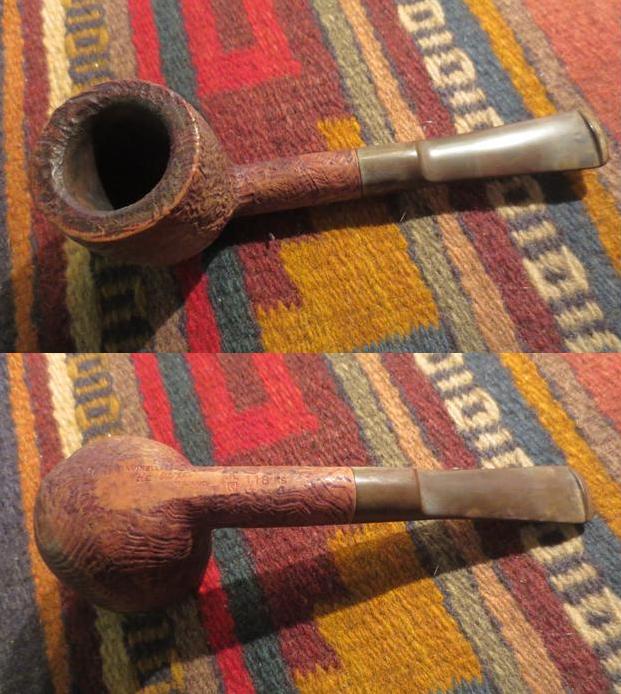
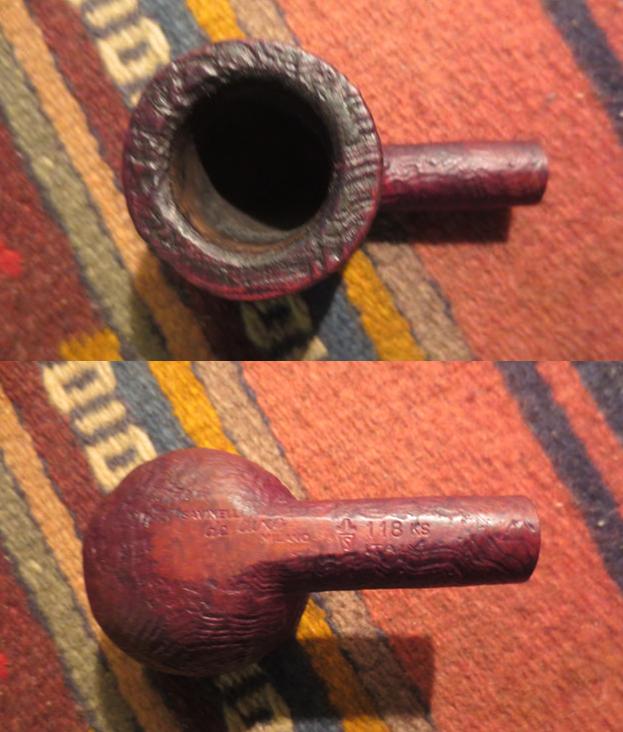
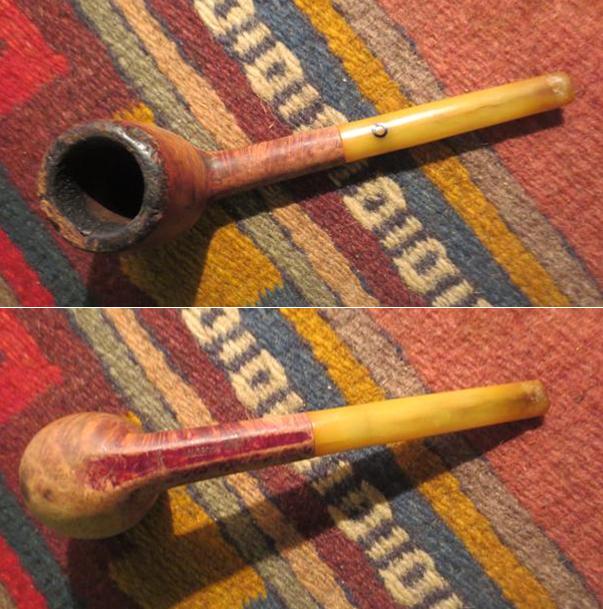
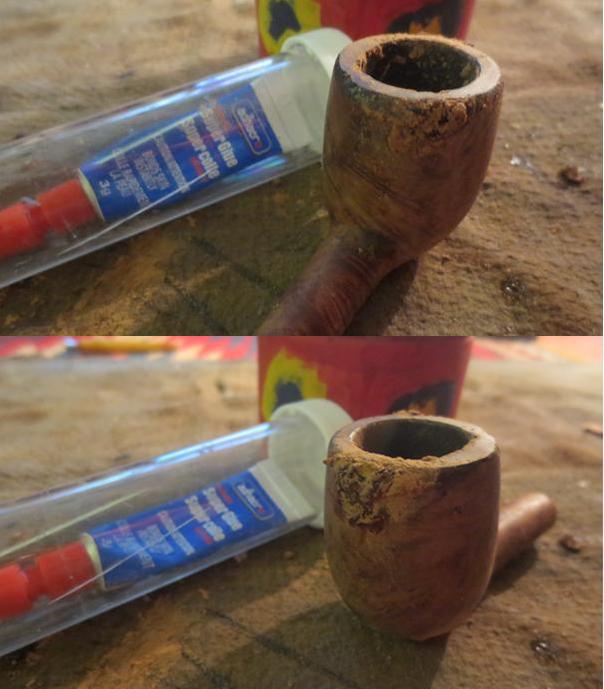
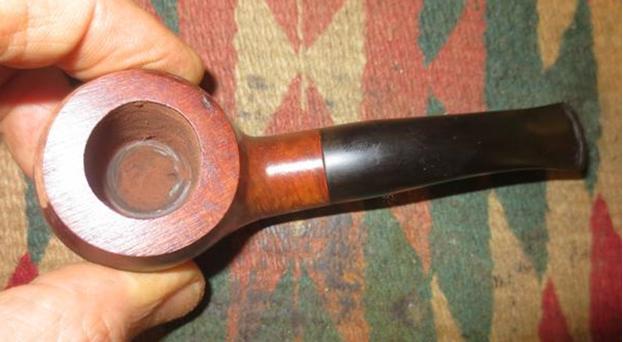
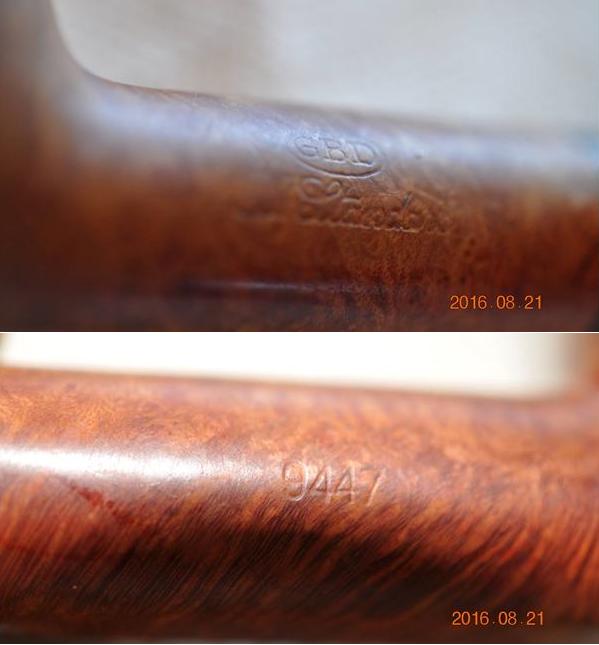
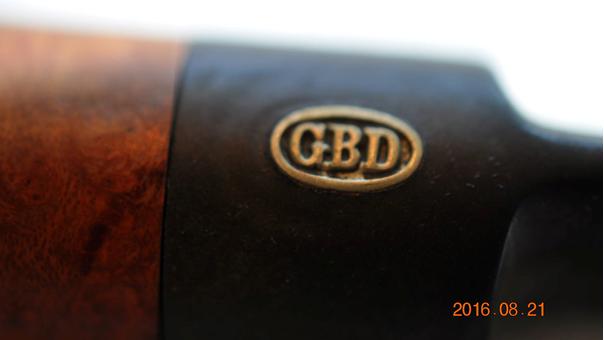
 He took some close-up photos of the bowl, the stamping and the GBD roundel in the stem. The first photo shows the rim damage and the thick cake in the bowl. The cake was hard and gritty. The overflow onto the rim was also thick and hid the bevel. The stamping on the left side of the shank was faint but I could read it with a loop and it said GBD in an oval with New Standard stamped below that. The roundel on the stem was in excellent condition.
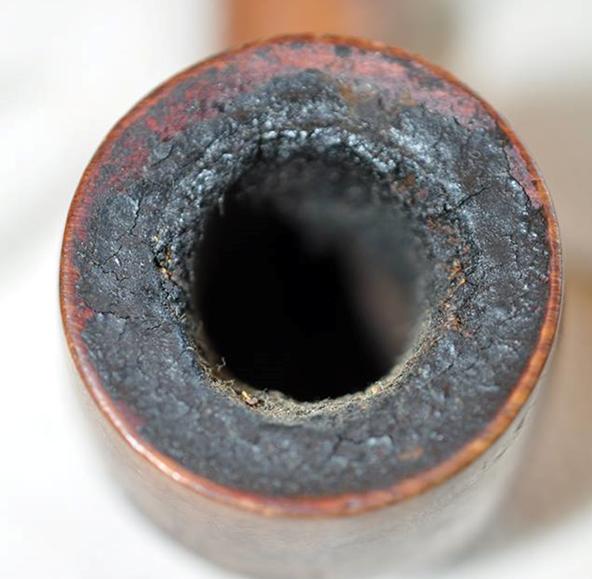
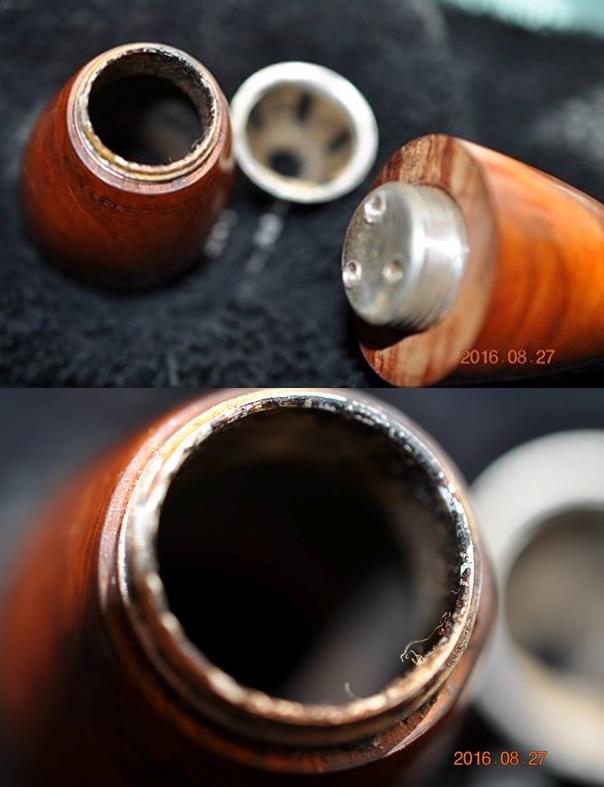
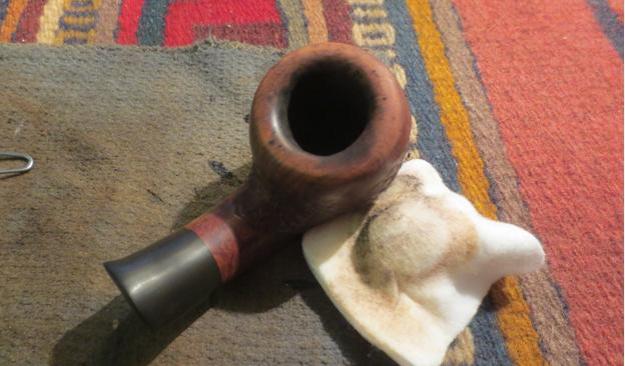
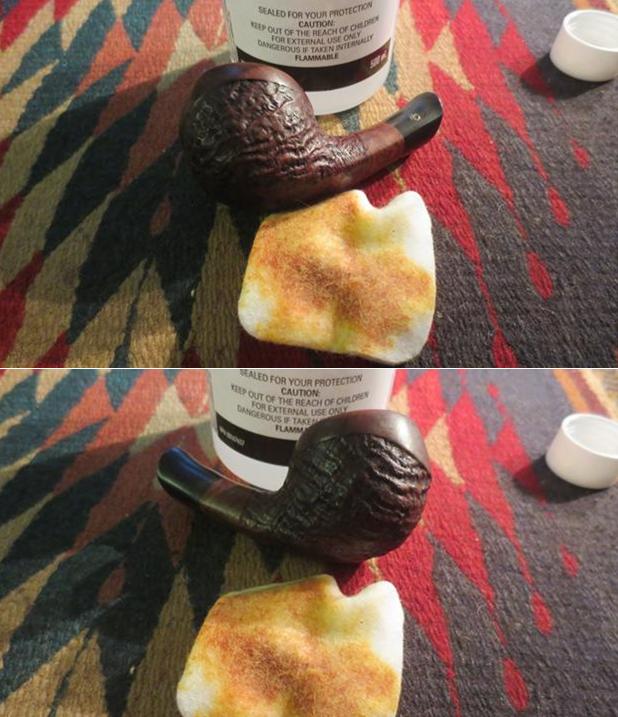
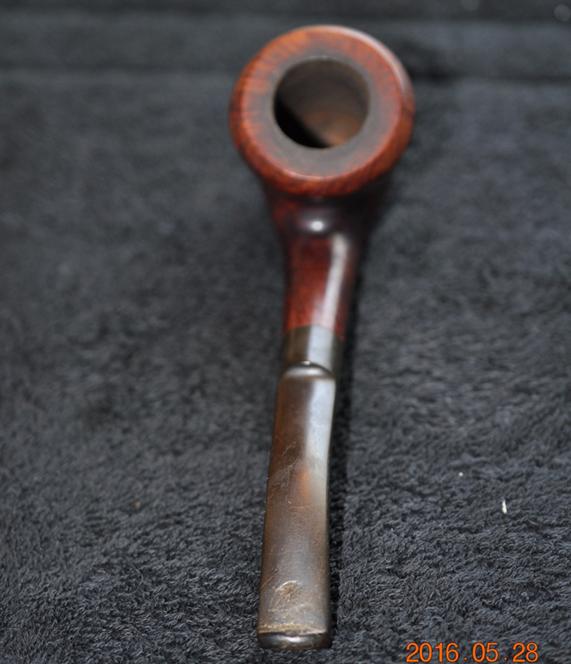
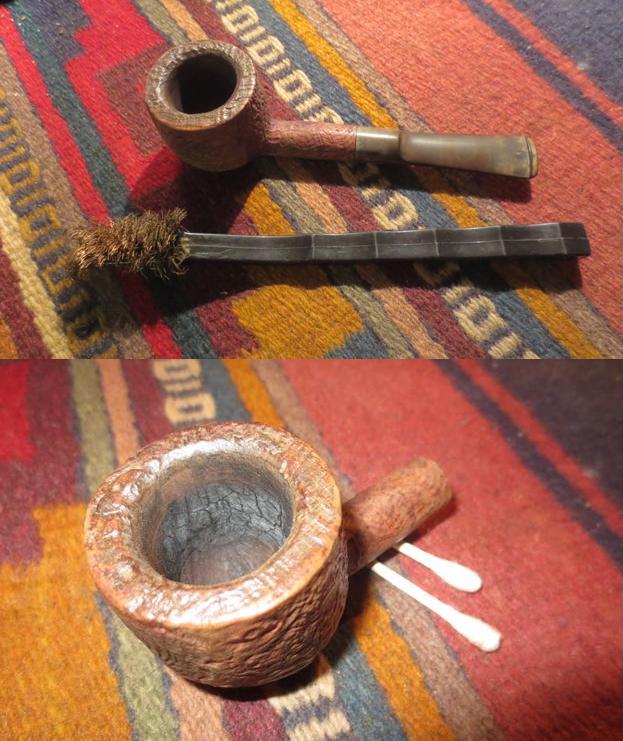
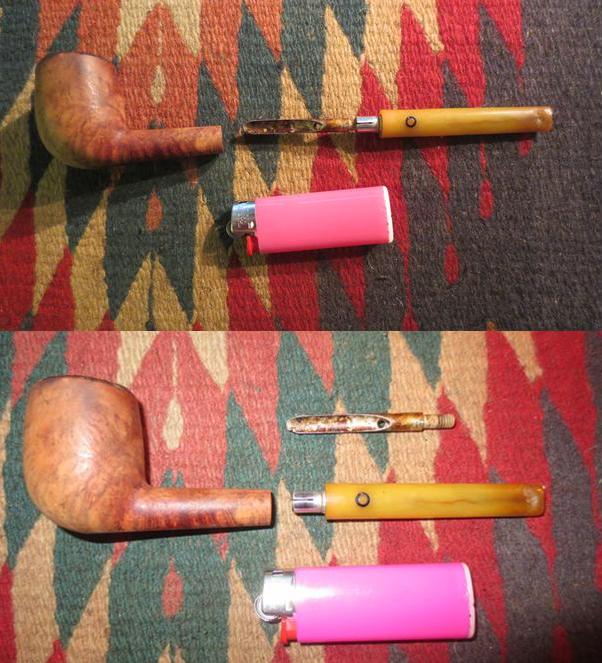
 My brother reamed the bowl with a PipNet reamer and took the bowl back to bare briar. He scrubbed the externals with a tooth brush and Murphy’s Oil Soap and was able to remove the finish. The cake on the rim came off well. The finished stripped off to bare briar. He scrubbed the internals as well. The stem cleaned up nicely. The next photos show what the pipe looked like when it arrived in Vancouver.
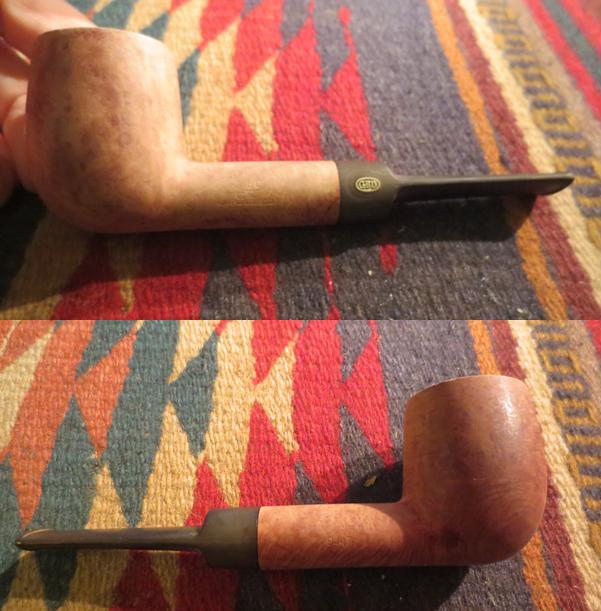
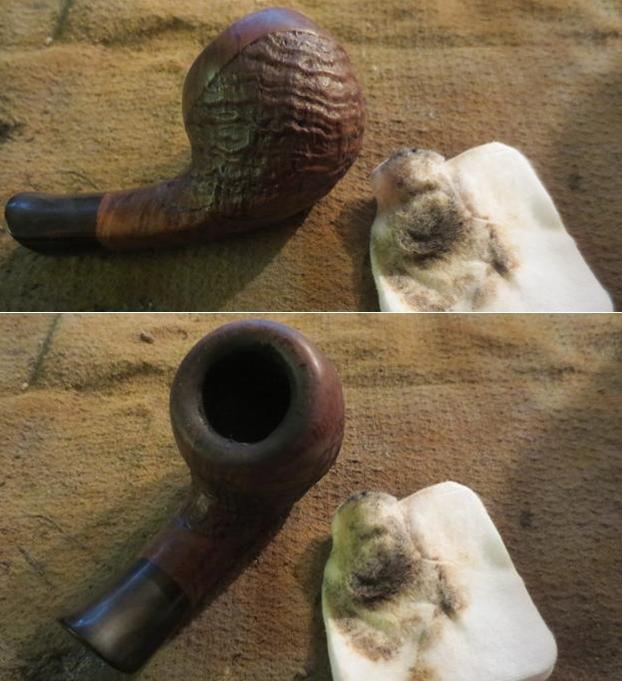
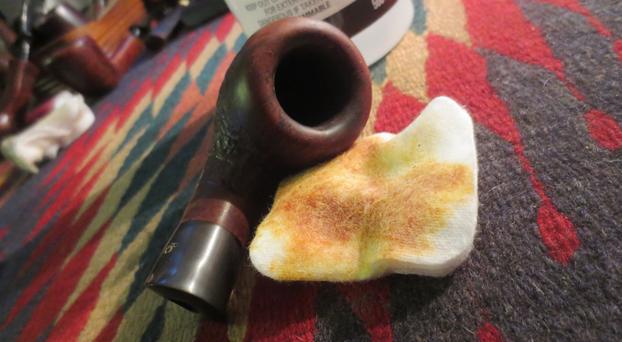
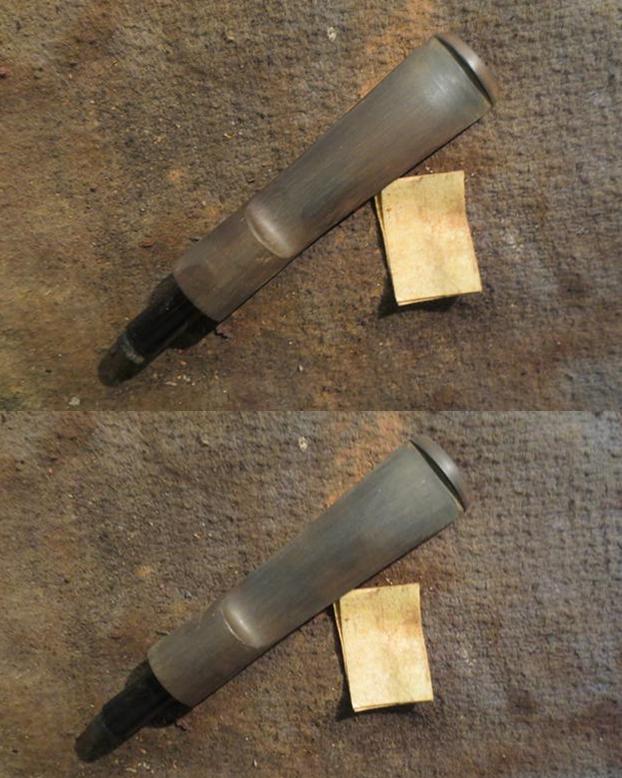
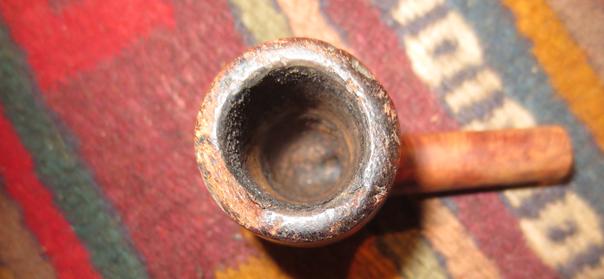
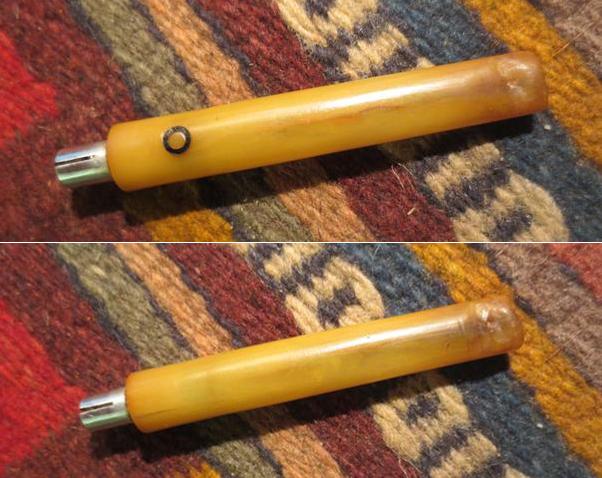
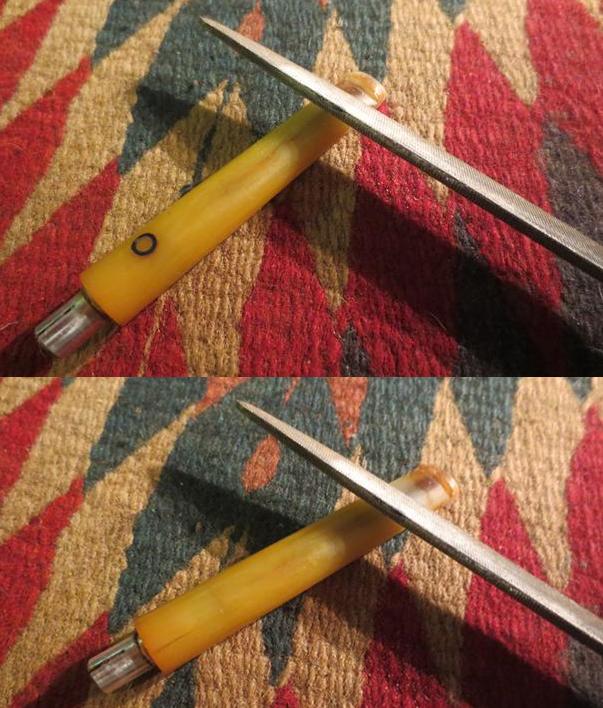
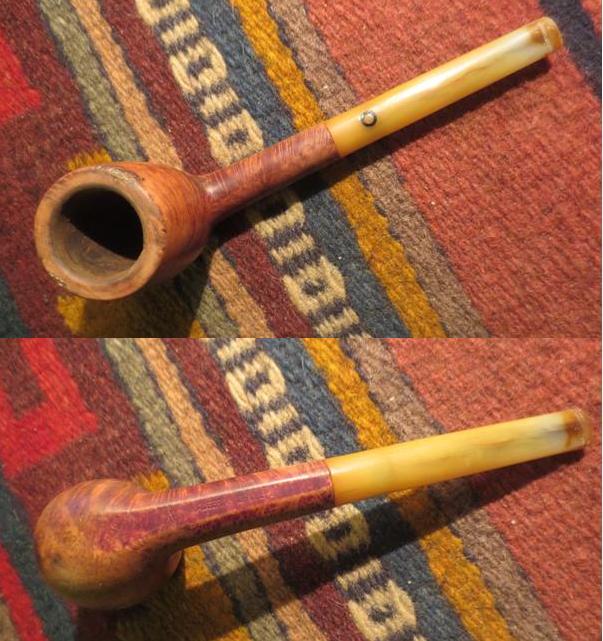
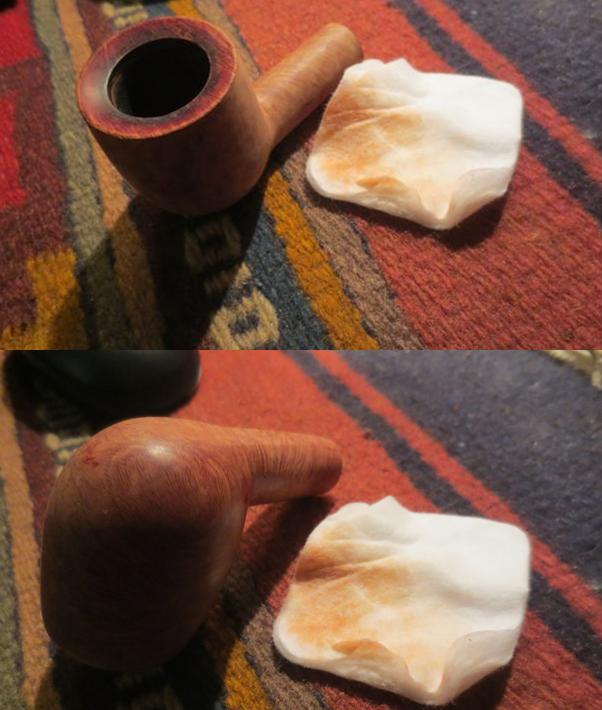
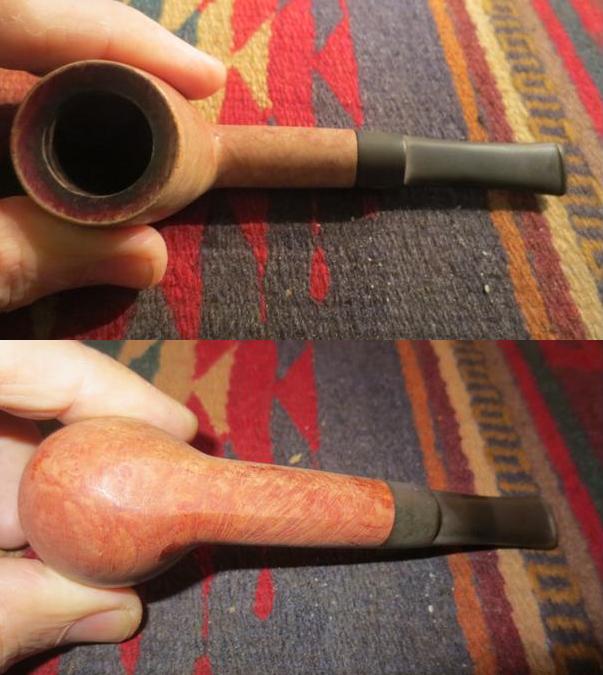 The stem had some oxidation but there were no tooth marks or tooth chatter on the surface of the stem.
 In the photo below you can see that some of the finish on the rim did not come off with his scrubbing.
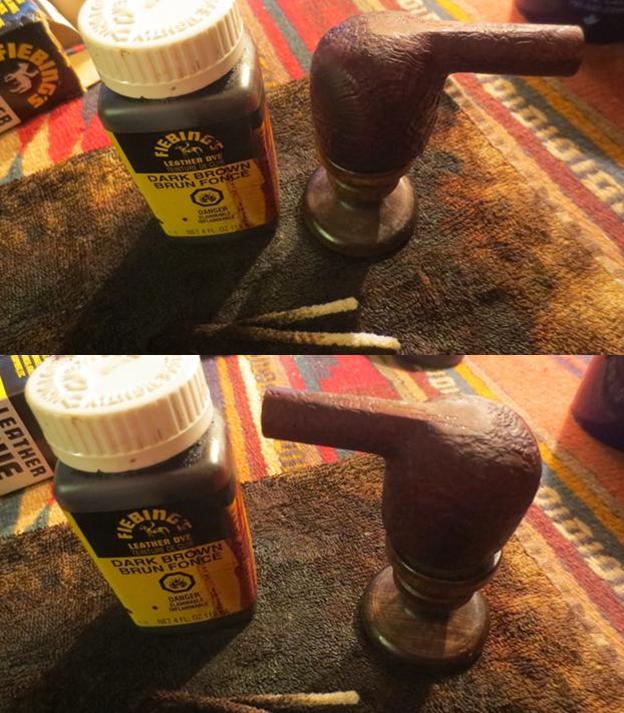
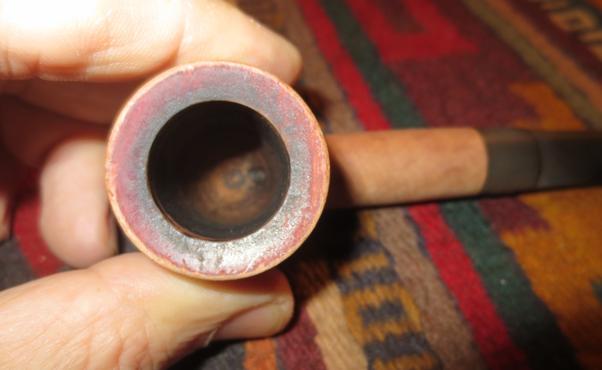 I scrubbed off the surface of the bowl with acetone on cotton pads. I worked on the rim top to remove more of the hard cake that remained.
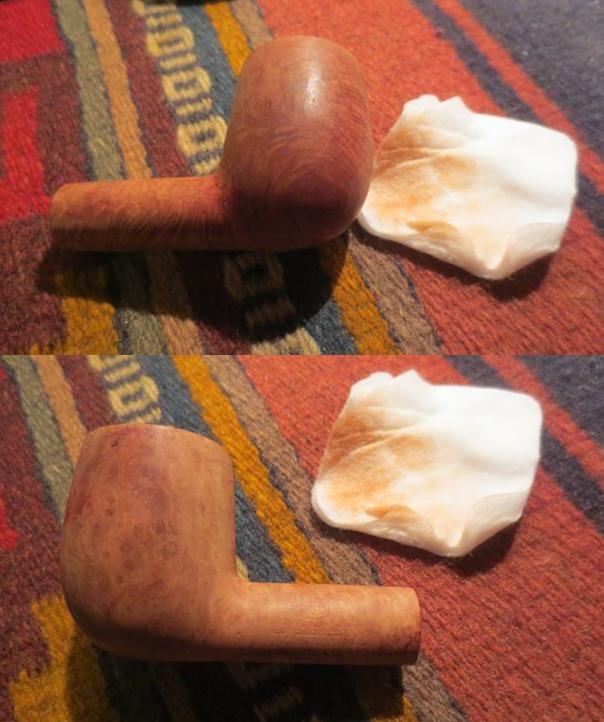
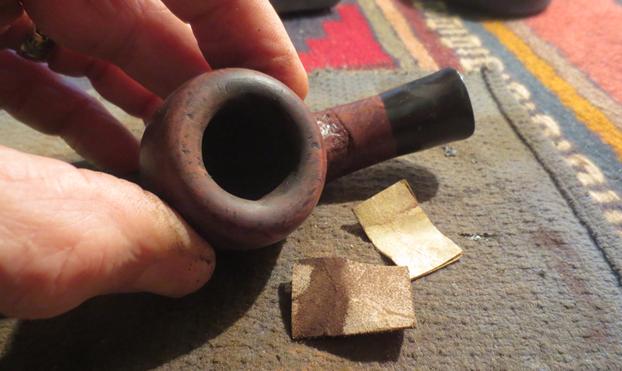
 I sanded the rim with 220 grit sandpaper and scrubbed it some more with the acetone and I was able to remove all of the buildup and the stain from the rim.
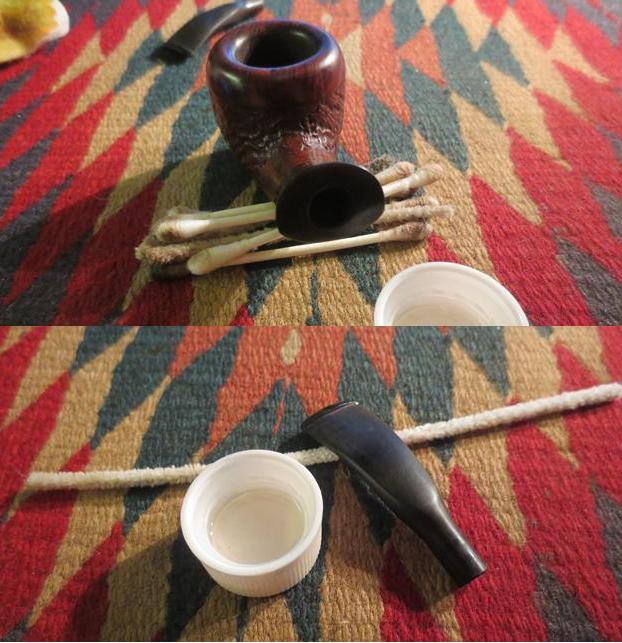
 I ran a pipe cleaner through the stem and it came out clean. I ran it through the airway to the bowl and rand some cotton swabs in the mortise. There were some ridges in the shank so I used a dental spatula to scrape out the inside of the mortise walls. I then scrubbed it again with alcohol, cotton swabs and pipe cleaners until the internals were clean.
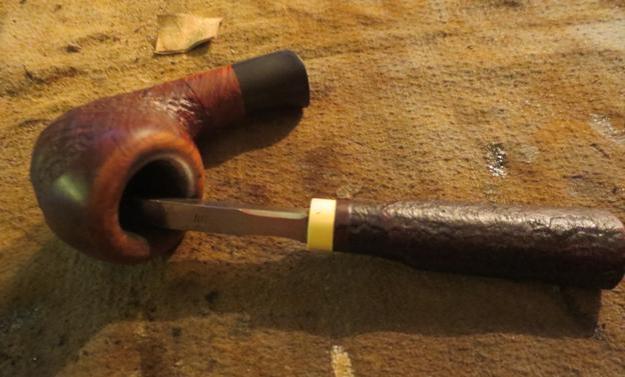
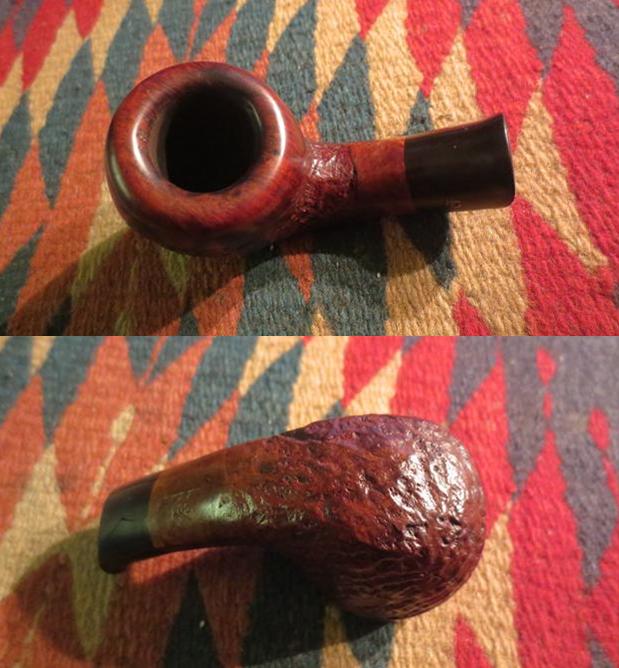
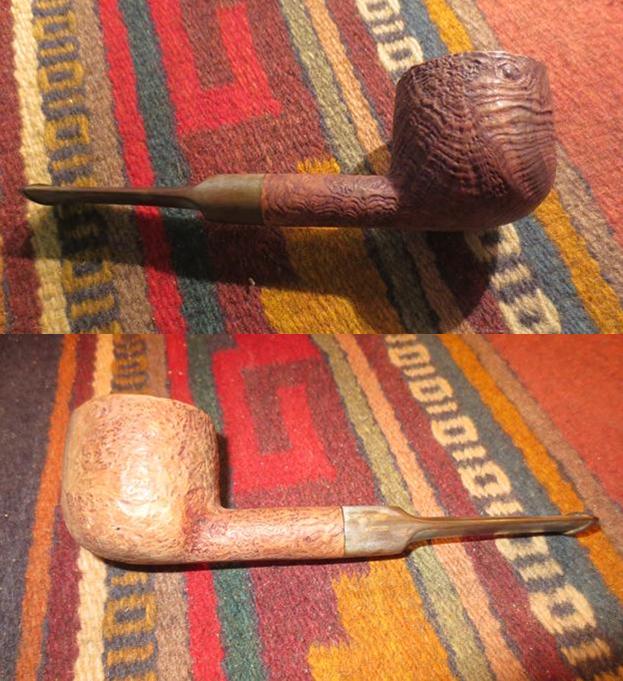
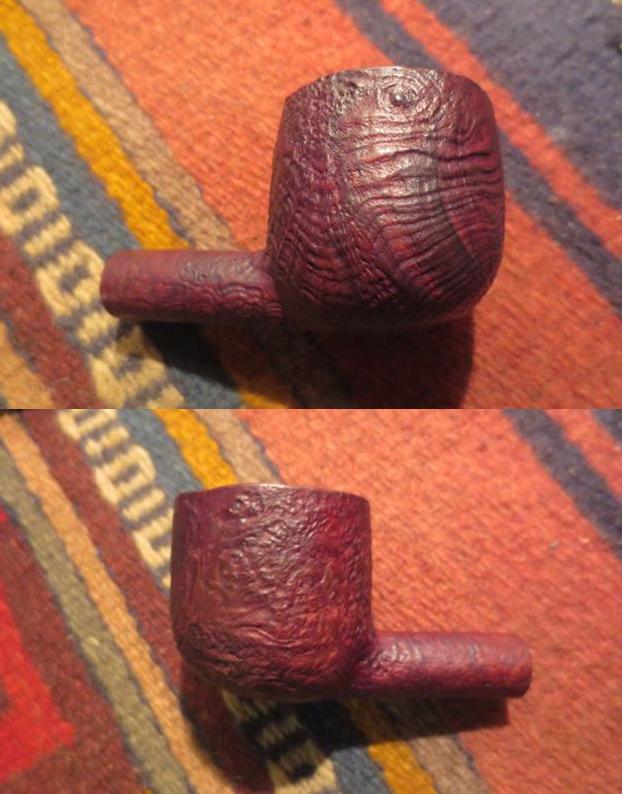
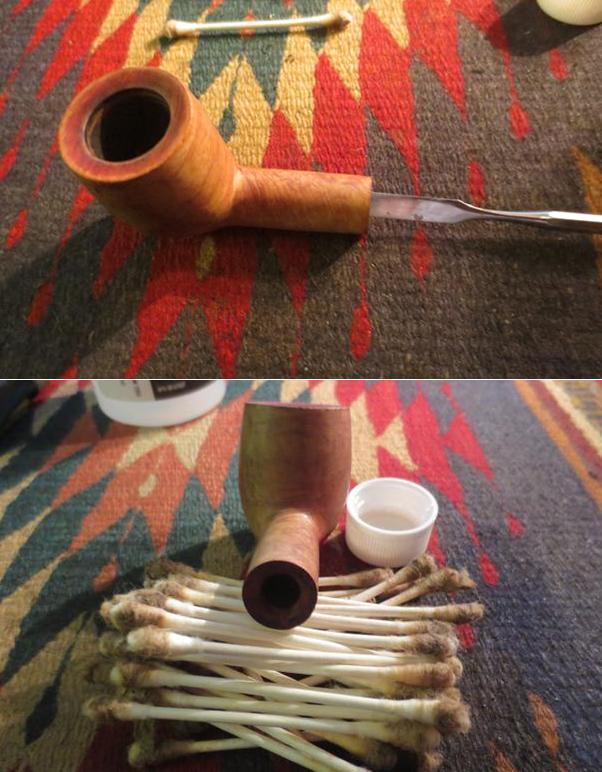 I wiped down the surface of the bowl with alcohol and then gave it several coats of Cherry stain in Danish Oil. I set the bowl aside to dry. The photos below show the new stain and the colour of the bowl once I was finished.
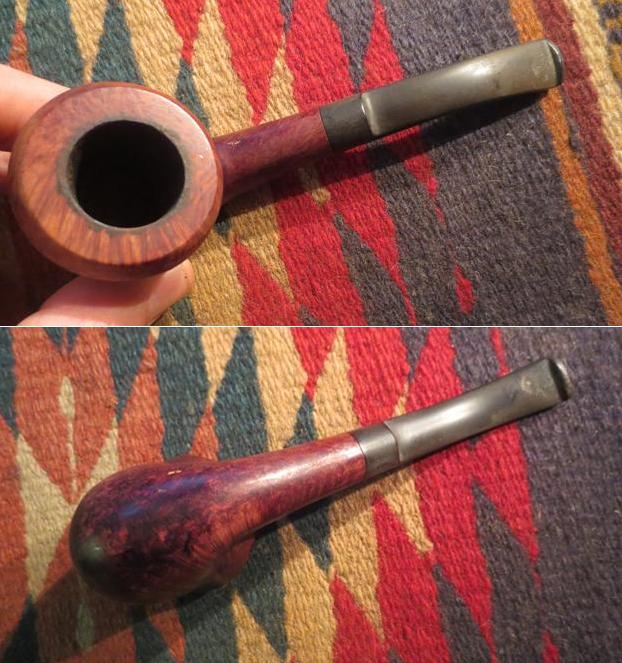
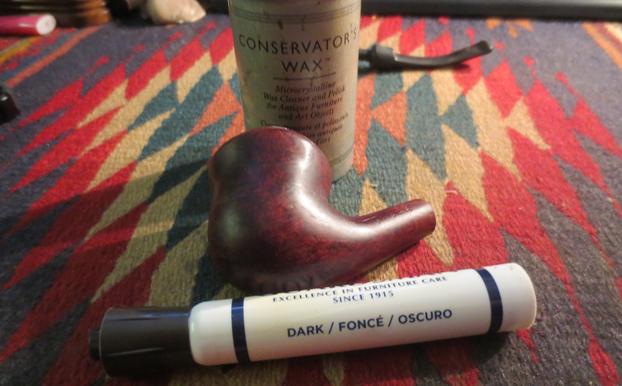
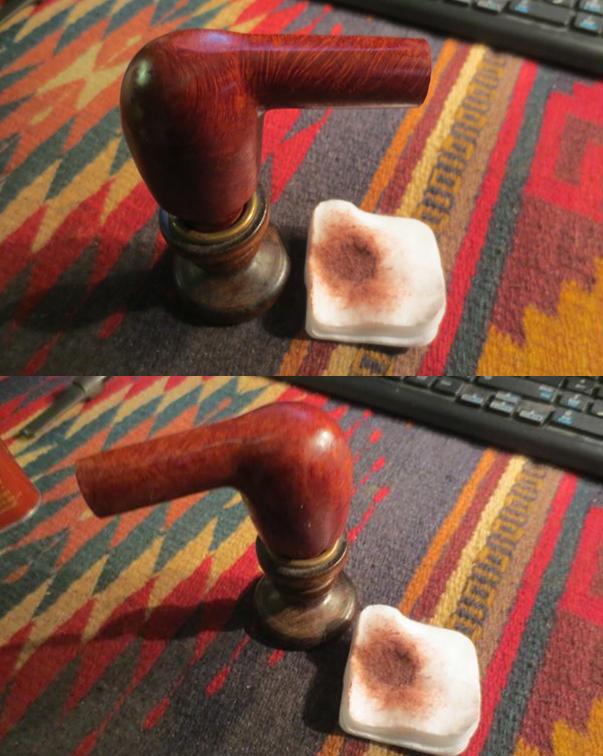 I hand buffed the bowl with a microfibre cloth and gave it multiple coats of Conservator’s Wax. I buffed it with a clean buffing pad to raise the shine. The photos below show the bowl.
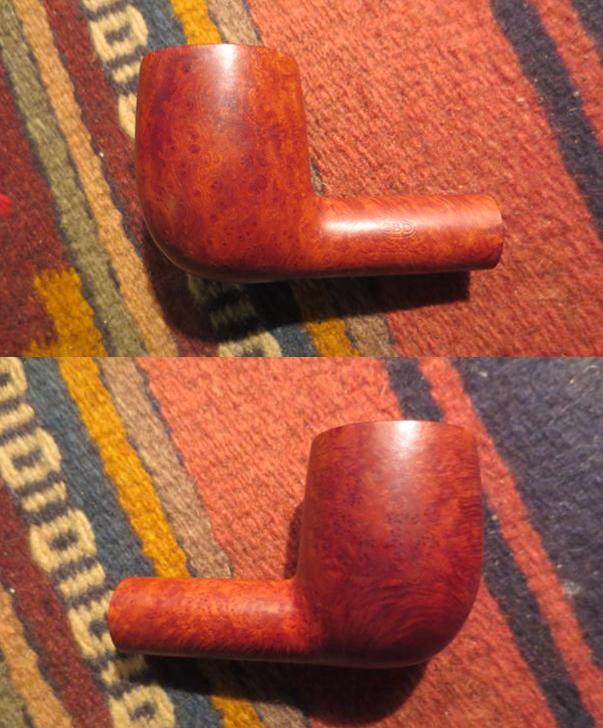
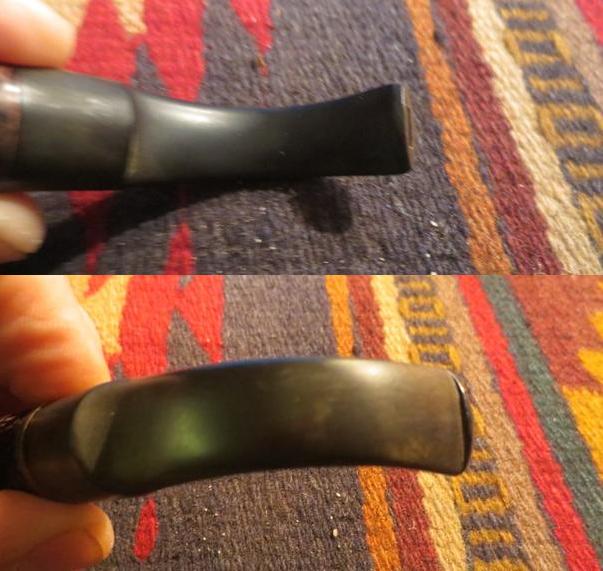
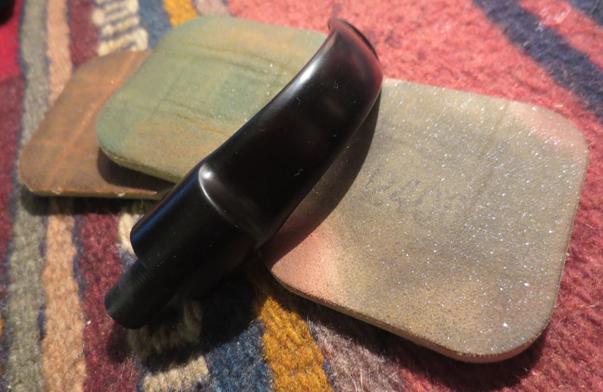
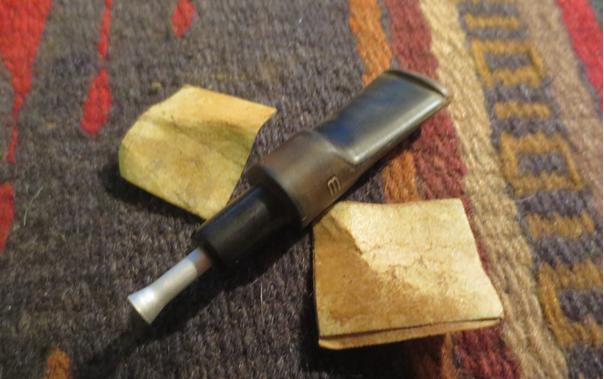
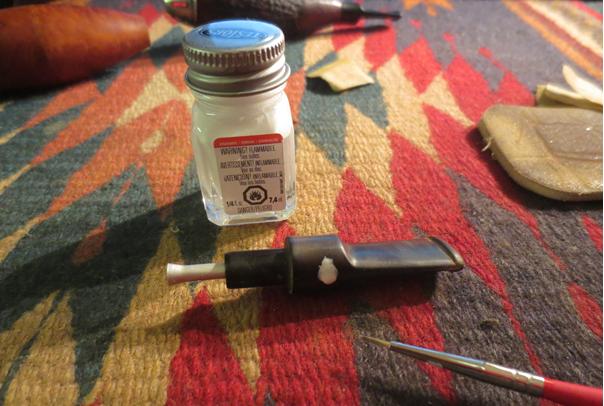
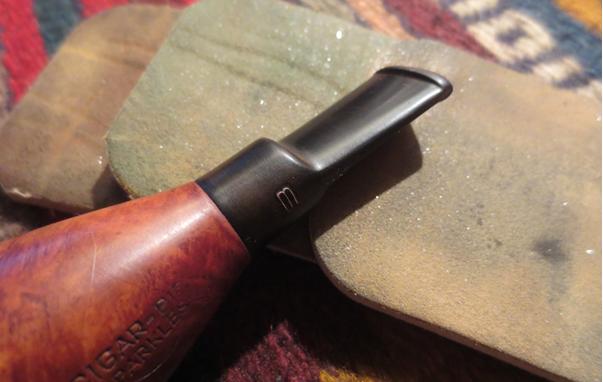
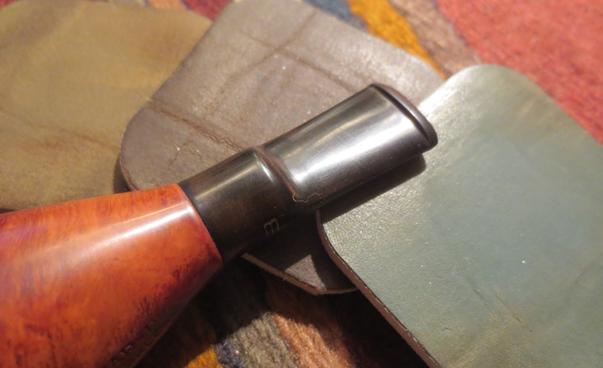
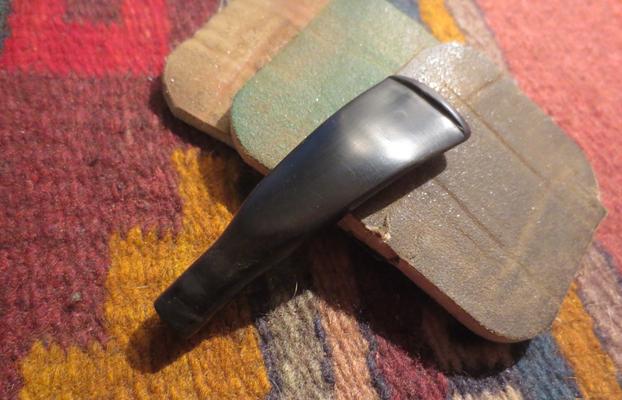
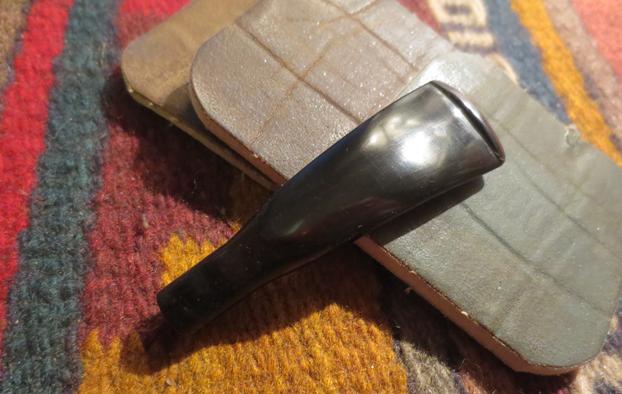
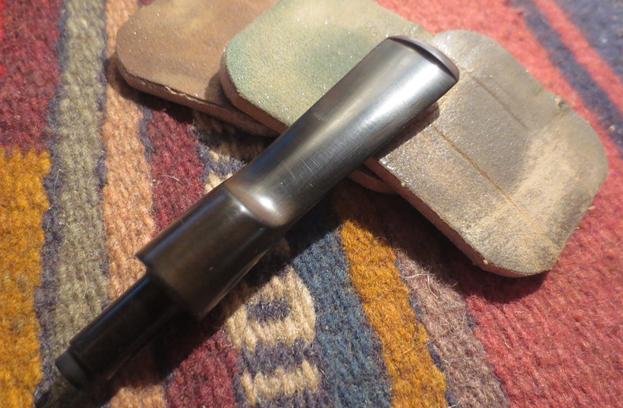
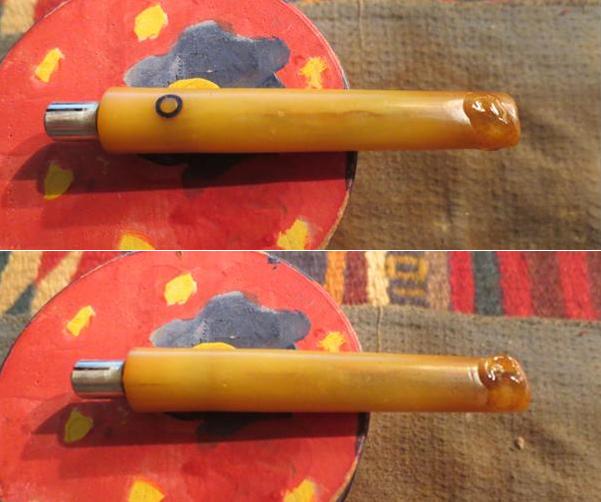
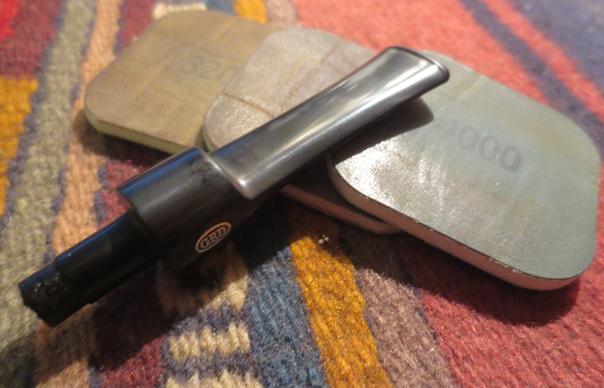
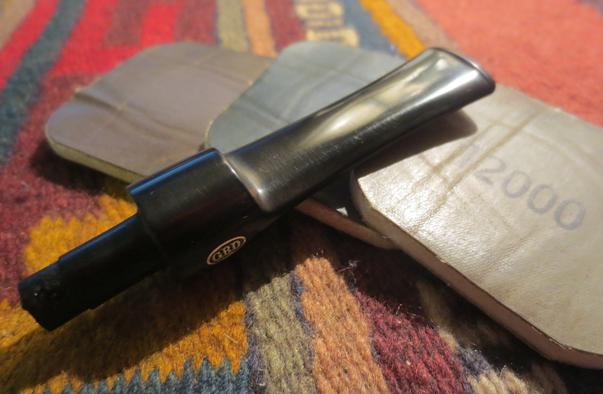
 I polished the stem with micromesh sanding pads – wet sanding it with 1500-2400 grit pads and dry sanding it with 3200-12000 grit pads. I rubbed the stem down with Obsidian Oil after each set of three pads. After the last pad I set the stem aside to dry.
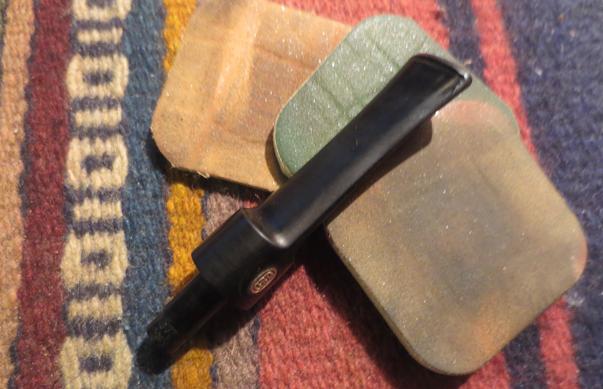
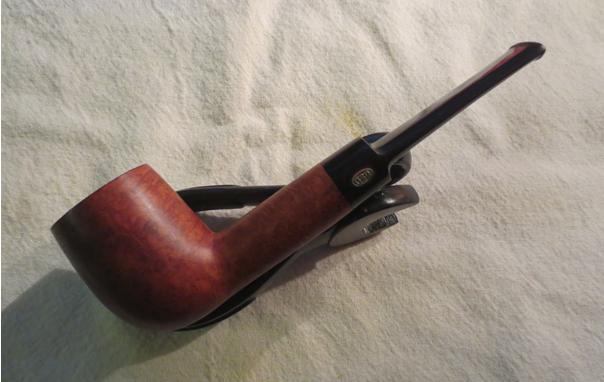
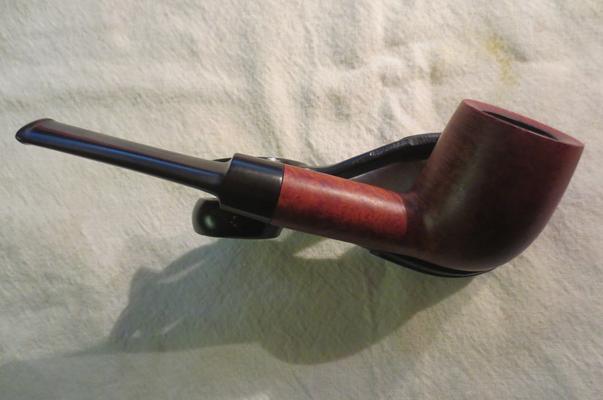
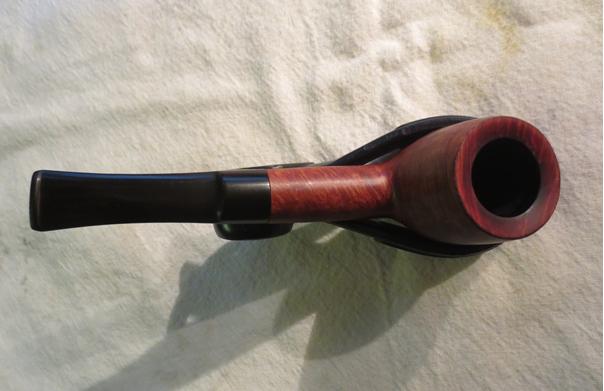
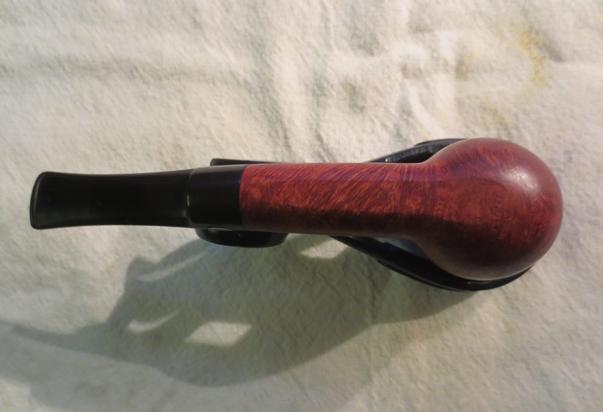
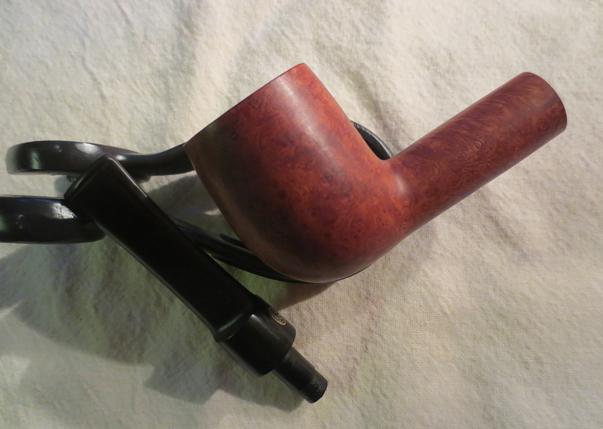
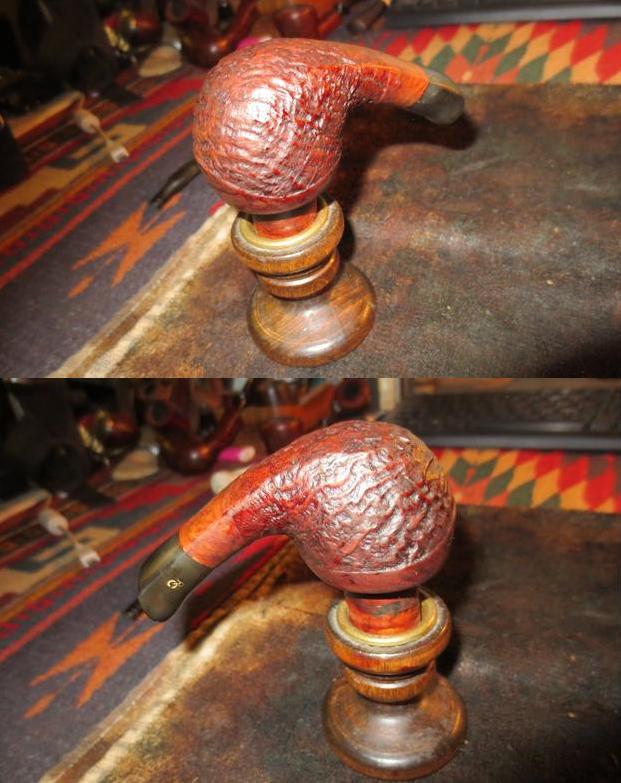
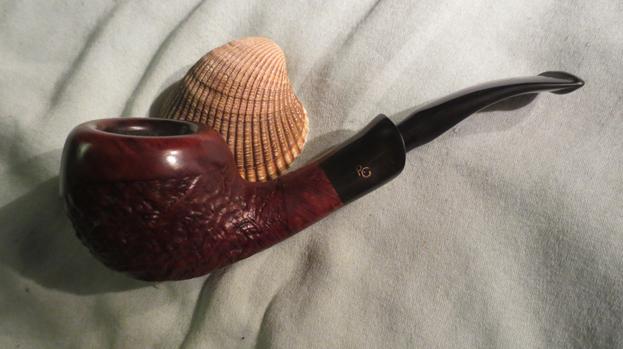
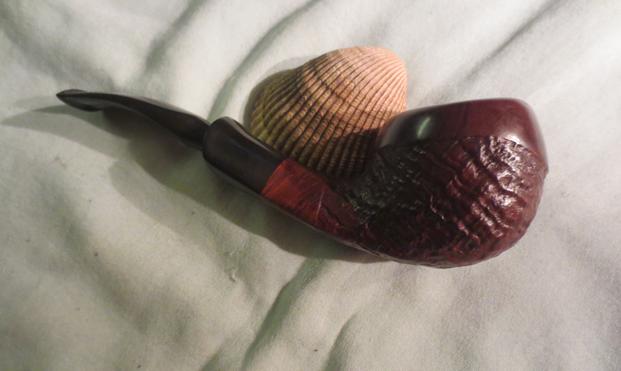
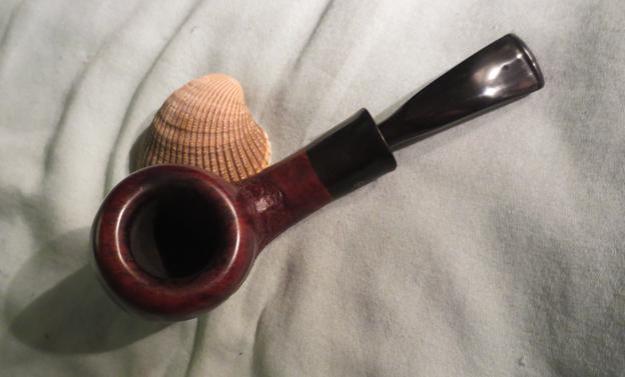
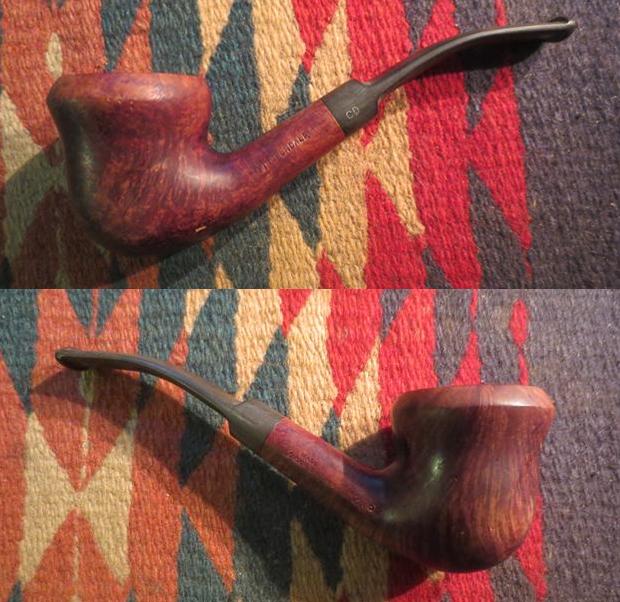
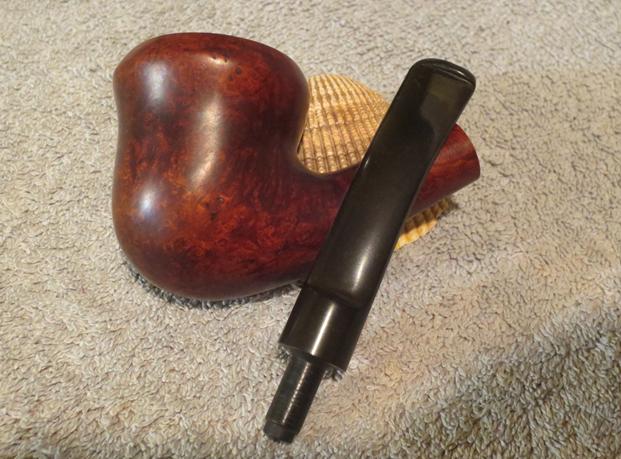
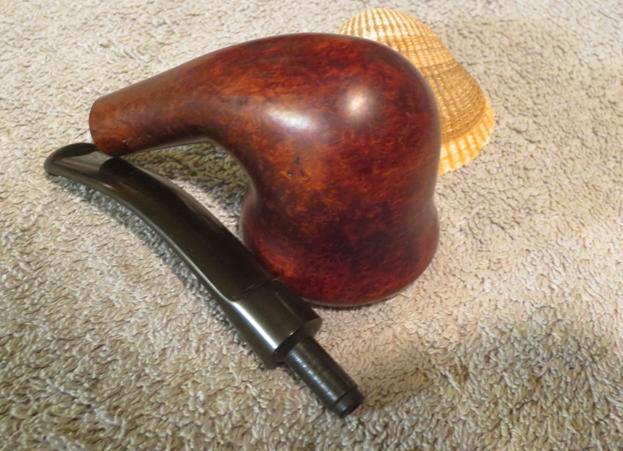
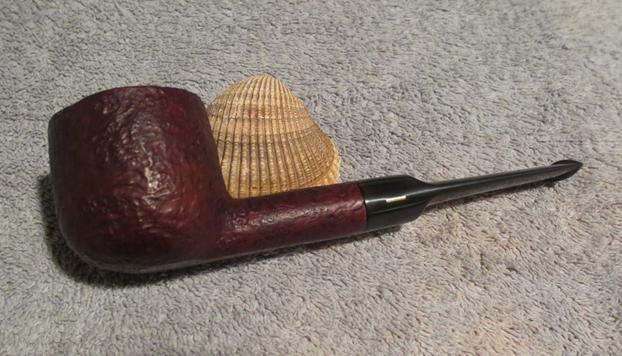
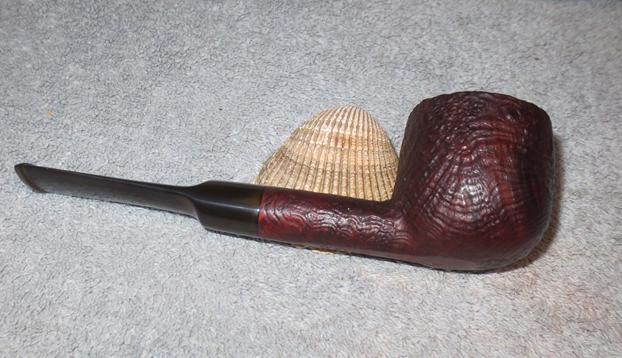
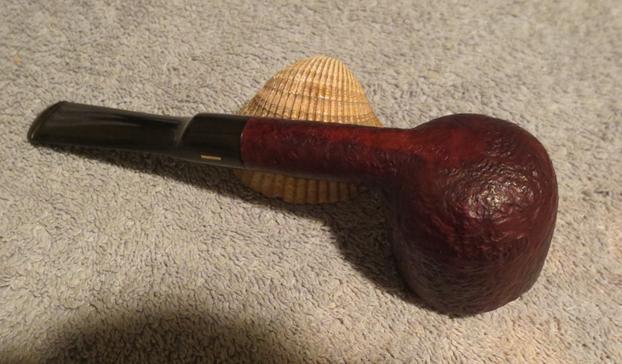
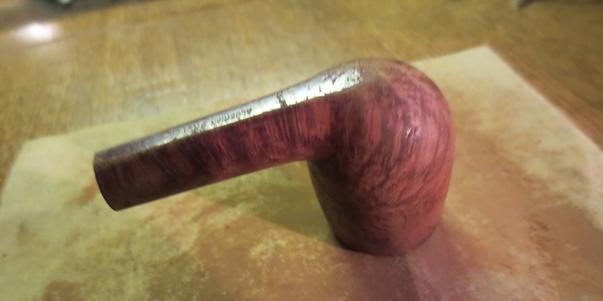
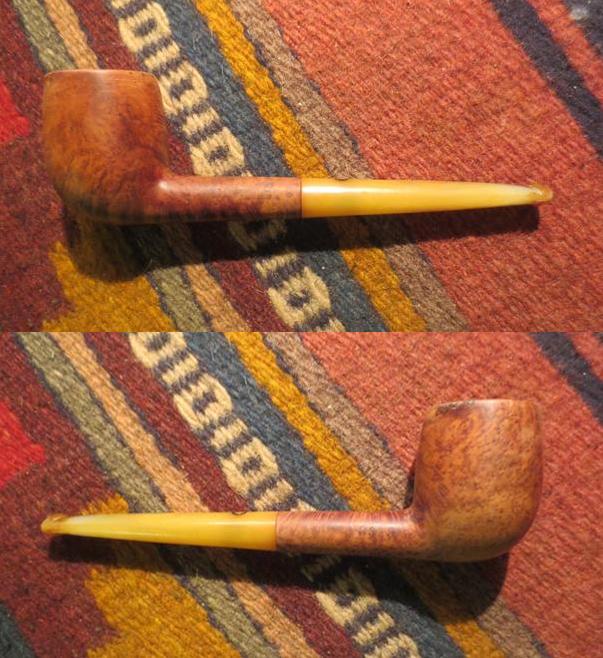
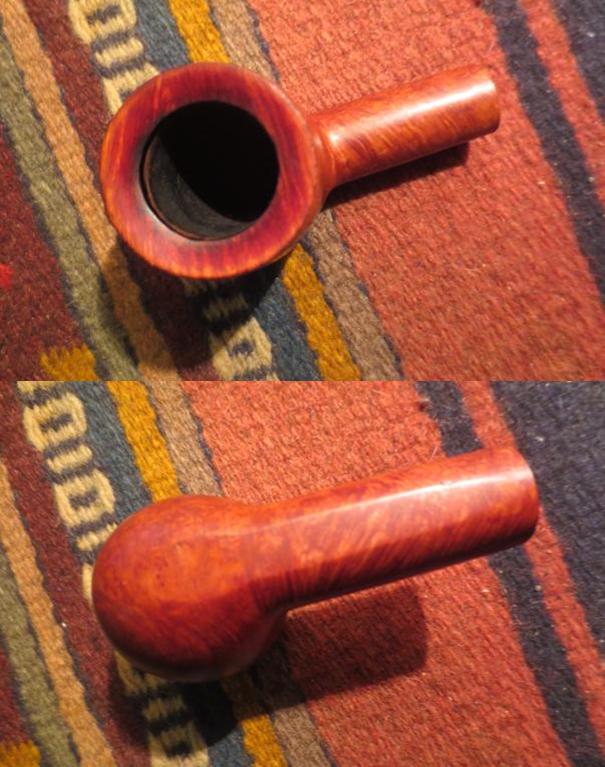
 I buffed the bowl and stem with Blue Diamond on the wheel and then gave the bowl and stem multiple coats of carnauba wax. I gave the pipe several coats of carnauba wax and buffed it with a clean buffing pad. I hand buffed the pipe with a microfibre cloth to raise the shine. The finished pipe is shown in the photos below. It is a beautiful thick shanked pipe that is great in the hand. It should be a great smoking machine. The pipe will make a great addition for someone’s pipe rack. It is available if any of you wish to pick it up. Send me an email at slaug@uniserve.com or a message on Facebook and we can work out a deal.