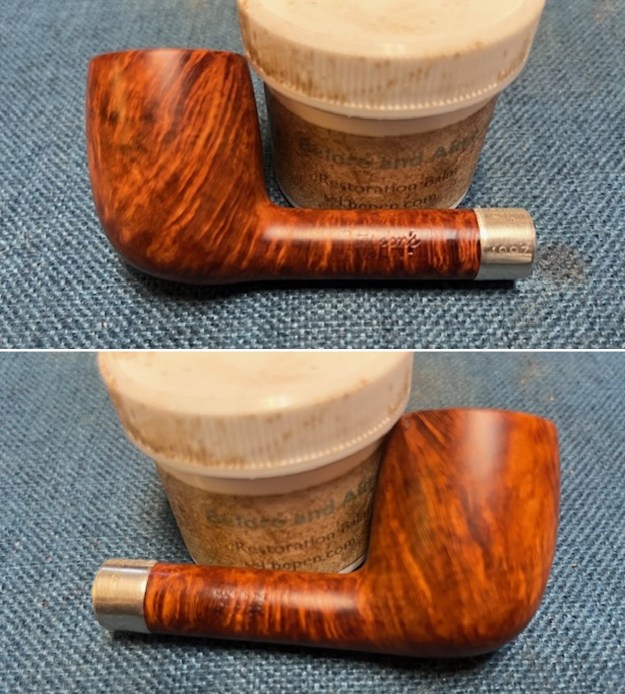
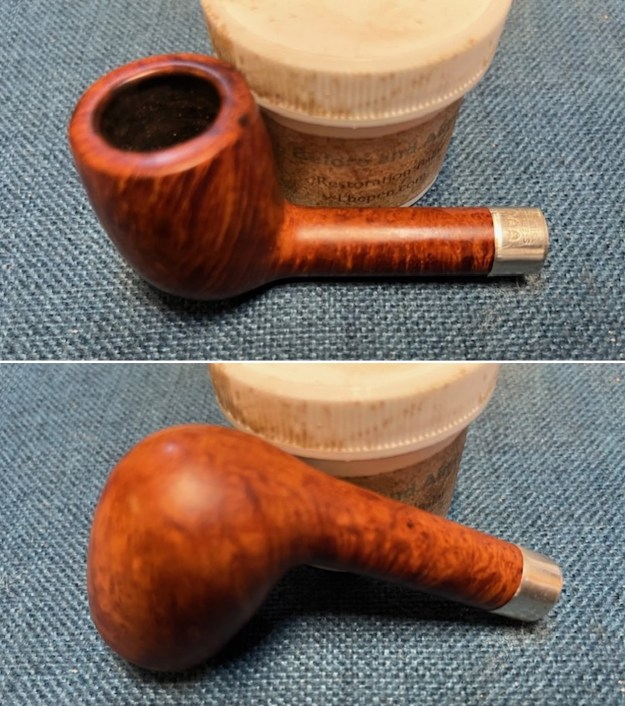
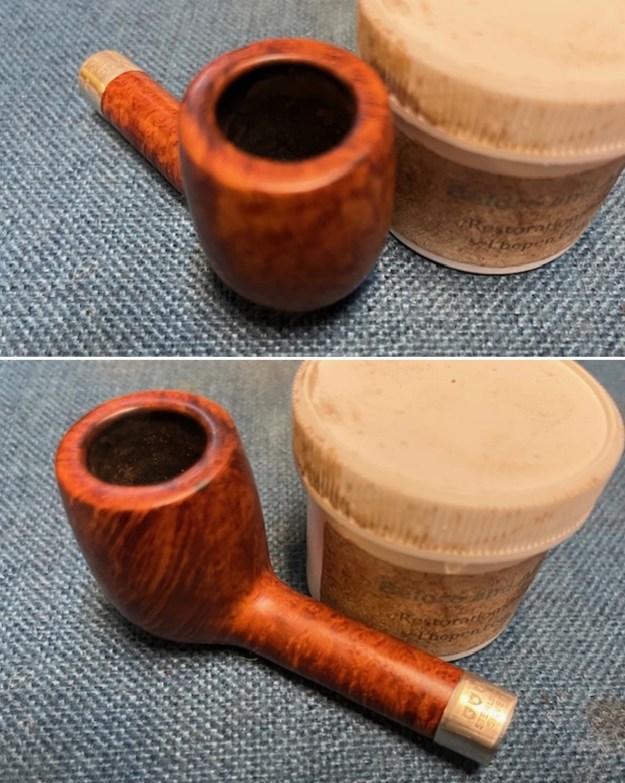
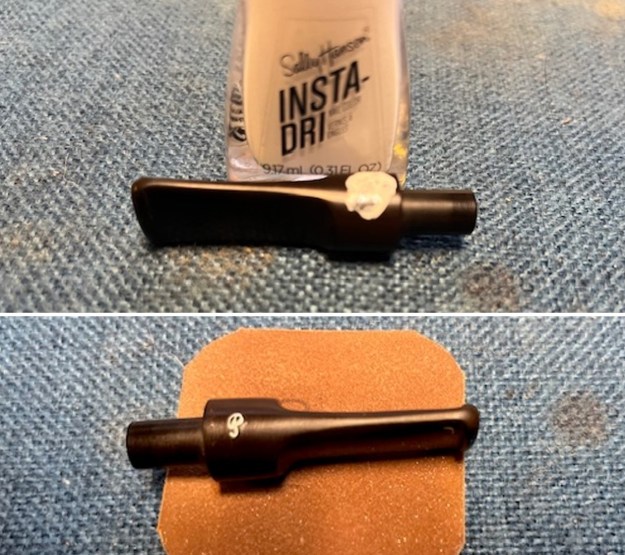
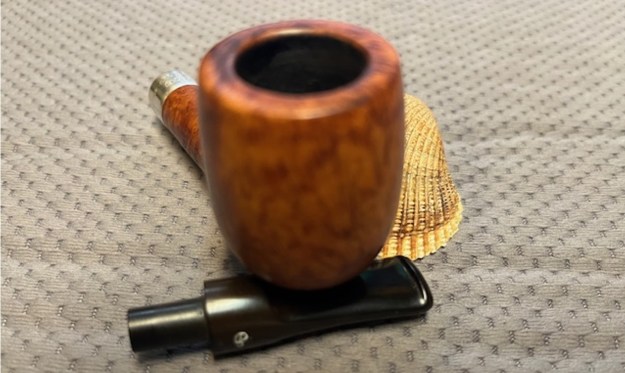
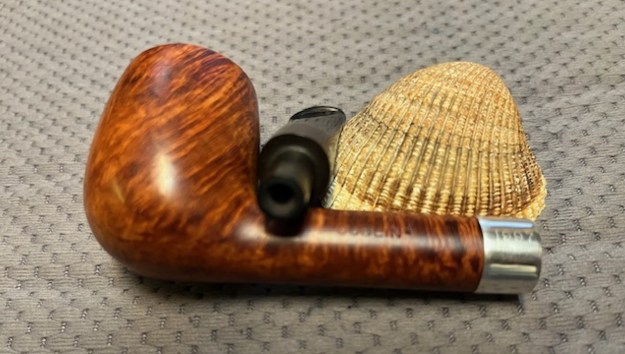
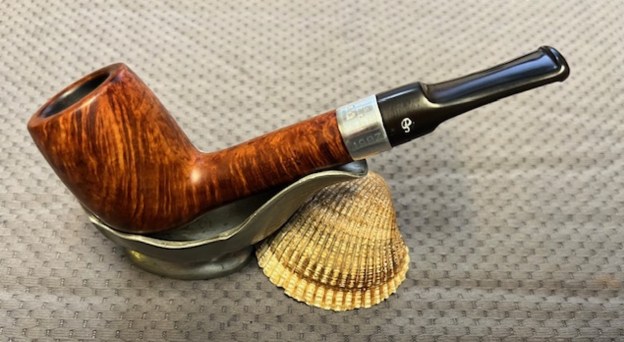
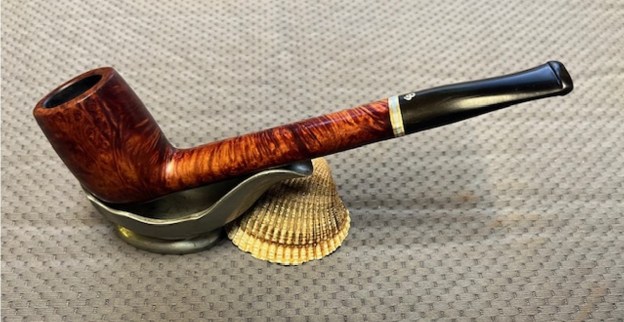
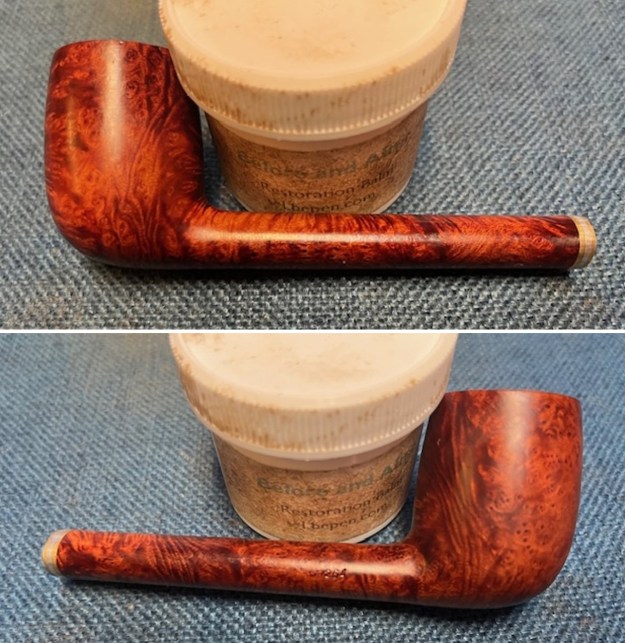
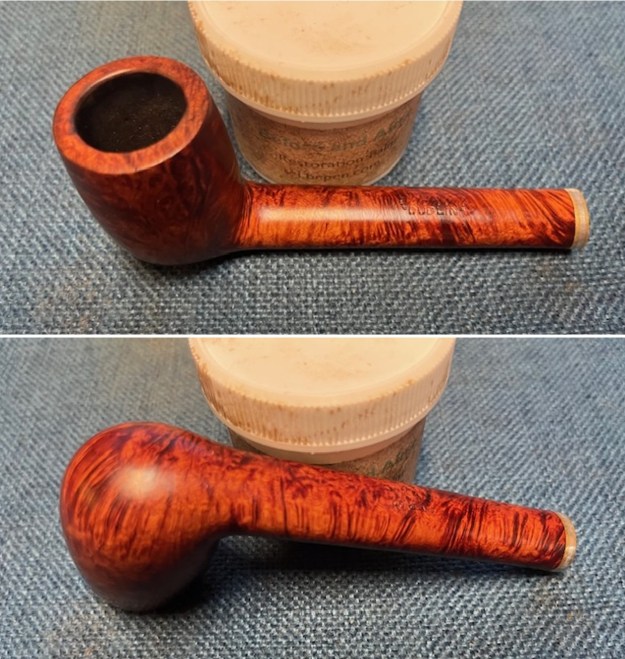
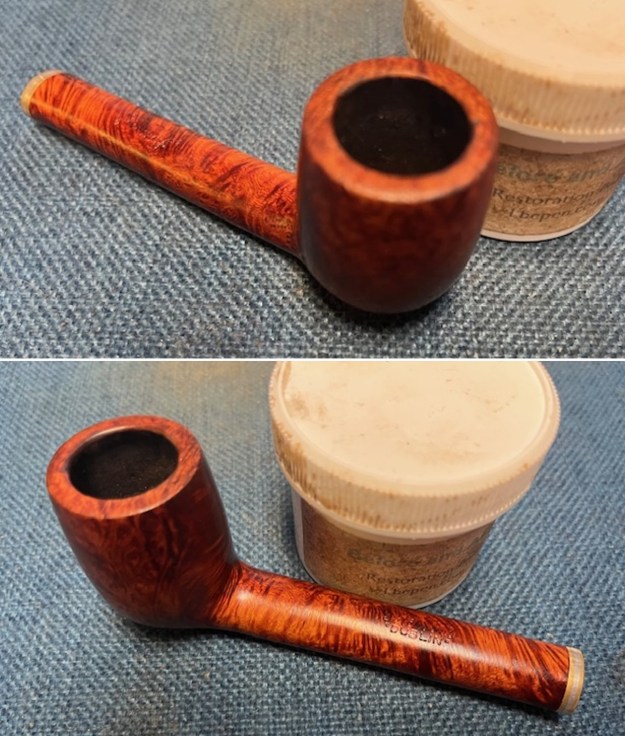
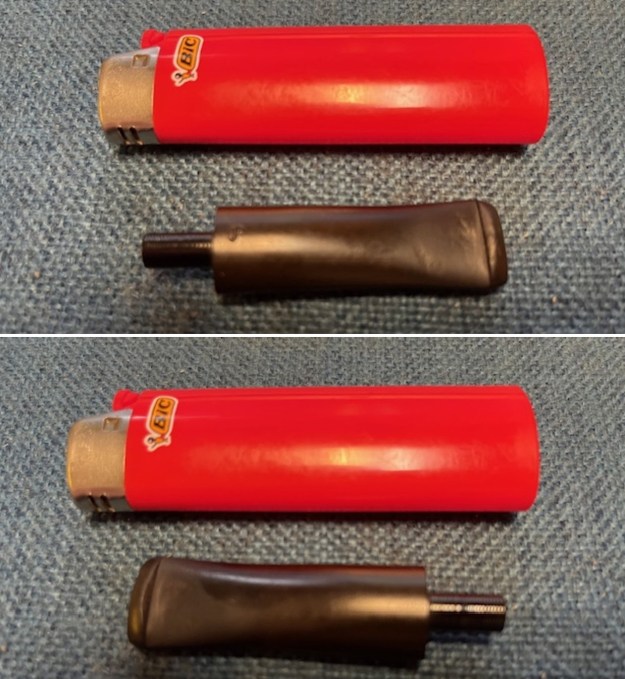
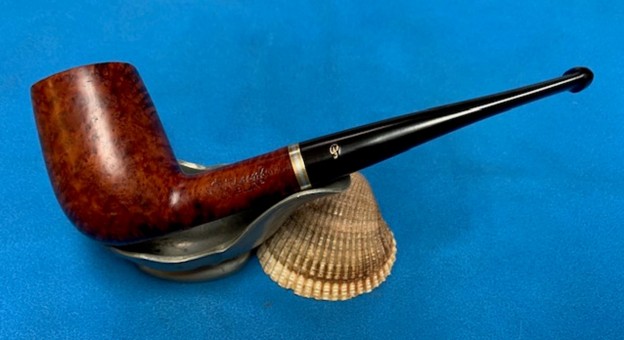
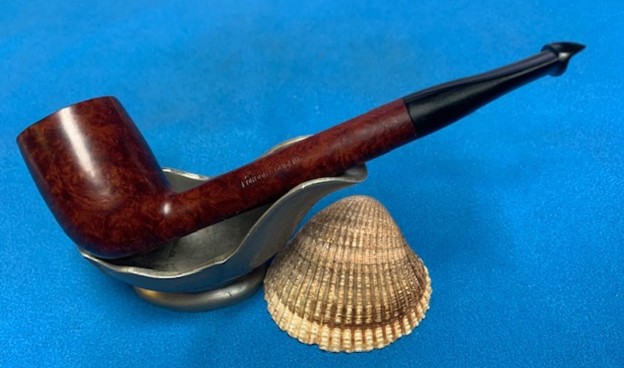
Tag Archives: Reshaping a damaged inner rim edge

New Life for a Peterson’s London & Dublin 86 Apple


Blog by Steve Laug

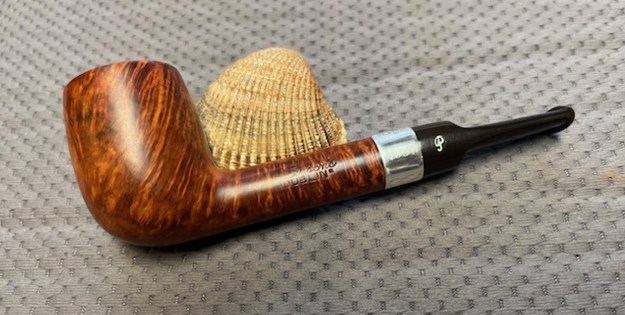
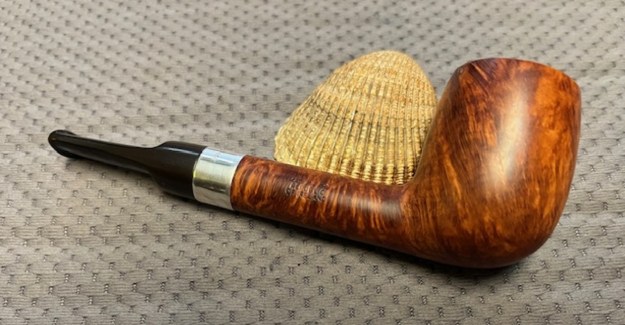
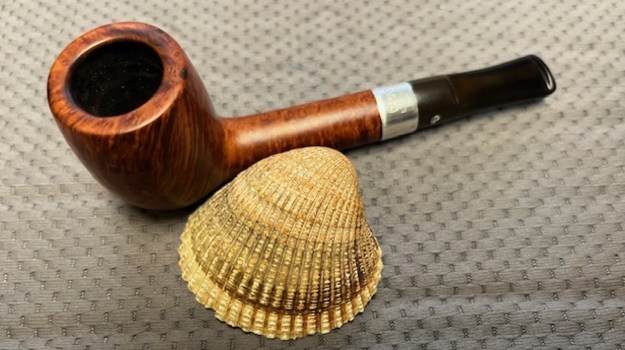
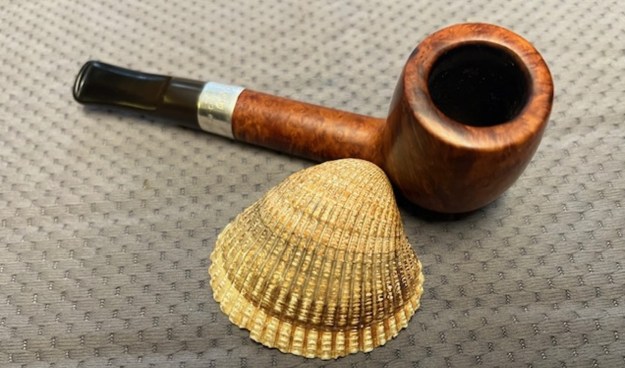
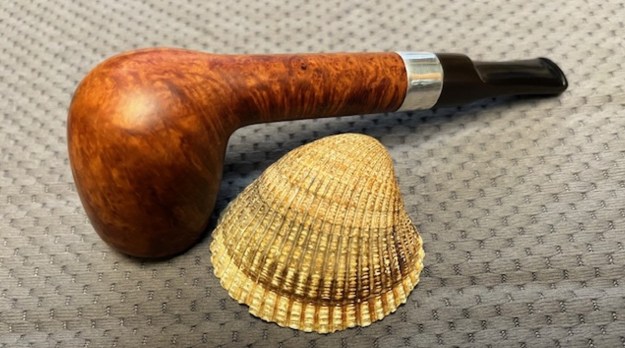
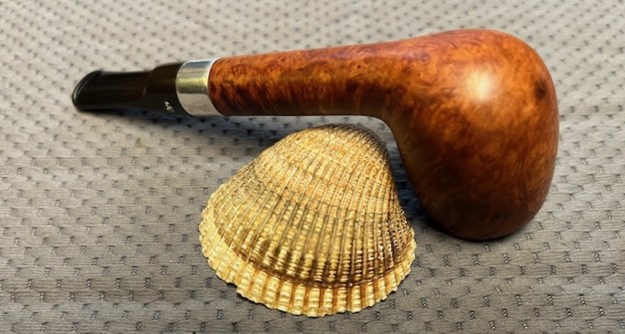
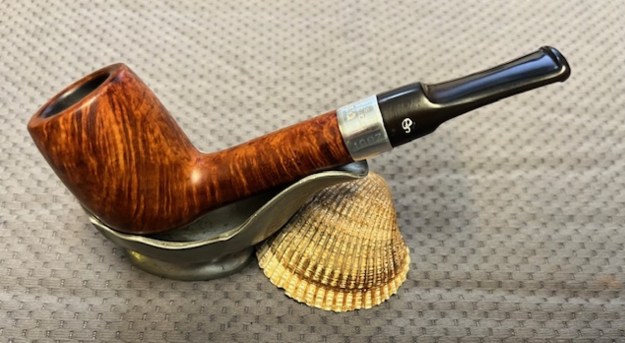
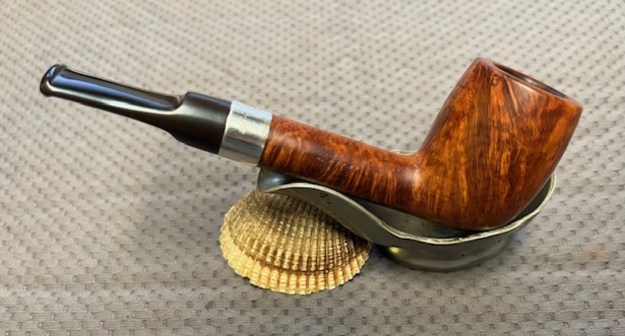
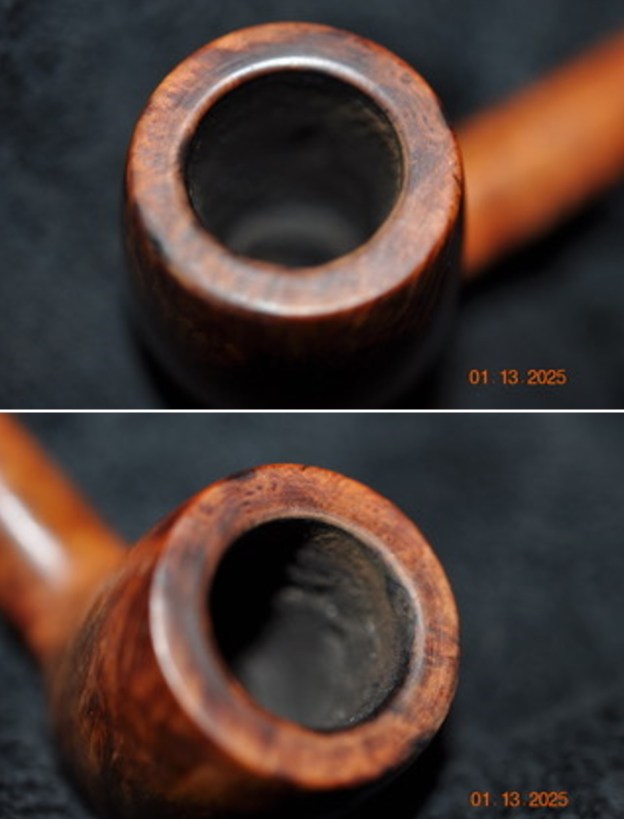
The next pipe I have chosen is smooth finished Peterson’s London& Dublin Apple shaped pipe that had a very dirty/grimy finish but had some good looking grain around the bowl sides and shank. It came to us from an Antique Store on 10/20/2022 in Vancouver, Washington, USA. This Lightweight Apple was stamped on the left side of the shank and read Peterson’s [over] London & Dublin. It was stamped on the right side near the shank/stem junction it is stamped with the shape number 86. The pipe was in filthy condition when he brought it to the table. The finish was dirty with grime ground into the briar sides and rim. There was a thick cake in the bowl and a coat of lava on the rim top but the edges of the bowl. The inner edge of the bowl was thickly coated in lava and it was hard to know how the rim top and edges looked underneath. The stem was dirty with oxidation and calcification on it. There were tooth marks and chatter on the top and underside on and near the button and on the button edges as well. There was no “P” stamp logo on the taper stem. Jeff took photos of the pipe before his cleanup work. They tell the story and give a glimpse of the promise that we see in this pipe. Jeff took photos of the rim top and stem to show the general condition of the pipe. The bowl is caked and the rim top has a lava coat and the inner edge of the bowl is rough and shows knife damage. The photos of the stem show tooth marks and chatter on both sides near the button. Jeff took some photos of the bowl sides and heel to show the amazing grain that was around this bowl. It is a nice looking pipe. He took photos of the sides of the shank to show the stamping. The stamping is readable in the photos below and is as noted above.I have restored a few Peterson’s Dublin & London in the past so I turned to my blog to have a look at the background information that I included in those blogs. I found the following link to a one of those pipes (https://rebornpipes.com/2021/02/24/restoring-a-made-in-ireland-petersons-dublin-london-999-rhodesian/). I also am including the background information I had gathered on the line from the previous blog. I quote:
I am including the link to the Pipedia’s article on Peterson pipes. It is a great read in terms of the history of the brand (https://pipedia.org/wiki/Peterson).

I turned to “The Peterson Pipe” by Mark Irwin and Gary Malmberg to get some background on the Peterson’s Dublin & London Pipe. On page 298 it had the following information.

Dublin & London (c1940-97, 2016-) First mentioned in a 1940 brochure, but probably not widely distributed until ’45, Dublin & London was the highest quality line (aside from the Supreme, introduced in ’53) until about ’86. P-lip or fishtail mouthpiece, polished finish, although sandblast described in ’70 Iwan Ries & Co. catalog. COMs include MADE IN over IRELAND (1940-80) and MADE IN THE over REPUBLIC over OF IRELAND (c1980-97)…

…London & Dublin – English made version of the Dublin & London, made in Peterson’s English factory until it closed in 1962. Classic Range shapes were not as a rule banded and no genuinely hallmarked specimens of the pipes with this model name have been documentd. Rare examples may be additionally stamped Natural. COM on all pipes is LONDON MADE over ENGLAND. Mouthpiece maybe stamped P.

Judging from the description above, the pipe I am working on is stamped with the stamp noted in red above. It does not have a COM stamp or if it did it has been buffed out. The London & Dublin stamp identifies the pipe as an English made version of the Dublin & London. Now it was time to work on the pipe.

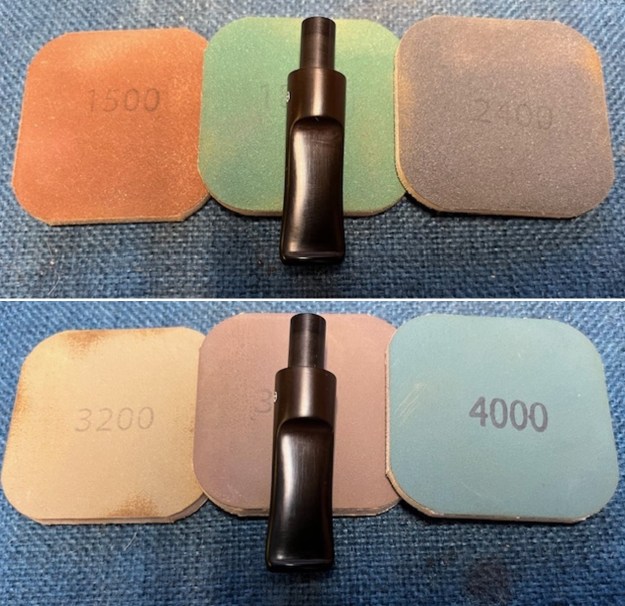
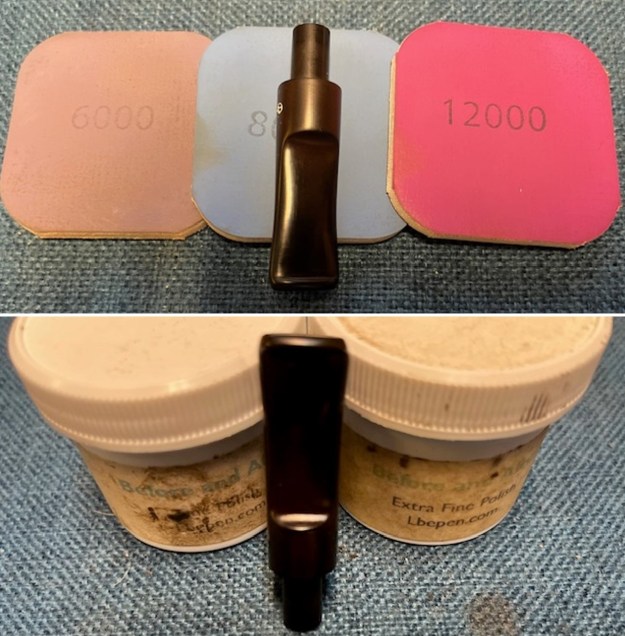
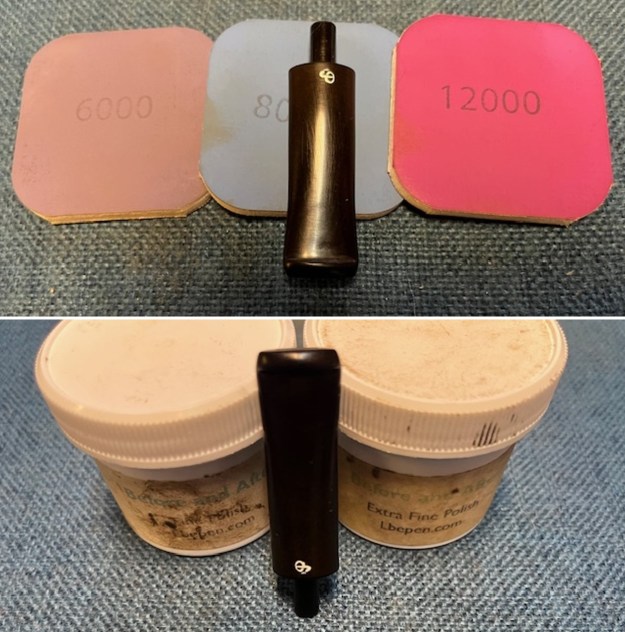
Jeff had done a great job cleaning up the pipe as usual. He reamed the pipe with a PipNet reamer and cut back the cake back to the bare briar. He cleaned up the walls with a Savinelli Fitsall Pipe Knife. He scrubbed the interior of the bowl and shank with pipe cleaners, cotton swabs and alcohol to remove the tars and oils. He scrubbed the exterior of the pipe with Murphy’s Oil Soap and a tooth brush to remove the grime from the finish. He worked on the rim top lava and the darkened spots with the soap and tooth brush. He scrubbed the inside of the stem with alcohol and pipe cleaners. He scrubbed the exterior with Soft Scrub and then soaked it in Briarville Pipe Stem Deoxidizer. He washed it off with warm water to remove the Deoxidizer. The pipe looked far better when it arrived. I took close up photos of the rim top and also of the stem surface. I wanted to show how well it had cleaned up. The rim top had some looked quite good and the inner edge had some darkening and damage. It should clean up really well. I also took close up photos of the stem to show the tooth marks on the surface near the button on both sides and on the button itself.I took photos of the stamping on the sides of the shank. You can see that it is stamped as noted above. It is clear and readable. I removed the stem and took a photo of the pipe to have a look at the parts and overall look. I decided to address the damage on the rim top and the inner edge of the bowl first. I used a folded piece of 220 grit sandpaper to smooth out the damage and bring the bowl back to round. I polished the bowl and shank with micromesh sanding pads – dry sanding with 1500-12000 grit pads. I wiped down the bowl after each pad with a damp cloth to remove the sanding debris. I worked some Before & After Restoration Balm into the surface of the bowl and shank with my fingertips to clean, enliven and protect the briar. I let the balm sit for 15 minutes and then buffed with a cotton cloth to raise the shine. The photos show the bowl at this point in the restoration process. I set the bowl aside and “painted” the stem surface with the flame of a “Bic” lighter to lift the tooth marks. I was able to raise them some but not completely. I filled in the remaining marks on the button edge and the surface with black CA glue. Once it cured I used a file to shape the button edge and also smooth out the fill. I sanded the remaining marks with 220 grit sandpaper to blend them into the surface of the surrounding vulcanite. I started polishing the stem surface with 600 grit wet dry sandpaper. I polished the stem with micromesh sanding pads – wet sanding with 1500-12000 grit sanding pads. I wiped it down after each sanding pad with Obsidian Oil. I finished polishing it with Before & After Pipe Stem Polish – both Fine and Extra Fine and buffed it off with a cotton cloth. I gave it a coat of Obsidian Oil to preserve and protect the stem.I am excited to finish this English Peterson’s London & Dublin, Apple 86. I put the pipe back together and buffed it with Blue Diamond on the buffing wheel. I gave the bowl and the stem multiple coats of carnauba wax. I hand buffed the pipe with a clean buffing pad to raise the shine. It is fun to see what the polished bowl looks like with beautiful mixed grain all around it. Added to that the polished black vulcanite stem combined with the bowl and brass band on the shank and made a stunning pipe. This smooth Classic Older Peterson’s London & Dublin English Made Apple 86 is great looking and the pipe feels great in my hand. It is light and well balanced. Have a look at it with the photos below. The dimensions are Length: 5 ¼ inches, Height: 1 ½ inches, Outside diameter of the bowl: 1 inch, Chamber diameter: ¾ of an inch. The weight of the pipe is 34grams/1.20oz. It is a beautiful pipe that I will soon be putting on the rebornpipes store in the Irish Pipe Makers Section. If you are interested in adding it to your collection send me an email or a message. Thanks for walking through the restoration with me as I worked over this pipe. Thanks to each of you who are reading this blog.

As always, I encourage your questions and comments as you read the blog. Thanks to each of you who are reading this blog. Remember we are not pipe owners; we are pipe men and women who hold our pipes in trust until they pass on into the trust of those who follow us.

Restoring a Budapest Purchase – A Tatu Pipe 1126 Freehand


Blog by Steve Laug

When I was traveling for work I was in Budapest, Hungary I visited the Gallwitz Pipe Shop. It is a shop I have visited several times in the past. I wrote about my first visit to various Budapest Pipe shops including Gallwitz back in 2015 (https://rebornpipes.com/2015/09/30/my-how-things-change-reflections-on-pipe-smoking-while-visiting-budapest/). When I visited it this time I spent time with the current owner and proprietor of the shop, Viktor Zollner (the grandson of the last Gallwitz owner). We had a great visit talking about the current state of pipes and pipe repair in Hungary since I had visited in 2015. Viktor had carved many pipes but was currently focusing his attention on pipe repair and estate pipes. He said that he loves the challenge of pipe and stem repair more than pipe carving – just as I do. He brought out some boxes and bags of estate pipes for me to look over and there were some real beauties that I have not seen before among them. We talked about repairs and cleaning of pipes and stems. One of the pipes that he had not worked on yet was a freehand that he said was a Tatu Pipe. It caught my attention enough that I laid it aside while looking at the others he brought out. It was stamped with two pipes toward the front of the smooth panel on the underside. That was followed by the stamping 1126 [over] Tatu Pipe. It was a large freehand pipe in a mushroom shape. It had a smooth rim and a sandblast bowl finish. There was a bit of plateau on the rim top toward the front of the bowl. There as also what looked like a boxwood shank extension. It was light and a contrast with the briar. The shank end had a brass circle to re-enforce the mortise of end of the shank. There was what appeared to be a burn mark on the bottom front of the bowl toward the bottom. I examined it but it was not clear if it was a burn mark on the briar or the beginning of a burn through. The bowl had a thick cake around the bowl and some lava overflow and darkening on the inner edge, heavier toward the back of the bowl. The stem was lightly oxidized and had light tooth marks and chatter on both sides ahead of the button. I took photos of the pipe when I got back to the flat we had rented in Budapest. I took some photos of the bowl, rim top and the stem. The details of the rim top and inner edge were as noted in the description above. The stem also shows the condition as noted in the above.I took a photo of the stamping. It was faint but readable with a lens and read as noted above.I also took a photo of the burn damage on the front lower part of the bowl. It was hard to tell whether it was the beginning of a burn out or burn damage on the briar from setting it in an ashtray.  I decided to take a calculated risk and purchase the pipe. I would more once I had cleaned it up.Before I started my work on the pipe I really wanted to know about the brand. It was a brand I was not overly familiar with and wanted to gather background information. I did a Google search to see if there was anything under the Tatu Pipe stamp. The first site that came up was for a pipe for sale on smokingpipes.com. I quote from there below as it pointed toward more information for me (https://www.smokingpipes.com/pipes/estate/japan/moreinfo.cfm?product_id=143673). It was description of a particular freehand pipe but the background information included was very helpful in giving me clues to move ahead.

Japanese Estates: Tatu Pipe by Tetsuo Tajima (Unsmoked) Tobacco Pipe

Tajima-san made his US debut at the 2011 CPCC, and his work impressed enough, that both European and American dealers were all but slapping each other’s hands, in an effort to acquire his briars. Up until the end of 2004, Tatsuo worked as film and graphic designer, but 2005 found him committing his time to learning pipe carving and his mentor was none other than Shizuo Arita. If memory serves, this Tajima oceanic denizen was carved in 2012, and it remains unsmoked to this very minute. Novel shape, solid grain, and best held with the ever-reliable finger-crook method.

From that clue I turned to the Tatu pipe information on Pipephil’s site to get some more history and background on the brand (http://www.pipephil.eu/logos/en/logo-t2.html#tatupipe). I have included a screen capture of the information that was included there along with a photo of the pipe maker, Tatsuo Tajima and some sidebar information below. It also helped give me information on the stamping on the pipe. Artisan: Tatsuo Tajima (born 1955) formerly was a film and graphic designer. He started making pipes in 2005.

Since the pipe I had bore the stamp 1126 which I could now interpret to refer to the year the pipe was made (11=2011) and the 26 indicates the manufacture rank in that year (rank 26). That was a significant piece of information on the pipe. I now knew the date of the carving was 2011 and that this was the 26th pipe of the year.

I turned then to Pipepedia and looked in the Japanese Pipe Makers section under the name Tajima (https://pipedia.org/wiki/Tajima) and found some more information as well as other pipes that he had carved with similar design features. I quote below.

Tatsuo Tajima, born in 1955, native of Tokyo. His previous life was a well decorated Film and Graphic Designer. Since 2007, as fate says under the guidance of Shizuo Arita and Shigeyoshi Yanagihara embark on pipe crafting as a second career.

Drawing from other genre of smoking culture such as shisha and similar paraphernalia he makes you wonder and reconsider what smoking pipe actually is about. At most part, he would say the experience, the quality of smoke (moisture, flavour, and temperature) while using something that we can appreciate aesthetically. His work set boundaries free and invite smokers to be more universal and uniting at one point: on the flavour of tobacco and the experience of drawing a smoke.

For inspiration, he goes to the same park most of the time. He picks up elements of nature that he saw interesting. “Nature is different everytime we visit.” says Tatsuo-san. It is alive. Some days, even hours, leaning more towards the sun. It might be blooming, or fallen to the ground. There are movement.

Not only a naturalist in approach but artificial landscape and man-made creation also inspire him. NASA space shuttle to construction site digging gave him inspiration. I just called it simply being a Japanese and their fascination of robots and mechanical wonders. If his pipe is a painting, his expression would be Dali kind of surrealism.

Capturing nature in his own way, it could often be more realistic as a result.

Often you will see his combination of modernism and retro being executed with Wabi-sabi aesthetic. Also, behind that artistic styling and unique structure, he is always on the exploration on the new experience of smoking, when possible contribute to the health aspect. Such as the use of reverse calabash and longer shank to decrease moisture and cool down the smoke due to longer travel.

In life, he drinks tea throughout the year, warm Oolong Tea in winter and cold Mugicha in summer. He drinks no alcohol. By all means, I have tried with both tea or alcohol, and his pipes still smokes like a dream. He is also in touch almost on a daily basis with a retired senior pipemaker, Shigeyoshi Yanagihara.

Tatsuo Tajima, currently resides in Tokyo, lives quite close with his teacher and friend, Yanagihara-san. His current pipe production is about 60 pipes a year.

I then turned to Pipes2smoke where Maxim Engel currently sells Tatsuo Tajima’s pipes for further information (https://pipes2smoke.com/collections/tatsuo-tajima). I quote from that site below.

Tatsuo Tajima, (“Tatu”) was born in 1955 in Tokyo. He originally worked as a film and graphic designer and contributed large-scale image displays mainly for feature films and for such events as Tsukuba Expo ’85, Nara Silk Road Expo ’87, and Design Expo Nagoya ’89 as well as for museums such as Edo-Tokyo Museum. From ’93 onwards, with the general shift to digital media, he focused on multimedia titles and graphics as a graphic designer. He has received numerous awards from such competitions as Opel Design Contests, Epson Imaging Contests, and Victor Video Festivals.

From 2005 onward, Tatu committed himself to pipe making under the guidance of Shizuo Arita and Shigeyoshi Yanagihara. In 2009 he made his debut as a full time pipe artist at Amanoya in Setagaya, Tokyo. 

He had his first US exposure in 2011 at the Chicago Pipe Show. Every Tatu pipe shows the Japanese pipe aesthetic with its mix of curved and straight lines & at times asymmetry flowing into a harmonious whole. And always with the famous Japanese attention to detail.

If you would like to see more of Tatsuo Tajima’s work have a look at his Instagram site (https://www.instagram.com/tatupipe/). He does some fascinating work.

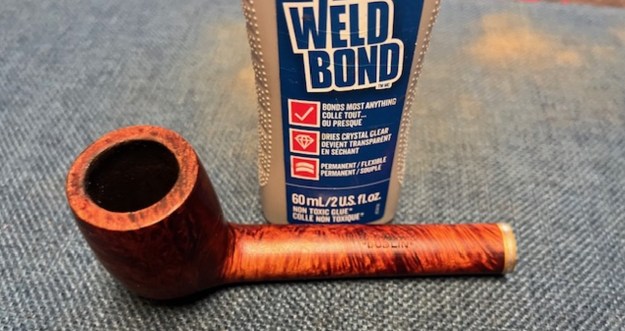
Now it was time to work on restoring this interesting Japanese Freehand. I decided to evaluate the damage to the front of the sandblast bowl. I wanted to know if it was the beginning of a burn out in the briar or if it had come from it having been set on a live coat in an ash tray. I examined the interior of the bowl and could find no obvious damage on the walls. I would know more once I had reamed and cleaned the bowl. I worked on the exterior of the finish with a brass bristle wire brush. I wanted to know if the damage was surface or only on the top of the finish. The brass brush revealed that it was not too deep. It appears that there was a flaw in the briar – a sandpit in blast. I circled the area with a red line in the second photo below.I filled in the sandpit with briar dust and clear CA glue. I used the brass bristle wire brush after the repair had cured to remove the excess repair and also rework the sandblast finish. It looks very good though there is some darkening around the spot. Once I knew that there was a sandpit/flaw and had repaired it I turned to more deeply examine the walls of the bowl to see if there were any checking or burns on the bowl walls or heel in the surrounding interior area behind the flaw. I reamed the bowl with a PipNet piper reamer to remove the thick cake on the walls. I cleaned up the reaming with a Savinelli Fitsall Pipe knife to remove the remaining cake on the walls. I sanded the bowl walls with 220 grit sandpaper wrapped around a dowel. I wiped the bowl out with a damp cloth to remove the dust and debris. I examined the bowl walls and they were smooth and wihtout checking or burn damage on the wall behind the mark on the outside of the bowl. I cleaned up the darkening and the burn damage to the rim edge and the top with a folded piece of 220 grit sandpaper. Once I had finished it looked much better.I scrubbed the exterior of the bowl with a tooth brush and undiluted Murphy’s Oil Soap and warm water to remove the grime in the sandblast finish. When I cleaned it the shank extension was loose but the pipe looked much better. I cleaned out the inside of the shank extension, shank and the stem with pipe cleaners, cotton swabs and 99% isopropyl alcohol. It was really filthy so with a bit of work the pipe smelled much better.I reglued the shank extension to the shank with Weld Bond all purpose glue. I applied it to both smooth ends of the shank and extension with a tooth pick and pressed it onto the tube that held it in place on the shank. I aligned the sharp edge of the extension with the sharp edges of the shank and press it in place until the glue cured. I stained the bowl with a light brown aniline stain to blend in the burn marks on the exterior of the front lower sandblast bowl. I felt that it would blend in the damaged area with the rest of the sandblast on the bowl. I applied it with a dauber and then flamed it to set it in the finish. Once the stain had cured I worked some Before & After Restoration Balm into the briar with my fingertips and a horsehair shoe brush. I wanted to make sure that it was in the deep grooves of the sandblast. I also worked it into the smooth shank extension with my fingertips. I let it sit and do its magic for 15 minutes then buffed it off with a soft cotton cloth. The pipe looked much better and the burn marks were blended into the surface with the stem. I set the bowl aside and “painted” the stem surface with the flame of a “Bic” lighter to lift the tooth marks. I was able to raise them some but not completely. I filled in the remaining marks on the button edge and the surface with black CA glue. Once it cured, I used a file to shape the button edge and also smooth out the fill. I sanded the remaining marks with 220 grit sandpaper to blend them into the surface of the surrounding vulcanite. I started polishing the stem surface with 600 grit wet dry sandpaper. I polished the stem with micromesh sanding pads – wet sanding with 1500-12000 grit sanding pads. I wiped it down after each sanding pad with Obsidian Oil. I finished polishing it with Before & After Pipe Stem Polish – both Fine and Extra Fine and buffed it off with a cotton cloth. I gave it a coat of Obsidian Oil to preserve and protect the stem. I am excited to finish this Japanese Tatu Pipe by Tetsuo Tajima. I put the pipe back together and buffed it with Blue Diamond on the buffing wheel. I gave the bowl multiple coats of Conservator’s Wax and the stem multiple coats of carnauba wax. I hand buffed the pipe with a clean buffing pad to raise the shine. It is fun to see what the polished bowl looks like with beautiful mixed grain all around it. The polished black vulcanite stem combined with the bowl made a stunning pipe. This smooth Japanese Made Tatu Pipe 1126 Freehand is great looking and the pipe feels great in my hand. It is light and well balanced. Have a look at it with the photos below. The dimensions are Length: 6 ½ inches, Height: 1 ¾ inches, Outside diameter of the bowl: 2 ¼ inches wide x 2 ¾ inches long, Chamber diameter: ¾ of an inch. The weight of the pipe is 57 grams/2.01 ounces. It is a beautiful pipe that I will hang onto for awhile to enjoy. One day I may add it to the rebornpipes store. Thanks for walking through the restoration with me as I worked over this pipe. Thanks to each of you who are reading this blog.

As always, I encourage your questions and comments as you read the blog. Thanks to each of you who are reading this blog. Remember we are not pipe owners; we are pipe men and women who hold our pipes in trust until they pass on into the trust of those who follow us.

Fresh Life for a Peterson’s Dublin D1 Billiard Made for the Danish Market


Blog by Steve Laug

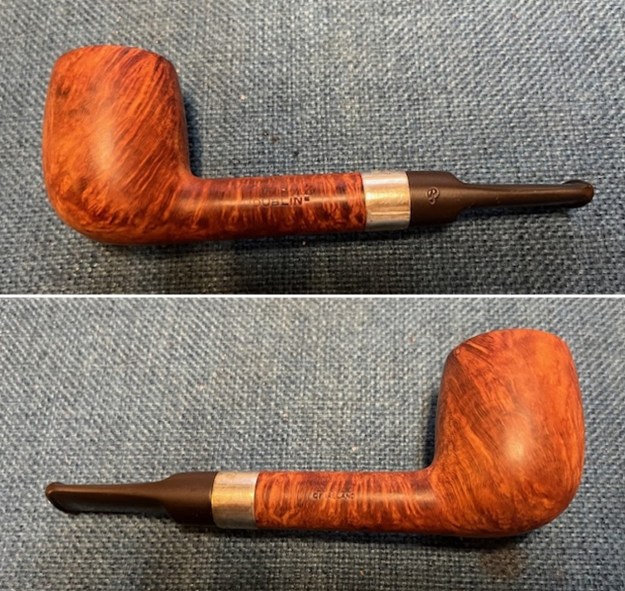
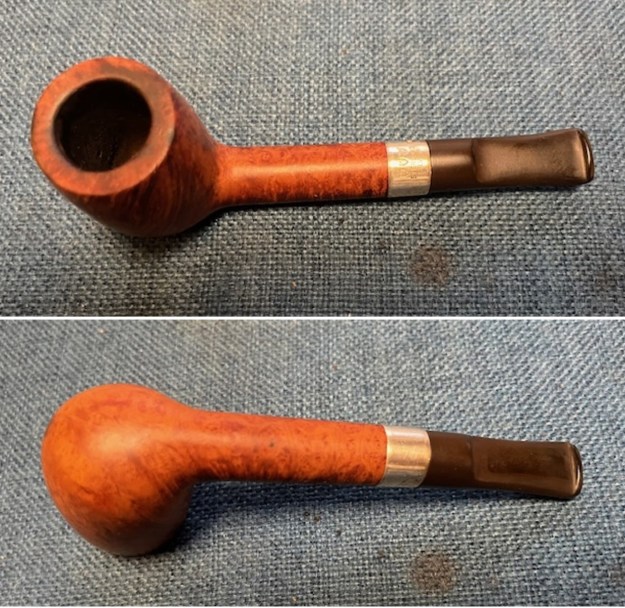
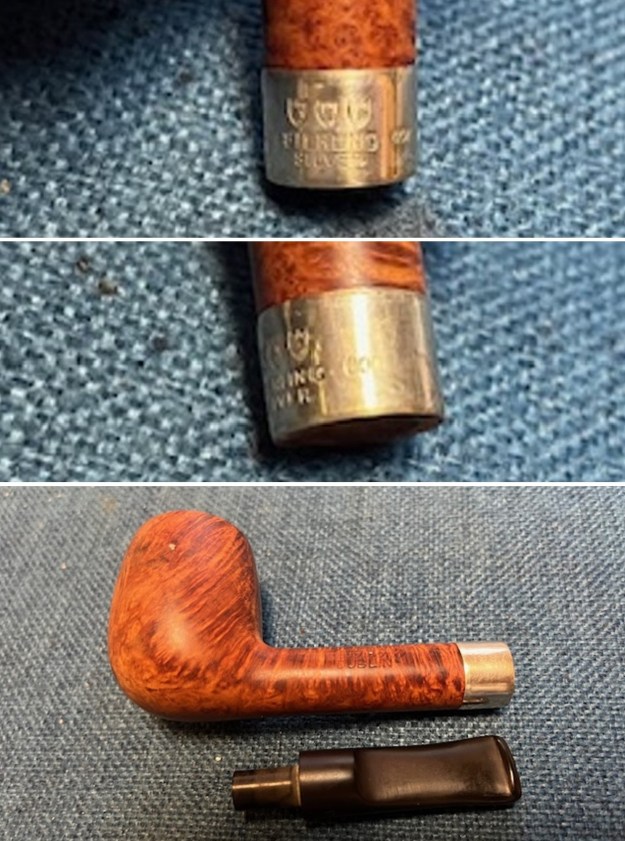
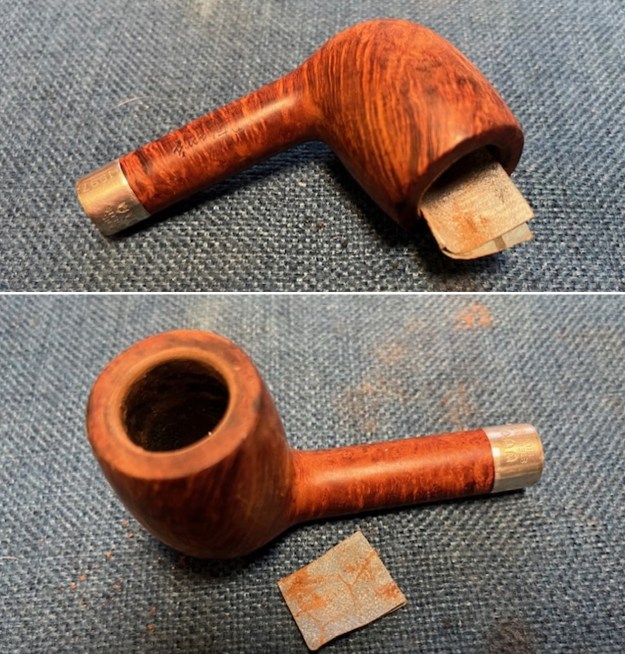
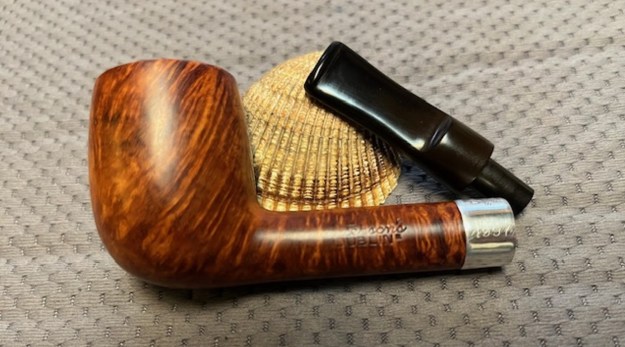
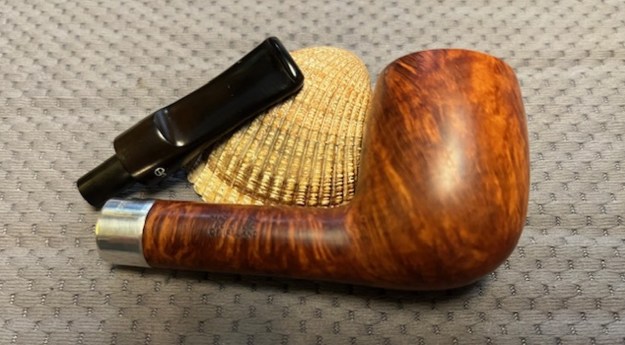
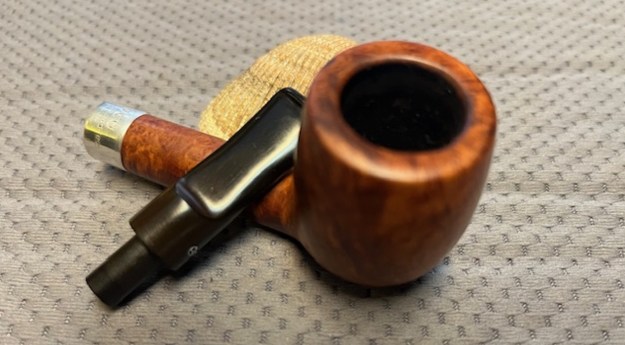
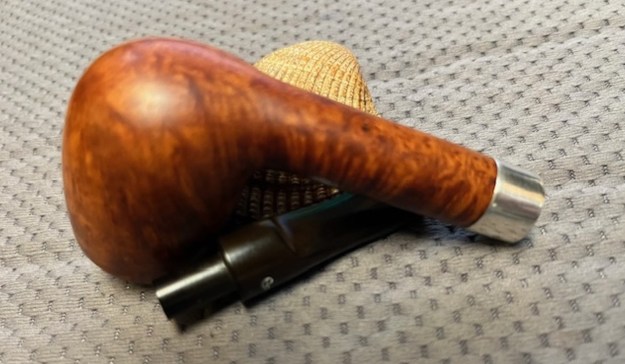
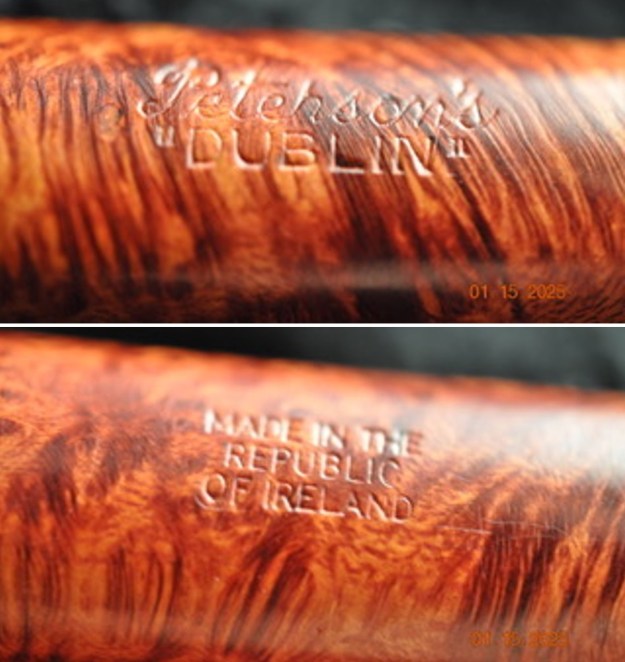
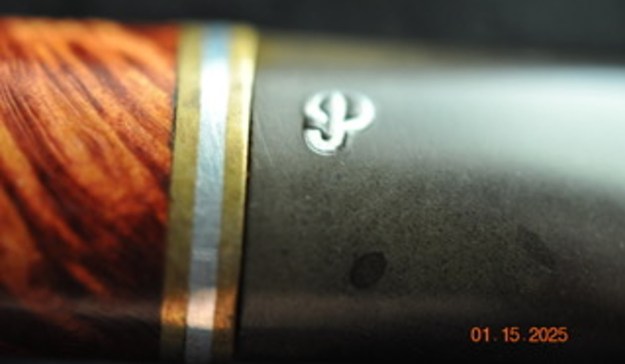
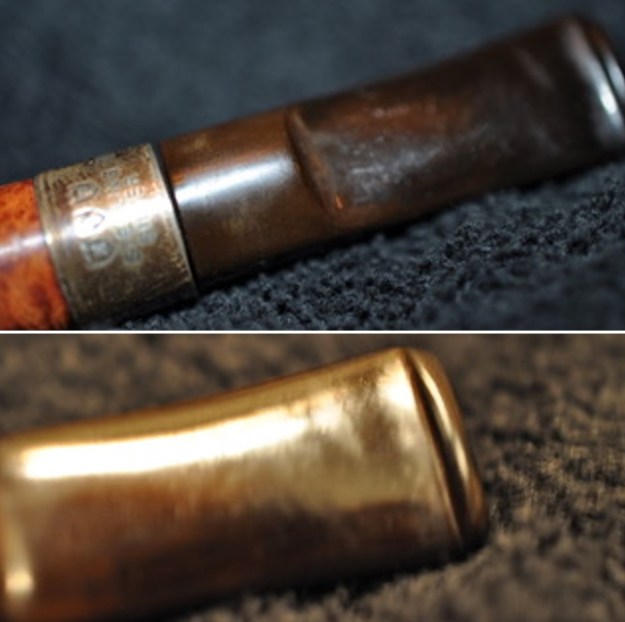
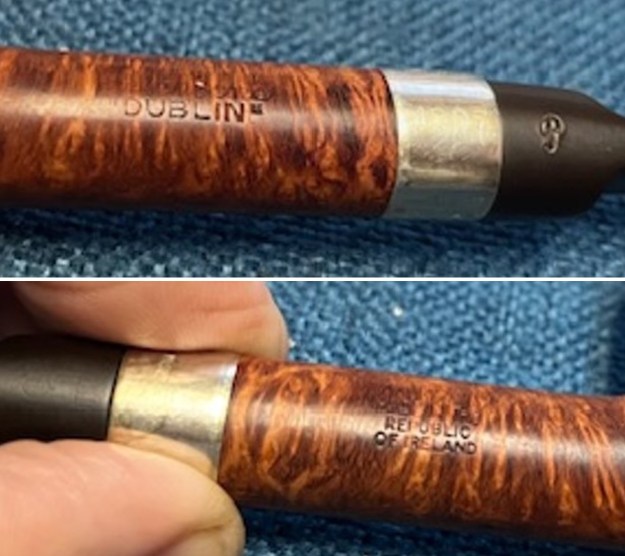
The next pipe I have chosen is smooth finished Peterson’s “Dublin” Billiard pipe that had a very dirty/grimy finish but had some good looking grain around the bowl sides and shank. It came to us from a fellow in Copenhagen, Denmark on 11/14/2022. This Billiard was stamped on the left side of the shank and read Peterson’s [over] “Dublin”. It was stamped on the right side and read Made in the Republic of Ireland (three lines). Following that near the shank/bowl junction it is stamped D1. The pipe was in filthy condition when he brought it to the table. The finish was dirty with grime ground into the briar sides and rim. The bowl had been reamed recently in its history and the bowl and rim top were quite clean. The inner edge of the bowl was in okay condition with some light damage to the front of the bowl. There was a thin three layered band on the shank end with a piece of silver sandwiched by gold on each side. The stem was dirty but there was no oxidation or calcification on it. There were light tooth marks and chatter on the top and underside on and near the button. There was a faint “P” stamp logo on the taper stem. Jeff took photos of the pipe before his cleanup work. They tell the story and give a glimpse of the promise that we see in this pipe. Jeff took photos of the rim top and stem to show the general condition of the pipe. The bowl and the rim top were clean. The inner edge of the bowl is in good condition. The photos of the stem show the light tooth marks and chatter on both sides near the button. Jeff took some photos of the bowl sides and heel to show the amazing grain that was around this bowl. It is a nice looking pipe.     He took photos of the sides of the shank to show the stamping. The stamping is readable in the photos below and is as noted above.  I am including the link to the Pipedia’s article on Peterson pipes. It is a great read in terms of the history of the brand (https://pipedia.org/wiki/Peterson).
I turned to “The Peterson Pipe” by Mark Irwin and Gary Malmberg to get some background on the Peterson’s London Made England line. On page 298 it had the following information.

“Dublin” (1992-2003) An orange-brown smooth line with a brass-nickel-brass sandwich band, vulcanite fishtail mouthpiece, consisting mostly of D shapes released for the Danish market. Stamped PETERSON’S in script over “DUBLIN”. A tenth anniversary pipe for the line was produced with a sterling band stamped 2001. Market demand fell shortly thereafter and several  pipes stamped “DUBLIN” were released in ’03 for the Fourth of July commemoratives for the US market.

I looked further in the book for information on the D Shapes of Peterson’s Pipes. On page 239 I found the following information.

D Shapes. According to Tom Palmer, the D shapes were produced for Peterson’s Danish distributor Larsen and Peterson, Copenhagen, beginning around 1996, and to the rest of the world as early as the 1998 St. Patrick’s Day release. The idea was to create a traditional Danish looking line of pipes, shapes that were lighter and slimmer than traditional English shapes. Unfortunately, the bottom fell out of the Danish pipe-smoking market with the turn into the new millennium, forcing the company to drop all but the most popular of the D series, which at its height numbered around sixteen shapes. Beginning in 2014, however, new D shapes began to be added to the catalogue, including the 2018 Pipe of the Year, the D22.

Now I knew a date range for the pipe I was working on – 1992-2003. It was specifically made for the Danish Market for distribution by Larsen and Peterson of Copehagen. The D shapes were lighter and slimmer than the traditional English pipes. The D Shape connection pointed to a 1996 date for its Danish release. Now it was time to work on the pipe.

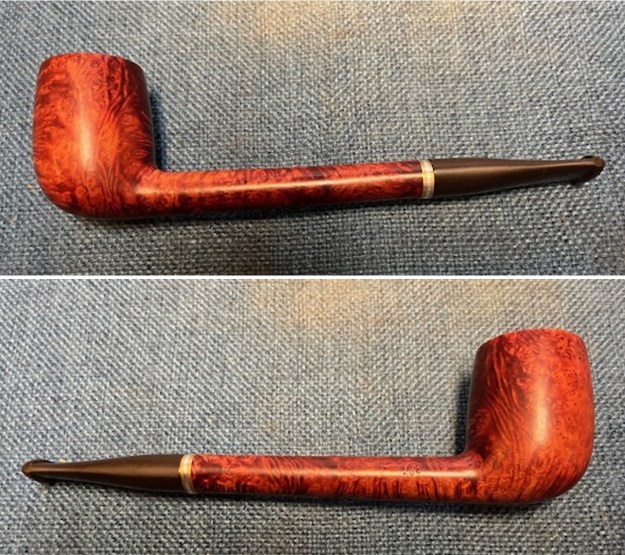
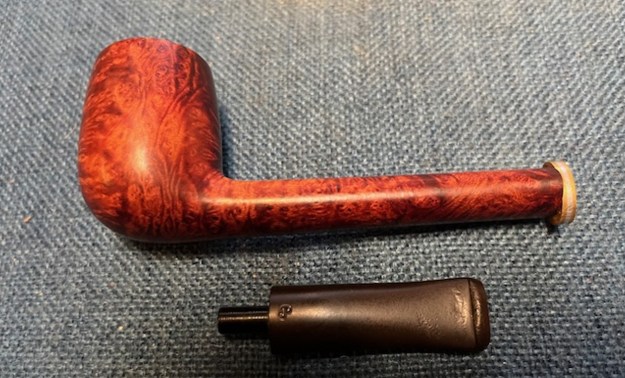
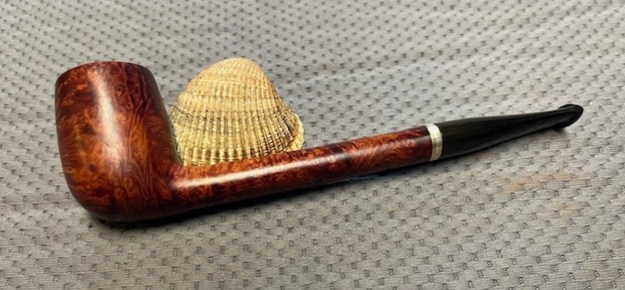
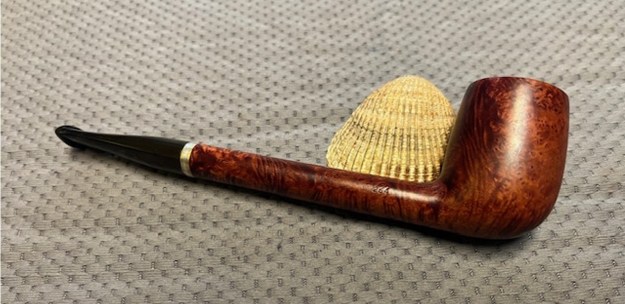
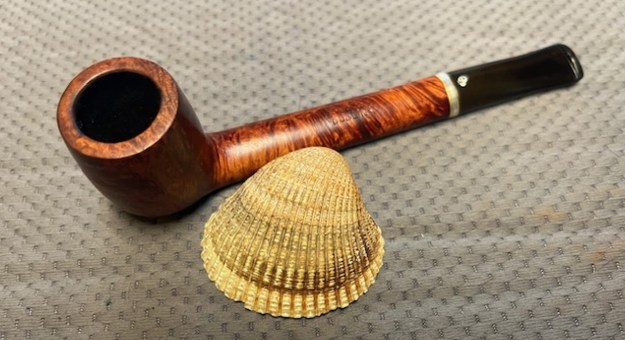
Jeff had done a great job cleaning up the pipe as usual. He reamed the pipe with a PipNet reamer and cut back the cake back to the bare briar. He cleaned up the walls with a Savinelli Fitsall Pipe Knife. He scrubbed the interior of the bowl and shank with pipe cleaners, cotton swabs and alcohol to remove the tars and oils. He scrubbed the exterior of the pipe with Murphy’s Oil Soap and a tooth brush to remove the grime from the finish. He worked on the rim top lava and the darkened spots with the soap and tooth brush. He scrubbed the inside of the stem with alcohol and pipe cleaners. He scrubbed the exterior with Soft Scrub and then soaked it in Briarville Pipe Stem Deoxidizer. He washed it off with warm water to remove the Deoxidizer. The pipe looked far better when it arrived. I took some close up photos of the rim top and also of the stem surface. I wanted to show how well it had cleaned up. The rim top had some looked quite good and the inner edge had some darkening and damage on the front. It should clean up really well. I also took close up photos of the stem to show the light tooth marks on the surface near the button. I took photos of the stamping on the sides of the shank. You can see that it is stamped as noted above. It is clear and readable. I removed the stem and took a photo of the pipe to have a look at the parts and overall look. I decided to address the damage on the rim top and the front inner edge of the bowl first. I used a folded piece of 220 grit sandpaper to smooth out the damage and bring the bowl back to round. It looked much better at this point in the process. I polished the bowl and shank with micromesh sanding pads – dry sanding with 1500-12000 grit pads. I wiped down the bowl after each pad with a damp cloth to remove the sanding debris. I worked some Before & After Restoration Balm into the surface of the bowl and shank with my fingertips to clean, enliven and protect the briar. I let the balm sit for 15 minutes and then buffed with a cotton cloth to raise the shine. The photos show the bowl at this point in the restoration process. I set the bowl aside and touched up the “P” logo stamp on the left side of the taper stem with Rub’n Buff Antique Gold. I worked it into the stamp with a toothpick. I buffed off the excess with a paper towel and polished the stem with some Obsidian Oil.I polished out the light tooth marks and chatter on the stem with micromesh sanding pads – wet sanding with 1500-12000 grit sanding pads. I wiped it down after each sanding pad with Obsidian Oil. I finished polishing the stem with Before & After Pipe Stem Polish – both Fine and Extra Fine. I wiped the stem down with a final coat of Obsidian Oil and it was ready to be buffed. I am excited to finish this Peterson’s “Dublin” D1 Billiard made for the Danish Market. I put the pipe back together and buffed it with Blue Diamond on the buffing wheel. I gave the bowl and the stem multiple coats of carnauba wax. I hand buffed the pipe with a clean buffing pad to raise the shine. It is fun to see what the polished bowl looks like with beautiful mixed grain all around it. Added to that the polished black vulcanite stem combined with the bowl and sandwich brass/nickel/brass band on the shank and made a stunning pipe. This smooth Classic Peterson’s “Dublin” Danish Style D1 Billiard is great looking and the pipe feels great in my hand. It is light and well balanced. Have a look at it with the photos below. The dimensions are Length: 5 ¾ inches, Height: 1 ¾ inches, Outside diameter of the bowl: 1 1/8 inches, Chamber diameter: ¾ of an inch. The weight of the pipe is 33 grams/1.16 ounces. It is a beautiful pipe that I will soon be putting on the rebornpipes store in the Irish Pipe Makers Section. If you are interested in adding it to your collection send me an email or a message. Thanks for walking through the restoration with me as I worked over this pipe. Thanks to each of you who are reading this blog.

As always, I encourage your questions and comments as you read the blog. Thanks to each of you who are reading this blog. Remember we are not pipe owners; we are pipe men and women who hold our pipes in trust until they pass on into the trust of those who follow us.

Restoring a Peterson’s London and Dublin 35P London Made Canadian


Blog by Steve Laug

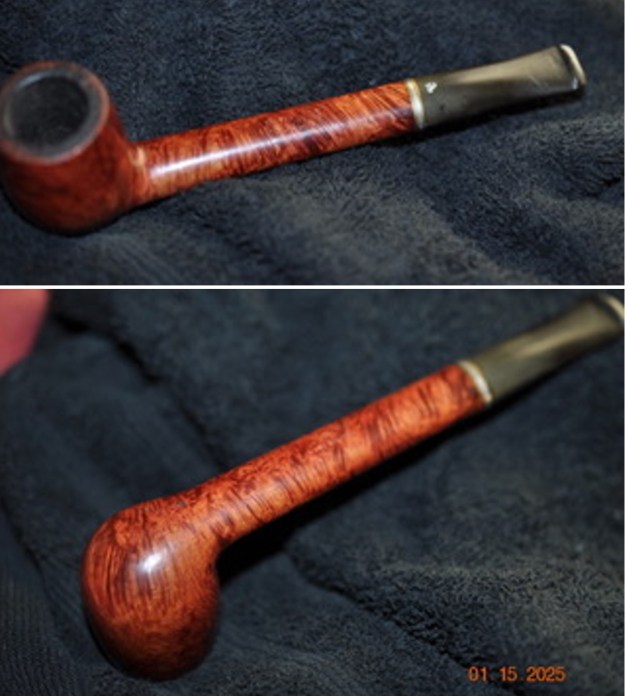
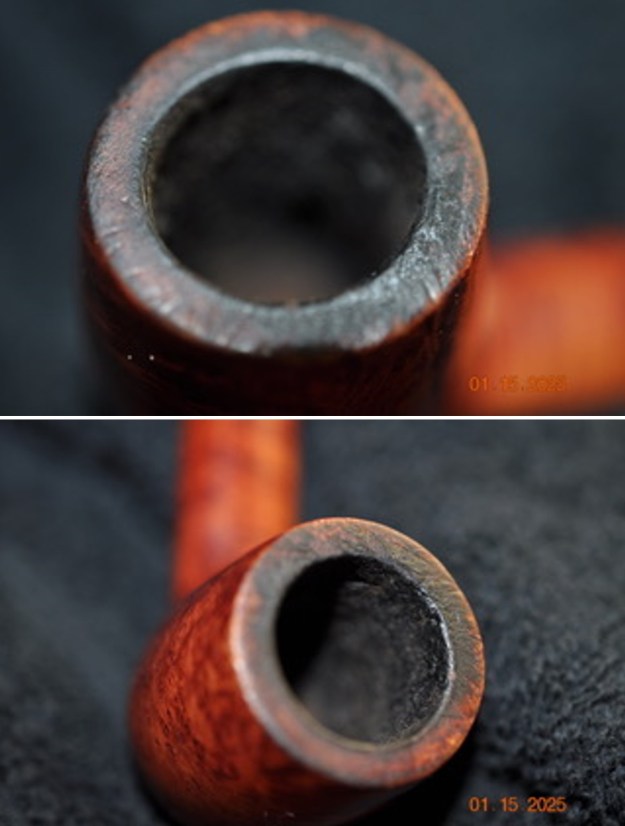
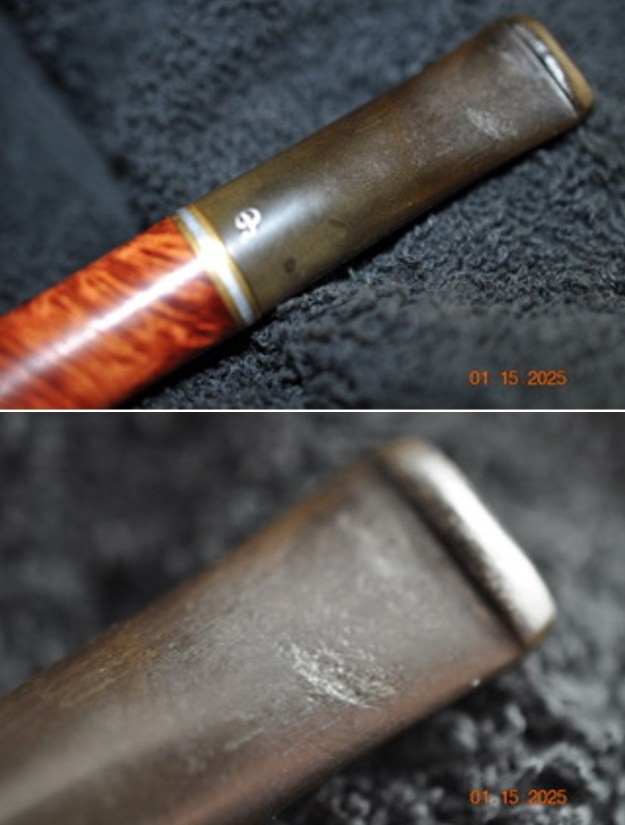
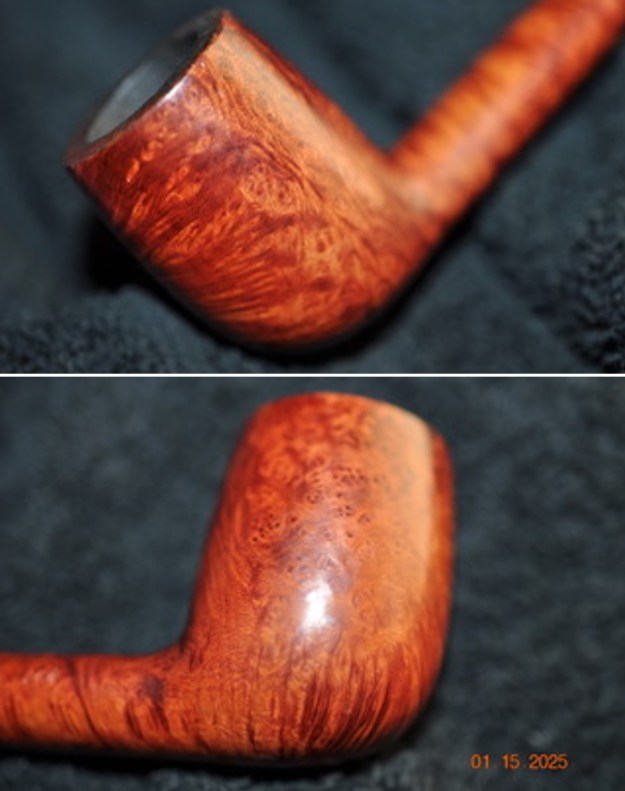
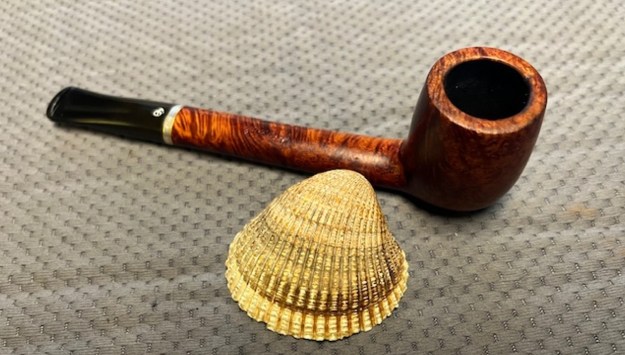
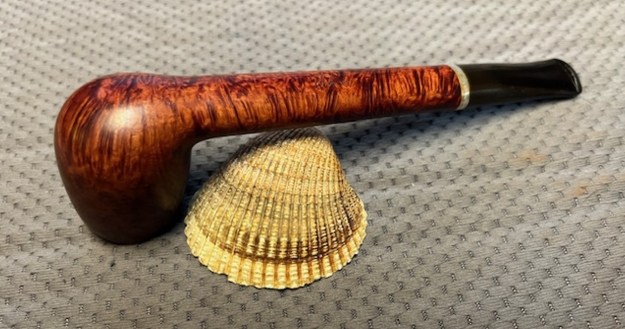
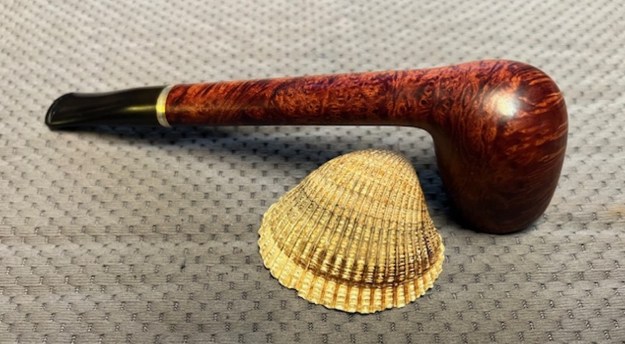
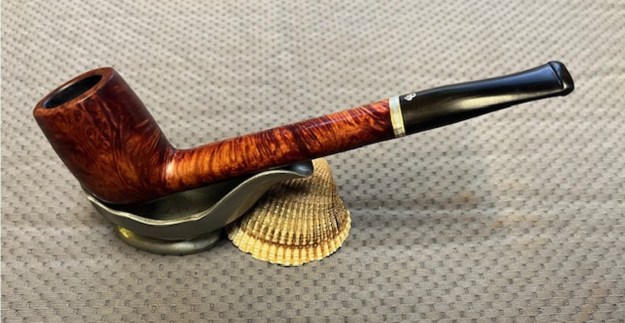
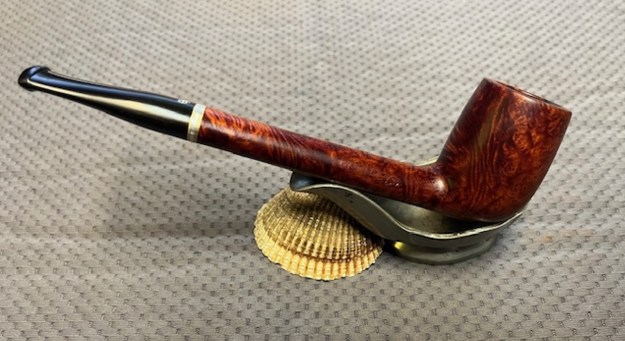
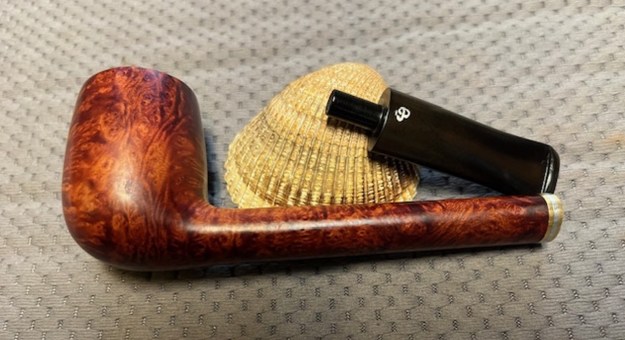
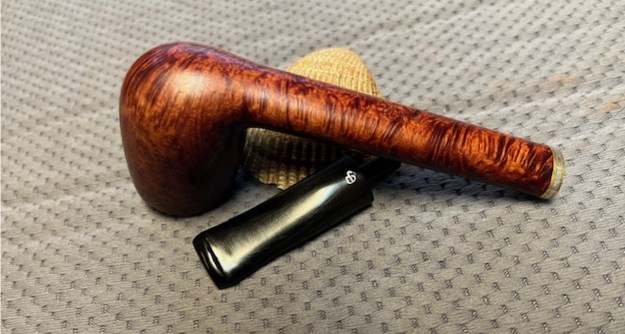
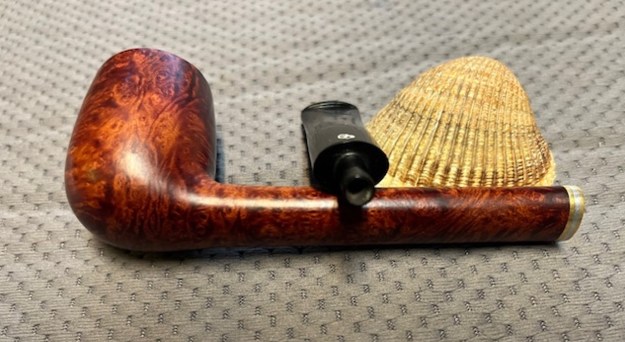
The next pipe I have chosen is smooth finished Peterson’s London& Dublin Canadian pipe that had a very dirty/grimy finish but had some good looking grain around the bowl sides and shank. It came to us from a fellow in Copenhagen, Denmark on 10/03/2022. This Lightweight Canadian was stamped on the left side of the shank and read Peterson’s [over] London & Dublin. It was stamped on the right side and read London Made [over] England. On the underside near the shank/stem junction it is stamped 35P. The pipe was in filthy condition when he brought it to the table. The finish was dirty with grime ground into the briar sides and rim. There was a thick cake in the bowl and a coat of lava on the rim top but the edges of the bowl. The inner edge of the bowl was rough and looked like it had been reamed with a knife and had a lot of rough edges. The stem was dirty but there was no oxidation or calcification on it. There were tooth marks and chatter on the top and underside on and near the button. There was no “P” stamp logo on the taper stem. Jeff took photos of the pipe before his cleanup work. They tell the story and give a glimpse of the promise that we see in this pipe. Jeff took photos of the rim top and stem to show the general condition of the pipe. The bowl is caked and the rim top has a lava coat and the inner edge of the bowl is rough and shows knife damage. The photos of the stem show tooth marks and chatter on both sides near the button. Jeff took some photos of the bowl sides and heel to show the amazing grain that was around this bowl. It is a nice looking pipe.    He took photos of the sides of the shank to show the stamping. The stamping is readable in the photos below and is as noted above.  I am including the link to the Pipedia’s article on Peterson pipes. It is a great read in terms of the history of the brand (https://pipedia.org/wiki/Peterson).
I turned to “The Peterson Pipe” by Mark Irwin and Gary Malmberg to get some background on the Peterson’s London Made England line. On page 296-297 it had the following information.

MADE IN over ENGLAND and variations shown below (1936-62) Peterson maintained a factory in England for about a quarter of a century, from the late 1930s to ’62. Corporate transcripts and London business periodicals suggest the London operation on White Lion Street was about to get underway in ’37. Only a handful of London hallmarked Petersons are documented, stamped with date marks of 1936 and 1939, and these have no COM stamp. Their output would be limited by the onset of the Battle of Britain in July 1940, but it seems reasonable to suppose pipes were made in the London factory during WWII, inasmuch as the K&P Staff Register lists twelve employees earning wages there in January ’44. London hallmarked Petersons have been identified with dates of 1949-54. Most London made Petersons in a collector’s inventory were made in these postwar years, from 1949 until the closing of the factory in ’62. This narrow range of dates is probably the most reliable indicator of years when the stamp and the variations listed below were employed. The presence of one variation or another on a pipe is not by itself a reliable indicator of age.

Made In over England

Made In England forming a circle

Made In England forming an ellipse

Made in England in a line

A “Peterson’s Product” over Made In England

A Peterson’s Product over Made In England

A Peterson Product over Made in England

Made In over Great Britain

Great Britain

London Made over England

London Made

Now I knew a date range for the pipe I was working on – 1949-1962. I have underlined and made the text bold in the above list to show the stamping on the pipe I am working on. Now it was time to work on the pipe.

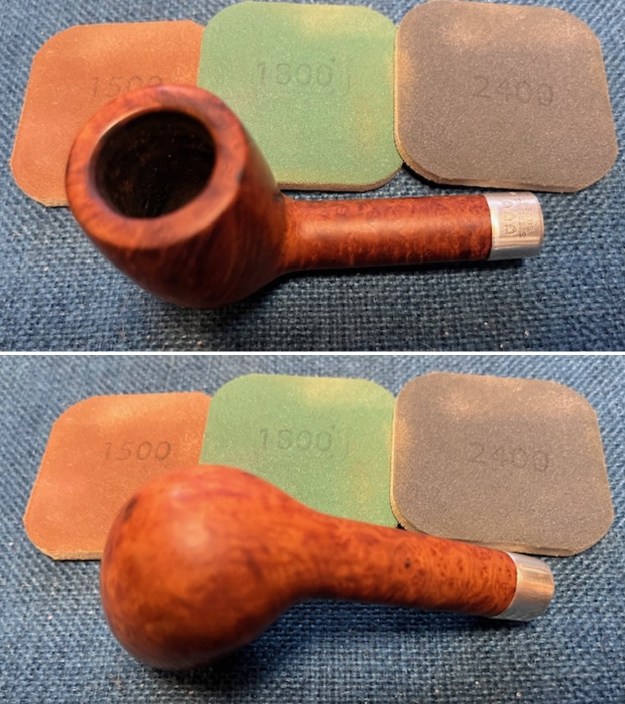
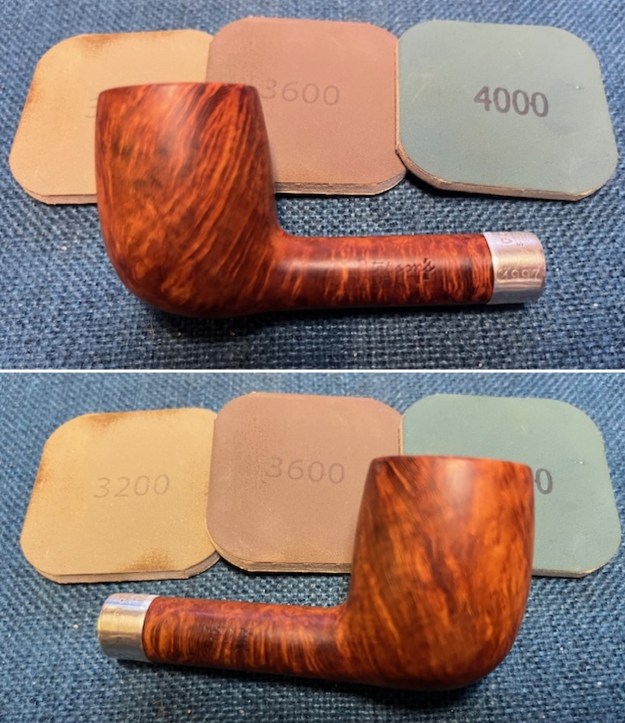
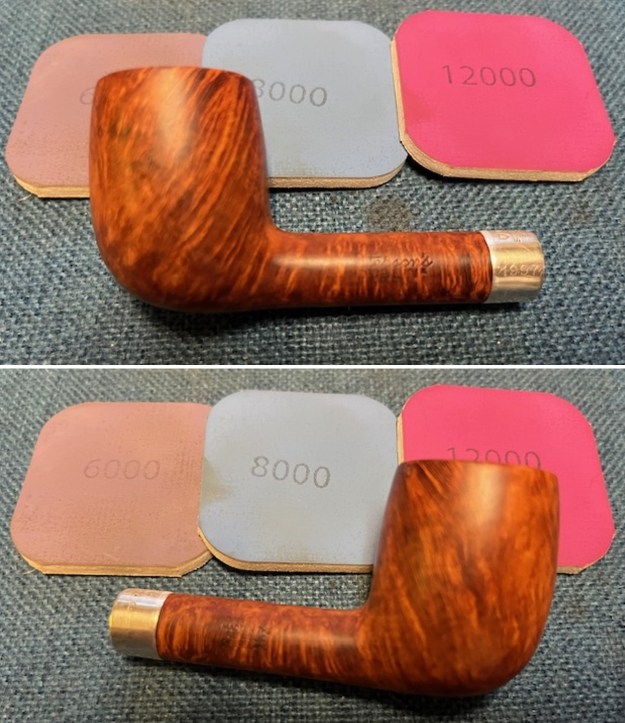
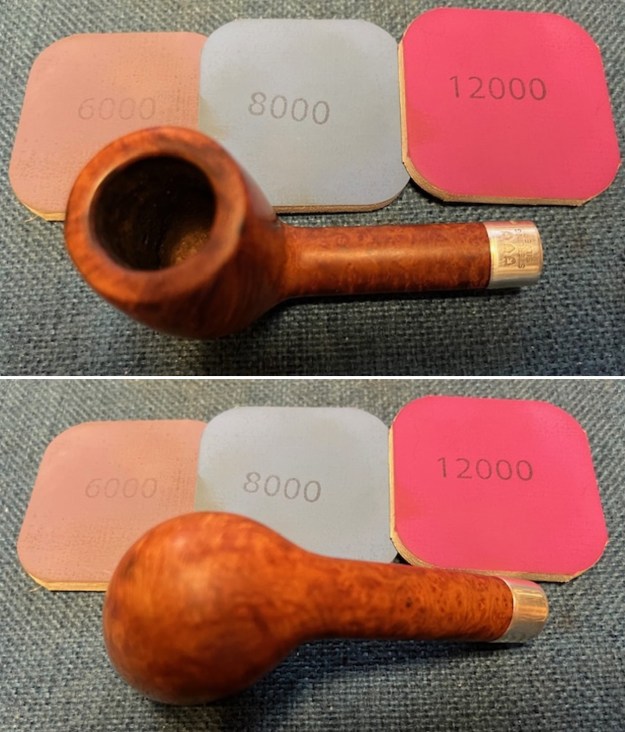
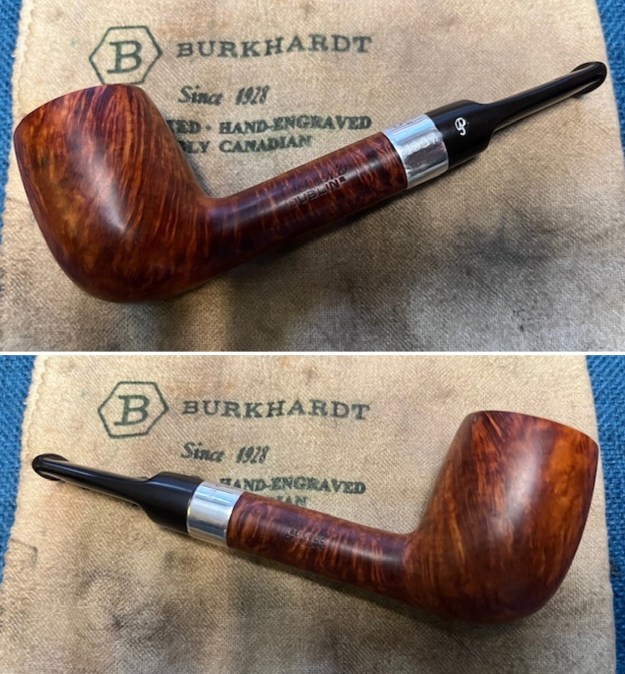
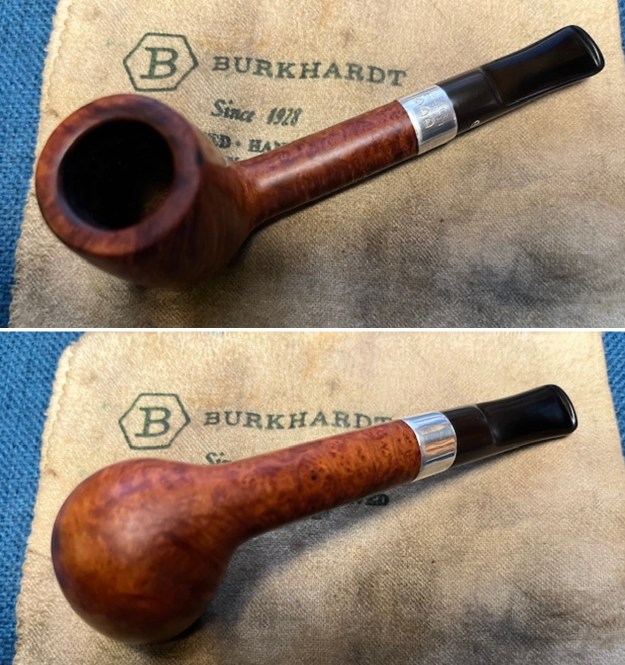
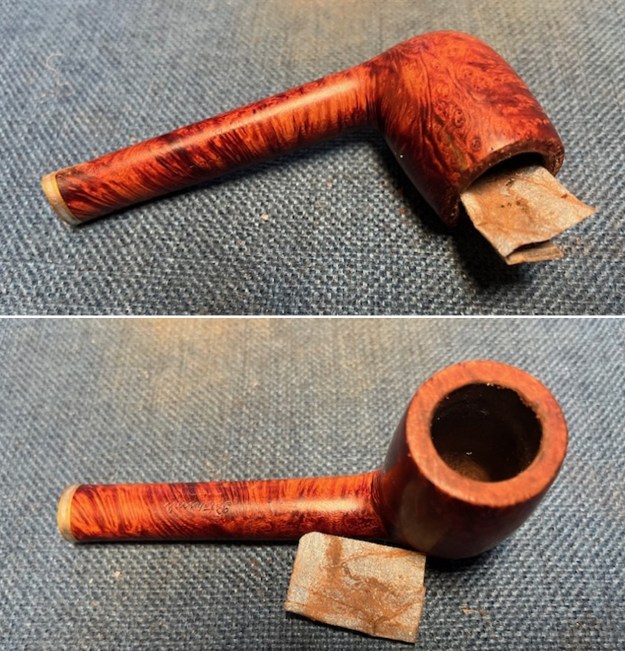
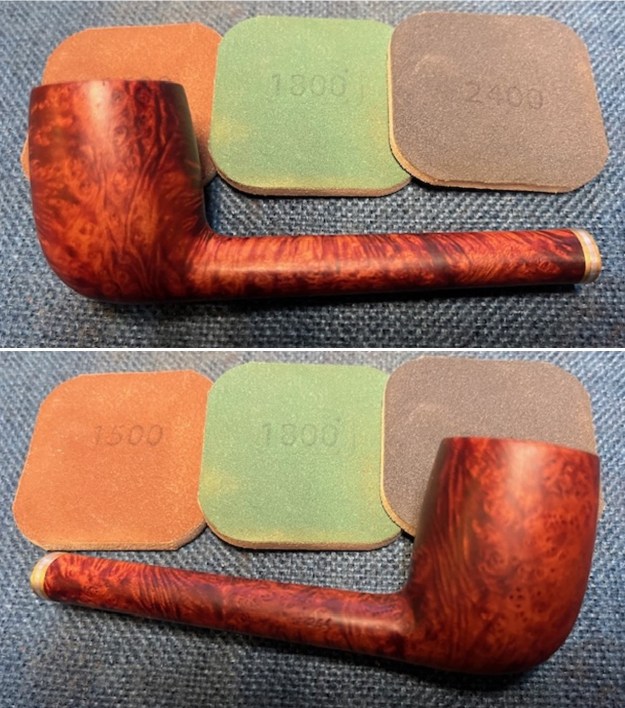
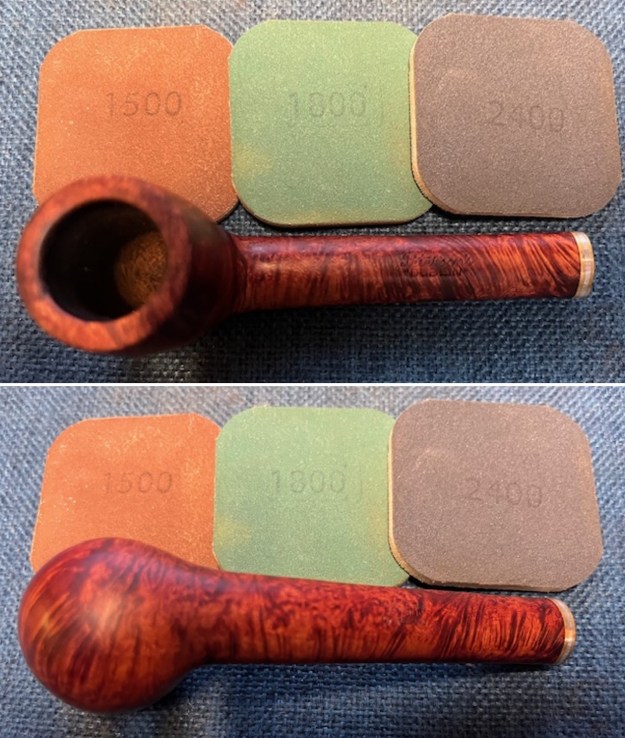
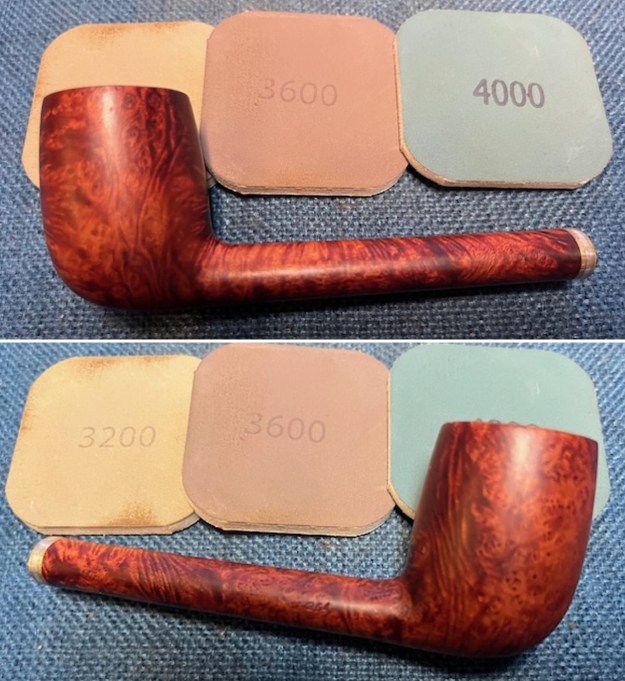
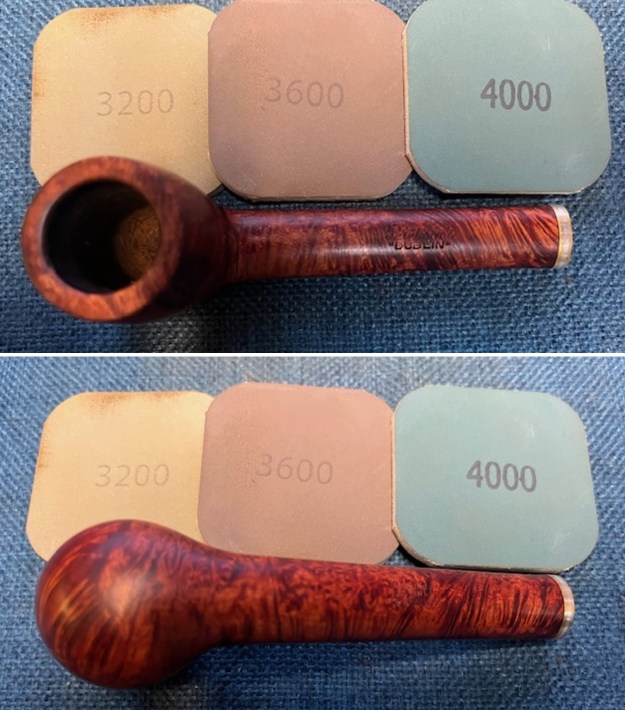
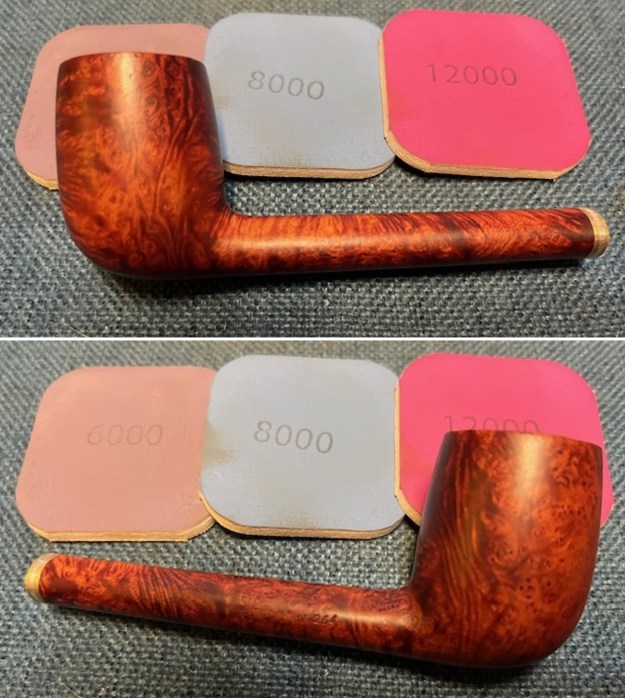
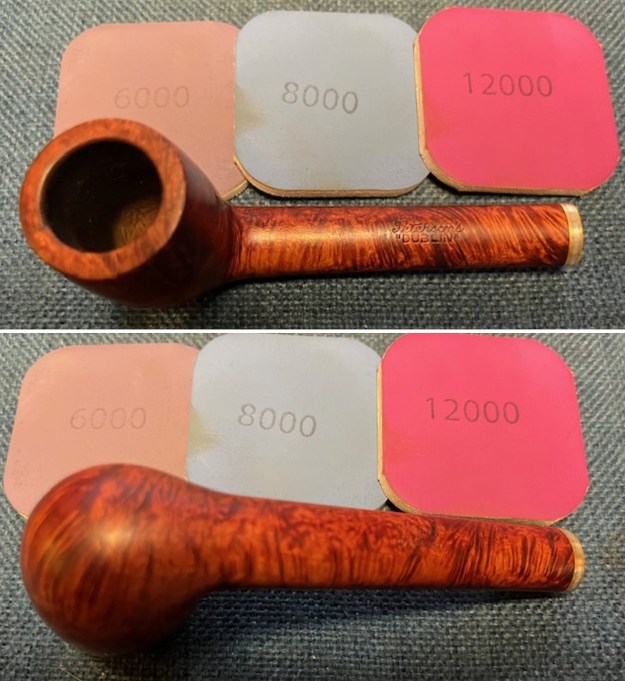
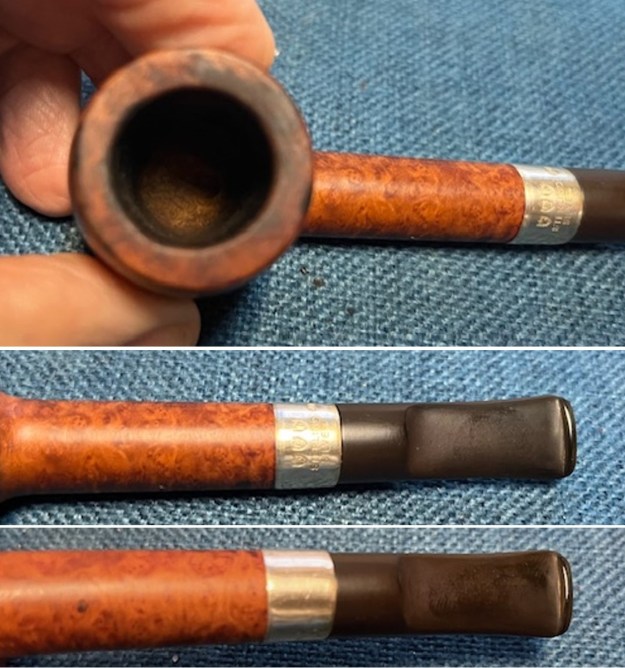
Jeff had done a great job cleaning up the pipe as usual. He reamed the pipe with a PipNet reamer and cut back the cake back to the bare briar. He cleaned up the walls with a Savinelli Fitsall Pipe Knife. He scrubbed the interior of the bowl and shank with pipe cleaners, cotton swabs and alcohol to remove the tars and oils. He scrubbed the exterior of the pipe with Murphy’s Oil Soap and a tooth brush to remove the grime from the finish. He worked on the rim top lava and the darkened spots with the soap and tooth brush. He scrubbed the inside of the stem with alcohol and pipe cleaners. He scrubbed the exterior with Soft Scrub and then soaked it in Briarville Pipe Stem Deoxidizer. He washed it off with warm water to remove the Deoxidizer. The pipe looked far better when it arrived. I took some close up photos of the rim top and also of the stem surface. I wanted to show how well it had cleaned up. The rim top had some looked quite good and the inner edge had some darkening and damage. It should clean up really well. I also took close up photos of the stem to show the tooth marks on the surface near the button. I took photos of the stamping on the sides of the shank. You can see that it is stamped as noted above. It is clear and readable. I removed the stem and took a photo of the pipe to have a look at the parts and overall look. I decided to address the damage on the rim top and the hacked inner edge of the bowl first. I used a folded piece of 220 grit sandpaper to smooth out the damage and bring the bowl back to as close to round as possible. The thinness of the walls did not leave a lot of room to work with so it is better but not perfect. I used a walnut stain pen to stain the inner edge of the bowl and the rim top to match the rest of the pipe. I polished the bowl and shank with micromesh sanding pads – dry sanding with 1500-12000 grit pads. I wiped down the bowl after each pad with a damp cloth to remove the sanding debris.   I worked some Before & After Restoration Balm into the surface of the bowl and shank with my fingertips to clean, enliven and protect the briar. I let the balm sit for 15 minutes and then buffed with a cotton cloth to raise the shine. The photos show the bowl at this point in the restoration process. I set the bowl aside and “painted” the stem surface with the flame of a “Bic” lighter to lift the tooth marks. I was able to raise them and I sanded the remaining marks to blend them into the surface of the surrounding vulcanite. I polished the stem with micromesh sanding pads – wet sanding with 1500-12000 grit sanding pads. I wiped it down after each sanding pad with Obsidian Oil.I finished polishing it with Before & After Pipe Stem Polish – both Fine and Extra Fine and buffed it off with a cotton cloth. I gave it a coat of Obsidian Oil to preserve and protect the stem. I am excited to finish this London Made English Peterson’s London & Dublin, Canadian 35P. I put the pipe back together and buffed it with Blue Diamond on the buffing wheel. I gave the bowl and the stem multiple coats of carnauba wax. I hand buffed the pipe with a clean buffing pad to raise the shine. It is fun to see what the polished bowl looks like with beautiful mixed grain all around it. Added to that the polished black vulcanite stem combined with the bowl and brass band on the shank and made a stunning pipe. This smooth Classic Older Peterson’s London & Dublin English Made Canadian 35P is great looking and the pipe feels great in my hand. It is light and well balanced. Have a look at it with the photos below. The dimensions are Length: 5 ½ inches, Height: 2 inches, Outside diameter of the bowl: 1 ¼ inches, Chamber diameter: ¾ of an inch. The weight of the pipe is 34grams/1.20oz. It is a beautiful pipe that I will soon be putting on the rebornpipes store in the Irish Pipe Makers Section. If you are interested in adding it to your collection send me an email or a message. Thanks for walking through the restoration with me as I worked over this pipe. Thanks to each of you who are reading this blog.
As always, I encourage your questions and comments as you read the blog. Thanks to each of you who are reading this blog. Remember we are not pipe owners; we are pipe men and women who hold our pipes in trust until they pass on into the trust of those who follow us.