Blog by Jacek A. Rochacki
This is Jacek’s second article on pipe repairs. I appreciate the slant that Jacek brings to the work of pipe refurbishing. His art restoration background lends itself to some beautiful solutions to the challenges that face the pipe refurbisher that are far different from those that have been used by myself and others as we deal with the work we do. I am very appreciative of Jacek’s willingness to share his methodology with us here on rebornpipes. Thank you Jacek for taking the time to write-up these pieces and sending them to us. They are a significant contribution to our work and love of all things pipe.
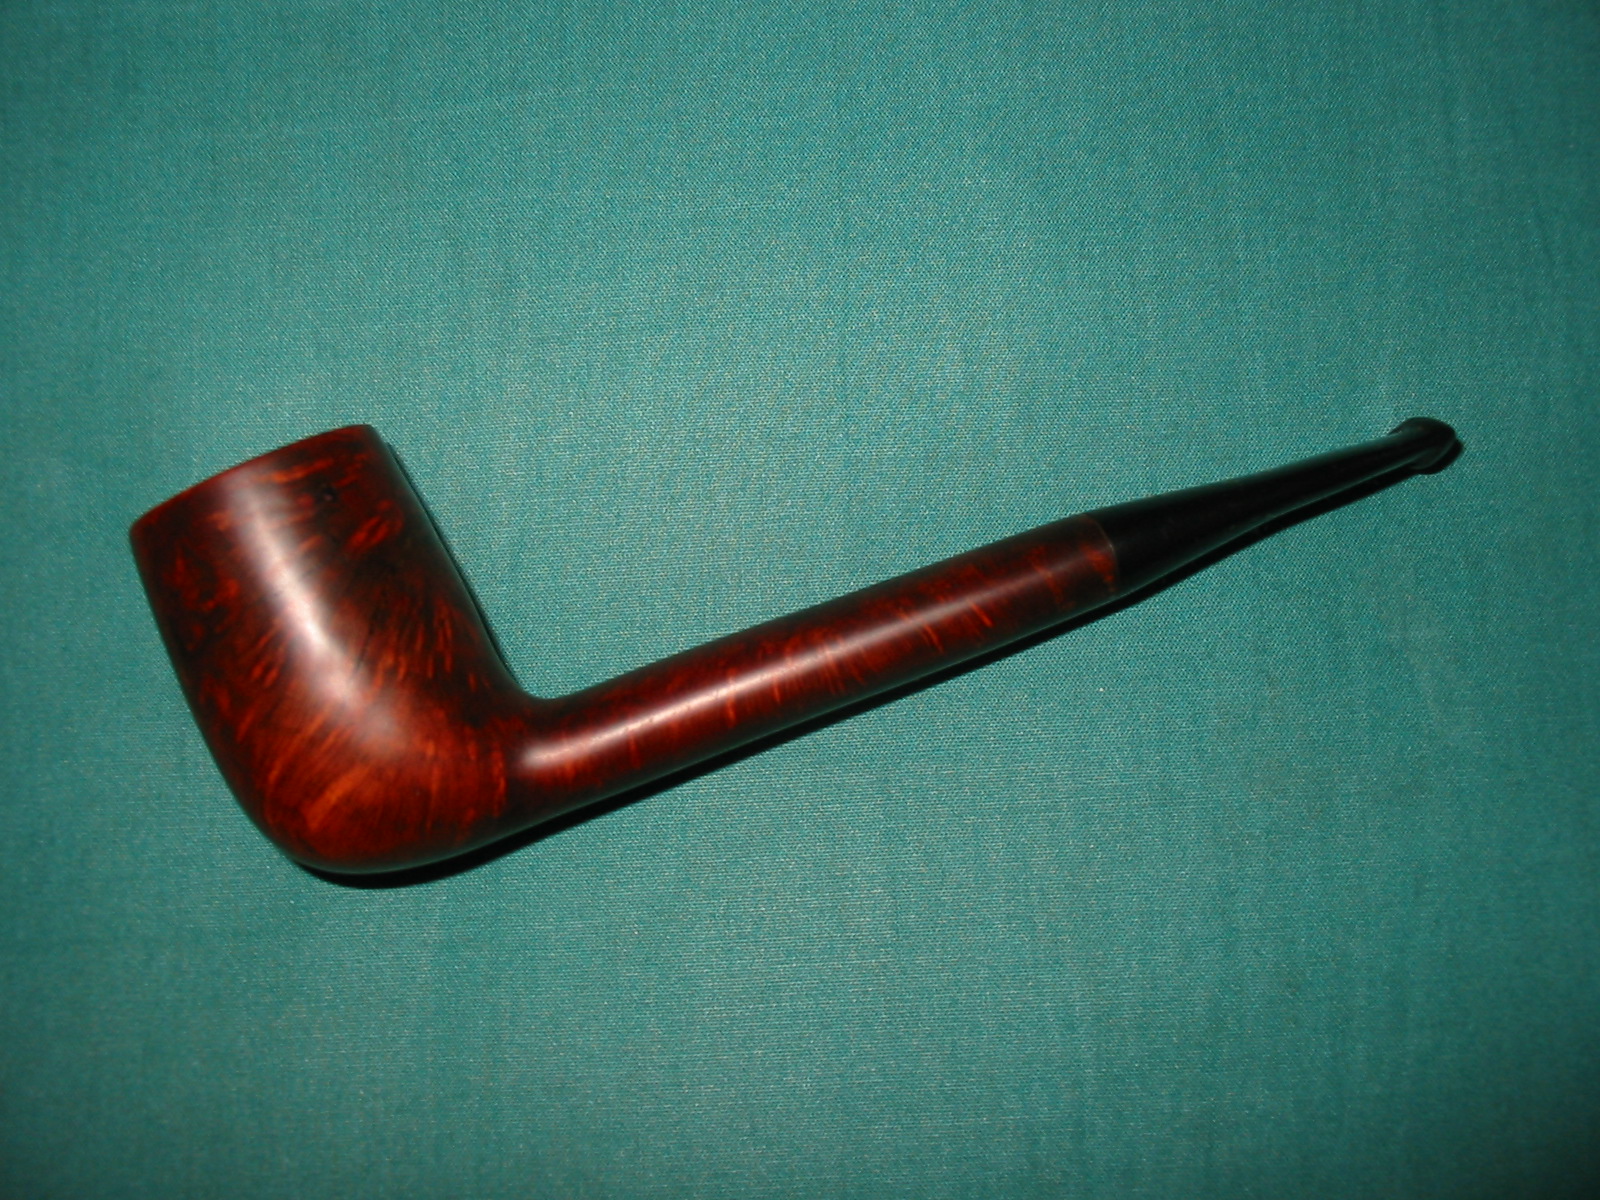
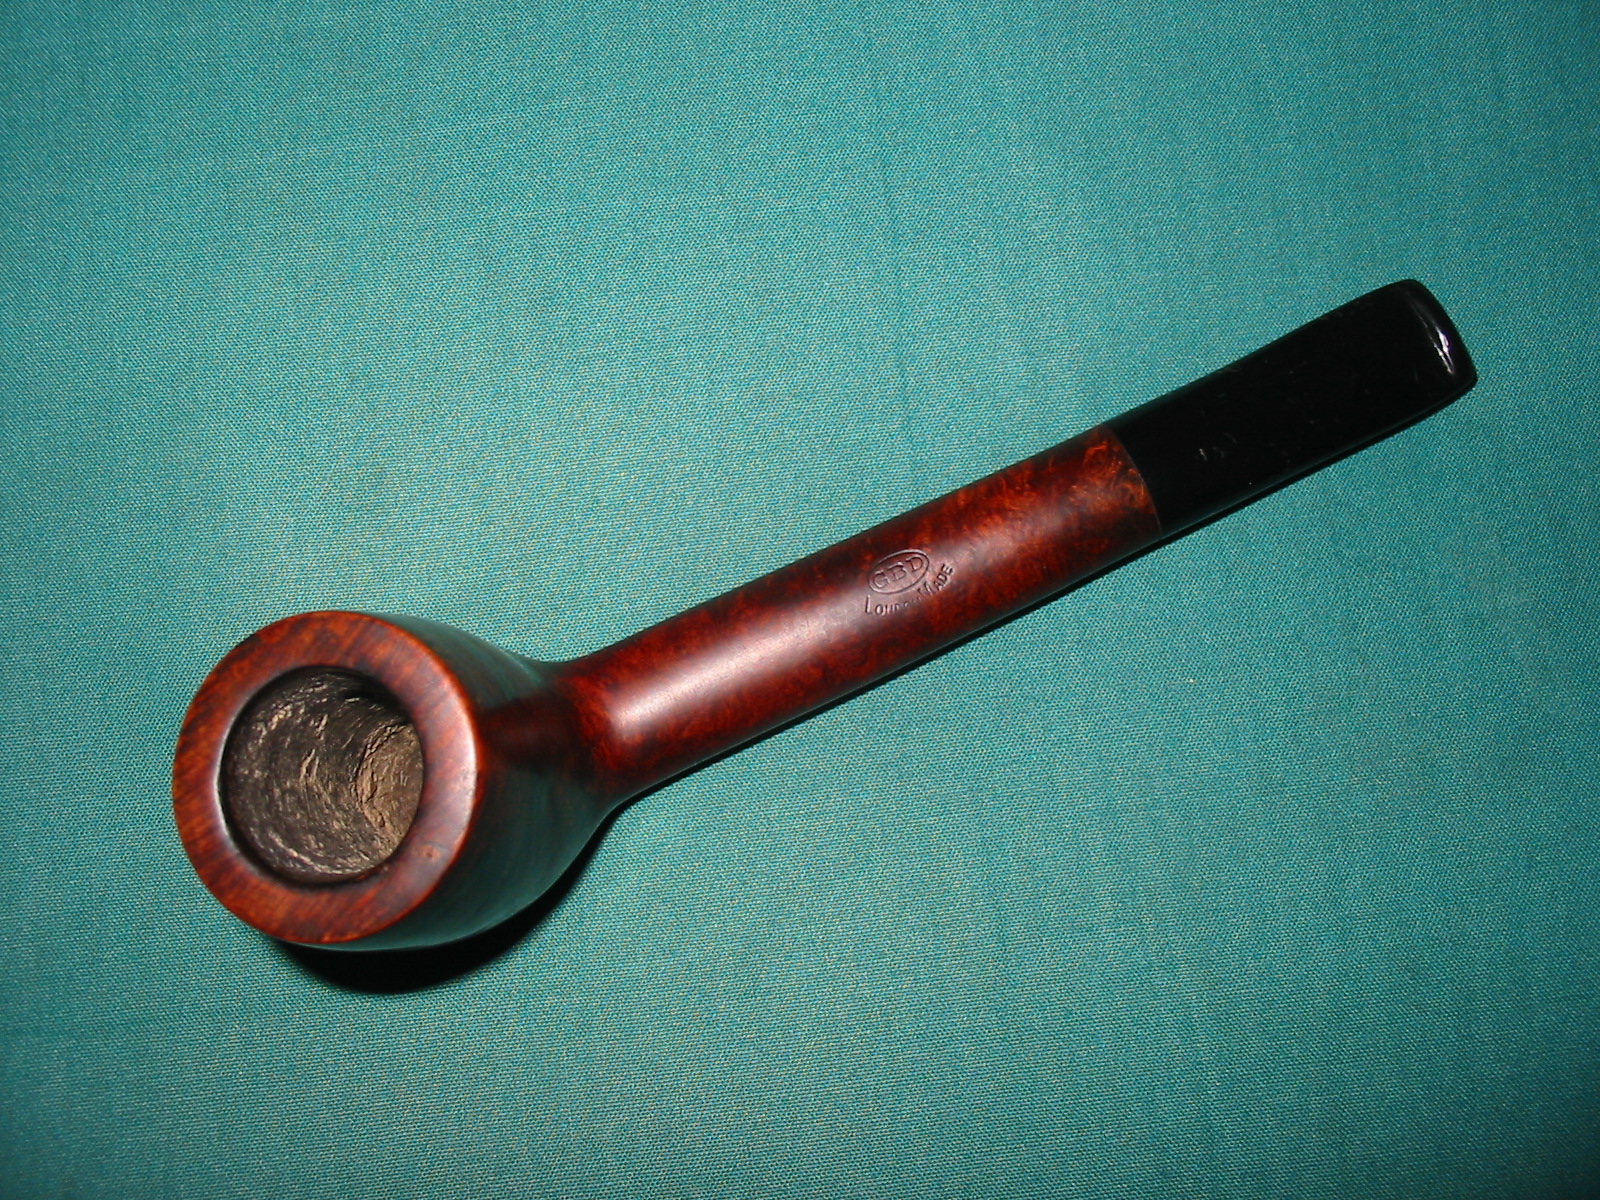
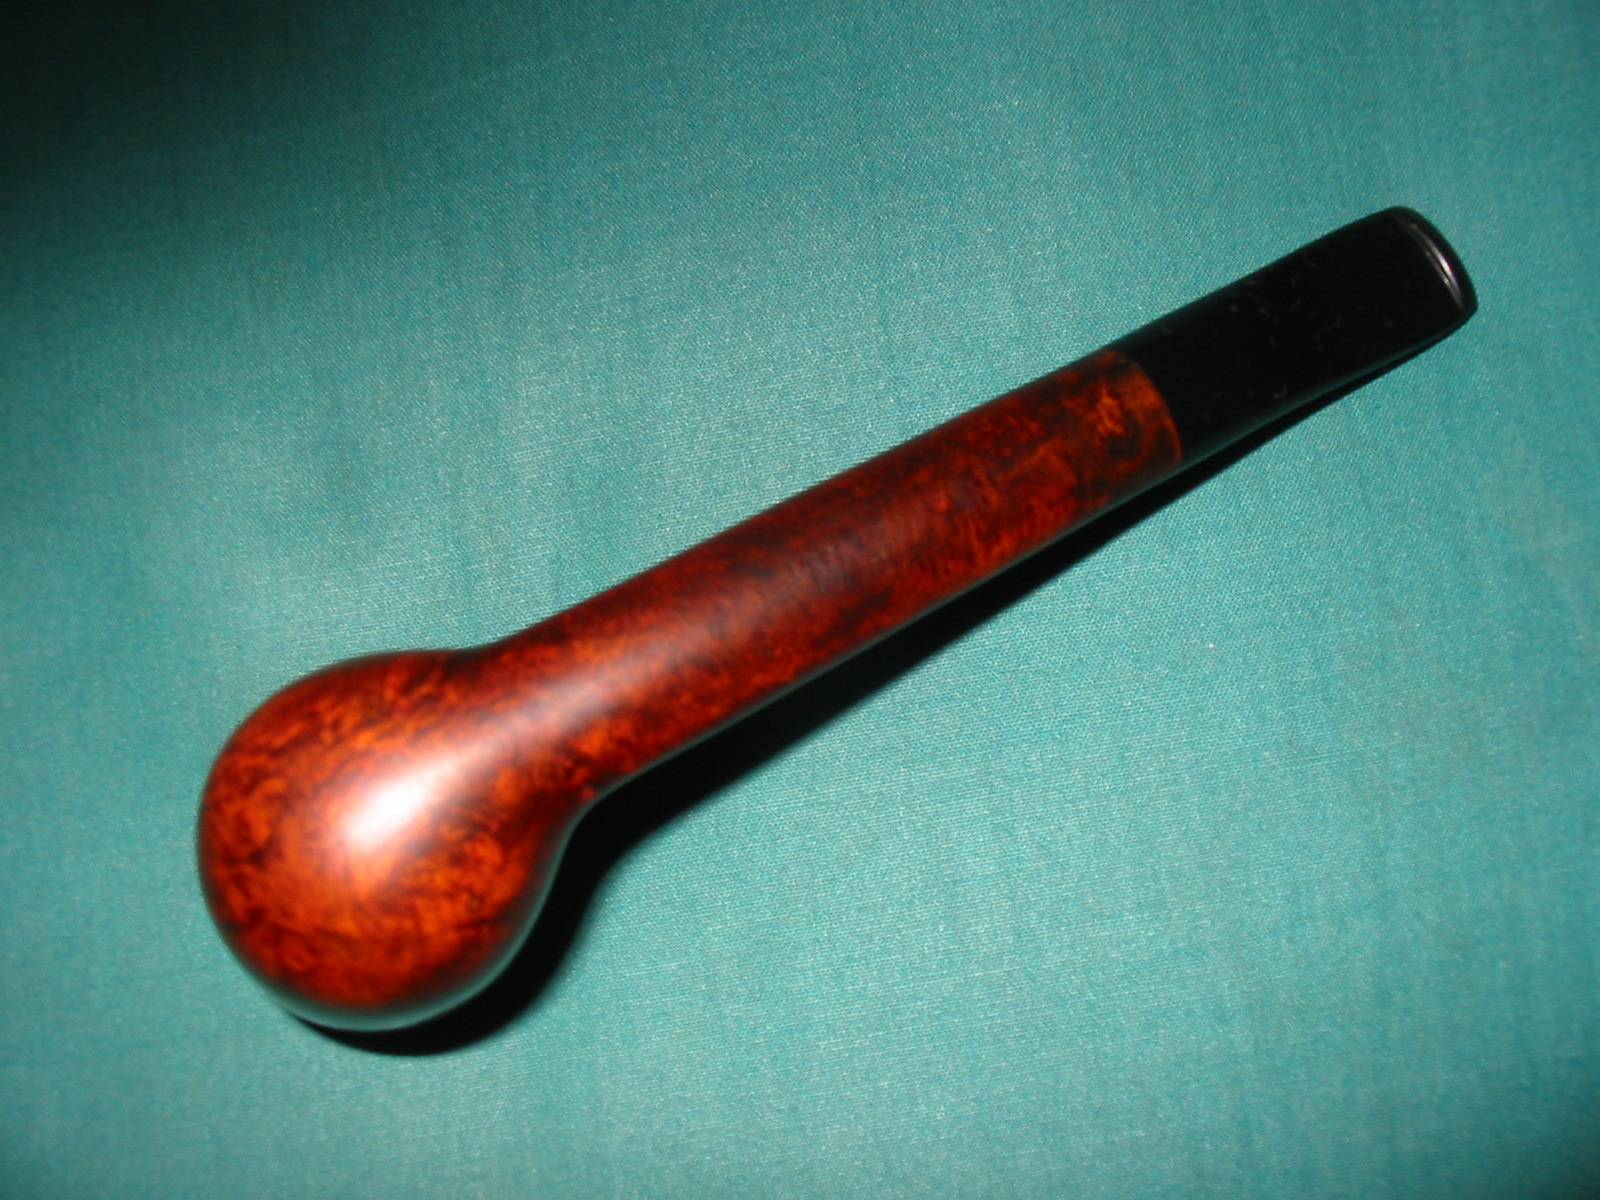
We all have known many different ways in which the stems/mouthpieces of our pipes are damaged. Let me indicate some of them: – broken mouthpiece – sometime in the middle, often in the “lip”/”button”area – tooth dent – this is often at the lip/button area and it does not look so nice – different holes/losses, mostly in the lip/button area, often such holes are”bitten up” by willing smoker. – broken tenon (sometime it is stuck/jammed in the shank) Let me begin from few words on materials. In general we deal mostly with vulcanite/ebonite and transparent Perspex (some models of GBD). But those are not the only materials. There are some similar materials like Ashtonite invented by late William “Bill” Ashton Taylor and used in his Ashton pipes; it is a little harder than typical vulcanite/ebonite. In older pipes we often see mouthpieces in yellow color looking like and named “Amber”; these are seldom made of original amber, more often of yellow glass-like material and are hard and break easily. (There are also yellow stems of softer materials like vulcanite/ebonite, and I would proceed with them as I usually proceed with black or Cumberland vulcanite/ebonite). Their tenons are often made of different, more appropriate material for their function, possibly bone, and sometimes such tenons are of screw in type. In some briar pipes tenons are made of metal – aluminum. And I know cases when owner wanted such metal tenons to be removed and changed for tenons made of vulcanite, modern Teflon etc. in belief that these materials will “cooperate” better with briar wood. I mention this not as advice as it is “intrusion” into originality of the pipe but as some kind of curiosity. As a matter of fact I note that even in case of vulcanite mouthpieces there was/is tendency to remove original tenons and fit tenons of Teflon or other modern material. Here is list (partial to be sure) of some of the different kinds of vulcanite/ebonite materials that have been used for mouthpieces:
Ace – American Hard Rubber Co., USA
Super-Ace – American Hard Rubber Co., USA
Amcosite – Siemens Bros. & Co., UK
Bulwark – Redfern’s Rubber Works, UK
Cohardite – Connecticut Hard Rubber Co., USA
Dexonite – Dexine Ltd., UK
Endurance American Hard Rubber Co., USA
Gallia-Rubber – French ebonite
Keramot – Siemens Bros. & Co., UK
Level Chuck – American Hard Rubber Co., USA
Luzerne – Luzerne Rubber, USA
Mercury – American Hard Rubber Co., USA
Navy – American Hard Rubber Co., USA
Onazote – Expanded Rubber Co., UK
Permcol – British Hard Rubber Co., UK
Resiston – American Hard Rubber Co., USA
Rub-Erok – Richardson Co., USA
Rub-Tex – Richardson Co., USA
Solid Rubber – used by some English makers in 1914-1918 years
I have seen these names/markings on stems/mouthpieces of old pipes. Sometimes it is of help in dating and attributing a pipe that is so marked. Remember that vulcanization of natural rubber with sulfur was invented by Charles Goodyear in USA in 1839 and was patented in 1843; in the same year Thomas Hancock patented it in Great Britain. Here is have good source on vulcanite
http://www.seattlepipeclub.org/content.aspx?page_id=22&club_id=969877&module_id=16894
In the’30’s vulcanite of different mixed colors became popular in making pens and is similar to what we see in some mouthpieces of pipes named “Cumberland”.
As vulcanite consists of vulcanized natural rubber, it may be of help to mention that oil (like in old days was used in oil lamps) and/or turpentine may serve as solvents, helpful with restoration if needed be.
I said all this in order to point out the importance of recognizing the material that our mouthpieces are made of in order to find best matching material for making eventual repairs to missing elements etc. The practical solution seems to be making one’s own “stock” of repair materials – simplest would be to collect broken, unrepairable mouthpieces. But there other ways: I found vulcanite rods that were used in schools for experimenting with electricity to be good material for fixing damaged mouthpieces. In the field of transparent materials I have been using old fashioned artificial plastic glass (sometime named Plexiglas) that was used in aviation some half of century ago. It is also important to choose right type of glue.
Beside the matters of tenons, I would briefly divide our work into two categories:
– joining together broken elements
– filling in holes or broken areas.
Of course, in practice these categories will “mix up” together.
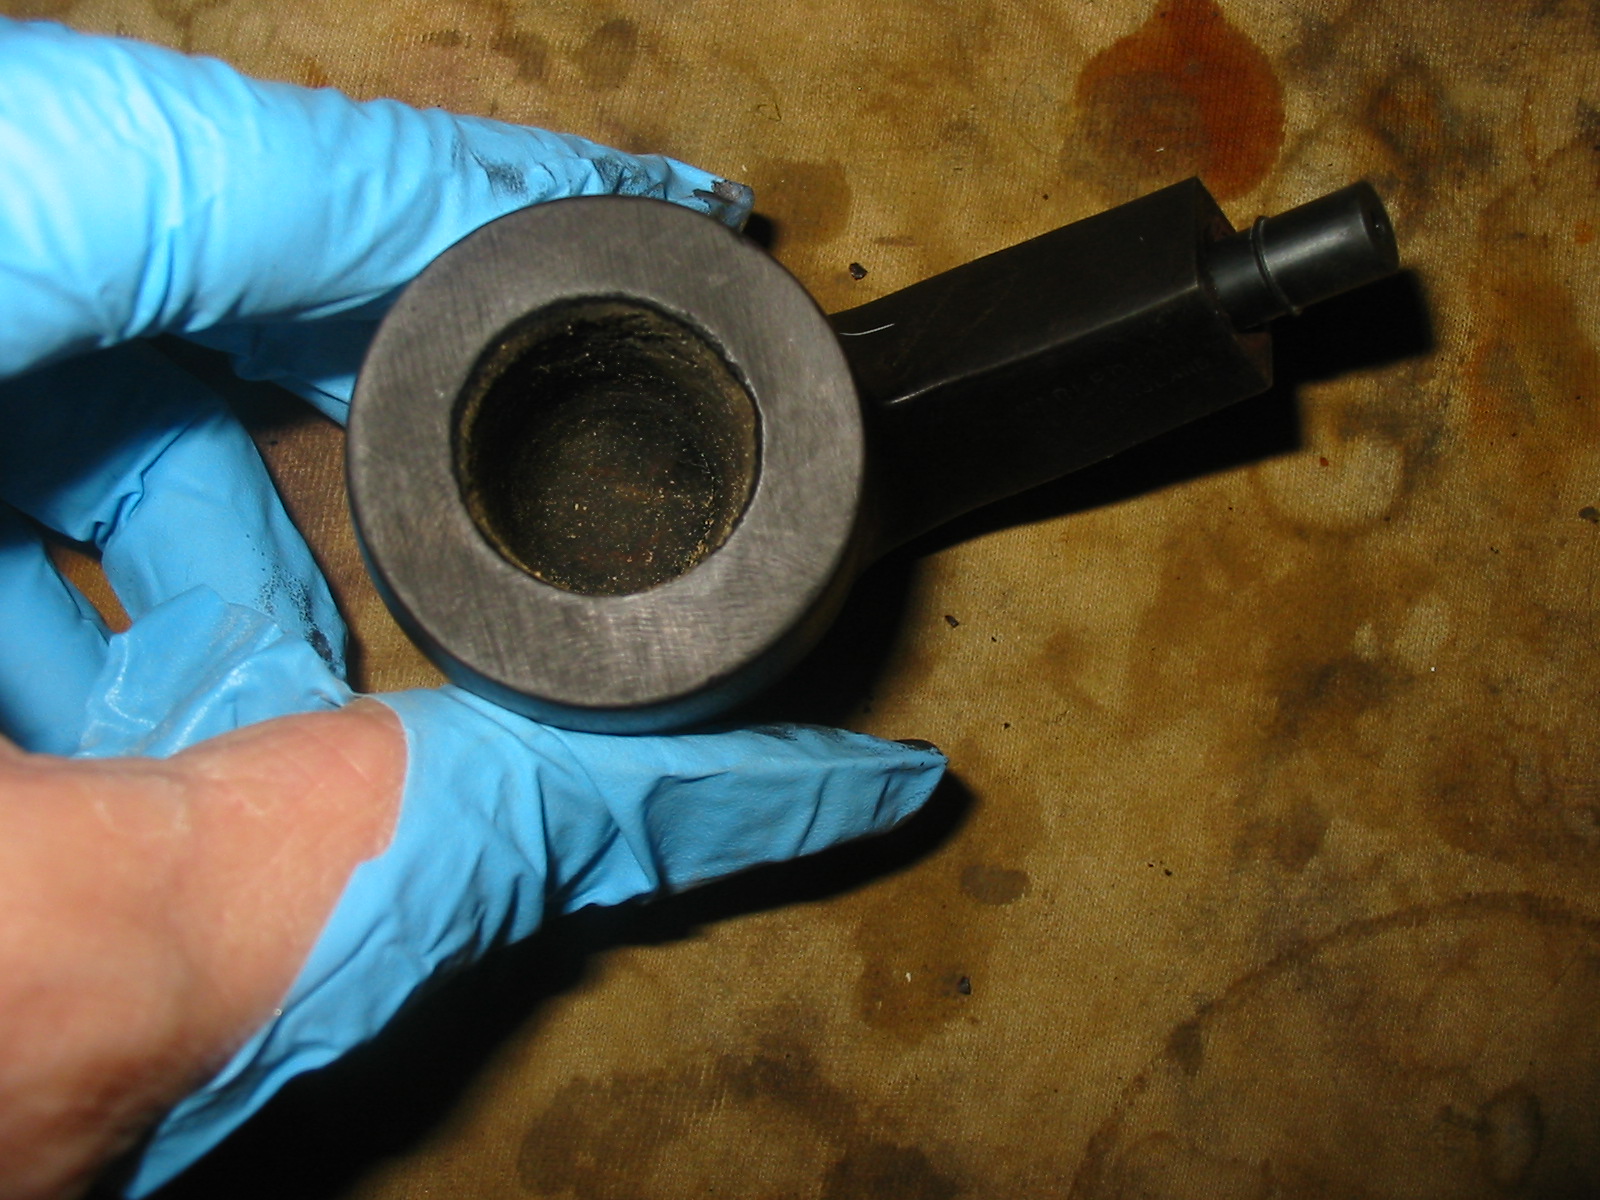
In the case of a repairing a stem or mouthpiece that broken in half, the solution is quite simple. What is to be done is to use a strengthening/enforcing invisible element that will serve as sort of “hard core” – constructional element. The simplest way would be to use thin tube of internal diameter corresponding with diameter of the air channel of our mouthpiece. “Walls” of such tube, if it is tube of metal, may be of 0.3 – 0.4 mm in thickness. In order for it be fitted properly, we have to drill a kind of “nest”/mortise/”channel” for it, drilling the air channel with drill bit of proper diameter making this “nest”/mortise as long as required by length of our tube. The choice of such tube is important as not only air but also condensate will be in contact with the tube, so I would avoid brass, copper etc. The best IMO would be a tube of pure silver or high percentage silver alloy, or some aluminum like that which was used by Dunhill for his Inner Tubes, just of larger diameter. Silver tubes may be available in goldsmith’s supply places.
After making proper strengthening/enforcing tube and making sure that all parts fit well, I use simple glue of cyanoacrylic type – kind of “super glue”.
A more advanced way would be to make the strengthening/enforcing/ element – a drilled tube/cylinder from vulcanite/ebonite. It is possible to make it without using a lathe, just the laborious and precise use of files. The starting material could be the broken tenon from unrepairable mouthpiece from our “stock” of materials. The “nests”/mortises in parts to be glued should be of larger/proper diameter, because it is practically impossible to hand make the vulcanite mini tube with walls of 0.3 or similar thickness, so the outer diameter of our vulcanite tube will be larger than in case of metal tube. We make “nests”/mortises/”channels” of required diameter using drill bits of proper diameter. If we are not sure about precision of our fingers necessary for hand making short tube of vulcanite, we may make just a small cylinder of vulcanite of desired size which would make/allow parts to be glued to fit perfectly, and after gluing all parts together, drill the air channel from the tenon side with a long drill bit of right diameter corresponding to diameter of the air channel and in delicate, secure direction-wise way, drill the inserted cylinder through the air channel so the air/draft channel will be “operational” again.
Summary: use the enforcing/strengthening elements and we may be surprised how many unrepairable looking elements may be repaired and then serve really well.
Now for filling in holes or broken areas.
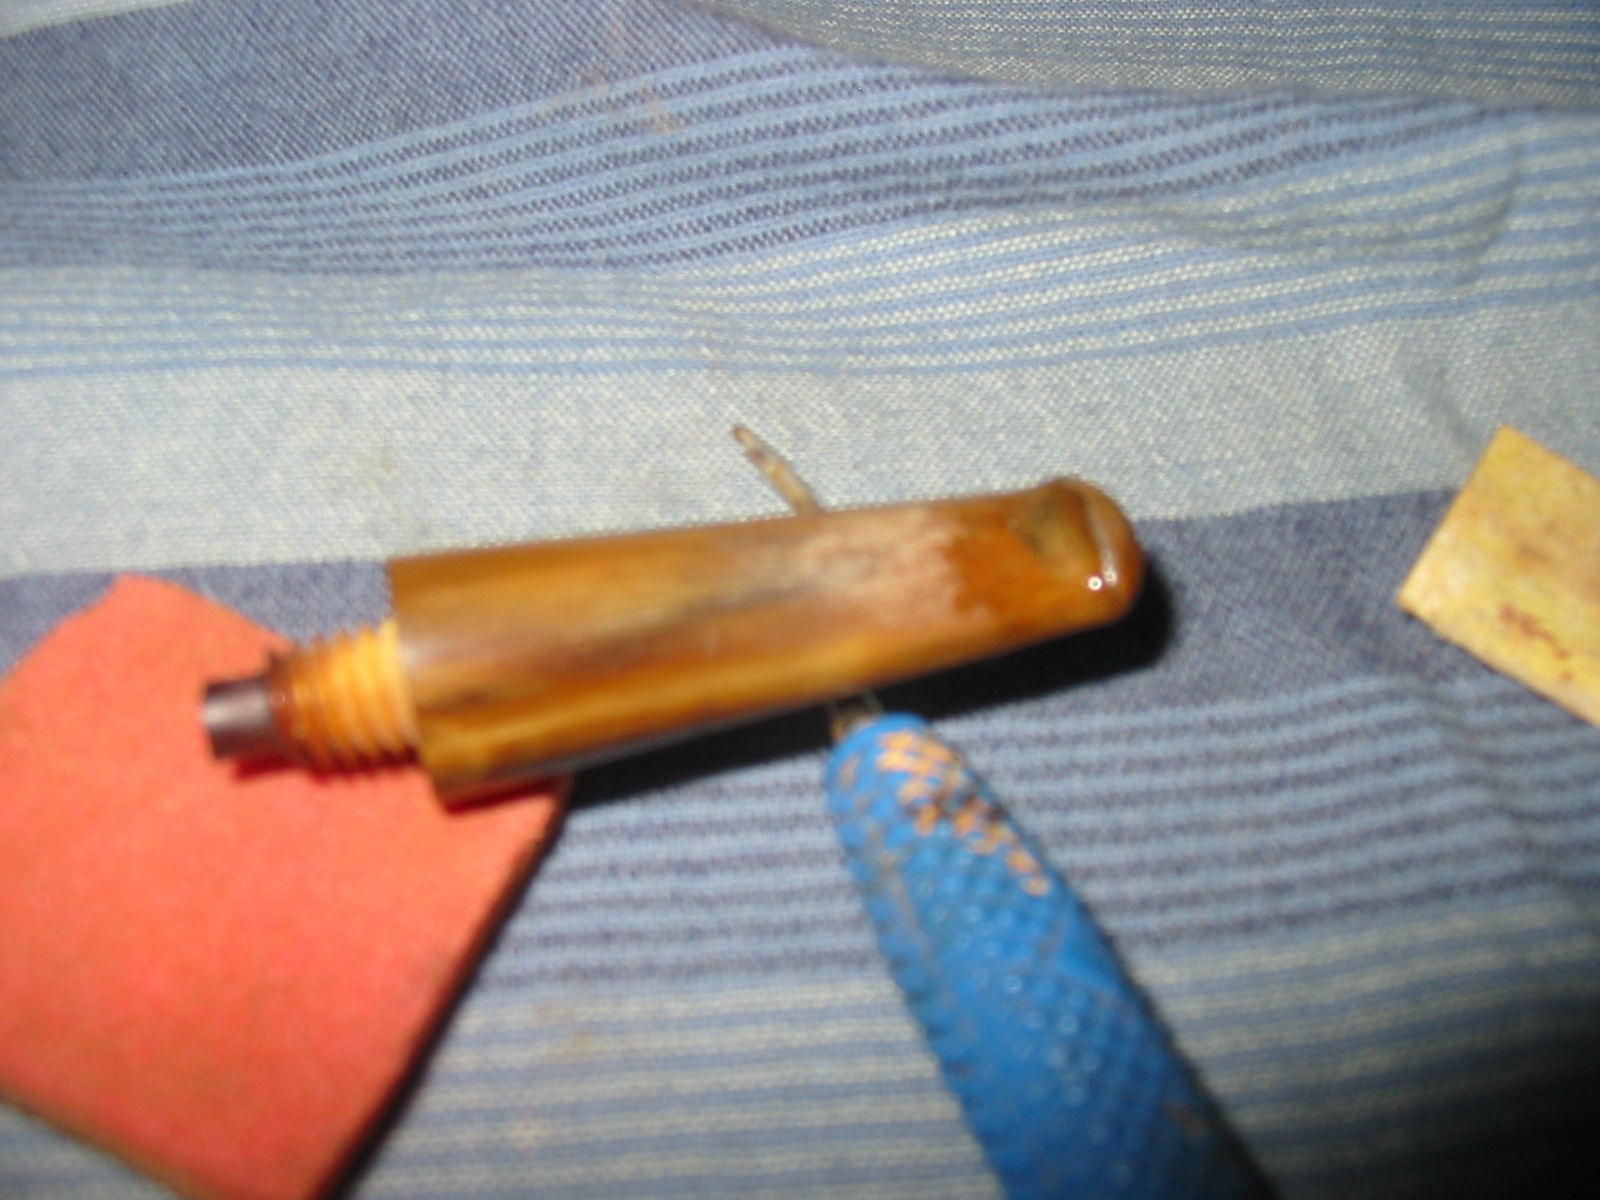
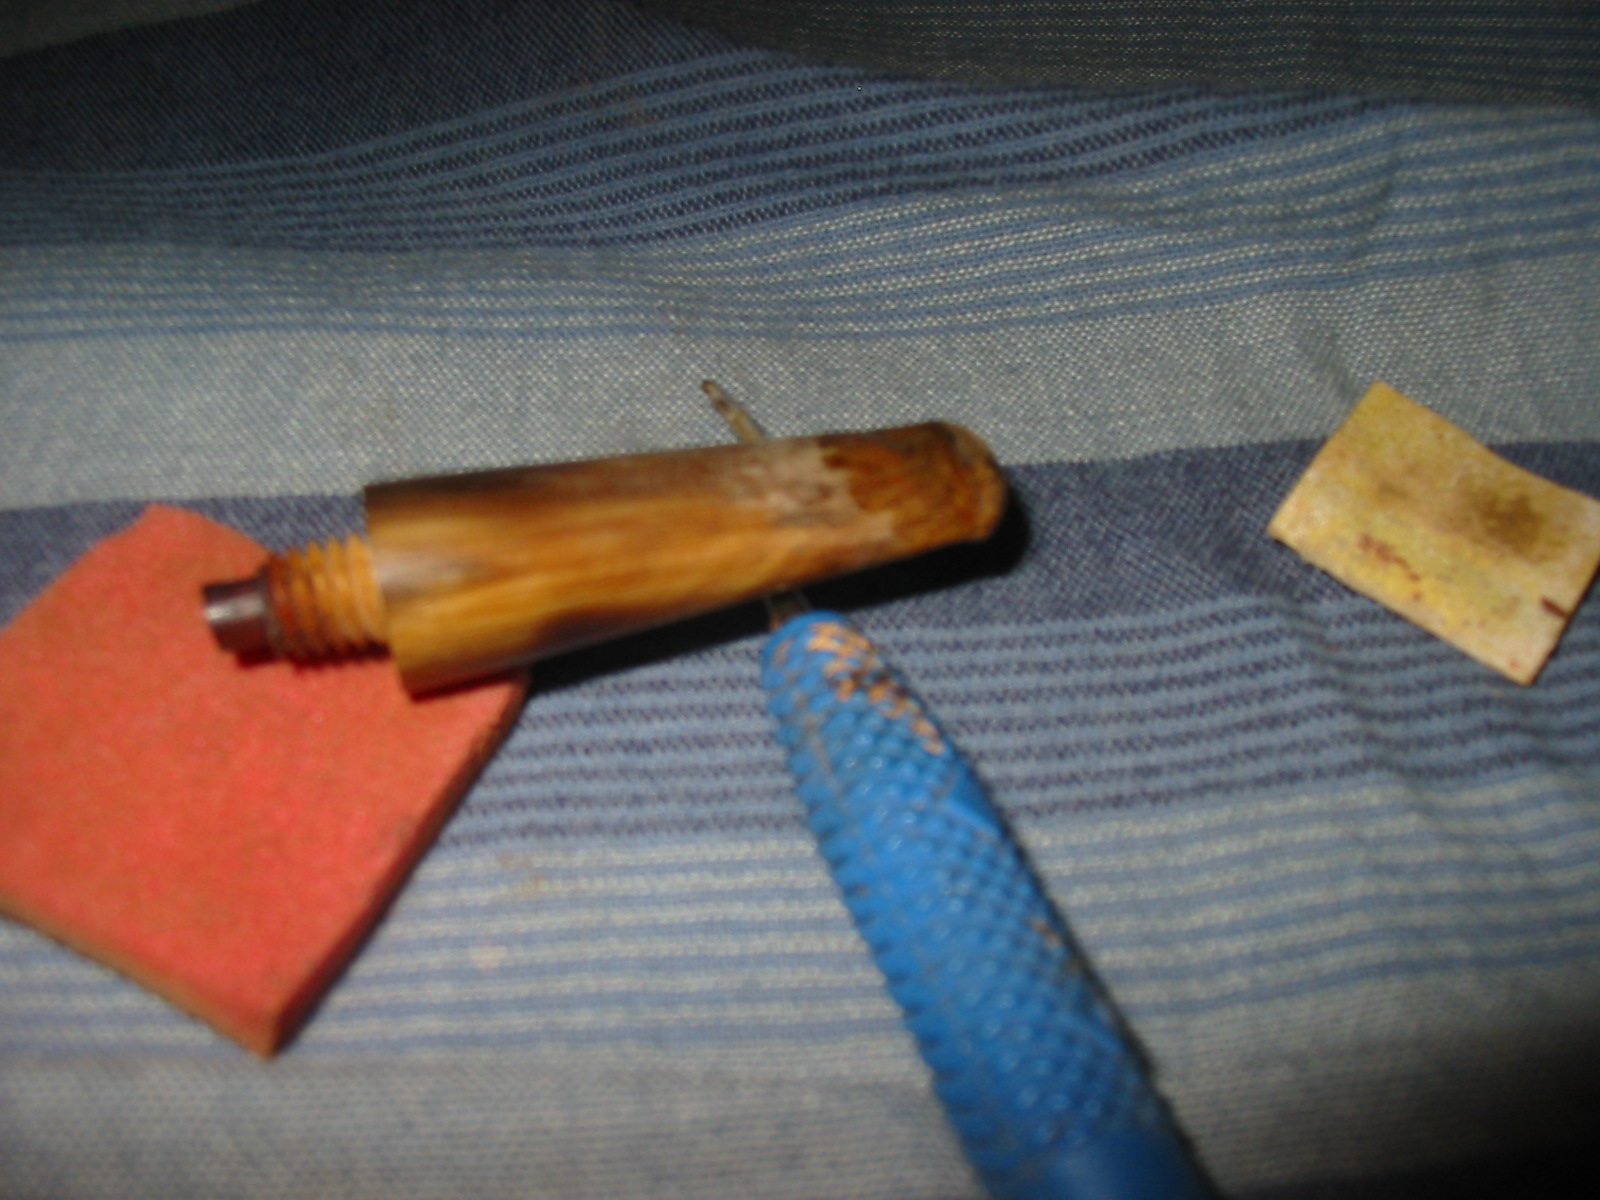
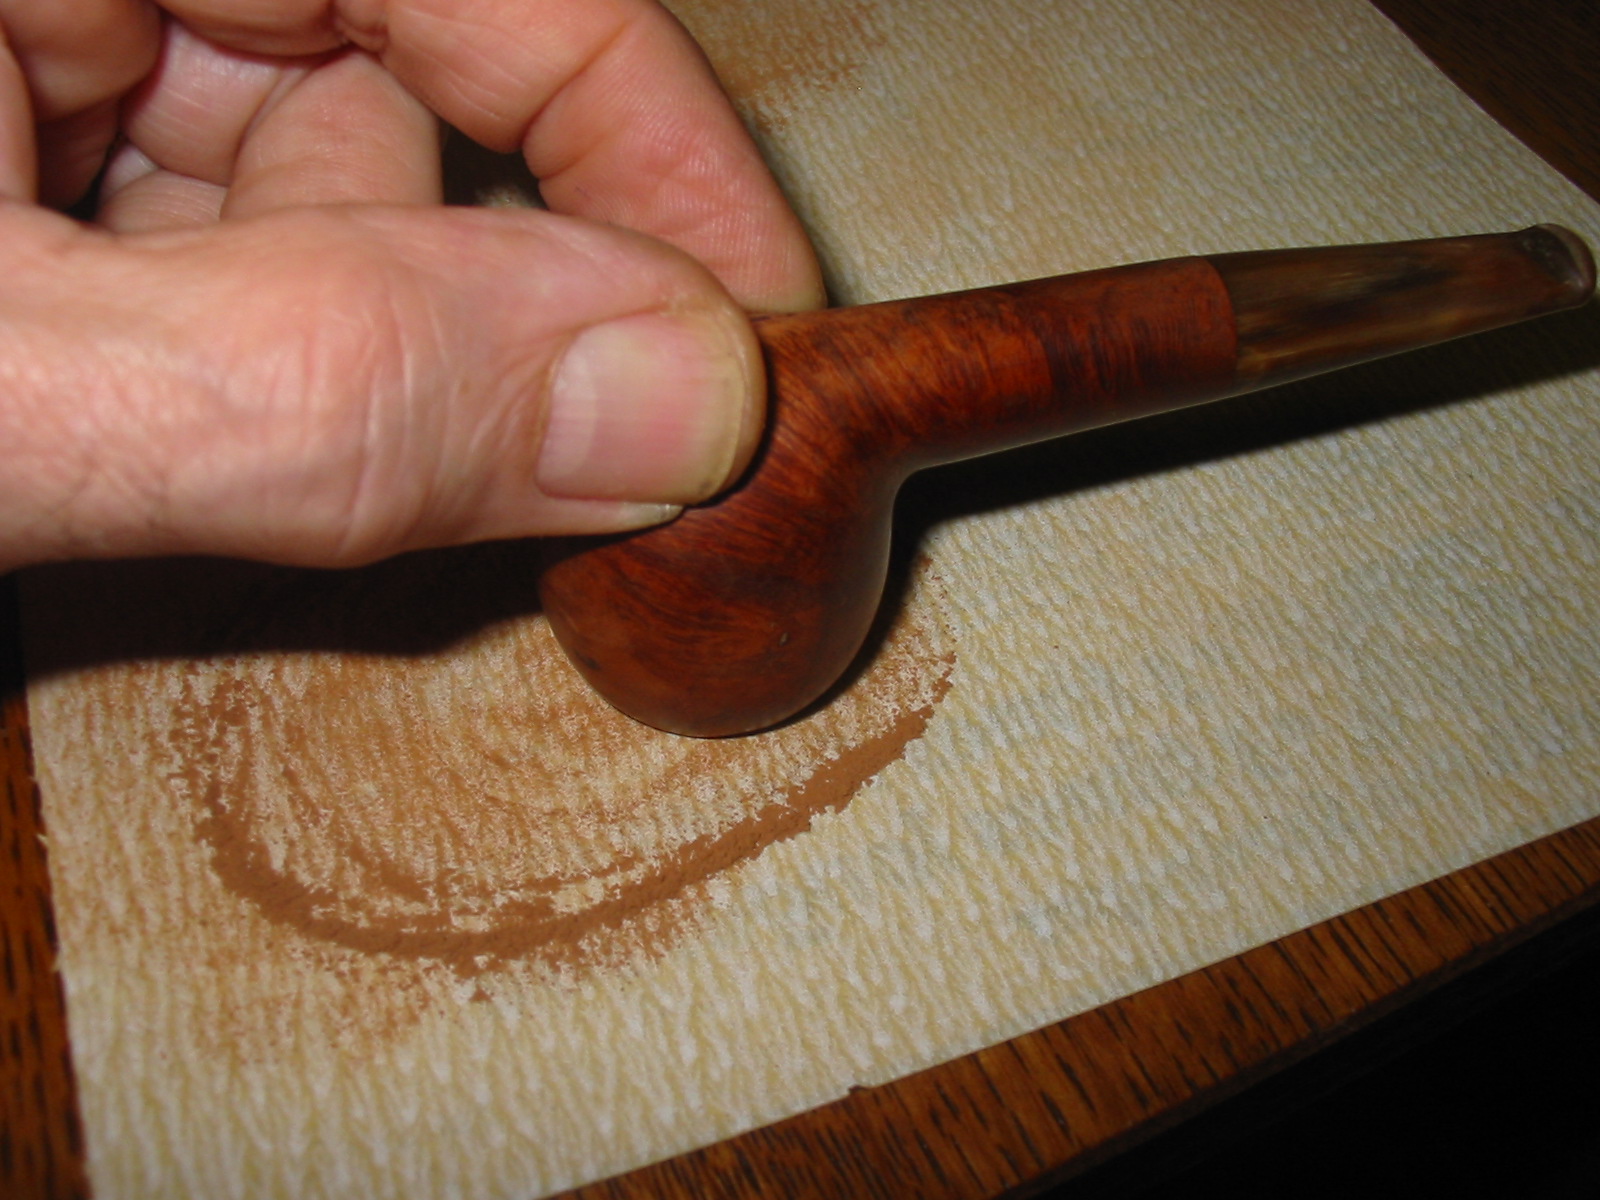
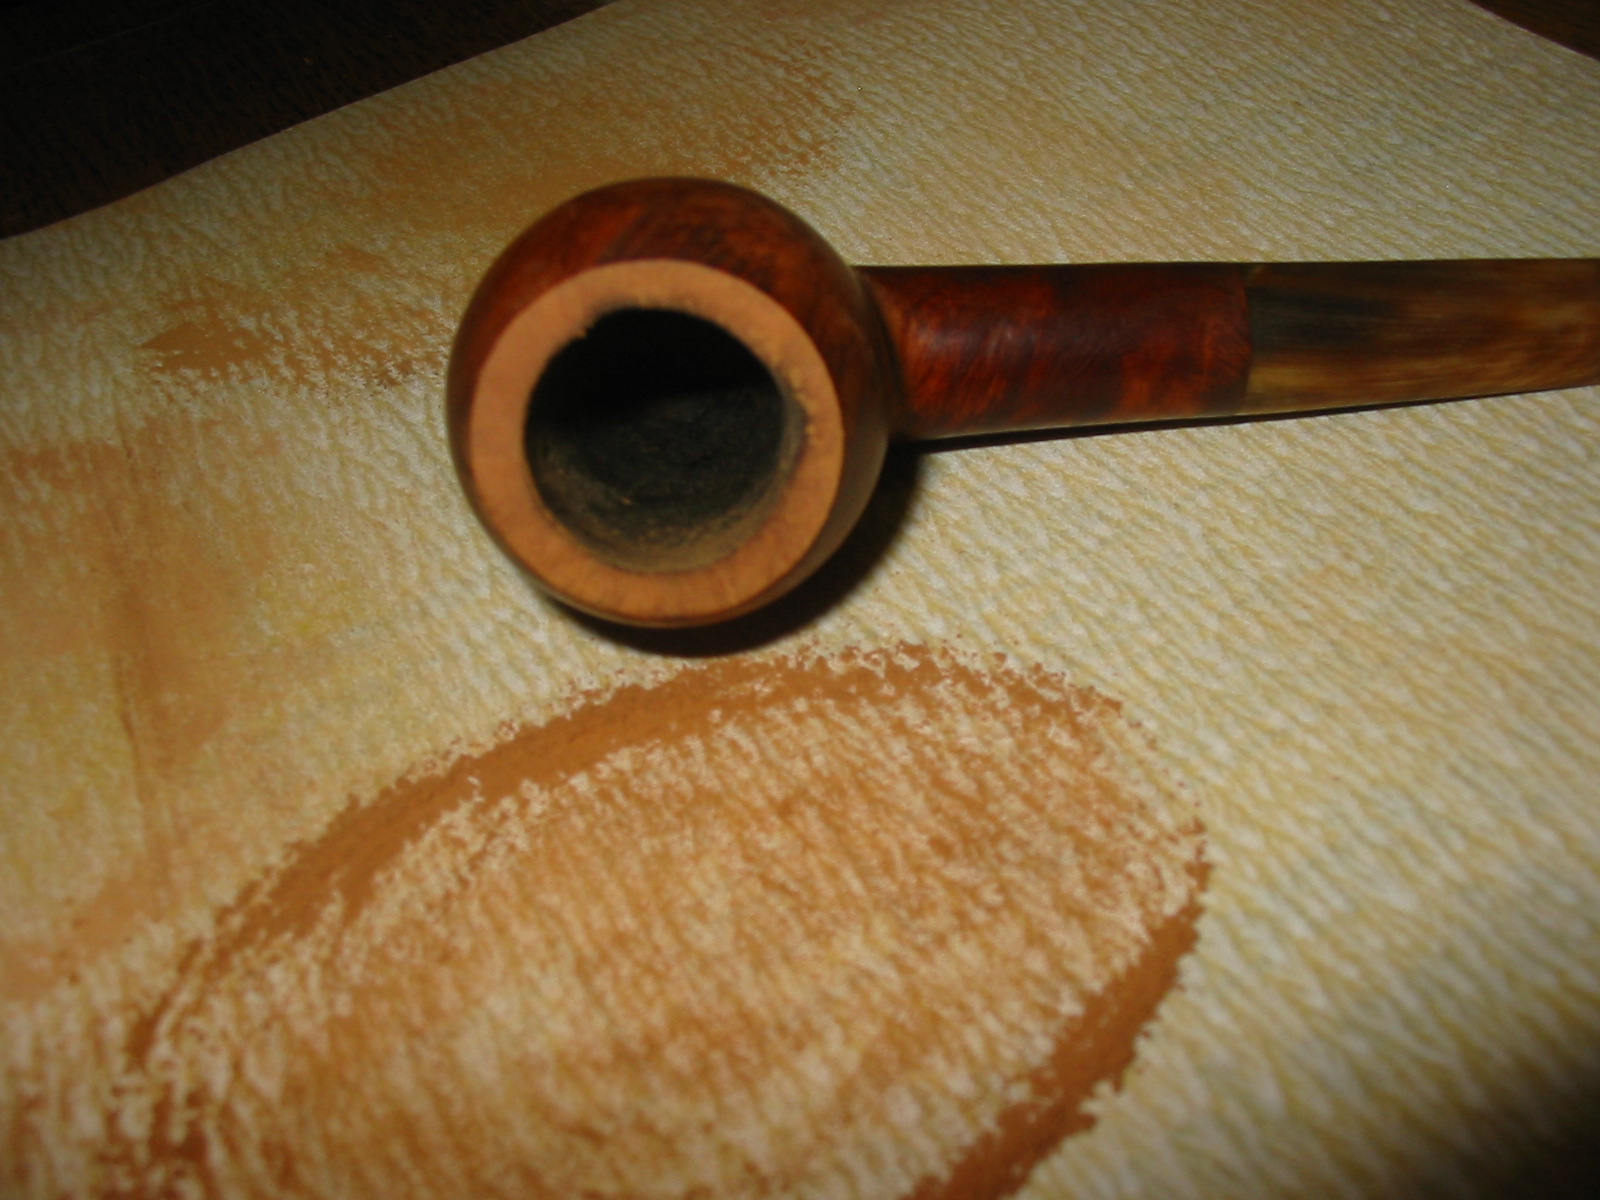
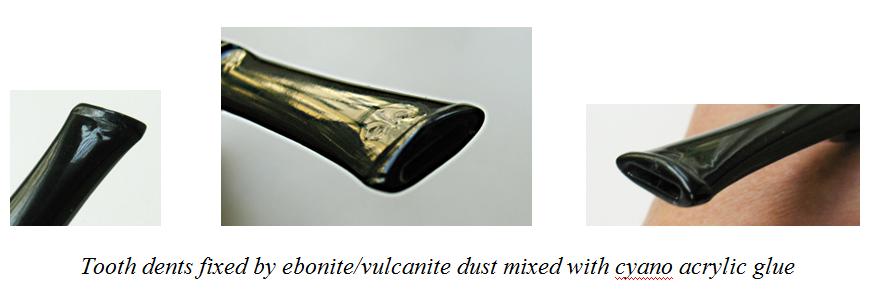
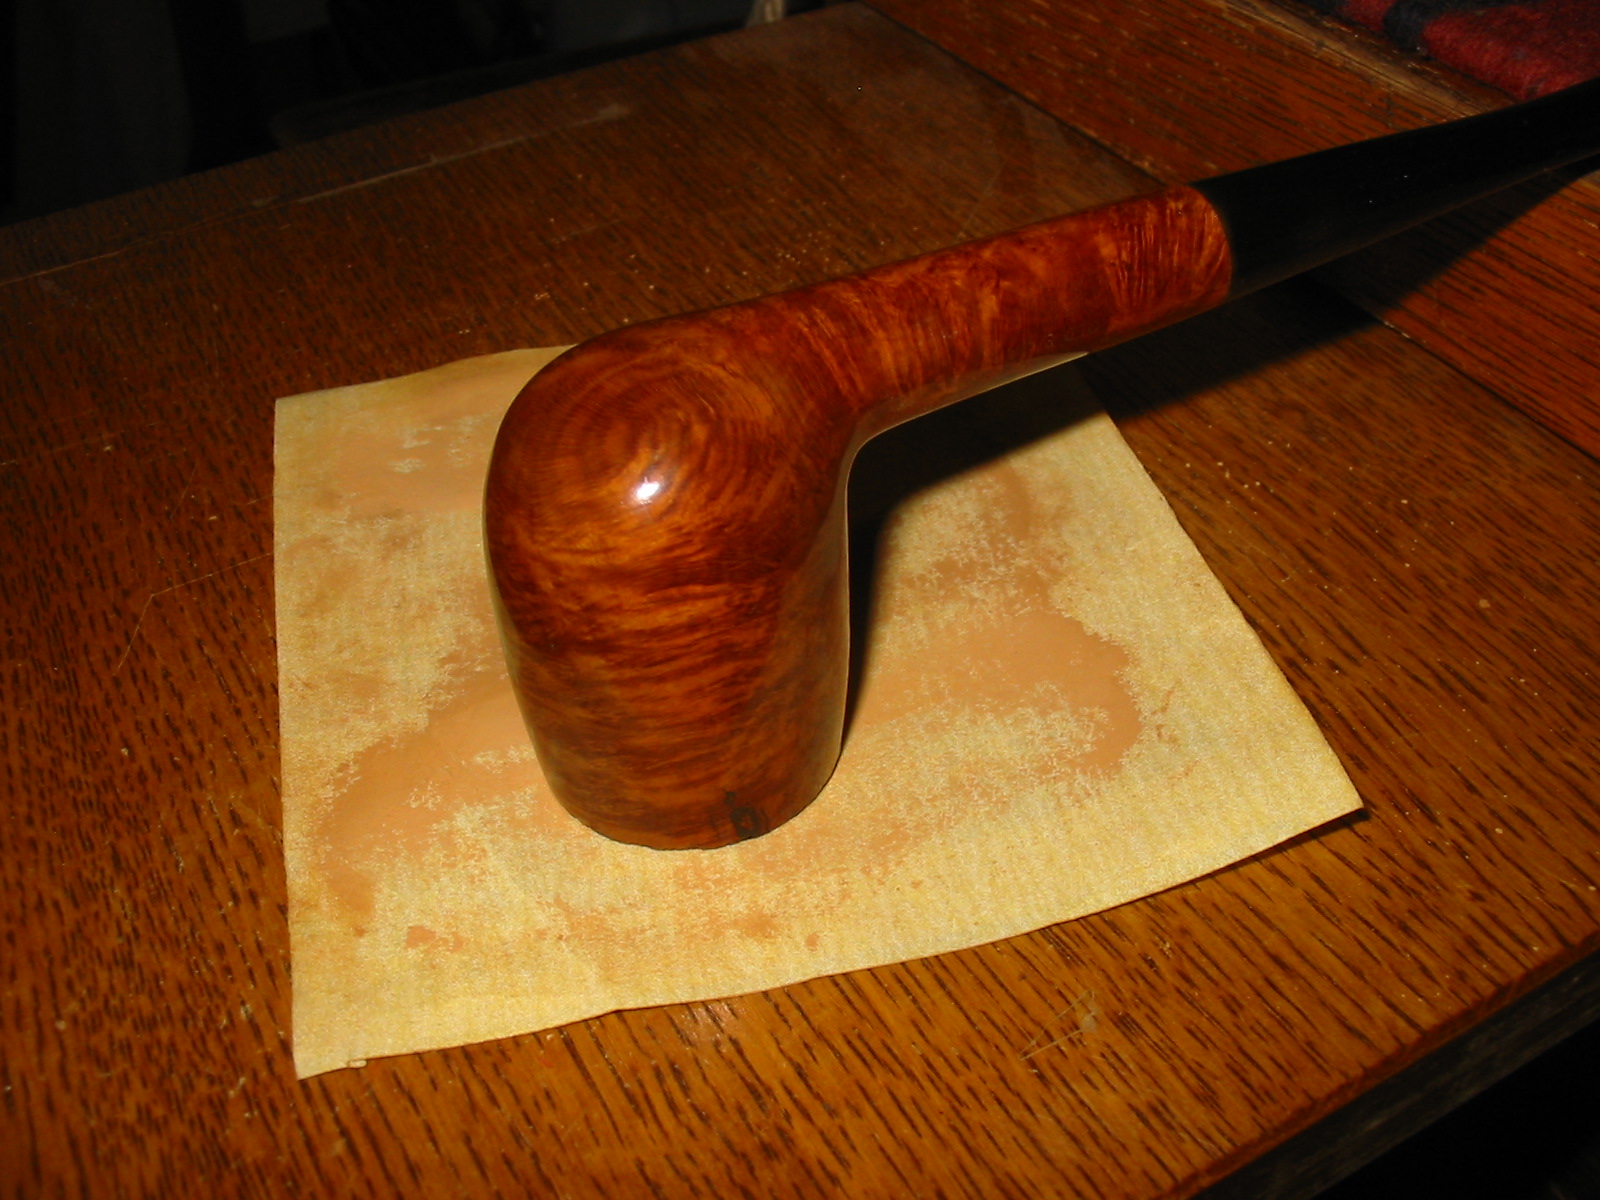
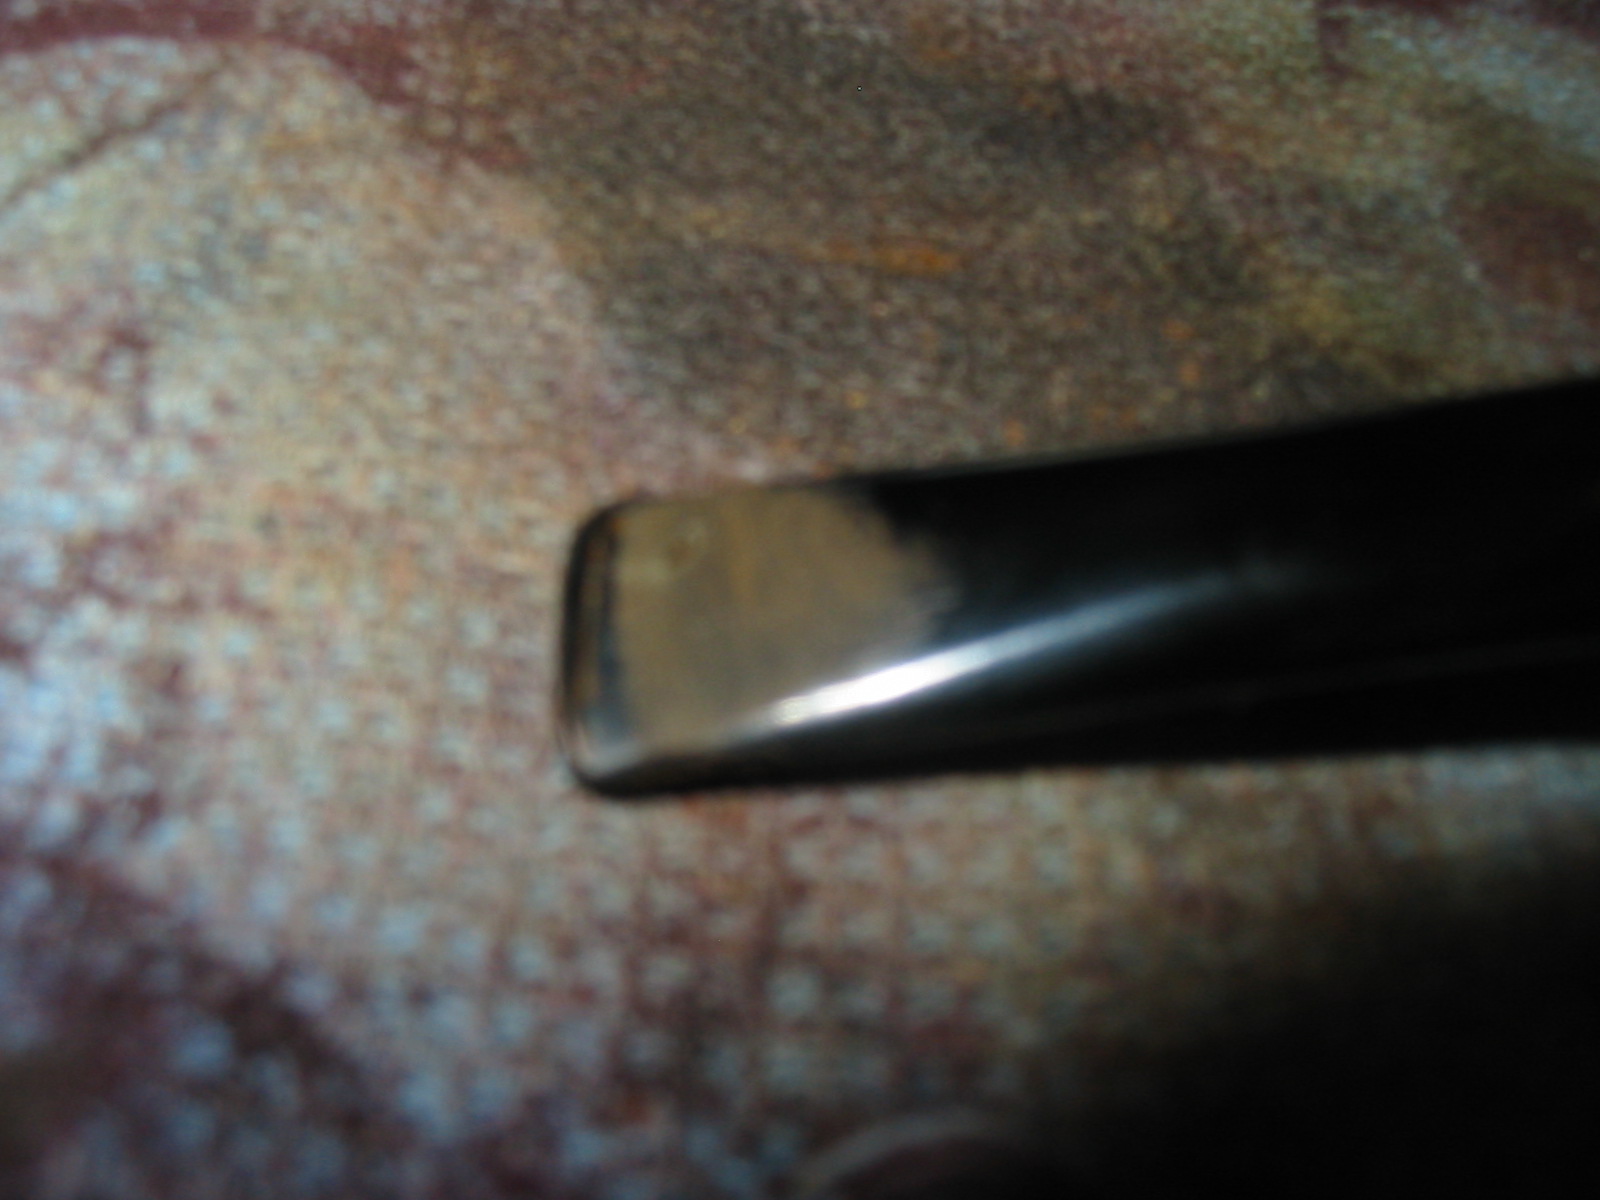
The relatively simple thing seems to be filling in tooth dents. I begin by cleaning the surface of the dent with some sharp tool – scraper or blade of size of small pocket knife, better with rounded tip, such as those found on pipe knives. This is to remove oxidation from the surface that is to be filled. After “cleaning” the surface I take a needle, scraper or similar sharp tool with sharp pointed tip and “score”/”draw” delicate lines/”mini-groves” on the cleaned surface. This is the old trick used in enameling for better adhesion of filling material (extender) that will be “put” on the prepared surface. This material is simple and known us vulcanite dust – the result of filing a properly chosen piece of vulcanite, sometimes it is result of filing the stem that is to be repaired, sometimes we may use another piece of vulcanite from our “stock” if we are sure that it will fit well. Then I mix this dust with cyanoacrylic glue making my “filling material/paste” – kind of putty, and I apply it on scored dent. After some time – rather longer then shorter – say – good couple of hours depending on thickness of the filling, I use a file and sandpaper and finally polish on the patched stem – this is known as the finishing procedures.
After all this please, be prepared for unpleasant surprise at the first glance. The filled up area may be of different color than the color of the stem. Please do not worry! It is not without reason that I have mentioned before that oil (like in old days was used in oil lamps) and/or turpentine may serve as solvents that are helpful with restoration… so a drop of oil or turpentine applied on the repaired area and “distributed”/”smeared” all over will turn the surface of the glued parts to match the rest of the stem. When the surface dries, I would return to delicate polishing and be prepared for repeating such finishing operation as many times as necessary. At very end I would apply a wee drop of olive or proper mineral oil and smear it all over with soft cotton textile; this is old method of conservation of surfaces of objects made of vulcanite/ebonite – “hard rubber”.

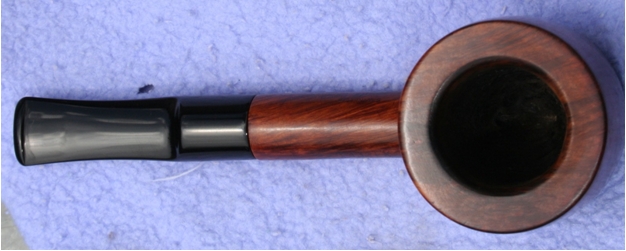
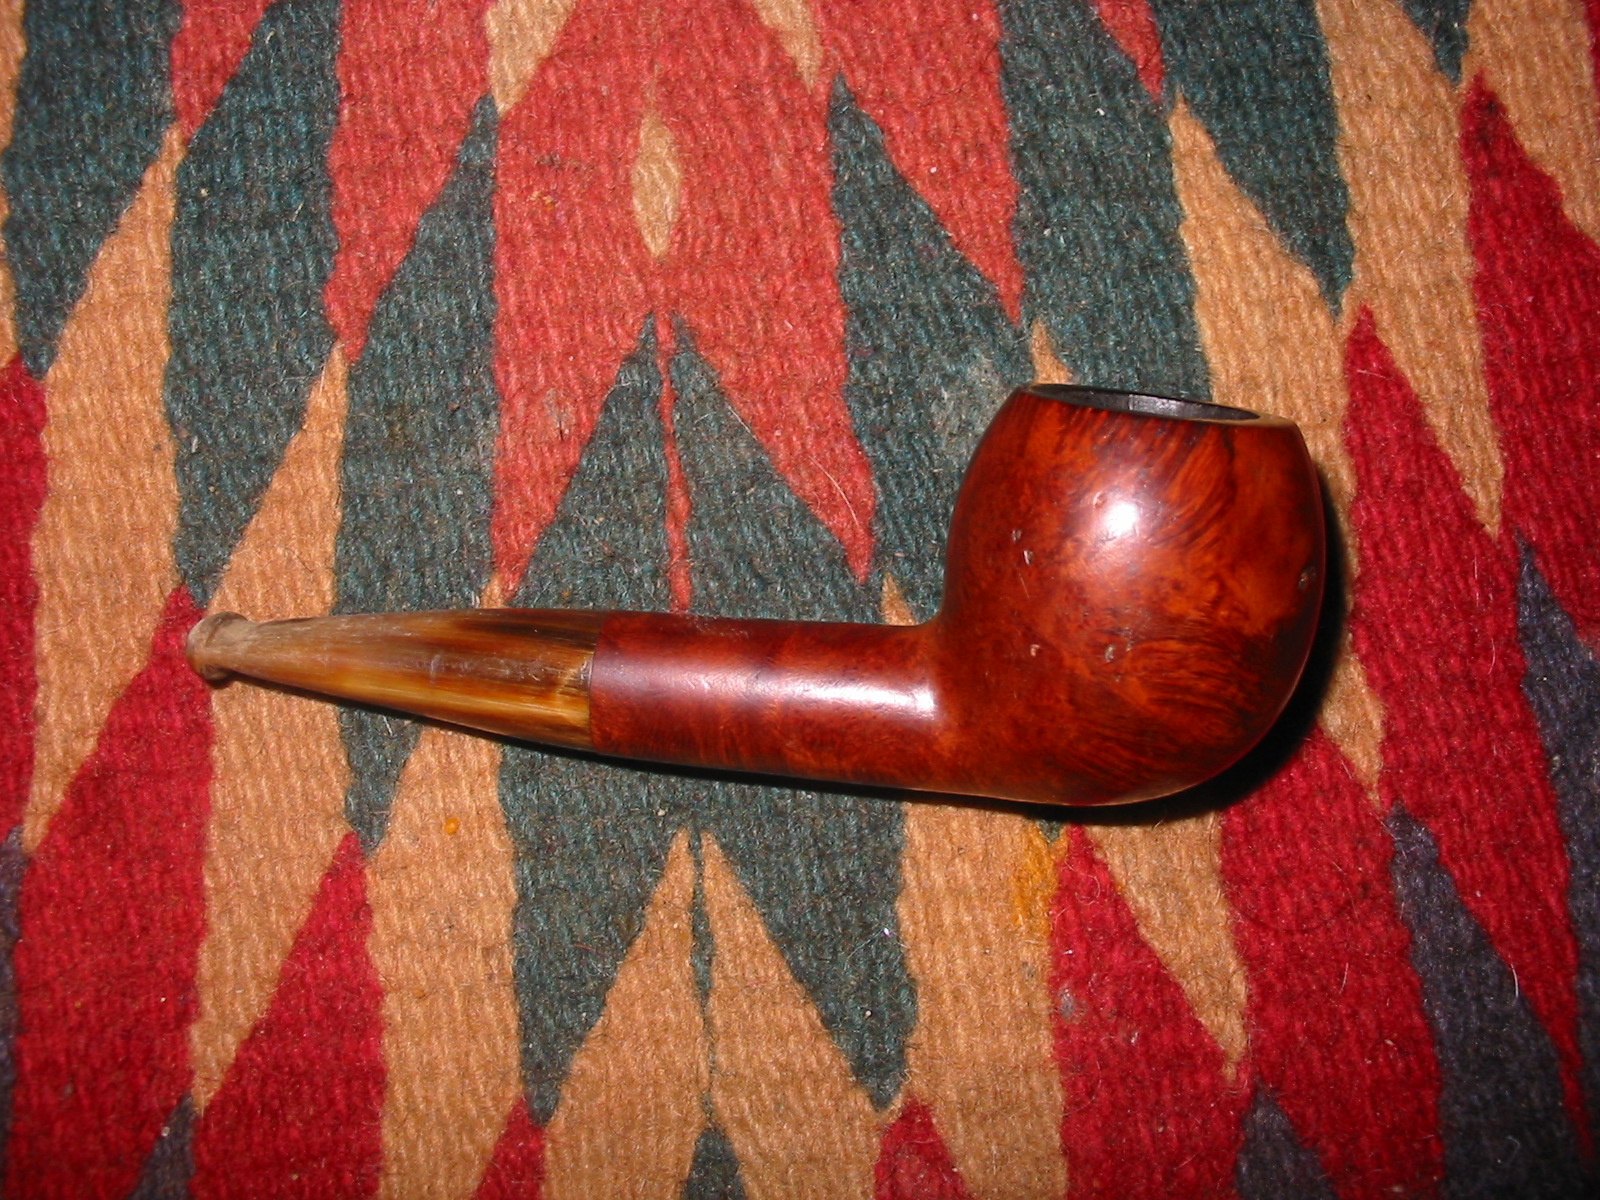
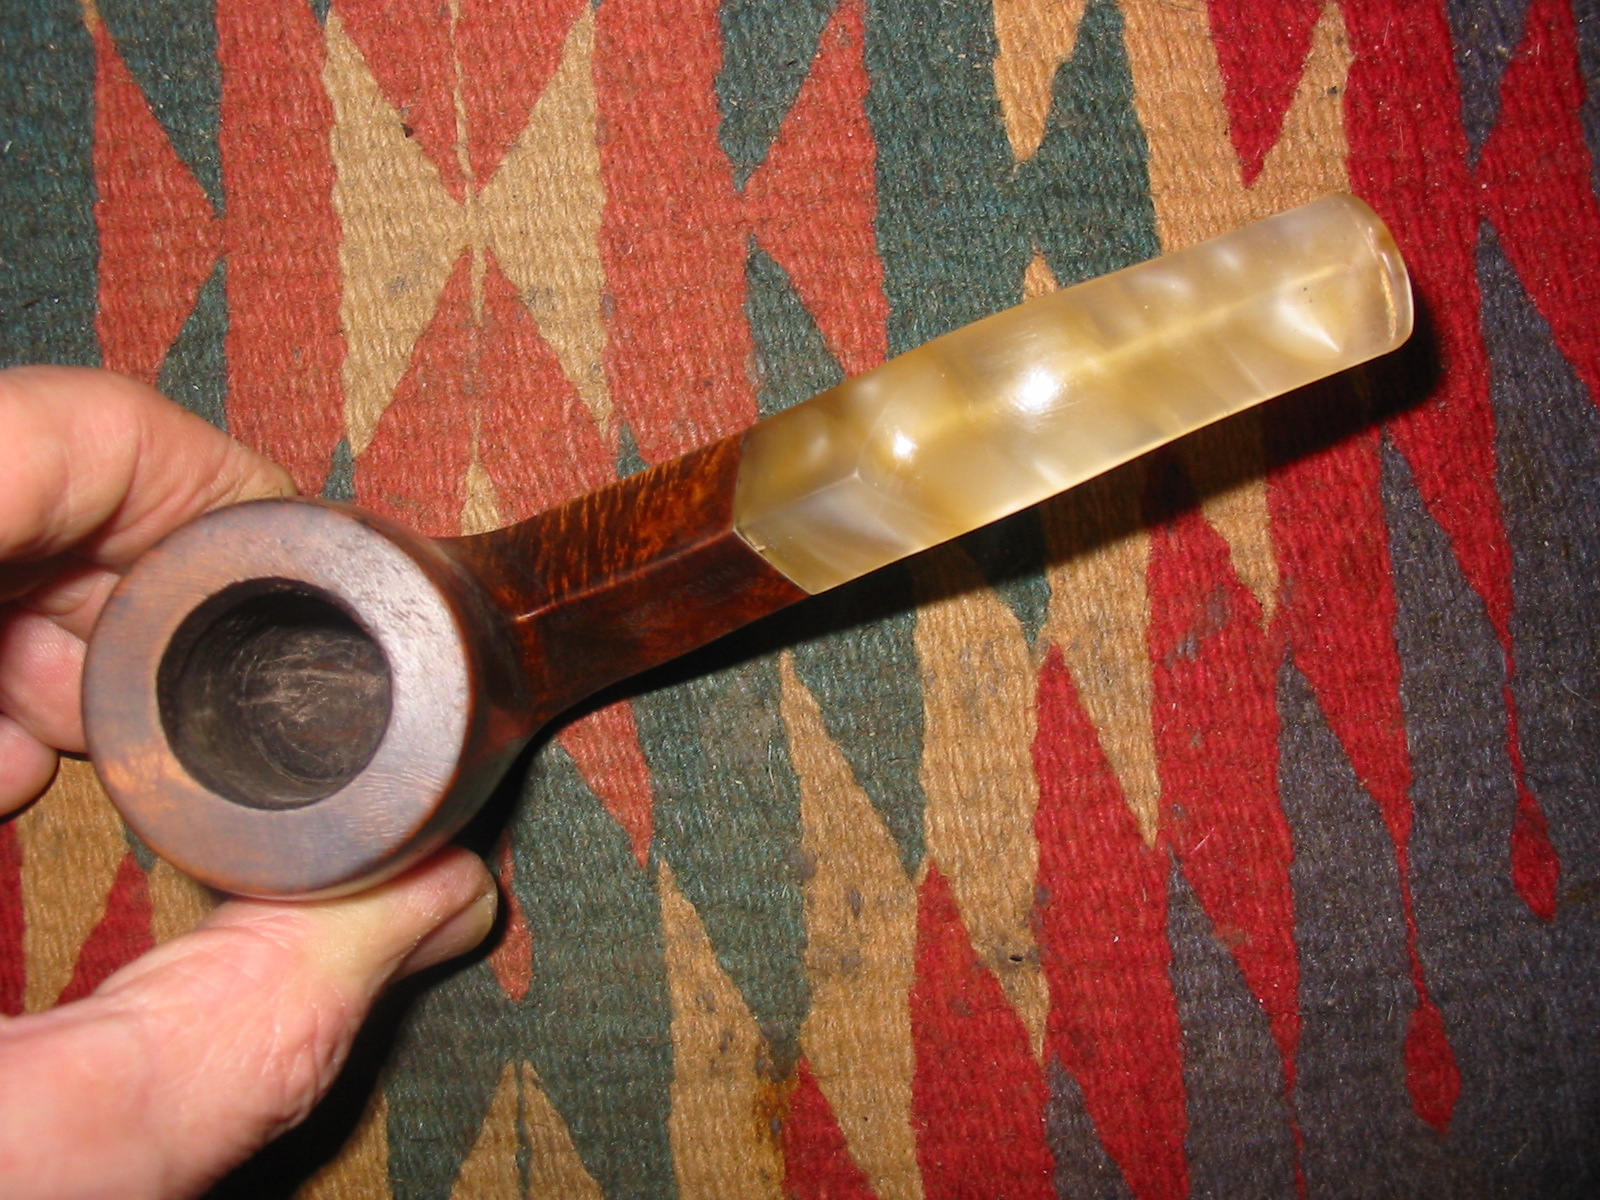
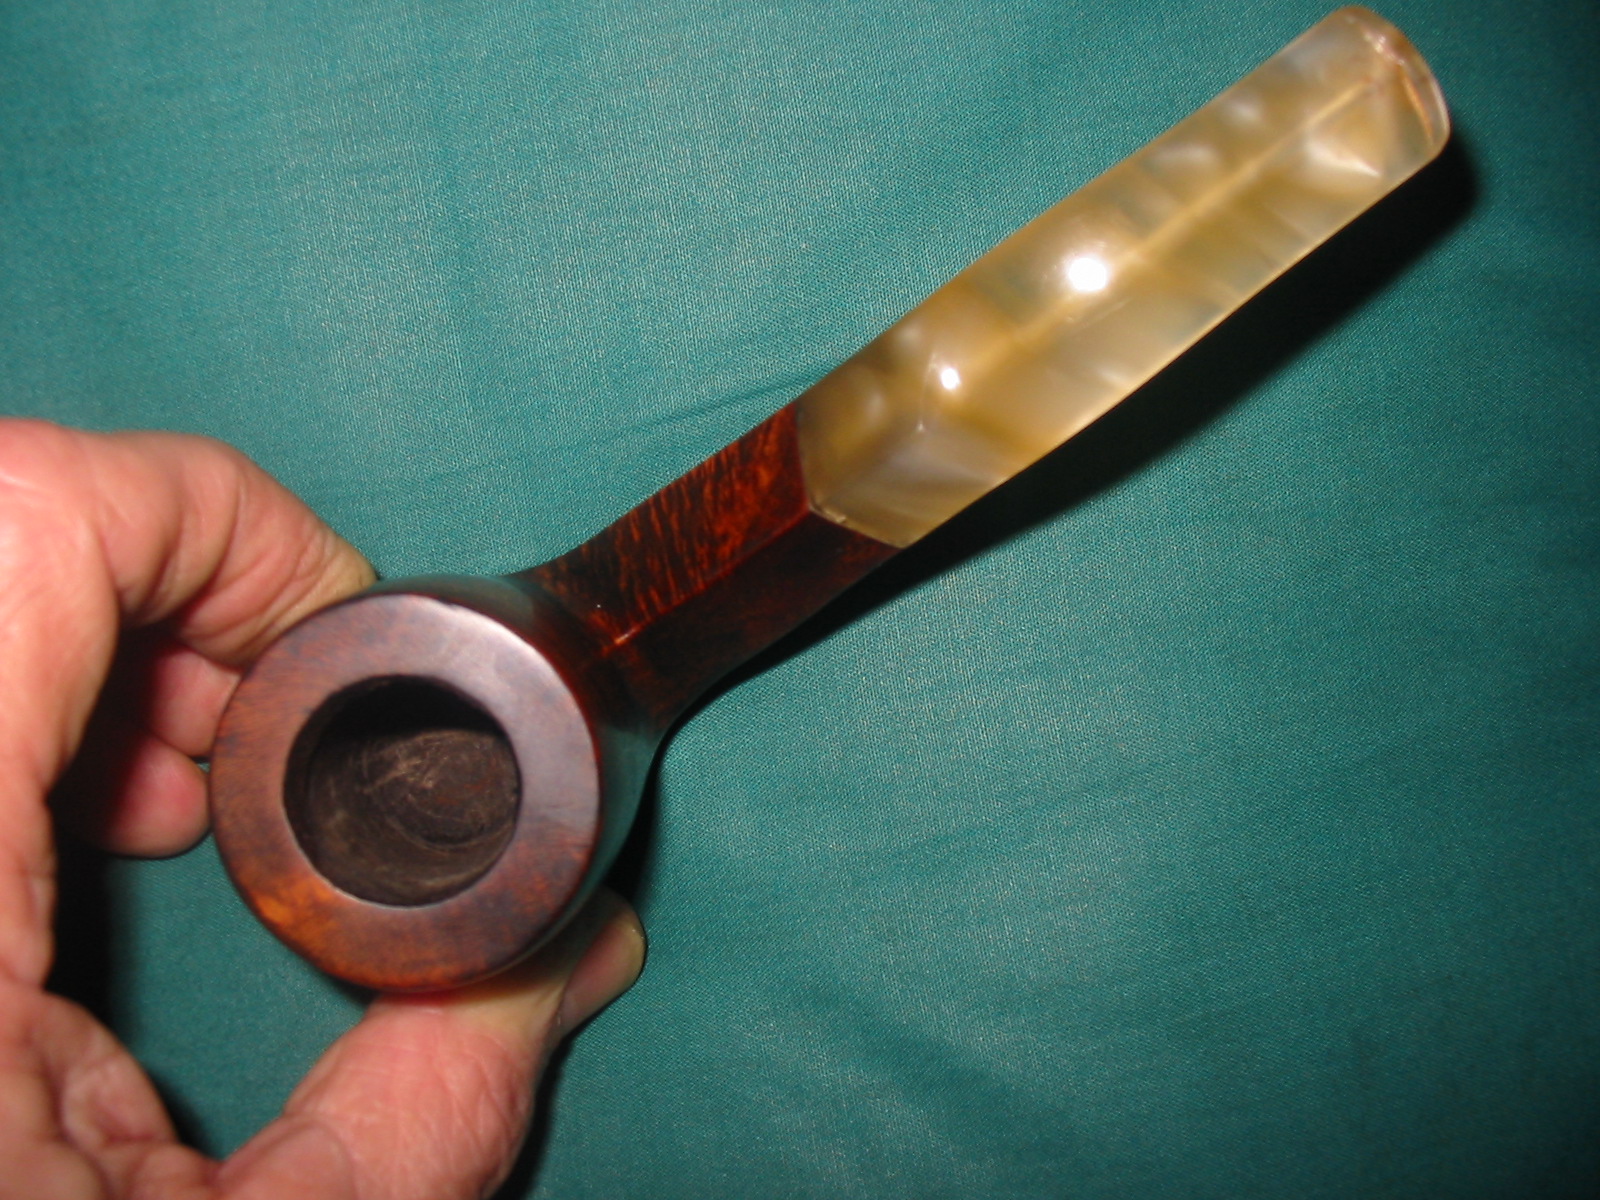
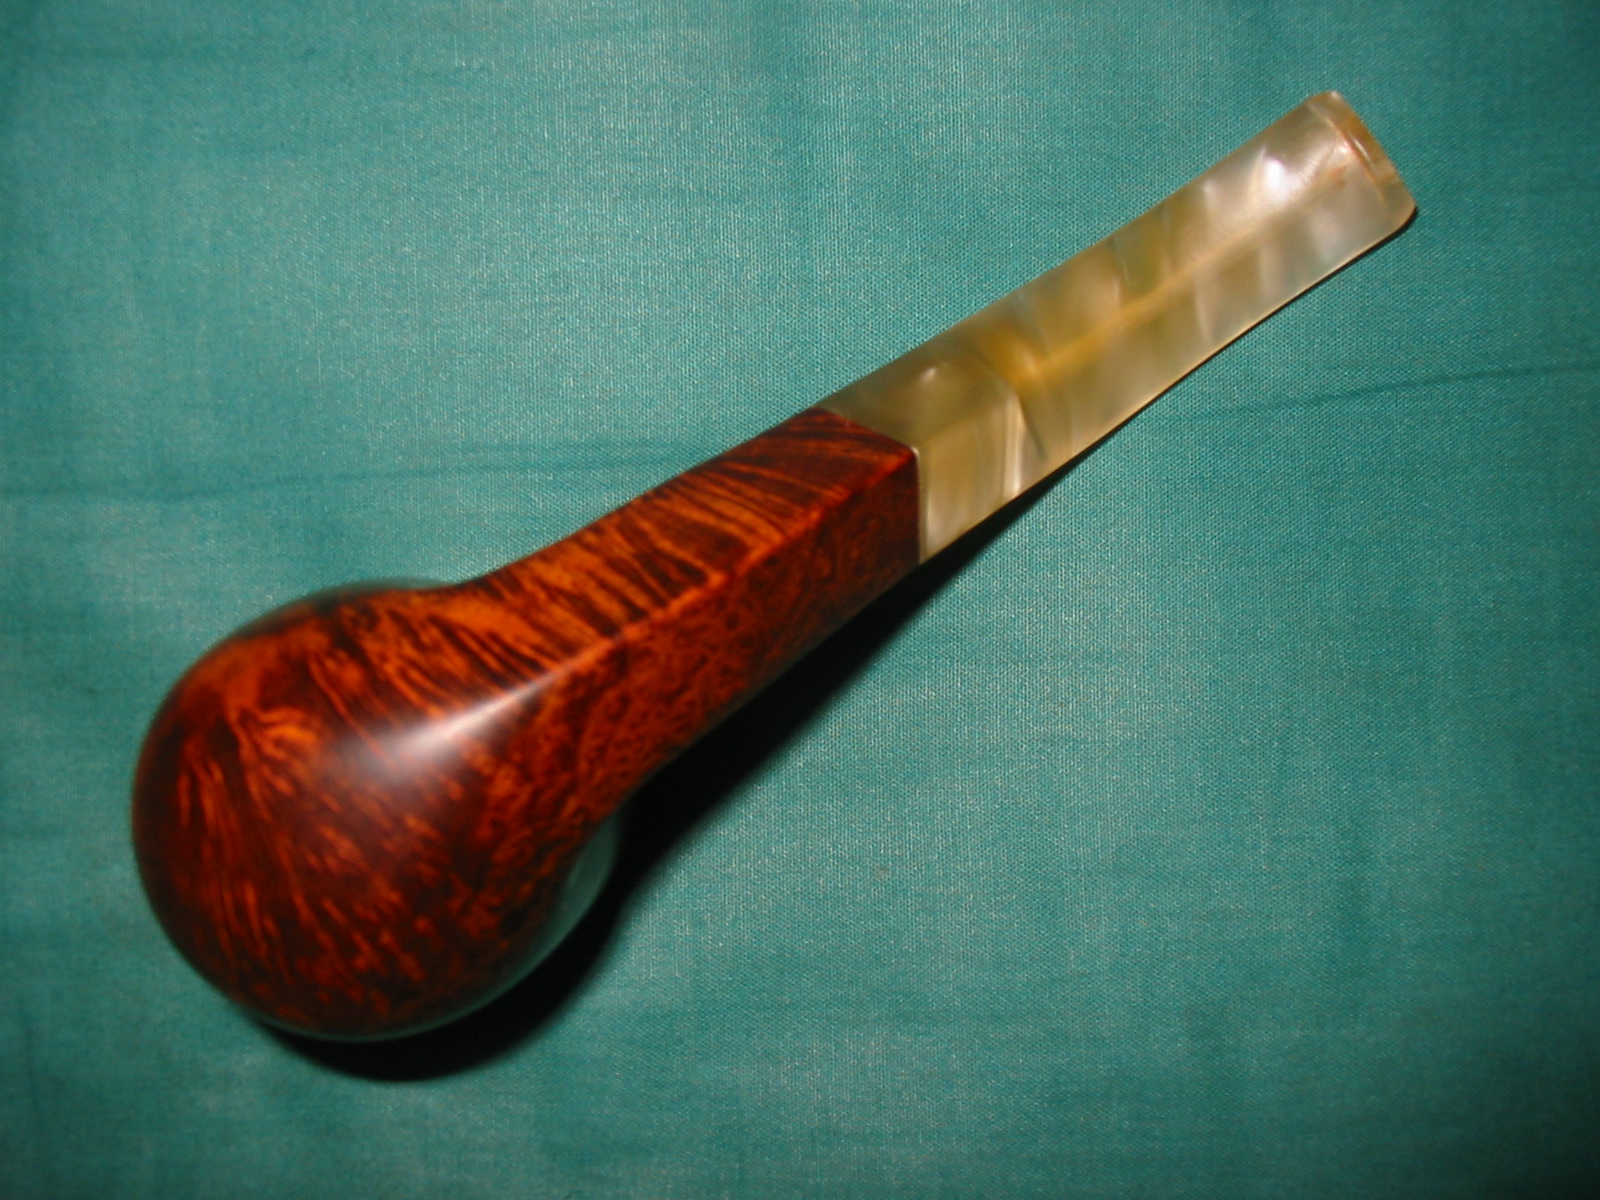
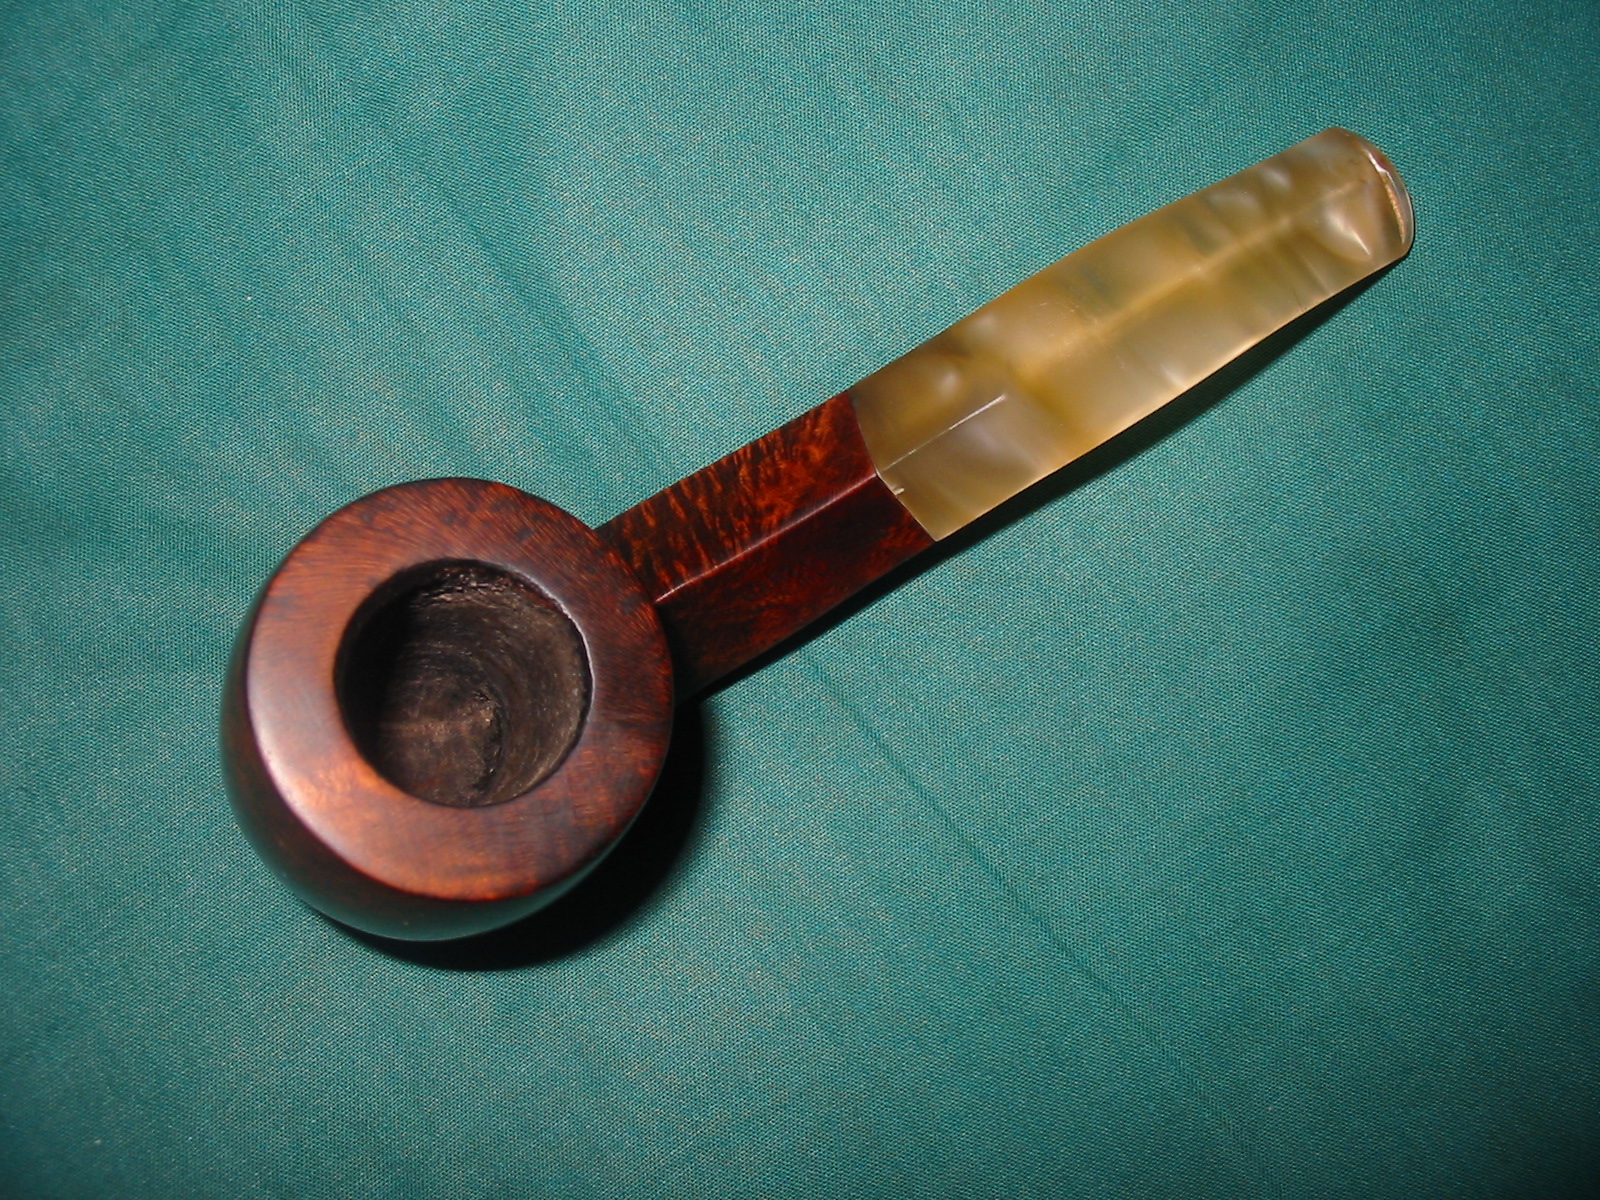
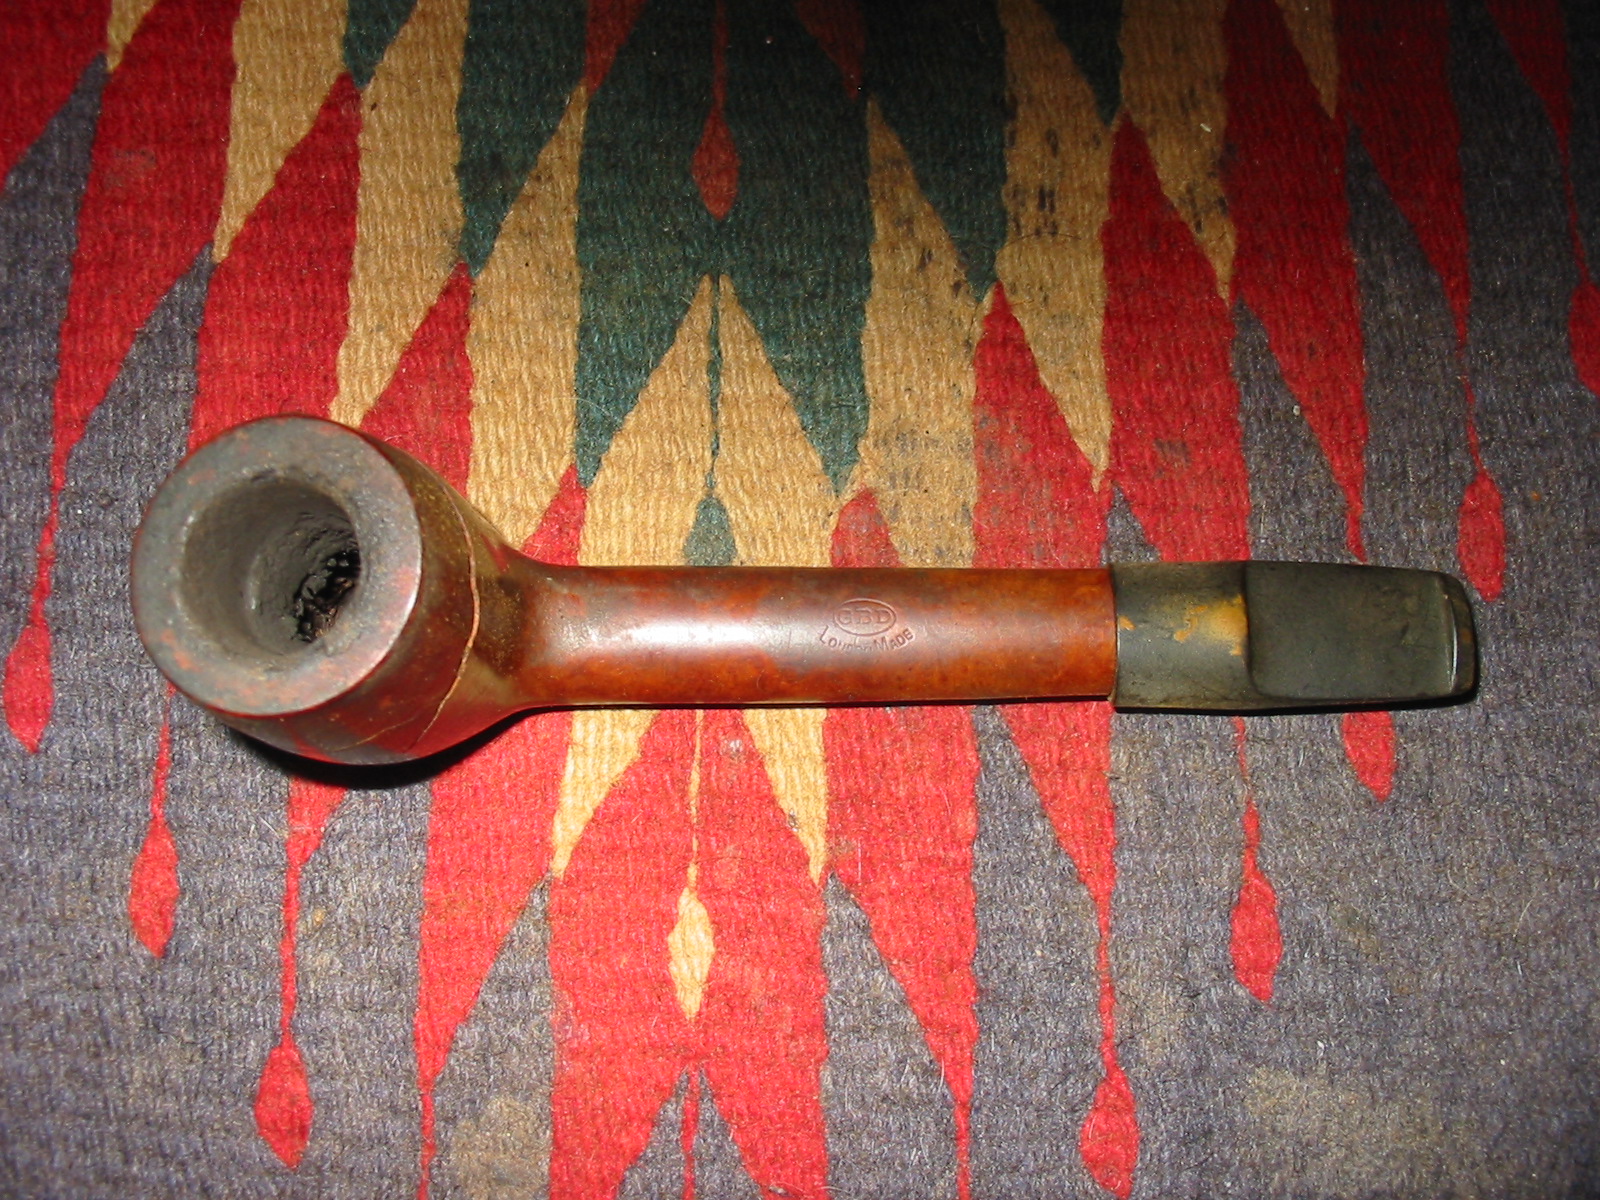
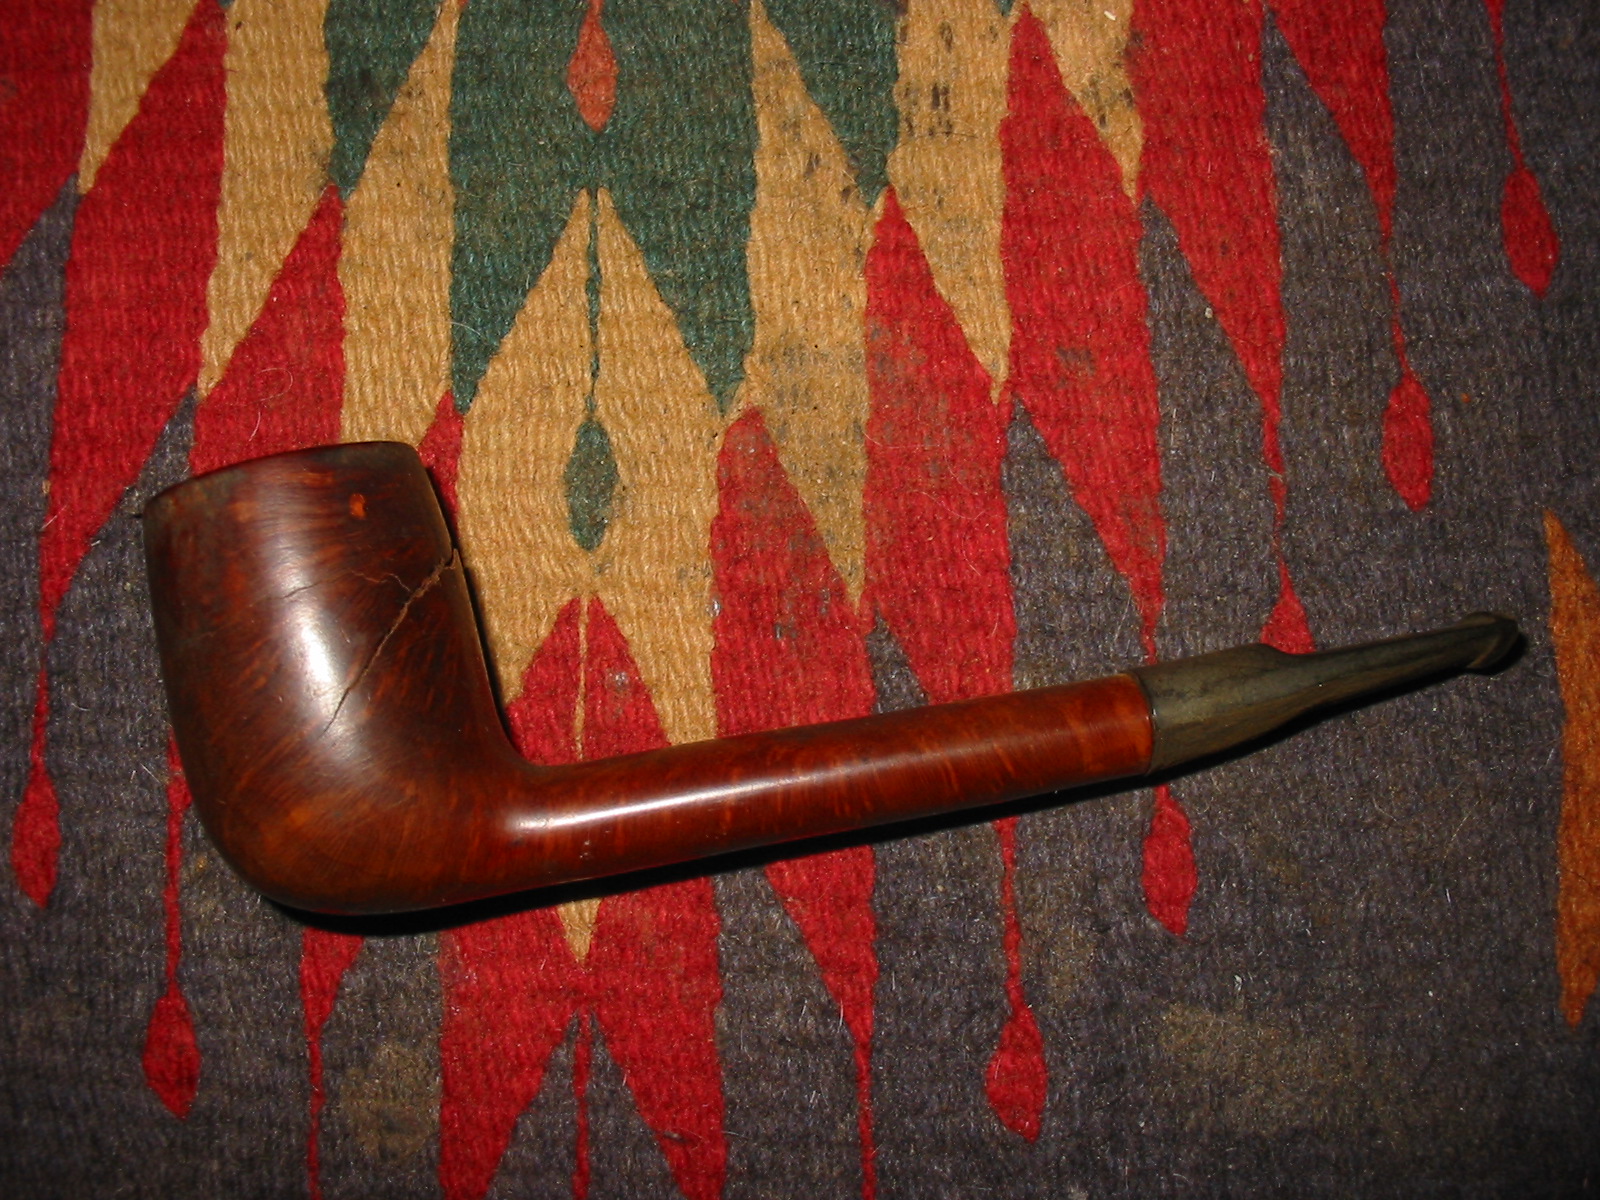
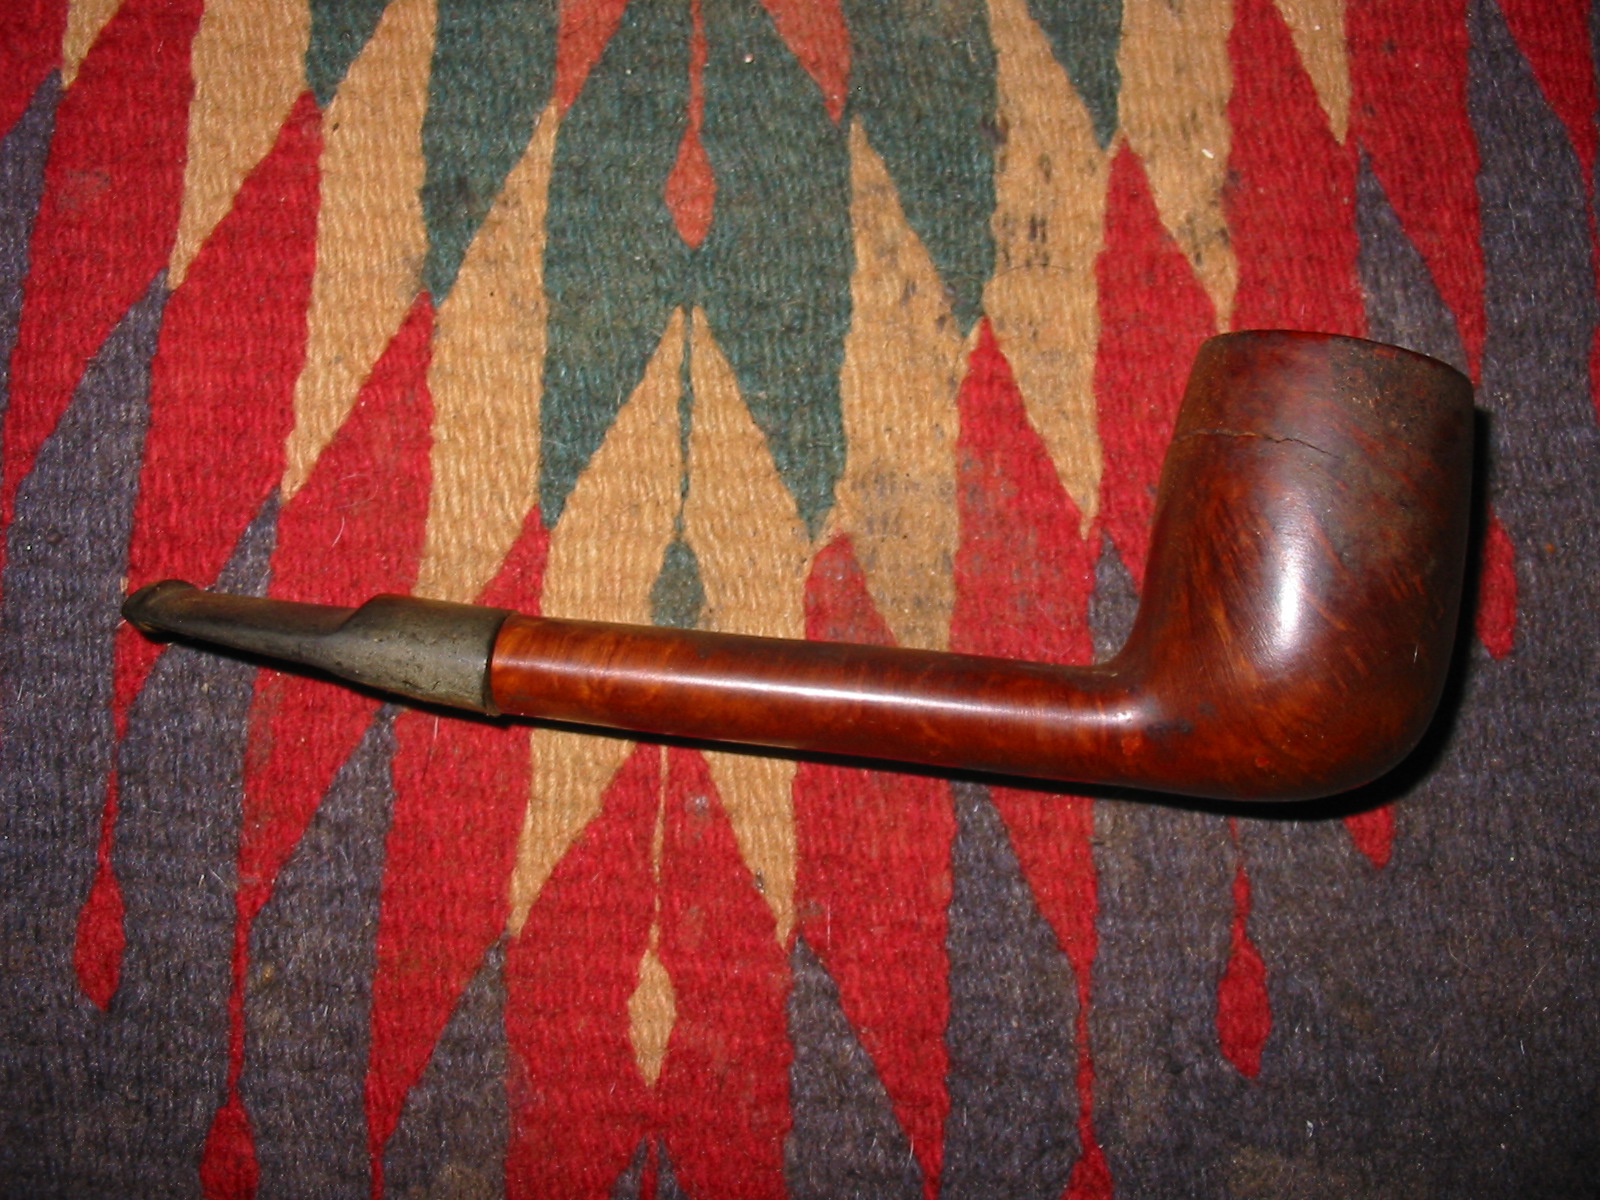
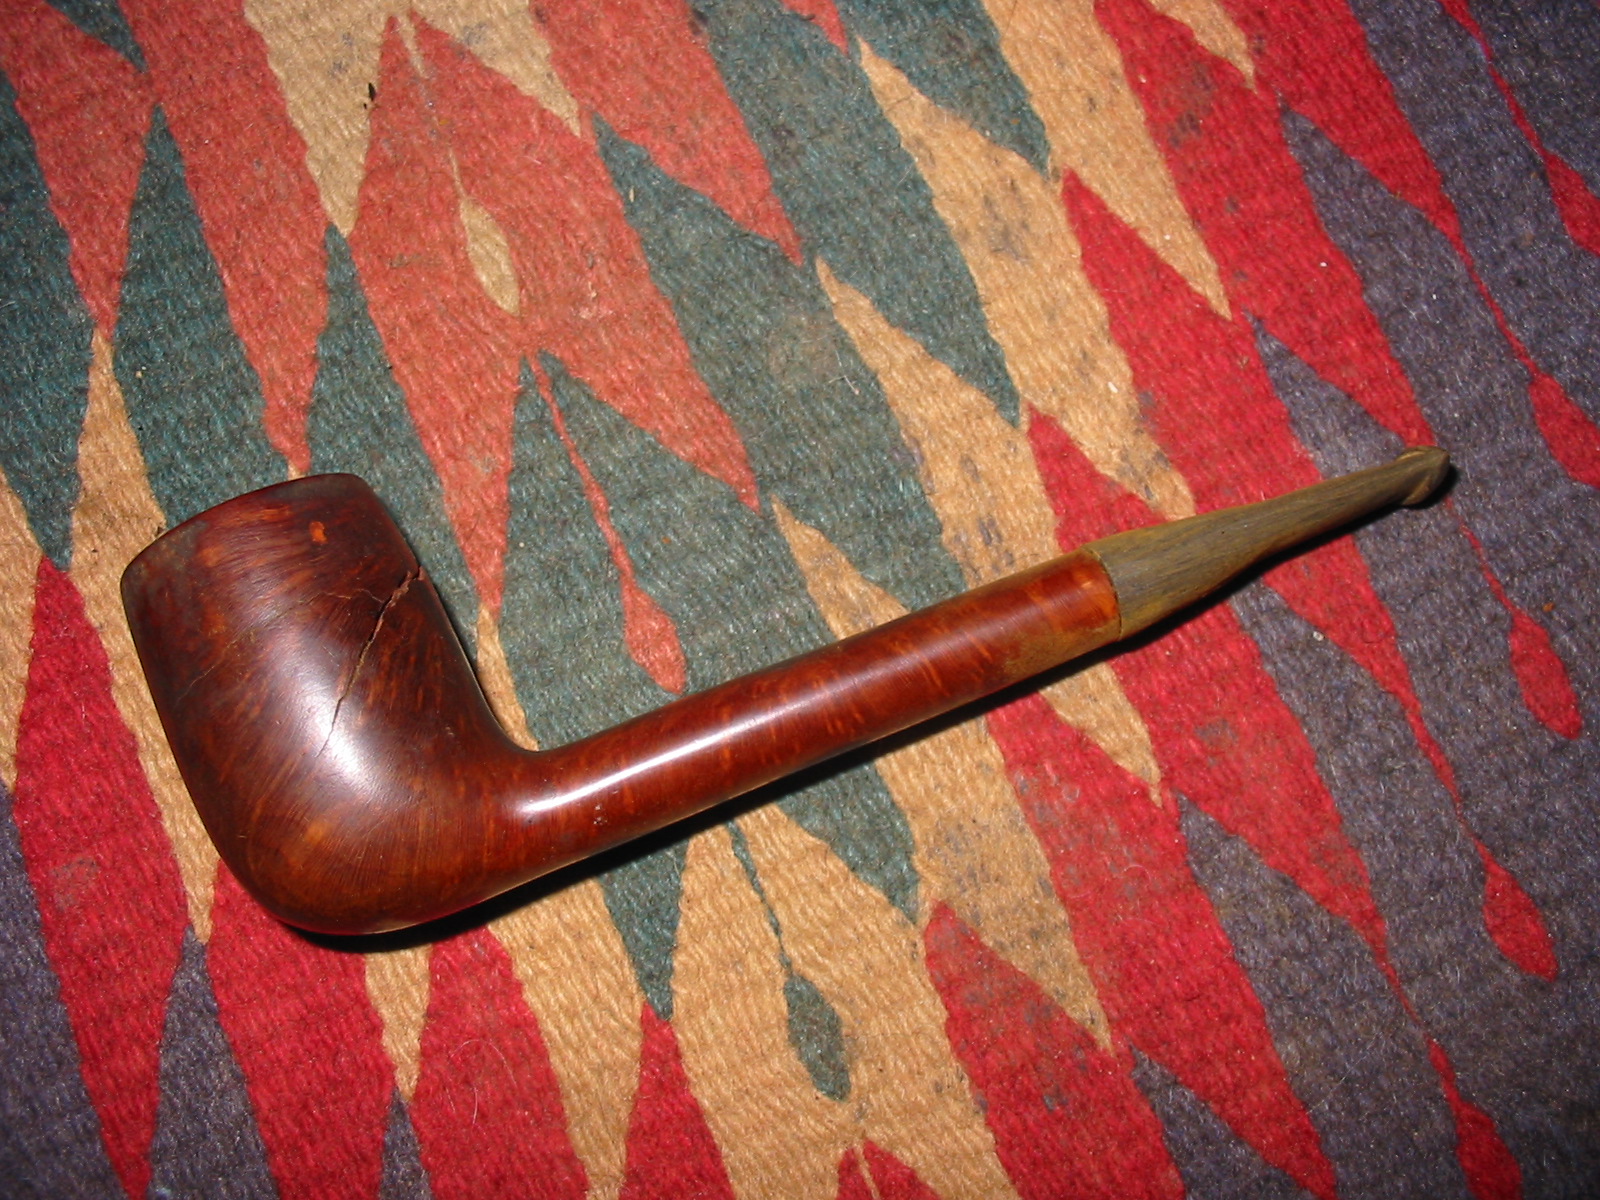
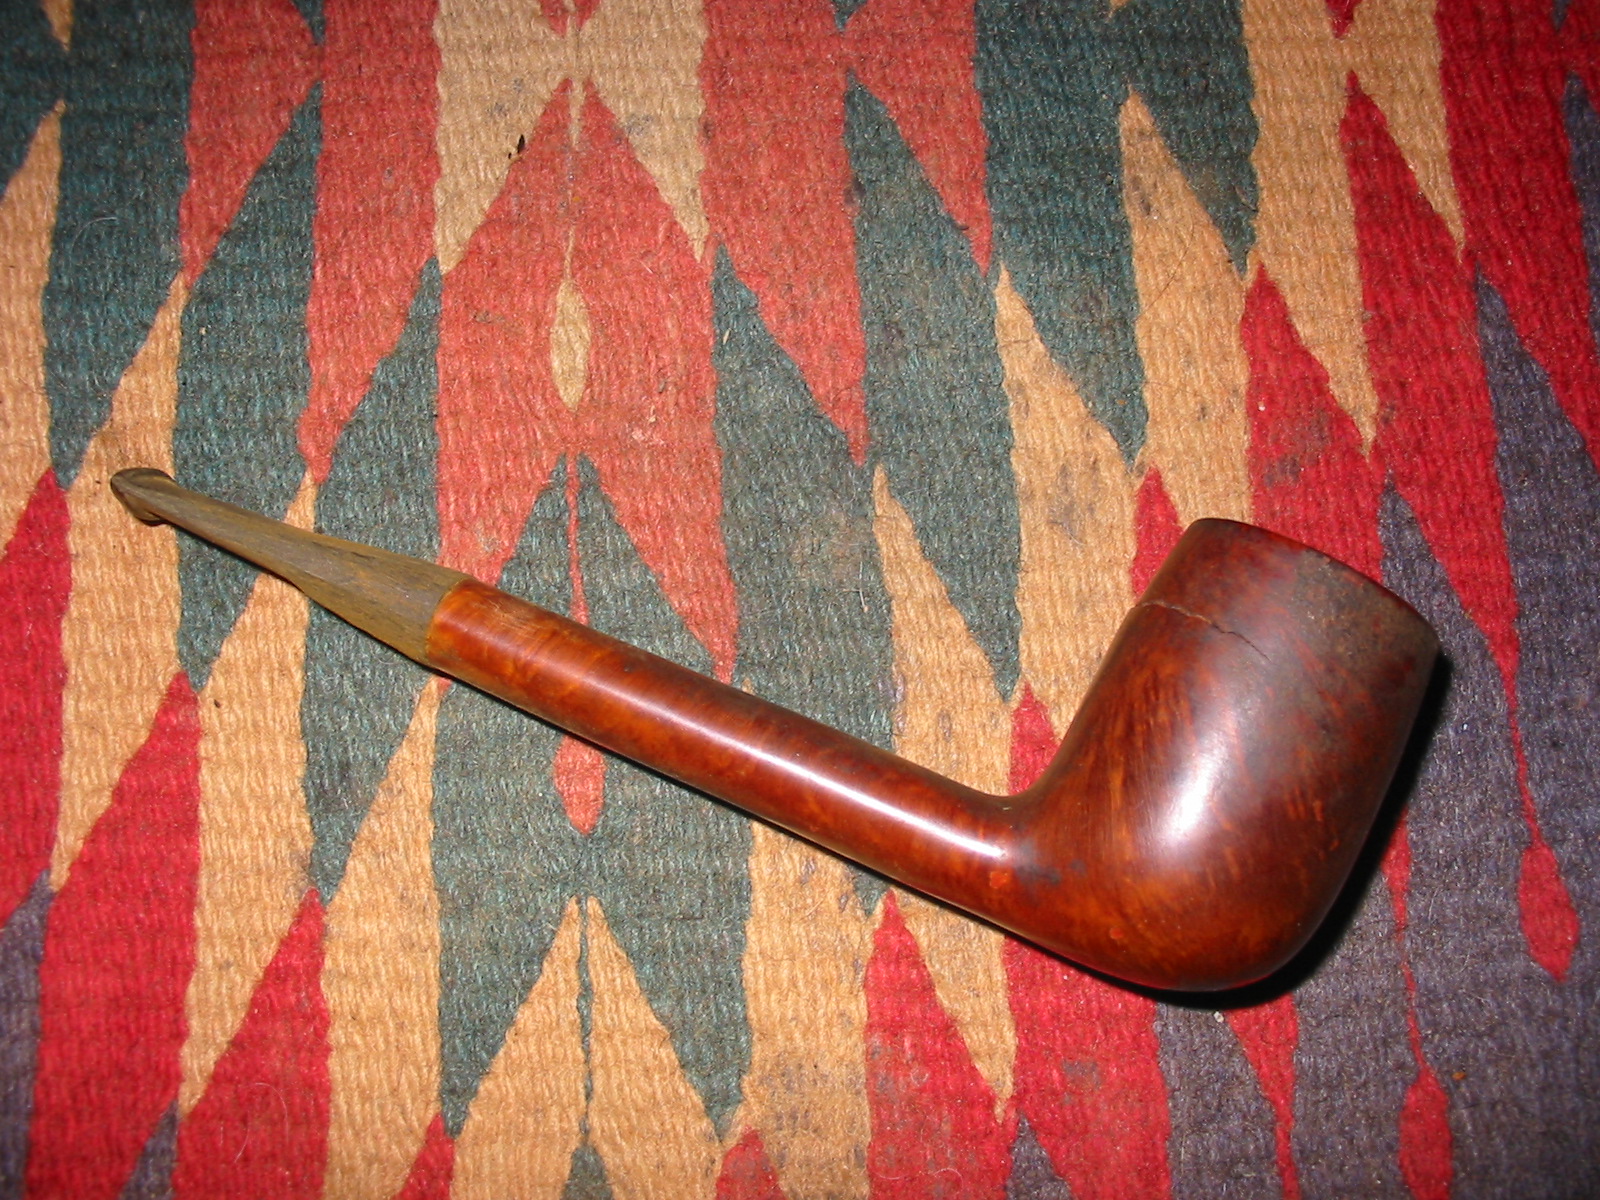
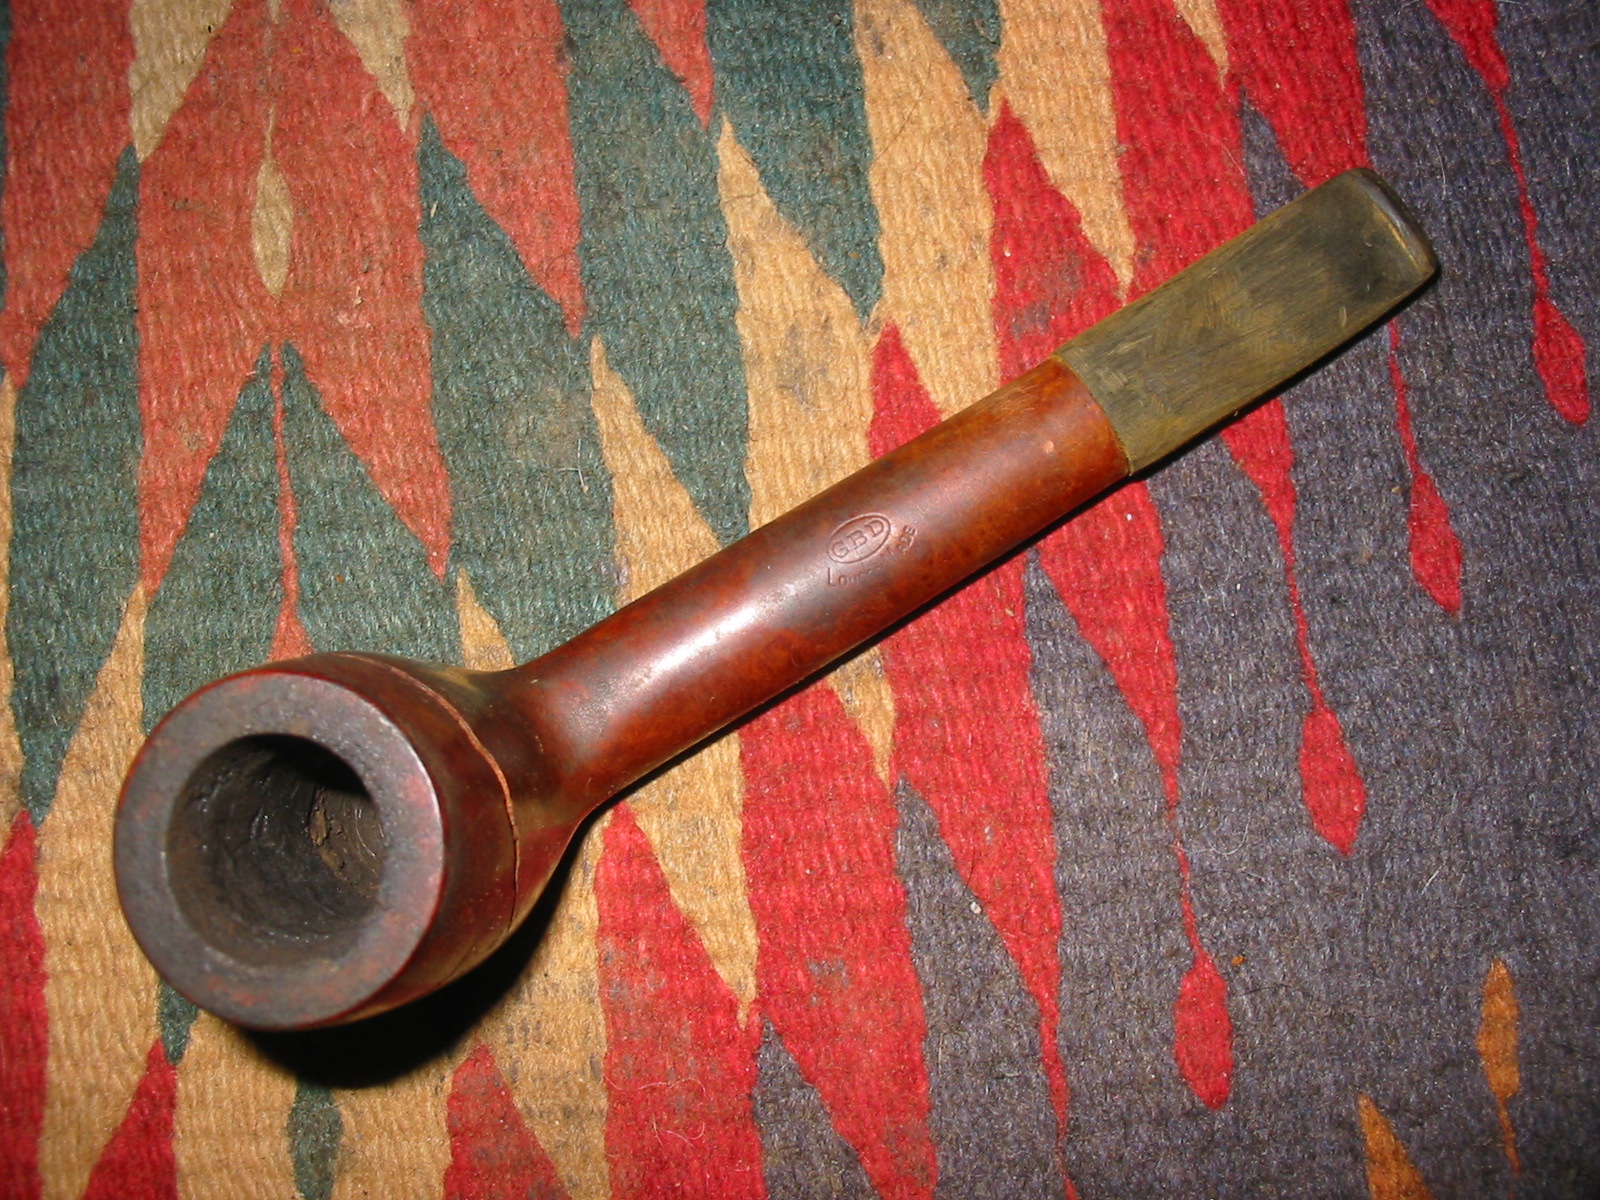
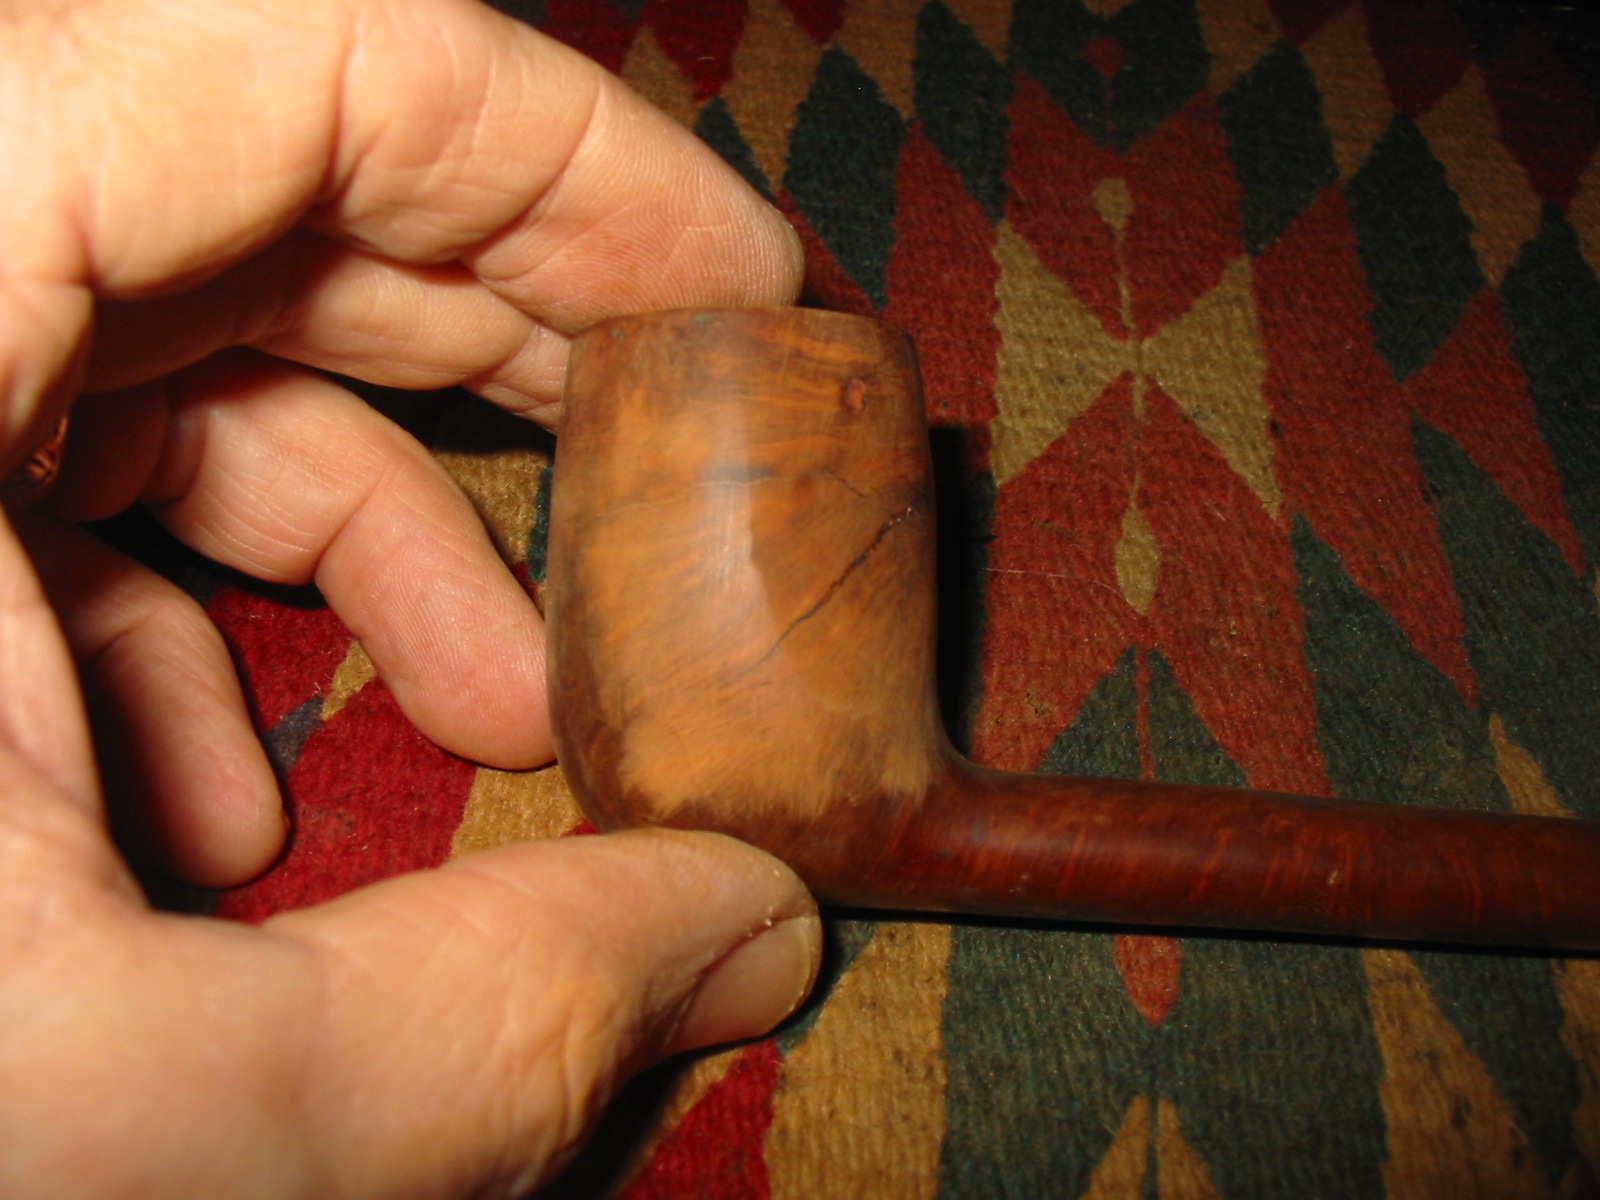
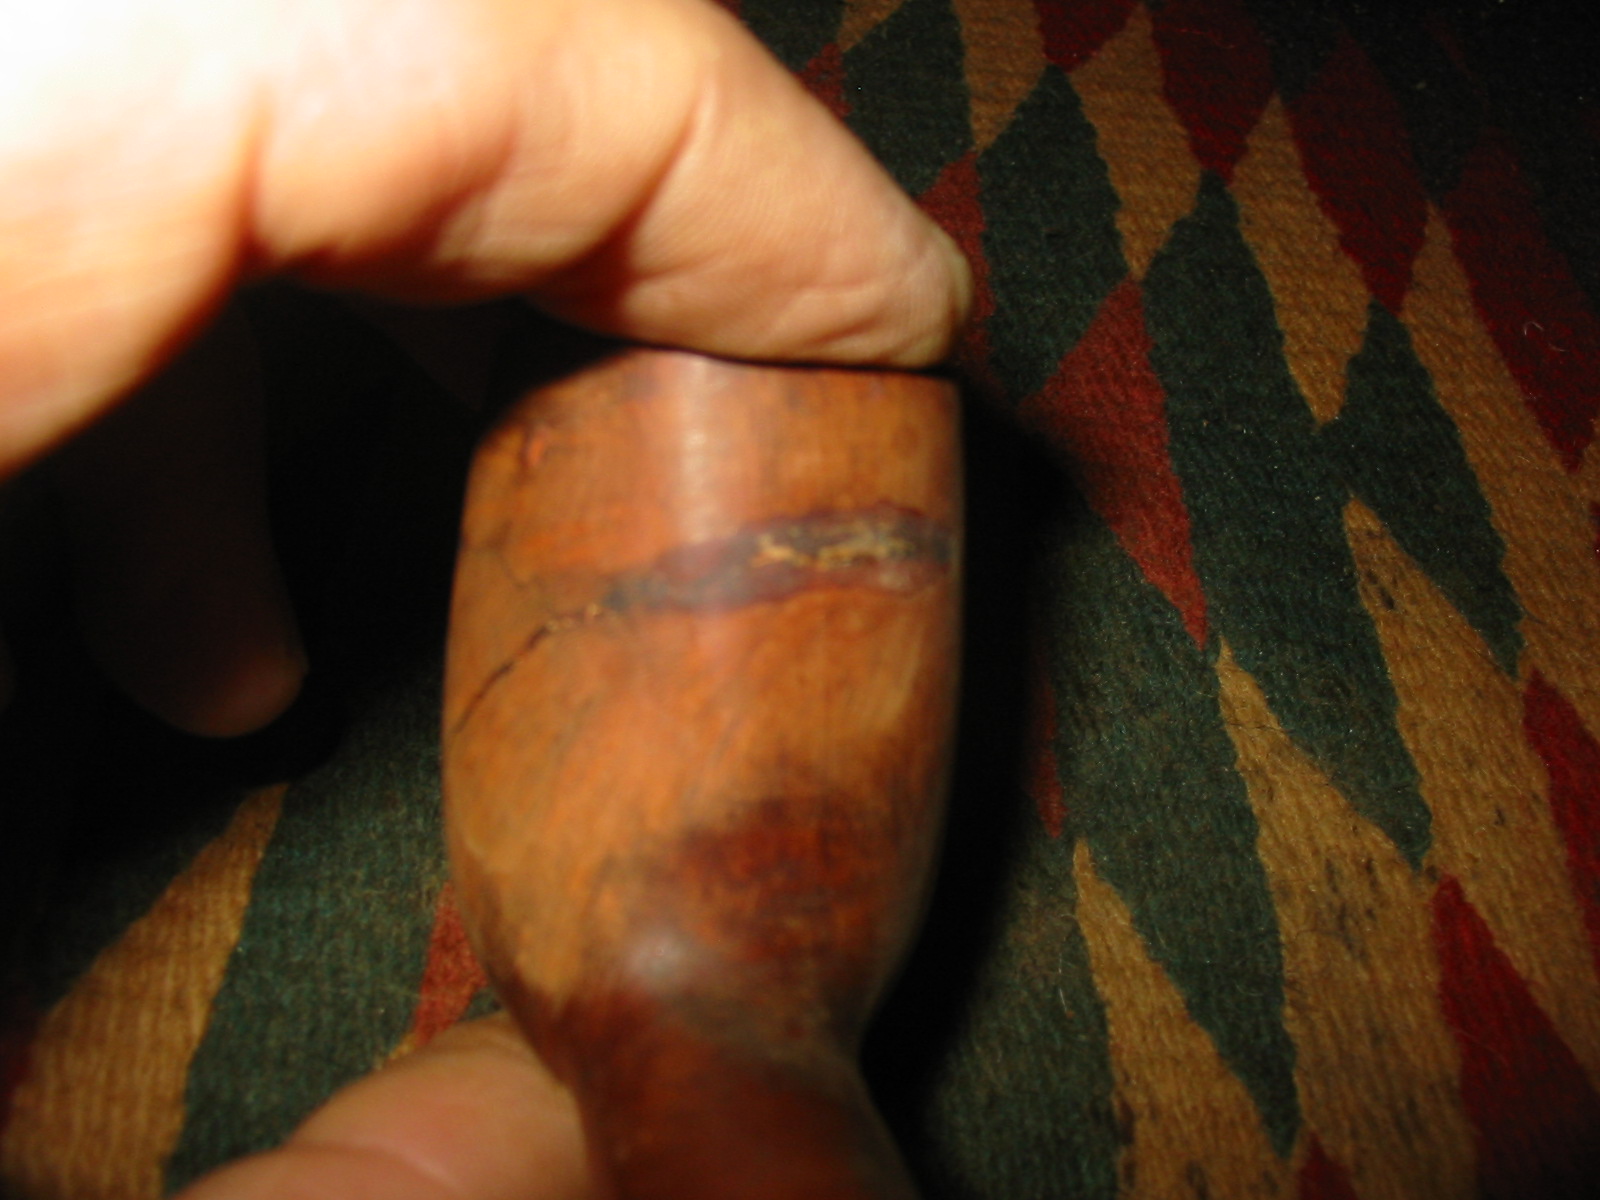
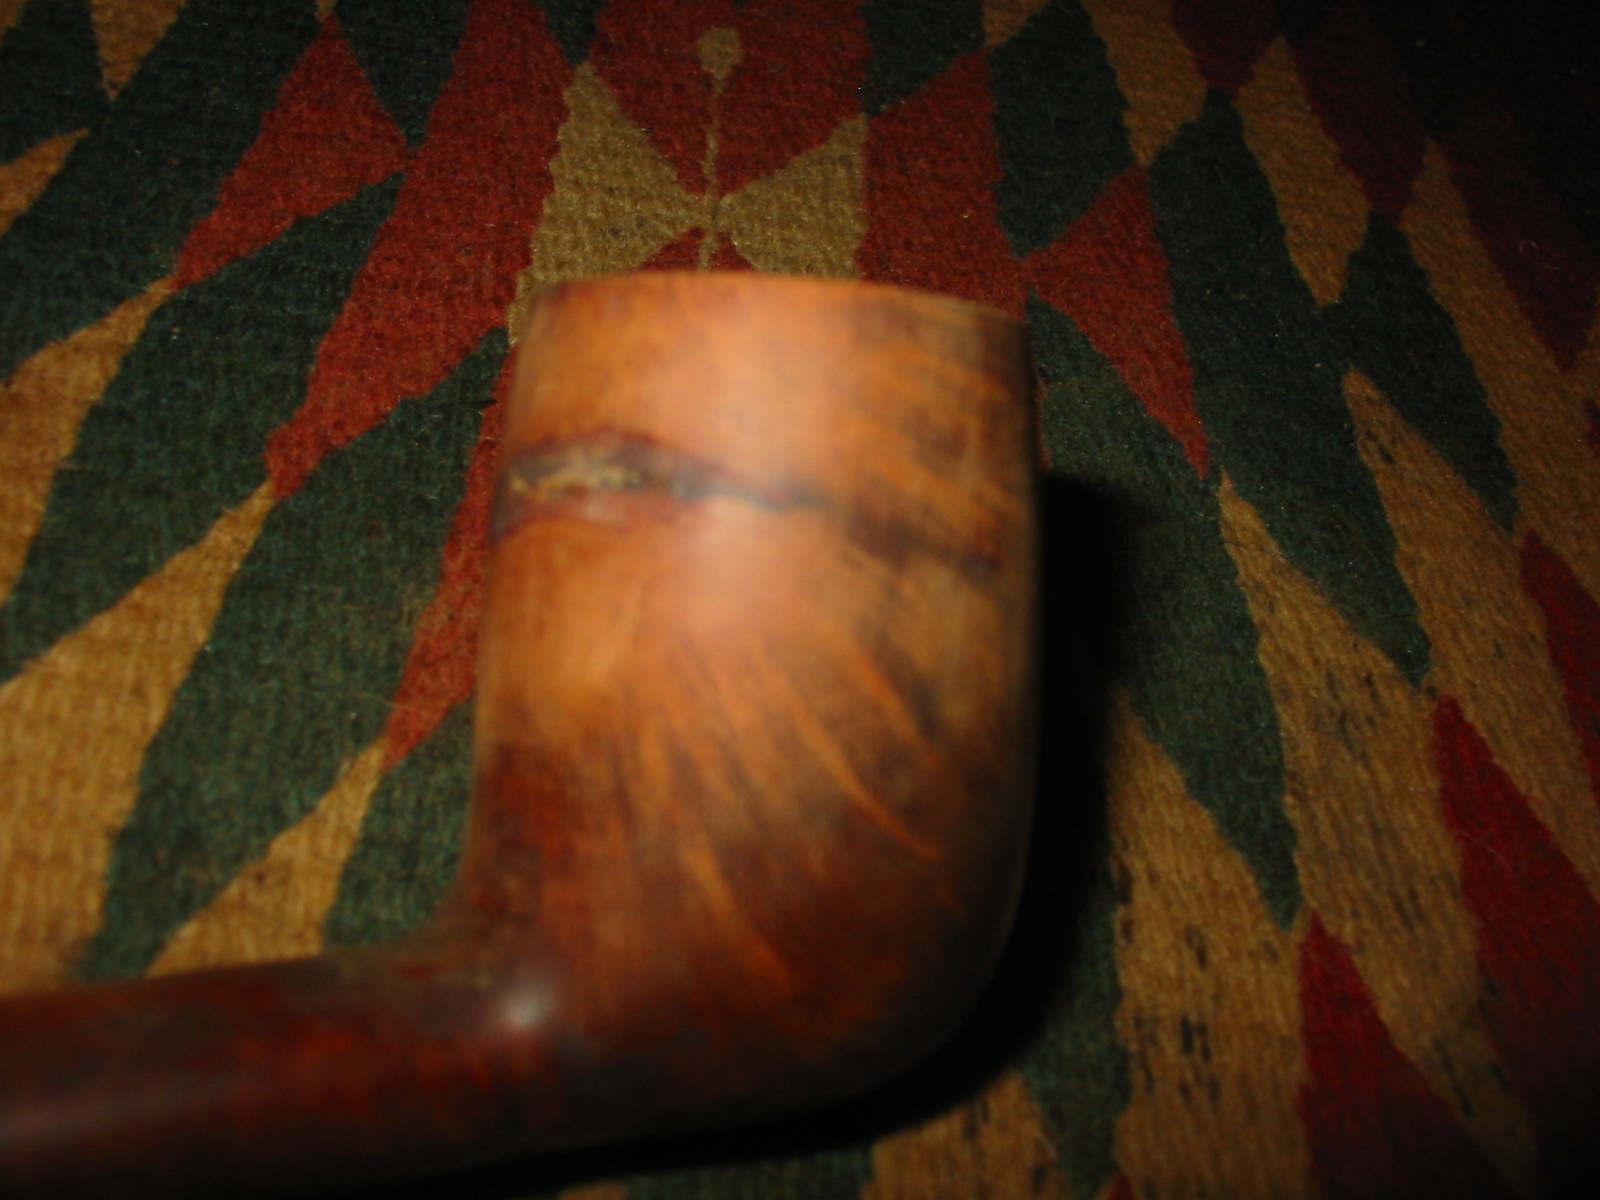
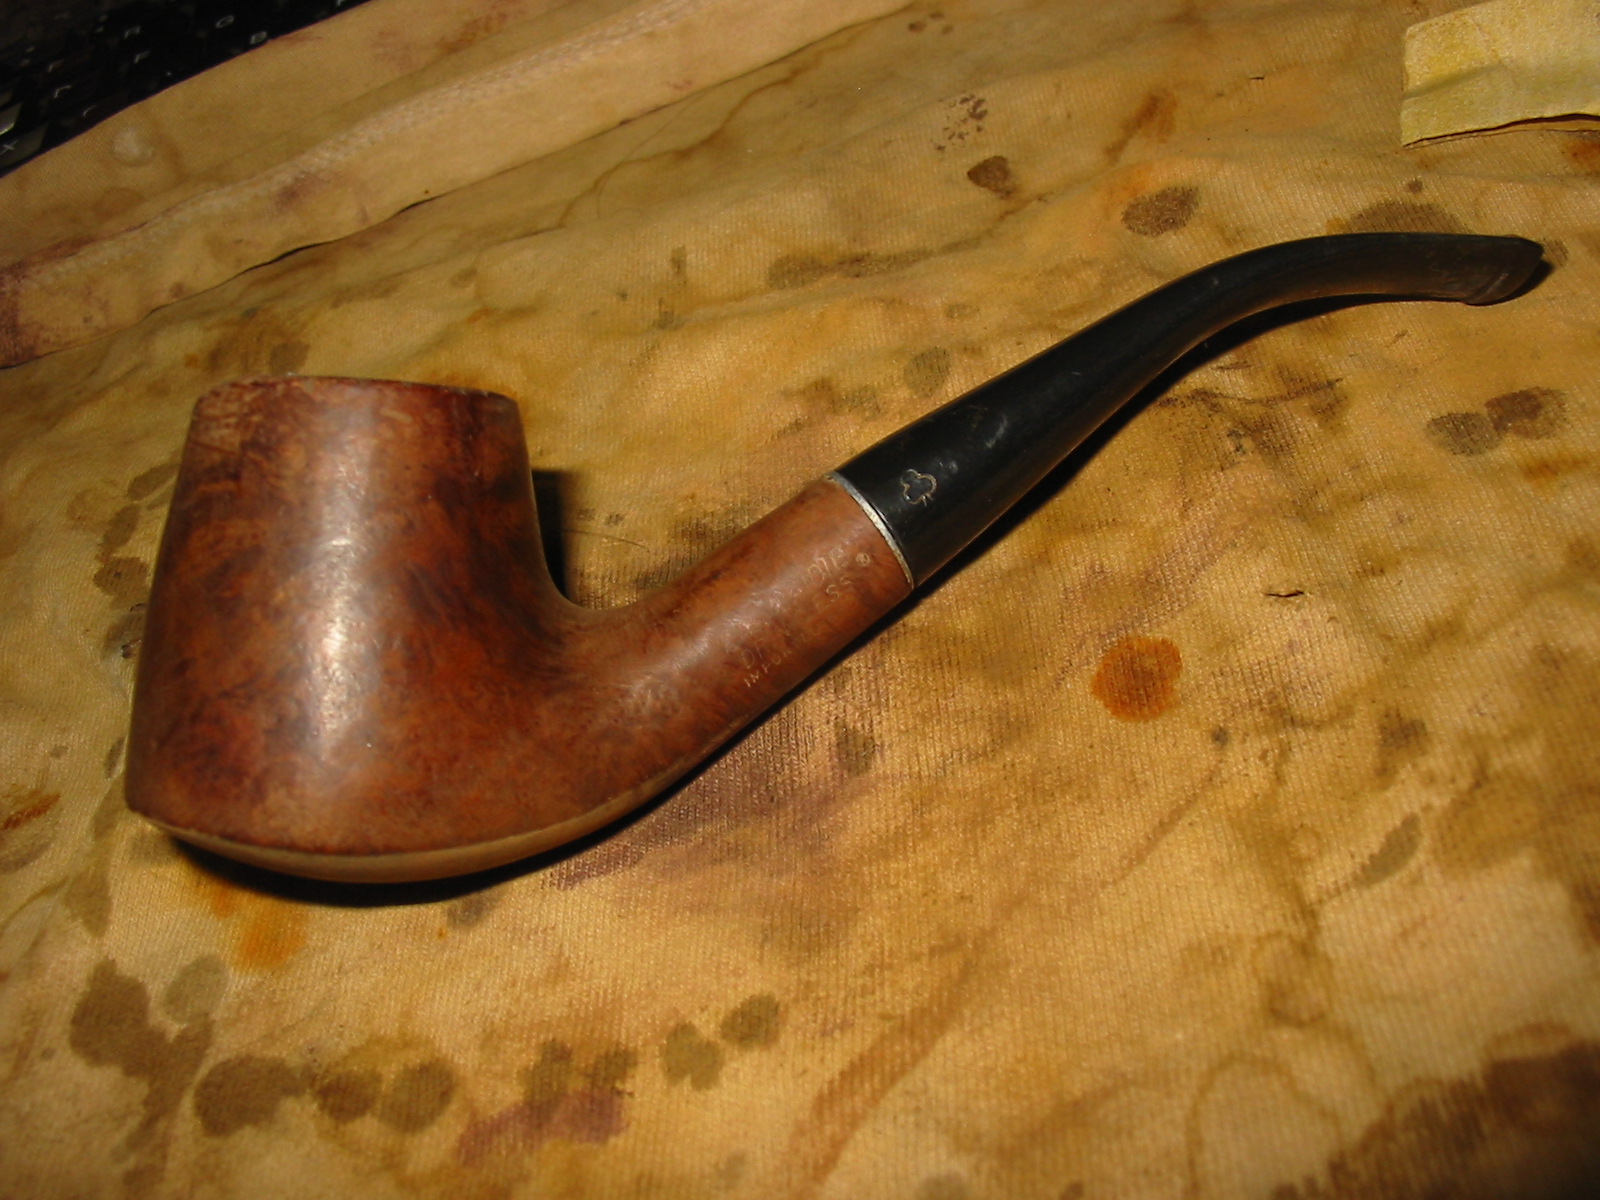
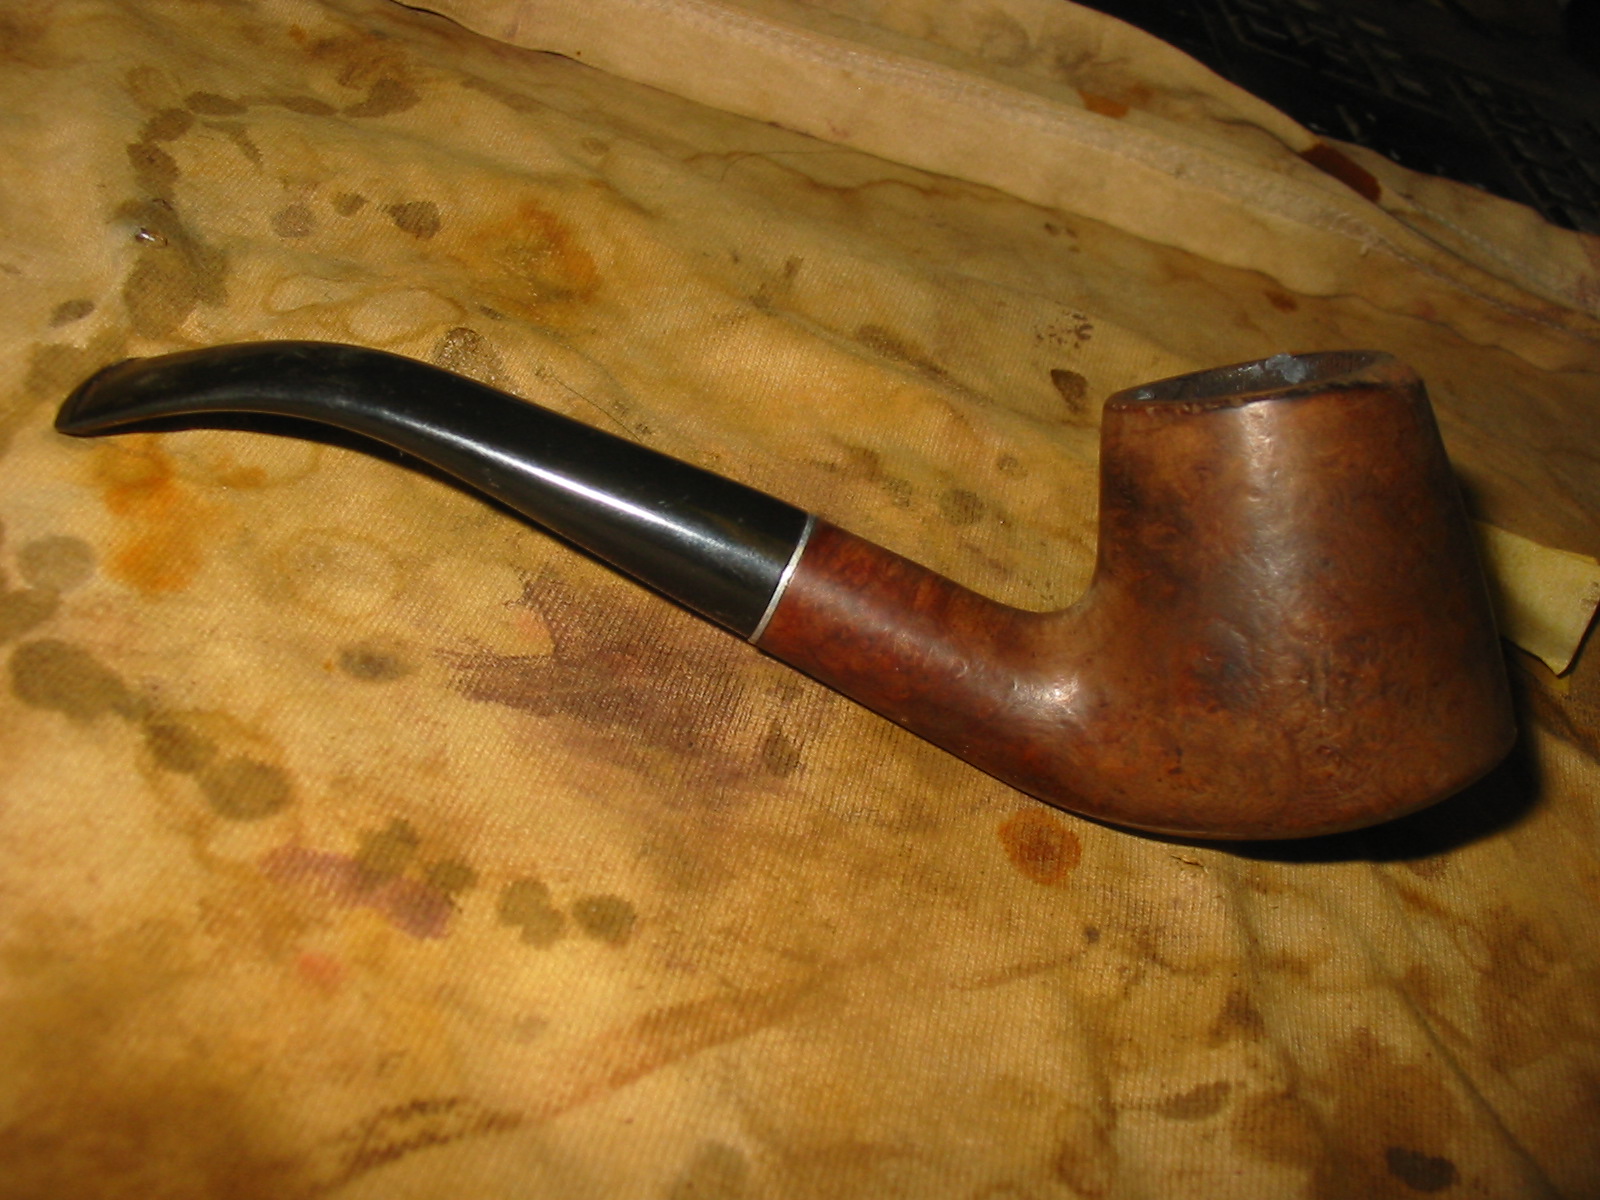
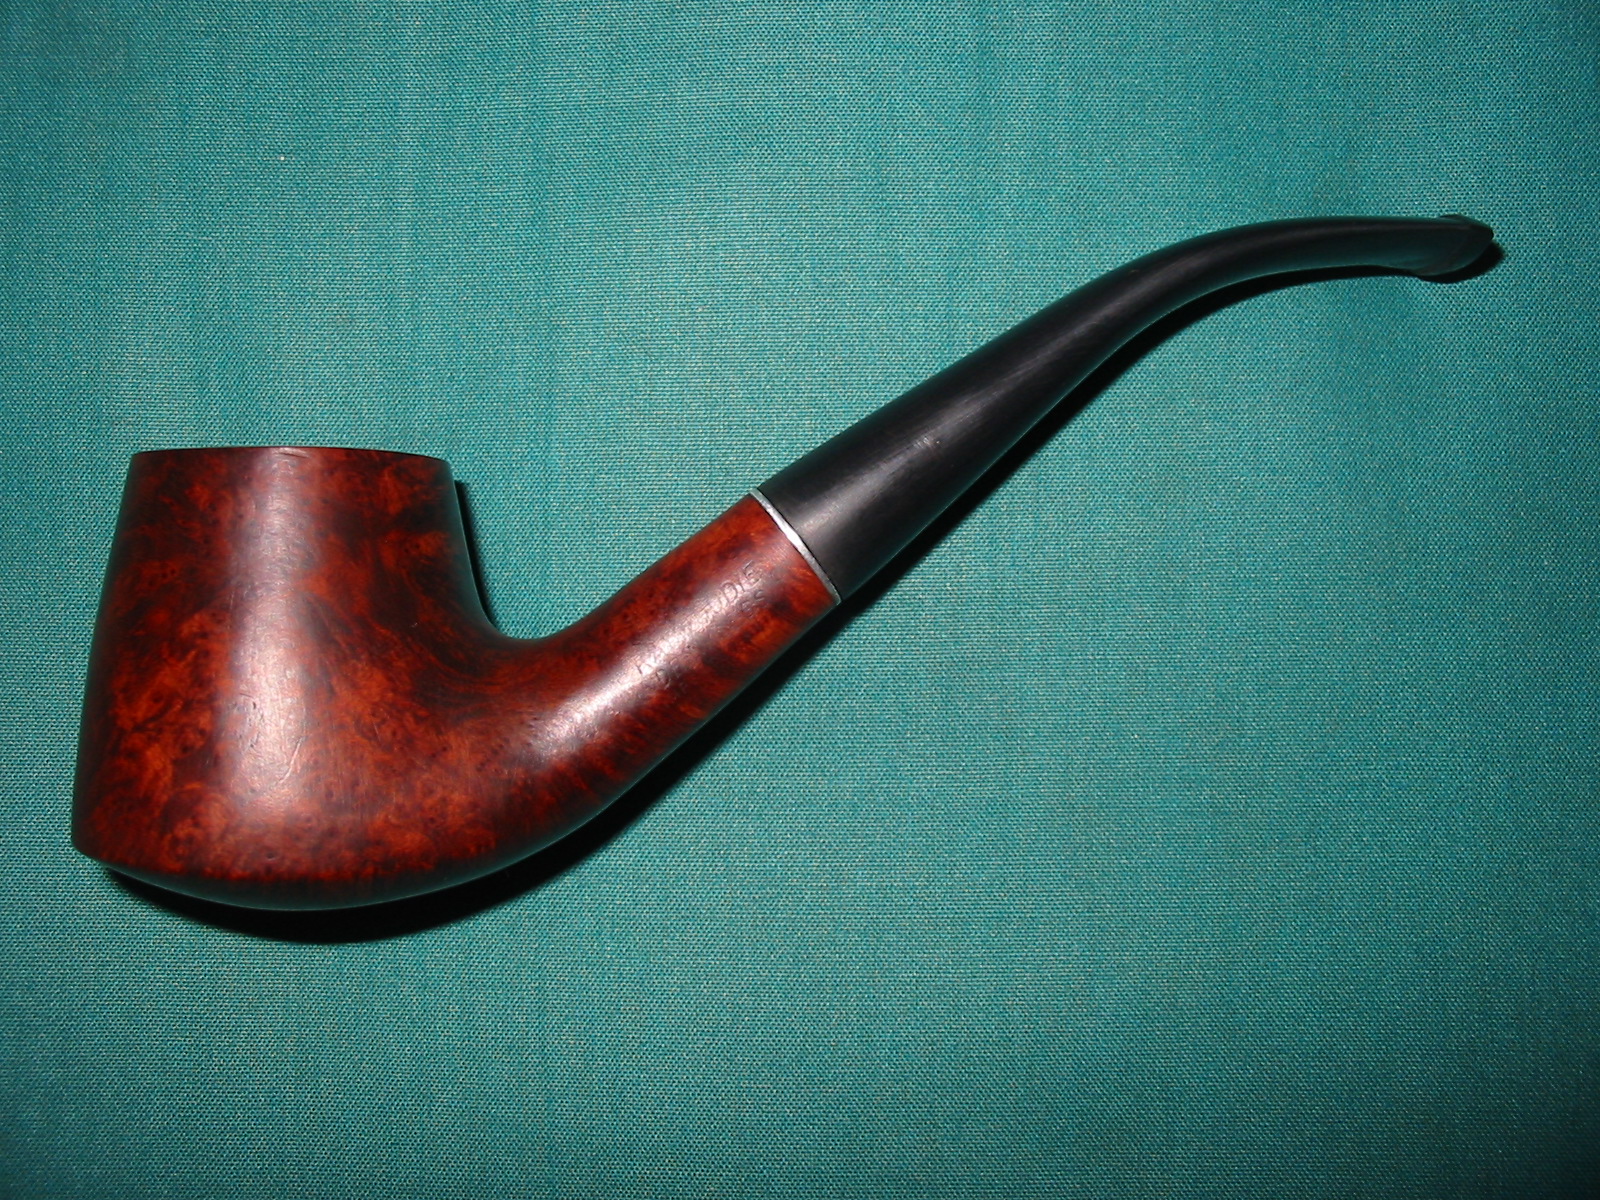
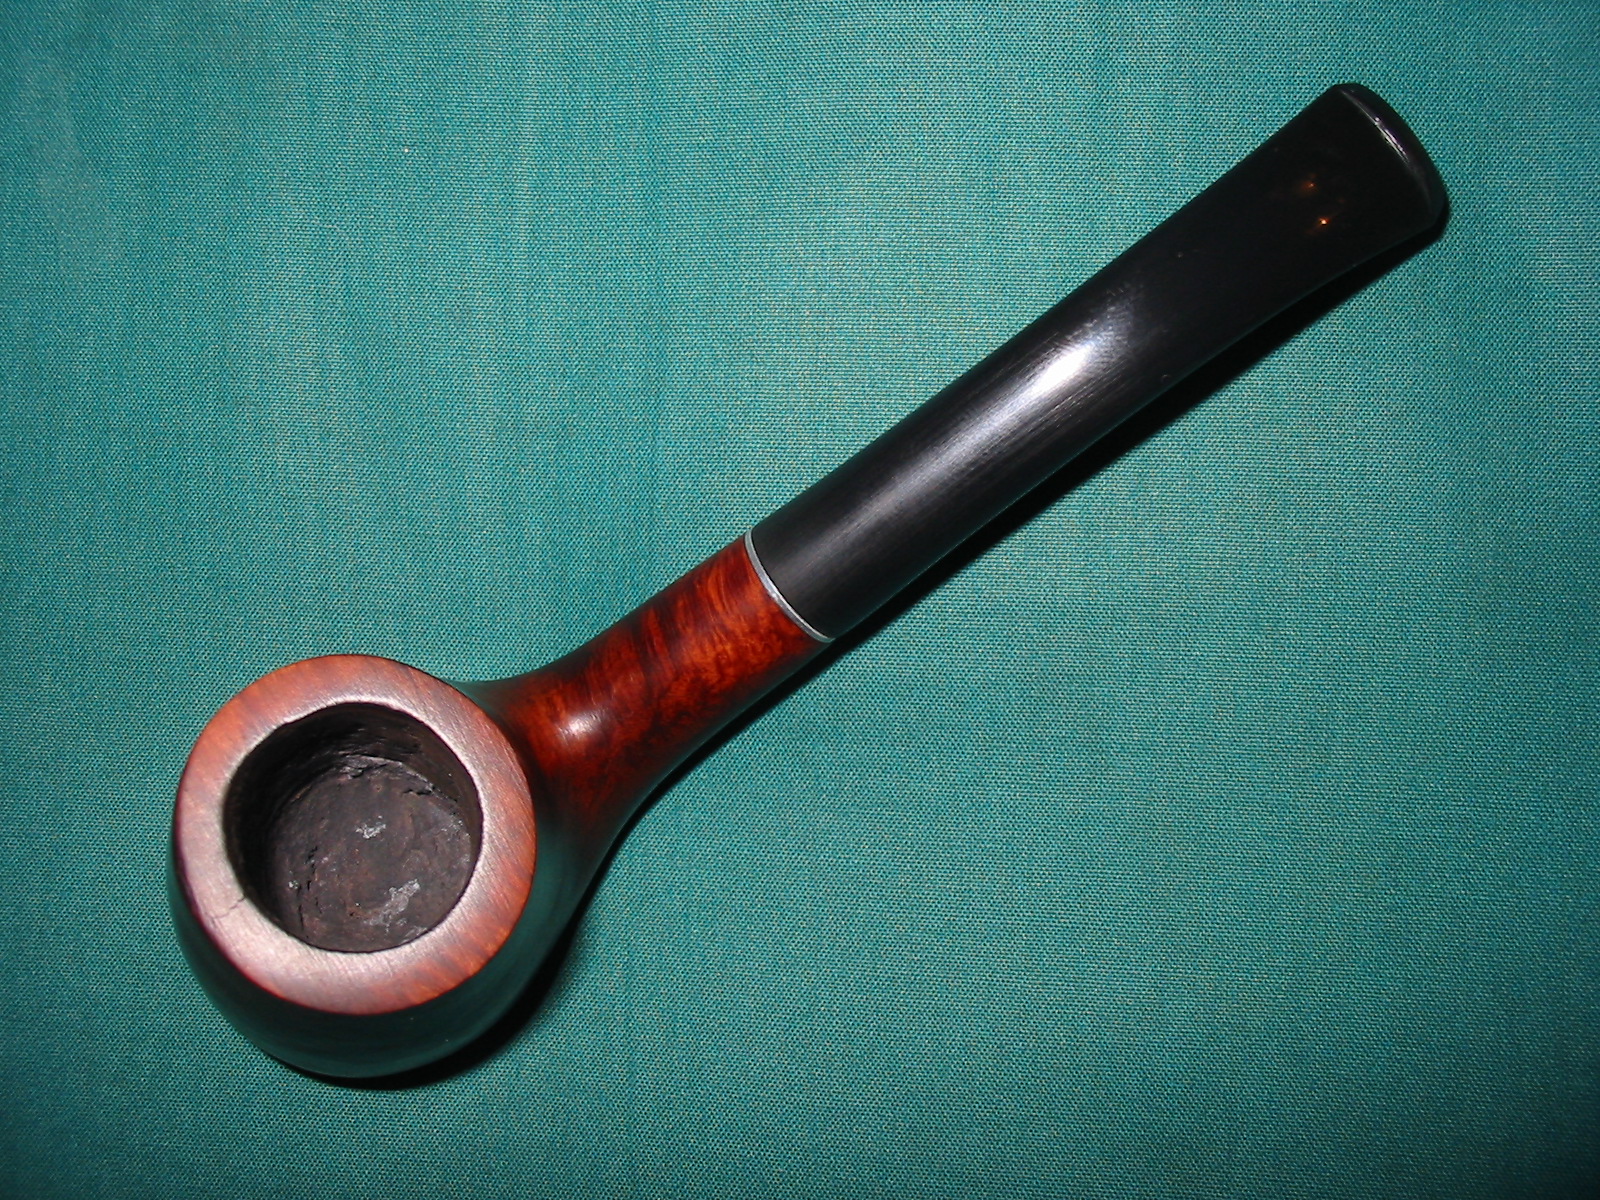
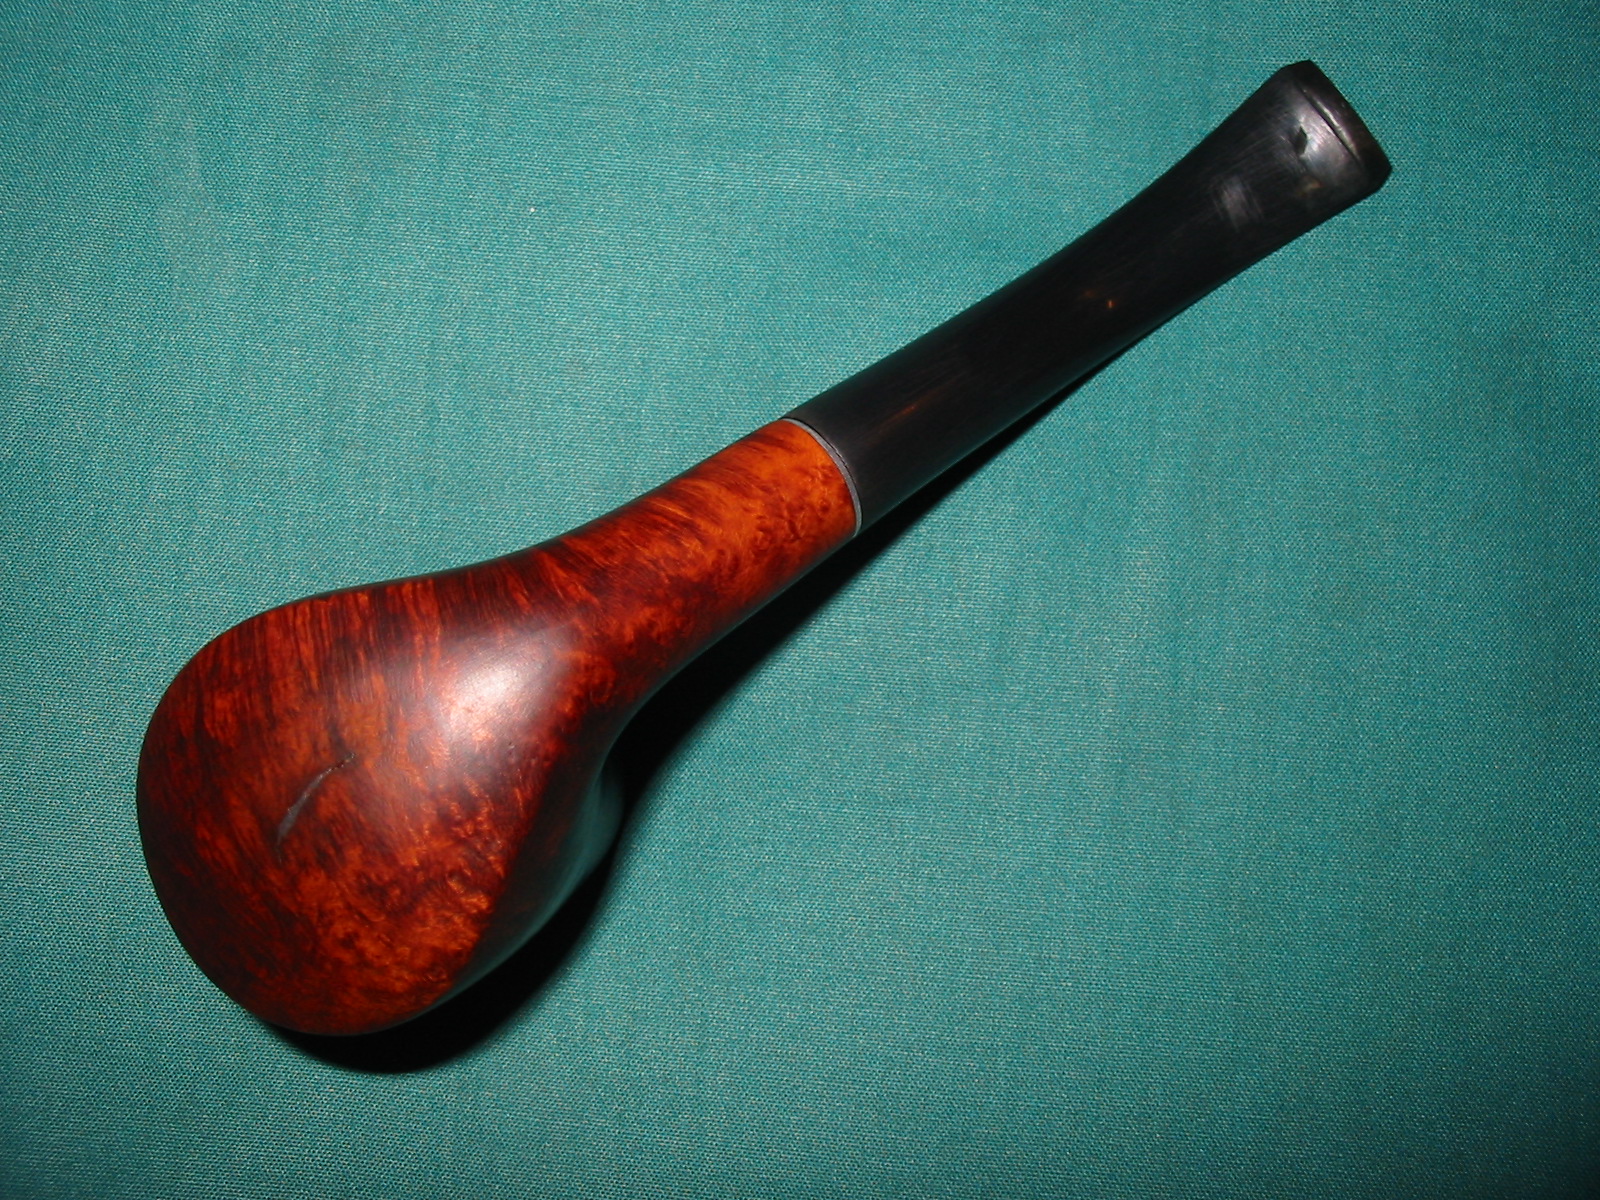
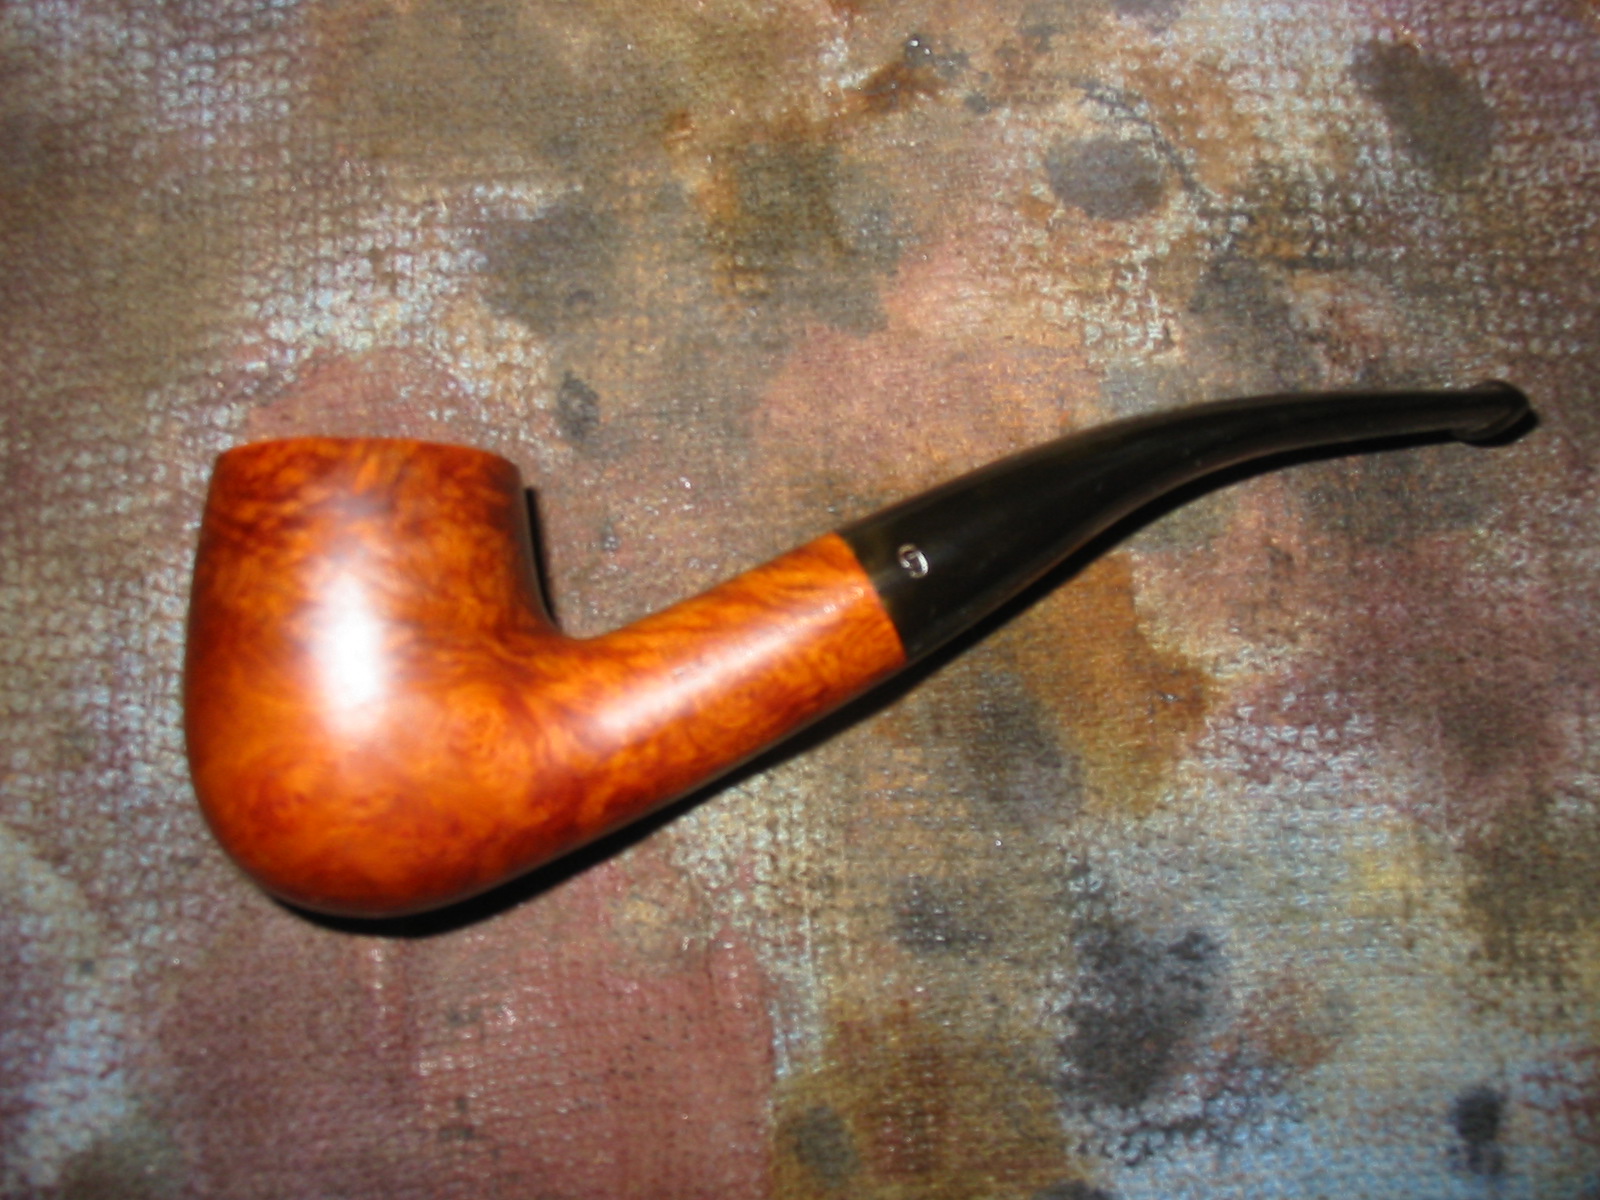
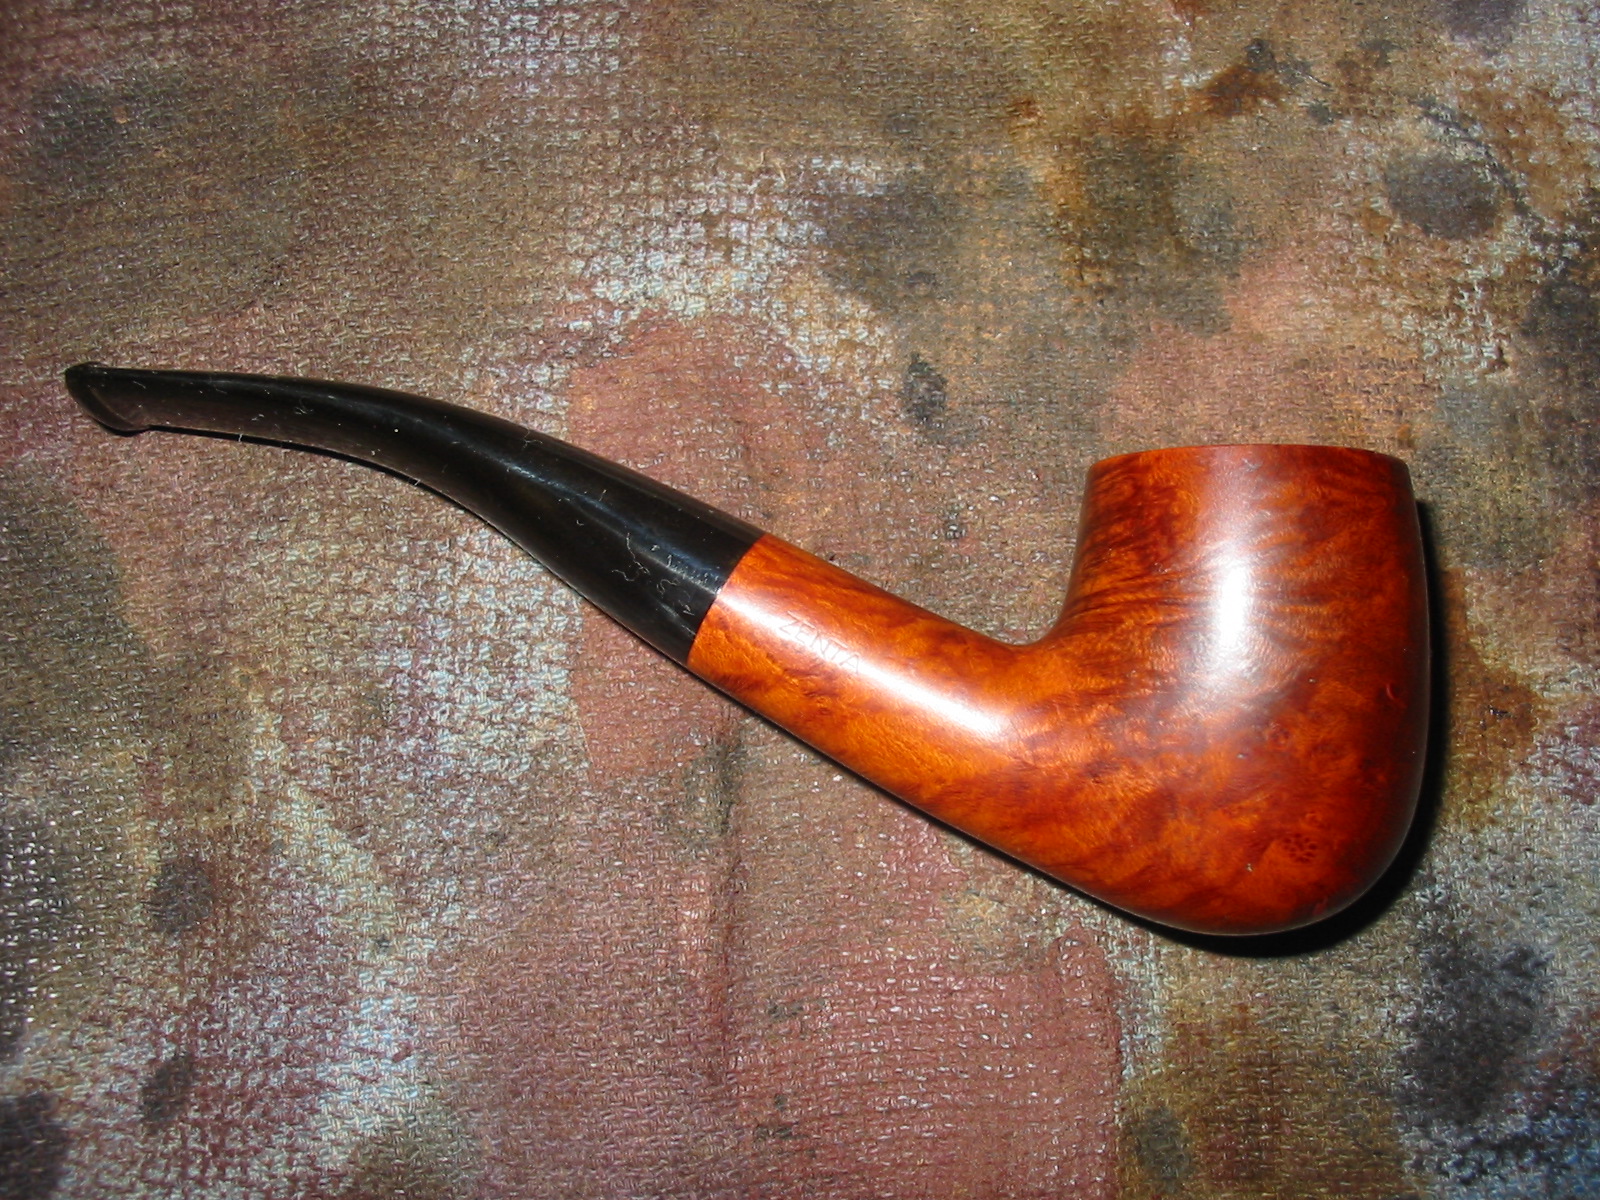
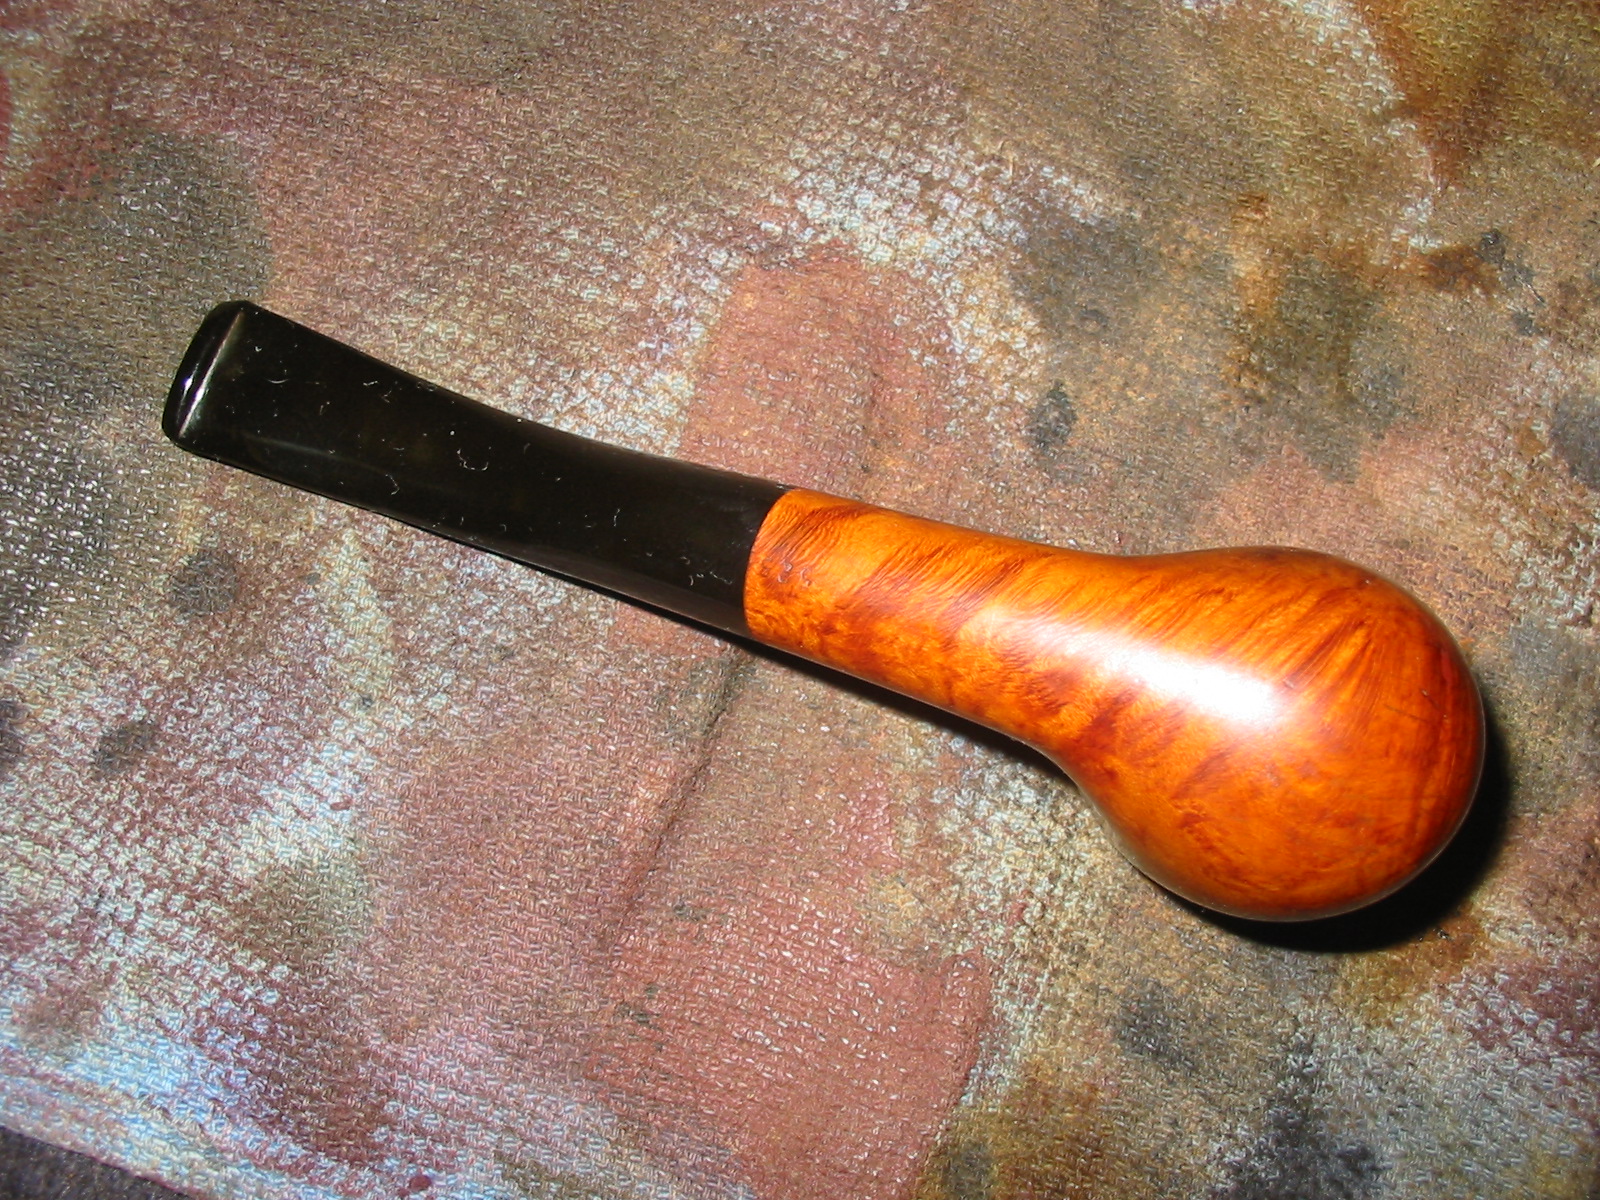
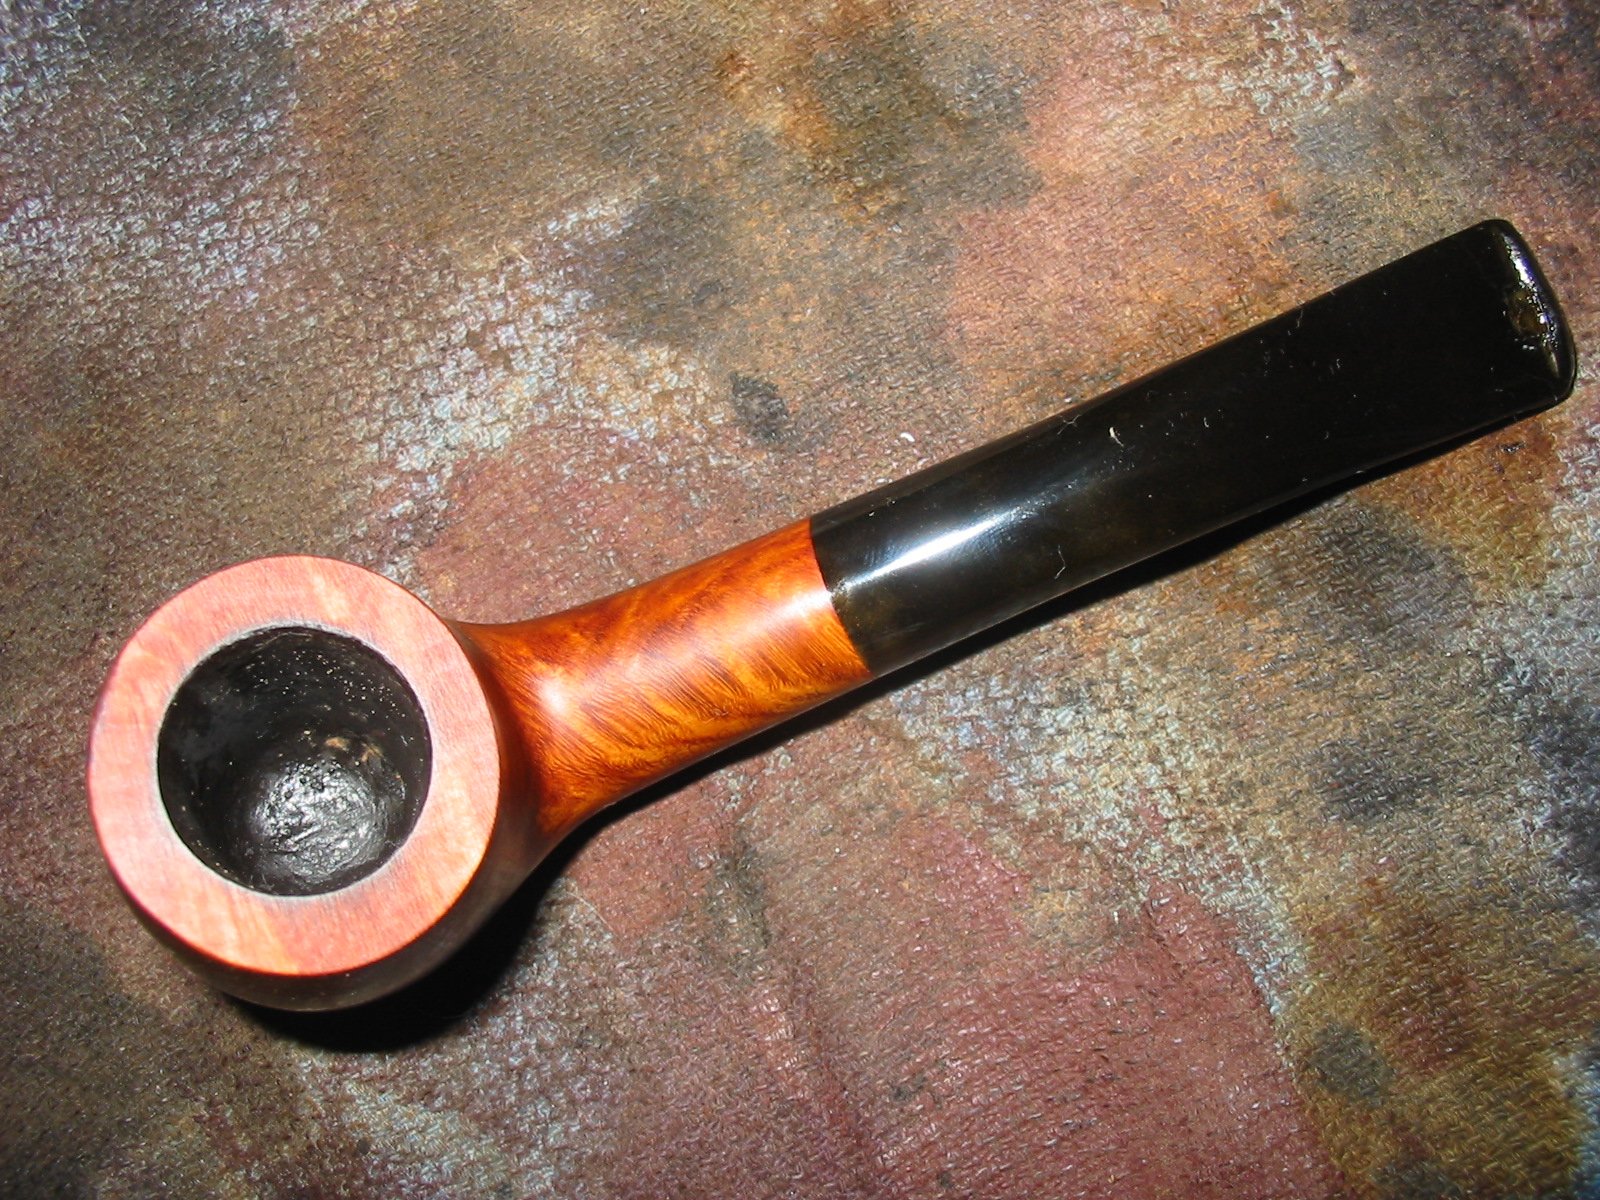
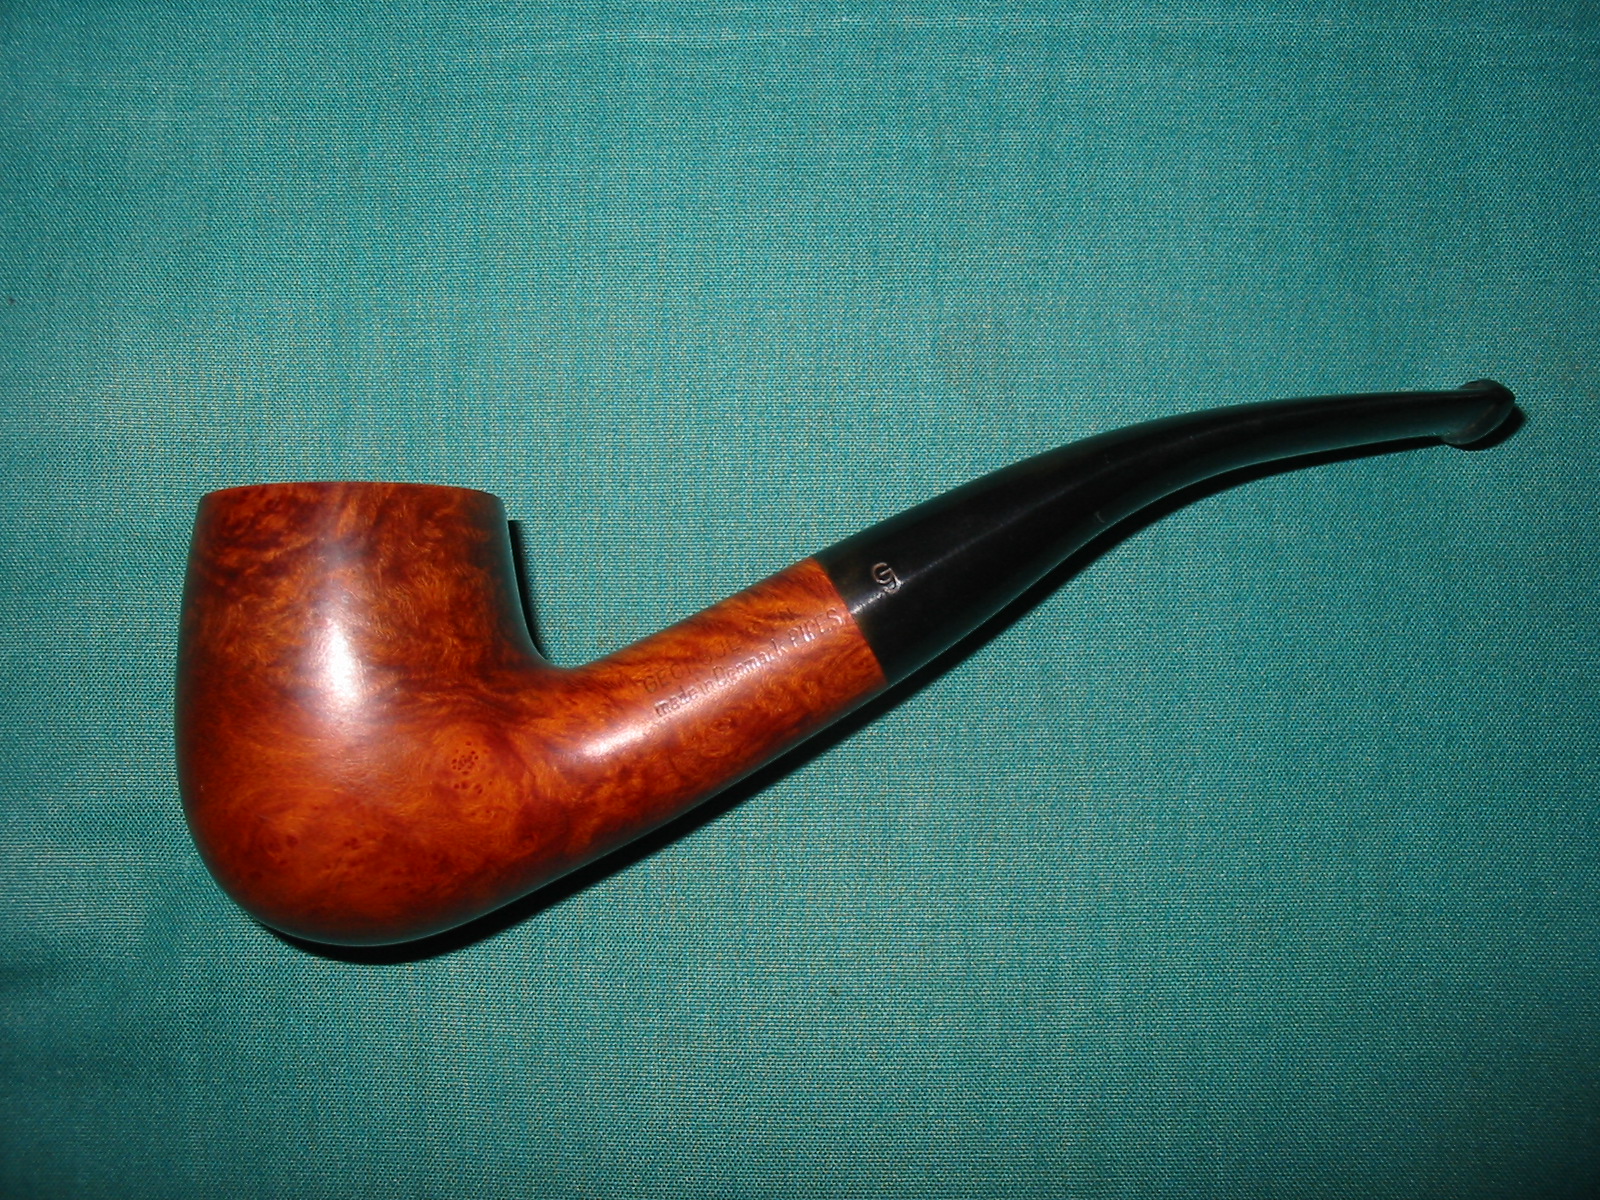
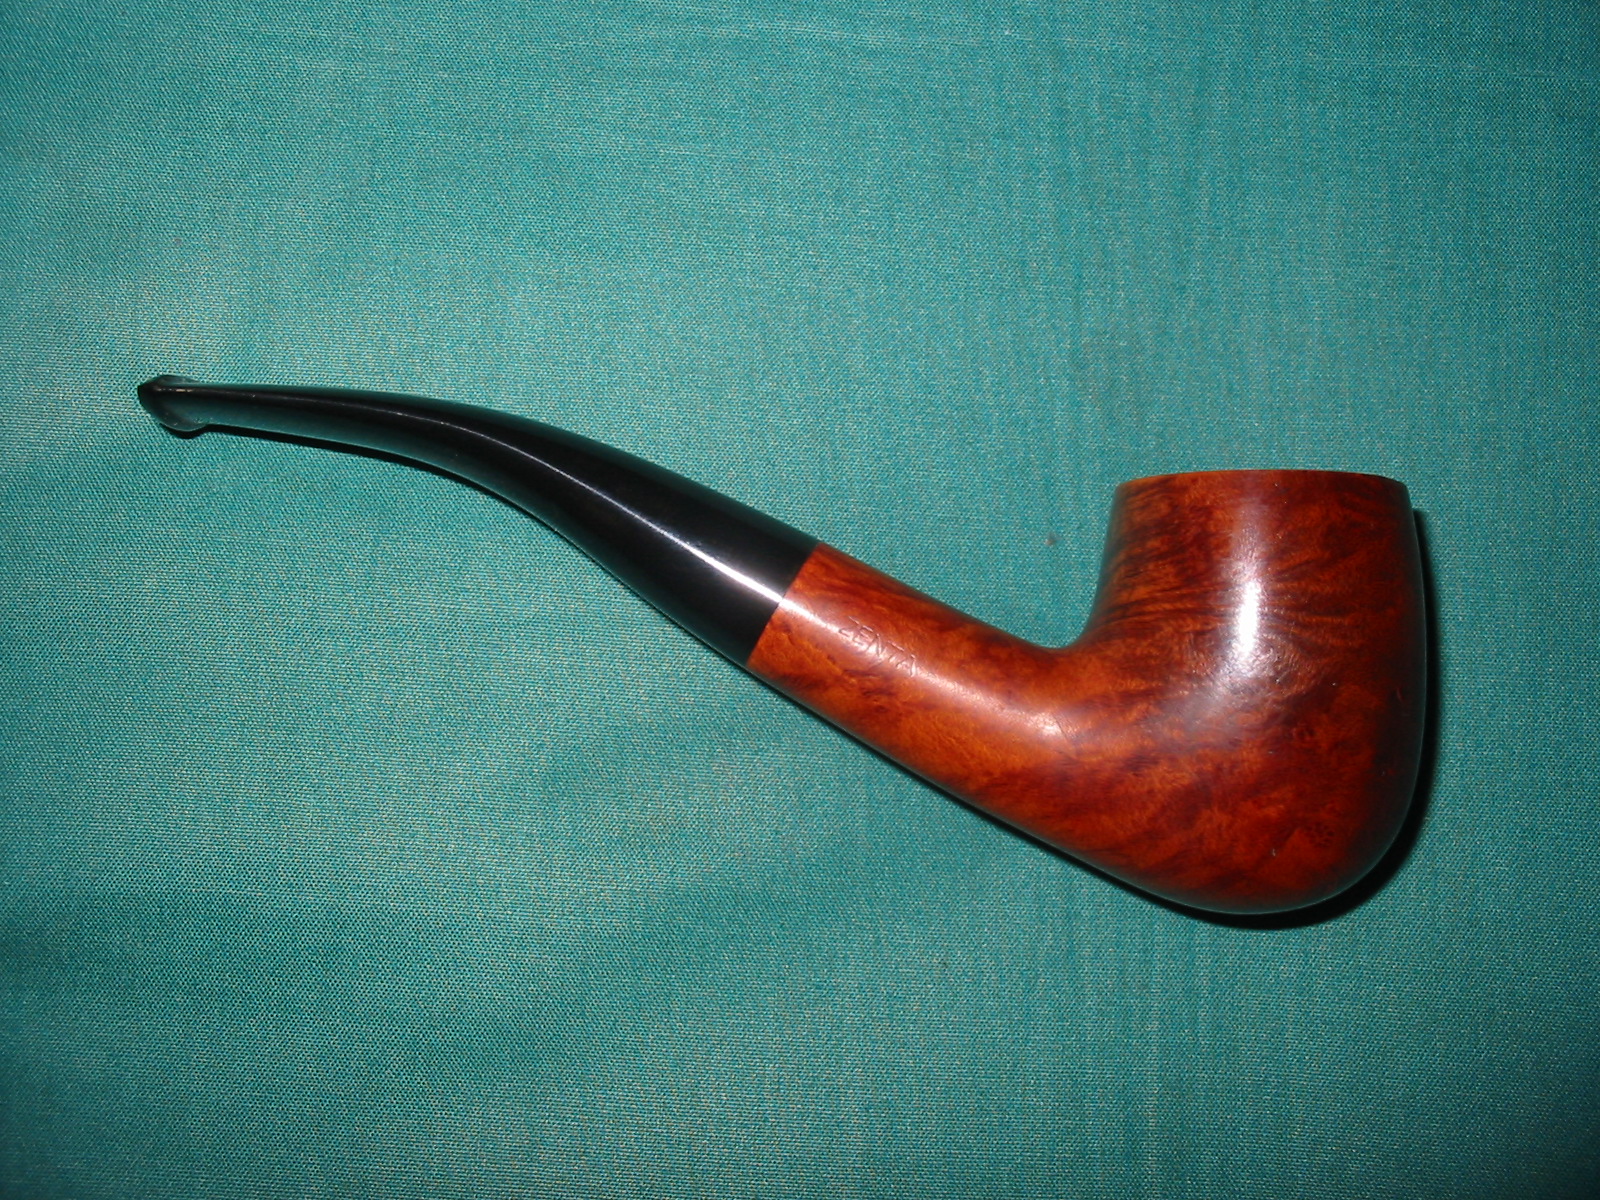
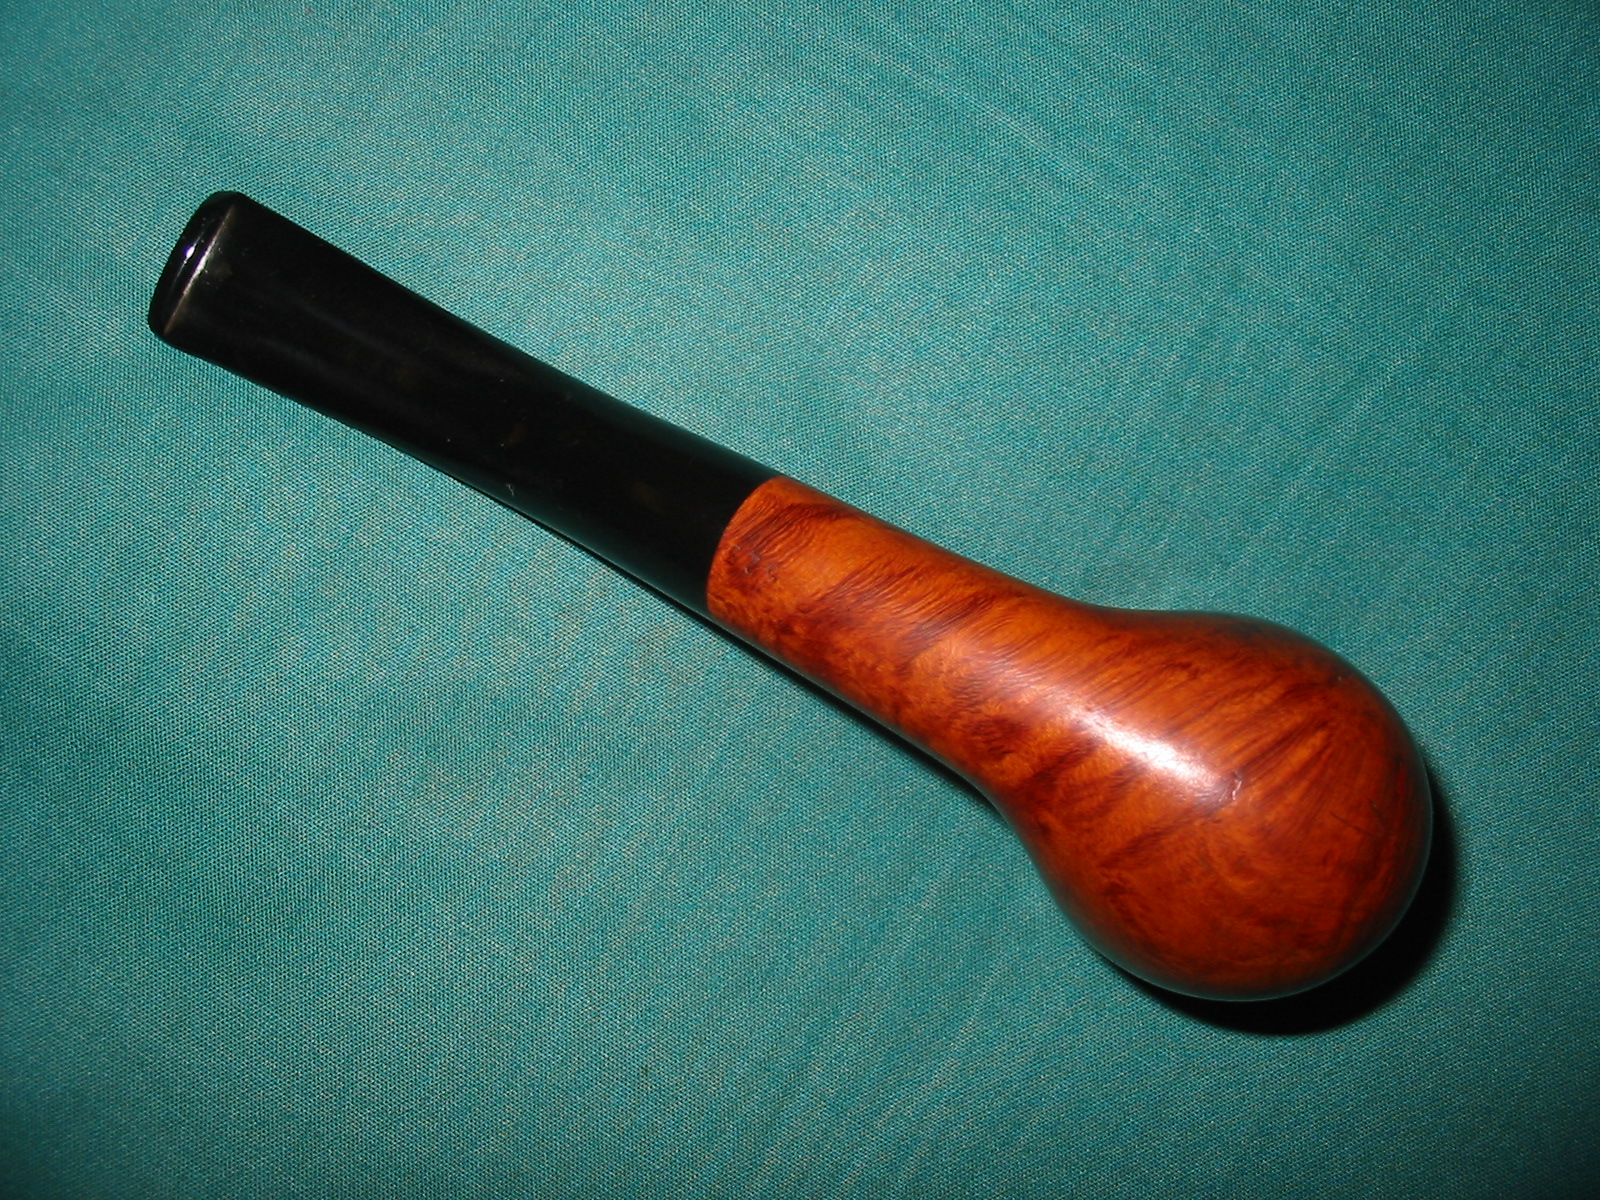
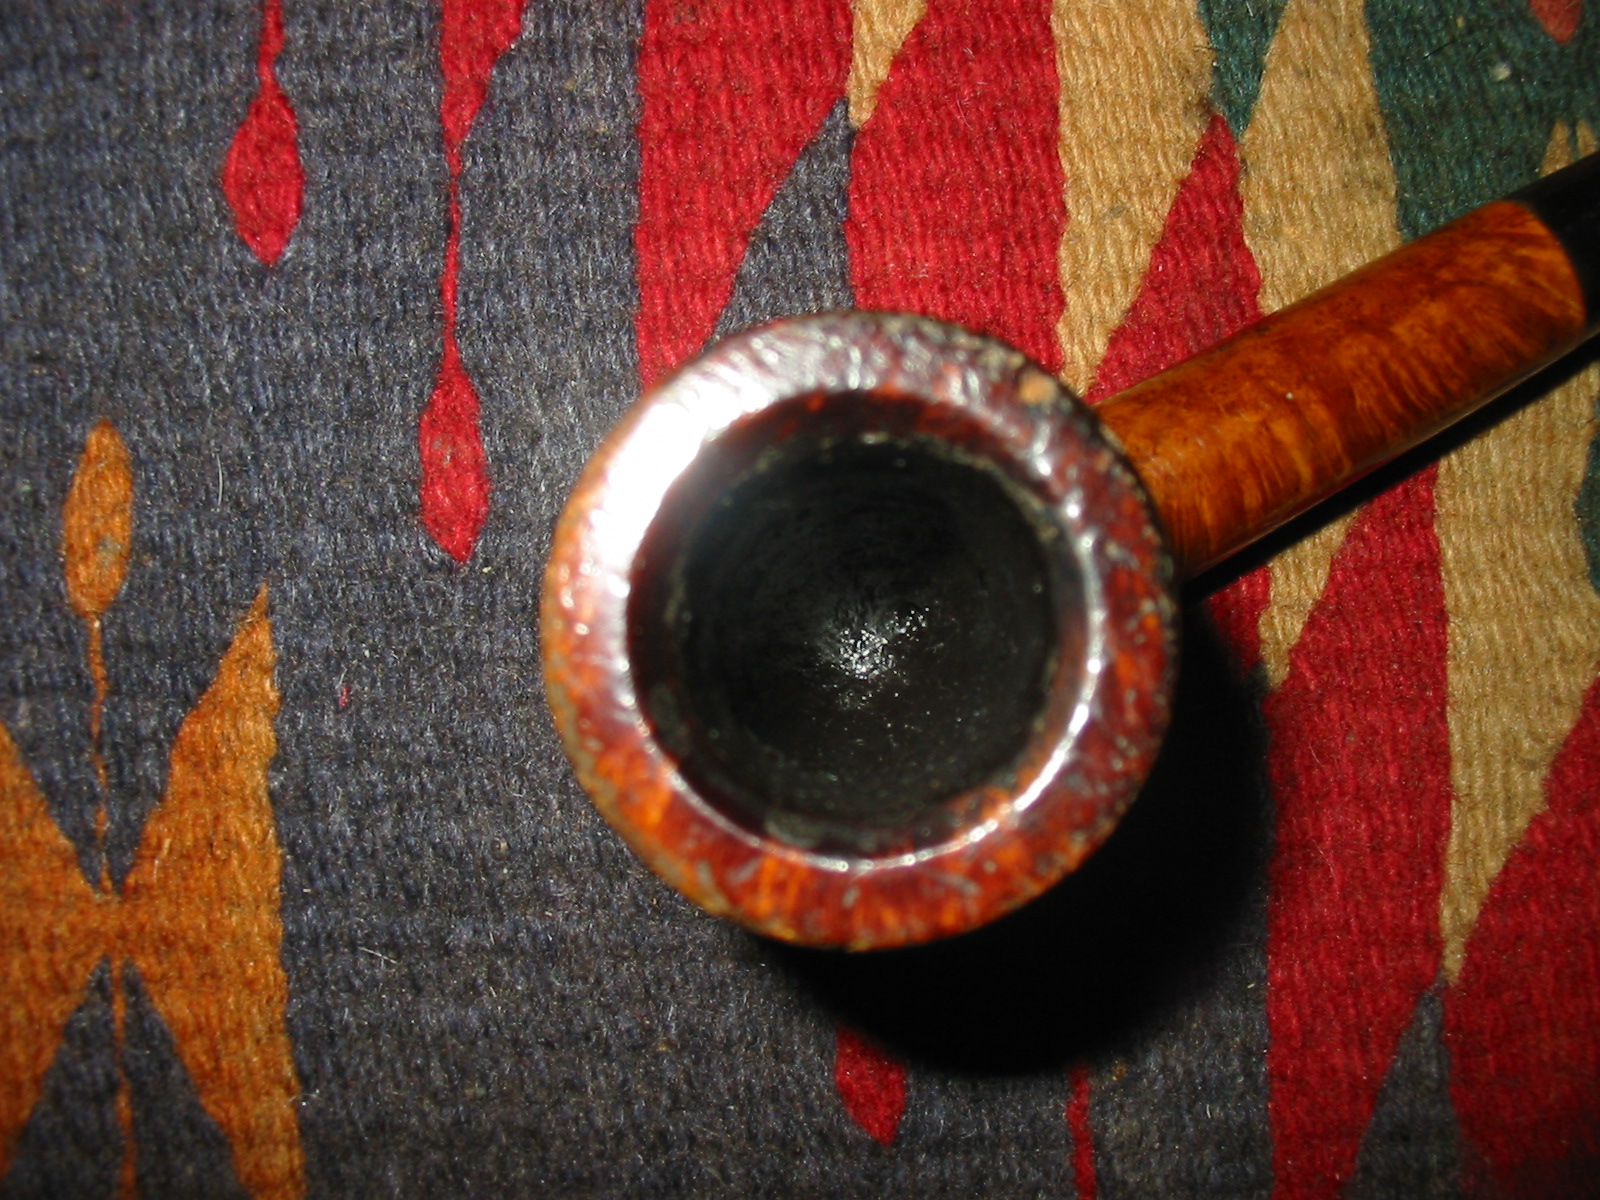
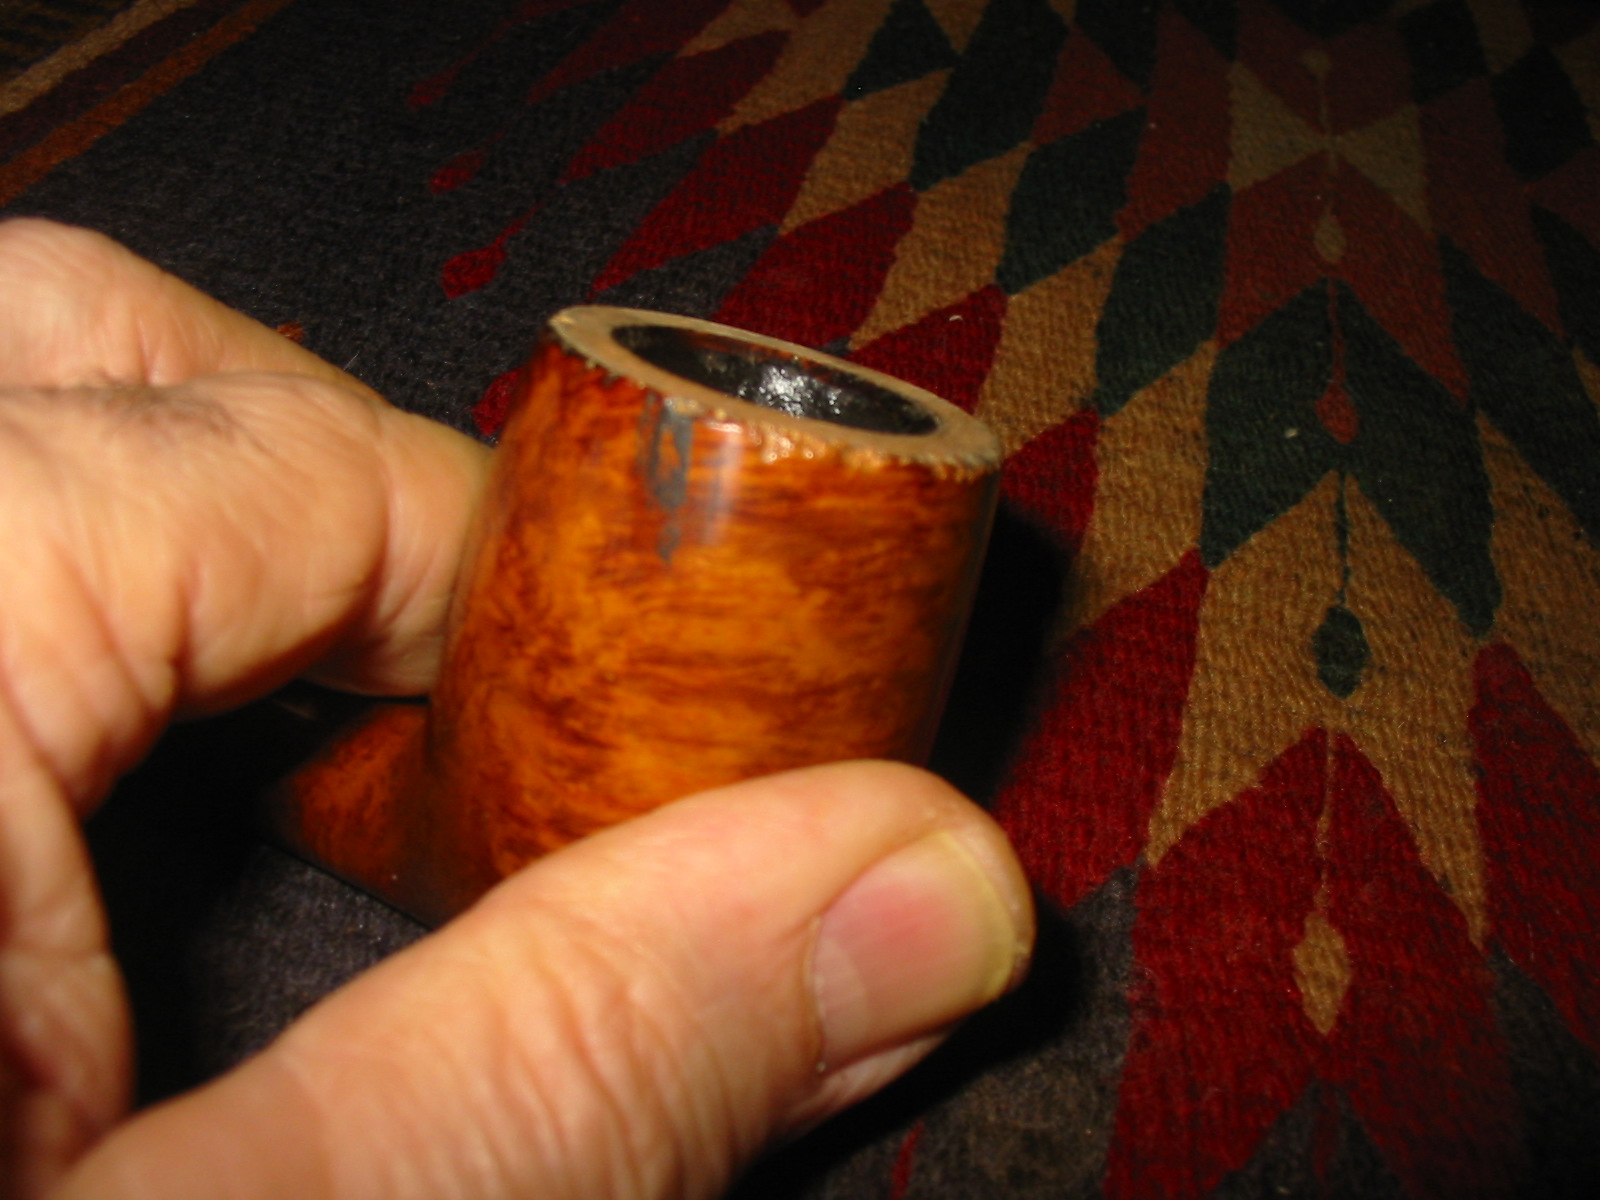
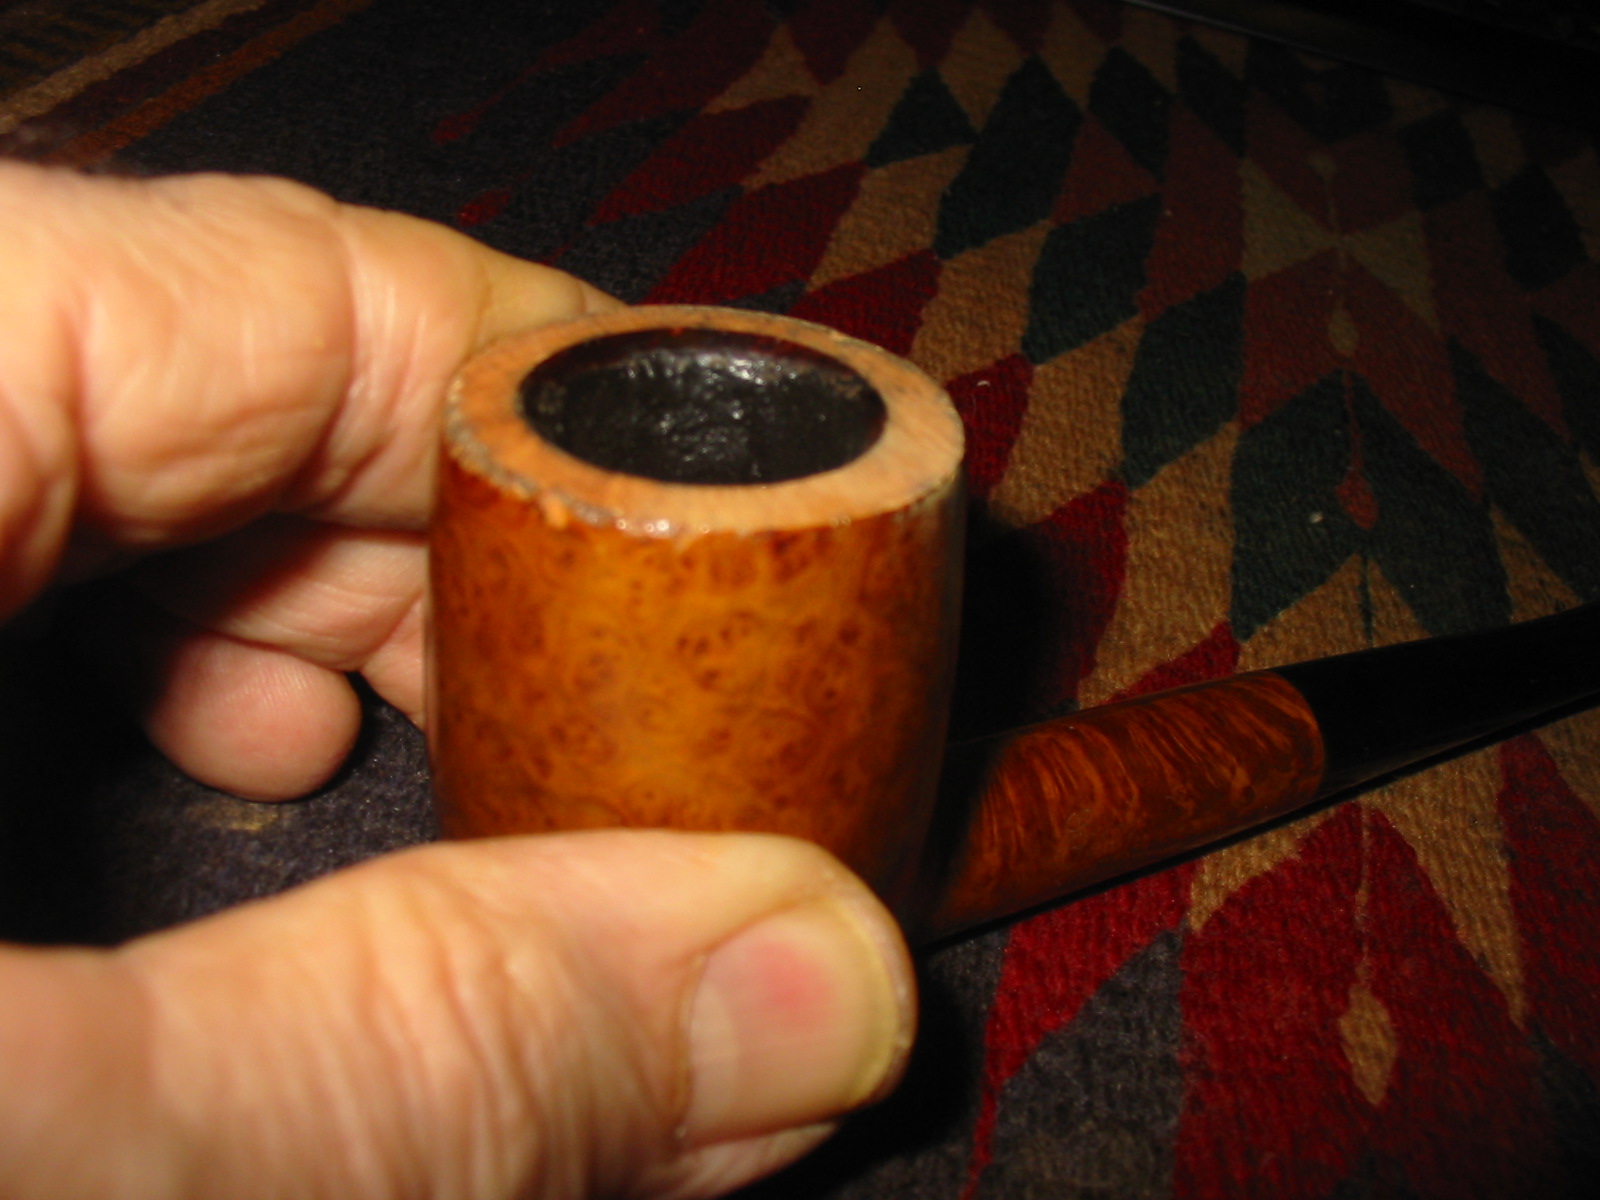
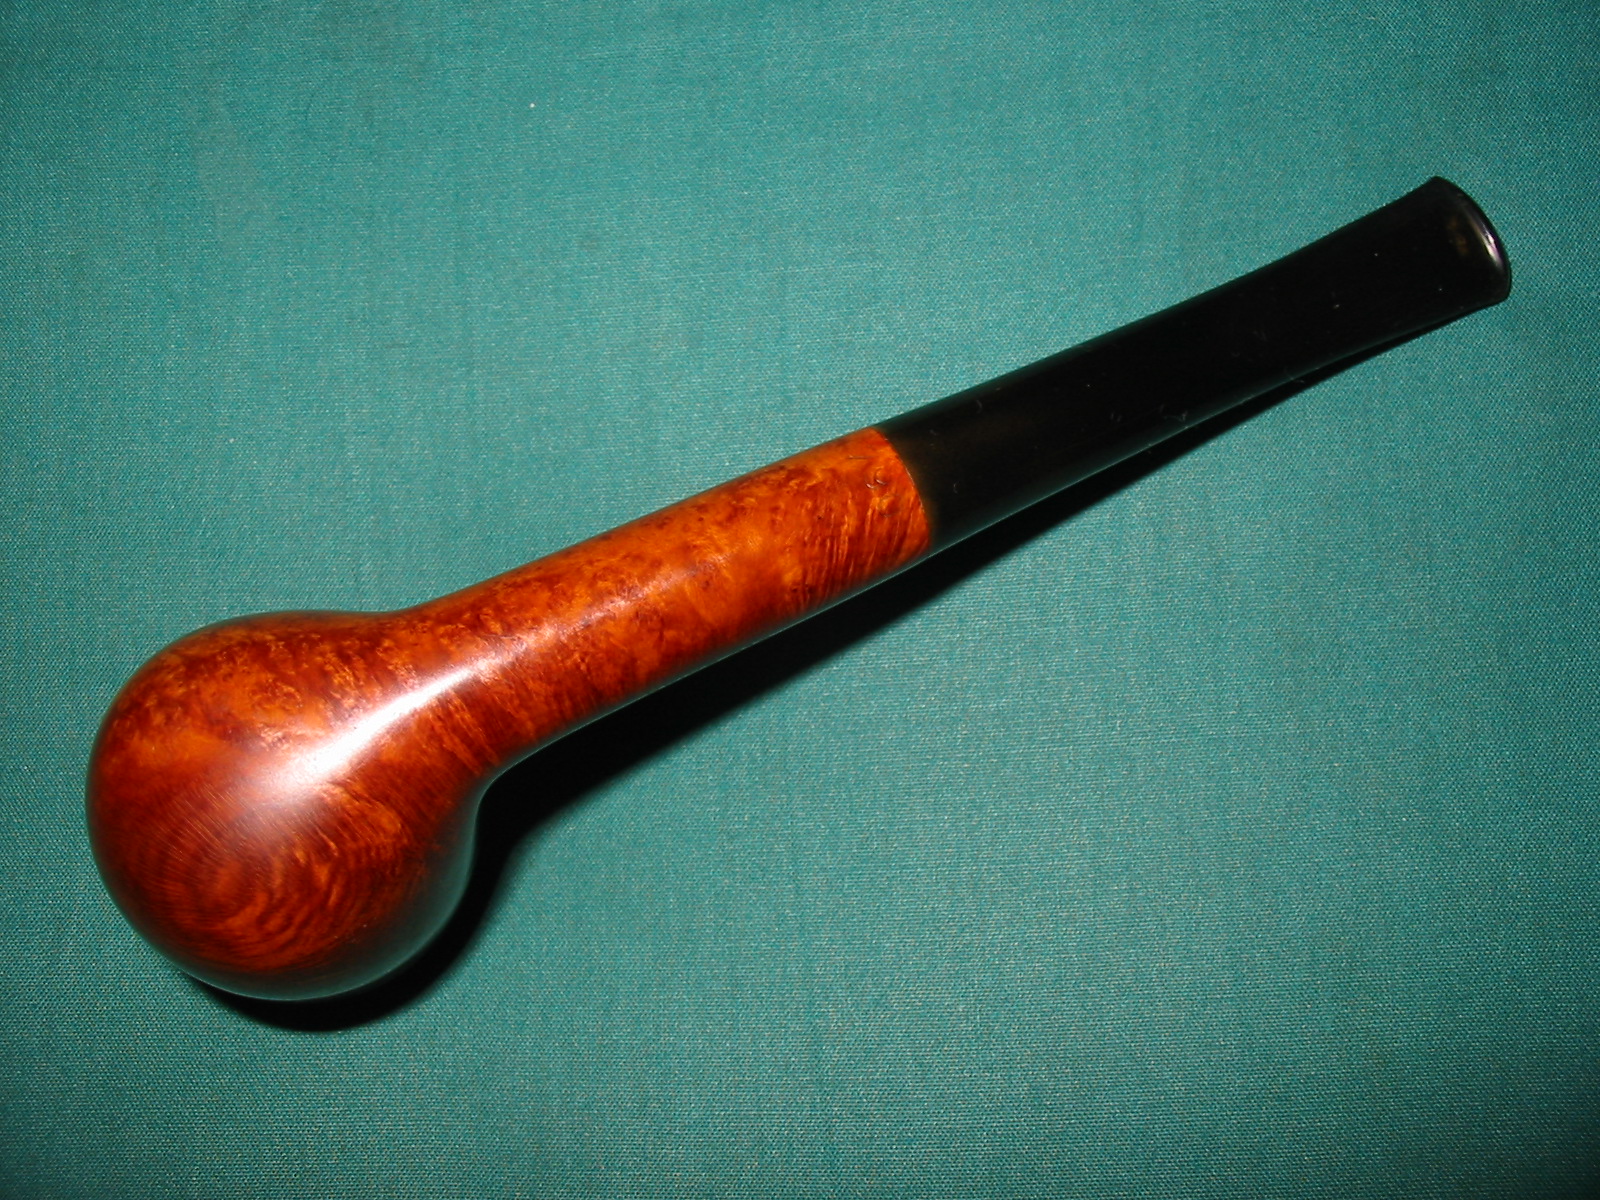
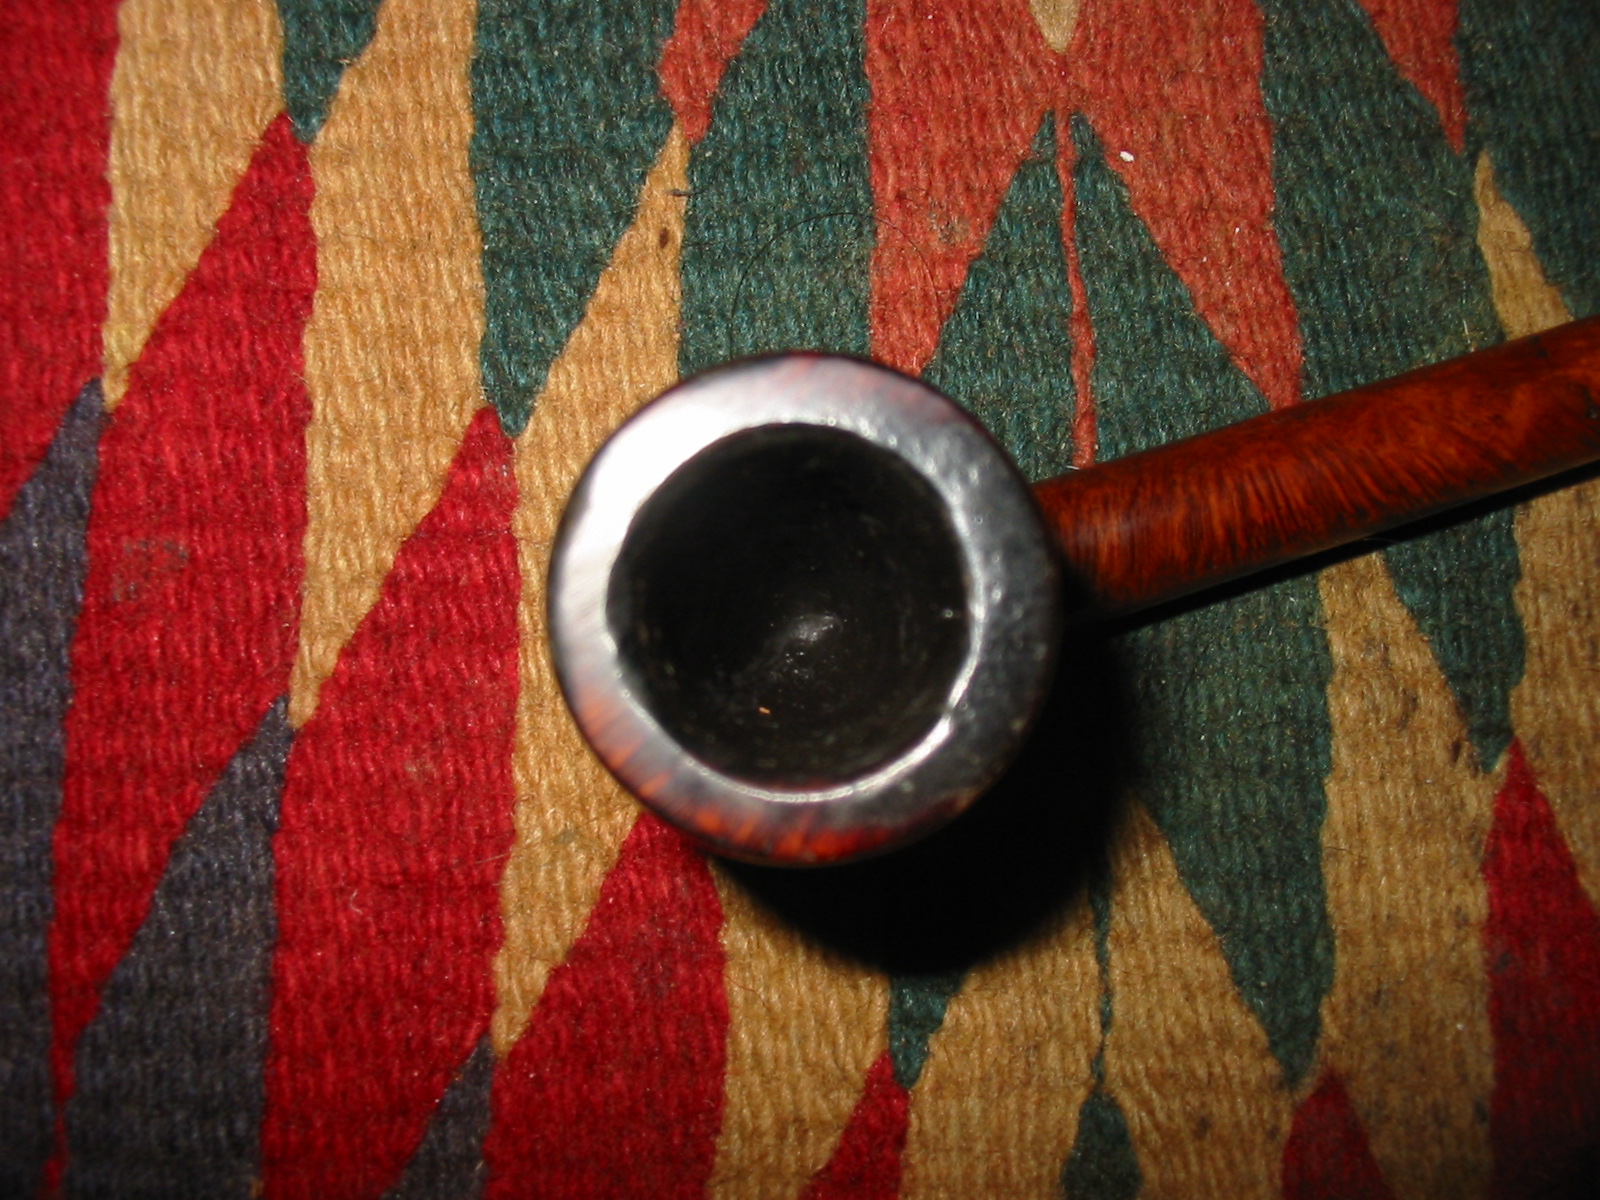
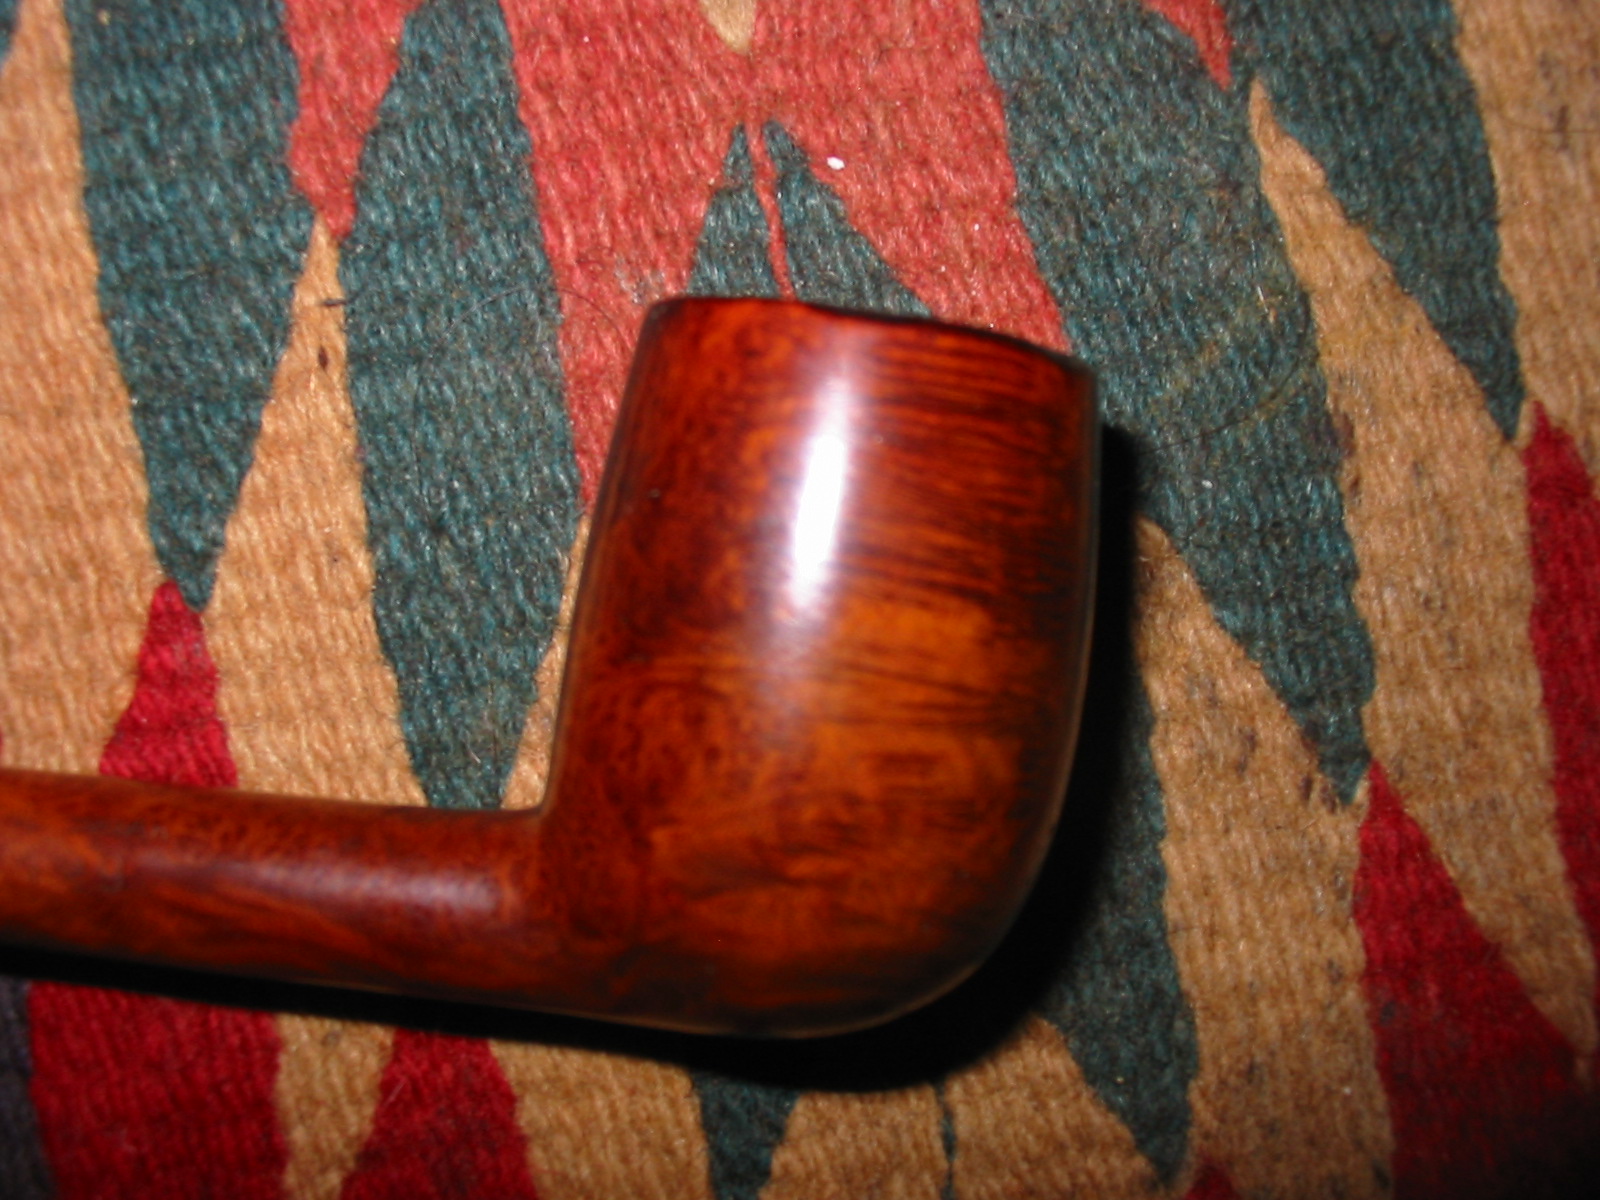
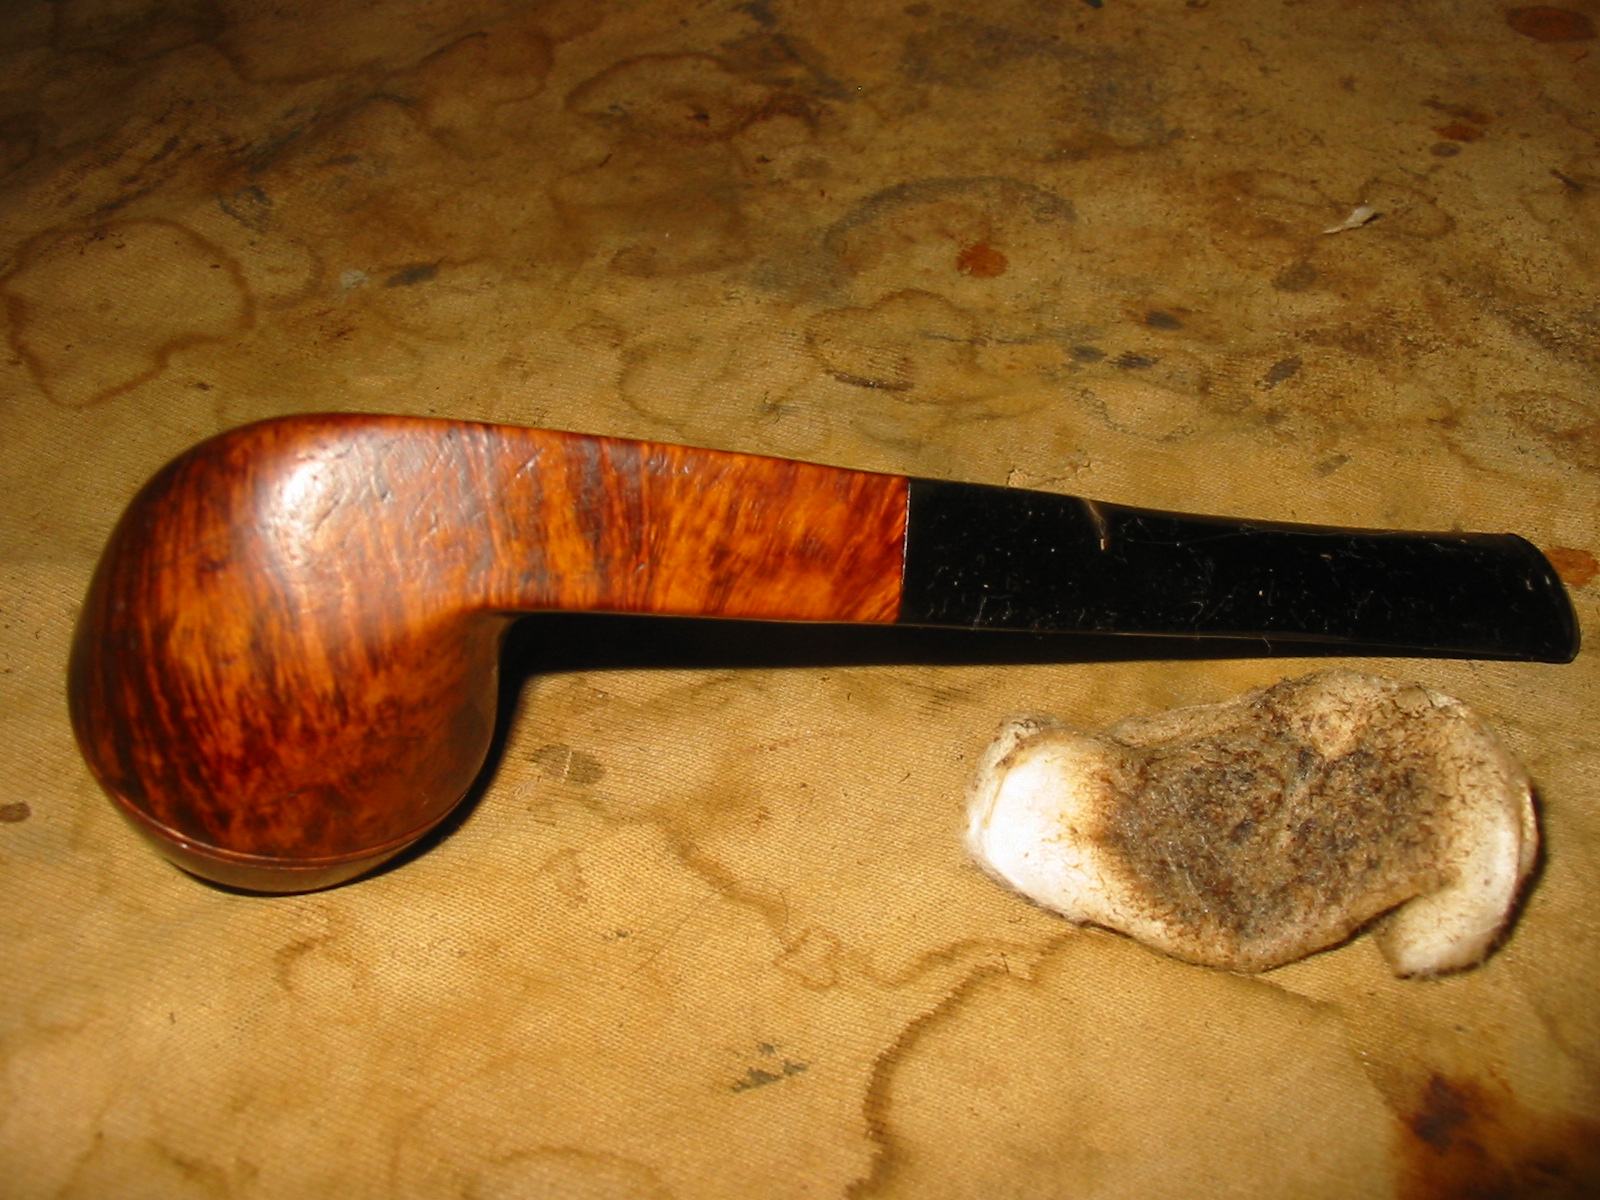
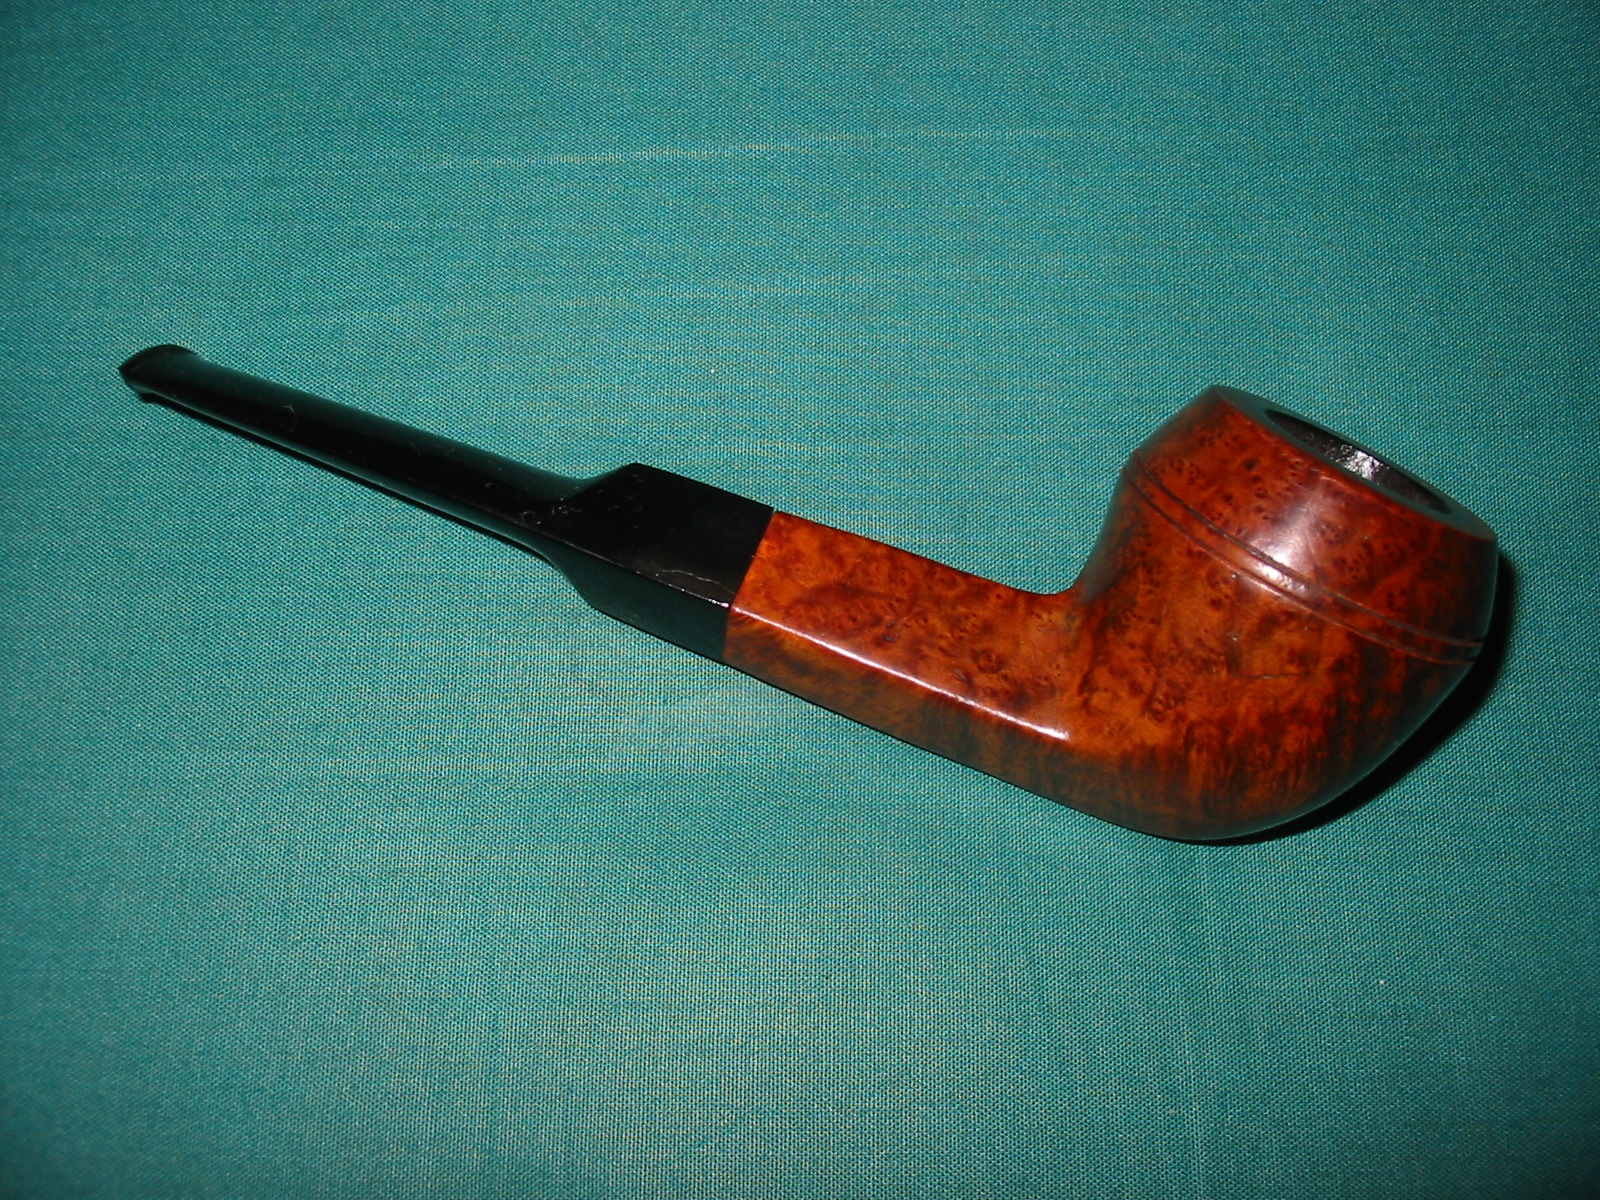
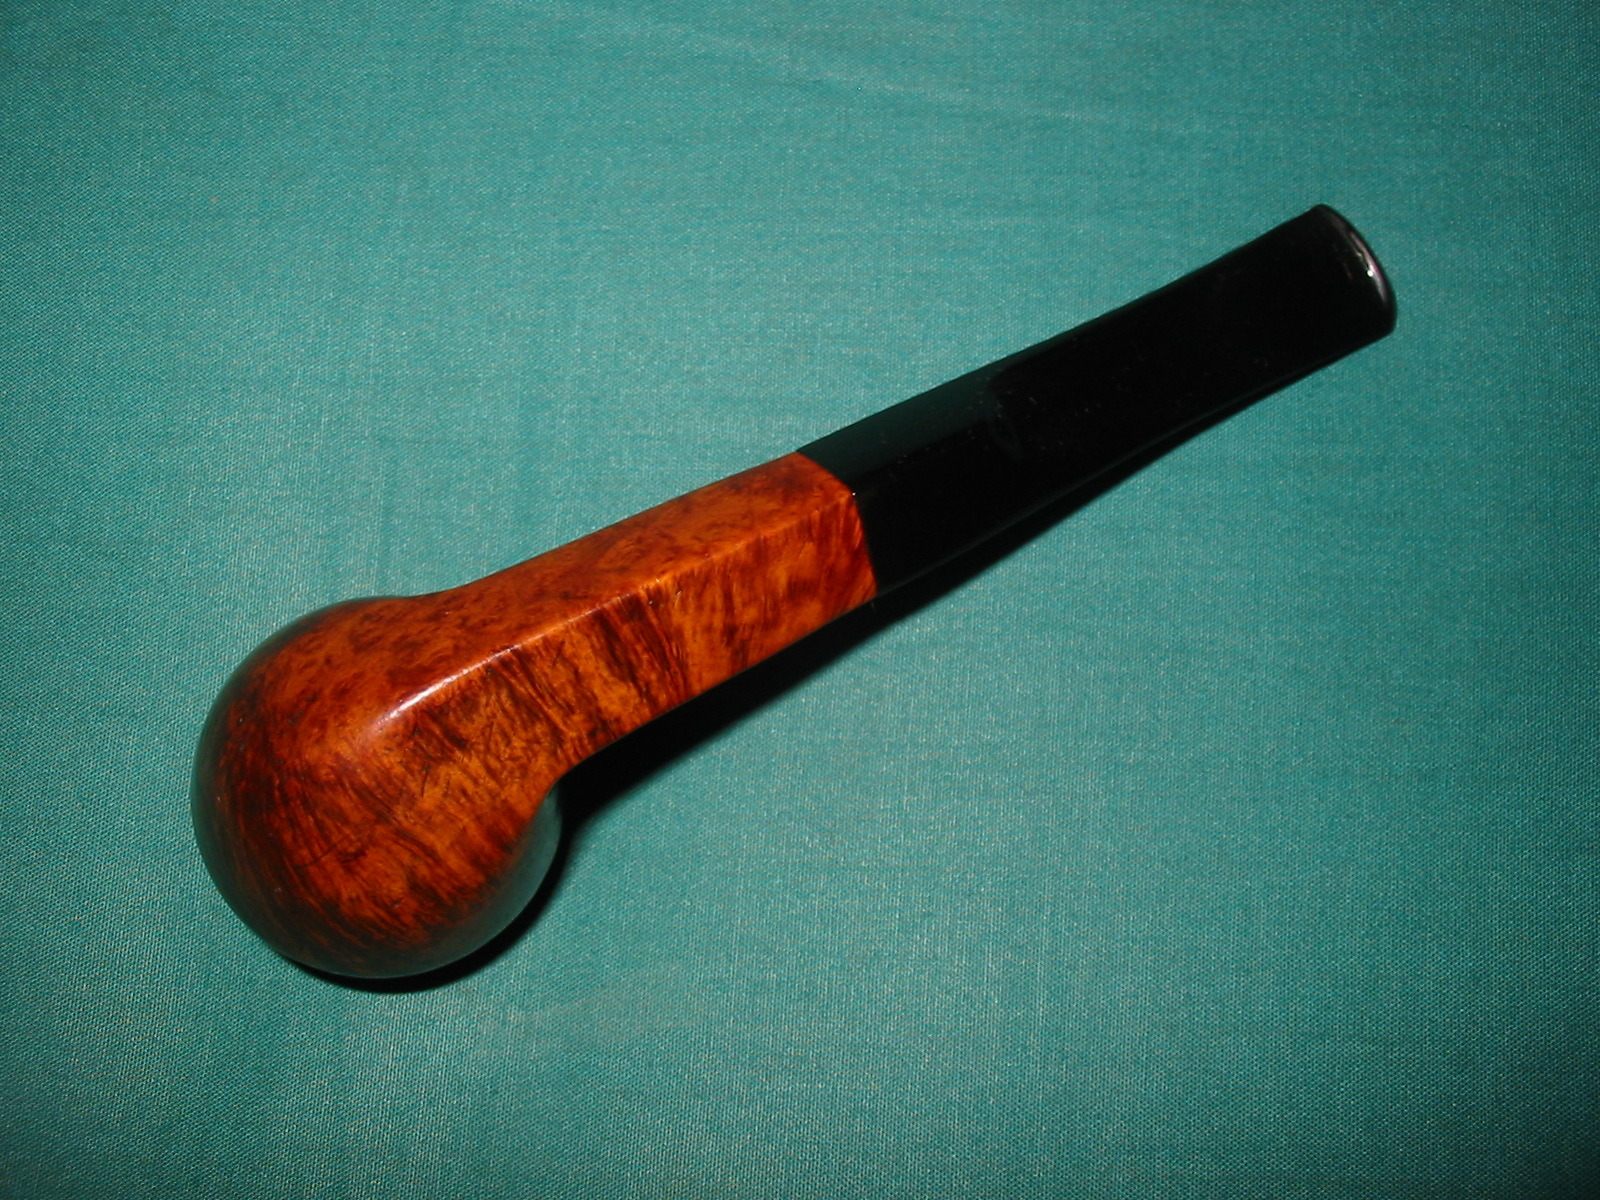
This was an easy case. What about situations when the lip or end of the stem/mouthpiece is partly broken, “eaten up”, has holes, or part is missing? Please, take a look at illustrations published by our host at the beginning of his text “Cutting and shaping a new button on a severely damaged stem”
https://rebornpipes.wordpress.com/2014/02/25/cutting-and-shaping-a-new-button/
Instead of cutting/removing the damaged part and carving the lip/button of what is left, I would proceed in different way. Keeping in mind my wish of keeping original dimension, proportions, form, I would try to reconstruct damaged stem/mouthpiece as following:
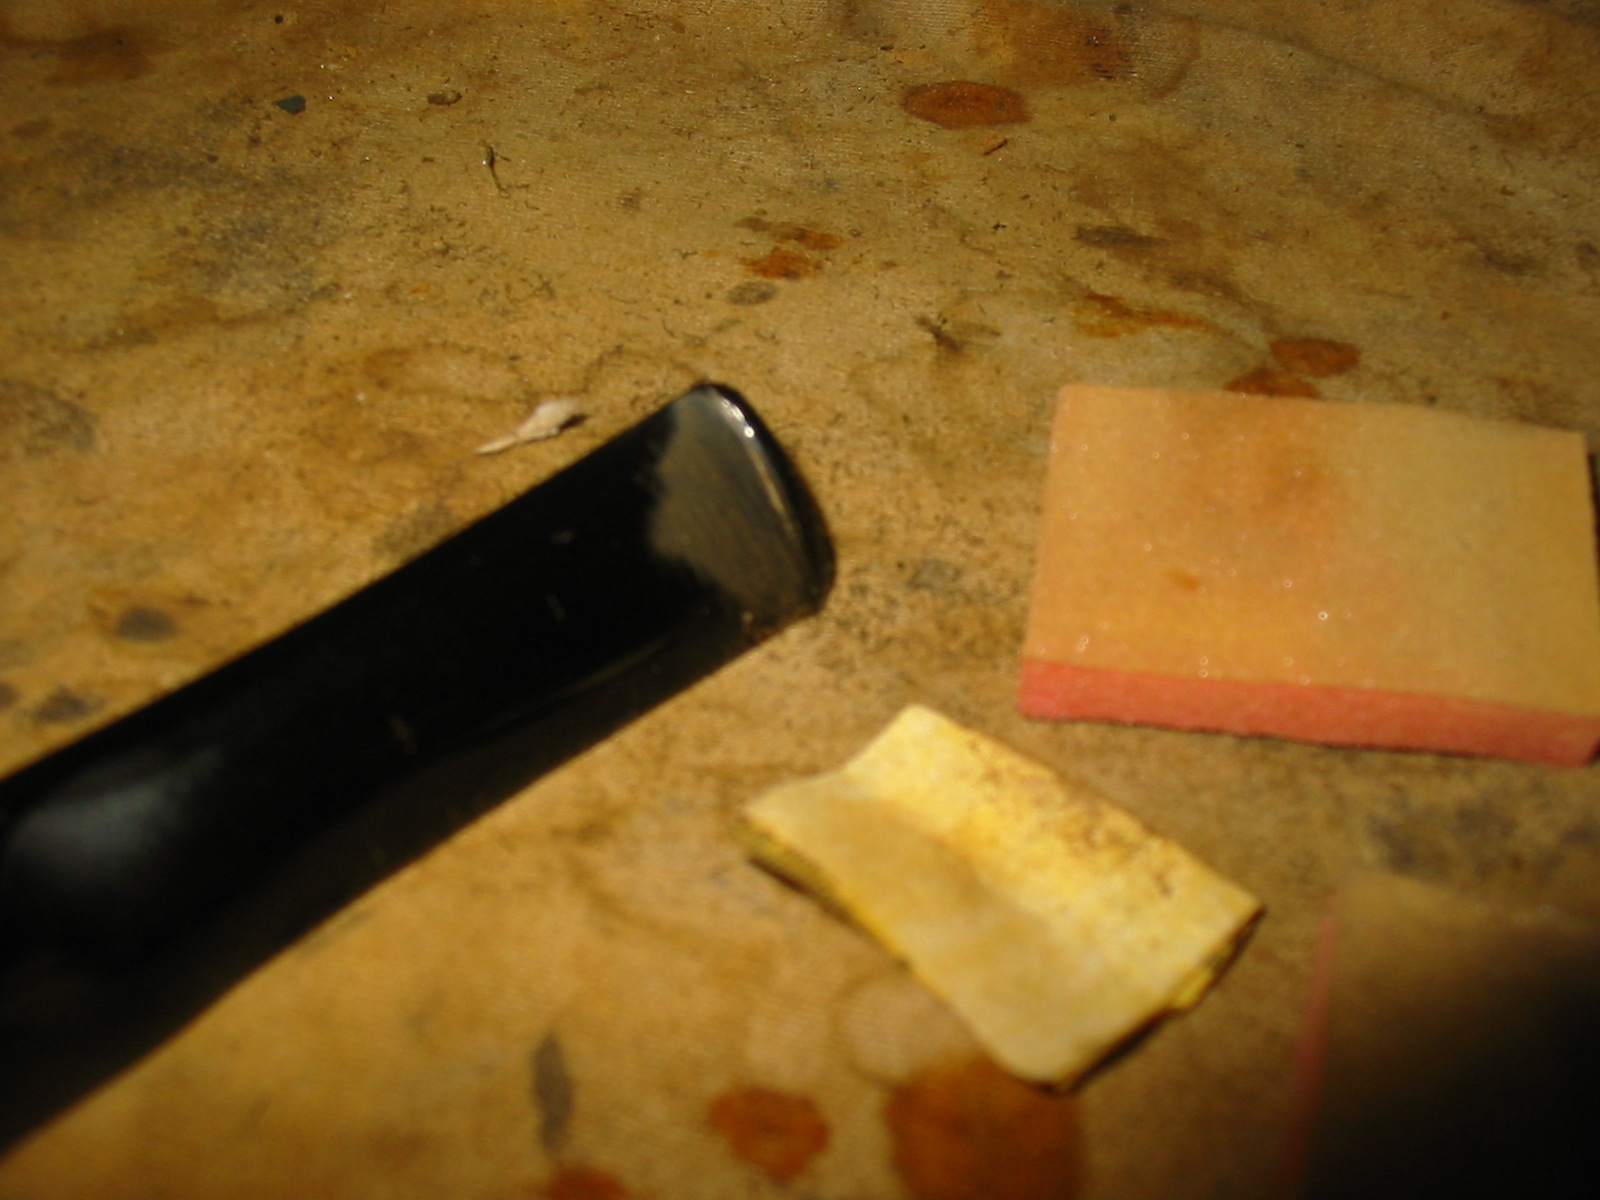
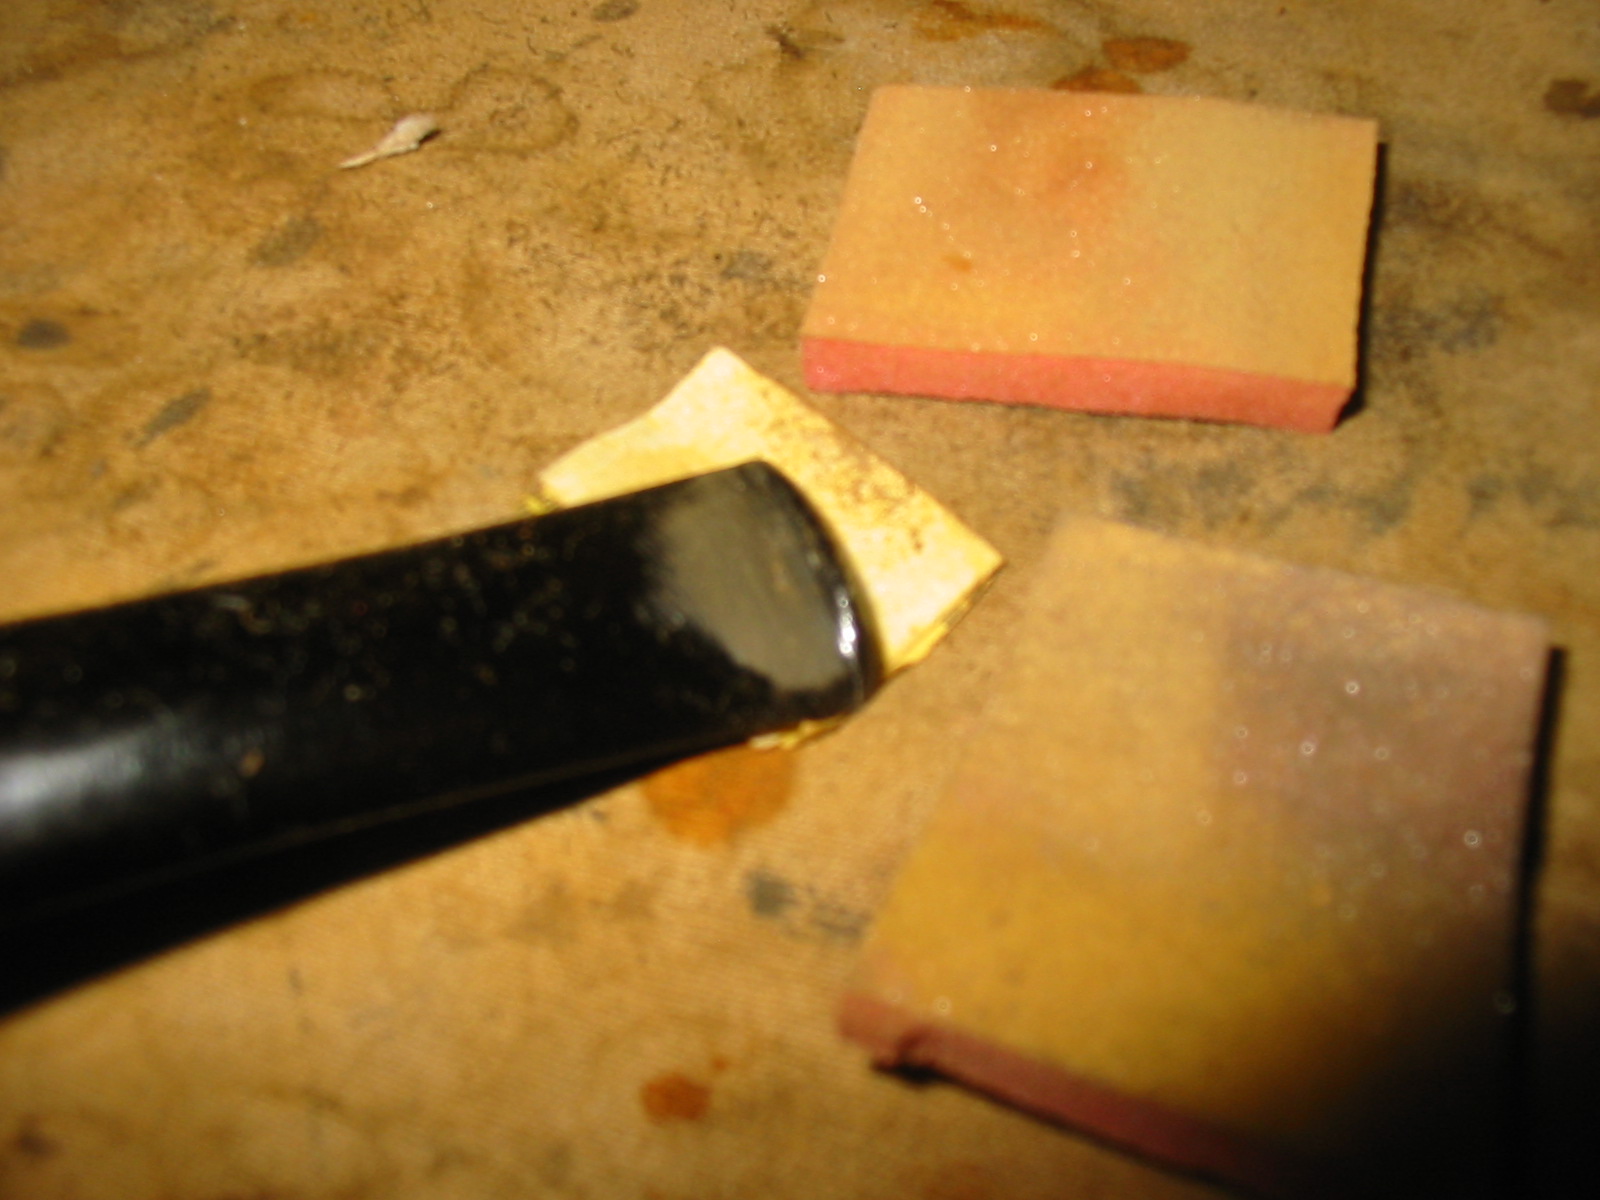
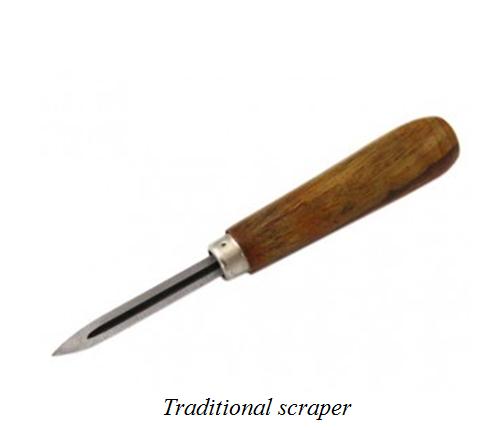
By using sharp cutting tools – engravers/burins, scrapers or in case of better equipped “workshop corner” – cutters, like those used by jewelers for stone settings, or even a sharp pocket knife, a frame saw and needle files I would work on the damaged area making it a proper shape a piece of the same material carved that I will later shape/carve to fit what is missing. The words “making it of proper shape”, may be a subject for another longer text. But as sort of inspiration may be the different ways dentists use to “elaborate” holes in teeth so that the filling will be kept securely in place. In a stem the situation is easier as we have good binding glues and are binding together the same kind of materials – vulcanite/ebonite to vulcanite/ebonite.
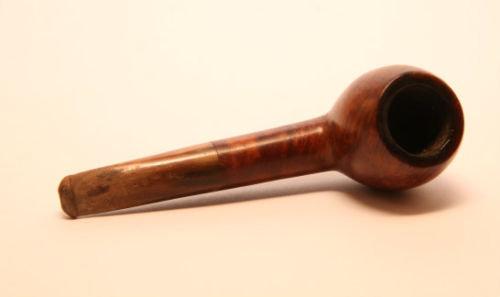
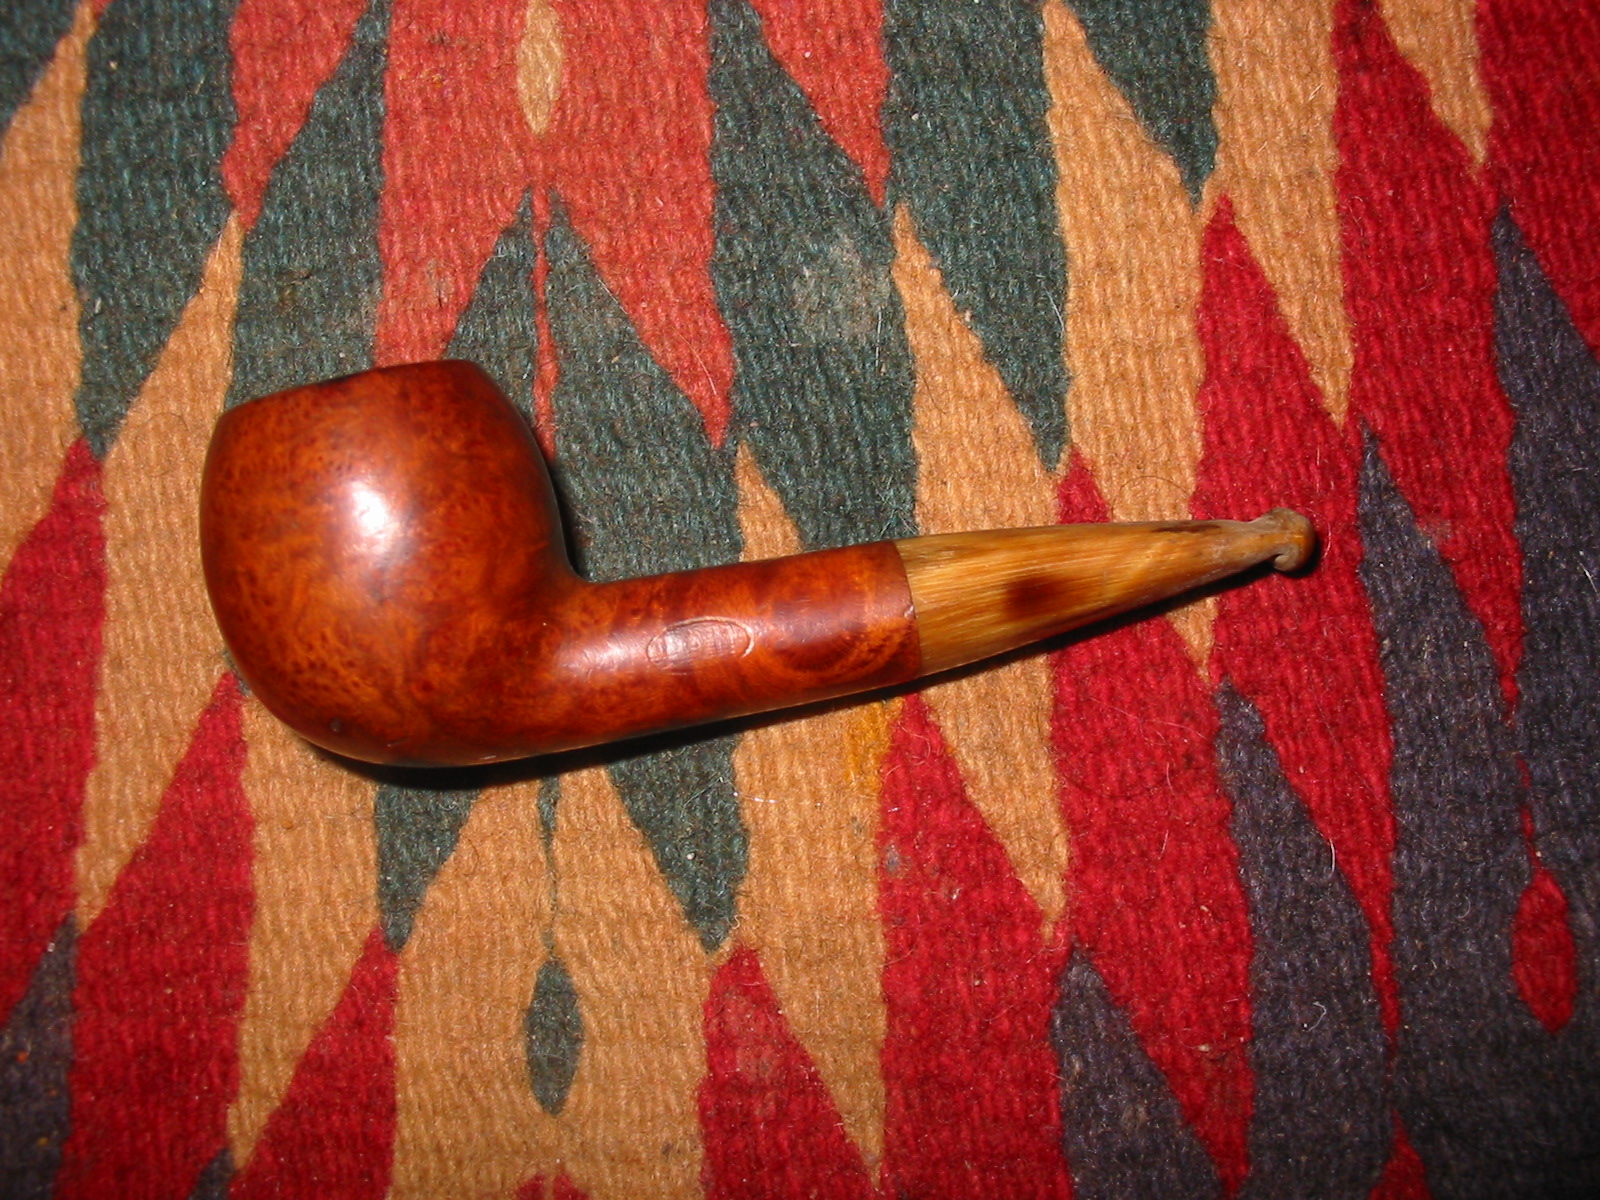
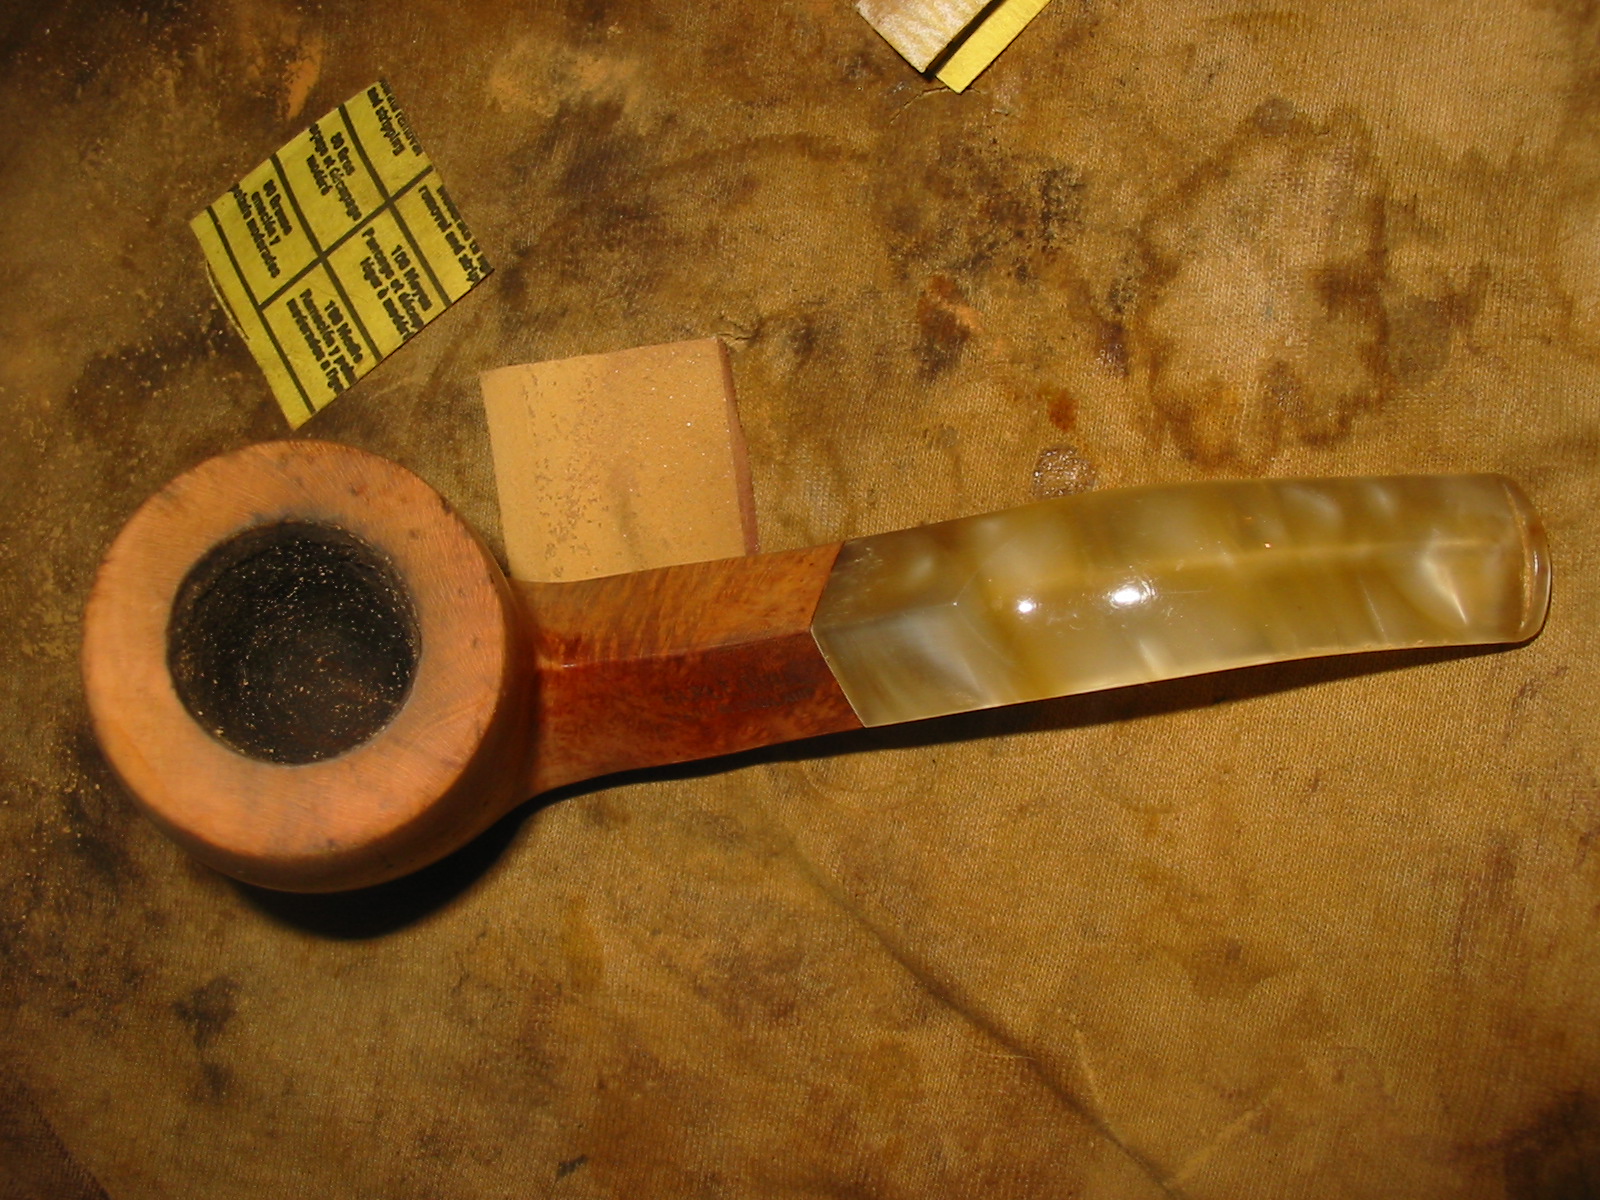
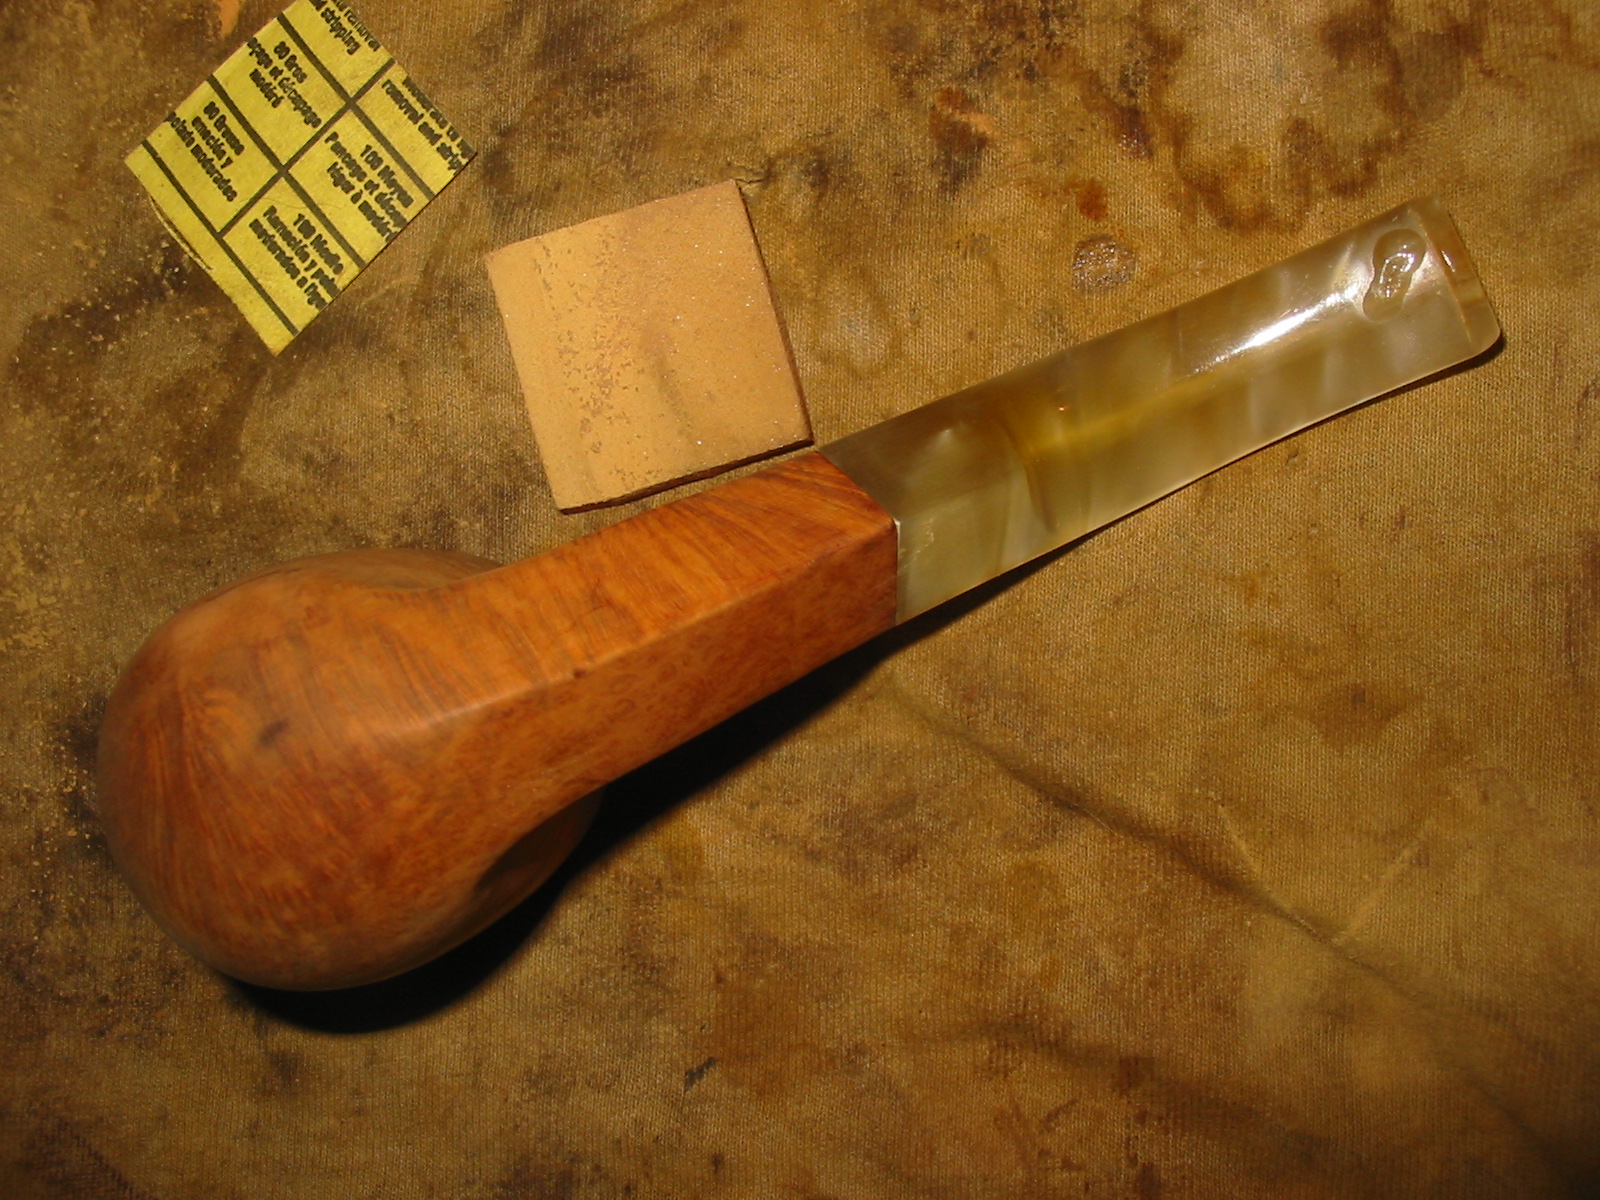
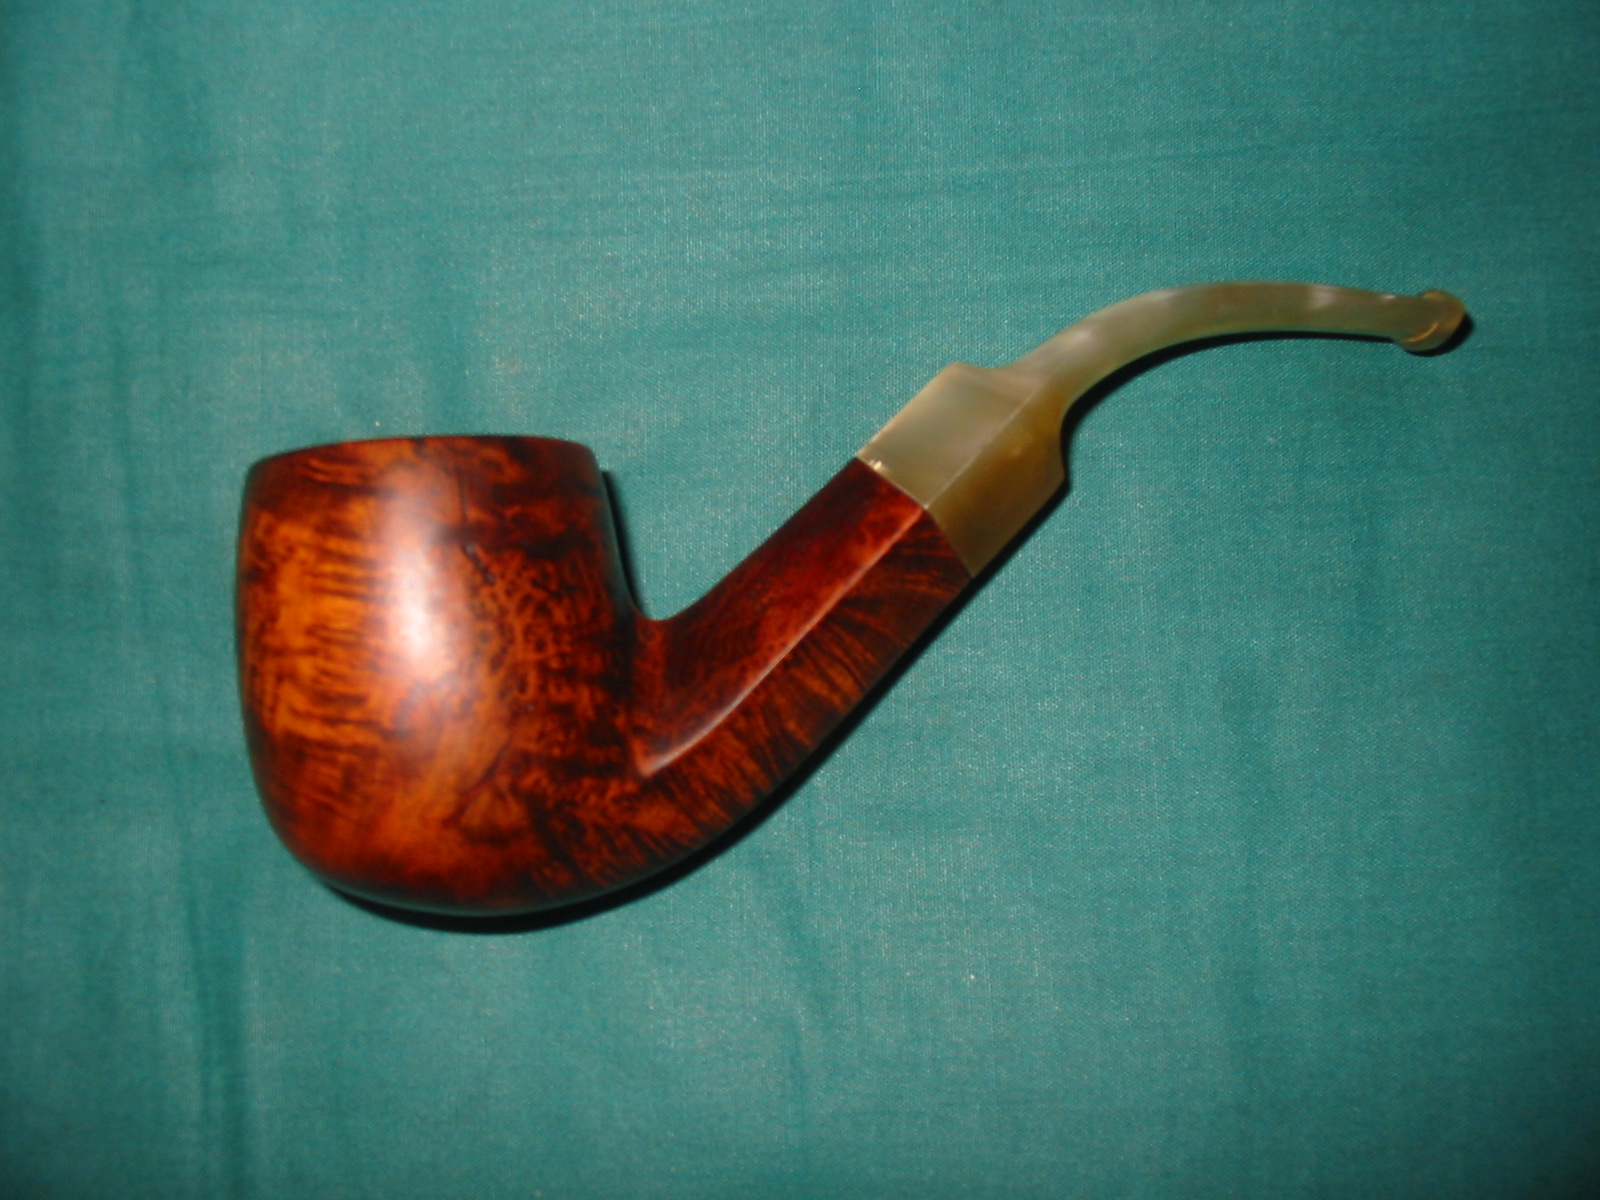
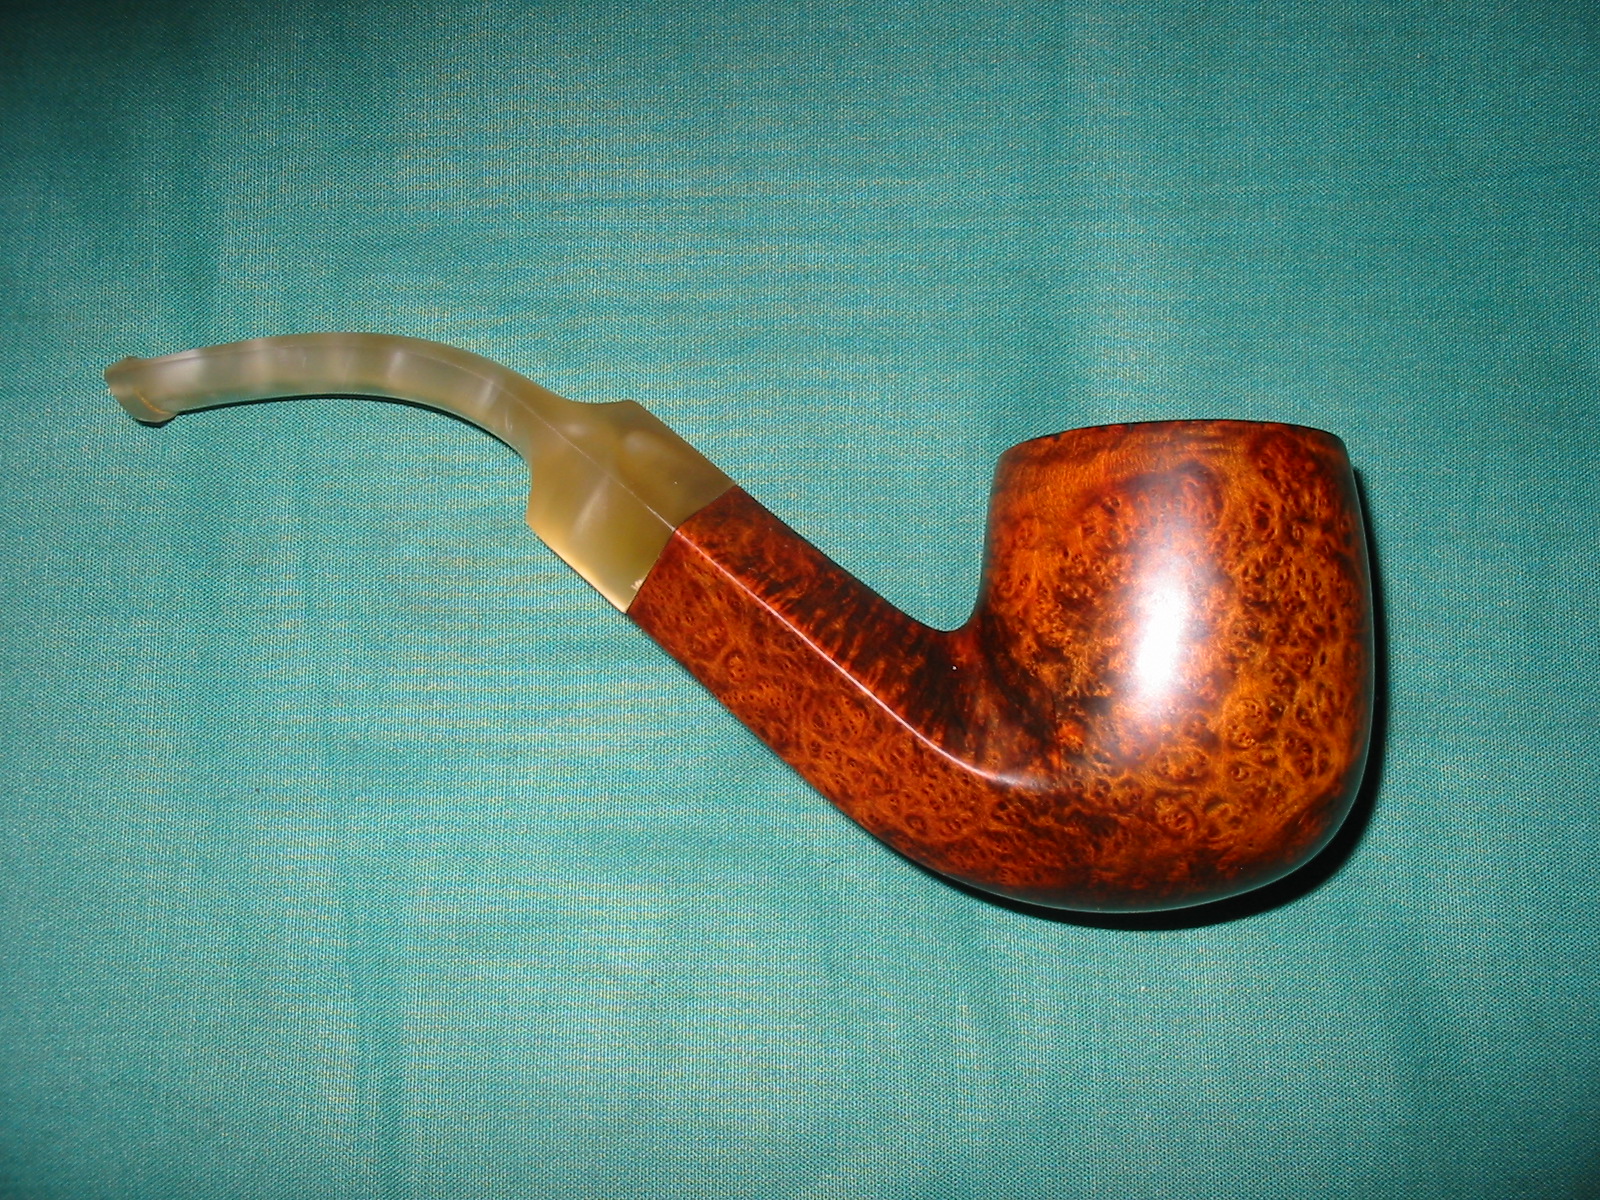
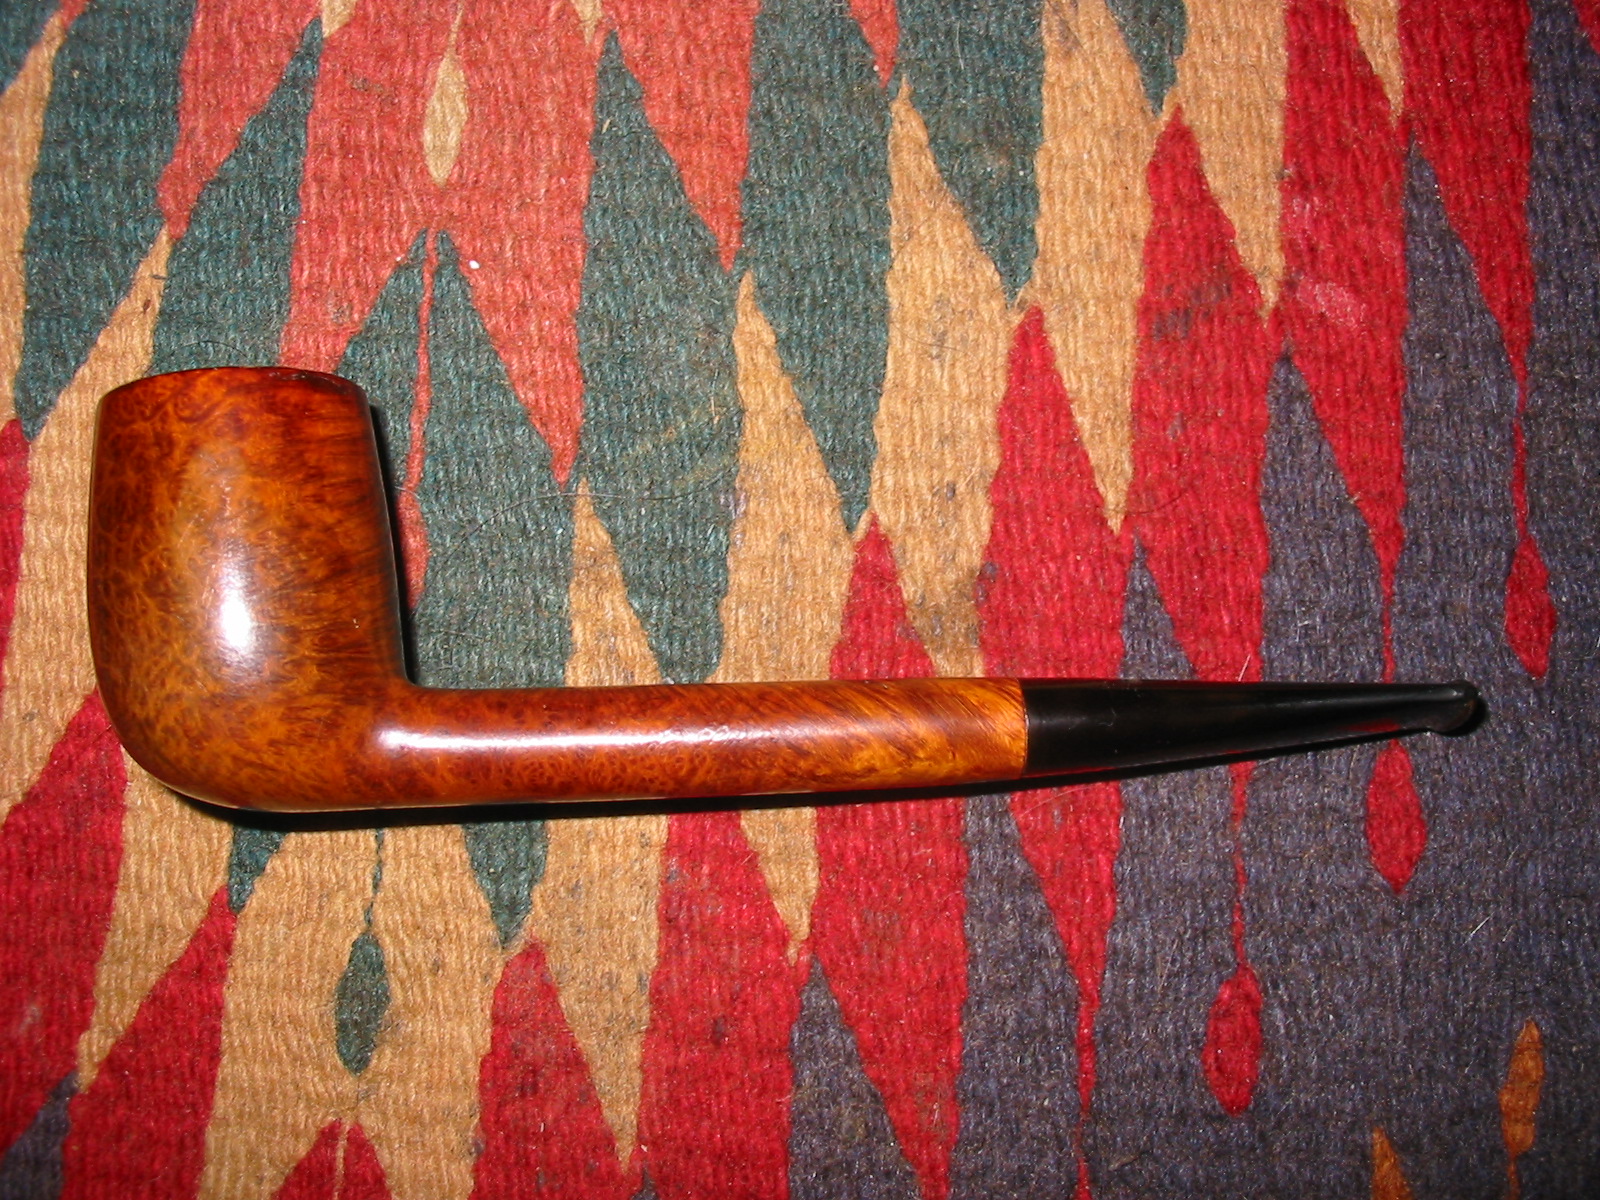
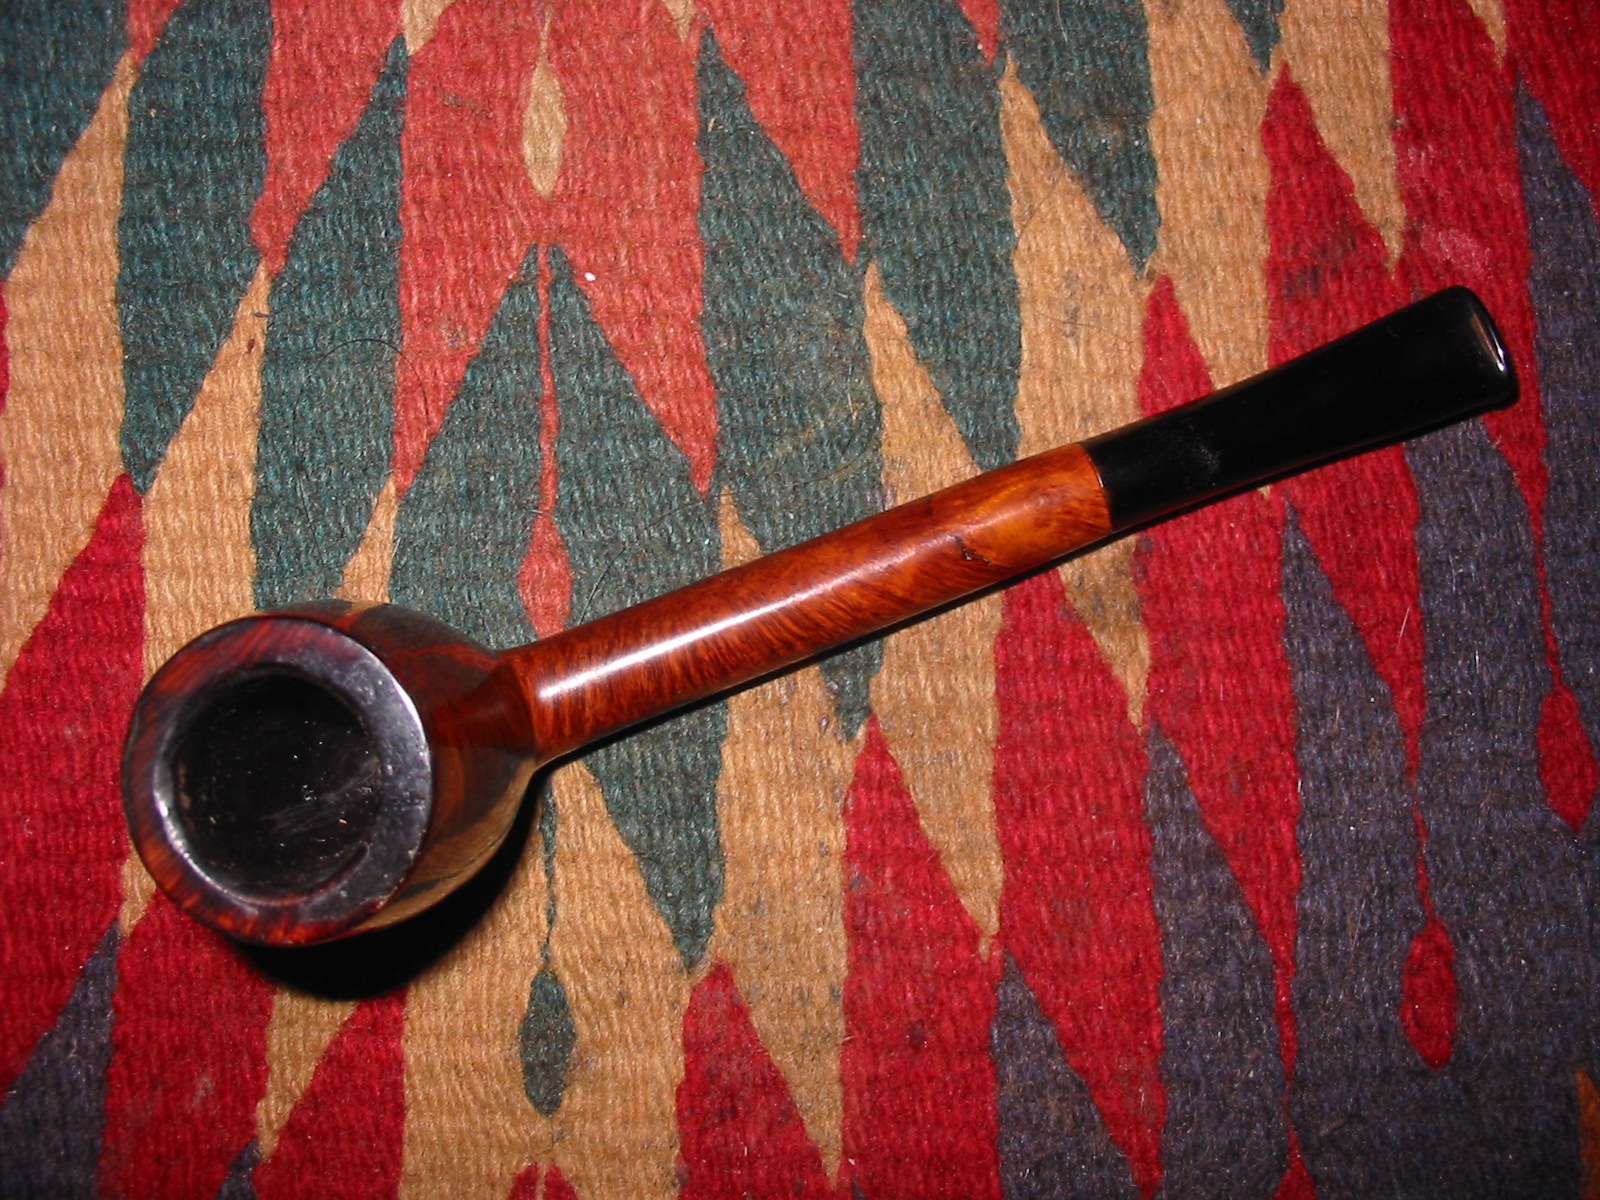
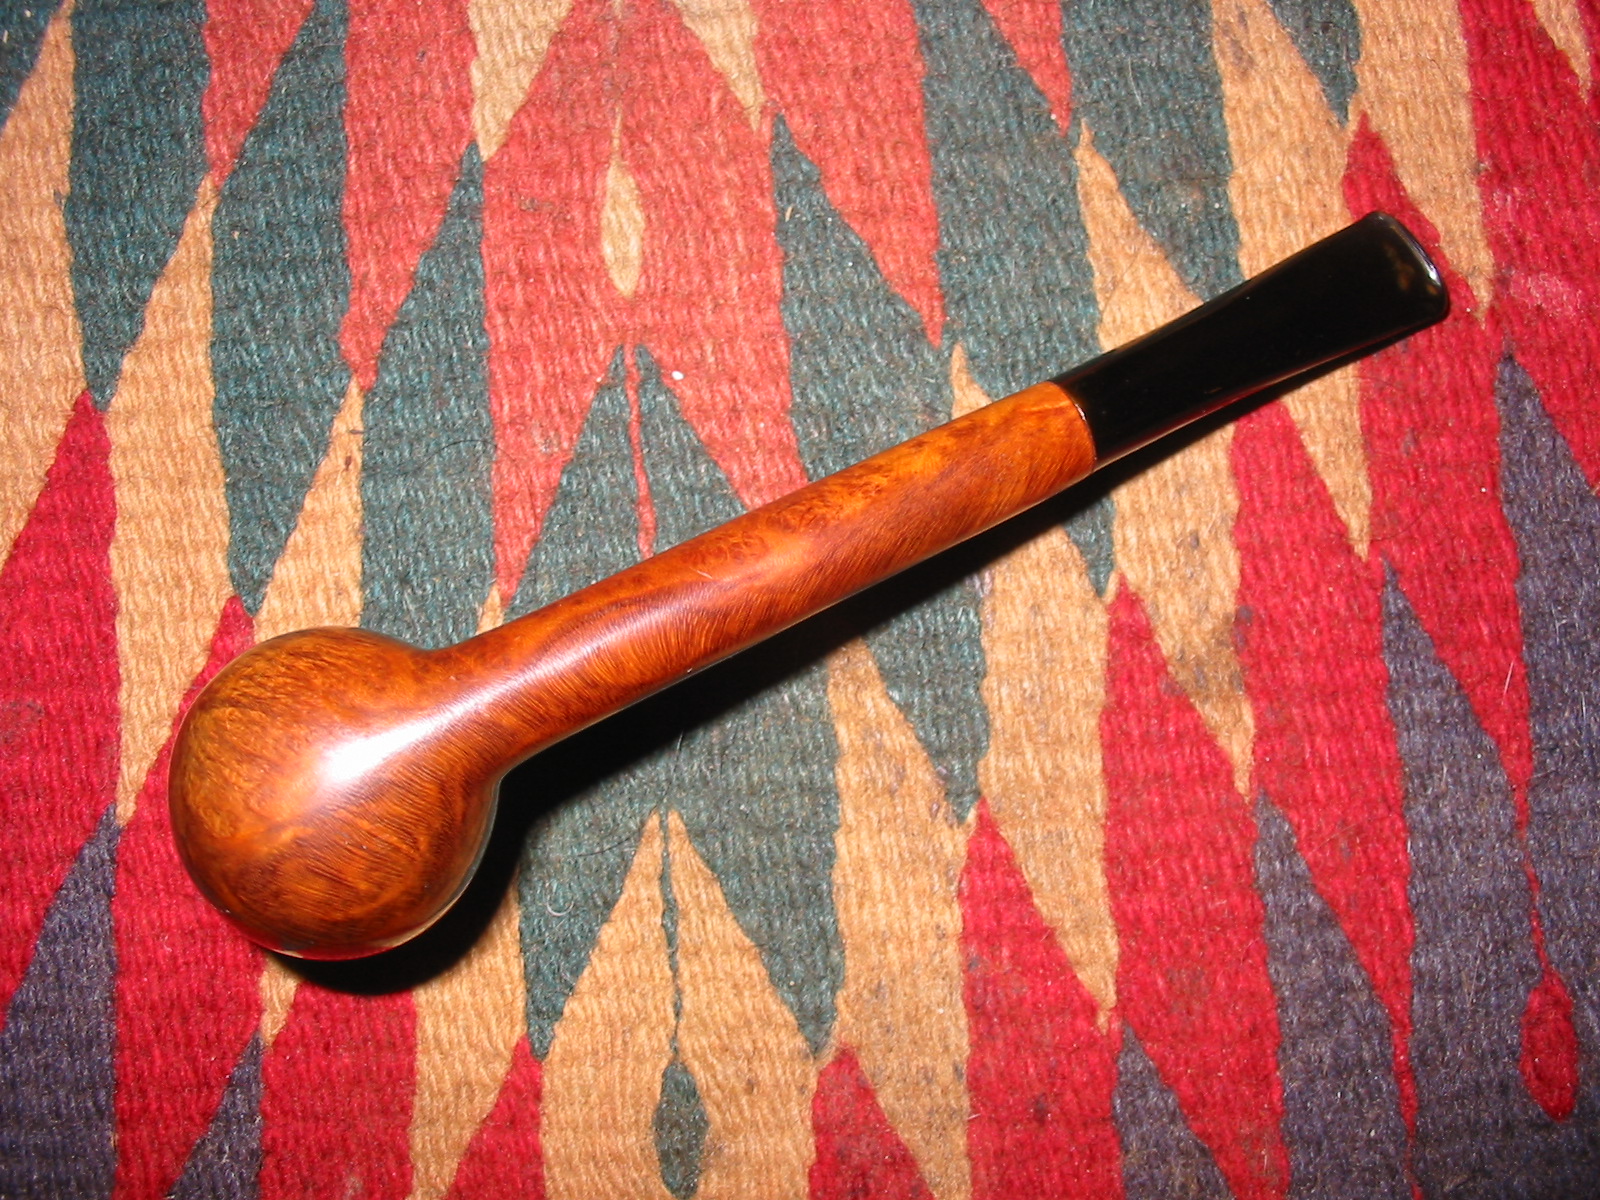
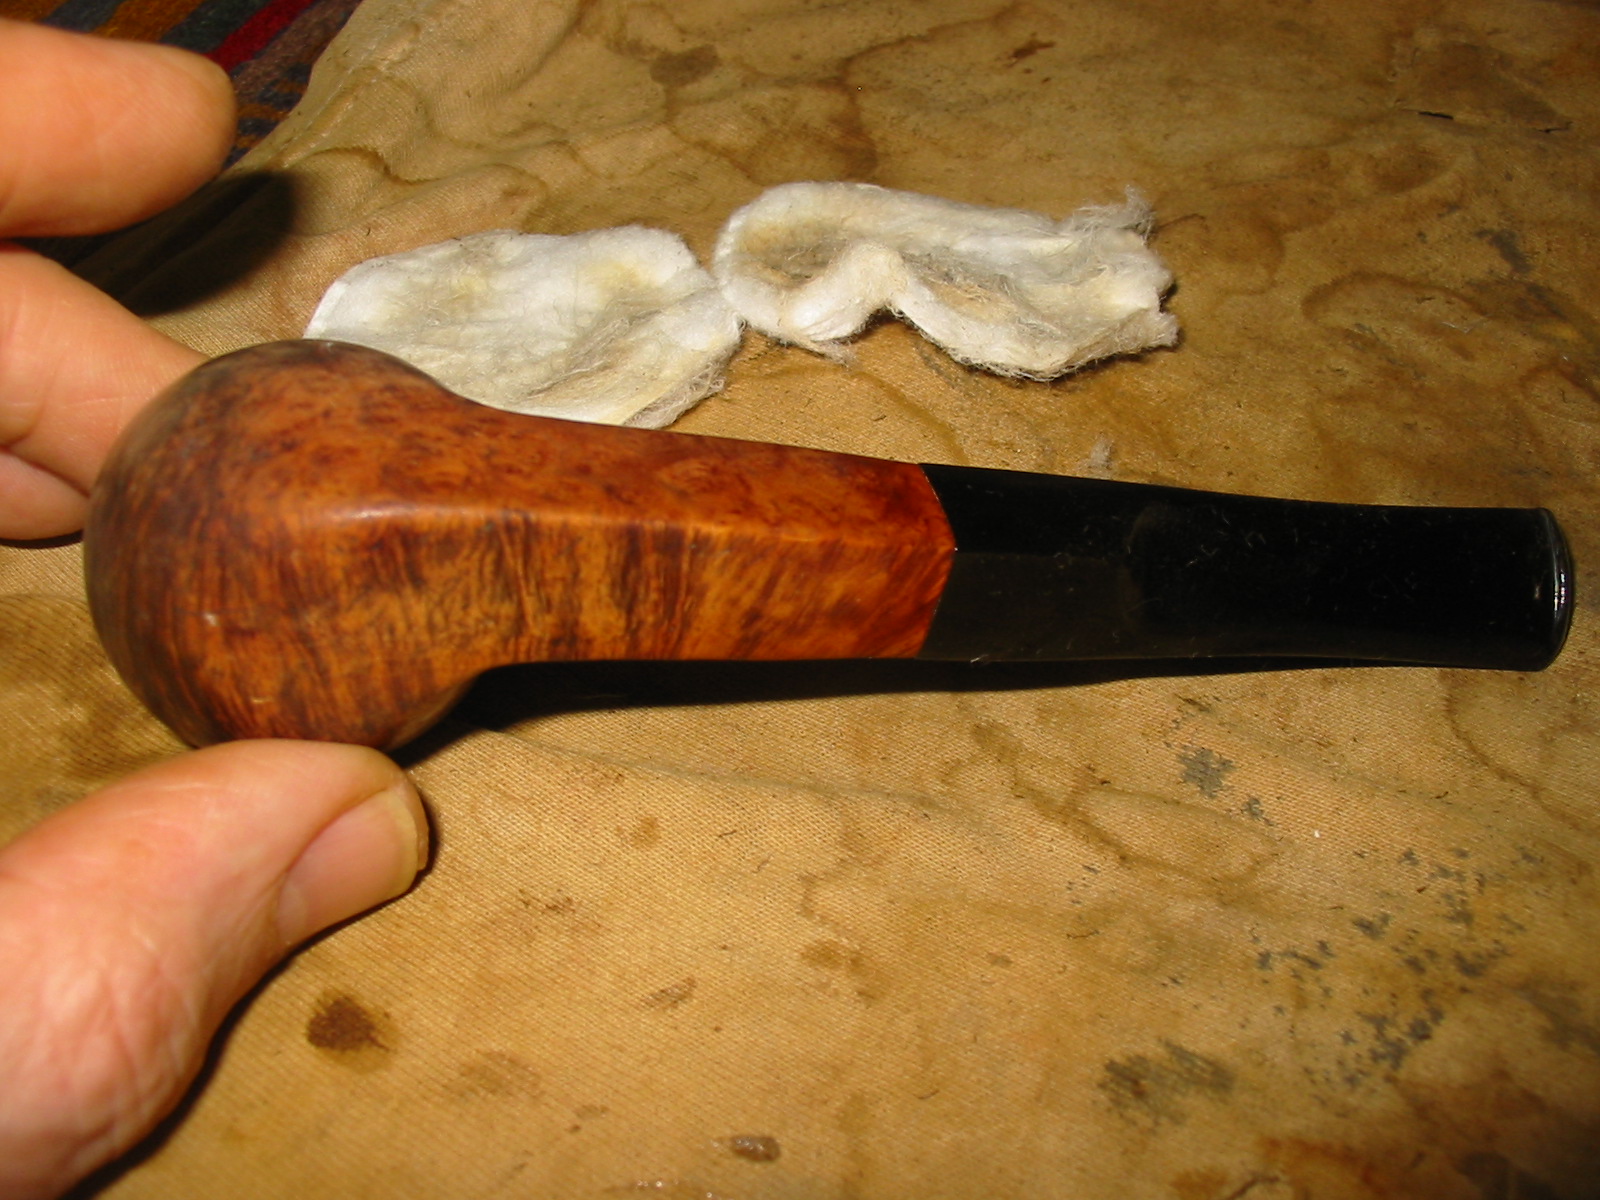
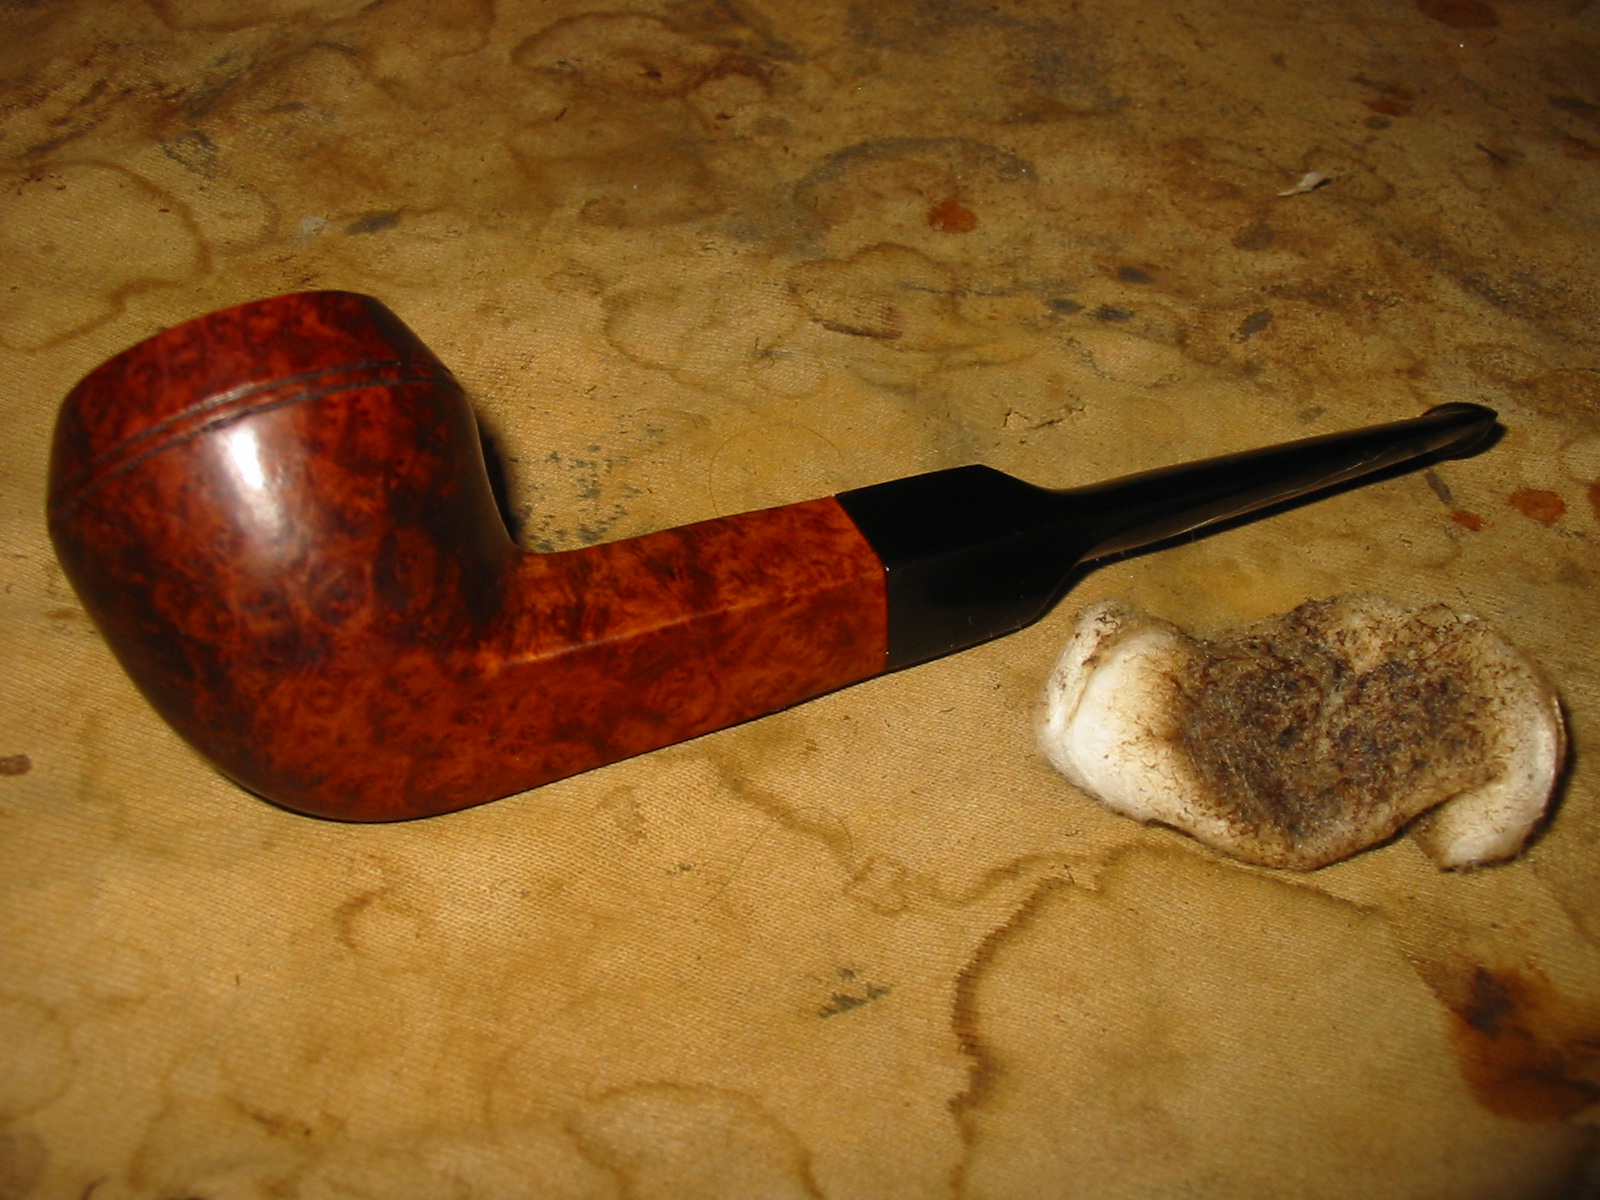
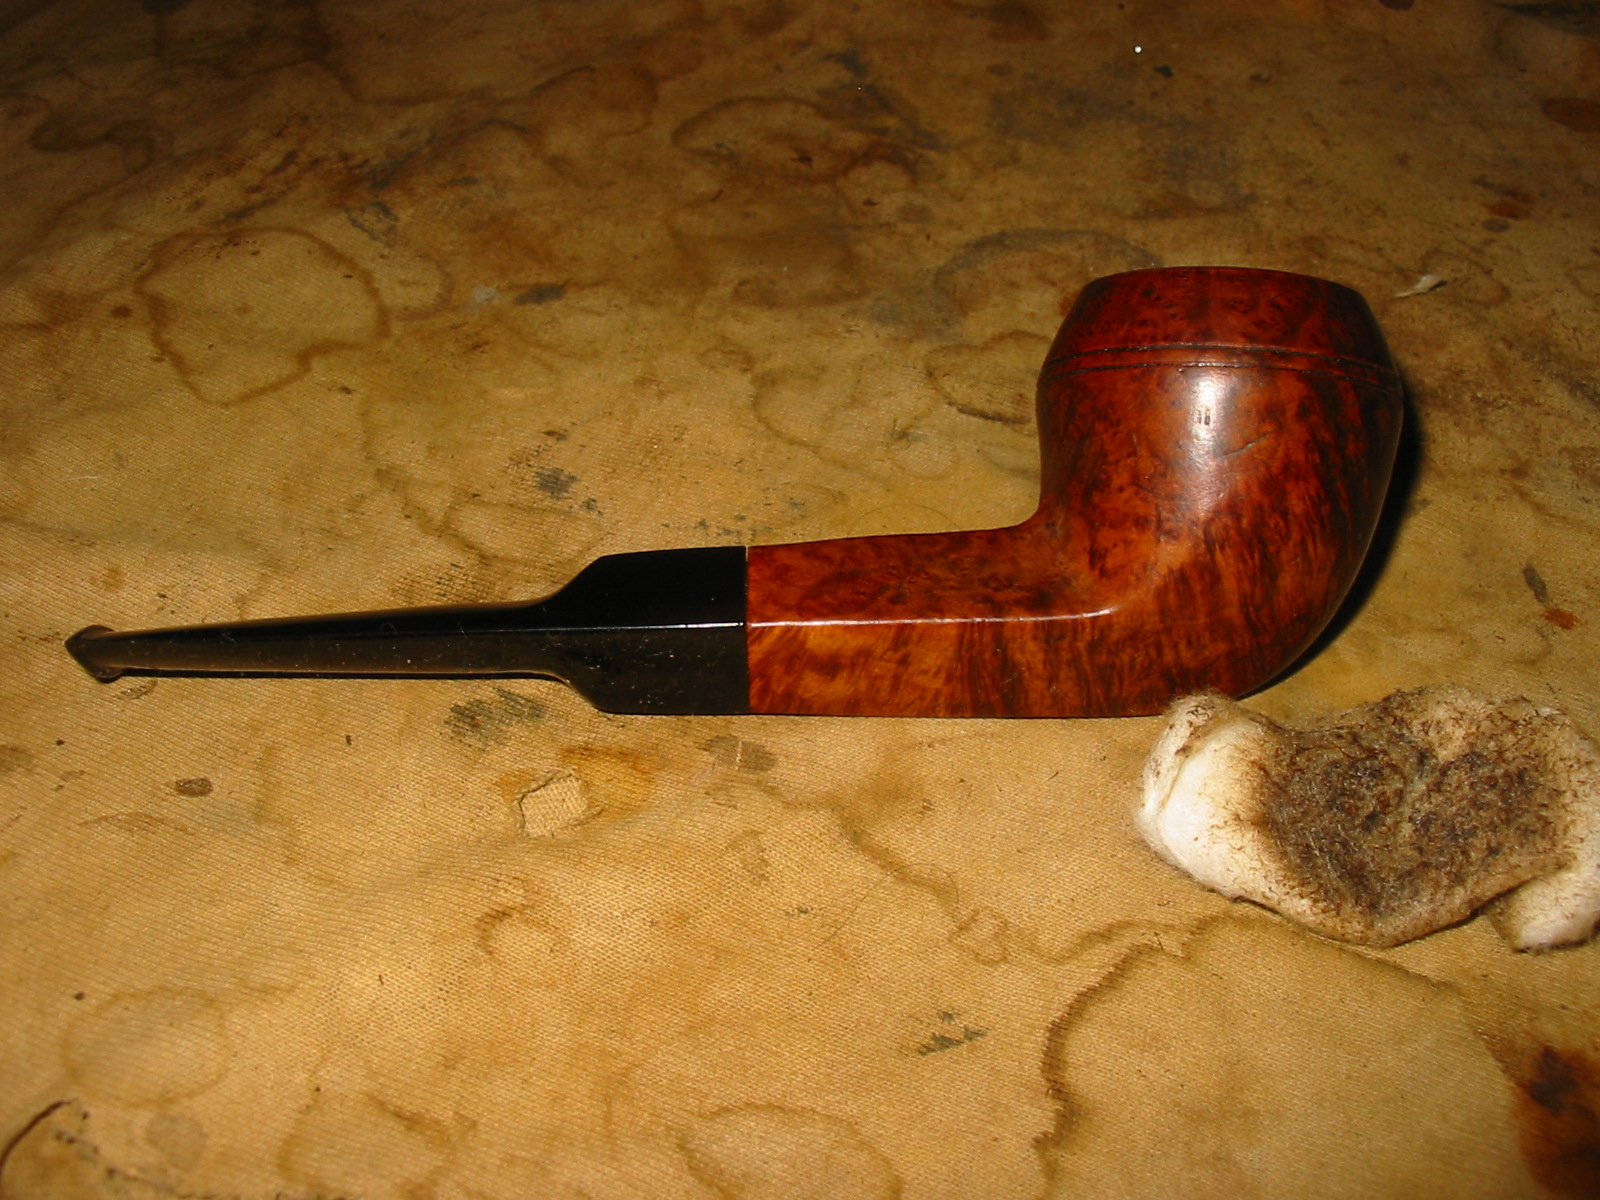
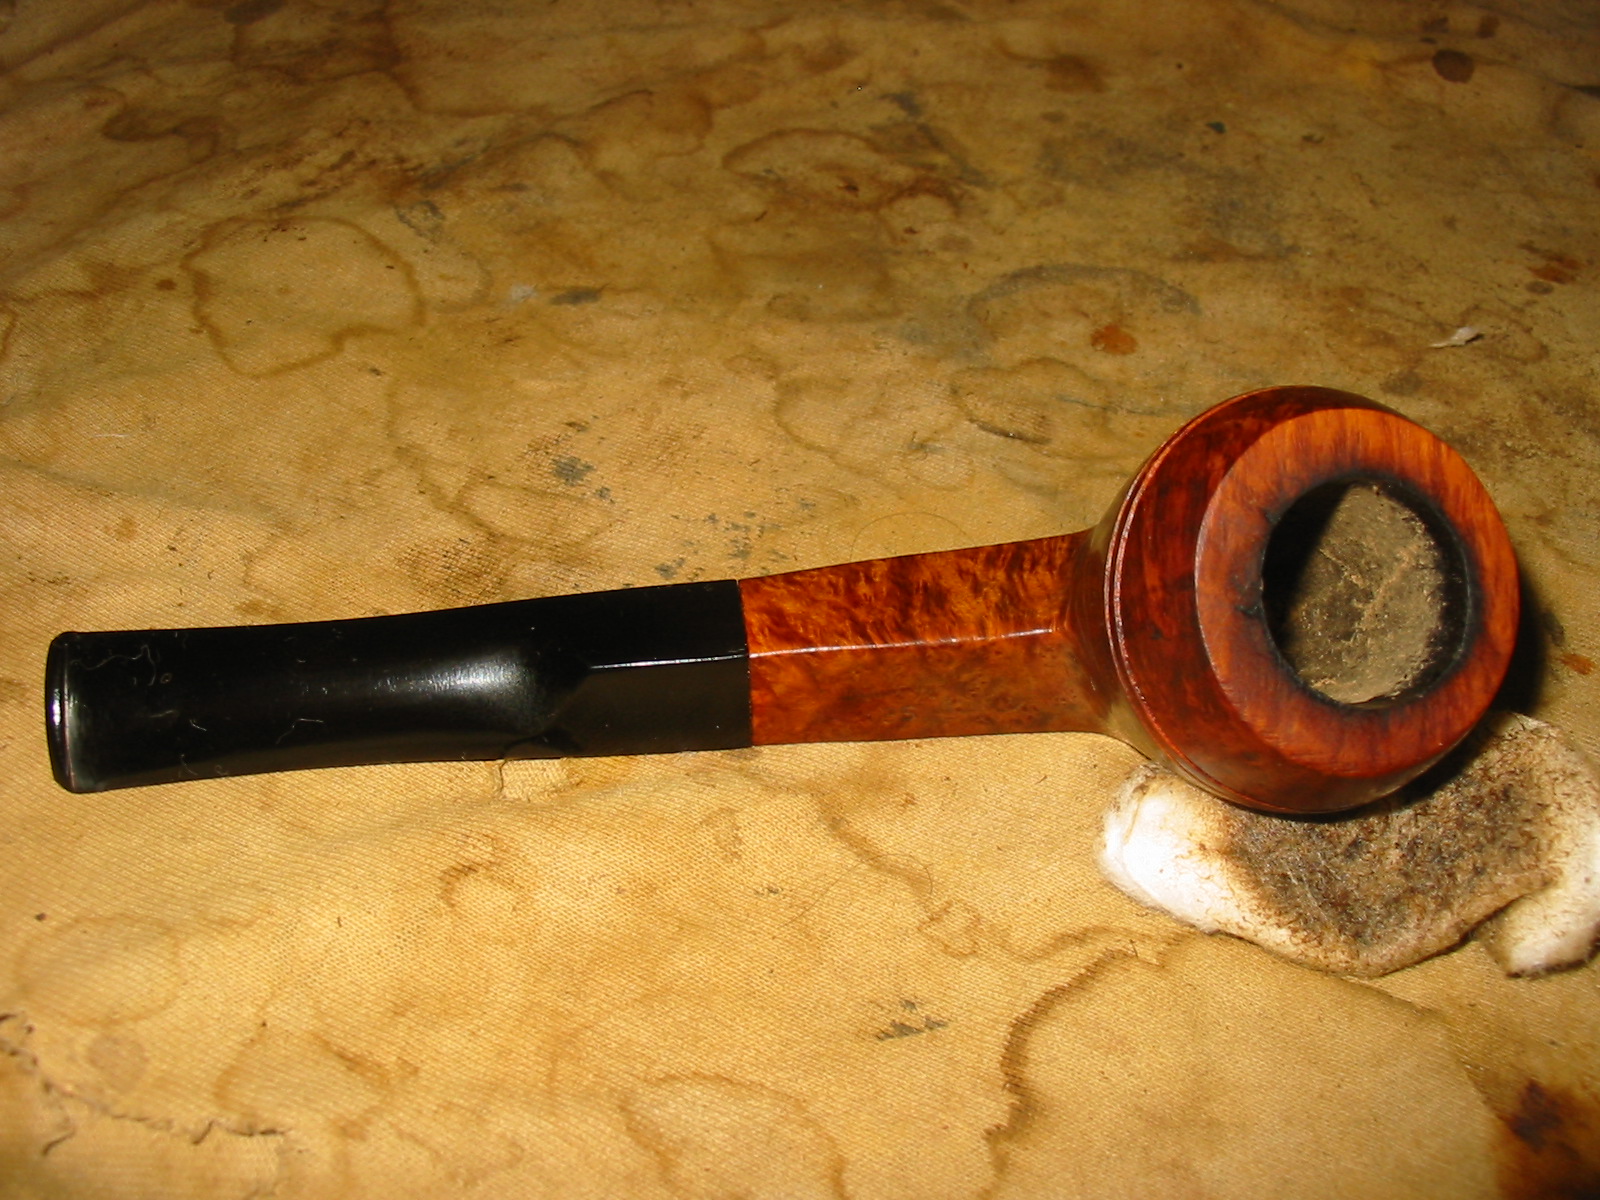
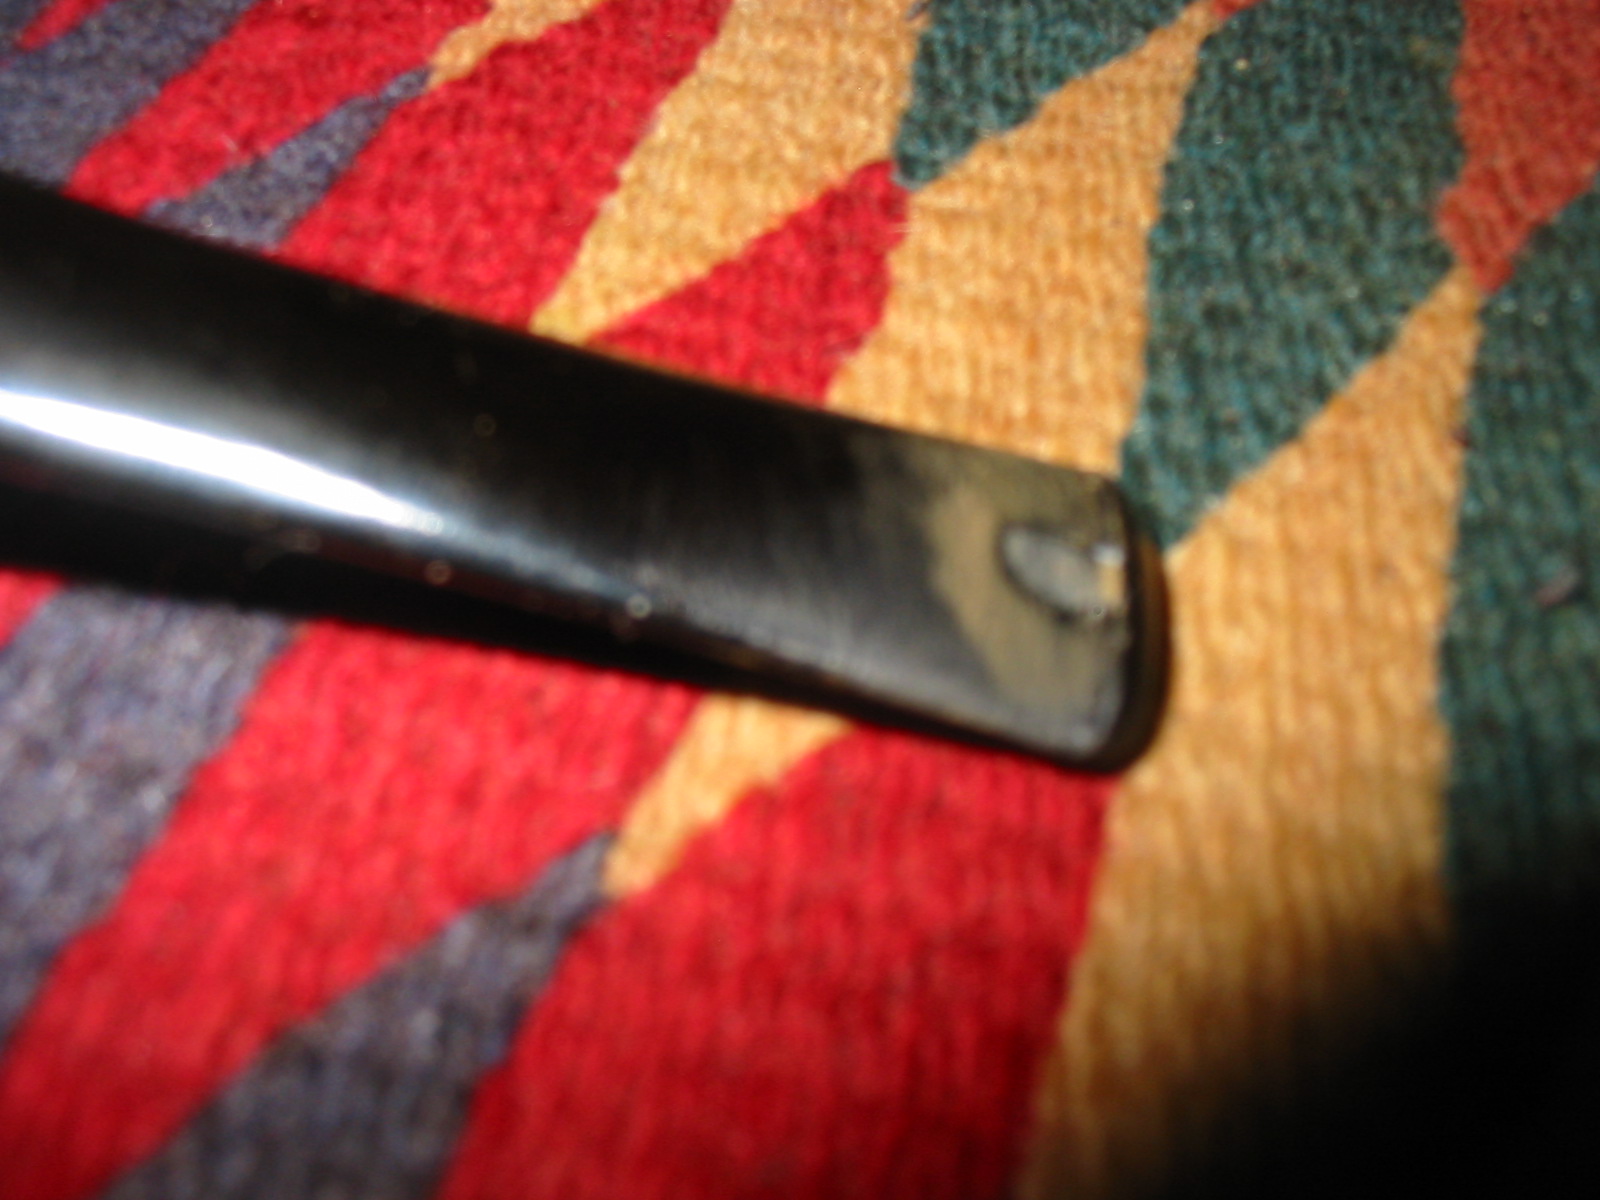
When the newly carved material is fixed into the missing area with glue, I work with files and drill bits to achieve desired missing shape. Then I proceed with finishing techniques. Let us look at the pictures:


In case of stems/mouthpieces made of transparent material I have been proceeding as described above, just choosing proper equally transparent material for making missing parts. After polishing the seams are invisible. I would use fast cyanoacrylic glue of kind that creates transparent seams.
In Steve’s article one commenter mentioned a missing lip on his Peterson P-Lip pipe. Again: in glue we trust: just proceed as described above and if the work is done properly, it should be impossible to distinguish reconstructed lip from the rest of the stem by the naked eye. In general, if the whole lip is missing, I would glue in a large piece of matching material and would shape it by files etc. The air channel can be easily drilled (easily as we are dealing with comparatively soft materials) with drill bits of proper diameter.
I would deal with problem with missing or broken tenon in ways described above, depending on particular situation. Sometimes I use the reinforcing “inner tube” glued in place as described above. Other times I drill the “nest”/mortise of a diameter corresponding with diameter of new tenon to let it fit tight and correct/straight then glued in place. The old and best known method of removing broken tenon from the shank is:
– use of strong alcohol to dissolve eventual dried condensate and/or residues that “glued” the broken part in the mortise.
– take a self-tapping screw often used in construction, by woodworkers etc. and screw it into the air channel of broken jammed part in the mortise.
– keeping the head of this screw firmly in place carefully use pliers to twist it out while at the same time pulling on the broken part. If it does not come out it often means that it is still “glued” in place by dried condensate, tars, etc., so go back to the strong alcohol and please, repeat over a couple of hours or even days.
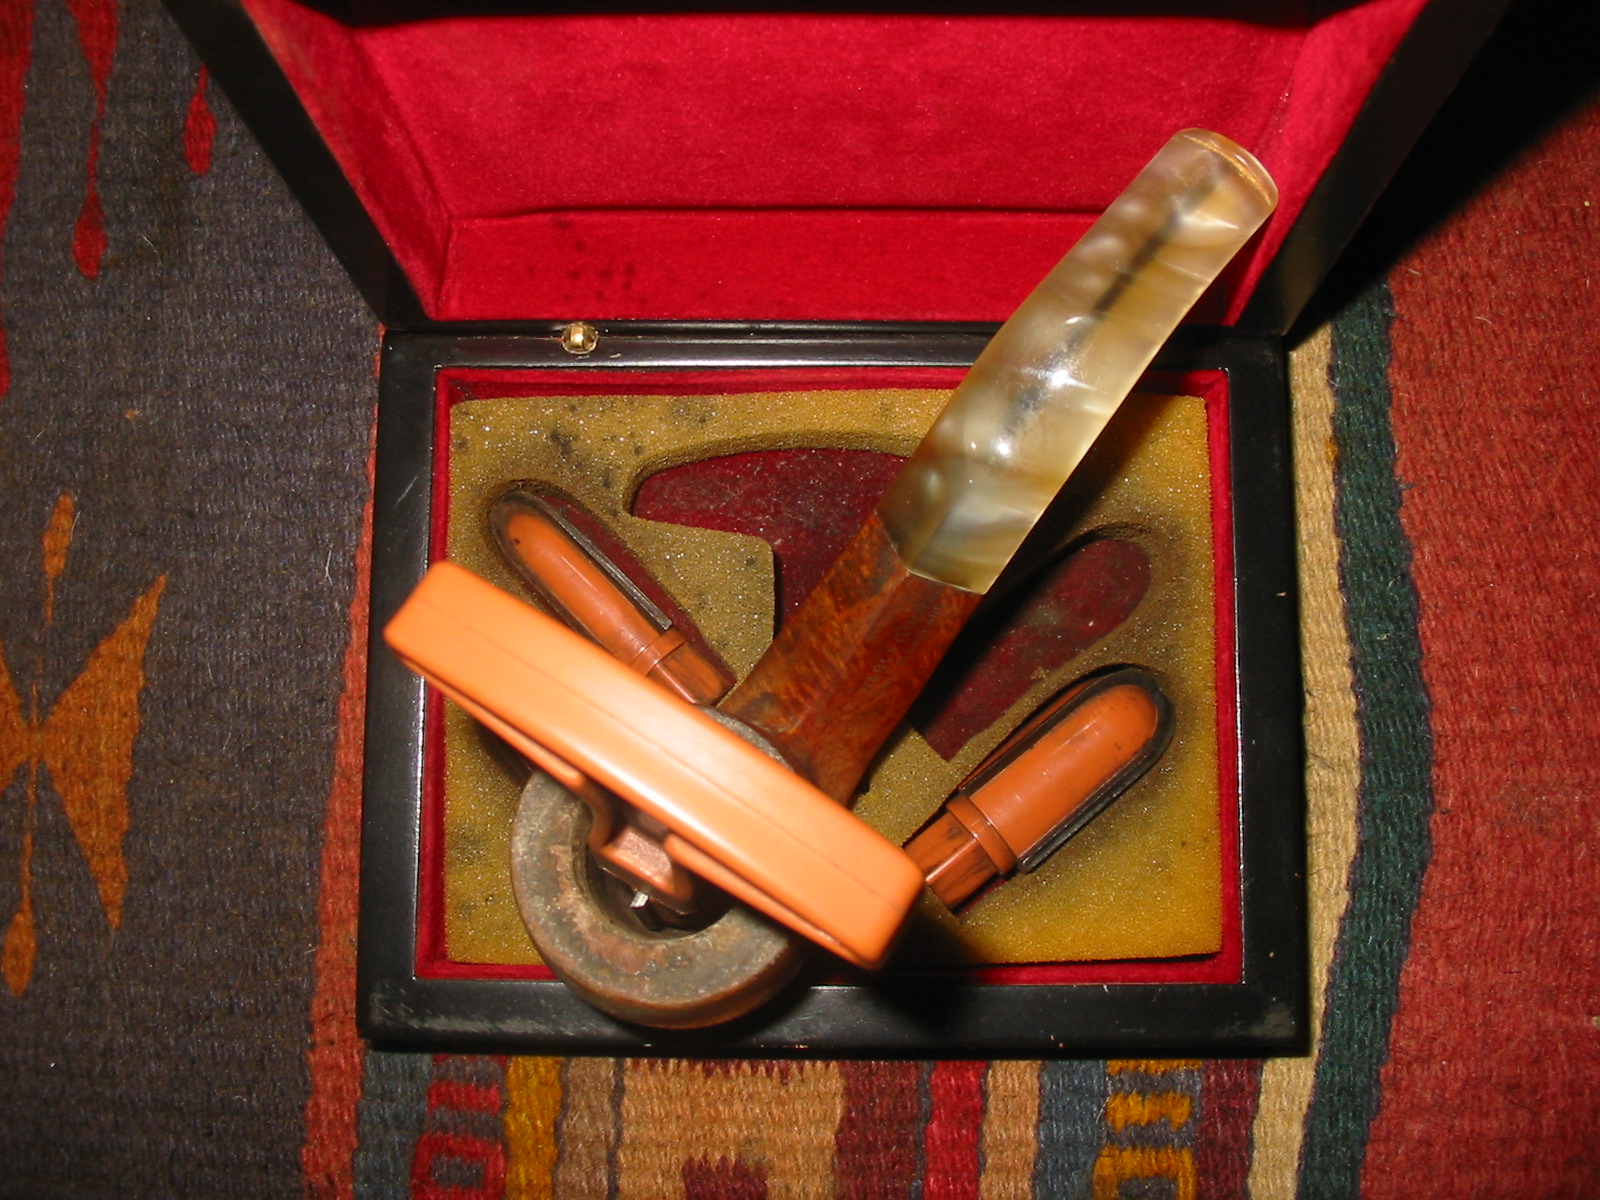
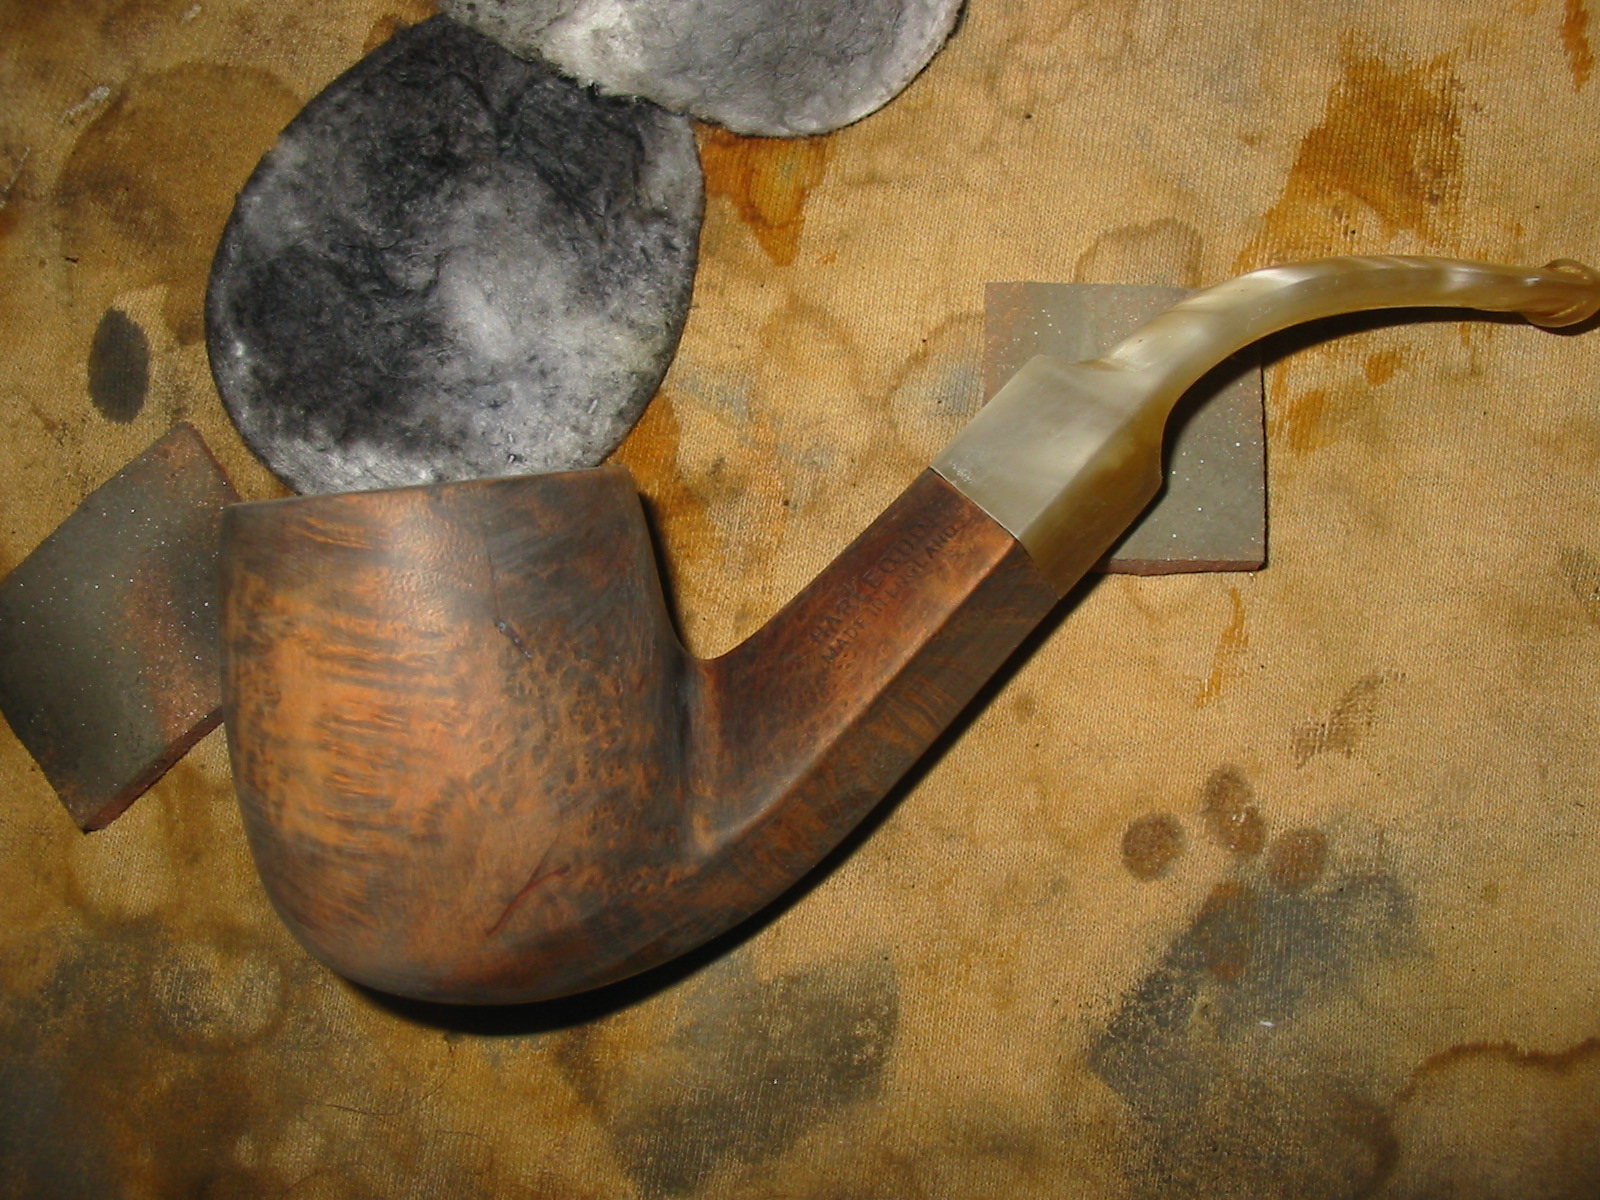
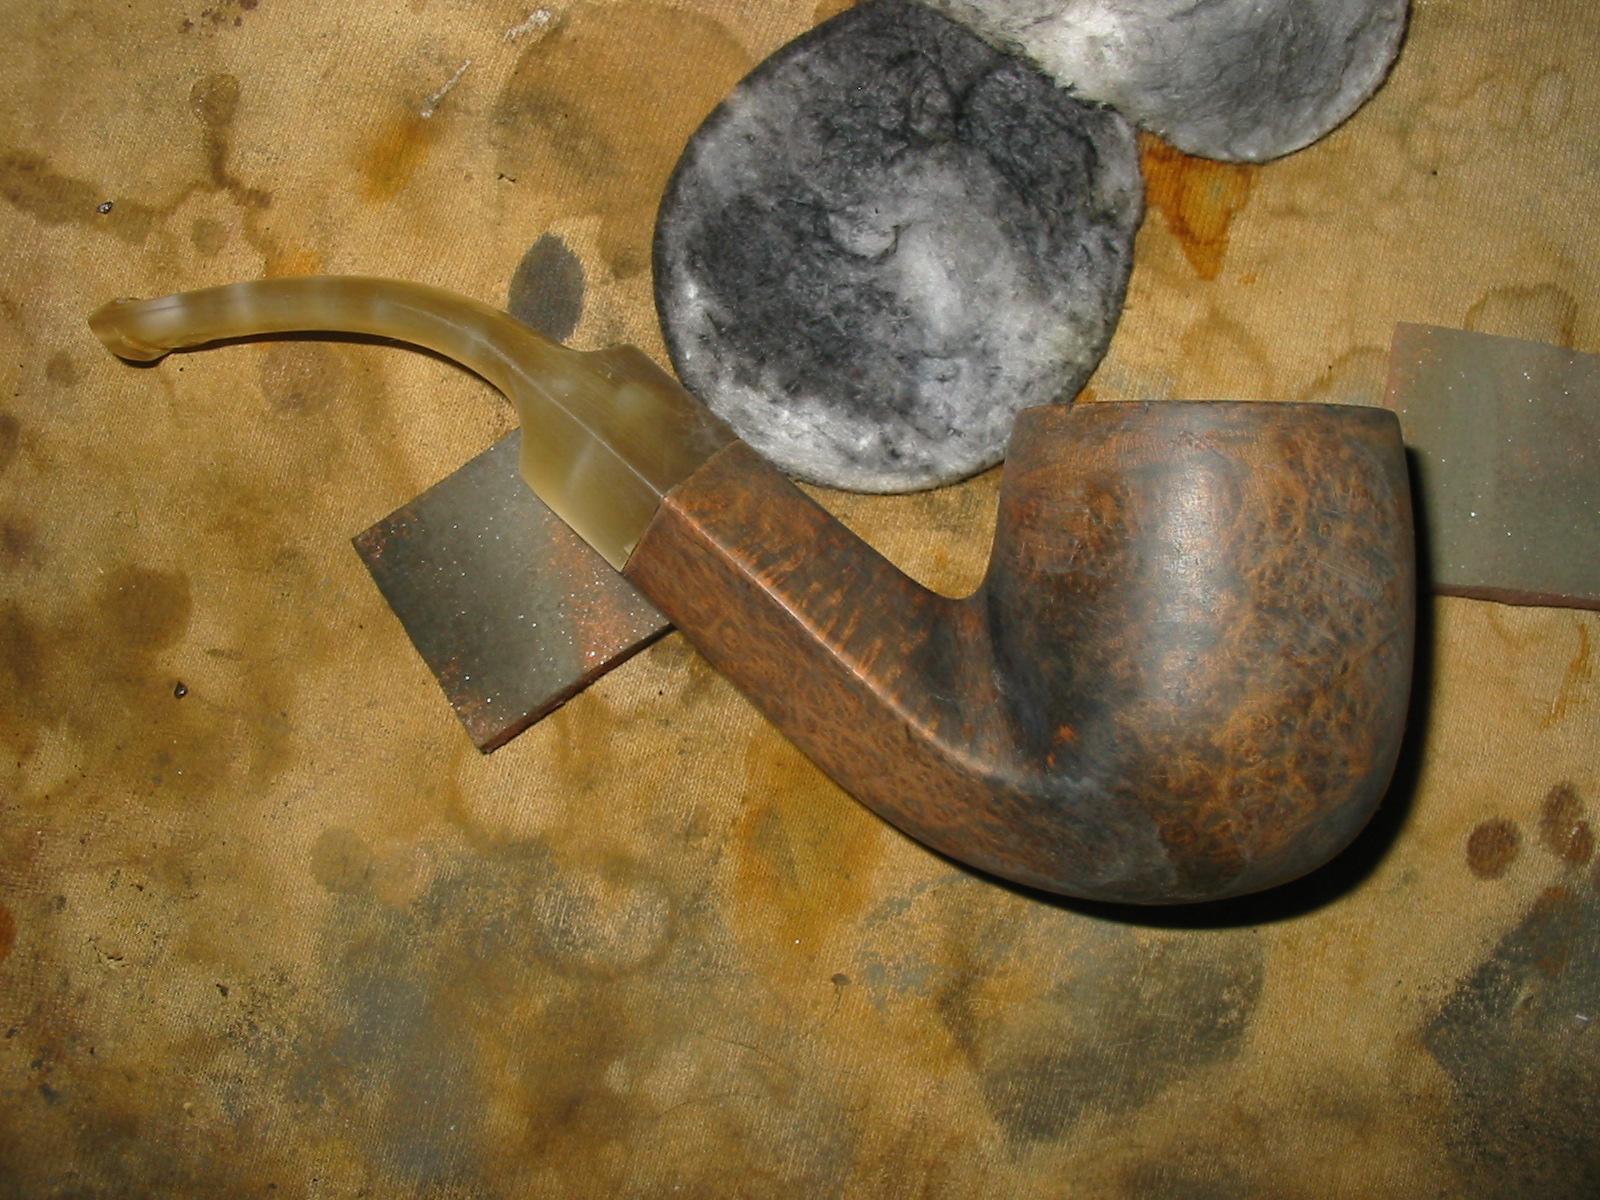
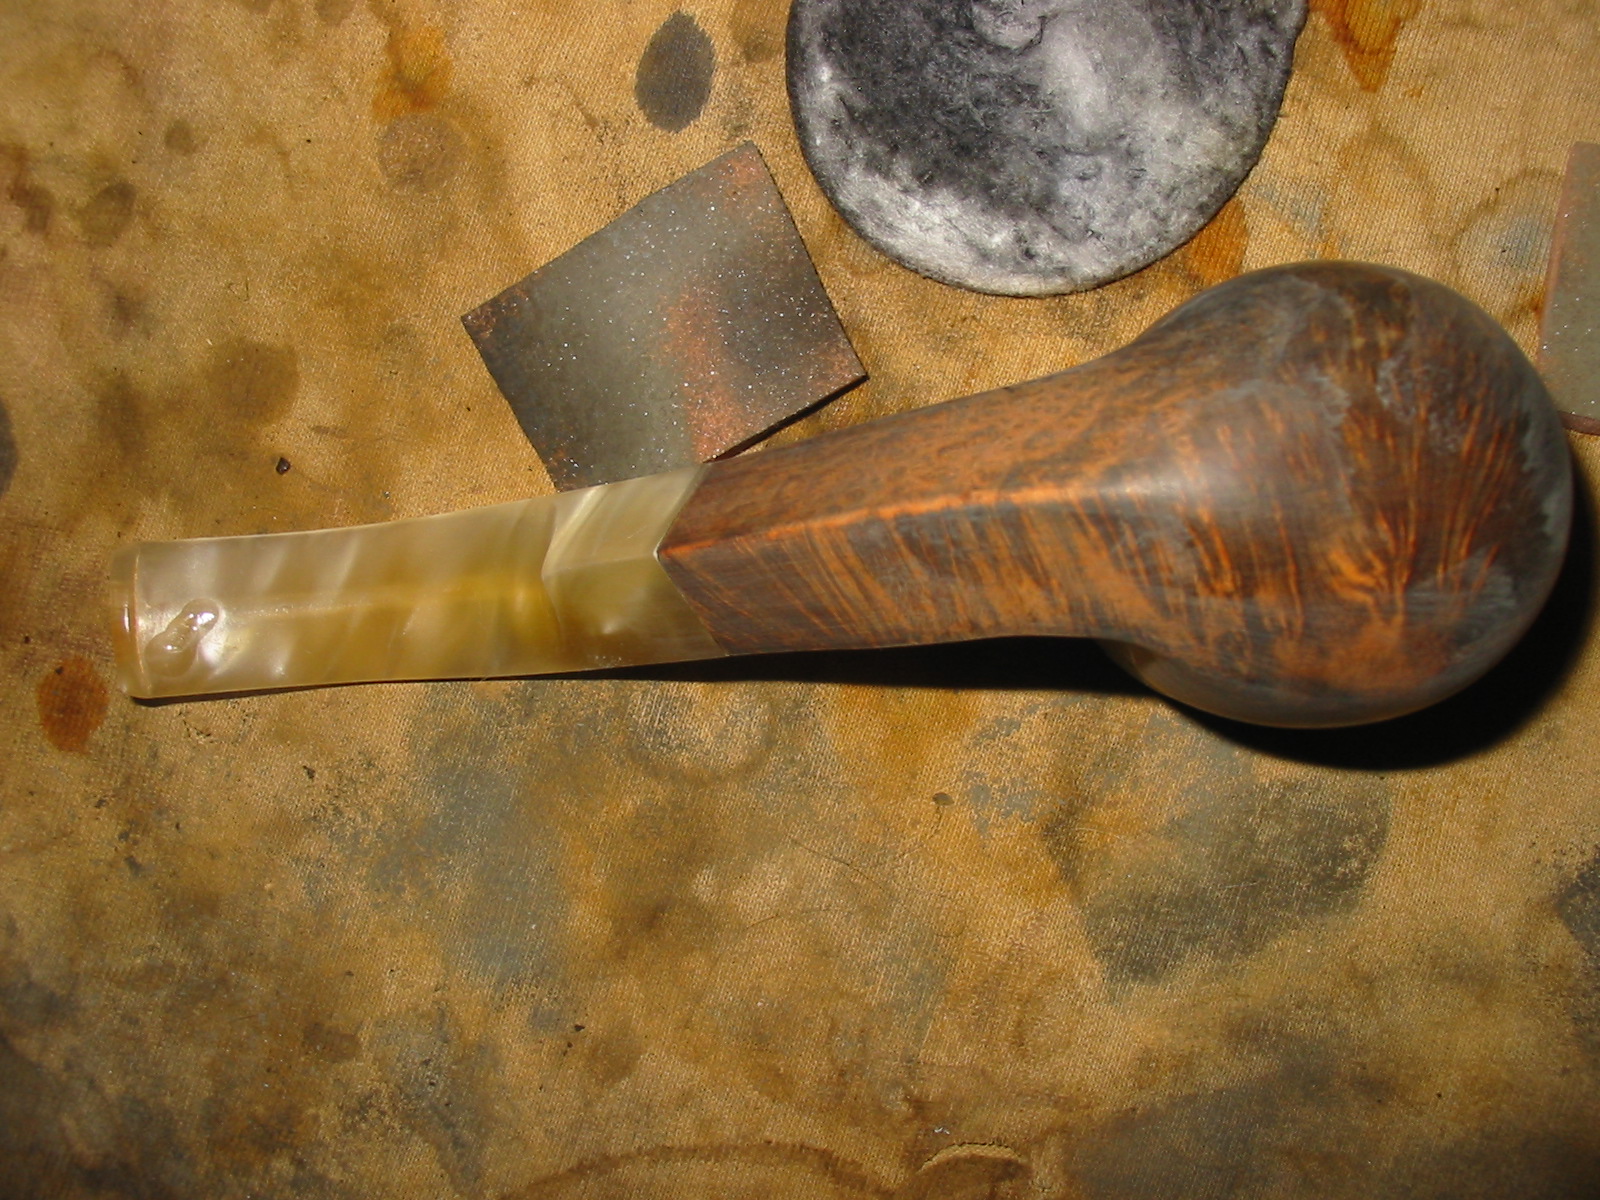
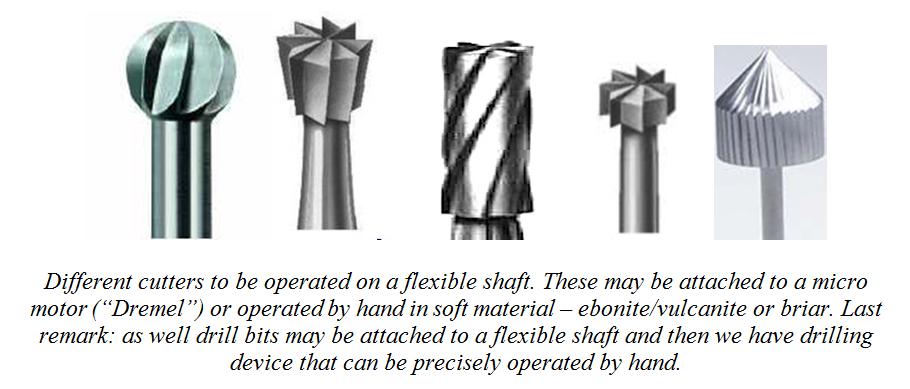
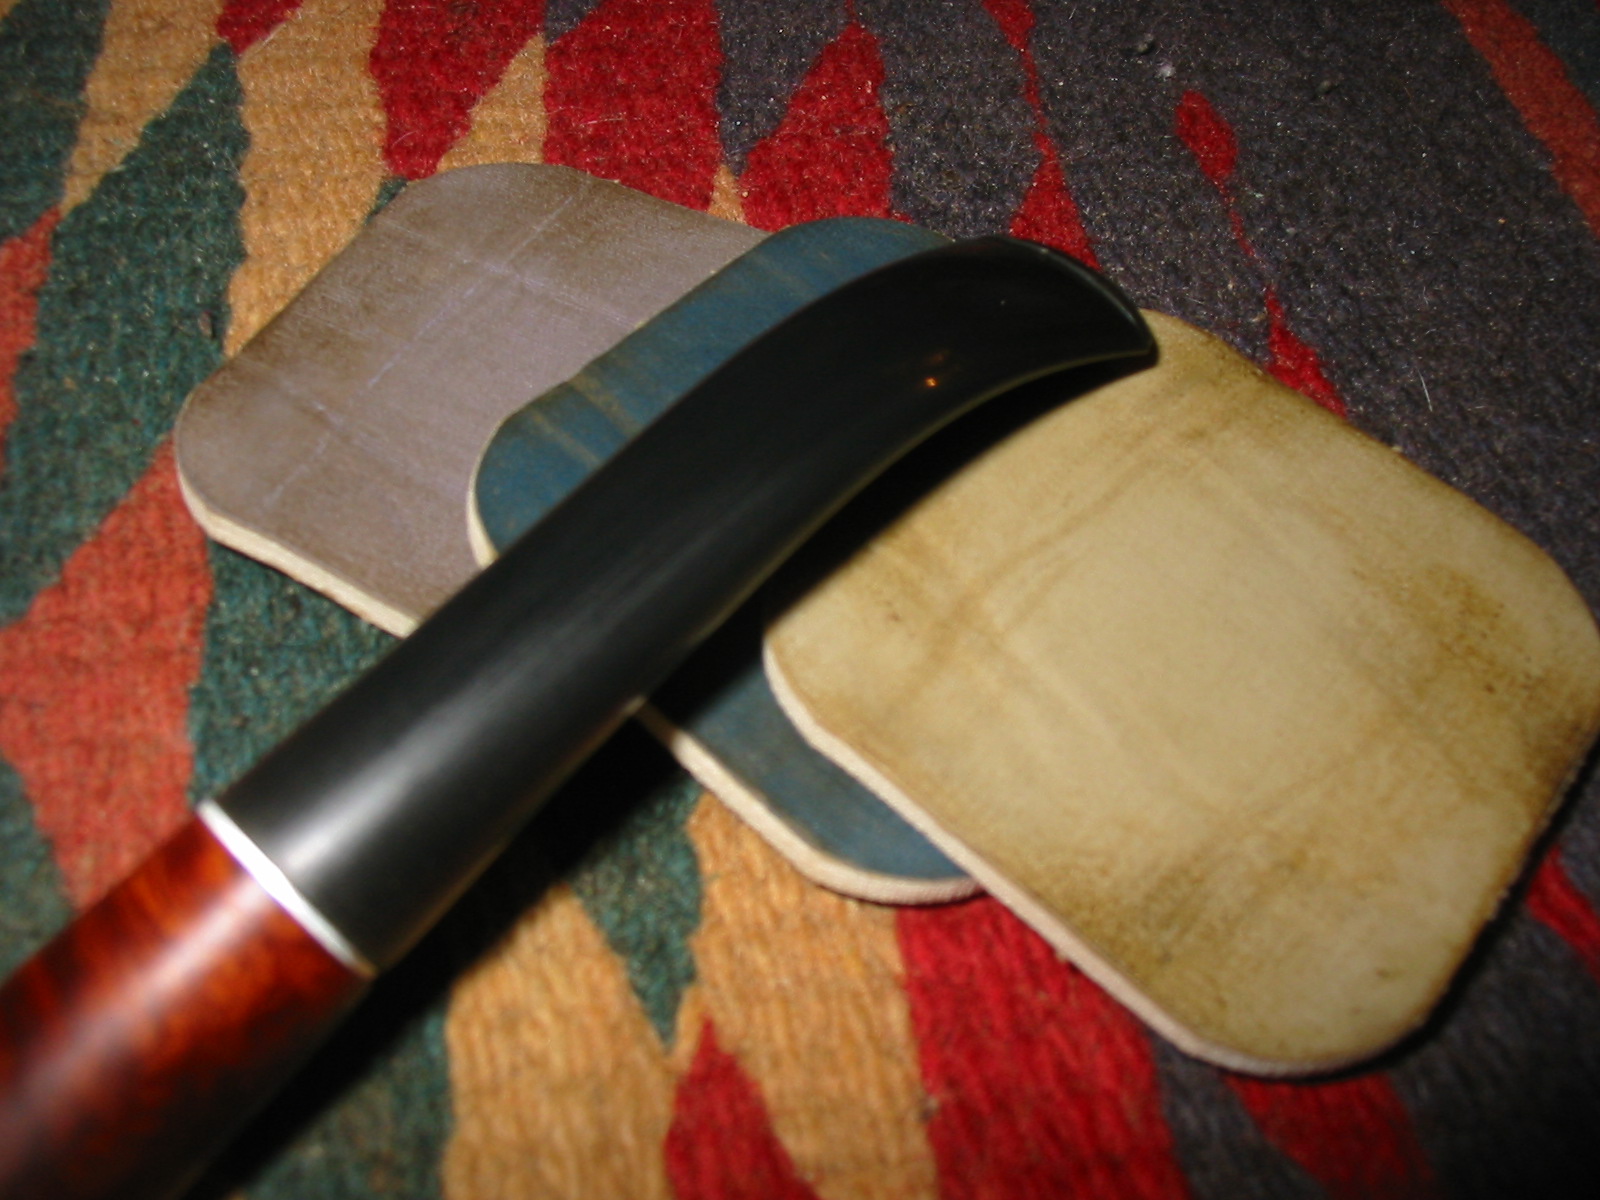
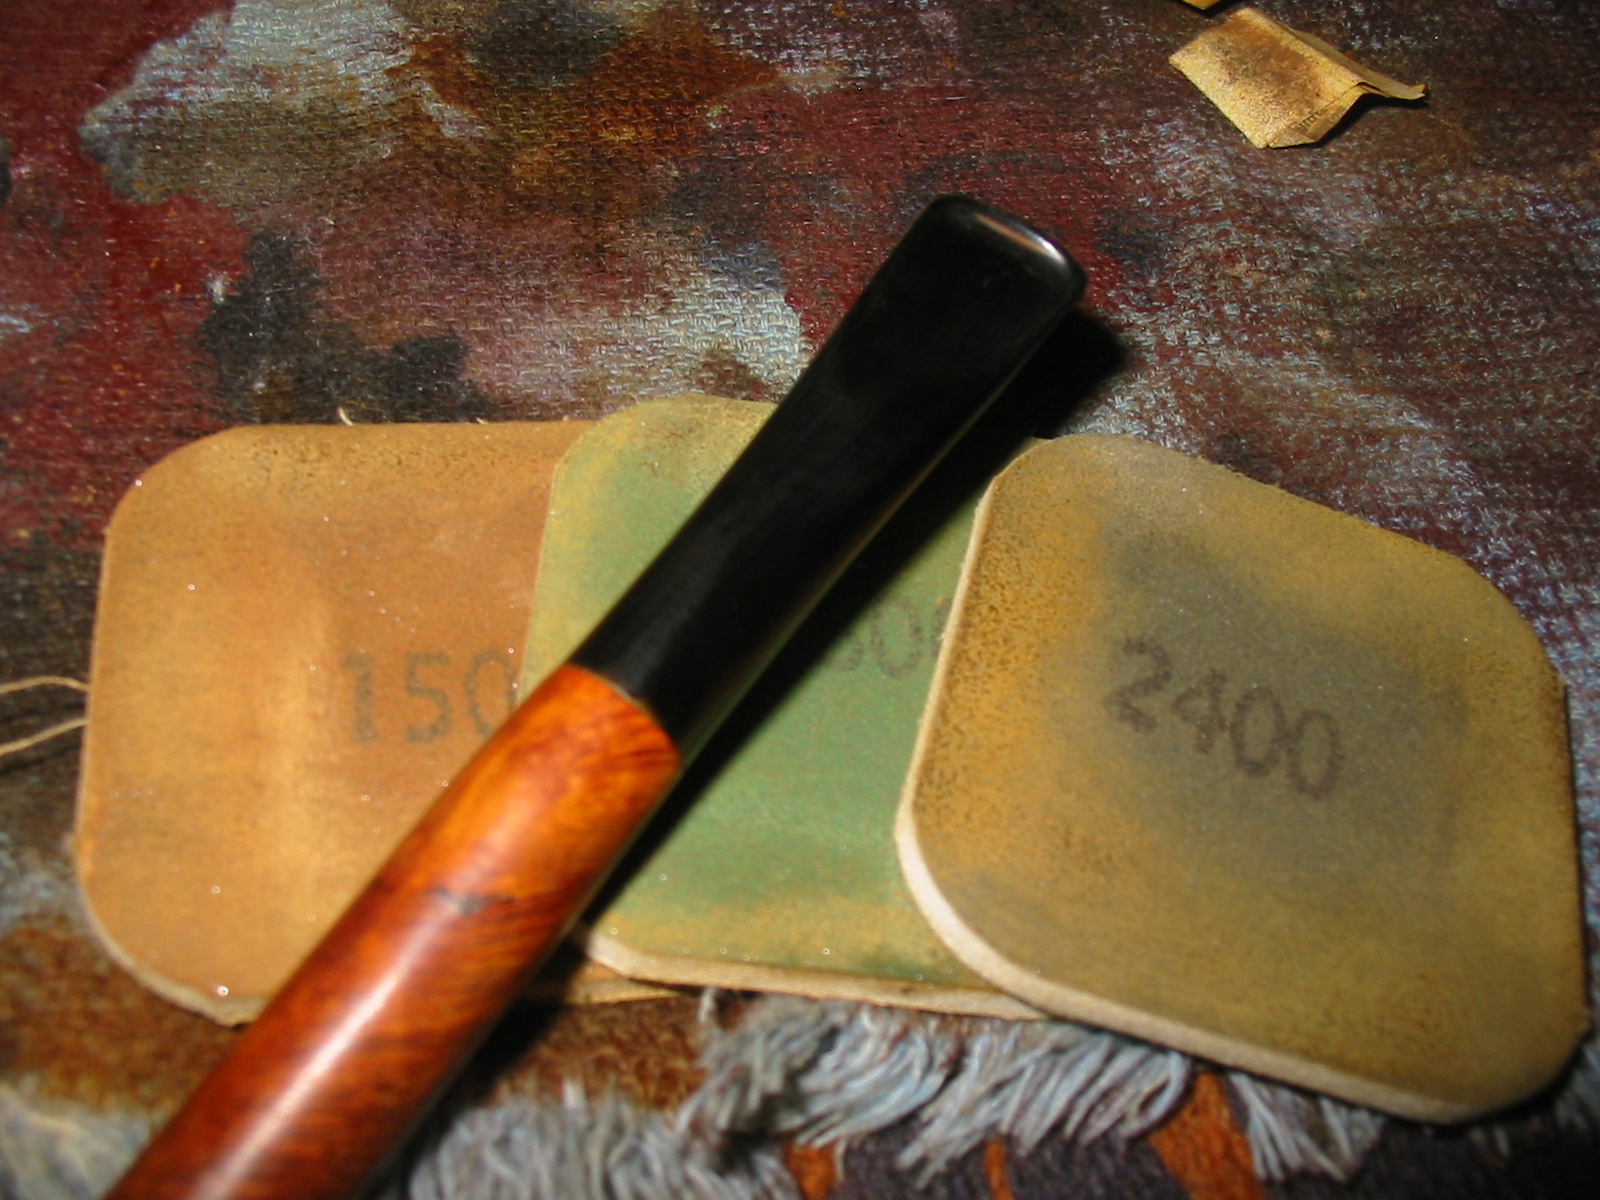
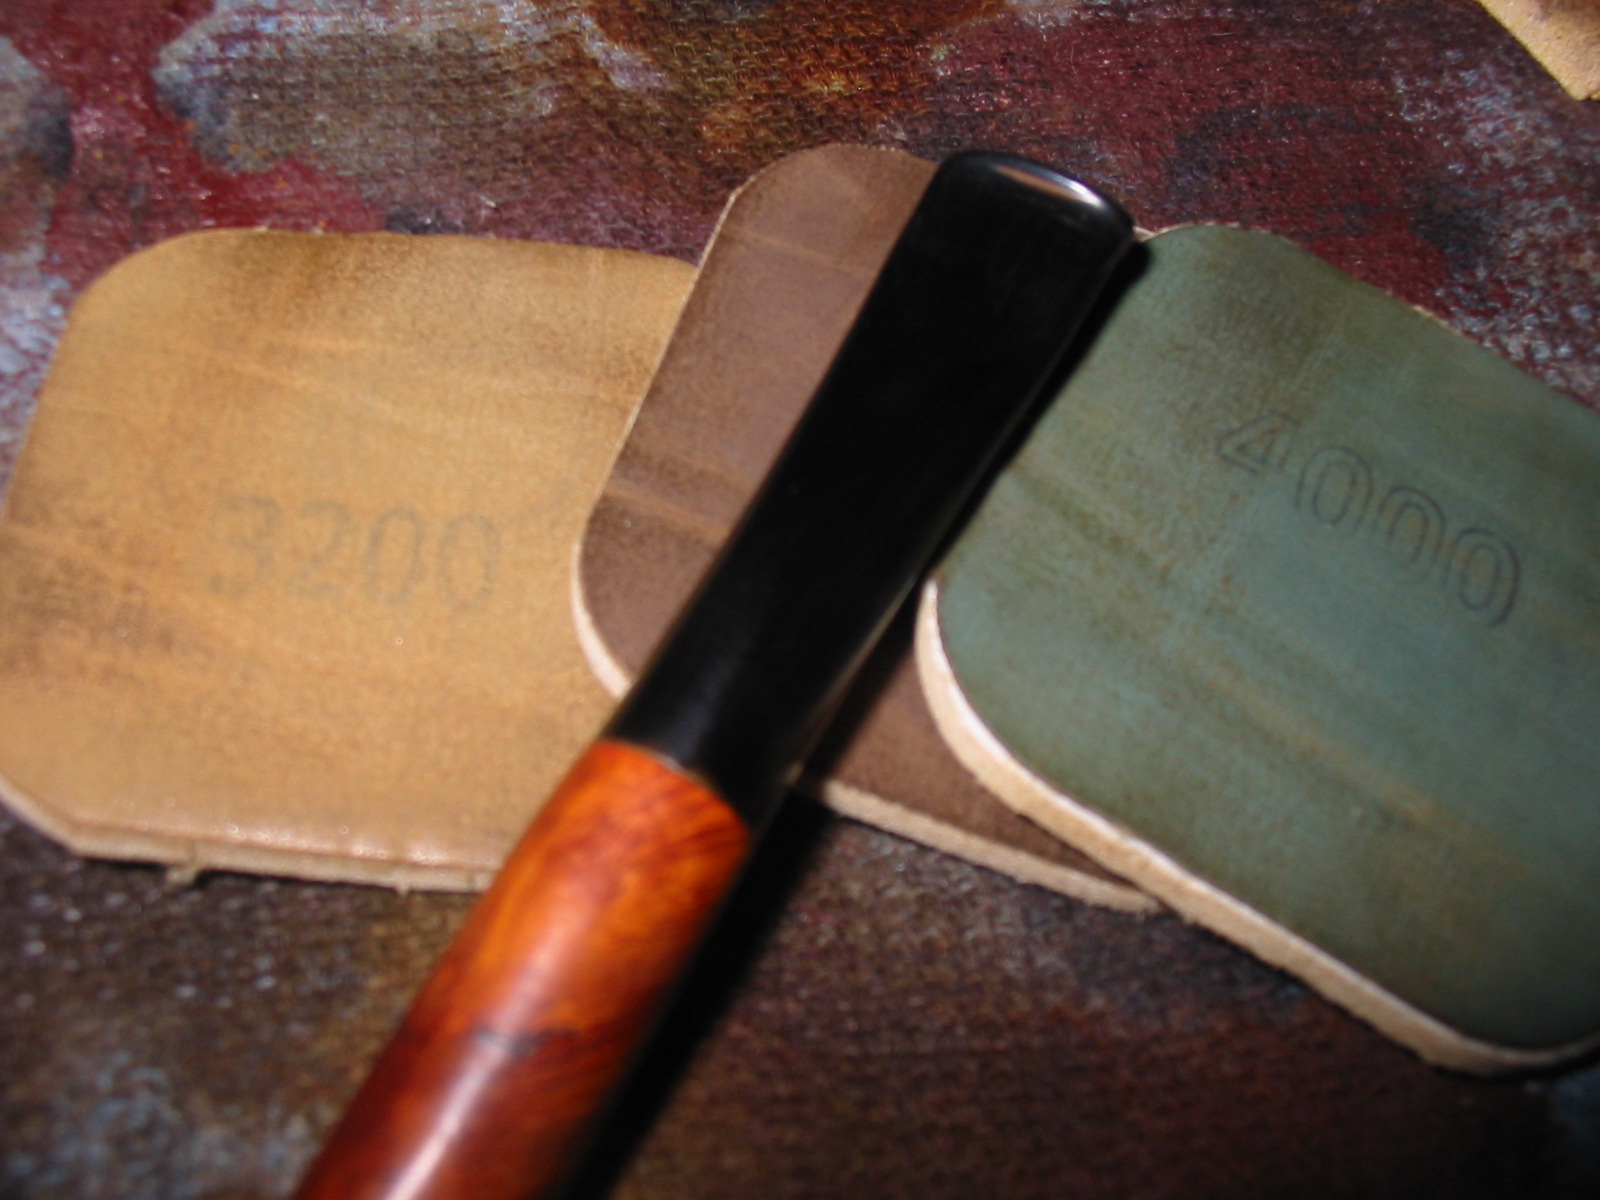
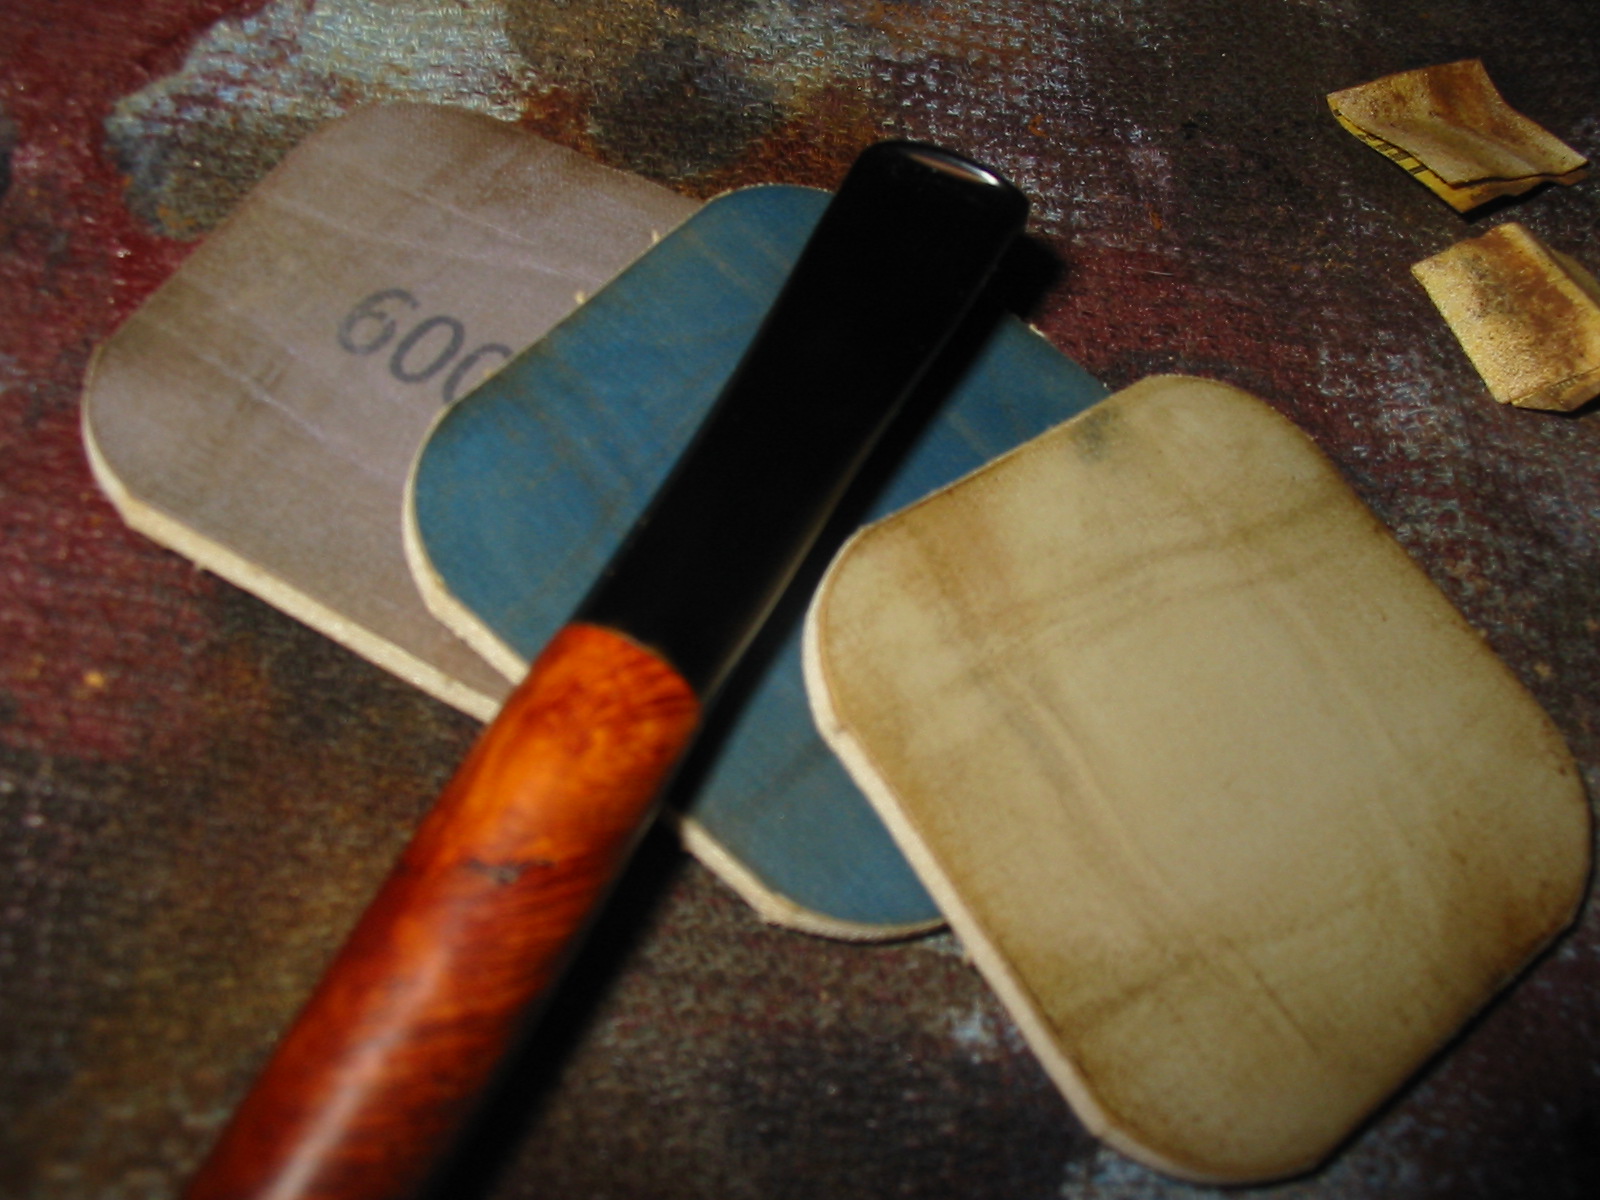
In conclusion I would like to present some simple hand tools that I find useful in working with pipe restoration. I would like also to say, that for cutting vulcanite/ebonite I use the typical jeweler’s frame saw with proper blades, similar to this shown here together with workbench pin and set of blades.


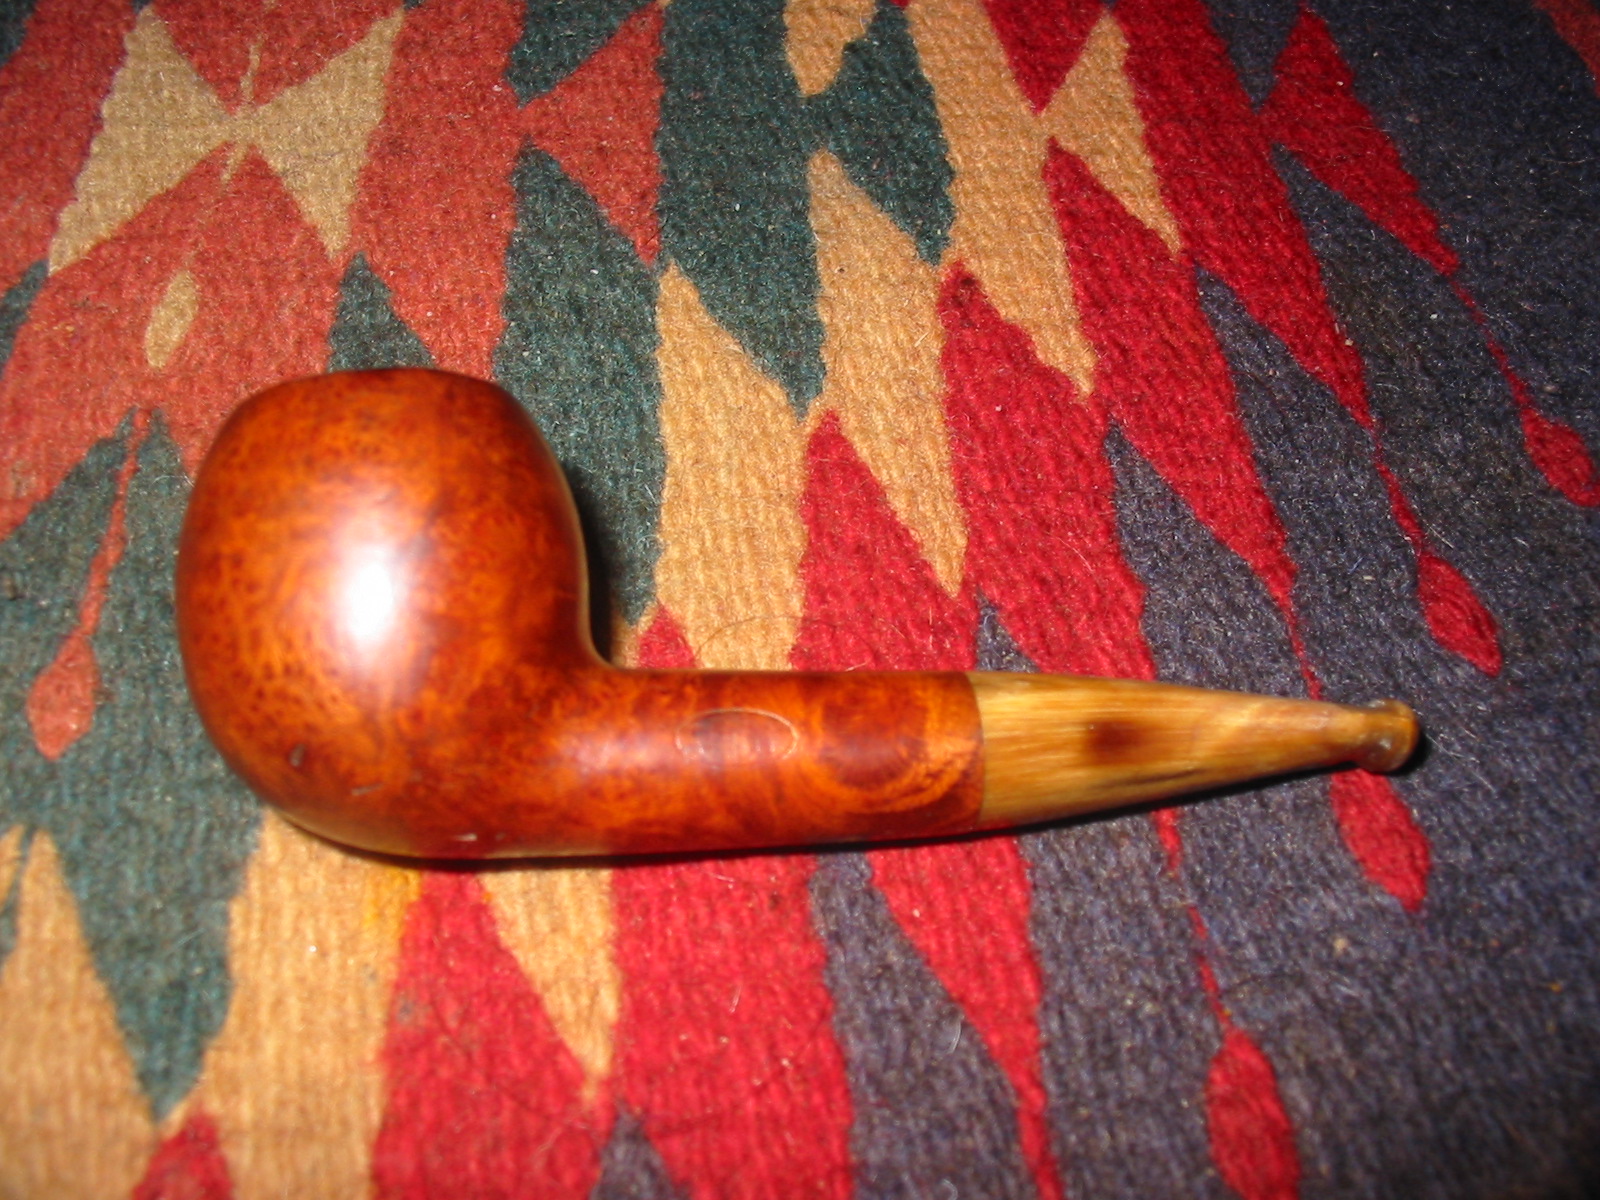
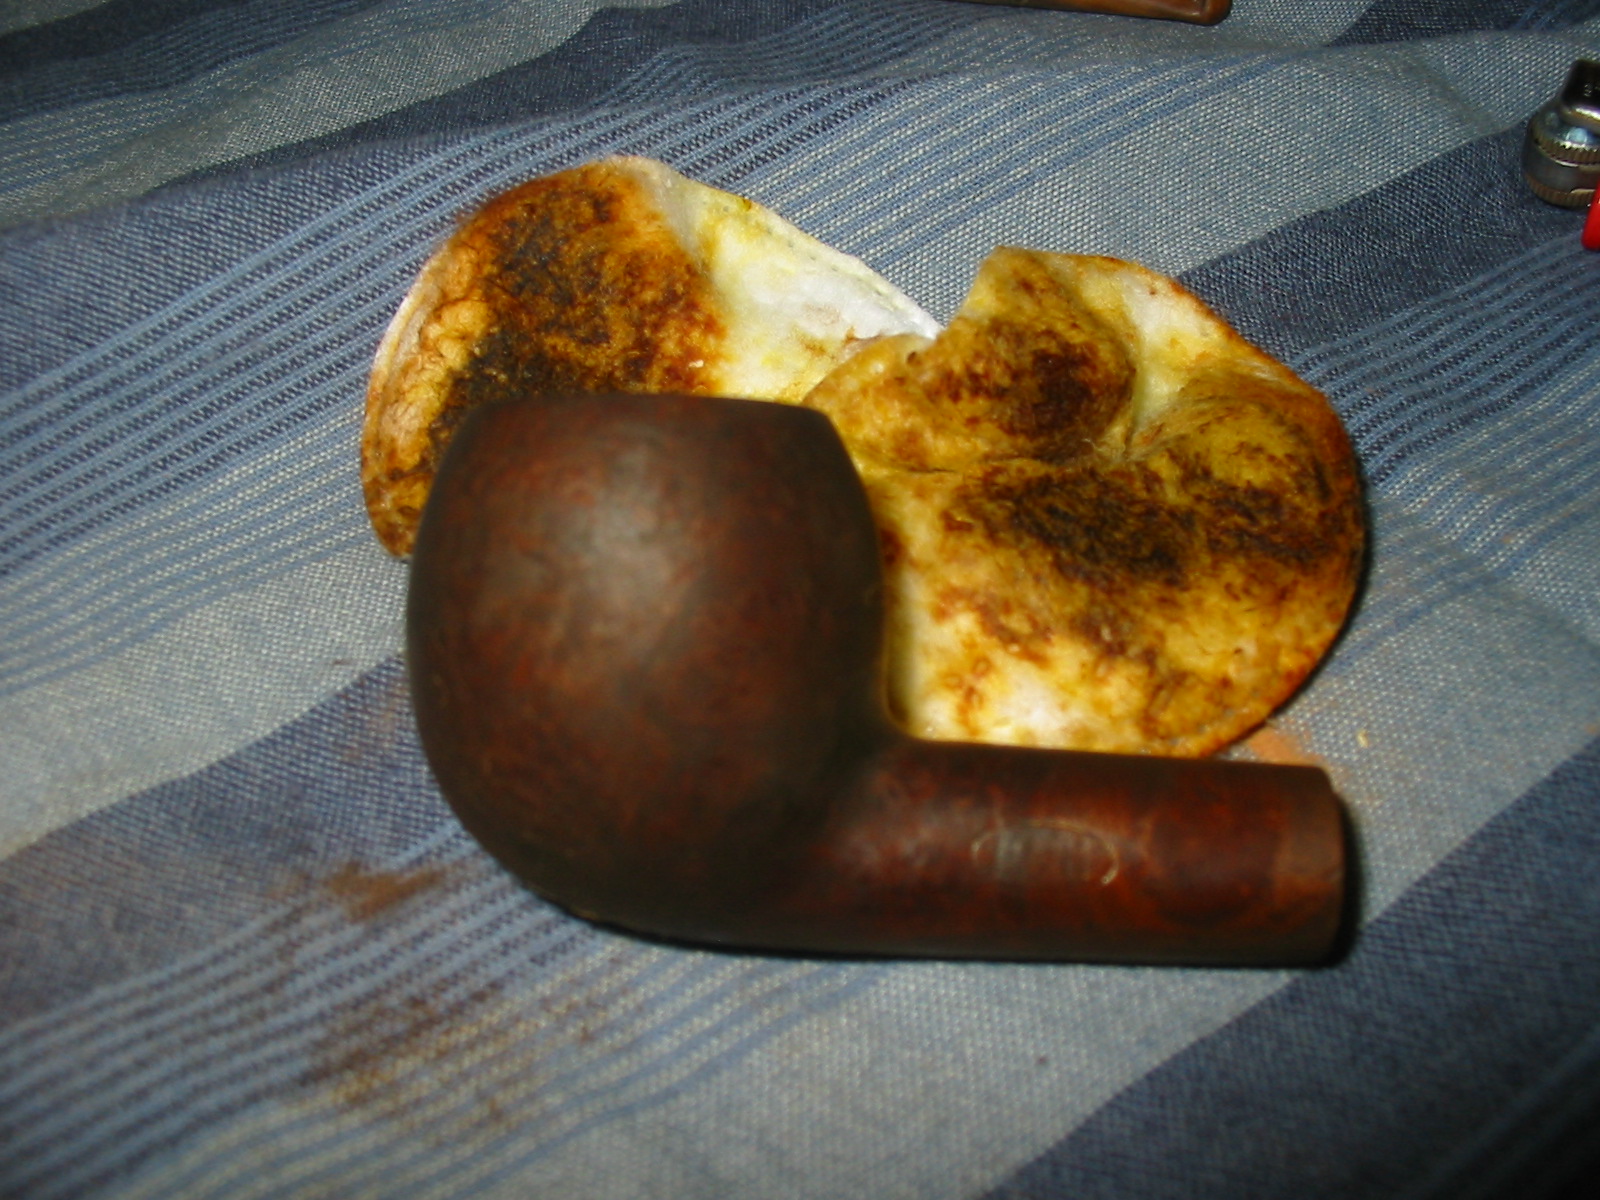
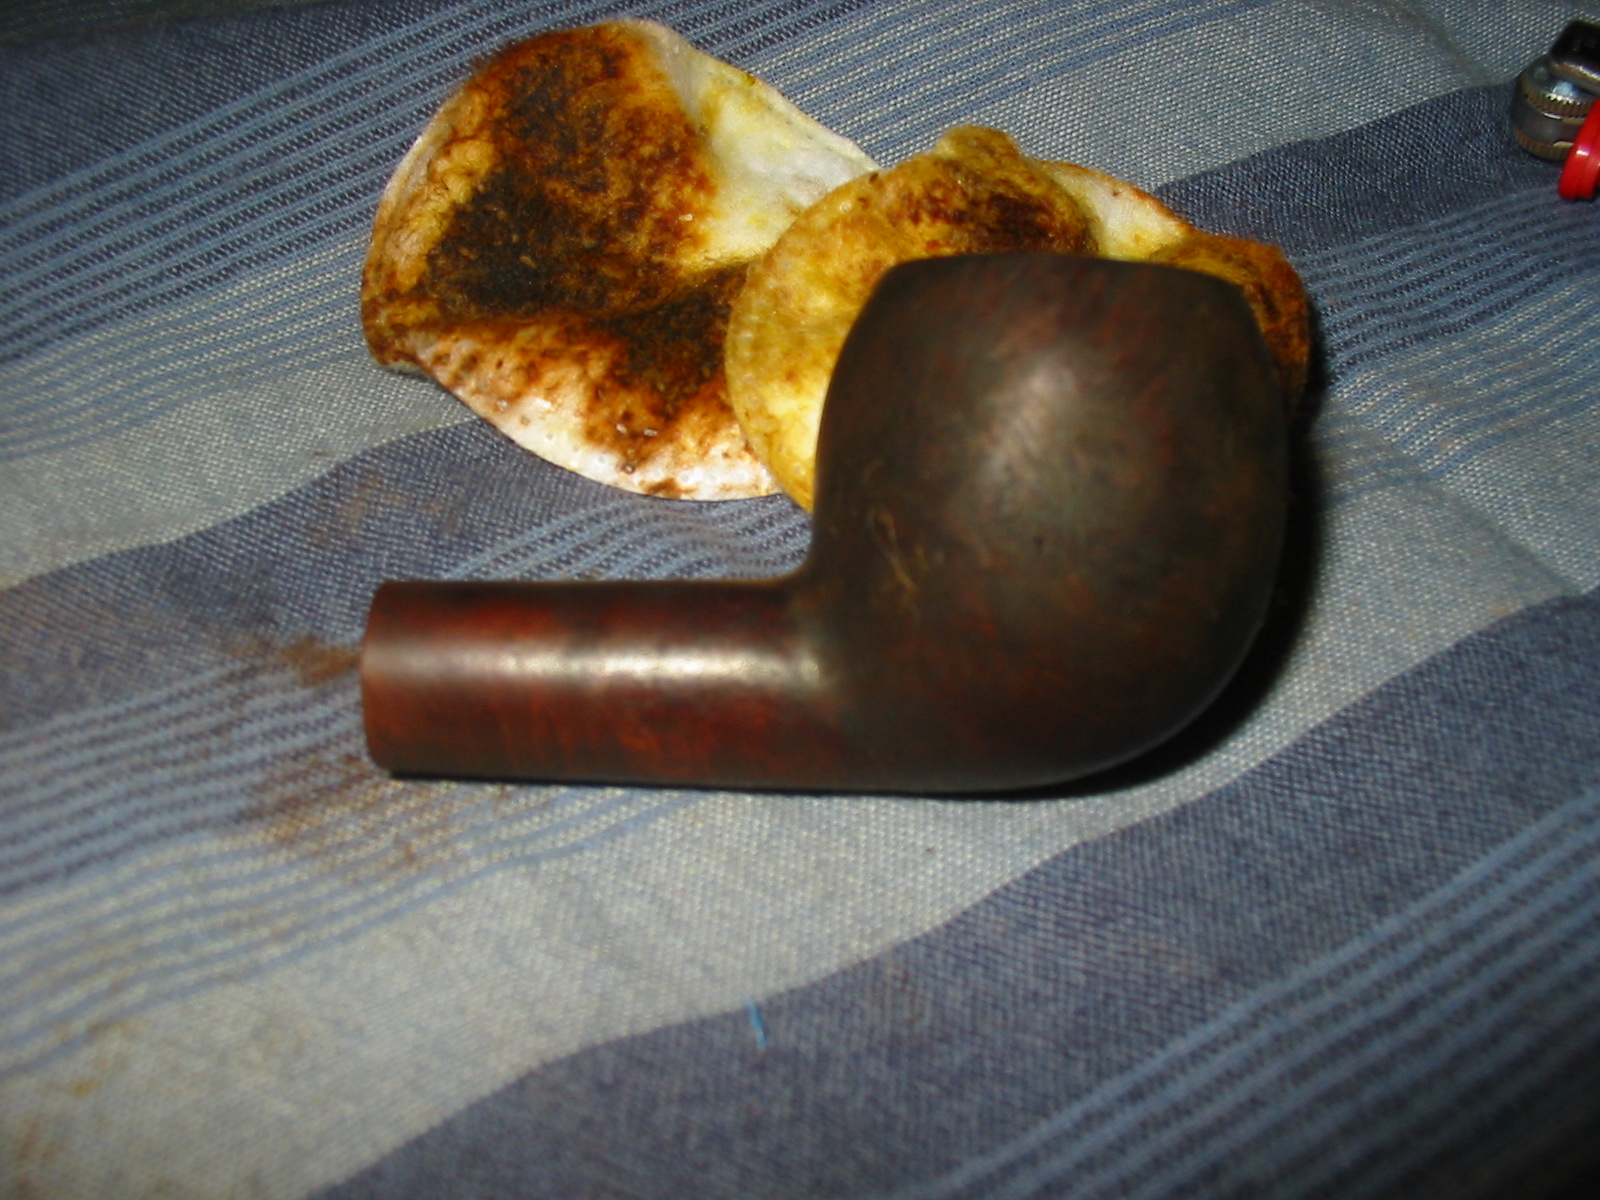
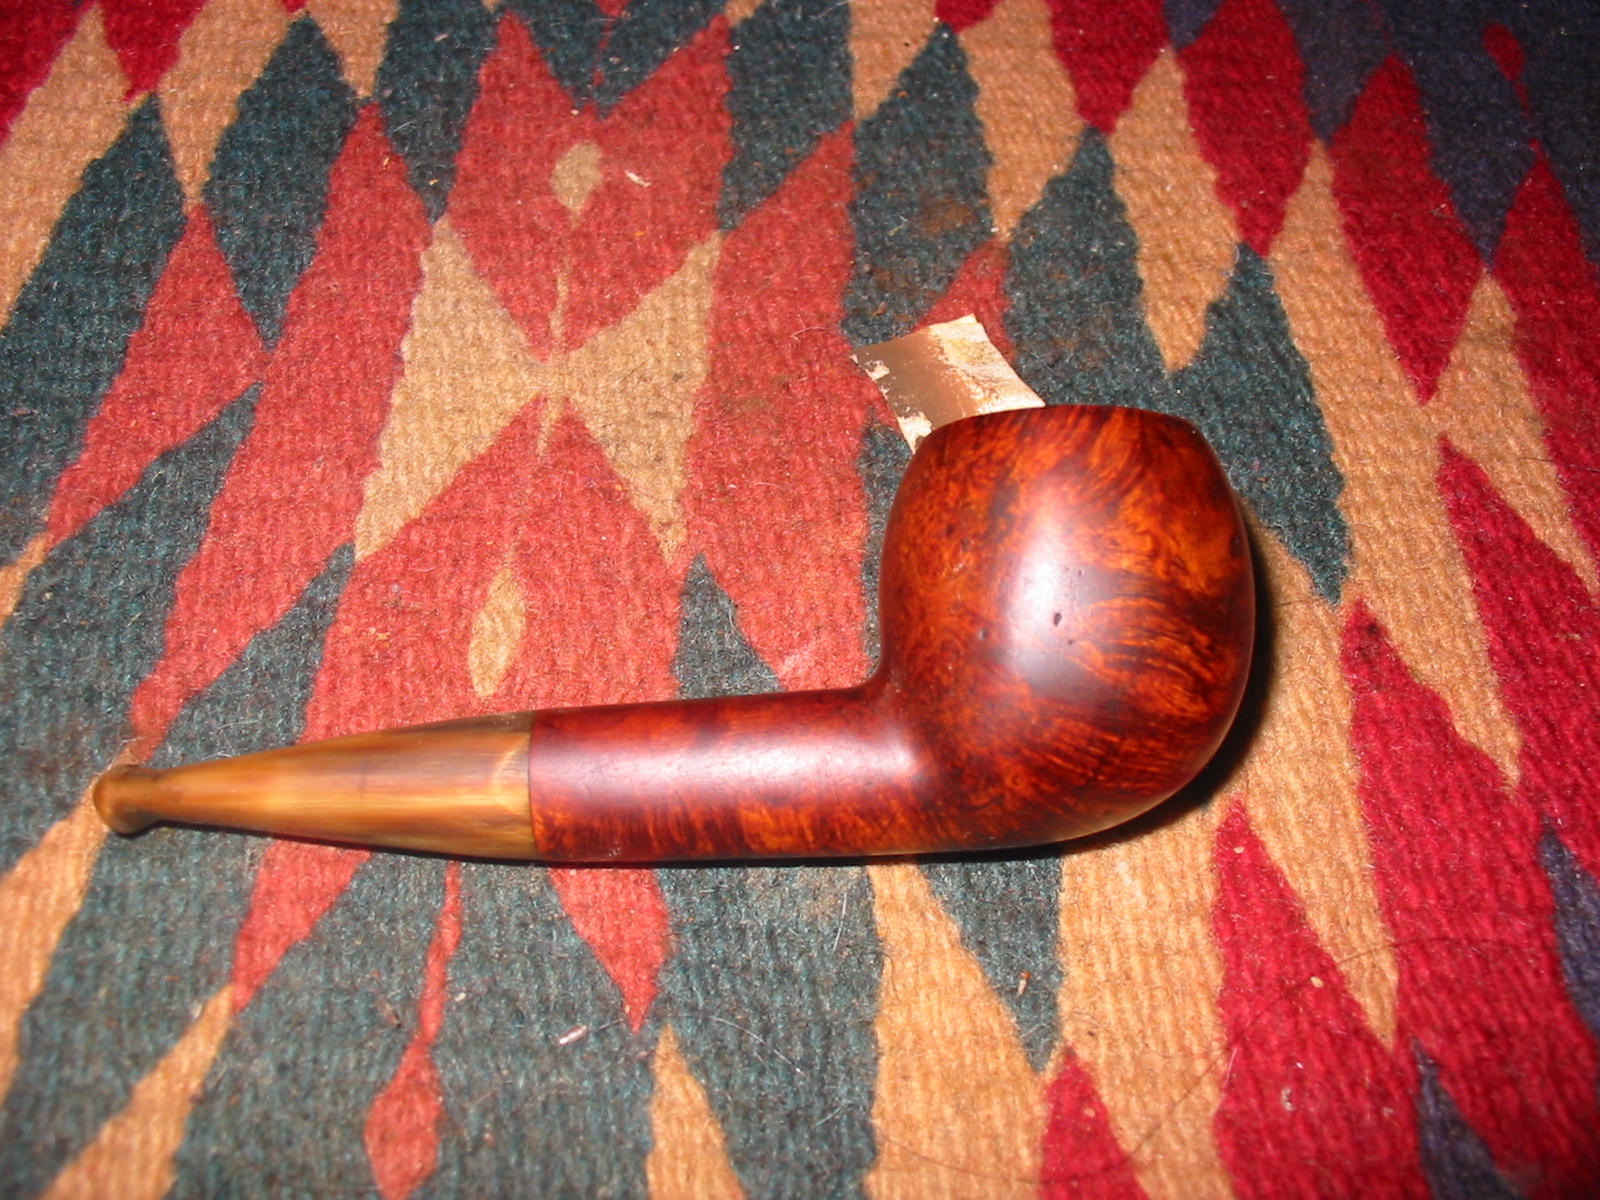
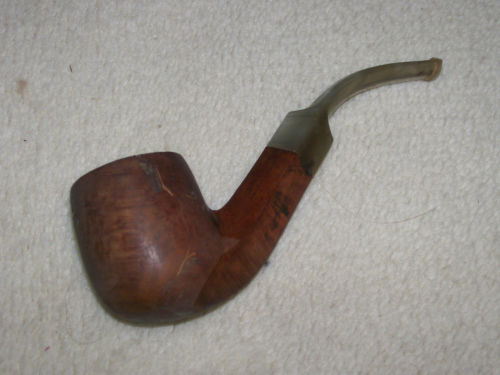
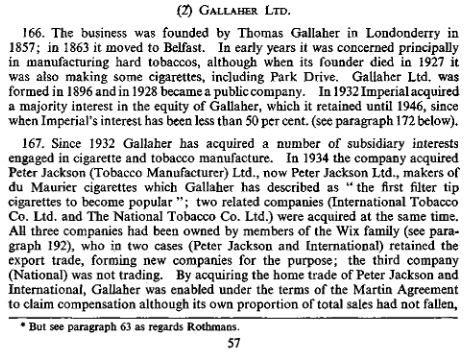
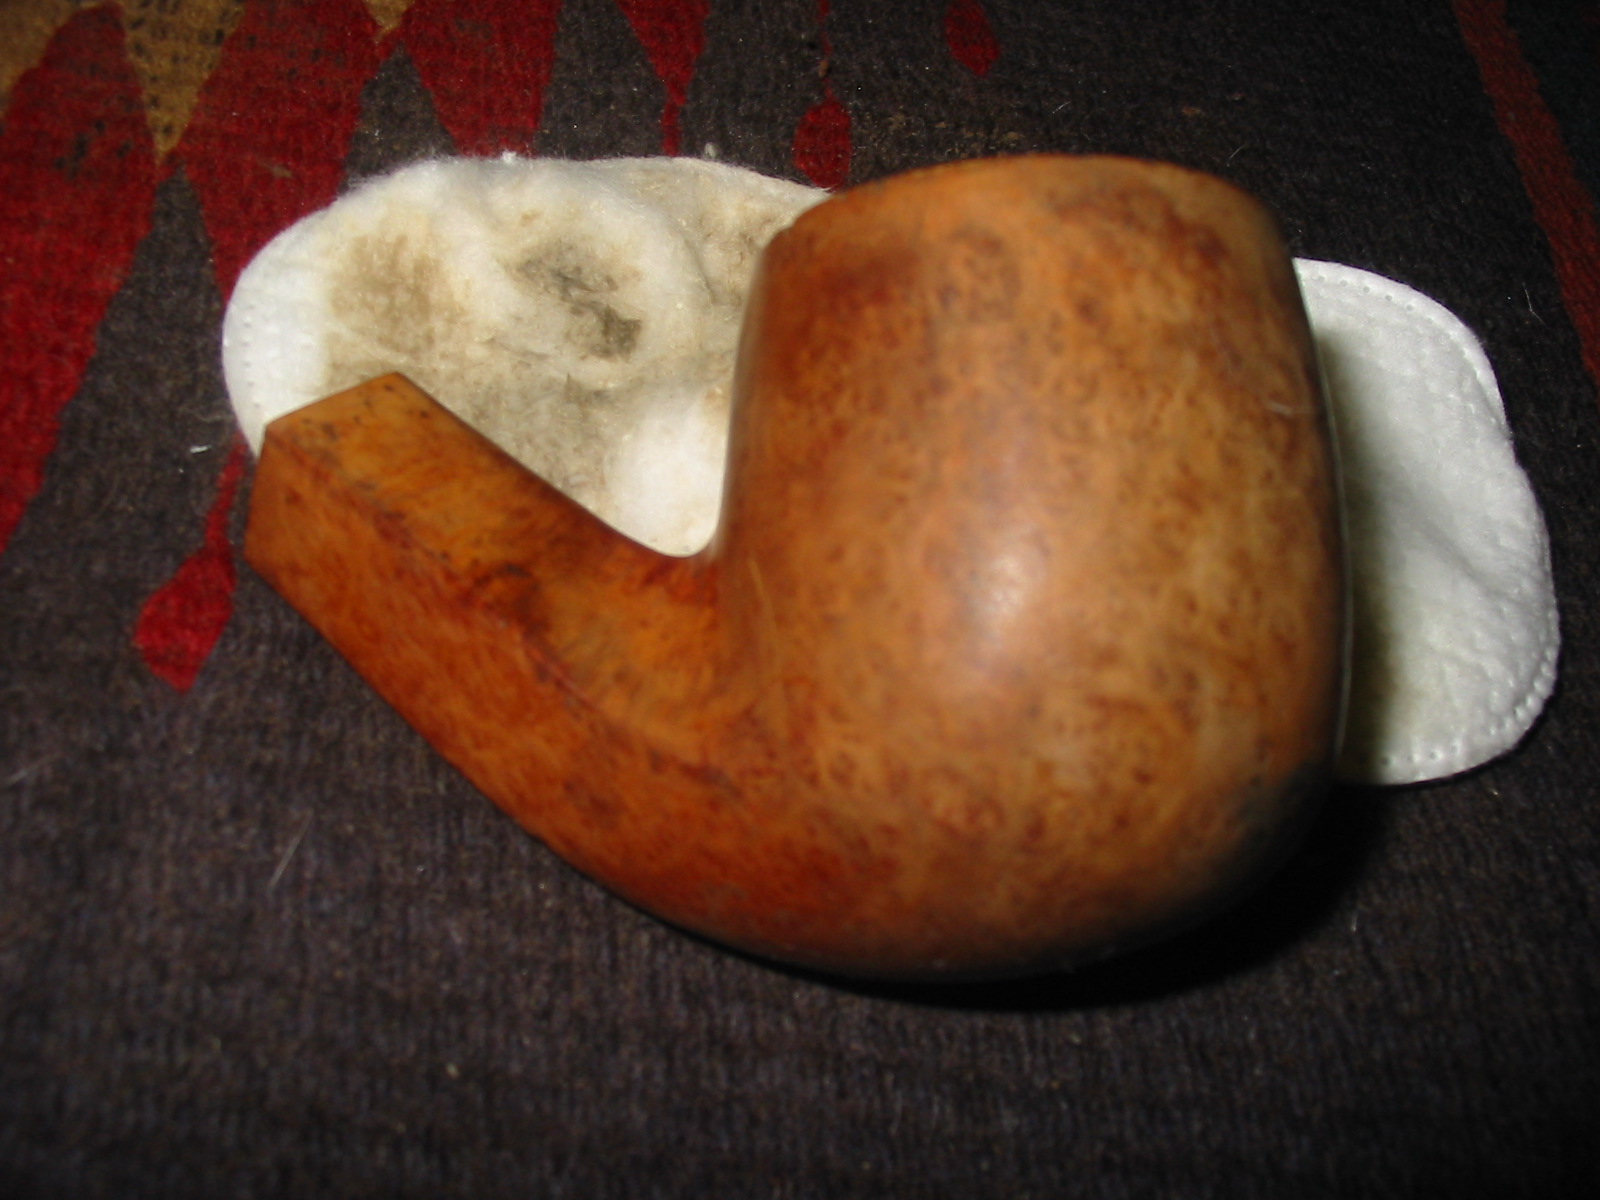
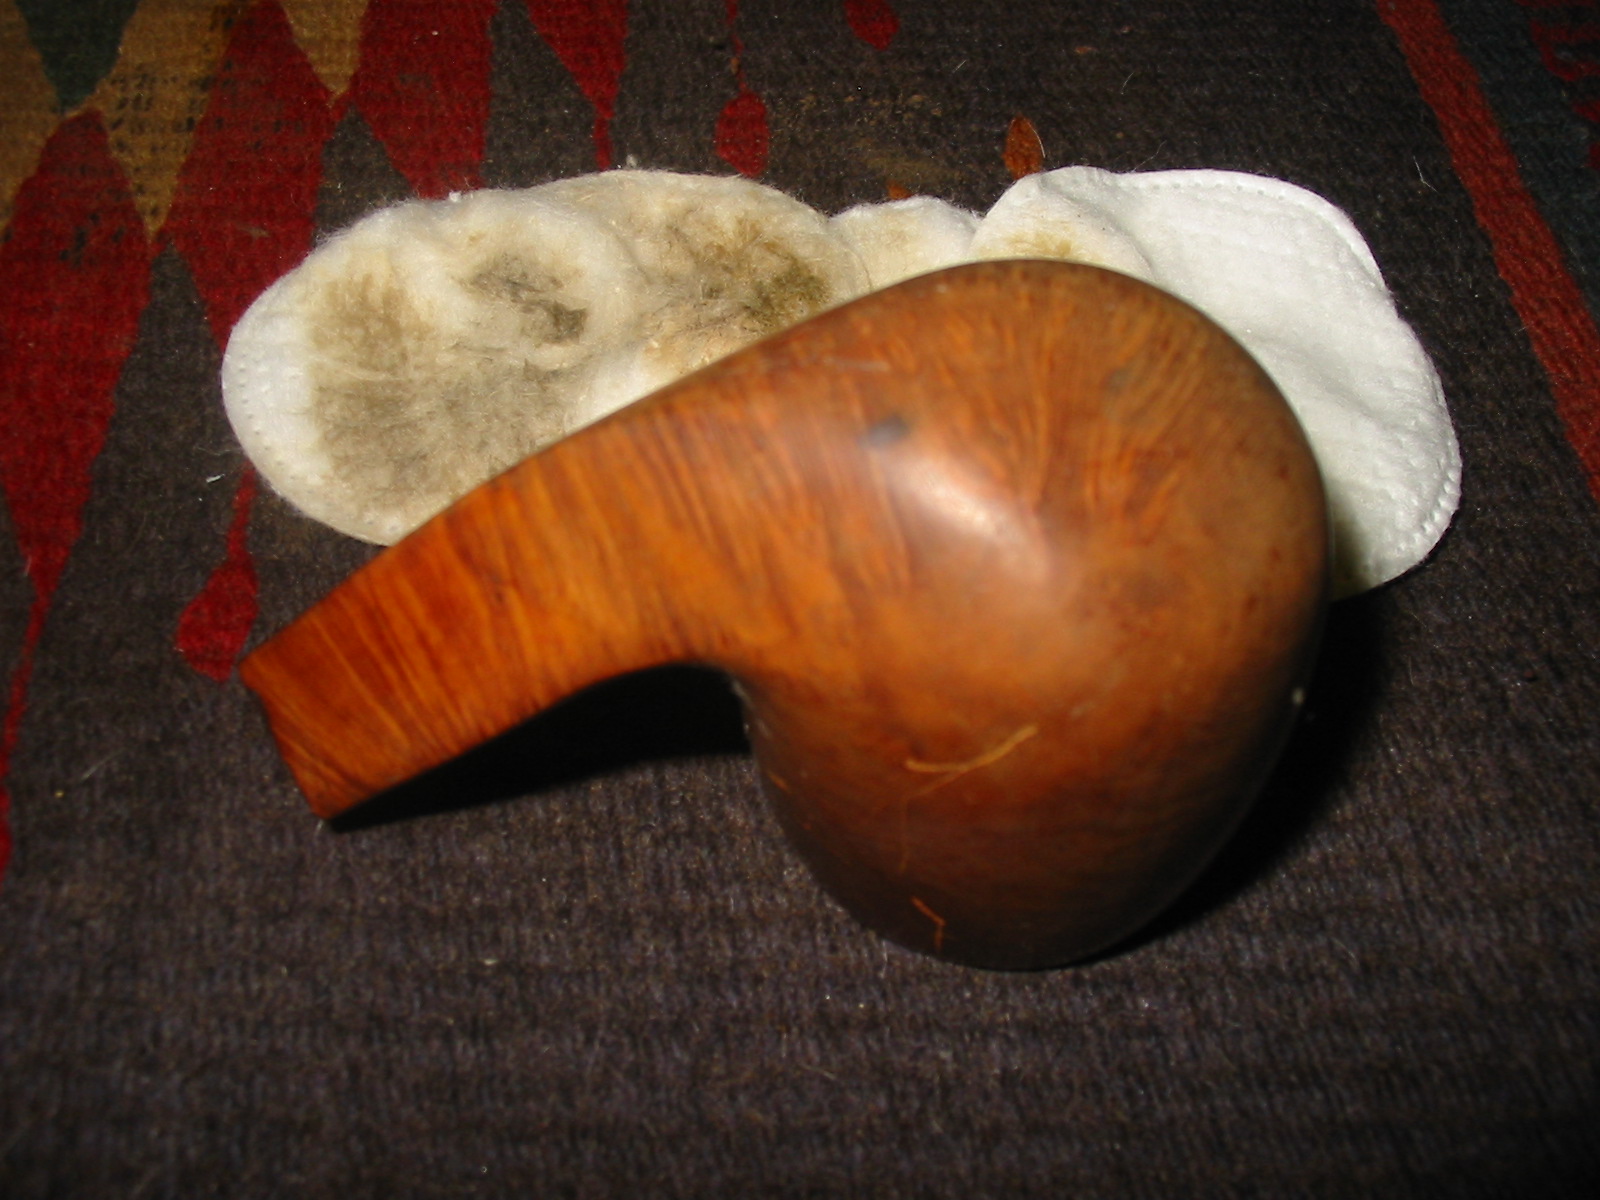
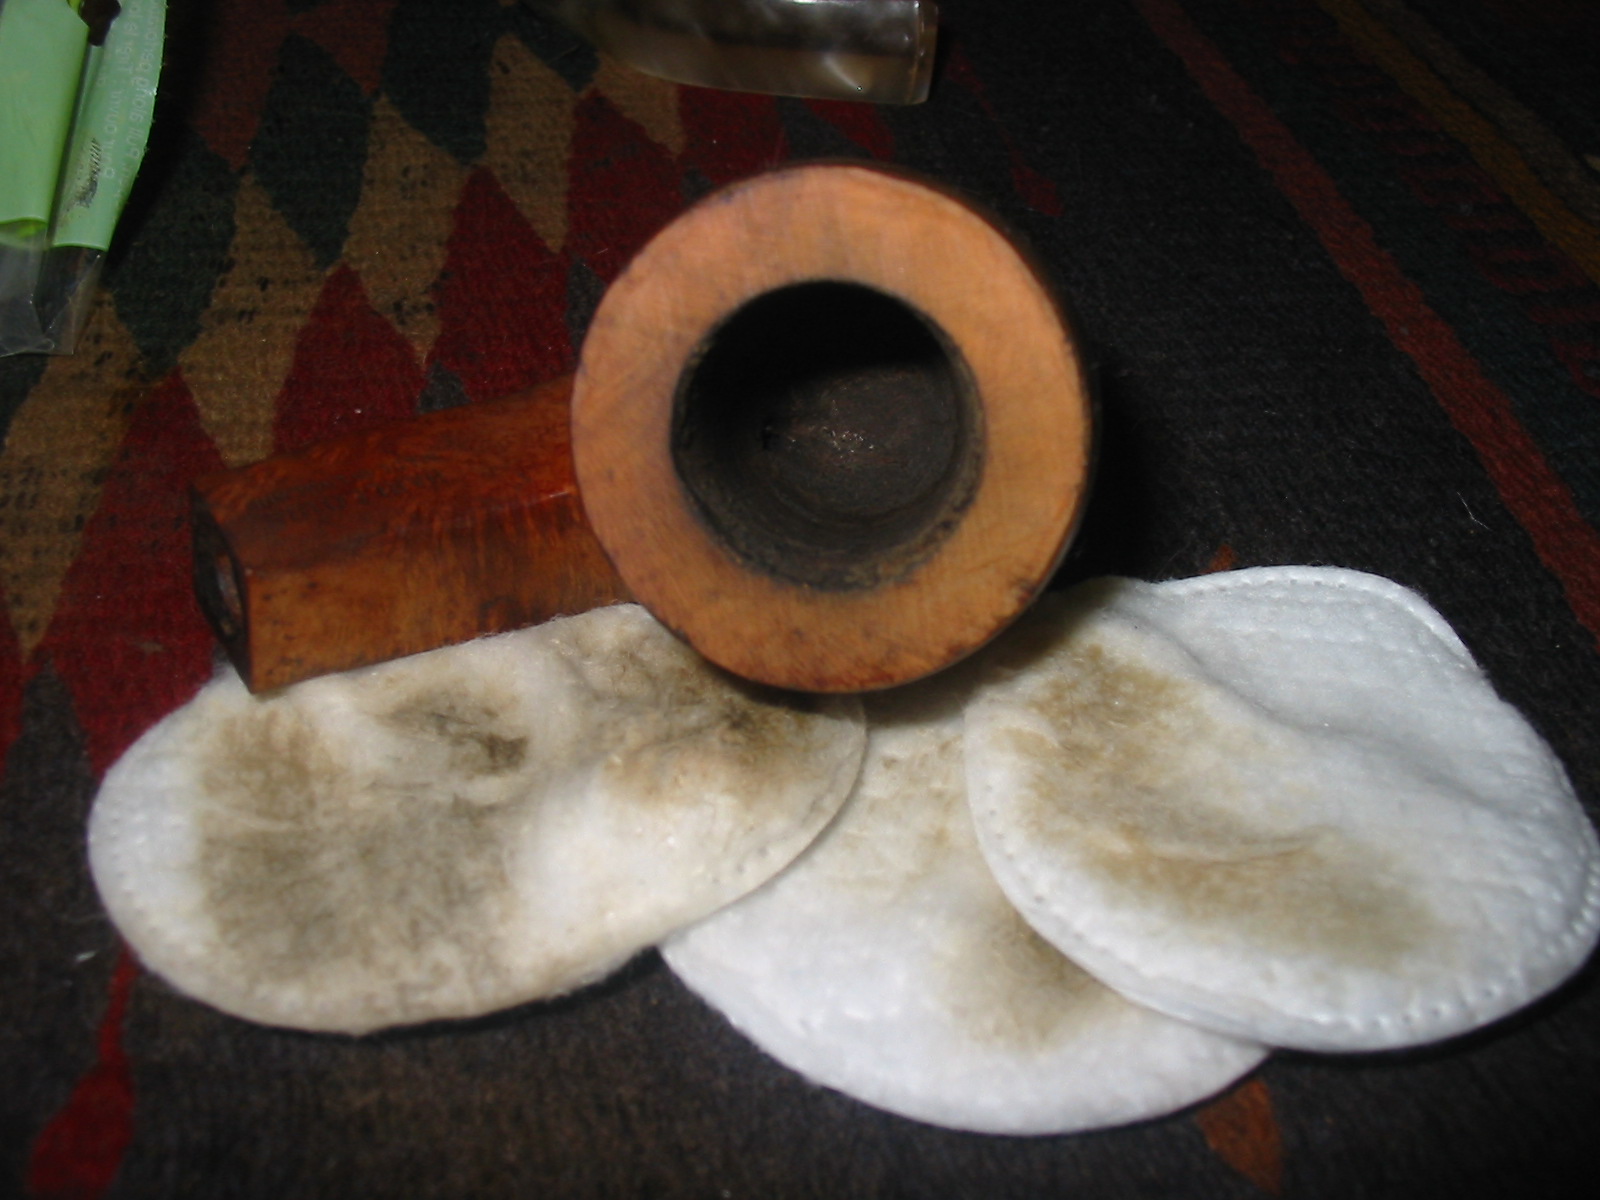
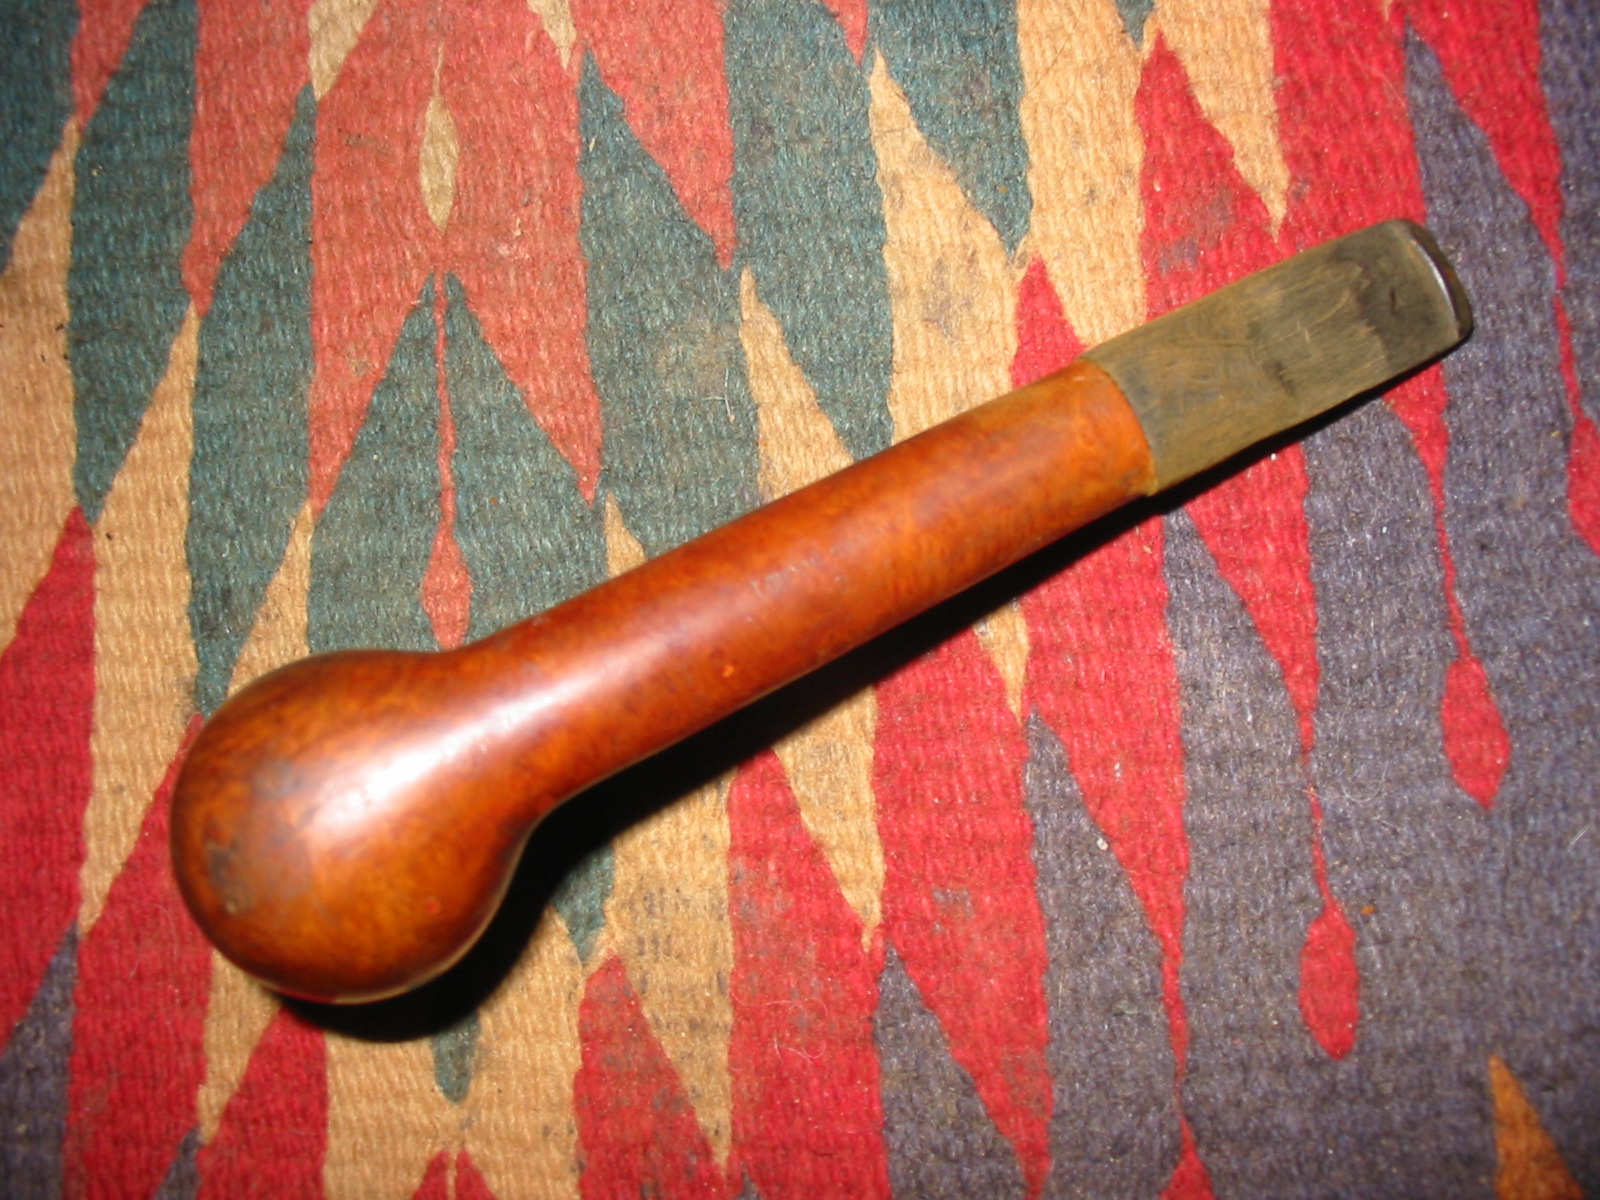
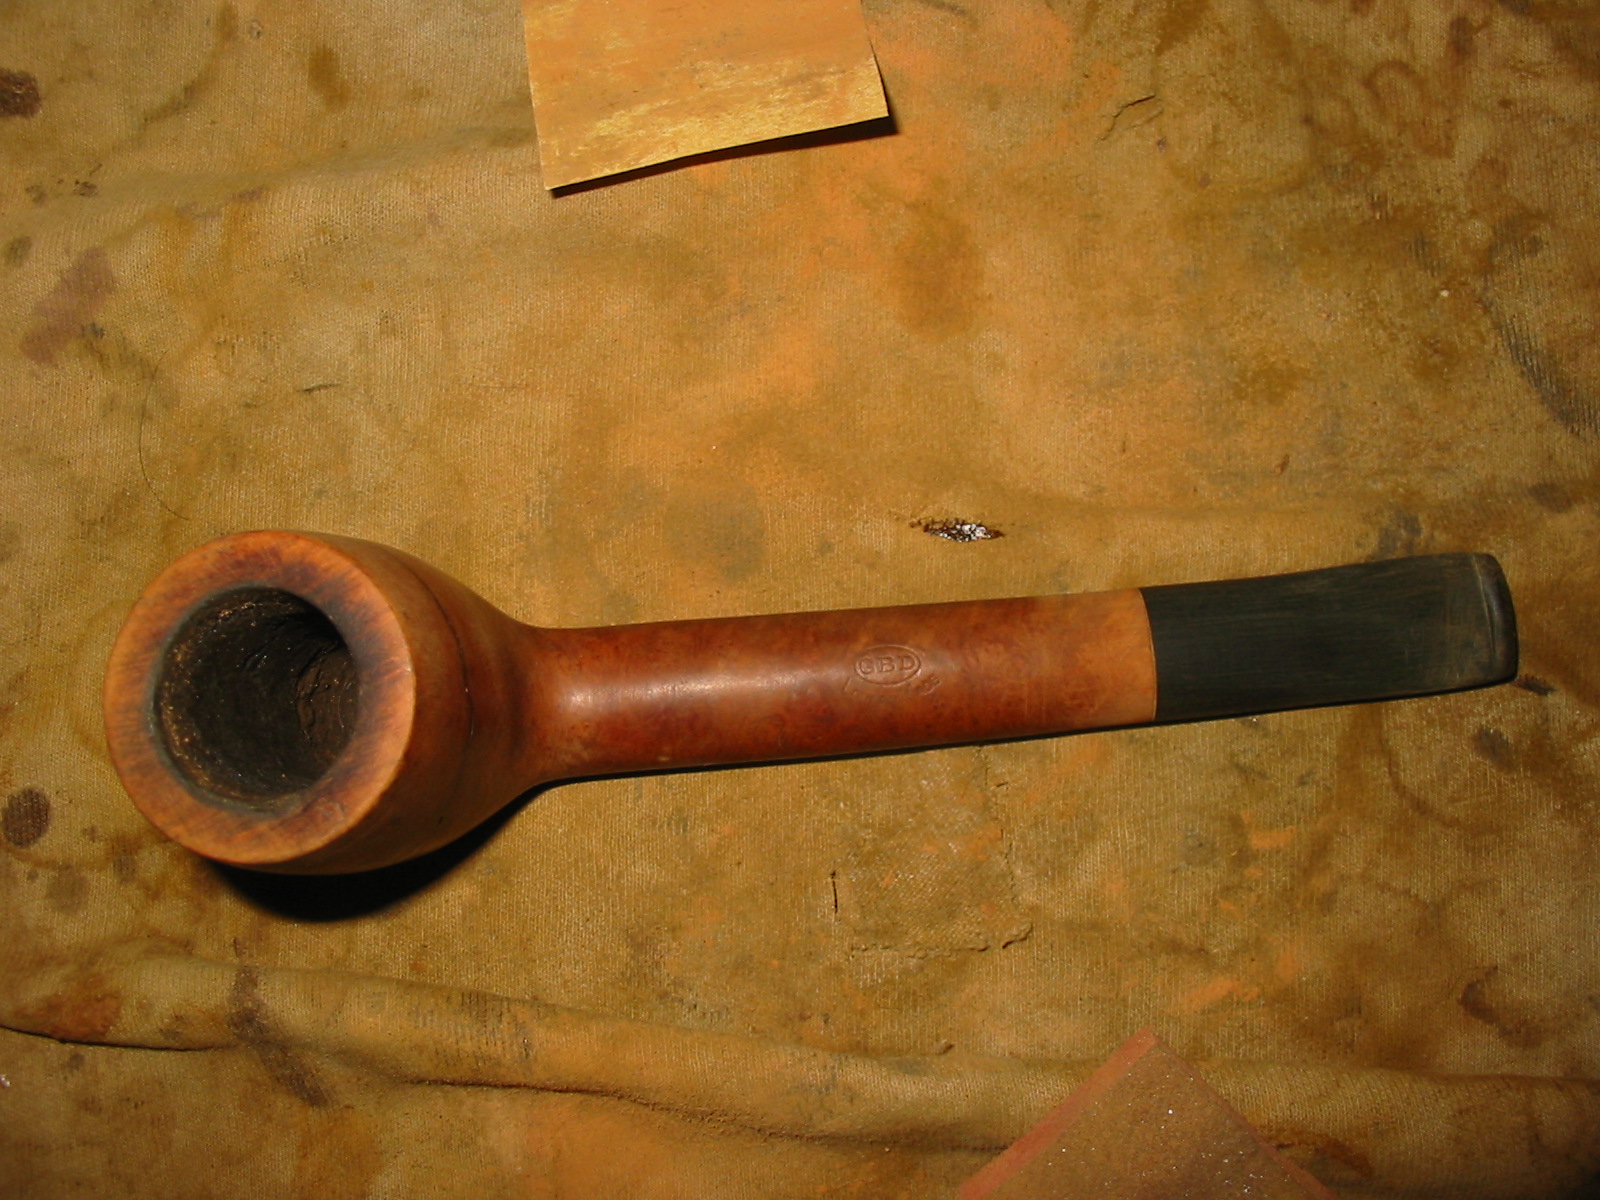
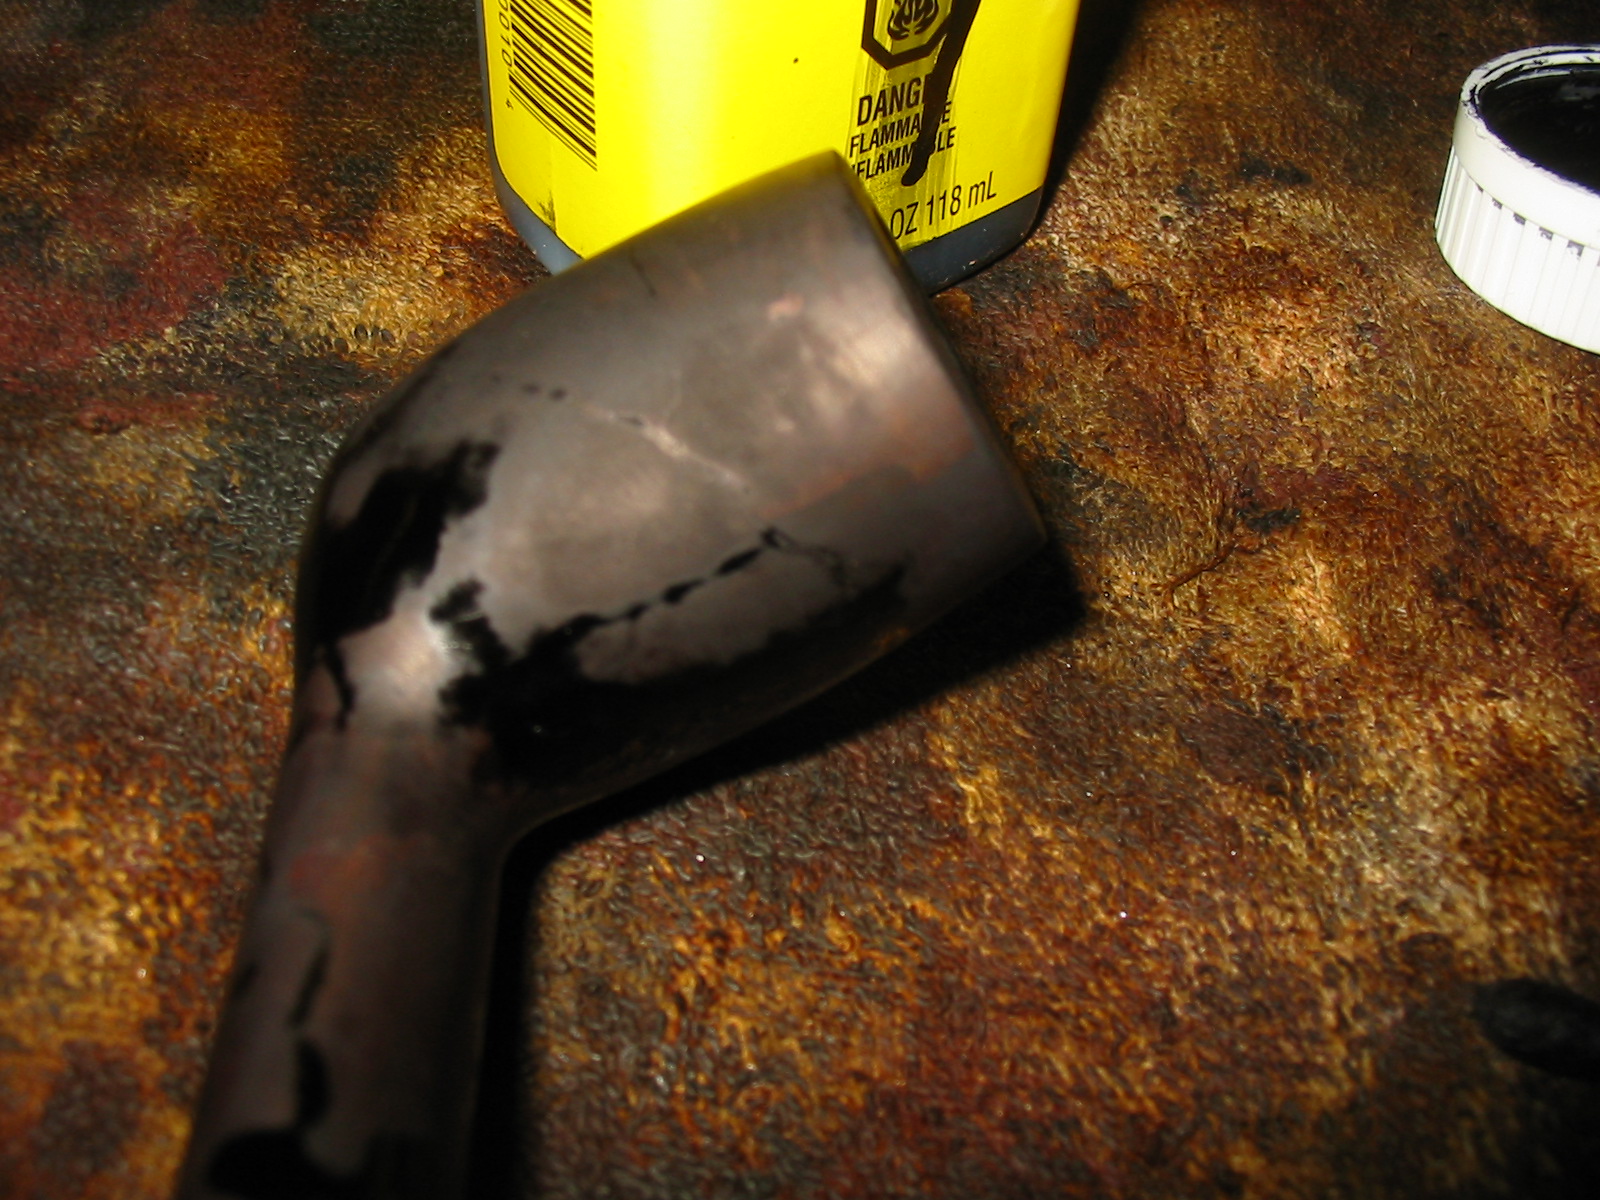
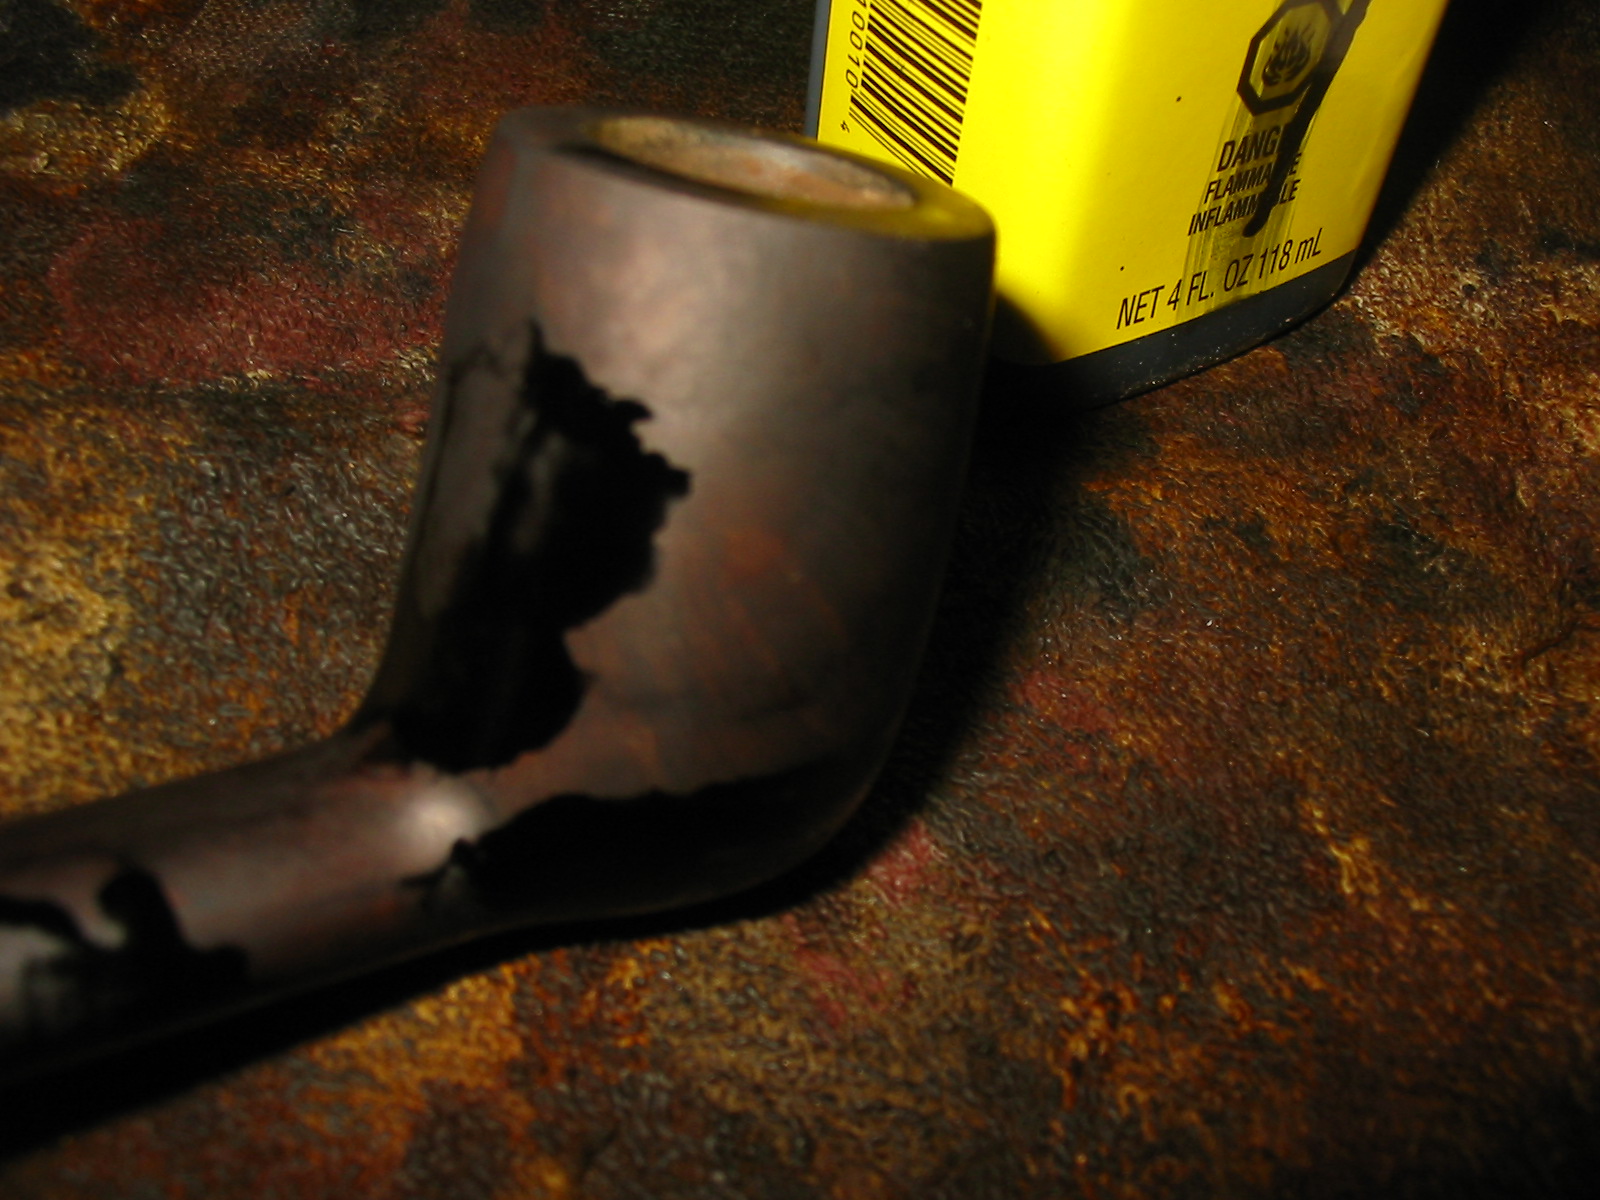
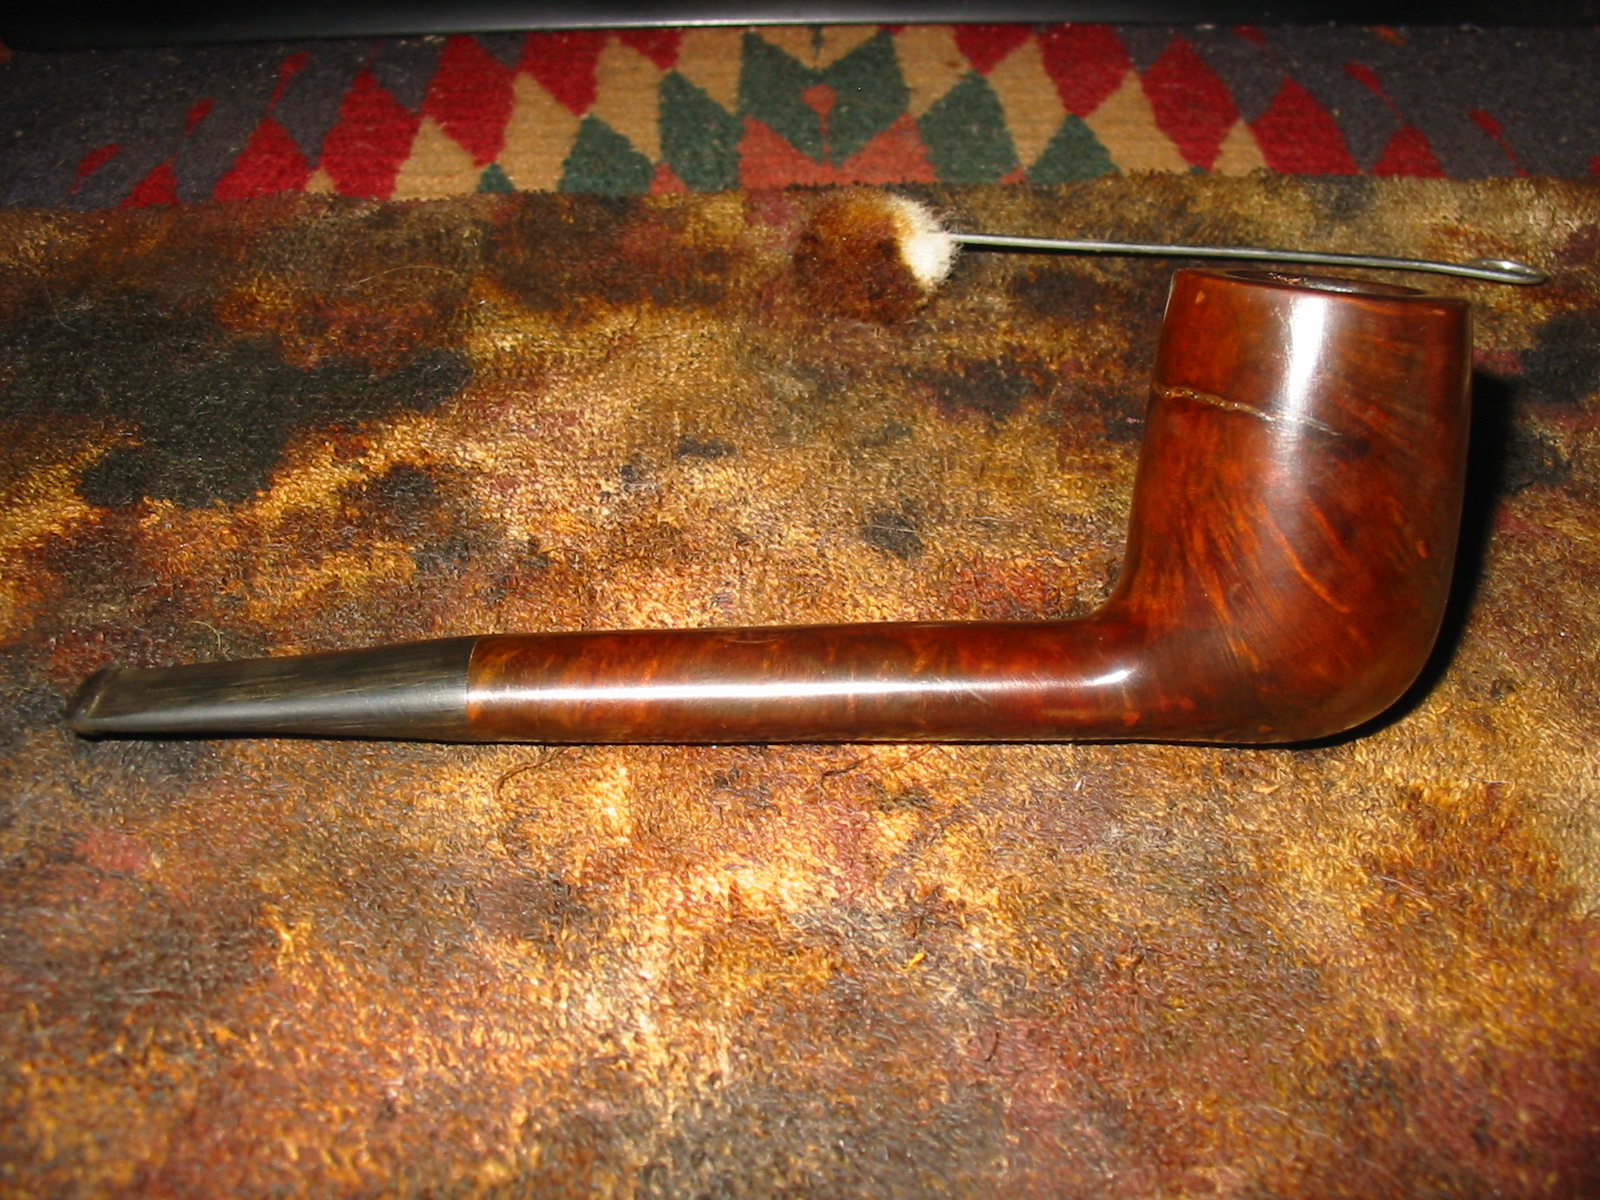
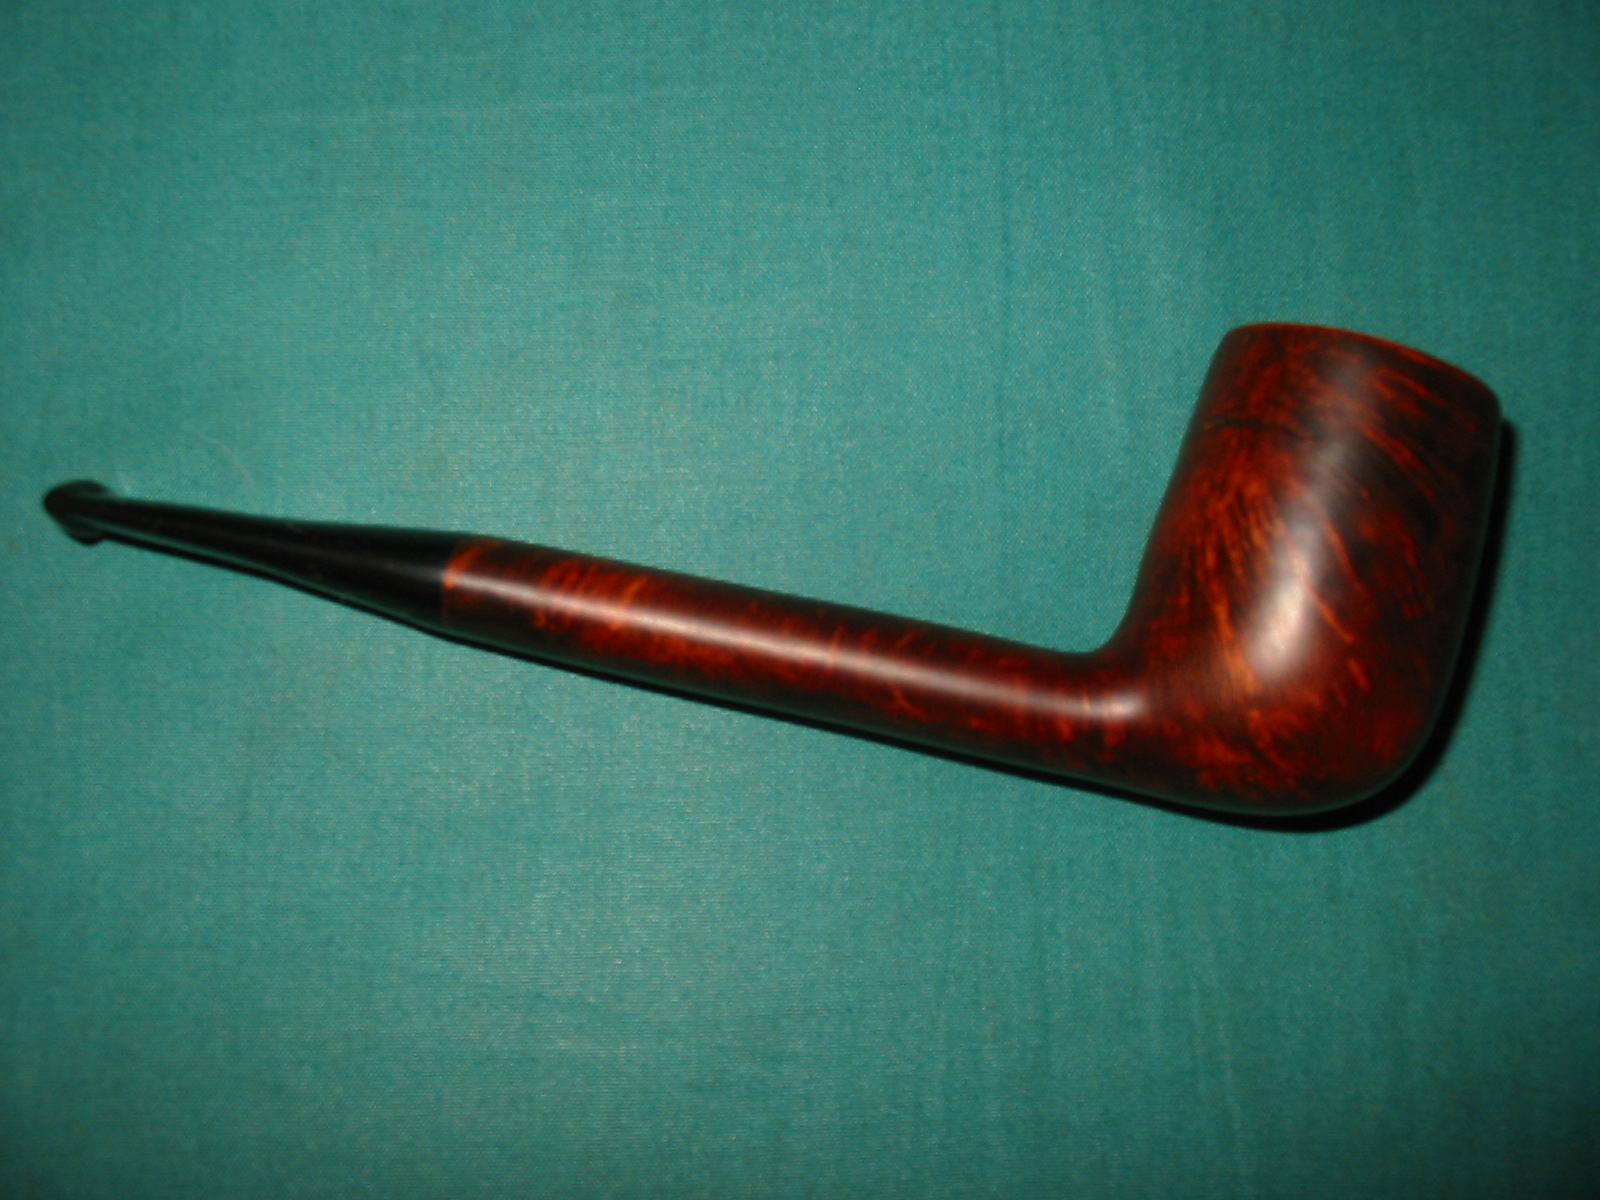
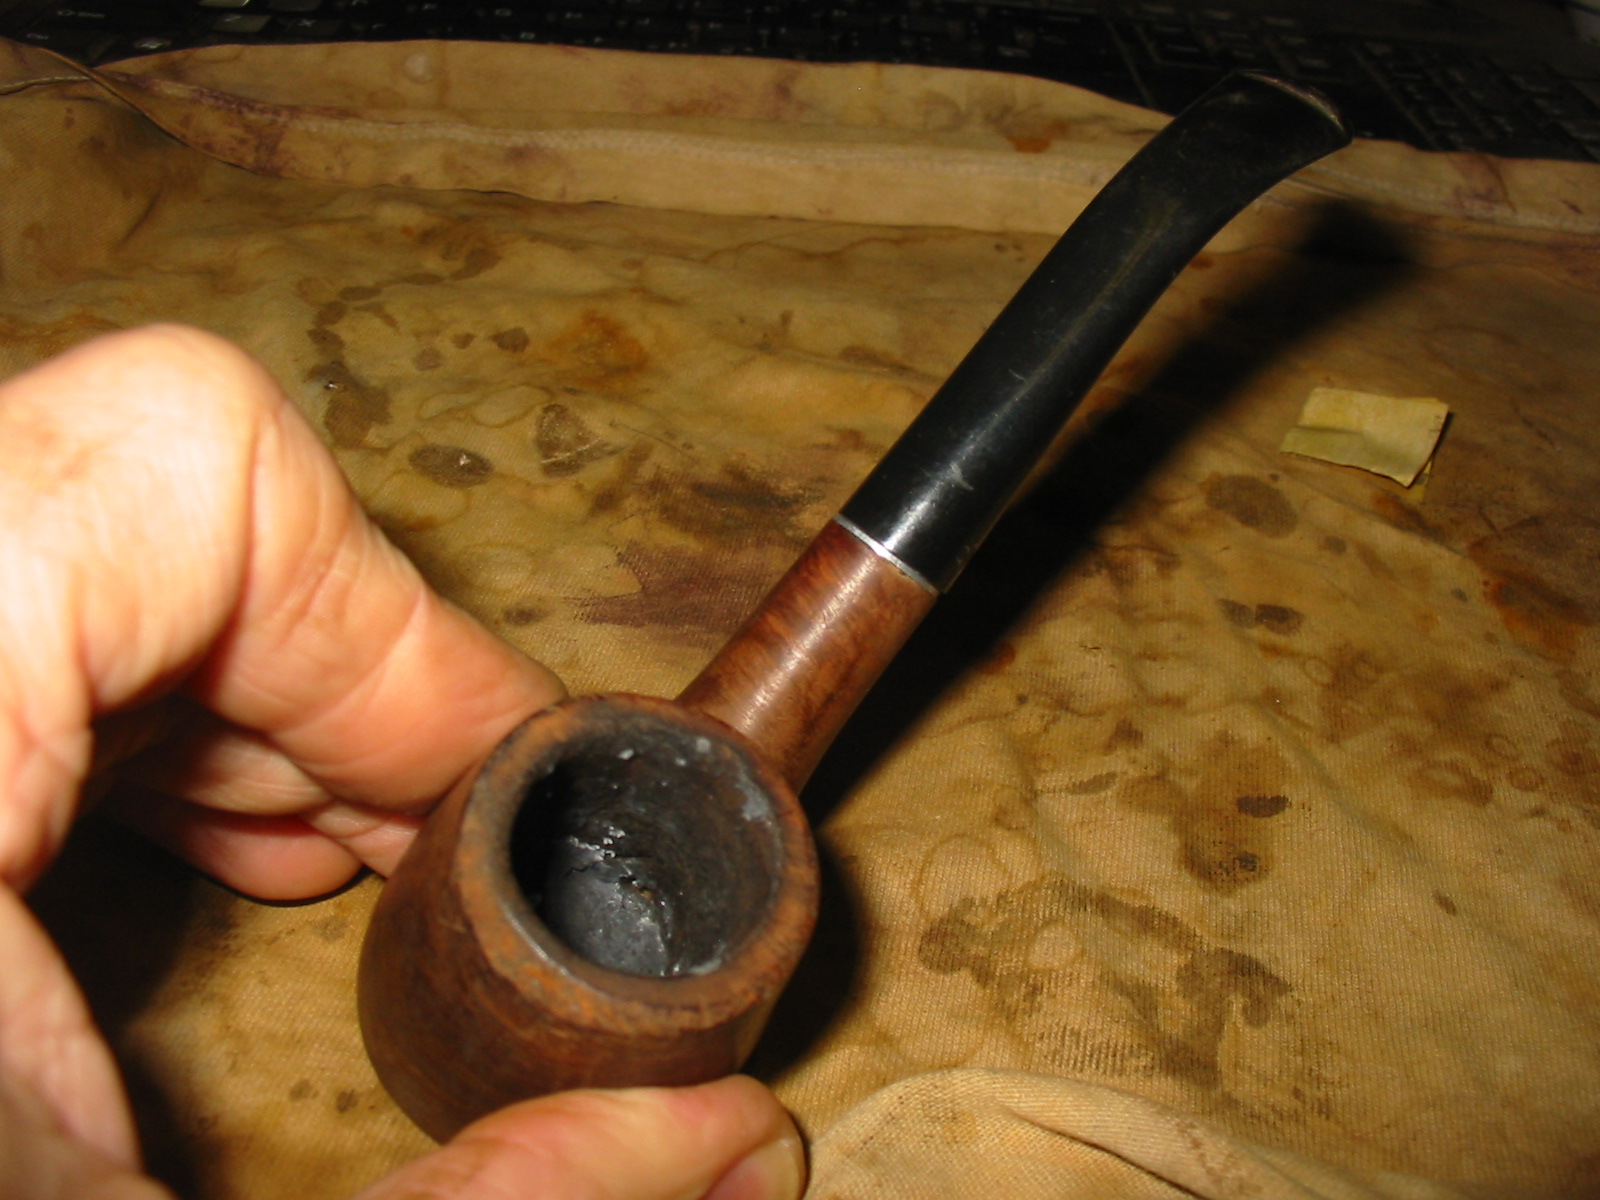
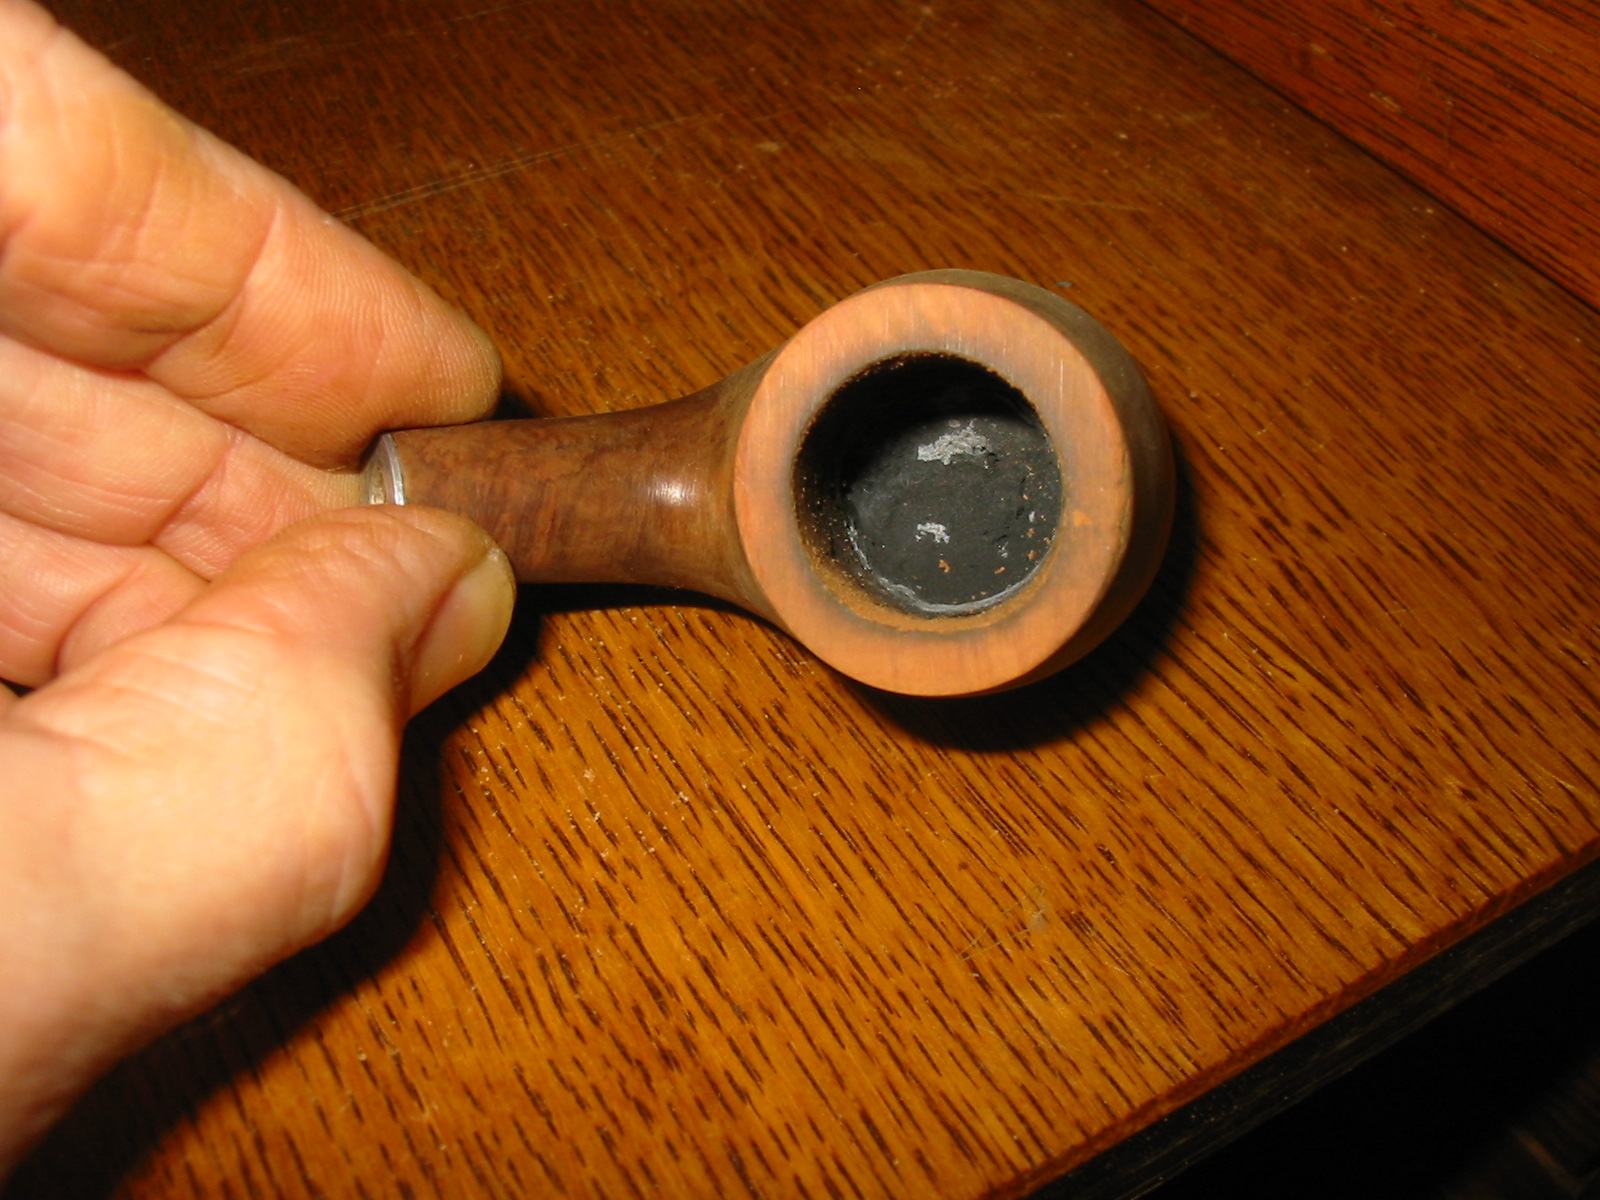
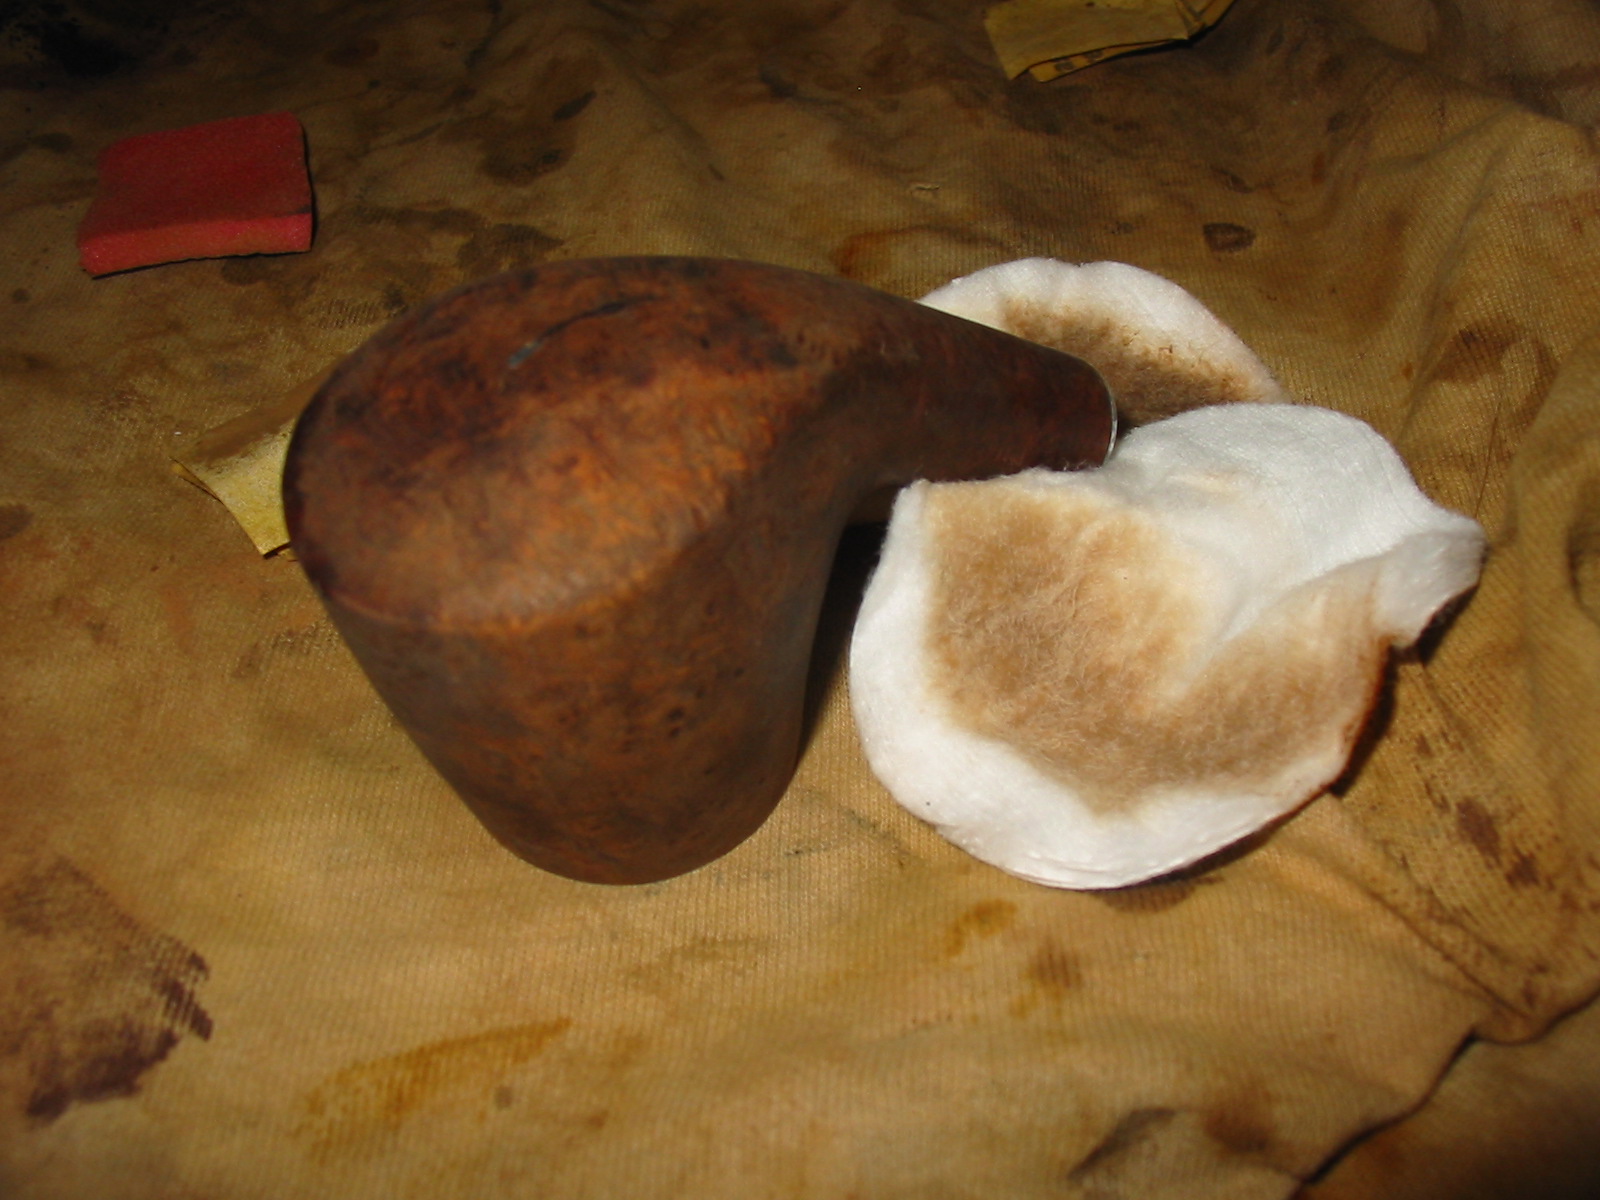
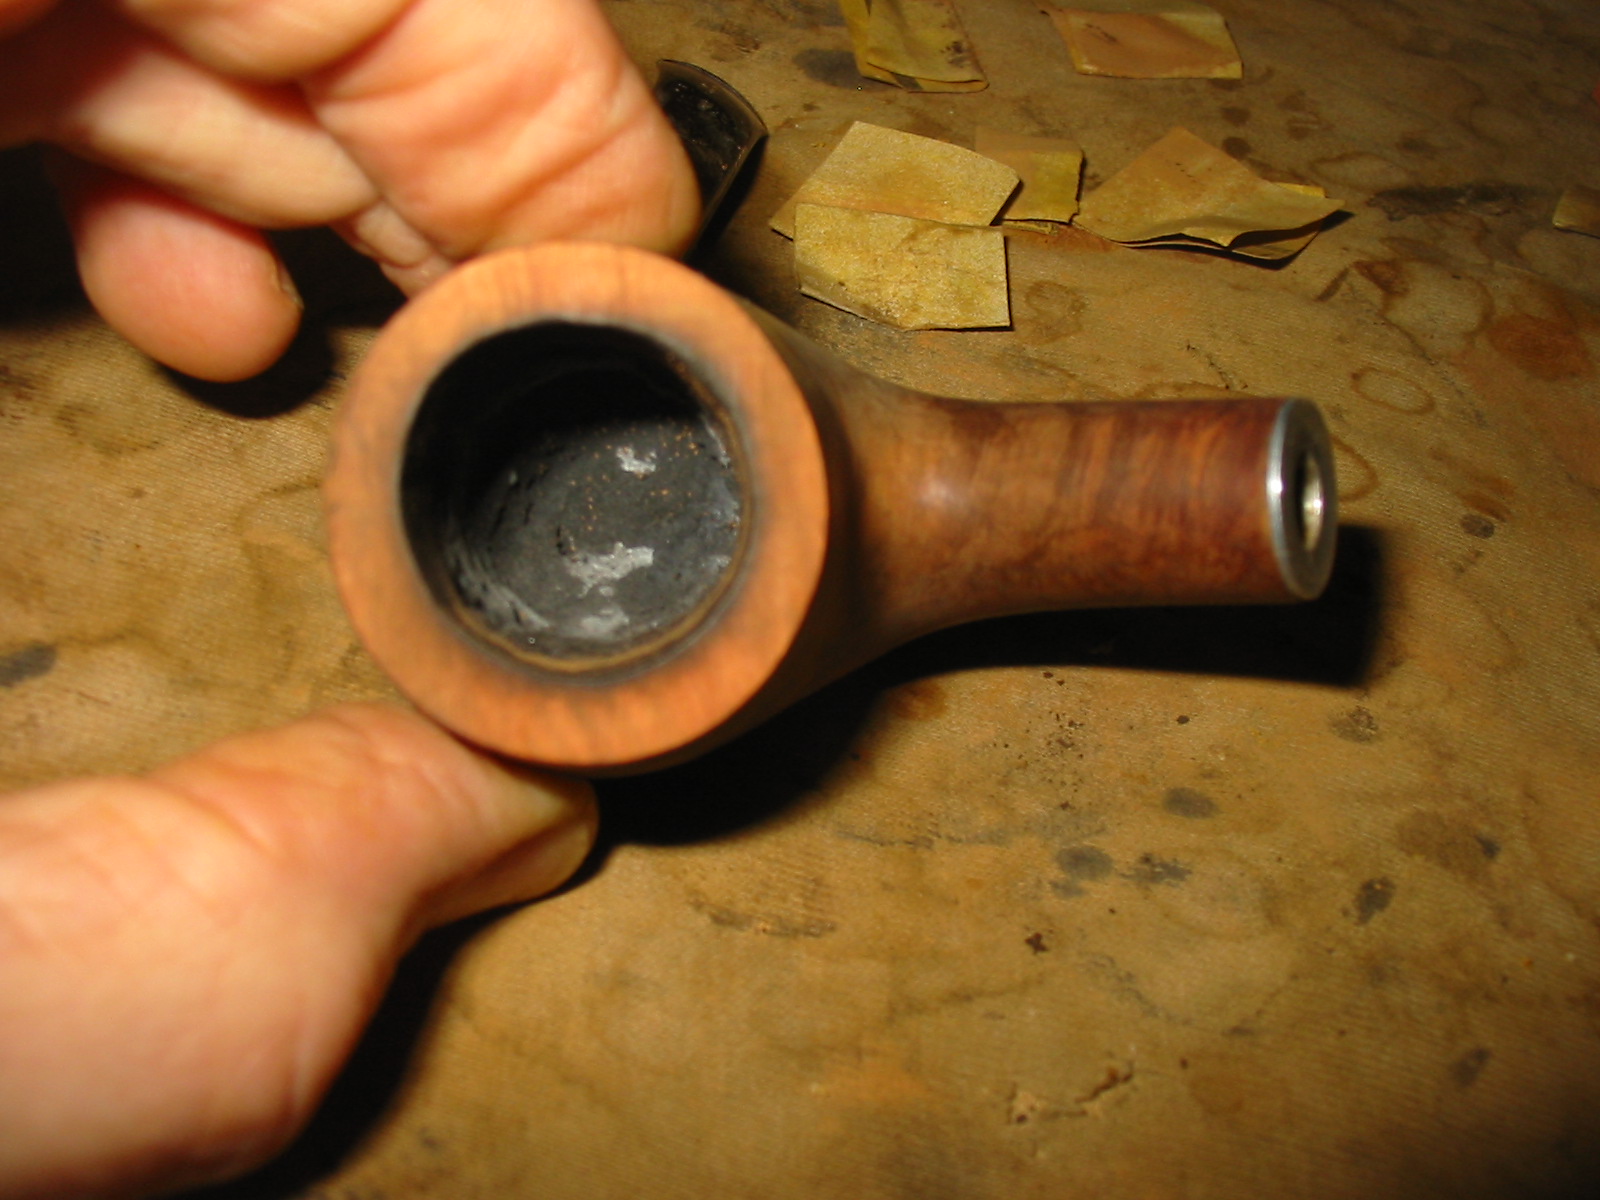
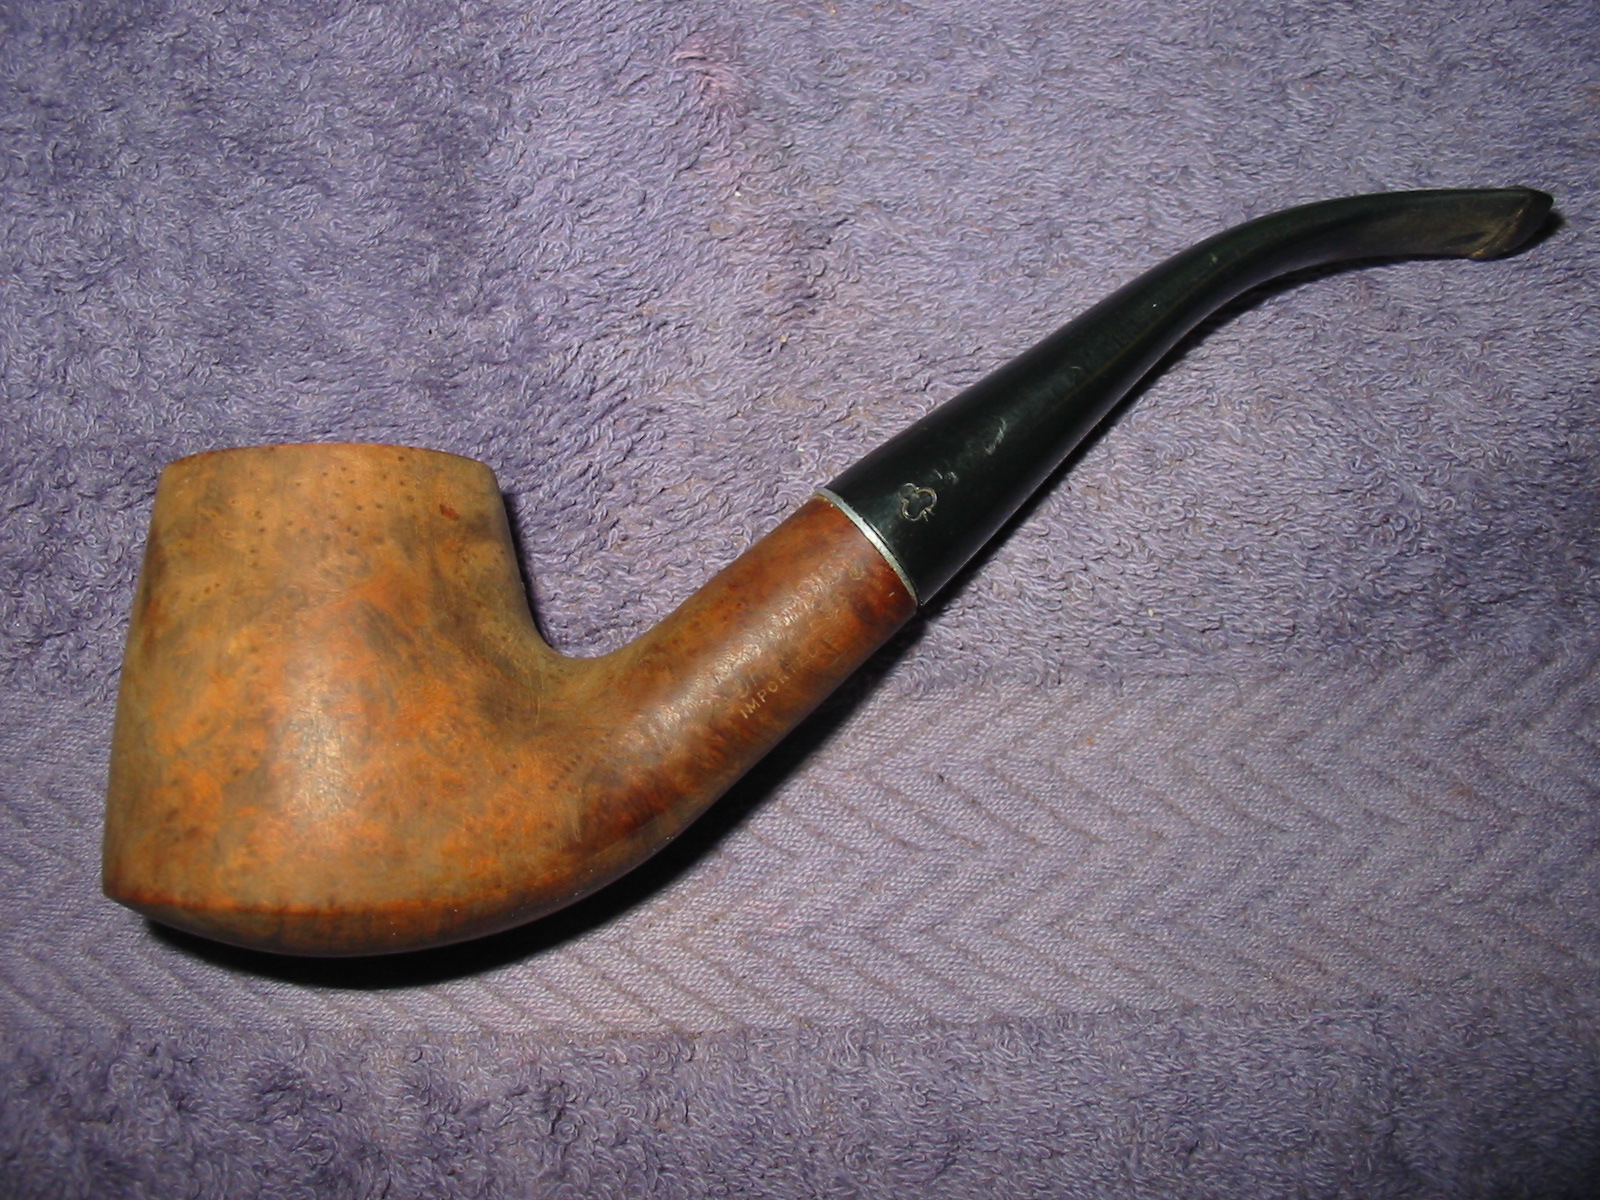
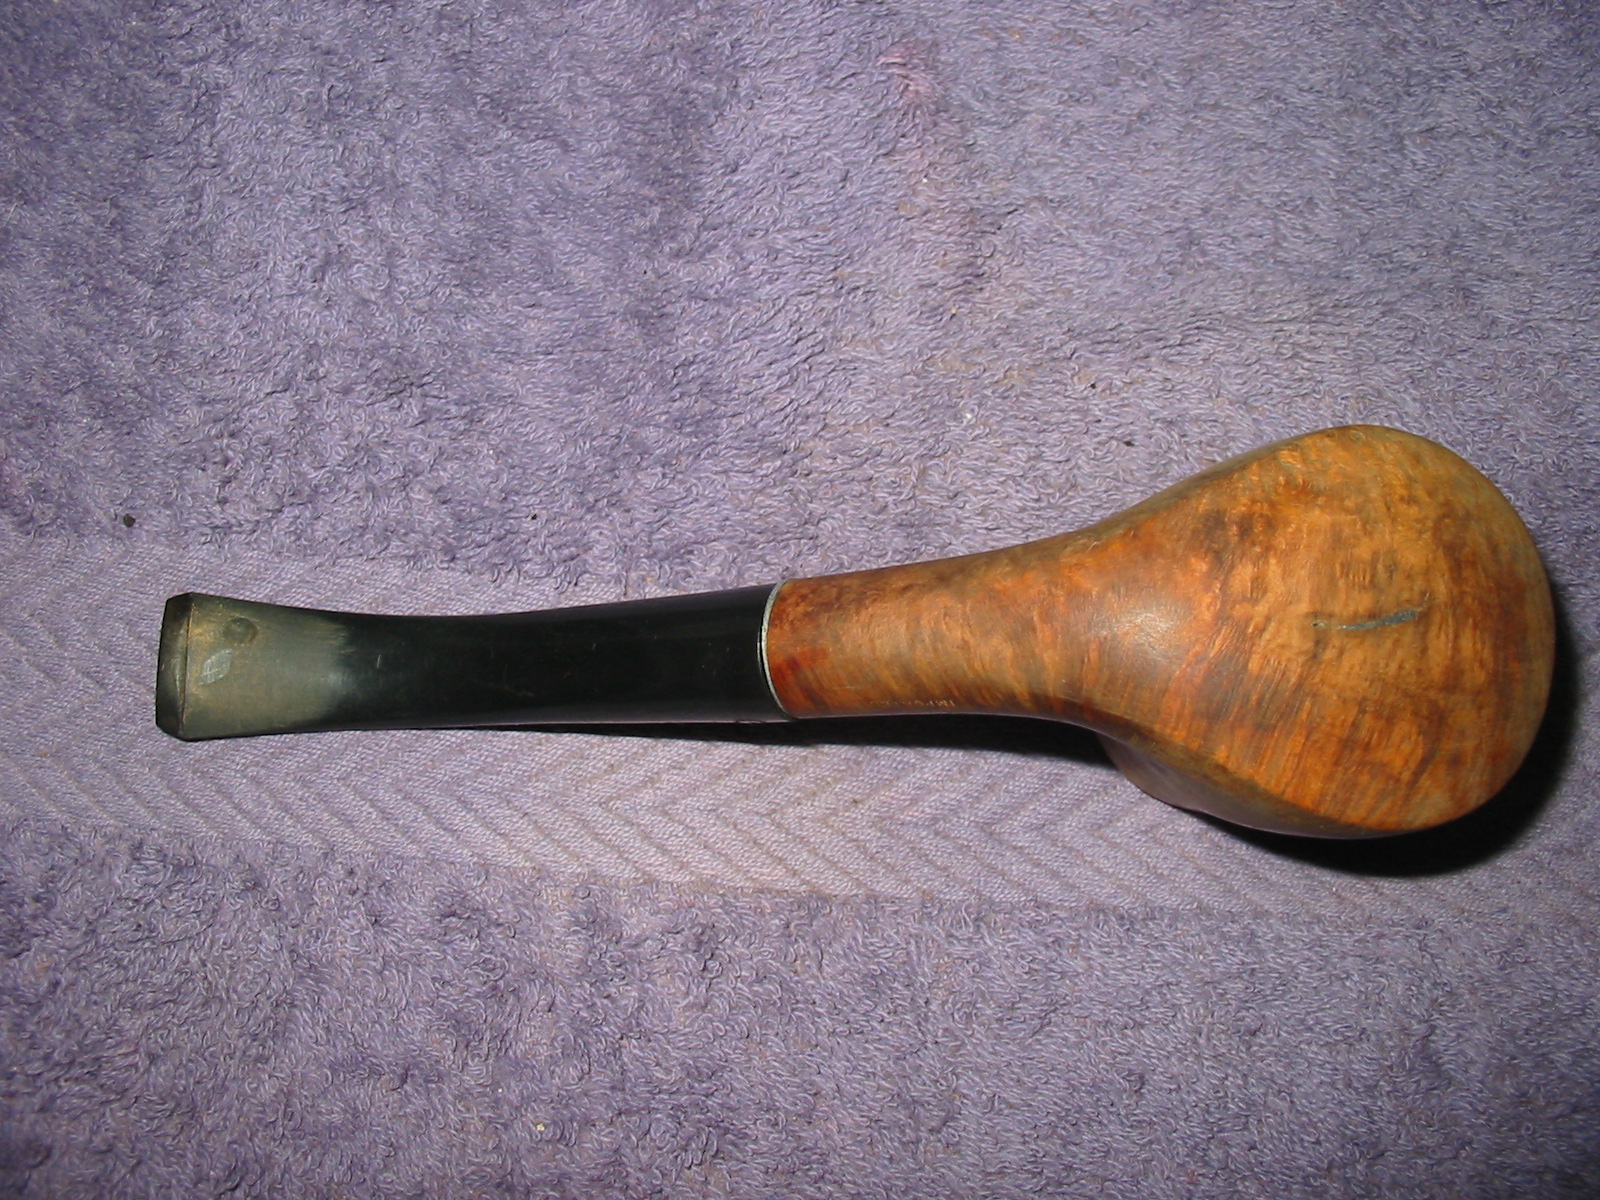
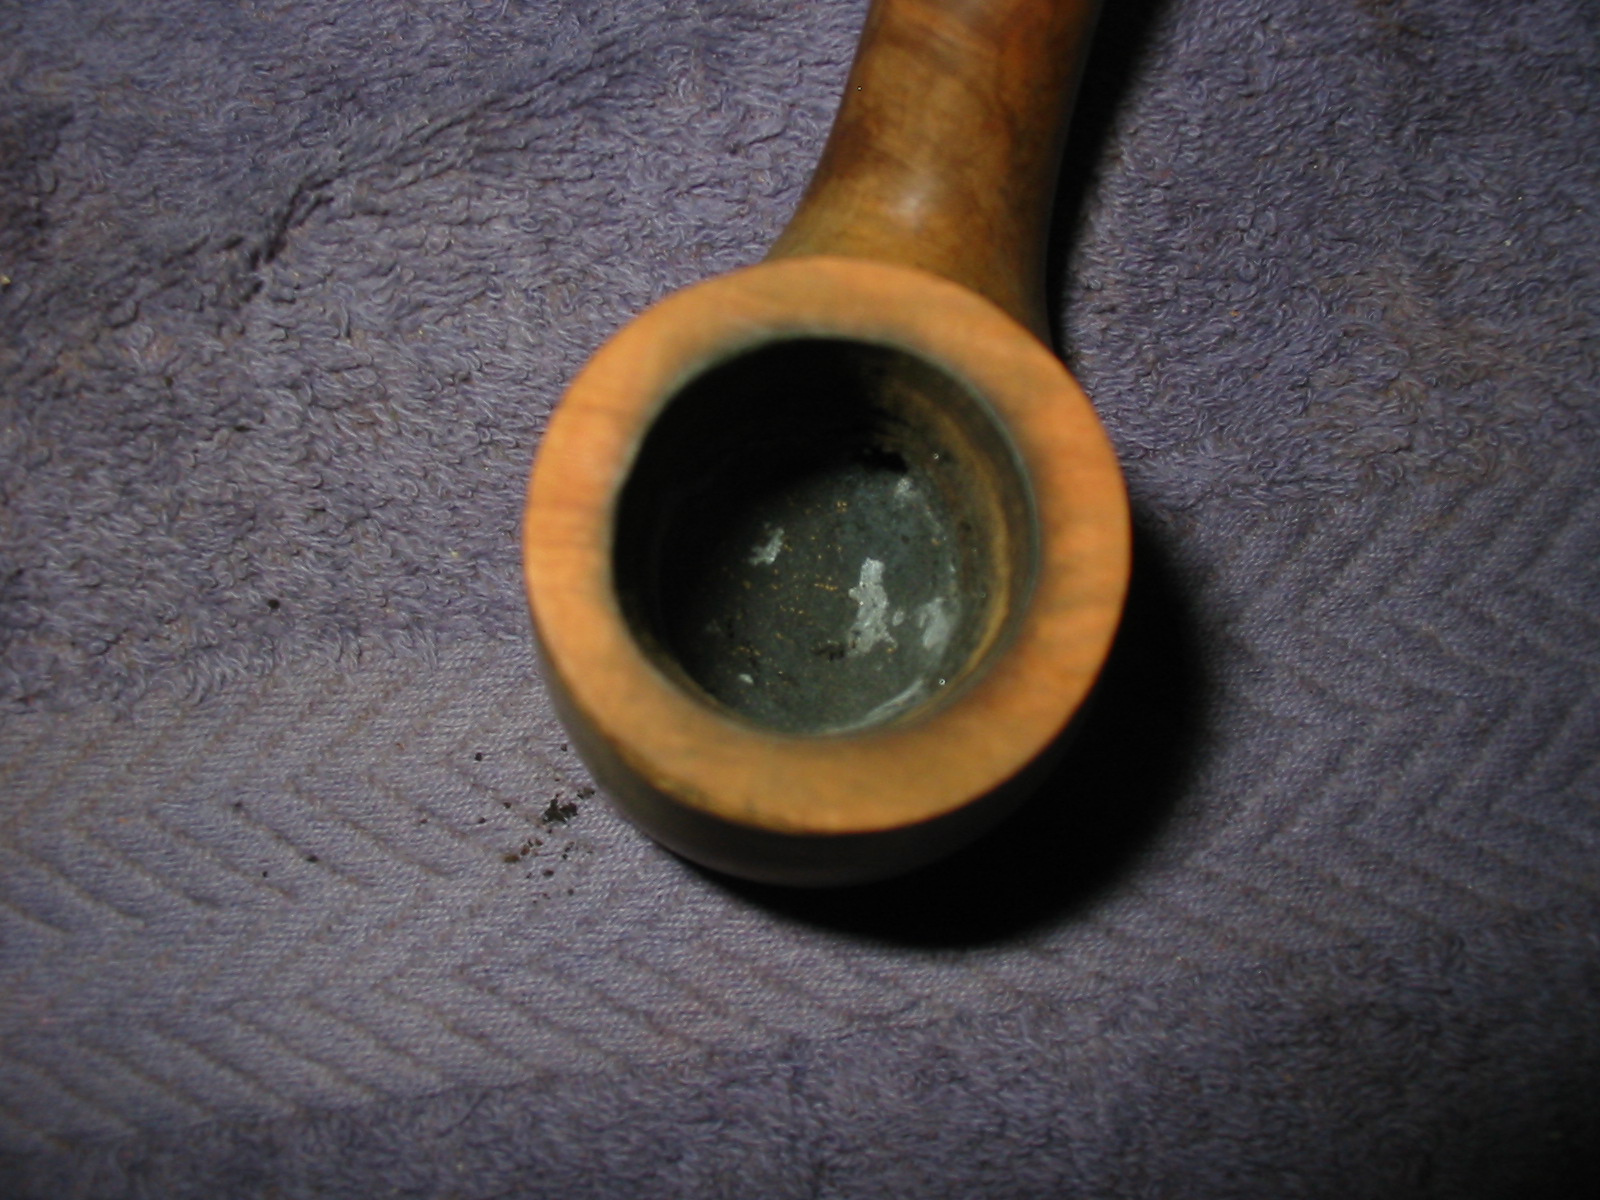
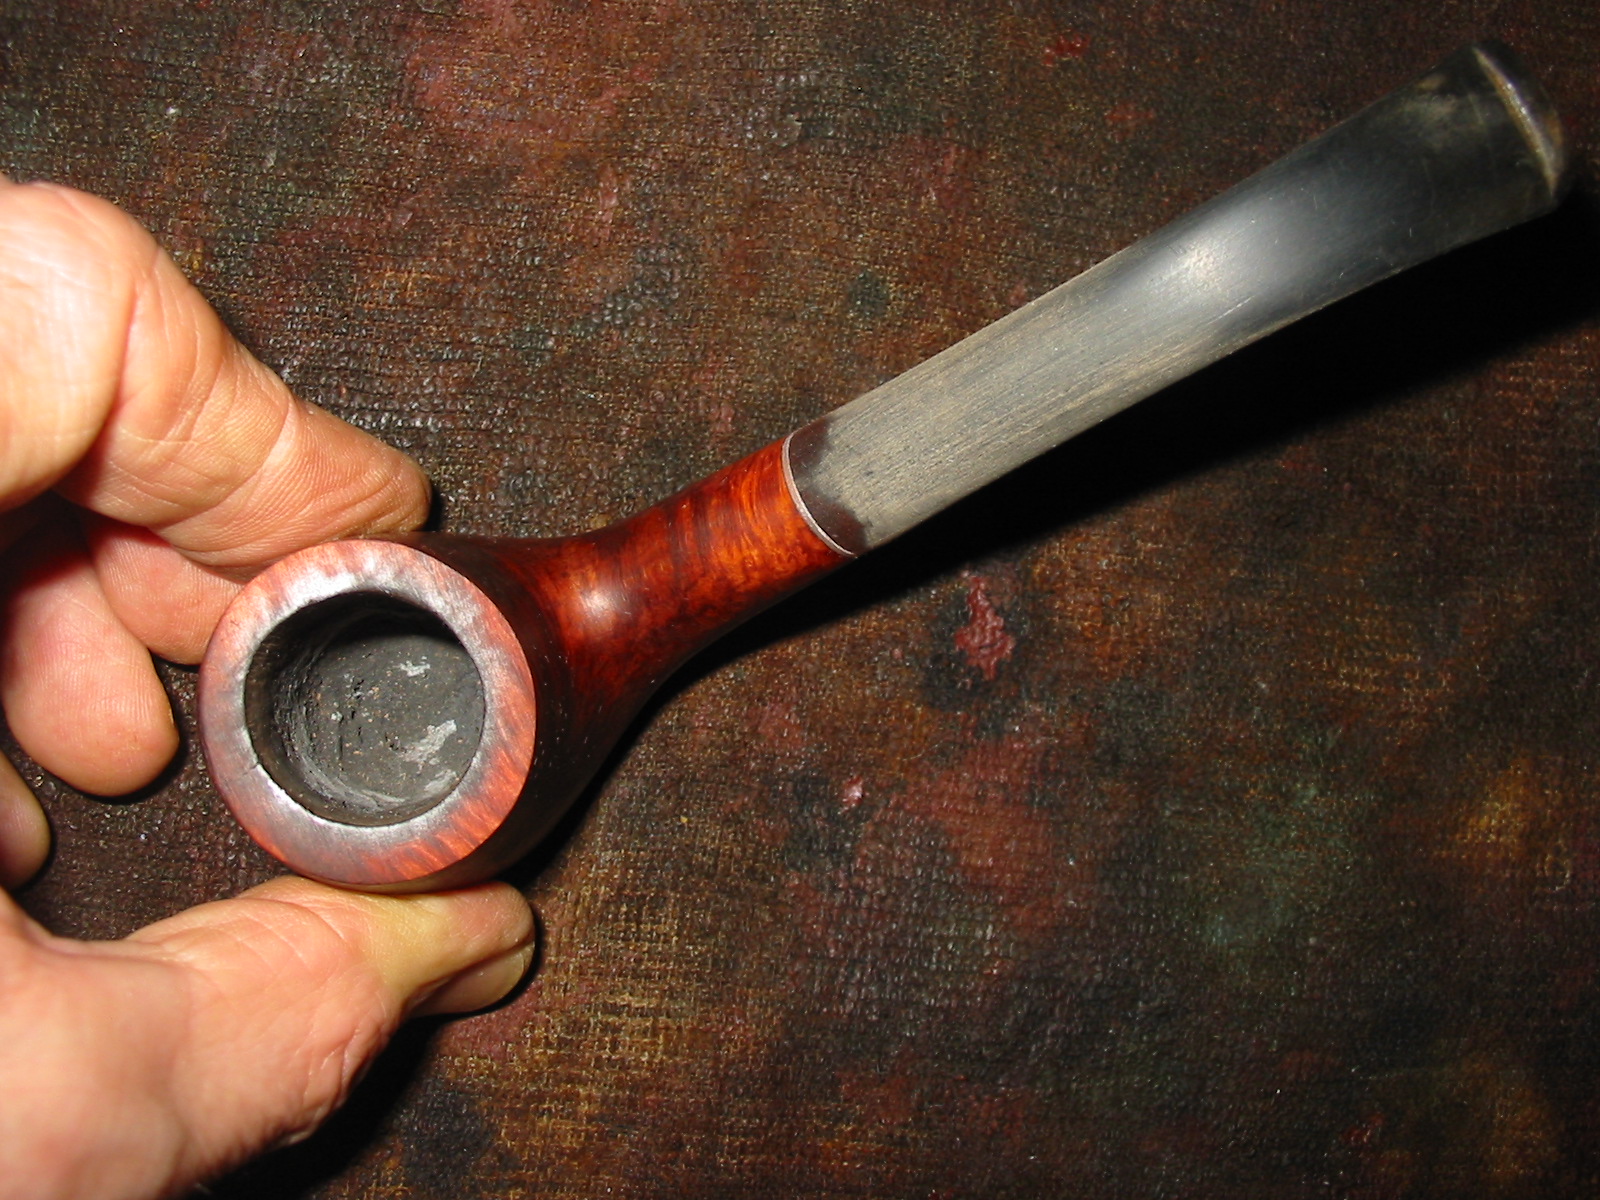
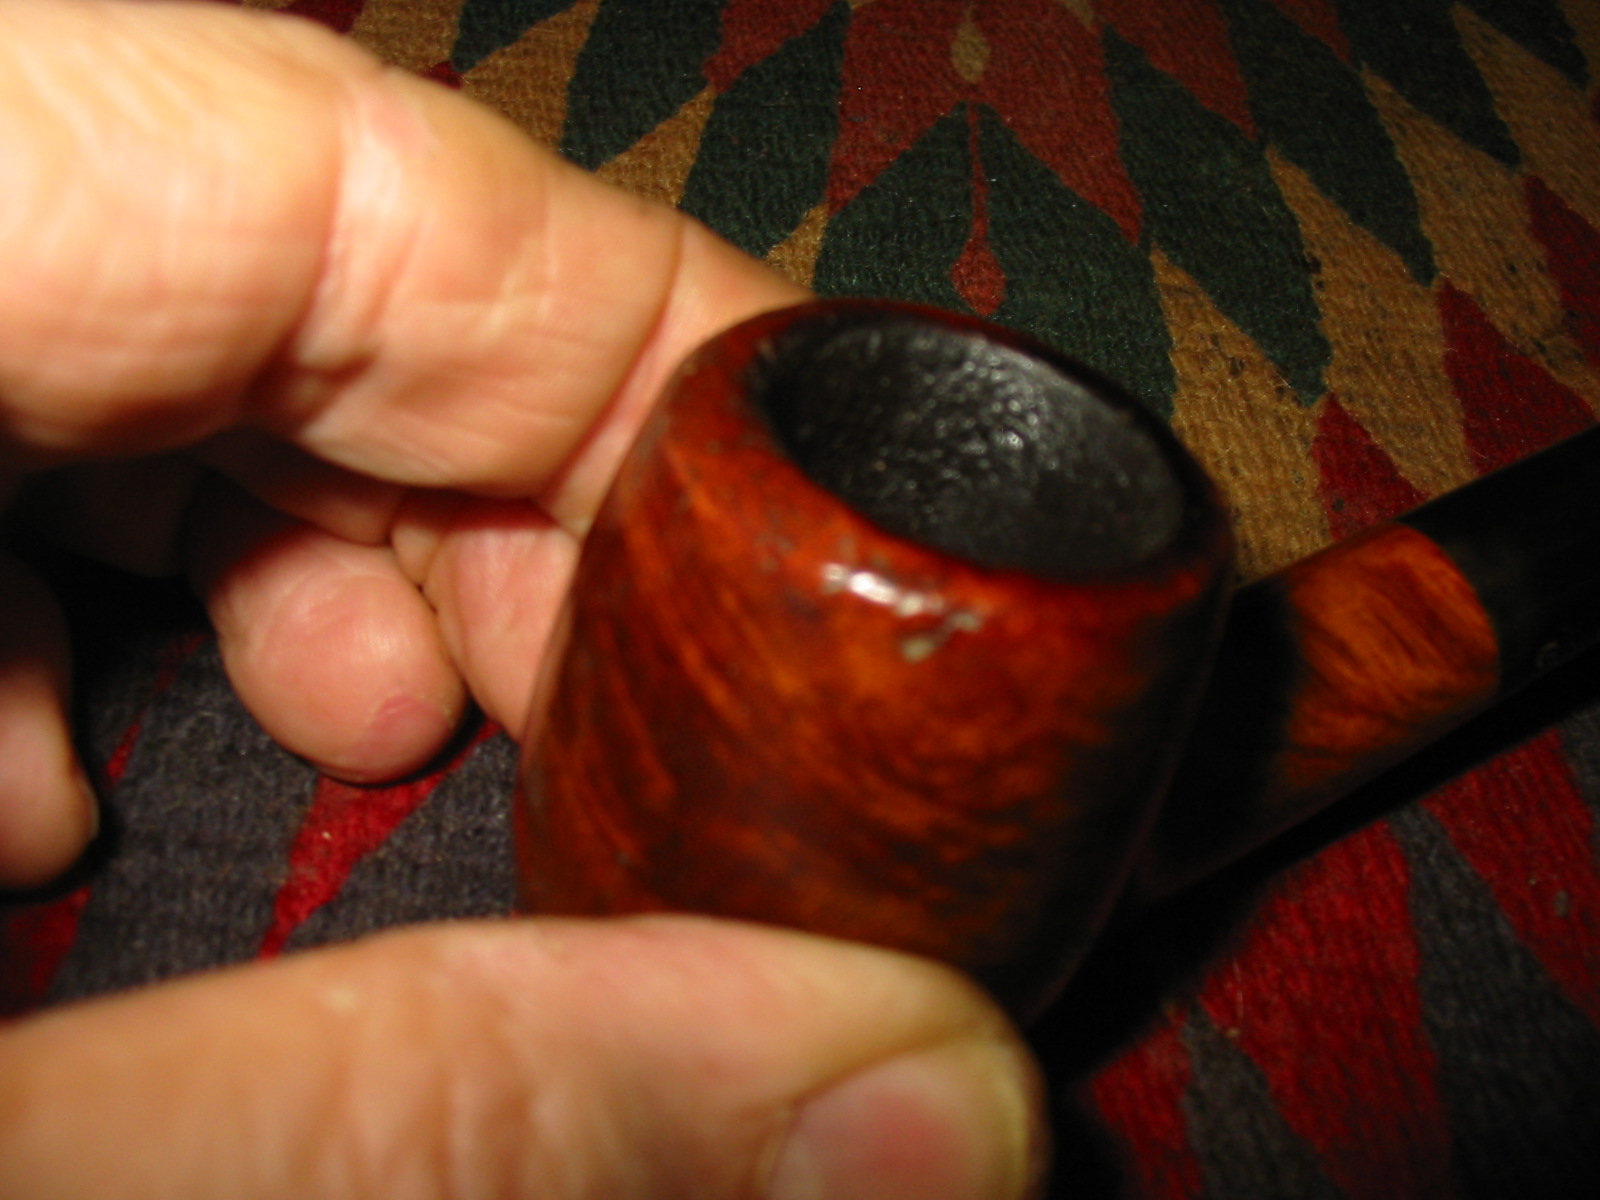
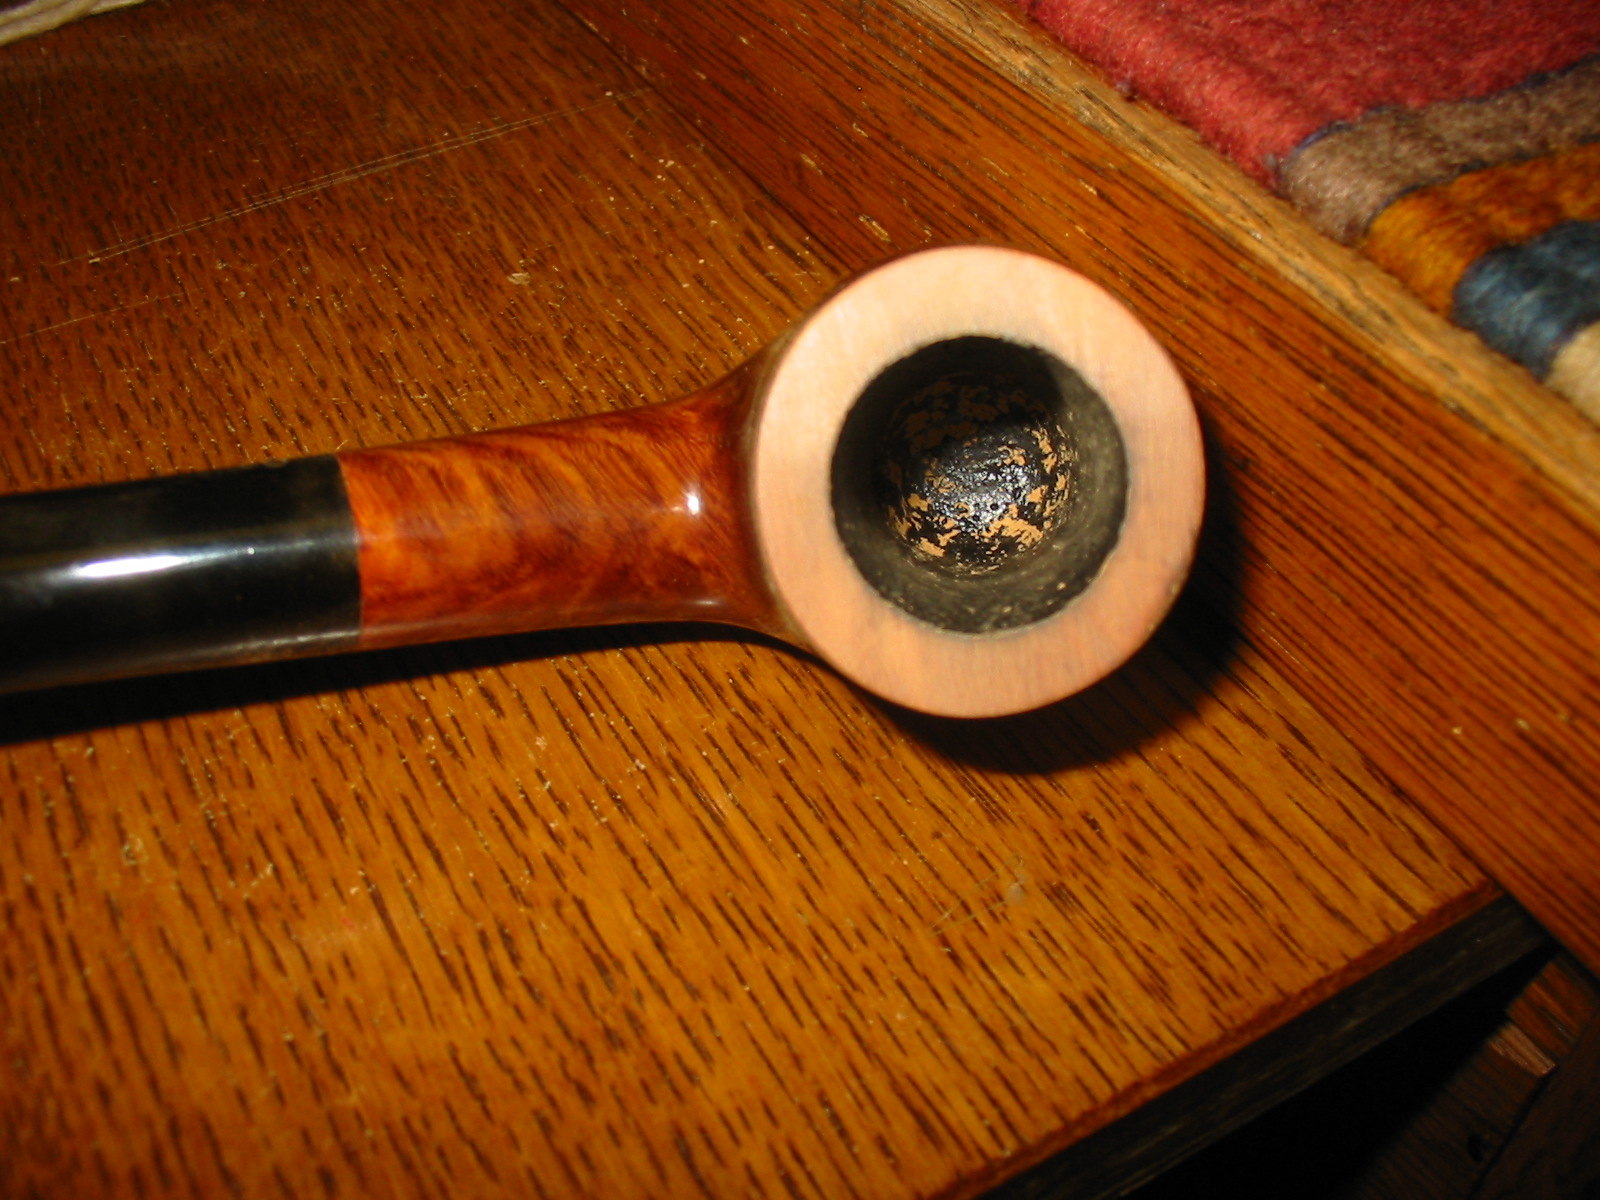
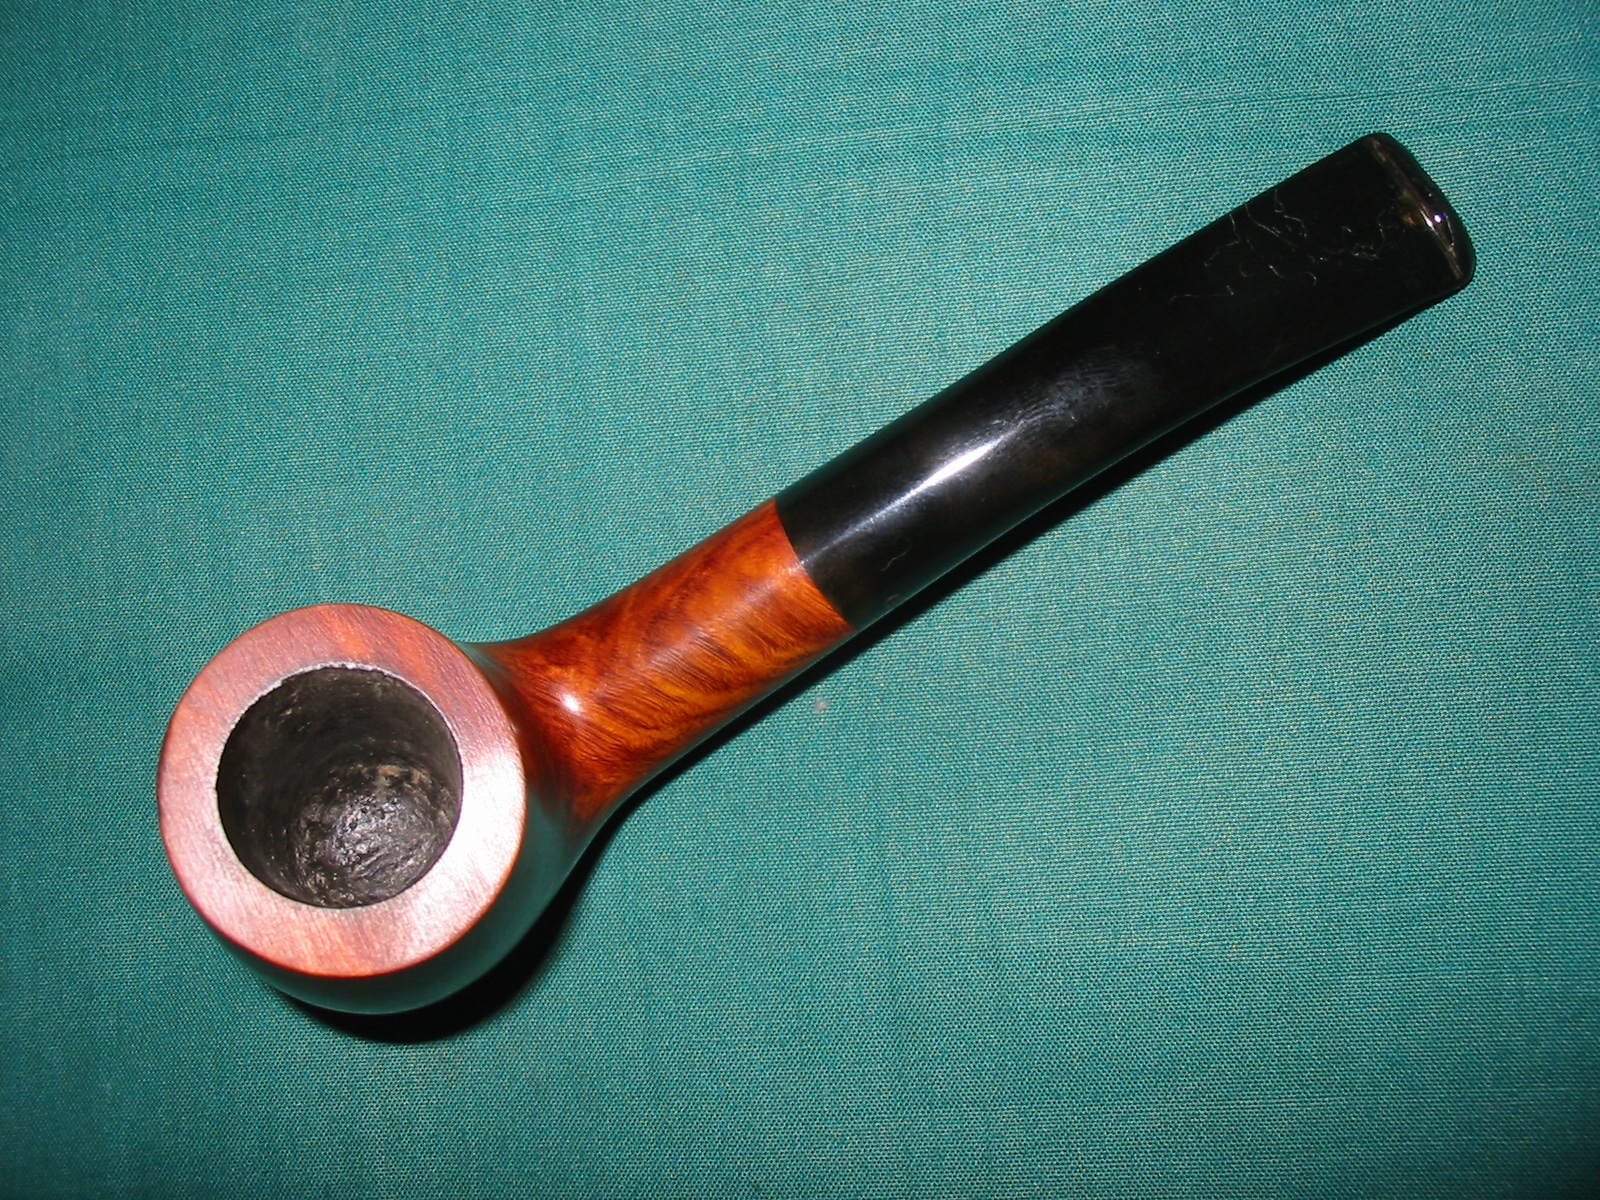
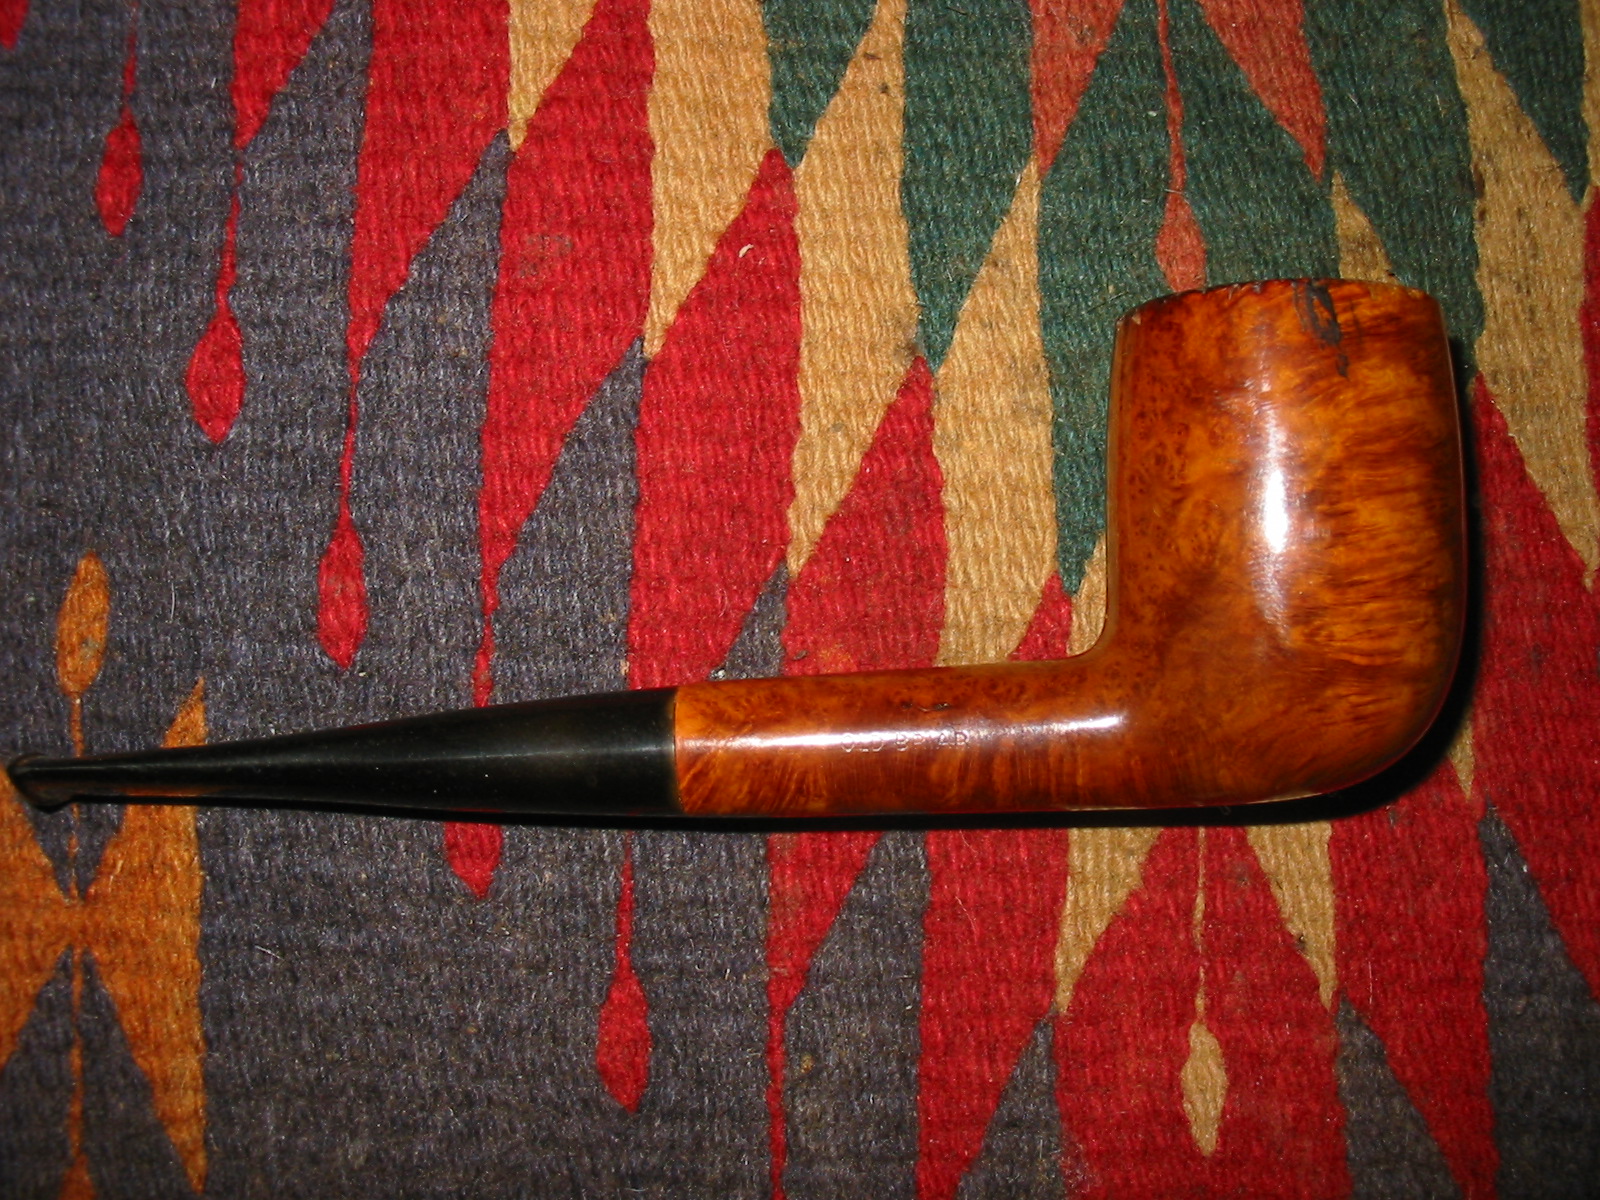
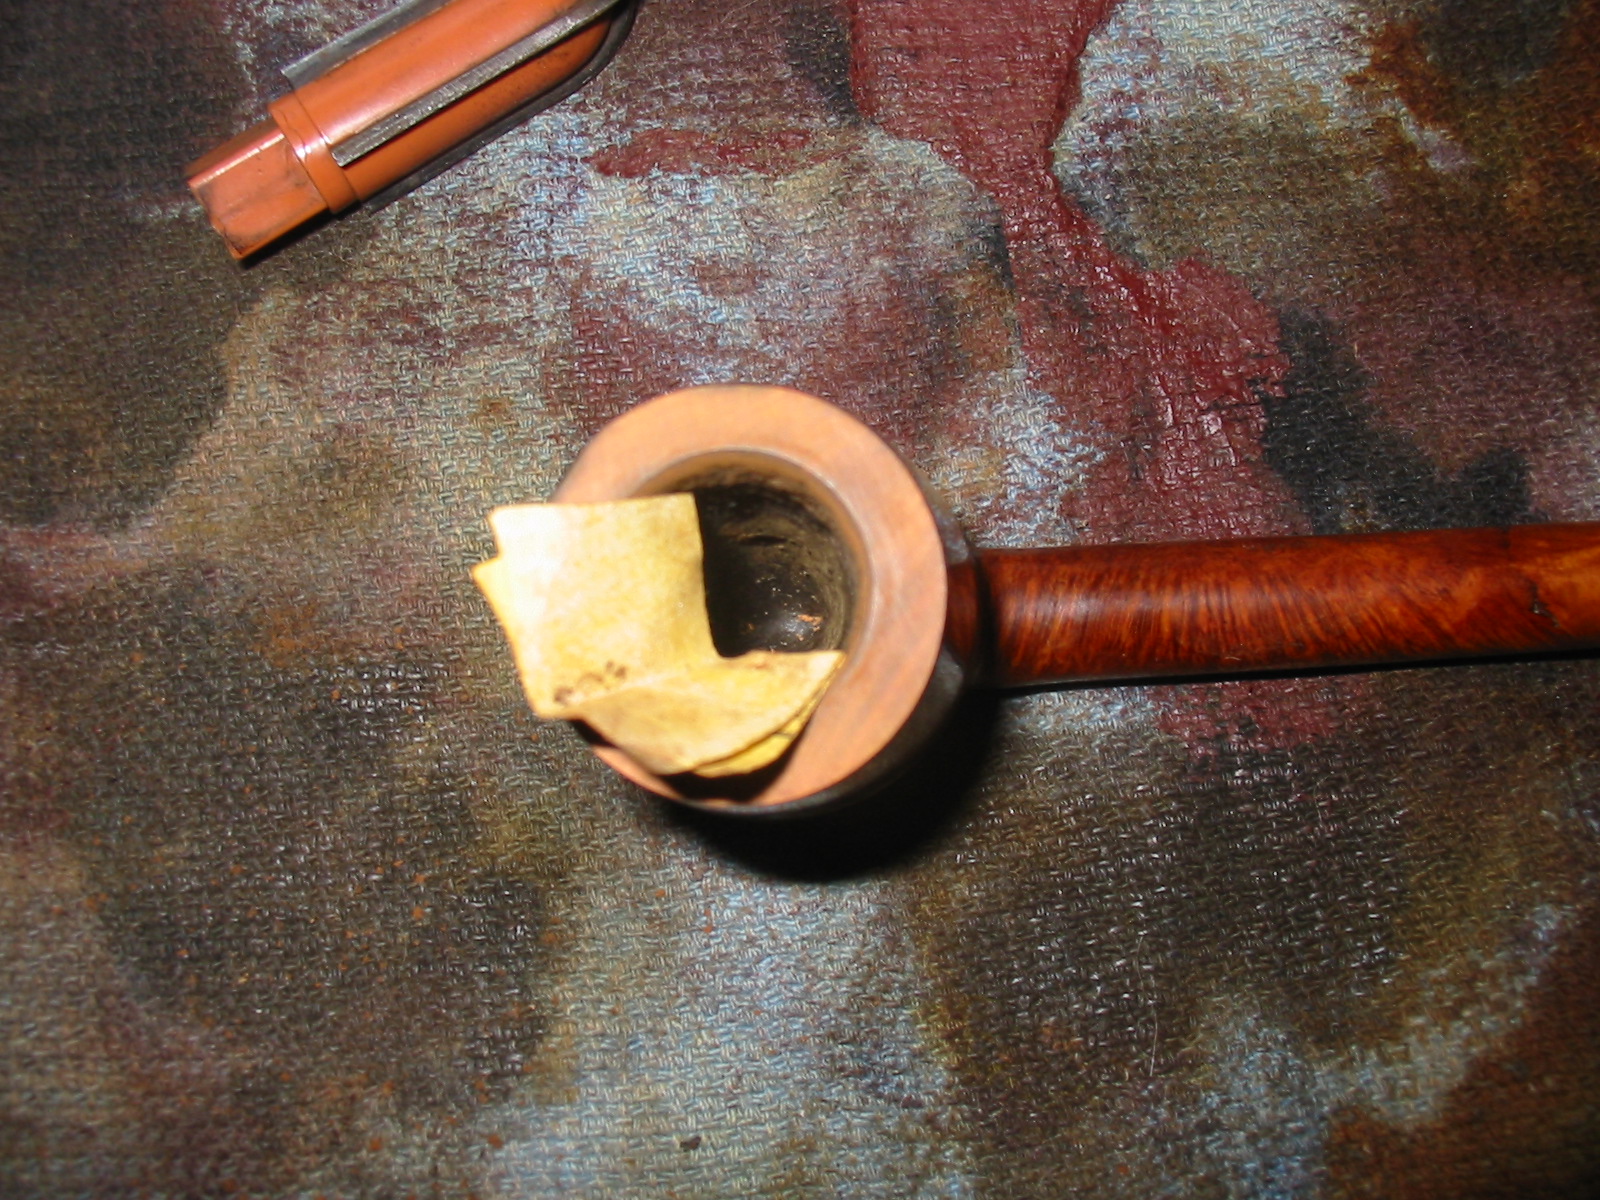
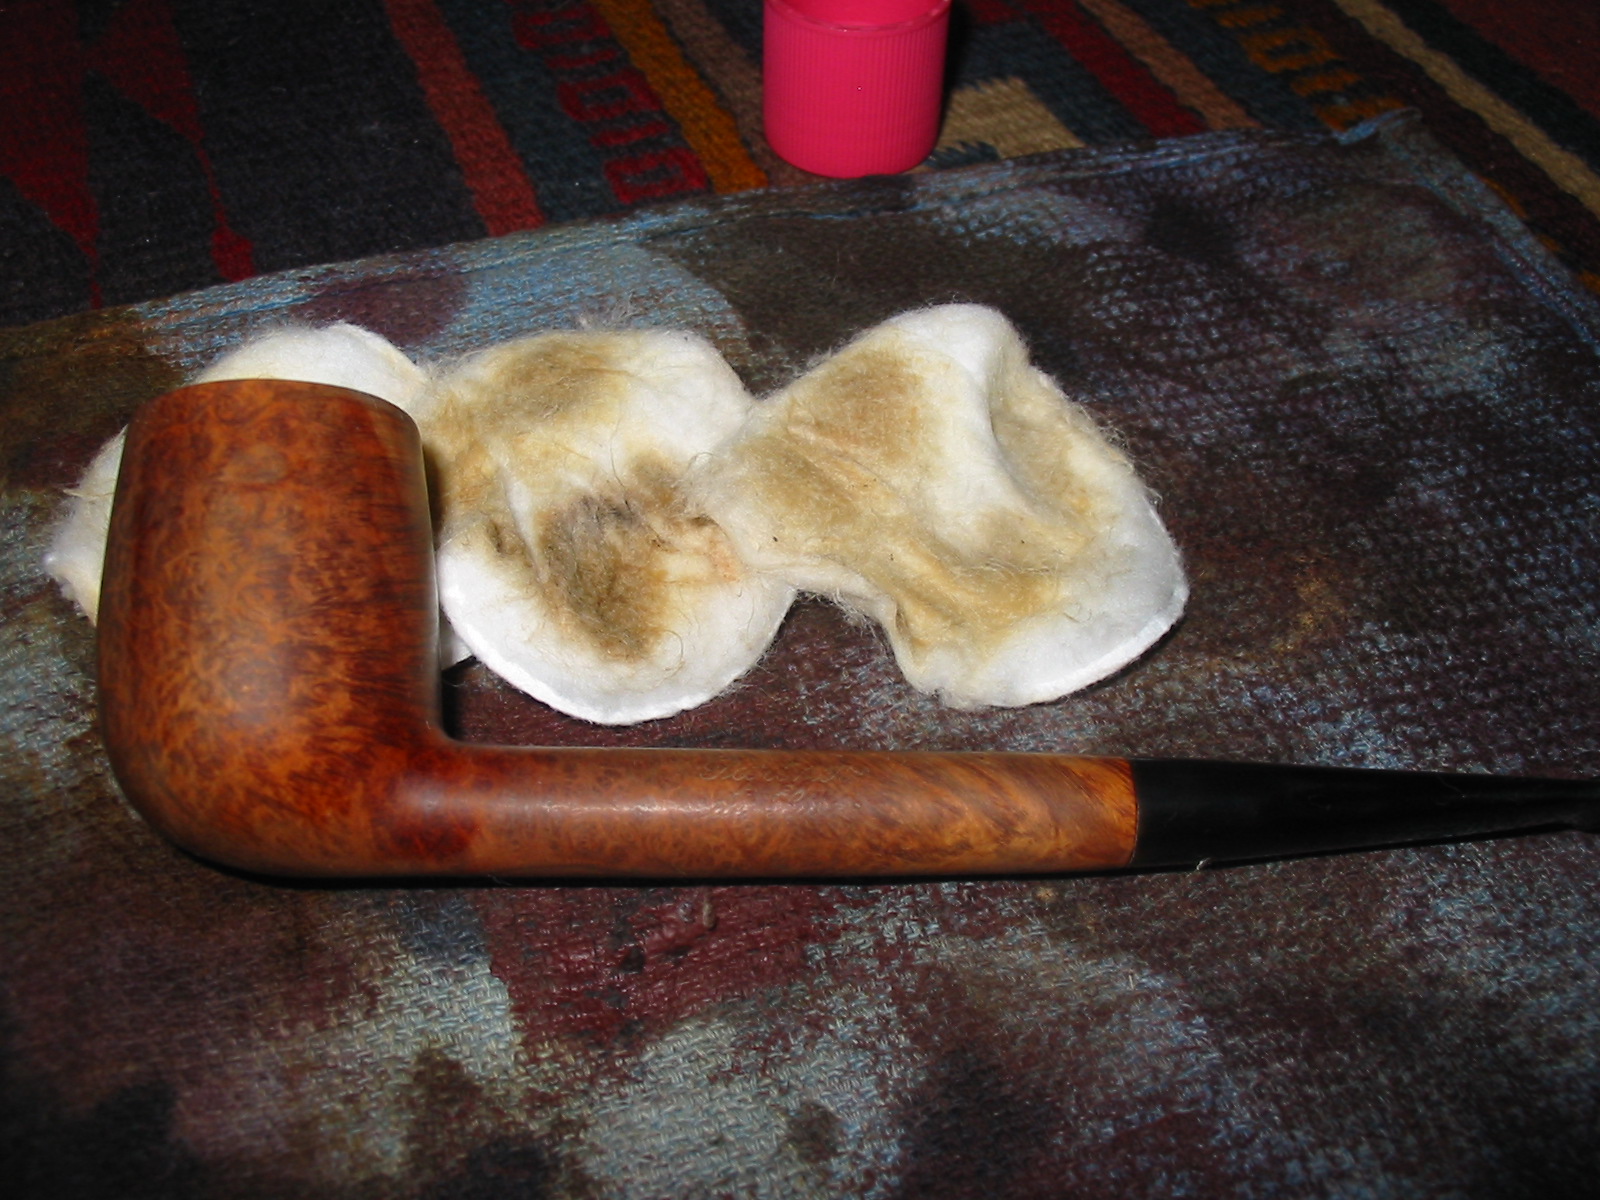
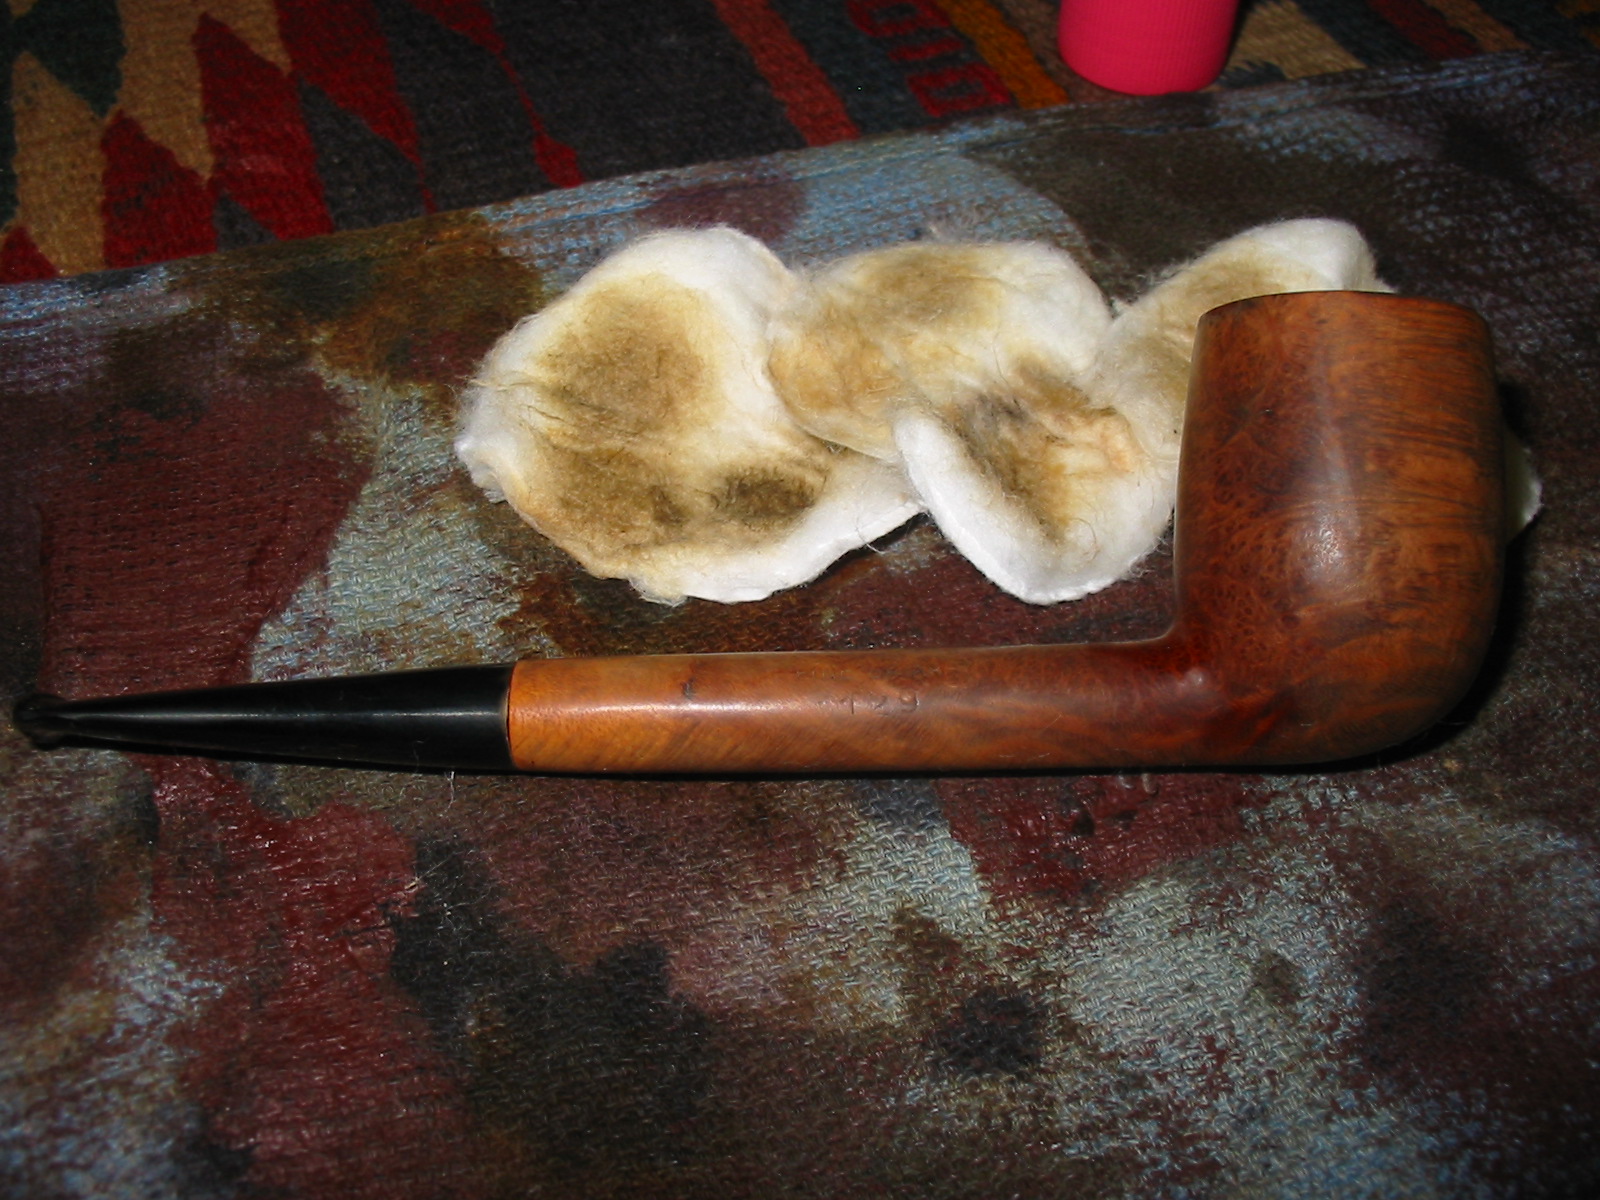
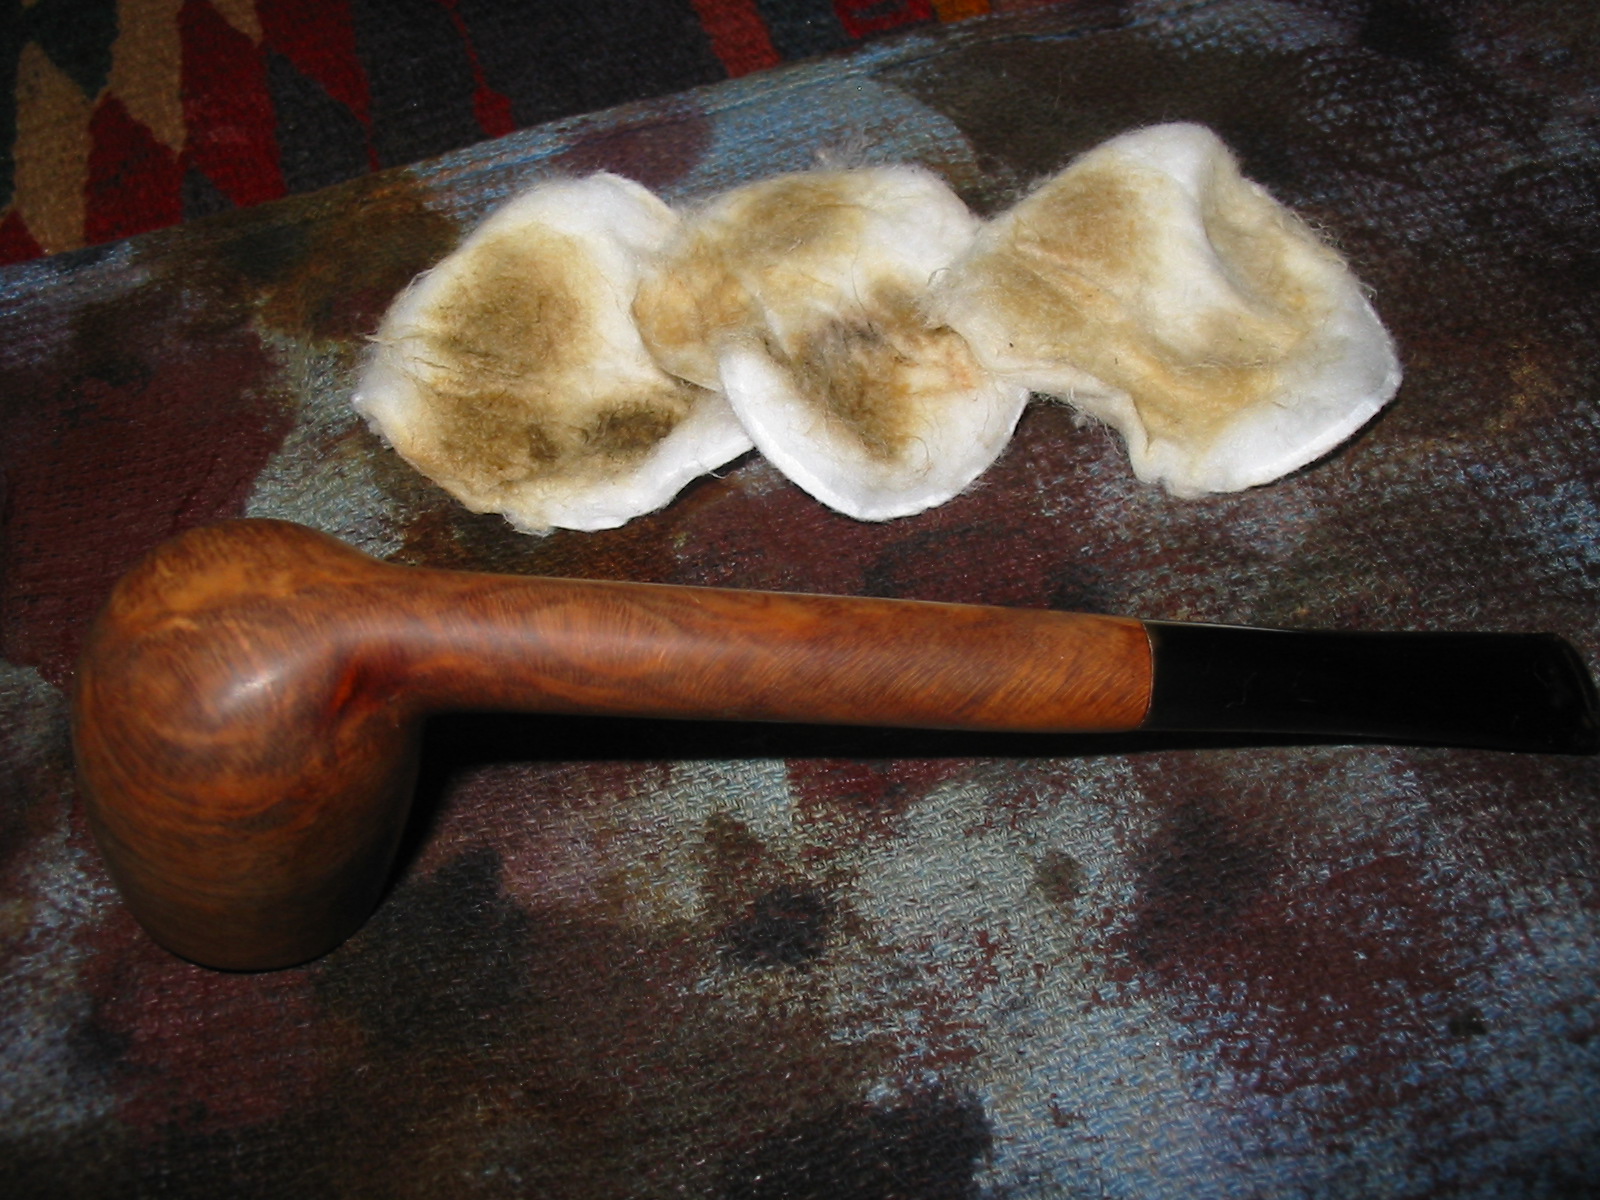
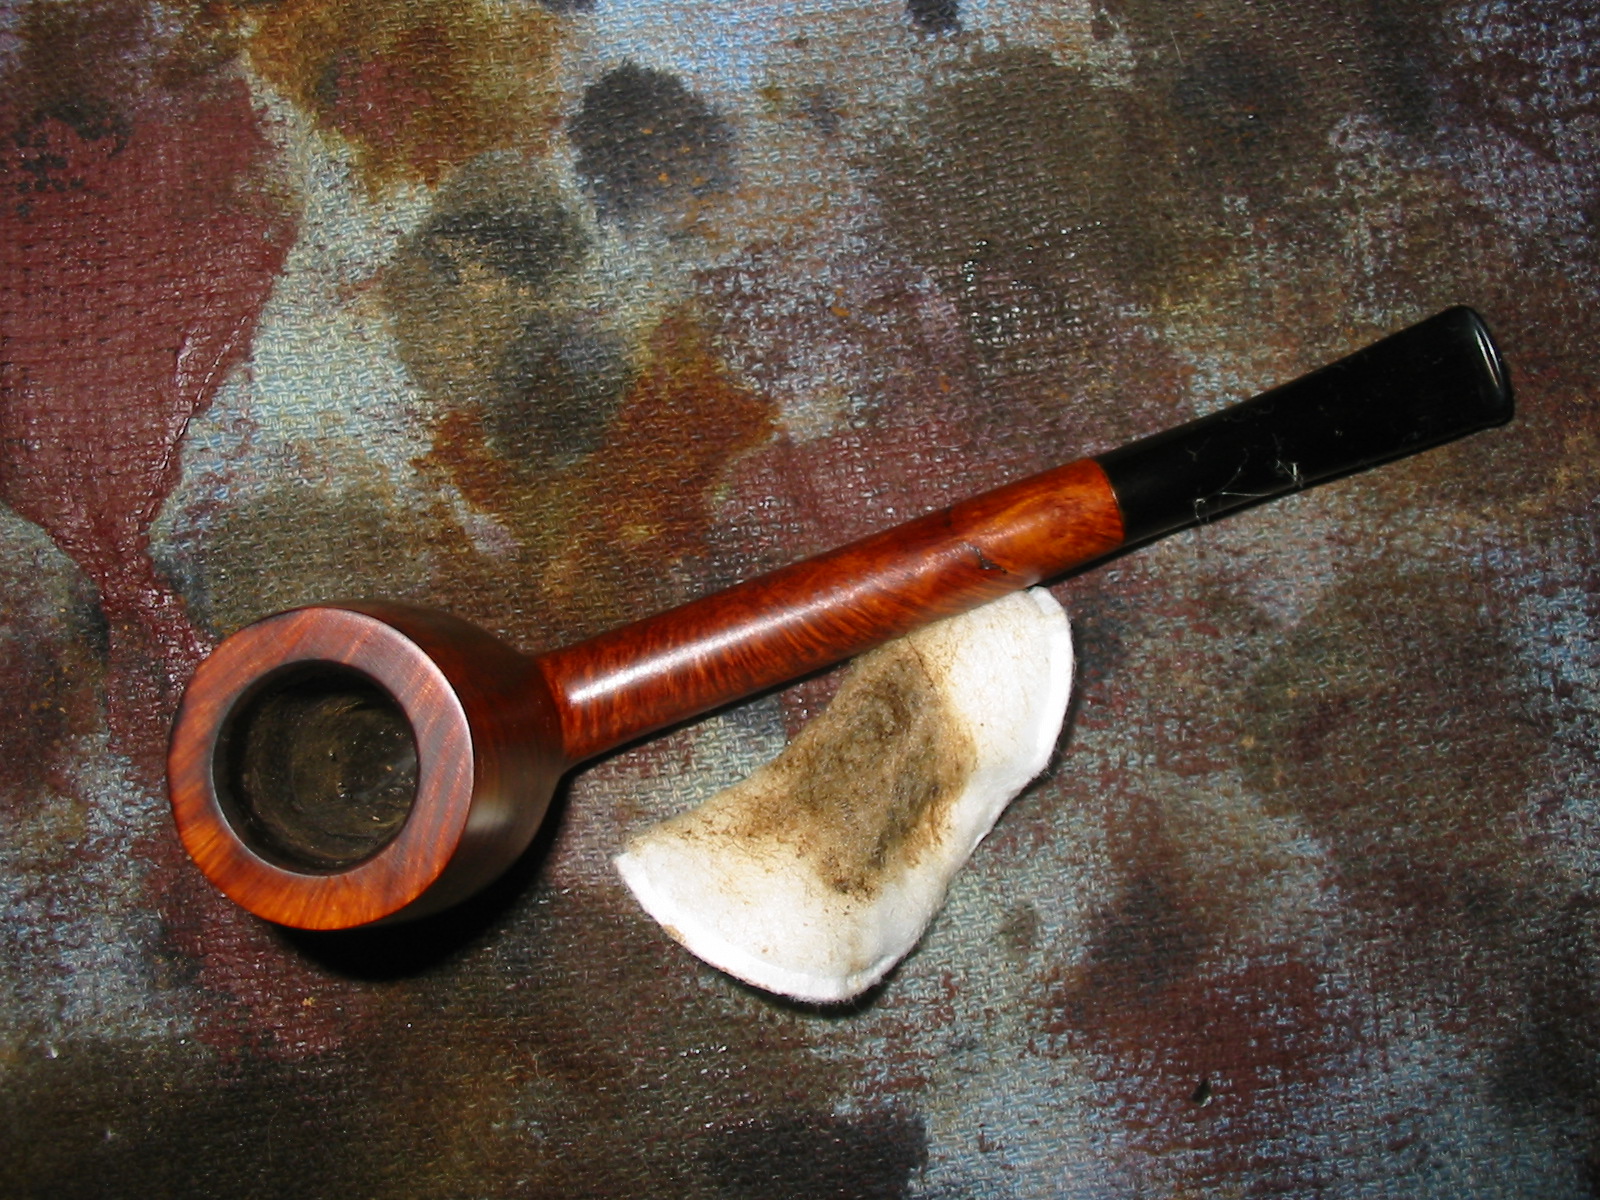
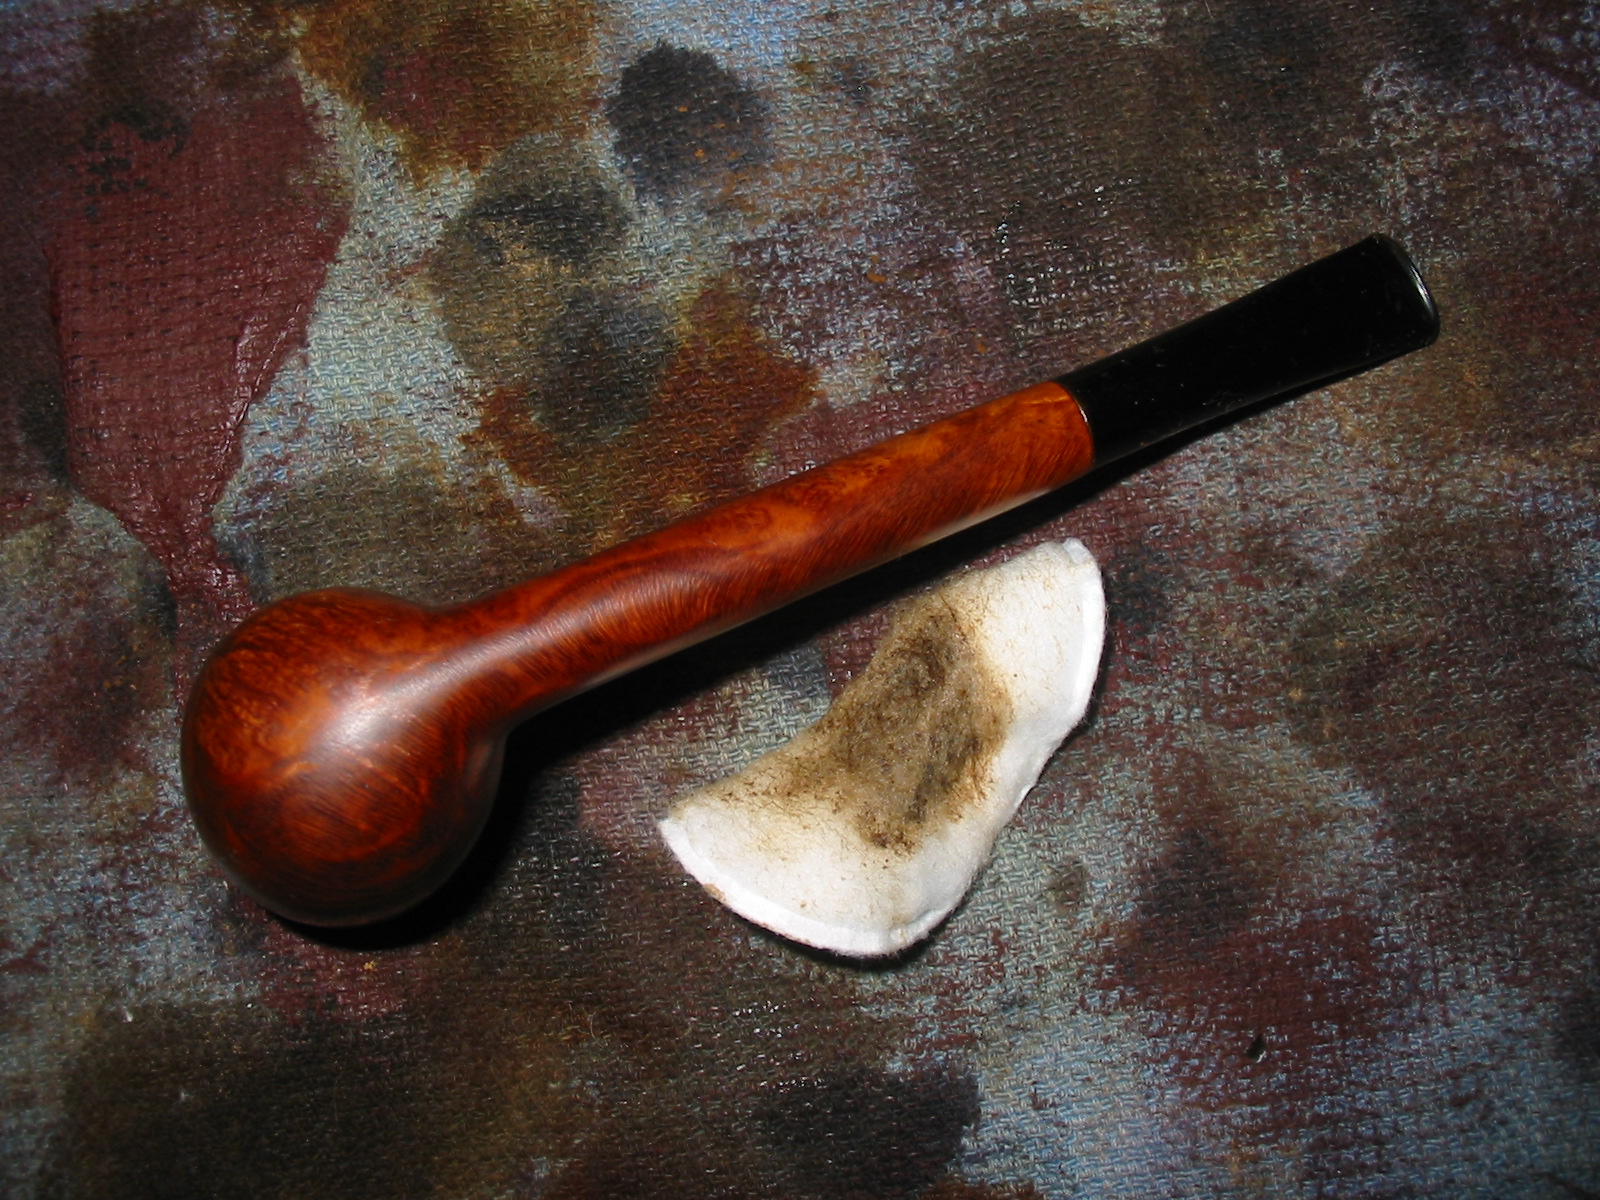
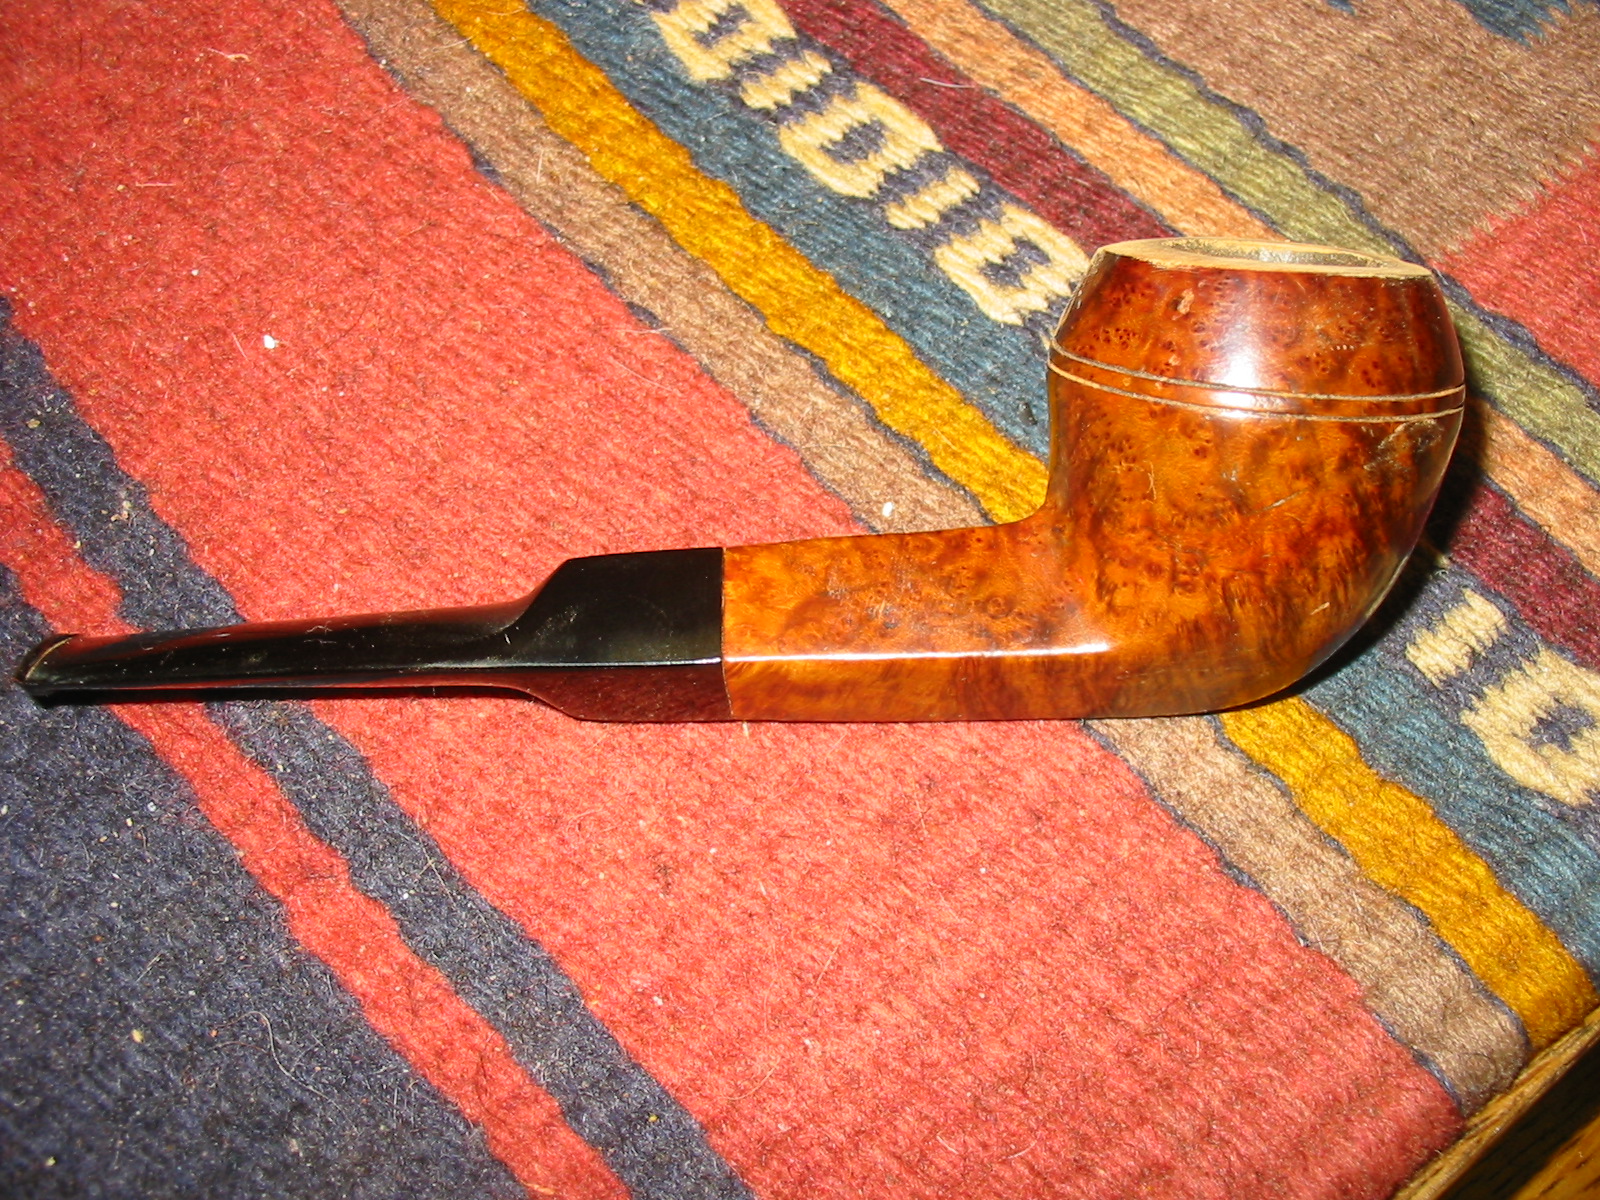
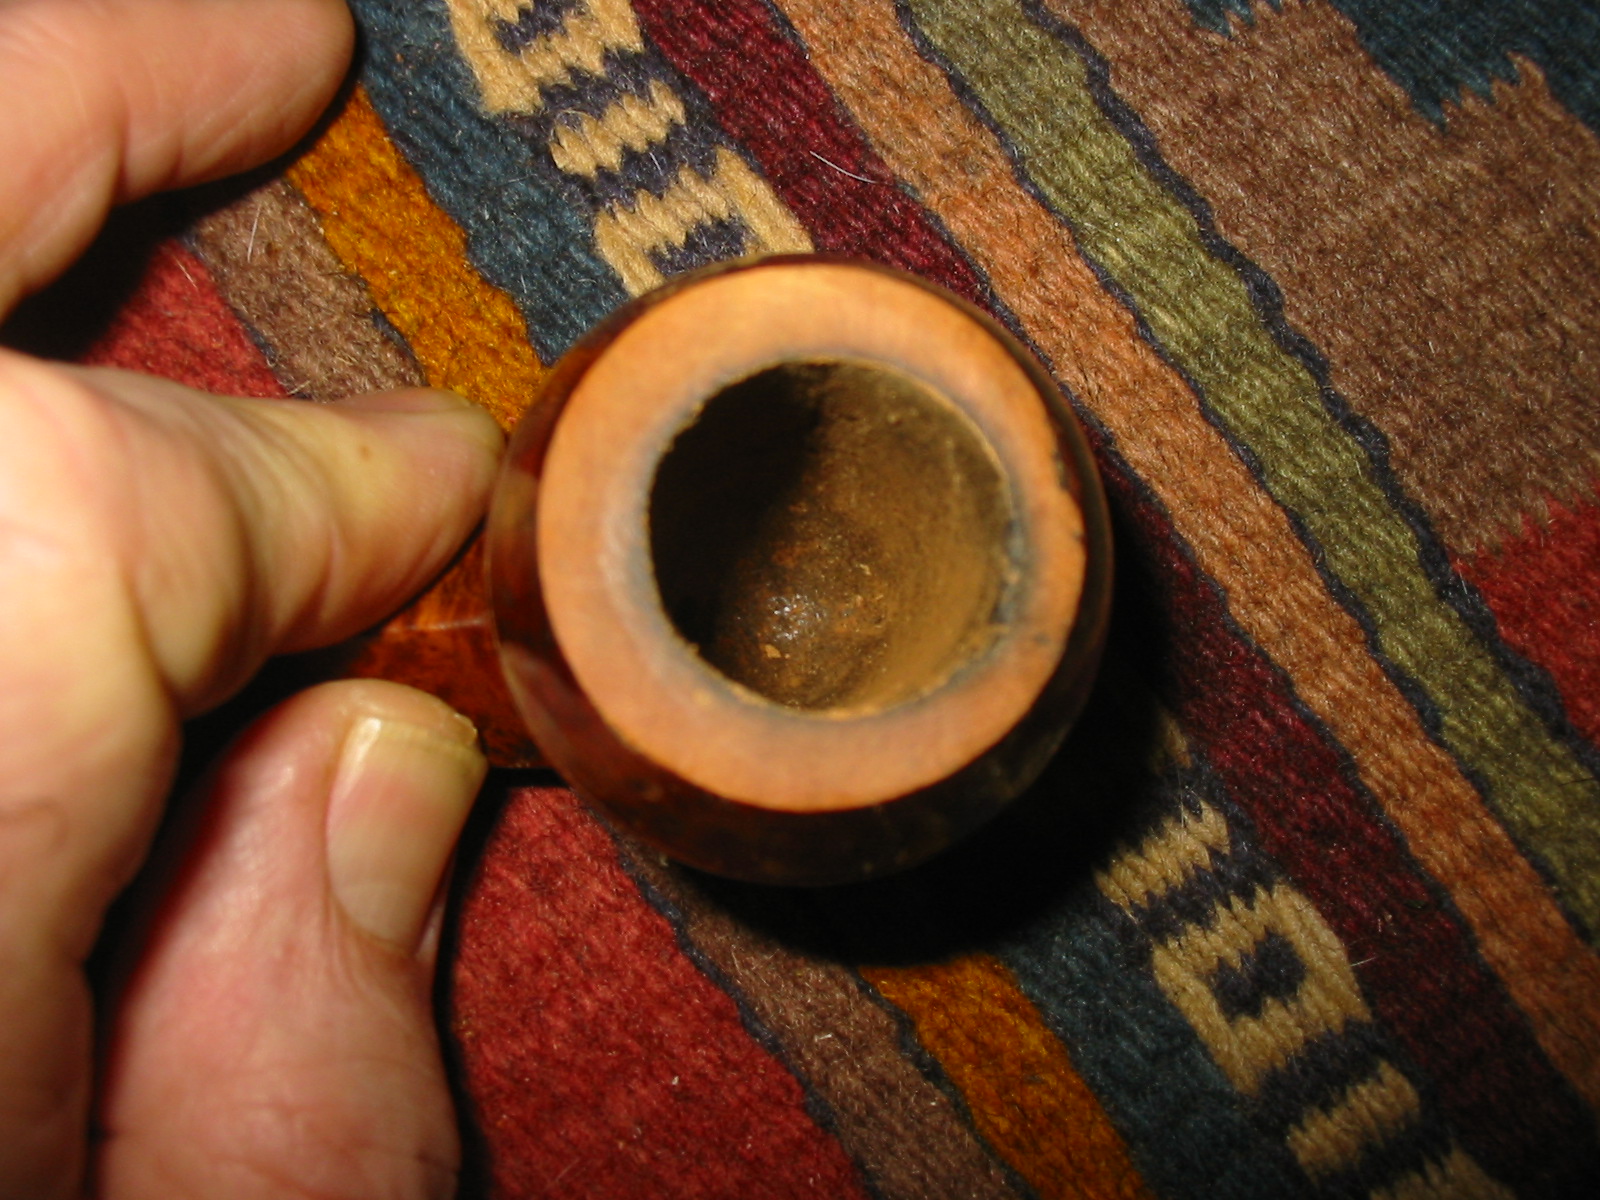
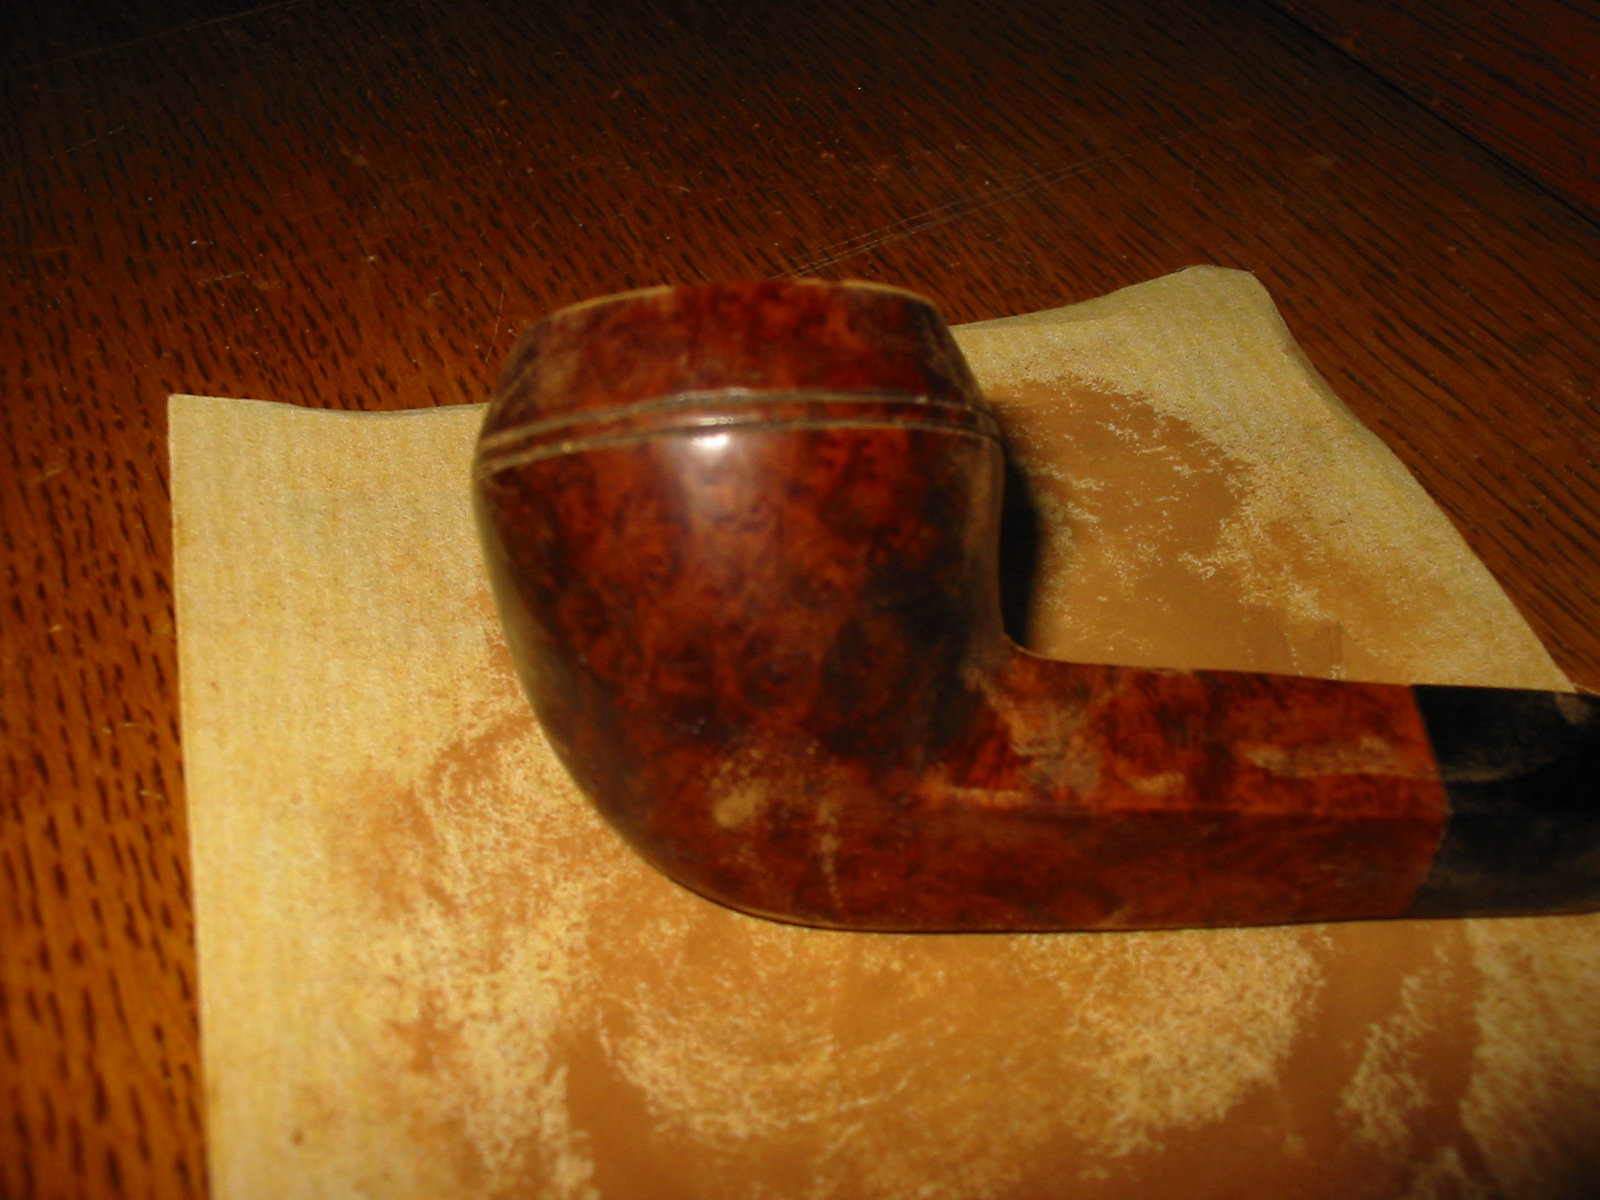
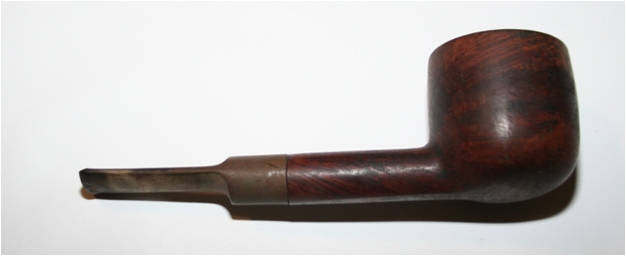 As you can see, the oxidation was extremely heavy, enough to hide the significant tooth damage to the button and bite zone. The pipe itself was grimy in the extreme, and while a touch of murphy’s oil soap took enough grime off to assure me this wasn’t heat damage, it wouldn’t touch the majority of the blackening on the pipe. First step, then, was to put the pipe in my alcohol bath, a technique I first read about in Steve’s post here. So I reamed the excess cake, and dropped it in the bath. The stem got a quick scrub with some pipe cleaners, and was already pretty clean, so into the Oxyclean it went for 2.5 hours.
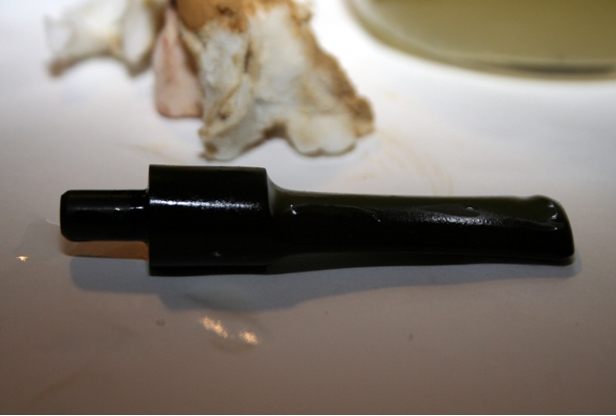
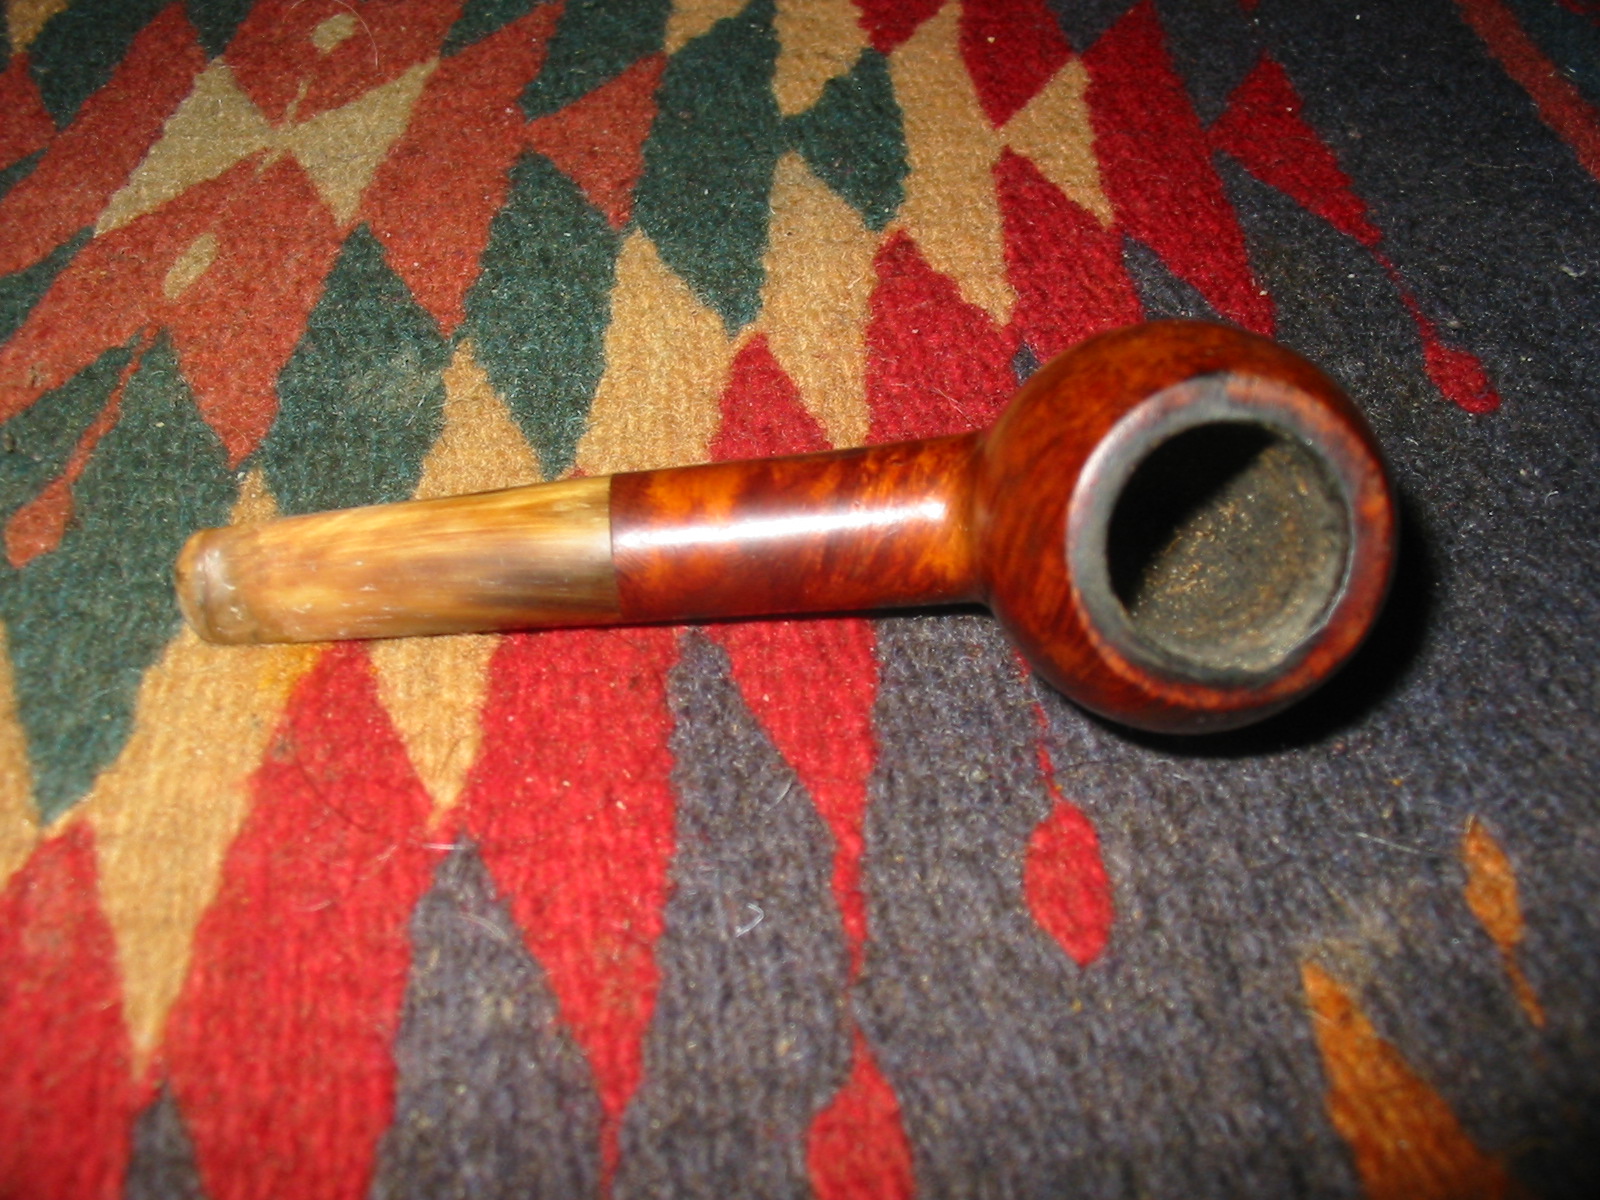
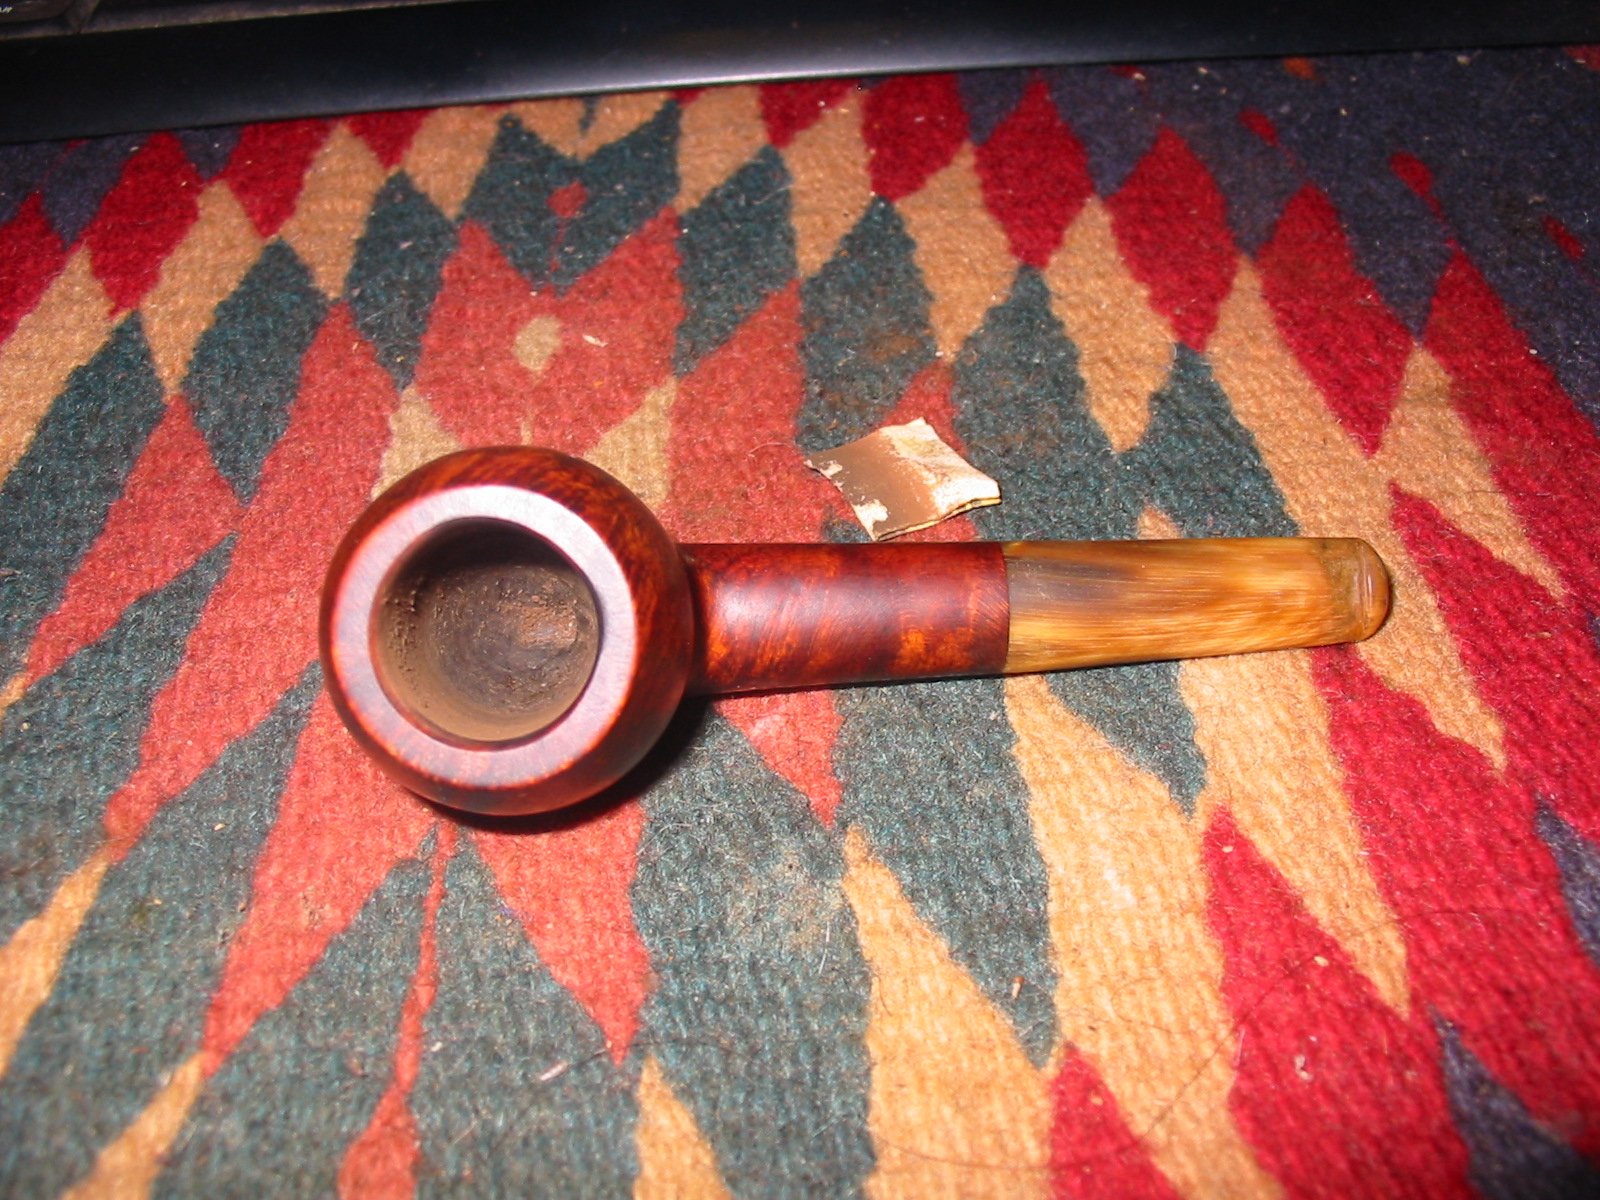
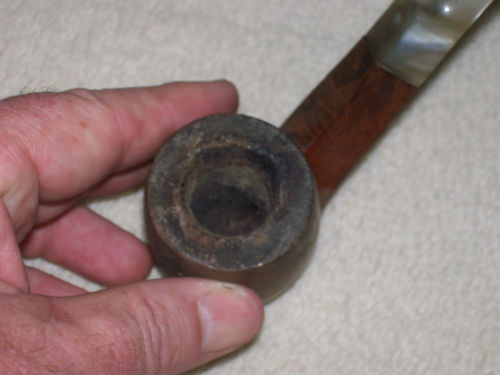
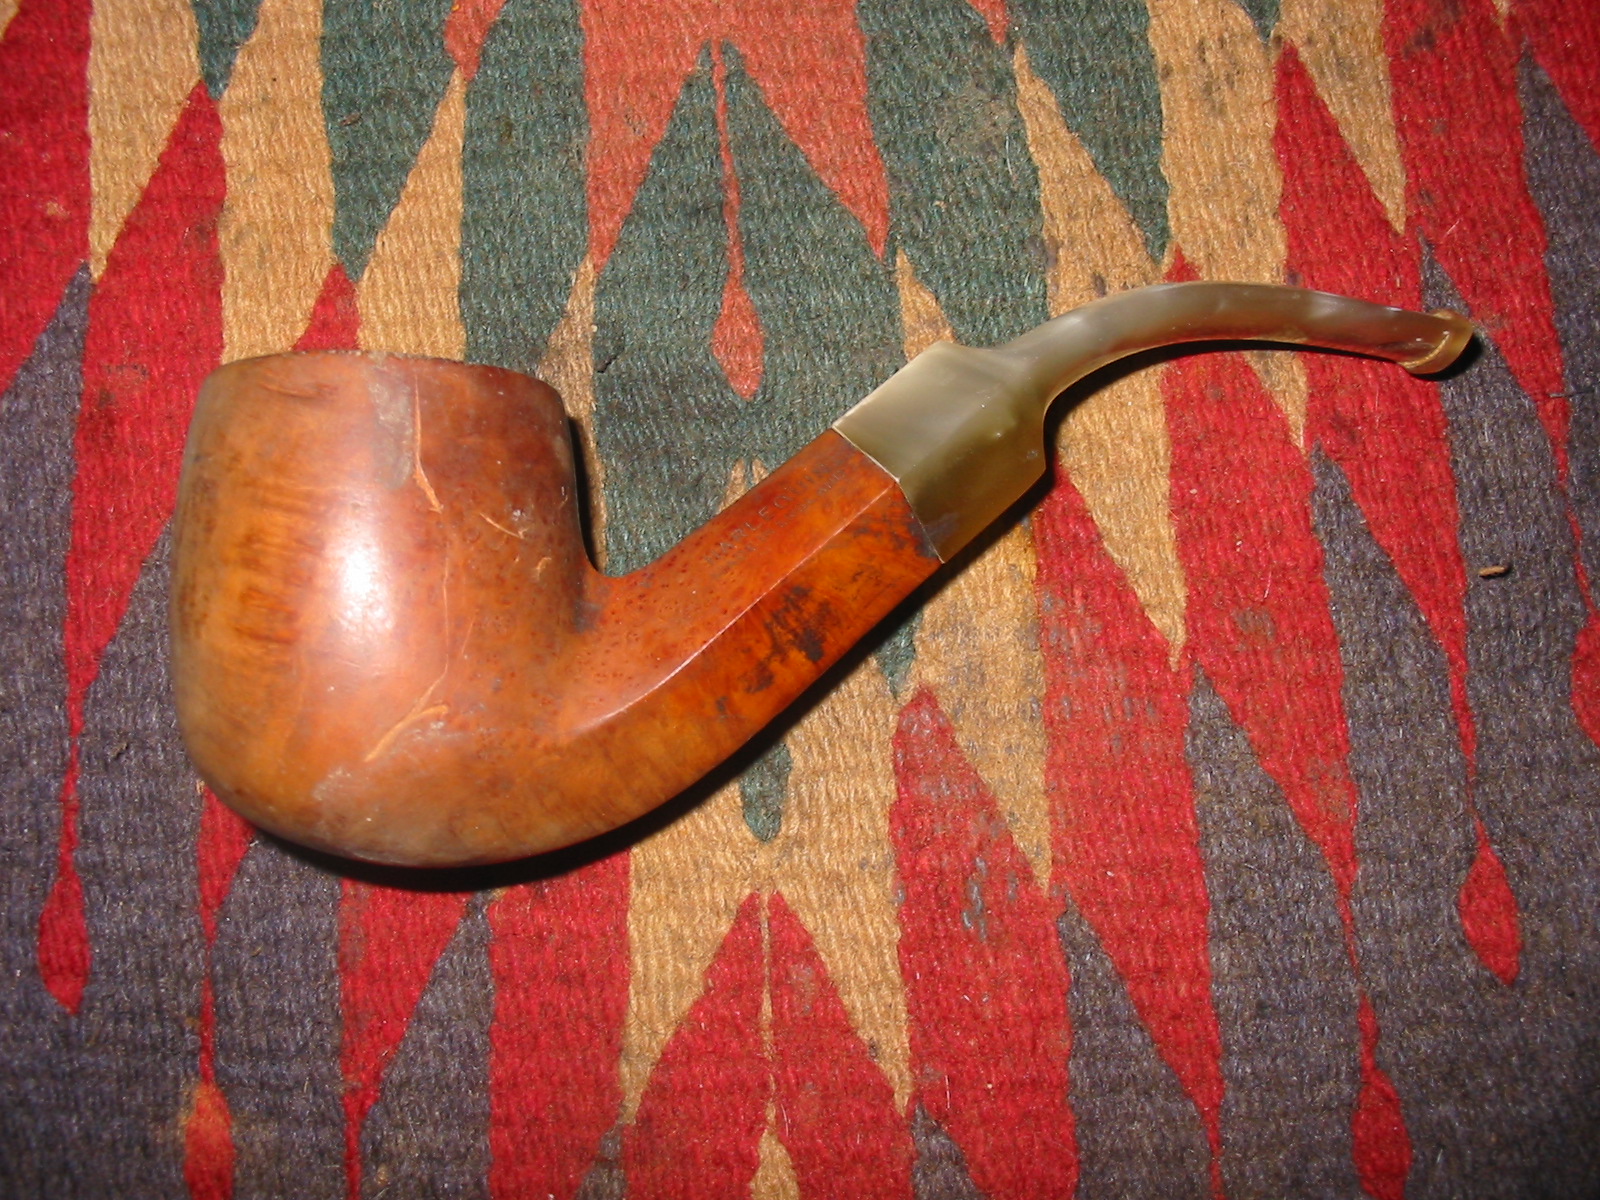
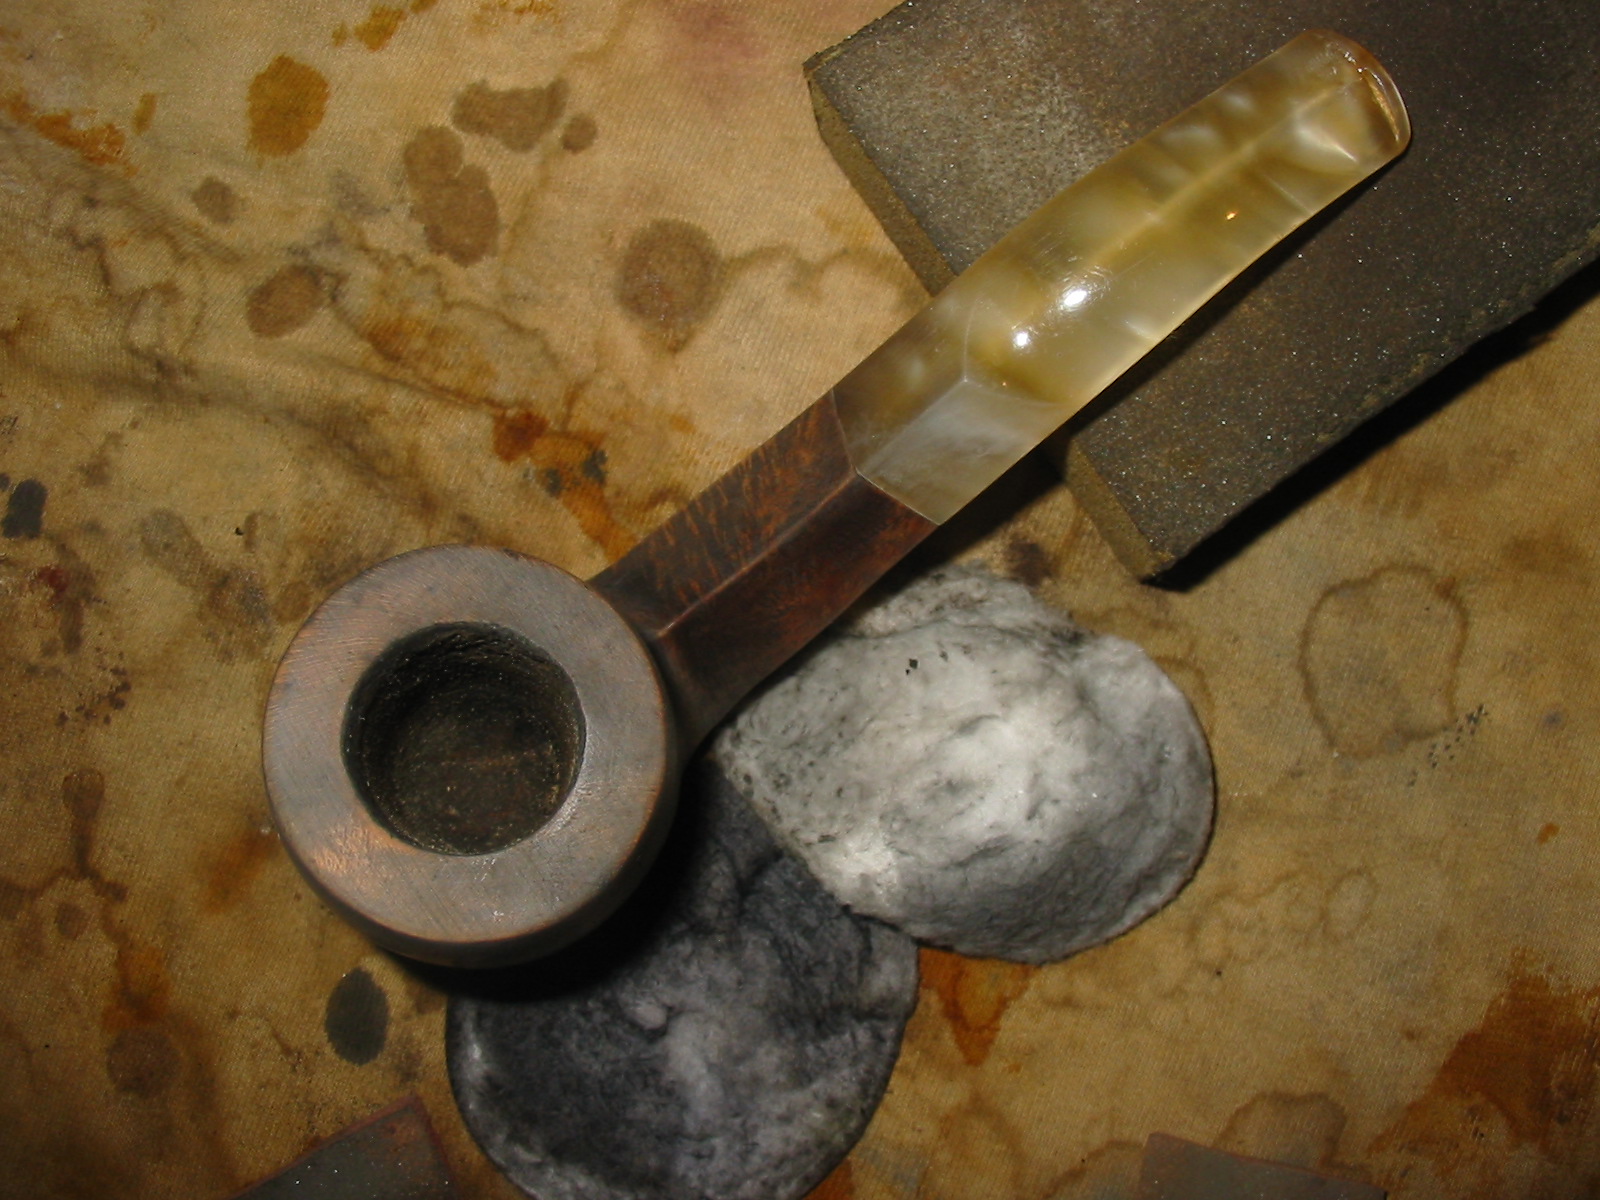
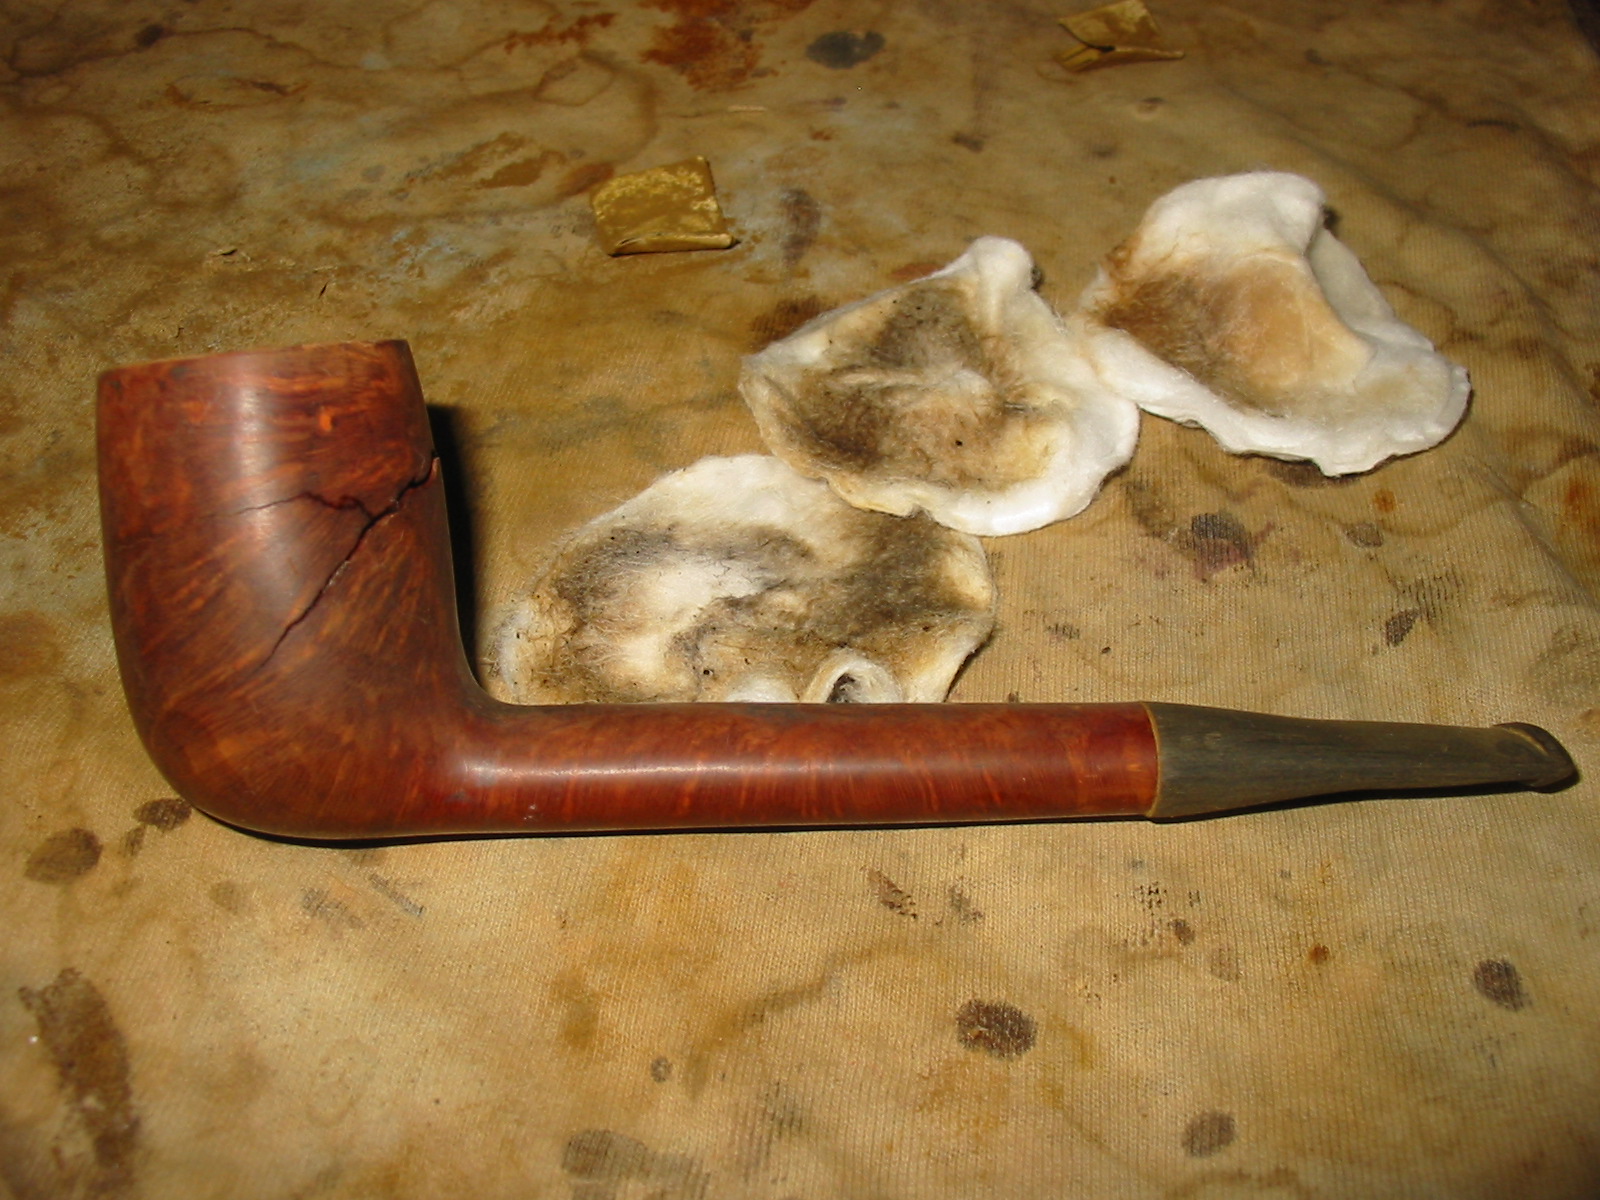
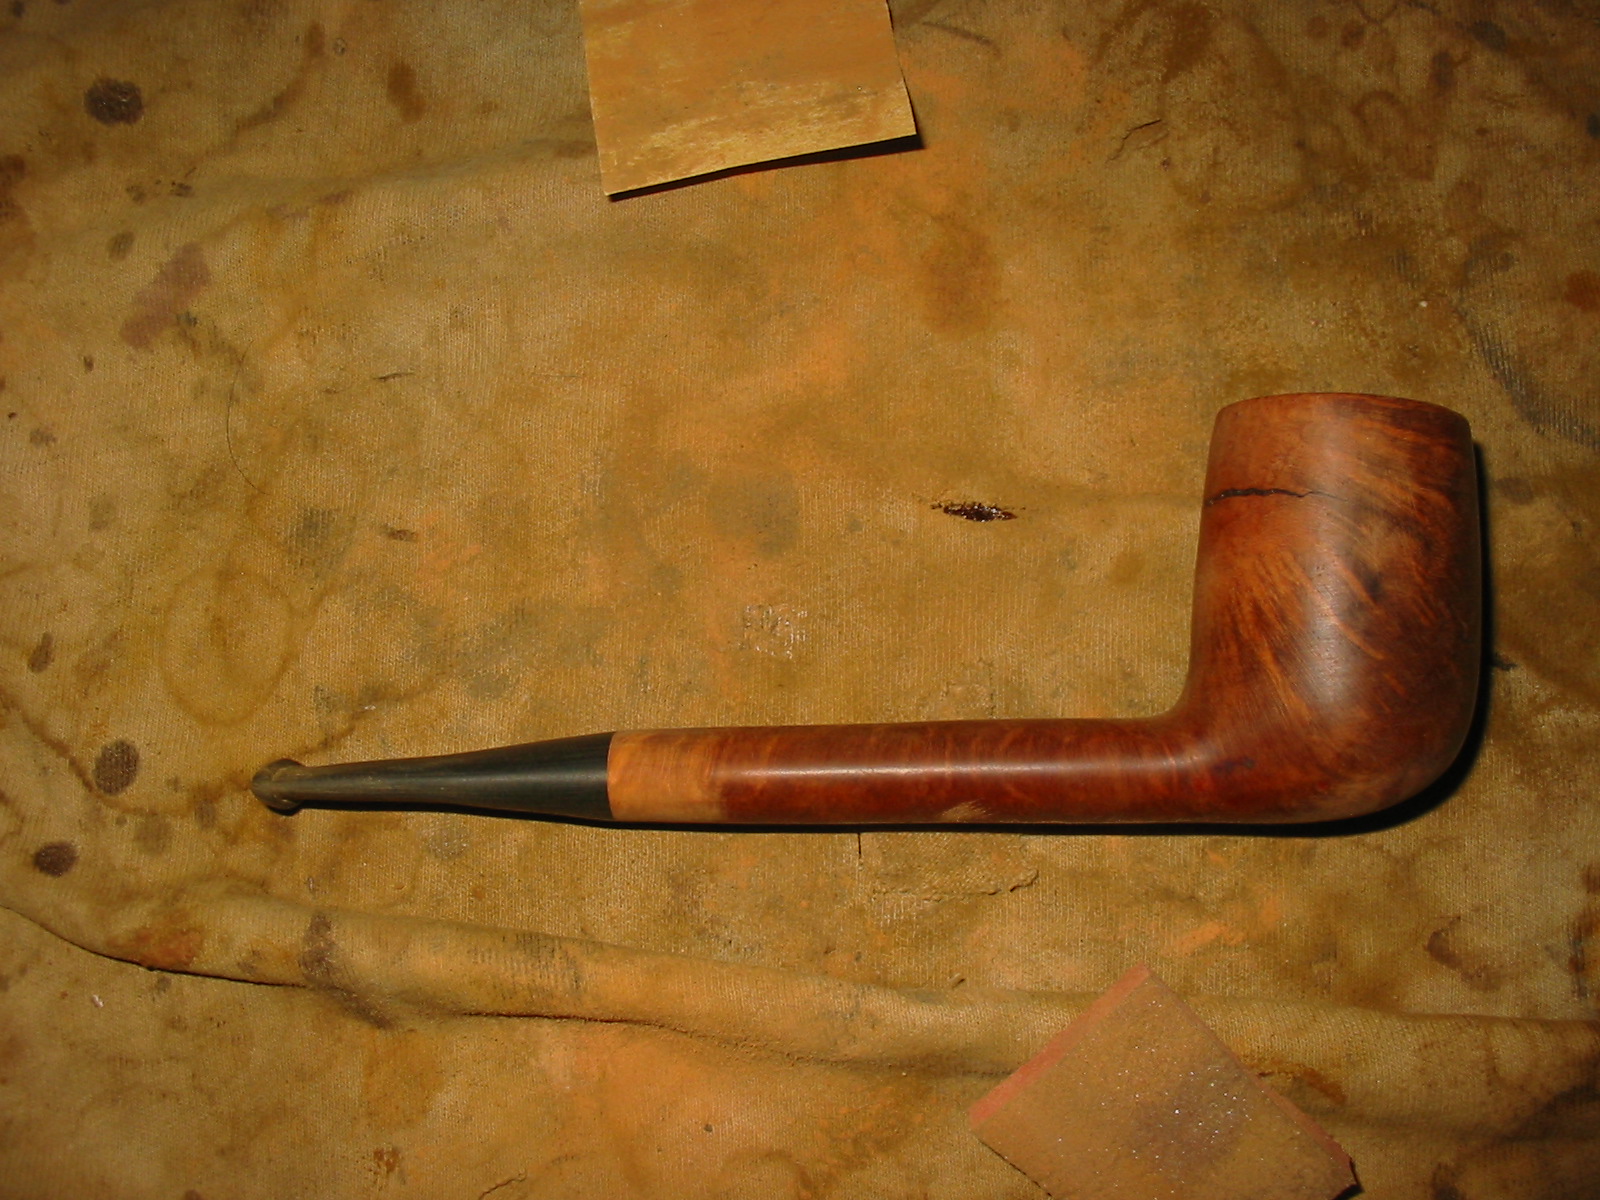
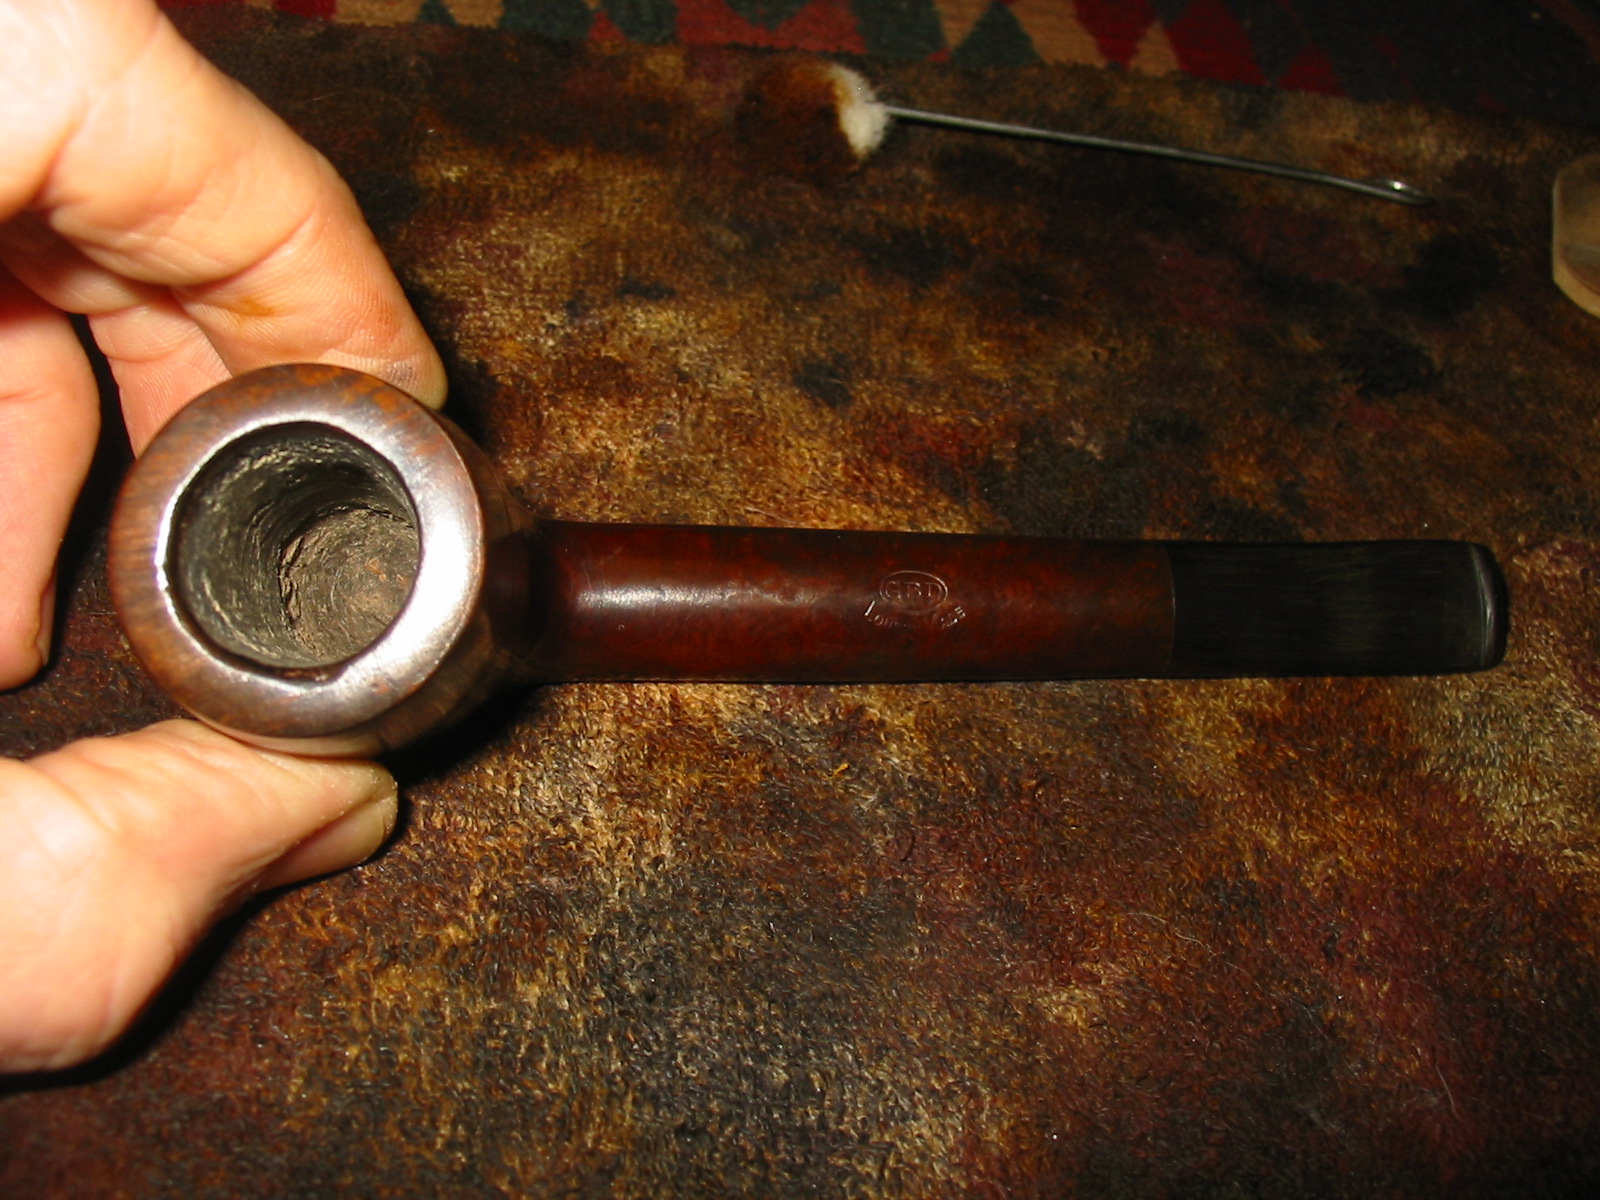
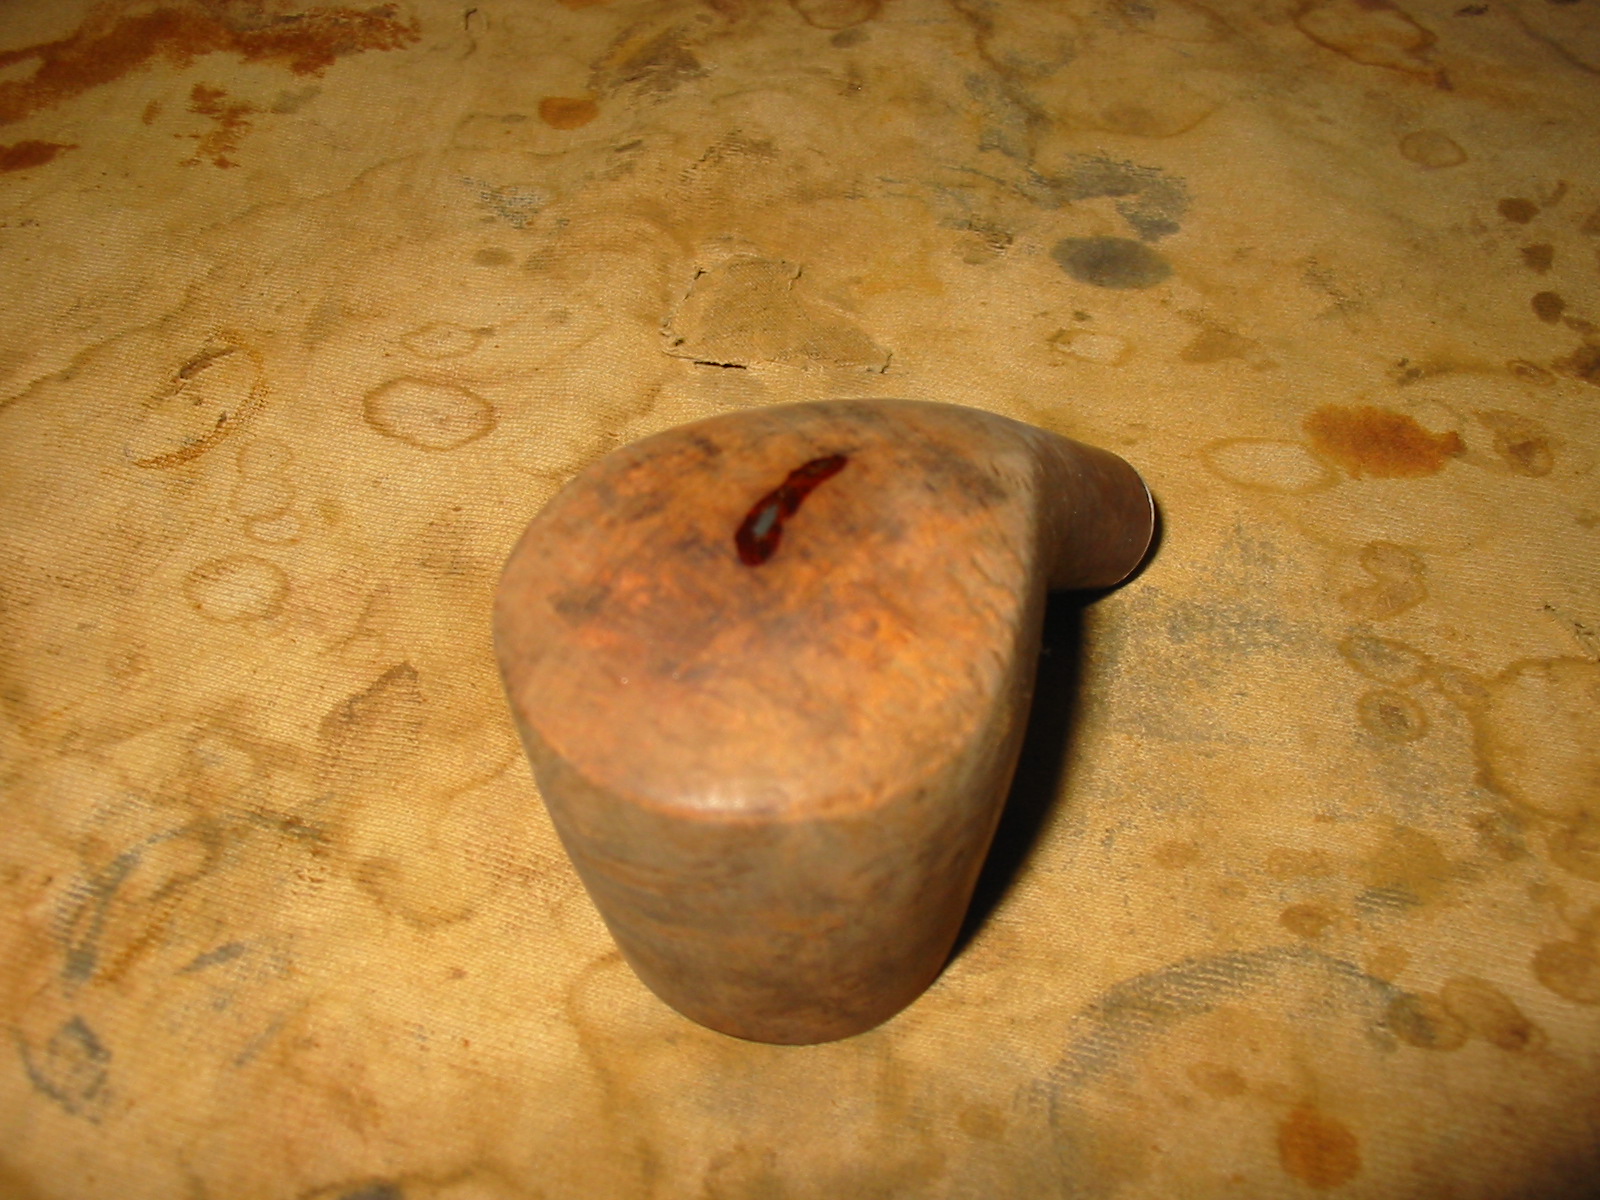
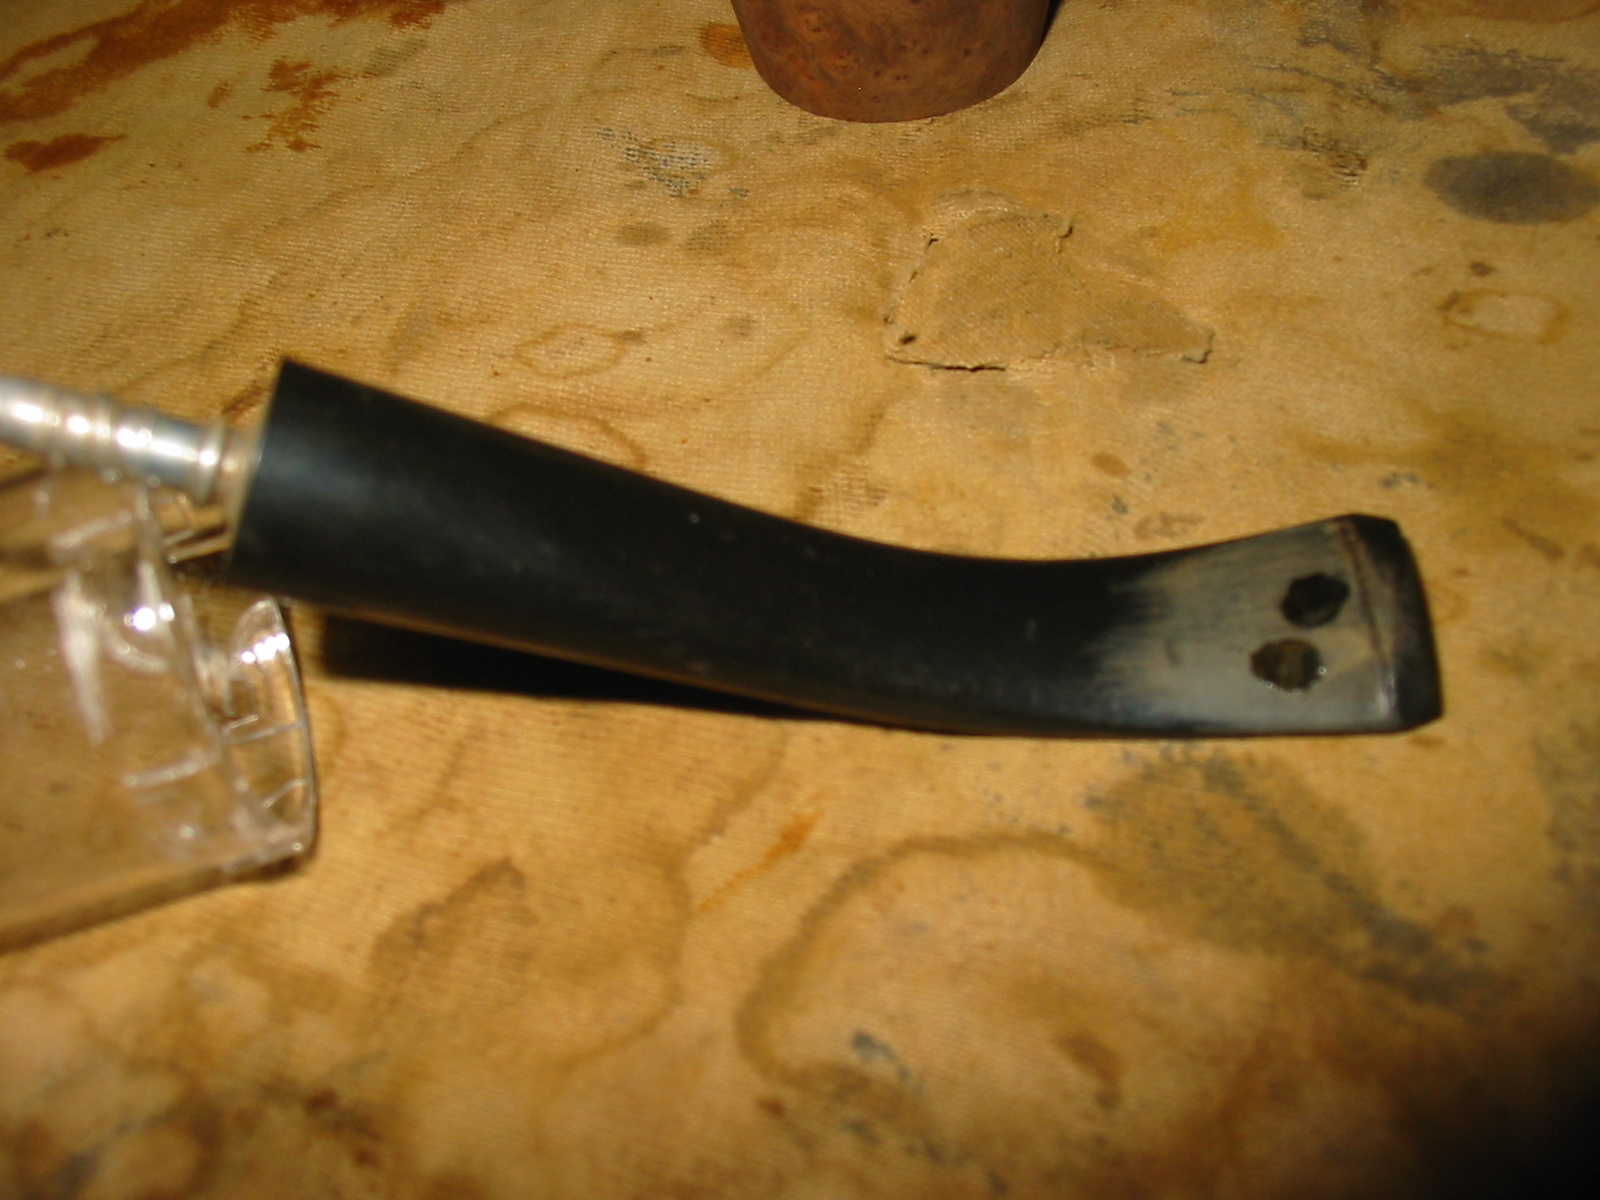
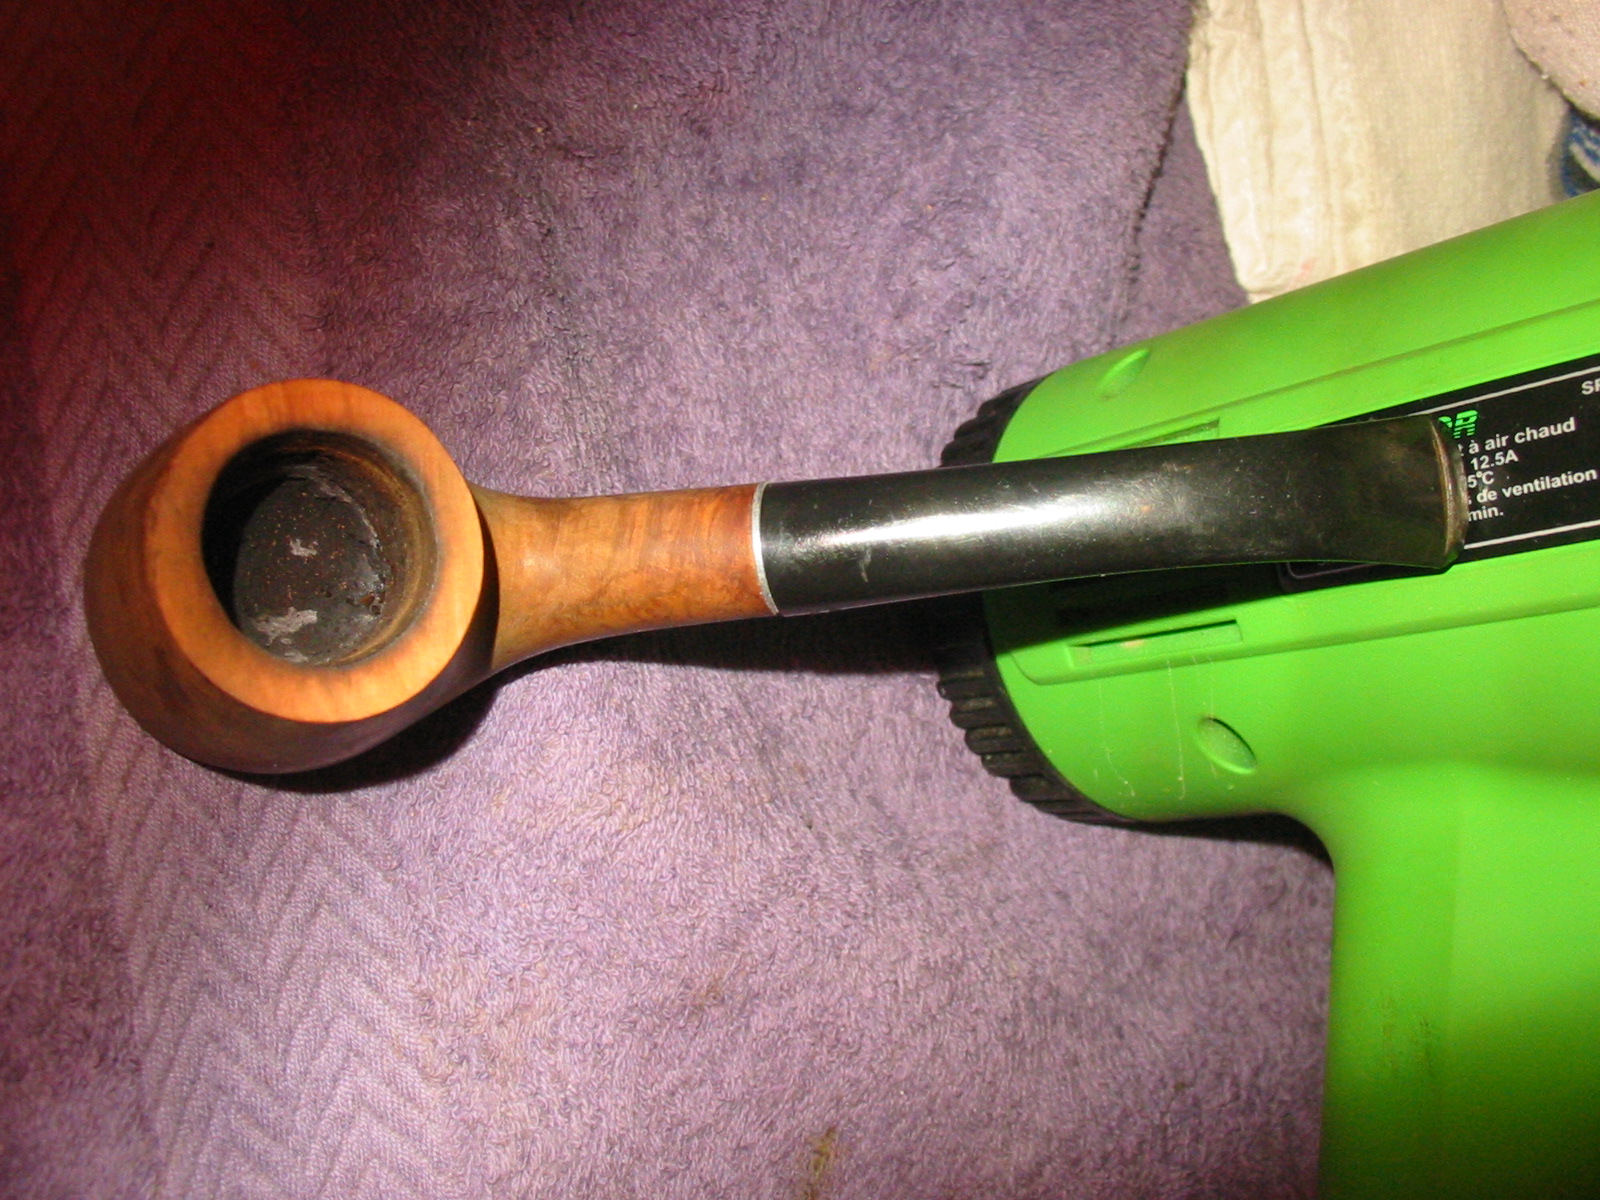
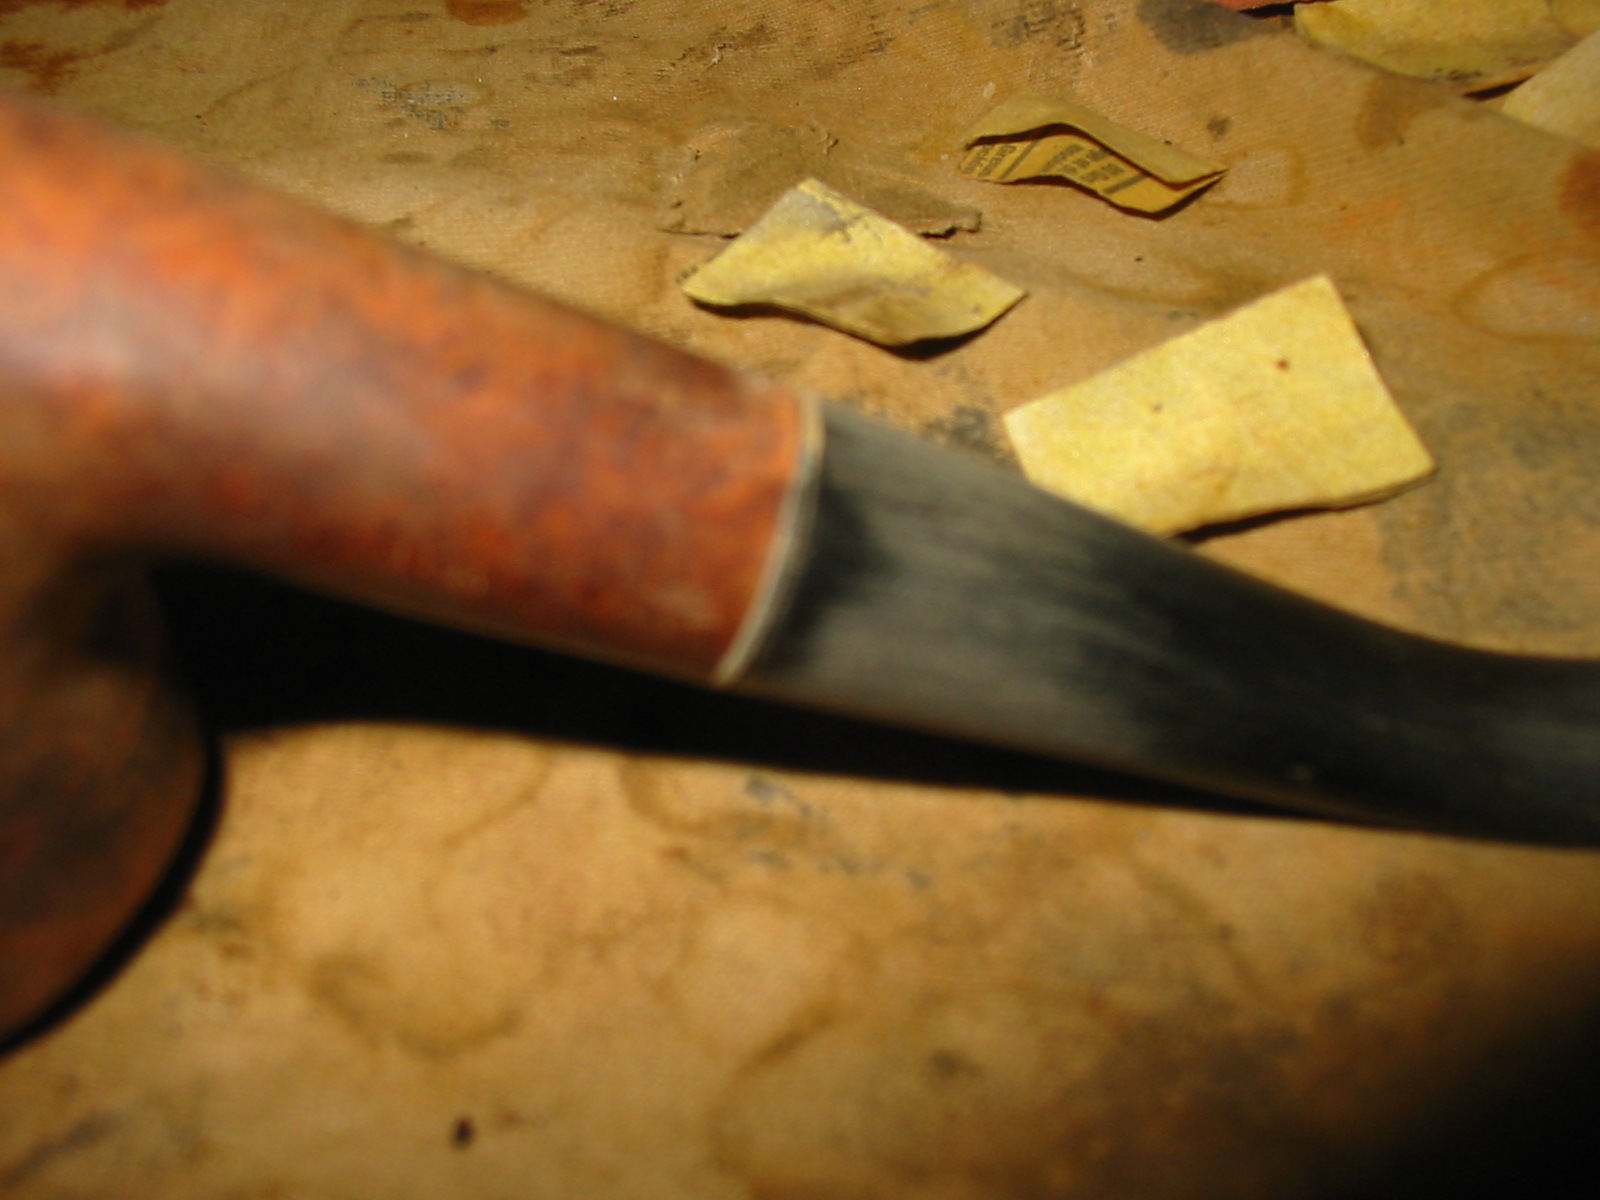
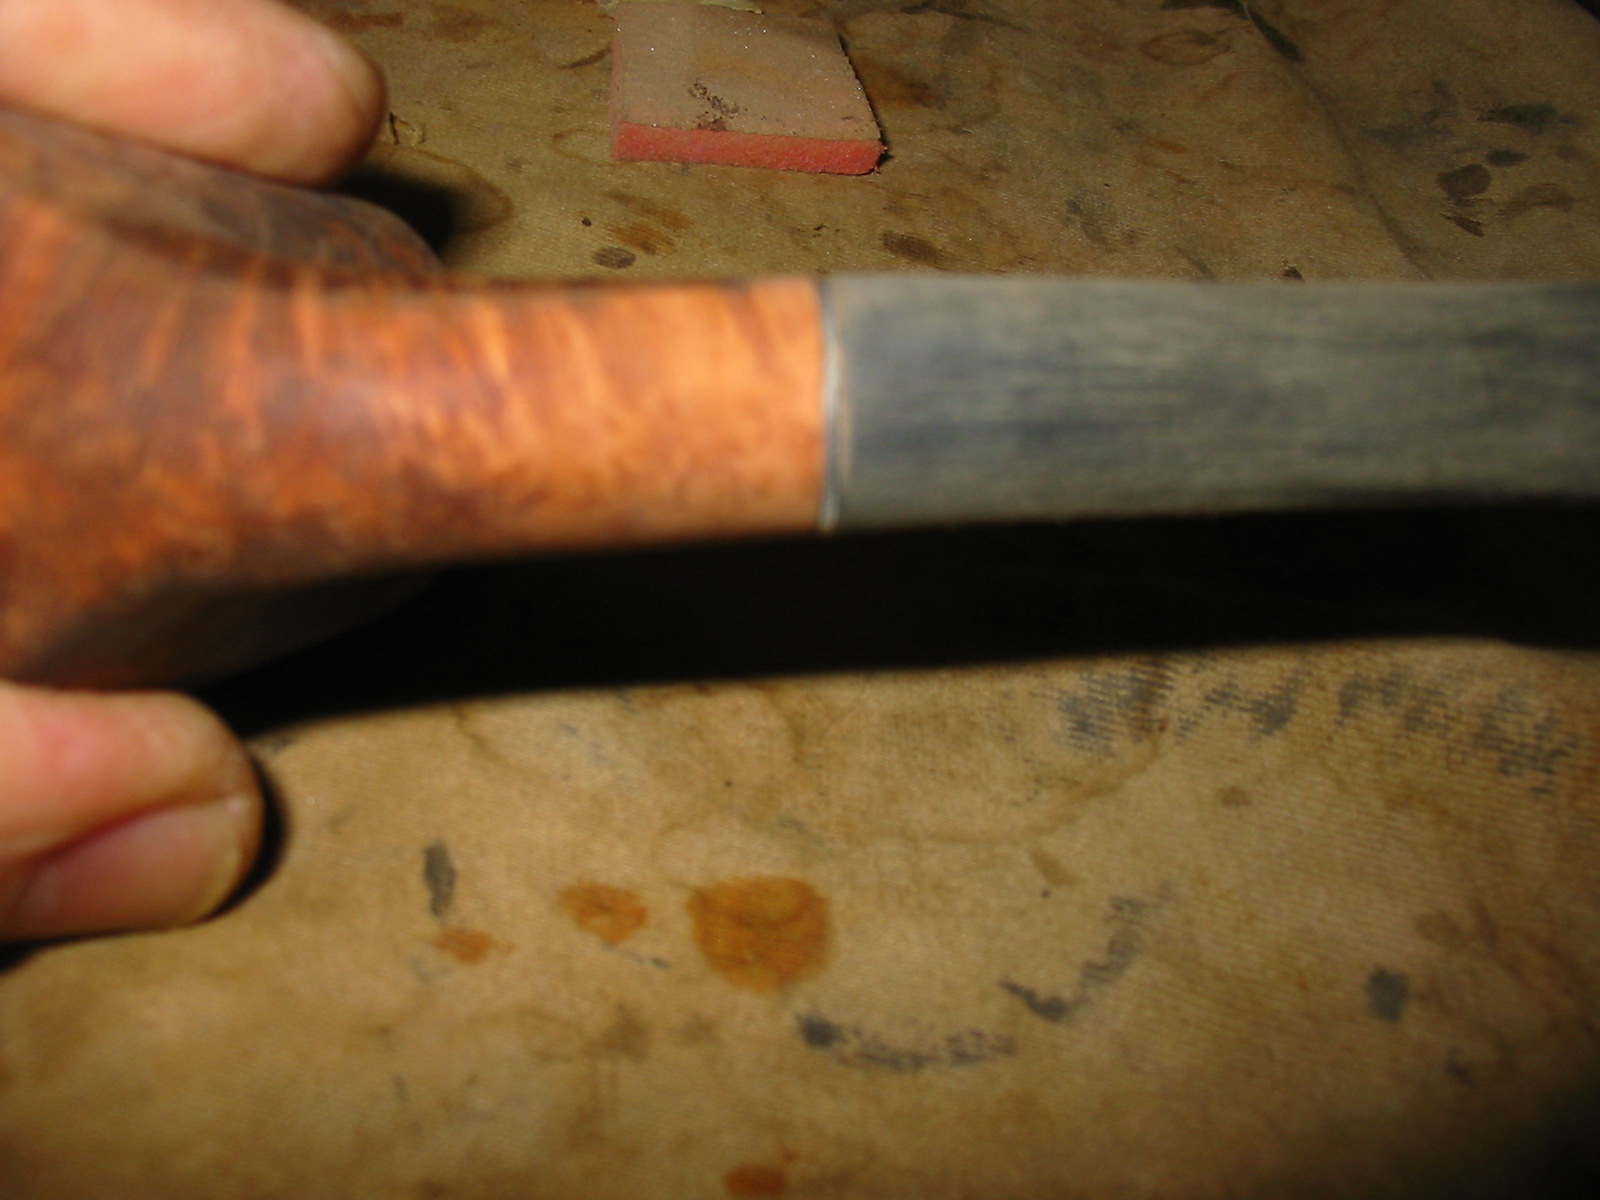
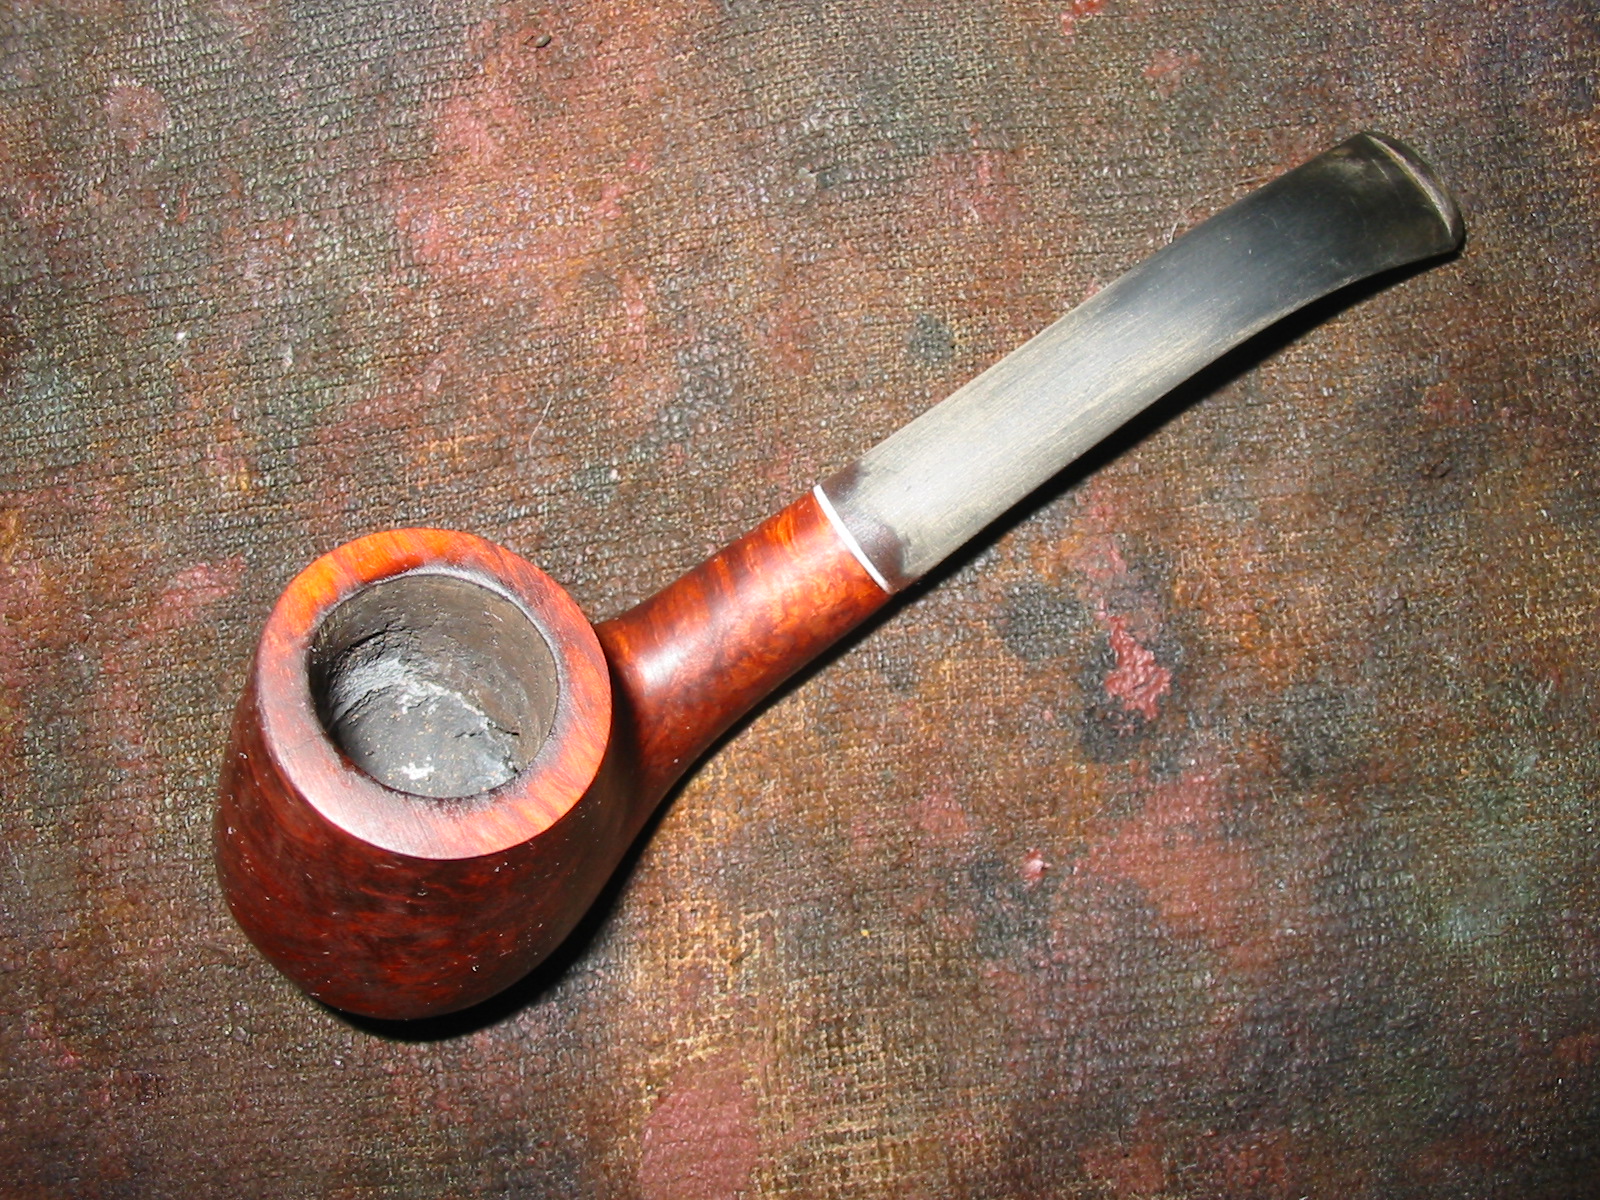
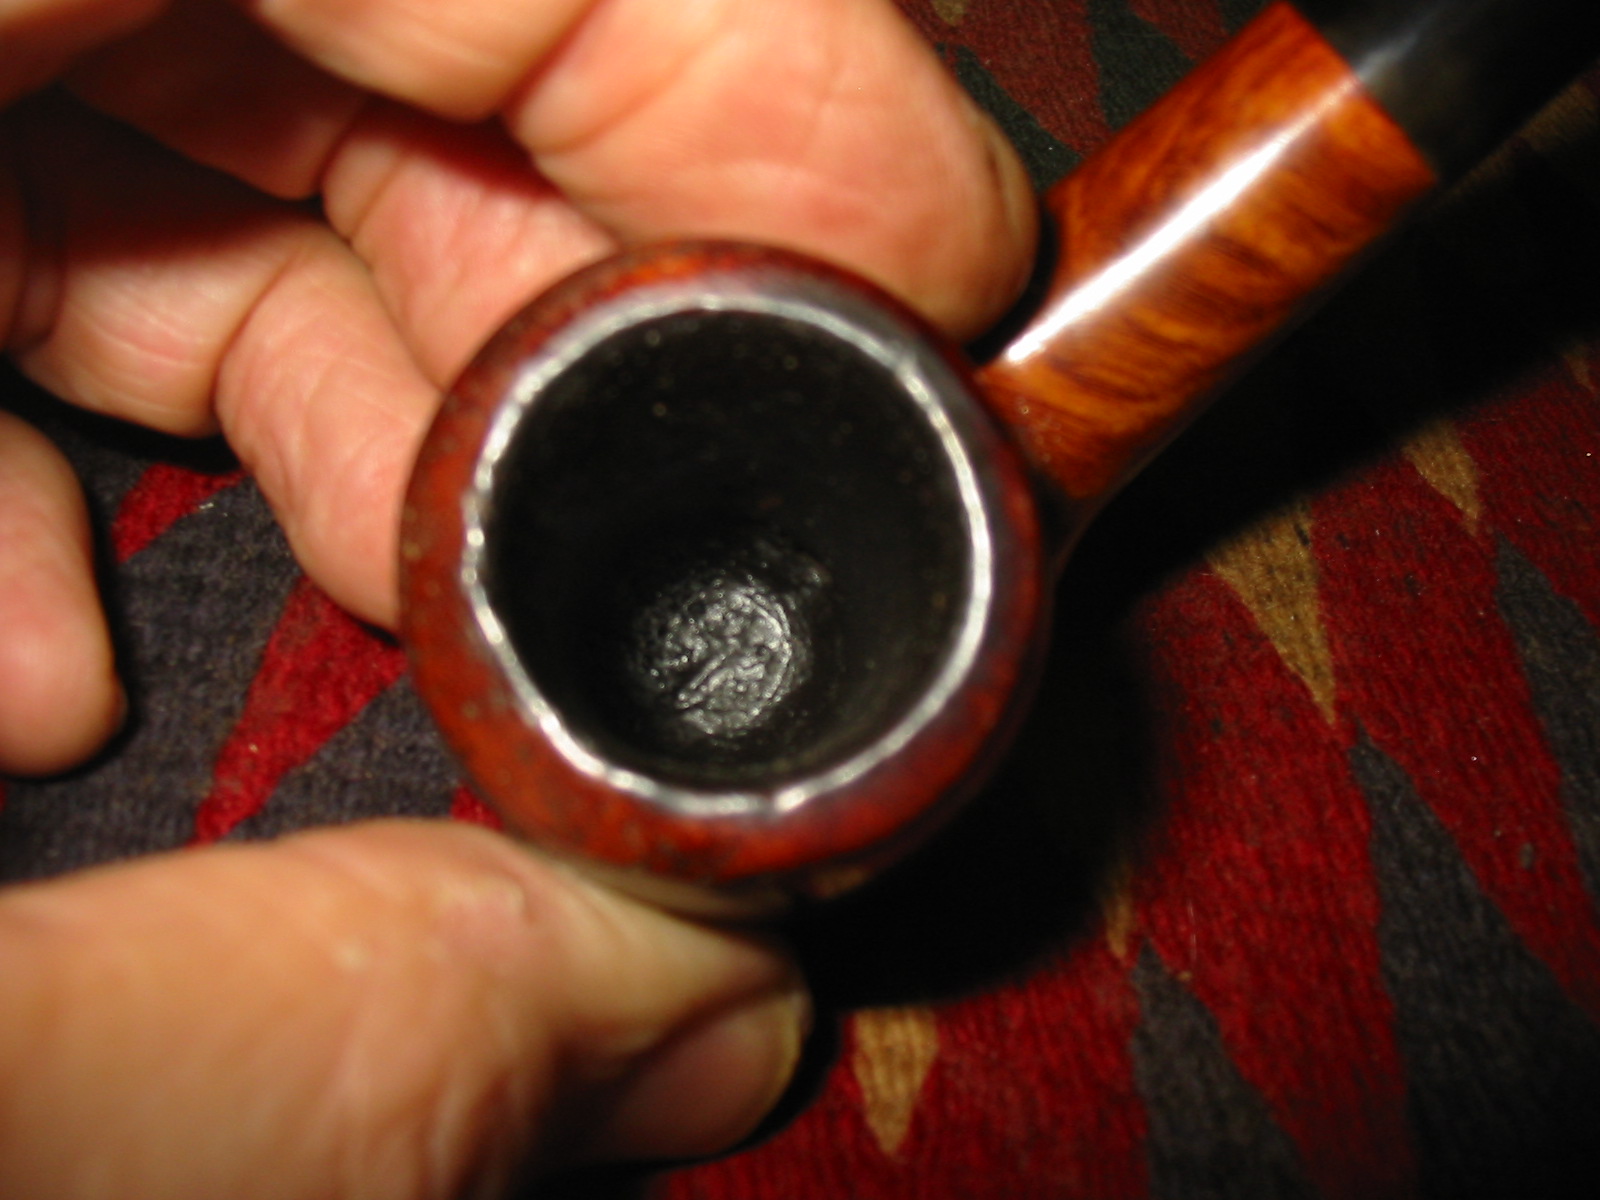
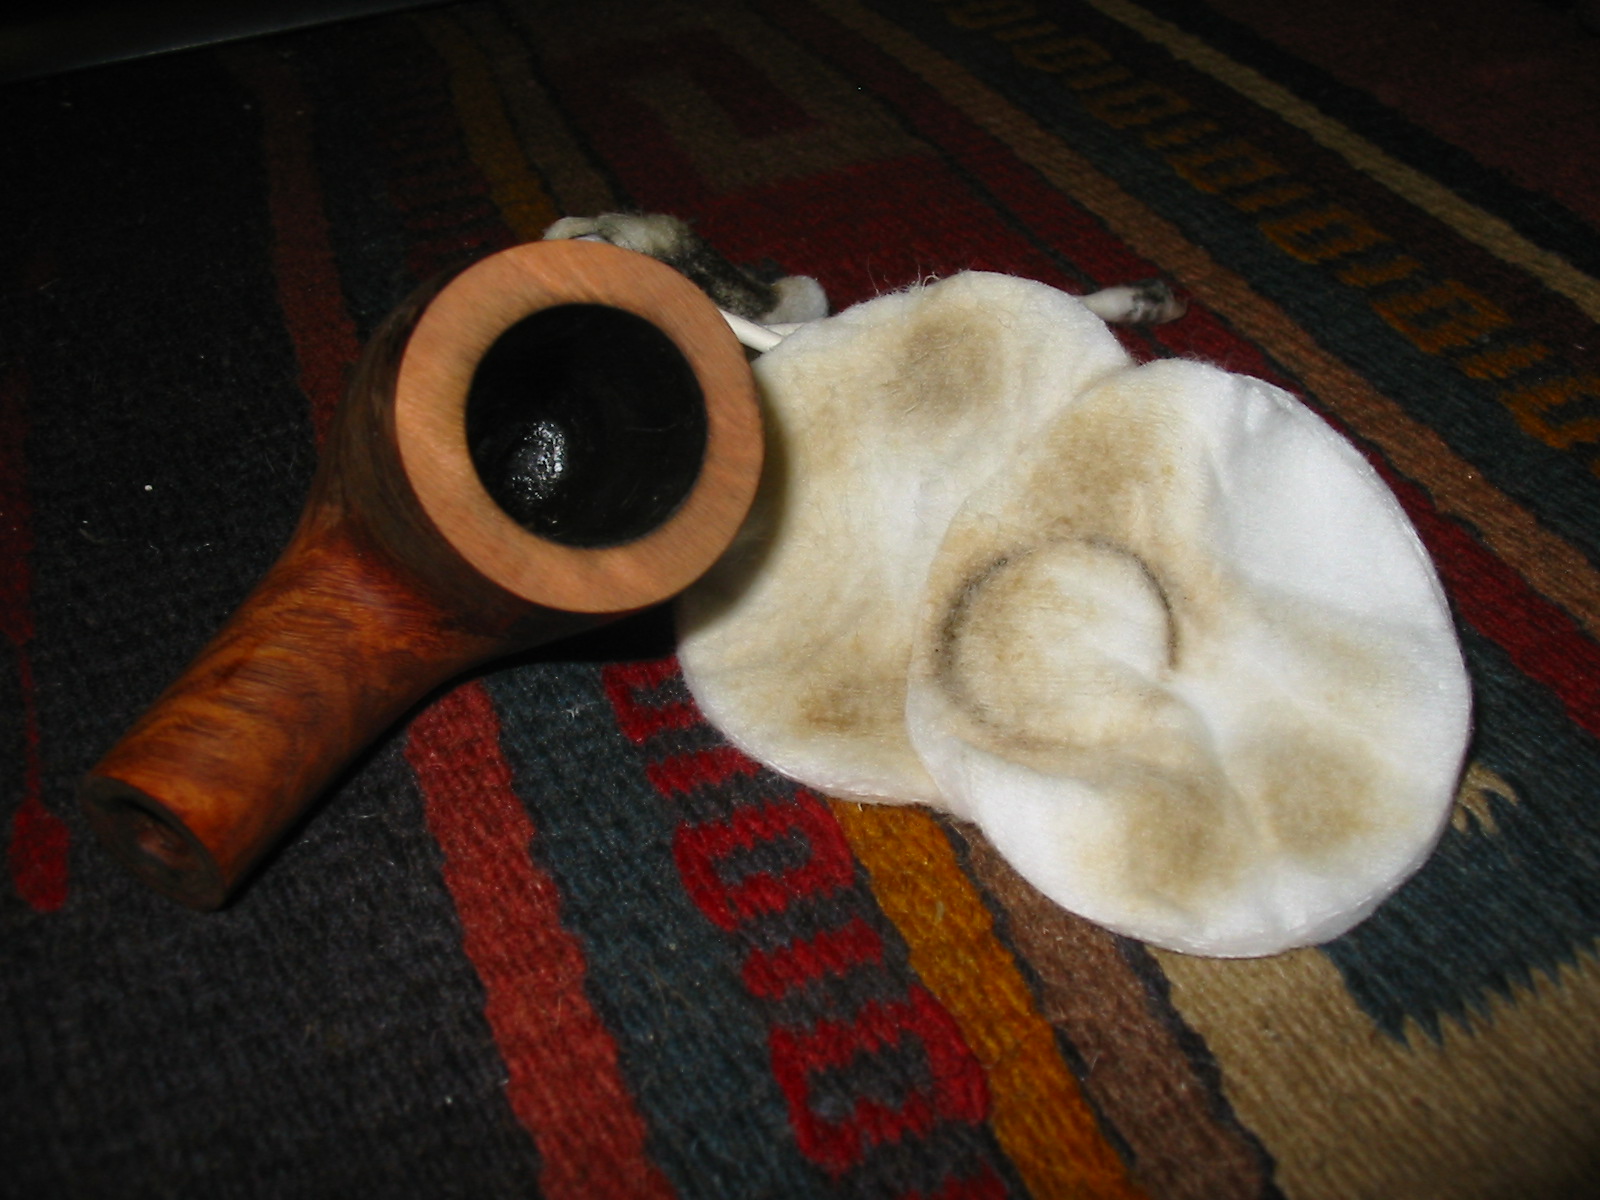
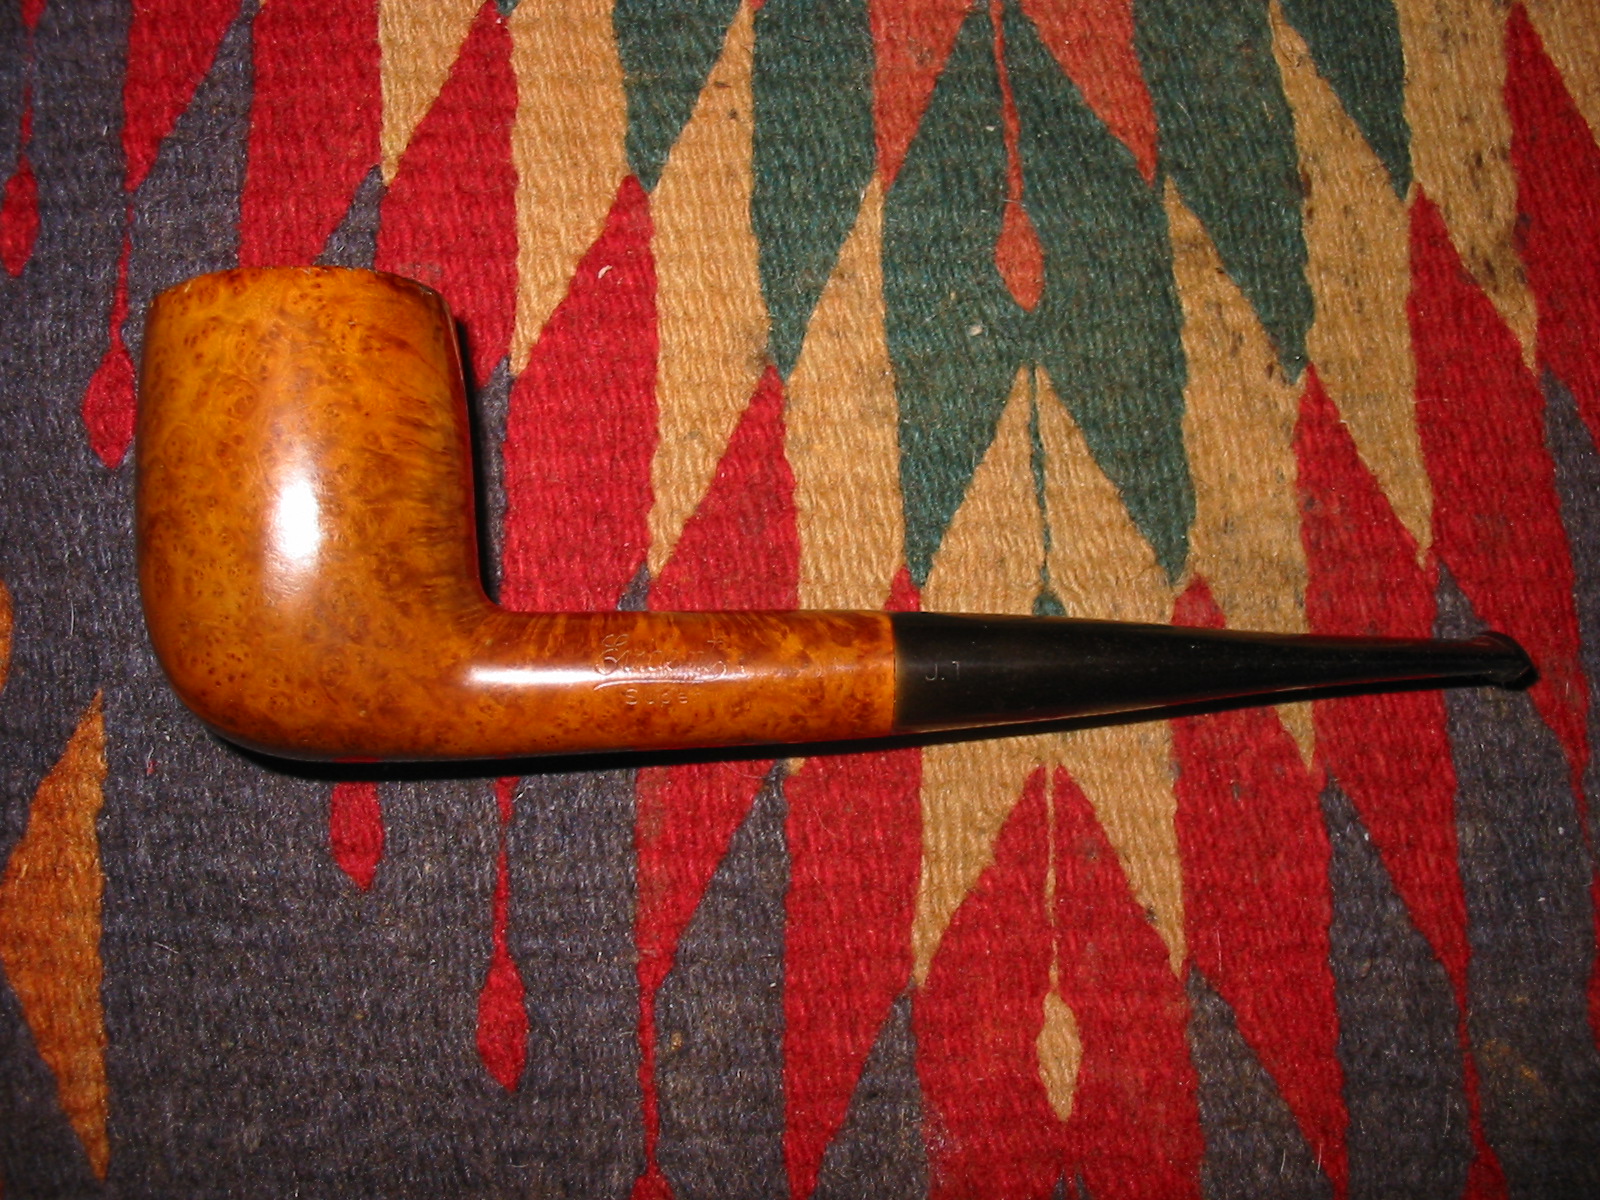
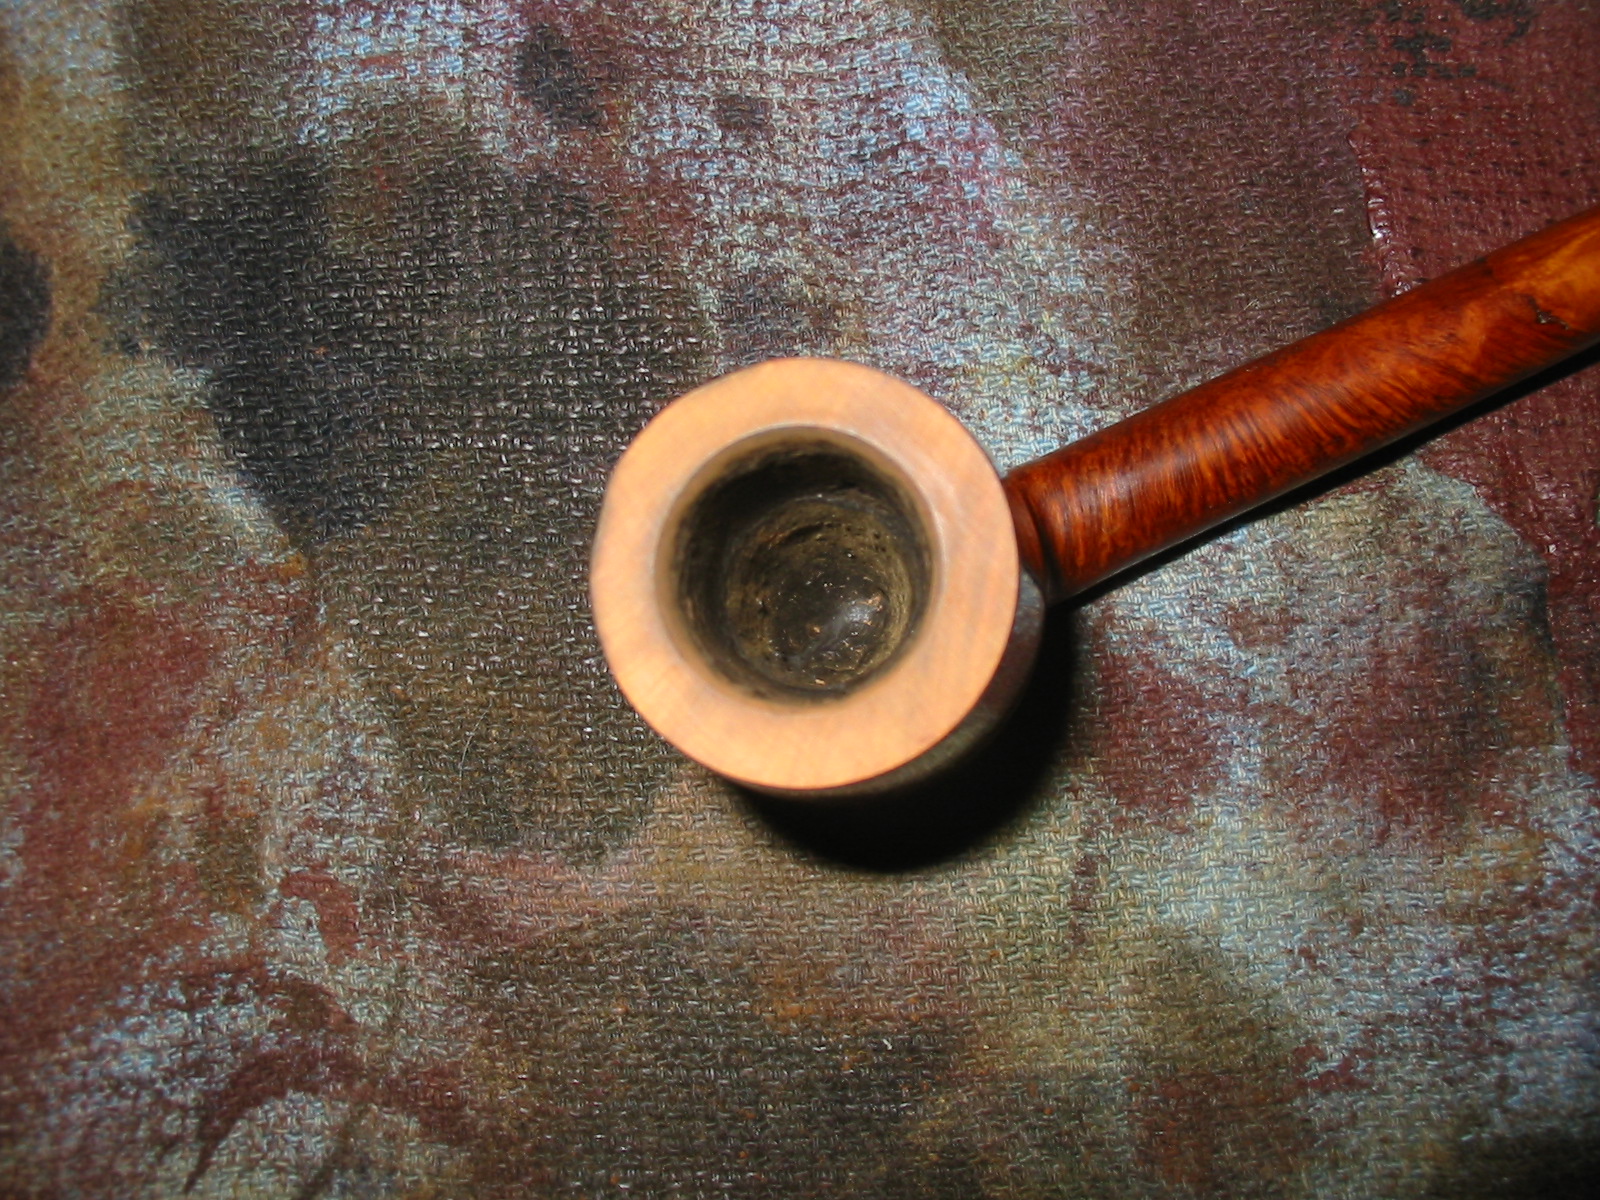
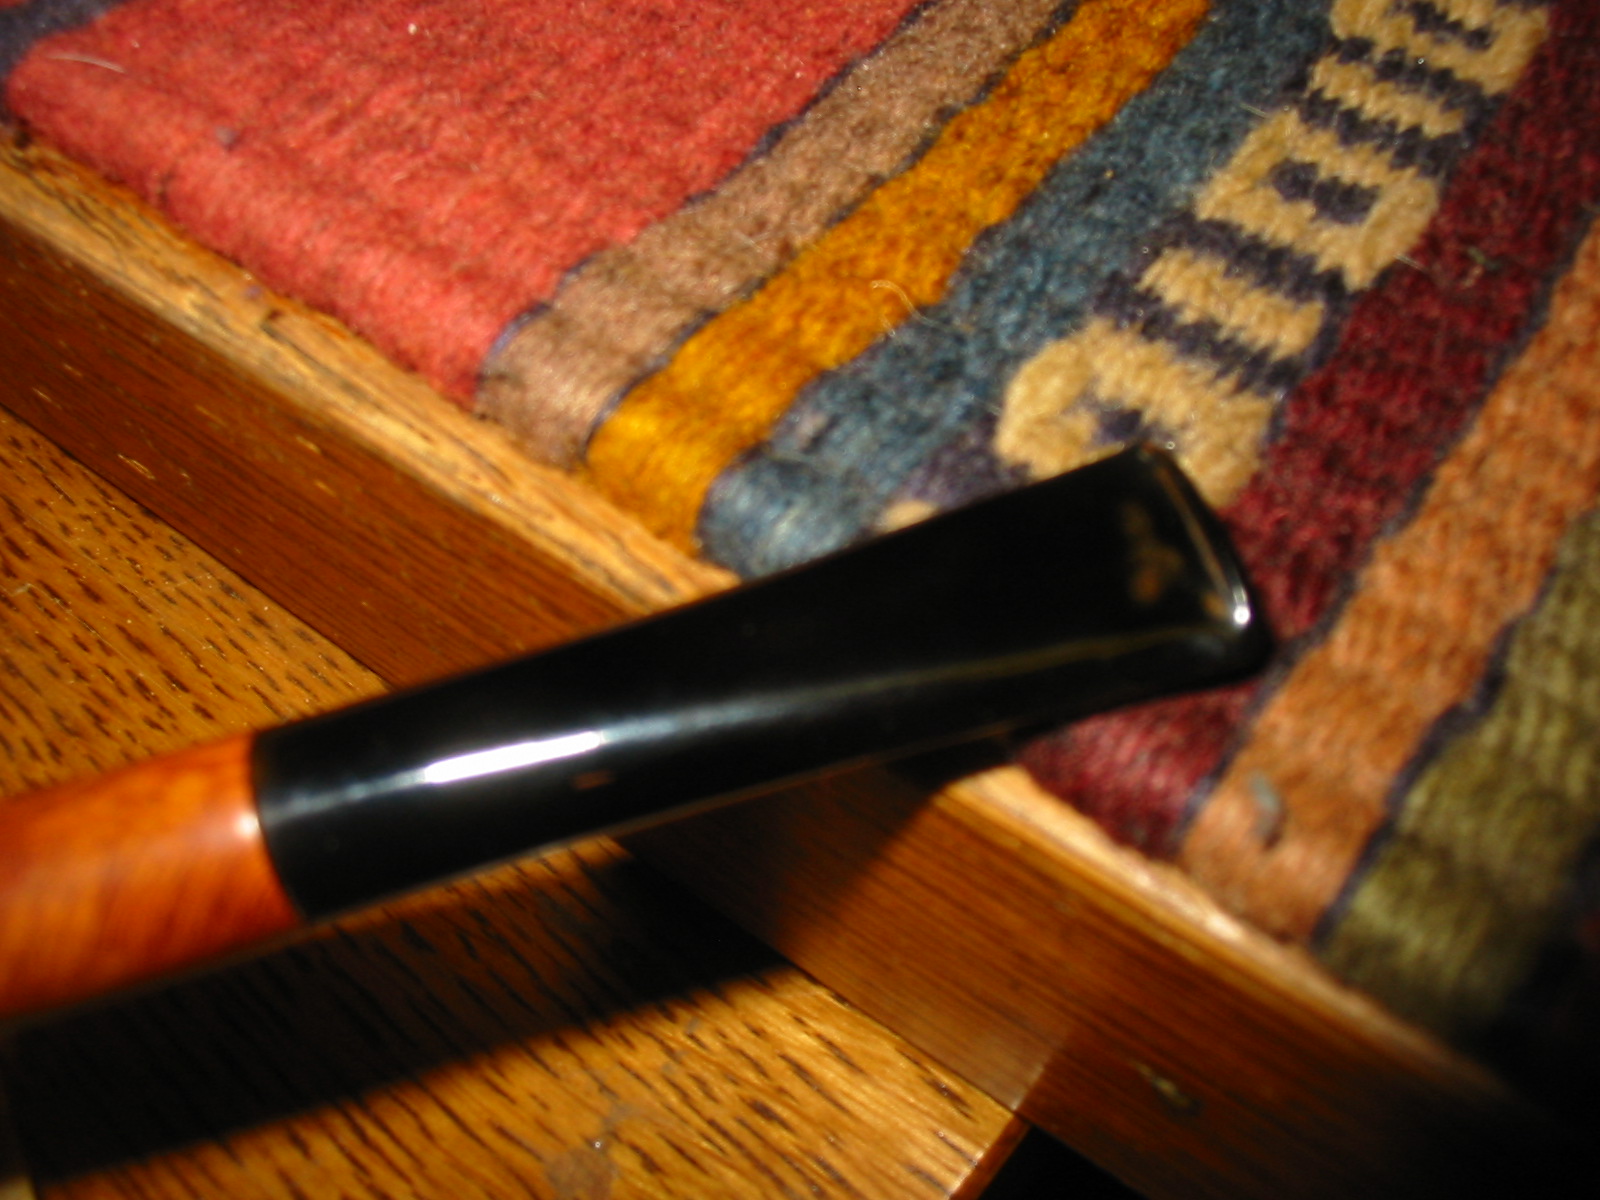
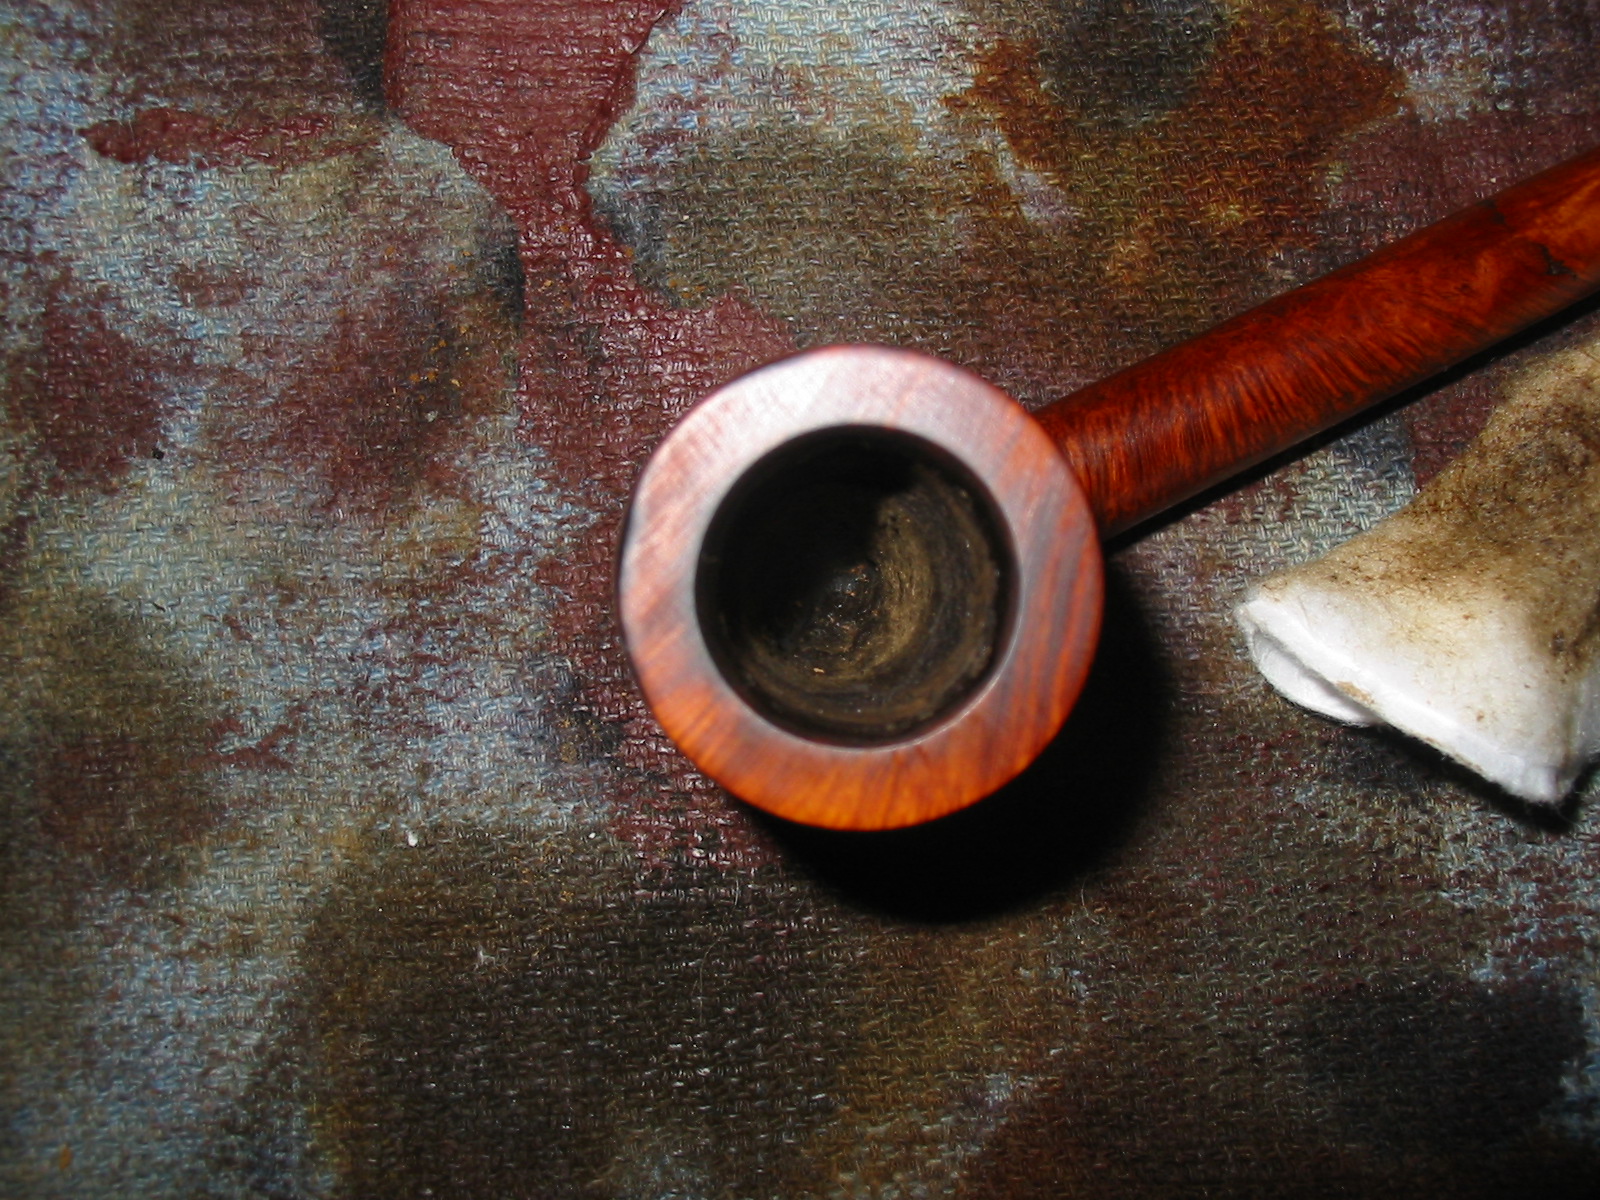
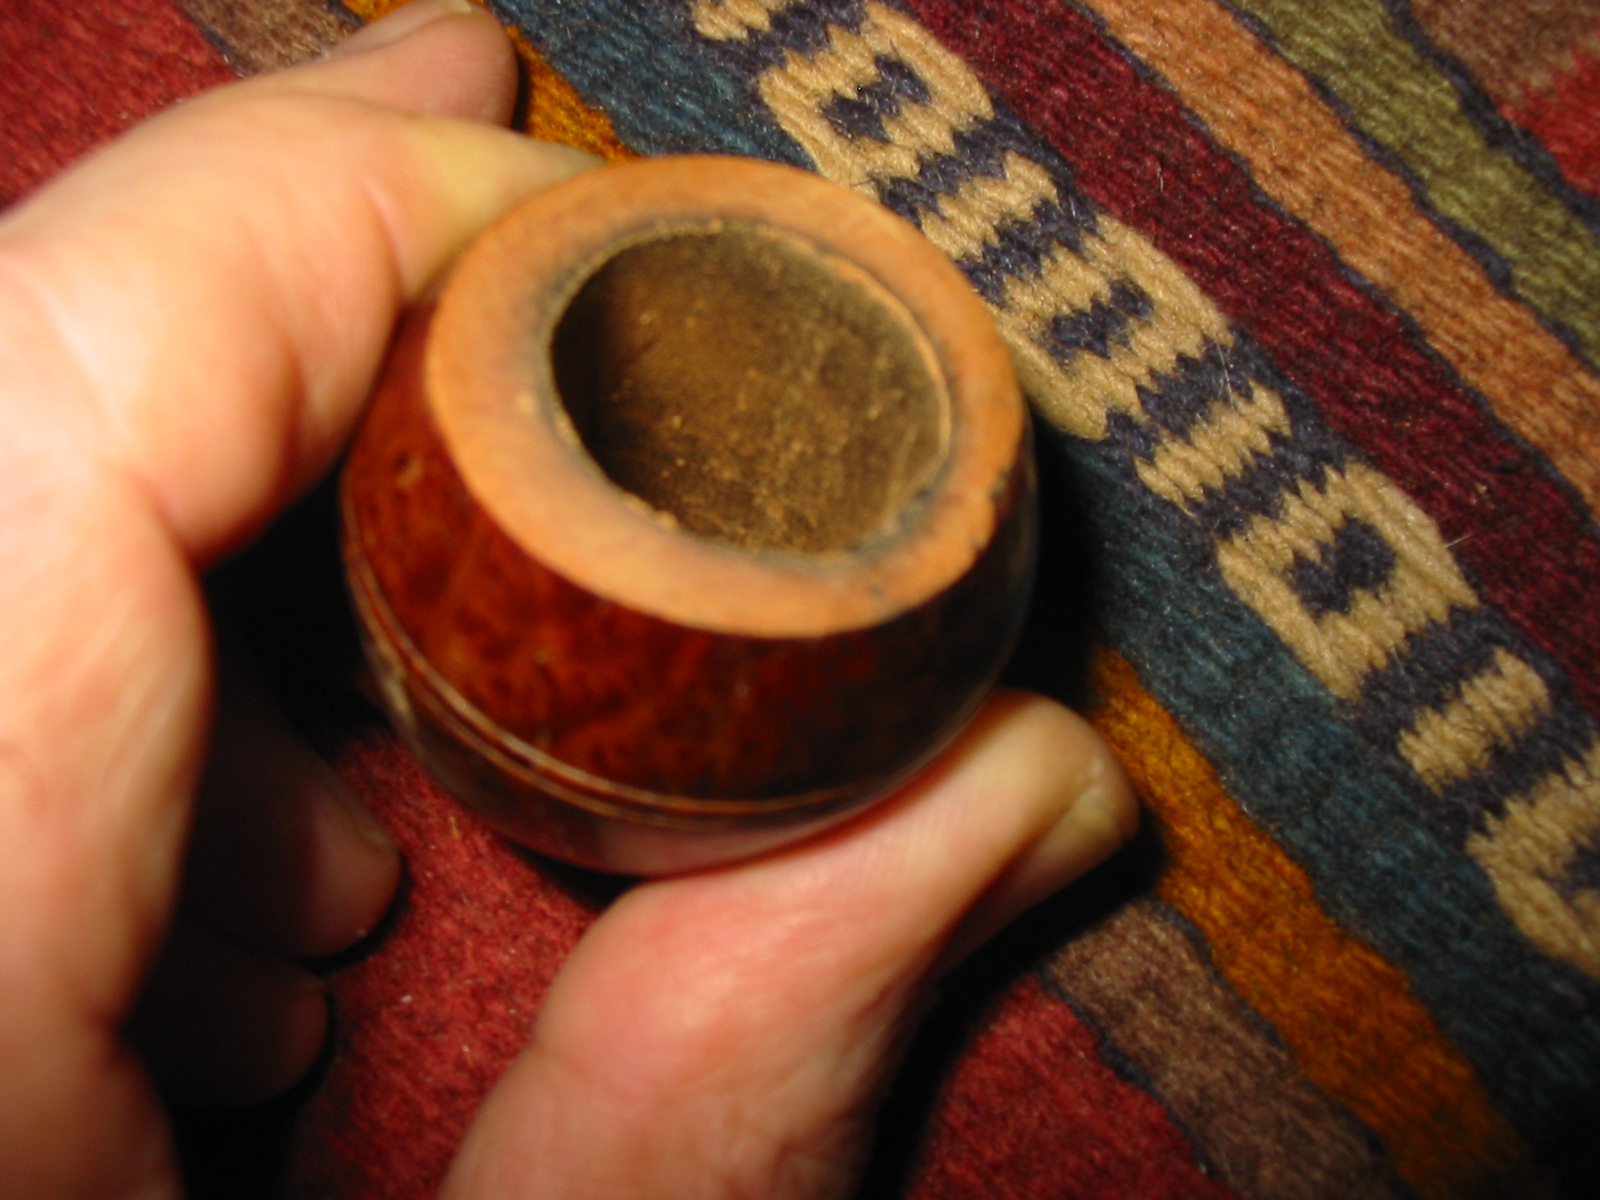
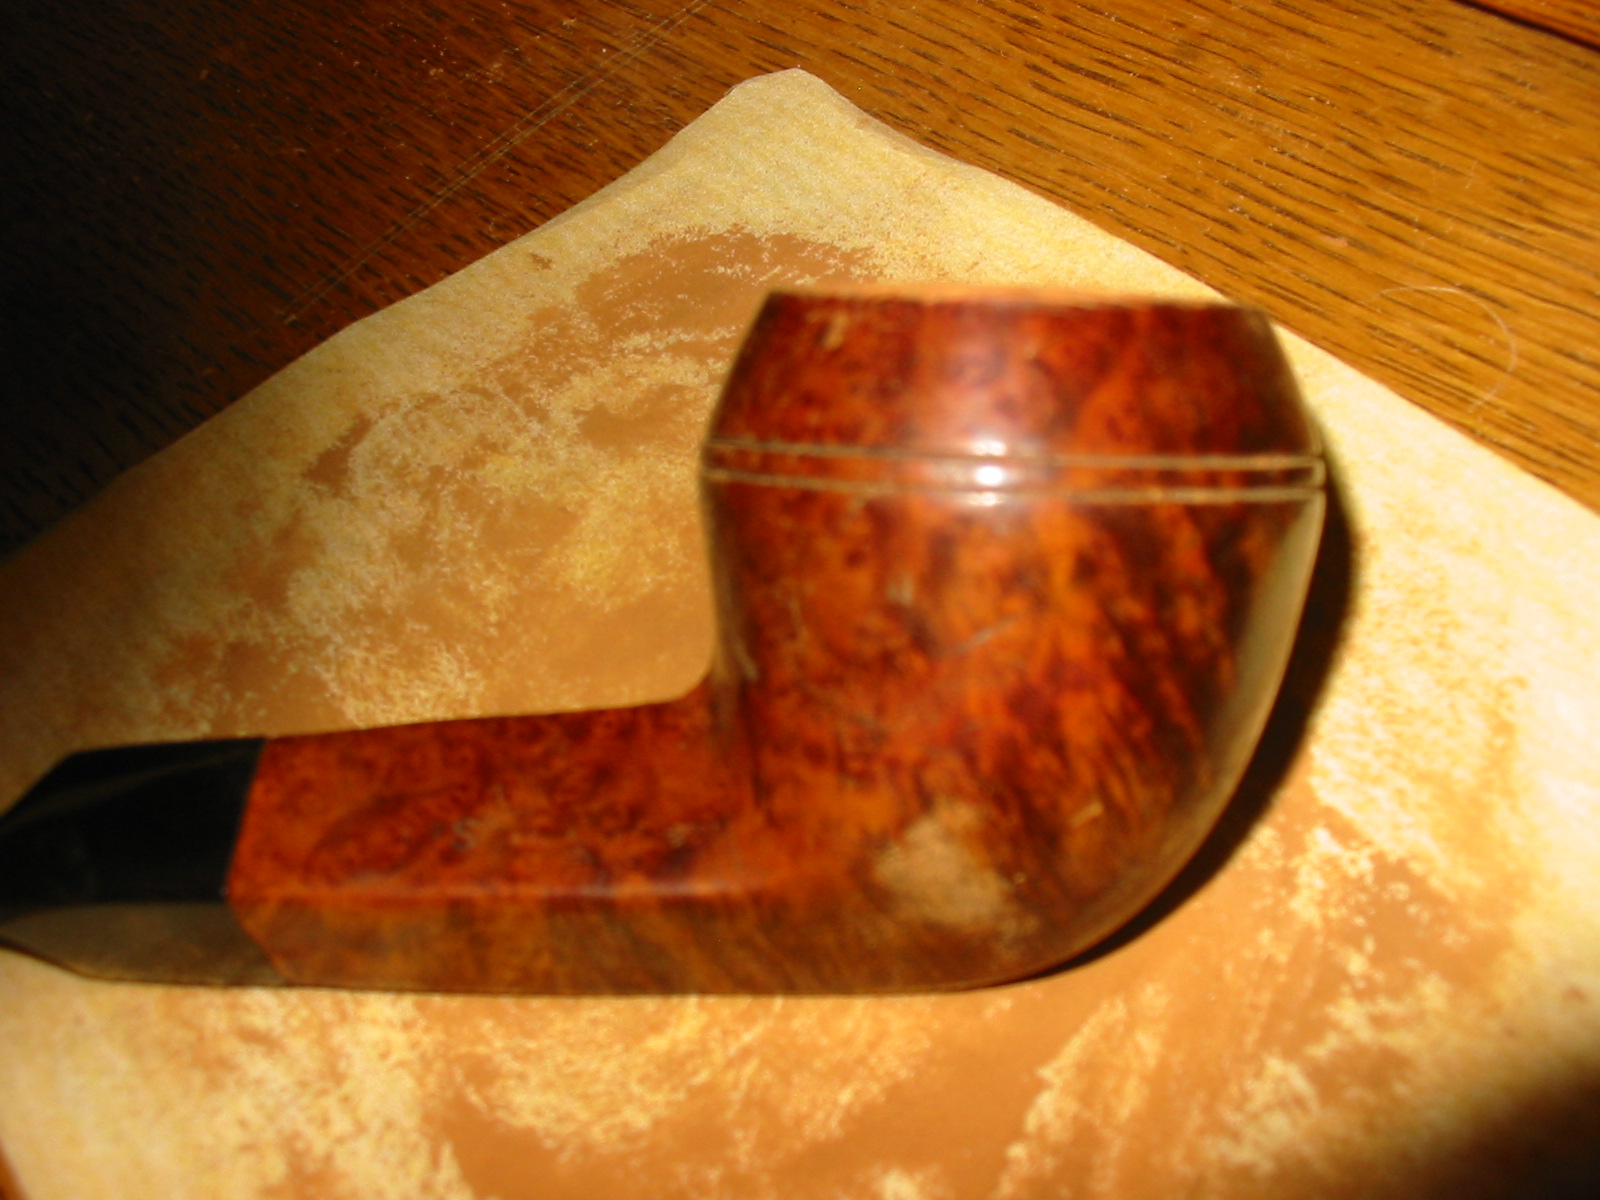
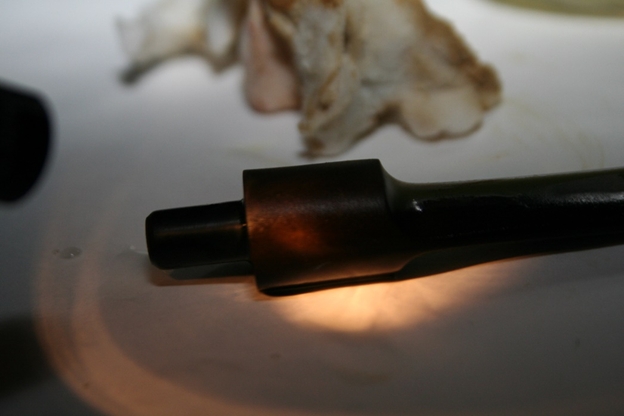 Oxidation was everywhere, and under an angled flashlight I could see it through the length of the stem. Ok, then I knew I had to sand. But first to address the bite marks. Step one was to try the heat gun, as I learned first here.
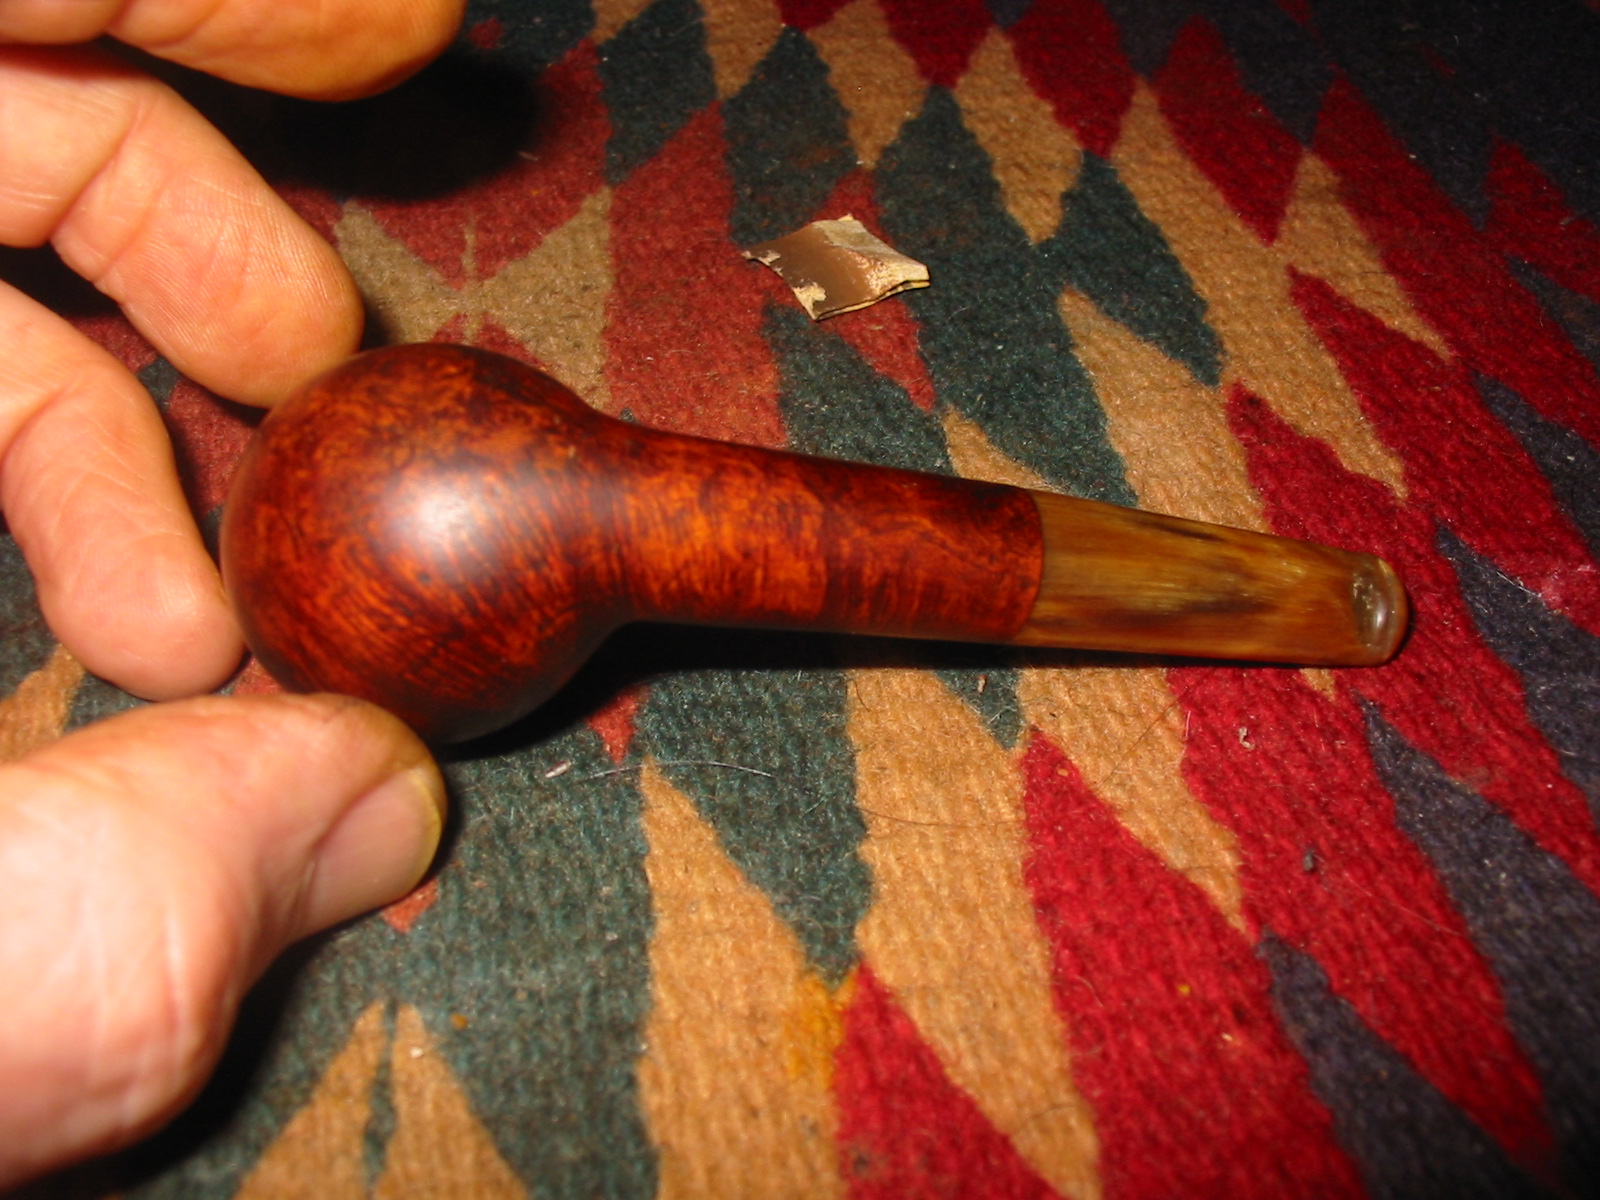
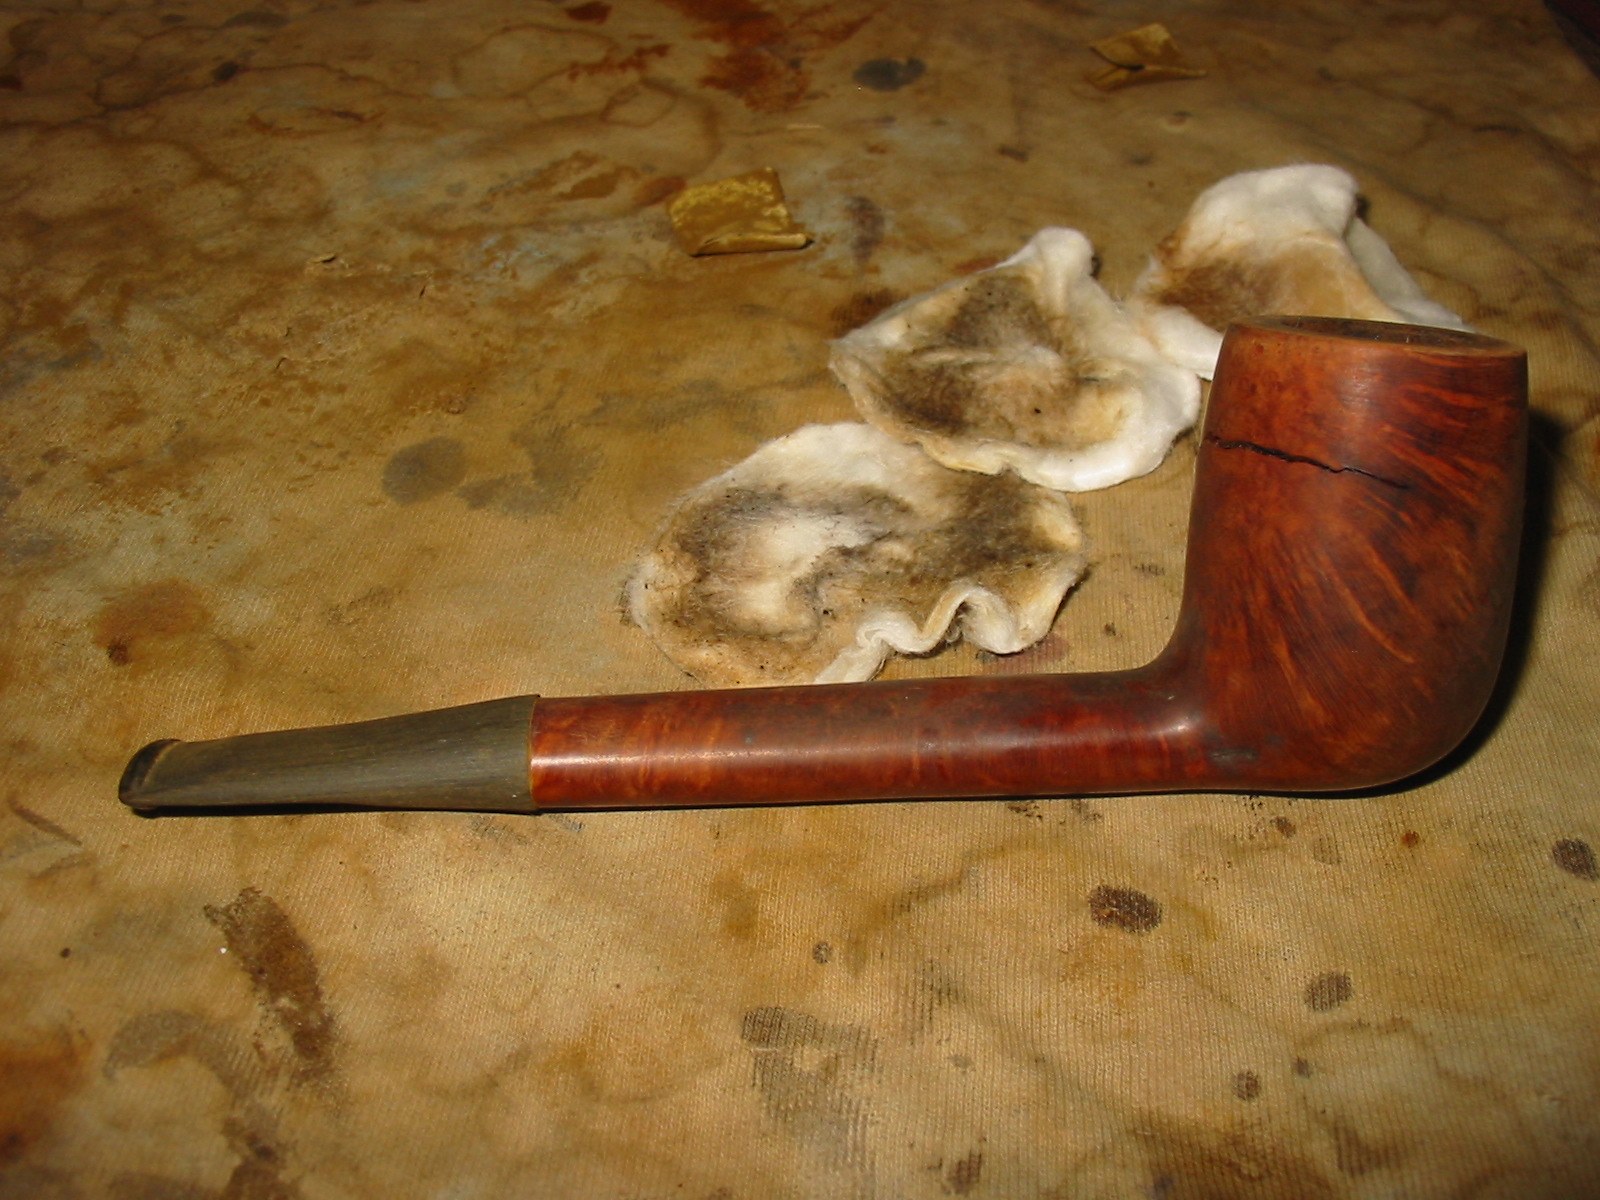
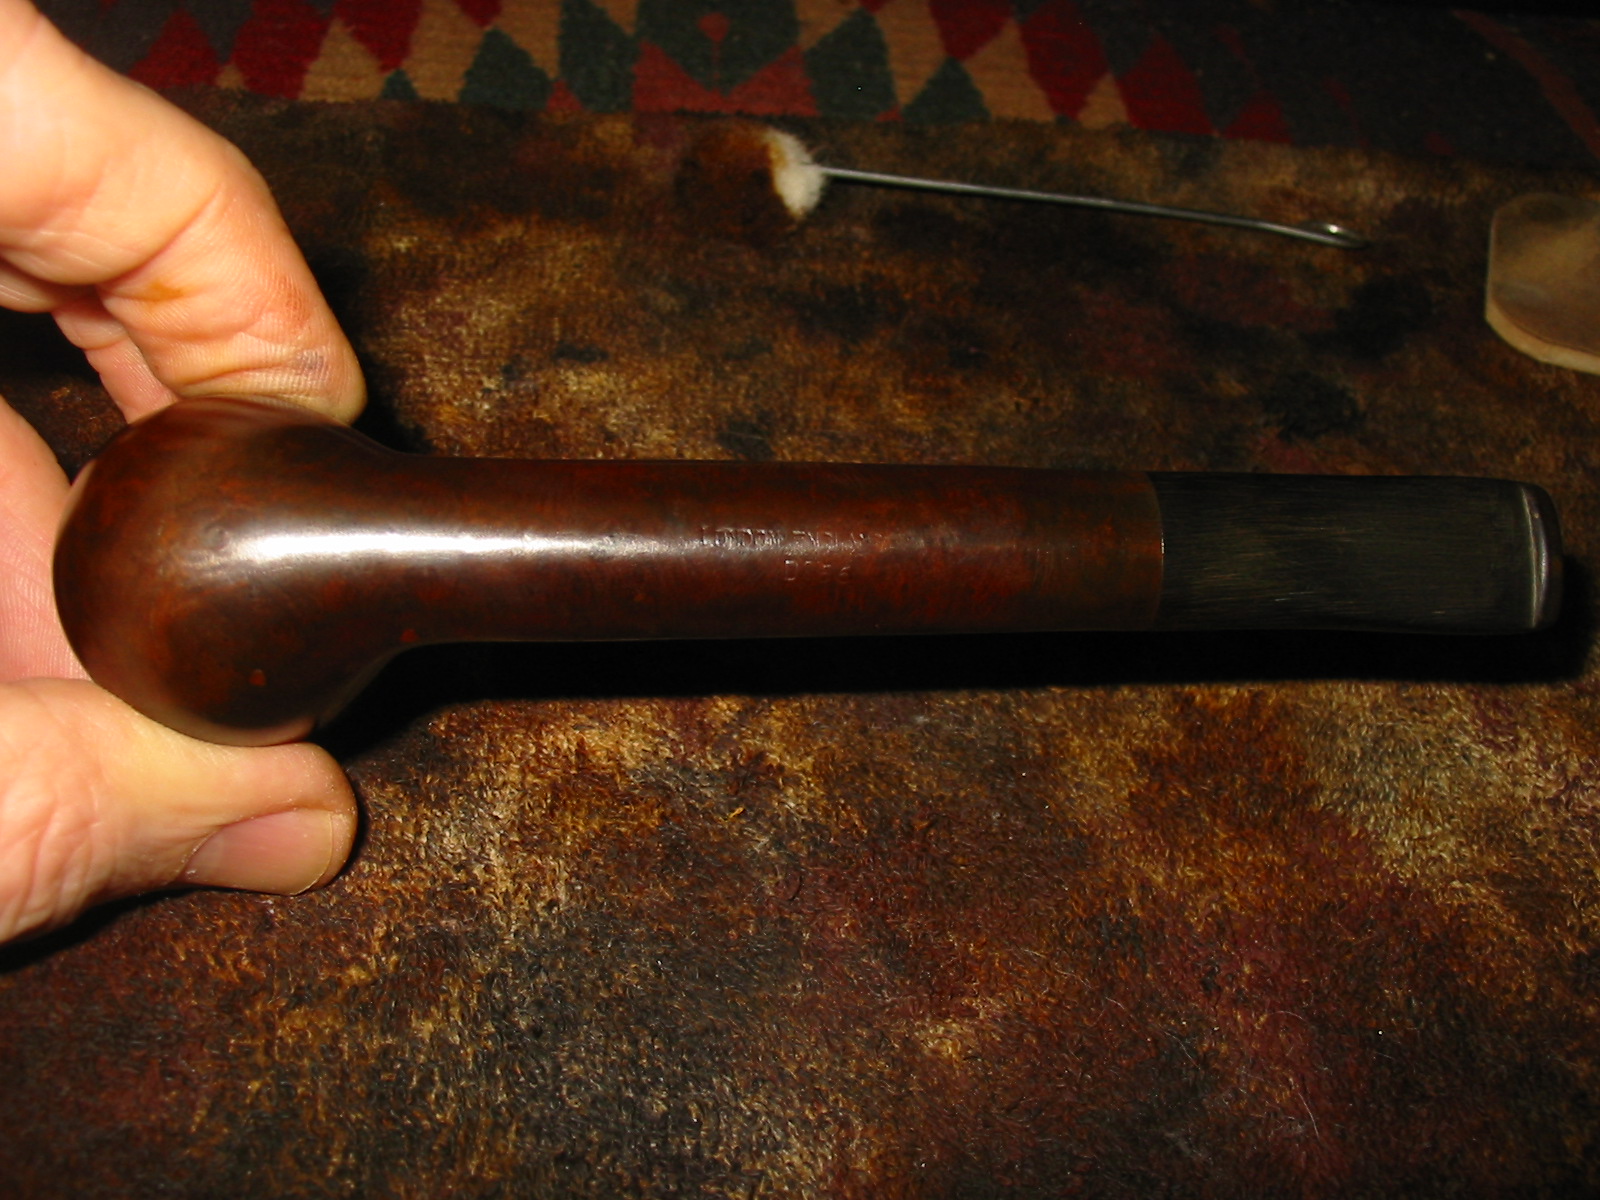
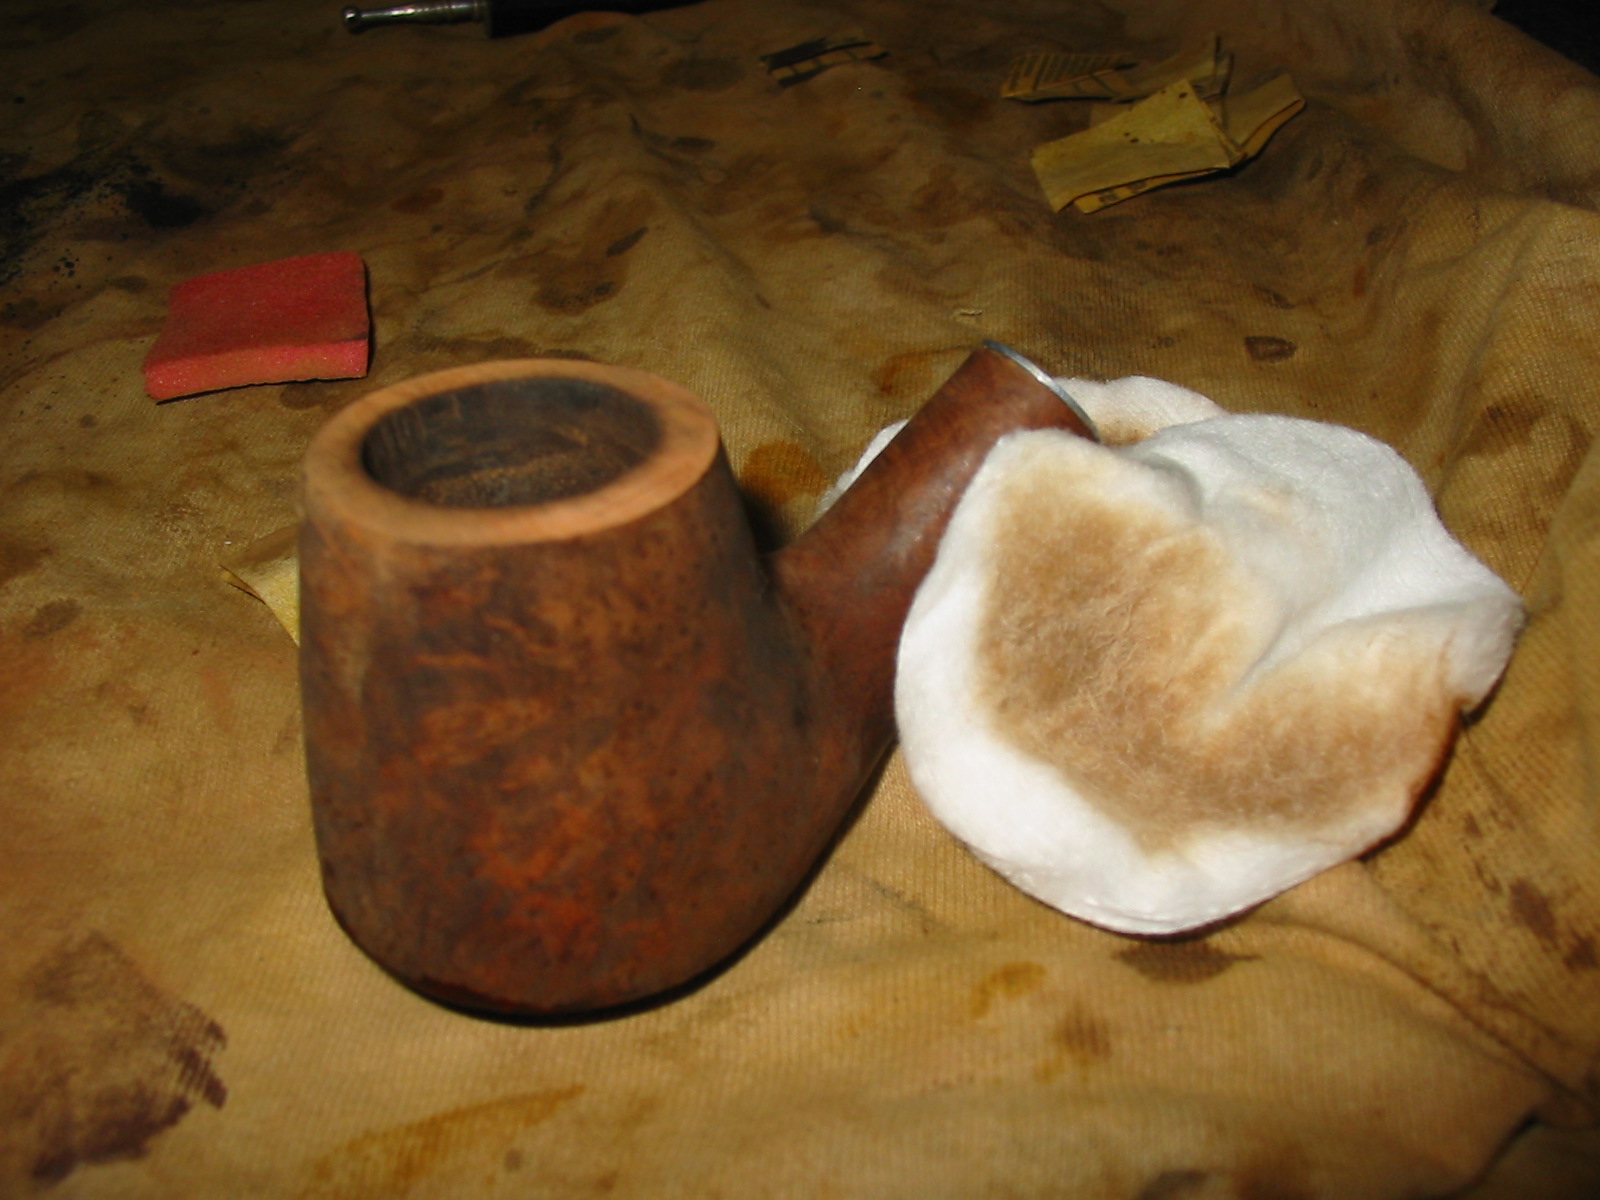
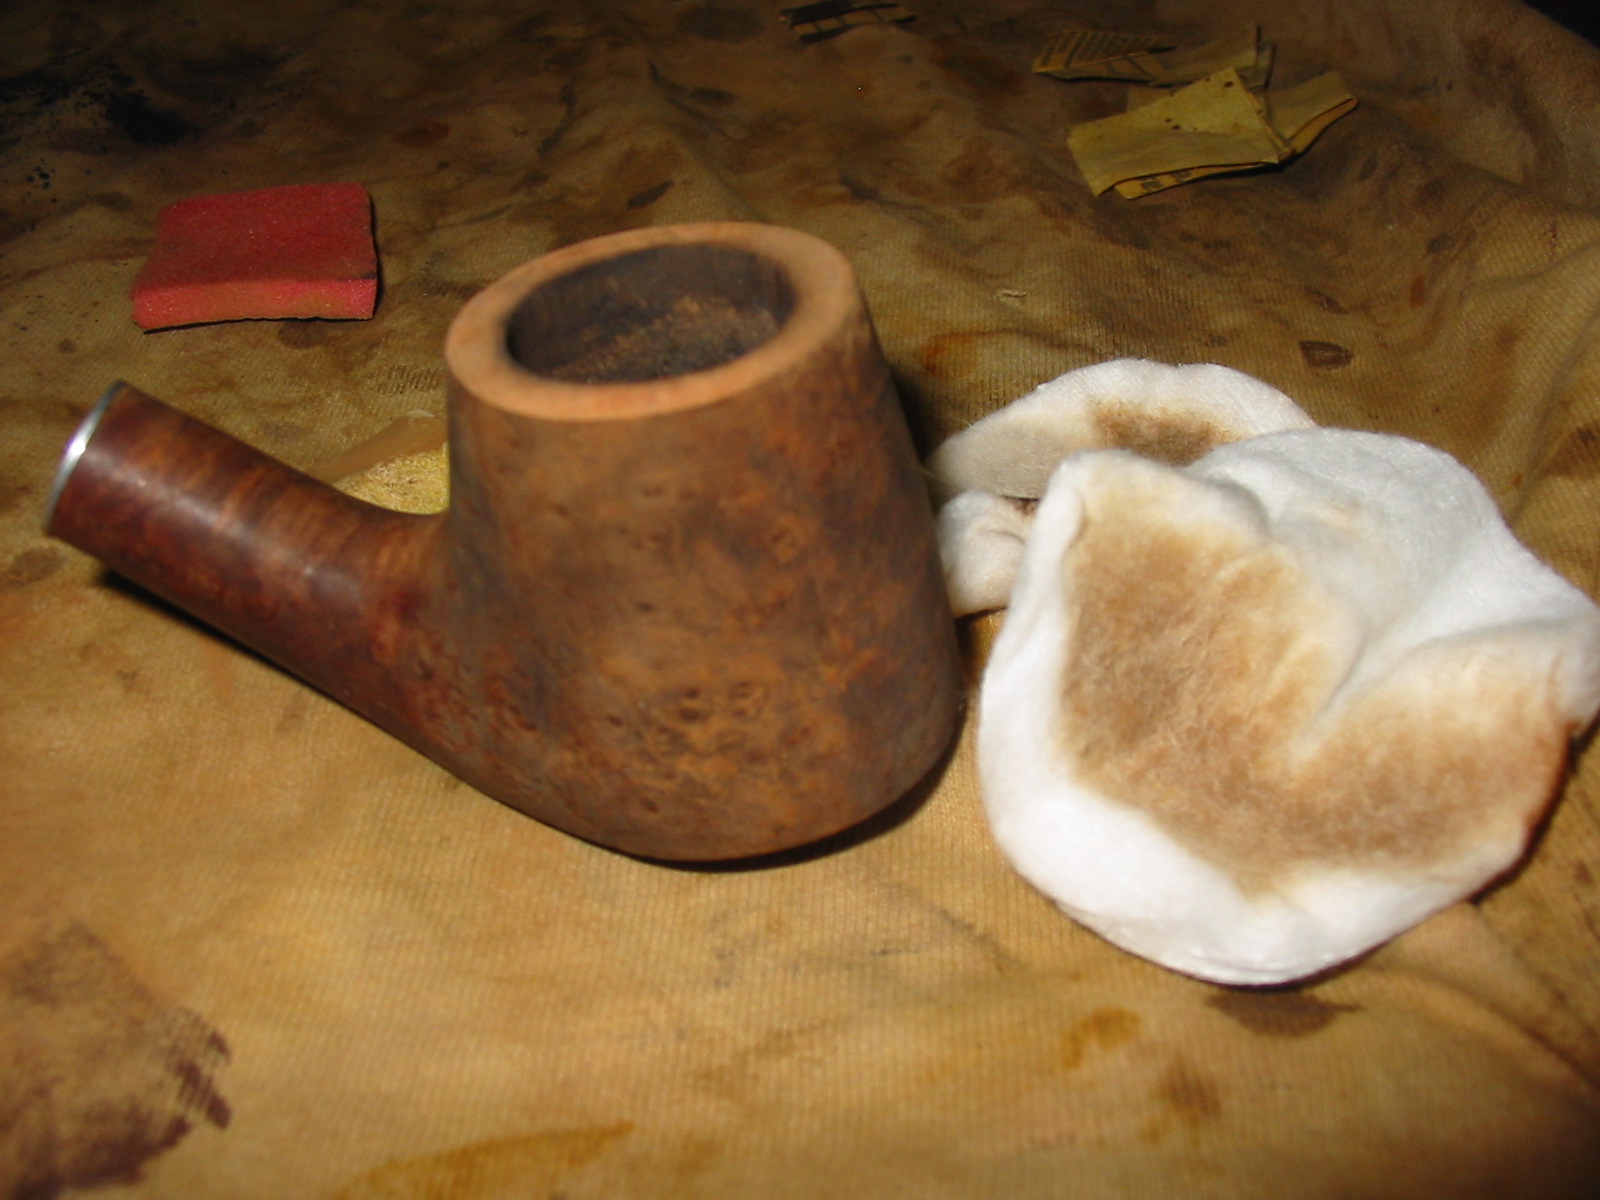
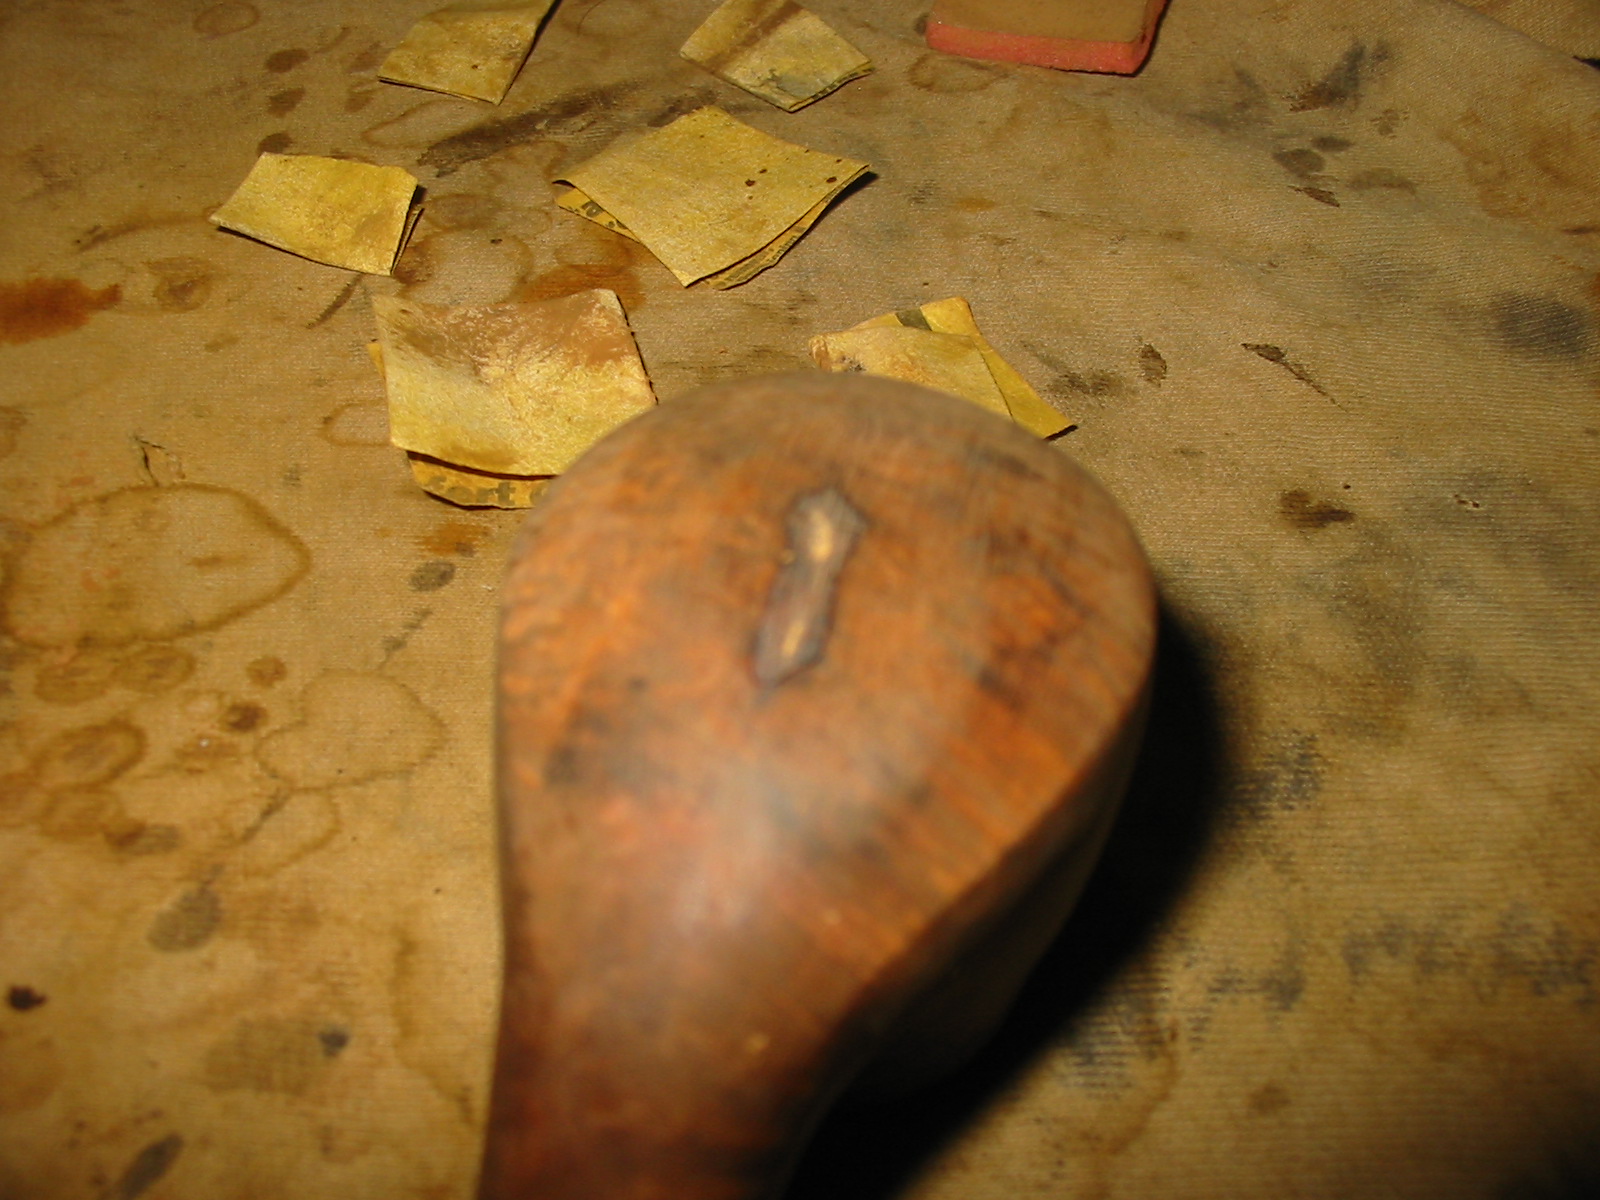
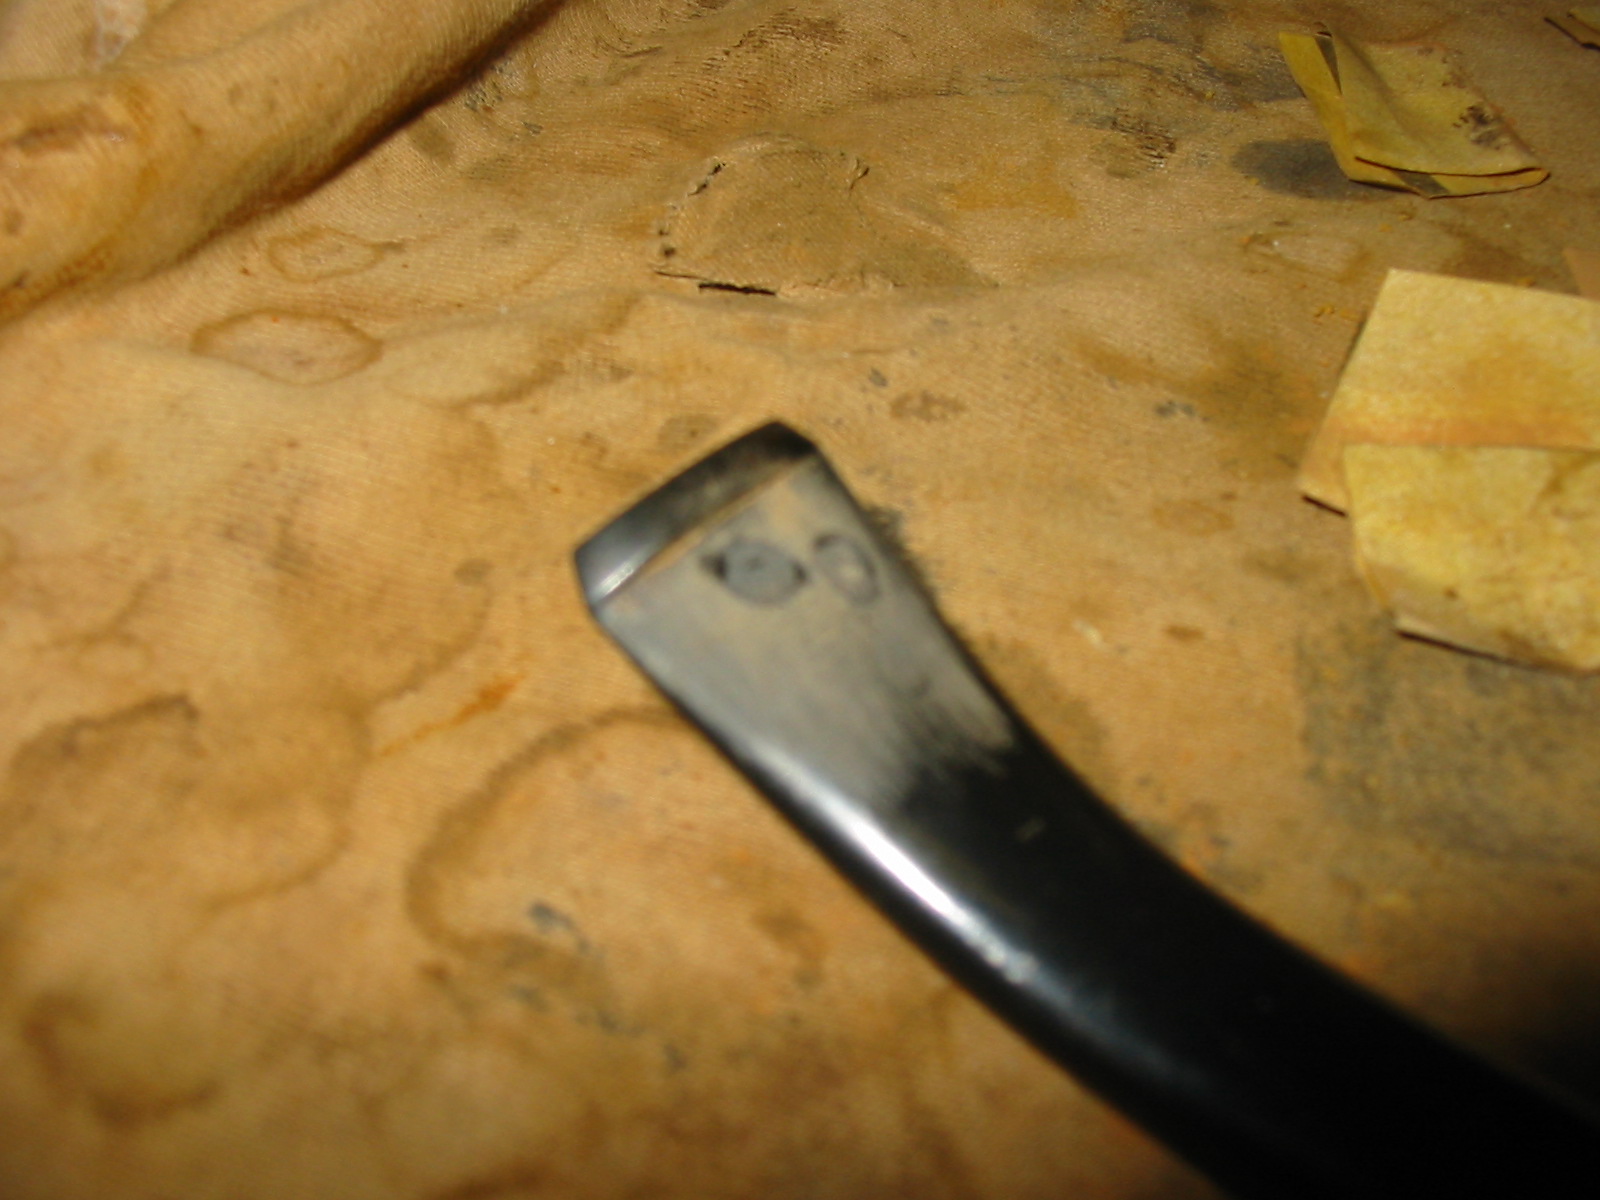
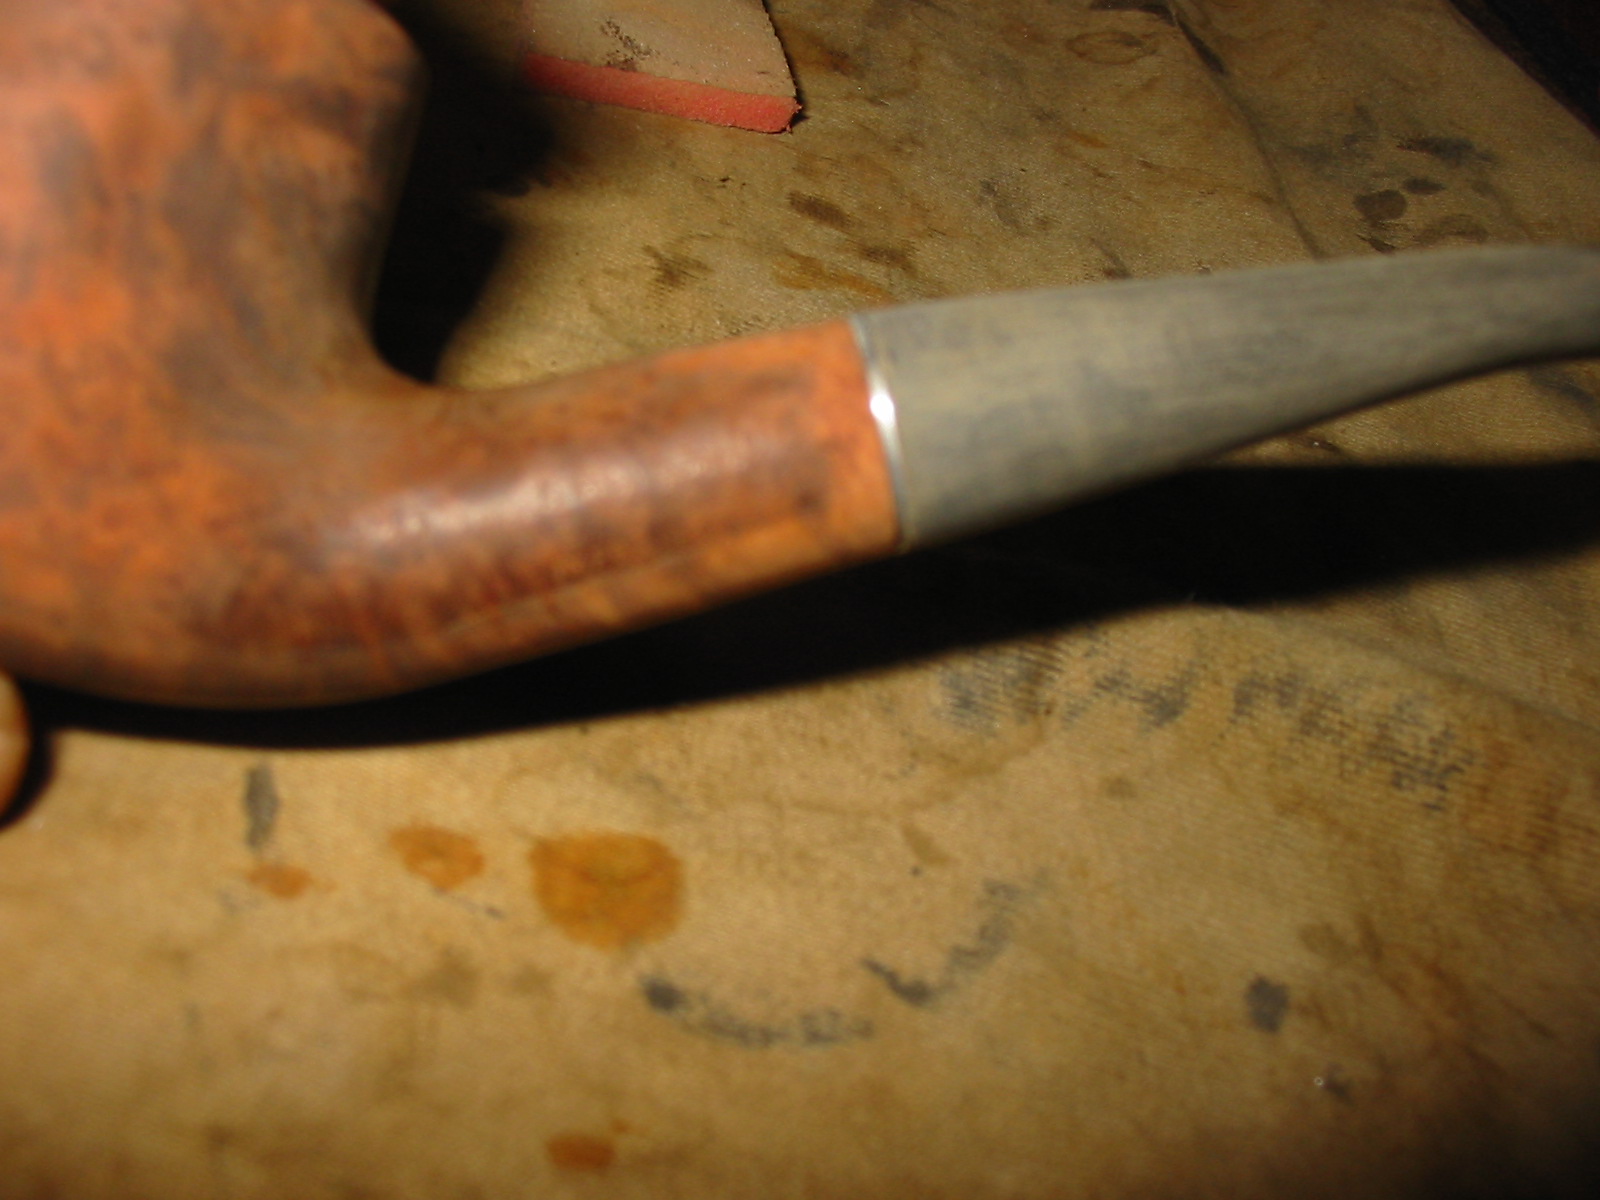
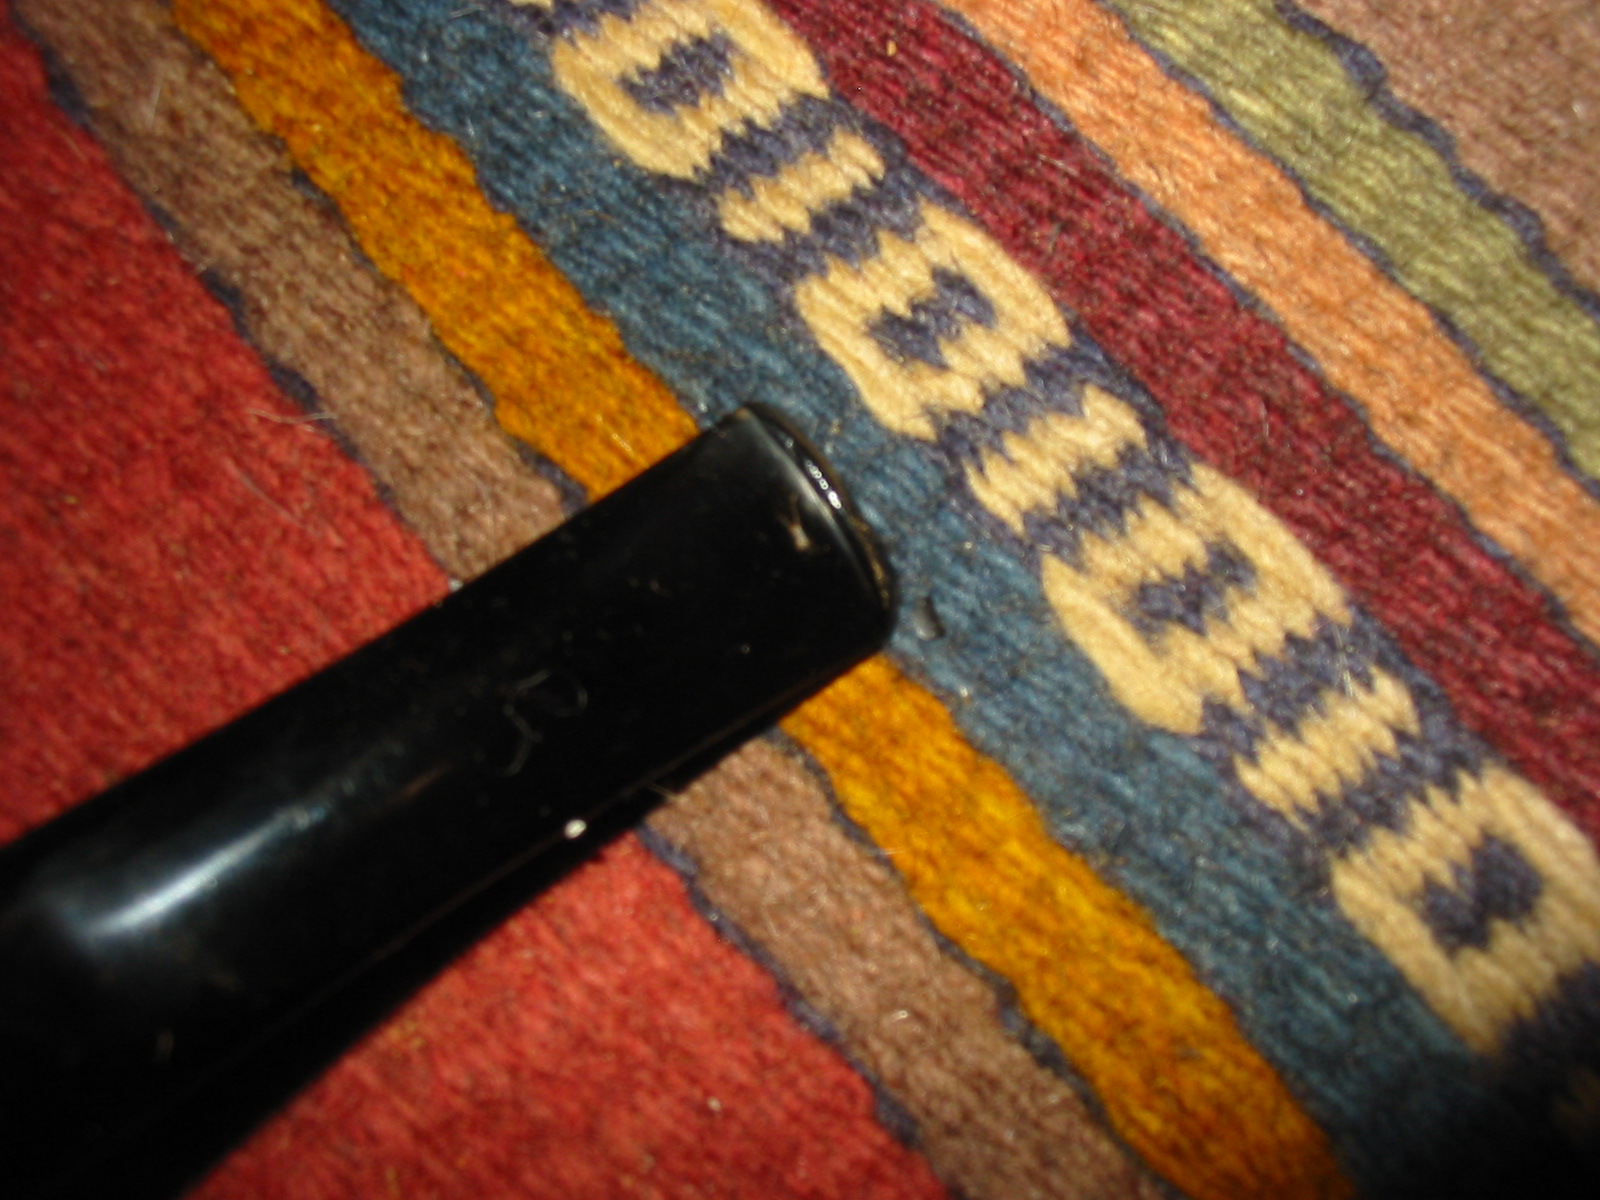
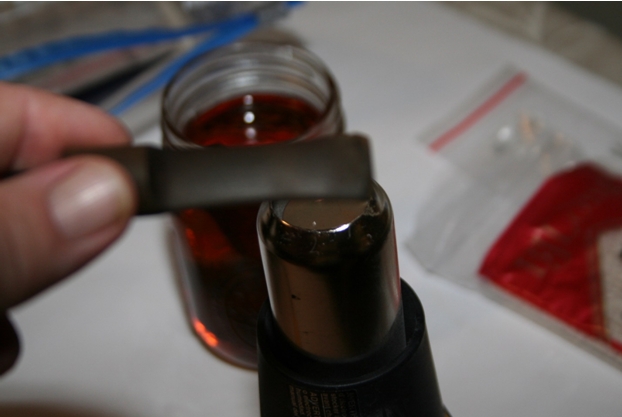 Unfortunately the marks were too deep to come out completely from the heat, so I filled them with black superglue, a technique I found an in-depth explanation of, among other places on the site, here. In the meantime I turned to the stummel itself while the glue was drying.
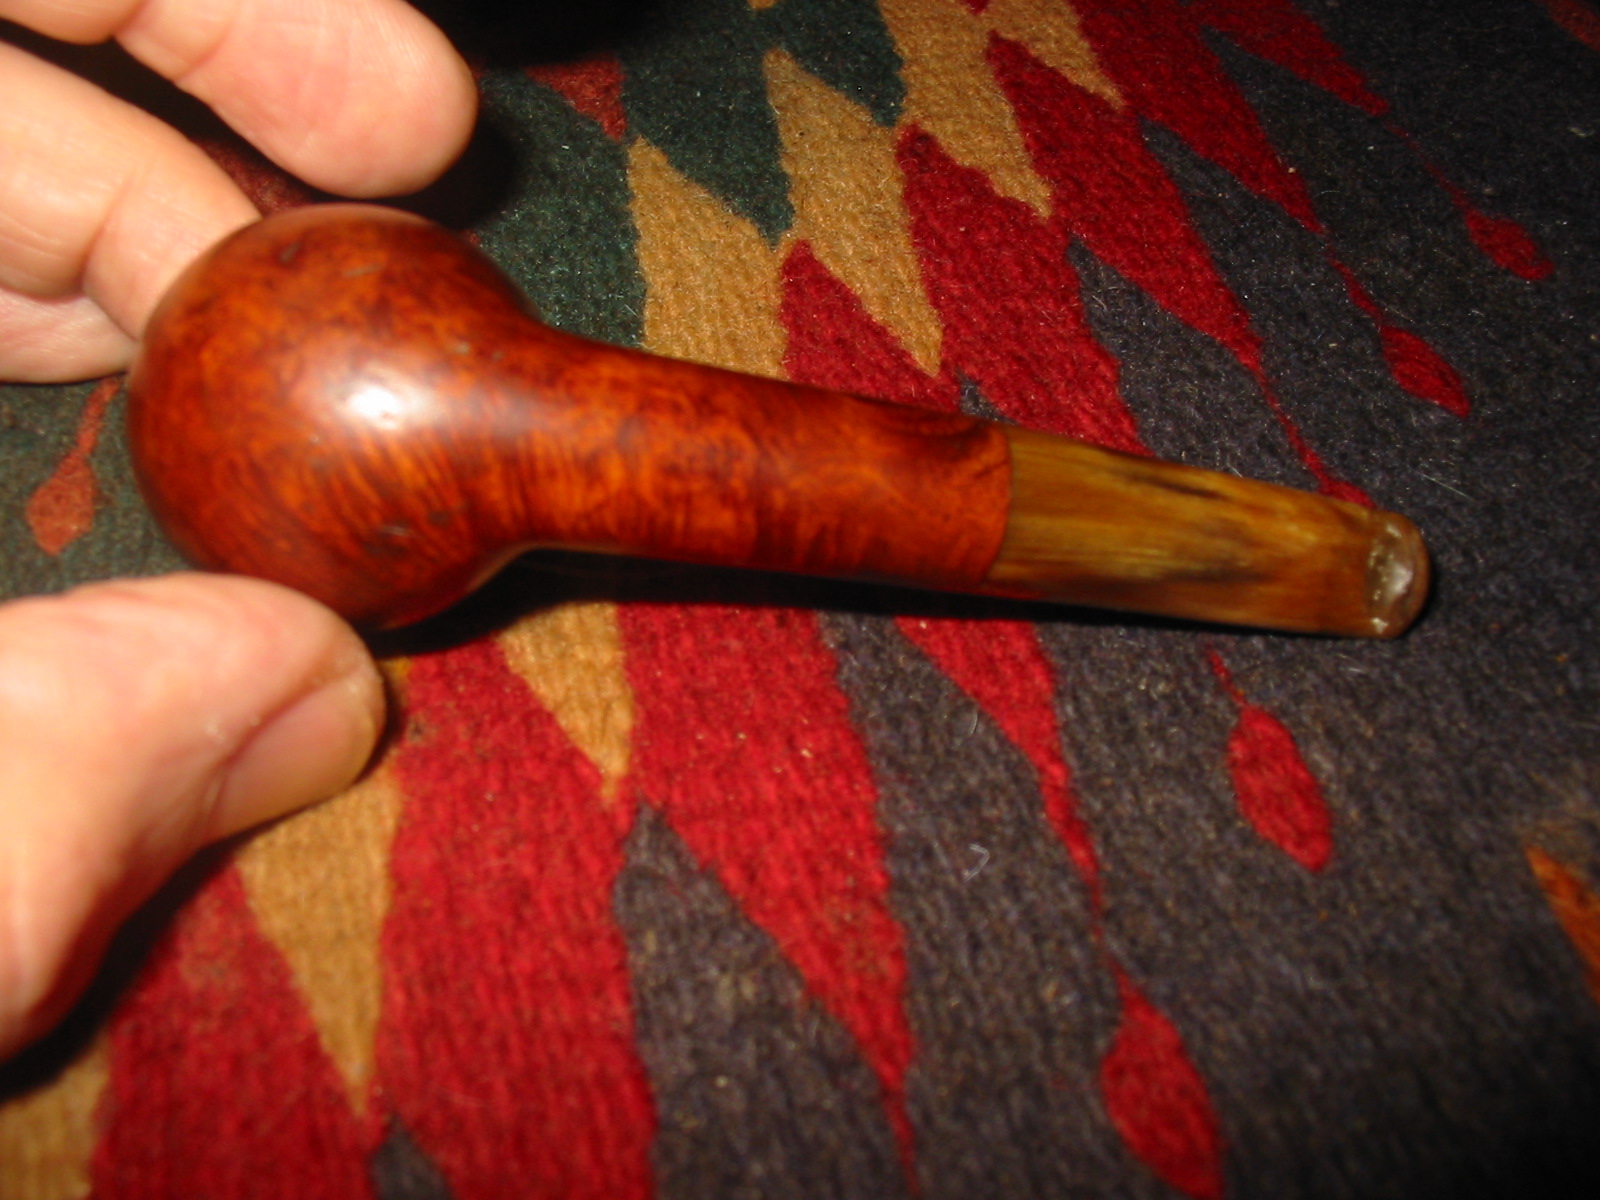
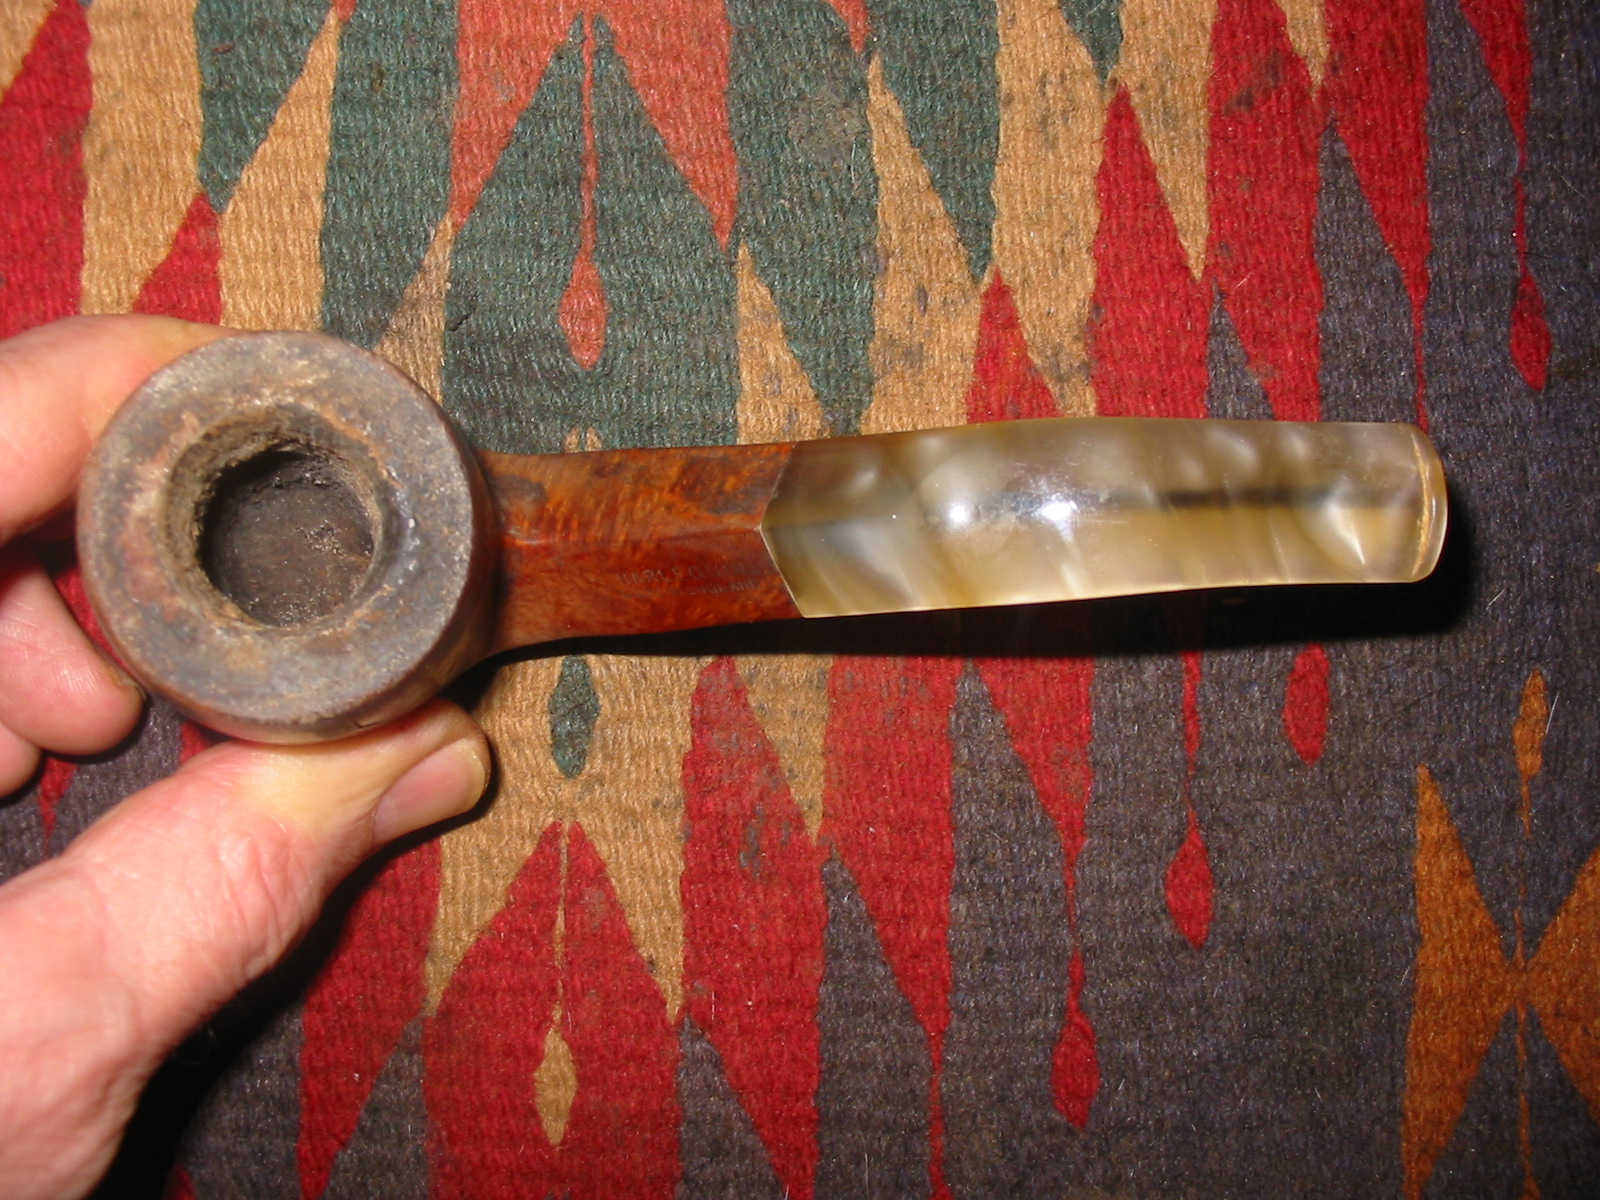
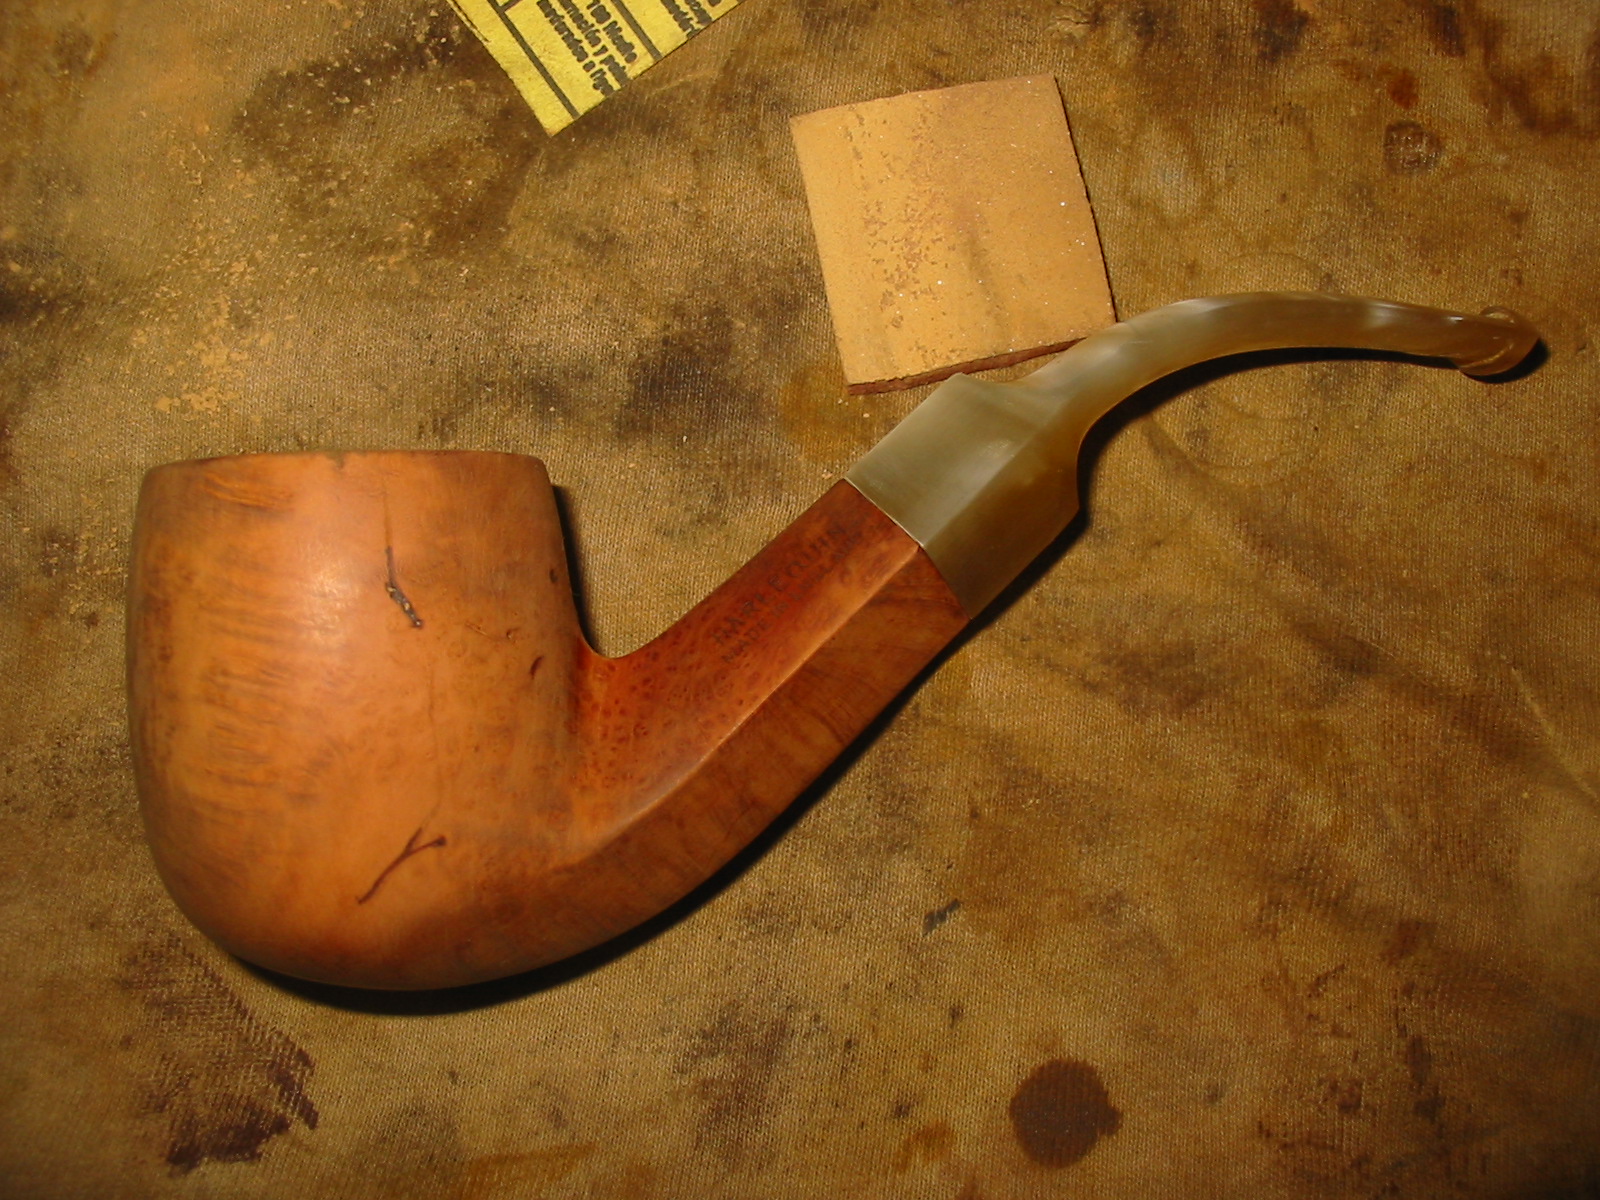
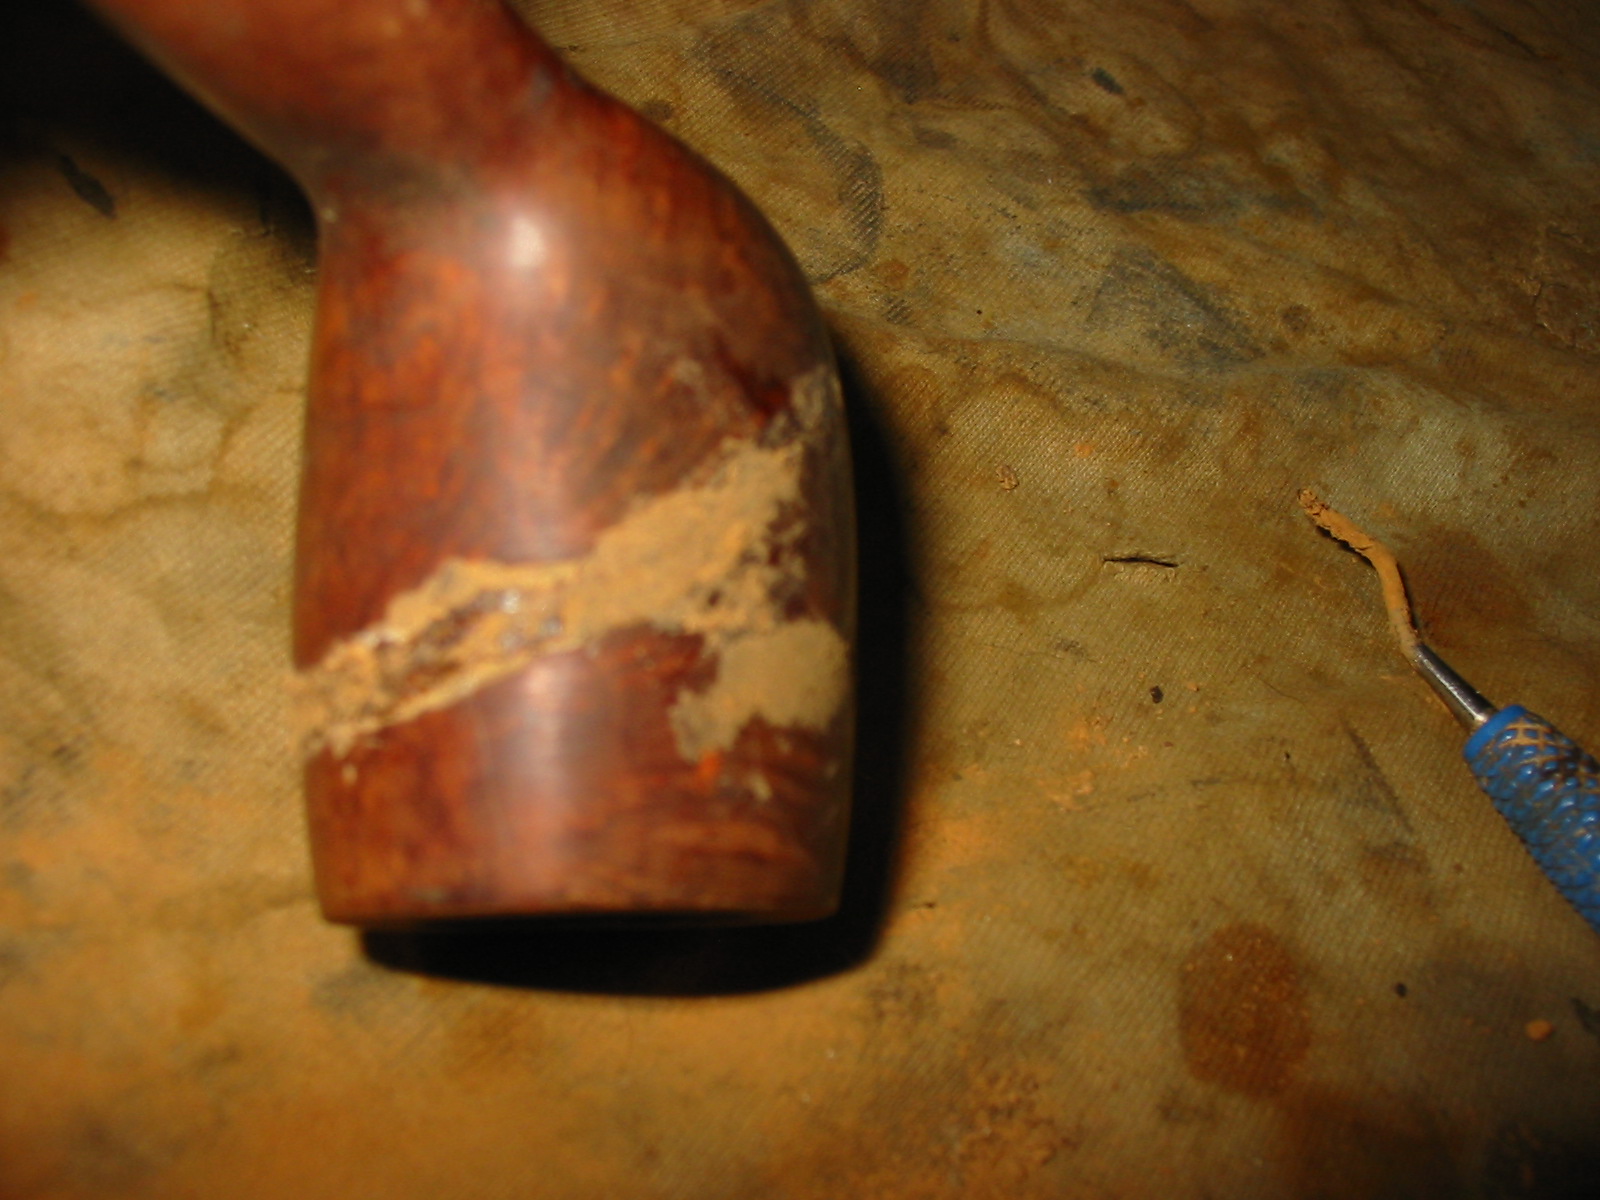
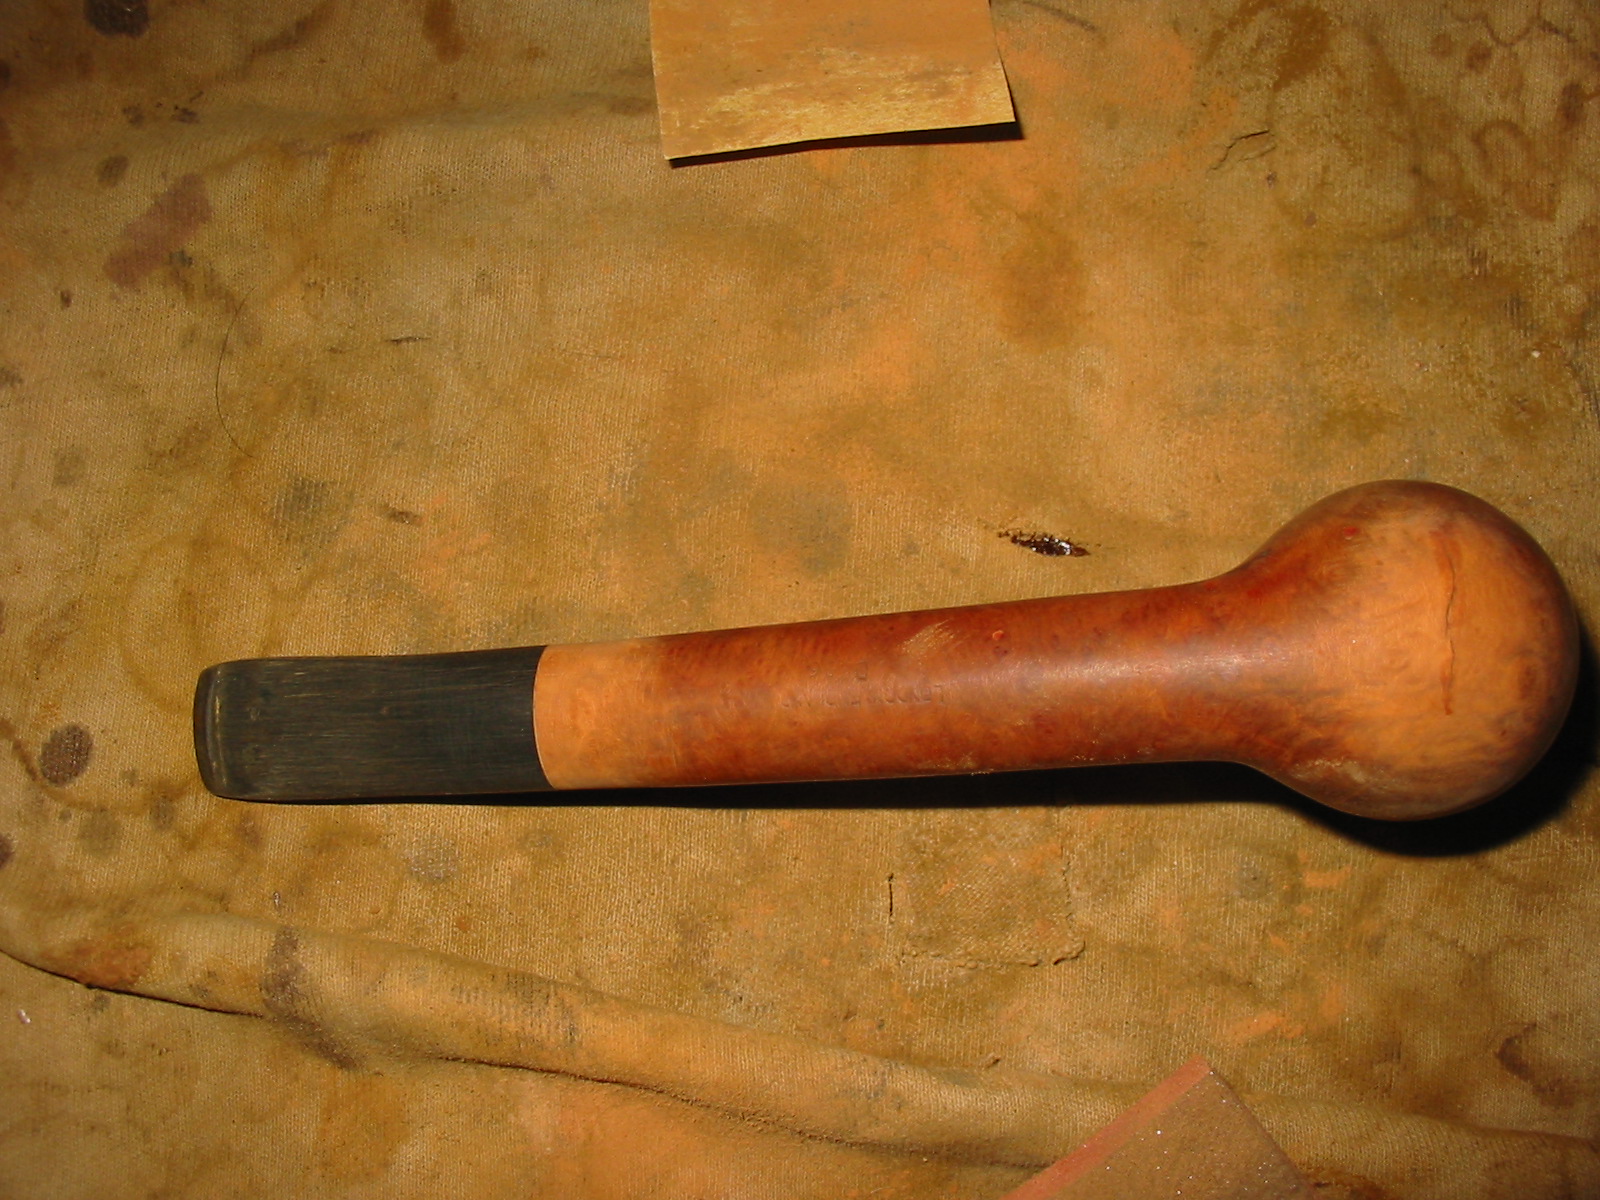
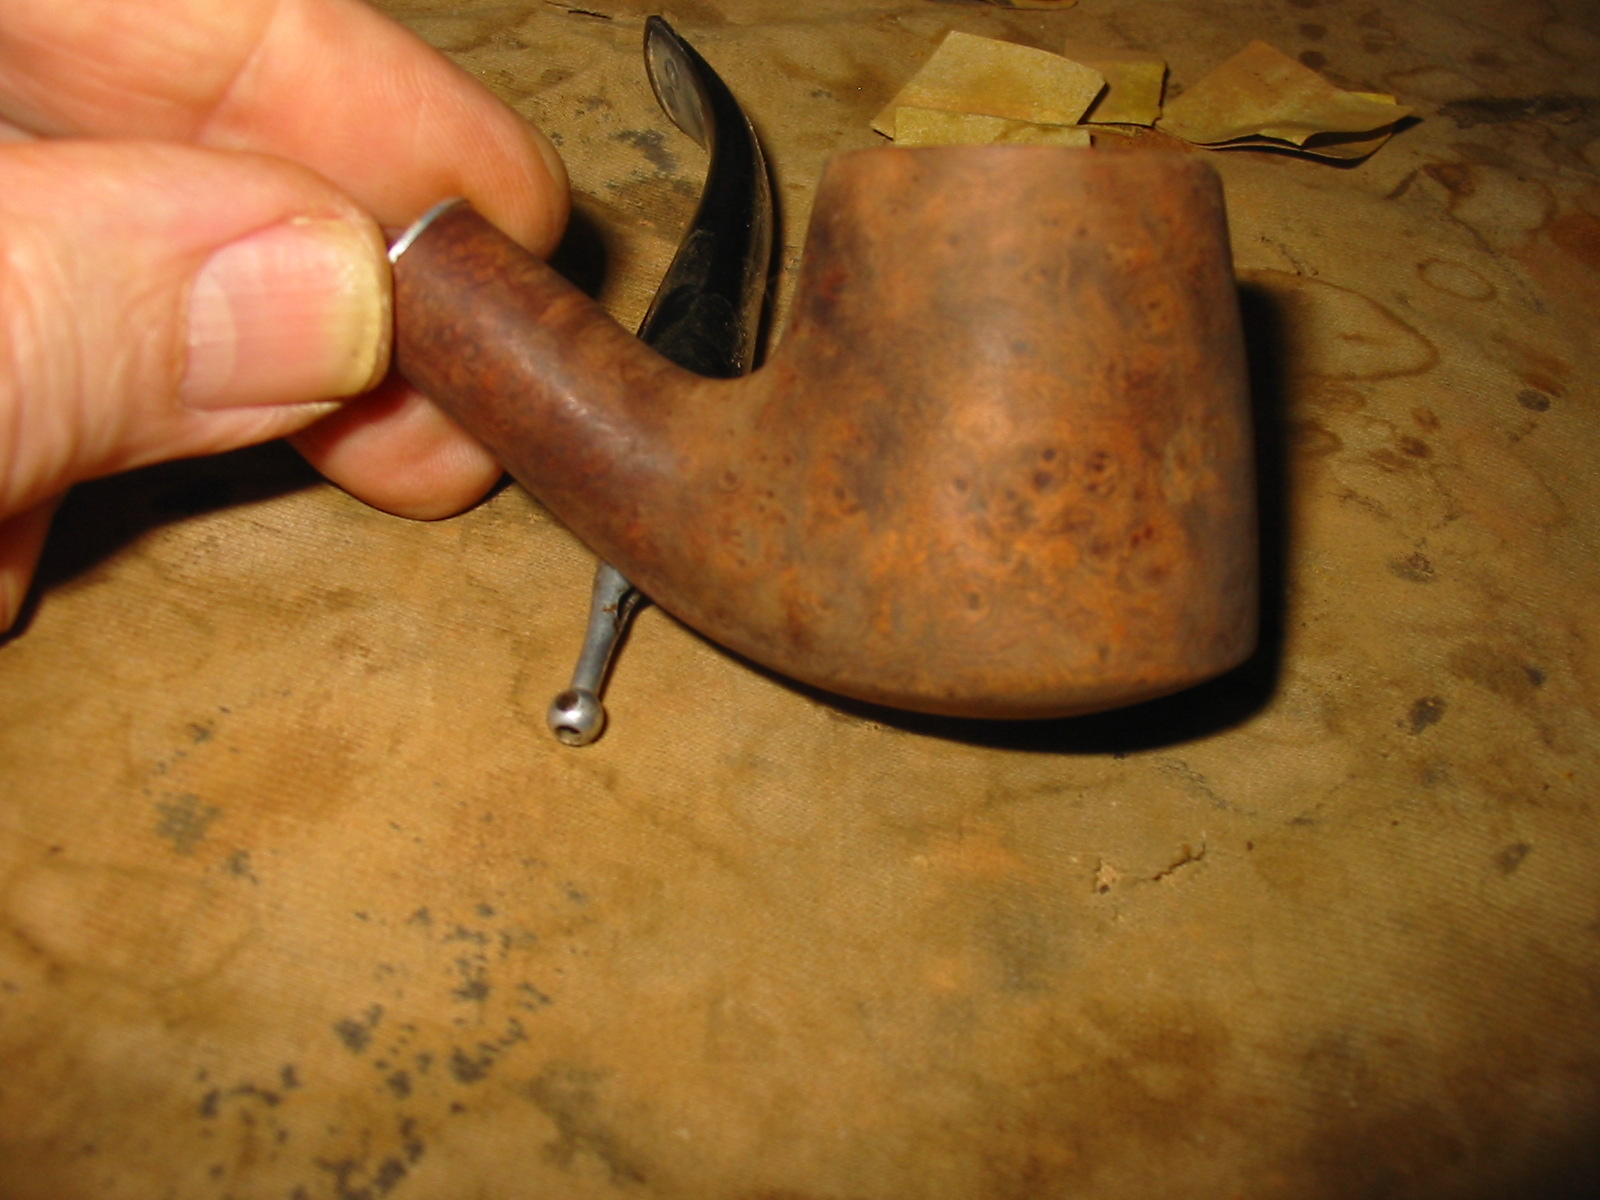
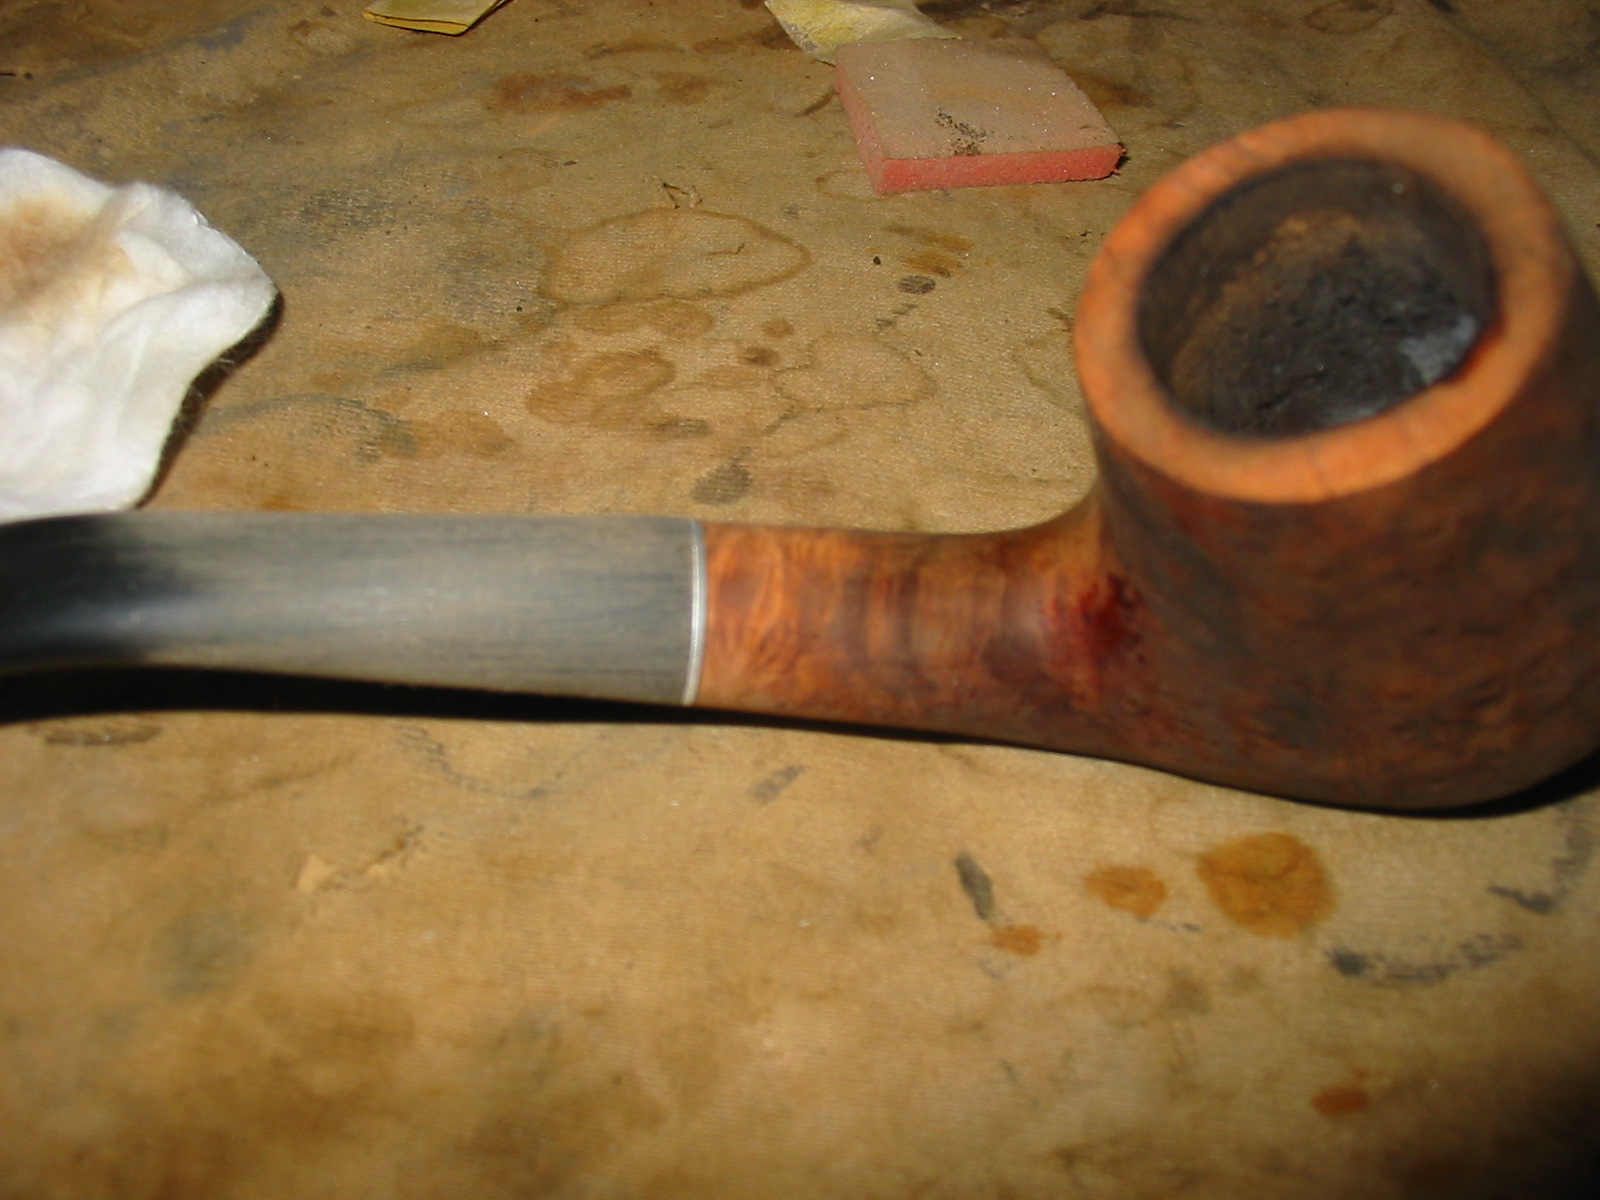
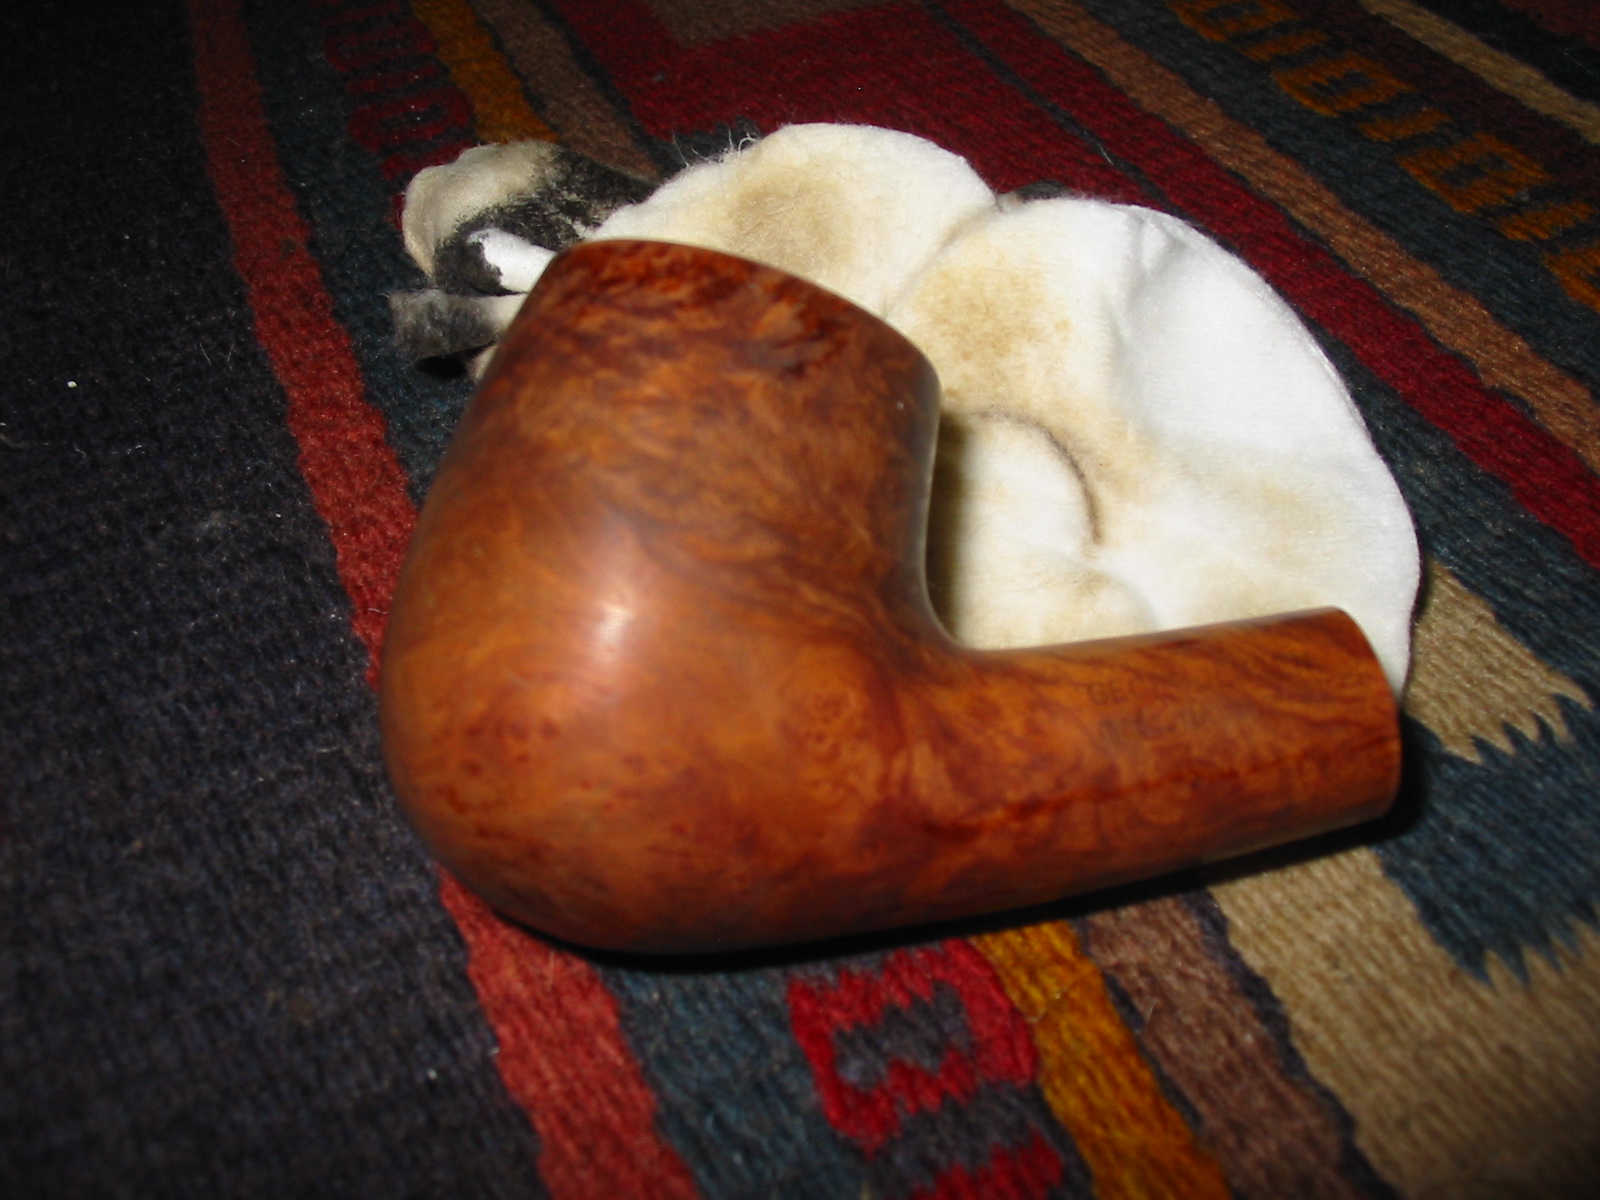
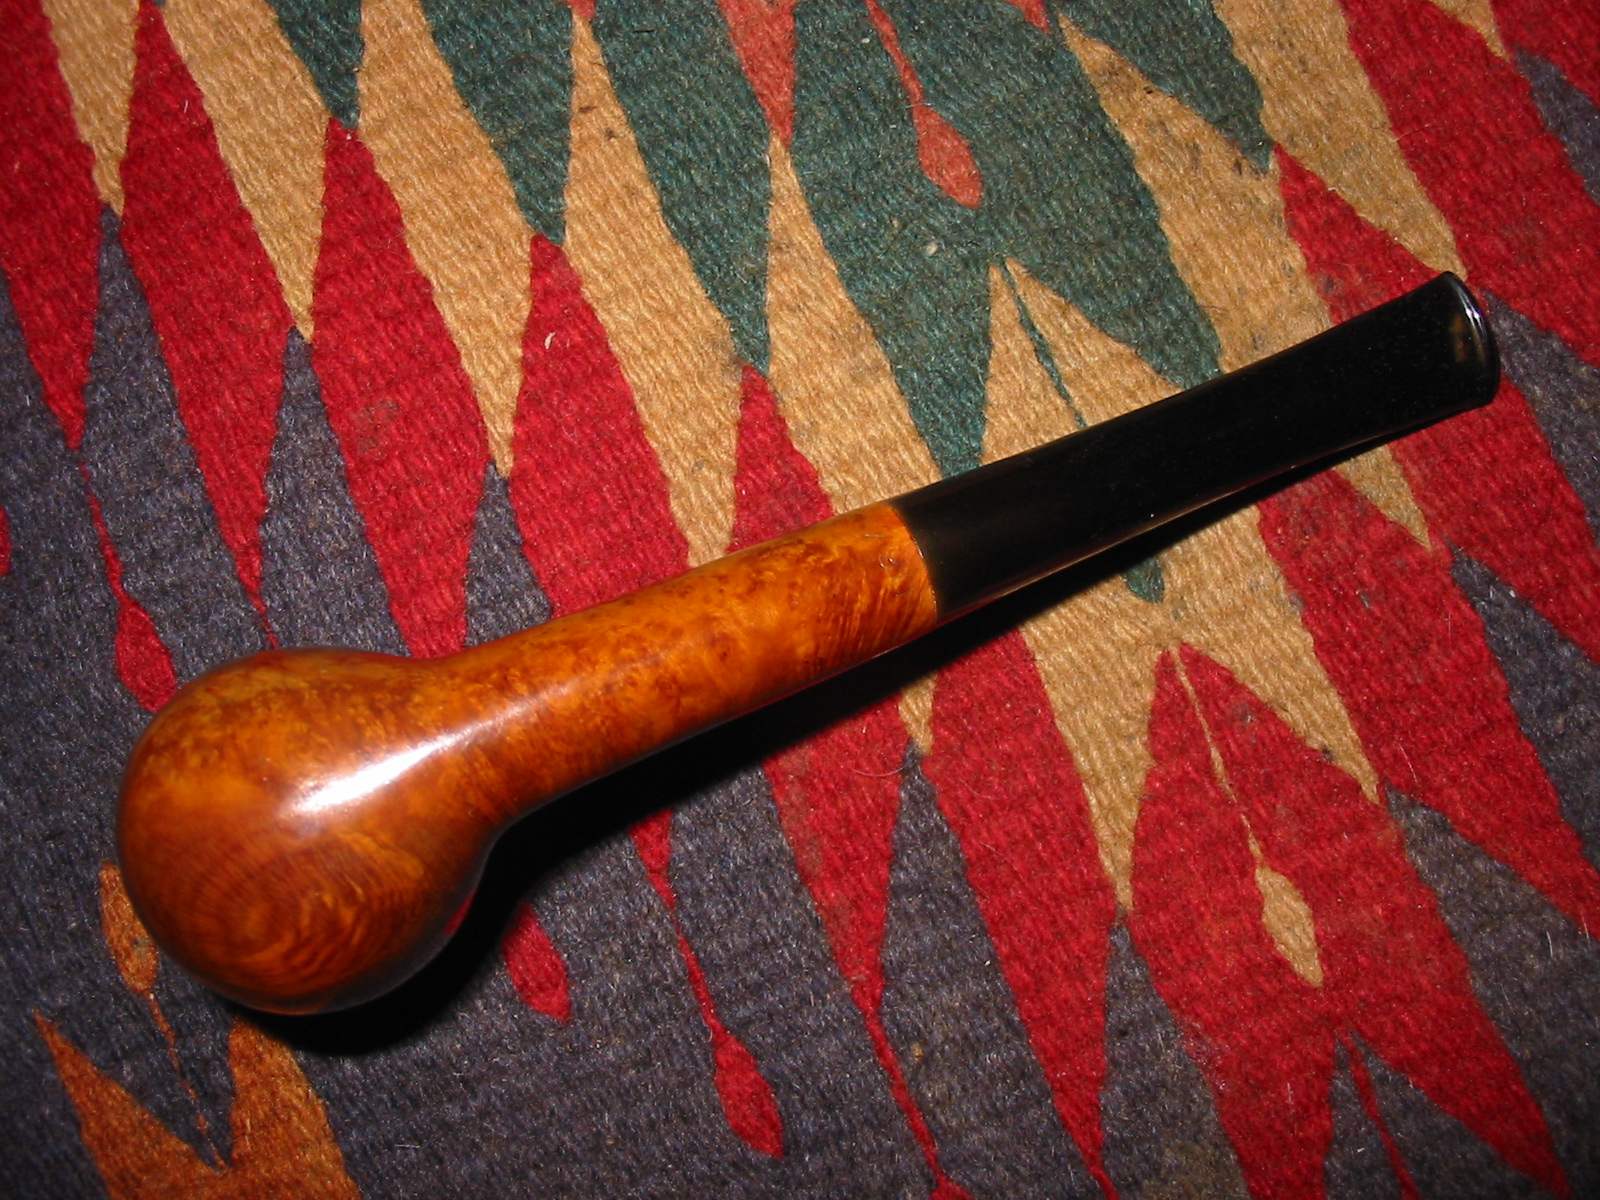
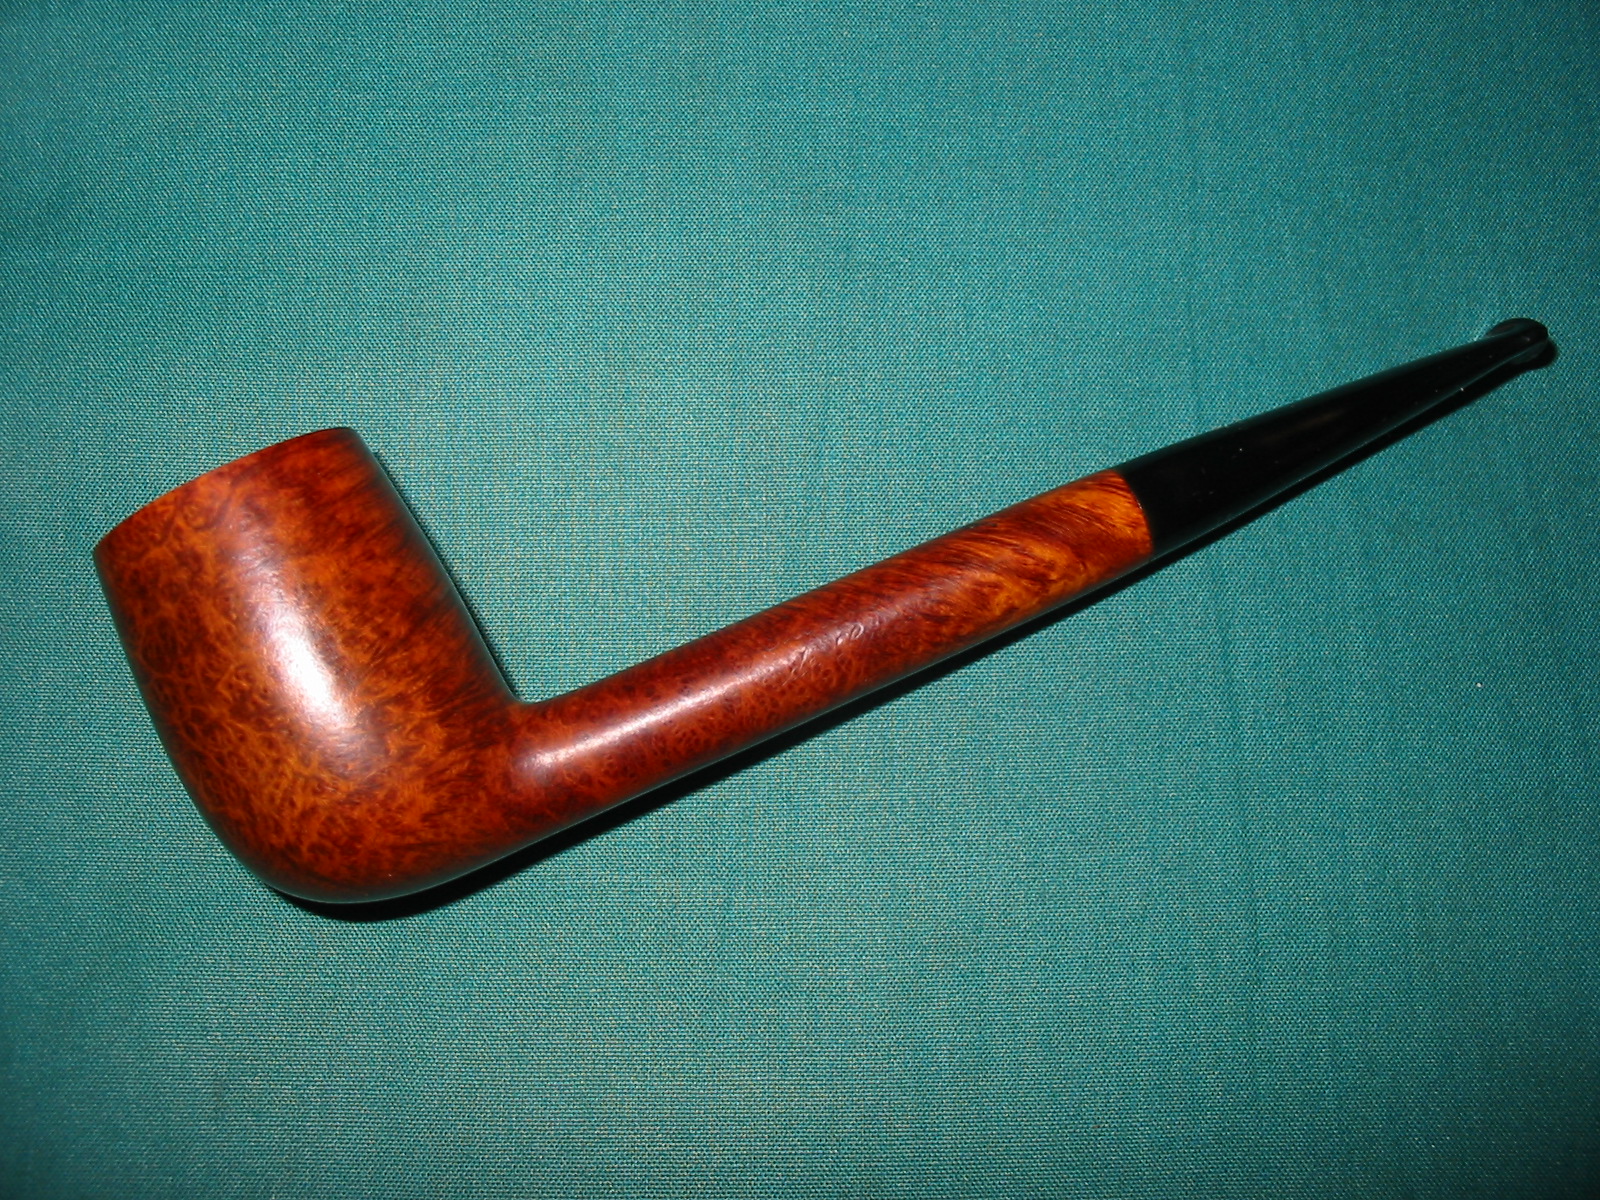
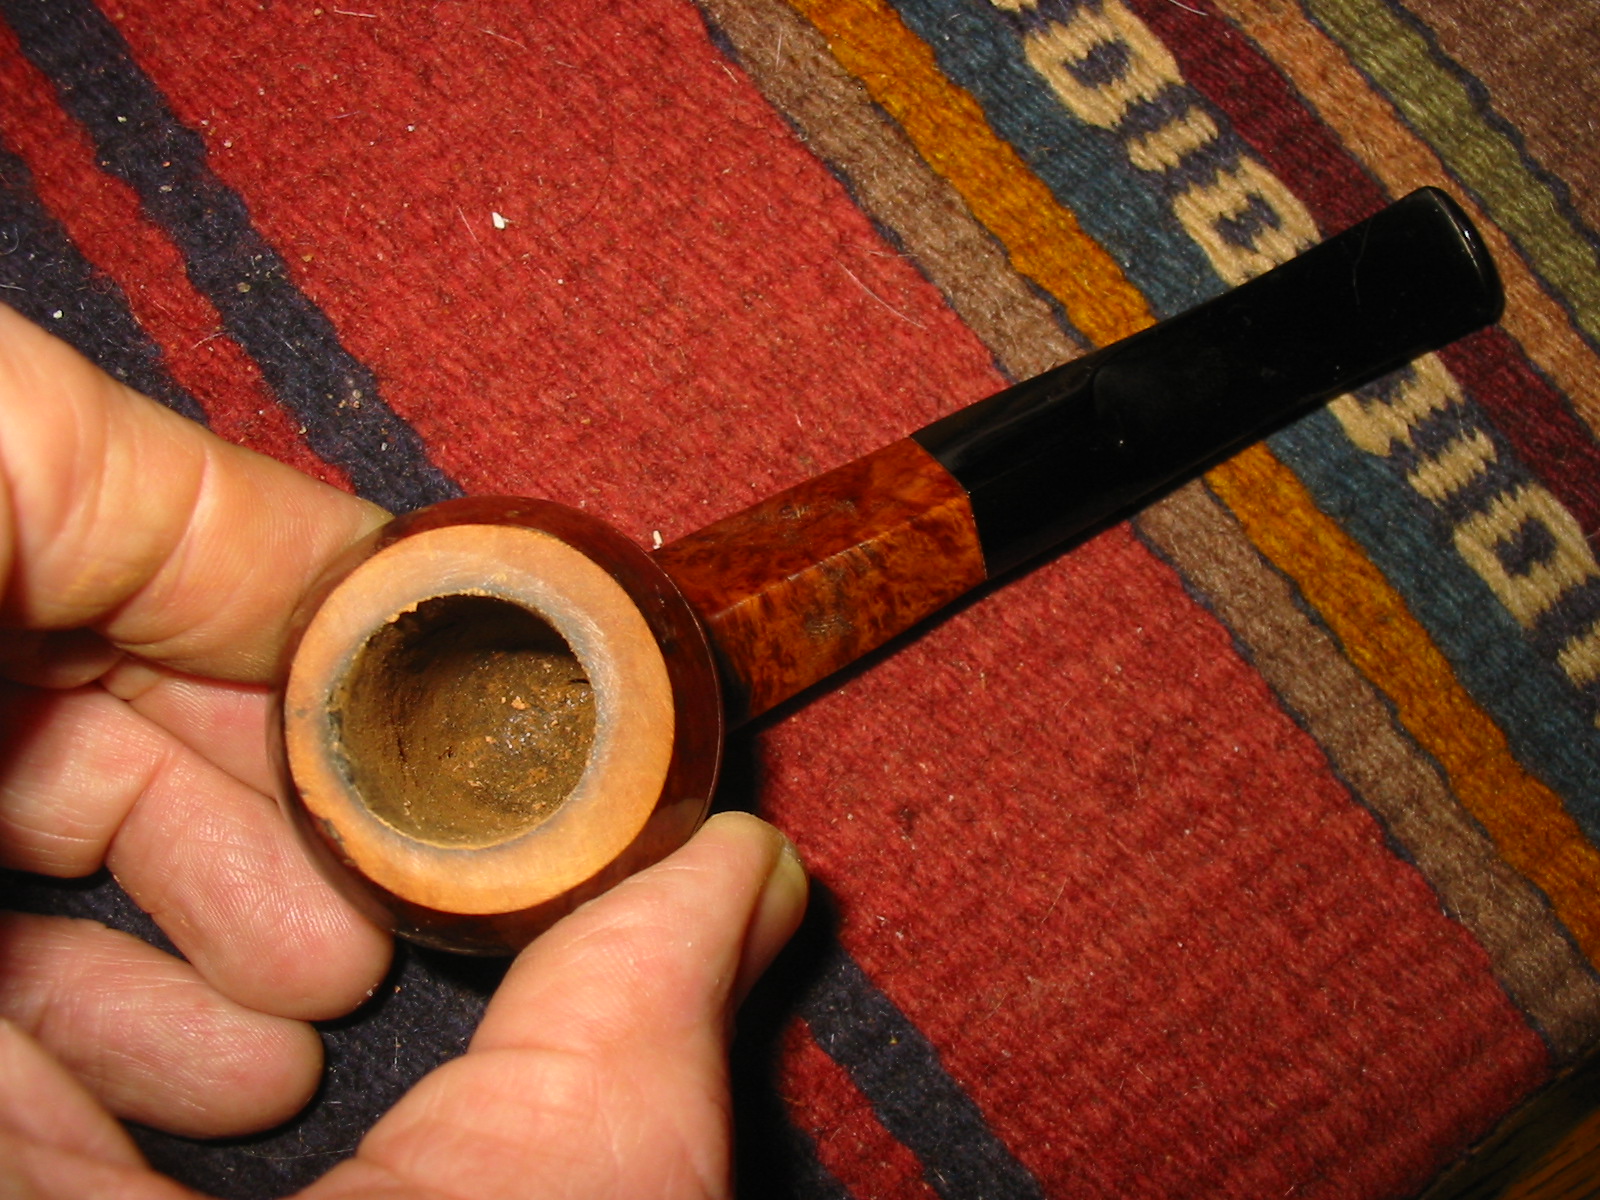
 The bowl top was scratched pretty badly, and had some definite darkening to contend with. I knew I’d have to top it like Steve showed me in many posts like this one. I grabbed my topping board, actually a granite surface plate I bought from woodcraft years ago for lapping wood plane soles, and now use almost exclusively for pipes.
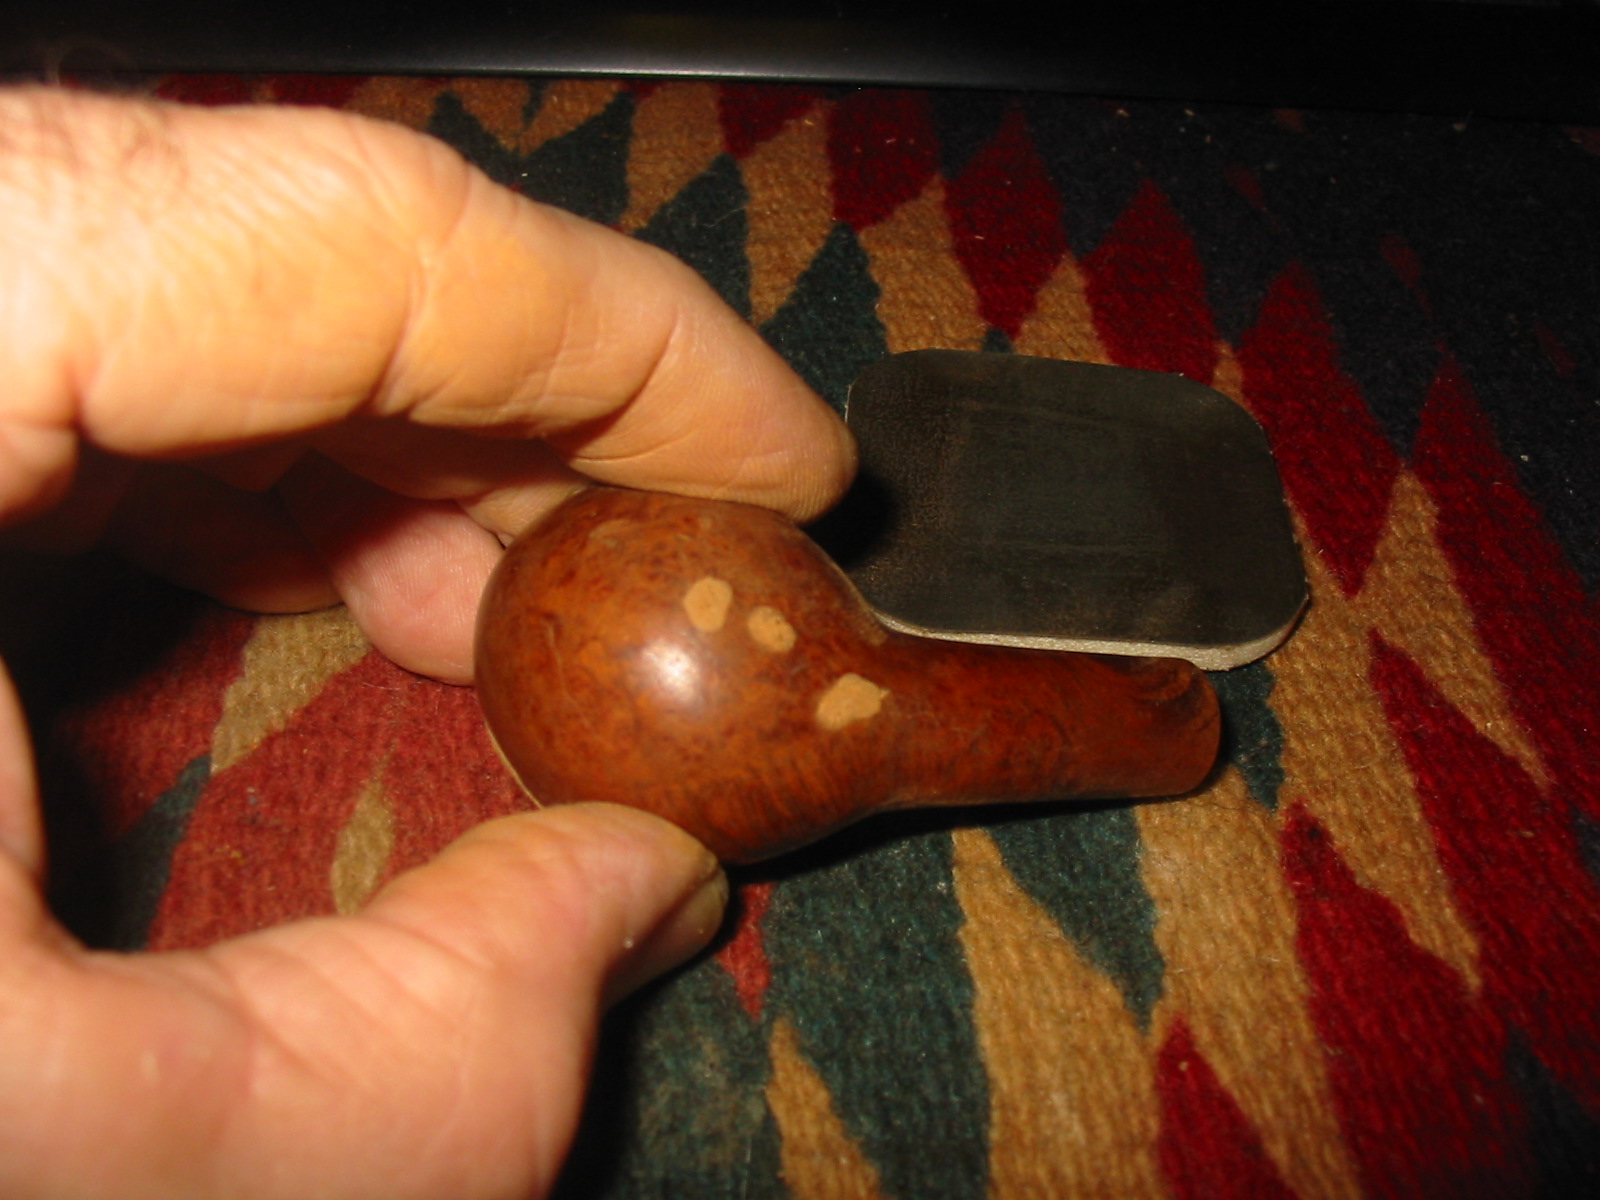
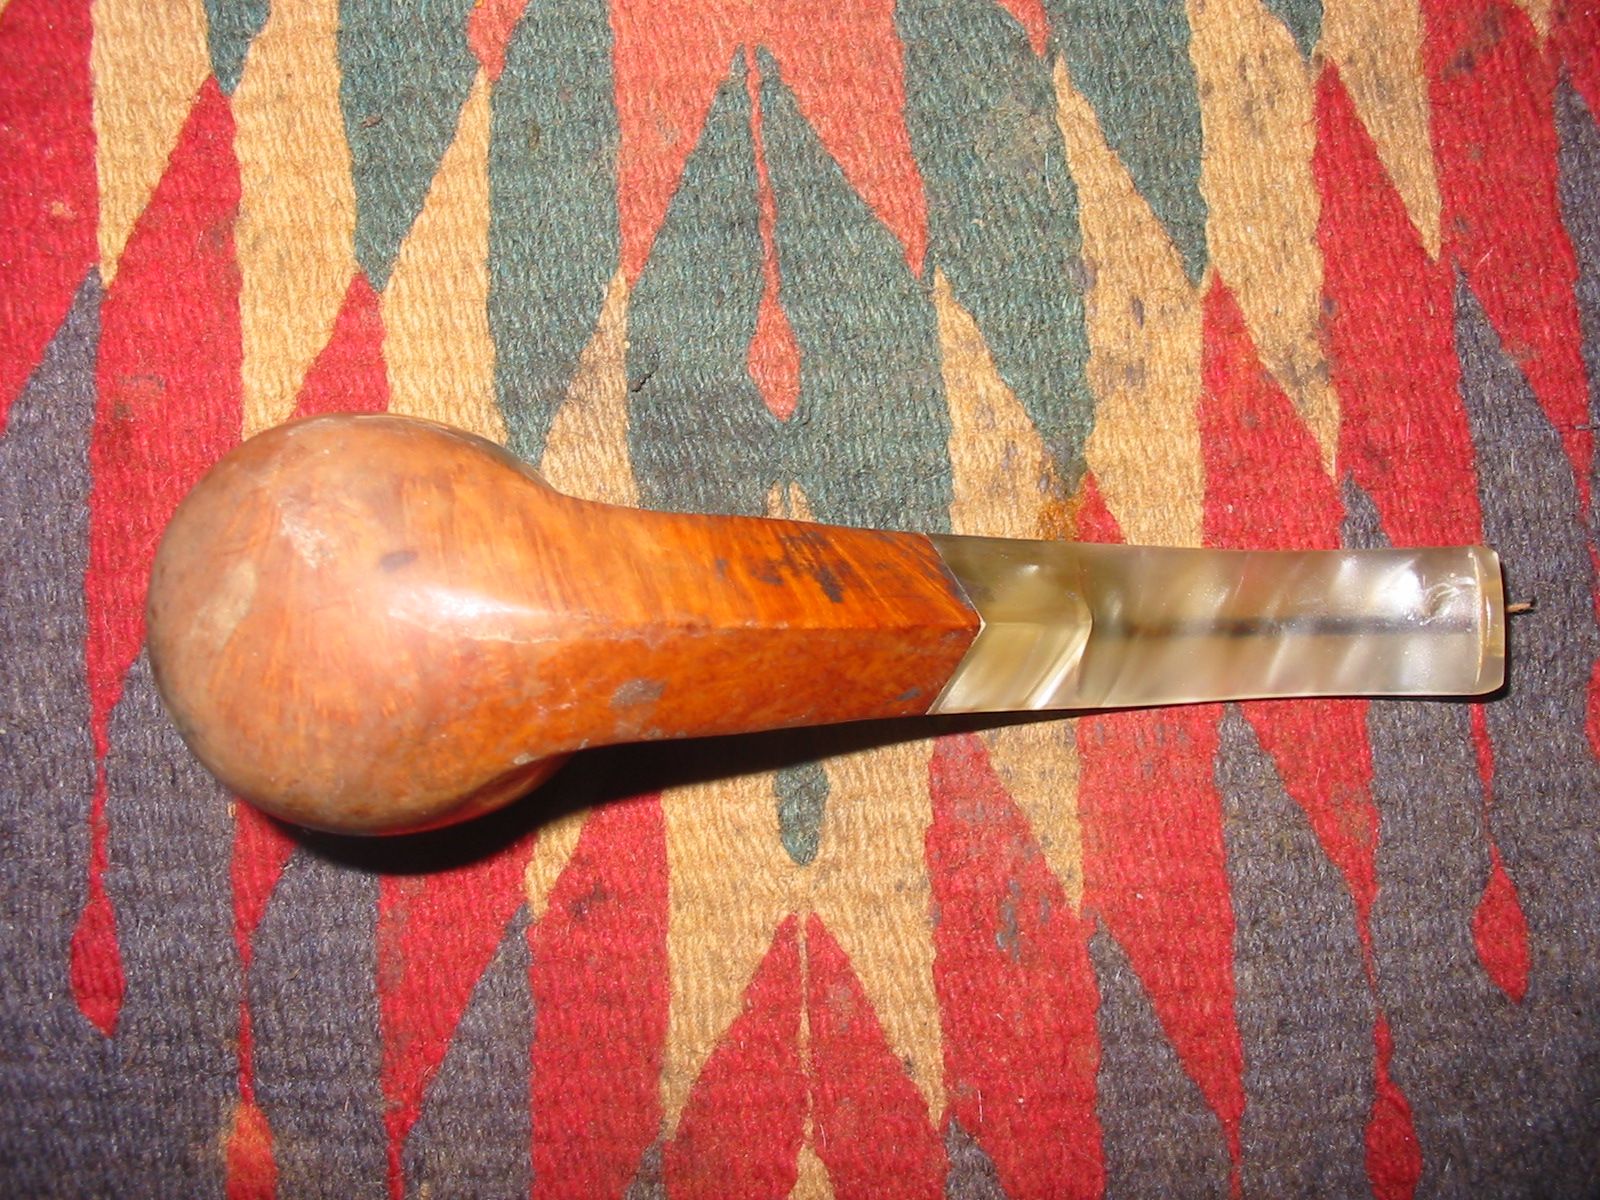
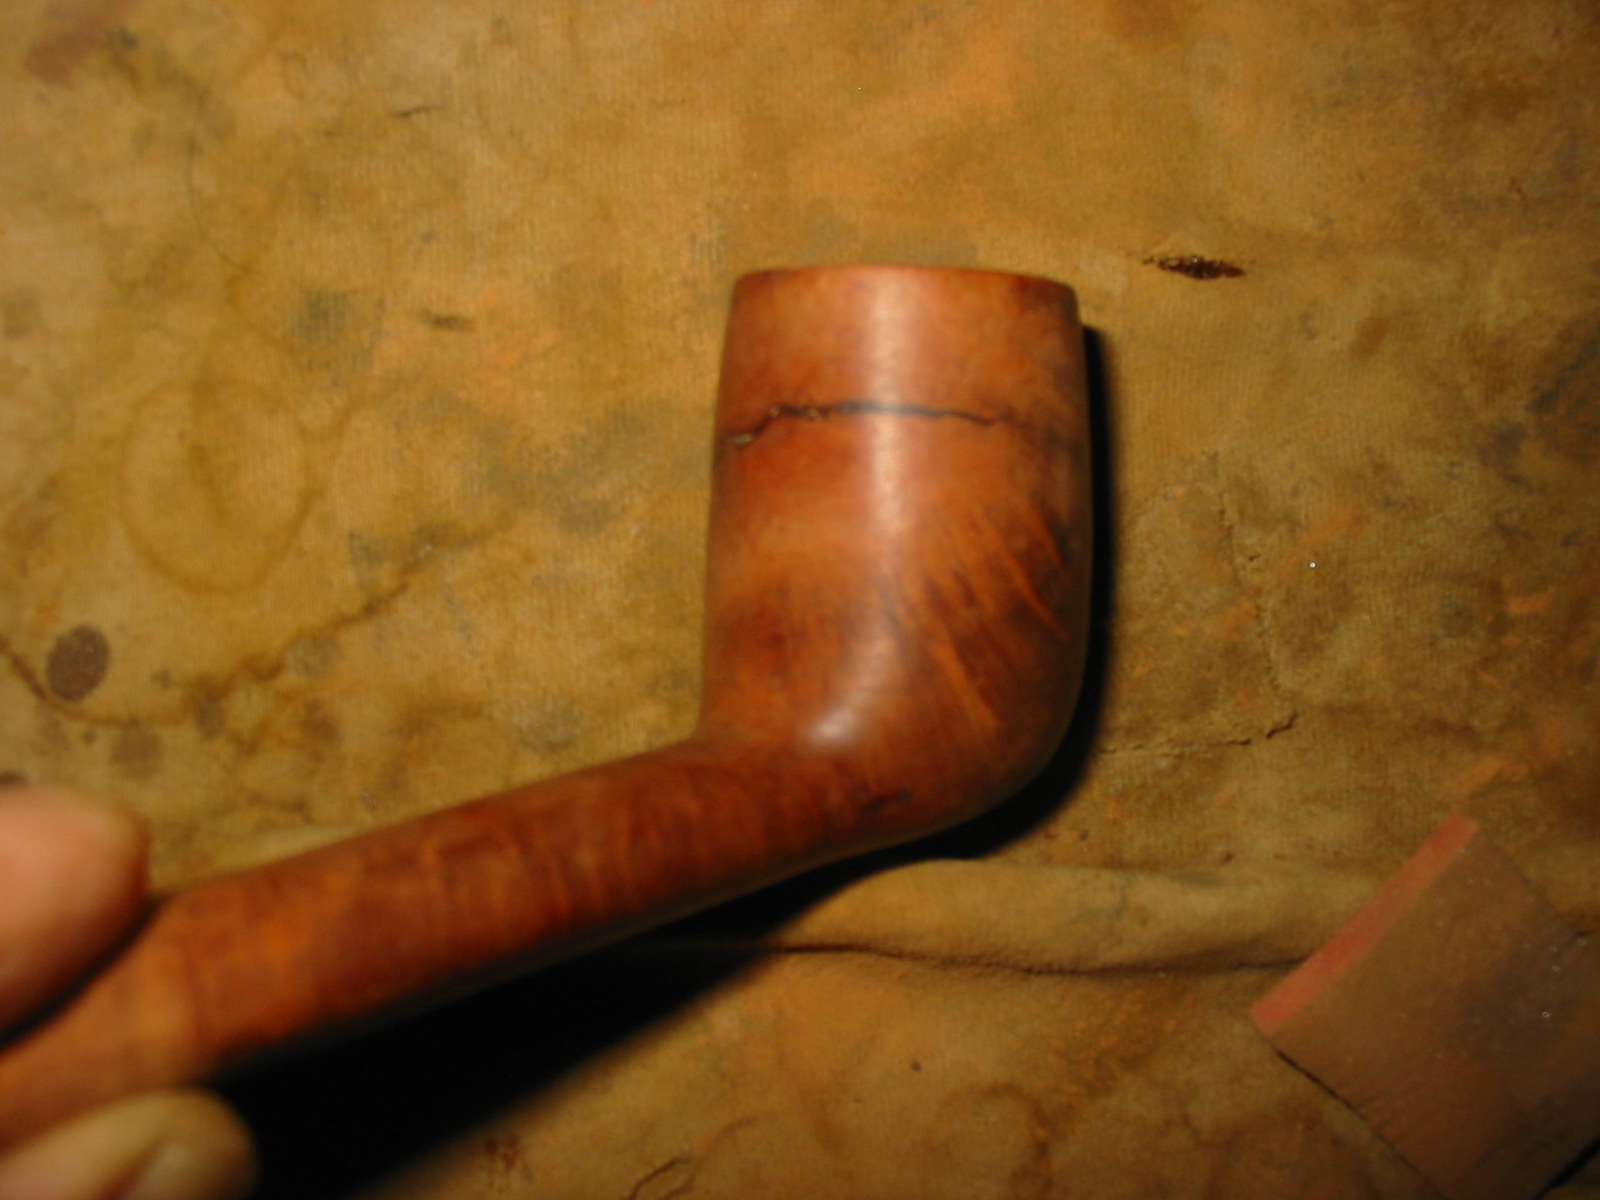
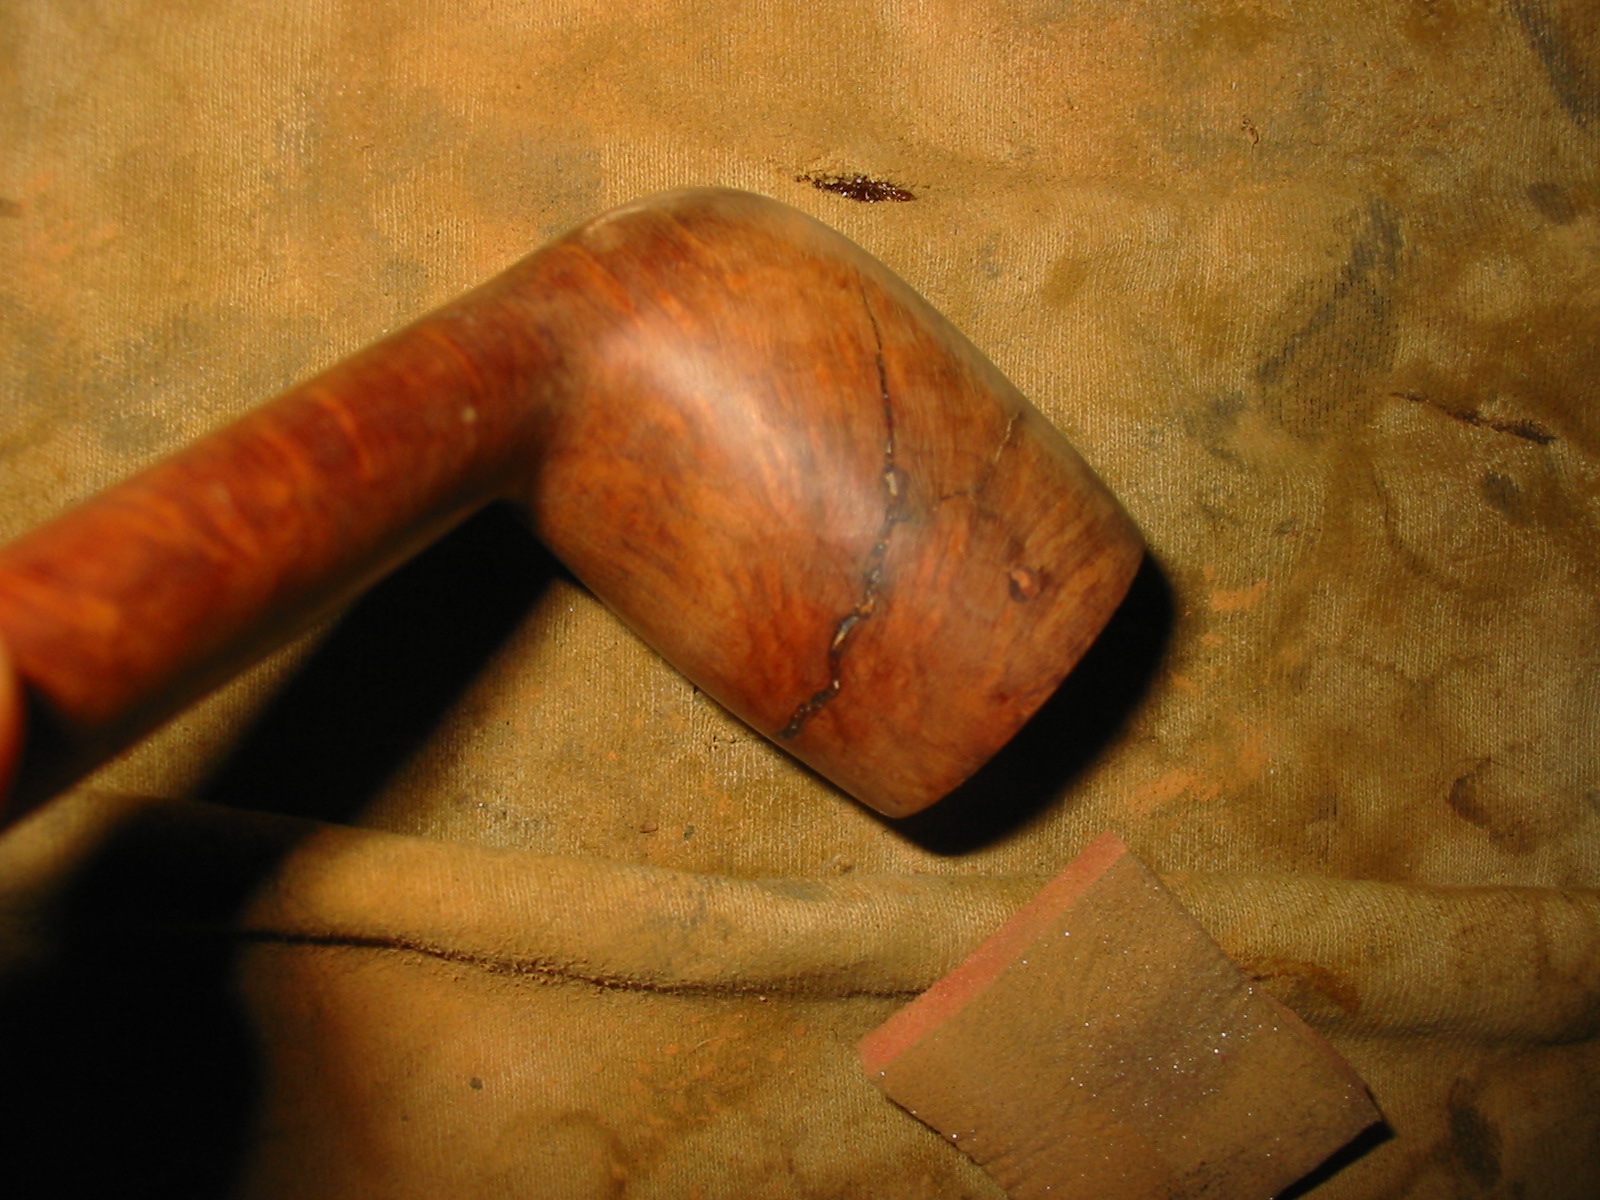
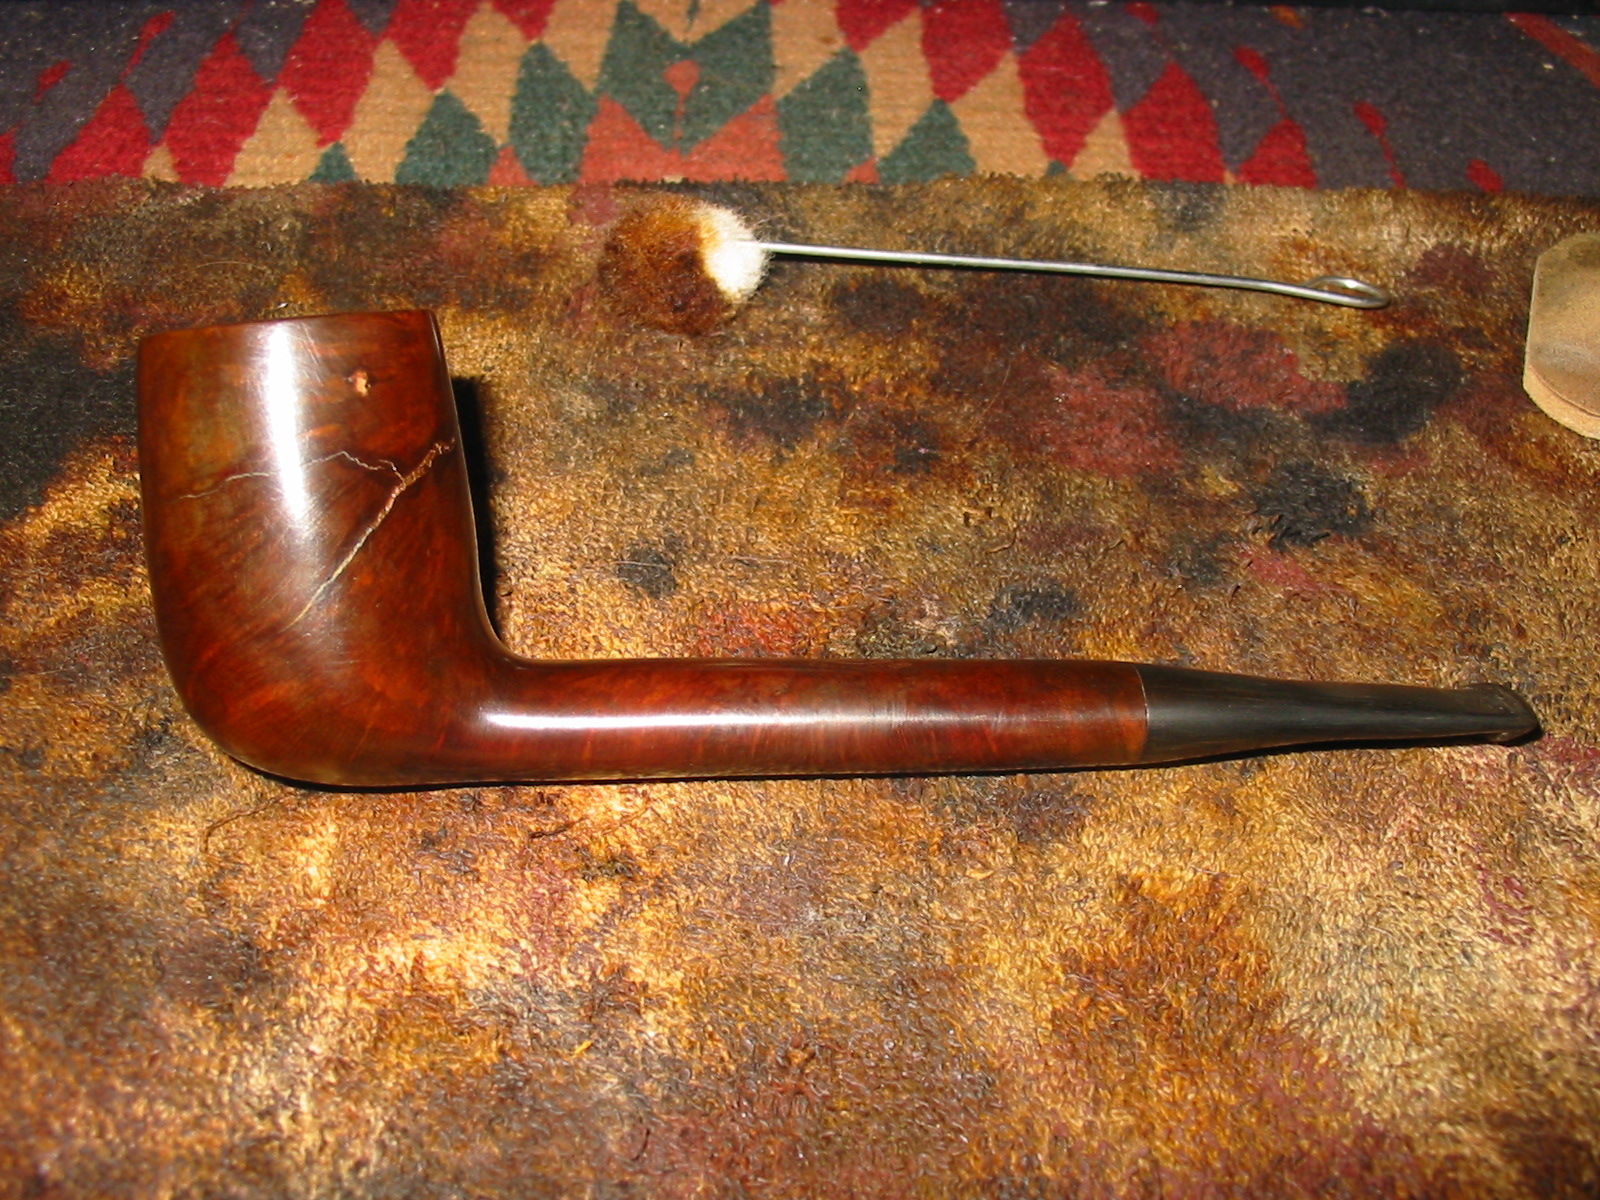
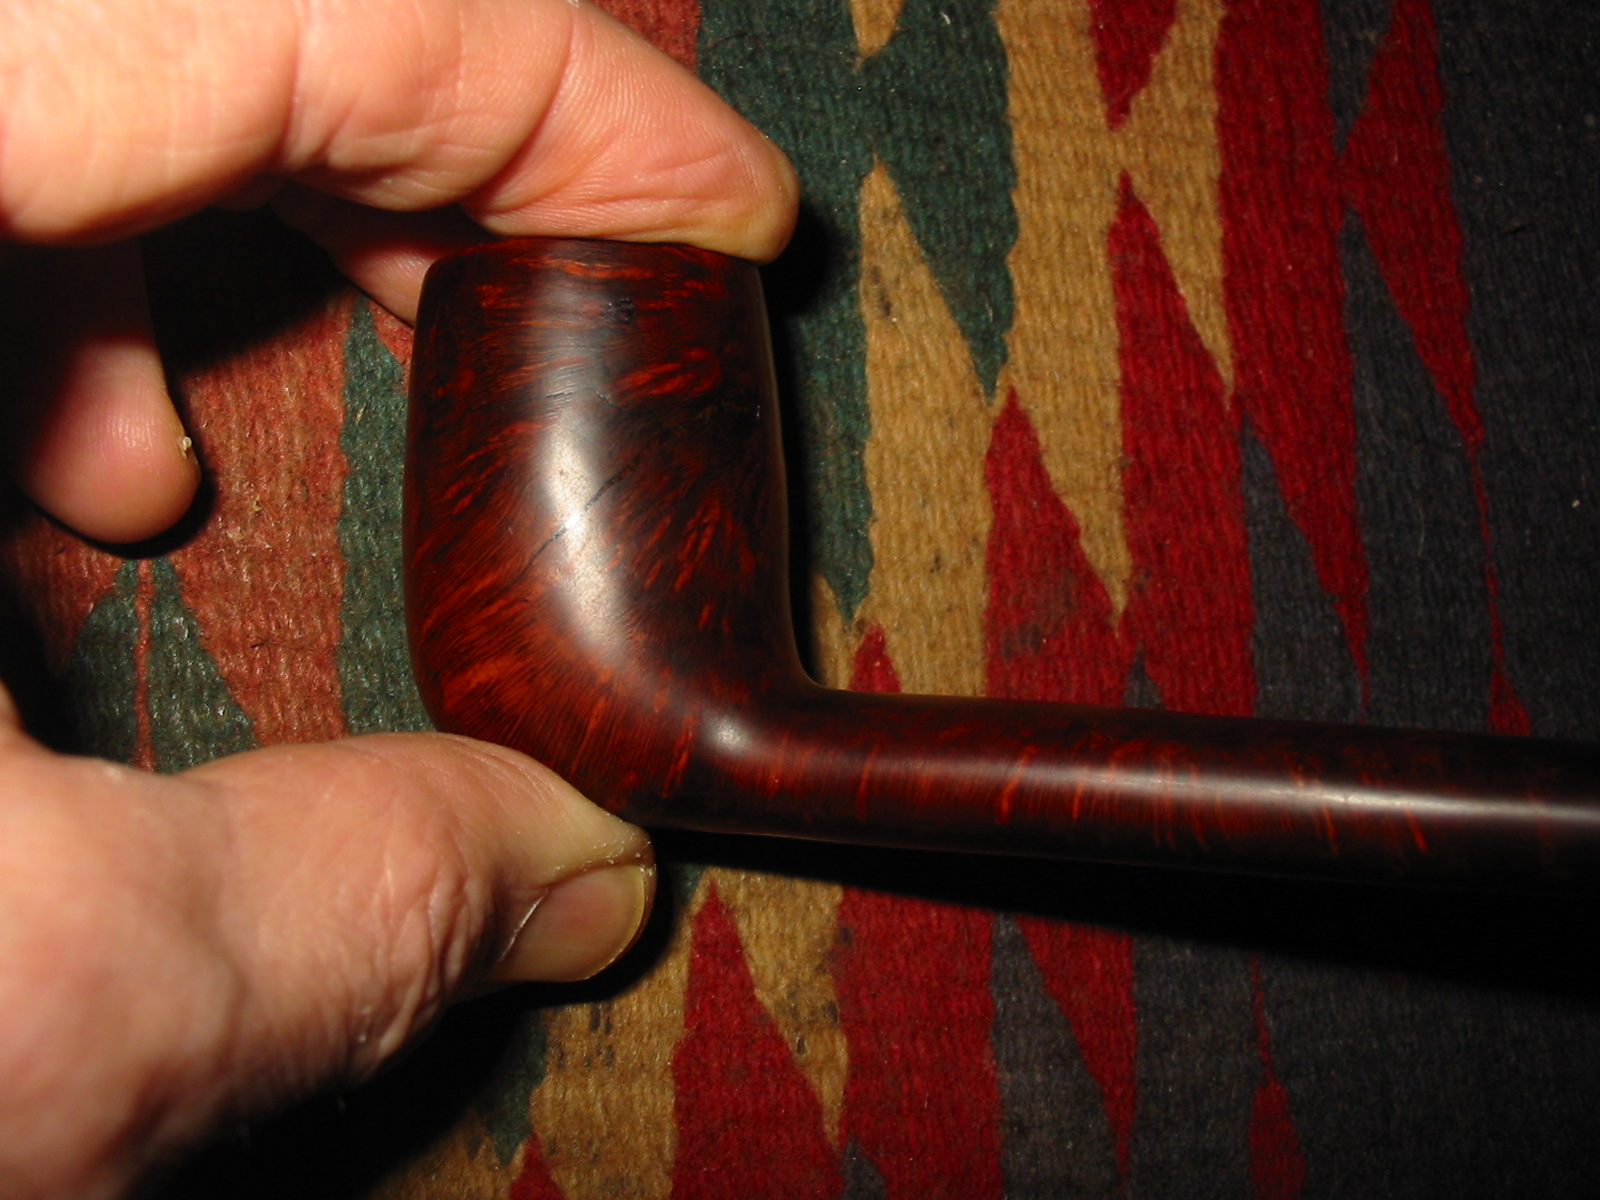
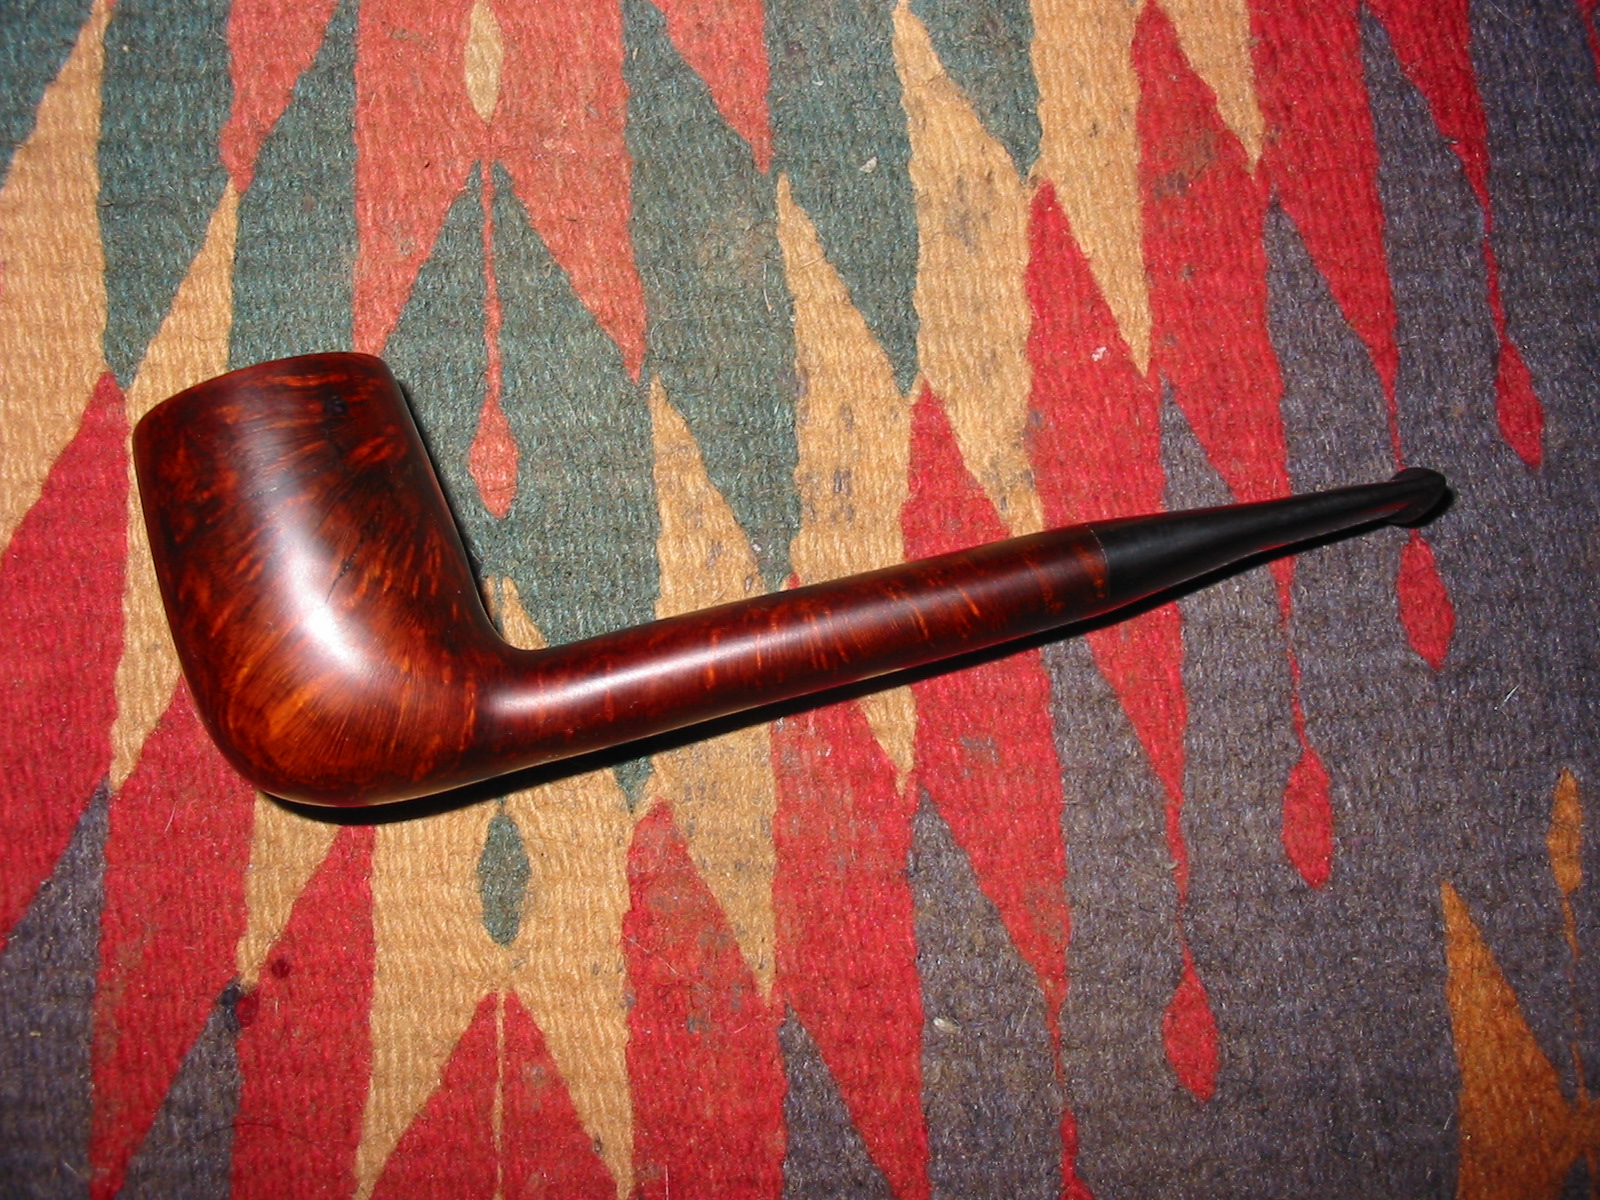
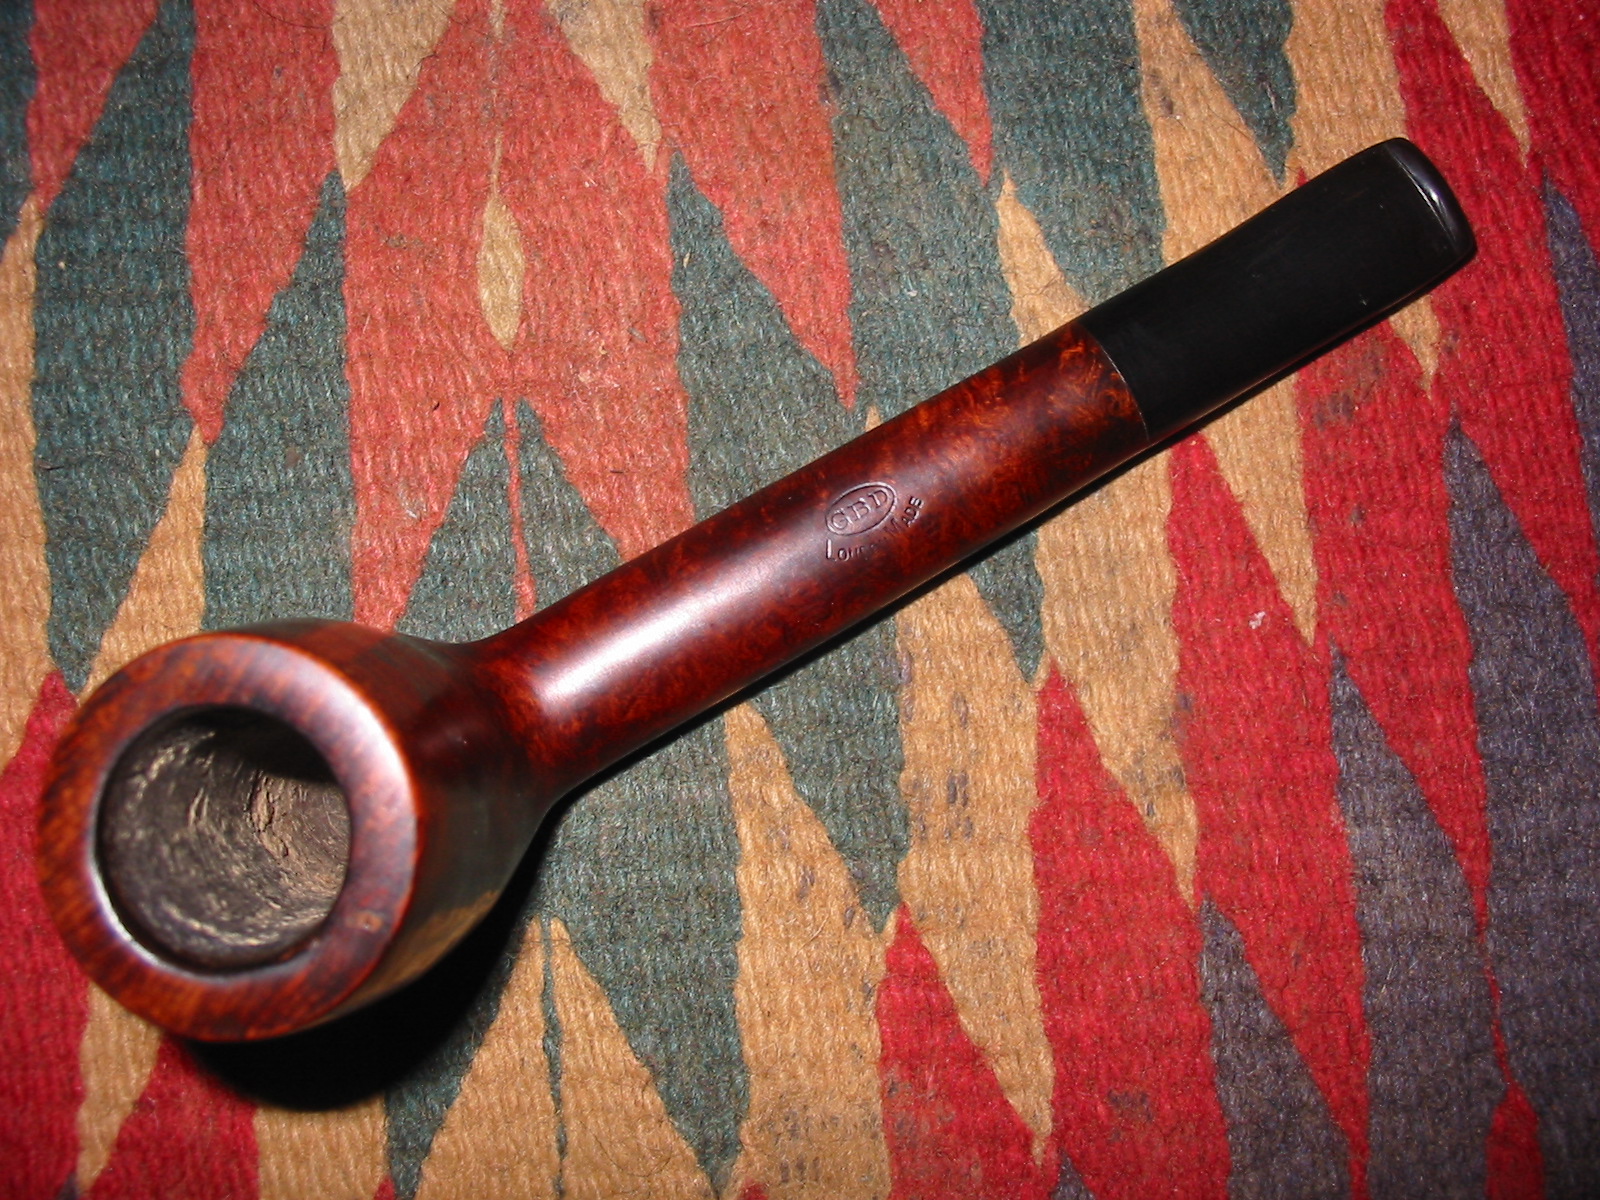
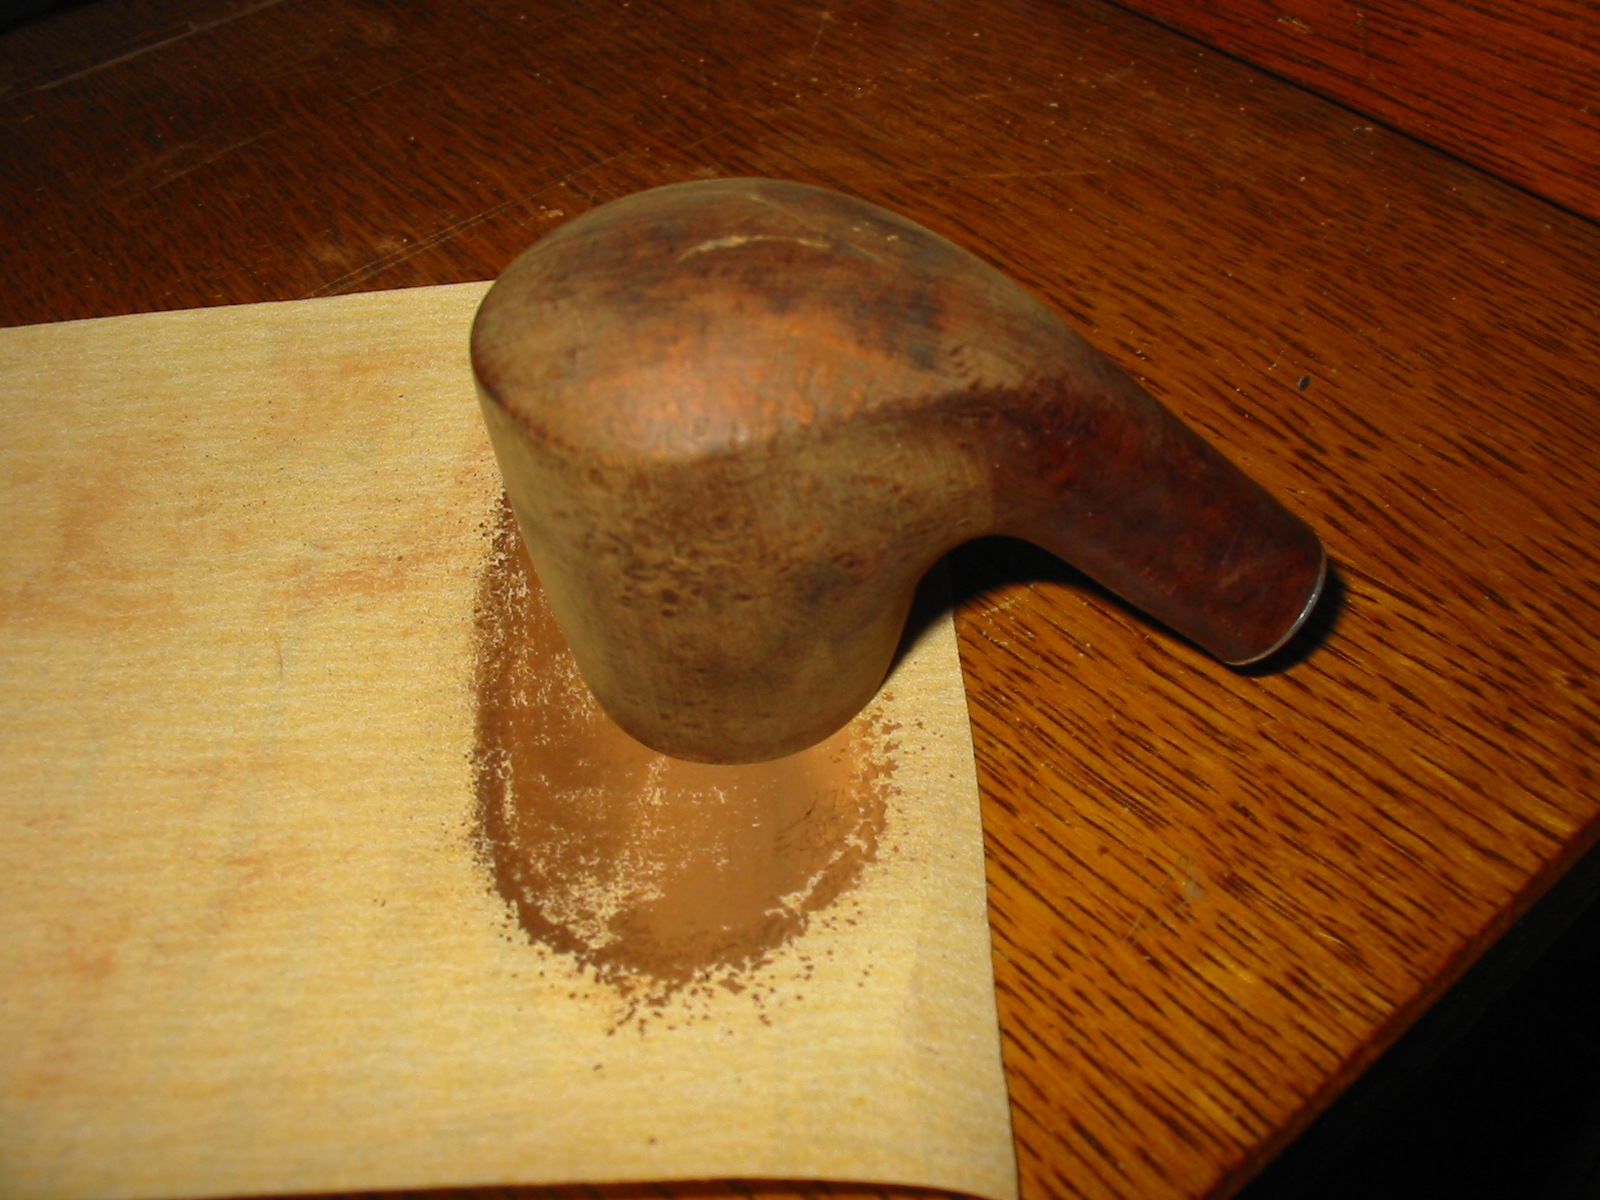
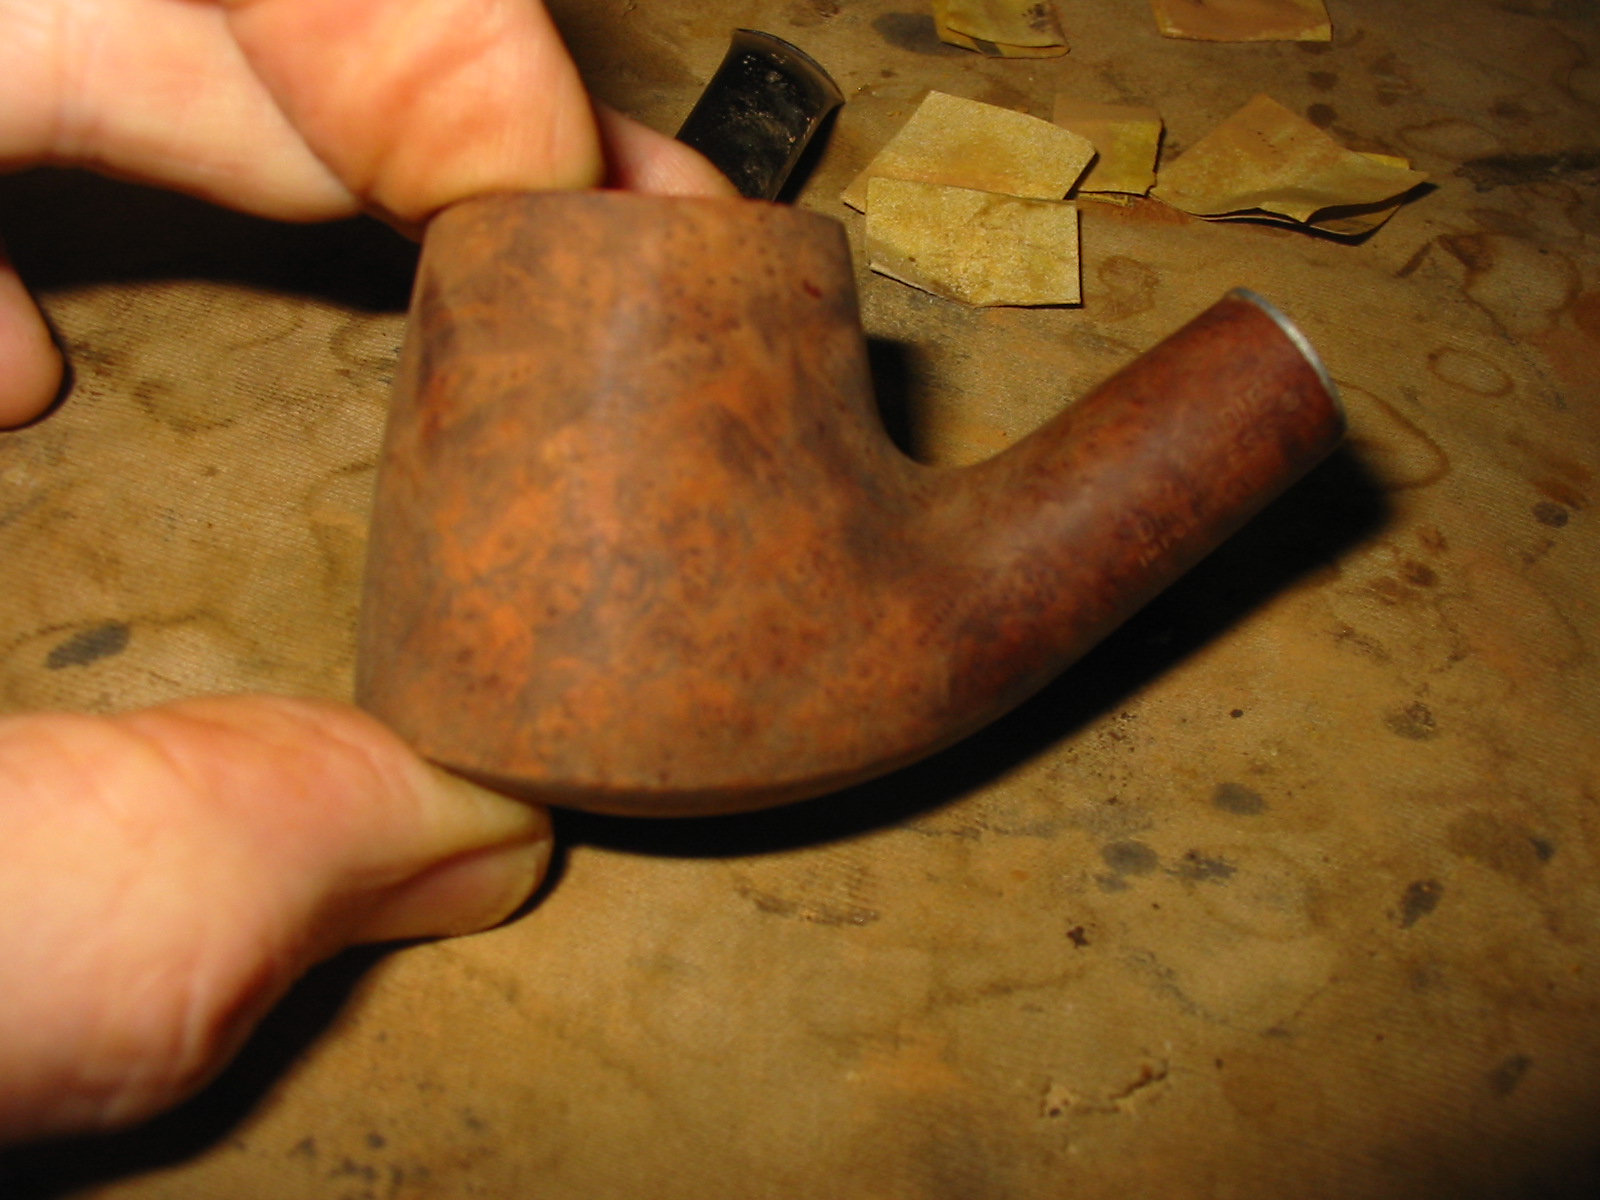
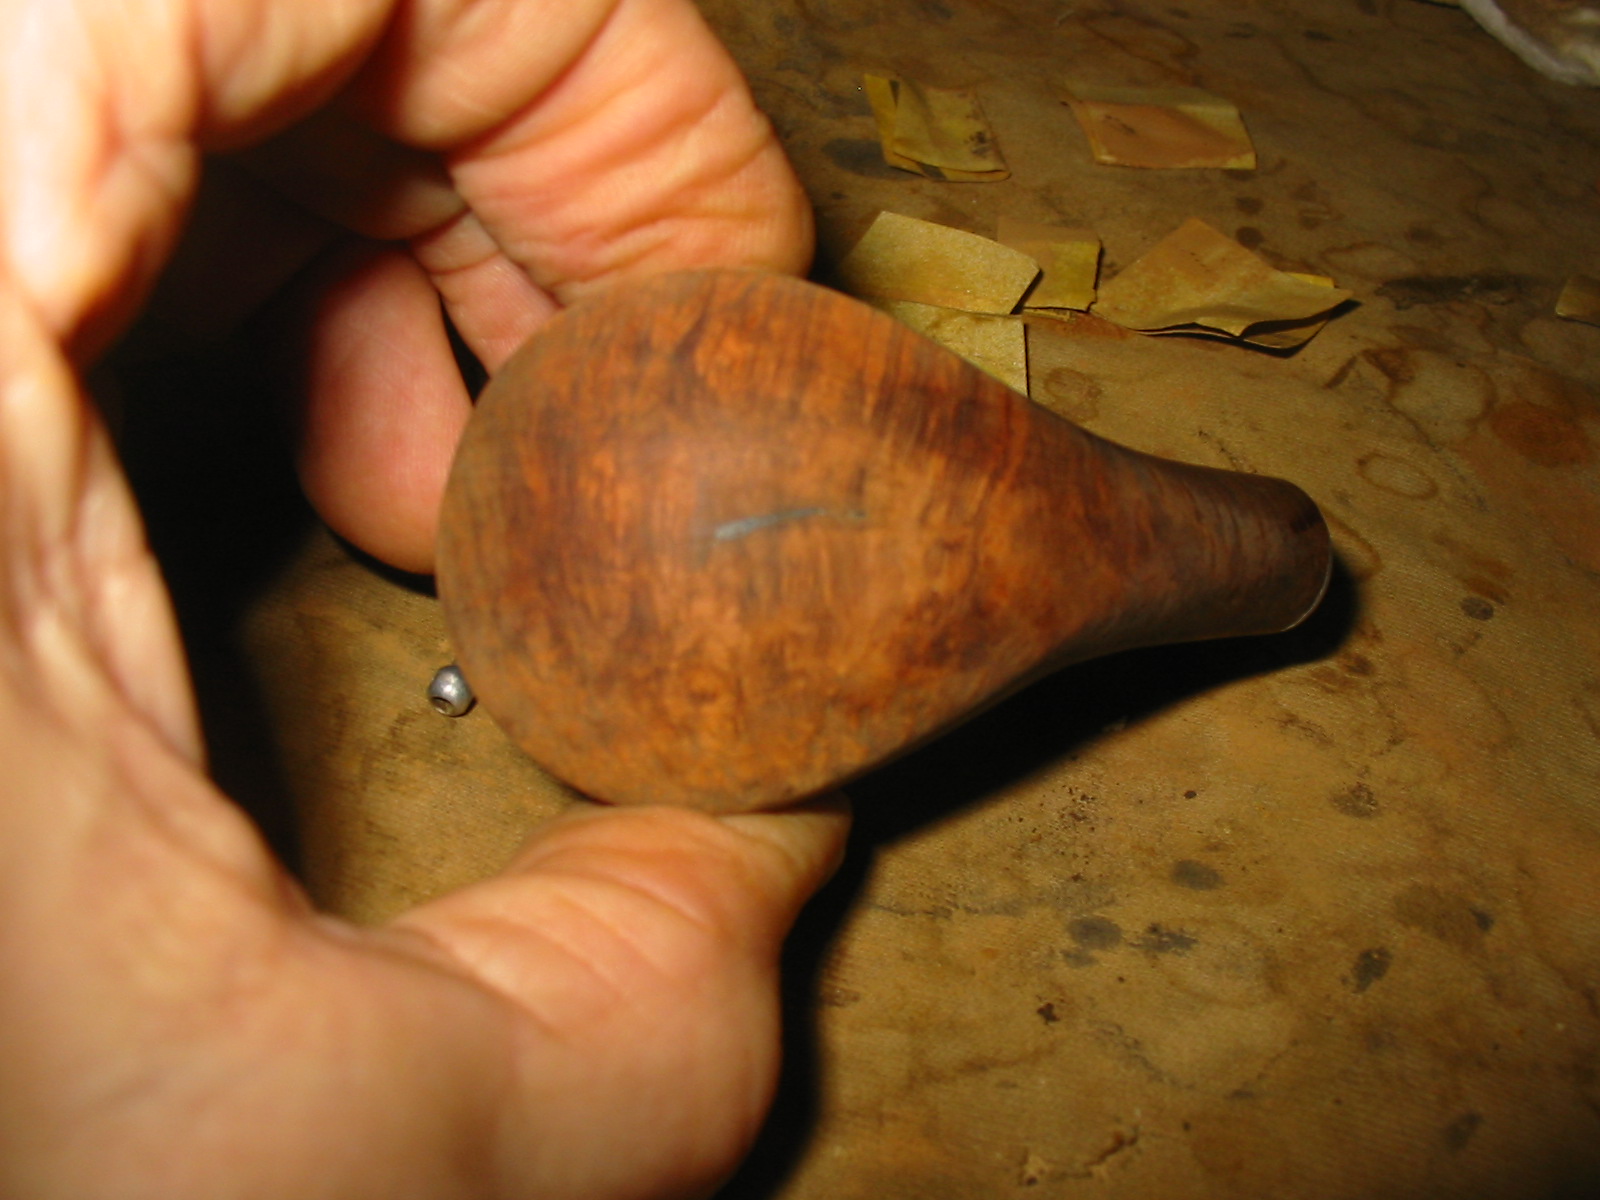
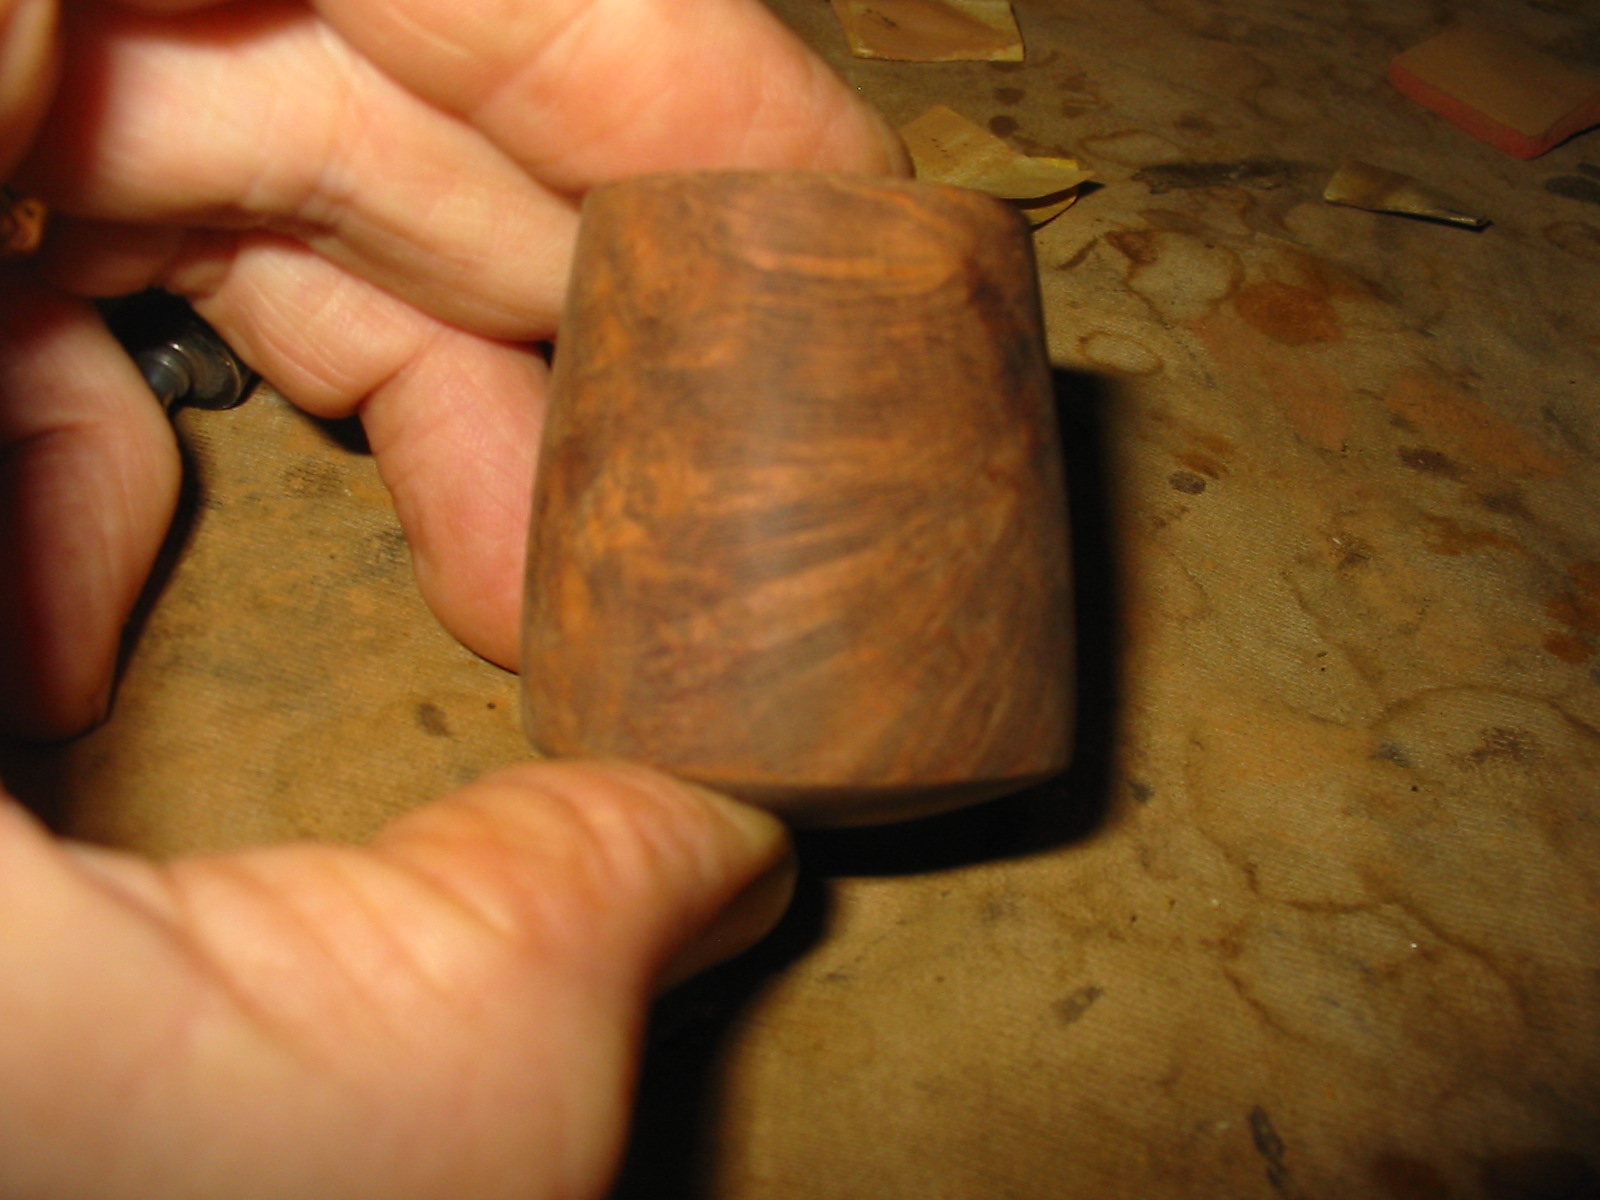
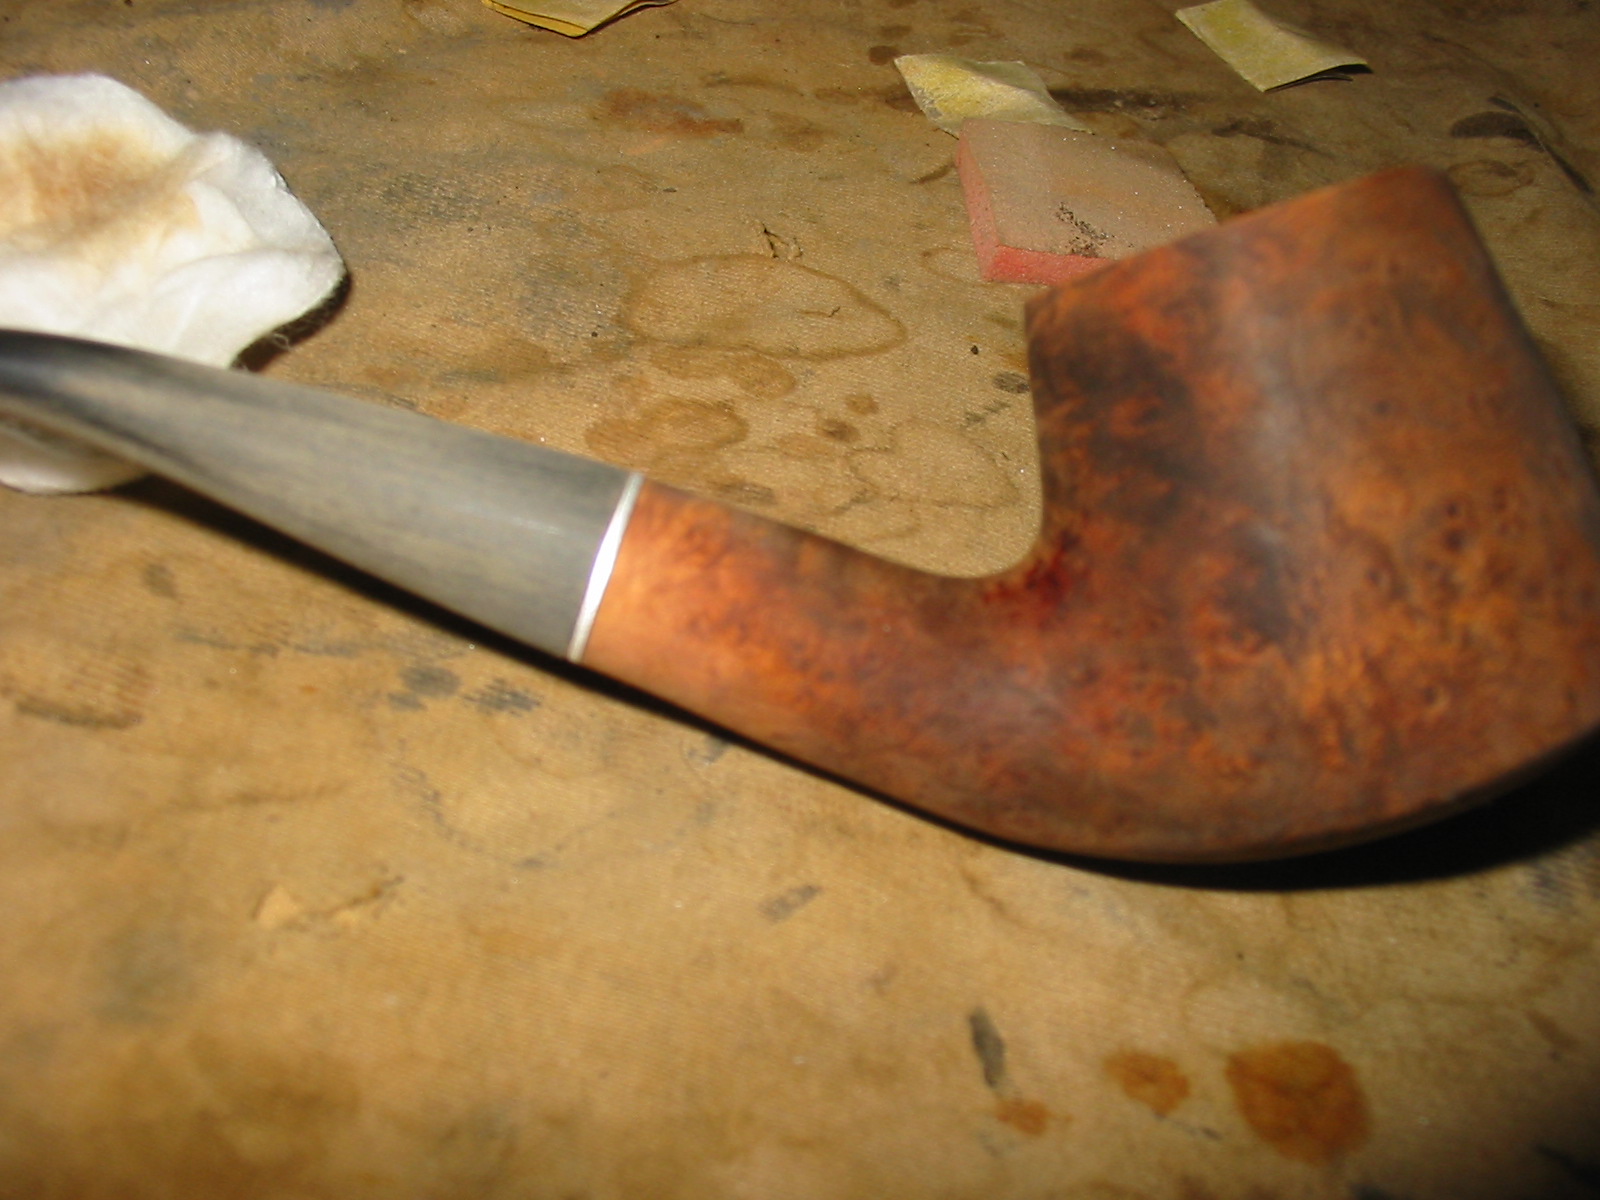
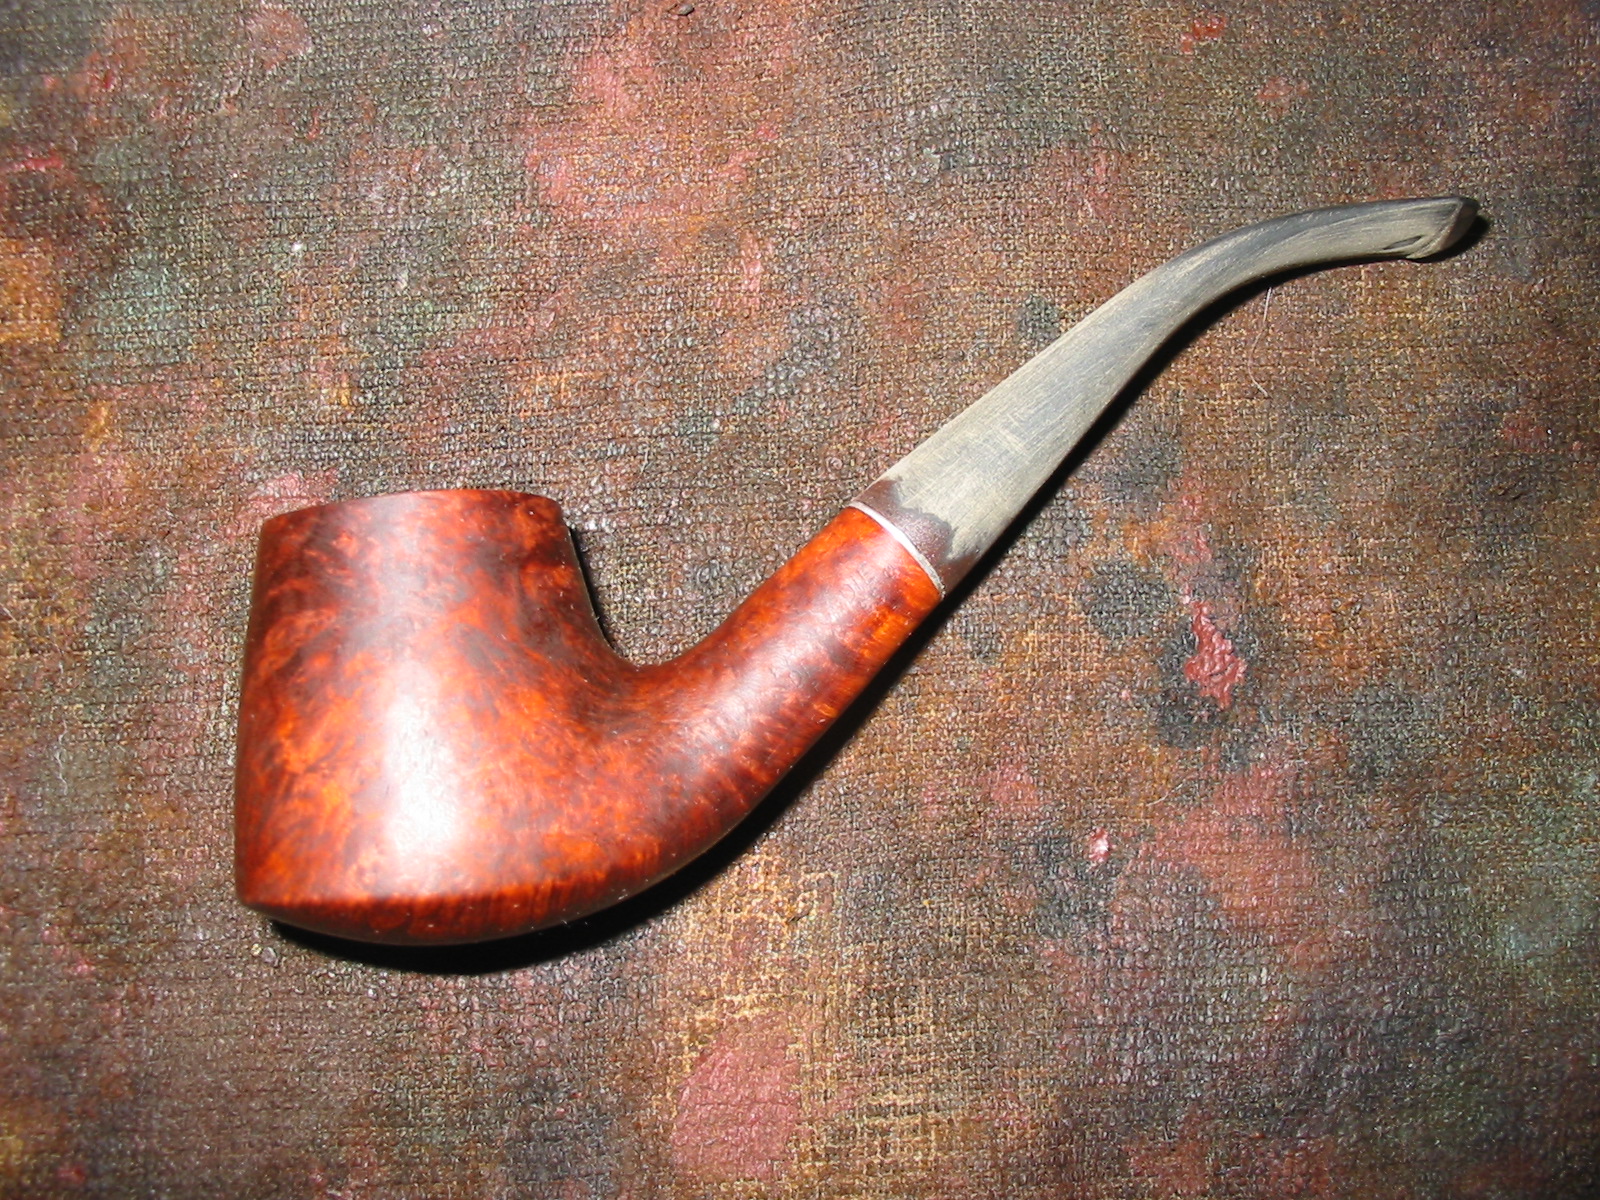
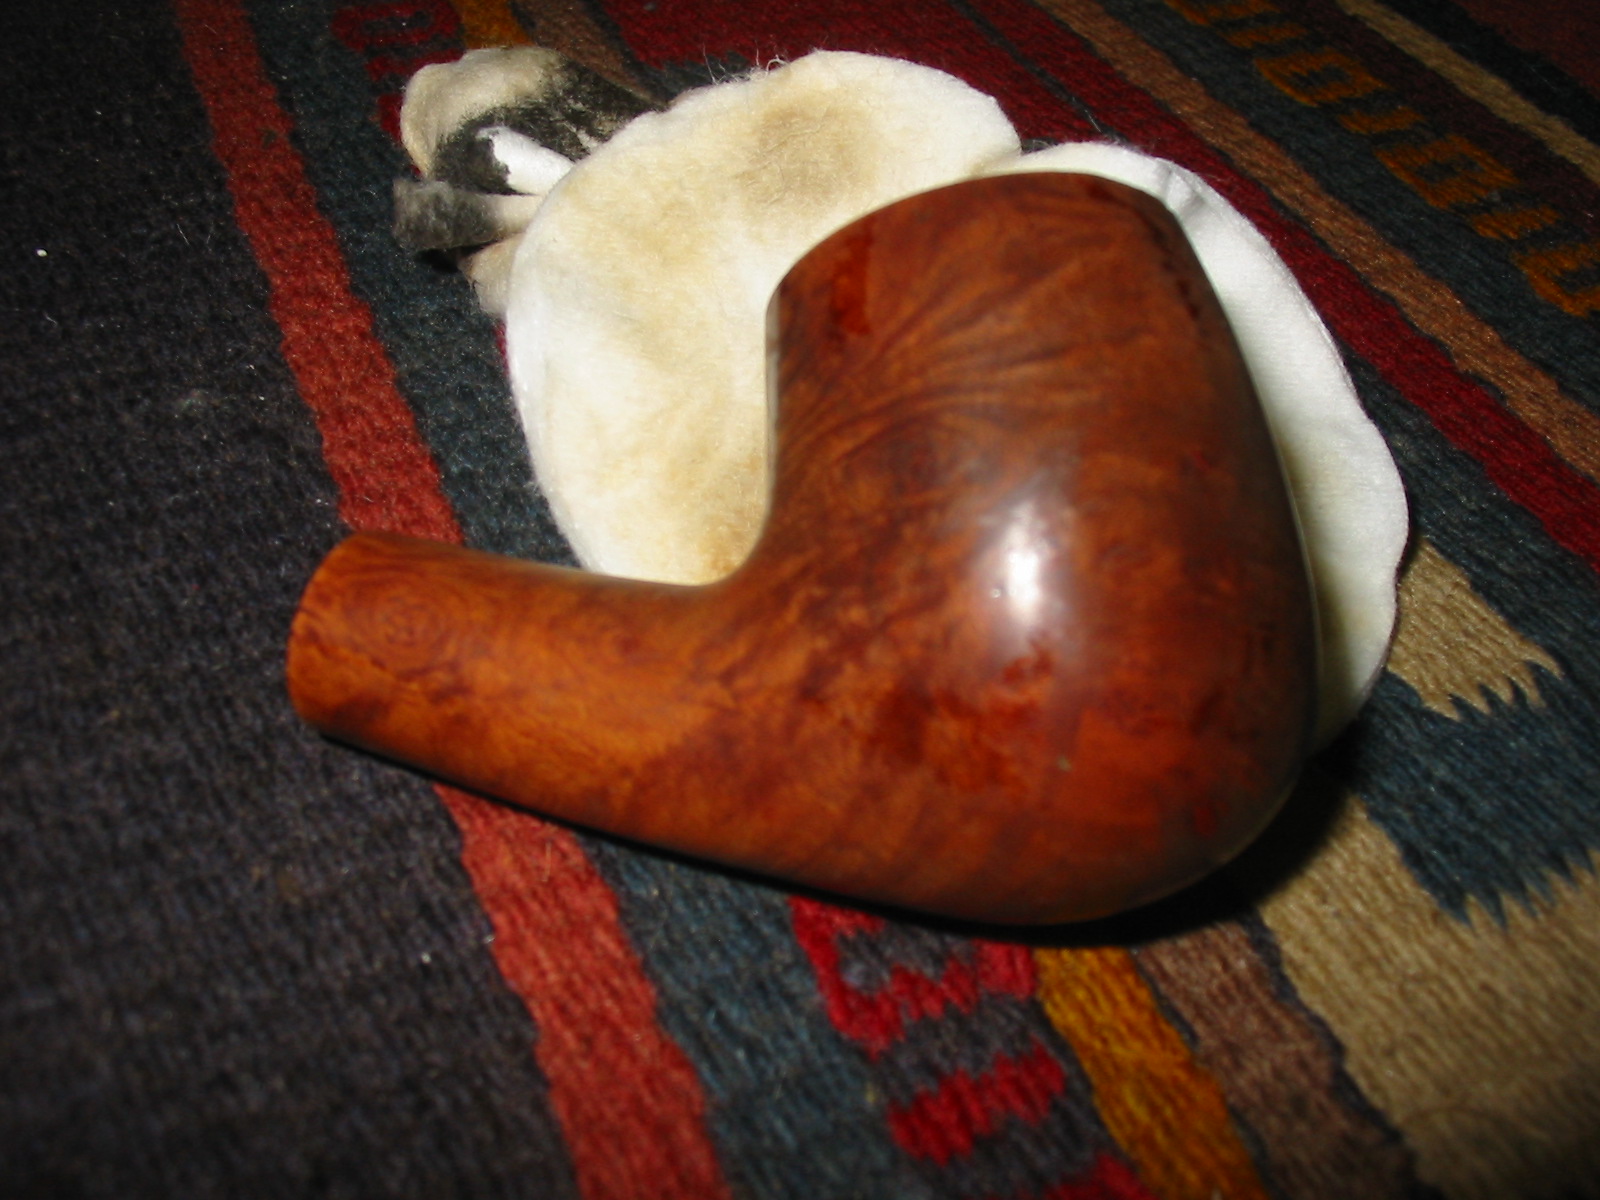
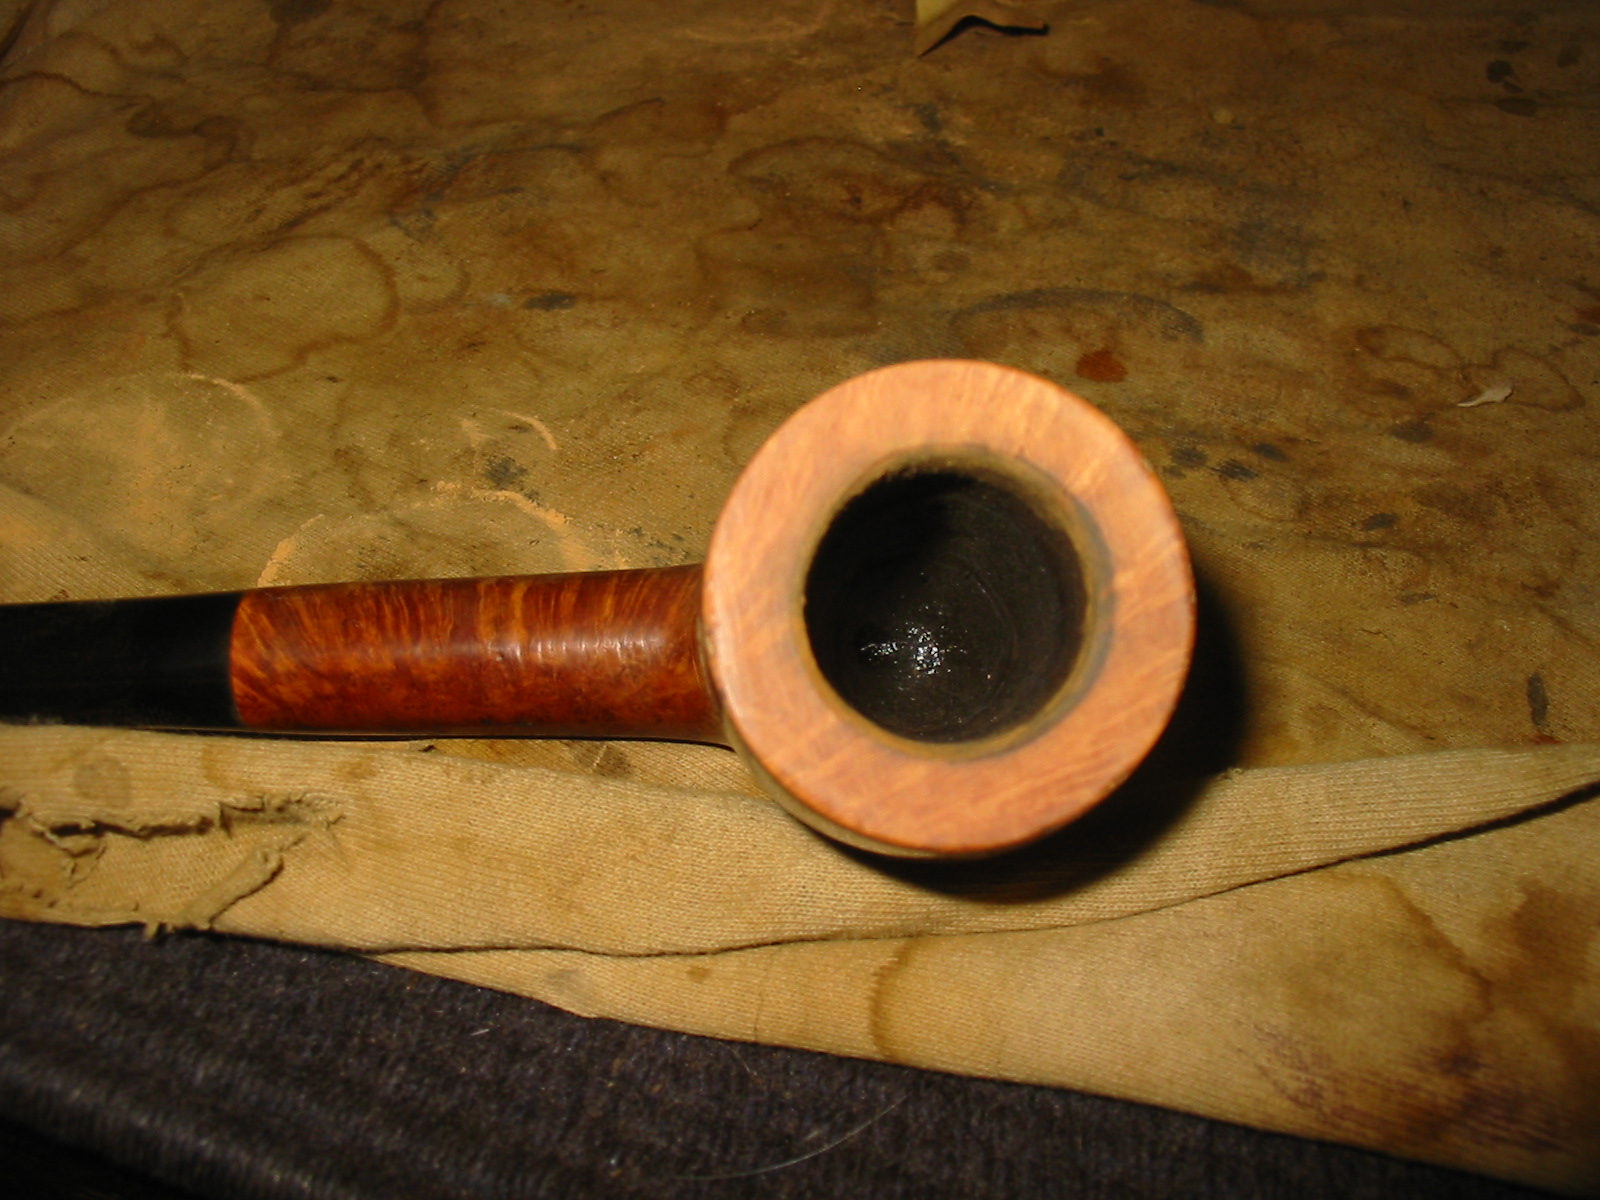
 At 320 grit, my preferred poison for this procedure, the rim cleaned up quickly, but I soon enough decided that to eliminate all of the darkening I’d have to top the bowl lower than I liked. I came close, but left some of the color rather than lose the original shape. As you can see, the bowl was also a bit out of round (and still is, to a degree), which I went after with folder sandpaper to smooth out the curve without reshaping the bowl. The pipe had 2-3 fills, but I was confident they’d blend into the stain.
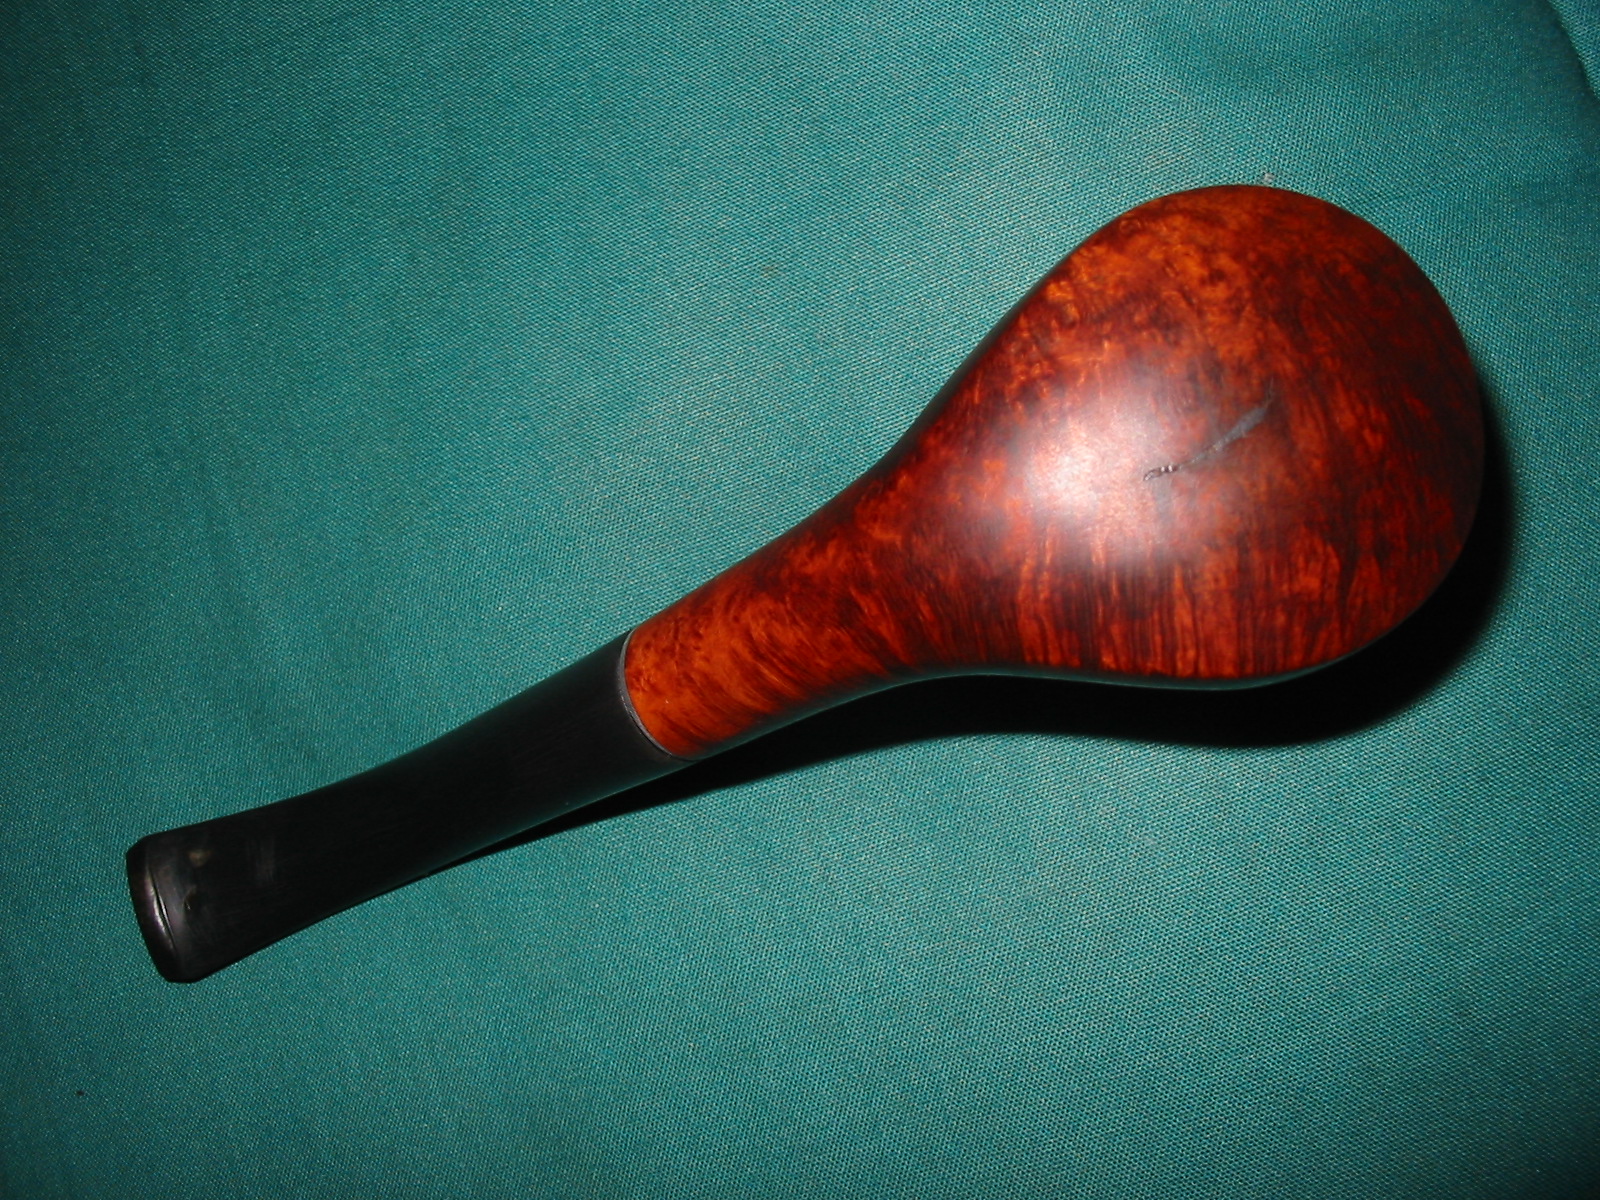
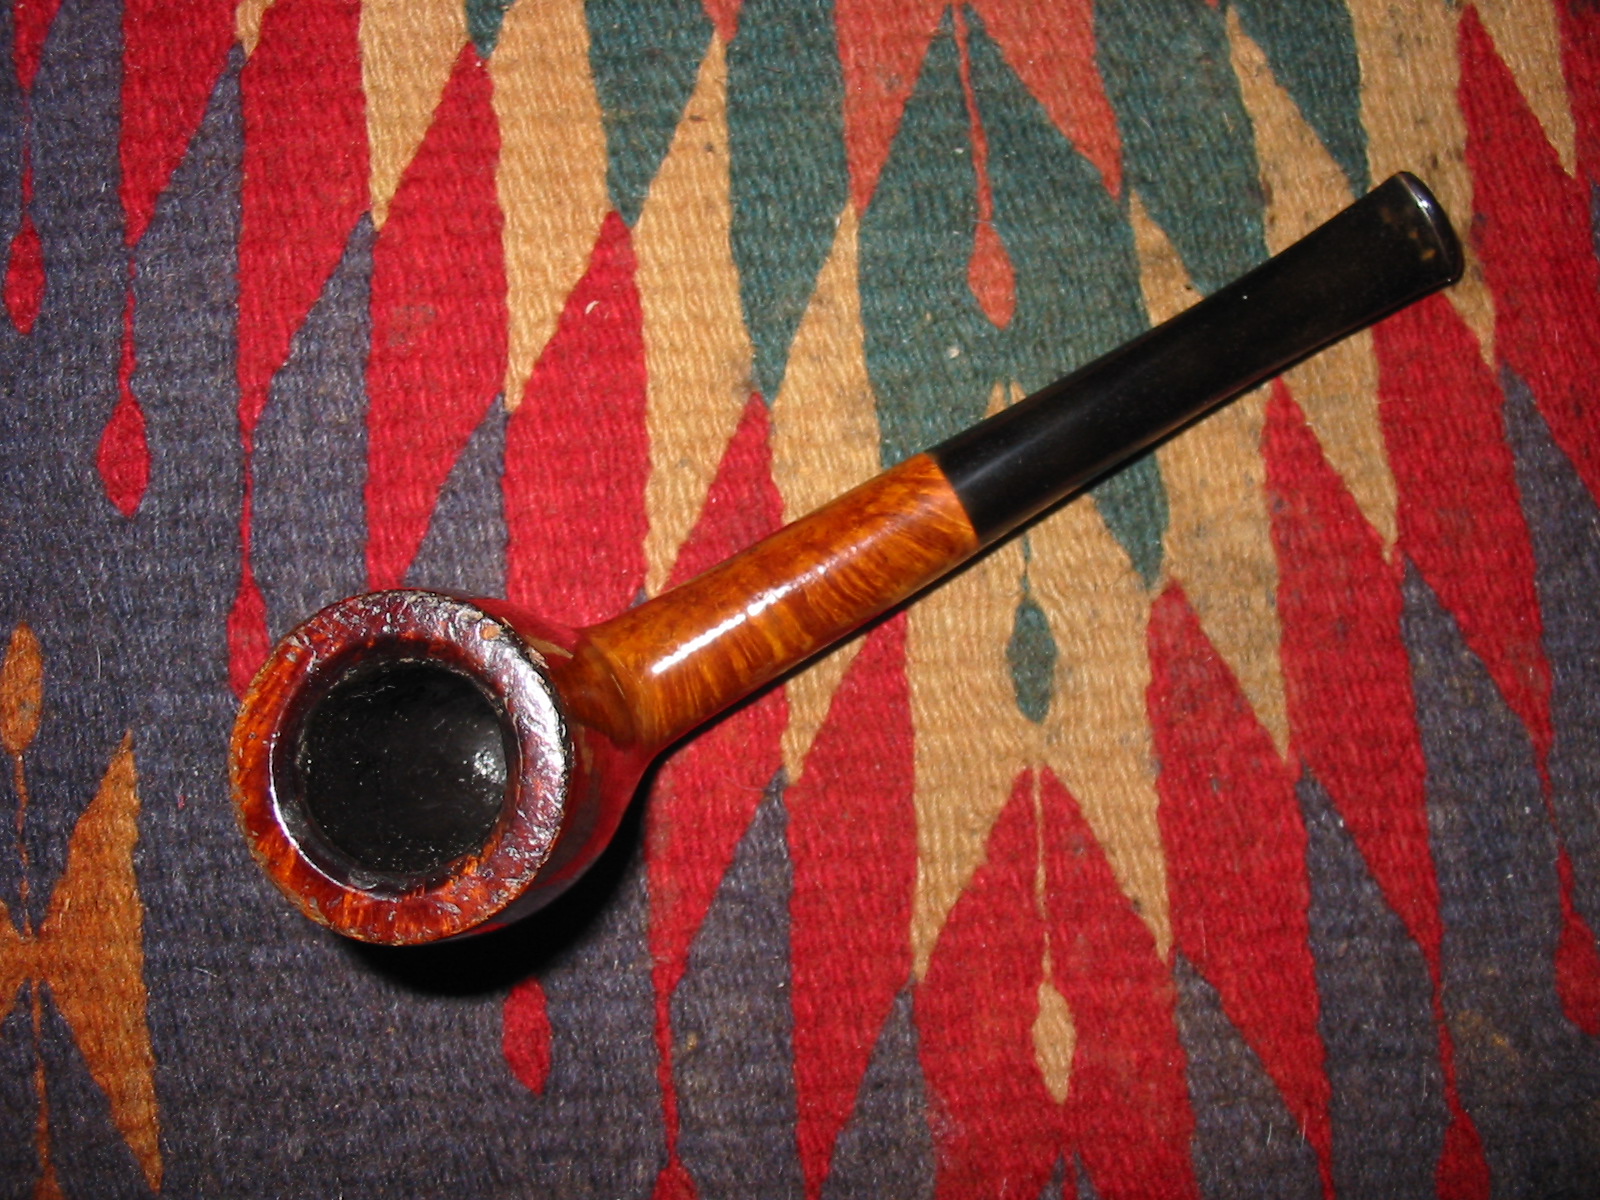
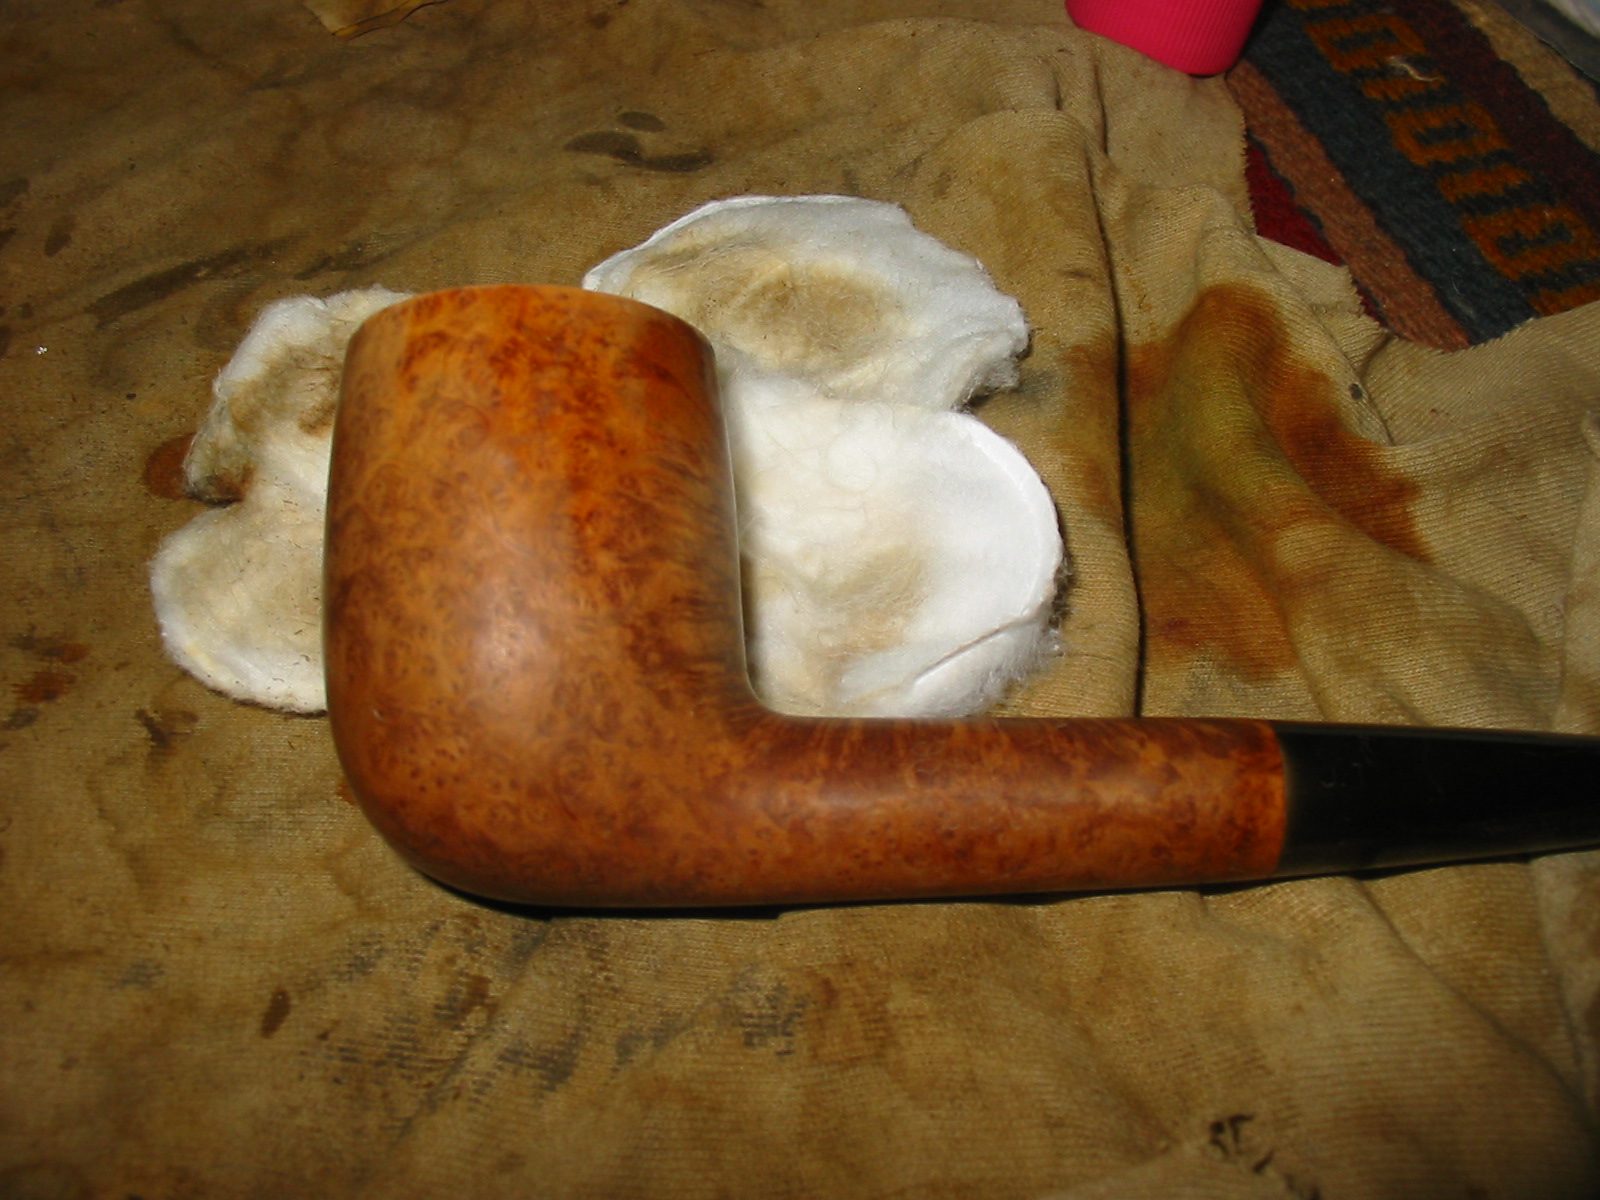
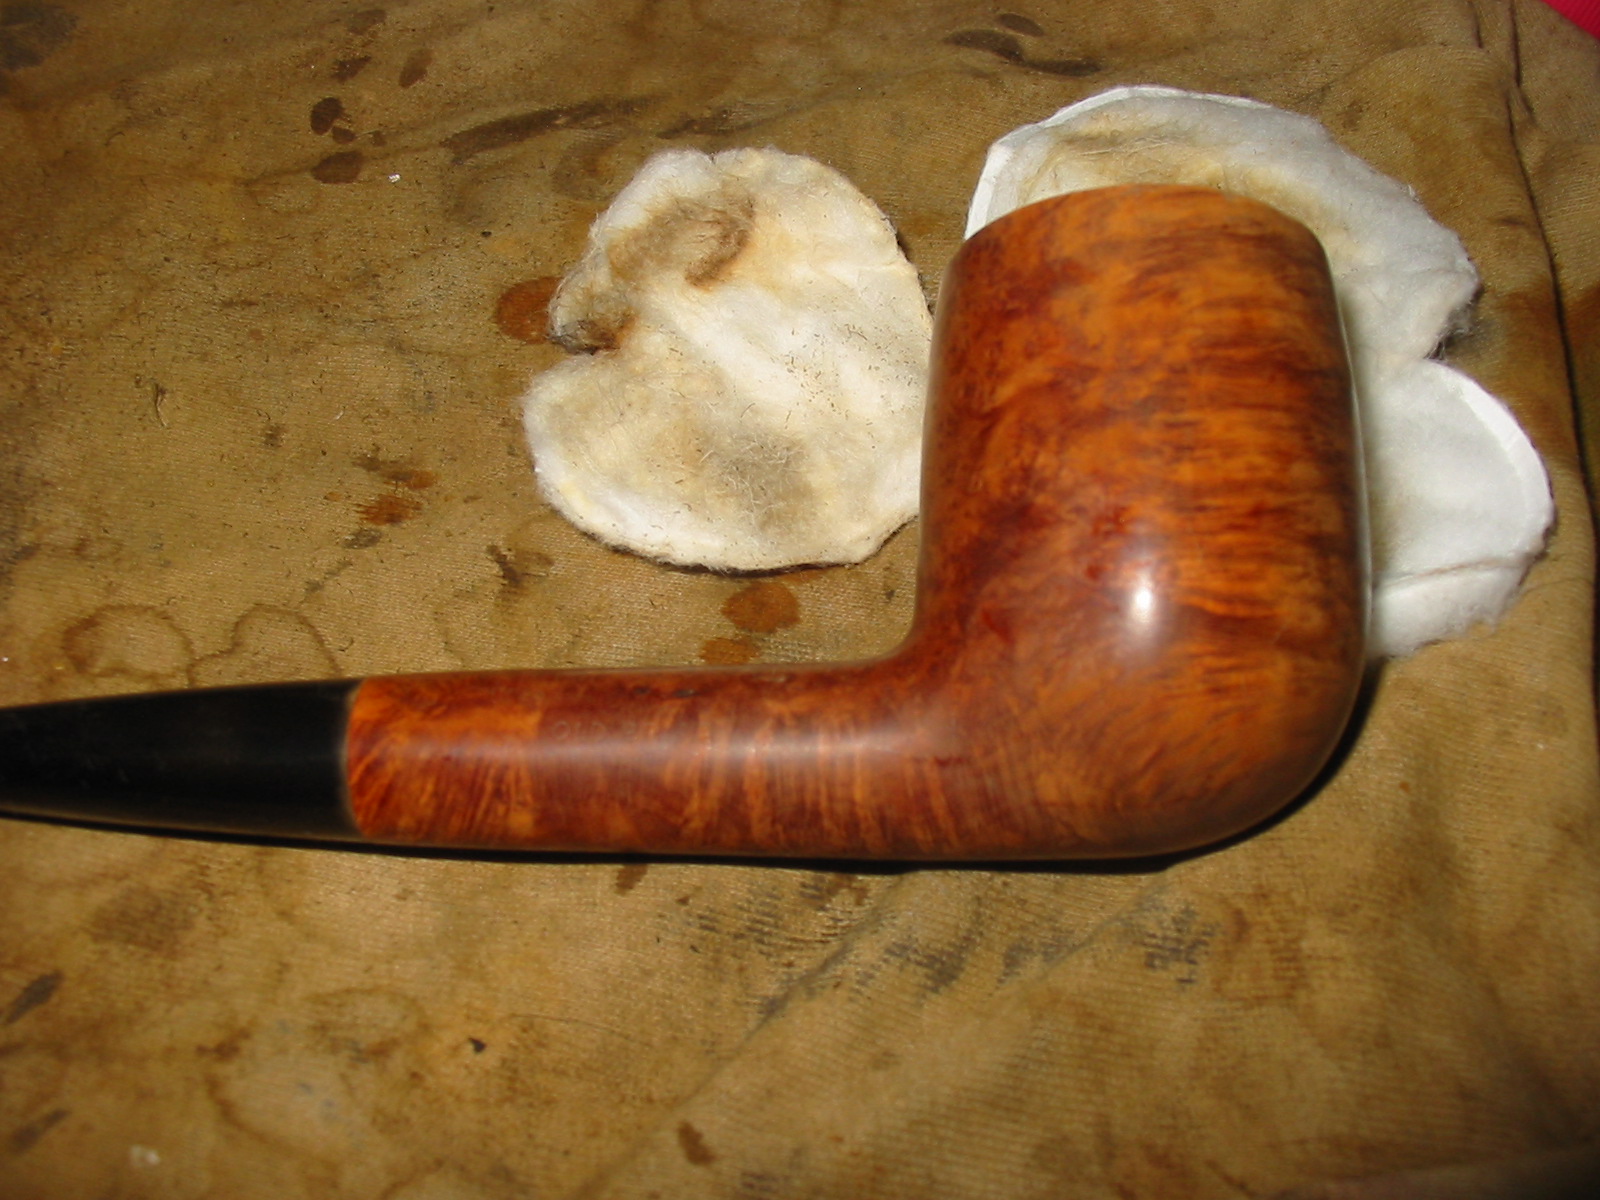
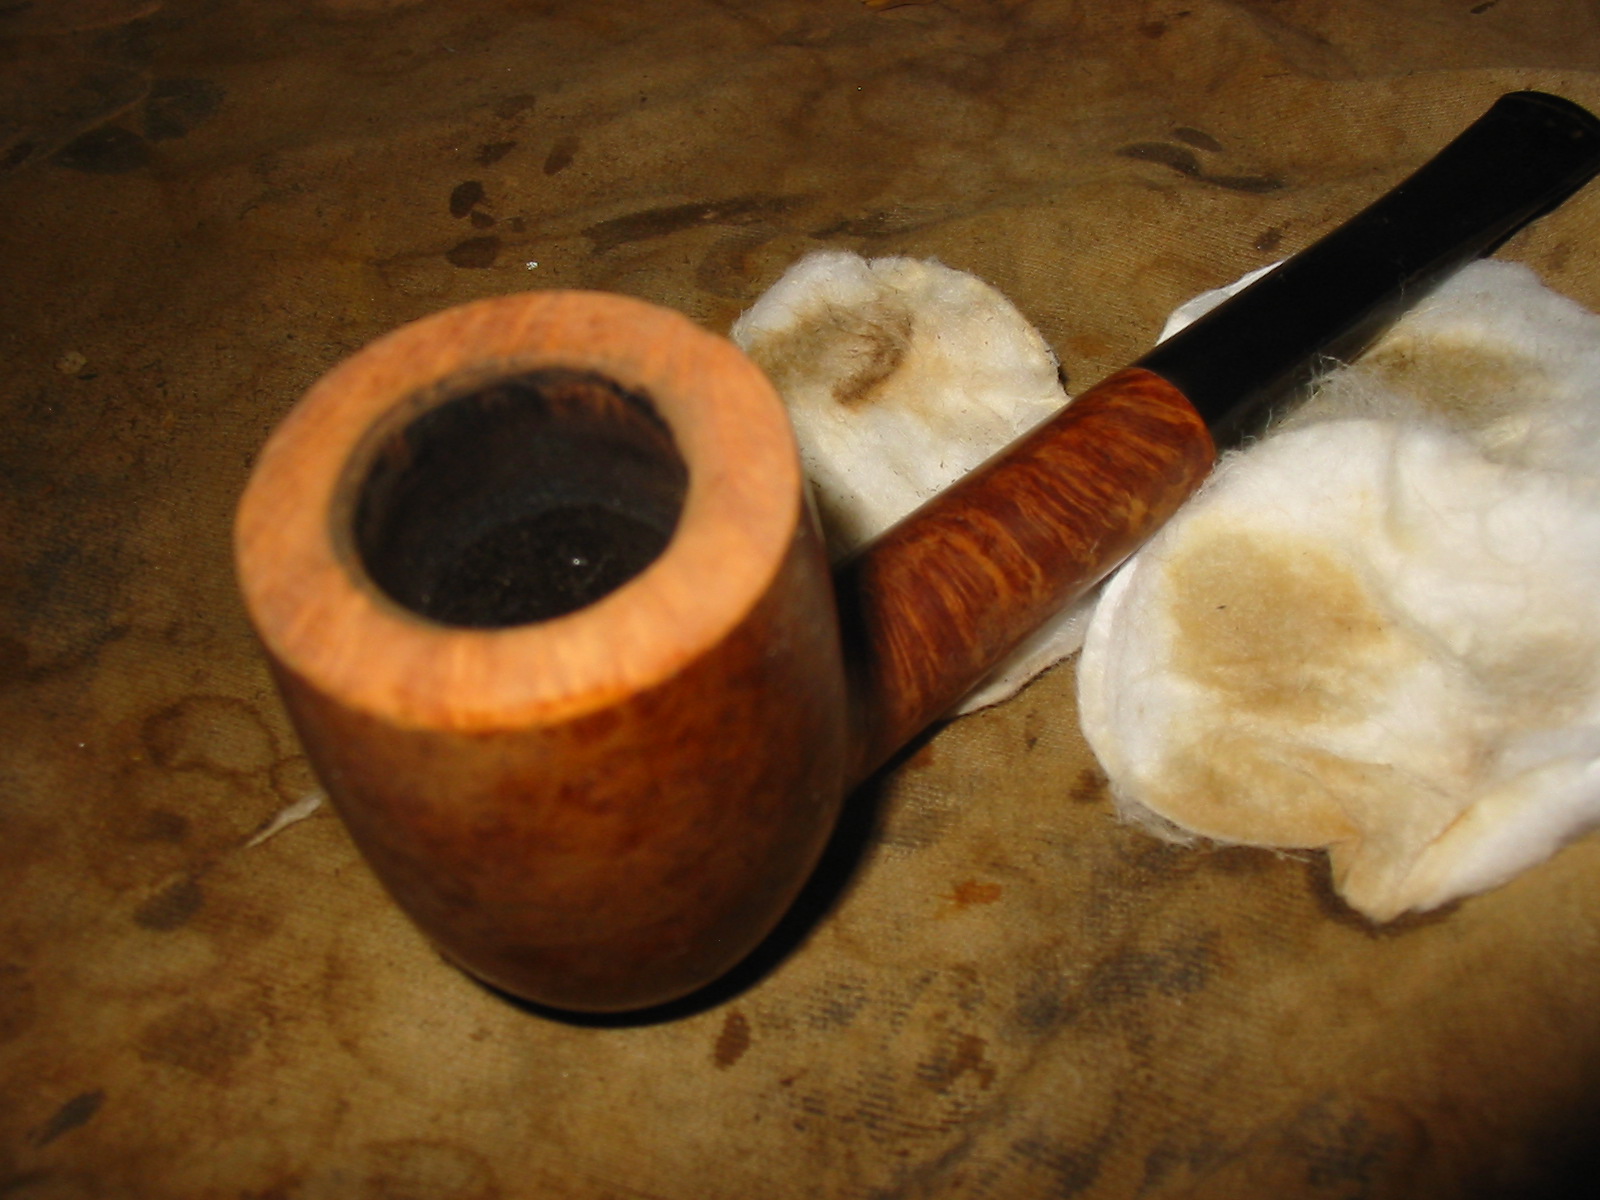
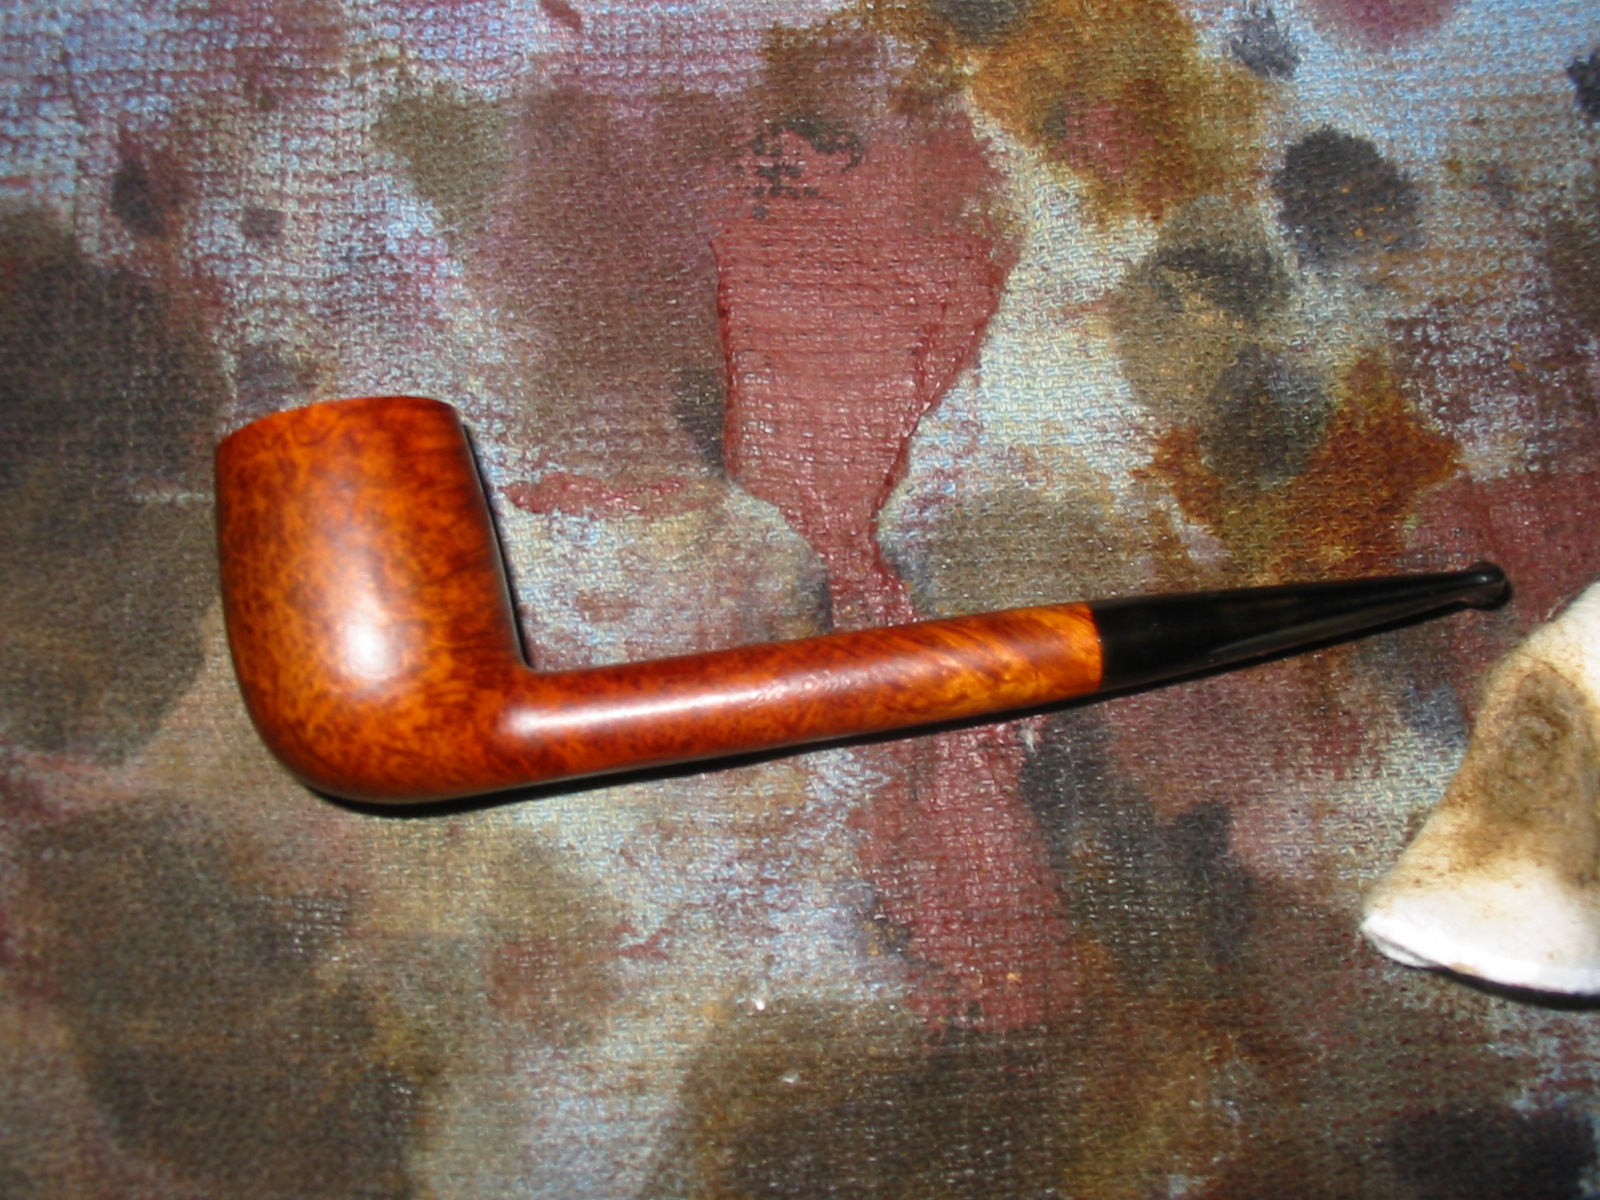
 After this was done I gave the bowl one coat, applied twice with flame, of a medium brown Fiebing’s Dye, diluted to about 75/25 with isopropyl alcohol and set it to dry while I turned back to the stem.
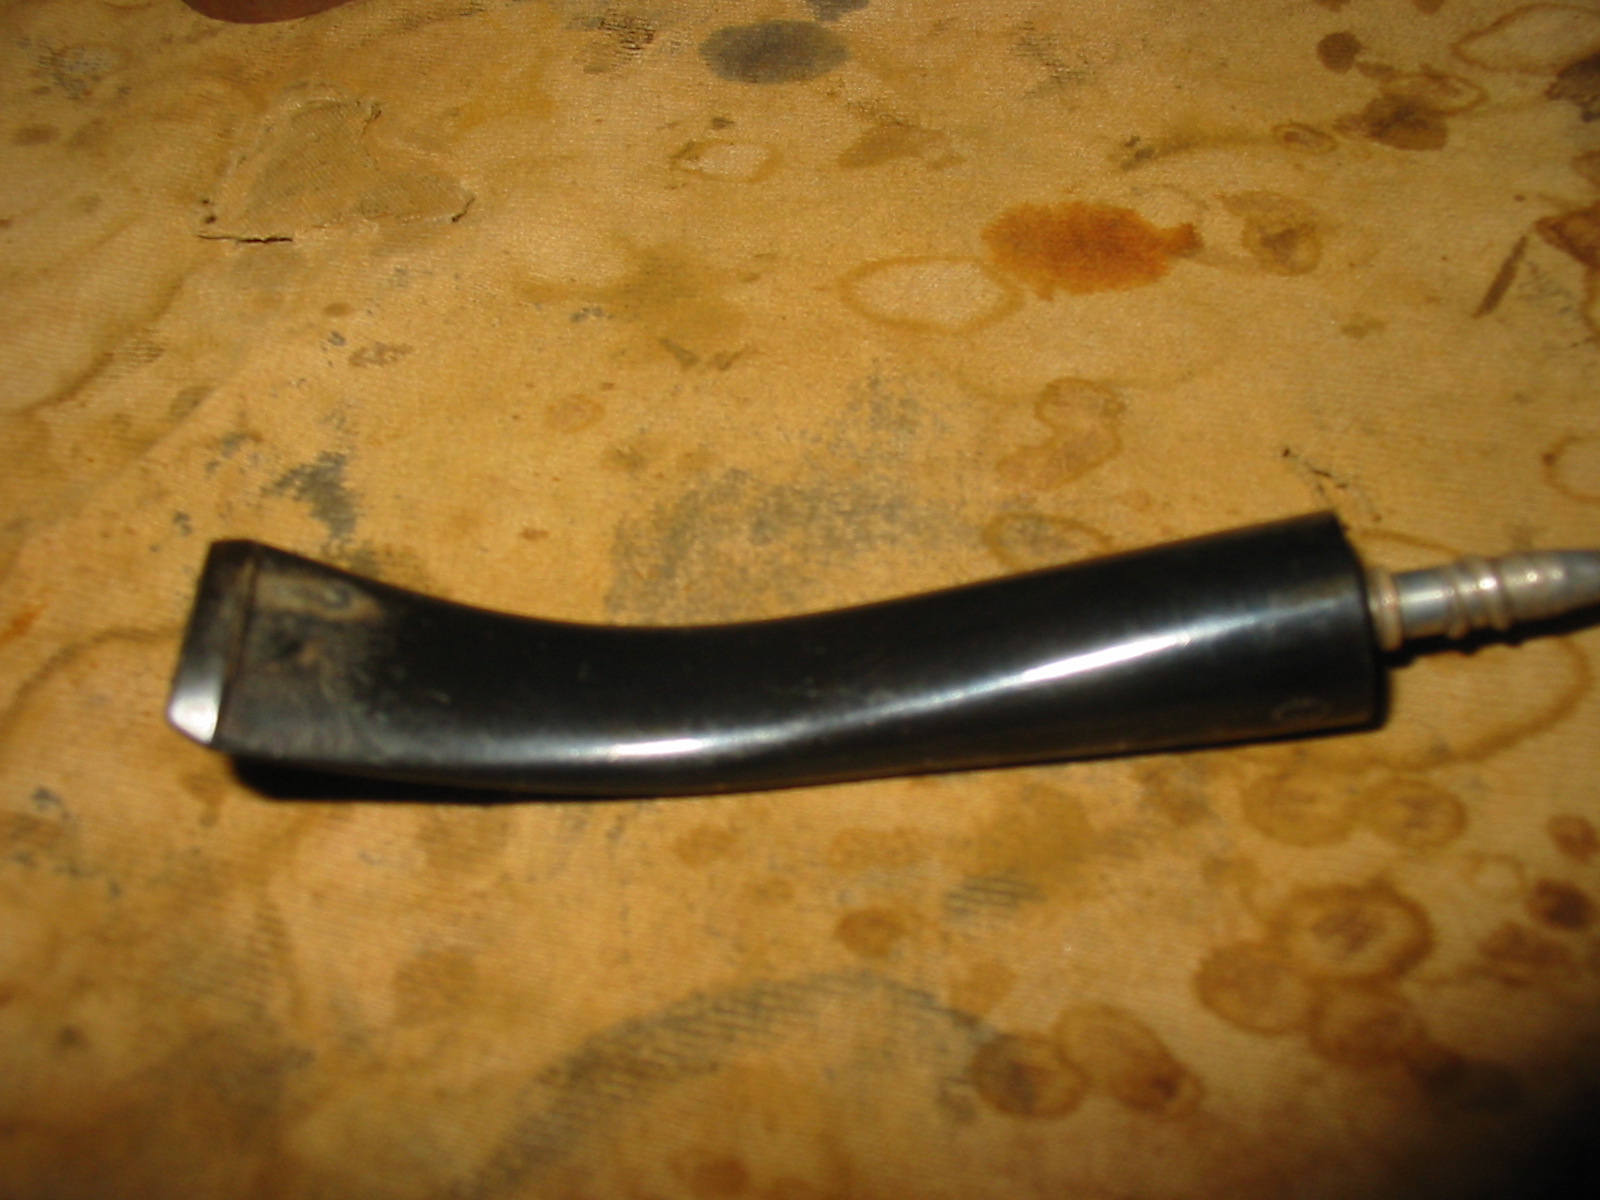
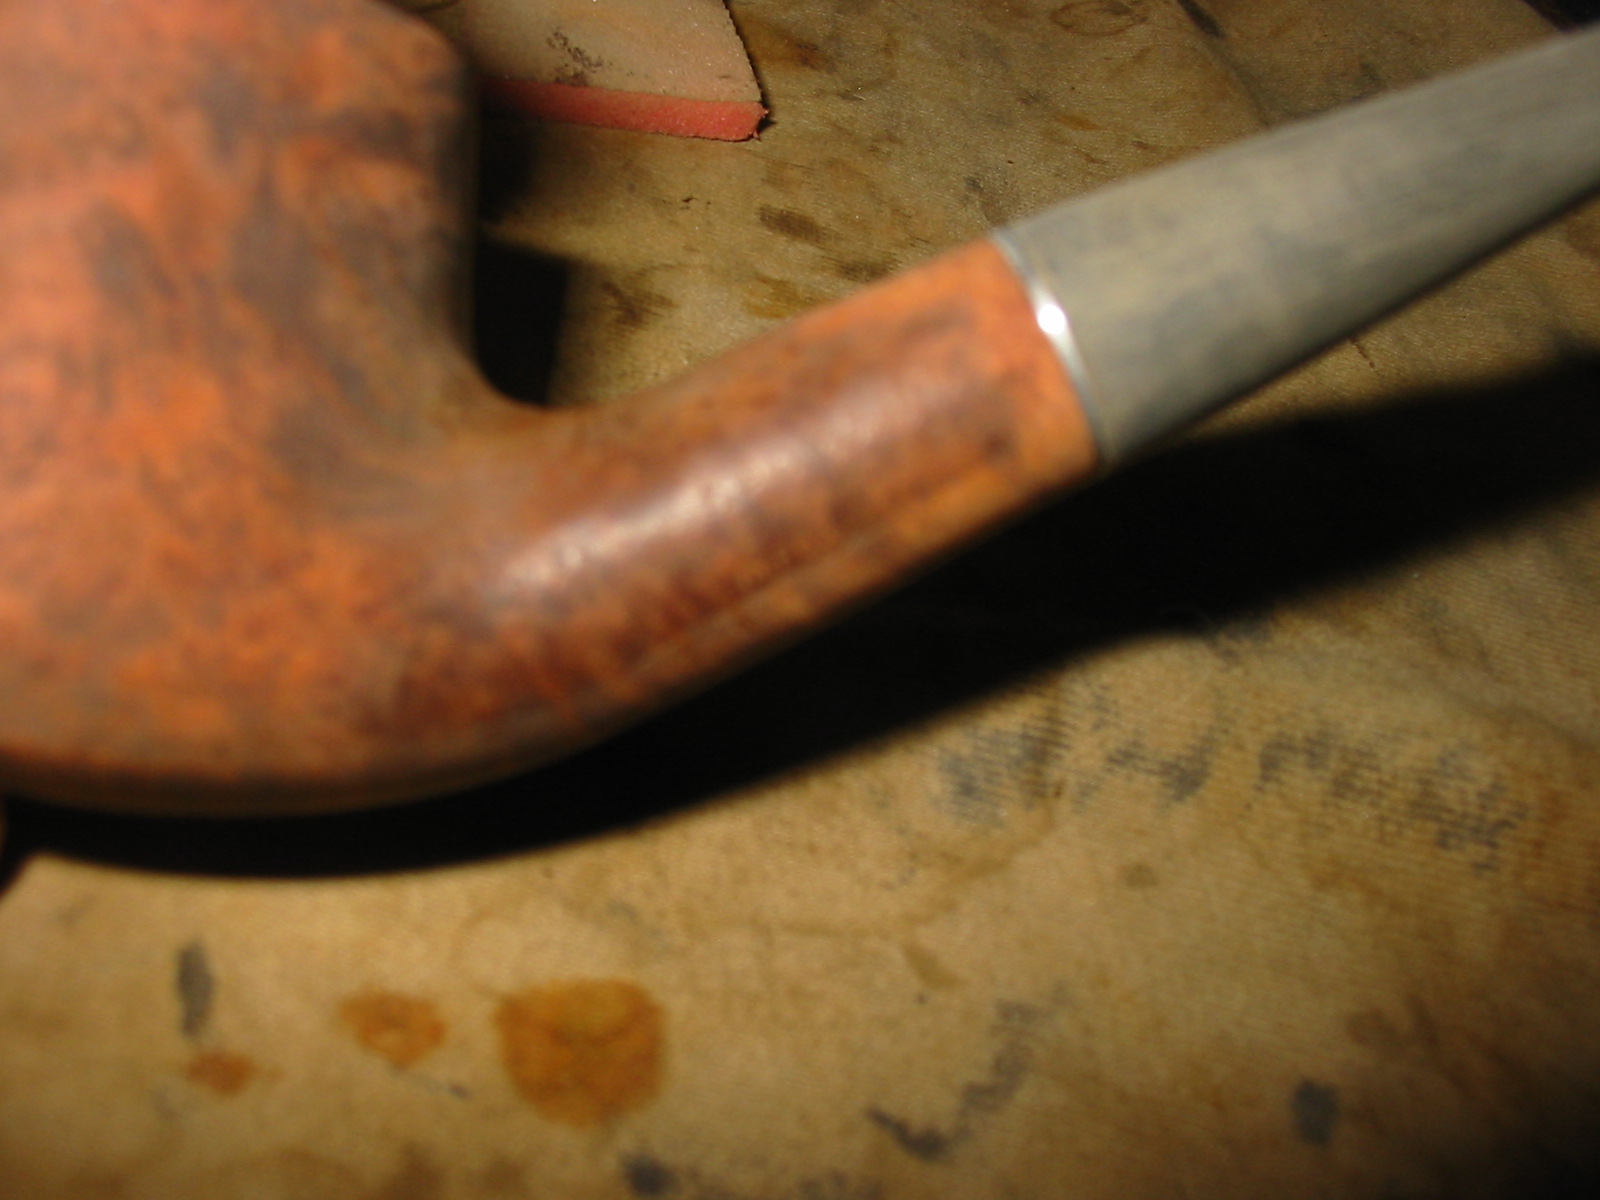
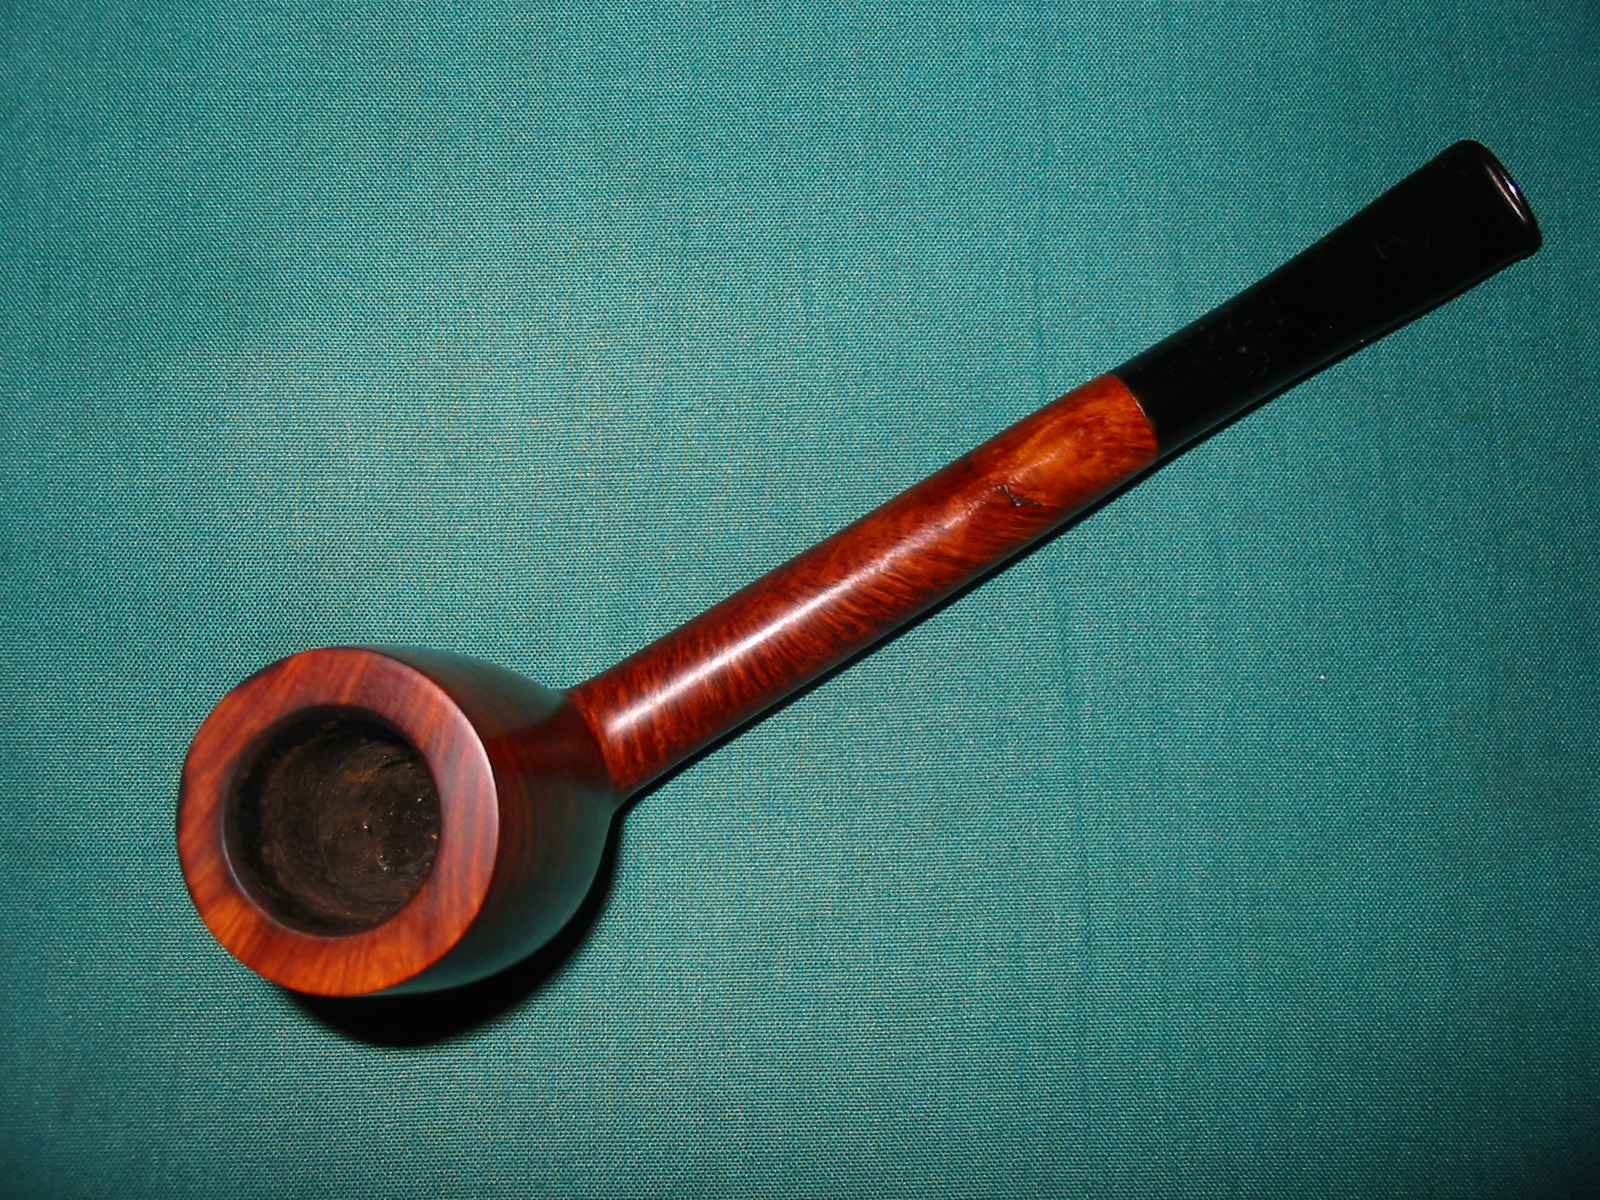
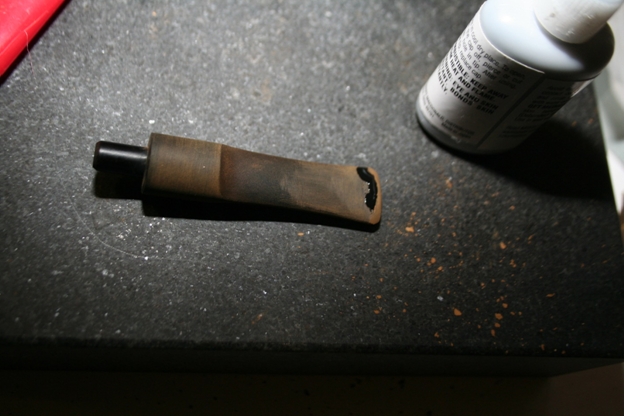 Once it had, I began sanding at 320 again, at this level with an eye towards shaping more than polishing. This is definitely a weak spot for me, so I’m glad for the practice, but I need more!
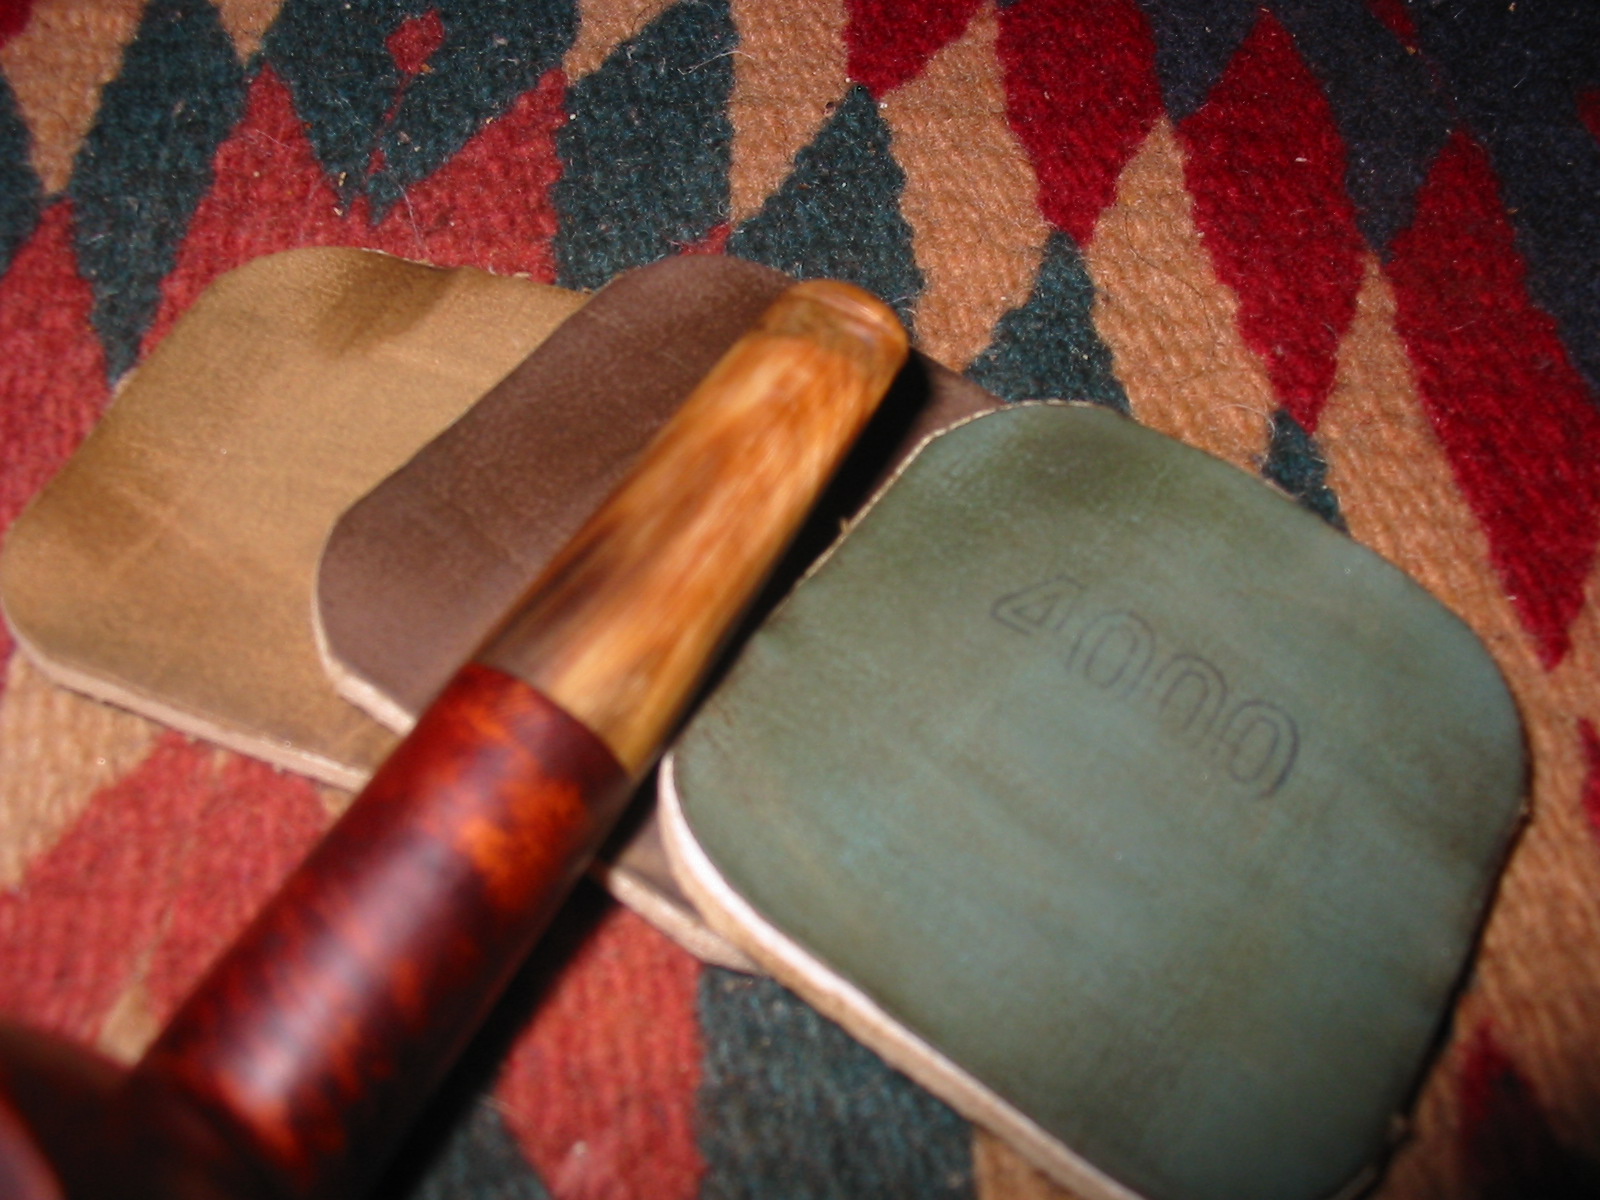
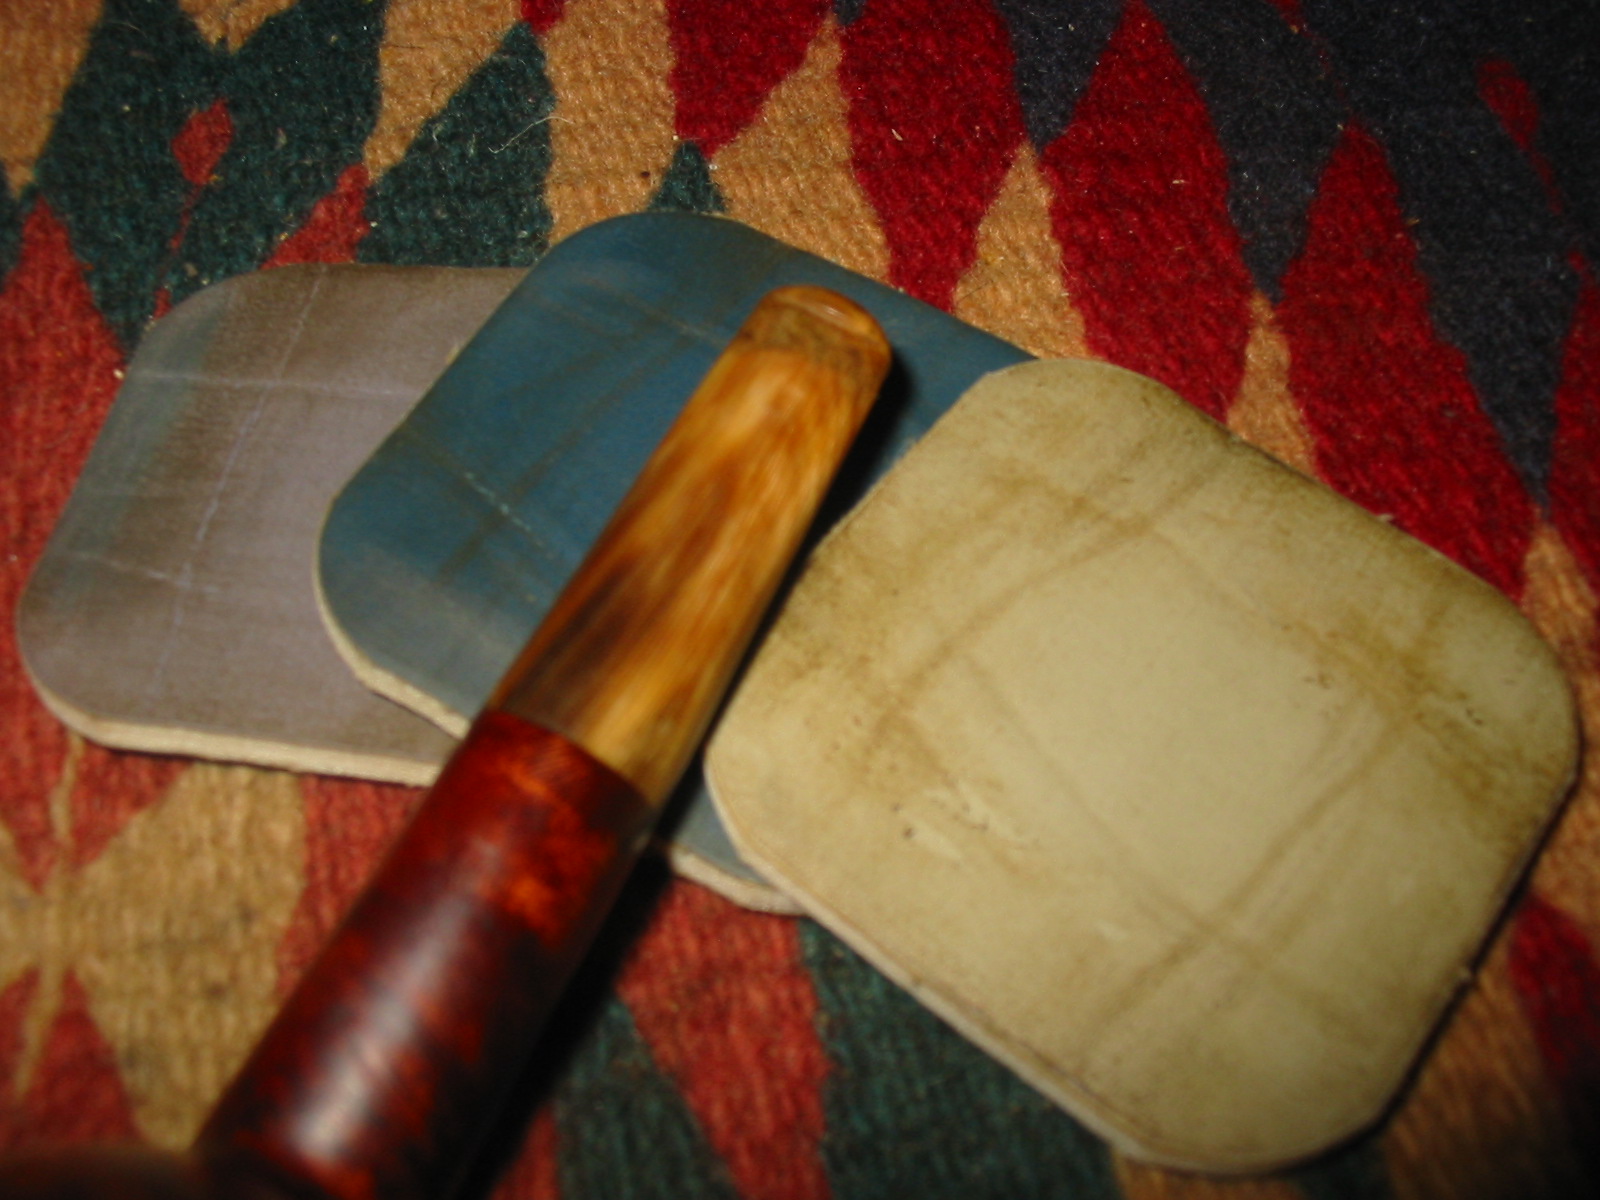
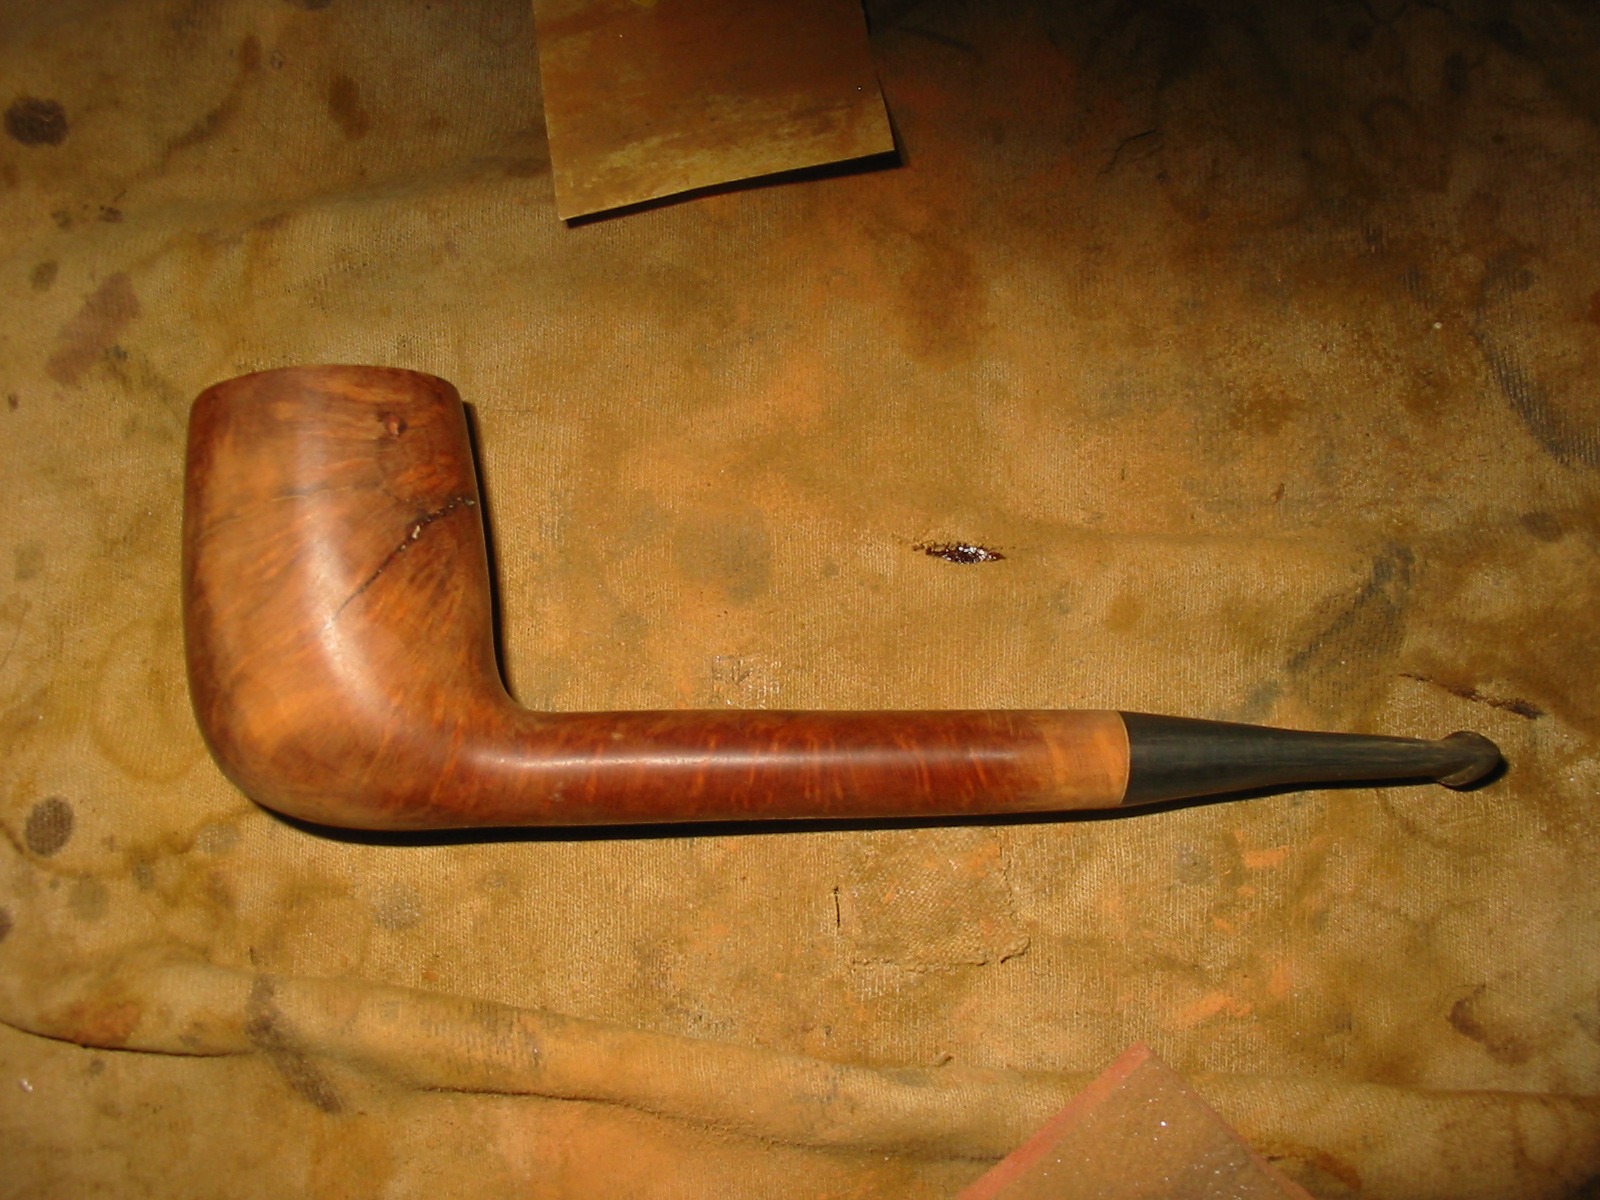
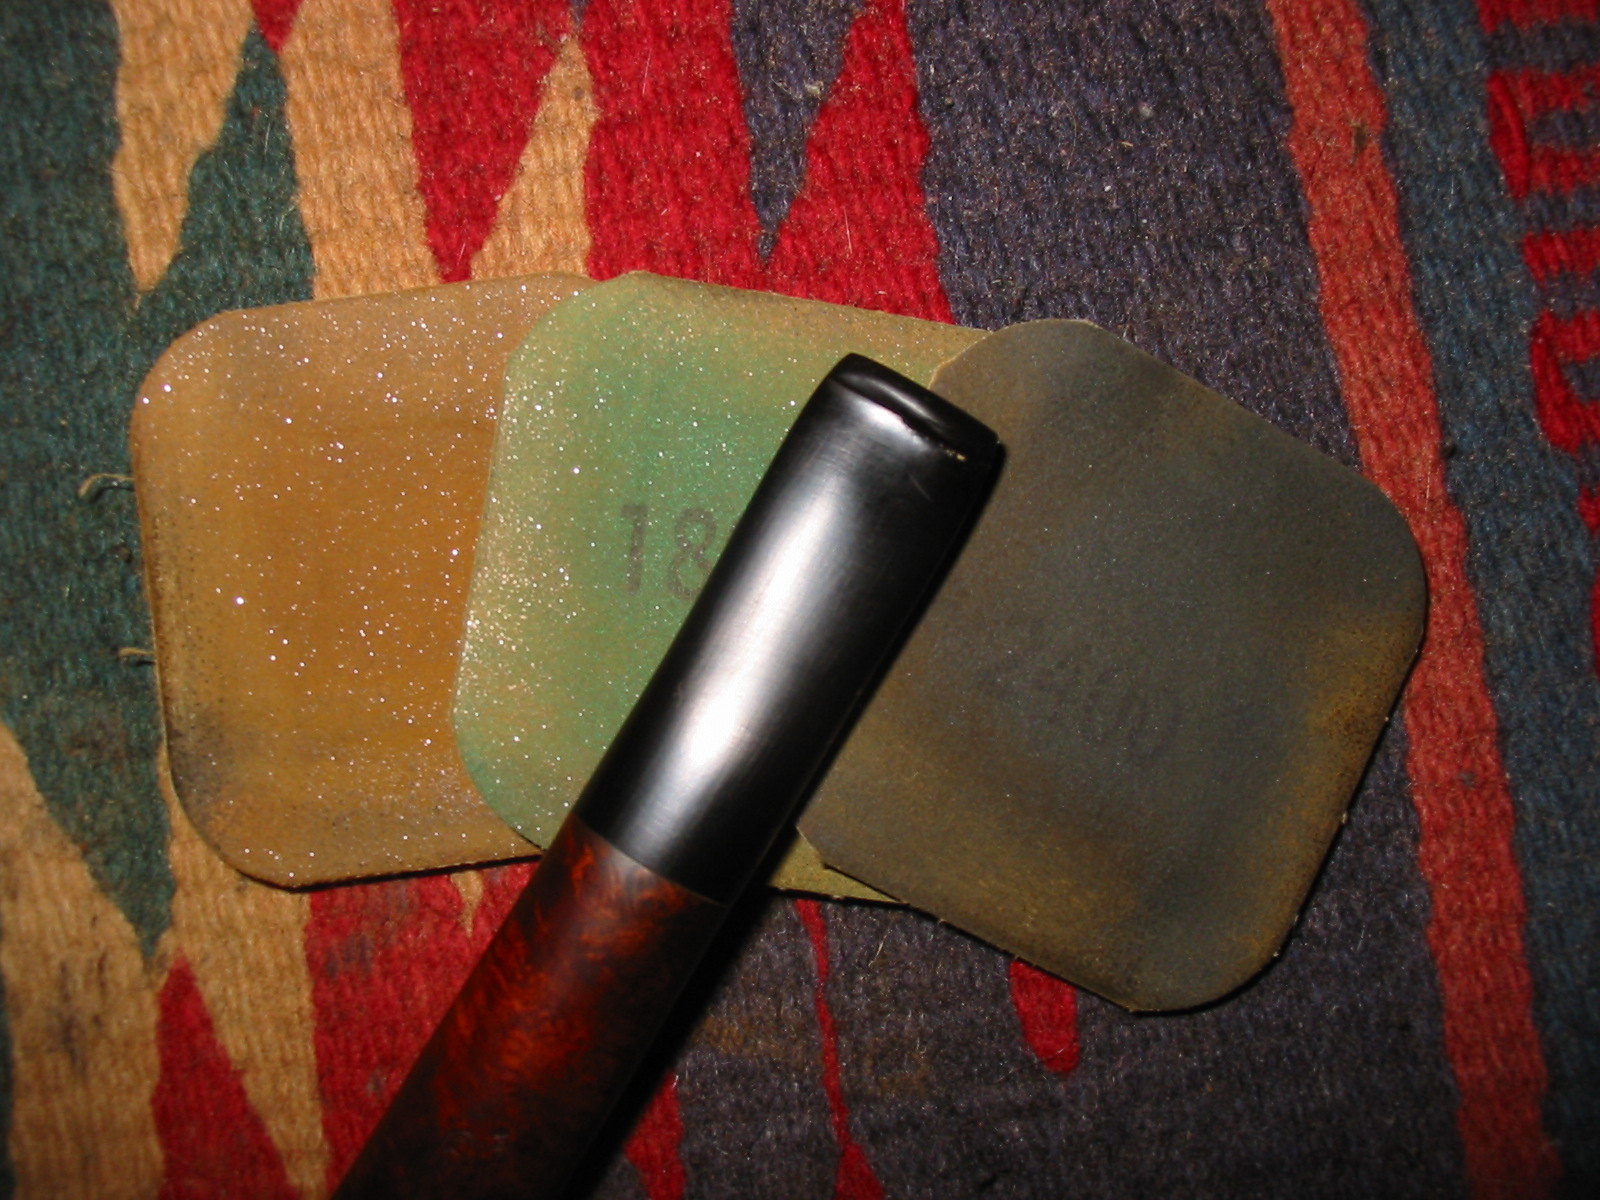
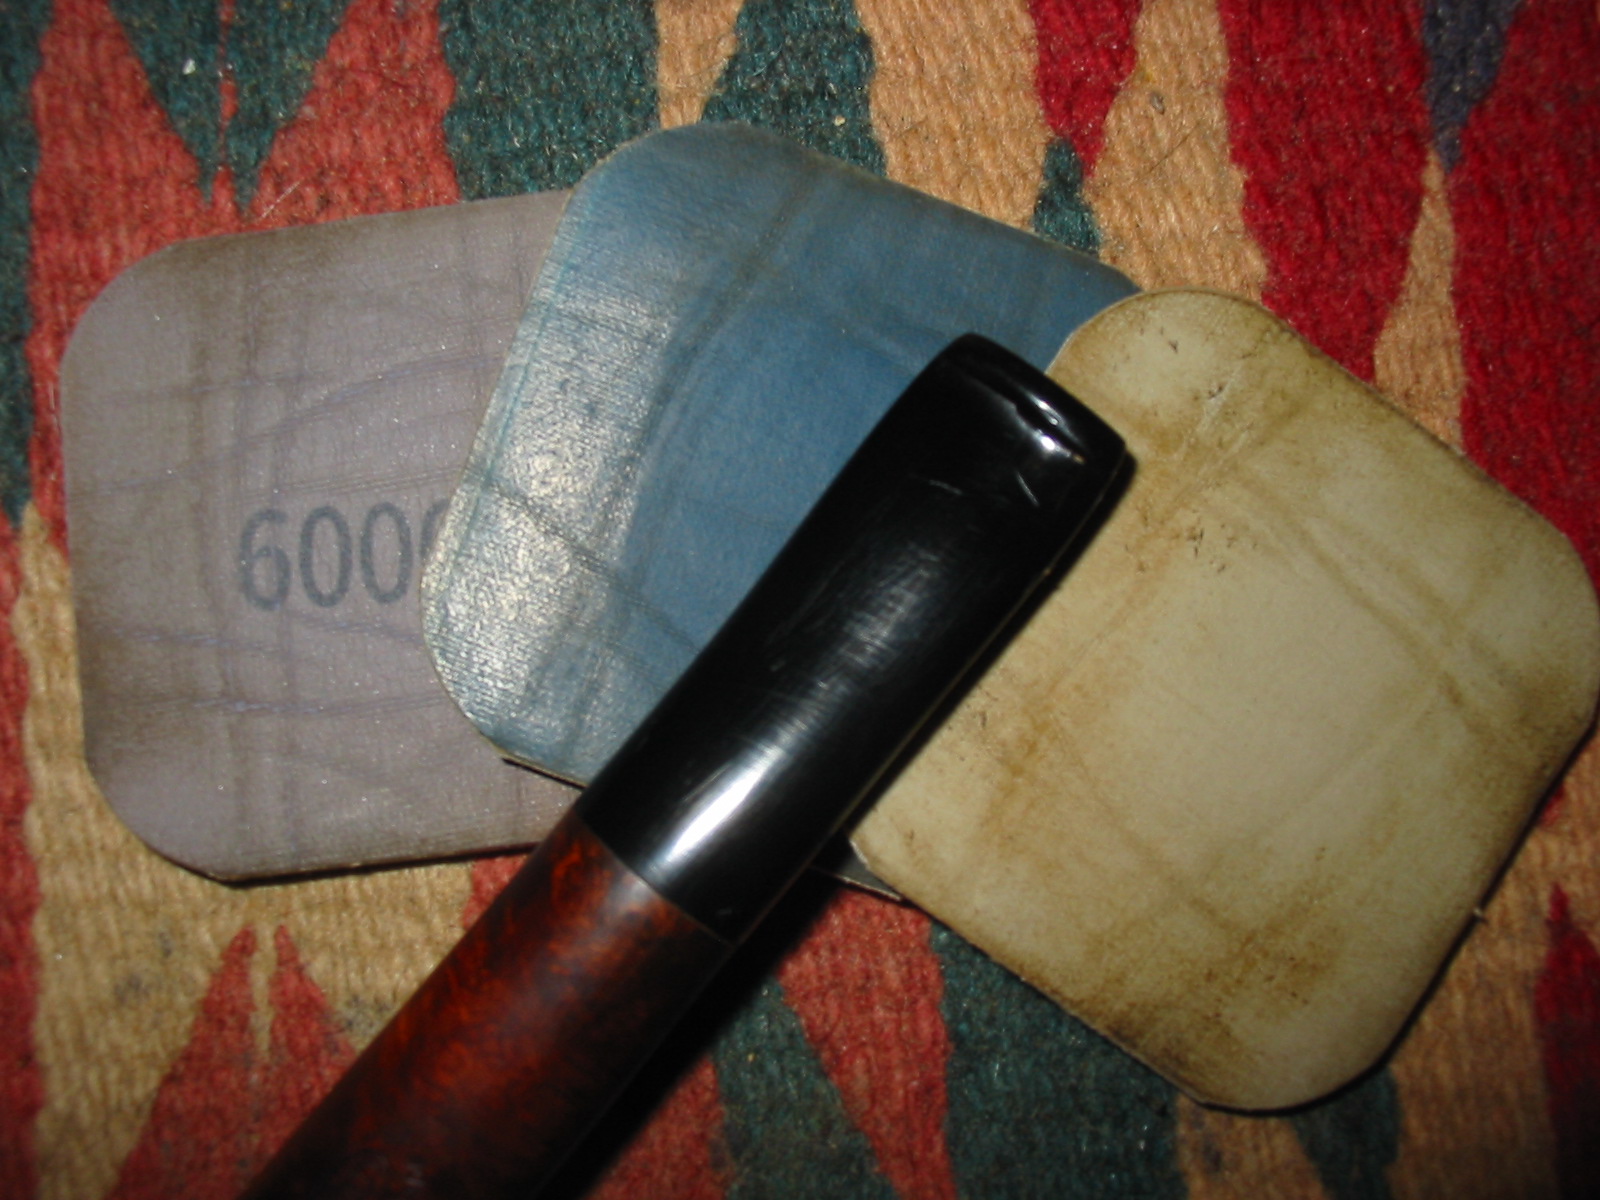
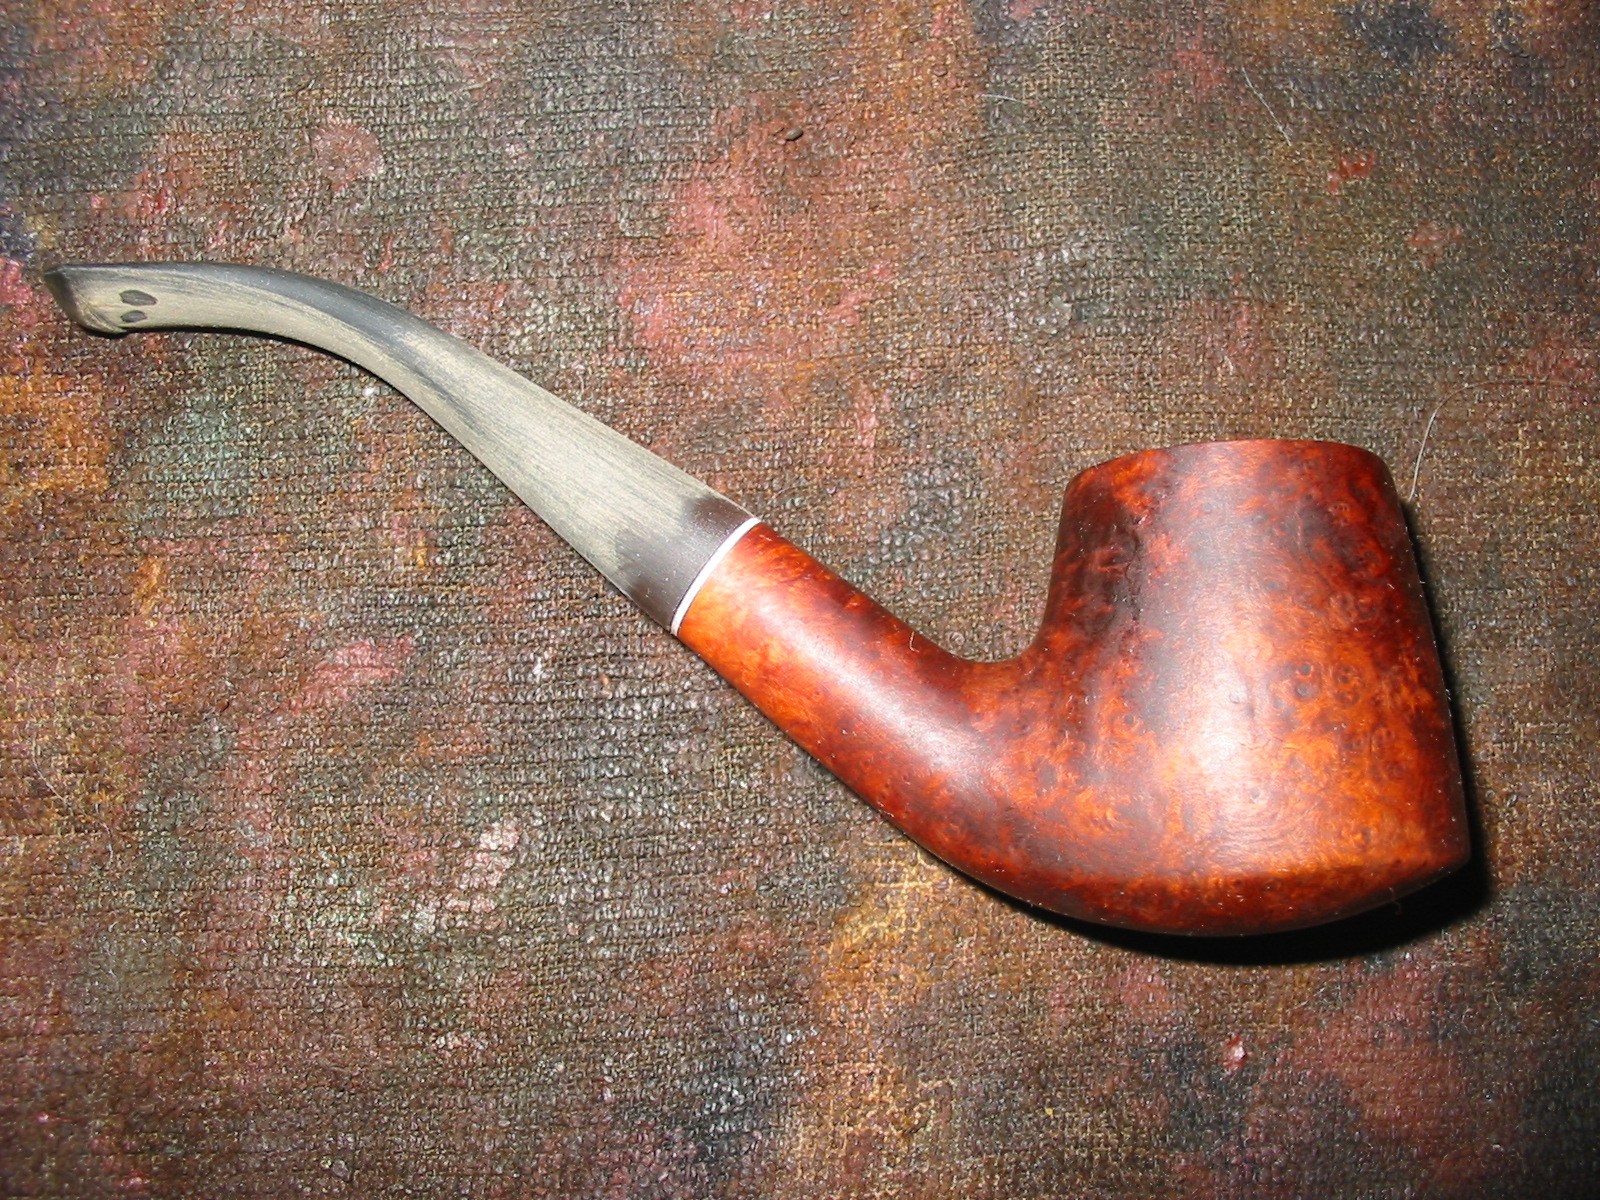
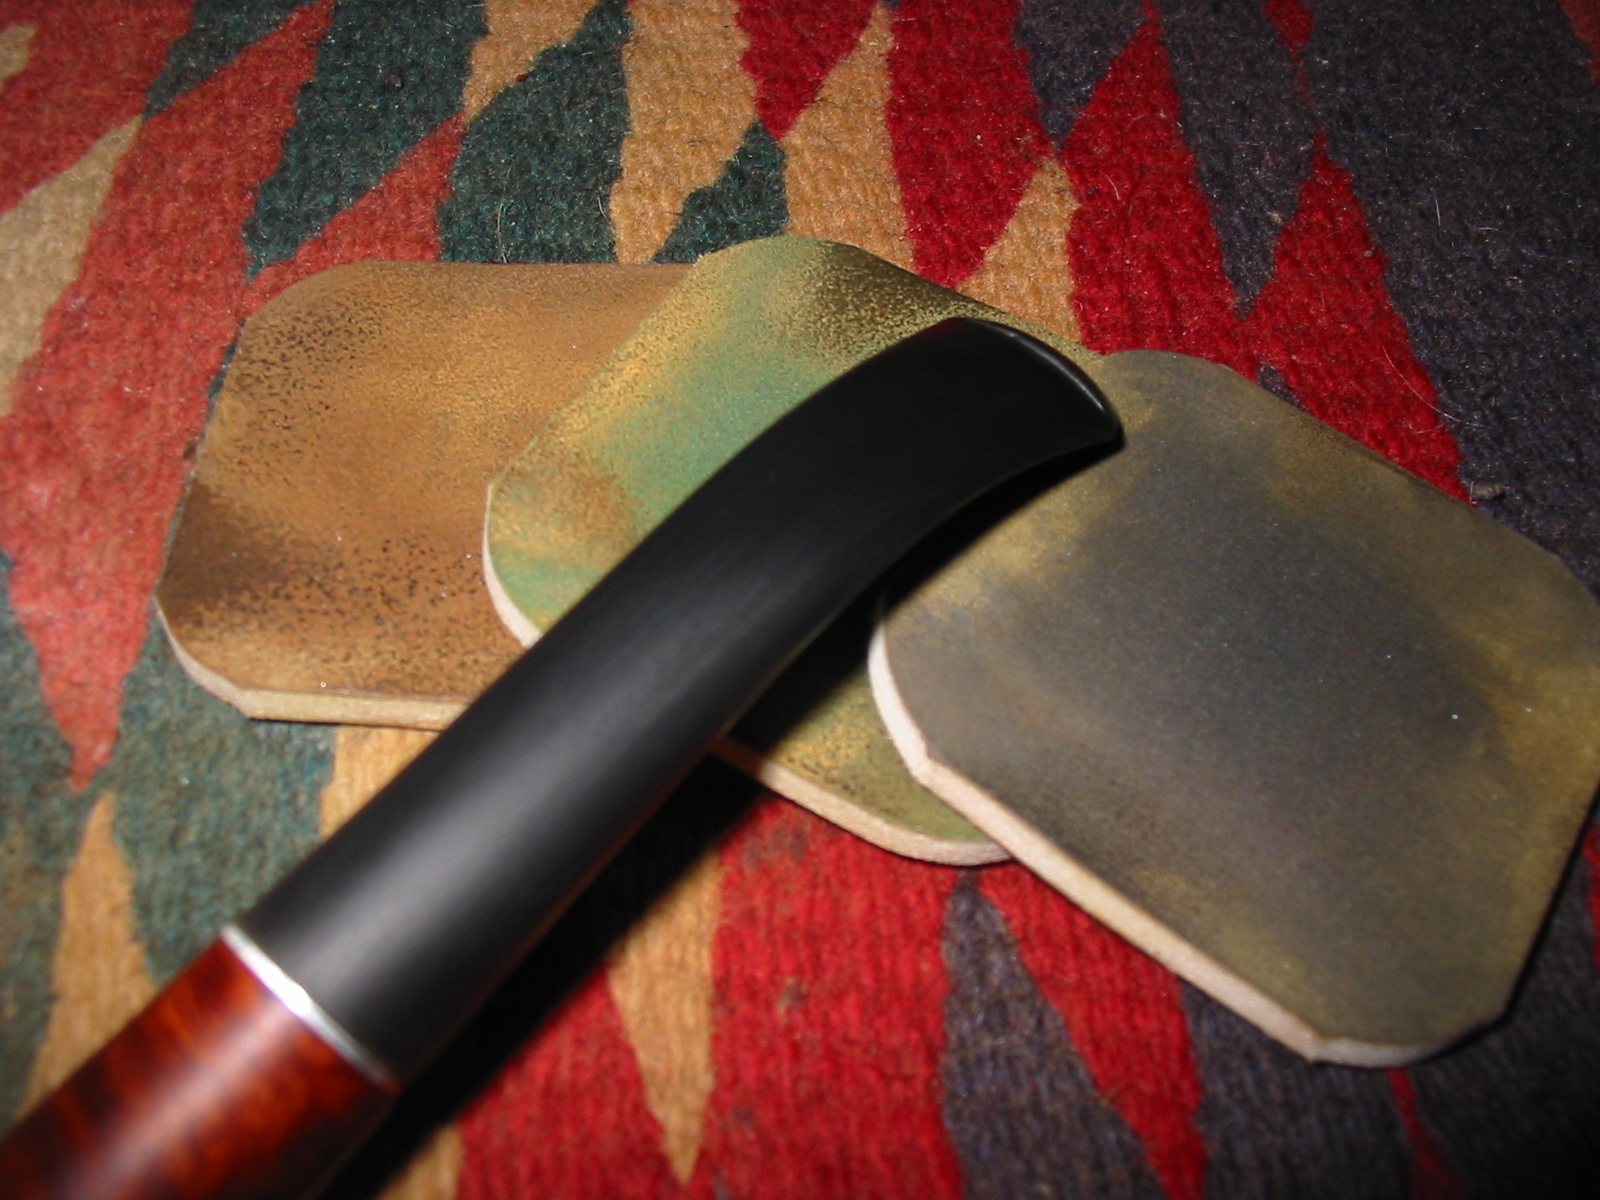
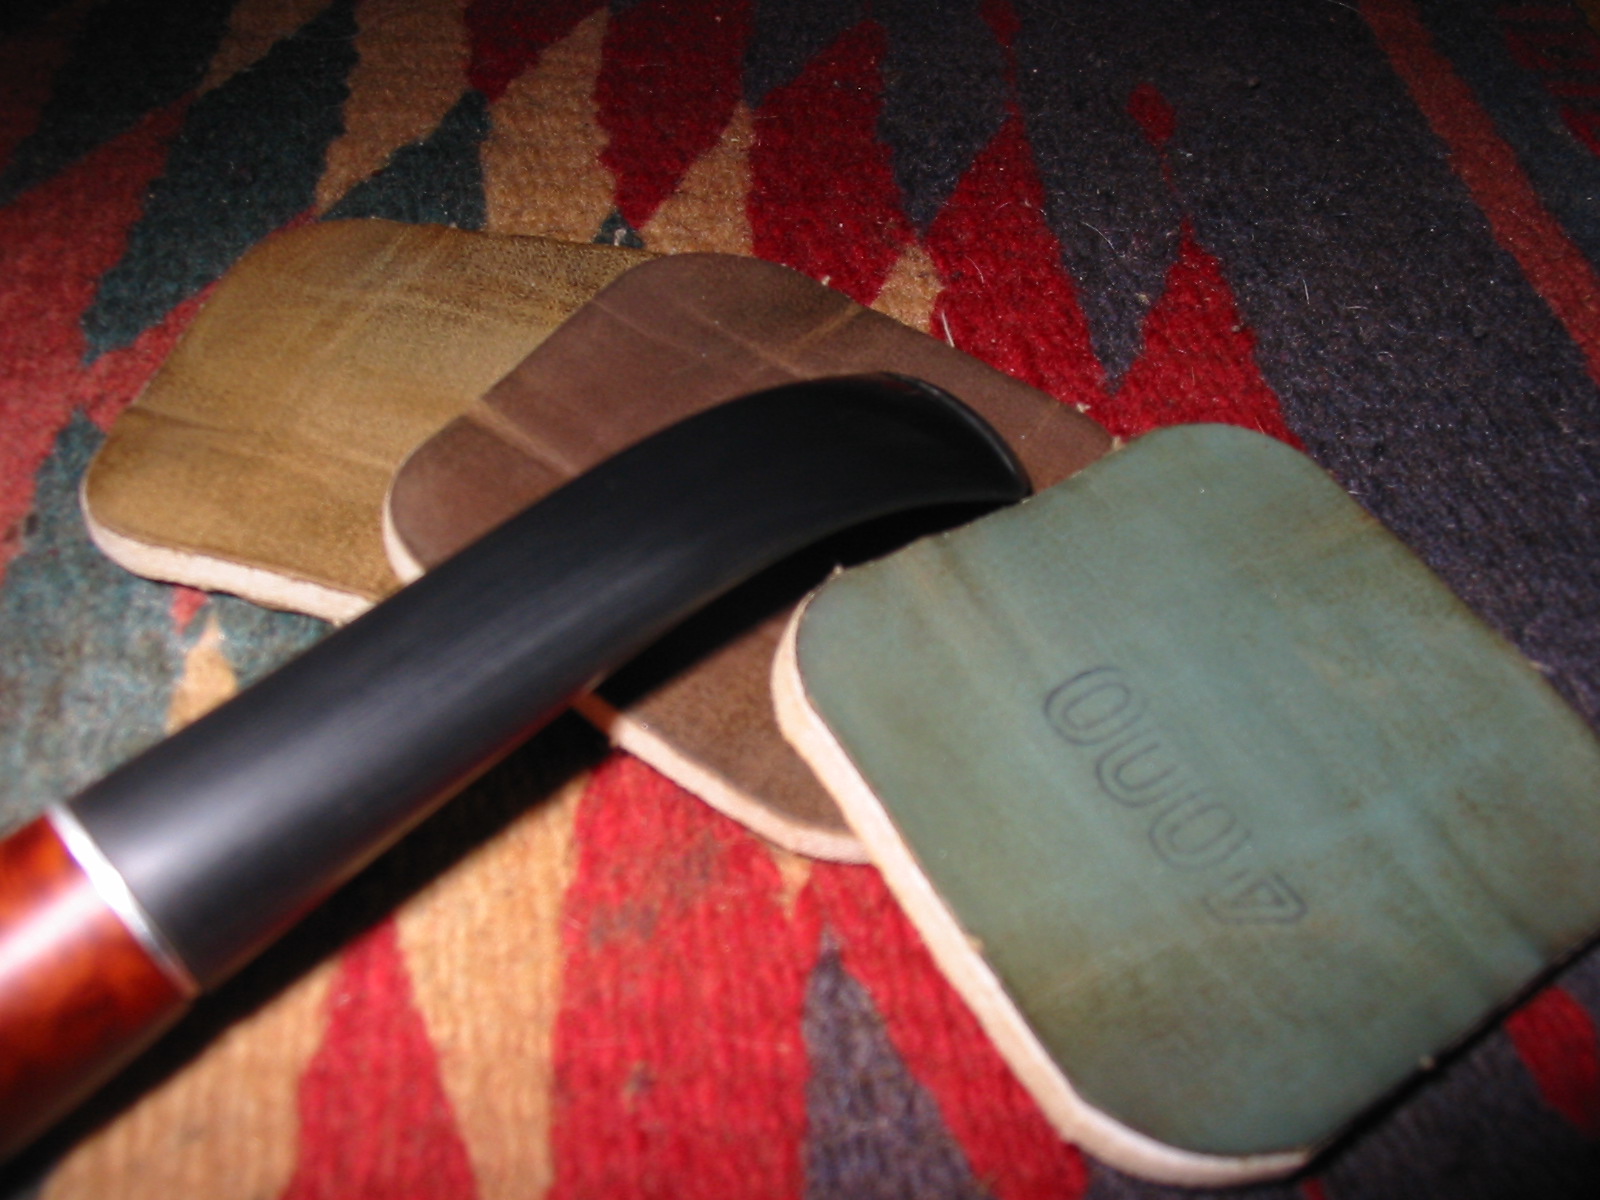
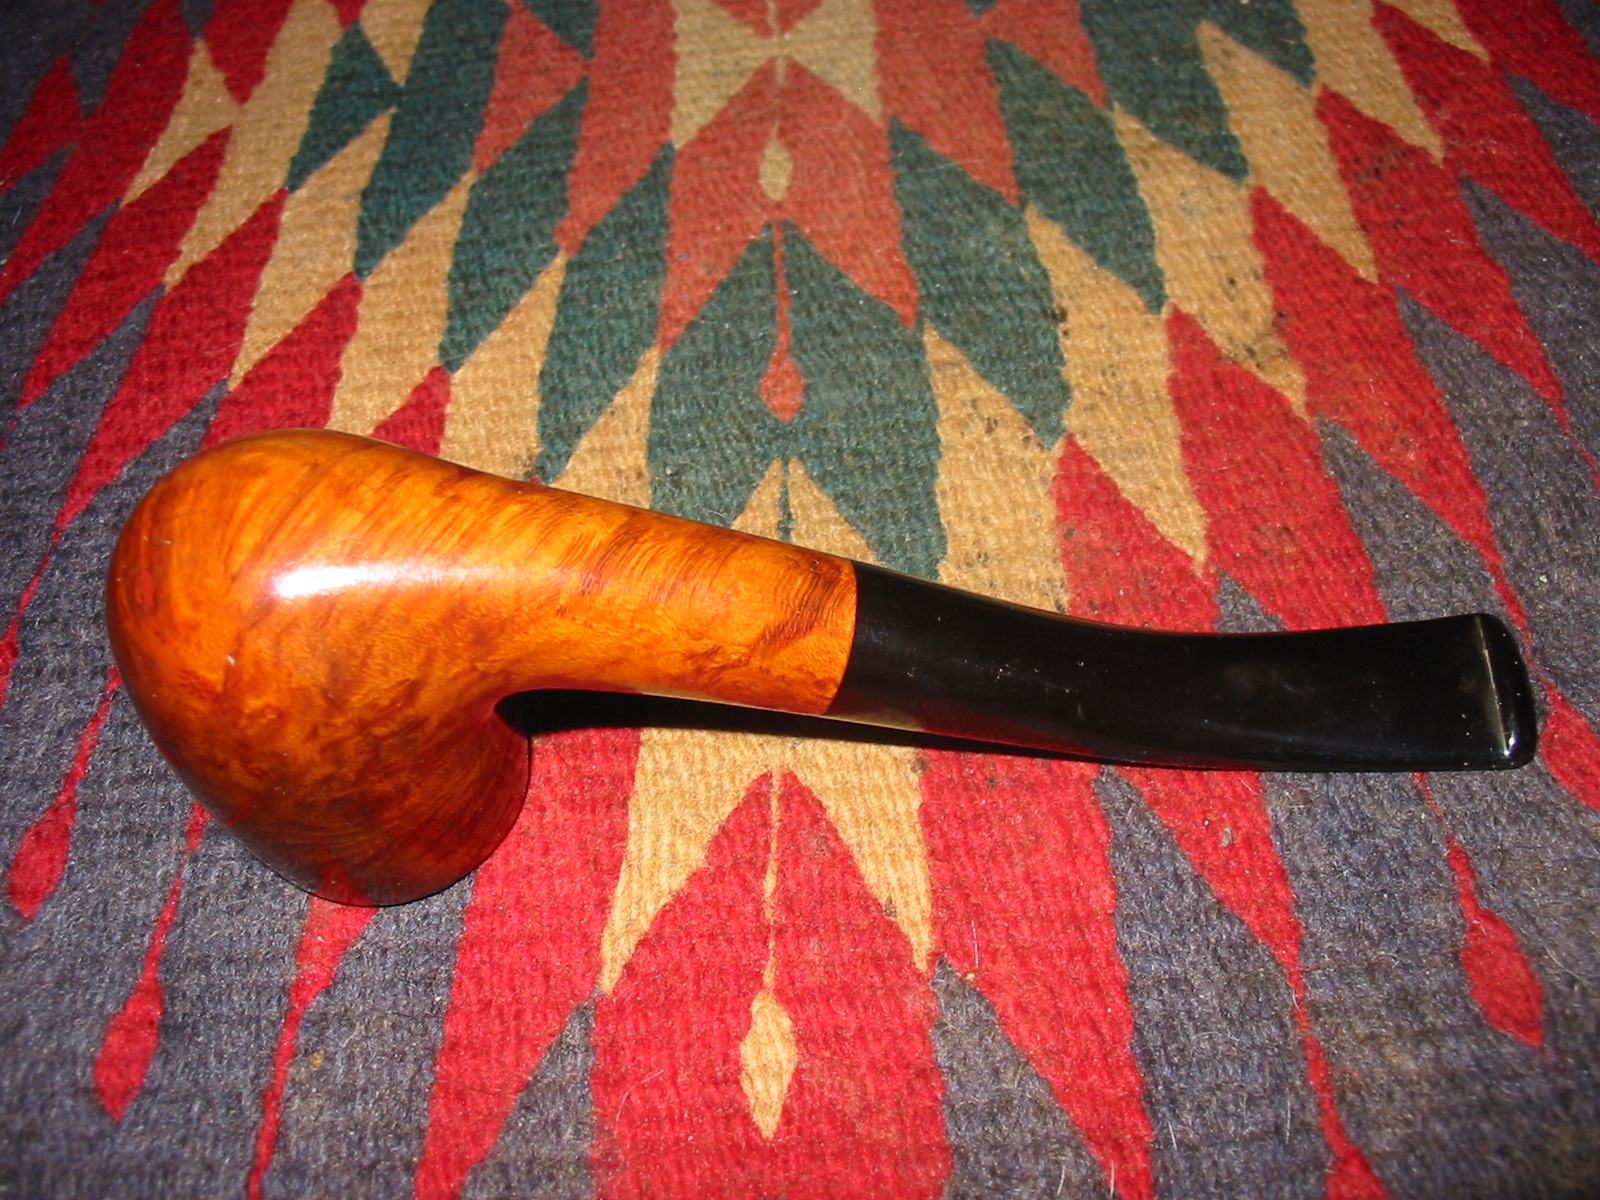
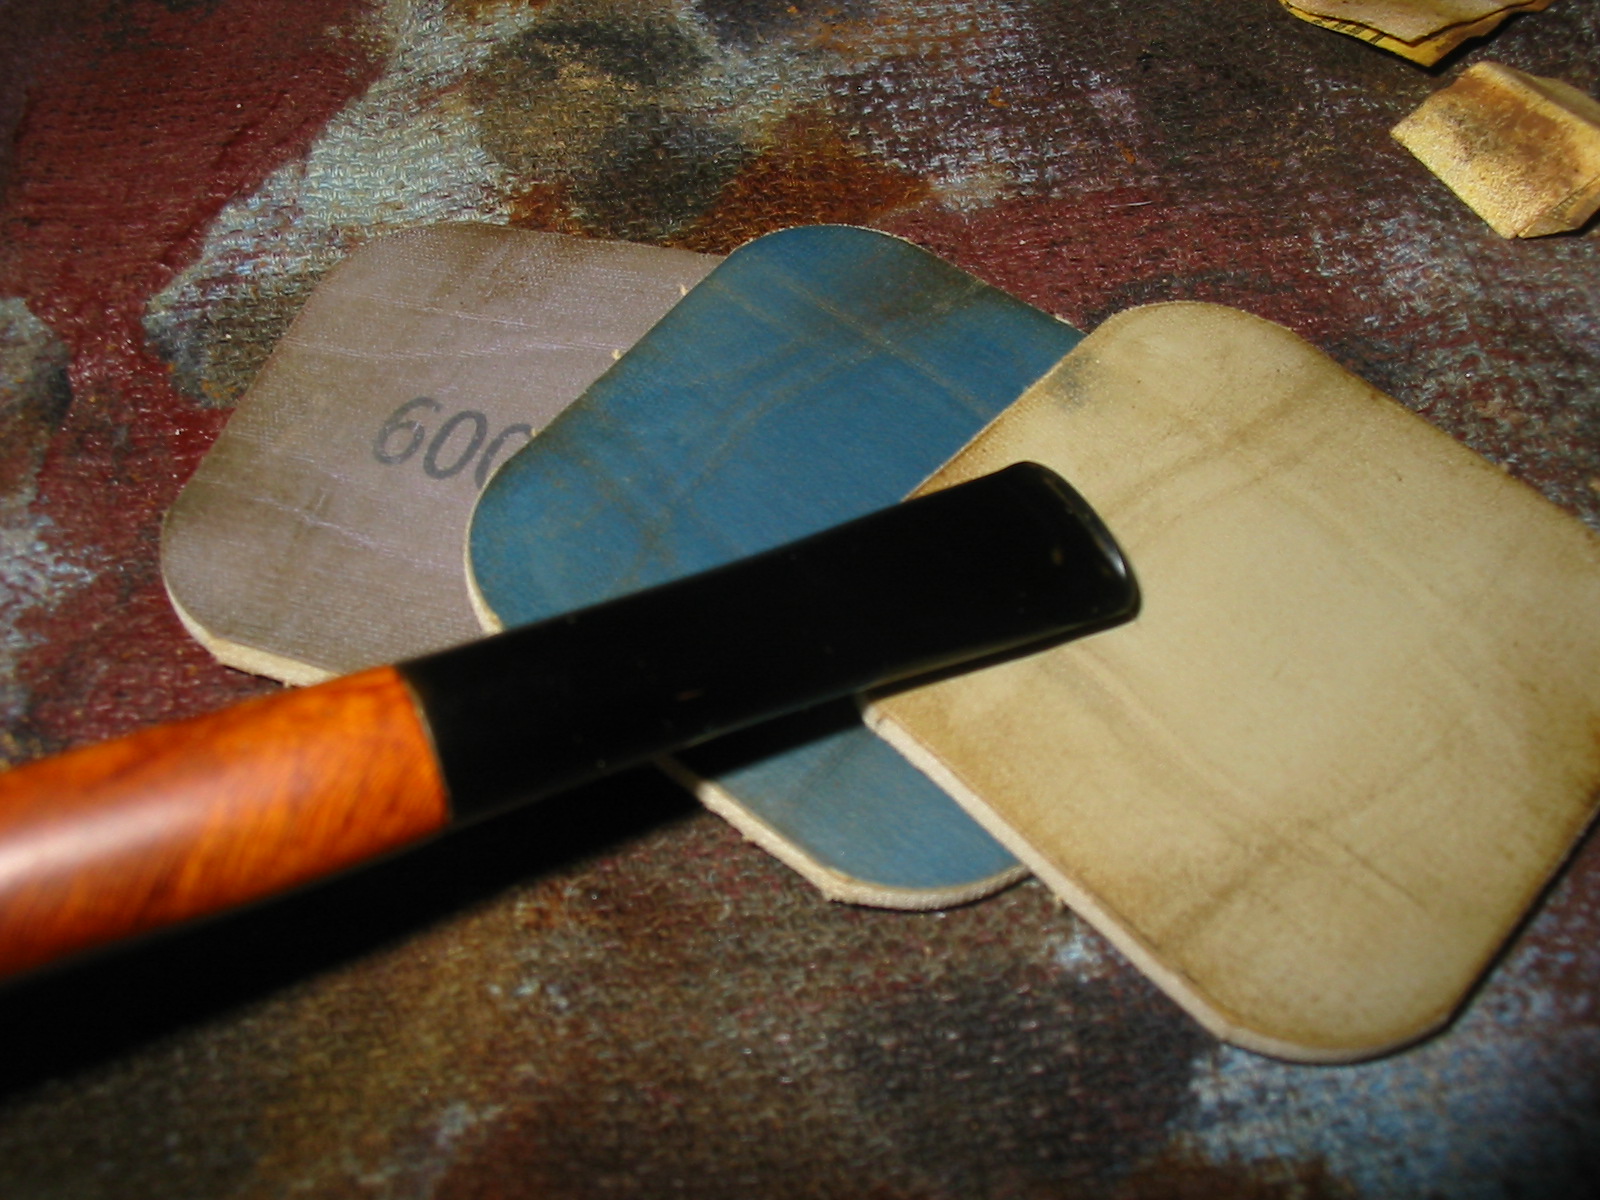
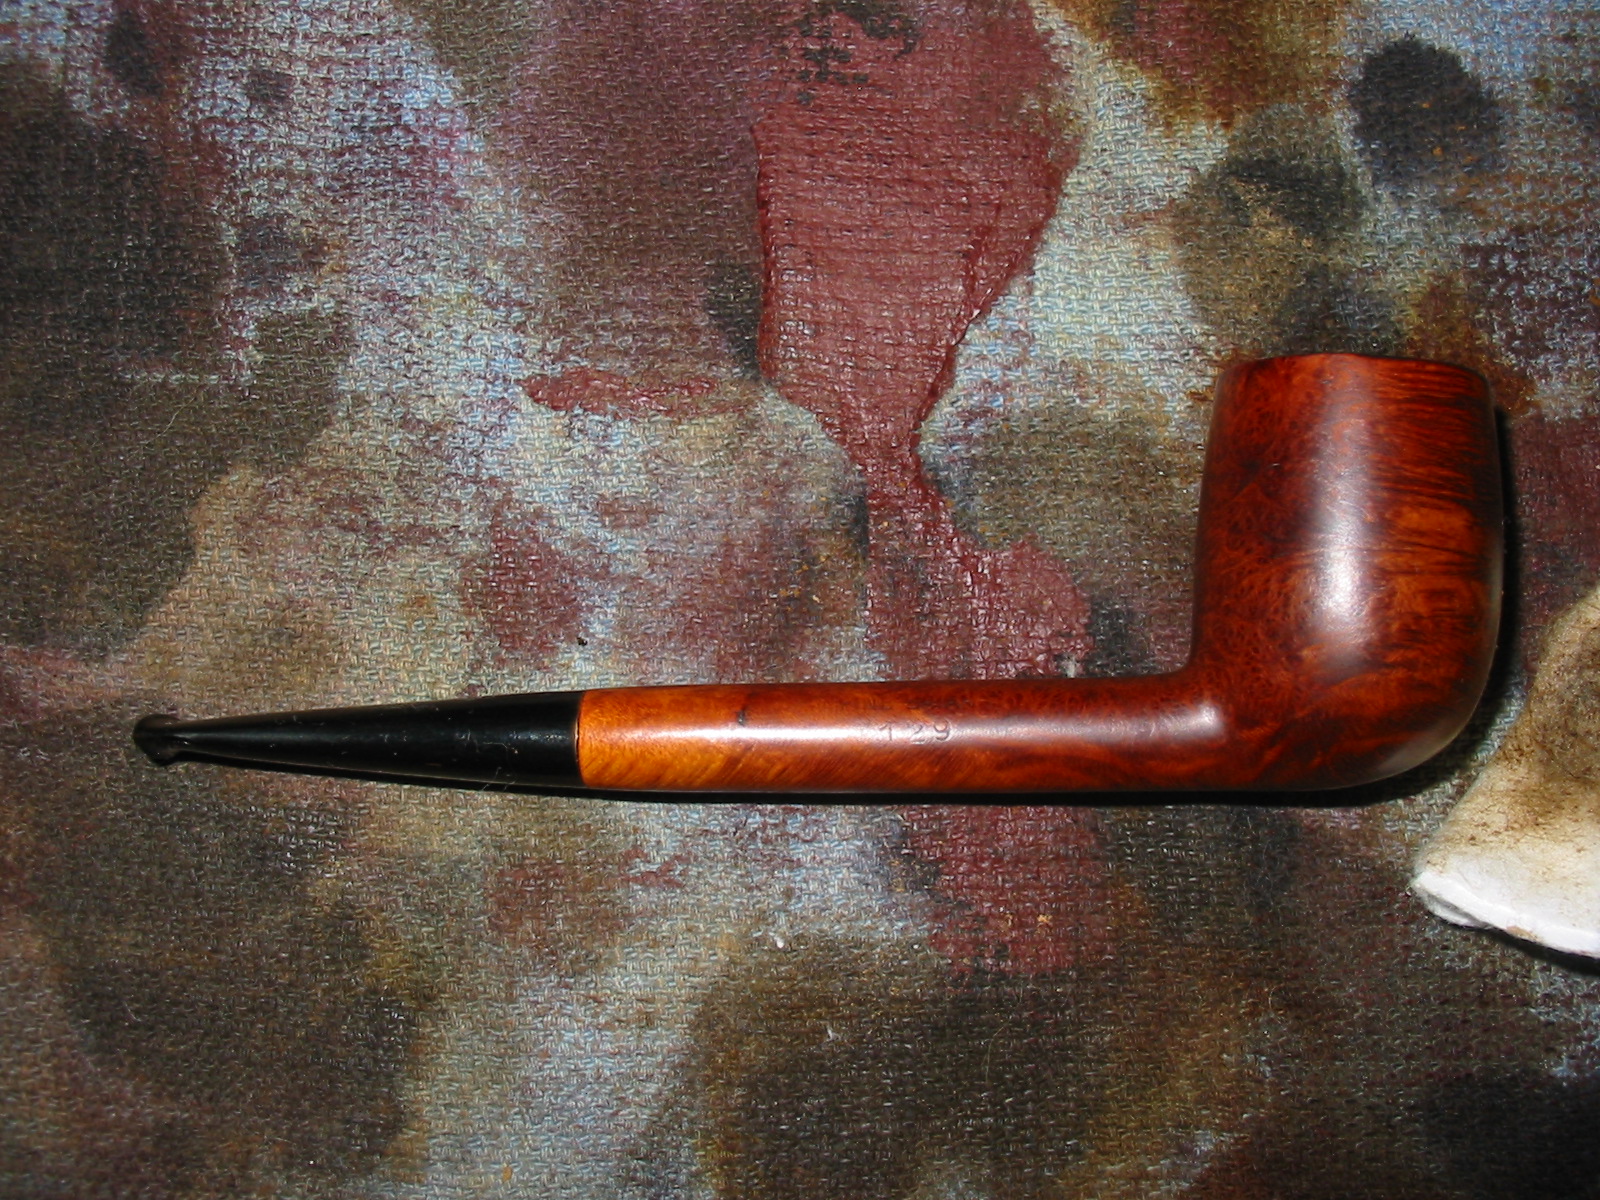
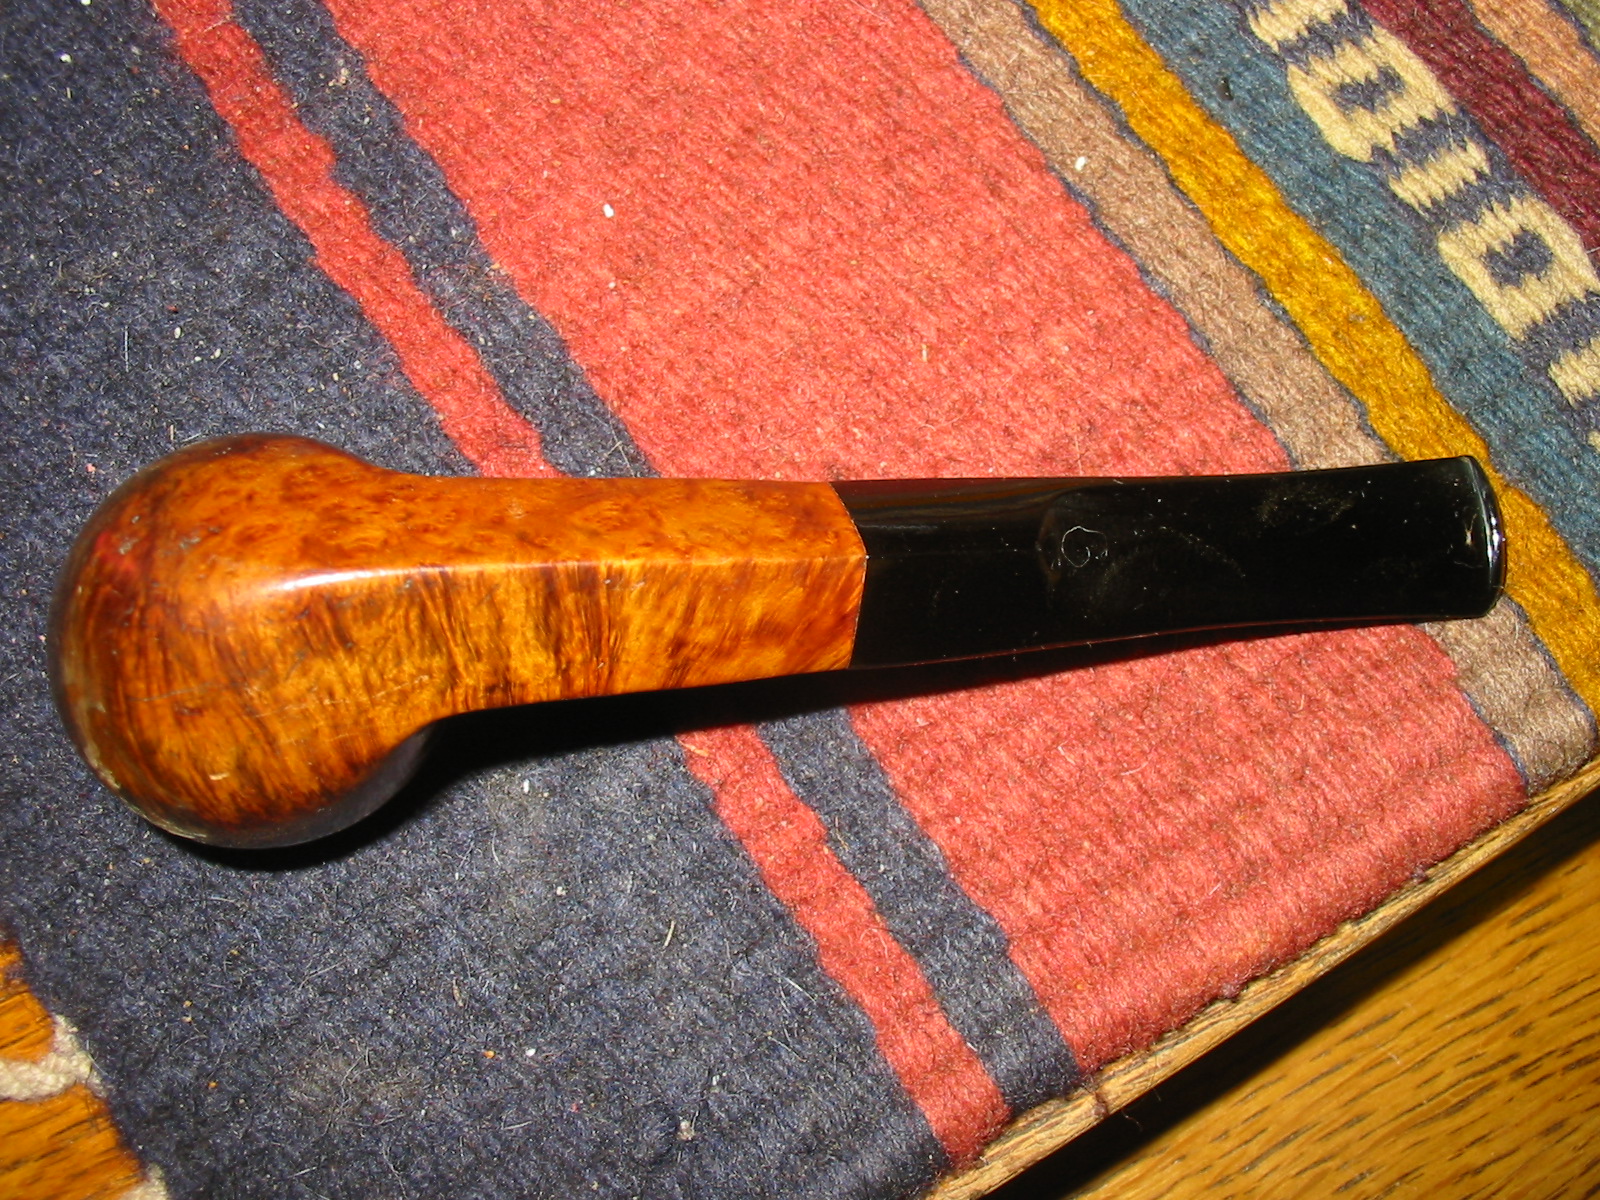
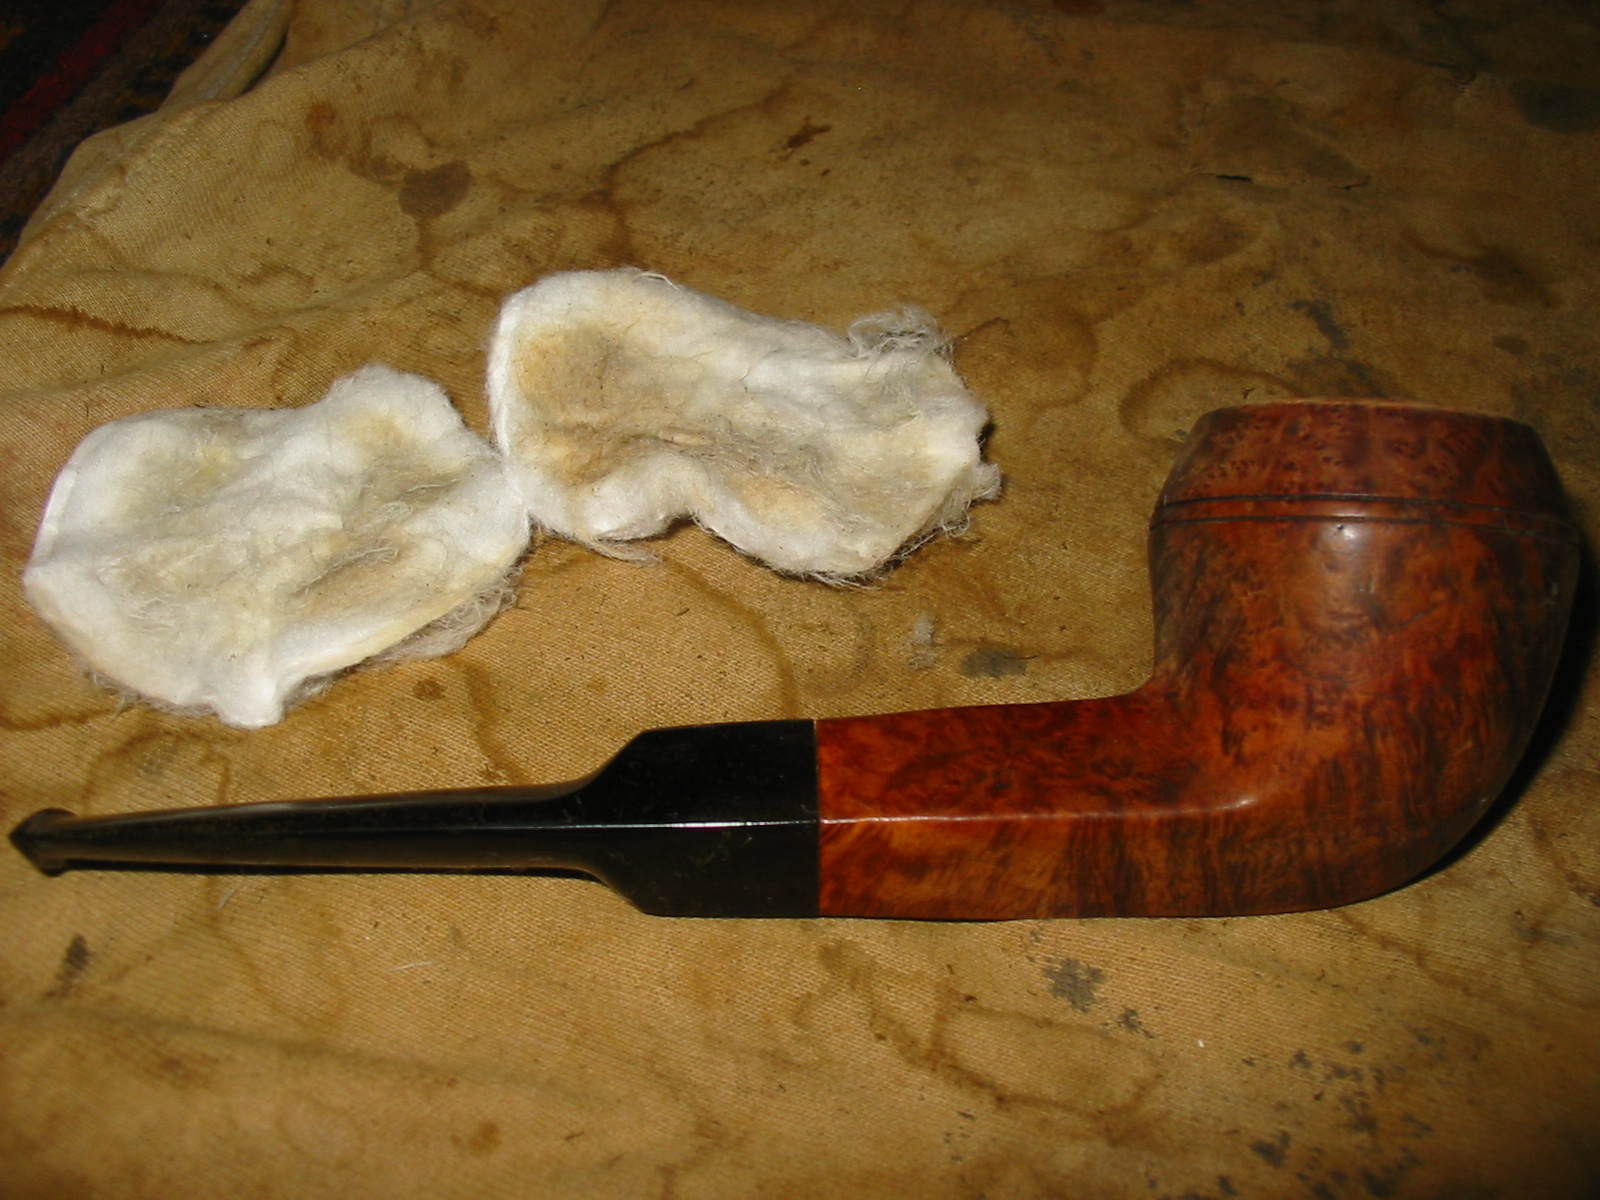
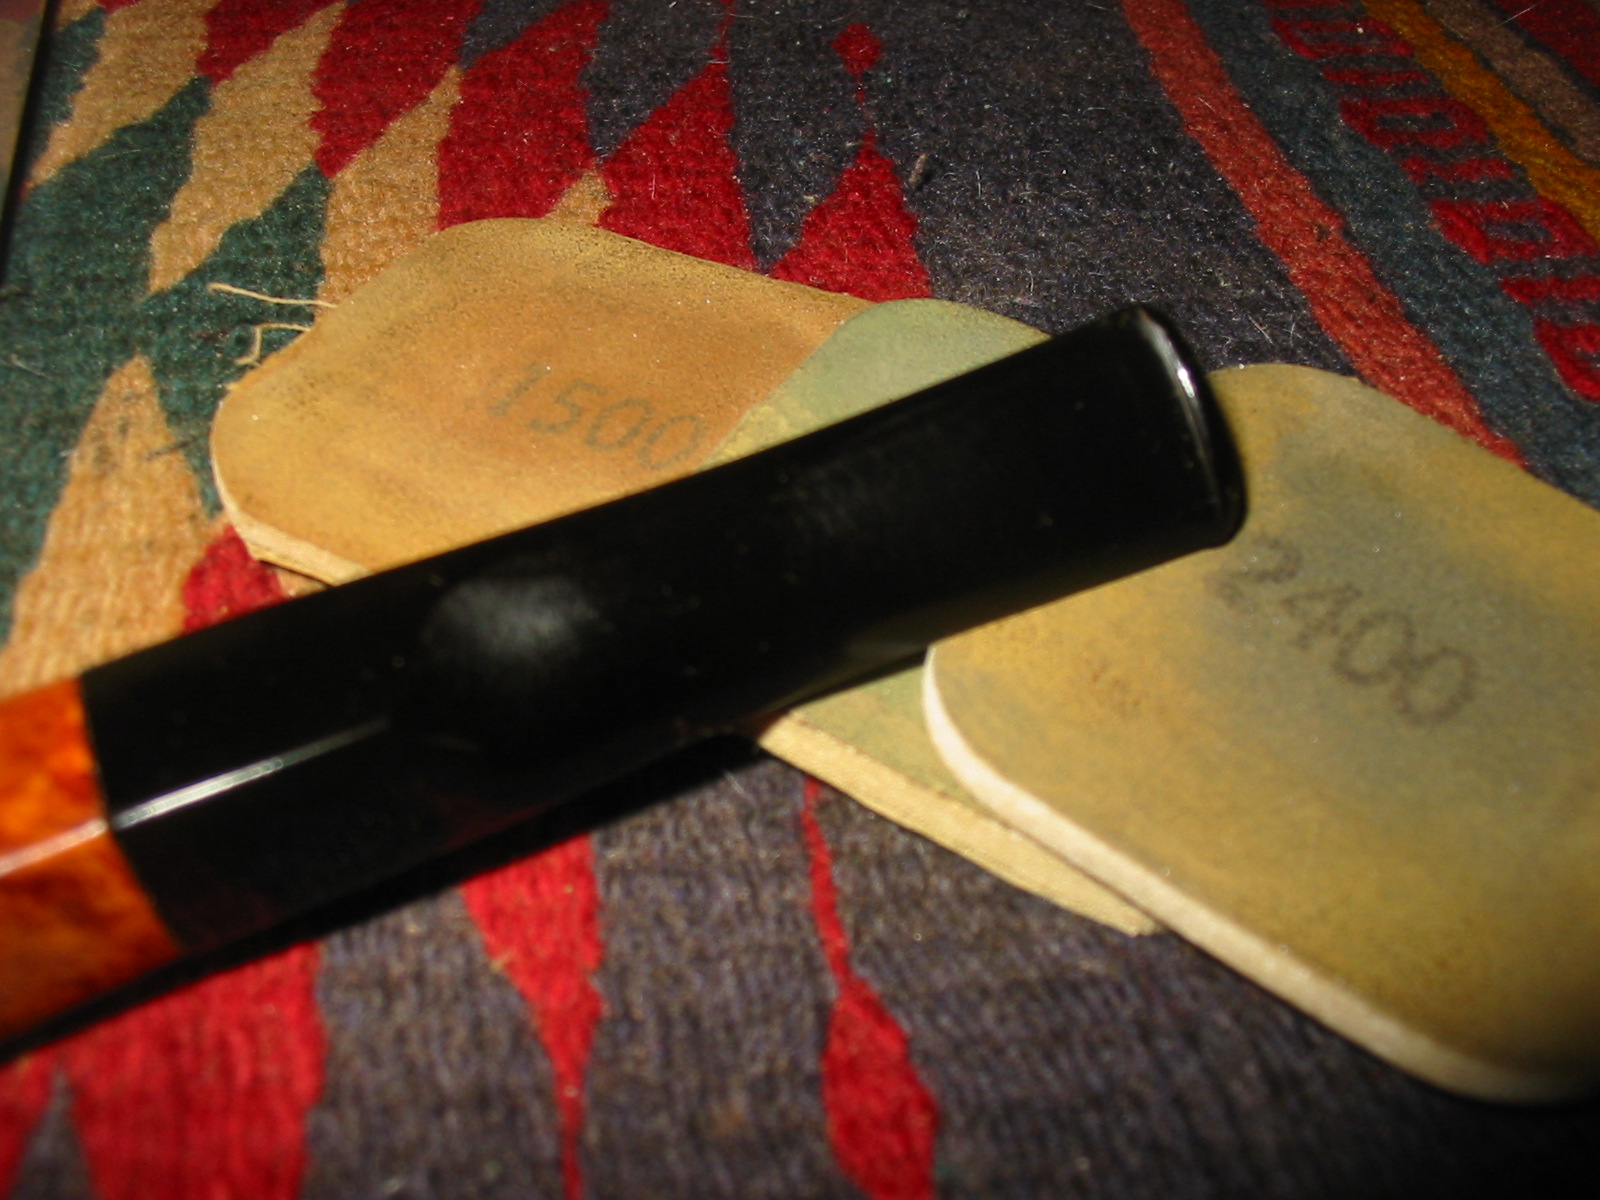
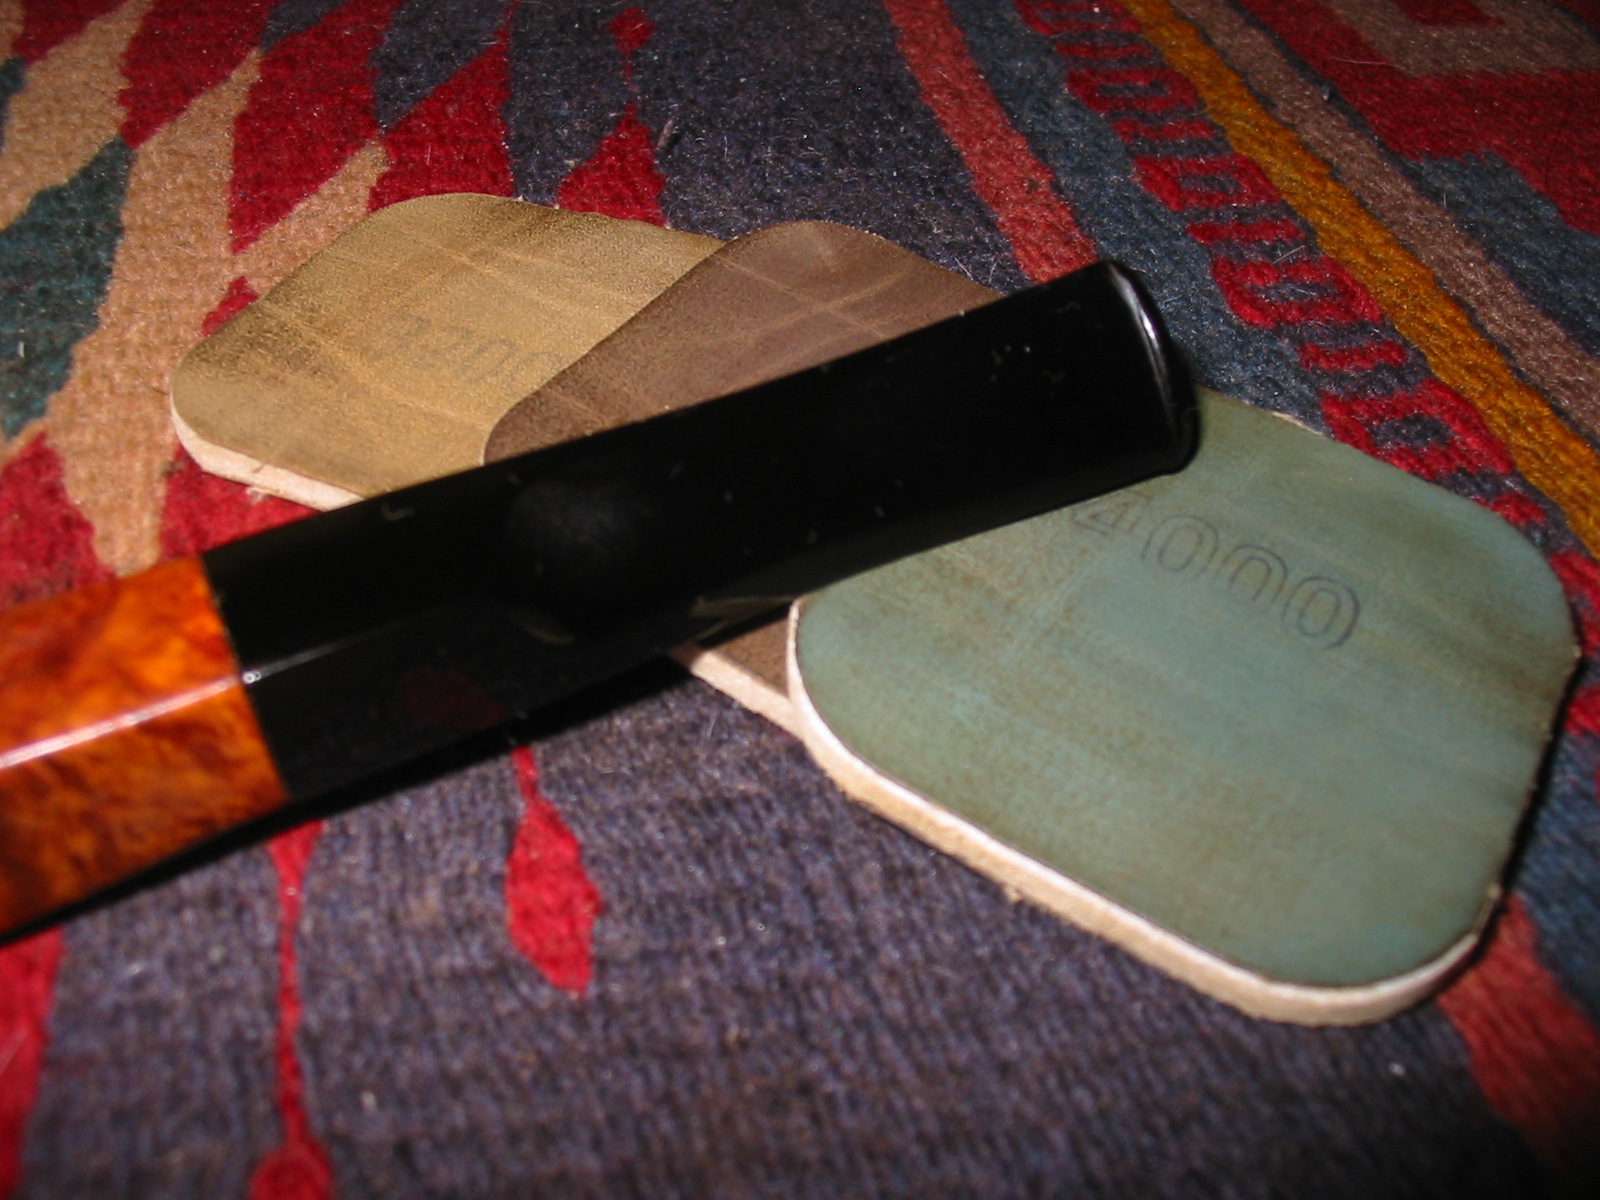
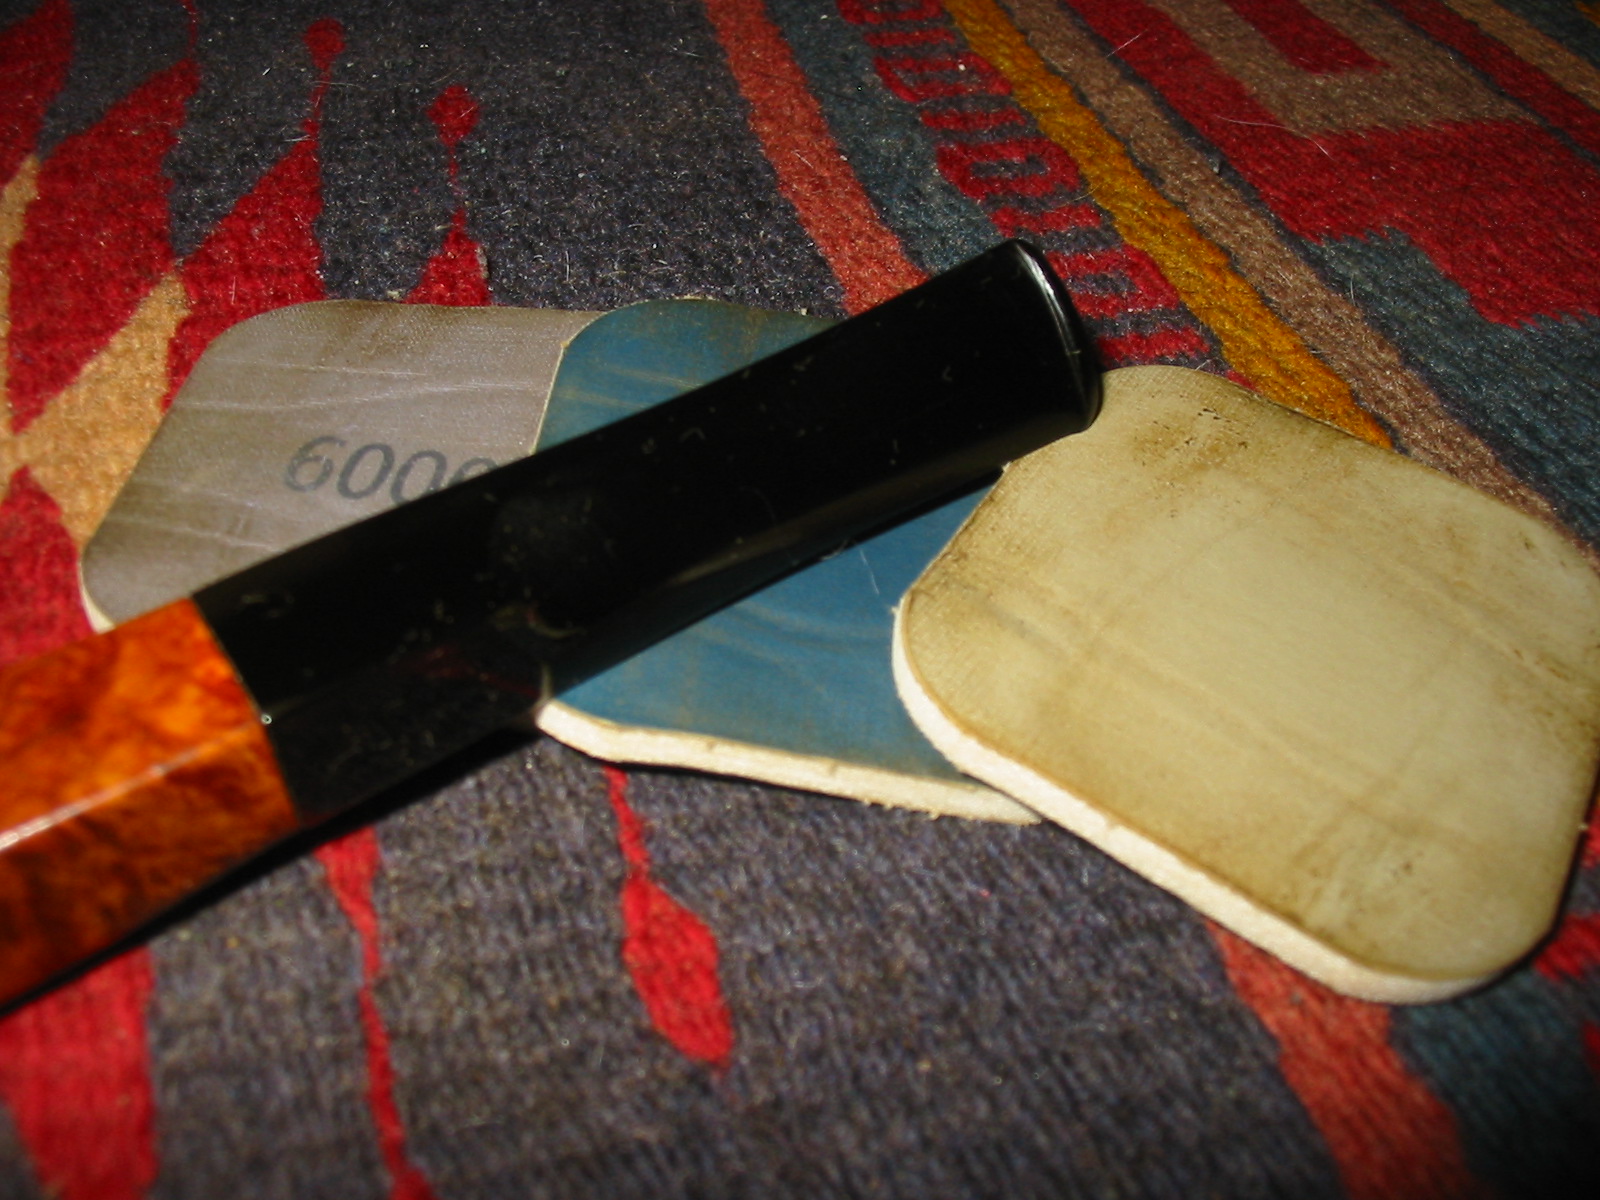
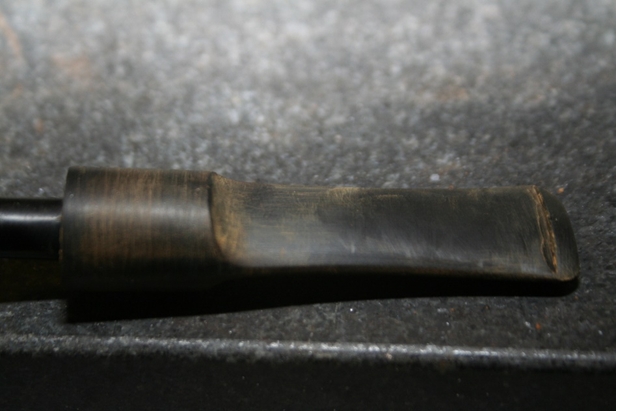 After a lot of trial and error (mostly error) I finally had the stem shaped properly and sanded through 320, 600, 800, 1000 grit in sandpaper and the full range of micromesh pads from 1500 to 12000. It was looking nice and shiny, so I gave it a thick rubbing with obsidian oil and set it out to dry for about a half hour.
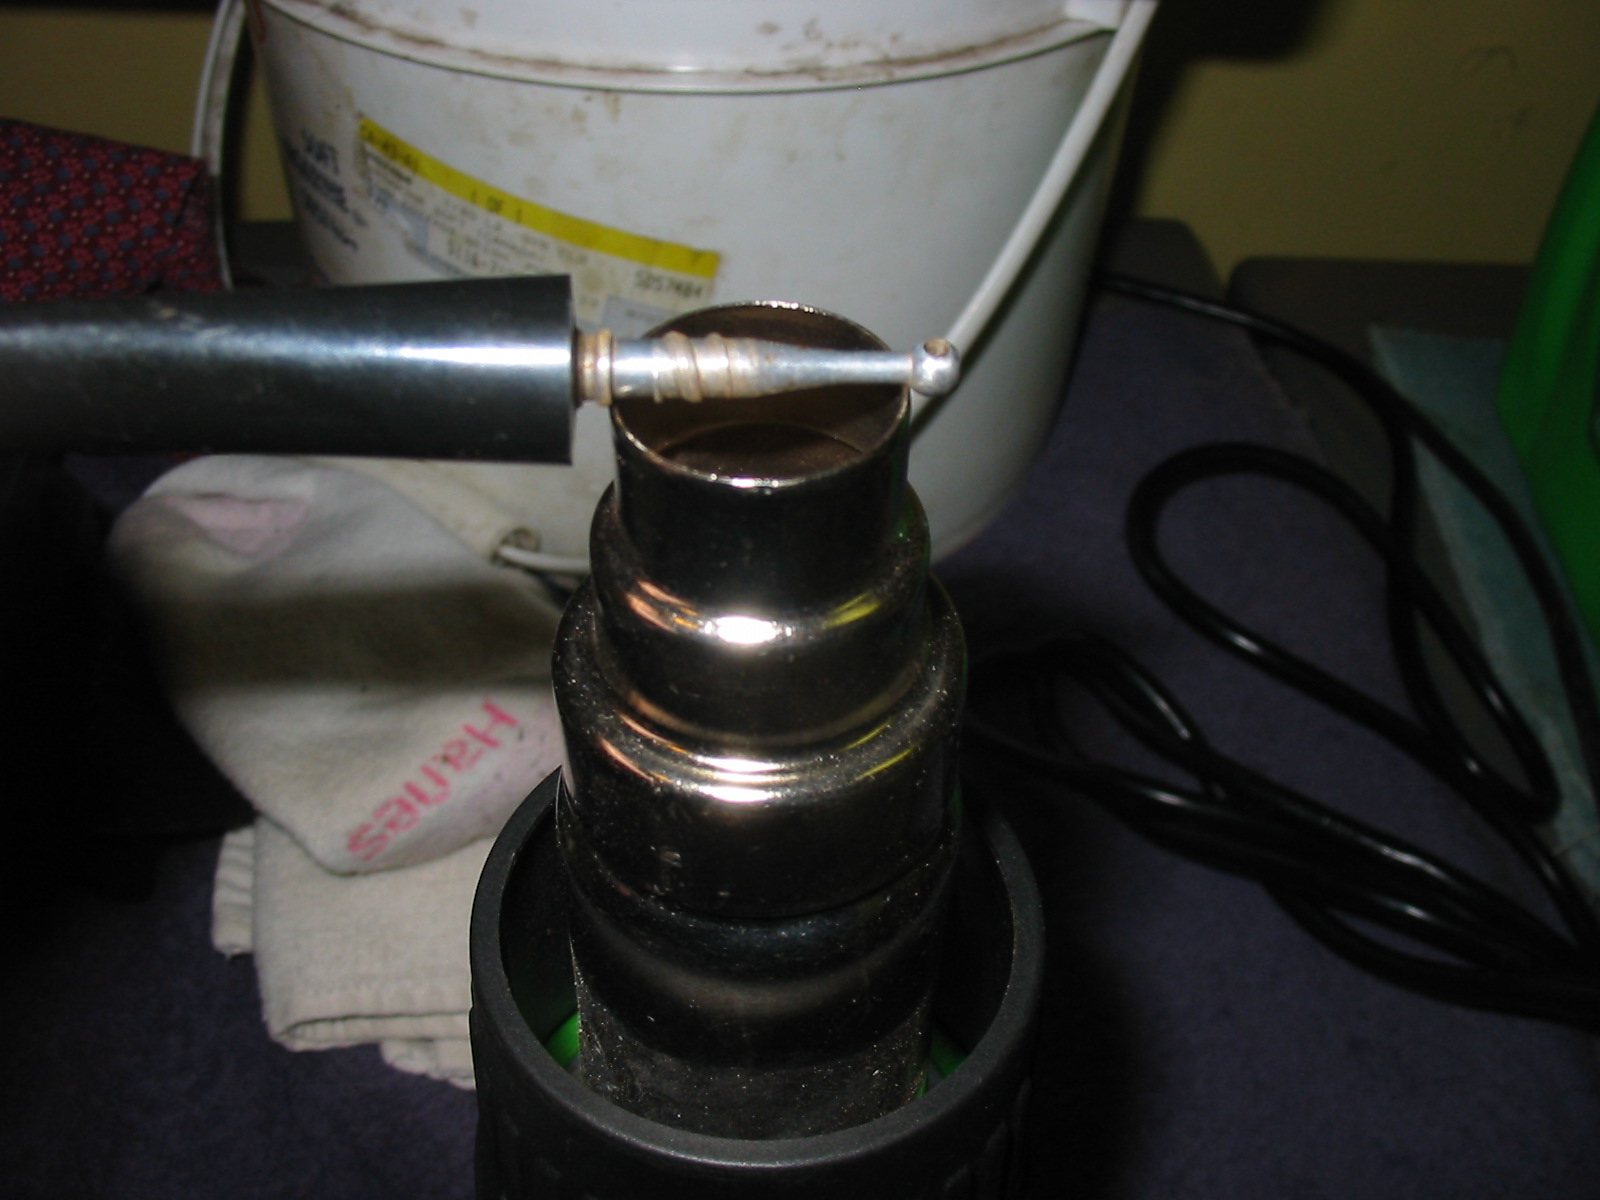
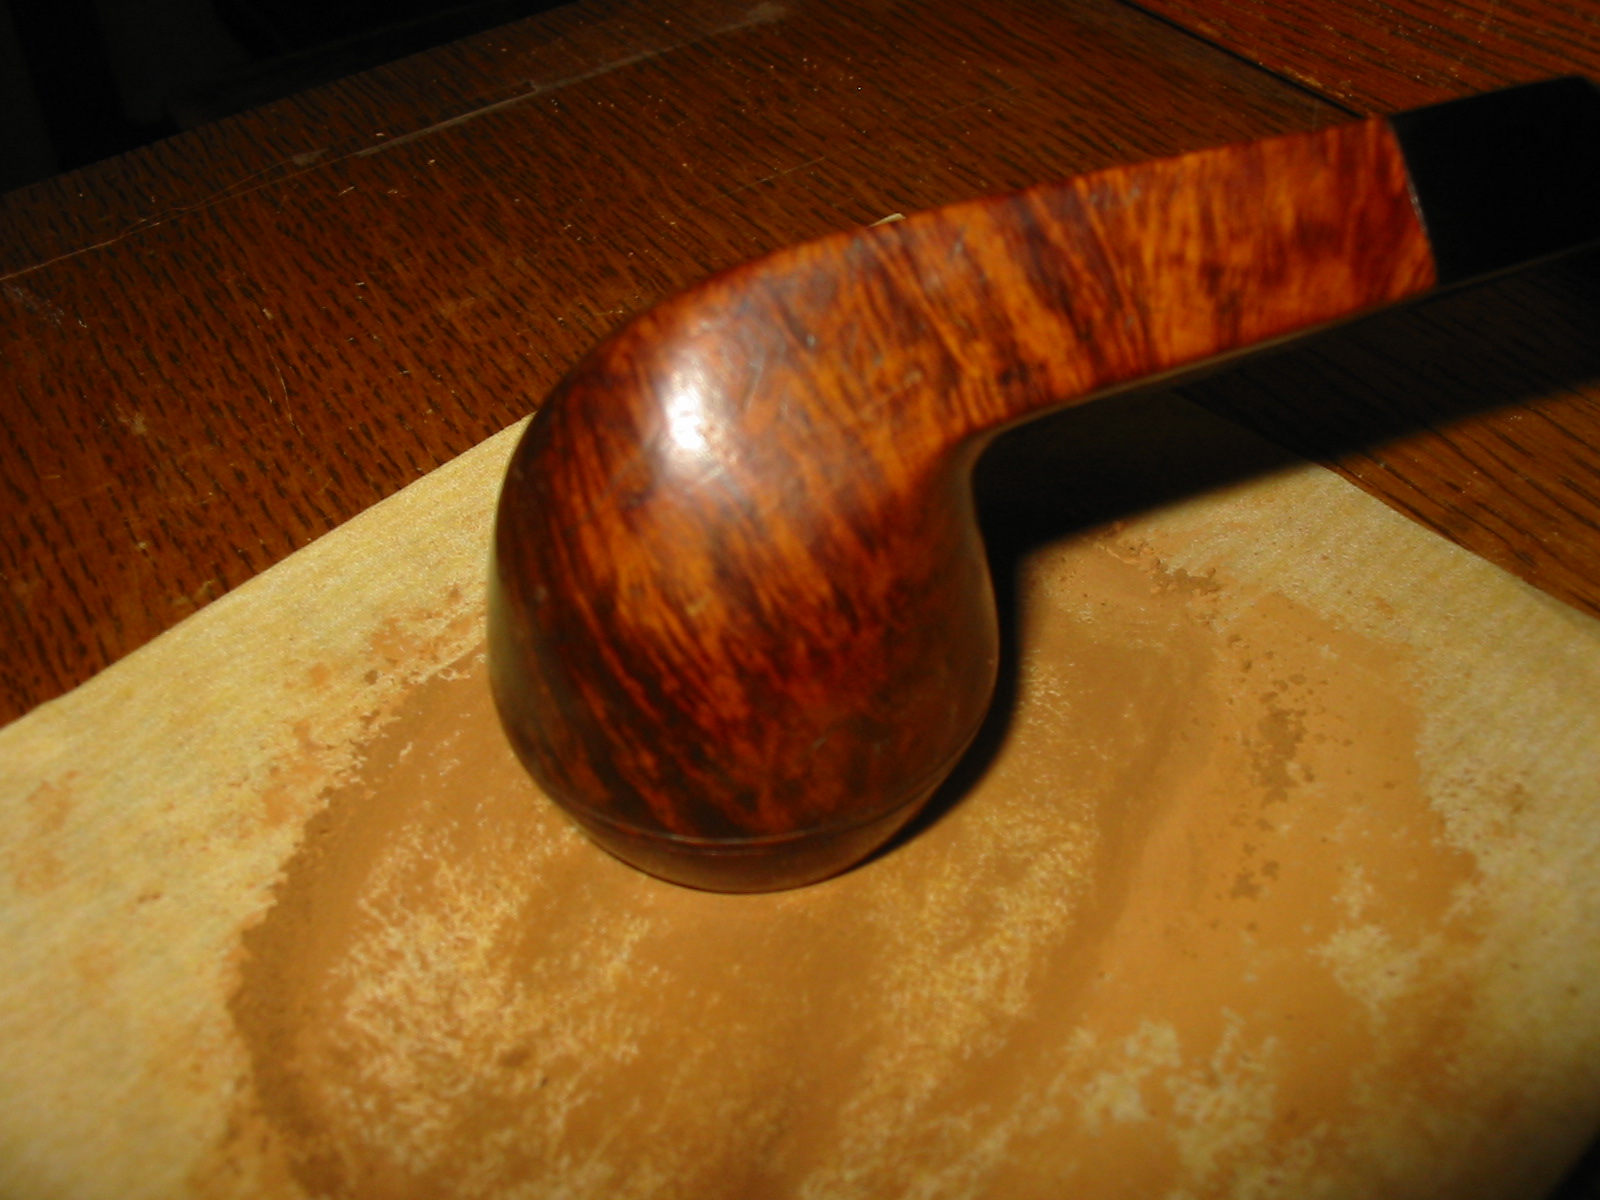
 At this point it was time to hit the buffing wheels. As you can see, I buff on the lathe, with a three wheel mandrel not made by Beall but suspiciously similar, and with tripoli, white diamond, and carnauba wax. One thing I’ll point out is that odd tool in the foreground, which is a wheel rake. You can get the job done with a hacksaw blade, but if you want clean buffing wheels, these are hard to beat.
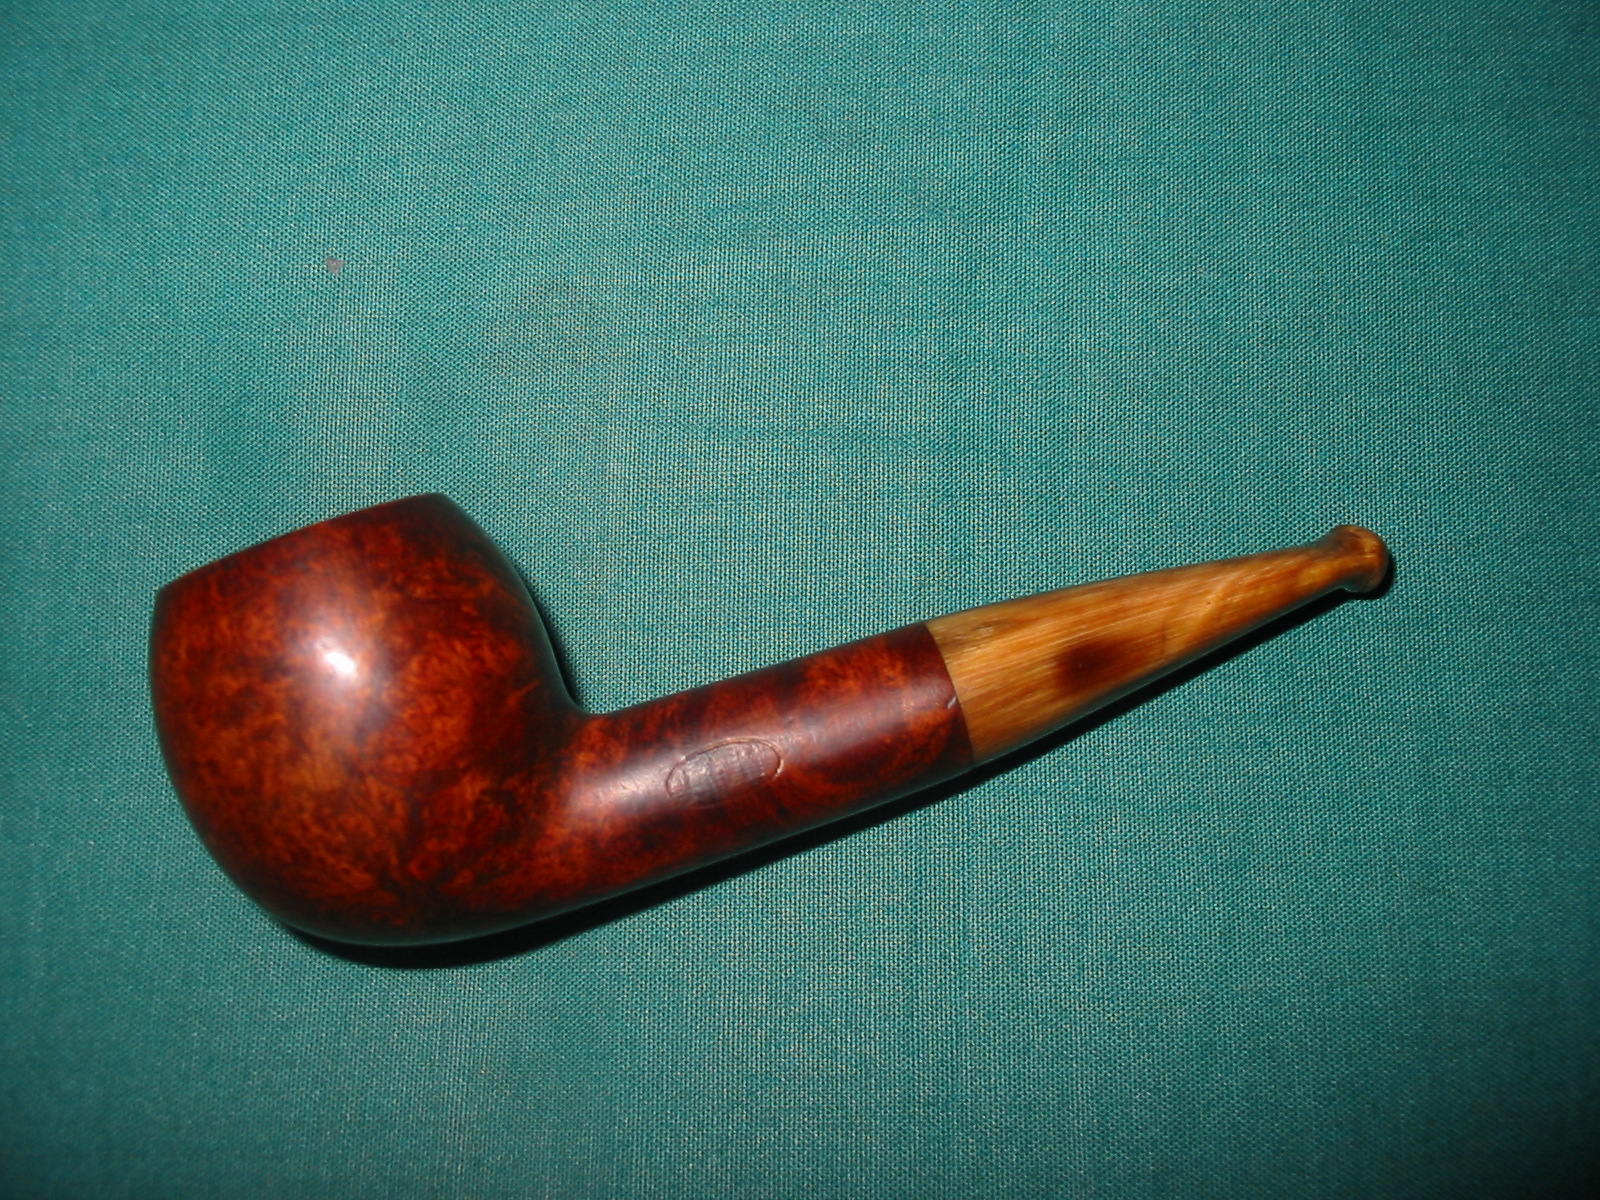
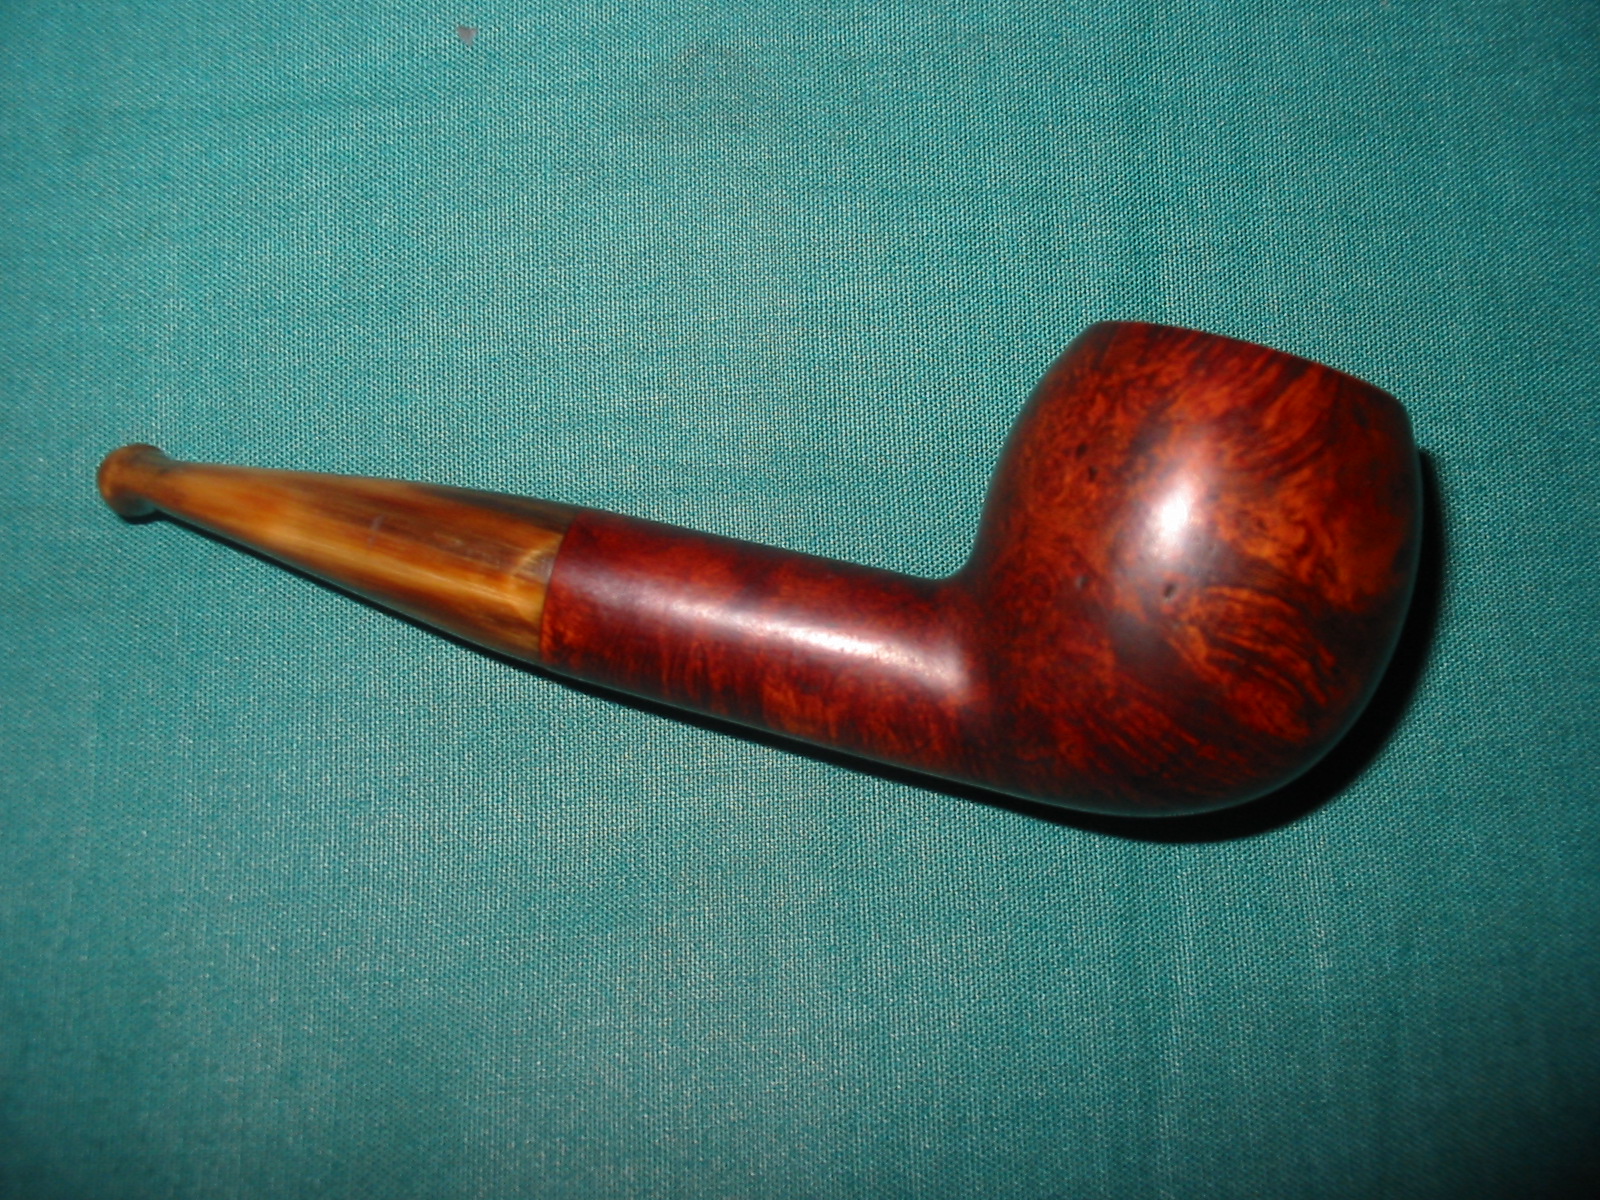
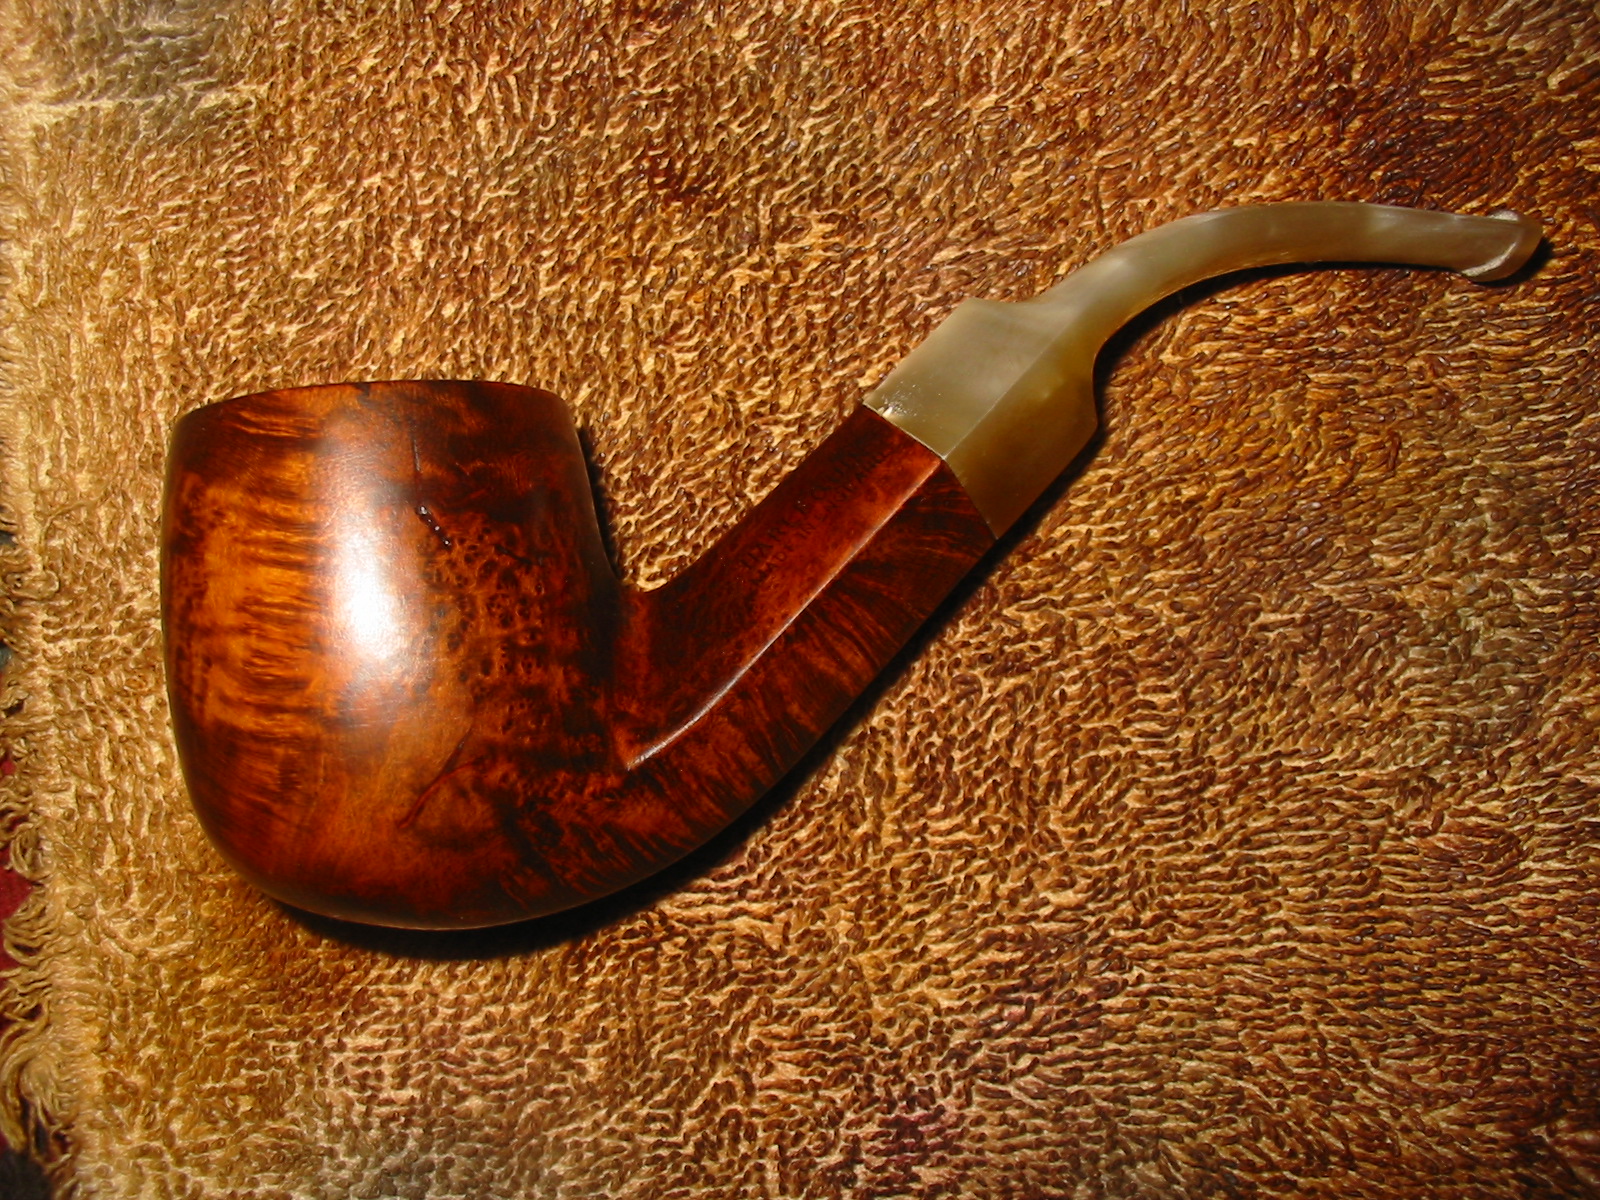
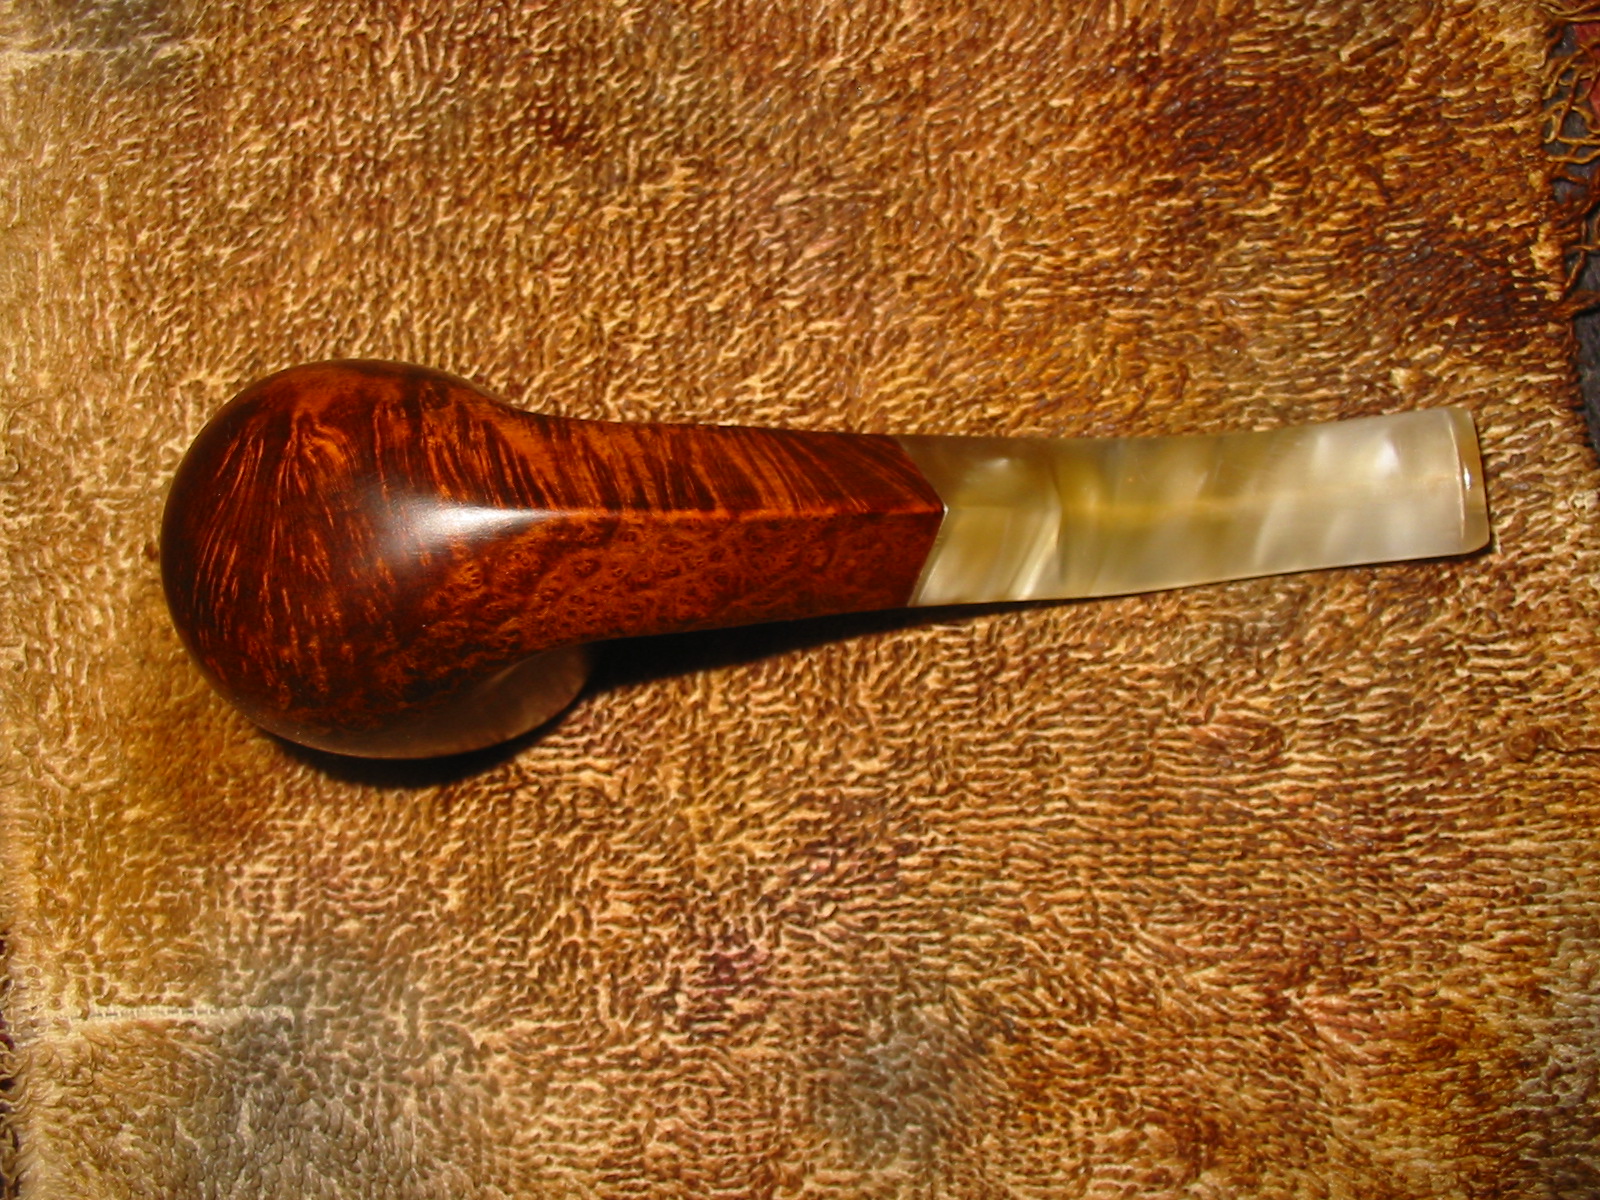
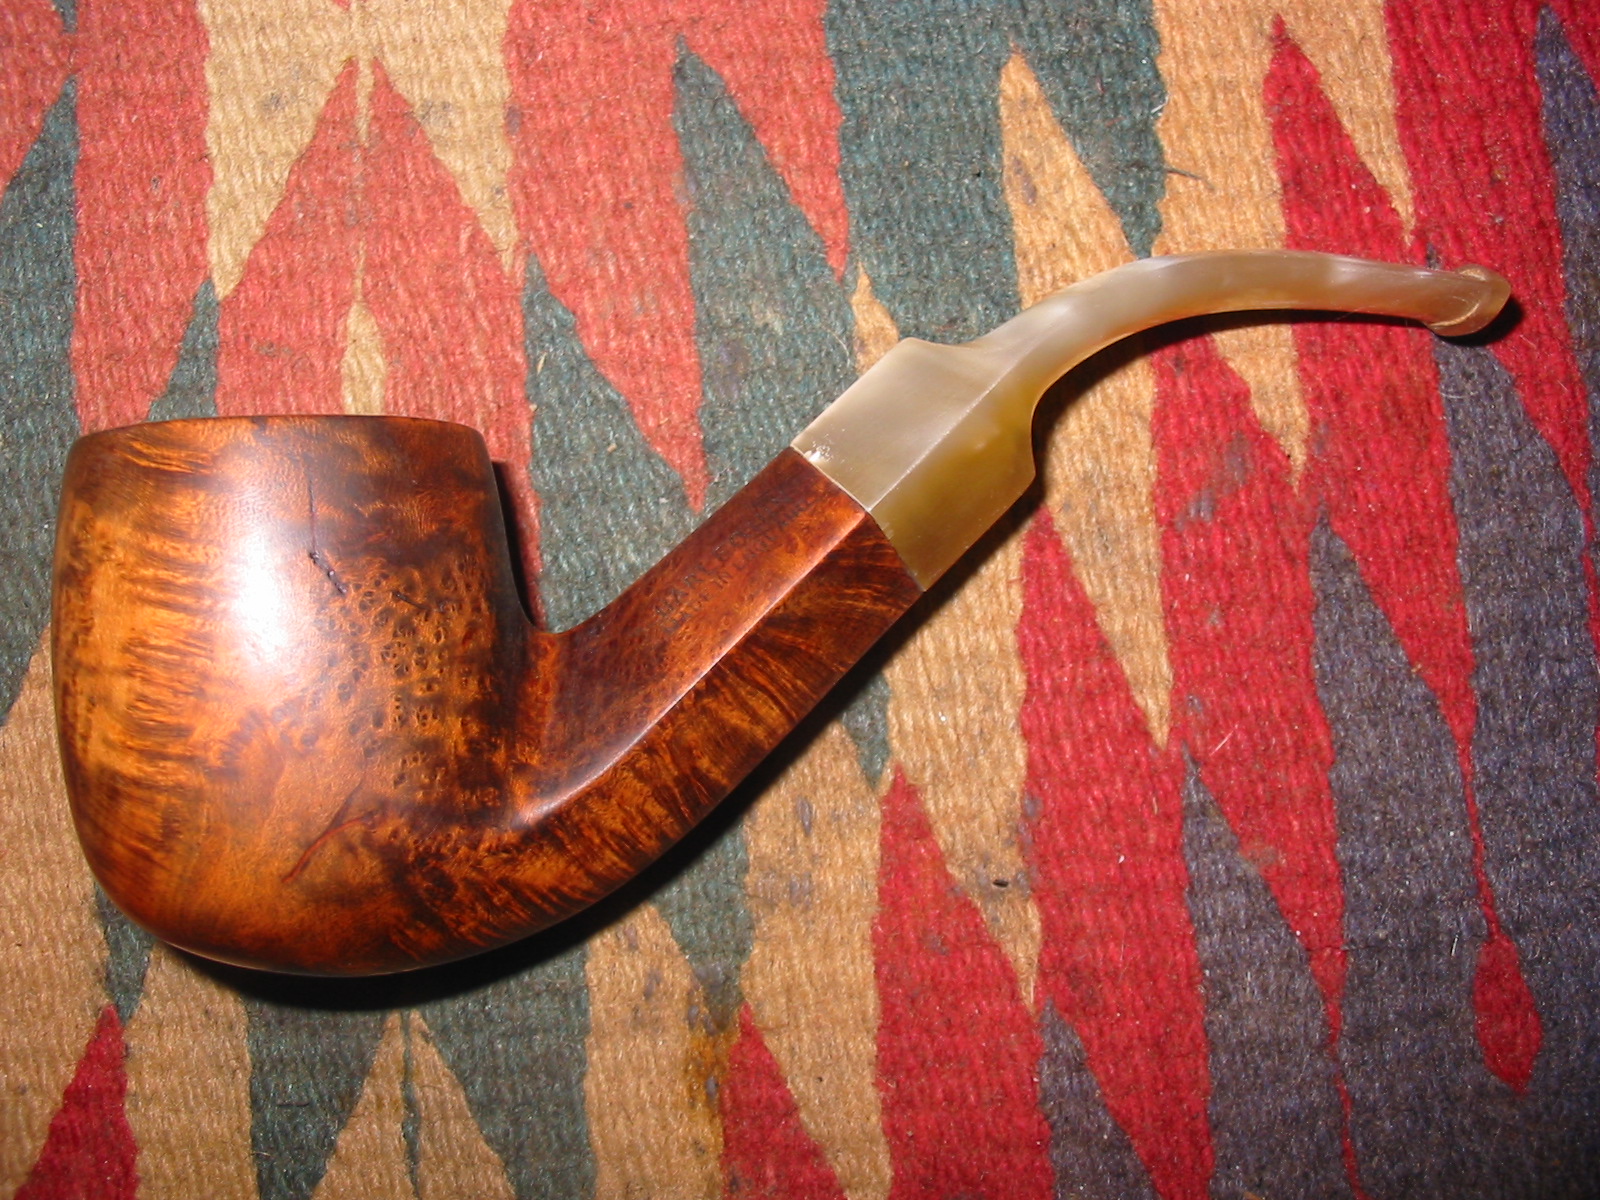
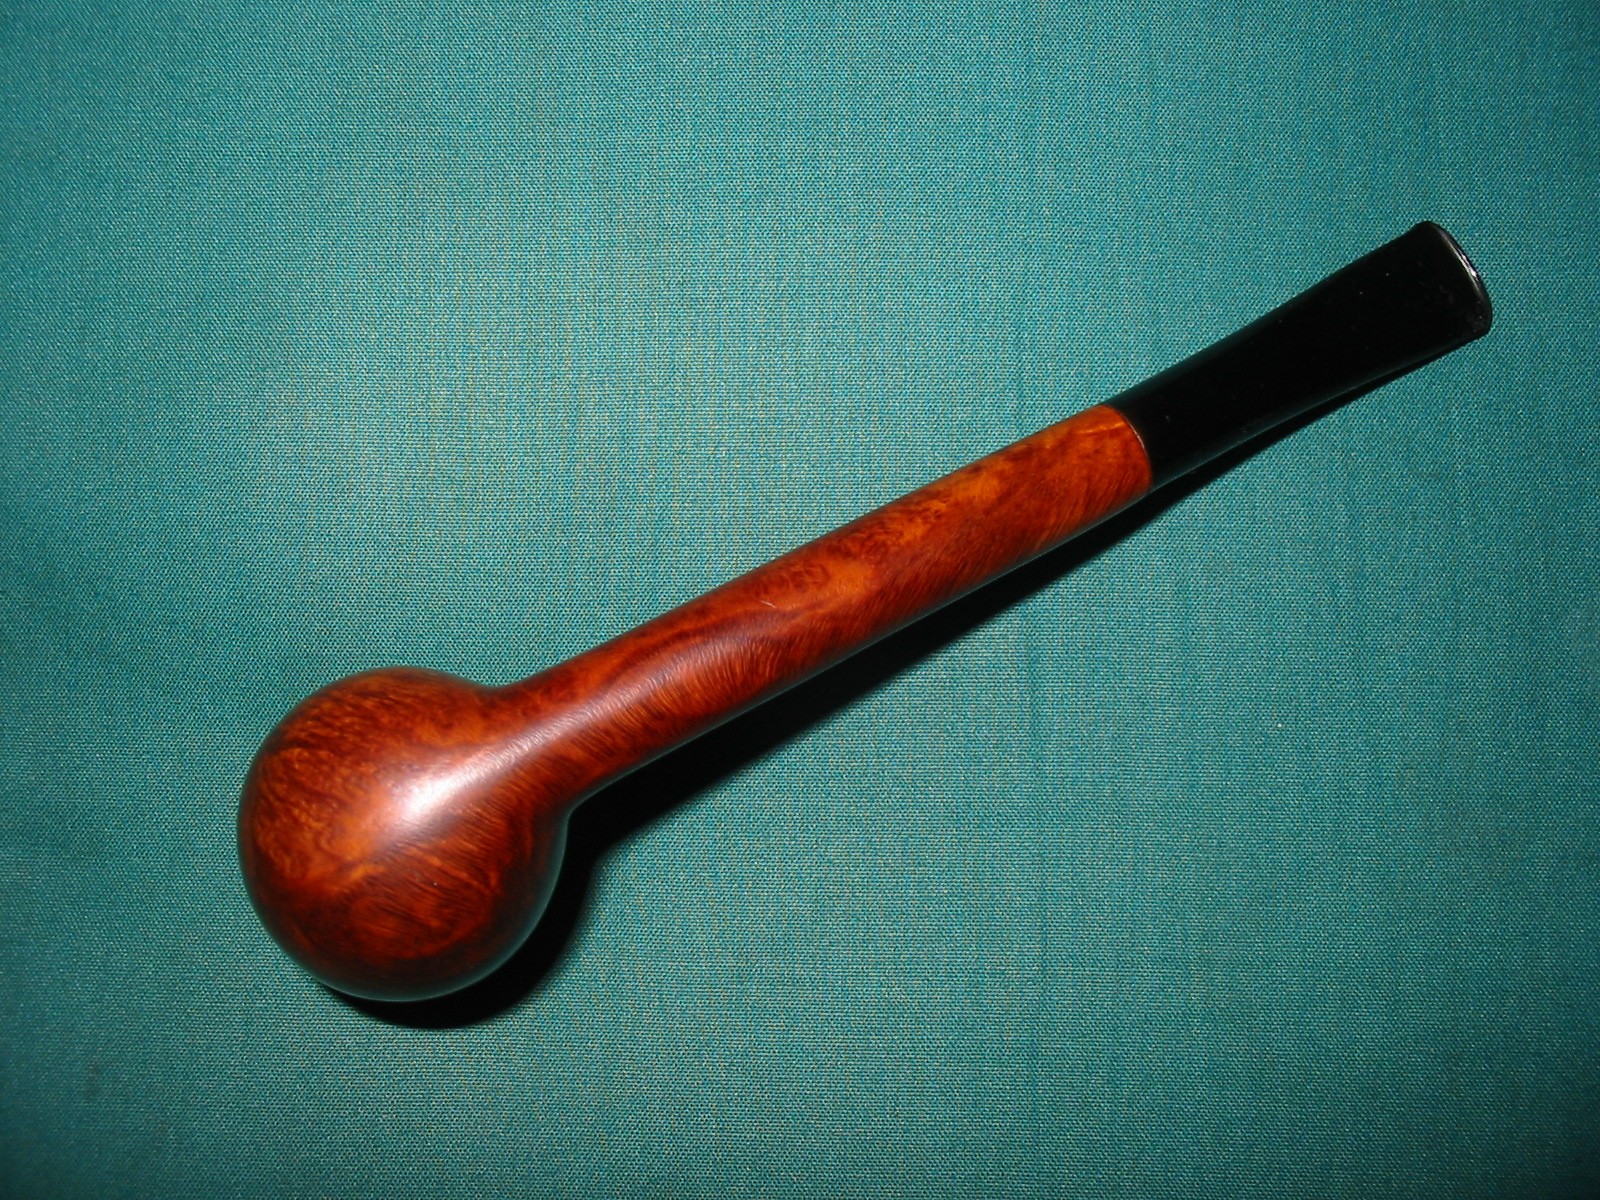
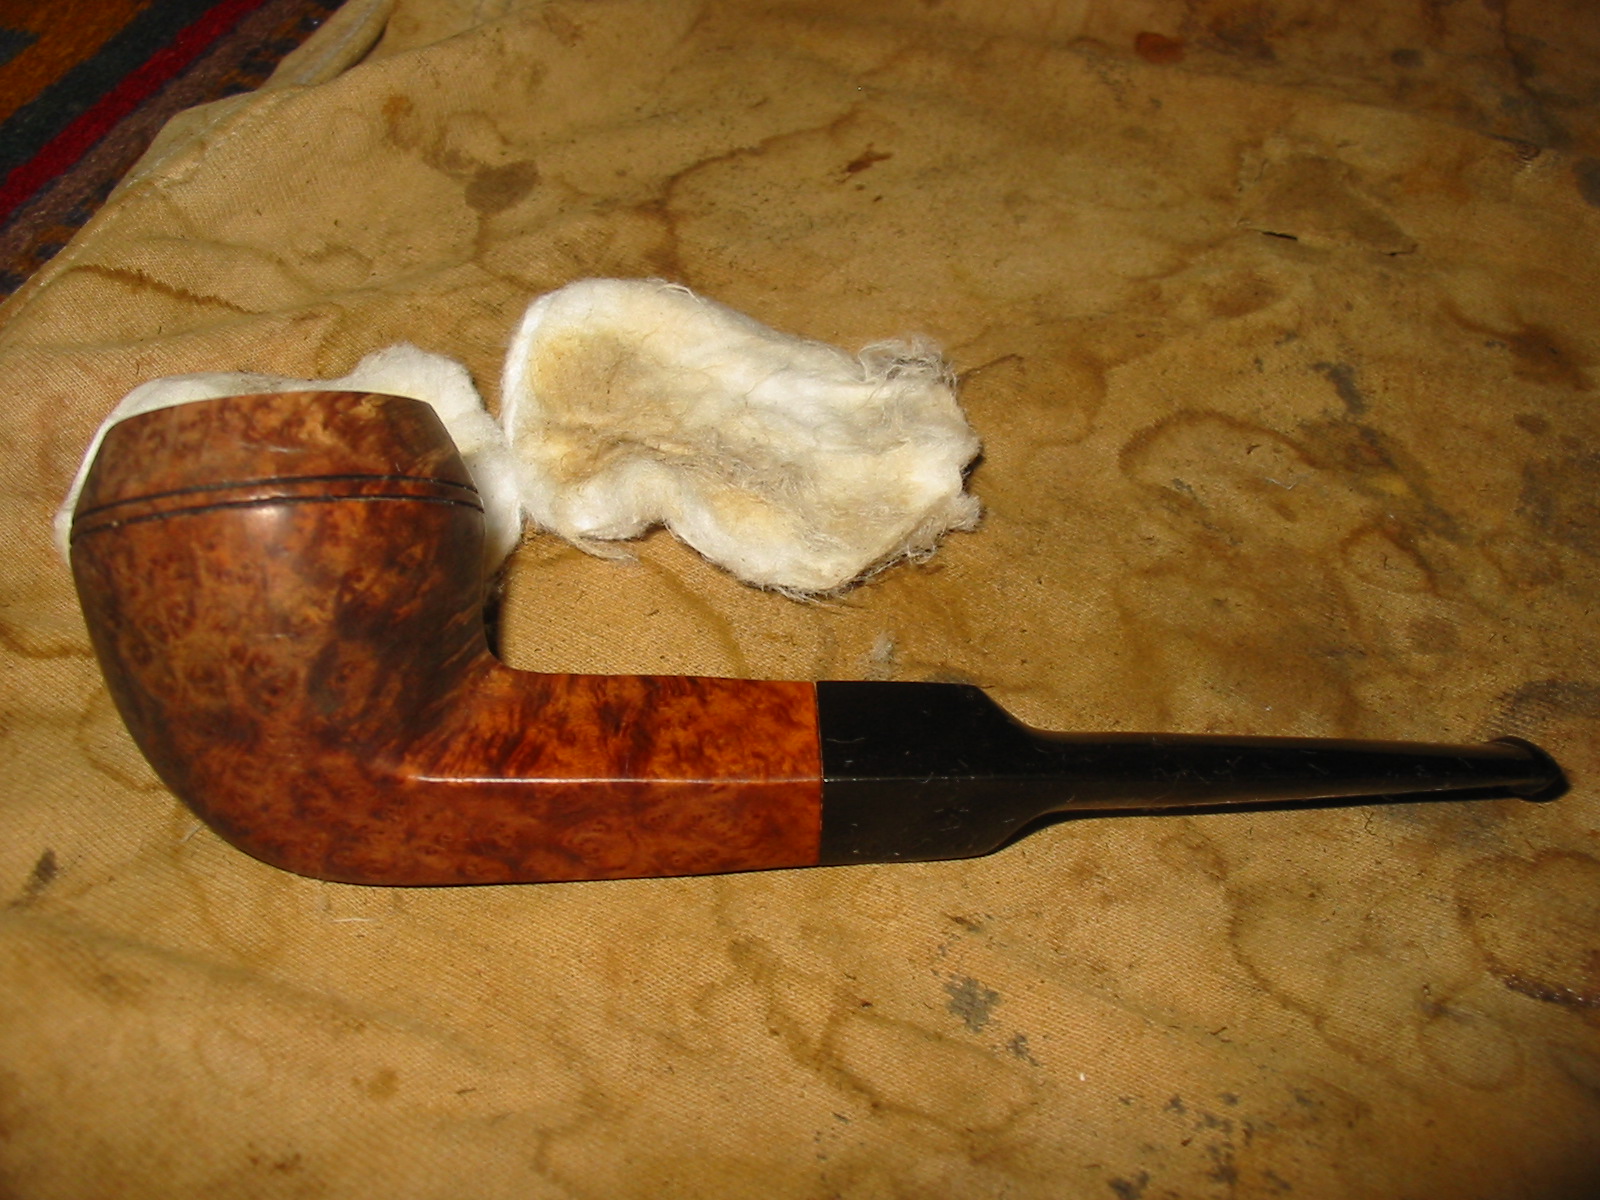
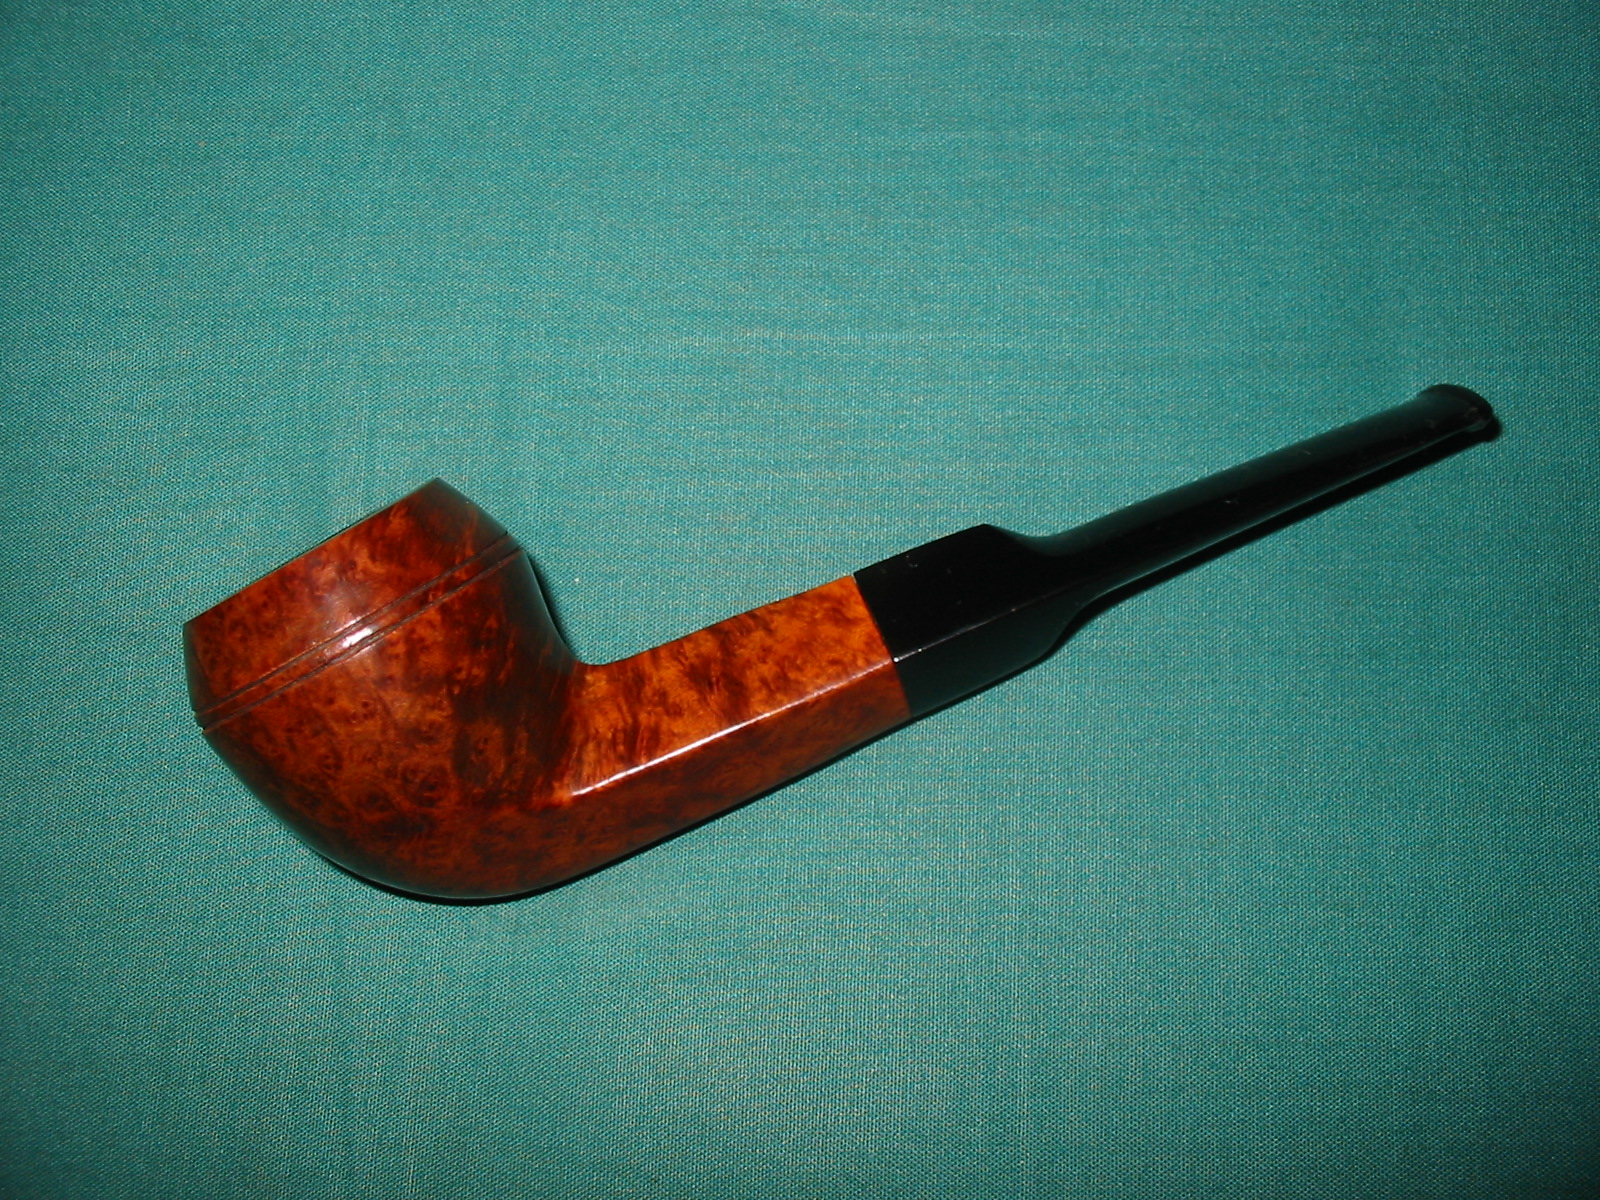
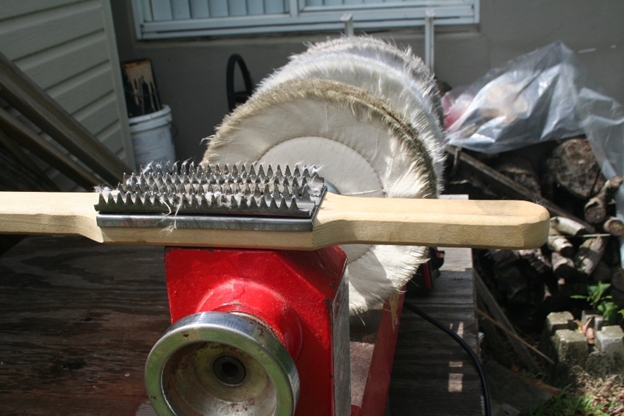 After the three-part buffing, I chucked a 4” flannel wheel into my cordless drill for a final polish by hand. For a rank amateur, I must say myself, this turned out to be a very beautiful pipe.