by Steve Laug
On November 29 I received an email from a fellow regarding a Moretti that came to him from a dear friend. He stated that it had a burnout and that he had someone ream it for him. I have included his first email below.
Steve, I have a Moretti pipe that belonged to a dear friend. It had a burnout and I had the bowl reamed, but I’m afraid to smoke it. Can you offer a suggestion of how the inside of the bowl can be treated against possible future burnout, or can you fit the bowl with either a meerschaum or graphite liner? – Michael
We talked back and forth regarding the pipe and various options for repair. I agreed to work on them and told him to mail it to me. Once he packed it he added another three pipes to the box that he was sure had the same issues. He mailed them to me on December 8 and sent me another email.
You have convinced me that you’re the person who can help restore my pipes! I shipped 4 pipes to you today by USPS, and declared their value at $5 each for a total of $20 as you requested. I’m embarrassed to admit it, but all four have had burnout issues and I’m hoping that you can clean them out and coat the inside of the bowls as you described. If you feel that more effort is needed, please let me know.
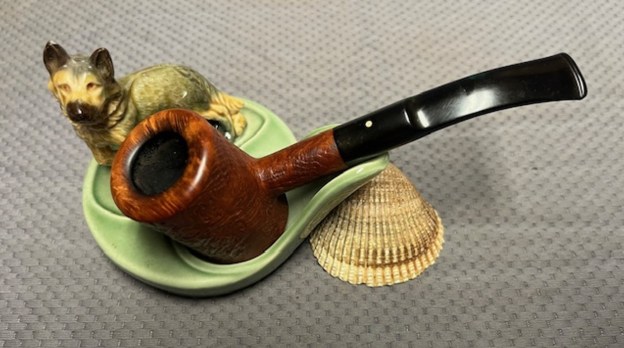
On December 28th I received the package from Michael. I opened the box and inside there were four beautiful Italian Made pipes. I have listed them below and included photos of the pipes.
Savinelli Autograph Sandblast Bent Cherrywood
2008 Ardor DR bent Dublin
Mastro Beraldi 2 Bent Dublin
2005 Moretti 1 Bent Rhodesian
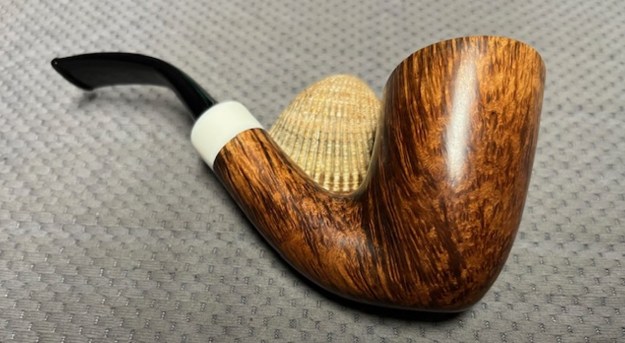
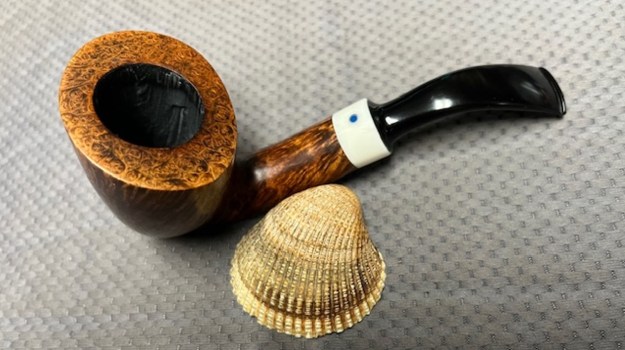
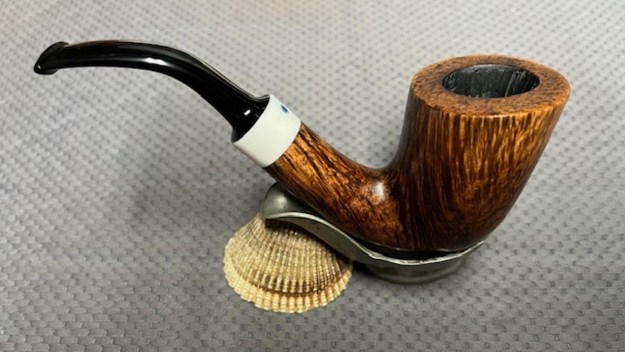
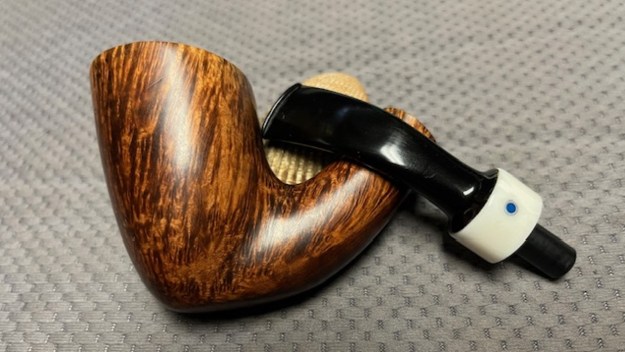
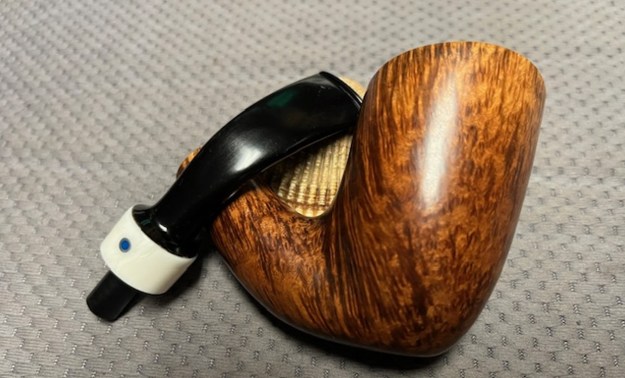
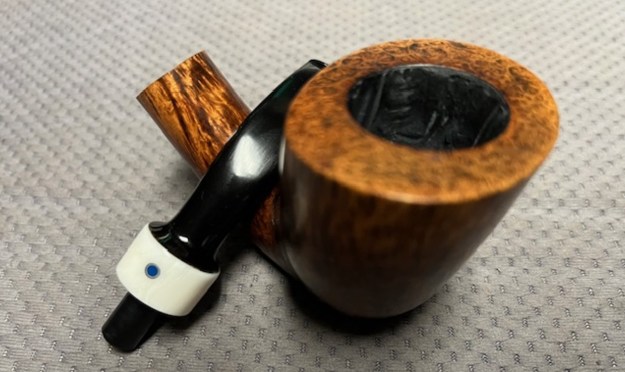
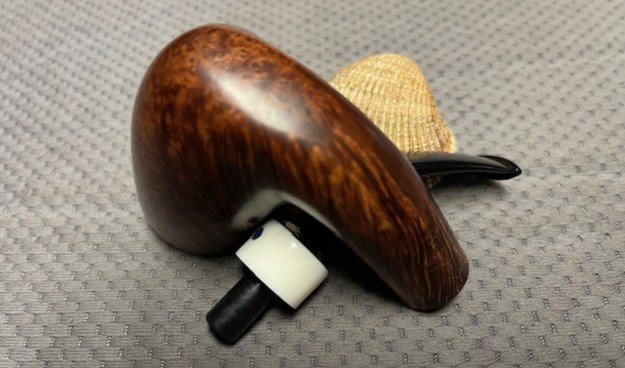
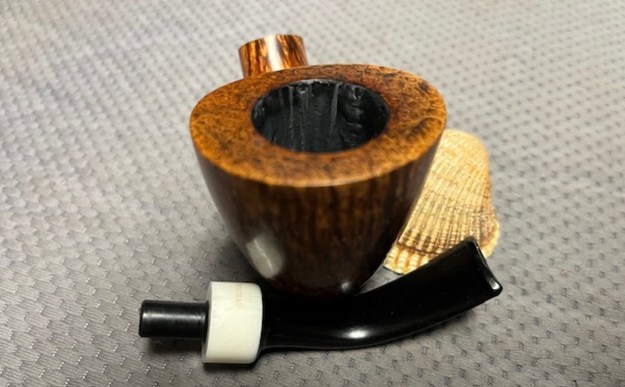
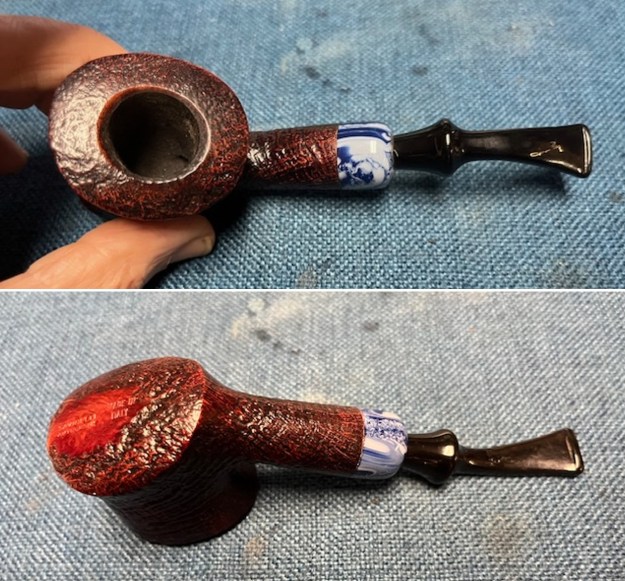
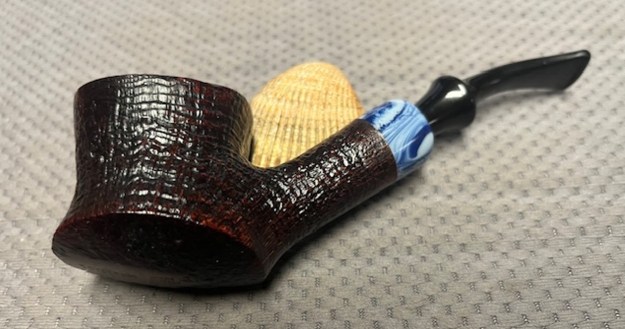
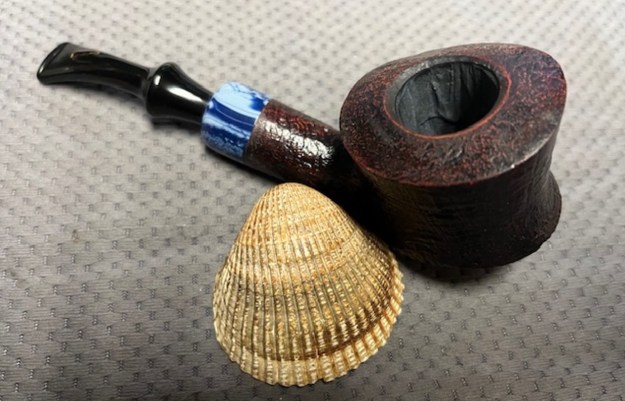
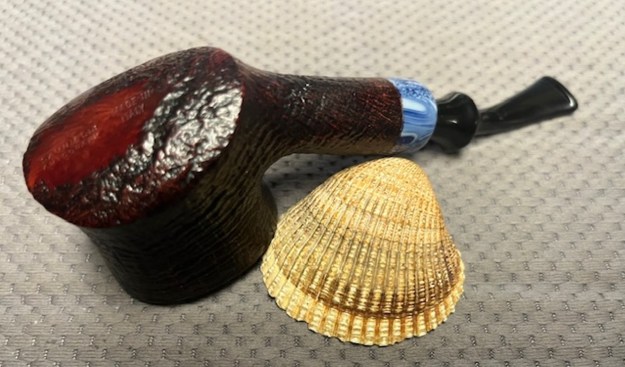
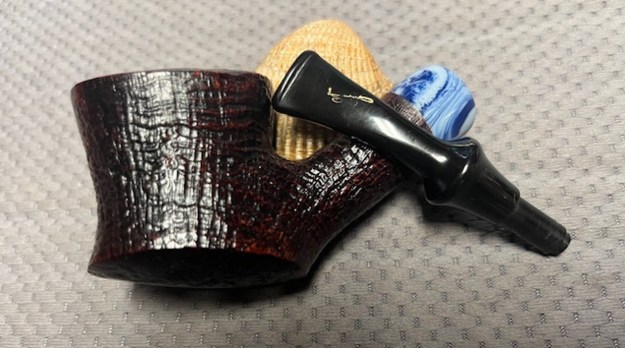
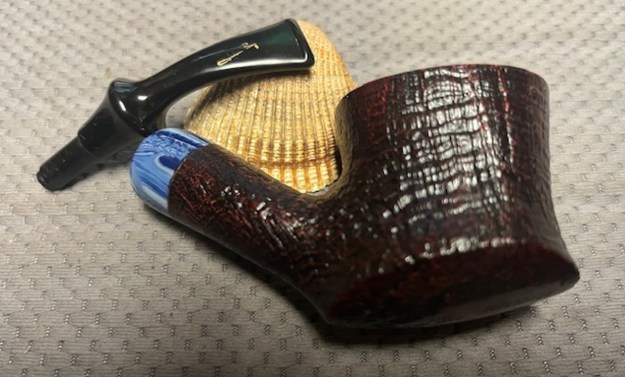
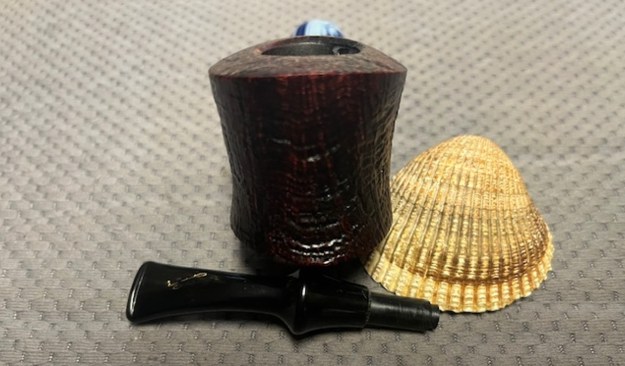
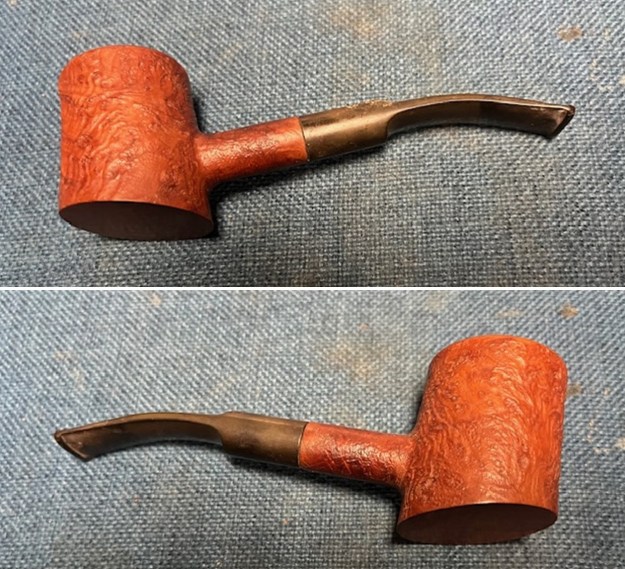
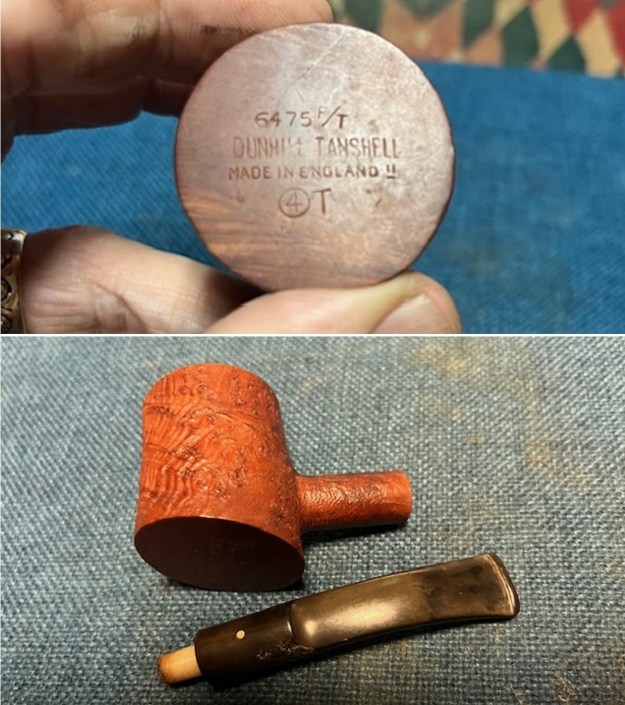
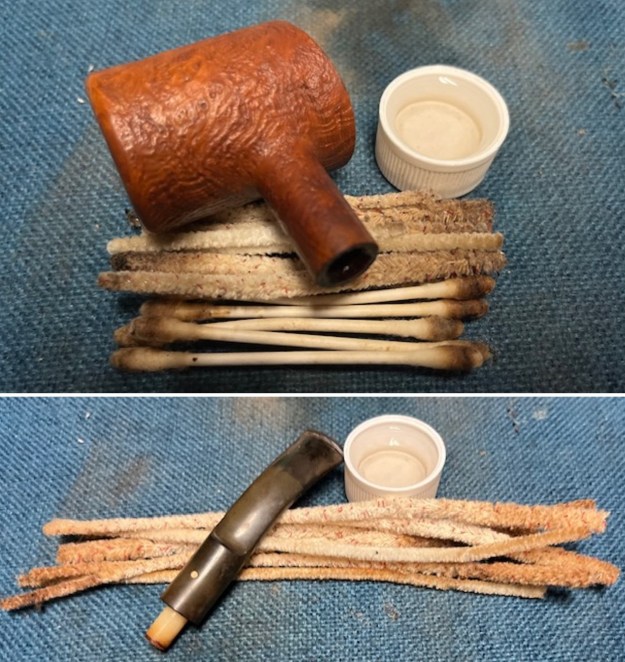
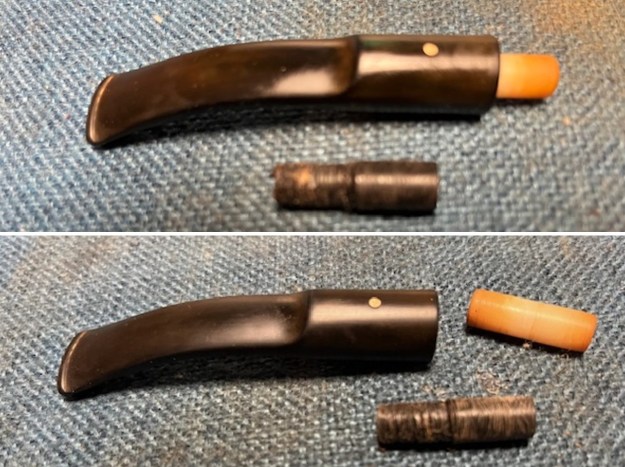
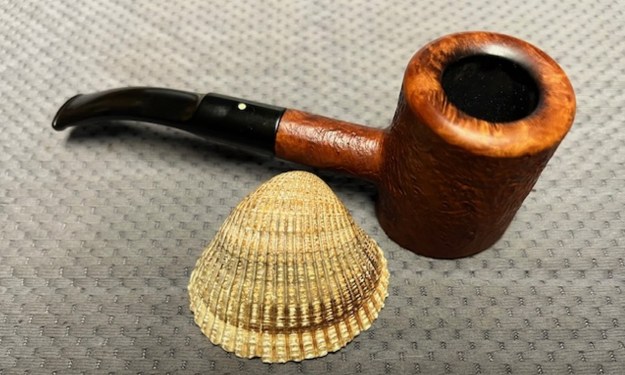
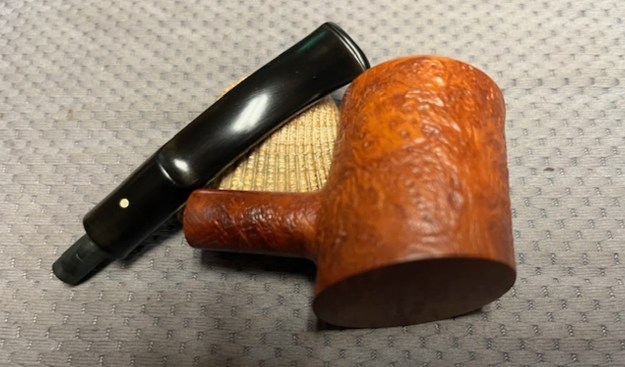
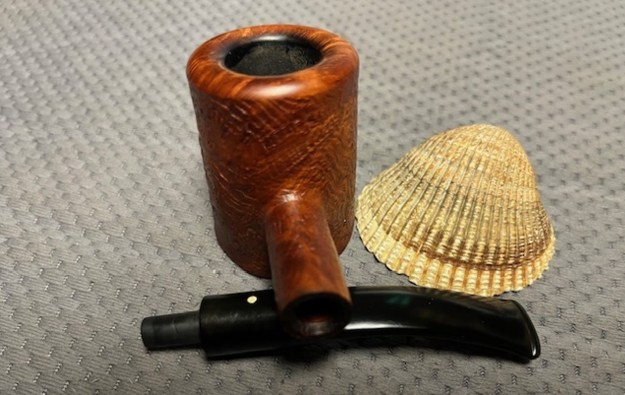
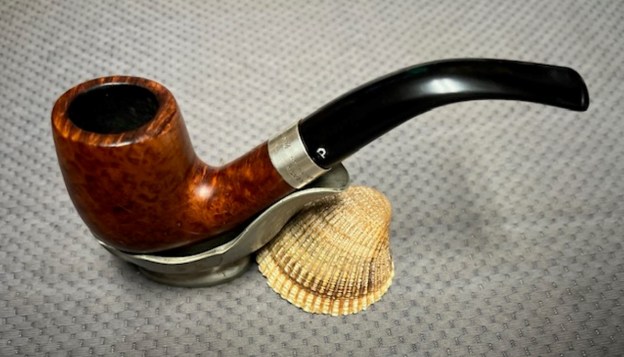
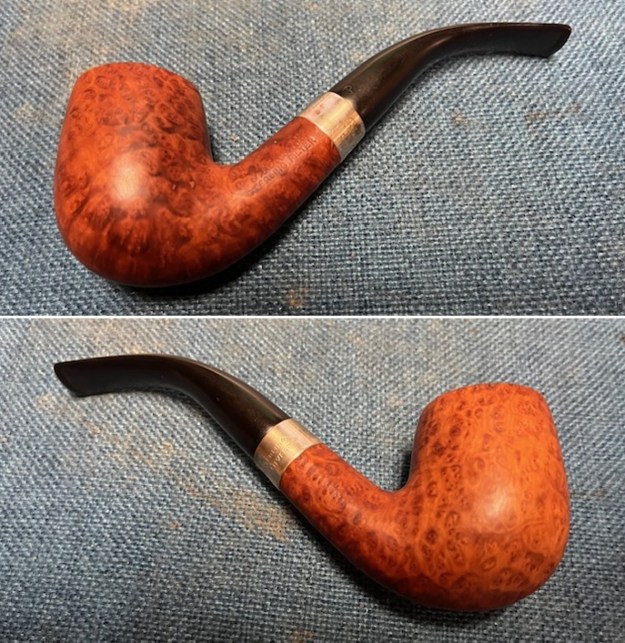
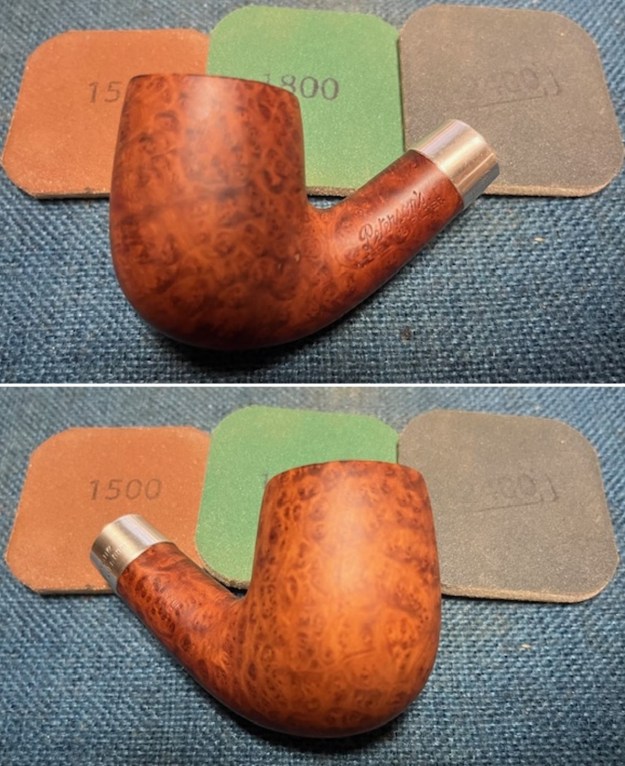
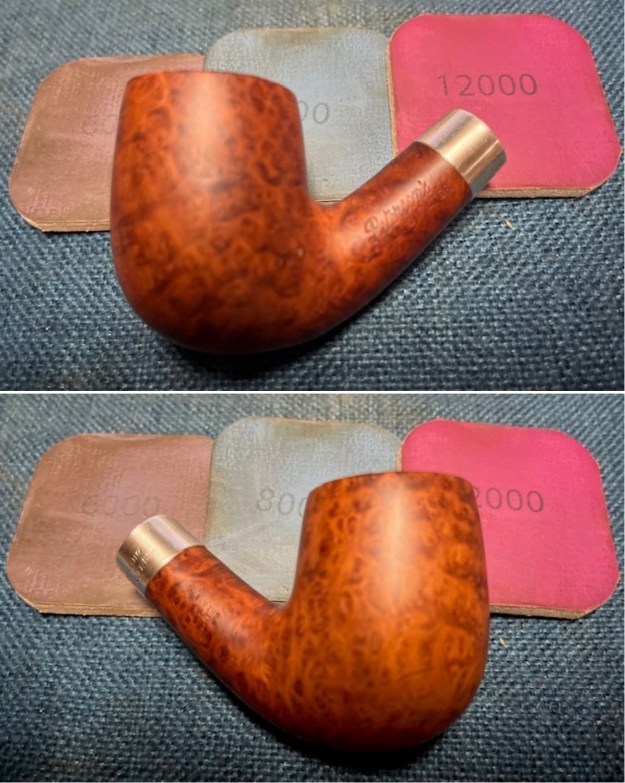
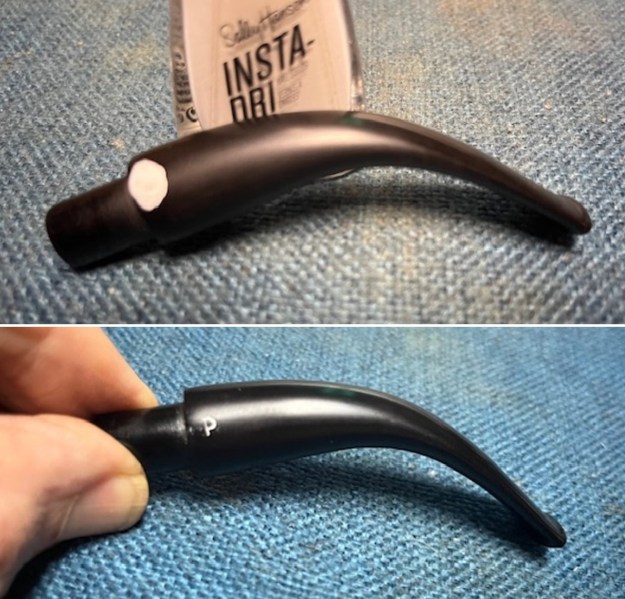
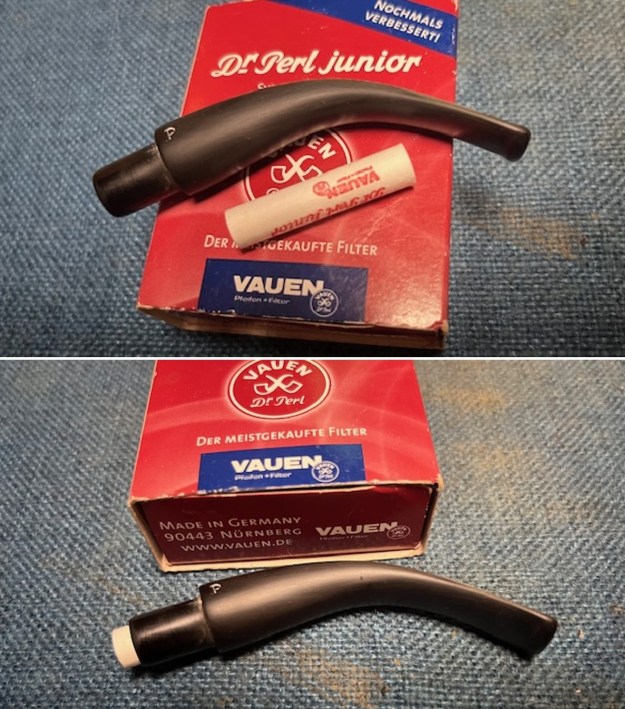
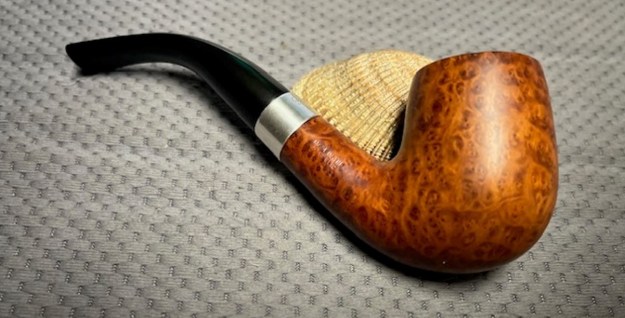
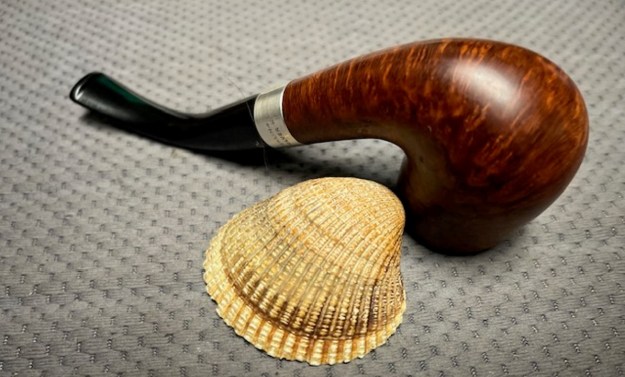
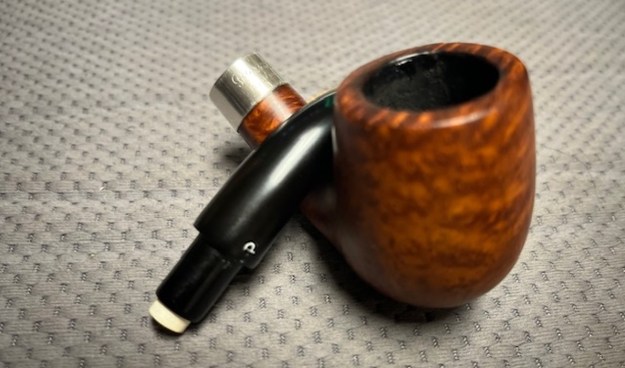
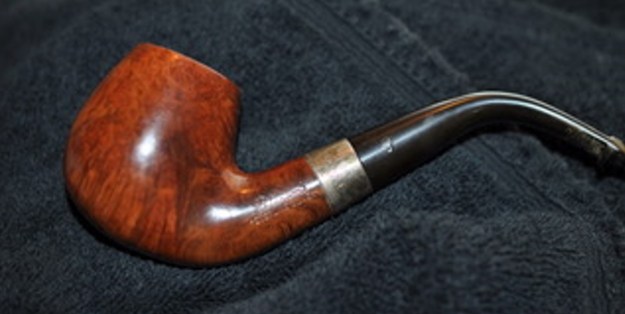
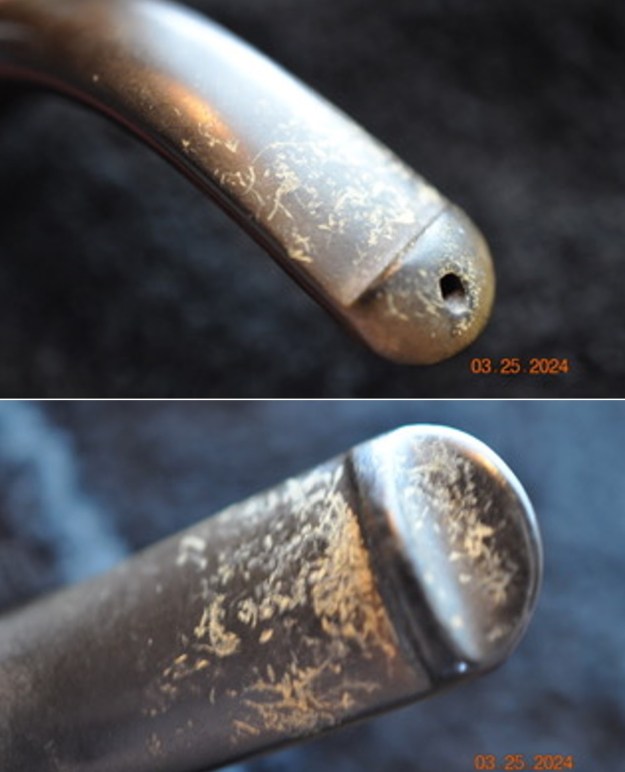
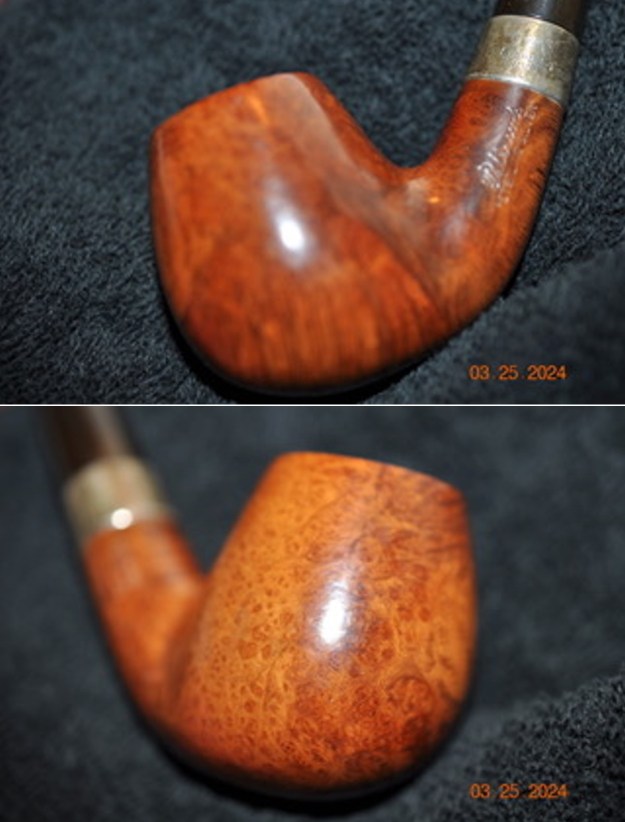
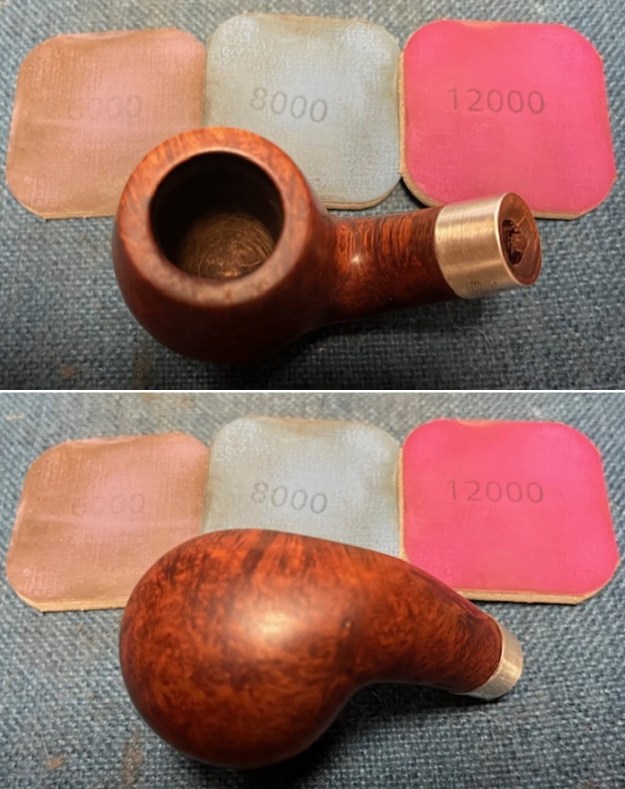
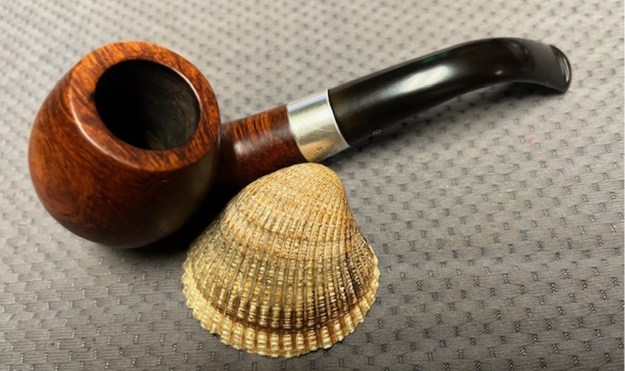
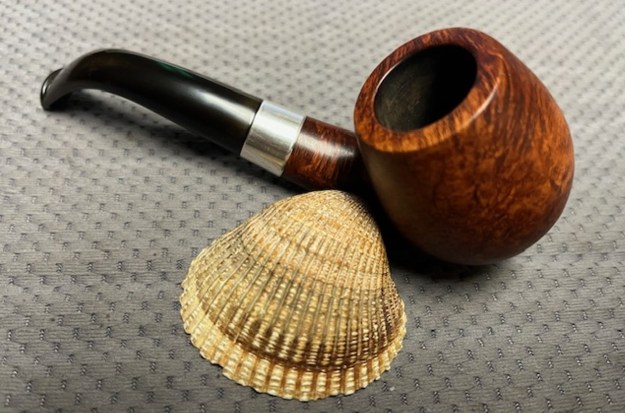
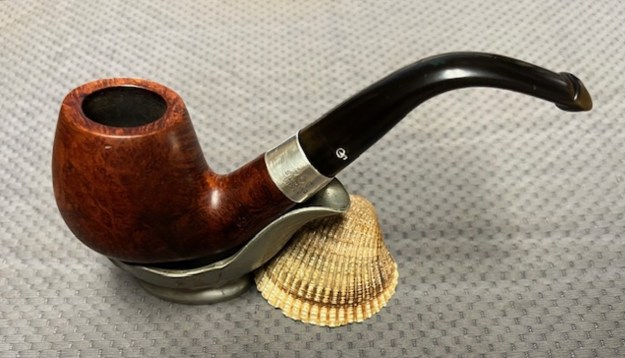
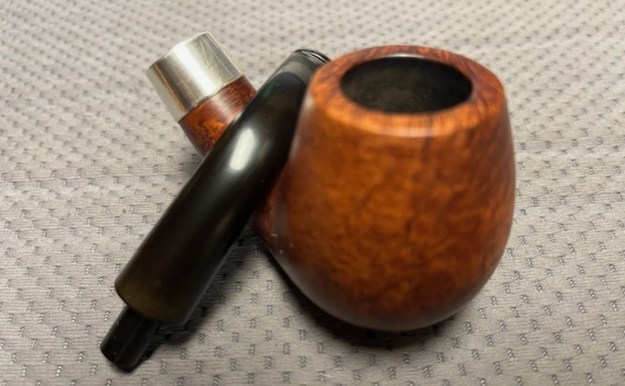
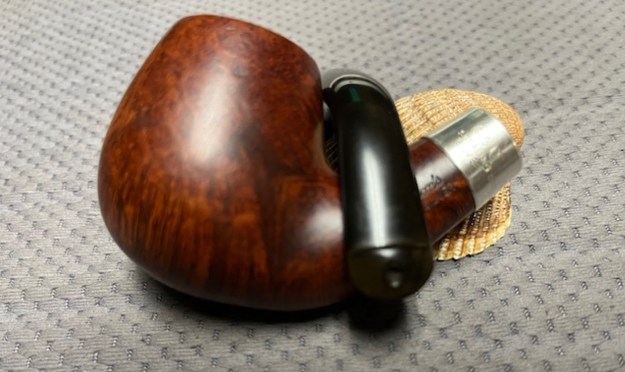
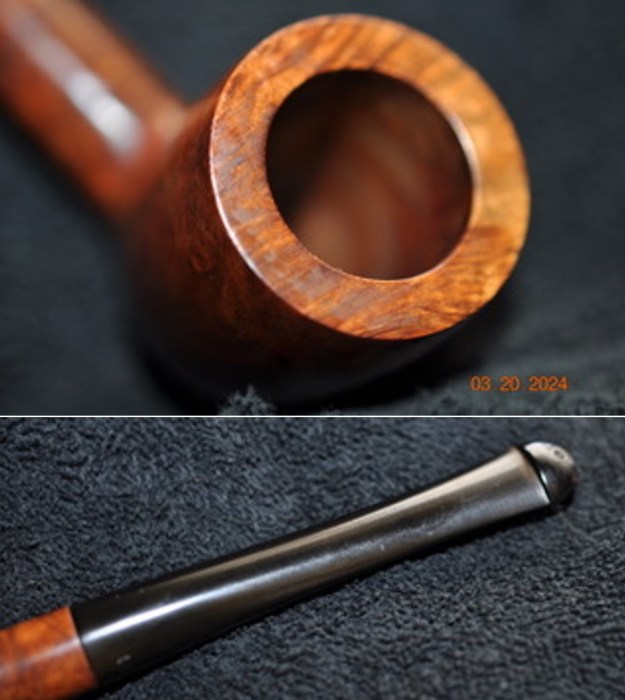
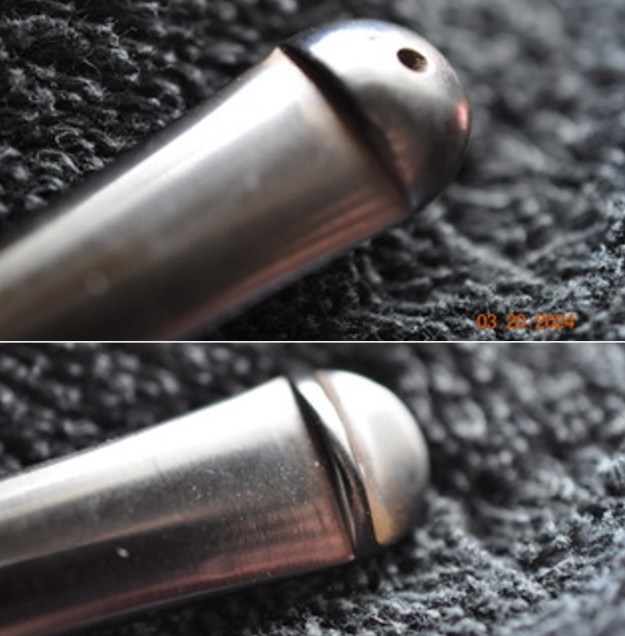
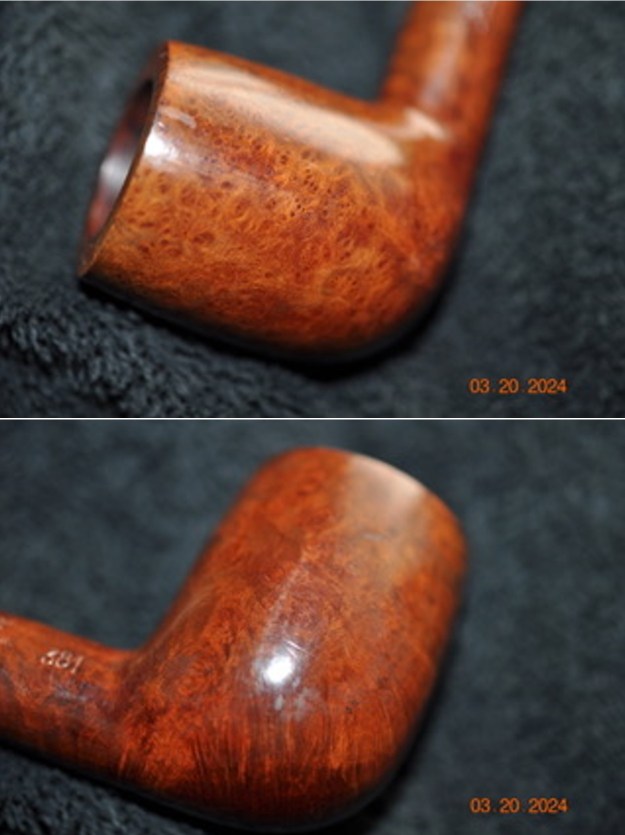
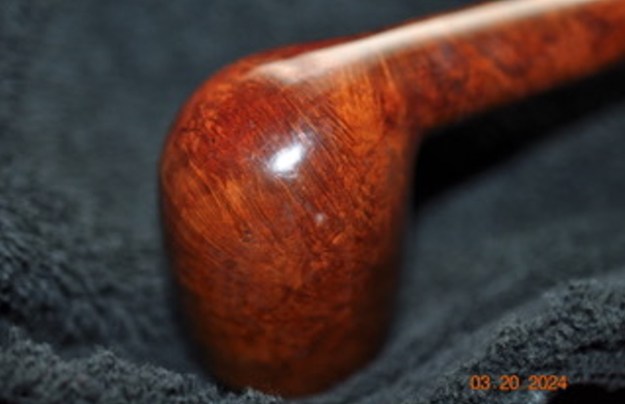
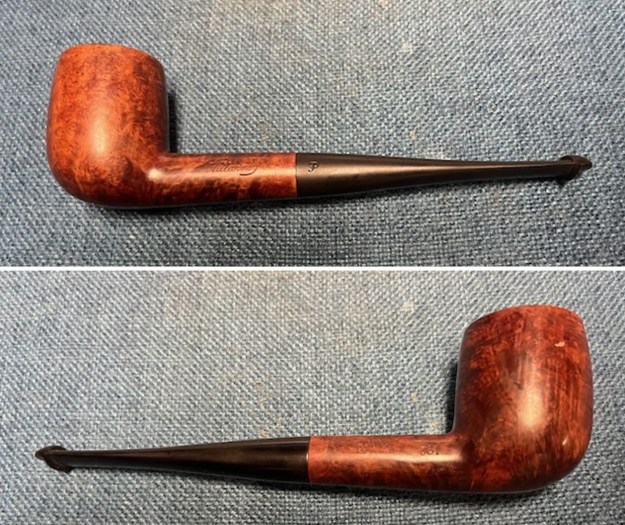
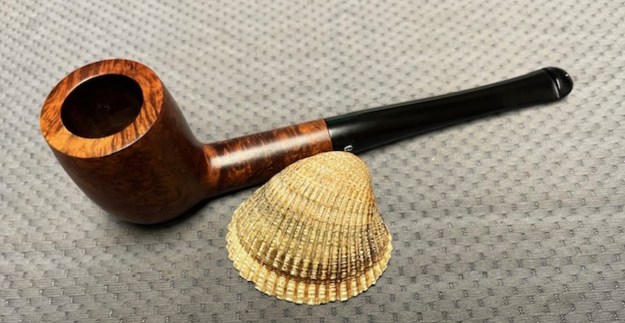
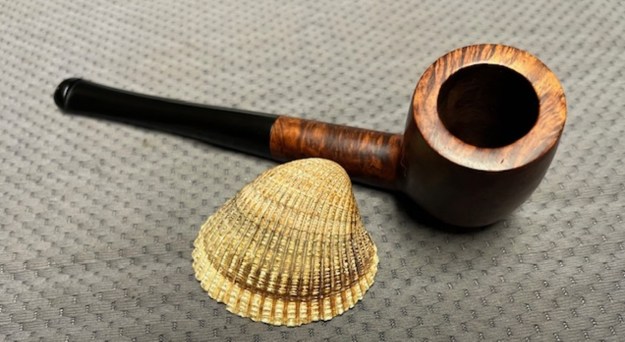
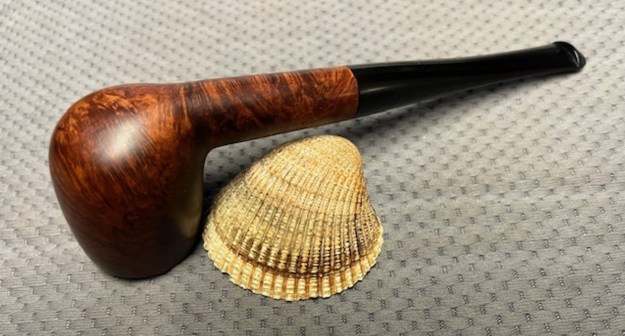
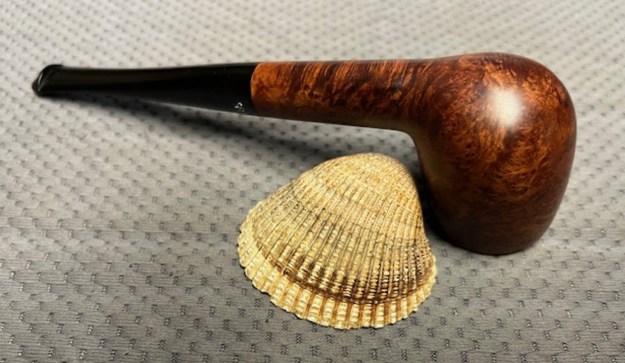
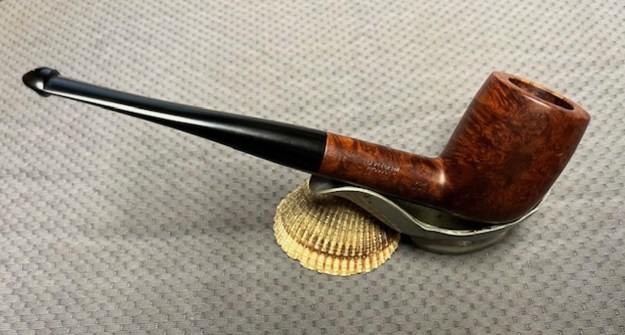
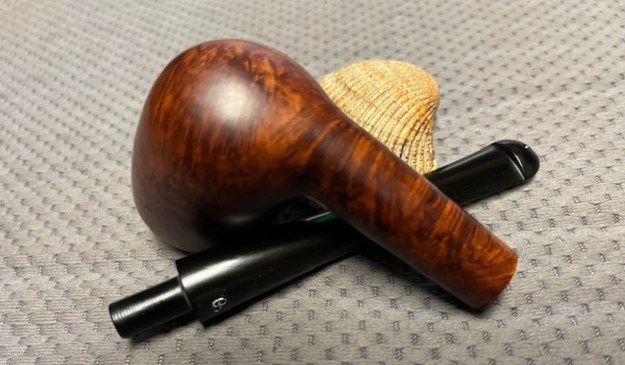
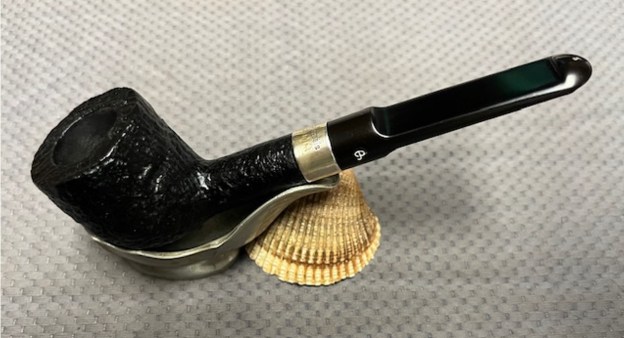
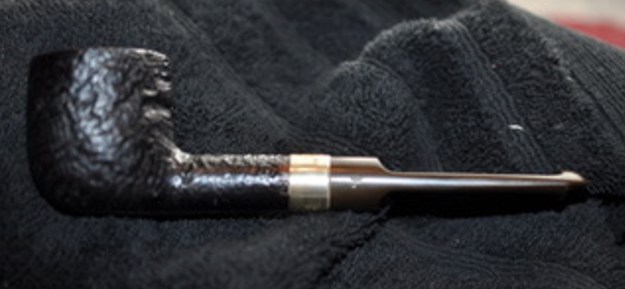
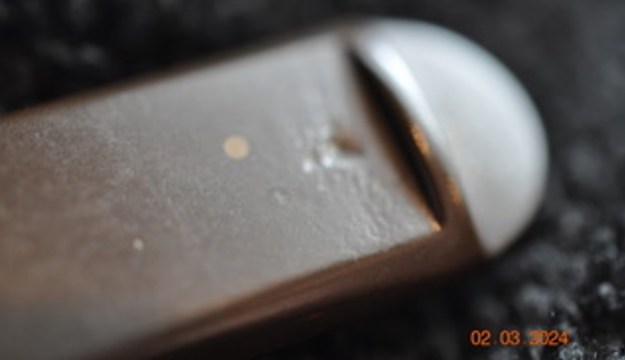
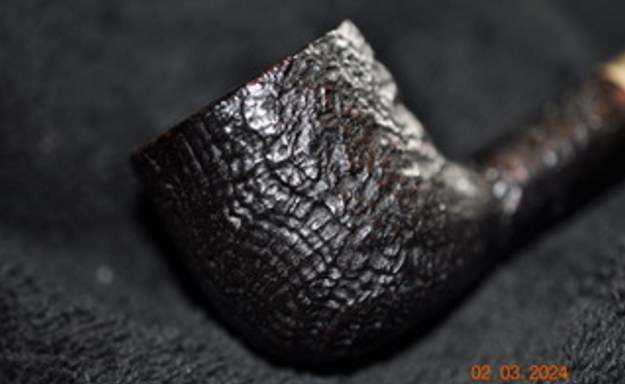
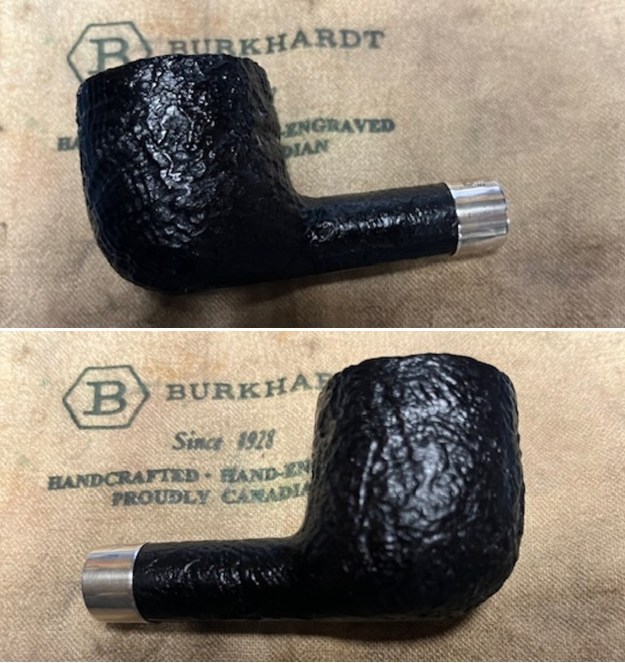
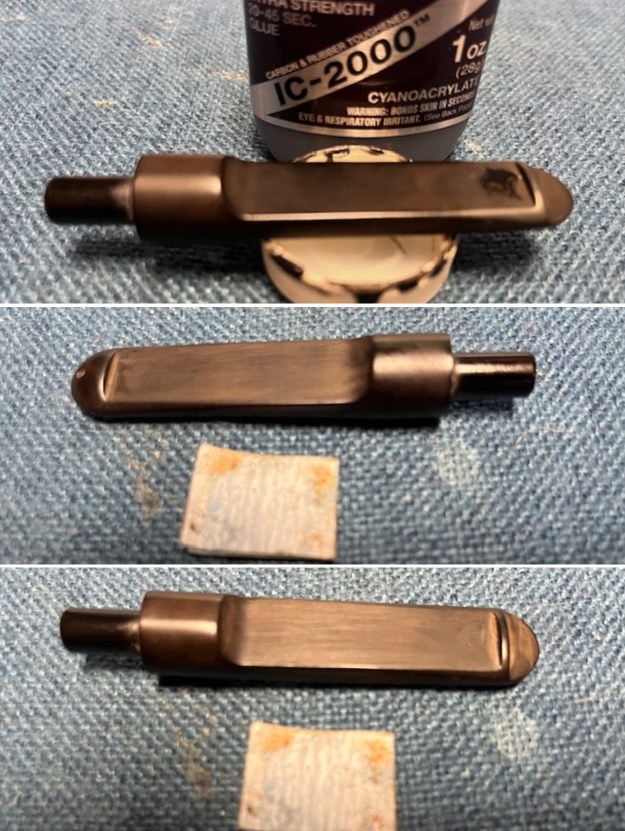
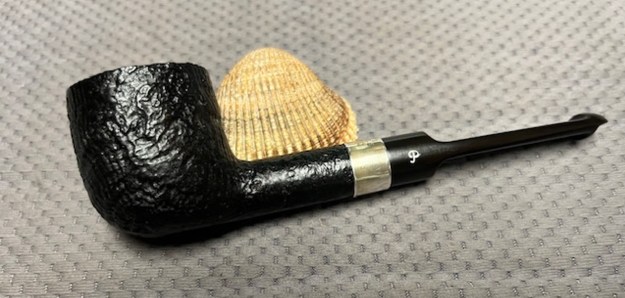
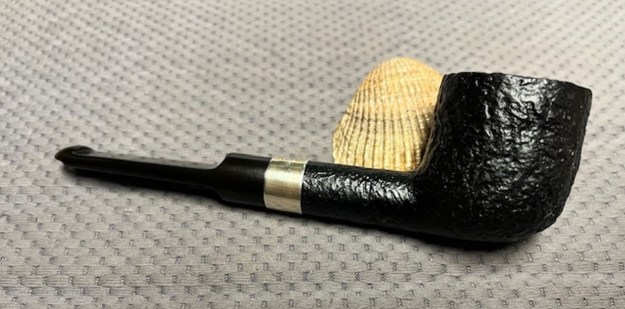
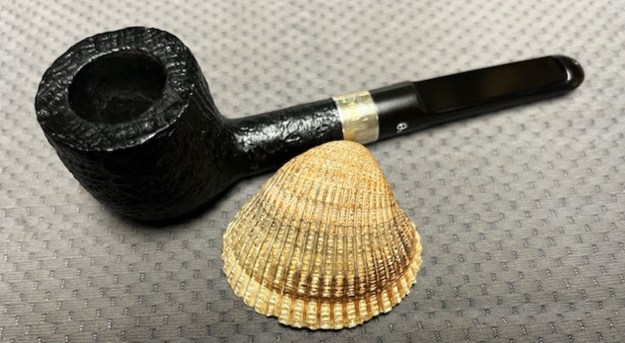
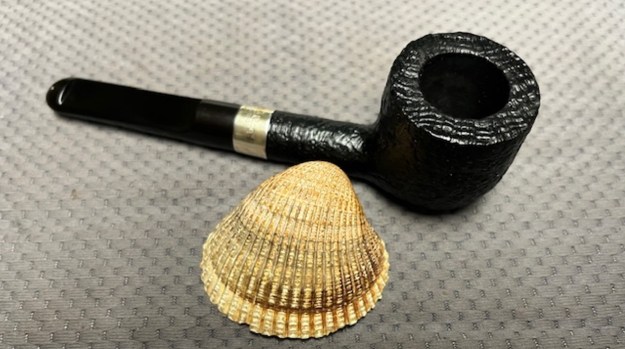
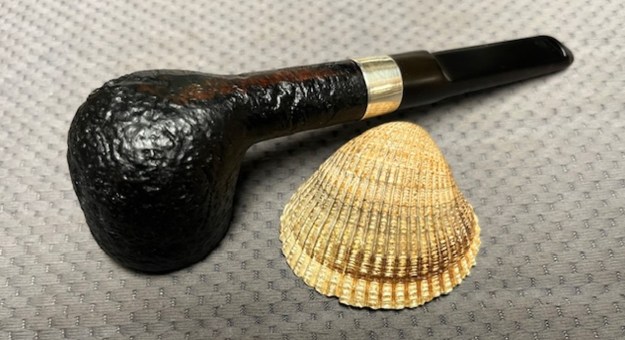
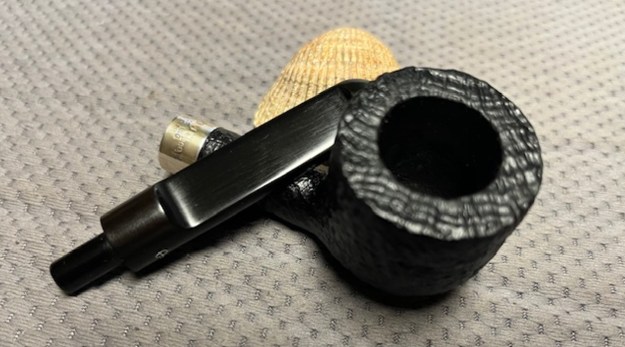
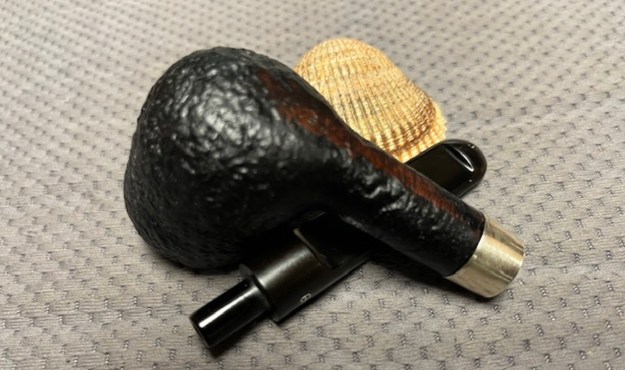
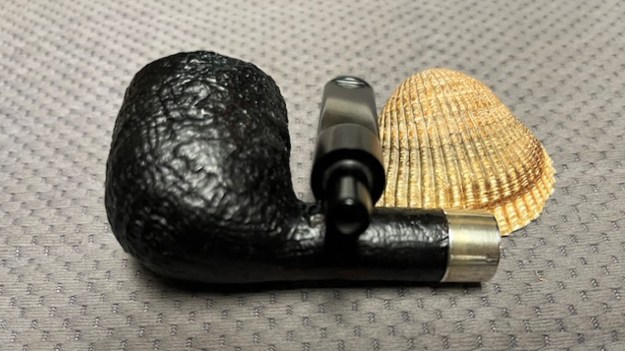
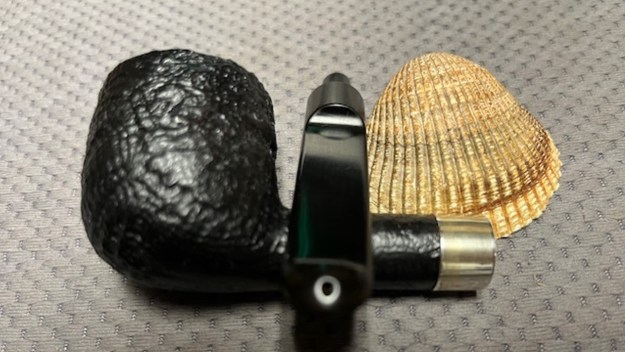
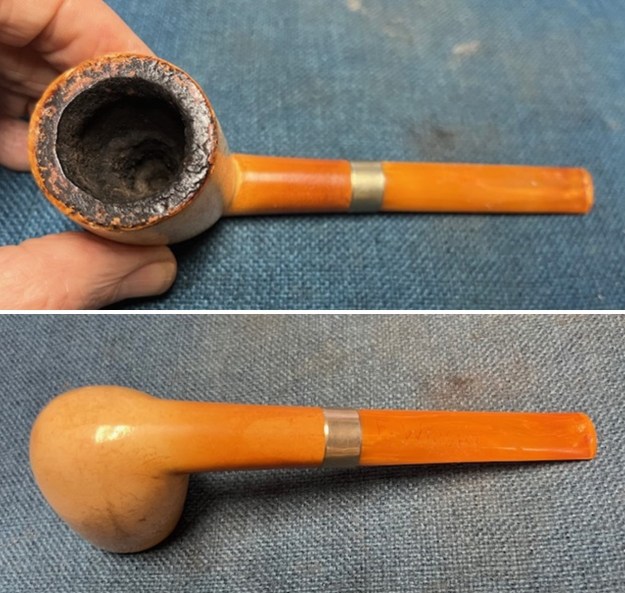
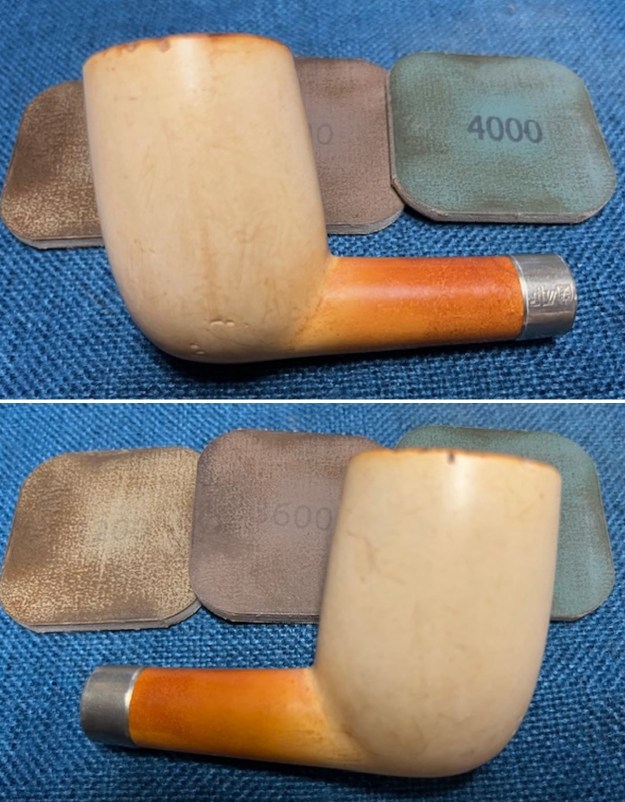
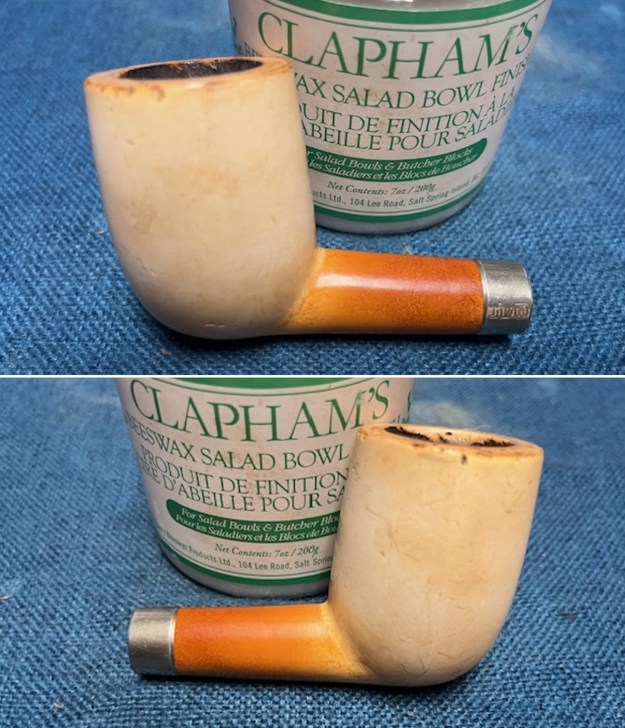
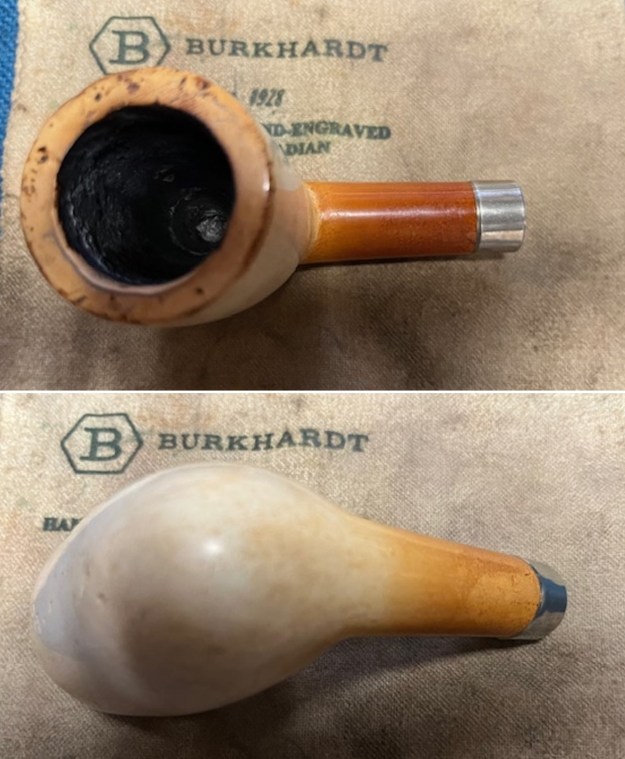
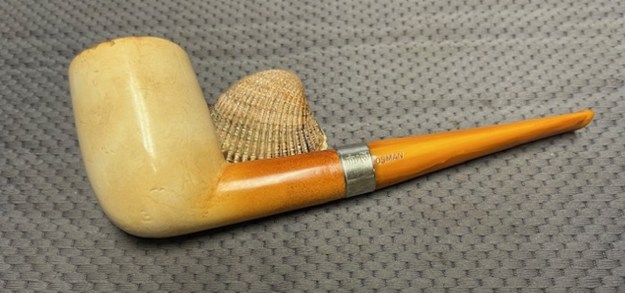
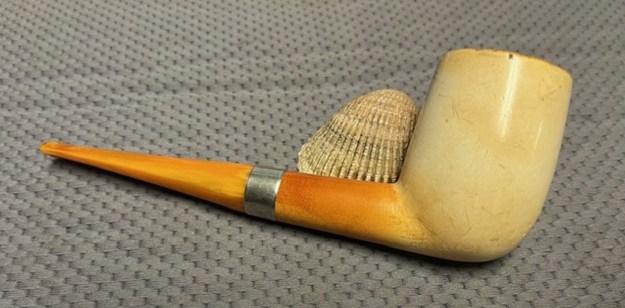
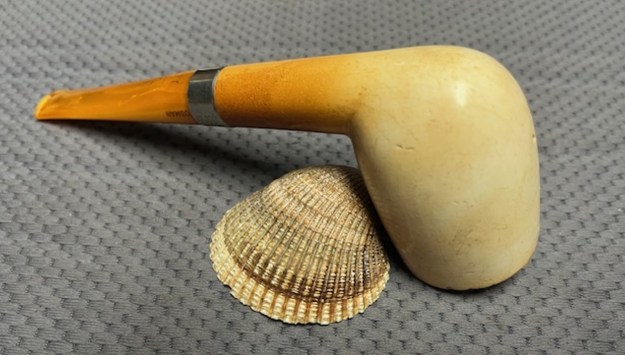
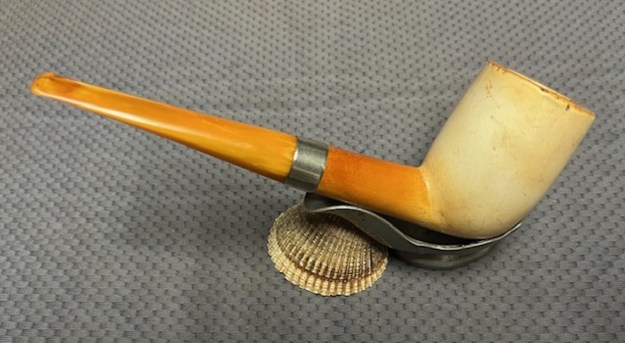
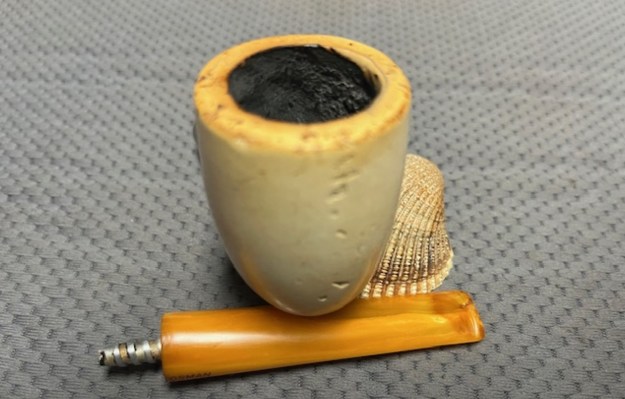
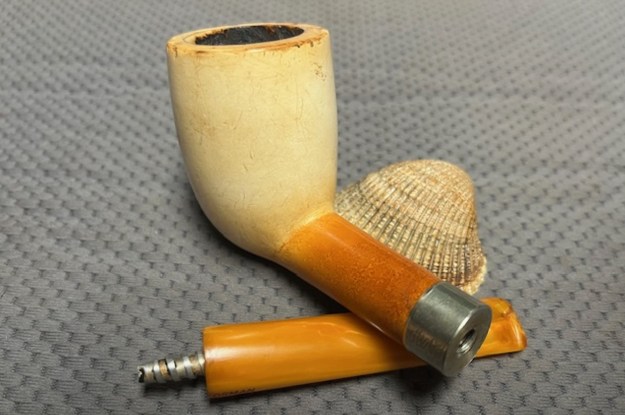
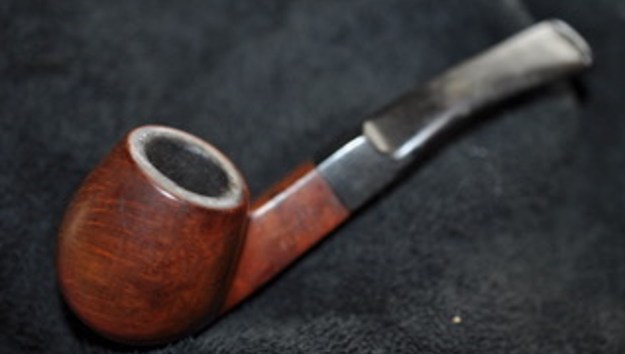
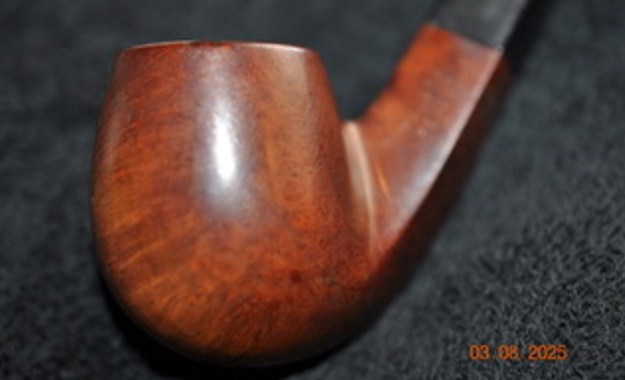
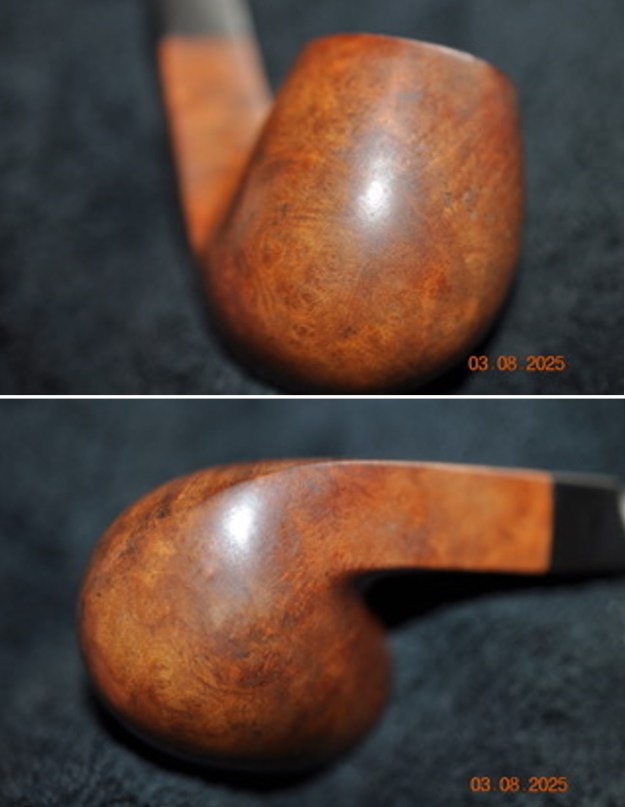
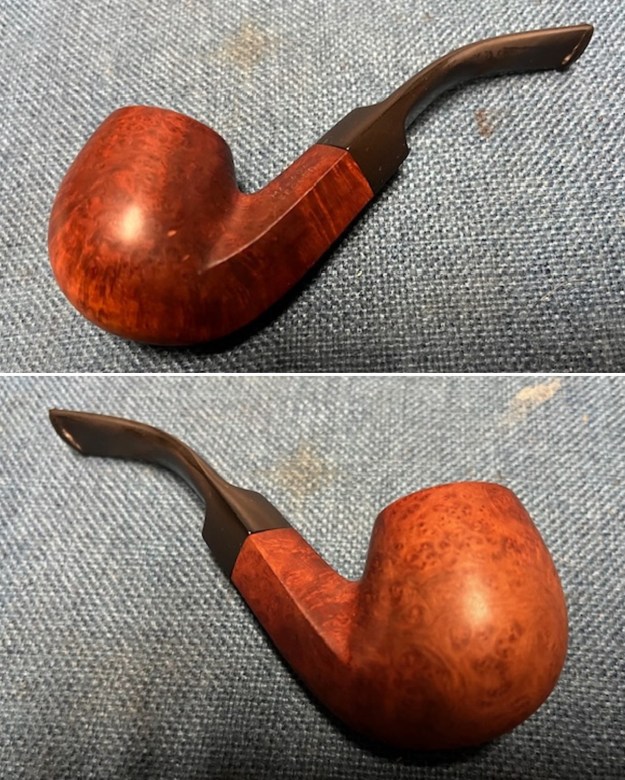
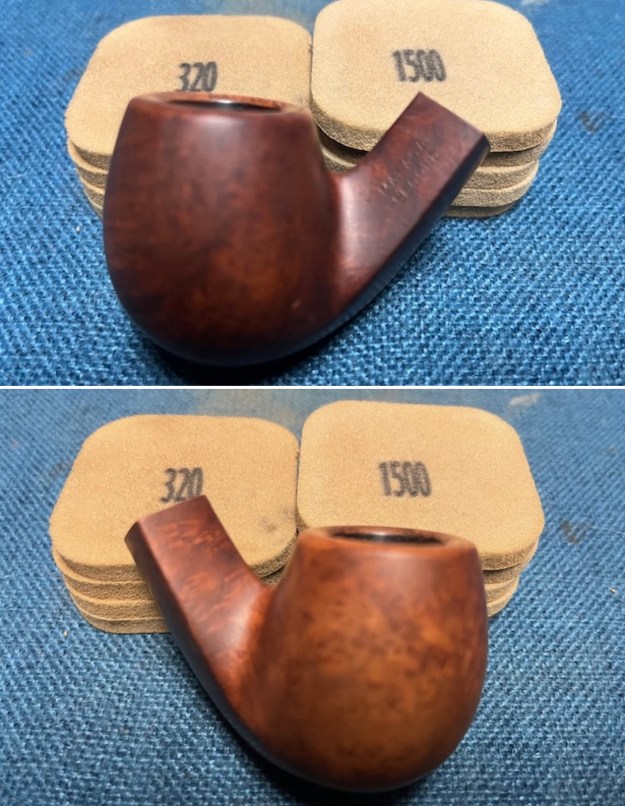
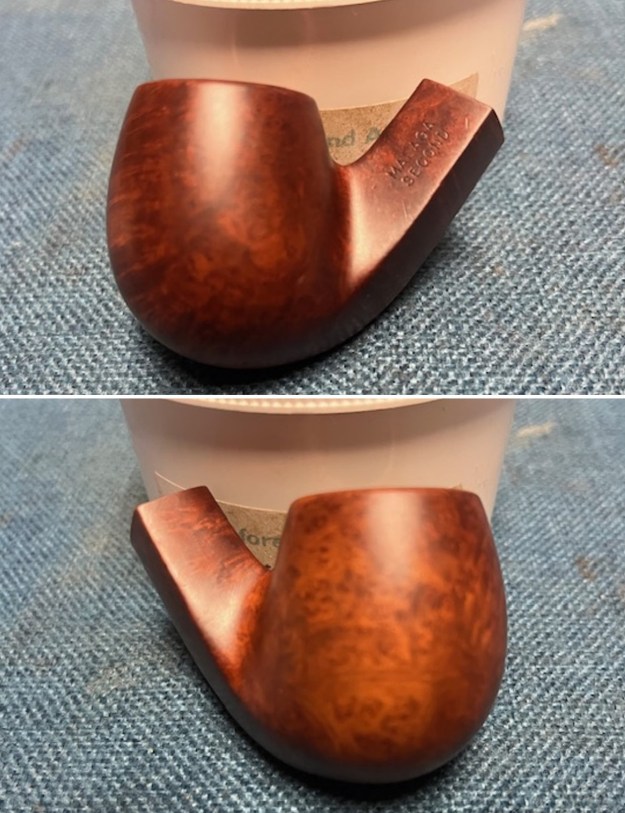
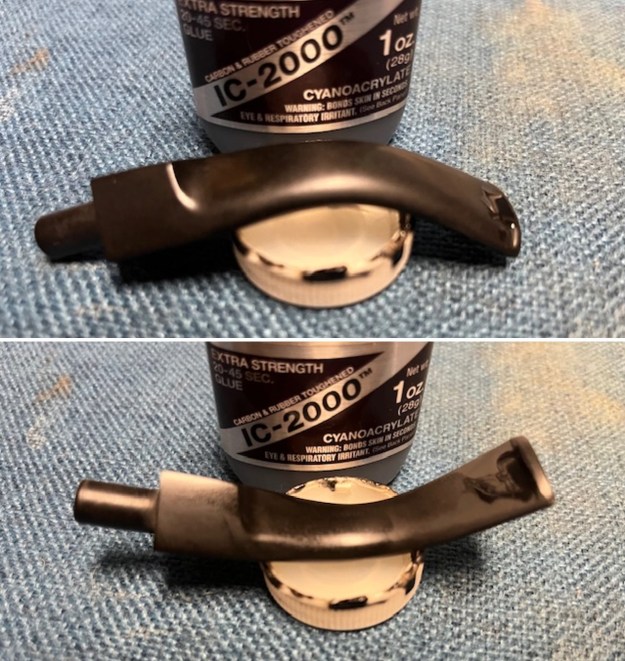
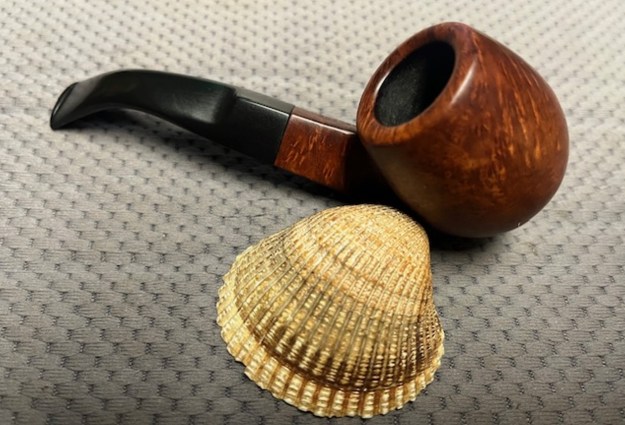
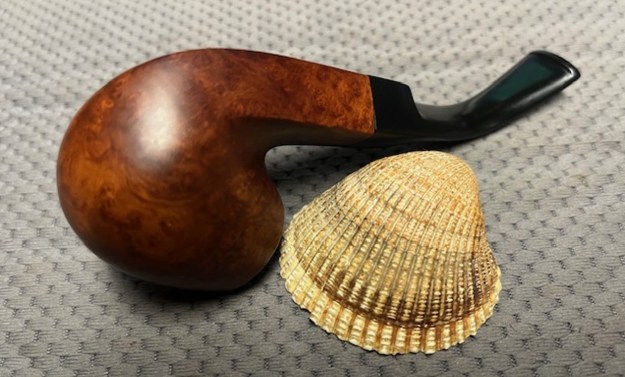
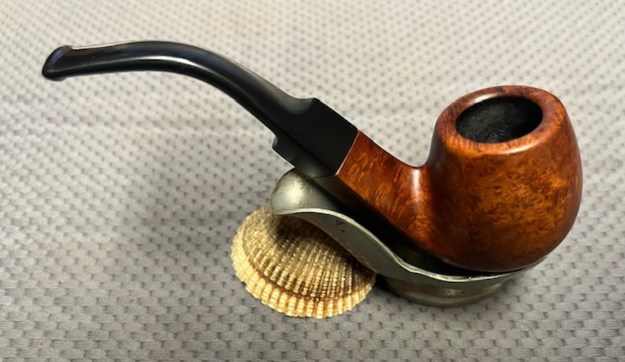
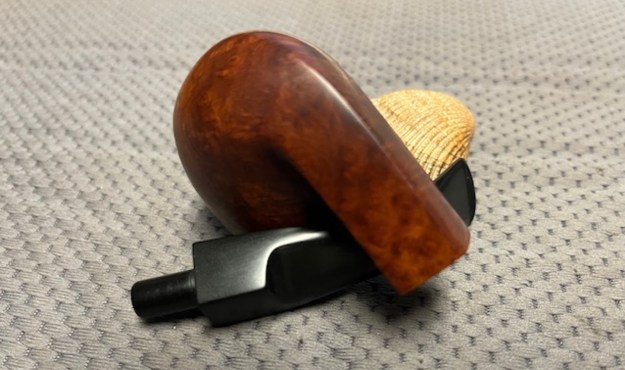
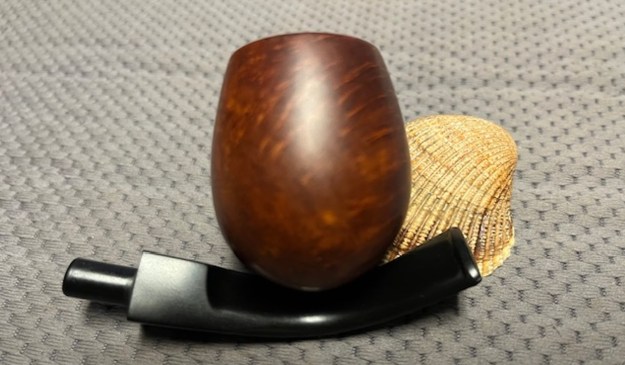
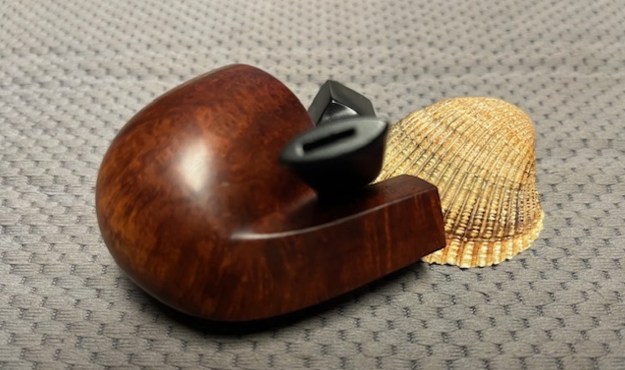
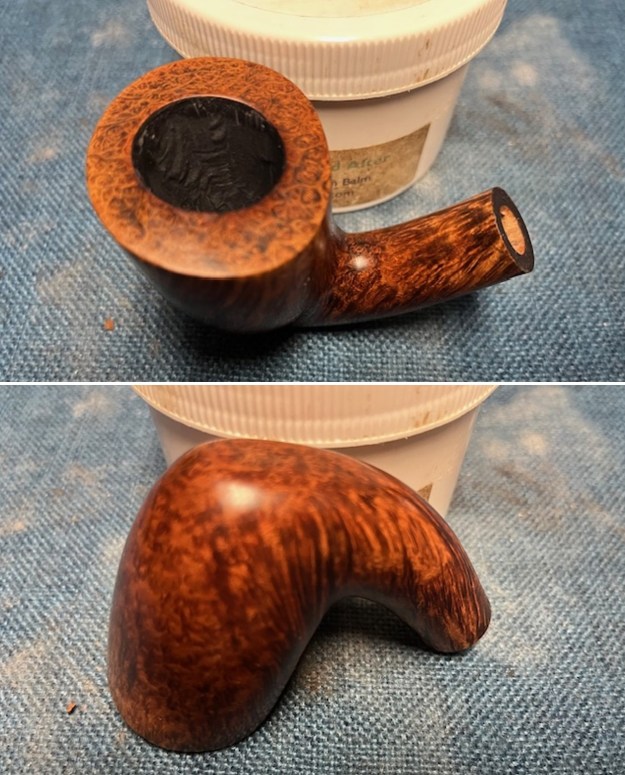
 The fourth and final pipe I brought to the table is an Ardor Scoop. Overall it looks very good. It is stamped on underside of the shank and reads DR [over] Ardor [over] Marte [over] Italy [over] Fatta a Mano [over] 2008. The stamping is clear and very readable. The pipe has a mix of black and brown stains on a smooth finish and amazing grain that the shape follows well. The oval rim cap is smooth and there is some darkening around the inner edge of the bowl. The rest of the finish was very clean and the bowl had a light cake on the walls but the rim top was clean other than the edge darkening. I inspected the walls of the bowl and could not find any issues or divots in the walls. I spoke with Michael and he mentioned that it looked like it had some small checking/cracking on the walls of the bowl. Initial inspection reveals that the light cracking in the cake on the bowl walls. The other issue Michael spoke of is that the front wall of the bowl was particularly thin and when smoked was very hot. I would need to examine it further once it had been reamed and cleaned. The acrylic black original taper stem had a white saddle portion on the end of the stem ahead of the tenon. There was a blue dot encircled in a silver circle on the top of the white saddle portion. The stem showed light tooth marks or chatter on both sides. I took photos of the pipe to show what it looked like before I started working on it.
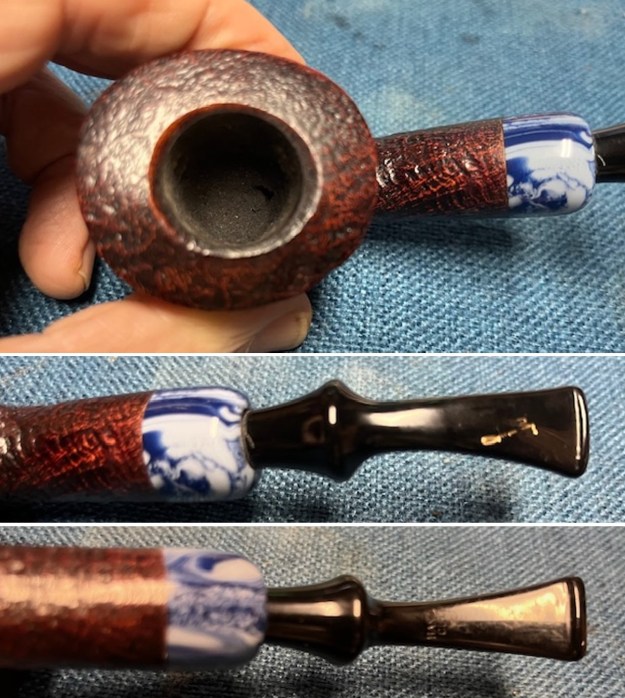
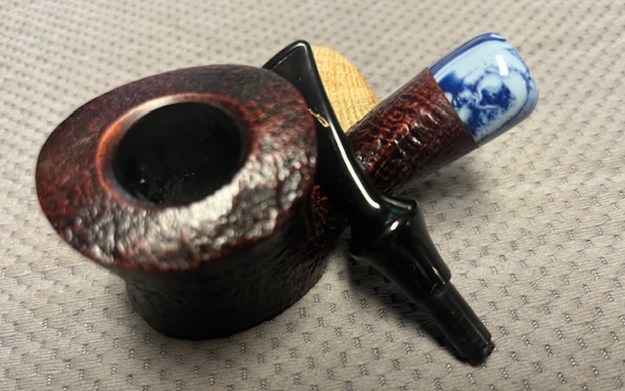
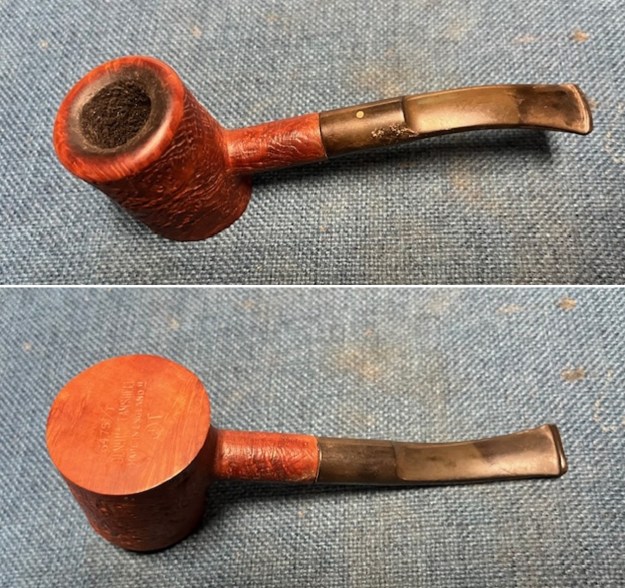
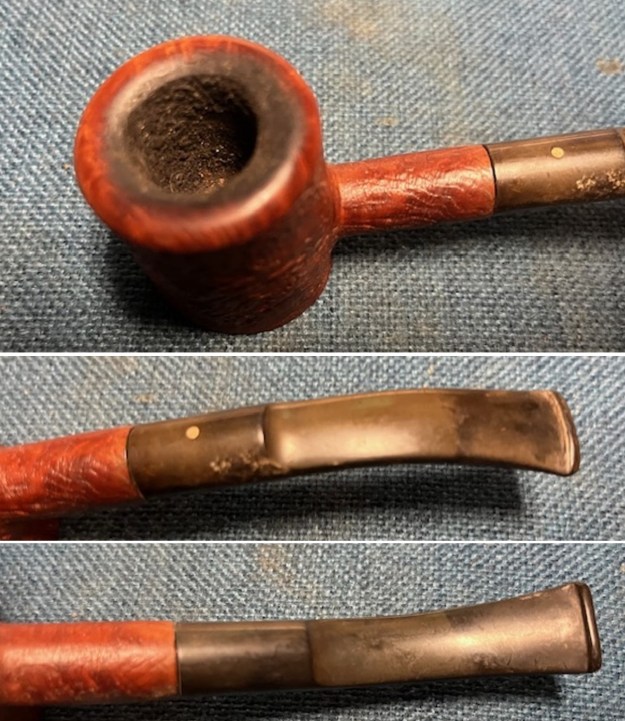
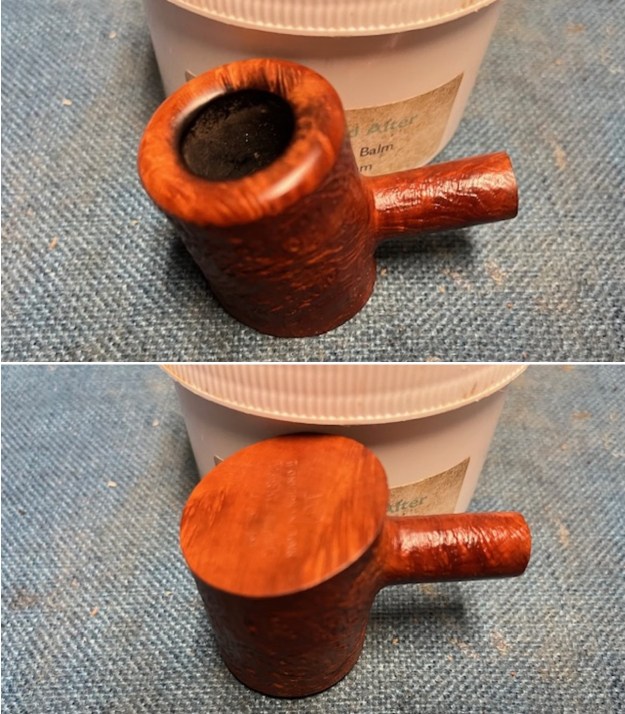
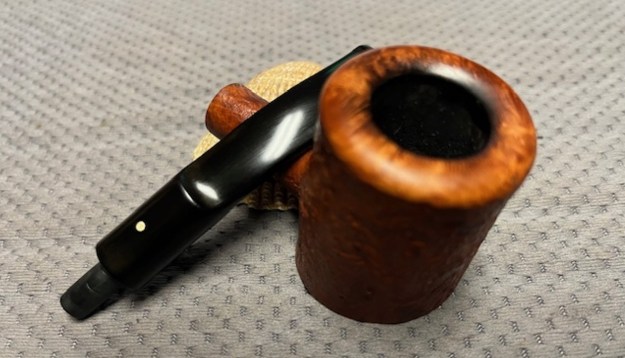
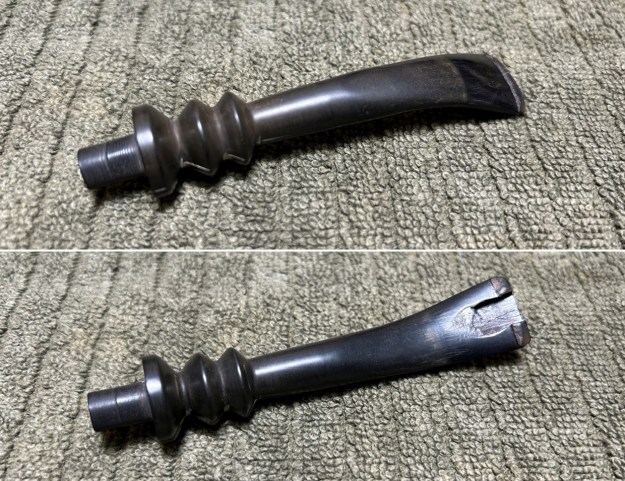
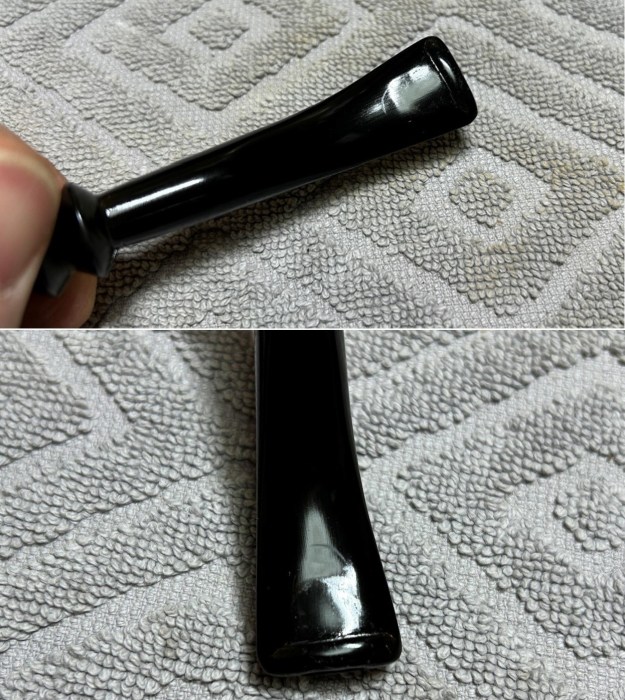
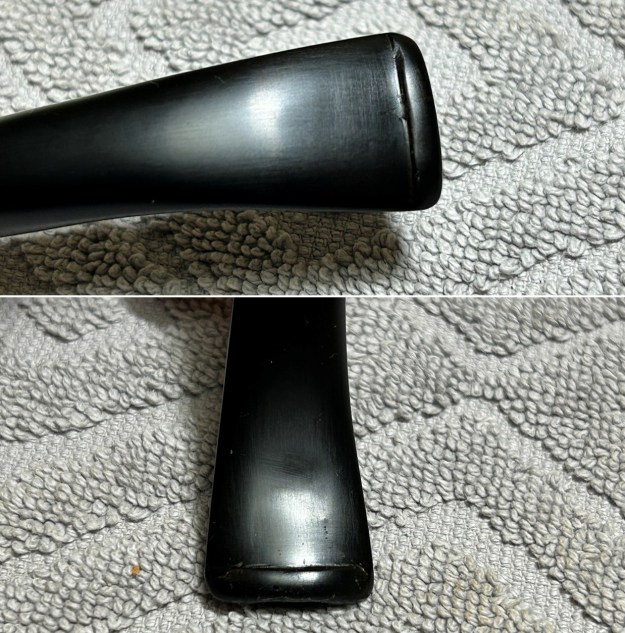
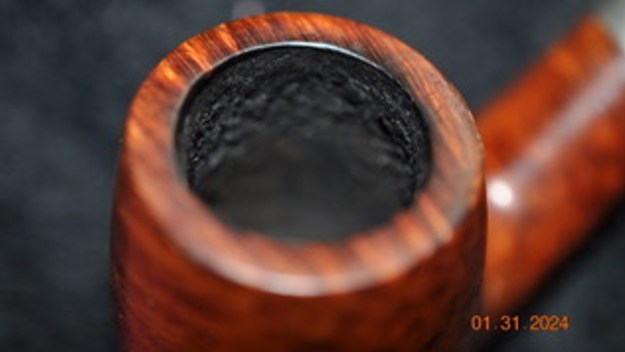
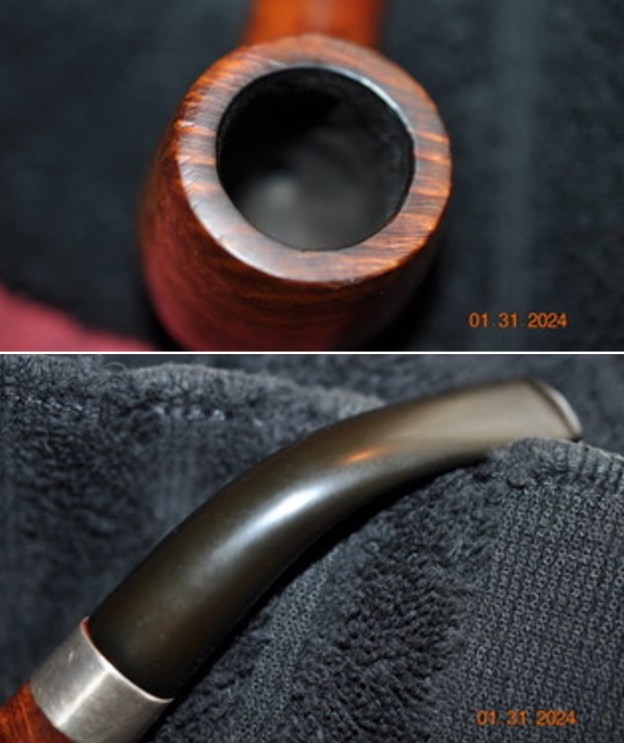
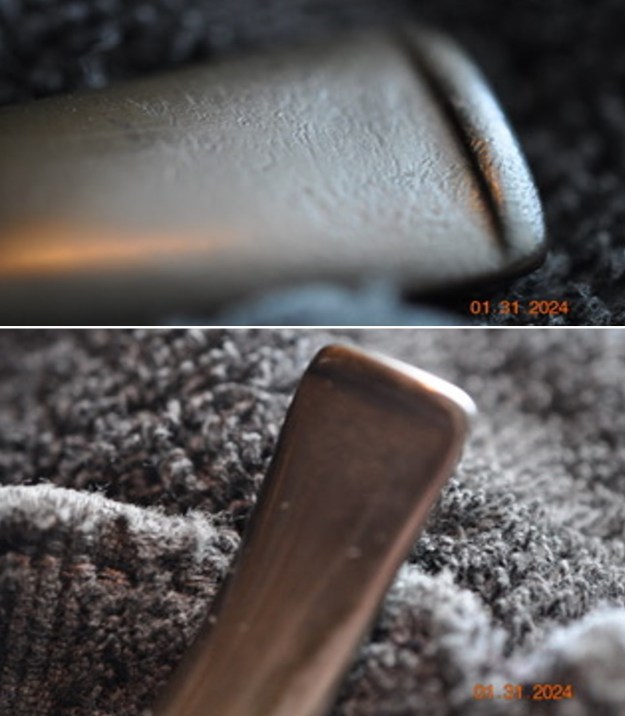
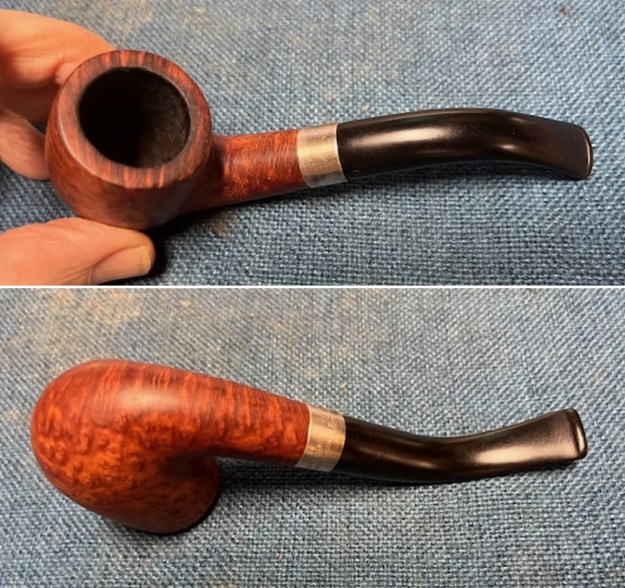
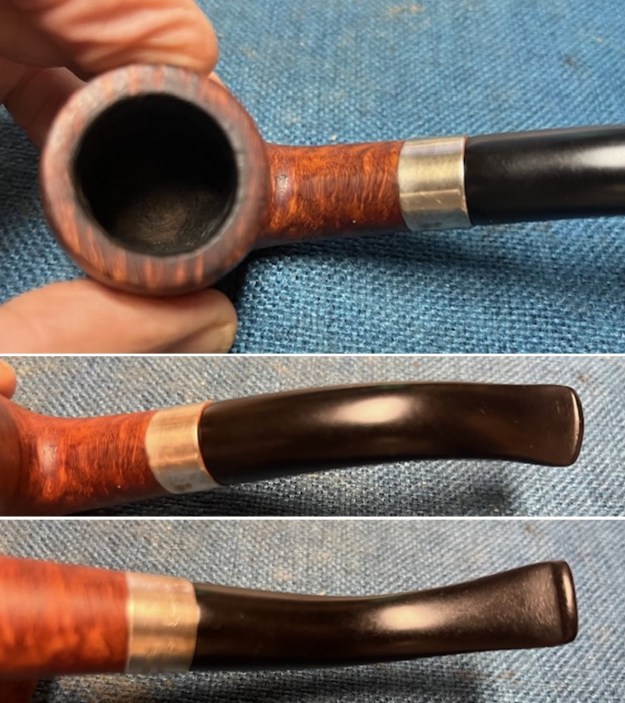
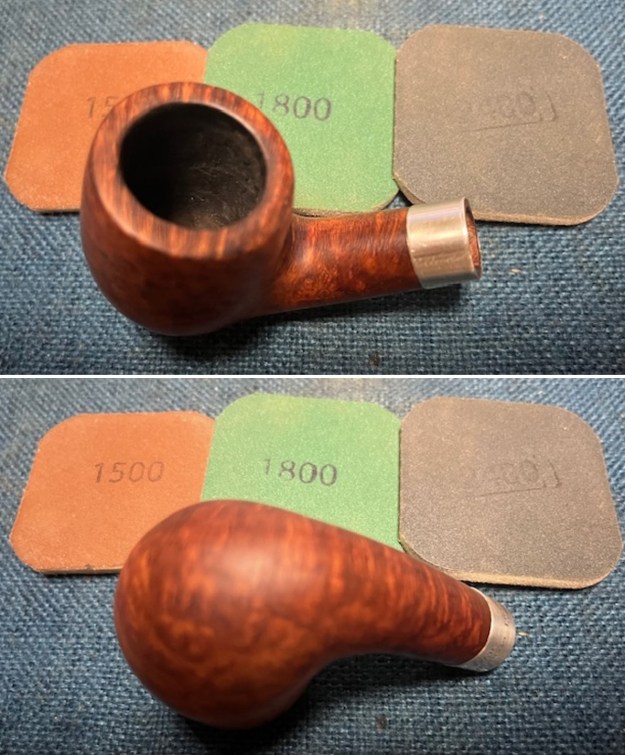
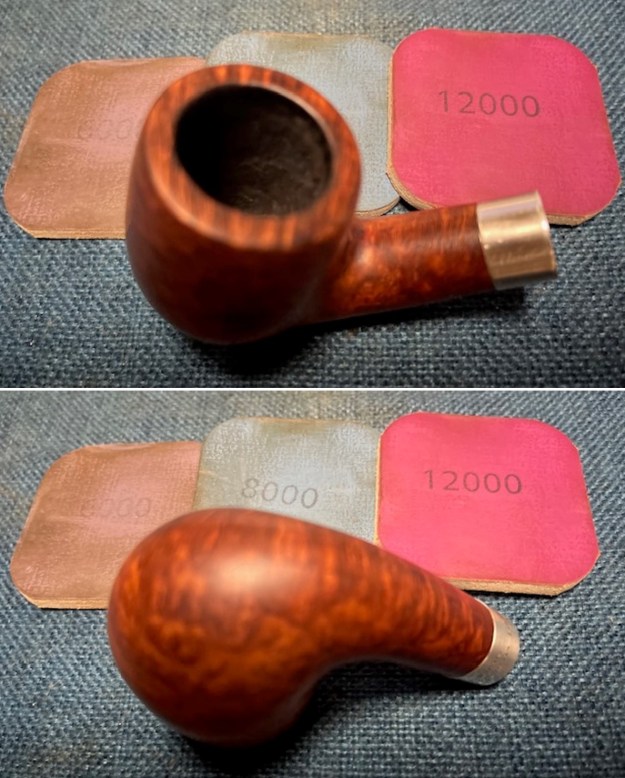
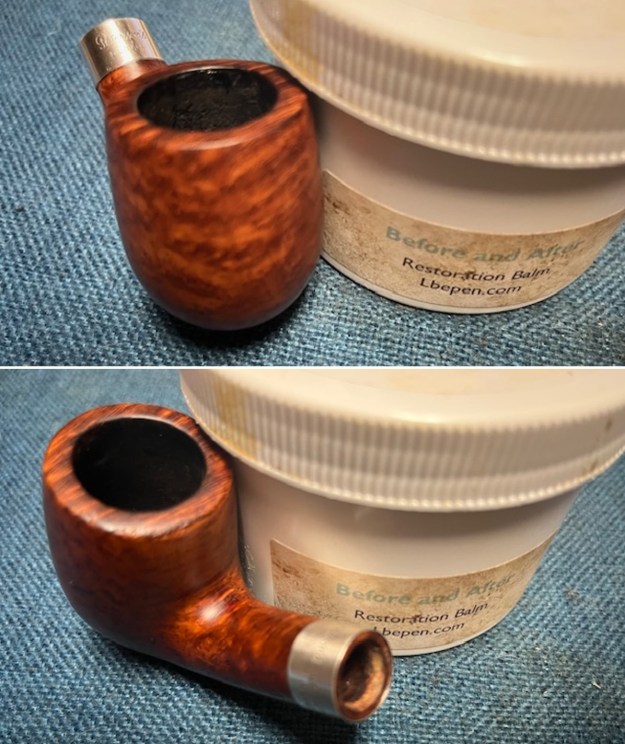
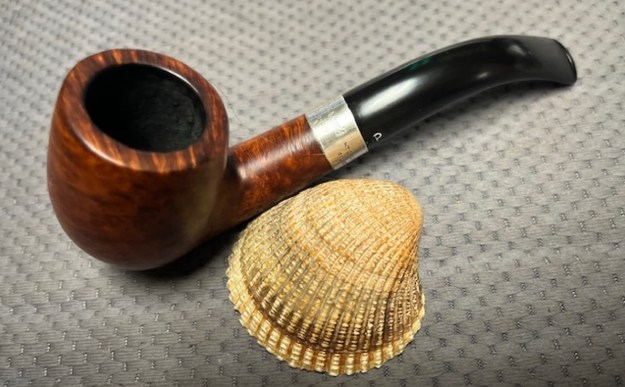
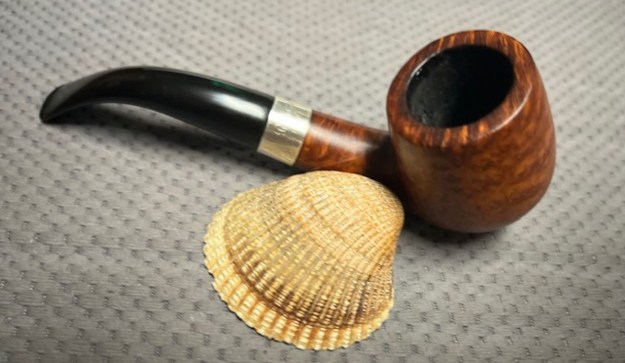
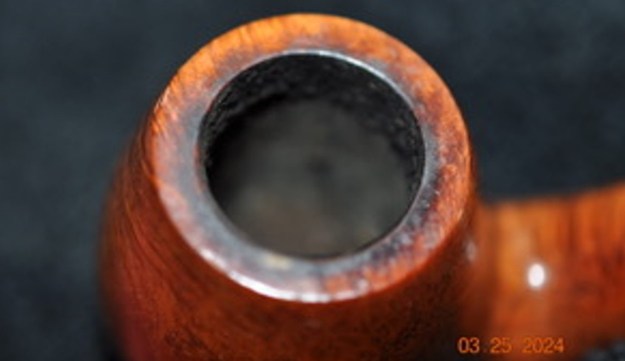
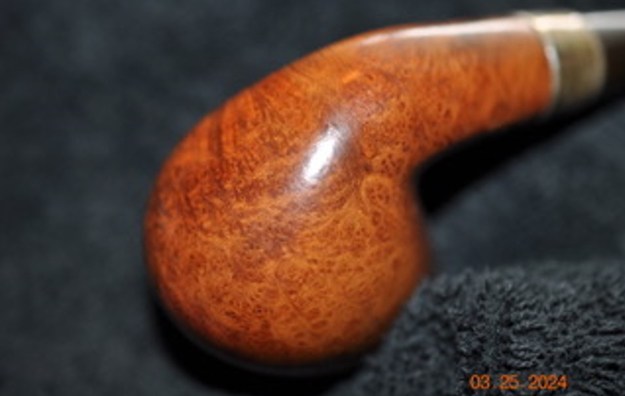
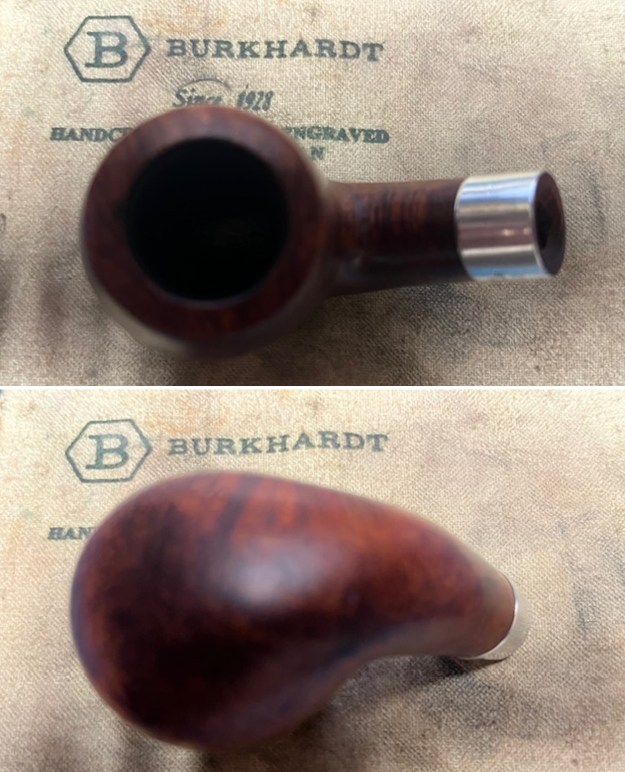
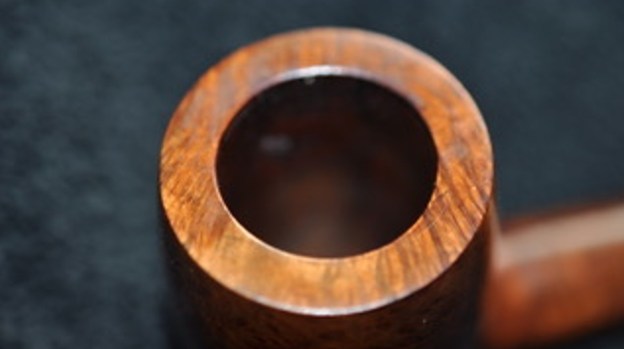
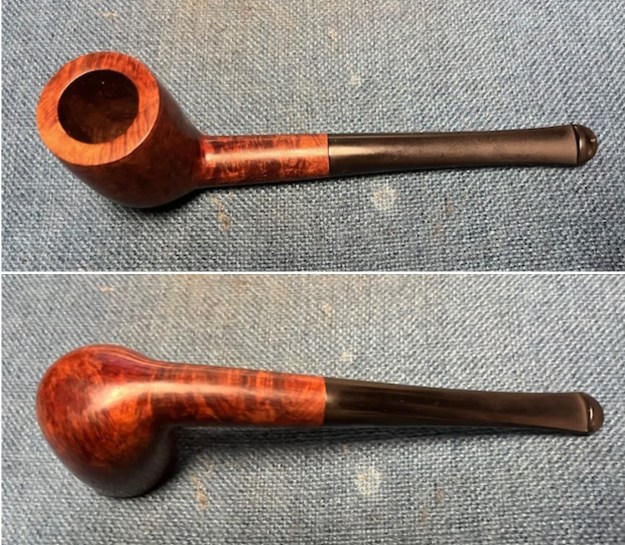
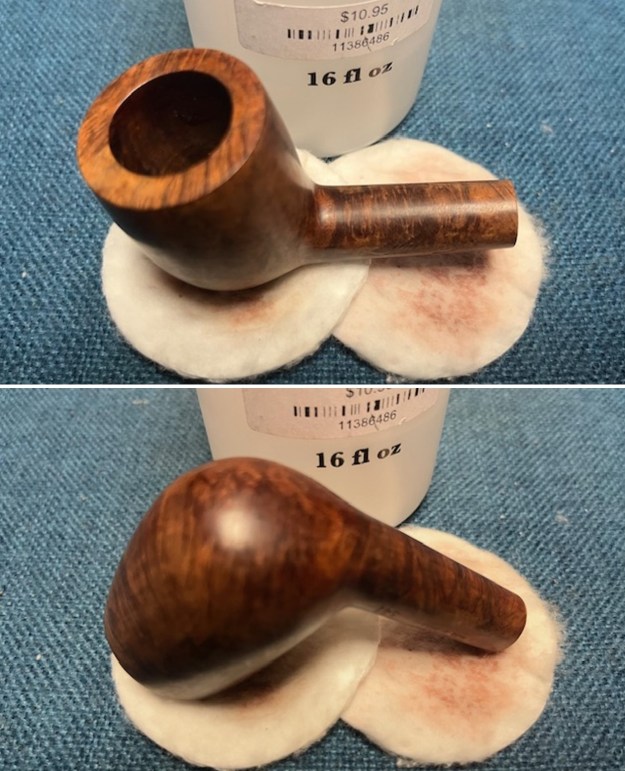
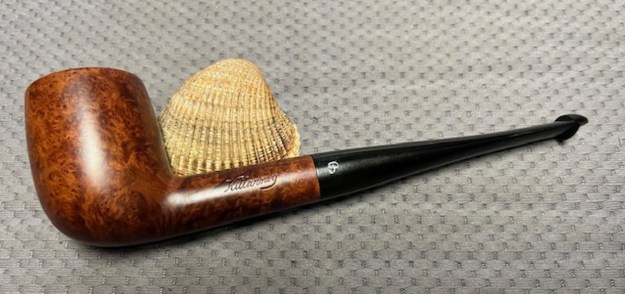
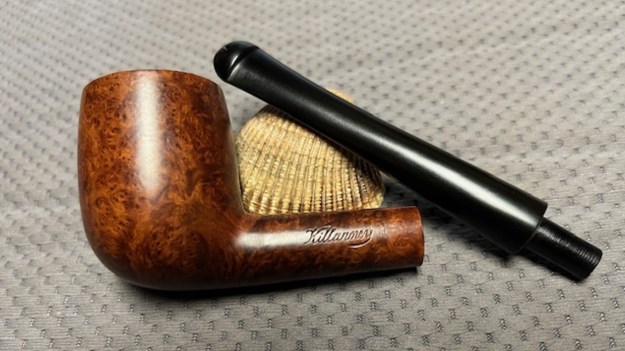
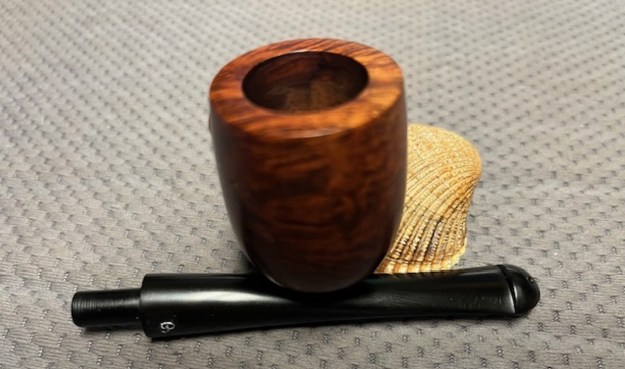
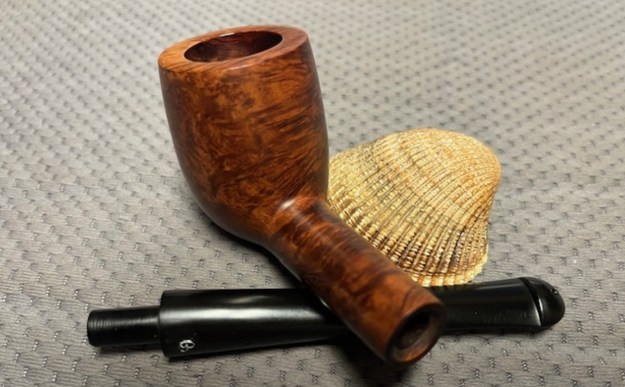
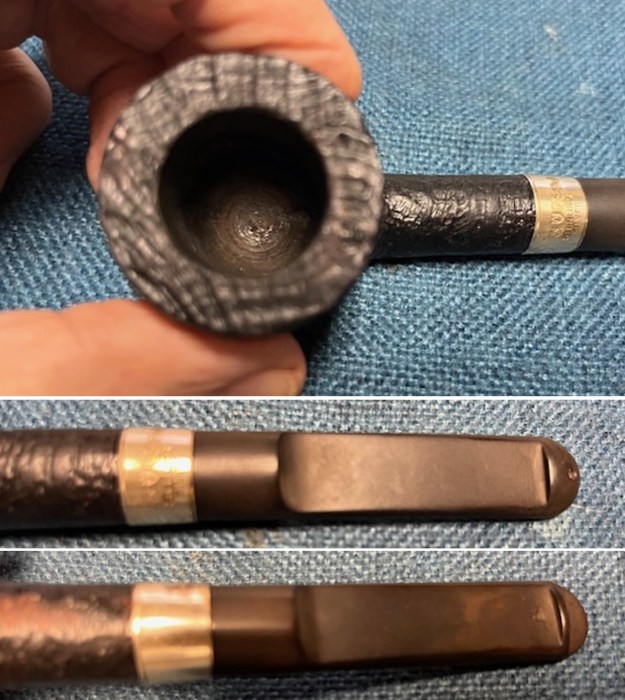
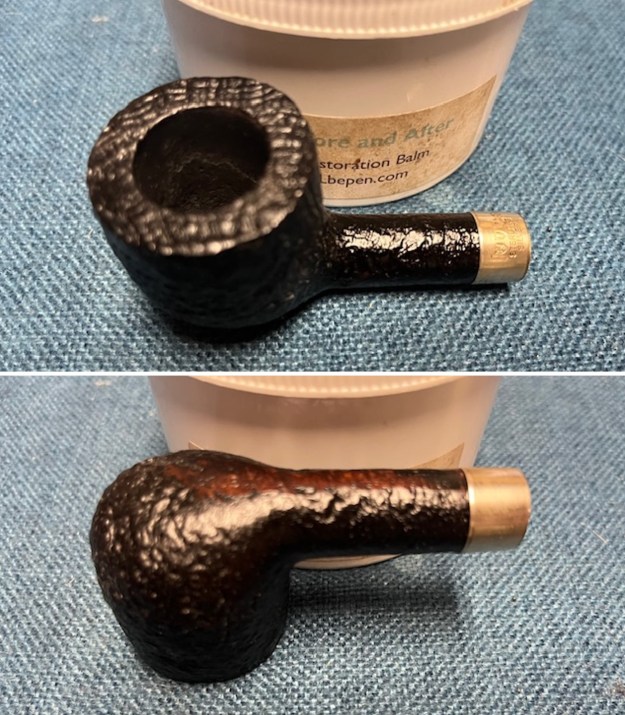
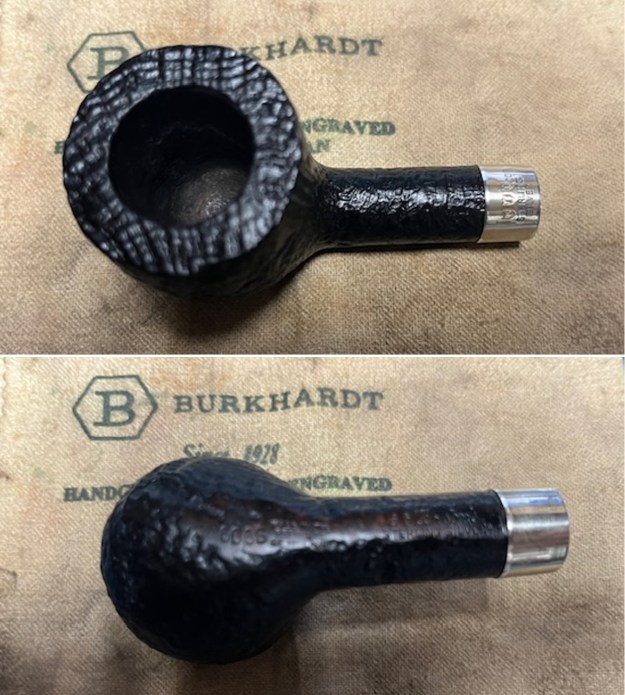
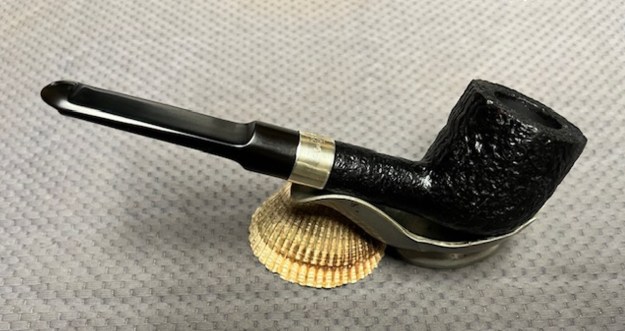
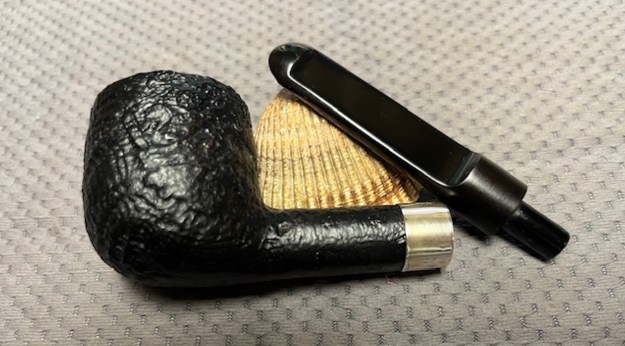
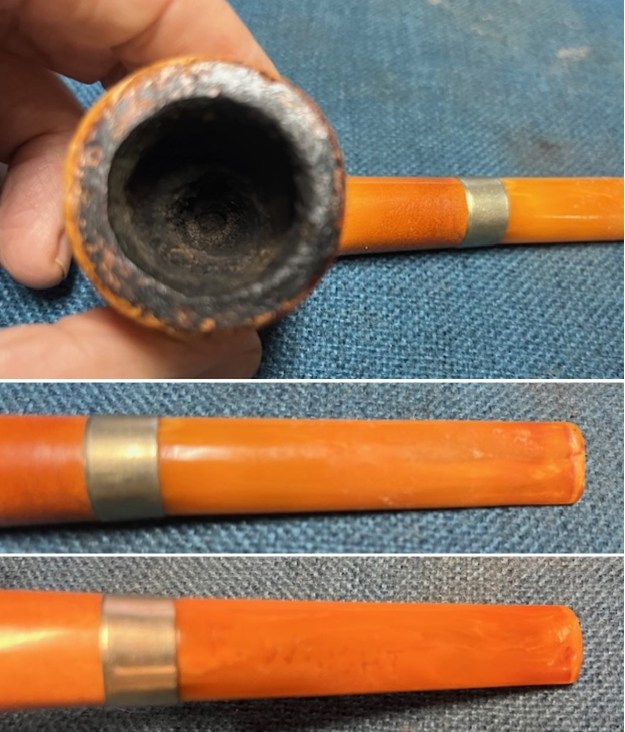
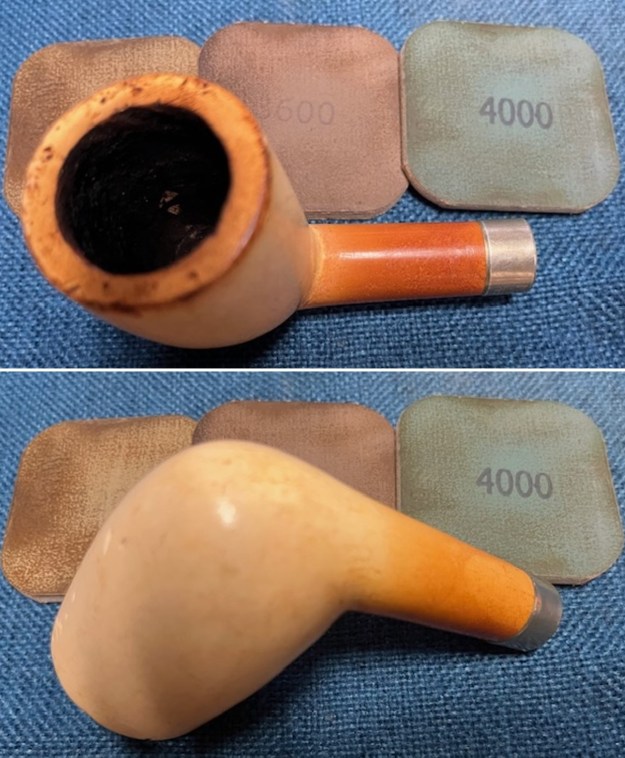
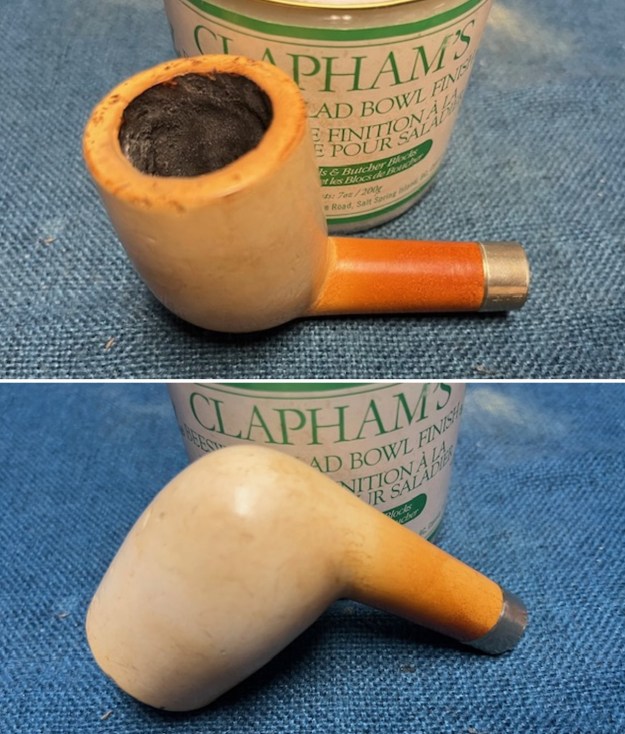
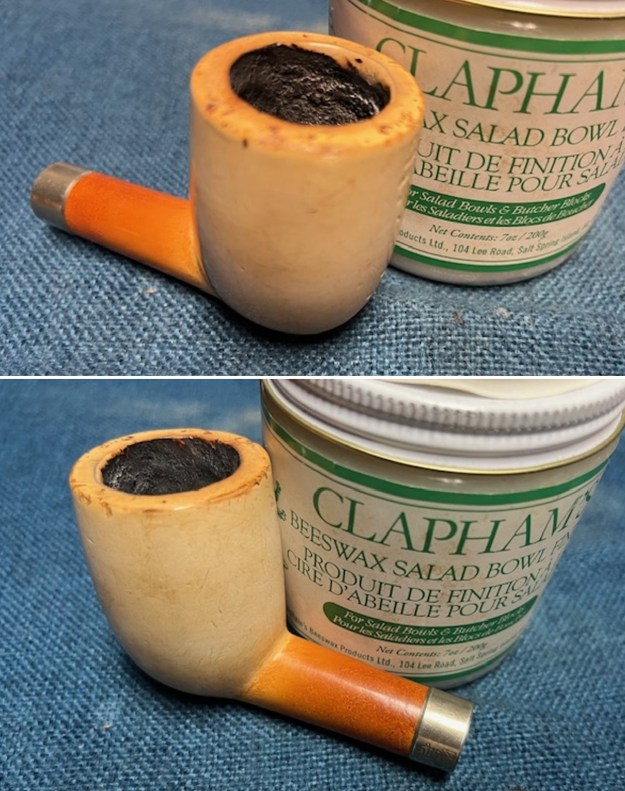
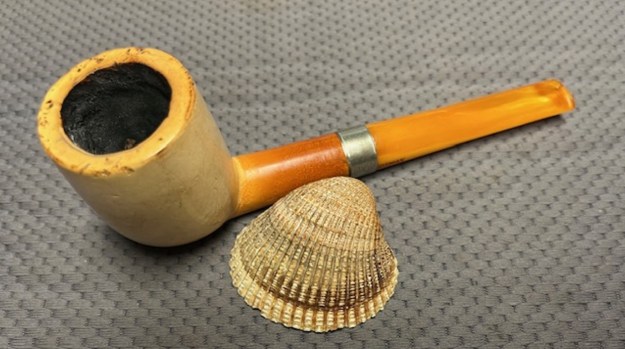
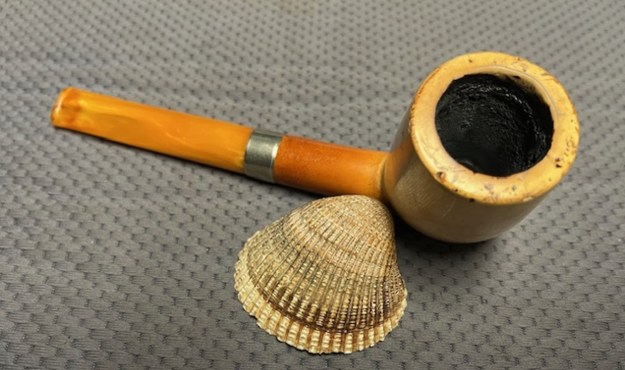
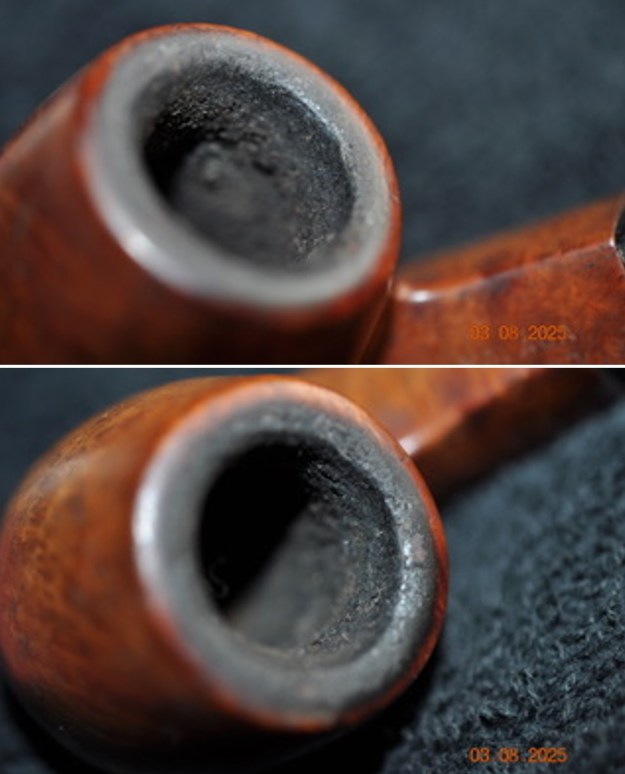
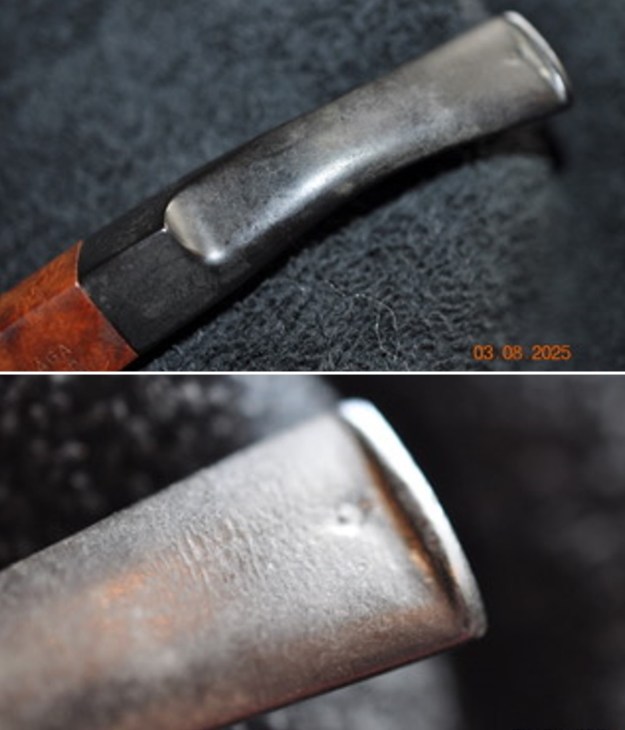
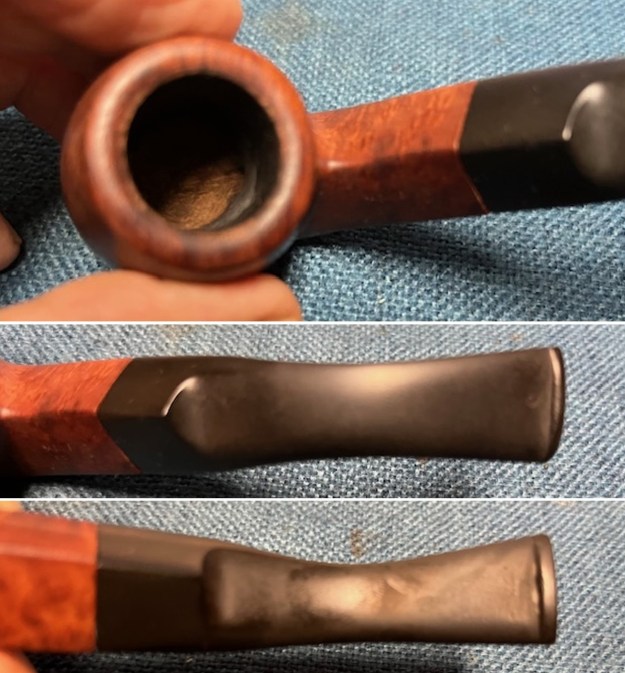
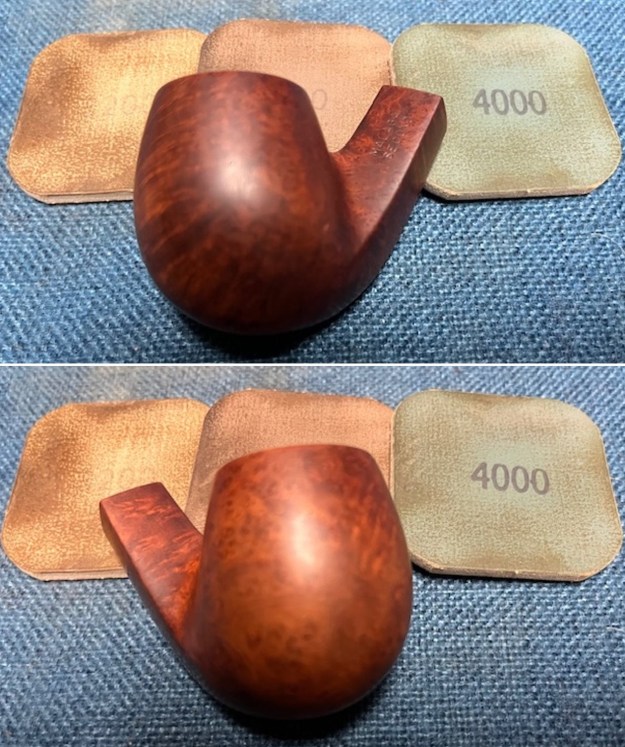
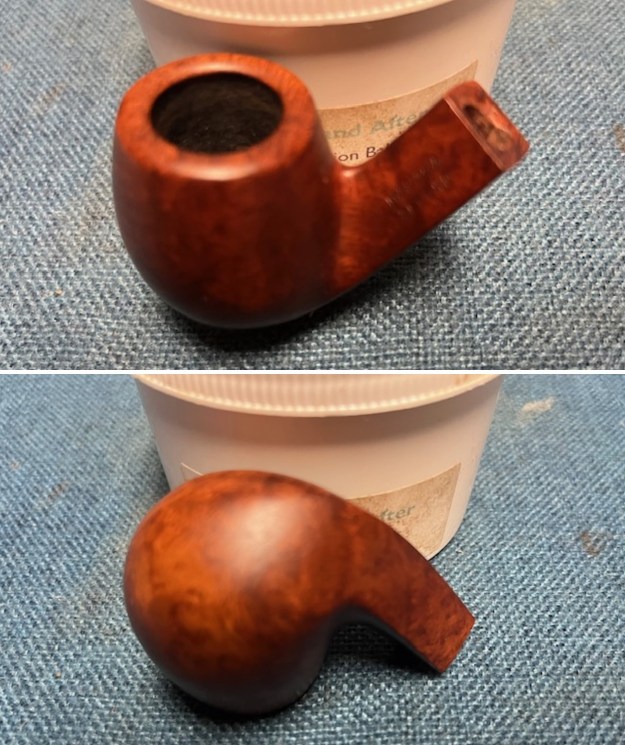
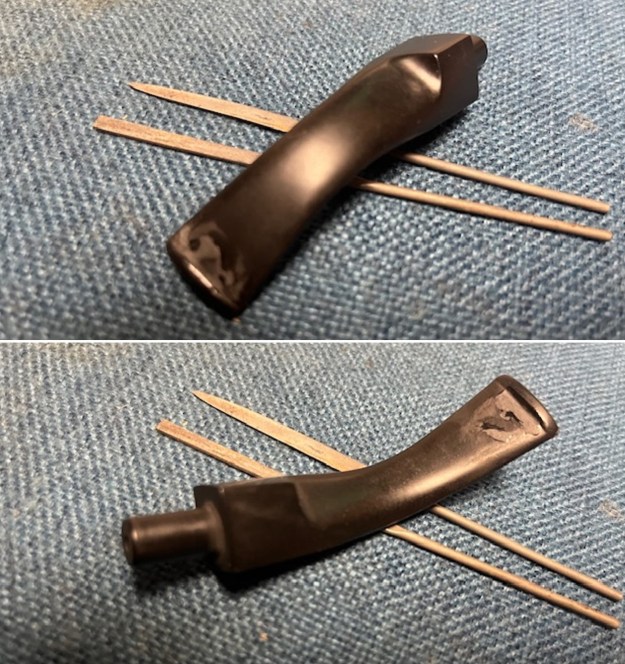
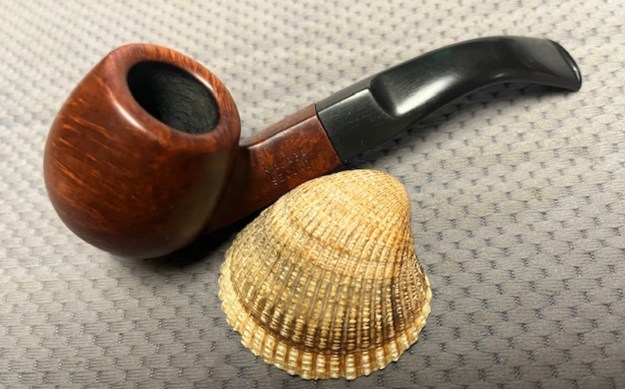
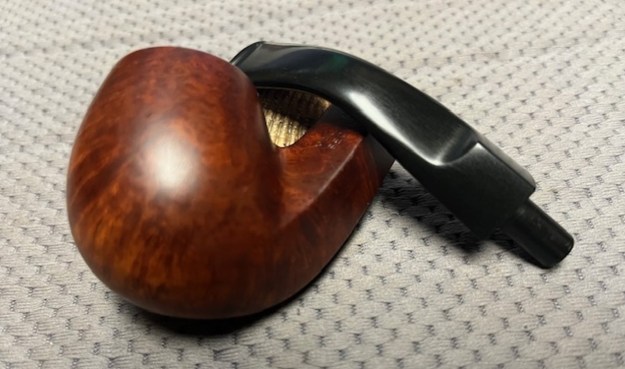
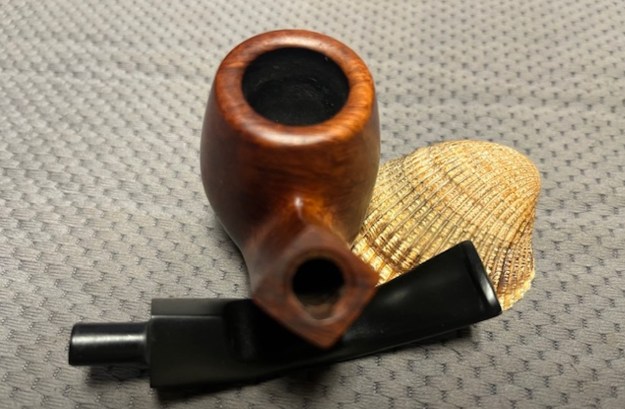
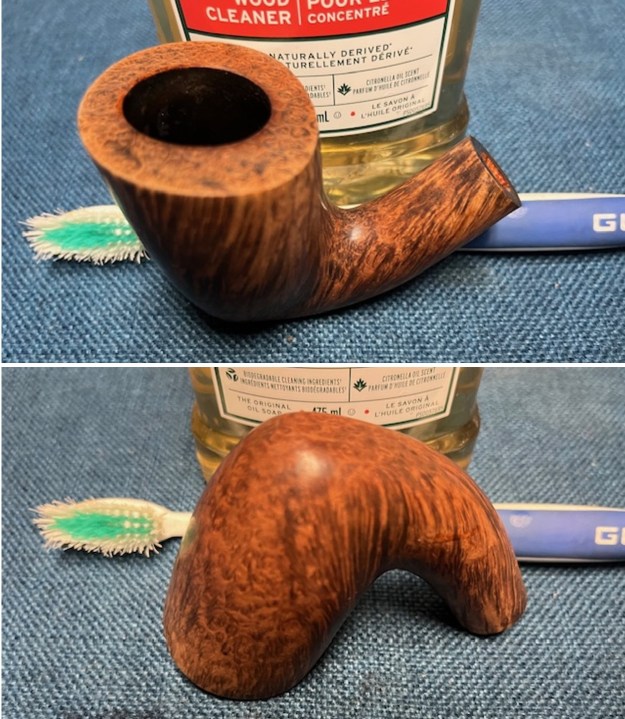
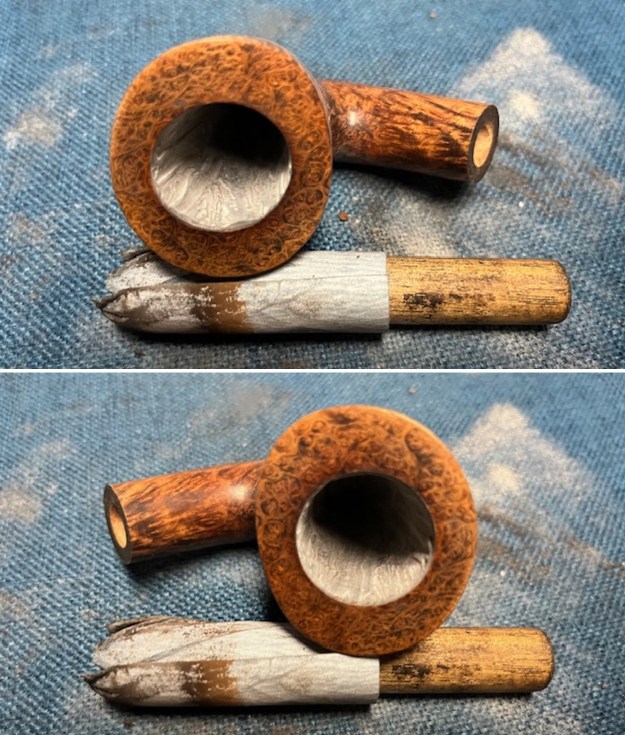
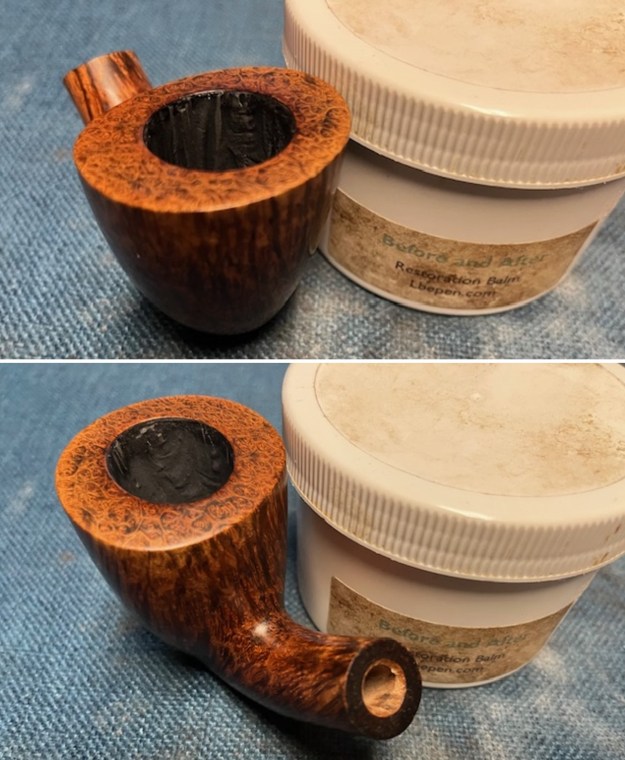
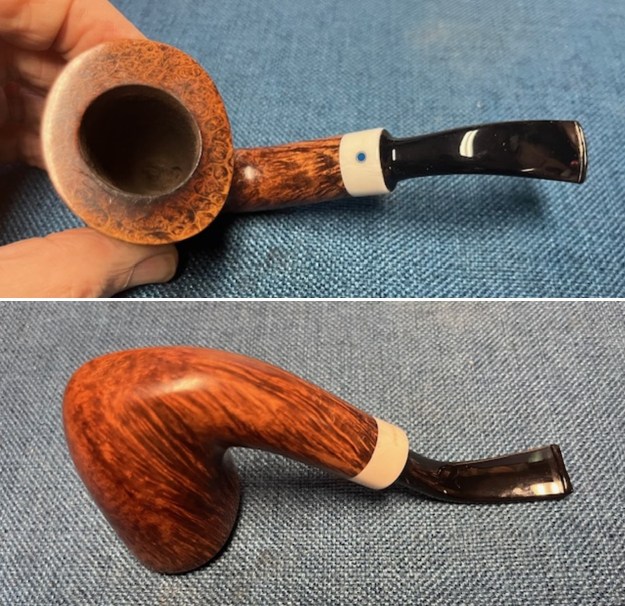 I took photos of the bowl and rim top to show the clean finish on the bowl. The photos show a moderate cake in the bowl and a very clean rim top. The stem photos show the condition of the taper stem ahead of the button.
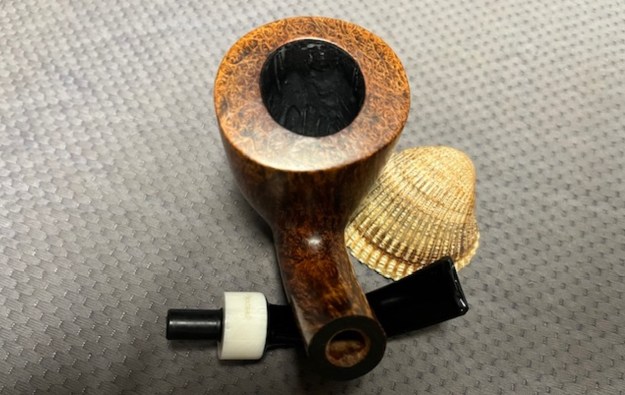
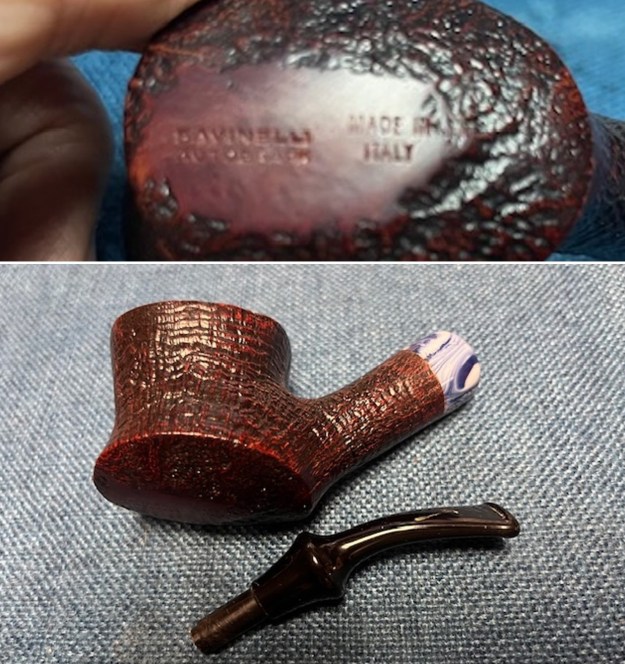
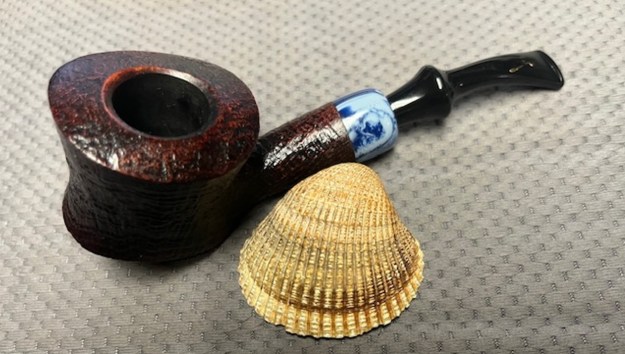
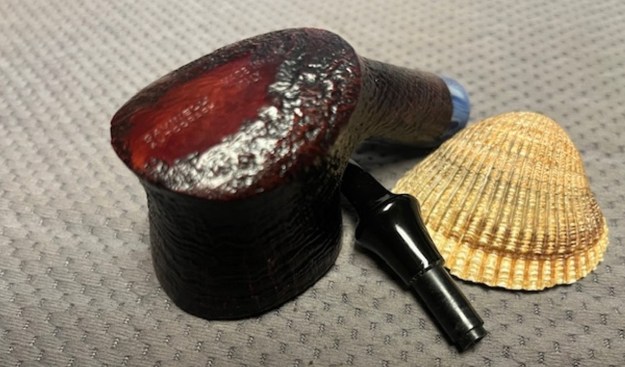
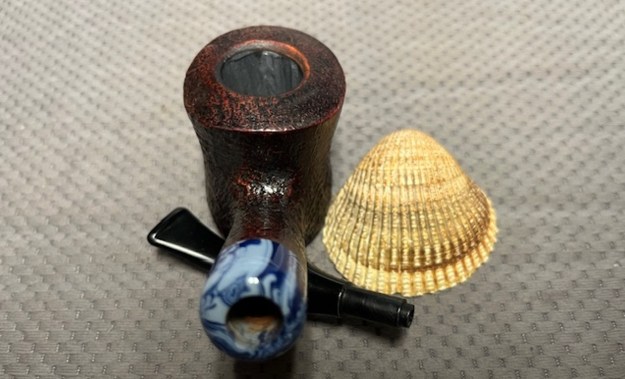
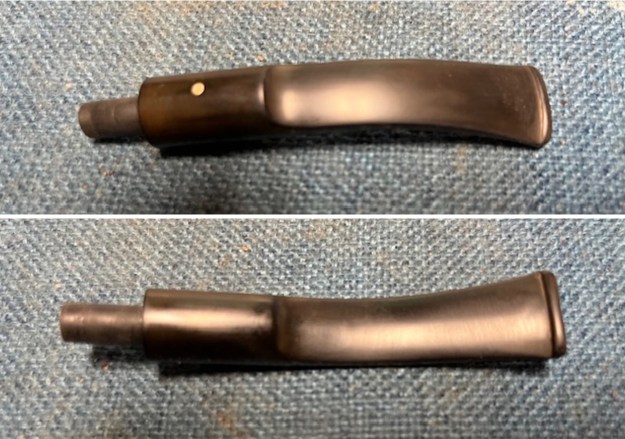
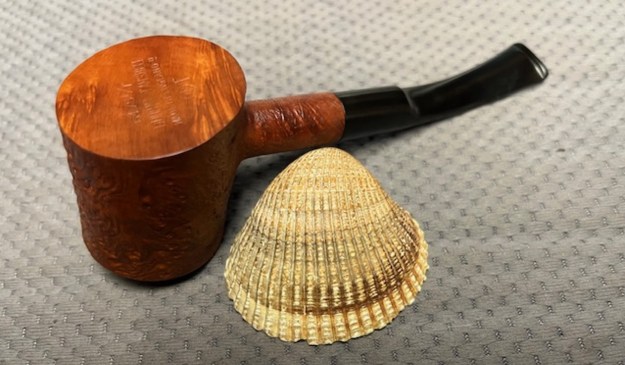
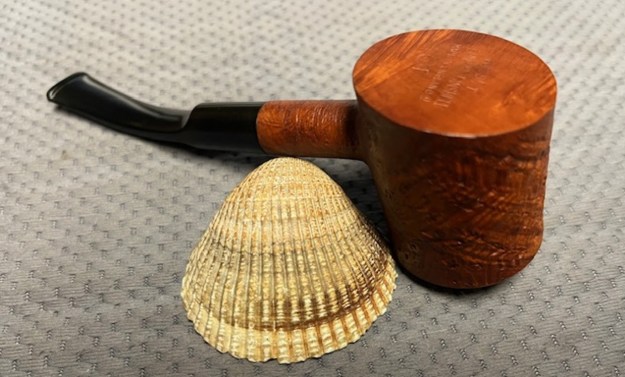
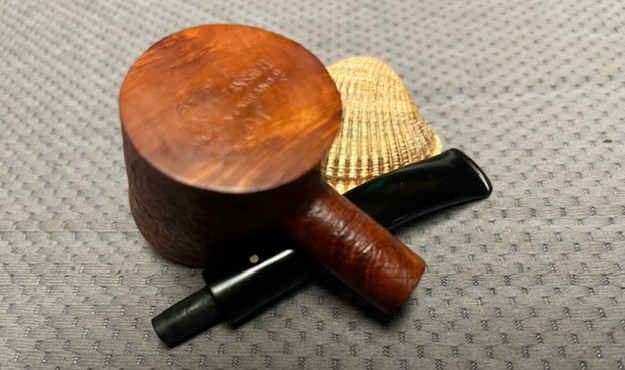
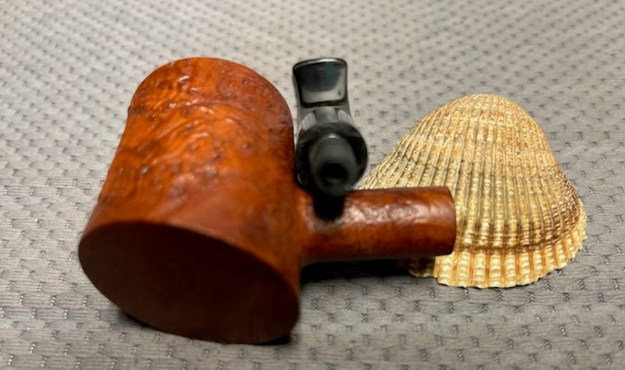
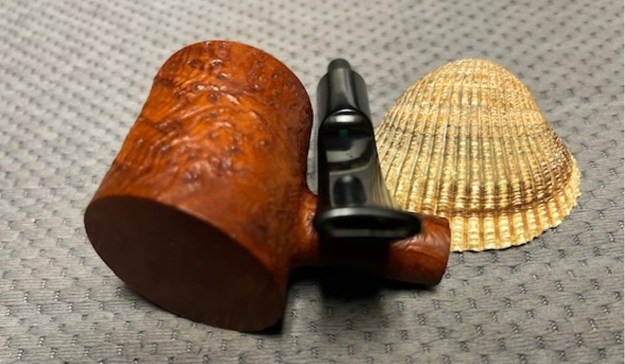
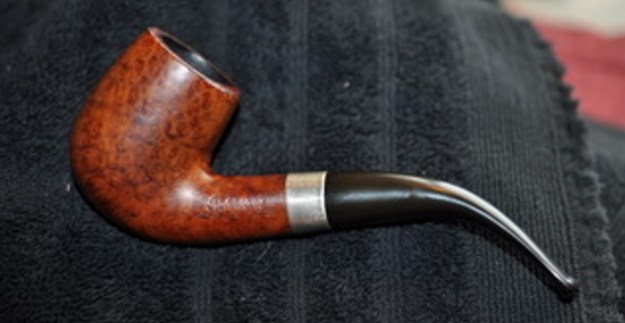
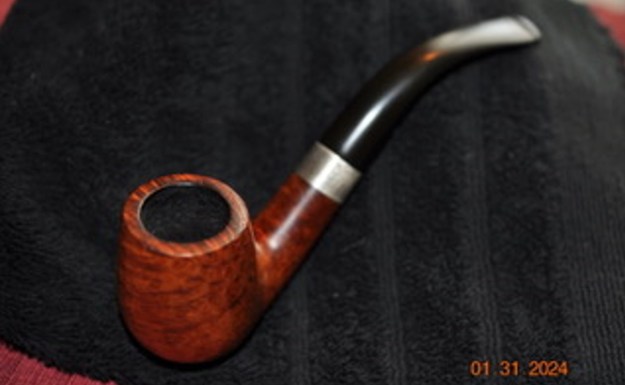
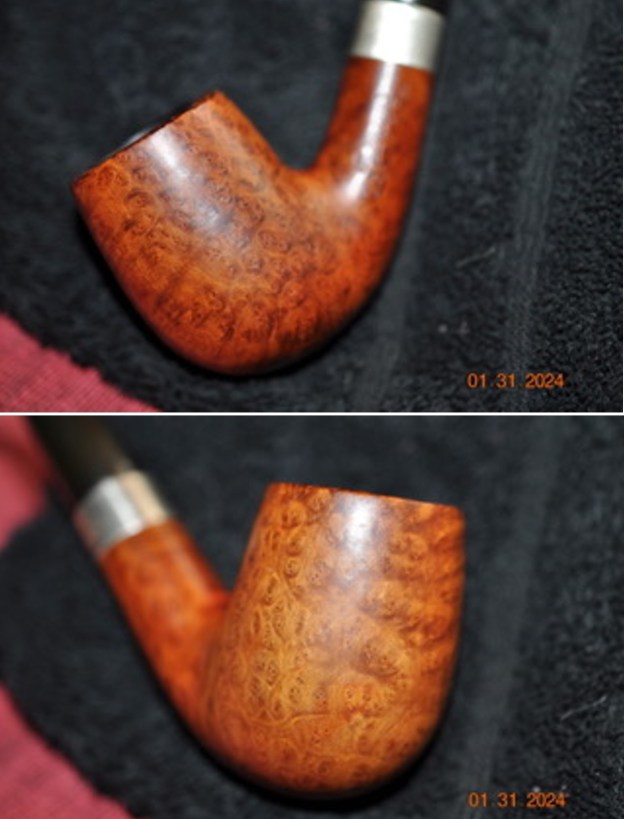
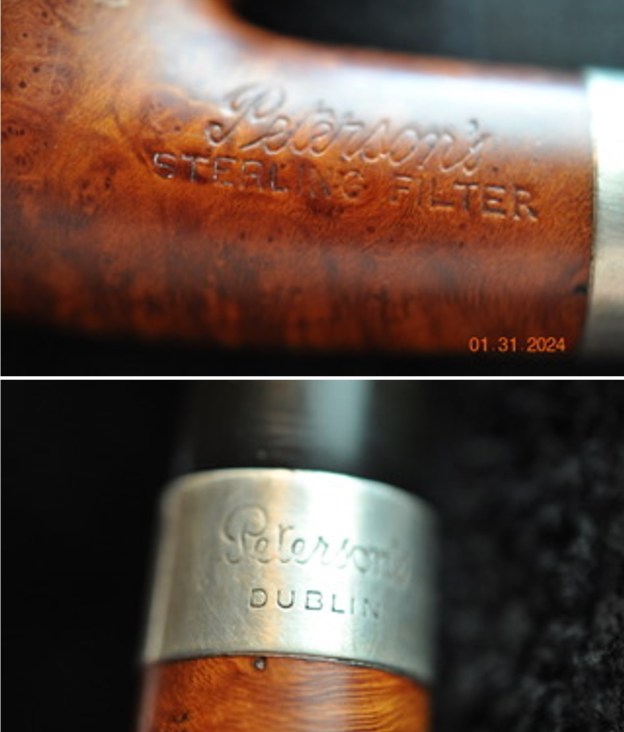
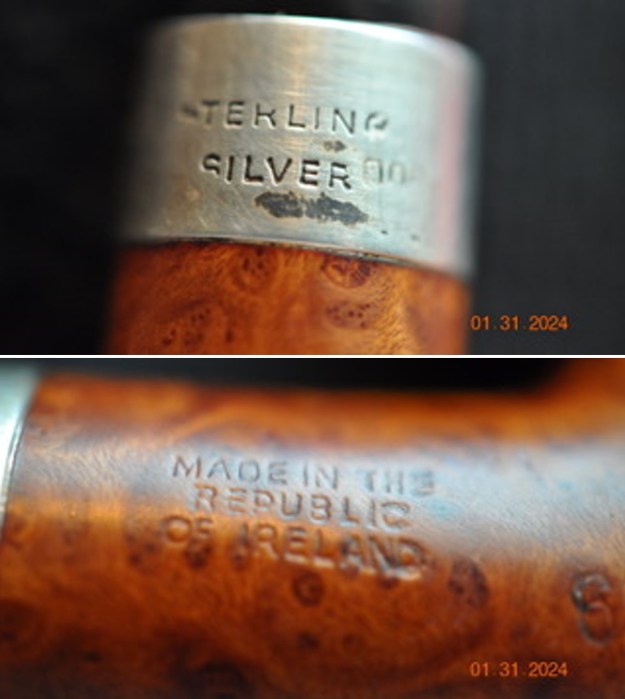
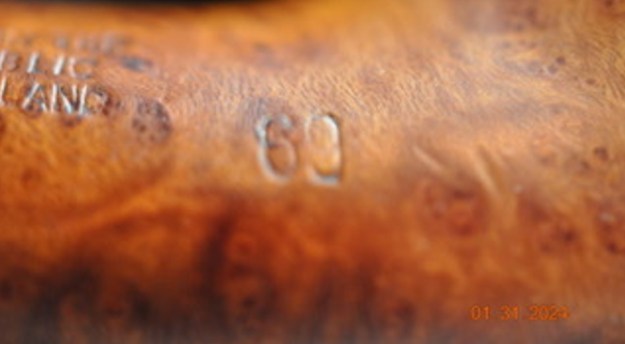
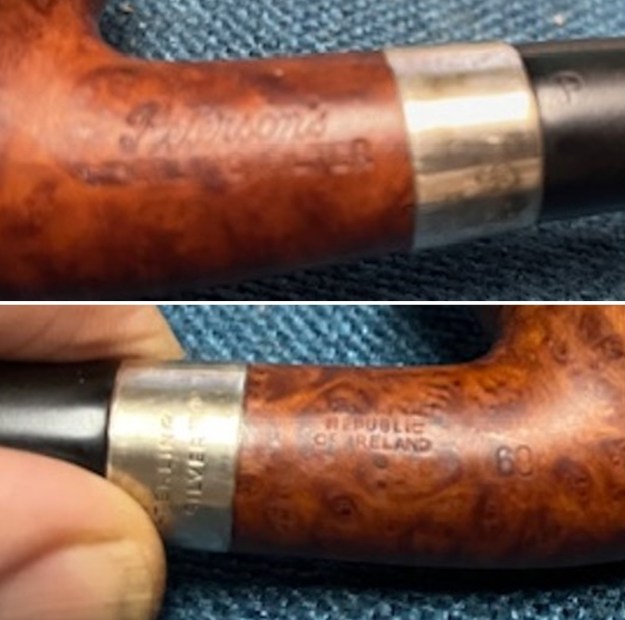
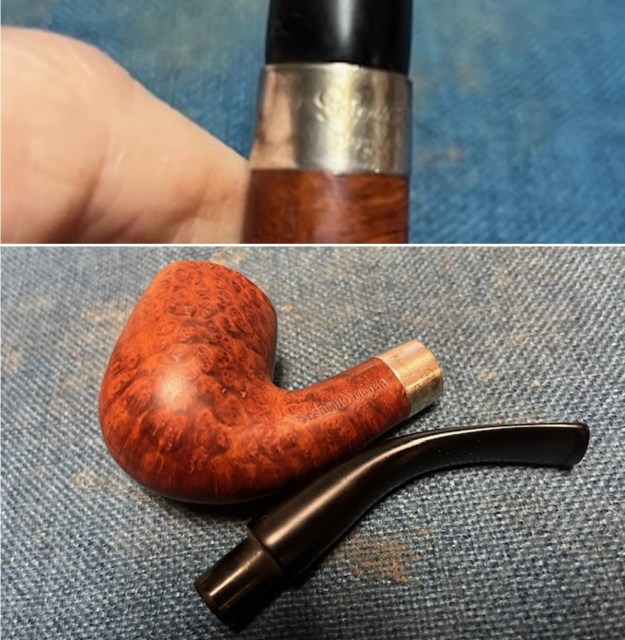
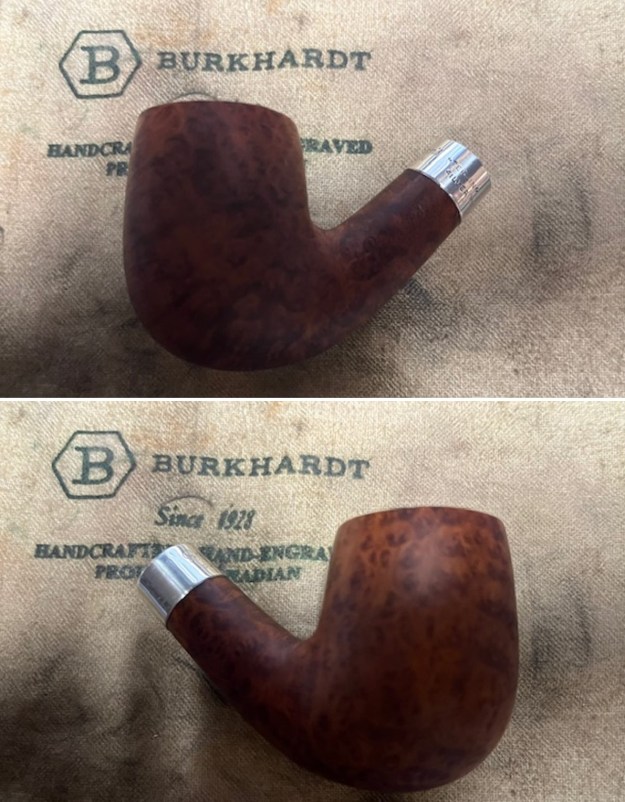
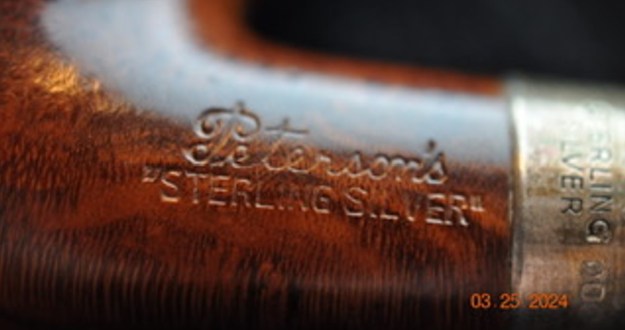
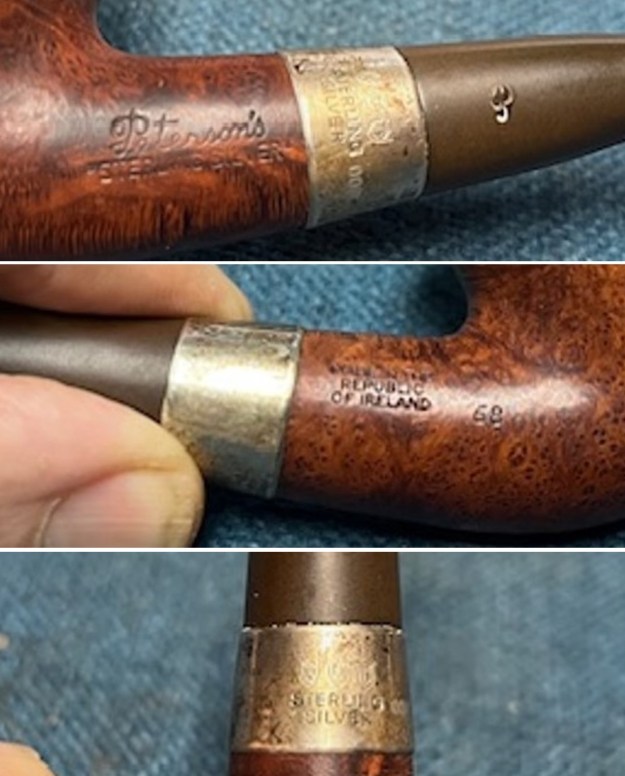
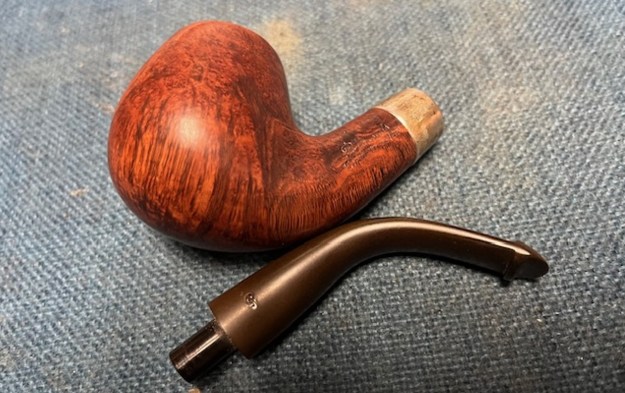
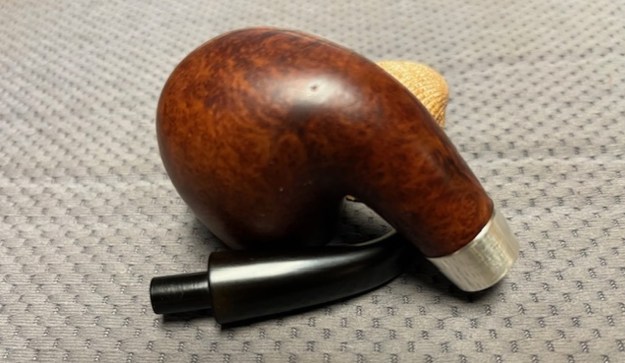
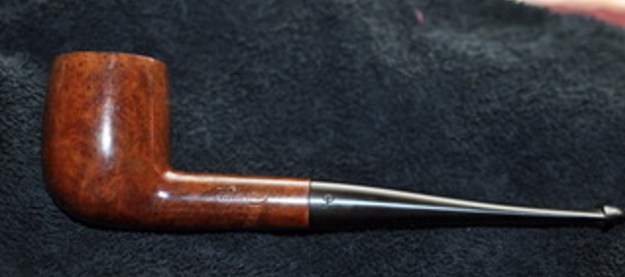
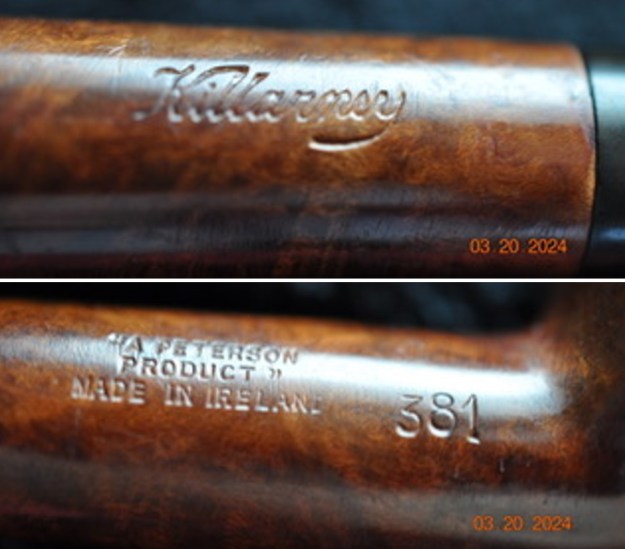
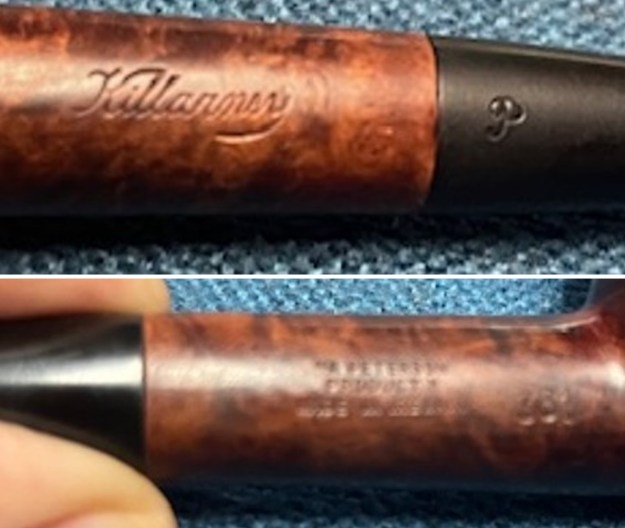
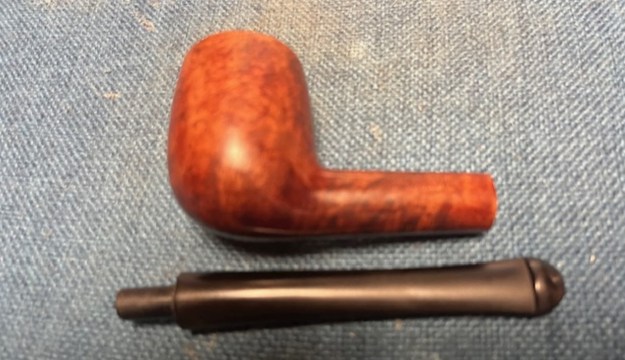
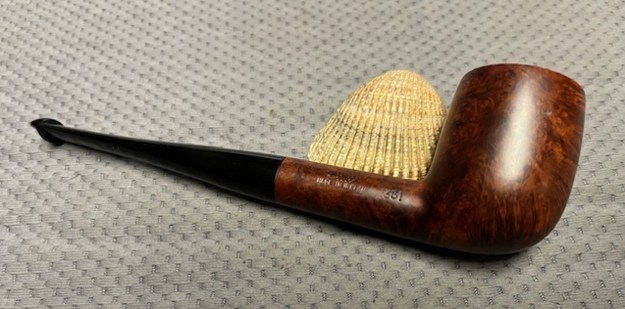
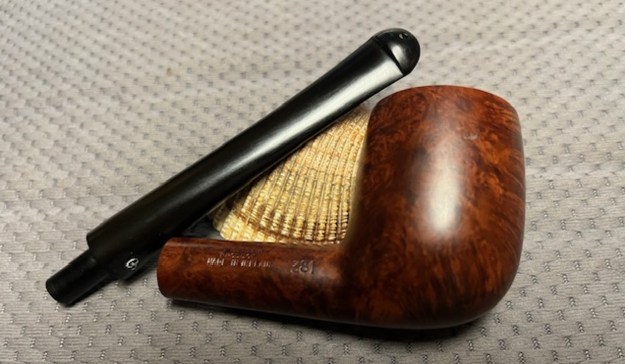
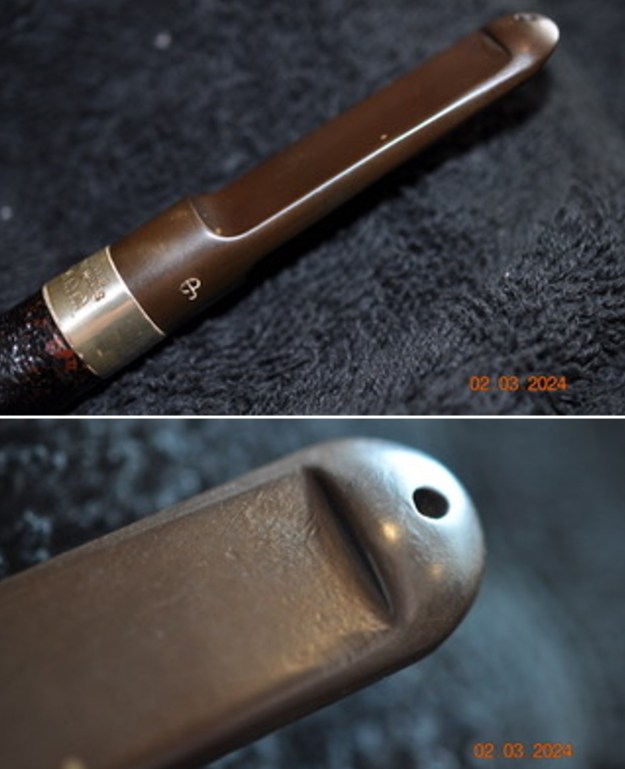
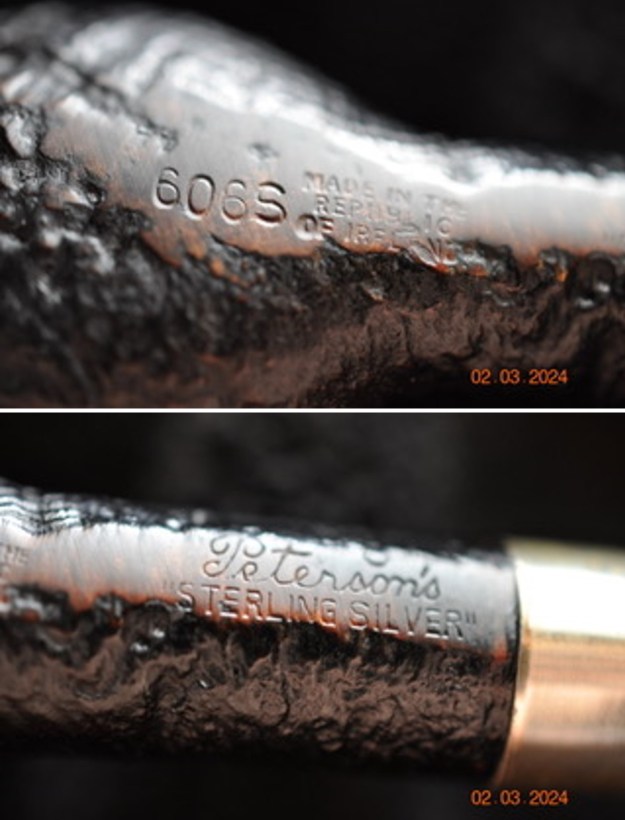
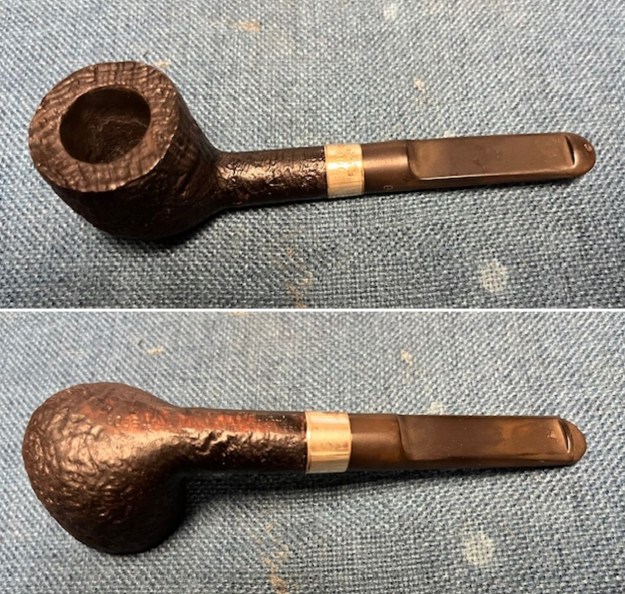
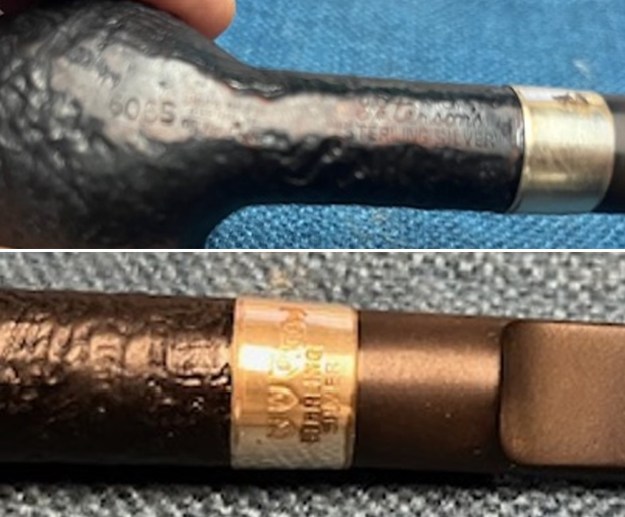
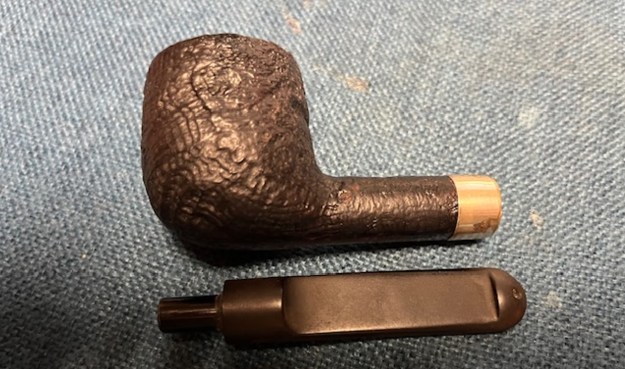
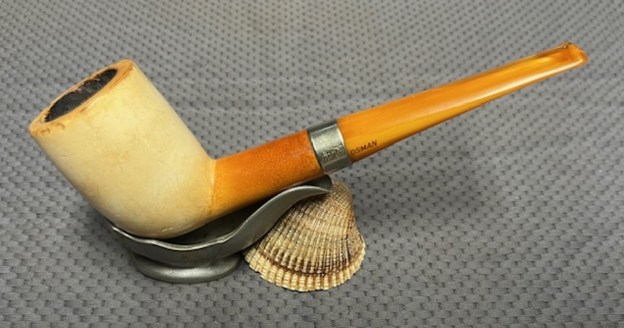
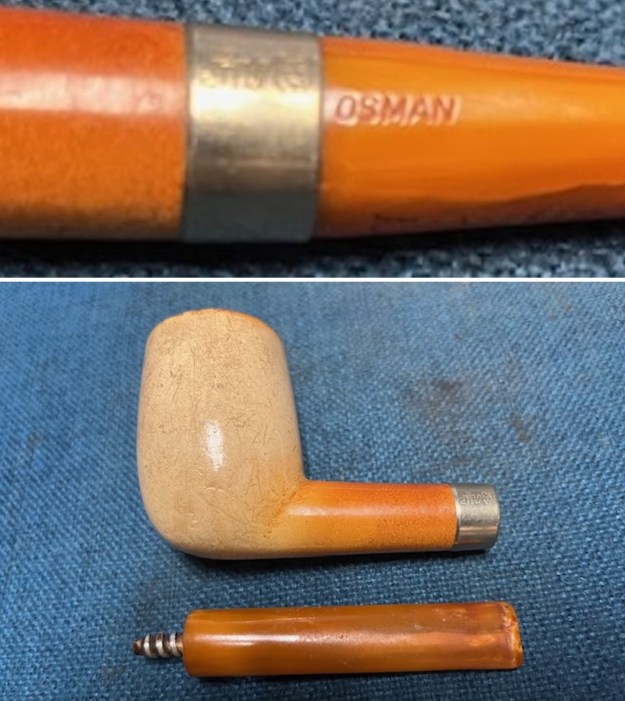
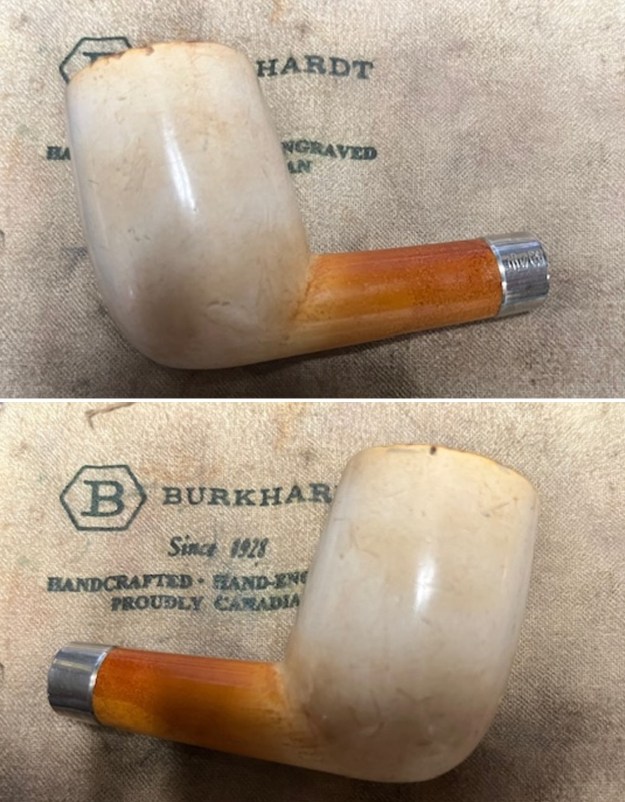
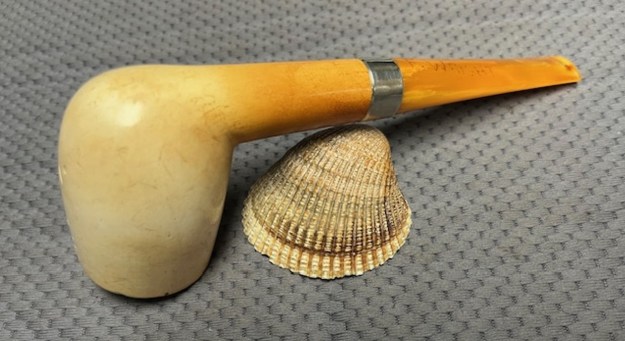
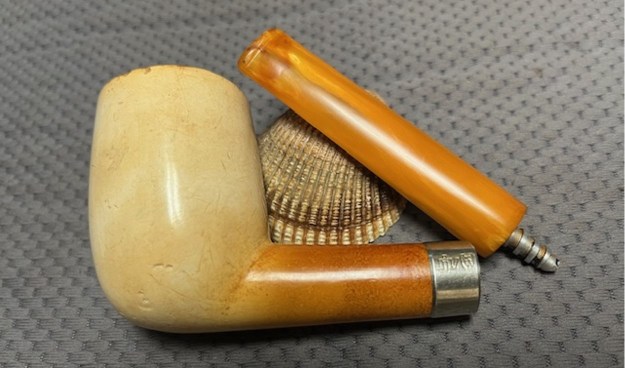
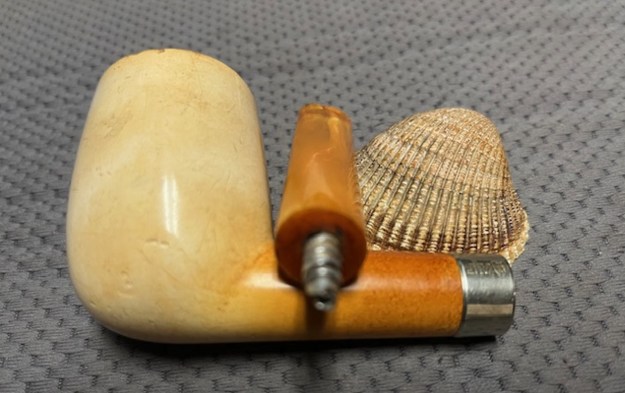
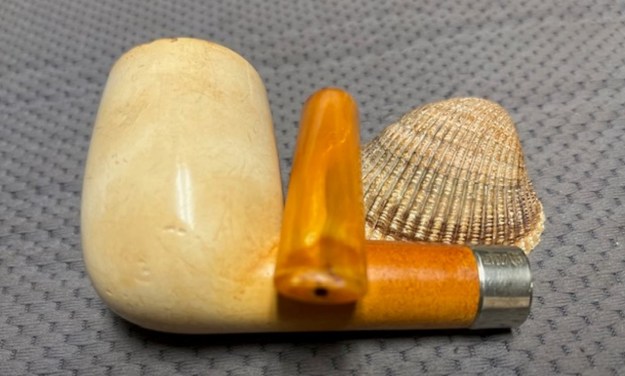
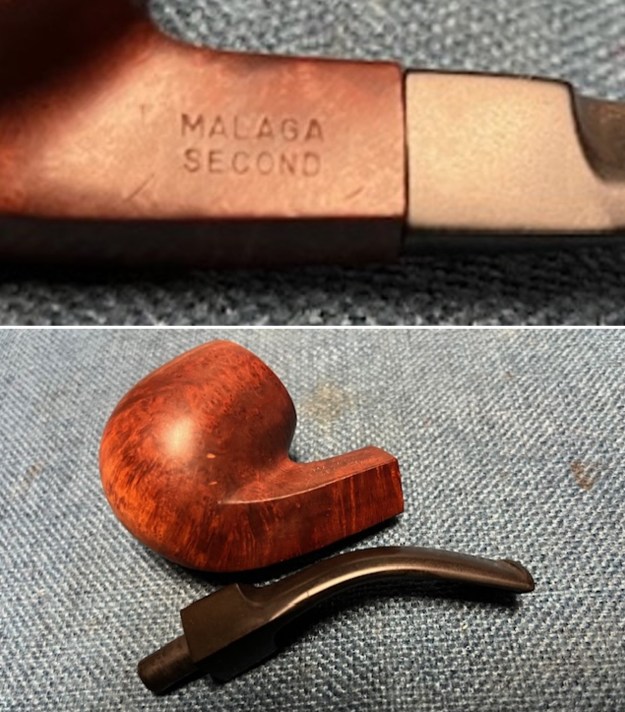
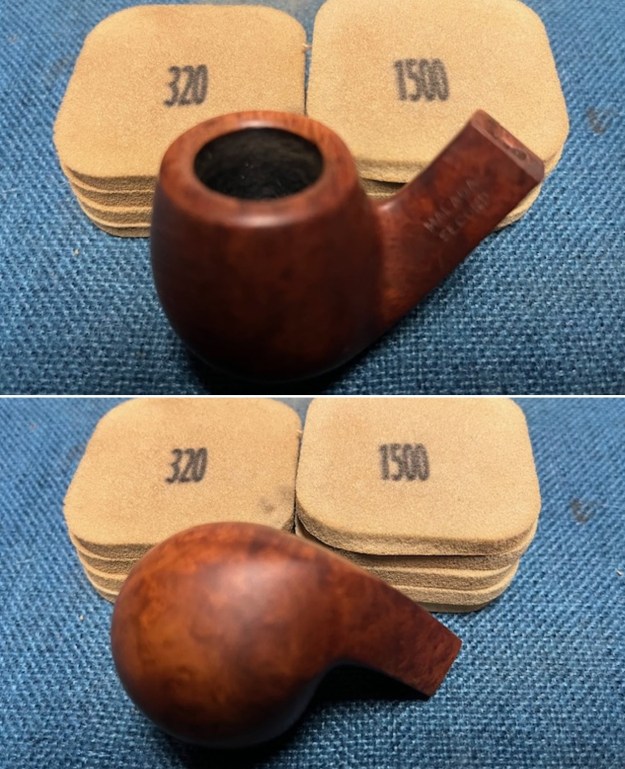
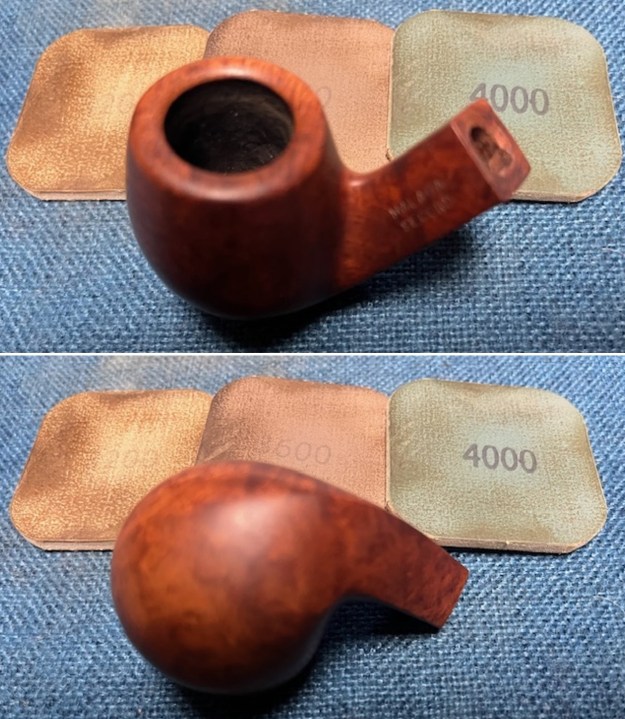
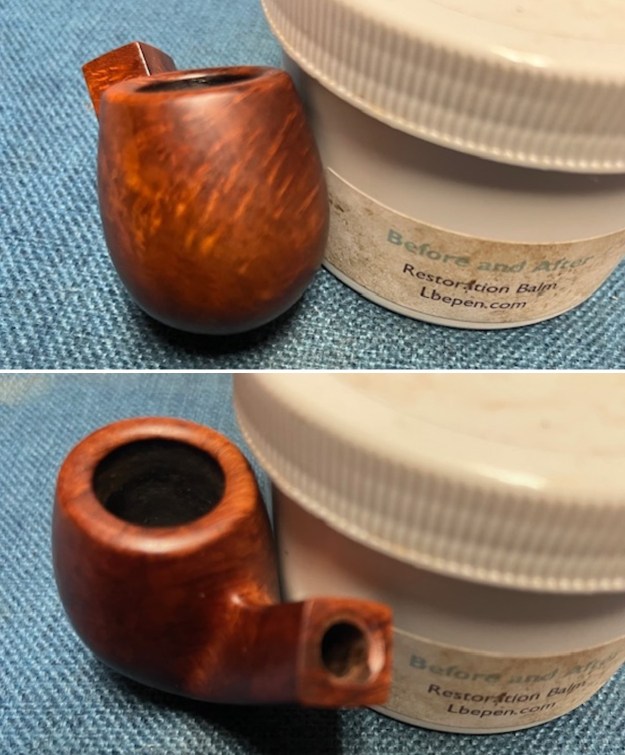
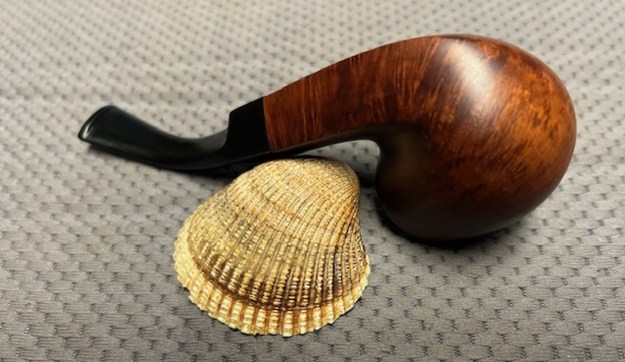
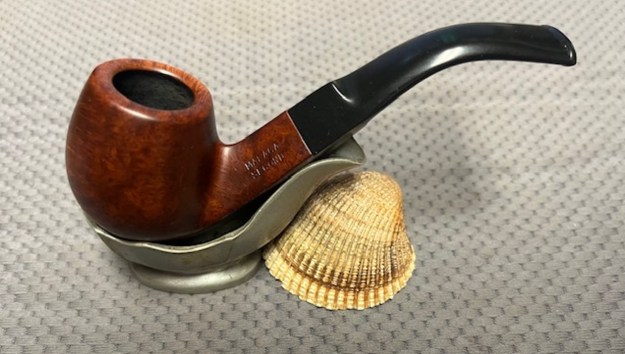
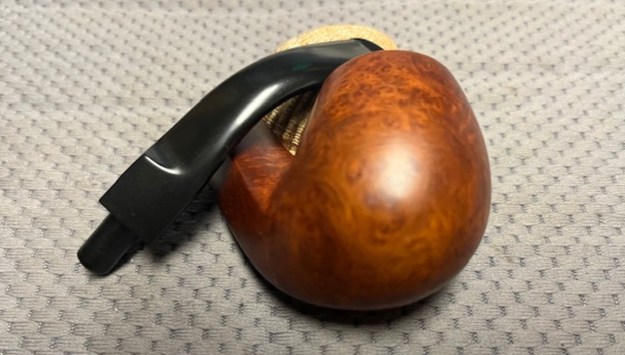
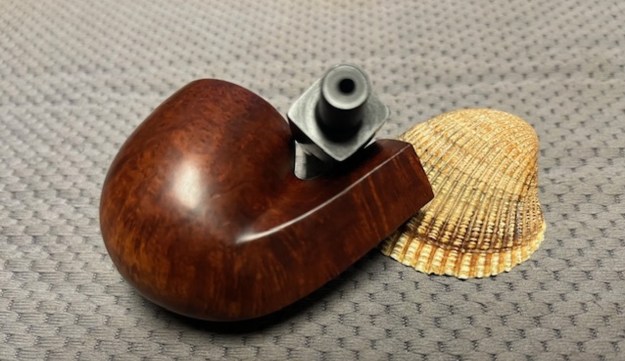
  I took photos of the stamping on the left and underside of the shank. It is clear and readable as noted above. I removed the stem and took a photo of the pipe to give a sense of the proportions of the pipe.
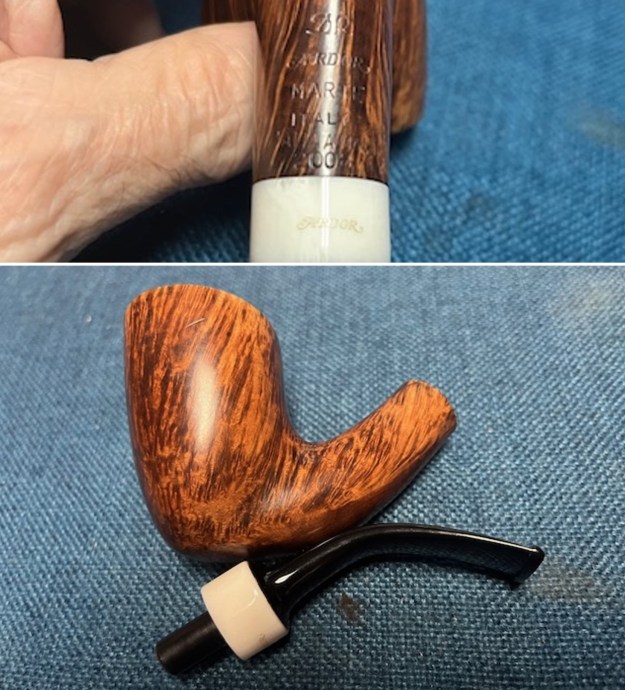 I did a quick review of the history of the brand by turning to Pipedia. The link there led to an article that came from Italian Pipemakers.com. Here is the link – https://pipedia.org/wiki/Ardor. I quote part of the article that gives a quick view of the brands
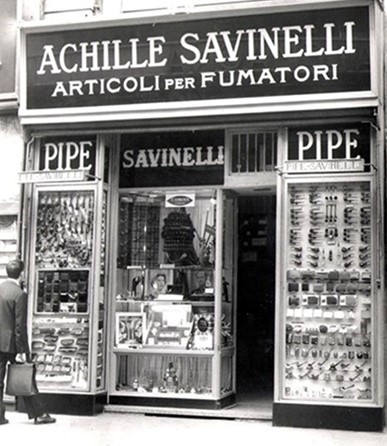
Ardor Courtesy of italianpipemakers.com
In 1974 Dorelio Rovera, with his father Angelo, established the Ardor Pipe, name which comes from the “AR” (Angelo Rovera) and “DOR” (Dorelio Rovera), changing a medium quality level production into a completely handcrafted product, with a very high level of design and finishing.
[Editor’s Note: Angelo Rovera is the son of Francesco Rovera, who along with his brothers comprised Sociedade Rovera, a pipe company they founded in 1911.]
Dorelio personally chooses the briar which is left seasoning for at least 4 to 5 years before it is worked. It is stocked in particular baskets which leave the wood always visible and airy. The pieces chosen to become a pipe are cut with a circular saw to identify the model. Then each piece is rough hewn by hand with special files, definitely “dangerous” but very efficacious to give the shape to the wood.
Like most artisans, Ardor couples a classical style and a very original style with definite but free and fanciful lines, to offer and meet the largest number of requests, from the simple to the most complex. Ardor is a pipe company which is always looking for innovations, indispensable to collectors, but trying to offer a very high level product in the smoking aspect and performance of the briar, always dried and light for a higher comfort of the smoker.
With Damiano, Dorelio’s son, Ardor introduced the coloured methacrylate (acrylic) stems, really appreciated in the international markets. Damiano has been able to condition the Ardor style with new shapes and with a new mouthpieces style, having a modern point of view. His target is to keep up the interest of new generations, surely more variable in a shorter period.
The Ardor Marte that I have was marked DR which told me it was made by Dorelio Rovera. The stem on this Scoop adds a definite flair to the pipe that is unique.
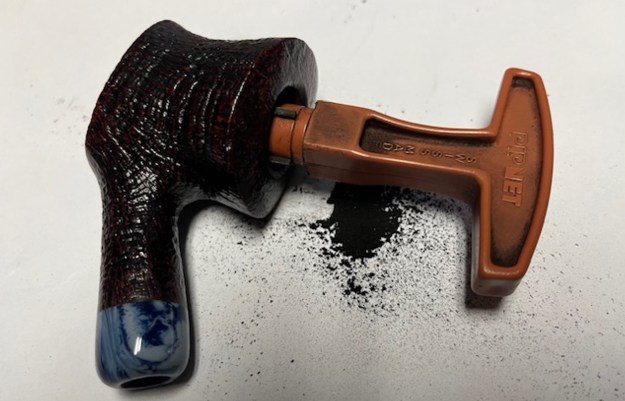
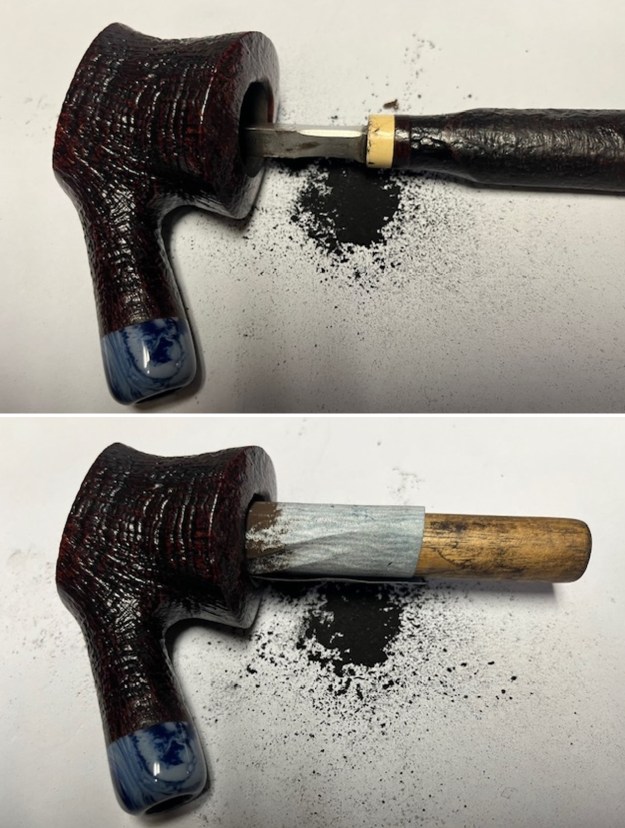
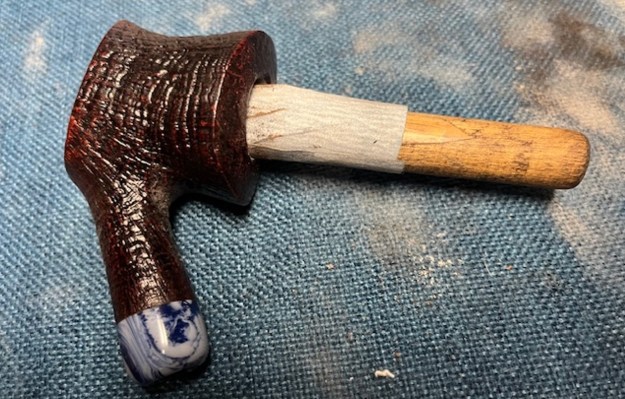
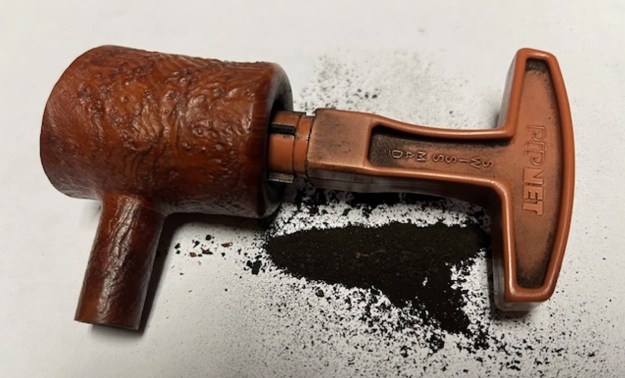
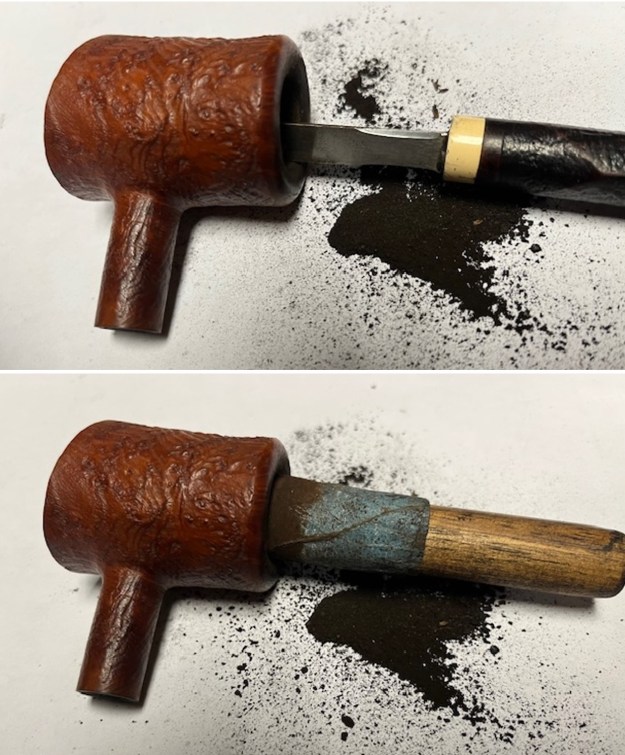
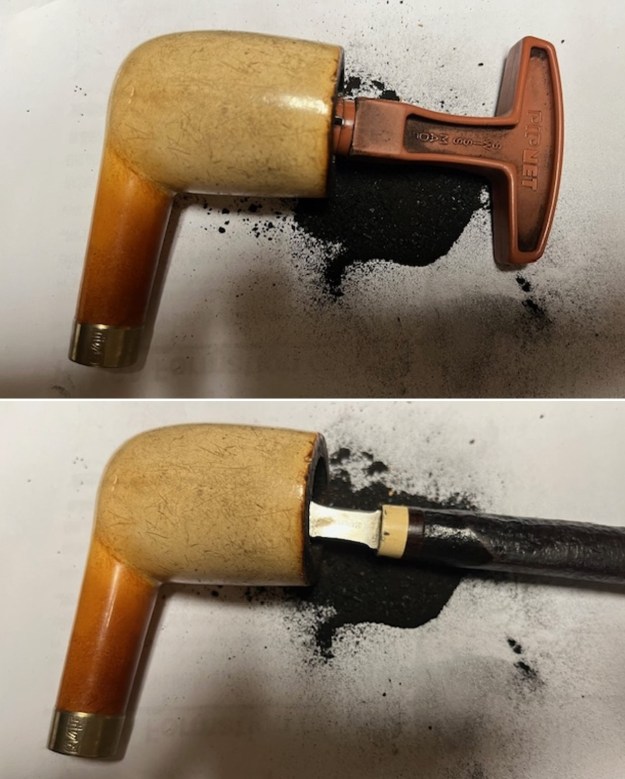
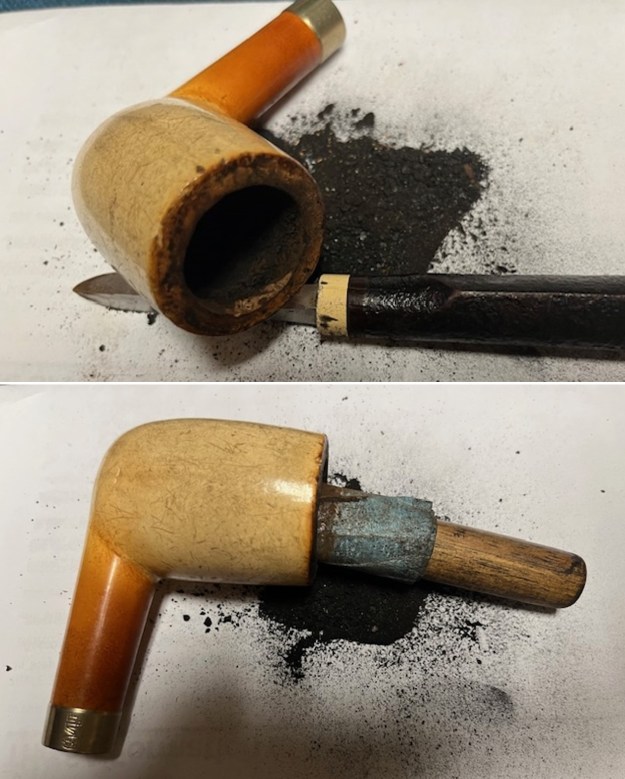
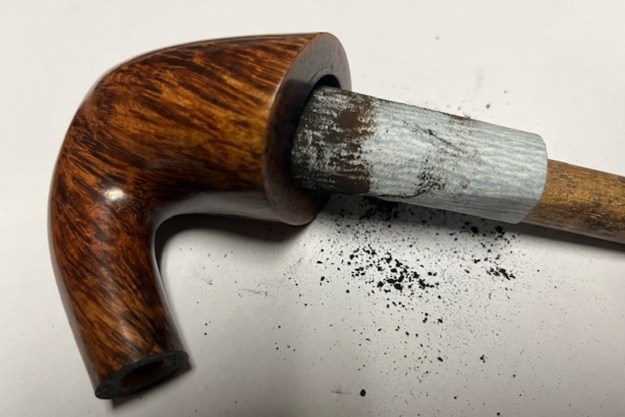
I turned to work on the pipe itself. I reamed the bowl with a PipNet pipe reamer using the cutting heads 2 and 3. I finished the reaming with a Savinelli Fitsall Pipe Knife. I sanded the walls of the bowl with 220 grit sandpaper wrapped around a piece of dowel. I turned to work on the pipe itself. I reamed the bowl with a PipNet pipe reamer using the cutting heads 2 and 3. I finished the reaming with a Savinelli Fitsall Pipe Knife. I sanded the walls of the bowl with 220 grit sandpaper wrapped around a piece of dowel.
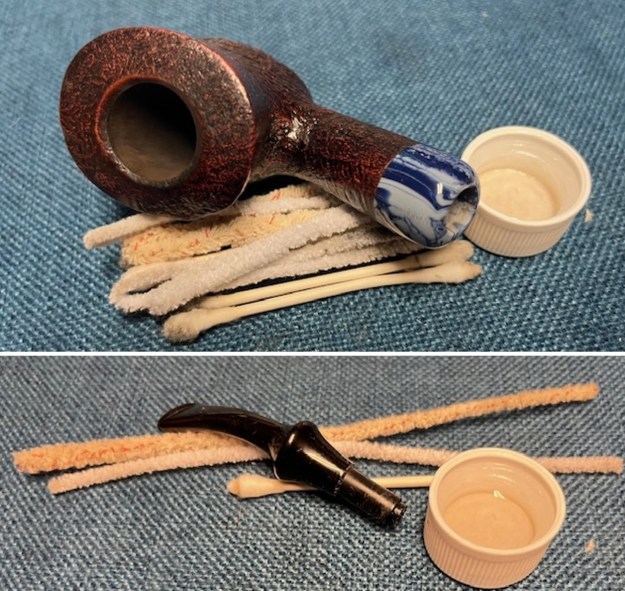
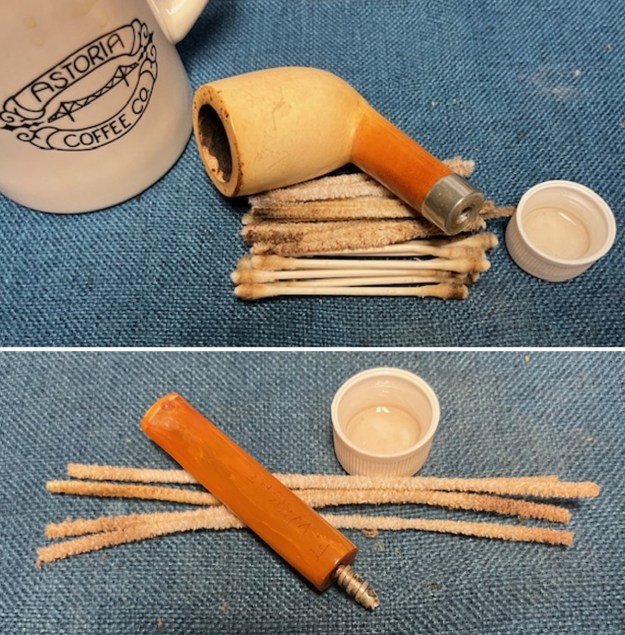
 I thoroughly cleaned the bowl walls, shank and the airway in the stem. I used cotton swabs, pipe cleaners (both bristle and regular) and Isopropyl alcohol.
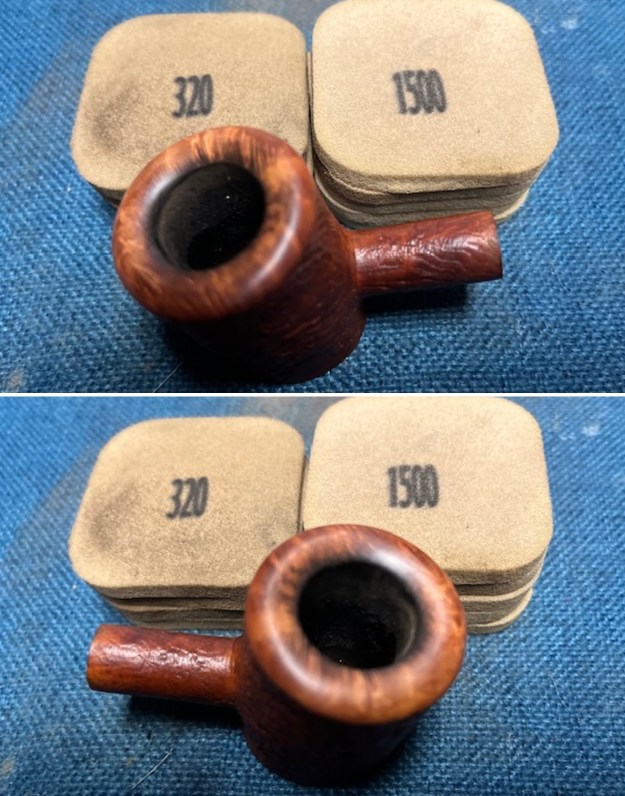
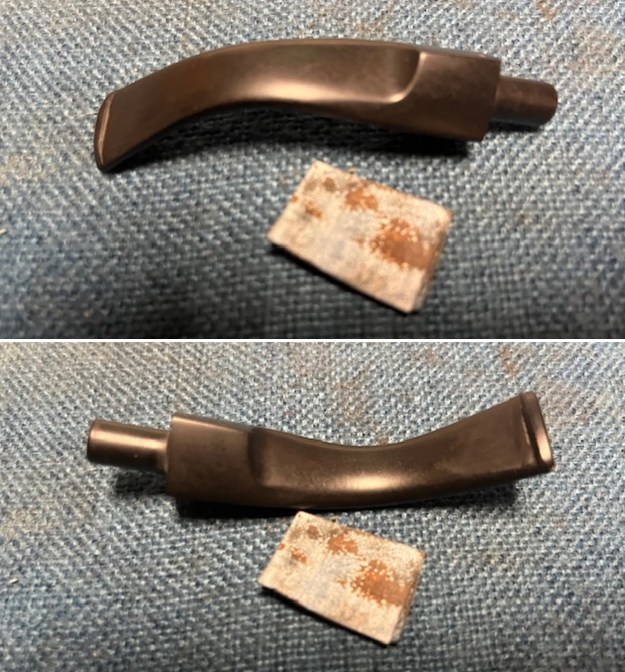
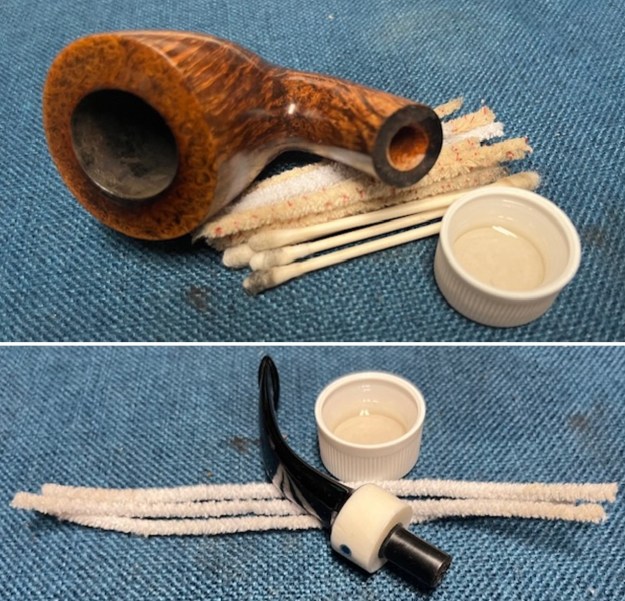 I used a worn 320-400 grit sanding pad to work on the rim top and inner edge and remove the darkening in those areas before I scrubbed the briar.
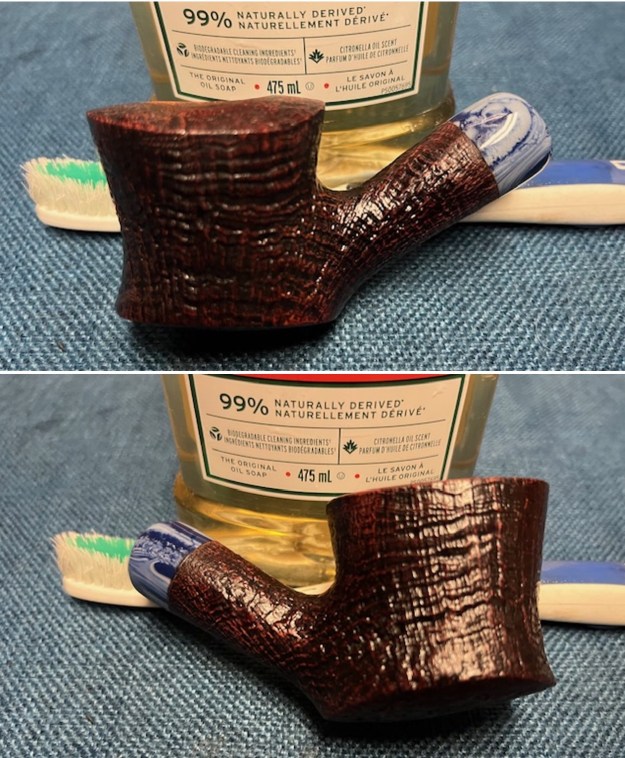
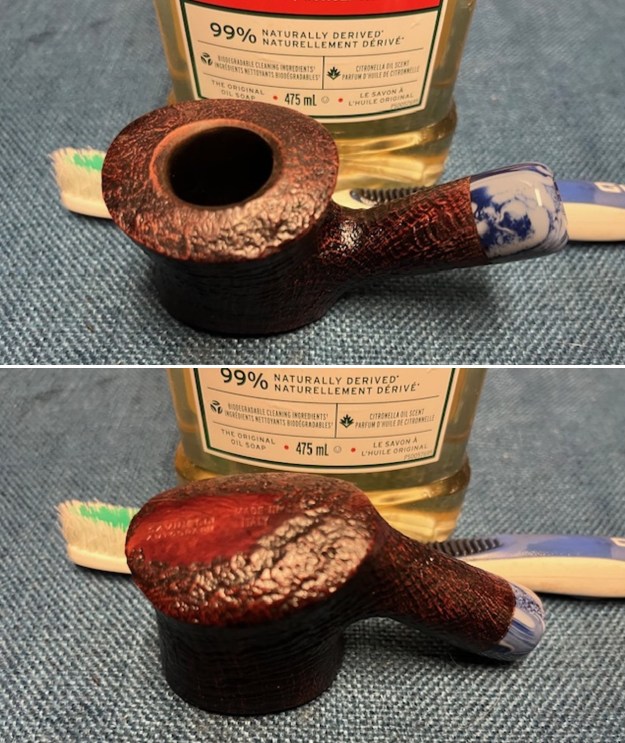
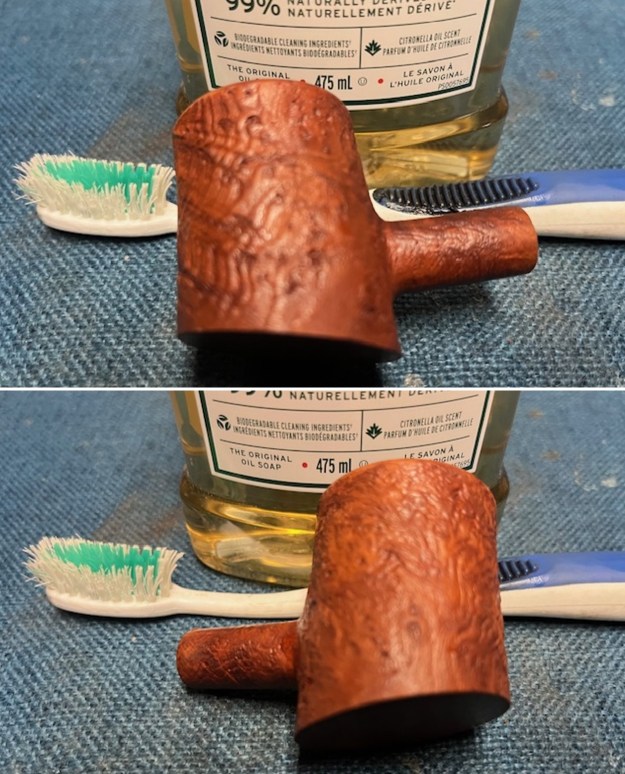
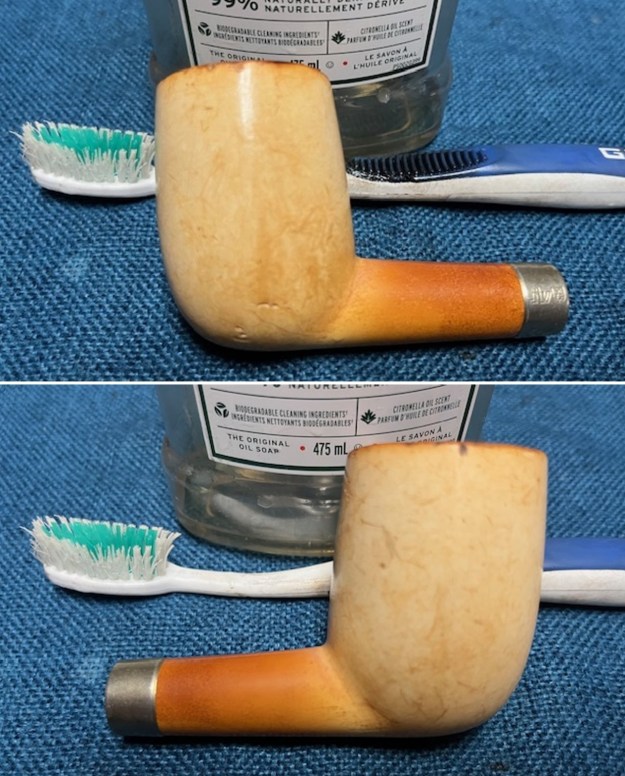
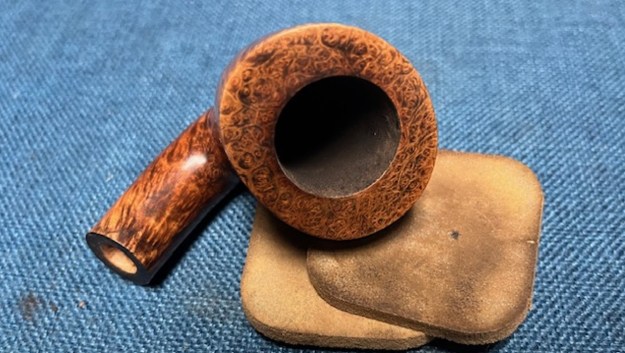 I scrubbed the bowl and shank with a tooth brush and some undiluted Murphy’s Oil Soap. I rinsed it off with warm water to remove the dust and soap from the finish. I dried it off with a soft cloth and it looked much better.
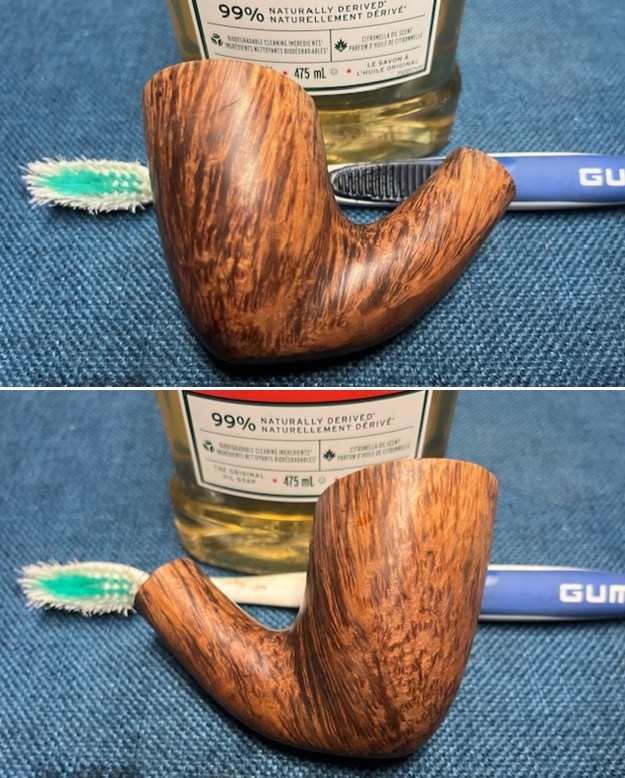
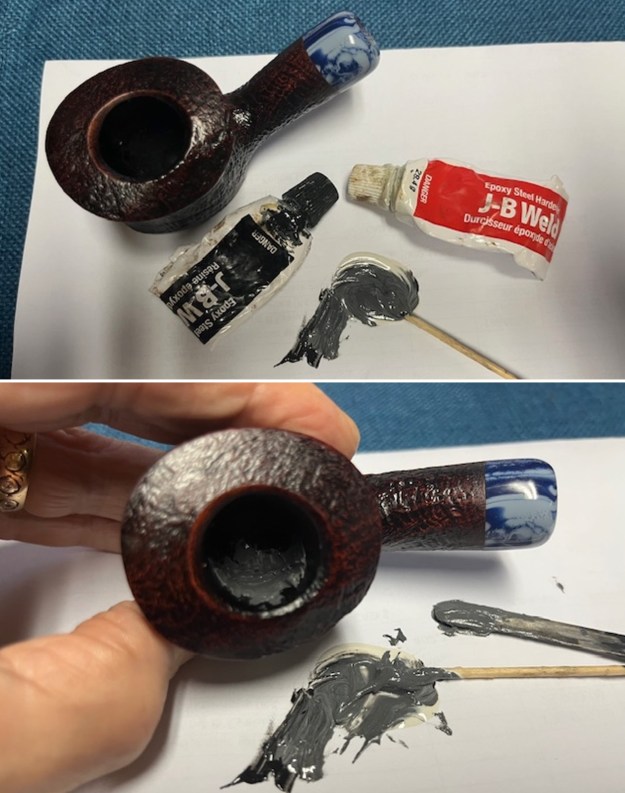
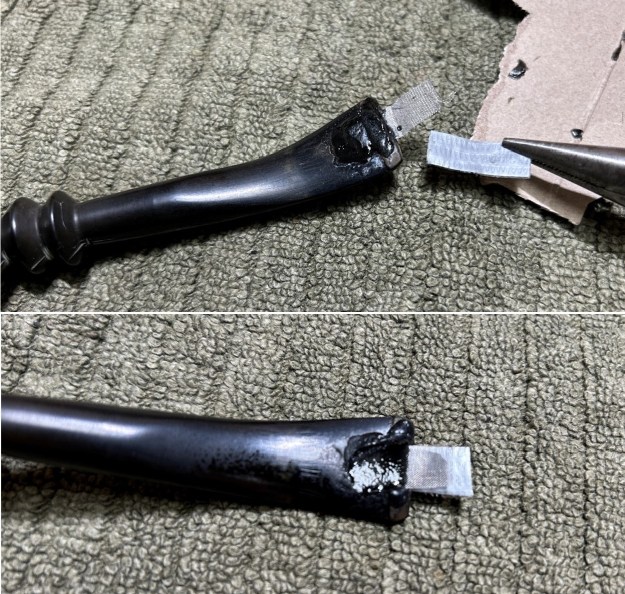
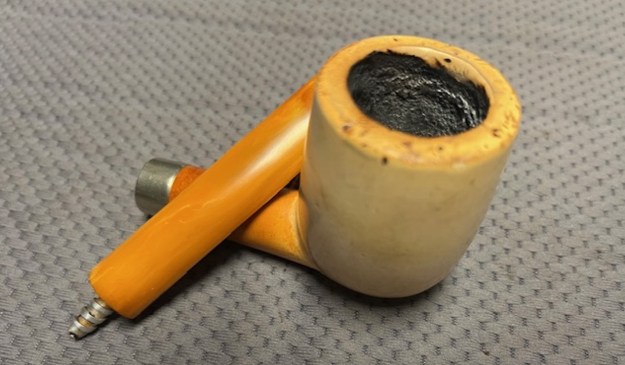
 I examined the cleaned walls of the bowl and found some small divots around the sides of the bowl half way down across the sides. I could feel it with my fingers. I wiped the bowl clean with a cotton pad and alcohol to remove any debris on the surface. I mixed a batch of JB Weld to repair the divots around the bowl wall. I pressed it into the damaged areas with a dental spatula. I set the bowl aside for the repair to cure.
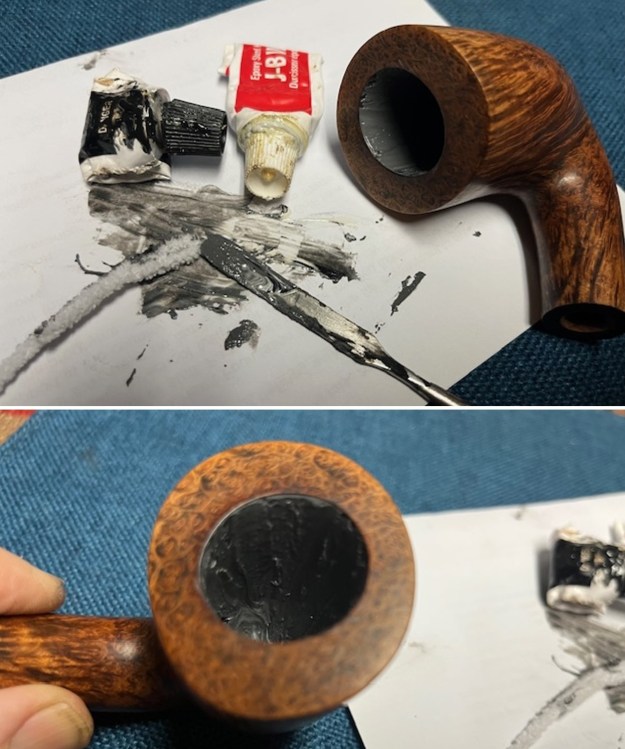
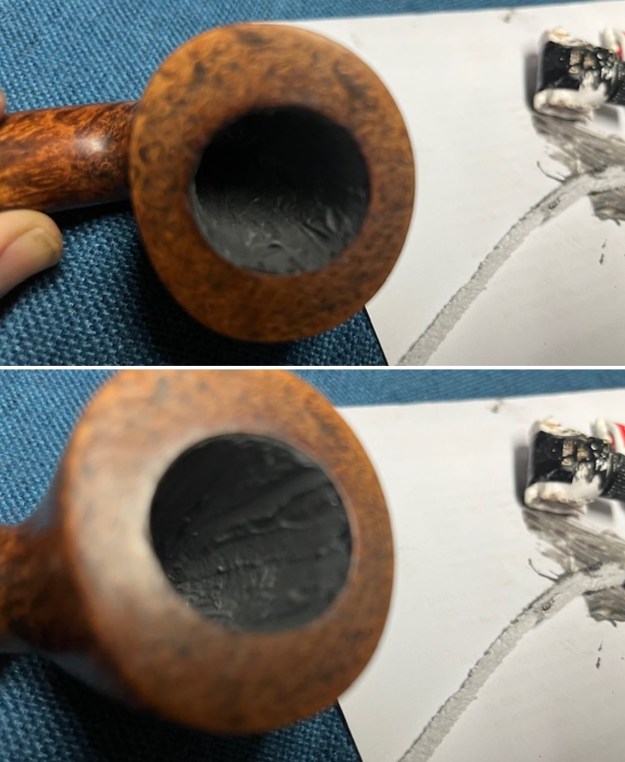
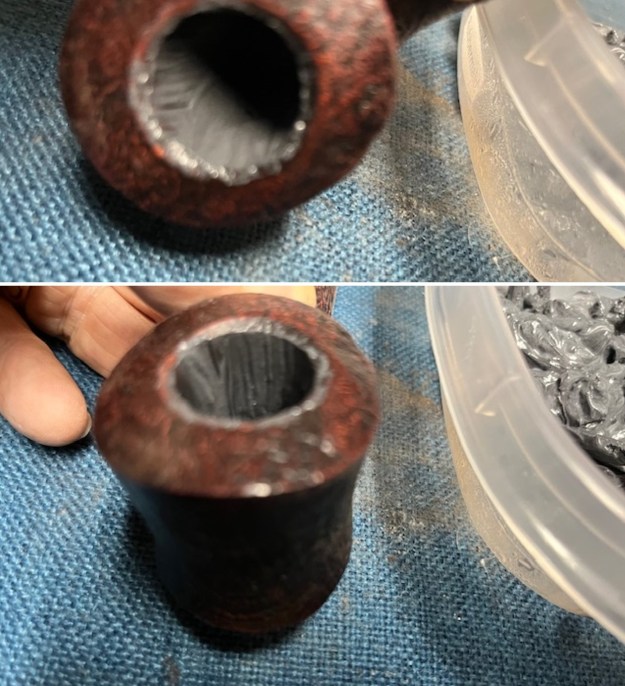
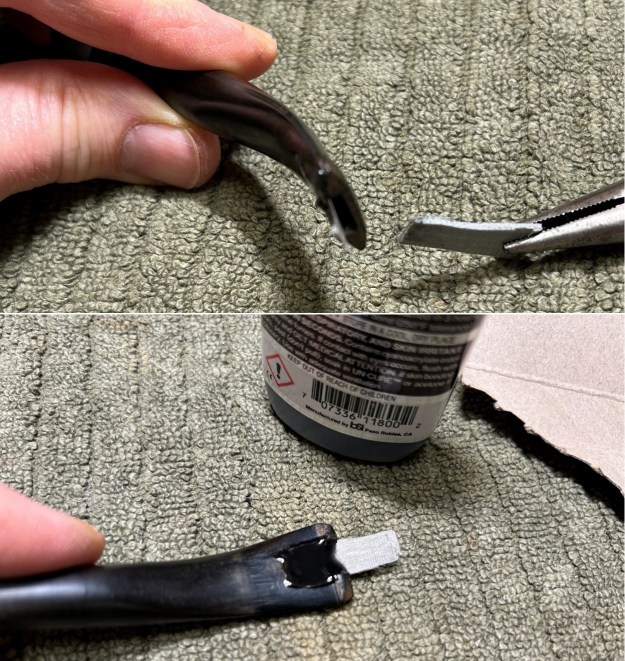
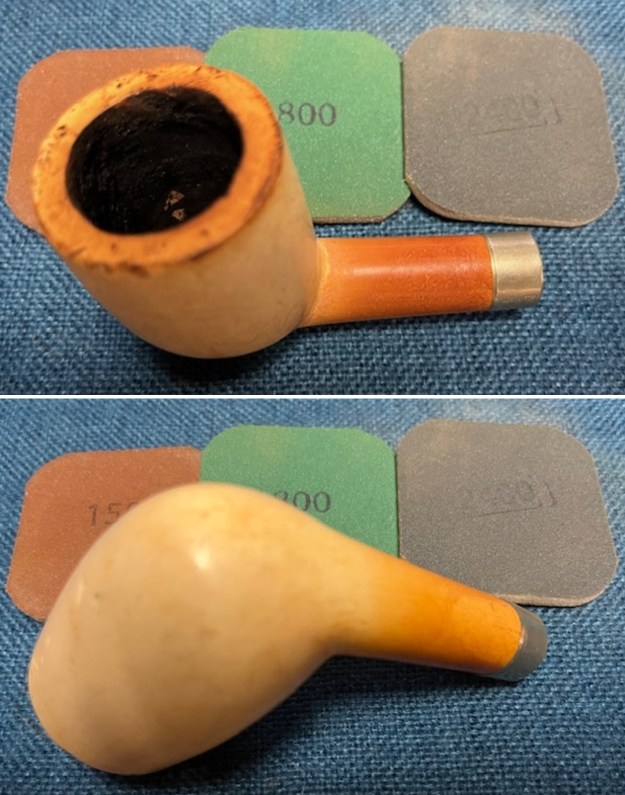
 Once it cured I sanded it smooth with a piece of 220 grit sandpaper wrapped around a piece of dowel to smooth out the repair. I wiped it down with a damp pad to remove the sanding debris.
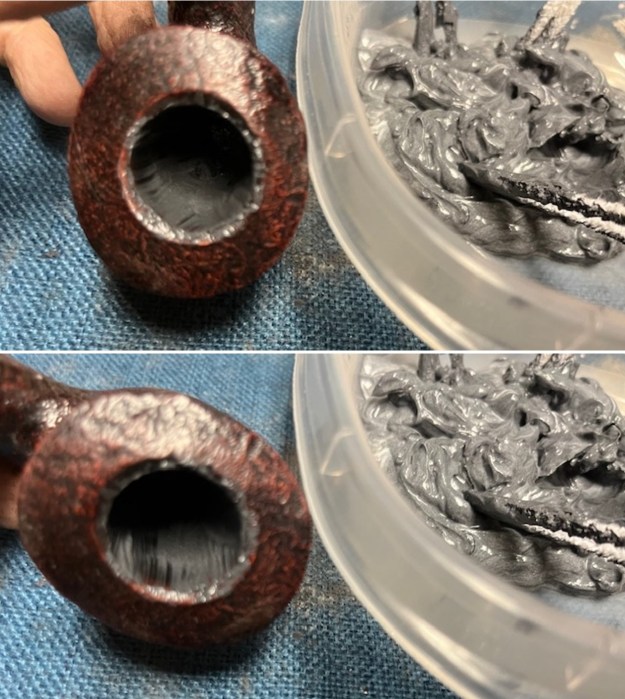
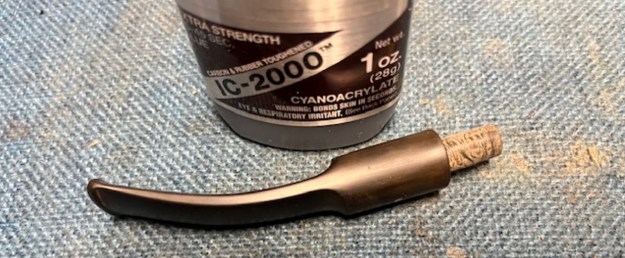
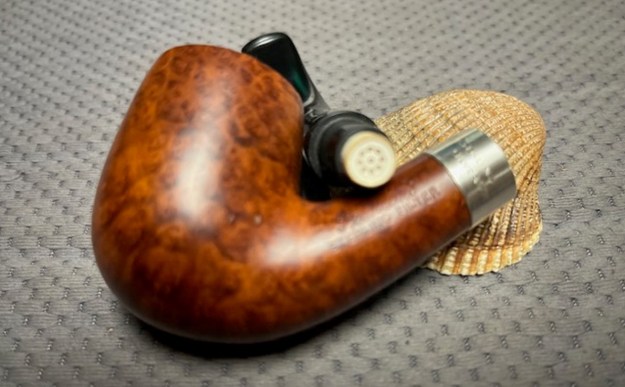
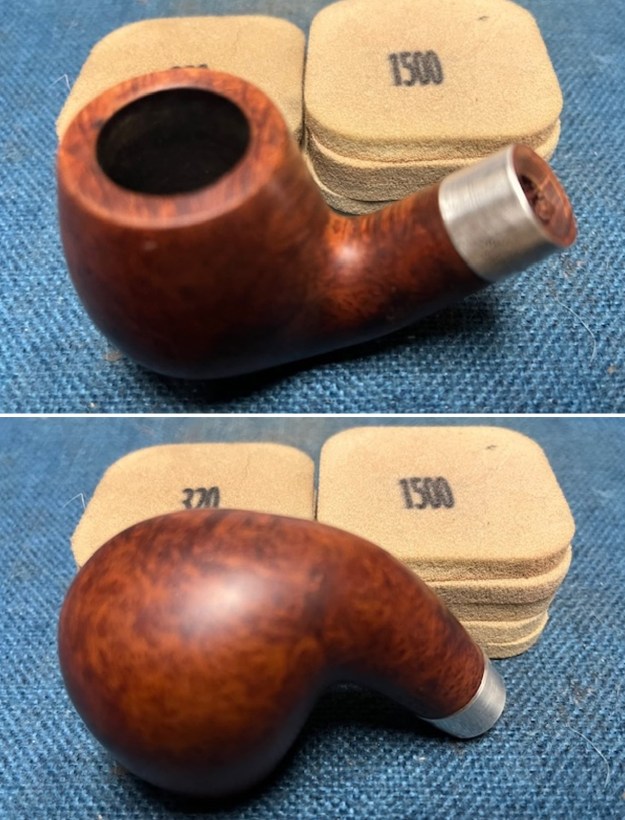
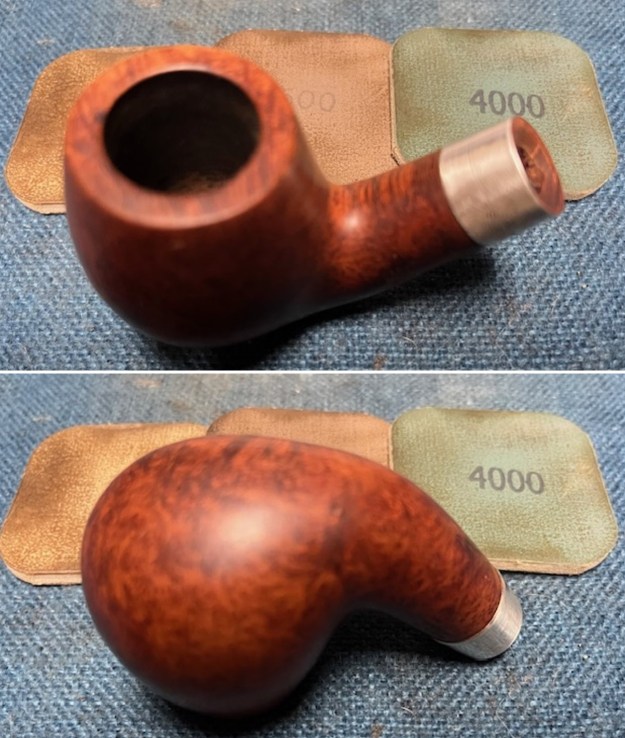
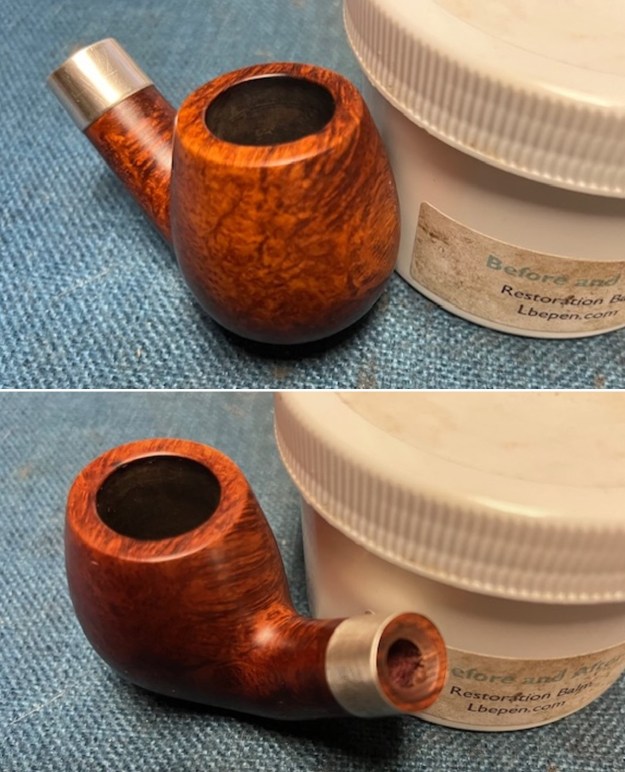
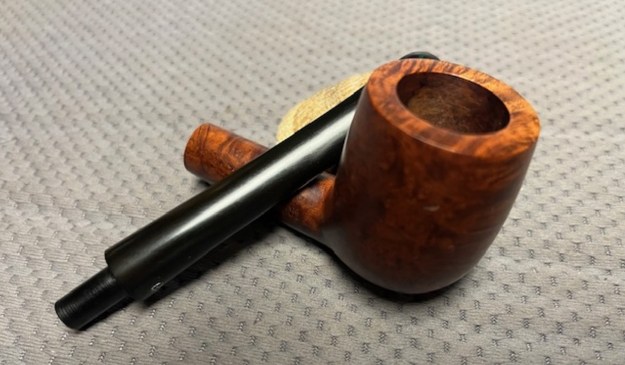
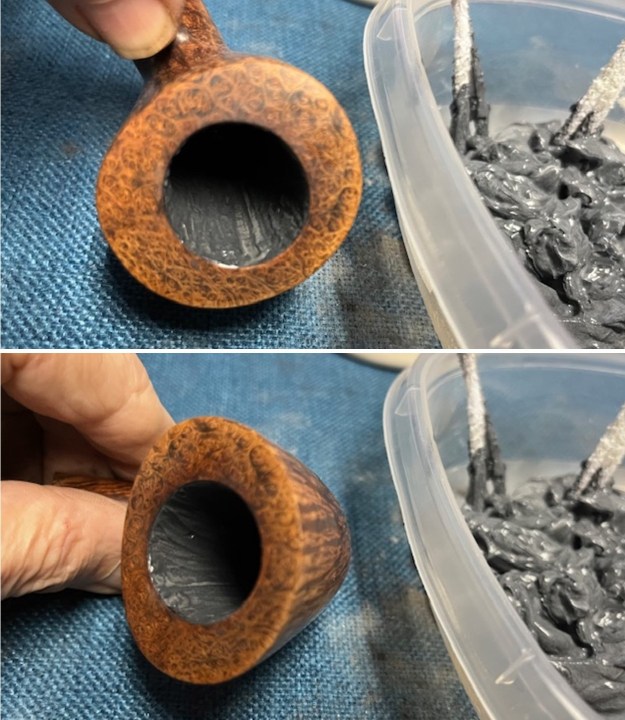
 I mixed a bowl coating of sour cream and activated charcoal powder. I inserted a pipe cleaner in the airway entrance to the bowl to keep it open. I applied it to the walls of the pipe with a folded pipe cleaner and repeated it until I had the walls thoroughly covered.
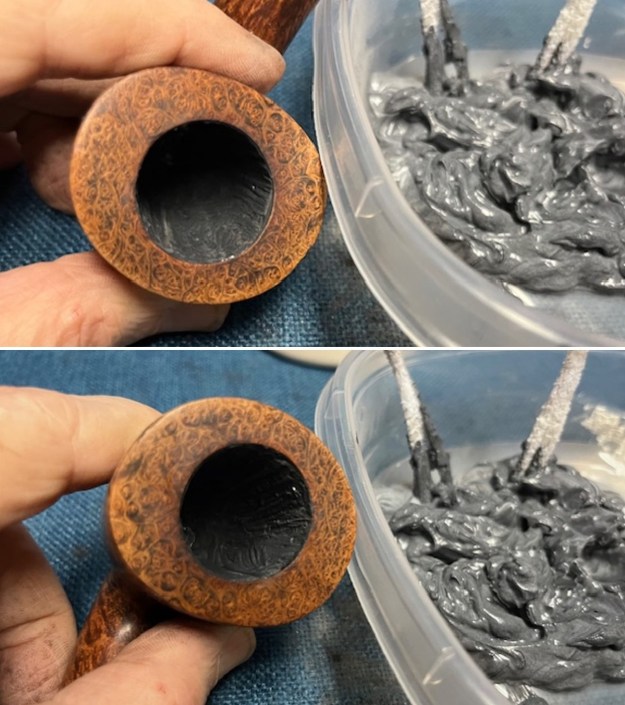
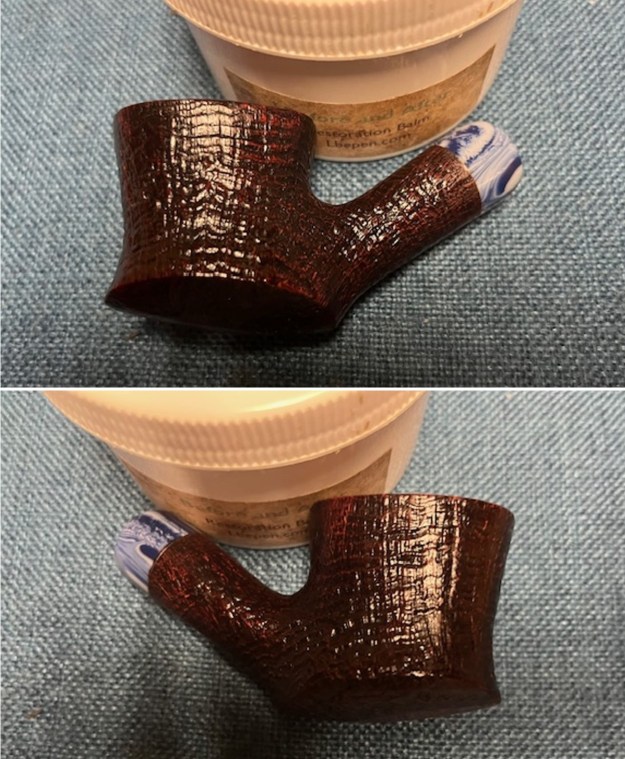
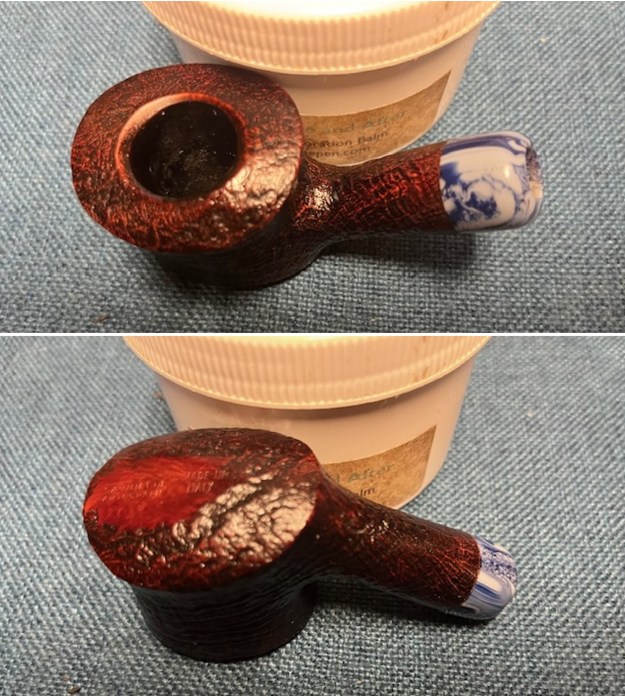
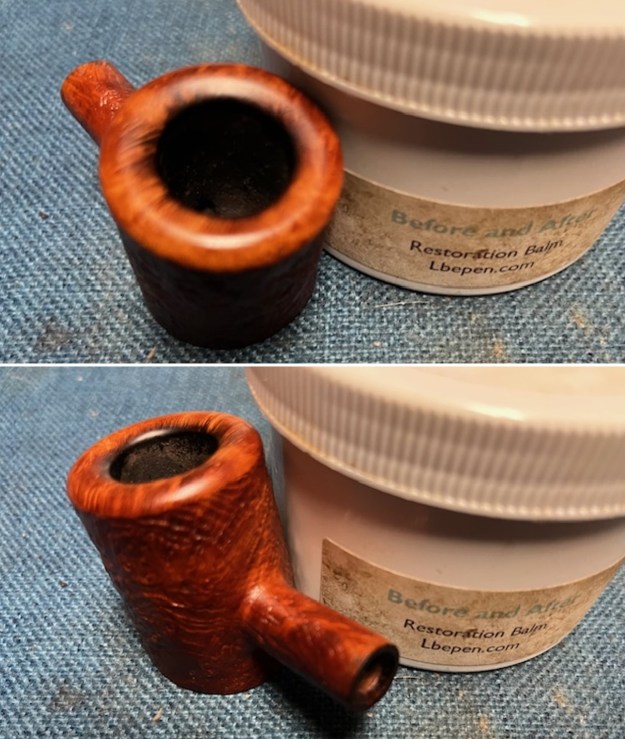
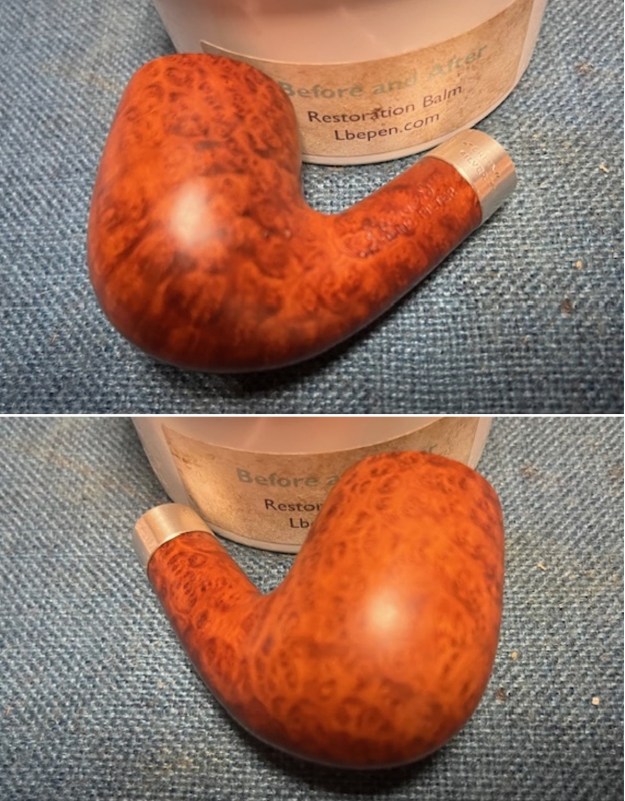
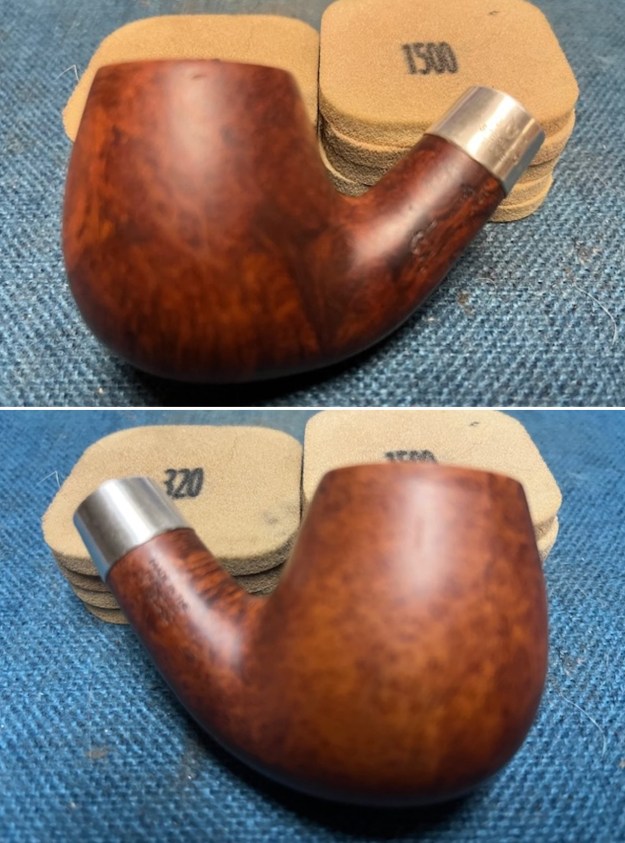
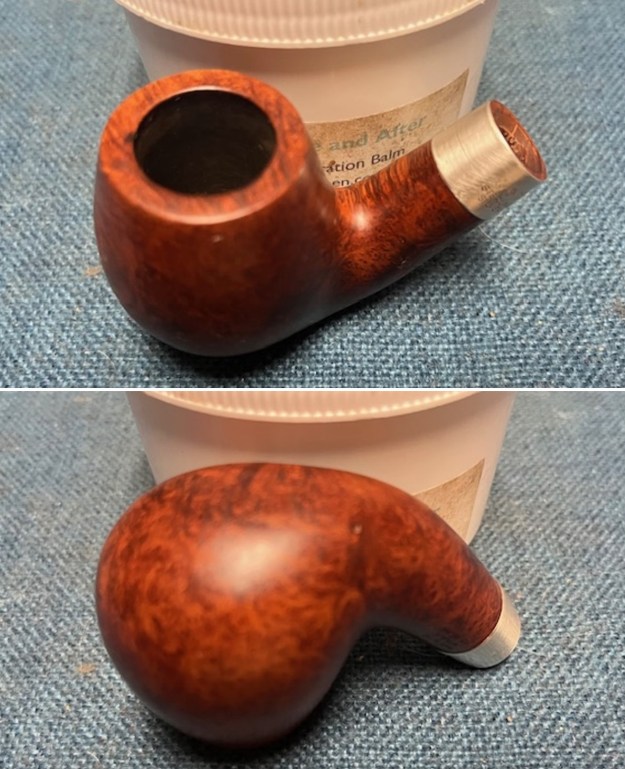
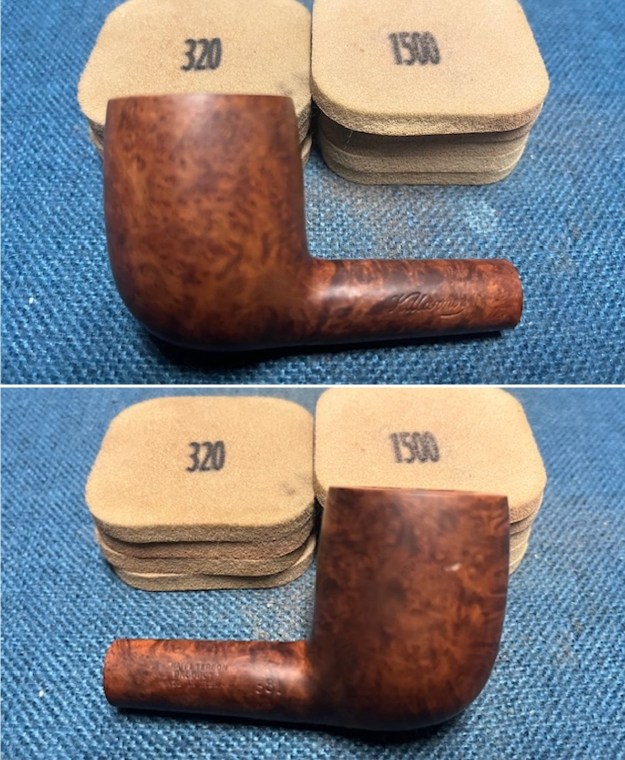
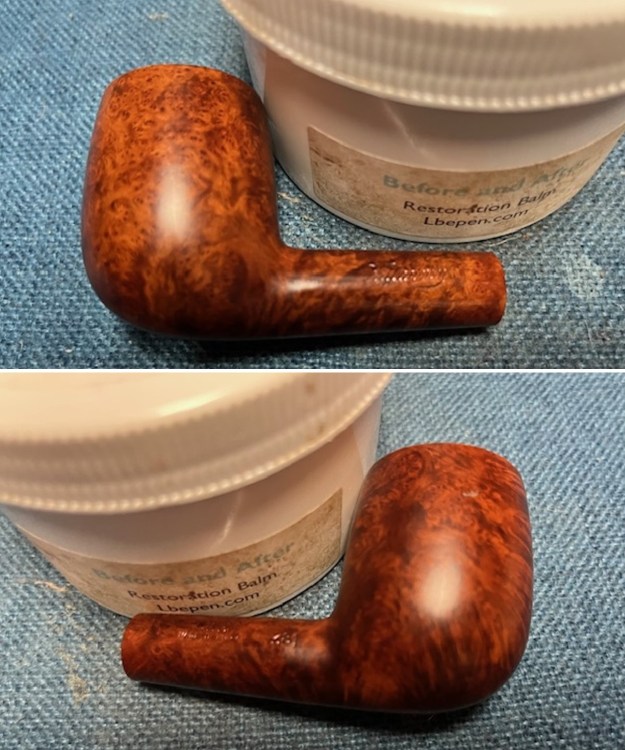
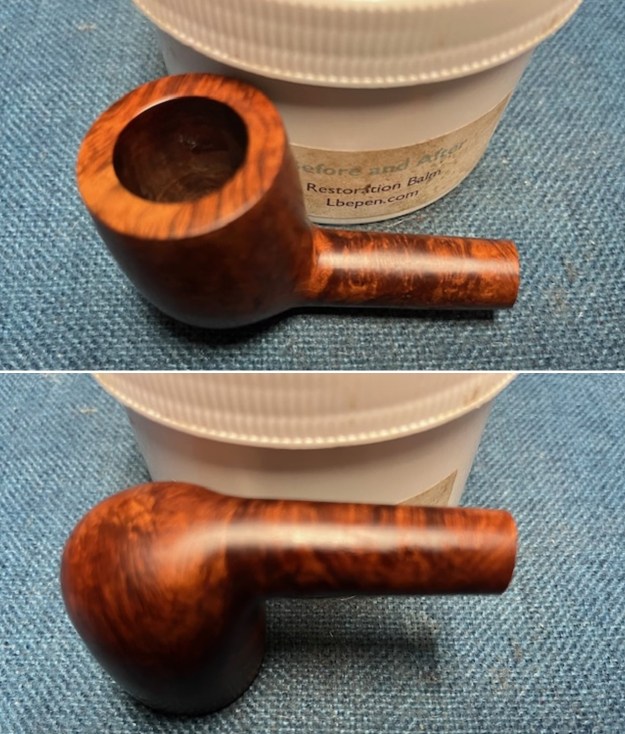
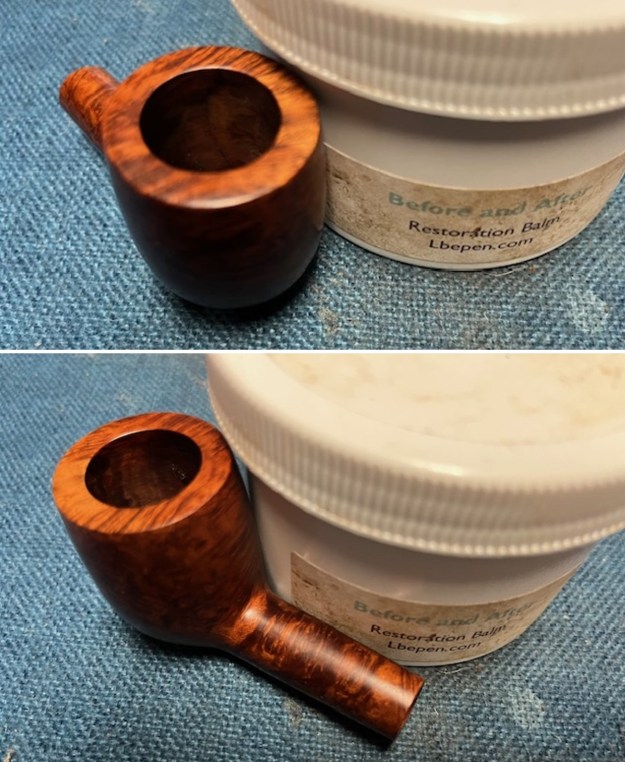
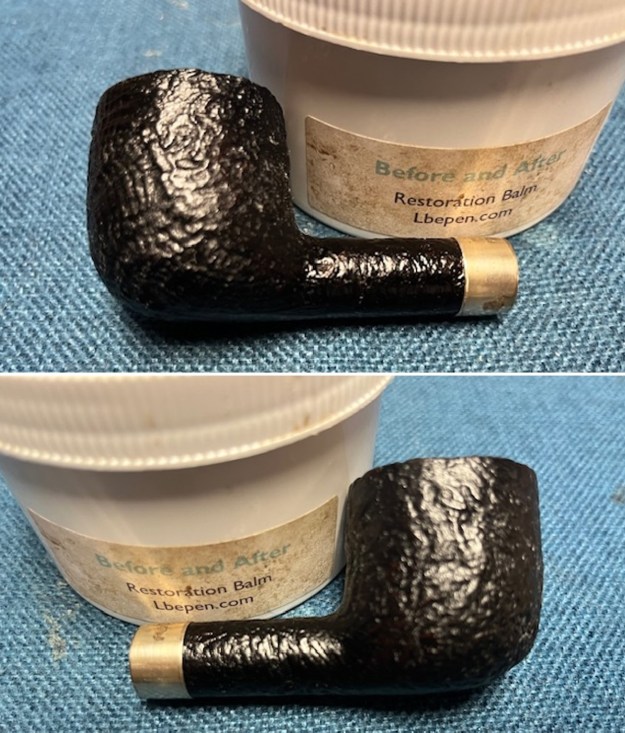
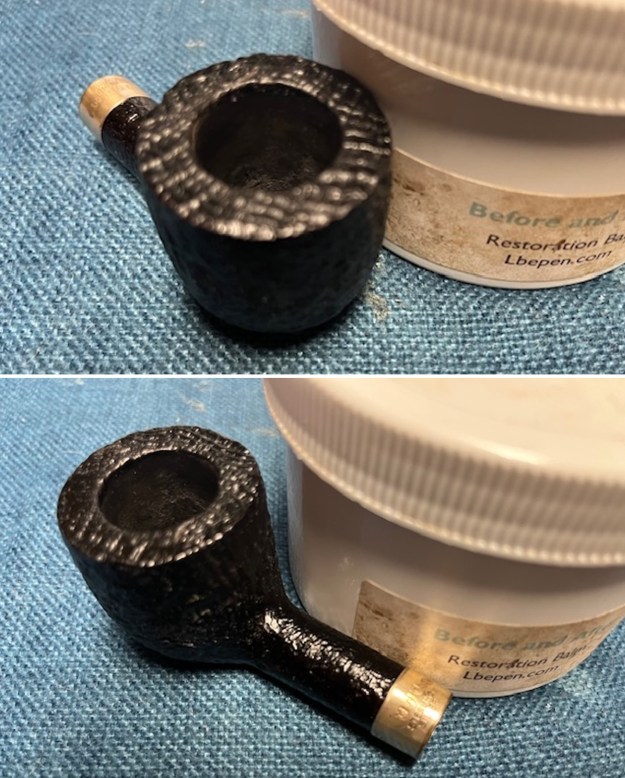
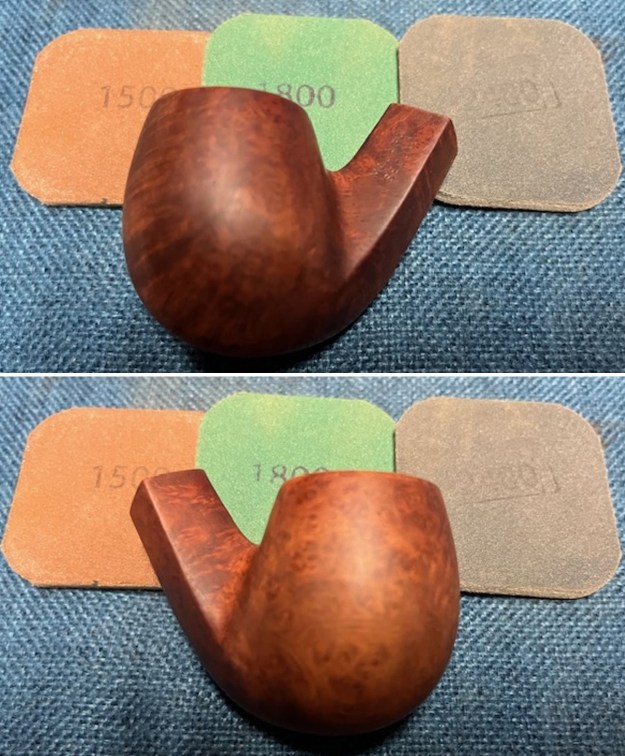
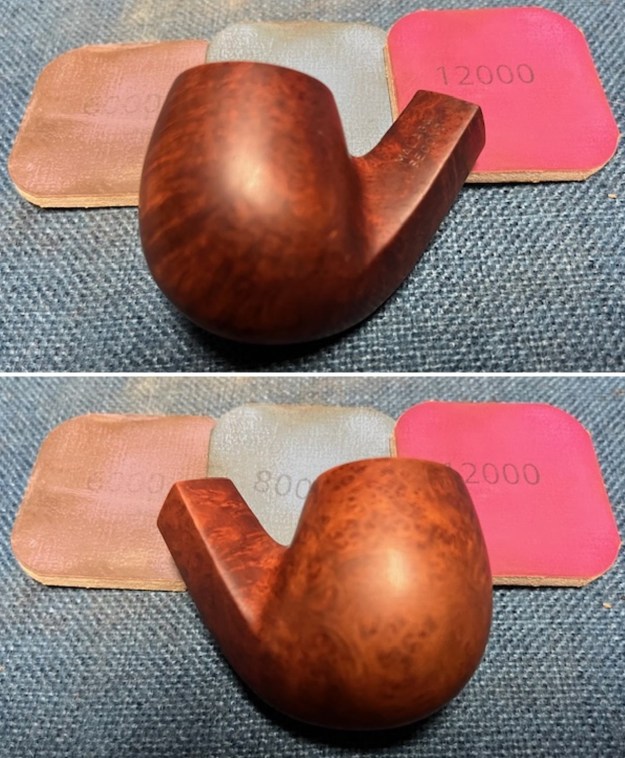
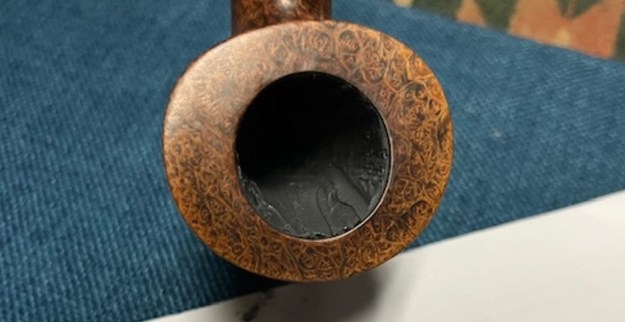
 I rubbed the briar down with Before & After Restoration Balm. I worked it into the briar with my fingertips to work it into the finish. The product works to clean, enliven and preserve the briar. I let it sit for 10 minutes then I buffed it with a cotton cloth to deepen the shine. The briar really comes alive with the balm.
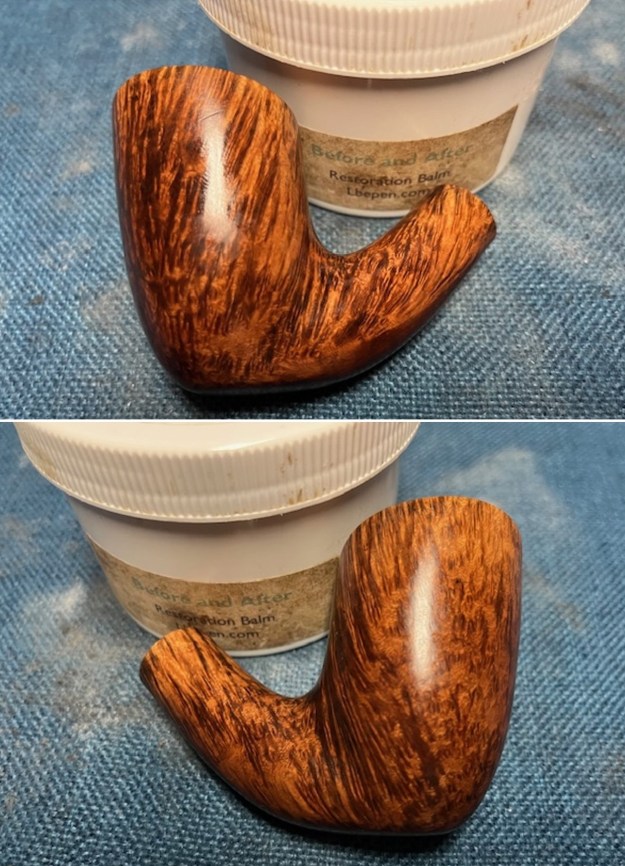
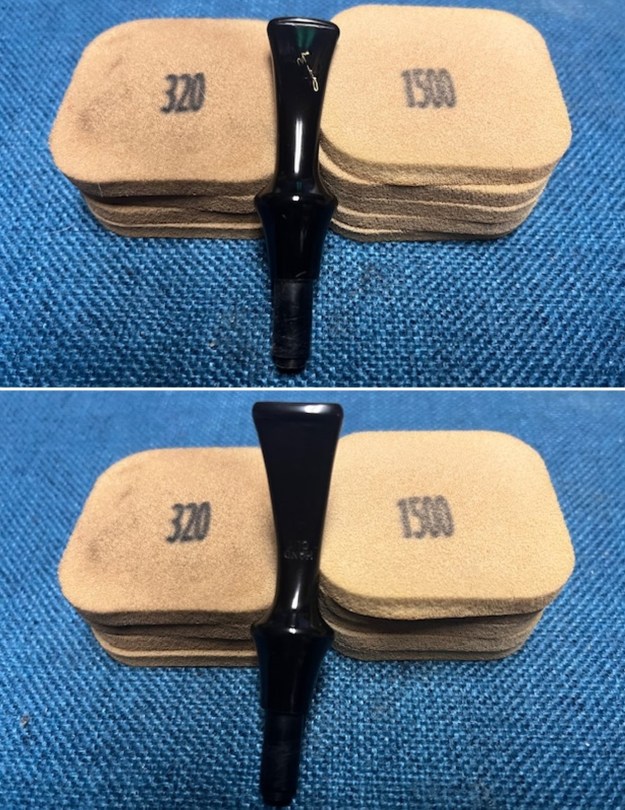
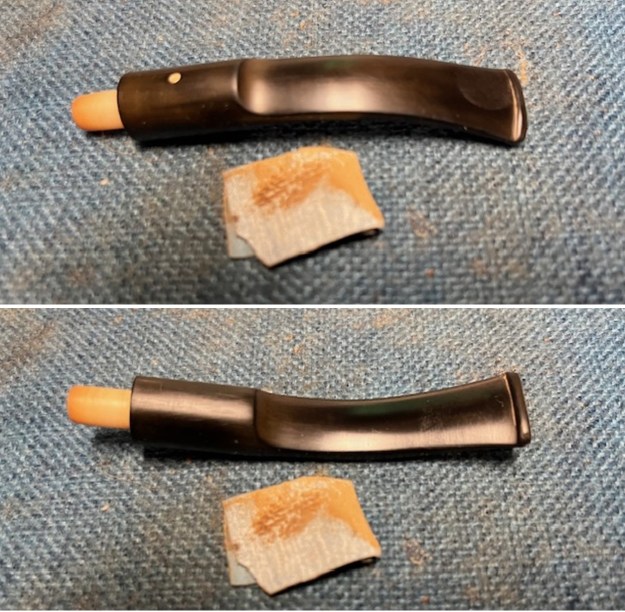
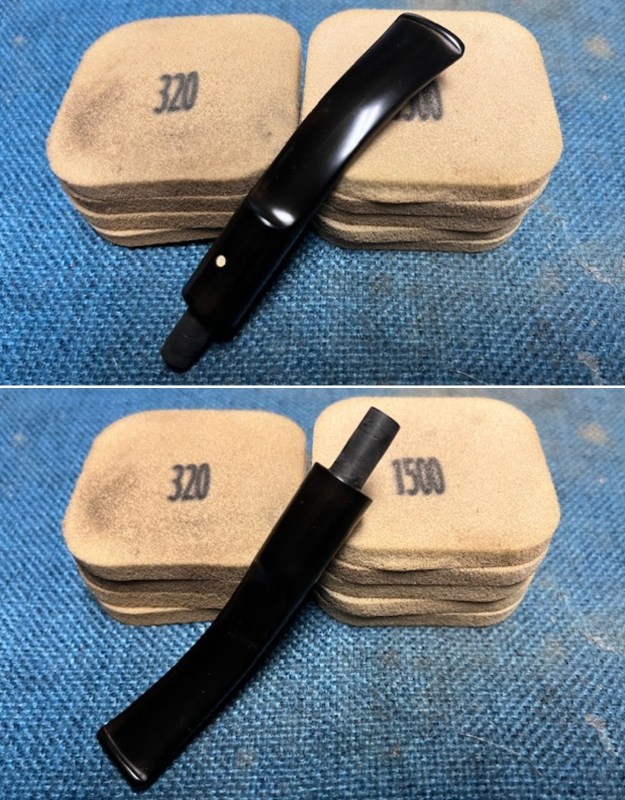
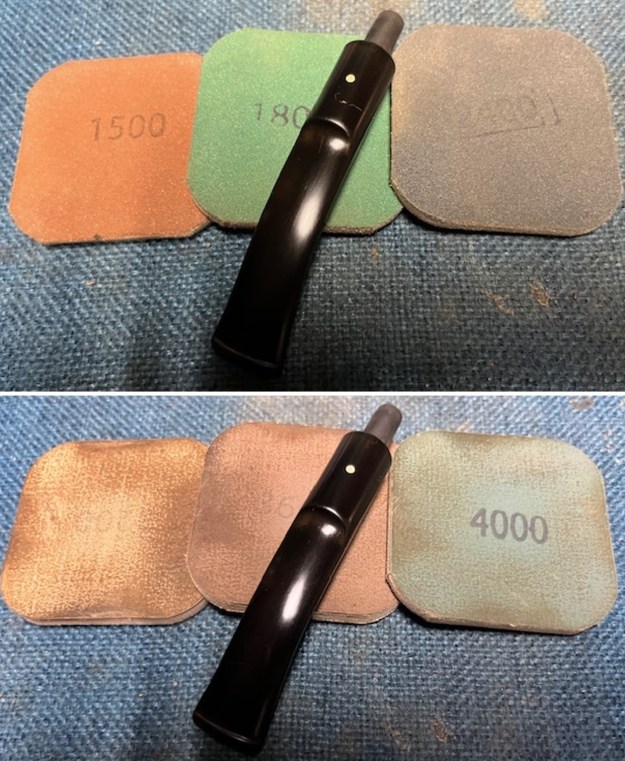
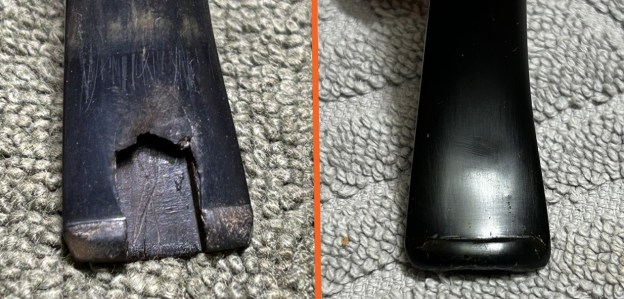
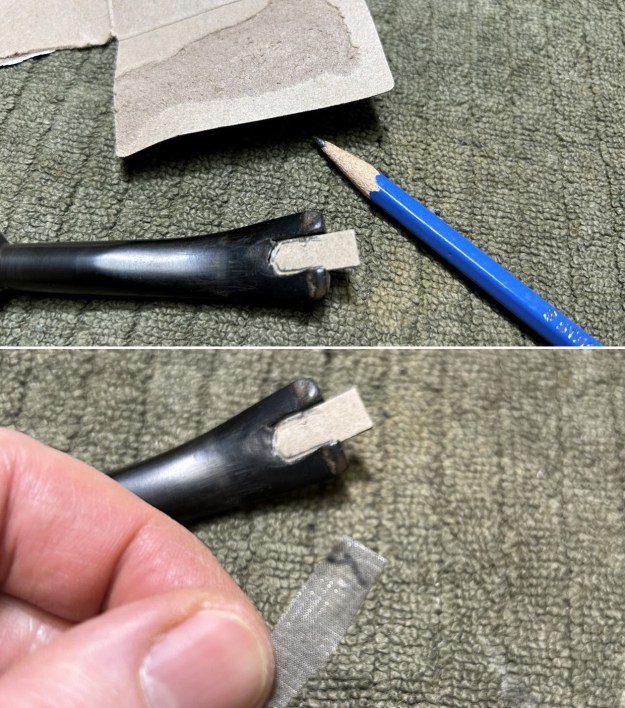
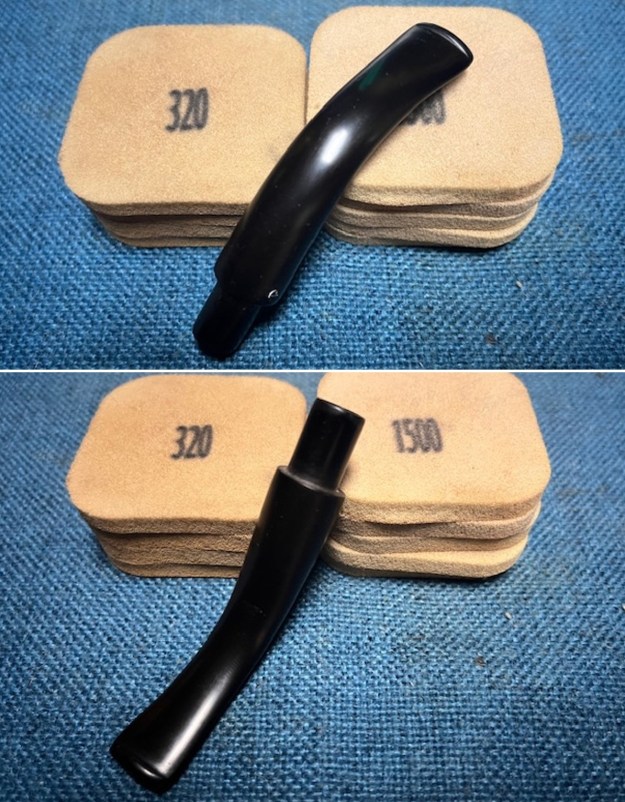
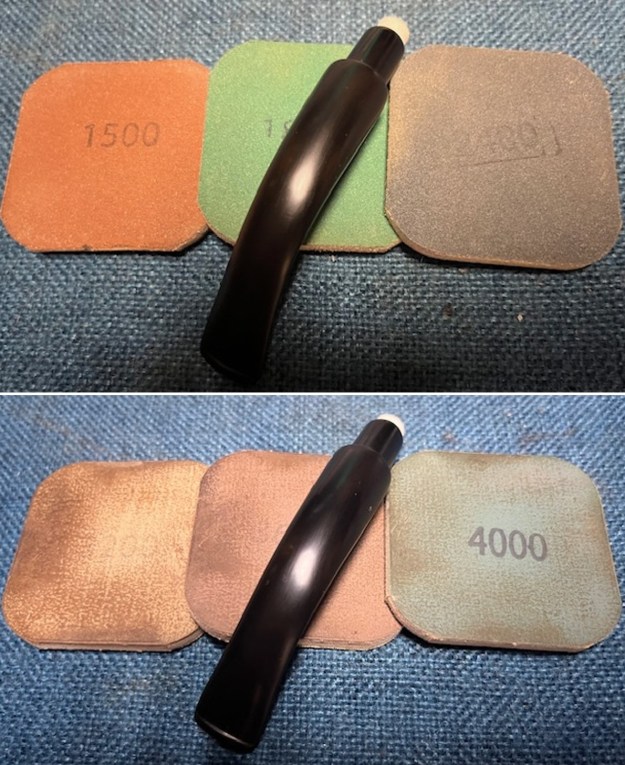
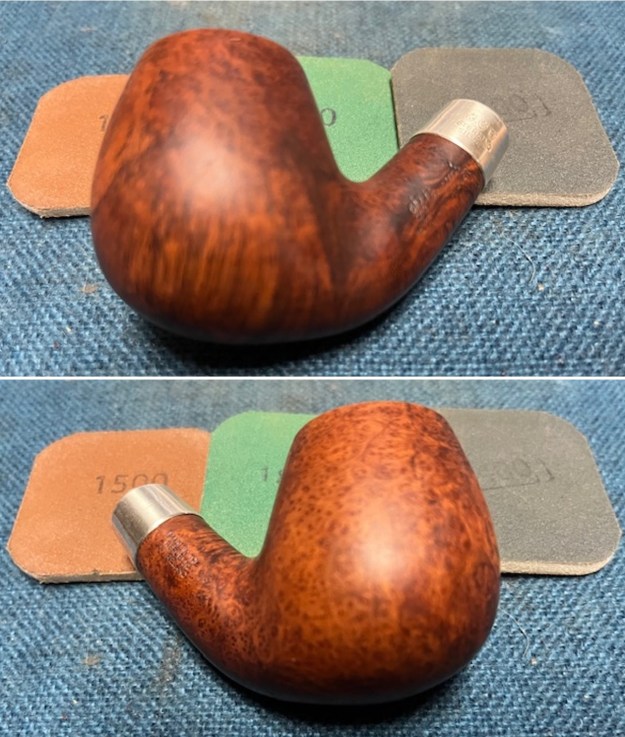
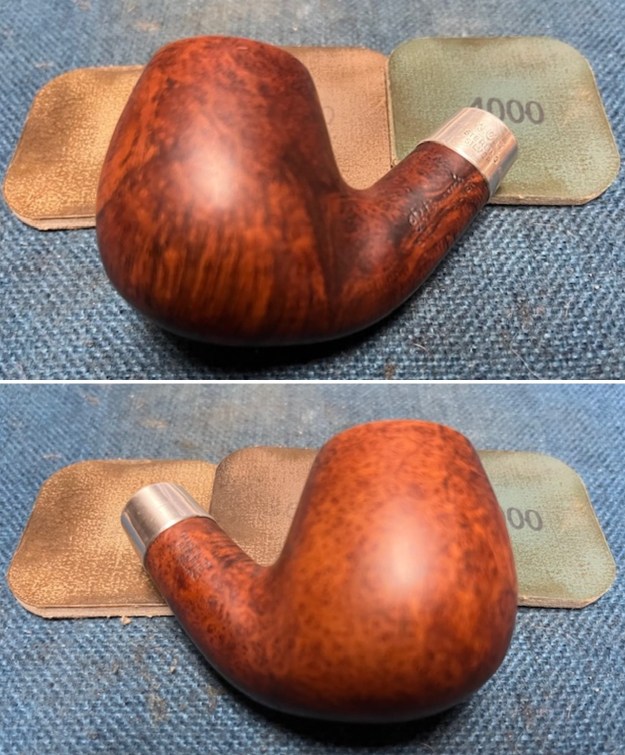
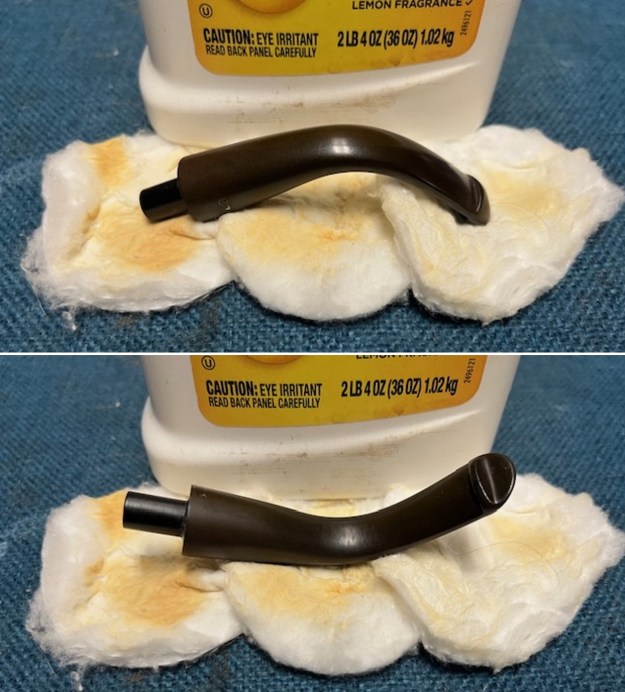
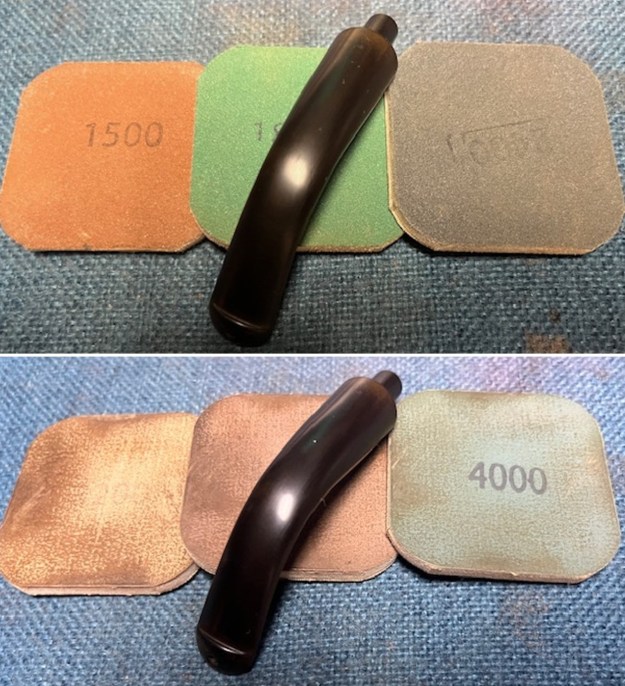
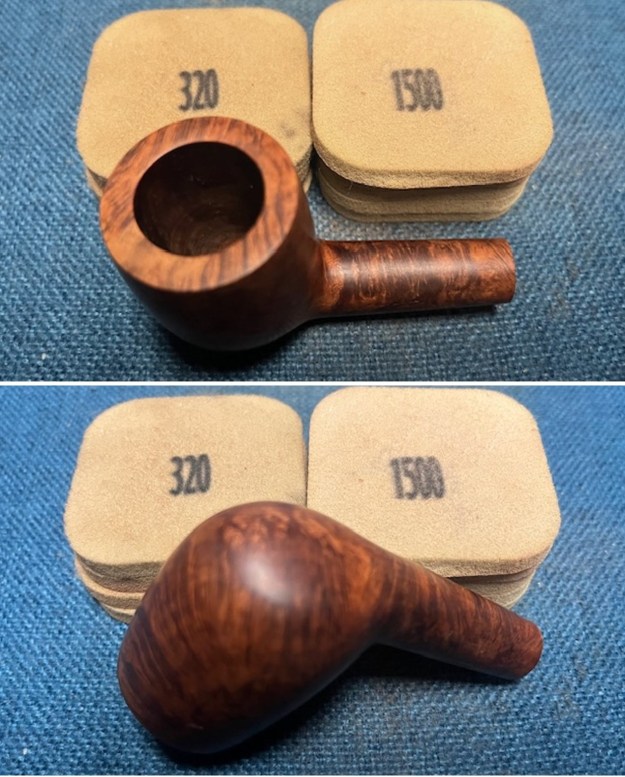
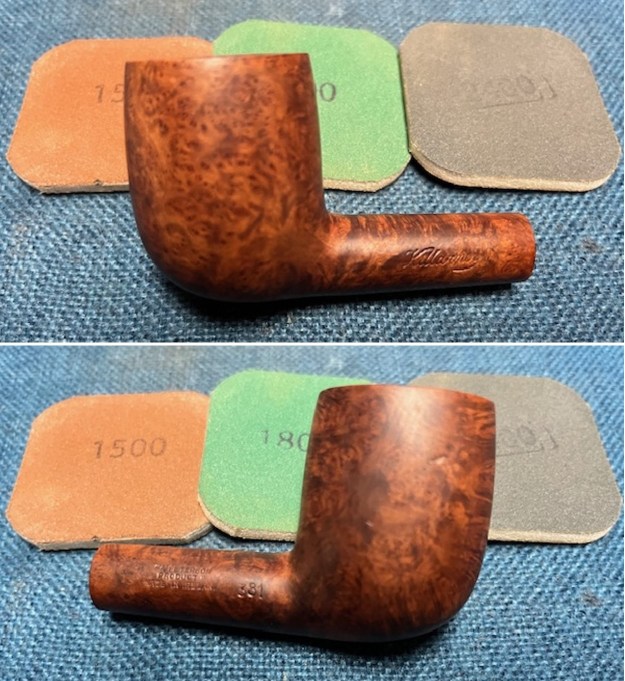
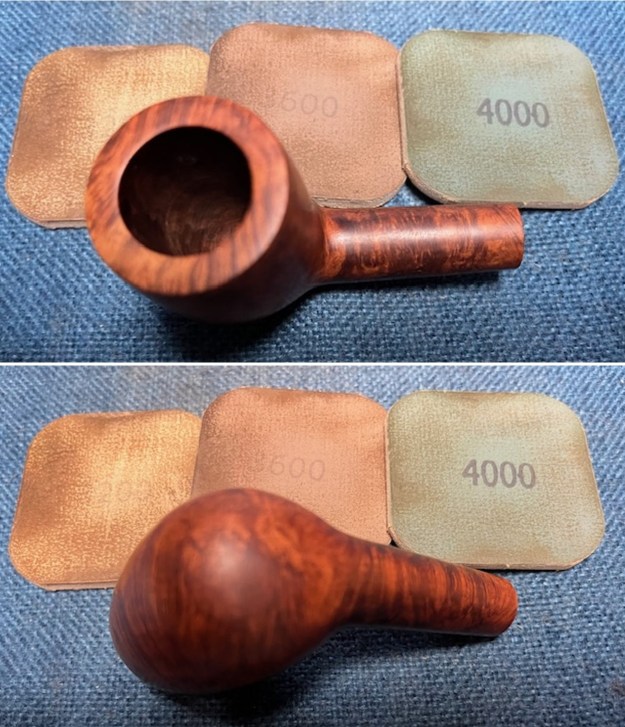
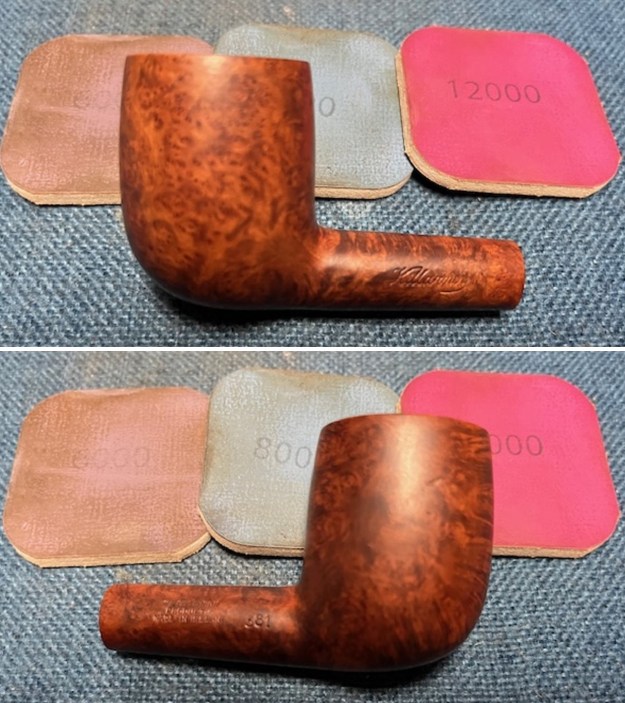
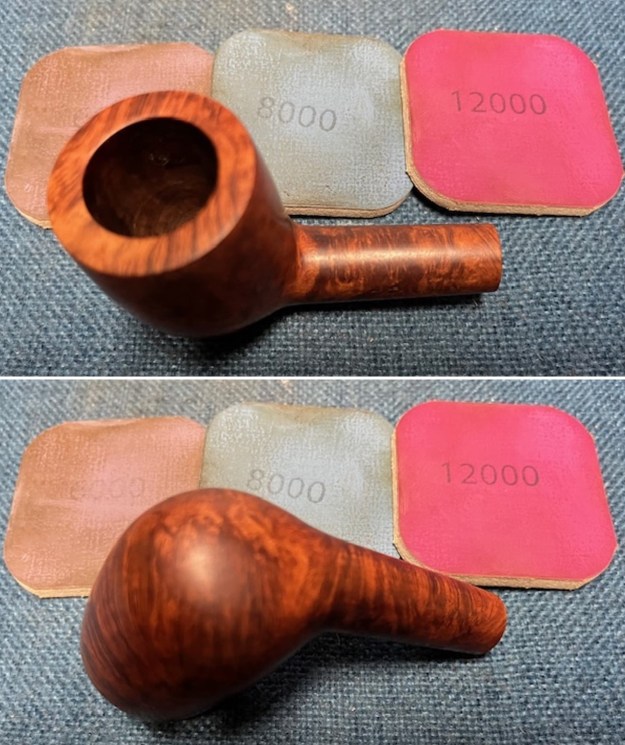
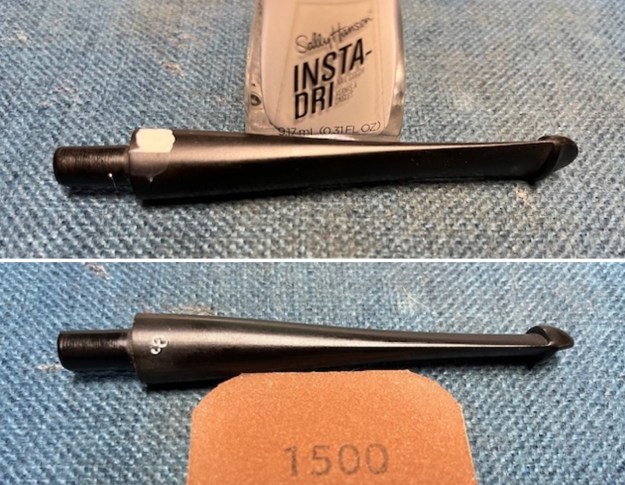
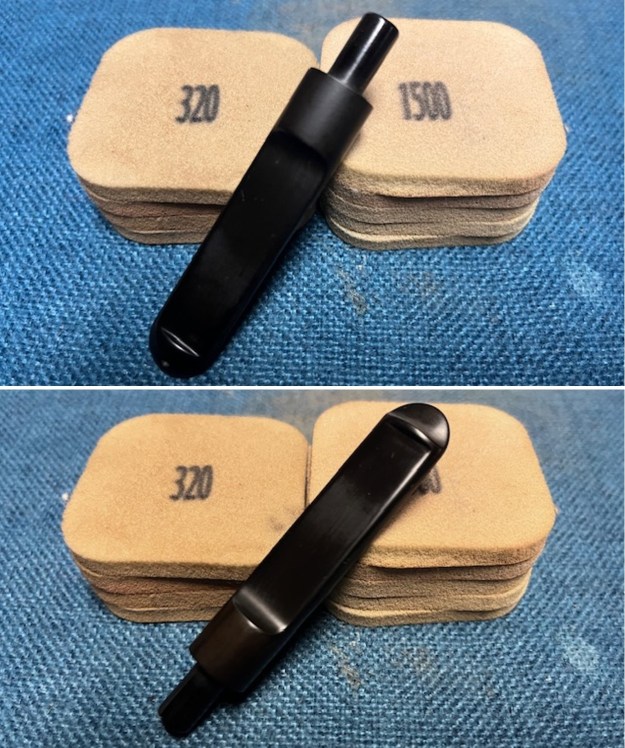
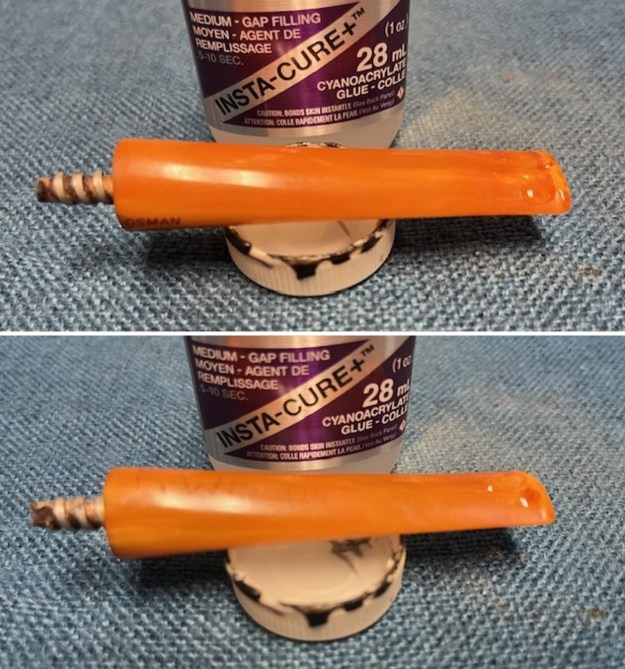
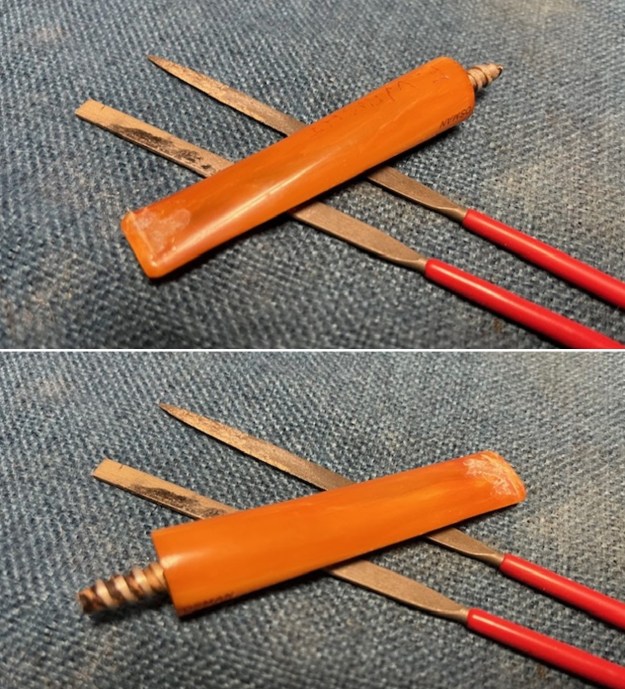
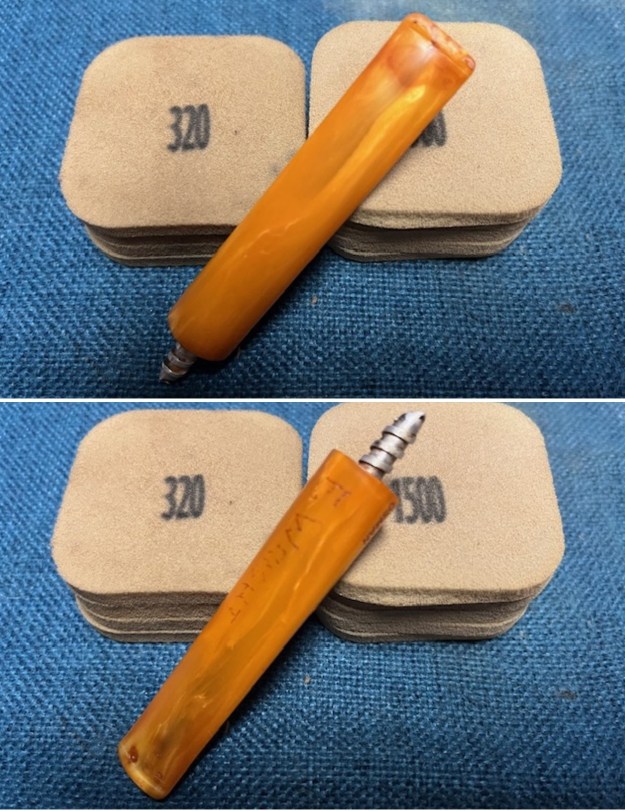
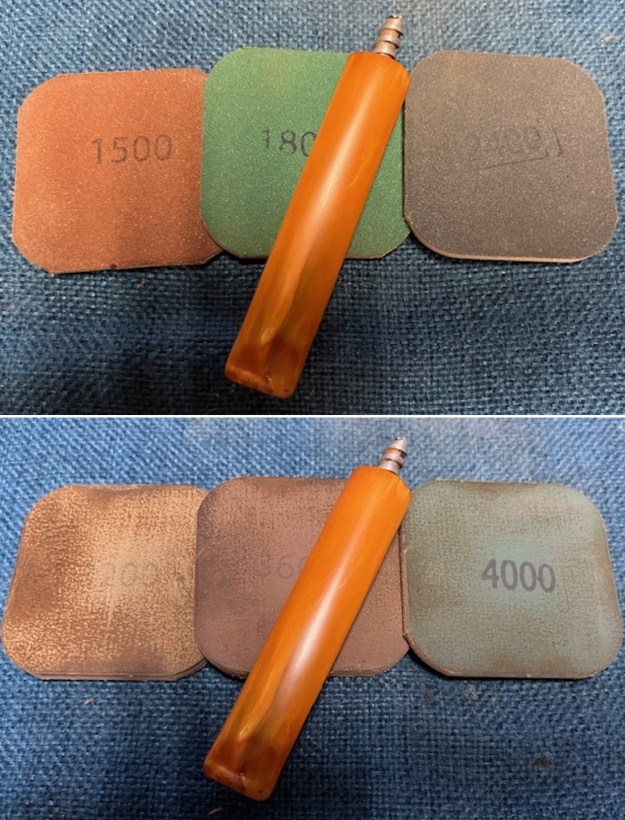
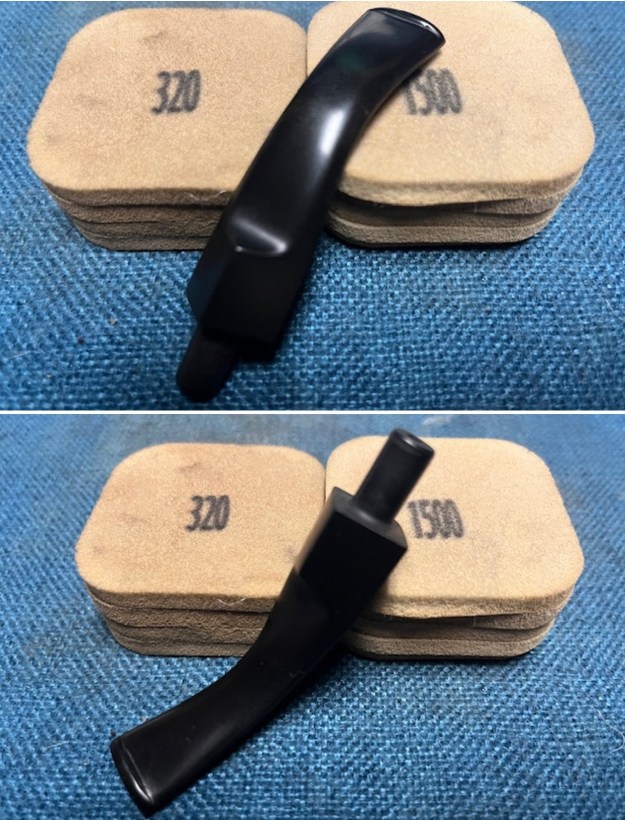
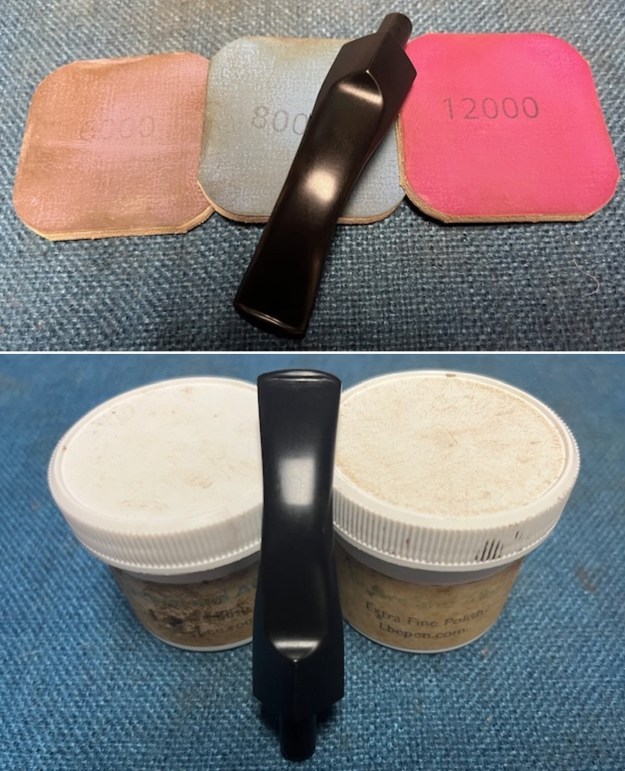
 I set the bowl aside and worked on the stem. I sanded the stem with 320-3500 grit 2×2 inch pads. I wiped the stem down with an Obsidian Oil cloth after each sanding pad.
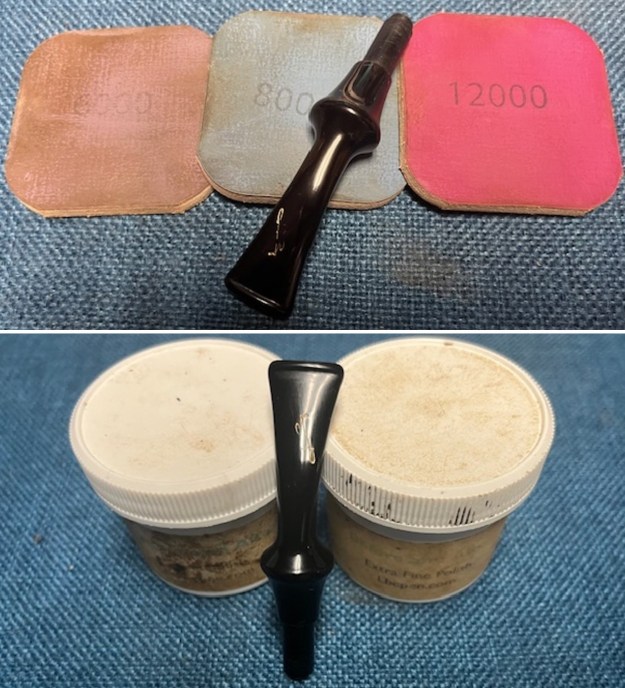
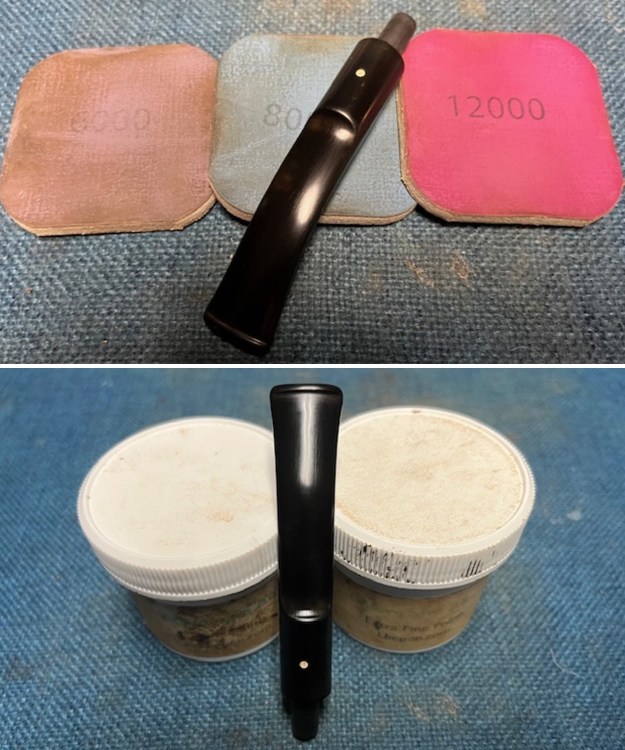
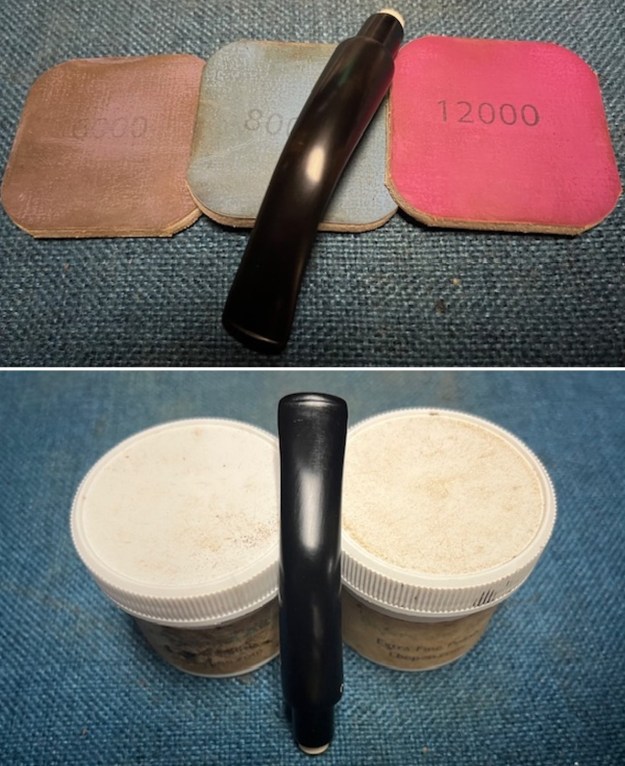
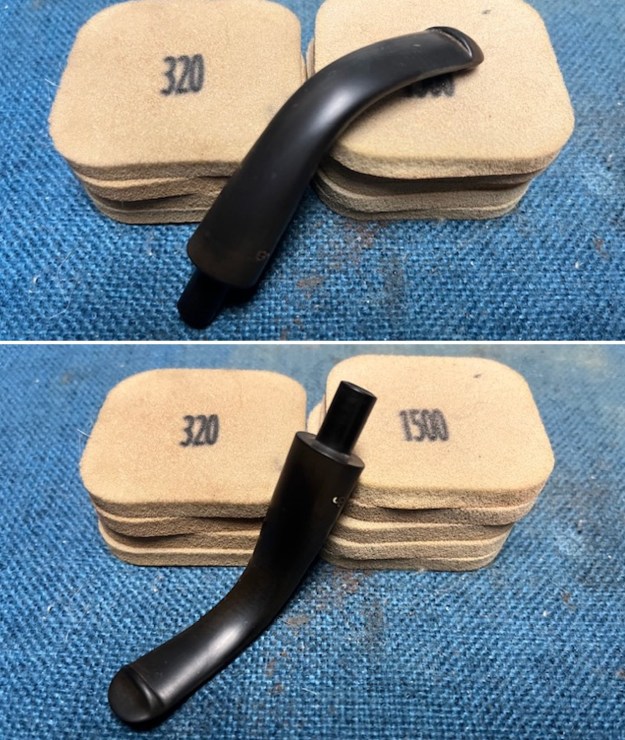
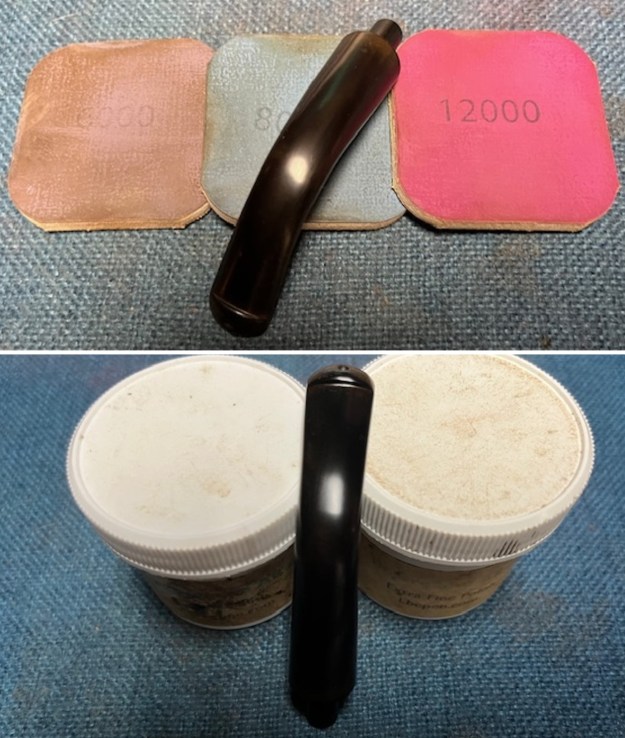
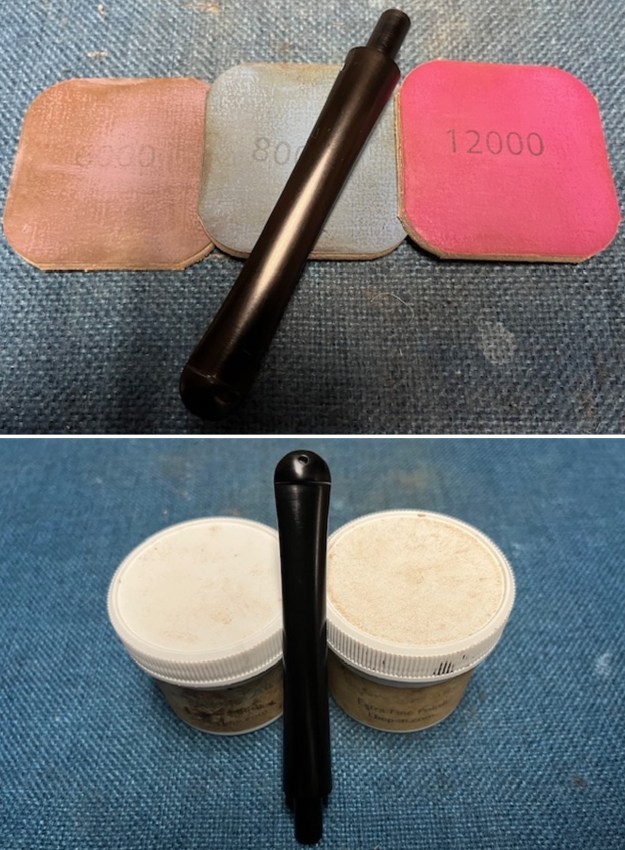
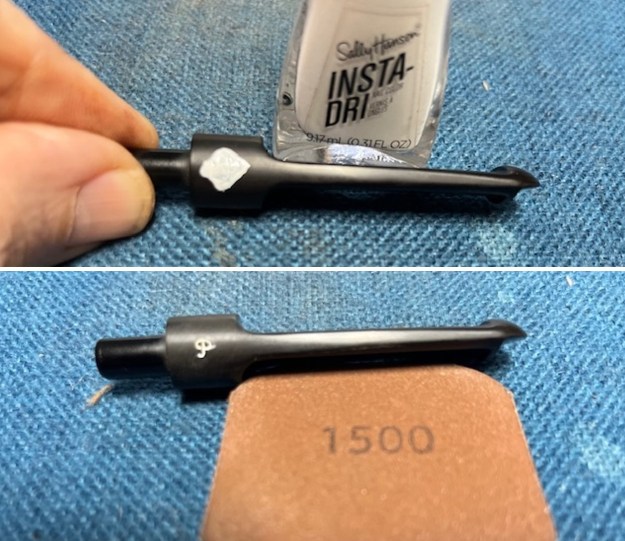
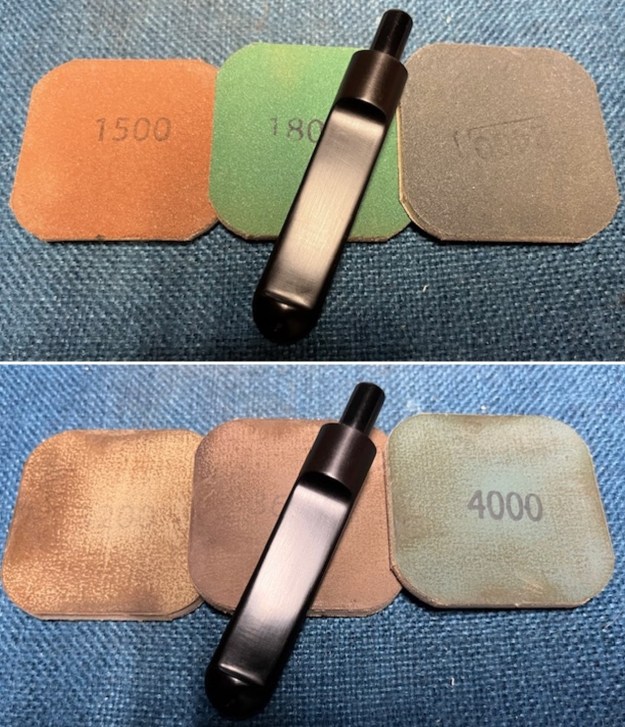
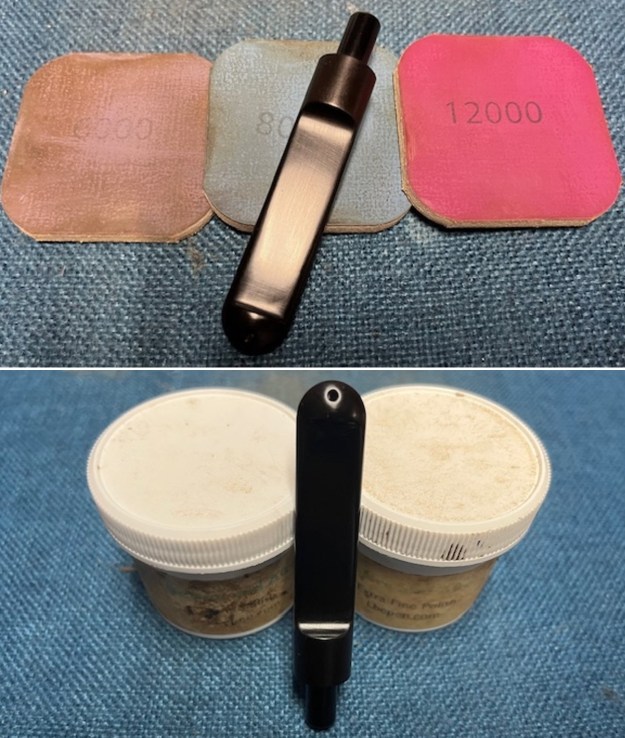
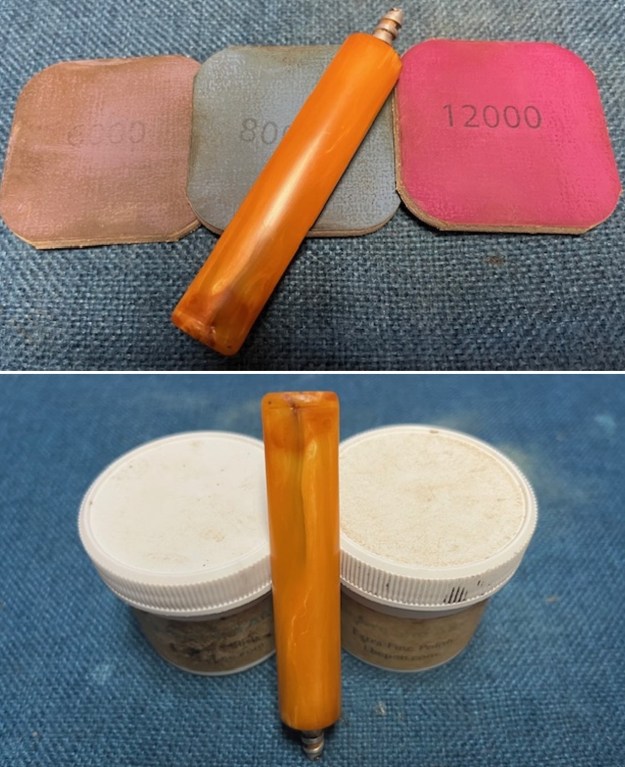
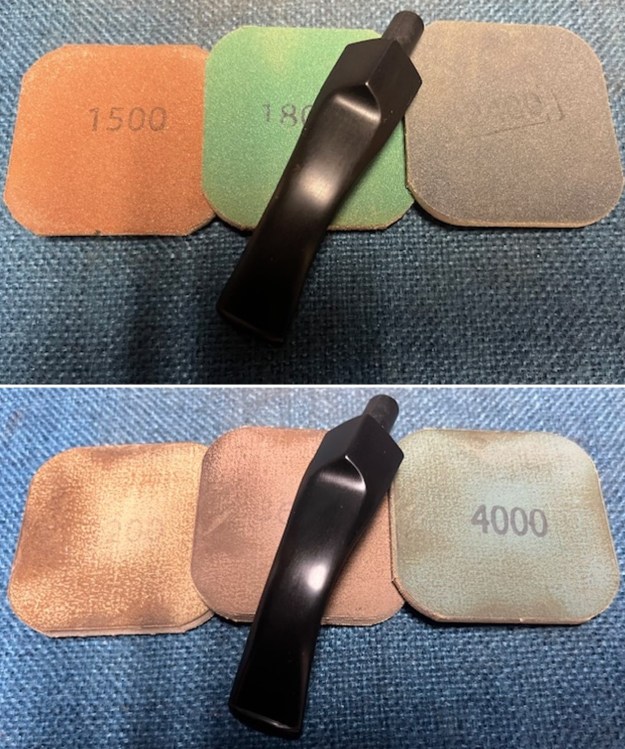
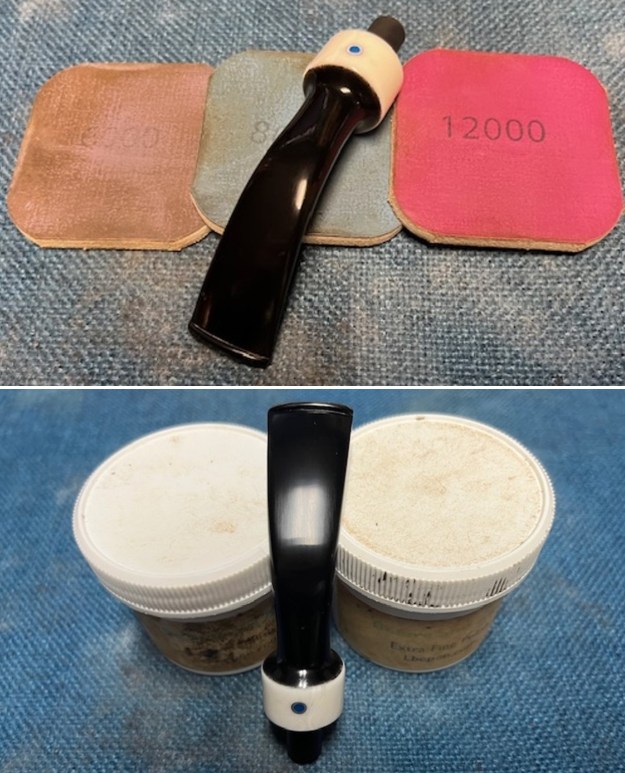
 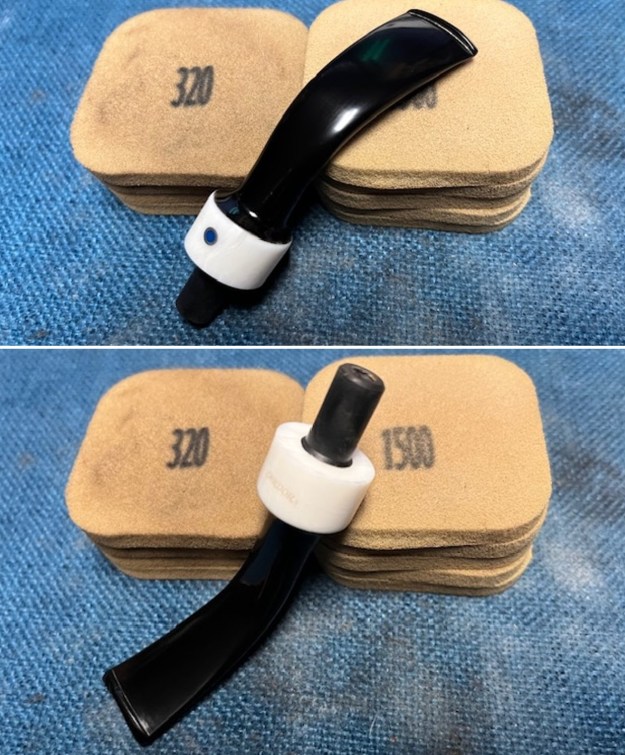 I polished the acrylic with micromesh sanding pads – 1500-12000 grit pads. I wiped it down with Obsidian Oil after each sanding pad. I used Before & After Pipe Polish – both Fine and Extra Fine to further polish the stem.
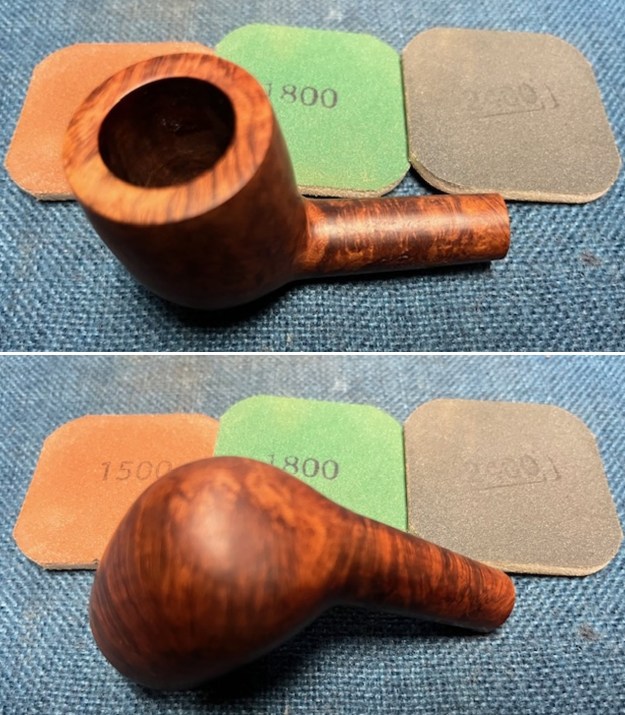
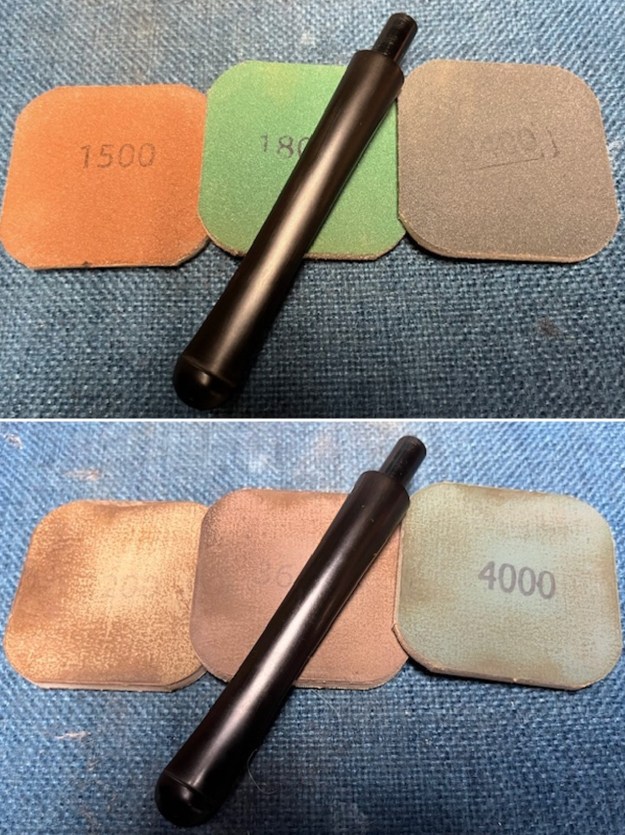
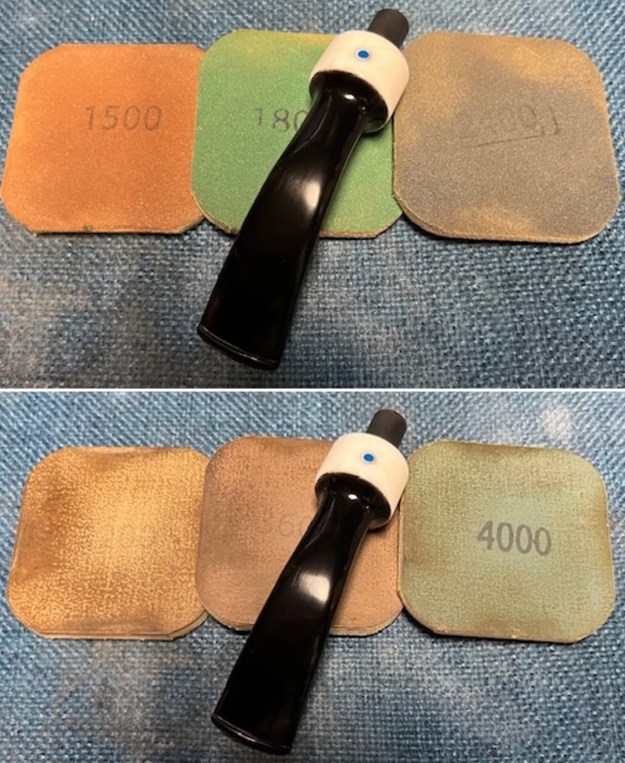
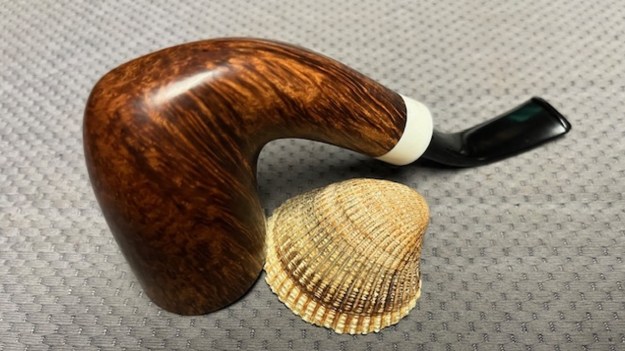
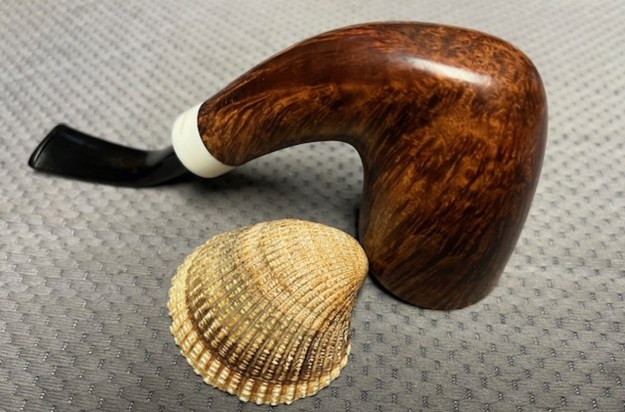
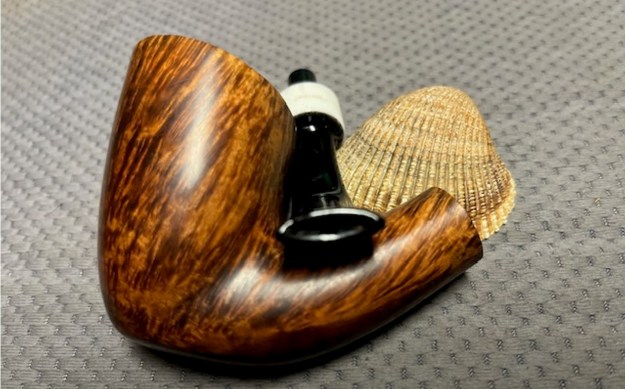
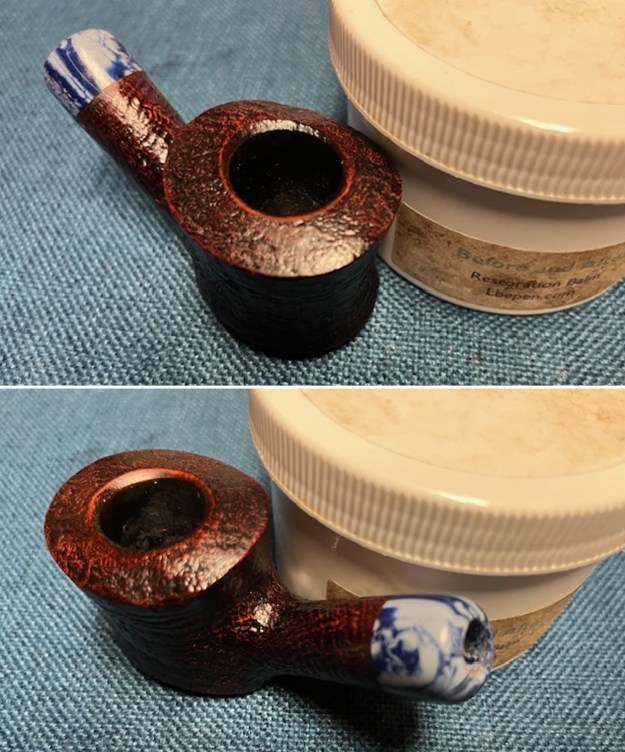
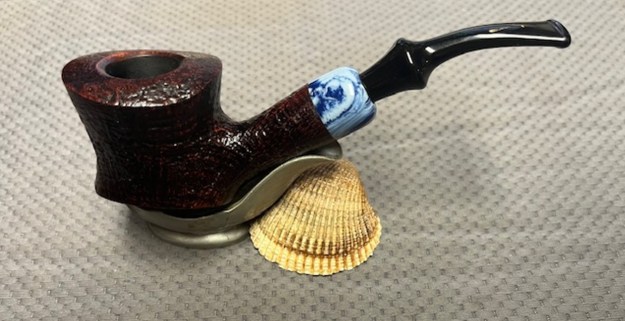
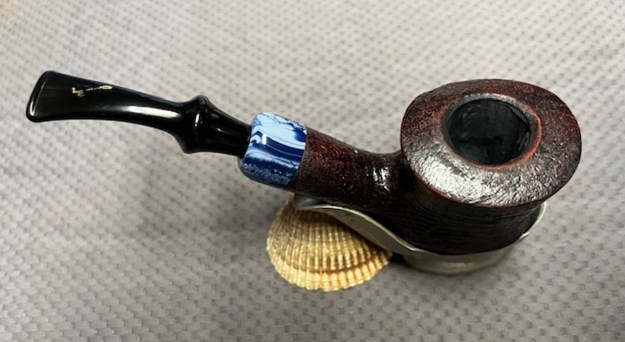
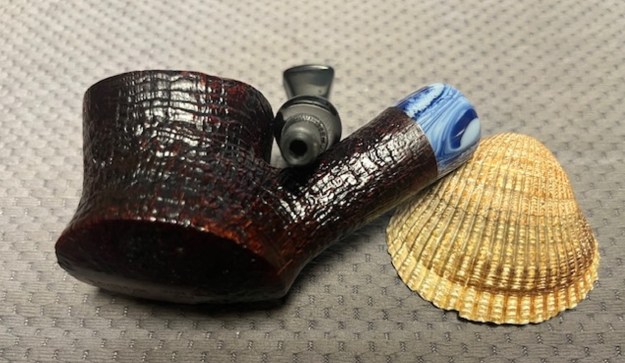
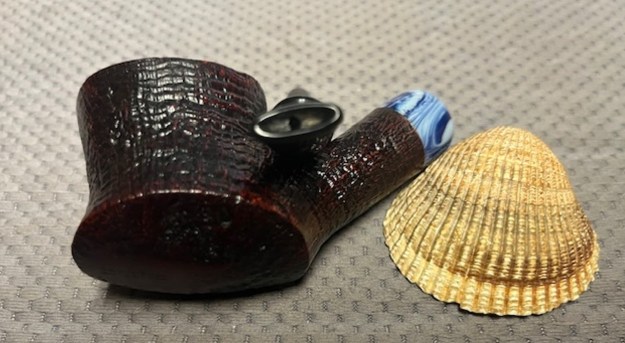
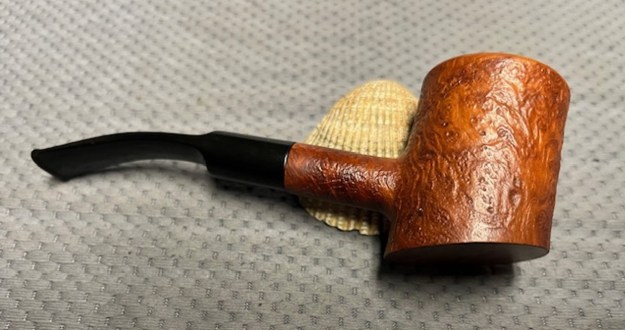
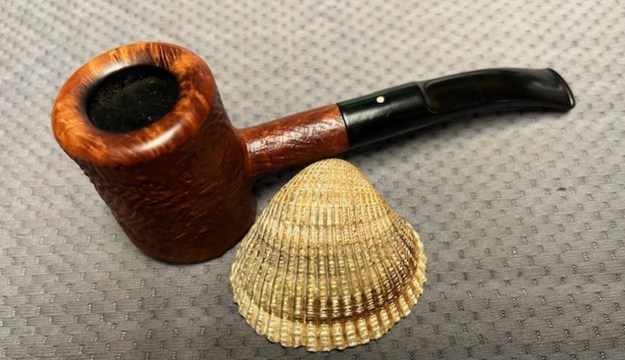
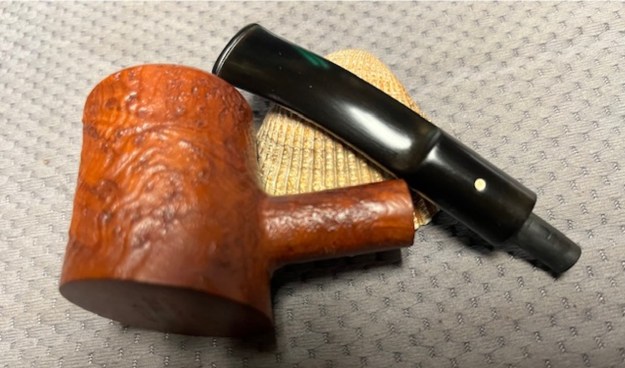
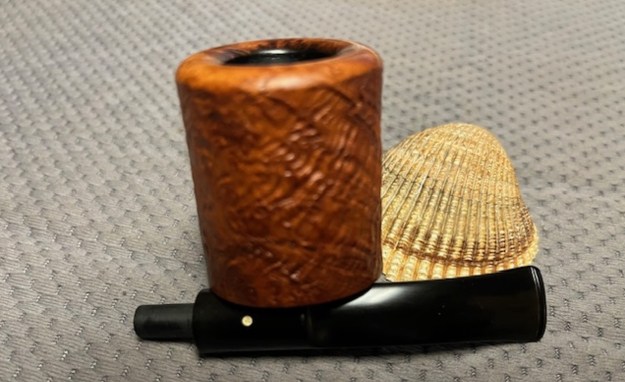
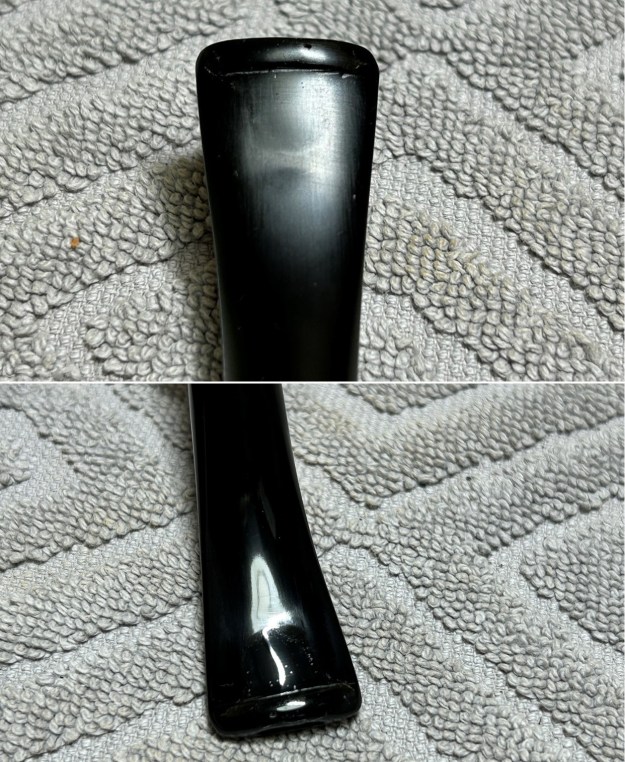
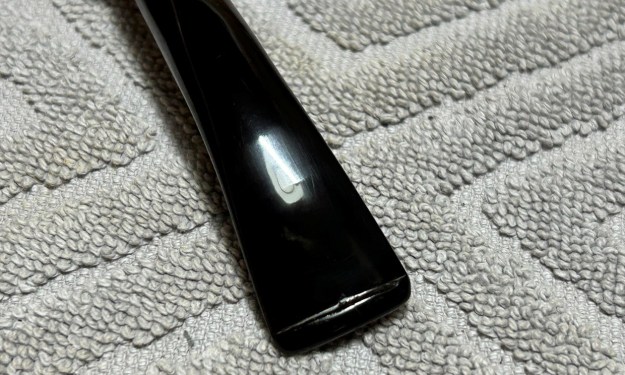
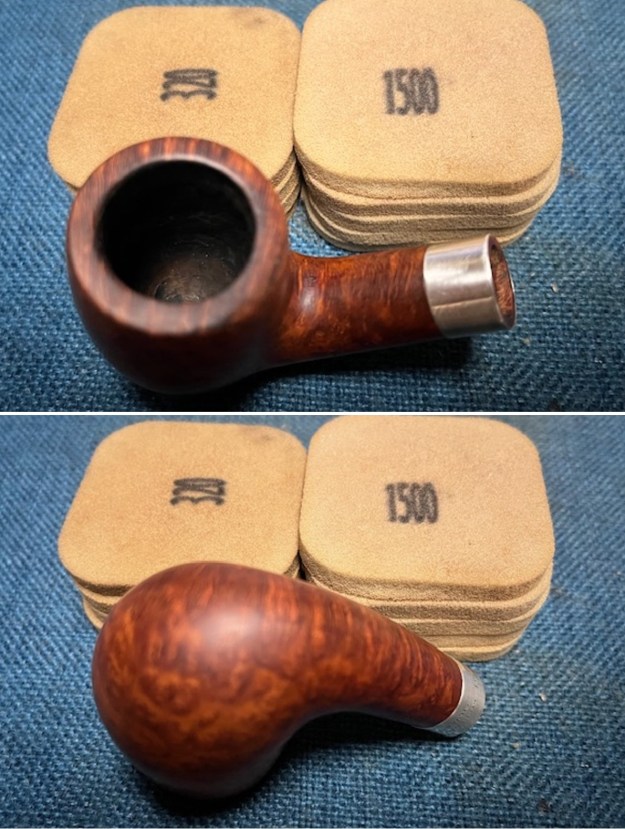
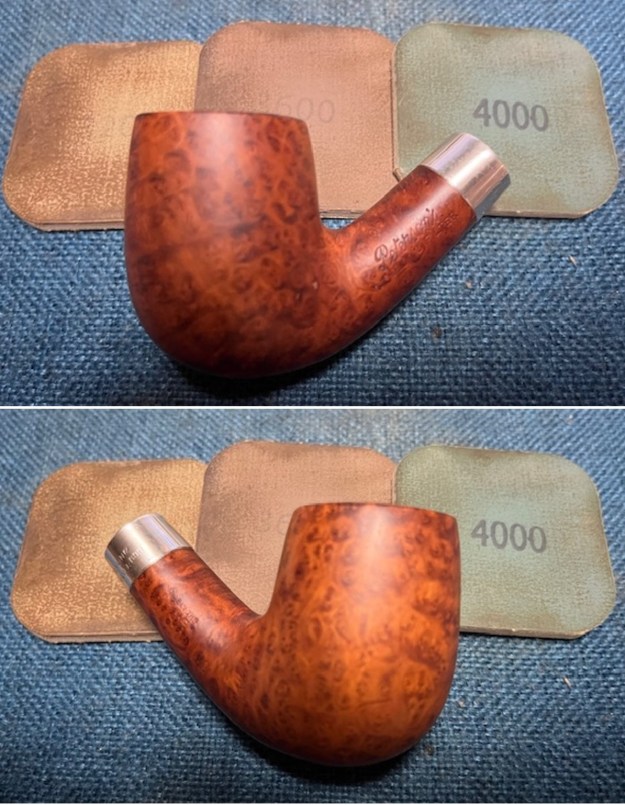
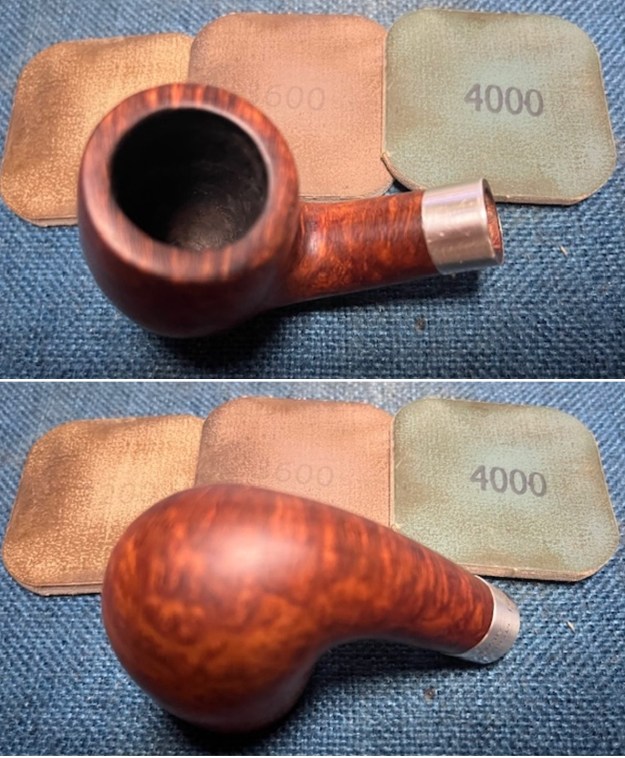
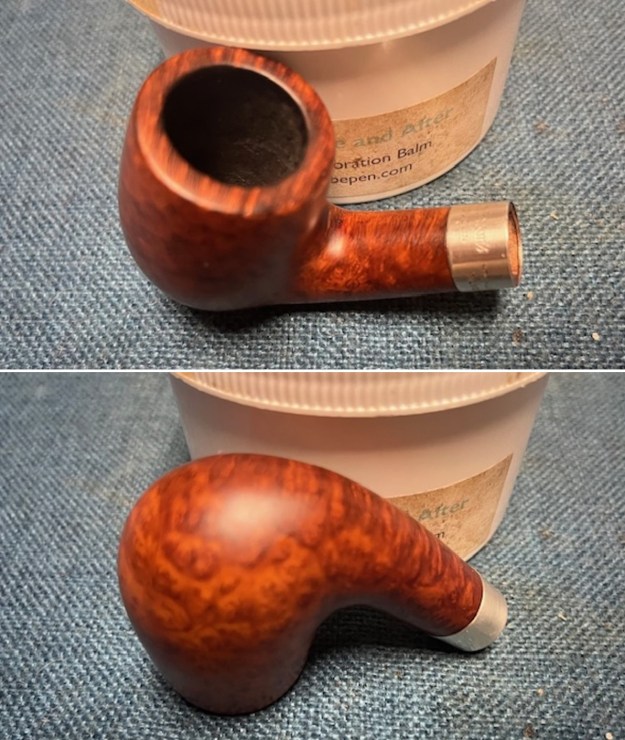
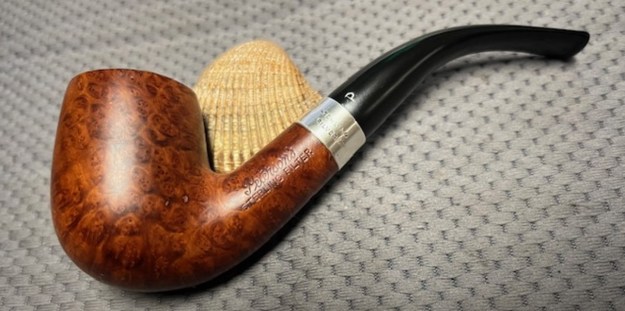
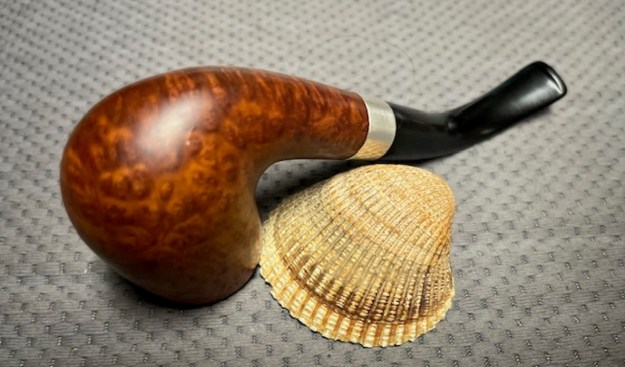
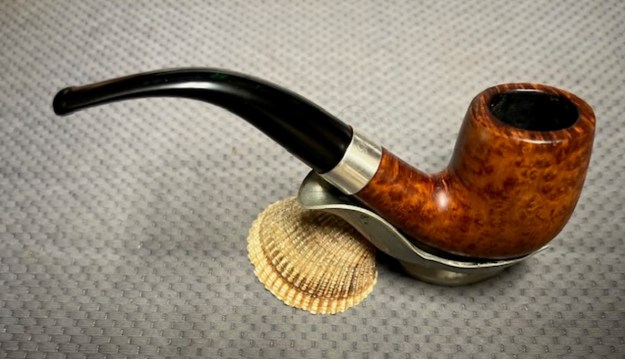
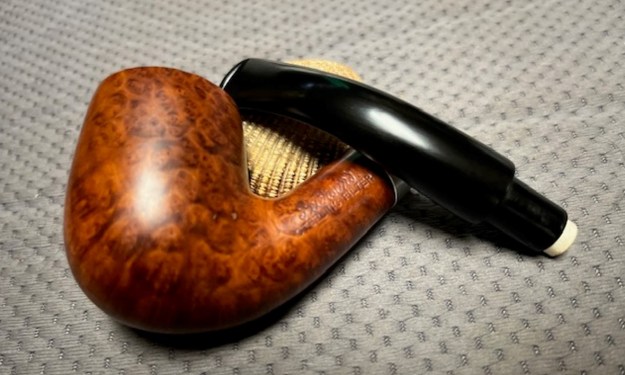
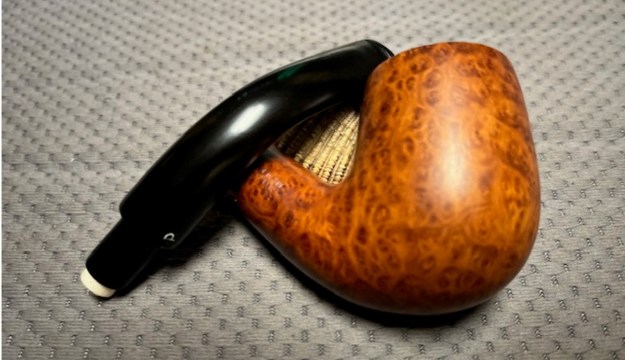
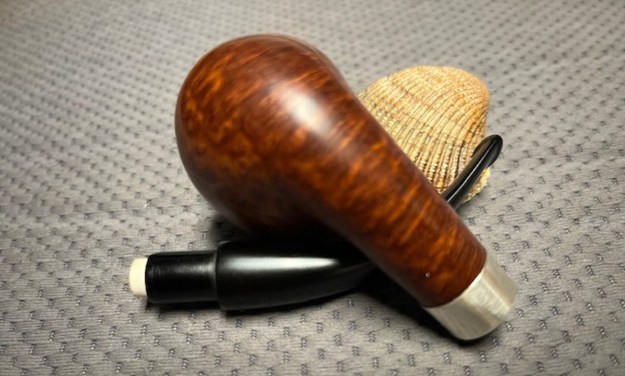
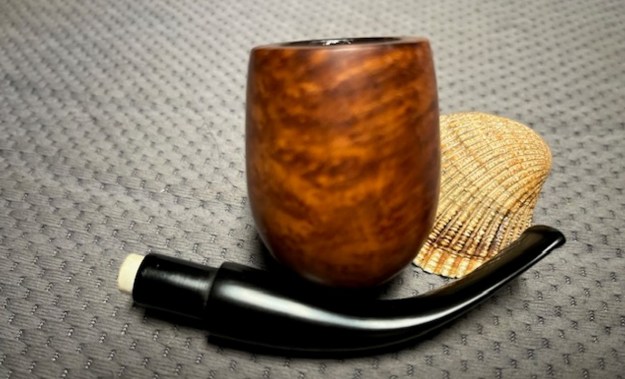
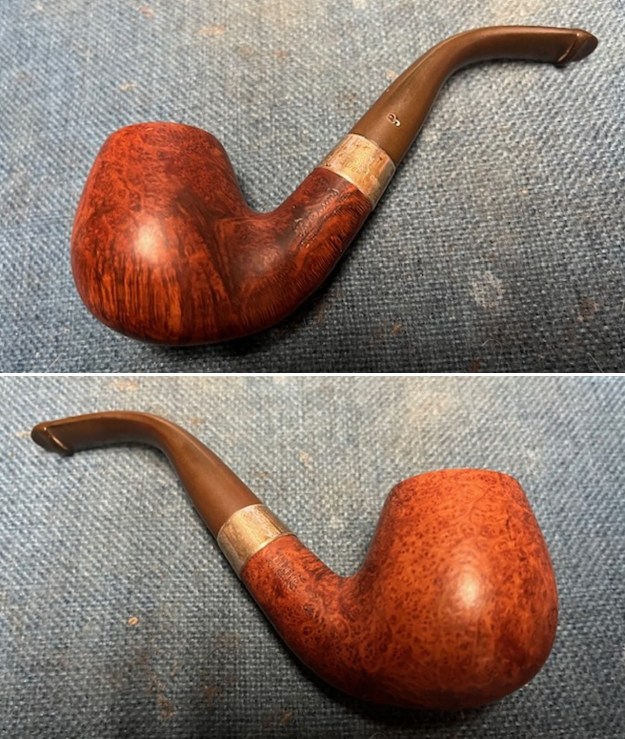
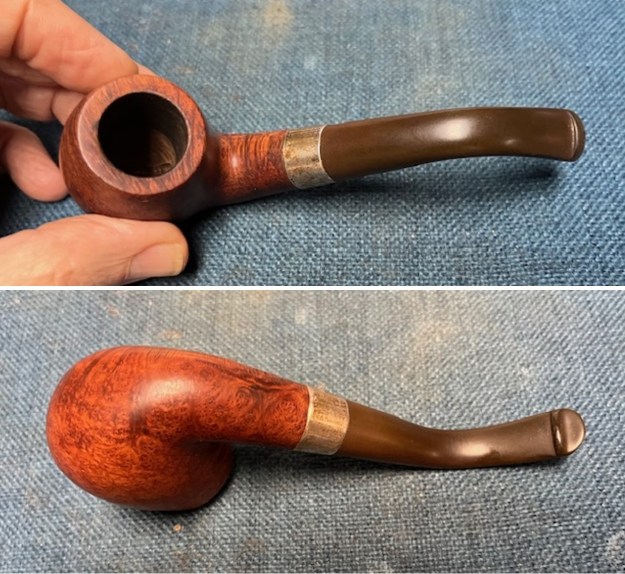
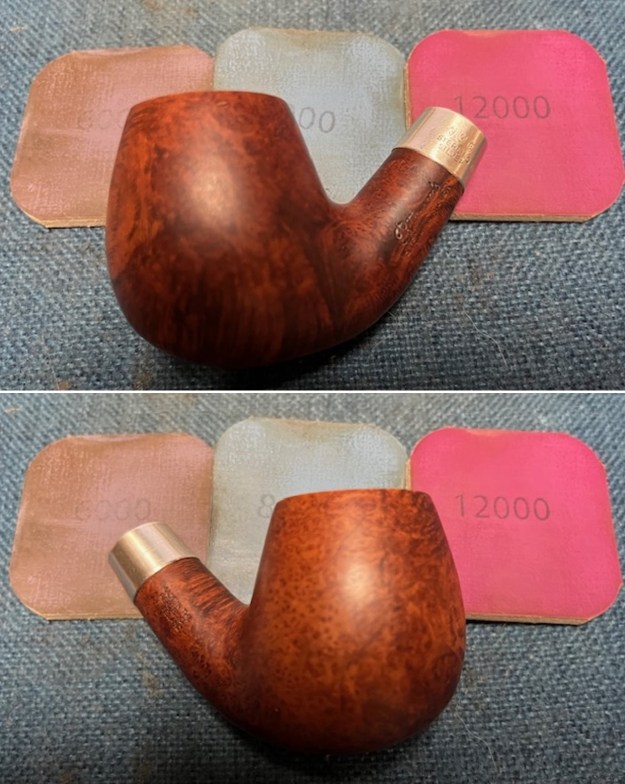
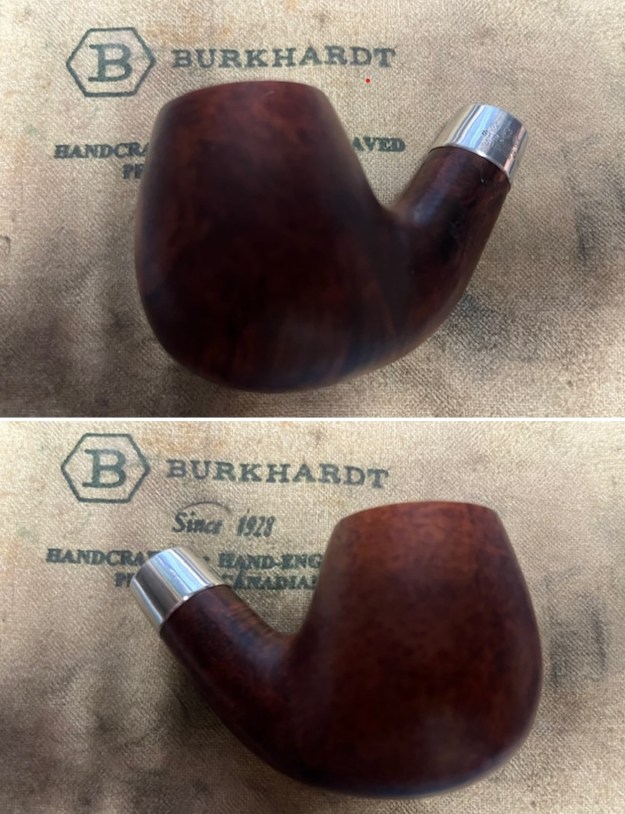
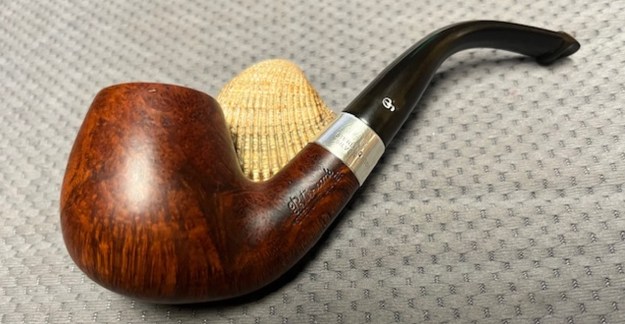
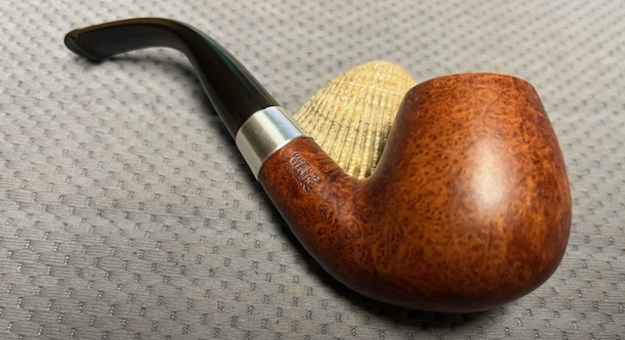
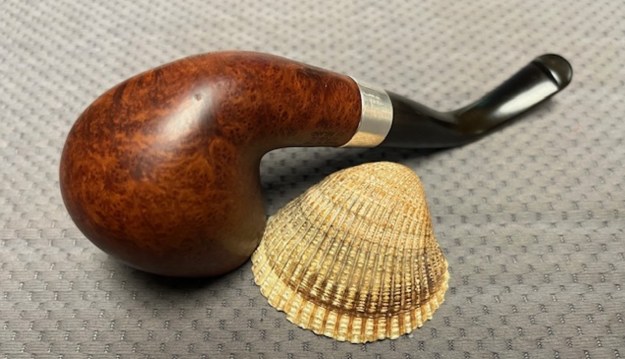
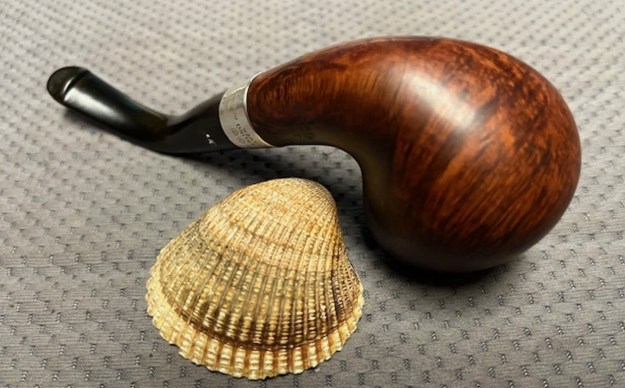
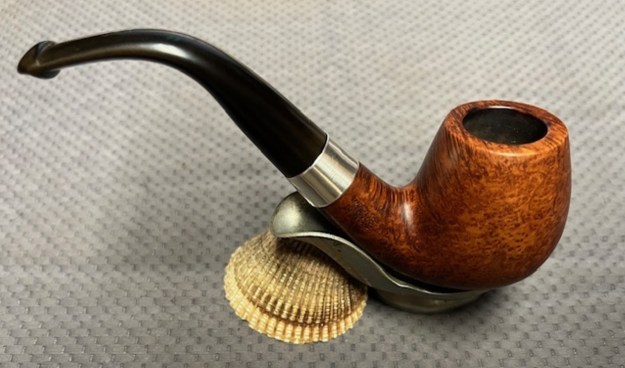
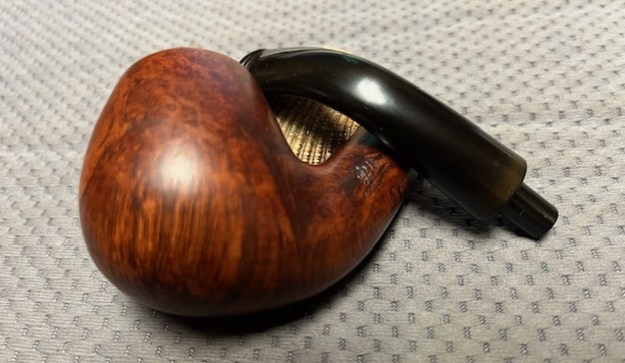
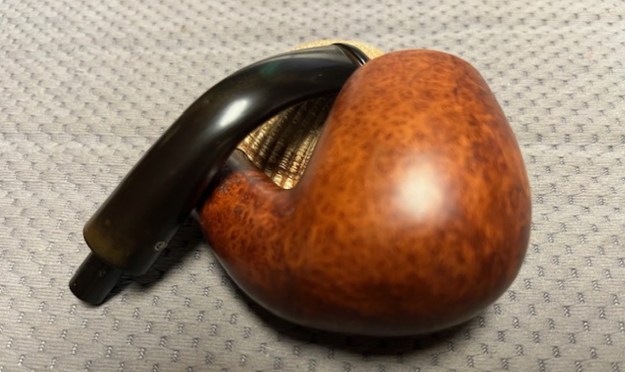
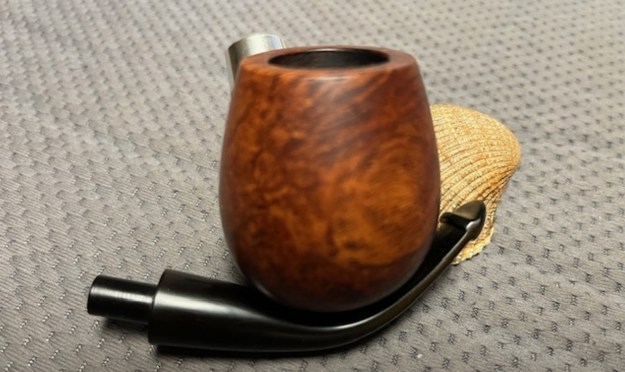
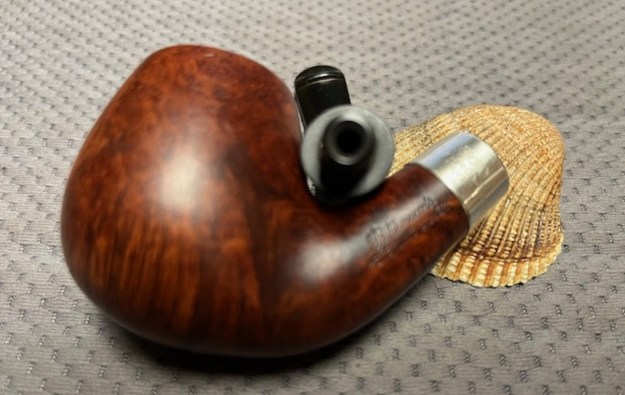
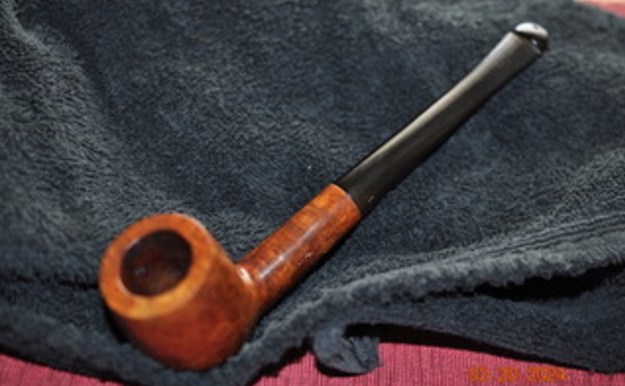
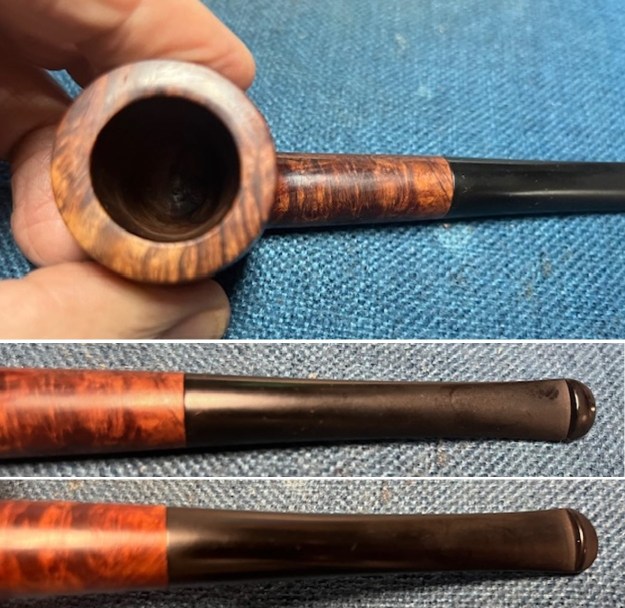
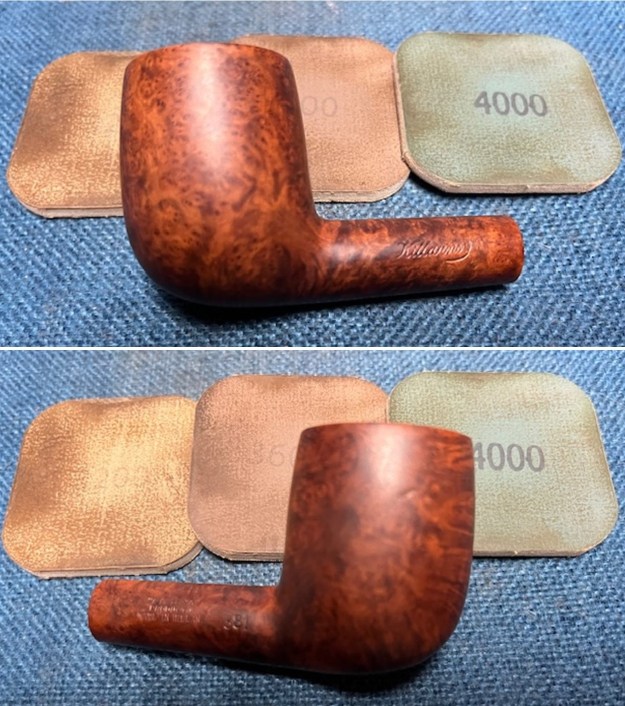
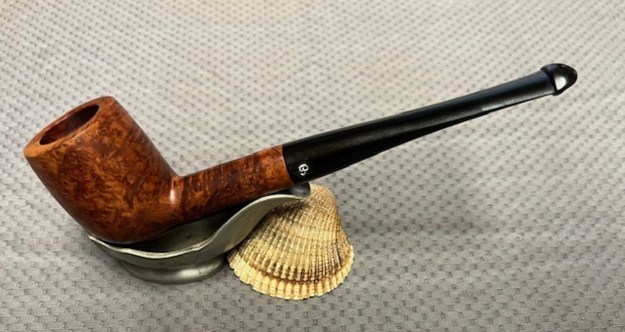
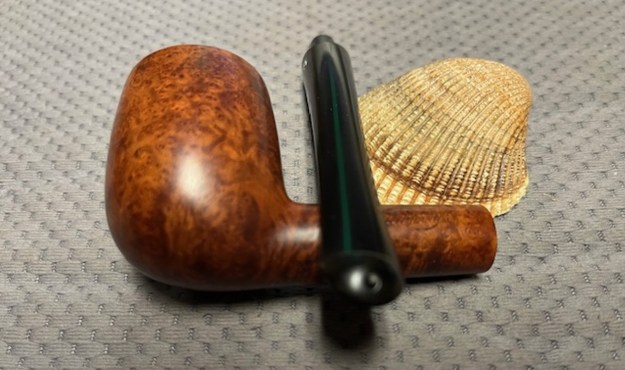
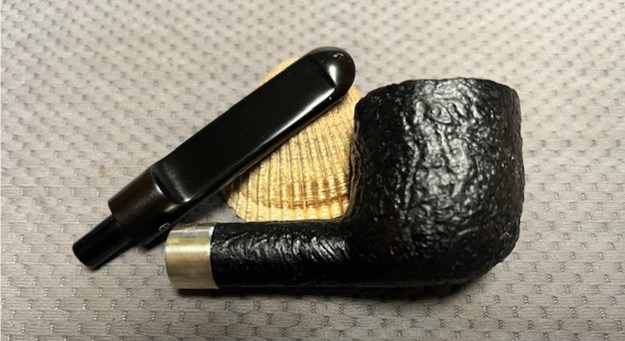
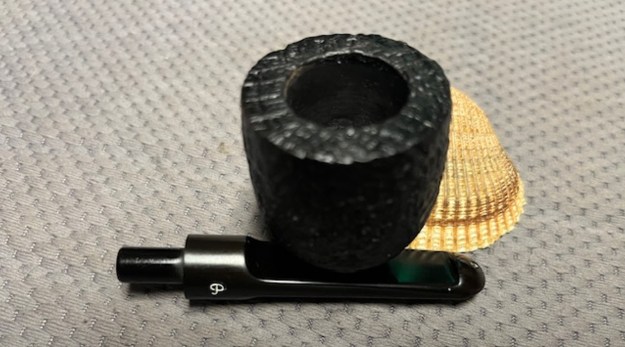
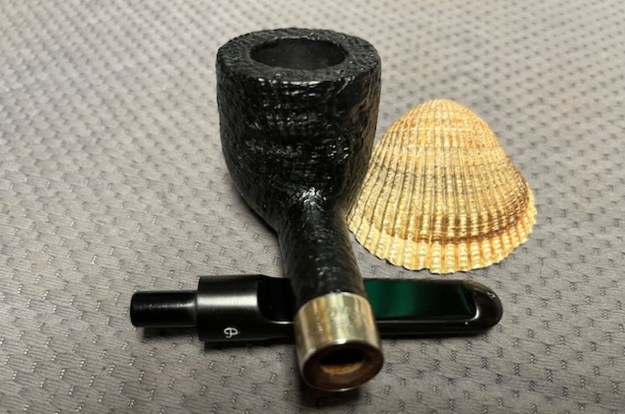
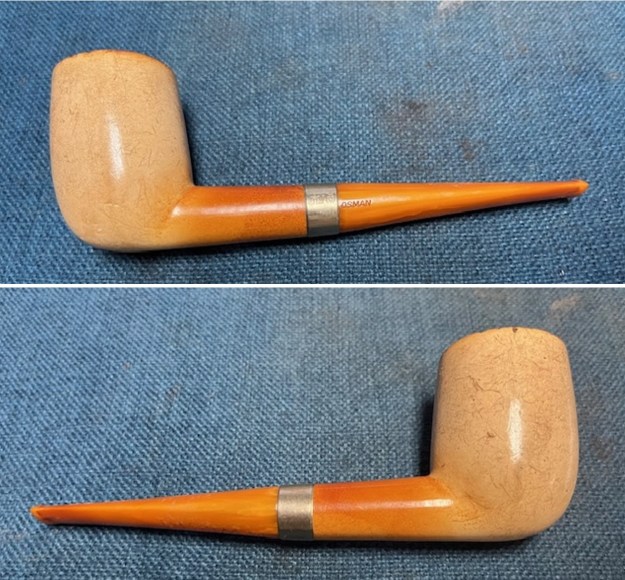
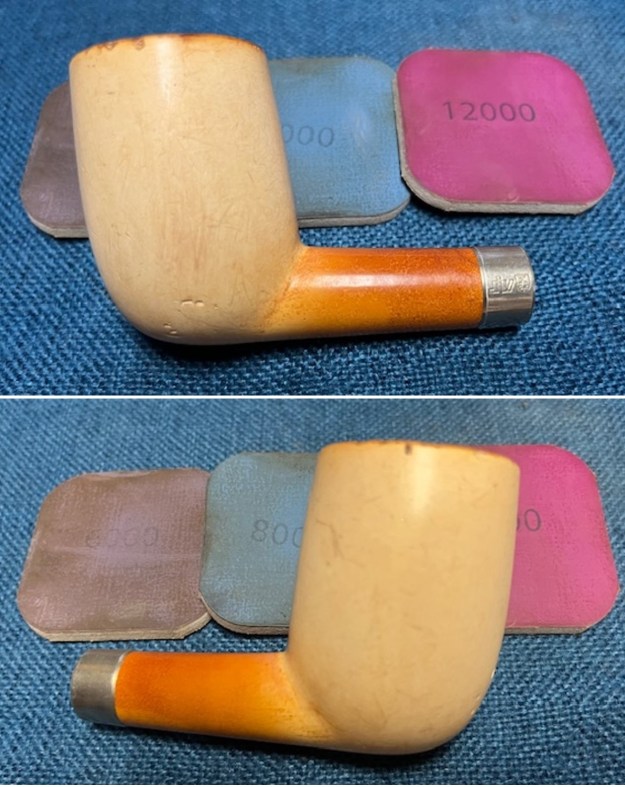
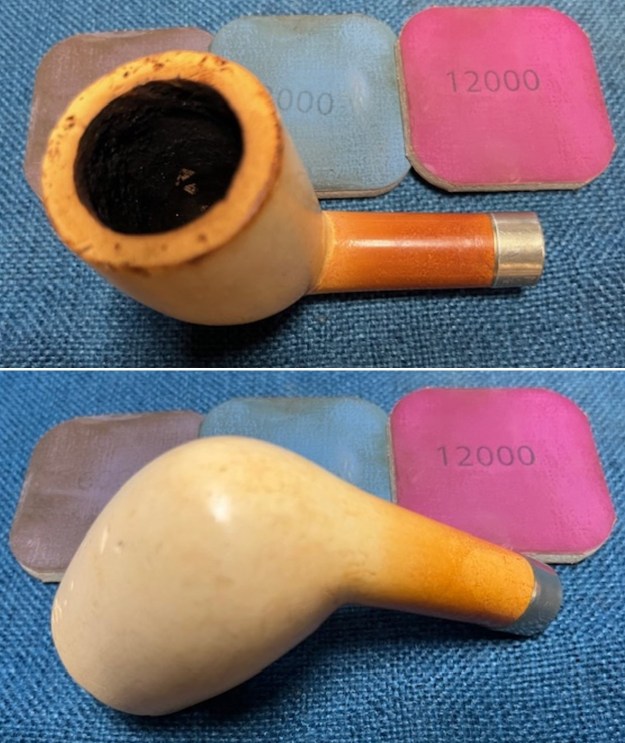
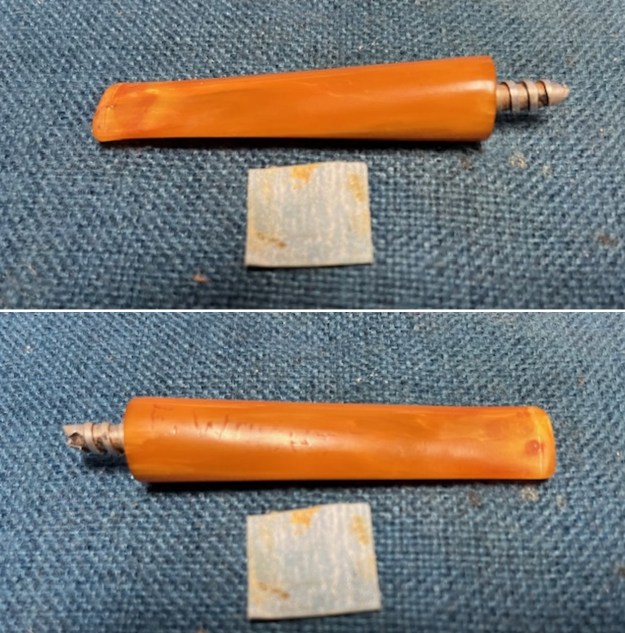
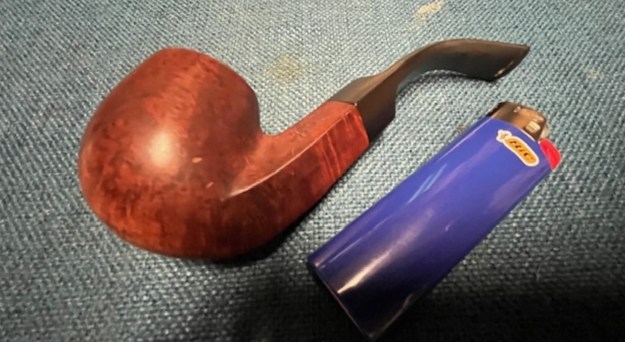
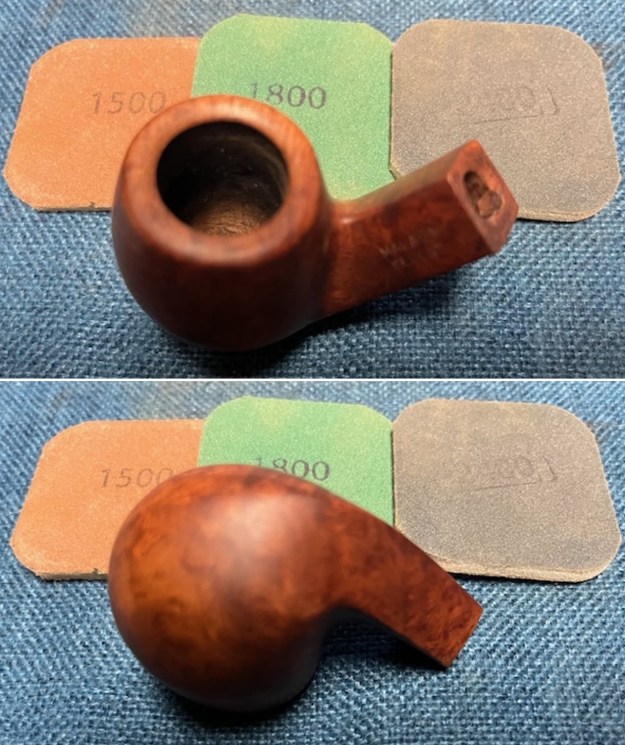
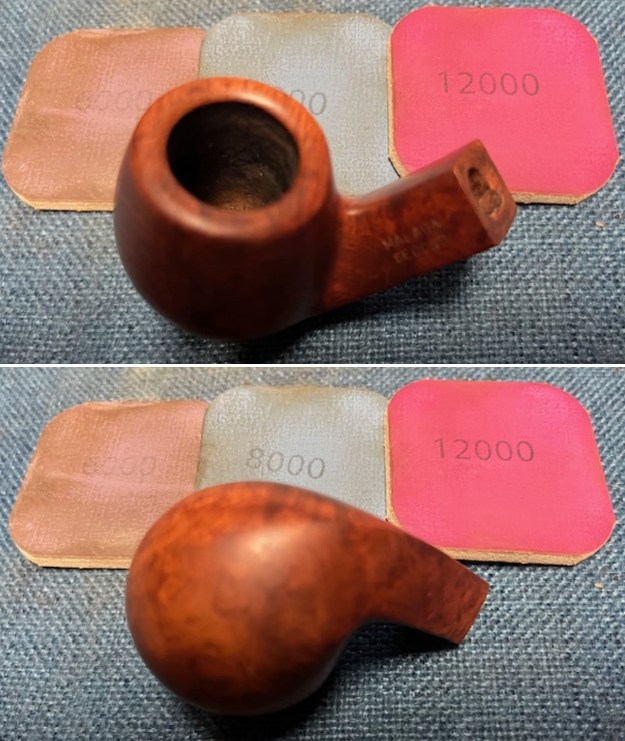
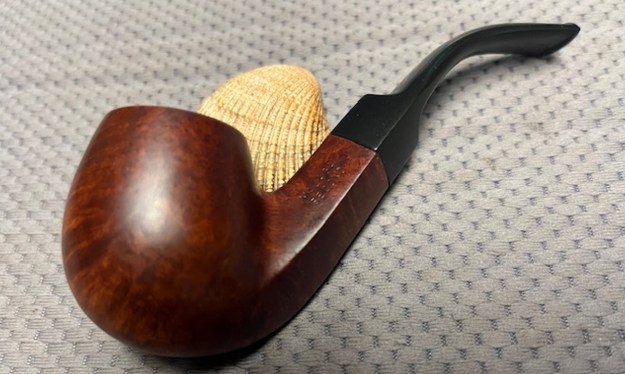
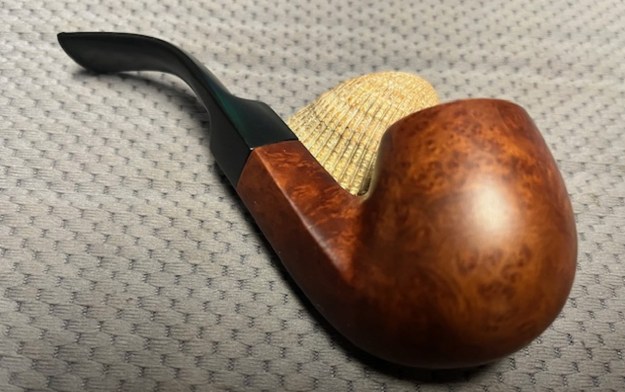
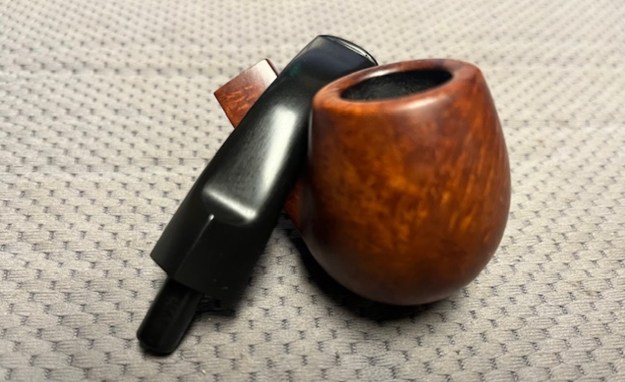
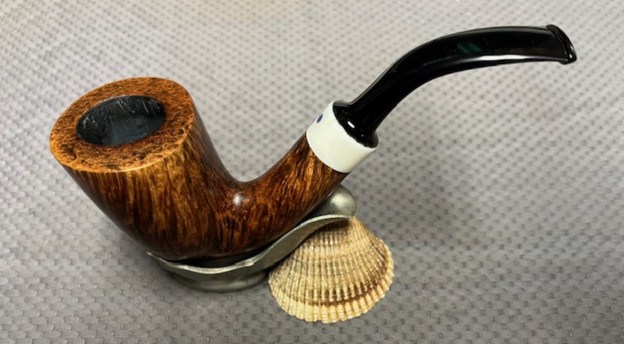
 I the polished black acrylic taper stem with a white ring and the DR Ardor Marte 2008 Scoop bowl with Blue Diamond to polish out the remaining small scratches and raise the shine. I gave the stem and the bowl several coats of Carnauba Wax then buffed the pipe with a clean buffing pad to raise the shine. I hand buffed it with a microfiber cloth to deepen the shine. The pipe polished up pretty nicely. This turned out to be a beautiful DR Ardor Marte 2008 Scoop and black acrylic stem with white ring. The finished pipe is shown in the photos below. The dimensions are Length: ?? inches, Height: 1 ¾ inches, Outside diameter of the bowl: 1 ½ inches wide x 1 ¾ inches long, Chamber diameter: ¾ of an inch. The weight of the pipe is 2.08 ounces/58 grams. Thanks for walking through the restoration with me as I worked this beautiful Bent Dublin. This one will join the first one I restored both will await my completion of the work on the other two pipes Michael sent me. Thanks for looking.