Blog by Steve Laug
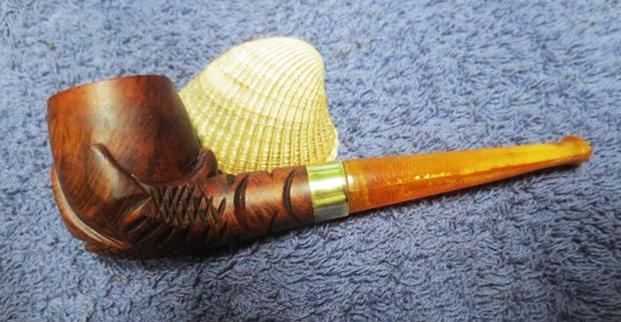
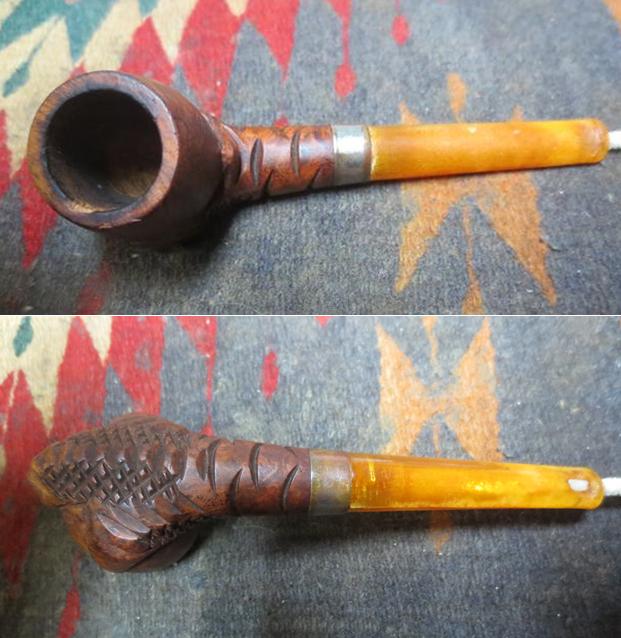
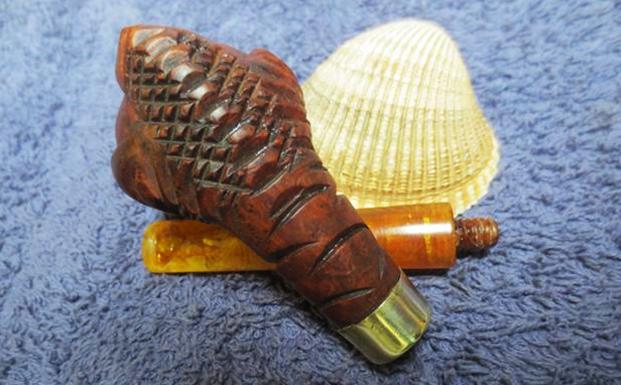
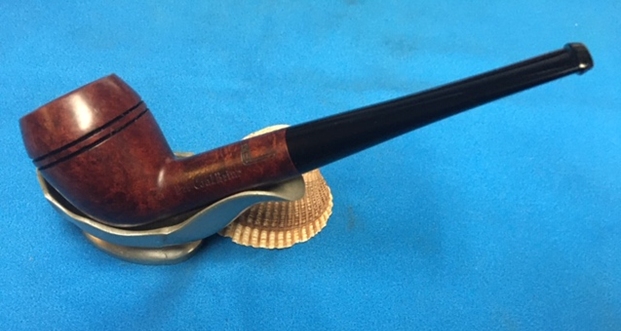
The next pipe on the table came to us from one of Jeff’s pipe hunts or auctions. It is a strange pipe in many ways. The end of the stem is wrapped tightly with thread forming a protective bit cover to protect the stem from bite marks – or was it? Maybe it was a home down repair job and when we removed the thread we would see what was wrong. The other thing about the pipe is that it has a clip on the underside of the pipe with a patent number 2,166,172. Under the spring clip there was a Kaywoodie style carburetor in the bottom of the bowl. It extends up into the bowl bottom about1/4 of an inch. The post is split in the centre like a slotted screw. The airway enters the bowl at the base of the post. The rest of the shank and stem are normal. The bowl was very dirty with a thick cake in the bowl and a lava overflow on the rim top. There was a large chip out of the outer edge of the bowl at the front of the rim top. The stem was dirty but lightly oxidized. There are not any tooth marks on the stem. Jeff took photos of the pipe before he cleaned it up.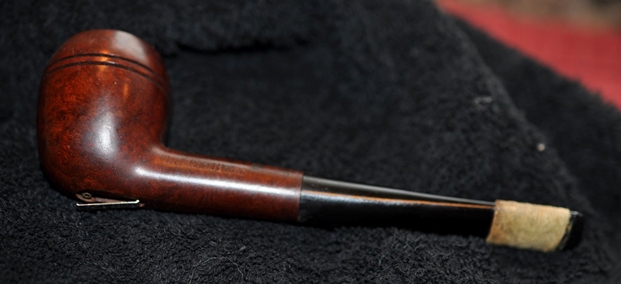
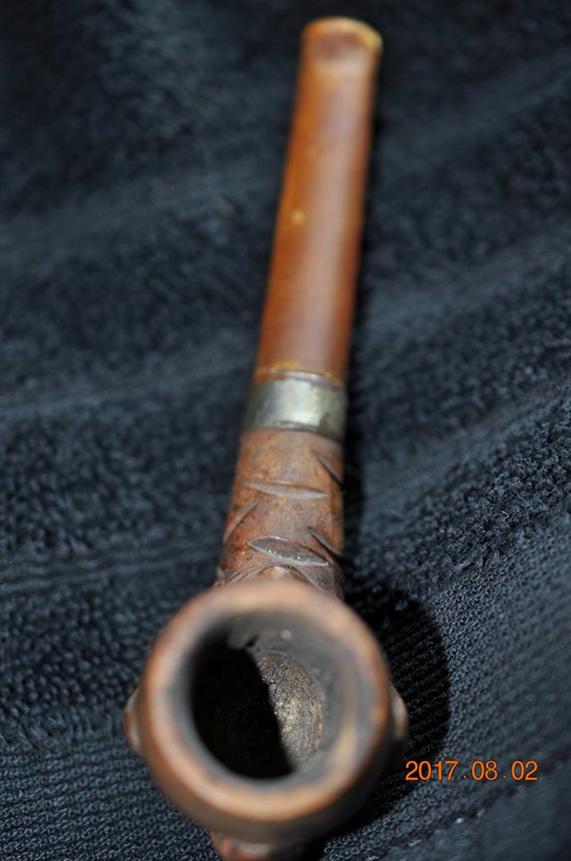
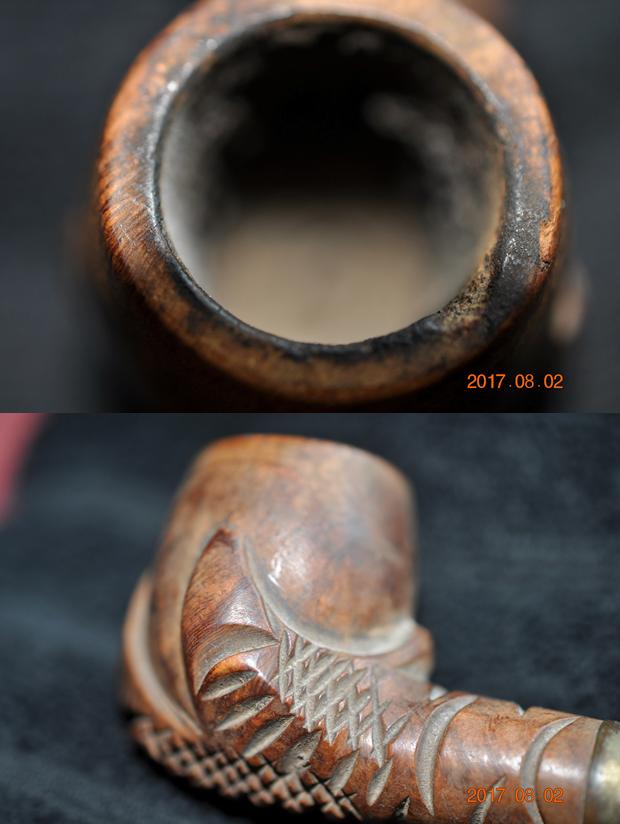
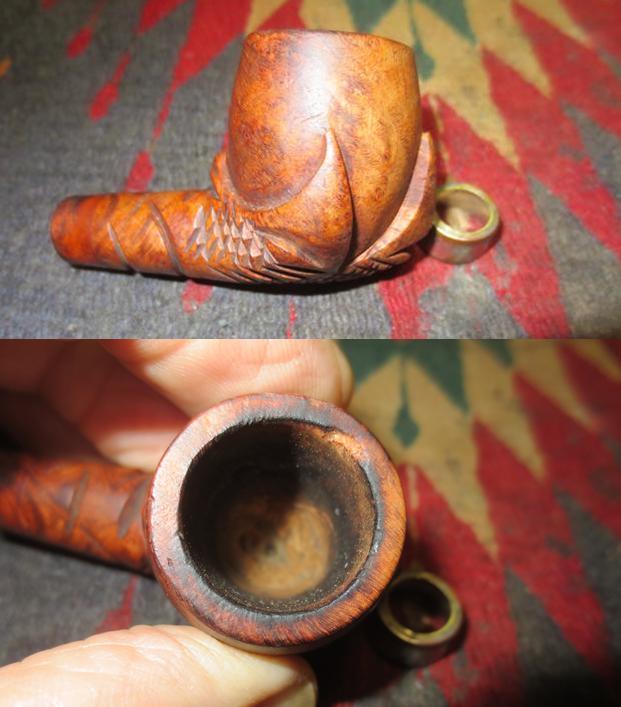
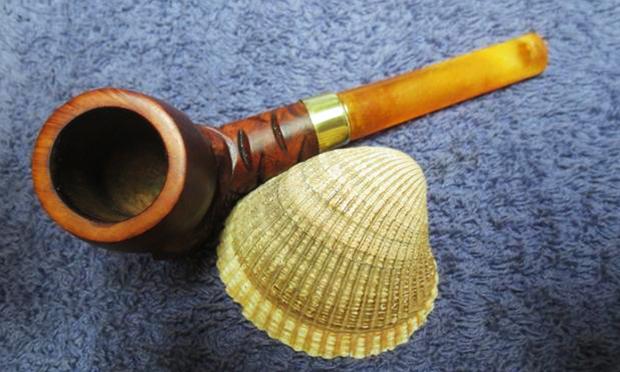
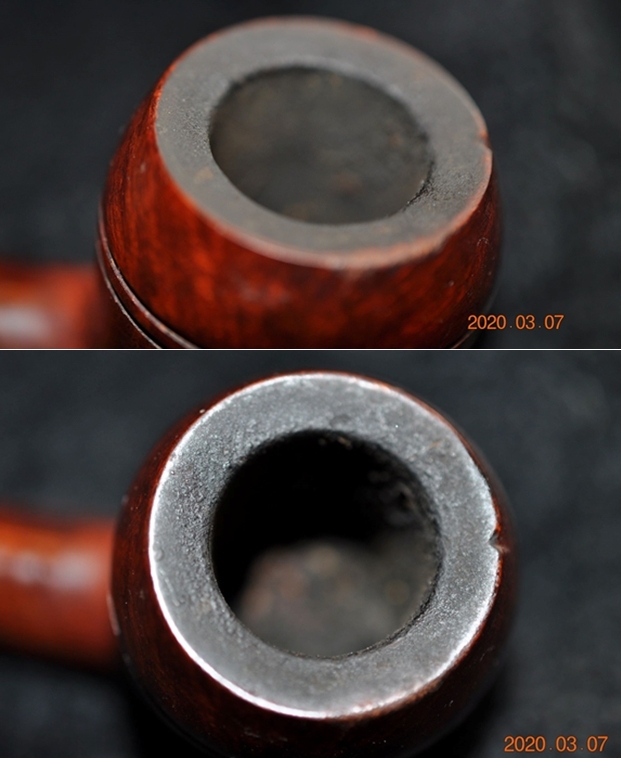
 Jeff took photos of the rim top to show the damage, the tick cake in the bowl and the lava overflow on the rim top. The photos show the rim top and bowl from various angles.
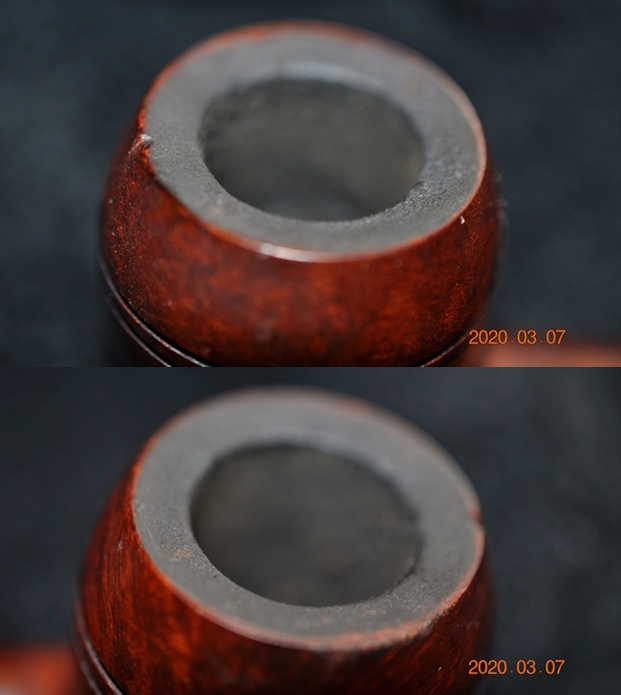
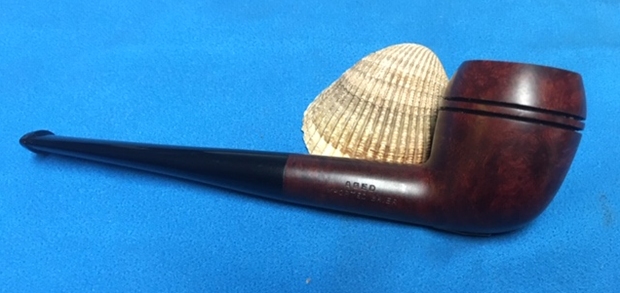
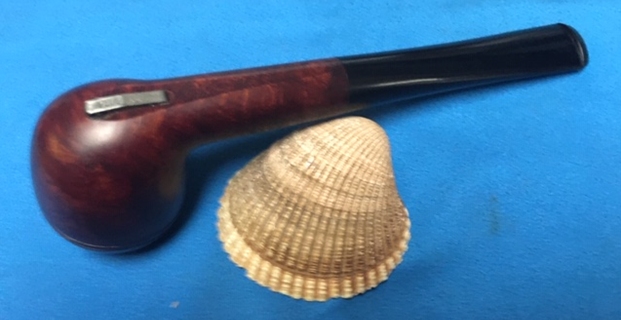
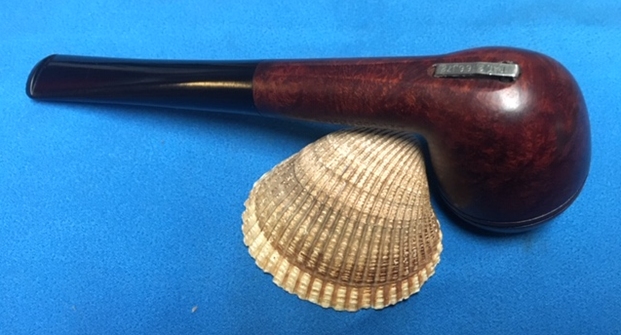
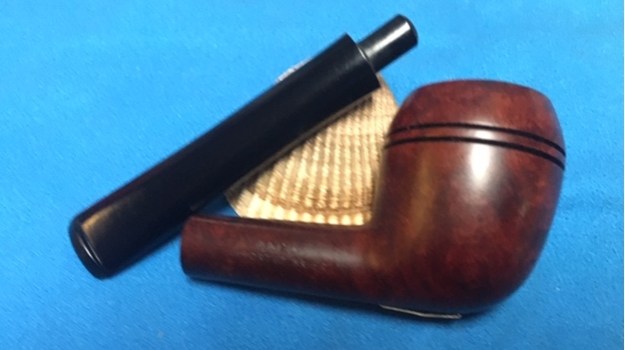
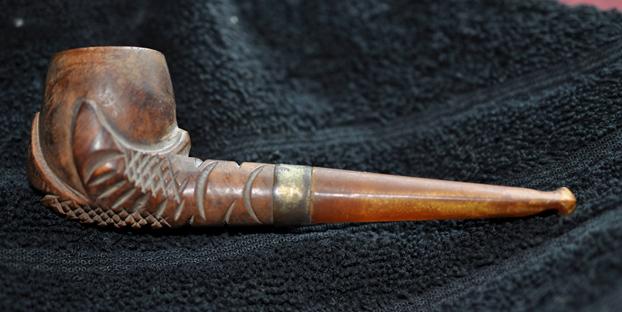
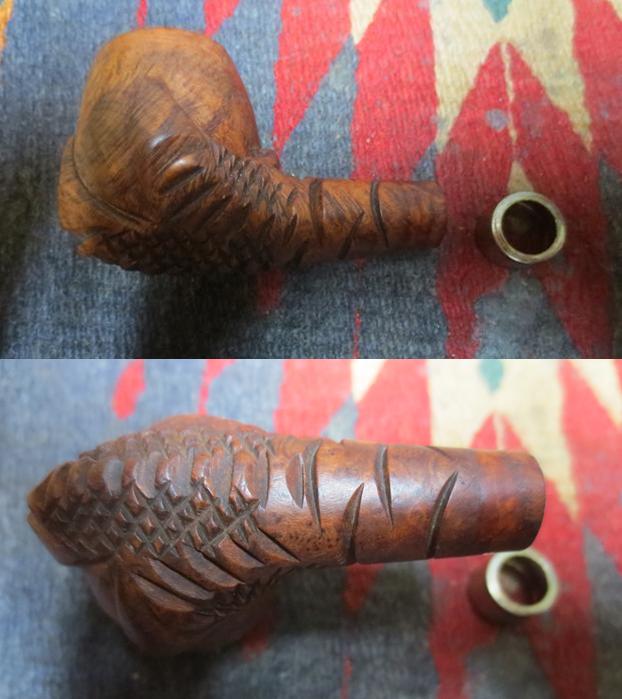
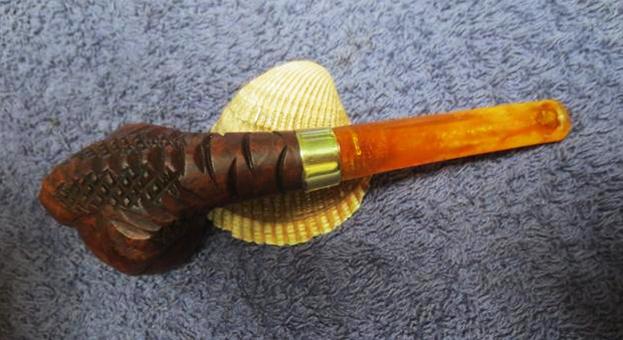
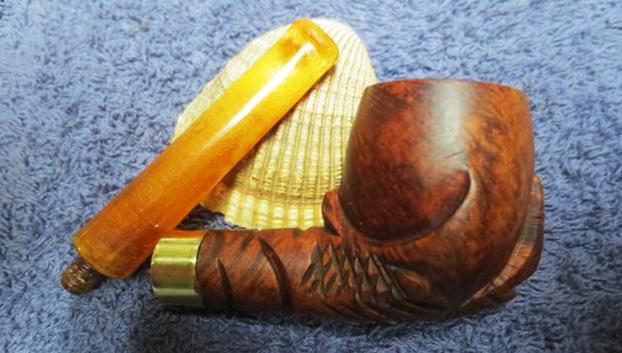
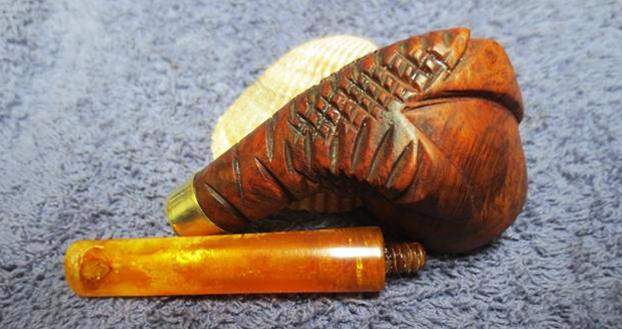
 Jeff took some photos of the bowl sides and heel to show the nice grain that was on this bowl. It is a quite beautifully grained pipe.
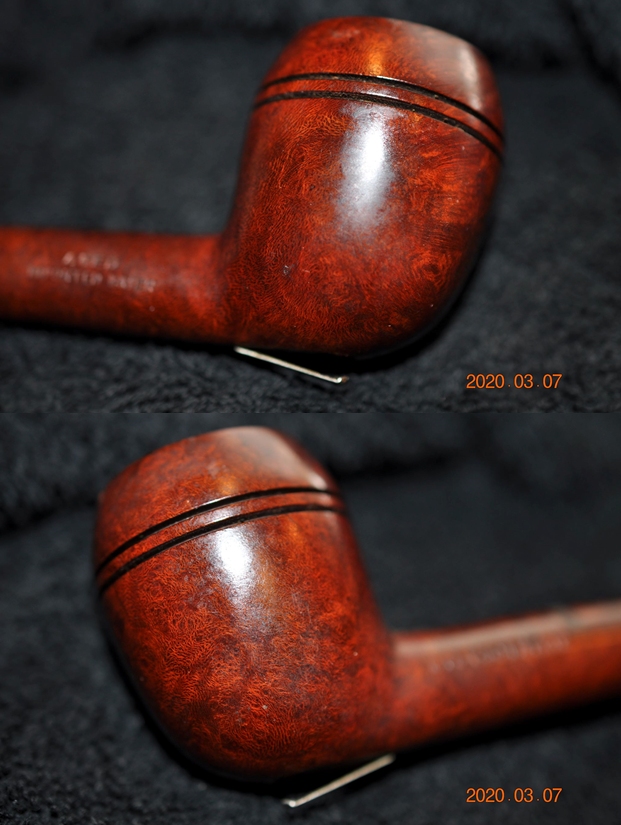
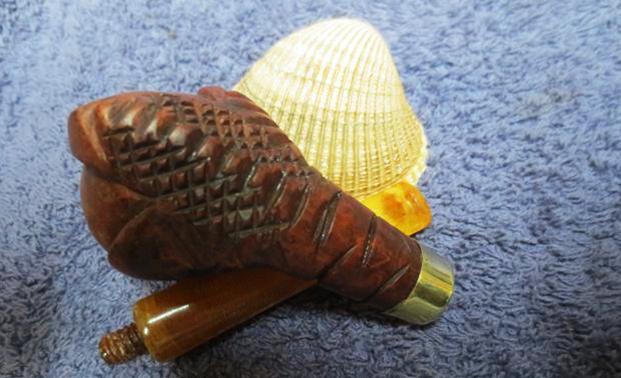
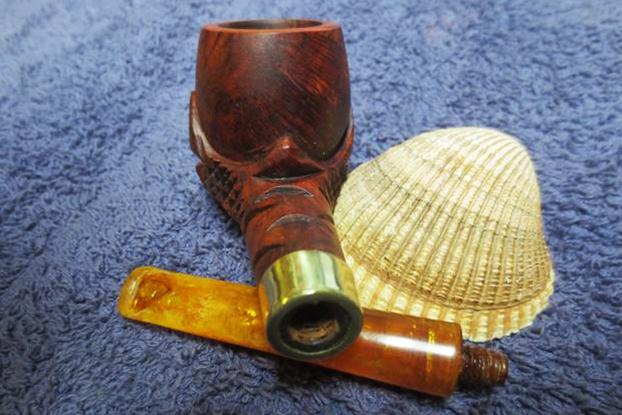
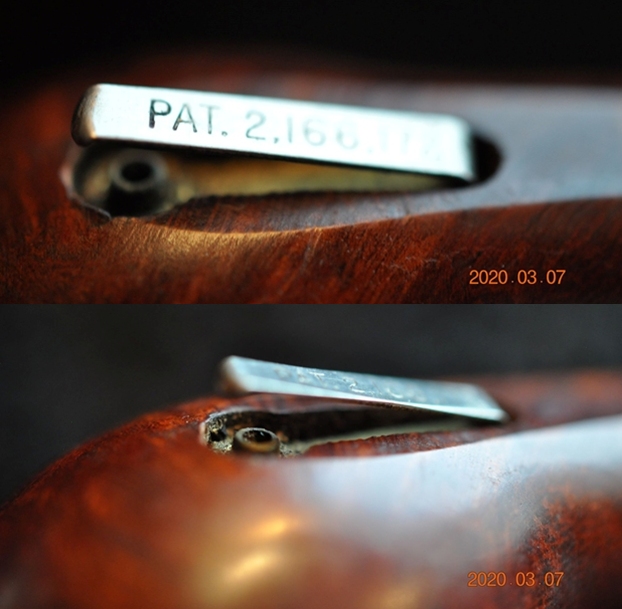
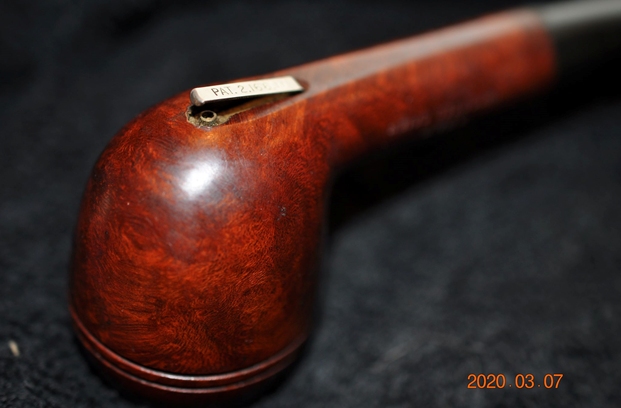 Jeff took several photos of the apparatus on the heel of the bowl. You can see the clip like piece of metal with a patent number on it over the carburetor/nozzle extending out of the bowl.
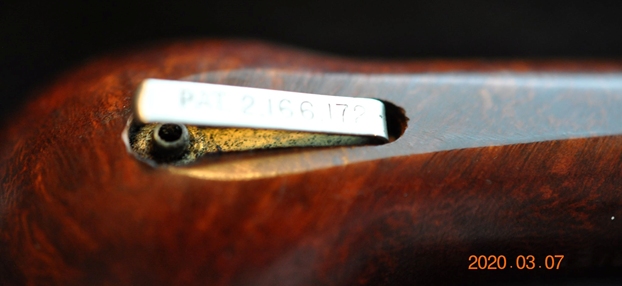
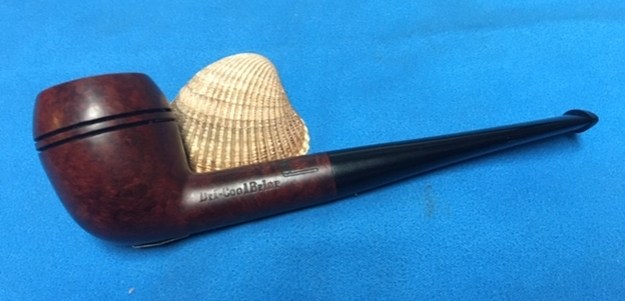
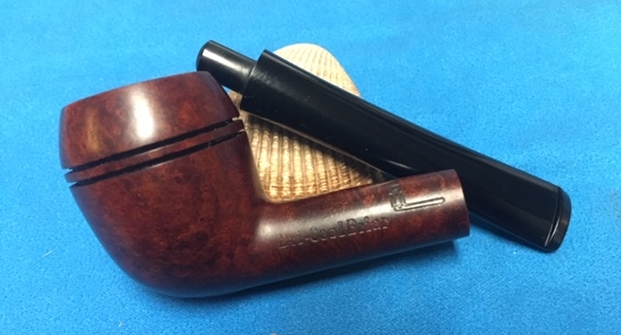
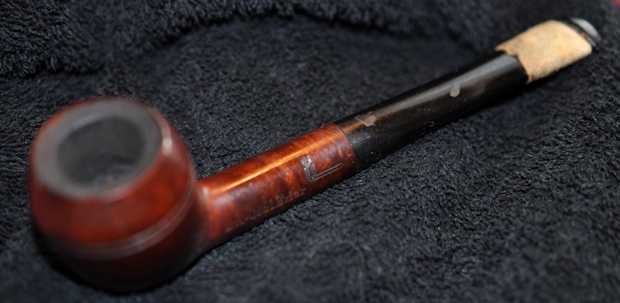
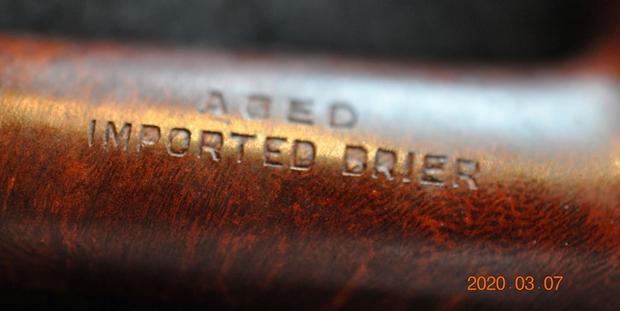
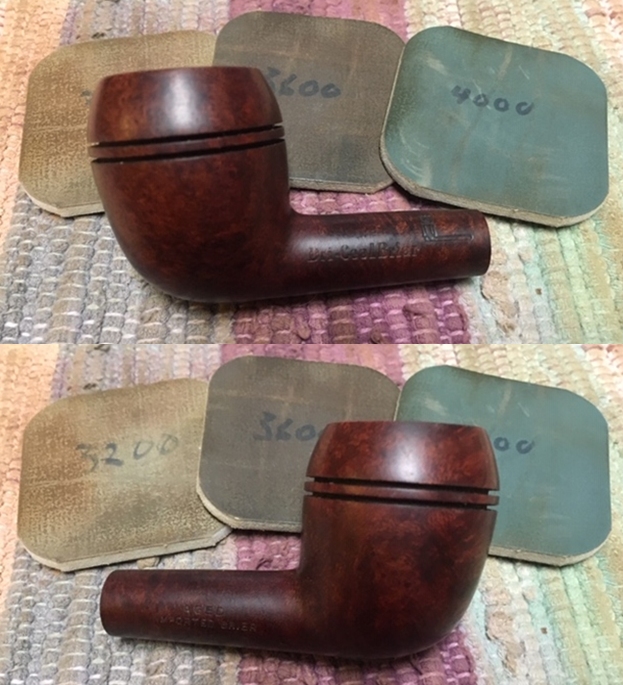
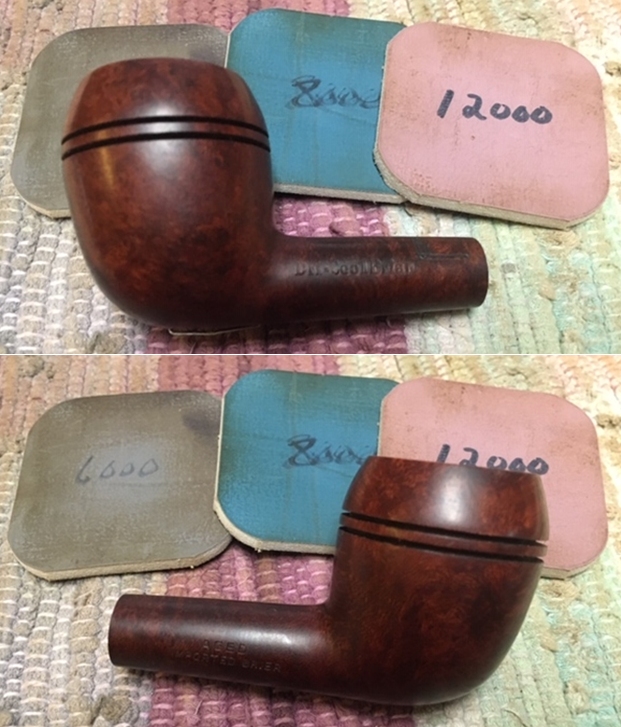
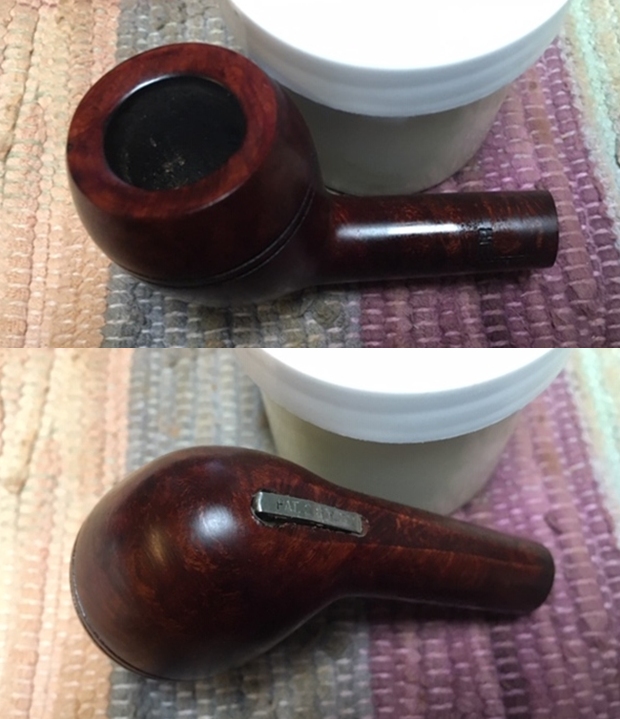
 The stamping and logo are interesting on the left side of the shank. They include the Dri-Cool Briar stamp and a pipe that illustrates the system. On the right side of the shank it reads Aged Imported Briar.
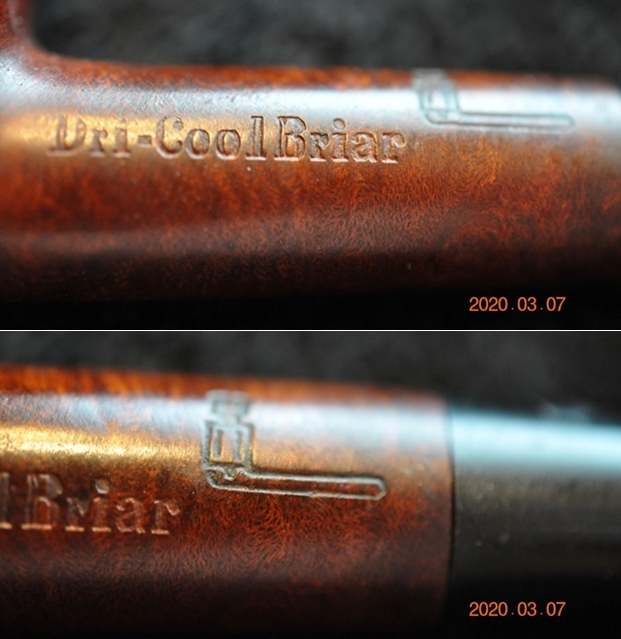
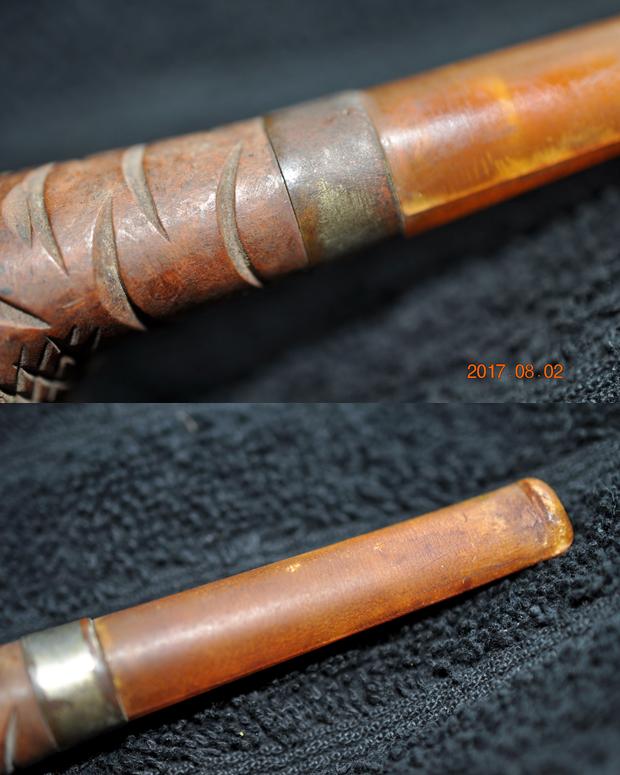
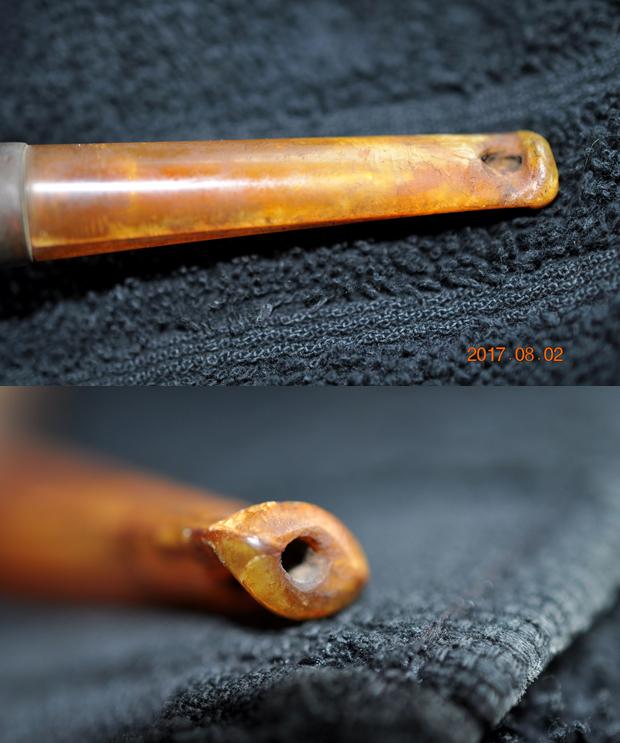
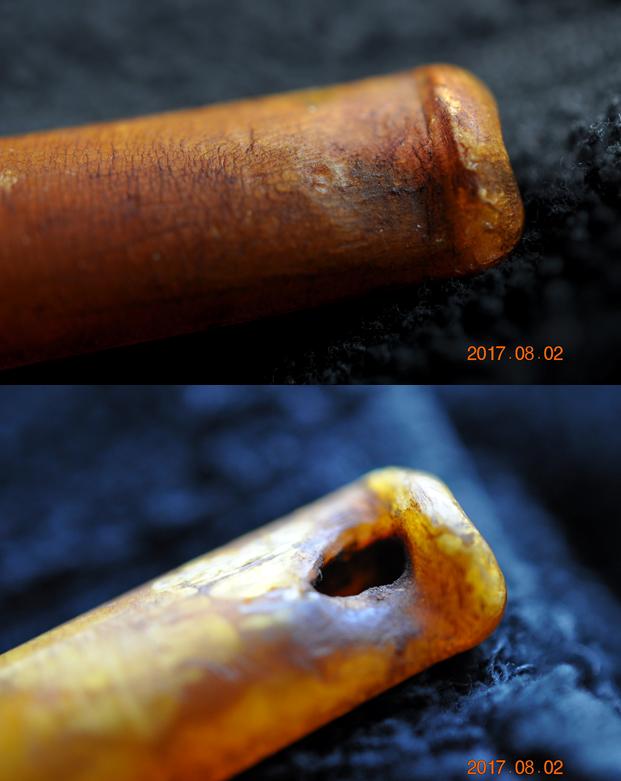
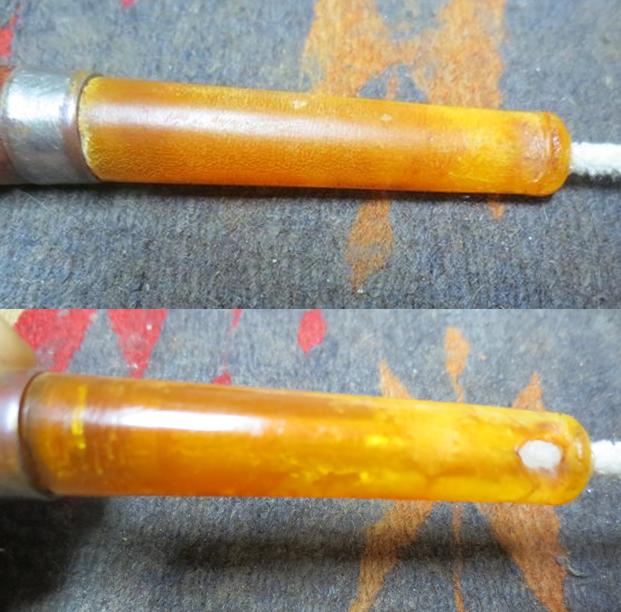
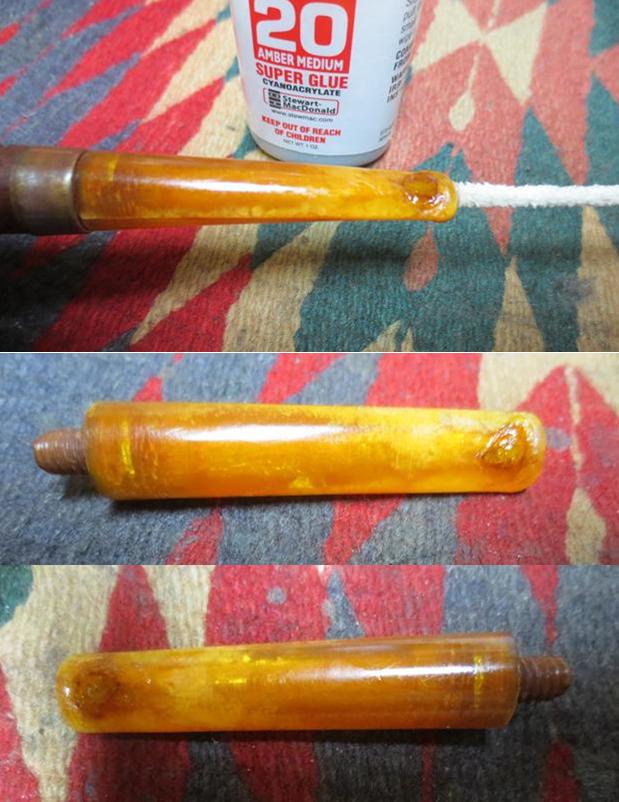
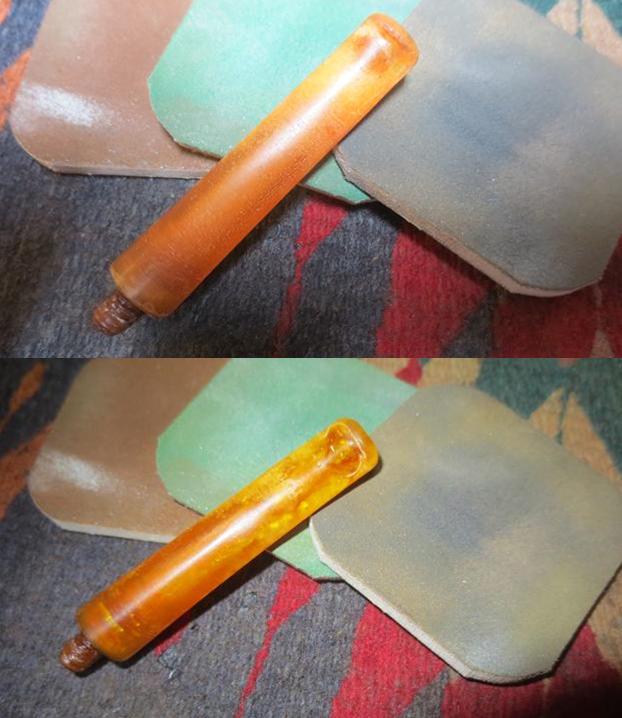
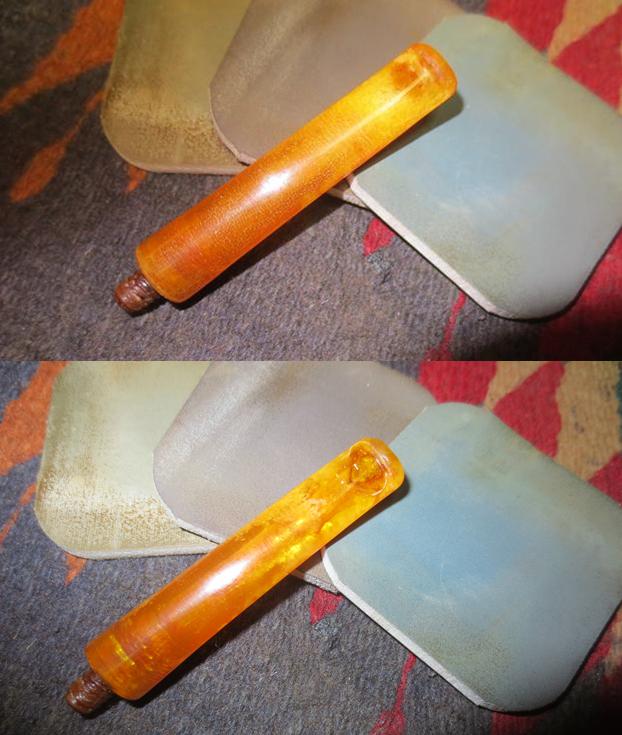
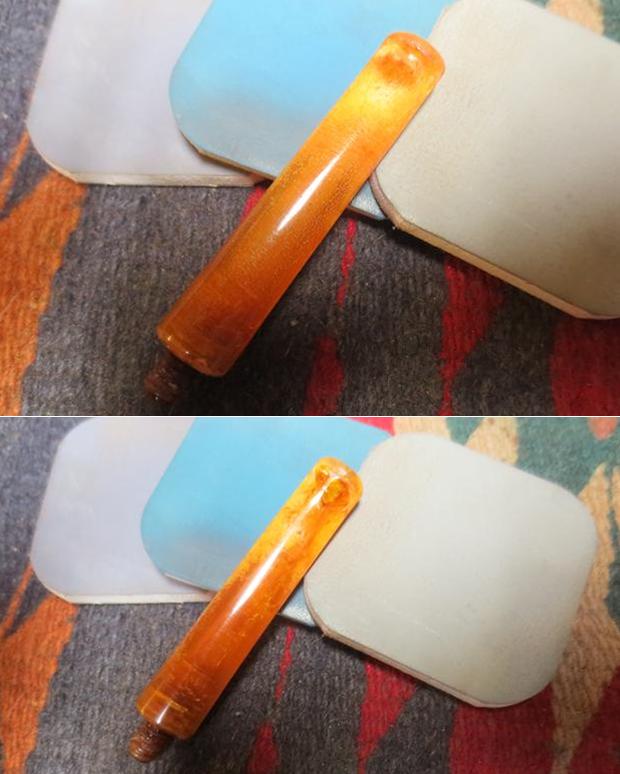
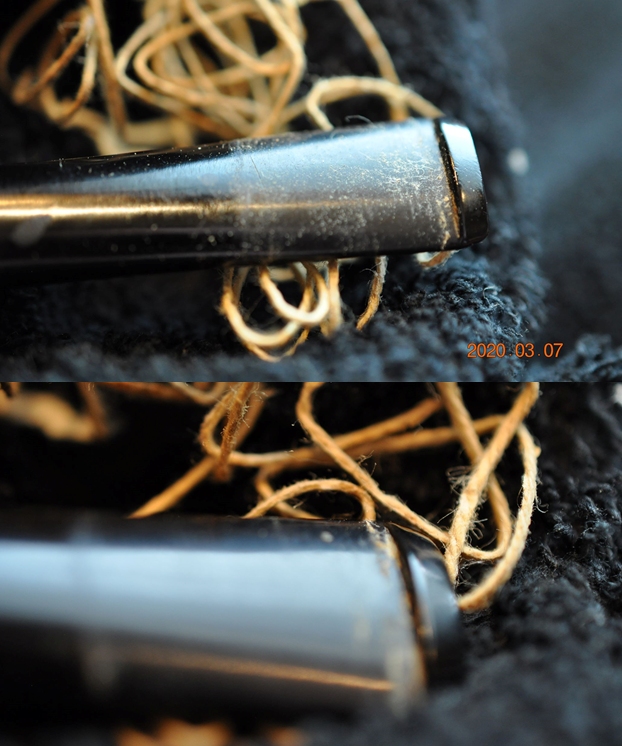
 The previous pipeman had wrapped the end of the stem in twine/thread to provide a homemade bite protector. We have seen this before and generally what is underneath is a mess. However Jeff took photos of the unwrapping this time and what was underneath was quite pristine. Whew a good surprise!
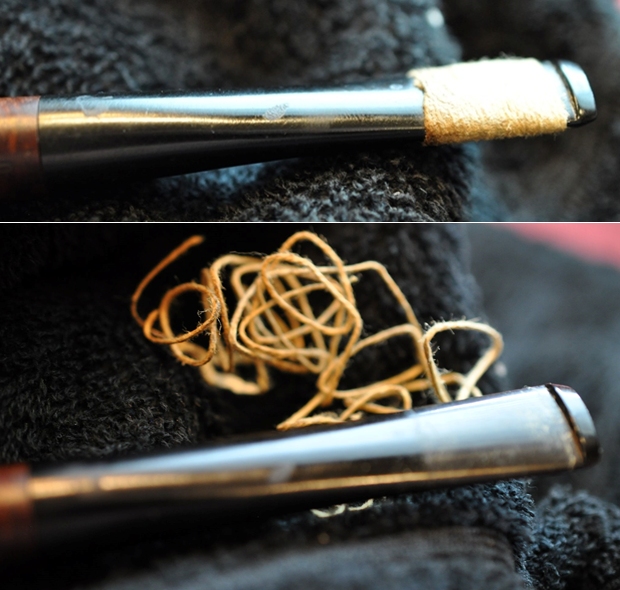
 Before I started to work on the pipe I decided to hunt down the patent number on the clip on the heel of the bowl. I did a patent search on the US Patent Site and found the following Patent Information. For some reason one of the pages was not available on the site but I have included what was there along with the patent drawings.
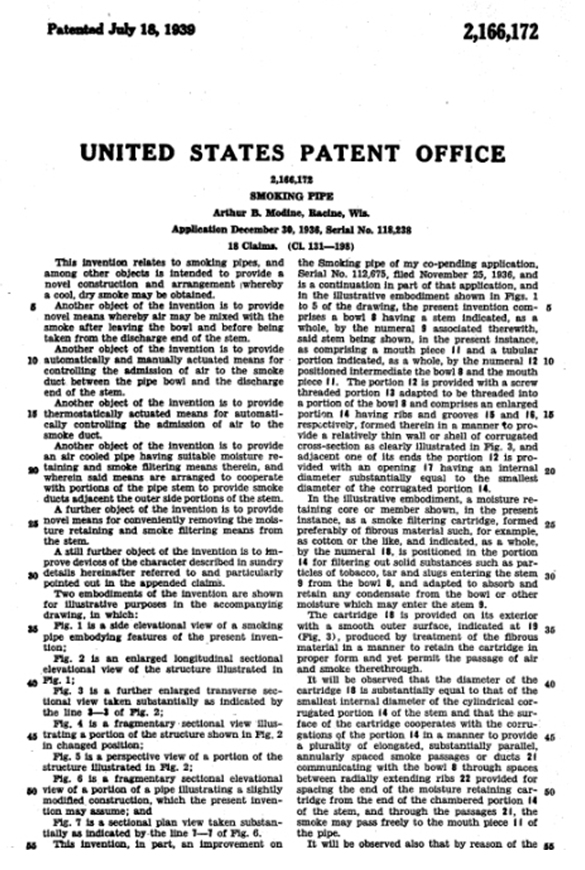
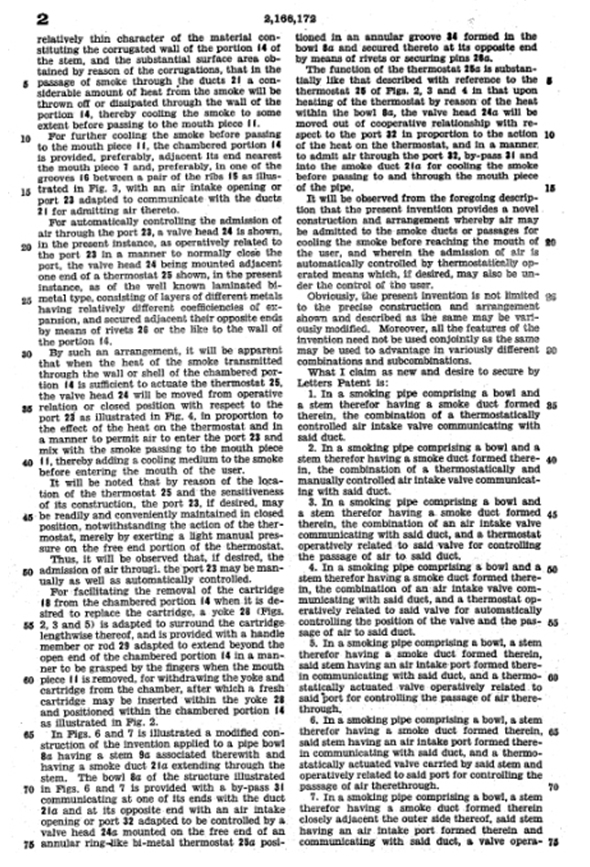
 It appears that the concept was patented on December 30, 1936 by A.B. Modine. While the pictures are slightly different from the pipe I am working on the parts appear to be the same. It is an interesting piece of the perpetual and ongoing search for a cool and dry smoke. I also found a picture online of a Dri-Cool Briar The Thermostatic Control Billiard and have included below.
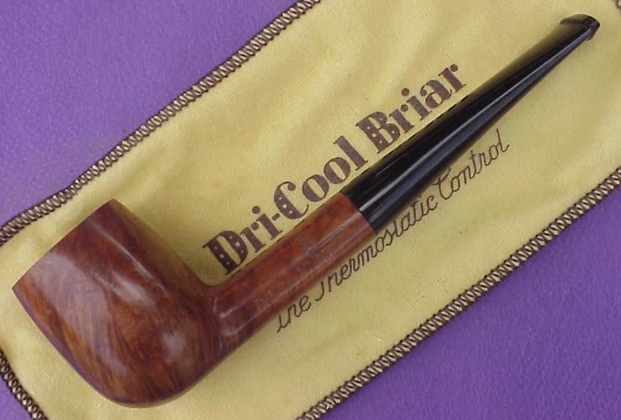 Armed with that information I turned to work on the pipe itself. Jeff had done a great job cleaning up the pipe as usual. He reamed the pipe with a PipNet reamer and cut back the cake back to the bare briar. He cleaned up the walls with a Savinelli Fitsall Pipe Knife. He scrubbed the interior of the bowl and shank with pipe cleaners, cotton swabs and alcohol to remove the tars and oils. He scrubbed the exterior of the pipe with Murphy’s Oil Soap to remove the grime from the finish. He scrubbed the inside of the stem with alcohol and pipe cleaners. He scrubbed the exterior with Soft Scrub and then soaked it in Before & After Deoxidizer. He washed it off with warm water to remove the deoxidizer. The pipe looked far better. I took photos of the pipe when I received it before I started working on it.
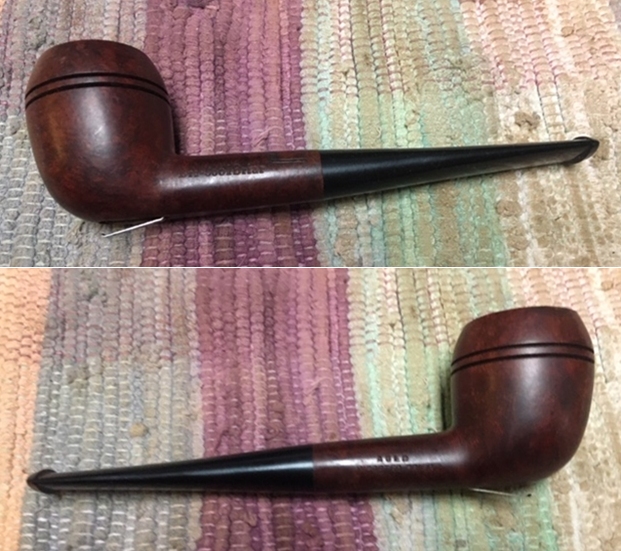
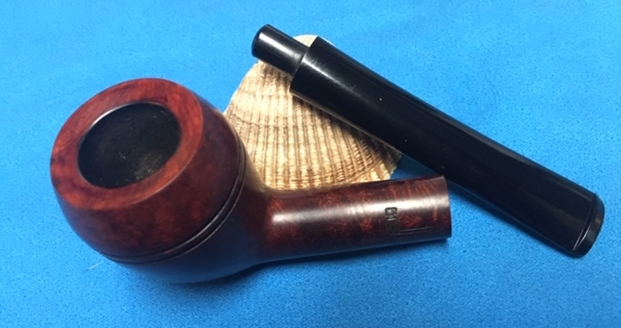
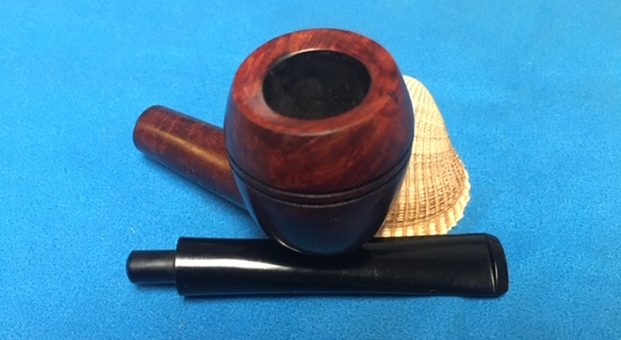
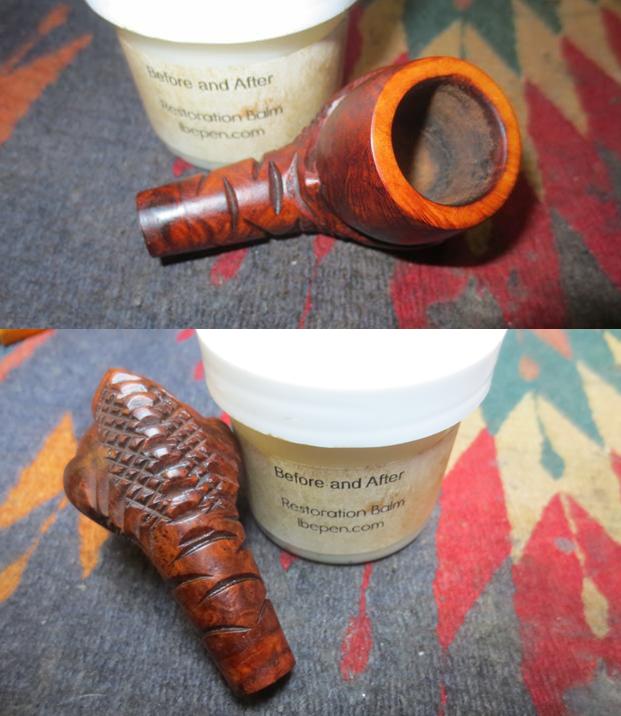
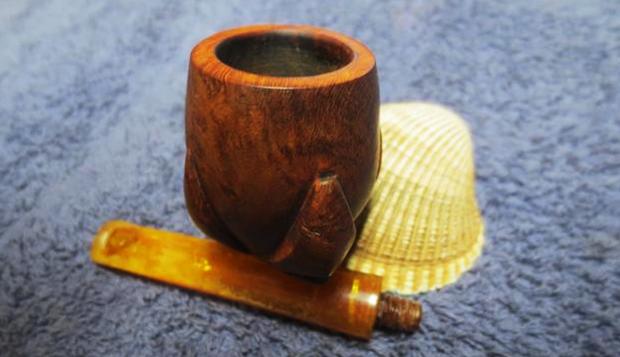
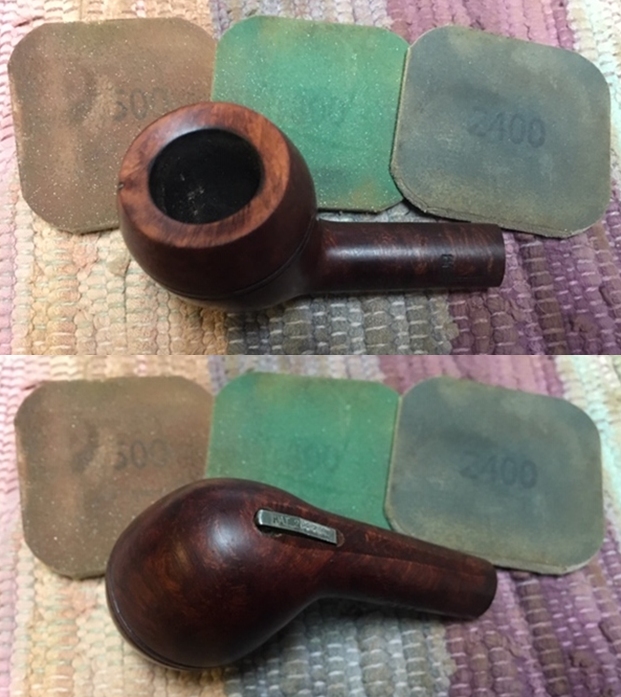
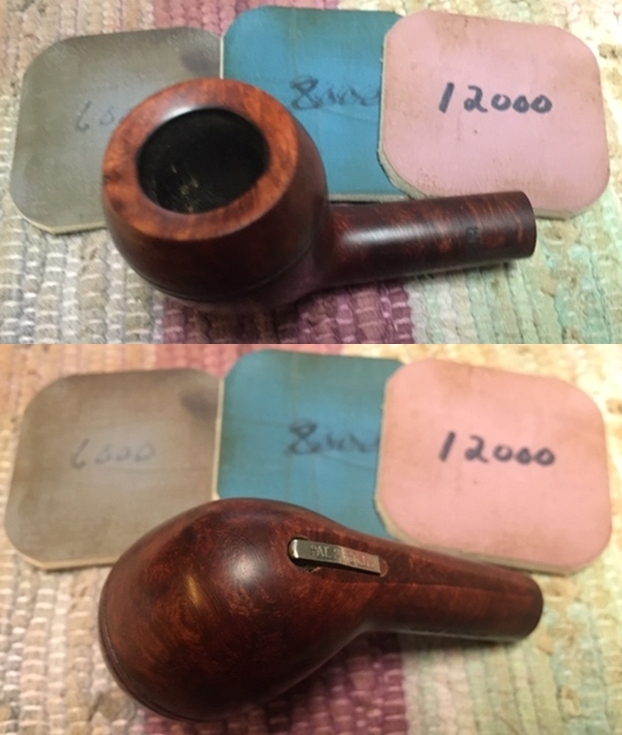
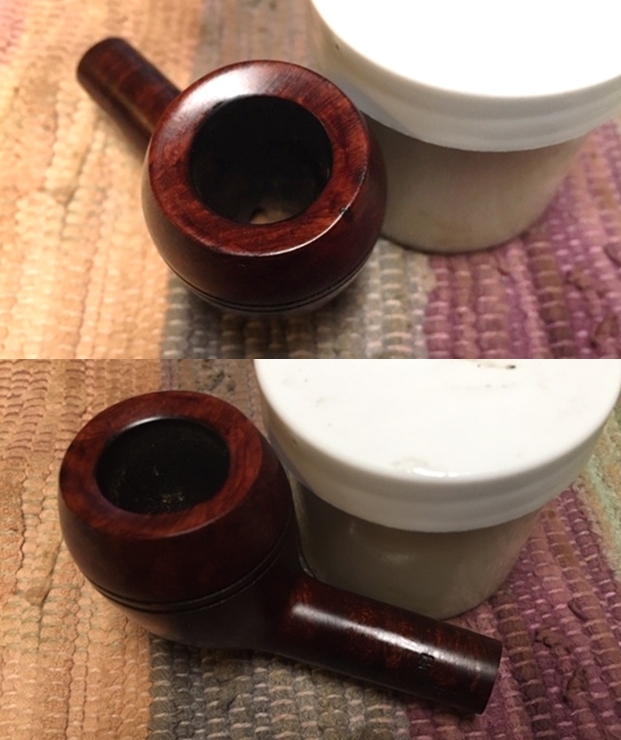
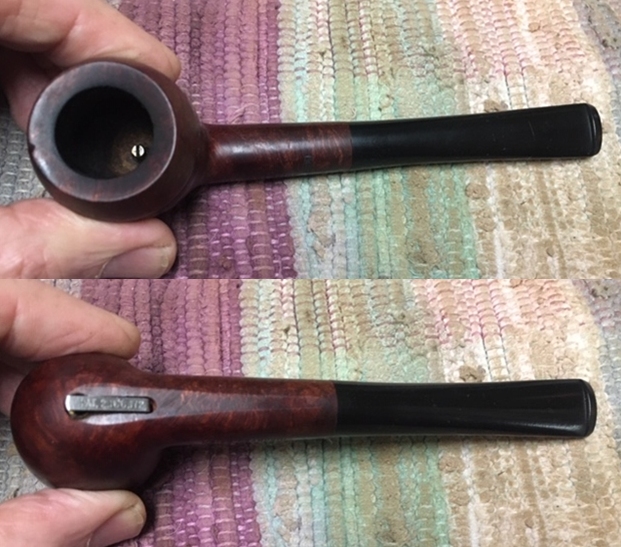 I took photos of the bowl and rim top to show how clean it was. You can see the darkening on the rim top and the apparatus in the bottom of the bowl. The chip out of the outer edge of the rim is visible and deep.
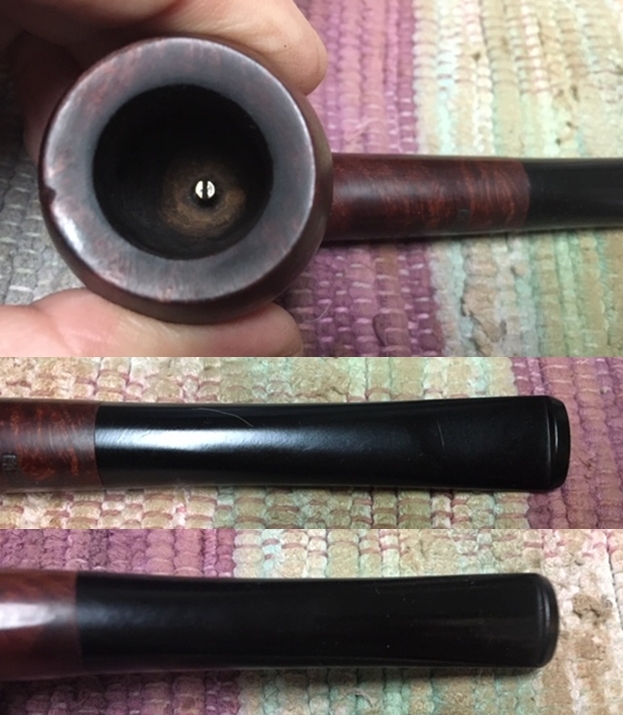 I took a photo of the clip on the underside of the shank to show the Patent Number. Jeff was able to clean up around the clip as well and it looked very good. I took photos of the stamping on both sides of the shank. It is clear and readable.
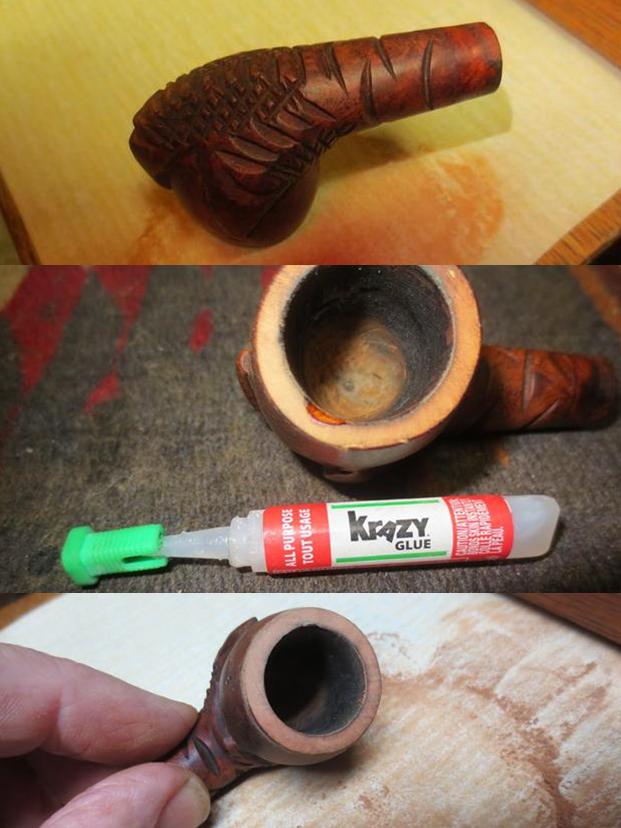
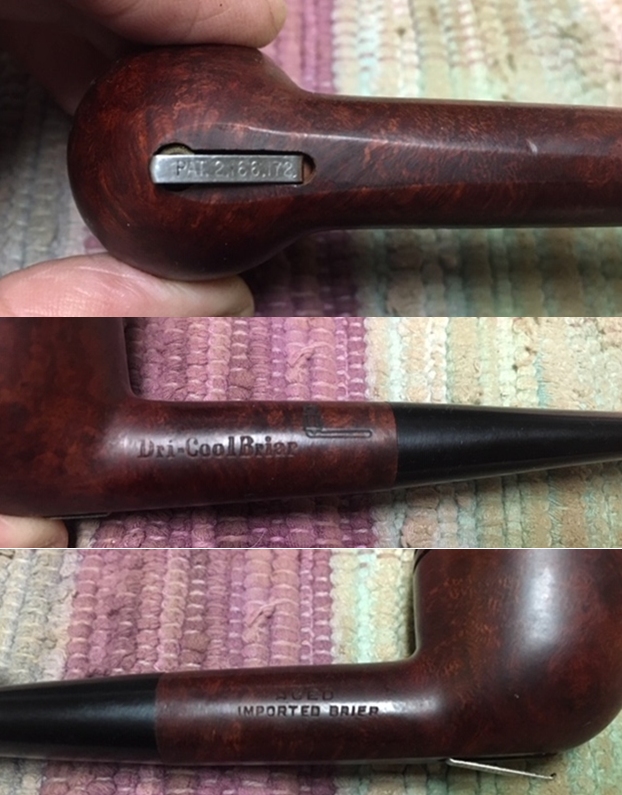 I cleaned up the damage on the rim top and filled in the chip on the edge with briar dust and super glue. Once the chip repair cured I sanded it smooth and sanded the damaged rim top smooth with 220 grit sandpaper. I polished it with 400 grit wet dry sandpaper.
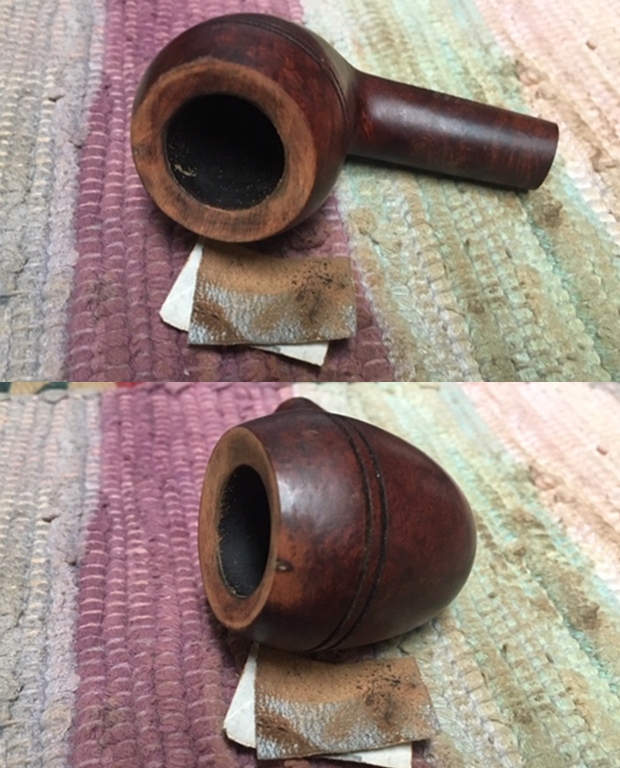
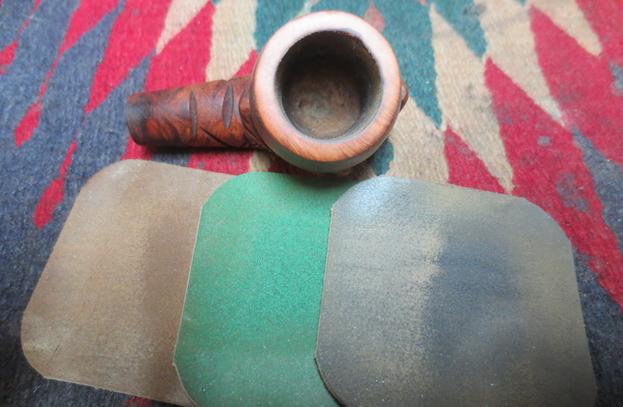
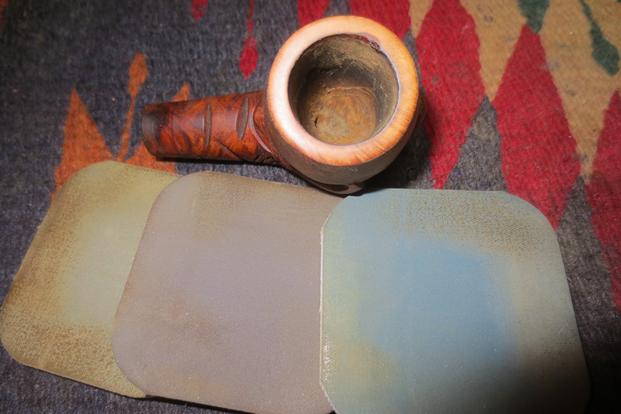
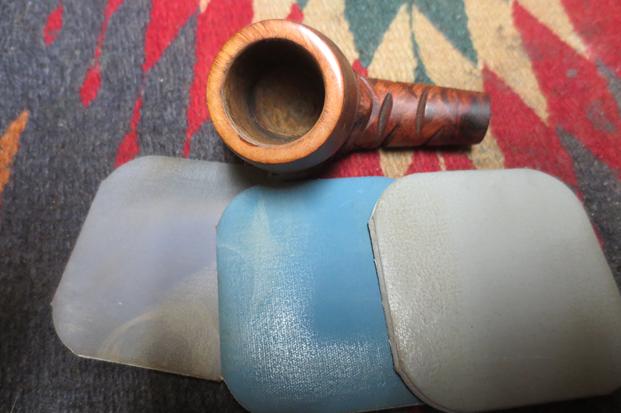
 I polished the briar with micromesh sanding pads – wet sanding with 1500-12000 pads and wiping the surface down with a damp cloth to remove the sanding debris. It began to really shine as I worked through the various grit pads.
 I used a blend of Cherry and Maple stain pens to restain the rim top and blend it into the rest of the briar. Once it polished the colour will blend together with the rest of the briar.
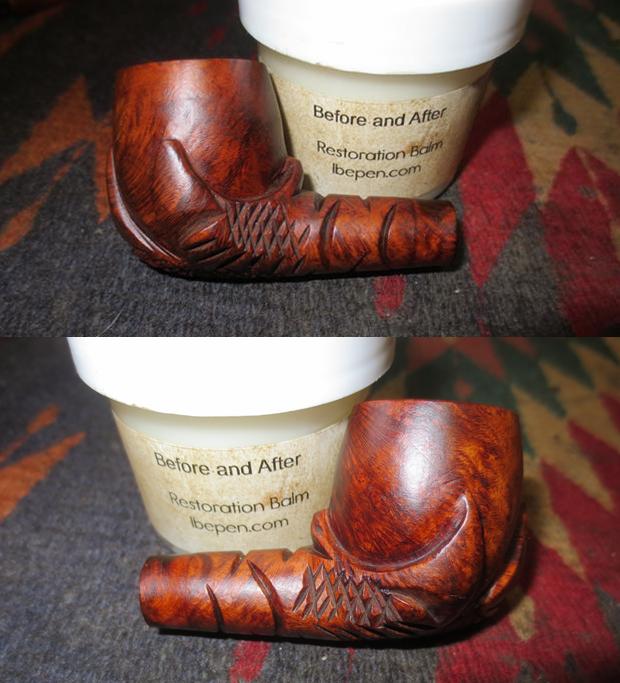
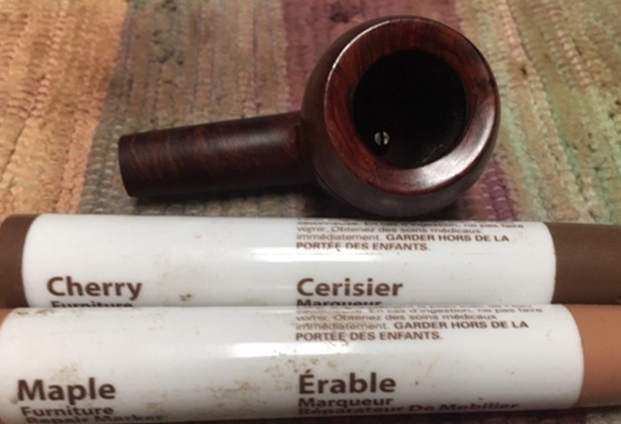 Once the stain cured I rubbed the briar down with Before & After Restoration Balm. I worked it into the briar with my fingertips. The product works to clean, enliven and preserve the briar. I let it sit for 10 minutes while I worked on the stem. After the time passed I buffed it with a cotton cloth to deepen the shine.
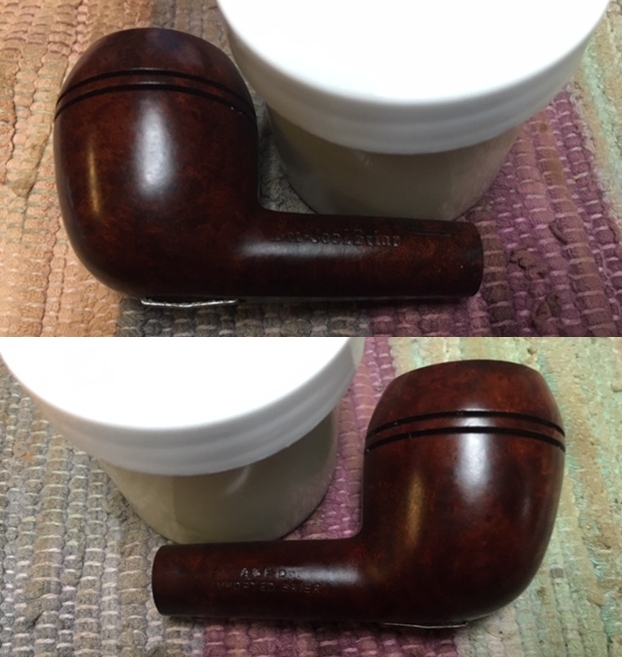
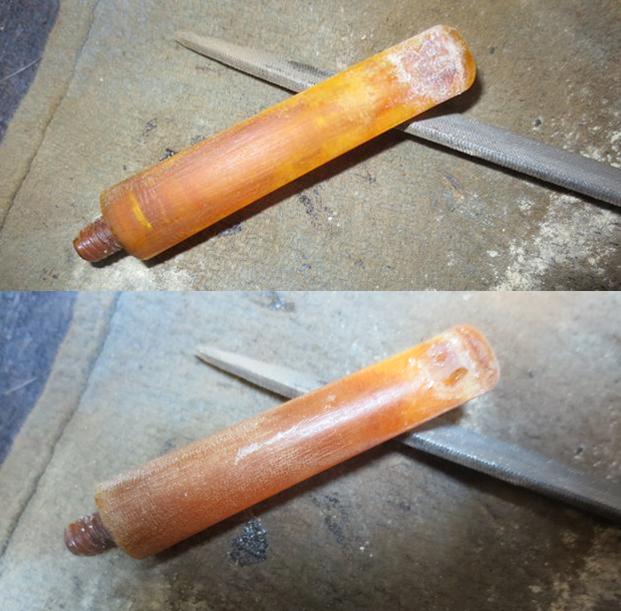
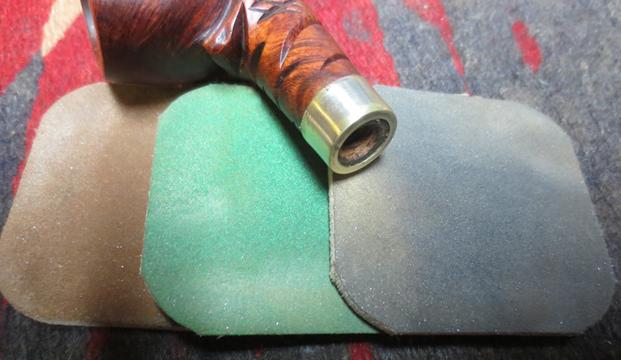
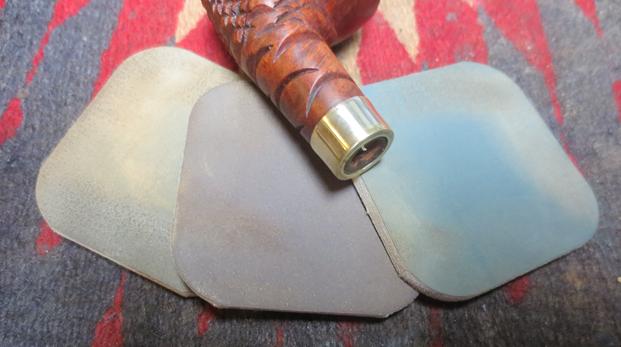
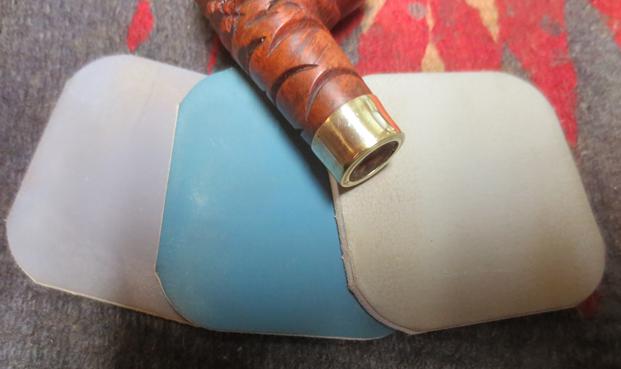
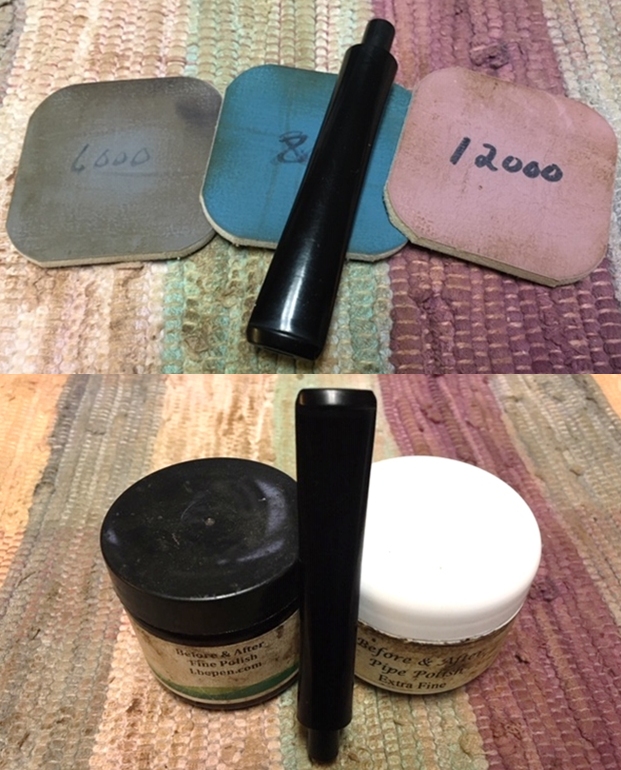
 I set the bowl aside and turned my attention to the stem. I polished the vulcanite with micromesh sanding pads – 1500-12000 grit pads. I wiped it down with Obsidian Oil after each sanding pad. I used Before & After Pipe Polish – both Fine and Extra Fine to further polish the stem.
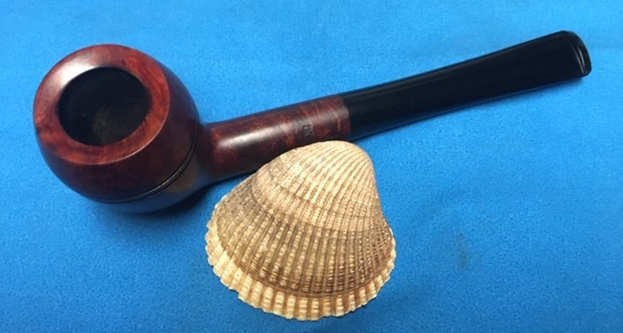
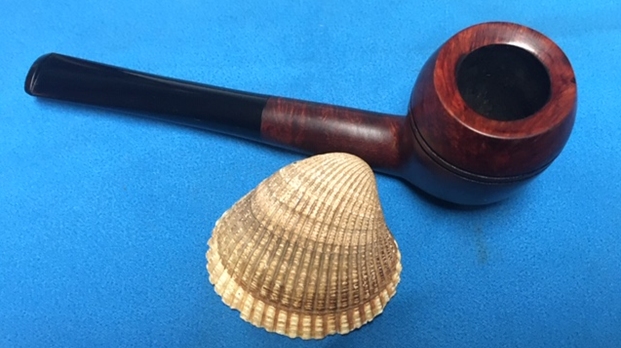
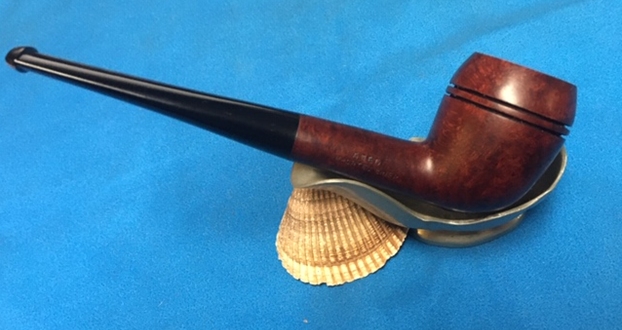
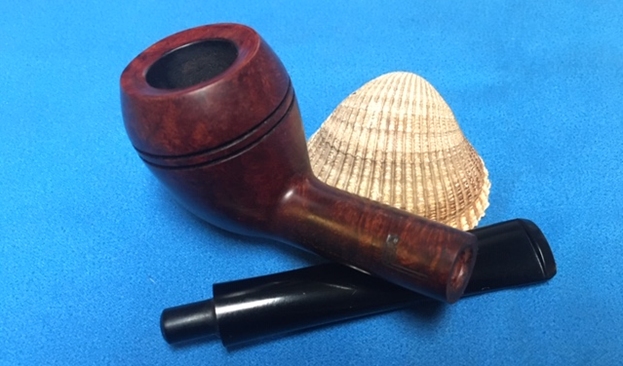
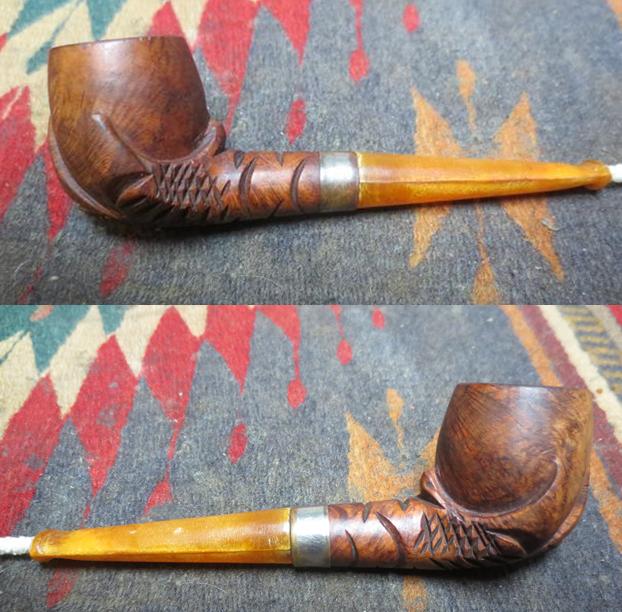
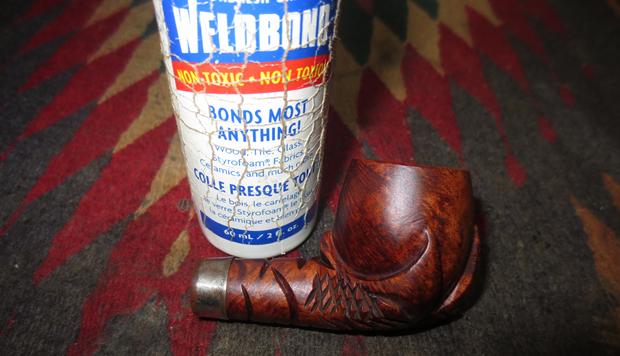
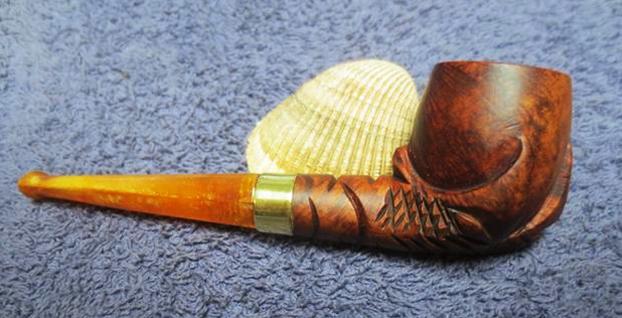
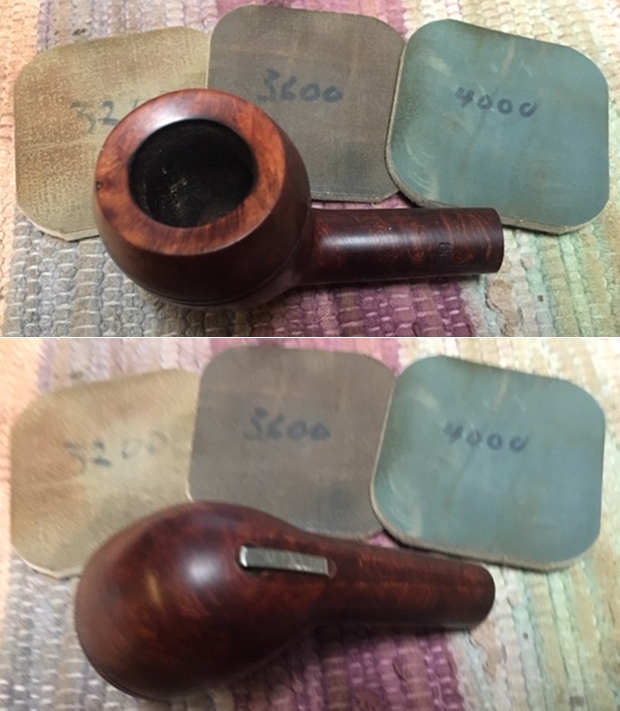
 This was a fun pipe to work on. The “plumbing” on it made it quite fascinating to clean up and to restore. It seems to me that it functions a lot like a Kaywoodie Carburetor but externally is different. I wonder if the clip is not a way of regulating the airflow from the Carburetor in the bowl bottom. Anyway, I put the pipe back together again and buffed it with Blue Diamond on the buffing wheel. I gave the bowl and stem several coats of carnauba wax. I buffed the pipe on the wheel with a clean buffing pad to raise the shine. I hand buffed it with a microfiber cloth to deepen the shine. I am really happy with how the pipe came out and the way in which the rim edge repair blended in with the rest of the bowl. The browns of the stain and the black of the polished vulcanite came out really well. This is a nice looking “contraption” pipe versus how often they are quite ugly! The dimensions of the pipe are Length: 5 ¾ inches, Height: 1 ¾ inches, Outer Diameter of the Bowl: 1 ¼ inches, Chamber Diameter: ¾ of an inch. The finished pipe is shown in the photos below. It is an interesting pipe and one that will reside in my “Search for a Cooler/Drier Smoking Pipe” Collection. Give the blog a read. Thanks for walking through the restoration with me.