Tag Archives: removing tooth marks

Replacing a Tenon and Doing a Restoration on a Sorrentino Manager 0704


Blog by Steve Laug

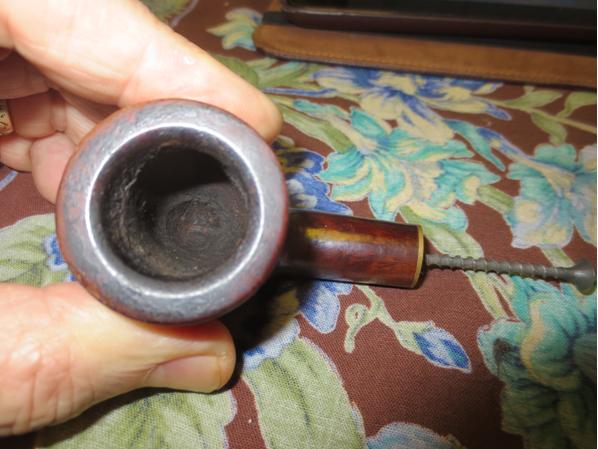
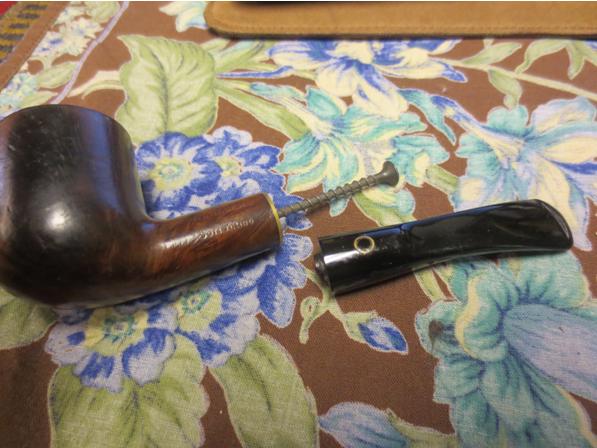
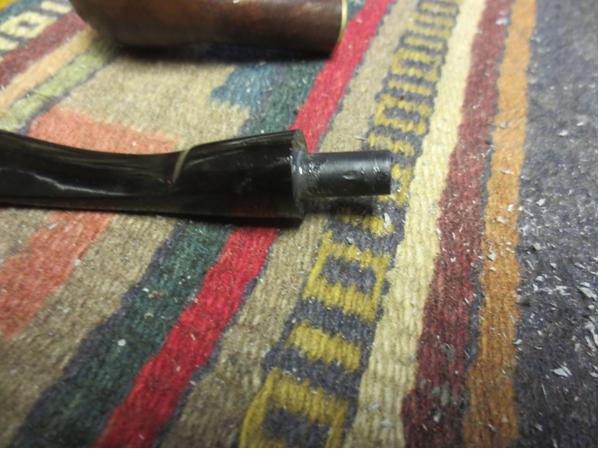
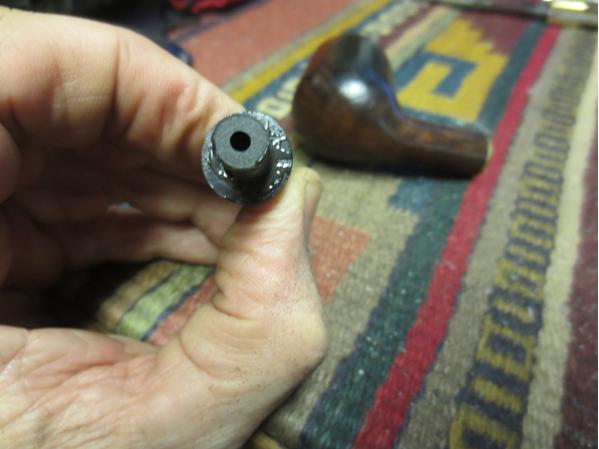
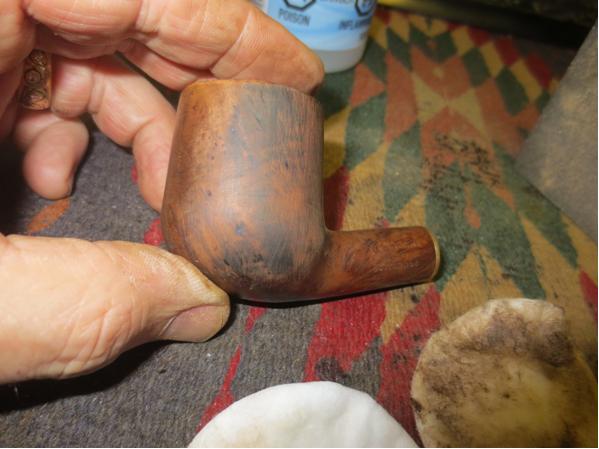
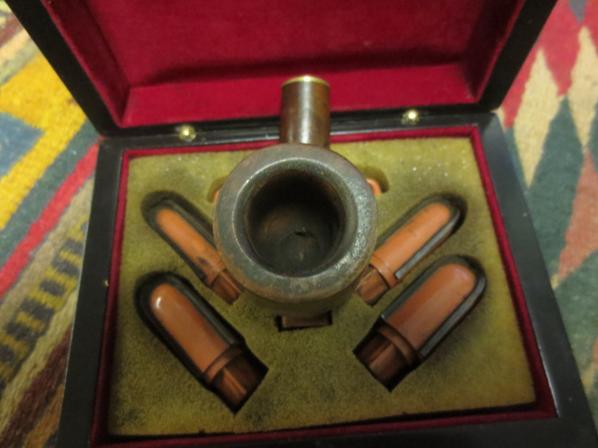
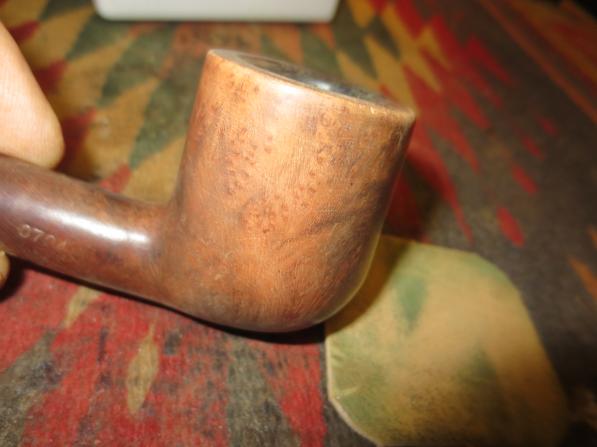
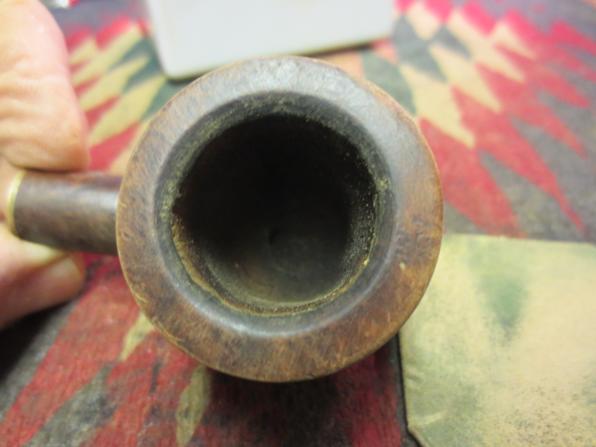
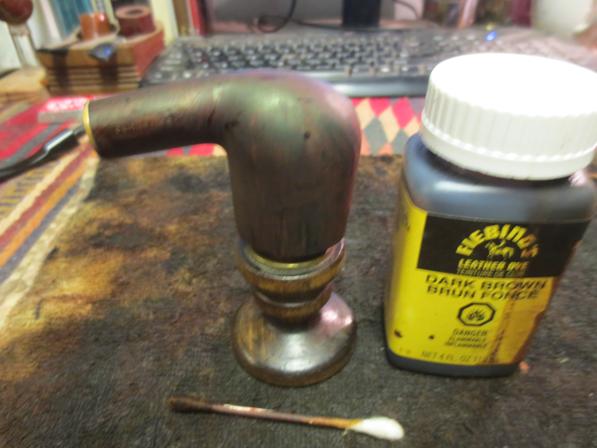
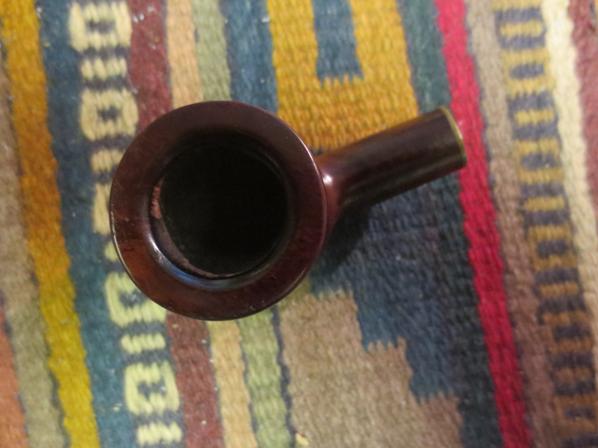
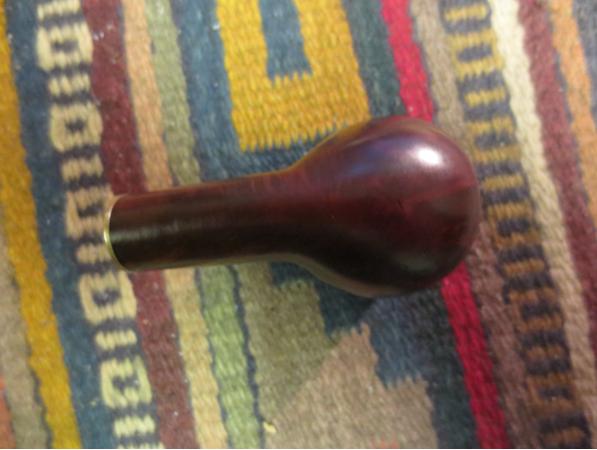
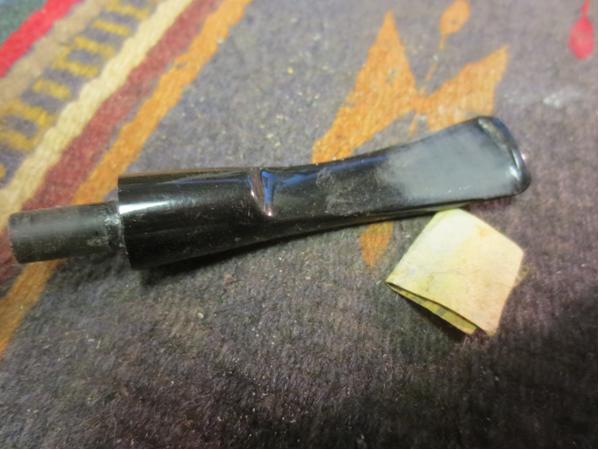
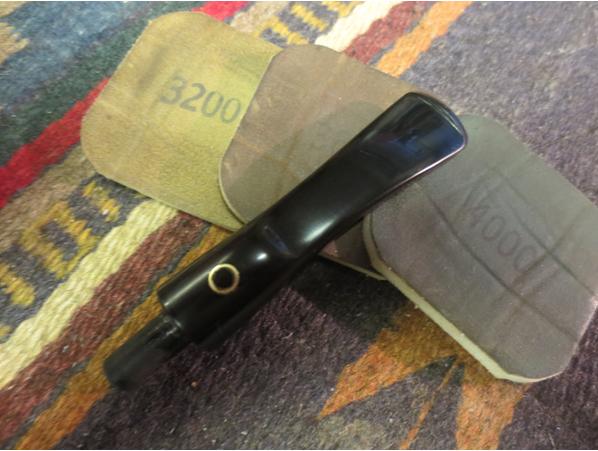
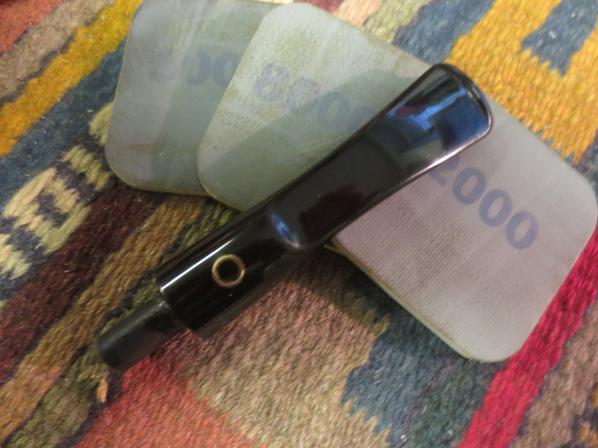
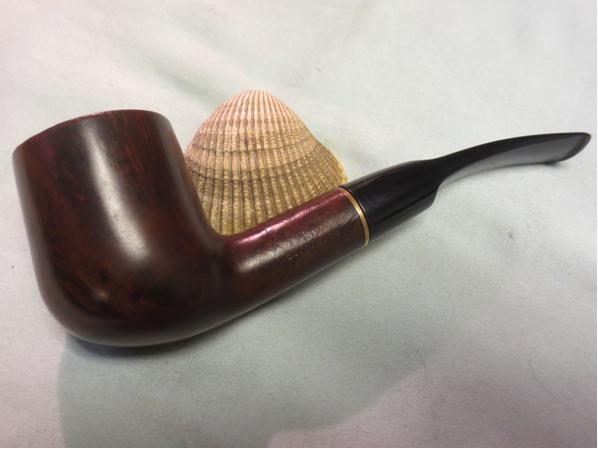
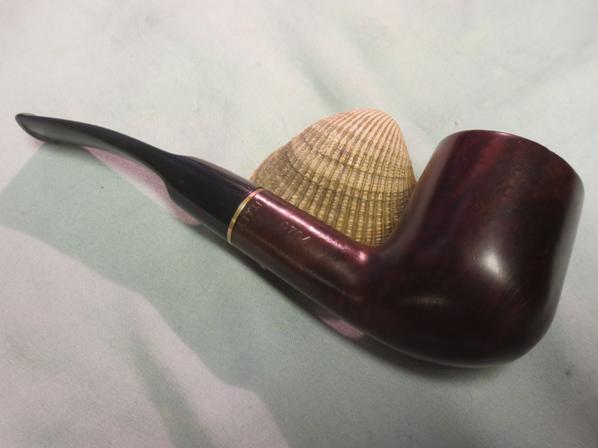
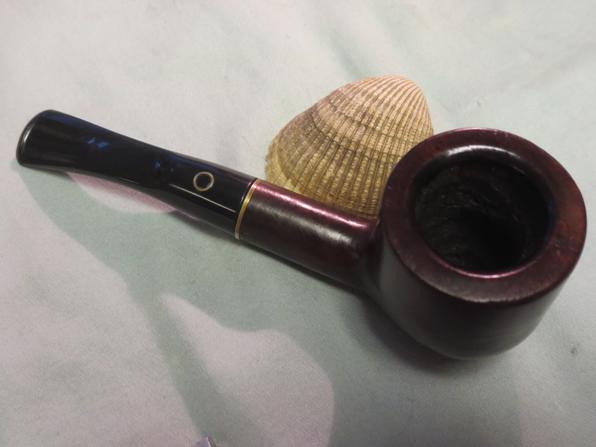
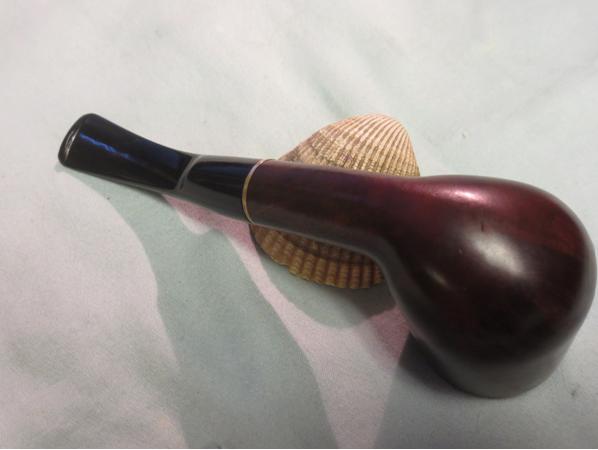
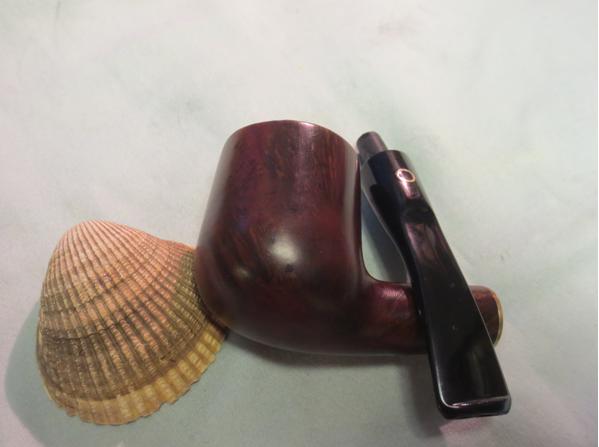
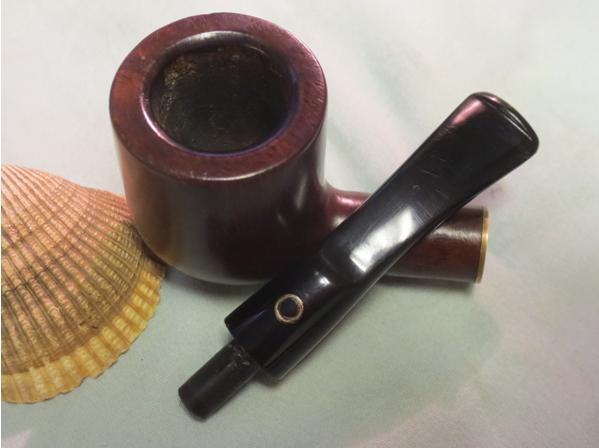
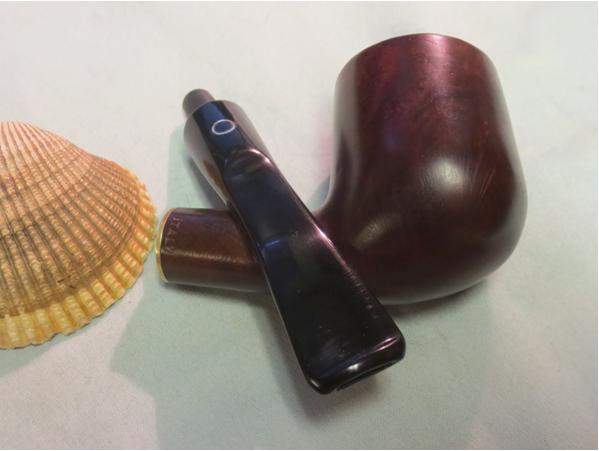
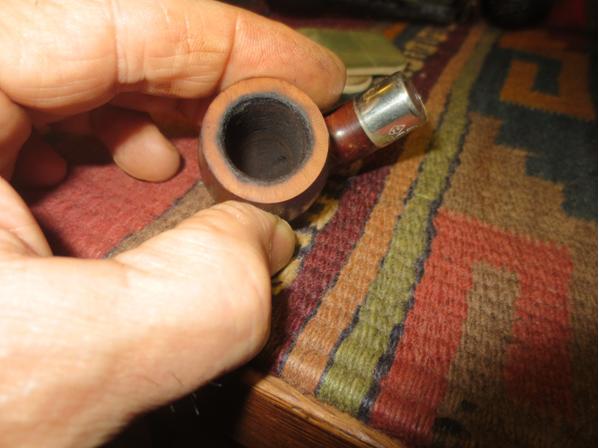
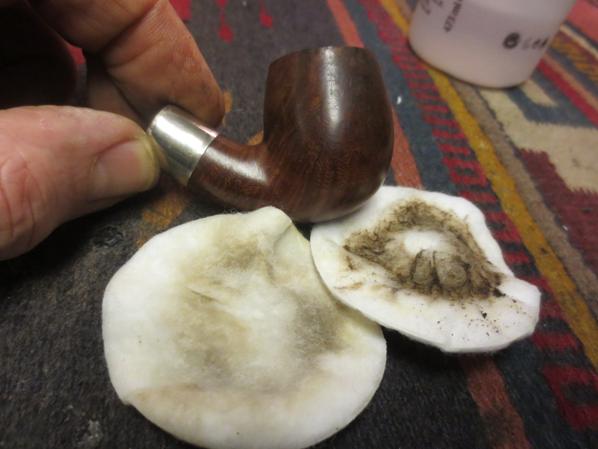
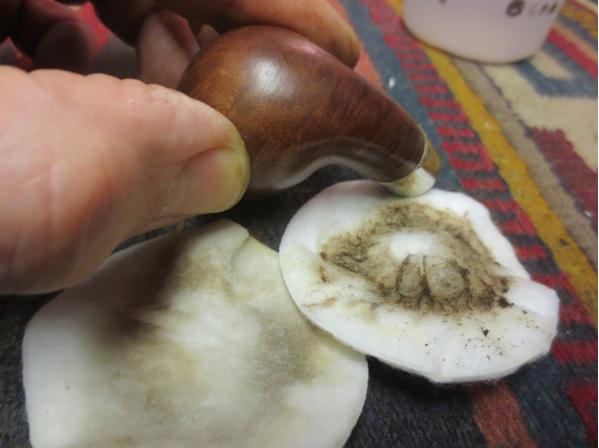
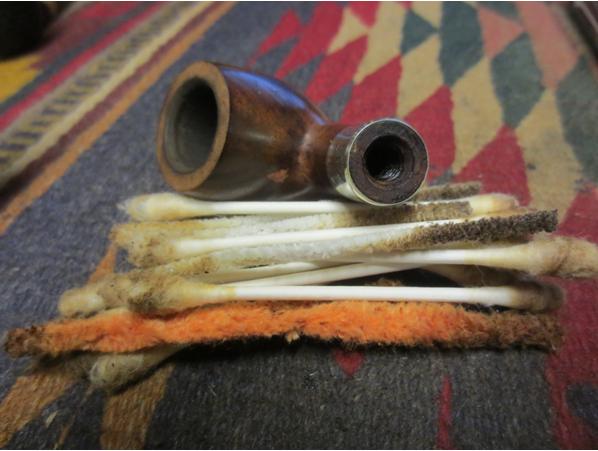
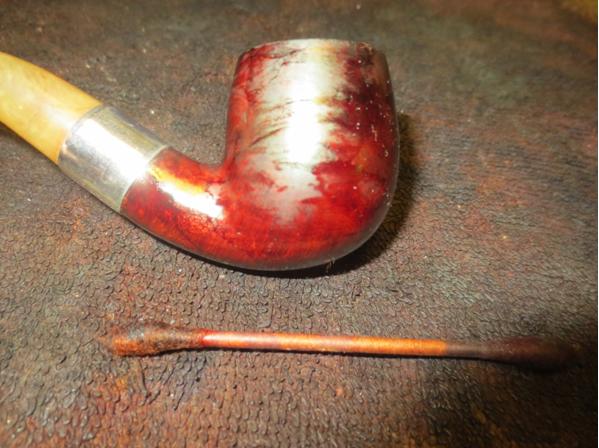
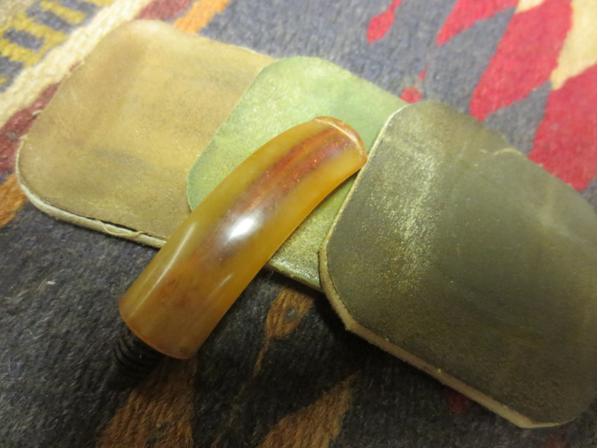
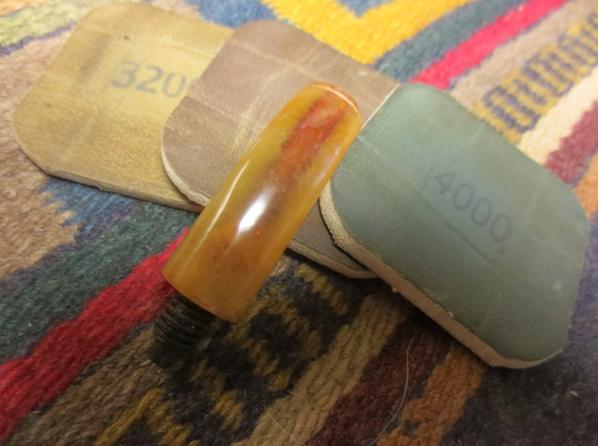
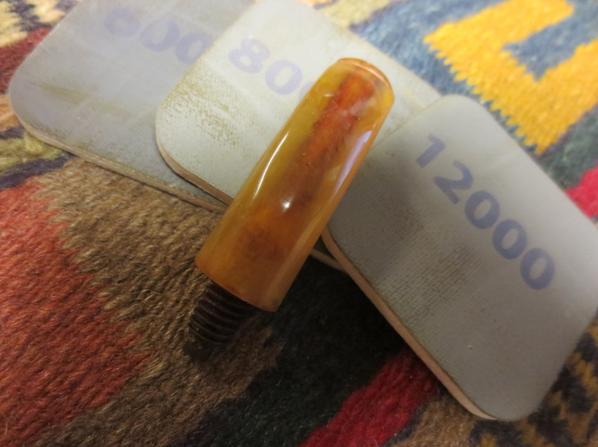
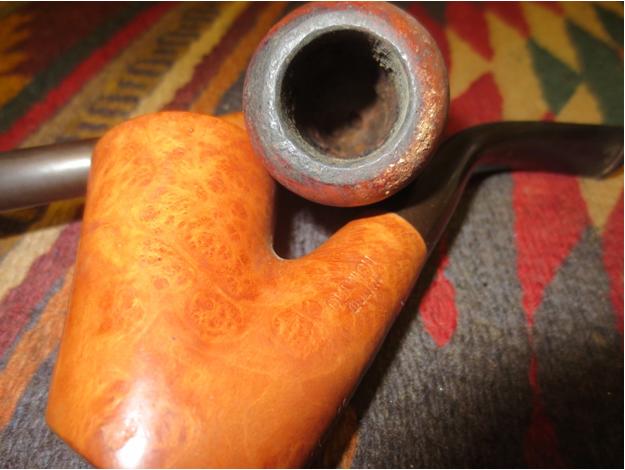
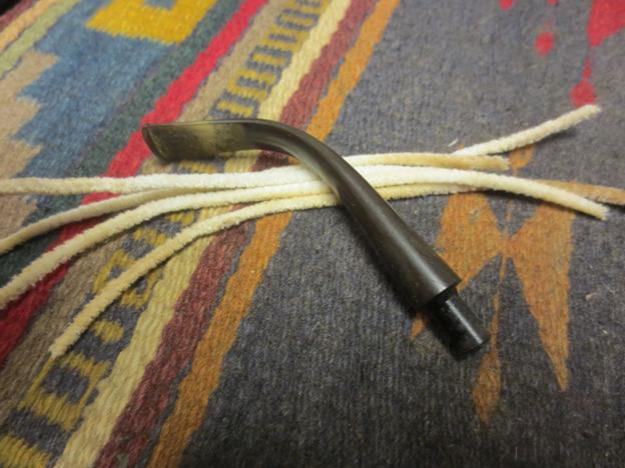
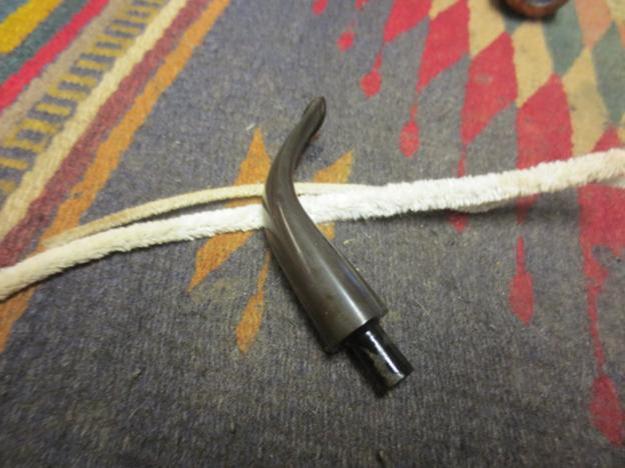
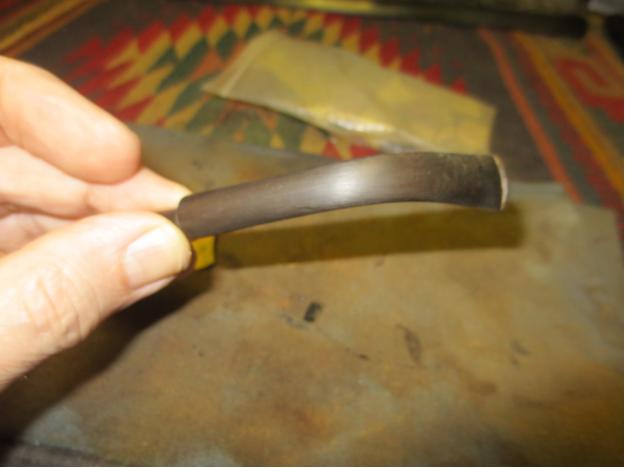
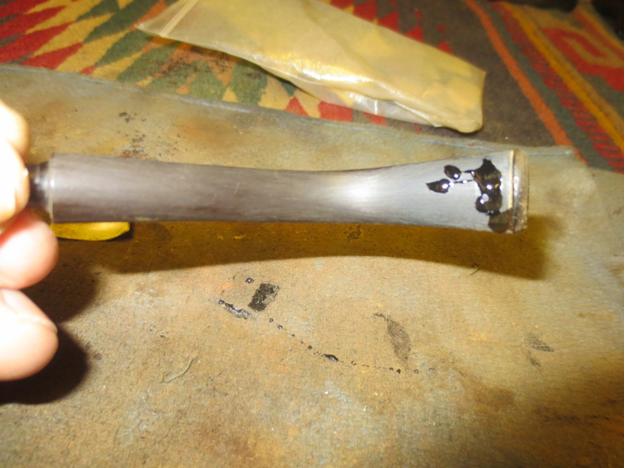
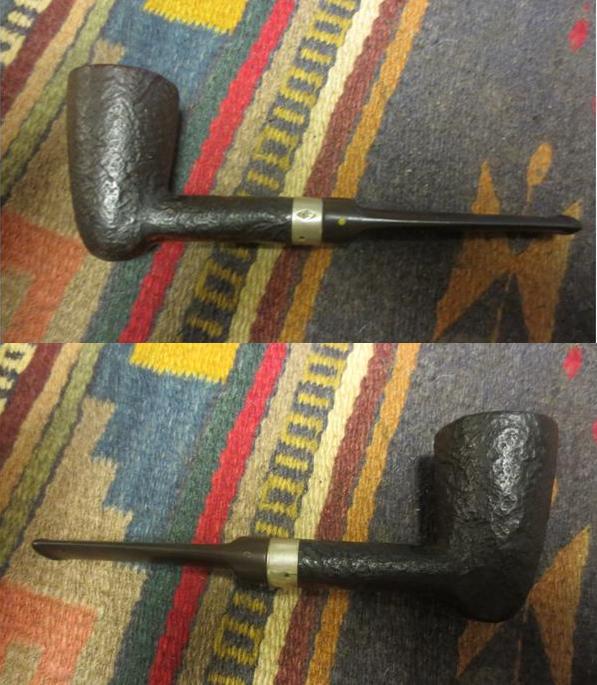
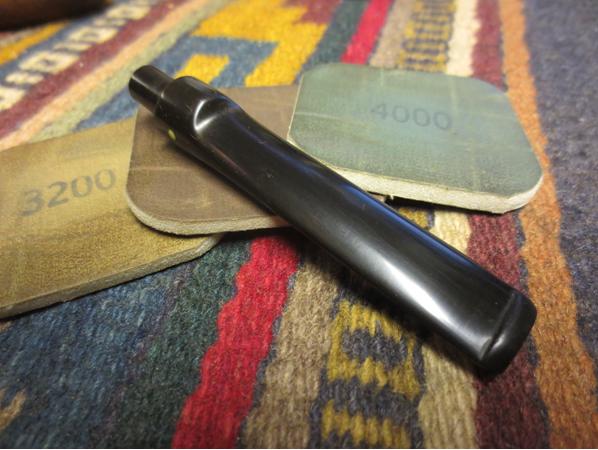
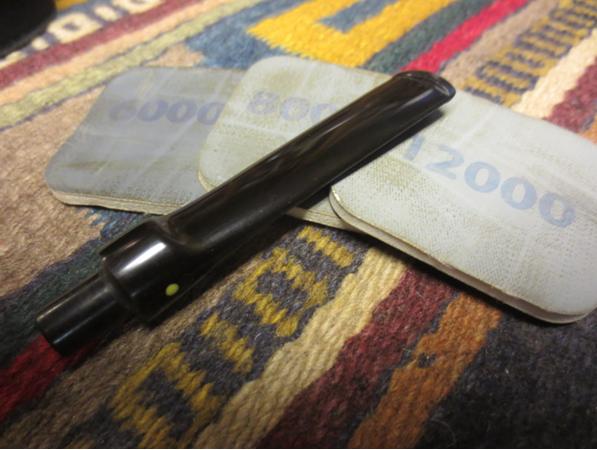
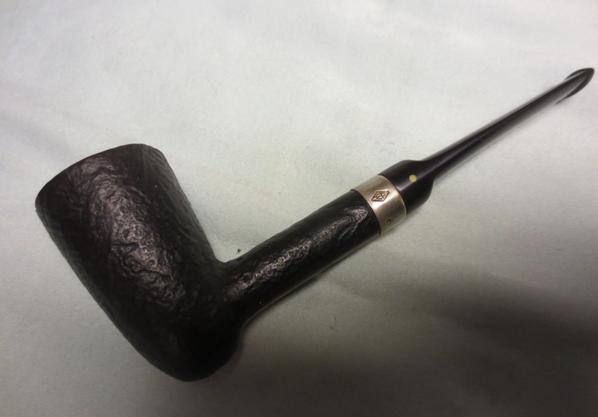
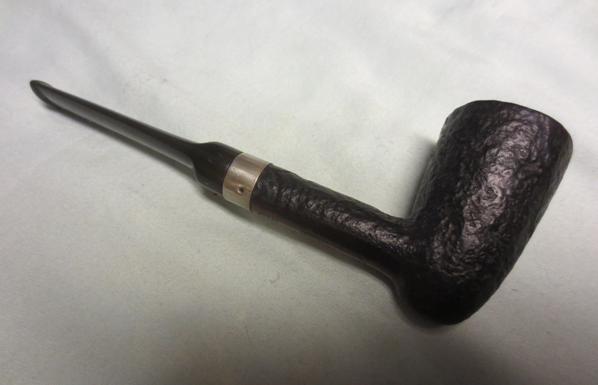
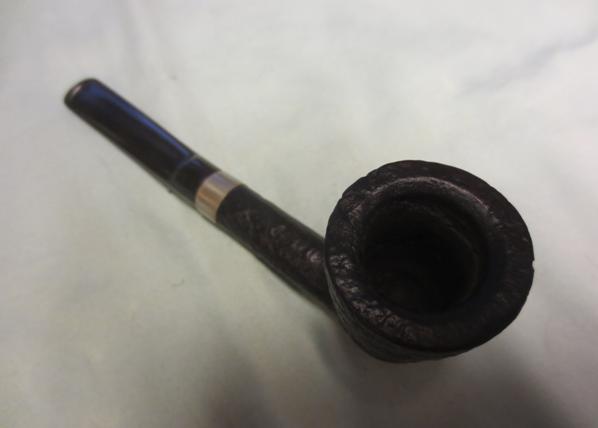
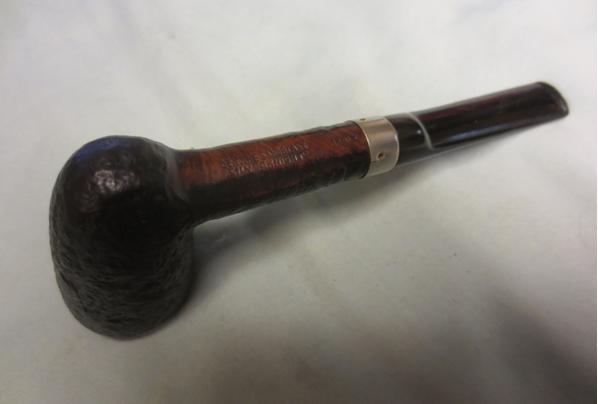
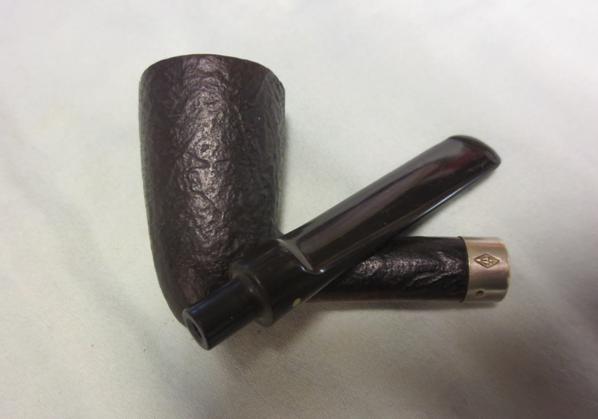
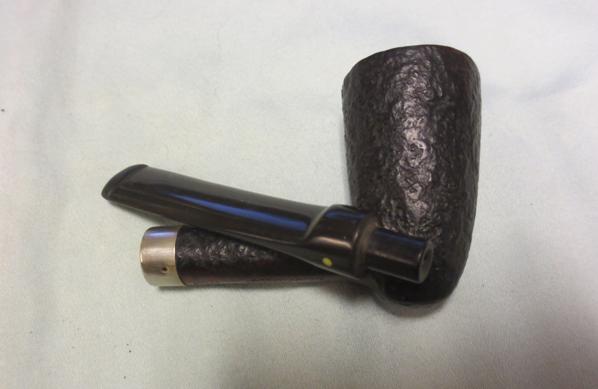
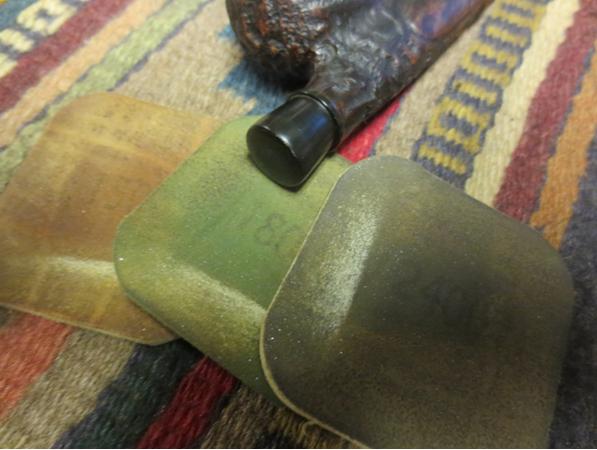
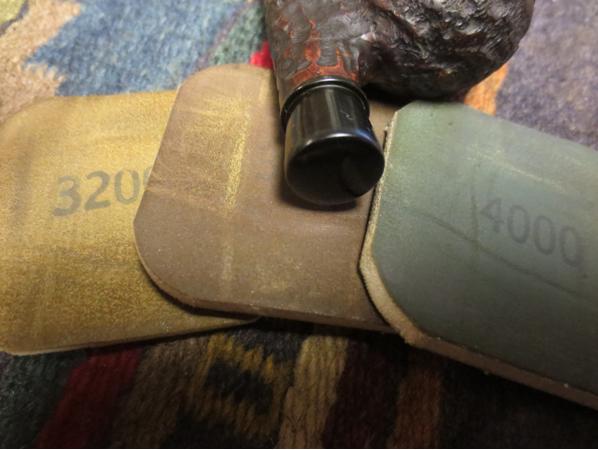
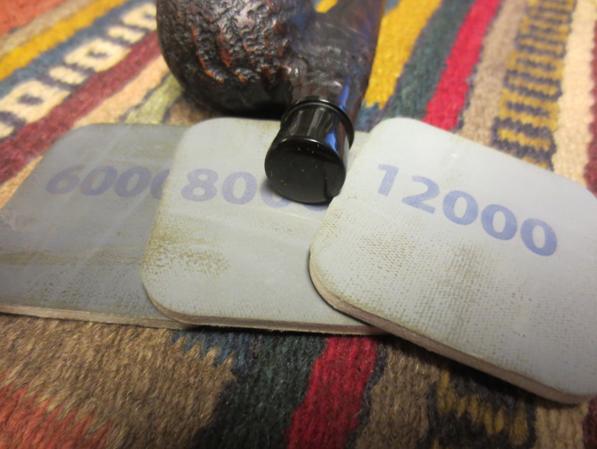
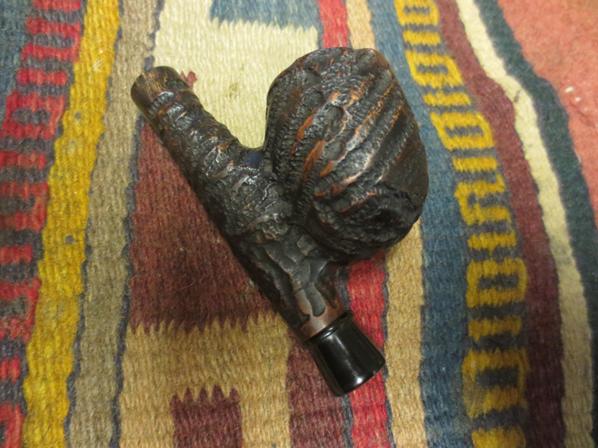
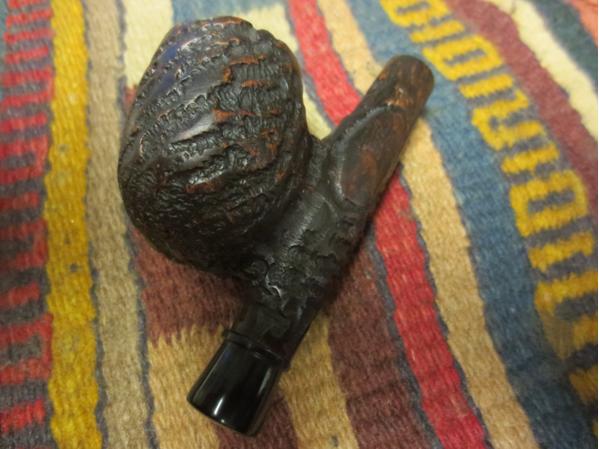
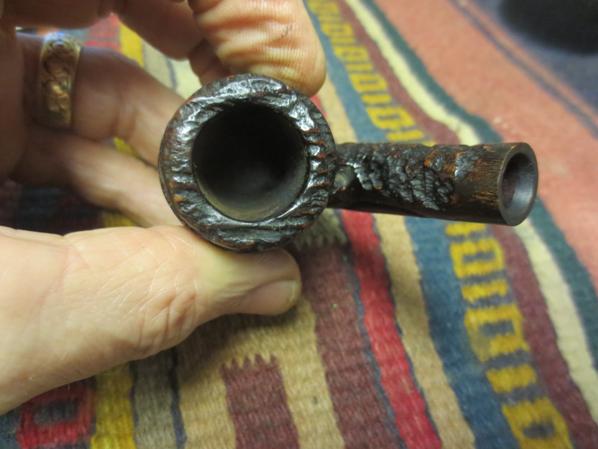
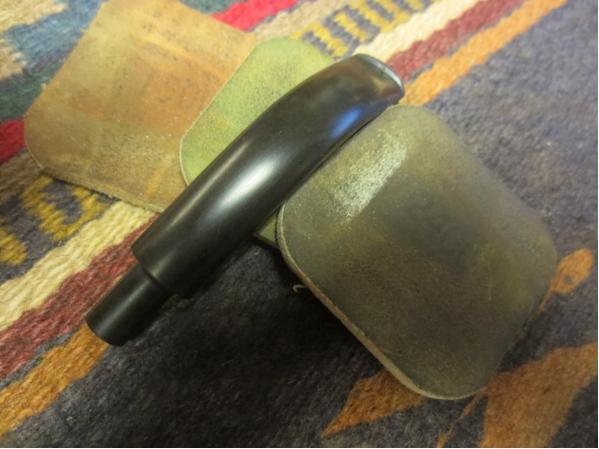
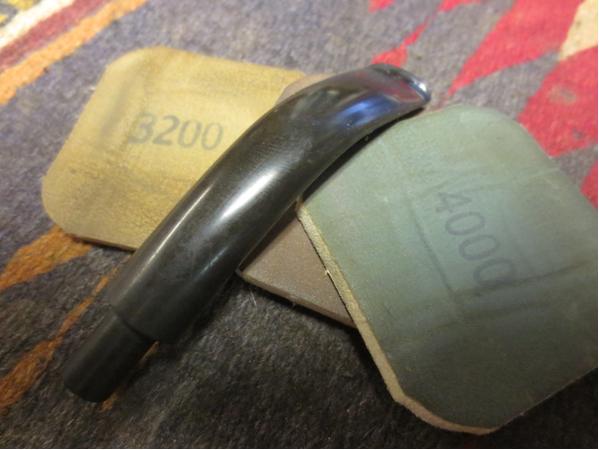
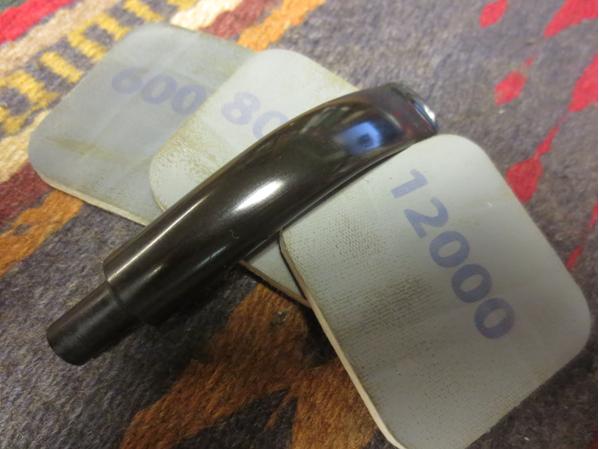
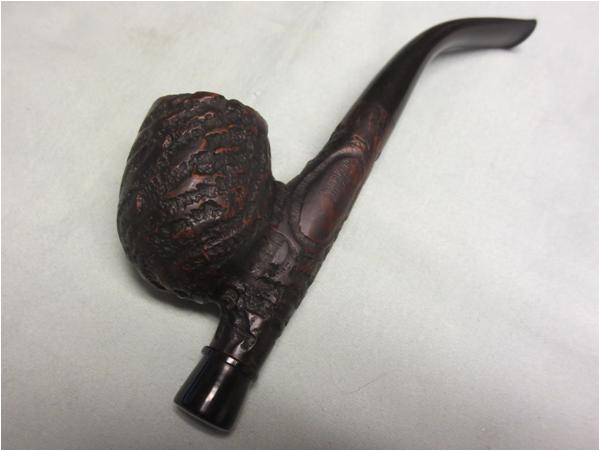
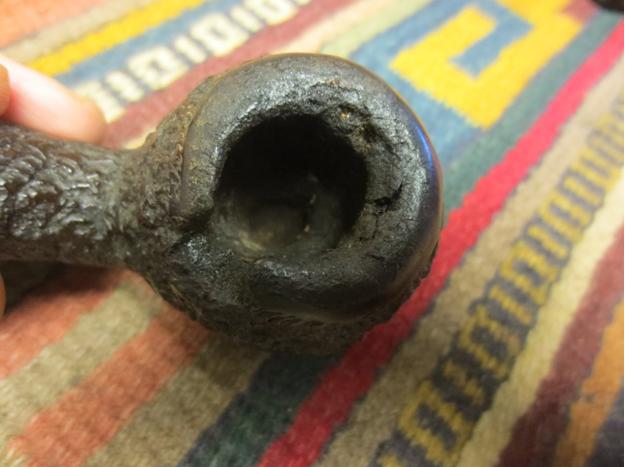
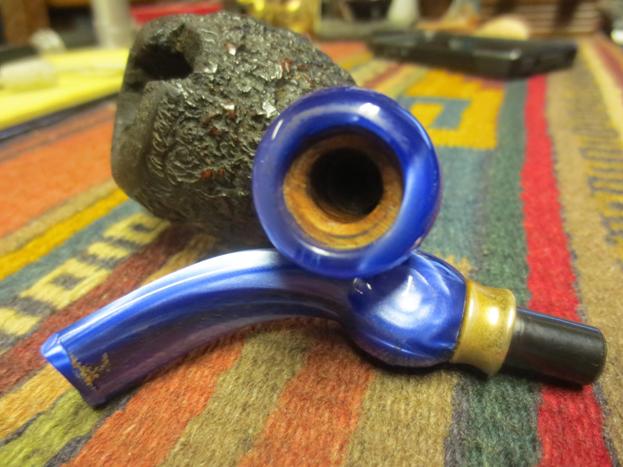
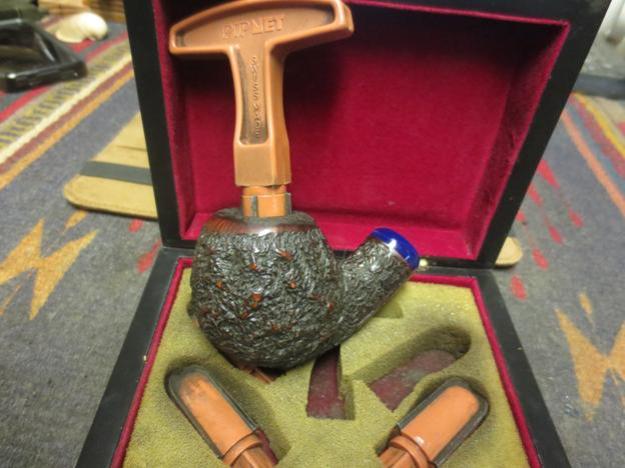
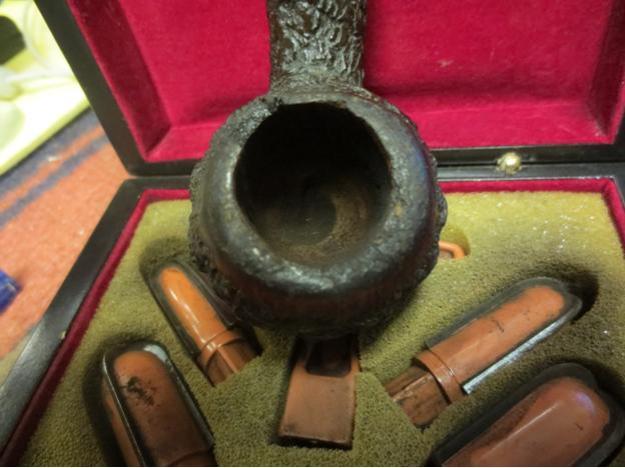
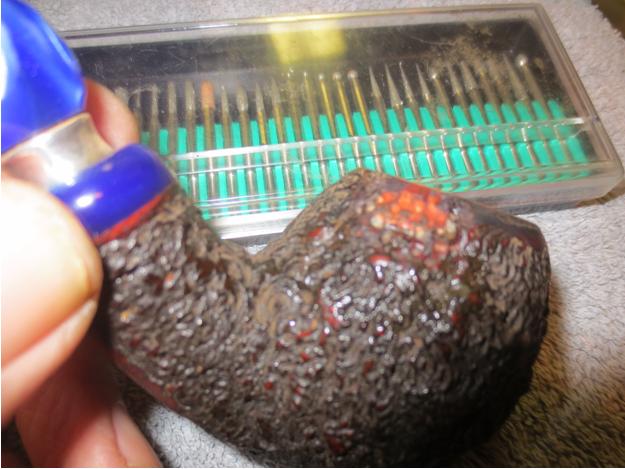
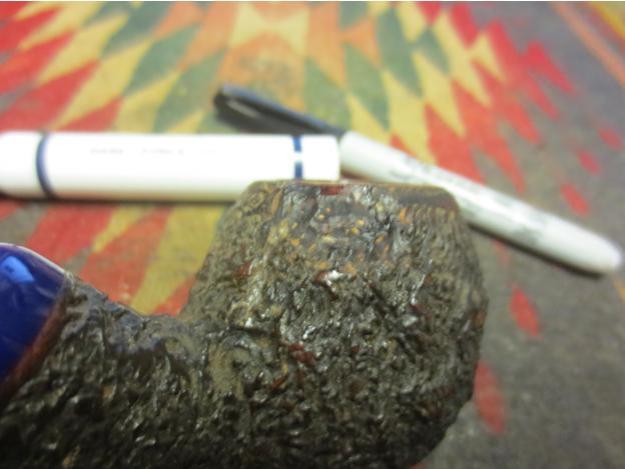
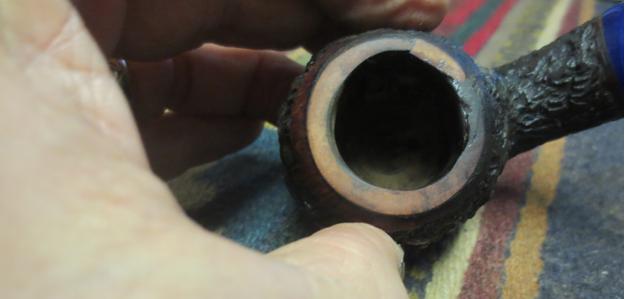
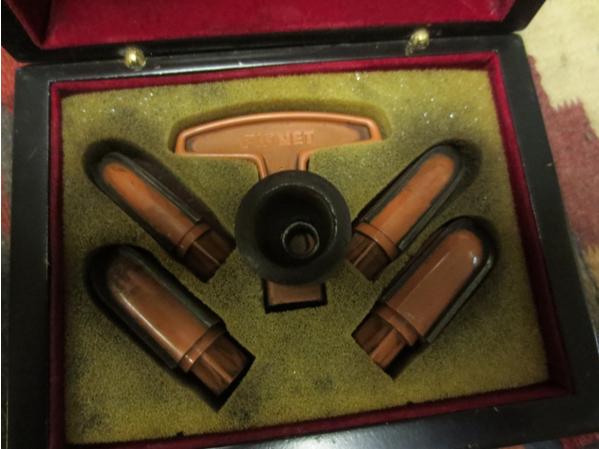
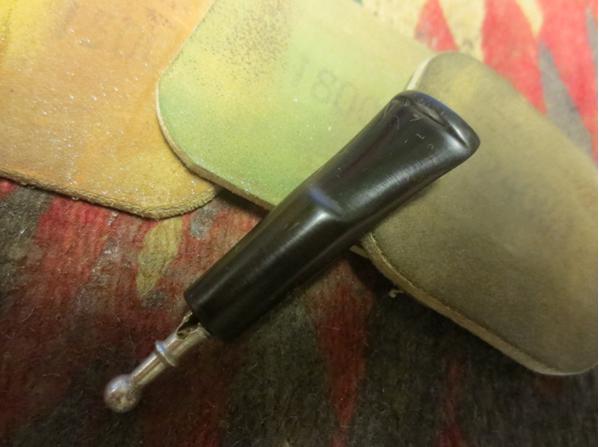
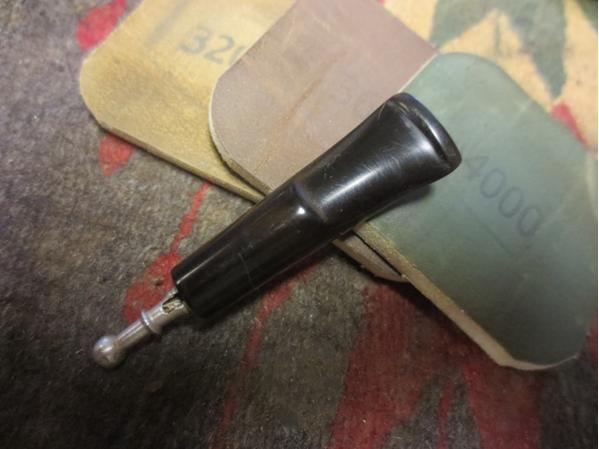
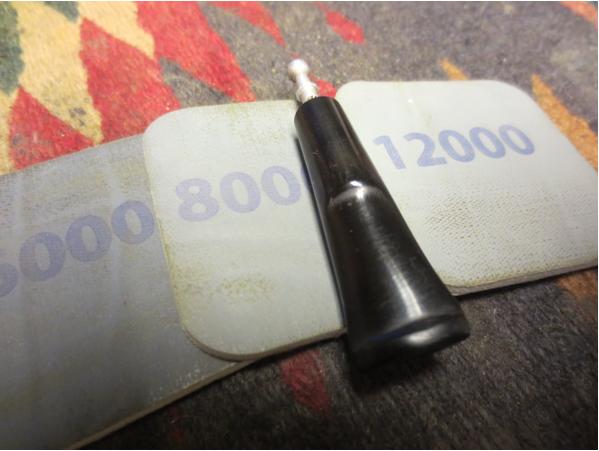
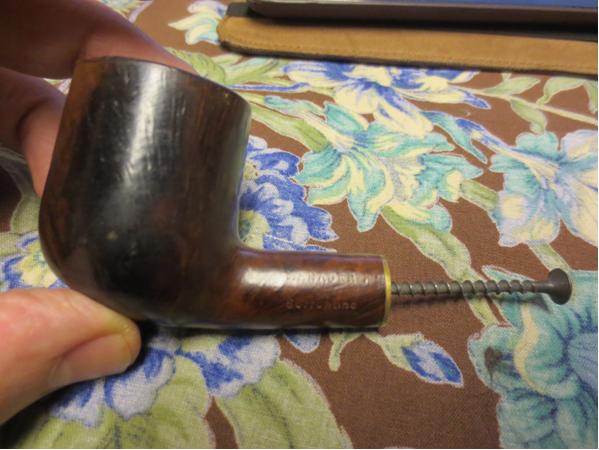
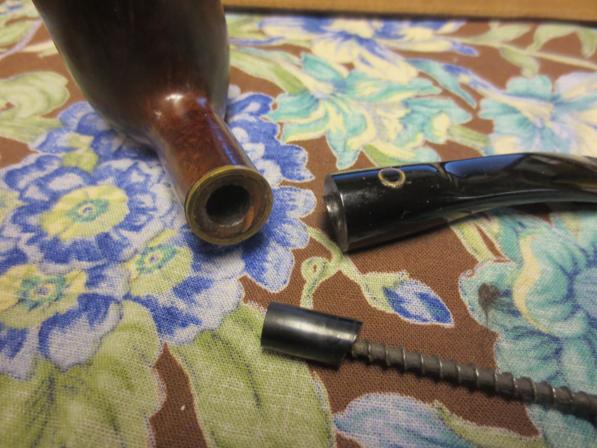
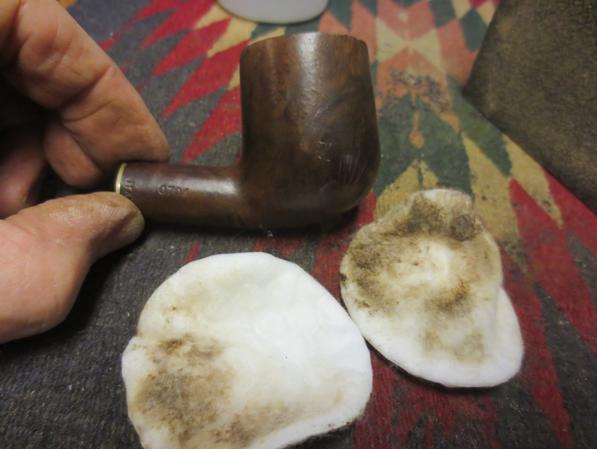
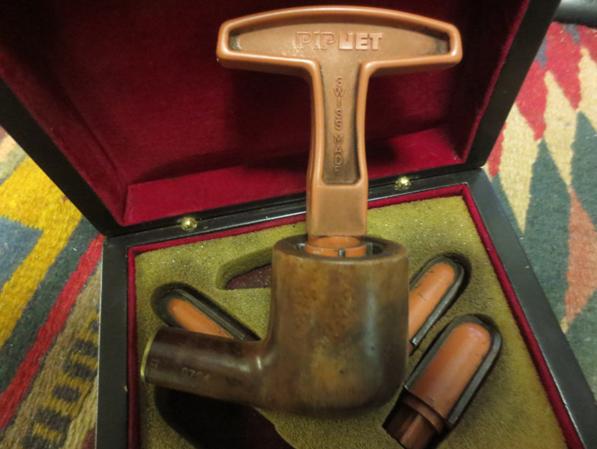
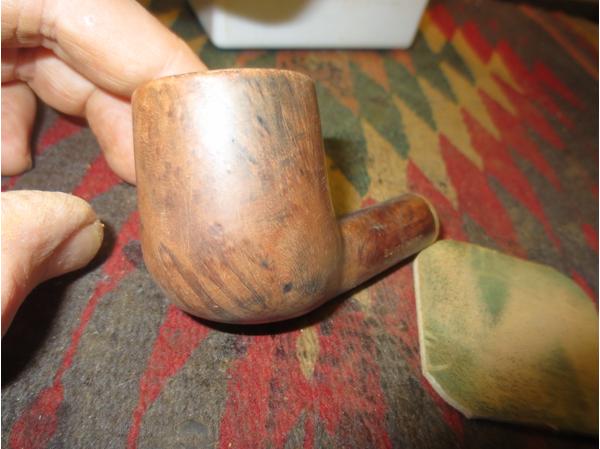
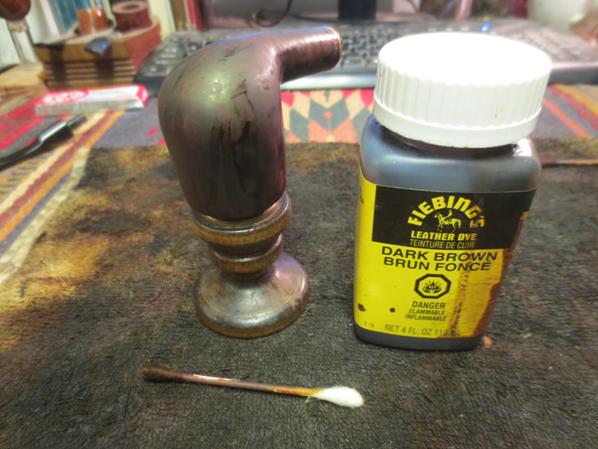
I received this one from a fellow who wanted the tenon replaced but being the way I am I could not just replace the tenon and leave the pipe looking tired and worn so I wrote and offered to clean it up for him. It took more work than I had originally thought it would but the added effort made for a beautiful looking pipe. It is stamped on the left side of the shank MANAGER over SORRENTINO. On the right side it says 0704 which is the shape number and Italy. The briar was really in need of some work. The left side was stained with a dark patch that ran from the top to the bottom of the bowl. The finish was also rough to the touch over that section. On the bottom, front and right side of the bowl there was a lot of dents and dings like the pipe had been dropped. The rim had a coat of lava and the bowl had a very uneven cake with more on the left side of the bowl than the right. The finish was basically shot. The stem came with lots of tooth chatter and a broken tenon. The tenon snapped right at the shank and was stuck in the shank. The brass band on the shank was loose. The pipe was tired and needed some TLC. Here is what it looked like when I started.Briar1 Briar2 Briar3In the photos above I had already turned the wood screw into the broken tenon. I use that to pull a broken tenon and it never disappoints in effectiveness. Note the state of the bowl in the photos.Briar4I used a Dremel and sanding drum to flatten out the remnant of the broken tenon on the stem. Once it was flat it was time to drill the stem to take the new tenon. I started with a bit slightly larger than the airway to center the drilling and turned the stem onto the bit by hand. I find that though it is harder to do it by hand, turning it by hand and not drilling it gives me more control of the stem. I worked my way up to a ¼ inch bit and then cleaned it out with a needle file. I had a Delrin tenon I purchased from Tim at JH Lowe and I roughed up the surface of the portion that would go into the stem and gave it a coat of two part slow drying epoxy to hold it in place.Briar5 Briar6 Briar7I lined up the stem in the shank and then set it aside to let the epoxy cure over night. While it dried I worked on the bowl. I stripped off the remaining finish with acetone and cotton pads. I sanded the dark stain mark on the left side of the bowl with 220 grit sandpaper to remove the damaged briar and smooth things out. I scrubbed that side with acetone to finish.Briar8 Briar9I reamed the bowl with a PipNet reamer to even out the cake that had been there. I decided to strip it back to bare wood. I wanted to check out the inside of the bowl walls. The interior was sound and there was no damage on the bowl walls. Briar10 Briar11I sanded the bowl with 1500-2400 grit micromesh sanding pads to clean up the scratches left behind on the briar by the sand paper and by the wear and tear of age. The stripped and sanded bowl was looking pretty good.Briar12 Briar13 Briar14I sanded the inner bevel of the rim to clean it up and prepare the bowl for staining. I wiped it down a final time with isopropyl alcohol. I stained the bowl with a dark brown aniline stain. I flamed it and restained it with a second coat of the stain. I flamed it again.Briar15 Briar16Before setting the bowl aside to dry I wiped it down with alcohol on a cotton pad to smooth out the stain and lighten it slightly. I wanted the grain to show through.Briar17I buffed the bowl with Blue Diamond on the buffing wheel and gave it several coats of carnauba wax to seal and preserve the finish. I buffed it with a clean buffing pad to raise the shine. (Forgive the poor focus on the first photo below. It is blurry but still gives you an idea of how the dark area had been reduced.)Briar18 Briar19 Briar20 Briar21With the bowl finished I set it aside and worked on the stem. I sanded the tooth marks and chatter on the stem with 220 grit sandpaper until they were smoothed out. I was able to easily remove most of the tooth damage to the stem. There was one small tooth dent on the top of the stem that I left as it is minimal and I did not want to thin the stem.Briar22 Briar23I wet sanded the stem with 1500-2400 grit micromesh sanding pads. I dry sanded it with 3200-4000 grit pads. I finished with 6000-12000 grit pads. I buffed the stem with Blue Diamond on the wheel.Briar24 Briar25 Briar26 Briar27I put the pipe together and lightly buffed it with some more carnauba wax to finish it. I hand buffed it with a microfibre cloth for the final buffing. The photos below show the finished pipe. Hopefully when it is returned to the pipeman who owns it he will be pleased with the finished pipe. Thanks for looking.Briar28 Briar29 Briar30 Briar31 Briar32 Briar33 Briar34
An LHS Purex Patented Lovat that showed promise


Blog by Steve Laug

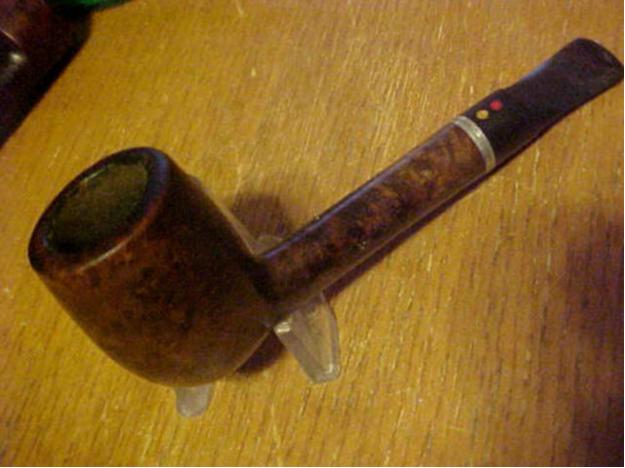
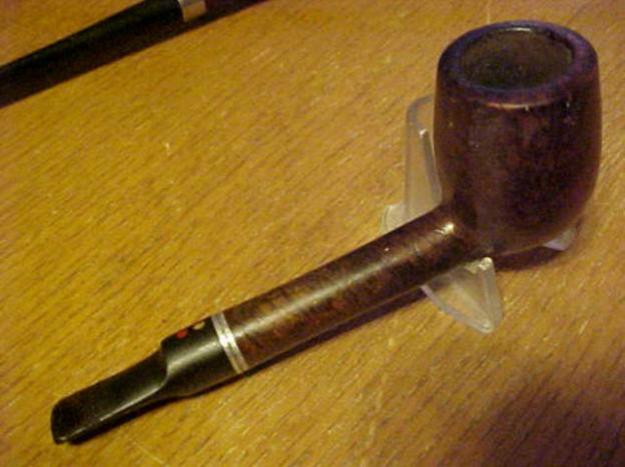
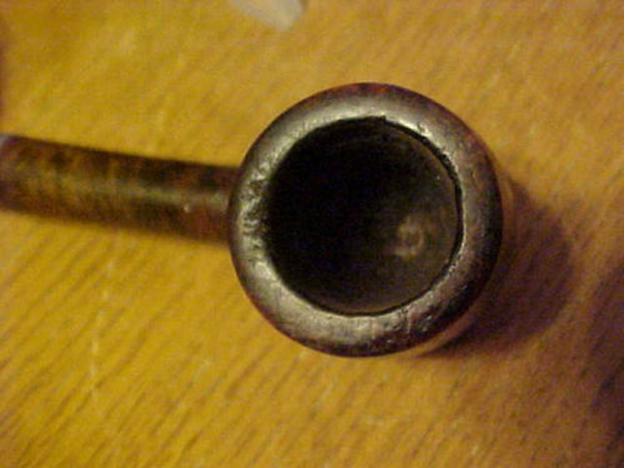
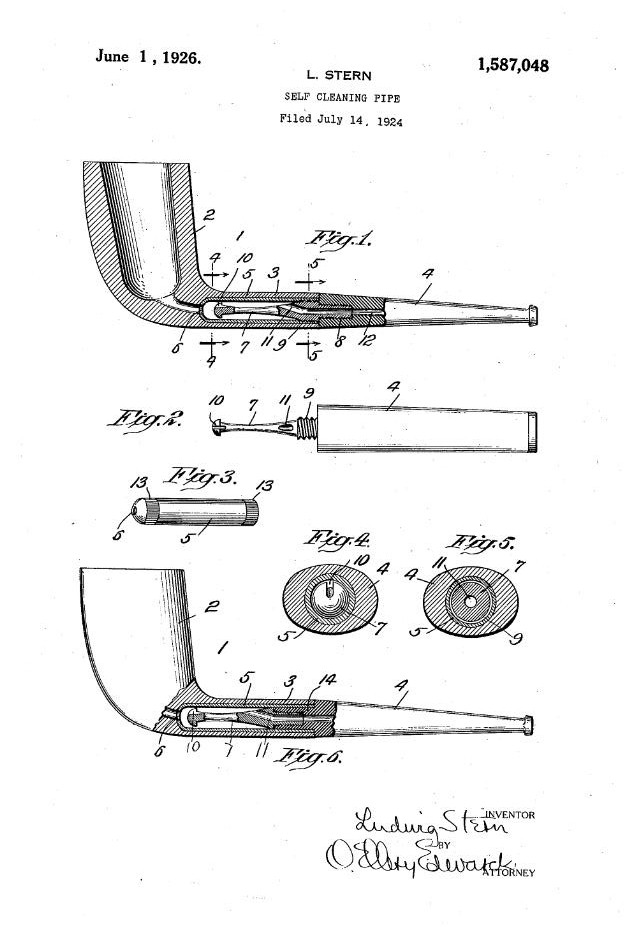
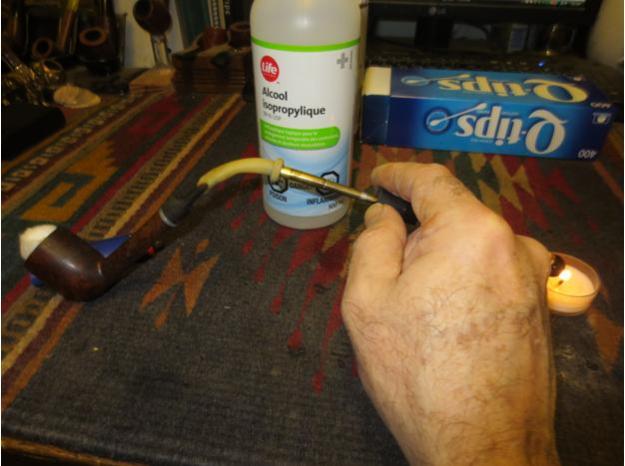
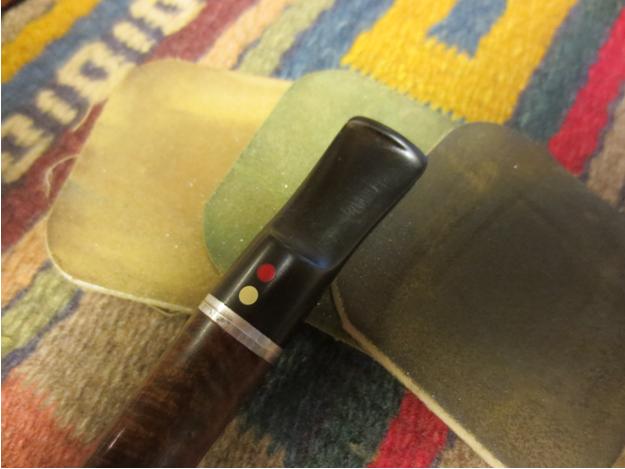
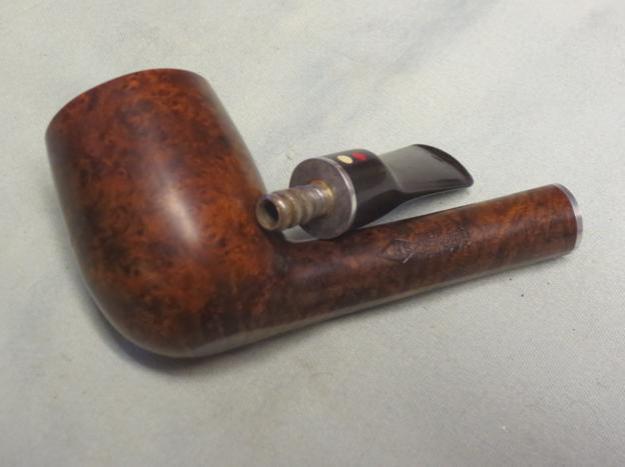
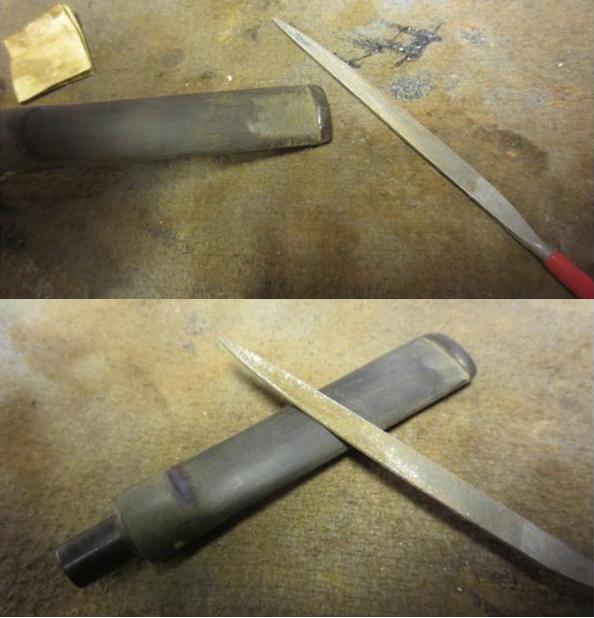
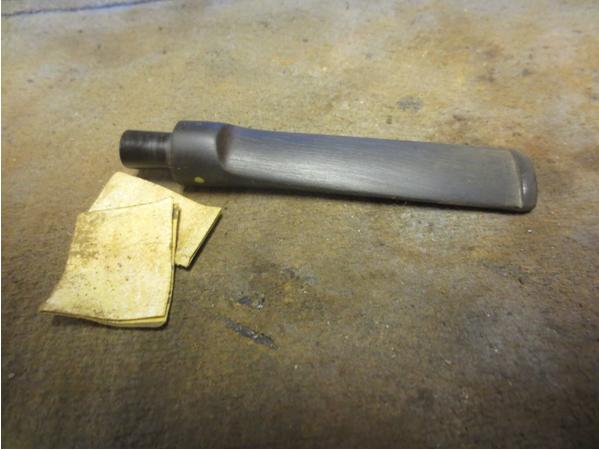
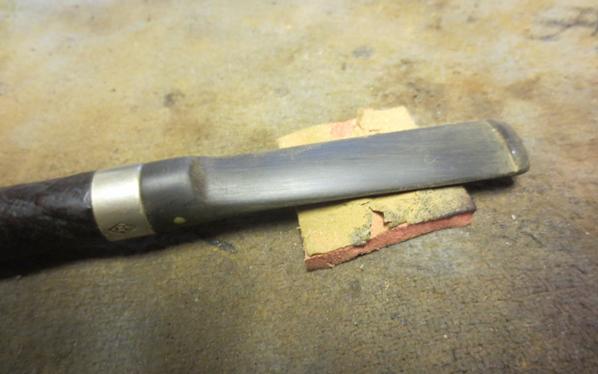
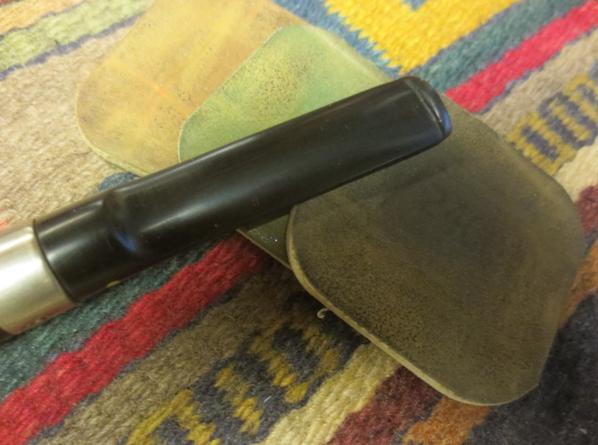
My brother showed me a link on eBay that showed this older LHS Lovat. It was stamped LHS in a diamond. Next to that was stamped PUREX over the patent number, PAT.No1587048. Under that was stamped REAL BRIAR. The shape number 12 was stamped on the underside of the shank. LHs2The pipe looked decent. There was some damage to the rim but the bowl was nice other than the usual dirtiness and dents. The shank also looked good. There did not appear to be any fills in the bowl or shank. There was very little cake in the bowl and it appeared that it had been recently reamed. The finish was in okay shape though there were paint flecks on the sides of the bowl near the rim. lhs3 LHS4 LHS5The seller included a close up photo of the rim to show the extent of damage. It looked to me that the outer rim was the roughest. It was rounded and the defined sharp edge was gone. The front edge had more damage than the back. The inner edge showed damage and would take some work to round it out. The top of the rim was pretty beat up from what I could see in the photos.LHS6The stem was in rough shape with lots of tooth chatter and wear. It was oxidized and also had a thick coat of some substance that appeared to be flaking or peeling. The dots on the stem were probably white and red though the photos showed the white dot as almost yellow. I was pretty sure that the coat on the coat on the stem accounted for that.LHS7 LHS8I weighed the work it would take to bring it back to life and we put in the only bid on the pipe. It did not take too long for the seller to send it to my brother and for him to send it to me. Even with the double postage it is cheaper to send it to him in the US and then to me in Canada than to ship it directly to Canada. When the pipe arrived in Canada I was able to see that the seller’s photos had shown the condition of the pipe very well. The only thing not shown was that the stem was quite plugged from the slot to the metal threaded tenon. I was not able to push a pipe cleaner through it. The other thing was that the patented stinger apparatus was missing. I have included a picture of the missing apparatus from the patent information.LHS1I went through my collection of tenons and I did not have one like the one shown in the drawing above. I took the next photos to show the state of the pipe from my perspective before I started on the refurb.LHS9 LHS10 LHS11 LHS12I found that the stem was slightly underclocked and needed to be rotated. The first photo below shows the turn of the tenon when it arrived. I heated the tenon with a Bic lighter to soften the glue in the stem. Once it was softened I was able to turn the stem straight. The second photo shows the corrected stem.LHS13 LHS14I took a close up photo of the rim and the bowl interior. There was still some cake in the bowl that needed to be scraped off.LHS15I reamed the bowl with the PipNet reamer and took out the remaining cake.LHS16 LHS17I cleaned out the shank with pipe cleaners, cotton swabs and alcohol. This was one dirty shank and mortise. I would need to use the retort to clean it out. I cleaned out the airway in the stem. It was clogged so I used a dental pick to open the slot area and then I was able to push a thin pipe cleaner through the airway. It took quite a few pipe cleaners to open the airway. I scrubbed the metal tenon with a brass bristle brush and then with alcohol and cotton pads. It was stained but all of the debris was cleaned.LHS18 LHS19I set up my retort, filling the test tube with isopropyl alcohol and then putting the stopper in place in the tube. I put a cotton ball in the bowl and the slid the rubber end of the retort over the stem. I lit a candle and heated the alcohol to boil through the bowl and shank. I boiled two test tubes of alcohol through the airway in the stem and shank before the alcohol came out clean. Once it was finished I ran pipe cleaners and cotton swabs through the mortise and airway to clean out the remaining alcohol and debris. Once I was finished the pipe smelled clean.LHS20 LHS21It was time to address the rim top. I topped it on the topping board using 220 grit sandpaper to remove the damage to the surface and sharpen the inner and outer edges of the rim. Fortunately I did not need to remove much of the surface to clean up the rim surface and edges.LHS22 LHS23I scrubbed the finish with acetone on cotton pads to remove the sticky surface of the finish and the dirt and grime of the years.LHS24 LHS25I sanded the stem with 220 grit sandpaper. I removed the “varnish” coat or whatever the substance was as well as the oxidation and tooth marks.LHS26 LHS27Once I had the surface clean of oxidation and tooth marks I wet sanded it with 1500-2400 grit micromesh sanding pads. I gave the stem a rub down of Obsidian Oil. I dry sanded it with 3200-4000 grit pads and gave it another coat of oil. I finished by sanding it with 6000-12000 grit pads and then gave it a final coat of oil.LHS28 LHS29 LHS30I sanded the rim with 1500-3200 grit micromesh sanding pads to smooth out the scratches left behind when I topped the bowl. I used a light brown stain pen to match the rim to the rest of the finish. I gave the pipe a light wipe down with olive oil and then buffed it with Blue Diamond plastic polish on the wheel. I gave it multiple coats of carnauba wax and buffed it with a clean buffing pad. I took it back to the table and gave it a final hand buff with a microfiber cloth. The finished pipe is shown in the photos below. I have no idea how old the pipe is but the patent number at least gives me a post 1926 date as a starting point. I don’t know how long LH Stern included the Pat.No. stamping on the shank but my thinking is that the pipe is from the mid to late 30s. Thanks or looking.LHS31 LHS32 LHS33 LHS34 LHS35 LHS36 LHS37 LHS38 LHS39

A Restoration Project – A Small Bent Billiard from a Past Era


Blog by Steve Laug

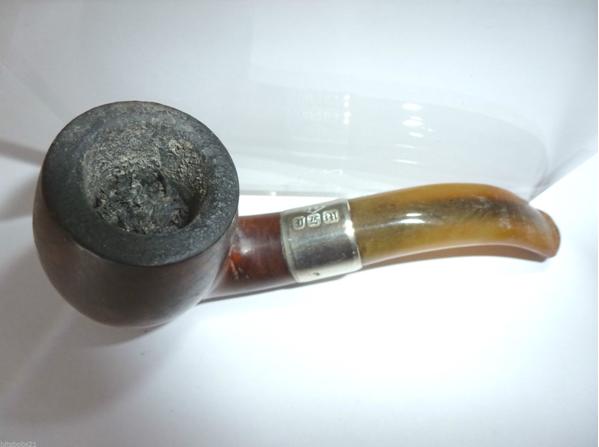
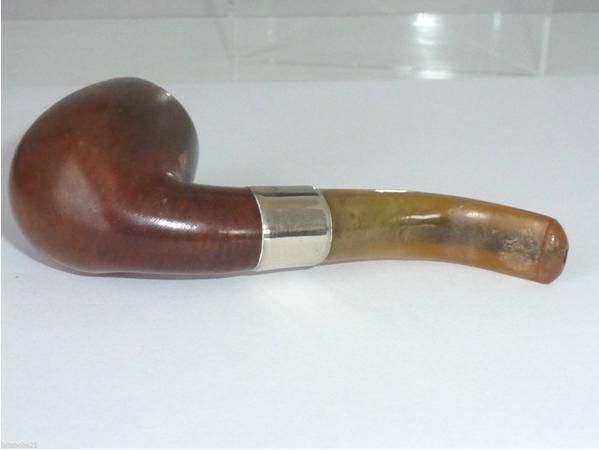
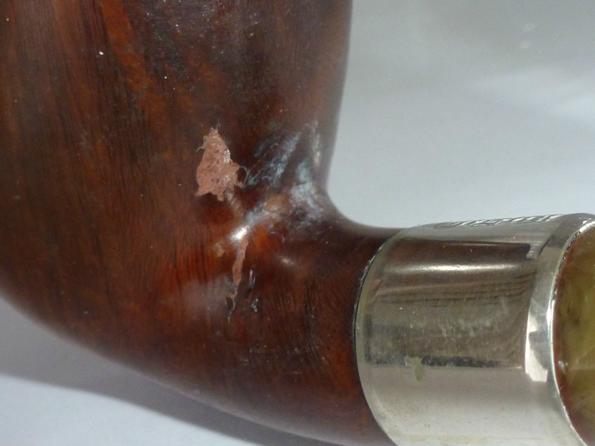
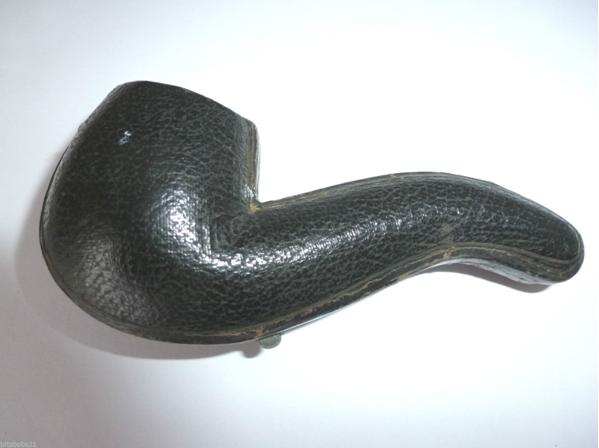
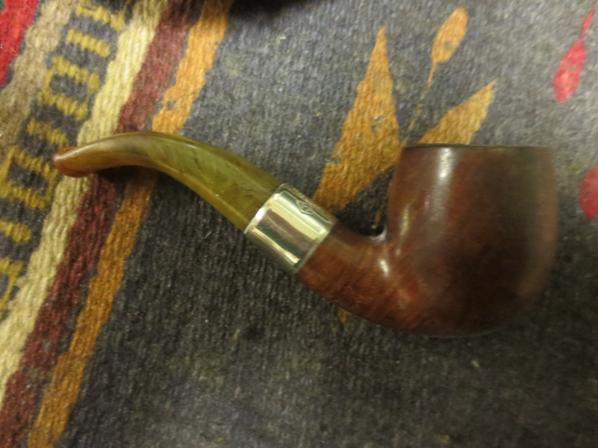
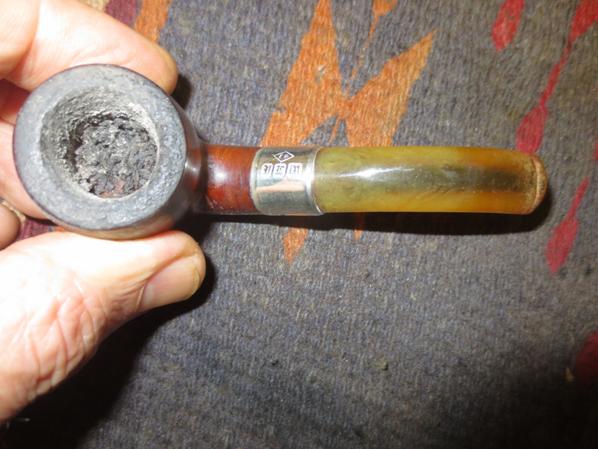
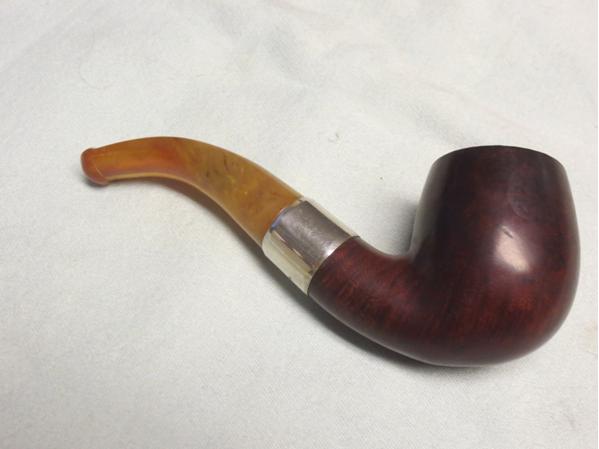
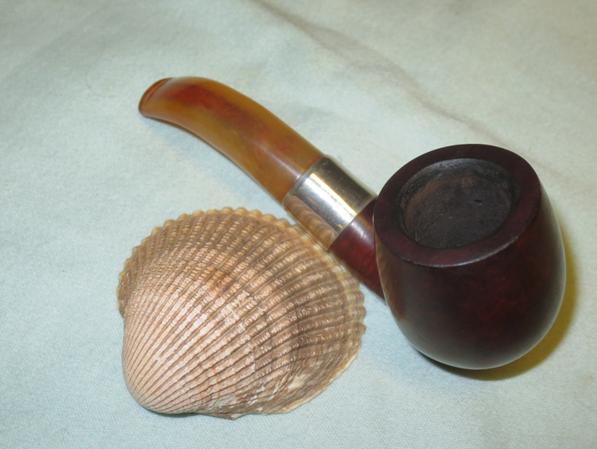
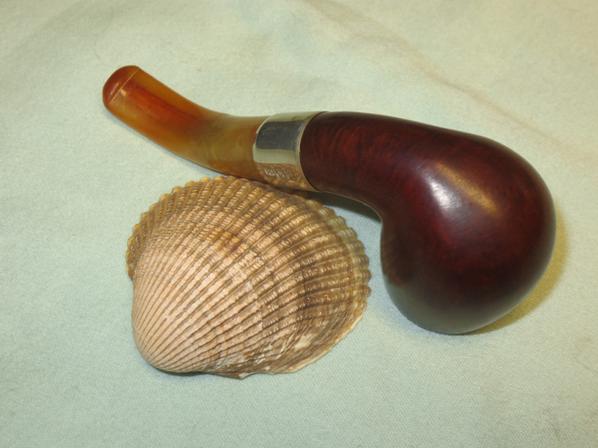
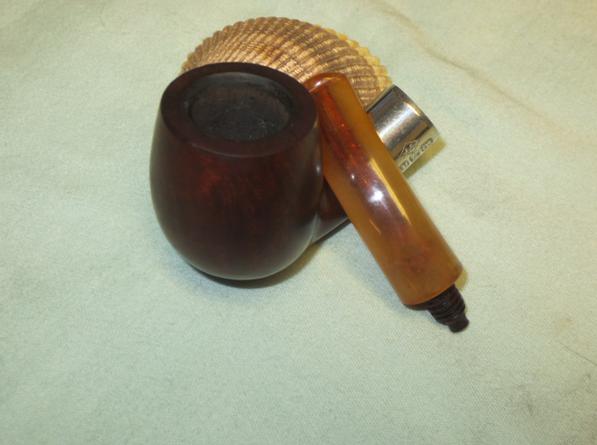
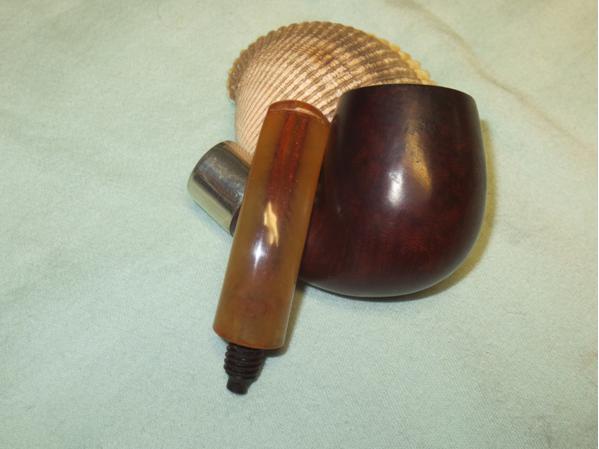
When I saw this pipe on Ebay I decided I wanted to have it in the collection. The seller said the stem was amber and it may be though I am thinking it is more of an Amberoid. The bowl had a fill on the back left side at the shank bowl junction. The band on the shank was rotated to the right and a little loose. The finish was worn and dirty. The rim was covered in tars and lava and the bowl was caked and half filled with the last unfinished bowl of tobacco. There was no information from the seller as to stampings or markings on the bowl or shank. It appeared to be a no name pipe. The seller thought the stem was horn or amber but it did not look like that to me. The stem looked to be in decent shape though it had tooth marks on the top and the underside near the button. The stem was very dull in appearance and the airway was black. The case was in decent shape with a lot of ash and detritus from the years. All in all the pipe was tired but it looked to be easily restorable. The photos below came from the seller.amber1 amber2 amberr3The next two photos show the stem damage. It does not appear to be extensive more chatter than any deep bite marks. The way the marks look on the stem it looks to me that the stem is amberoid or Bakelite not amber or horn.amber4 amber5The pipe is diminutive – a small one all the way around. It is well proportioned but is 4 inches long with a bowl height of 1 ½ inches. The inside diameter of the bowl is 5/8 inches.amber6The seller also included several close up photos – one of a large fill on the back left side of the bowl. It appeared to be tight and smooth but I would know more once I cleaned up the bowl. The other photo was of the metal band. It was stamped with faux hallmarks and an EP in a diamond that signified that the band was electroplated.amber7 amber8The case was in decent shape for a pipe this age.amber9When the pipe arrived I unpacked it and took it out of the case and took a few photos of my own to confirm my assessment from the seller’s photos. The pipe was solid and clean. The finish was worn and tired – dirty but would clean up nicely. The lava on the rim and the damage to the rim edges would need some work. The stem was not amber or horn but amberoid or Bakelite. It had some interesting swirls and would clean up nicely. The material on the inside of the case had a lot of ash and was dirty but intact.amber10 amber11 amber12 amber13 amber14I removed the stem from the shank and was surprised that I was able to unscrew the bone tenon from the stem. It was a little sticky but with a bit of wiggling it came free.amber15With the stem out I worked on the inside of the stem. The airway was almost black with tars and oils. I wanted to clean out the stem as much as possible and bring it back to a clean airway that blended with the stem material. I used alcohol, pipe cleaners and cotton swabs. The photo below shows the first stage of the cleaning. Following the scrubbing I also used Barkeepers Companion with pipe cleaners dipped in it and using that to scrub out the airways. I was able to clean out the majority of the stains.amber16 amber17I reamed the bowl with a PipNet reamer and took the cake back to bare briar. amber18 amber19To clean up the rim I topped it with 220 grit sandpaper. I was able to take off all of the lava and cleaned up the edges of the rim. I sanded the inside edge of the rim with a folded piece of sandpaper. I cleaned up the rough edges and the inside of the bowl.amber20 amber21 amber22I scrubbed the exterior of the bowl with acetone on cotton pads. It removed the finish and the grime from the bowl.amber23 amber24 amber25I removed the loose band and cleaned the outside of the shank. I reglued the band with Wellbond white all purpose glue.amber26I cleaned out the inside of the mortise and airway with cotton swabs, pipe cleaners and alcohol.amber27I used a black Sharpie to hide the fill on the back of the bowl and then stained the pipe with Dark Brown aniline stain. I flamed it and restained and reflamed it.amber28 amber29 amber30 amber31I sanded the tooth chatter with 220 grit sandpaper to remove it. I wet sanded the stem with 1500-2400 grit micromesh sanding pads to begin the process of polishing the stem. I rubbed it down with Obsidian Oil and then dry sanded it with 3200-4000 grit pads. I gave it another coat of oil and then sanded it with 6000-12000 grit pads. I gave it a final coat of oil and let it dry.amber32 amber33 amber34I lightly buffed the stem and bowl with Blue Diamond and then gave the pipe several coats of carnauba wax. I buffed it with a clean flannel buffing pad and then with a microfibre cloth. I brushed out the inside of the case with the shoe brush to remove the dust and ash. The finished pipe is shown in the photos below.amber35 amber36 amber37 amber38 amber39 amber40 amber41 amber42 amber43This is a great old pipe and one that will hold a spot in my collection. I will keep it in trust, using it and caring for it until I pass it into the hands of the next pipe man. Thanks for looking.

A Rare Find – A Pair of Fieldcraft Dulwich Quaints


Blog by Steve Laug

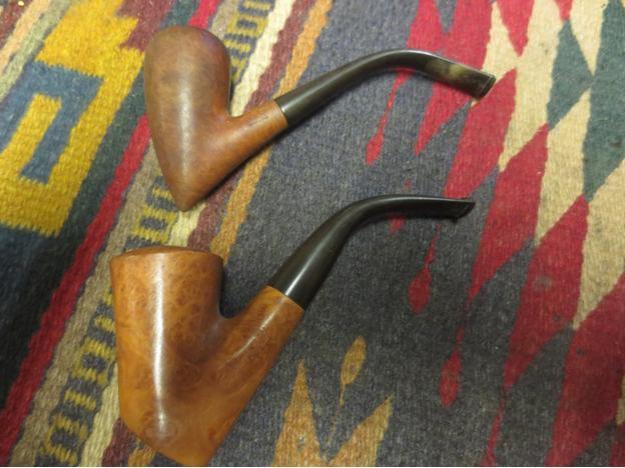
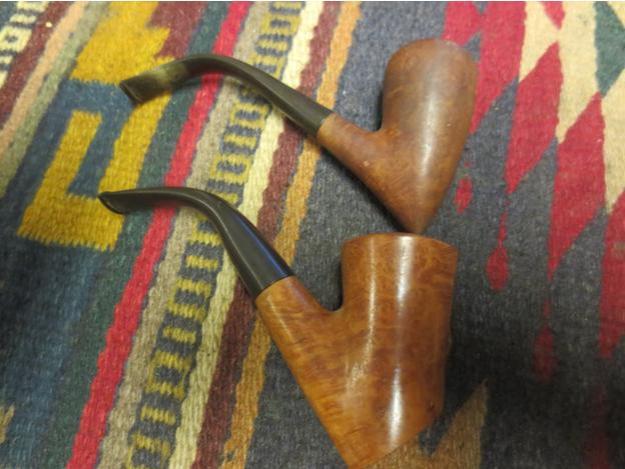
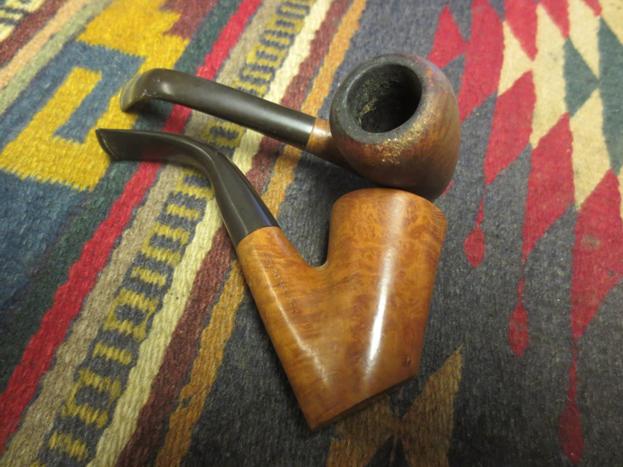
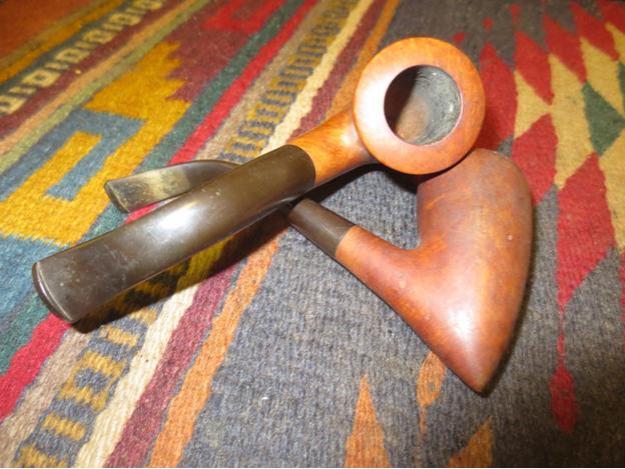
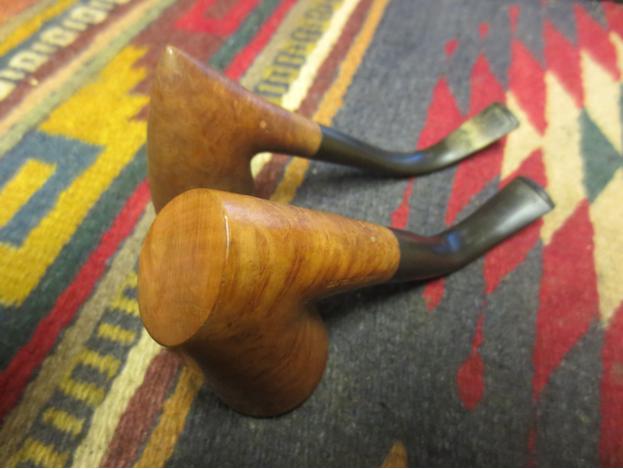
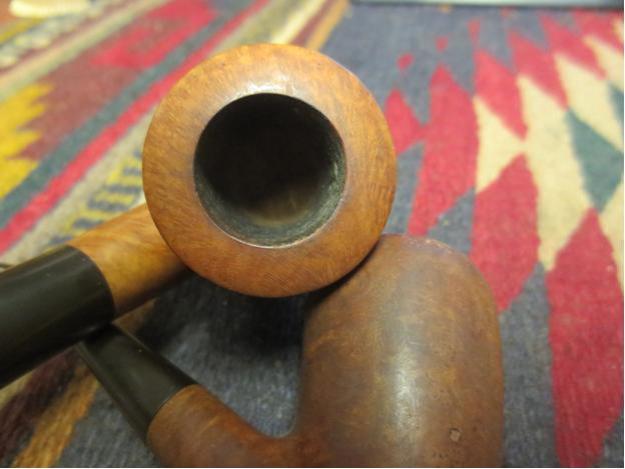
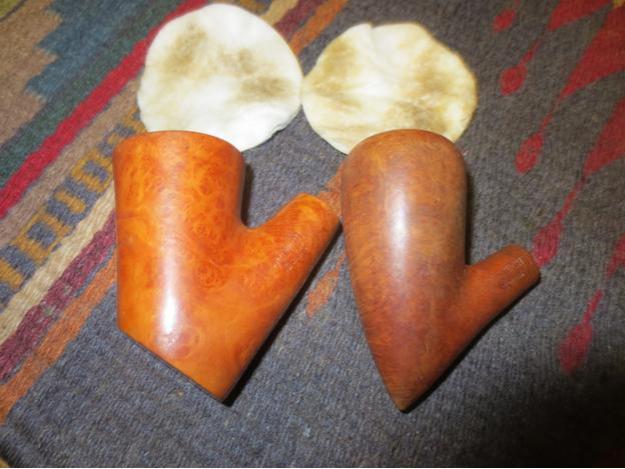
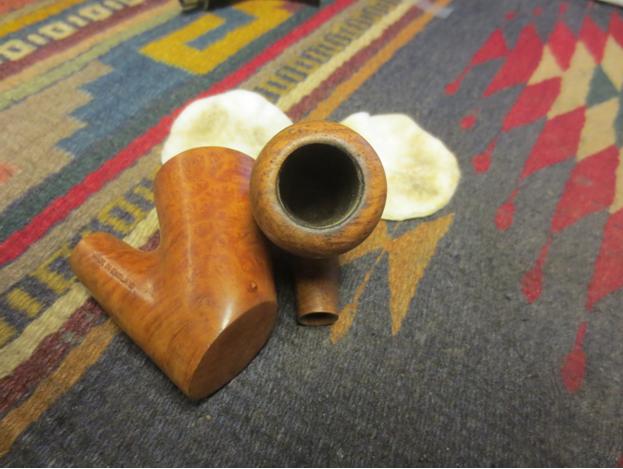
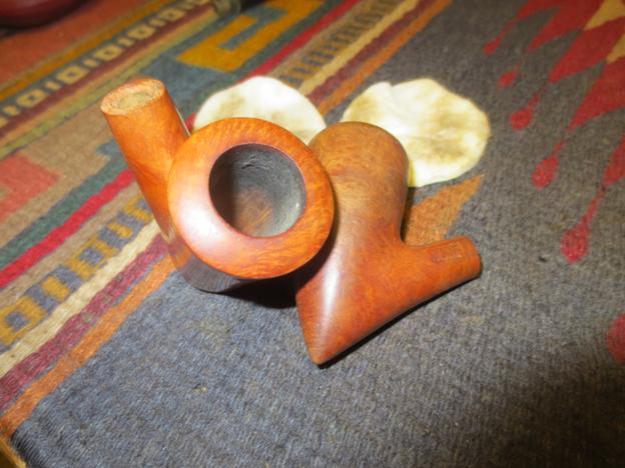
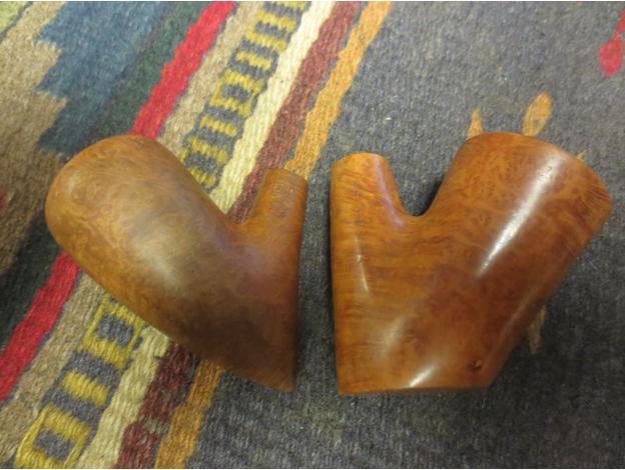
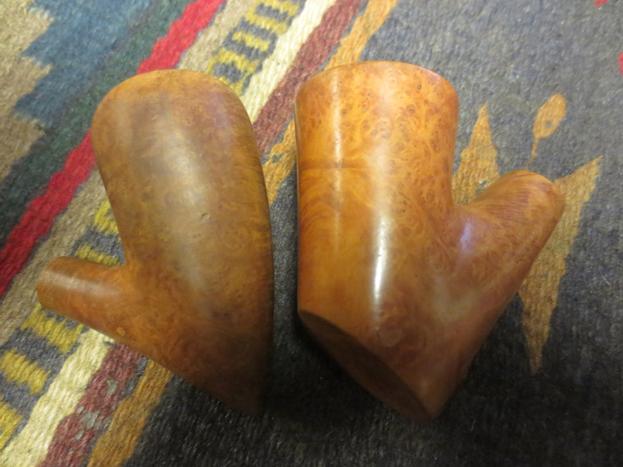
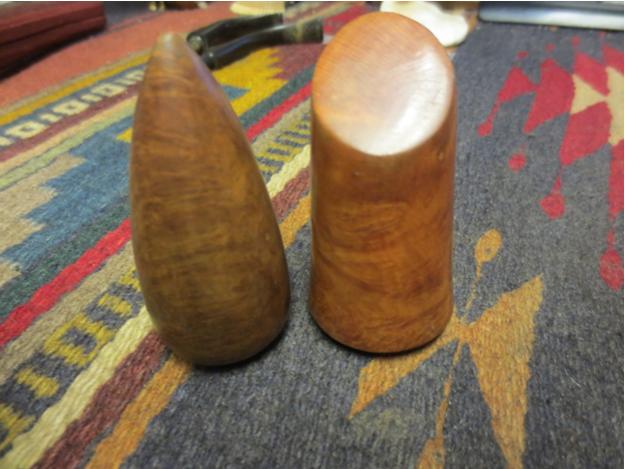
My brother found this pair of Dulwich Quaints – one a sitter, kind of bent poker and the other a kind of pickaxe shape. The shape and the look of them were unique and there was something about them that immediately drew me to them. They are not big pipes but they have full sized bowls. The stems were made out of very good vulcanite. The briar was quite nice even though both pipe sported a few fills. The bent poker is stamped DULWICH over Quaint on the left side of the shank and Made in England on the right side. On the underside of the shank it is stamped Fieldcraft and the shape number 102. The pickaxe is stamp DULWICH over Quaint on the left side and Made in England on the right and on the underside it has the shape number 126. I have hunted high and low for information on the brand using the Dulwich moniker as well as the Fieldcraft one. Both take me nowhere. One of the earlier pipes I repaired was stamped with the Fieldcraft name and the shape number was clearly a Orlik Pipe Shape. In this case I have no idea who the maker was. Both are interesting old pipes.Dulwich1 Dulwich2The poker shaped sitter had hardly been smoked with over half of the bowl undarkened briar. The stem had some tooth chatter on the underside near the button but other than being oxidized it was a clean pipe. The finish on it was also pretty decent with a few small fills toward the bottom of the bowl on the left side and the front. There was some scratching in the briar as well particularly on the bottom of the bowl. The pickaxe was in rougher shape all the way around. It had a thick cake in the bowl with lava on the rim. The front right rim edge and top had been badly beaten against something that left the briar very rough. The stem was oxidized and had a line of calcification. There was tooth chatter on both the top and bottom sides near the button.Dulwich3 Dulwich4 Dulwich5I took a close up picture of both rims to show what they looked like when I started the refurb. The poker had a slightly crowned rim that is undamaged and has no lava or tars. The pickaxe is another story.Dulwich6 Dulwich7I reamed the bowl of the pickaxe with a PipNet reamer using the smallest cutting head. I took the cake back to bare briar so that I could repair the rim damage.Dulwich8 Dulwich8aI wiped both bowls down with acetone on cotton pads to remove the finish and the grime that was particularly prevalent on the pickaxe.Dulwich9 Dulwich10I sanded the rim of the pickaxe with 220 grit sandpaper to remove the damage to the surface of the front edge and top. I sanded it with a medium and a fine grit sanding sponge and then with micromesh sanding pads – 1500-24000 grit. I wiped the rim down with acetone.Dulwich11 Dulwich12I buffed both bowls with White Diamond on the wheel to get a natural shine.Dulwich13 Dulwich14 Dulwich15 Dulwich16I cleaned out the mortise and the airway on both pipes with cotton swabs, pipe cleaners and alcohol.Dulwich17 Dulwich18I cleaned out the airways on both stems with alcohol and pipe cleaners.Dulwich19 Dulwich20I sanded the stems with 220 grit sandpaper to clear the surface of the oxidation and the calcification on the pickaxe stem. I scrubbed the bite marks on the underside of the stem and used black super glue to repair them.Dulwich21 Dulwich22I sanded the poker stem with 220 grit sandpaper and removed the tooth marks on the underside of the stem near the button.Dulwich23 Dulwich24I rubbed the stems down with some Obsidian Oil and put them back on the bowls to get a quick look at how the work was coming along.Dulwich25I scrubbed the stems with Meguiar’s Scratch X2.0 Fine scratch and blemish remover. It worked really well on the pencil stem on the pickaxe and not as effectively on the thicker stem of poker.Dulwich26I wet sanded the stem of the pickaxe and the stem on the poker with 1500-2400 grit micromesh sanding pads and then rubbed the stem down again with the Obsidian Oil. I dry sanded the stems of both with 3200-4000 grit micromesh and then gave them another coat of the oil. I finished sanding them with the 6000-12000 grit micromesh pads and gave them a final coat of oil and set them aside to dry.Dulwich27 Dulwich28 Dulwich29 Dulwich30The briar was naturally finished so I did not stain either bowl. I gave them a light coat of olive oil and then buffed the stems and bowls of both pipe with Blue Diamond on the wheel. I gave them both several coats of carnauba wax. I buffed them with a clean flannel buffing pad and then by hand with a microfiber cloth. The finished pipes are shown in the photos below. Do any of you who are reading this have any information on either Fieldcraft or Dulwich pipes? I have seen and repaired several over the years and so far have been unable to identify them beyond the initial one that was an Orlik made pipe. Thanks ahead of time for any help that you may have.Dulwich31 Dulwich32 Dulwich33 Dulwich34 Dulwich35 Dulwich36 Dulwich37 Dulwich38 Dulwich39 Dulwich40 Dulwich41 Dulwich42 Dulwich43 Dulwich44

This is one Beautiful Meerschaum – a Lattice Billiard with a 1/8 bent stem


Blog Steve Laug

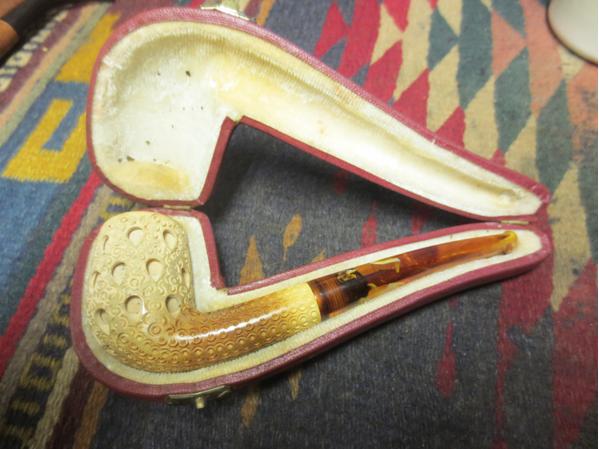
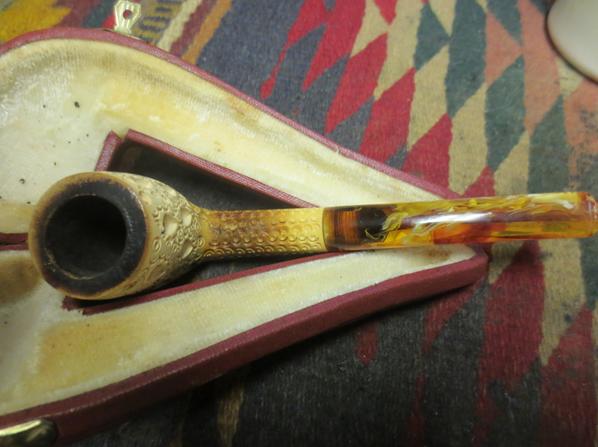
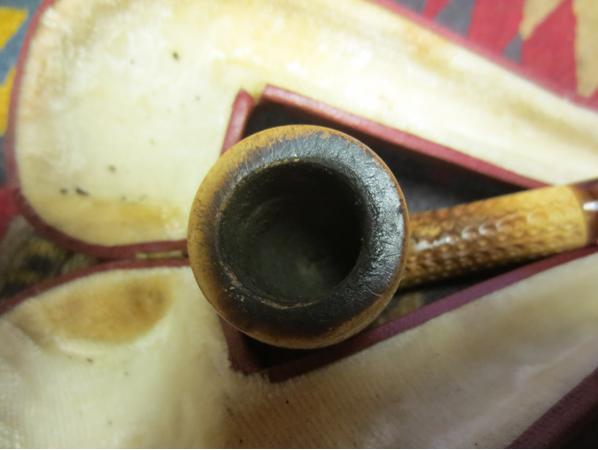
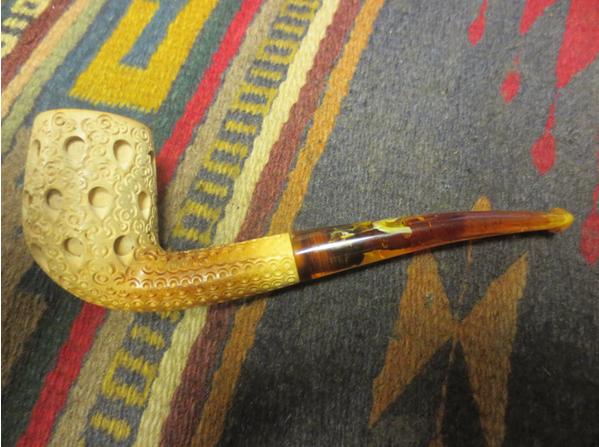
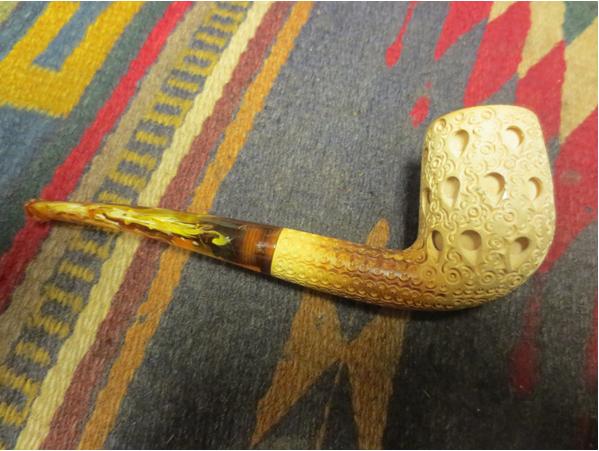
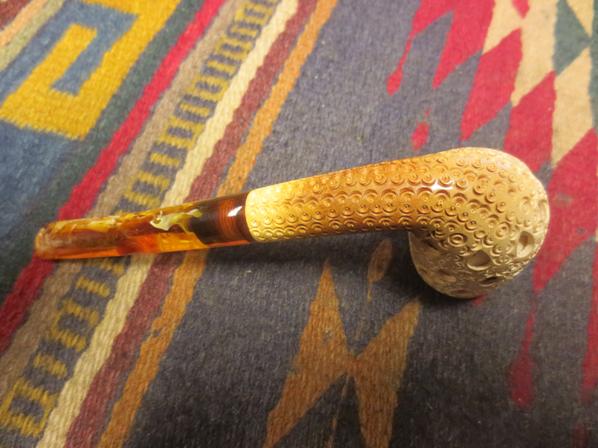
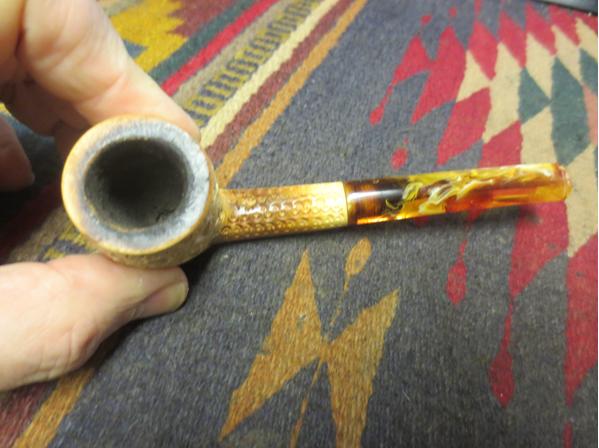
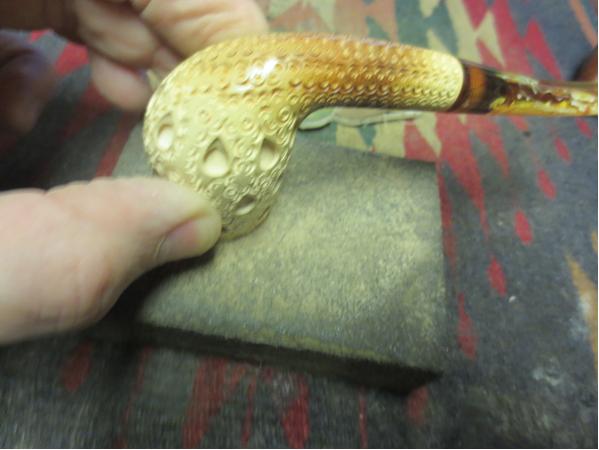
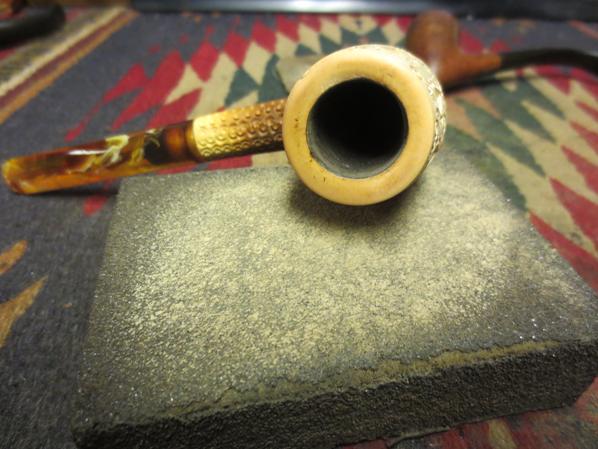
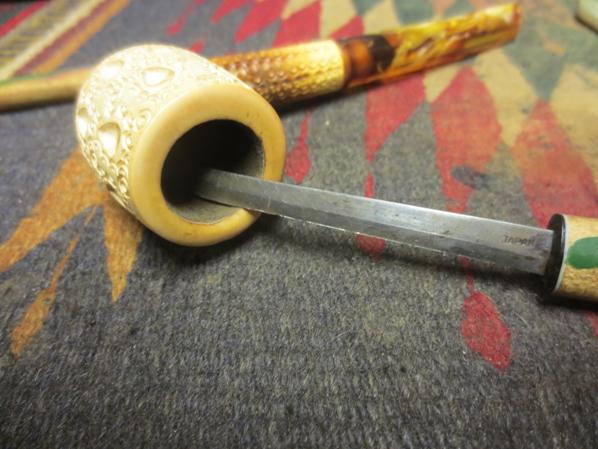
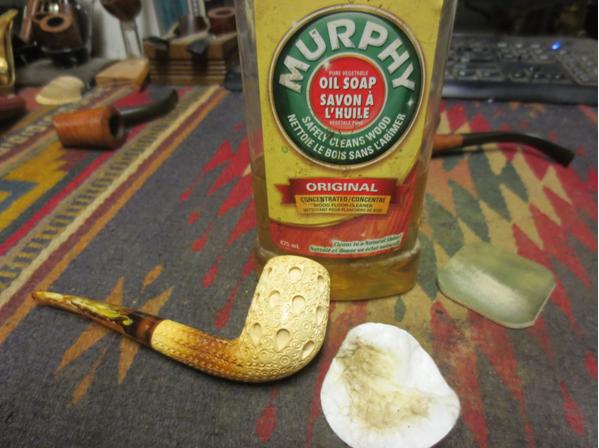
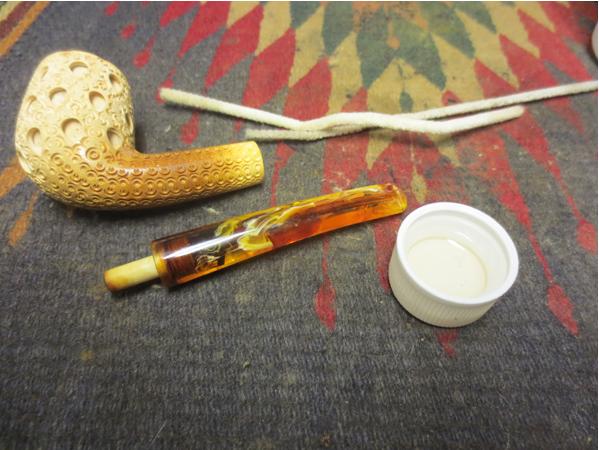
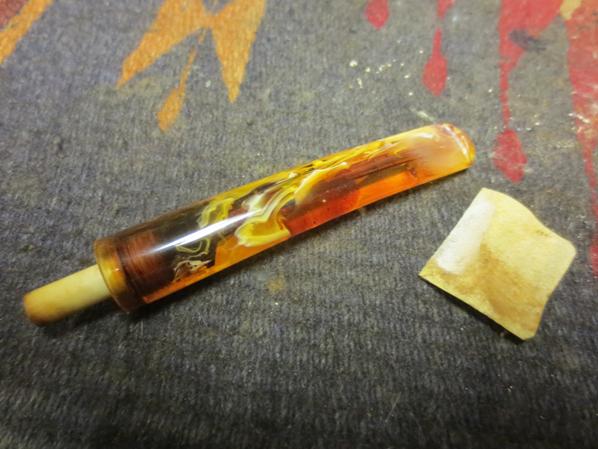
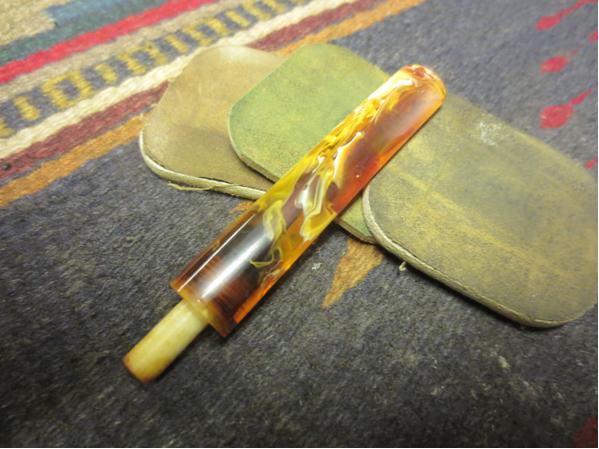
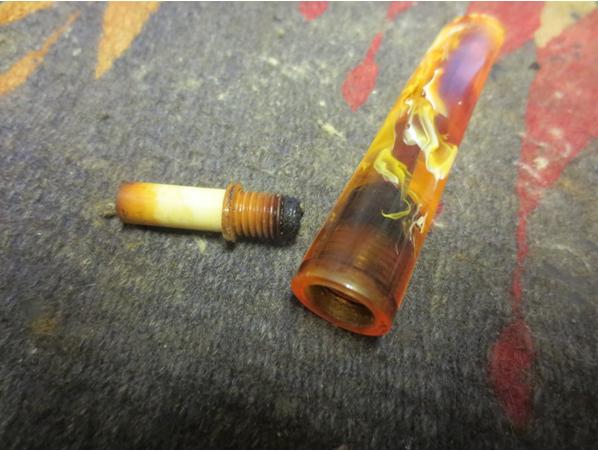
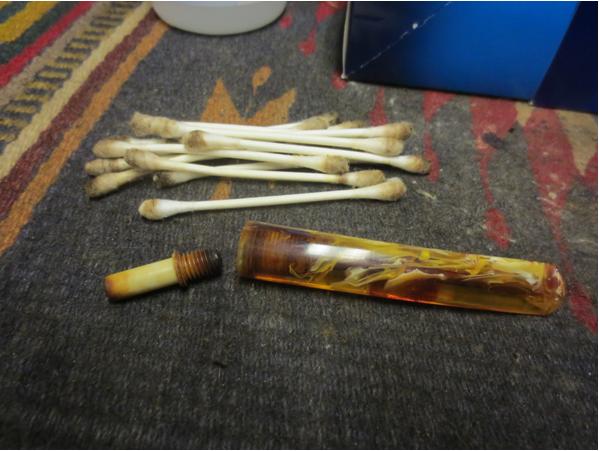
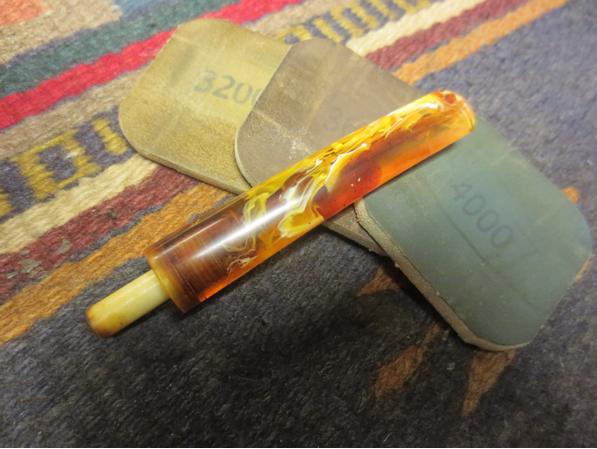
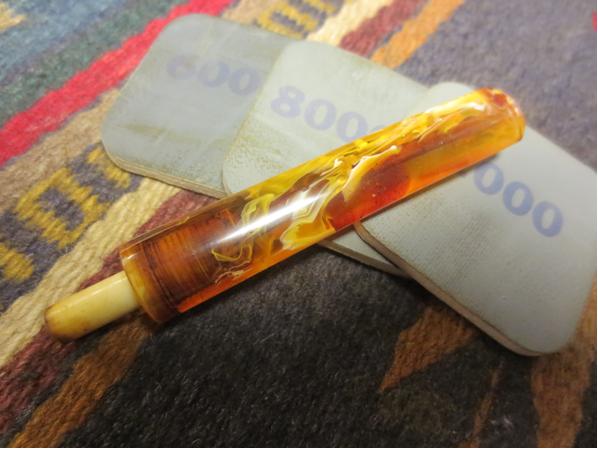
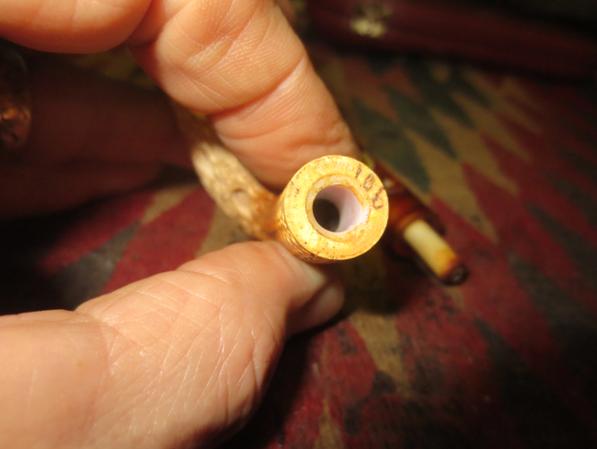
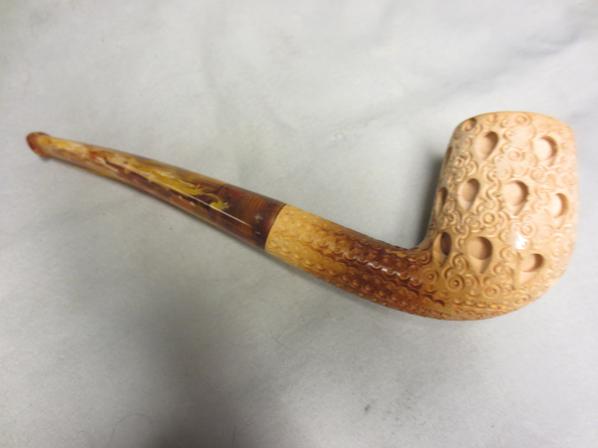
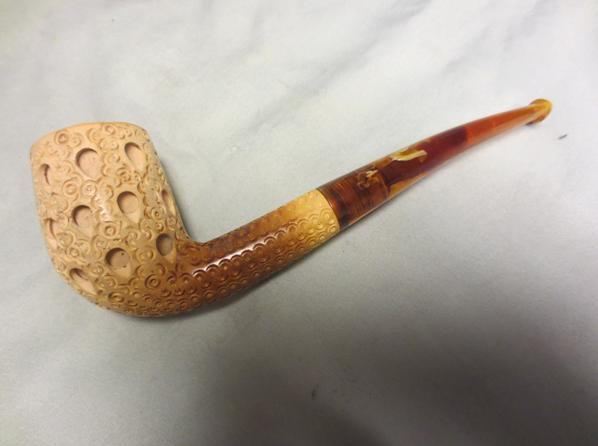
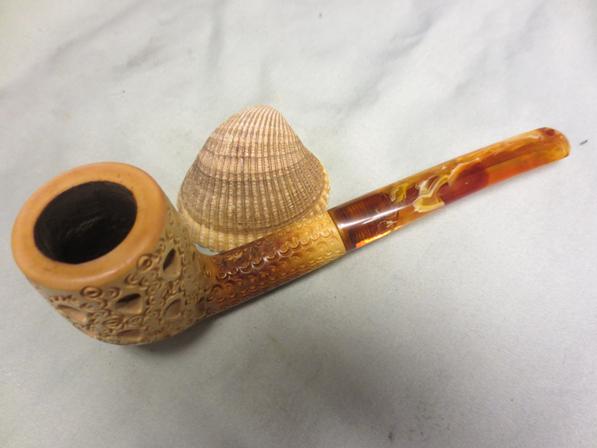
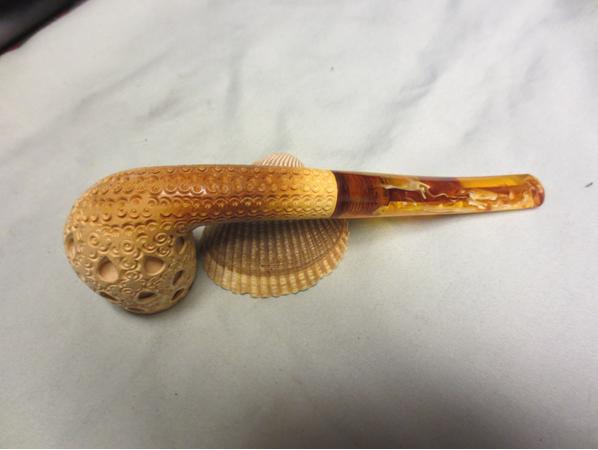
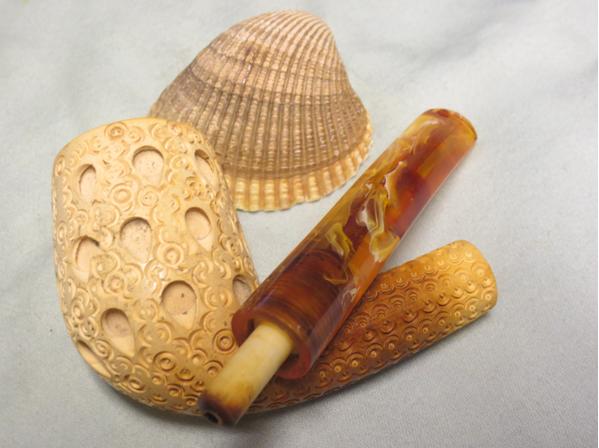
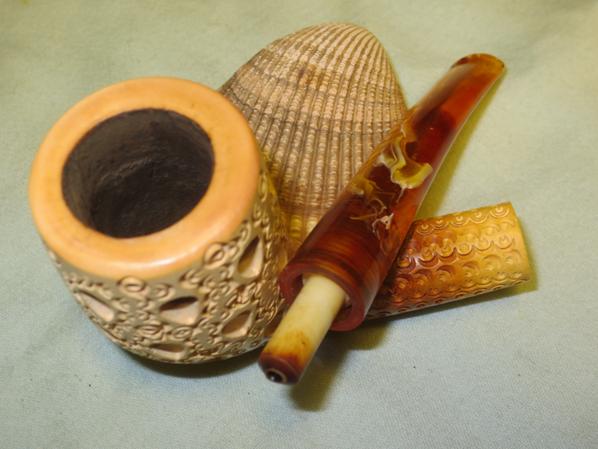
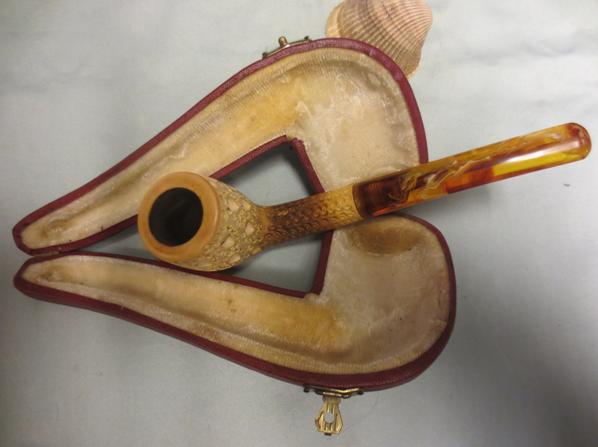
I have no idea who carved this Meerschaum Billiard but the tear drop cuts in the outer finish of the bowl and the swirls and circles that work around the tear drops and up the shank give the pipe a look of grandeur. The rim is smooth underneath all of the tar and oil build up and the bowl is already colouring. The shank has picked up some darker amber hues and the underside of the bowl also has colour. The stem has a push tenon and the amber swirl acrylic of the stem works well with the bowl as it is colouring. The stem has some whites, creams and varieties of amber colouring that are really beautiful. The bowl had a slight cake build up and the shank was dirty with oils. The push tenon was discoloured and the threads into the stem were also black and dirty. The stem had some tooth chatter on the top and bottom sides near the button. The pipe came in a red artificial leather case lined with a plush cream coloured fabric that the bowl sat against. The case was in good shape externally and the inside had flecks of dirt and tobacco ash on the surface.Amber1 Amber2I took a close-up photo of the bowl and rim to show the cake and the build up on the rim top. The inner and outer edges of the rim were in great shape. There was a slight crown to the rim curving from the inner edge to the outer edge giving it a rounded look. Amber3I took some photos of the pipe out of the case to give a clear picture of the condition of the pipe. The stem is quite beautiful and will clean up nicely.Amber4 Amber5 Amber6 Amber7I decided to gently top the bowl – not removing any meerschaum but removing the hard tar build up on the rim face. I used a medium and a fine grit topping sponge to break through the tars. It did not take long before I had the surface back to its original smooth and clean state.Amber8 Amber9I carefully reamed the bowl with a pen knife. I scraped the cake back to the smooth meerschaum surface.Amber10I scrubbed the bowl with Murphy’s Oil Soap and cotton pads to remove the dirty spots on the bowl. I wanted to remove these soiled areas and leave the patina intact so the Murphy’s Soap works well for that. I scrubbed the bowl with undiluted soap and then rinsed it with a wet cotton pad to remove the soap left behind.Amber11I cleaned out the shank and the inside of the stem with alcohol, pipe cleaners and cotton swabs and was surprised at how clean it was. It did not take much to clean up the airways.Amber12I sanded the tooth marks next to the button on both top and bottom of the stem with 220 grit sandpaper and removed all sign of the marks. Fortunately they were not deep marks.Amber13I wet sanded the stem with 1500-2400 grit micromesh sanding pads. Amber14While I was sanding the stem I tried to unscrew the push tenon and to my surprise it came out easily. This allowed me to clean out the end of the stem with alcohol, pipe cleaners and cotton swabs to remove the black tars that had built up behind the threads in the end of the stem. I scrubbed the threads on the tenon with a brass bristle brush and wiped them down with alcohol.Amber15 Amber16I lightly sanded the darkened areas on the push tenon with the micromesh sanding pads to remove any build up that was present. I dry sanded the stem with 3200-4000 grit micromesh sanding pads and wiped the stem down with the Obsidian Oil to give me some bite with the final micromesh pads. I completed the sanding with 6000-12000 grit pads.Amber17 Amber18Before put the stem back in place in the shank I took a closer look at the end of the tenon. There was some writing on the meerschaum on the top right side. It appears to be the numbers 106 but I am not sure. Anyone have any ideas what that might signify??Amber19I put the stem in place and wiped the bowl and stem down with a soft microfibre cloth to give it a little shine. The finished pipe is shown in the photos below. The colouring on the shank of the meerschaum matches nicely with the colouring of the swirled acrylic stem. The rest of the meerschaum looks clean with a slight darkening that gives it a cream colour.AMber20 Amber21 Amber22 Amber23 Amber24 Amber25I cleaned the inside of the case with a brush to remove the lint and the tobacco bits that were on the material. It came out quite well. The pipe is cleaned and ready for an inaugural smoke. Thanks for looking.Amber26

Restoring a Genuine Sandblast Silverknight Dublin


Blog by Steve Laug

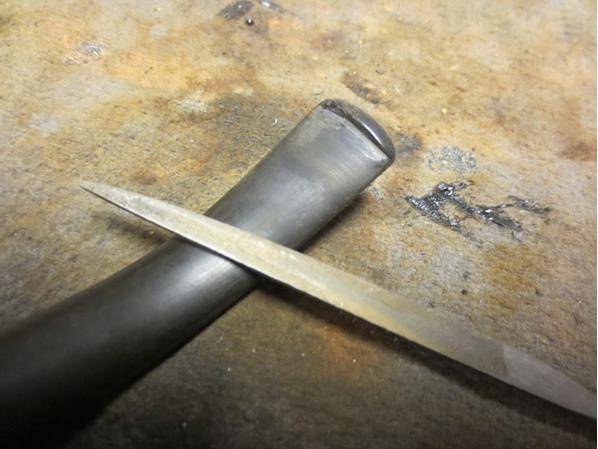
Going through the box of pipes to refurbish I came across this interestingly shaped pipe. I would describe it as a Dublin but the rounded bottom extending below the bottom of the shank gives it a very unique look. It is a tall pipe with a sandblast finish. The sandblast is not deep and craggy but it is shallow and lot of swirls. The finish was dirty and lots of dust was in the grooves of the finish. The rim was dirty with a build up on the inner bevel of the rim. The outer edge was in pretty good shape with a light rustication. The bowl was lightly caked and there was some dried white wax in the bowl from whoever had given the pipe a buff before selling it on Ebay. There was a silver band on the shank for decorative purposes. It is stamped with an EP in a diamond. The EP stands for Electro Plated. On the underside of the shank there is a smooth un-sandblasted portion that is stamped GENUINE SANDBLASTED over SILVERKNIGHT. At the end of the shank it is stamped Italy. The brand is not one that I have seen before and I could not find it in any of my usual sources. The stem was oxidized and had some tooth marks and chatter on the top and bottom sides. The button was worn on both the top and the bottom. It had an interesting dot on the stem that looked like a white spot. The closer I looked I could see that it was a pale yellow spot.Blast1 Blast2I took some close-up photos of the rim and the bowl to show the interior of the bowl and the rim condition. There was some tar and oil build up on the top of the rim.Blast3The next two photos show the tooth marks on the stem.Blast4I reamed the bowl with a PipNet reamer to take the cake back to bare briar. I wanted to remove the white material in the bowl. Once I had it on the reamer it was clear that it was wax.Blast5 Blast6I used a brass tire brush to scrub the top of the rim and the inner bevel. The brass bristles do not scratch the finish but they loosen the tars and oils on the rim.Blast7I scrubbed out the interior of the mortise and airway into the shank with pipe cleaners, cotton swabs and alcohol to remove the tars and oils. I scrubbed until the cleaners came out white.Blast8I worked on the stem. I sanded it with 220 grit sandpaper to remove the tooth marks and tooth chatter. I sanded the whole stem to remove the oxidation on the surface of the stem.Blast9I cleaned out the airway on the stem with pipe cleaners – both regular and bristle ones – and alcohol. Once they came out clean the stem interior was finished.Blast10I redefined the button on the top and bottom sides of the stem with a needle files to give it a sharper more distinct edge.Blast11I sanded the file marks with 220 grit sandpaper to remove the file marks.Blast12I sanded the stem with a medium and a fine grit sanding sponge to minimize the scratches.Blast13I wetsanded the stem with 1500-2400 grit micromesh sanding disks to begin the process of polishing it. I rubbed it down with Obsidian Oil and then dry sanded it with 3200-4000 grit pads. I gave it another coat of oil and then finished sanding it with 6000-12000 grit pads. I gave it a final coat of the oil and let it dry.Blast14 Blast15 Blast16I buffed the pipe and stem with Blue Diamond on the wheel. I lightly buffed the bowl and gave the stem a bit more pressure. I gave the stem several coats of carnauba wax and buffed the bowl and the stem with a clean buff. I brought it back to the work table and gave the bowl a light coat of Conservator’s Wax and buffed it with a shoe brush. The finished pipe is shown in the photos below. It is cleaned and ready to smoke.

Do any of you have any idea who may have made this pipe? It is light weight and well made. The draught on it is perfect and the conical bowl is in really good shape. Thanks for looking.Blast17 Blast18 Blast19 Blast20 Blast21 Blast23Blast22

My Brother Says this Carved Meerschaum Bowl Reminds Him of Me…


Blog by Steve Laug

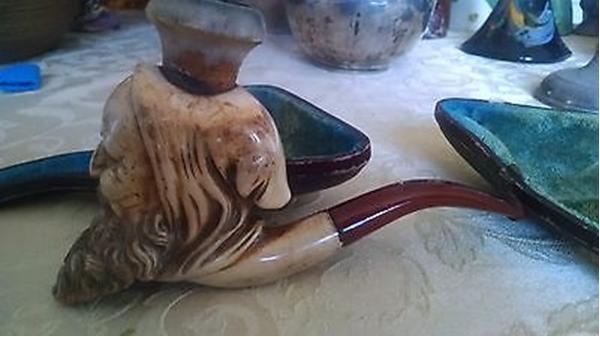
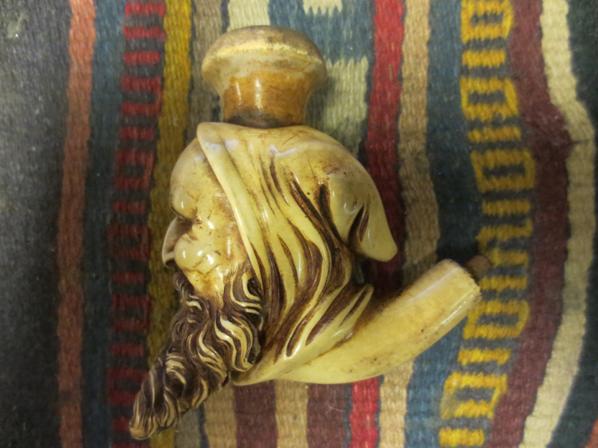
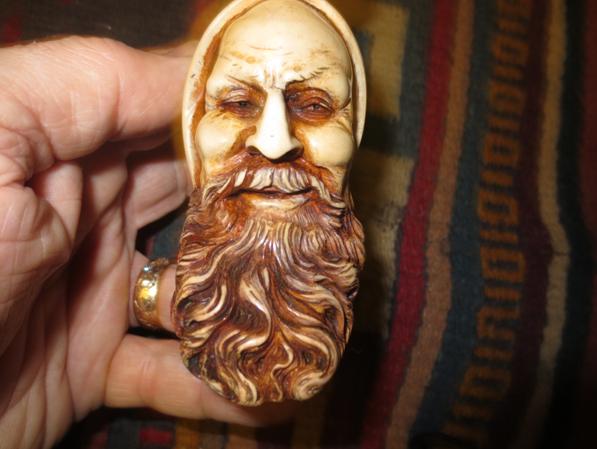
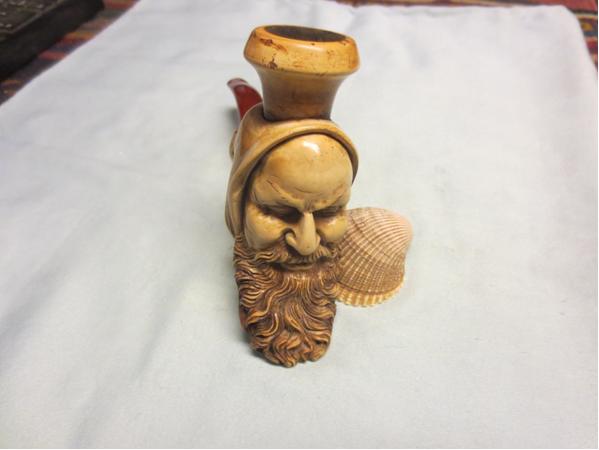
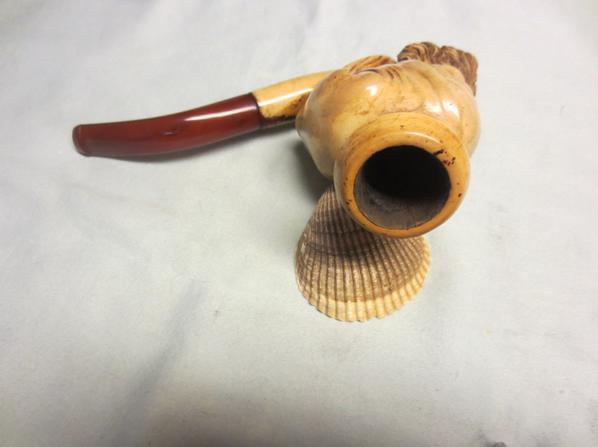
Meer1My brother Jeff sent me these photos of an old carved meerschaum that he picked up. He said he had to have it as it was the perfect likeness of his brother. I don’t know if that is a compliment of not but this is certainly an amazing carving. There is no sign of who carved it. The bowl is in really good shape in terms of not having any really bad scrapes or scars in it. There are no chips on the edges of the hood and cowl or on the beard of the old fellow. From the photos it is really hard to tell what size the pipe was but I was intrigued. It looked like it would be fun to work on and with a carved head like that and the supposed likeness to yours truly it was even more of a challenge. I could not wait for it to arrive so that I could begin to work on it.

Looking at the photos while I awaited its arrival from Idaho I was curious about the size. I wondered if the pipe might not be a cheroot pipe rather than a full-sized pipe. When I asked my brother about that he assured me that it was too big for that. I forgot to get the measurements on the pipe before he shipped it out to me so that would need to wait until I saw it. The as I looked at the photos I wondered if the bowl in the top of the head was not a colouring bowl. Maybe it was not an integral part of the pipe but an addition that was used to facilitate the colouration of the bowl. I would not know that until I had it in hand. These and other questions ran through my head each time I looked at the photos and really none of them could be answered until I held the pipe in hand. The photos below were included by the original seller. The first gives a front view. The second and third photos show the side views of the pipe.Meer2

Meer3

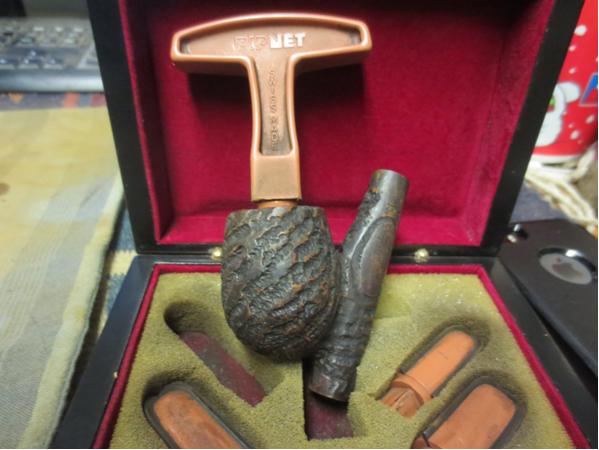
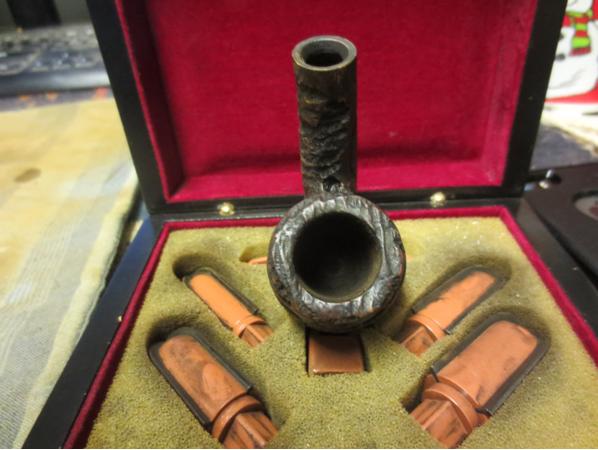
Meer4 The case was in two parts in the photos. It appeared to be in decent shape otherwise. When the pipe arrived I was blown away be the size of it. It was a full-sized pipe. In the photo below you can see it next to a regular tooth brush. Later there will be photos of it in my hand it is a big pipe. It appeared that the bowl in the top of the pipe was part of the pipe. It was the most worn part of the pipe. It had tars built up on the top of the rim. There were some small nicks in the surface of the outer edge. The underside of the bowl was dirty and worn and it appeared that the finish was gone. The bowl itself had surprisingly few scratches in the surface. There was darkening and wear where it had been held but it was not bad. The grooves of the cowl and hood as well as those in the beard had a lot of dust and debris in them. The mouth piece was Bakelite and had a slot in the end of the button. There were some tooth marks on the underside. The stem was also slightly overturned. The metal tenon was anchored in the shank of the meer and the stem screwed onto the tenon. It appeared to me that the threads in the stem were worn and that accounted for the overturn.

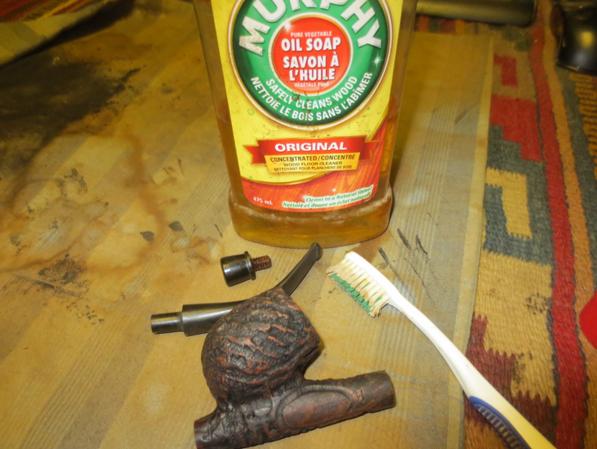
I scrubbed the surface of the meer with a tooth brush and Murphy’s Oil Soap. I wanted to clean the meerschaum and the grooves but not harm the patina of the pipe. I scrubbed to make sure that all the grime and dust was gone. I worked on the rim to soften the tars and oils there. I scrubbed the underside of the beard and the rest of the pipe. Once it was clean I rinsed the pipe under warm running water to remove the soap and grime. I dried it off with a soft cotton towel.Meer5 The photos below show the scrubbed and dried pipe. You can also get an idea of the size of the bowl in comparison to my hand in several of the photos. I love the expression on the face of the character. The carver masterfully captured the charm and character of the old man.Meer6

Meer10

Meer9

Meer8

Meer7 The next photo, though it cuts off a part of the hood still gives a clear picture of the charm of the old fellow. You can see the amusement in his face and the squint of his eyes. The face makes me wonder what he was thinking about. There is some good colouration on his face, beard and hood.Meer11 I sanded the top of the bowl with a medium grit sanding block to remove the tars and oils and bring it back to the original meerschaum surface. The buildup came off with very little work and the rounded rim of the bowl shone with the colour of a well smoked bowl. I scraped the bowl with a pen knife to clean out the thin cake that was forming on the inside.Meer12

Meer13 The stem was clogged and no air could be blown through it. I used a dental pick to clean out the slot and then tried to push a pipe cleaner through it. The pipe cleaner bent and the clog would not budge. I tried it from both ends of the stem with no luck. I used a straightened pipe cleaner and curved it to the bend of the stem and was able to push it through the clog and poke the debris free of the stem. I ran both bristle and regular pipe cleaners through the airway until they came out clean and the airway was unobstructed.Meer14

Meer15 I sanded the tooth marks near the button on the top and underside of the stem with 220 grit sandpaper until they were smooth.Meer16

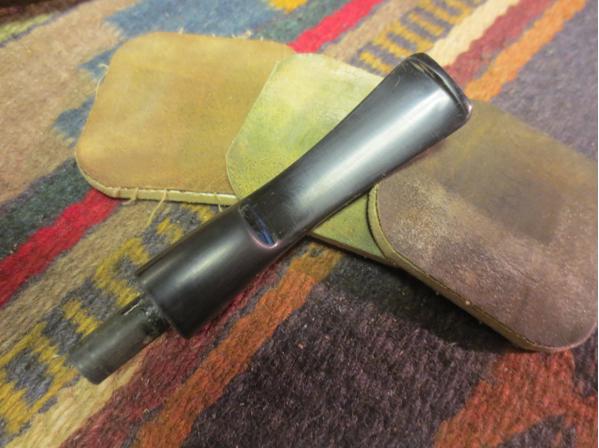
Meer17 I wet sanded the stem with 1500-2400 grit micromesh pads. I rubbed the stem down with Obsidian Oil. I dry sanded with 3200-4000 grit pads and gave it a second coat of oil. I finished with 6000-12000 grit pads and then buffed the stem with Blue Diamond on the wheel. I gave it multiple coats of carnauba wax and buffed it with a clean buffing pad.Meer18
Meer19

Meer20 The rich butterscotch colour of the stem contrasts beautifully with the cleaned and aging meerschaum. The old man seems to give a quirky smile saying that his life is good now. He is cleaned and ready to use. The bowl on the top has been cleaned and the airway in the shank to that bowl is also cleaned and blown out with air to remove the debris that may have collected I the bottom of the under bowl. I will have to get some white beeswax and give it a new coat of wax and then buff it to a shine. In the mean time I buffed it with a shoe brush and raised a shine in the meerschaum. The finished pipe is shown in the photos below. I am glad my brother sent it my way.Meer21

Meer22

Meer23

Meer24

Meer25

Meer26 I am not sure what my brother is talking about seeing a resemblance the pipe and me. Do you see any resemblance in the pictures of the two old men? Hmmm makes me wonder what he sees when he looks at me. Now even my kids are calling in my mini-me. Ah well things could be worse.

Thanks for looking.Meer27

Breathing New Life into an old Mastercraft Standard Cavalier


Blog by Steve Laug

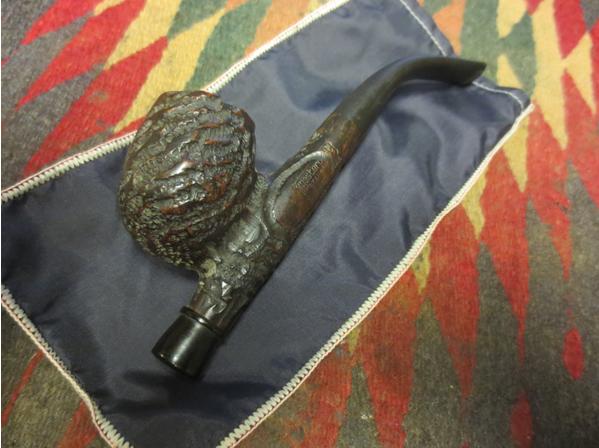
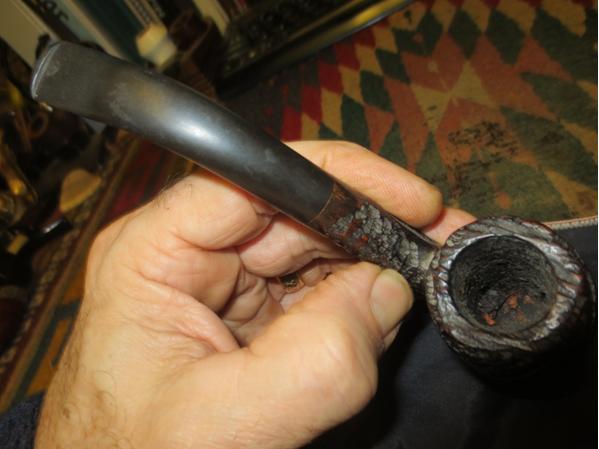
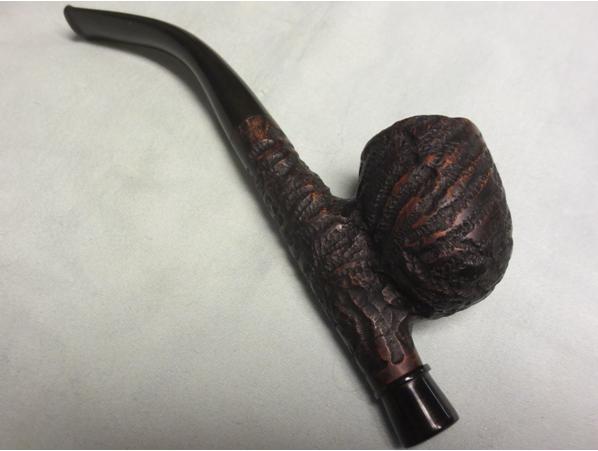
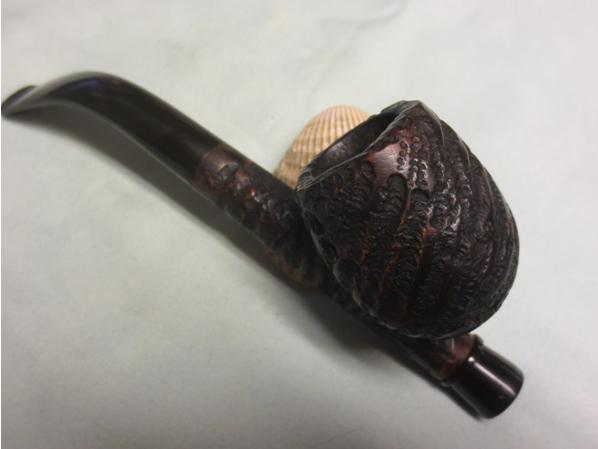
I have always wondered what it would be like to work on a Cavalier shaped pipe. There was something intriguing about working on a long shank with an end cap and a bowl carved coming out of the side of the shank. The look of the pipe and the dapper appearance may well have contributed to the name of the shape. It is made to hang from the mouth of the pipe smoker and be clenched as he is doing other things. This one is another of the pipes that came to me from my brother Jeff.Cavalier1

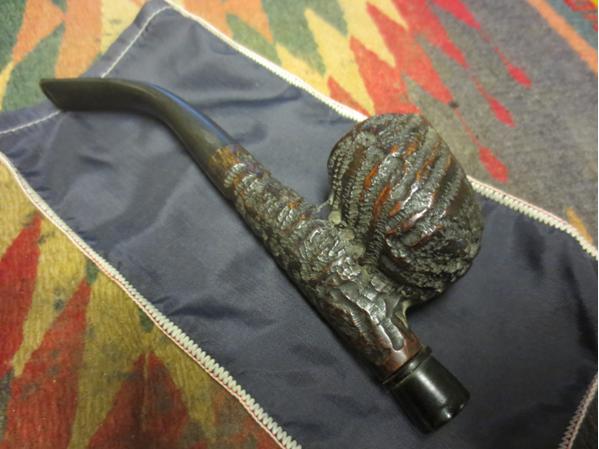
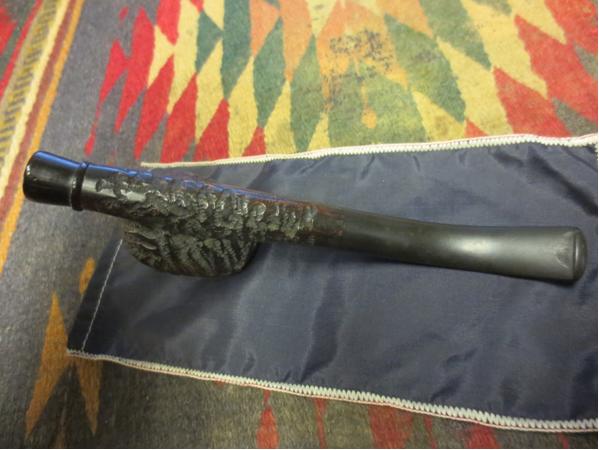
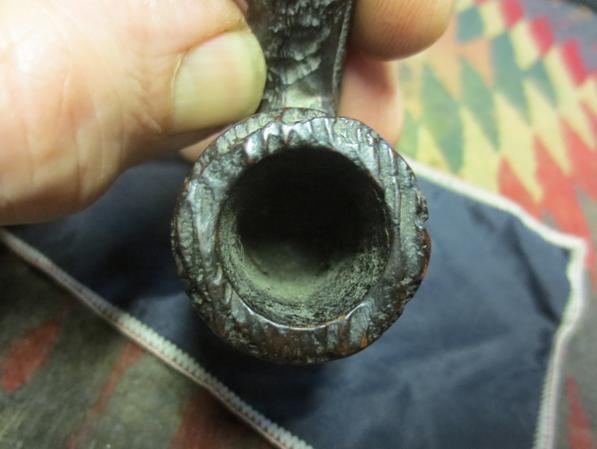
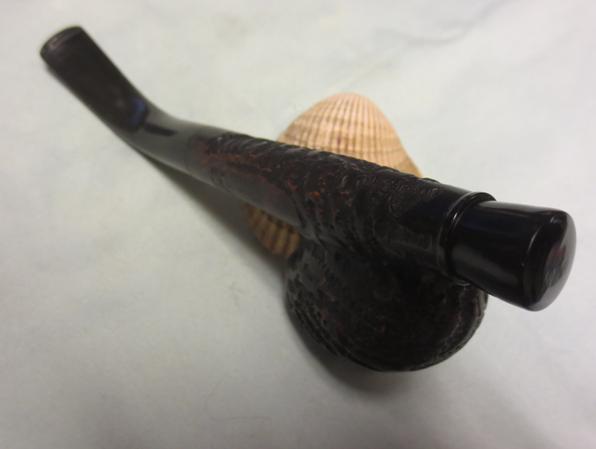
Cavalier2 It is a great example of the shape. It is a rusticated Cavalier that has brown and dark contrasting colours over a worm trail like rustication. The end cap is a hard rubber and has a bone tenon connecting it to internal threads in the bottom of the shank. The stem is also a good quality rubber as it is not even oxidized. There are tooth marks on the bottom and the top of the stem near the button left behind by the clencher that smoked it. Cavalier3 The rim of this one is in great shape no damage. The amazing thing was that there was unsmoked tobacco in the bottom of the bowl. There was also a thick cake on the walls of the bowl. It did not extend to the bottom of the bowl but ended shortly above the entrance of the airway at the bottom of the bowl.Cavalier4

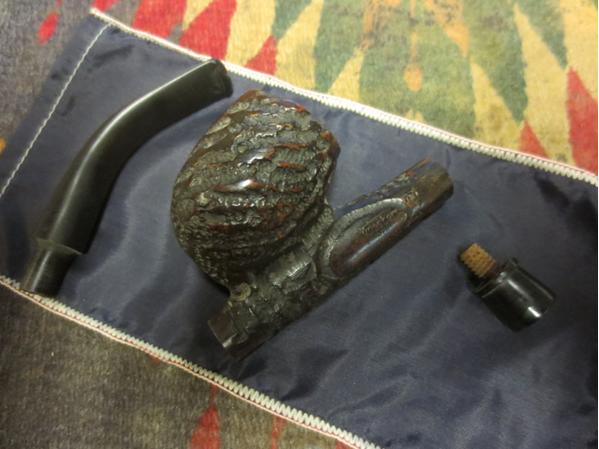
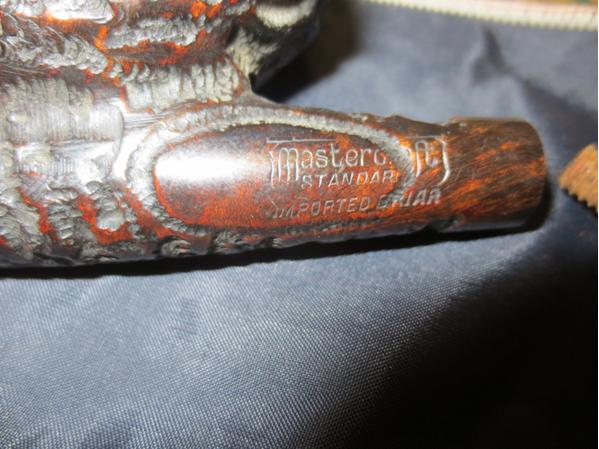
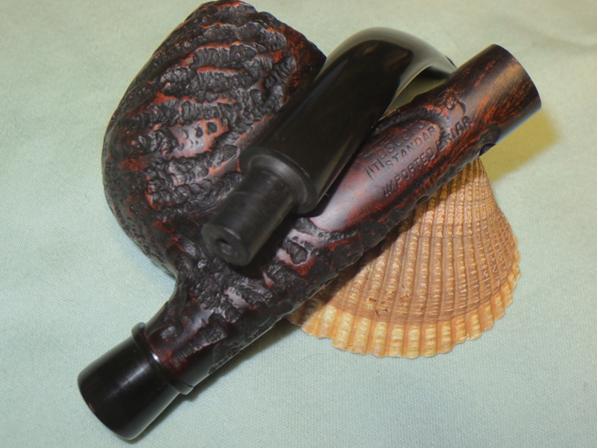
Cavalier5 The pipe came in its own satin bag which is why the pipe was in such good shape. The finish was dirty and dusty in the grooves but that was the extent of the issues with it. This would be an easy clean up. I took it apart and took the photo below of the parts of the pipe.Cavalier6 It is stamped on the left side of the shank with the words Mastercraft over Standard over Imported Briar. All words are in upper case on the shank. It appears that the stamping was to be done in a smooth oval on the shank but it missed the oval by about a ¼ inch and sits over the rustication on the shank.Cavalier7 I scrubbed the bowl and the threads on the end cap with Murphy’s Oil Soap and a tooth brush. I rinsed off the pipe with running water and dried it off. The cleaned finish looked very good. I would not need to do much with the finish on this pipe.Cavalier8 I removed the tobacco remnants from the bowl and then reamed the bowl with a PipNet reamer. I took the cake back to bare briar.Cavalier9

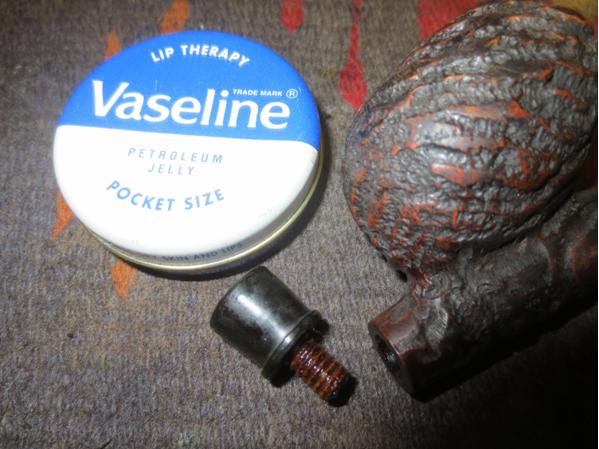
Cavalier10 I cleaned off the threads on the end cap – it was a bone tenon – with a brass bristle wire brush. One it was clean I put a coat of Vaseline on the tenons and screwed it back in place.Cavalier11 Before I put the end cap in place I cleaned out the inside of the shank from end to end with pipe cleaners, cotton swabs and alcohol. Once it was clean I put the end cap in place. I also cleaned out the airway in the stem at the same time.Cavalier12

Cavalier13 The deep gouges in the top and bottom sides of the stem needed to be cleaned up. There was a lot of tooth chatter around the deep gouges so I sanded out the tooth chatter with 220 grit sandpaper. The sanding work left two gouges on the underside and one on the top side of the stem that would need some work.Cavalier14

Cavalier15 I cleaned out the divots with alcohol and dried it off. I filled them in with black super glue until there was bubble over the surface. I let the glue cure.Cavalier16

Cavalier17 While the stem patch cured I worked on the end cap. I wet sanded it with 1500-2400 grit micromesh sanding pads and rubbed it down with Obsidian Oil. I dry sanded it with 3200-4000 grit pads and gave it another coat of oil. I finished sanding it with 6000-12000 grit pads and gave it a final rub down of the oil. I let it dry.Cavalier18

Cavalier19

Cavalier20 When the end cap was dry I rubbed down the bowl with a light coat of olive oil to bring some life back to the dry briar. At this point the pipe is beginning to look really good. The contrast stain of the black and the dark brown gives depth to the rusticated finish of the bowl.Cavalier21

Cavalier22

Cavalier23

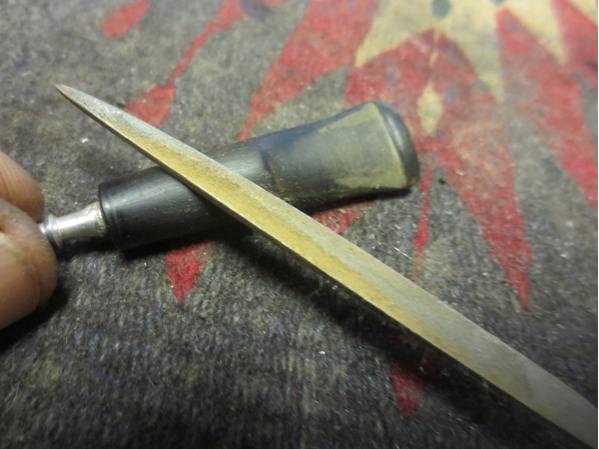
Cavalier24 Once the glue dried on the stem I used a needle file to sharpen the edge of the button and clean it up. I flattened the repair on the blade of the stem as well.Cavalier25 I sanded the repaired areas on the stem and the newly made file marks with 220 grit sandpaper. I worked until the repair was blended into the surface of the blade. The repair on the top stood out more at this point in the process. That would change as I worked on it longer.Cavalier26

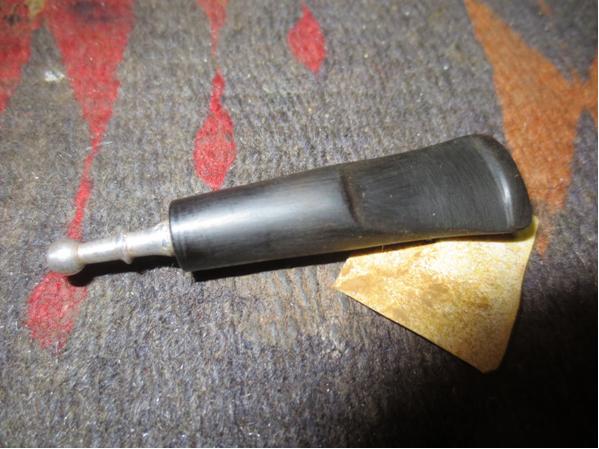
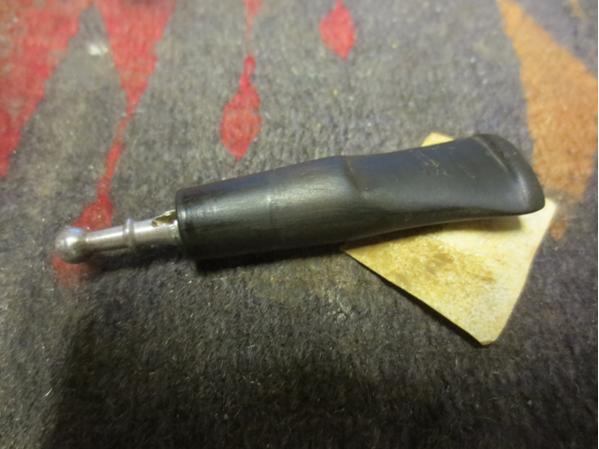
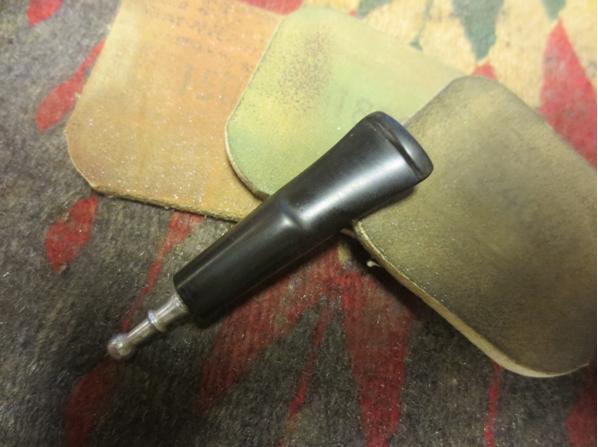
Cavalier27 I sanded the stem with micromesh sanding pads – wet sanding with 1500-2400 grit pads and rubbed the stem down with Obsidian Oil. I dry sanded it with 3200-4000 grit pads and gave it another coat of oil. I finished with 6000-12000 grit pads and gave it a final coat of oil. I let the oil dry before taking the pipe to the buffer.Cavalier28

Cavalier29

Cavalier30 I buffed the stem with Blue Diamond and lightly buffed the bowl. Care had to be exercised to not get build-up in the rustication. It takes a very light touch to keep that from happening. I gave the stem several coats of carnauba wax. I used Conservator’s Wax on the bowl and hand buffed the bowl with a shoe brush. I hand buffed the pipe with a microfibre cloth to add some depth to the shine. The finished pipe is shown in the photos below. It is a beautiful pipe and I love the feel of it in my hand. It was an enjoyable restoration. Thanks for looking.Cavalier31

Cavalier32

Cavalier33

Cavalier34

Cavalier35

Cavalier36

Cavalier37

With a Little Work I have a DR Ardor Urano Fantasy Apple


Blog by Steve Laug

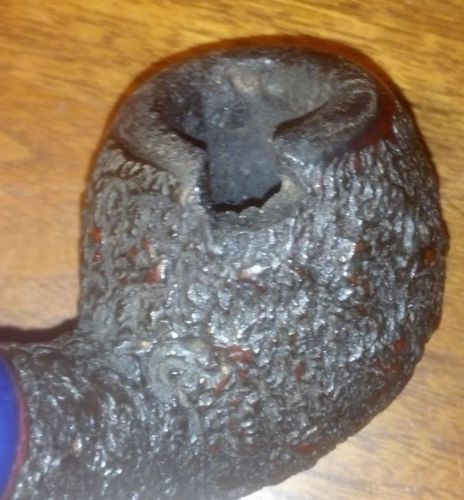
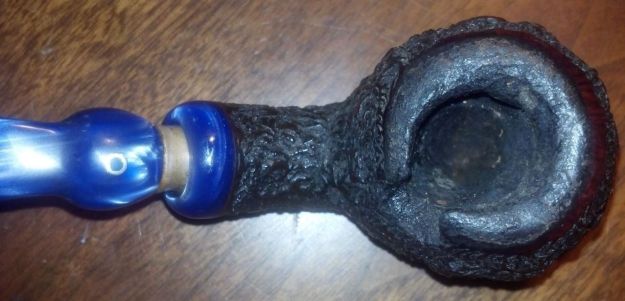
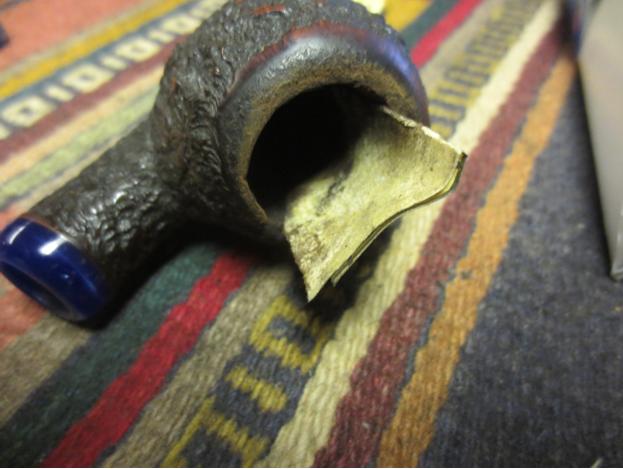
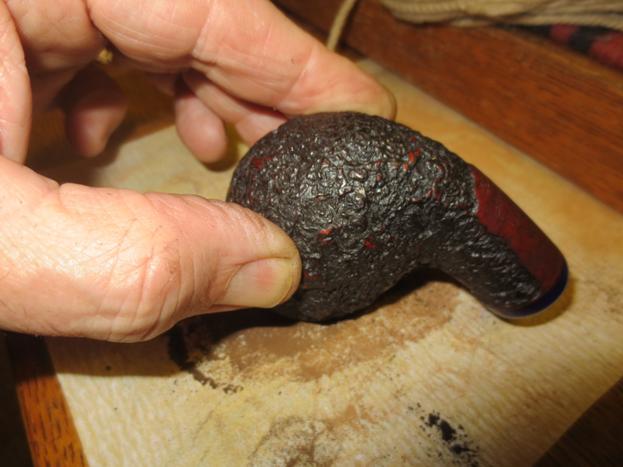
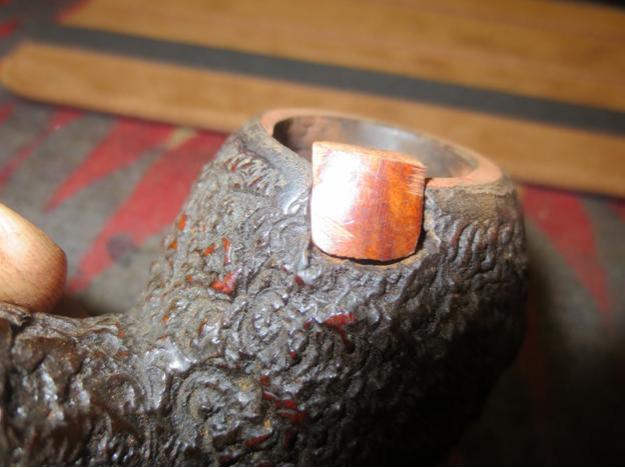
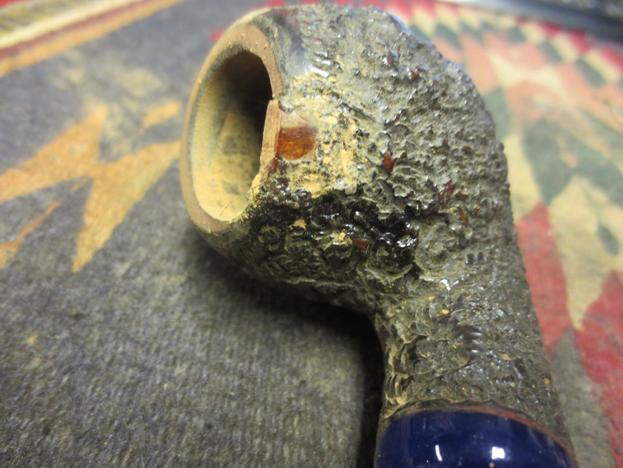
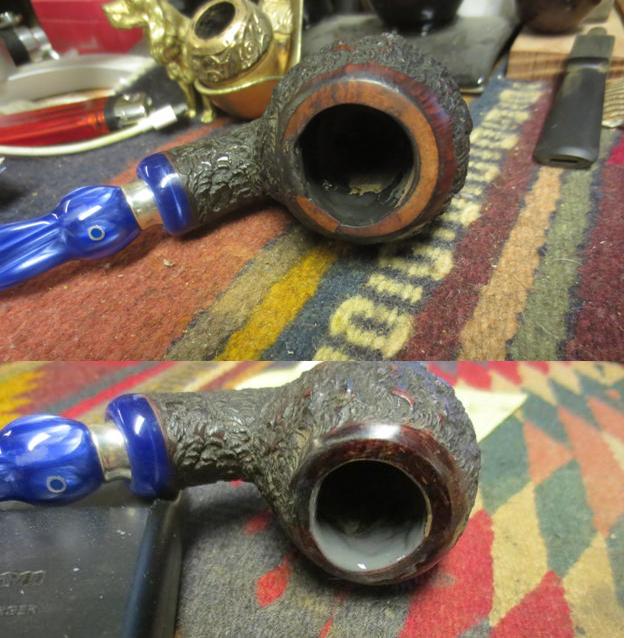
When I found this pipe on Ebay I wanted it. It actually does not happen too much anymore as it is becoming rarer that I want a pipe for myself. Generally I purchase pipes to repair that can teach me something or that I can repair and sell to someone I know is looking for a particular pipe. My brother will show me pipes that he finds and I look at them in terms of saleability or marketing. Rarely do I see one that I go “I want that one”. When I saw this one I wanted it. I don’t know what it is about the pipe but the combination of the blue Lucite stem and end cap, the flow and bend of the stem, the rusticated finish of the bowl and my favourite shape captured my imagination. Not even the chunk missing out of the right hand side rear top of the bowl deterred me from sending him a message to place a bid on it for me. That missing chunk would provide me with a challenge that I could imagine fixing. The pictures below came from the seller and gave a pretty accurate picture of the condition of the pipe.Ardor1

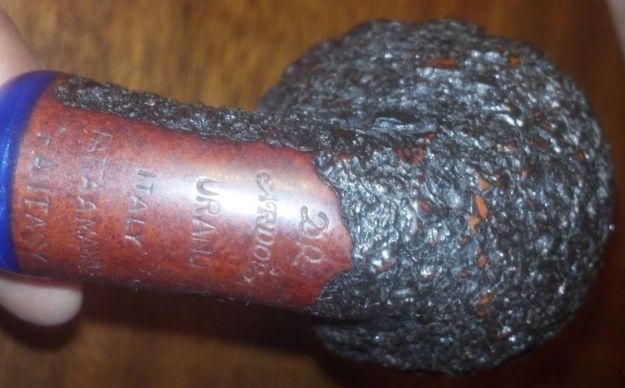
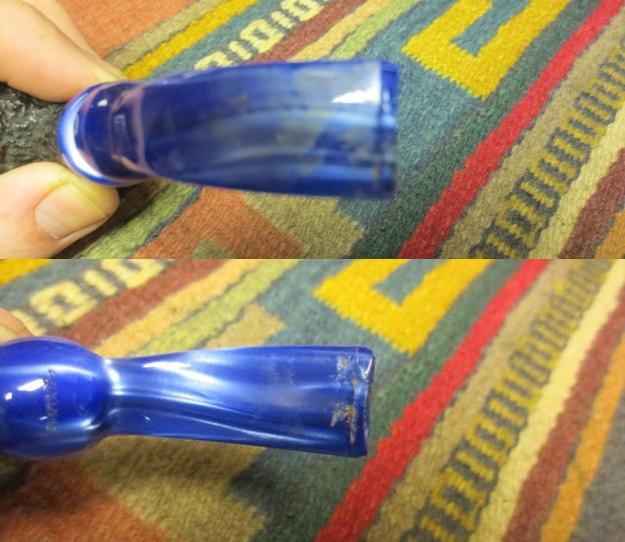
Ardor2 The bowl had a thick cake that filled the bottom half of the bowl and closed it off. The top half of the bowl had an uneven thick cake and looked like the pipe man who had the pipe before had continued to smoke it even after the chunk came out of the bow side. It would be hard to know what the condition of the inner edge of the rim without removing the cake. The rim had a tarry buildup and overflow of lava. The stem had a lot of tooth marks and wear on the top and bottom surfaces and also on the top and bottom sides of the button. The stem was oxidized and dull. The finish was actually in quite decent shape and was pretty clean other than the rim. The stamping on the bowl was very clear. It was stamped in a column on the smooth underside of the shank DR in script over Ardor over Urano over Italy over Fatta A Mano over Fantasy. The stamping was clear and distinct.Ardor3

Ardor4

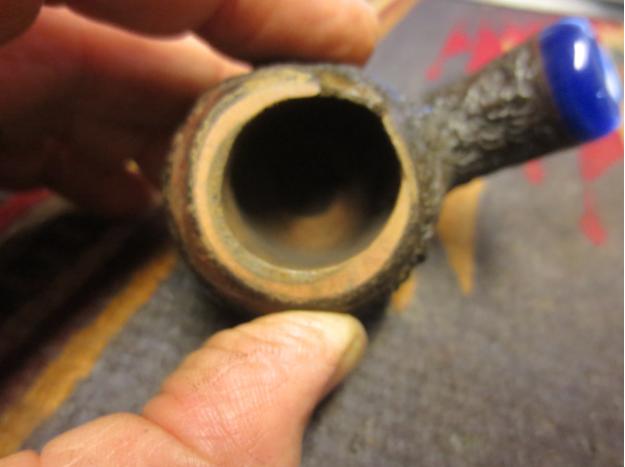
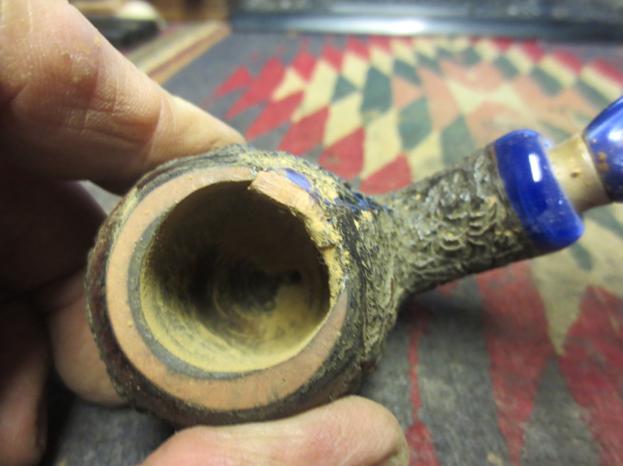
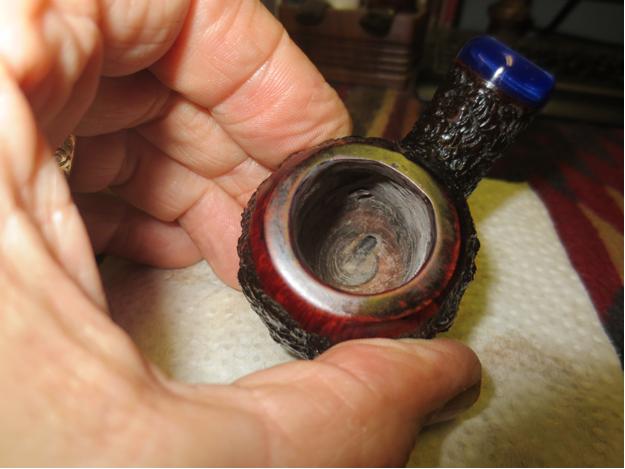
Ardor5 When I got home from work I was excited to find that the package from my brother arrived while I was away. I had been looking forward to working on this one. When I removed it from the bubble wrap packaging that my brother had used there were no surprises. Things were pretty much as they had been described by the seller and shown in the photos. The stem had quite a few tooth marks and the sharp edge of the button was worn on both sides. The thin button would be comfortable but it needed to be cleaned up.Ardor6 Cleaning up the bowl and rim was going to be an interesting challenge. I wondered what I would find behind the thick cake. To have a chunk of briar break free like it had on this pipe made me wonder what was under the cake. I expected to find a fairly thin wall on the back of the pipe and around the broken area. I also wanted to see if there were any cracks running away from the broken area or if the break was clean.Ardor7 The interior of the shank looked pretty clean. The band on the end of the stem was oxidized and I wondered if it was brass or silver.Ardor8 I decided to start working on the bowl almost immediately. I needed to clean it up and see what I was dealing with. I reamed it using all four of the cutting heads on the PipNet pipe reamer. With the cake removed I could see the extent of damage to the rear wall of the bowl. The area on the left of the broken spot was thin and scored by what looked like a knife blade when it had been reamed before I got it. The top of the rim disappeared at the back of the bowl to the left of the break. The bowl was significantly out of round at the front as well.Ardor9

Ardor10 In preparation for the bowl repair I sanded the inside of the rim with 220 grit sandpaper. I topped the bowl on the topping board to square up the rim. I cleaned out the edges of the break with a dental pick and then washed it with alcohol and cotton swabs.Ardor11

Ardor12

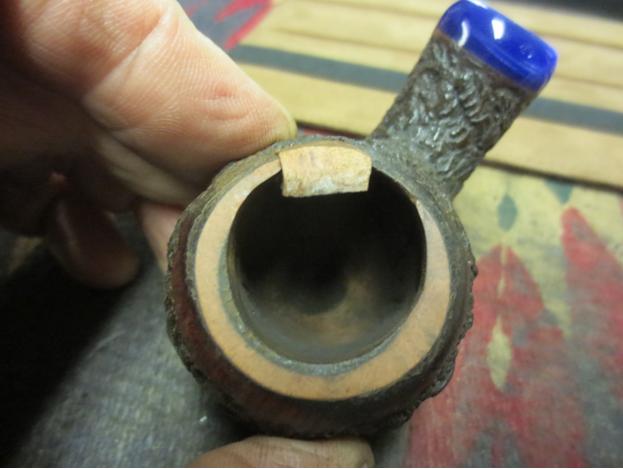
Ardor13 I cut a piece of briar from an old broken bowl that I keep around for this purpose. I used the Dremel and sanding drum to shape the piece of briar to fit in the broken notch. It was still too tall for a good fit but you can see it in place in the next photo.Ardor13 I held it place and used the Dremel and sanding drum to shorten the plug to the same height as the bowl rim. It was too thick for the shape of the bowl so I sanded it with the Dremel to reduce the thickness.Ardor15

Ardor16 I held it place and used the Dremel and sanding drum to shorten the plug to the same height as the bowl rim. It was too thick for the shape of the bowl so I sanded it with the Dremel to reduce the thickness.Ardor17

Ardor18

Ardor19

Ardor20 I sanded the inside of the bowl with the Dremel and sanding drum to smooth out the inside edge of the repair.Ardor21 At this point in the process I set the bowl aside for a bit and worked on the stem. I cleaned the band on the stem with silver polish and the tarnish and brass look disappeared and underneath was a beautiful silver band with an oval 925 stamp.Ardor22 I cleaned out the inside of the stem with alcohol and pipe cleaners. It did not take too long before it was clean.Ardor23 I cleaned out the mortise and airway in the shank with alcohol, cotton swabs and pipe cleaners. I also used the drill bit from the KleenReem pipe reamer and cleared out the airway to the bowl. Once I ran the drill bit through the shank I cleaned it again with the pipe cleaners and alcohol. The finished pipe smelled clean.Ardor24

Ardor25 I wet sanded the stem with 1500-2400 grit micromesh sanding pads. I dry sanded with 3200-4000 grit pads. I used a needle file to reshape the edge of the button and redefine the curve of the button from the end. I cleaned up the slot. I finished sanding the stem with 6000-12000 grit micromesh pads and then buffed the stem with Blue Diamond on the wheel.Ardor26

Ardor27

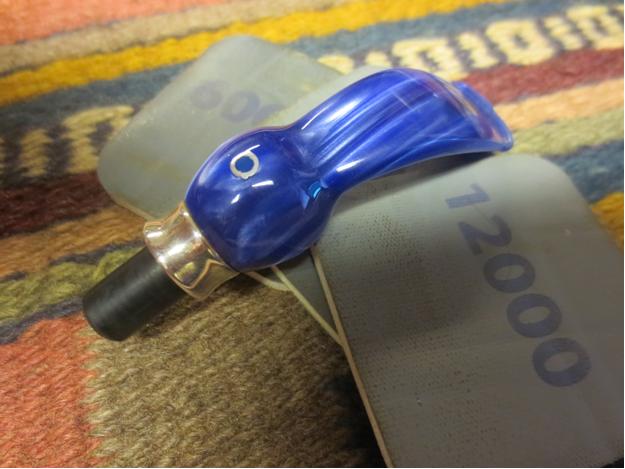
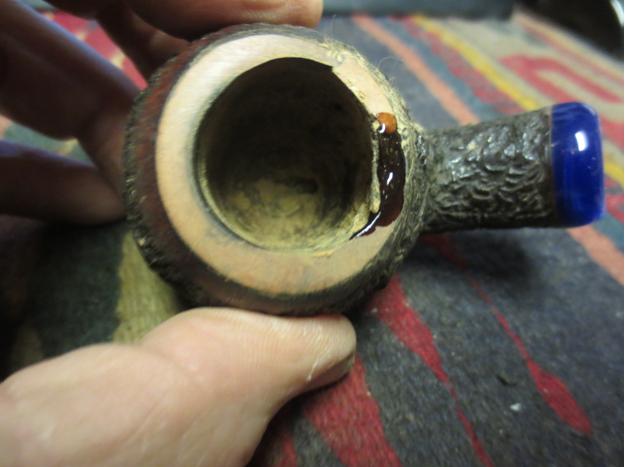
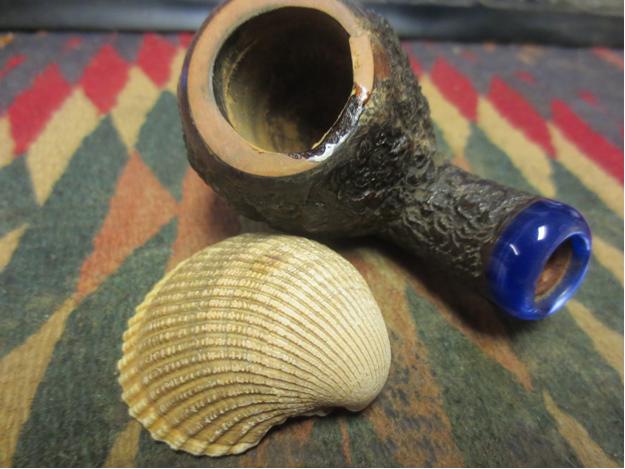
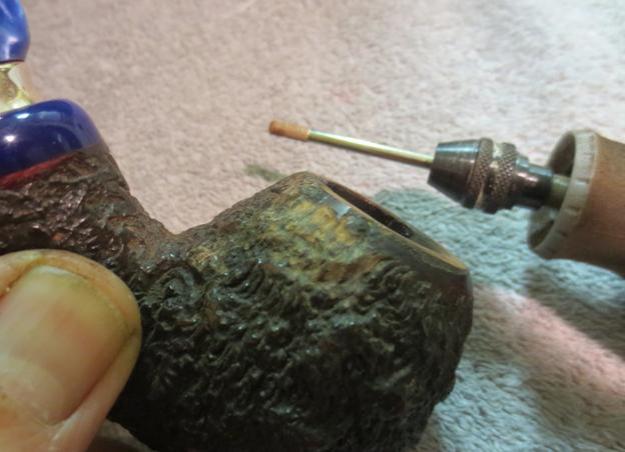
Ardor28 With the stem finished I turned my attention to the rim and the thin inner wall of the bowl at the back of the pipe. I used clear super glue and briar dust to build up the inner edge of the rim. My thinking at this point was that this would be my base coat. From here I would build it up until I was satisfied with the thickness.Ardor29 Once the glue dried I sanded it and took a picture of the rim to this point.Ardor30 I used a Dremel with several different burrs to rusticate the patch on the outside of the bowl. I was aiming to match the cuts and random pattern of the rustication on the rest of the bowl. It took several cylindrical burrs, pointed burrs and a ball burr to get the pattern I wanted. The photo below shows the finished rustication. I needed to clean it up and then stain it.Ardor31 The next two photos show the clean up and the staining process. I used a black Sharpie permanent marker to fill in the deeper grooves in my rustication and then went over the whole thing with a dark brown stain pen. I finished by touching it up with a medium brown stain pen.Ardor32

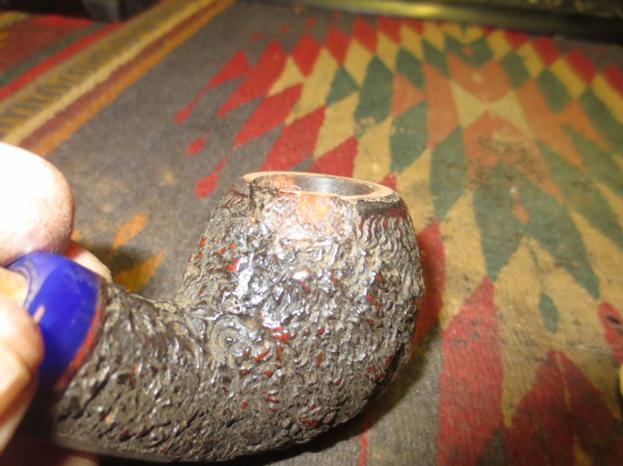
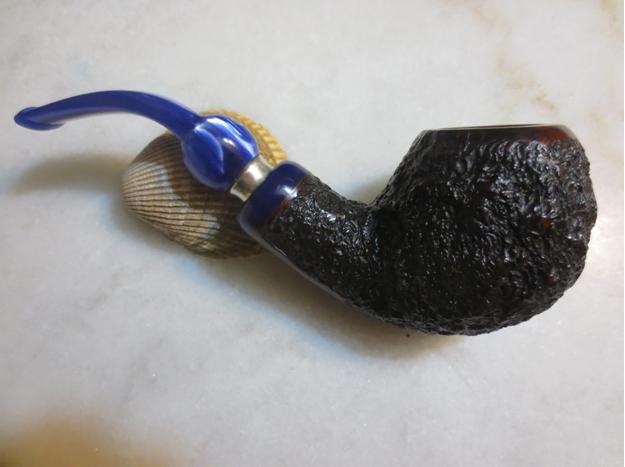
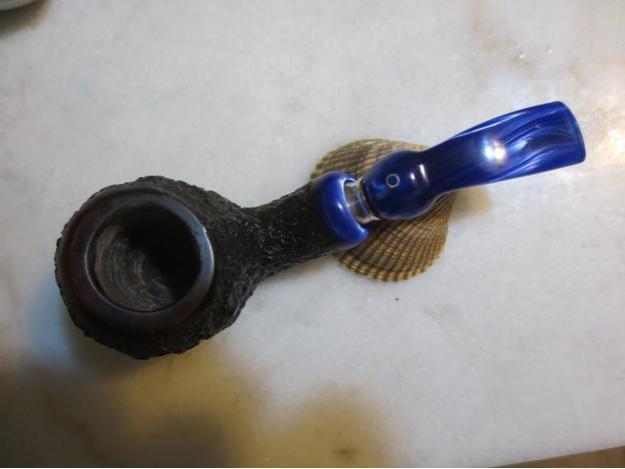
Ardor33 I waxed the bowl with Conservator’s Wax and buffed it with a shoe brush. The next photo shows the bowl at this point in the process. All that remains is to work on the rim and the inner edge.Ardor34 At this point I have not done any work on the rim. I still need to clean up the rim top and the smooth edge on the outside of the bowl but it is getting there.Ardor35 I built up the inner edge with some JB Weld. I used a dental spatula to lay the mixture on the inner wall of the bowl. Once it is dry JB Weld is impermeable and does not disperse chemicals. My intention is to use this and then finish with a coat of pipe mud and a finish coat of bowl coating.Ardor36 I lightly topped the bowl once the JB Weld dried and gave the inner edge of the rim a light bevel. The bowl is slightly out of round but it far better than it was.Ardor37 I gave the bowl a hand buff with a shoe brush and a light rub down with olive oil. Once the oil was absorbed into the finish I hand buffed the bowl once more with the shoe brush. The finished pipe is shown in the photos below. The outside of the bowl looks excellent. The damage on the rim and the inner bowl wall made it very difficult to bring the bowl back to round. By and large considering where I started I am happy with the finished product. I am going to let the repair cure for another 24 hours before giving it a coat of pipe mud and then a bowl coating.Ardor38

Ardor39

Ardor40

Ardor41 I took a few close-up photos of the repaired area so you can have a closer look at the repair. The first photo below is the right side. The repair is toward the back of the right side. The second photo shows the left side for comparison sake. The third photo is a top view of the rim repair. The final photos show the bowl with the stem out. Thanks for looking.Ardor42

Ardor43

Ardor44

Ardor45

Ardor46

***ADDENDUM – I just finished a morning cigar and mixed a batch of pipe mud. I coated the inside of the bowl with a thick layer of pipe mud. It is now drying. Here is a photo.Ardor47
A Piece of Art Deco – Greenwich House Thoro-Kleen


Blog by Steve Laug

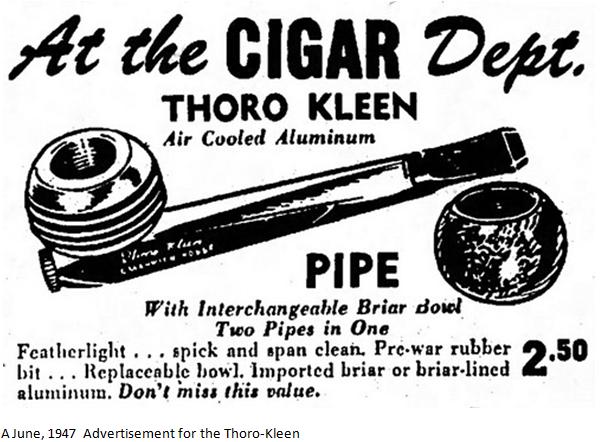
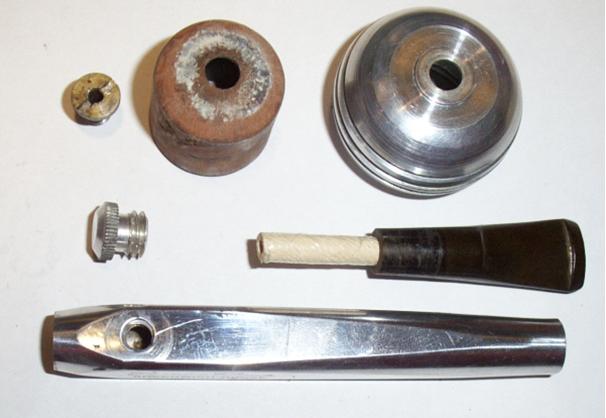
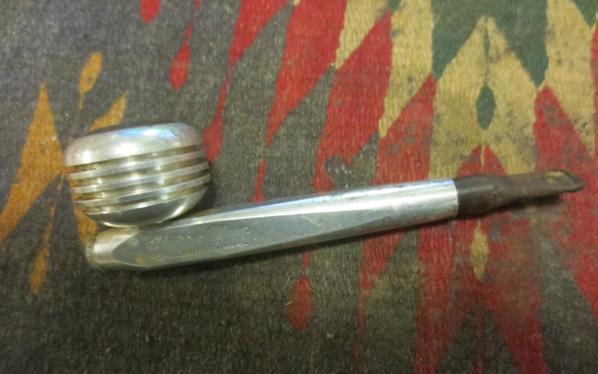
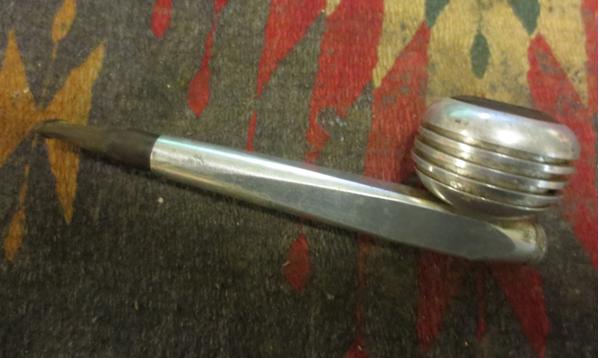
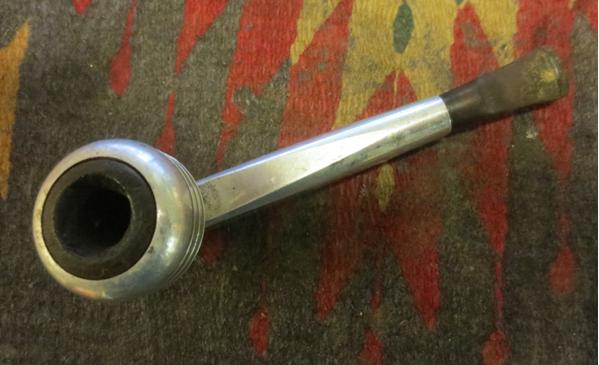
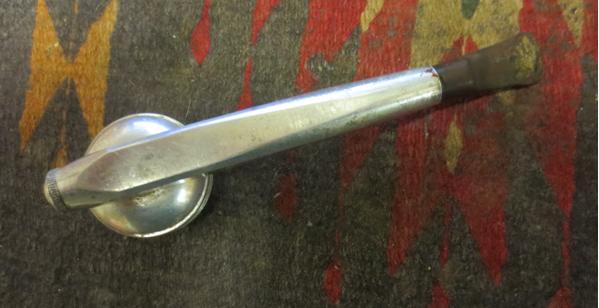
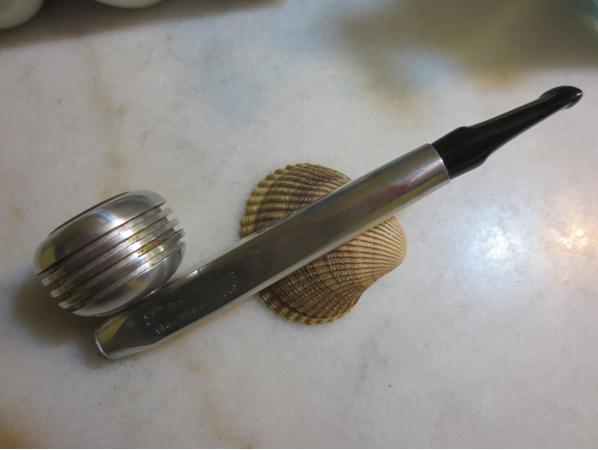
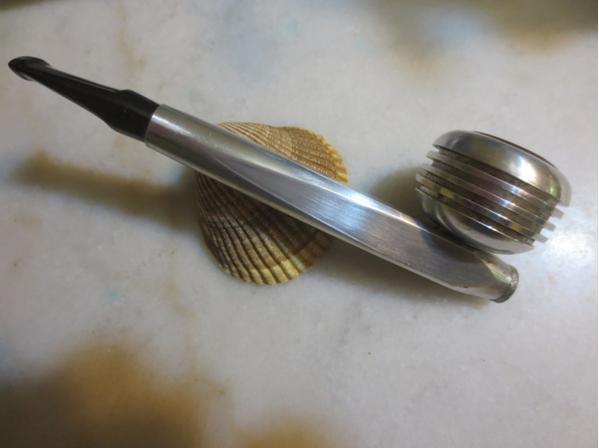
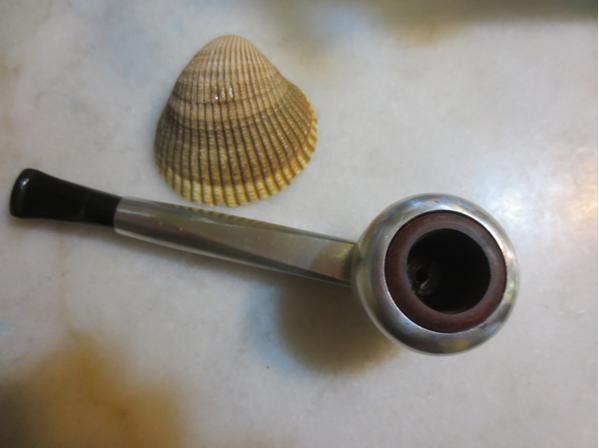
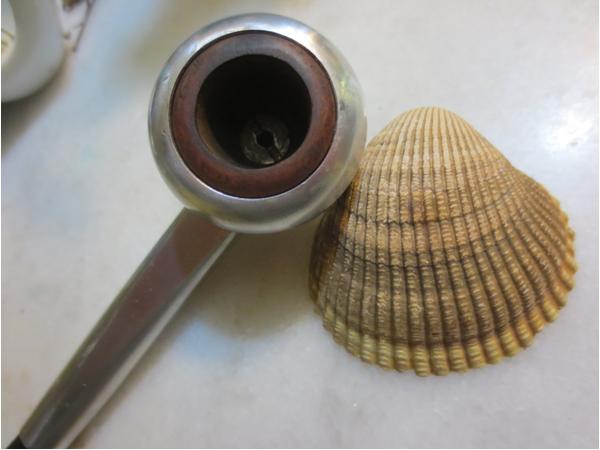
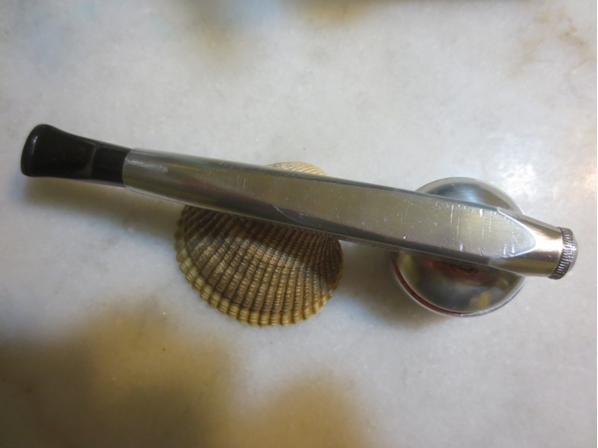
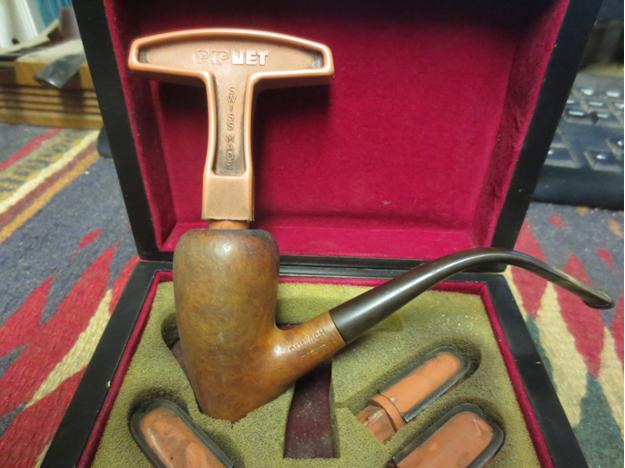
For some crazy reason I have always liked odd pipes – pipes that pushed the envelope in the search for a cool dry smoke. Together they are alike a museum display of odd and inventive contraptions. When my brother sent me this metal pipe it certainly fit the category of the unusual. The design and shape to me bring back memories of watching the Jetsons on Saturday morning cartoons. The metallic spaceship like pipe encourages those connections for me. It has a streamlined metal shank with an end cap on one end and a stem on the other. It flows. The bowl is a finned affair with a briar insert. I think the idea was to make an indestructible easy to clean pipe. The fact that many remain on the market speaks to the indestructibility of the pipe but as for easy to clean well to me the jury is still out.Green1 Evidently the pipe originally came with two bowls – a choice of looks. The first like the one shown in the advertisement about was metal finned affair with a briar insert. The second was a briar bowl of various shapes. Both bowls were held to the shank with a hollowed out screw that served as the airway from the bottom of the bowl to the shank. The stem and end cap come off for ease of cleaning. The body of the pipe can be hexagonal, square (Thoro-Kleen only seen in this shape) or circular in cross section. The unmarked version tends to be regarded as the COMET, all the others being stamped with a name. The Smoking Metal website shows variations on the brand. Follow the link and you can see photos and information. http://www.smokingmetal.co.uk/pipe.php?page=99
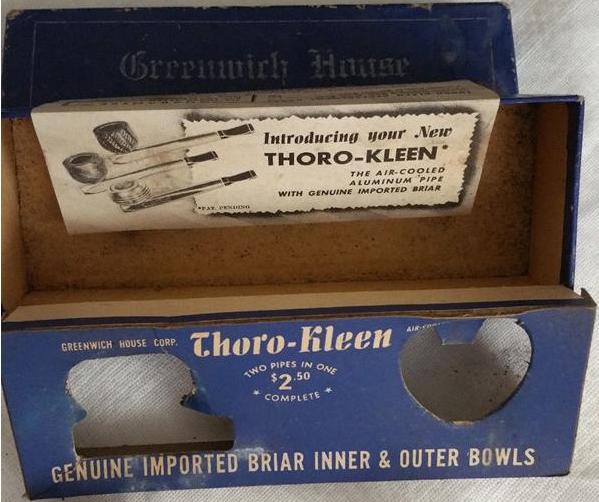
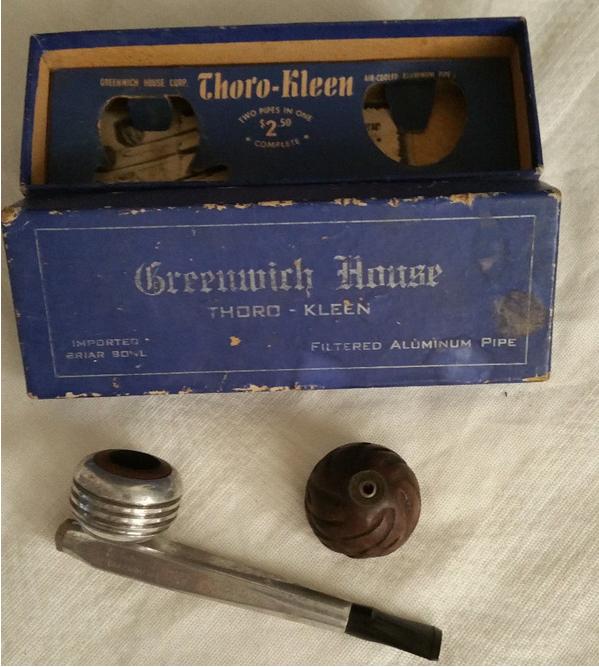
According to Pipedia the Greenwich House Thoro-Kleen was a metal pipe system from the same family as the Roybrooke, Comet, and Original Gridiron pipes, and parts from all are believed to be interchangeable. The pipes were sold by the Greenwich House Corporation, located in 1947 at 939-M 8th Avenue, N.Y. 19, N.Y… The pipe set sold for $2.50 in 1947. https://pipedia.org/wiki/Thoro-Kleen

From all of this I learned that the probable year of the pipe’s manufacture was 1947. It was a pretty sweet little pipe that definitely wore its age well. I did a bit more research as I wanted to find out what the packaging and the additional bowl looked like as the one I had, came only with the attached bowl. I found some photos that show the original packaging and have included them below.Green2

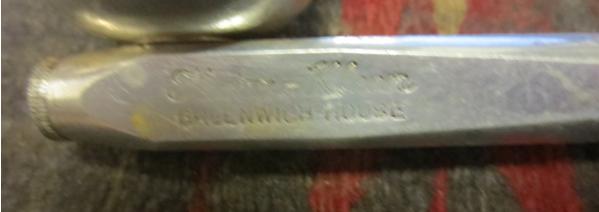
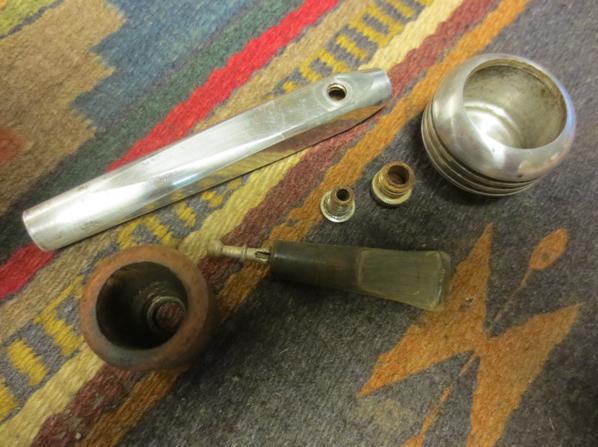
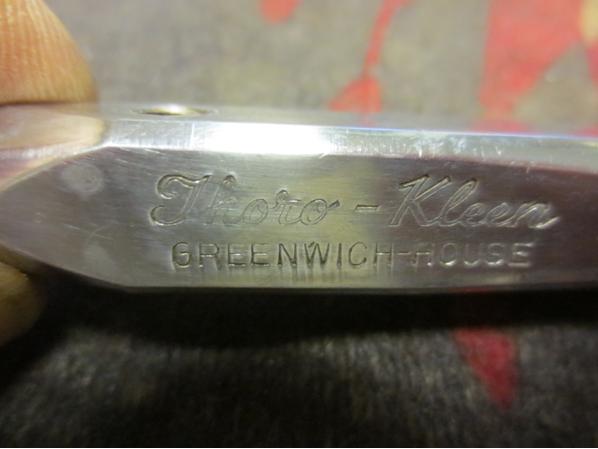
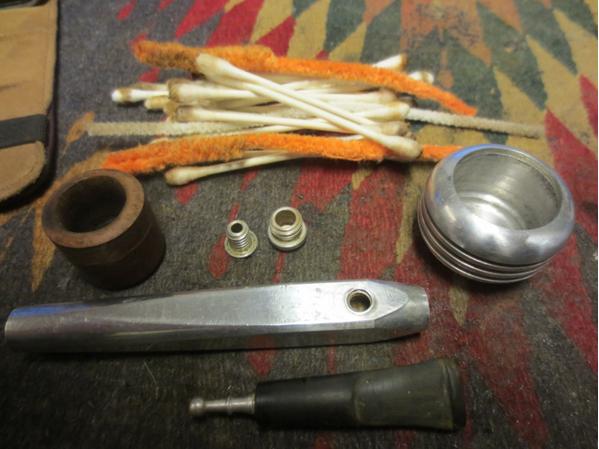
Green3 I also found a picture of the pipe taken apart showing all of the pieces. This was an important picture for me as it helped to understand how to take apart the bowl and the end cap. The one I was working on was so dirty and caked that I could not see the screw in the bottom of the bowl and the end cap was stuck. I was not sure if it was pressure fit like a Kirsten or threaded. This answered those questions for me. Once I took mine apart I found that it did not have a paper filter but rather a metal stinger.Green4 I took the following photos of the pipe to record the condition it was in when I started. Part of the fun for me is to work on a pipe and then compare the finished pipe to where it was when I started the process. The aluminum bowl and base were oxidized and dull. The stamping on the side of the shank was readable but lightly stamped in the middle portion. It read Thoro-Kleen in flowing script over Greenwich House.Green5 The end cap had a slot that fit a standard 25 cents piece that could be used to open it. In this case it was stuck and I could not turn it. The stem was oxidized and had many tooth dents on the top and bottom sides. The bowl was badly caked to the point that no air could get from the bowl to the base. I was unable to see the bottom of the bowl and know what held it to the base. The briar bowl insert was damaged and had burn marks toward the bowl front.Green6

Green7

Green8

Green9 I took some close up photos of the bowl and stem to show the condition they were in when I began the restoration.Green10

Green11 In order to take the pipe apart I reamed the cake enough to be able to get to the screw in the bottom of the bowl. The funny thing is that while I was turning the handle on the PipNet pipe reamer the bowl twisted free of the base and I was able to take it apart. At this point the pipe looked like the photo below. I was not able to remove the end cap as it was still stuck.Green13 I finished reaming the bowl with the PipNet reamer and took the cake back to bare briar.Green14

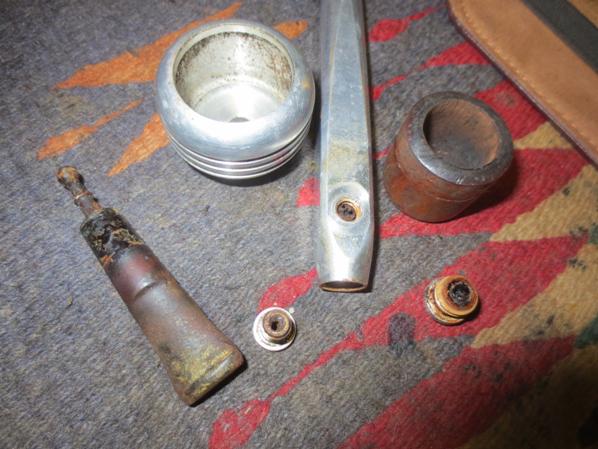
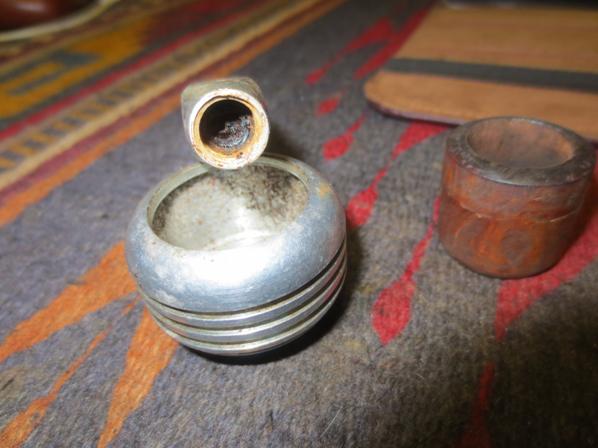
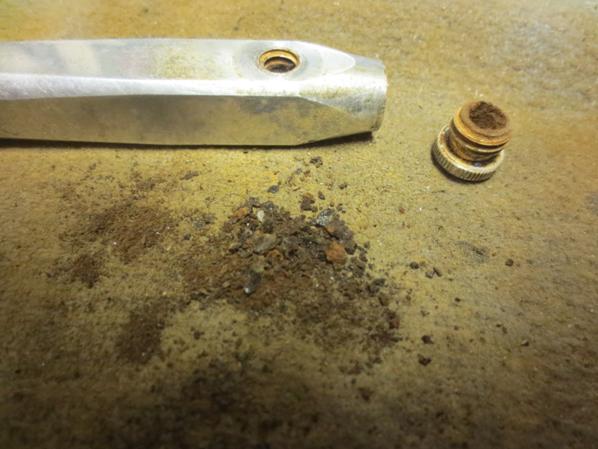
Green15 I heated the end of the pipe with the flame from the lighter to loosen and soften the tars that held the threads tightly in place. After several failed attempts to turn it and then reheating it I was able to turn if free of the base with a pair of padded pliers. You can see from the photos below the thick dark substance that filled the end cap and the base.Green16

Green17 I used a dental pick to begin to pick out the sludge on the inside of the cap and the base. You can see from the photo the amount of dried hard material that came out and this was only the beginning.Green18 The inside of the base was lined with hardened material. I plugged the tube with cotton pads and ran alcohol through the base to begin to soften the material. It took a lot of work to loosen it and the cotton pads came out darkened.Green19 I lightly topped the bowl to remove the damaged area and the burned area.Green20

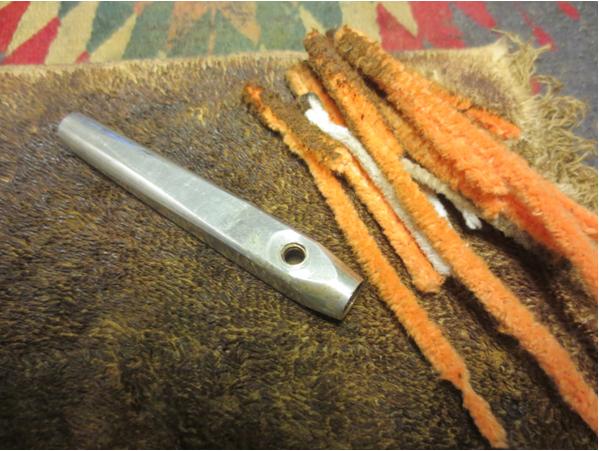
Green21 I removed the stinger from the stem and cleaned the airway with fluffy and bristle pipe cleaners, cotton swabs and alcohol. I sanded the stem with 220 grit sandpaper to remove the oxidation and minimize the tooth marks.Green22 I used thick folded bristle pipe cleaners to run through the base to remove the grime and oils that were left behind once I had scraped it clean.Green23 With the first level of cleaning done on the pipe I laid out the parts and took a picture. I also took a photo of the stamping on the shank now that I had cleaned it up enough for it to show more clearly.Green24

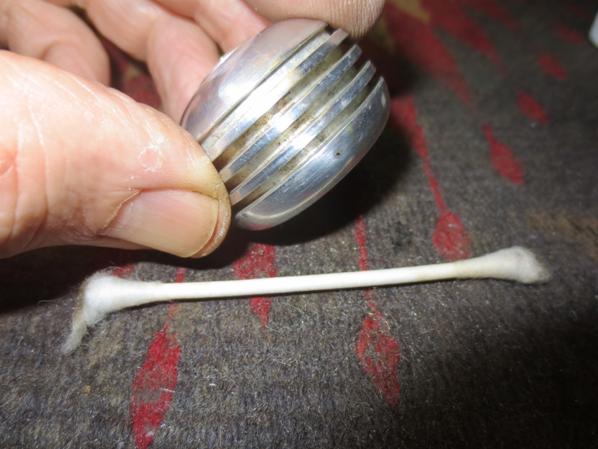
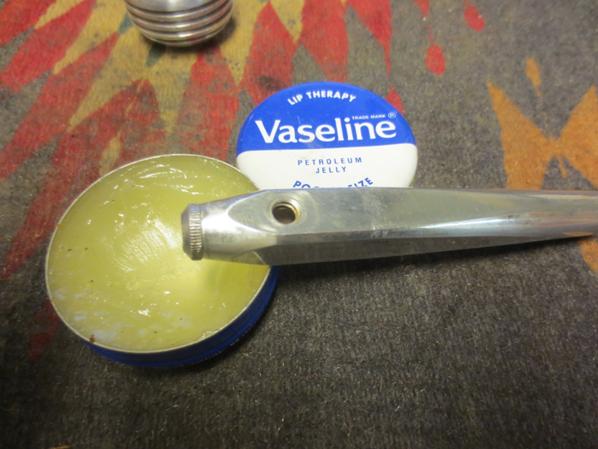
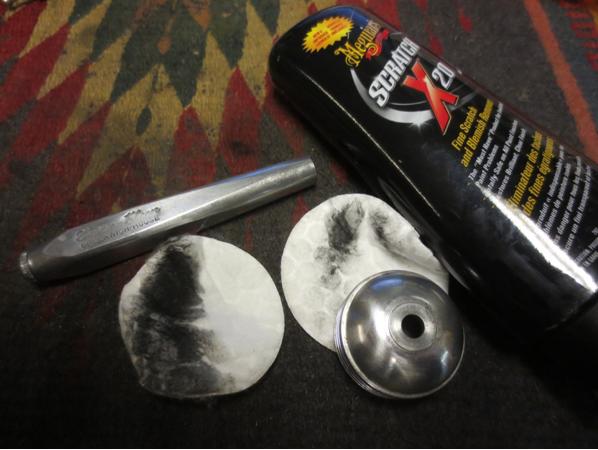
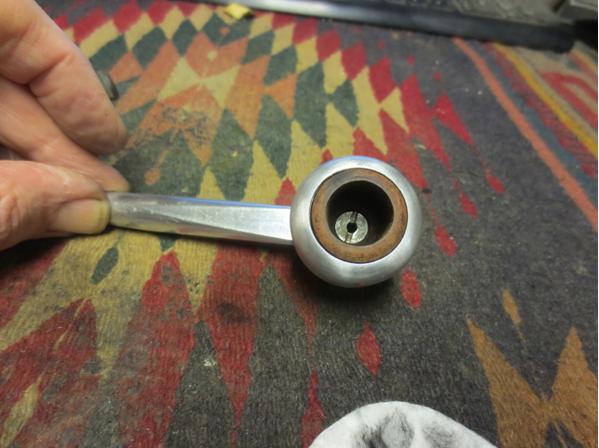
Green25 I scrubbed the fins and grooves on the bowl with alcohol and cotton swabs.Green26 I scrubbed out the inside of the screw, end cap, threads and the inside of the metal bowl with pipe cleaners, cotton swabs and alcohol.Green27 Once the end cap was clean and the inside of the base was clean I greased the threads on the cap with Vaseline and turned it into the base.Green28 I polished all of the aluminum parts of the pipe with Meguiar’s Scratch X2.0 to remove some of the scratches and oxidation.Green29 With the bowl and shank finished I put the pipe back together minus the stem. I put the briar bowl in the metal bowl and turned the screw into the base.Green30 I set the bowl and base aside and worked on the stem. I cleaned up the edge of the button on the stem with needle files to give it more of a sharp definition and remove the tooth marks.Green31 I sanded the file marks with 220 grit sandpaper and further cleaned up the stem.Green32

Green33 I wet sanded the stem with 1500-2400 grit micromesh sanding pads and then gave it a coat of Obsidian Oil. I dry sanded with 3200-4000 grit pads and gave it another coat of oil. I finished by sanding it with 6000-12000 grit pads and gave it a final coat of the oil and let it dry.Green34

Green35

Green36

Green37 I buffed the stem with Blue Diamond on the wheel and then gave it several coats of carnauba wax. I buffed it with a clean buff and then by hand with a microfibre cloth. I gave the base and bowl a coat of Conservator’s Wax and hand buffed it with a cloth. The finished pipe is shown in the photos below. I can’t help but saying at this point – “Meet George Jetson…” Thanks for looking.Green38

Green39

Green40

Green41

Green42

Green43

Green44