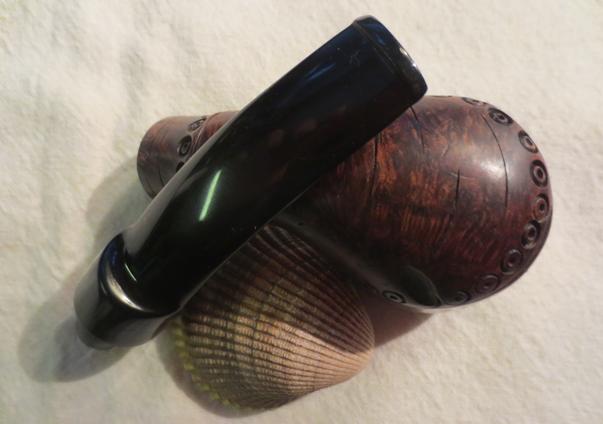
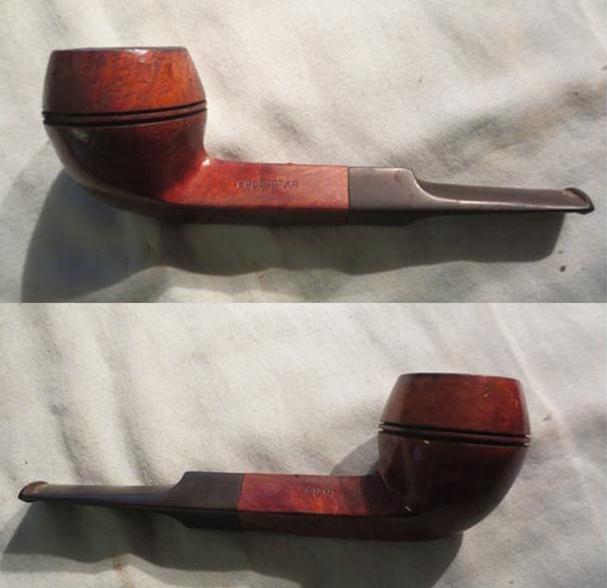
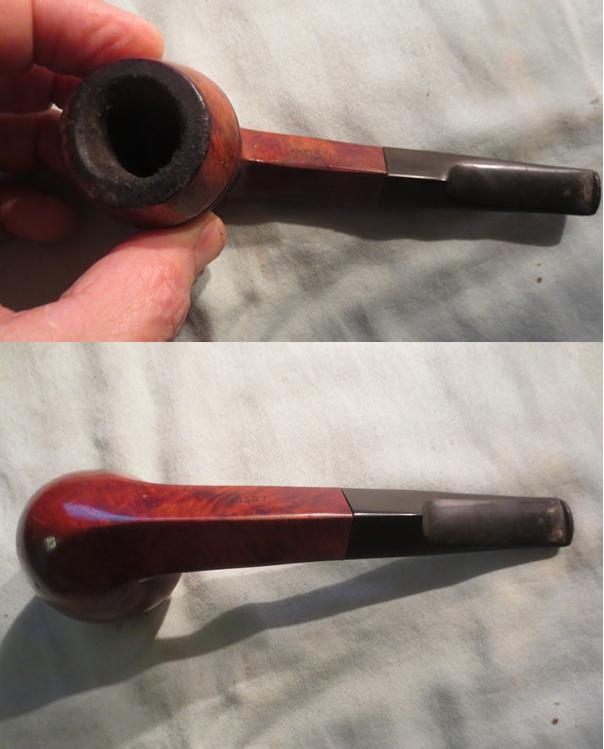
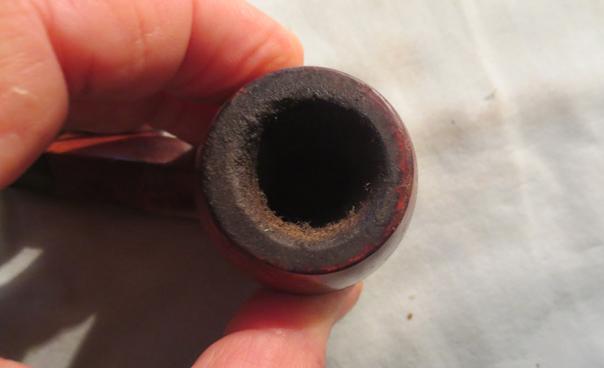
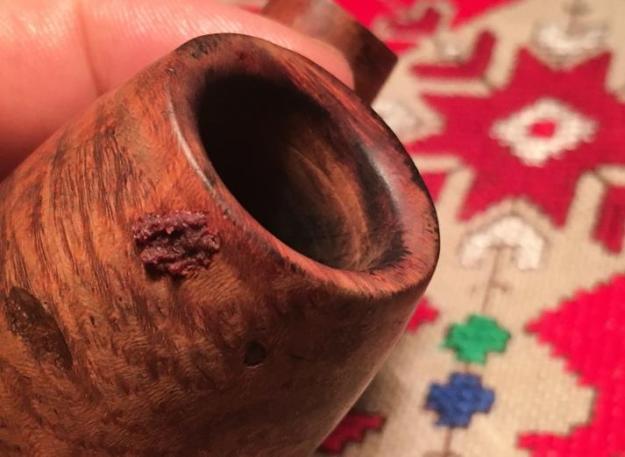
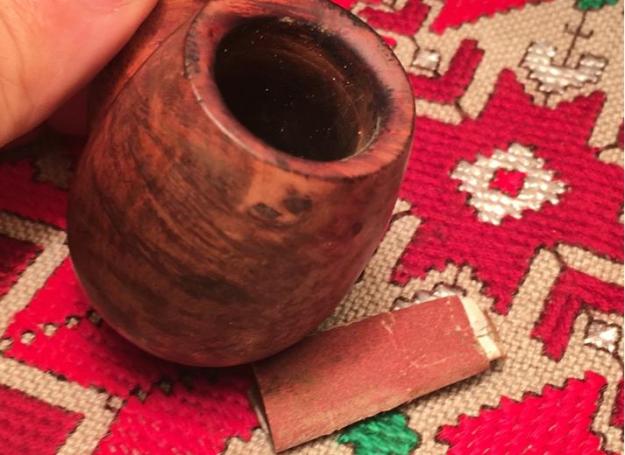
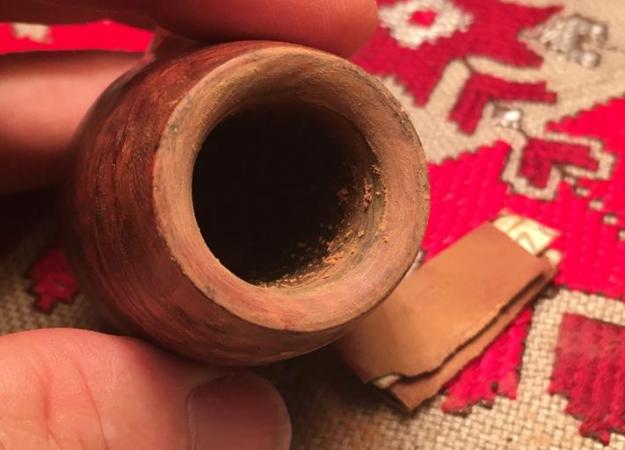
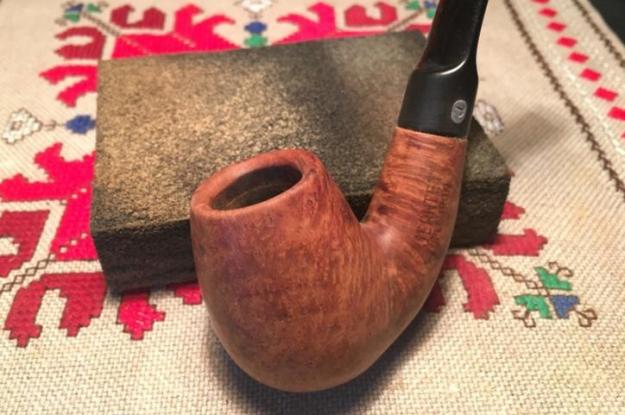
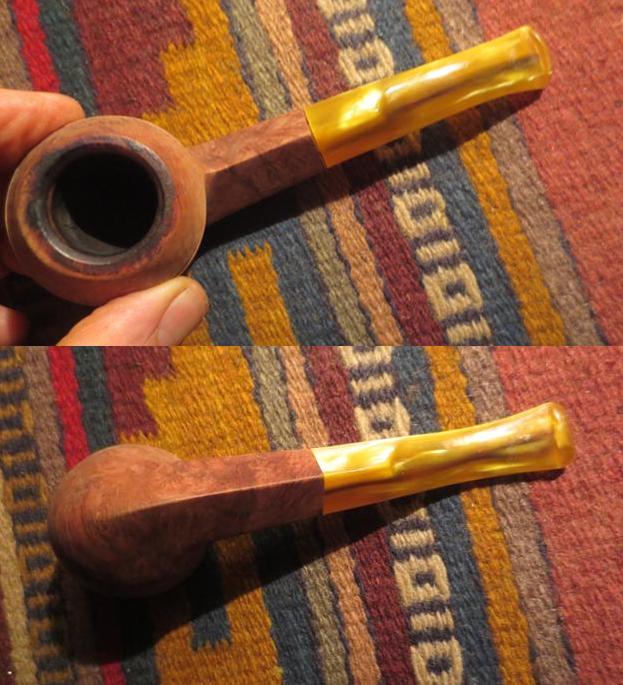
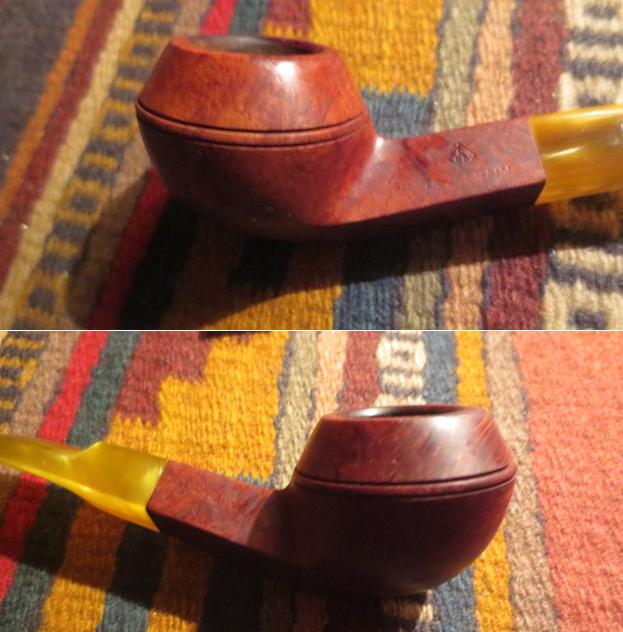
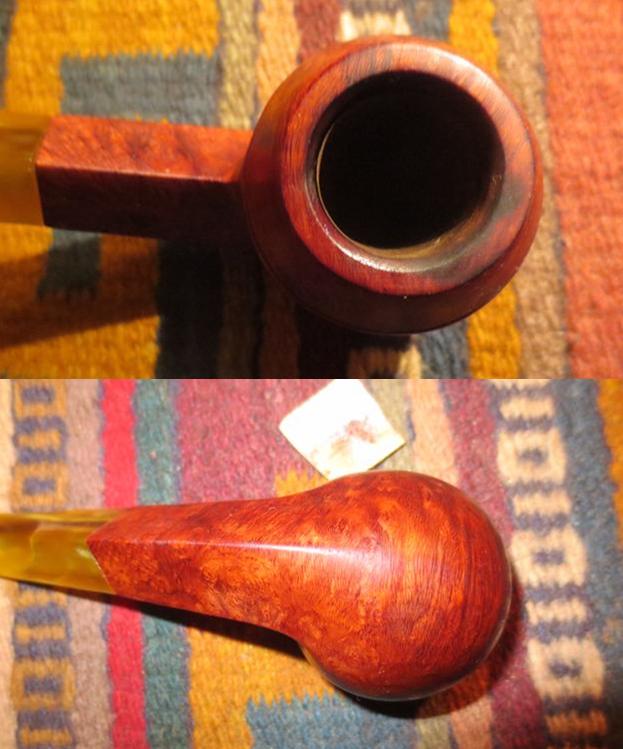
Tag Archives: removing tooth marks

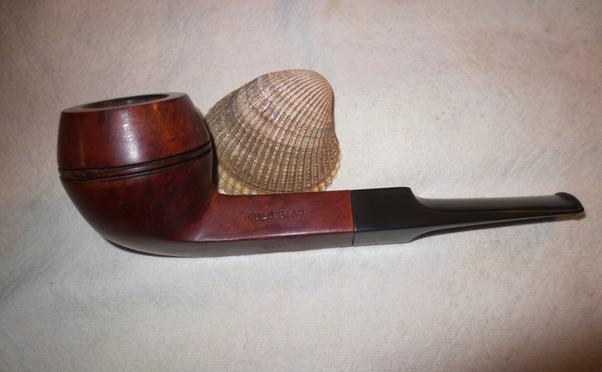
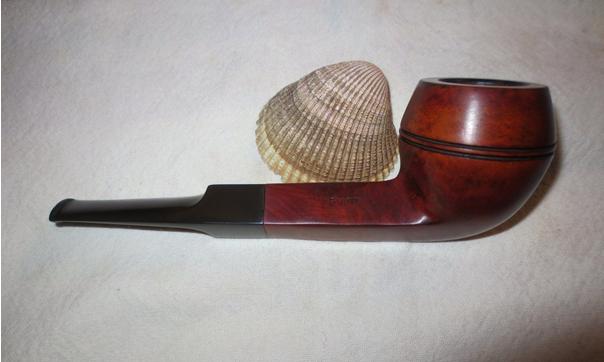
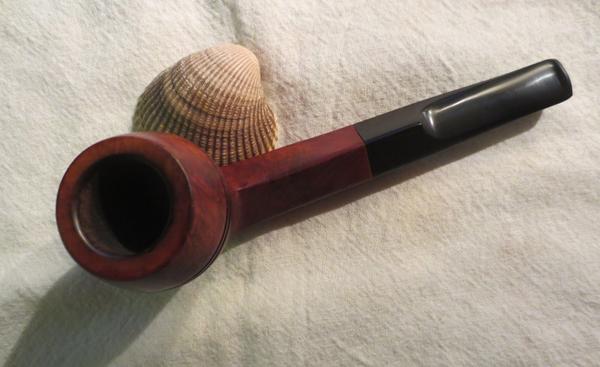
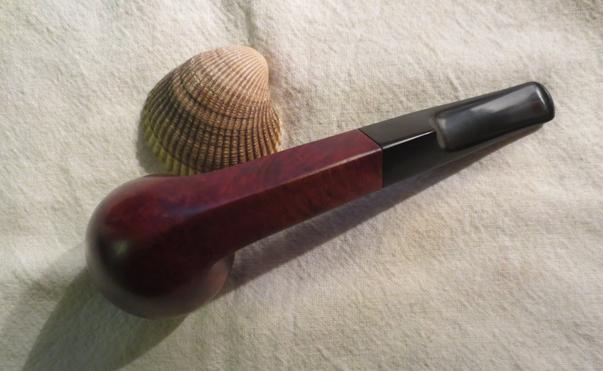
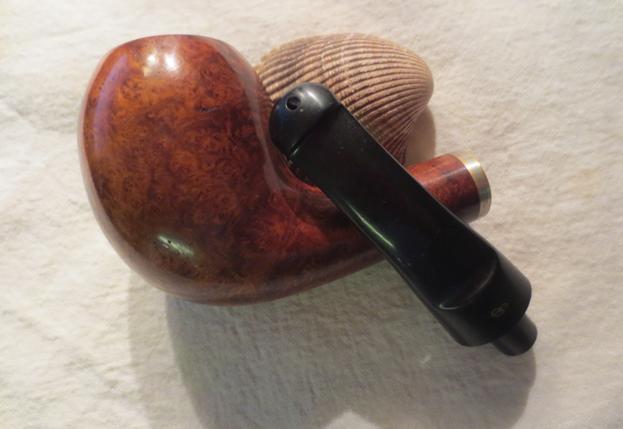
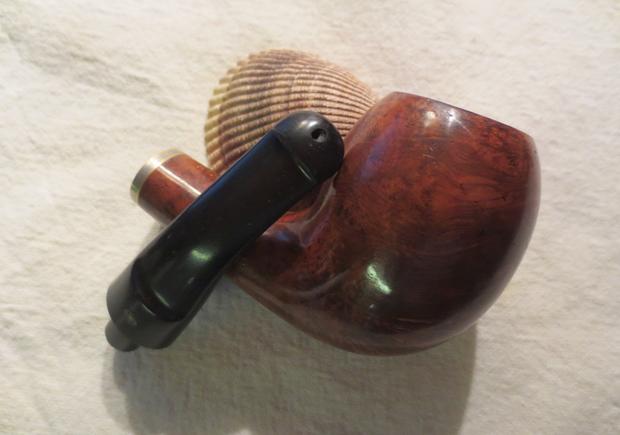
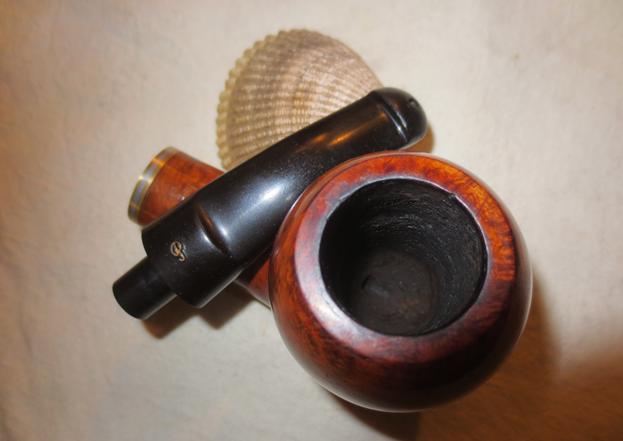
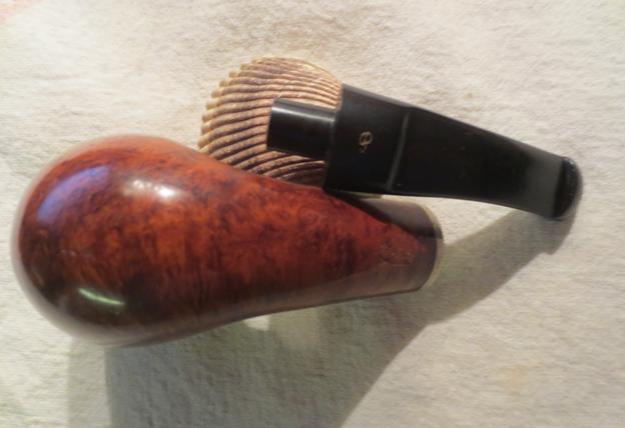
Another Spanish Carved Bamboo Like Pipe – this time a Rhodesian


Blog by Steve Laug

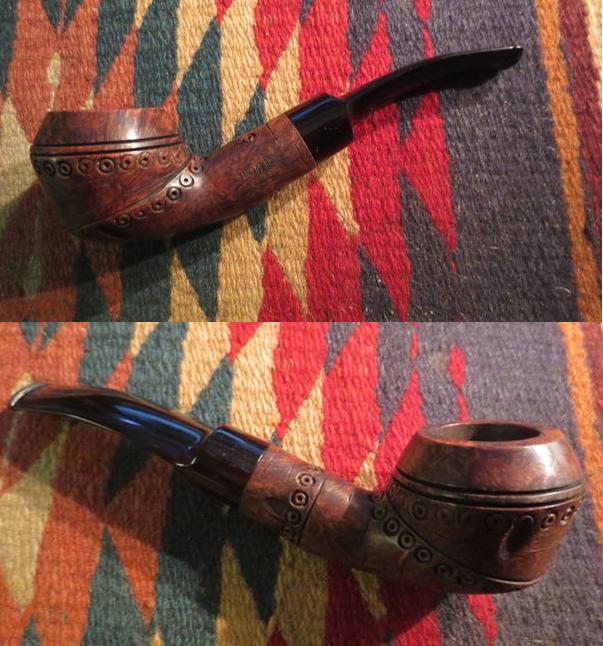
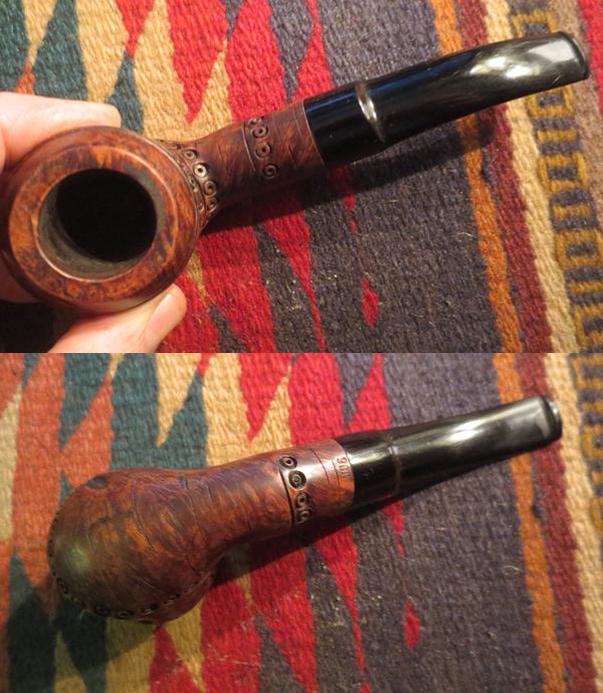
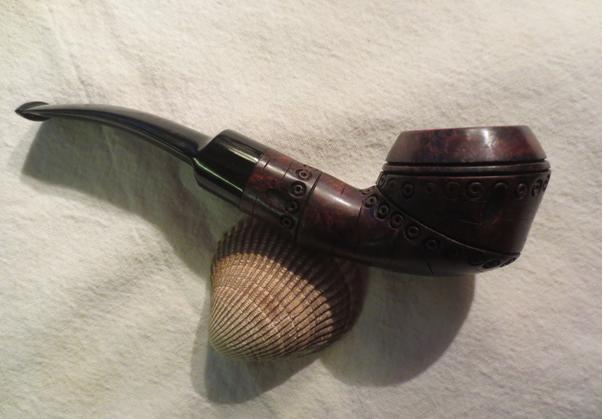
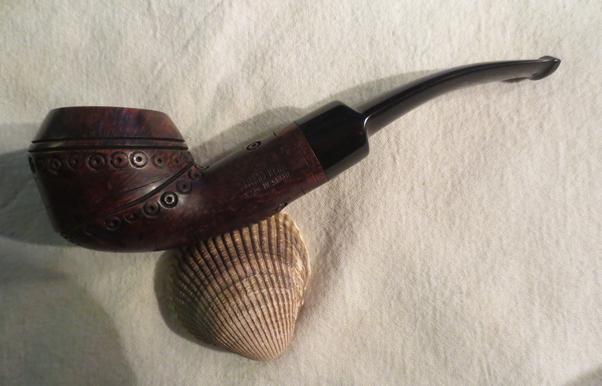
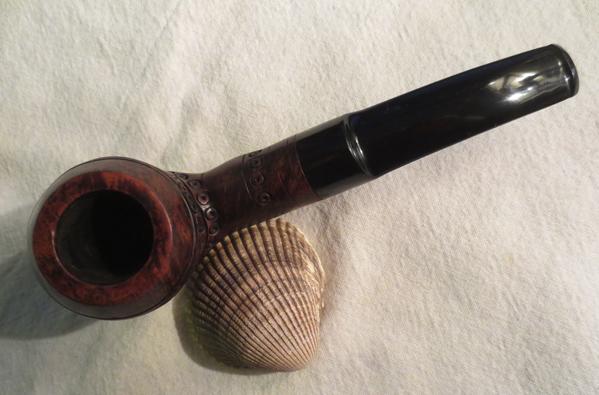
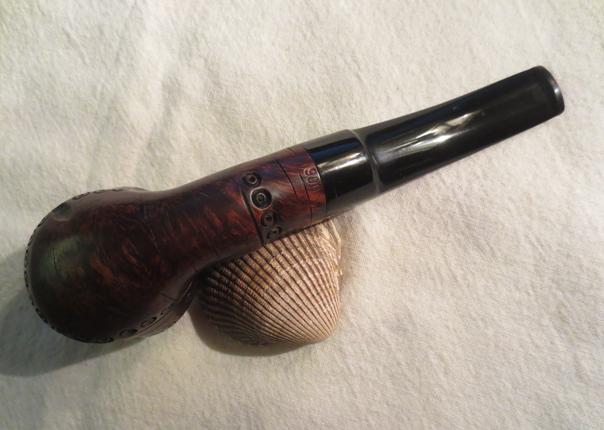
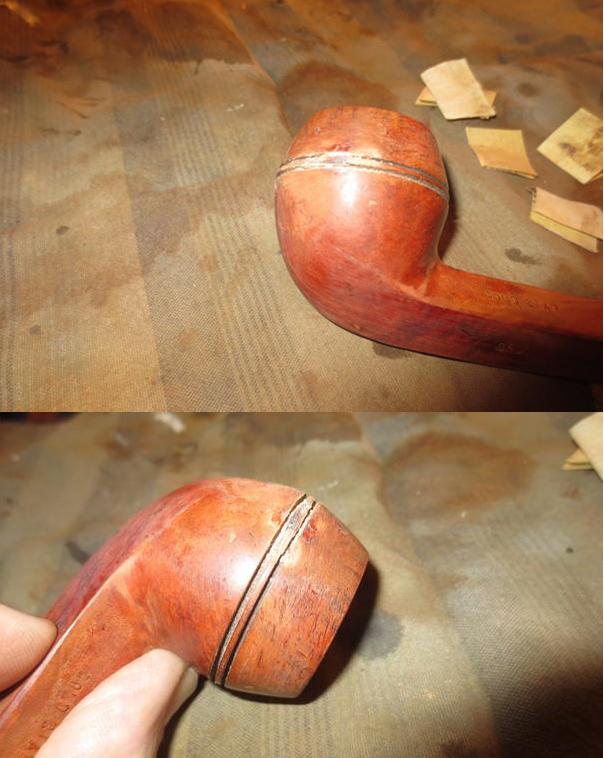
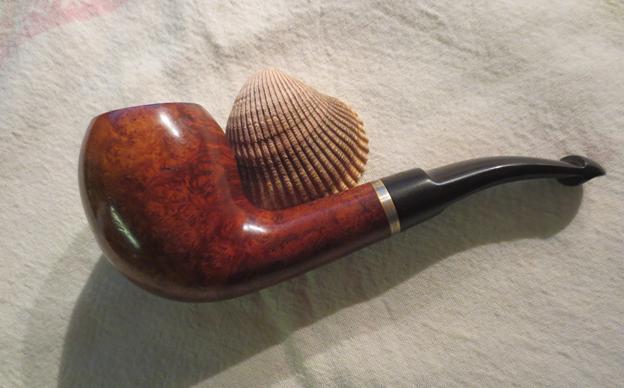
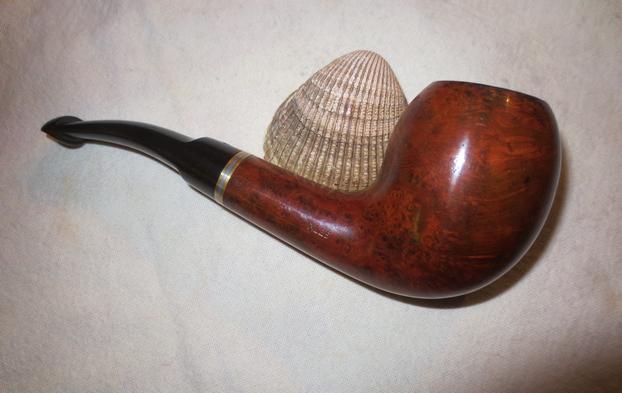
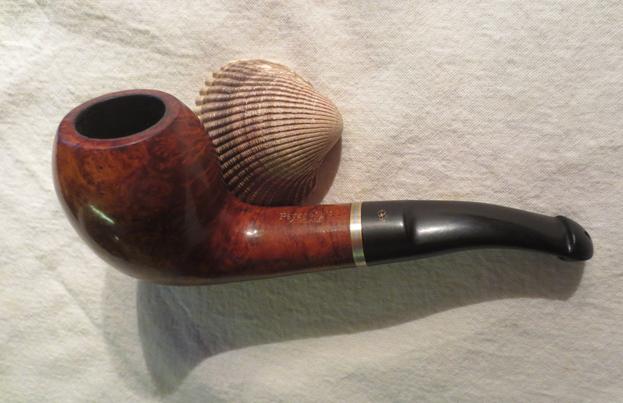
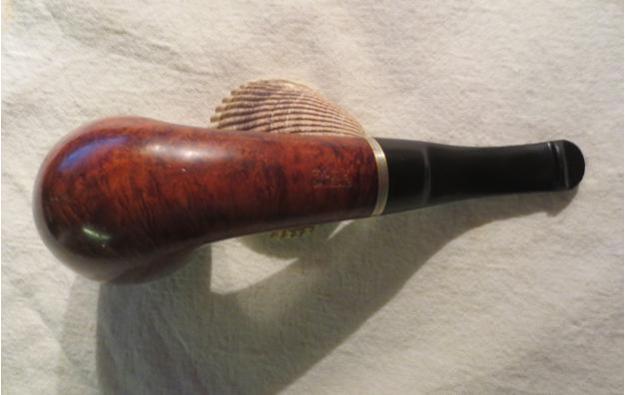
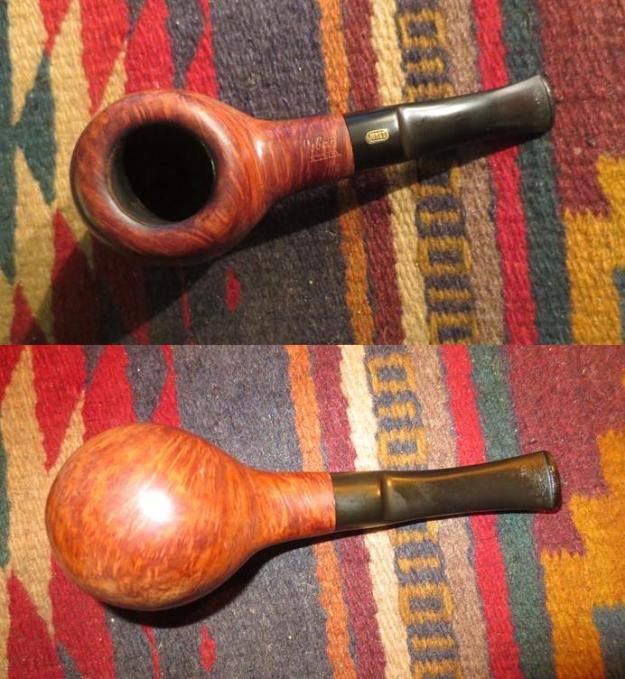
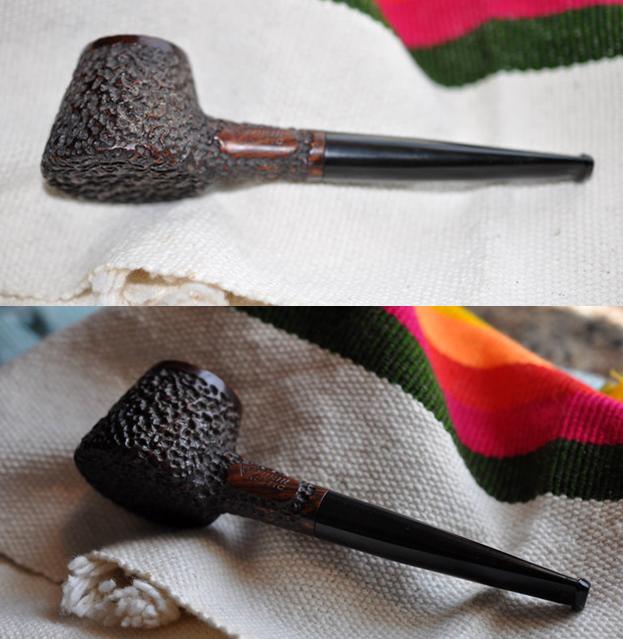
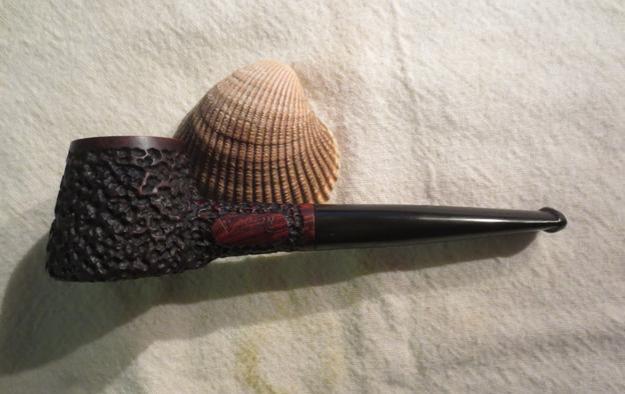
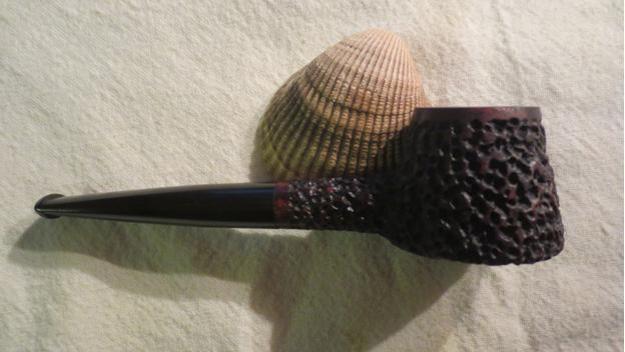
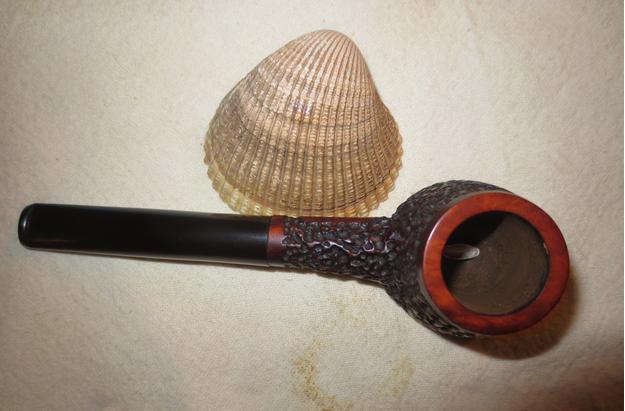
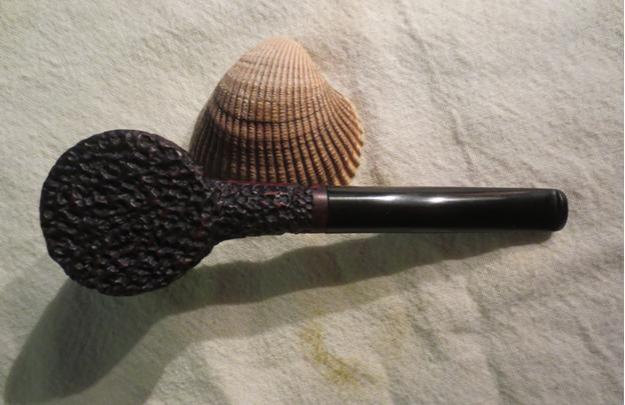
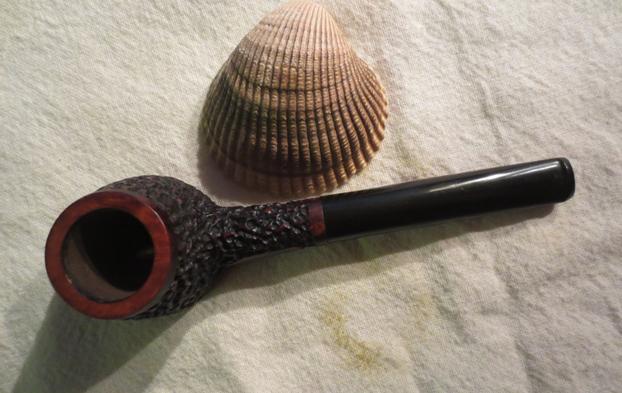
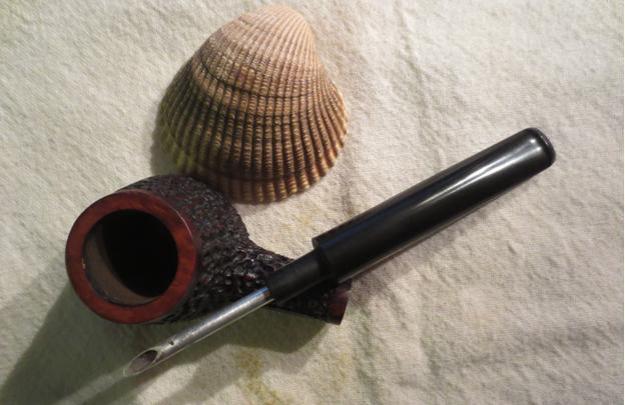
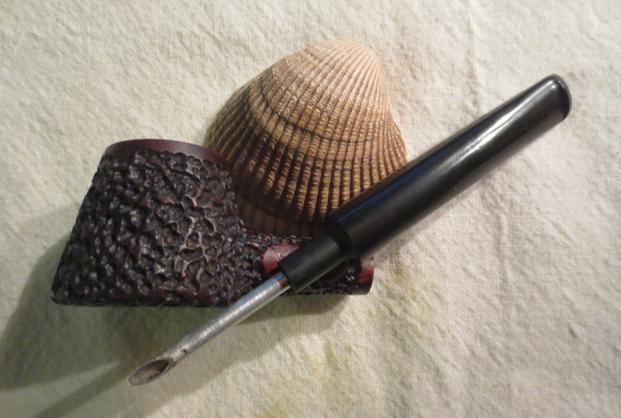
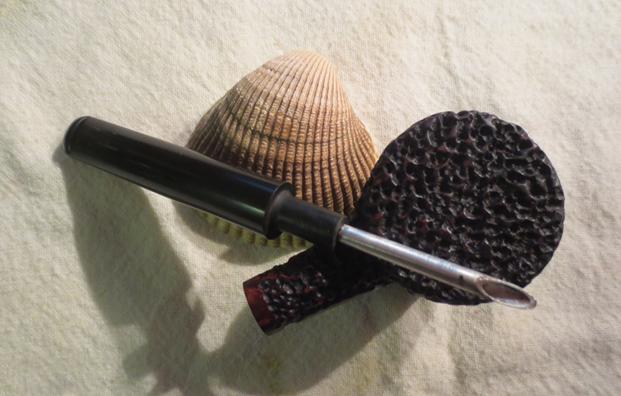
Earlier this year I restored an old briar oval shank billiard that was carved to look like bamboo. It came out beautifully and showed the skill of the Spanish carver who had shaped and crafted it. He carved in the nodules, the cracks and patina of a piece of bamboo.Here is the link to the blog on that old pipe. https://rebornpipes.com/2016/04/10/introduced-to-a-bamboo-briar-of-spain-oval-shank-billiard/. Today I pulled another pipe out of the box my brother sent – another Spanish carved Bamboo looking pipe. This one is a Rhodesian shaped pipe with a saddle stem. The carving was really well done. The pipe is stamped on the left side of the bowl with the words BAMBOO BRIAR over Made in Spain. On the underside of the shank next to the shank stem union it is stamped with the shape number 900.

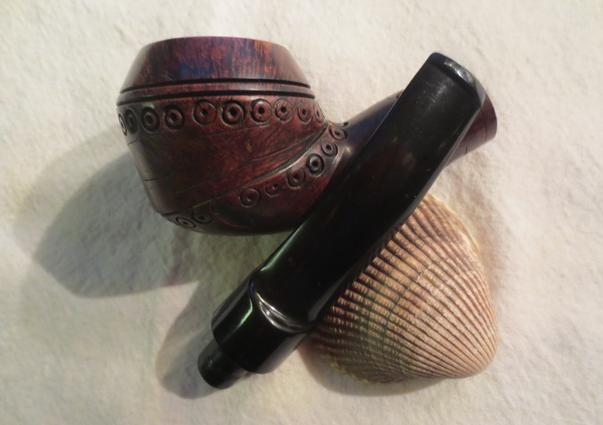
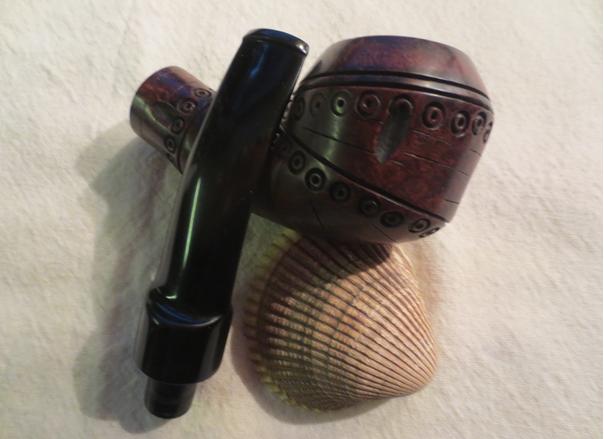
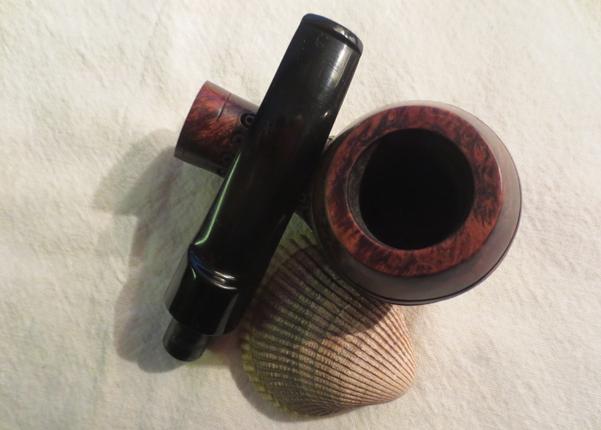
Once again the carver did a marvelous job of replicating the look of bamboo in the briar. The nodules, lines and grooves that he/she put in the briar really look like bamboo. Instead of being left unfinished like the previous one this one was stained with a contrast of medium and dark brown stain. The grain of the briar came through the smooth areas of the bamboo and the carved nicks in the surface. It is really beautiful.

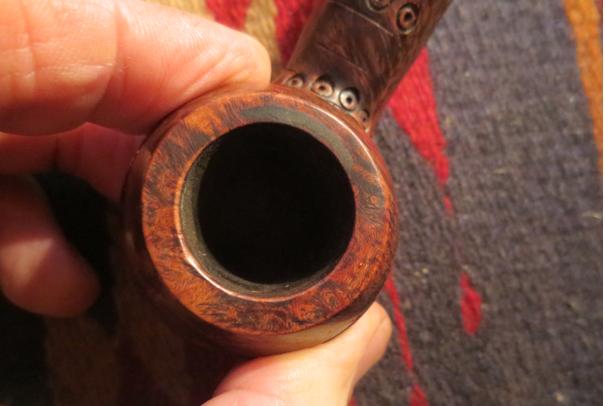
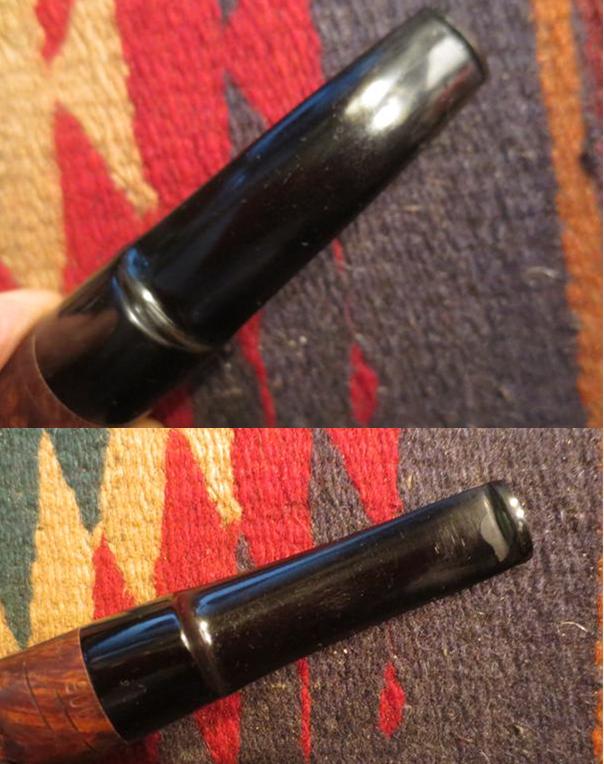
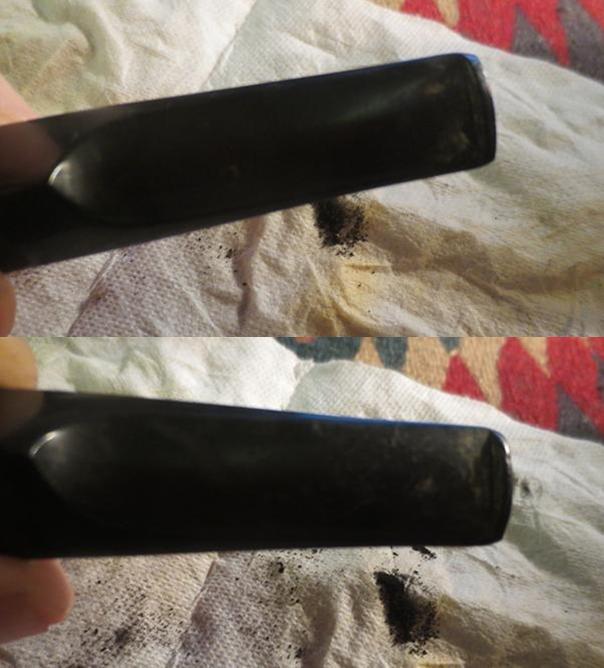
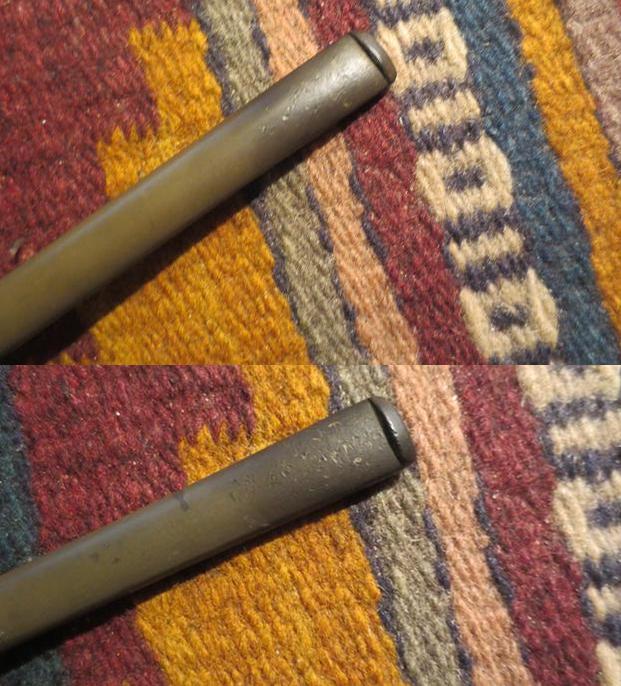
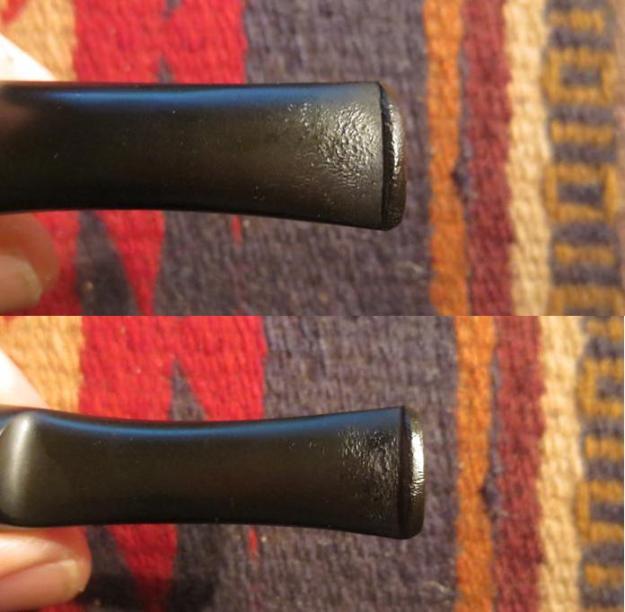
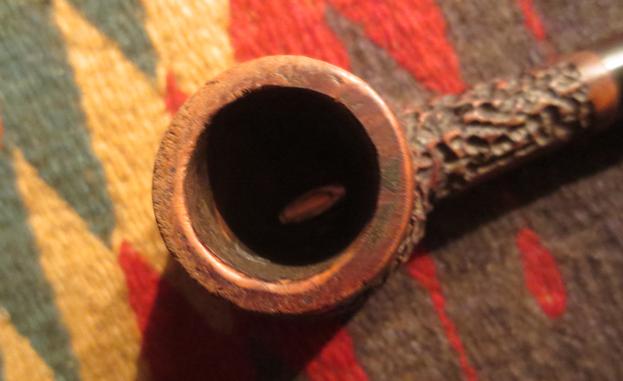
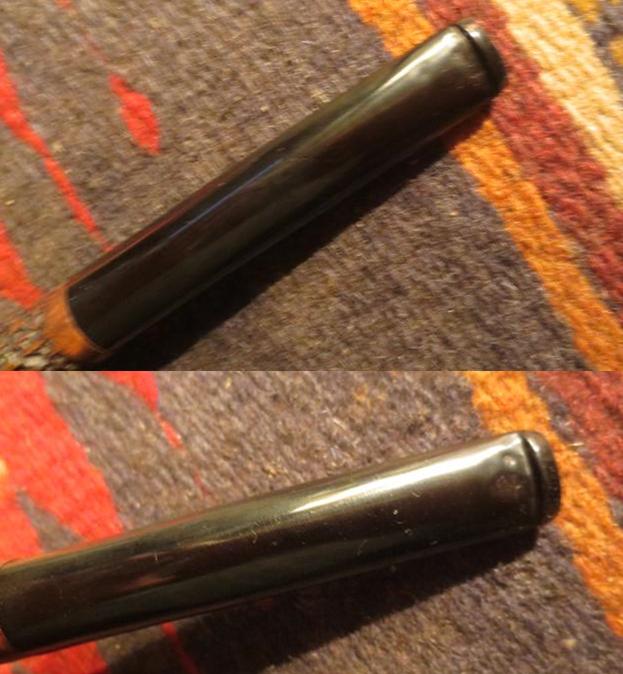
Fortunately my brother cleaned up this pipe for me. He reamed back the cake and scrubbed the exterior of the bowl with Murphy’s Oil Soap. He cleaned the internals with cotton swabs, pipe cleaners and alcohol. There was a small part of the rim top that had a remnant of the lava that must have overflowed the bowl. The stem was in great shape with no oxidation. Someone had repaired a tooth mark on the underside of the stem near the button with what looked like a grey epoxy. It was significantly lighter than the rest of the black stem. It was sanded smooth but it stuck out.

bam1I reread the blog I had written on the previous pipe I restored. I reread the information that I had found on the brand on the pipephil website, Logos and Stampings: http://www.pipephil.eu/logos/en/logo-b1.html#bamboobriar.

The description said that the bamboo like decorative carving on these pipes was typical of Valencia’s manufacturers since the early 20th century. The carvers did a great job of replicating a chunk of bamboo on both the shank and the bowl sides. The site also said that even though the Valencia connection it is easy to make it’s difficult to say who exactly the maker was.

When I took it out of the last box my brother sent me it was in far better shape than the previous Bamboo Briar that I had cleaned up.  My brother sent along this photo of the pipe. Look at the nodules and grooves that have been carved in the bowl and shank. It is really well done carving.

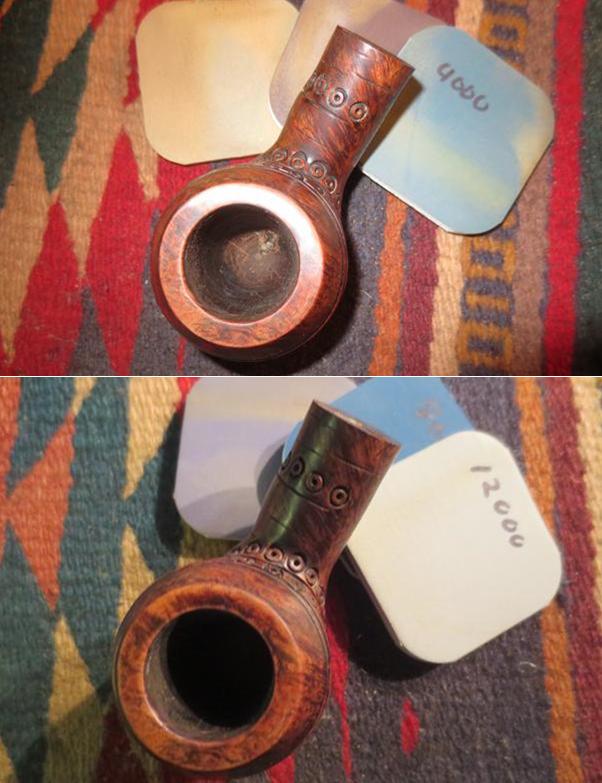
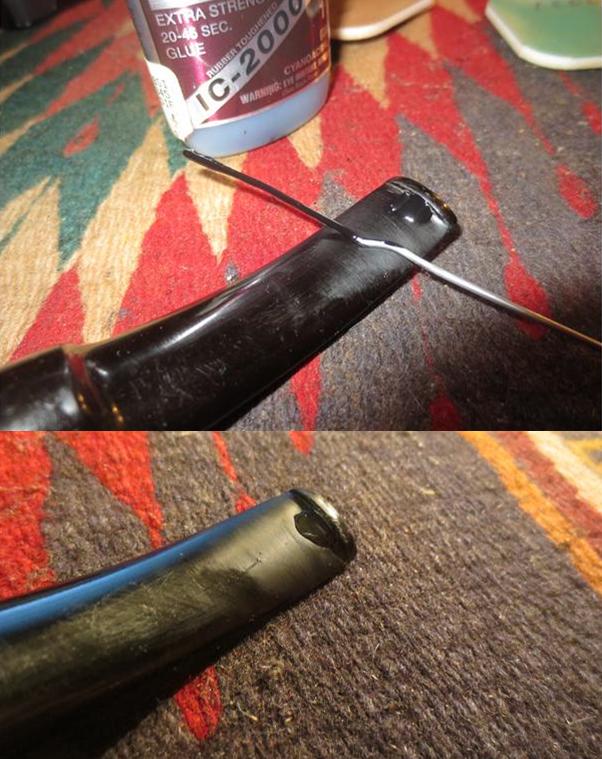
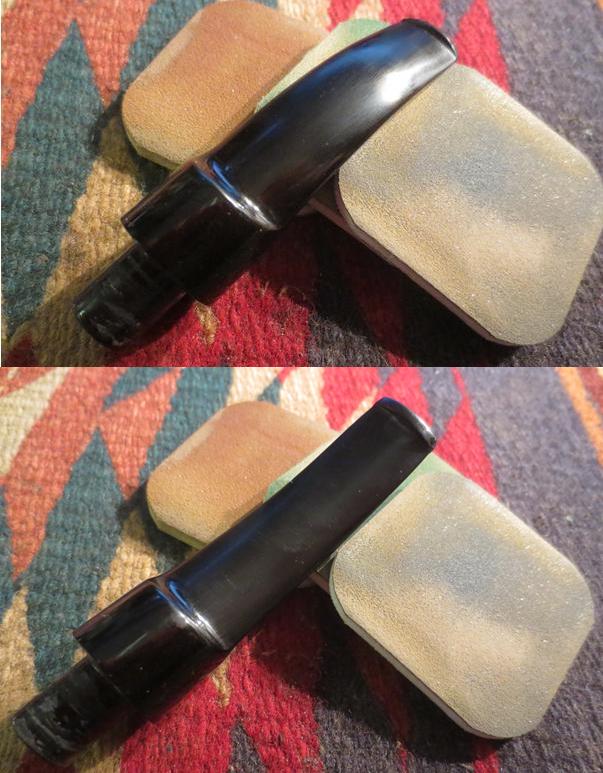
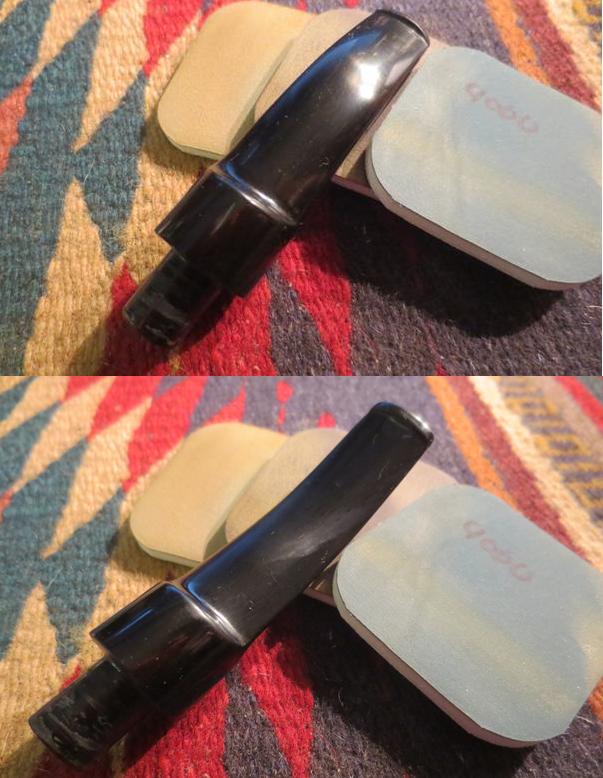
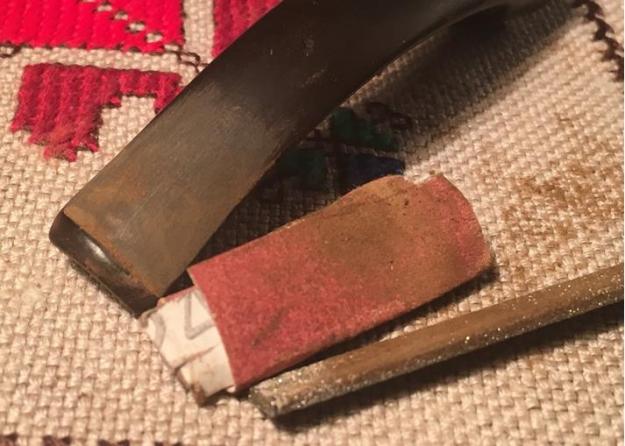
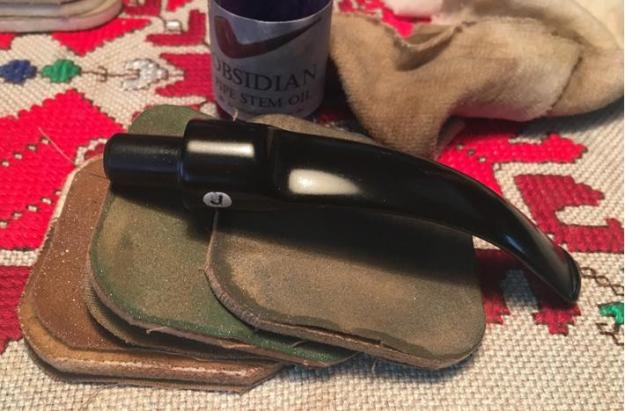
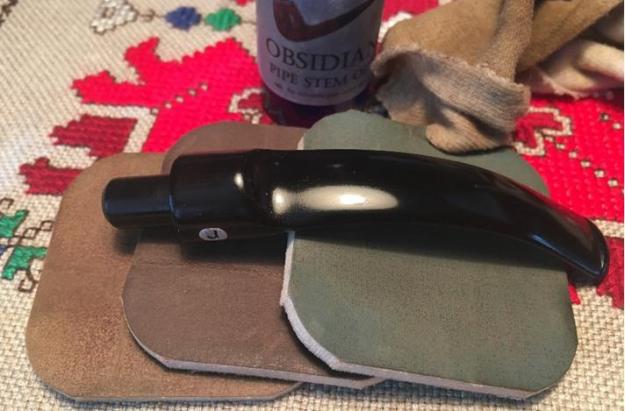
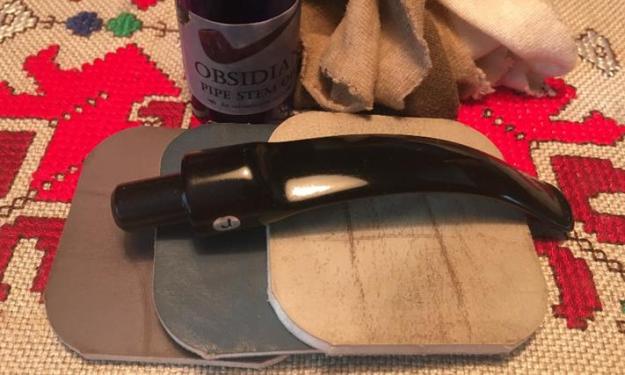
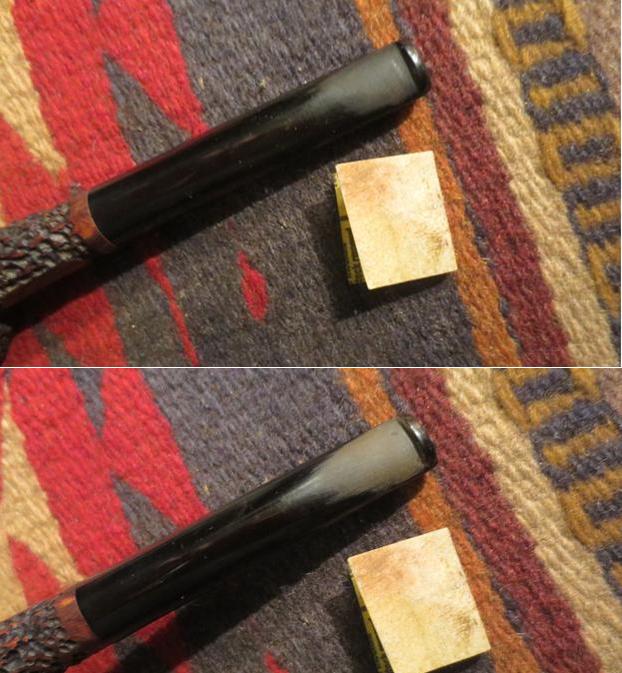
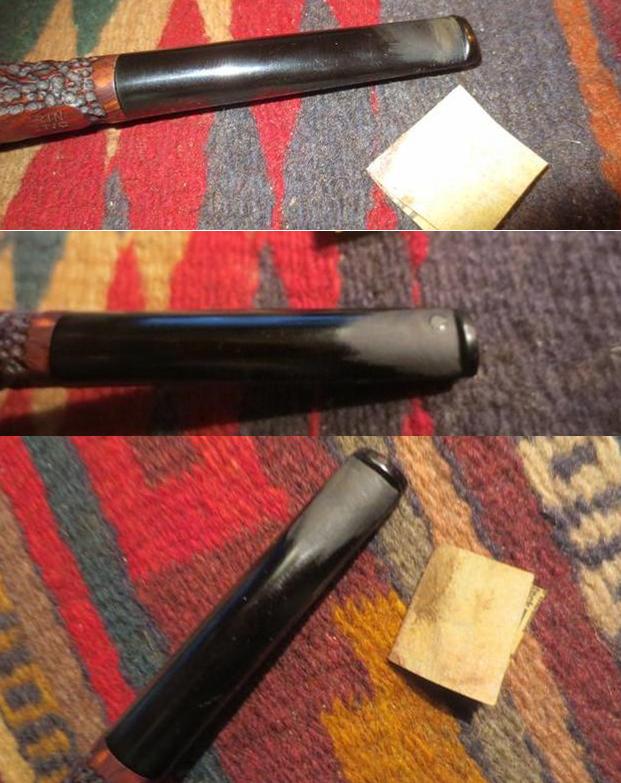
bam2I took the following photos of the pipe before I started cleaning and restoring it. It was in great shape with just a few small touch ups that needed to be done.bam3 bam4I took a close up photo of the rim top showing the remnant of lava that was stuck on the back topside of the rim. The bowl was in great shape though and my brother had taken the cake back.bam5The next two photos show the stem in close up. The top side of stem looked good at the button. The underside of the stem shows the repaired area next to the button. It is lighter in colour than the black of the stem.bam6I worked on the lava build up on the back side rim top. I sanded it with micromesh sanding pads. I started with 2400-4000 grit pads and was able to remove all of the tars. I continued to sand it with 6000-12000 grit pads to polish the rim top.bam7I sanded the repaired area of the stem until I had a small dip sanded out the surface of the stem. I filled it in with black super glue.bam8I sanded the repaired area back with 220 grit sandpaper until it was smooth. I wet sanded it with 1500-2400 grit micromesh sanding pads and rubbed it down with Obsidian Oil. I dry sanded it with 3200-12000 grit sanding pads. I rubbed it down with oil after each set of three pads. After the last rubdown fowling the 12000 grit pad I set the stem aside to dry.bam9 bam10 bam11I buffed the pipe with Blue Diamond on the buffing wheel. The polishing compound brought a shine to the bowl and stem and also made the grain stand out. I gave the bowl and stem multiple coats of carnauba wax and buffed it with a clean buffing pad. The bowl and stem took on a shine. I hand buffed the pipe with a microfibre cloth. I have found that the extra step gives some depth to the shine. The finished pipe is shown in the photos below. It is a beautiful example of the Spanish Valencia carved Bamboo Briar Pipes. Thanks for looking.bam12 bam13 bam14 bam15 bam16 bam17 bam18 bam19

Breathing New Life into a Gold Star Giant 8597


Blog by Steve Laug

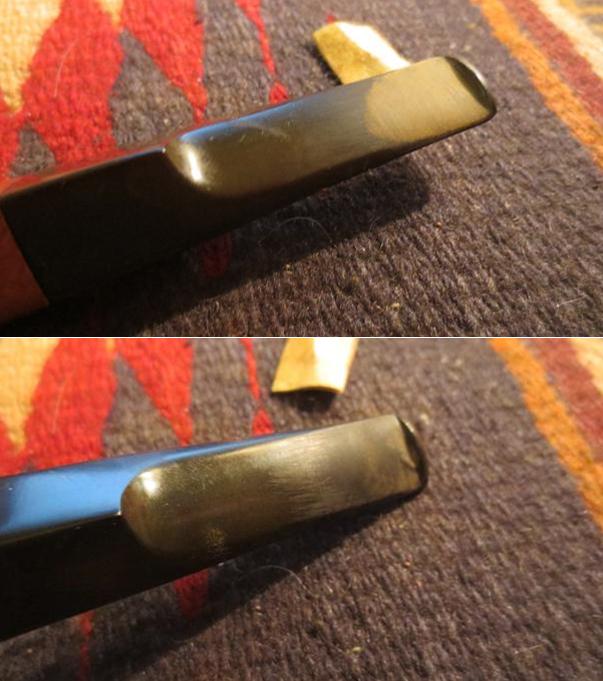
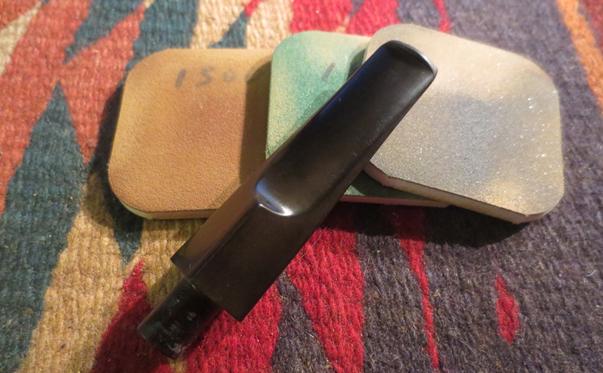
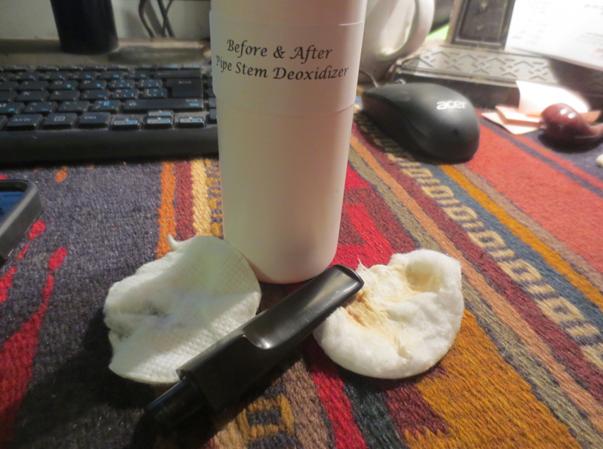
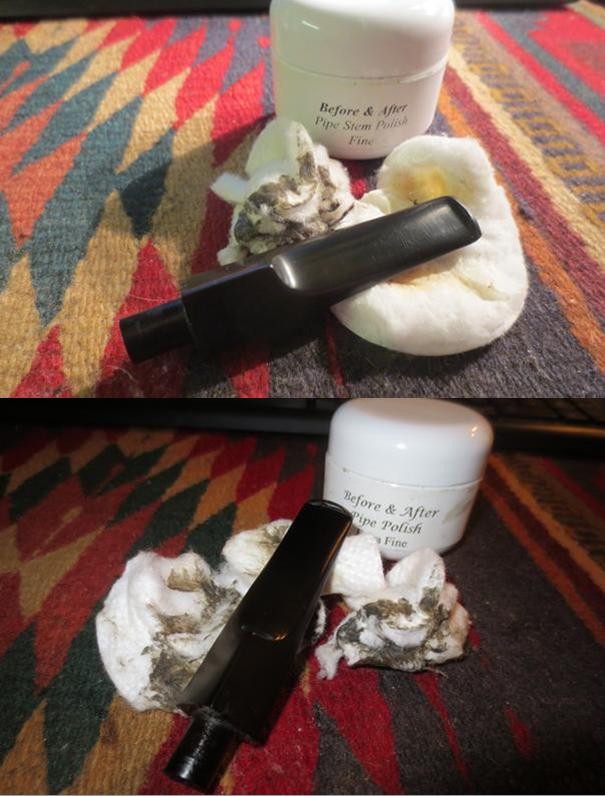
I have a lot of pipes to work on so making a decision which one to work on it a bit interesting. Several months ago now Steve in Dawson Creek sent me a box of pipes for restoration as allowed. He sent me a list of priorities regarding which pipes he wanted restored in the order of importance to him. So I decided to work on one of the pipes that he sent me for restoration. The next one on his list of priorities was a bulldog that was in pretty rough shape. It is stamped Gold Star on the left side of the shank and Giant on the right side. On the underside of the left side of the diamond shank it is the shape number 8597. I can’t much information about the brand. It is a bit of a mystery pipe but under the grime and the peeling finish there was nice looking grain. gold1The pipe was dirty and the finish was very rough. The varnish coat was peeling away. There was a large chip out of the ring on the right side of the bowl. The rim was darkened and caked under tars. The cake was thick and overflowing the bowl. The stem was oxidized and there were tooth marks on the top and underside of the stem next to the button.gold2I took a close up photo of the rim and the bowl to show you what I was working on in dealing with this pipe. The bowl was a mess. I also took close up photos of the stem to show the bite marks on the top and underside of the stem.gold3 gold4I reamed the bowl with a PipNet reamer and a Savinelli Pipe Knife to take the cake back to bare briar on the bowl walls. There was a lot of cake so it took some time. I used the largest cutting head and the cutting head just below that one.gold5I topped the bowl on a topping board with 220 grit sandpaper. I worked the rim against the sandpaper until the damaged bowl top was removed and the bowl was once again smooth and round.gold6I repaired the damaged portion of the ring around the bowl with briar dust and super glue. I mixed the two together and made putty and pressed it into the damaged area of the ring. In the photo below you can see the repaired area on the ring.gold6aI used the Dremel and sanding drum to remove the excess patch and sanded it back until it was smooth against the rest of the bowl.gold7I sanded it with 220 grit sandpaper until the ring blended in with the rest of the pipe. I used a hack saw blade to recut the grooves on each side of the ring repair. The photo below shows the recut grooves and the repaired ring. It still needs to be cleaned up but it is looking better.gold8I used a knife blade needle file to clean up the grooves. I was able to match the grooves on the rest of the bowl. I sanded the ring with 220 grit sandpaper.gold9I wiped the bowl down with acetone (fingernail polish remover) on cotton pads. I broke up the peeling varnish with sandpaper and wiped it down again.gold10I scraped the inside of the mortise with a dental spatula to remove the hardened tars. It scraped away all of the buildup and then I scrubbed it down with pipe cleaners, cotton swabs and alcohol until it was clean. I cleaned the airway in the stem until it was clean.gold11 gold12I sanded the tooth marks out the top and underside of the stem with 220 grit sandpaper until they were minimized.gold13I wet sanded the stem with 1500-2400 grit micromesh sanding pads to smooth out the scratches in the vulcanite.gold15I scrubbed the stem with Before & After Pipe Stem Deoxidizer to remove the oxidation. It took some elbow grease but I was able to remove all of the oxidation with the new product. I am starting to really like this stuff.gold14I polished the stem with the Before & After Pipe Polish using the fine and the extra fine polishing compound. I rubbed it on by hand using a finger and then scrubbed it off with a cotton pad until the polish was gone and the stem shone.gold16 gold17I stained the bowl with a medium brown aniline stain and flamed it to set it in the grain. I repeated the process until the stain was evenly spread on the bowl.gold18I buffed the bowl on the buffing wheel to see what the new stain coat looked like. I liked the new look of the old Gold Star Giant. What do you think?gold19 gold20I buffed the pipe and stem with Blue Diamond on the wheel to bring a shine to the bowl and gave it multiple coats of carnauba wax. I buffed it with a clean buffing pad and then with a microfibre cloth. The finished pipe is shown in the photos below. Steve, this one turned out to be another beauty. I am looking forward to hearing what you think about it once you get it back to Dawson Creek.gold21 gold22 gold23 gold24 gold25 gold26 gold27 gold28


A Relatively Easy Refurbishment on a Peterson’s Kinsale


Blog by Steve Laug

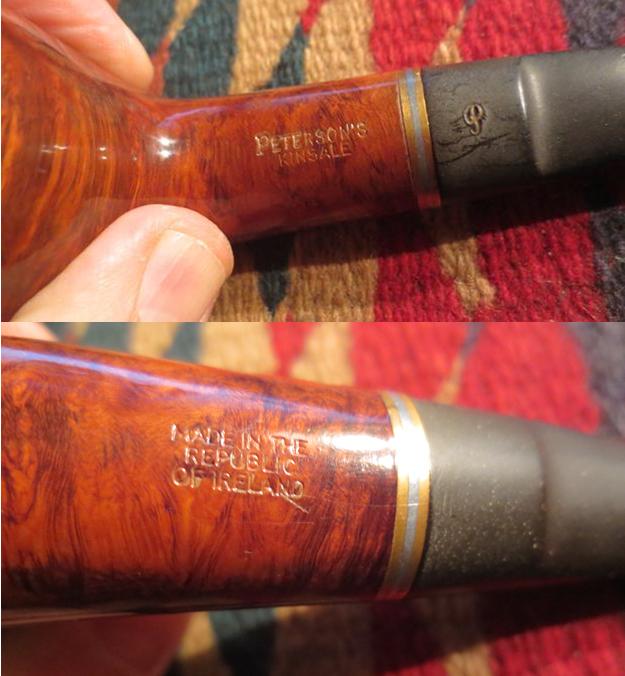
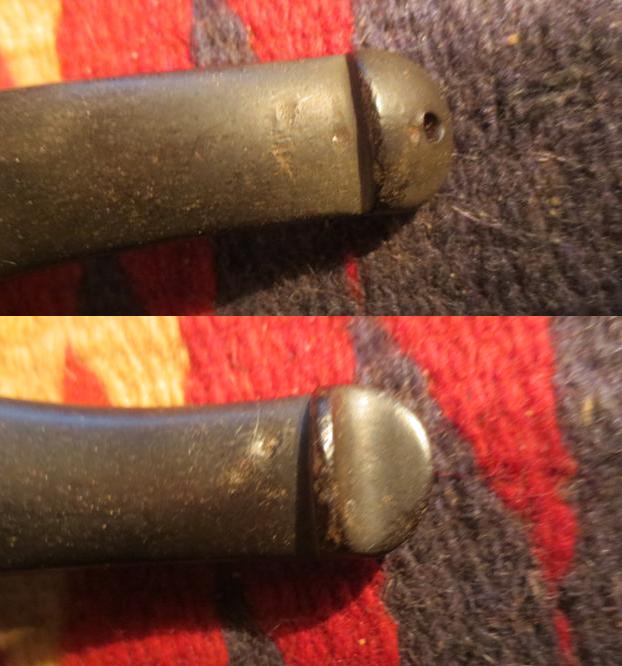
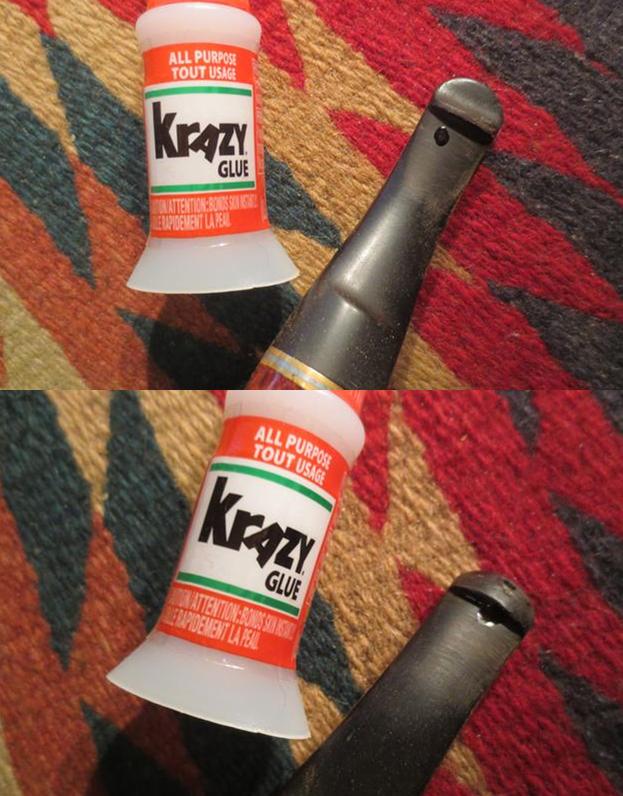
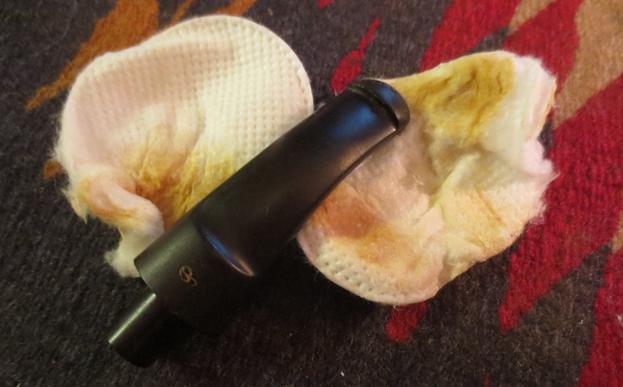
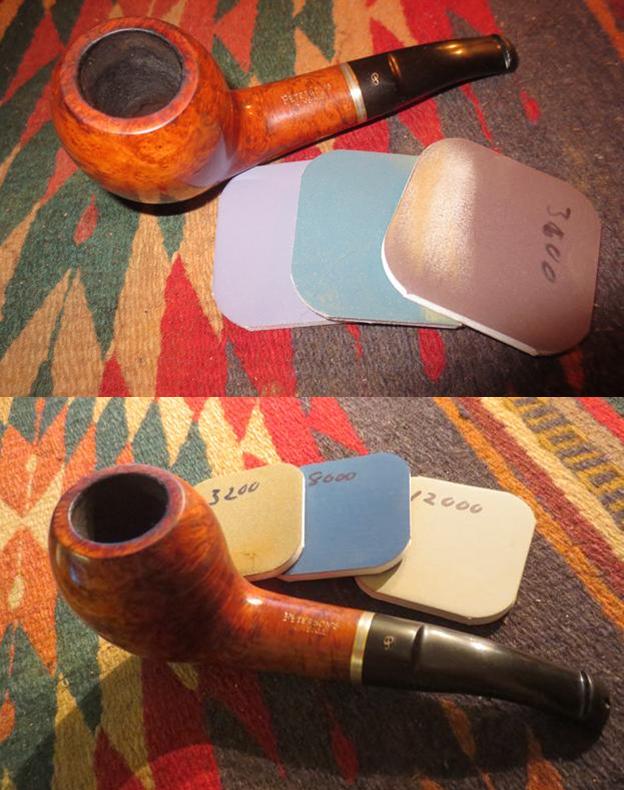
In going through the last box of pipes that my brother sent me I came across this beautiful Kinsale by Peterson’s. It is stamped on the top of the shank Peterson’s over Kinsale. On the underside of the shank it is stamped Made in the Republic of Ireland. The shank end has a band that is integral to the shank two bars of brass around a thicker bar of silver. The band was lightly oxidized. The finish had a shiny coat of varnish. The rim was dirty and some of the coat had bubbled a bit. The rest of the finish was in excellent shape. There was some beautiful grain poking through the finish. The stem had a Peterson’s P in gold on the top of the saddle. There was some oxidation around the saddle portion of the stem and there were tooth marks on the top and the underside of the stem near the p-lip button. There was a small tooth mark on top of the p-lip. My brother took the next two photos of the pipe before he cleaned it up.pete1He scrubbed the externals with Murphy’s Oil Soap and reamed and cleaned the internals. The bowl and stem were quite nice when it arrived here. I took the next photos to show the condition of the pipe when I started the work on it.pete2 pete3I took some closeup photos of the stamping on the pipe. The stamping was sharp and clear. It is very readable. You can also see that the P is quite distinct on the stem. The gold is still in place. This would be a great experiment for the new deoxidizer and polishing mixture I purchased.pete4I took close up photos of the stem as well to show the tooth marks and scrapes on to two sides of the stem ahead of the p-lip and on the p-lip itself.pete5I sanded the stem dents and heated them with a lighter to try to lift them. I was able to lift all of them on the underside and topside of the stem except for two. There was a tooth mark on the both sides next to the button.pete6I sanded the glue when it dried with 220 grit super glue and with 1500-4000 grit micromesh sanding pads. Once it was smooth I scrubbed the stem with the Before & After Stem Deoxidizer on cotton pads and was able to remove all of the oxidation. It took some elbow grease but the Deoxidizer removed the oxidation but not the P stamp on the stem top.pete7I used the Fine Before & After Pipe Polish to work over the stem. I scrubbed the stem with my finger. Applying the paste to the stem and scrubbing it into the surface. I wiped it down with a cotton pad. I followed that by polishing it with the Extra Fine Polish and did the same procedure.pete8I worked on the rim with micromesh sanding pads. I did not want to break the finish but to remove the bubbling and the buildup. I sanded it with 3200-12000 grit pads to polish it.pete9The finished pipe is shown in the photos below. I buffed it lightly with Blue Diamond and then gave it a light coat of wax. I buffed that to raise a shine on the bowl and protect and shine the stem. I polished the metal band with 8000-12000 grit micromesh sanding disks. It is truly a beautiful pipe and the shape and the shine look great. This is available now and will soon be on the store. If you are interested in it email me at slaug@uniserve.com or send me a message. Thanks for looking.pete10 pete11 pete12 pete13 pete14 pete15 pete16 pete17

Restoring an Older KBB Yellow-Bole 2094 Churchwarden with absolutely stunning grain.


Blog by Steve Laug

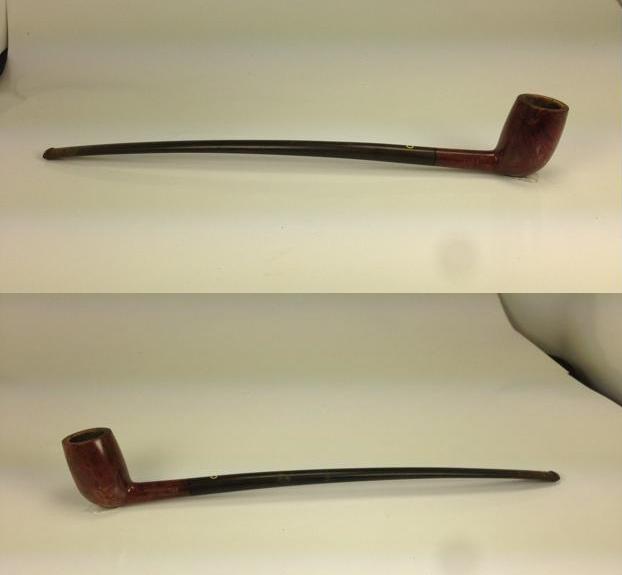
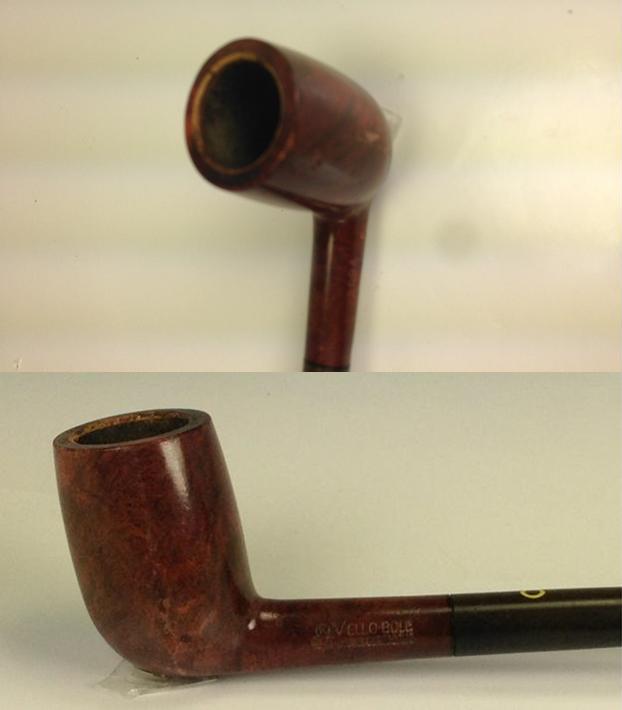
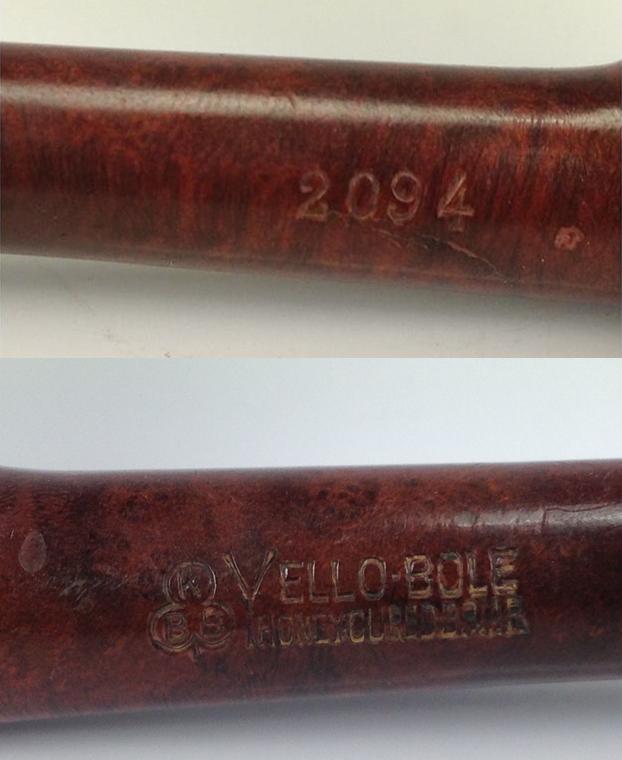
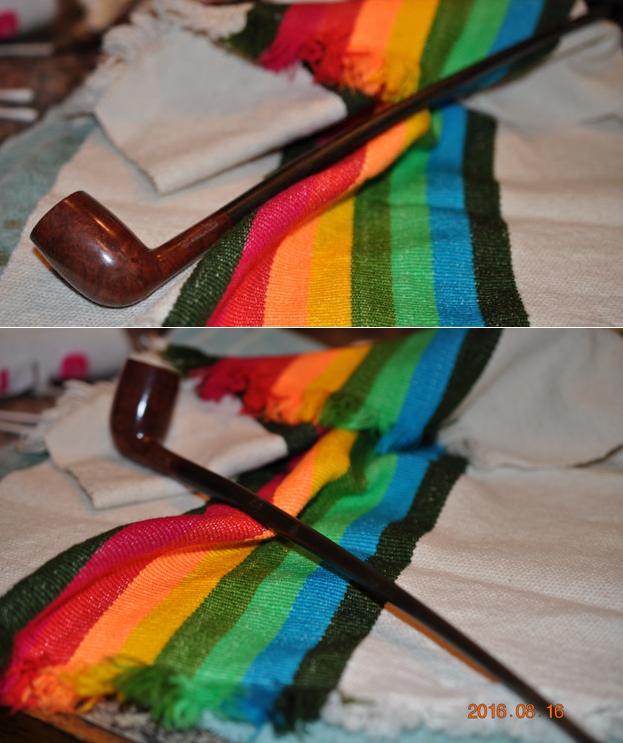
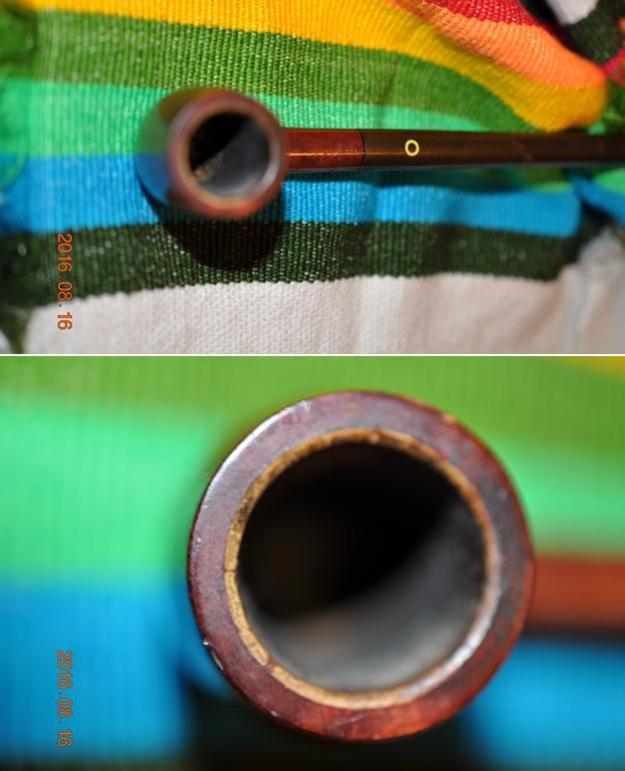
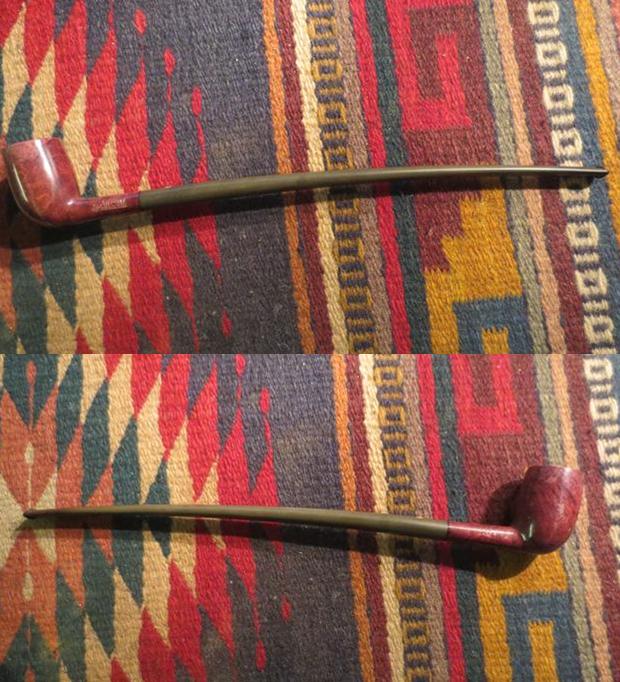
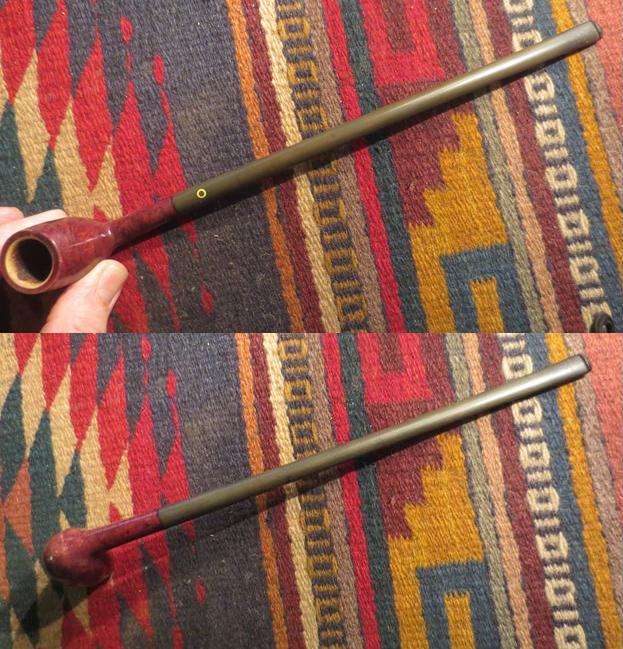
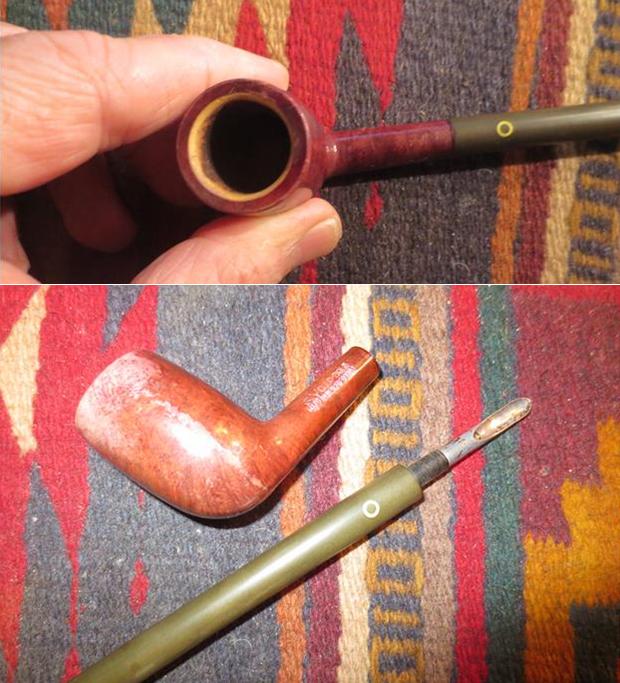
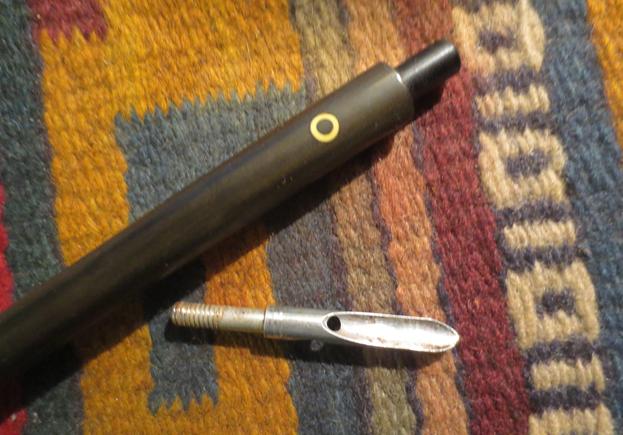
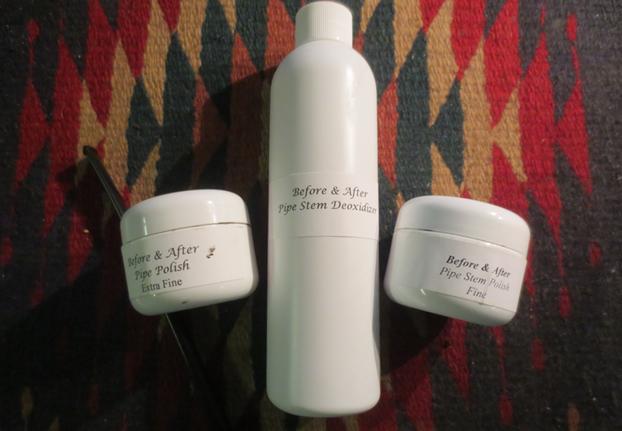
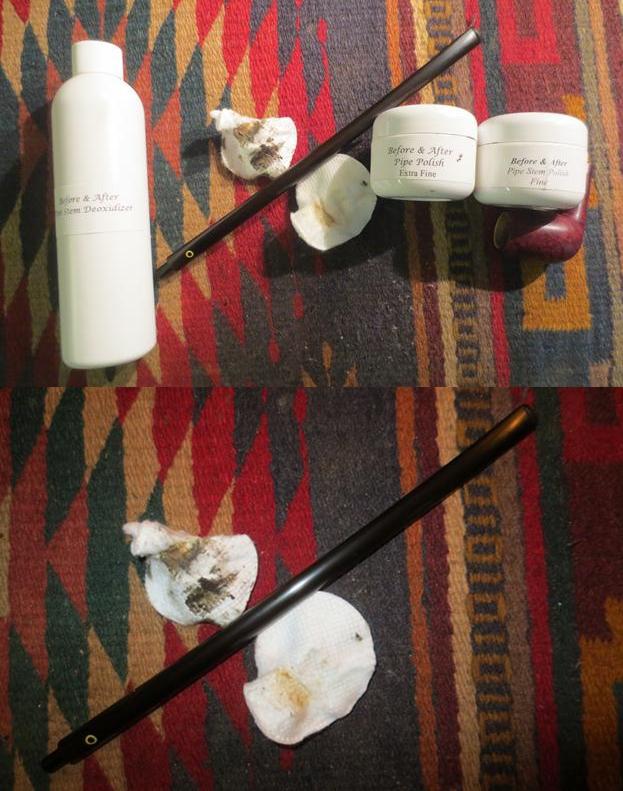
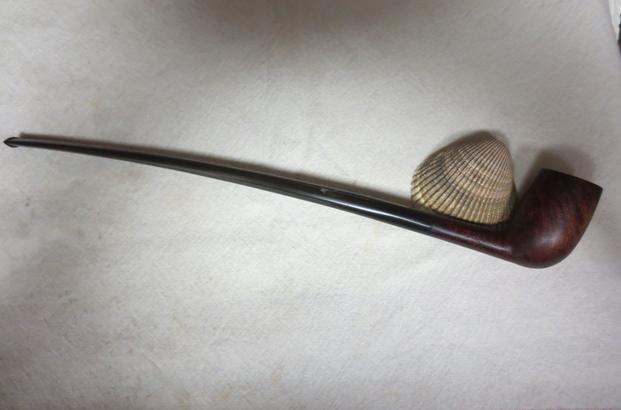
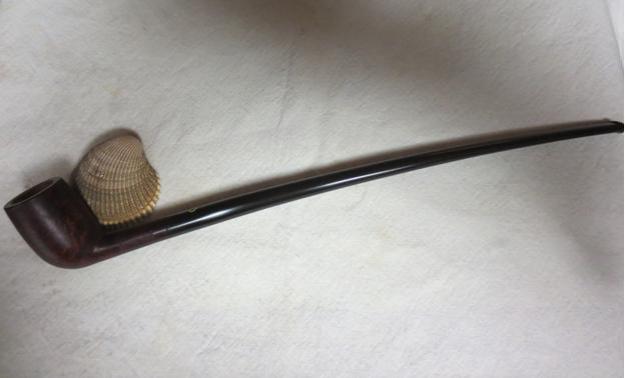
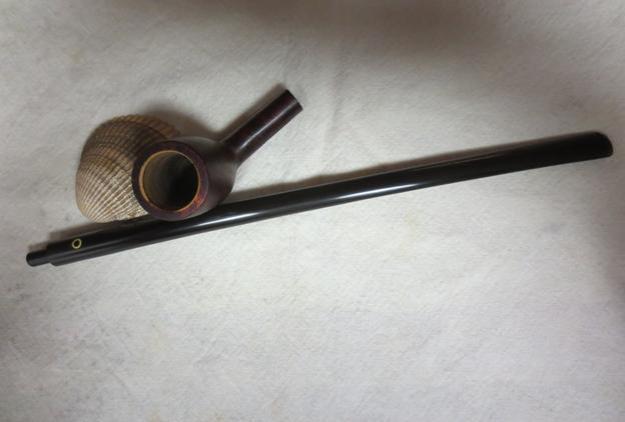
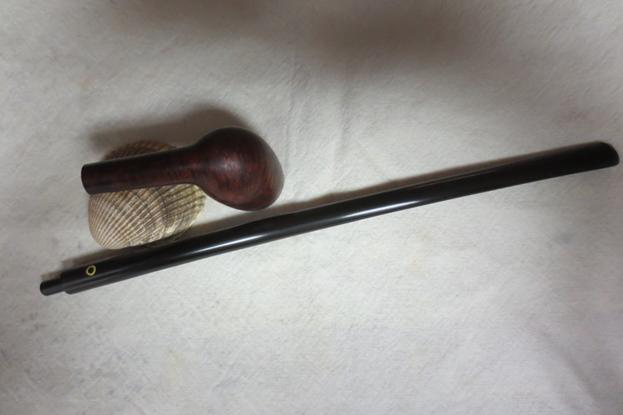
My most recent box of pipes that came from my brother had this Yello-Bole Churchwarden in it for restoration. It is a long pipe – 12 inches from bowl to button. The next seven photos were the ones provided by the eBay seller. They don’t really show the grain in the pipe or the peeling shellac coat on the bowl but they give a clear picture of the shape and carriage of the pipe. It really is a beauty in terms of overall appearance. It is graceful with a gentle bend to the stem ending in a button that is not flared from the end of the stem but is straight-edged with a small slot in the end. The stem also had the inset yellow circle on the top of the stem.yb1The third and fourth photos provided in the seller’s photos show the damage to the finish and the build up and damage to the rim. You can also see some of the peeling of the finish and the way that it obscures the grain of the briar. The rim is dirty in the photo below and at first glance it looks like the bowl may have been meerschaum lined. I was pretty sure that this was not the case but would know better once it arrived in Vancouver. It appears that the bowl had a light cake but was not in bad shape. It would not take too much to ream the bowl. The stem was lightly oxidized and had tooth chatter on the top and underside near the button.yb2The stamping on the shank is very clear. The shape number on the right side of the shank is 2094 and the brand stamp on the left KBB in a cloverleaf next to Yello-Bole over Honey Cured Briar.yb3My brother scrubbed the externals of the pipe with Murphy’s Oil Soap and was able to loosen some of the flaking varnish or shellac. He reamed the light cake back to the yellow bowl coating. He cleaned out the shank and the airway in the stem with pipe cleaners and alcohol.yb4 yb5The next two close-up photos of the bowl sides shows what the finish looked like once he had done his work. You can see the interesting grain showing through the damaged finish.yb6 yb7I took photos of the pipe when I received it in Vancouver. You can see the condition of the finish in the photos. In the cleaning process oxidation came to the surface of the stem.yb8 yb9The internals of the pipe are interesting. The first photo below shows the yellow bowl coating that still remained in the bowl. This one was certainly lightly smoked to be in this condition. The second photo shows the standard Yello-Bole stinger apparatus that is screwed into the tenon.yb10There was light tooth chatter and tooth marks on the top and underside of the stem but the button was in excellent shape with minimal tooth marks or bites.yb11I removed the remaining varnish/shellac coat with acetone (fingernail polish remover) on cotton pads. It also removed some of the stain and brought the grain to the surface of the bowl. I liked the look of the pipe once the varnish was removed.yb12 yb13The stamping looked even clearer once the top coat had been removed. In the first photo below there is a line under the number that looks like a crack or a fill. It is not but rather it is debris left behind by the cotton pad and acetone wash.yb14I ran pipe cleaners, cottons swabs and alcohol through the mortise and the airway in the shank and the stem remove any remaining oils. The red colour on the cotton swabs is actually some of the red stain that was inside of the shank. I was able to remove all of stain from the shank and mortise.yb15I unscrewed the stinger from the tenon and cleaned it with 0000 steel wool. I am not sure whether I will put it in or not. I may do so and let the new owner decided whether to keep it in place or remove it.yb16I lightly sanded the stem with 220 grit sandpaper to remove the tooth chatter and bite marks. I sanded it with 1500-2400 micromesh sanding pads then tried a new product that I picked up from Mark Hoover of La Belle Epoque Vintage & Modern Fountain Pens. I follow Mark on Facebook and have been reading about his restorations and cleanup or estate pipes. He developed a product for pens that deoxidizes and polishes vulcanite. He also uses it on vulcanite stem with great results. I have seen his before and after pictures of pipes that he has restored so I thought I would order some and try it out. The photo below shows what came with the kit.

Mark wrote on his site that the product was specifically designed for hard rubber and celluloid but that it does work well on other types of plastics. He also sells the same product relabeled for pipe stems. The line is called Before and After. He states on the website that “All of our polishes are made using the highest quality products.  These products are designed to not only recondition your pen (or in this case stem) but also to provide a layer of protection. All of the products used in these polishes are none-toxic and environmentally friendly.”

“There are two different polishes.  Fine and Extra Fine.  We recommend both as some pens will show more wear then others.  Often one will work on a pen using the Fine polish and finish with the Extra Fine. The polishes are sold in 2 oz jars.  The cost is 12.00 per jar. The number of pens one can restore will of course vary depending on the wear that each pen shows.  I have restored from 75-150 pens per jar.”

Here is the link to his site with the prices for the product: http://www.lbepen.com/apps/webstore/products/category/1185536?page=1. The product can be ordered onsite. It is shipped in a well wrapped package and I had no issues with it coming across the border through the post office.yb18The Deoxidizer is a thick gel that I rubbed onto the stem with a cotton pad. I let it sit for a short time before rubbing it off with another pad. It removed the oxidation quite nicely. I repeated the process until the stem was once again black. After using the Deoxidizer I polished the stem with the Fine and the Extra Fine Pipe Polish. It quickly shined up the vulcanite. Both of the stem polishes are quite thick and sticky. The fine is grittier than the extra fine. It took some time to rub each of them onto the stem surface and then polish it with a soft cotton pad. The second photo below shows the stem after using the Extra Fine Polish.yb17I buffed the pipe with Blue Diamond on the buffer and then gave the bowl and stem several coats of carnauba wax. I buffed it with a clean buffing pad and hand buffed it with a microfibre cloth to deepen the shine. The finished pipe is shown in the photos below. I left the stinger out of the tenon for these photos but it is easily screwed into place. The grain shines through beautifully with the oxblood coloured stain. The polished stem is smooth and shiny with a lot less effort than other products I have used. Thanks for looking.yb19 yb20 yb21 yb22 yb23 yb24 yb25 yb26


Annals of Pipe Crimes: The 42-Minute Meerschaum Job


Robert M. Boughton

Member, International Society of Codgers
Member, North American Society of Pipe Collectors
Member, Facebook Gentlemen’s Pipe Smoking Society
http://www.roadrunnerpipes21.biz (under construction)
http://about.me/boughtonrobert

Photos © the Author except as noted

Wisely and slow. They stumble that run fast.
— William Shakespeare (1564-1616), English playwright and poet, in Romeo and Juliet, Act. 2, Sc. 3

INTRODUCTION
Let me begin by apologizing in advance for the end results of this over-fast cleaning job I insisted on undertaking, at no charge, for a schizophrenic friend.  Now, having admitted I was a party to the injustice perpetrated against a certain meerschaum pipe with potential for a far more beautiful future, I must beg mitigating circumstances that in this case call for an affirmative defense, which shall be made apparent.

My friend, Fred (not his real name), who can by no means be described as an aficionado of pipes, on several occasions remarked that his father used to collect them.  I noted the past tense in my mind while keeping my mouth shut, as my own father often urged me to do.  A couple of months ago I sold Fred a Guildhall London Pipe straight pot (a Comoy’s second) for $10.  He was so excited by my box of restored pipes, the way a kid looks through a store window at a shiny toy he wants, that I could not help myself.  I also happened to need gas or I might have had to walk home.  But the deal was not all about money; I had a nice no-name that would have left my challenged friend, and almost anyone else, just as happy.

Still, to my perception, the Guildhall suited him better, and when he asked for my advice I replied in good faith.  I put considerable work into making that vintage pipe shine again.  Looking back at the two-year-old blog, I see where I now could remove the tooth chatter altogether.  Still, compared to the horror with which I started, the straight pot was like new.meera meerbAnd so, the stories I started hearing from my guileless friend were disturbing.  You see, the anti-psychotic cocktail some head-shrinker prescribed to Fred caused permanent tics and muscle spasms, as well as other occasional unpleasant side effects.
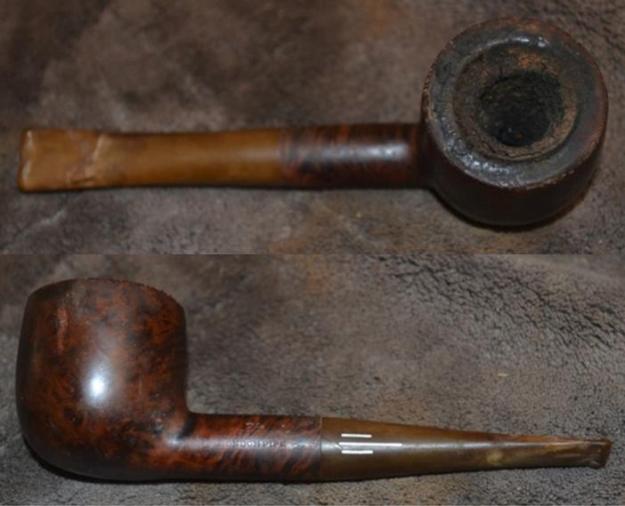
That easy observation explained, at least to me, Fred’s blunt disclosure one day that he bit off the mouthpiece.  Despite my sincere offer to seek out a replacement for the bitten bit, Fred declined with vehemence, insisting that it worked just fine even though he had some trouble keeping it between his lips.  With that mental image, I confess to having some difficulty keeping a straight face.  Somehow I managed to sit back and return his wide-eyed gaze with a clinical stare any psychoanalyst would envy (irony intended).

Then, not long after the bite reflex account, Fred blurted to me that he had lost the remainder of the bit.  It had just disappeared while he was vacuuming and was nowhere to be found.  He said he looked everywhere for the gnawed scrap of Vulcanite – my description, not his – and that it had vanished without a trace.  When I asked if he checked the vacuum bag, the look on his face was unnerving, but my considerable first-hand experience dealing with schizophrenics, some in my own family, served me well once more.  Fred’s eyes narrowed, perhaps seeking to discern if I were as crazy as he or only joking.  My relief when he at last grinned, his entire expression returning to its normal manic happy face, was intense.  He never answered my question.

And so I pressed on, bent on sparking a connection between two or more of his synapses, by asking if he remembered where he was when he last saw the pipe whole, meaning more or less.

“It was right there,” he said as his arm pointed off into thin air, having an apparent vision of the place he meant that I was sure I would never share.  But he continued, thank God.  Part of me needed to know.  This, no doubt, is where the offhand claim that insanity is contagious comes from.  “It was right there, on the shelf, where I always put it.  I remember I took the stem out and put both parts there on the shelf, in case one of them fell or something, they wouldn’t both get broke.”

I had to give a genuine nod of my head to that logic.  My senses returning, I assured Fred the bit had to be there, somewhere, that it didn’t get up and walk out the door.  He gave me a good smile at that.   I advised Fred to keep looking everywhere the bit could not possibly be.  I even tried to explain the famous Sherlock Holmes maxim from “The Sign of Four” and suggested a few possibilities, including the refrigerator and freezer.  When that look started to reappear, I changed the subject, as I will do again now.

The long and short of it is that Fred’s dad did have an impressive collection of pipes, until he passed away at an advanced age of non-tobacco-related reasons.  At that point, the collection was distributed according to the man’s final wishes.  Fred’s share included three and a half very nice pieces: an uncommon rustic Dublin Everyman stummel, being another Comoy’s second related to Fred’s Guildhall; a Thompson cherry wood, both the shape and material, from the Elbert Gubbels stable; an easy bent Author, stamped on the bottom of the shank Made in London above England, and after at least an hour of scrutiny through my jeweler’s magnifier lenses, the shape number 140; and the amazing meerschaum to which this account will soon come.  [I was sure the unknown #140 was another Comoy’s until I sniffed it out online, listed as a Masta Author.  Masta was an English maker founded about 1900 that was bought by Parker-Hardcastle in 1967.]

And now I will explain the slight problem.  Fred was happy to let me take the Everyman stummel, Thompson and Masta the night he showed them to me, with my promise to pay him an amount upon which we agreed.  He was, however, obdurate, as only someone with schizophrenia can be, in his apparent lack of trust in my able care to take the meerschaum pipe home with me where I could give it the attention it so needed.  His mind was set like the steel trap my own used to be.  He was in earnest, would not equivocate or retreat a single inch, to paraphrase the American abolitionist William Lloyd Garrison.  If only I could have explained that quote to Fred, I might have made him understand the extreme hard place he put me in.

Fred, to make it clear, did not care if I left the pipe in the filthy, scratched condition it was in.  It was the single gift from his beloved father that he had – with very good taste and judgment – chosen to keep for his own, and he was not about to let it out of his sight.  As a result, my only option was to perform a half-assed crash job on the meerschaum, with its ample smoothness, spare but intricate carving and lovely patina, right there at the club (not for pipe smokers but also not against them) where we sat beside each other.  And he had a bus to catch in a little more than an hour.  I fixed that by offering him a ride home.

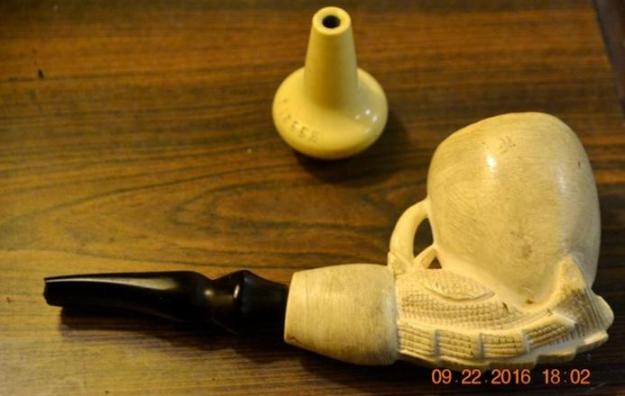
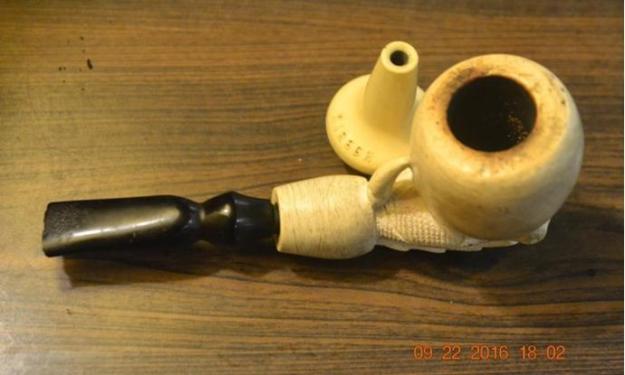
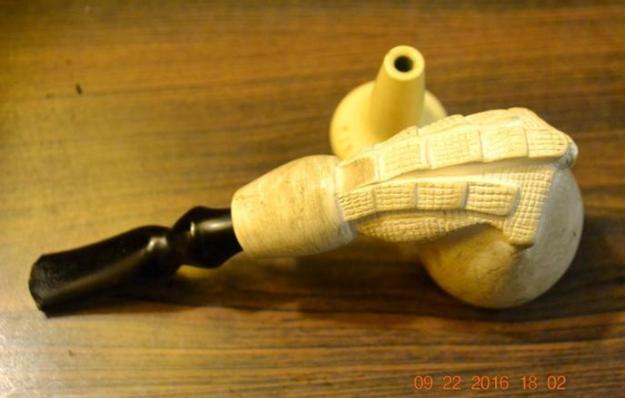
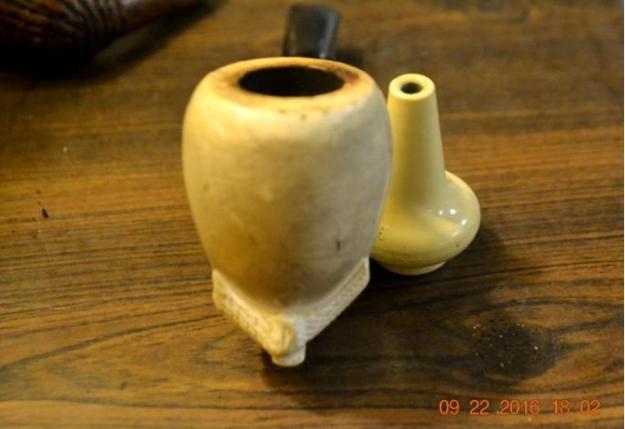
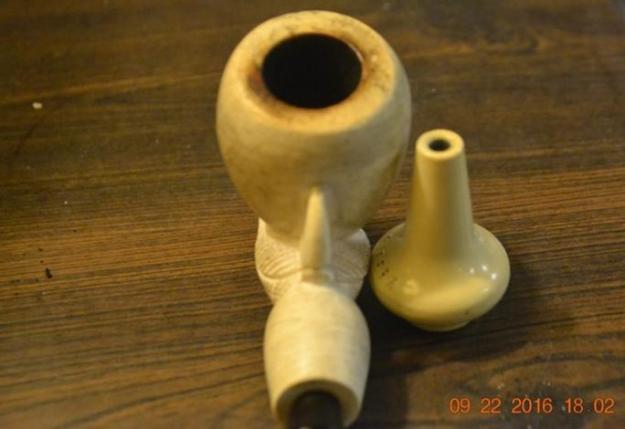
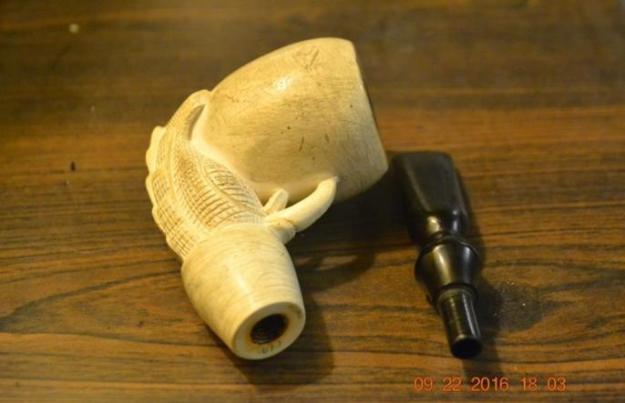
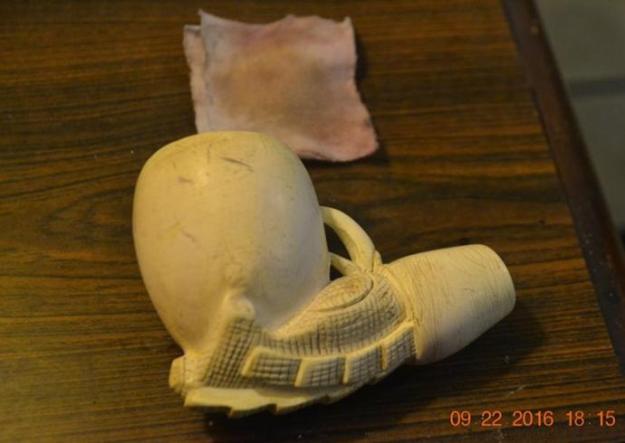
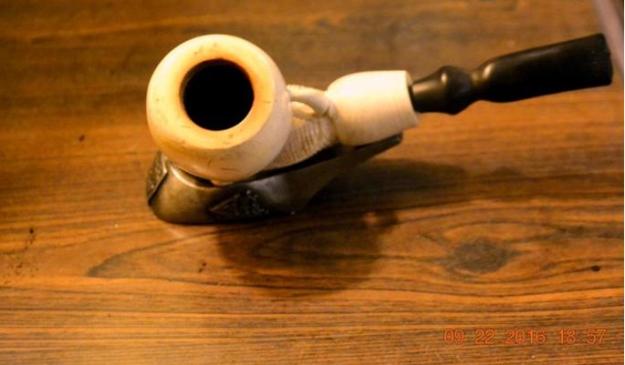
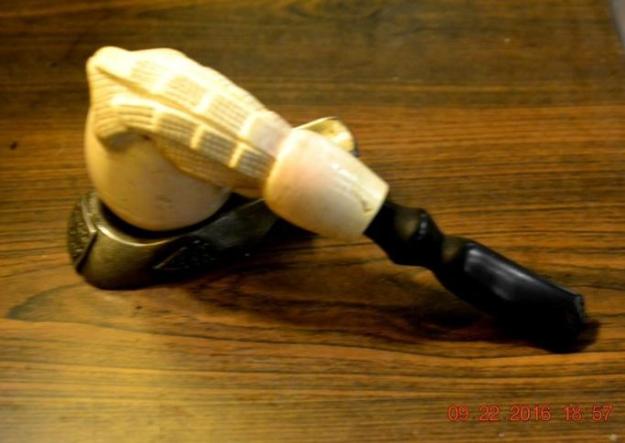
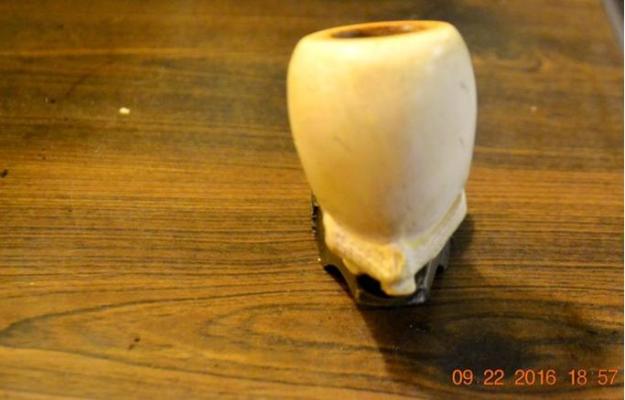
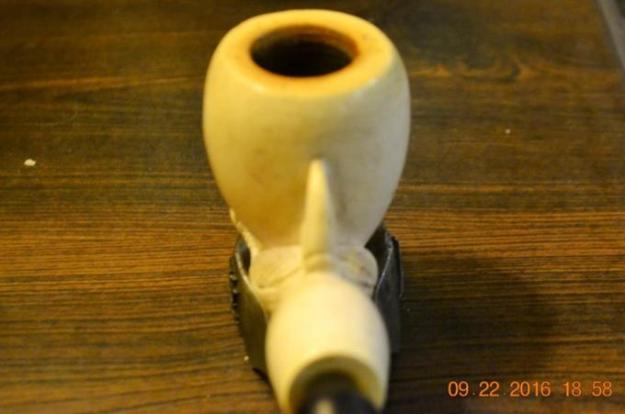
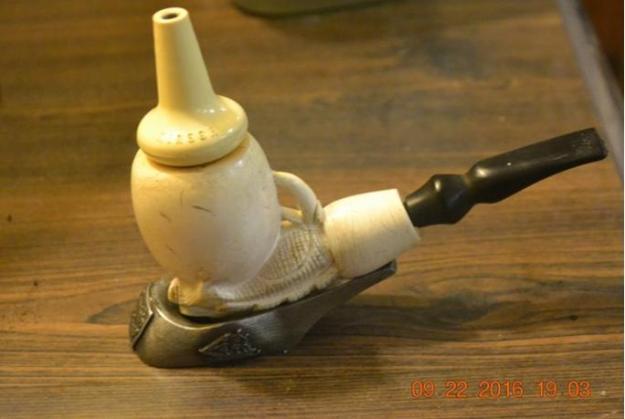
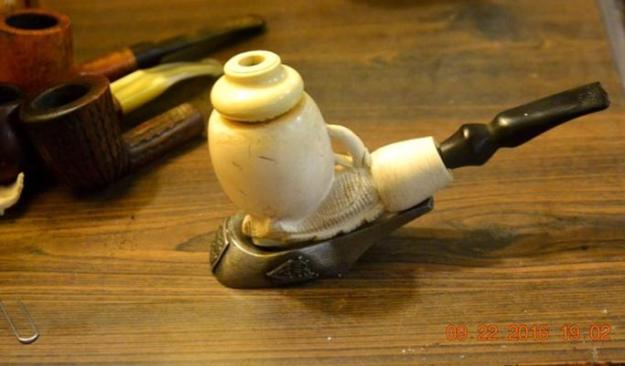
Here is the elegant meerschaum as I first saw it.meer1 meer2 meer3 meer4 meer5 meer6 meer7RESTORATION
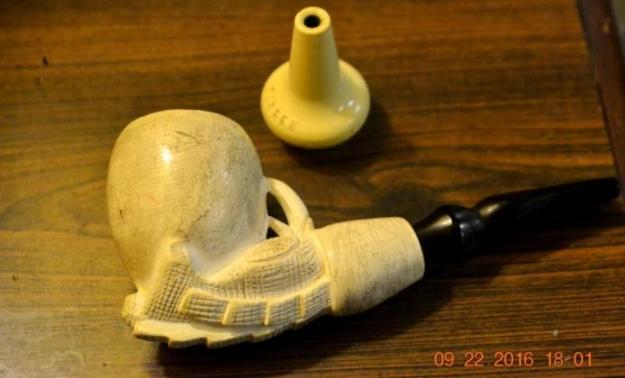
Note the grime, extensive scratches, rim burn, dirty chamber with tobacco of an unknown vintage still inside, and of course the bit that was in utter ruin.  I even had an almost identical replacement that I could use for it, but not without refitting.  And then there was the fresh coat of beeswax I would have liked to add for the perfect completion of the proper repair.  But as Fred would have none of that, and time was of the essence as he had important business to conduct – watching TV back in his tiny studio apartment – before I might never see the pipe again, I was lucky to have a box with my primary implements of restoration with me in the trunk of my Ford SDX.

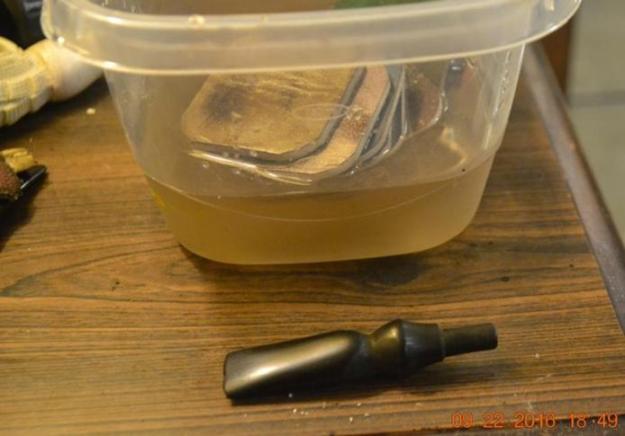
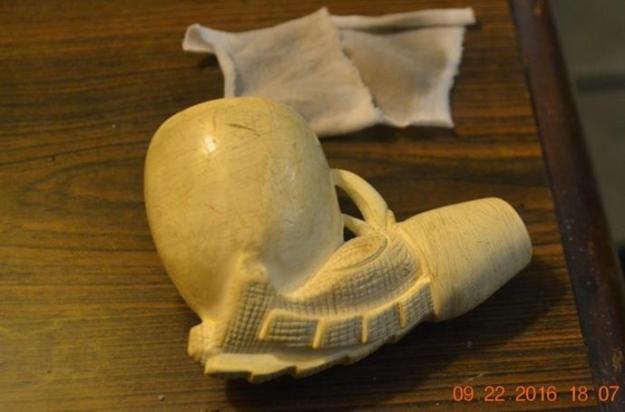
I began with the vigorous applications of purified water on the stummel, using small cotton gun cleaning squares to remove layers of ancient dirt, and then resorted to a very small amount of diluted Everclear.  The second photo below shows the need for the alcohol.meer8meer9Superfine “0000” steel wool on the rim did much but not enough there.  A progression of 150-, 180- and 320-grit sandpaper cleared out the excess char in the chamber and made it smooth.meer10Again, with cotton balls soaked in more purified water, I scoured the outer stummel, and used pipe cleaners and freshener to clear out as much of the crud and filth inside the shank.meer11Other than spot buffing with the “0000” again, that was all I could do for the meerschaum.  I took the awful bit in hand and used the full wet micro mesh treatment on it from 1500-12000.meer12 meer13 meer14I coated the bit with a dab of Halcyon II wax, let it sit, and worked it in with a thick cotton cloth.  As for the weird obelisk-like piece of meerschaum marked Hirsch, I doubted at the time that it was part of the pipe but knew it could be a crazy lid of some sort.  Steve supported my hunch of the likelihood that it was not part of the pipe.  He surmised it might have been used with cork around it as a fancy wine bottle stopper or to plug something else.  I buy that!  But I took the last two shots before I received Steve’s sage input, and by then, the pipe was forever out of my control.
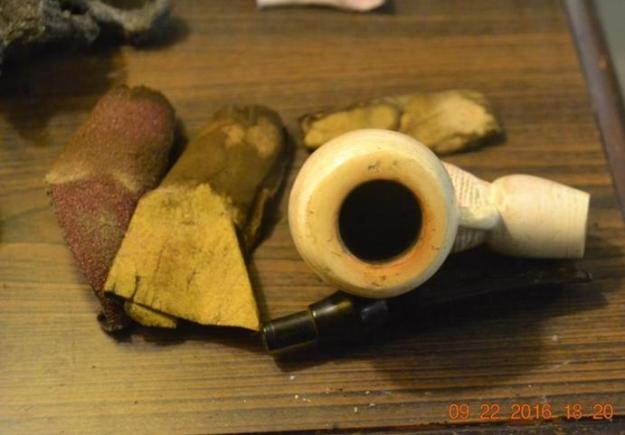
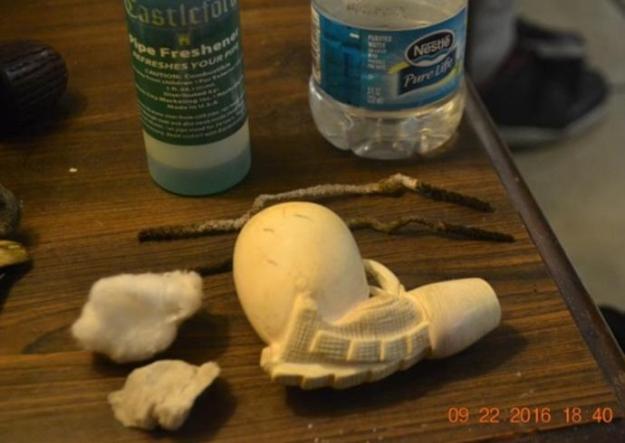
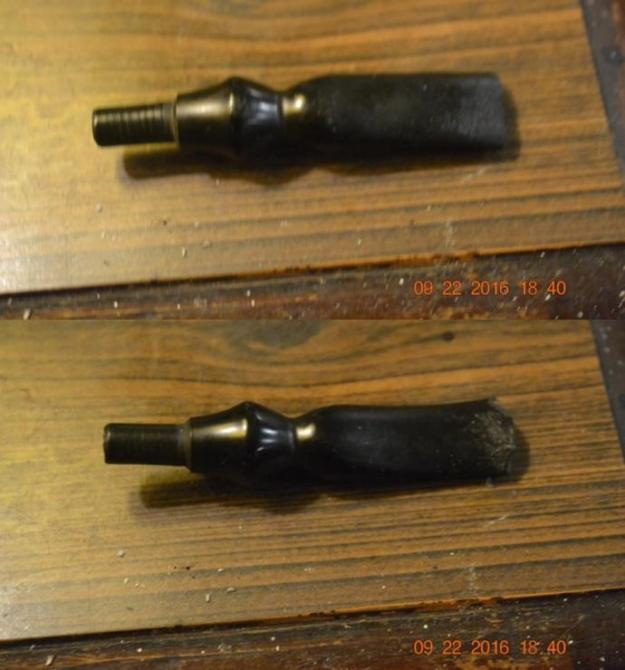
I found the actual Kirsch brand records online with last-minute research.  The Trademark was first recorded on January 1, 1907 and is now owned by Newell Window Furnishings Inc., a subsidiary of Newell Rubbermaid Inc.  The business suppliers fine home design goods using an assortment of exotic materials, including meerschaum.

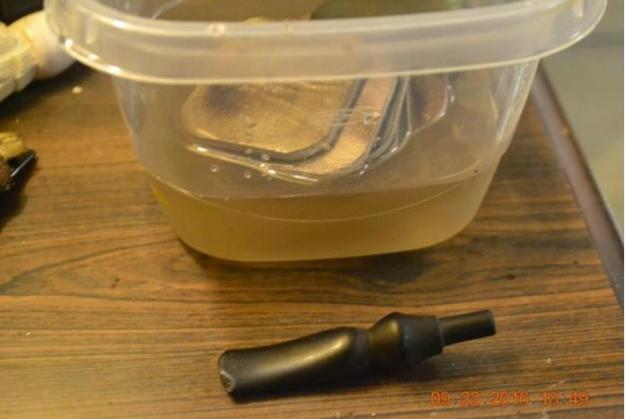
For better or worse, here is the result.  I based the time spent on this rush-job at 42 minutes from the date and time stamps on photo number 8, showing the beginning of the cleaning with purified water at 18:07, to photo number 14, with the bit finished at 18:49.
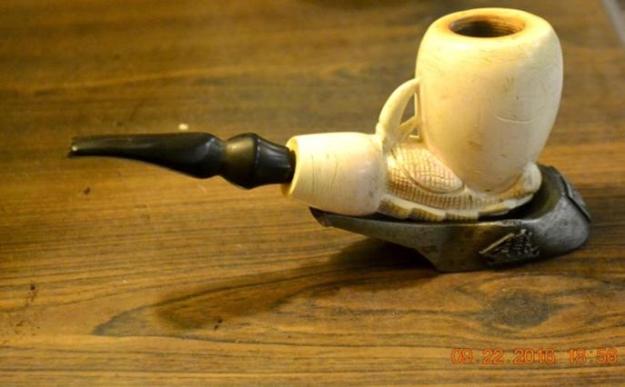
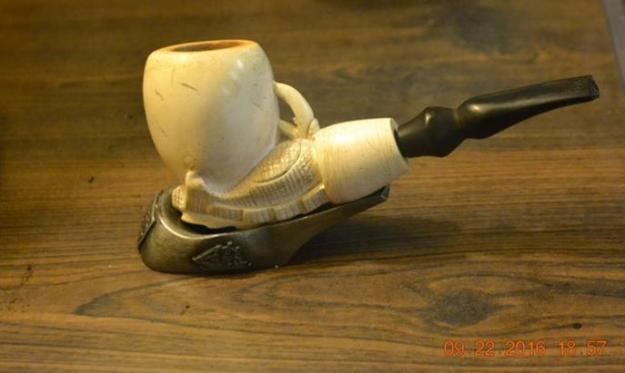
meer15 meer16 meer17 meer18 meer19 meer20 meer21 meer22CONCLUSION
The last time I saw Fred was when I dropped him off at his apartment, the precious meerschaum wrapped in a piece of terry cloth and stowed in a box tucked with great protection in the crook of an arm.  Earlier that night, he was rushing about the club, sweating, his blood pressure elevated even to the average observer, anxious and agitated, and seeming to have some trouble swallowing.  All of these are signs of serious adverse effects to anti-psychotics.  I have not seen him since then and am, for good reason, somewhat worried.

Every time Fred speaks of his father, it is with a sadness that is far greater than that which he feels for the man’s passing.  As the former long-time caregiver to another friend, who was also my roommate for a month short of 15 years, I saw the tension that the mental illness of a family member causes.  Families, in particular the parents, will alienate one of their own who is infirm in a physical or mental way.  Like other, so-called lower forms of animals, they push from the nest those who are born with any weakness, for many reasons: fear, shame, powerlessness to correct the problem, to name a few, but more than anything else, an unbearable sense of guilt.

But the true bearer of these feelings is the blameless victim of whatever handicap befell him.  The worst part of this age-old denial of the basic humanity of those who are sick, however their diseases may be manifested, is the belief that is instilled in them from birth that they are somehow bad for reasons they do not understand, guilty in ways they are unable to comprehend, and more or less worthless.  As in Fred’s case, they try to hide the self-loathing that consumes them with “inappropriate” outbursts such as laughing or trying to joke in an attempt to alleviate the unhappiness they sense in those who are dearest to them.

All of this is the cause of the true sadness I sense in Fred.  I’m sure he never had a chance to make peace with his father; to say goodbye, even to visit him in the hospital or the home in which he was raised.

Instead of these memories, I try to recall the utter joy on Fred’s face when I had snapped the final shots of the improved meerschaum and handed it to him by the less-than-perfect bit.  I told him he should try to avoid handling the porous meerschaum with his bare hands, grasping instead the bit where it pushed into the shank with a firm fit, or using a handkerchief maybe on the bottom of the bowl.

Fred nodded his head up and down in wondrous agreement, taking in little of what I said, I’m sure.  His eyes were wide open with the appreciation all humans have for works of art.

SOURCES
https://rebornpipes.com/2014/10/09/the-guildhall-london-pipe-large-pot-an-account-of-extreme-abuse-robert-m-boughton/
https://trademarks.justia.com/715/83/kirsch-71583153.html

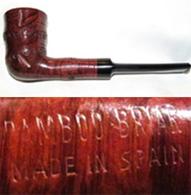
I love Savinelli Tortuga Pipes & the Tortoise Shell Lucite Stem


Blog by Steve Laug

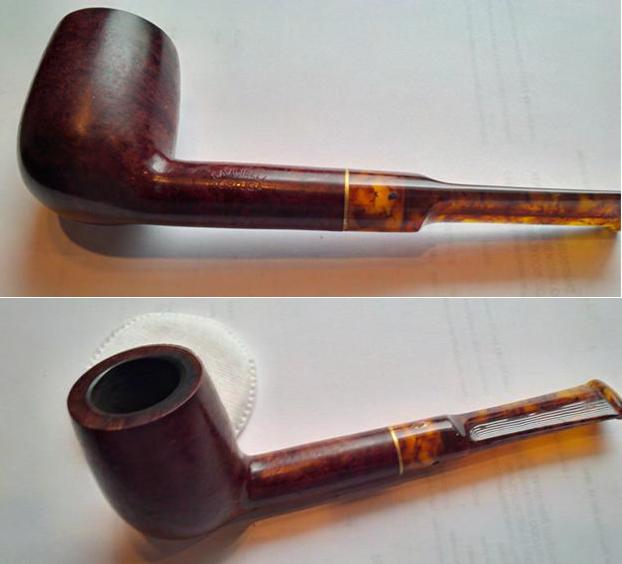
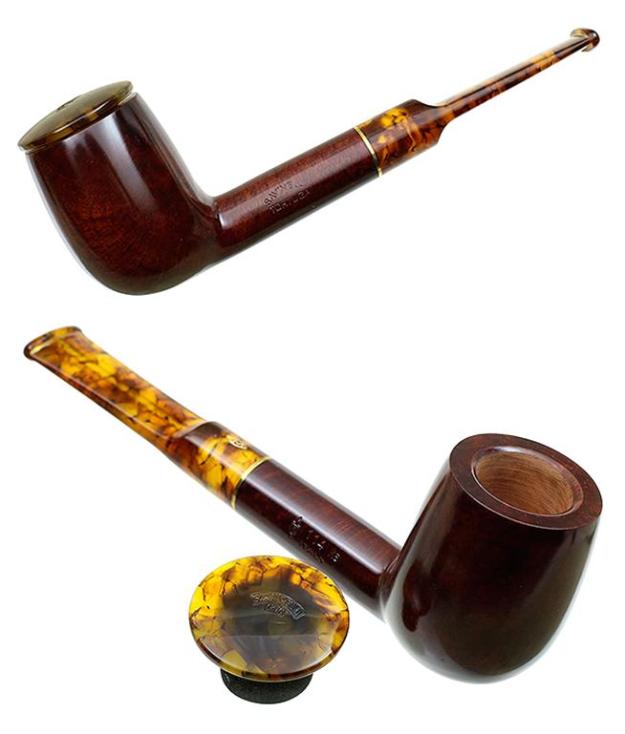
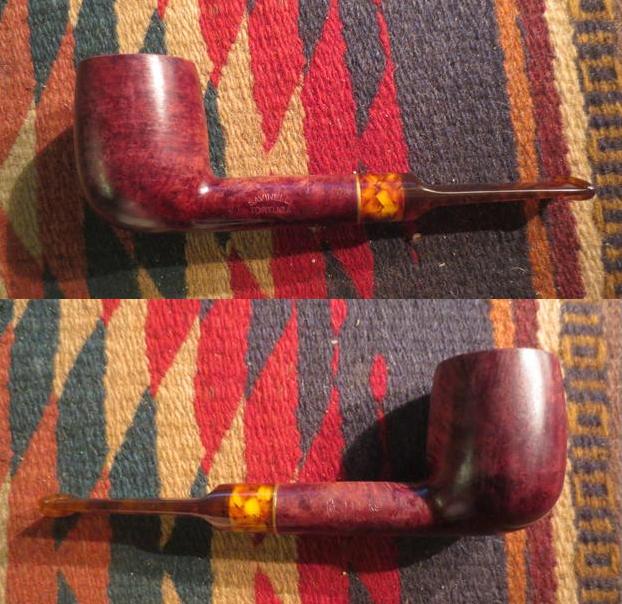
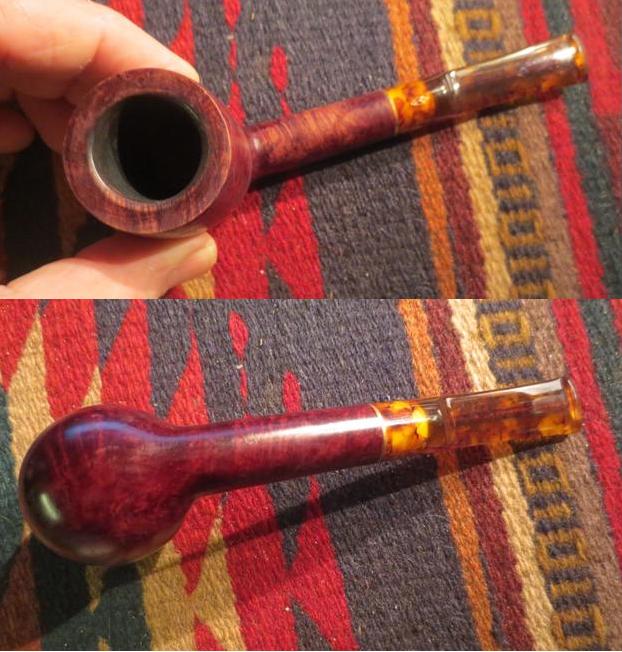
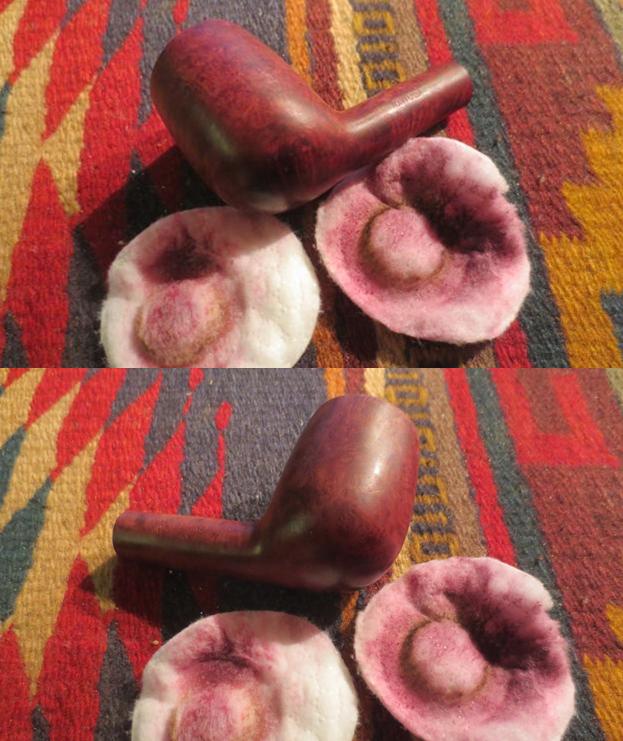
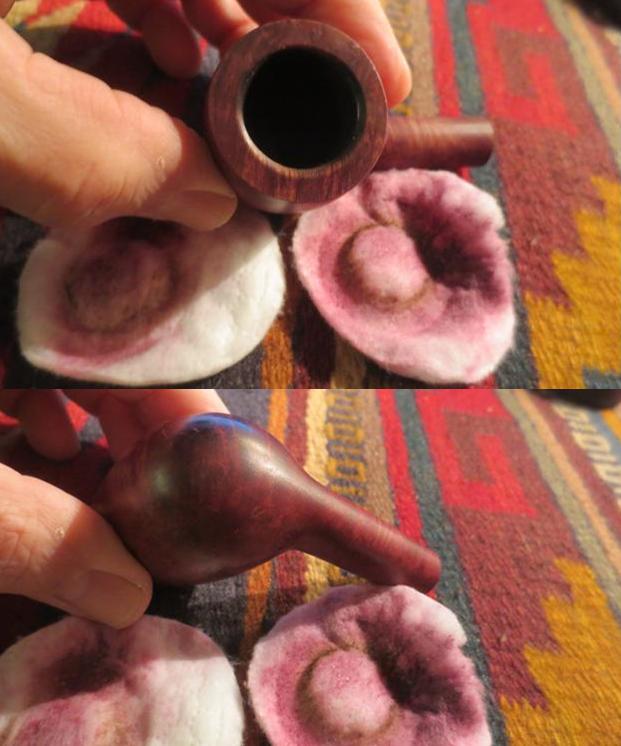
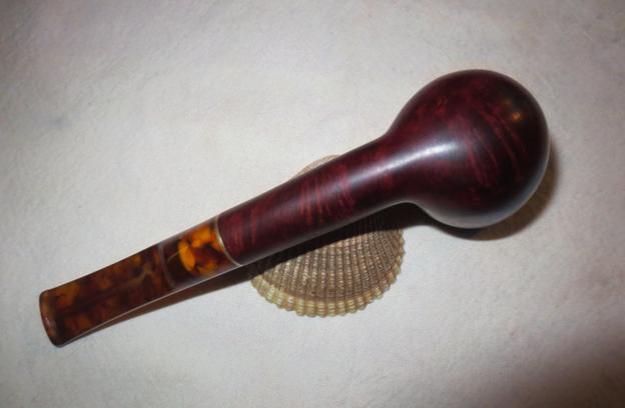
The Savinelli Tortuga line is an interesting looking line of pipes. It comes with a tortoise shell Lucite stem that has an amber looking stem. The mottled browns, golds and yellows of the stem shimmer in the light when they are polished. The pipes are aptly named for the look of an animal they convey. Tortuga is the Spanish or Catalan word for Tortoise and it shows in the design of these striking pipes. The pipe that I am working on at the moment is one of those beauties. It is stamped Savinelli over Tortuga on the left side of the shank and on the right it is stamped with a Savinelli Shield followed by the shape number 114KS over Italy. In the photos from the eBay seller the pipe appeared to be in decent shape. The finish was darkened with grime and the rim had some darkening and tars on the top but the inner and outer edges of the bowl appeared to be in great shape. There was a light cake in the bowl. The stem looked good as well (what could be seen in the photos as they were cut off at the button). There appeared to be a stamp of some sort on top of the stem. I assumed that it was the standard Savinelli S shield. From the pictures it appeared that the tenon was white. Over all, the pipe looked to be in decent shape and since the pipes are now discontinued they are no longer available.tort1Each briar of this series sported not only a tortoiseshell-patterned stem, but also a domed, shell-like cap with a foam-rubber stopper. The purpose of the stopper was to preserve an unfinished smoke which one wishes to pick up again to finish later The domed lid on this bowl had long since disappeared with this pipe. In fact I have never seen one over the many I have cleaned up that came with the matching lid. I found a picture on the web that showed the pipe with a lid on the bowl.tort2My brother cleaned up the externals and did a light cleaning on the internals of the pipe. He was able to remove the grime in the finish and broke through the light varnish coat on the bowl. When it arrived in Vancouver it was in decent shape. The finish appeared a bit mottled from the cleaning but the rim was very clean. The bowl had been reamed and cleaned. The stem looked good but had some light tooth chatter at the button on the top and underside. The Savinelli logo of the S within the shield was stamped on the top of the saddle stem in gold. It was in great shape. When I removed the stem I saw that it was set up the Savinelli unique 6mm filter system. In the shank/stem a bore of 6mm was drilled to hold a triangular piece of balsa wood. This lightweight piece of wood is extremely porous and absorbs tar and nicotine from the smoke. The tenon was white Delrin. The tenon was stained, but otherwise clean.tort3 tort4I took some close up photos of the rim and the stem to show the condition. This pipe was in excellent shape other than wear and tear to the finish. The stem shows the light tooth chatter in the photos below.tort5I started my work by removing the rest of the varnish coat and the spotty top finish on the bowl. I wiped it down with acetone on cotton pads and was able to smooth out the finish. The nice oxblood stain looked more even once the pipe had been wiped down. Once it was polished the finish would look great.tort6 tort7After I wiped it down I took some photos of the stamping on the shank. You can see the name on the left side of the shank. It is very clearly stamped and there are no issues with the stamping there. On the right side the stamp is very readable however, the Italy stamping is faint at the beginning of the word and the middle of the shape number is lighter than the rest of the stamping.tort8Because of the wide diameter of the mortise I used a dental spatula to scrape out the hardened tars in that area. I cleaned the mortise and the airway in the shank and stem with alcohol, cotton swabs and pipe cleaners. I cleaned out the 6mm tenon with cotton swabs and alcohol and scrubbed the stained area on the end.tort9The tooth chatter was not deep so I decided to work on it with the micromesh sanding pads. I wet sanded it with 1500-2400 grit pads and was able to remove the chatter. I polished it with 3200-12000 grit pads to get the shine back on the stem.tort10 tort11 tort12I rubbed the bowl down with a light coat of olive oil and let it dry. I buffed the pipe with Blue Diamond on the buffing wheel and worked on some of the remaining scratches on the stem edges. I was able to polish those out. I buffed the bowl and worked on the rim edges and top to smooth out any marks that remained in those spots. There were a few small nicks in the bowl and most of them disappeared in the buffing. I gave the pipe multiple coats of carnauba wax and buffed it with a clean buffing pad to raise the shine. It is important to take this step in the buffing process as it really adds to the shine of the pipe. I finished by hand buffing it with a microfibre cloth. The finished pipe is shown in the photos below. This one will also end up on the rebornpipes store when I get a chance. I will include a 6mm balsa wood filter for it. It is a beautiful pipe that would make a nice addition to any pipe man’s rack. If you are interested contact me via email at slaug@uniserve.com or through messenger on Facebook. Thanks for looking.tort13 tort14 tort15 tort16 tort17 tort18 tort19 tort20
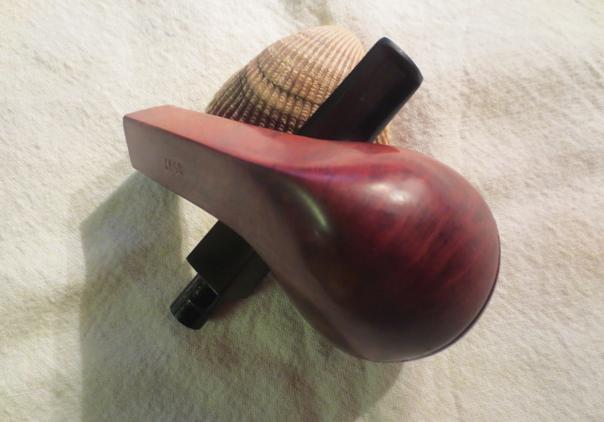
 

 An easy restore on a smooth Jobey Extra Underslung Pipe


Blog by Steve Laug

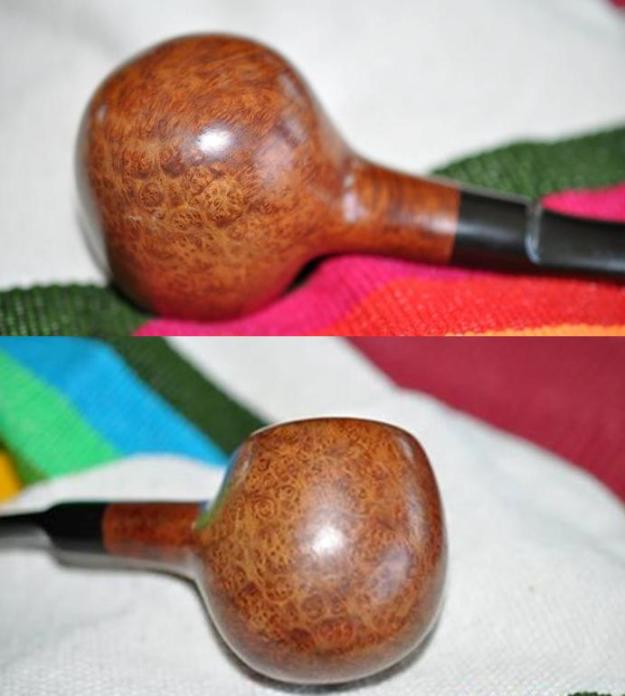
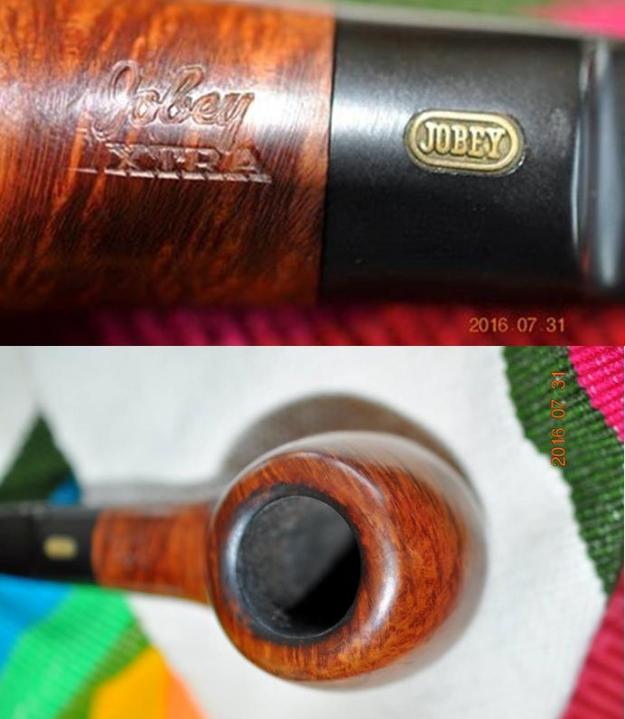
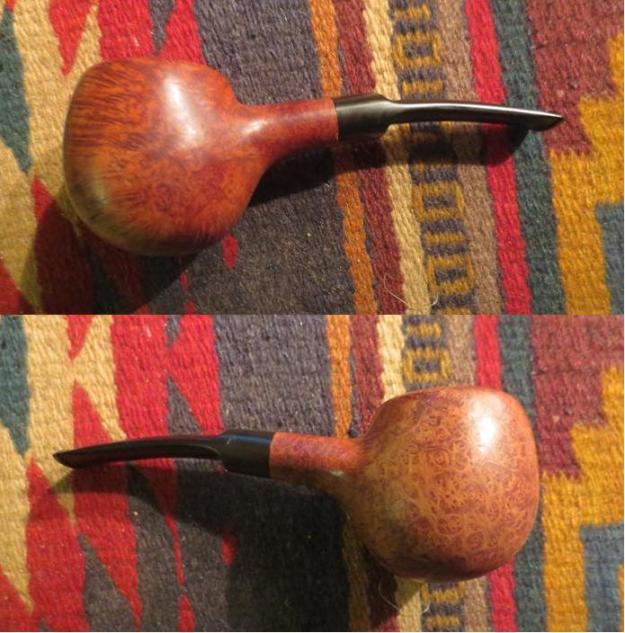
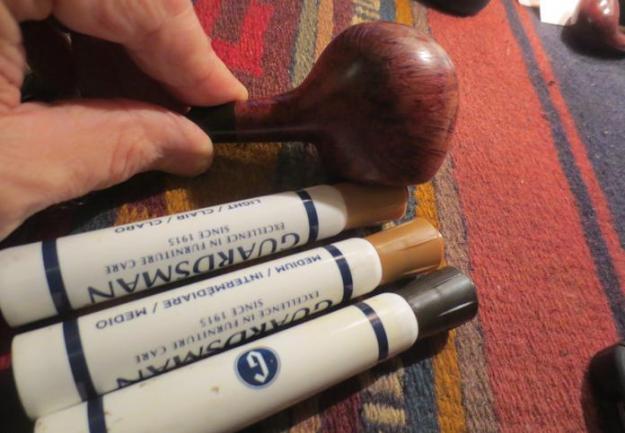
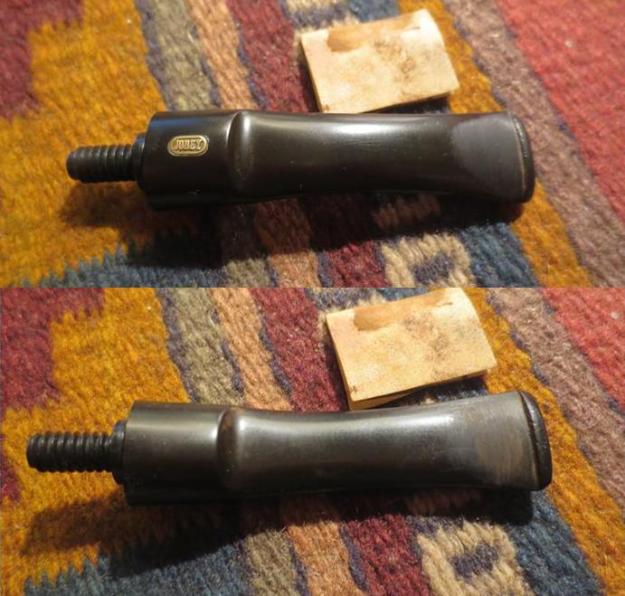
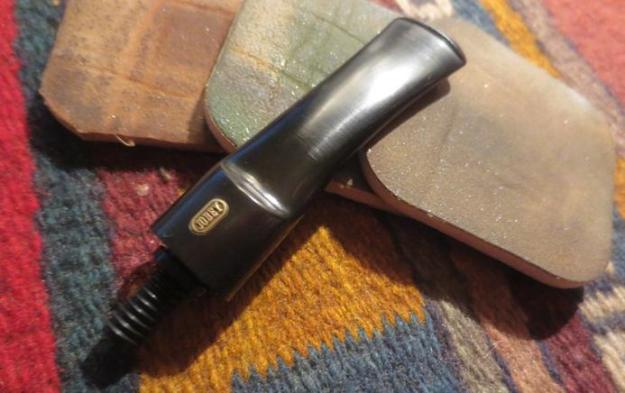
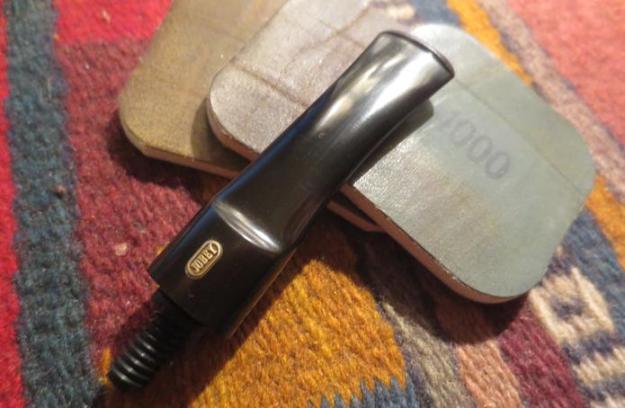
I think that the shape of this one is what caught my brother’s eye when he saw this Jobey. He has introduced me to some neat looking Jobey’s that have great grain, shape and stem work. The Jobey Link tenon system is a breeze to replace and repair as it screws into the shank and is pressure fit into the stem. This one has some great grain on it all the way around – birdseye on the sides and cross grain on the front, back and the top and bottom of the shank. It was in decent shape with just a few dings in the left side of the bowl. The rim was lightly tarred and the cake in the bowl was not very thick. The finish was faded in spots. The stem was in great shape other than the usual tooth chatter on the top and underside near the button. There were no deep tooth marks. The link system was undamaged.  extra1 extra2The next two close up photos show the stamping and the condition of the rim. The stamping is simply Jobey in script over Extra. The E on Extra is faint. The Jobey medallion on the stem is in great shape. The inner edge of the rim shows some buildup of tars and oils.extra3As usual my brother cleaned up the pipe before sending it to me. I am getting spoiled as he is doing a lot of the hard clean up. He reamed the bowl with the PipNet reamer and scrubbed the exterior with Murphy’s Oil Soap and a soft tooth brush. He rinsed of the soap with running water. He cleaned out the airway in the stem and the shank and the mortise with cotton swabs, pipe cleaners and alcohol. When it arrived in Vancouver I took the following photos.extra4 extra5The next photo shows the bowl and the rim after he had cleaned it up. It was in excellent shape.extra6The next two photos show the tooth chatter on the stem and a light oxidation that was over the surface of the stem.extra7I tried to steam the dents out of the side of the bowl with a damp cloth and a hot knife and was able to lift quite a few. There were three of them with rough edges that I lifted some but was not able to smooth them out with steam. I used some drops of clear super glue to fill in the spots on the bowl side. Once the glue dried I sanded it with 220 grit sandpaper and then with 1500-4000 grit micromesh sanding pads.extra8I restained the areas on the bowl that had lightened from sanding with a combination of light, medium and dark stain pens and a little bit of black Sharpie pen. I gave the entire bowl several coats of dark brown aniline stain mixed 50/50 with isopropyl alcohol. I flamed it and repeated the process until I had an even coverage. I set the bowl aside to dry. I was sure that I would need to do some more touch ups to blend the stain well but I wanted the stain to set.extra9 extra11 extra12I sanded the tooth chatter off the stem with 220 grit sandpaper and was able to smooth out all of the tooth marks.extra10I polished the stem with micromesh sanding pads – wet sanding with 1500-2400 grit pads and dry sanding with 3200-12000 grit pads. I rubbed the stem down with Obsidian Oil after each set of three pads. After the final rub down I let the stem dry.extra13 extra14 extra15I buffed the pipe with Blue Diamond after the stain had cured and gave it multiple coats of carnauba wax. I buffed it with a clean buffing pad to raise the shine and then by hand with a microfiber cloth to deepen the shine. The pipe is really a beauty and the stain and shine make the grain stand out. This one will also be going on the store so if you are interested in adding it to your collection let me know via email, message or a comment on the blog. Thanks for looking.extra16 extra17 extra18 extra19 extra20 extra21 extra22 extra23

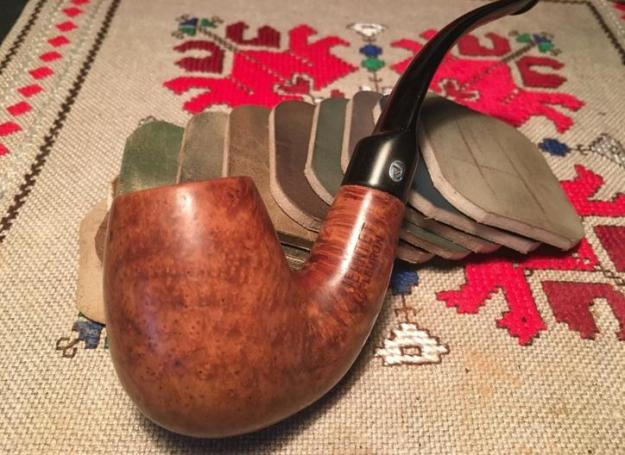
Another nice find at the ‘Hole in the Wall’ – Jeantet Fleuron 70-7


Blog by Dal Stanton

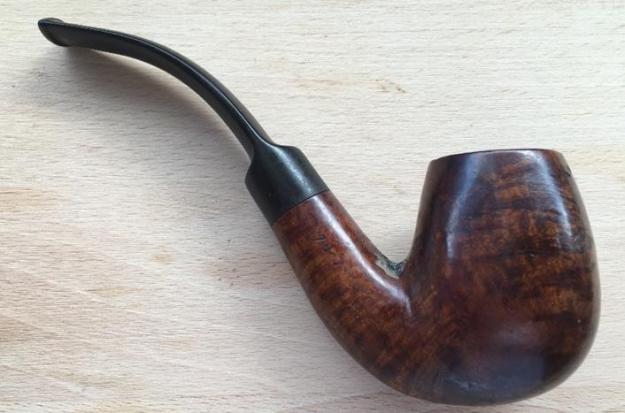
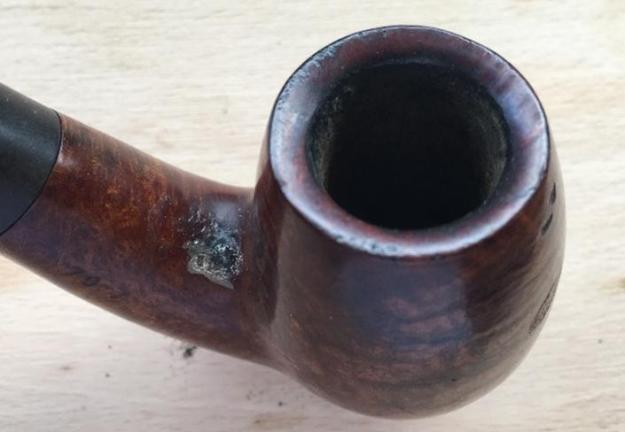
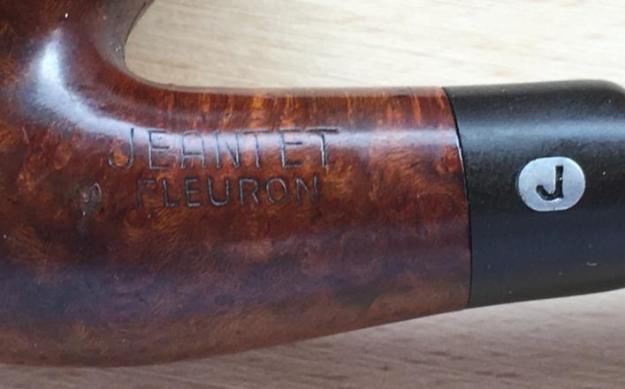
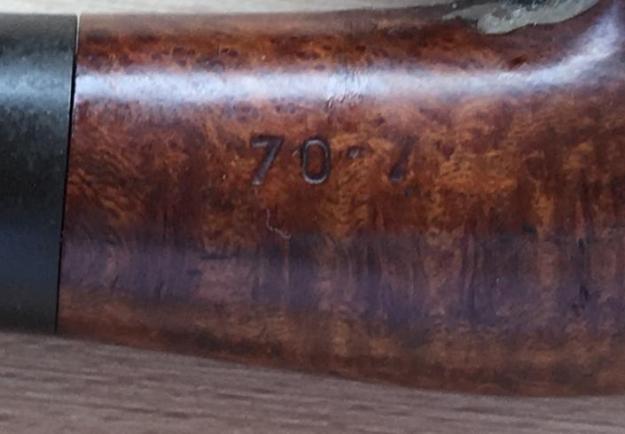
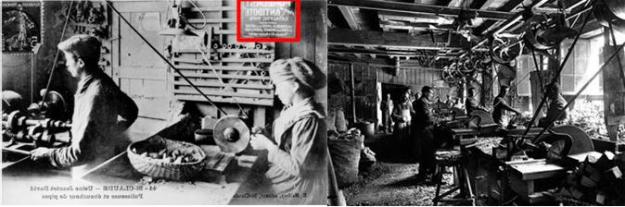
The Jeantet Fleuron before me was mentioned when I posted the restoration of a beautiful BBB Banker Bent Volcano.  I found both pipes last April, during a visit to ‘The Hole in the Wall’ antique store near the Zhenski Pazar (Women’s Market) in downtown Sofia, Bulgaria.  In order to achieve a better bargain for the BBB Banker I grabbed the Jeantet out of the basket as a good candidate for a bundled deal, which helped me negotiate 30 Bulgarian Leva for the pair – not a bad deal!  When I arrived home from the Hole in the Wall I took these pictures:dal1 dal2 dal3 dal4 dal5 dal6 dal7 dal8The bent egg shape is in pretty good condition with an attractive elongated bowl that fits well in the hand.  The left side of the shank is marked with Jeantet (pronounced, ‘Zhawn-Te’) over Fleuron and on the right what I assume is the shape number 70-7.  The stem has the nice Jeantet J stamp.  Looking at Pipedia to do a little research on this name led me to Sainte Claude, France, considered to be the birthplace of the serious production of briar pipes and scores of French made pipe names claim Saint Claude as home. My curiosity piqued, I wanted to know why St. Claude, France?  Was the briar in good supply there?  I looked to the history of the city itself to see what I could find.  I unearthed an archived New York Times article written March 20, 1983, in the ‘Shoppers World’ travel section entitled, THE PIPE CAPITAL OF FRANCE – very interesting and worth reading.  I found the answer to the question, ‘Why Saint Claude and pipes?’ with this article I found posted on Fumerchic.com with these informative excerpts:
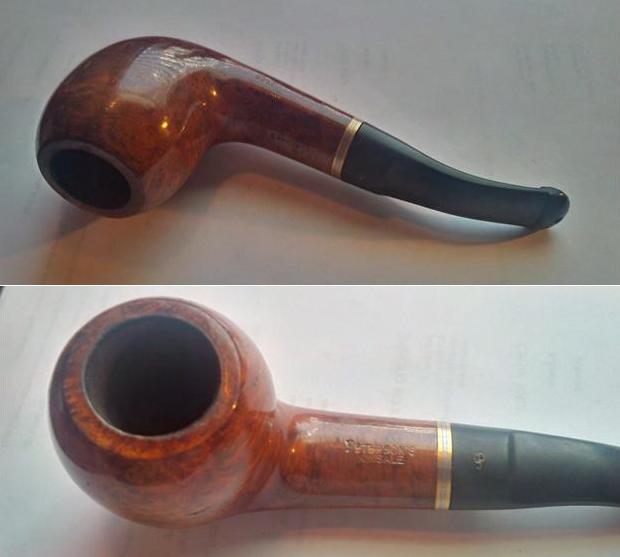
In the 15th Century, Saint-Claude was canonised by Pope Louis XI, the city took on the name Saint-Claude alone and remained a favoured site for pilgrims.

Since Saint-Claude was one of the stops on the Way of Saint James, the monks, who had been turning wood since the 7th century, began crafting wooden religious objects like crucifixes and rosaries. These monks slowly began training craftsmen, which lead to the establishment of the first wood turning workshop in Saint-Claude.

The craftsmen developed the manufacture of wooden items and widened the scope of their operation by making toys (spinning tops, whistles and rattles), so children and pilgrims could play during their pilgrimages. The number of turning workshops then grew. The main materials they used were wood, bone and ivory.

But with the introduction of tobacco to France, of smoking tobacco in particular, the wood turning workshops adapted by making snuff boxes and pipes made from local boxwood. The pipe craftsmen of Saint-Claude gradually forged themselves a reputation for an unparalleled level of manual skill and expertise.

So, it wasn’t the plentiful supply of briar that put Sainte Claude on the pipe-makers’ map but industrious wood-turning monks who passed their wood working skills on to local craftsman.  The story went on with the discovery of a non-burning pipe made from our beloved briar:

During the 19th Century, pipes from Saint-Claude underwent a profound change. Boxwood had been the wood used to make the pipes until then, but it produced a bitter taste when smoked. Around 1855, a businessman passing through Saint-Claude presented a Saint-Claude wood turner with a pipe, the bowl of which did not burn, carved from a heavy wood in dark shades. It was the first pipe made from briar. The arborescent briar pipe is highly resistant to heat and fire, giving the smoker the greatest possible pleasure from the plumes of tobacco smoke. The craftsmen of Saint-Claude therefore began using briar instead of boxwood, ensuring the Saint-Claude pipe caused excitement in the pipe smoking community. The number of workshops grew, with names like Chacom and Butz-Choquin appearing for the first time, while the craftsmen began producing more and more high-quality pipes thanks to their expertise that became globally renowned among pipe smokers.

Considered to be the capital of briar wood pipes, Eole, Chacom, Bayard,Butz-Choquin, Denicotea, Jeantet and Ropp are well-known names all originally claimed by Saint Claude, France. The works of Saint Claude’s craftsmen are also present, for example, in the unique handmade pipes created by Pierre Morel (link).

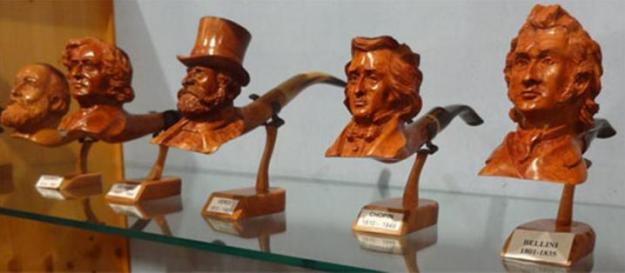
One more factoid about Saint Claude’s history caught my attention.  In 1966, Saint Claude established the Confrérie des Maîtres-Pipiers de Saint-Claude (The Brotherhood of Master Pipe-Makers in Saint-Claude) to promote the expertise of the many masters that have historically resided and worked in Saint Claude.  Famous personalities are inducted as the “Premier Pipe-Smoker of the Year’ to serve as ambassadors for the pipe industry in Saint Claude.   For every personality chosen, Paul Lanier (awarded the prestigious meilleur ouvrier de France title in 1991), crafts a pipe that includes a portrait of the inductee, thus perpetuating the tradition of the sculpted briar pipe.  I think this is a very cool tradition and found it very interesting that the first likeness below strongly resembles the master pipe restorer who oversees Rebornpipes.com!dal9According to Pipedia, the Jeantet name came on to the scene in 1775.  The 1800s saw great expansion of production of Jeantet pipes primarily through the development of local cottage industry – farming out different aspects of the pipe production to small shops in Saint Claude.  Consolidated production grew in the 1900s but in the 1960s sales dwindled in spite of attempts to modernize.  This final part of my research comes from Pipehill:

1988
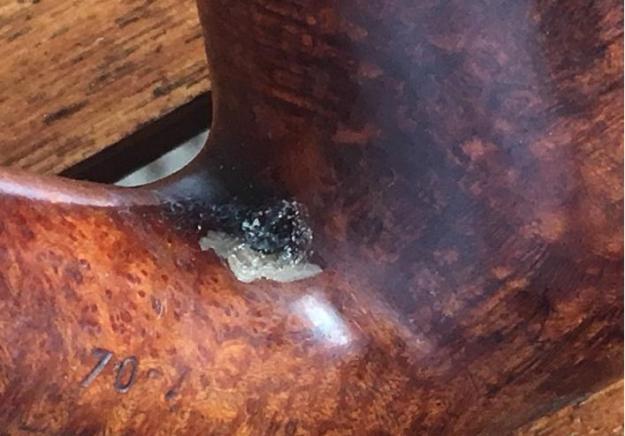
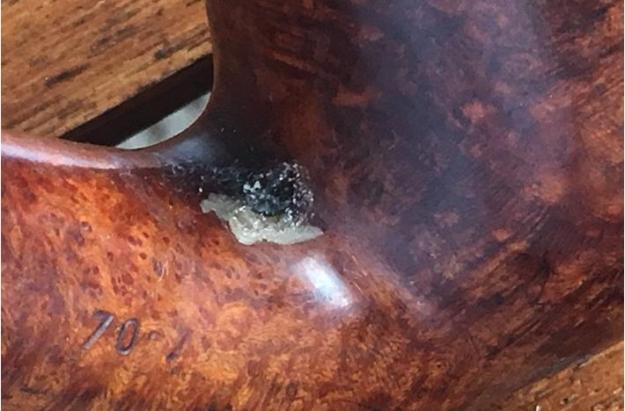
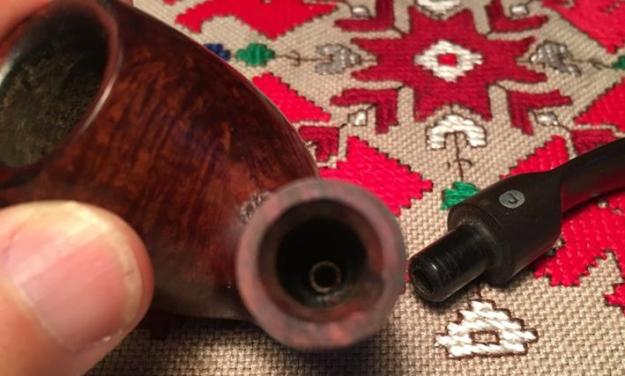
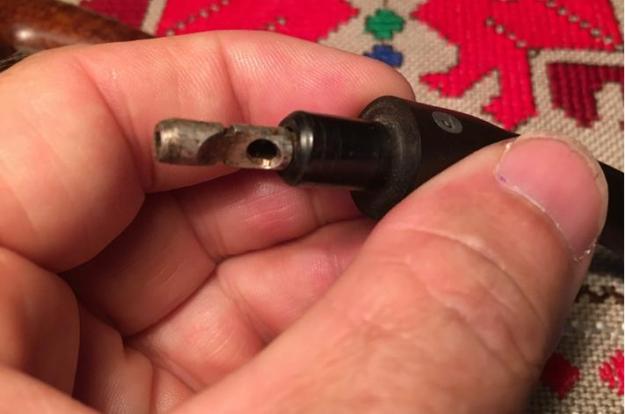
The company was taken over by S.A. Cuty Fort Entreprises(1) while keeping its label. It established in the group beside Chapuis-Comoy (Chacom), Jean Lacroix and Emile Vuillard.  Today (2010) the brand isn’t part of the group any more. The label owned by Dominique Jeantet still exists but pipe production is discontinued.dal10When I take this product of Sainte Claude, France, the Jeantet Fleuron, out of the ‘Rescue Me’ basket, I take a closer and more appreciative look at the pipe.  First impressions mark the nice shape of the stummel – I like the tapered egg shape that culminates in a tightly circled rim beveled on the inner chamber side.  The bowl shows minor cake and appears to have been cleaned before but I will bring it down to the briar and clean it well.  The stummel surface has minor dents and ‘blemishes’ on the finish.  A significant ‘scab’ is evident where the shank and bowl converge on the topside.  It doesn’t appear to be a burn through but this will need attention after cleaning the exterior surface.  The rim has minor dent marks on the blade edge of the beveled rim.  When I take off the stem, I notice that in the mortise is a metal cylinder – some sort of a metal airway or a stinger that got loose?  With a few thumps on my palm, the rogue stinger shakes loose (pictured below).  After attempting to insert it into the end of the tenon, I have questions as to whether this stinger is original – the fit is very loose which explains why it slipped down into the stummel airway.  I decide the stinger is history and it goes in the spare parts bucket.  Minor teeth dents are on the underside of the bit. I take some close up shots for a better look at problem areas.dal11 dal12 dal13 dal14 dal15 dal16I begin by putting the stem in an OxiClean bath to soak in order to raise the oxidation out of the vulcanite.  Then I take my Pipnet Reaming Kit and work on the light cake build up in the bowl.  I use the two smaller blades of the four blades available to me to ream the bowl.  After this I use 240 grit sanding paper to further clean and smooth the chamber wall.  I like working on a clean pipe so I take pipe cleaners and Q-tips dipped in isopropyl 95% and work the mortise and stummel airway.  The internals were surprisingly clean so it didn’t take long.
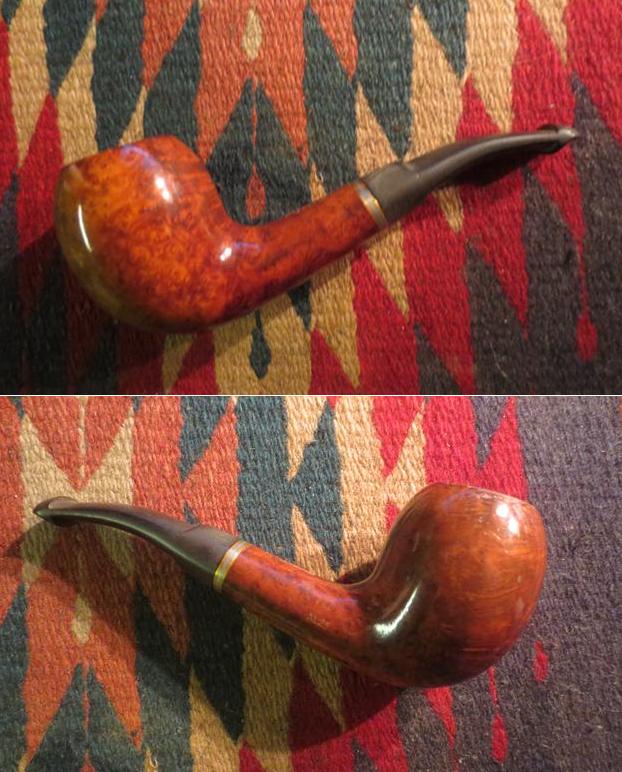
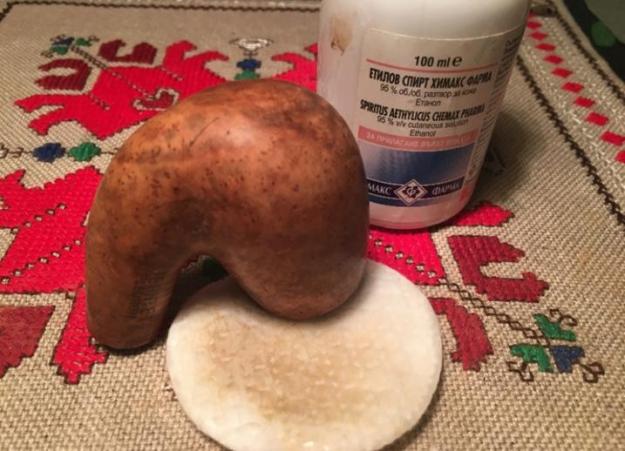
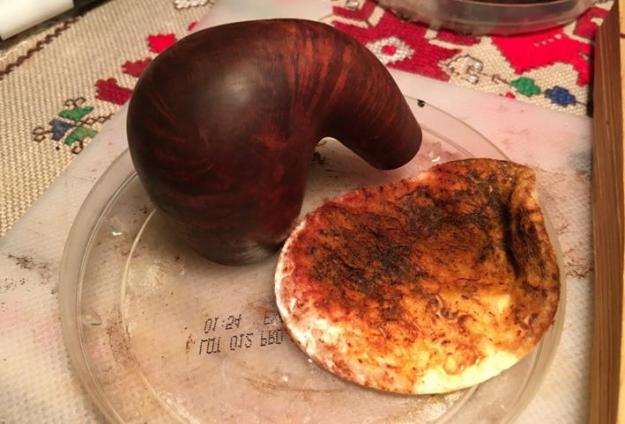
Now to the external surface.  I use undiluted Murphy Oil Soap on the stummel with cotton pads to remove the grime and hopefully to eradicate some of the blemishes I detect on the surface.  After cleaning with Murphy Soap I rinse the stummel with cool tap water avoiding water entering the fire chamber or mortise.  The ‘scab’ at the upper junction of the shank and bowl is starting to look like a botched superglue repair job.  I’ll need to give some thought as to how to address this eyesore on an otherwise attractive piece of briar – I’m starting to see the briar’s potential.  The pictures show the progress. dal17 dal18 dal19 dal20I put the stummel aside and turn to the clean-up of the stem.  I fish the stem out of the Oxyclean bath.  It did the job of ‘surfacing’ the dull greenish oxidation and I initially attack it with 000 steel wool.  I then clean the internal airway with bristled and smooth pipe cleaners dipped in isopropyl 95%.  The stem put up more resistance than the stummel.  After several pipe cleaners I’m satisfied that the airway is ready for service.dal21 dal22Next, the ‘scab’ on the bowl surface.  I take 240 grit sanding paper rolled as close to a blade as I could make it and sanded the gummed up super glue patch – at least I believe that is what it is – at the junction between the upper shank and bowl.  I sand the super glue or epoxy down to the surface.  When I remove the buildup bump it appears to be a patch – I don’t believe it’s a burn through, but it’s definitely a fill.  It appears to be solid so I leave it as is and hope to blend it when I finish the stummel.  Next I prepare a batch of briar dust super glue putty to fill in two holes just below the rim at about 1 o’clock (picture below).  I use a toothpick as a trowel to pack the holes well and to leave an overflow so that it will sand out smoothly with the surface.  The final repair is to apply black super glue to two small tooth dents on the underside of the bit.  When cured, it will sand smooth and polish well.  The pictures show the progress of the patch work.dal23 dal24 dal25 dal26After the KE-150 Black super glue patch on the underside of the bit cures, I take 240 grit sanding paper to smooth out the patch bumps bringing them down to the stem surface level.  I do the same to remove light tooth chatter on the upper side.  To redefine the button, I use the needle file to shape the contours of the button lip top and bottom.  I again use 240 grit to remove the file marks and remove light tooth chatter.  With micromesh pads grit from 1500 to 2400 I wet sand the stem and apply Obsidian Oil.  Unfortunately, after admiring the shine beginning to move to the surface, I also saw some small ‘patches’ of oxidation remained visible – a bit near the button and on both upper and lower parts of the saddle stem that tapers from shank level down to button level.  If this part of the saddle stem has a special name, I’m not sure what it is!  I was frustrated and therefore forgot to picture this!  I put the stem back in the Oxyclean bath for another baptism.  The pictures below represent the micromesh process after the second bath, which raised the residue oxidation to the surface and I remove it beginning with the 1500 grit micromesh pad.  Following the 1500 to 2400 micromesh wet sand cycle (again!) I apply Obsidian Oil.  With pads from 3200 to 4000 grit I dry sand and follow again with applying Obsidian Oil to the stem.  I complete the micromesh polishing with pads 6000 to 12000, apply Obsidian Oil and put the stem aside to dry.  I’m pleased with the results even though I had a detour.  The pictures show the progress on the stem repairs and polishing.dal27 dal28 dal29 dal30 dal31With the stem ready for a stummel, I start working on completing the Jeantet’s re-commissioning by using 240 grit sanding paper to remove the cured briar dust super glue putty patch on the holes just below the rim.  I’m careful to sand strategically by folding the paper and using it like a blade directly on the patch so I don’t unintentionally sand into the rim’s sharp beveled top edge – that would not be good to deface the rim!  I take a before and after picture to show the progress.  The rim already has a very nice bevel, but to remove the dents and pitting on the rim I use 240 grit paper folded and work on the rim.  I pinch the paper with my thumb on the beveled contour as I rotate the stummel.  I find that this method allows for an even movement and a consistent bevel angle to develop.  With the bevel already in place, I simply go with the contour that is already present but remove the damage producing a fresh beveled surface.dal32 dal33 dal34Well, all work on the Jeantet came to a halt for about 3 weeks as my wife and I enjoyed our annual R&R on the Black Sea coast near the fishing town of Sozopol.  Reading books and enjoying the beach is one of our favorite things to do to relax and decompress from the work we do in Bulgaria.  A special joy to us during these weeks was the visit of our daughter and her husband from Denver, Colorado.  They joined us at the Black Sea for our last few days on the beach and from there we took them to see different sights in Bulgaria as well as spending the last week of their visit on the beautiful Greek island of Santorini!  Another great part about their visit was that they brought supplies and pipes I had ordered and purchased from eBay.  They also brought another prize – the Savinelli pipe knife to add to my tool box that I won in a fierce bid on eBay!  During this time of R&R I also visited several antique shops in different Bulgarian towns and secured some future restorations – it was a good time but now, back to life and the Jeantet Fleuron!

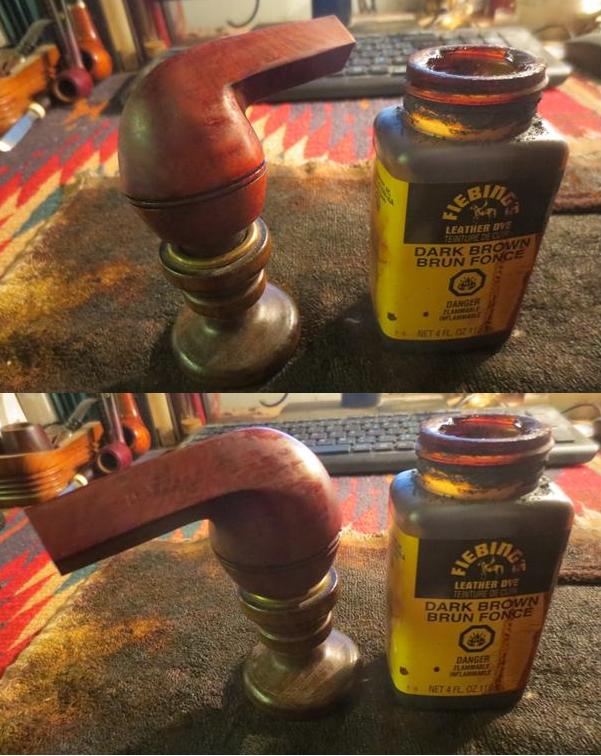
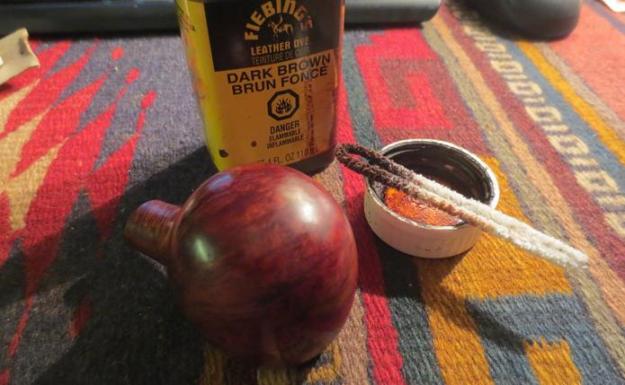
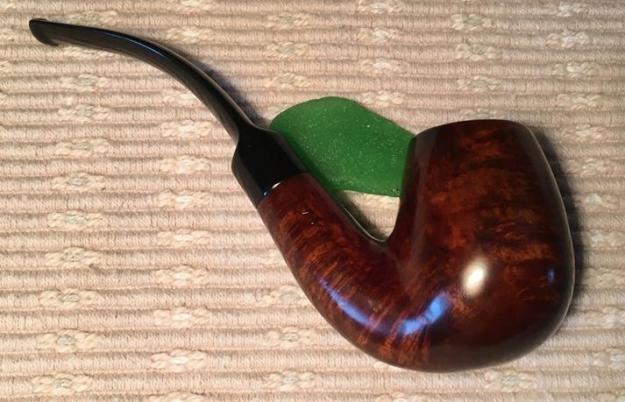
With stem reattached to the stummel I use a medium grade sanding sponge on the bowl.  Following this, I utilized all 9 micro-mesh sanding pads, 1500 to 12000 to sand/polish the bowl preparing it for staining. I’m liking the briar grains beginning to make an appearance on the Jeantet.  The pictures show the progress on the stummel surface.dal35 dal36I’m anxious to try out one of the supply items that my daughter and son in law brought from the US – Fiebing’s Leather Dye.  They brought dark brown and oxblood colors and I decide to try the dark brown on the Jeantet.  One of the challenges that I have finding supplies in Bulgaria is not having good selection of aniline (alcohol based) dyes or stains that would readily ‘flame’ helping to set the stain in the wood. I remove the stem and give the bowl a cleaning with alcohol with a cotton pad to make sure it is clean from the residue left over from sanding.  I set the bowl up on the cork and candle stand, inverted to apply the dark brown dye that I have chosen.  Using a cotton dauber, also a new arrival from the US, I apply the dye liberally over the inverted bottom of the bowl allowing the dye to saturate the briar surface.  I’m able to rotate the bowl with the cork in hand to make sure dye reaches the rim beveled surface on the bottom. When the surface is covered I flame it with a butane lighter which evaporates the alcohol from the dye and sets the color more deeply in the grain.  After it cools to the touch, I repeat the process above a second time, applying dye and flaming.  The pictures below show the progress but also the fact that I need to figure out a better way of pouring the dye into the lid so I’m not wasting so much on my work board missing the briar!  After cooled, I use cotton pads with isopropyl 95% and wipe down the newly stained bowl to lighten it and even out the dye application.  This allows the grain to jump out more it seems to me.dal37 dal38 dal39I let the bowl sit overnight to thoroughly dry and set the newly stained surface.  I turn to my Dremel using a felt wheel with Tripoli compound on the bowl surface and stem to begin the polishing process.  I utilize the slowest RPM speed and keep the wheel moving over the briar surface – not pressing too much allowing the wheel and compound to do the work.  I follow the Tripoli with Blue Diamond – also with its own dedicated felt wheel (each compound has dedicated wheels) and again, allow the RPMs, wheel and compound to do the work, keeping the movement of the wheel moving on the stummel surface.  For the carnauba wax application, I switch from a felt wheel to a cotton cloth wheel and also increase the RPM speed on the Dremel by one number.  I have discovered that the carnauba needs a bit more ‘heat’ to spread evenly over the surface.  I apply several coats of carnauba wax over the bowl surface and stem.  I love to watch how the briar grain increasingly pops with each step of the polishing process.  The beauty of the grain on the Jeantet Fleuron is living up to its name – Fleuron.  Since I didn’t study French in school, Google translate provided the English meaning of Fleuron – ‘finial’, which is, according to Dictionary.com, “a relatively small, ornamental, terminal feature at the top of a gable, pinnacle, etc.”  Or, simply, a nice finishing touch!  I complete the Jeantet Fleuron with a clean cotton cloth wheel buff with the Dremel and then a rigorous buffing by hand with a microfiber cloth to bring out the grain even more and deepen the shine.
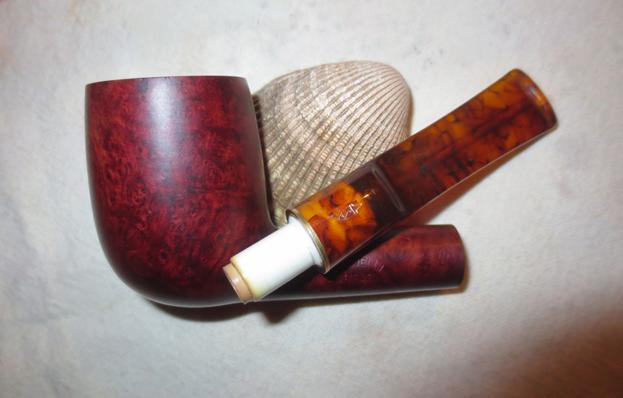
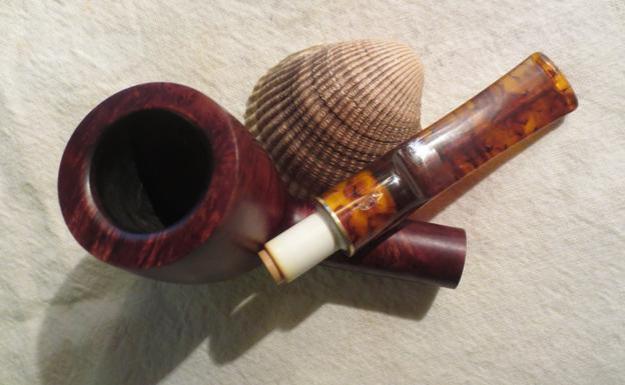
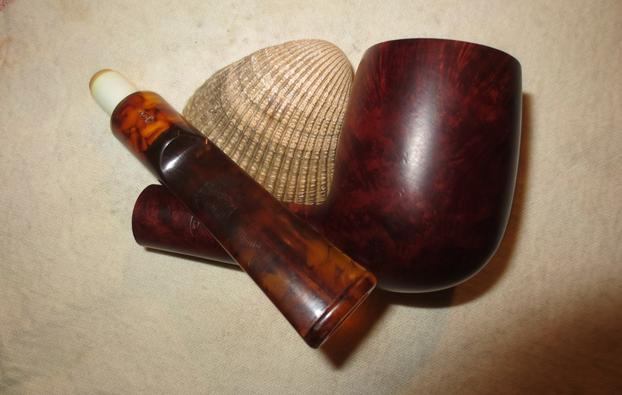
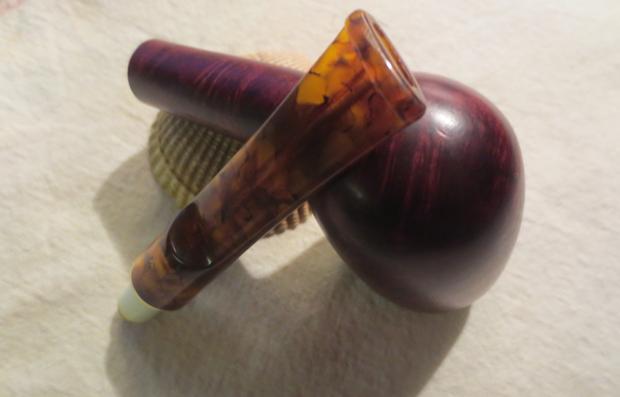
Since my wife has lovingly started to put her foot down regarding my growing collection of pipes (I’m sure some of you have faced this as well!) this Jeantet Fleuron 70-7 will make a debut on eBay Europe and US to find a good home! I am considering how to sell more restored pipes and giving the profits to help further the work we do here, with the Daughters of Bulgaria – Bulgarian women who are sexually exploited and trafficked.  If you’re interested in adding the Jeantet to your collection, leave a comment below.  Thanks for joining me!dal40 dal41 dal42 dal43 dal44 dal45 dal46 dal47


This BBB Tiger Grain Bulldog was in rough shape


Blog by Steve Laug

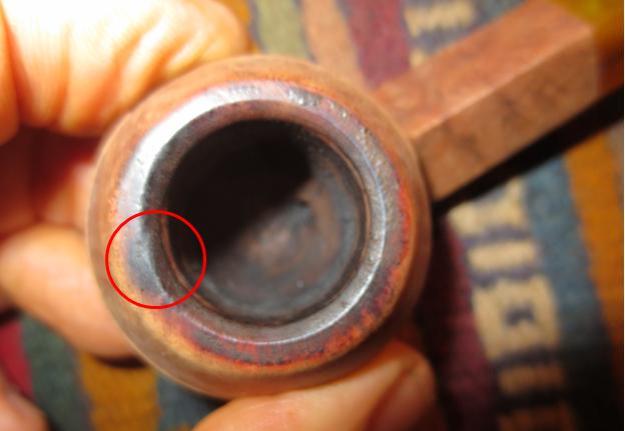
I have always liked older BBB pipes. I used to buy them on eBay when no one was hunting for them for almost nothing. The prices they are today they are generally untouchable for me. Once in a while though one slips under the radar. This Tiger Grain with a Lucite stem was one my brother caught in his ongoing prowl of eBay. He got it for a decent price. It is either a newer BBB or it has a replacement stem on it. My thinking tends toward the previous – a newer pipe from when Cadogan took over the line. The pipe is stamped on the left side of the shank with BBB in a Diamond and underneath it reads Tiger Grain. The right side of the shank reads London England and the number 4. The next two photos show the condition of the pipe when it arrived in Idaho. The bowl finish on the bowl was dirty and there were rough spots. The rim had burn marks on the outer and inner edges on the front side. The beveled rim was thickly caked with the overflow from the cake in the bowl. The Lucite stem had tooth marks and was covered with sticky debris. The airway in the stem was darkened with tars and oils. The mix of bright yellows, white and greys looked good underneath the grime. The dark black/brown airway stood out like a sore. With the exterior that dirty I could only guess that the inside was also very dirty.bbb1My brother once again did the major clean up on this pipe. He reamed the bowl with a PipNet reamer and took the cake back to bare briar. He scrubbed the exterior with Murphy’s Oil Soap to remove all of the grime and grit. He was able to scrub away much of the rim build up and the surface of the stem. He scrubbed the internals with pipe cleaners and cotton swabs. When the pipe arrived in Vancouver it was pretty clean. I took the following photos of the pipe before I began to work on it.bbb2 bbb3I took a close up photo of the rim to show the small amount of cake on the rim and the burn marks on the front of the pipe on both the inner and outer edge of the rim. I circled the burned spot with a red circle in the photo below.bbb4There was a red tone to the briar. I rubbed it down with a light coat of olive oil and brought out the red. I wanted to see what the bowl and rim looked like when it had been oiled.bbb5I sanded the rim and bevel with a folded piece of 220 grit sandpaper to remove the remaining cake and clean up the bevel on the rim. When I finished the rim was clean but it still showed the burn marks and the inner bevel on the rim was also darkened.bbb6I decided to top the bowl on the topping board to remove the damaged rim top and the burn marks. I sanded it until the rim top was smooth and the outer edge was clean.bbb7I polished the topped bowl with micromesh sanding pads – wet sanding with 1500-2400 grit pads and dry sanding with 3200-12000 grit pads. When I finished the rim was smooth and polished.bbb8I worked on the mortise and shank with pipe cleaners, cotton swabs and alcohol. I used a dental spatula to scrape out the mortise. Once I was finished cleaning it the shank and airway was clean. I also scrubbed out the airway in the stem with pipe cleaners and alcohol. I used bristle pipe cleaners- both thin and thicker to scrub out the tars and dark stains.bbb9 bbb10I sanded out the tooth marks on the top and underside of the stem to remove them and blend them into the surface of the Lucite.bbb11aI polished the stem with micromesh sanding pads – wet sanding it with 1500-2400 grit pads and dry sanding it with 3200-12000 grit pads. I wiped it down with a damp cloth between each grit of micromesh pads.bbb12 bbb13 bbb14I buffed the pipe and stem with Blue Diamond on the buffing wheel to polish the pipe. I carefully avoided the stamping. I gave the bowl and stem several coats of carnauba wax and buffed it with a clean buffing pad. I hand buffed it with a microfibre cloth to deepen the shine. The finished pipe is shown in the photo below. It is a nice looking pipe. The bowl and rings are in perfect shape. The new rim top looks like it has always been there. Thanks for looking.bbb15 bbb16 bbb17 bbb18 bbb19 bbb20 bbb21 bbb22

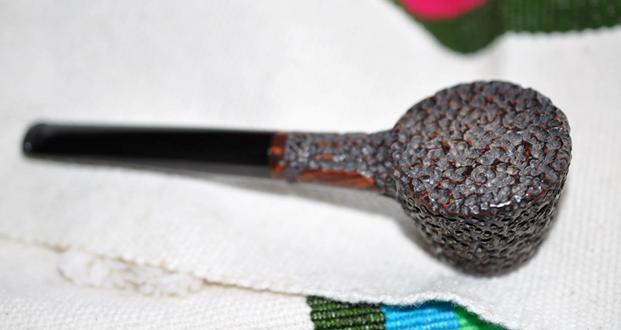
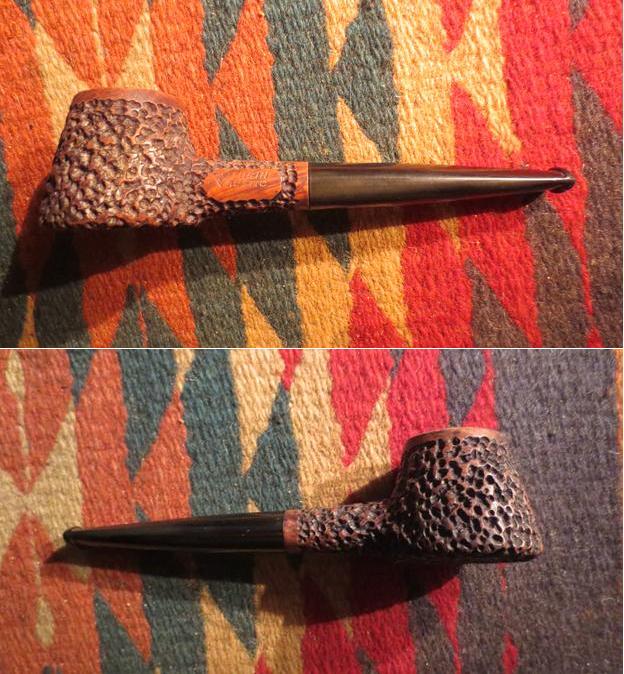
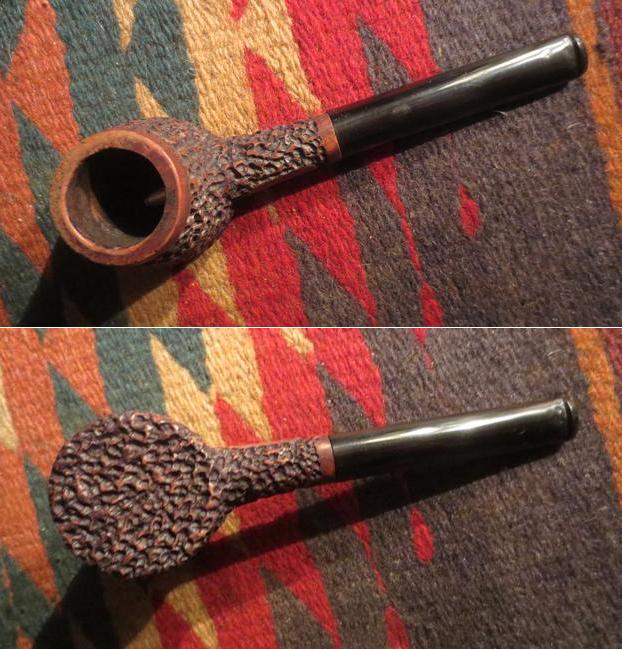
A unique old WDC Turin Rustic Volcano


Blog by Steve Laug

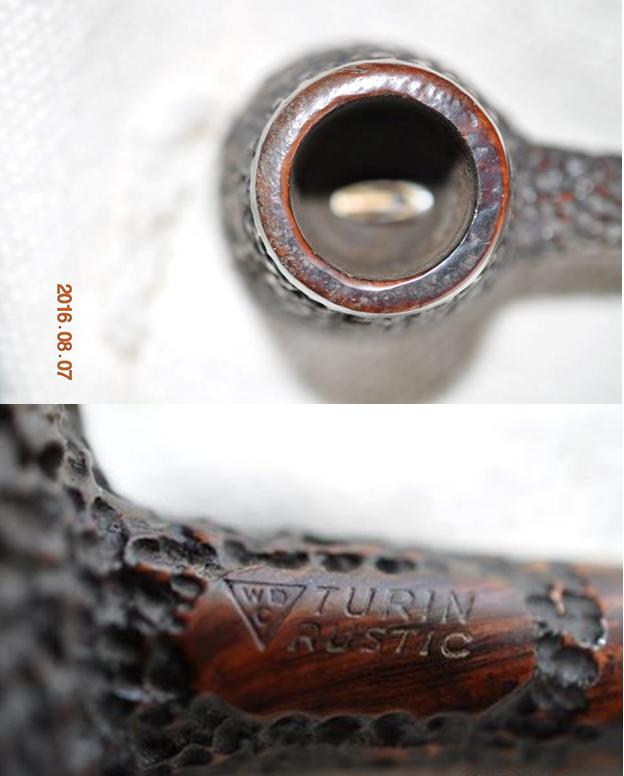
When I saw this one on eBay I sent a message to my brother and asked him to bid on it. He did and we got it. I love the rustication on the Turin Rustic series. It is rough and yet dignified at the same time. The seller billed it as restored/refurbished and clean. By and large that was true. The shank and the inside of the stem were very clean. The rim had been knocked about a bit and the inner edge of the rim was rough and uneven. The bowl had been reamed. The stem was polished though there were deep tooth marks on the top and underside of the stem next to the button.demuth1 demuth2My brother took the above photos and the following ones before he cleaned the pipe. You can see the damage to the rim top and the inner edge in the next photo. The second photo shows the stamping on the left side of the shank.demuth3Though I knew a bit about the WDC pipe maker and the William Demuth Company I thought it might be good to review the history before I started restoring the pipe. I googled the Turin Rustic to see what I could find. It immediately referred me to a post on the Kaywoodie Forum that in turn was an excerpt from pipedia.org. Here is the link.

http://kaywoodie.myfreeforum.org/archive/w.d.c.-master-list__o_t__t_191.html

William Demuth, a native of Germany, entered the United States at the age of 16 as a penniless immigrant. After a series of odd jobs he found work as a clerk in the import business of a tobacco tradesman in New York City. In 1862 William established his own company. The William Demuth Company specialized in pipes, smoker’s requisites, cigar-store figures, canes and other carved objects.

The Demuth Company is probably well known for the famous trademark, WDC in an inverted equilateral triangle. William commissioned the figurative meerschaum Presidential series, 29 precision-carved likenesses of John Adams, the second president of the United States (1797-1801) to Herbert Hoover, the 30th president (1929-1933), and “Columbus Landing in America,” a 32-inch-long centennial meerschaum masterpiece that took two years to complete and was exhibited at the World’s Columbian Exposition in Chicago in 1893.

The Presidential series was the result of Demuth’s friendship with President James A. Garfield, a connoisseur of meerschaum pipes. Demuth presented two pipes to Garfield at his inauguration in 1881, one in his likeness, the other in the likeness of the President’s wife. Later, Demuth arranged for another figurative matching the others to be added to the collection as each new president acceded to the White House, terminating with President Hoover.

In 1897 Ferdinand Feuerbach joined the Demuth Company and by 1903 had become the production manager. Feuerbach is credited with developing Demuth’s popular Royal Demuth and Hesson Guard Milano pipelines. He left in 1919, when Sam Frank Sr. needed an experienced pipe man to run his pipe factory, located at 168 Southern Blvd., in the Bronx. Feuerbach and Frank had been close friends since Frank started his own business in 1900 and was closely associated with the sales staff of WDC, selling their line of pipes.

In early 1937, the City of New York notified S.M. Frank & Co. of their intent to take by eminent domain, part of the land on which the companies pipe factory was located. This was being done to widen two of the adjacent streets. As a result of this, Frank entered into negotiations to purchase the Wm. Demuth Co.’s pipe factory in the Richmond Hill section of Queens. It was agreed upon that Demuth would become a subsidiary of S.M. Frank and all pipe production of the two companies would be moved to Demuth factory. New Corporate offices were located at 133 Fifth Avenue, NYC.

Demuth pipes continued to be made at the Richmond Hill plant till December 31. 1972. Then the Wm. Demuth Company met its official end as a subsidiary company by liquidation. Demuth’s mainstay pipe, the Wellington continued to be offered in the S.M. Frank catalog until 1976. In the mid-80’s, the Wellington even made a brief return as a direct to the consumer offer.

When the pipe arrived from Idaho it was quite clean and ready to work on. I took some photos of it before I started.demuth5 demuth6The next photo shows the rim and the damage to the surface. There were a lot of dents and dings as well as some roughness on the right side toward the front of the bowl. The inner edges was also worn and rough.demuth7The next photos show the condition of the stem – it had some deep tooth marks on the top and underside that are visible in the photo below.demuth8I “painted” the surface of the vulcanite with the flame of a Bic lighter to lift the dents and I was able to raise all but one of them completely. Even the worst one on the underside came up so that is only needed a little patch. The rest of them I was able to sand smooth with 220 grit sandpaper.demuth9I cleaned the sanded area on the underside of the stem with alcohol and then filled in the remaining tooth mark with a spot of clear super glue. Once it dried I sanded it smooth with 220 grit sandpaper and blended it into the surface of the stem.demuth10I rolled a piece of sandpaper and sanded out the inside of the bowl and the inner edge of the rim to smooth out the damage.demuth12

I touched up the rough spots on the inner edge with a piece of 220 grit sandpaper and smoothed out the edge until it was back in round. In the photo below you can see the damage to the top and outside edge of the bowl toward the front. It looked like it had been knocked out on concrete.demuth13I decided to lightly top the bowl on the topping board with 220 grit sandpaper until the rim top was smooth and clean of damage.demuth13aI sanded the rim top with micromesh sanding pads from 1500-12000 grit until the surface of the rim was clean and smoothly polished.demuth13bI used a light brown stain pen and touched up the rim top. The next four pictures show the bowl after I had rubbed it down with a light coat of olive oil. I love the rustication on the bowl sides and bottom. It really is a unique pattern.demuth13c demuth13dI polished the stem with micromesh sanding pads – wet sanding with 1500-2400 grit pads and dry sanding with 3200-12000 grit pads. I rubbed the stem down with Obsidian Oil after each set of three pads. After the final rub down I set the stem aside to dry.demuth14 demuth15 demuth16

I buffed the bowl and stem with Blue Diamond on the buffing wheel. I gave the stem multiple coats of carnauba wax and buffed it with a clean buffing pad to raise the shine. I hand wax the bowl with Conservator’s Wax and buffed it with a clean buffing pad. The finished pipe is shown in the photos below. The finish shines and the pipe belies its age. It is a beauty. Thanks for looking.demuth17 demuth18 demuth19 demuth20 demuth21 demuth22 demuth23 demuth24 demuth25