Blog by Steve Laug
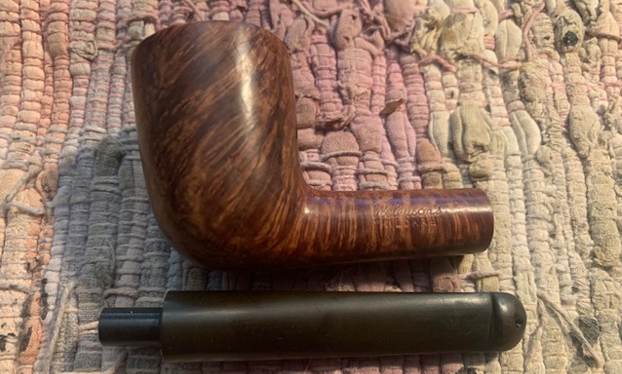
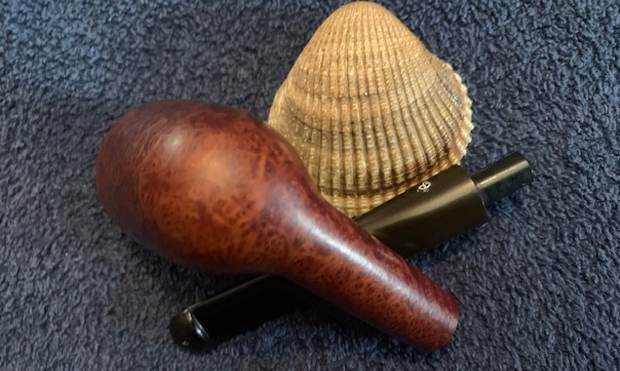
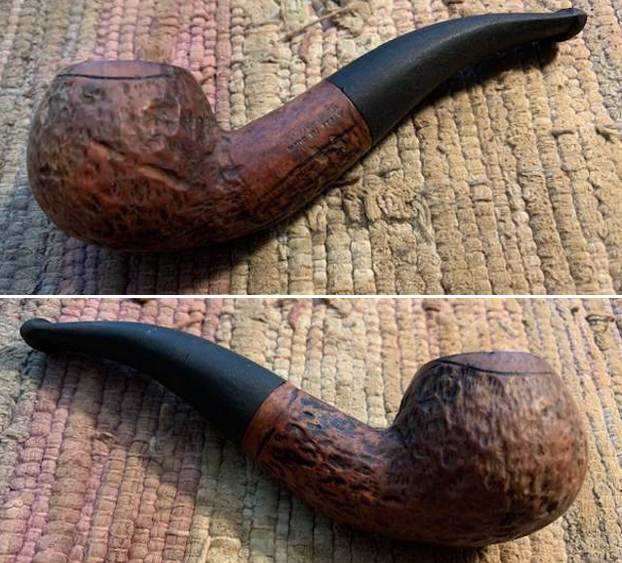
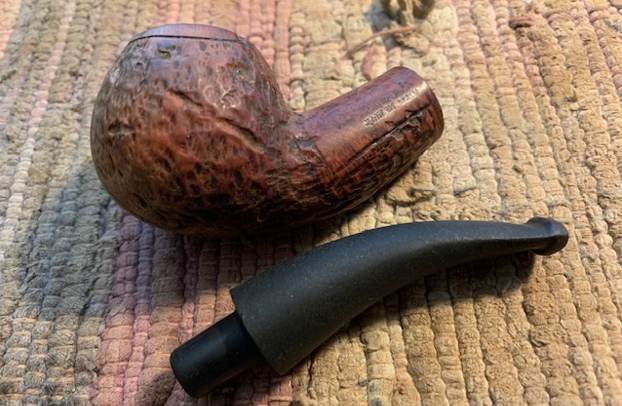
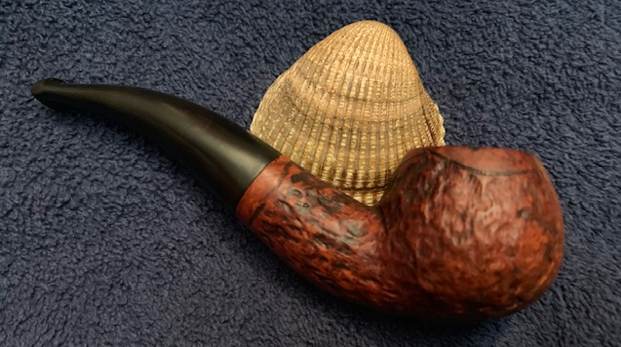
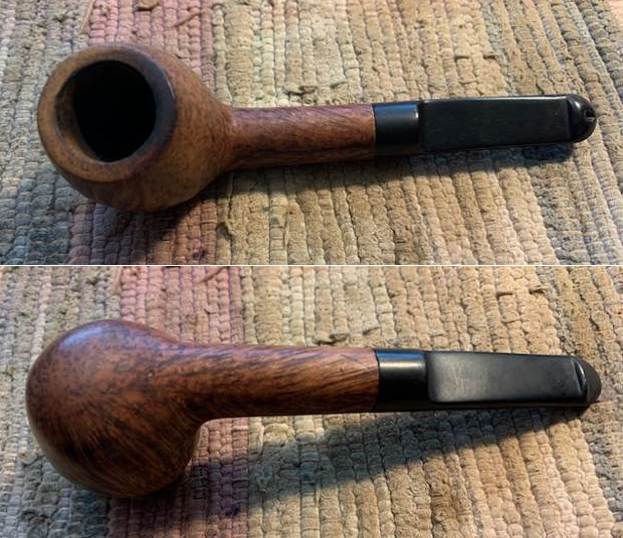
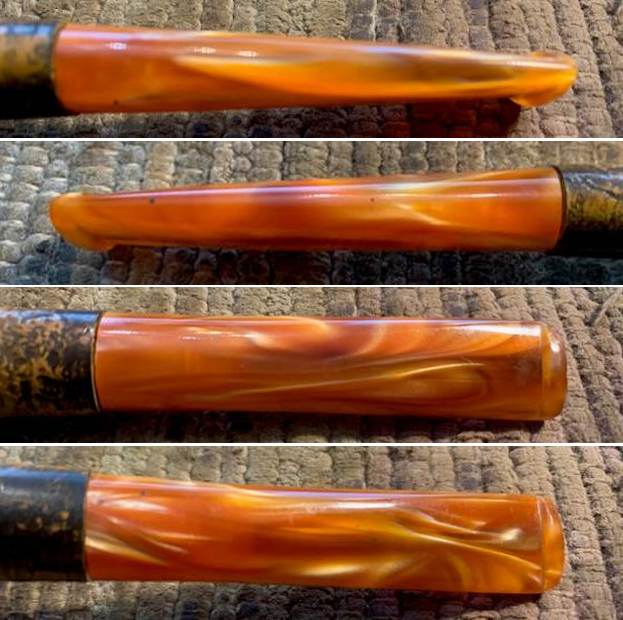
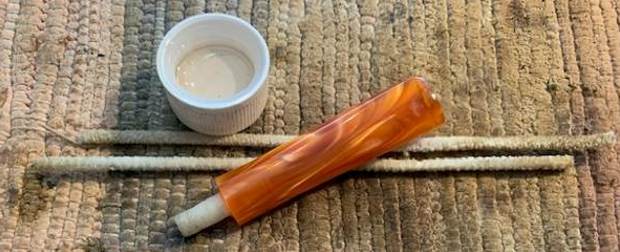
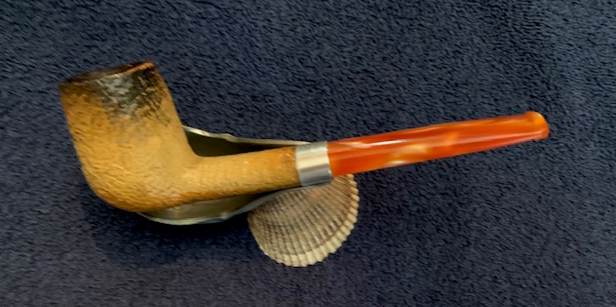
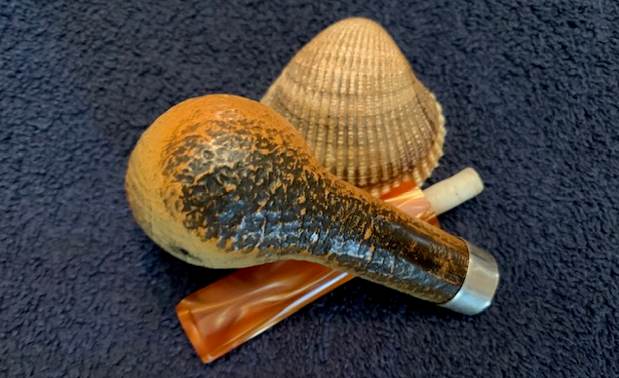
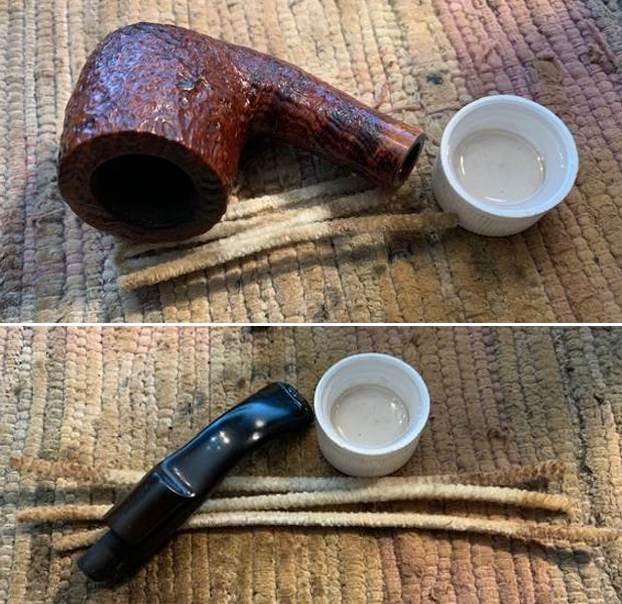
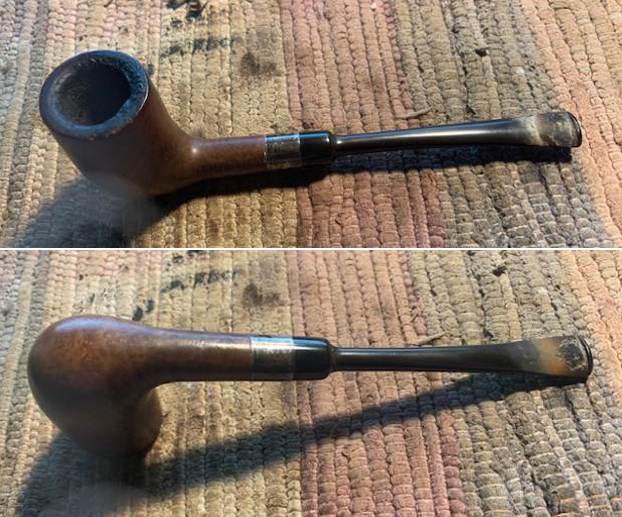
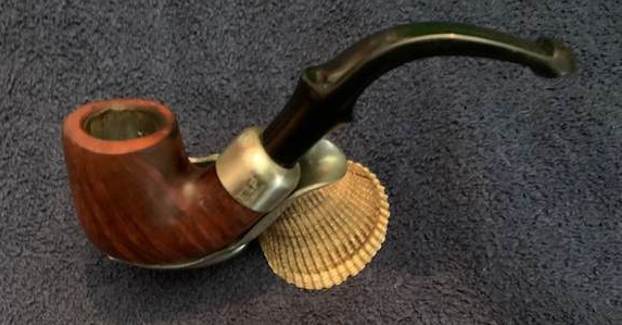
The next pipe I brought to the table was another Peterson that Jeff purchased off eBay on 11/19/17 from Fort Meyers, Florida, USA. It has been sitting here in Vancouver awaiting my contribution to the restoration. It is a nicely shaped pipe with a chunky shank and feel in the hand. The finish is a walnut stain that gives a sense of rich brown. It is stamped on the left side of the shank and reads Peterson [arched over] of Dublin [over] Dalkey (in block print). On the right side there is the shape number 221 in the center of the and no other stamping. The bowl had a thick cake and a heavy overflow of lava on the rim top. The front outer edge of the rim had been beat against a hard surface and had a lot of damage and roughness across the bowl front. The rim top was also damaged with scratches and nicks in the surface that looked like it had been used as a hammer. The rest of the finish on the bowl was quite clean. The twin silver bands separated by an orange acrylic band on the stem is dirty but in good condition. The fishtail stem was oxidized, calcified and had light tooth chatter on both sides ahead of the button. The “P” stamp on the side of the saddle stem and readable and painted white. Jeff took photos of the pipe before he started his clean up work.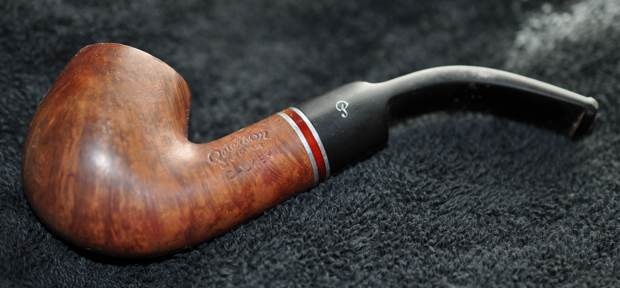
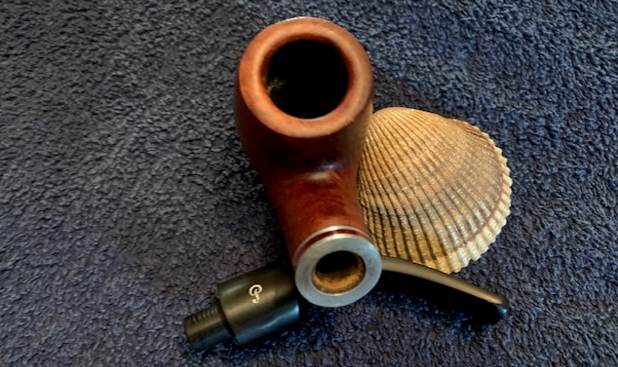
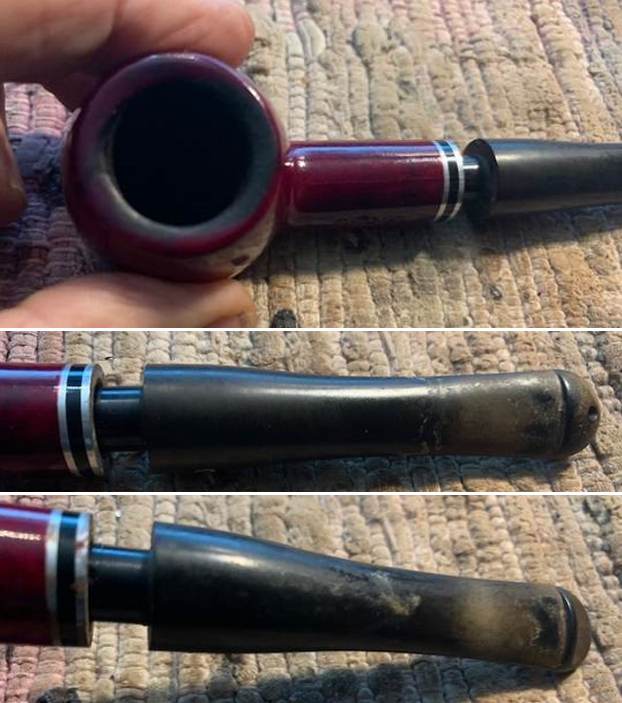
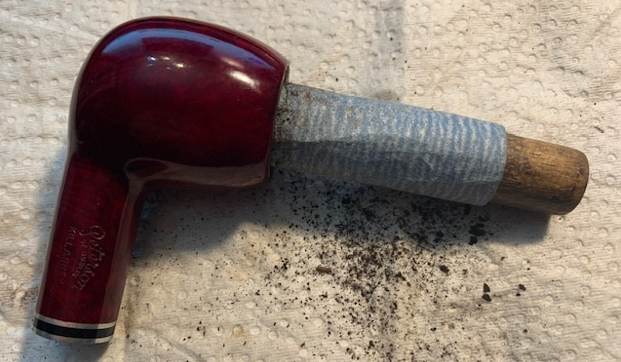
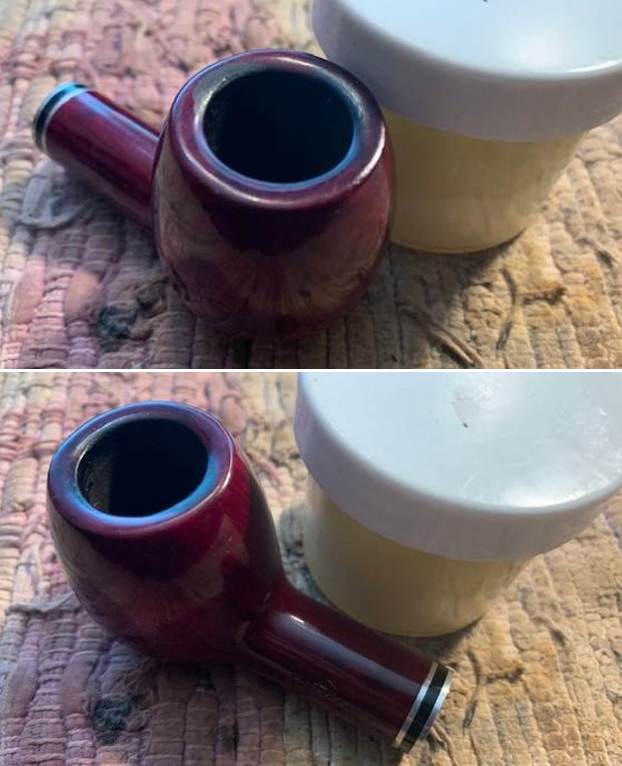
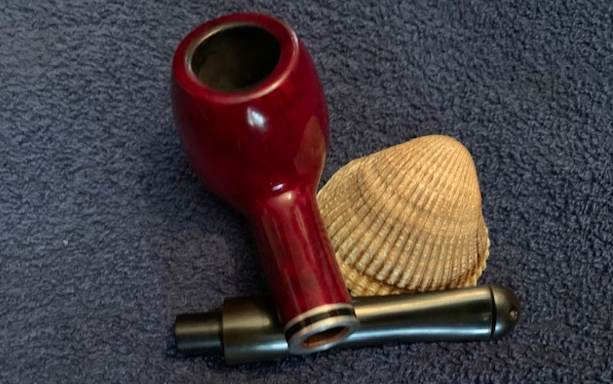
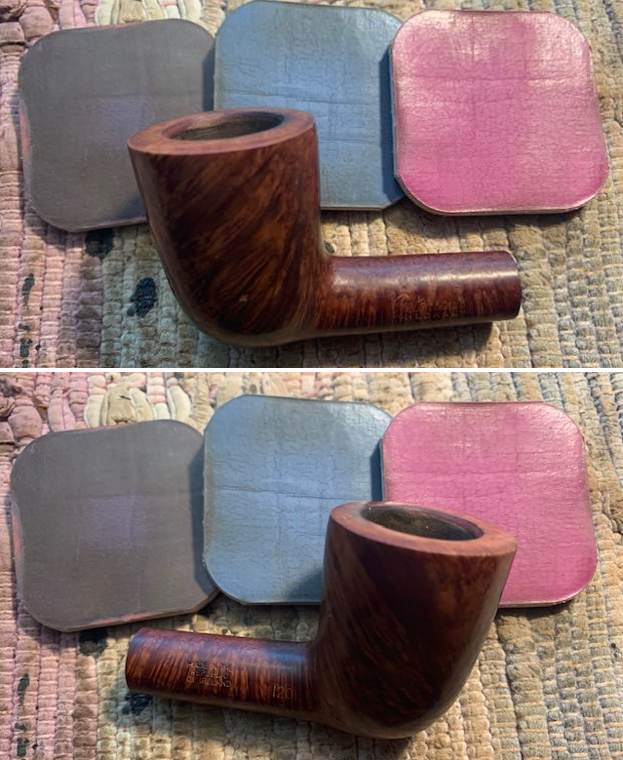
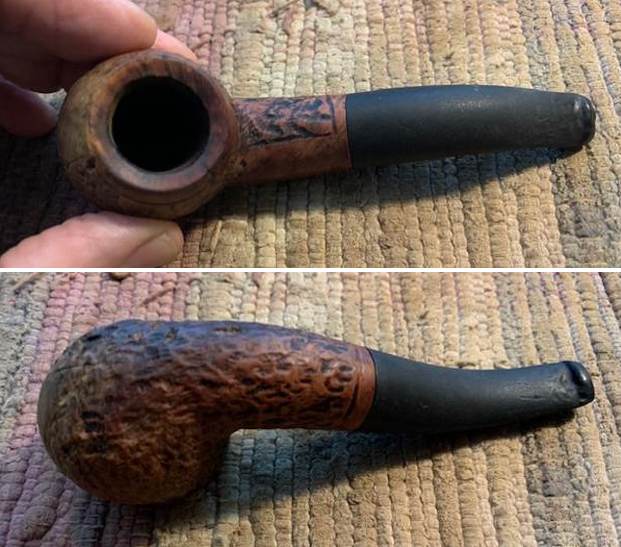
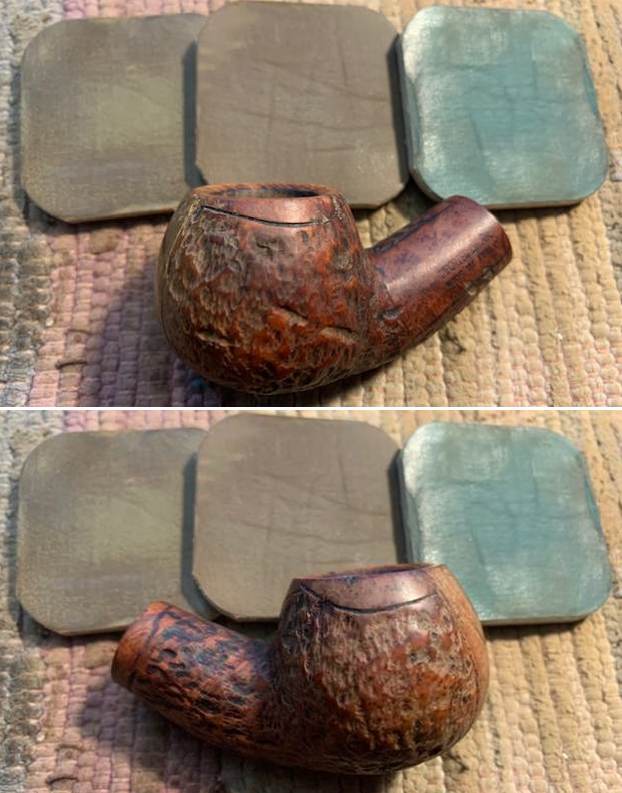
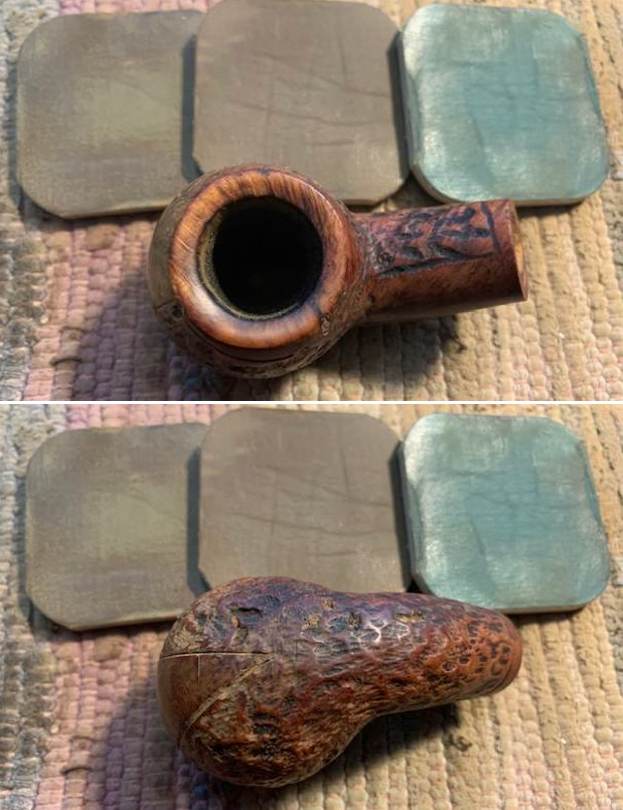
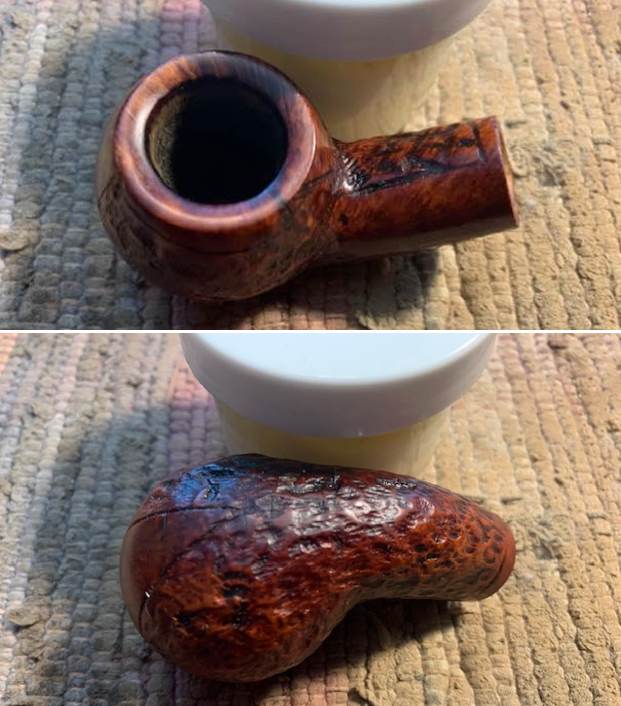
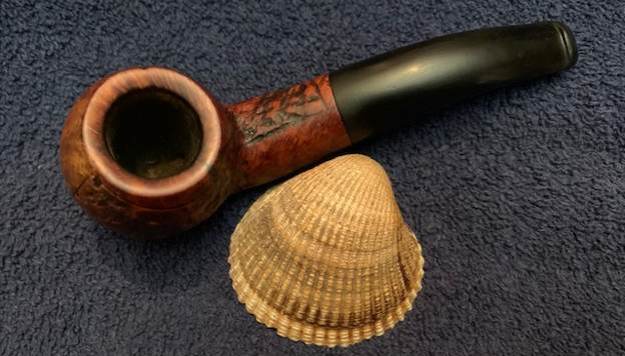
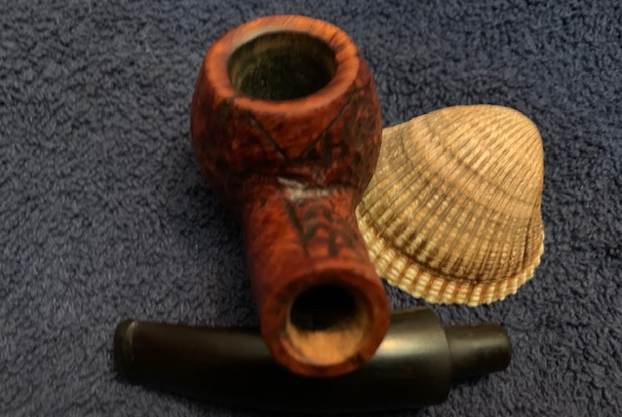
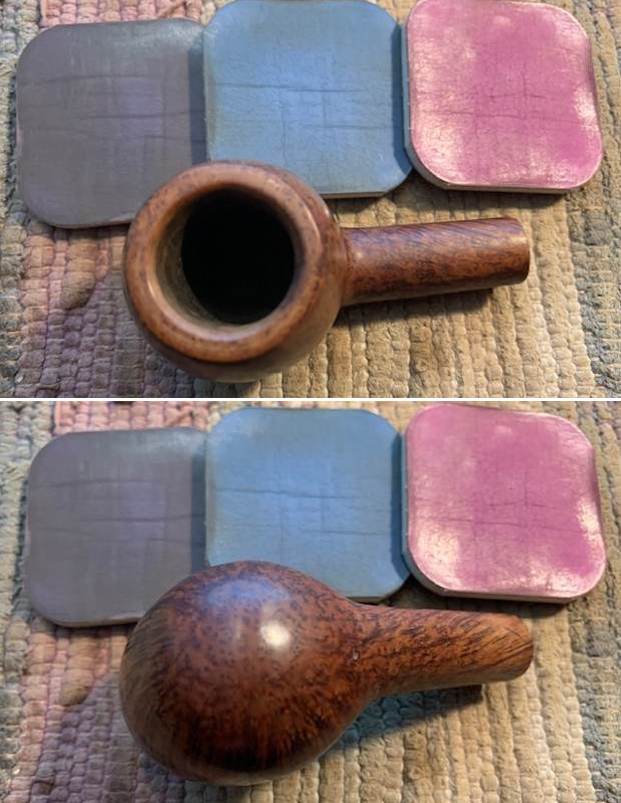
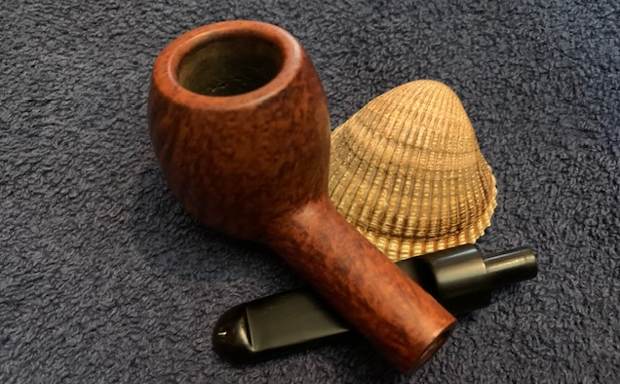
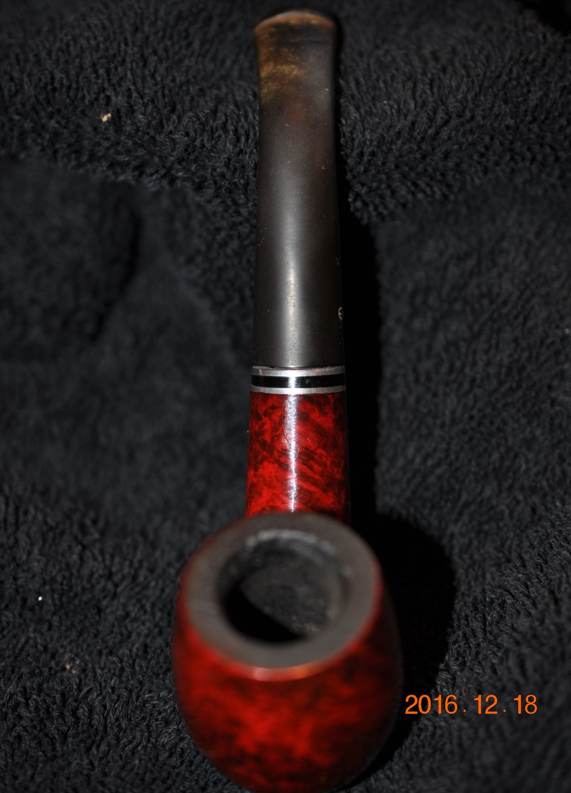
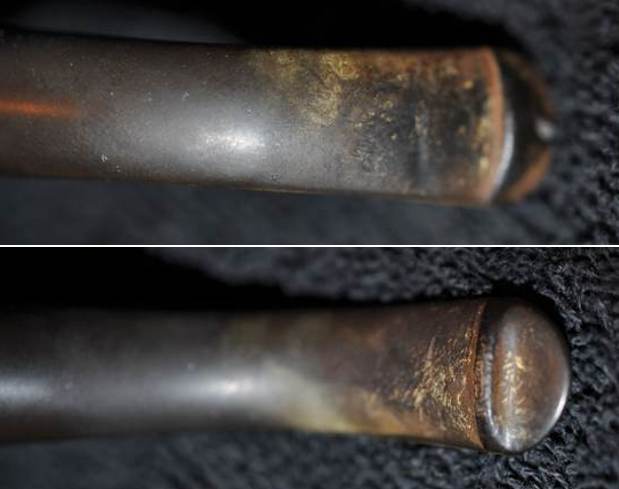
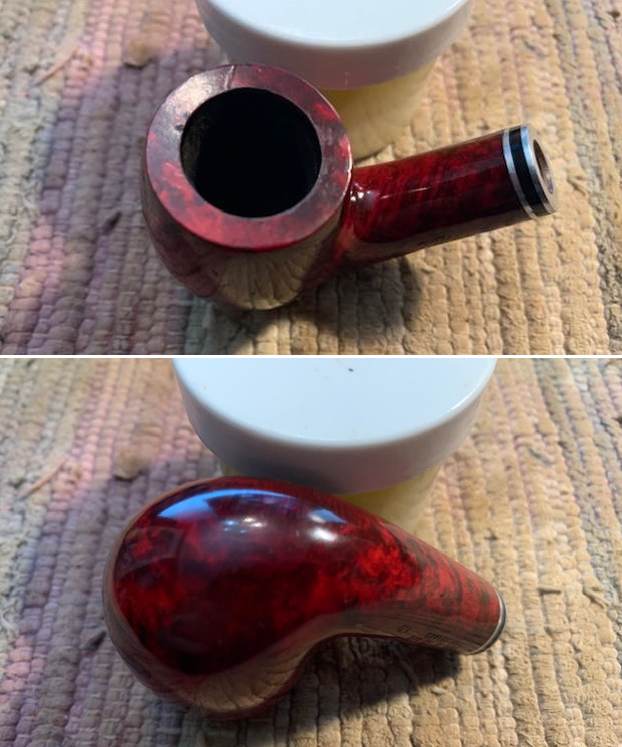
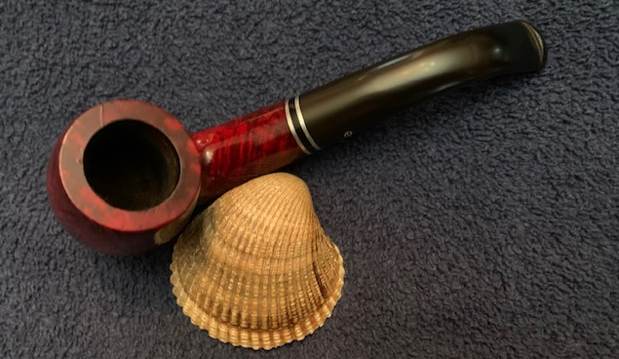
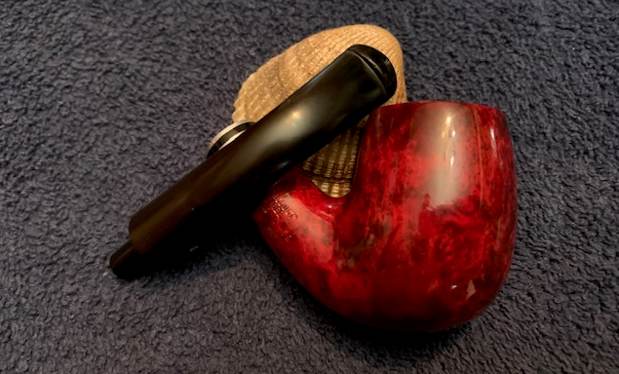
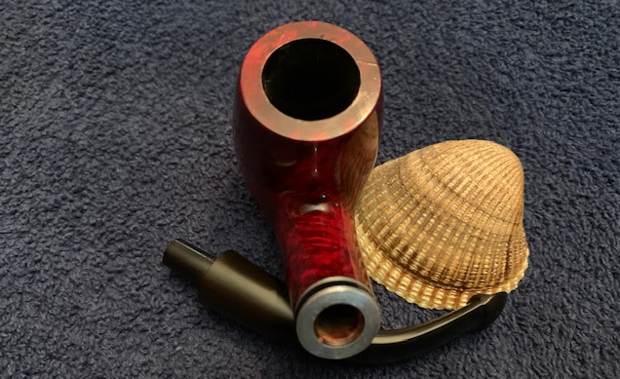
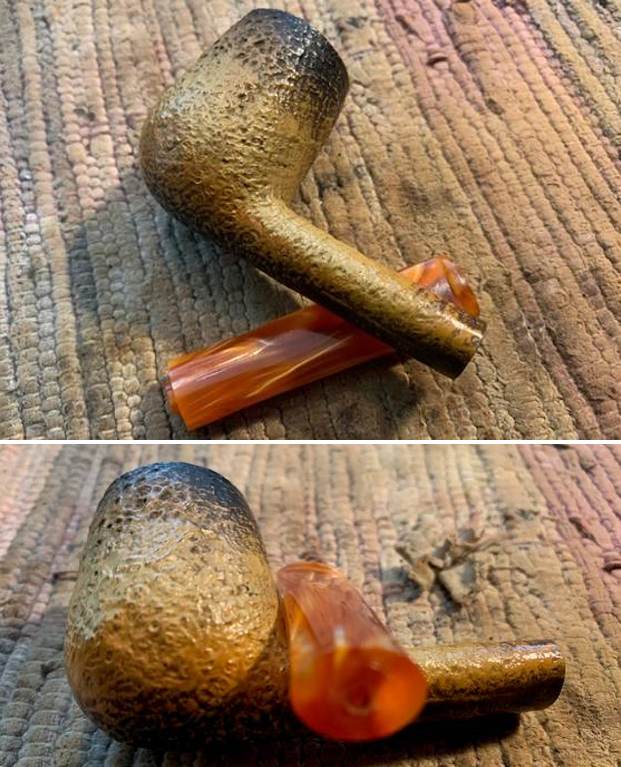
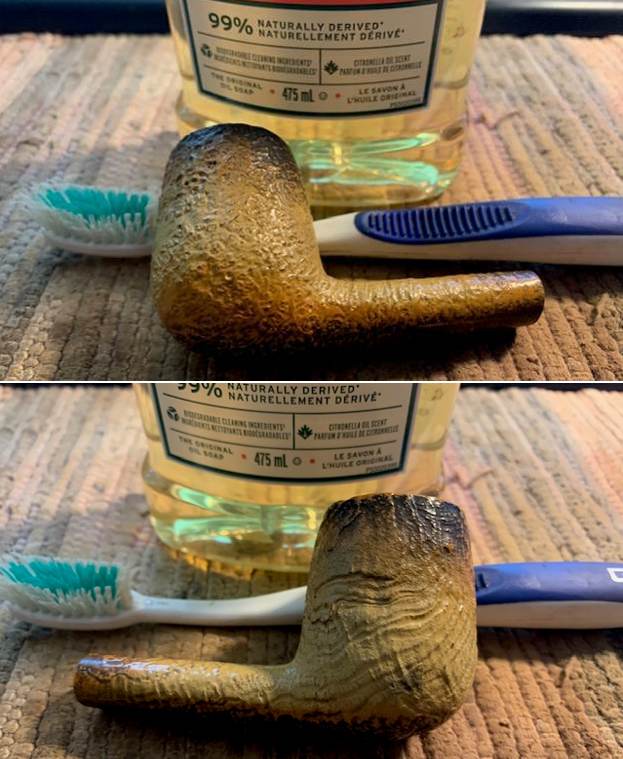
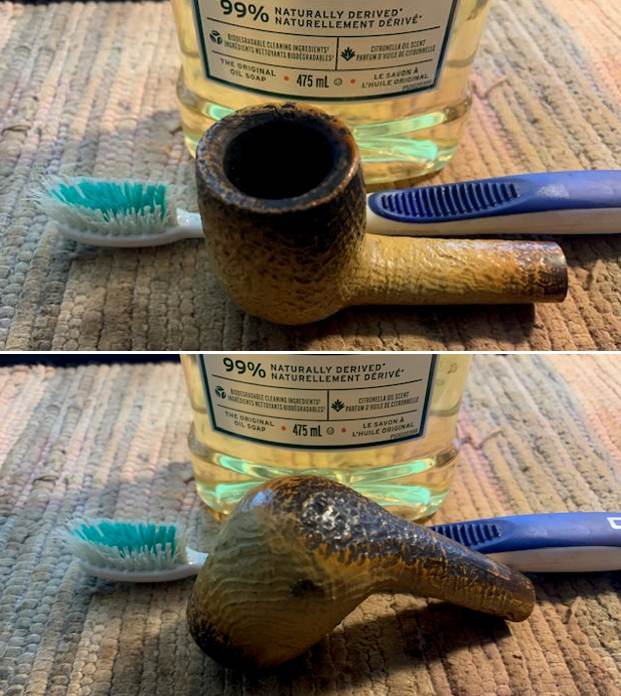
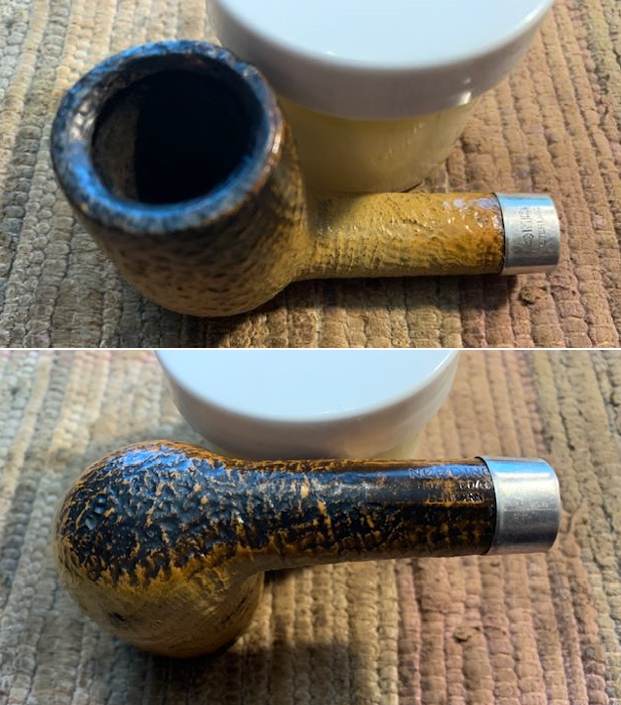
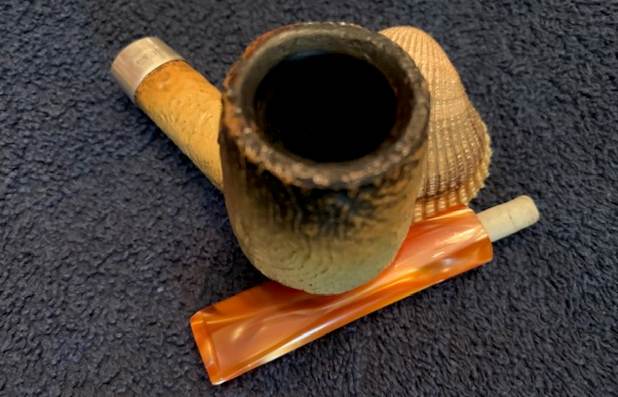
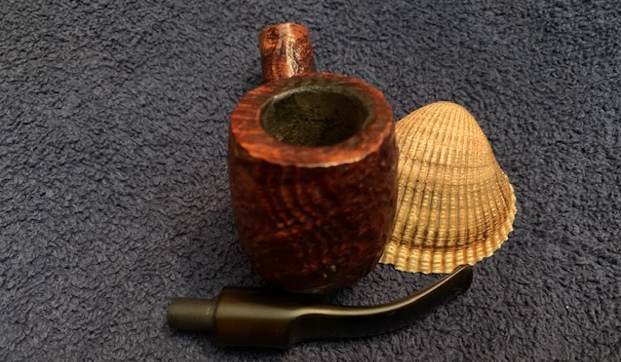
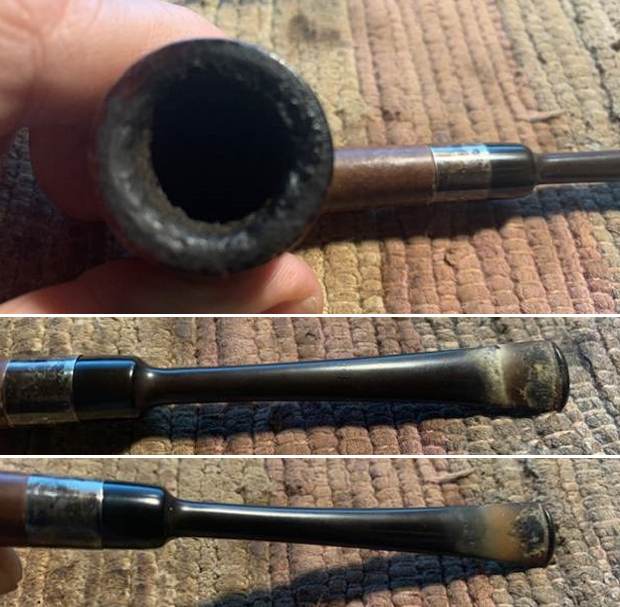
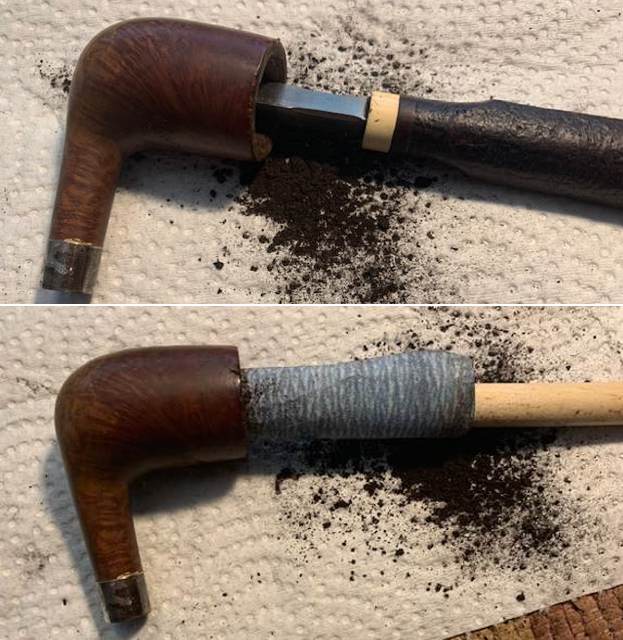
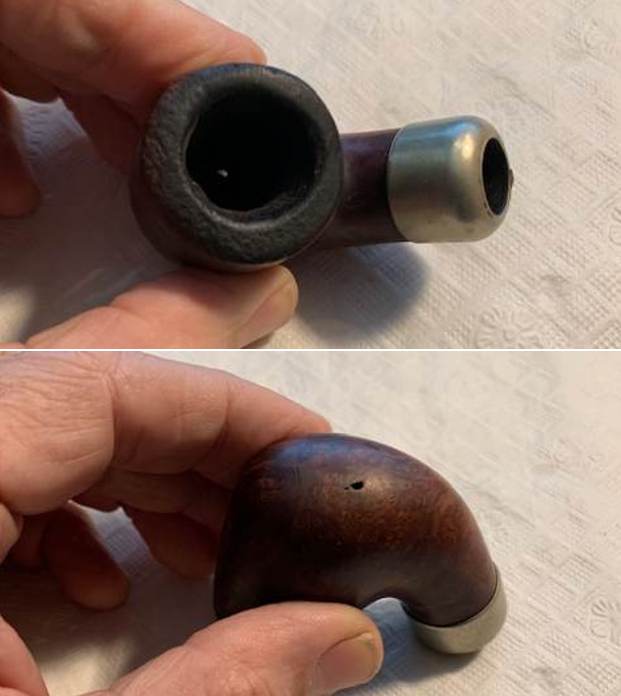
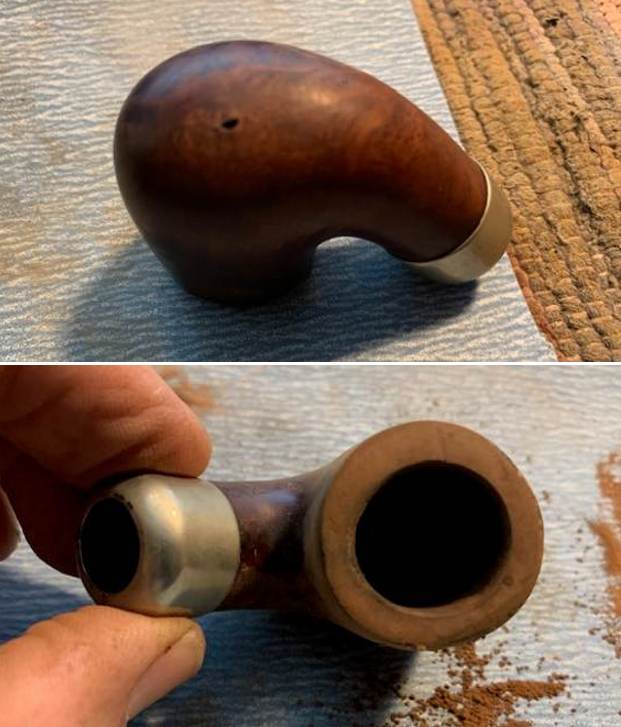
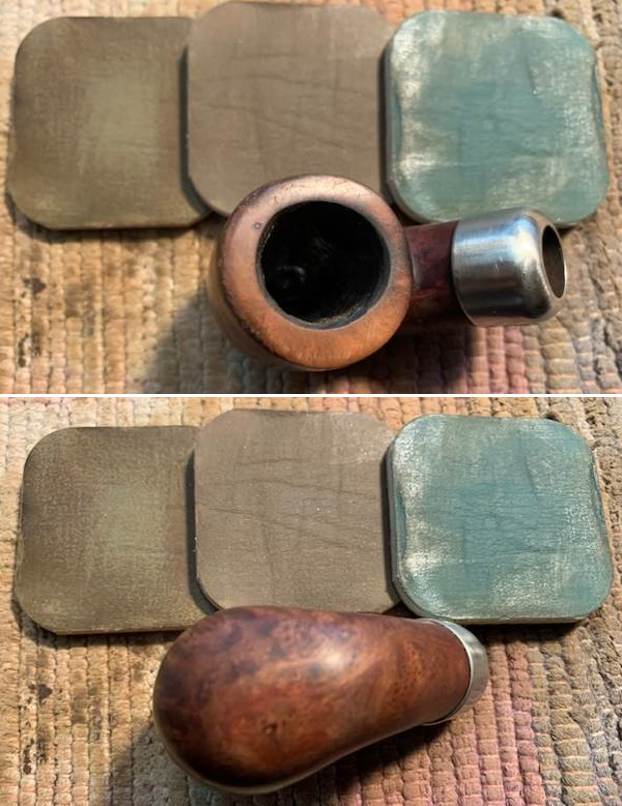
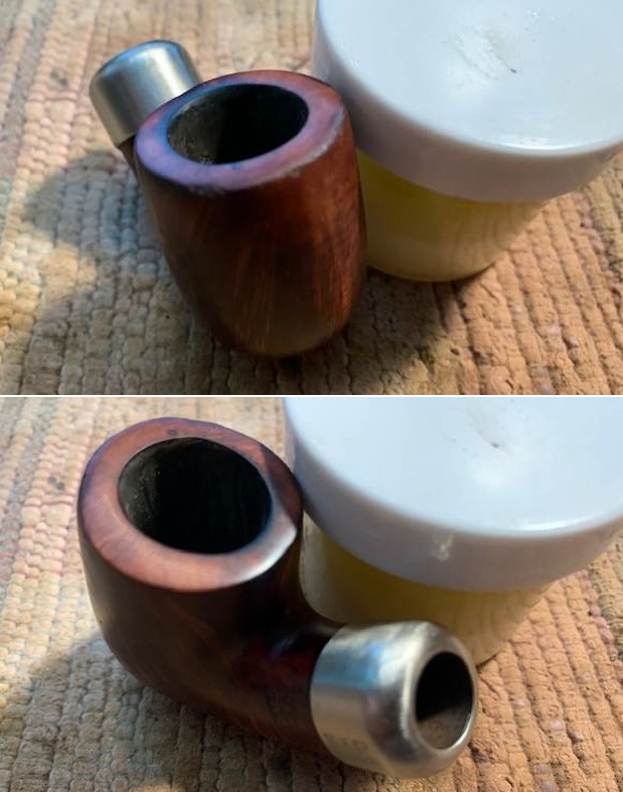
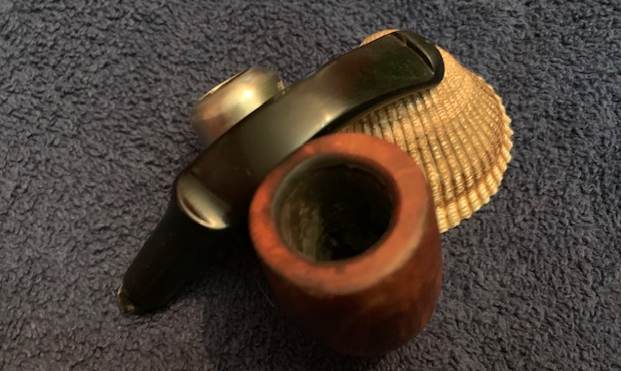
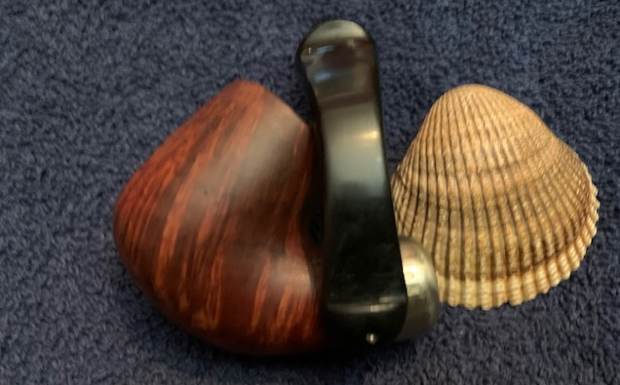
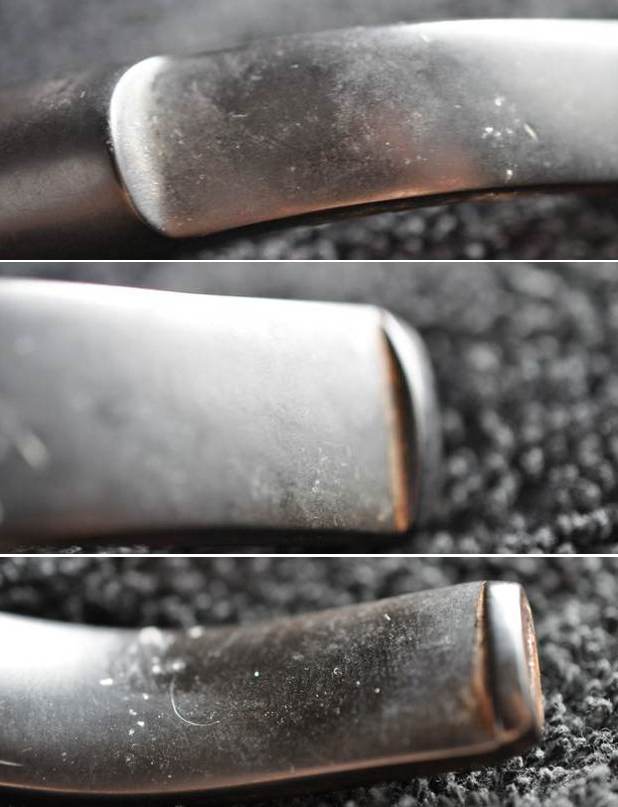
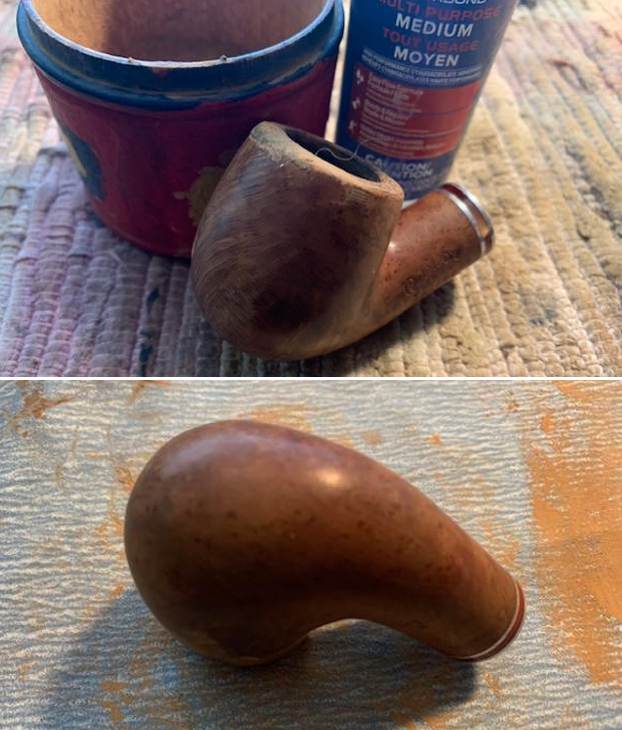
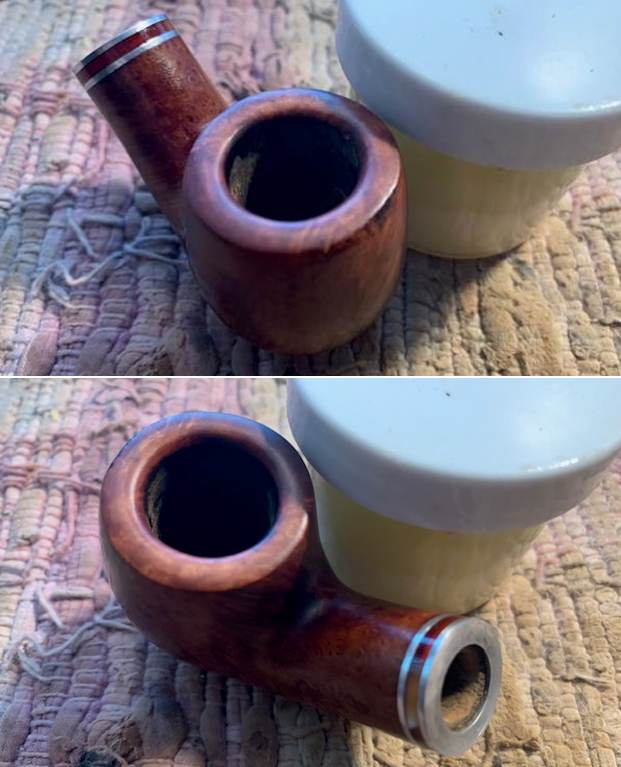
 He captured the cake in the bowl and the debris and lava on the rim top and edges in the next photos. It was very clear that it was an exceptional smoker! The damage on the front of the rim edge and the rim top is visible even under the heavy lava on the top and edges. The stem is oxidized, calcified and shows the tooth marks and chatter on both sides ahead of the button.
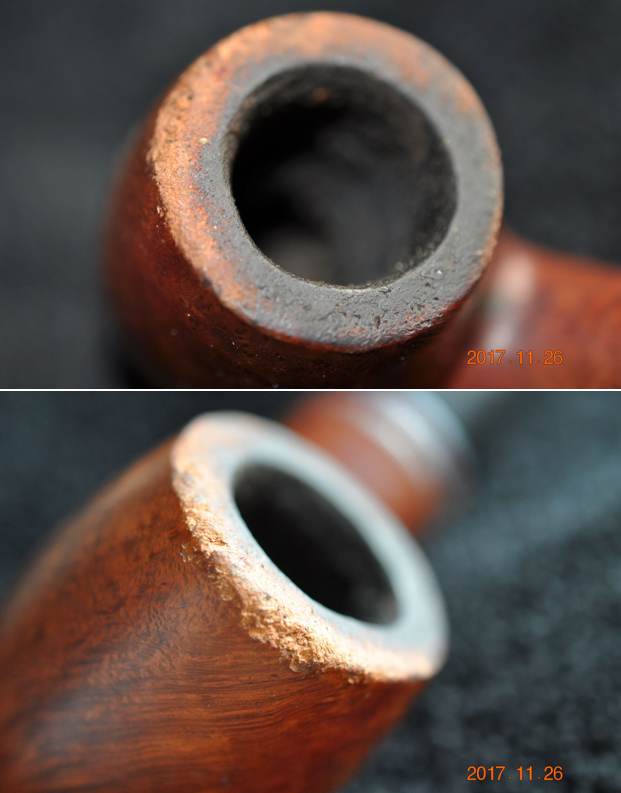
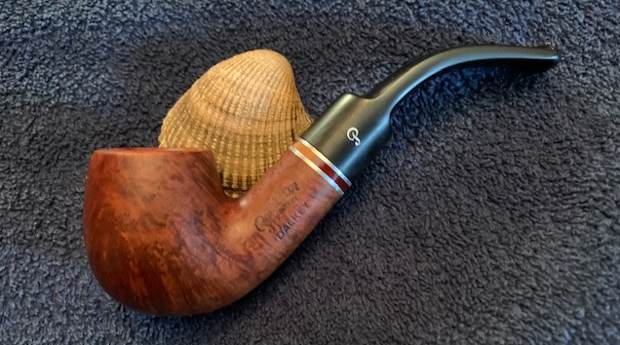
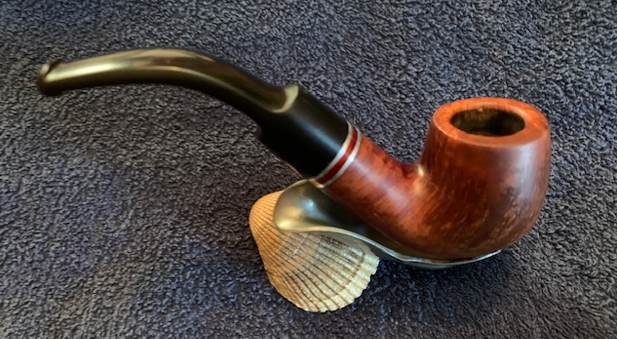
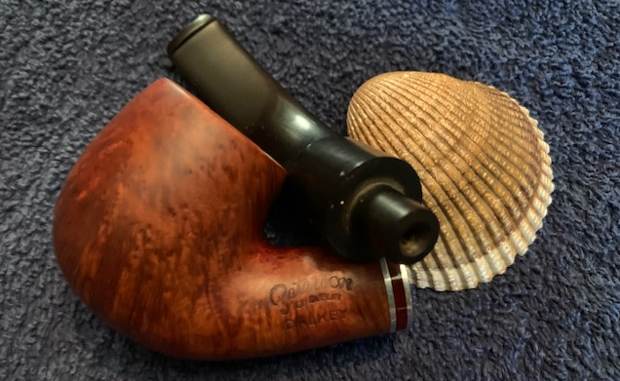
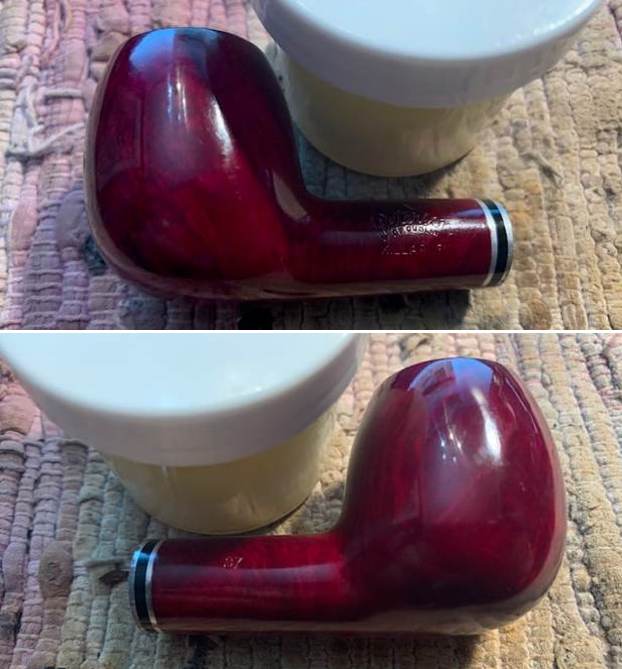
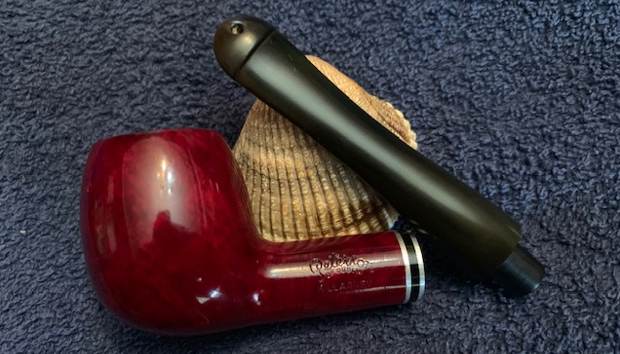
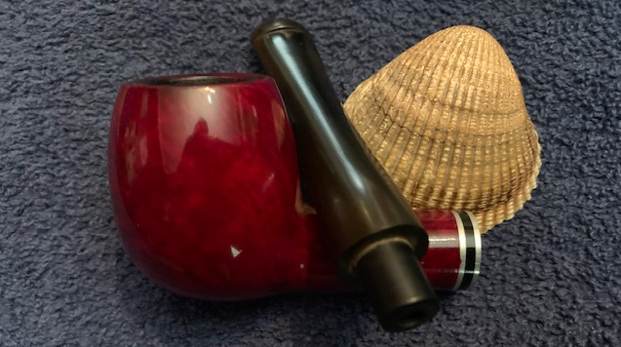
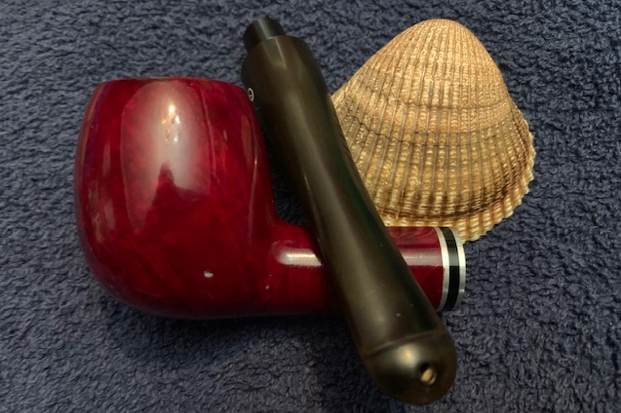
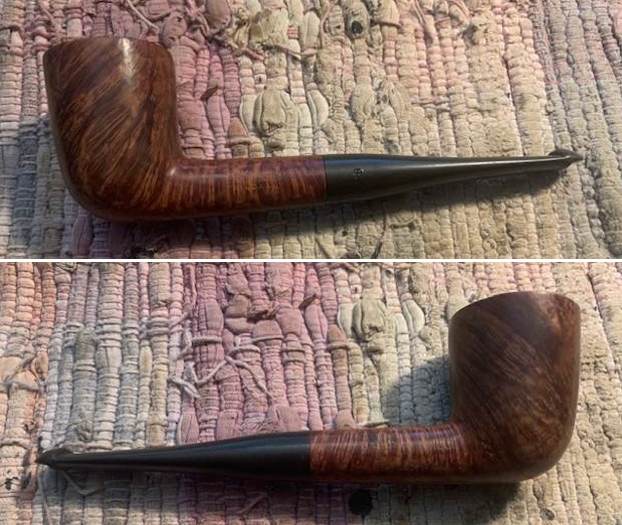
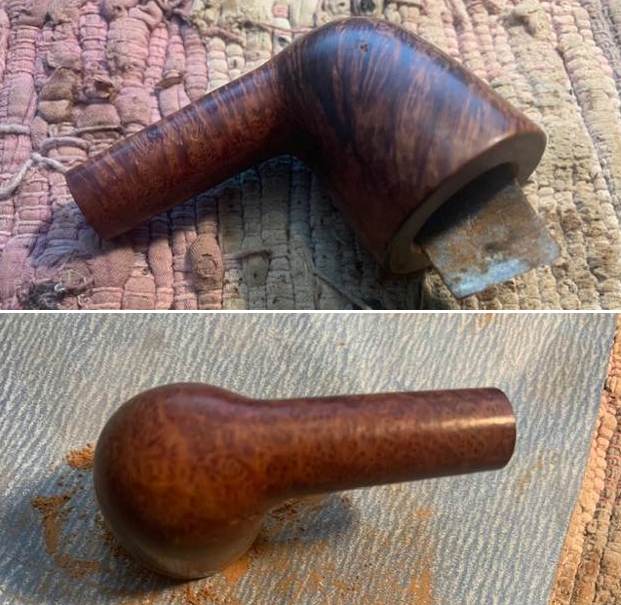
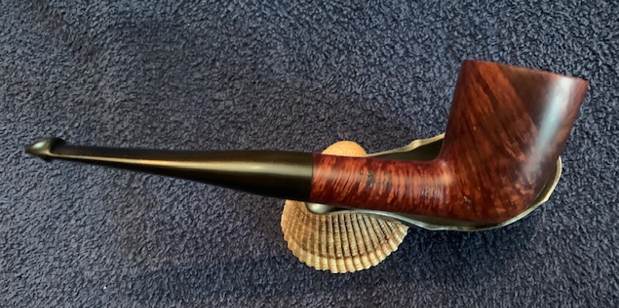
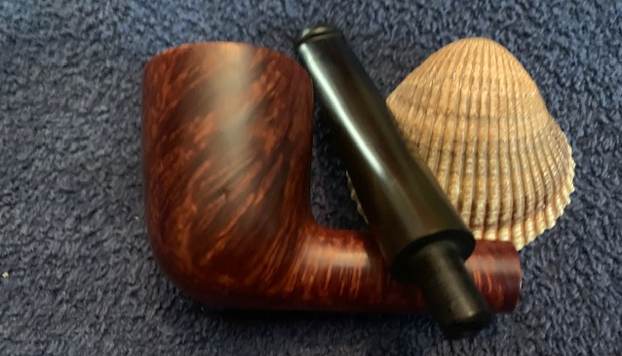
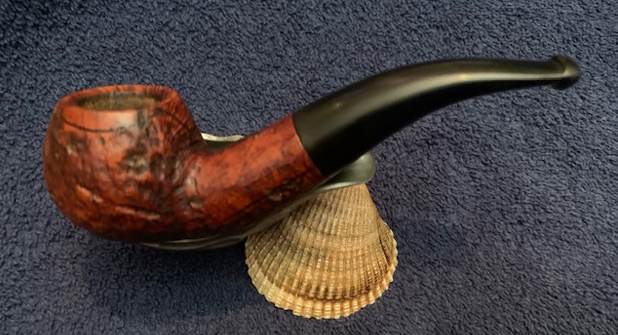
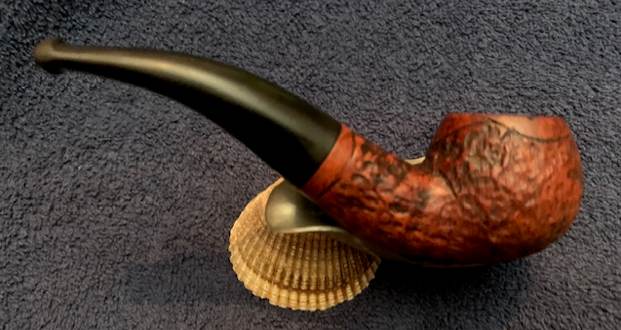
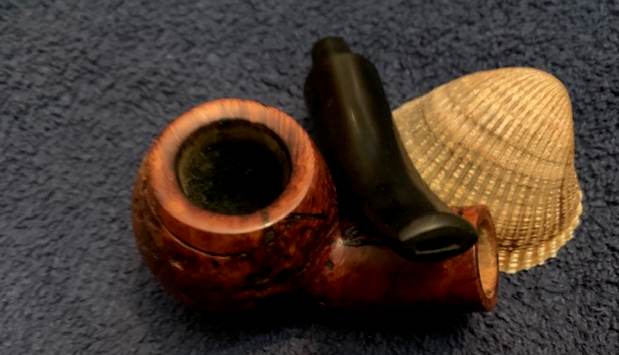
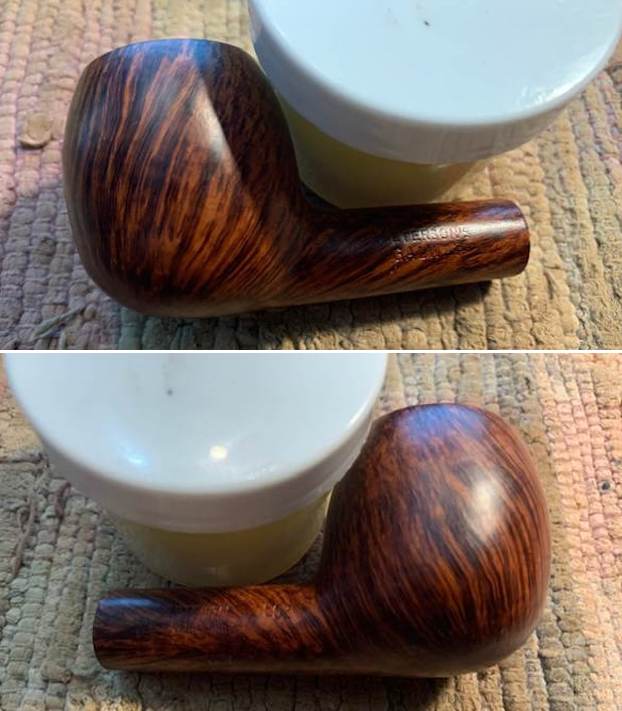
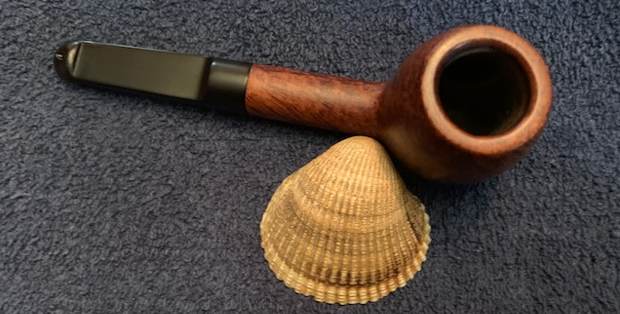
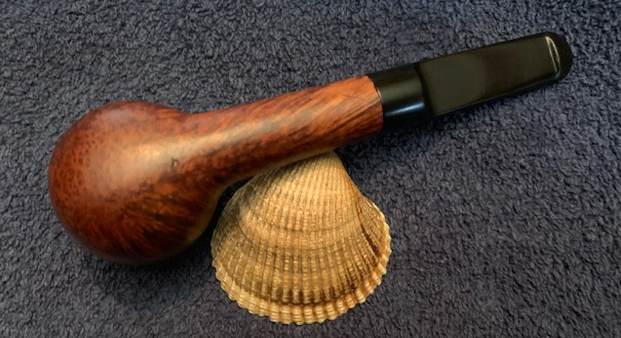
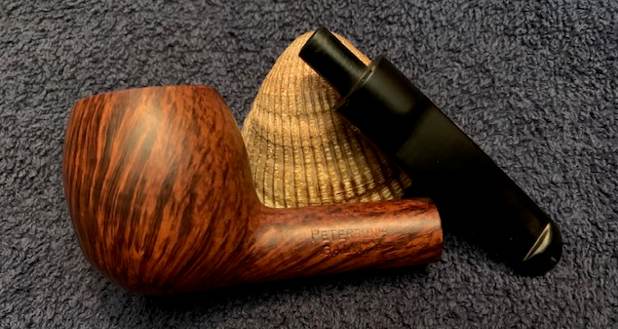
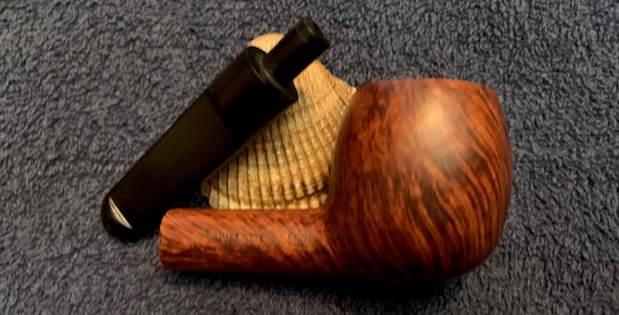
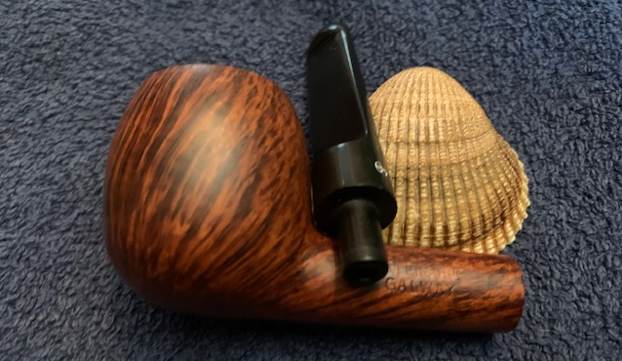
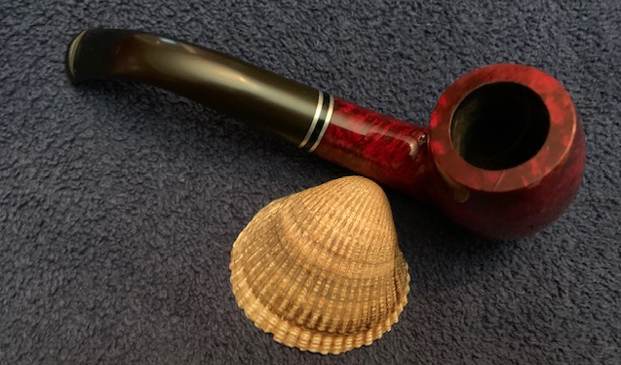
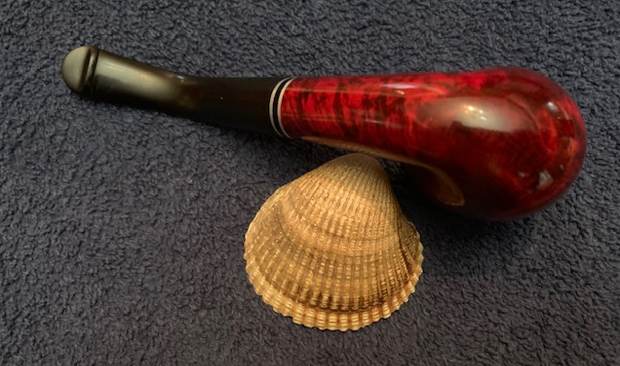
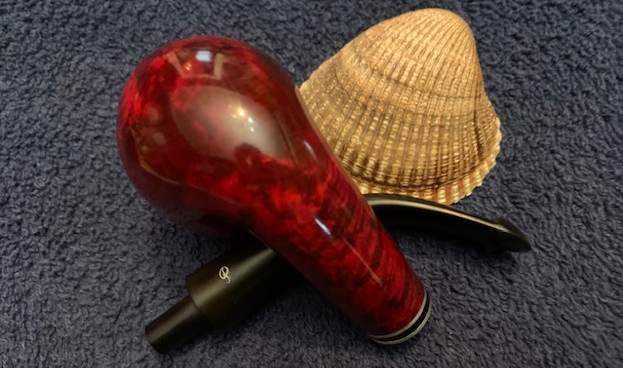
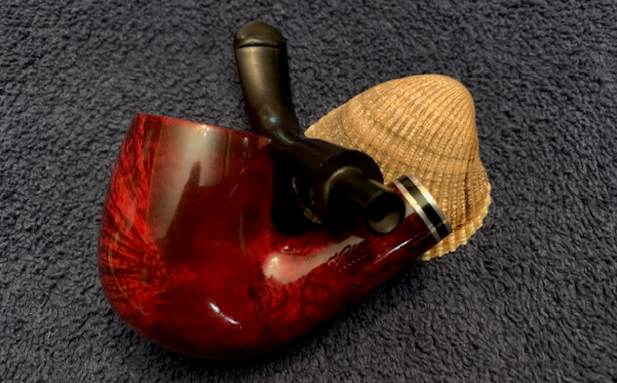
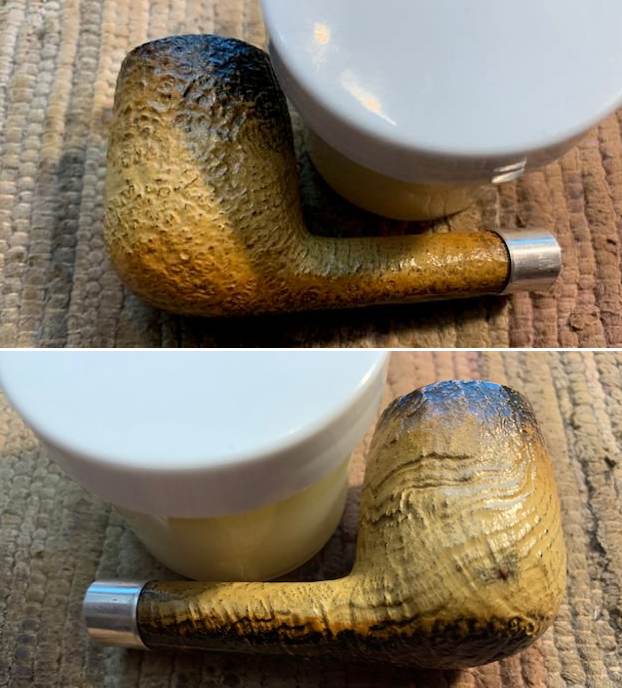
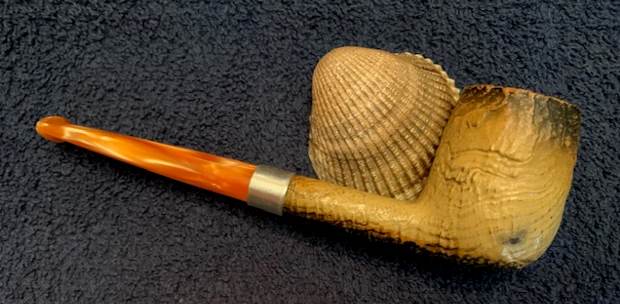
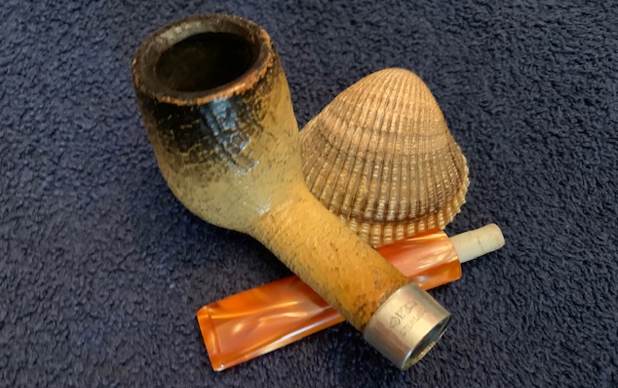
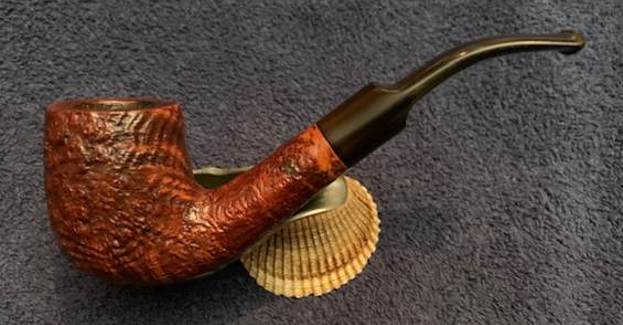
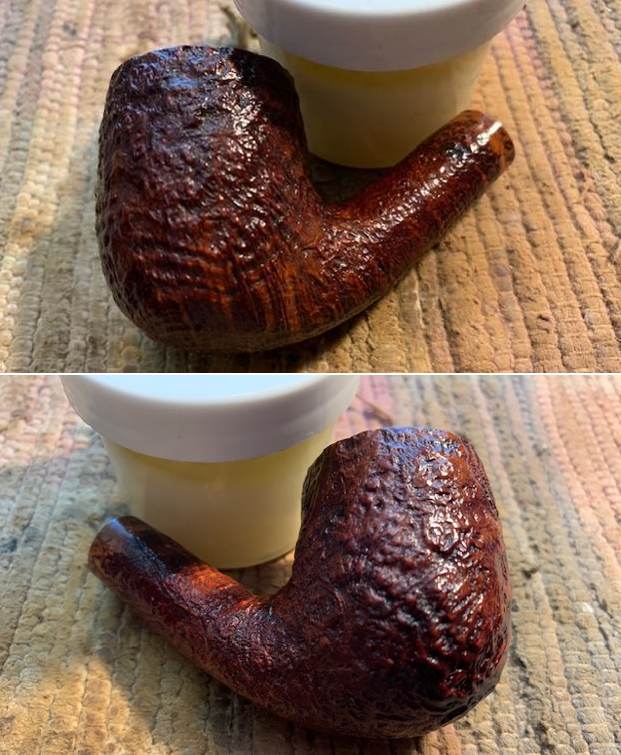
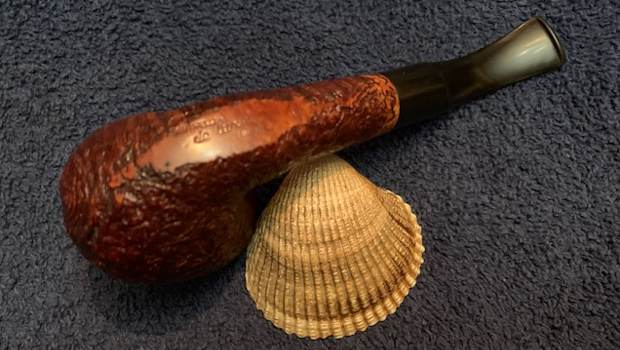
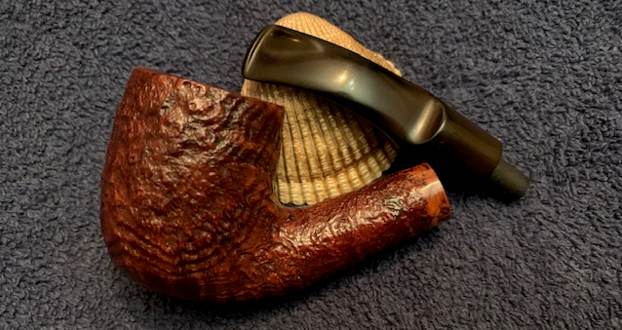
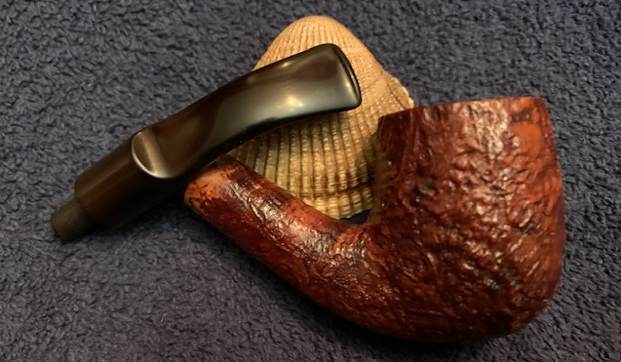
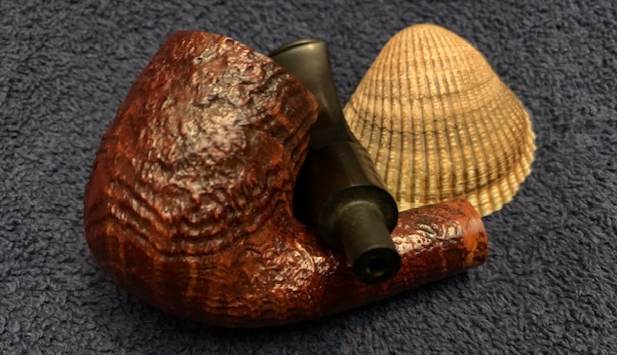
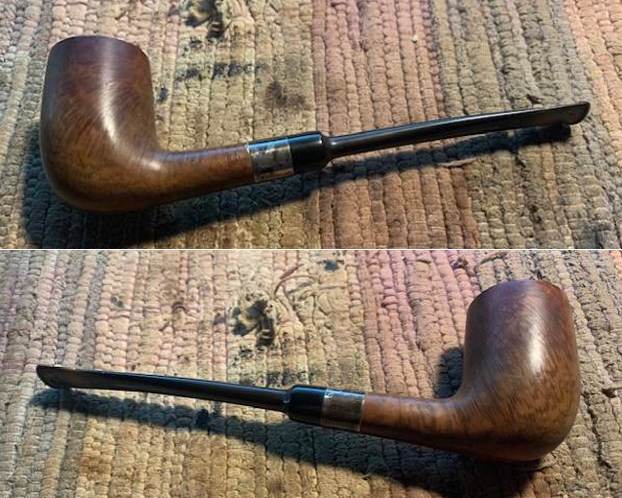
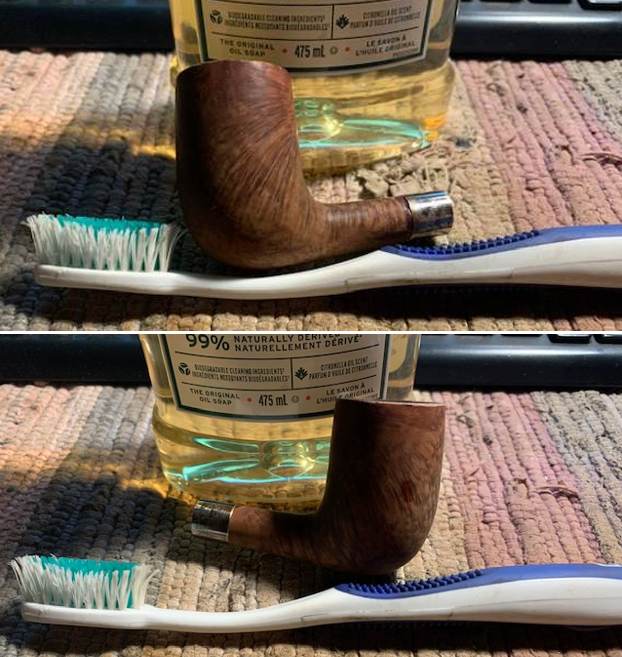
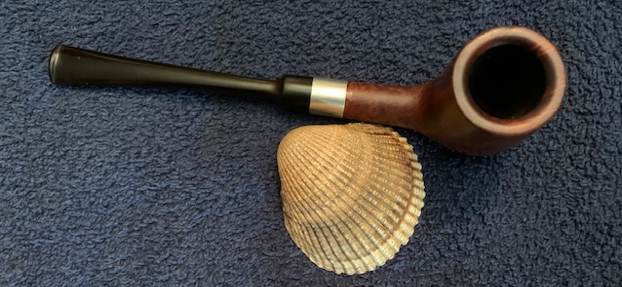
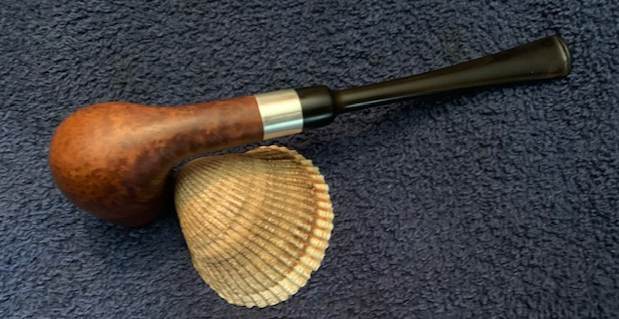
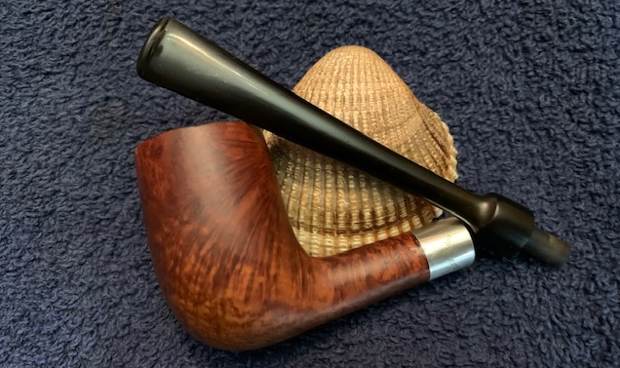
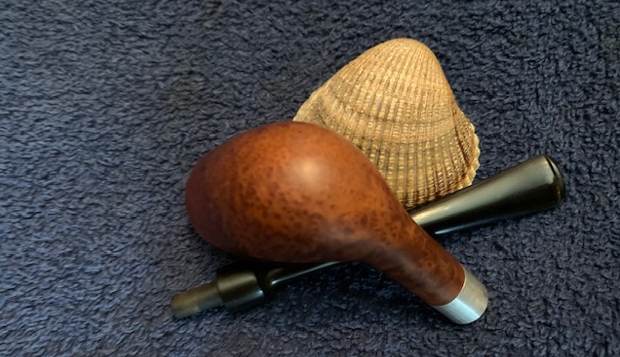
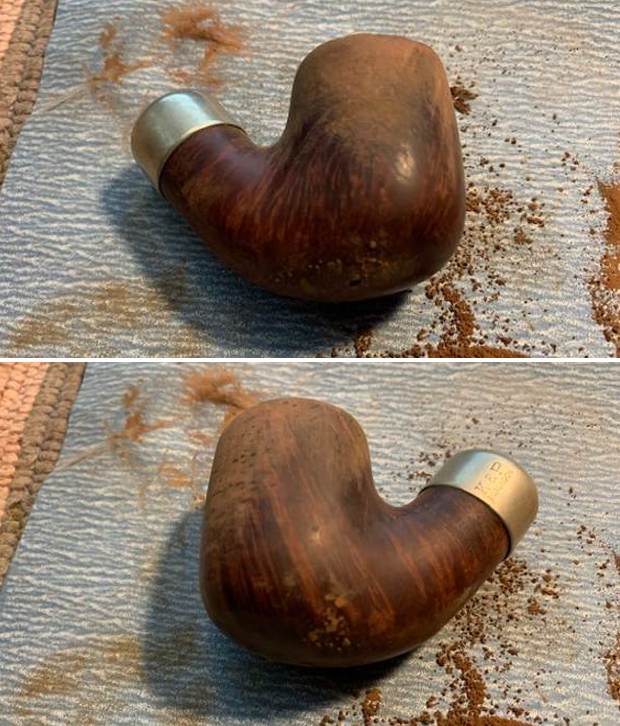
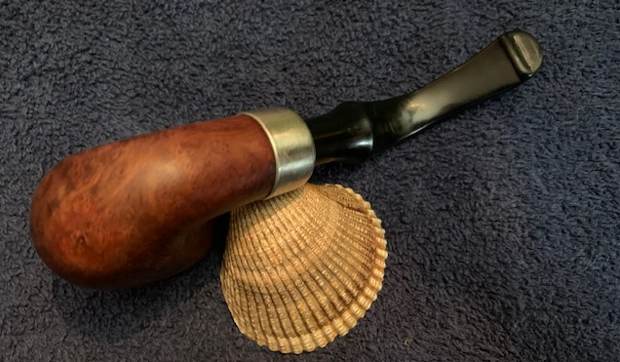
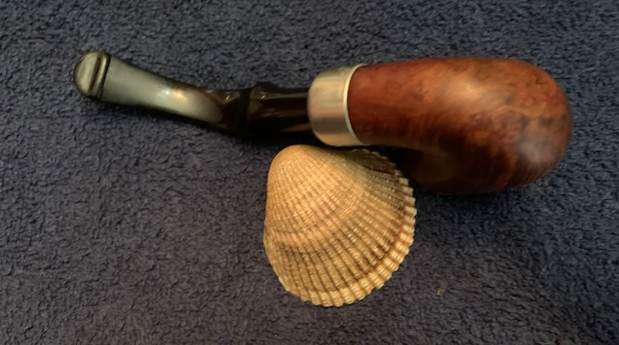
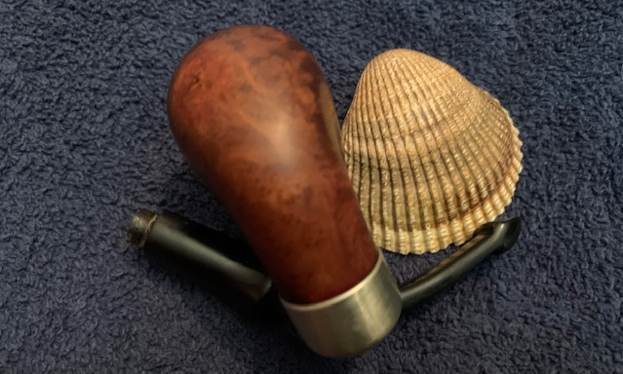
 Jeff captured some of the beauty of the shape and the grain in the next photo. The mix of grains on the front of the bowl and heel are quite lovely as can be seen in the photo below.
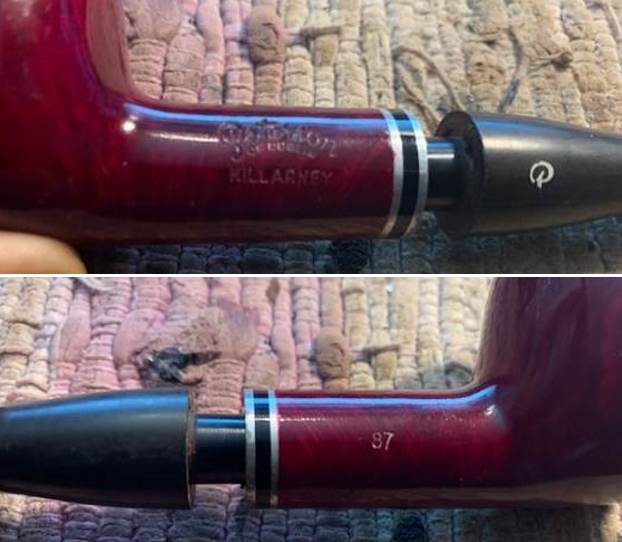
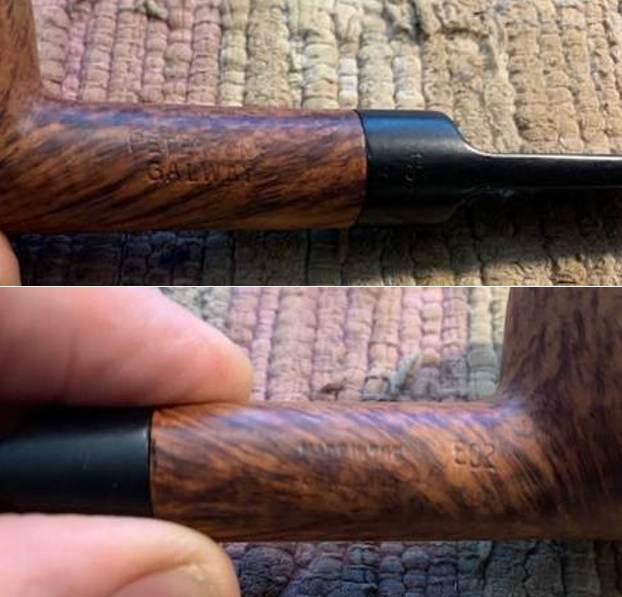
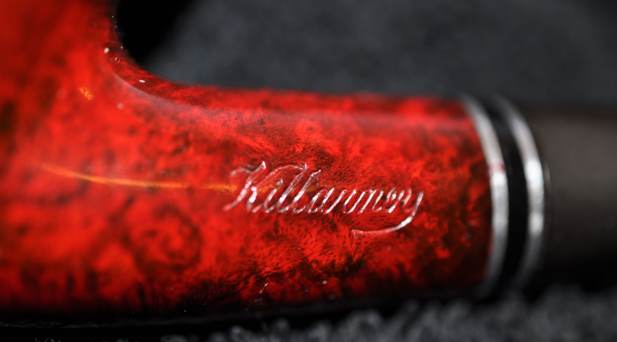
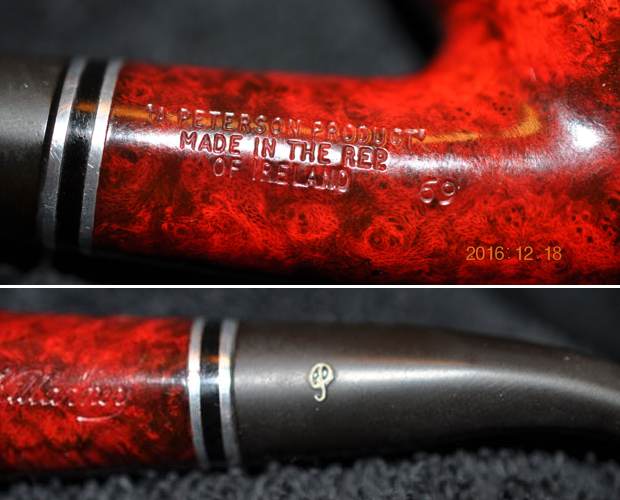
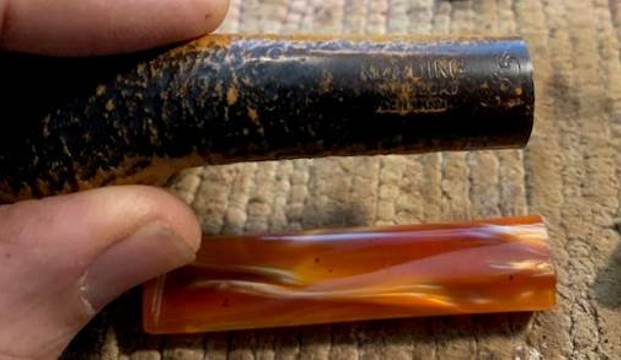
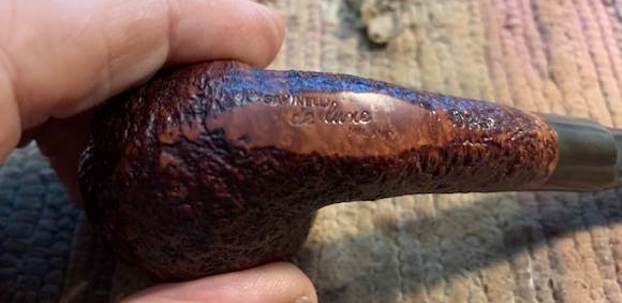
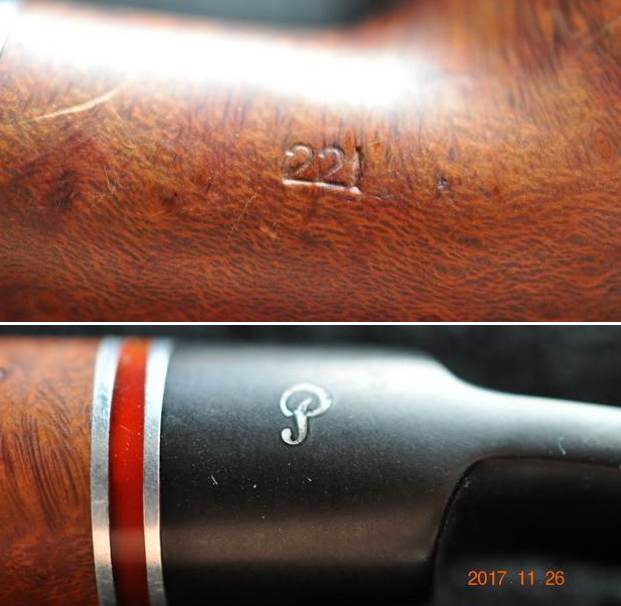
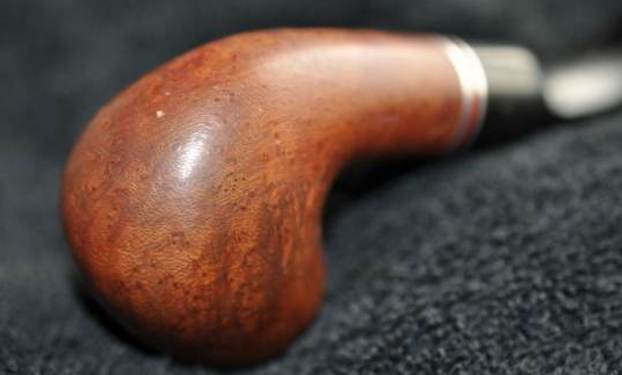 He took photos of the stamping on the sides of the shank. It is clear and readable as noted above. He also took a photo of the P logo stamp on the left side of the stem.
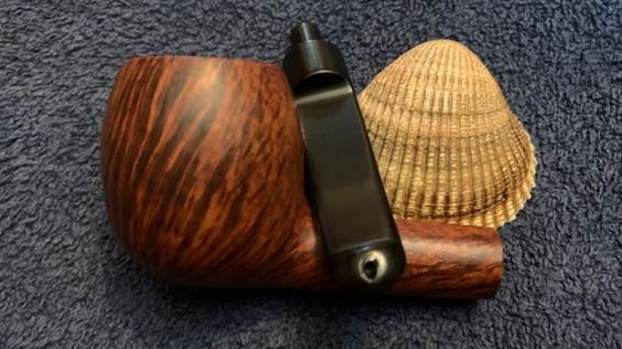
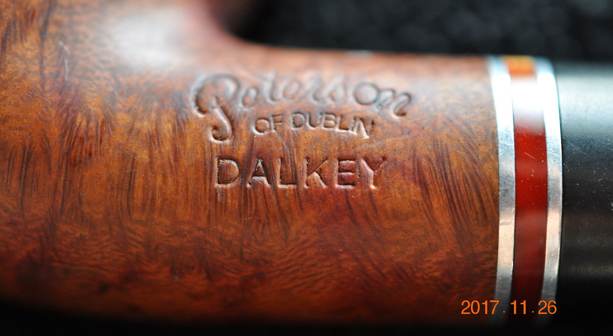
 I decided to check out both the Pipephil and the Pipedia sites for information on the Dalkey line. Both sites did not have any specific information. I then did a quick Google search for the Peterson Dalkey. The first link took me to smokingpipes.com (https://www.smokingpipes.com/pipes/estate/ireland/moreinfo.cfm?product_id=332074) to a pipe that had been sold there. I have included the information I found below:
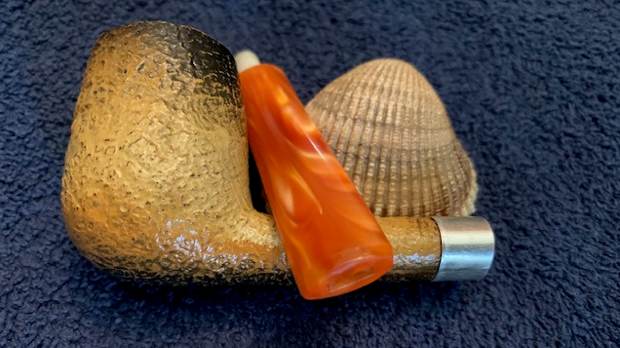
While the bent Billiard is a classic shape, rendered by countless companies, Peterson’s “221” iteration is readily recognized as the work of the Irish marque because of the added visual weight attributed to the shank and transition. Such extra heft stretches the heel and provides more palm-filling substance. It makes for an eye-catching, muscular form in profile yet remains well balanced thanks to the curled transition and bent stem out back. Here it’s presented in the Dalkey finish, with a warm hazelnut stain and nickel-and-acrylic band.
The second link took me to pipesandcigars.com (https://www.pipesandcigars.com/p/peterson-dalkey-pipes/2000657/).I quote the following from the introduction to the line:
Peterson Dalkey Pipes come in an assortment of classic Peterson shapes. The finish is a warm brown tone, mated to black stems, and finished with a gold and orange triple trim ring. These pipes are not only handsome, but they’re among the most affordable smooth finished pipes that Peterson makes.
I then turned to The Peterson Pipe by Mark Irwin and Gary Malmberg and looked up the listing in the book for Dalkey. I quote what I found there.
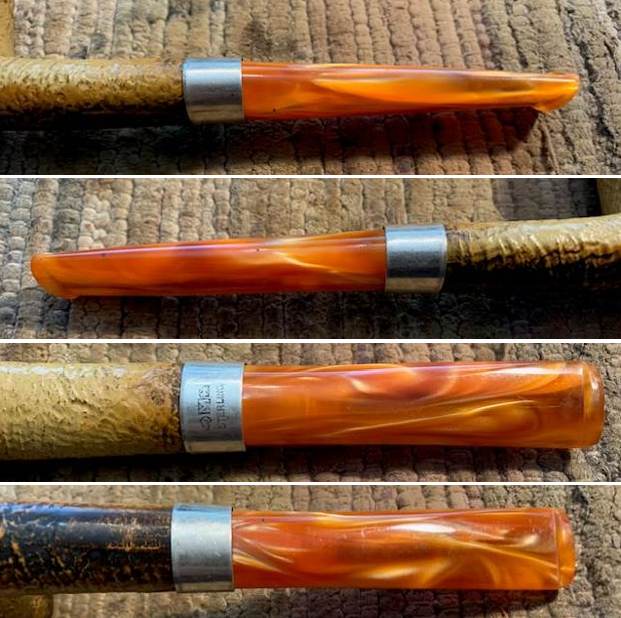
Dalkey (2010-) Dark stained smooth finish line with a band of orange acrylic sandwiched between nickel bands, white P stamped on a fishtail mouthpiece.
Now I knew I was dealing with a pipe made after 2010 and the dark stained finish (to me it is a dark walnut). The shank band looks amazing with the stain on the finish. Now it was time to work on the pipe.
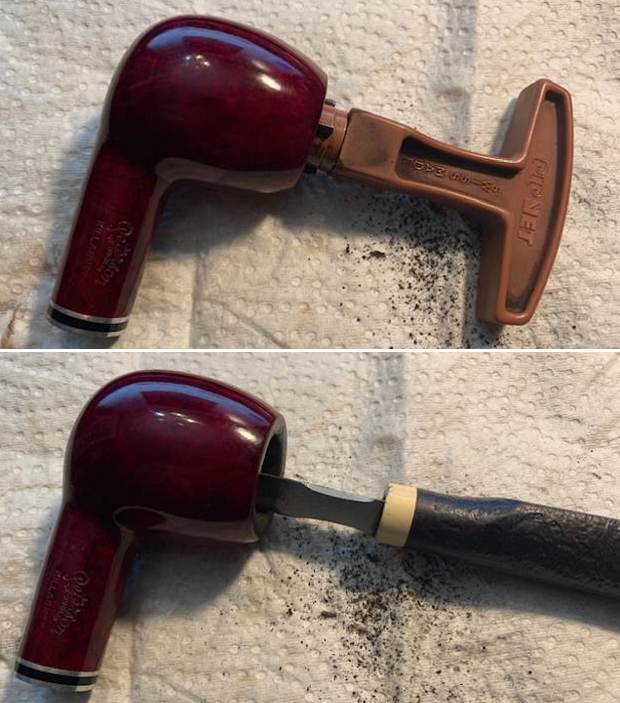
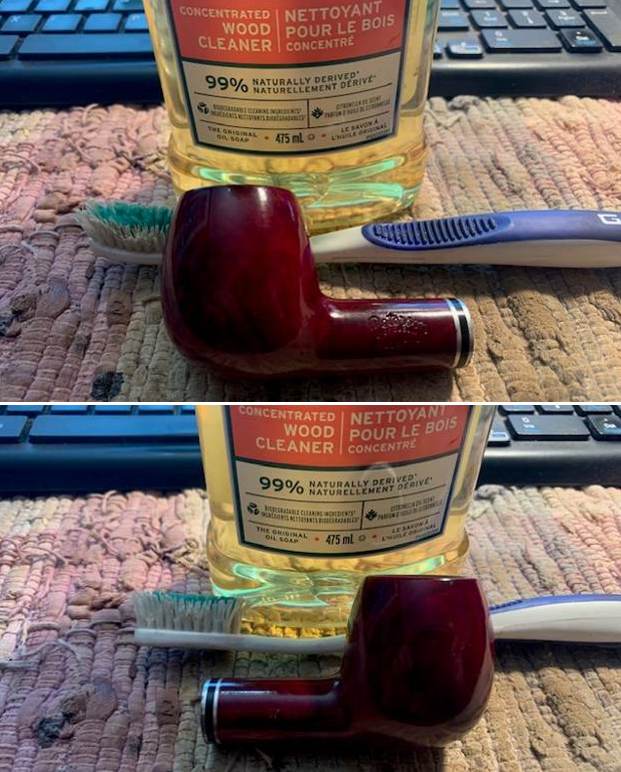
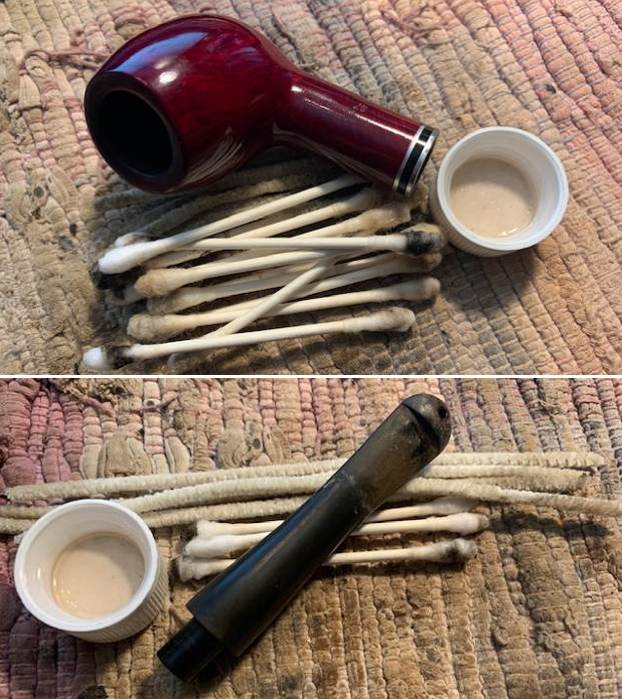
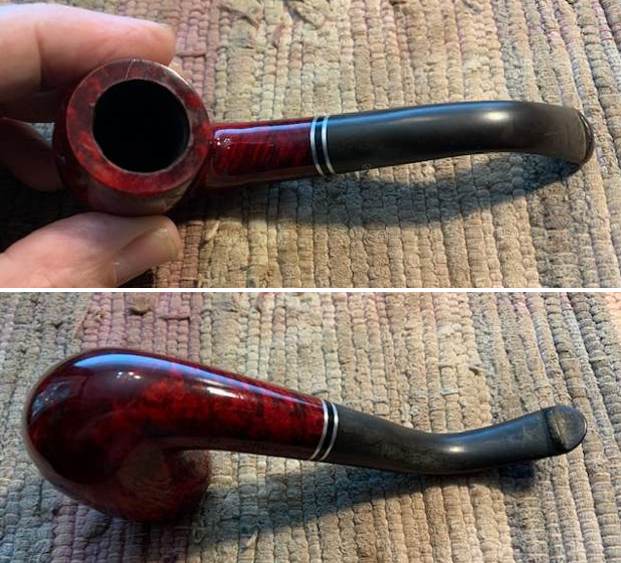
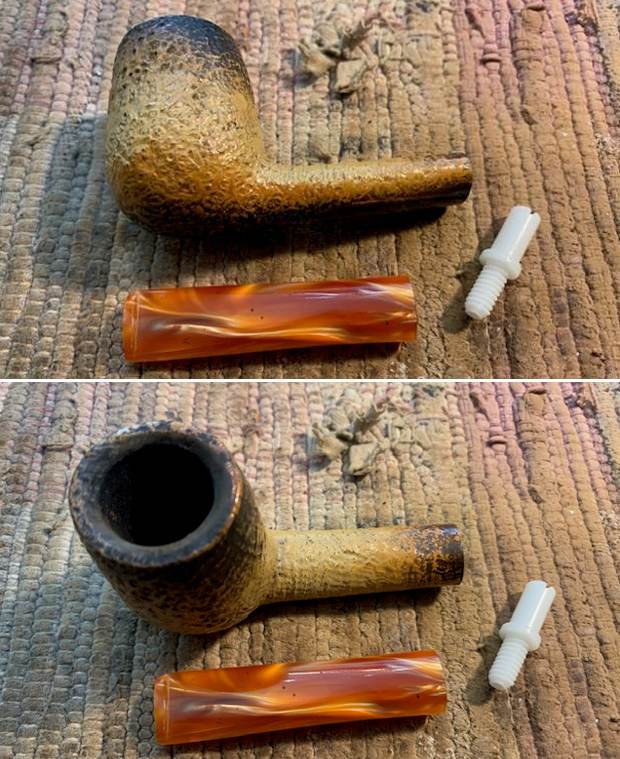
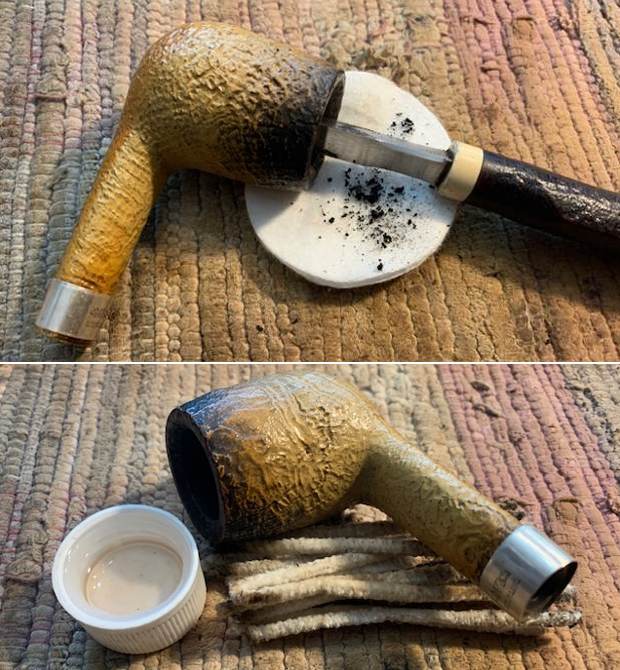
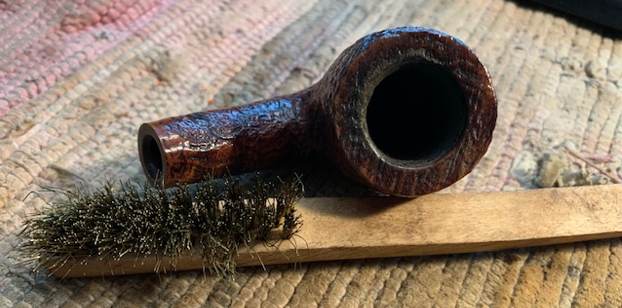
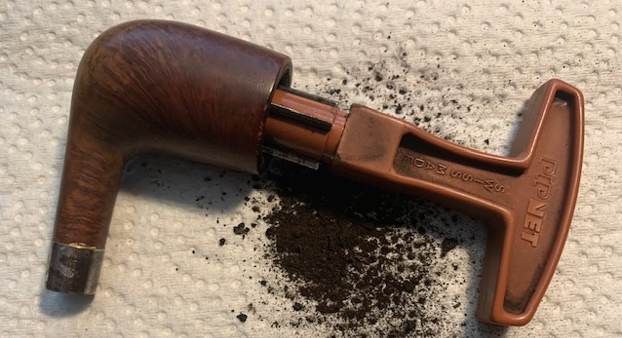
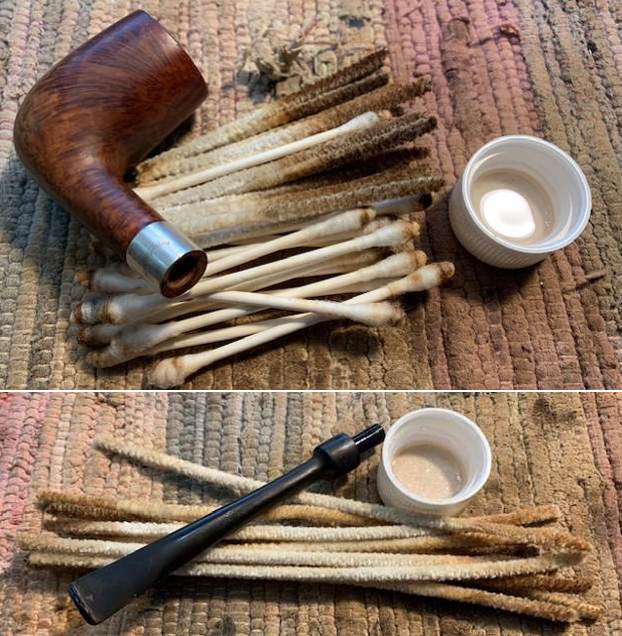
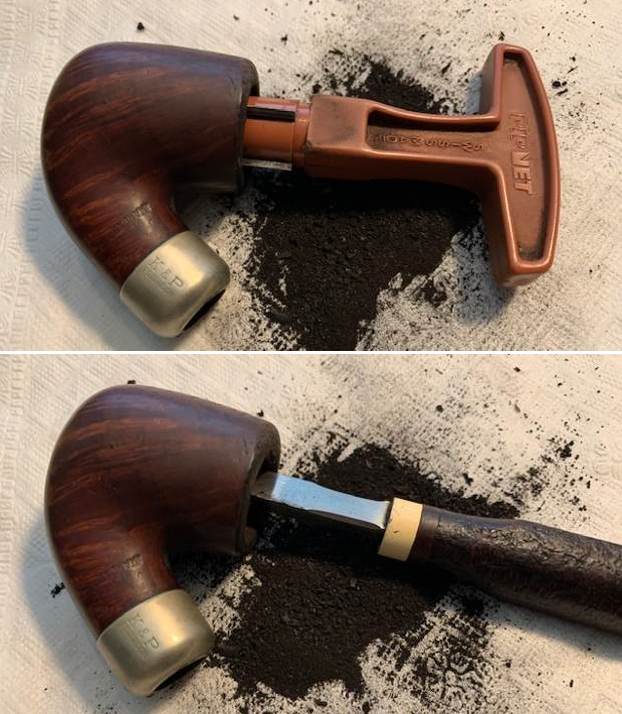
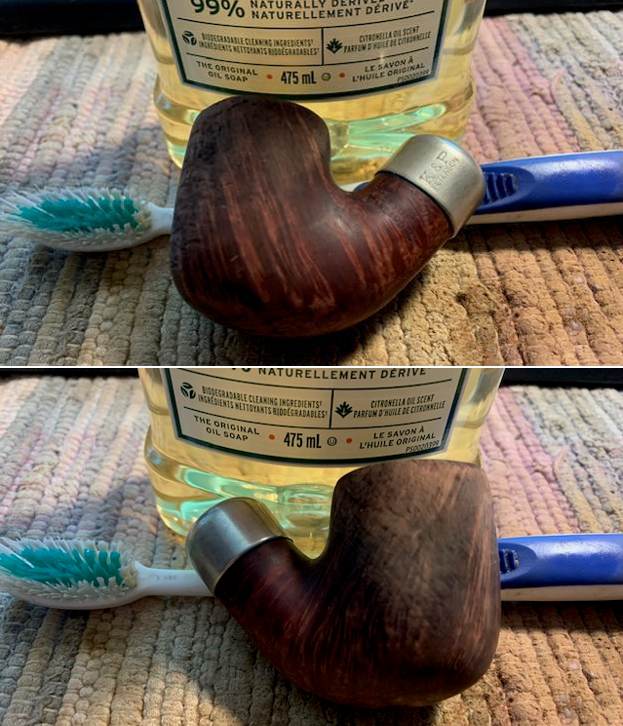
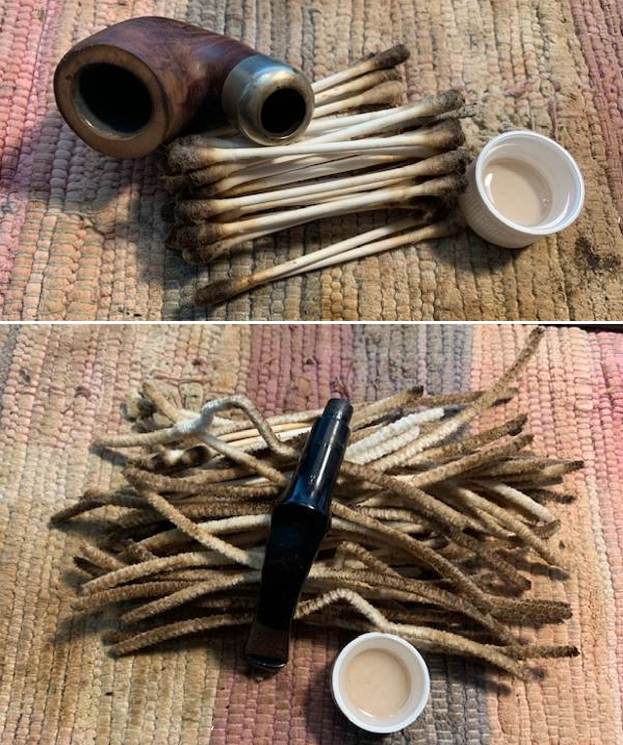
Jeff had done a great cleanup on the pipe. He reamed the bowl with a PipNet pipe reamer and followed up with a Savinelli Fitsall pipe knife to remove the cake. He scrubbed out the mortise and the airway in the shank and the stem with alcohol, cotton swabs and pipe cleaners. He scrubbed the bowl exterior with a tooth brush and Murphy’s Oil Soap to remove the grime on the finish of the bowl and the lava from the rim top. He rinsed it under running water. One of the benefits of this scrub is that it also tends to lift some of the scratches and nicks in the surface of the briar. He dried it off with a soft cloth. He cleaned the internals of the shank/mortise and stem with alcohol, pipe cleaners and cotton swabs. He soaked the stem in Briarville’s Pipe Stem Deoxidizer and rinsed it off with warm water and cleaned out the airway in the stem with alcohol, pipe cleaners and cotton swabs. I took photos of the pipe as I saw it when I finally brought it to my work table. 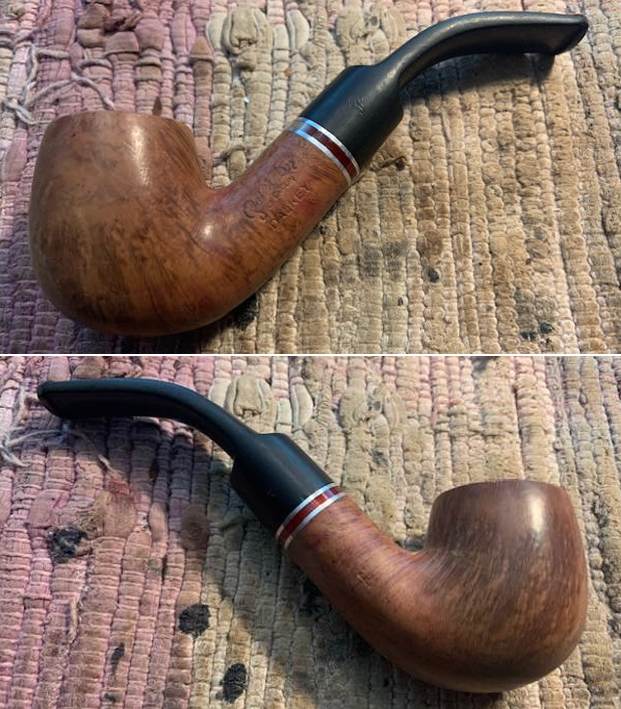
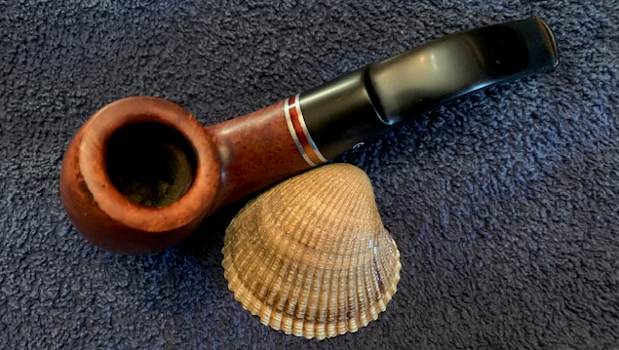
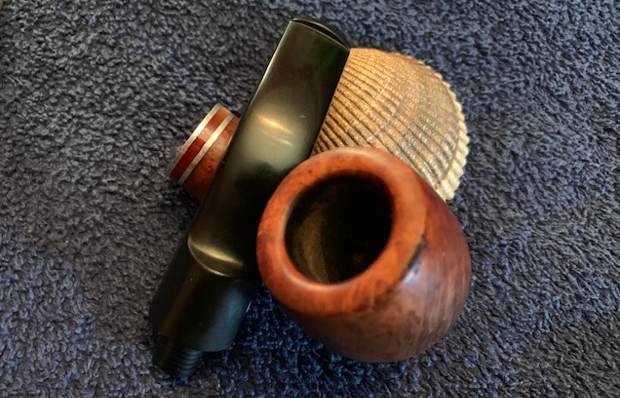
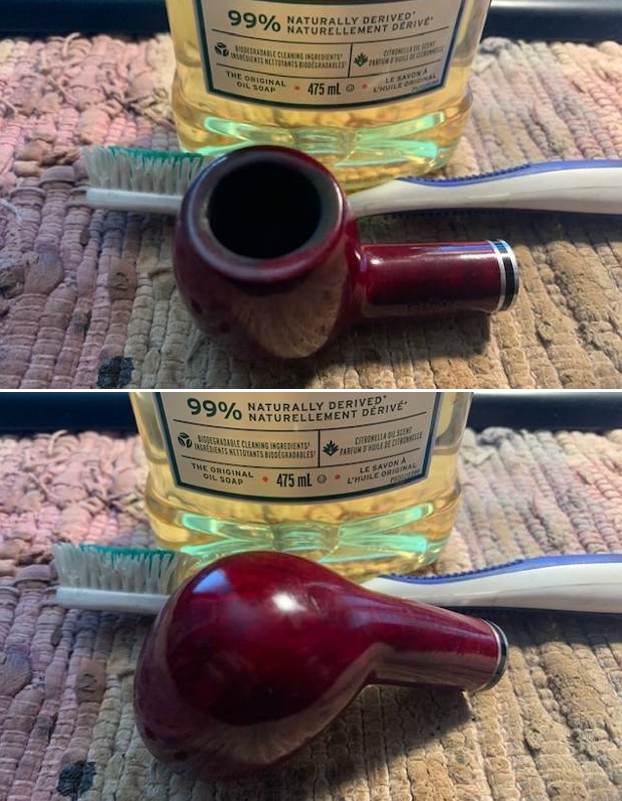
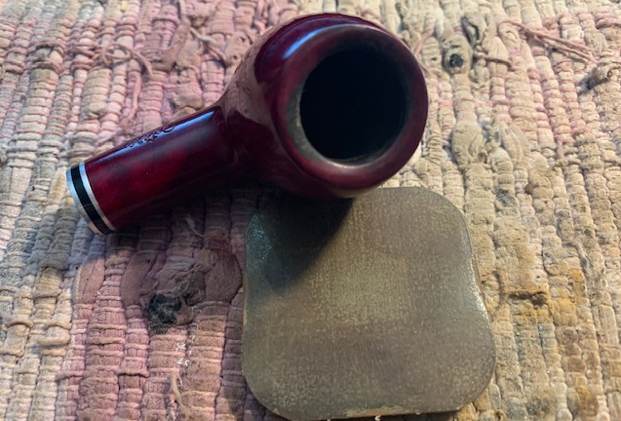
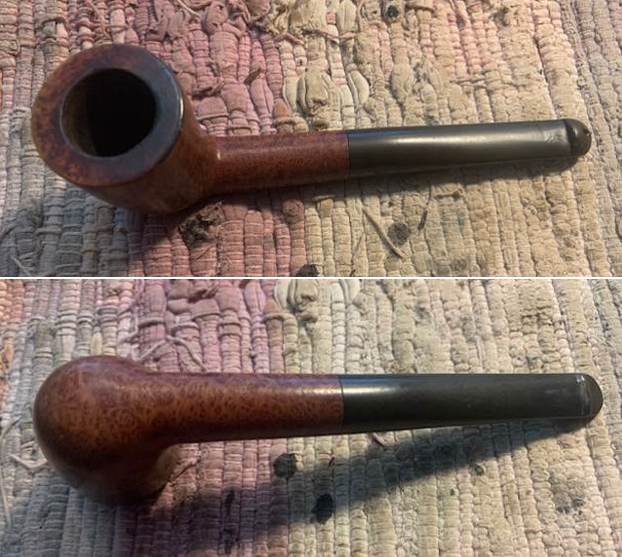
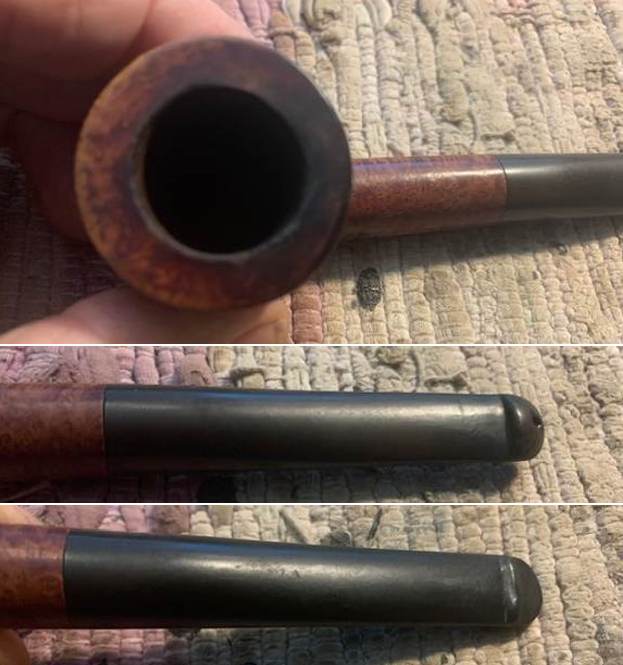
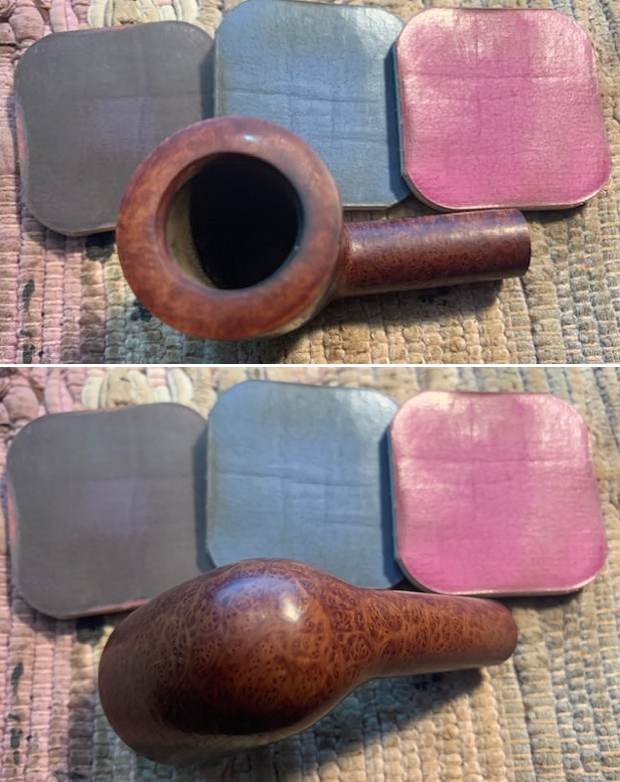
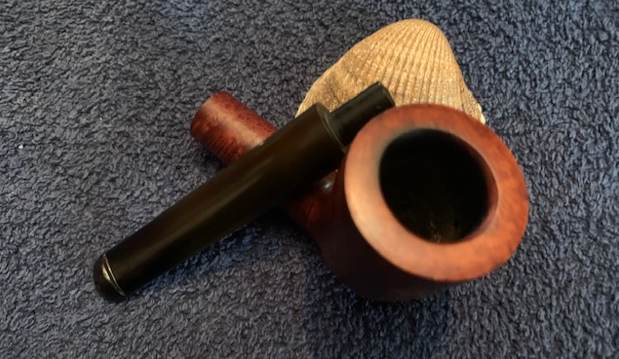
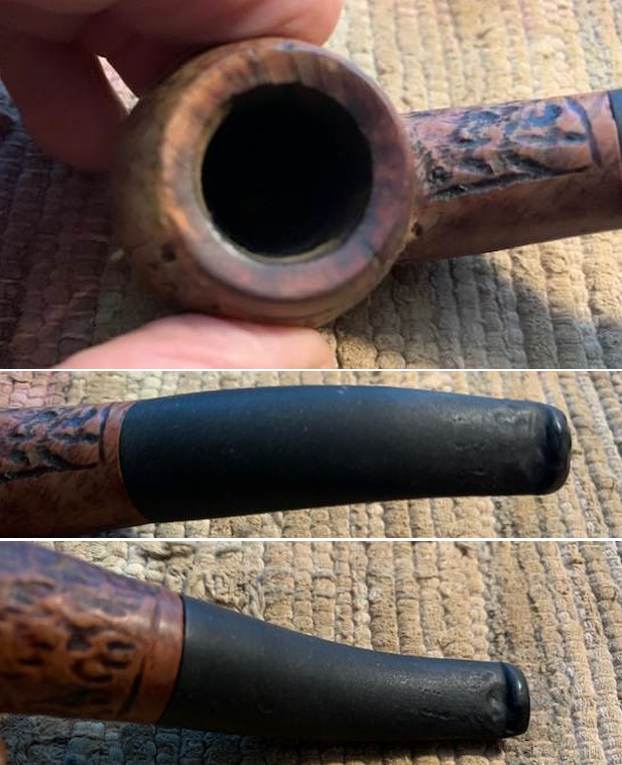
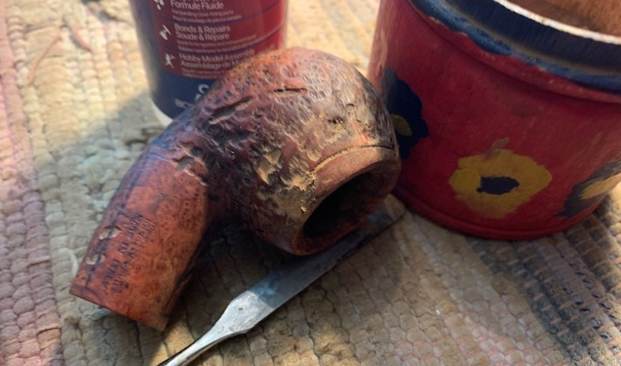
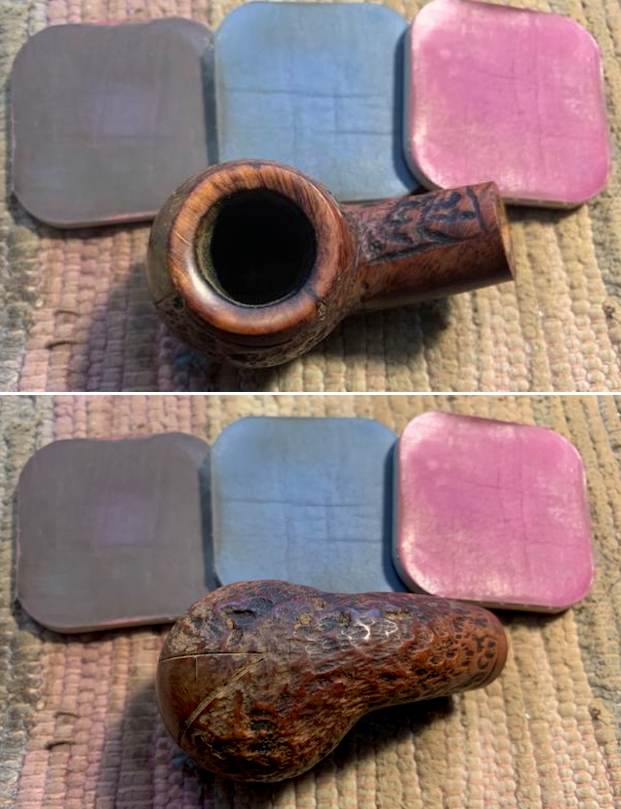
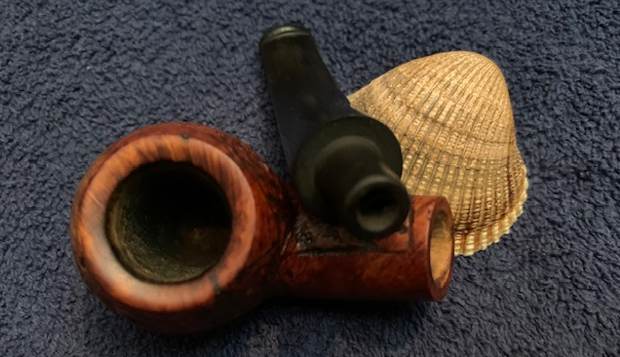
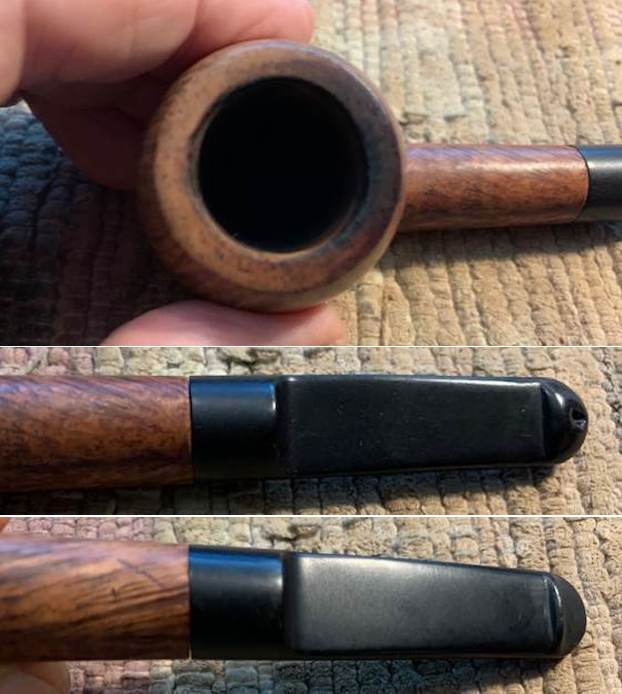
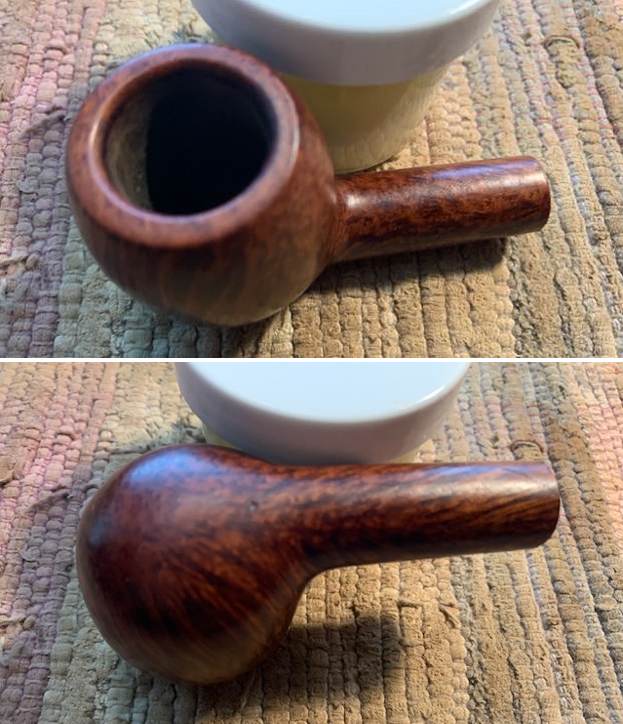
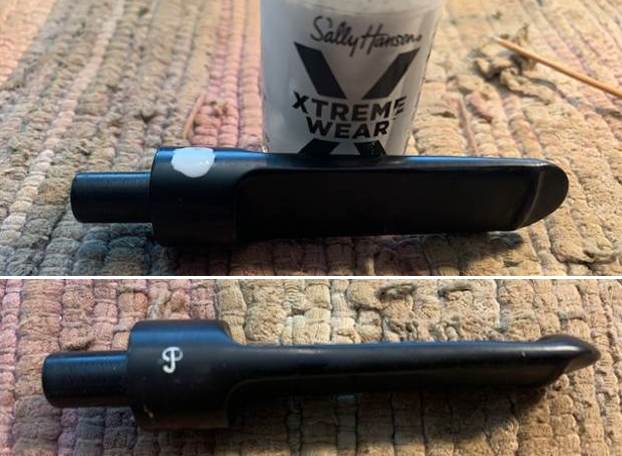
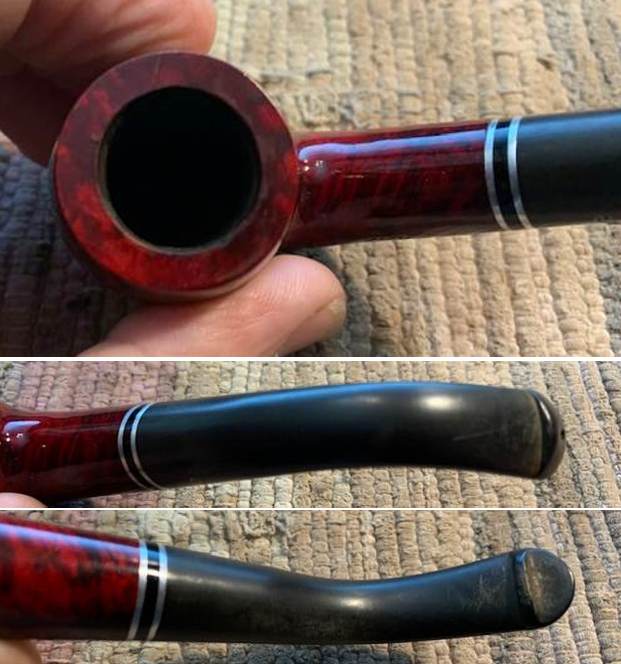
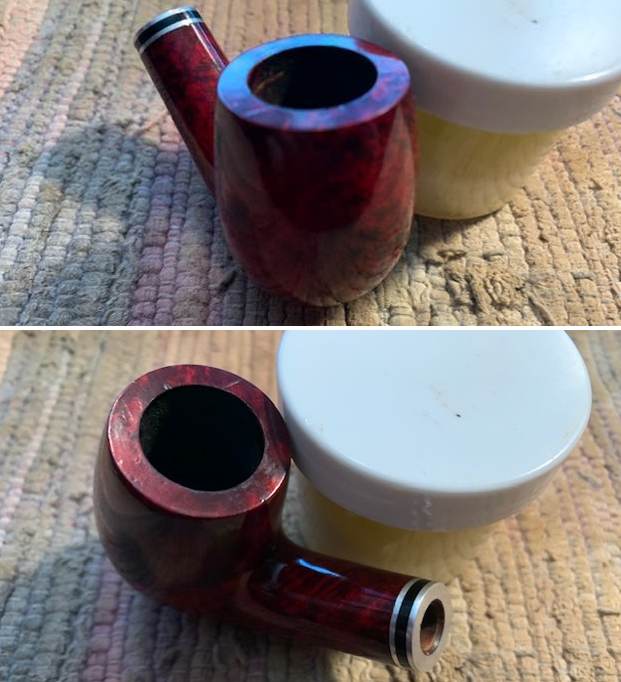
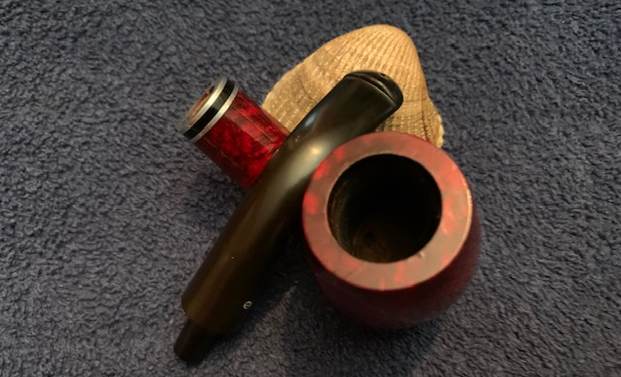
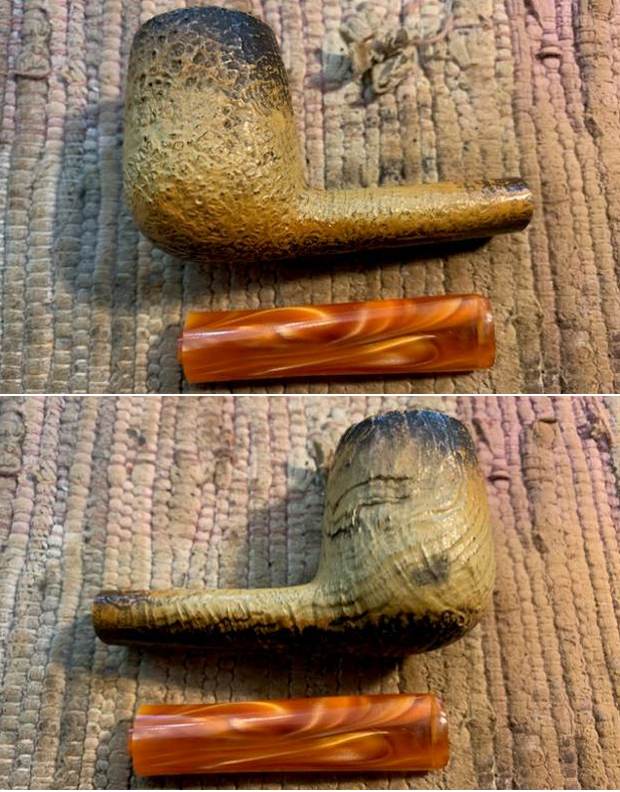
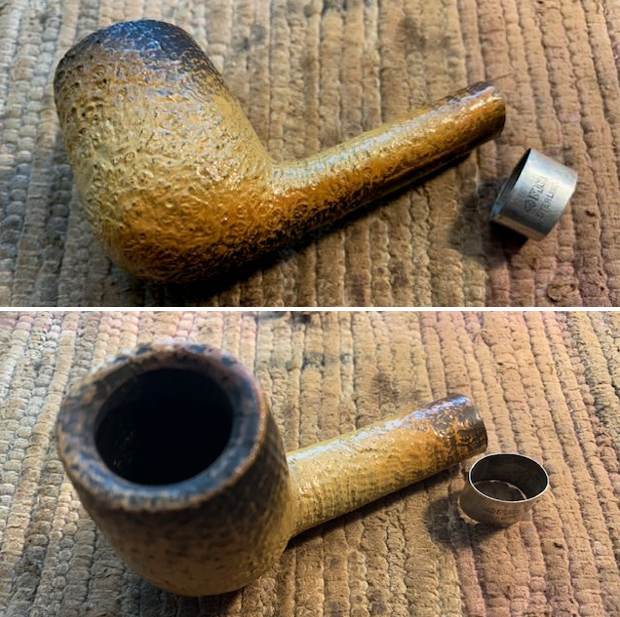
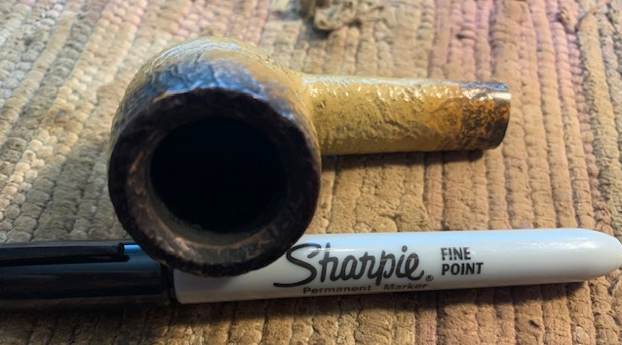
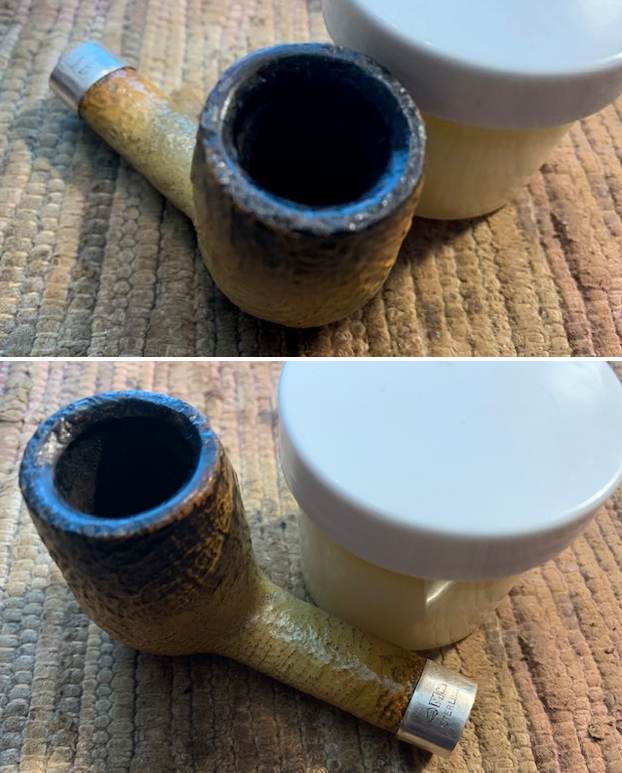
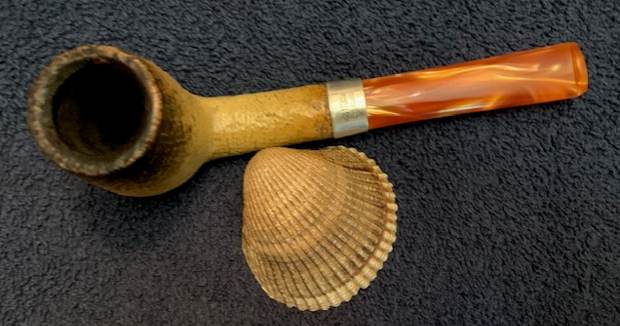
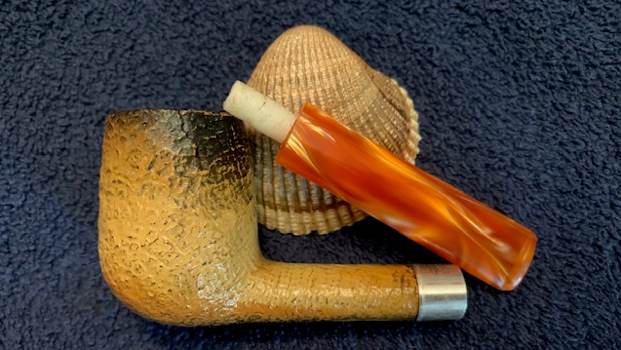
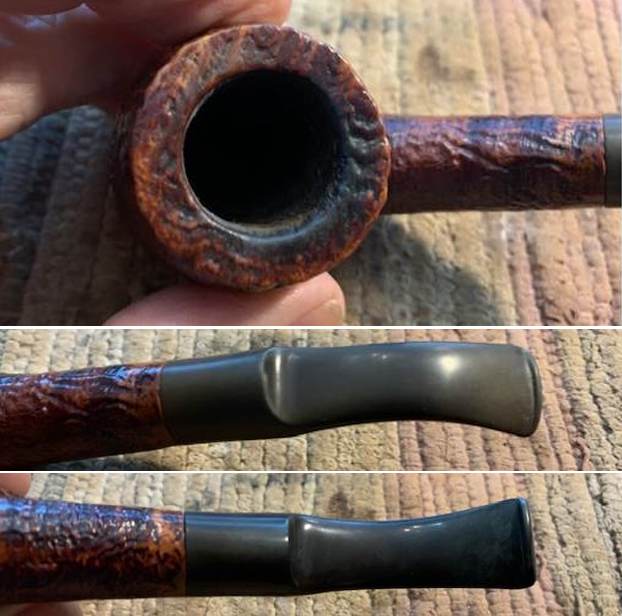
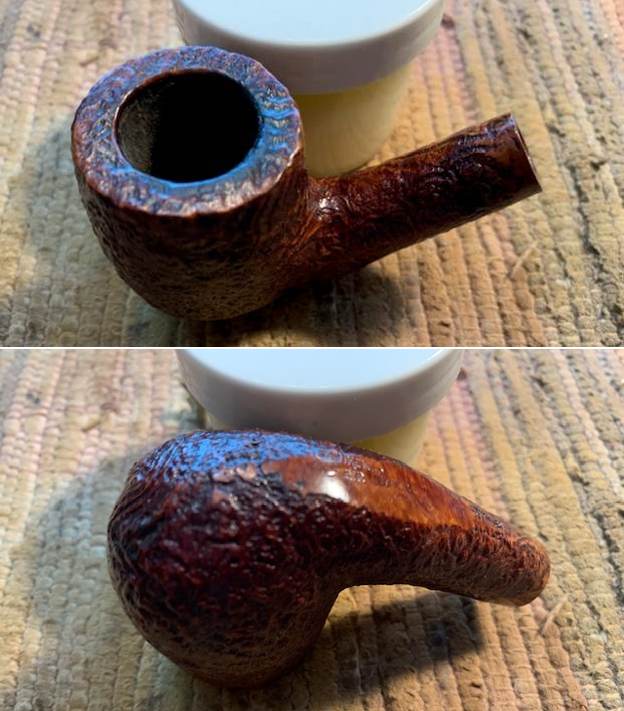
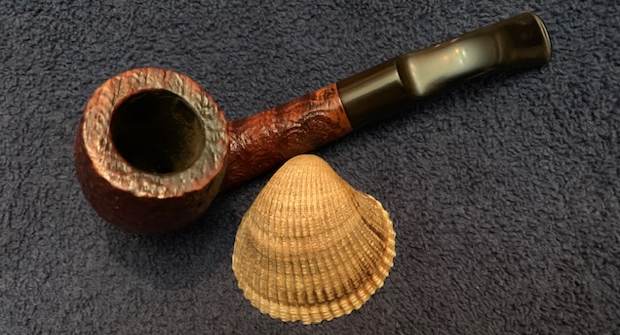
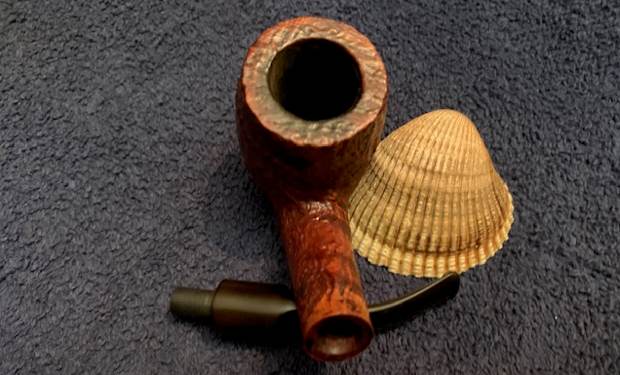
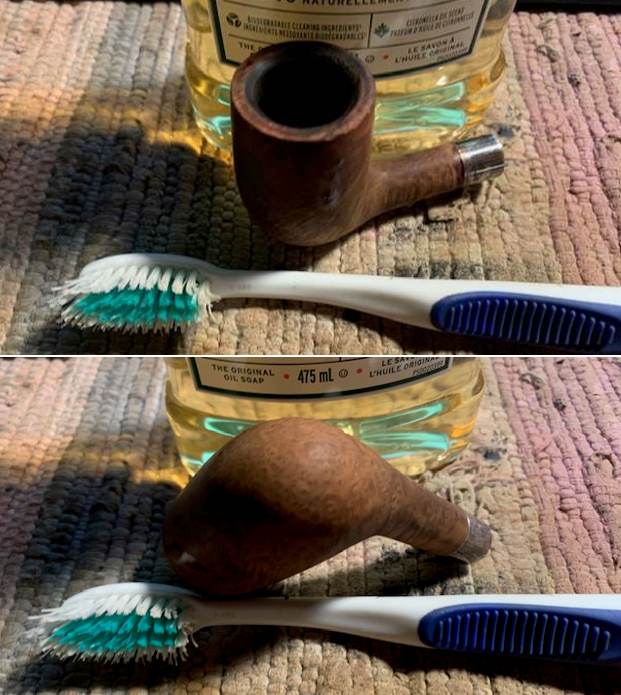
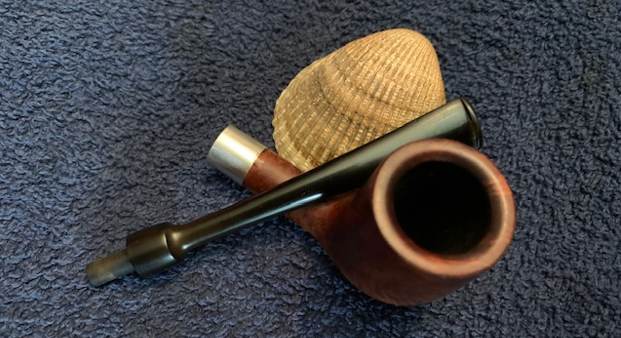
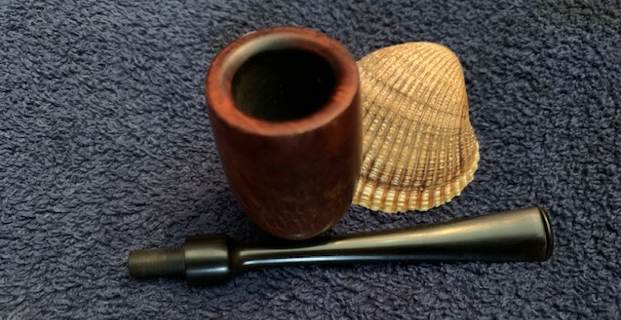
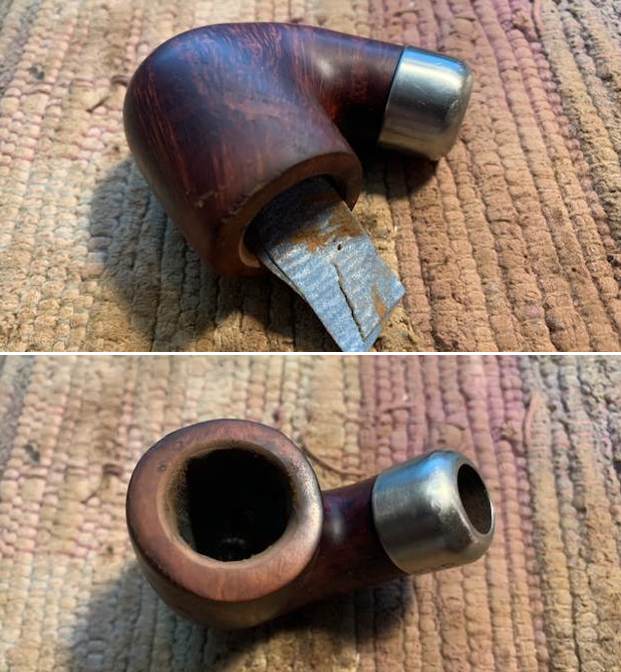
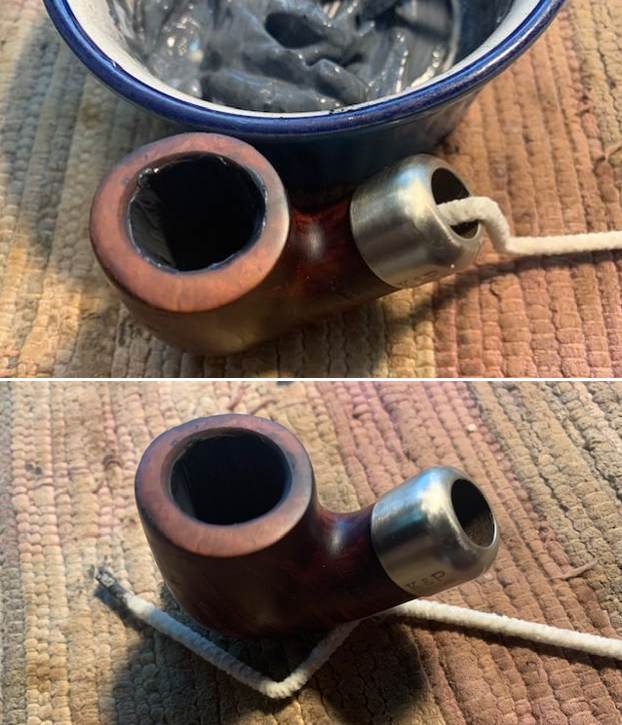
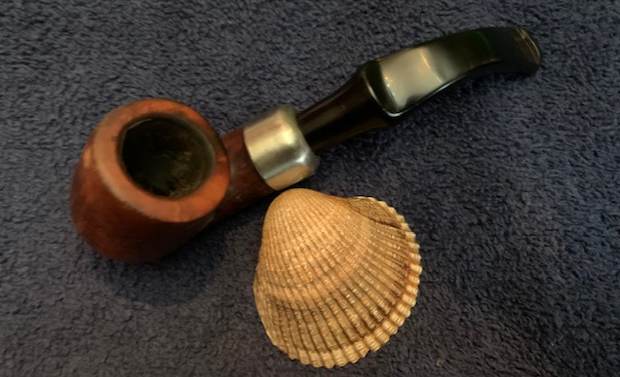
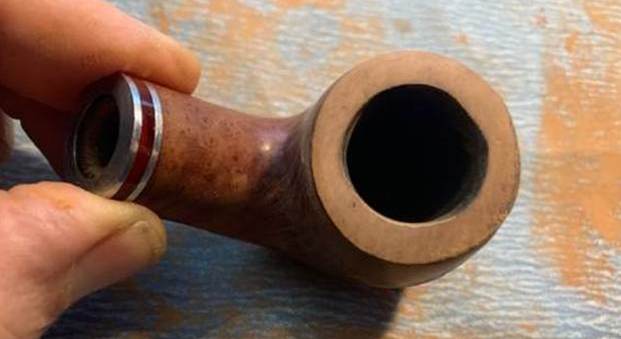
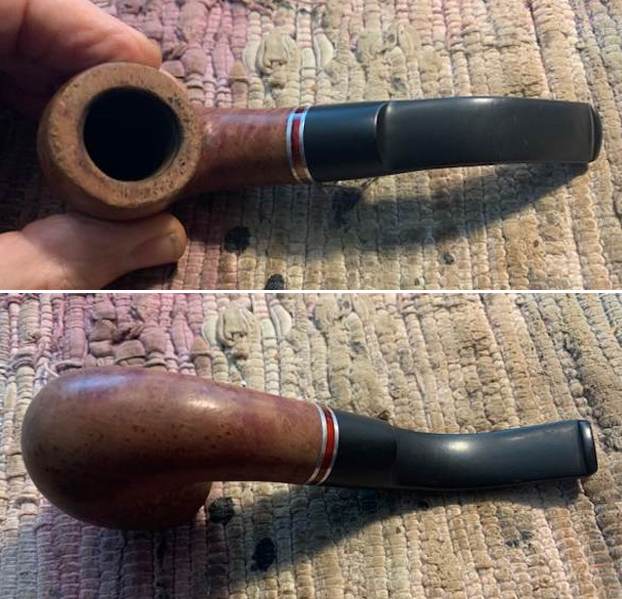 I took photos of the rim top and stem to show the condition. The rim top and edges were in very rough condition. You can see the damage to the top all the way around and to the outer edge on the bowl front. It really very rough to the touch. The stem was vulcanite and there were light tooth marks and chatter on both sides ahead of the button.
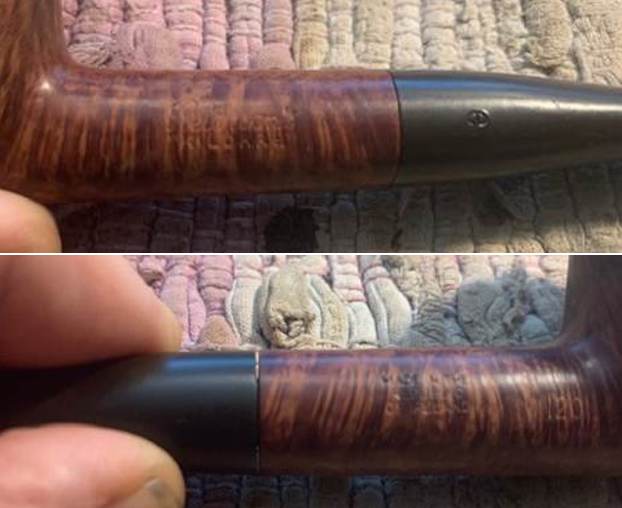
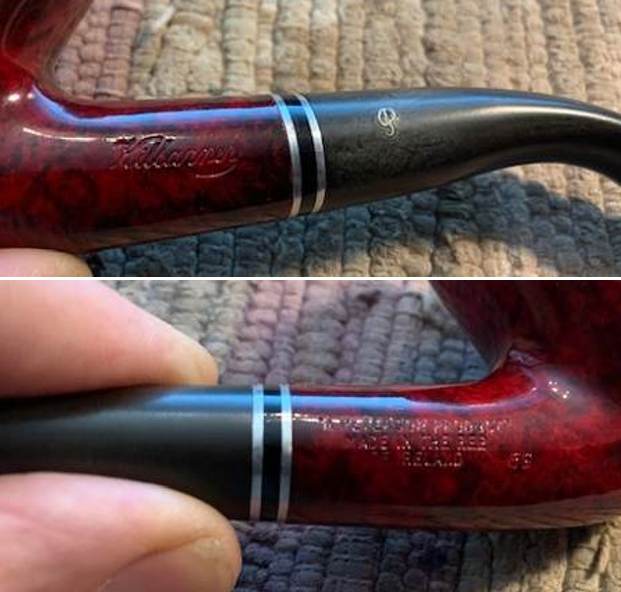
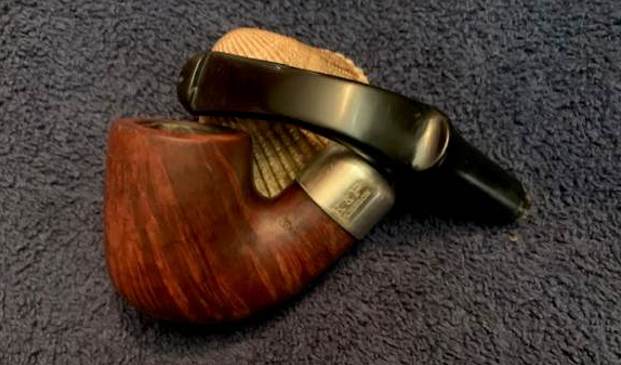
 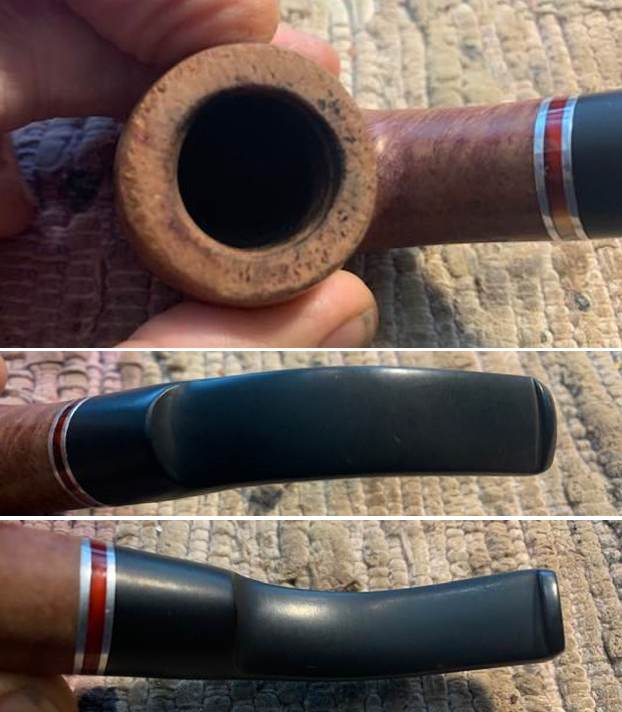 I took photos of the stamping on the sides of the shank. They are clear and readable as noted above. The “P” logo on the stem is faint but is still quite readable.
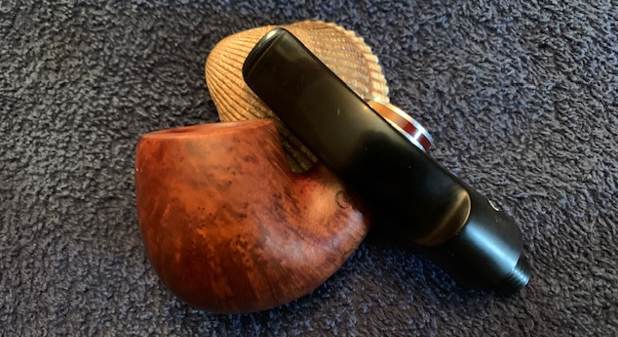
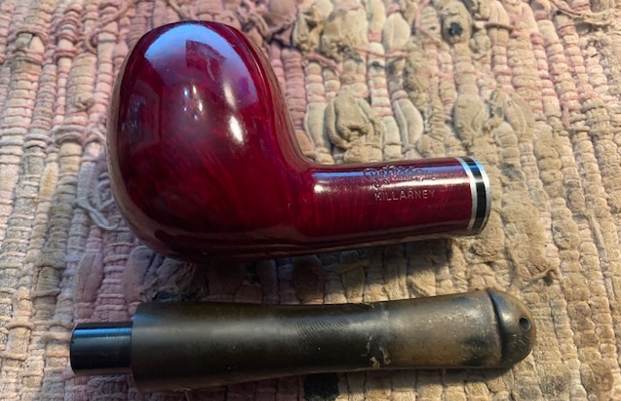
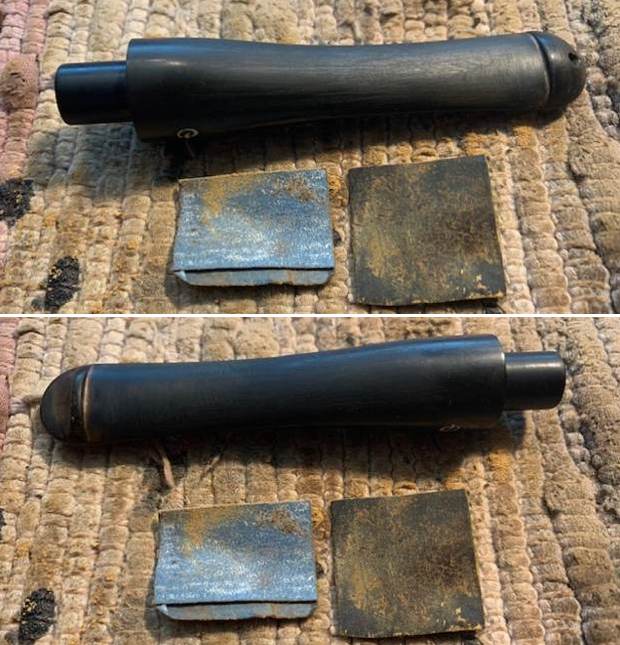
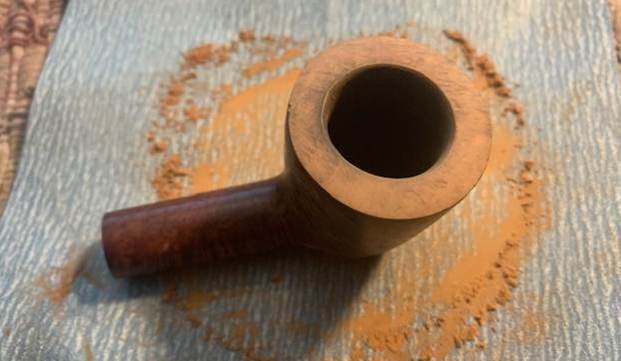
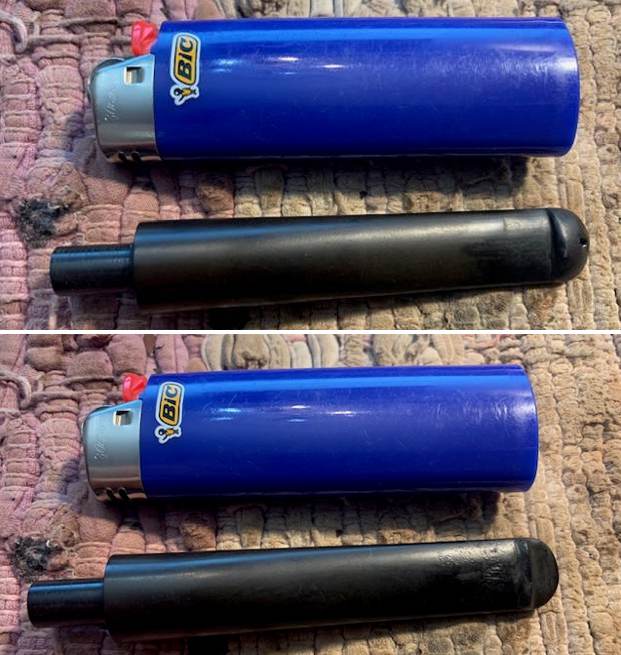
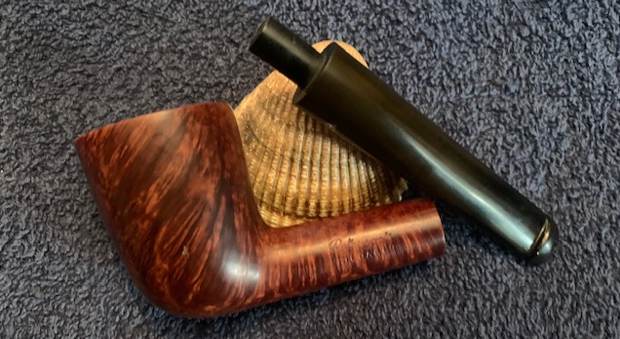
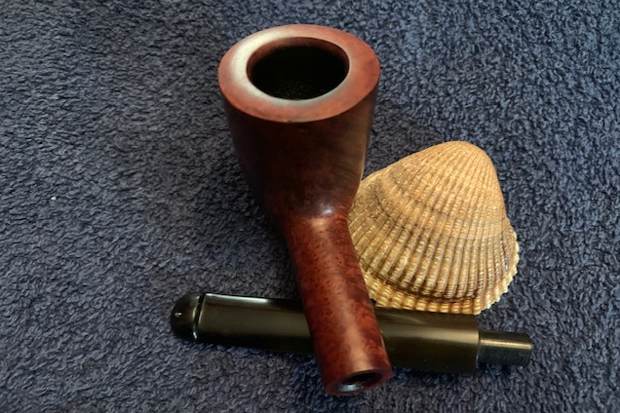
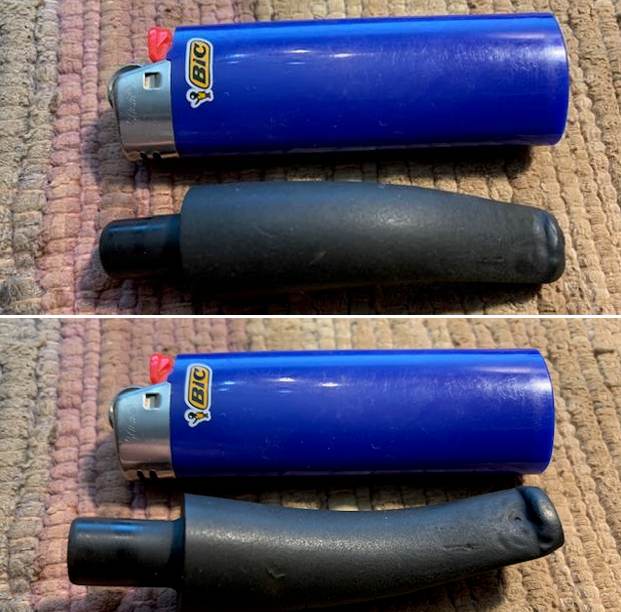
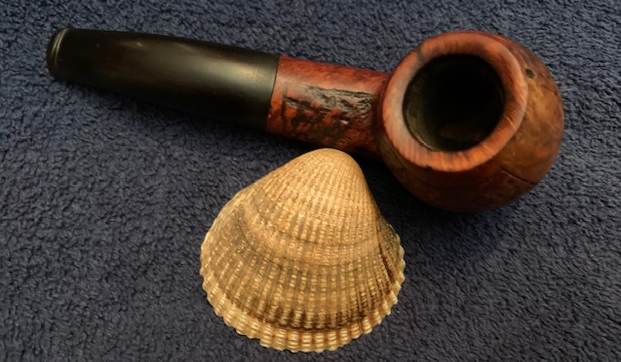
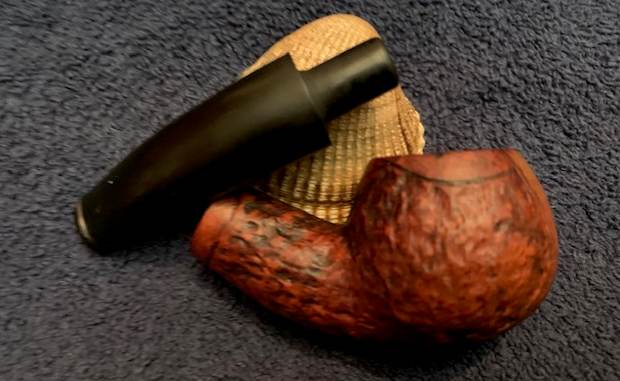
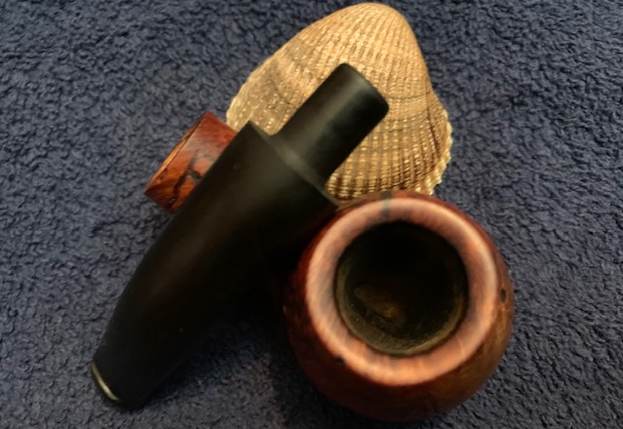
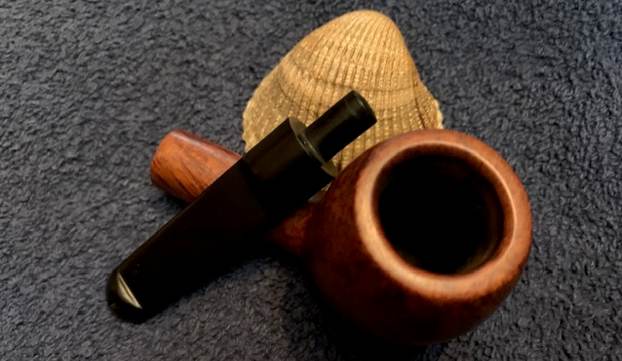
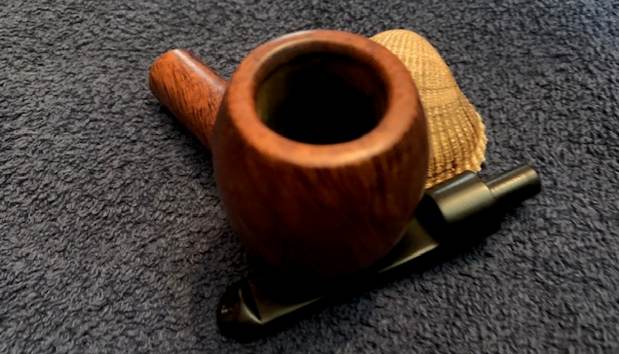
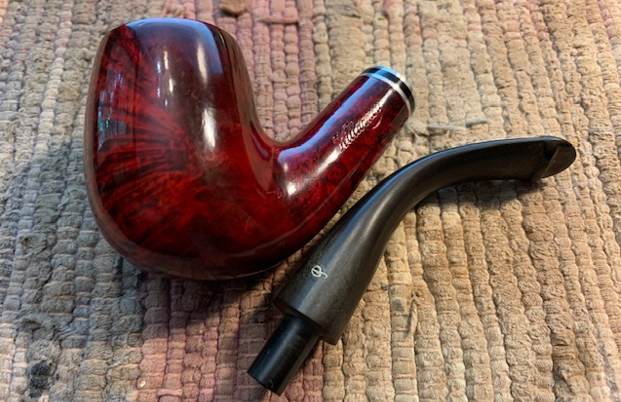
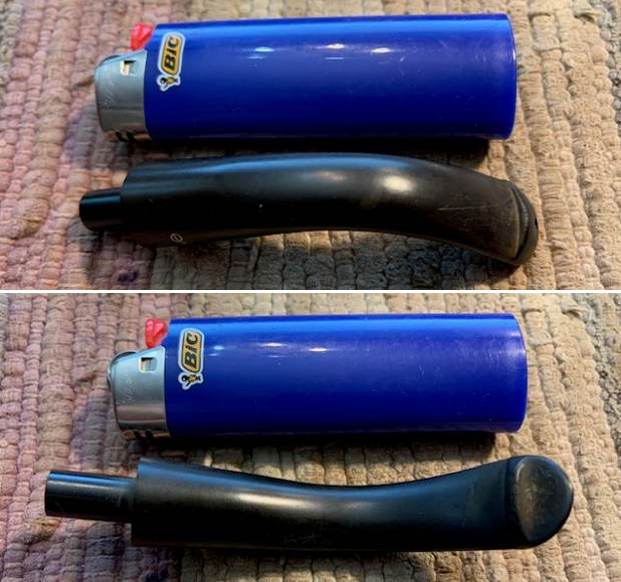
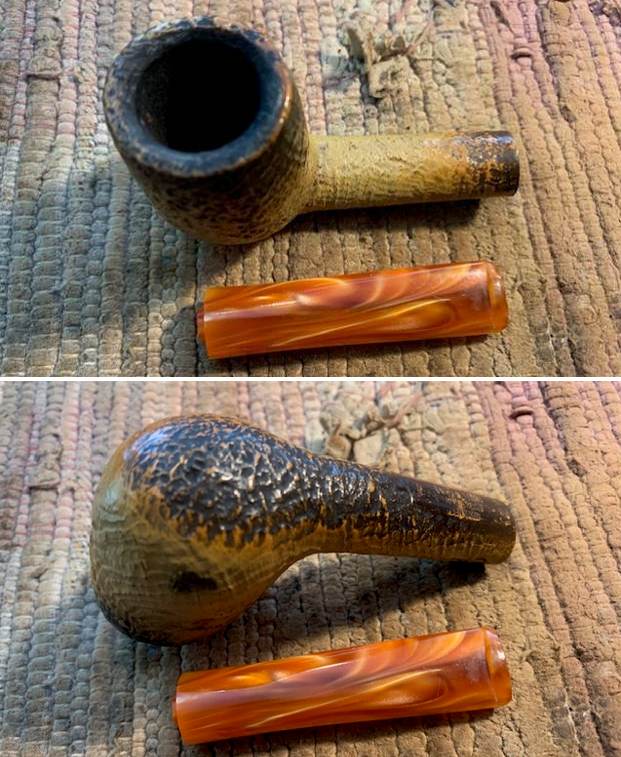
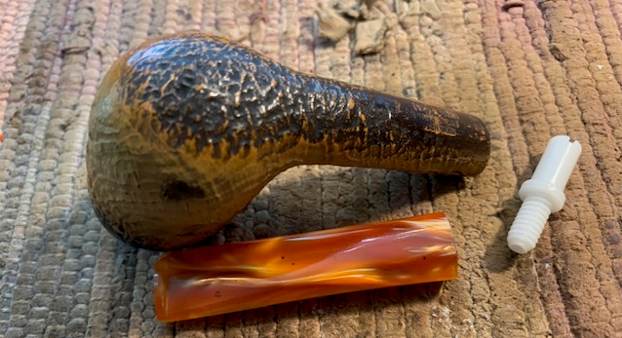
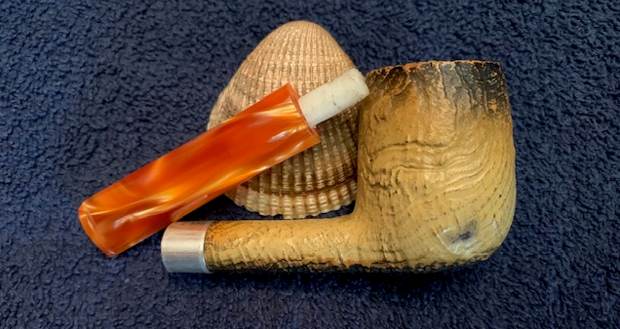
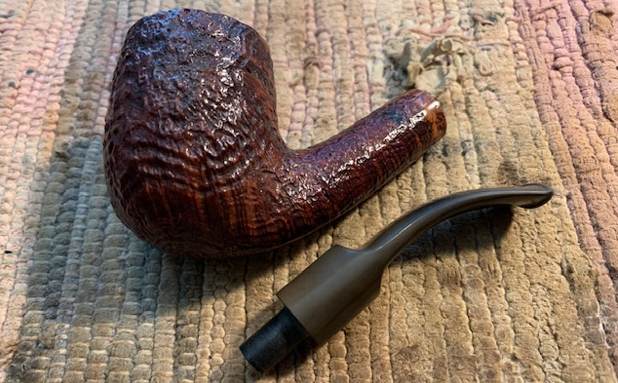
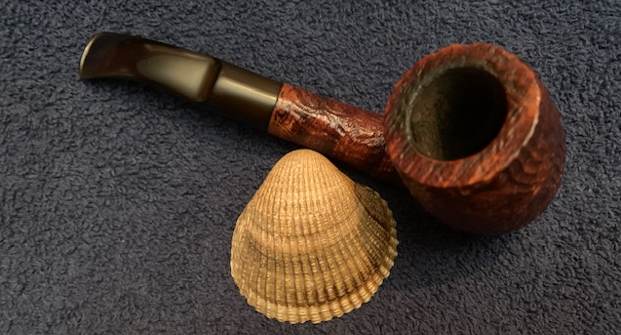
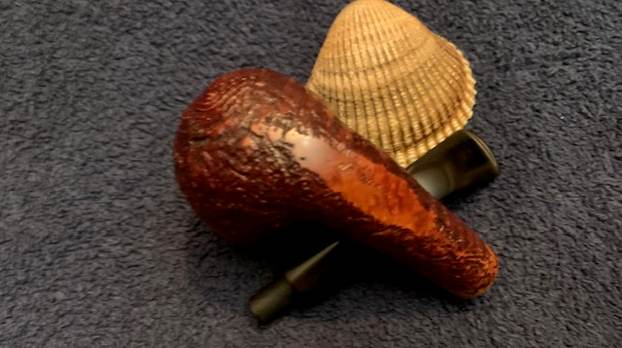
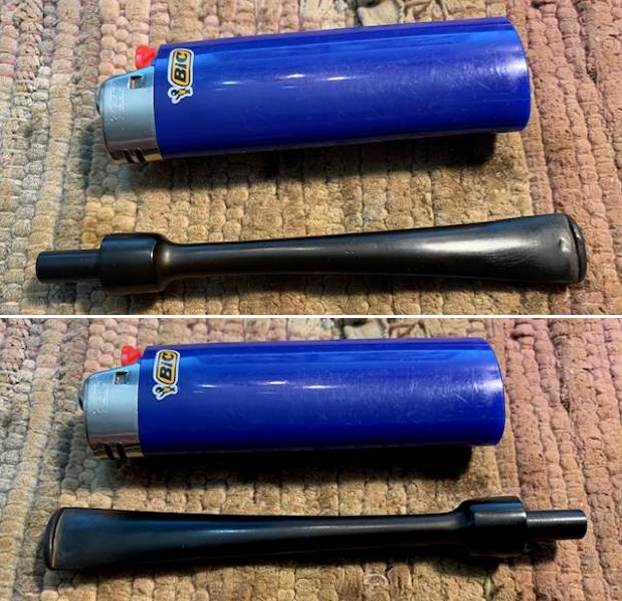
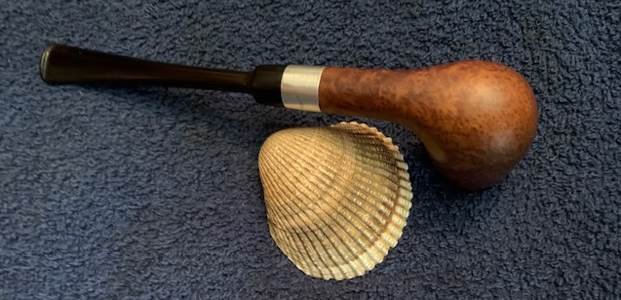
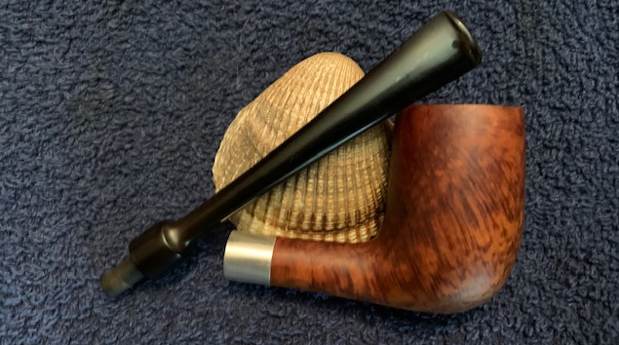
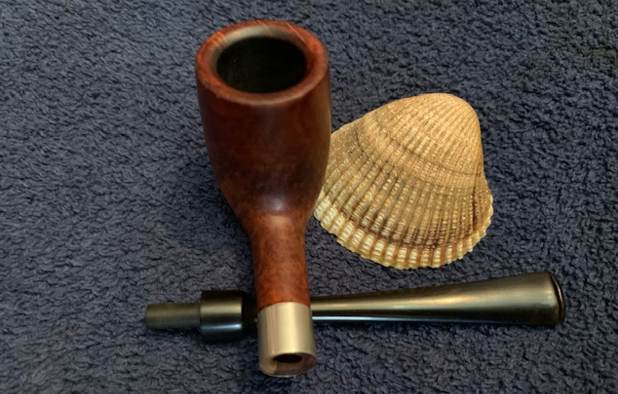
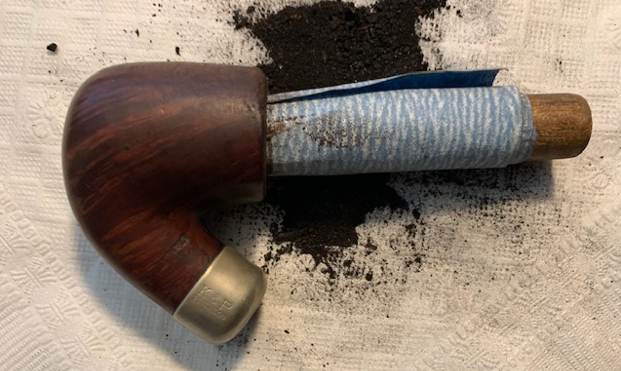
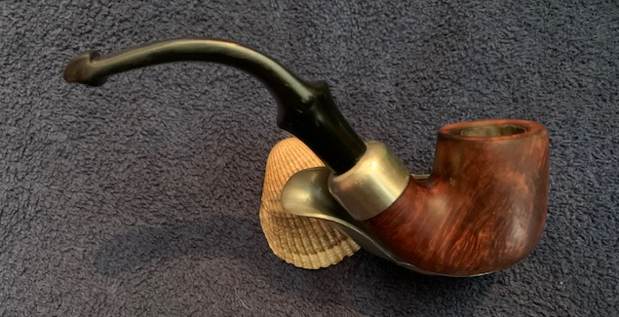
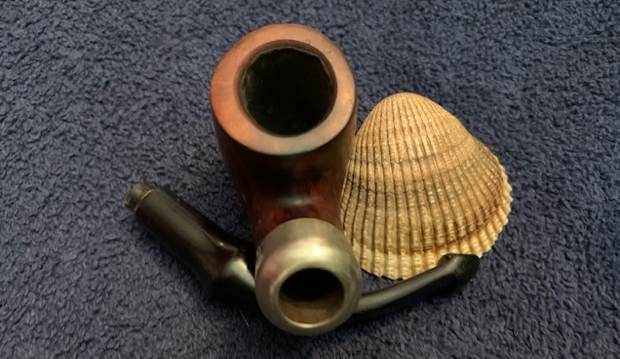
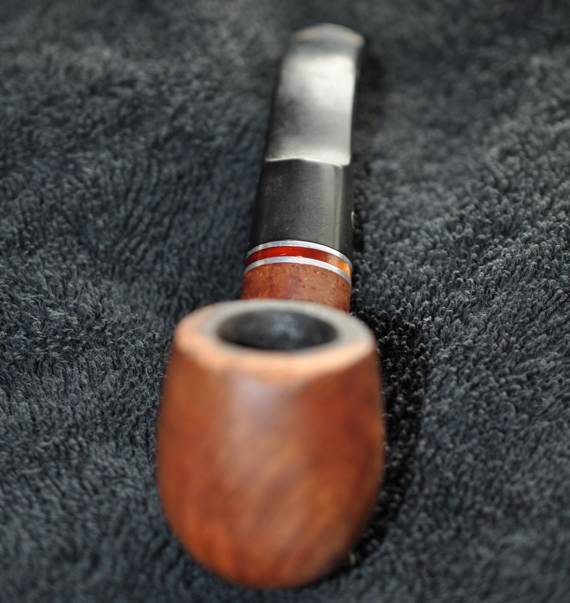
 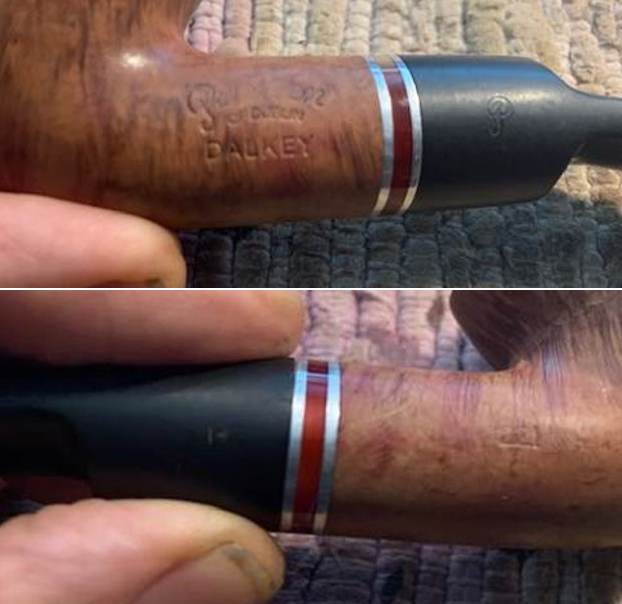 I removed the stem from the shank and took a photo of the pipe to give a sense of the proportions of the bowl and stem.
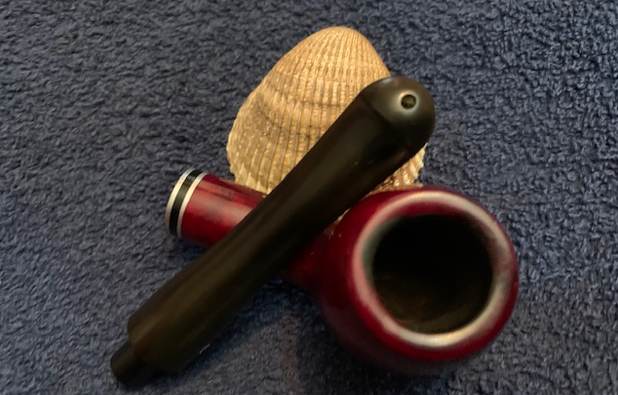
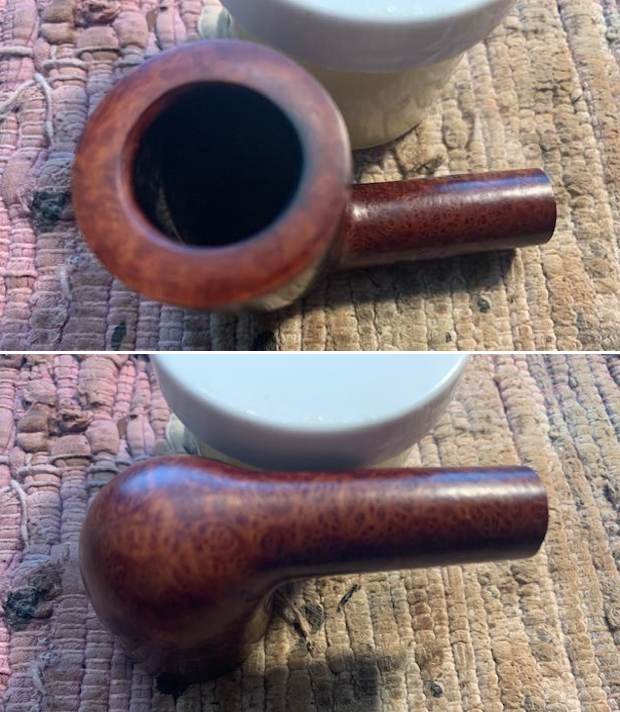
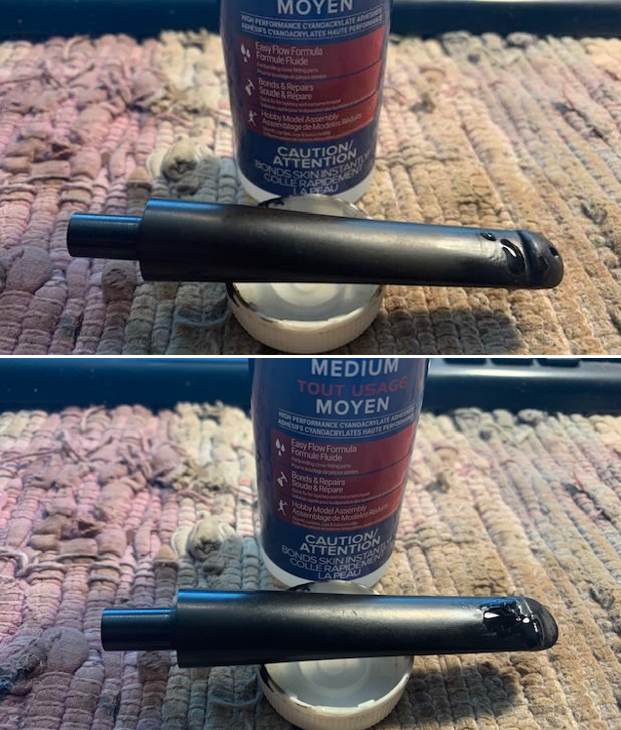
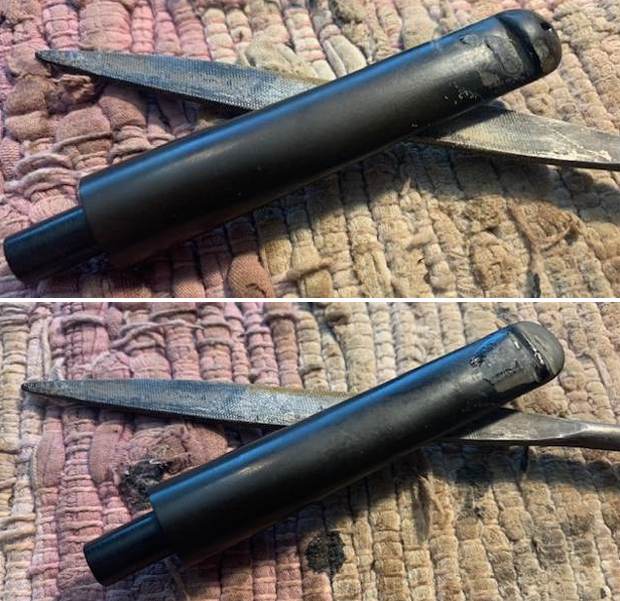
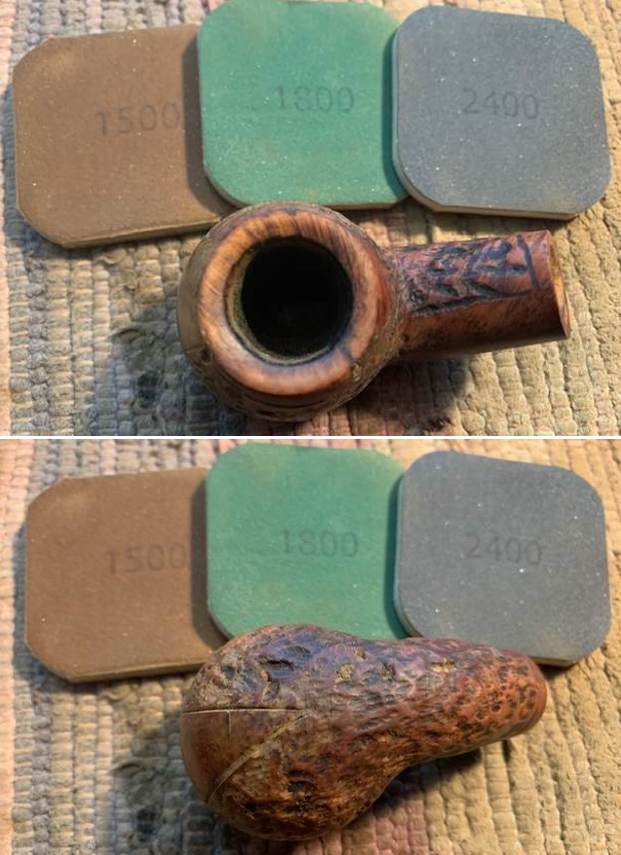
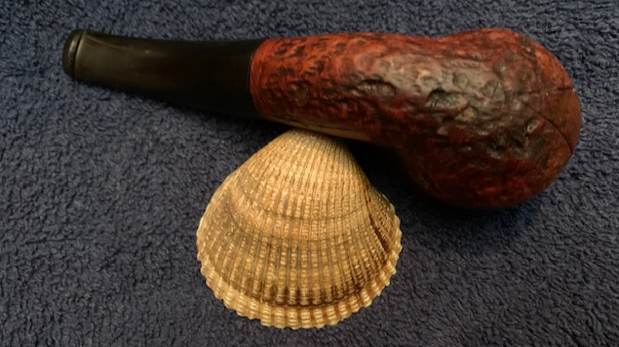
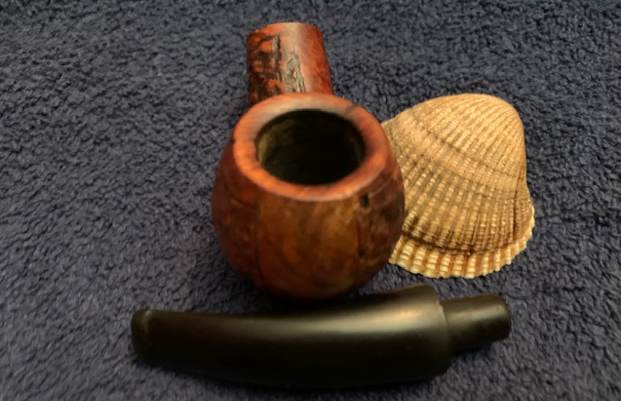
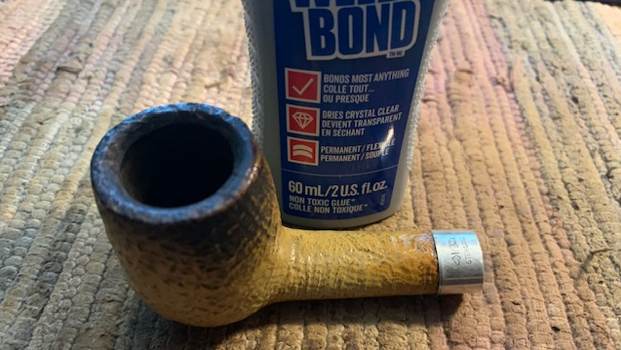
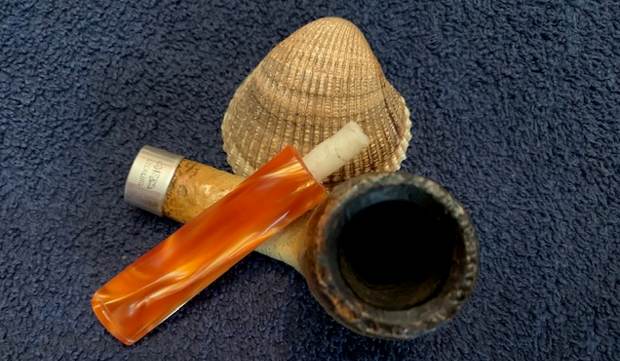
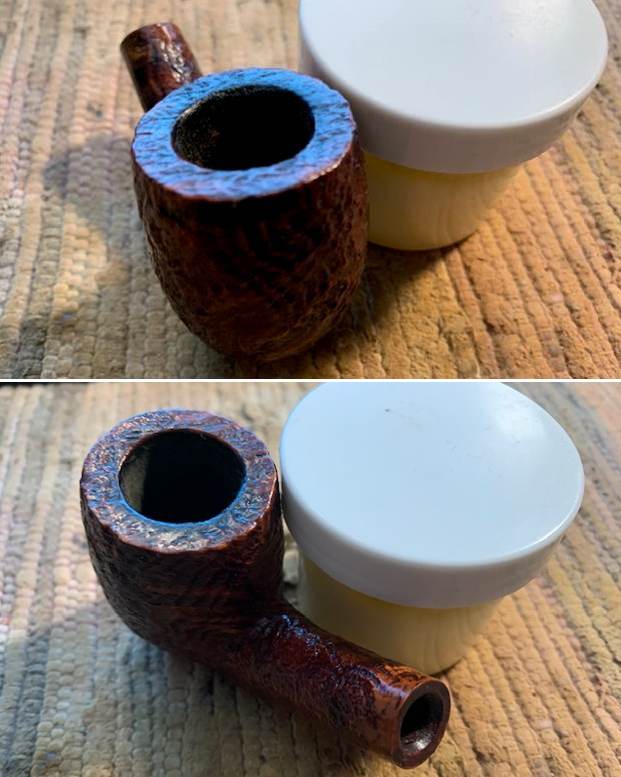
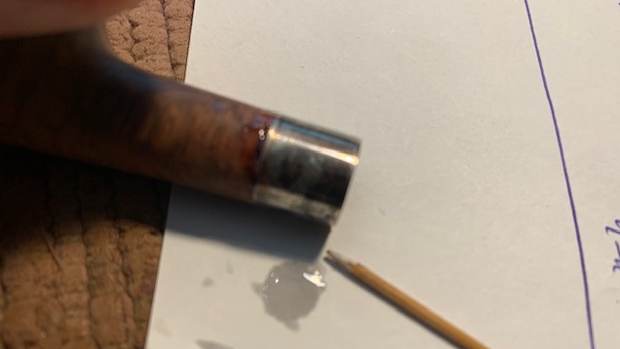
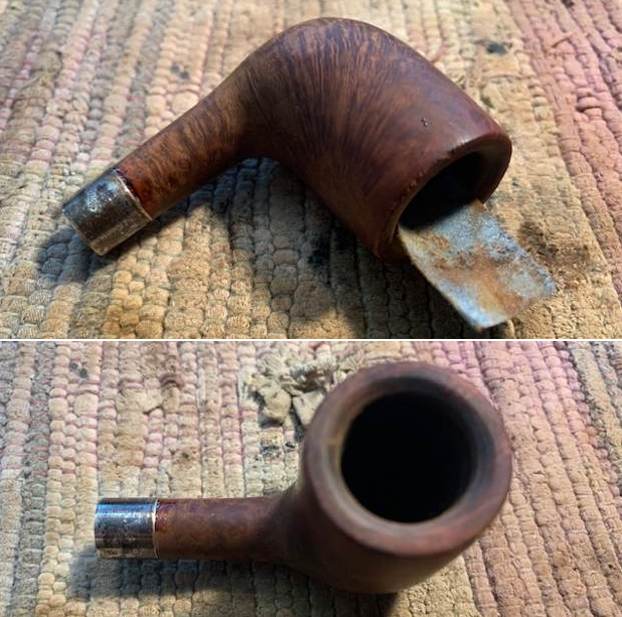
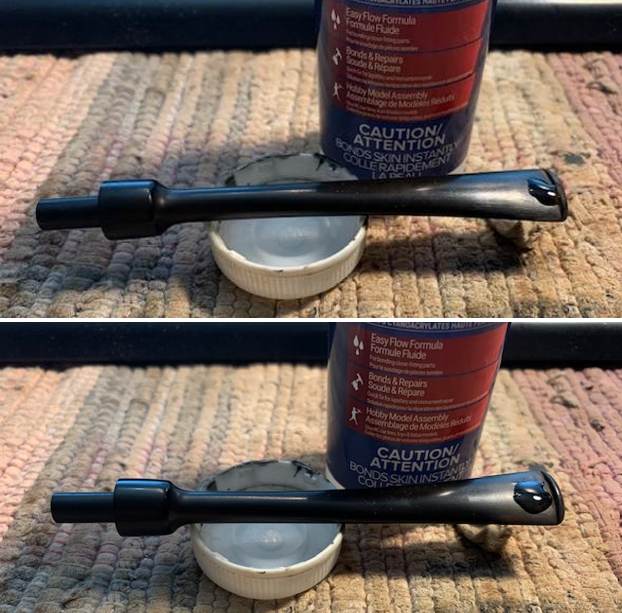
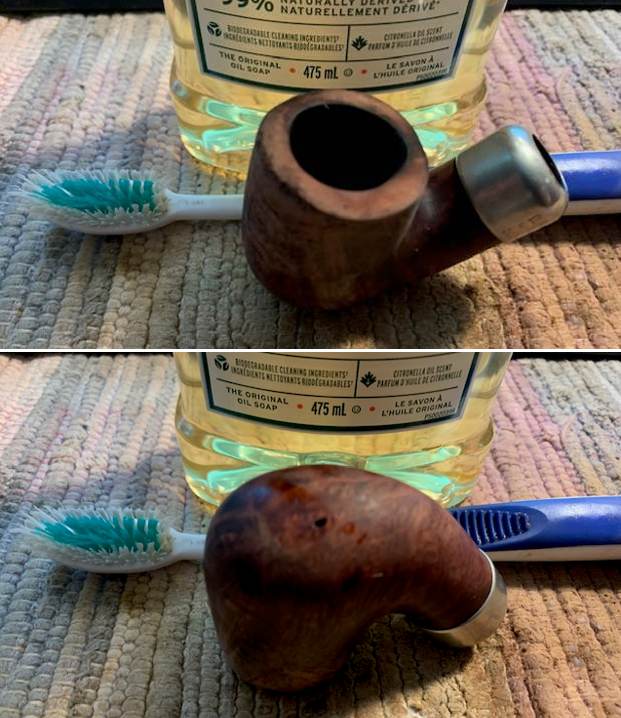
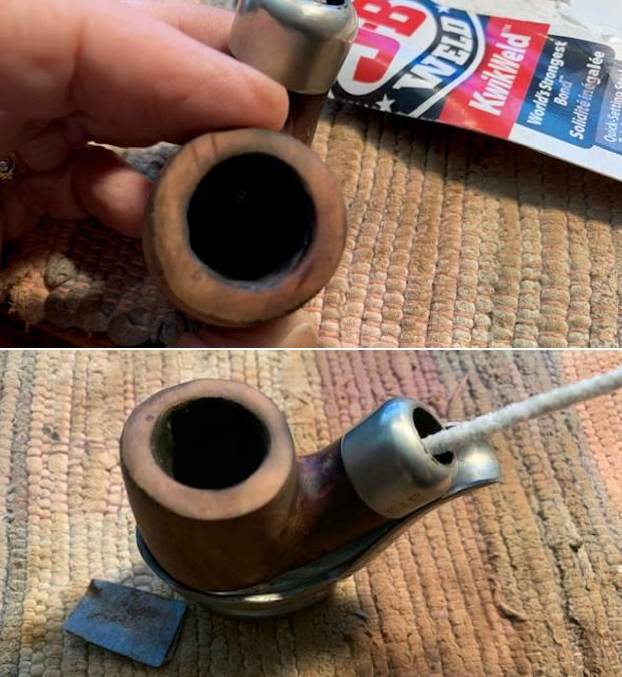
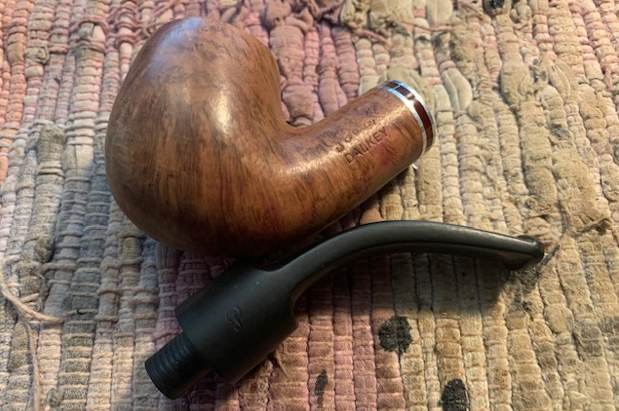 I took photos of the damage on the rim top and the front edge to show how beat up it was. The roughness is very tangible when I touched it. I dripped some clear CA glue on the front edge of the bowl so I could rebuild it. I then dipped it into some briar dust to build it up. I cleaned up and reshaped the edge with 220 grit sandpaper. I topped the bowl with a topping board and 220 grit sandpaper to smooth out the damage to the rim top. When I was finished it looked much better.
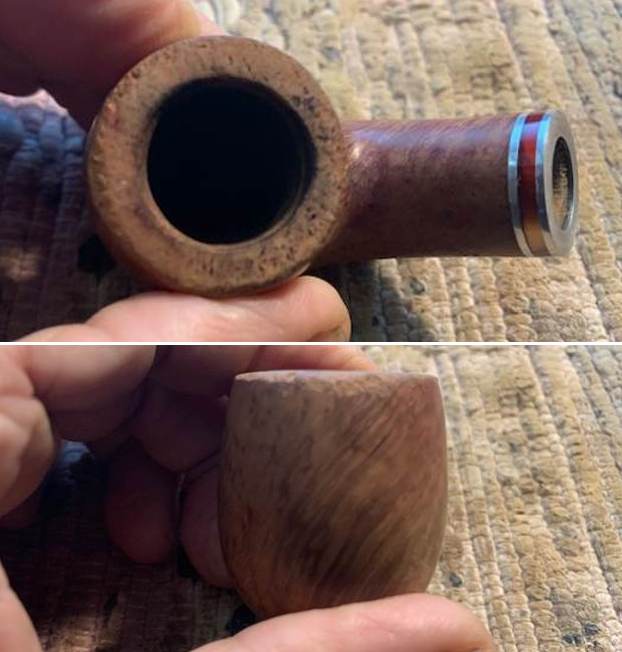
 With the rim top smooth it was now time to give the inner edge a bevel. I used a wooden ball and 220 grit sandpaper to shape the edge. I wrapped the ball with the sandpaper and worked on the edge. It took a bit of work to smooth it out and give it a bevel. I smoothed out the bevel with a folded piece of 220 grit sandpaper. The rim top came out looking very good at this point.
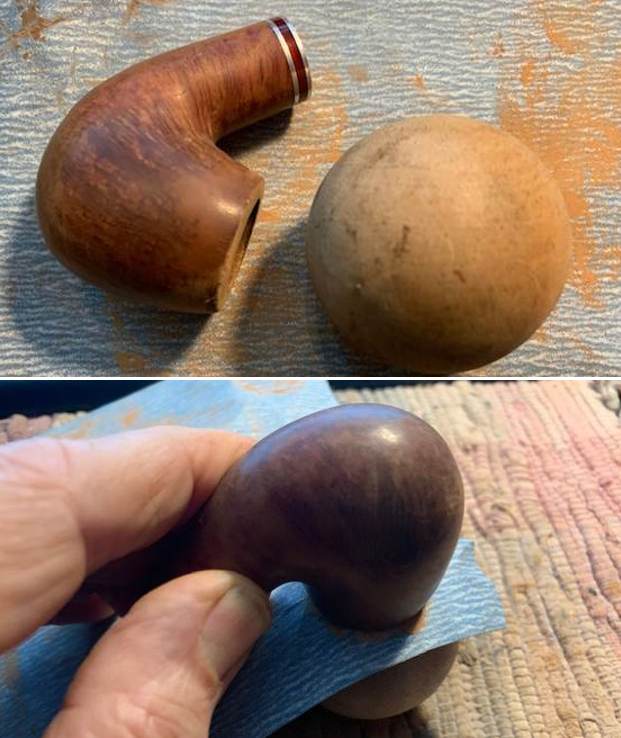
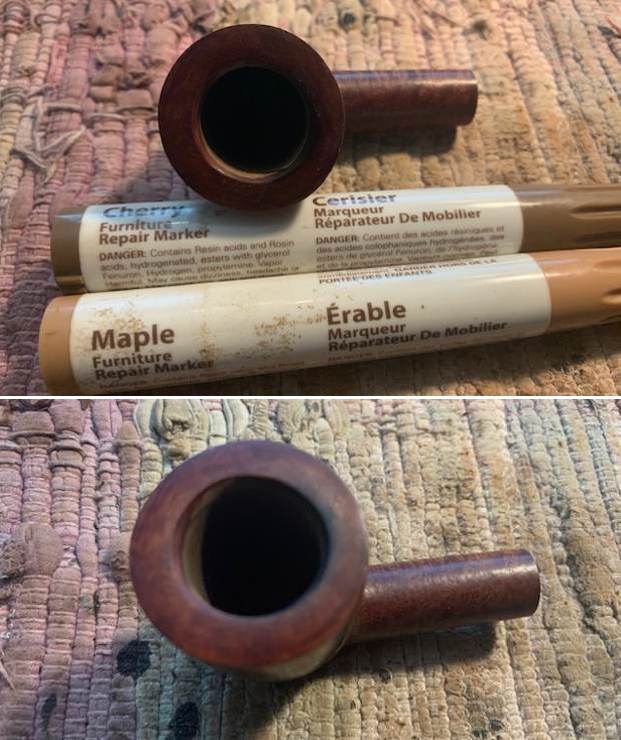
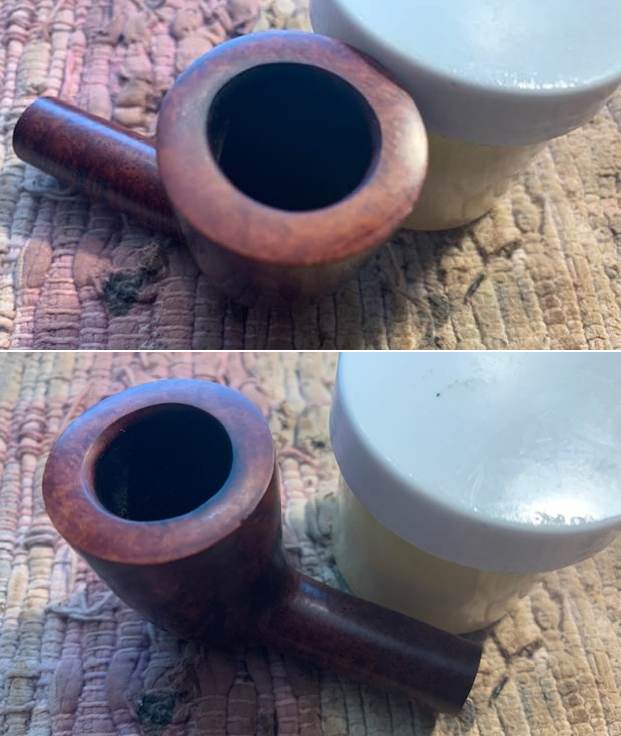
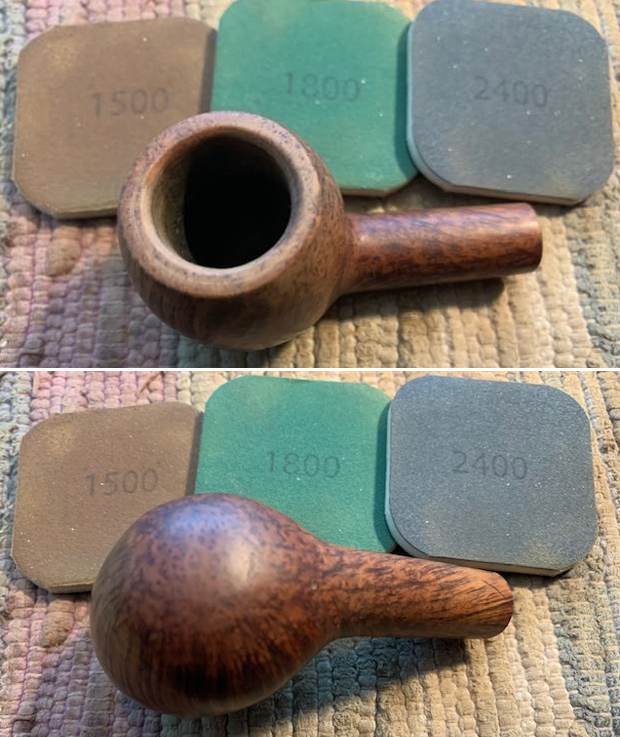
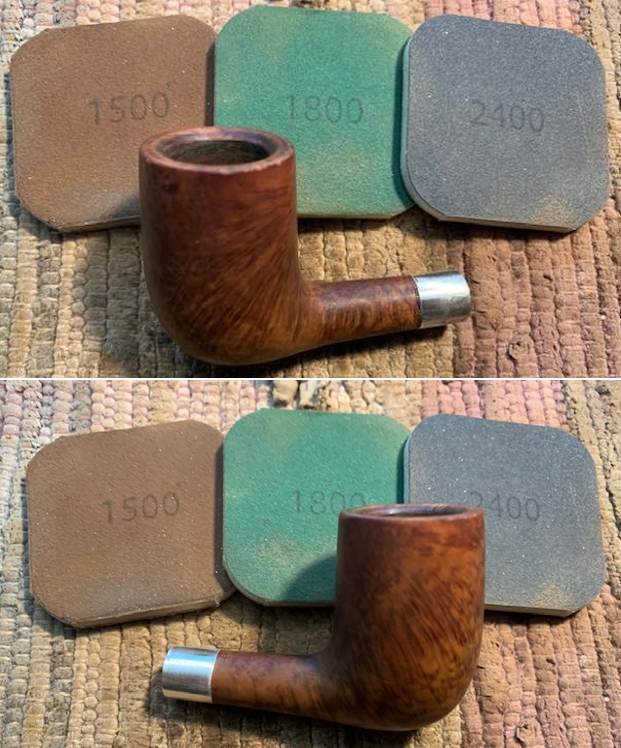
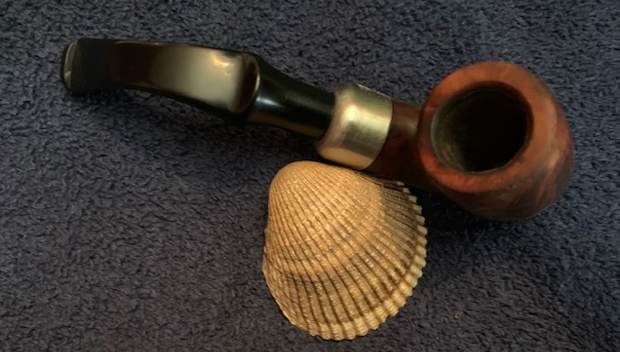
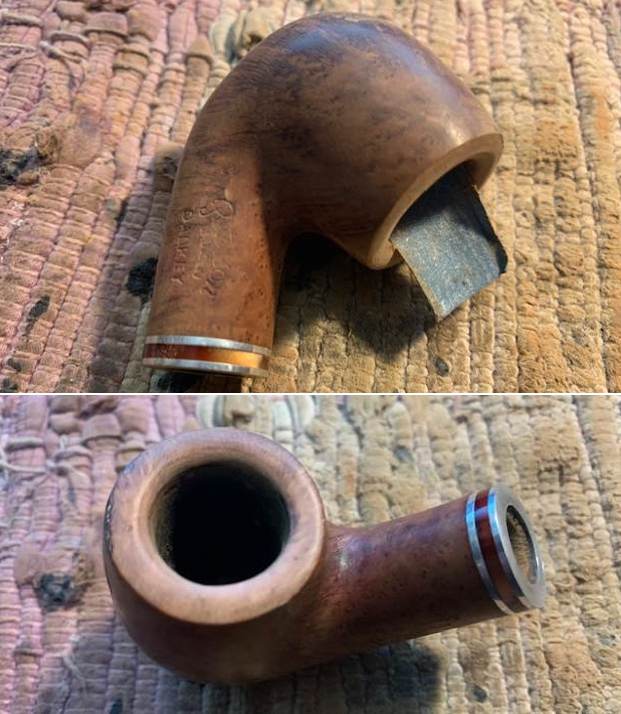 I stained the rim top and the inner and front outer edges with an oak stain pen to match the colour of the stain around the bowl and shank.
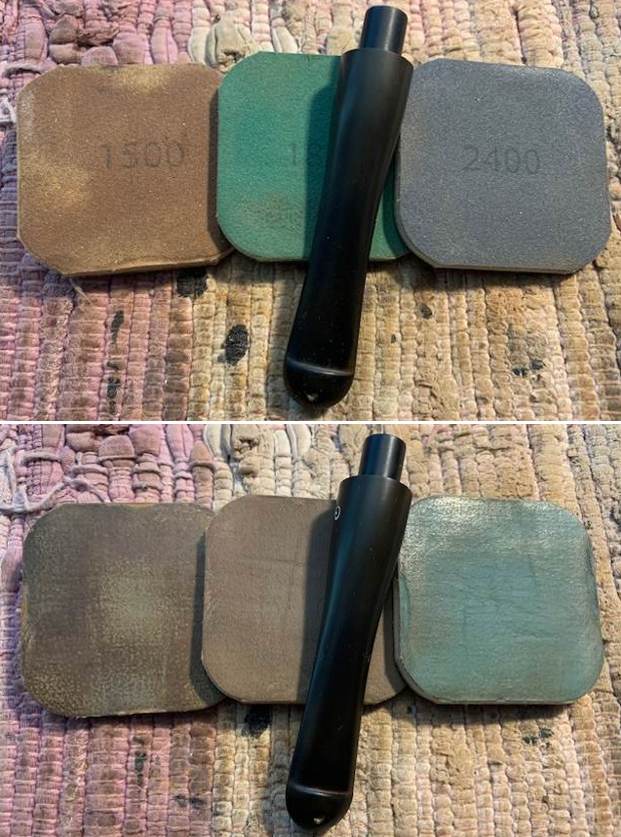
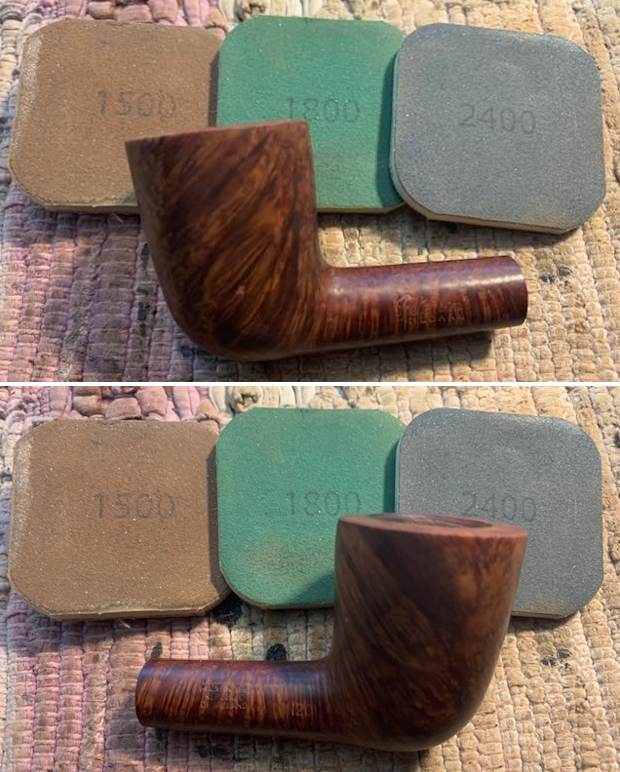
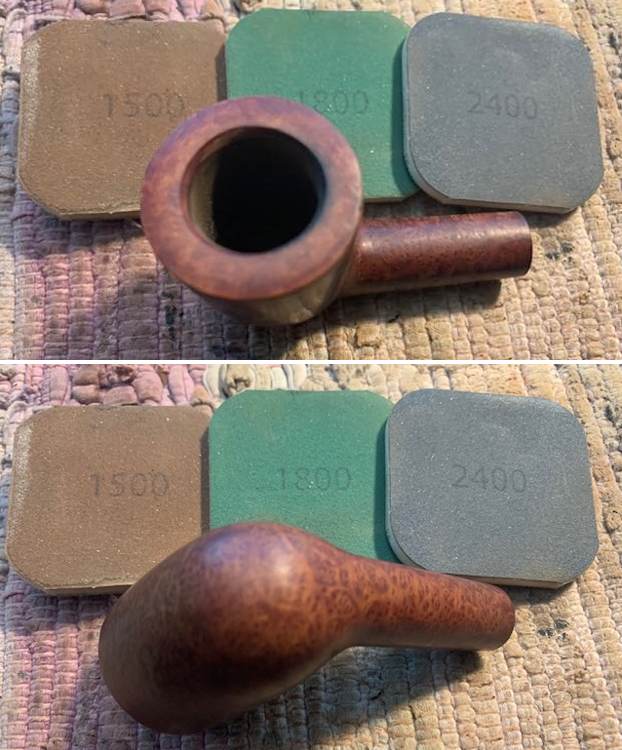
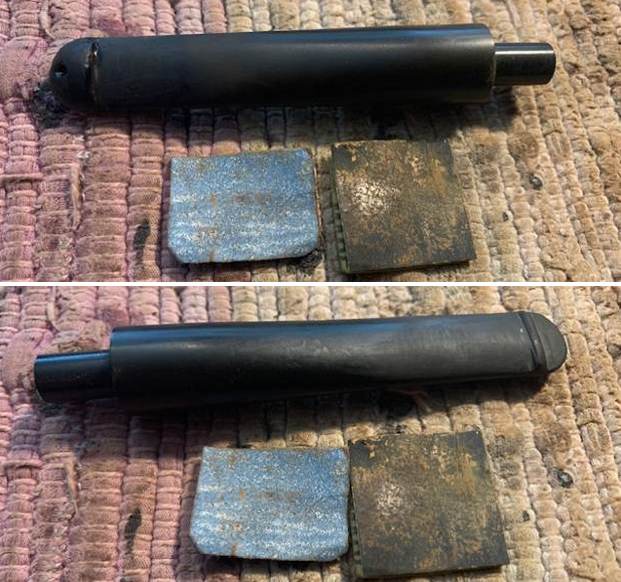
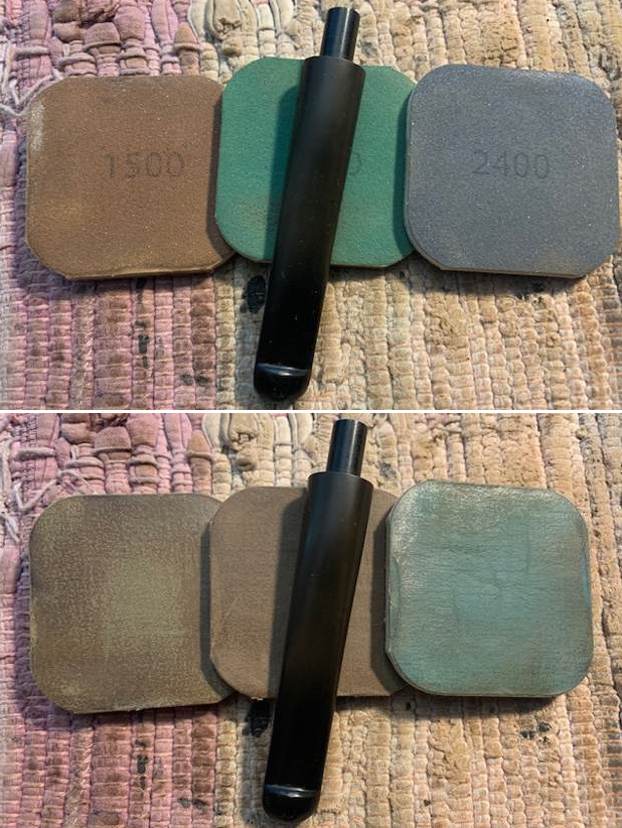
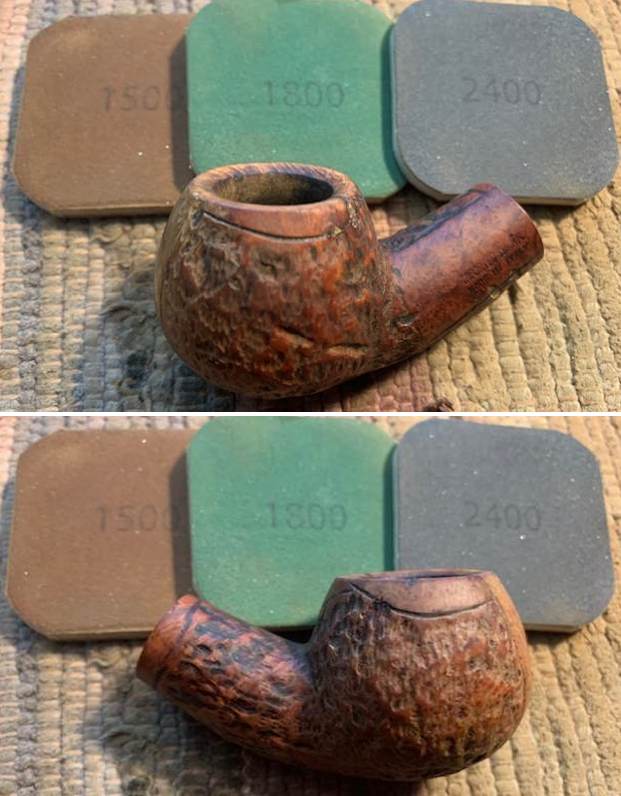
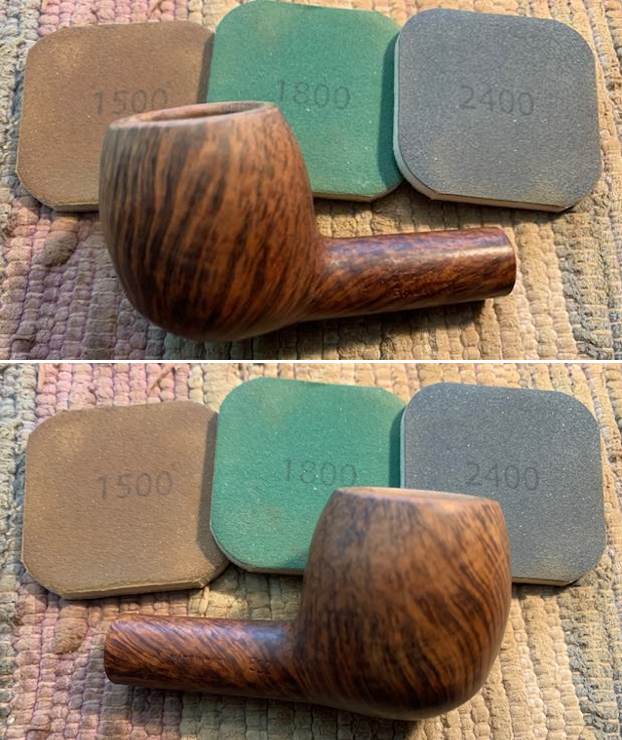
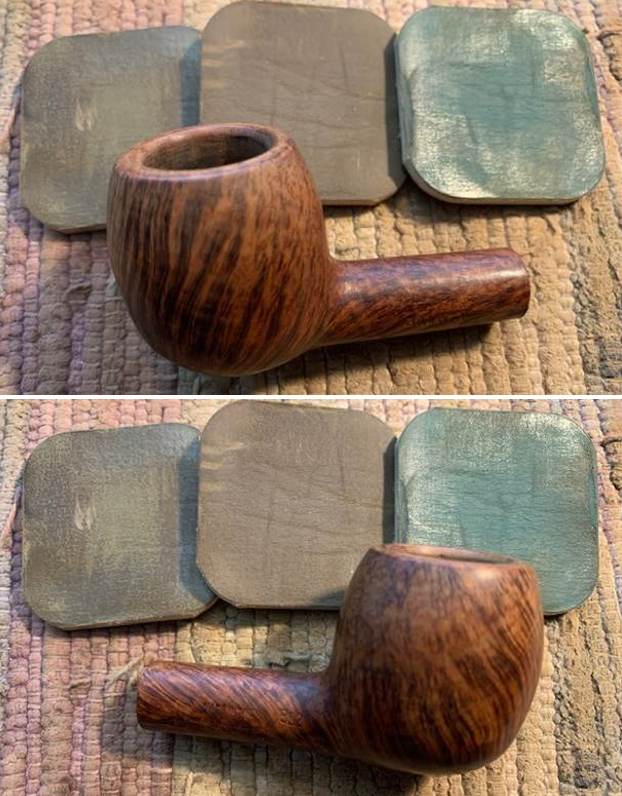
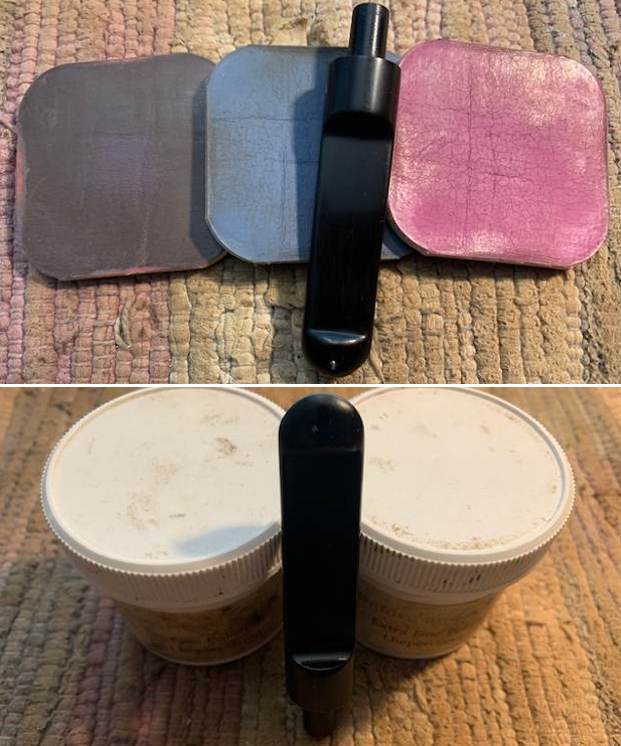
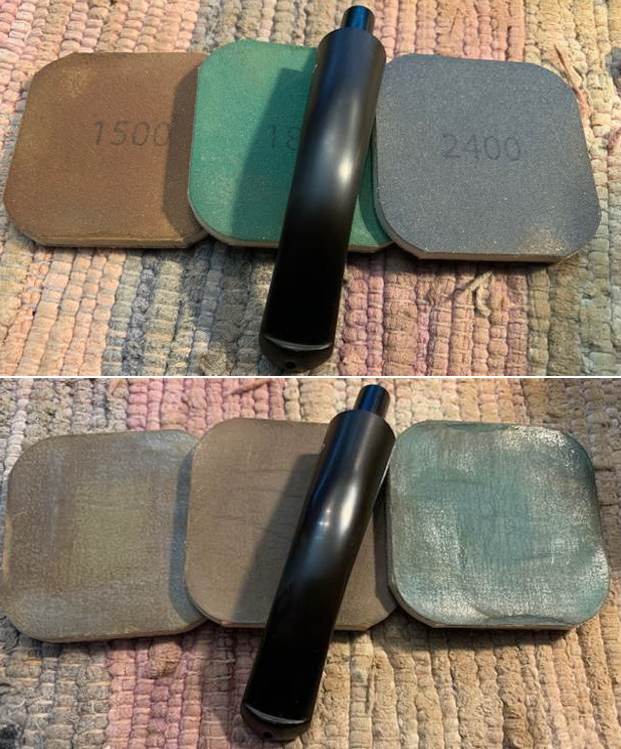
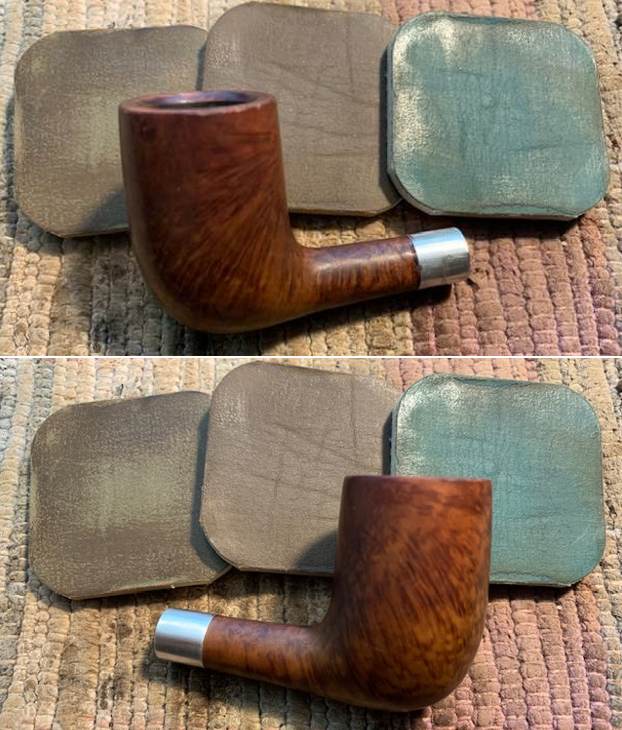
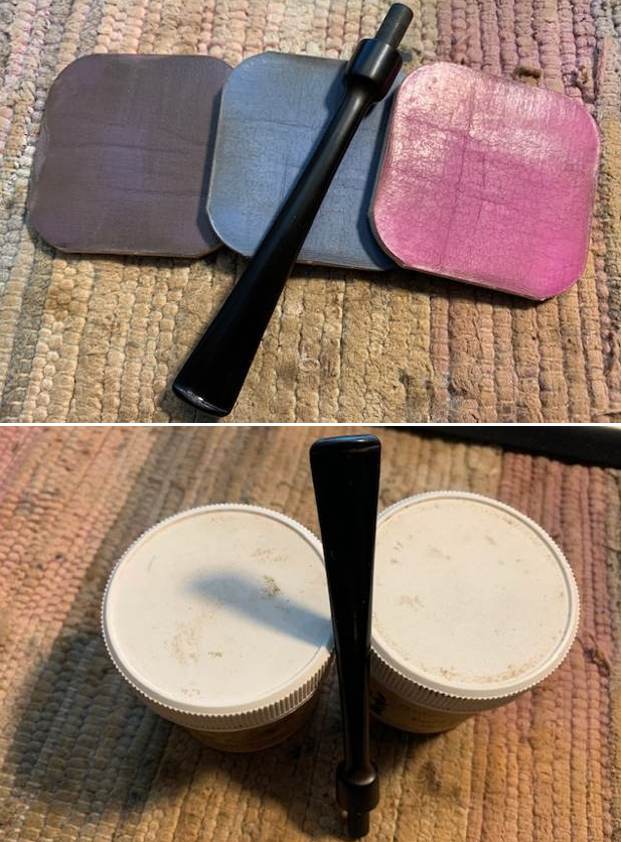
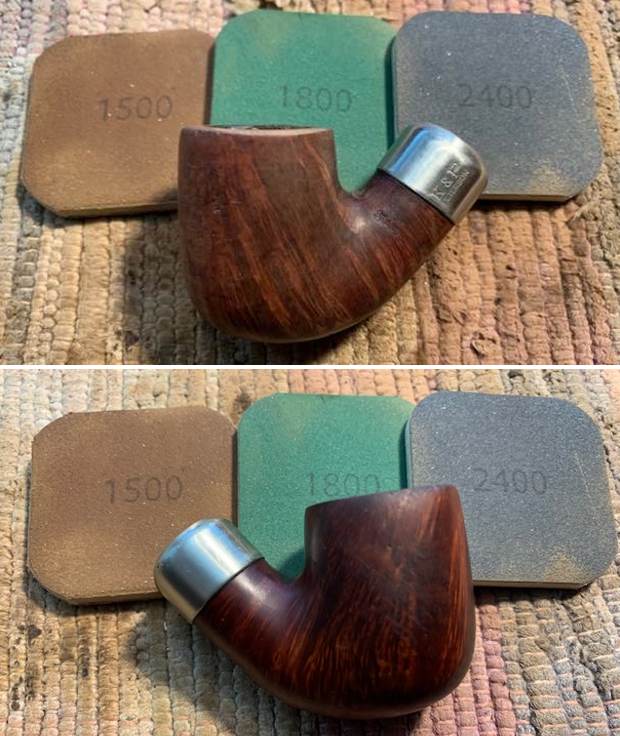
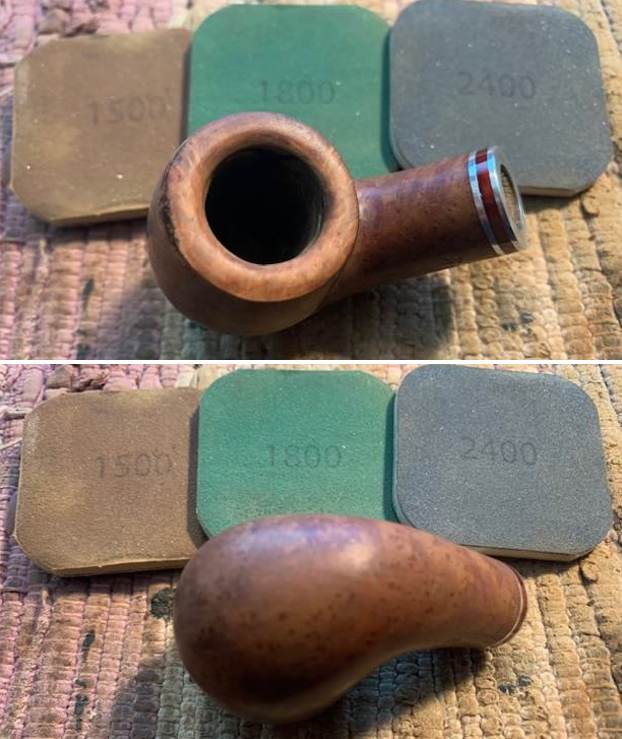
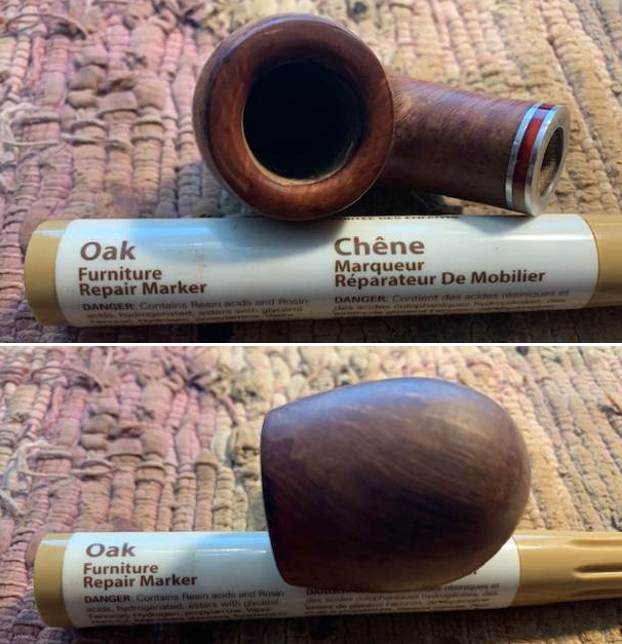 I decided to start with polishing the briar with micromesh sanding pads. I dry sanded it with 1500-12000 grit pads. I wiped the bowl down after each pad with a damp cloth. The bowl began to take on a rich shine and grain was beginning to stand out.
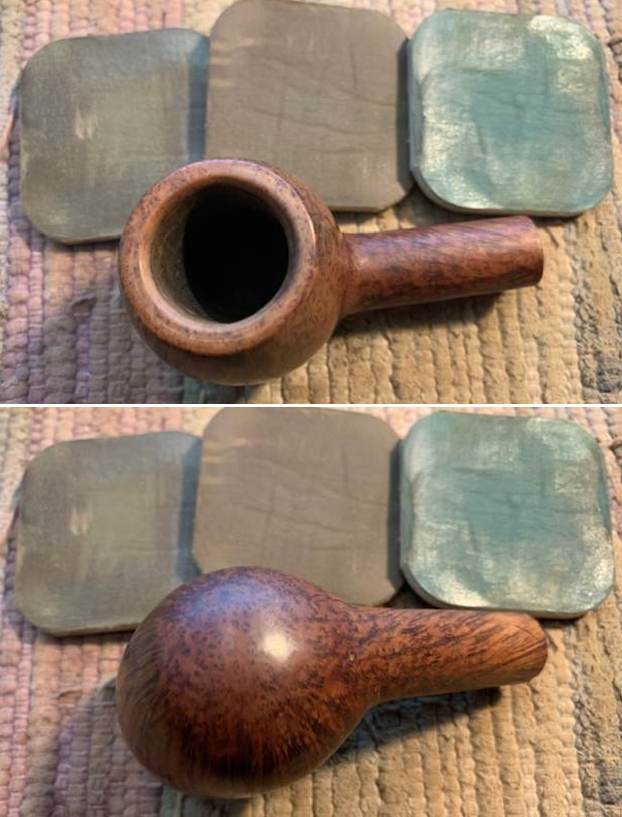
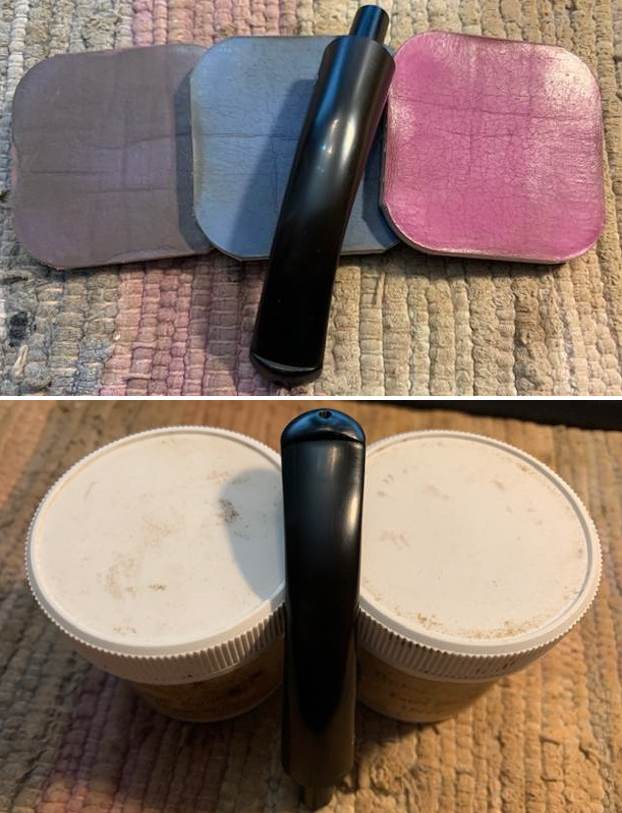
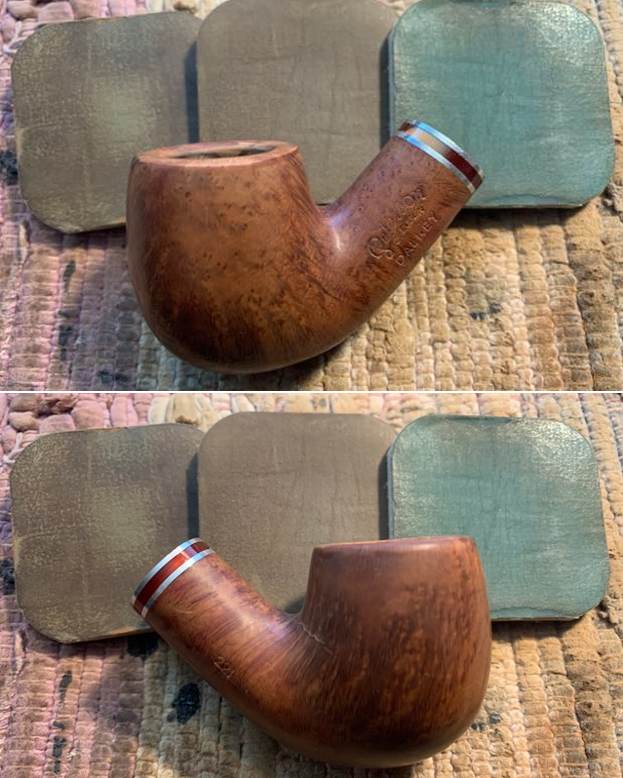

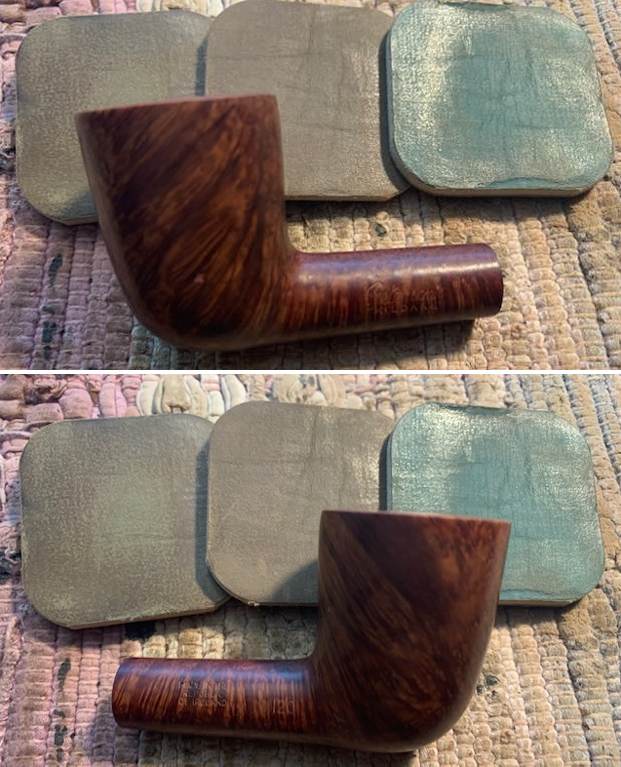
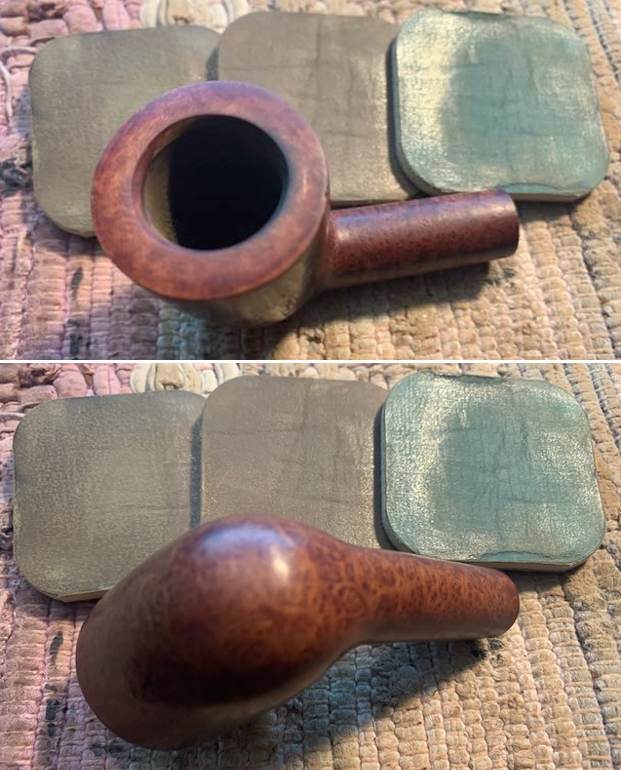
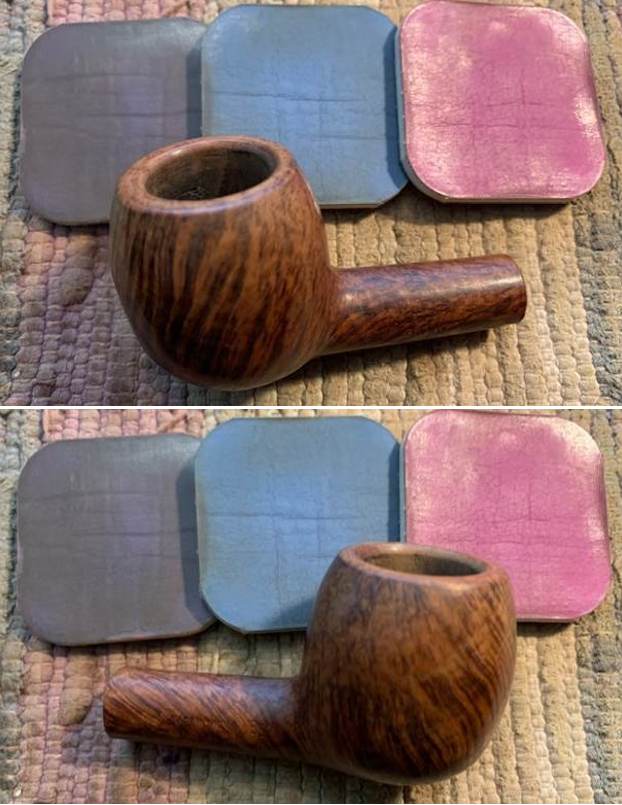
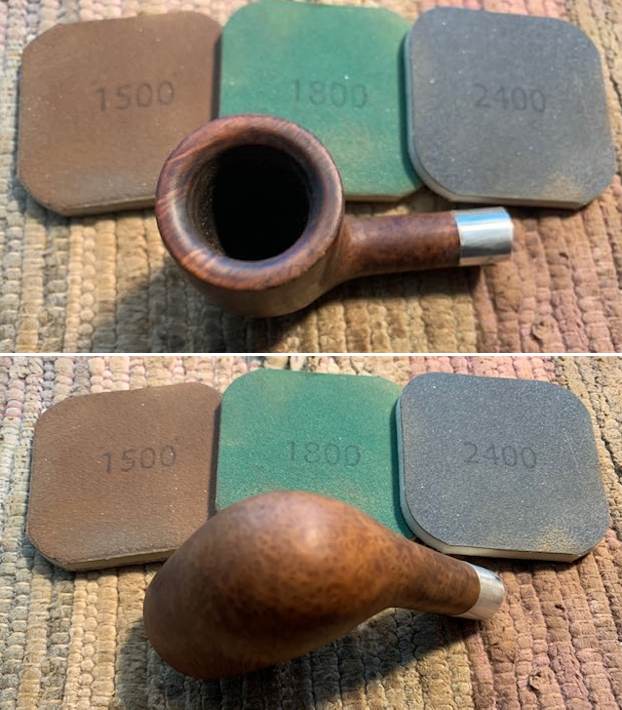
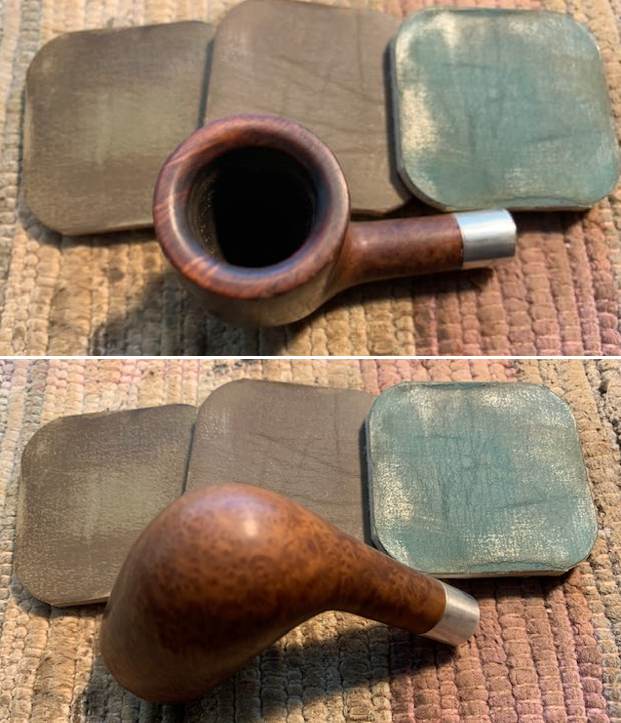
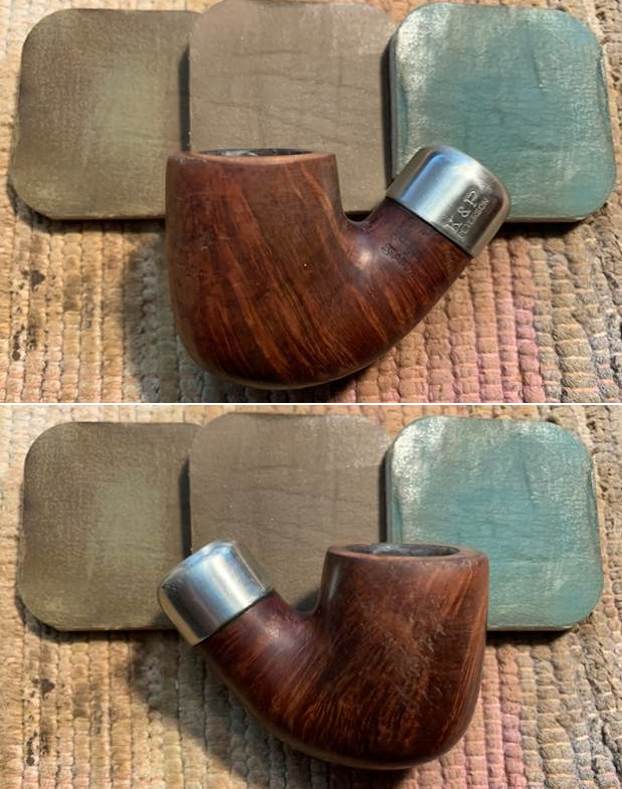
 At this point the bowl was polished and clean. I rubbed down with Before & After Restoration Balm. I worked it into the surface of the bowl sides and shank with my fingertips to clean, enliven and protect the briar. I let the balm sit for 10 minutes, then buffed with a cotton cloth to raise the shine. The Balm did its magic and the grain stood out on the briar.
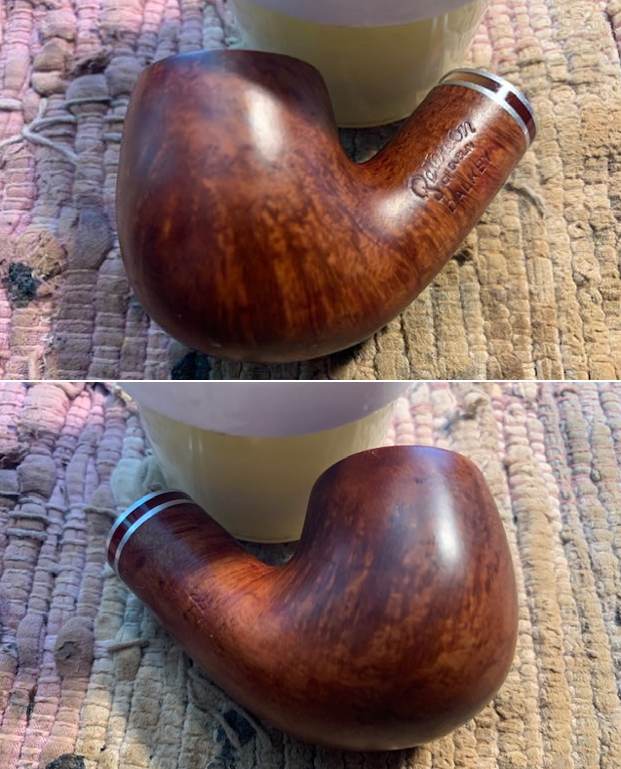

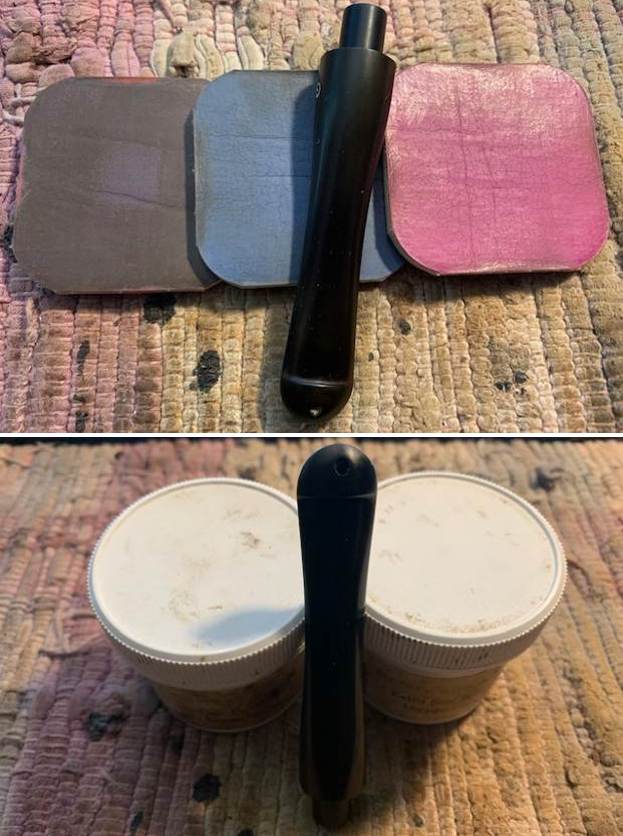
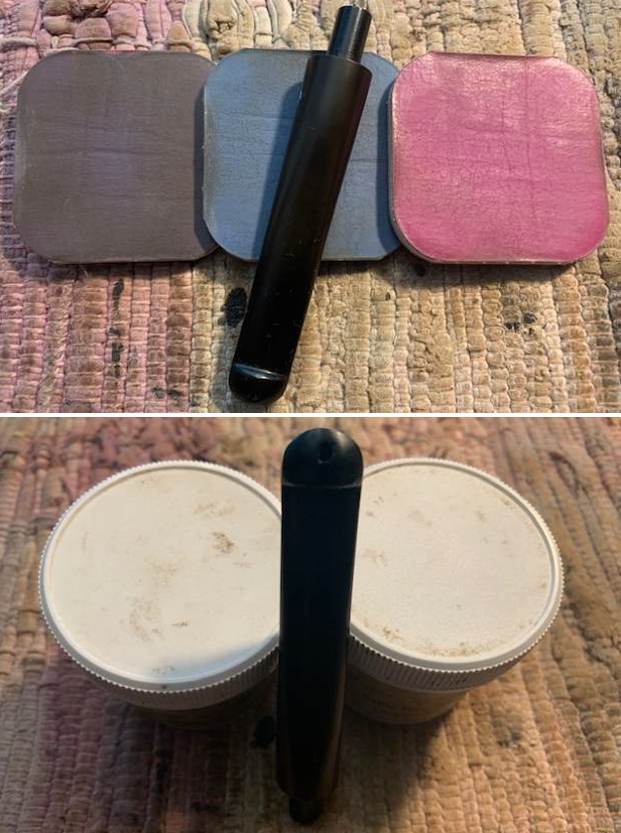
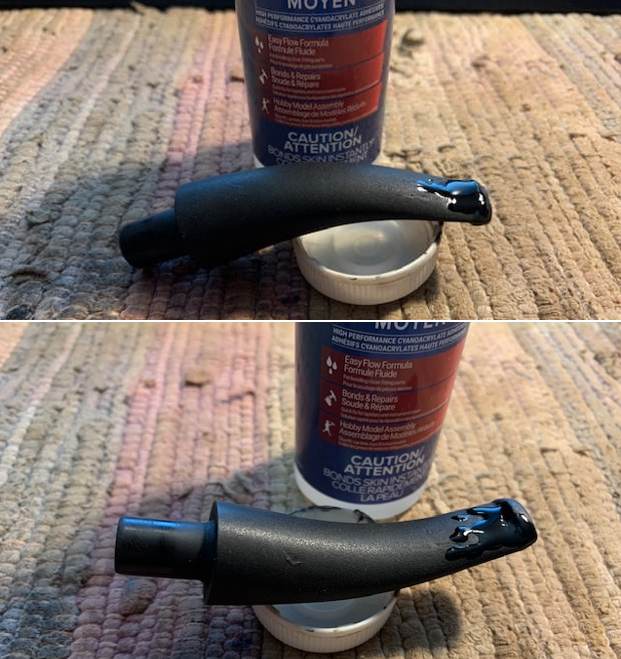
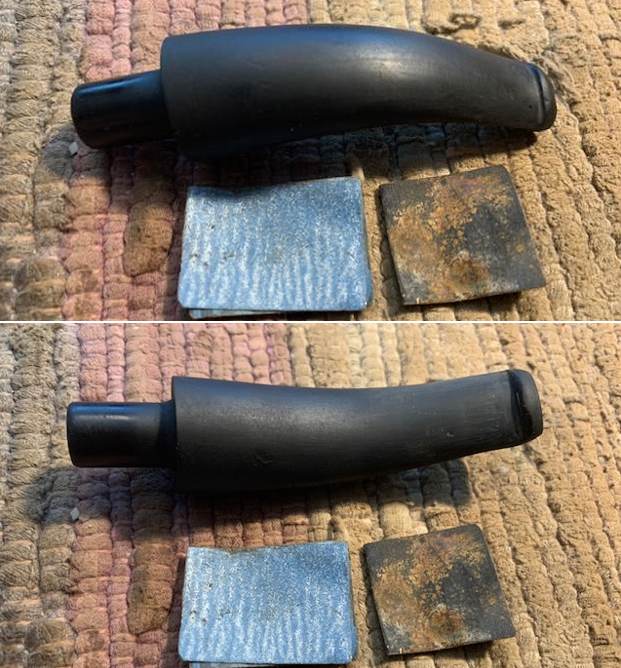
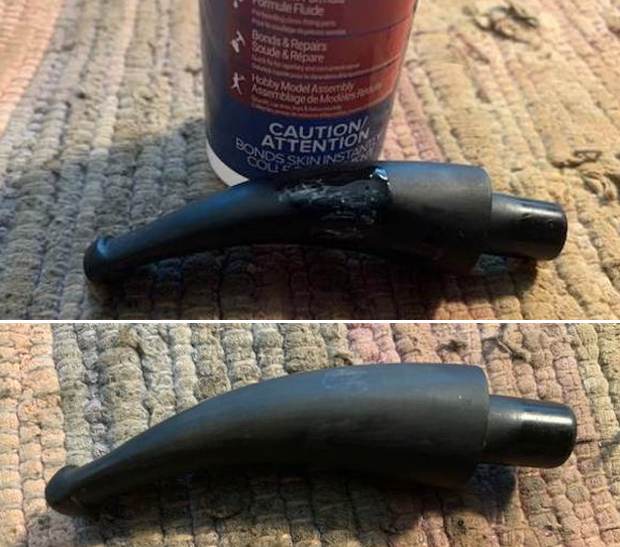
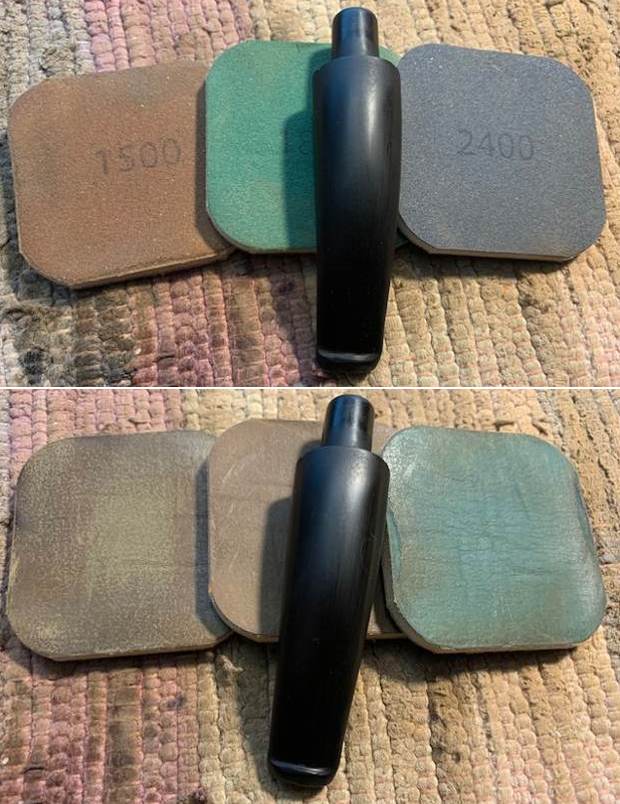
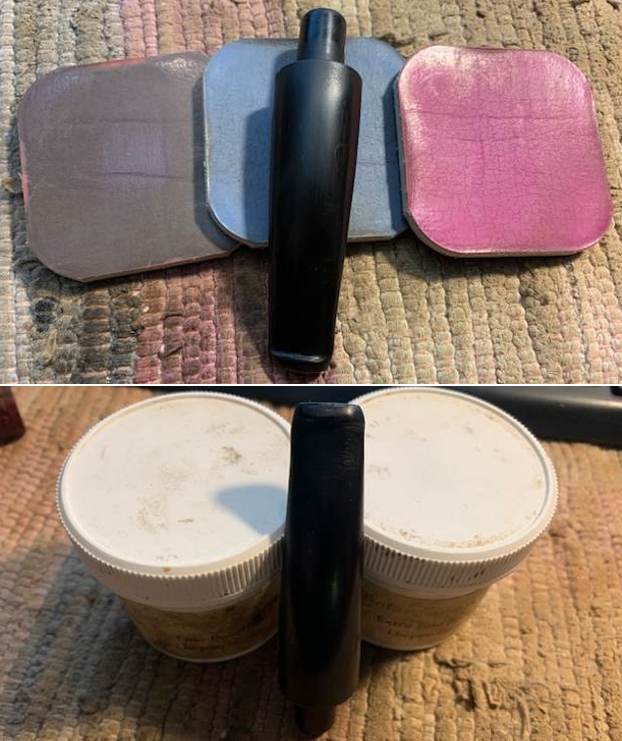
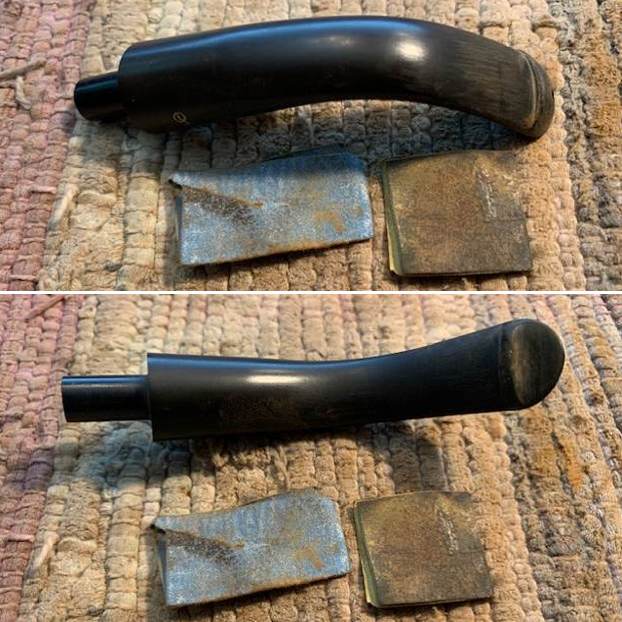
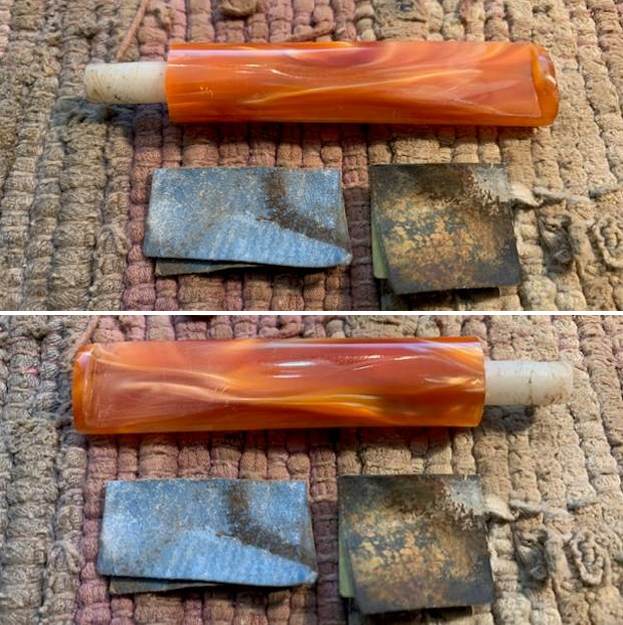
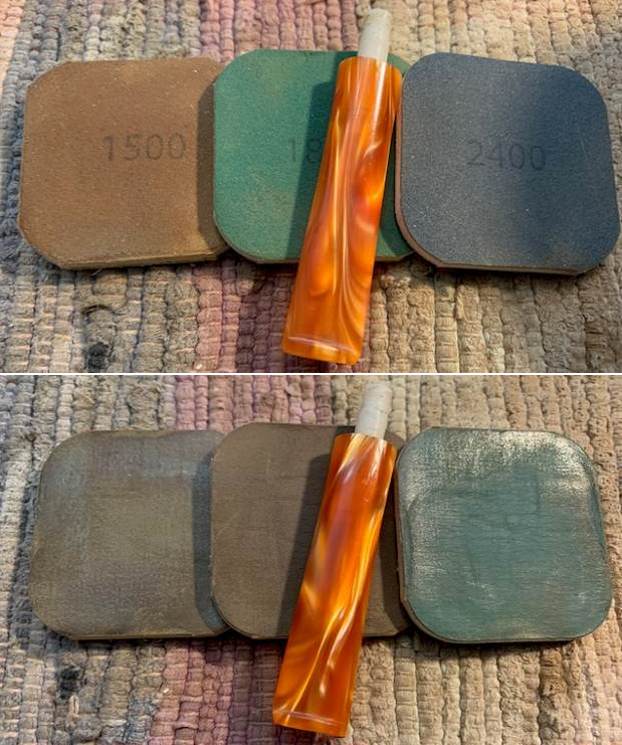
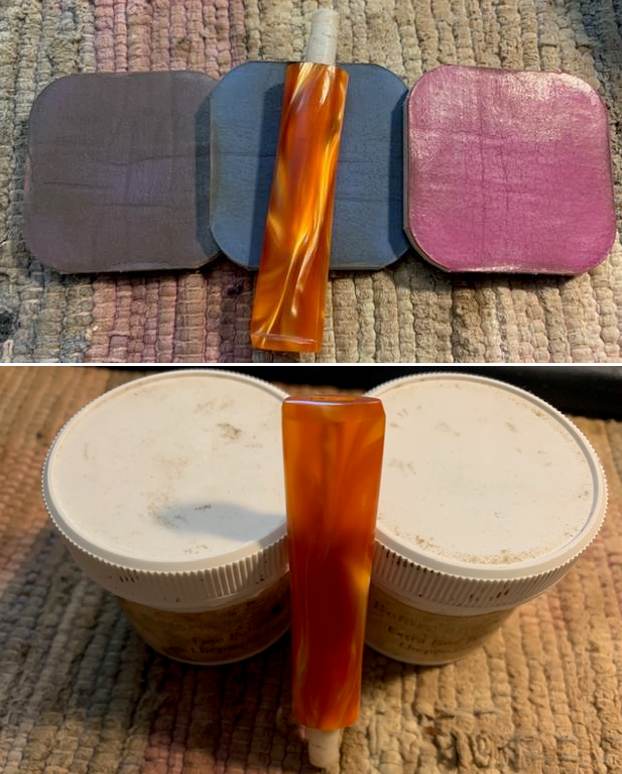
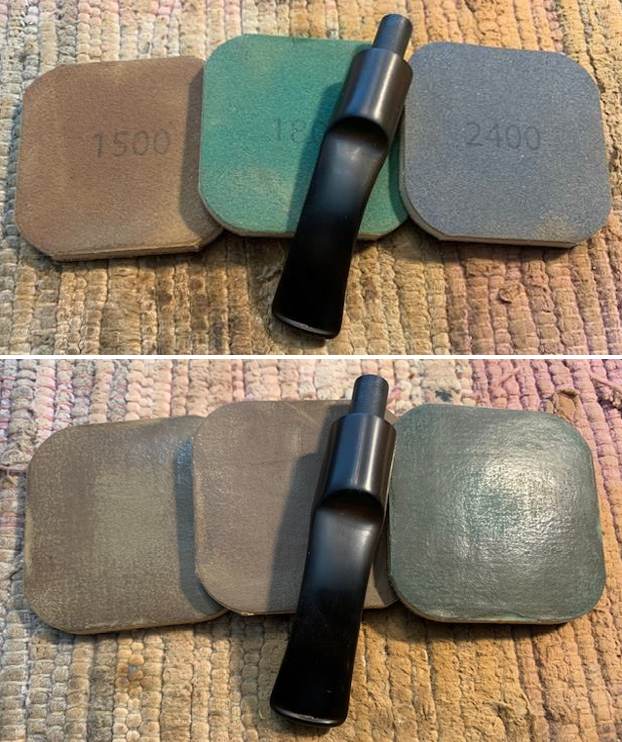
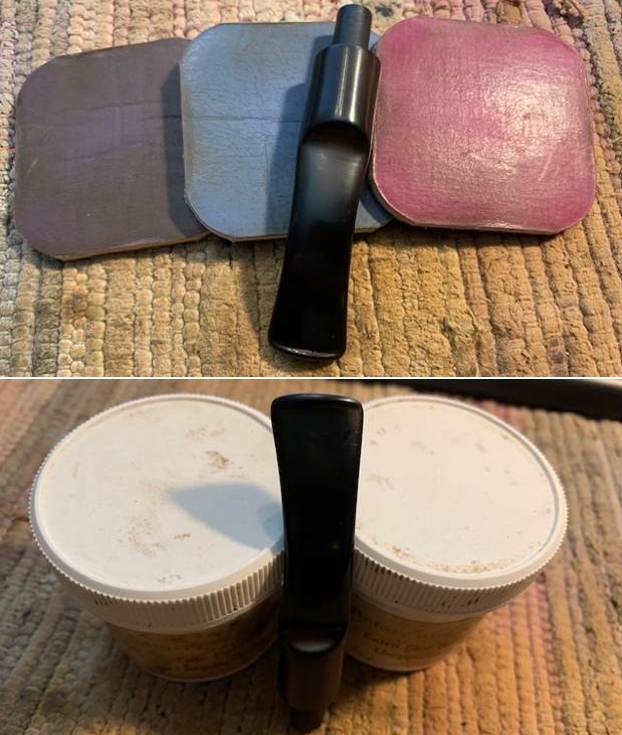
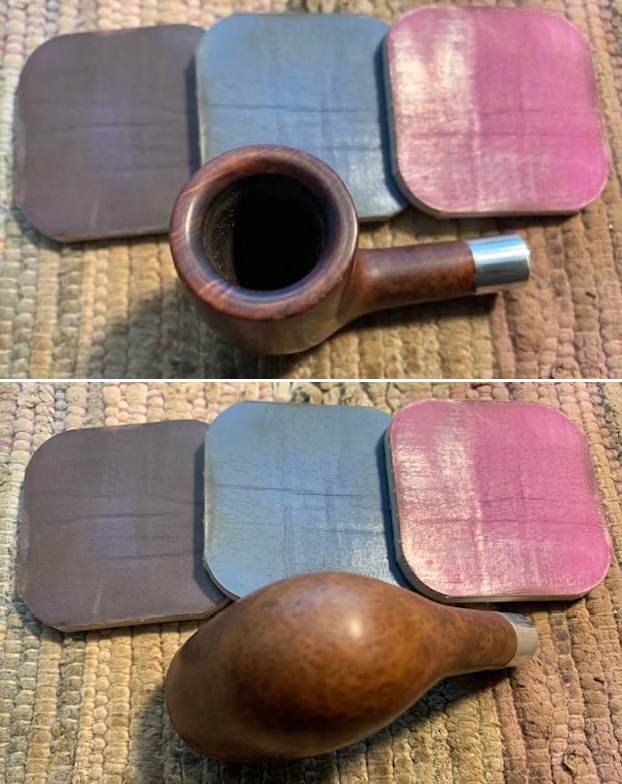
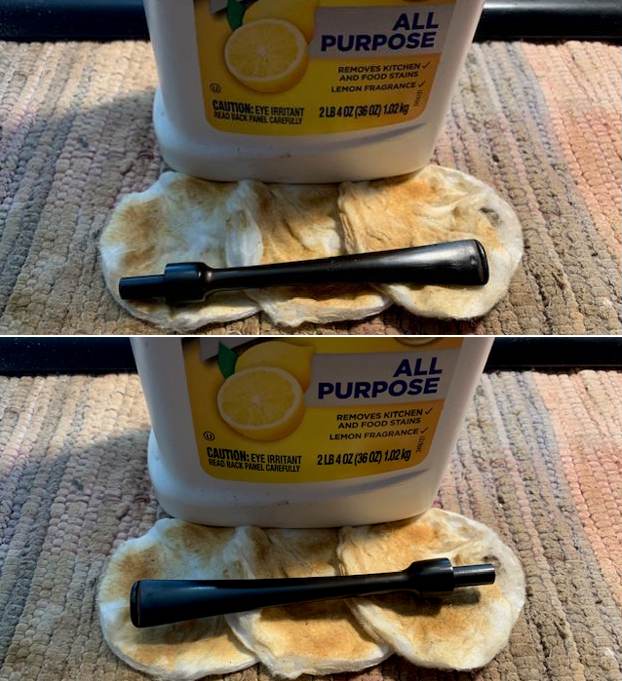
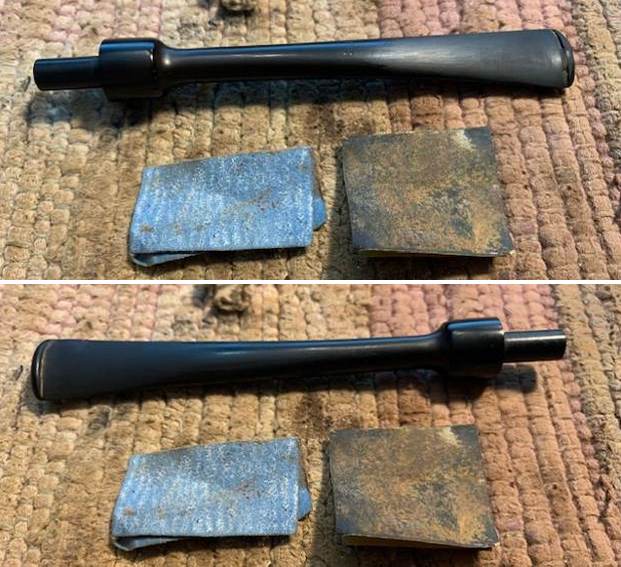
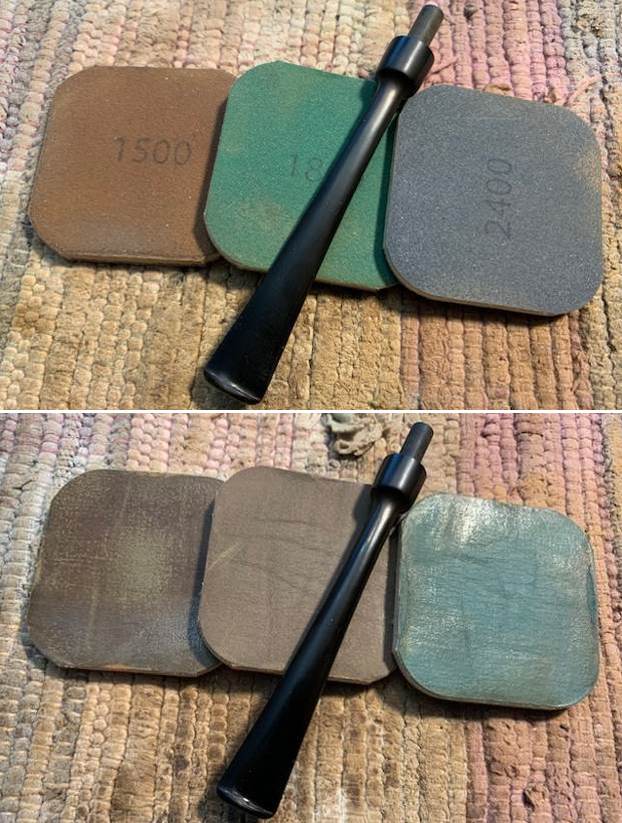
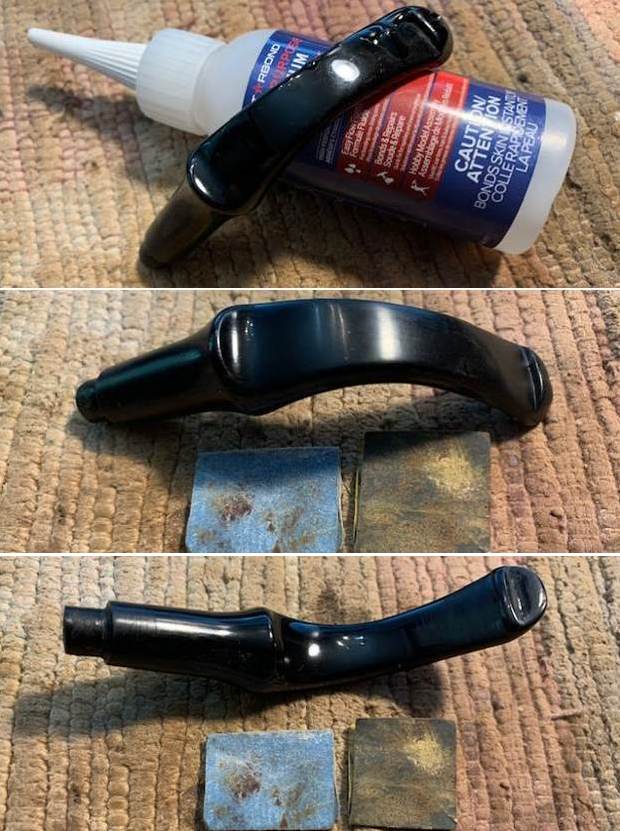
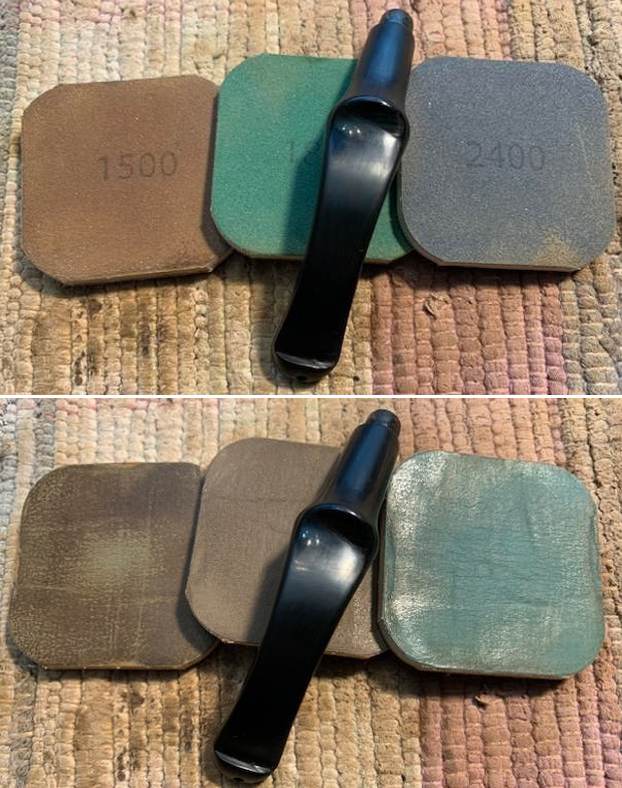
 I set the bowl aside and turned my attention to the stem. I polished the stem with micromesh sanding pads – 1500-12000 grit pads. I wiped it down with Obsidian Oil after each sanding pad. I finished the polishing with Before & After Polishes – both Fine and Extra Fine. I gave it a final rub down with Obsidian Oil and set it aside to dry.
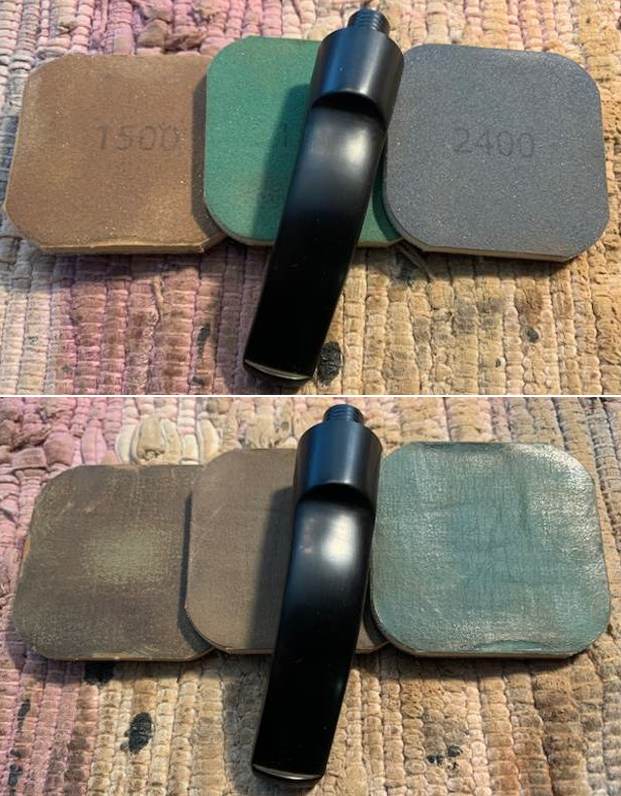
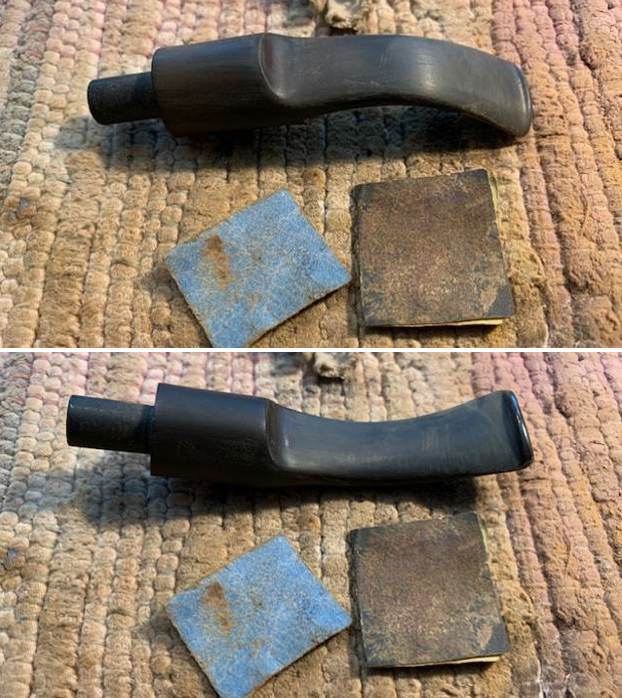
 I repainted the “P” logo stamp on the left side of the saddle stem with some white acrylic nail polish. I worked it into the stamp with a tooth pick. Once it dried I scraped of the excess and lightly polished it with a 1500-2400 grit micromesh sanding pad.
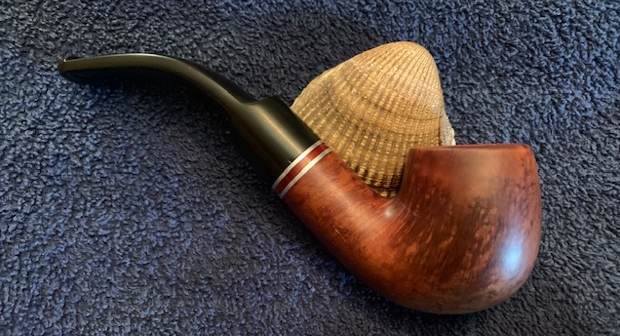
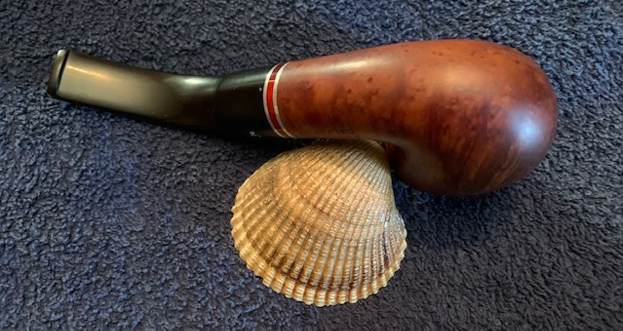
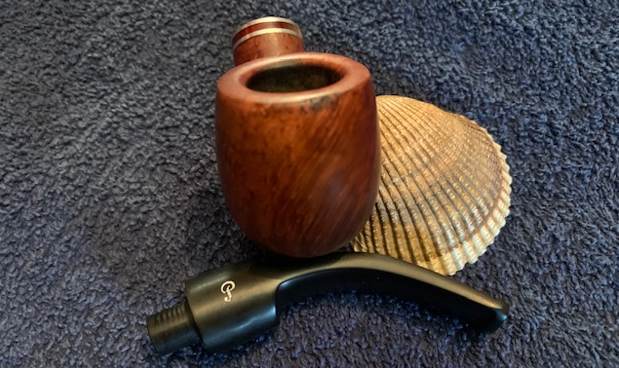
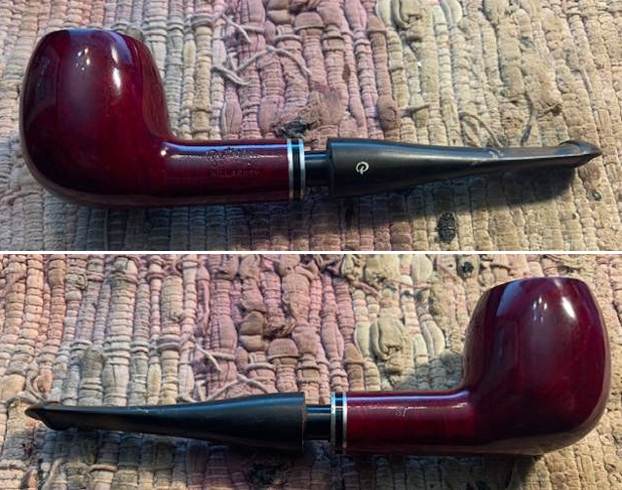
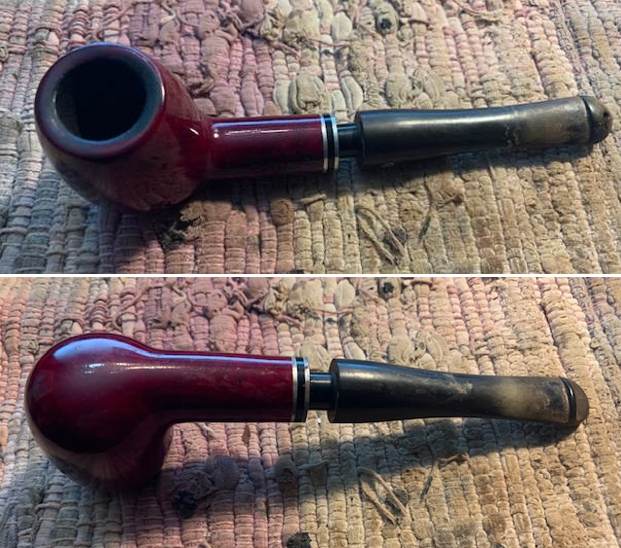
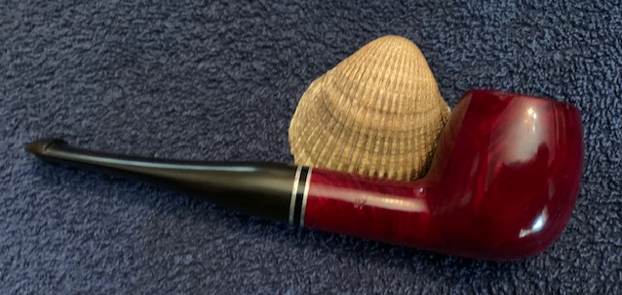
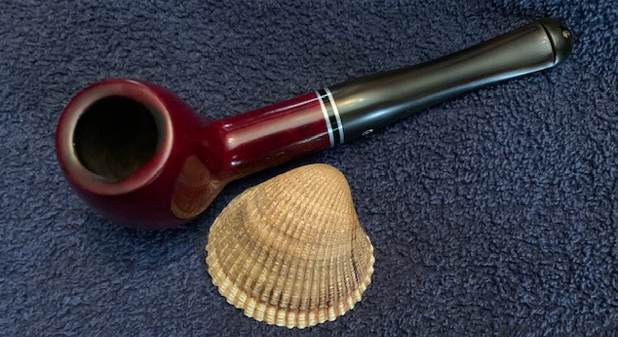
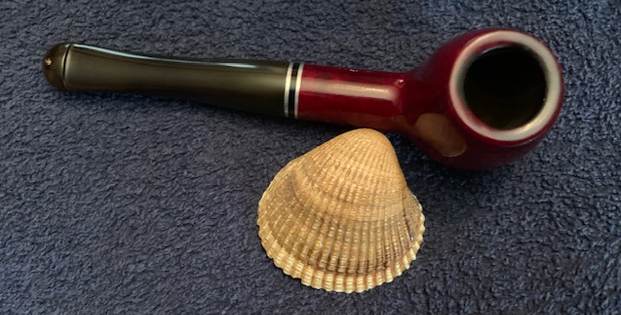
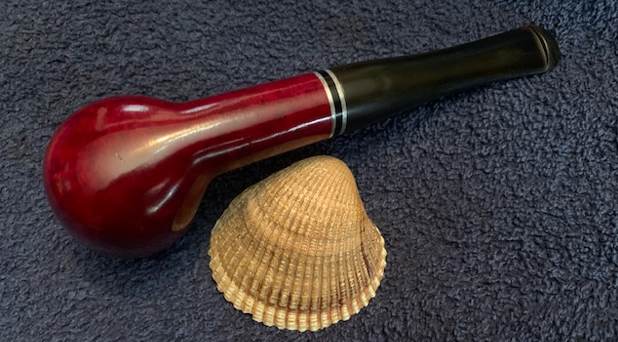
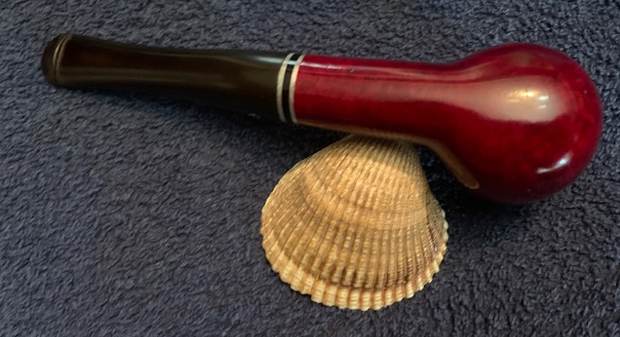
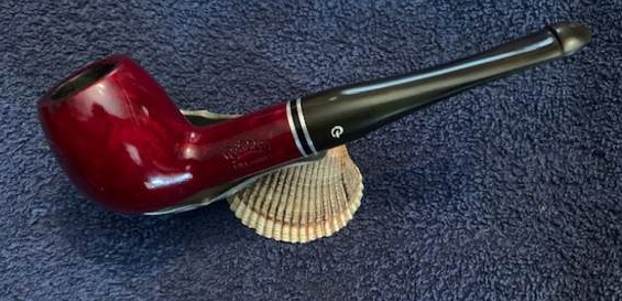
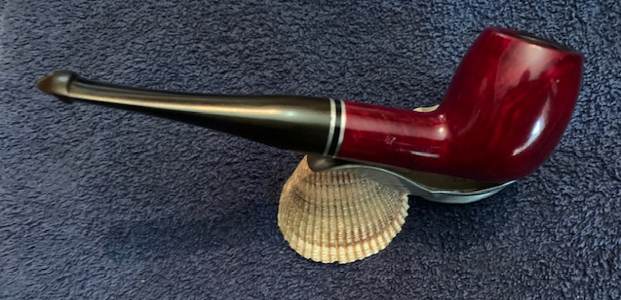
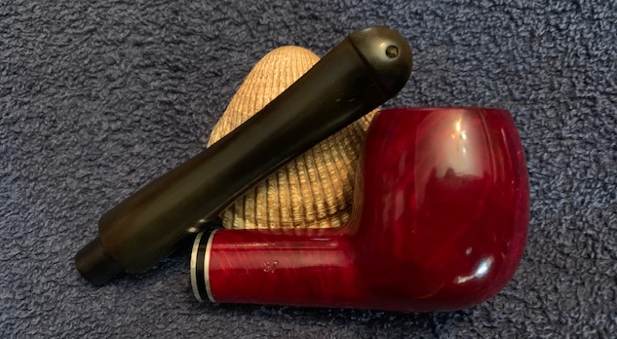
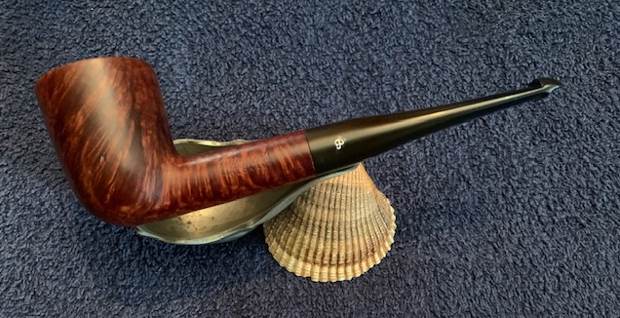
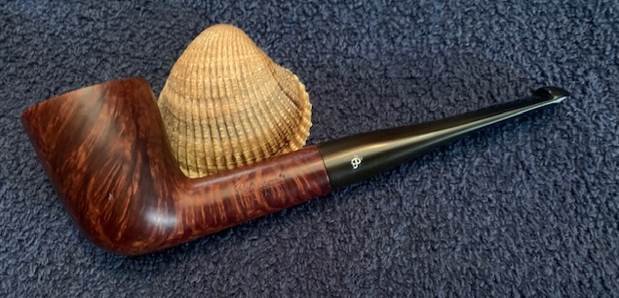
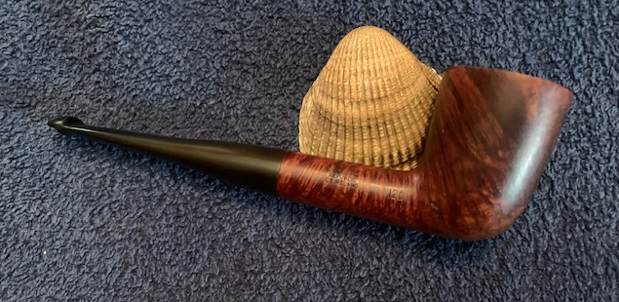
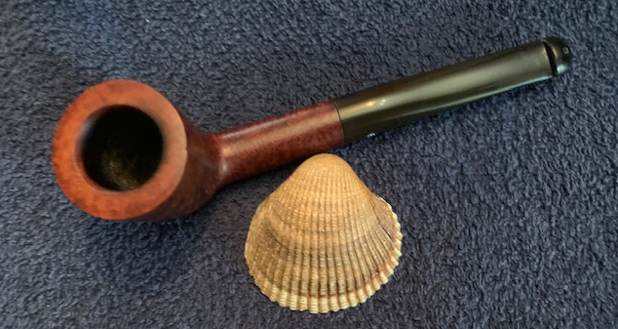
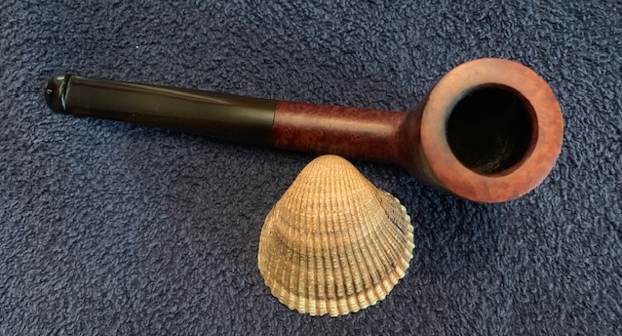
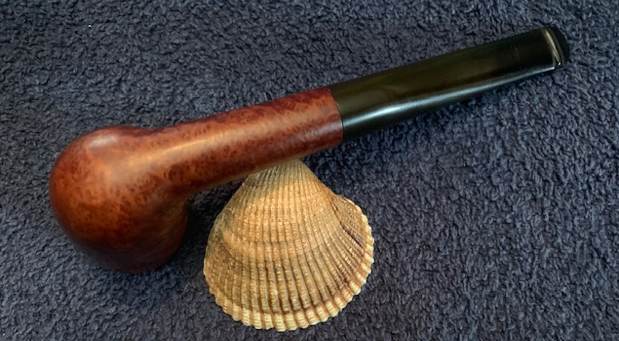
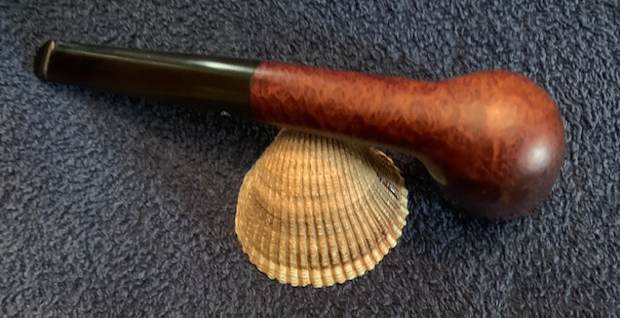
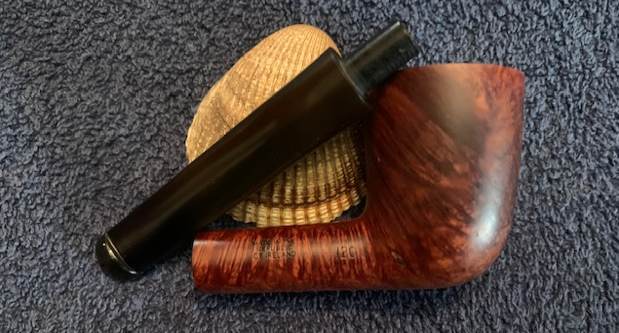
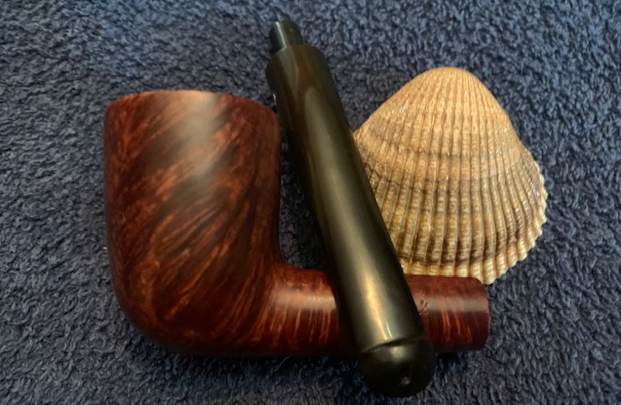
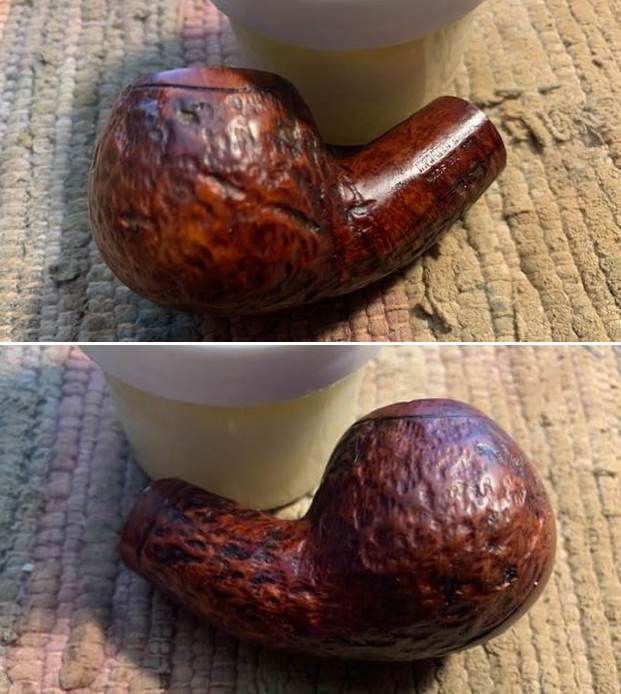
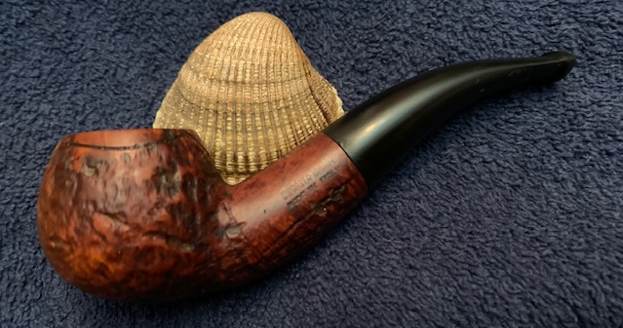
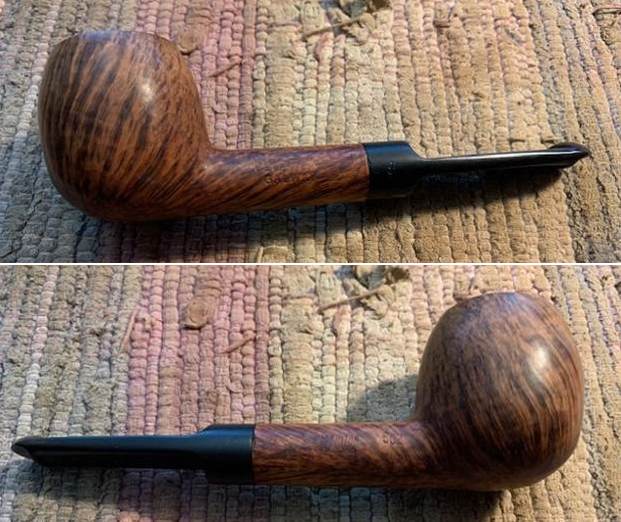
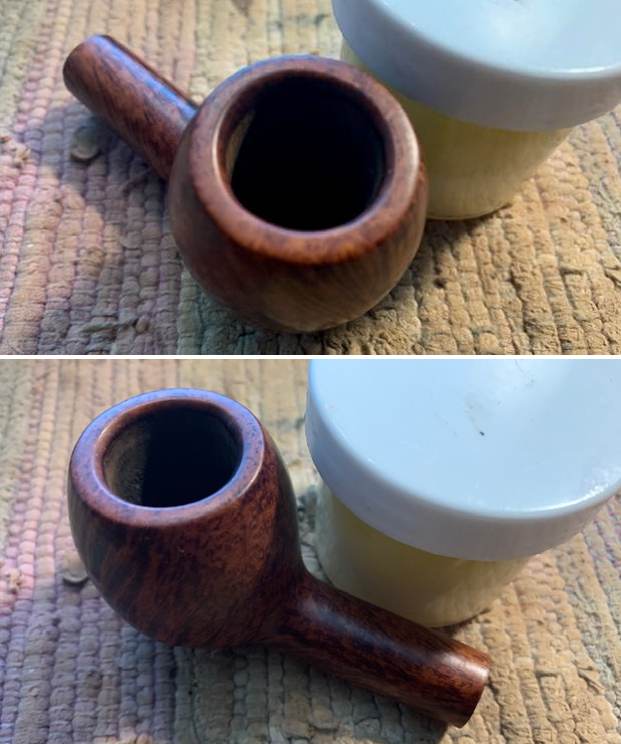
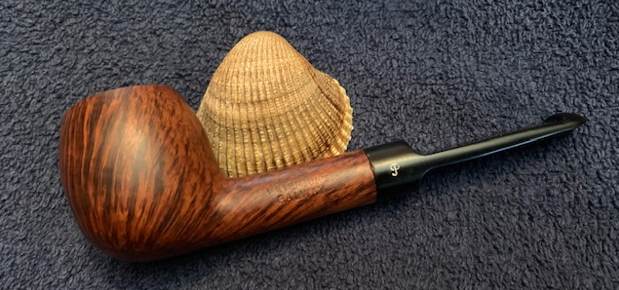
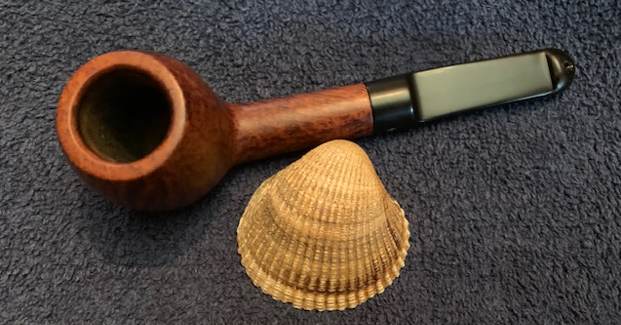
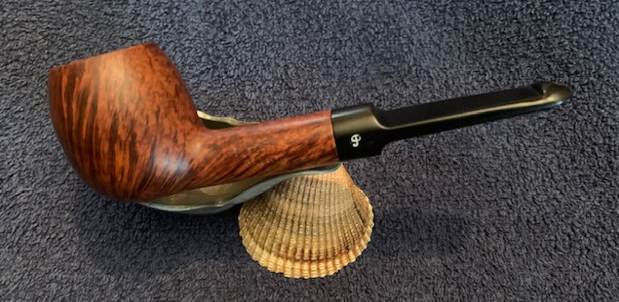
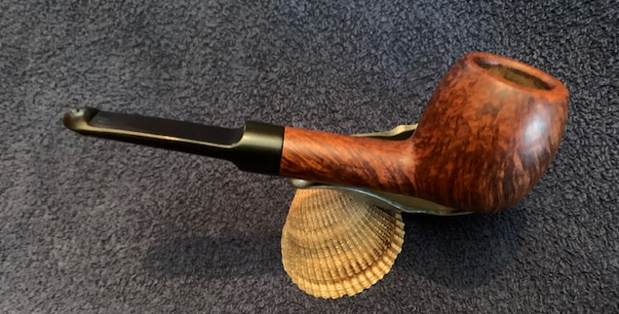
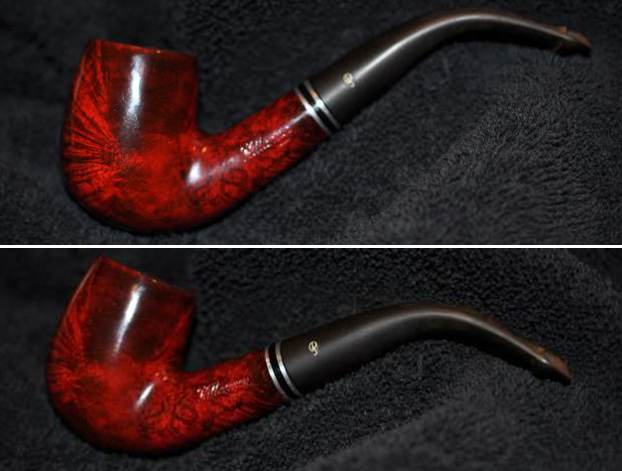
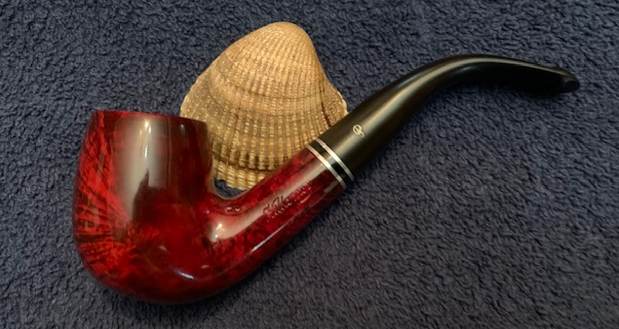
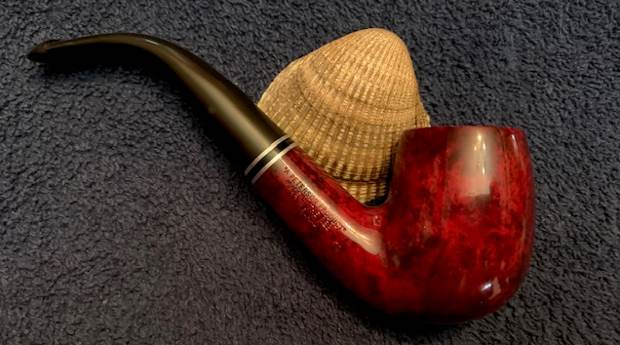
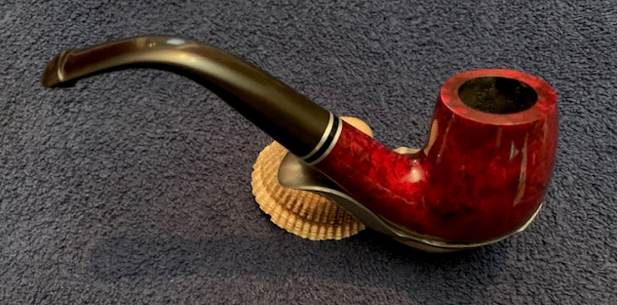
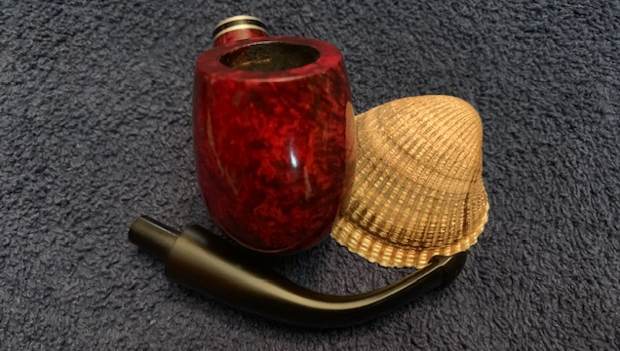
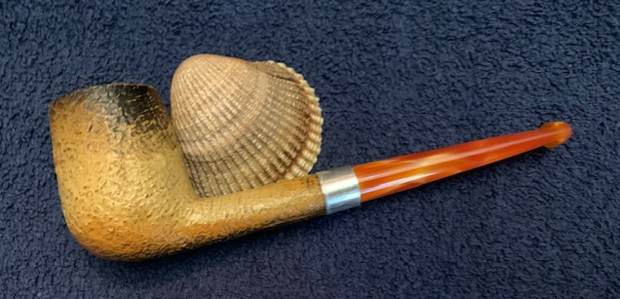
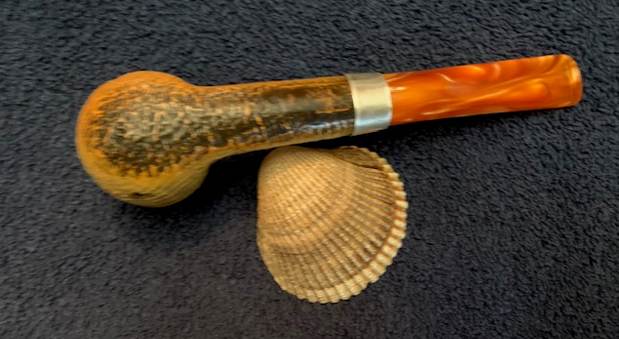
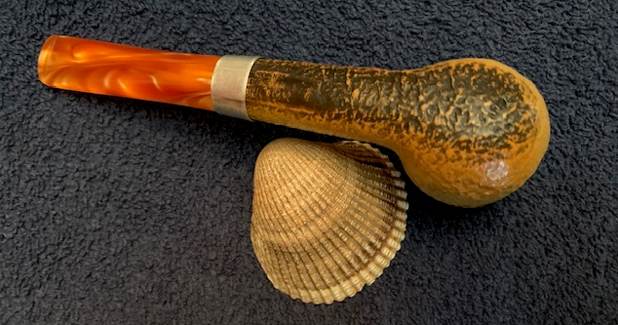
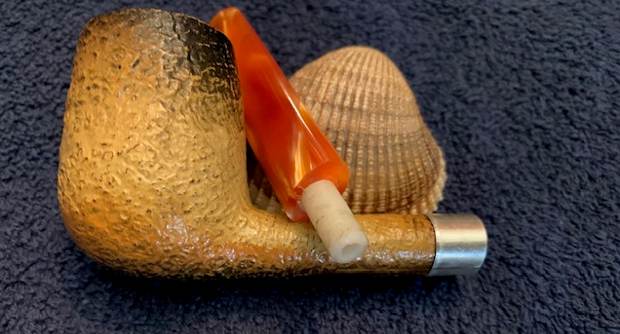
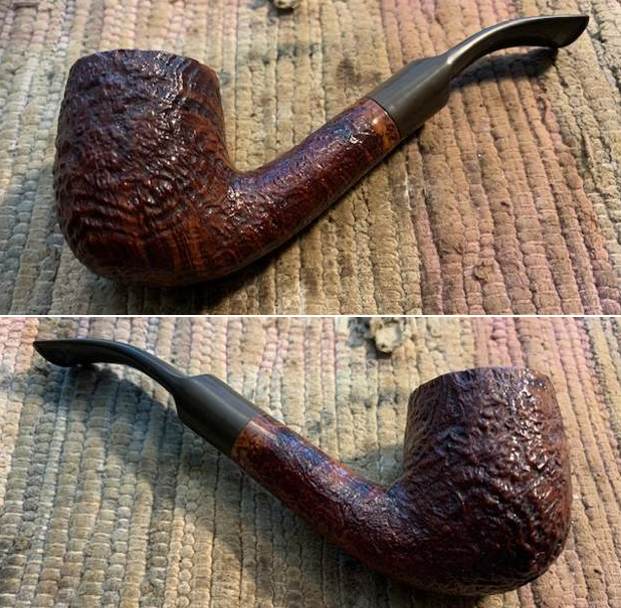
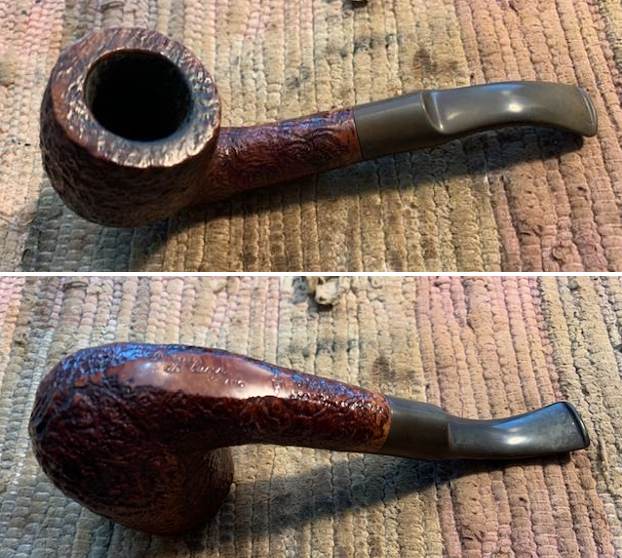
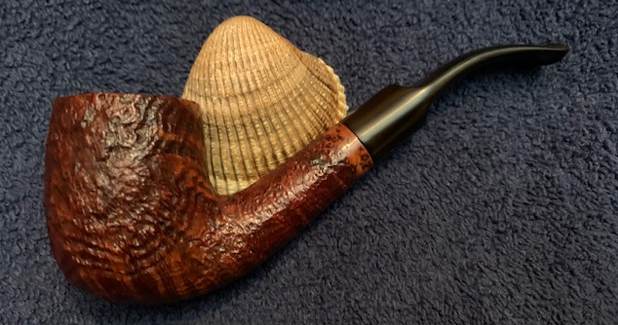
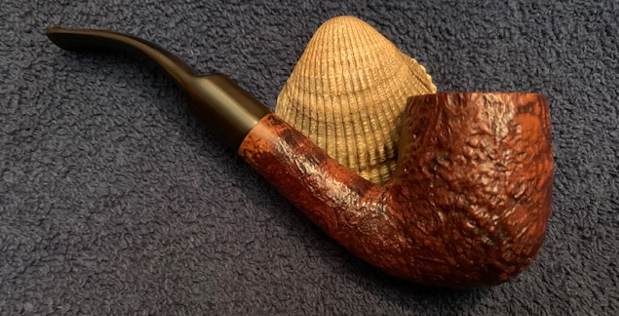
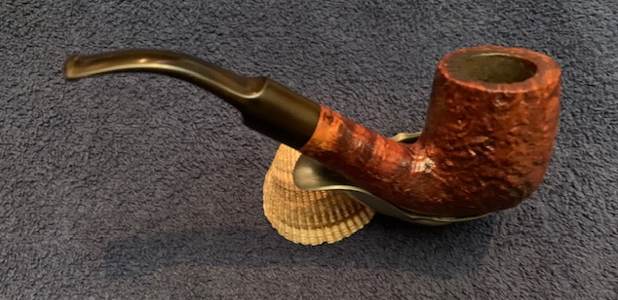
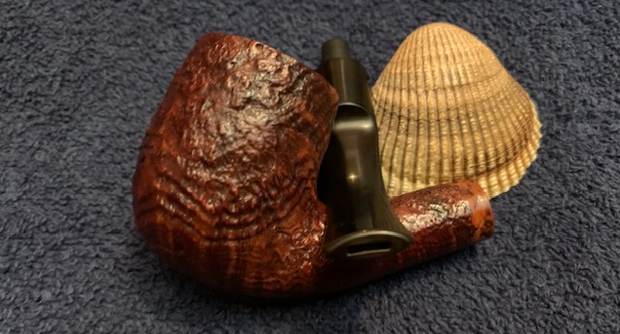
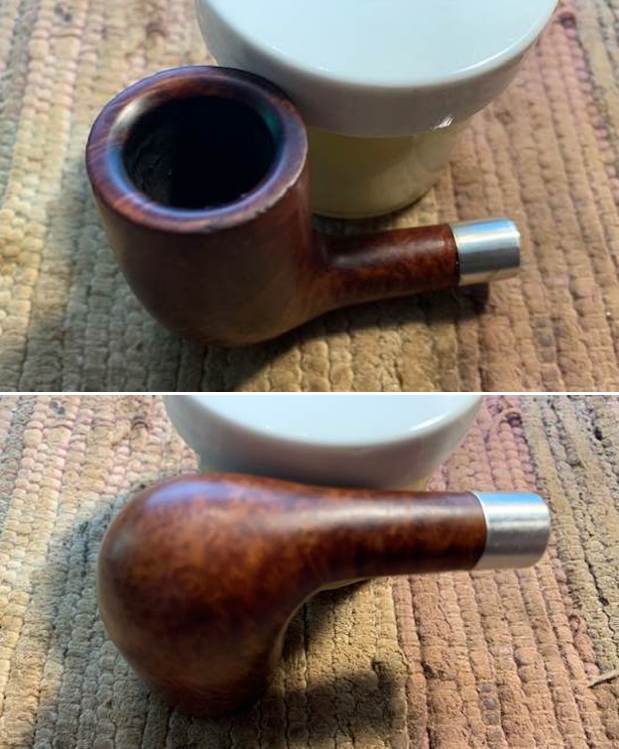
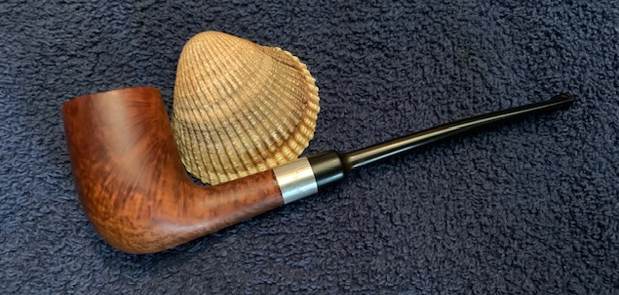
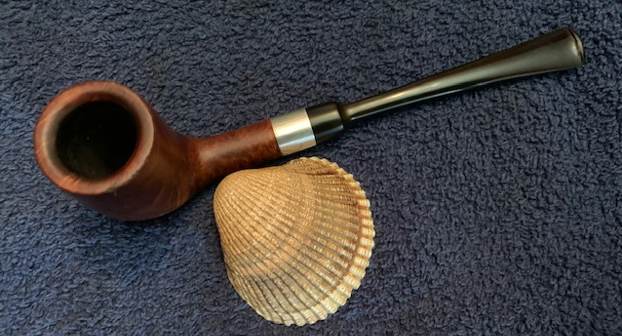
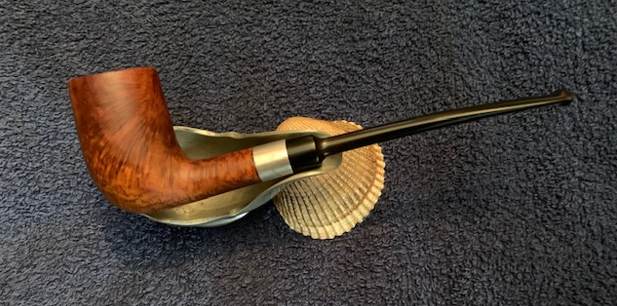
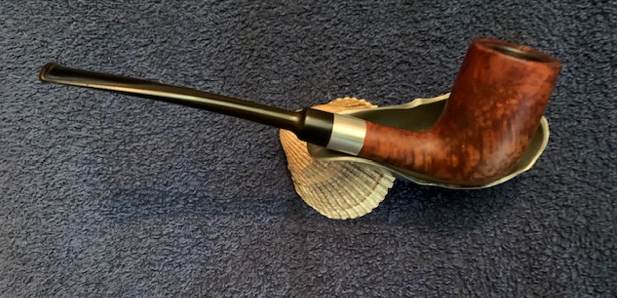
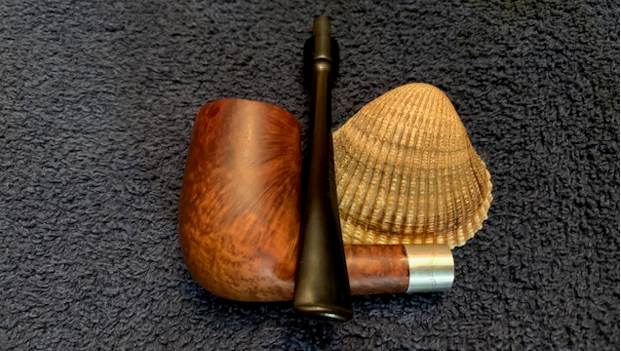
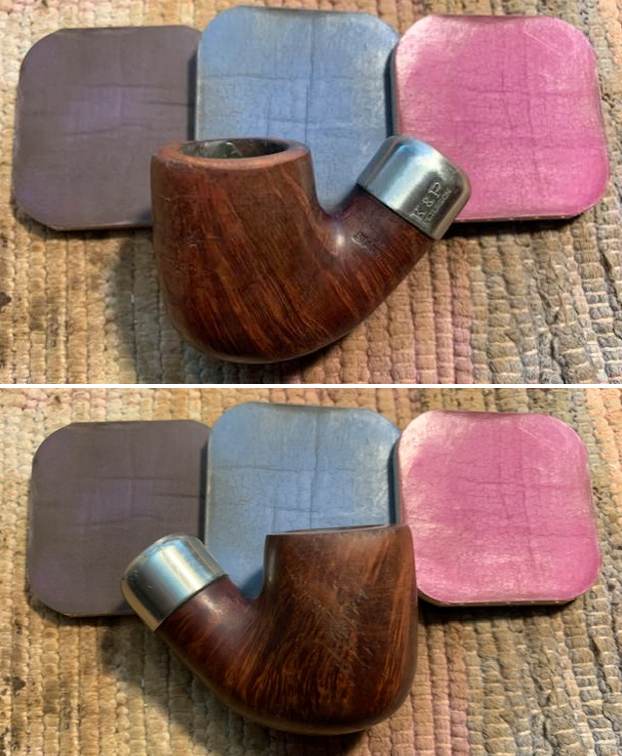
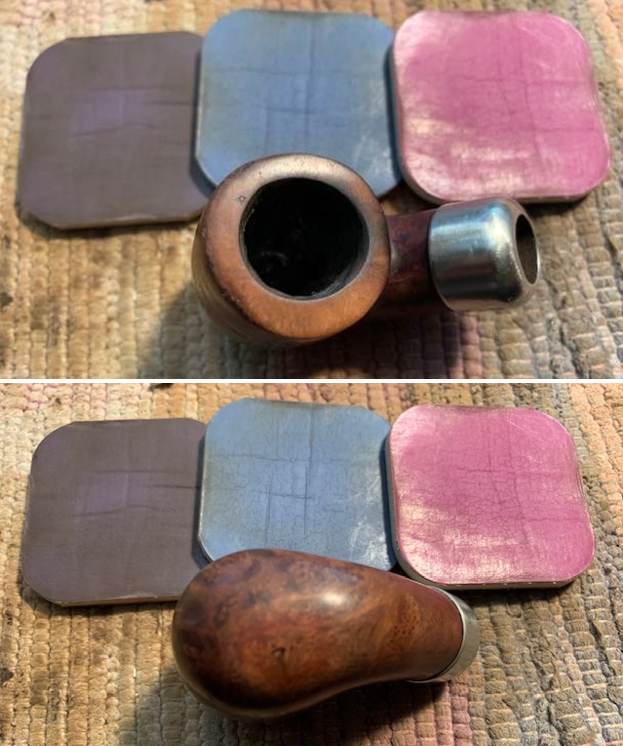
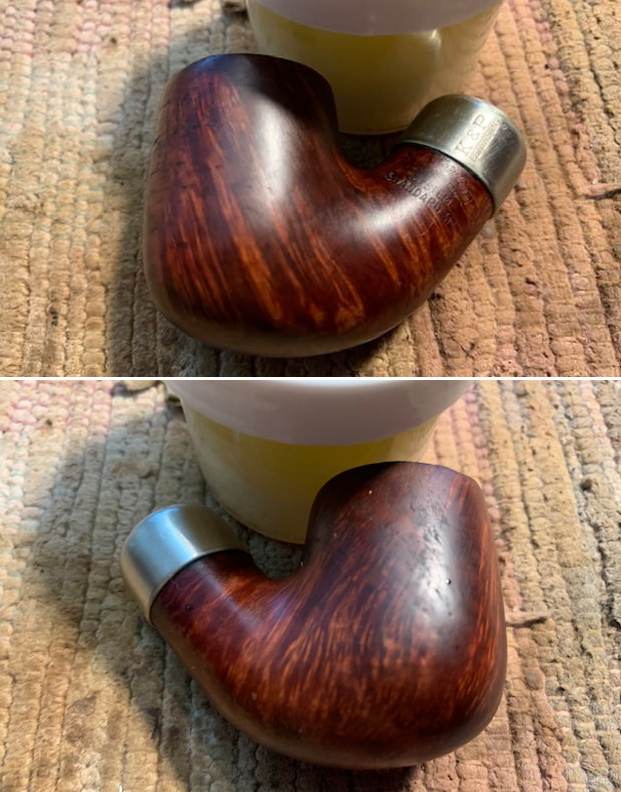
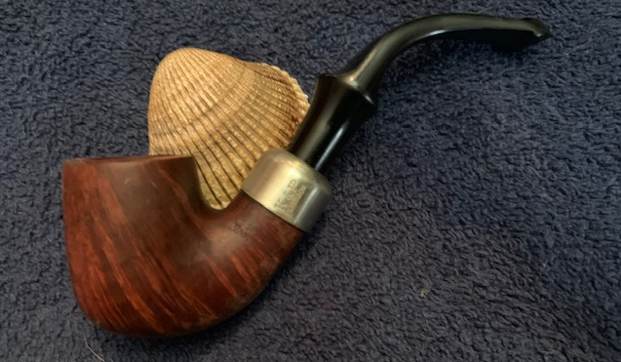
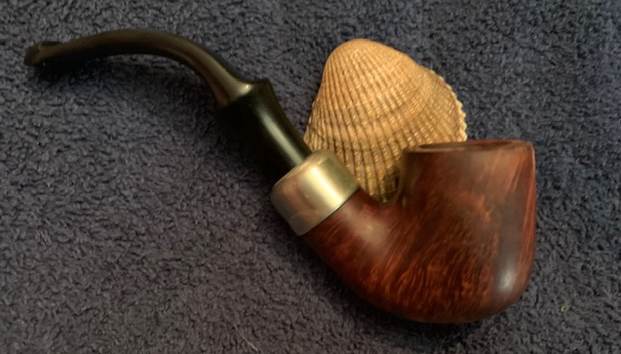
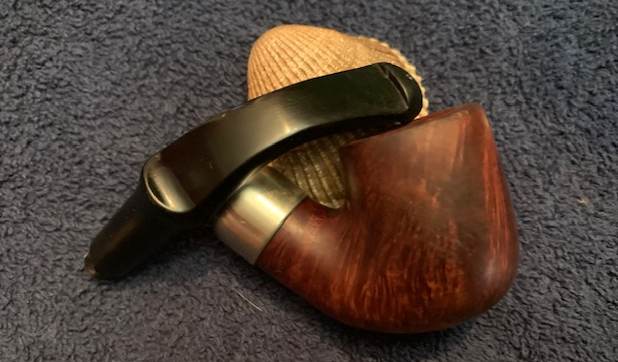
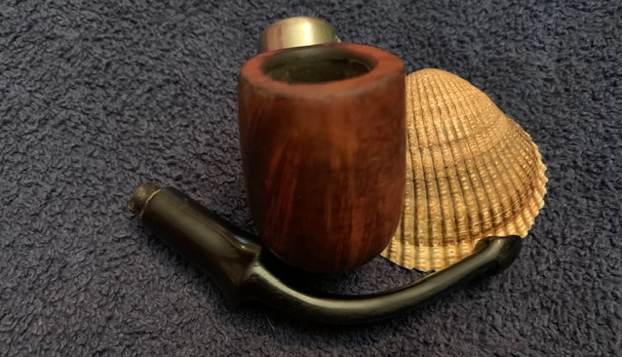
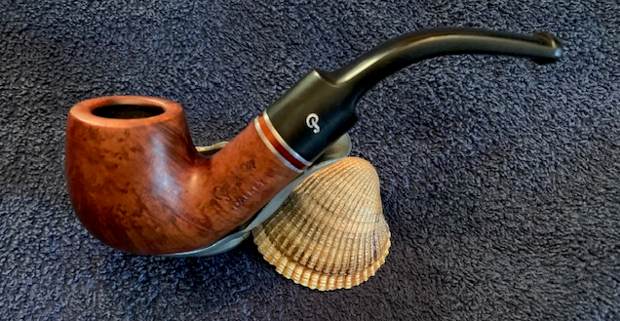
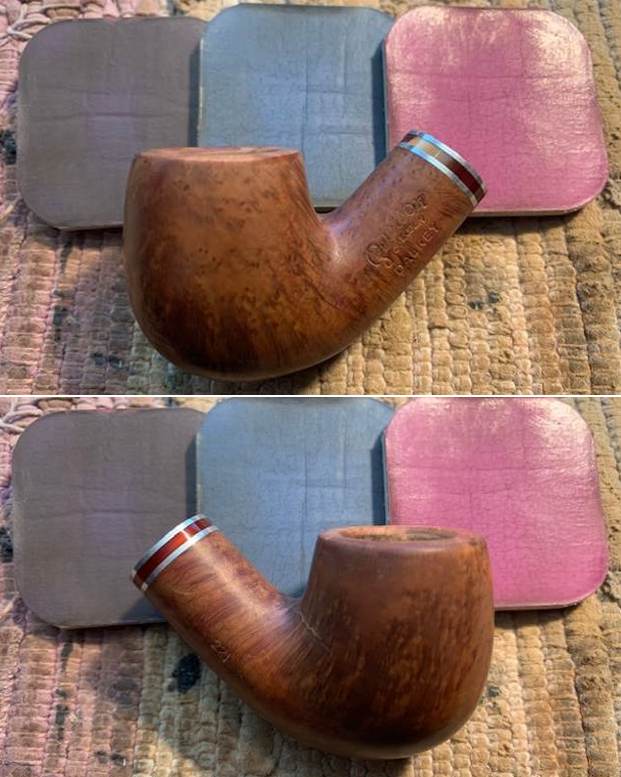
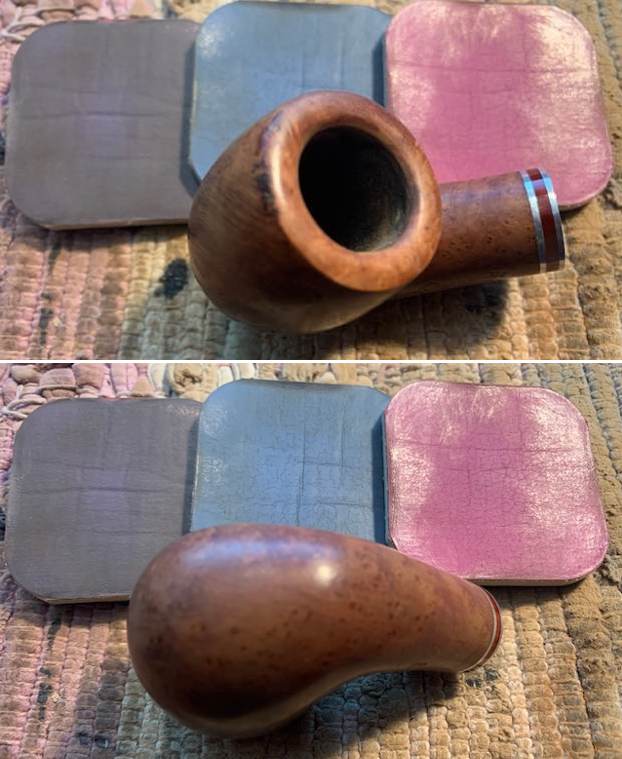
 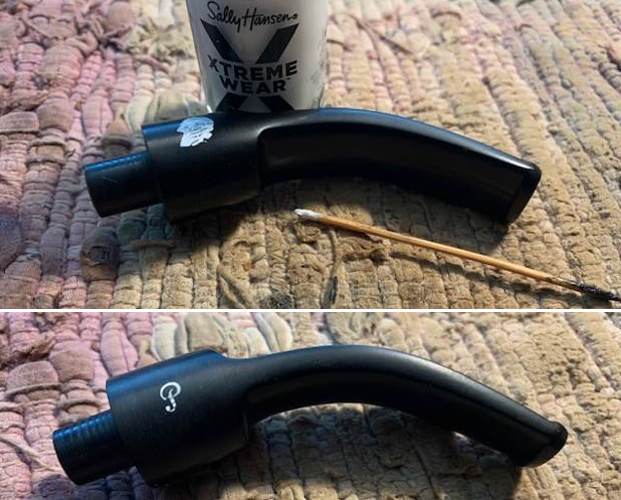 This Peterson of Dublin Dalkey 221 Bent Billiard with a vulcanite taper stem has a smooth reddish finish. The rich browns of the stain make the grain come alive with the polishing and waxing. I put the vulcanite stem back on the bowl and carefully buffed the pipe with Blue Diamond on the buffing wheel using a light touch on the briar. I gave the bowl and the stem multiple coats of carnauba wax on the buffing wheel and followed that by buffing the entire pipe with a clean buffing pad. I hand buffed the pipe with a microfiber cloth to deepen the shine. The finished Peterson’s Dalkey 221 Bent Billiard really is a great looking and fits nicely in the hand and looks very good. Give the finished pipe a look in the photos below. The dimensions of the pipe are Length: 5 ½ inches, Height: 1 ¾ inches, Outside diameter of the bowl: 1 ¼ inches, Chamber diameter: ¾ of an inch. The weight of the pipe is 1.62 oz./46 grams. This pipe will soon be on the Irish Pipe Makers Section of the rebornpipes store if you would like to add it to your collection. Thanks for reading this blog and my reflections on the pipe while I worked on it.