Guest Blog by Robert M. Boughton
Member, North American Society of Pipe Collectors
http://www.roadrunnerpipes.com
http://about.me/boughtonrobert
Photos © the Author
O, what a tangled web we weave,
When first we practise to deceive!
— Sir Walter Scott, Scottish historical novelist, playwright and poet, in “Marmion” (1808), Canto VI, stanza xvii.
INTRODUCTION
I mention poet last among the great Scot’s endeavors because, if any of them were much good, the poetry was most lacking. However, there are forever those two lines that people remember, even if they often misattribute it to Shakespeare, who would have made a much better and shorter sonnet of the one theme had he thought of it. Scott’s epic in length tragic poem (in more senses than intended) – with its jumbled use of rhymed couplets in iambic tetrameter, alternating rhyme in iambic pentameter and alternating or nested rhyme in hymn meter – just tends to bore. I admit that my writing skills do not include poetry, which I consider the highest form of the literary art form, but I also do not pretend to have the mind for it.
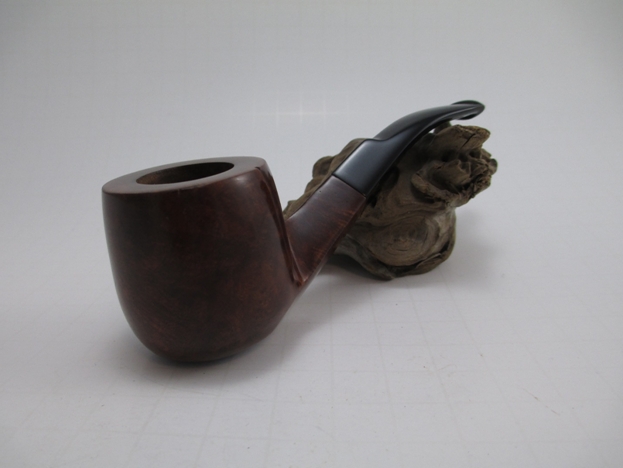
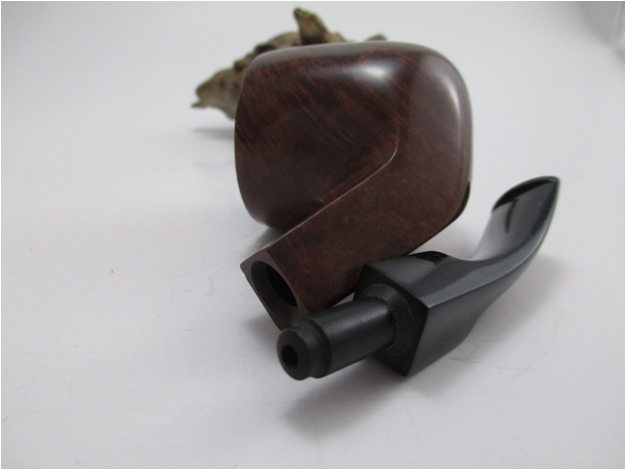
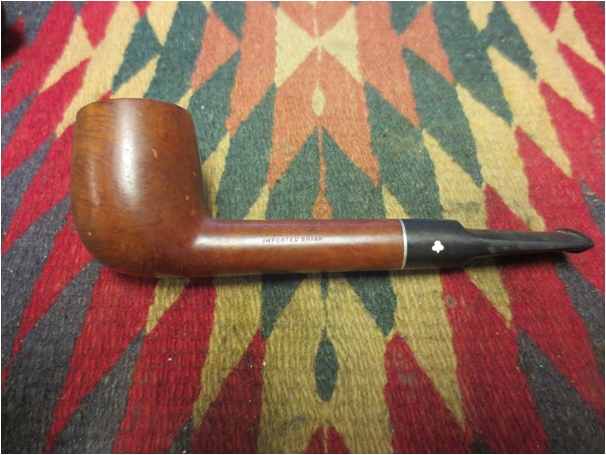
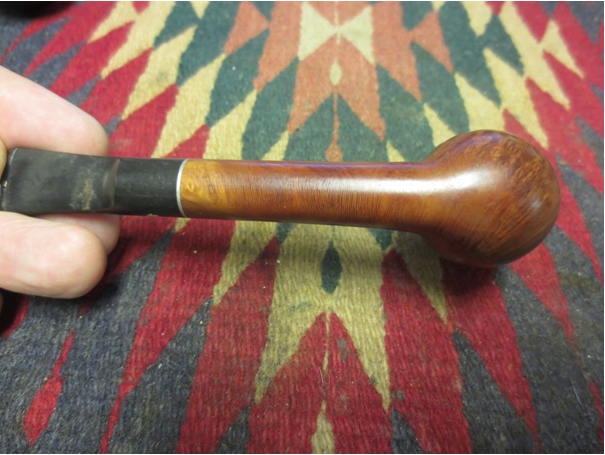
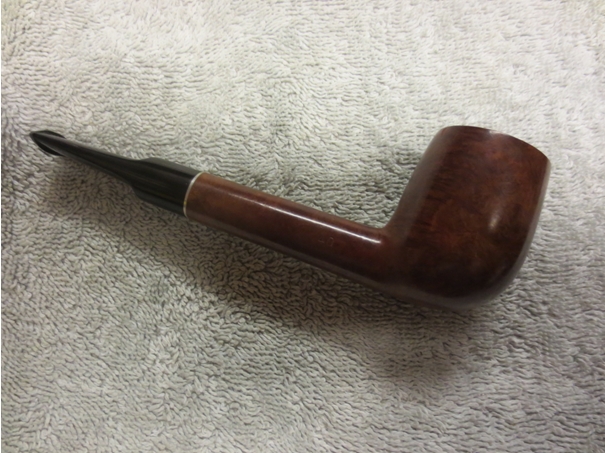
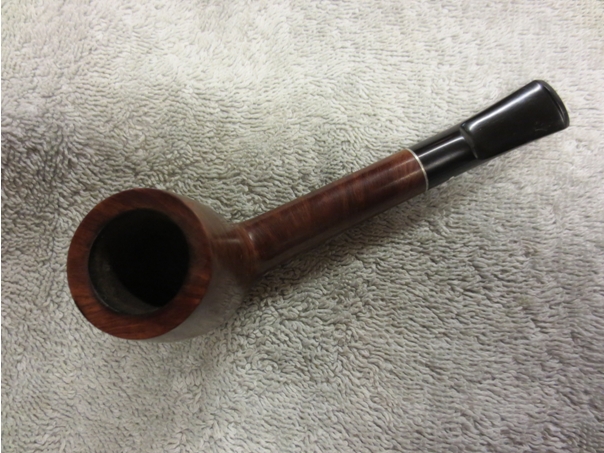
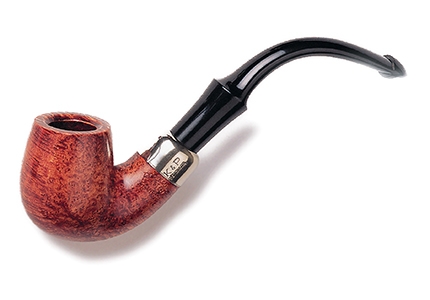
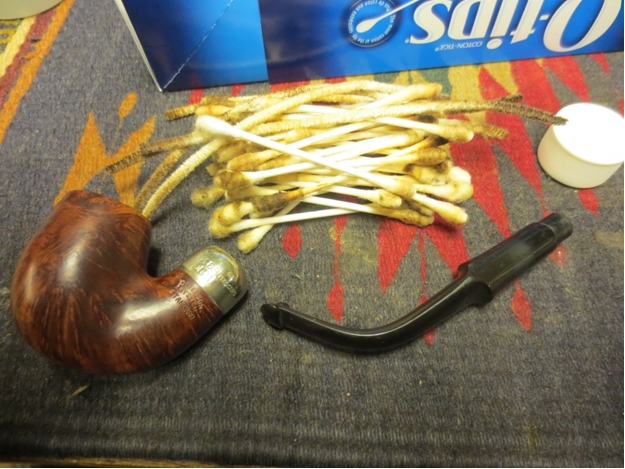
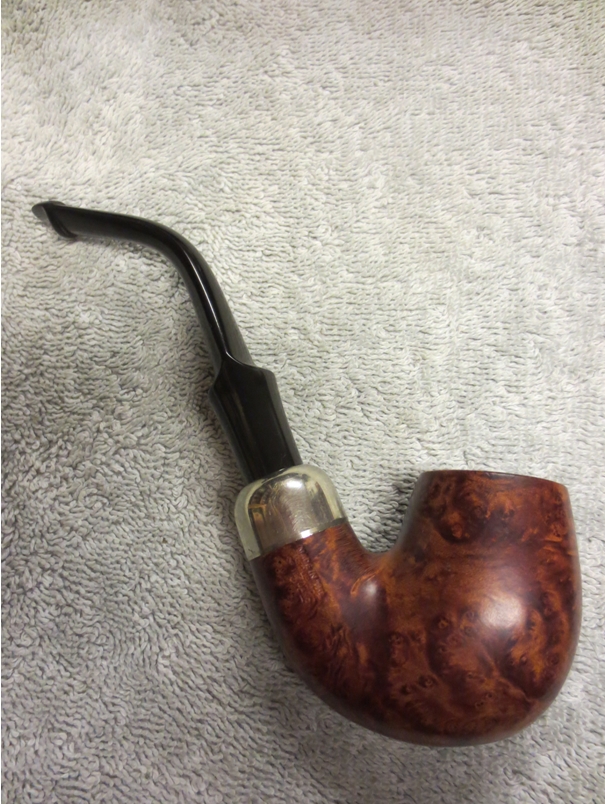
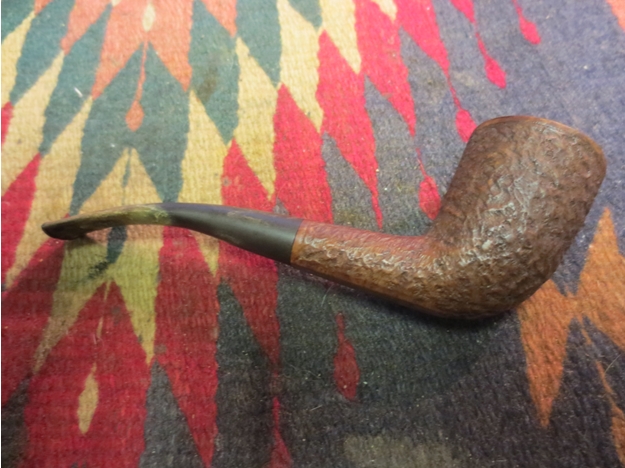
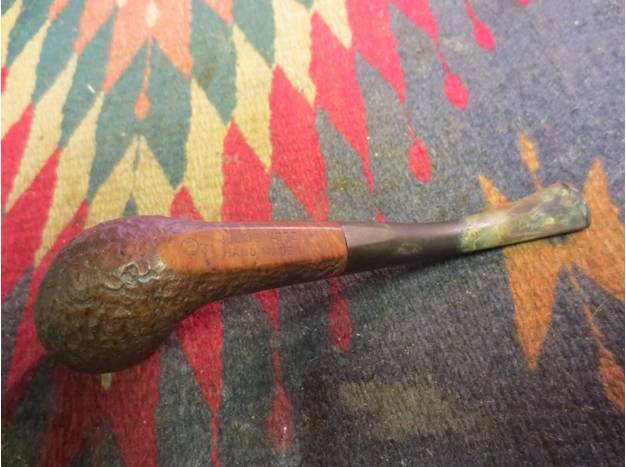
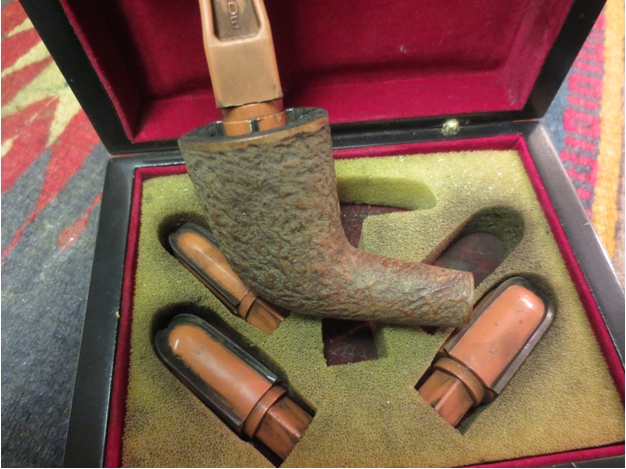
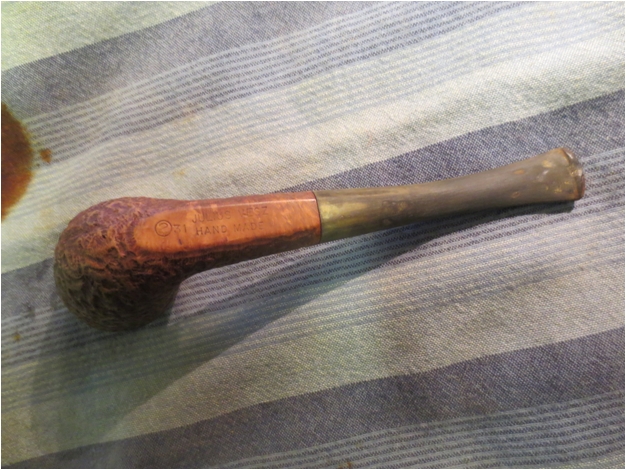
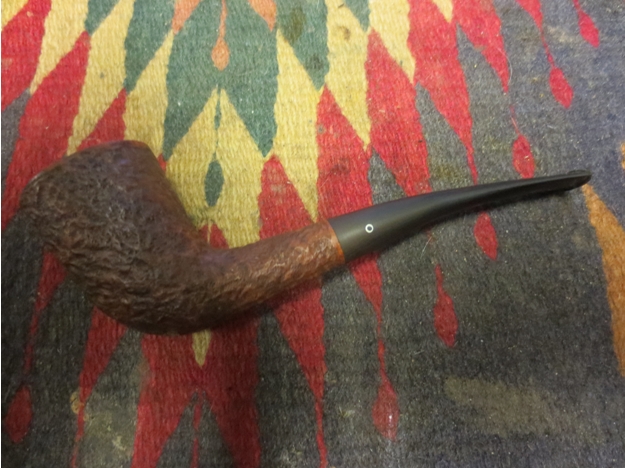
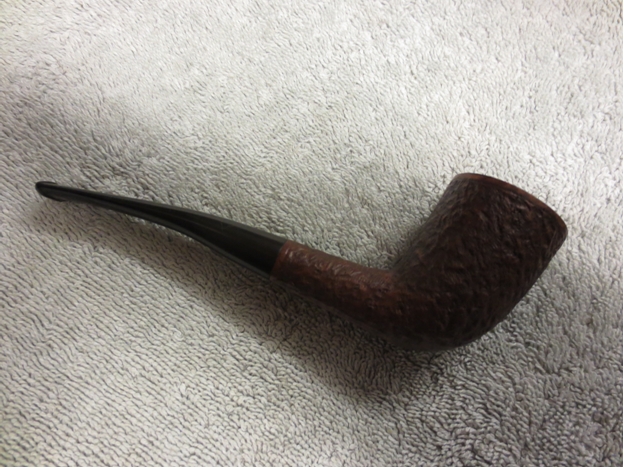
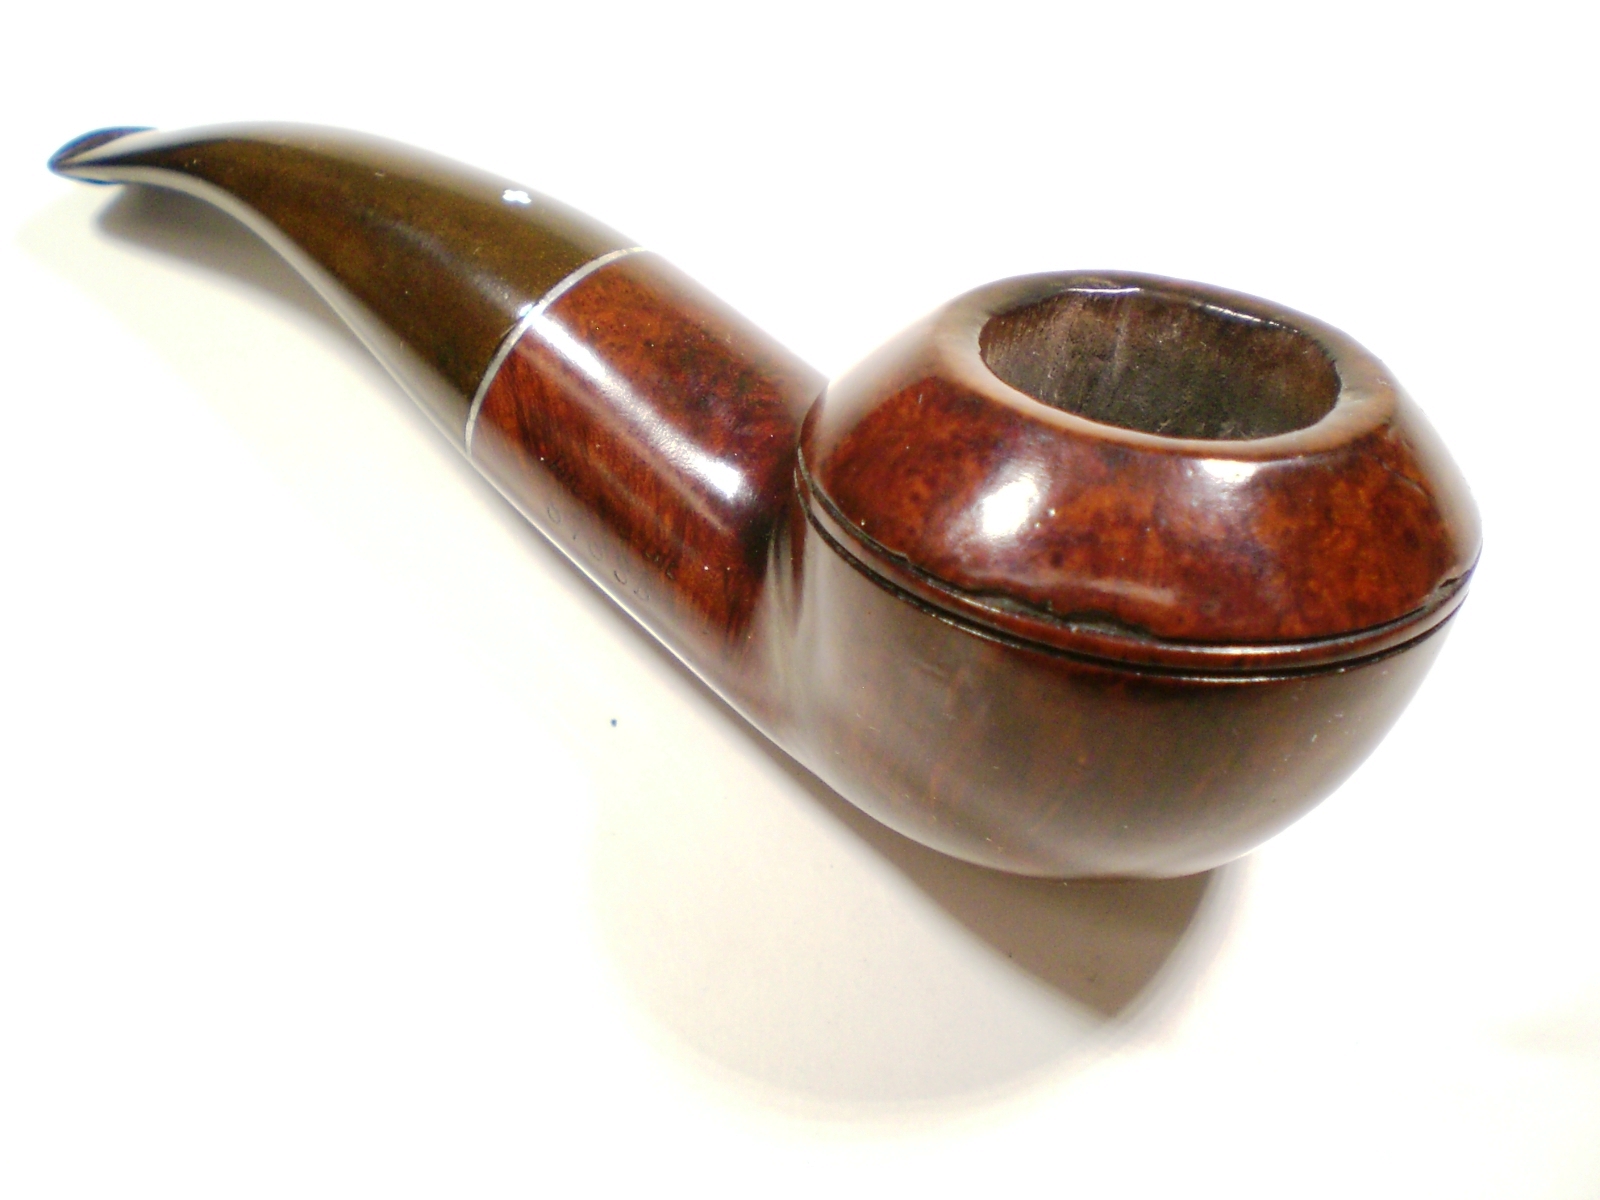
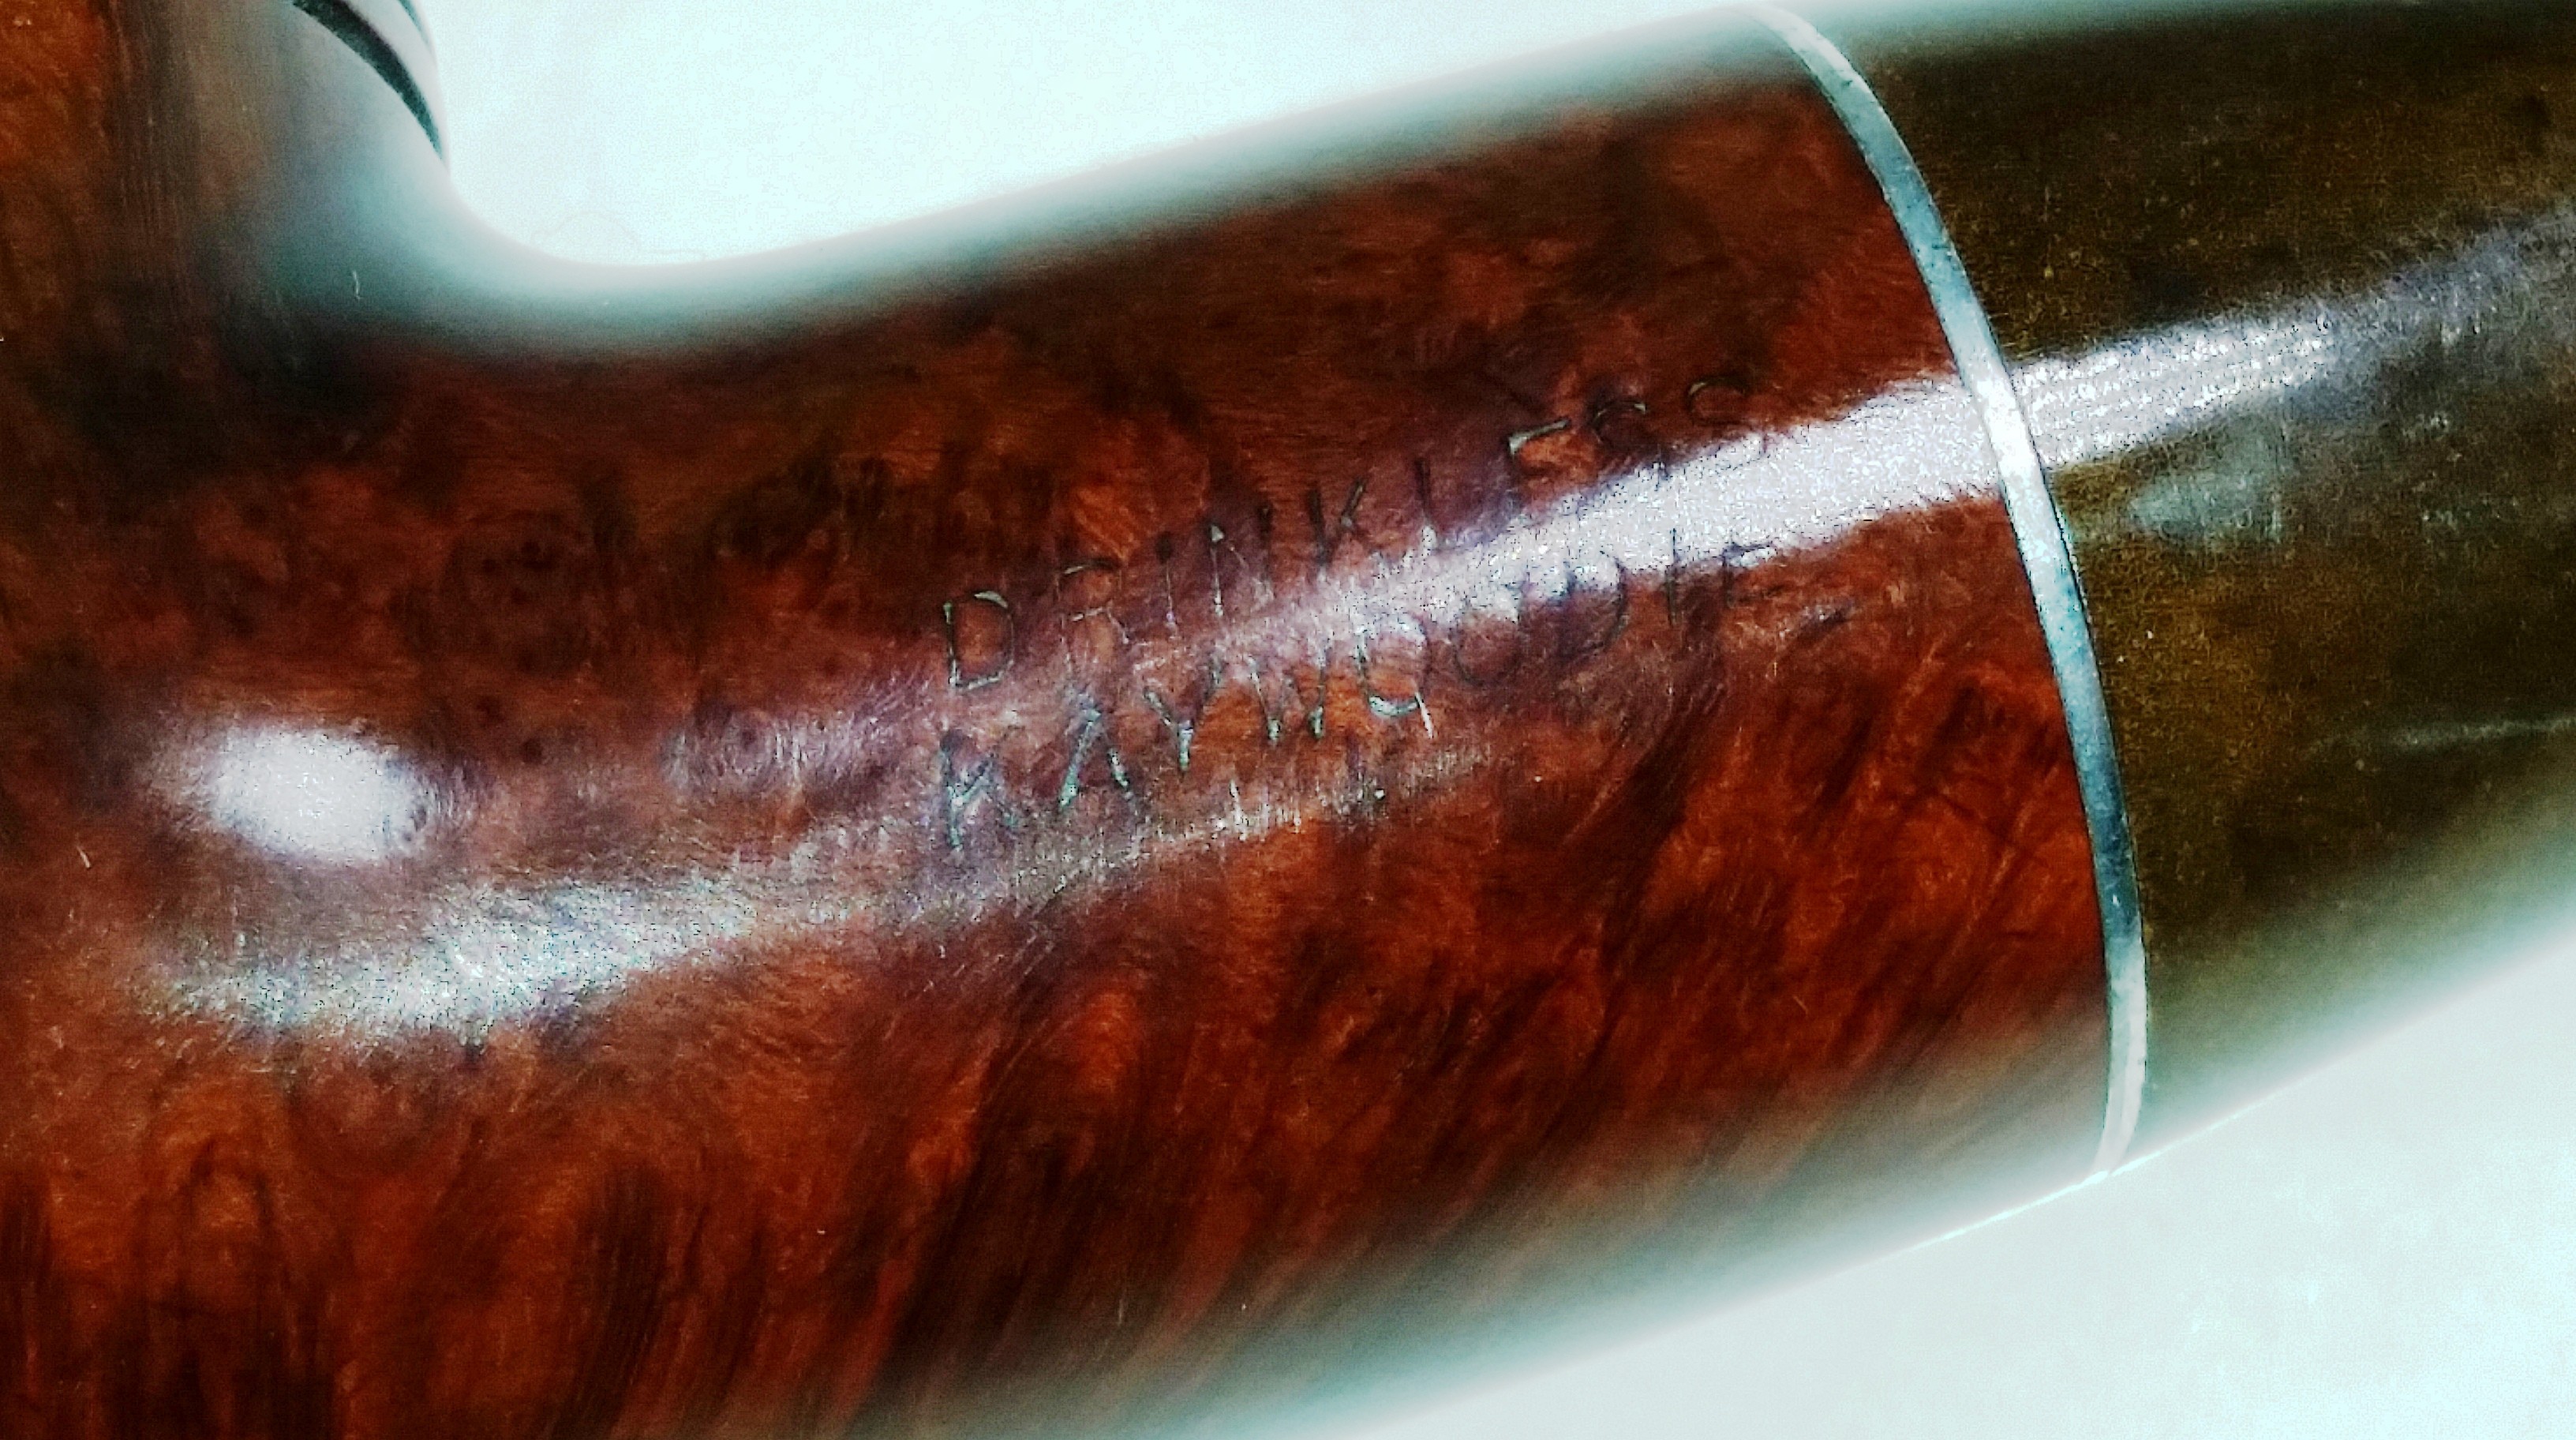
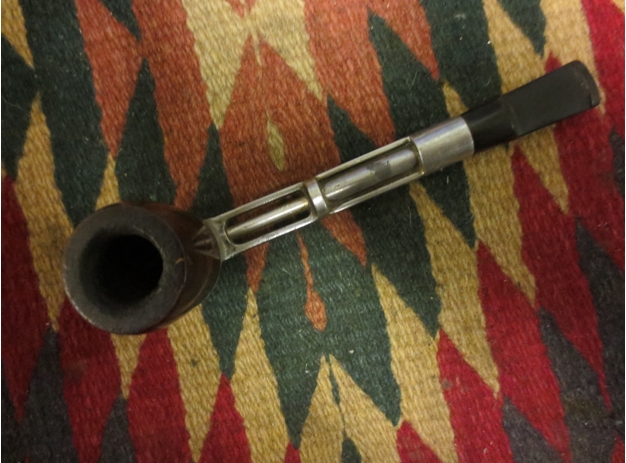
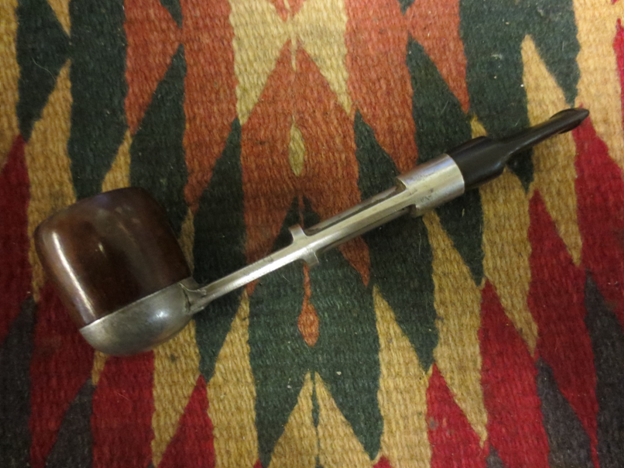
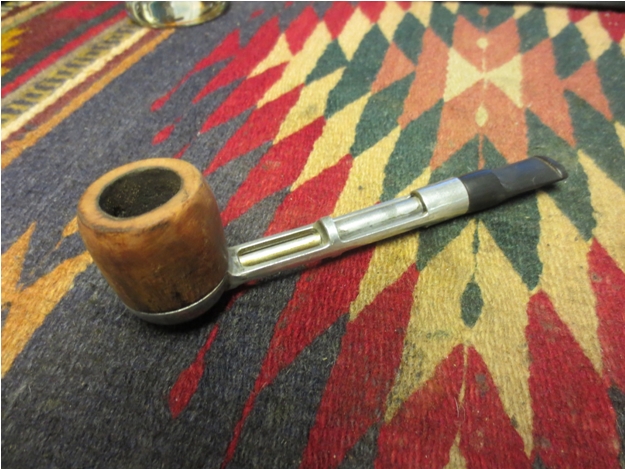
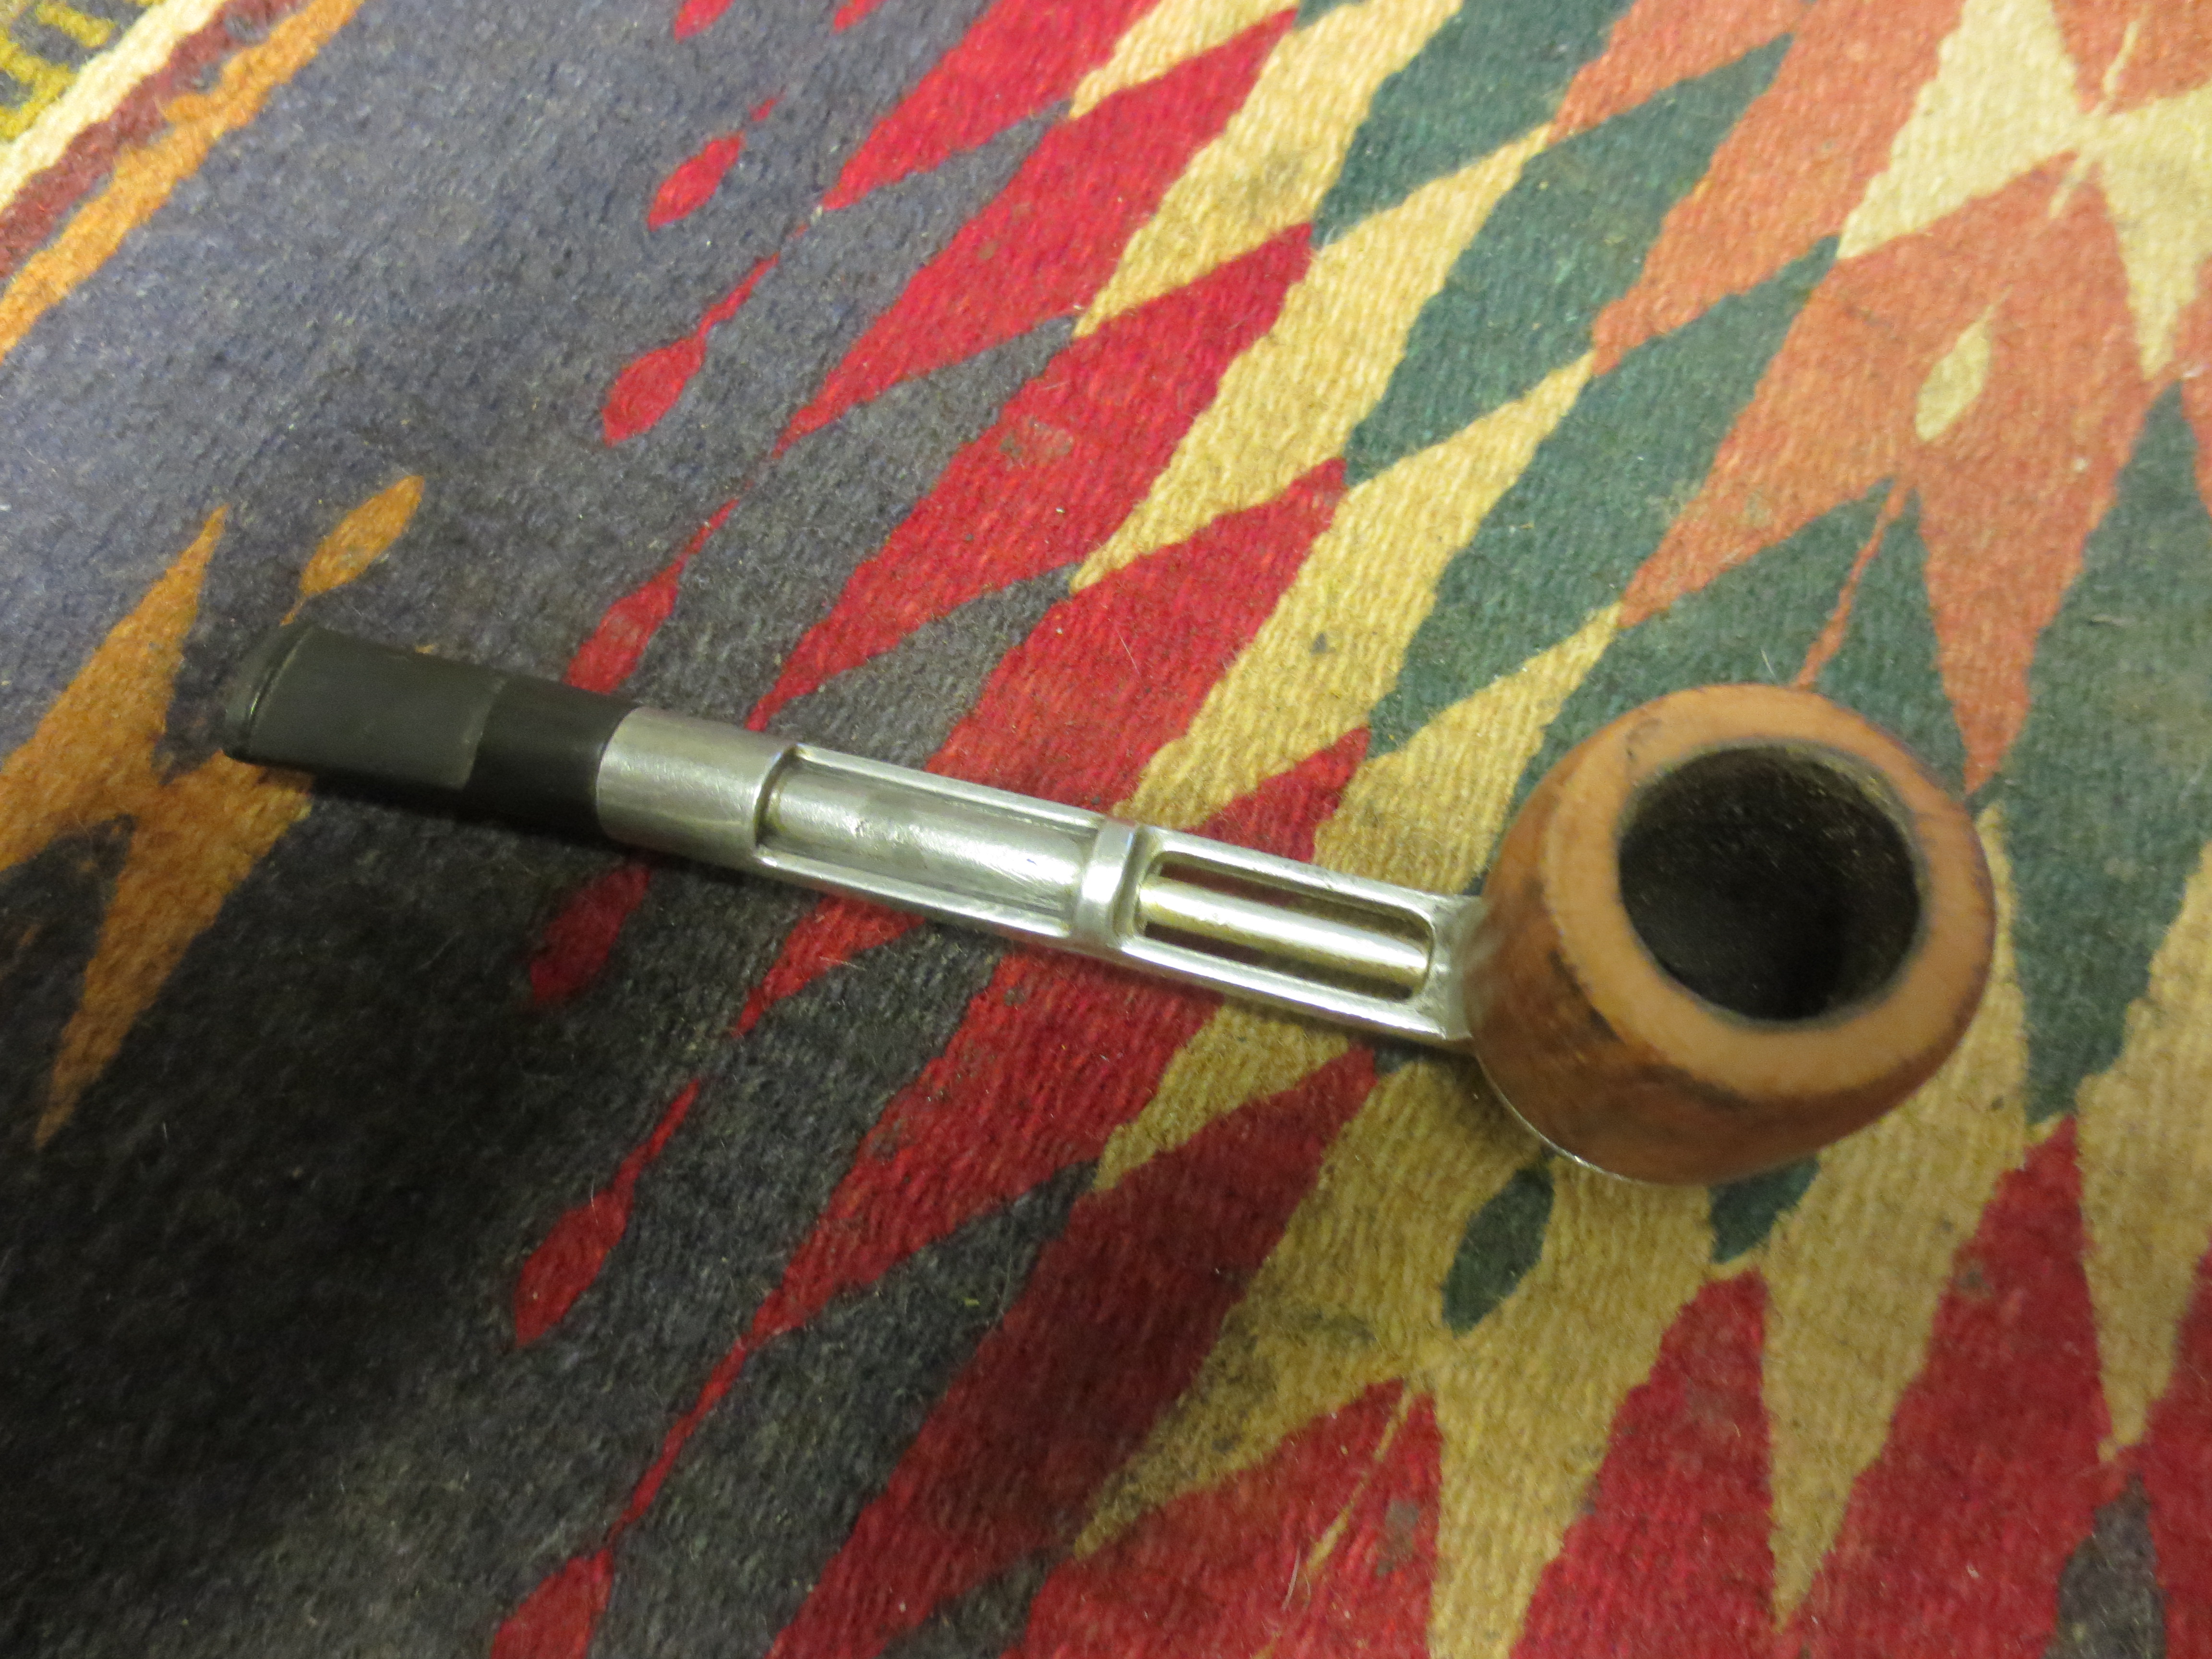
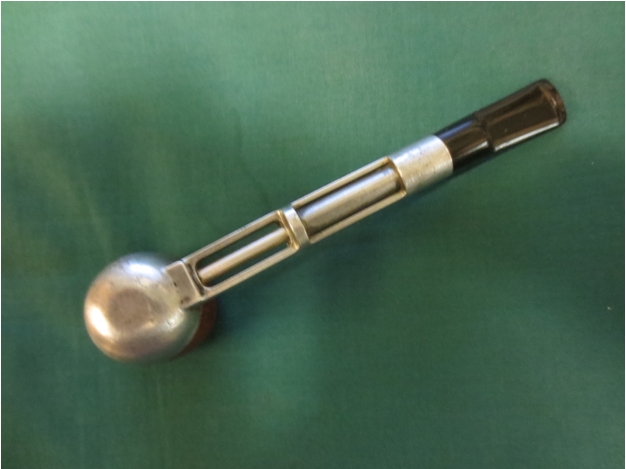
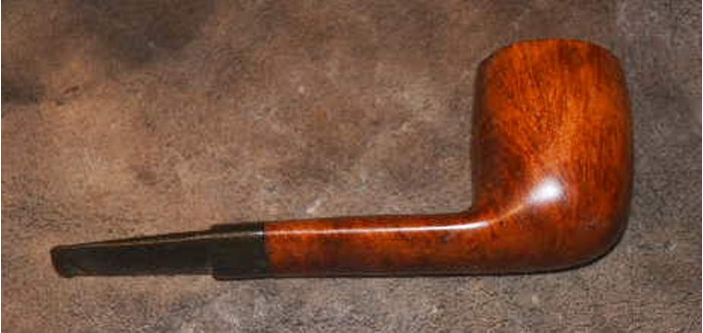
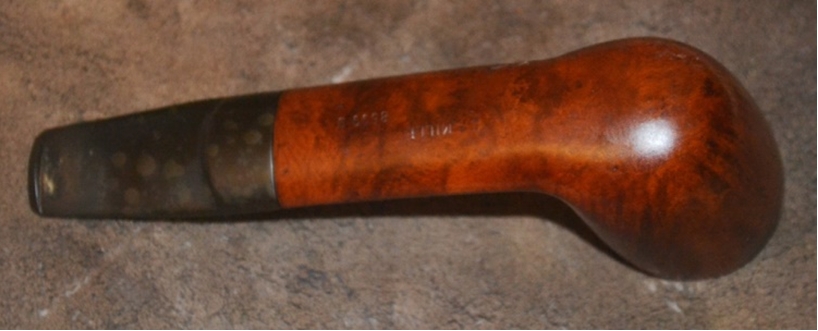
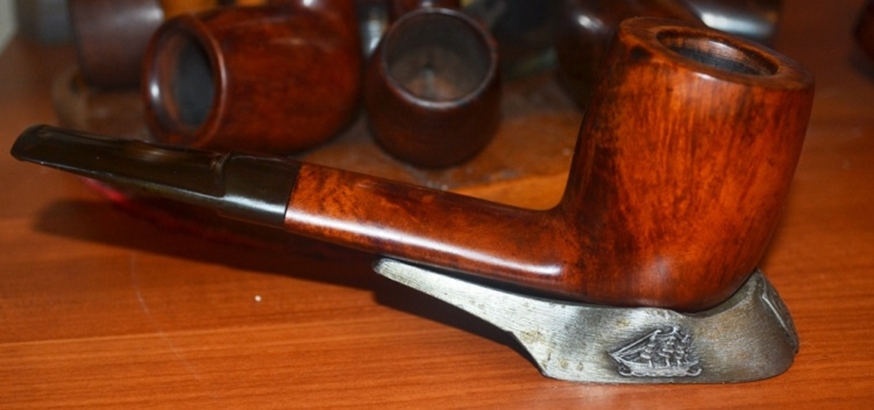
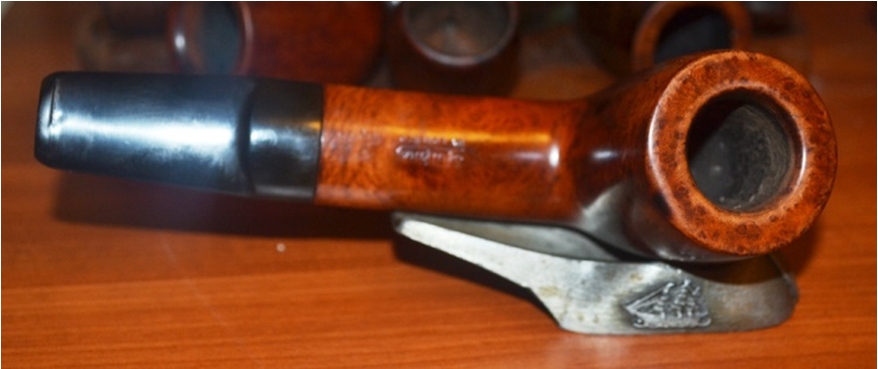
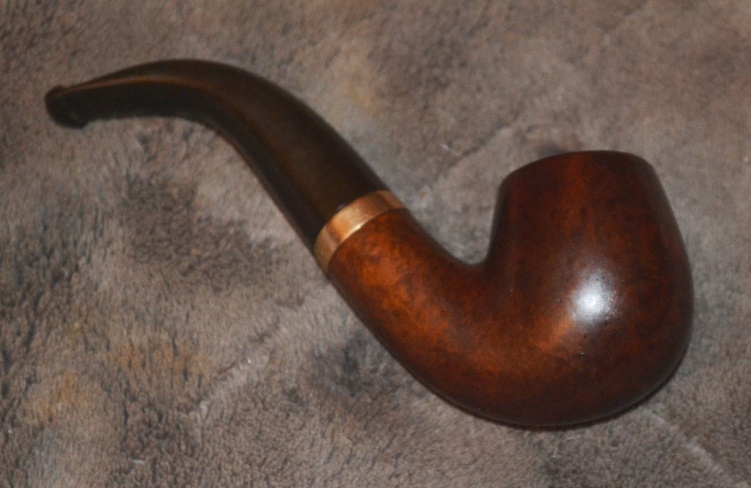
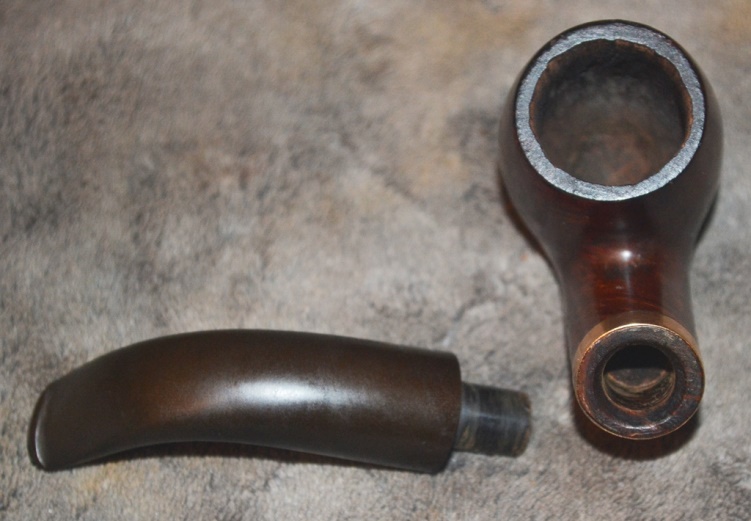
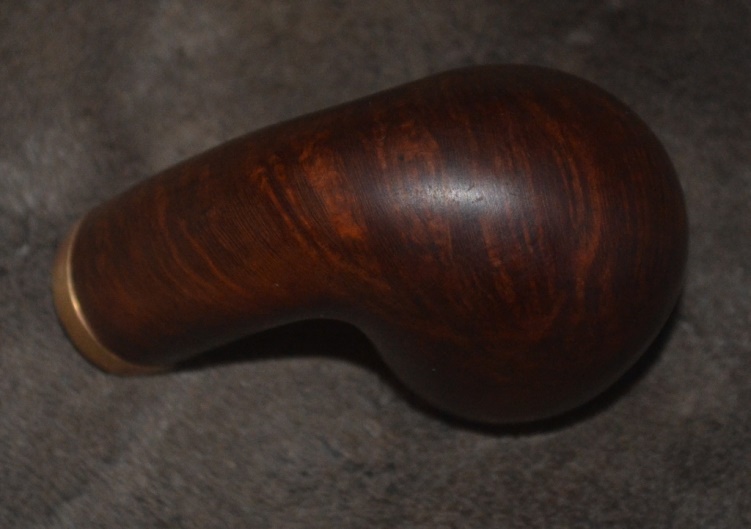
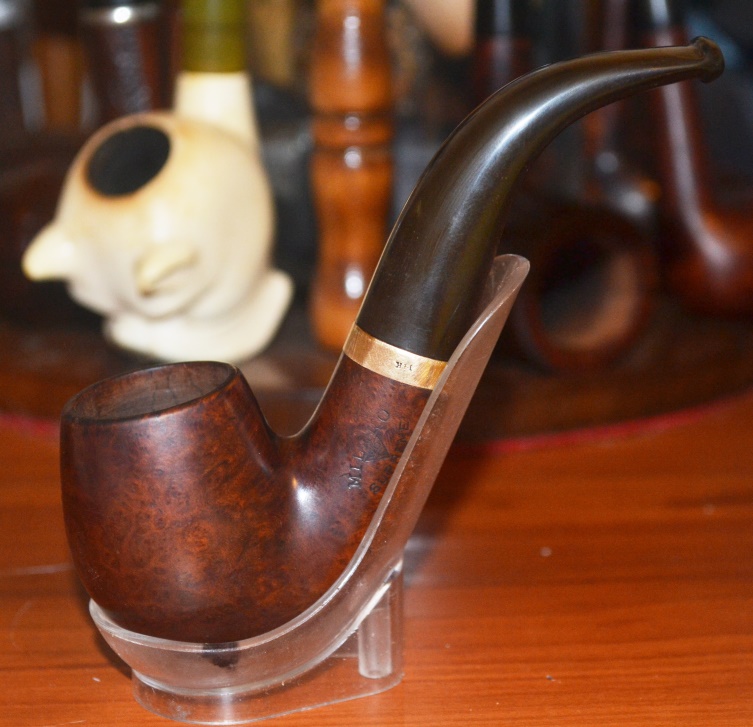
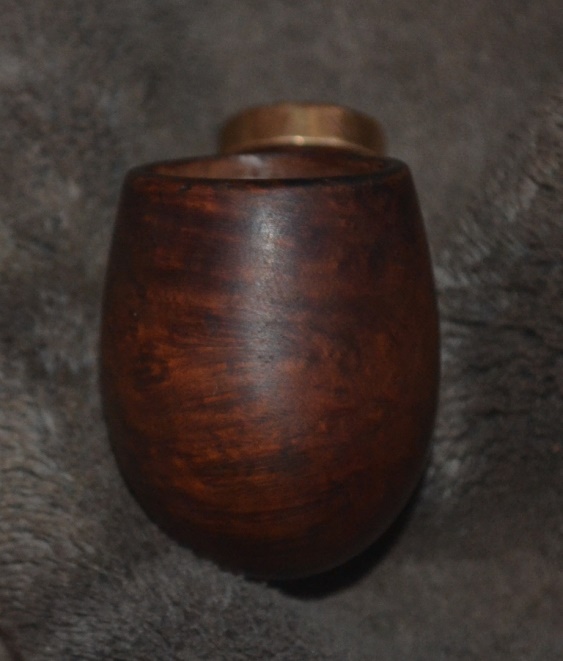
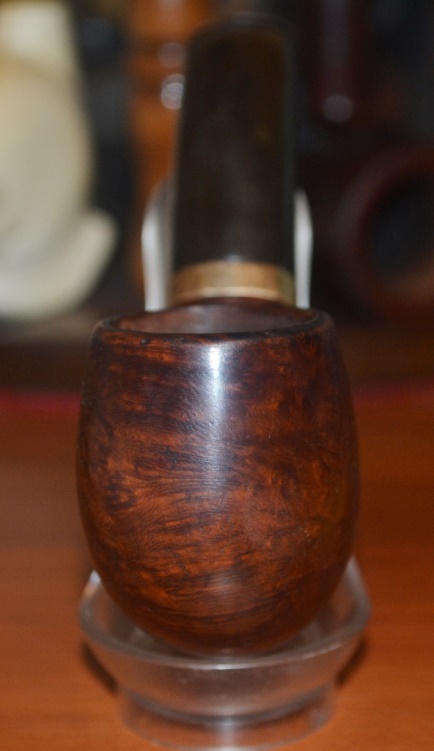
Many of the quotes I include before my blogs are no doubt somewhat enigmatic, but this one hits the mark much closer. A quick look at the WDC Full Bent Billiard with 14K gold band reveals much ado about nothing as far as the need for serious restoration is concerned. In fact, when it came in the mail with six others I bought in a pipe lot, I was happy to see they were nowhere near as thrashed as many others I received before. Most, in particular the WDC, seemed at a glance to need only a simple refurbishing. Only upon close examination did I see the problems that appeared little but might indeed create bigger problems when the actual work began. Still I chose this one both because of its seeming almost pristine condition but because I might have a buyer lined up already.
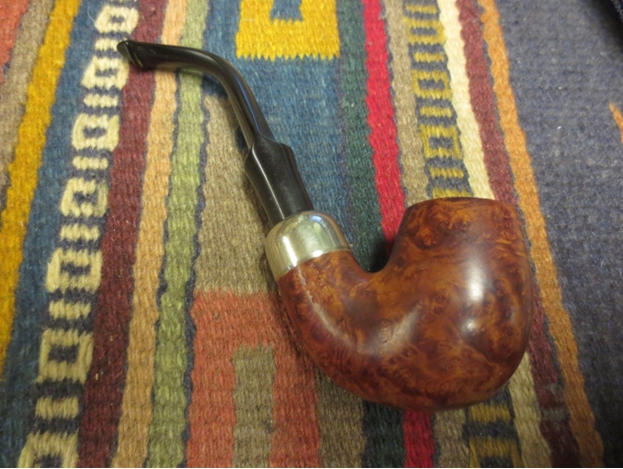
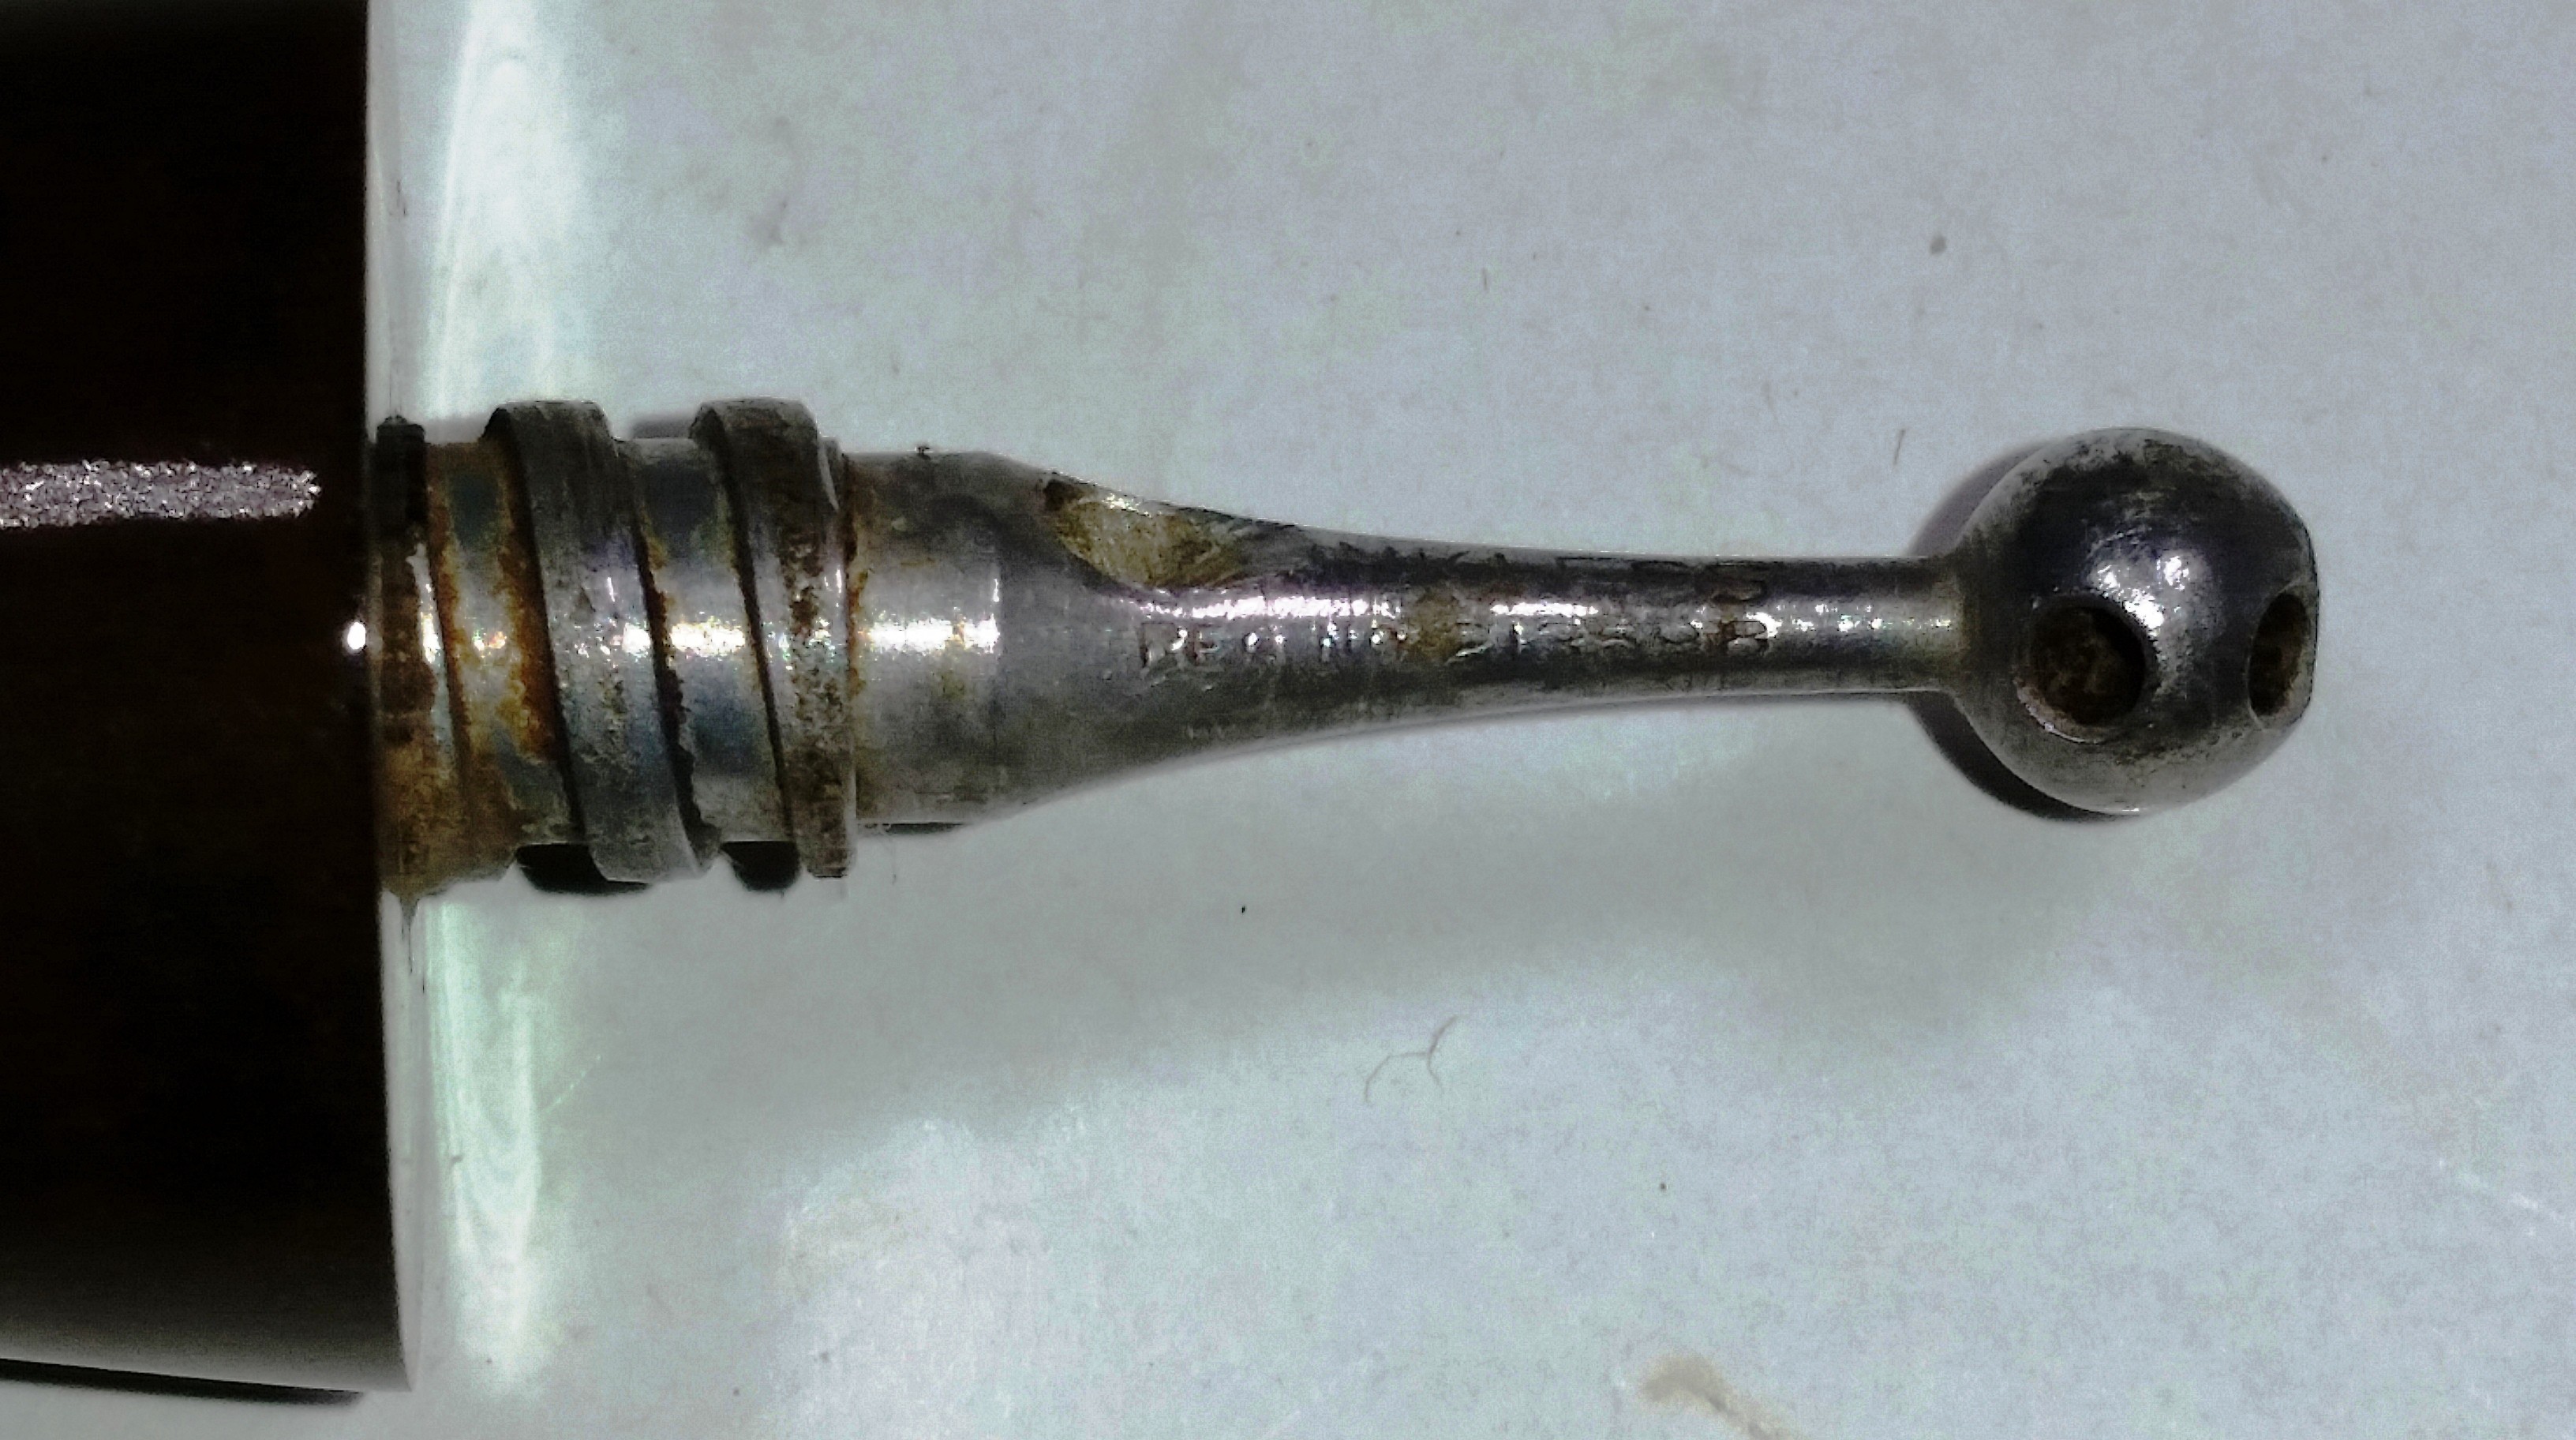
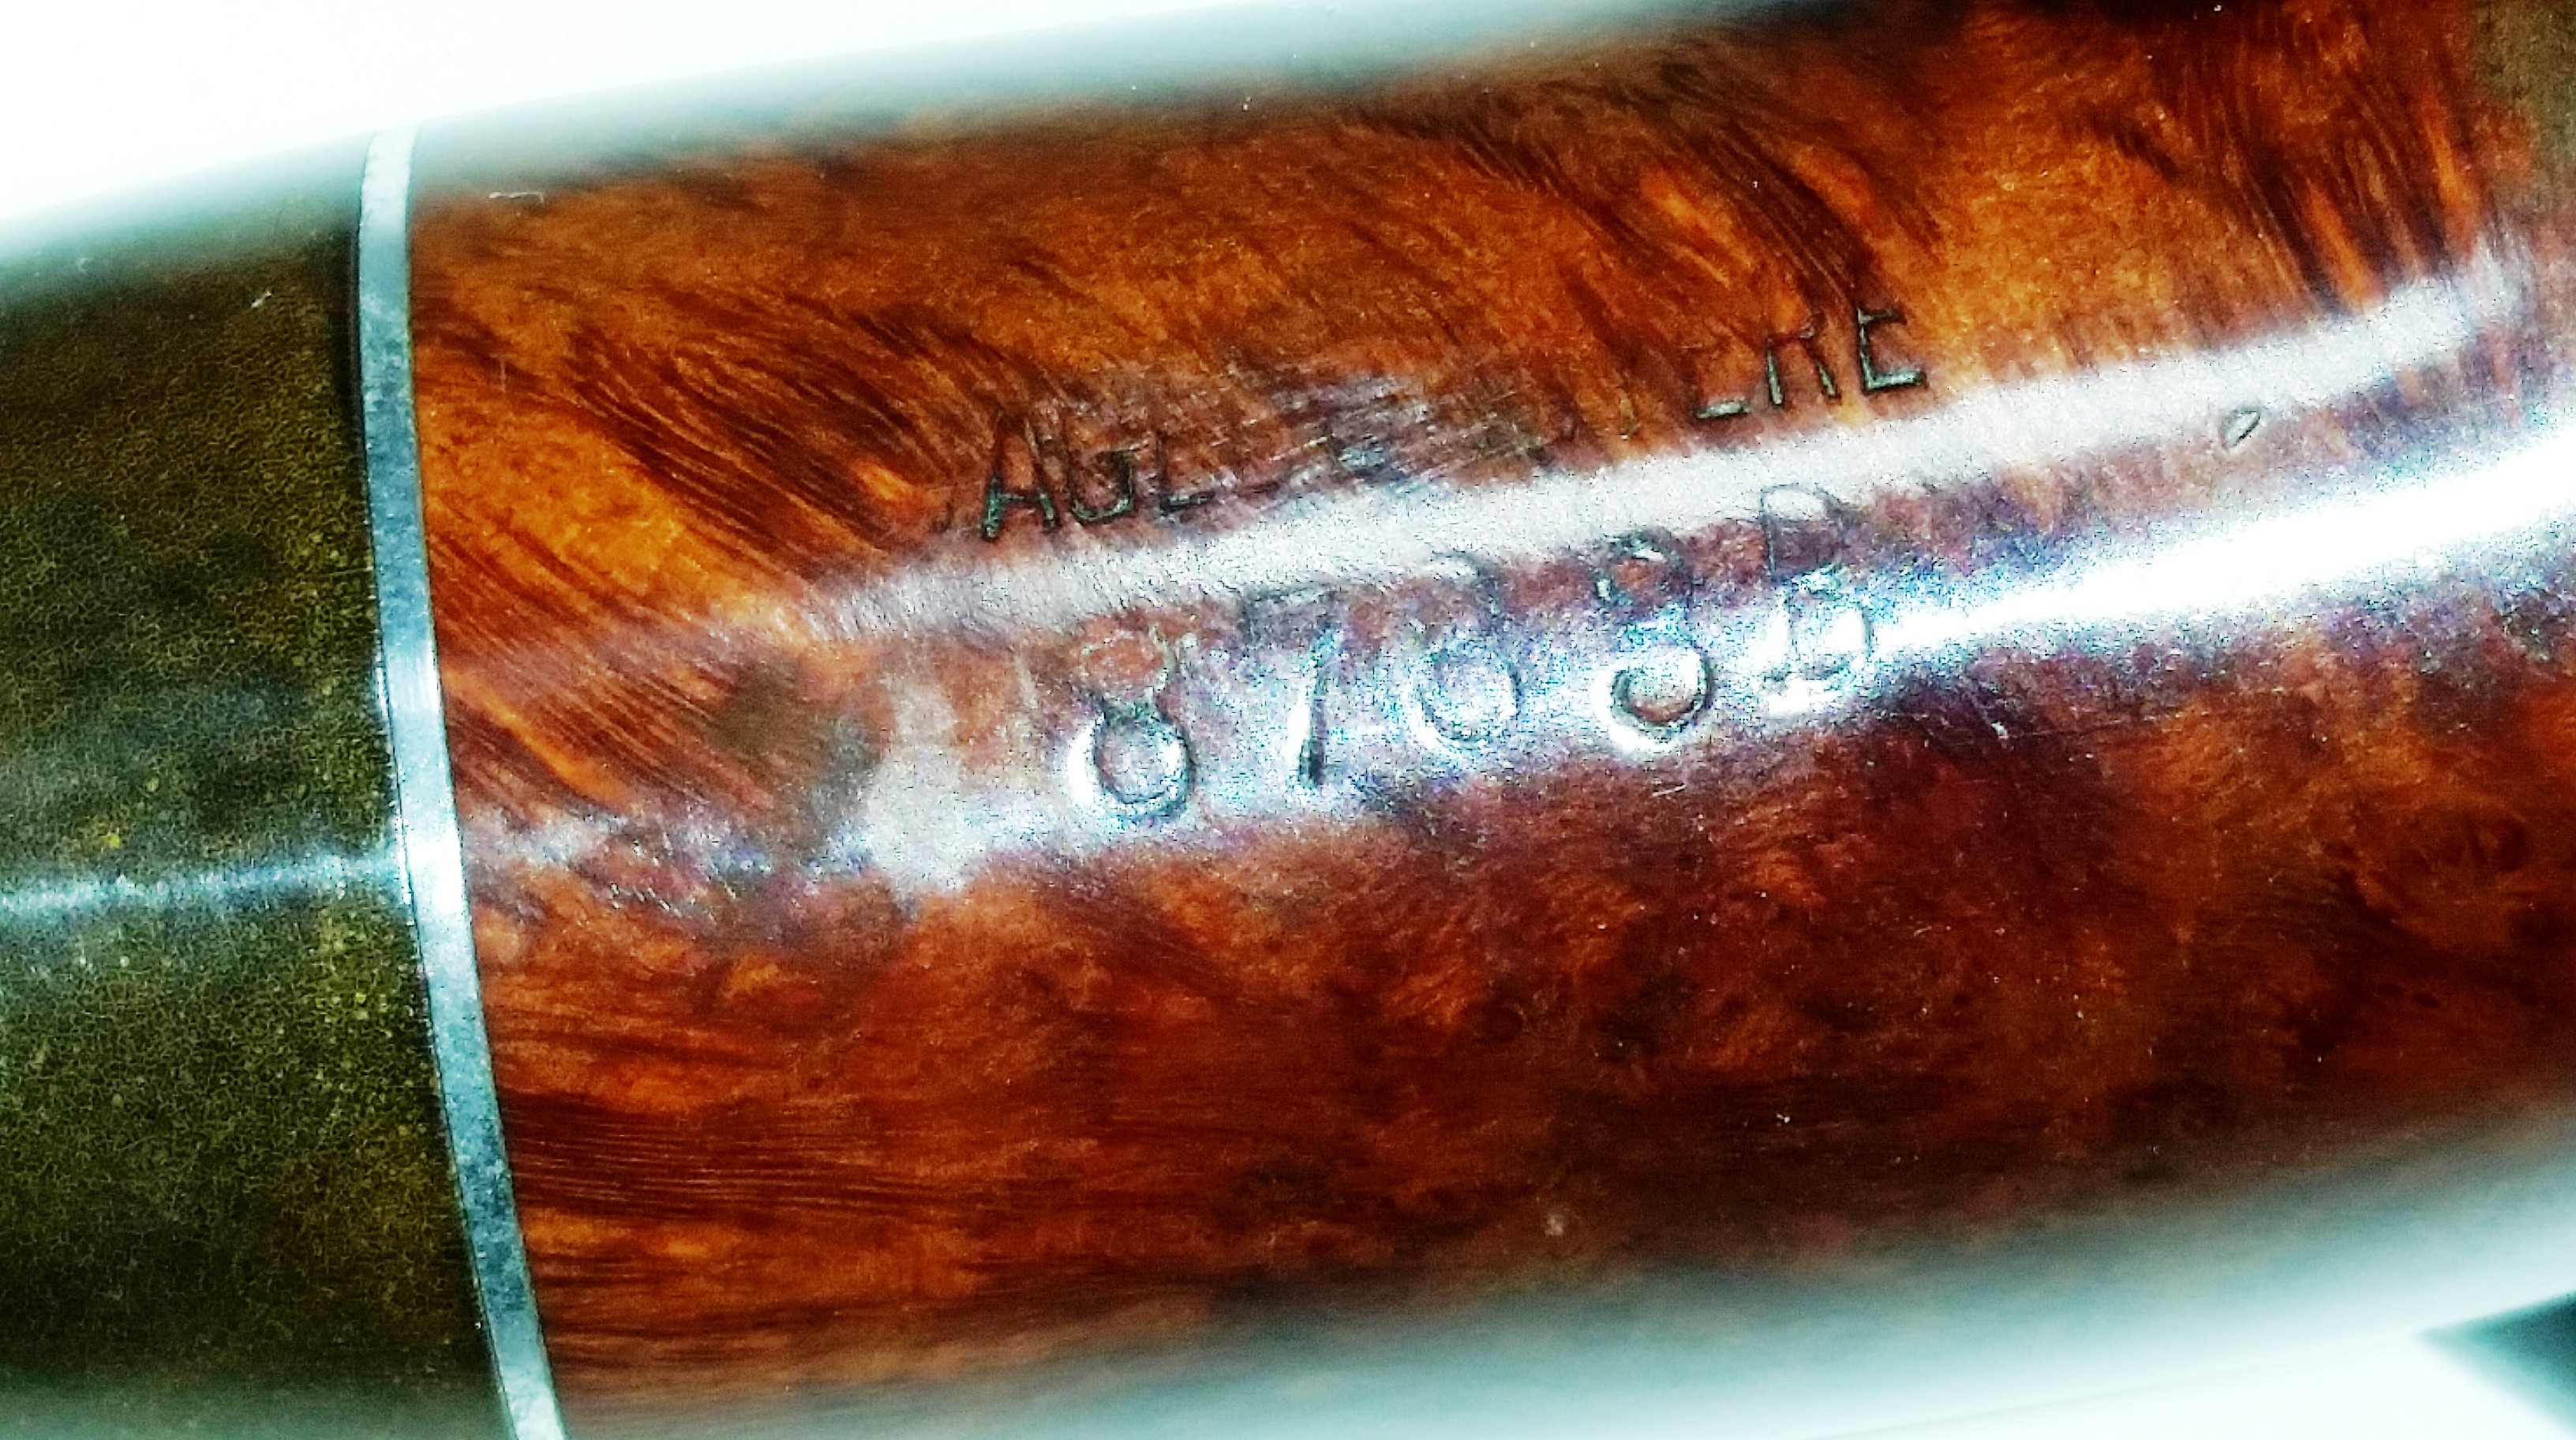
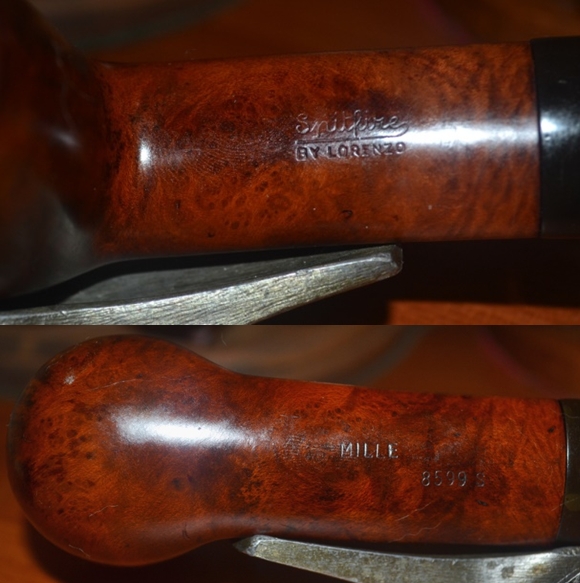
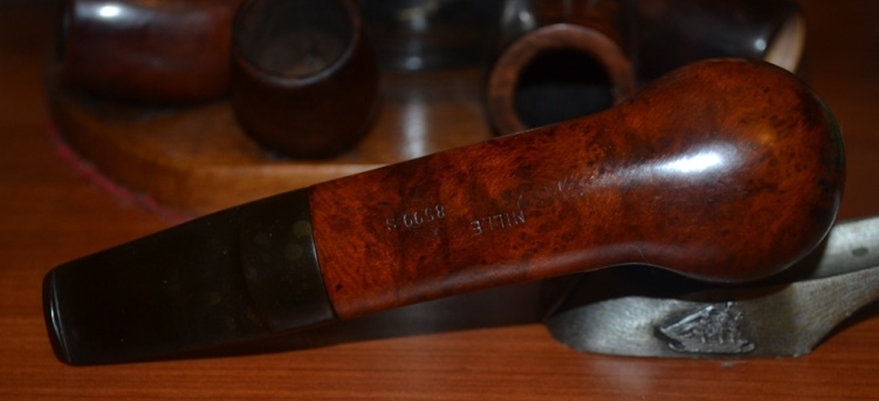
As a note, WDC is short for the William Demuth Co., a U.S. crafter of fine pipes from 1862-c. 1973, after the venture had changed hands several times and was at last liquidated. The Full Bent Billiard described in this blog appears to be quite old, perhaps dating to the 1930s or ’40s, based on a WDC Master List by Kaywoodie [http://kaywoodie.myfreeforum.org/viewtopic.php?t=191&start=0].

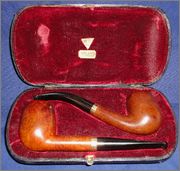
Photo © WDC Master List
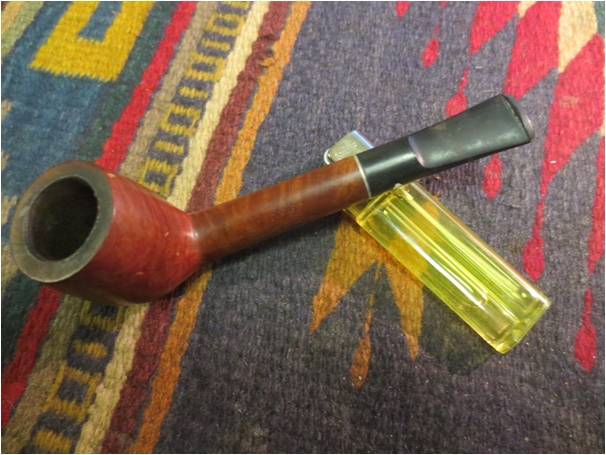
The problems I encountered, despite being almost invisible in the following photos, by the hidden nature of their presence convinced me to take on this supposed easy project. As a result, I was led, step by step, into a web of blemishes, some of which were simple to fix and others proving more difficult.


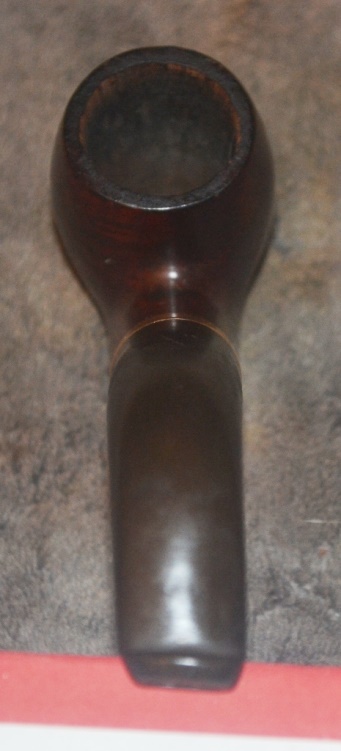

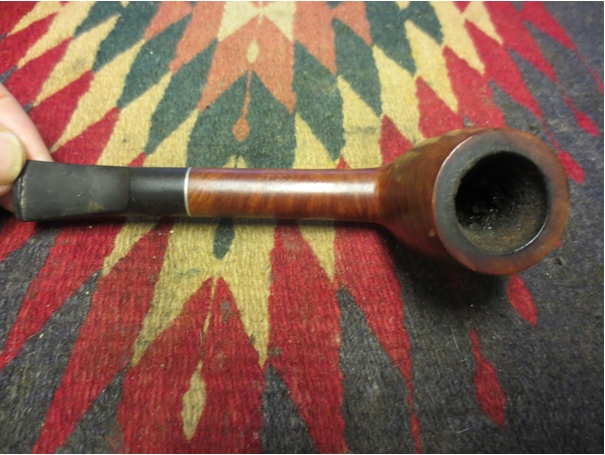
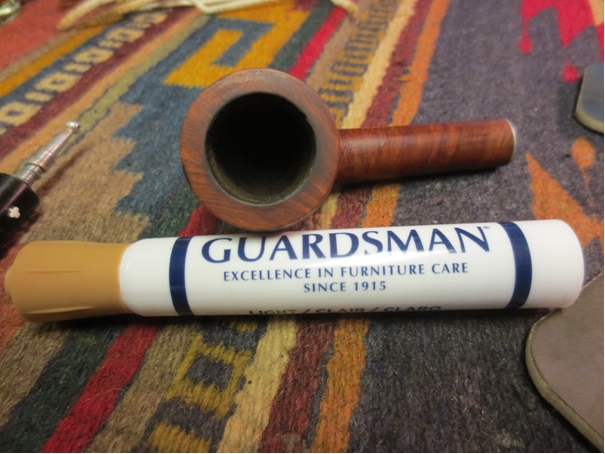
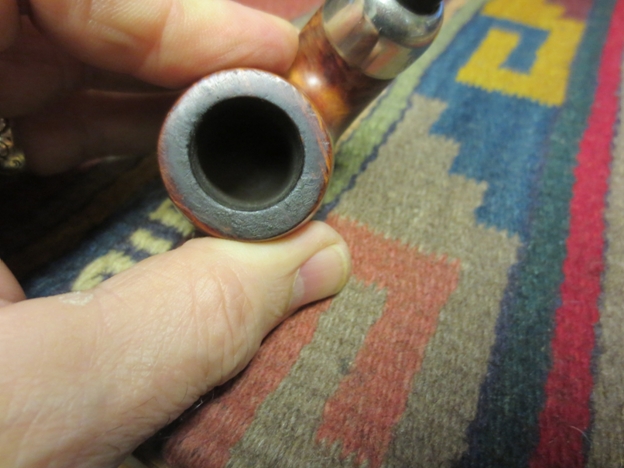
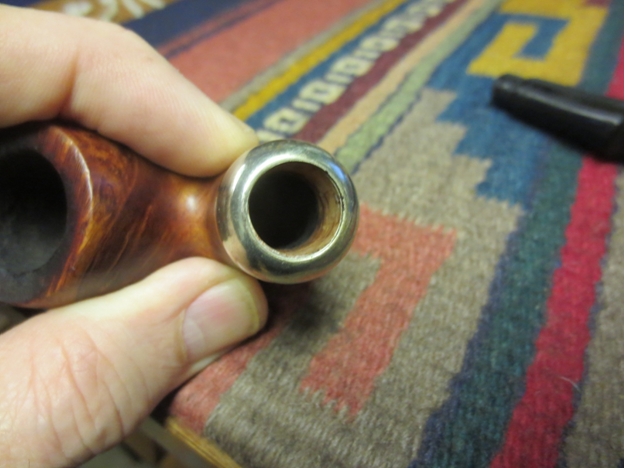
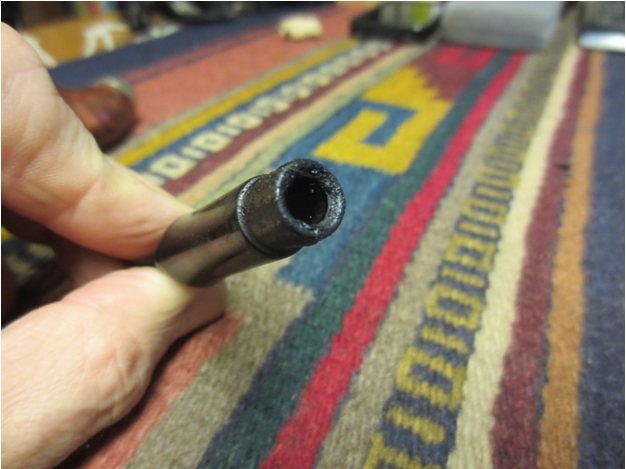
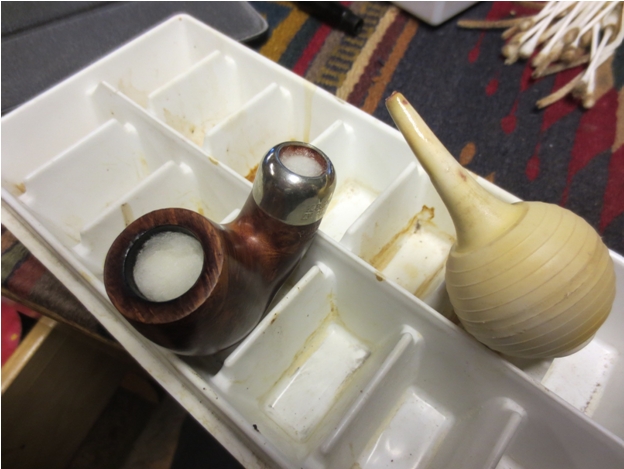
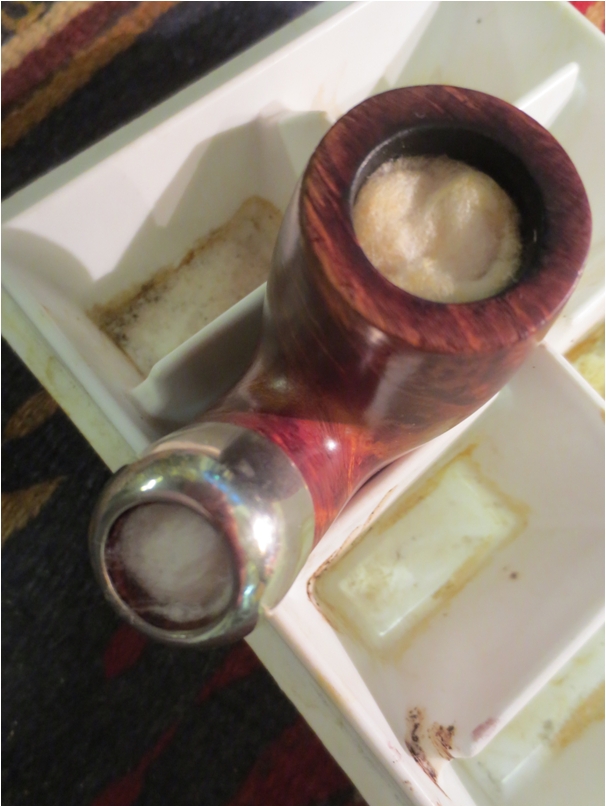
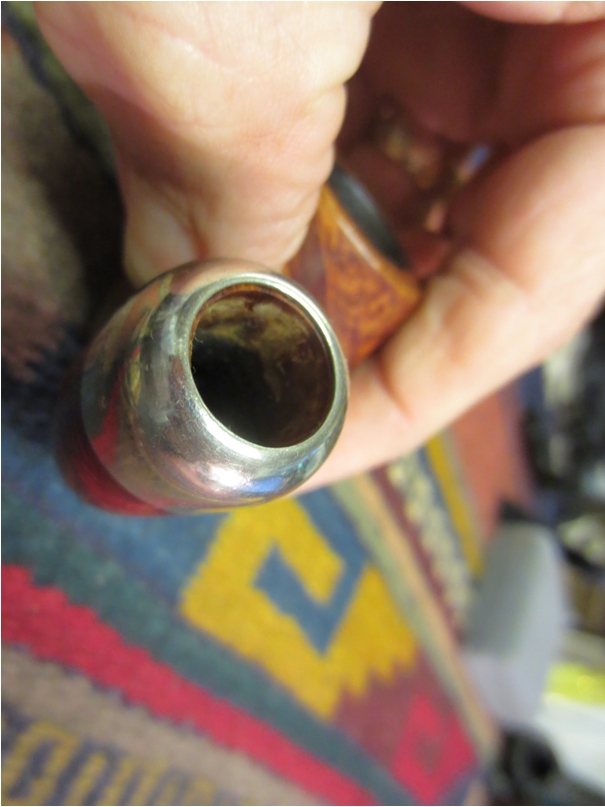
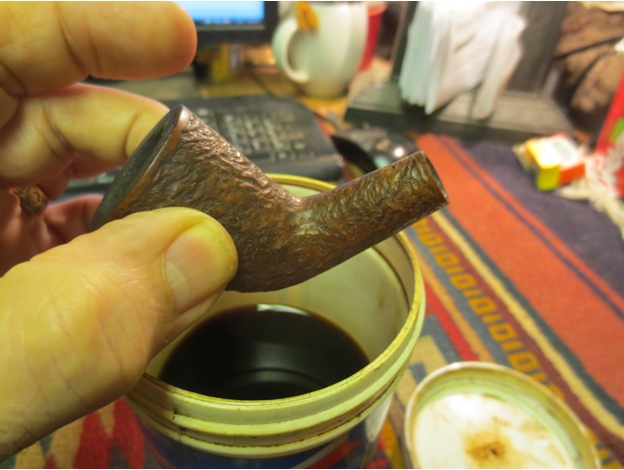
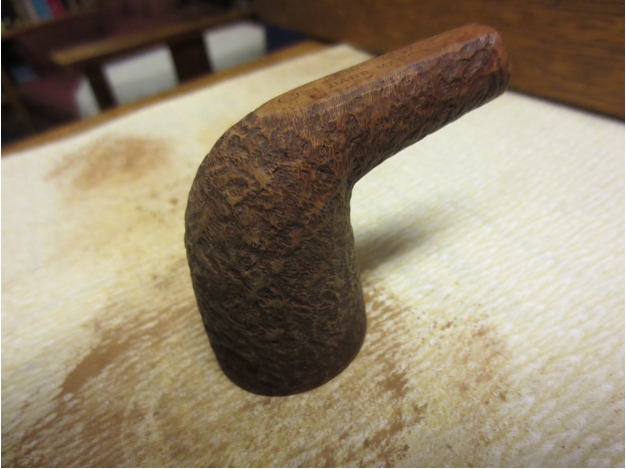
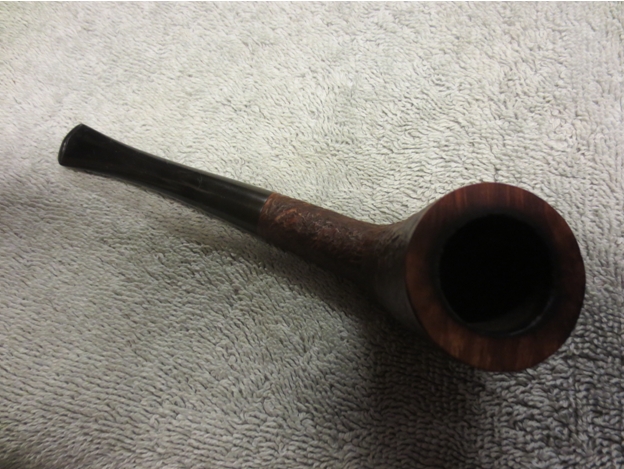
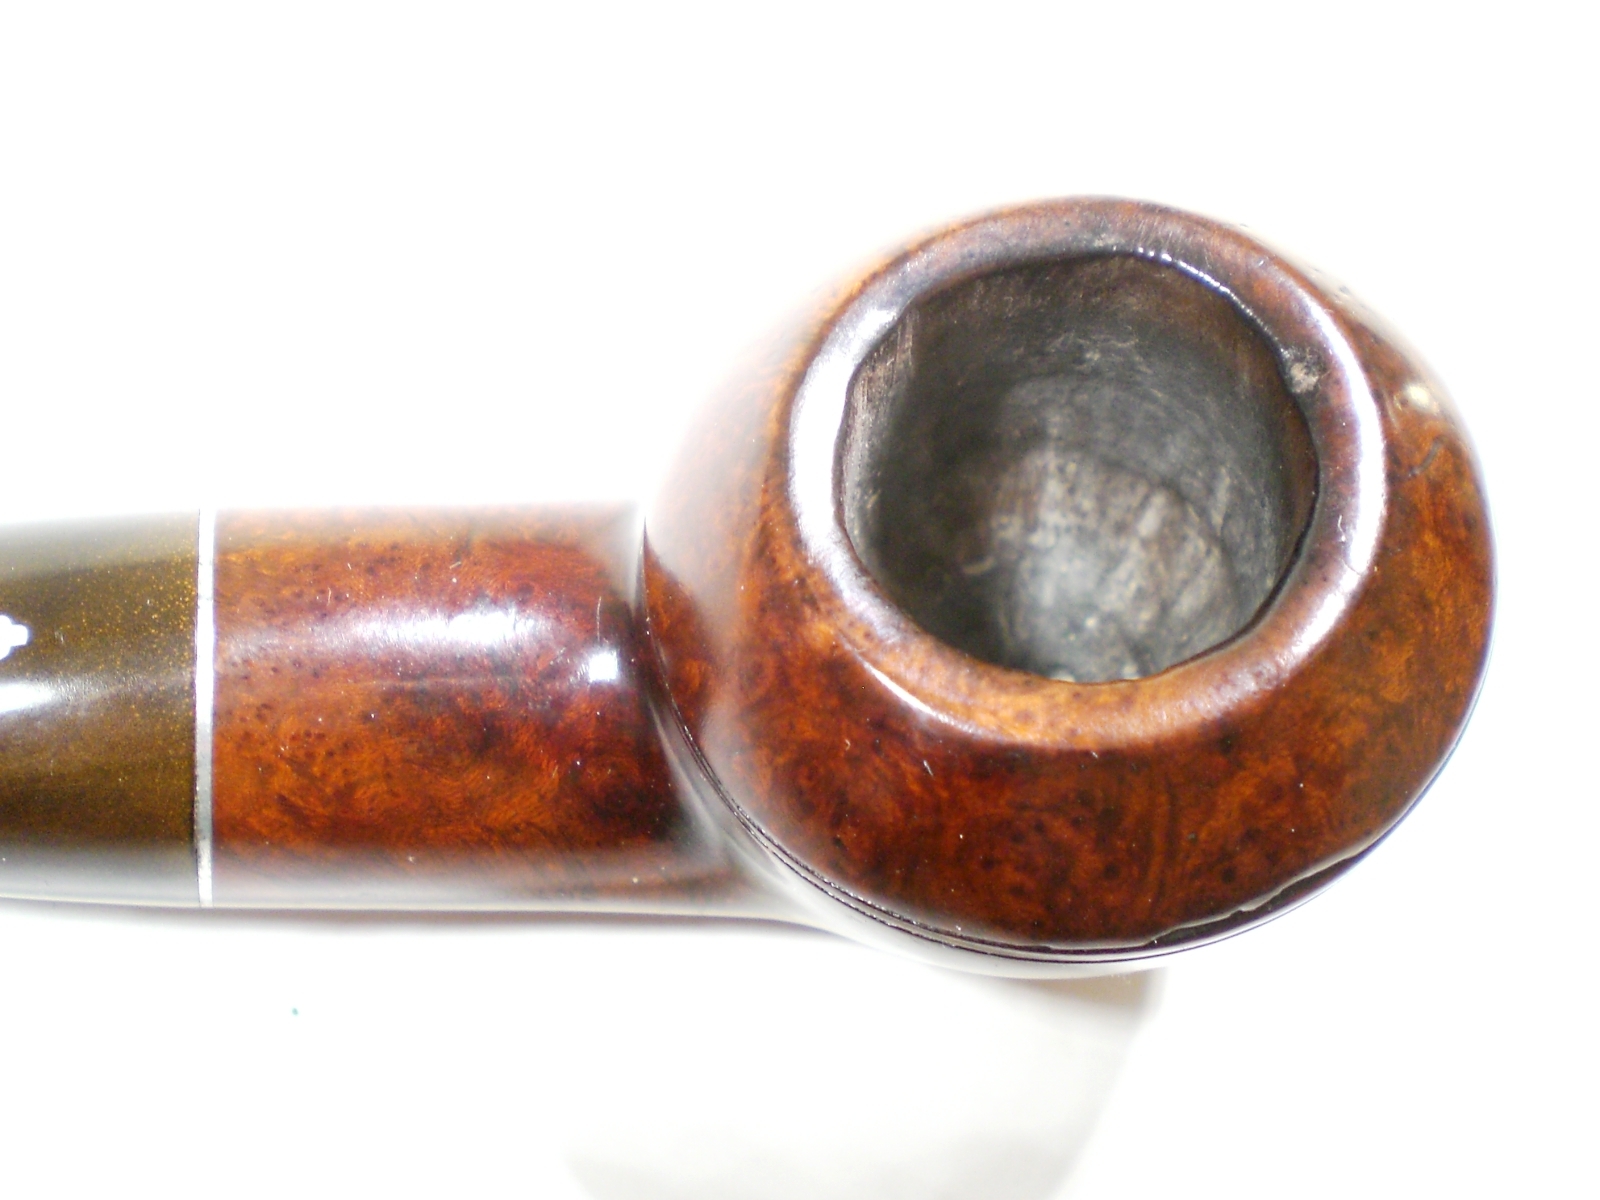
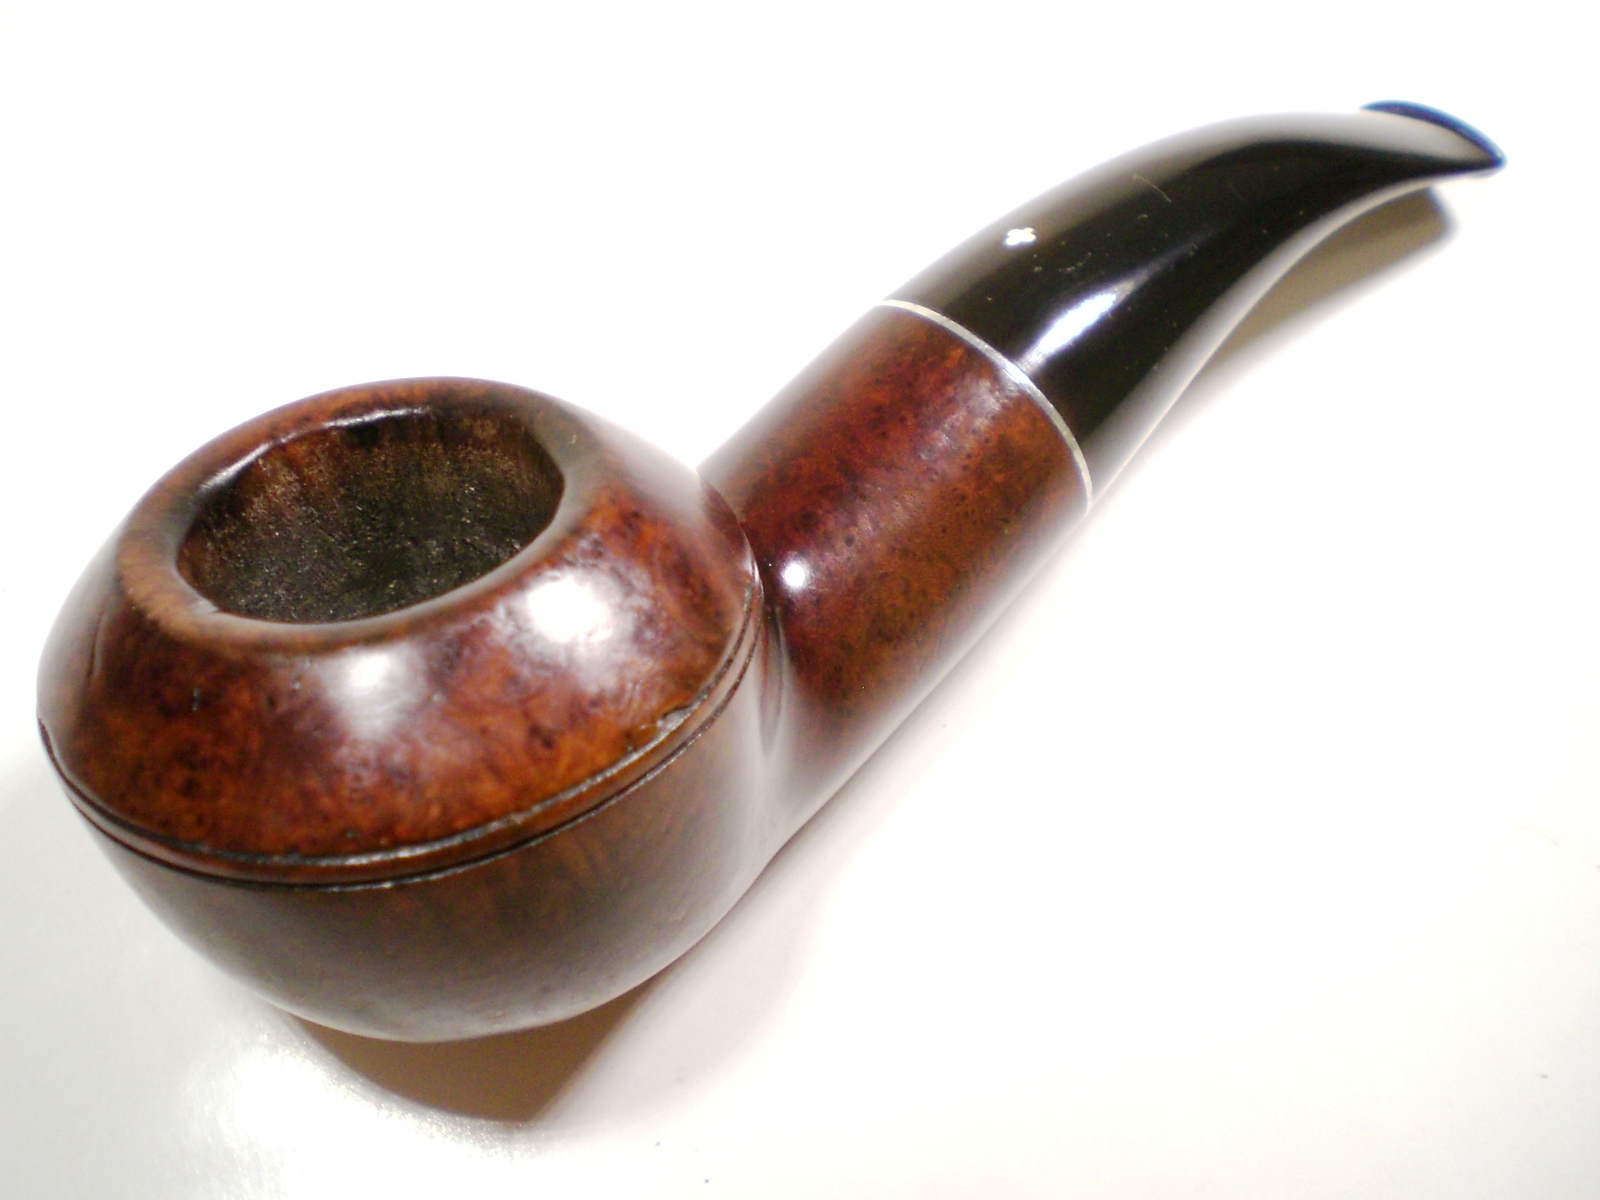
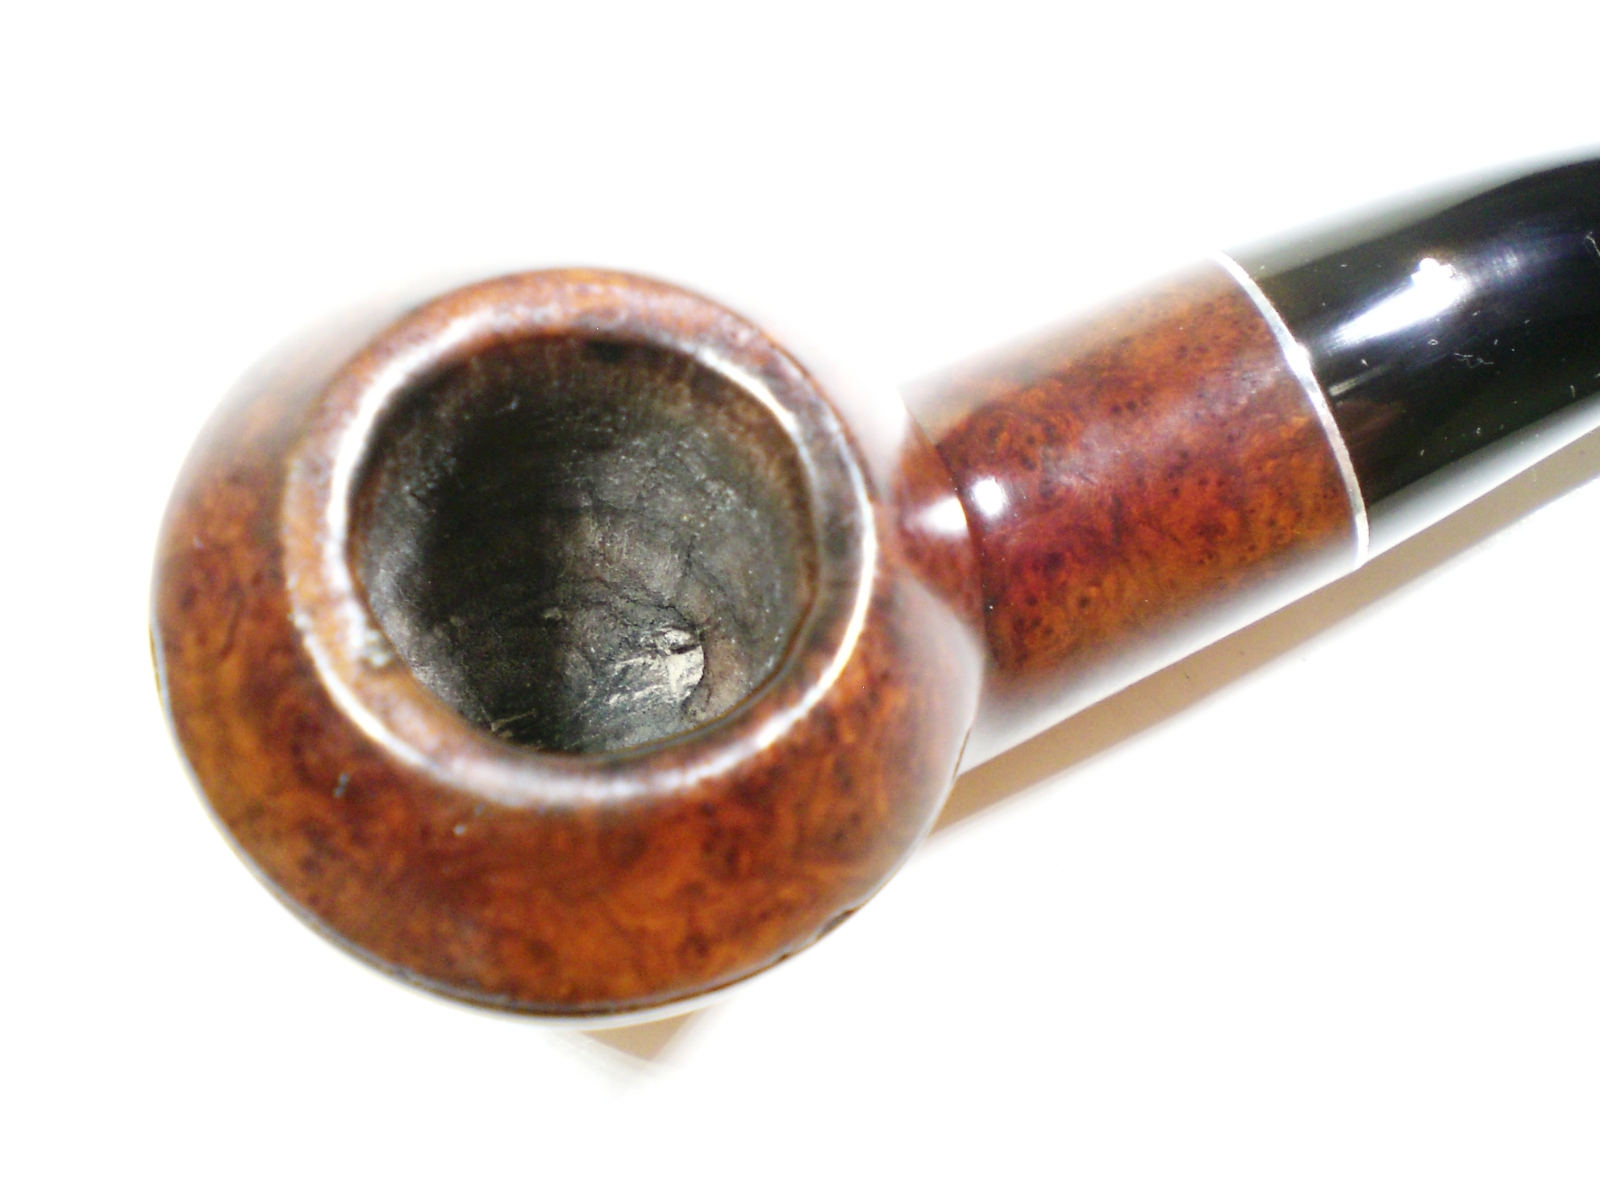
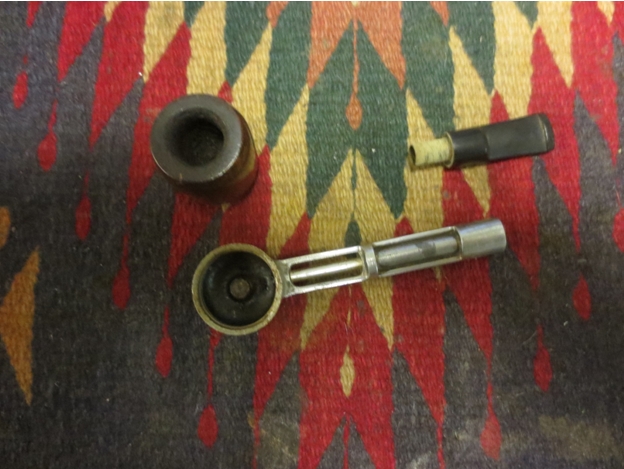
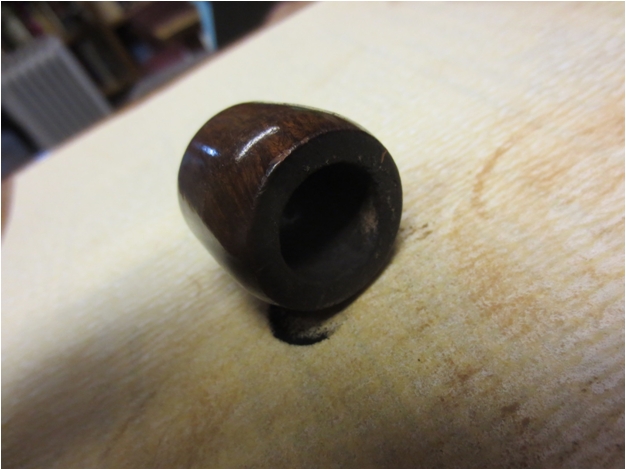
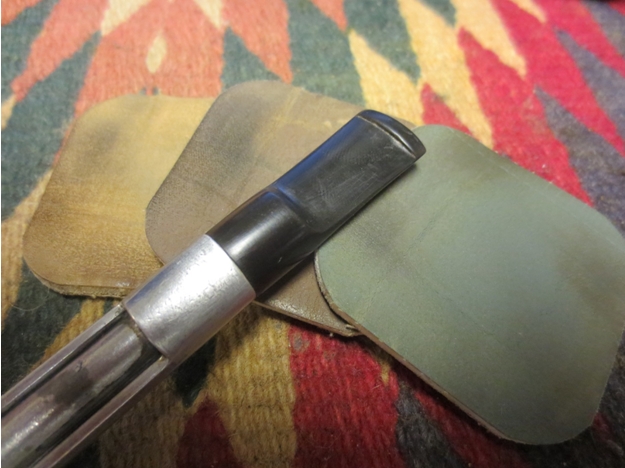
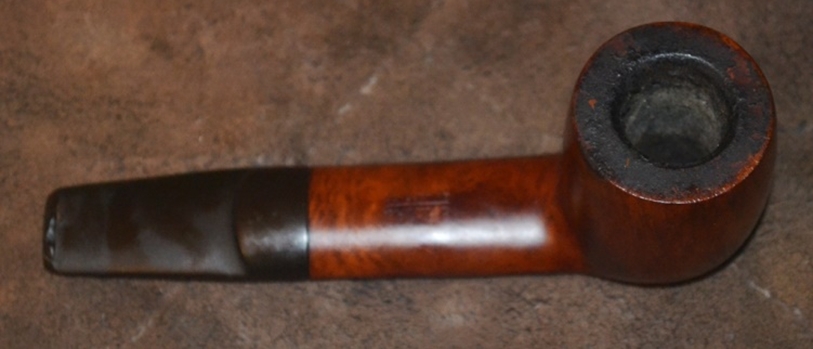
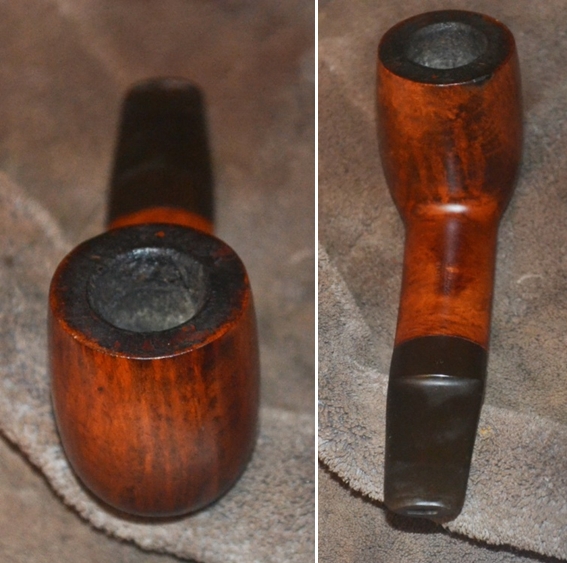
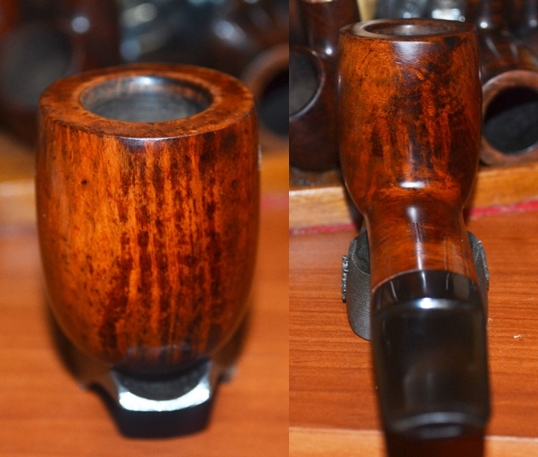
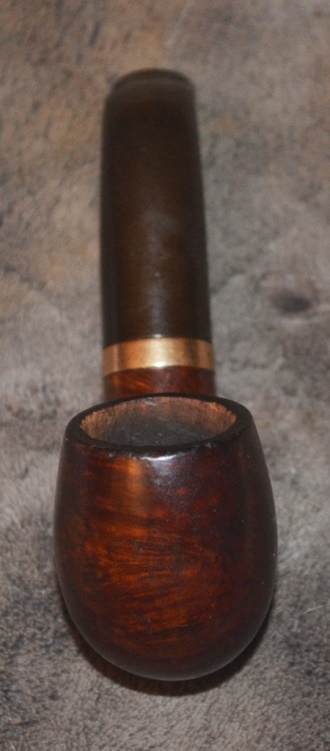
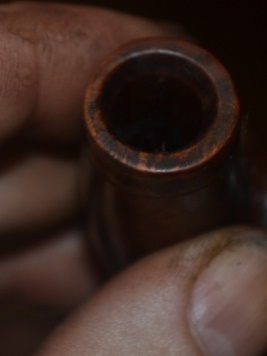
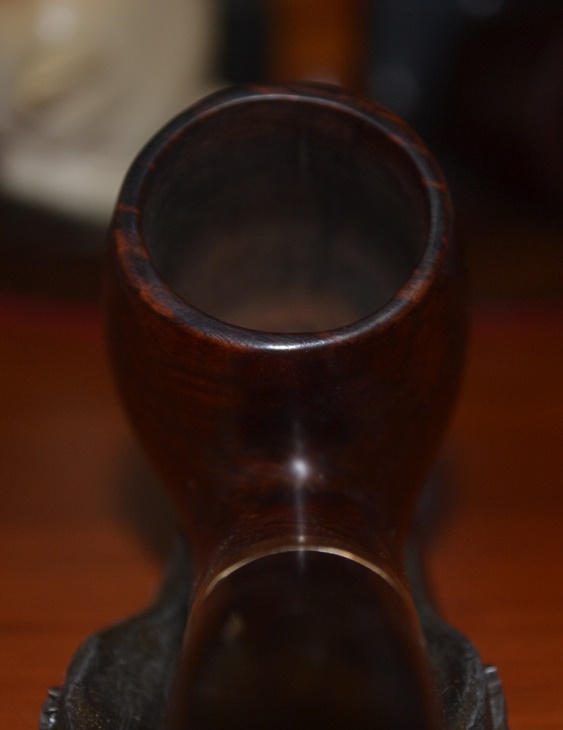
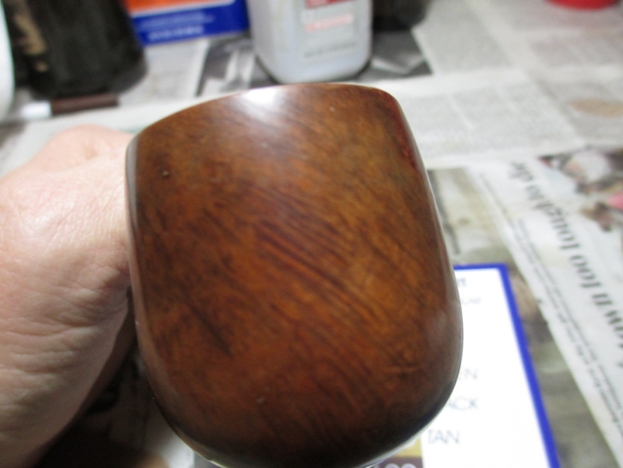
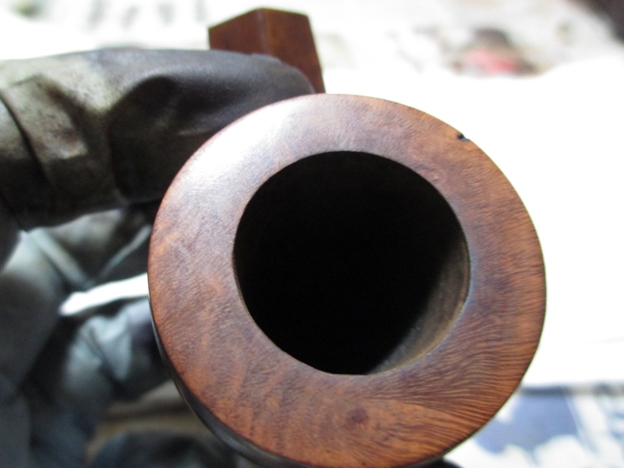
In general, I start with the chamber, which in my recent blogs has involved the removal of massive cake buildup. Here it is apparent that is not a problem, but that fact ends up concealing a more significant flaw, which I will get to in short order. This time, I chose to begin with the rim and shank opening Even in the photo above, the blackening, scratches and jagged inner rim show. Closer photos display the rim and shank hole better.
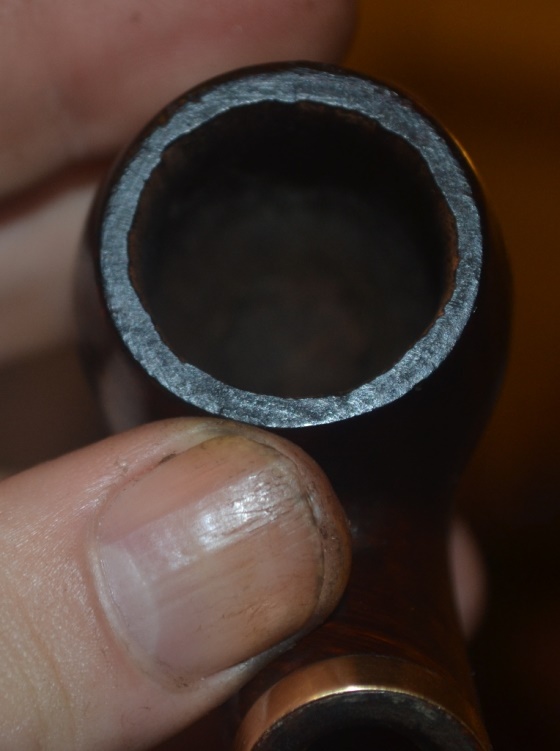
Steel wool was perfect for the shank opening. But 1500 and even 800 micromesh proved ineffective on the rim. I jumped to 400 micromesh, which removed the blackening. As I intended only to sand the bowl this time instead of using my reamer that has been mandatory with so many other recent restores, I switched to 150-grit paper for the chamber, starting with the rim to eliminate the craggy inside.
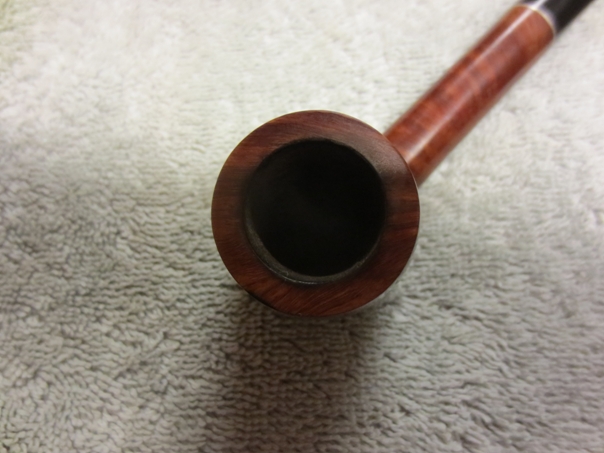
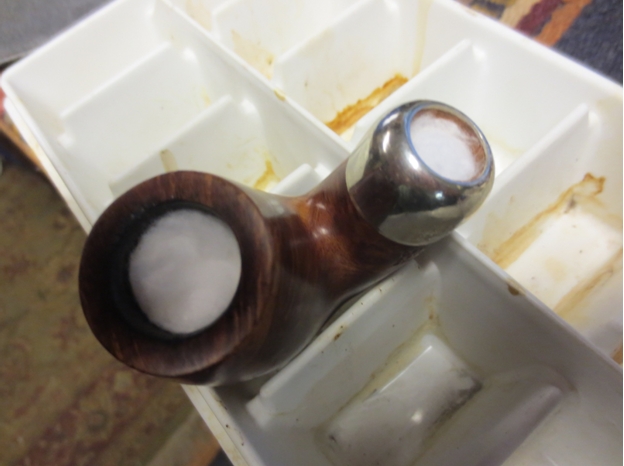
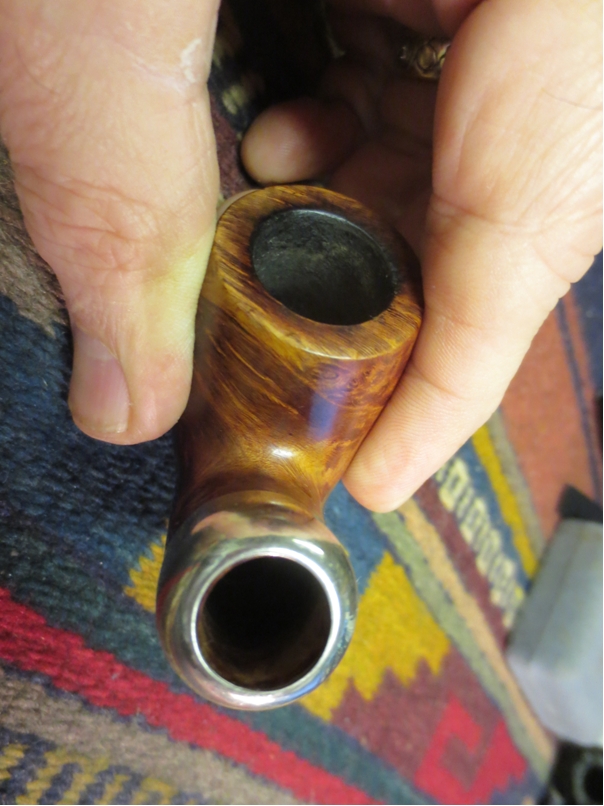
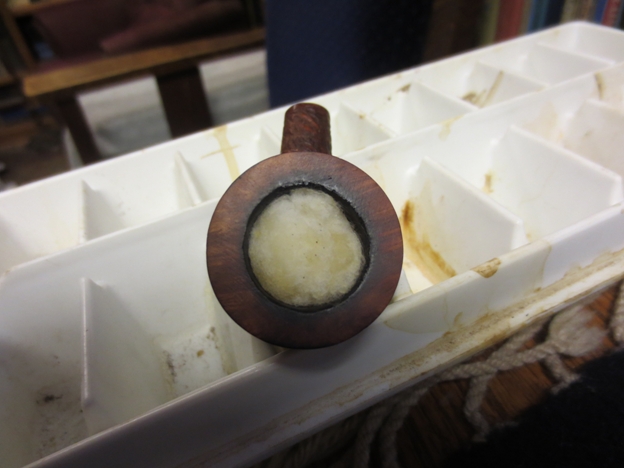
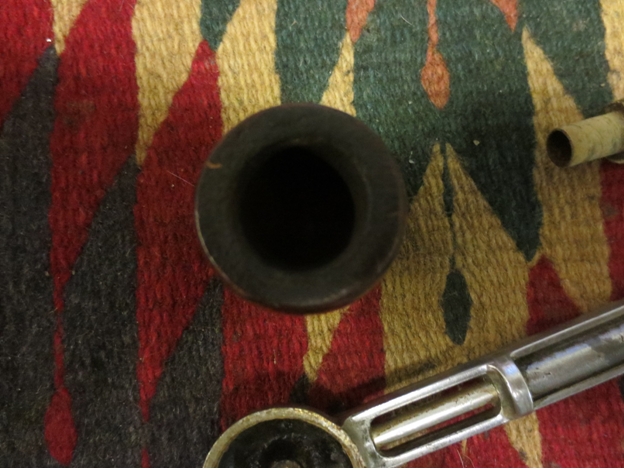
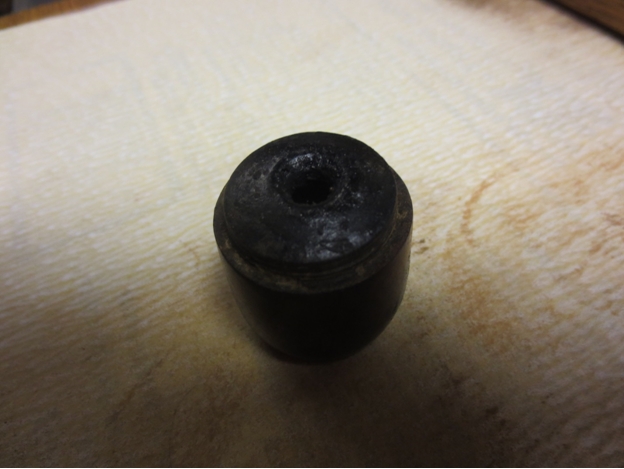
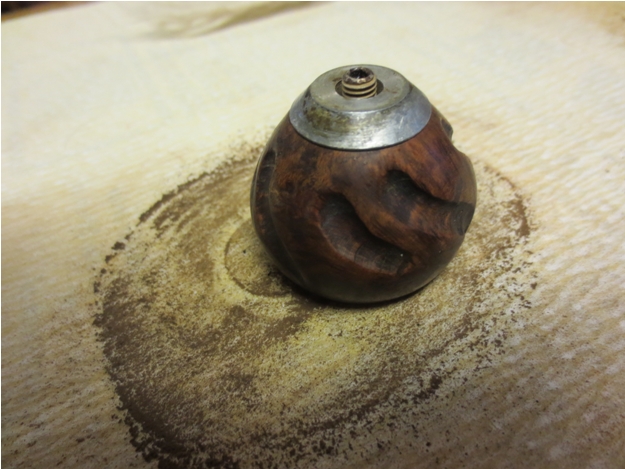
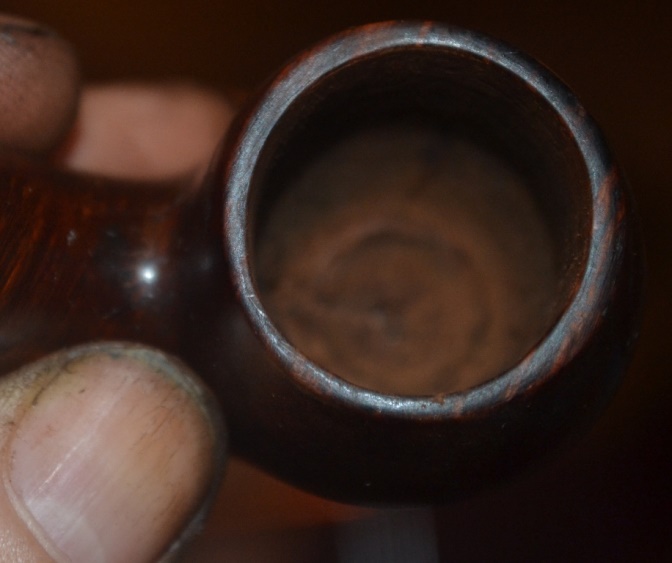
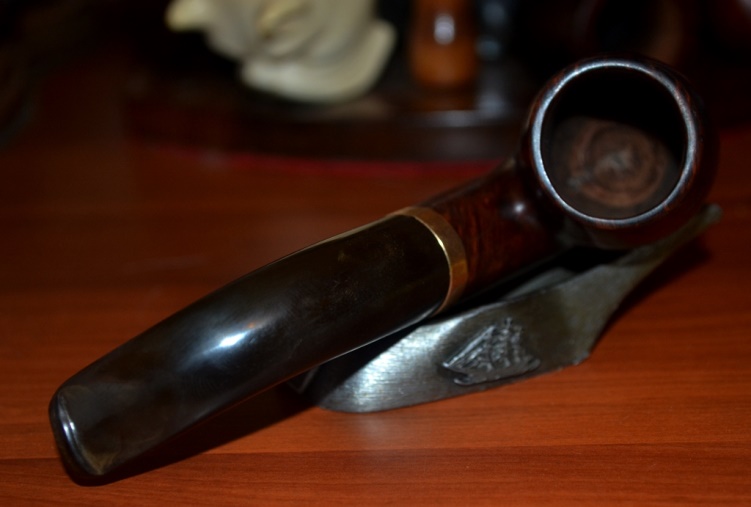
After continuing with multiple turns of the paper until I reached the bottom, I tapped and blew out most of the accumulated carbon dust and used a small piece of cotton cloth to wipe off enough of the residue to insert a finger and feel the sides. They were smooth, but what I found at the bottom was troubling: a big hole with another ridge of cake around it.
And so I decided to go with the reamer after all. Besides, I thought, I like to leave the chamber wall as close as possible to the wood, and the reamer would accomplish that and even out the hole in the bottom – I thought.
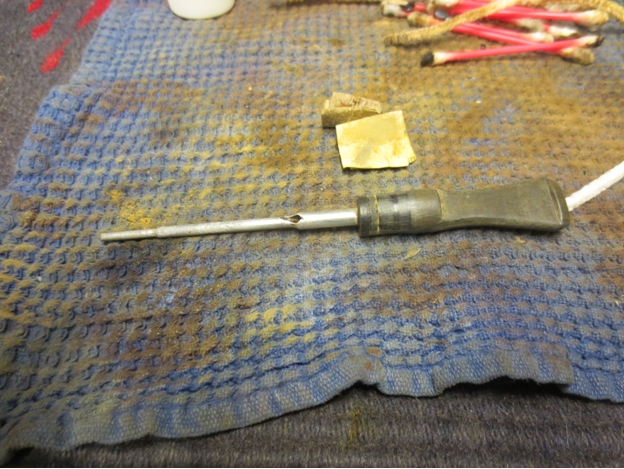
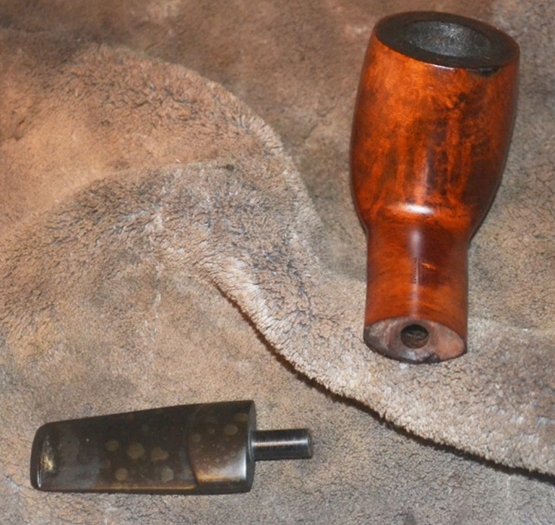
However, while I indeed removed more carbon from the sides and bottom, the latter proved much more stubborn. Returning to the 150-grit paper, I took the walls down to where the wood almost showed all the way. With awkward, slow turns of the paper, during which I heard an awful scraping wail rising from the base of the chamber, I succeeded in sanding the hole as far as it would go. In the end, a small hole remained. For the first time, I understood that I needed some sort of tool I do not yet possess, but the result was satisfactory.
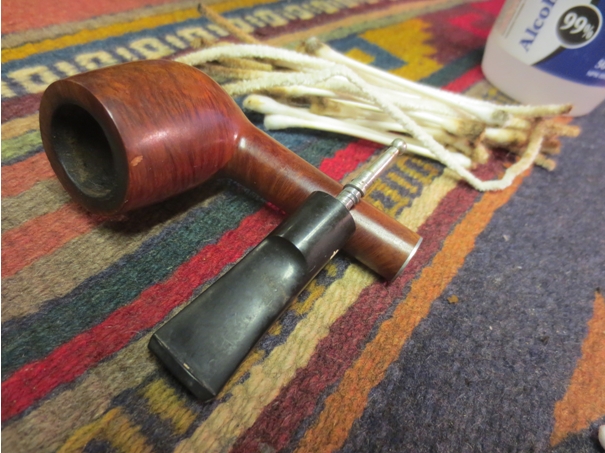
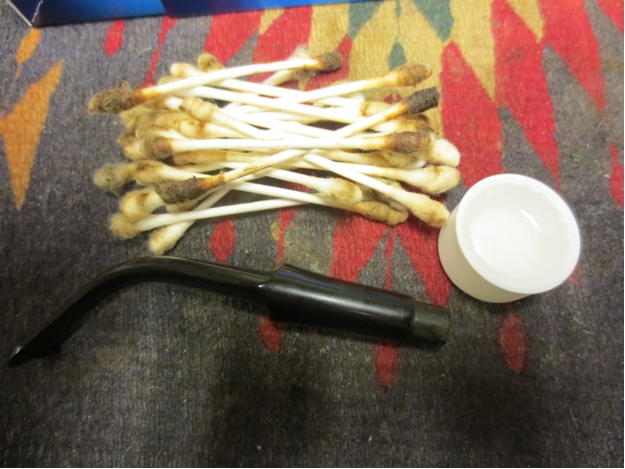
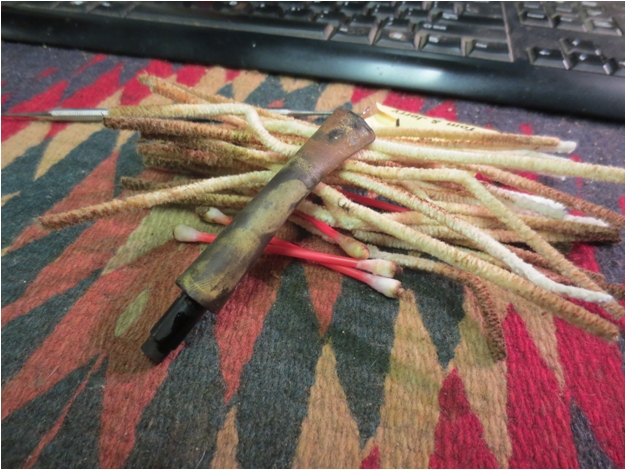
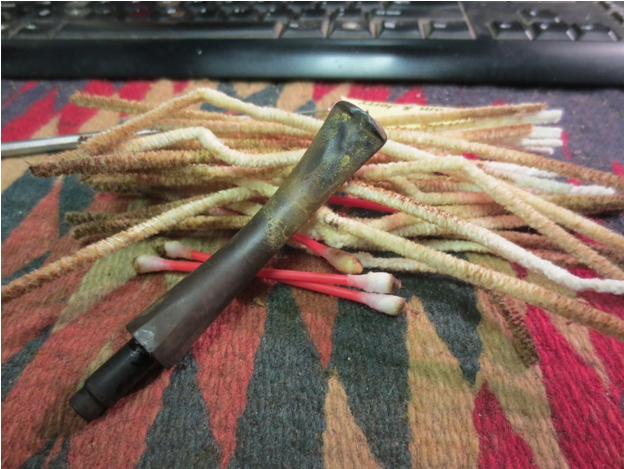
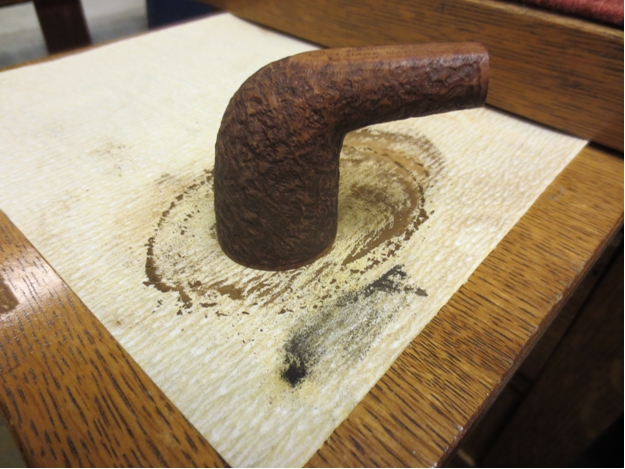
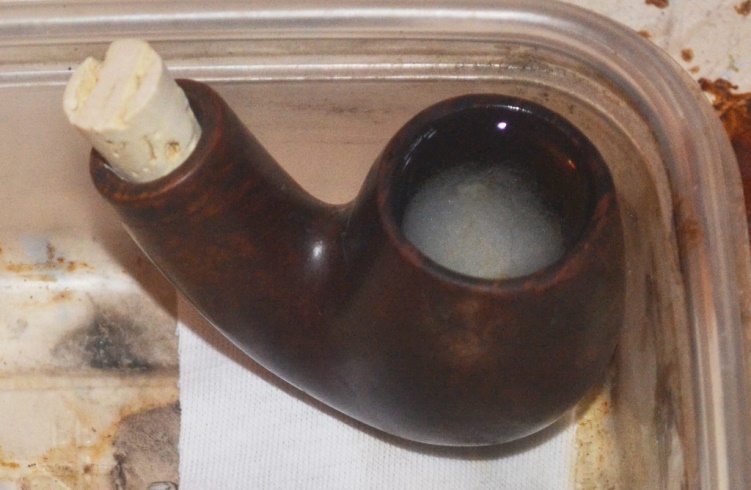
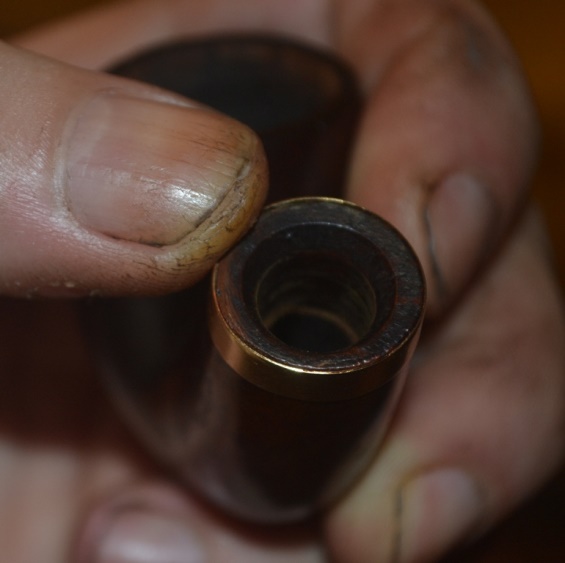
Meanwhile, I used a record 15 bristly pipe cleaners to remove the long-accreted mess of tar and other fantastic buildup of nastiness from the shank. I concluded a serious alcohol flush was in order. I stuck a piece of cotton in the bottom and for the first time plugged the shank with some cork I had on hand. About a half-hour later, seeing the cotton was dark, I removed it with a cheap tobacco pick and pulled the cork, letting the brown alcohol drain through the shank. I had given the outer wood a good bath with purified water, which removed considerable filth, but being quick to wipe up the overflow of alcohol, I used it to wipe away more tenacious hangers-on, so to speak.
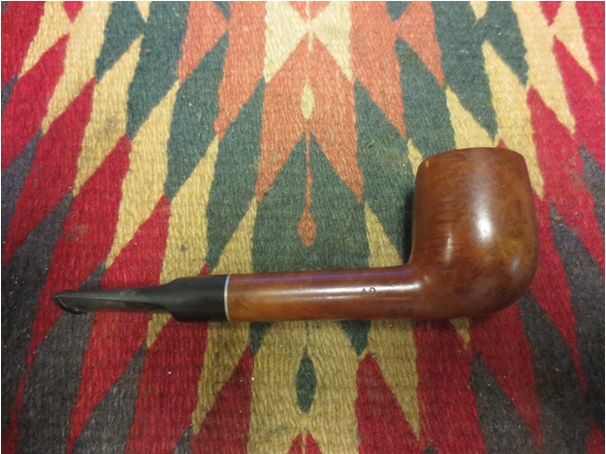
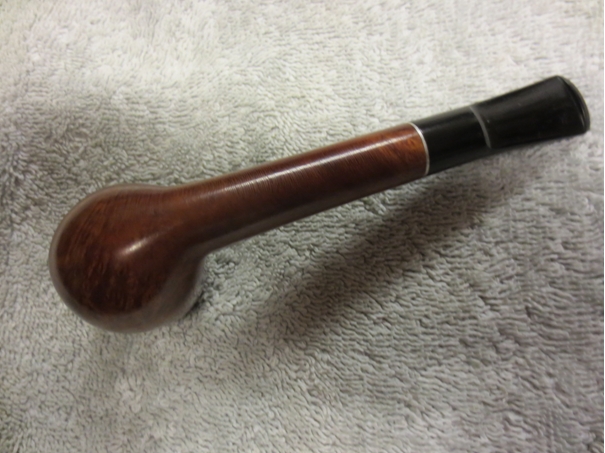
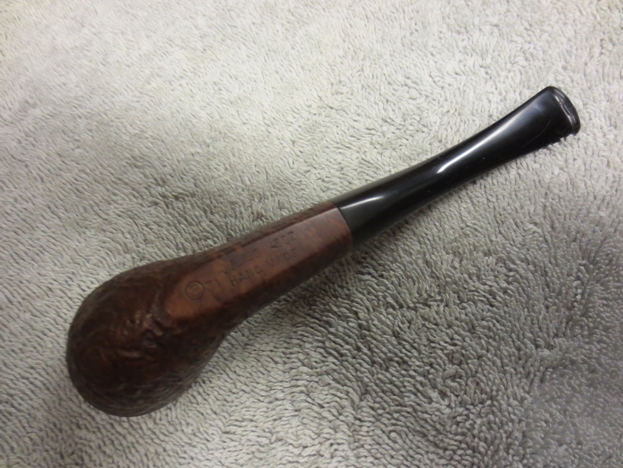
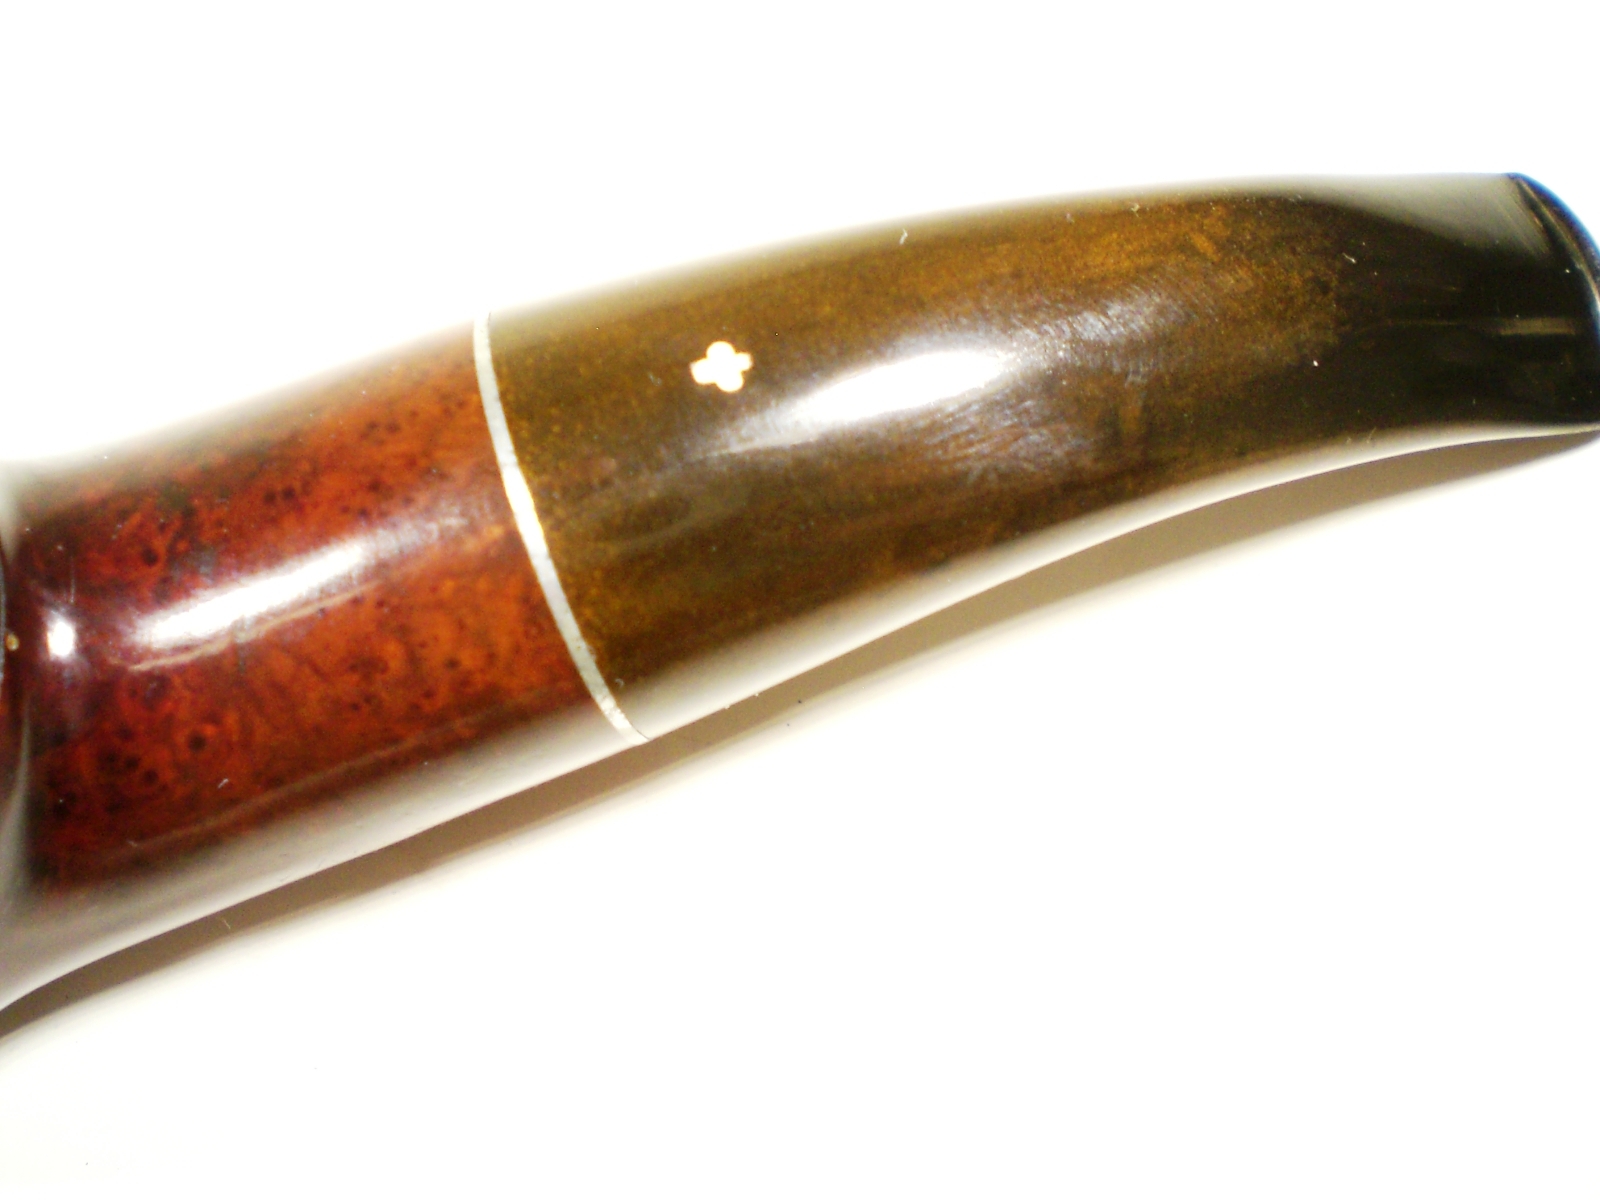
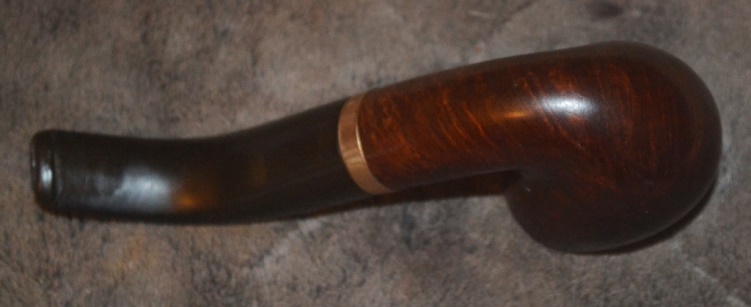
 The next strands of the web were the many tiny scratches and pits on the bowl and shank, all of which were so small I was (I have to admit) tempted to let them slide. That being a sin of restoration I have yet to commit with malice aforethought, my senses returned. I considered how to accomplish their elimination.
The 1500 micromesh worked on a few superficial scratches. Given that I could see them myself, I used the 320 micromesh for the deeper flaws that were small but still clear to serious scrutiny. That was the magic number but left the treated areas lightened. One of my goals with this restore was to avoid re-staining anywhere, and I had succeeded so far so I was determined not to resort to the last measure at the point. I tried the 1500 again on these spots and found it shined up the wood almost as it had been.
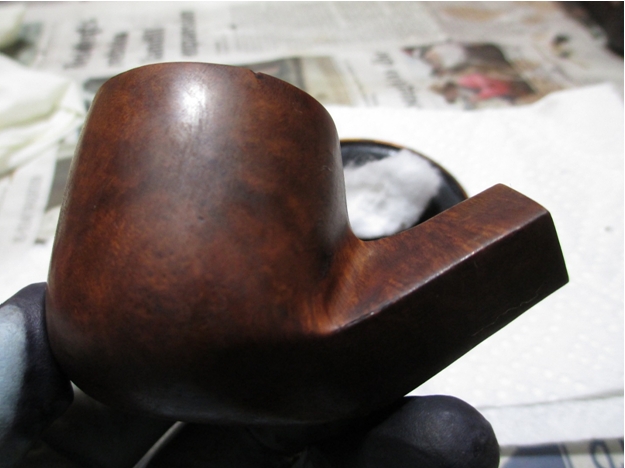
Then I had a thought. I know, the phenomenon doesn’t occur every day, but this was like one of James Joyce’s little epiphanies. Taking a risk, I used the 1500 micromesh on the entire bowl and shank, smoothing the entire surface to a nice glow.


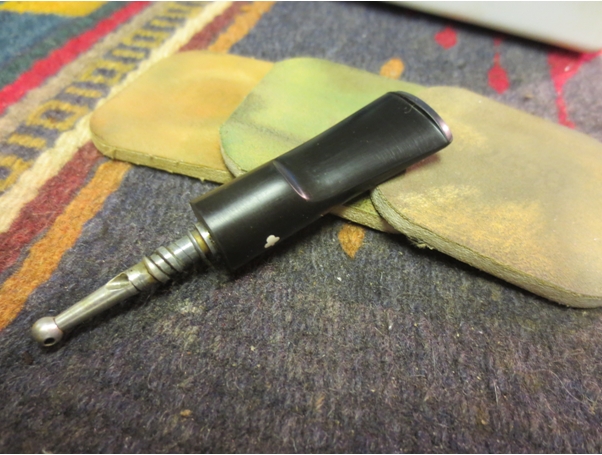
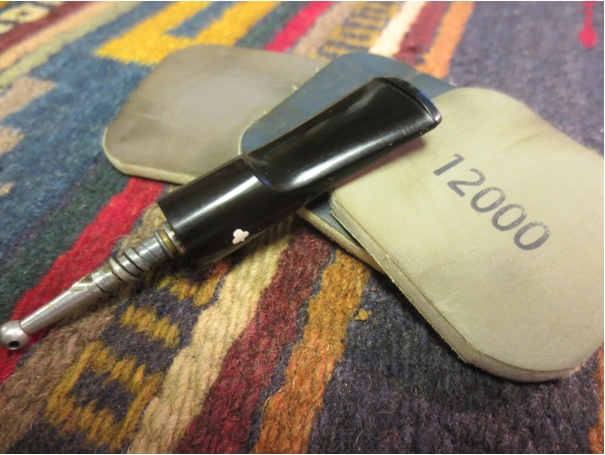
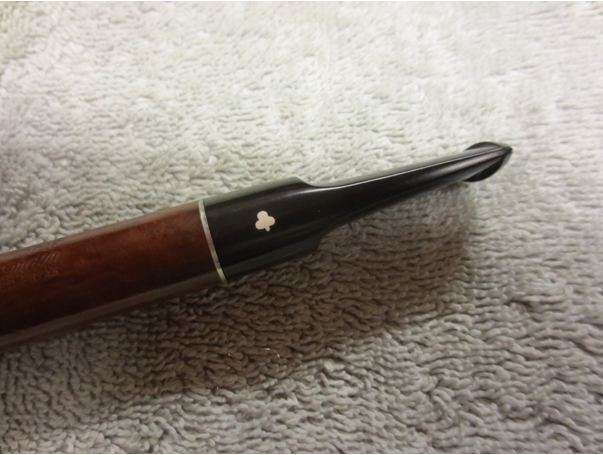
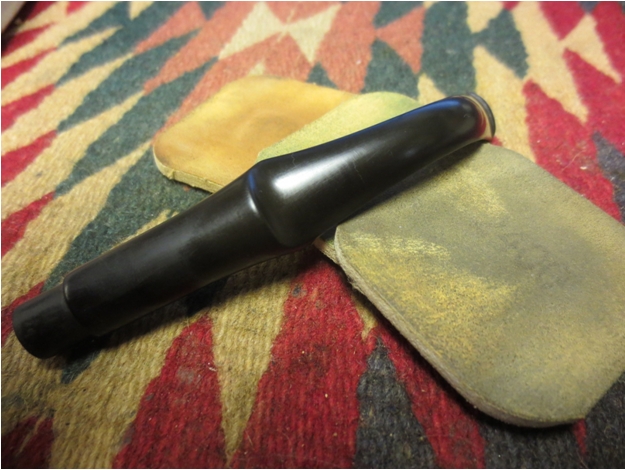
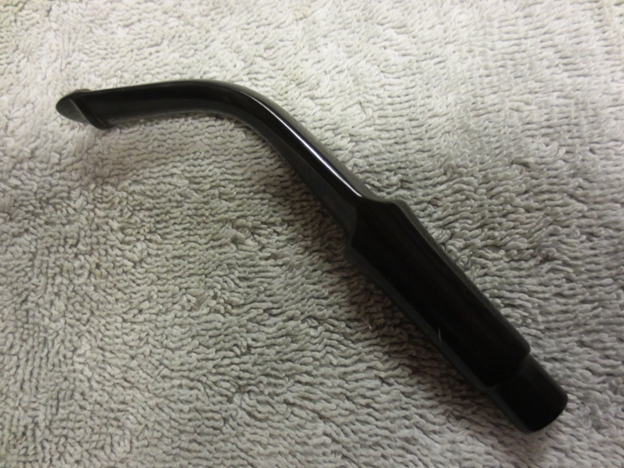
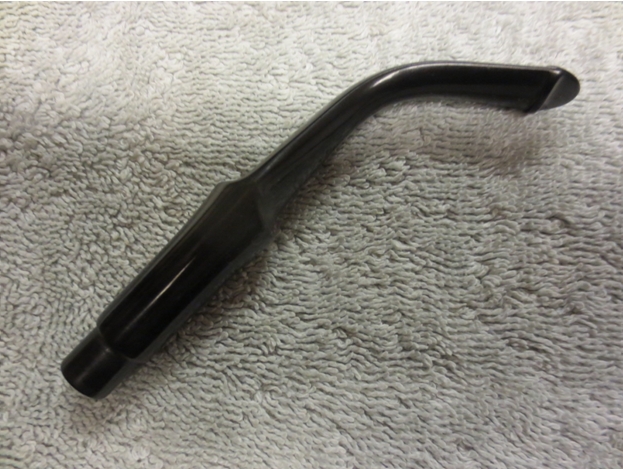
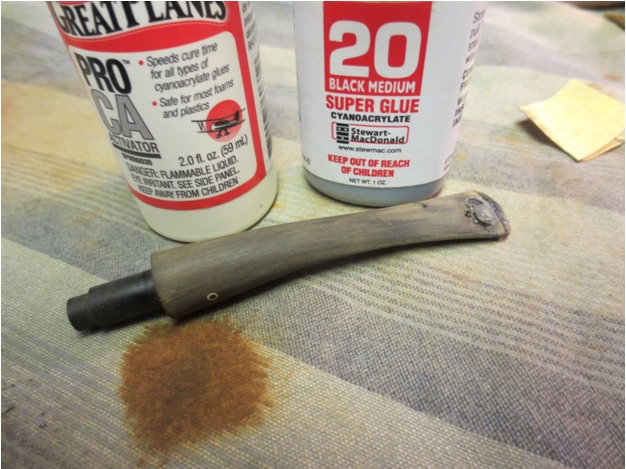
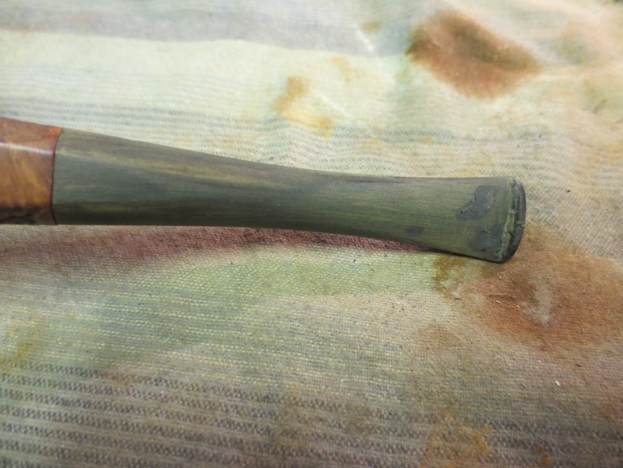
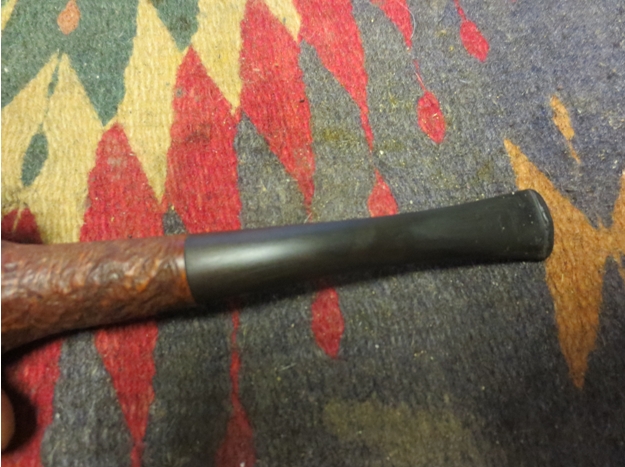
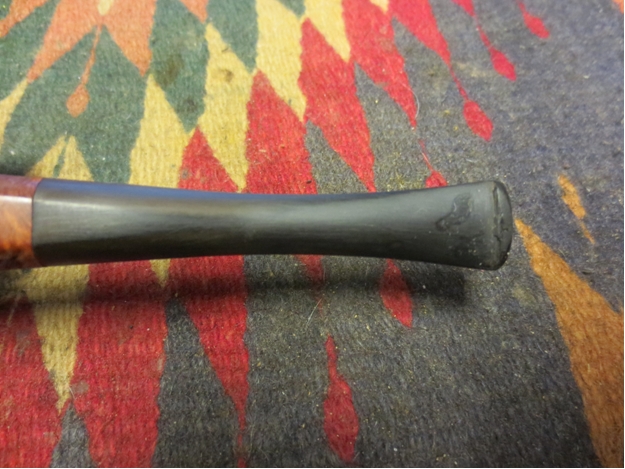
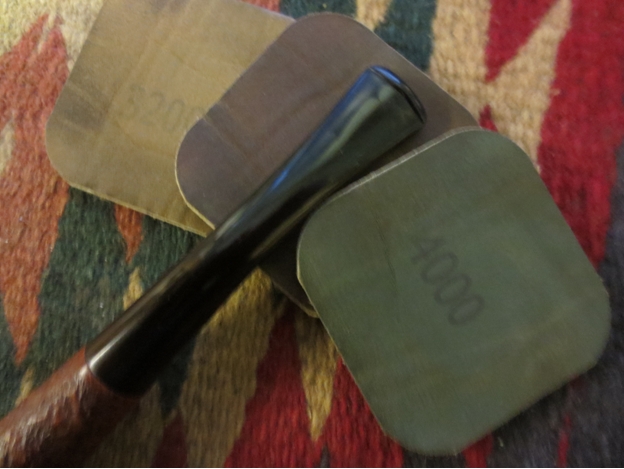
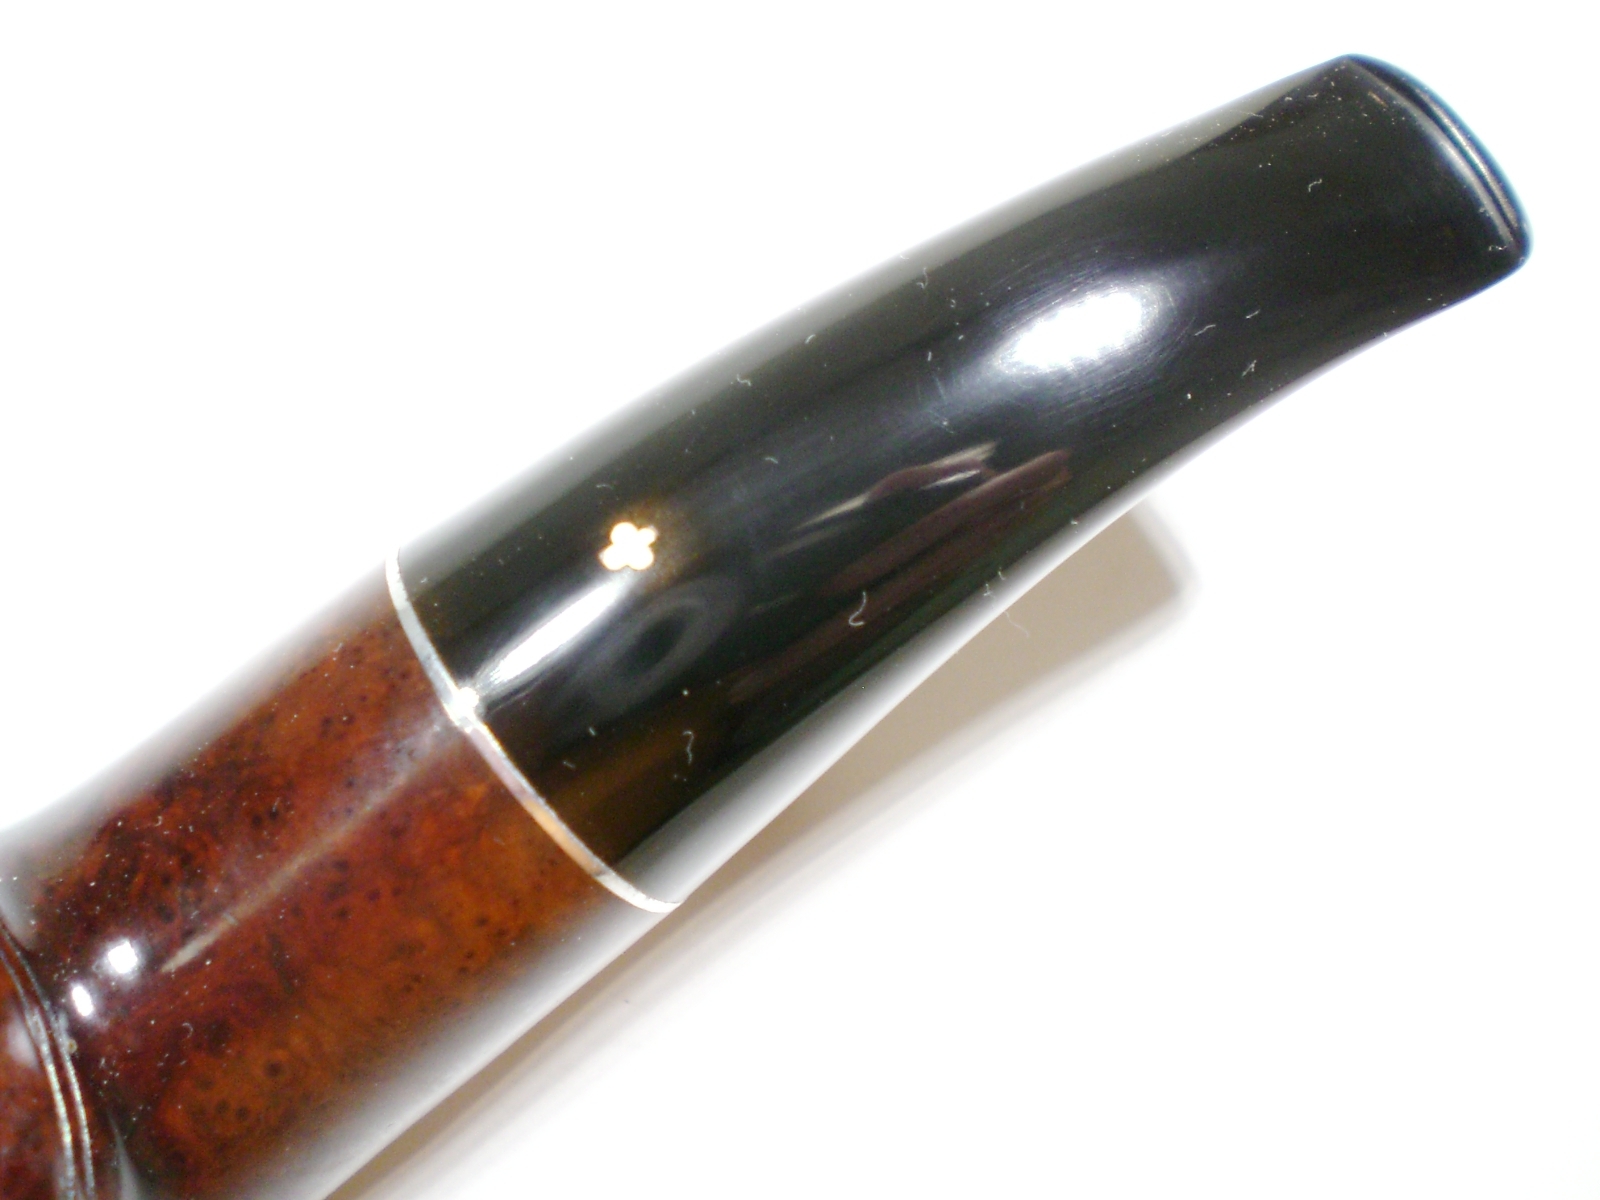
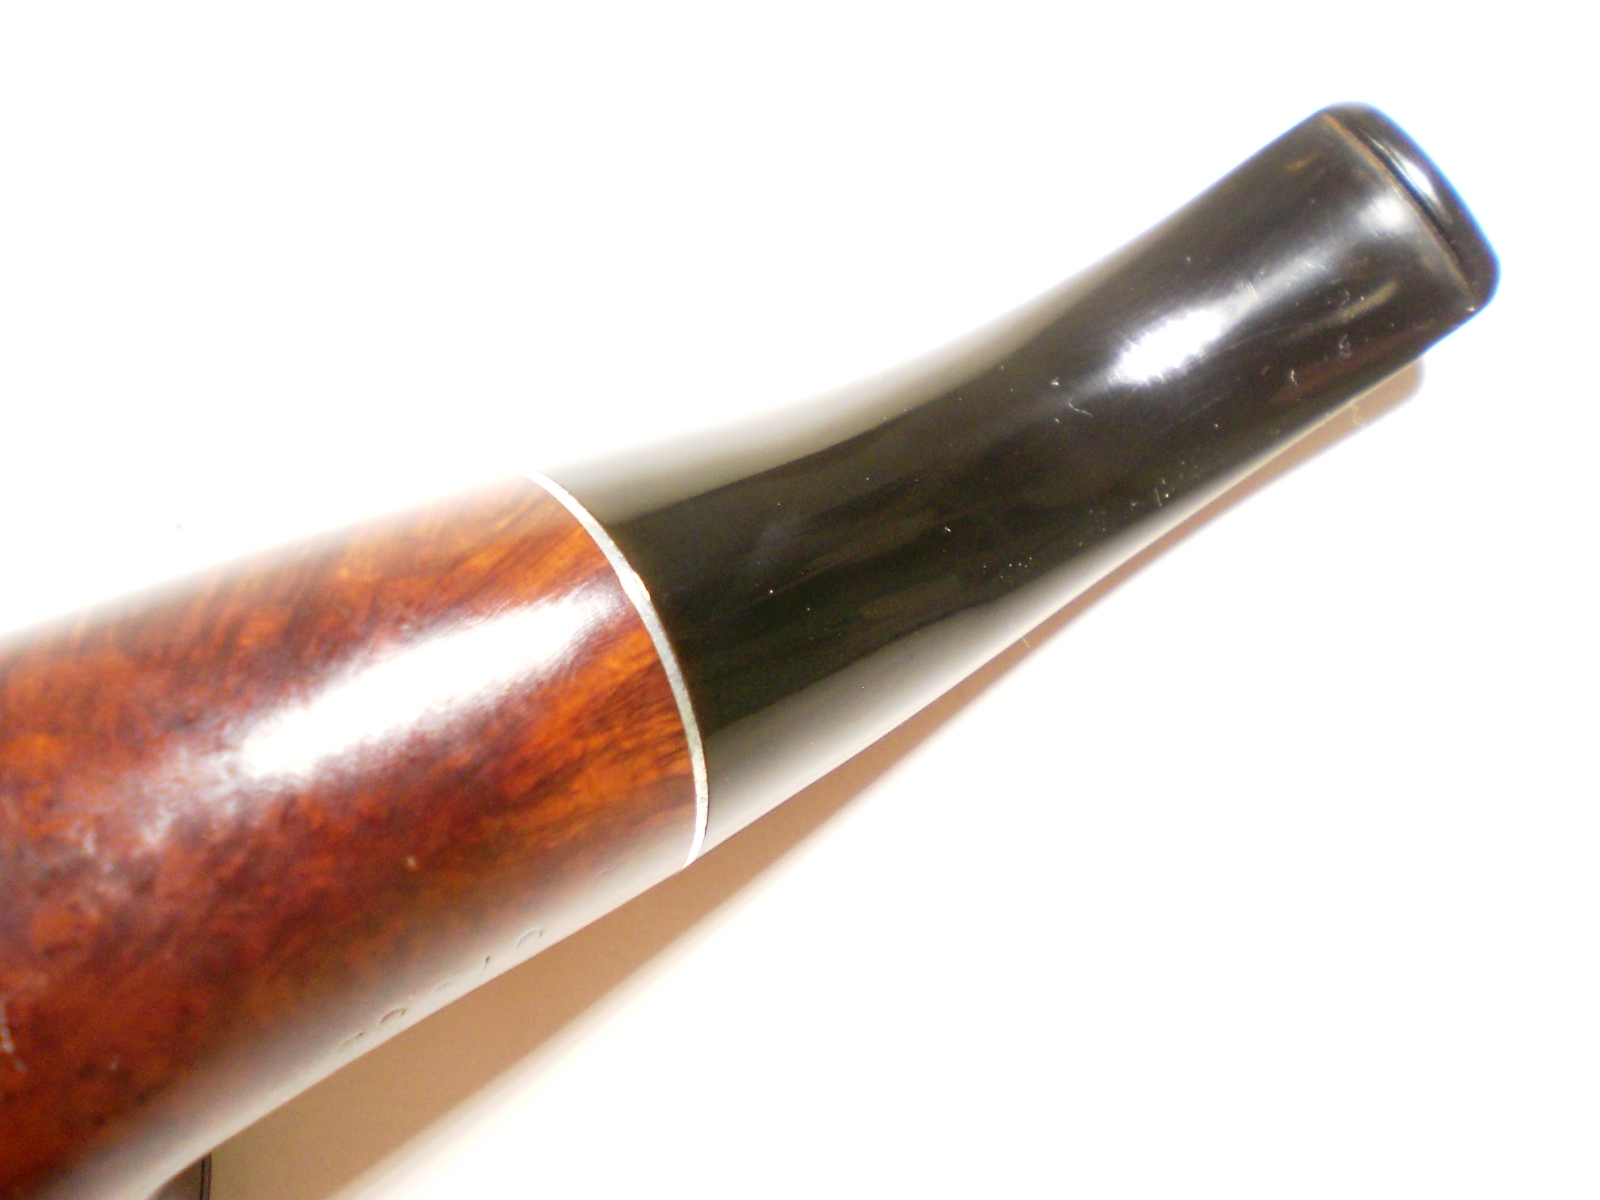
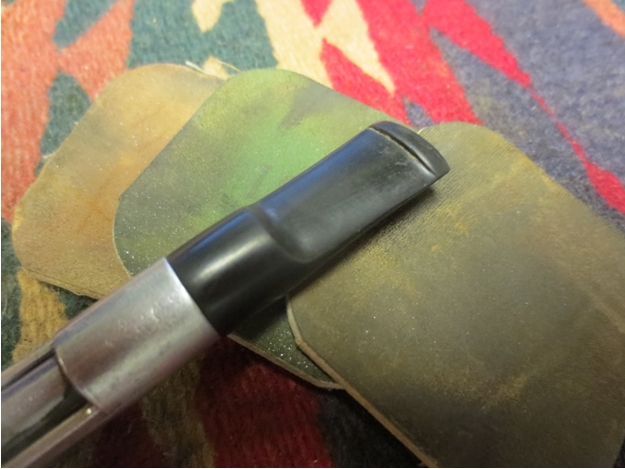
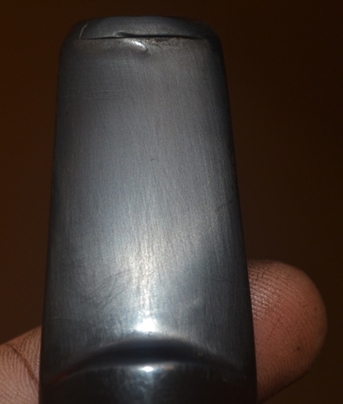
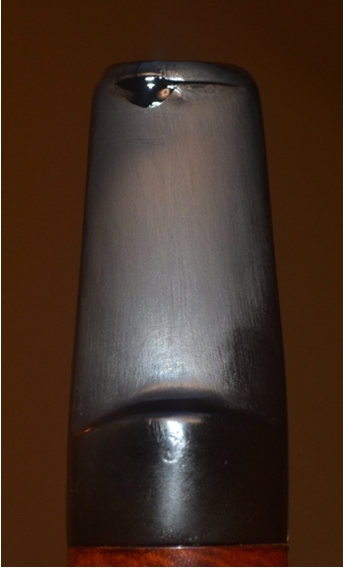
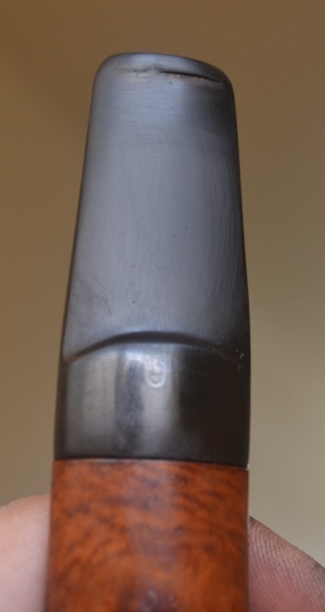
 The only part of the web before I was clear of it was the stem. Now, I have had stems discolored and bitten almost to the point of being irreparable and made them shine like new. This stem, on the other hand, which showed nothing but the slightest use by a long-time, caring pipe tobacco enjoyer, eluded several efforts to remove the minor scratches. To my surprise, the chatter came off with ease, but the scratches would disappear with micro-meshing and then new scratches and even white blotches popped up when I wiped the stem down with my cotton cloth.
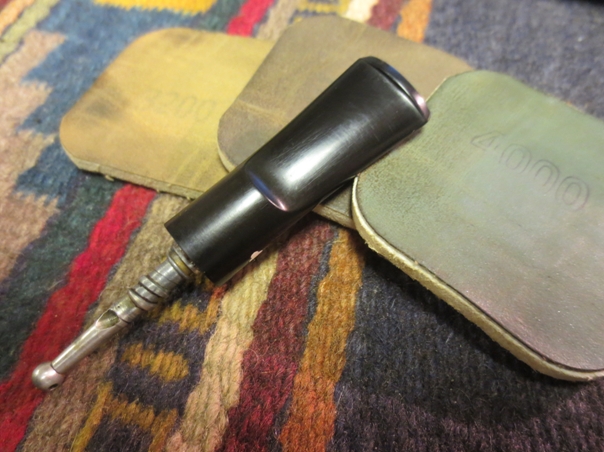
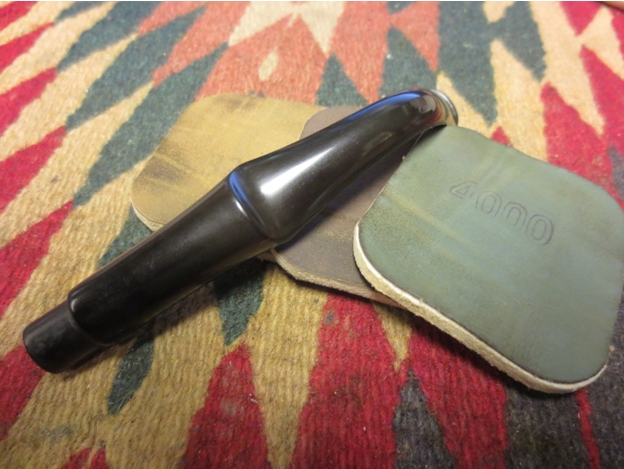
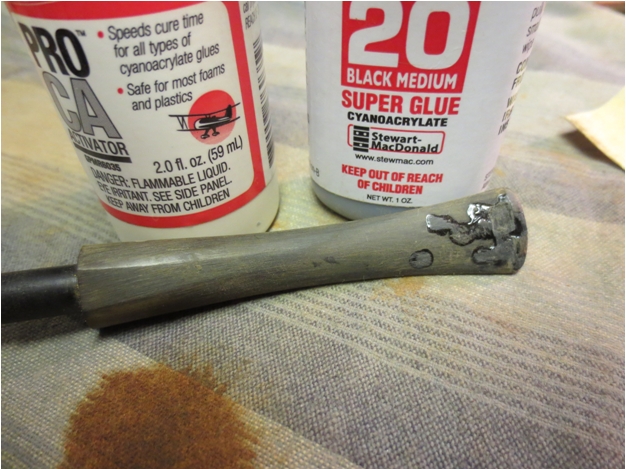
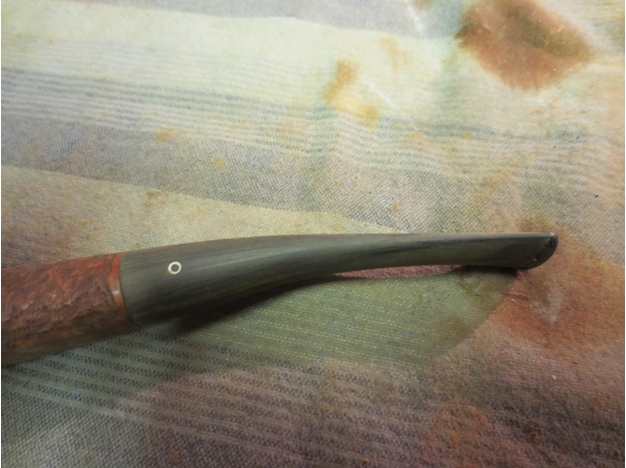
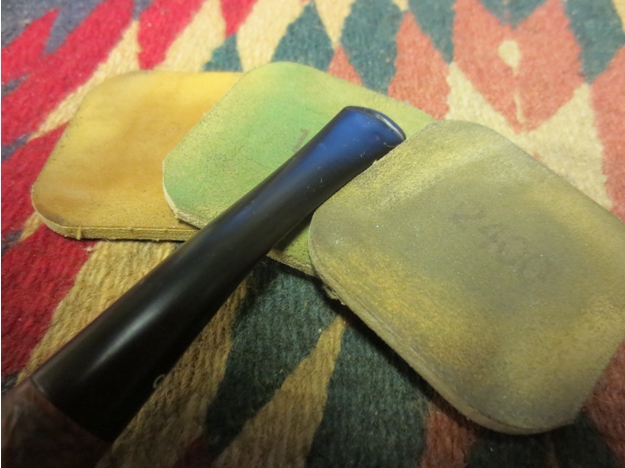
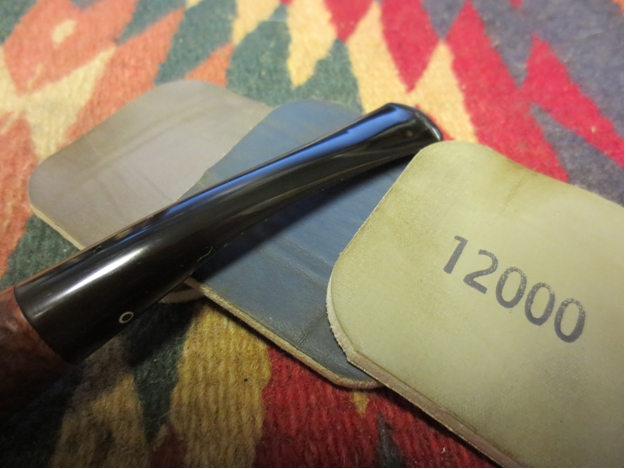
Nothing was going to stop me. And so, with a barrage of micromesh grades starting with 1500 and then 800 followed by 3200 and 320 and at last 1500 again, I could find no scratches, chatter or blotches.
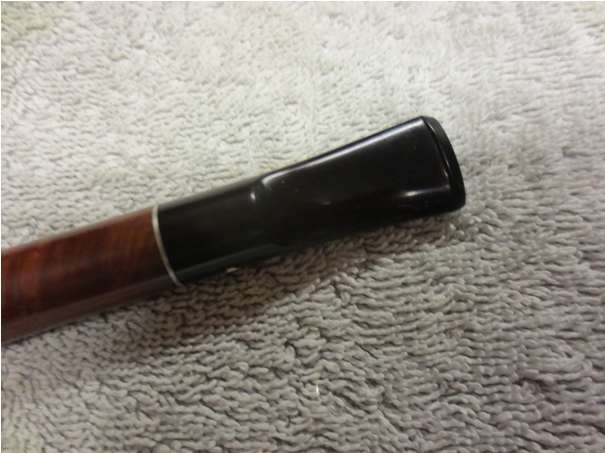
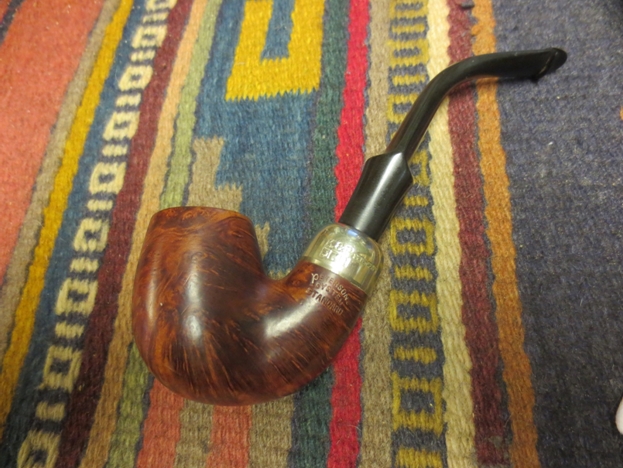
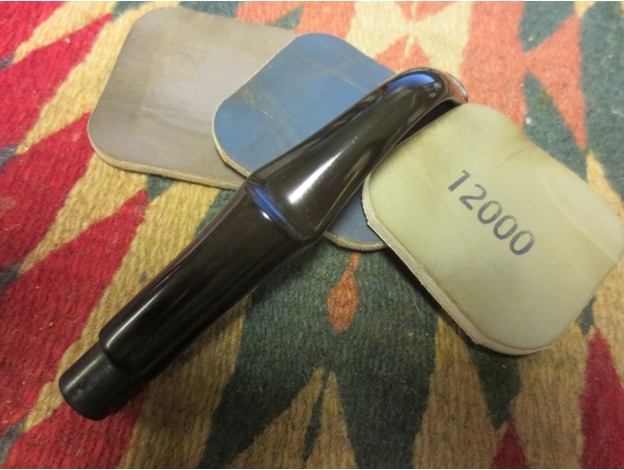
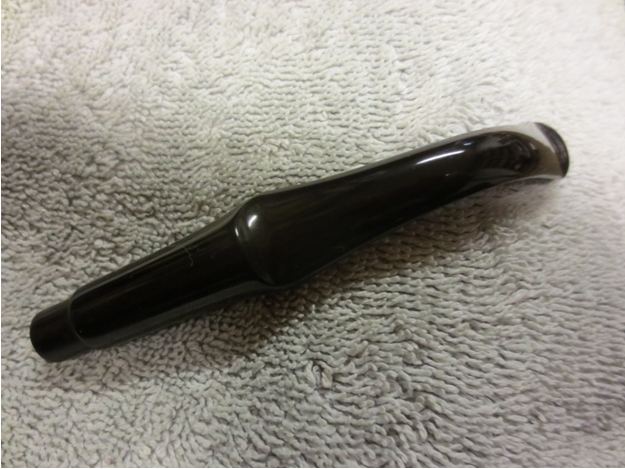
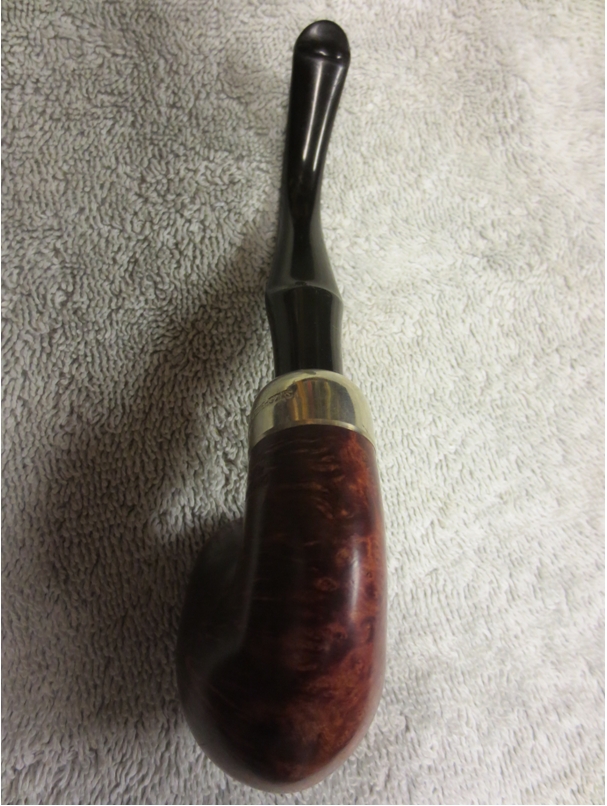
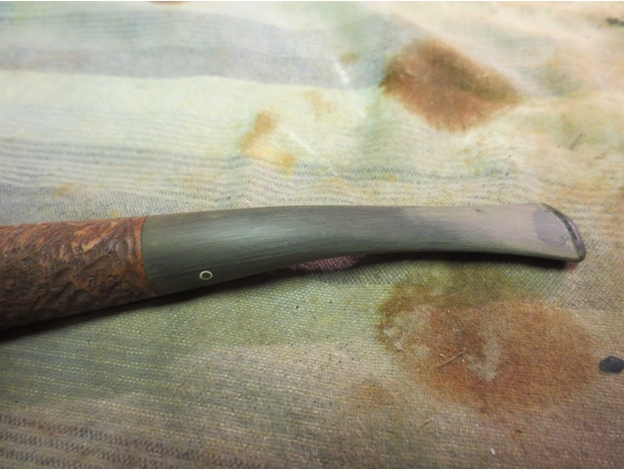
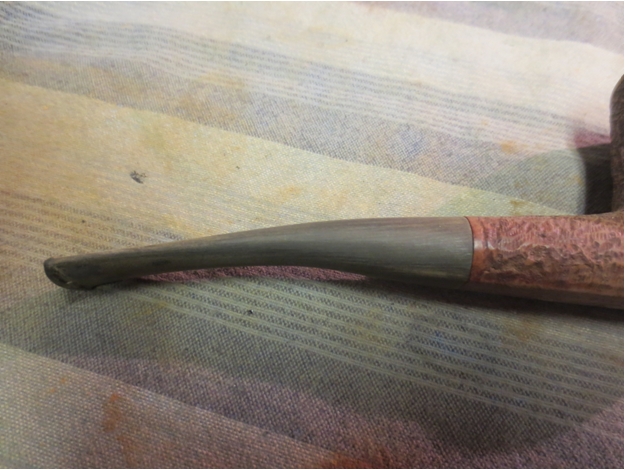
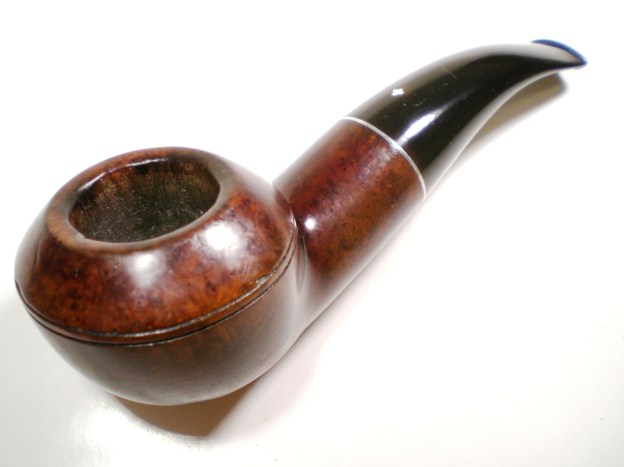
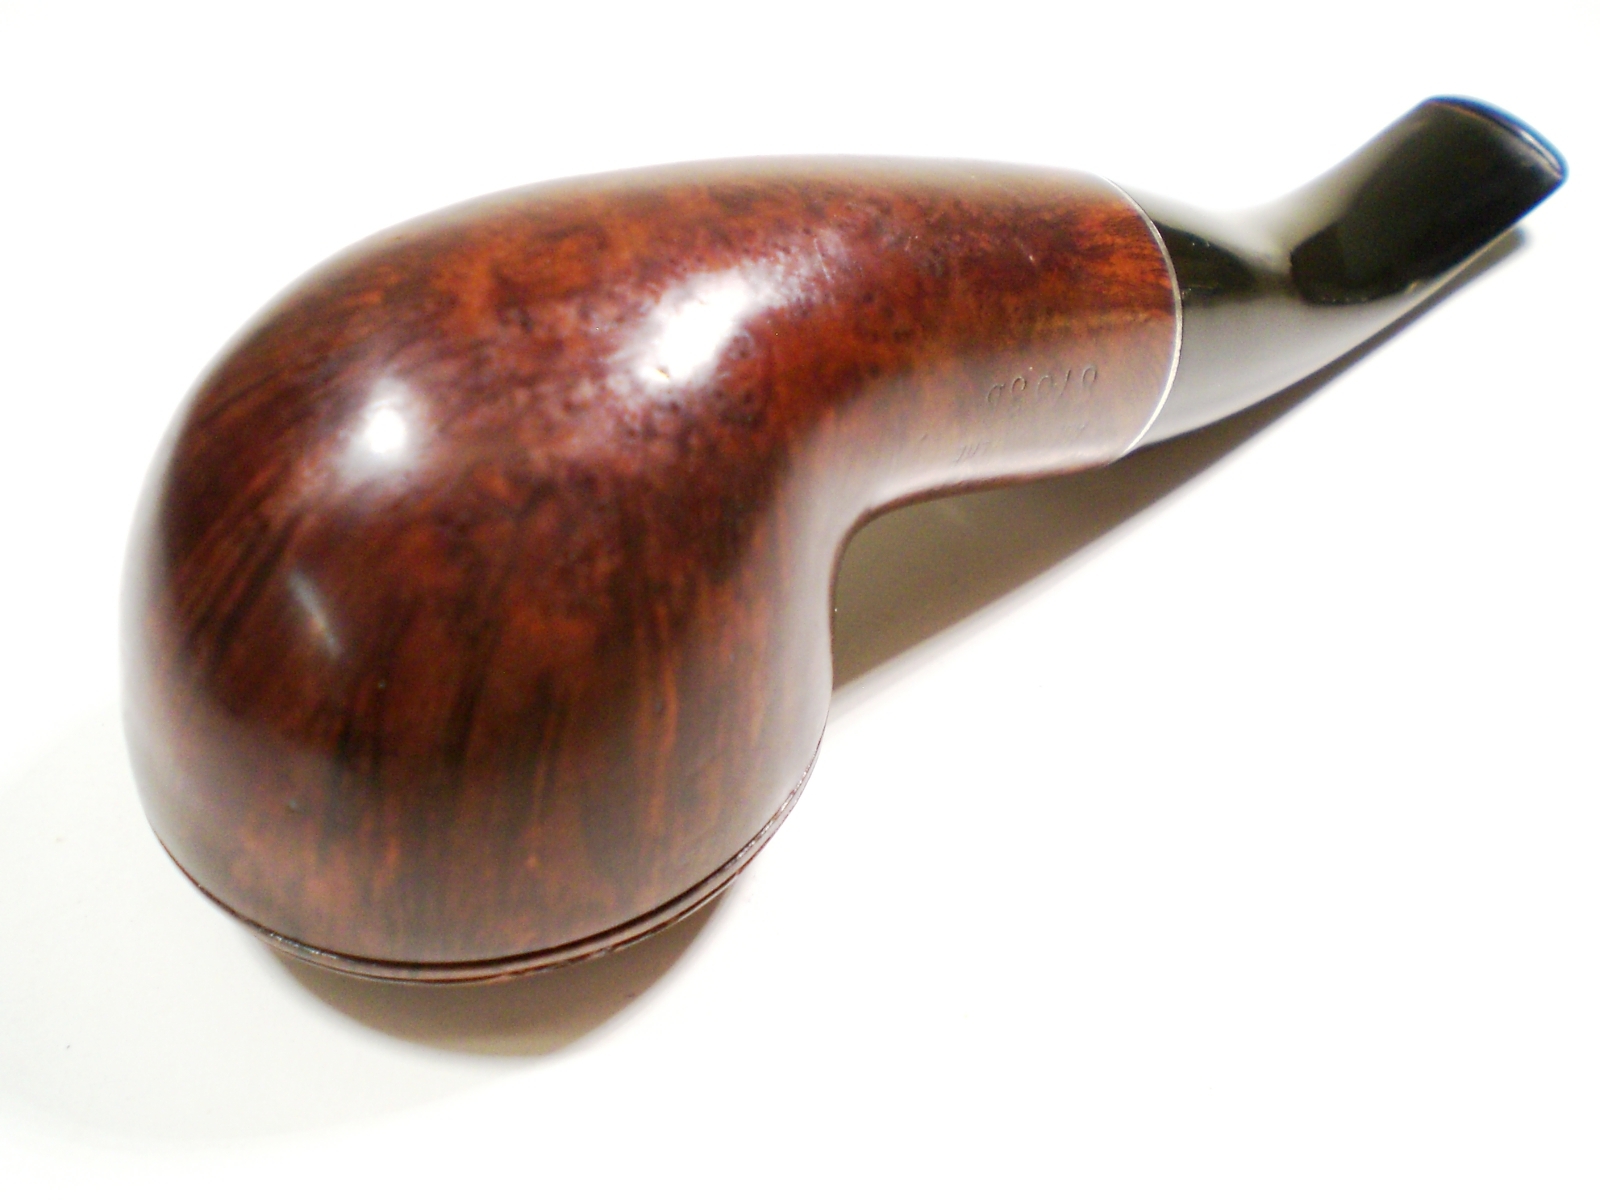
 All that remained was the buffing. I finished the stem with red Tripoli and White Diamond. The briar I used everything at my disposal, starting with white and red Tripoli, then White Diamond and at last carnauba.


 CONCLUSION
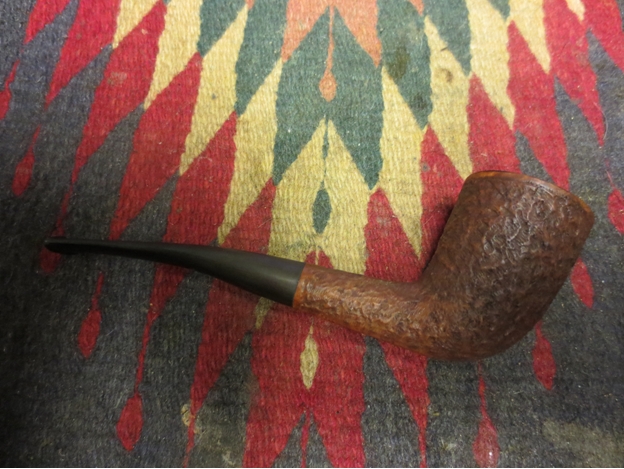
I had a good time restoring this excellent old pipe, despite the unexpected difficulties I seemed to encounter at every turn. In fact, I suspect the new problems added to the pleasure. I’ve always enjoyed a challenge, and while mine in this process may seem tame compared to those some of my more experienced readers have dealt with – and believe me, I’ve read enough of Steve’s and heard about plenty of my friend’s and mentor’s to know there is far worse – they nevertheless represent new obstacles I overcame. That, I understand, is what the job is all about.
I suppose I was born with the type of personality that finds it impossible to overlook even the slightest flaws I notice in any project I undertake. People – for the most part those who are satisfied with mediocre conclusions – have always called me a perfectionist, but I never use the word to describe myself because I know I am far from it. Only on rare occasions have I completed a project (whether it be a short story, screenplay, novel, blog, pipe restoration or anything else) to which I did not return later and see how I could write, edit or do it better.
By way of example, when I was writing my last blog, on The Guildhall London Pipe, I started to insert photos and noticed the stem was not up to my present snuff, so to speak. And so, although it was somewhat of a hassle to stop my blog, get the pipe, remove the stem and not just rebuff it using the White Diamond wax I recently added to my wheels but re-sand it to remove the horrible discoloration I had missed before, I could not bring myself to publish photos knowing they would show my incompetence. I think the final result was worth the extra effort.
I am beginning to realize an important part of the restoration learning process is simple rising self-expectations. By good fortune, I have several dozen estate pipes in many shapes and degrees of duress on which to practice in the near future…and I am chomping on the bit!
 I readdressed the oxidation with the 400 grit until it was gone. I find that it helps to dry the stem when you think you’ve reached the point where the oxidation is removed.
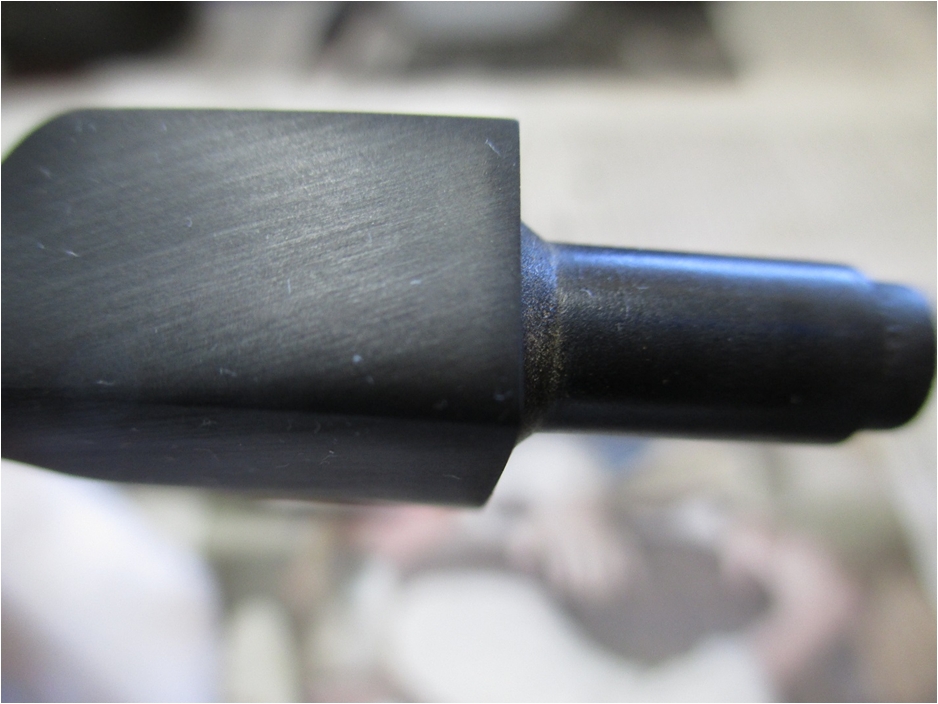 I then proceeded to use the micro mesh, 1500-2400 grit, with water.
 Next I turned my attention to the bowl. The rim had some tar build up, which I tried to remove with distilled water.
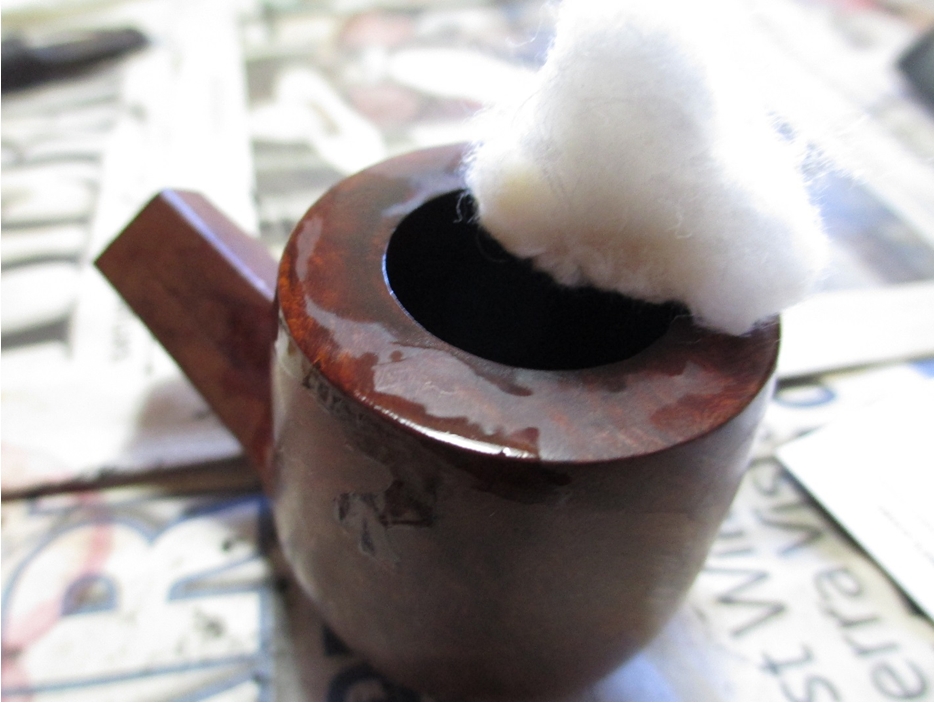 The water helped, but there was an area of stubborn tar that just wouldn’t come off. Since I didn’t want to remove all of the finish, I used 1500 grit micro mesh to top the bowl.
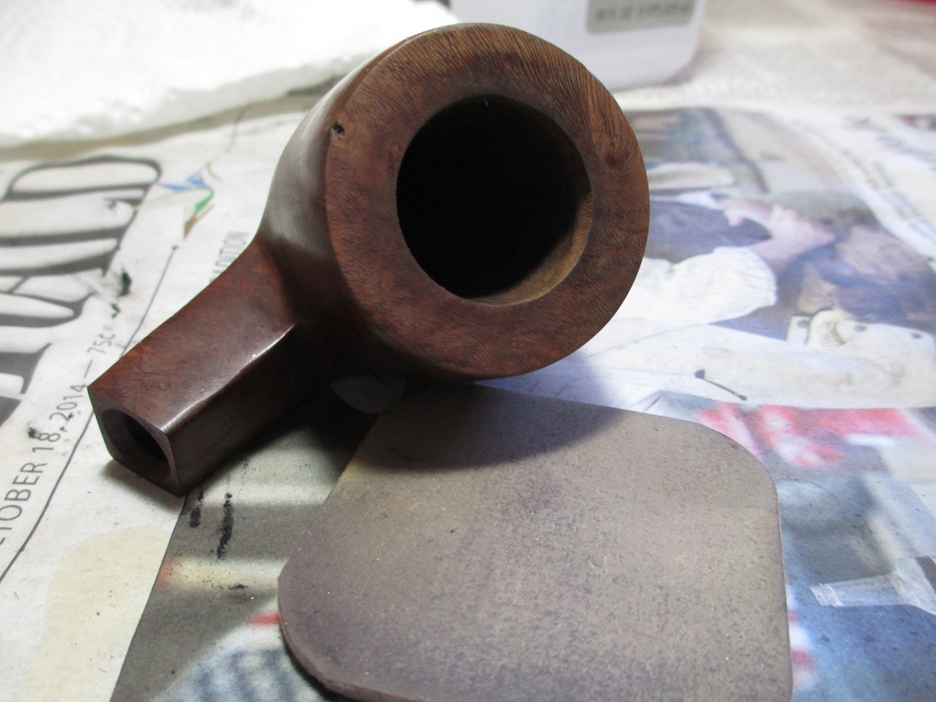 I used 1500-2400 grit micro mesh without water on the bowl, then 3200-12000 grit micro mesh on the bowl and the stem.
 The last few levels really do a nice job of polishing both wood and vulcanite.
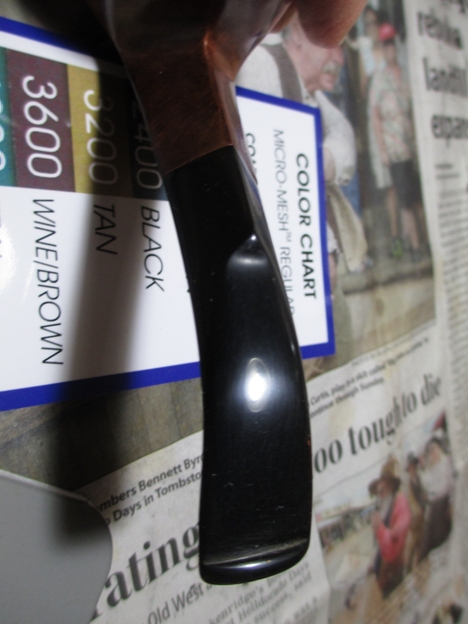
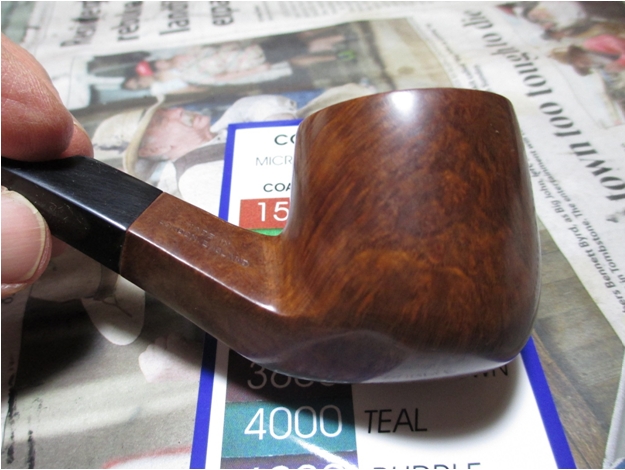

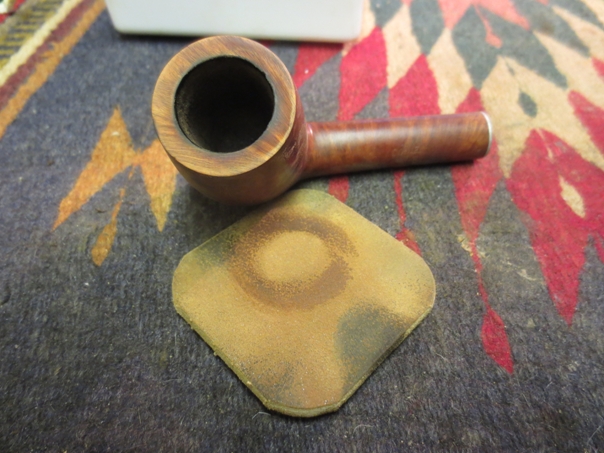
 Next it was time to apply the wax/stain. For red/brown colored pipes I use Kiwi Brown. As I mentioned in my previous post, it is very easy to work with and gives a good base shine before the final polish on the buffing wheel.
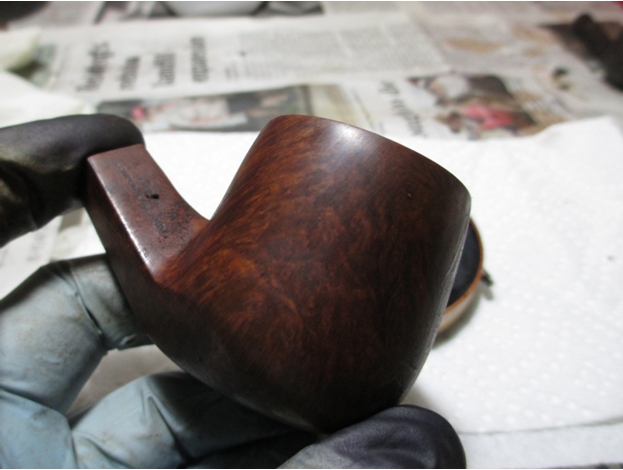
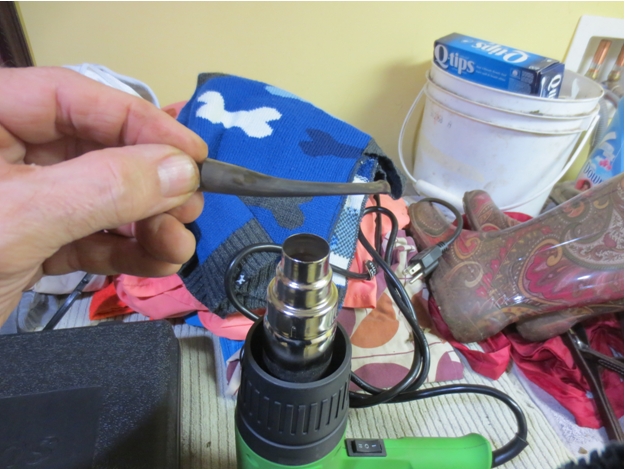
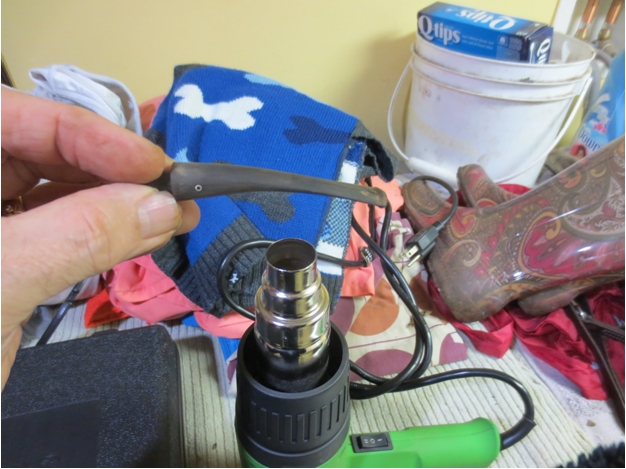
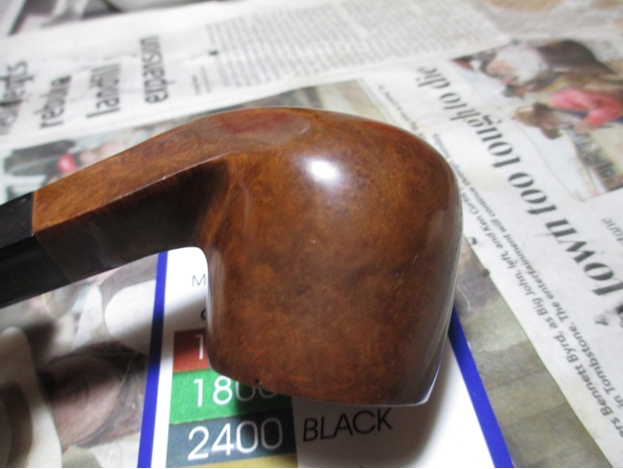
 After applying the shoe polish, I used the heat gun to melt the wax and buffed it out with a brush. As you can see.
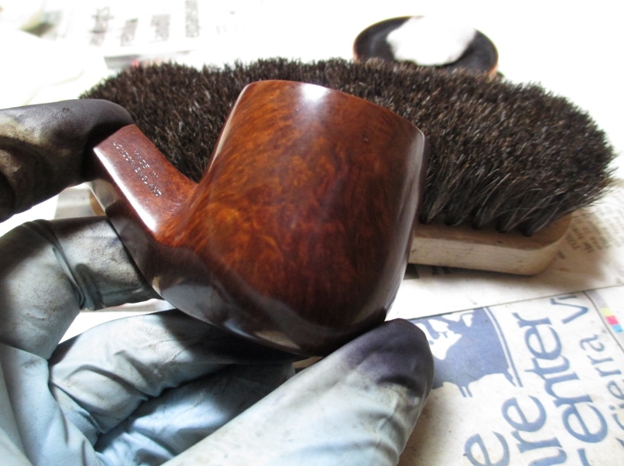 Finally it was off to the buffing wheel.
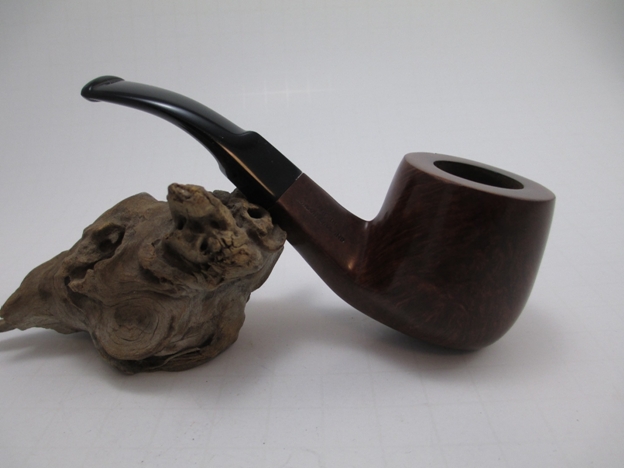
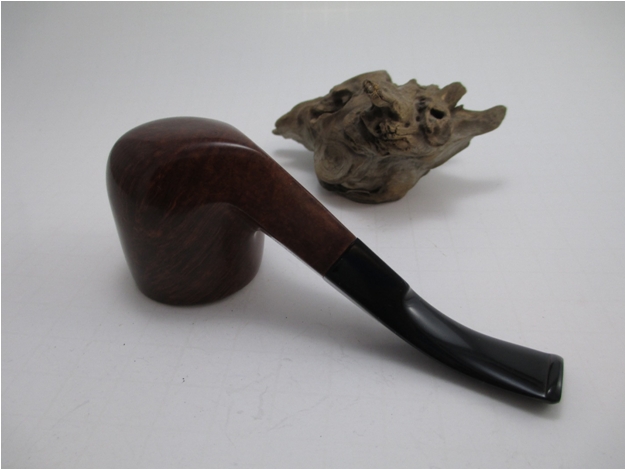
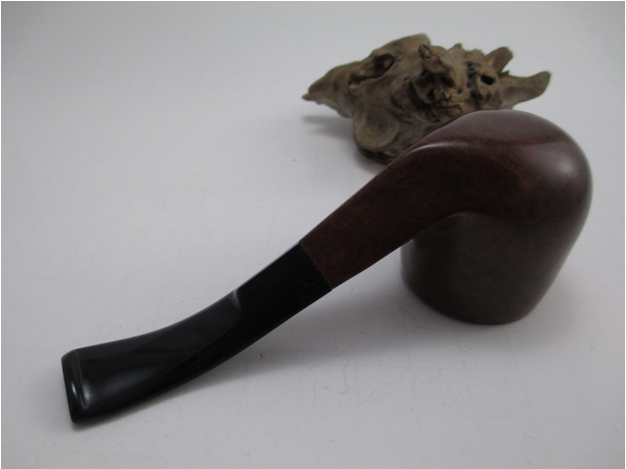
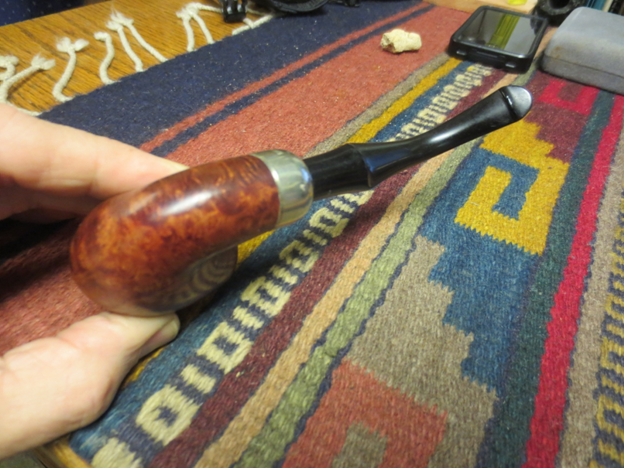
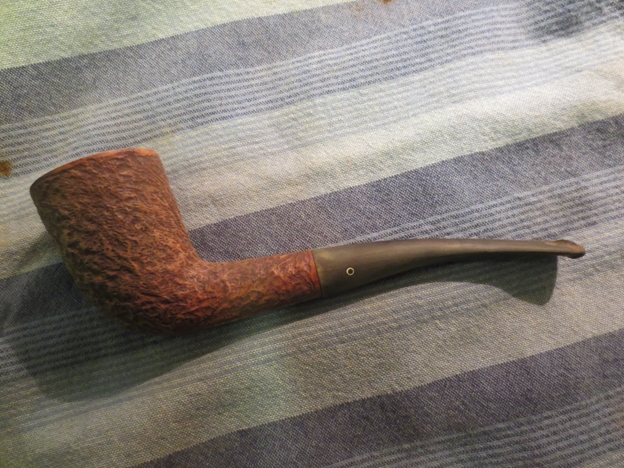
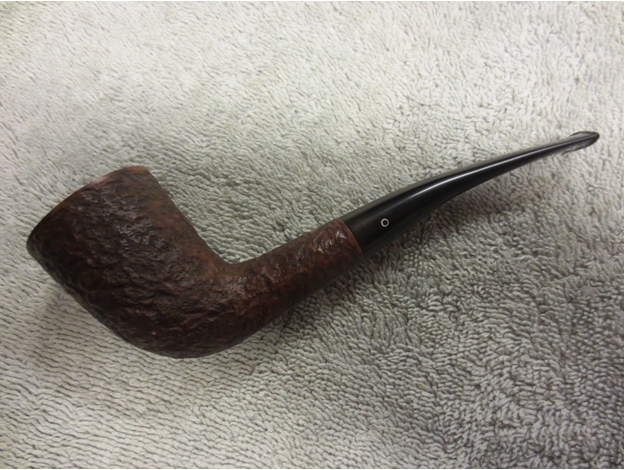
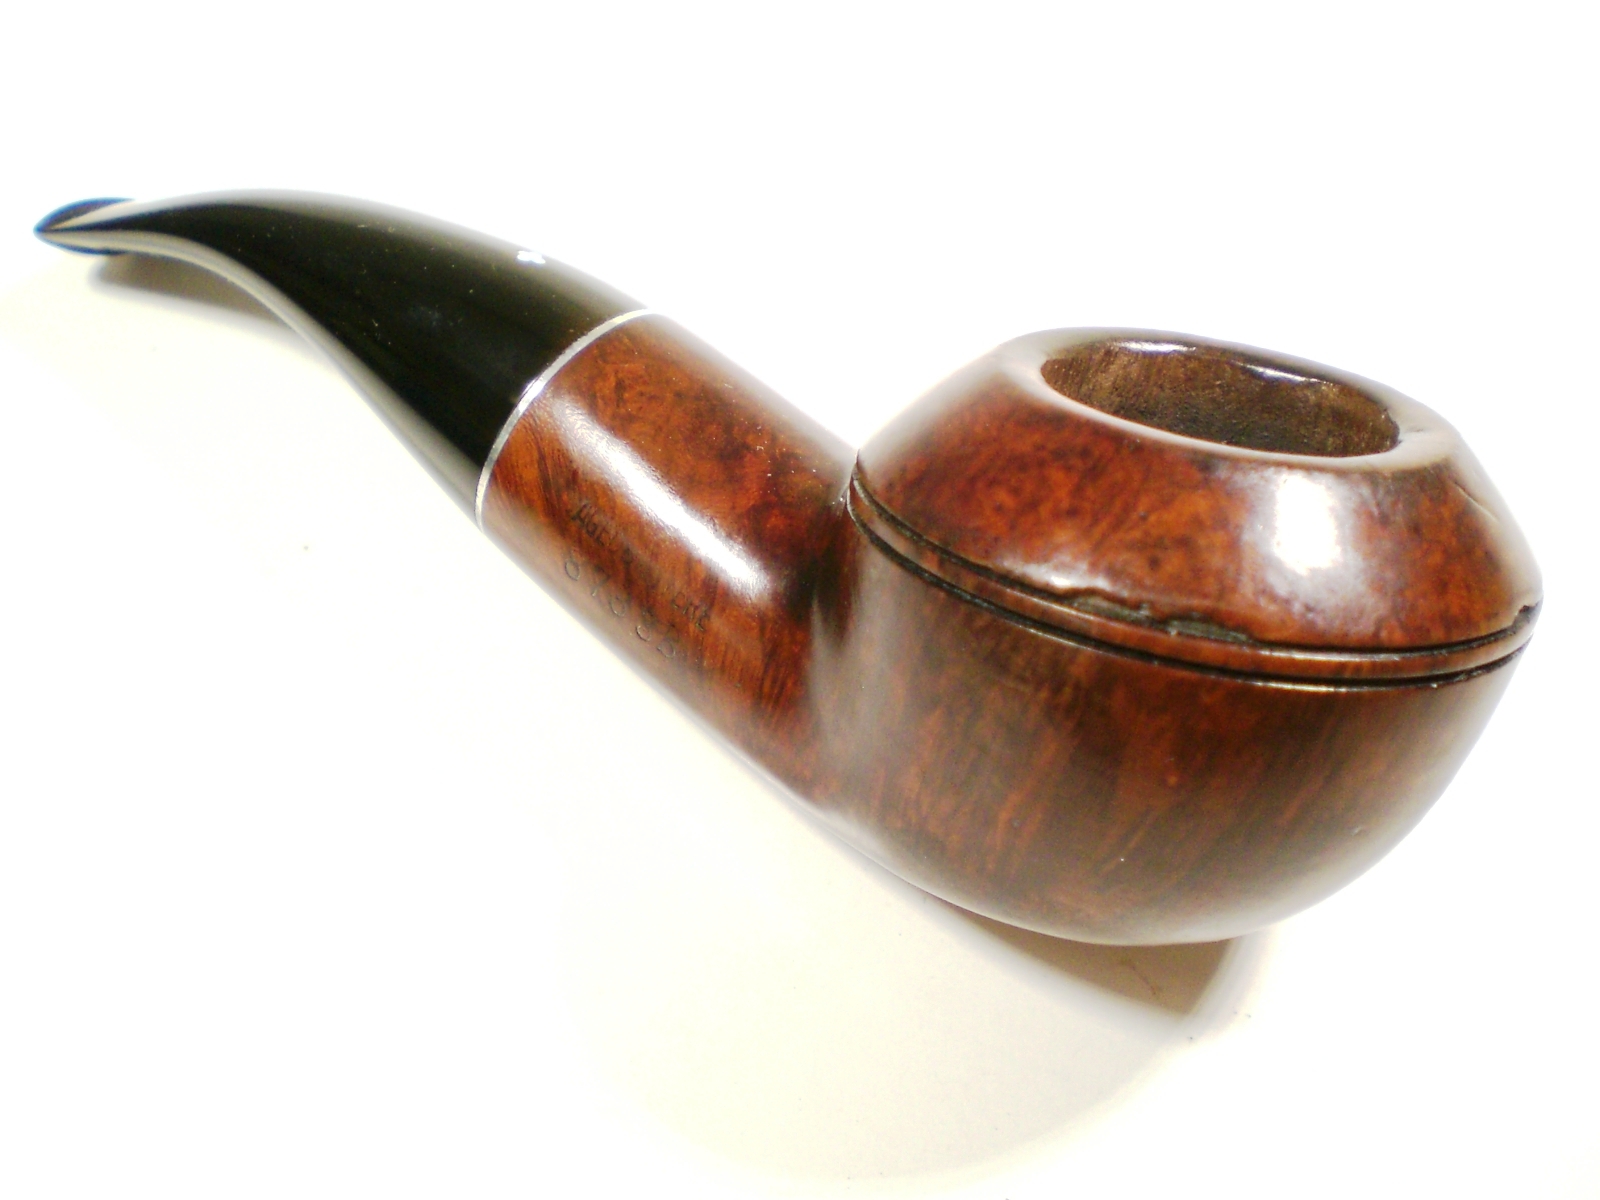
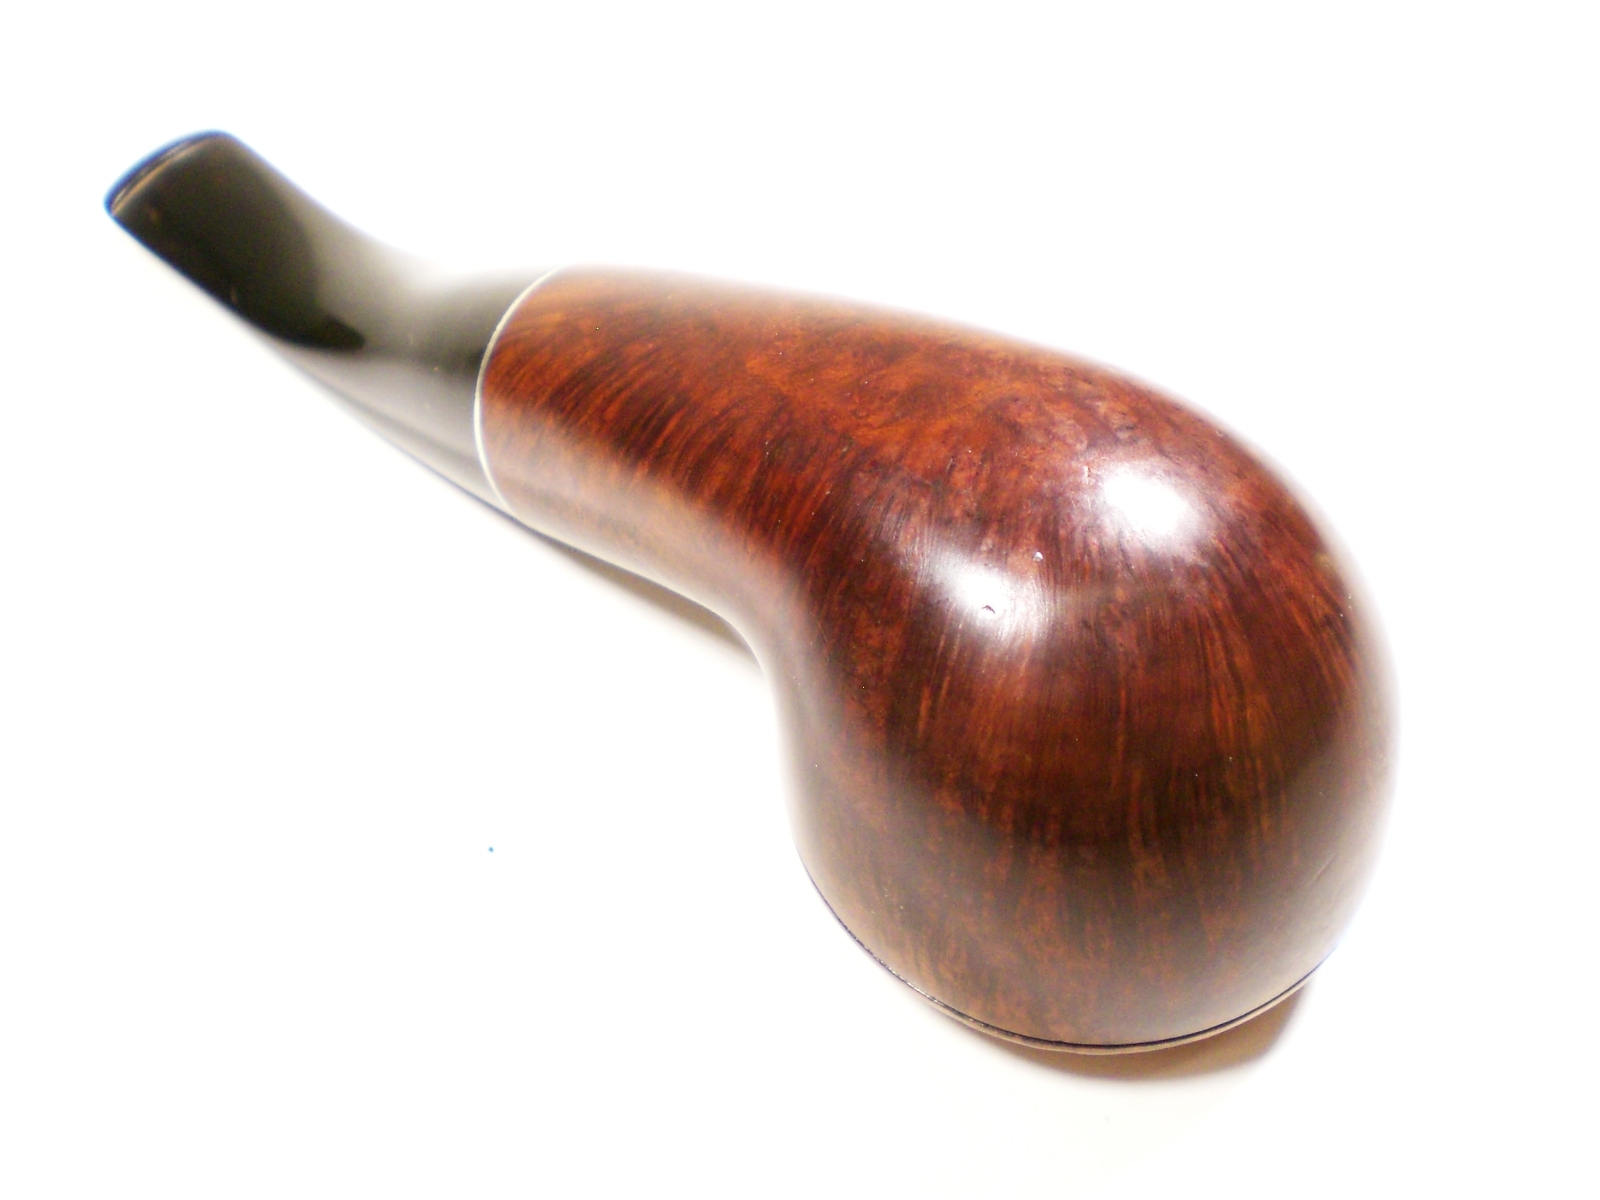
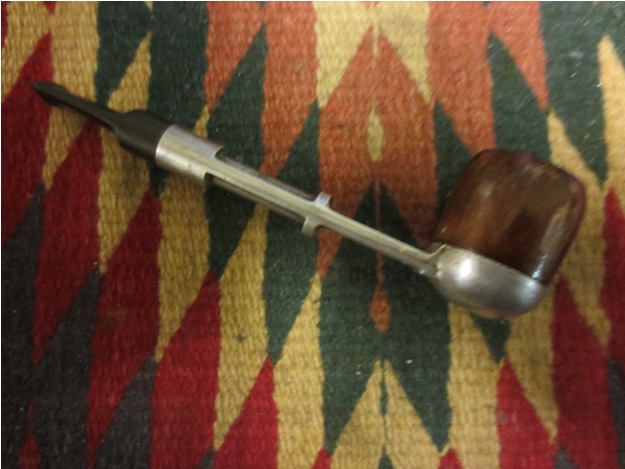
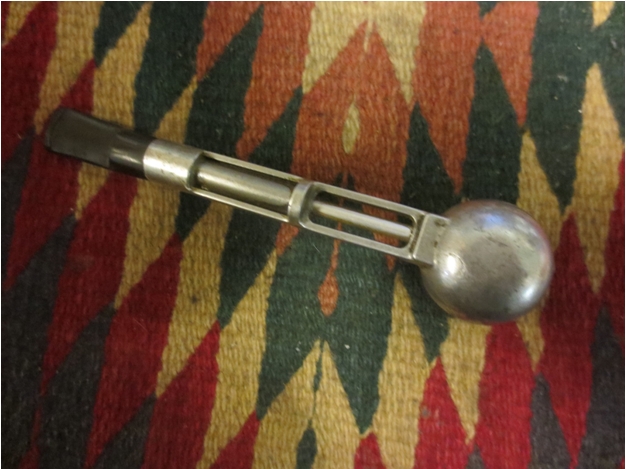
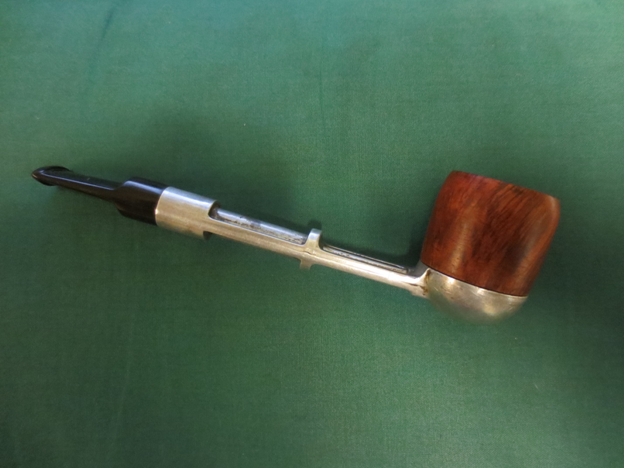
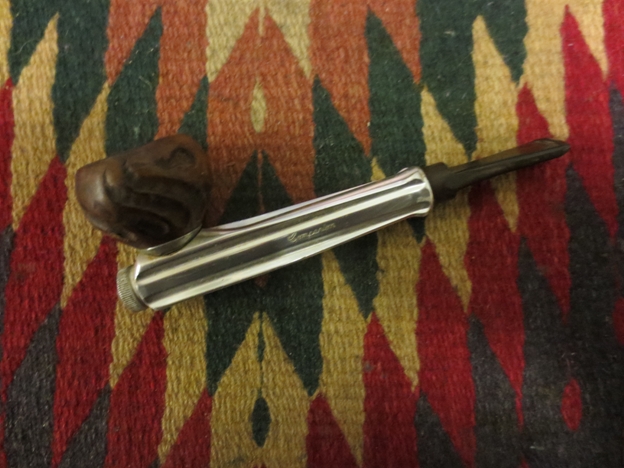
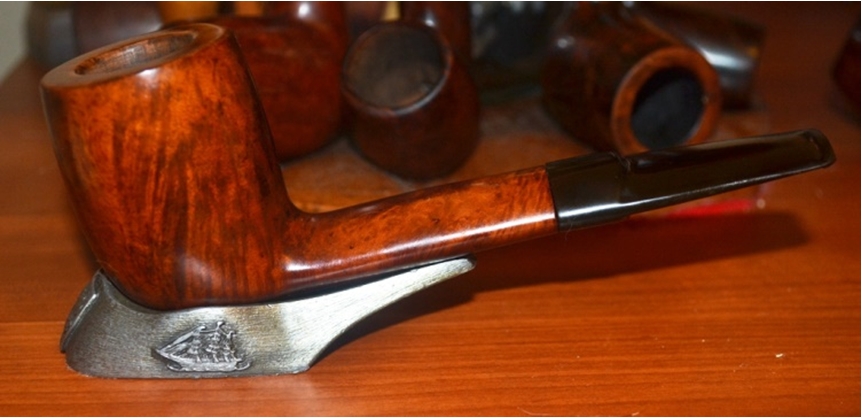
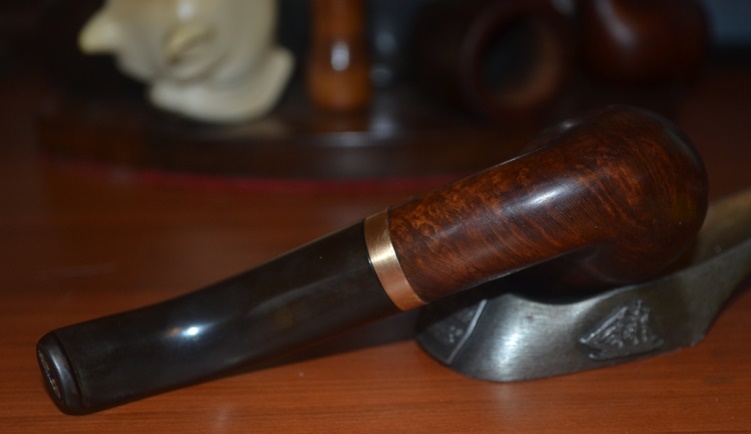
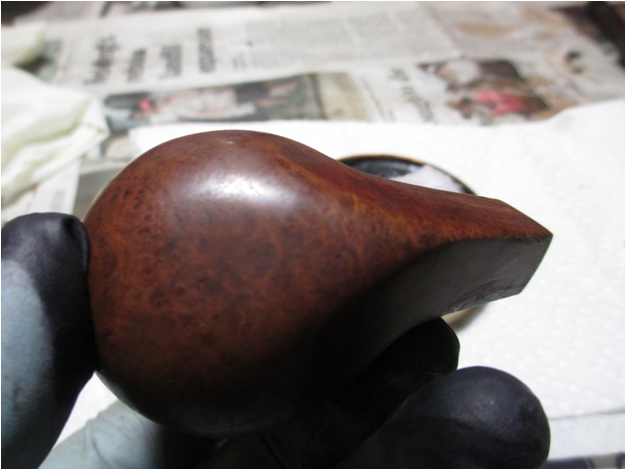
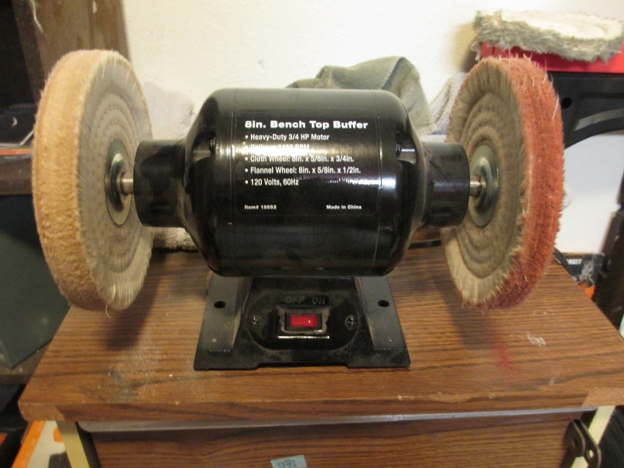 Here are the results. Thanks for looking.