Tag Archives: refinishing

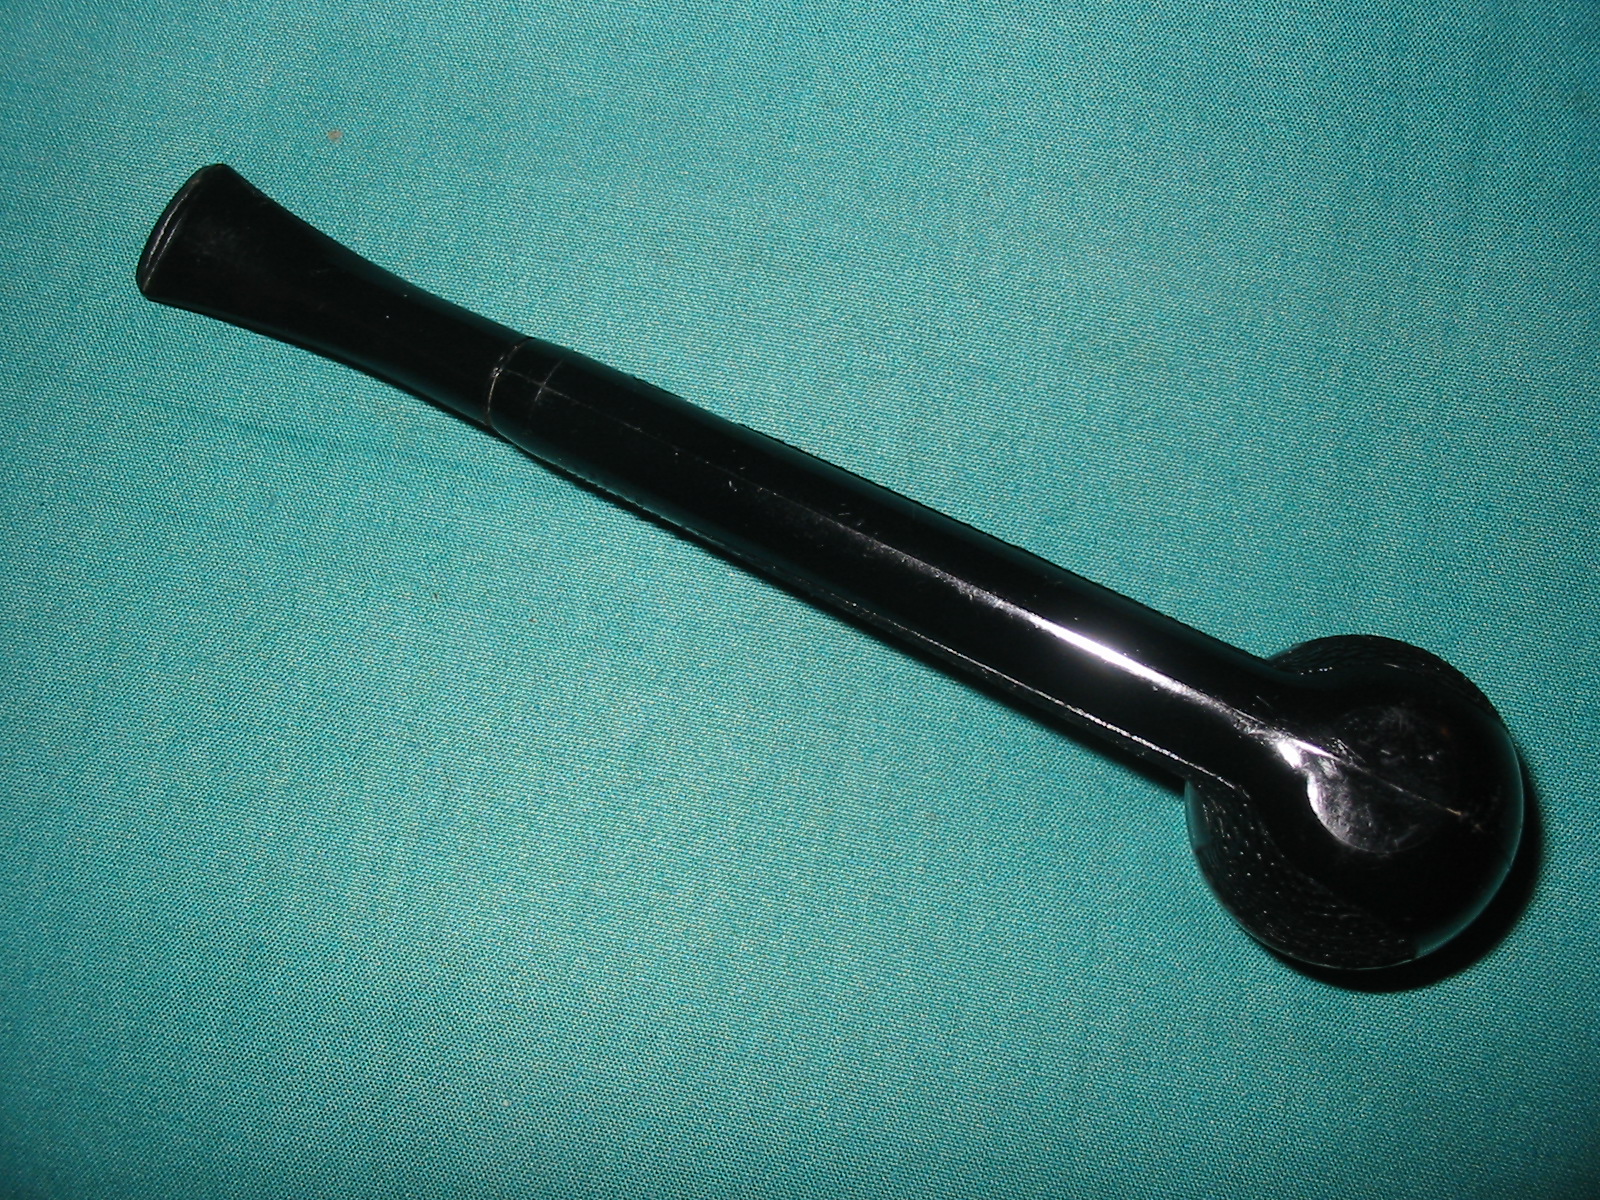
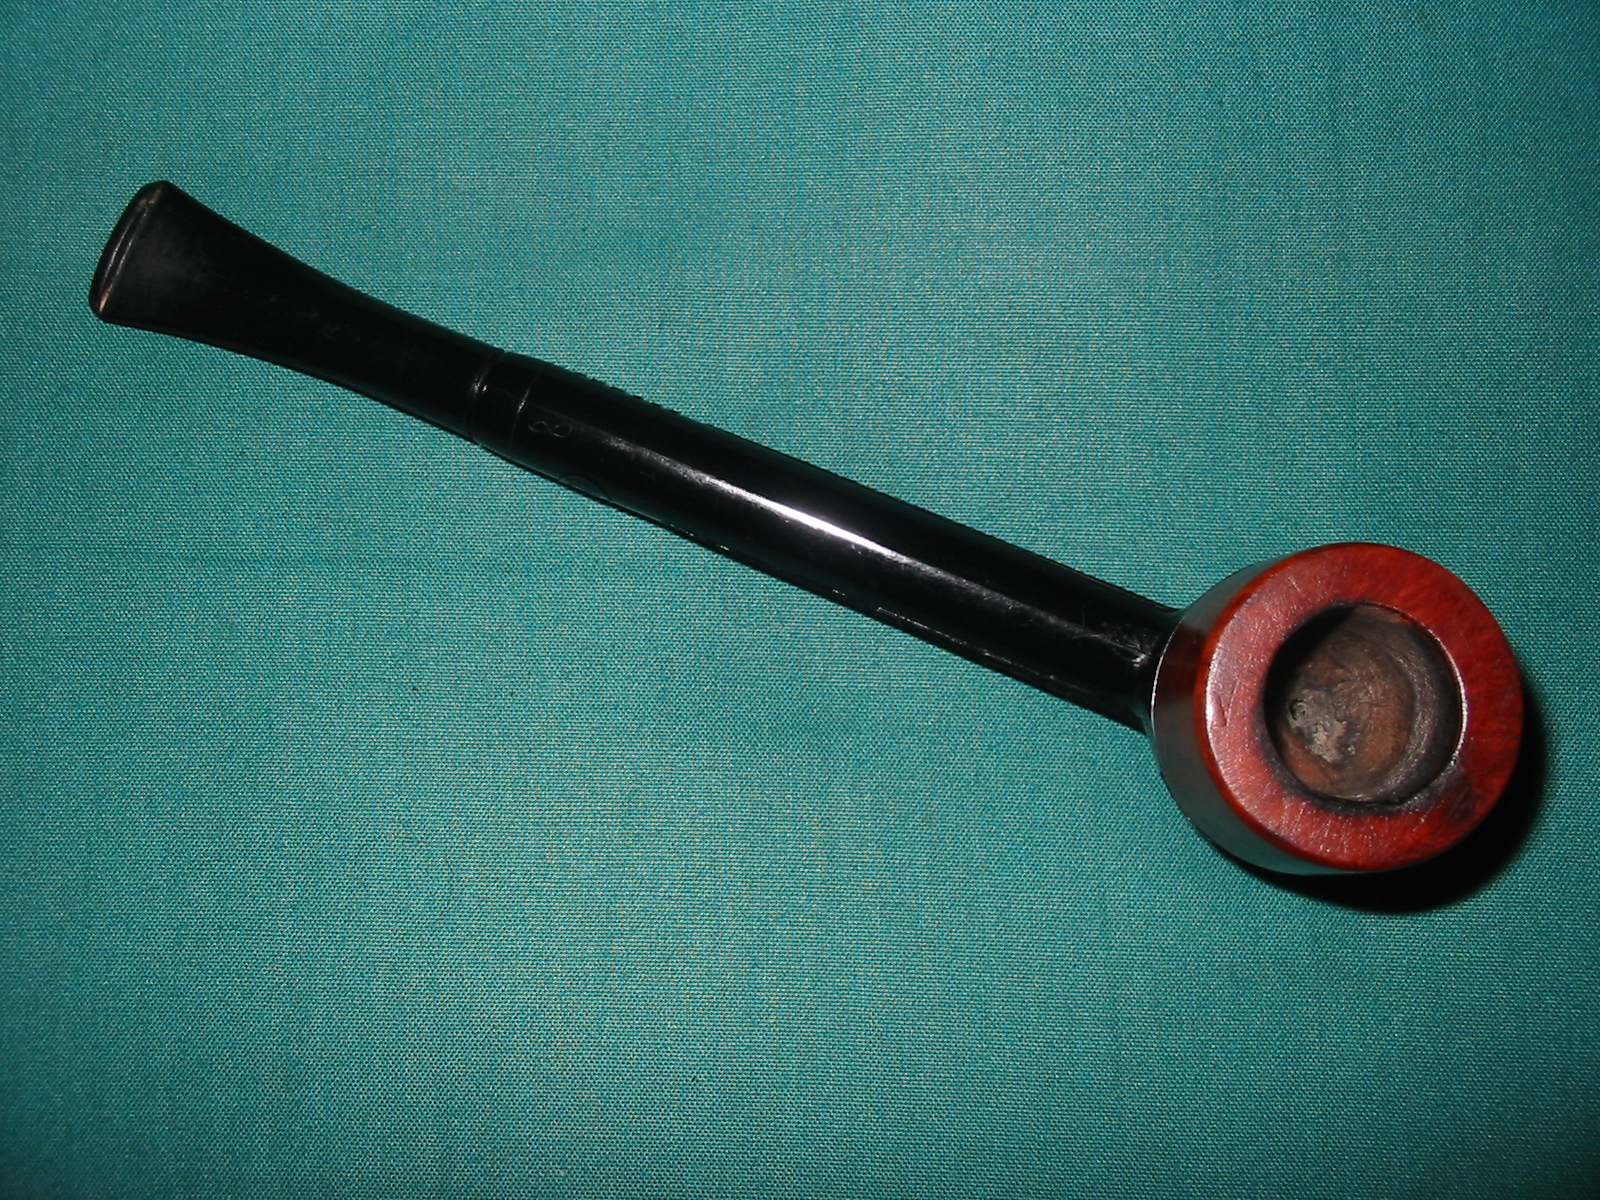
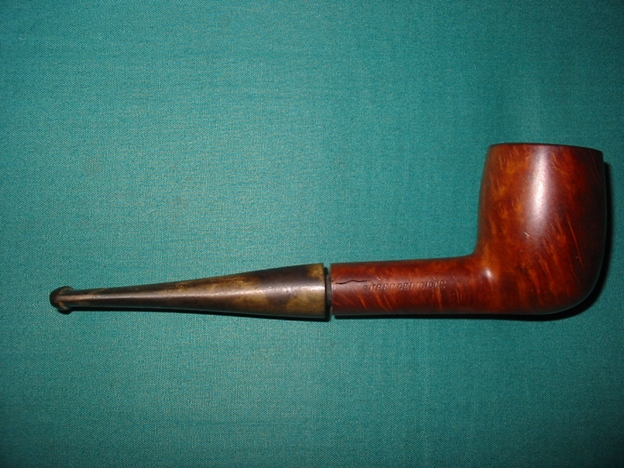
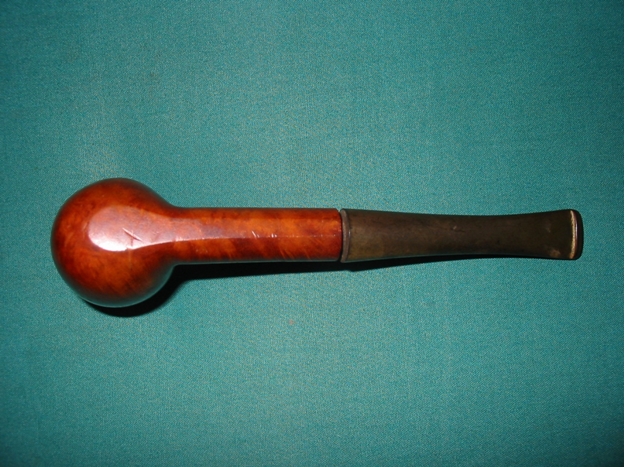
A New Stem and a New Look For a Larsen Special


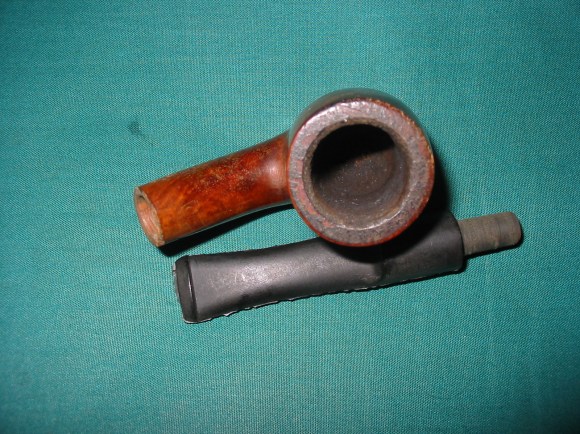
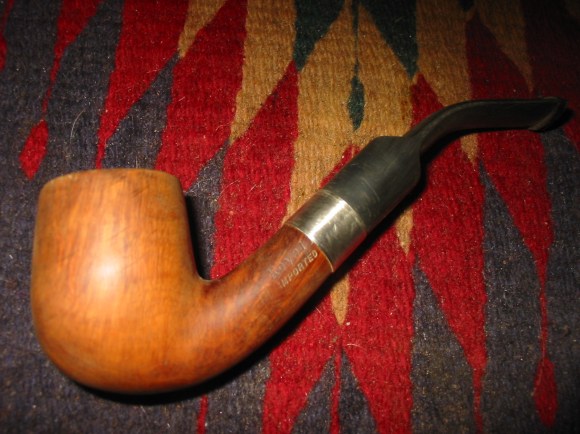
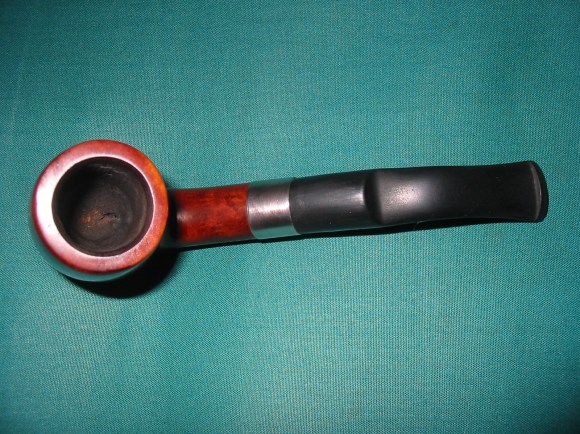
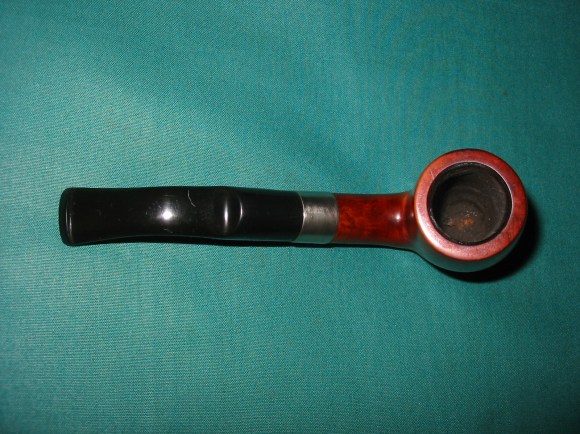
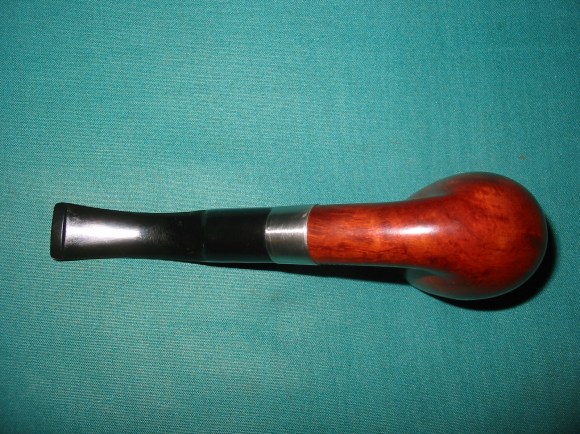
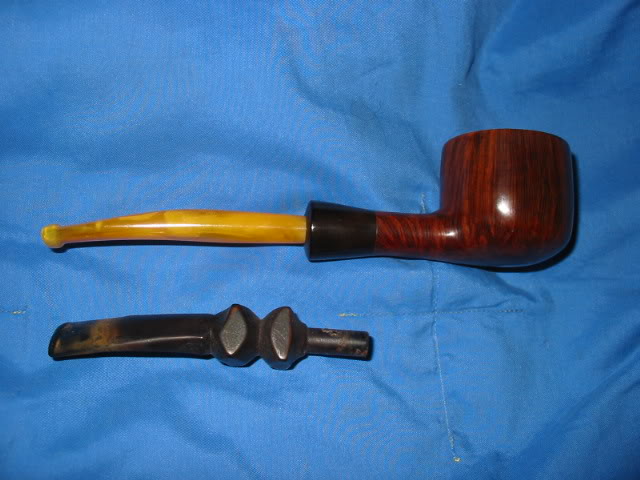
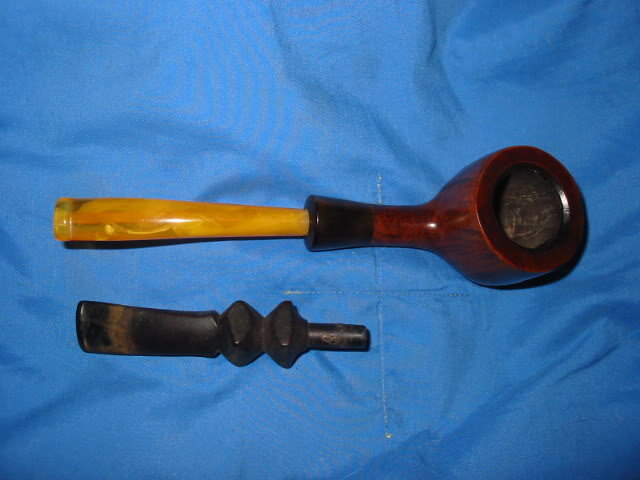
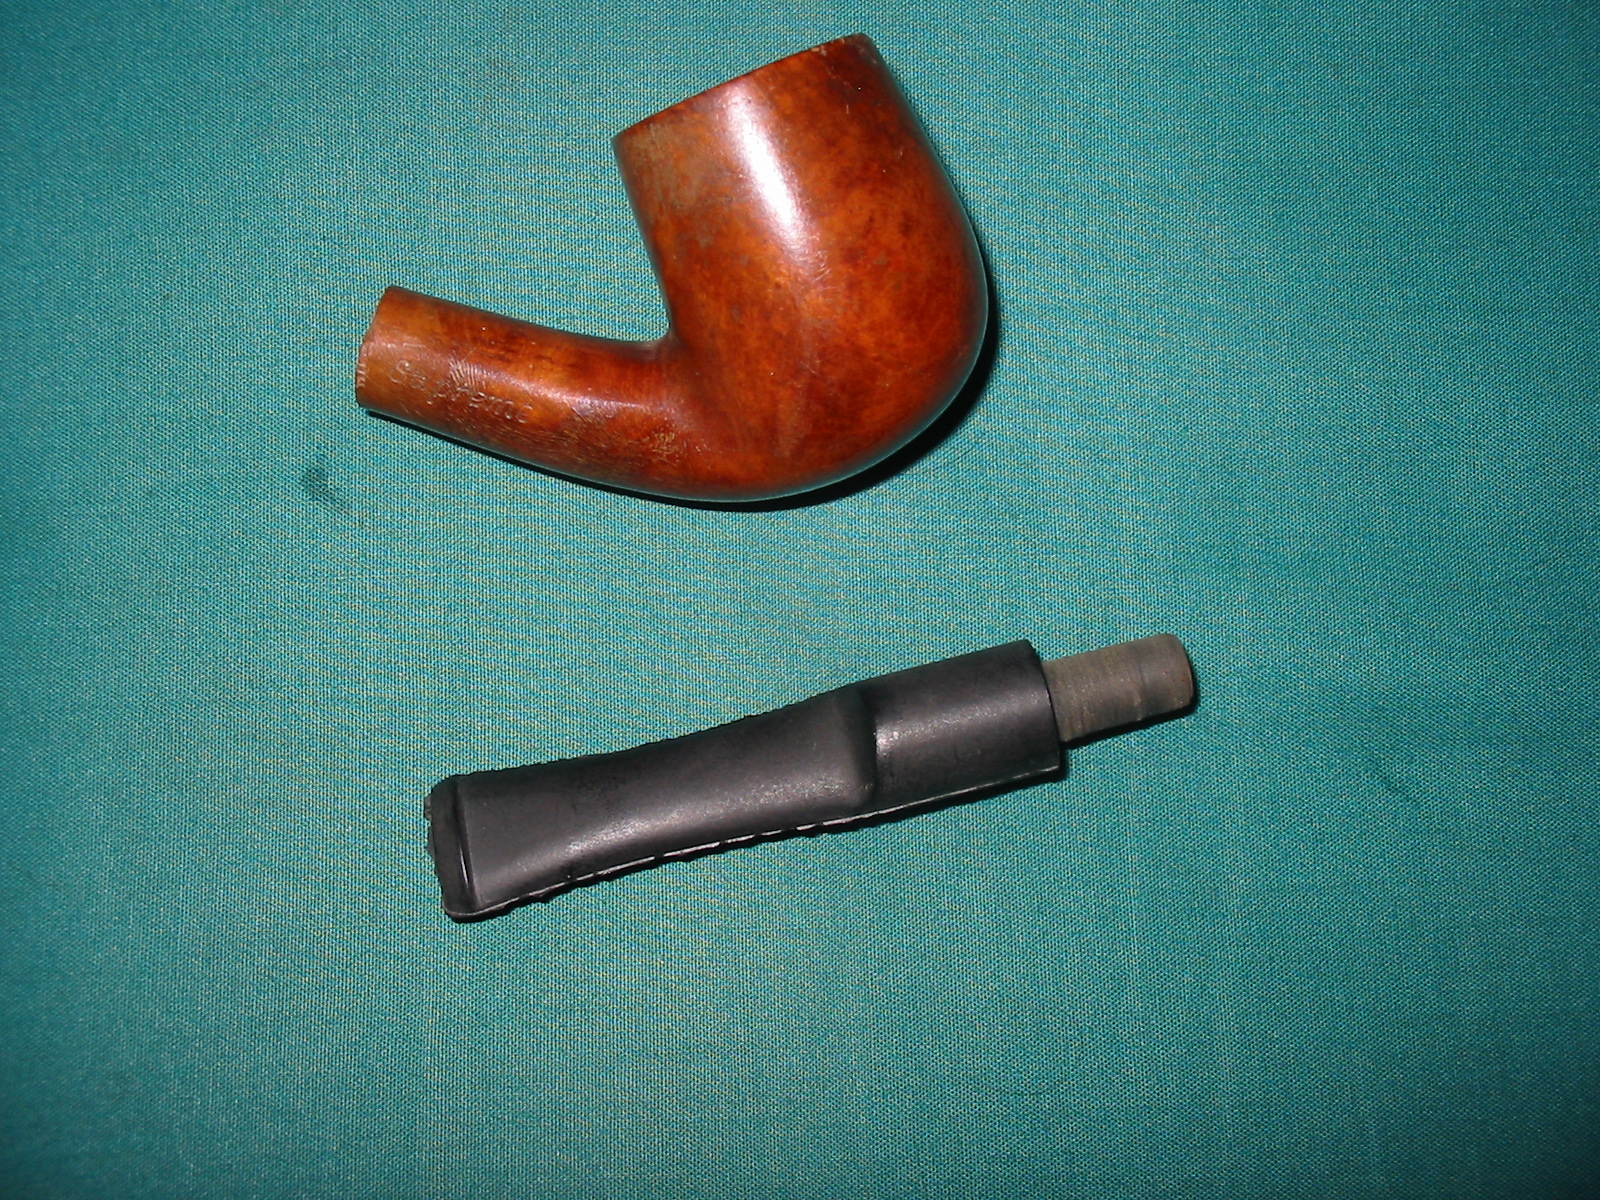
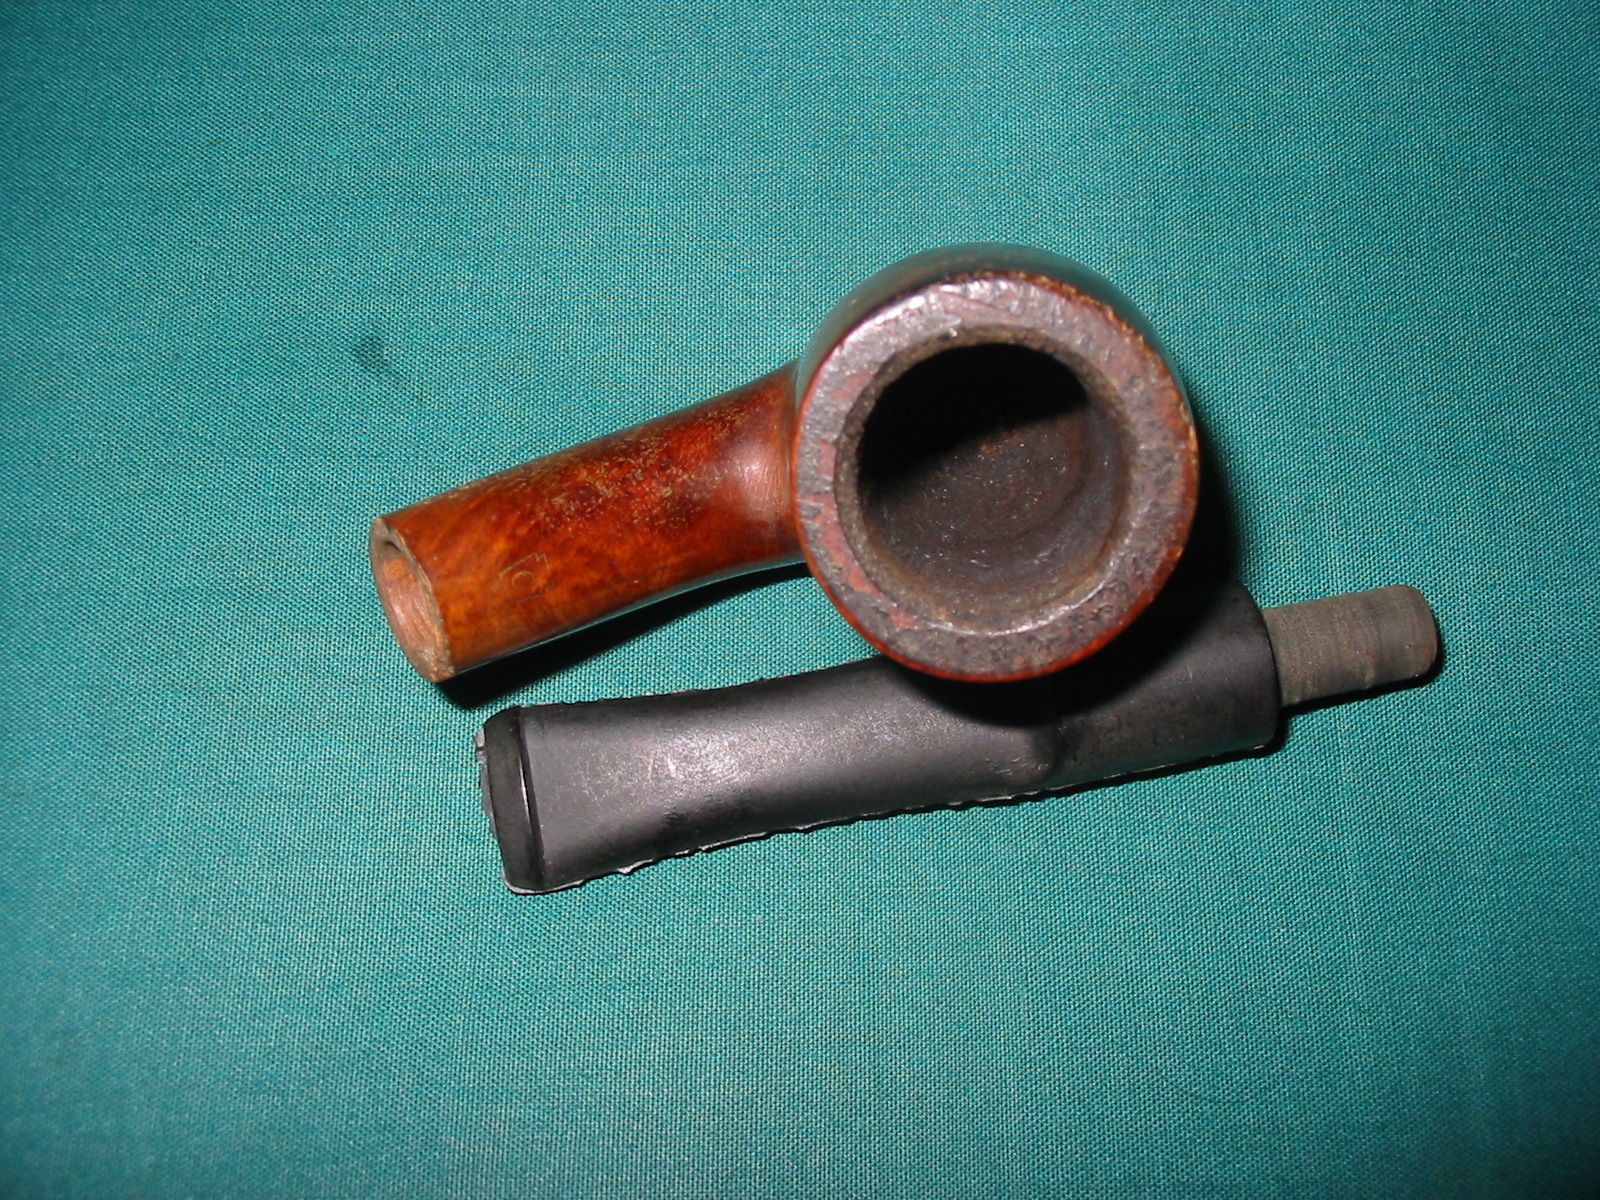
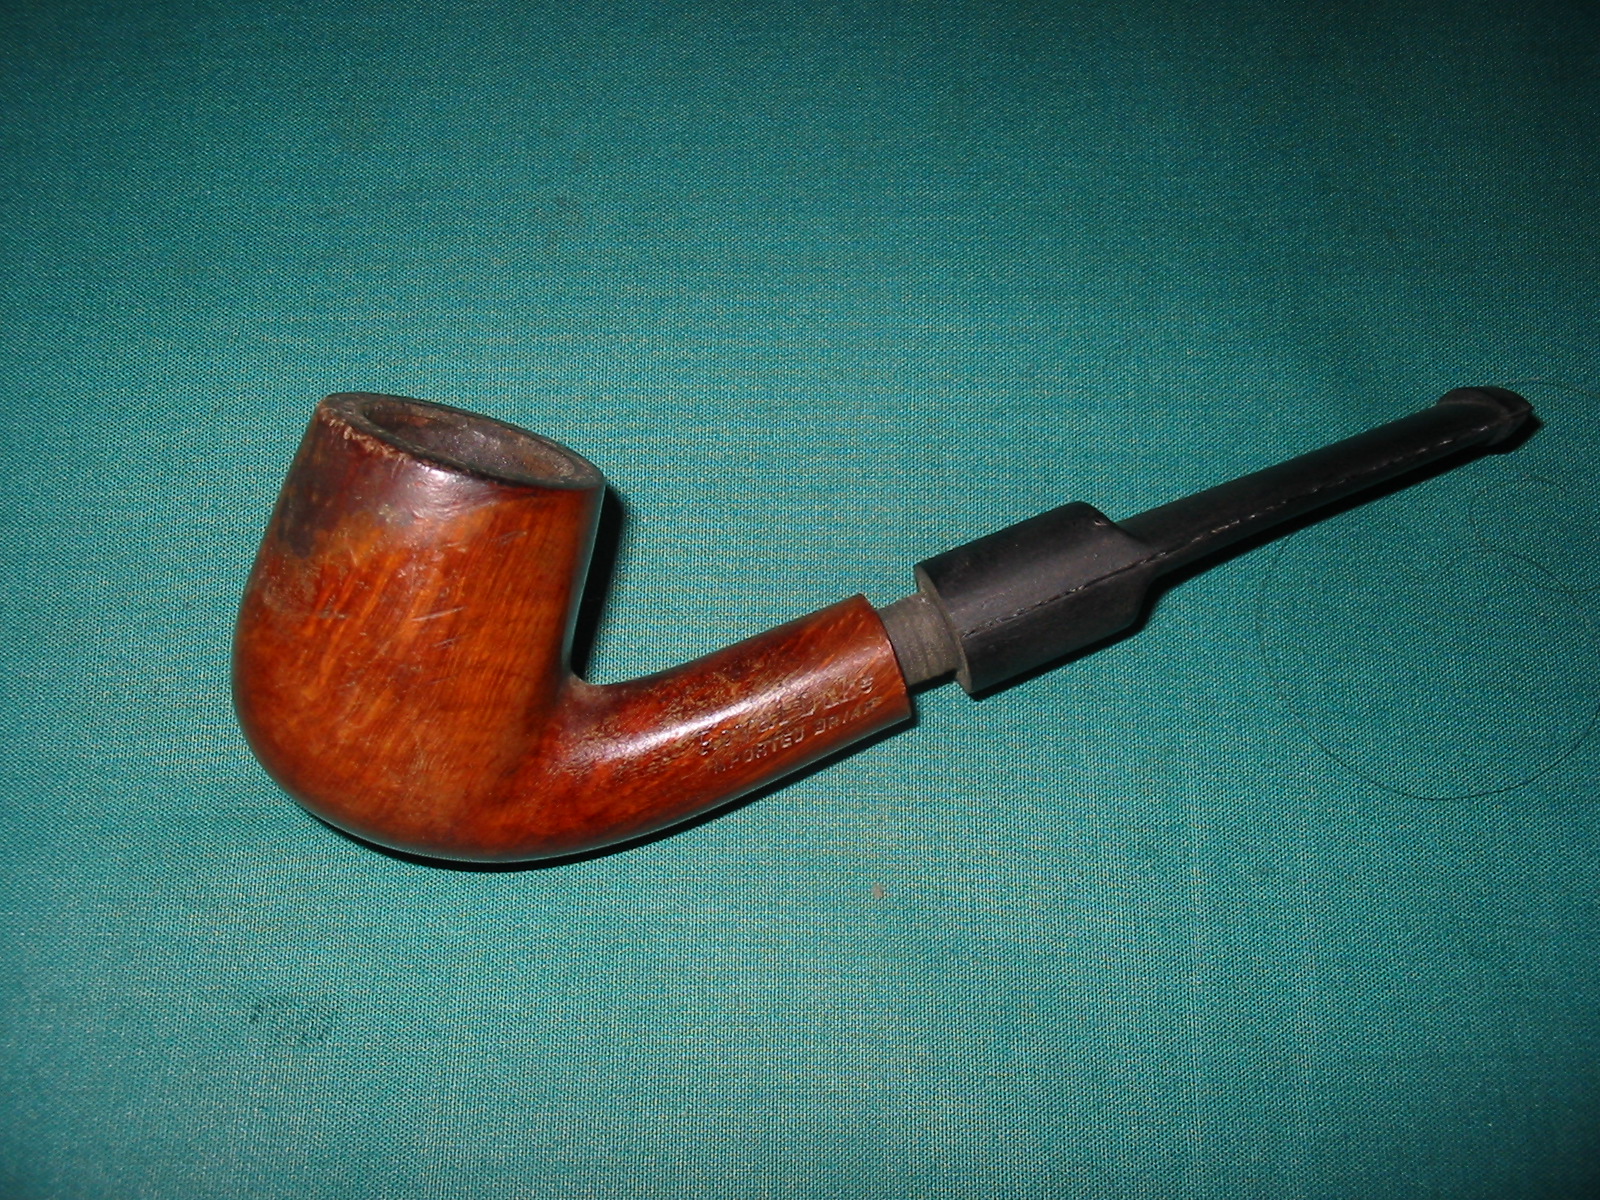
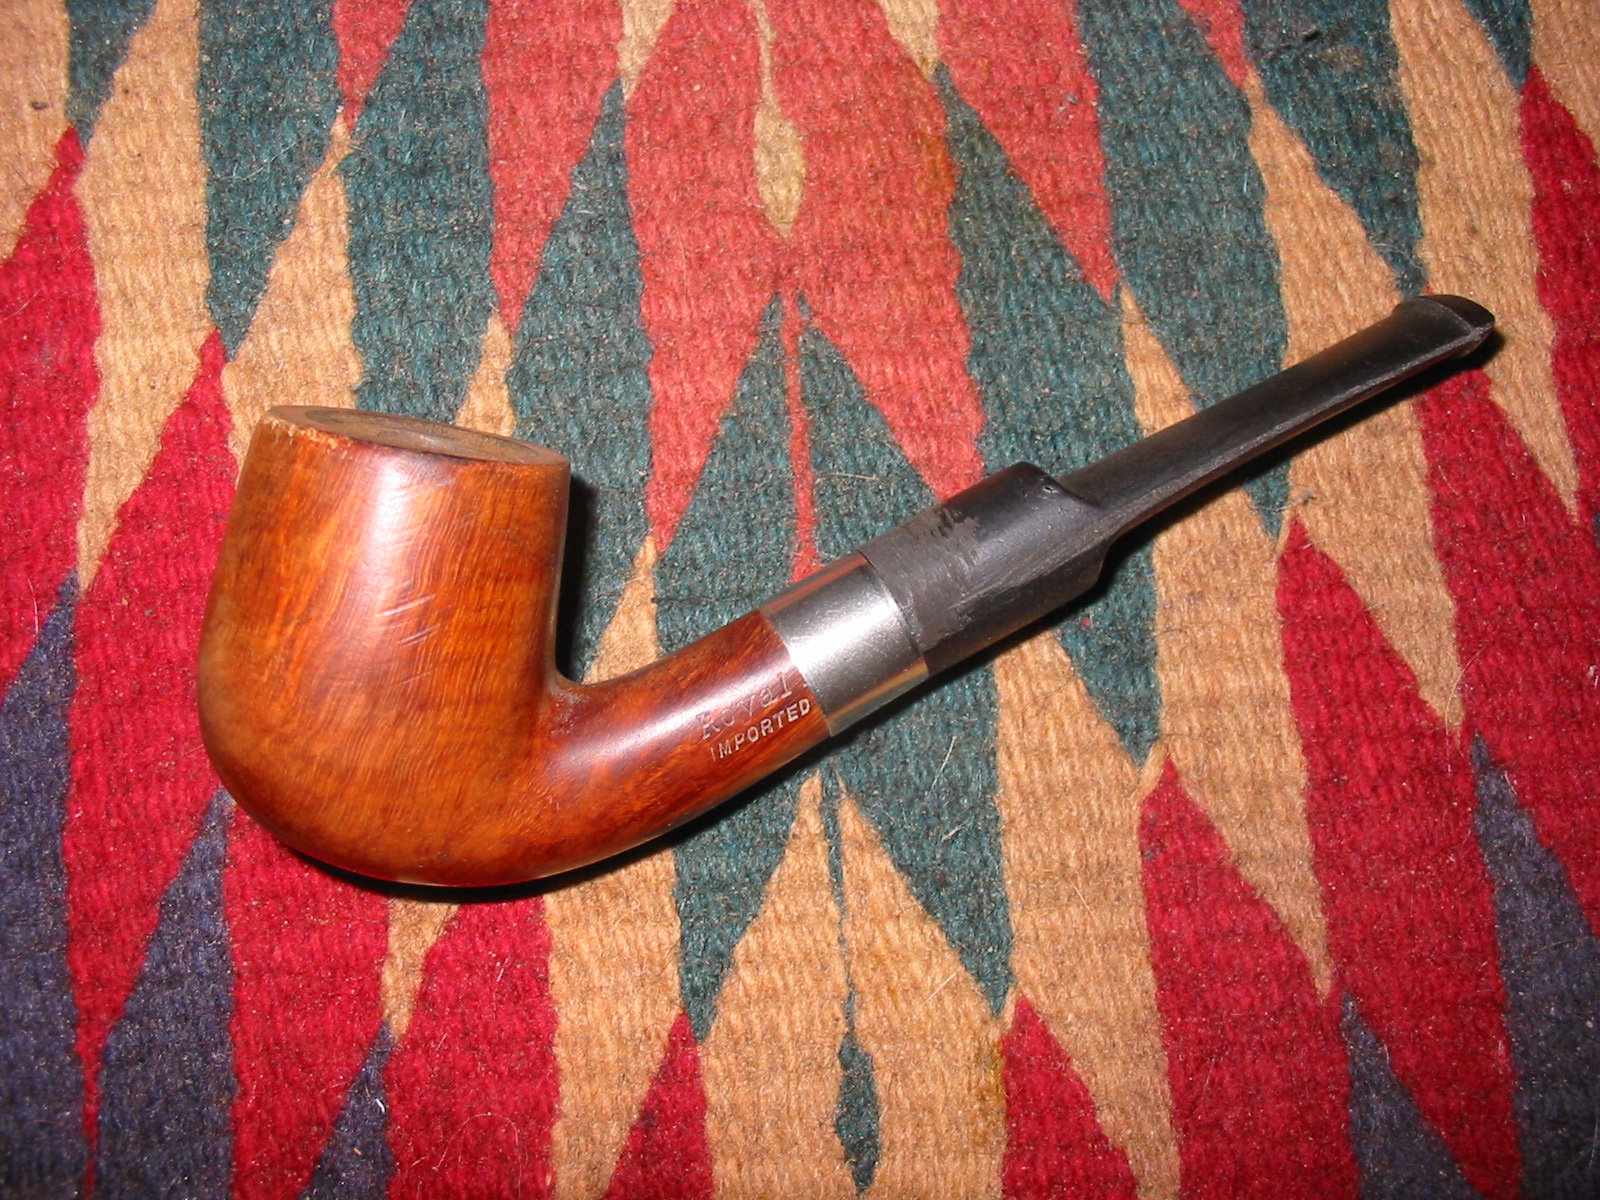
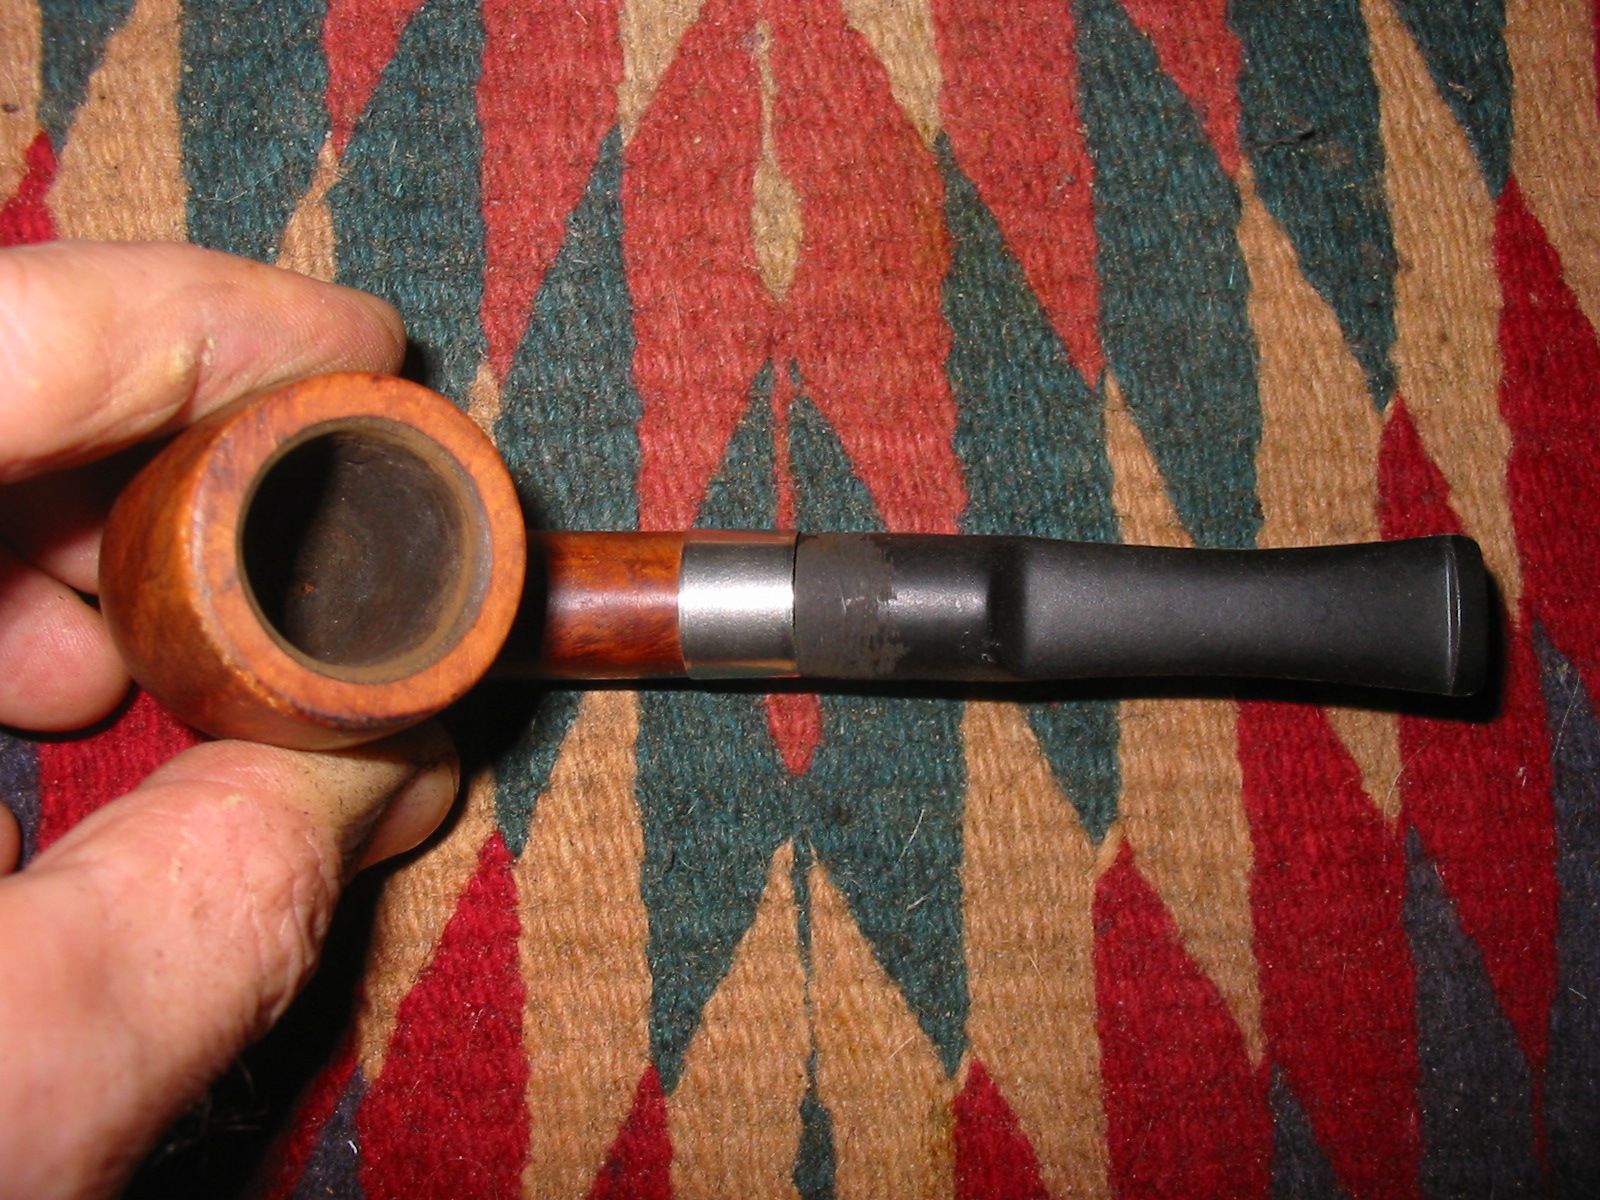
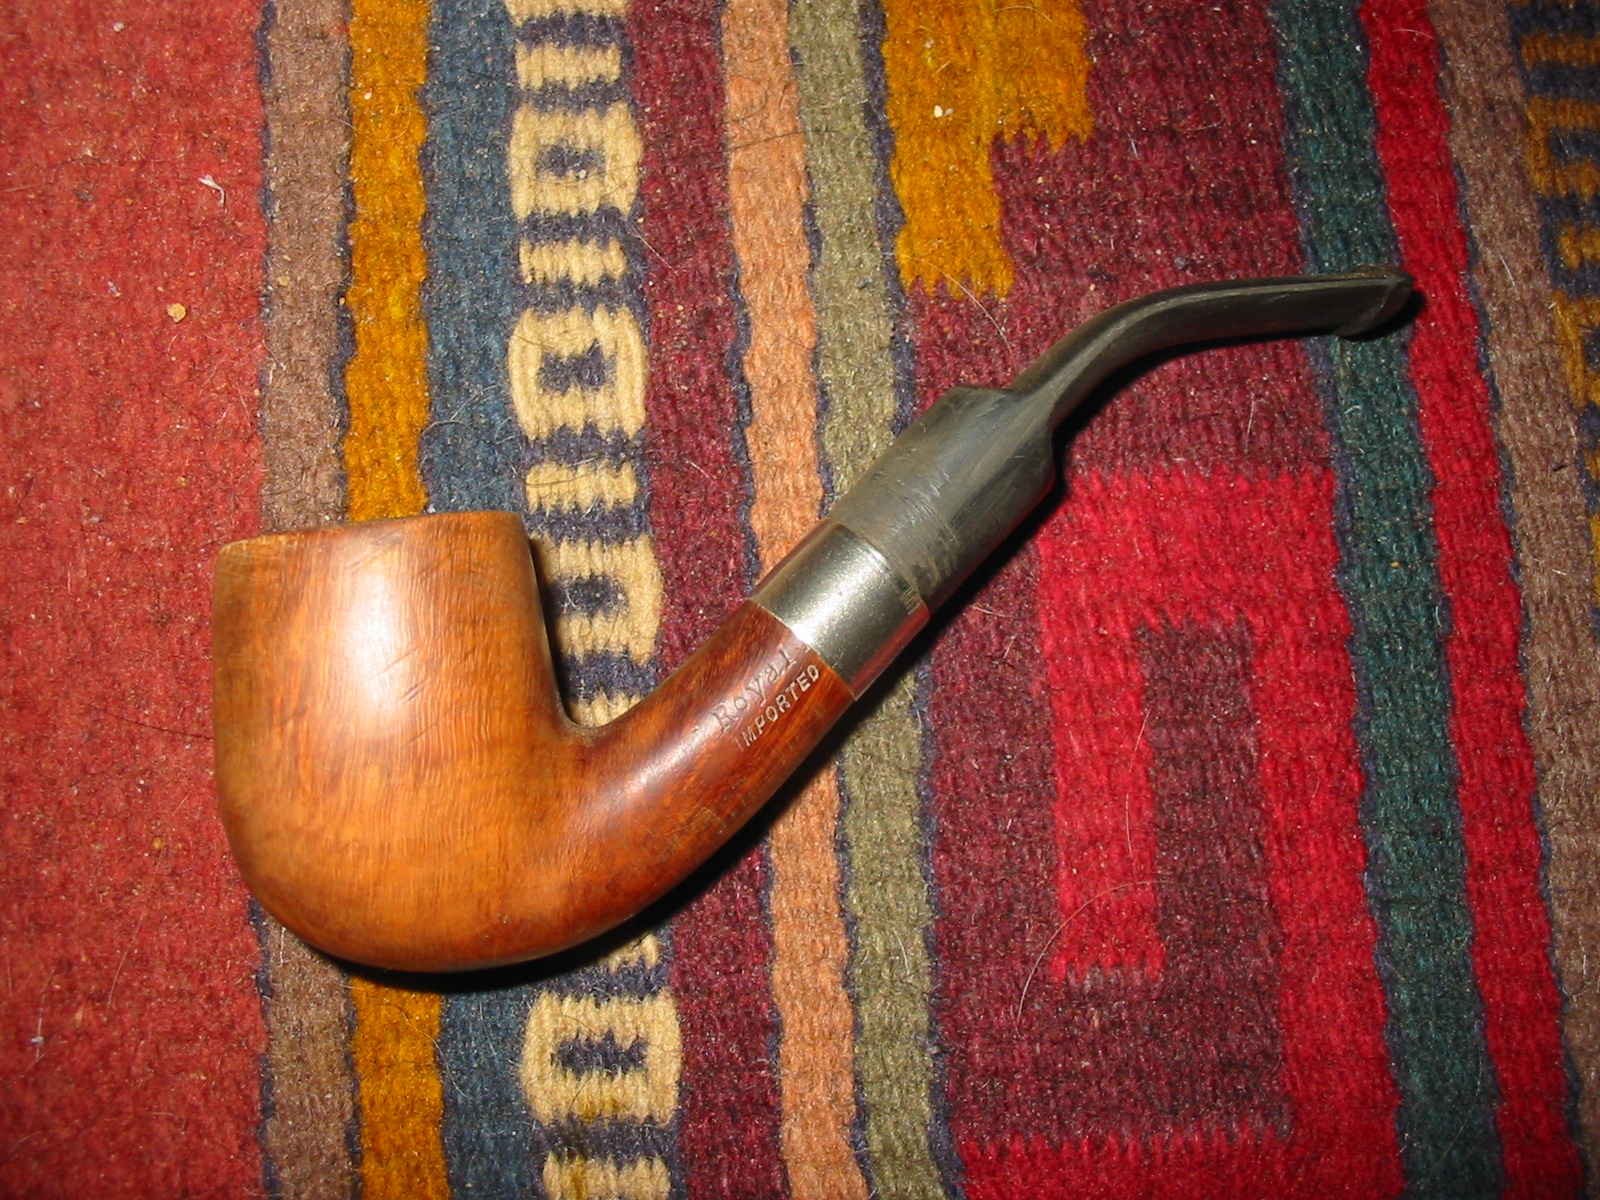
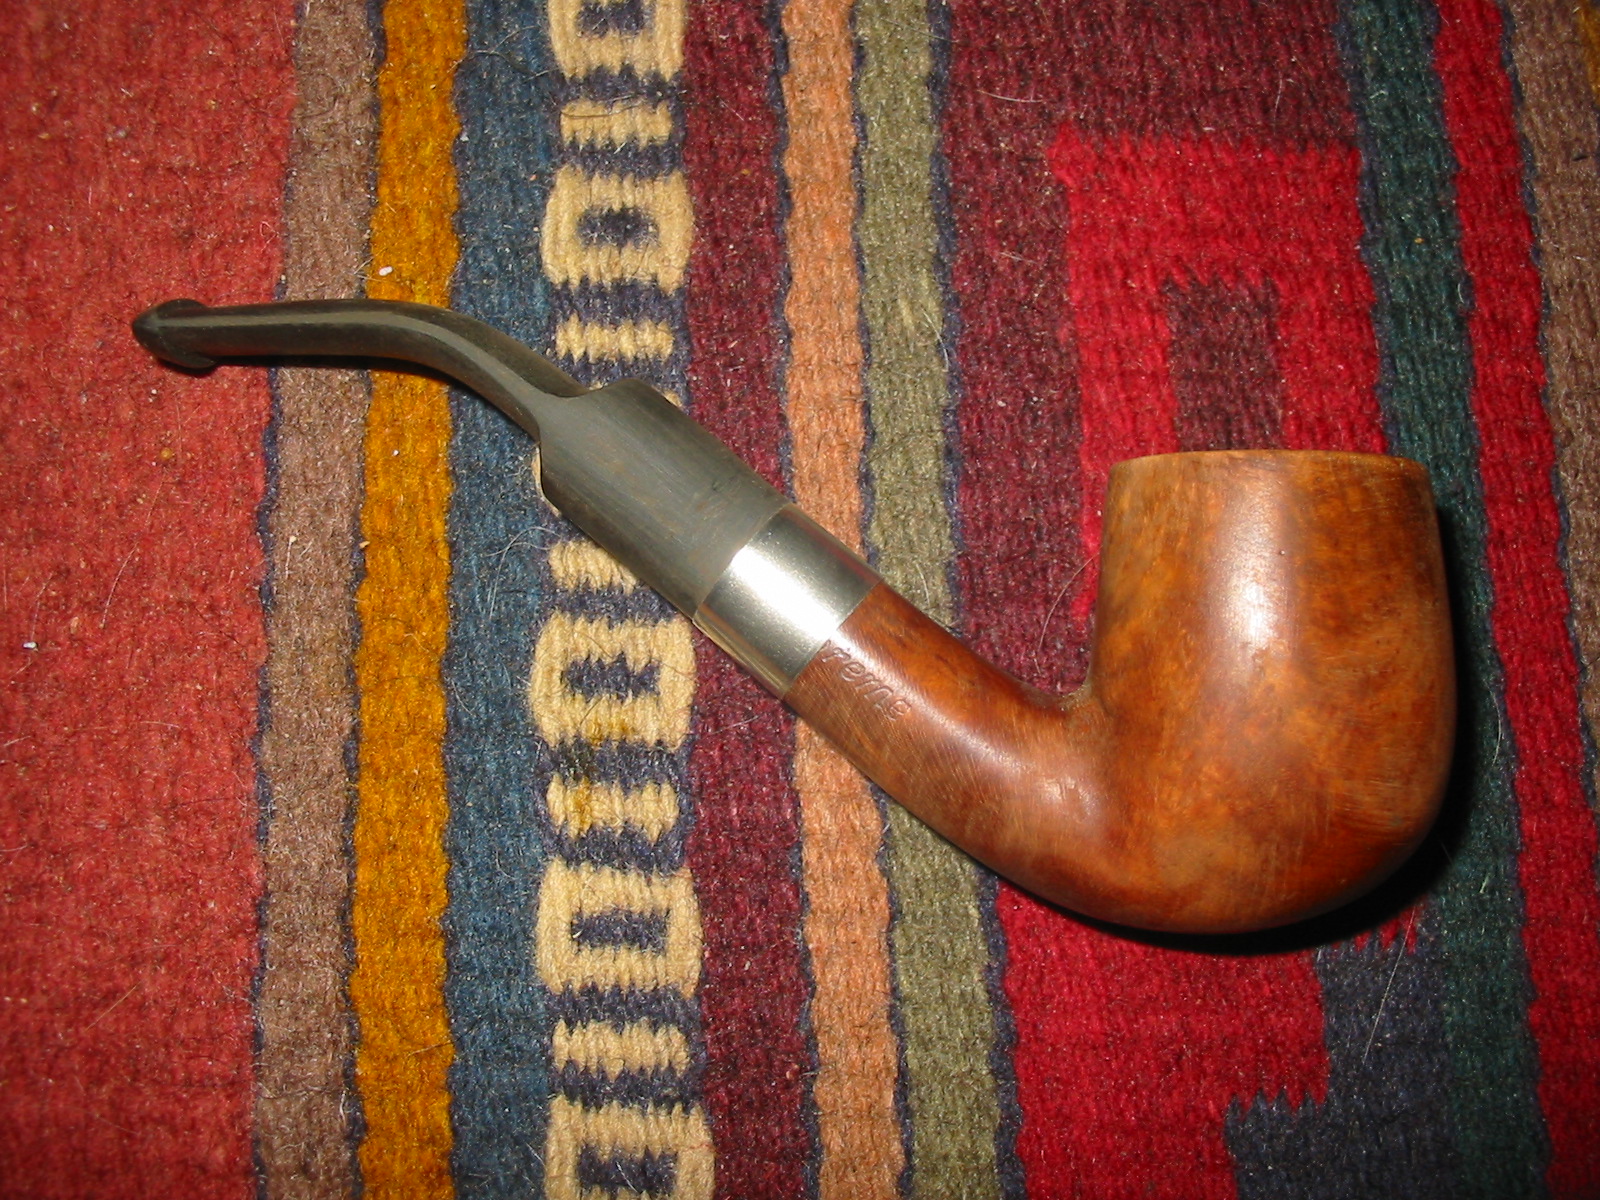
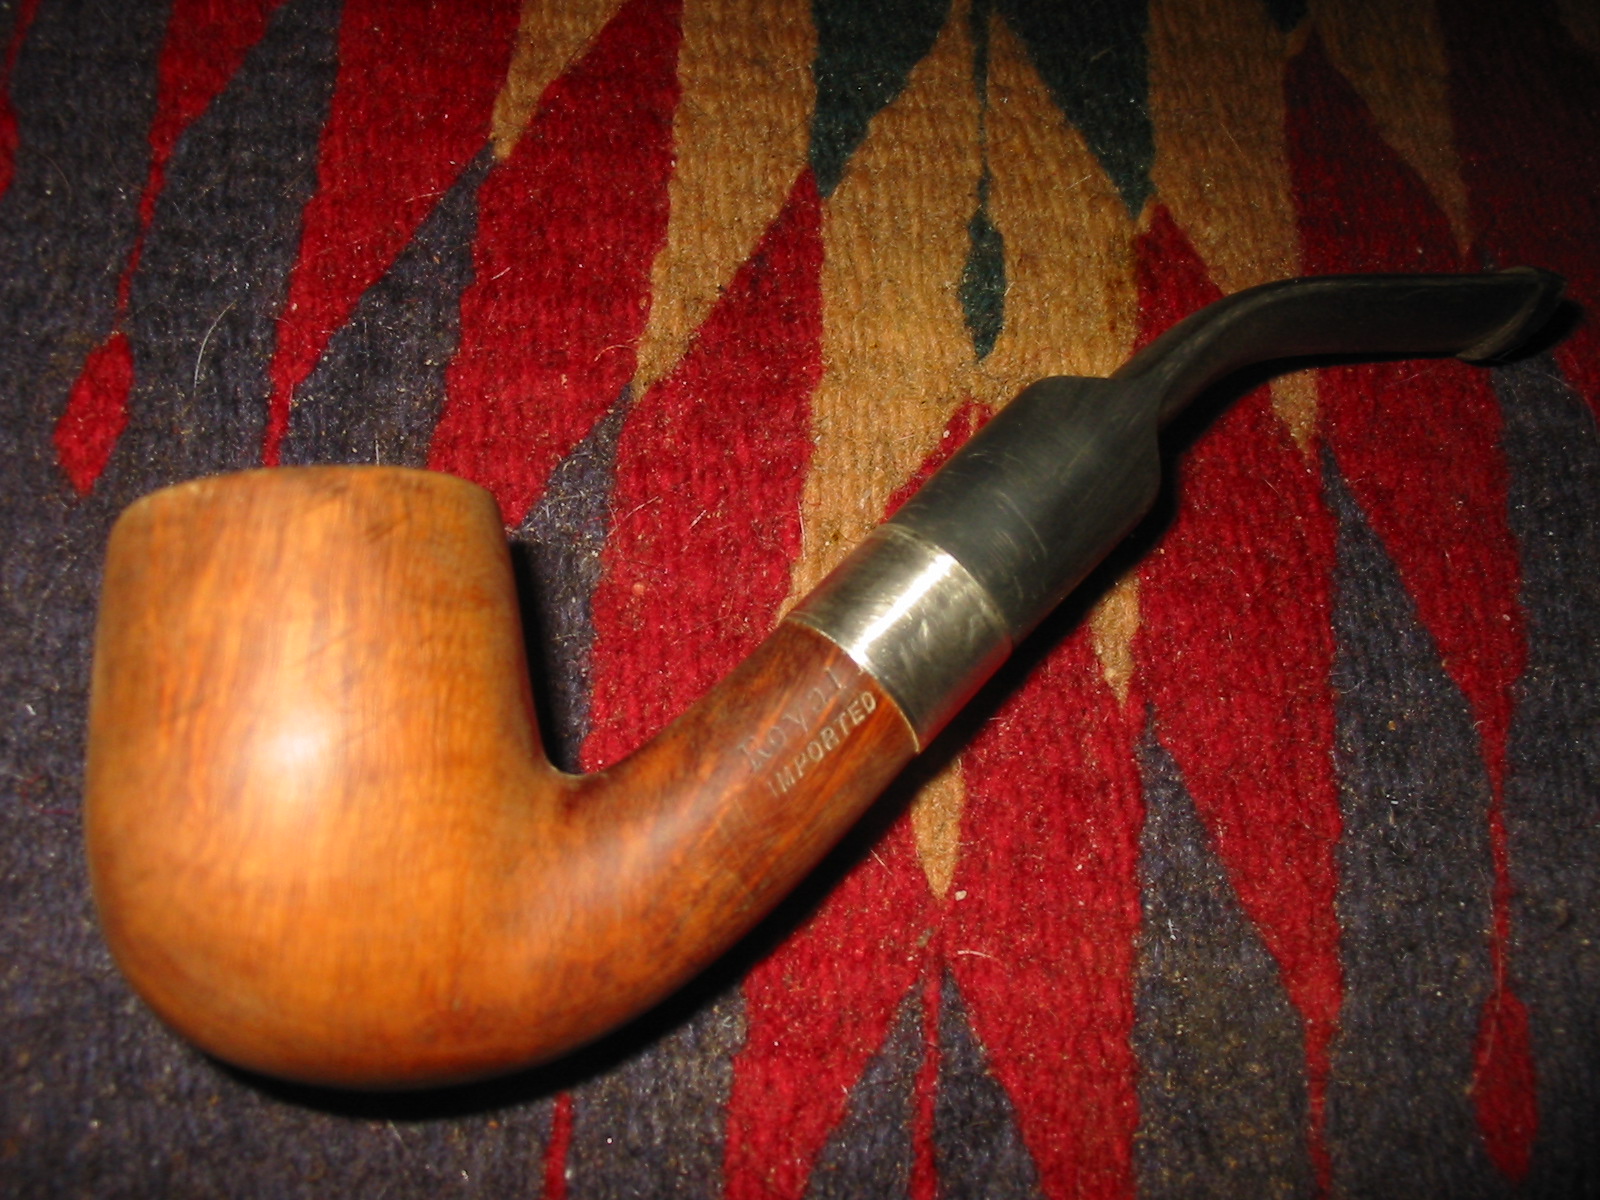
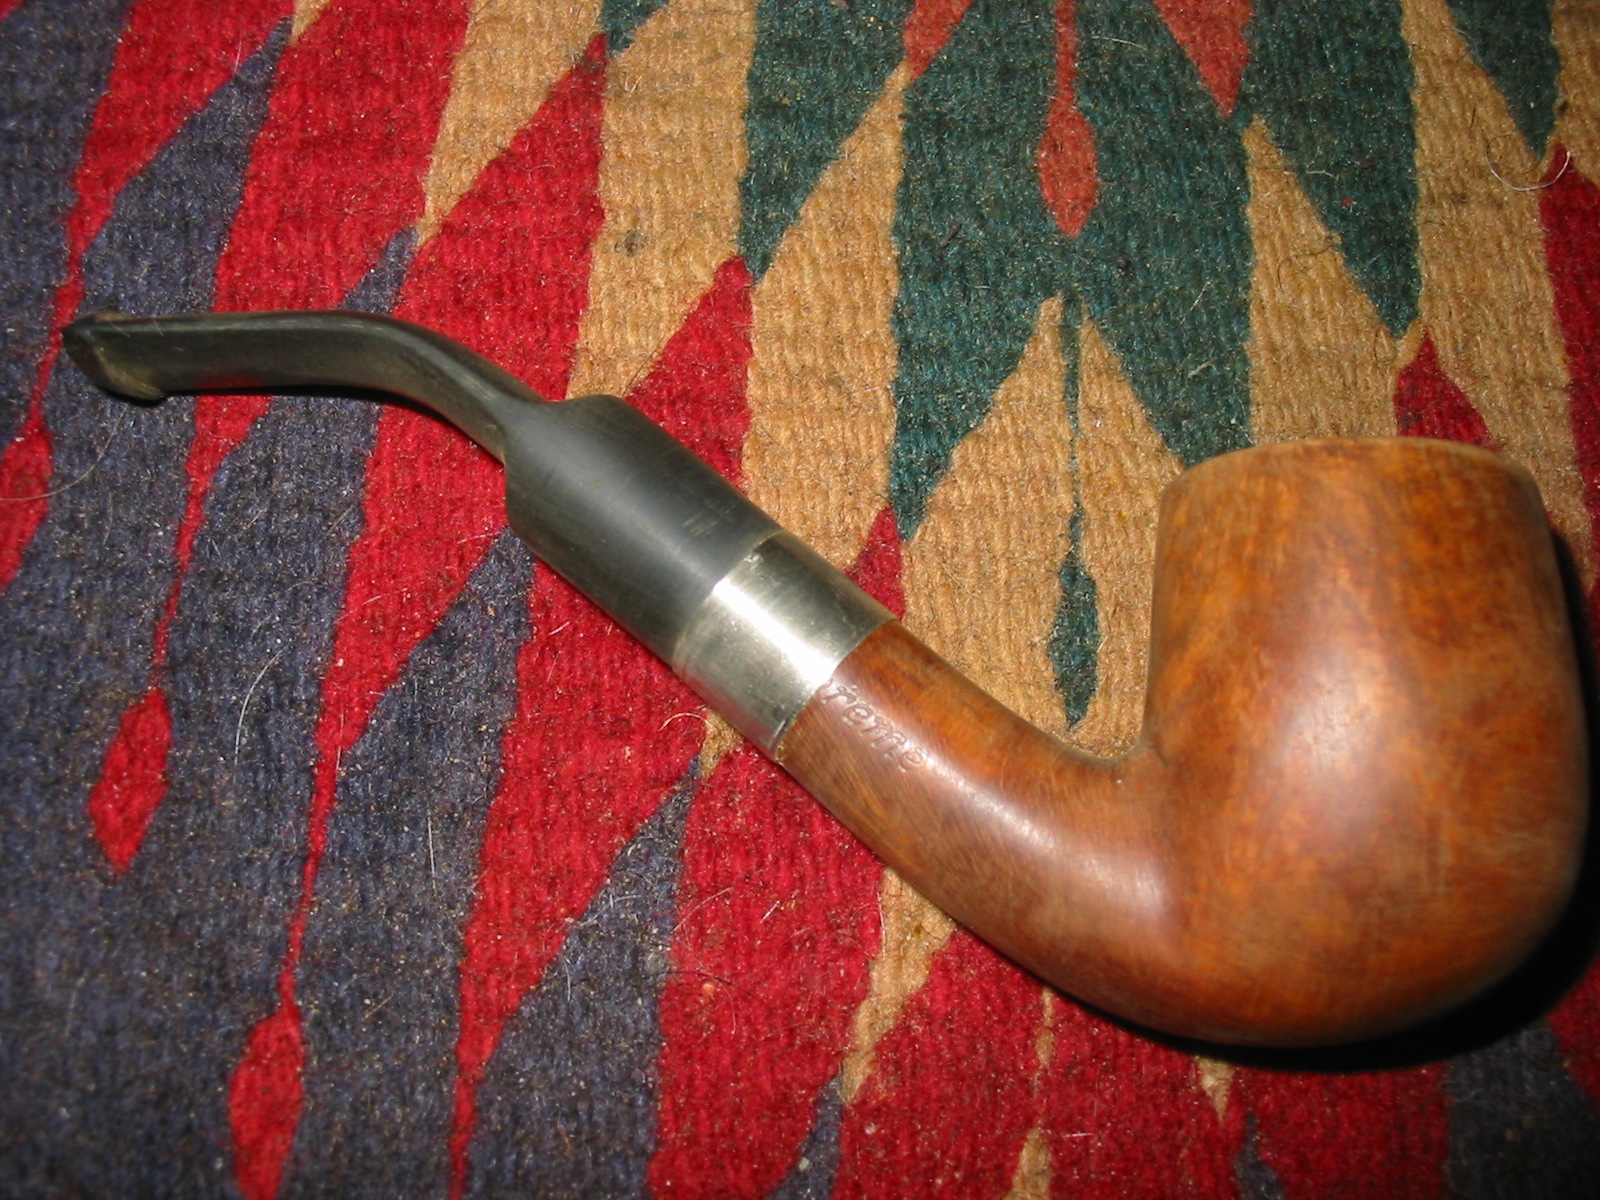
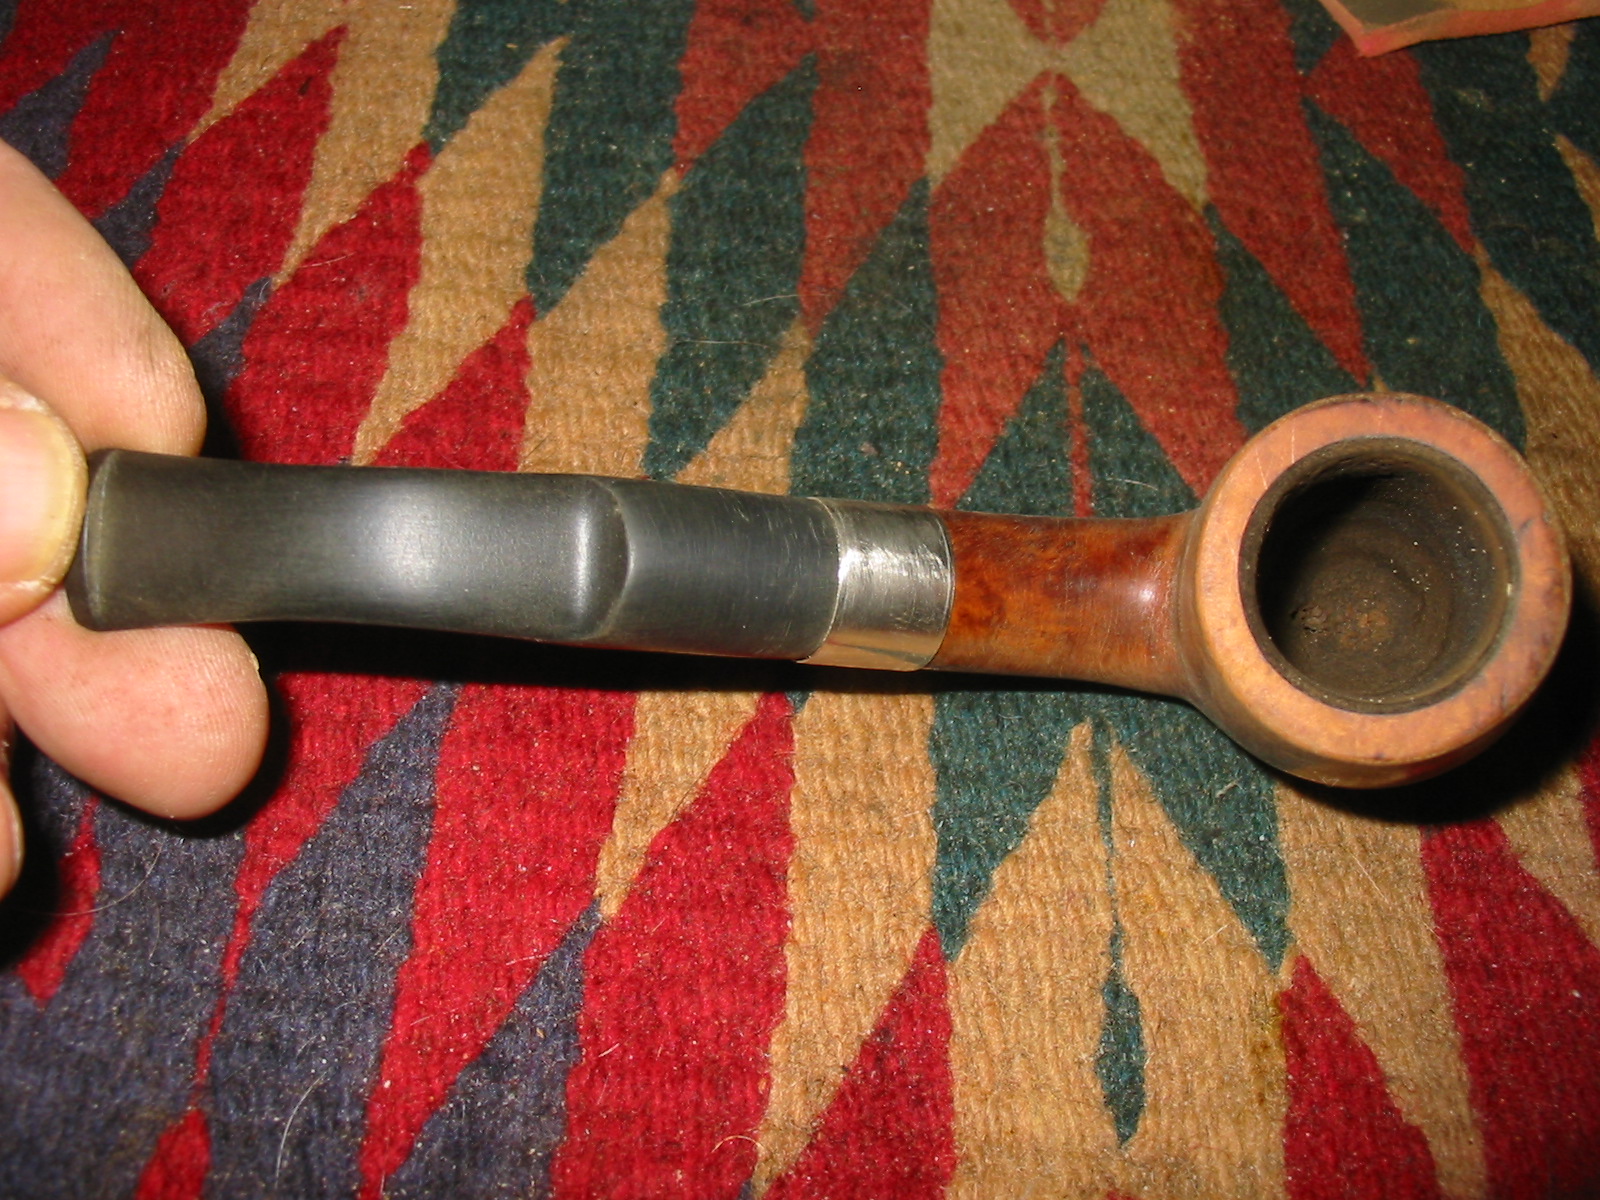
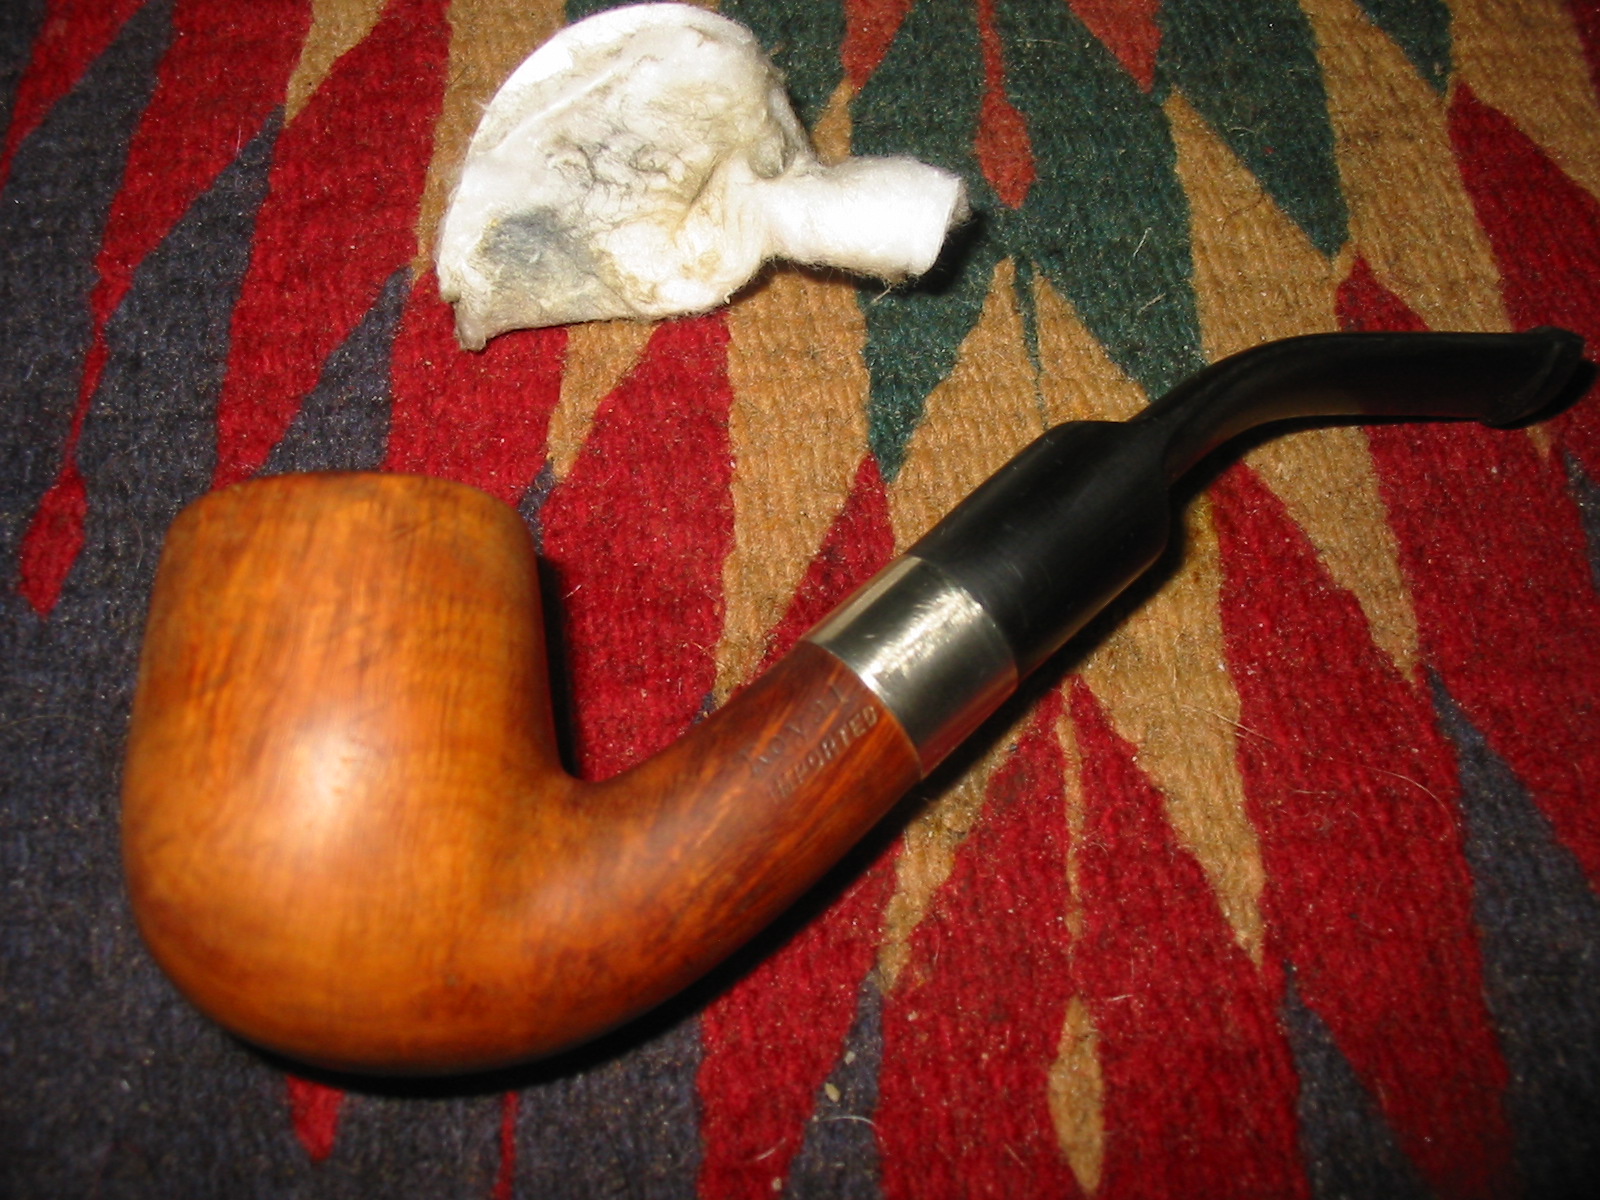
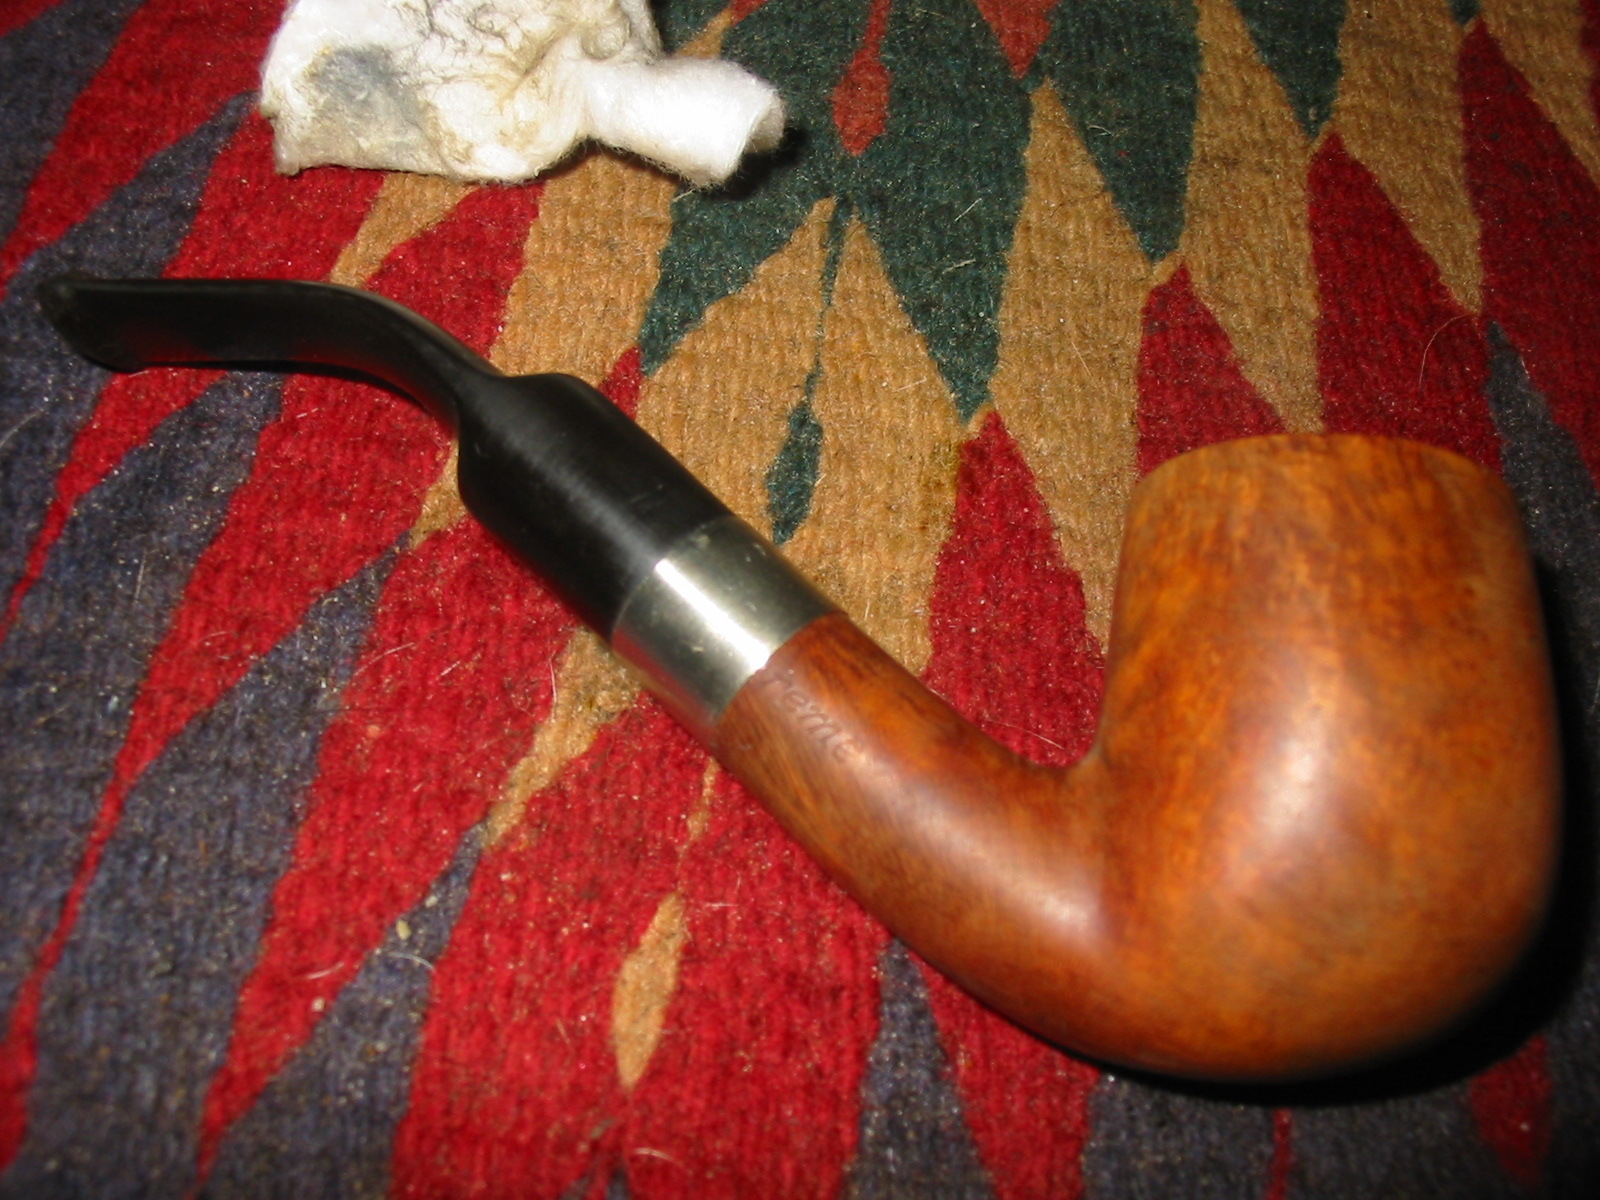
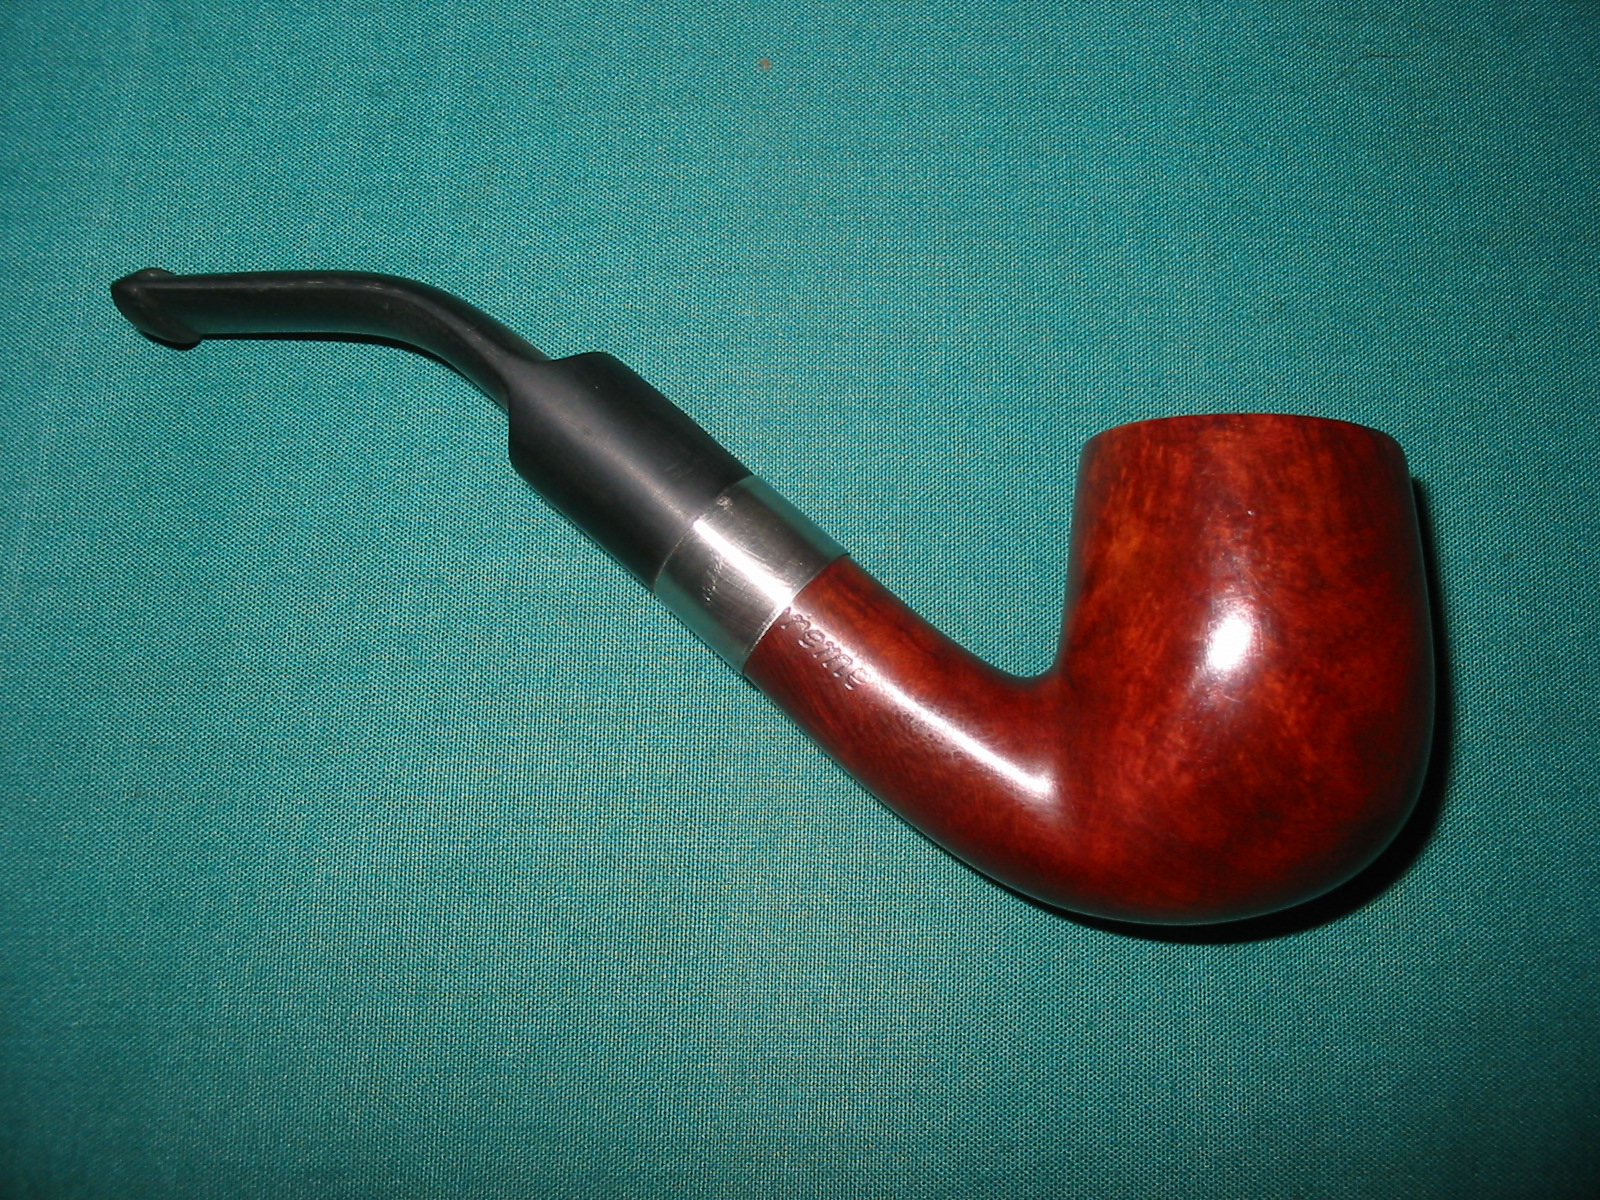
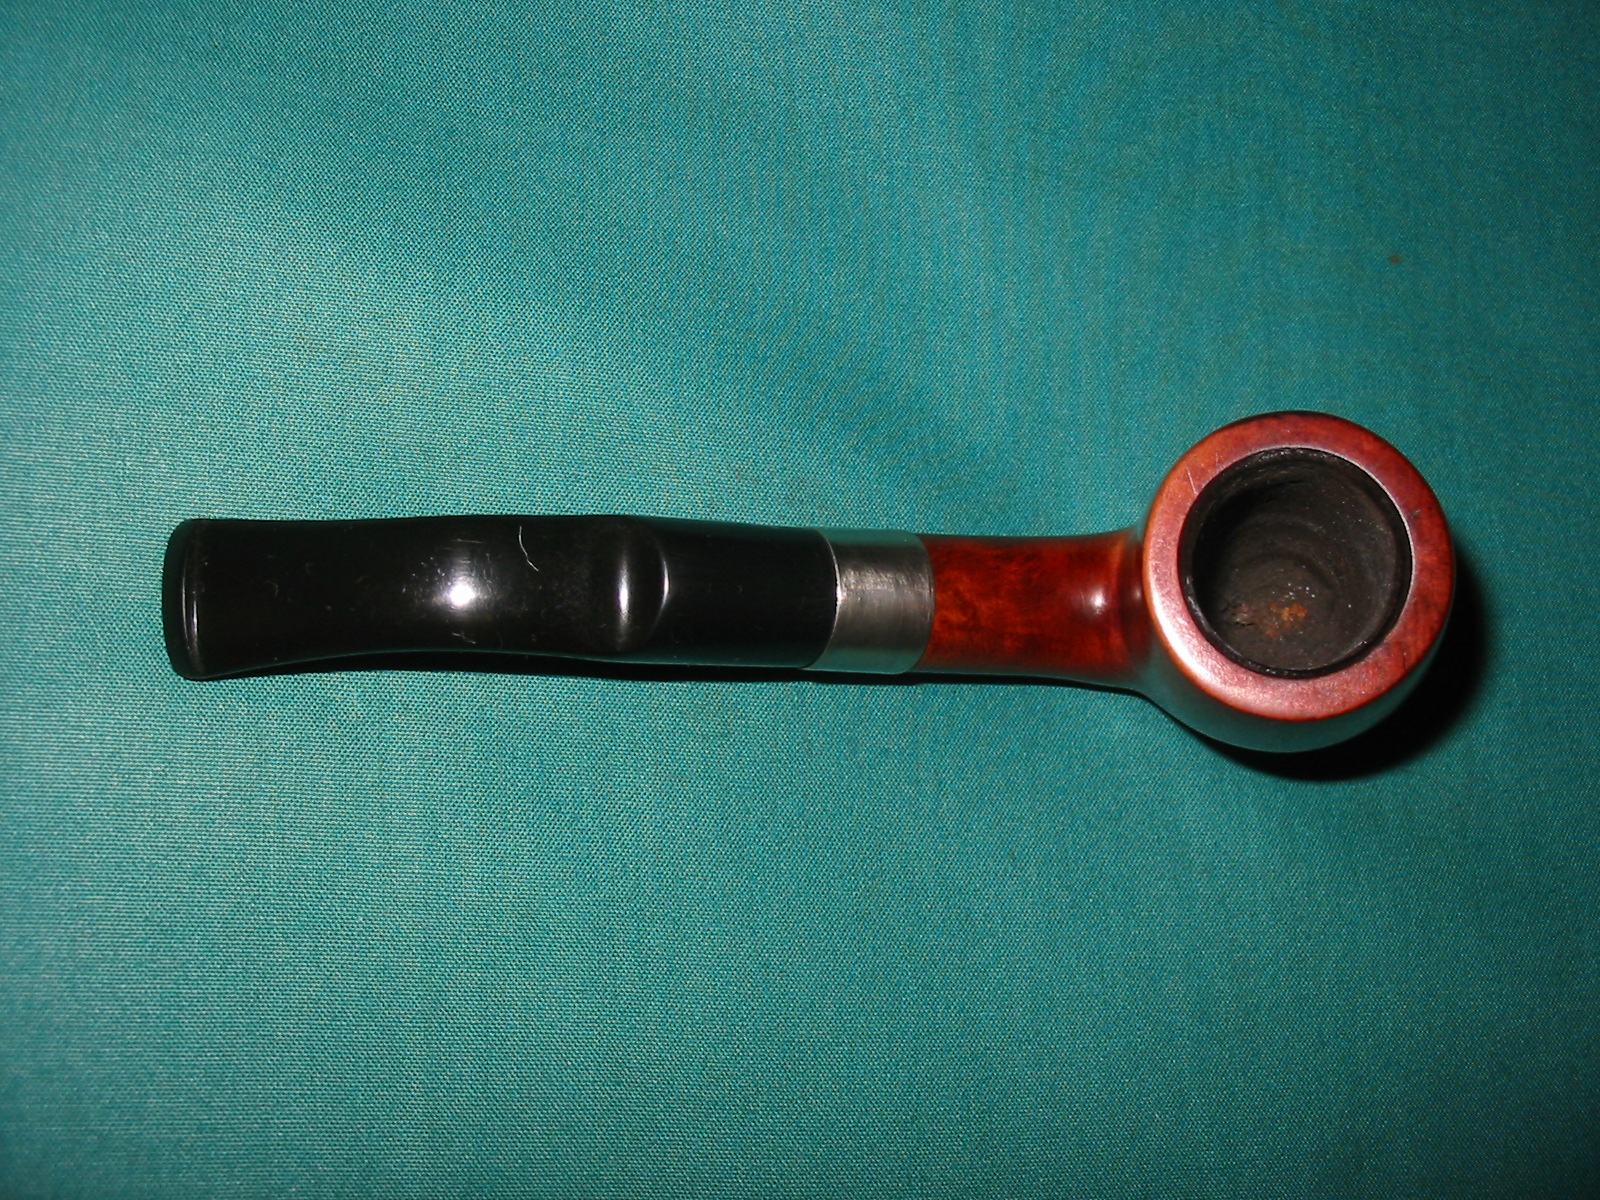
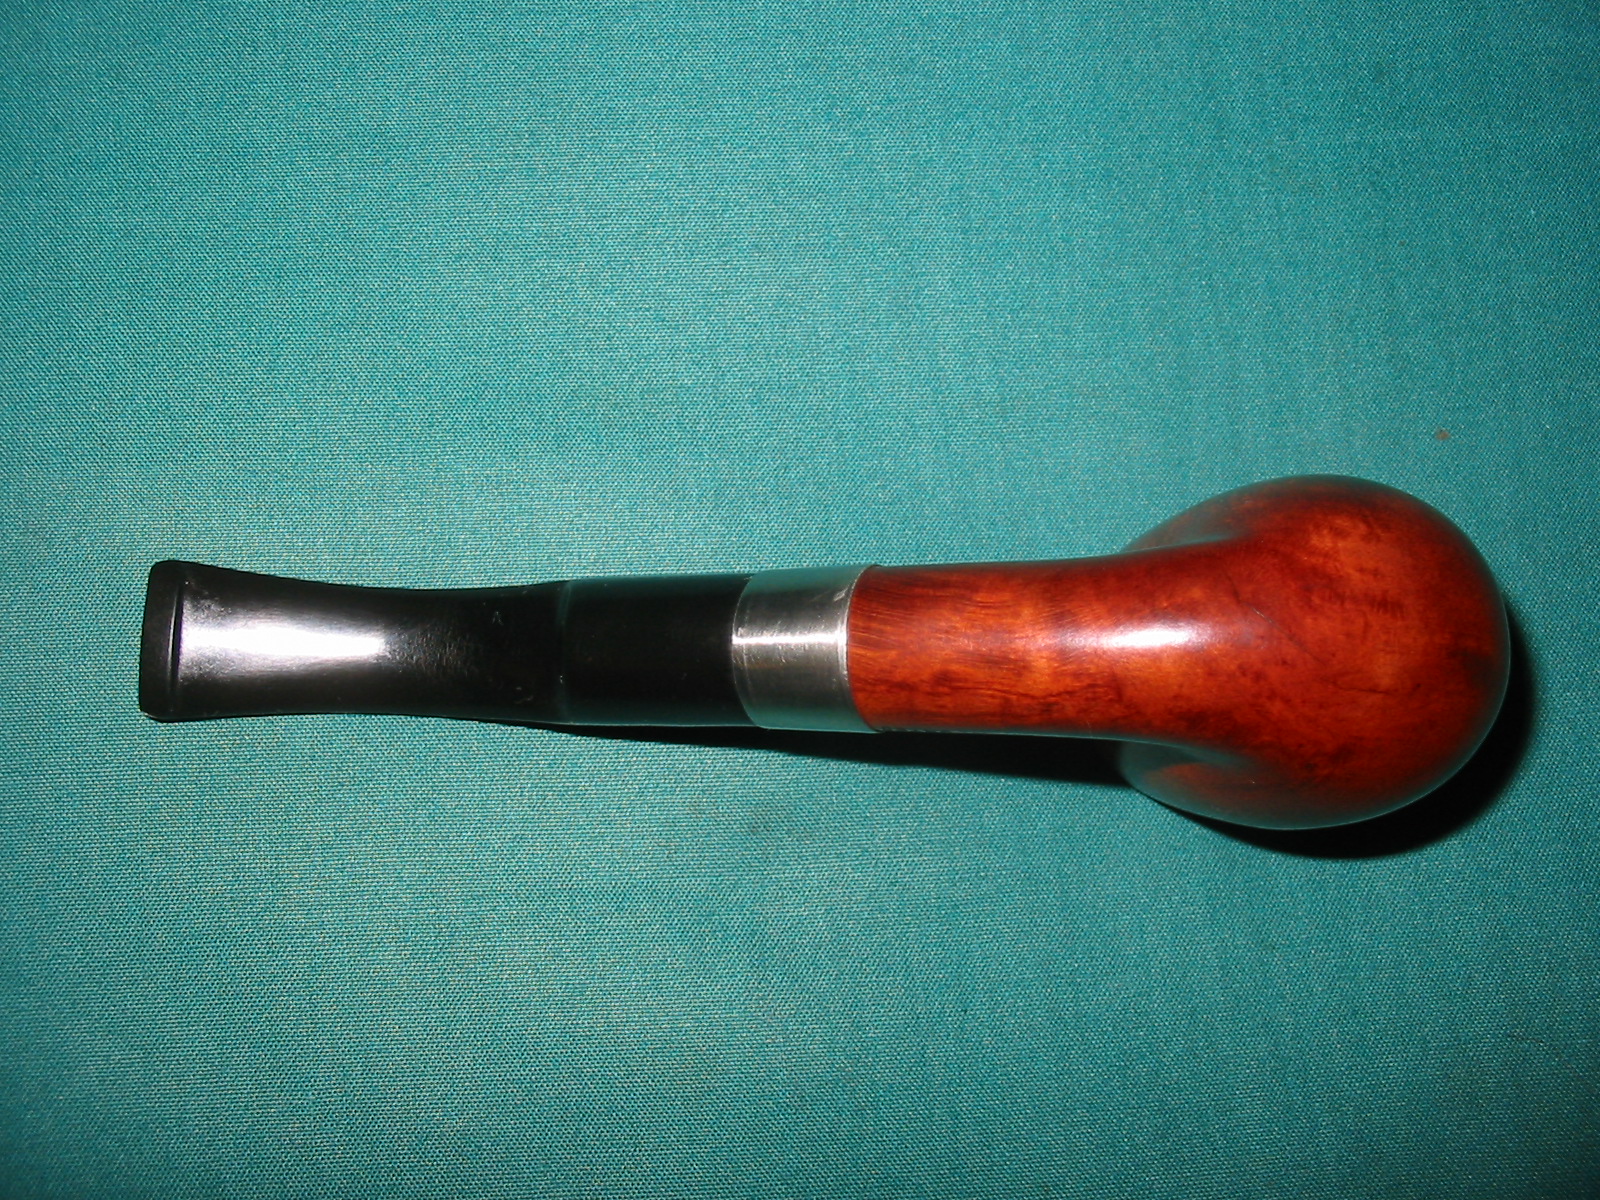
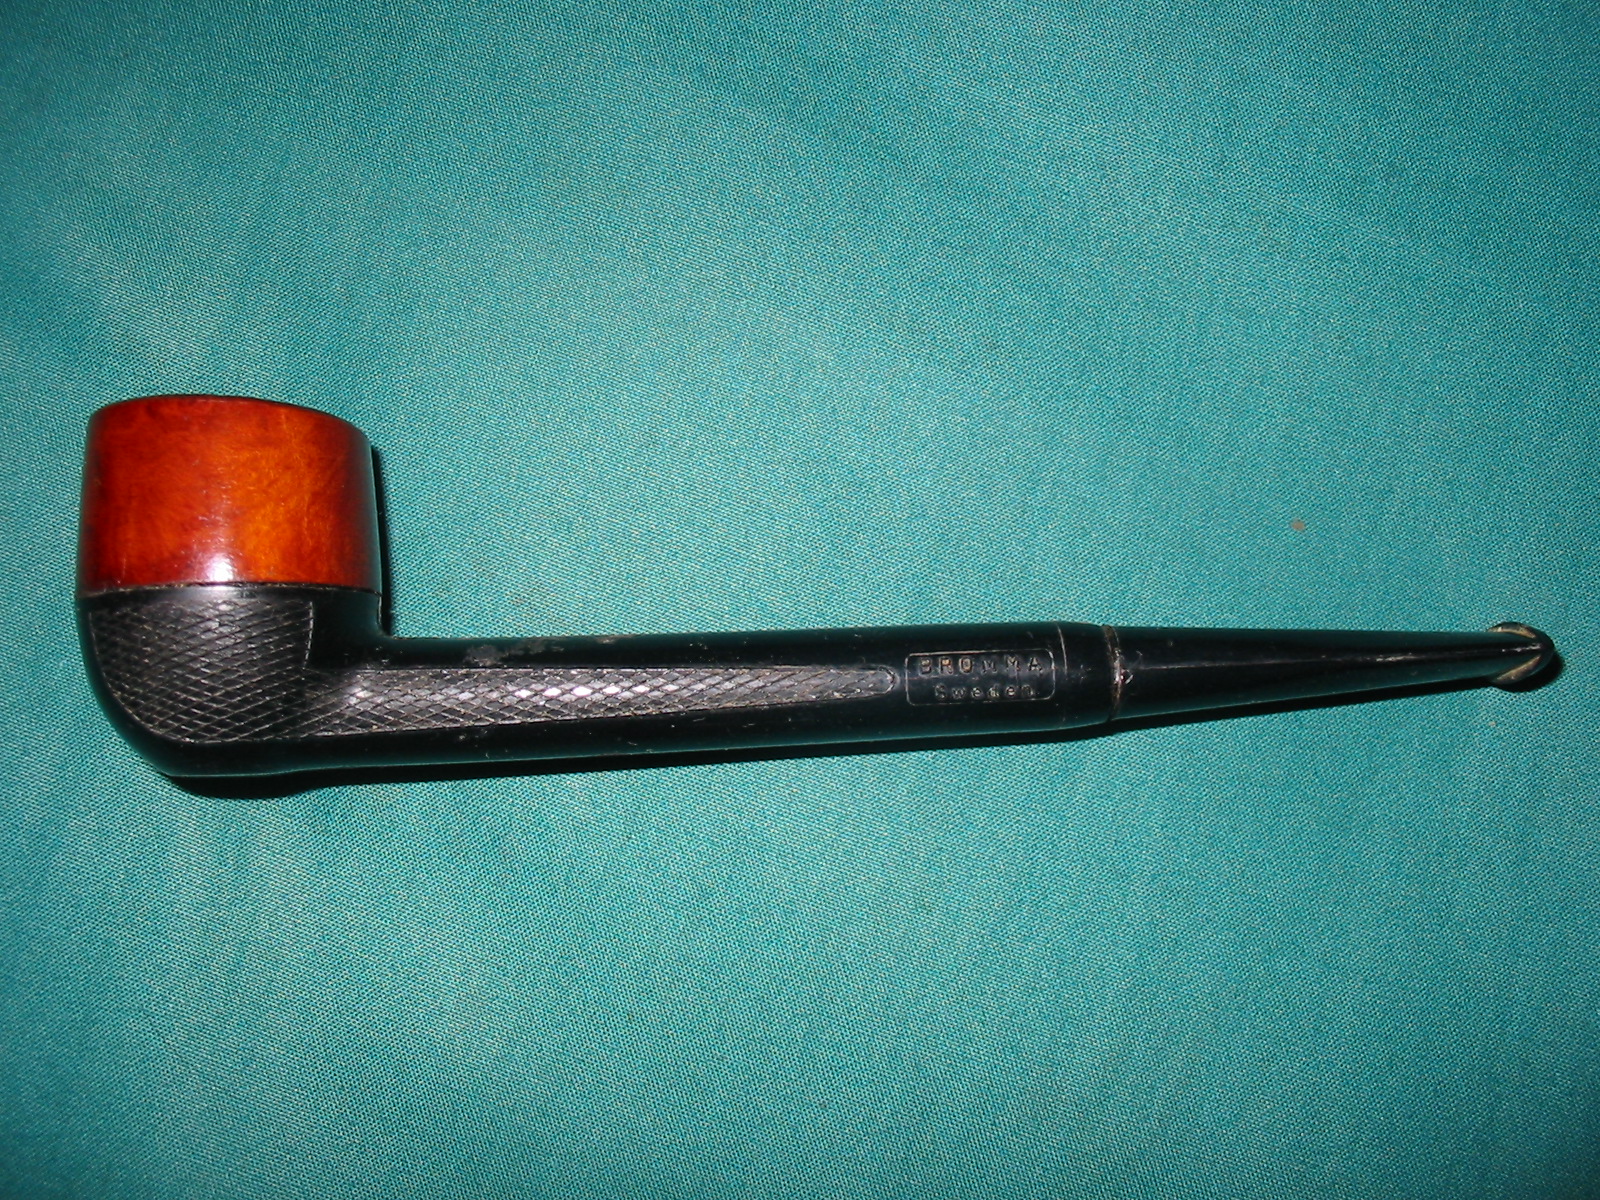
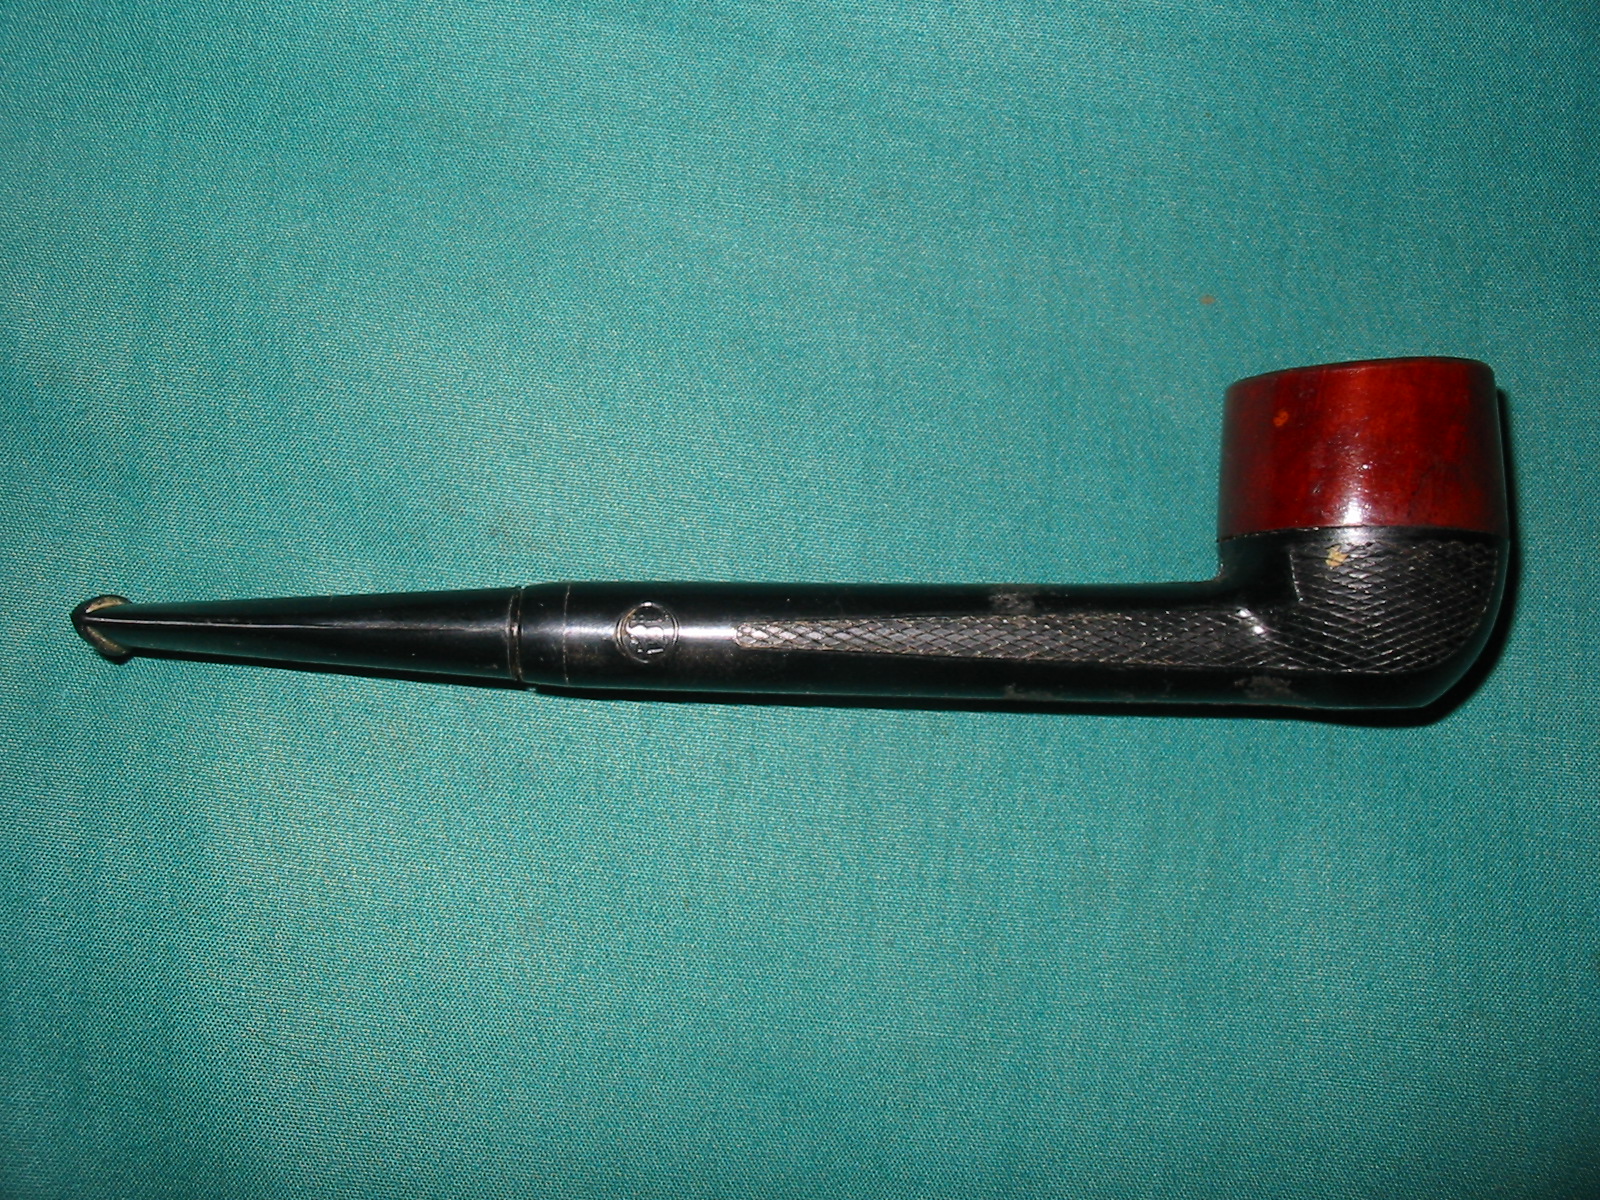
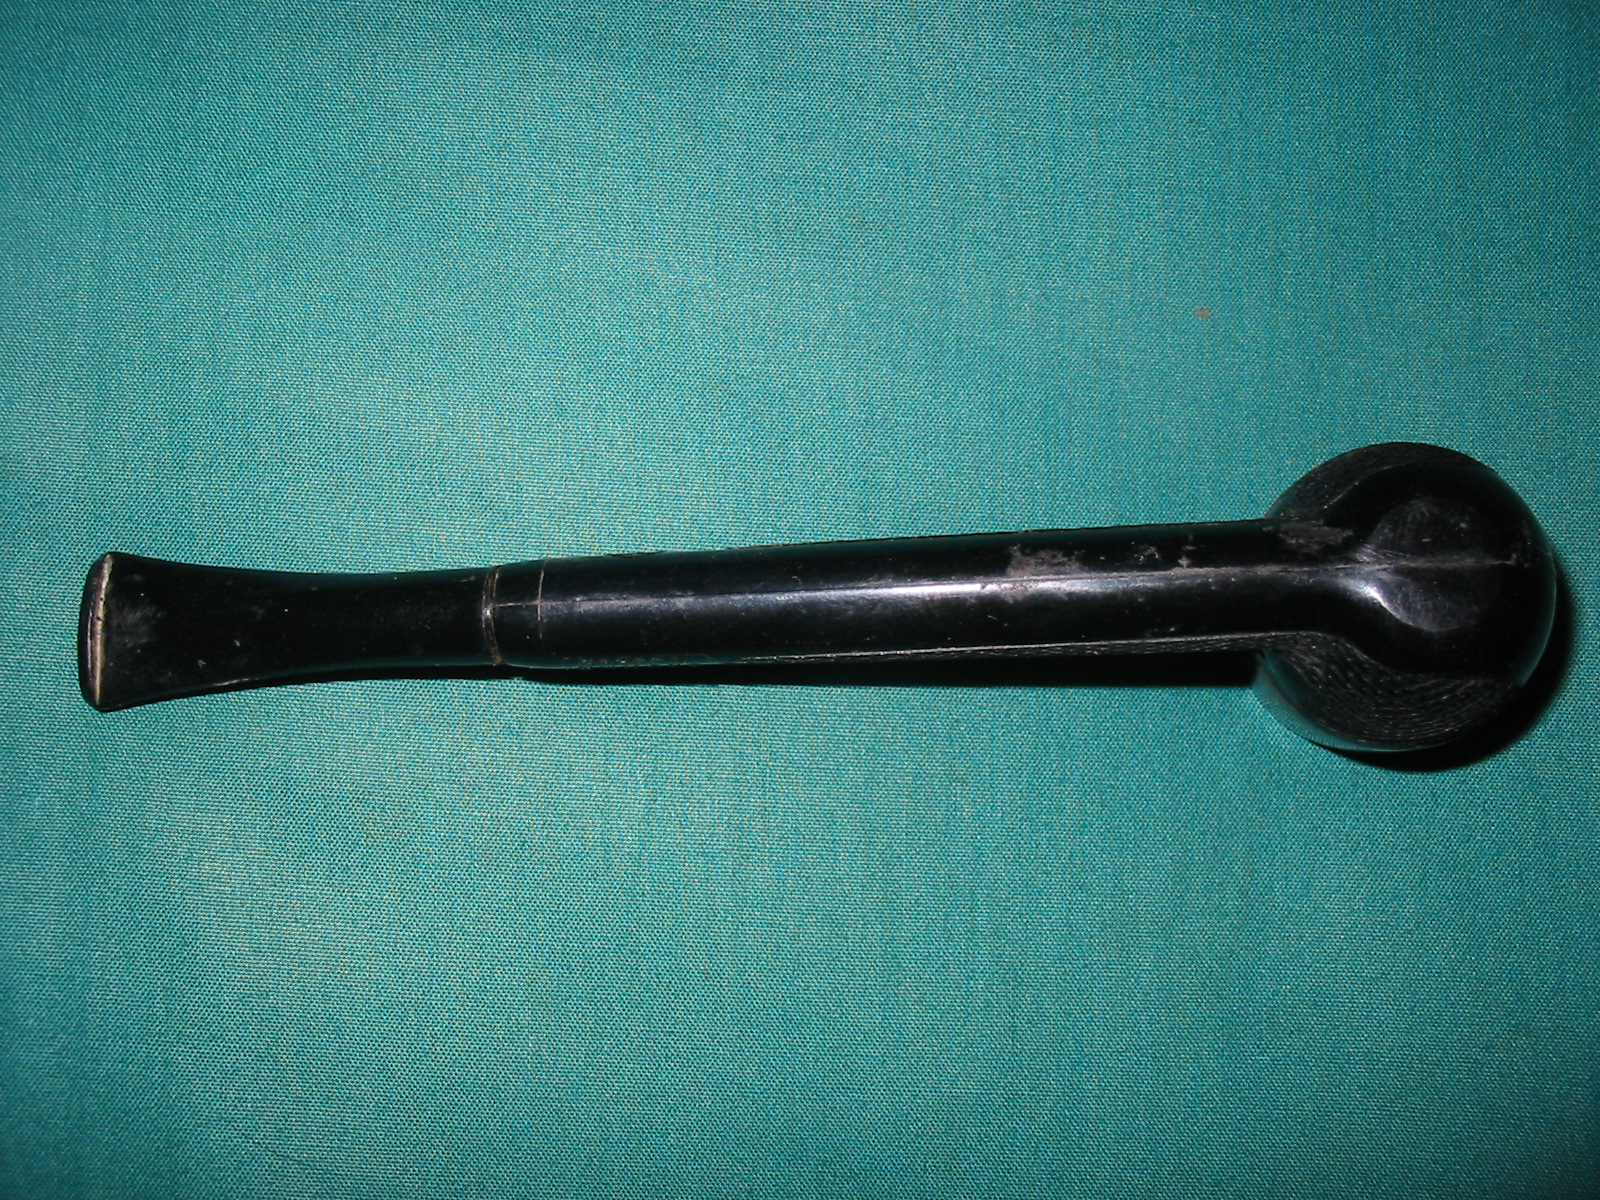
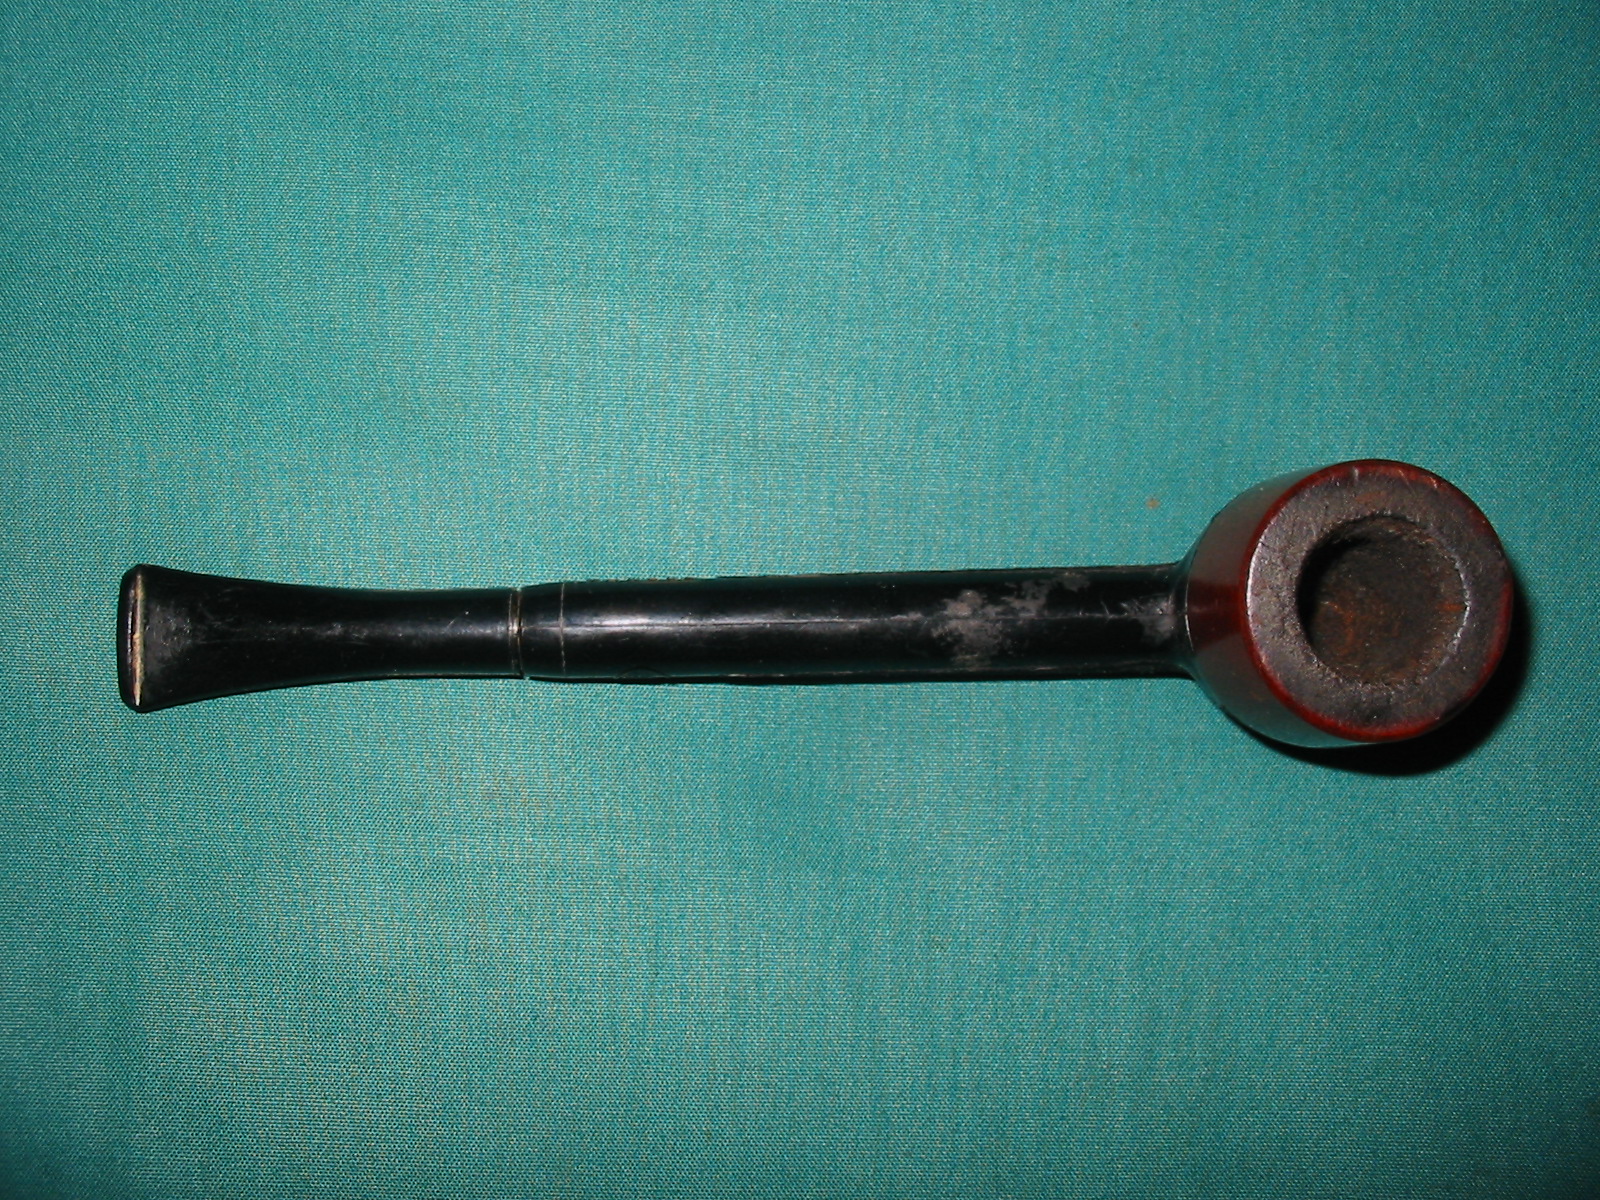
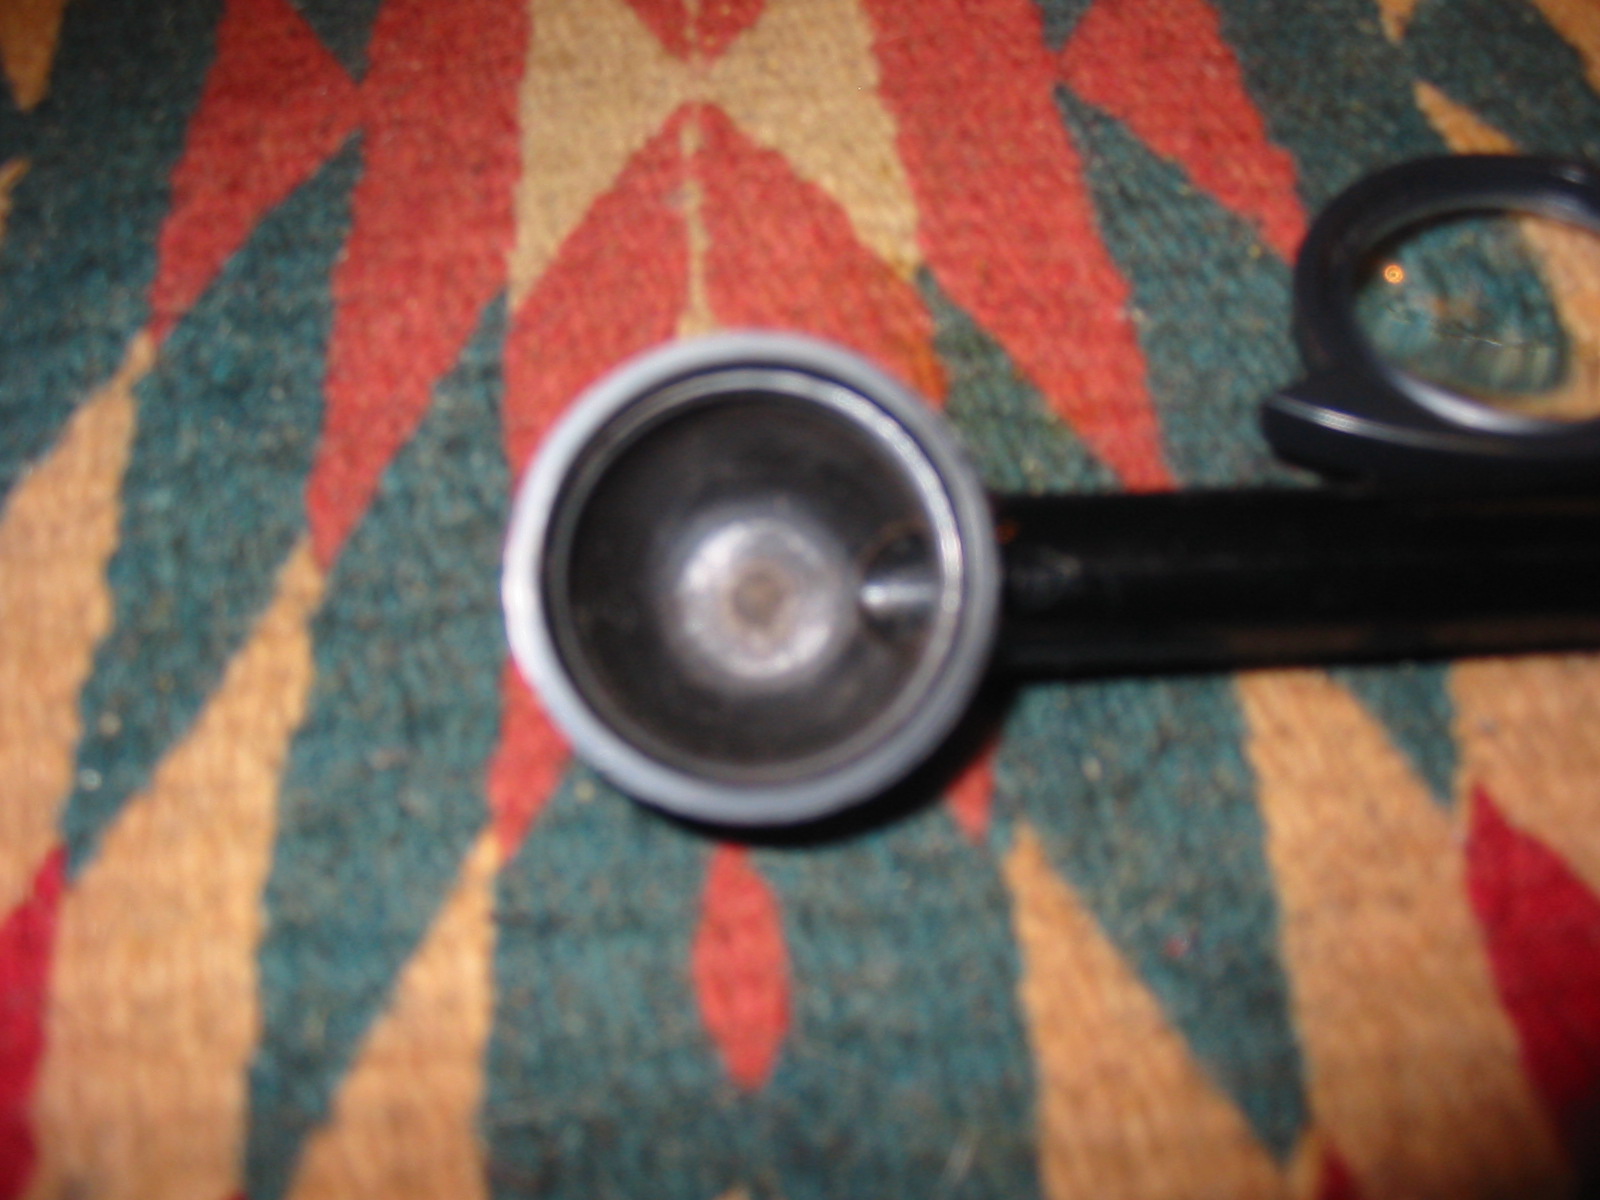
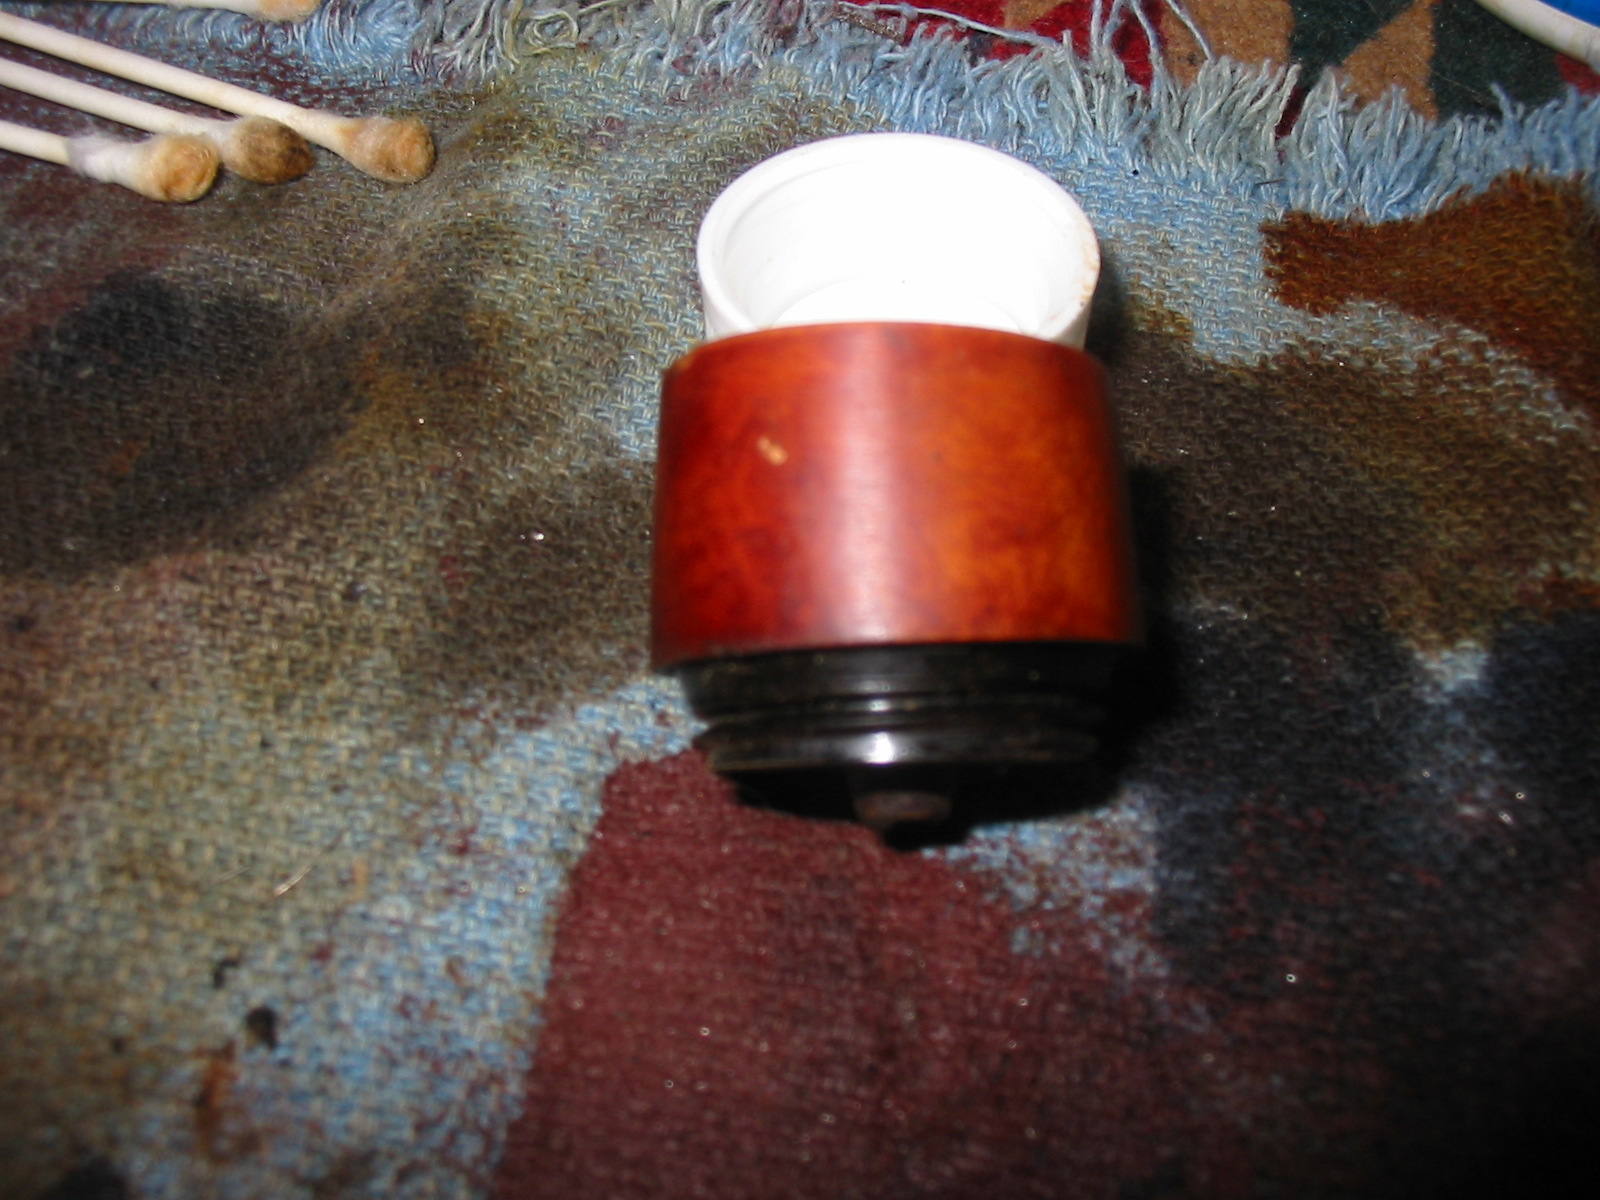
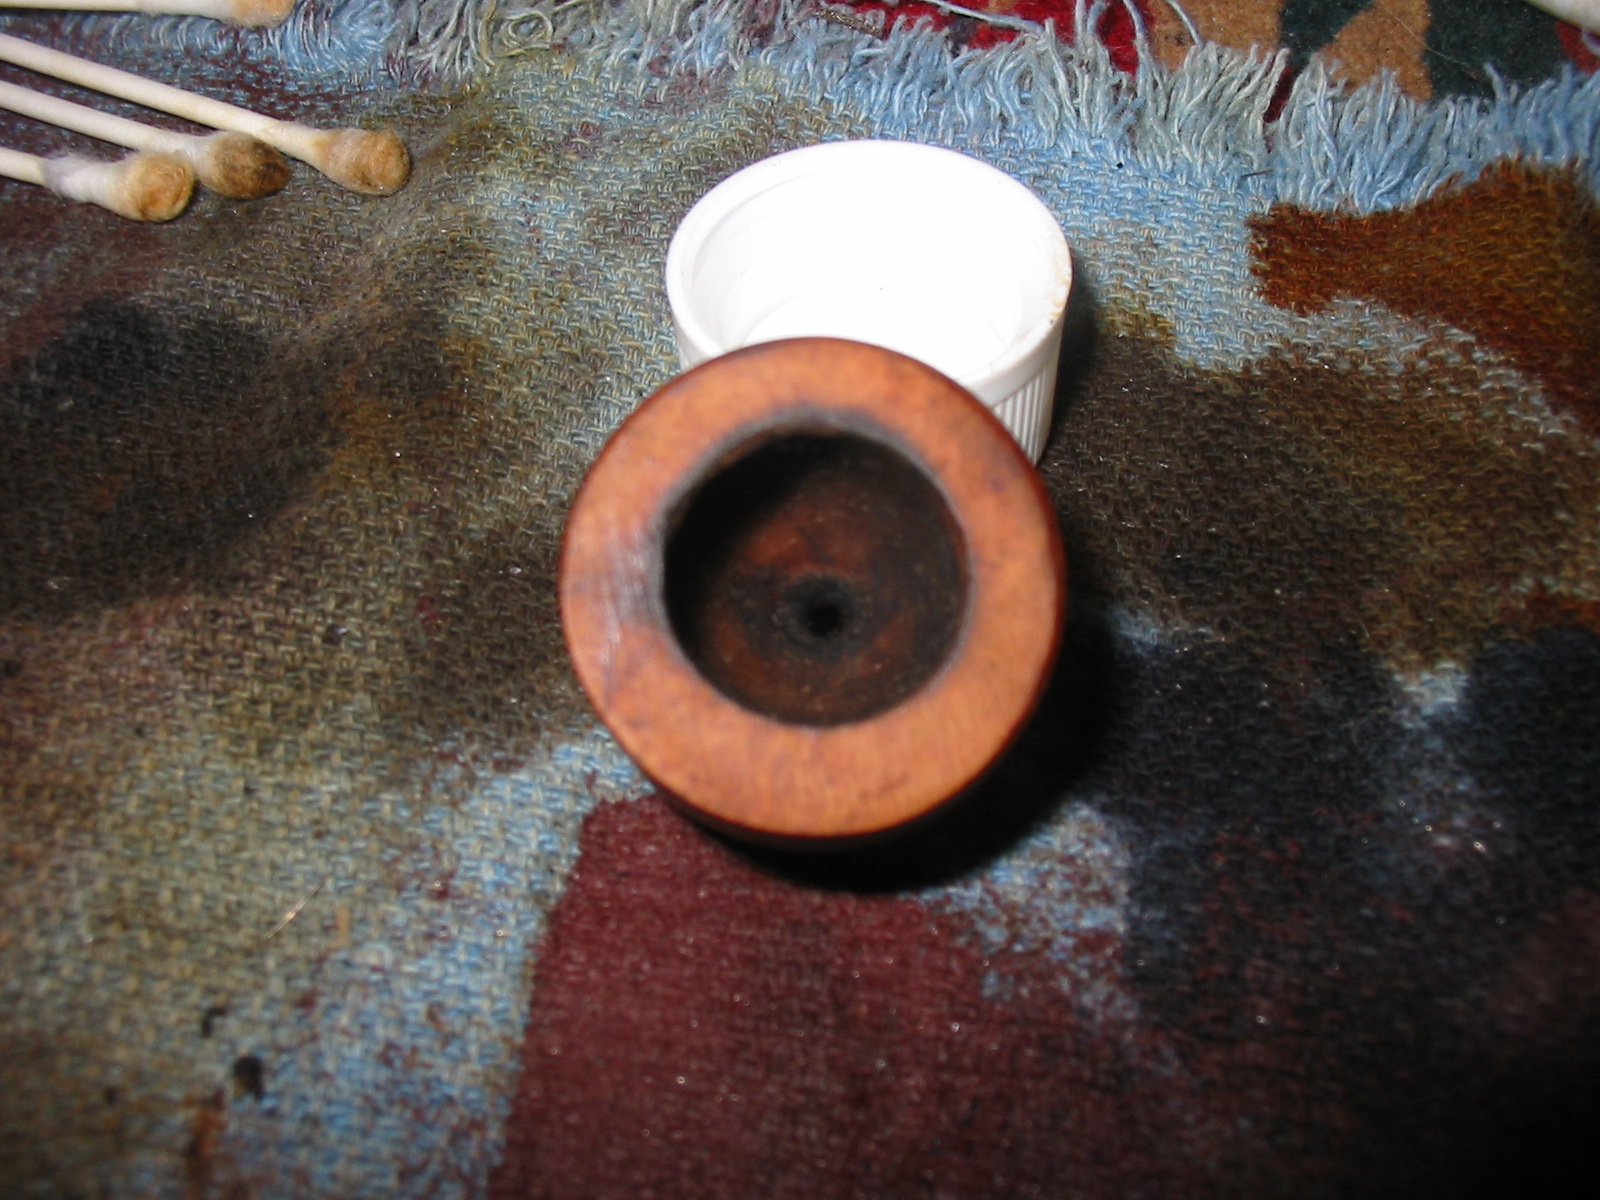
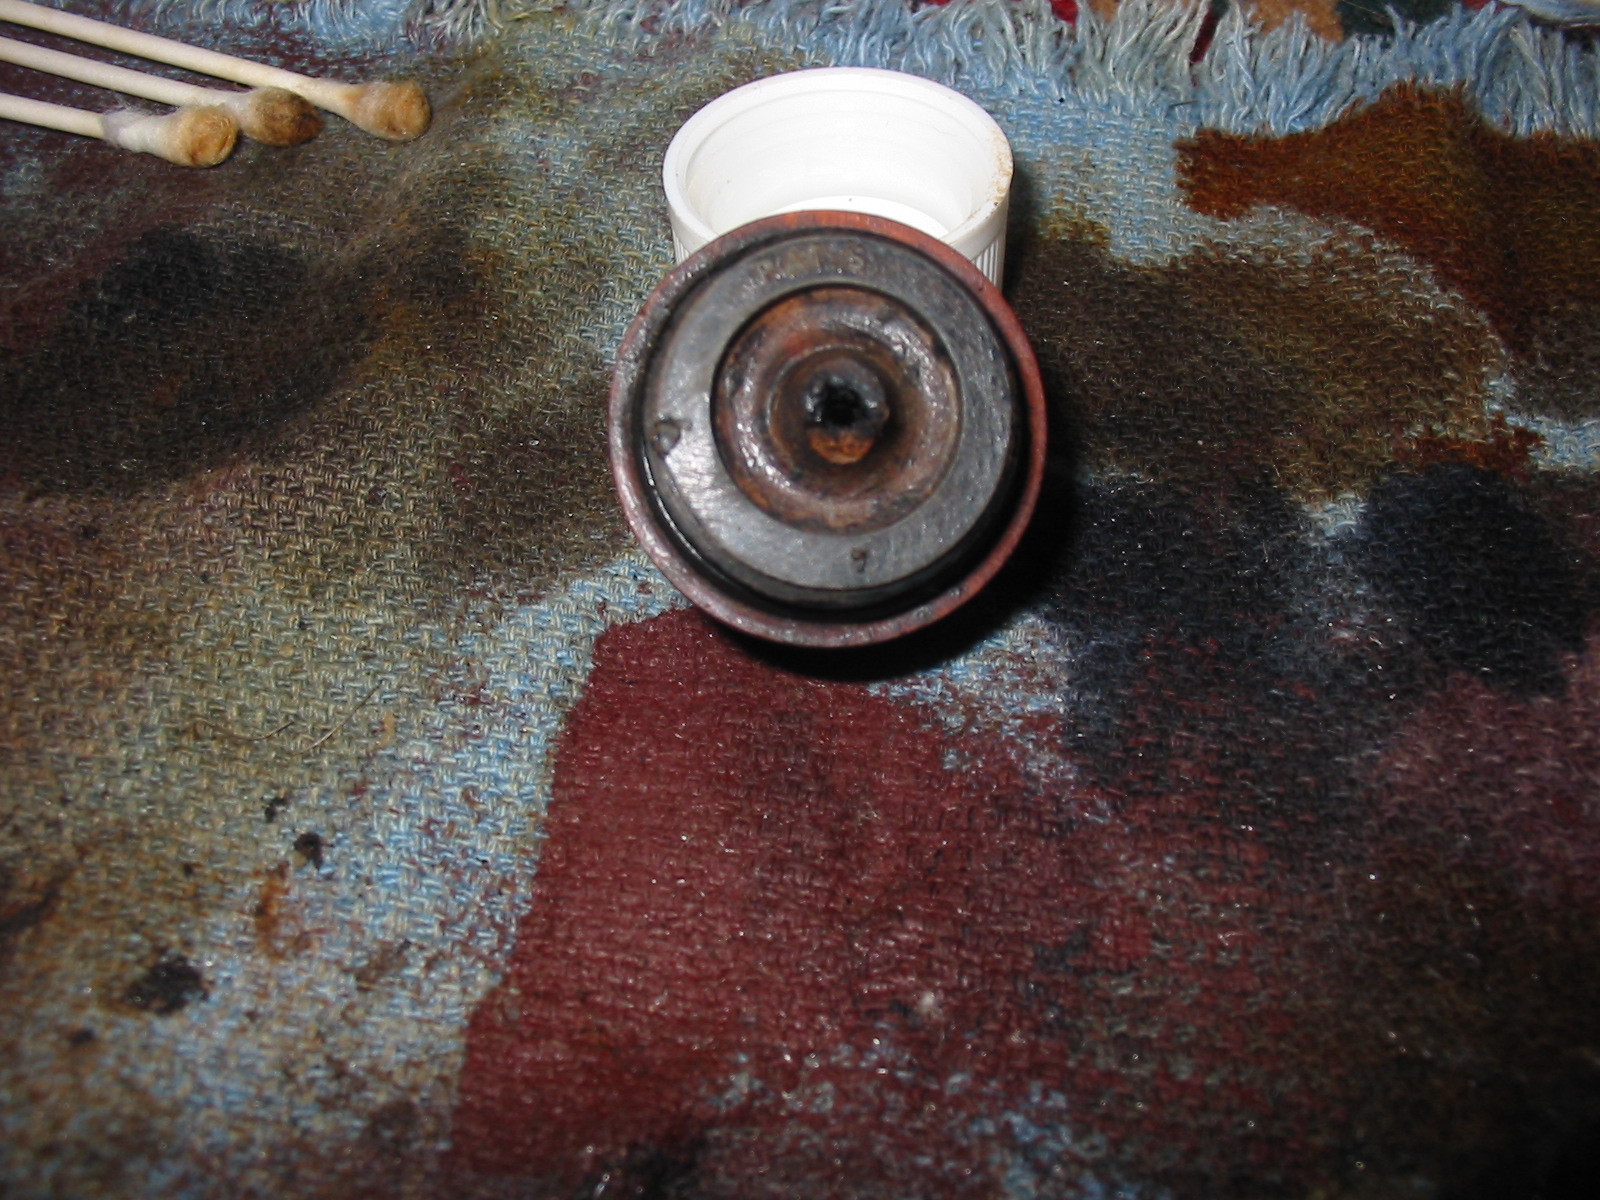
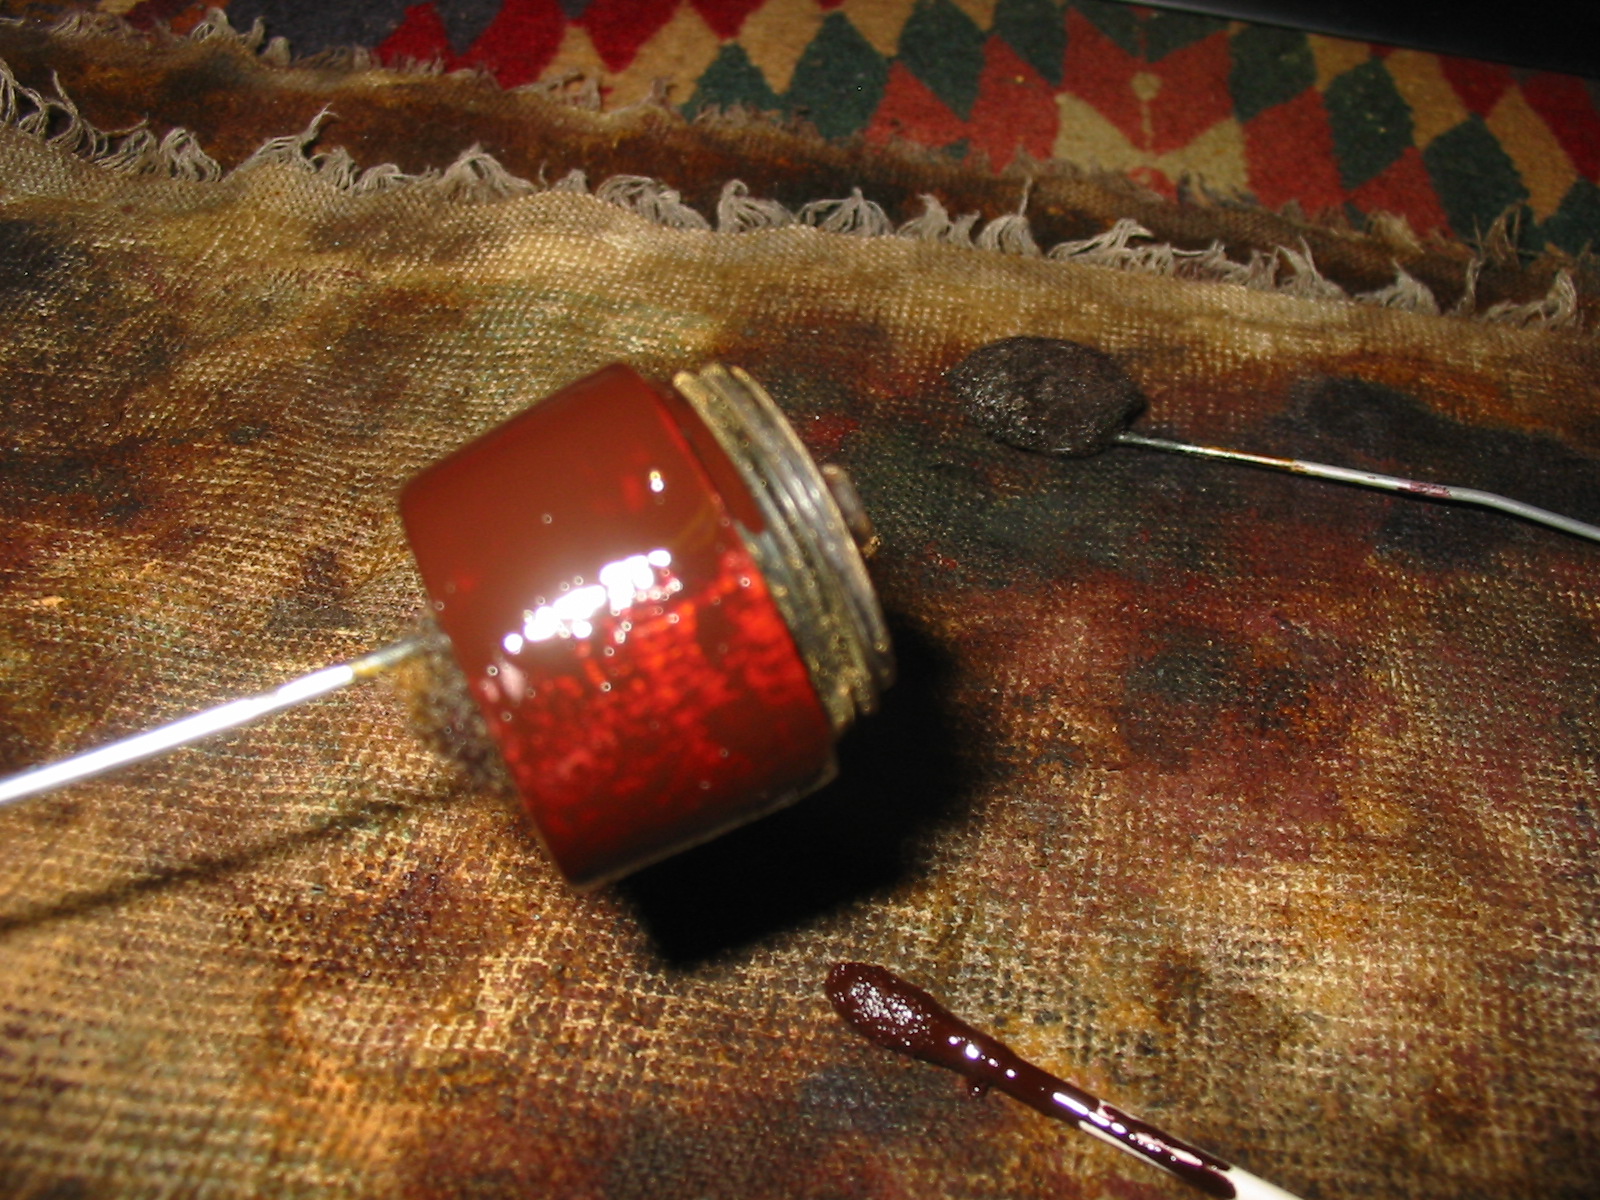
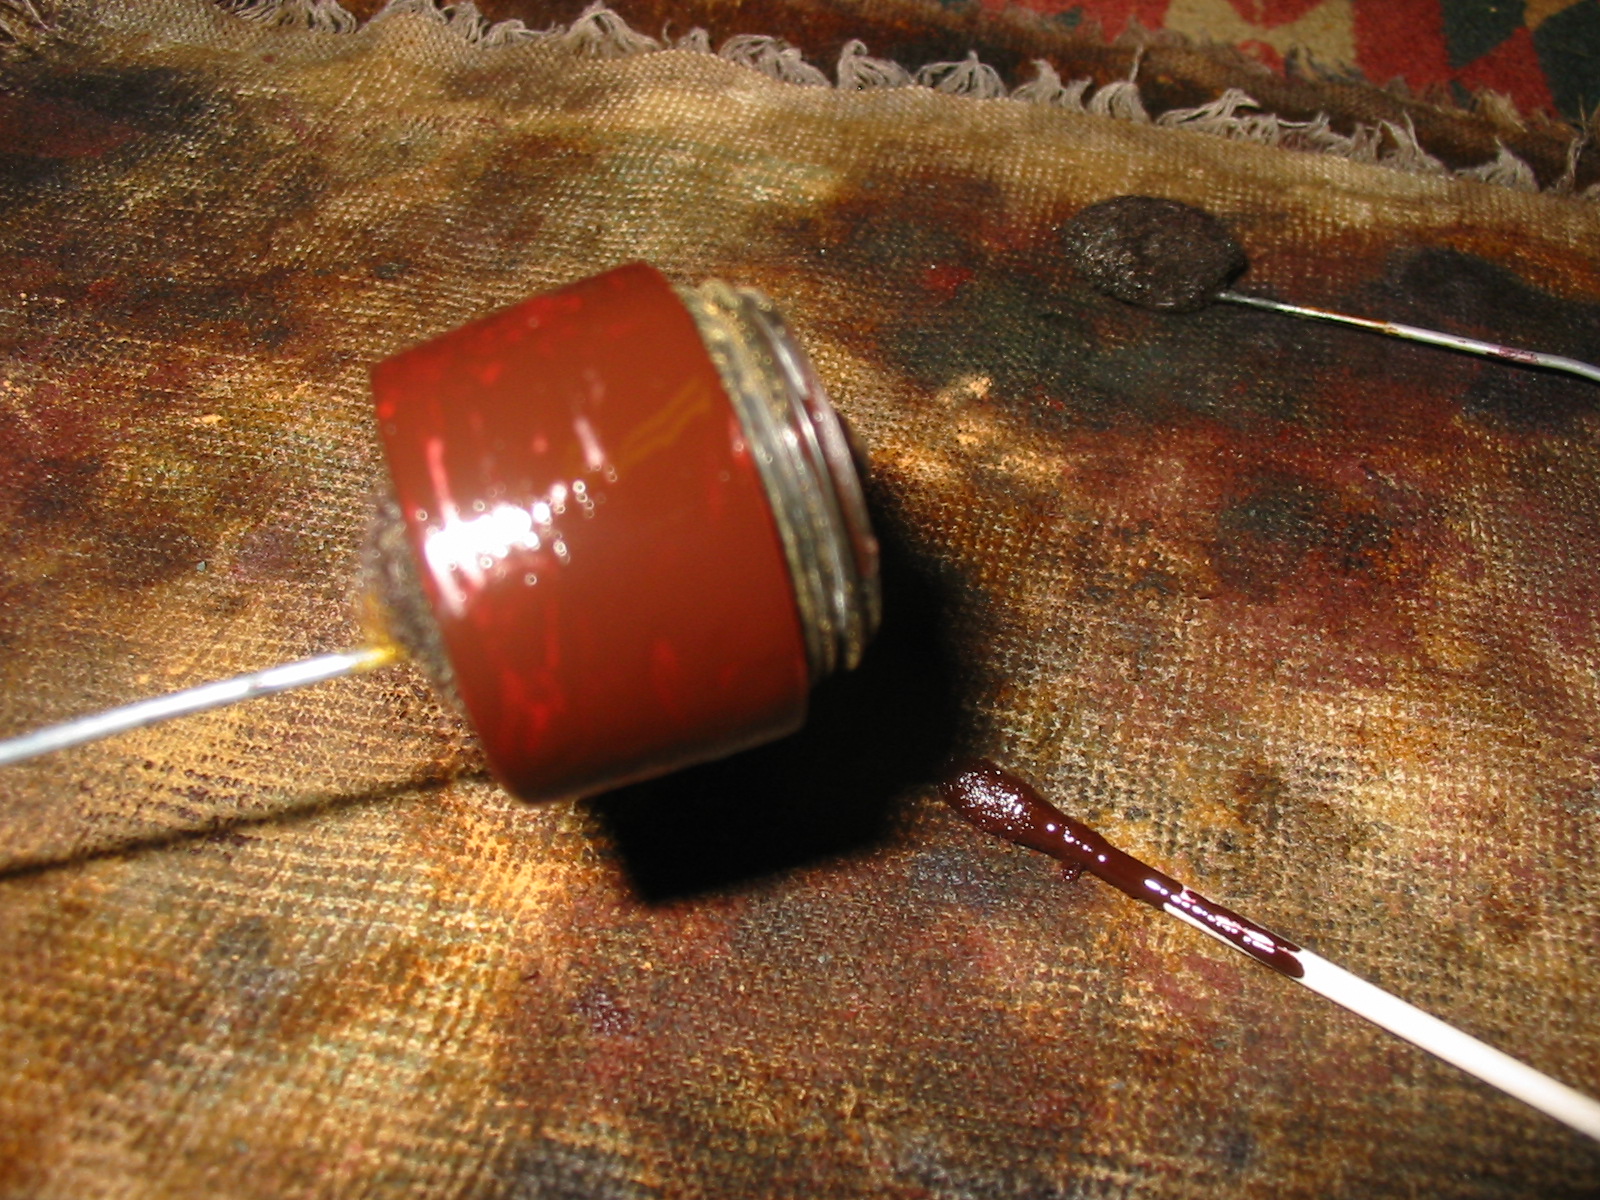
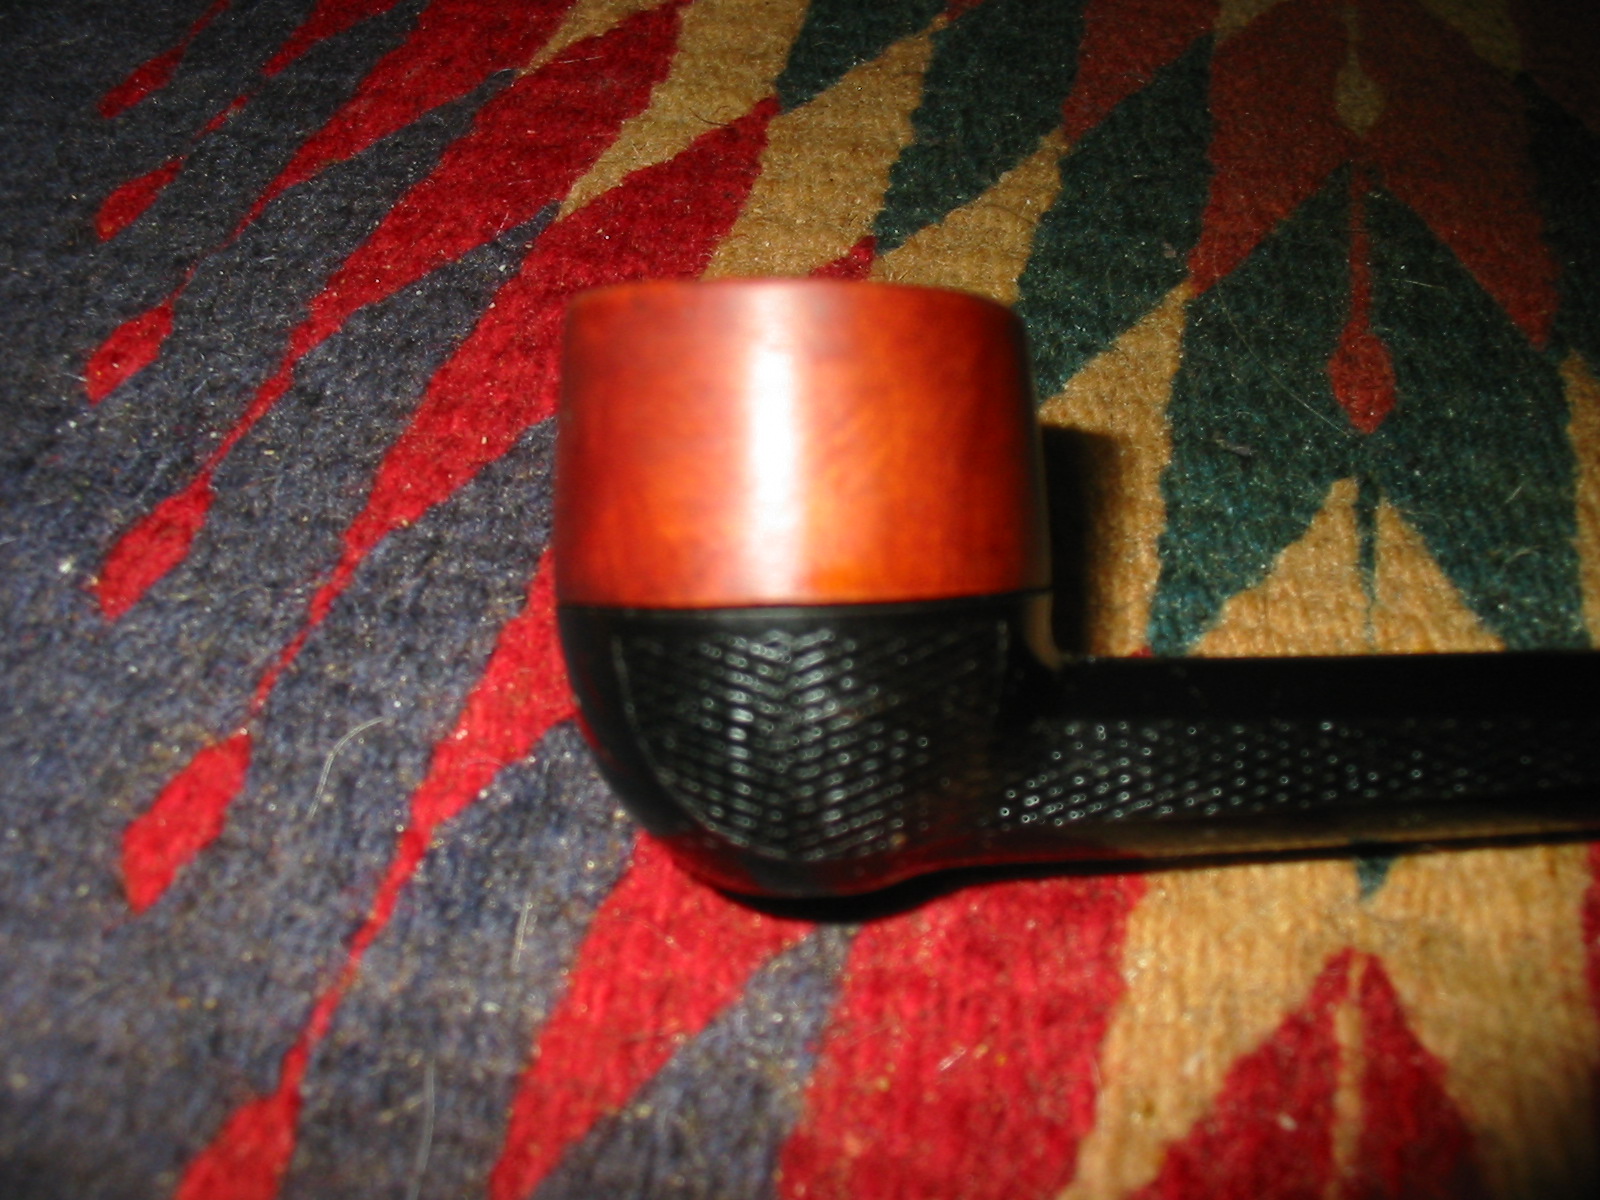
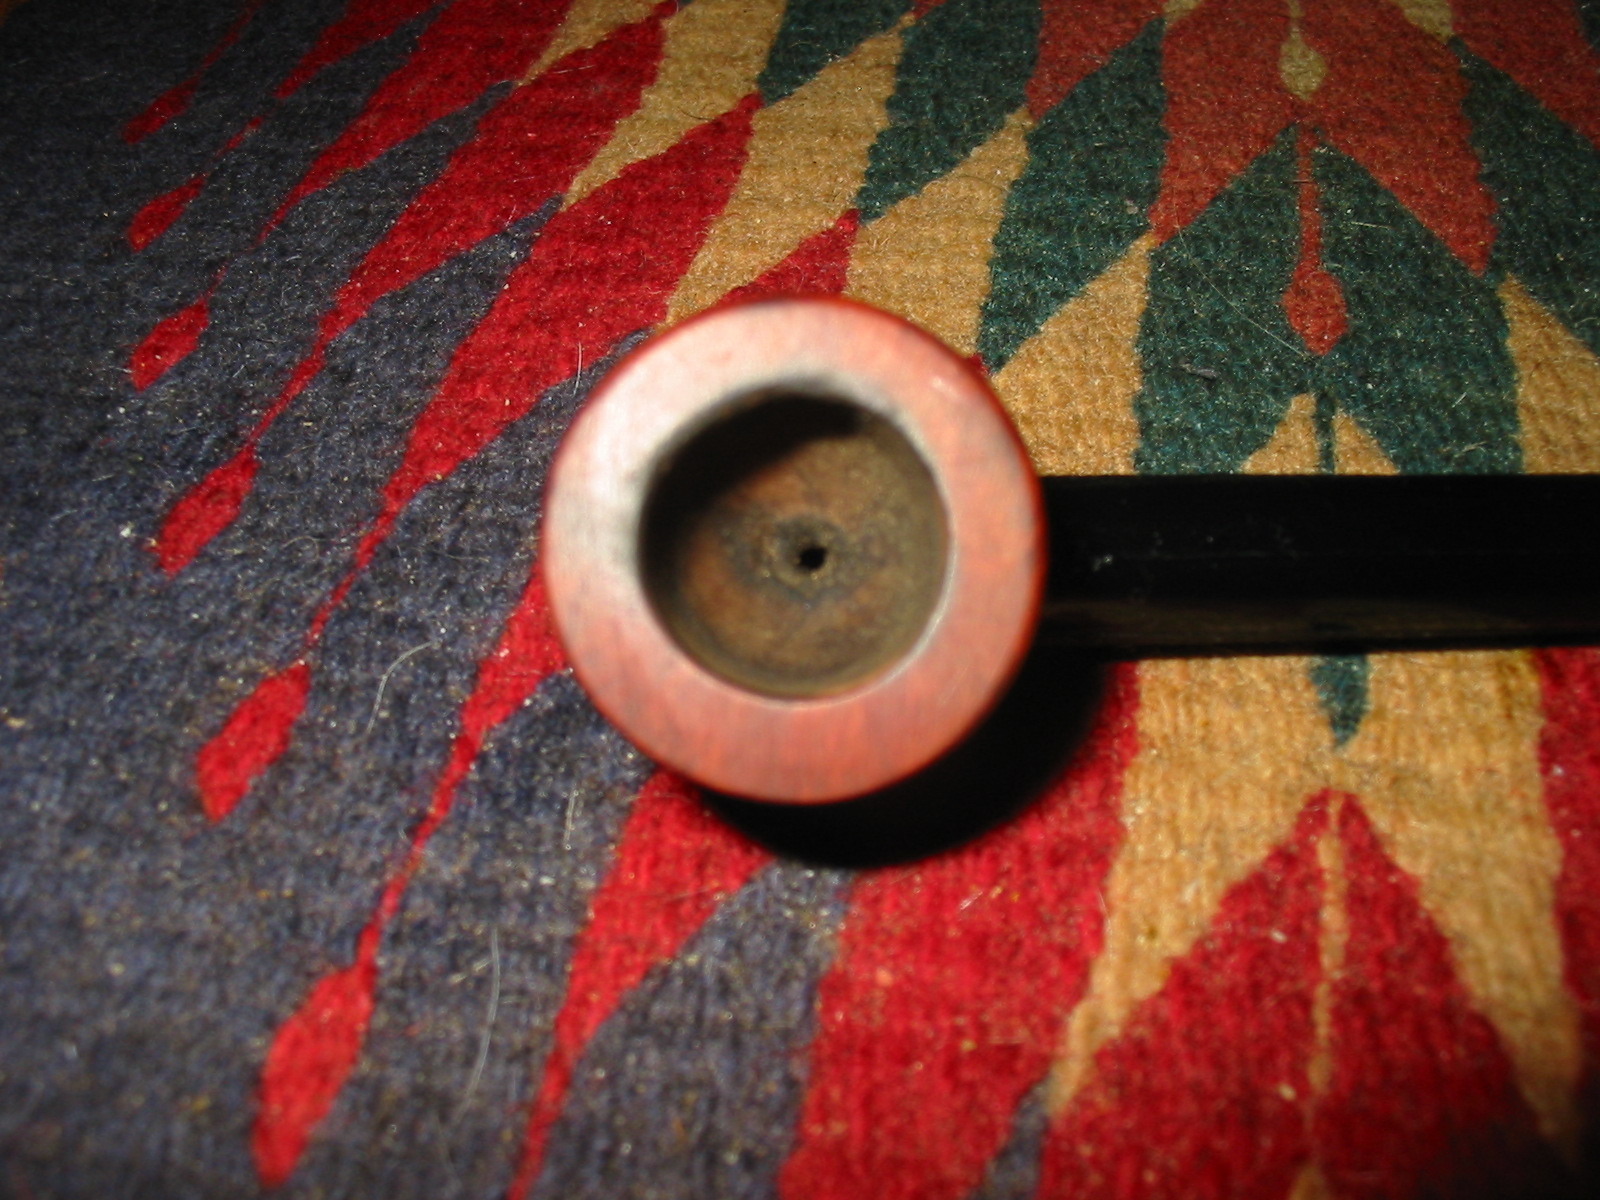
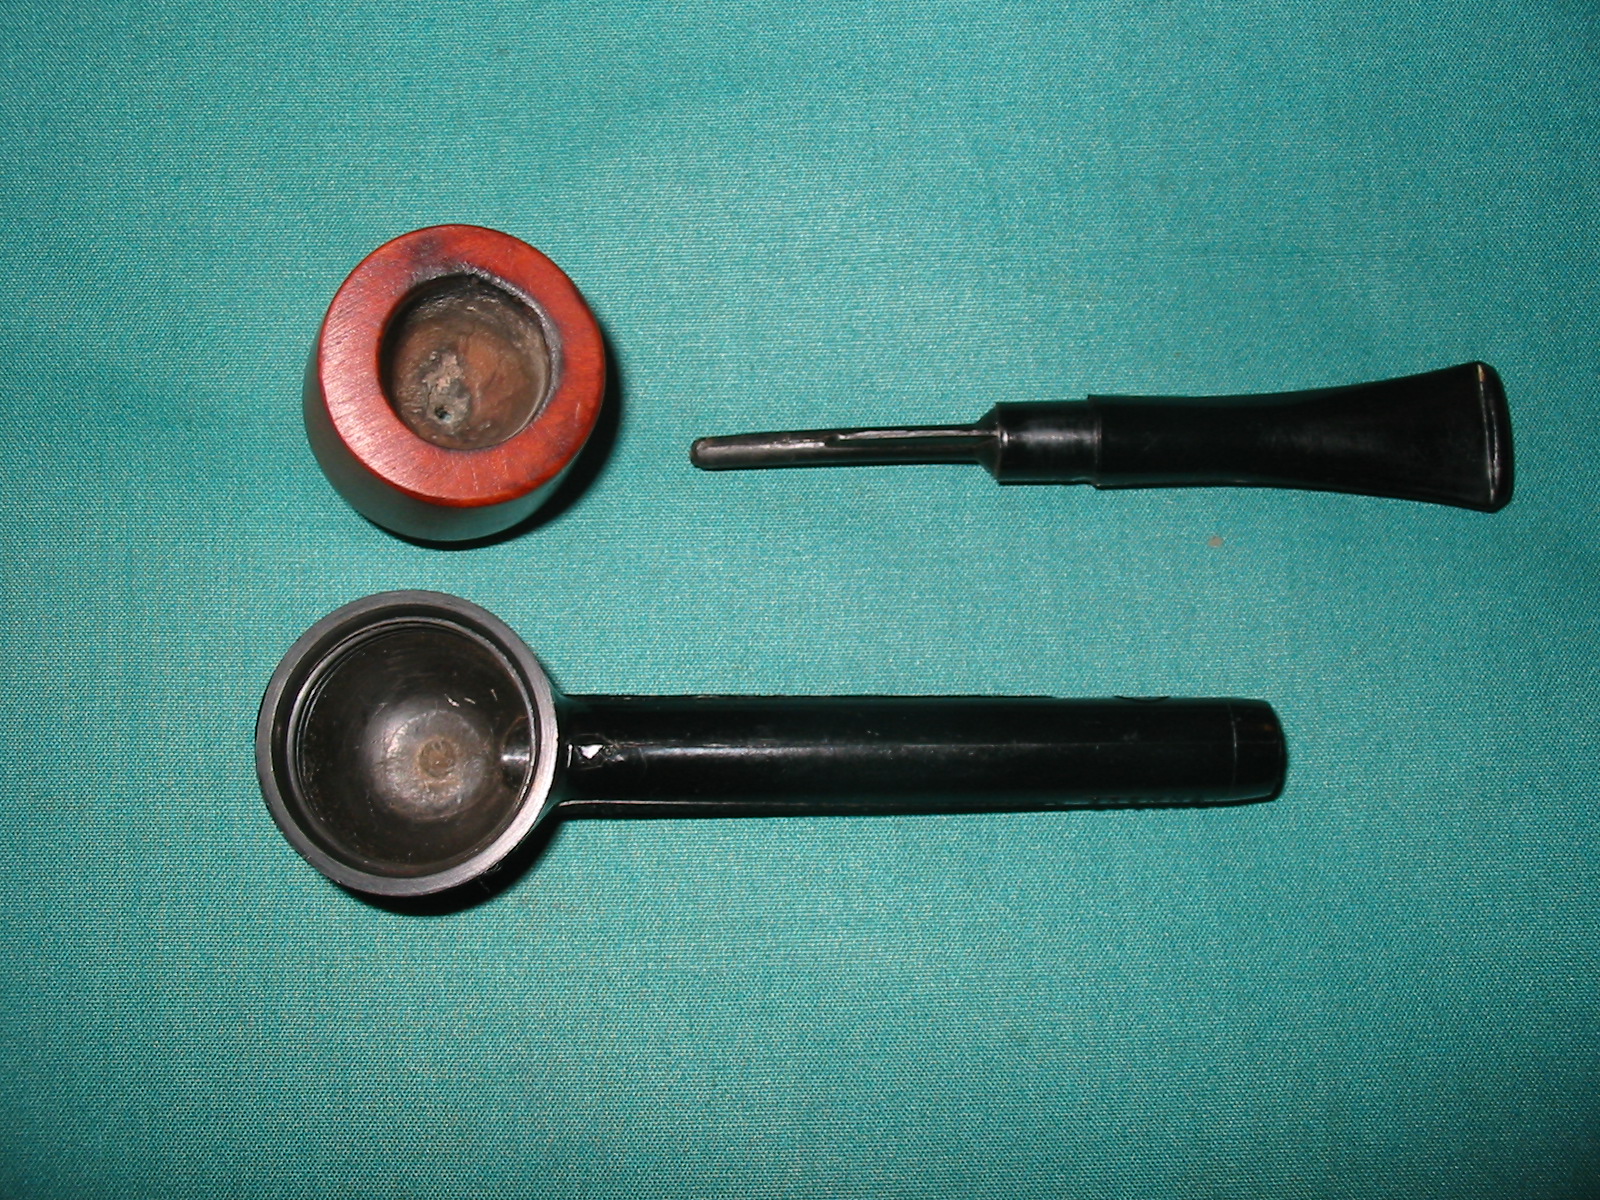
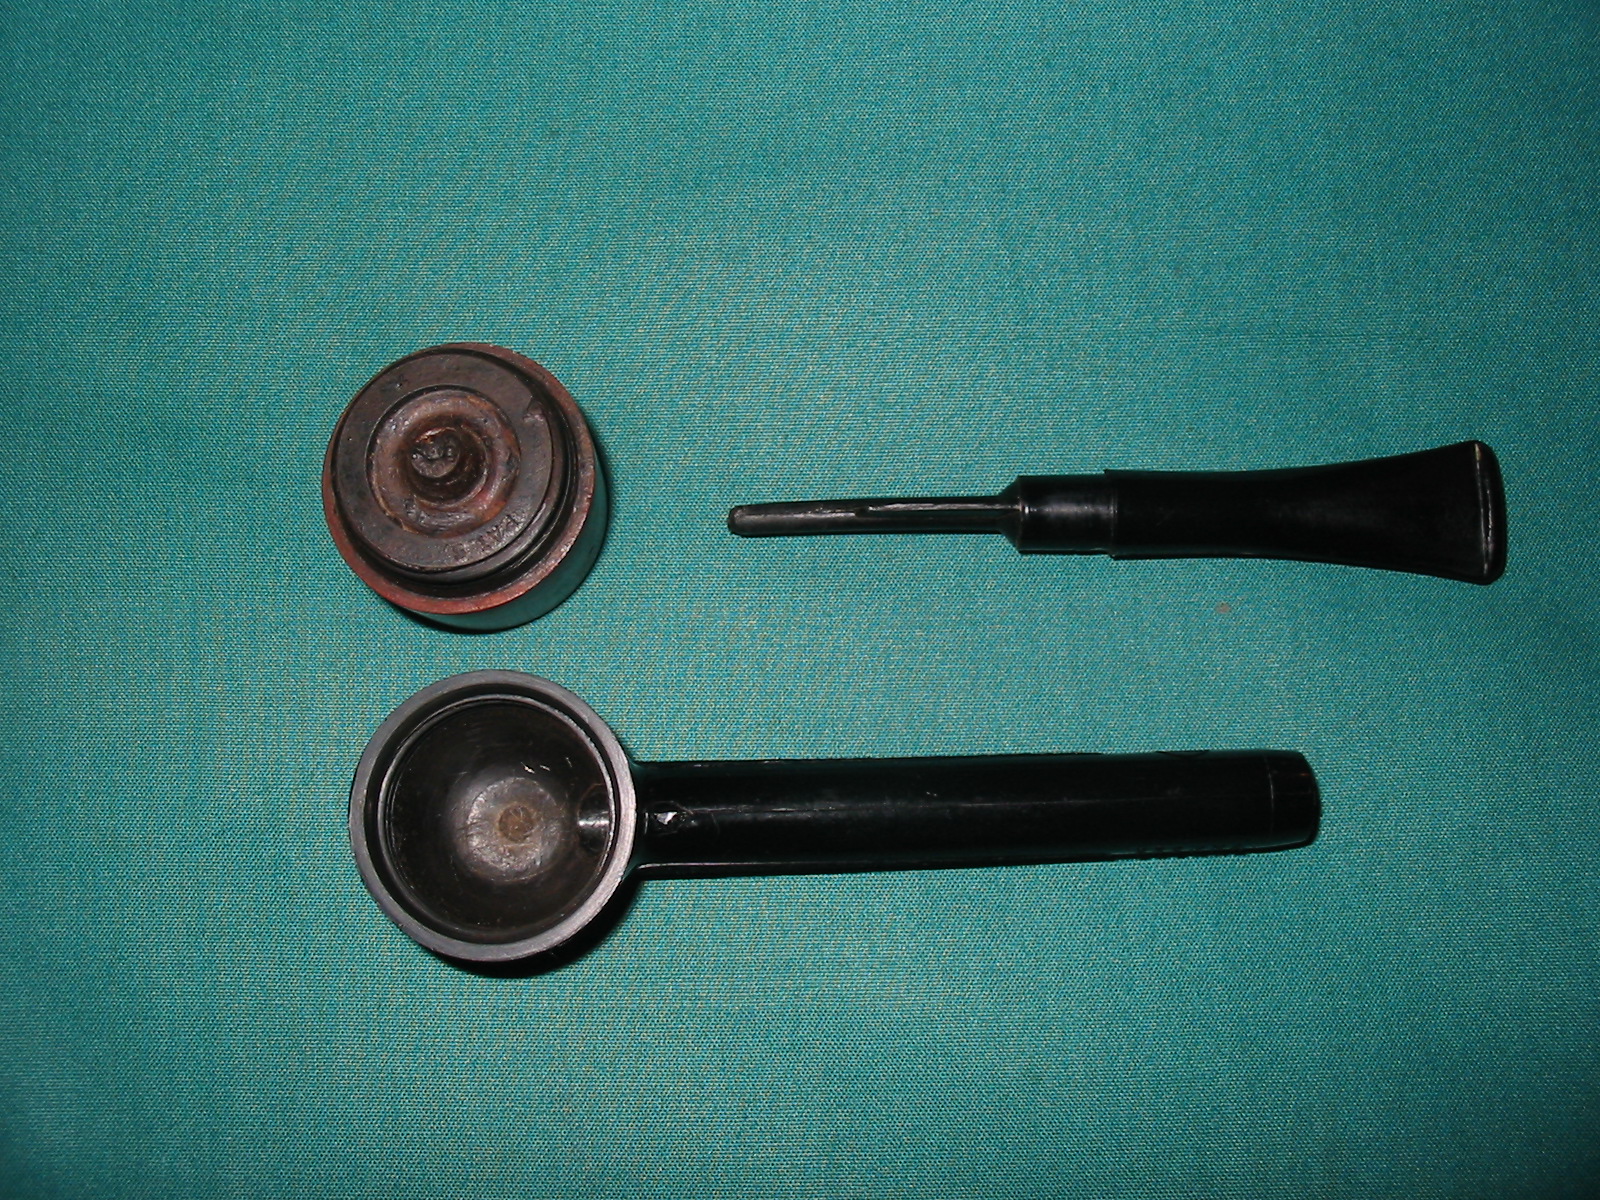
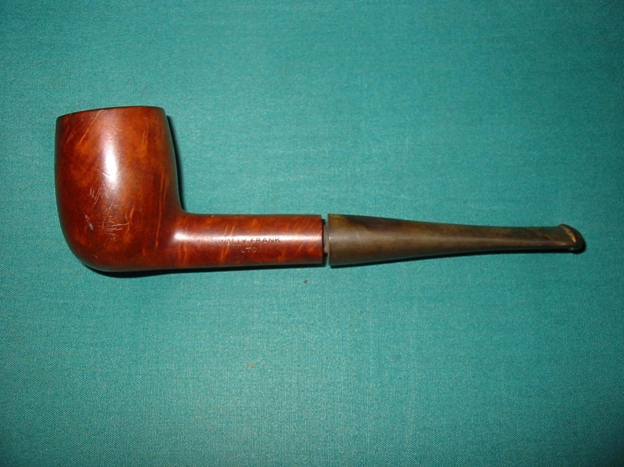
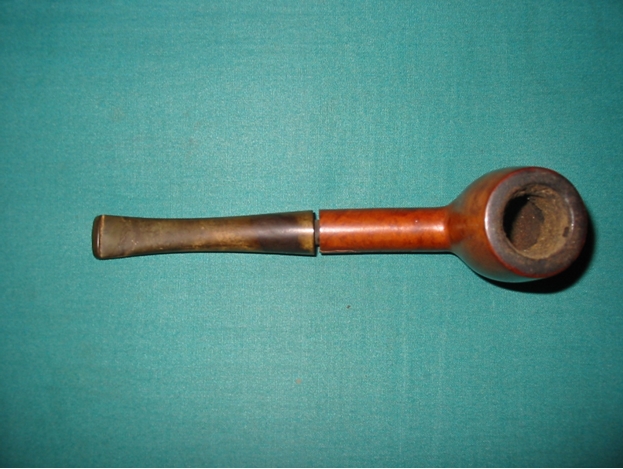
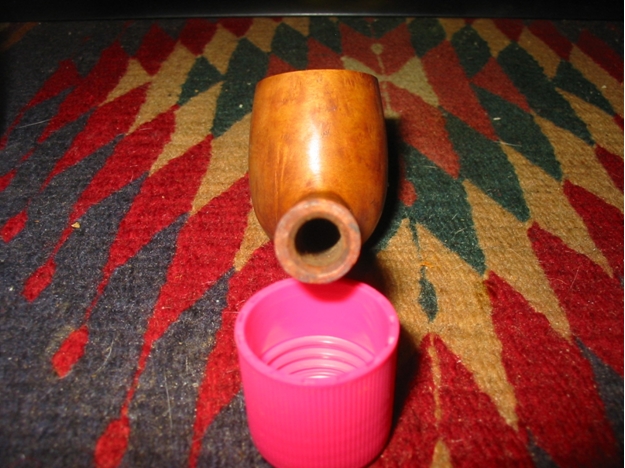
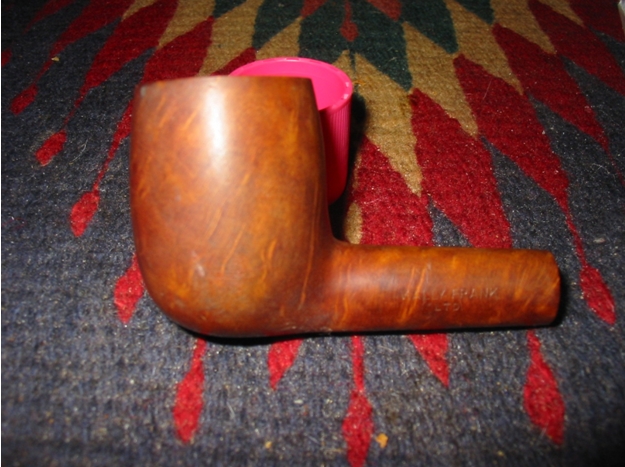
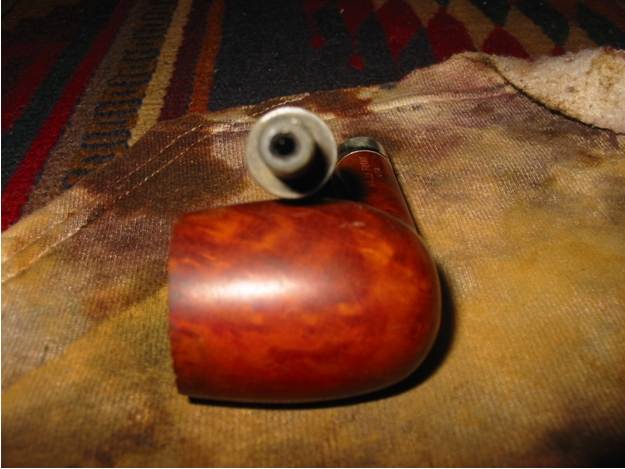
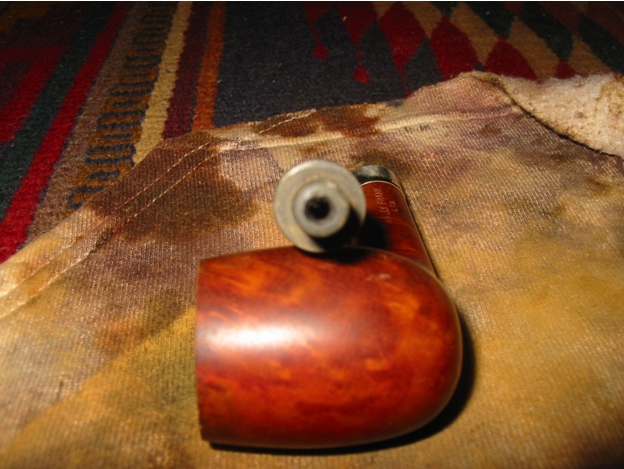
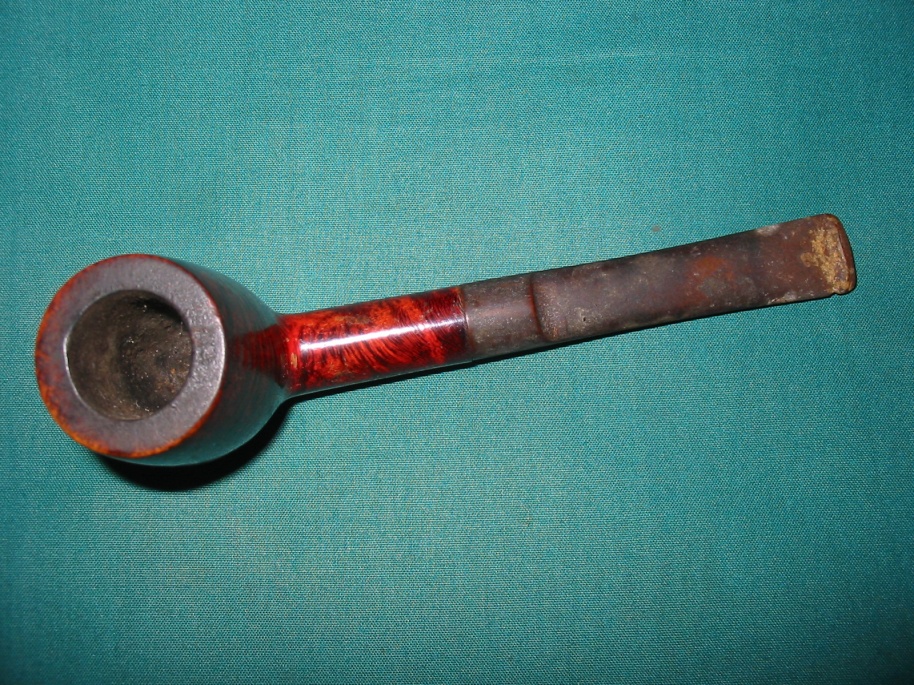
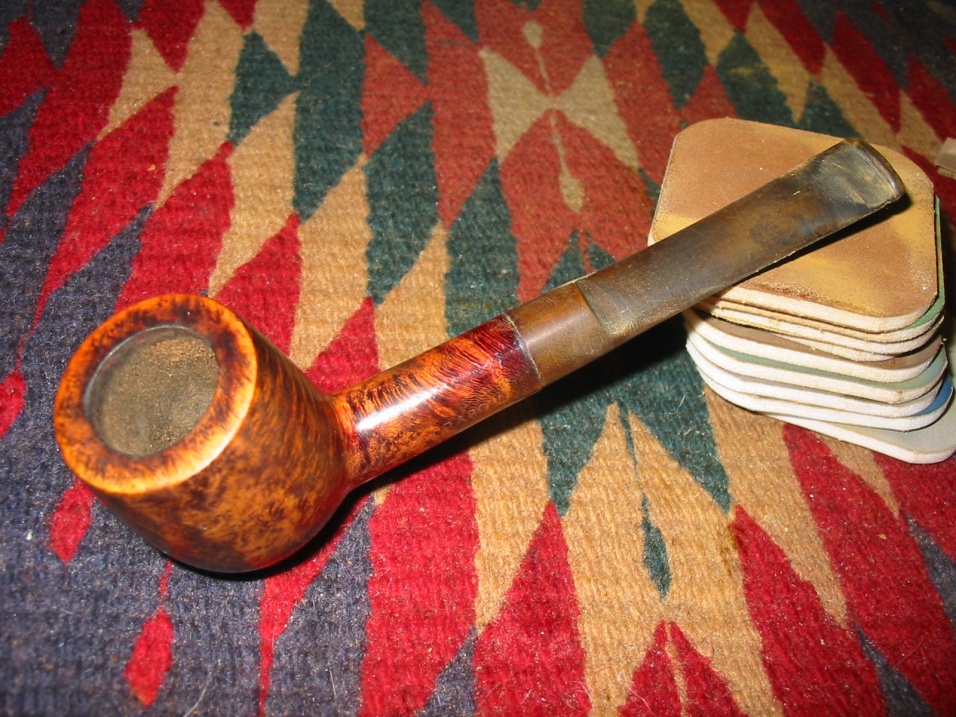
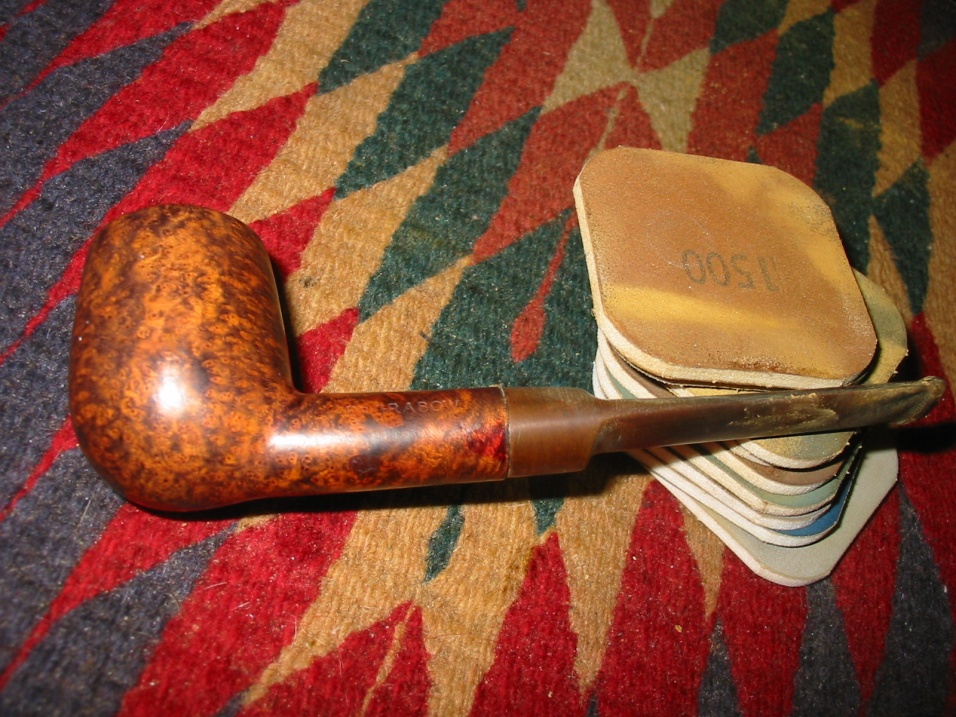
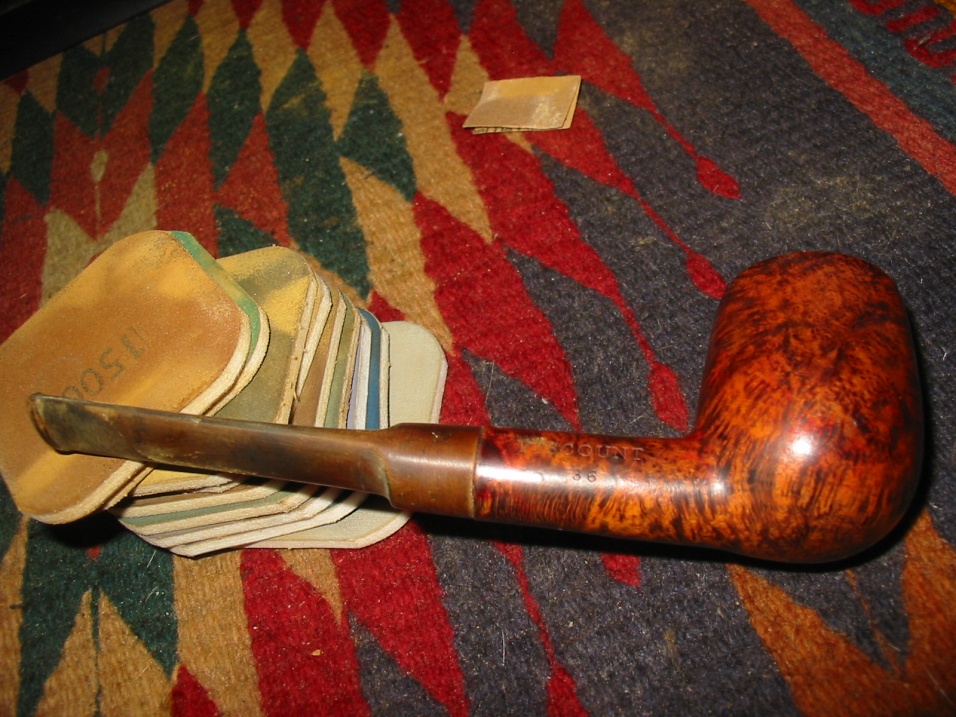
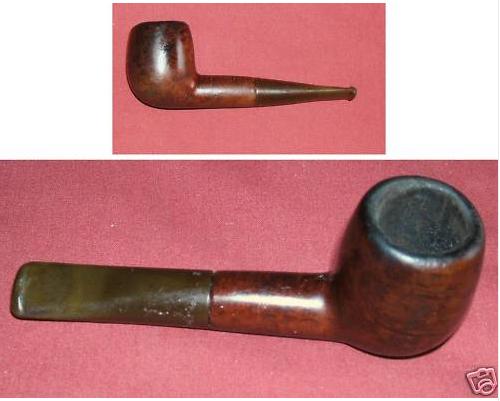
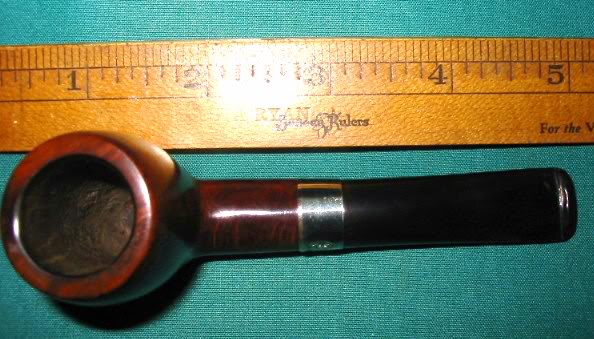
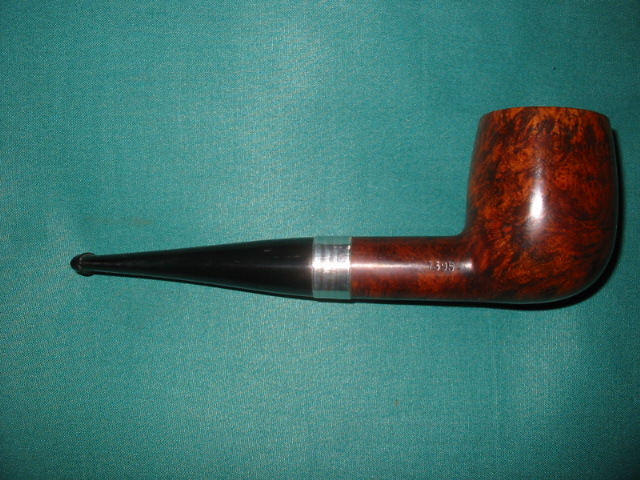
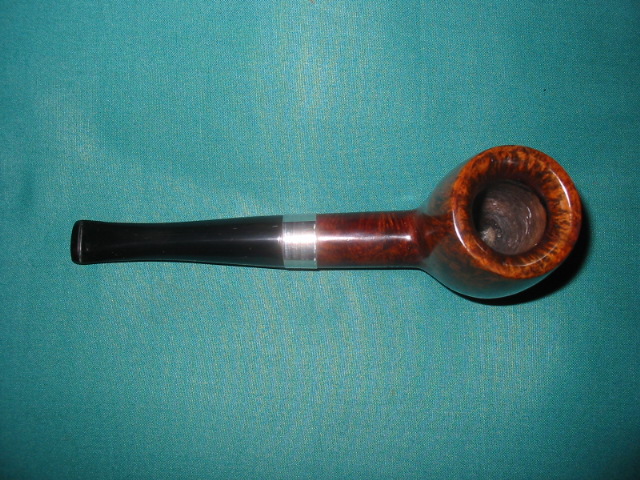
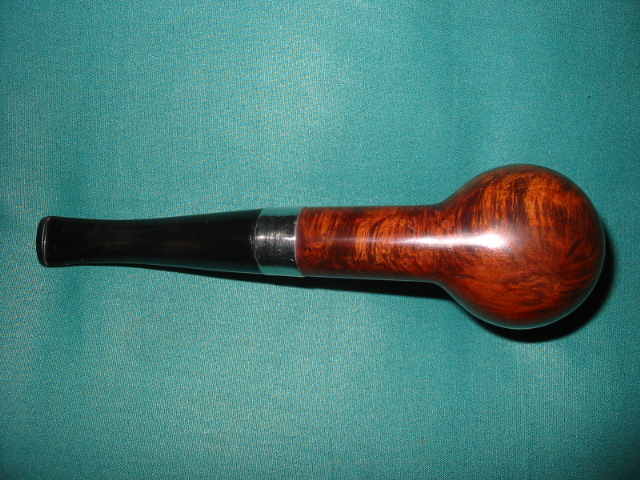
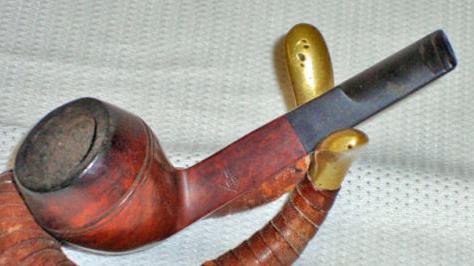
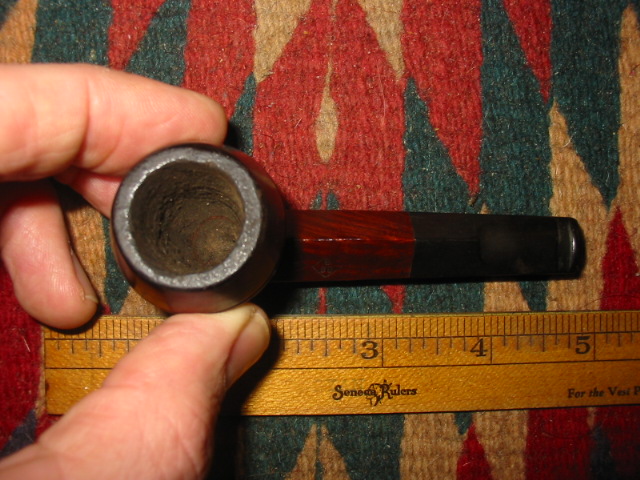
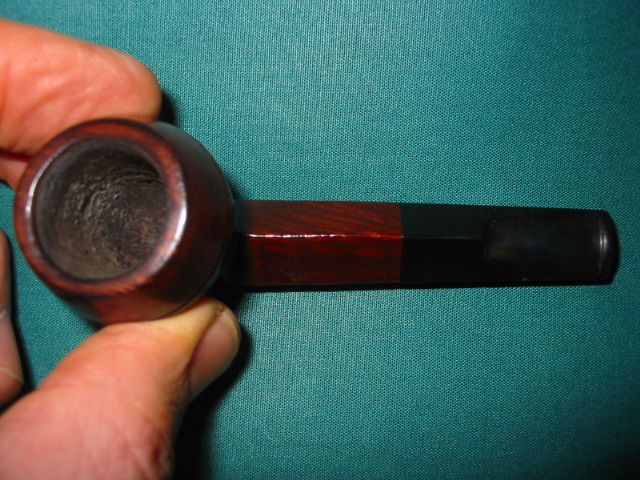
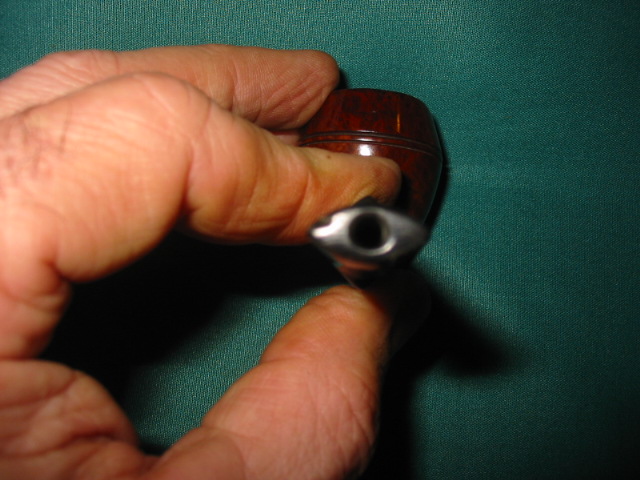
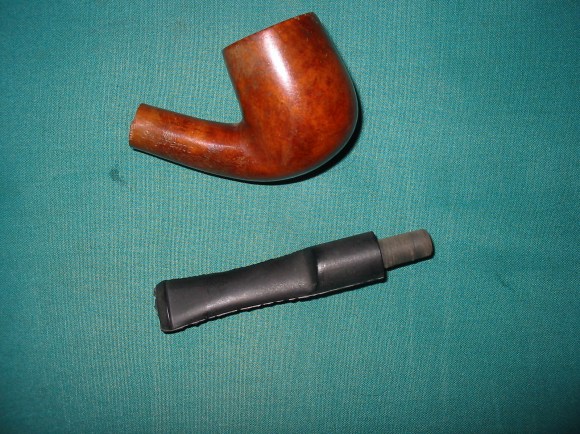
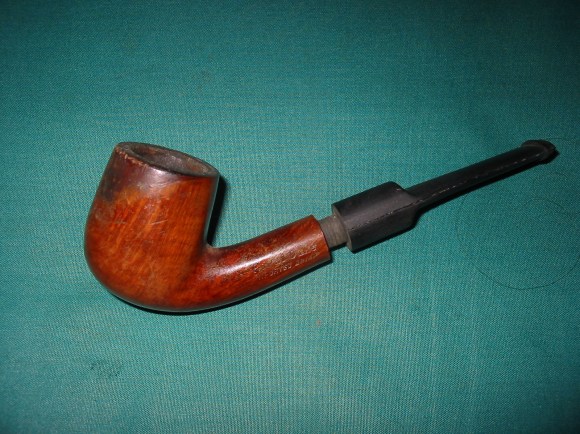
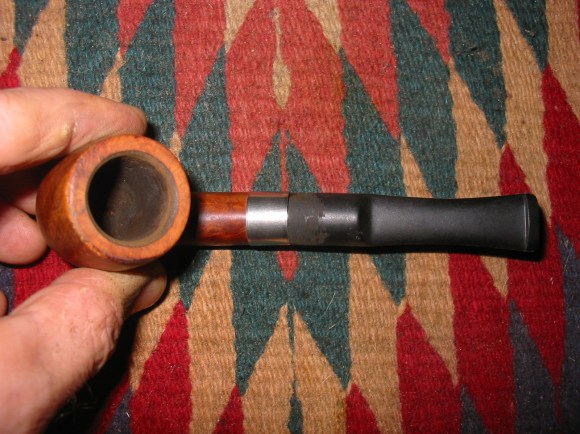
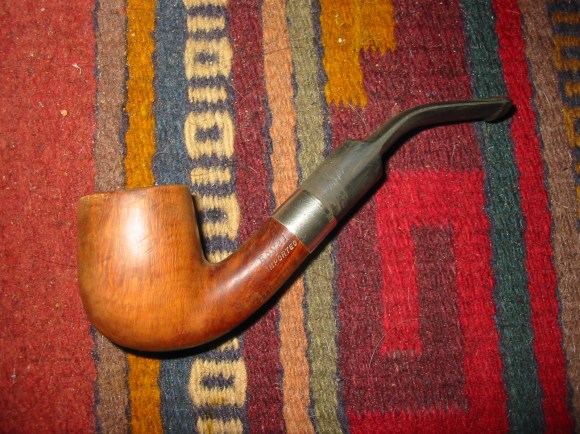
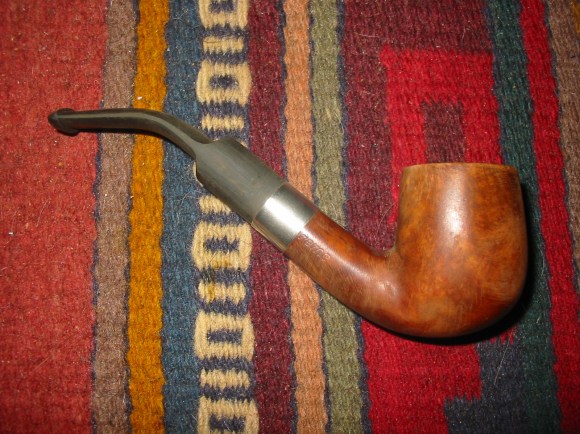
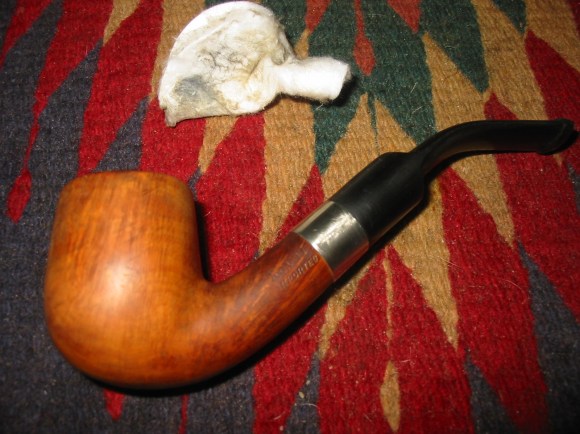
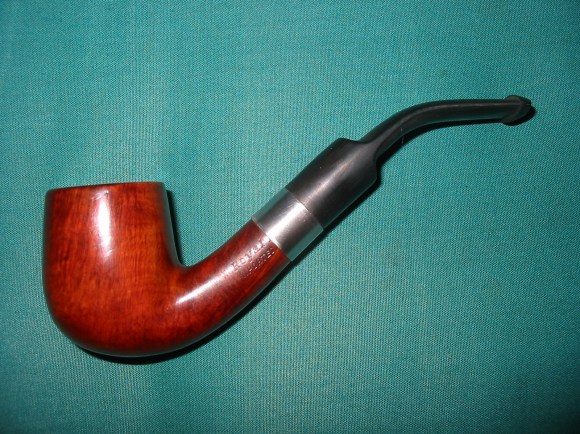
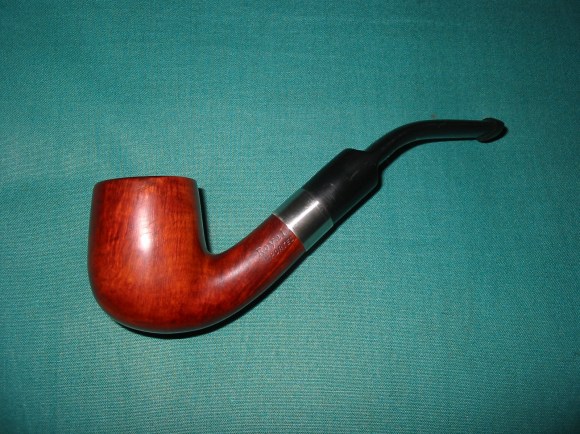
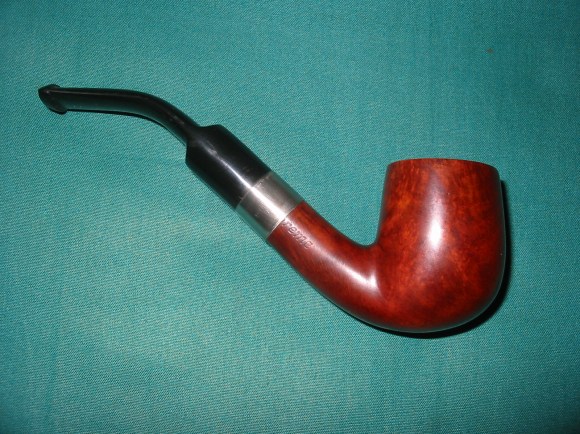
I got this Larsen Special in a lot I picked up for a very cheap price. The stem that was on it is in the bottom of each picture to give an idea of what it looked like. The shank extension is made of vulcanite and was very oxidized when it came to me. The stamping on the pipe is actually on the extension and it is faint. It is visible with a jeweler’s loupe and is stamped Larsen Special and Handmade in Denmark. The bowl was badly cake and the finish was almost flat with dark soiled spots of grime on the surface. The rim was covered with a lava overflow of tars and oils. I decided as soon as I saw it that the stem had to go. I had no idea what I was going to do with it but I knew it was history.

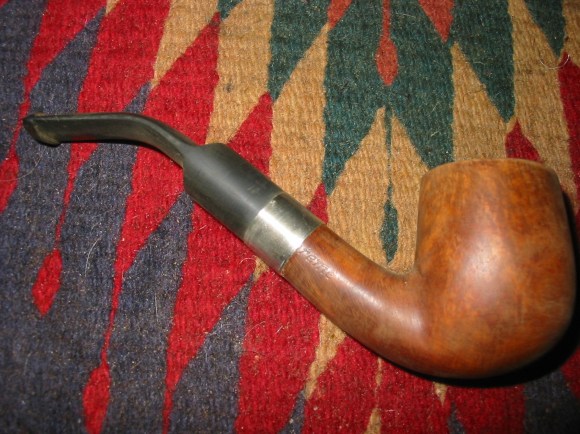
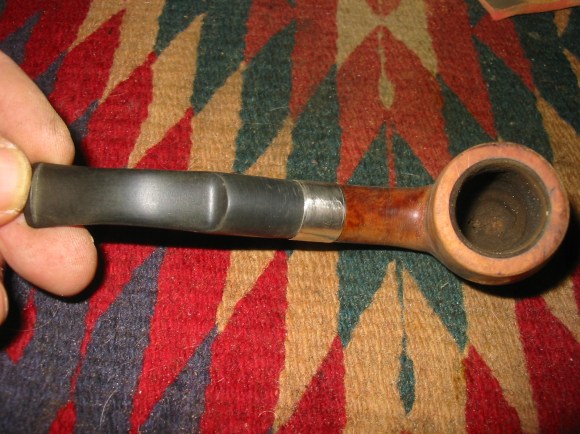
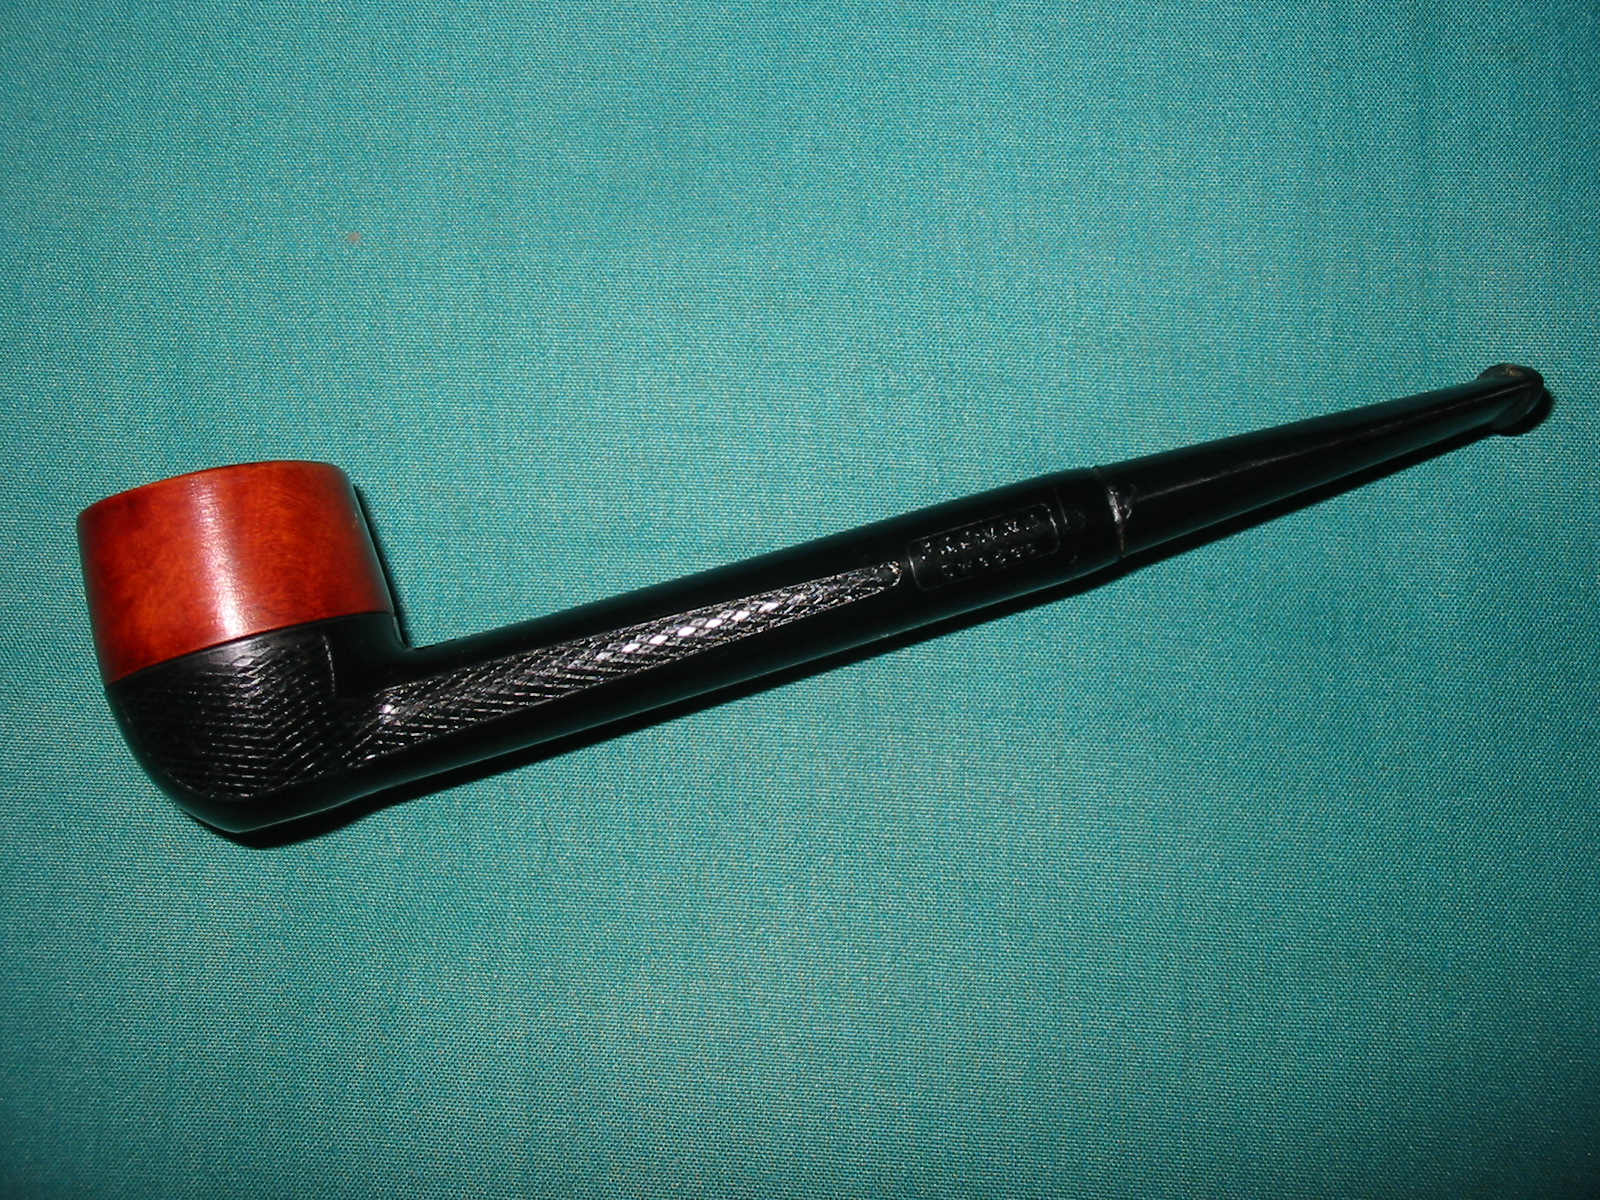
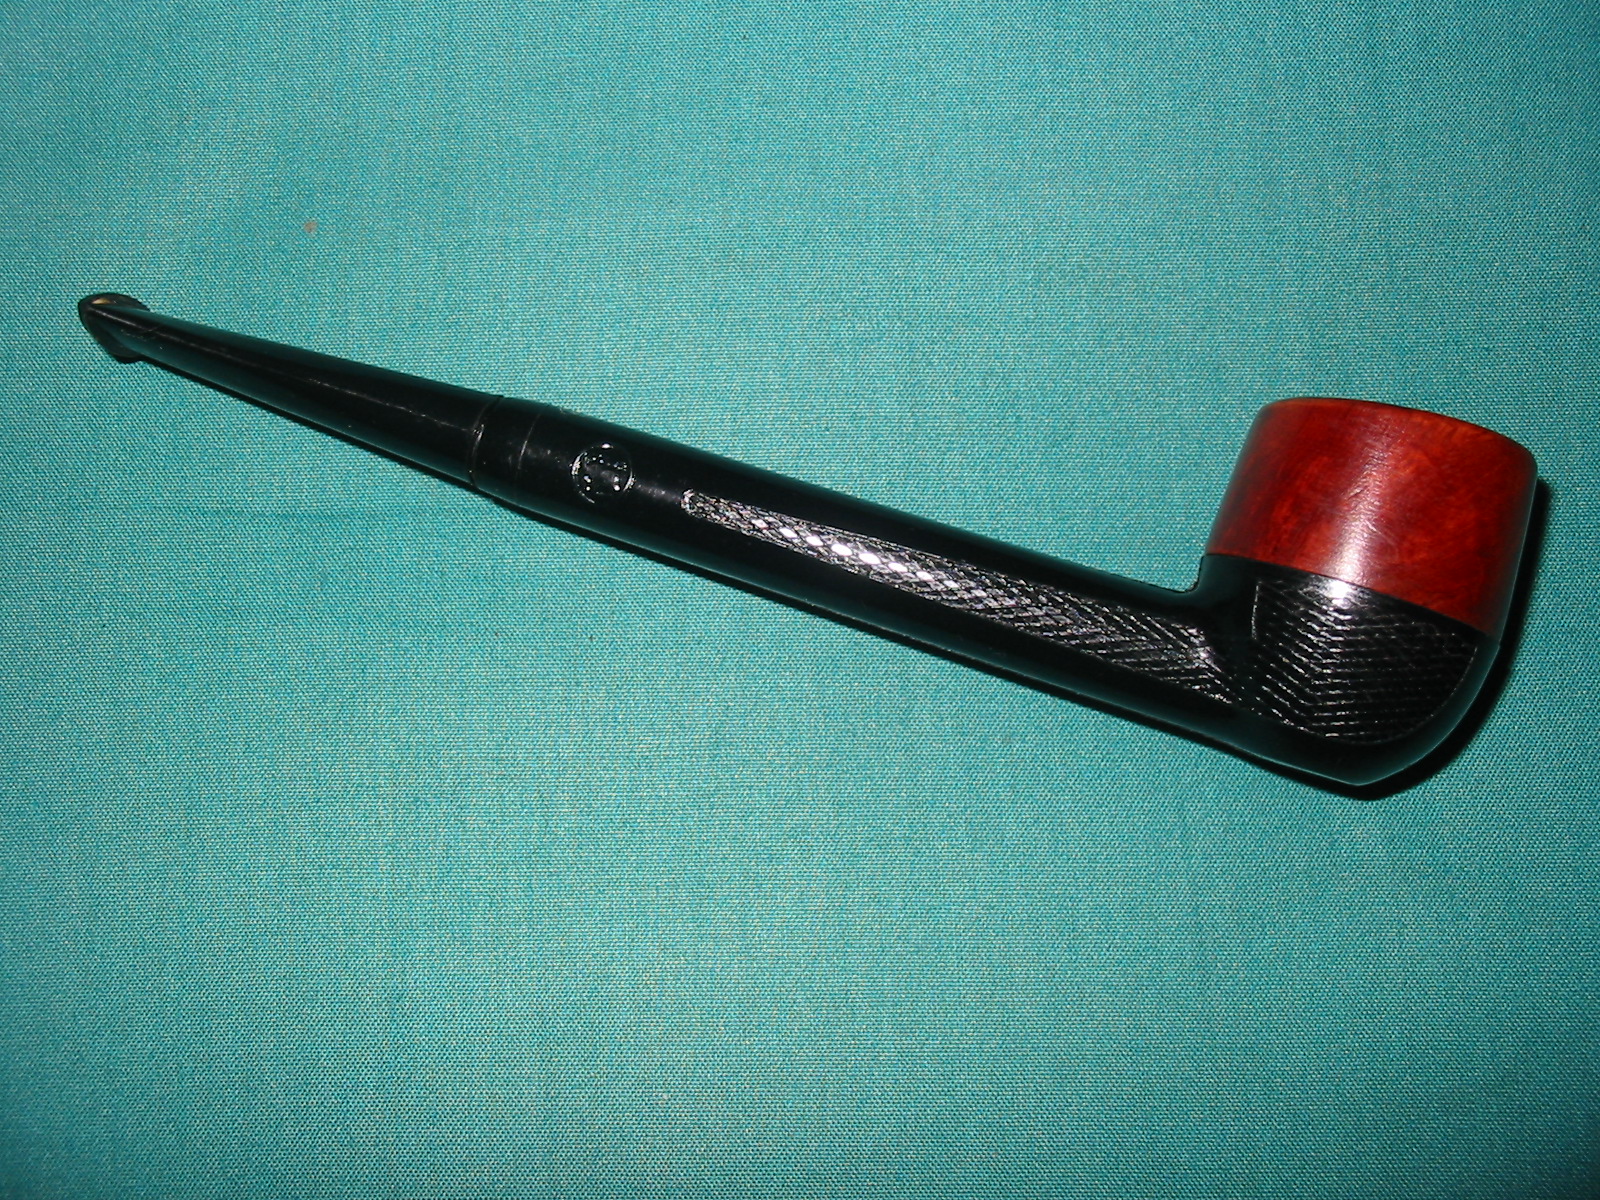
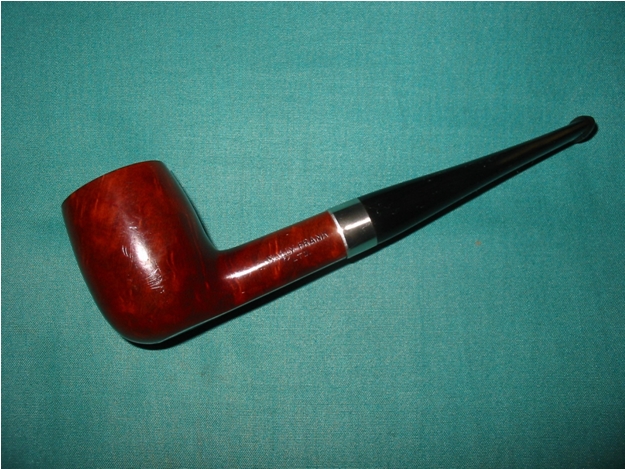
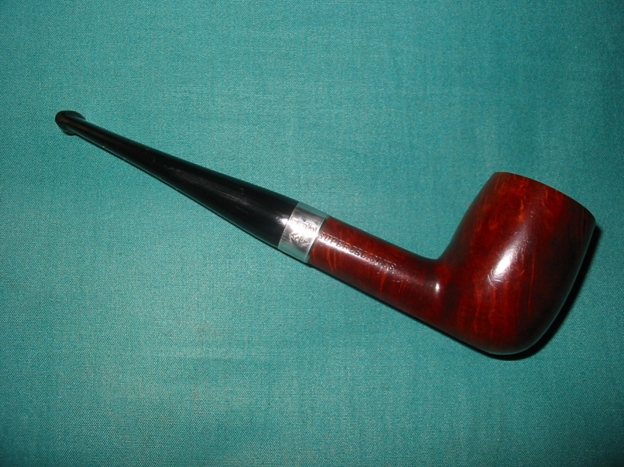
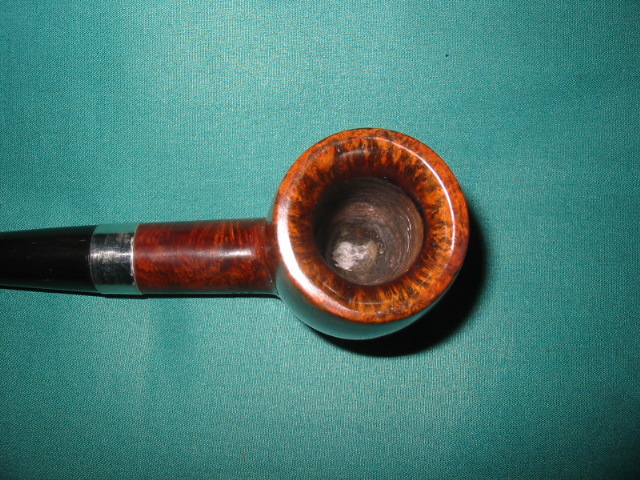
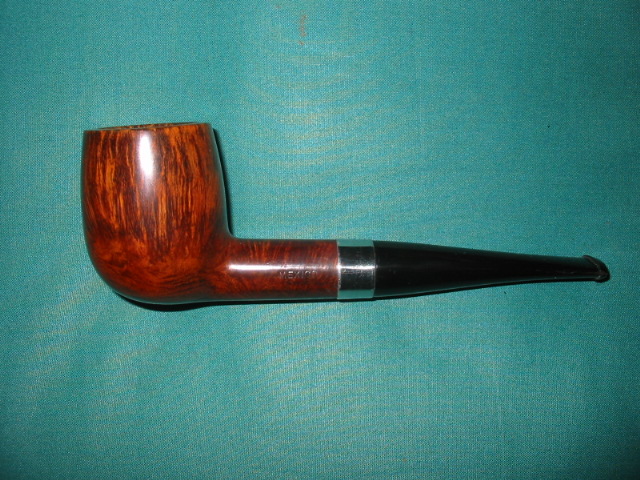
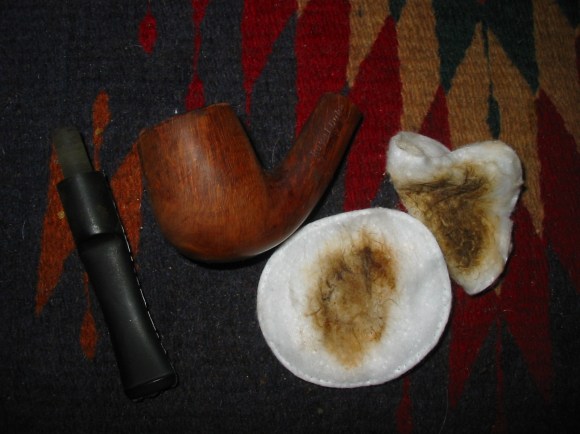
I cleaned the bowl with Murphy’s Oil Soap undiluted on a soft cotton cloth and cut through the grime and grit on the surface without damaging the finish at all. I used the same thing on the rim and was able to remove the lava. There was a bit of darkening that remained but no burn or charring. I used micromesh and Oxyclean on the vulcanite shank extension. I avoided sanding around the stamping as it is very light and I did not want to compromise it any more than it was. I was able to get the majority of the oxidation cleaned off the end and then coated it with some Obsidian Oil and let it sit for a while. Once it had dried I rubbed it with a soft cloth and then took the pipe bowl to the buffer and gave it a good buff with White Diamond, carefully avoiding the stamping. Then I coated the bowl and shank with carnauba wax and buffed with a soft cotton buffing pad. The grain on this pipe is absolutely beautiful. I really like the look of it. The bowl is quite large and it is clean and trouble free once it was reamed and cleaned.

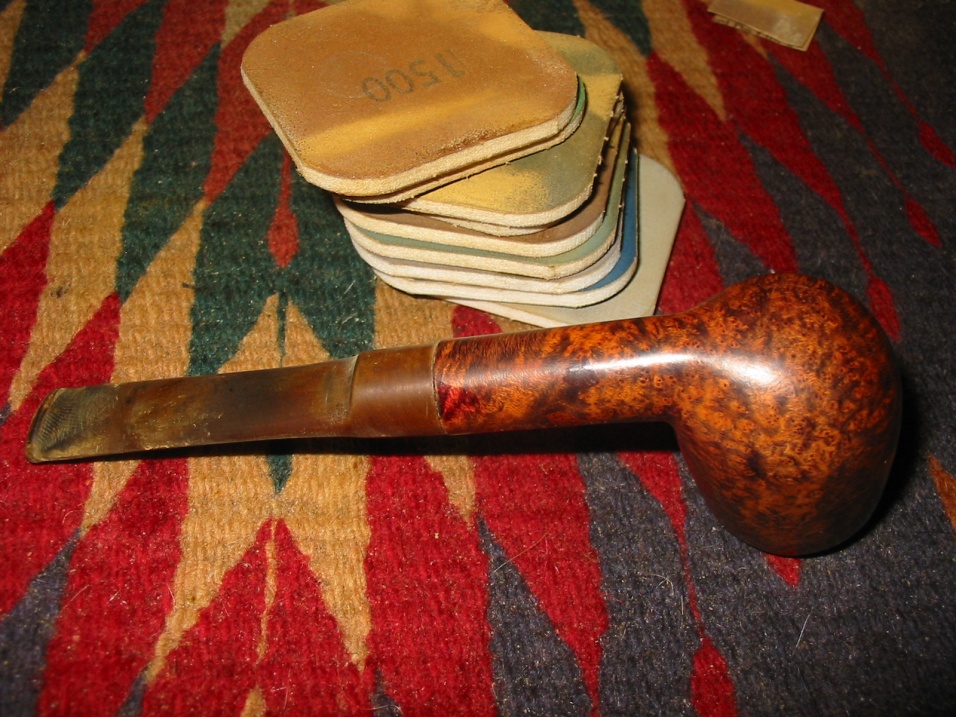
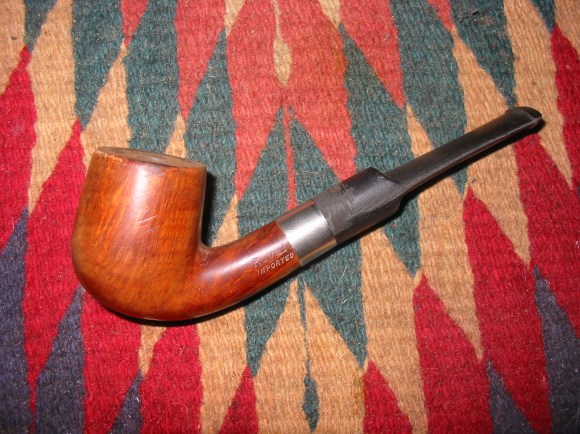
I looked through my stem can and found this Lucite/amberoid stem that I thought would look perfect with the pipe. It is a military style bit so I sanded it enough to give it a snug fit and then used micromesh sanding pads 1500-12,000 grit to sand and polish the stem. I opened the slot and made it into an oval shaped flared opening in order to better disperse the smoke. The old stem is still in the box. I am not sure what I will do with it but it will not find a home with this old Larsen ever again.

Oh this one is a keeper by the way and is regularly in my rotation. It smokes English and Balkan tobaccos like it was made for them. I think I will go and fire up a bowl now.

ImageImageImage

A Classic Rework of A Royal Duke Supreme


Blog by Steve Laug

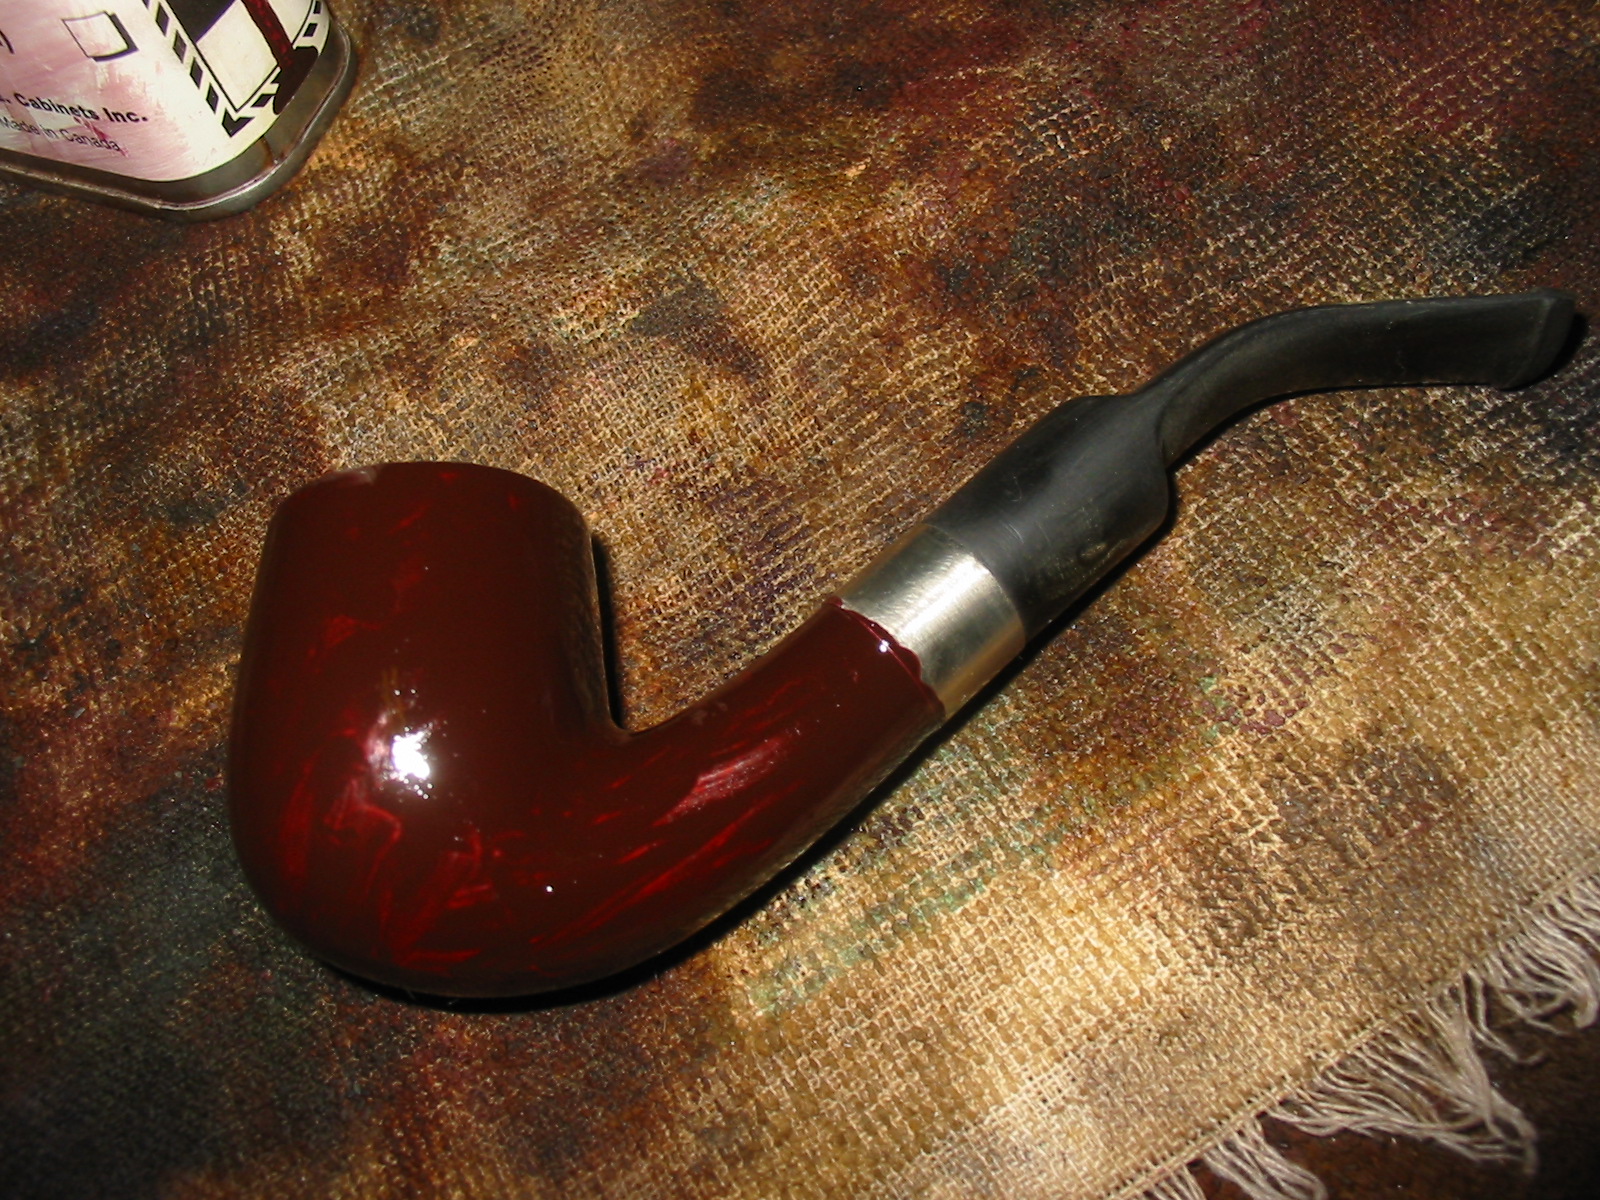
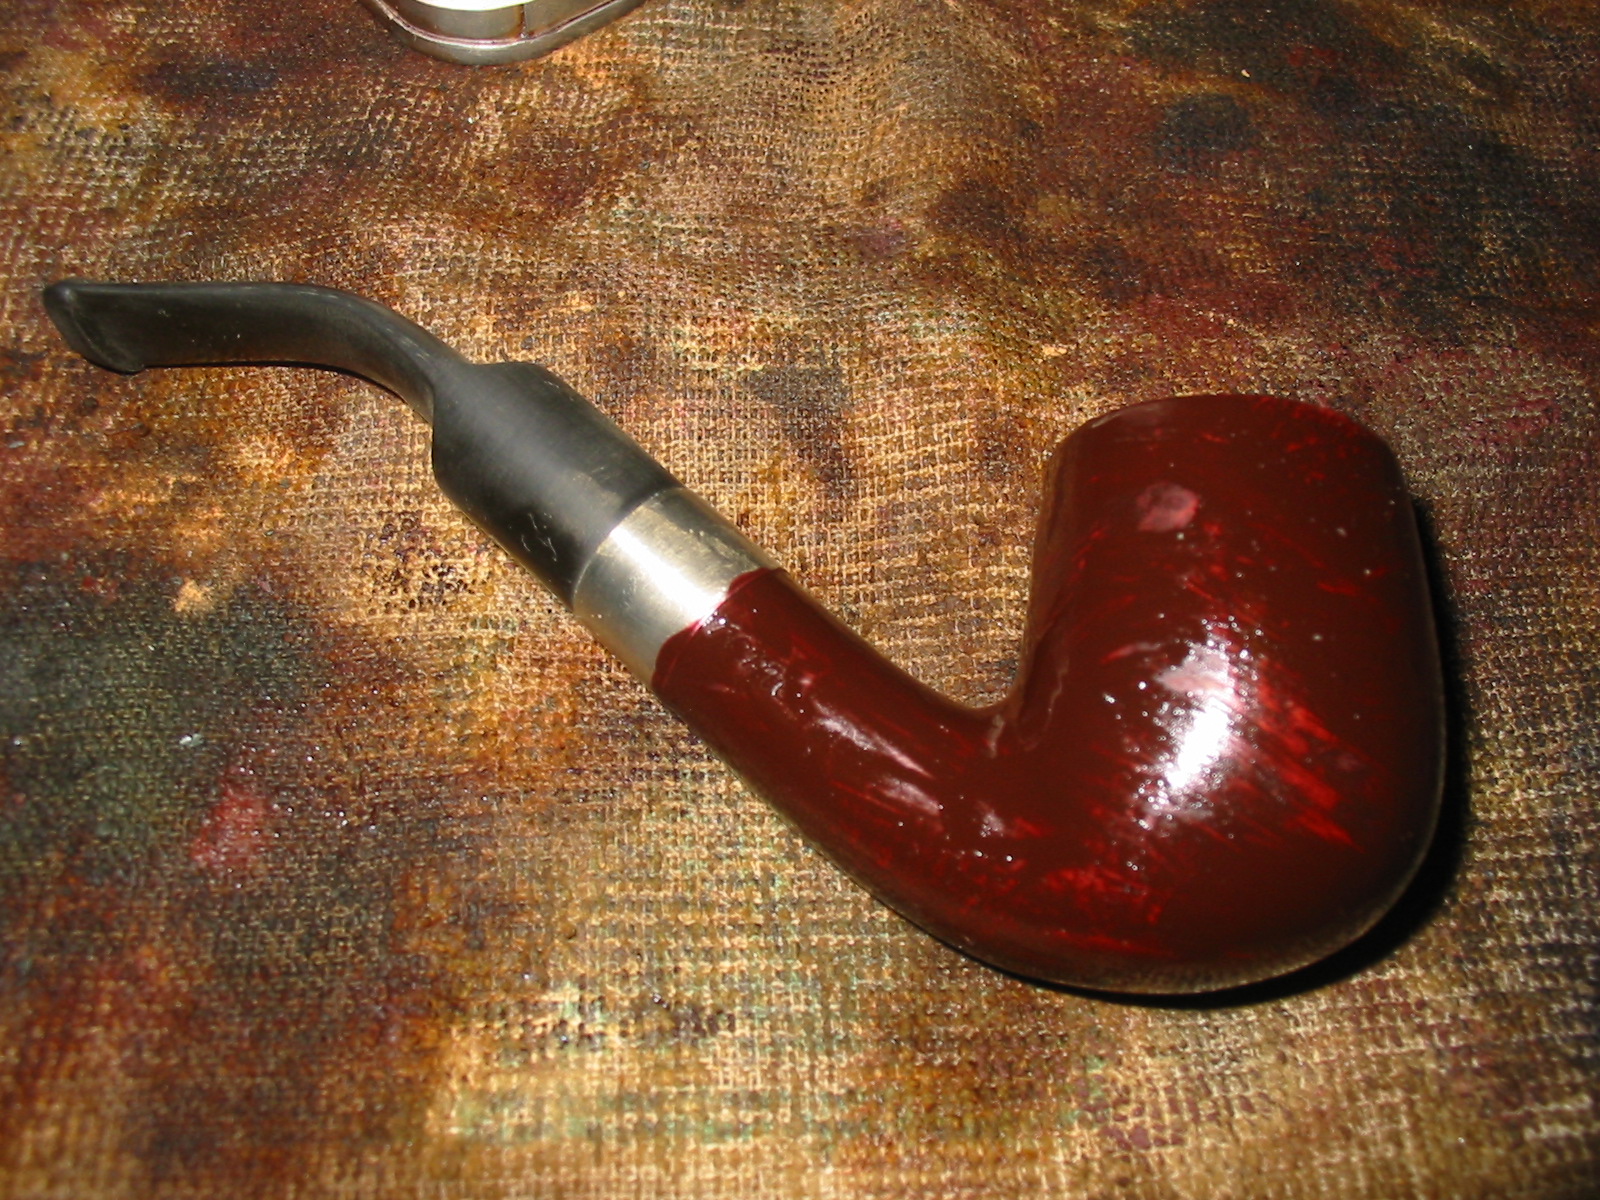
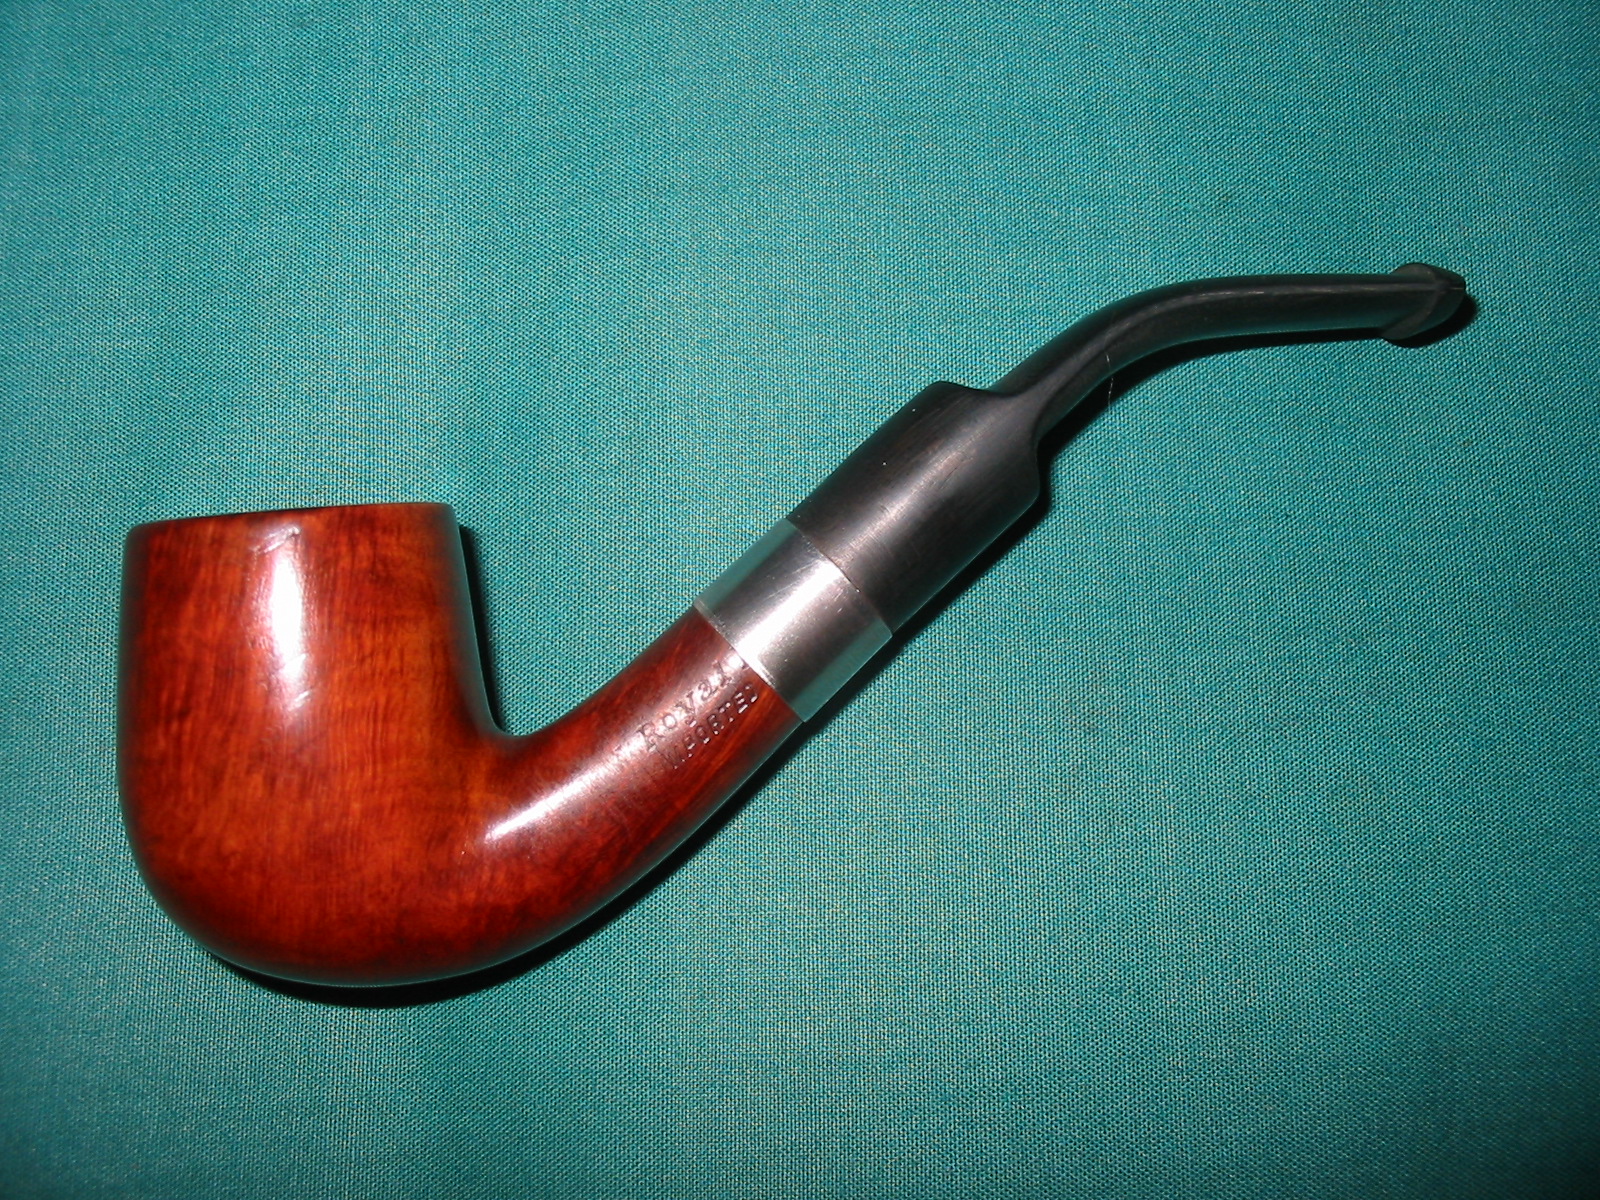
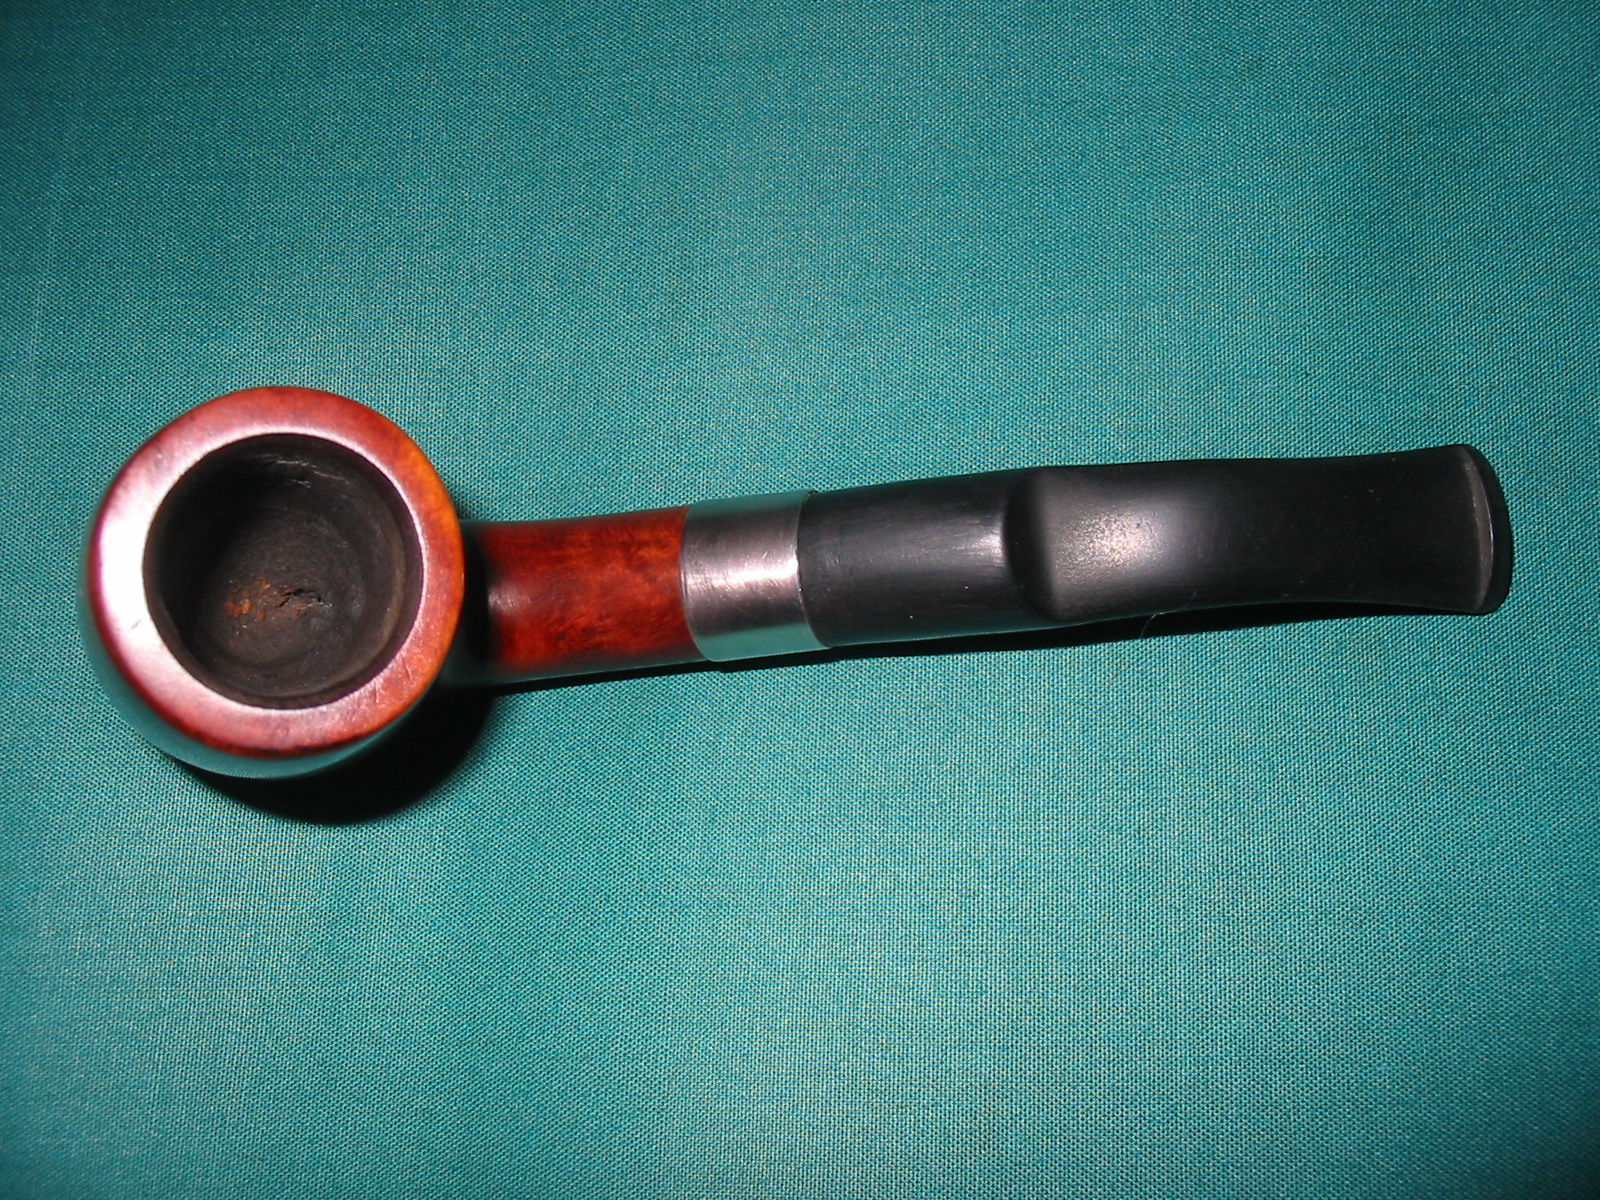
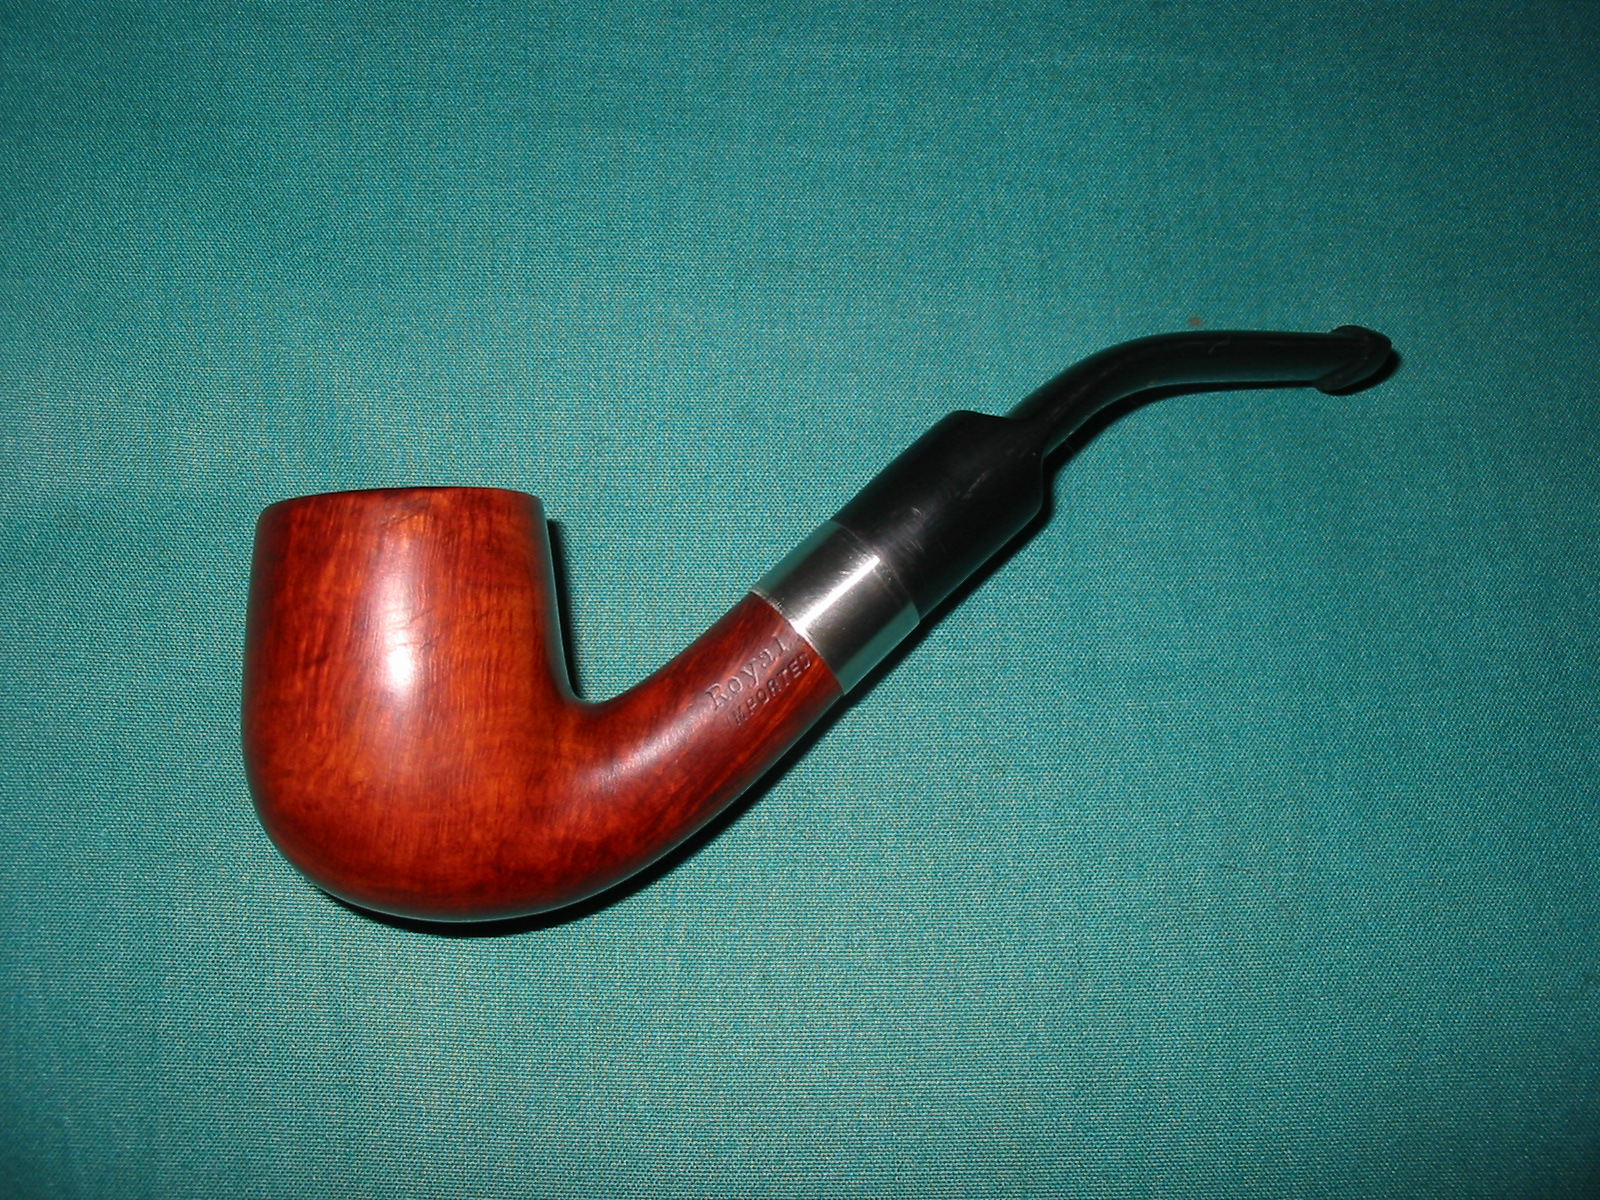
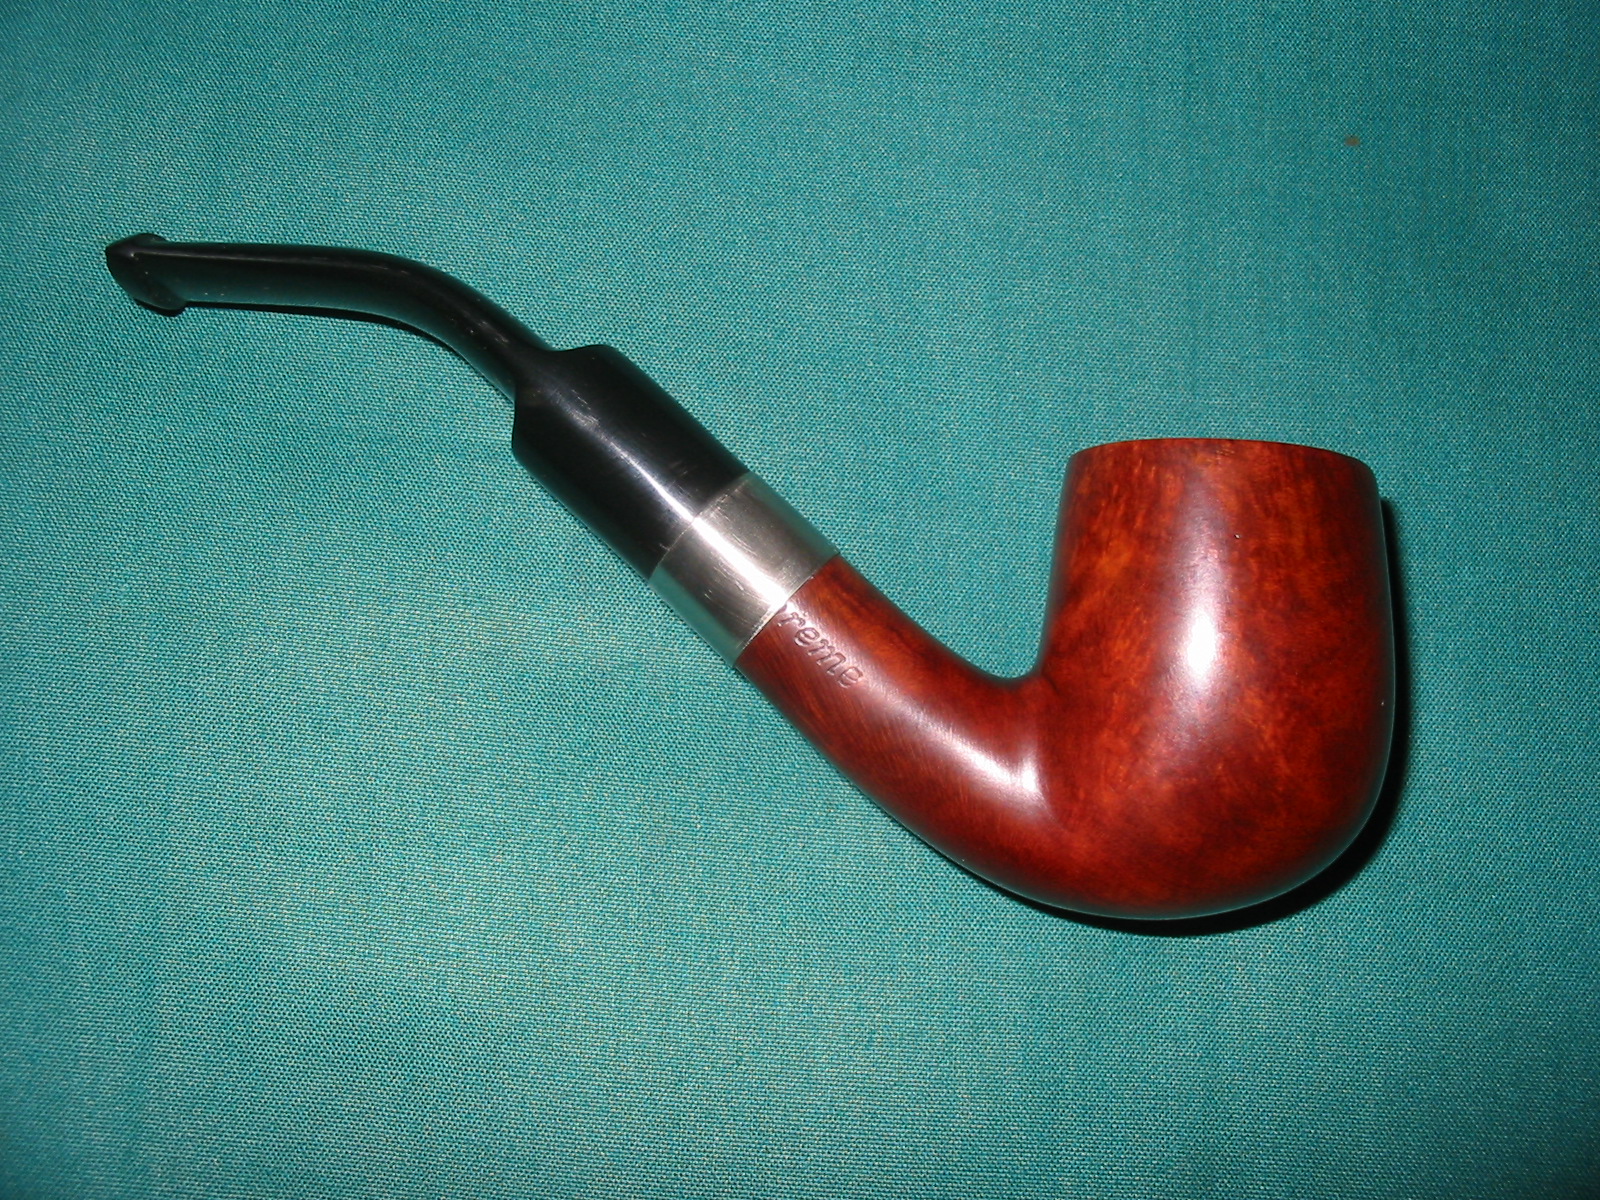
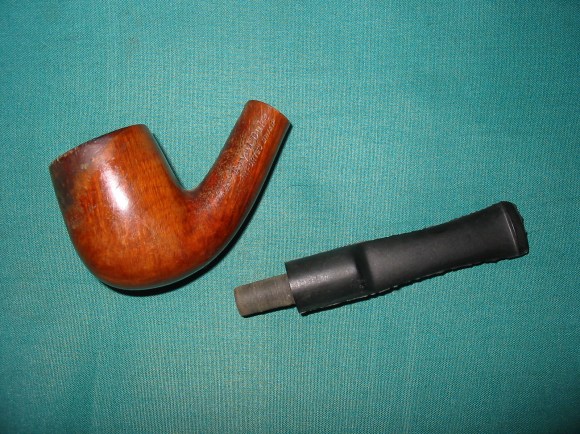
I had this old Royal Duke bowl in my box. It had some promise to my eye but it needed some work. The first thing I did was drill out the metal mortise that took a threaded tenon. I did not have any stems that fit it anyway and I wanted to try something new. The issue that remained once it was gone was the fact that the mortise rough inside and the end of the shank was not square so that there was no way to get a new stem to fit it seamlessly. The finish was very rough as can be seen in the photos below. The varnish on the outside of the bowl had bubbled and blistered. The front edge of the bowl was actually darkened as the varnish seemed to have burned or at least coloured. There were dents in the bowl and the rim was rough. I turned a precast stem with my tenon turner and got it close. I had to custom fit it as the shank was a little tapered toward the end.
ImageImageImage

The stem fit fairly well but would take a bit of customizing to get a good tight fit to the shank. It would also need a good cleanup to trim off the castings on the stem. The vulcanite was fairly decent quality as I have had it a long time but it showed no oxidation.
Image

I decided to work on the bowl first to clean up the remaining finish and remove the varnish from the bowl. I also wanted to see if I could remove the darkening around the front and back of the bowl. I washed the bowl with acetone on a cotton pad and cleaned off the finish. It took repeated washing to break through the varnish coat and also the burned and bubble finish. The next two photos show the pads after the wash. You can begin to see the grain coming out on this beauty. That is what drew me to the pipe in the first place and I was glad to see that it was truly there.
Image

I repeated the washing until the pipe was clean and had no remaining finish coat. The dark undercoat of stain still remained and light brown topcoat also was still present. This is clearly seen in the photos below. I worked on the fit of the stem and tapered the tenon enough to get a good snug fit to the bowl. I also used my Dremel to remove excess vulcanite from the top and the sides of the stem so that it lined up smoothly with the shank of the pipe. It was at that point I decided to pressure fit a nickel band to the shank to square things up a bit. There was no way that the stem and the shank would meet squarely as the shank was a bit angled and dented from the metal inserted mortise. The previous mortise had been threaded in and it had a thin band or flat top on it that sat against the briar. It was also patched a bit with putty to make the flow from the shank to the insert smooth. I fit the nickel band with heat and pressed it into place. I liked the finished look of the band and it gave me a straight edge to work with on the new stem. I again used the Dremel with a sanding drum to shave off more of the vulcanite and make the stem fit against the band inside edge. The next two pictures below show the stem after the fit and the shaving with the Dremel. You can see the rough surface on the saddle and the cleaned up edges of the cast stem and the button.
ImageImage

I then sanded the bowl and the stem with 240 grit sandpaper to remove the scratches in the briar and also on the vulcanite stem. It took quite a bit of sanding to smooth out the saddle of the stem. The next five photos show the progress of the sanding on the stem. I also sanded the bowl to remove the remaining finish and scratches. I topped the bowl and smooth out the inner and outer rim to remove the damages to them both. I also used my heat gun to put the bend in the stem. I have a curbed dowel here that I put the heated stem on to ensure that the bend is straight and that I do not crimp or bend the stem unevenly.
ImageImageImageImageImage

Once the sanding was at this point I wiped the bowl down with Isopropyl alcohol. I find that it removes any sanding dust and also the wet look shows me places where I still need to sand the bowl and stem. Once that was done I sanded the bowl again with 400 and 600 grit wet dry sand paper and water. I progressed through micromesh sanding pads 1500-12,000 grit – the first four pads with water and the remaining ones dry sanding. Once it was completed and smooth I wiped it down a final time before staining it.
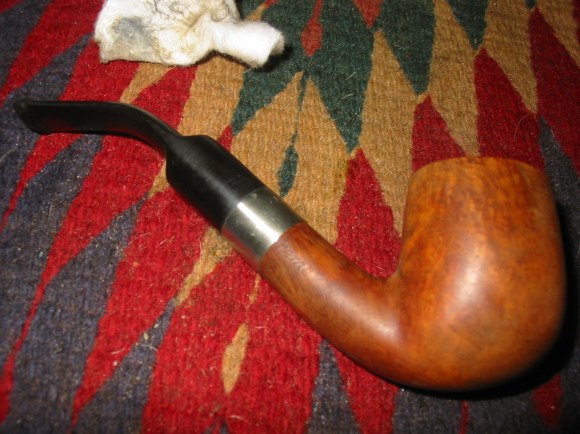
ImageImage

While I was sanding the pipe and working on the stem I tried to visualize what stain I wanted to use on this pipe. At this point remember I was not trying to restore the original Royal Duke colouration. I was working a new pipe out of this piece of briar even though I left the stamping. I decided to go with an oxblood aniline stain. I applied it with a cotton swab, flamed it and then took it to my buffer and buffed it with White Diamond.
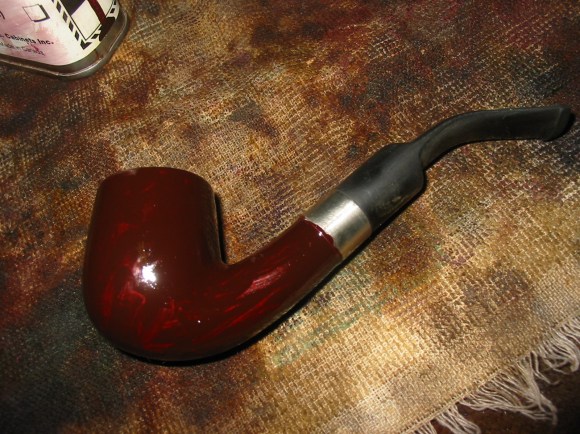
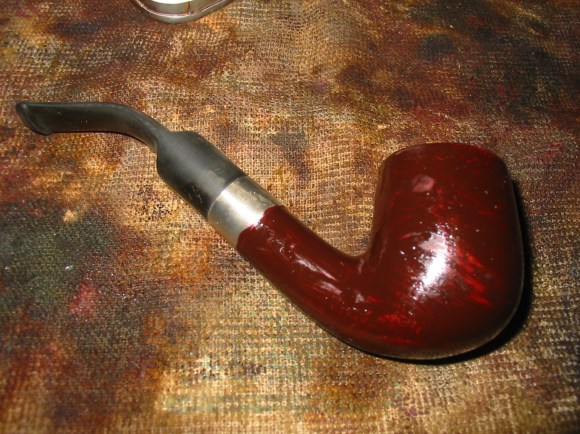
ImageImage

The next three photos show the pipe after the buffing with White Diamond. I had not applied any wax at this point nor was I finished working on the stem. The colour came out better than I imagined. The dark under notes of the grain come through nicely in the finished pipe. The light areas have a reddish brown hue that is a bit lighter as the pipe has been waxed and buffed.
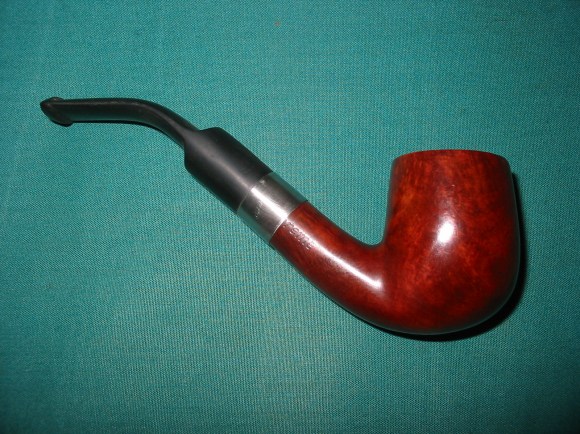
ImageImageImage

Once the pipe was stained I coated the bowl with multiple coats of carnauba wax to protect the new stain while I worked on the band and the stem. The nickel bands shine up really well with the higher grit micromesh sanding pads. I sanded the band with the 6000-12,000 grit pads and then polished it with some wax as well. I moved on to the stem. I sanded it some more with 240 grit sandpaper to remove some more of the scratches in the saddle area left by the Dremel. I then sanded it again with the 400 and 600 grit wet dry and water to smooth out the lesser scratches left behind by the 240 grit sandpaper. I went on to use 1500-3200 wet micromesh sanding pads to polish up the stem some more. These early grits of micromesh leave behind a matte finish as they sand out the scratches. It takes the grits above 4000 to really see the depth and polish that is there when finished. Once I used the lower grits I then polished the stem using Maguiar’s Scratch X2.0 polish and rubbed it on with a cotton pad and polished it off. I buffed the stem with White Diamond following this to see what I needed to work on.

I took the stem back to my work table and used the higher grits of micromesh. I started with 3600 and worked through 4000, 6000, 8000 and 12,000. Once I finished I buffed it again with the White Diamond and then coated the stem with Obsidian Oil and let it sit while the oil soaked the stem. I hand buffed the oil with a soft cotton cloth and then polished it with some carnauba wax paste and then buffed the entire pipe with several coats of carnauba. I buffed it with a clean cotton buff between coats of wax. The final photos are of the pipe as it stands now.
ImageImageImageImage

Cleaning up a Swedish Bromma Dollar System Pipe


Blog by Steve Laug

I picked up this old Swedish Pipe in a little town in Northern Alberta, Canada. It was an antique mall, the only one in town and I was able to pick up this one for about $10 so I did not feel too bad about it. I had not seen one of these pipes before. It is stamped BROMMA over Sweden on one side of the shank. On the other there is an Elephant logo in a circle and inside the circle is the word DOLLAR. The bowl is briar and the rest of the pipe seems to be either plastic or Bakelite. It is interesting. I was able to take the stem out when I picked it up but the bowl would not budge. It was definitely a screw on bowl as it was on crooked and at somewhat of an angle. The stem had tooth chatter on the top and bottom but no tooth dents. I sprayed some solvent on the bowl stem connection to try to loosen it. I twisted it carefully but it would not budge so I set it in my box of pipes for repair.

ImageImageImageImage

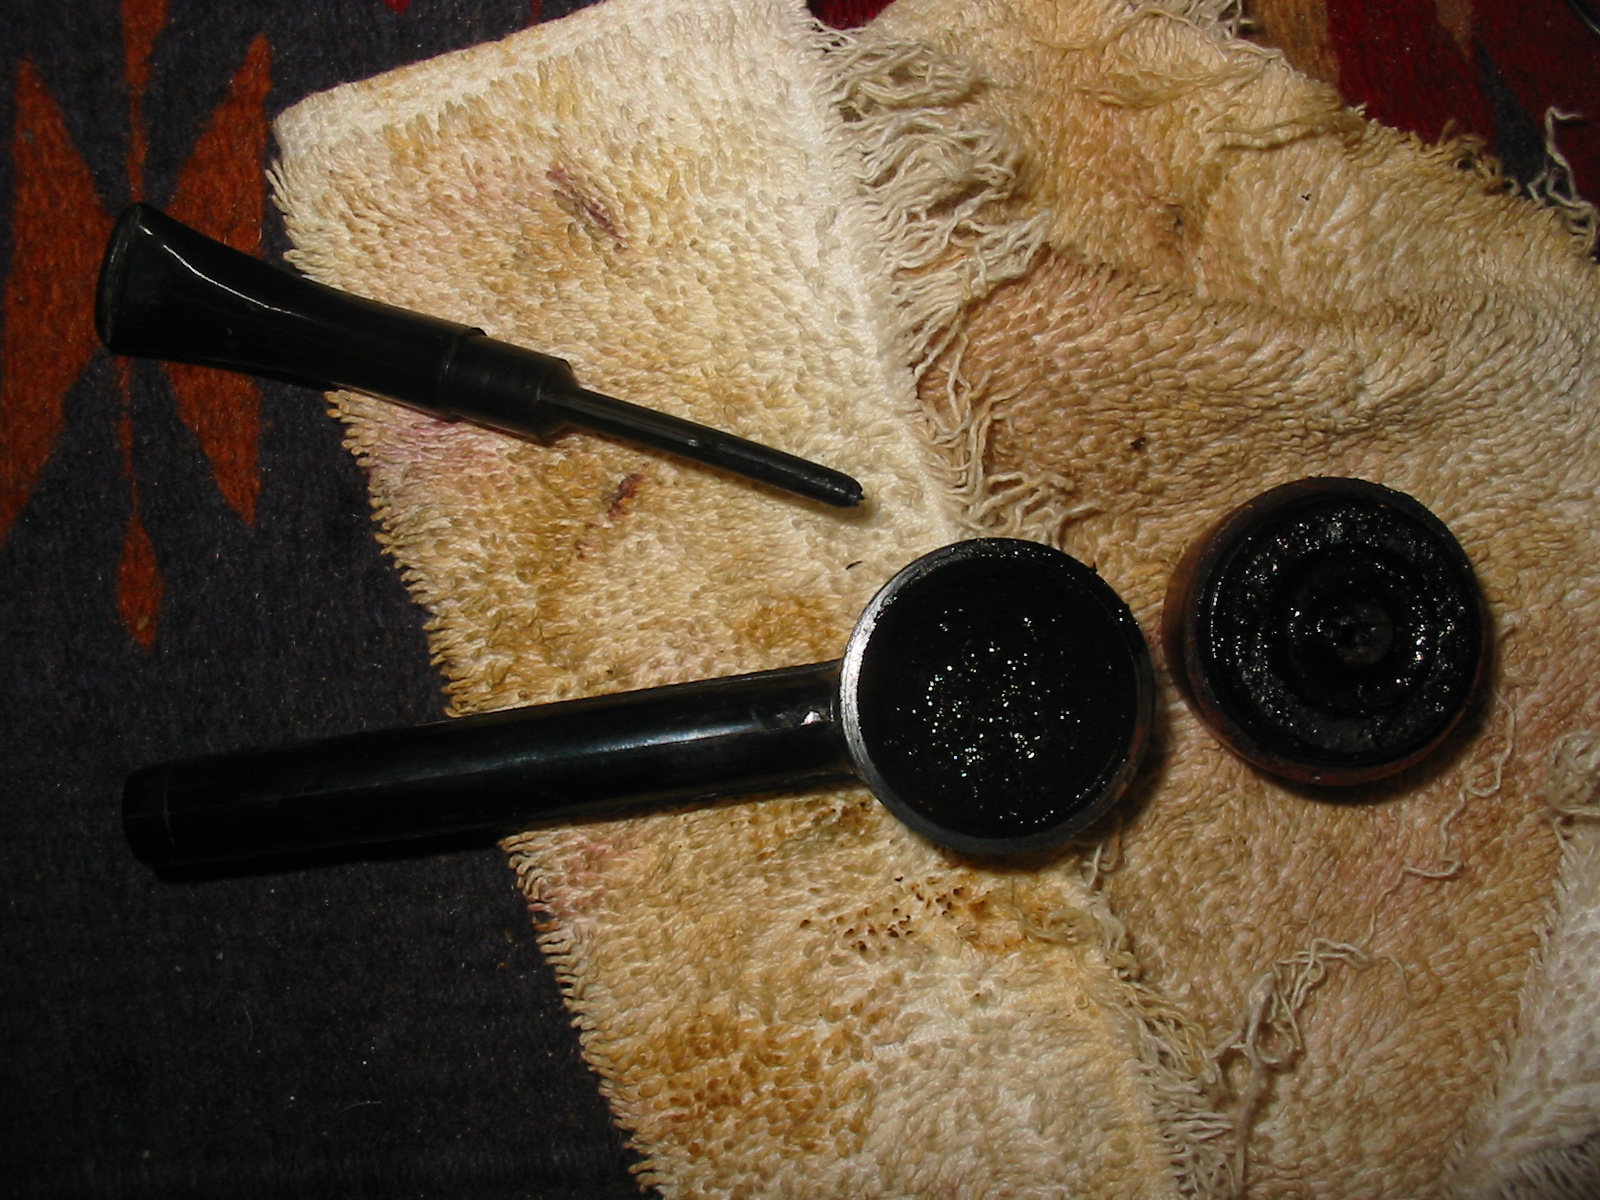
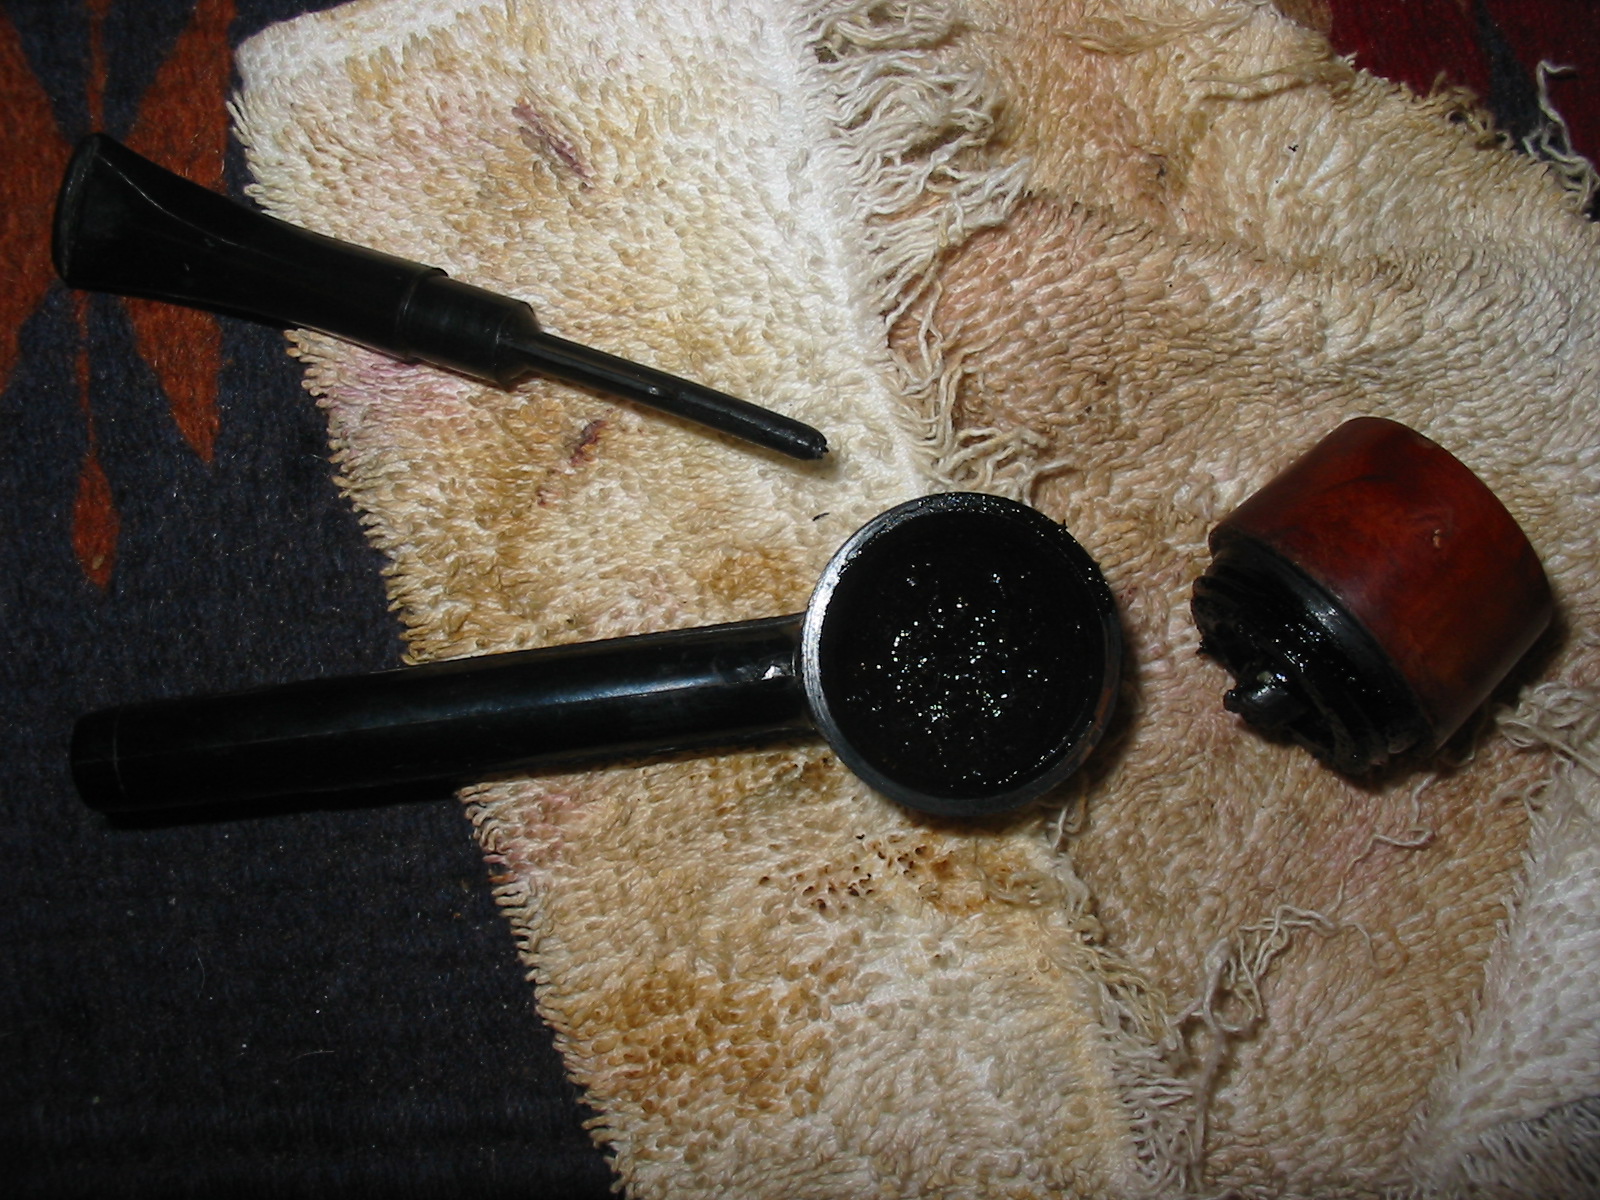
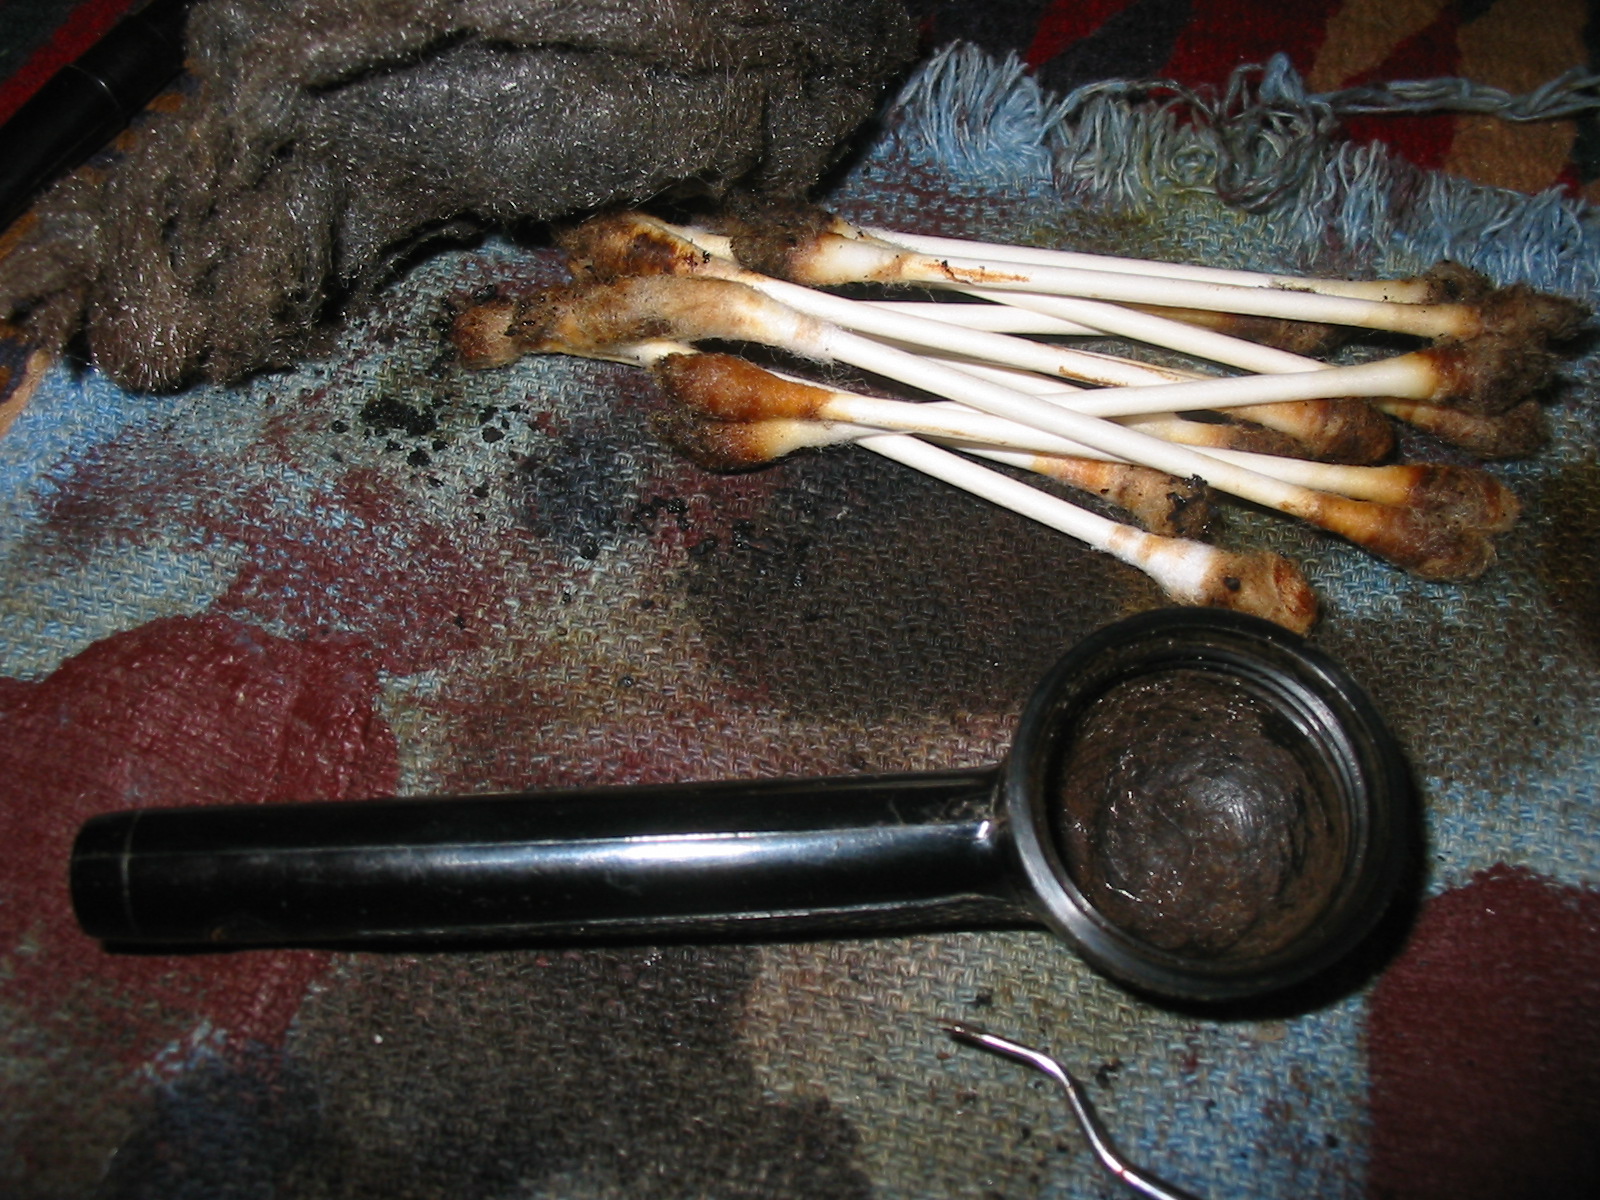
Today was my day to work on it. I took it out of the box and gave the bowl a twist and it would not budge. I used the sanding board to top the bowl and once it was smooth and clean I wiped the entire bowl with acetone. I was careful not to get any on the shank or bottom of the part. I then used Isopropyl and a cotton swab to swab alcohol around the bowl and the bottom portion of the pipe – the keeper for lack of a better word. I repeated this several times and tried to carefully twist the bowl off the keeper. I repeated the swab and alcohol until finally I was able to twist it off the keeper. The next two photos below show what I found inside the keeper portion of the pipe. This is amazingly like the stem portion of the Falcon pipes. The difference is the material it is made of. It is incredibly lightweight and resilient. The base was absolutely full of hardened tars and sludge. My guess is that it had never been taken apart after the initial purchase and after the bowl was put on and misaligned. This would take some work to be sure. The stuff was as hard as rock and would not budge with a pipe cleaner.

ImageImage

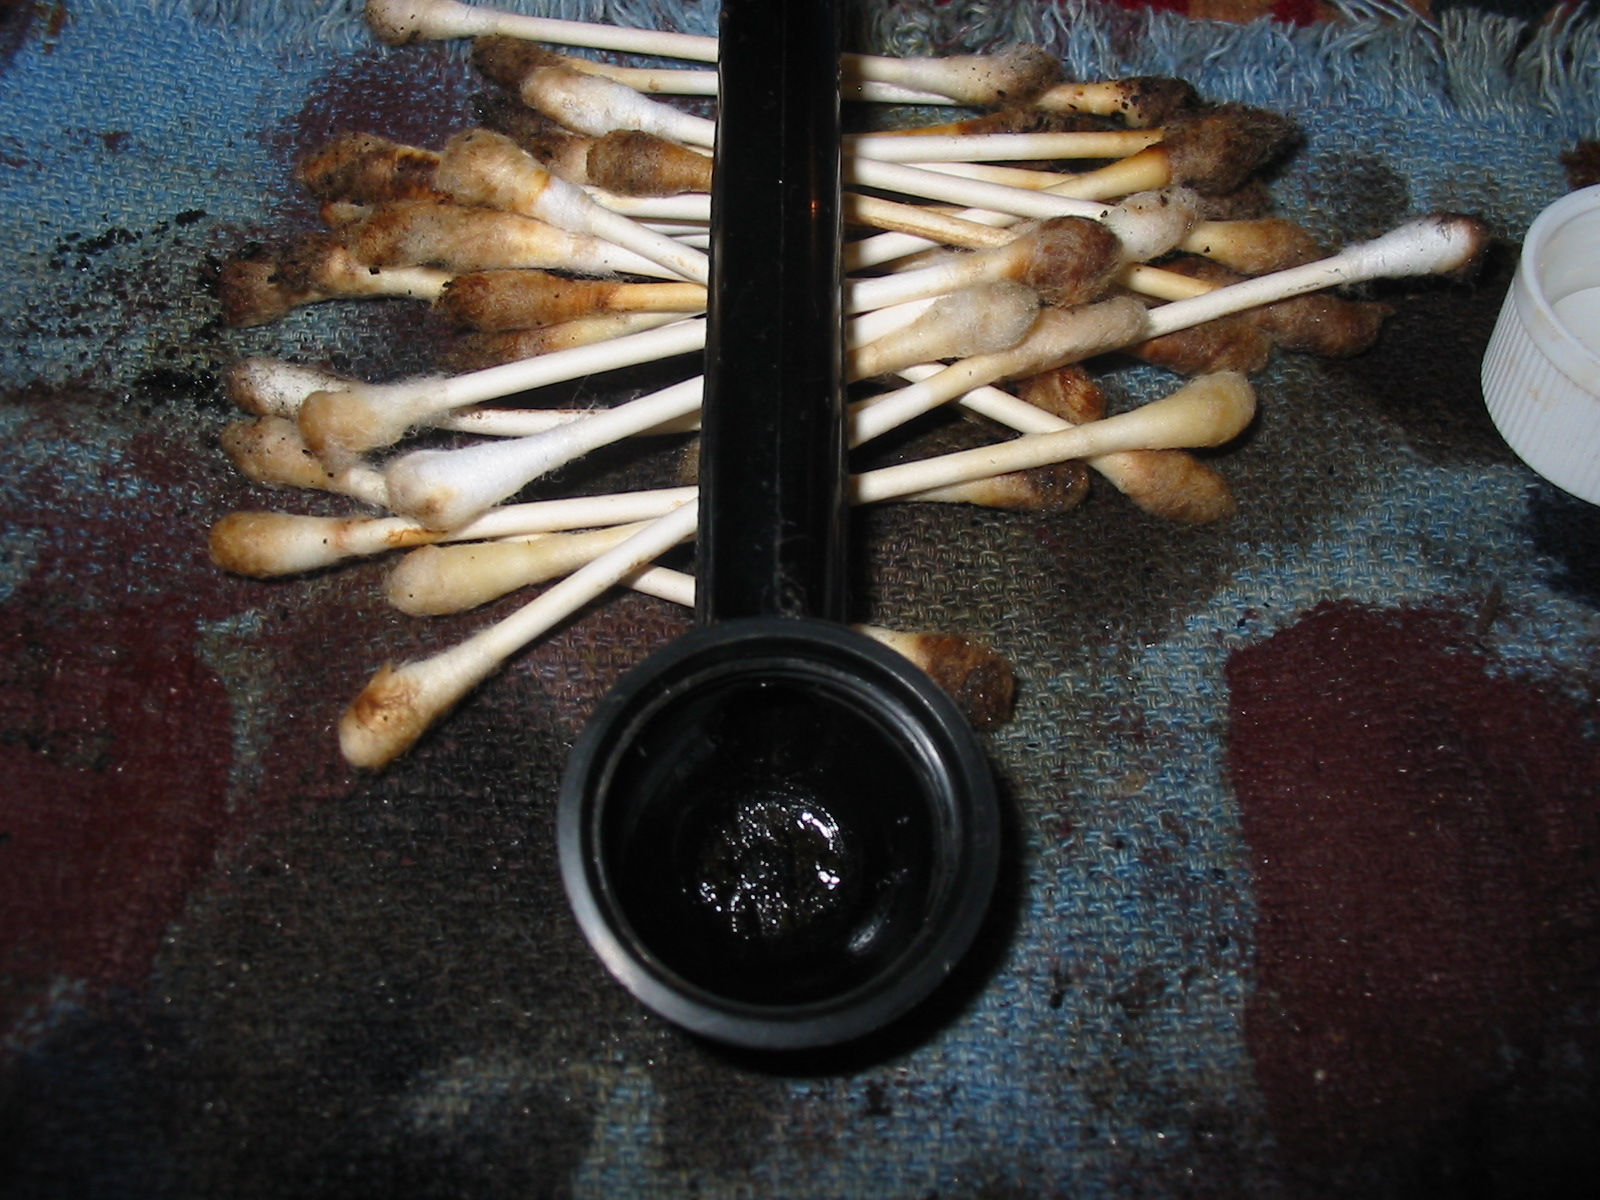
I decided to drop the bowl into the alcohol bath and let it soak away while I worked on the stem and base portion. I used my dental pick and Isopropyl alcohol to work at the rocklike tar in the base. I soaked the tarry stuff with alcohol and picked at it with the dental pick. Once I had some of it loose I would use the cotton swabs to daub out the gunk and alcohol and then repeat the process. The next series of three photos show the process of picking away the tar and the results after wiping it clean with the swabs. I probably used about 60 or more swabs and removed a lot of the gunk from the bottom of the base. I soaked it and kept at it. I used 0000 steel wool to scrub the tars once I had the majority of the material picked free. Then I took it to the sink and used a microfiber cloth to scrub the base with hot water and degreaser.

ImageImageImage

The next two photos show the inside of the base after it has been thoroughly cleaned. The shank itself was almost like a Kirsten barrel and need lots of soft tissue and cloth run through it until it was clean and shiny on the inside. The photos are slightly out of focus but the cleanness of the base is very visible.

ImageImage

I then removed the bowl from the alcohol bath and went to work on it. I picked out the two putty fills with my dental pick. I also followed the threads with the dental pick to remove the grime and grit that filled the threads and did not allow the bowl to be threaded on correctly. I also used a bristle tooth brush and alcohol to scrub the bottom of the bowl from the threads down to the nipple like structure on the bottom. The next four photos show the bottom of the bowl and the threads after cleaning them. There is an inset portion of the bowl bottom that is like a moat around an island that has the moutainlike nipple in the centre. This took quite a few cotton swabs to clean the grime out of the channel. Once it was clean there is a patent stamp on it. It reads Pat. S. I am guessing it is a Swedish Patent mark. The portion of the bowl that is threaded seems like it is made of the same kind of material as the base of the pipe. The mountain in the middle is briar. It is an interesting and unique design. I am looking forward to firing it up and giving it a smoke once it is finished.

ImageImageImageImage

Once the bowl was clean I decided to replace the fills with briar dust and super glue. The next series of photos show that process. I had already picked out the putty fill. I used a dental pick to tamp briar dust into the pits on the bowl. The first picture shows the briar dust before I wiped it smooth and added a few drops of super glue to the mix. The second and third photo are a bit out of focus but show the repaired fills after I sanded them down with sandpaper to smooth the surface to match the surface of the bowl.

ImageImageImage

The bowl was now ready to be stained with an oxblood coloured aniline stain. I applied the stain with a cotton swab and then flamed it and buffed it off. The first two photos below show the stain applied and ready to be flamed with a match. I held the bowl with a dauber so that I could manipulate it to apply the stain.

ImageImage

The next two photos show the bowl after a buff with Tripoli. I had not polished them at all at this point I merely buffed off the stain to get an even coat on the bowl sides and rim. The great thing with the briar and super glue fill is that it takes the stain and darkens with the finish coat. It is far more attractive to me than the pink putty fills that were originally present.

ImageImage

The next two photos show the pipe taken apart. There is the bowl base and long shank that is made of the plastic or Bakelite material, the bowl itself. It has a small burn mark on the top of the rim but I left it rather than take it down any deeper into the surface. The third portion is the stem unit with a four finned stinger apparatus. The airflow is straight through from the bottom of the bowl to the slot in the button. The stinger with cooling fins is designed to cool the smoke and trap the tar and oils along the fins. This portion and the inside of the stem took work to clean. It is open enough to take a pipe cleaner through it with no problem.

ImageImage

The final four photos are of the complete pipe reassembled and ready to smoke. I coated the bowl base and stem with Obsidian Oil and then hand waxed it with Halcyon II wax and buffed it to a shine by hand as I did not want to risk it on the buffer. I have had this kind of material melt when buffed so I am shy to try it on this pipe. The stem was sanded with micromesh sanding pads from 1500-12,000 grit and then polished with Maguiar’s Plastic polish as I have been doing on all of the pipes lately. I put some carnauba wax on the threads of the bowl to lubricate make the threads as I screwed on the bowl.

ImageImageImageImage

New Life for a Wally Frank Super Delicious Billiard


Blog by Steve Laug

I have become familiar with many of the Wally Frank lines of pipes but this was one I had not heard of before. It almost sounds like something to eat rather than smoke. It is stamped Wally Frank Ltd on the left side of the shank and on the right Super Delicious – interesting stamping indeed. The pipe was one of the bowls that I had in my box needing to be restemmed. It also had a cracked shank that was present before I matched a stem to it. Often a shank will crack like this if a tenon that is oversized is forced into the shank. That obviously had happened to this old pipe sometime in its life. I found a stem that fit the shank and inserted it enough to show the crack in the shank for the first photo below. The crack approximately ½ inch long and was in a portion of the shank where it was thinner than the other side. One of the challenges in restemming these older pipes is the fact that the shank is very often out of round and the stem has to be shaped to match it accordingly. The bowl has some nice grain on it and was well worth restoring. The remaining three photos in the first group of four show the grain and shape of the pipe. Note that rim was not only darkened but was worn on the front edge of the outer rim.
super1

super4

super3

super2
I reamed out the bowl and removed the cake that was present only in the top half of the bowl. It seemed that the lower portion of the bowl was not even broken in. The top of the bowl needed to be topped to even out the flat top of the bowl. The way the angle was after the tars and grime were removed was d a slight slant toward the front of the bowl and the front edge was rounded from tapping out the bowl repeatedly on a hard surface. I used the board and sandpaper to top the bowl and even out the top. I also made certain that the bowl was held against the board to even out the angle and make the top smooth and flat. The first photo below shows how out of round the shank is in proportion to the mortise. Notice the difference in thickness all around the shank diameter. The crack in the shank is at about 3 o’clock on the shank. The next two photos show the bowl after it has been topped and is even with no slant toward the back or front of the bowl.
super5

super7

super6
After I had topped the bowl and evened things out I wiped the entirety of the bowl down with acetone on a soft cotton pad to remove the grime and the remaining finish on the bowl. It came off almost black when I was finished cleaning it. I then needed to band the crack shank. I opened it with the stem and then dripped a bit of superglue in the crack before pressure fitting the band in place. The first photo below shows the shape of the shank and makes the thin area very clear. This would require quite a bit of shaping to make the stem fit the shank correctly. The next two photos show the banded stem and how it fits on the shank. I kind of like the look of the band against the natural colour of the briar.
super8

super10

super9
The next two photos below show the stem shape after I had removed much of the material at the top left corner of the picture. The stem is round at this point but the tenon is no longer in the center of the stem. It is proportionately toward the top left of the picture and on the top bottom when it is in place in the shank.
super11

super12
At this point in the process I restained the bowl with a dark brown aniline stain that I thinned with isopropyl alcohol so that it would match the colour of the bowl. My goal was to match the rim that I had topped and was raw briar to the natural patina of the bowl and shank. I mixed the stain until it was the colour I was aiming for and then stained the entire bowl with multiple applications of the stain to the rim. I flamed the stain and reapplied it to the rim, flamed it again and then took the pipe to the buffer. I buffed the bowl and stem with Tripoli and White Diamond. Once I was done with that I buffed the bowl and shank with multiple coats of carnauba wax to bring depth to the shine and also to blend the rim and bowl together.

I then worked on the oxidation of the stem. I had shaped it to fit the shank with my Dremel and when it fit well I sanded the stem from front to button with 280 grit sandpaper and then 400 and 600 grit wet dry sandpaper to remove the oxidation and scratch marks from the Dremel. Once it was smooth I progressed through the micromesh sanding pads from 1500-12,000 grit. In between 4000 and 6000 grits I polished the stem with Maguiar’s Scratch X 2.0 and then finished sanding with the micromesh. I finished the stem with a coat of Obsidian Oil and then multiple coats of carnauba wax to give it shine. The next series of four photos show the finished pipe. It is shined and ready to smoke.
super13

super14

super15

super16

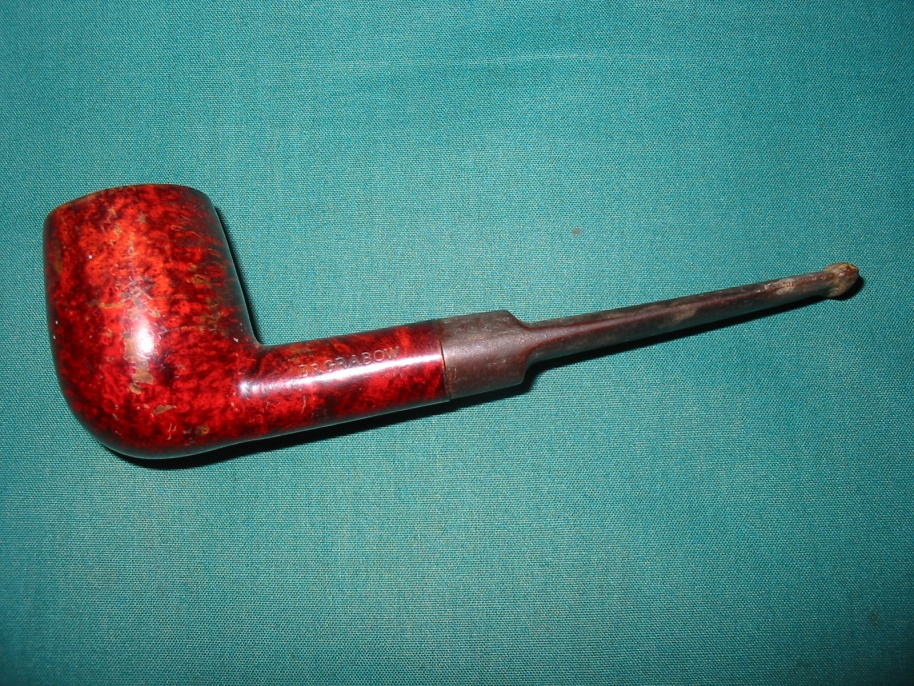
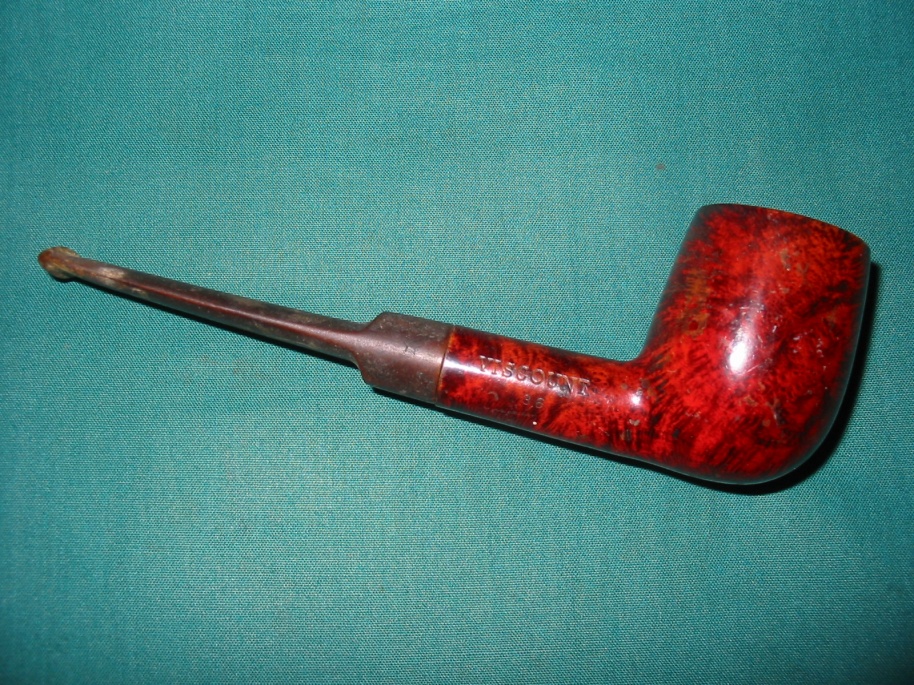
Reworking a Dr. Grabow Viscount


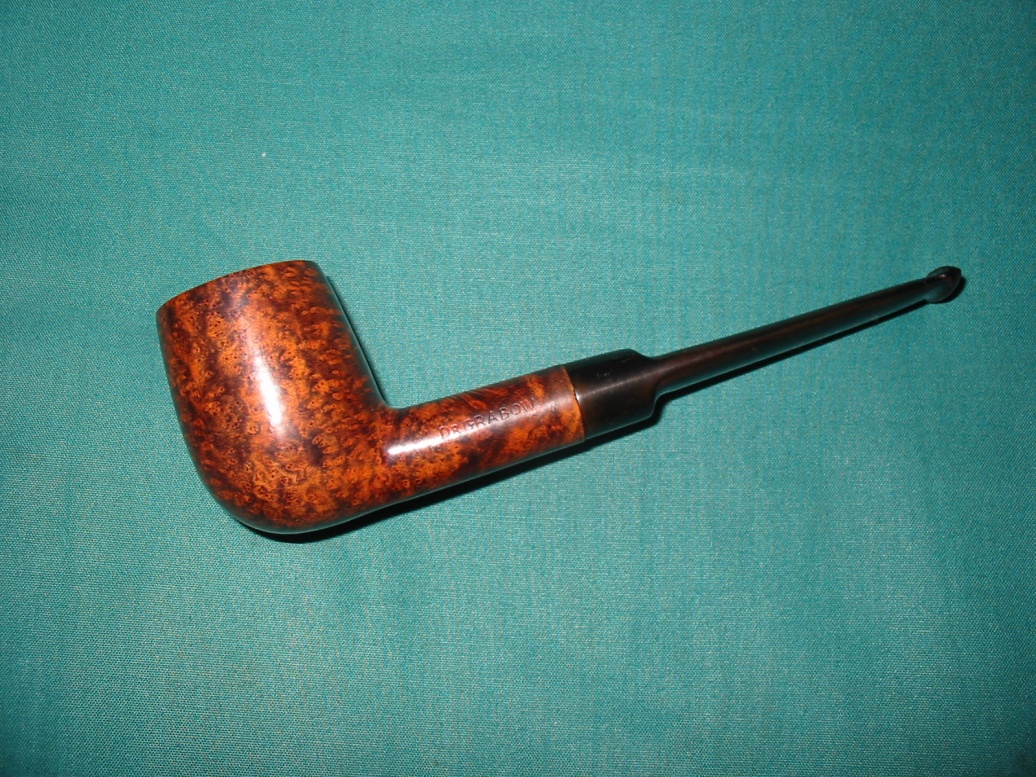
I had this old bowl in my box of pipes to refurb. It needed a stem and it needed a good cleanup. When I took it out of the box to match a stem to it, I noticed that it had some pretty nice grain under the cherry red stain. It seemed like it had a nice dark contrast stain added to bring out the grain and then the red stain was over that. On top of the red stain was a coating of varnish or lacquer of some sort. That topcoat was peeling and the red beneath it was also rubbed off. It seemed like the red stain was more of a wash on top of the bowl rather than one that permeated the bowl. I went through my can of stems and found an old saddle stem that fit quite well. It was badly oxidized but I liked the overall look of the pipe with the saddle stem.
vis1

vis2

vis3

vis4

With the state of the finish I decided to wipe it down with acetone to remove the varnish/lacquer finish and see what I could do with the stain. I was not overly concerned as I figured I would need to remove the red topcoat and start over. The wiped off portions of the finish would require a restain. I just was not sure what was underneath the topcoat. Sometimes on these older Grabows there are a lot of fills hidden under the opacity of the topcoats. I was hoping that this would not be the case with this one. I used a cotton pad wet with acetone to wipe down the finish on the bowl. The rim took a bit more work to remove the tars and build up. I used a fine grit sanding pad and carefully removed the grime while leaving the finish intact. I wipe the bowl down with about three pads and acetone. The result is seen in the photos below. The grain and the stain on this one was beautiful. It has a great contrast stain that makes the grain pop and the lighter reddish brown stain provides a soft canvas to highlight the grain. Once the red finish was removed I left the bowl as it was. I buffed it with White Diamond to polish and remove any remaining red portions of the stain. Then I waxed it with multiple coats of carnauba wax. I put the stem in an Oxyclean bath to soak while I continue to polish the bowl and finished cleaning out the interior of the shank and bowl.
vis5

vis6

vis7

vis8

The stem took a lot of work as the oxidation was very deep. I soaked it twice in the Oxyclean bath and sanded it with micromesh 1500 and 1800 grit sanding pads between soaks. There was some deep, stubborn oxidation on the flat portion of the blade – about mid stem. It was very hard to remove. I sanded it with 2400-3600 grit micromesh and then polished with Maguiar’s Scratch X 2.0 polish repeatedly. Eventually the stubborn oxidation came to the surface and I was able to remove it. I then continued to sand on the stem with the higher grits of micromesh sanding pads – 4000-12,000 grit. I find that the higher grits really deepen the shine of the stem. Each successive grit of micromesh pad brought more of a polish to the stem. The hardest spot at the end was the saddle area. In the photos below there still remains a bit of oxidation that I am still working on – this is particularly clear in the photo of the underside of the pipe.

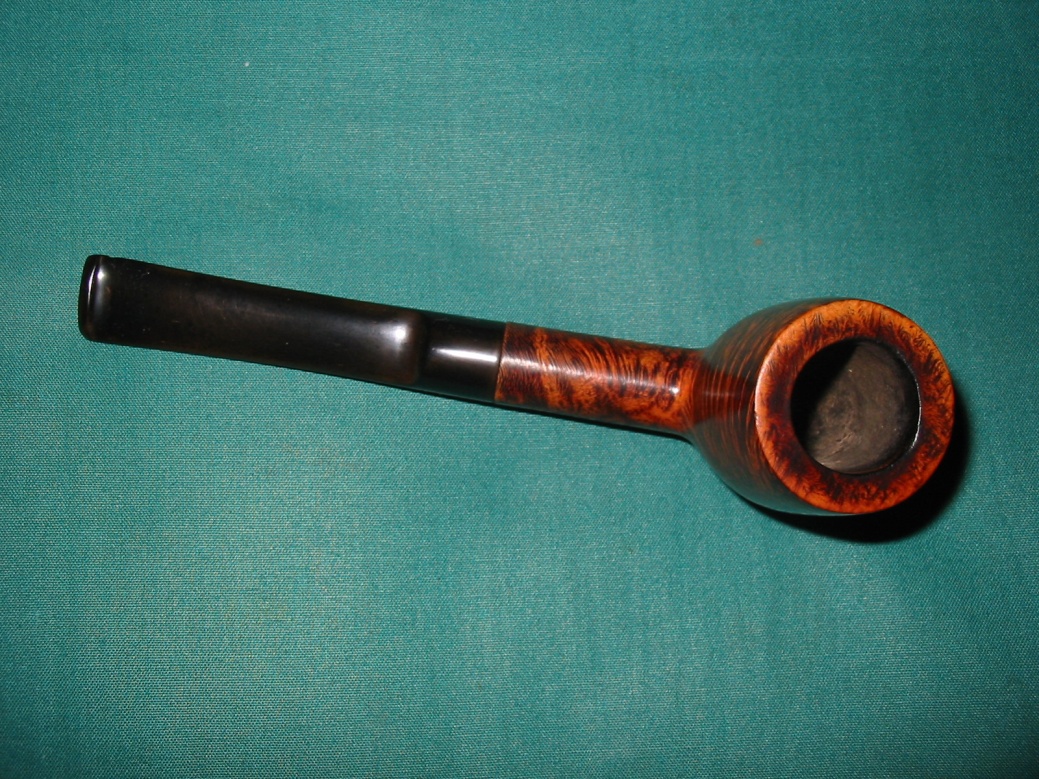
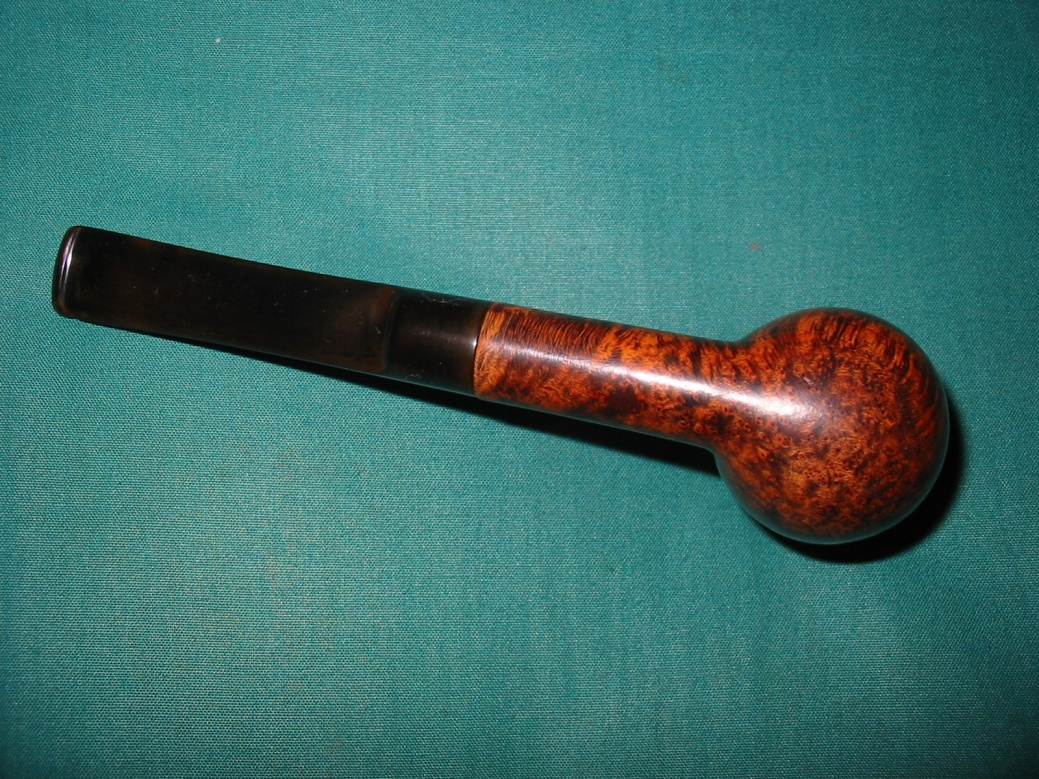
Ah well – here is the reworked Dr. Grabow Viscount. It is ready to load up a bowl for its new inaugural smoke.
vis9

vis10

vis11

vis12

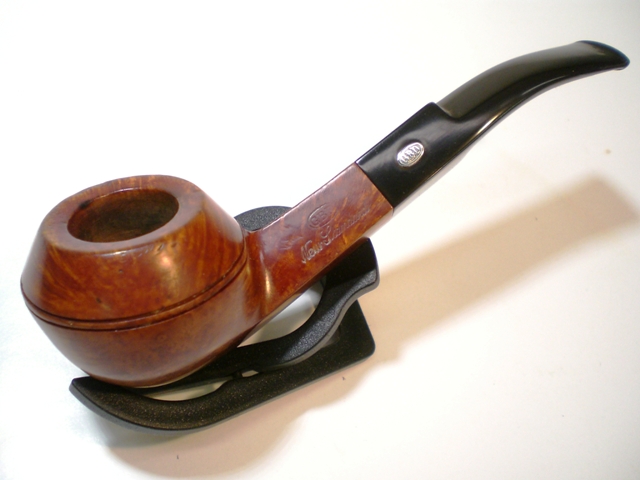
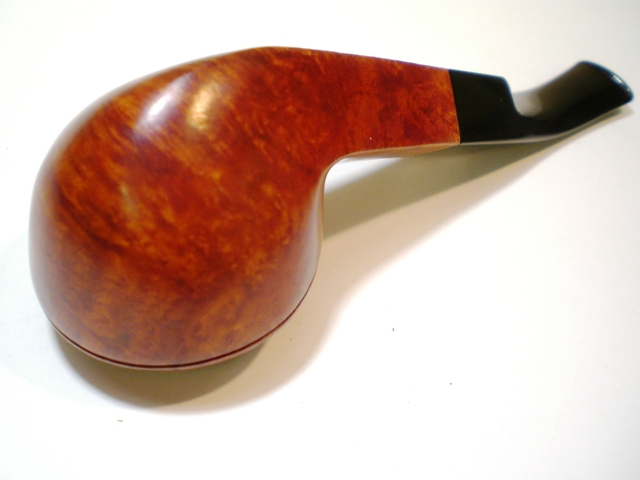
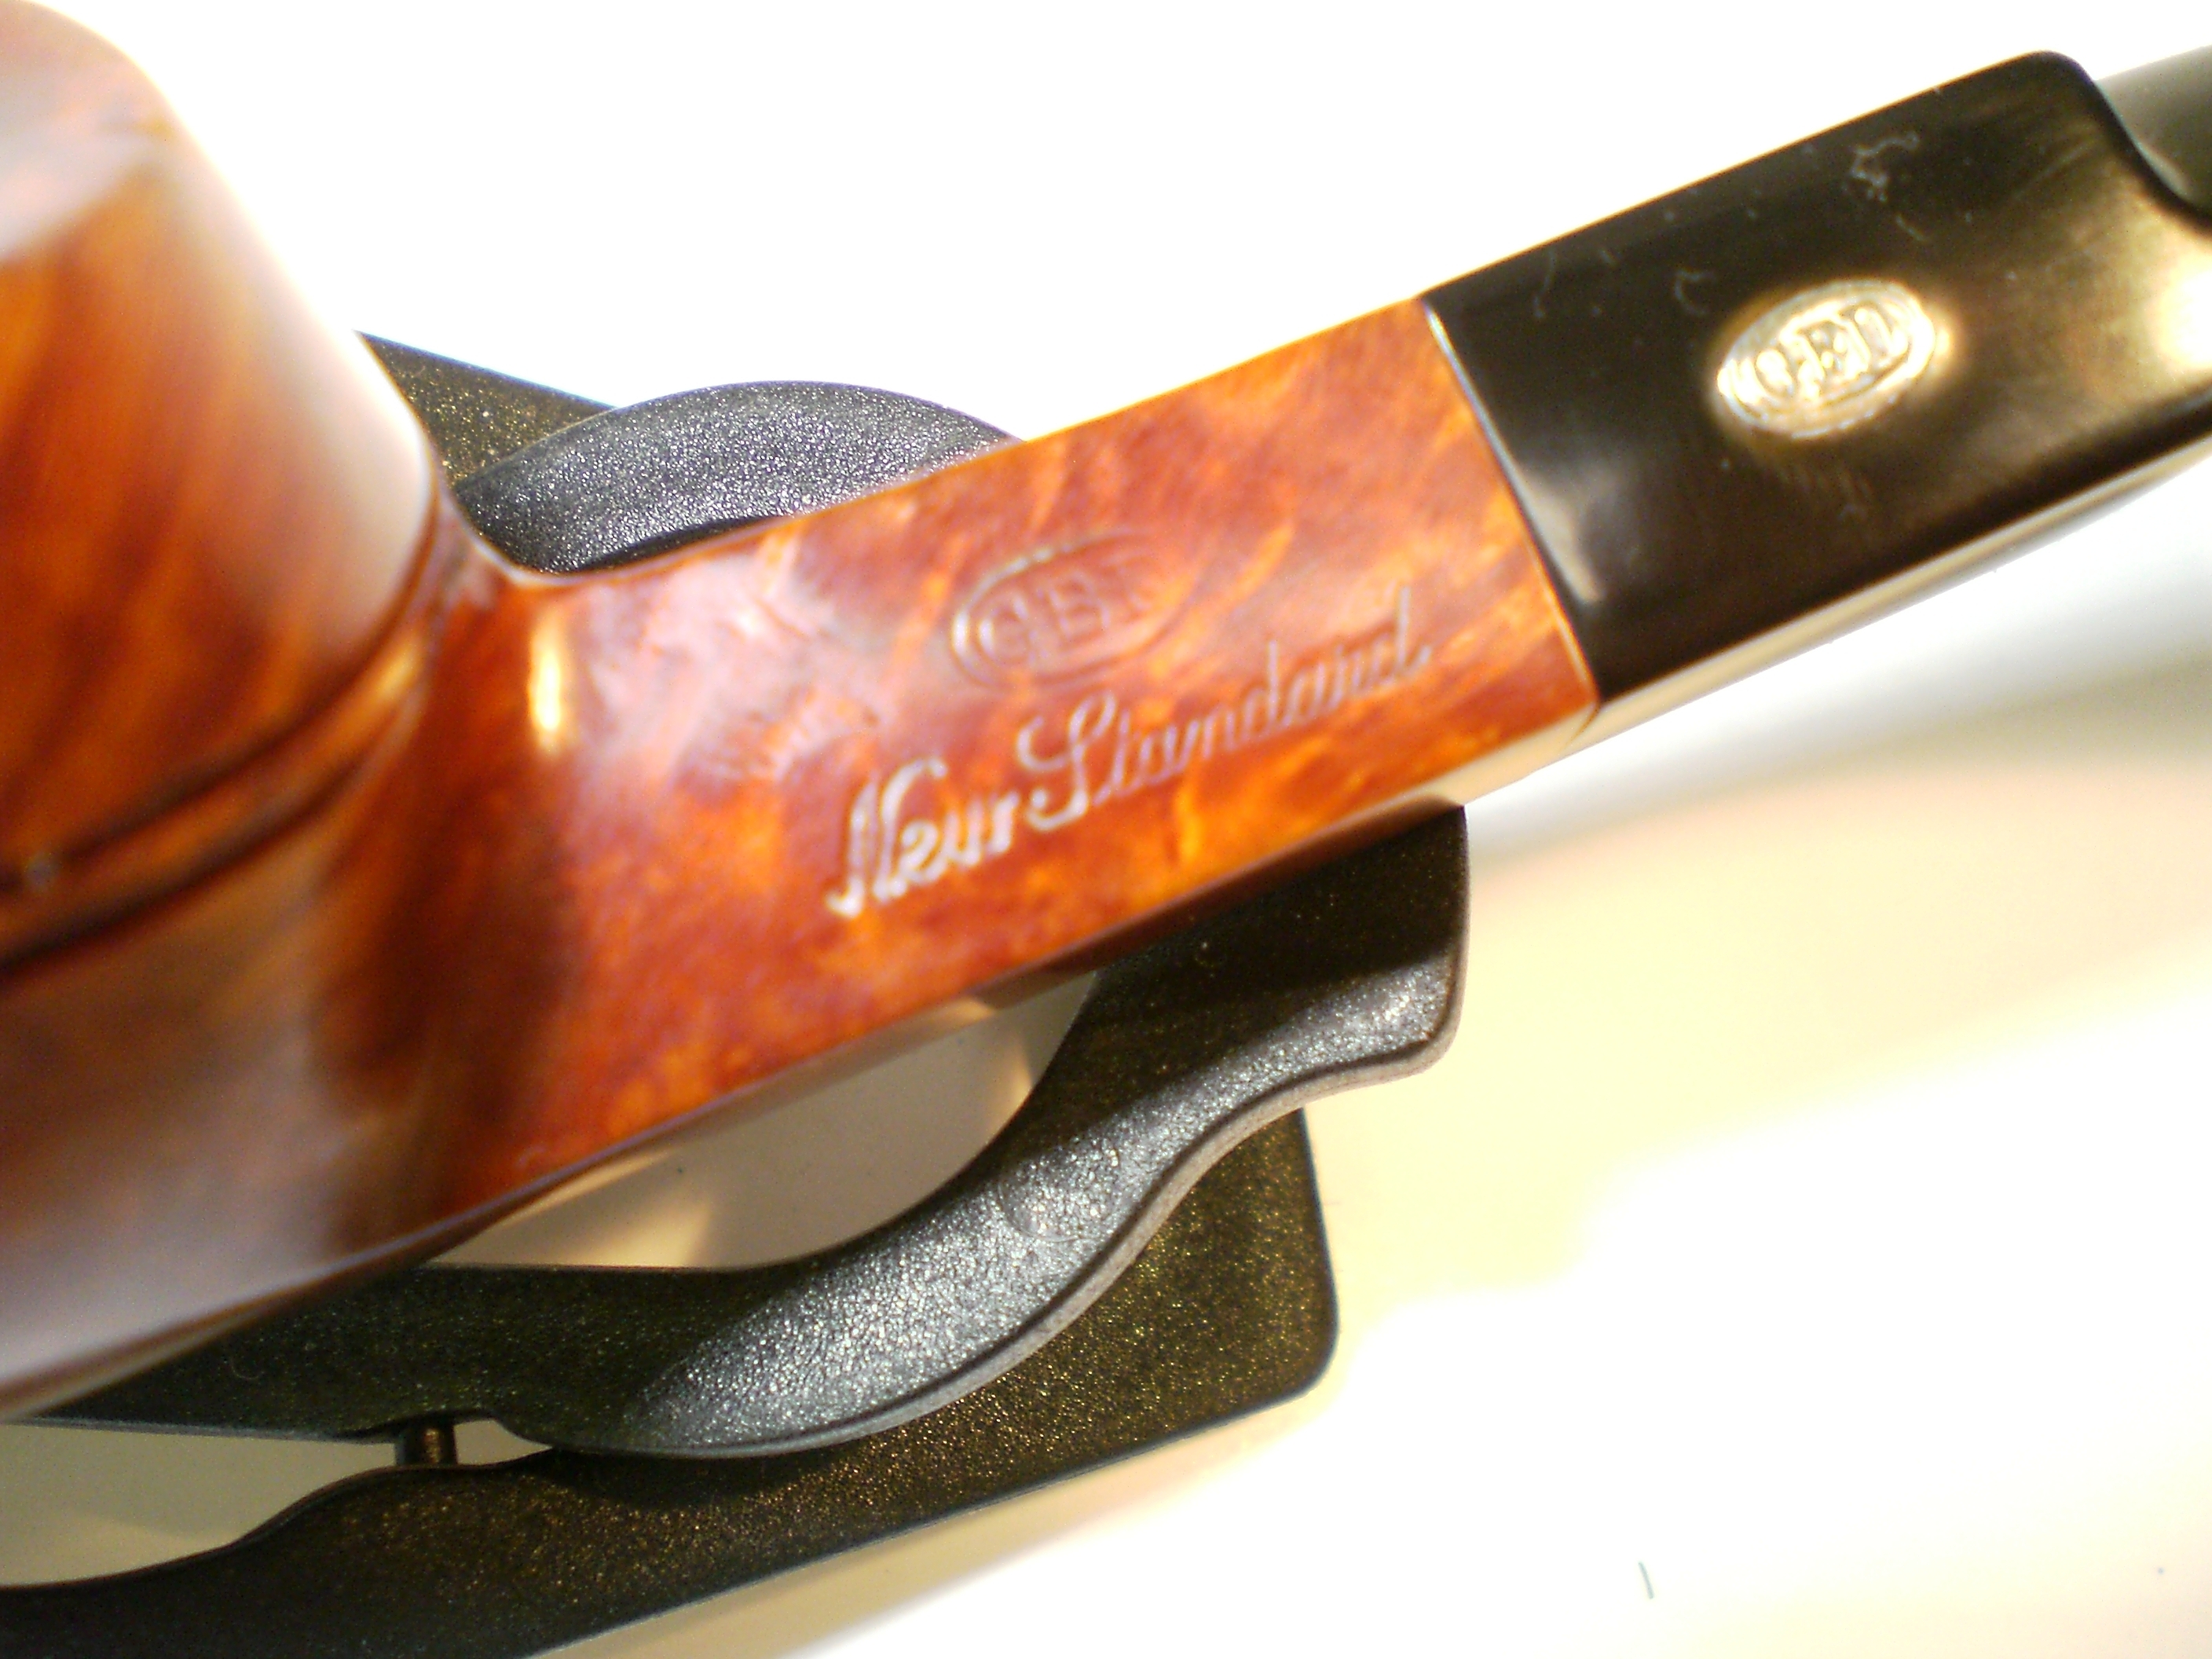
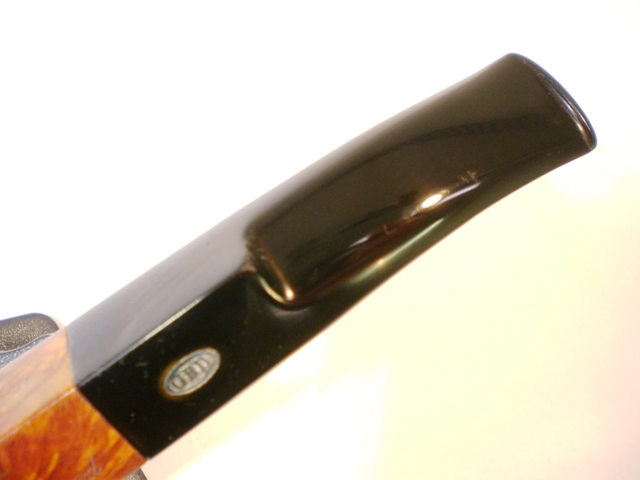
GBD Bulldog #549 New Standard Restoration


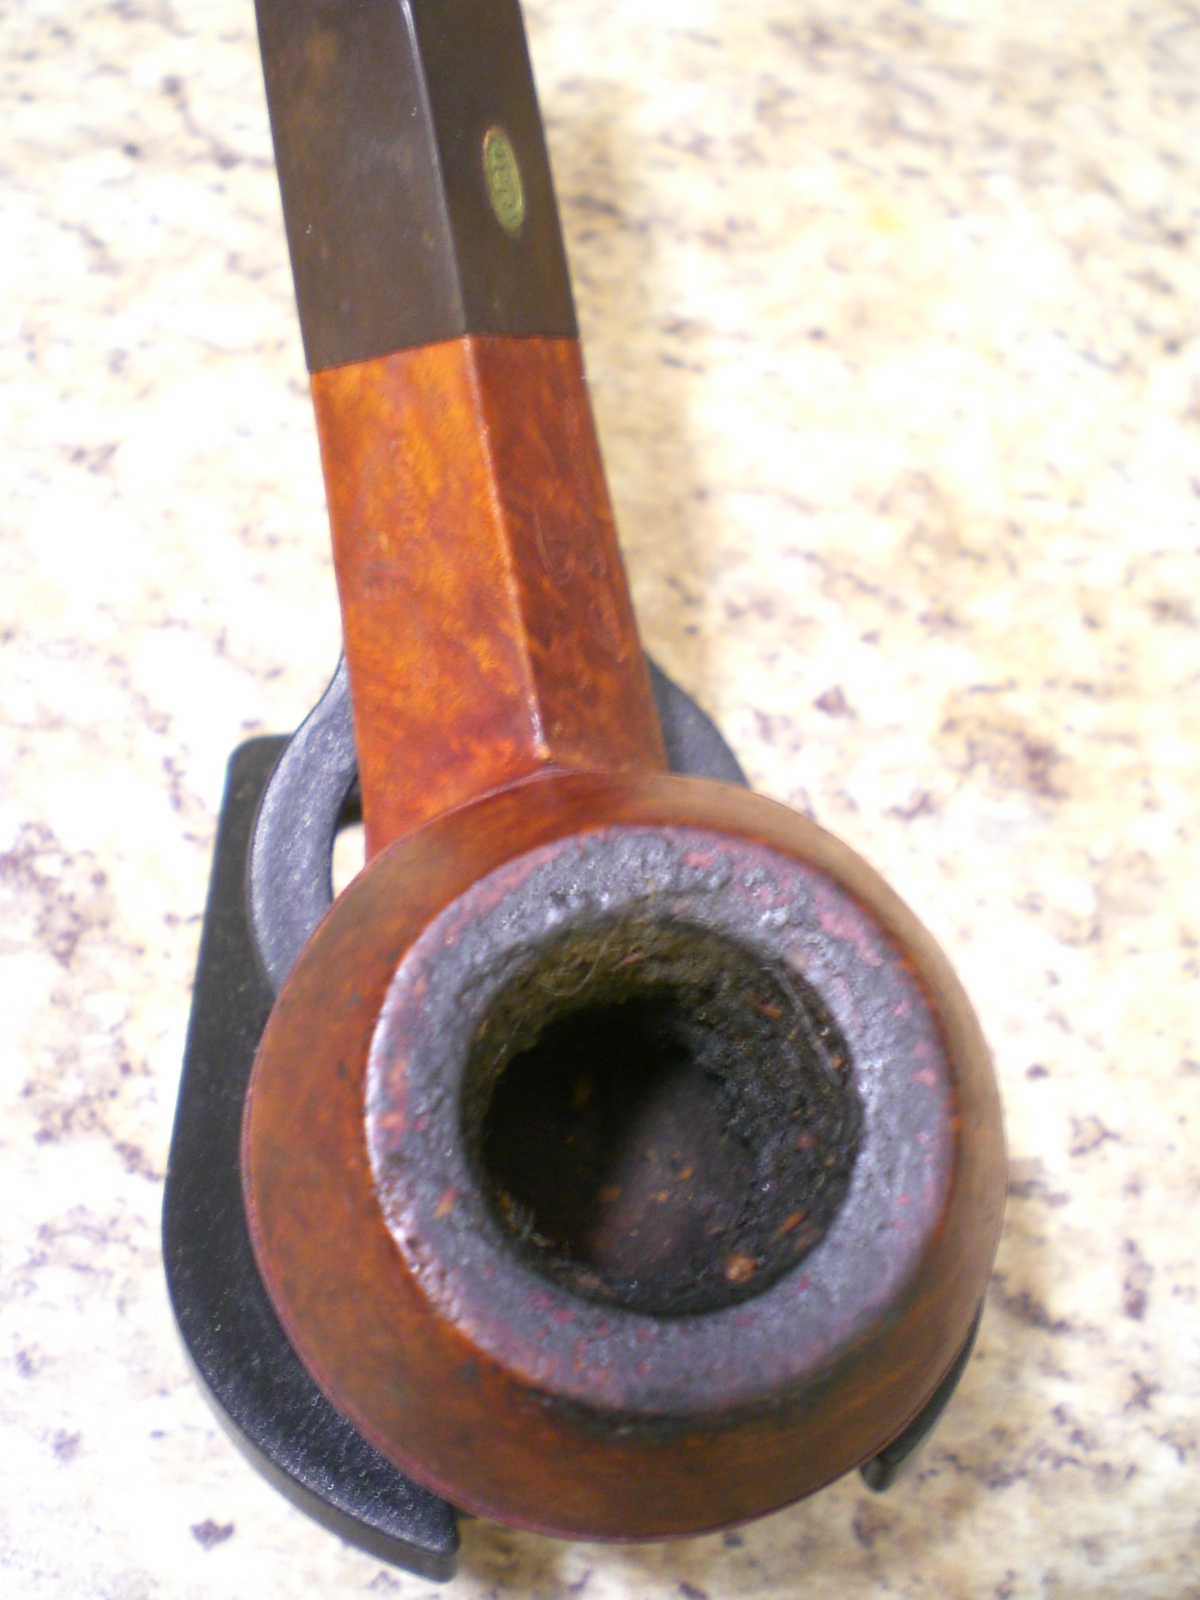
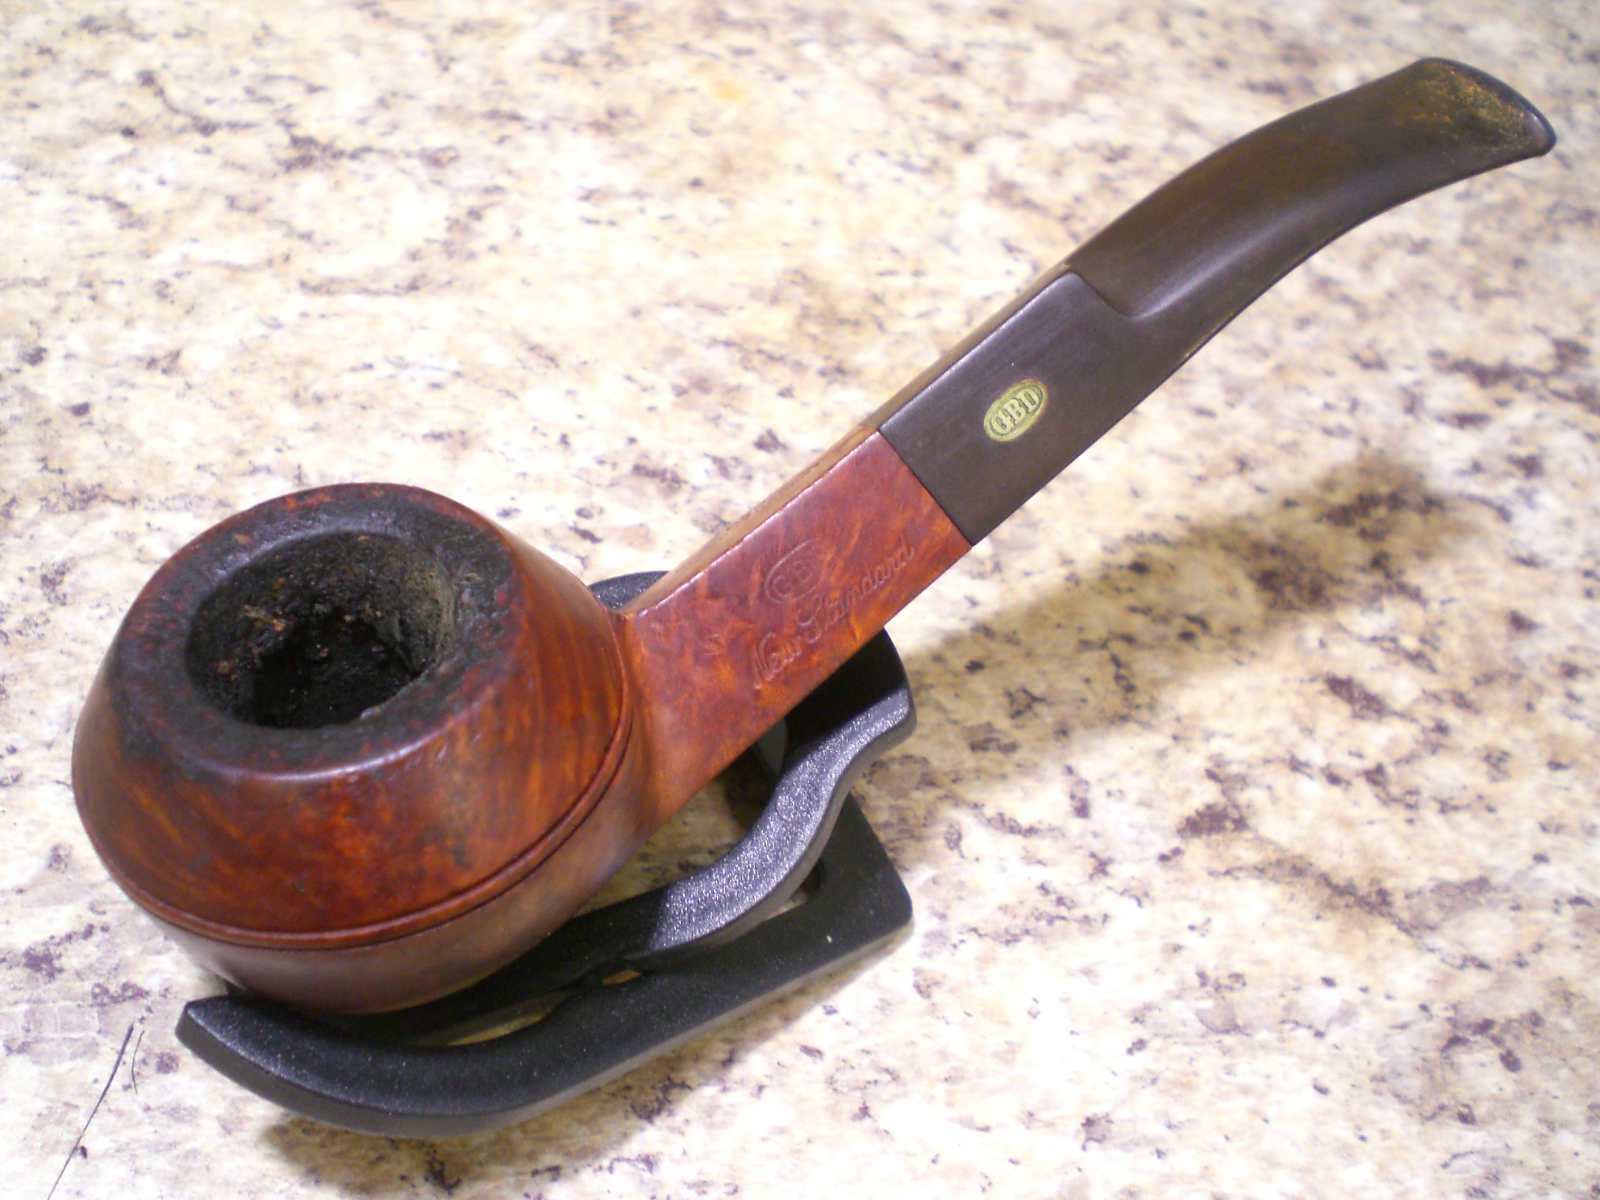
I picked up this New Standard GBD bulldog on Ebay recently.
They briar had quite a build-up of what I hoped was just tars on the bowl top and the stem had a small amount of chatter that I thought could be removed.

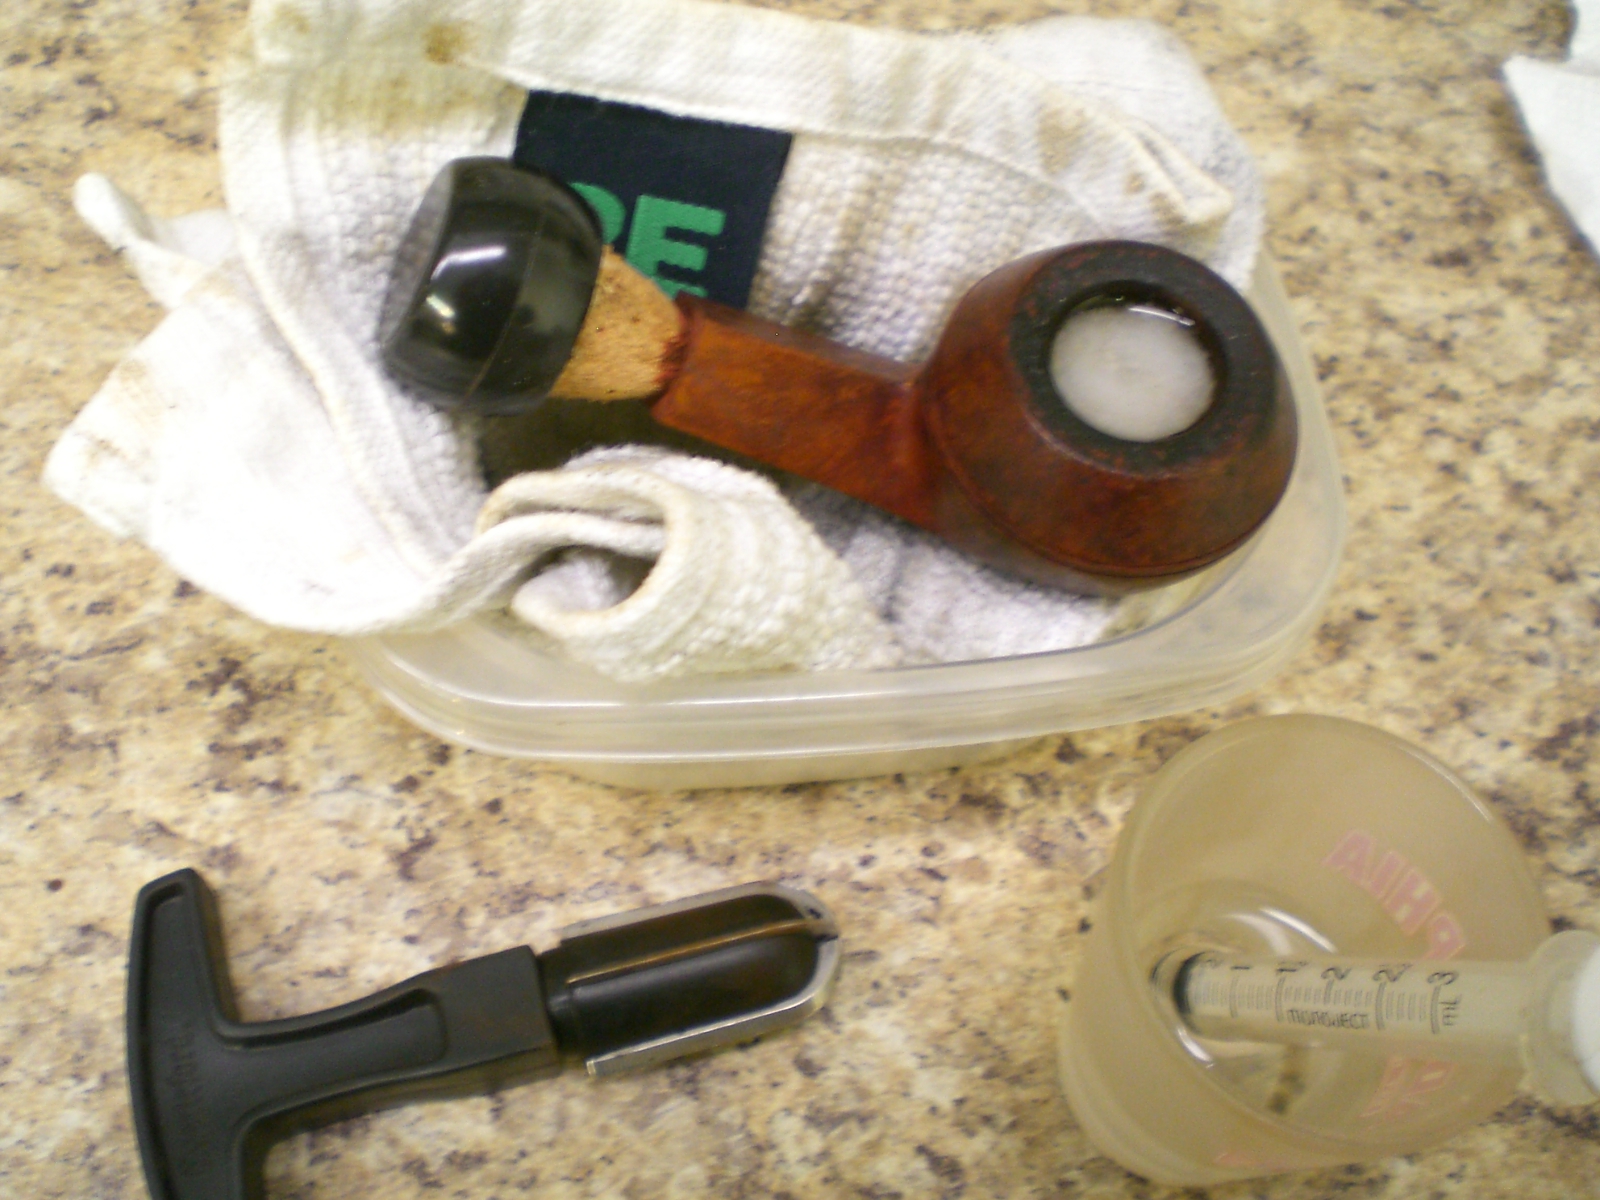
I reamed the bowl and soaked in in 91% isopropyl alcohol and sea salt.  The stem was soaked in a 3:1 solution of Oxyclean and water.  I put a dab of grease on the brass GBD rondelle.  Here is the bowl soaking in oxyclean.

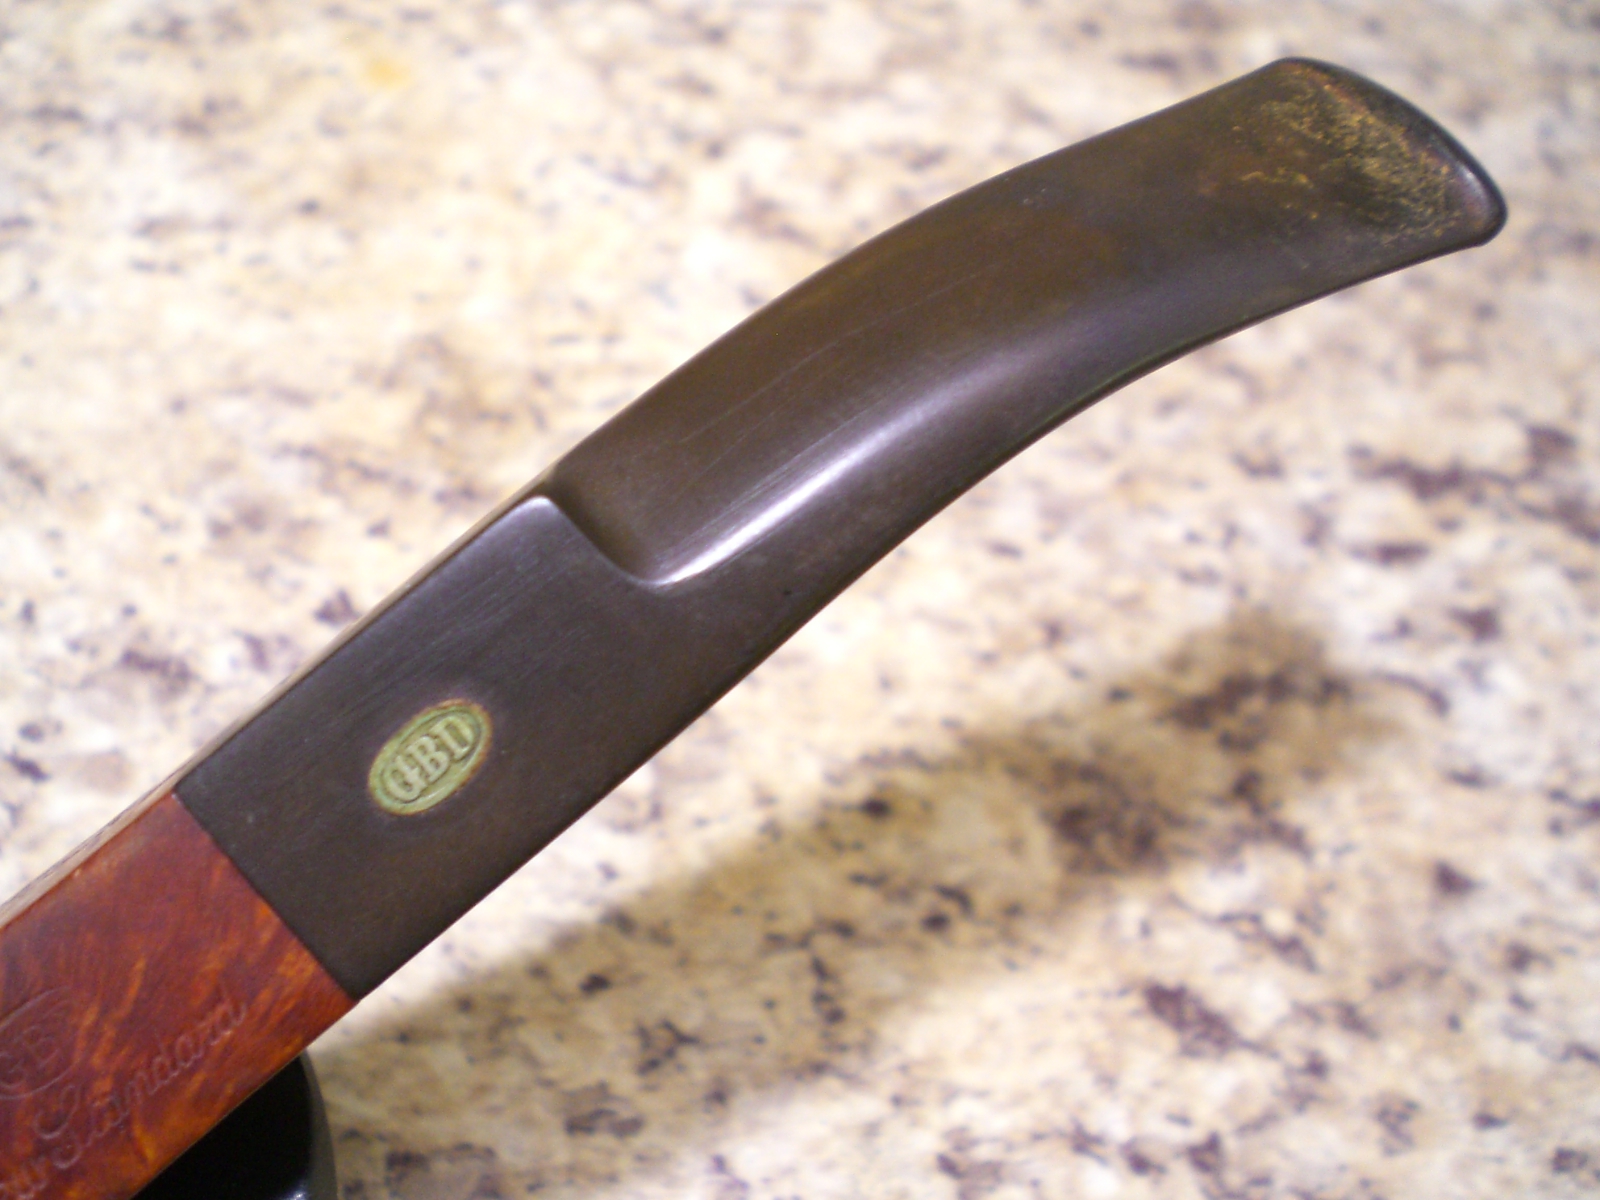
After a few hours of soaking in the Oxyclean solution, the stem was ready for sanding.  I removed the teeth chatter with 800 grit wet paper. One tooth indention remained, but it was small enough I didn’t bother trying to fill it.  1500 and 2000 grit wet papers were used next to bring up the shine.  The stem looked like this after the 1500 grade paper:

I then buffed it on a machine with tripoli rouge which removed most of the oxidation.  Then, back to the micromesh papers, using the 8000 and 12000 grades of paper to bring up the shine.  The stem was then finished with white diamond on the buffer followed by an automotive plastic polish.

After the bowl was done soaking, I turned my attention to it.  It was buffed on the wheel with tripoli, white diamond and finally several coats of carnuba wax.  Despite the heavy cake and tar buildup, inside the  shank was really clean inside.  So, I anticipate no ghosting.
Below is the finished pipe, which is being enjoyed by its new owner who lives in Norway and happens to be a reader of this blog – Enjoy!

An Interesting Weatherproof Wally Frank “Pepper Shaker”


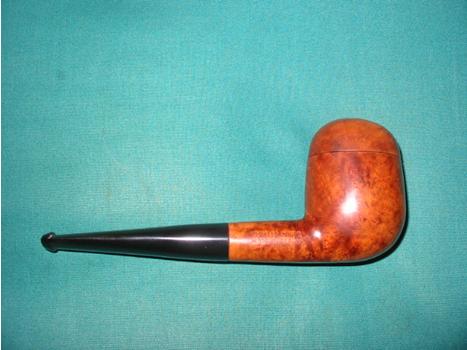
I picked up this interesting piece of tobaciana somewhere though I no longer remember where it came from. It is an oval bowled pipe by Wally Frank and it has a briar wind cap that is attached via a brass peg. To me it looks like a Pepper shaker so that is what I have named it. I have a few other ones like this but the cap is made out of Bakelite and is on a side pin that allows it to flip forward. This one spins to the side or can be removed should the pipeman not want to use it covered.

It came to me unsmoked and clean on the inside. The finish was very poorly done. There was a coat of varnish or lacquer on the pipe. It was spotty and in some places seemed to have bubbled or ran when it was applied. The stain that was underneath obscured the grain on the pipe. I decided to refinish the bowl and give it a new stain. I soaked it in an alcohol bath and then wiped down the bowl with acetone to clean the finish off. Once it was removed I sanded it with micromesh pads to get it smooth. I restained it with a nice cherry aniline stain. I flamed the stain to set it in the grain and then buffed the bowl to remove the excess and surface stain. The stem and pipe were buffed as a whole with white Diamond and then several coats of carnauba. Here is the finished product.
Frank1

Frank2

Frank3

Frank4

New Life for a BBB Ultima Thule Pocket Billiard


Blog by Steve Laug

I picked up this little BBB in the same lot as the little BBB bulldog that I posted about recently. It is a similar pocket size (4 and ½ inches) and needed a bit of work. It is stamped BBB in the standard diamond and over that Ultima Thule. (According to Wikipedia the name refers to any distant place beyond the known world.) Under the diamond it is stamped Own Make. The first two pictures are the EBay seller’s photos. When the pipe arrived I can honestly say that the seller did a great job on taking honest photos. The pipe was solid but in rough shape. The rim was slanted toward the front and round all the way around with many nicks and dents in it from tamping the pipe out. It was still round on the inner edge which is pretty amazing on these old timers. This was a pretty well cared for pipe other than the tamping. The finish was dirty and spotty – lighter in some places than others – with a mottled look to it. The stem was oxidized and the edge/ shoulder at the shank junction was rounded and no longer a good smooth fit. There were no bite marks on the stem and the surface was smooth under the oxidation. This would not be a bad clean up.
ult1

I separated the stem and bowl and reamed the bowl. I wiped the exterior with acetone to remove the remaining finish and the grime. Then I placed the bowl in the alcohol bath to soak while I worked on the stem.

The stem actually was relatively easy to clean up. I wiped it down with a damp magic eraser and removed the majority of oxidation. Then I sanded it with 400 and 600 grit wet dry sandpaper followed by 1200-6000 grit micromesh sanding pads. I gave it a coating of Obsidian Oil and set it aside to dry. Once the bowl was finished I would buff them together. I did not want to chance rounding the edges even more. I also did not want to lose any more of the button on the pipe stem by over buffing.

I removed the bowl from the alcohol bath after 1 hour of soaking. I dried it off and cleaned out the shank with pipe cleaners, shank brush and cotton swabs soaked in isopropyl alcohol. I worked those until they came out clean. I used sandpaper on the interior of the bowl to smooth out the remaining cake and clean the surface. I wiped it down with cotton swabs and isopropyl afterwards. I used the sanding board and paper to top the bowl and bring it back to a flat and even condition. I did not have to remove very much of the top but I wanted it to be straight and not slanted toward the front. I used my normal variety of sandpapers (280, 400 and 600) to do this and finished it with micromesh sanding pads 1200-6000 to remove the remaining scratches. I wiped down the bowl with a cotton pad dampened with acetone to remove any sanding dust and remnants of the topping process. I restained this bowl with an oxblood stain thinned with isopropyl to arrive at the original colour. I flamed the stain and when dry took it to the buffer and gave it a buff with White Diamond.

I reinserted the stem and the gap and roundness of the shoulders on the stem made a smooth fit impossible to attain. I decided to use an old BBB band that I had in my box and heated it and pressure fit it to the shank. I liked the finished look of the pipe. I gave the entirety several coats of carnauba wax and a polishing buff with a clean flannel buffing pad. The pictures below show the finished product.
ult2

ult3

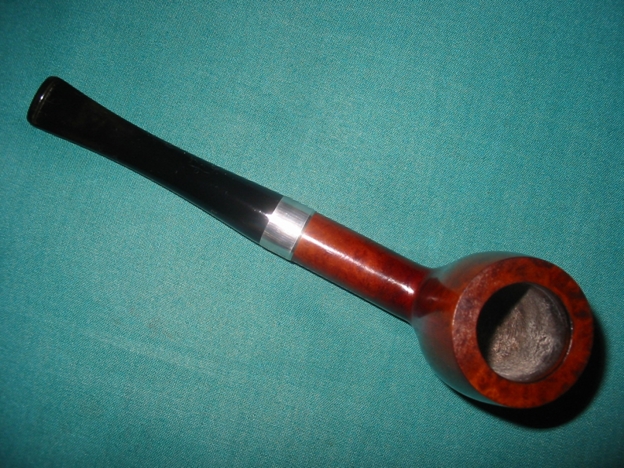
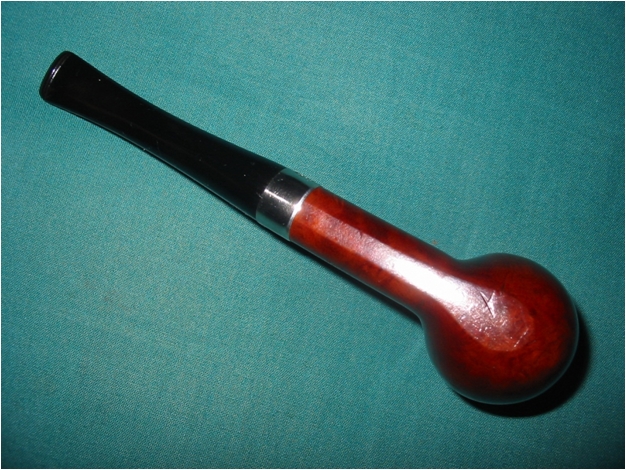
Refurbished – A Stunning New Look for a Butz Choquin Billiard


I picked up this old Butz Choquin in a lot I was given by a friend and it was in very rough shape. I somehow neglected to take any pictures of what the pipe looked like when it arrived. But it came stem less and the rim was ruined. It had been hammered on concrete or something like that as it was stippled and rough. The inner rim was ruined as it seemed to have been reamed with a pocket knife and it was cut and grooved at all different angles. To have topped it I would have had to lose almost a half an inch on the pipe. In my opinion that would have ruined the billiard profile and created a pot shape. I decided to try something different on this one. The finish was shot as well and the stain was gone. It was a dull brown with much dirt and grime ground into the surface of the briar.

I reamed the pipe with a PipNet reamer (like a Castleford T handle reamer) to even the sides of the bowl and smooth out the inner surface. I wiped the bowl down with acetone to clean off the grime and grit. Once it was clean I hunted down a stem blank that would work on a pipe with this sized shank. I cut the tenon with my Pimo tenon turner and shaped the stem to a clean fit with my Dremel. Then I took the bowl and dropped it in the alcohol bath while I worked on the stem. I sanded the stem to remove the scratches left by the Dremel. I also shaped the button a bit to change the shape and open up the slot to an oval.

I took the bowl out of the bath and dried it off. I gave it another wipe down with the acetone to give me a clean surface to work on. I then went to work on the rim. I wanted to chamfer the rim inward toward the bowl to remove the damaged material and give it a different look. I topped the bowl first to get a smooth and even surface. From there I sanded the inner edge of the rim with a folded piece of sandpaper (280 grit). I use a one inch square piece of sandpaper folded into quarters. Then I set the angle I want to have on the chamfer by the way I hold the paper. I sanded it until I got it at the angle I wanted and removed the damaged material. Once I had the angle right I then changed the grade of sandpaper sanding it with 400 and 600 grit wet dry and then with the micromesh sanding pads from 1500 to 6000 grit.

At that point I put the stem back on the pipe and sanded it until the transition between the shank and the stem was smooth. I wanted it to be a fit that appeared to be seamless. Once I had that done and had sanded the stem smooth with the various grades of micromesh sanding pads I took it to the buffer to give the stem a shine. I brought it back to my work table and sanded the bowl and shank until they were also smooth. I did not sand around the nomenclature as I wanted that to be intact.

I decided that I would give the bowl a contrasting stain finish. I heated the briar with a blow dryer to warm it up and open the grain on the bowl. Once it was warm I stained it with a black aniline stain. I flamed the stain and let it dry. I took it to the buffer and buffed it with Red Tripoli to remove the black stain from the surface of the briar. This takes off the extra black and leaves it in the softer grain of the briar. I sanded it again with 600 and 800 grit wet dry sandpaper and then buffed it again with White Diamond. I wanted contrast between the black that was deeply set in the grain and the harder smooth surfaces. Once that was done I wiped the bowl down with acetone to tone down the blacks and to clean off the surfaces that did not have the stain set in them. I restained the pipe with a Medium Brown aniline stain and flamed it as well. Once it was dry I buffed it with White Diamond to polish it. The whole pipe was then given multiple coats of carnauba wax and a finish buff with a soft, clean, flannel buffing pad.

While I liked the look of the pipe at this point I decided that it needed a bit of bling to finish it off. I have a box of bands here and found one the correct size – a nickel band that would add just the touch I was looking for. I heated the band with my heat gun and pressure fit it on the shank of the pipe. The finished product is in the photos below. This pipe found a new home with a friend on one of the online forums. I am sure he has enjoyed it as it was a great smoking machine.
The verdict is yours is the new look stunning or not?
bc1

bc2

bc3

bc4

bc5

New Life for a BBB Short Dog


I picked up this little BBB Bulldog on EBay and knew it would take some work. In the photo below you can see the cut in the stem – a groove or channel that served as a dental grip for the pipe. It is just in front of the button. There was some minor oxidation on the stem as well. The button had an orific opening (round hole in the button) rather than a slot. The rim and sides of the bowl were dirty and there was some darkening around the edges. The bowl was caked with a thick cake that would need to be reamed. The photo below is the one that was on EBay.
BBB1

When the pipe arrived it was smaller than I had imagined. No problem there as I like these pocket sized pipes. The stamping on the shank only had the BBB logo in the diamond. No name or other identifying marks were on either side of the shank. The stem did not have the BBB stamp or roundel. The finish was not too bad. The majority of work would need to be done on the rim and the top edges of the bulldog bowl. The stem was going to take some work to get rid of the trough that had been cut in it by a previous owner as a kind of dental bit. The bowl was not as caked as it had appeared in the original picture but had been over reamed and was out of round. The walls at the top appeared to be thinner than normal on a pipe of this shape.
bbb2

bbb3

You can see the size of the pipe from the photos above with the ruler. It is four inches long and delicate in the hands. I went to work on the stem first with my needle files and sandpaper to remove the trough on the top of the stem and the underside of the stem. This took some work as it could have radically changed the slope of the stem. I worked to keep the angle looking right from the saddle to the button. It took quite a bit of time to remove the excess vulcanite and reshape the blade of the stem. I sanded the stem smooth and then progressed through the micromesh grits 1500 through 12000. I put it back on the pipe and took it to the buffer and buffed it with White Diamond until it shone. Then I removed the stem and set it aside while I worked on the bowl.

The bowl needed most of the work on the area of the rim and the edges following down the bowl. There was lava and also darkening. I worked on the rim and the darkening with acetone on a soft cloth. It removed the majority of the darkening and grime. I decided to top the bowl minimally to smooth out the surface. I chamferred the inner rim with a folded piece of sandpaper to minimize the chatter from the over reaming. The pipe was given a coat of medium brown aniline stain, flamed and then buffed gently with White Diamond. The entirety was given multiple coats of carnauba wax and buffed with a soft clean flannel buff. The final picture below has a Canadian penny included to give an idea of size. This will be helpful to those who are familiar with US and Canadian money. To others who are not you can refer to the photos above with a ruler. This is a nice little pipe that smokes very well. It also fits nicely into a coat pocket or shirt pocket!
bbb4

bbb5

bbb6

bbb7