by Kenneth Lieblich
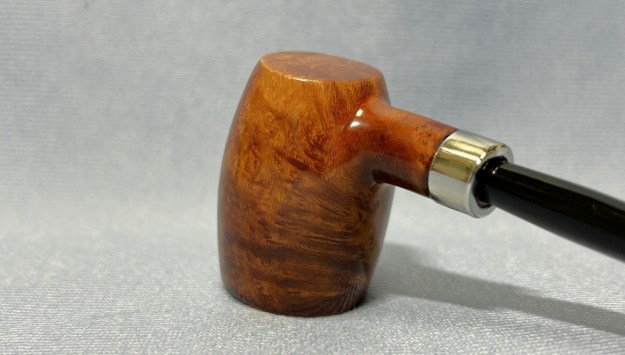
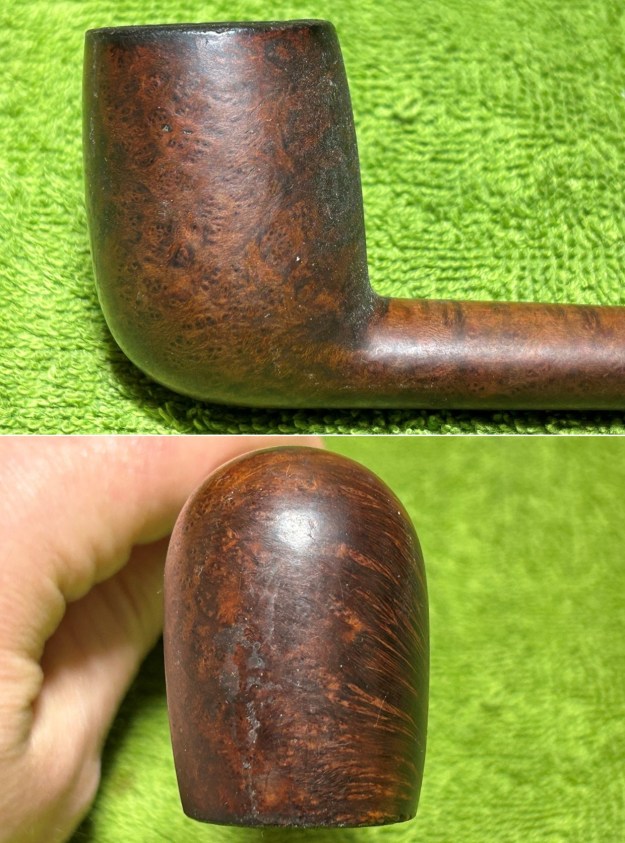
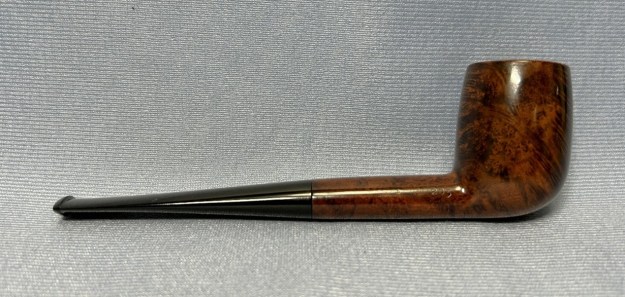
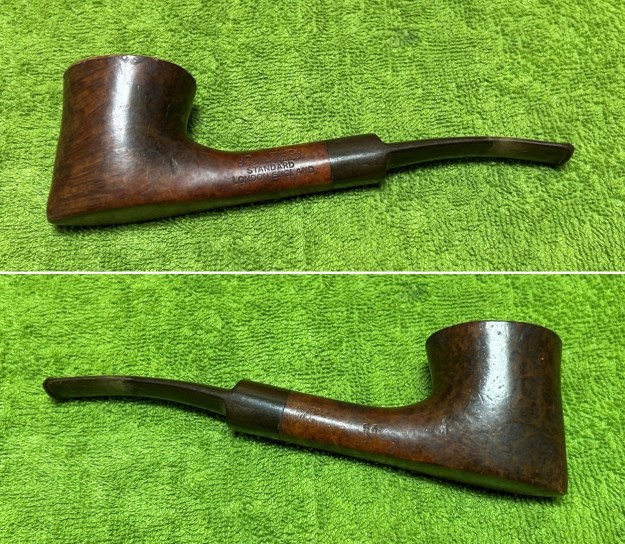
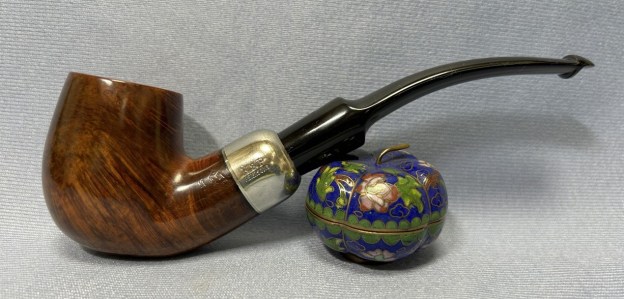
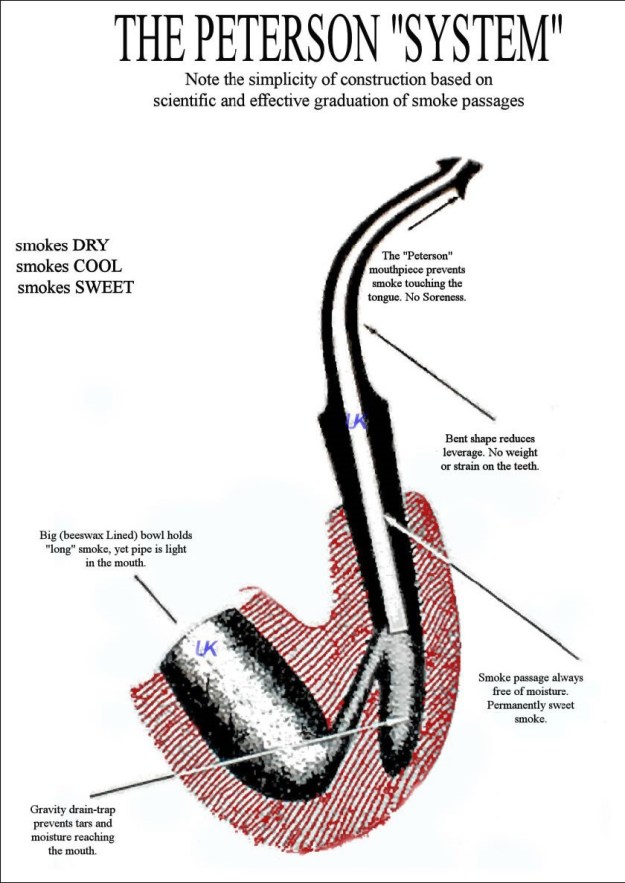
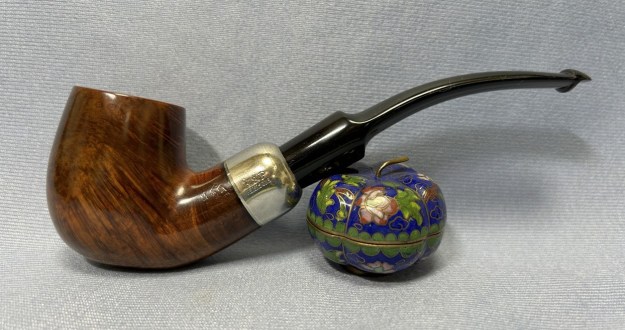
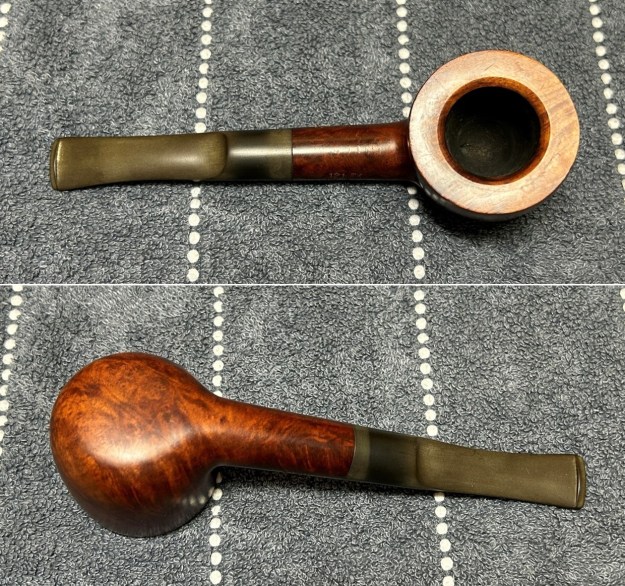
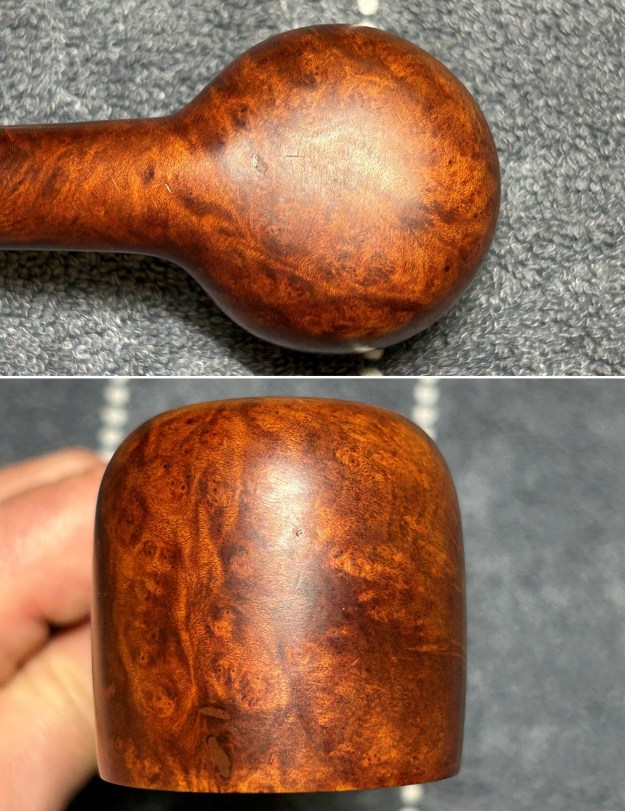
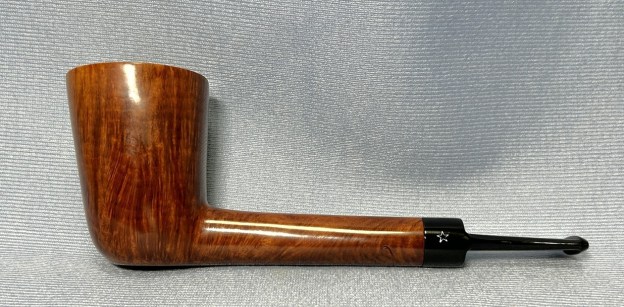
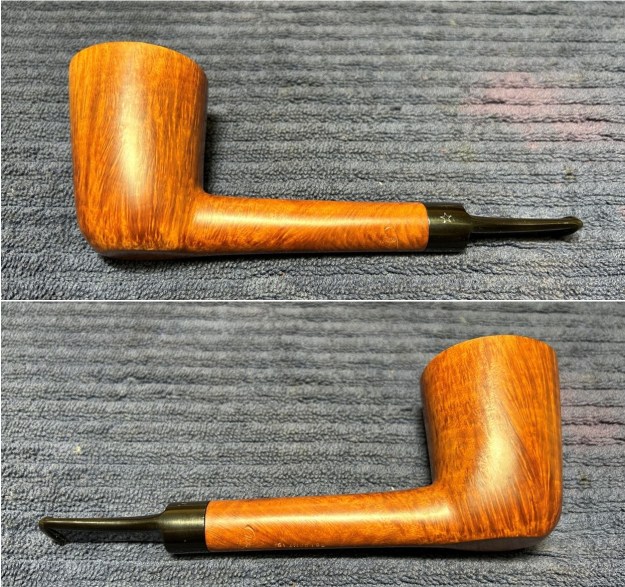
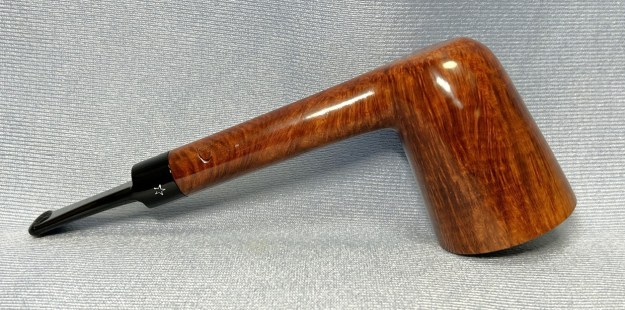
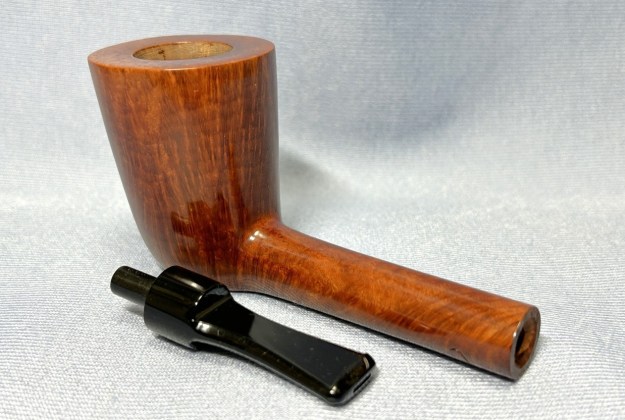
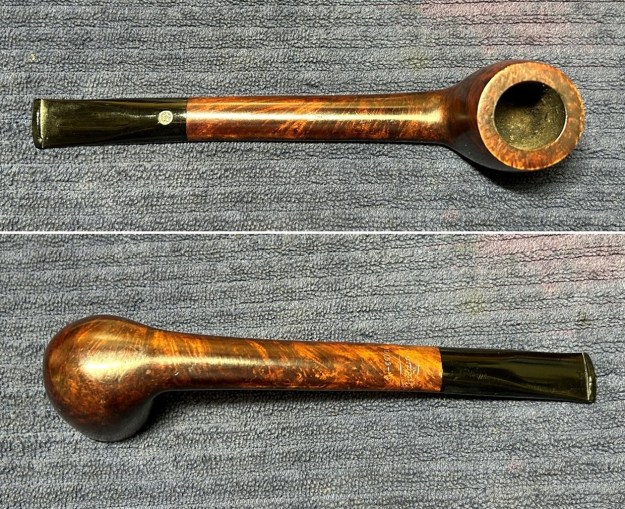
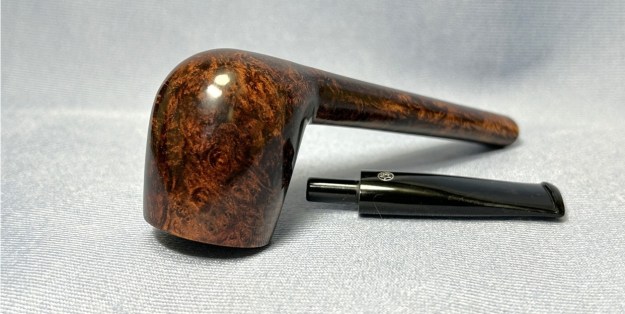
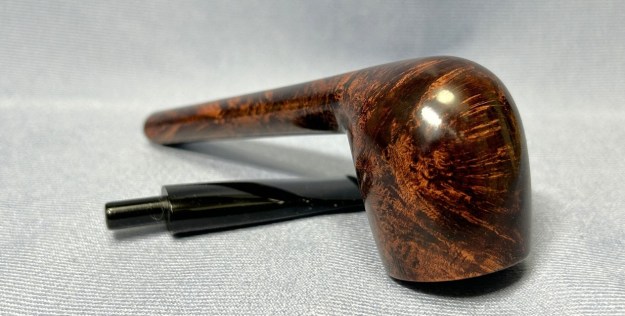
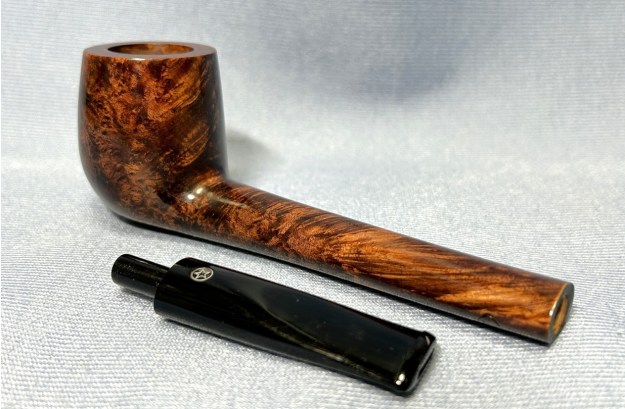
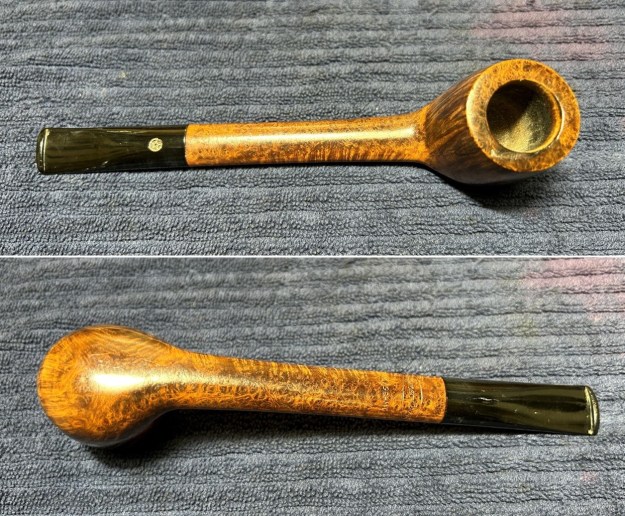
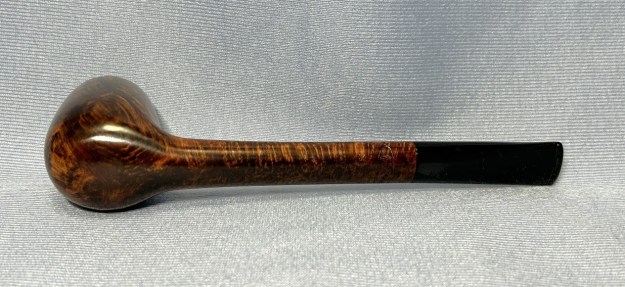
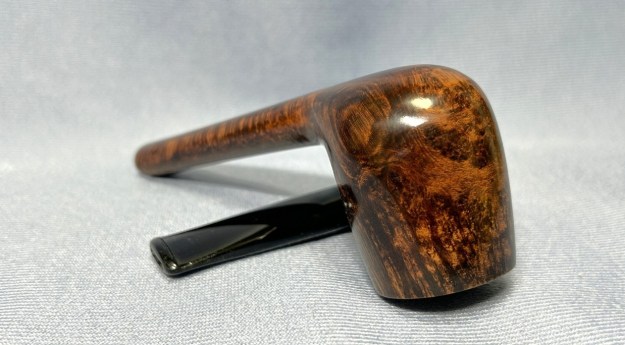
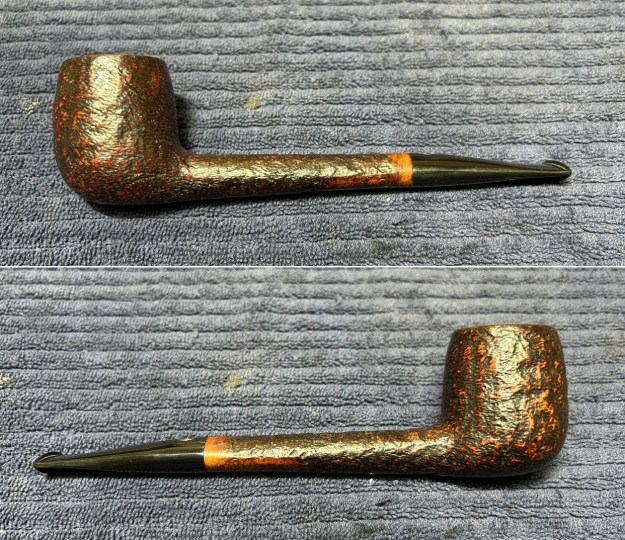
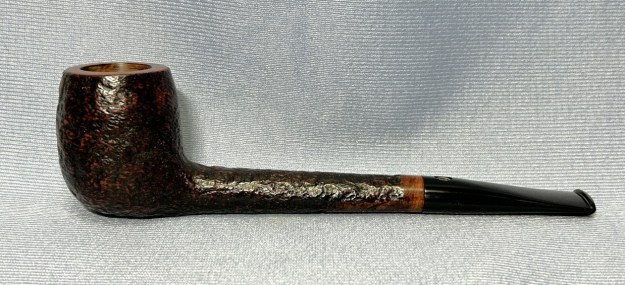
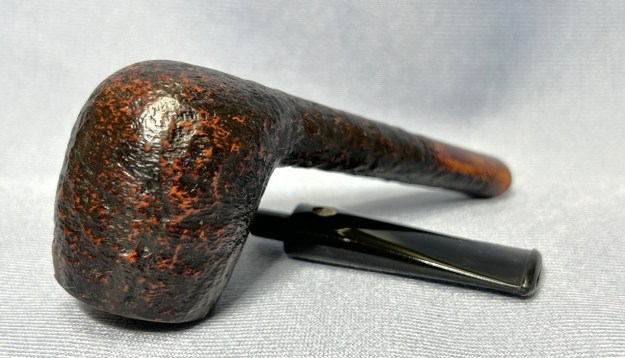
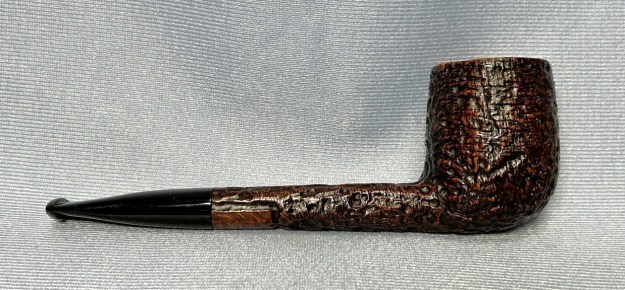
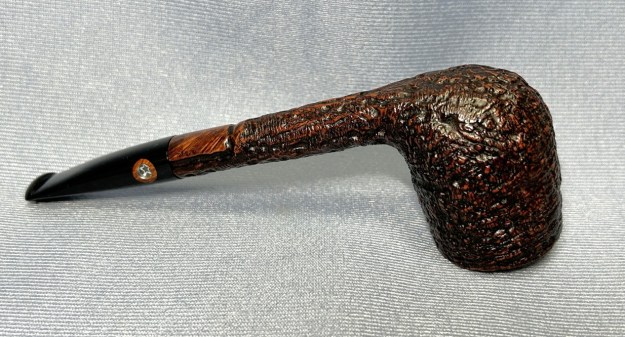
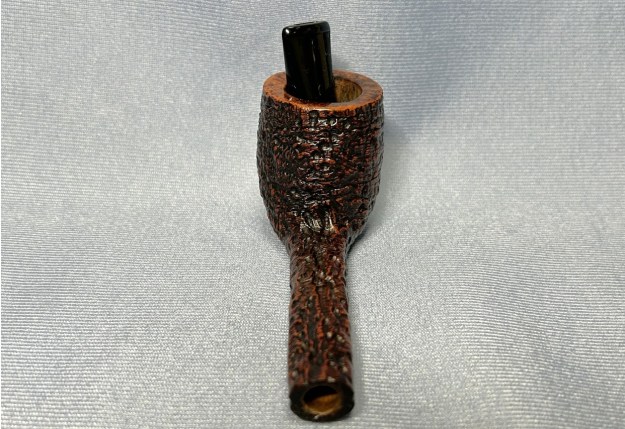
Now we’re talking! This terrific republic-era Peterson Barrel came to me in a box of pipes and pipe parts. It looked so engaging, but it was missing its stem. No problem – I can solve that! The Peterson barrel is not common, but it isn’t a rarity either. Regardless, it is a consistently popular and attractive shape – and it’s not hard to see why. No doubt, someone will be pleased to add this to their collection.
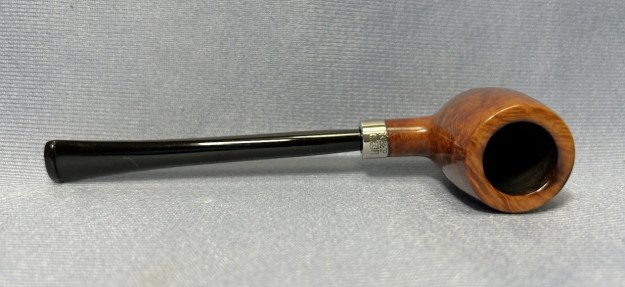
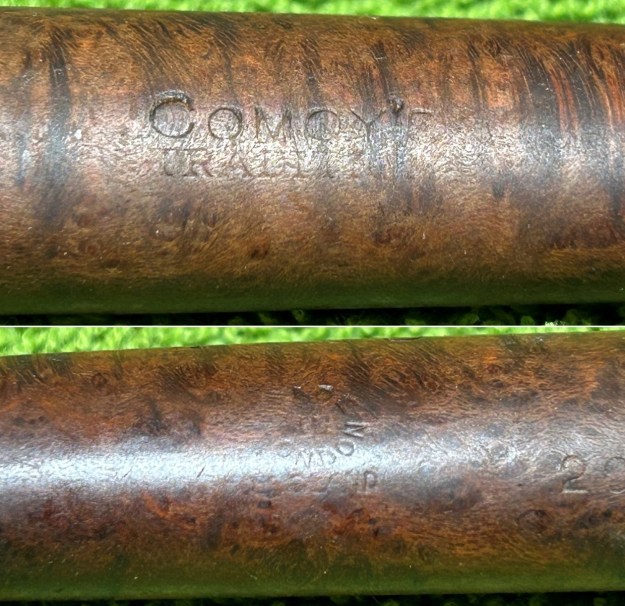
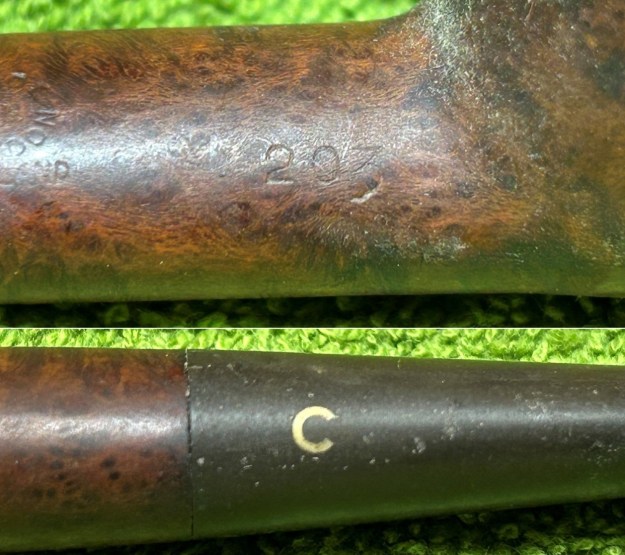
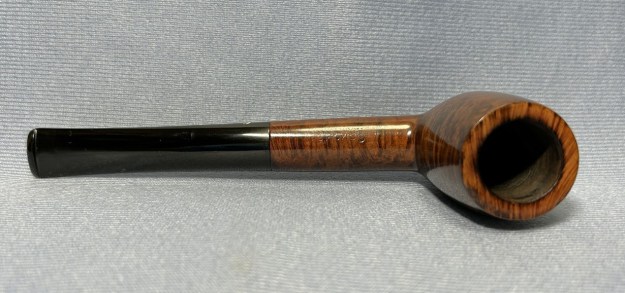
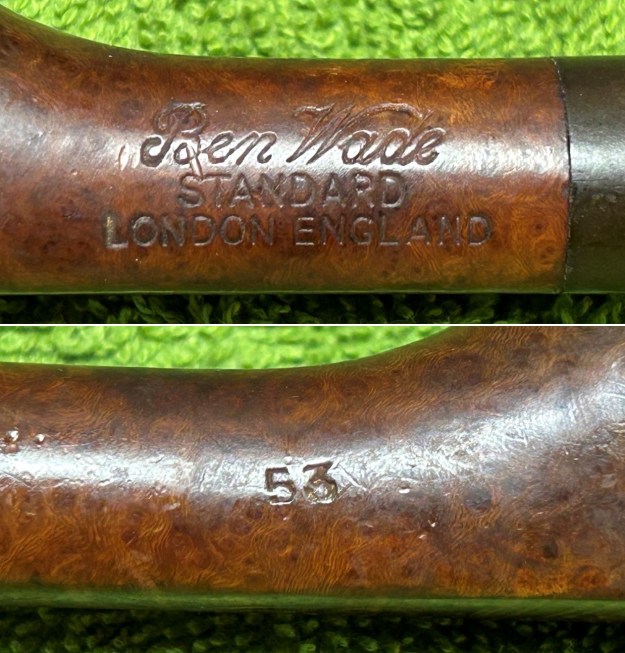
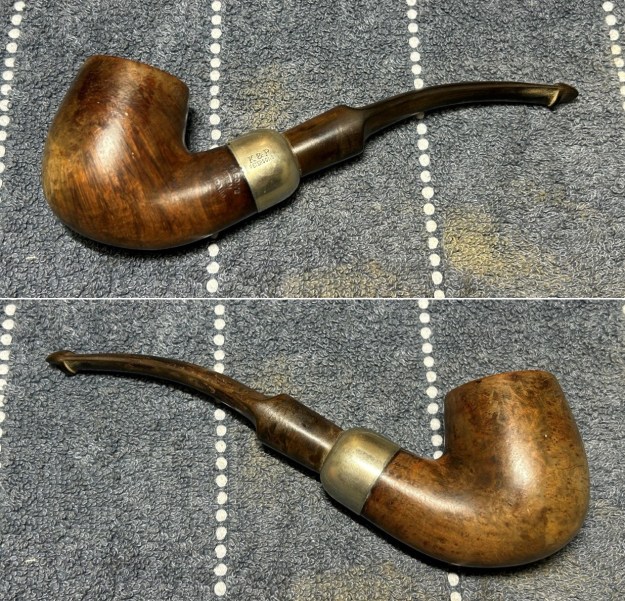
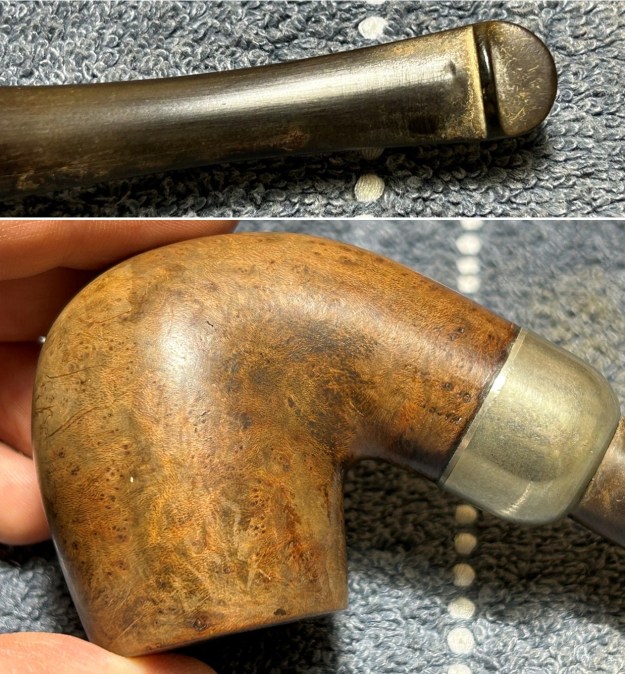
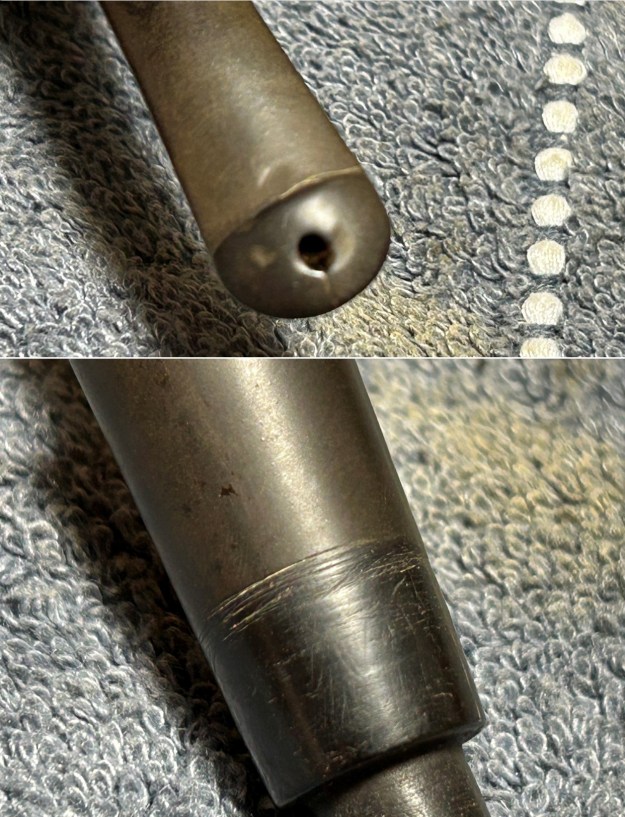
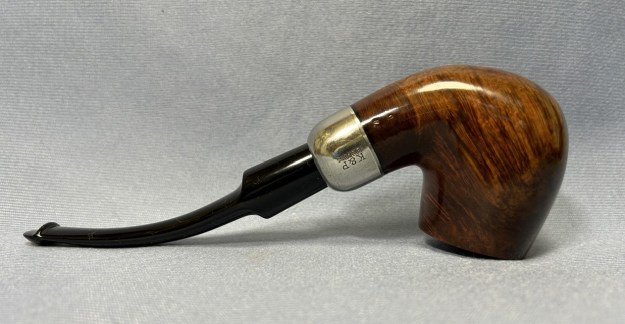
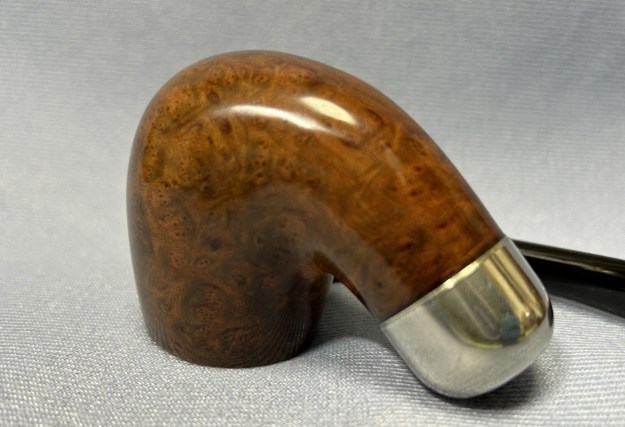
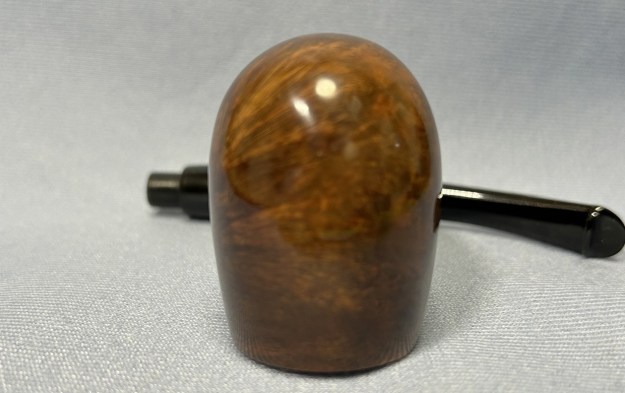
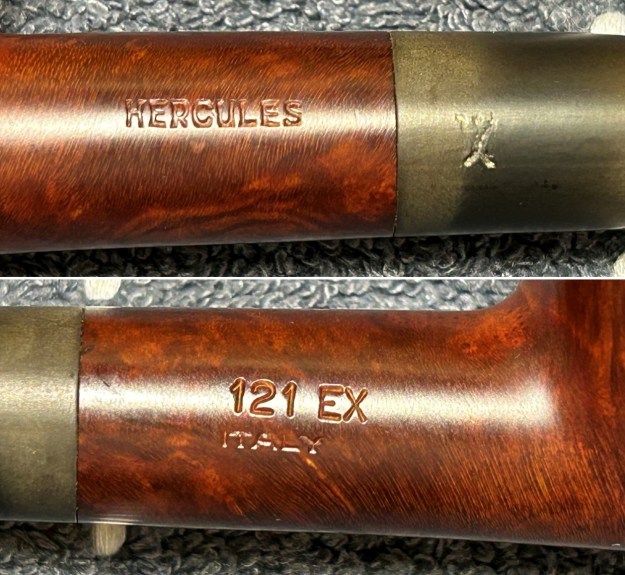
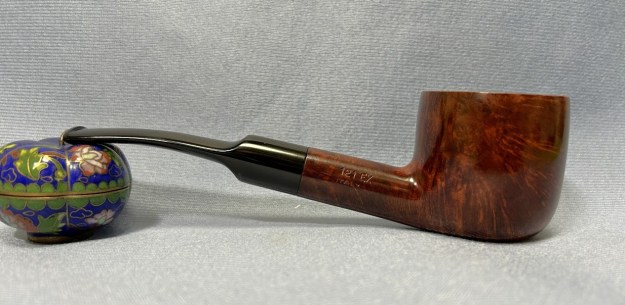
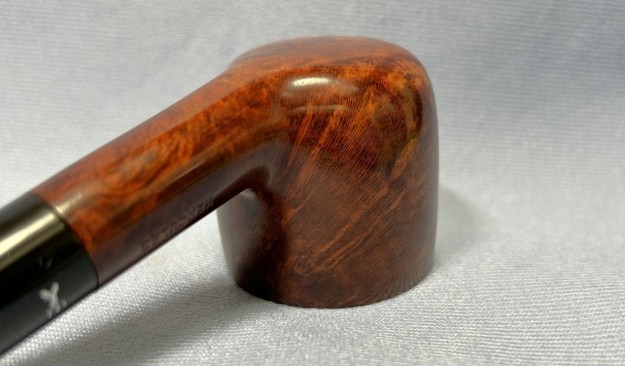
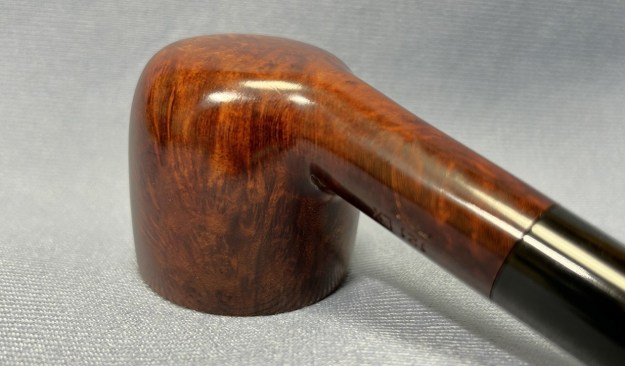
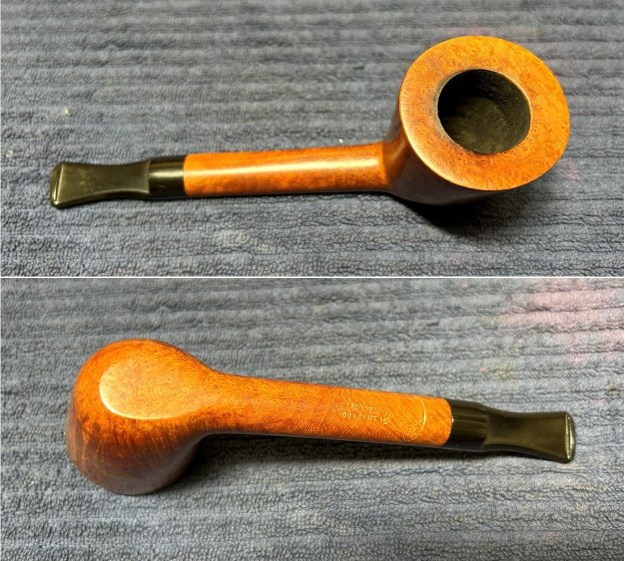
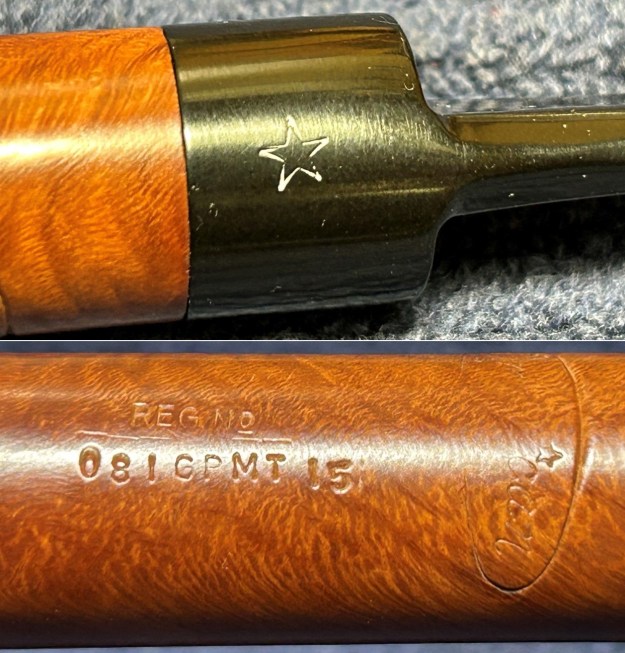
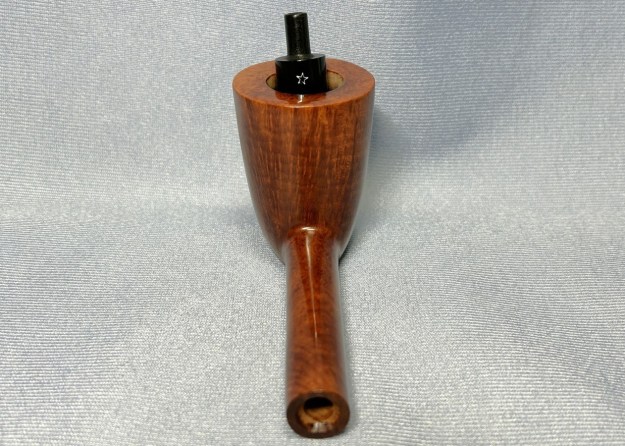
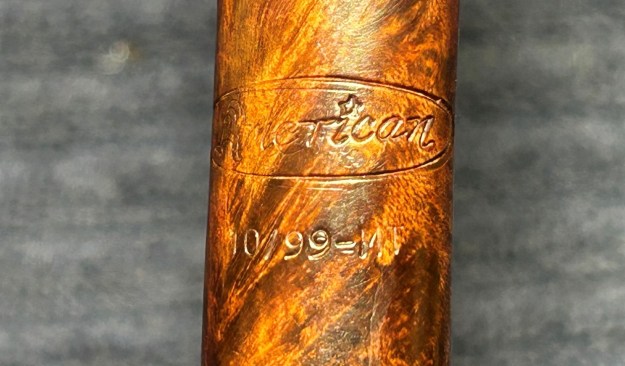
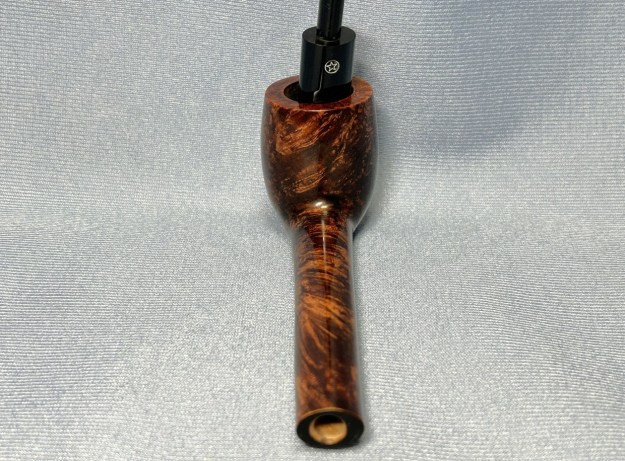
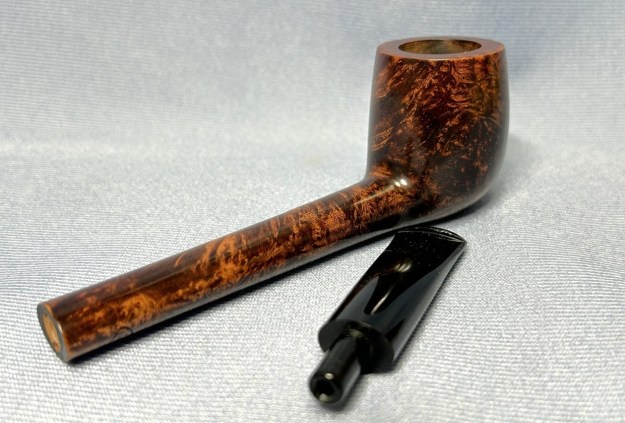
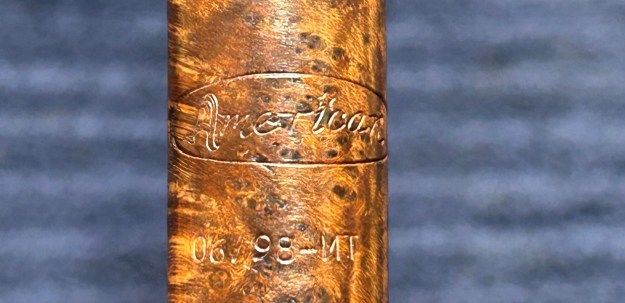
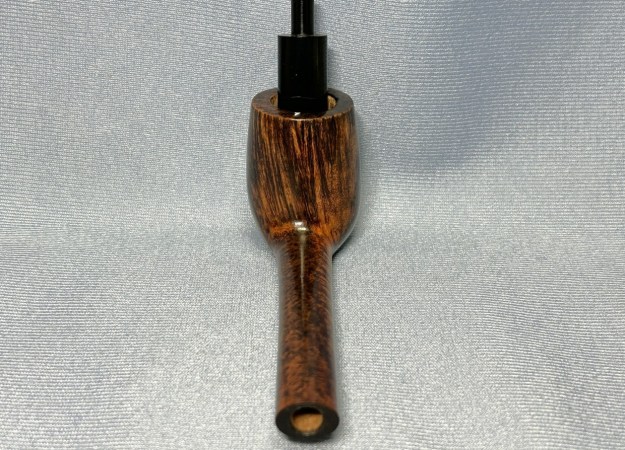
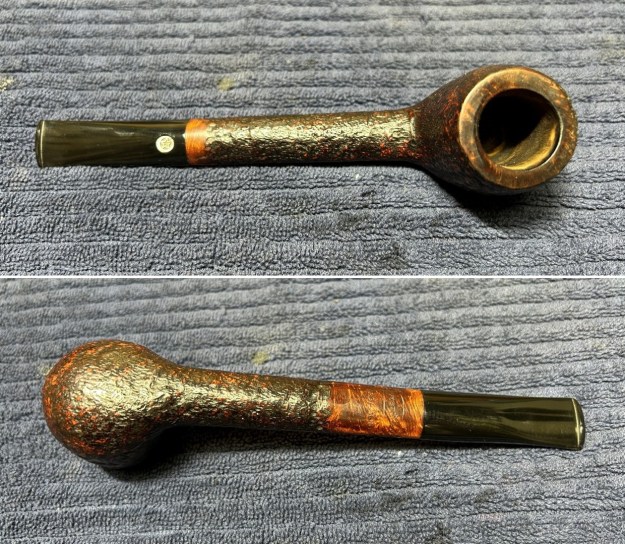
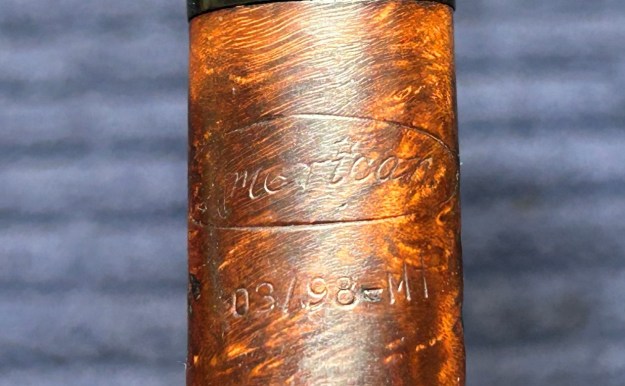
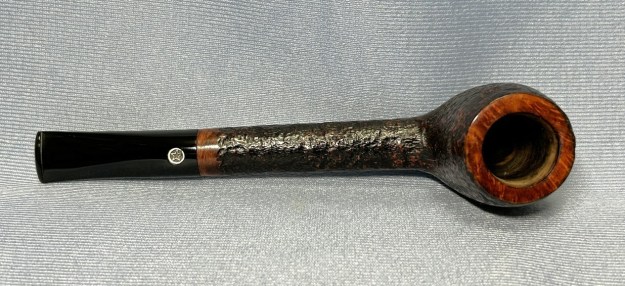
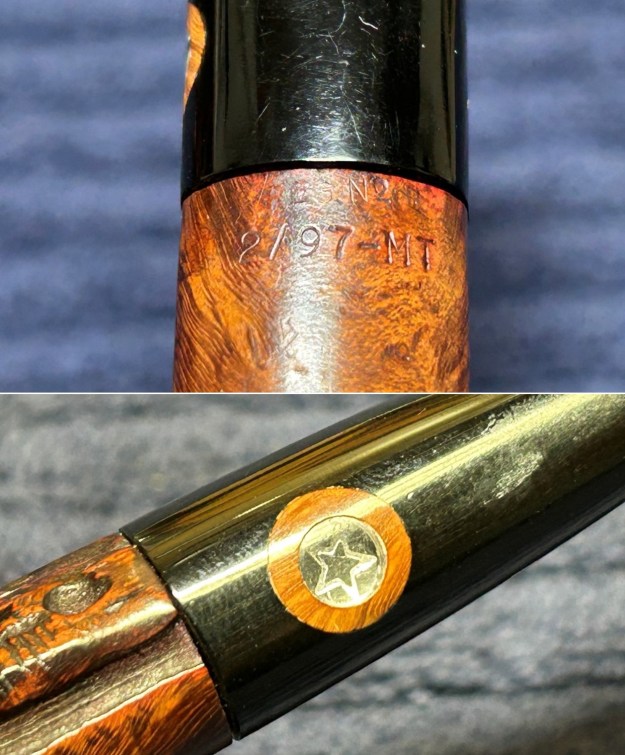
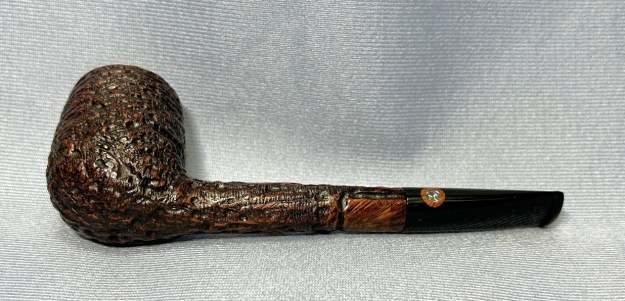
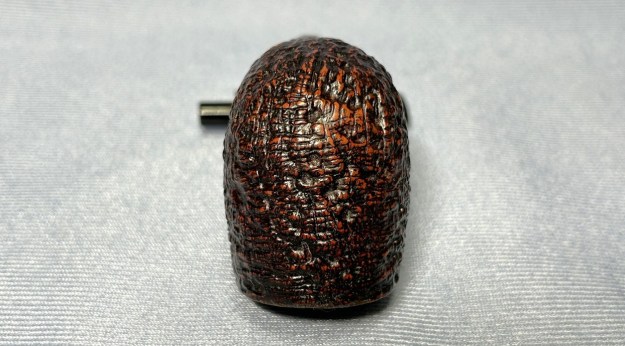
 Let’s look at the markings. On the underside of the stummel, it reads Peterson’s [over] Barrel [over] Made in the [over] Republic [over] of Ireland. On the nickel band, we see K&P engraved over images of the Shamrock, Wolf Hound and Round Tower. To be clear, these are not silver marks, they are nickel-mount markings of Peterson.
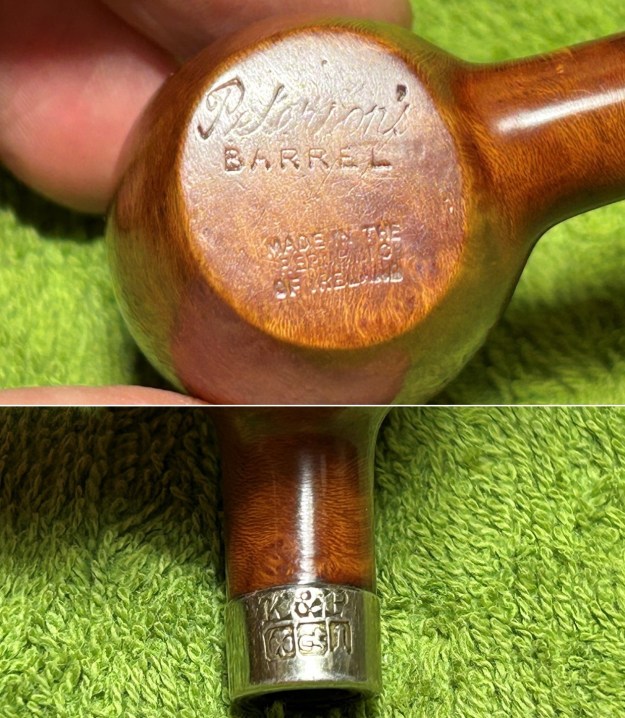 Naturally, the Peterson brand is well-storied among collectors and I encourage you to read the Pipedia article about them: https://pipedia.org/wiki/Peterson. Obviously, I was particularly interested in learning more about the barrel, so I referred to The Peterson Pipe book, written by Mark Irwin and Gary Malmberg. It had a couple of very helpful tidbits. On page 136, we read
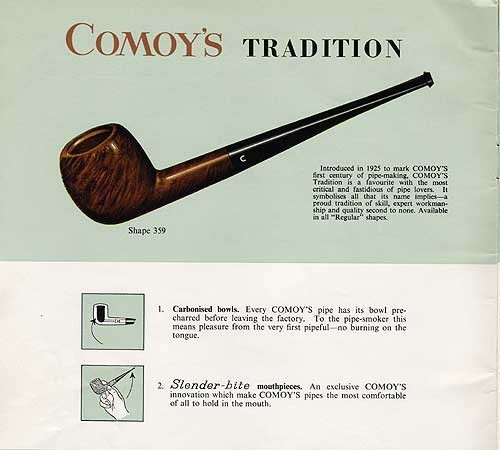
One collection … making its first appearance in the 1945 catalog is the line of Specialty shapes that have been Peterson favorites for nearly 70 years: the tankard and barrel, calabash and Belgique, and churchwarden.
Also, over on page 313, the following information can be found:
Barrel (1945-). P-lip or fishtail mouthpiece; smooth or rustic finish, sandblast offered in 1970.
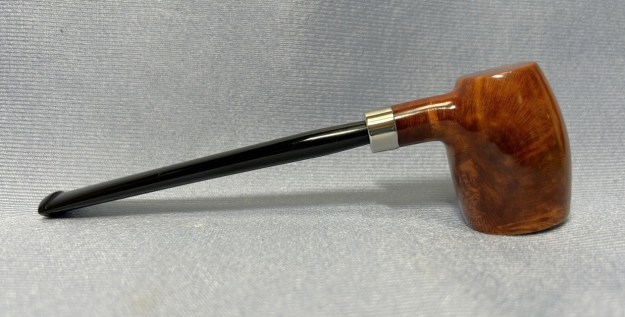
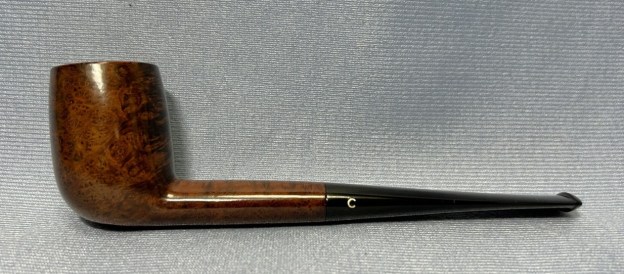
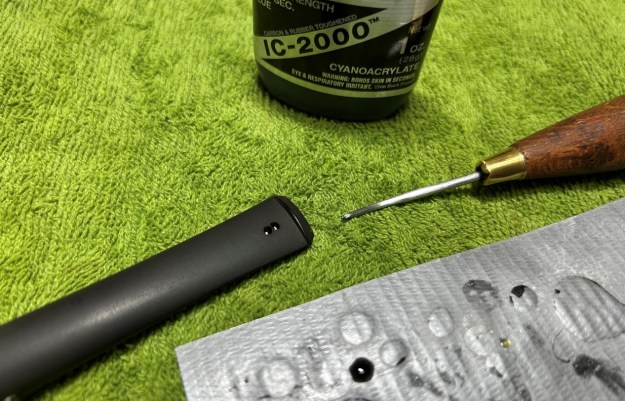
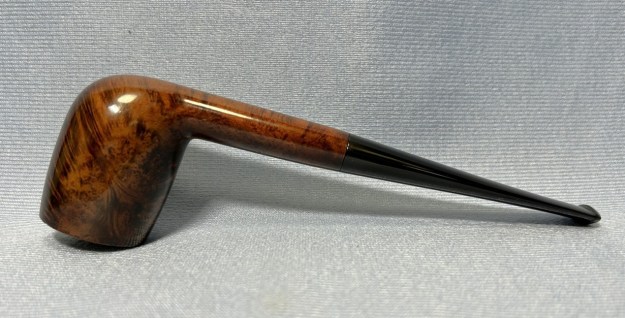
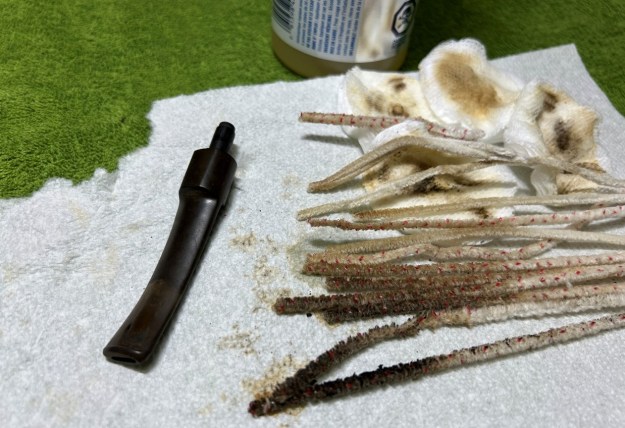
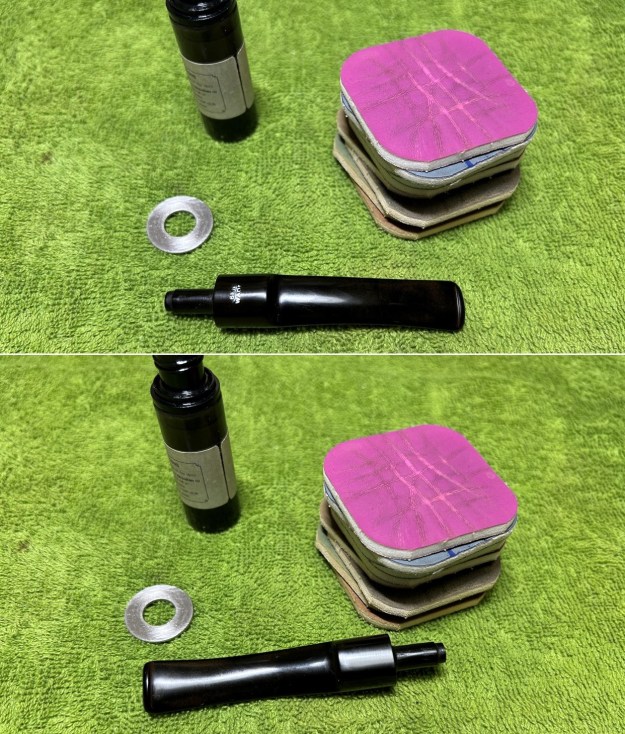
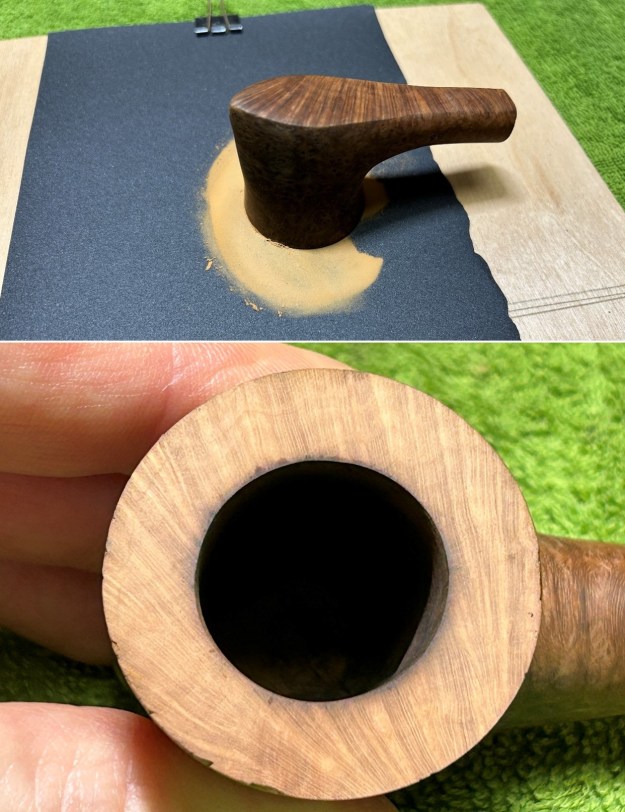
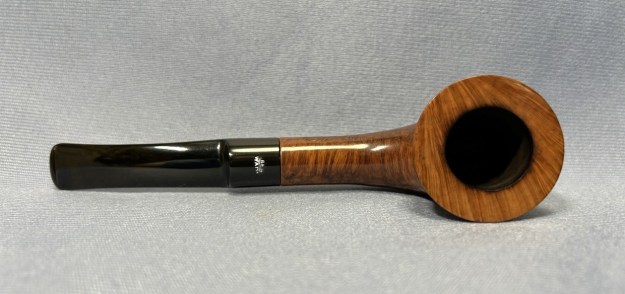
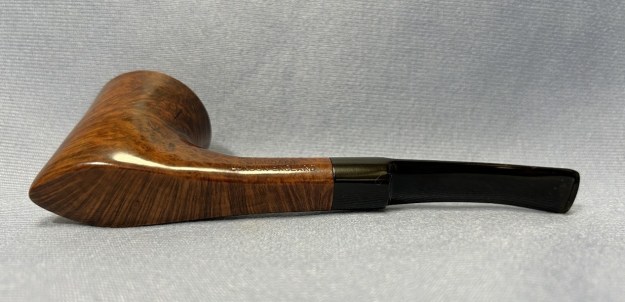
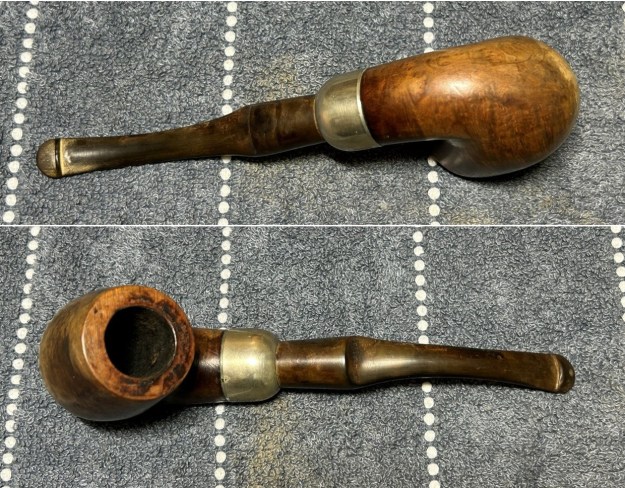
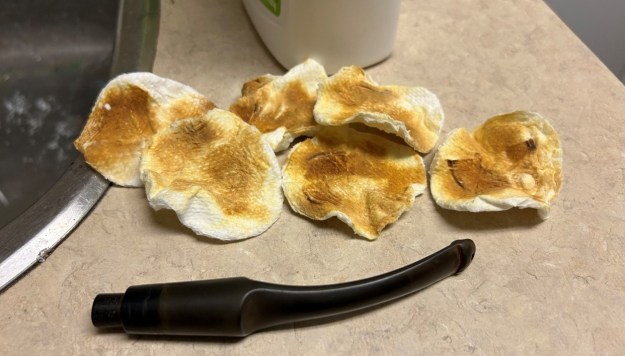
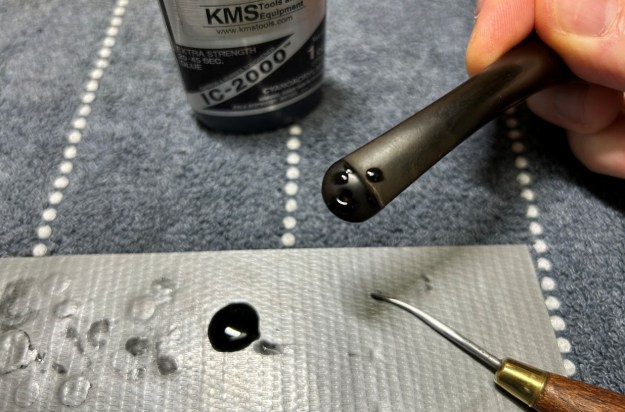
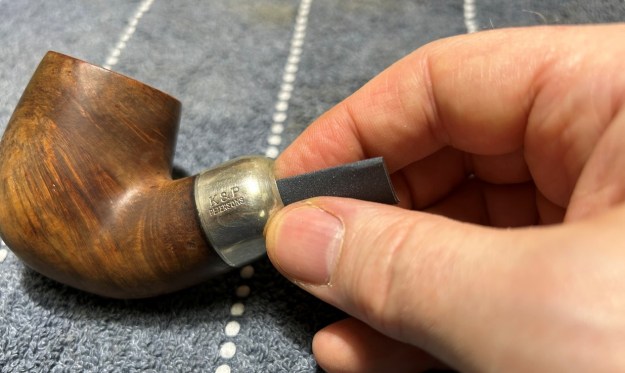
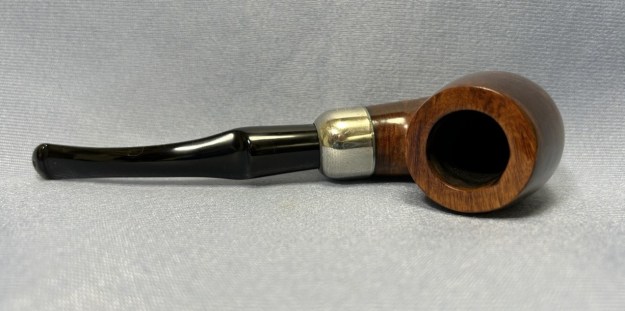
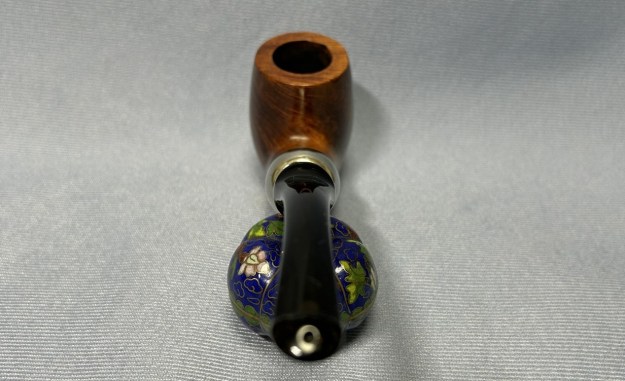
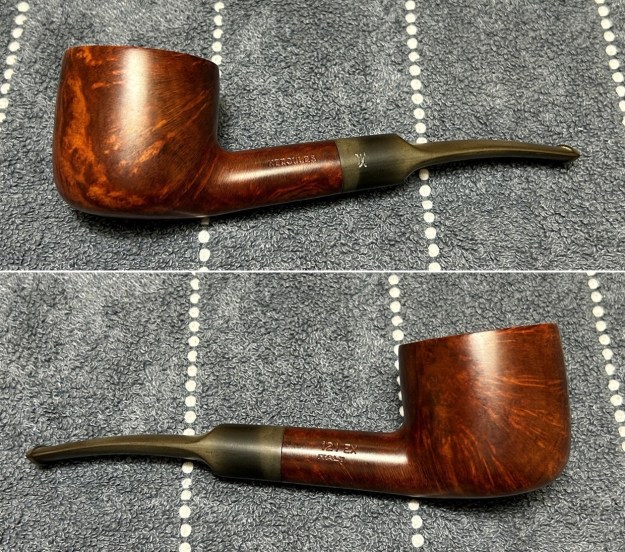
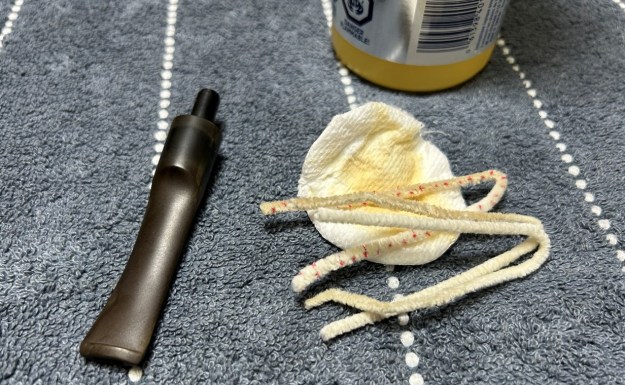
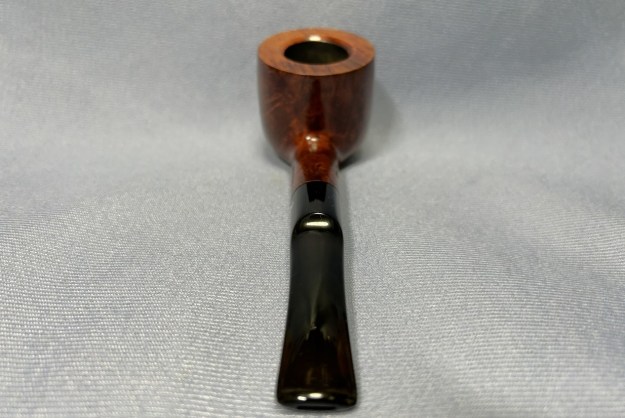
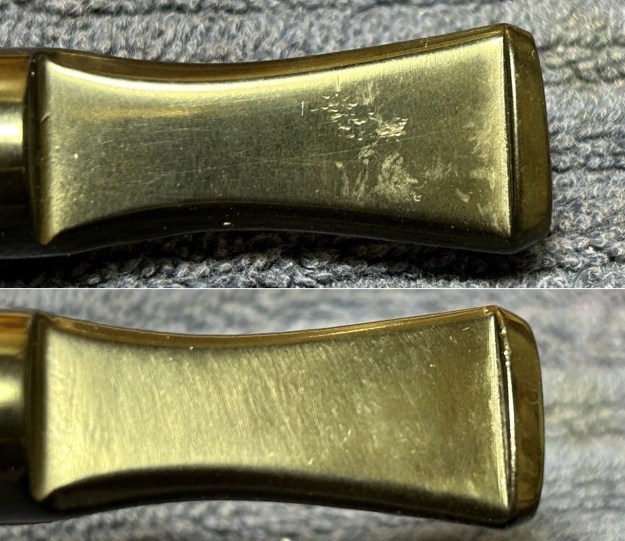
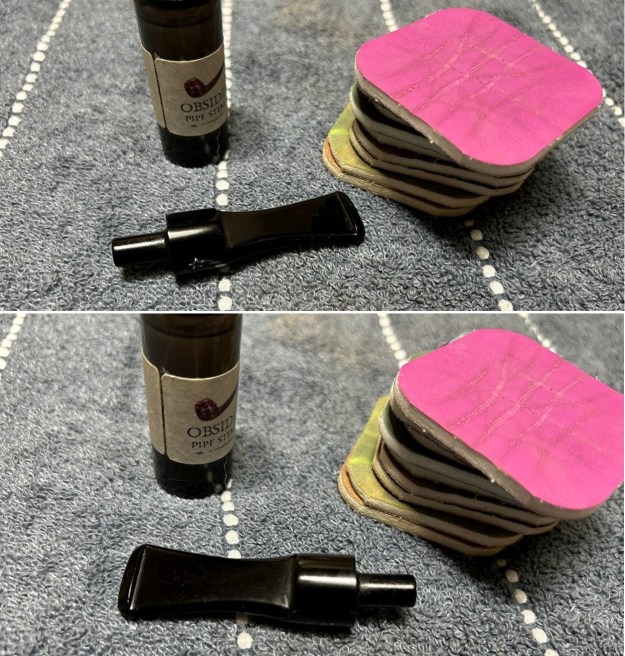
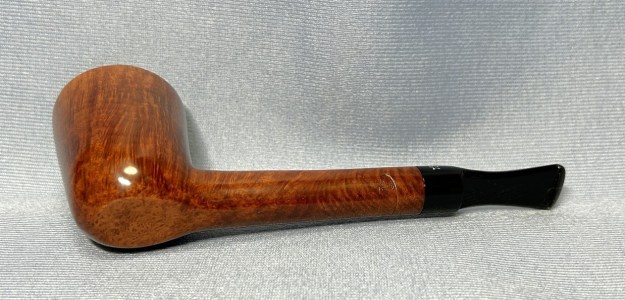
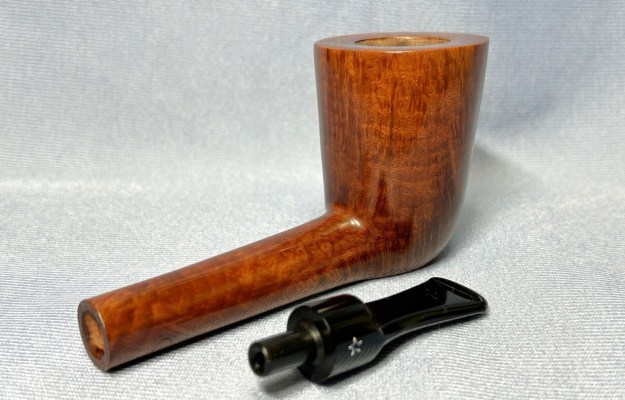
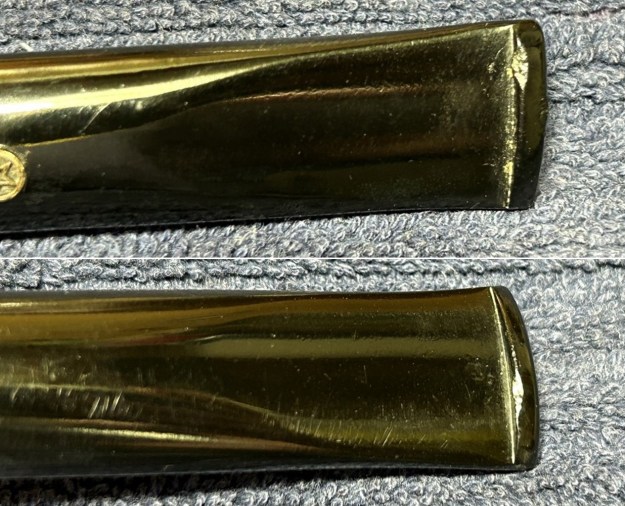
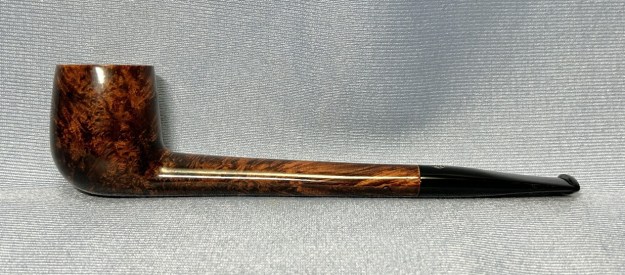
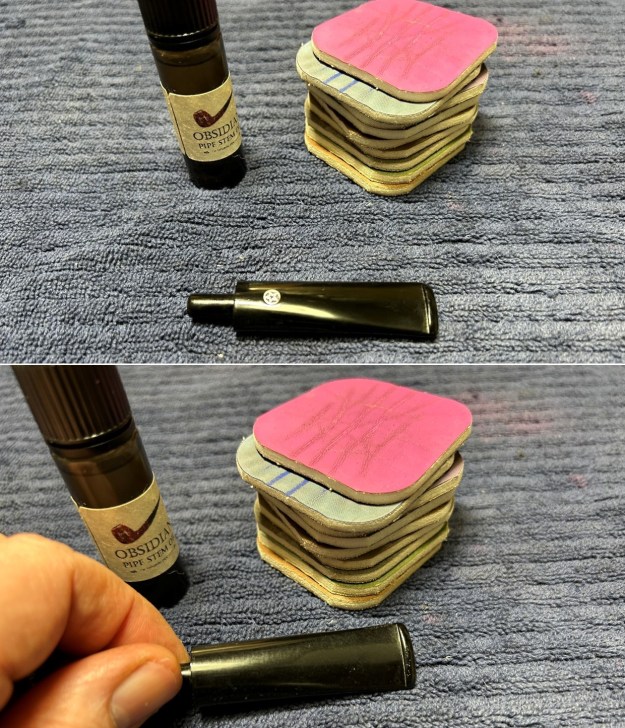
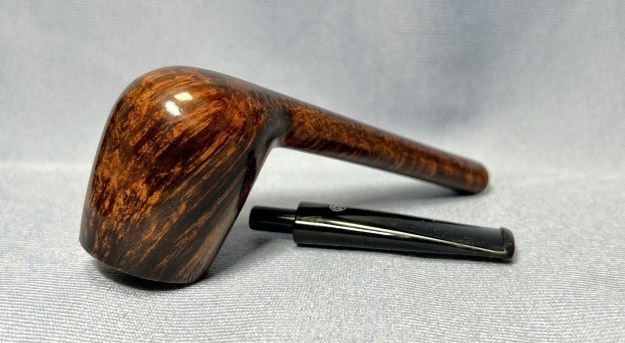
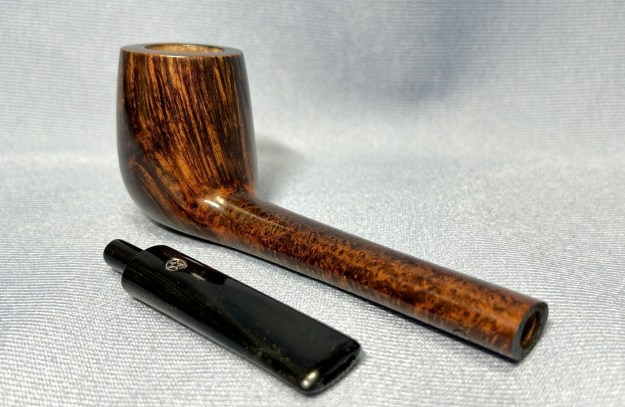
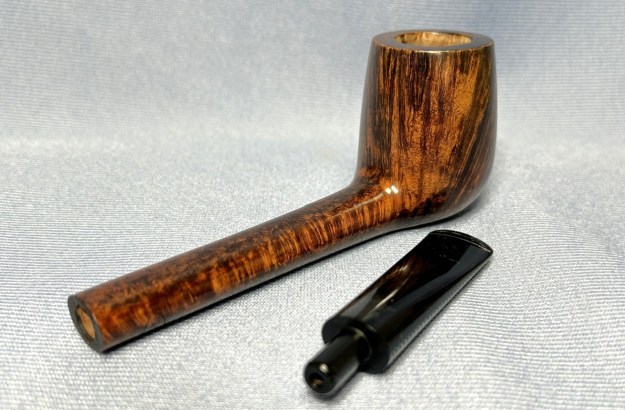
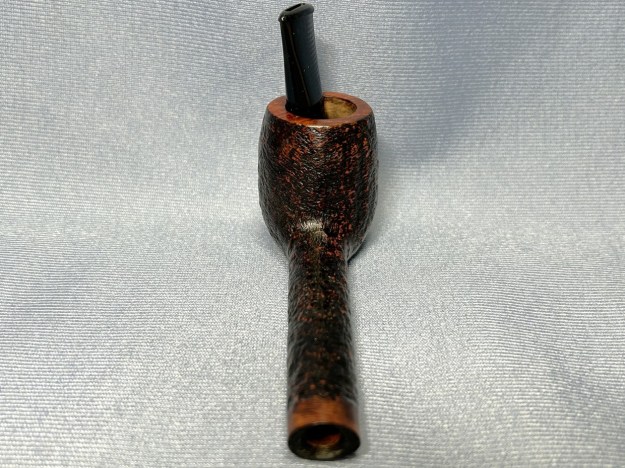
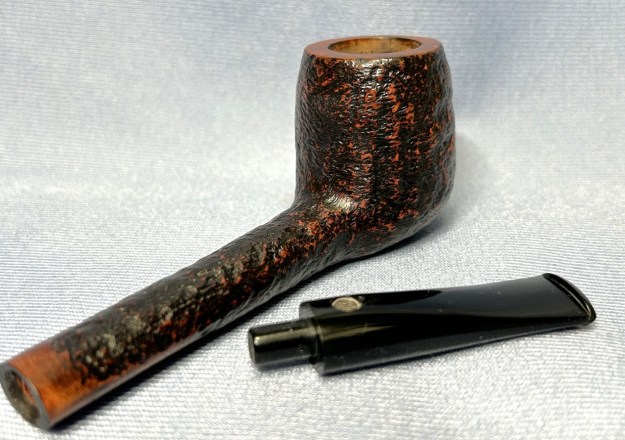
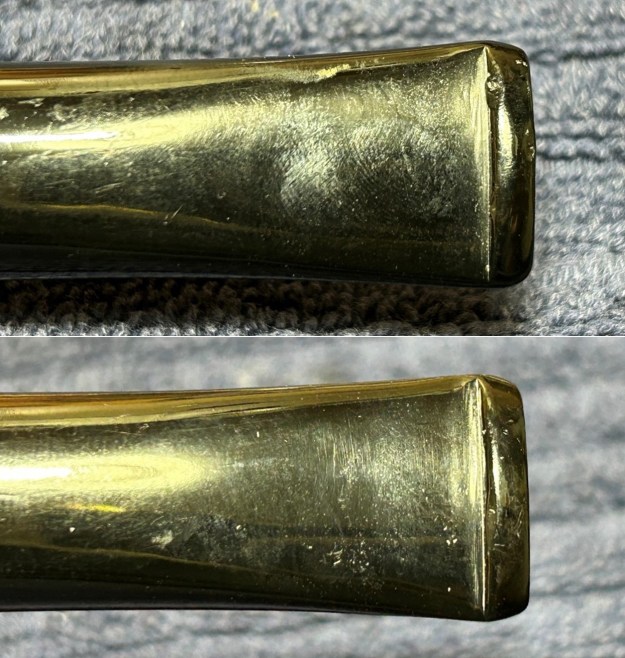
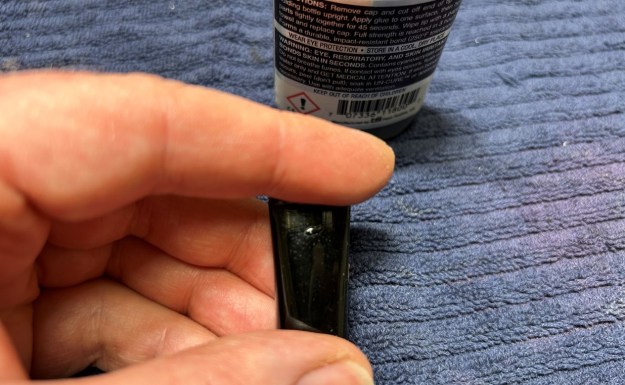
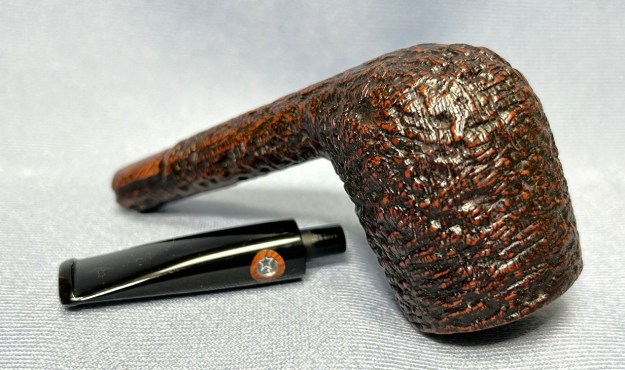
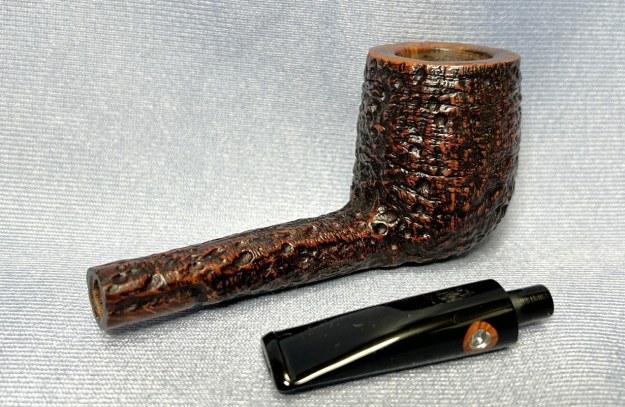
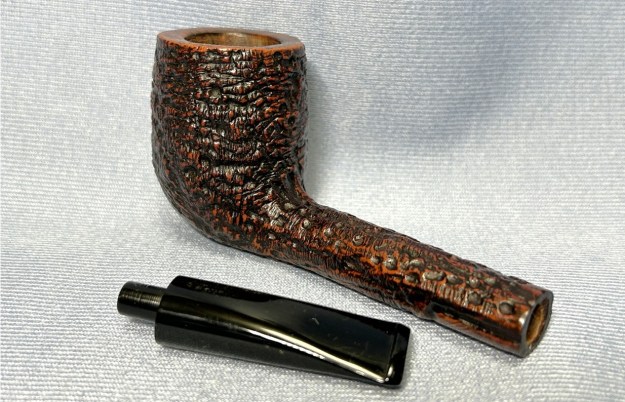
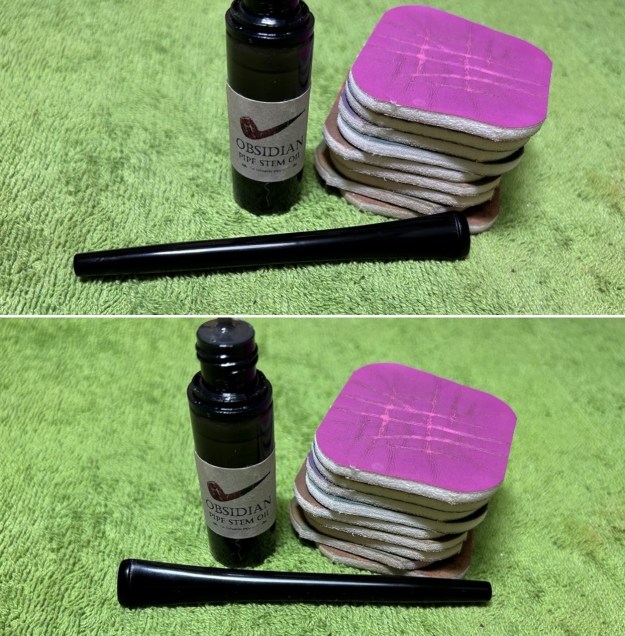
So, beyond saying that it is newer than 1945, I can’t quite tell how old this pipe is. Good to know, however, that the fishtail was an option.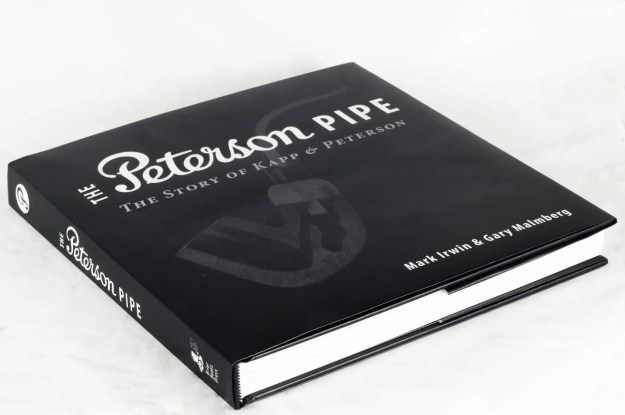 Let’s work on the pipe. The first thing I did was to hunt down a suitable replacement stem. It needed to be a military mount and it could be either a P-lip or fishtail. In this case, I didn’t have a P-lip that worked with this pipe – but I found a terrific fishtail, which you can see below. The stem is brand new – it even still has its casting marks!
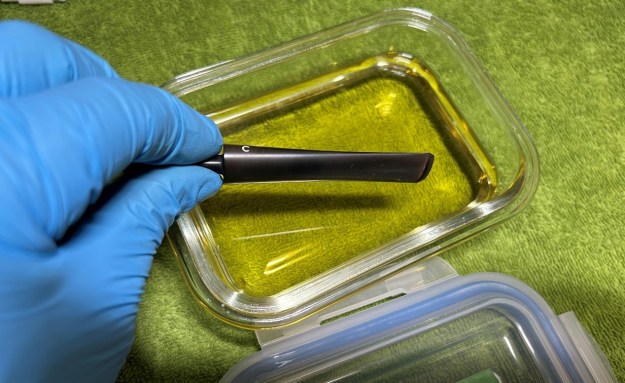
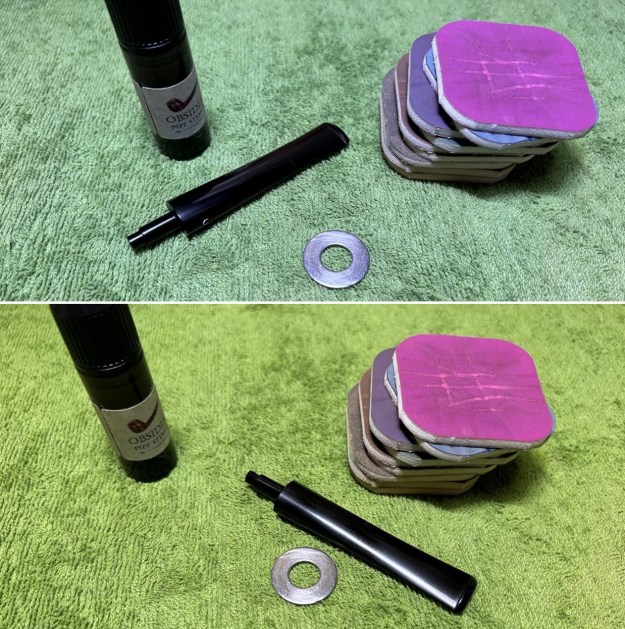
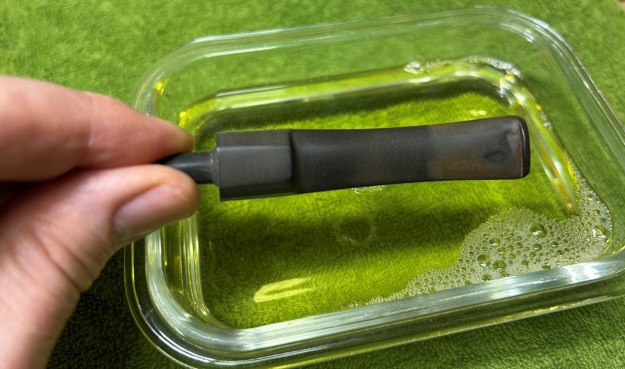
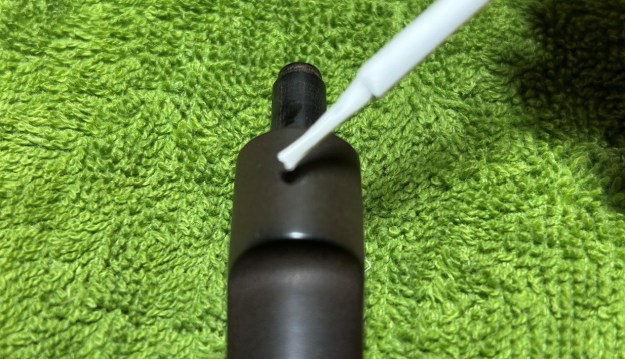
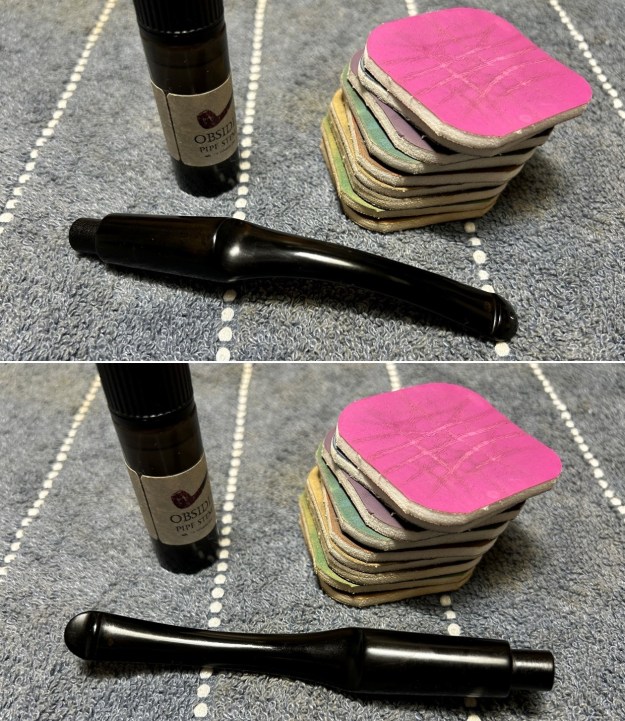
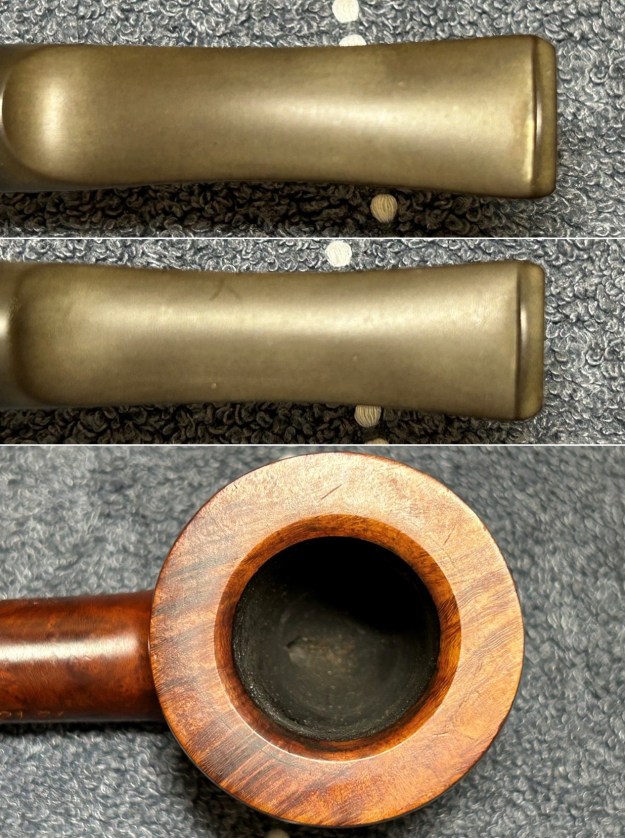
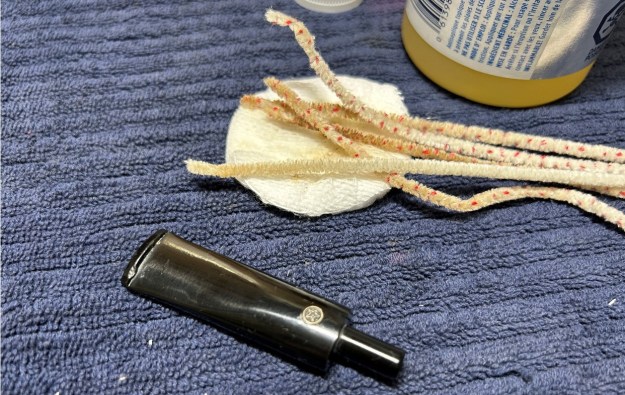
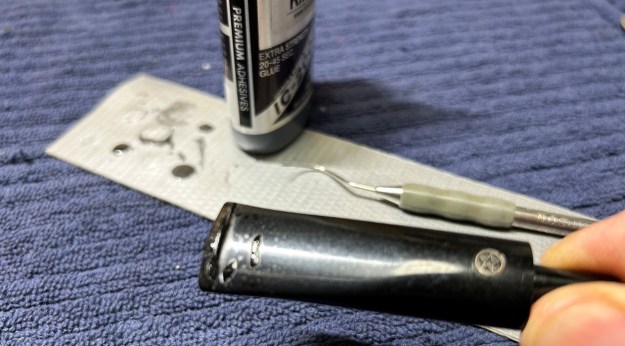
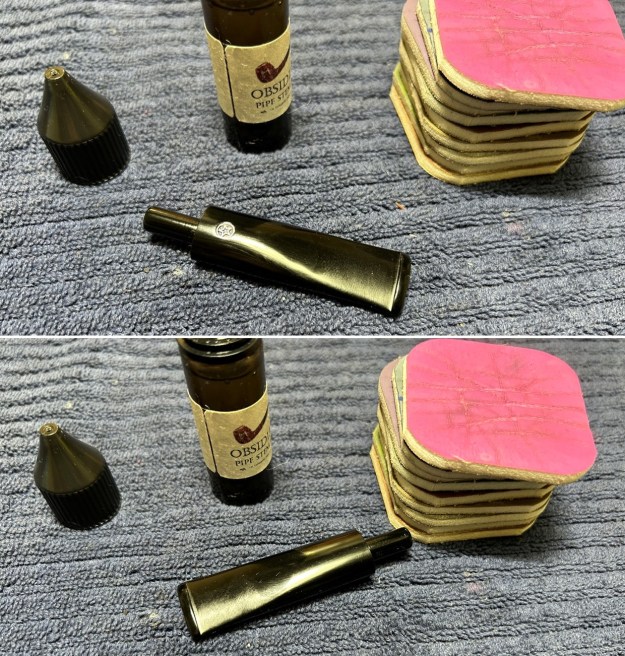
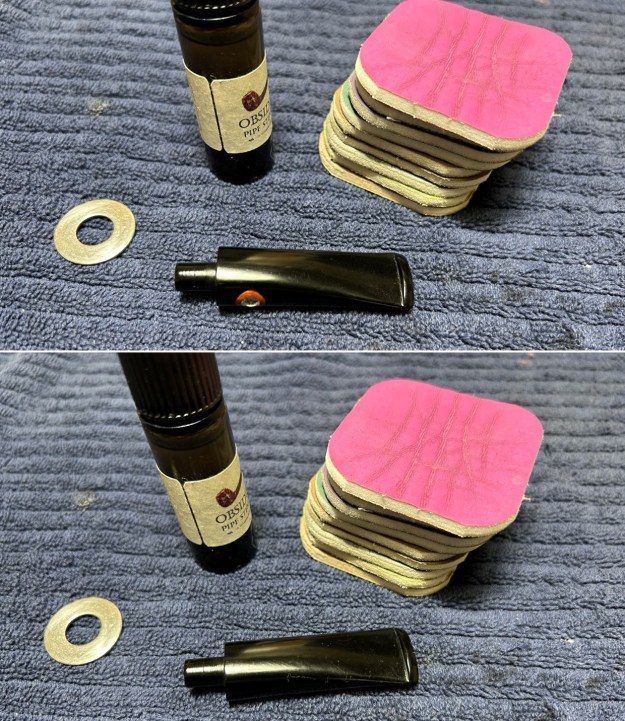
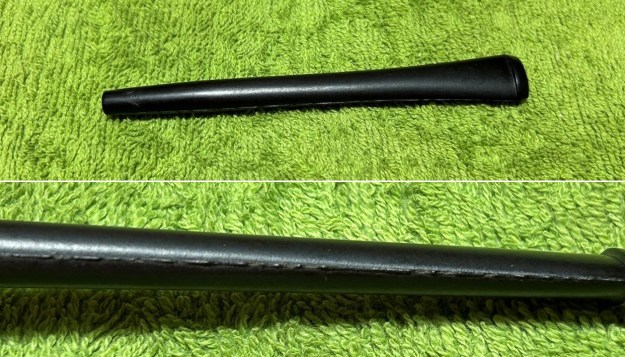 I took some sandpaper and gently sanded away those casting marks. Following that, I used all nine of the micromesh sanding pads (1,500 through 12,000 grit) to sand out flaws, even out the vulcanite, and provide gentle polishing of the finished surface. I also applied pipe-stem oil while using the last five micromesh pads. There was a wonderful, deep black shine to the stem when I was done.
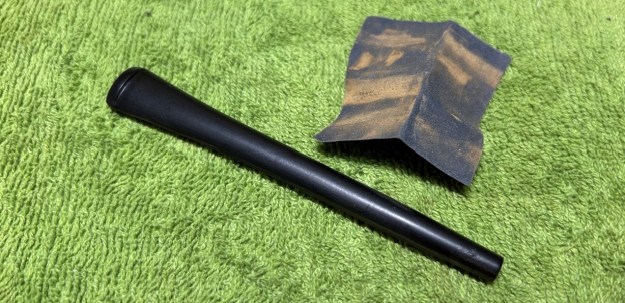
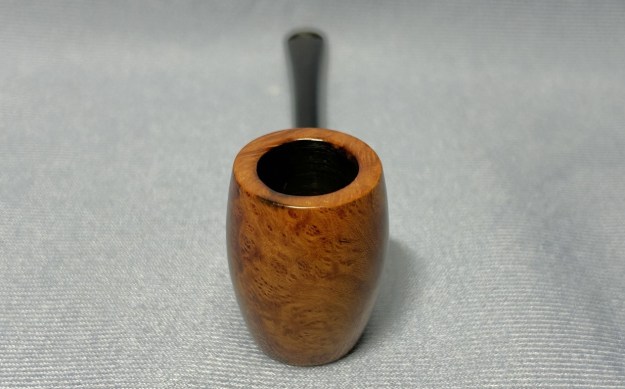
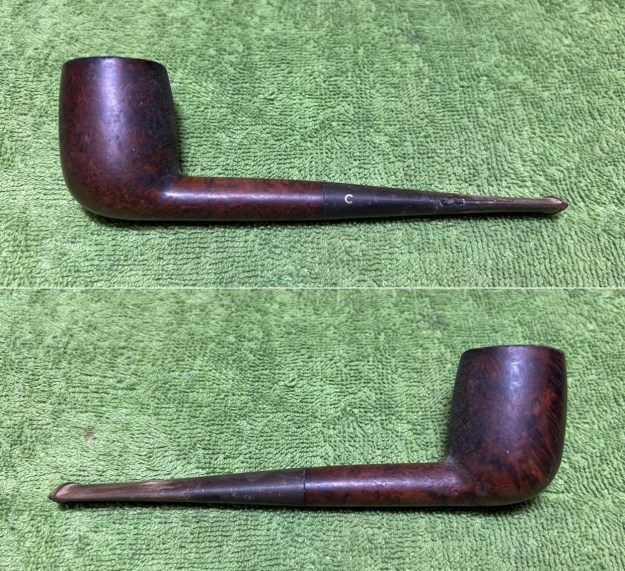
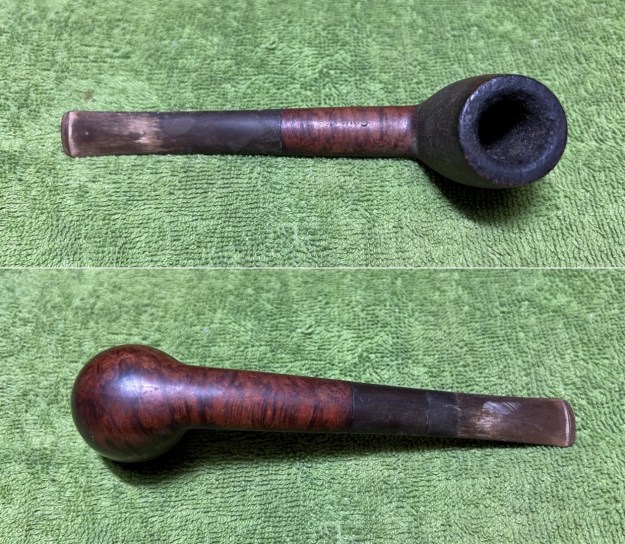
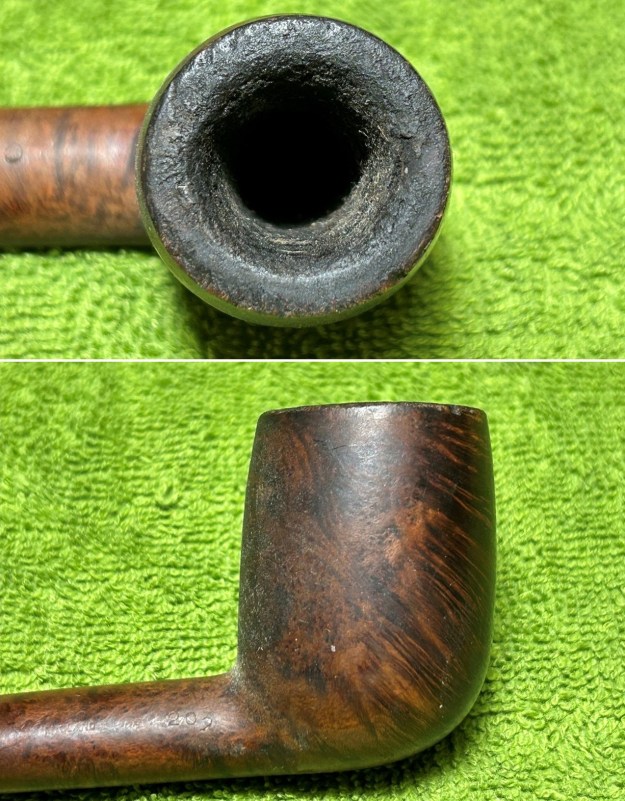
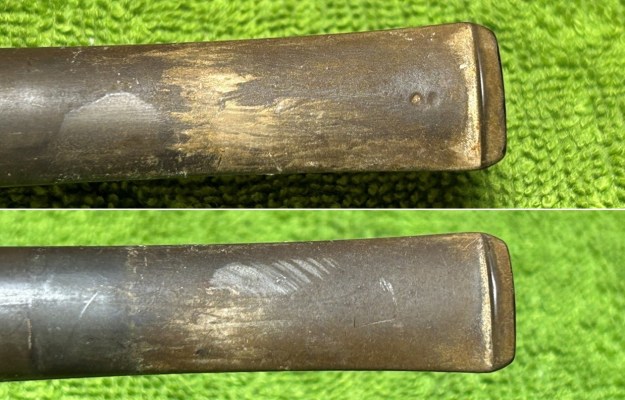
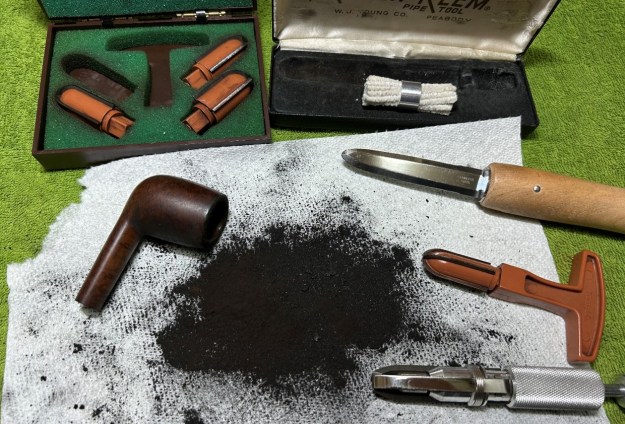
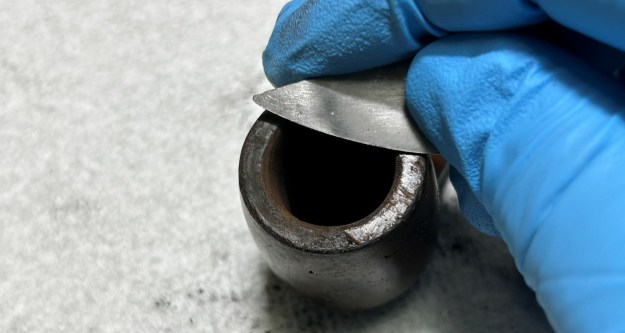
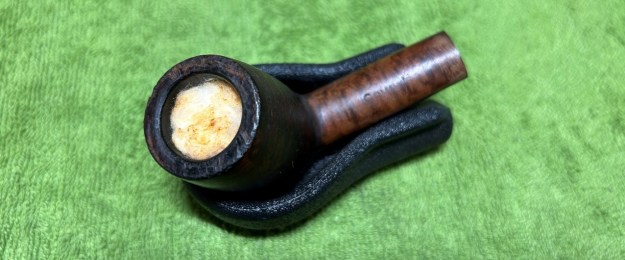
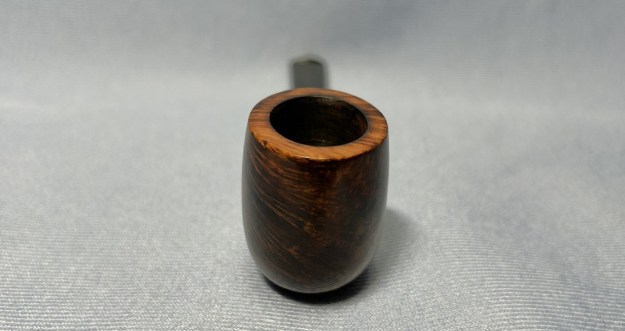
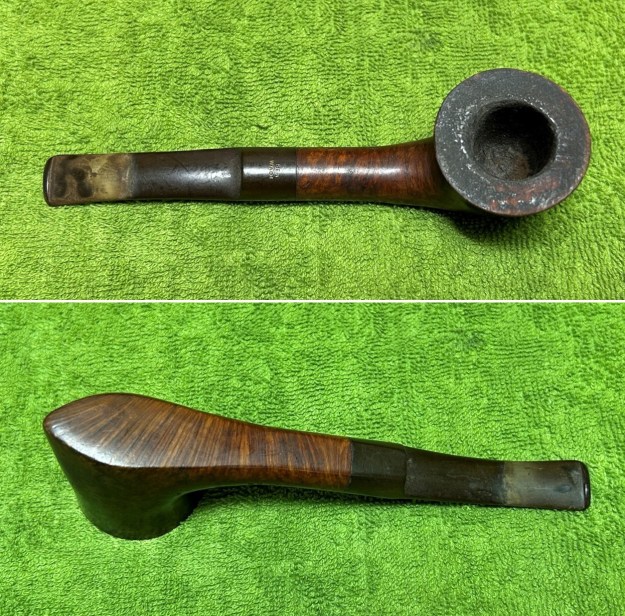
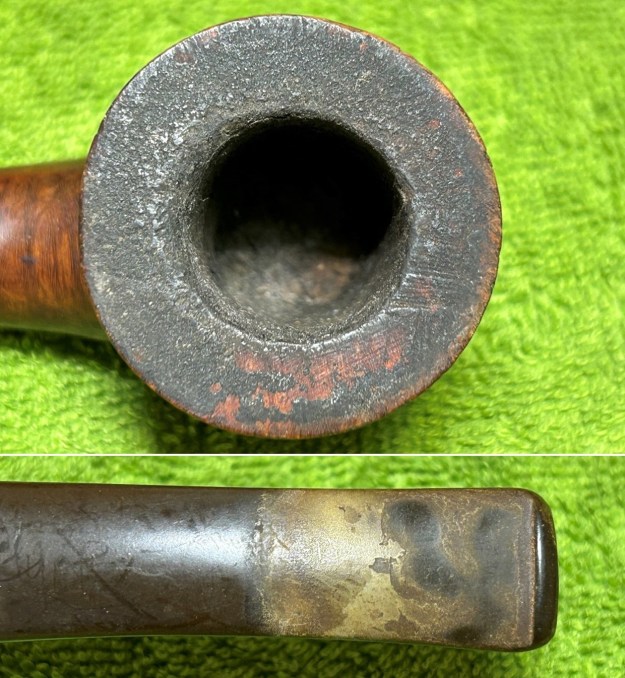
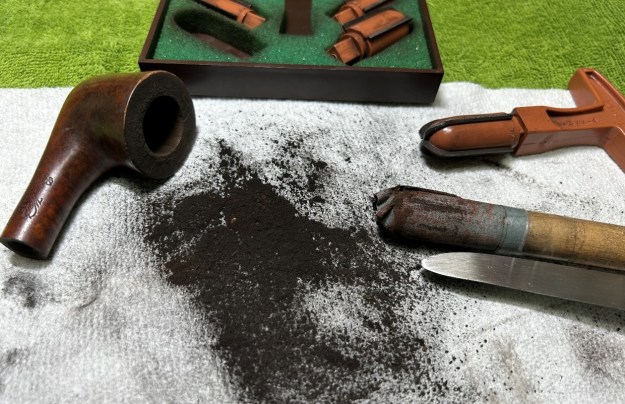
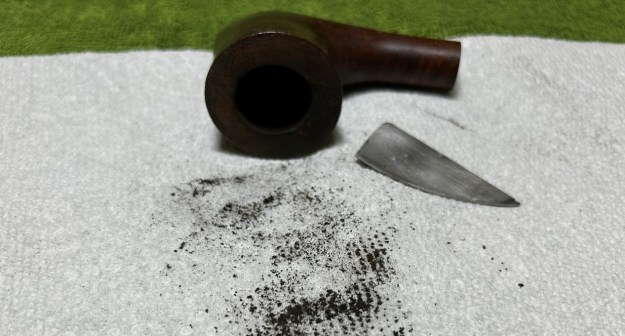
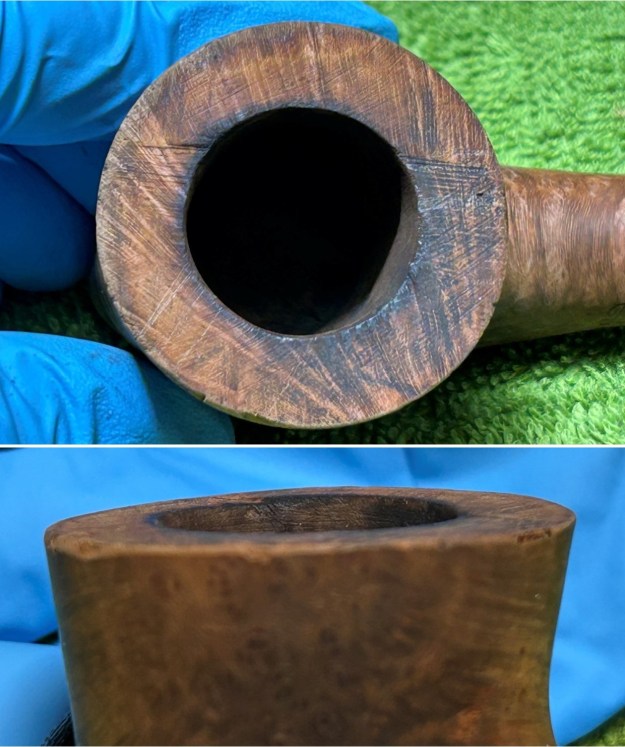
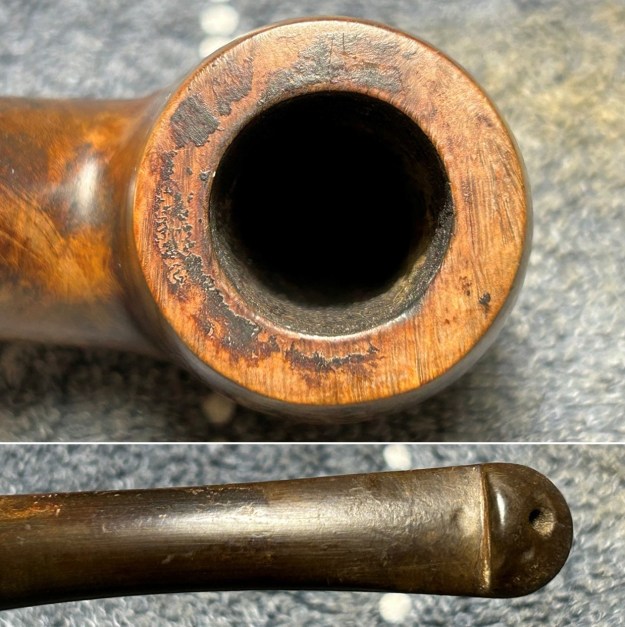
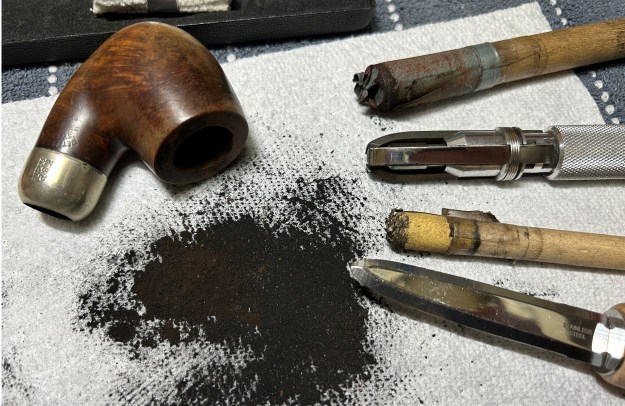
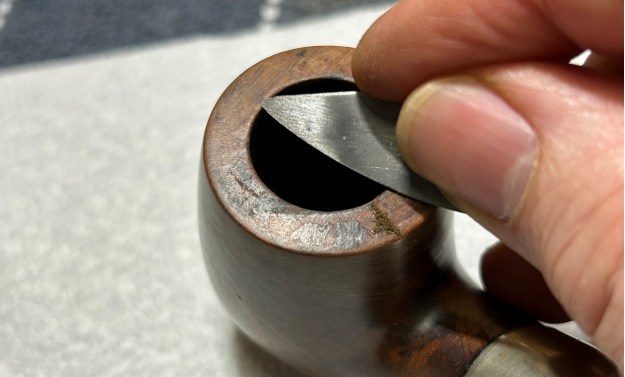
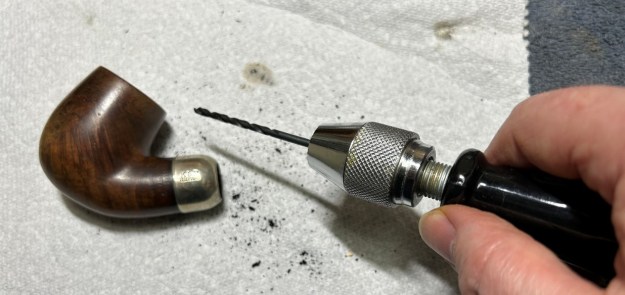
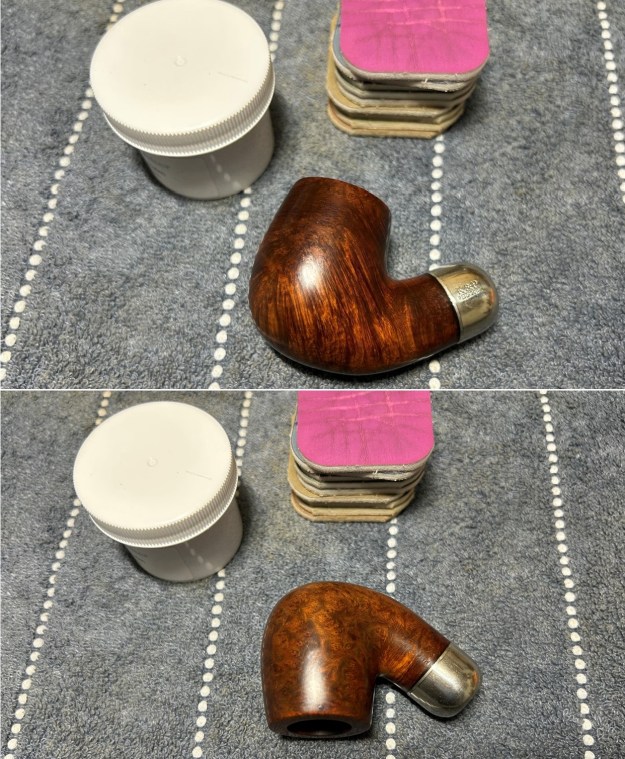
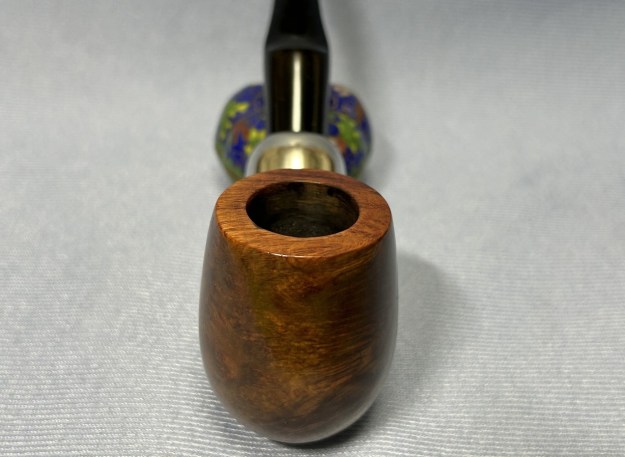
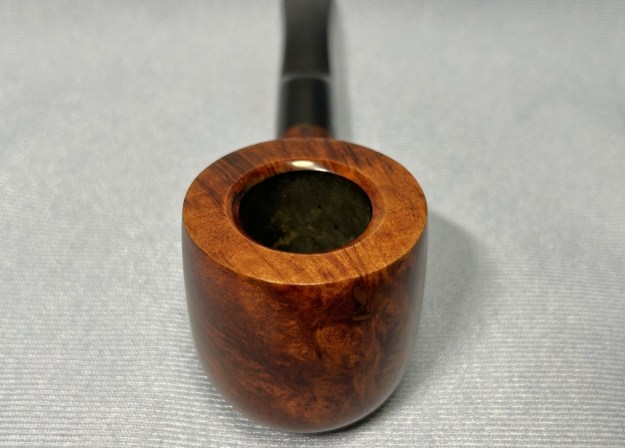
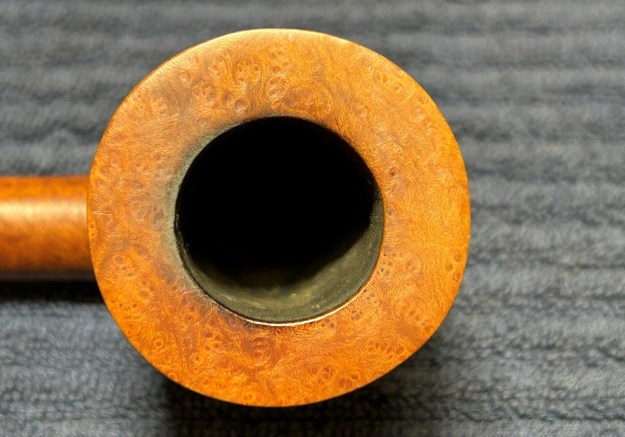
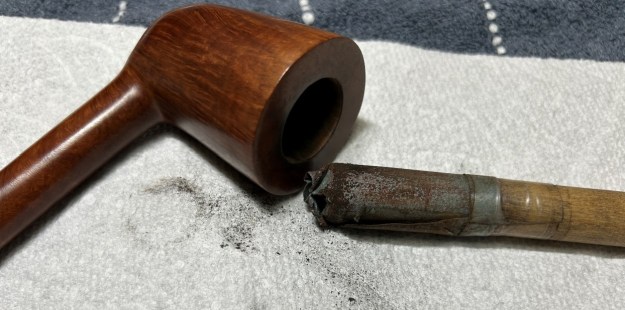
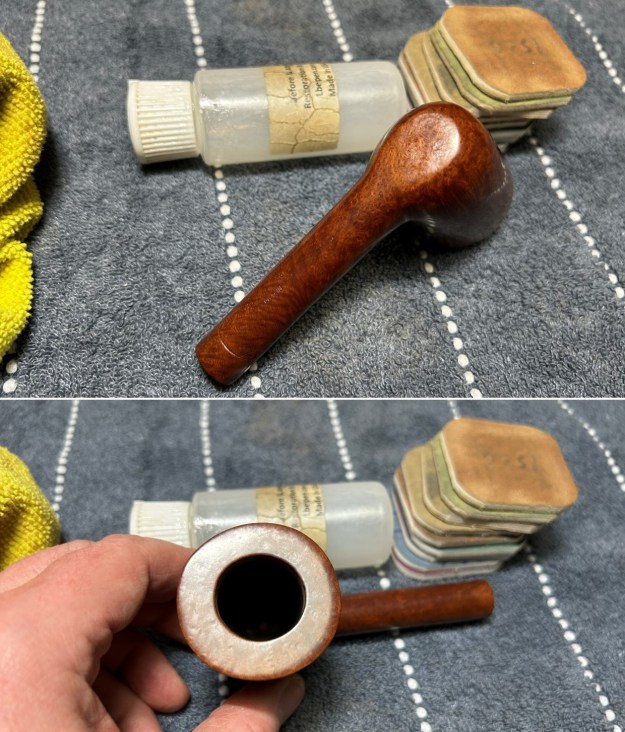
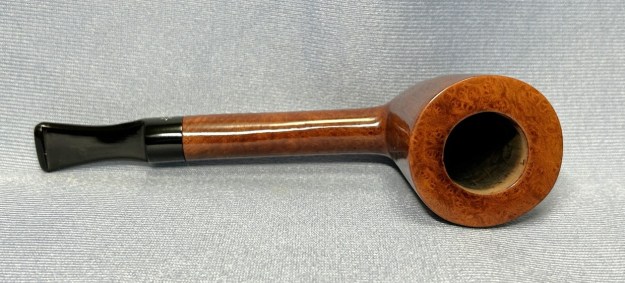
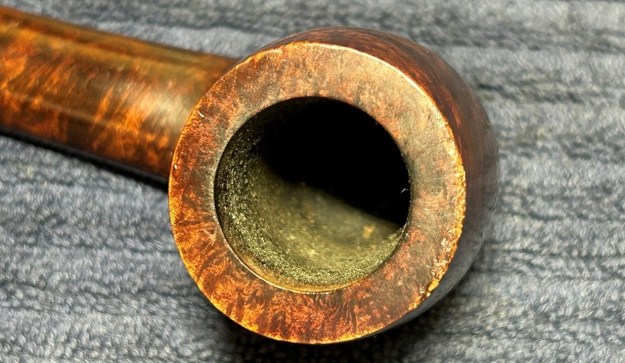
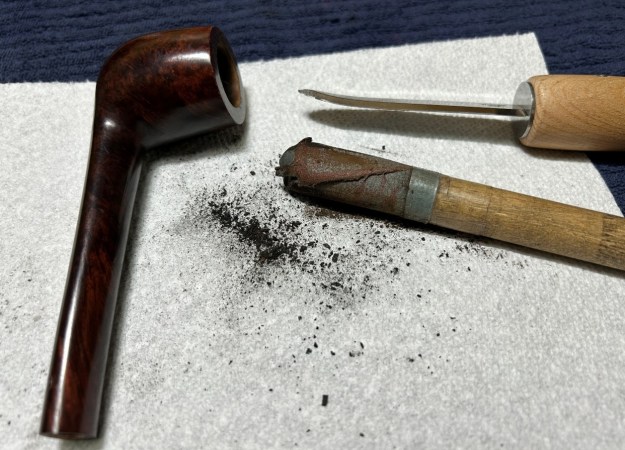
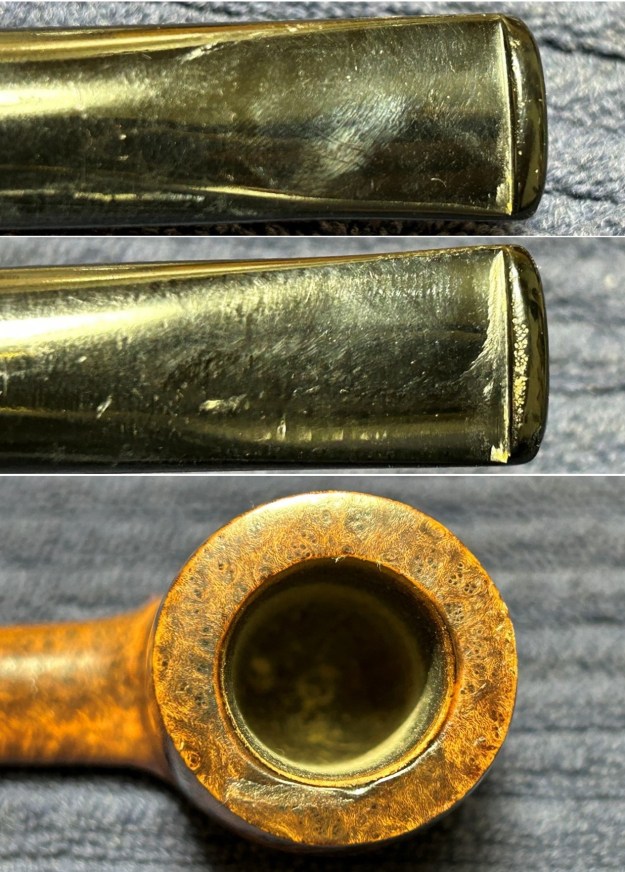
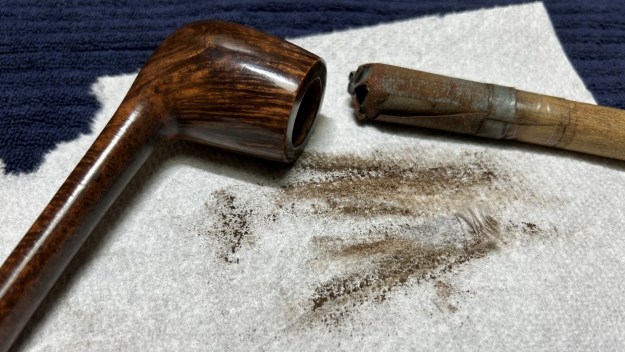
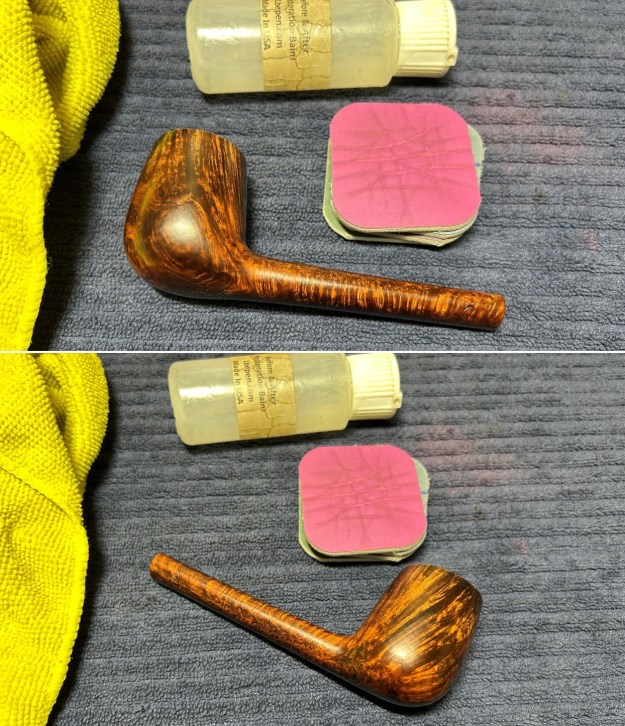
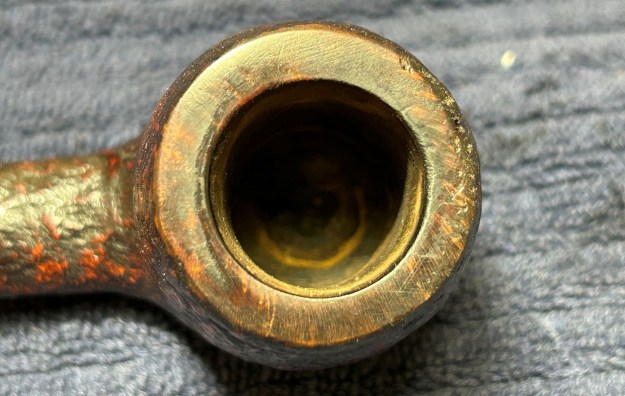
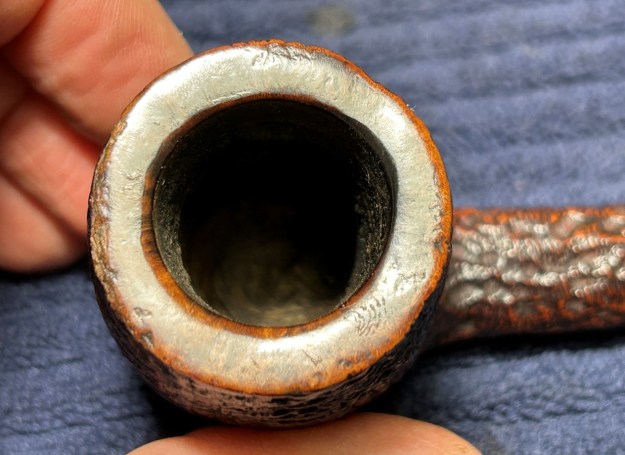
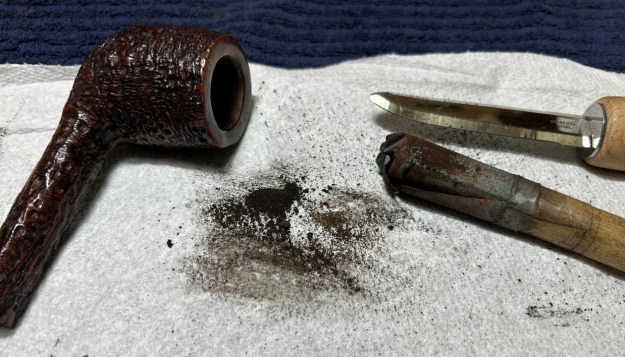
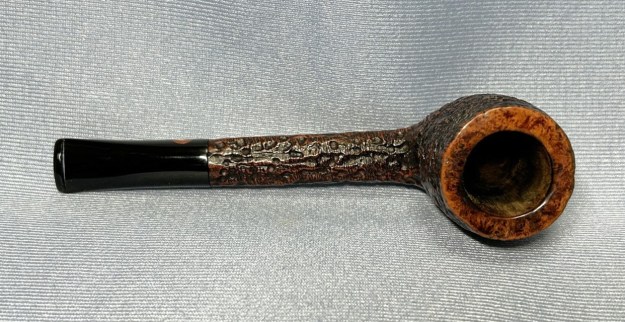
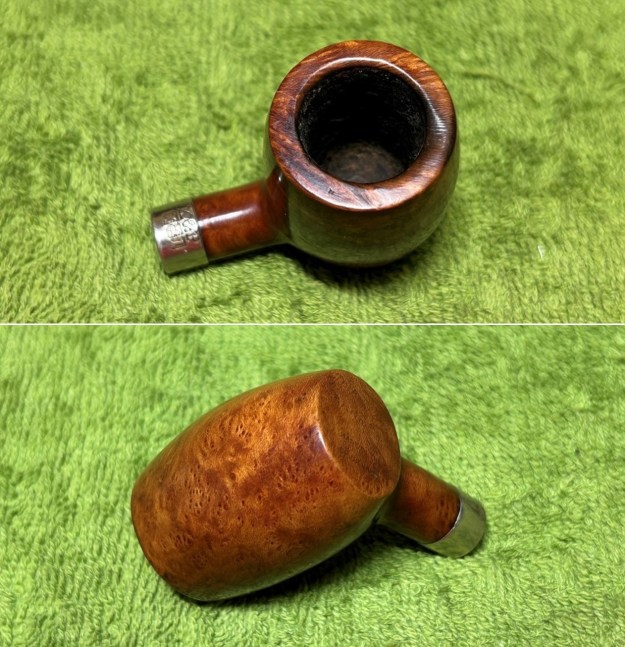
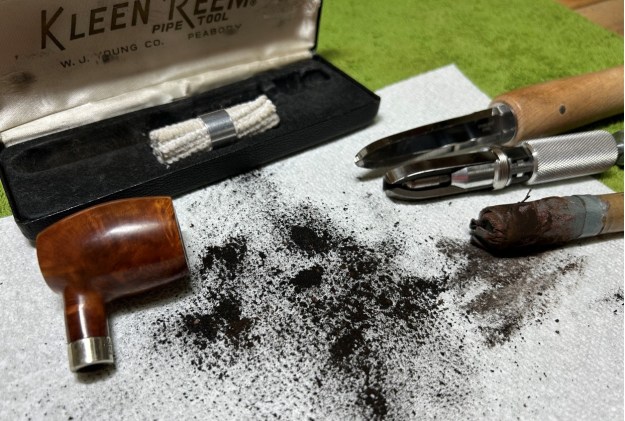
 Over to the stummel – and they were some issues. It was very dirty and had a significant burn on the rim. The first step was to ream out the bowl – that is to say, remove all the cake inside the bowl. This accomplished a couple of things. First (and most obviously), it cleaned the bowl and provided a refurbished chamber for future smoking. Second, when the old cake was removed, I could inspect the interior walls of the bowl and determine if there was damage or not. I used a reamer, a pipe knife, and a piece of sandpaper taped to a wooden dowel. Collectively, these ensured that all the debris was removed.
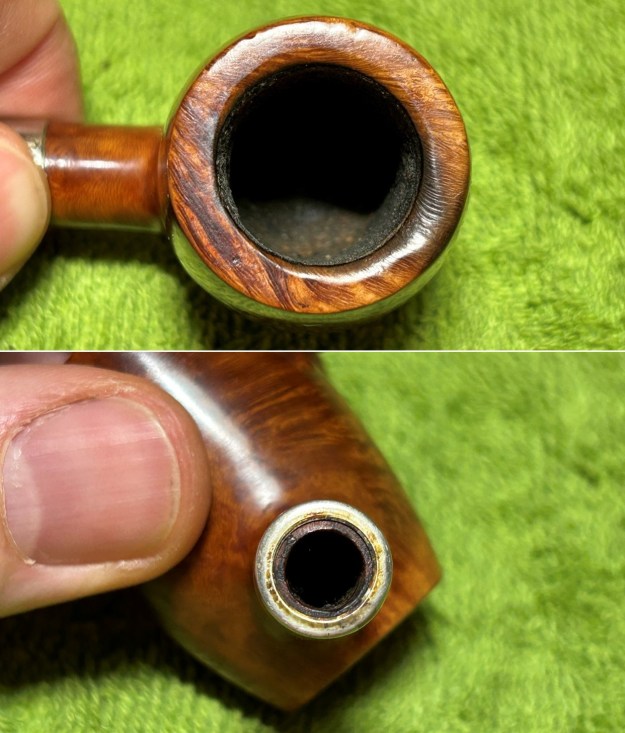
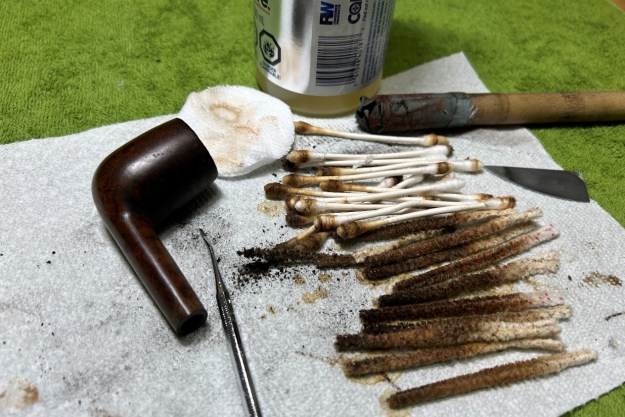
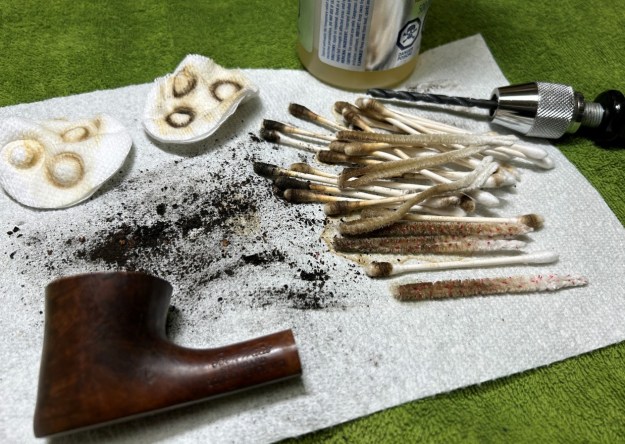
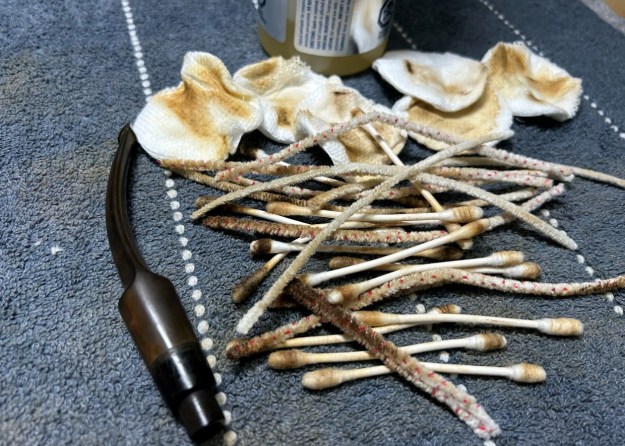
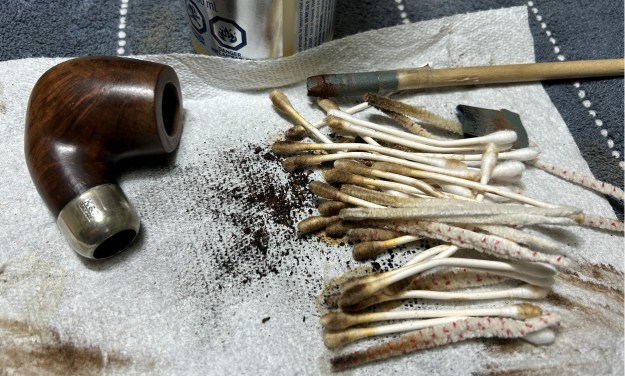
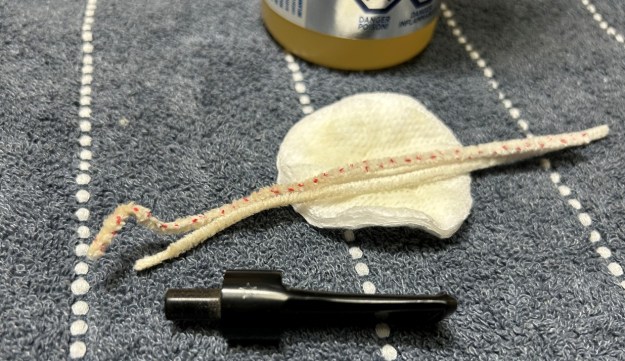
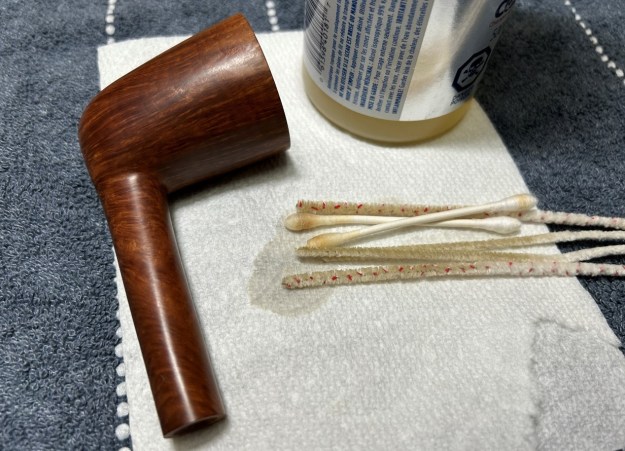
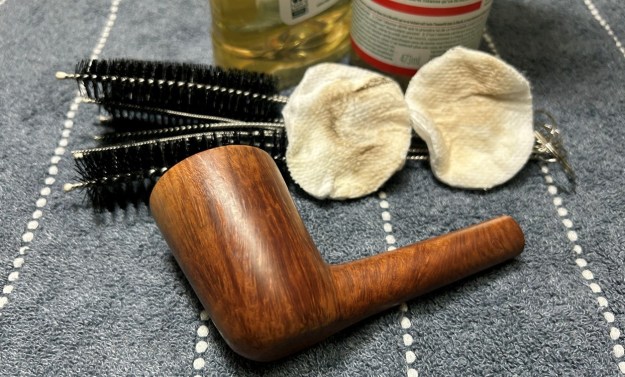
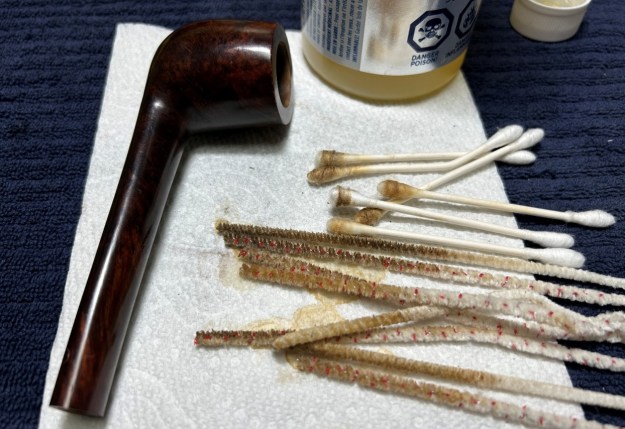
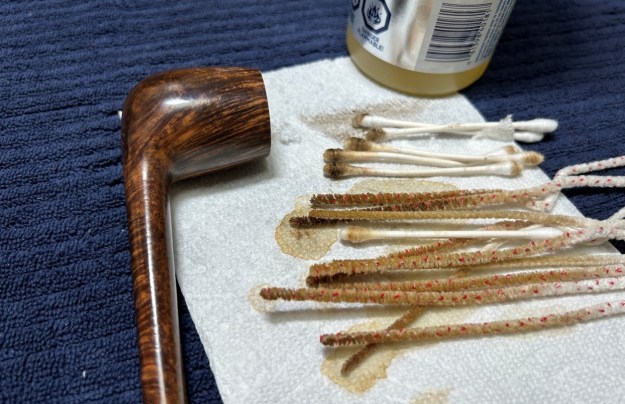
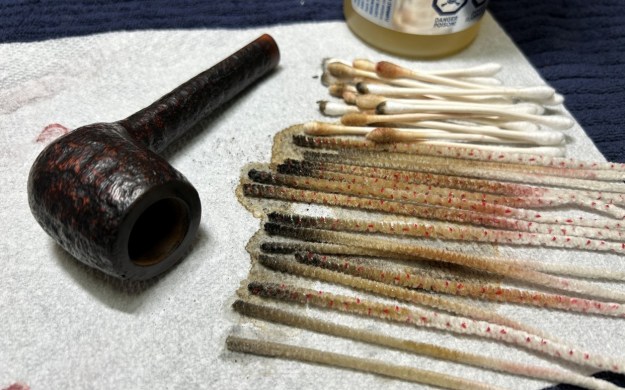
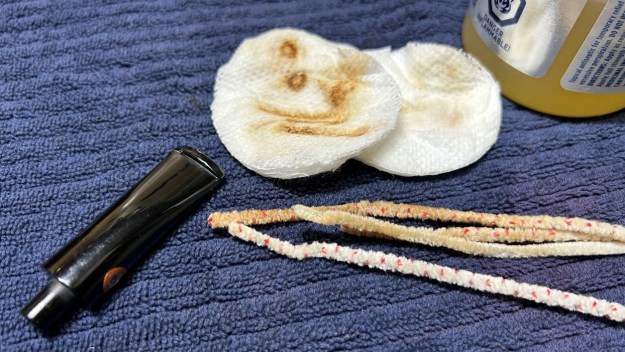
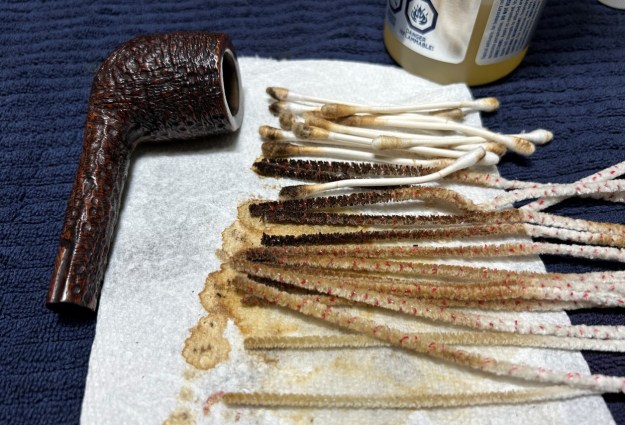
 I then cleaned the stummel with both pipe cleaners and cotton swabs dipped in lemon-infused 99% isopropyl alcohol. With a pipe this dirty, it took quite a while and much cotton to get clean. It’s a small pipe, but so, so dirty.
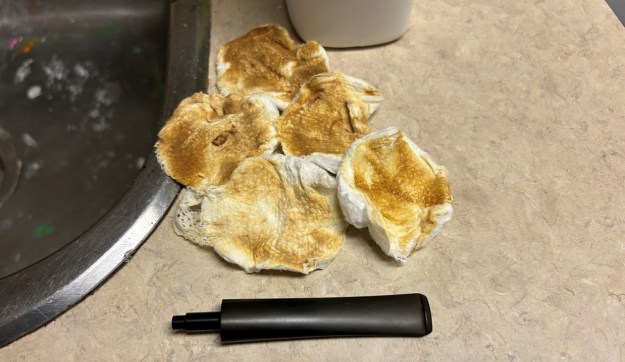
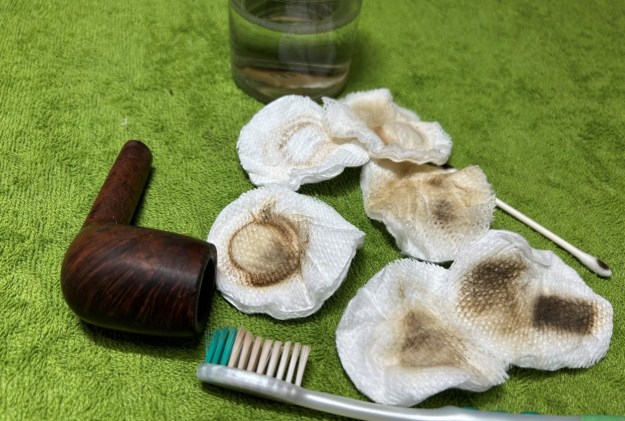
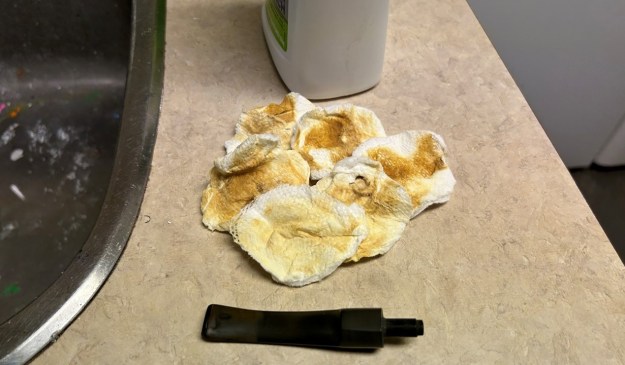
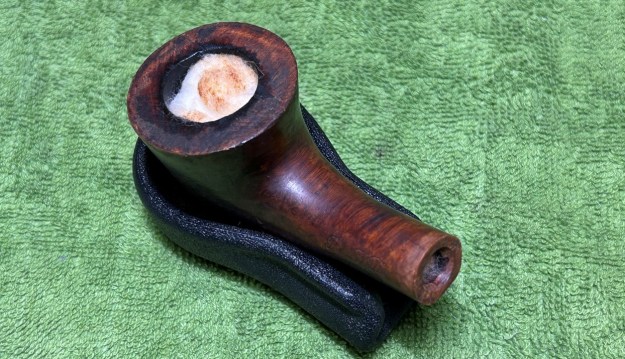
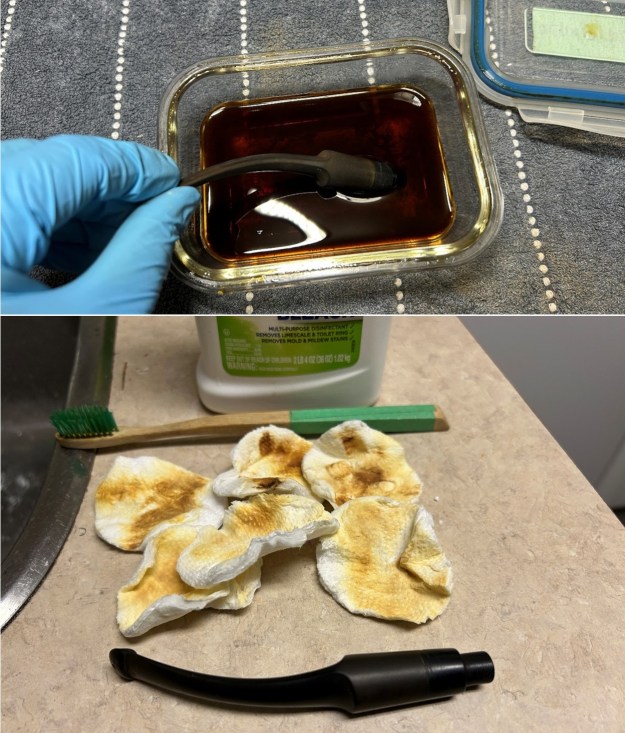
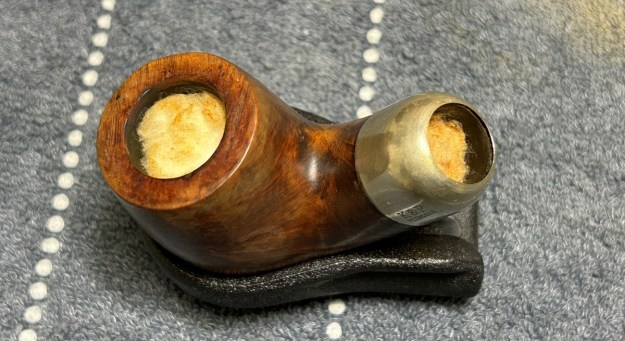
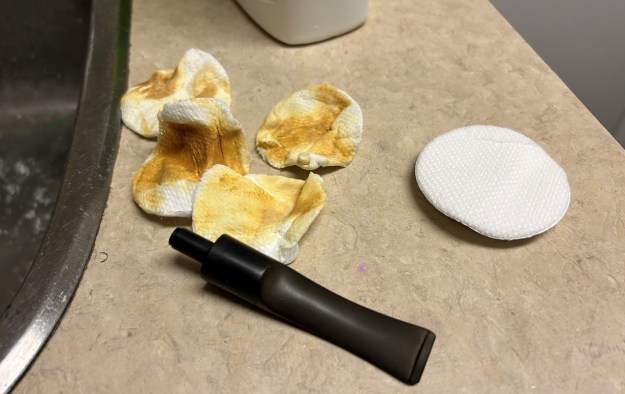
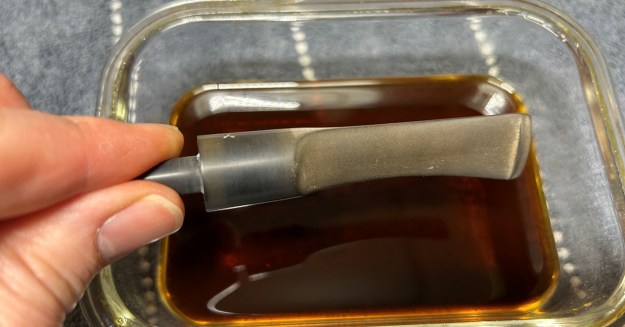
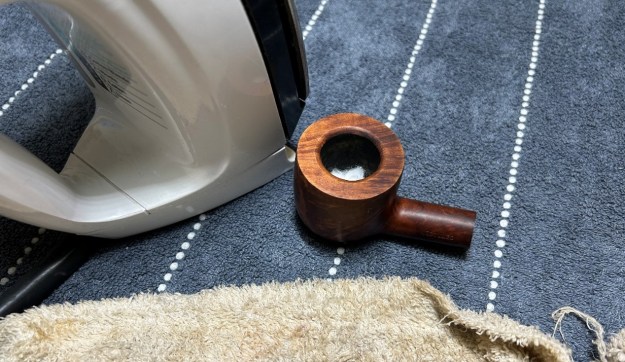
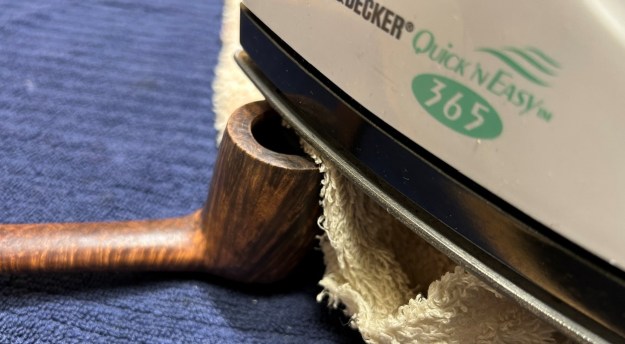
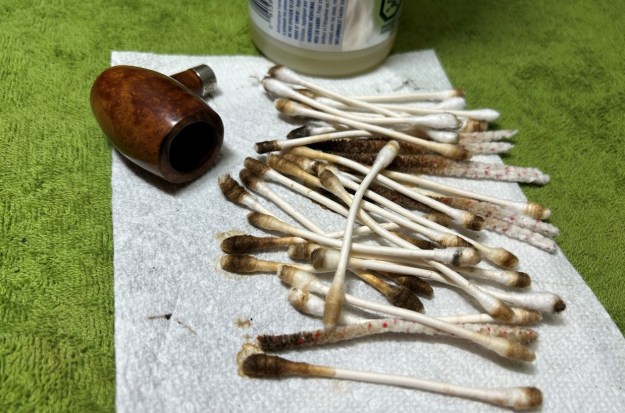 I then decided to ‘de-ghost’ the pipe – that is to say, exorcize the remaining filth from the briar. I filled the bowl and the shank with cotton balls, then saturated them with 99% isopropyl alcohol. I let the stummel sit overnight. This caused the remaining oils, tars and smells to leach out into the cotton.
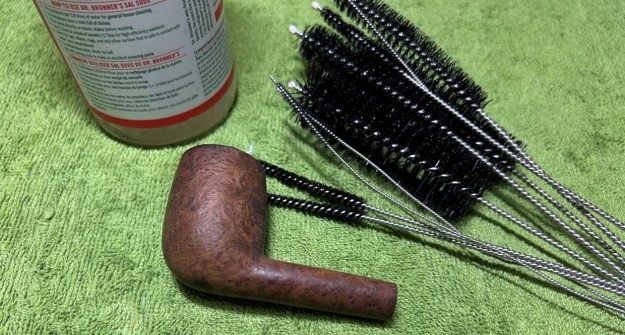
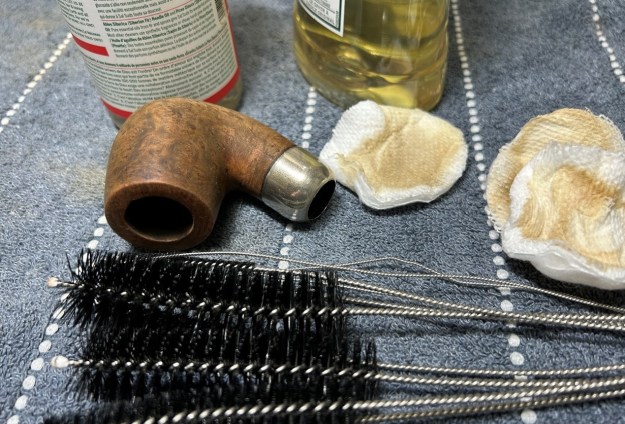
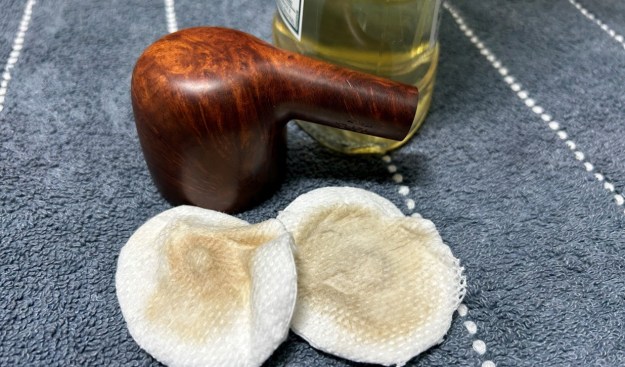
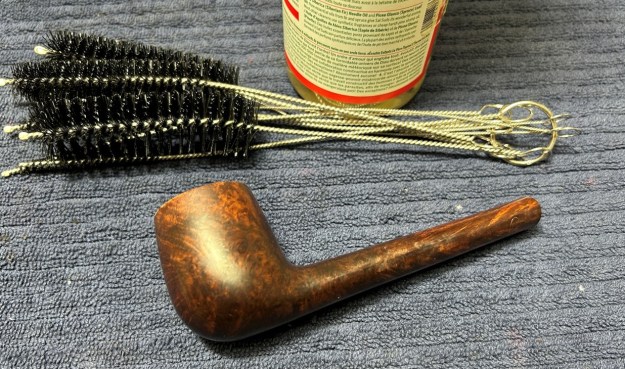
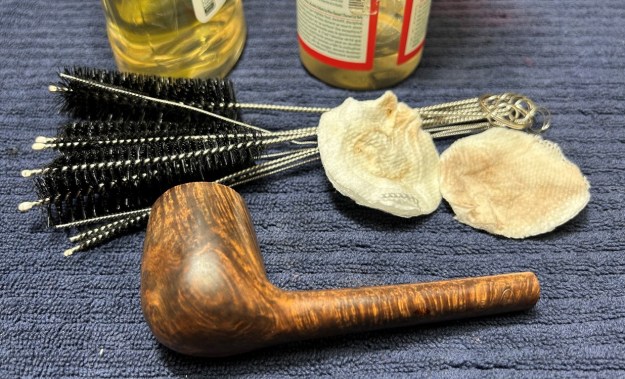
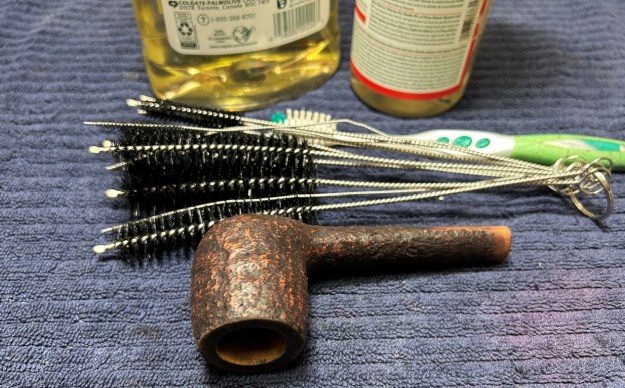
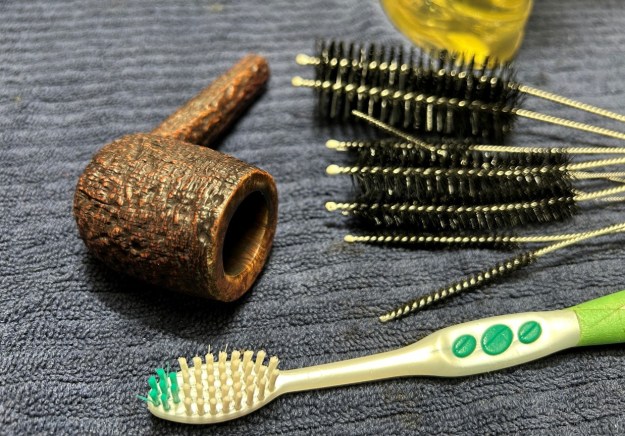
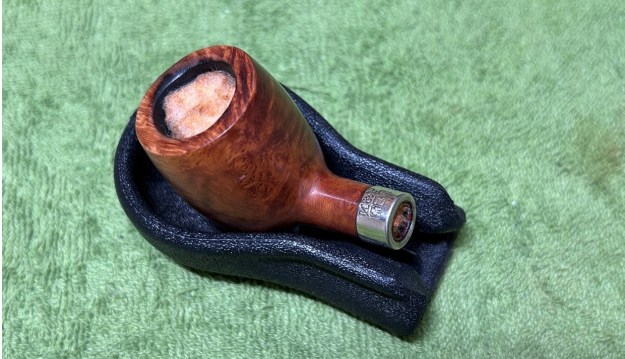 To tidy up the briar, I wiped down the outside, using a solution of a pH-neutral detergent and distilled water, with cotton rounds. This did a good job of cleaning any latent dirt on the surface of the briar. The last step of the cleaning process was to scour the inside of the stummel with some mild detergent and tube brushes. This was the culmination of a lot of hard work in getting the pipe clean.
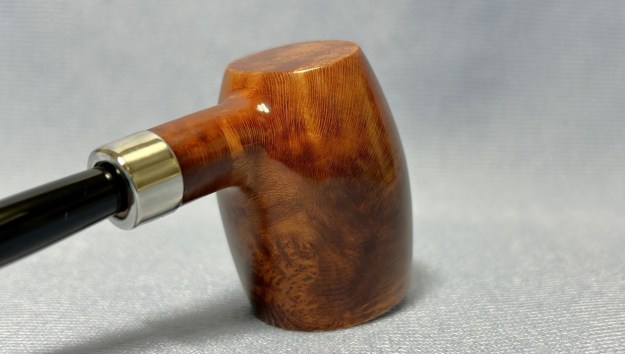
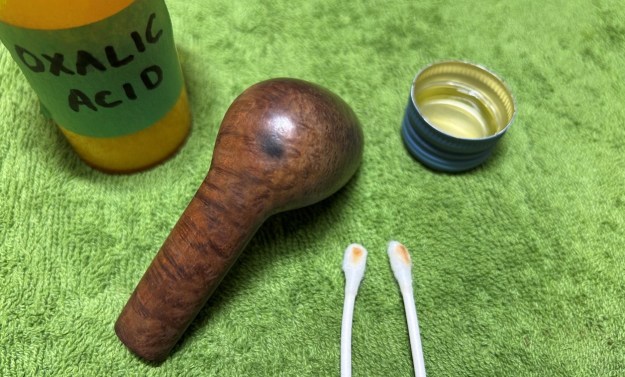
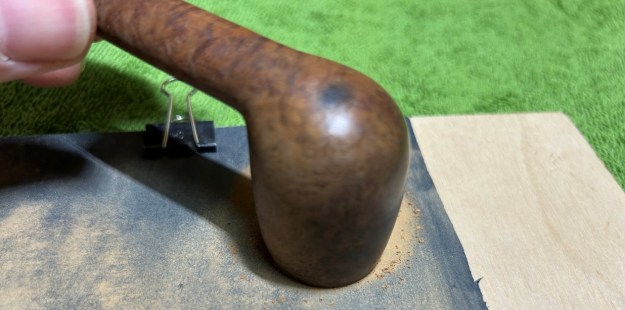
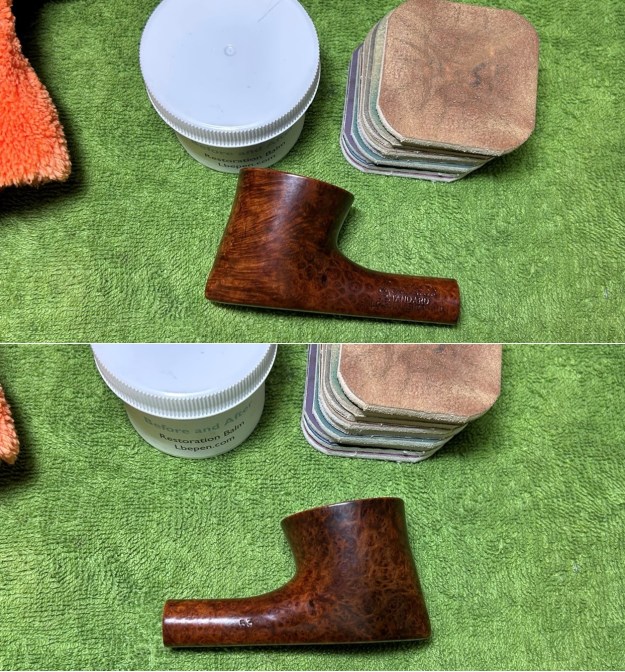
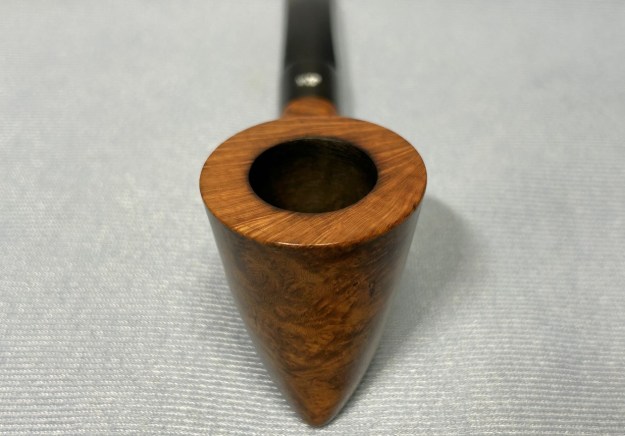
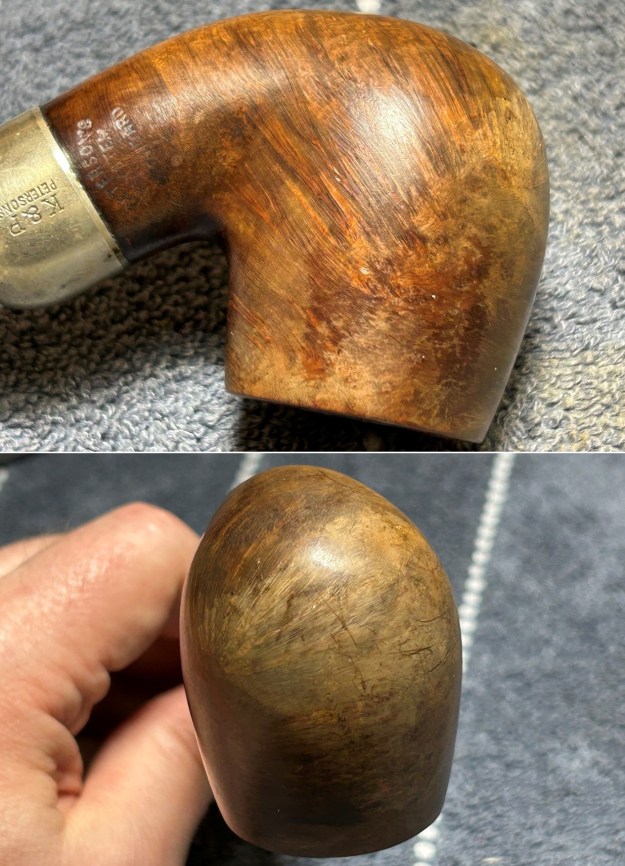
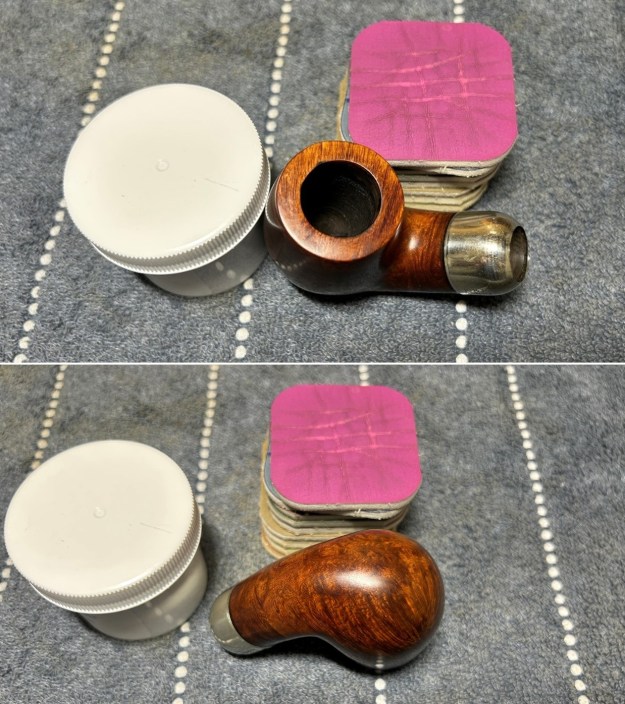
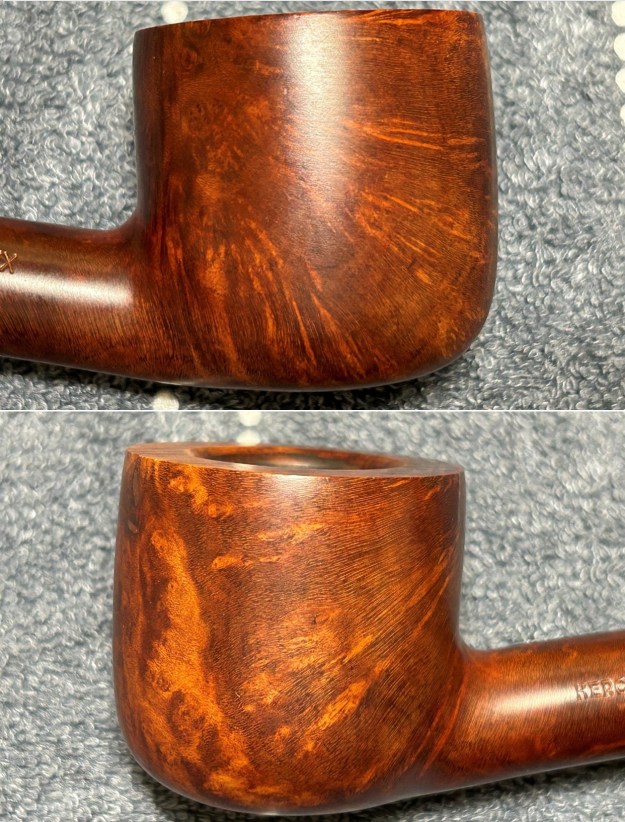
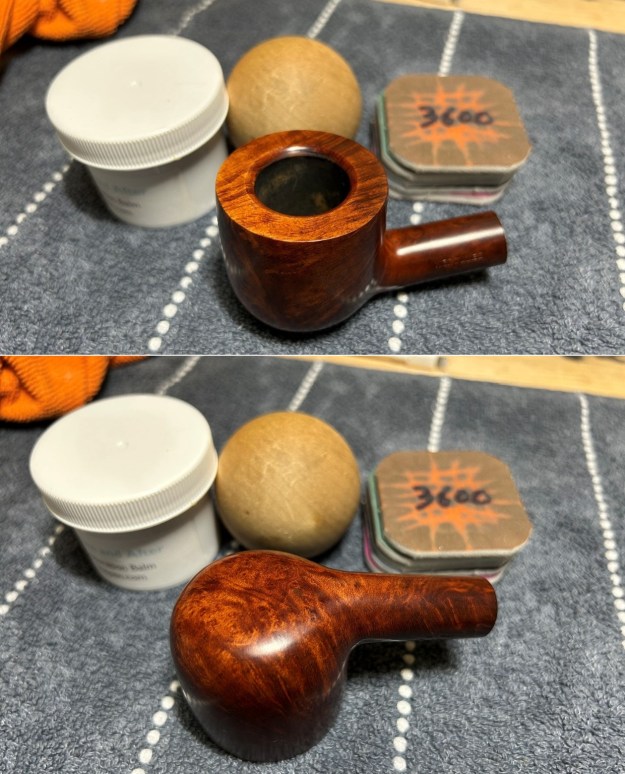
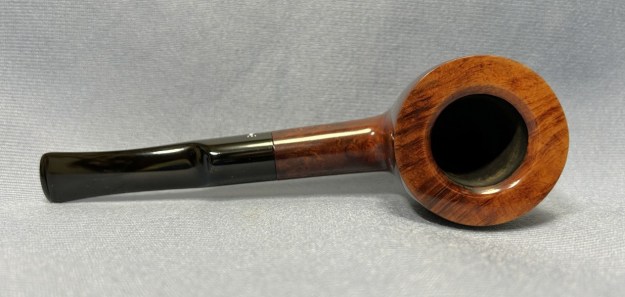
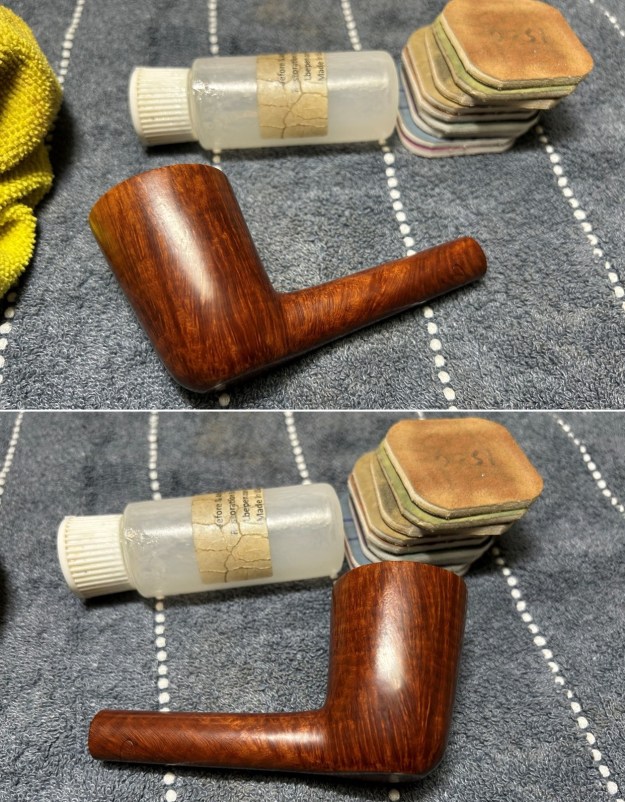
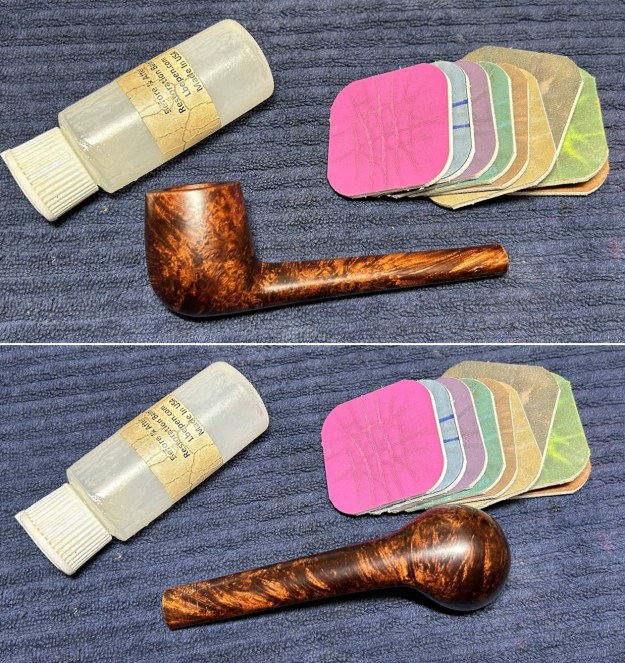
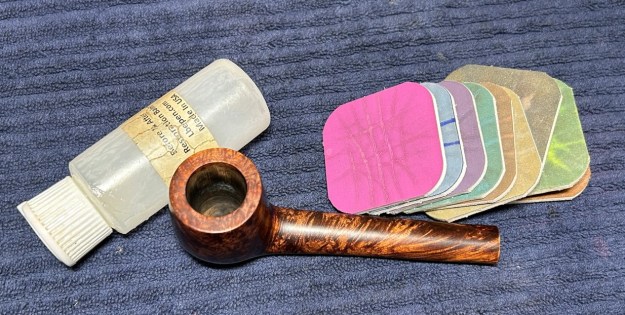
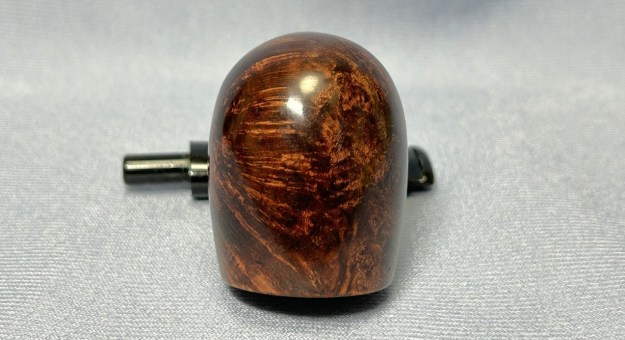
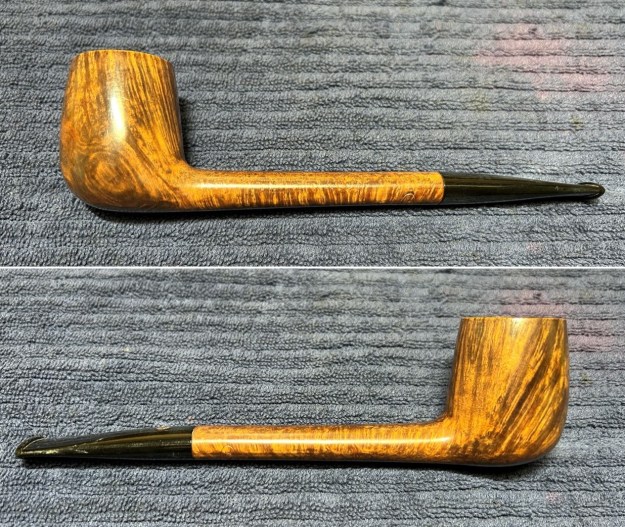
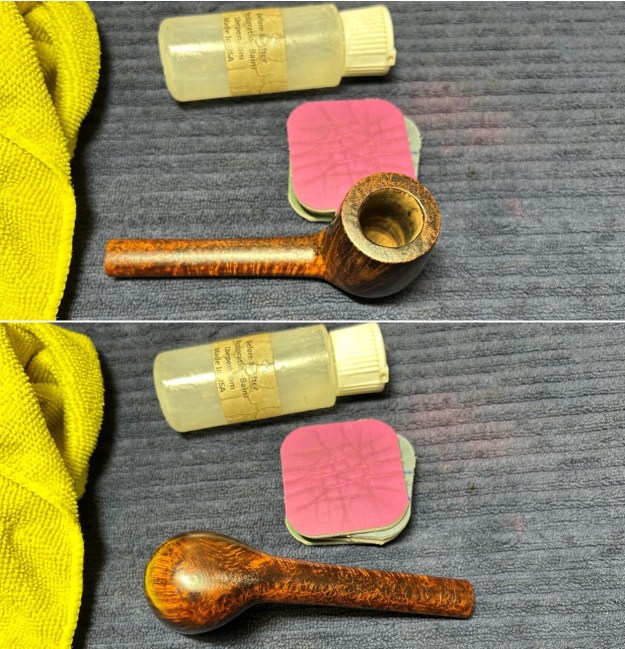
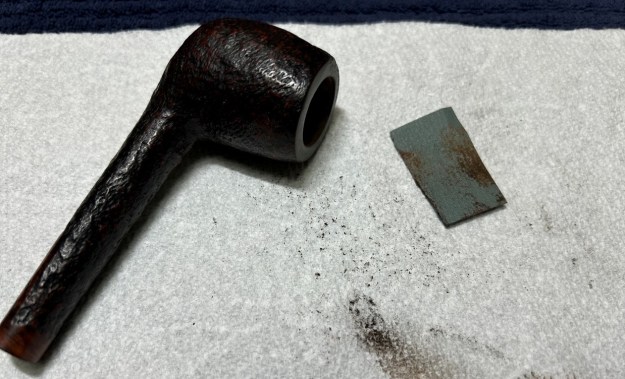
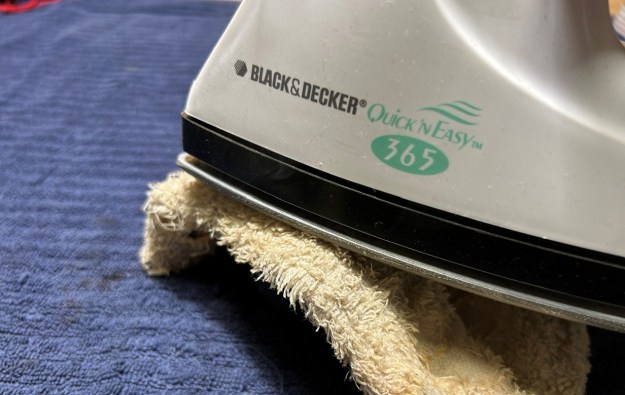
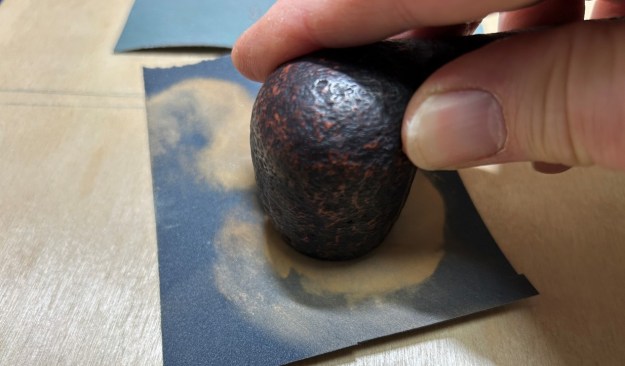
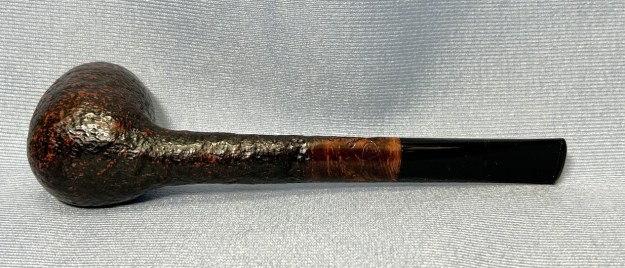
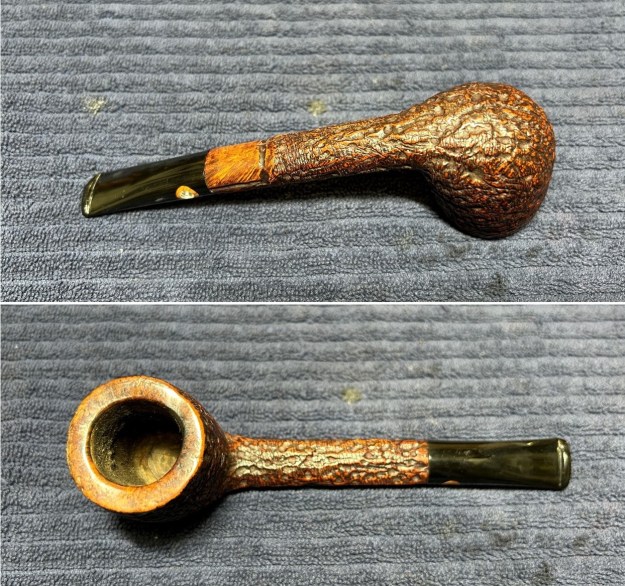
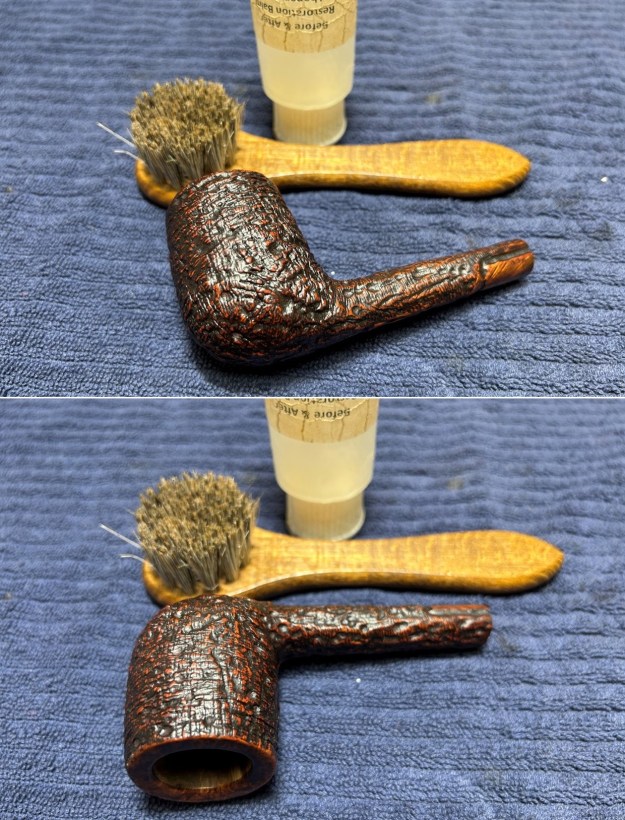
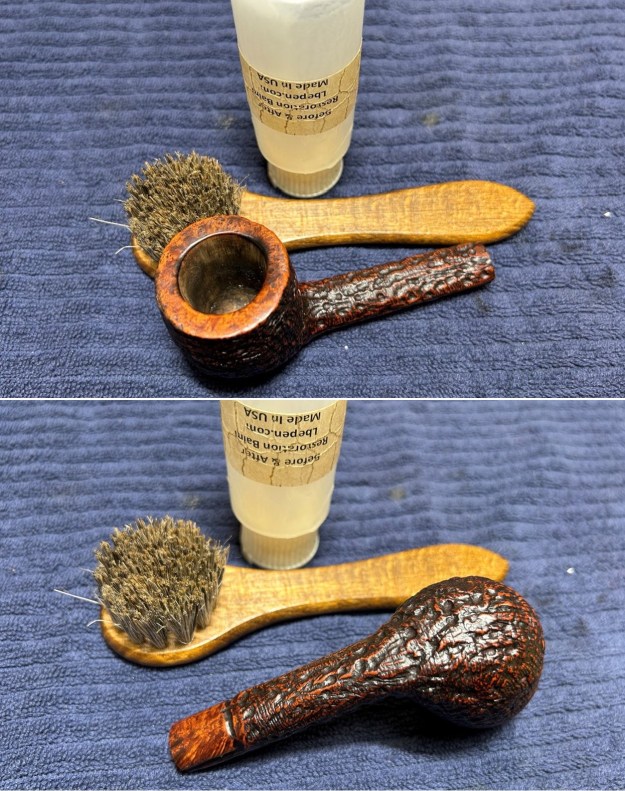
Some burn remained on the rim, so I took some crystalized oxalic acid and dissolved it in warm water. I took some cotton swaps, dipped in the solution, and rubbed the burned spot vigorously. The weak acid works very nicely to alleviate superficial burns (burns where the integrity of the wood is still sound). I took a solid wooden sphere, wrapped a piece of 400-grit sandpaper around it, and sanded the inner edge of the rim. This achieved two things: first, it removed some of the burn marks; and second (and more importantly), the circular shape and motion of the sphere gradually returned the edge to a perfect circle.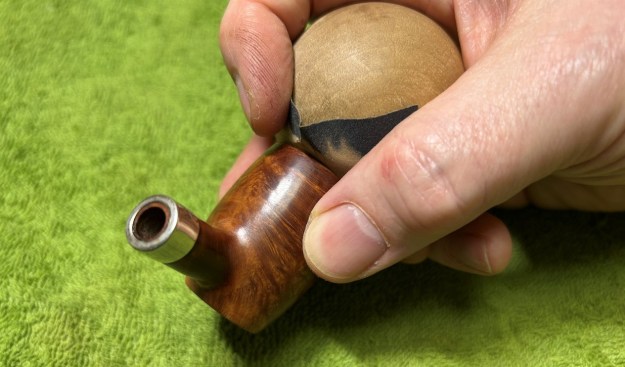 I used all nine micromesh pads (1,500 through 12,000 grit) to sand the outside of the stummel and finish it off. This sanding minimizes flaws in the briar and provides a beautiful smoothness to the wood. I rubbed some LBE Before & After Restoration Balm into the briar and let it sit for 30 minutes or so. The balm moisturizes the wood and gives a beautiful depth to the briar. I then buffed the stummel with a microfibre cloth.
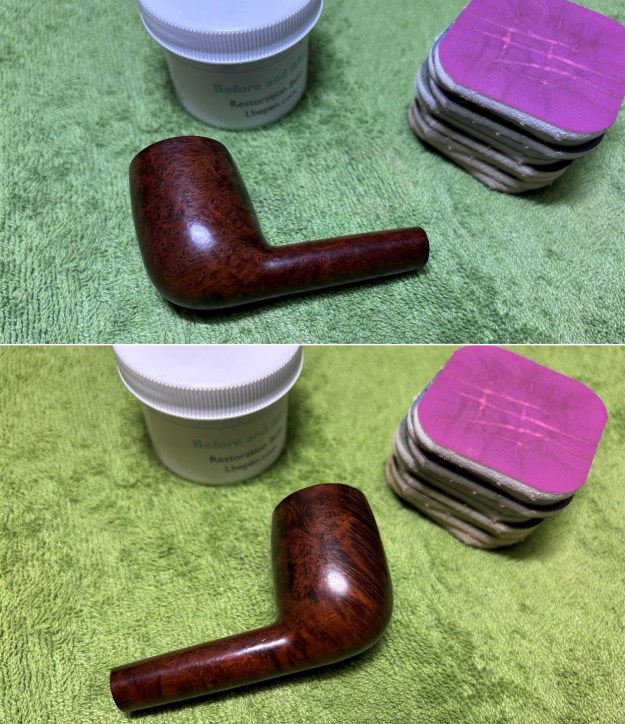
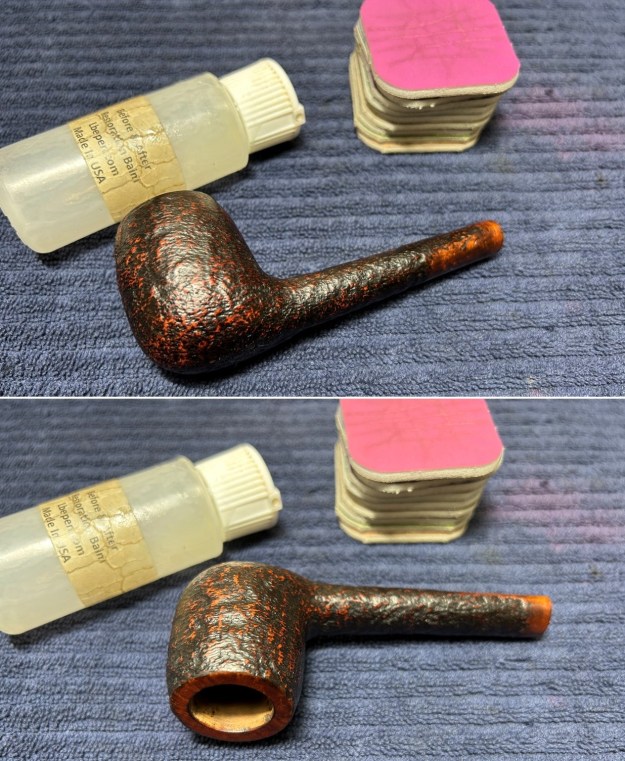
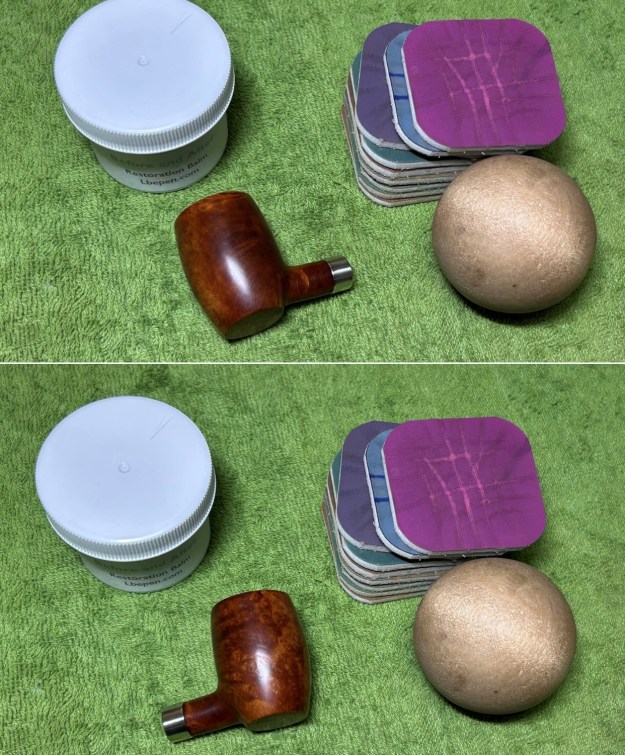
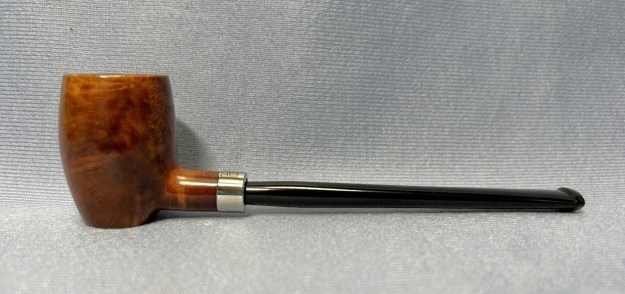
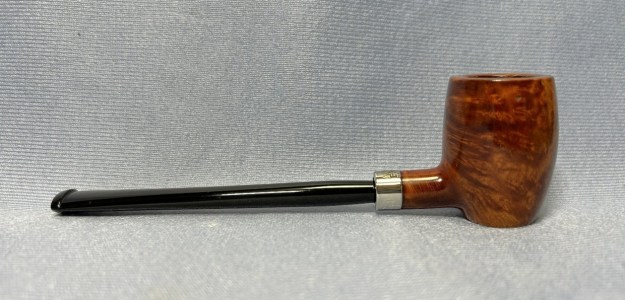
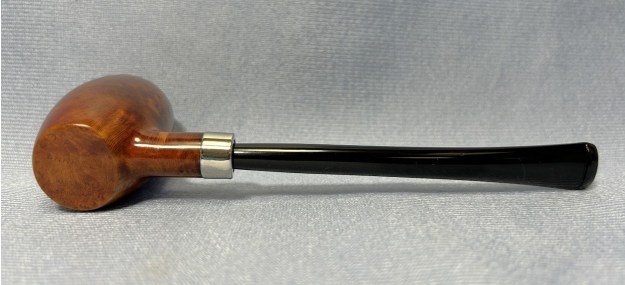
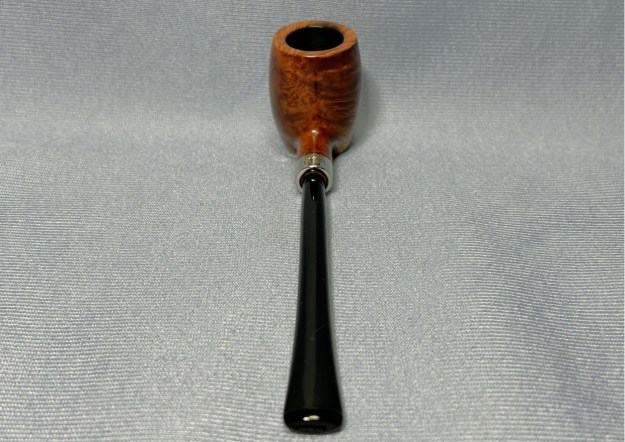
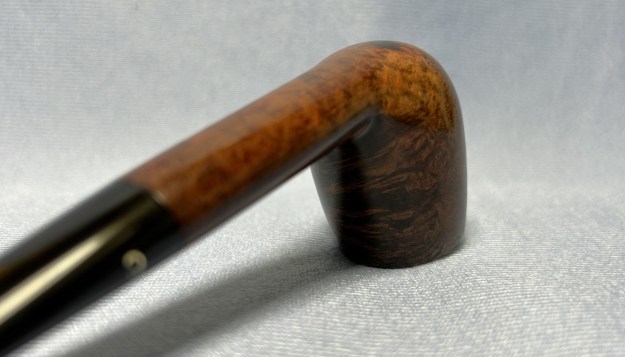
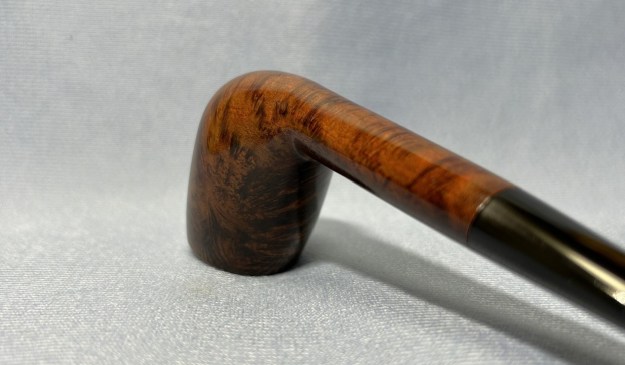
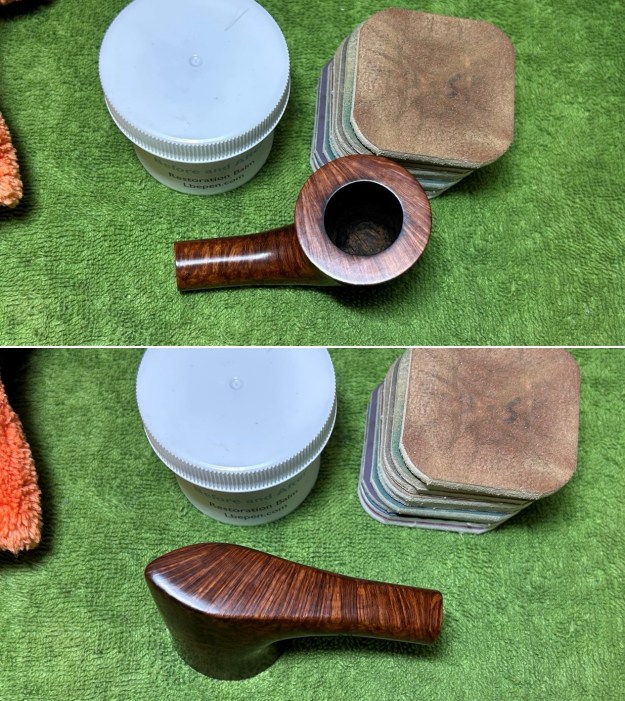
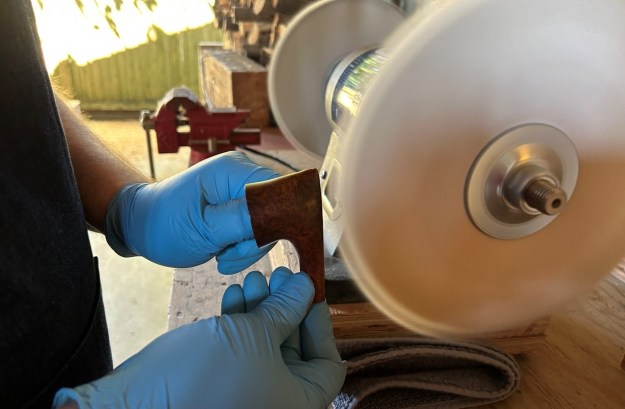
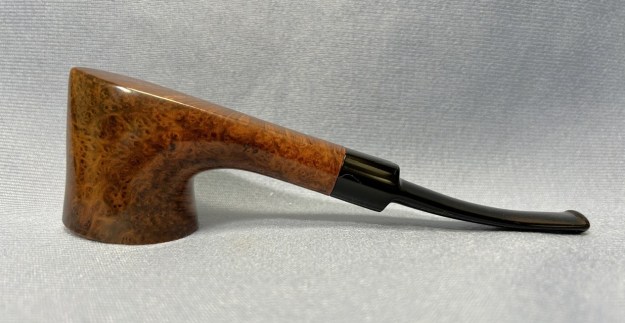
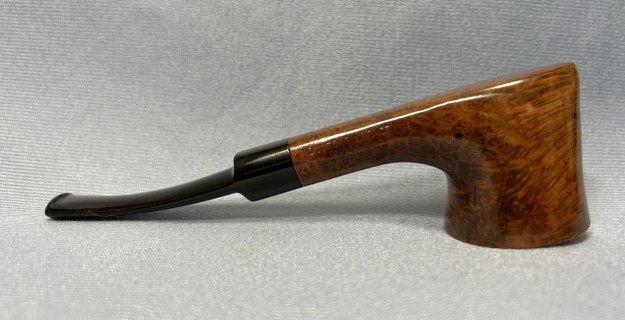
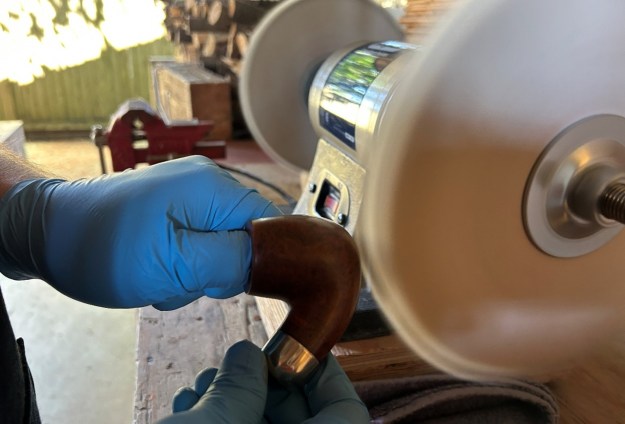
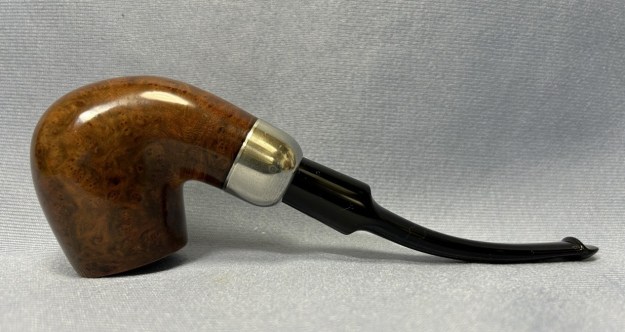
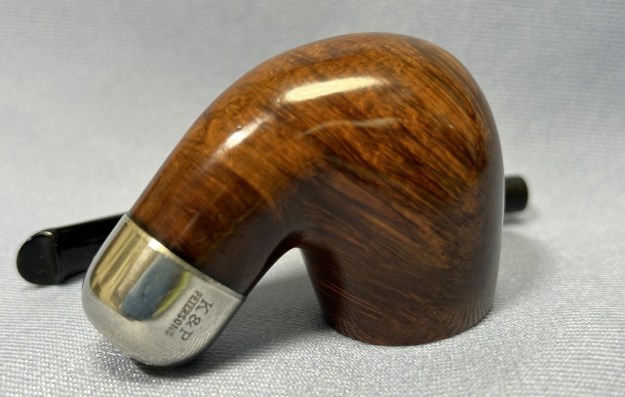
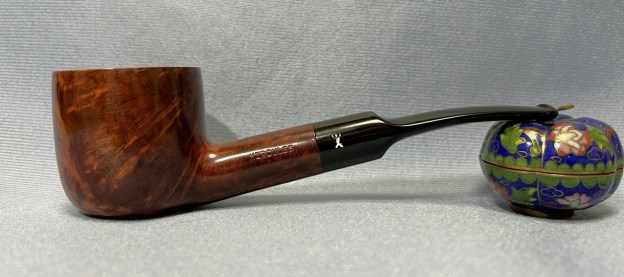
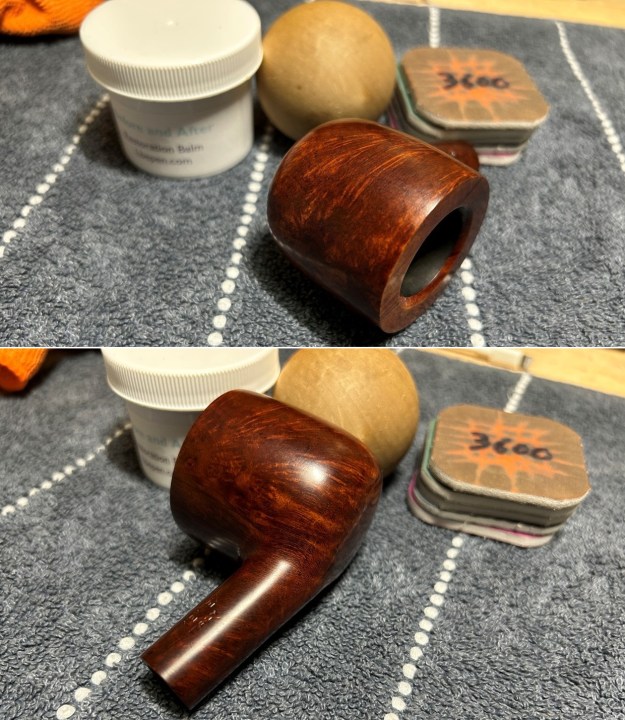
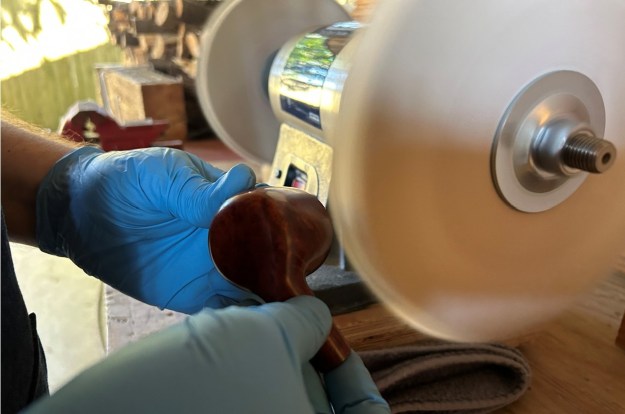
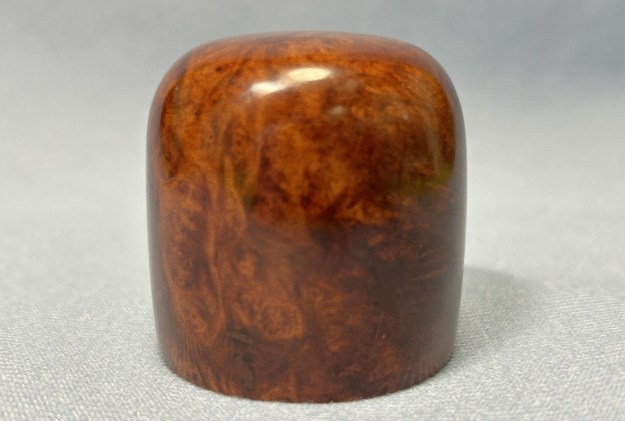
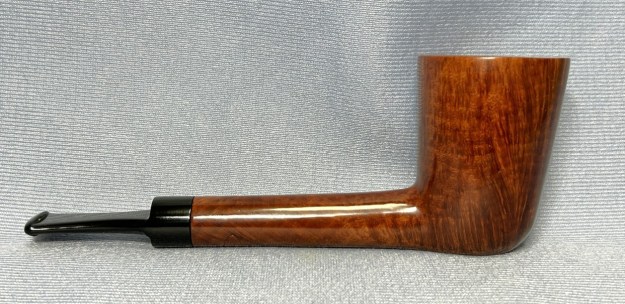
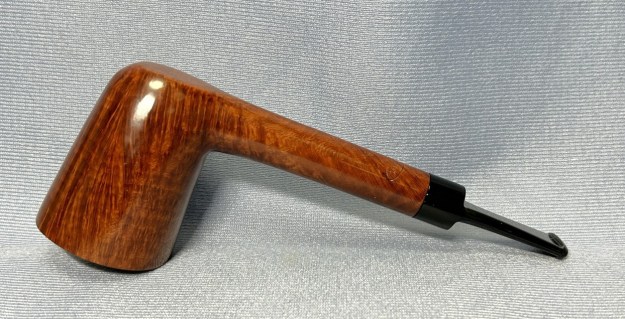
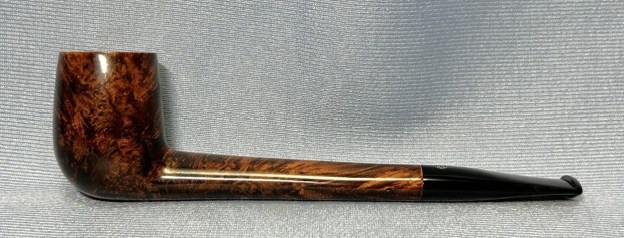
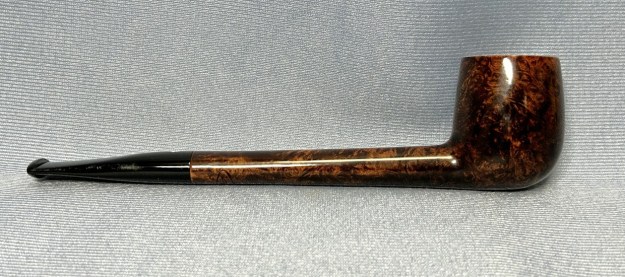
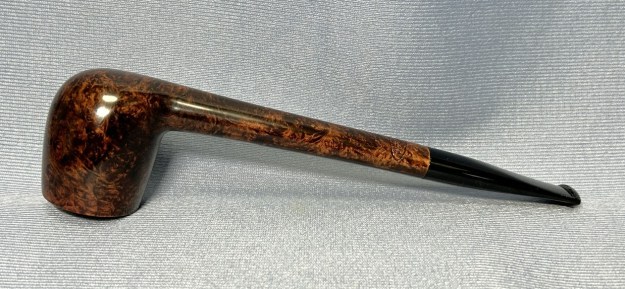
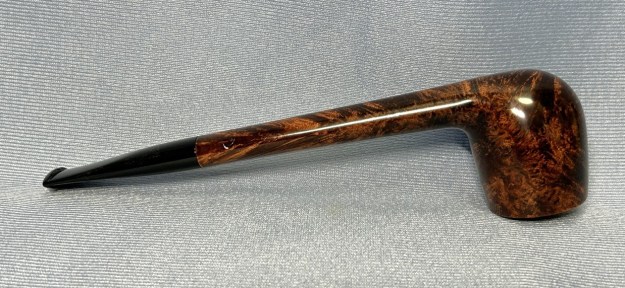
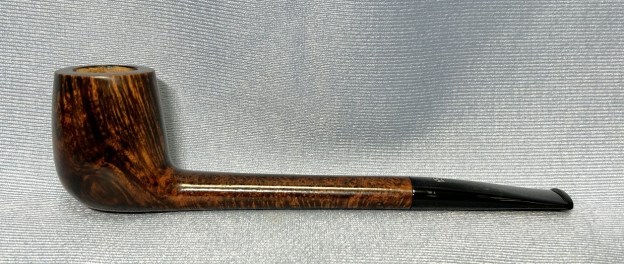
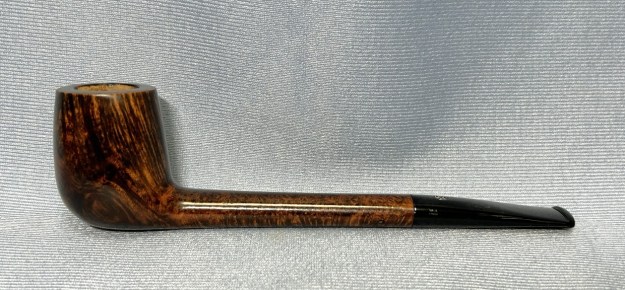
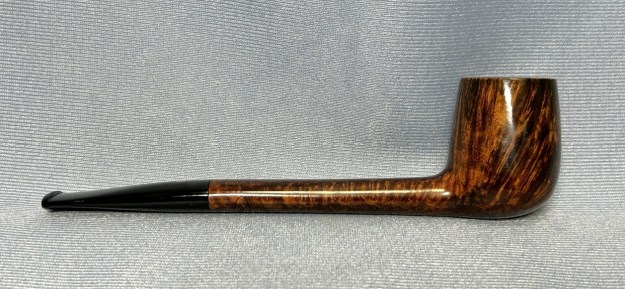
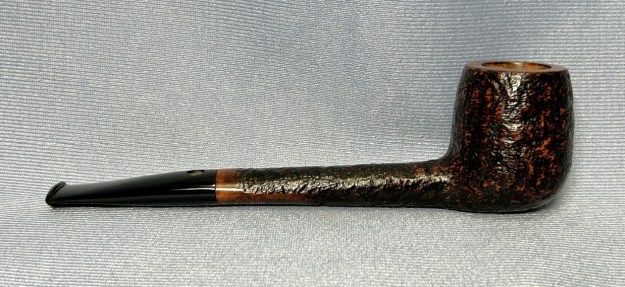
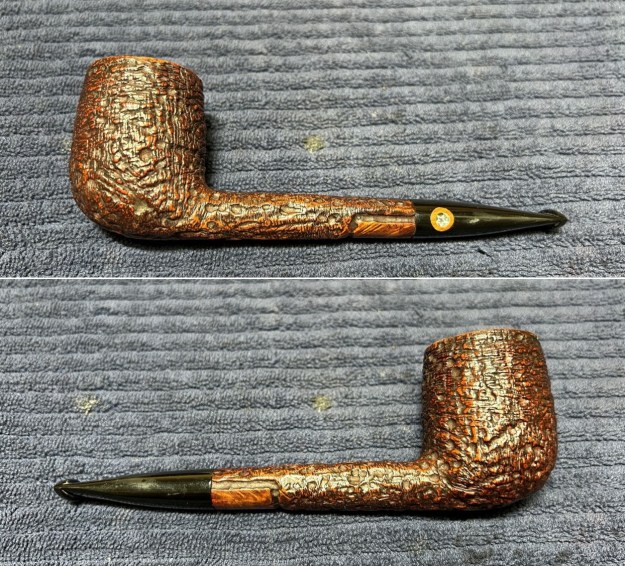
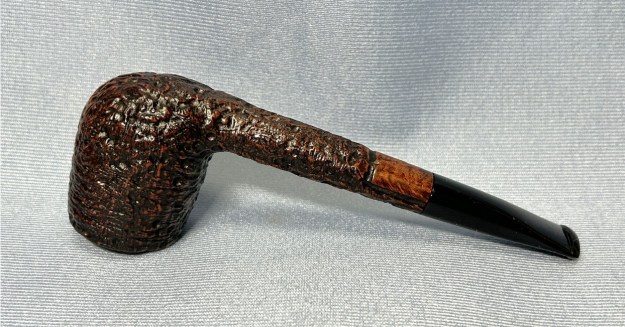
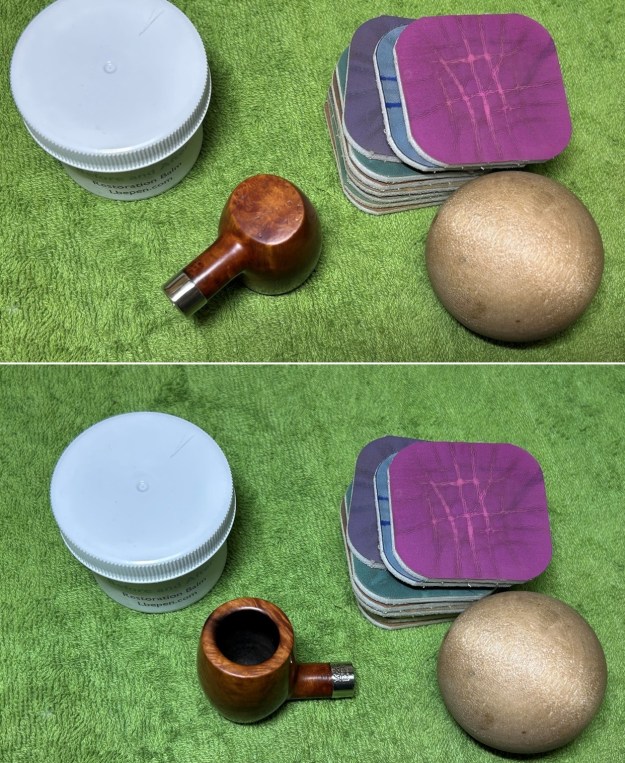 For the final step, I took the pipe to my bench polisher and carefully buffed it – first with a blue diamond compound, then with three coats of carnauba wax. This procedure makes the pipe look its best – the stummel sings and the stem glows.
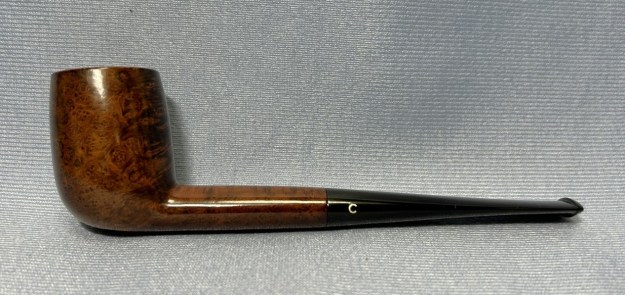
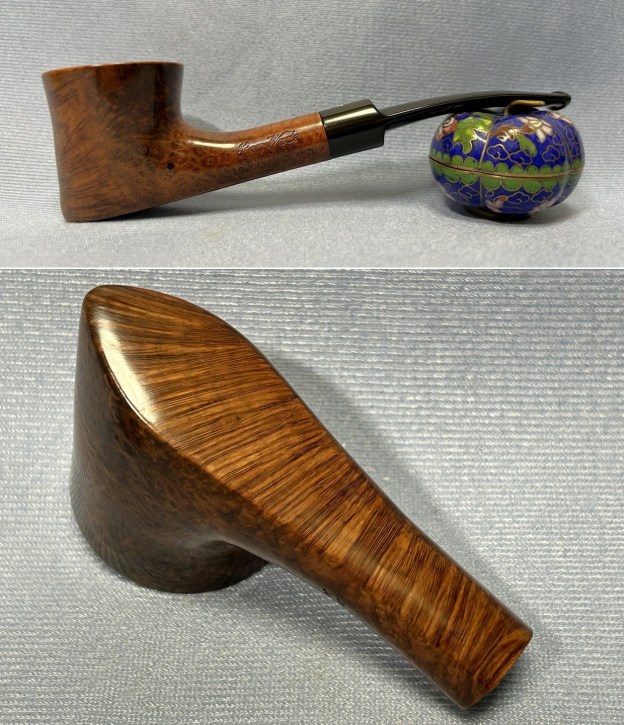
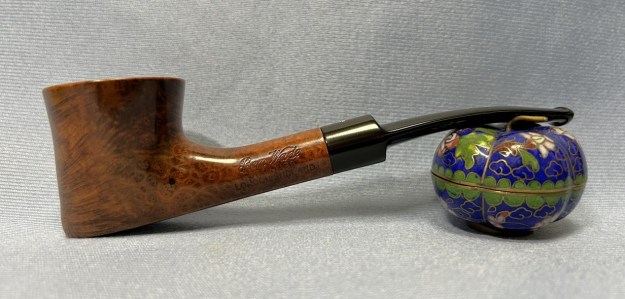
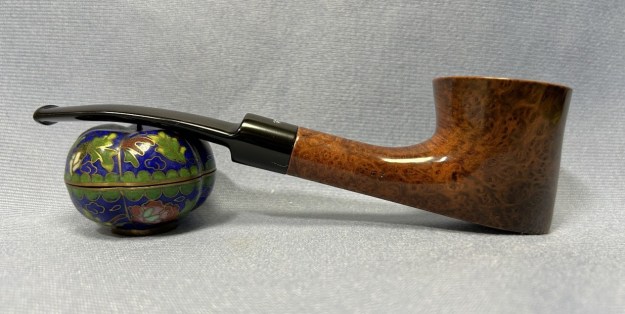
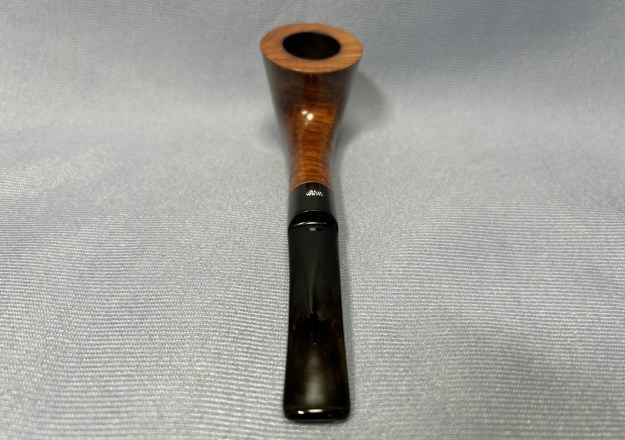
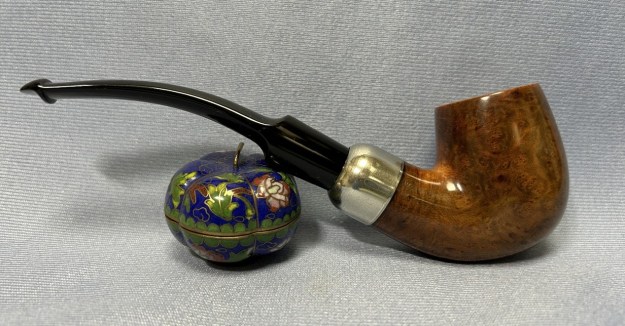
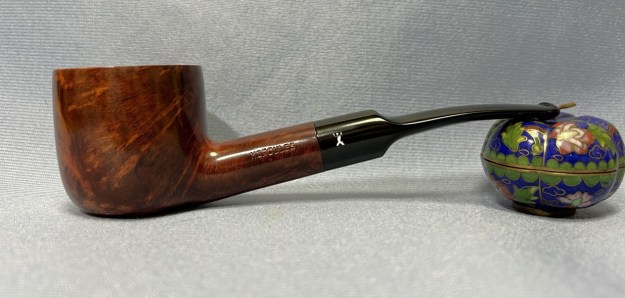
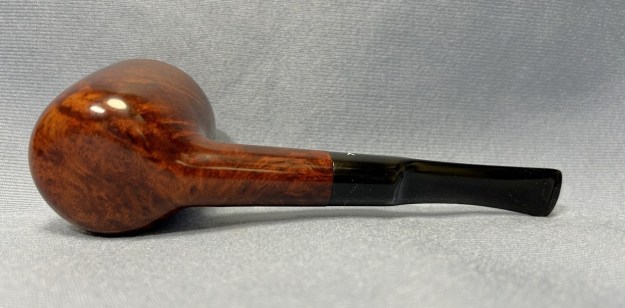
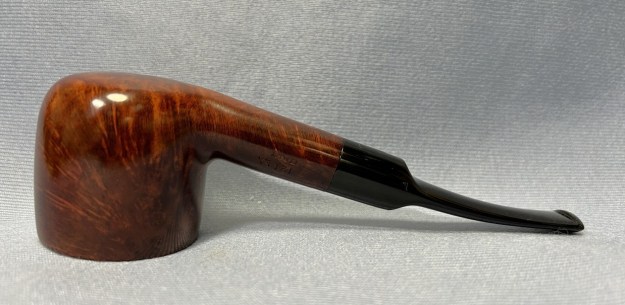
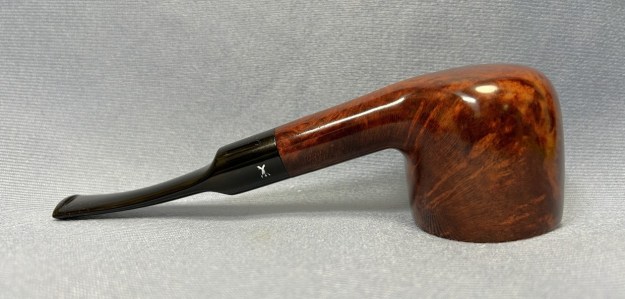
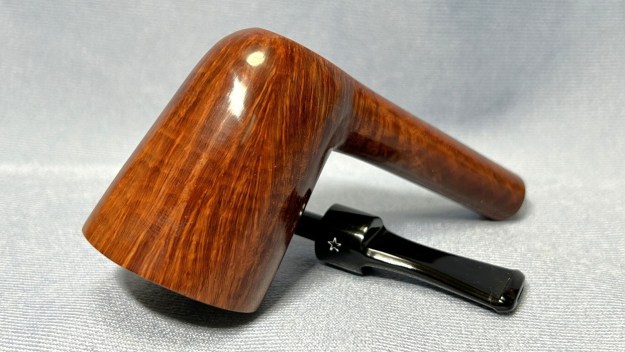
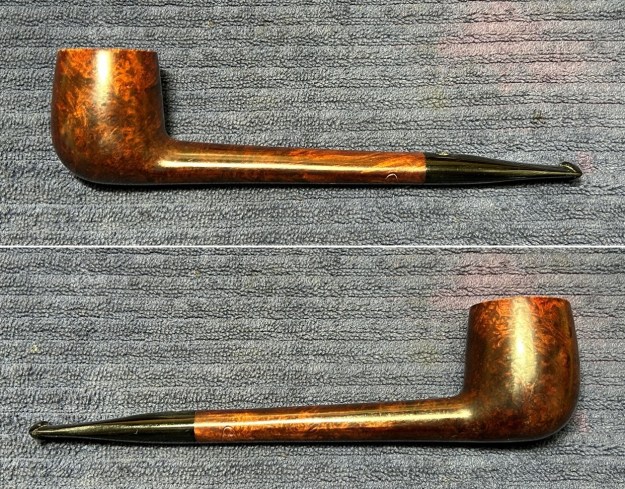
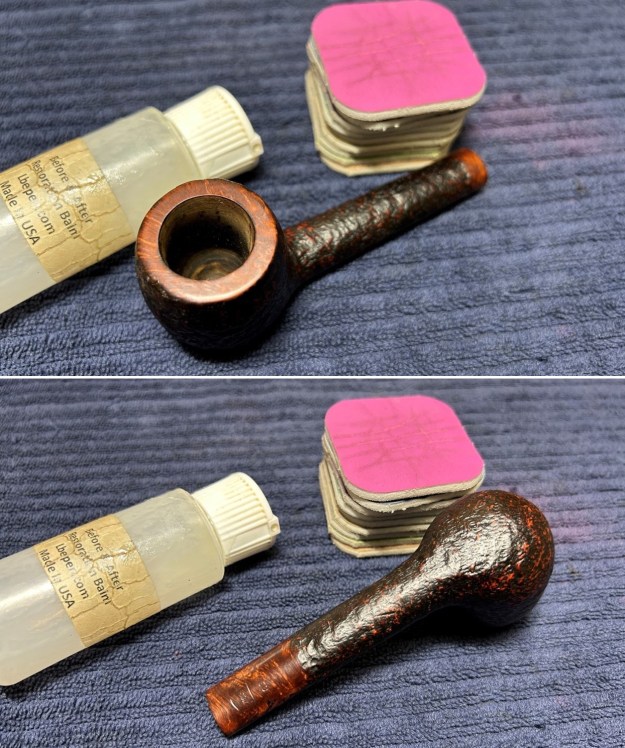
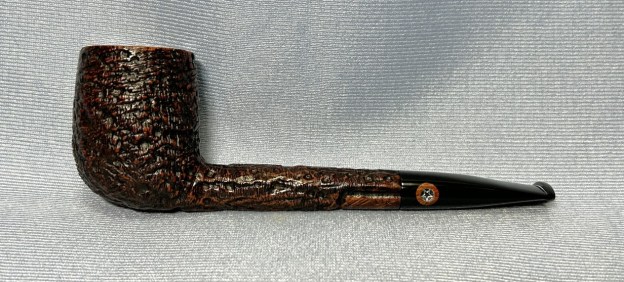
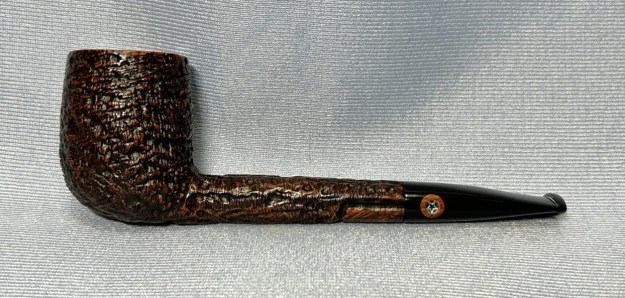
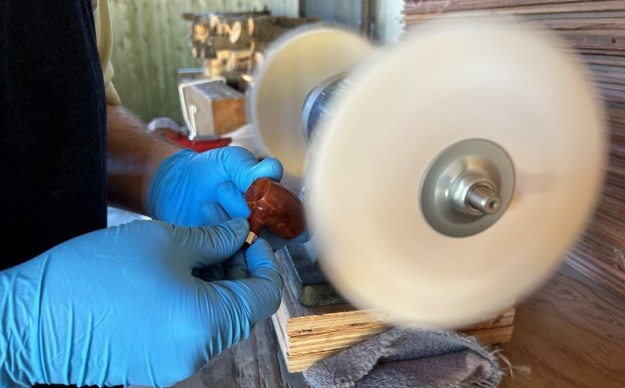 This Peterson Specialty Barrel looks fantastic again and is ready to be enjoyed by its next owner. I am pleased to announce that this pipe is for sale! If you are interested in acquiring it for your collection, please have a look in the ‘Irish’ pipe section of the store here on Steve’s website. You can also email me directly at kenneth@knightsofthepipe.com. The approximate dimensions of the pipe are as follows: length 5¾ in. (147 mm); height 1⅔ in. (42 mm); bowl diameter 1¼ in. (32 mm); chamber diameter ⅔ in. (18 mm). The weight of the pipe is ⅞ oz. (25 g). I hope you enjoyed reading the story of this pipe’s restoration as much as I did restoring it. If you are interested in more of my work, please follow me here on Steve’s website or send me an email. Thank you very much for reading and, as always, I welcome and encourage your comments.