by Kenneth Lieblich
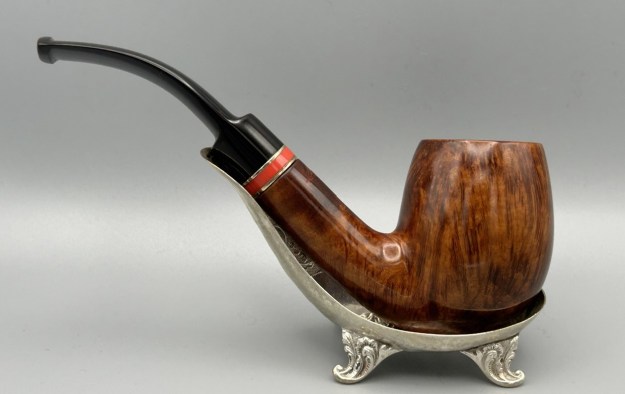
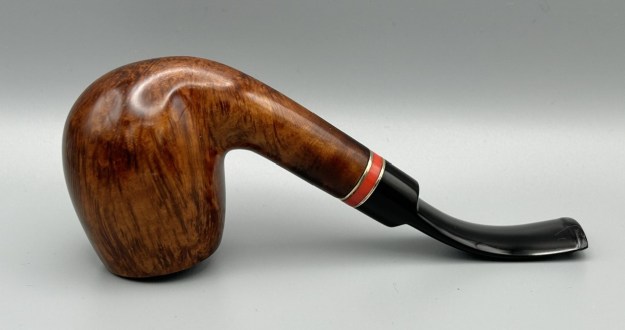
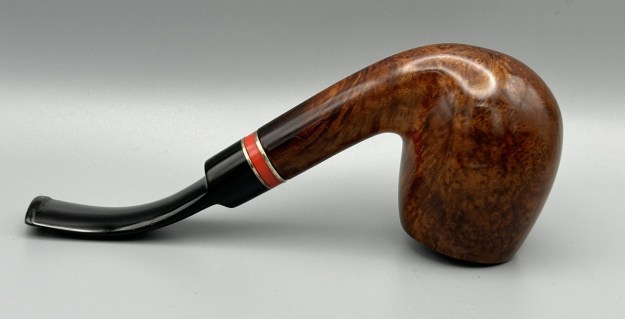
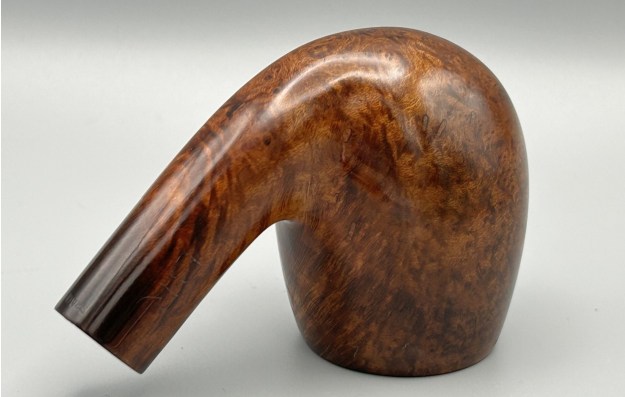
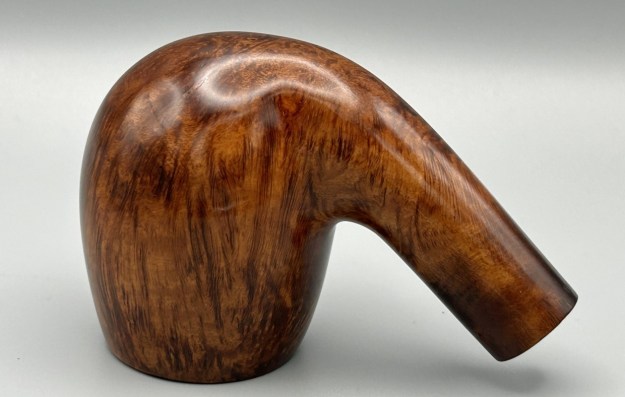
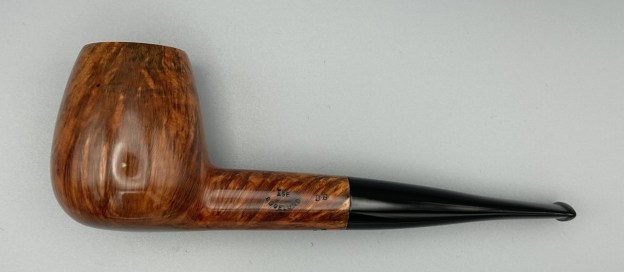
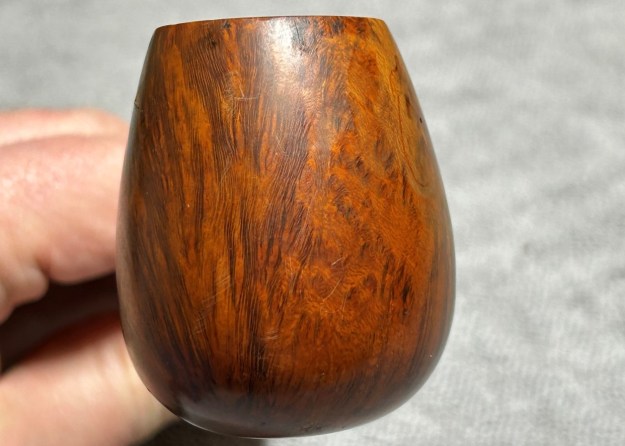
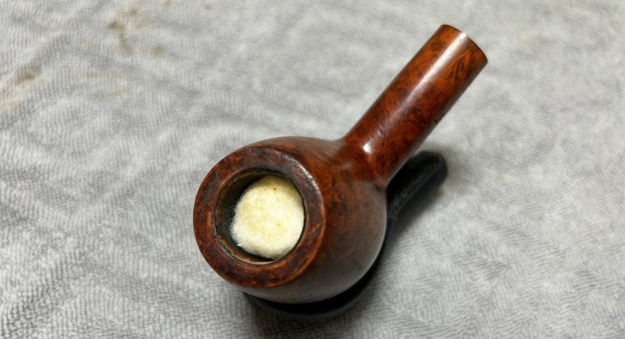
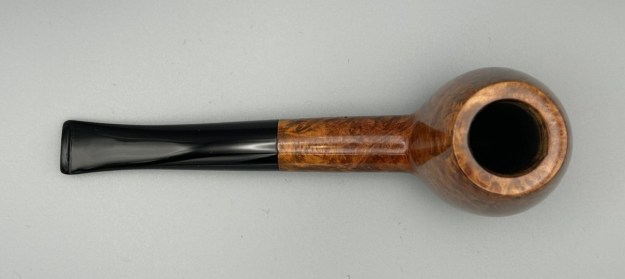
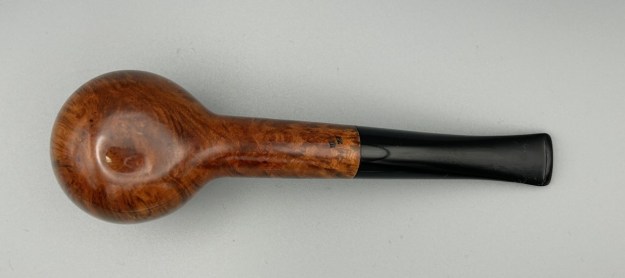
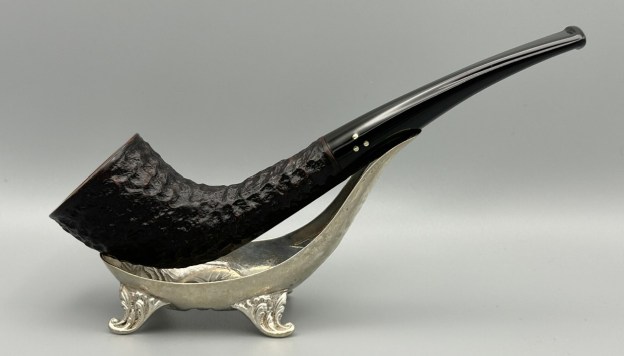
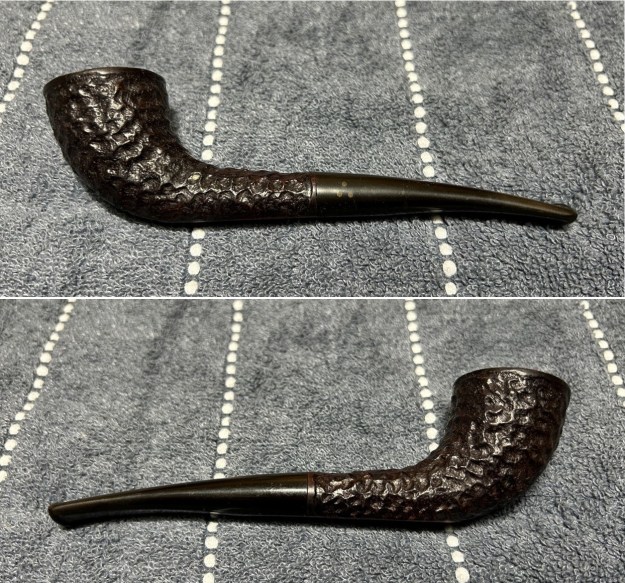
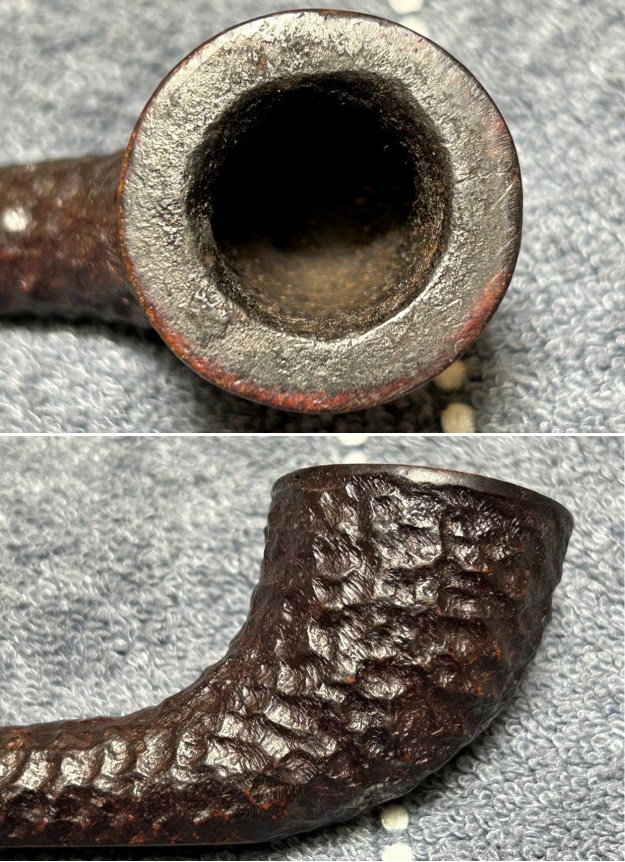
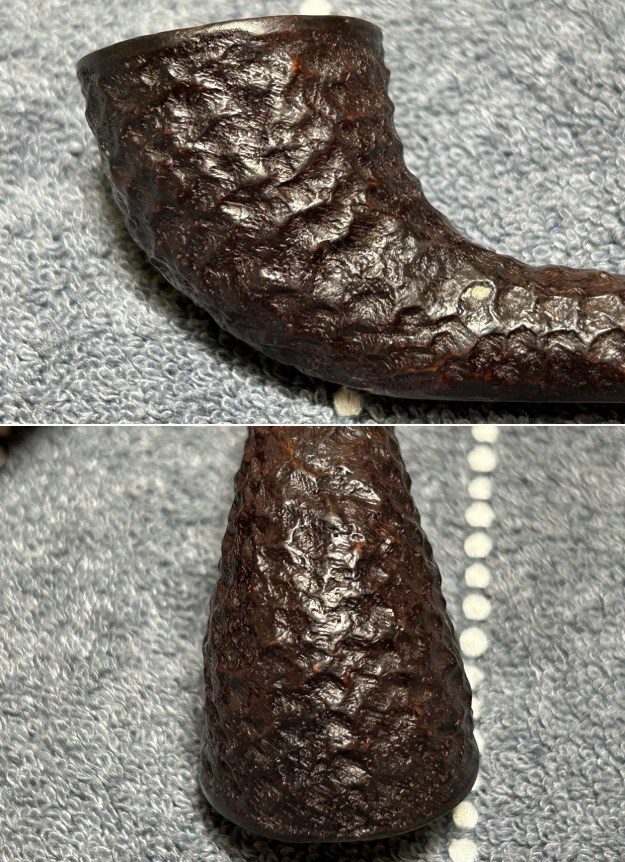
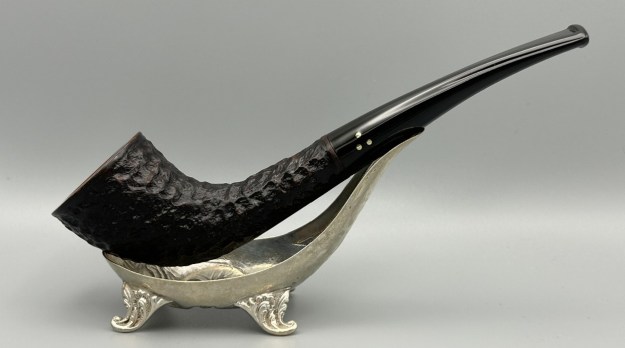
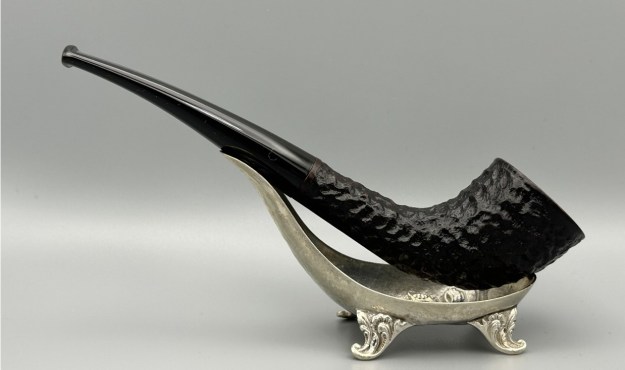
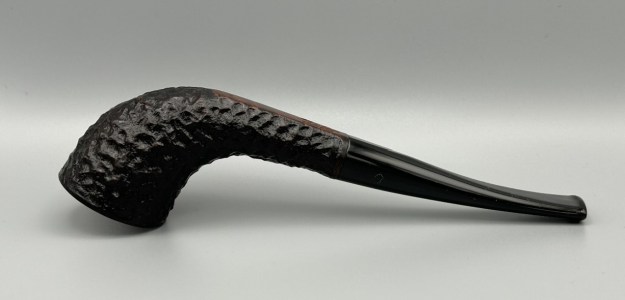
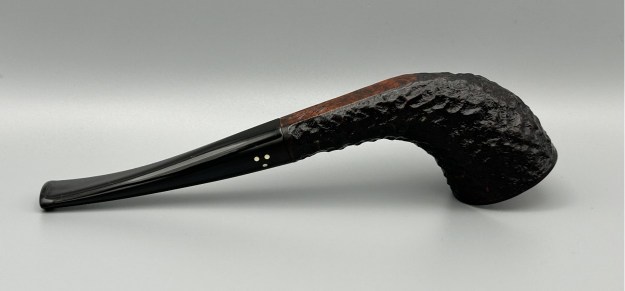
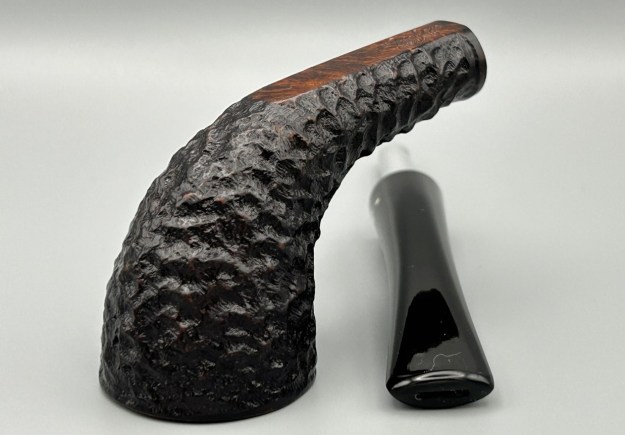
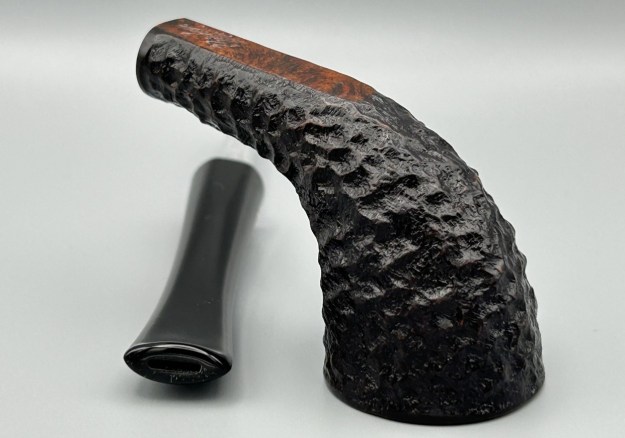
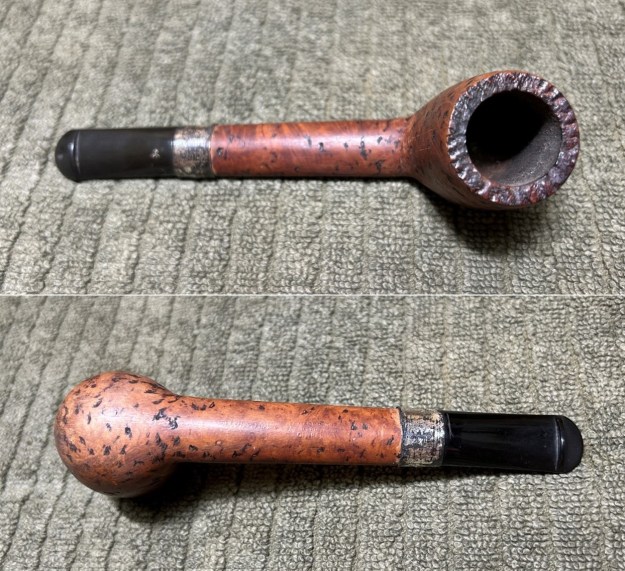
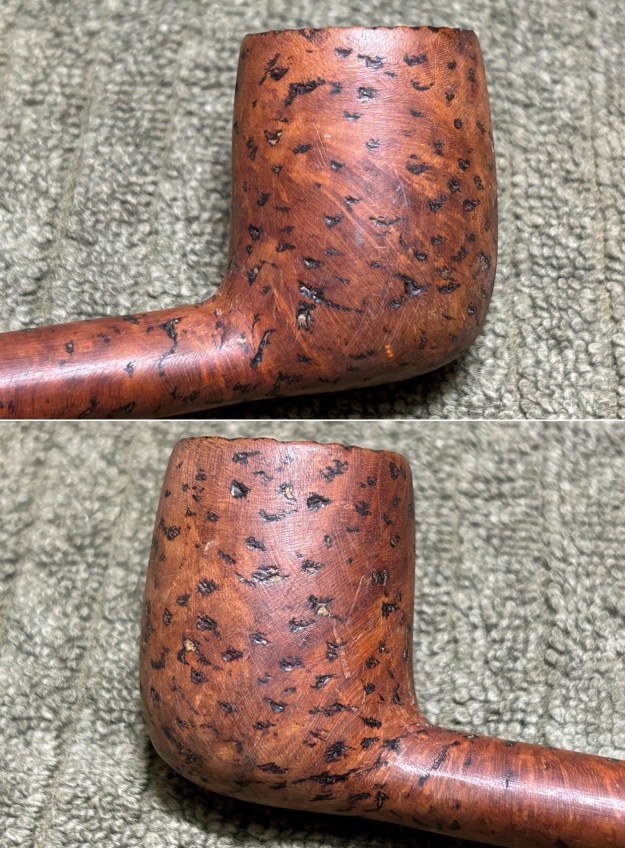
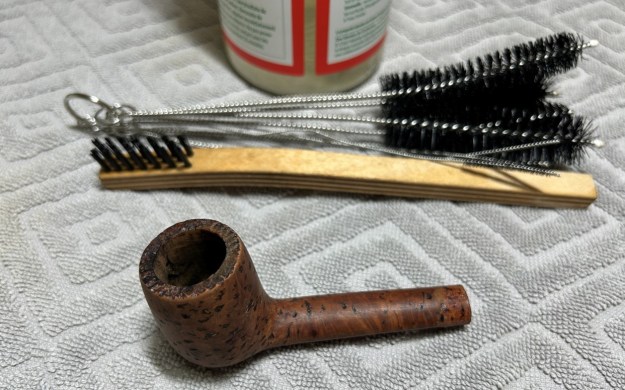
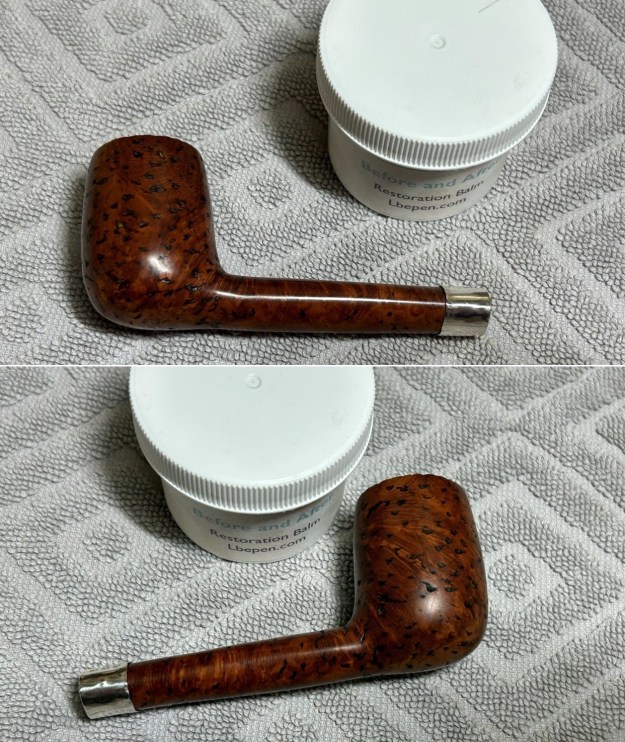
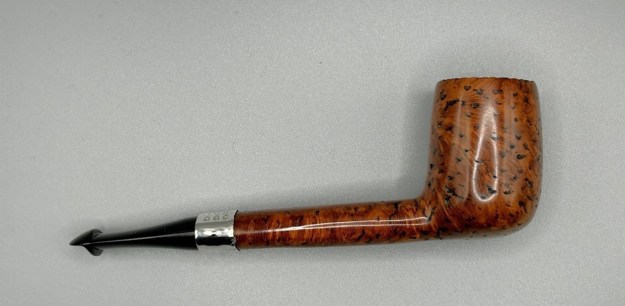
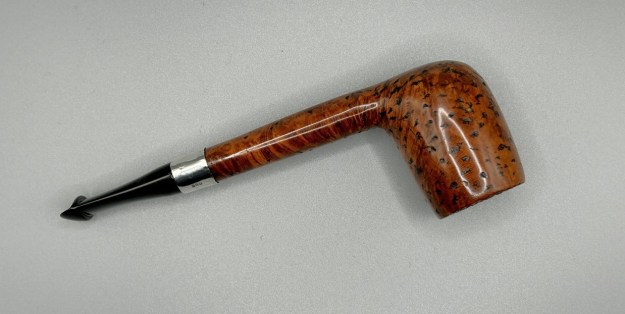
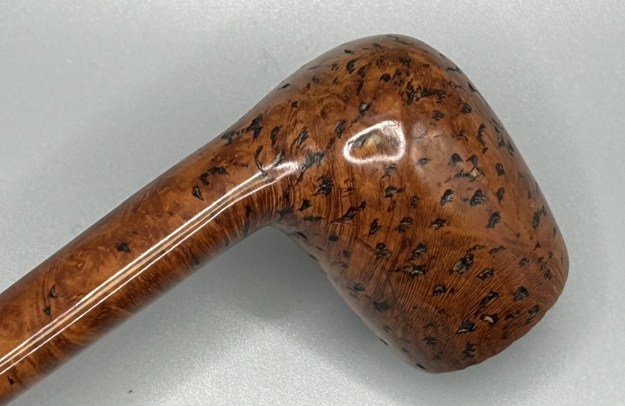
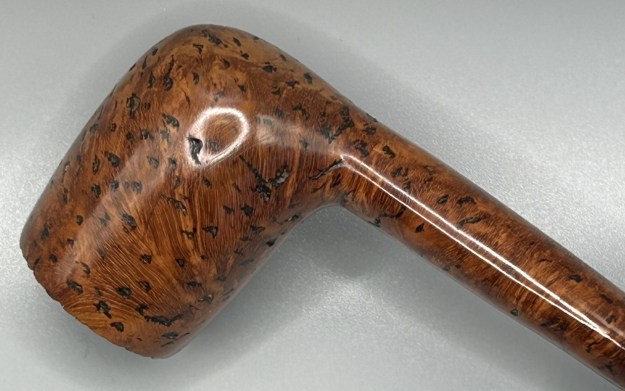
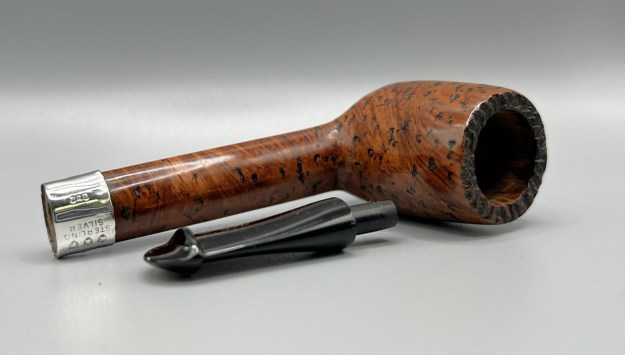
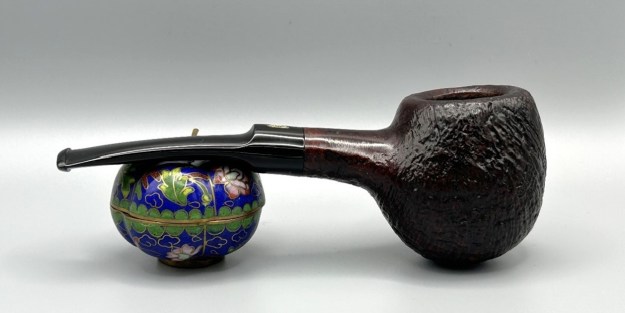
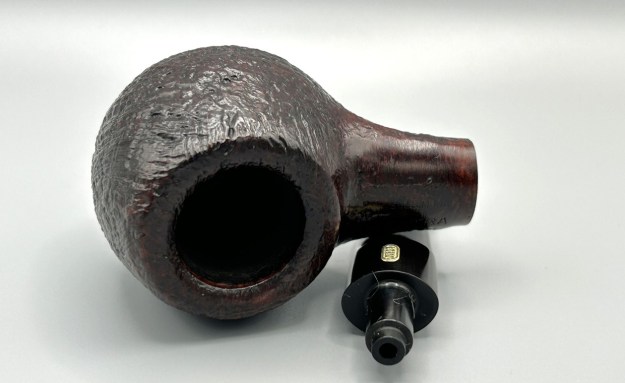
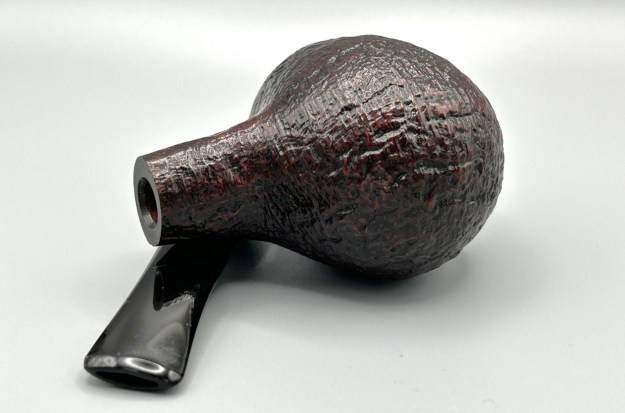
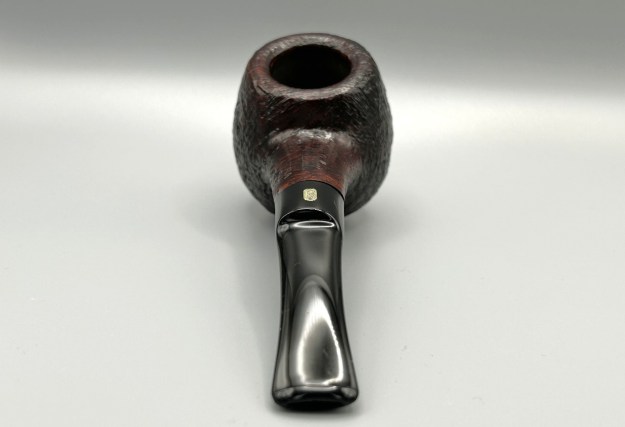
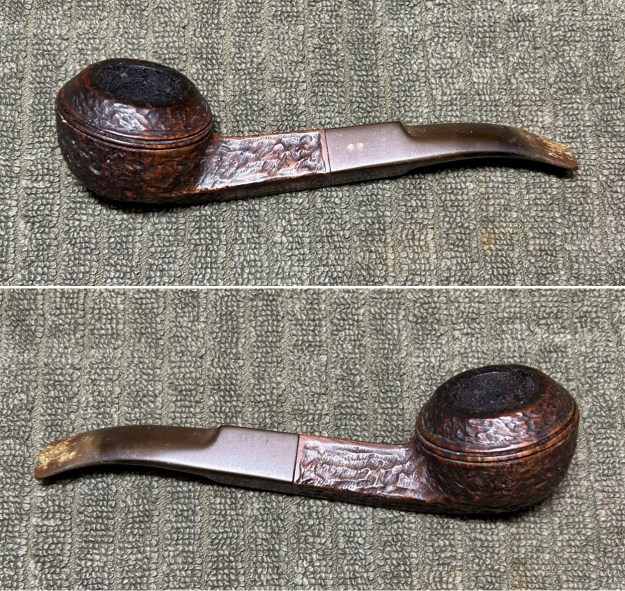
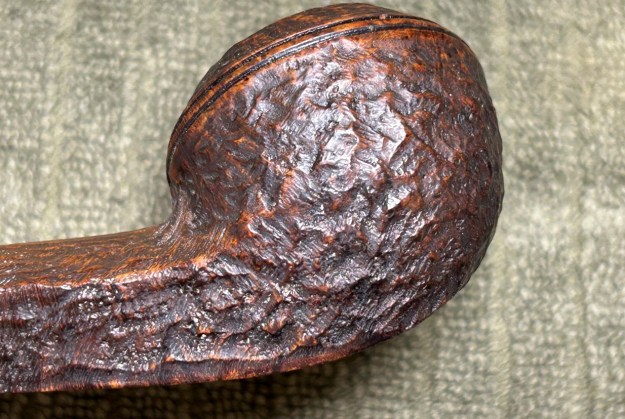
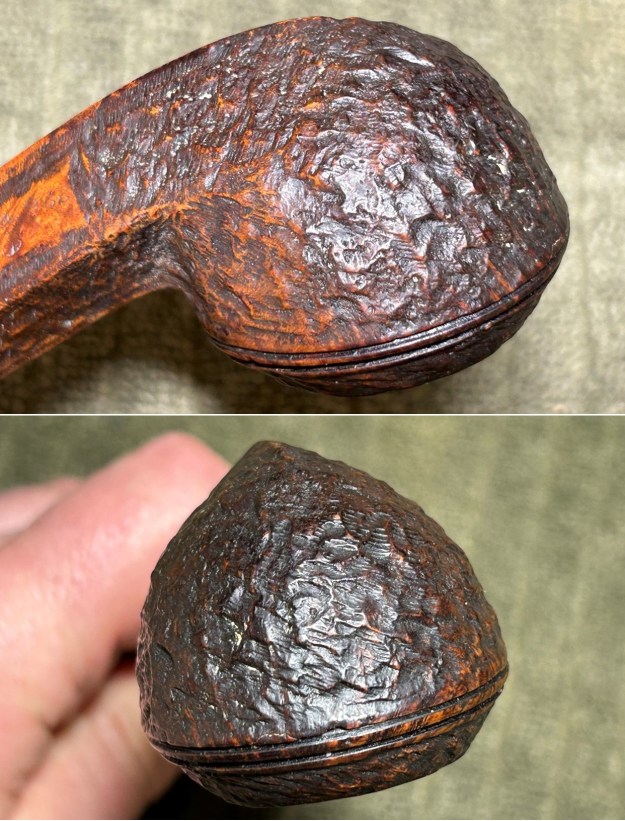
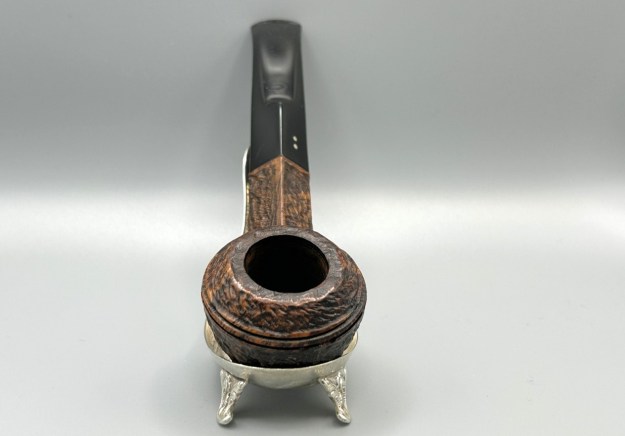
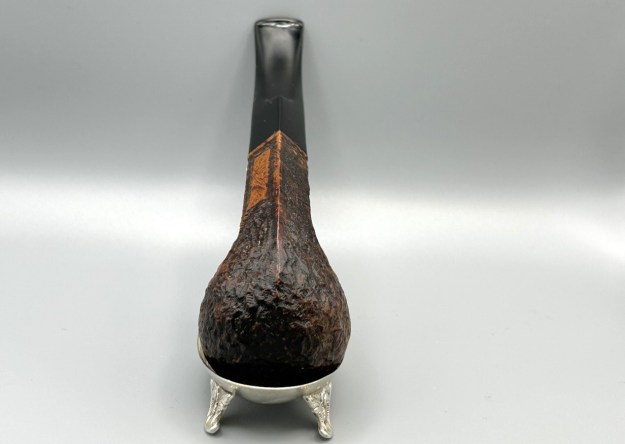
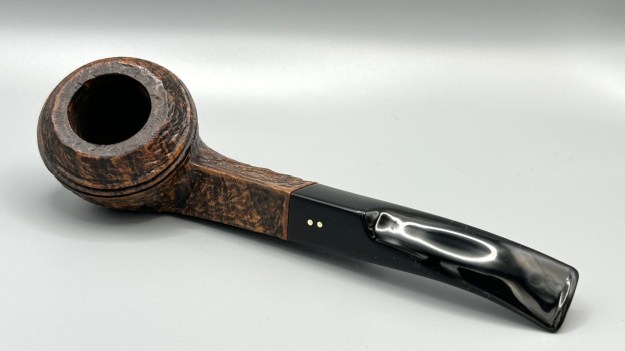
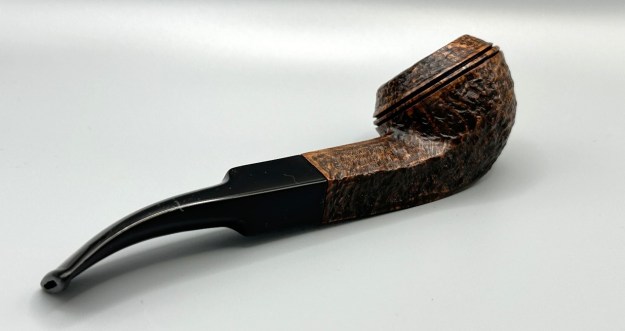
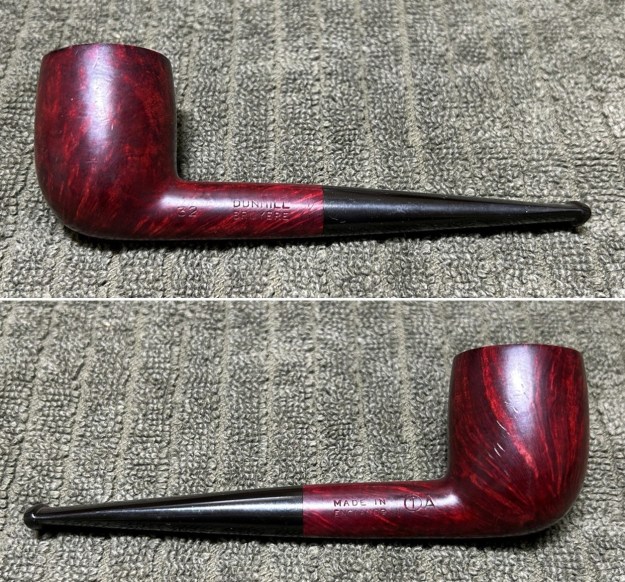
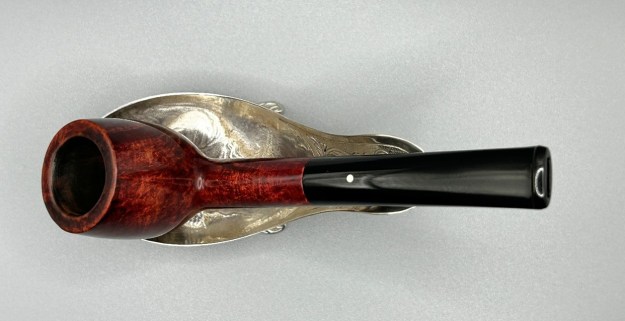
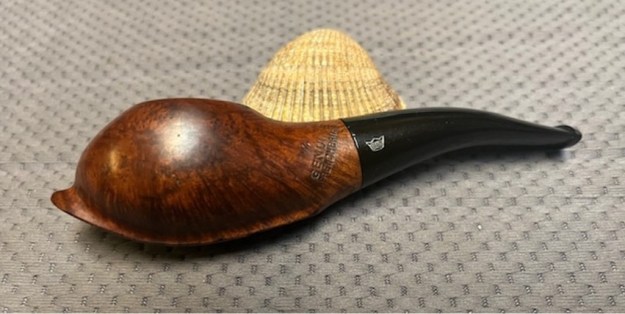
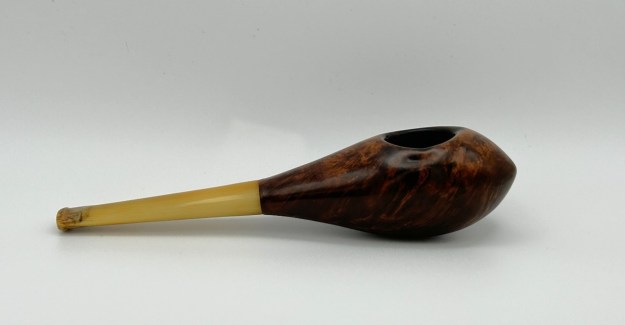
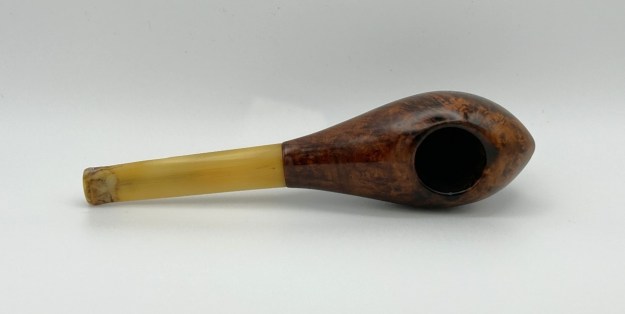
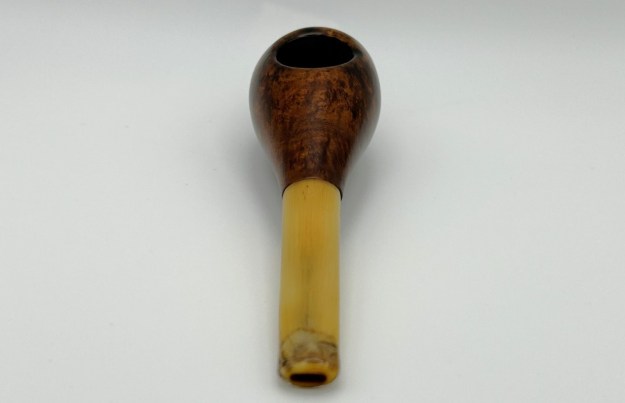
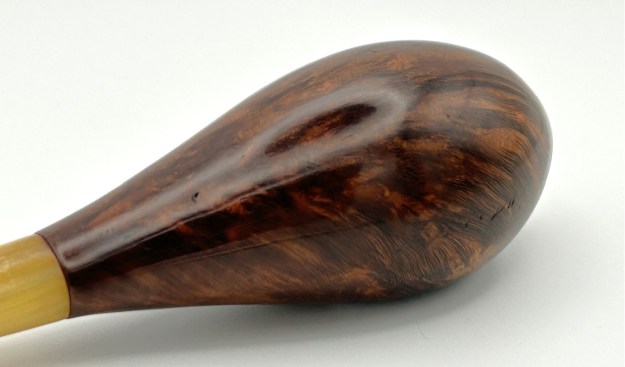
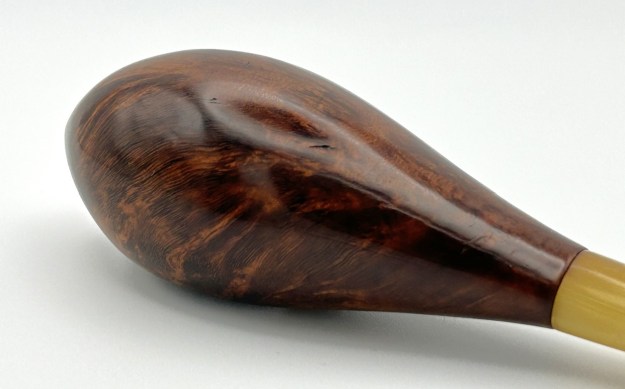
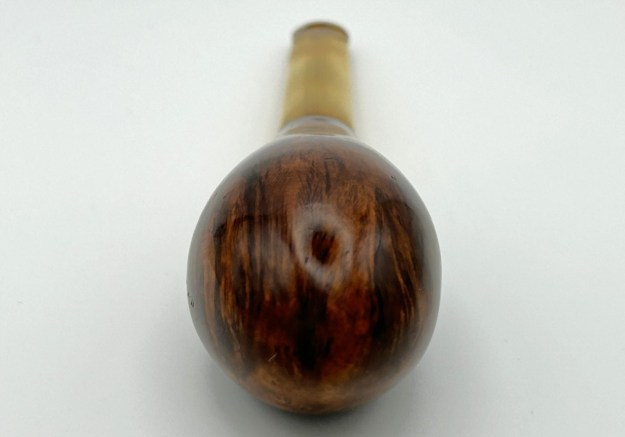
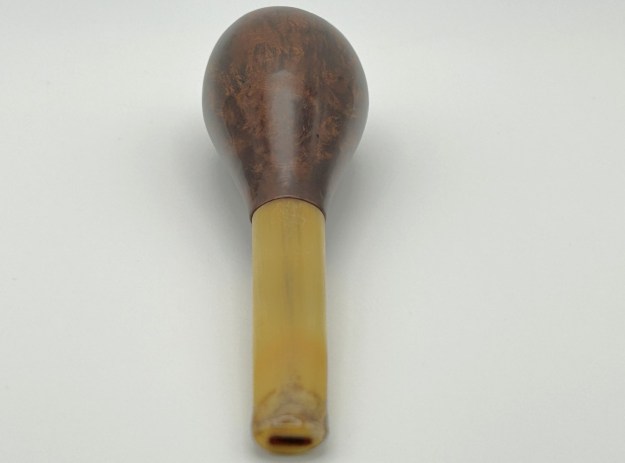
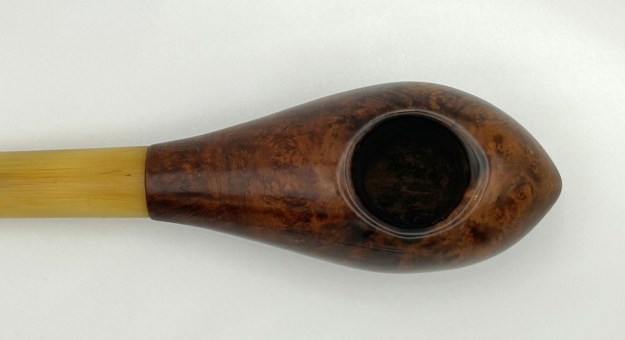
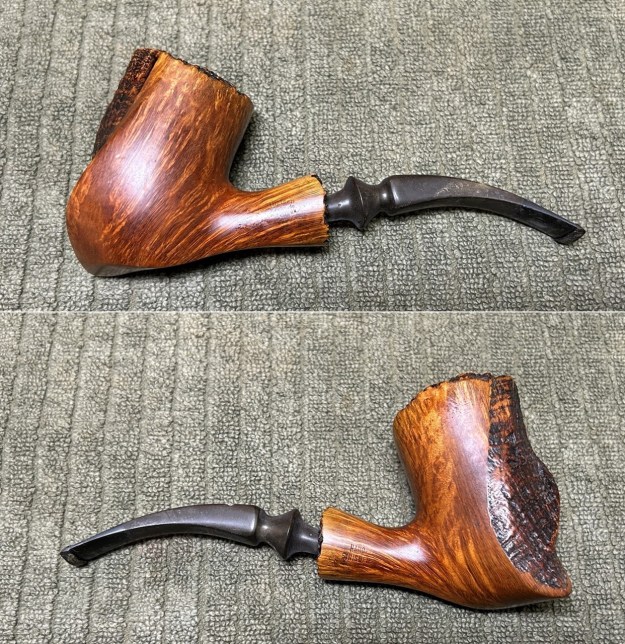
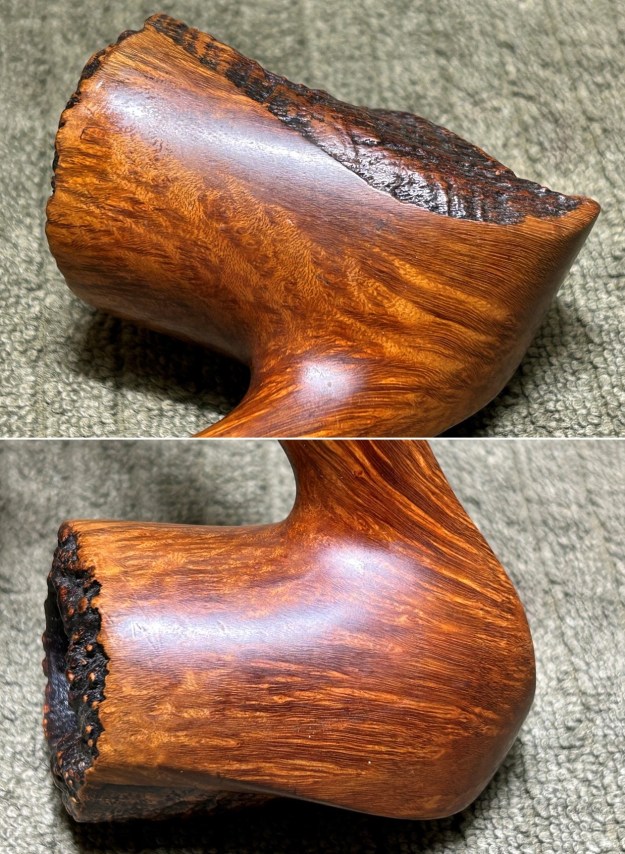
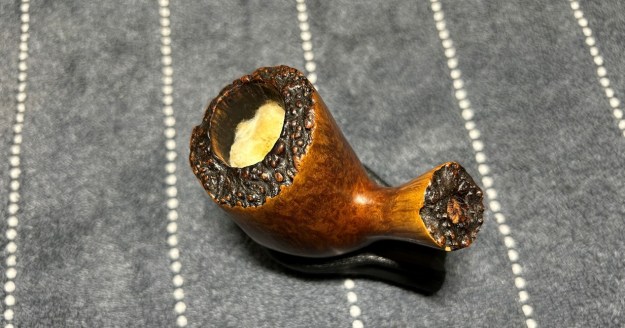
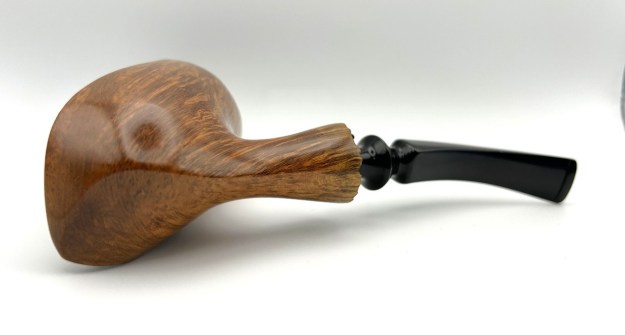
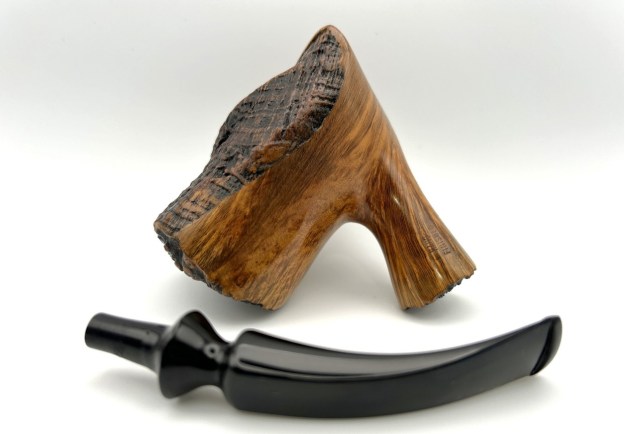
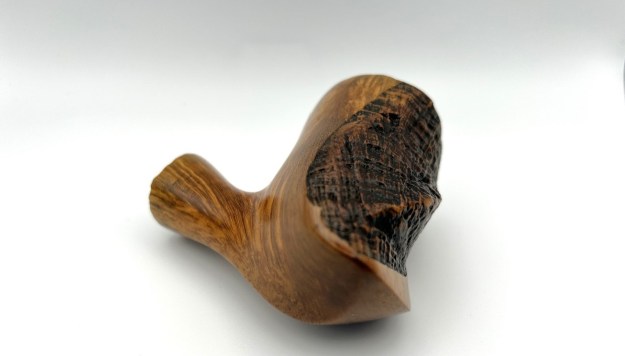
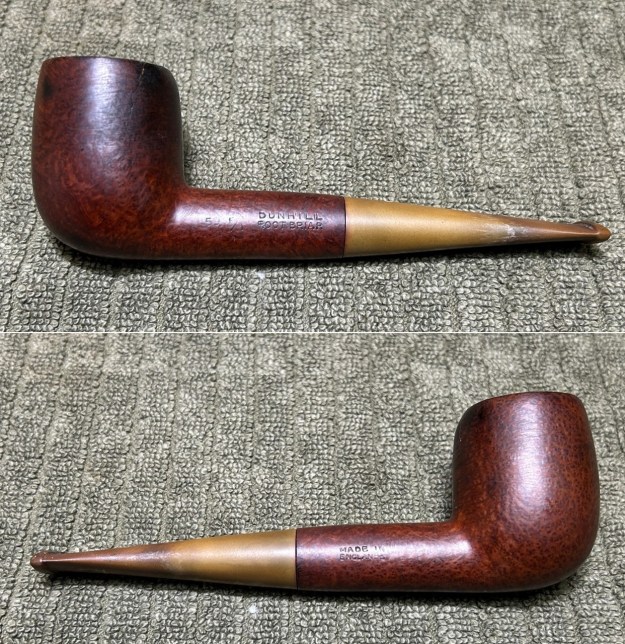
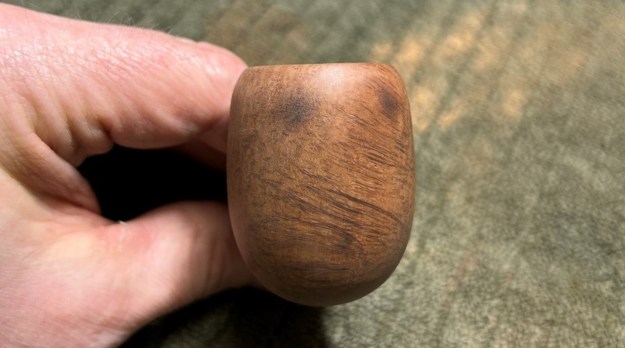
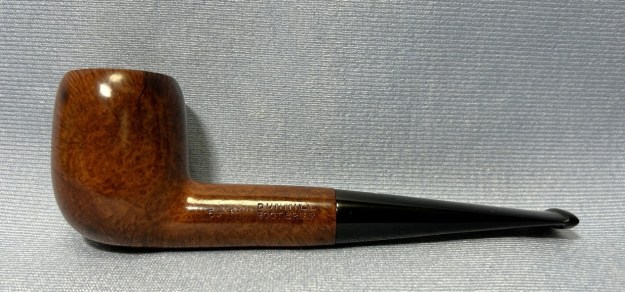
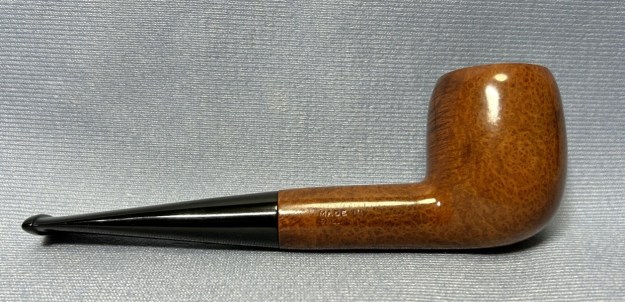
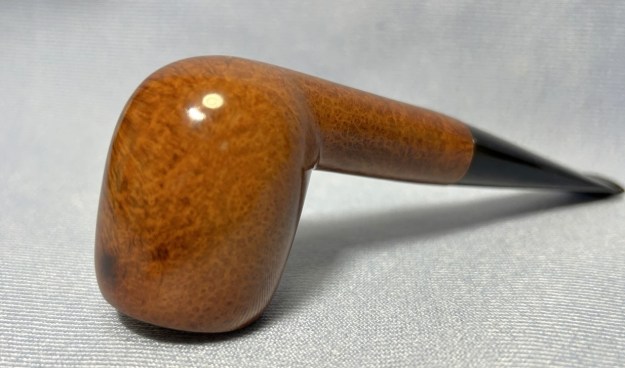
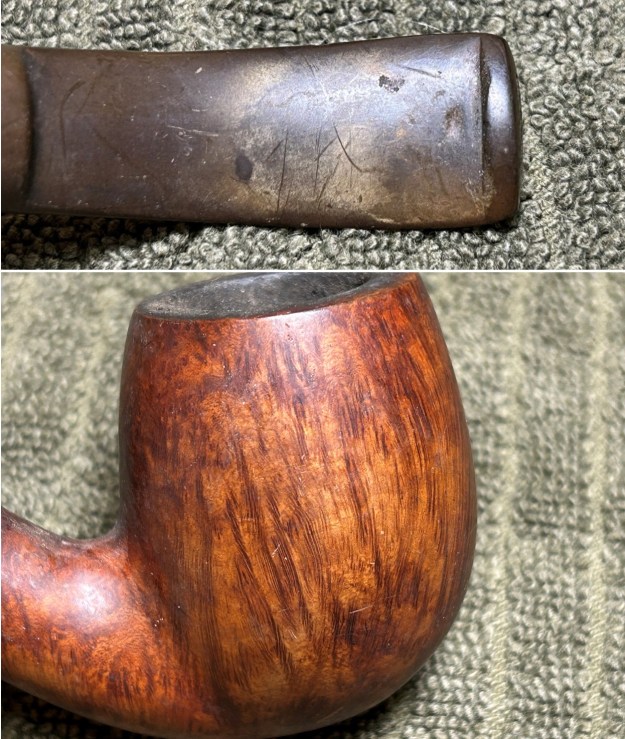
Rummaging through a bucket full of pipes resulted in finding some interesting odds and sods. This handsome bent billiard caught my eye because of the attractive shape and some amazing grain. It was very dirty, to be sure, but I could see the potential it held. Indeed, it turned out to be a beautiful pipe and I am happy to make it available to you.
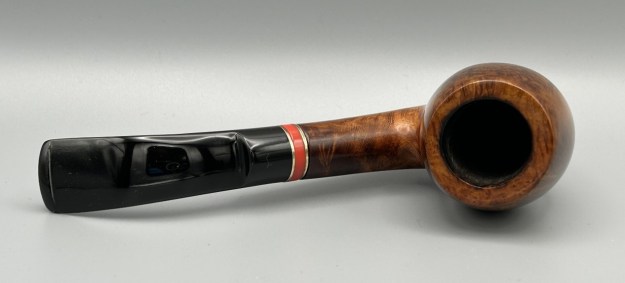
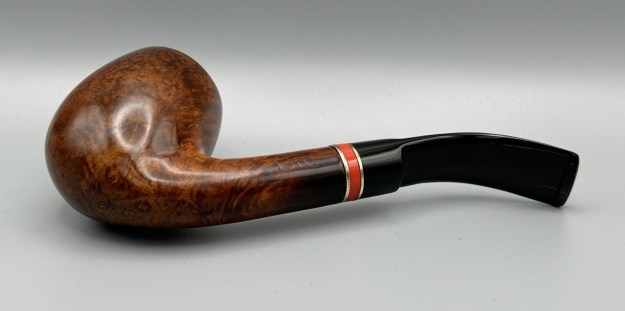
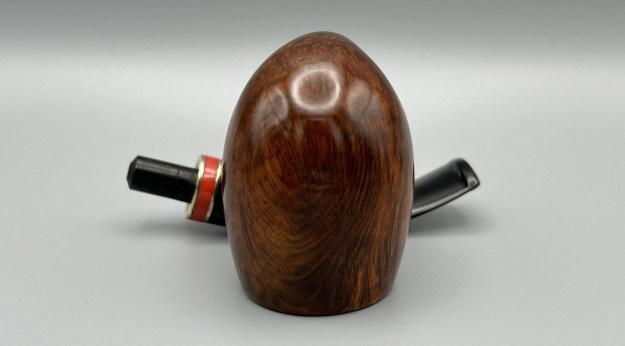
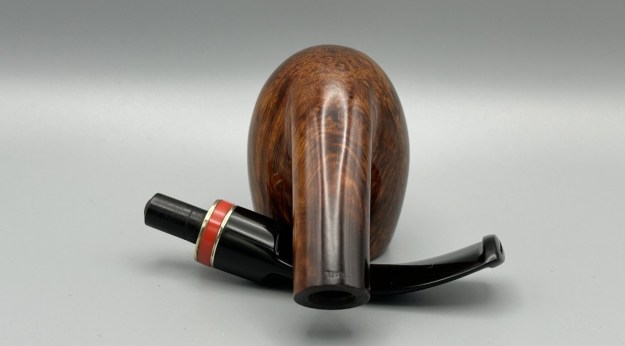
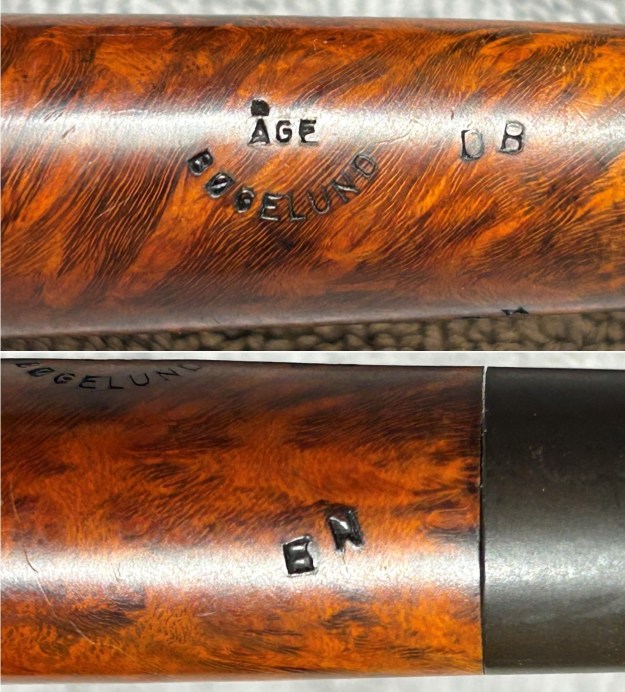
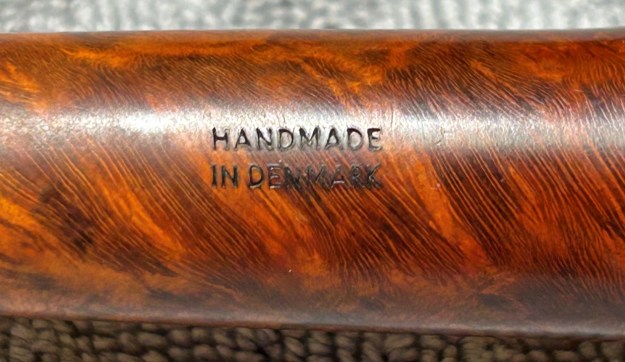
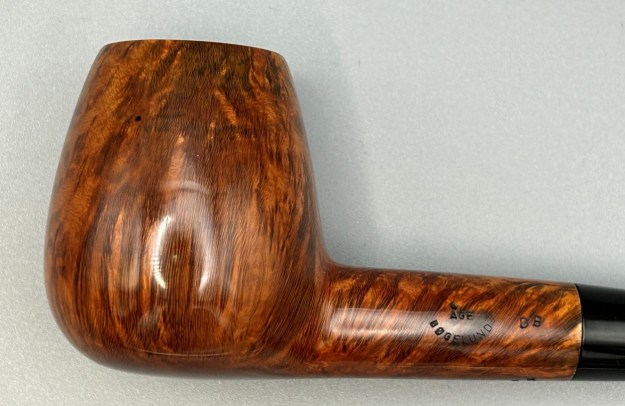
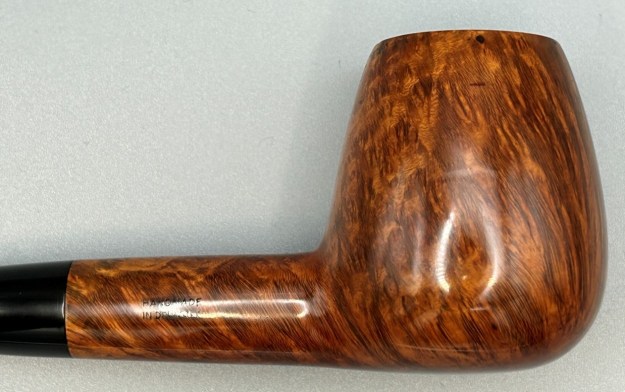
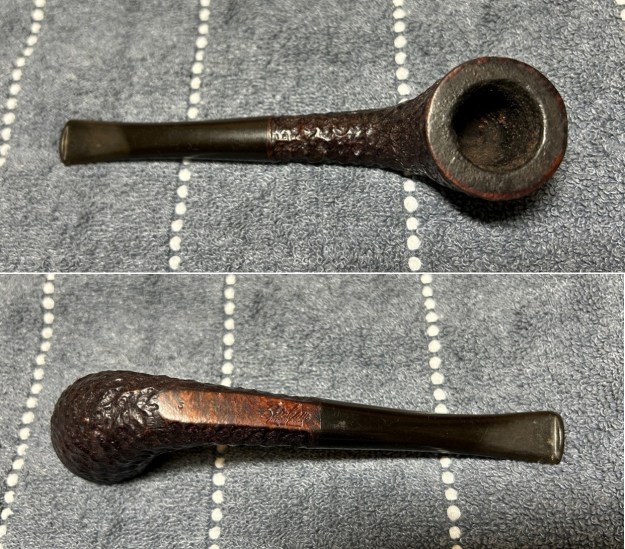
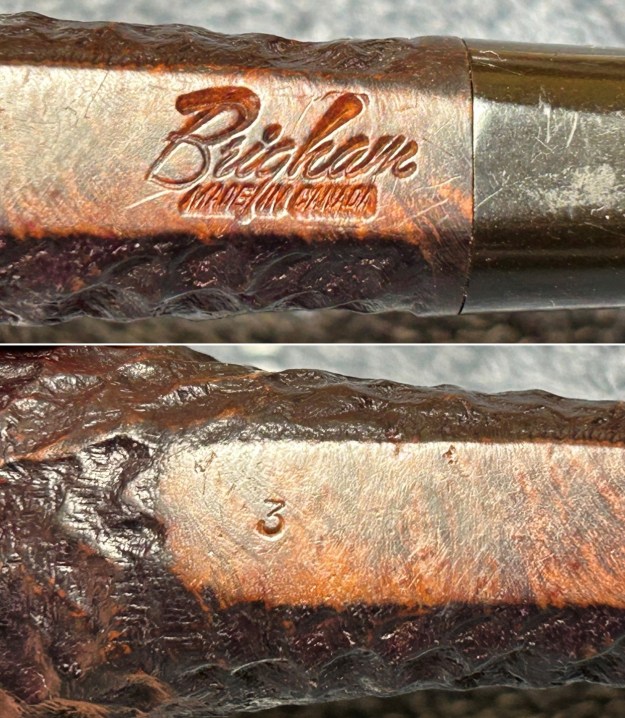
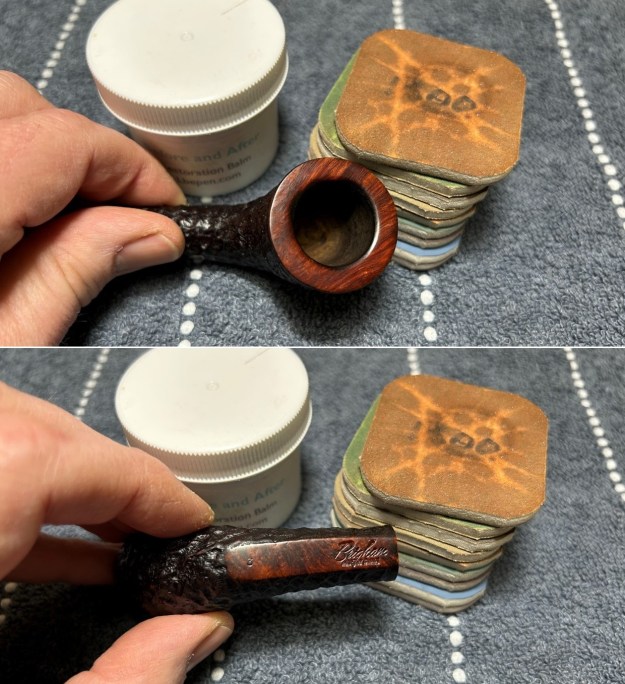
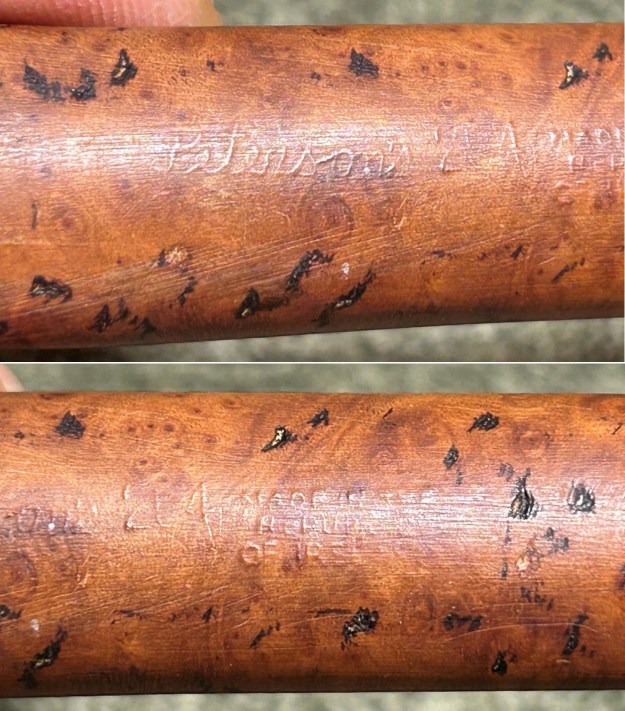
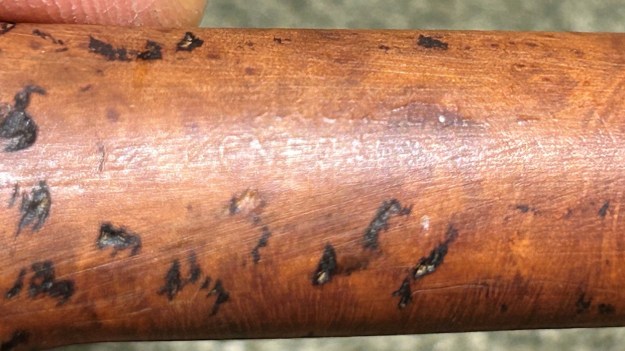
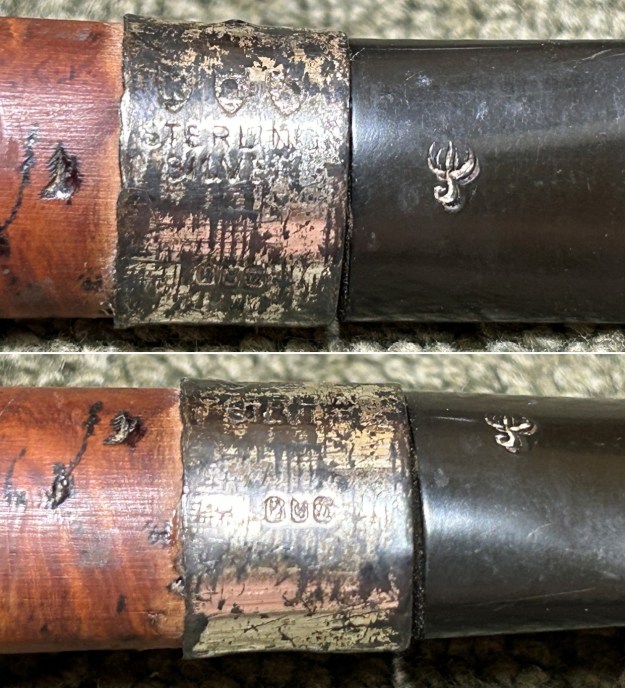
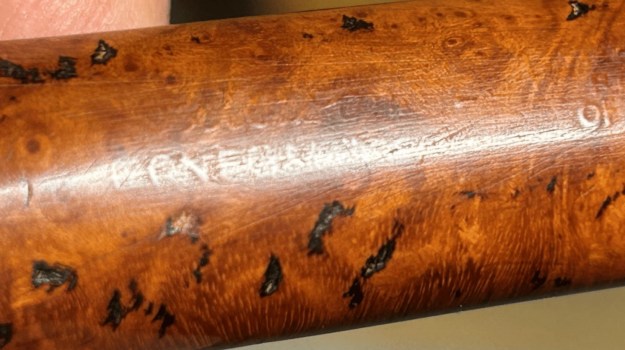
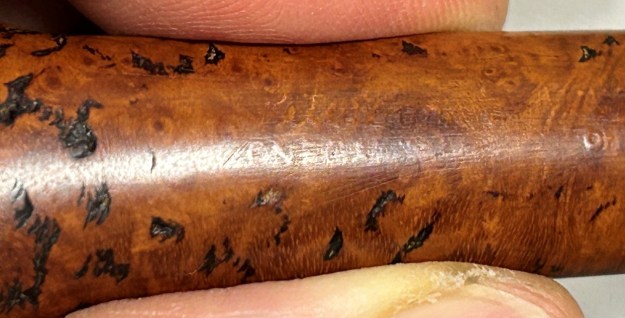
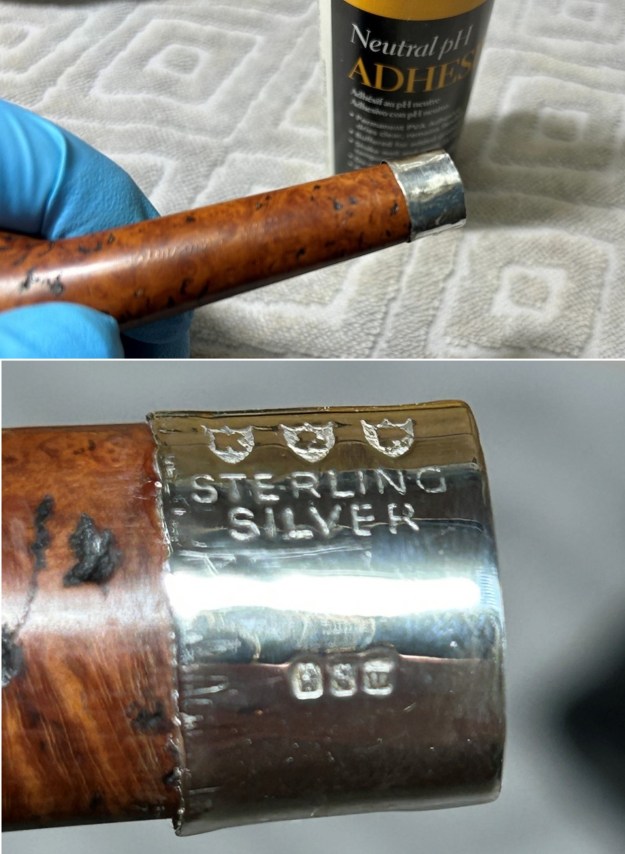
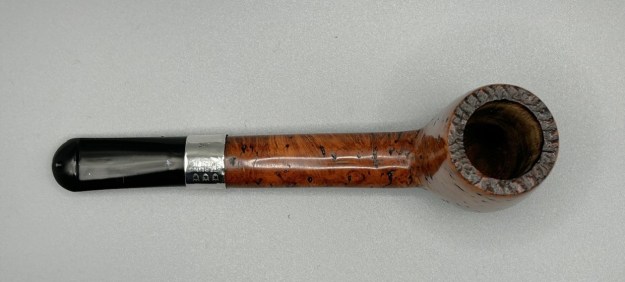
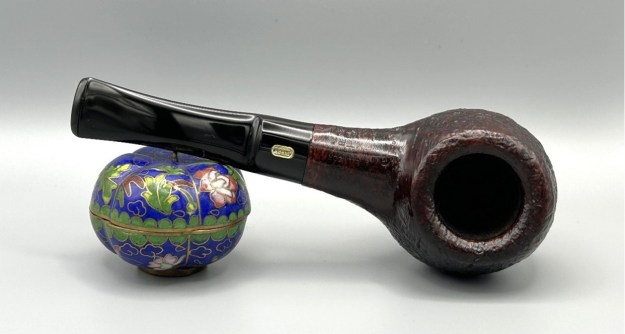
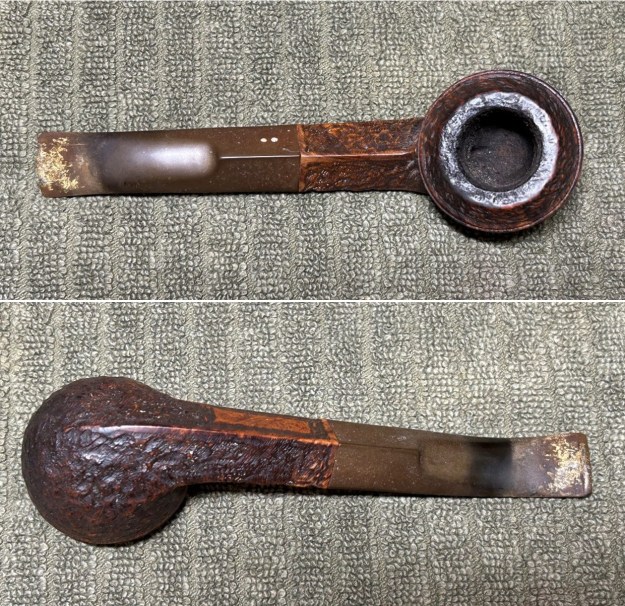
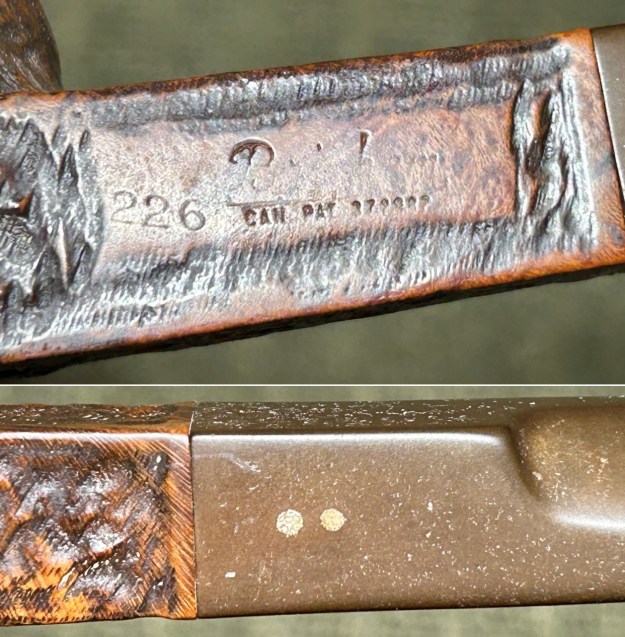
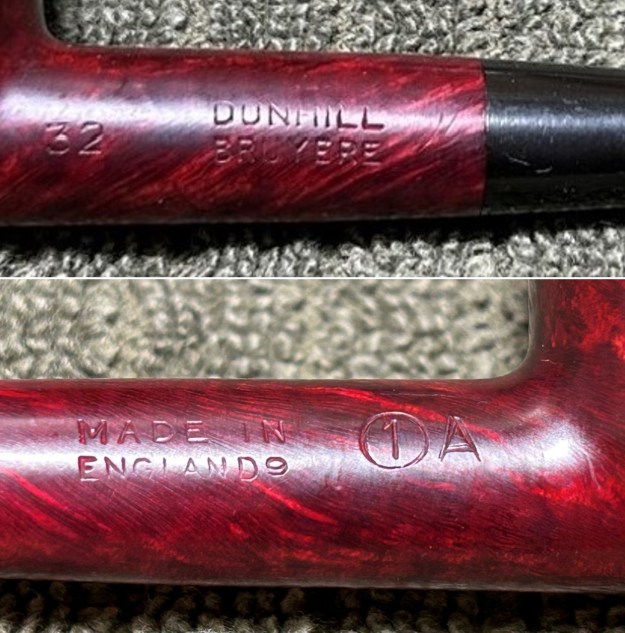
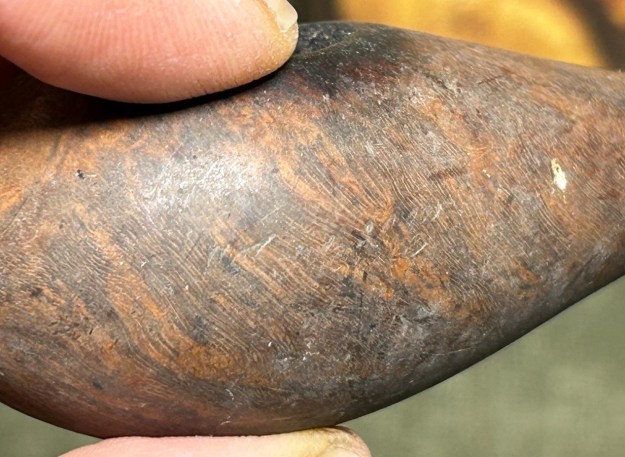
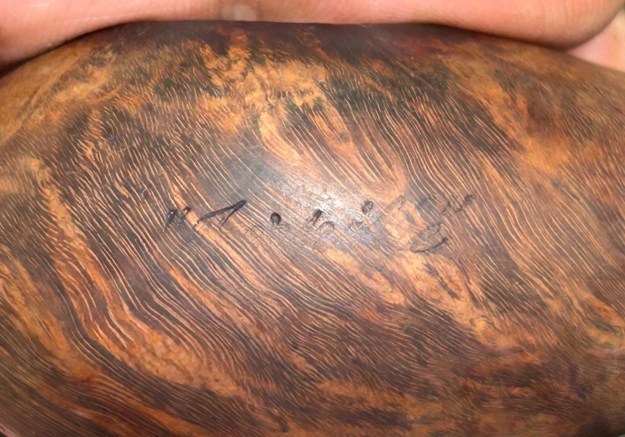
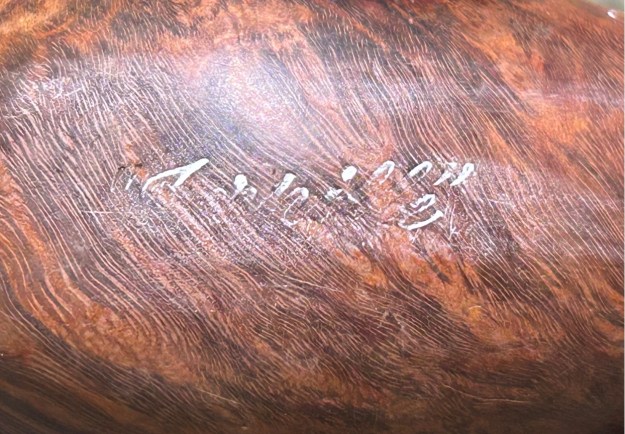
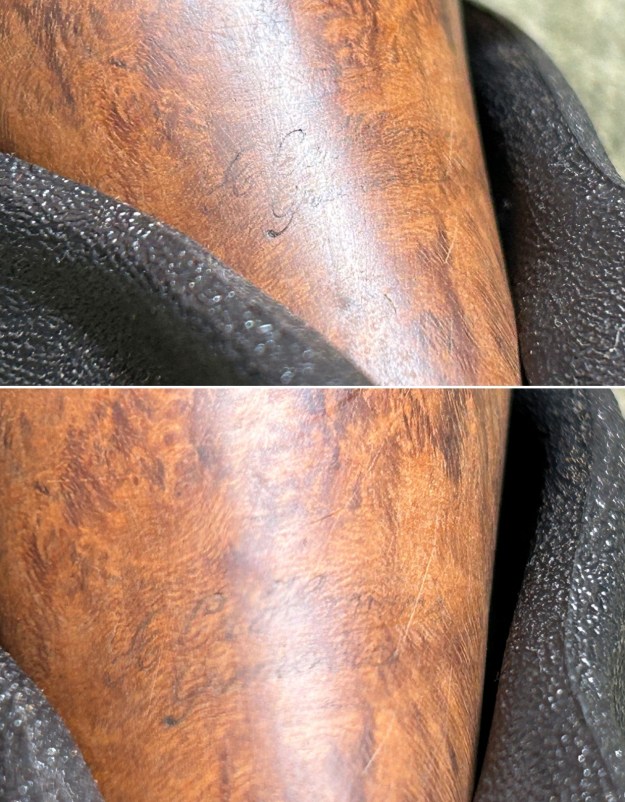
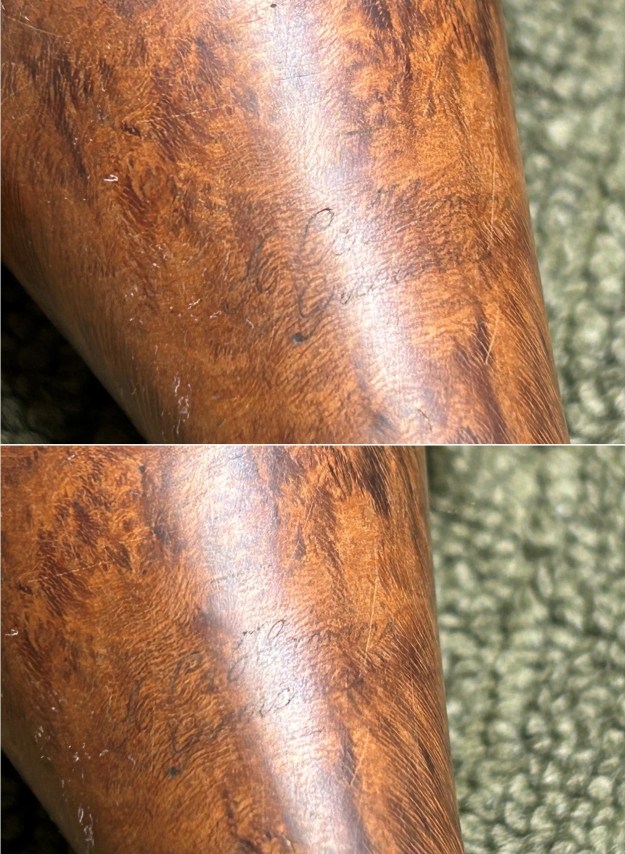
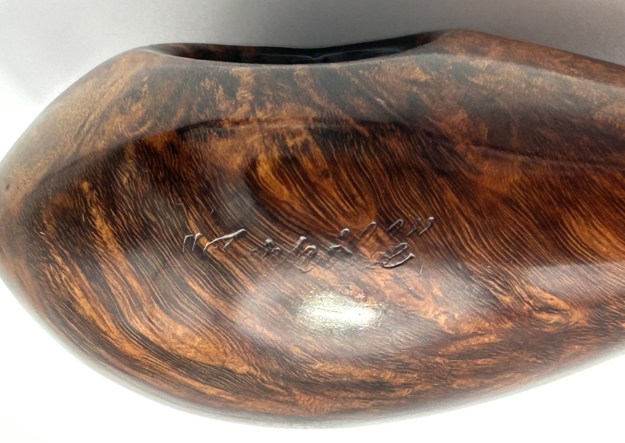
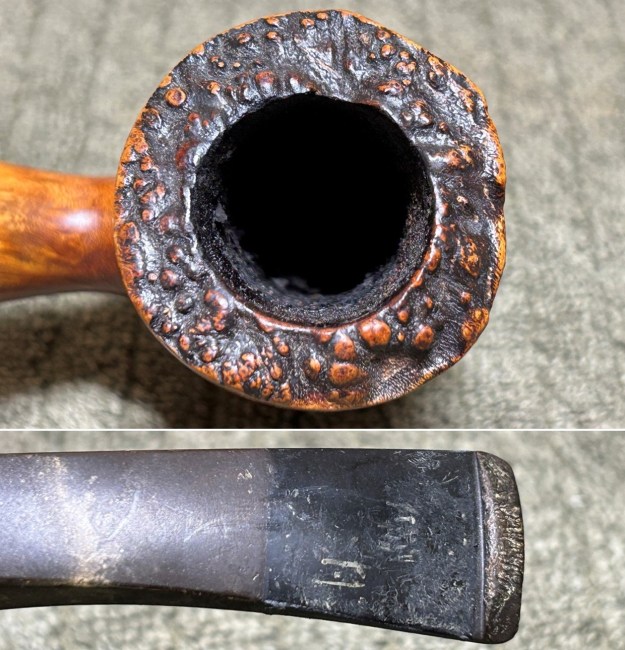
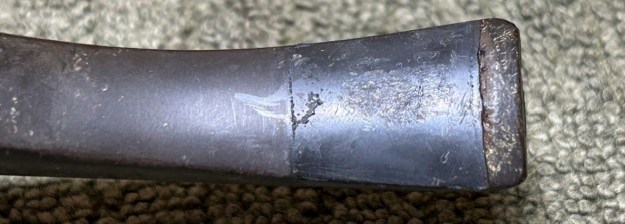
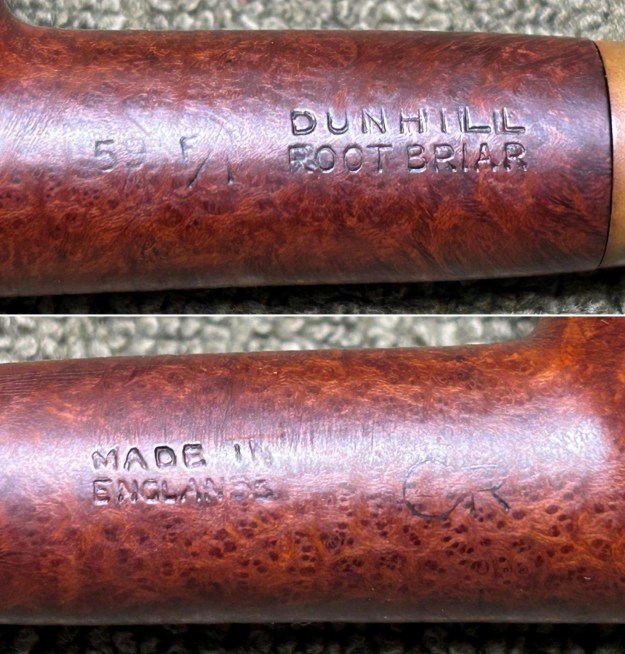
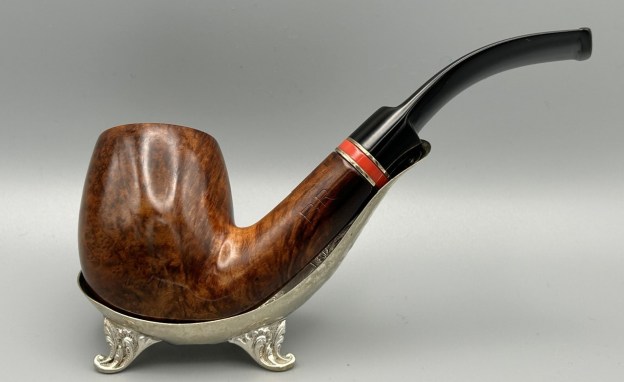
 The markings were, shall we say, not immediately helpful, but they resulted in an interesting history. On the left side of the shank were the letters BR. These initials had a very particular look to them. On the underside of the shank, right near the end, was the word Israel. In fact, the pipe was so dirty that I only discovered the word Israel after cleaning the stummel. There were no other marks. There was a very attractive band around the stem: two rings of brass sandwiching a bright red acrylic ring.
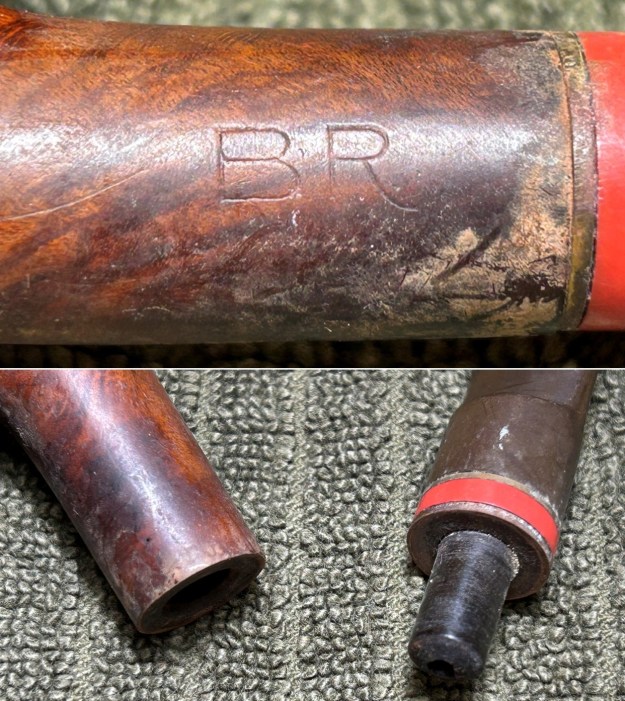
 In order to determine what the ‘BR’ referred to, I went to Pipephil and found the exact same ‘BR’ on a pipe there. That led me to this entry:
 Aha! So, there were pipes made under the Borkum Riff name. To be clear: the reference to Savinelli above is specifically related to the pipe in the photos – not to all Borkum Riff-branded pipes (as we will soon see). Unfortunately, there was no mention of Israel.
The connection between Borkum Riff and tobacco is obvious, but less so the connection between Borkum Riff and pipes themselves. I went and looked up the Pipedia article on Borkum Riff and found that, in fact, the Wikipedia article is slightly more thorough:
Borkum Riff is a brand of pipe tobacco manufactured in Denmark for the Scandinavian Tobacco Group. ‘Borkum Riff’ tobacco was launched in Sweden in 1962, named after a lighthouse of the same name, located at 53° 58′ N, and 6° 22′ E in Heligoland Bight off the Dutch coast in the North Sea. It was a landmark for seafarers and was well-known to Swedish radio listeners, as weather reports mentioned Borkum Riff several times a day. The former lightship was used from 1960 to 1964 as the first radio ship of Radio Veronica, which became the first offshore radio station in the Netherlands.
The tobacco was a rough-cut blend of Virginia and Burley and had been developed by Bertil Sandegård with an eye on the US pipe tobacco market. Initial sales were slow-moving, but when Borkum Riff’s Bourbon Whiskey blend was successfully introduced in the US in 1969, sales increased. Since then, new flavours and new packaging have been introduced. Today, Borkum Riff is also sold in India, Canada, Australia, Switzerland, Norway, Spain, New Zealand, Japan, France, Italy, and Germany as well as in several other markets around the world. Borkum Riff’s biggest market, however, is still the United States.
Today, the Borkum Riff, which is manufactured in Denmark for Swedish Match, is the third-largest tobacco producer on the Swedish market. In 2011, Borkum Riff’s ownership changed to Scandinavian Tobacco Group. The ship in the Borkum Riff’s company logo originates from a 17th-century engraving made by Johann Baptist Homann.
The tobacco is manufactured on behalf of Swedish Match at the Scandinavian Tobacco Group’s Orlik factory in Assens, Denmark. Formerly, it had been produced by Mac Baren on a dedicated production line.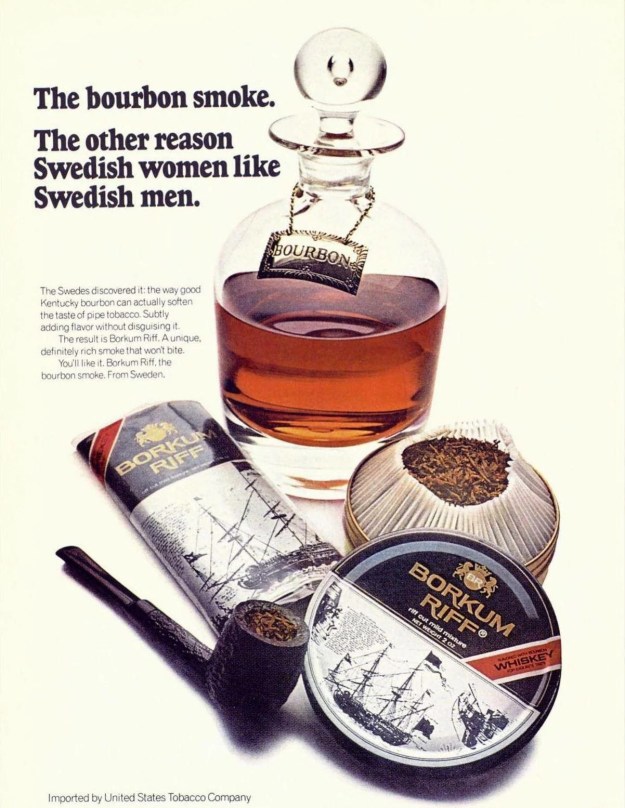 This article had interesting information, but none of it directly related to pipes, per se. I was immediately reminded of a blog post I wrote about a year ago on an ‘Old Port’-branded pipe (made by Brigham). I wondered if it was a similar situation: could it be that when you bought a tin of Borkum Riff tobacco, you received a coupon and when you collected a sufficient number, you could redeem them for a pipe? It’s a reasonable assumption, given how many tobacco companies did similar things. You can read that article here. If you have any Borkum Riff brochures, etc. that describe this, I would love to hear from you.
So, I started searching. Not much was coming up in my searches until I found a tiny nugget that connects things together. Back in 2022, Steve wrote a blog post on a Burl King freehand pipe (you can read that post here). In that article, Steve quotes from the Pipedia post on Burl King:
We can confirm that it was at one time a pipe used for promotion of Borkum Riff tobacco, as reported by Bob Taylor of the Seattle Pipe Club, who mailed in a coupon and received the pipe with a postmark of Jan. 11, ’78, and a return address of Sparta, N.C., which indicates it may have come from the Dr. Grabow / Sparta Industries plant. Bob recently noticed his “Burl King” was also marked, made in Israel, so it was likely made by the Shalom Pipe Factory, though apparently distributed through Sparta Industries. The box shipped for 50 cents and the return address said “After 5 days return to P. O. Box 21882 Greensboro, N. CC. 27240.” So apparently these pipes were made by Shalom, but distributed for Borkum Riff by Sparta Industries.
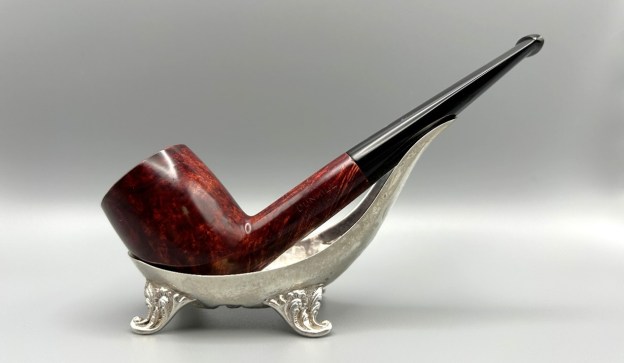
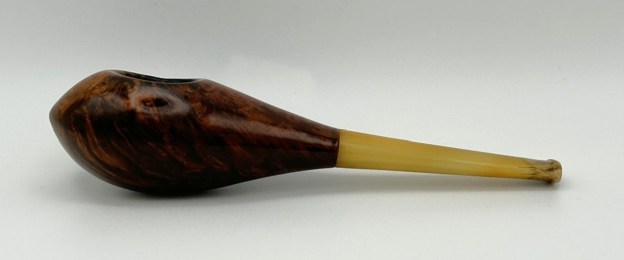
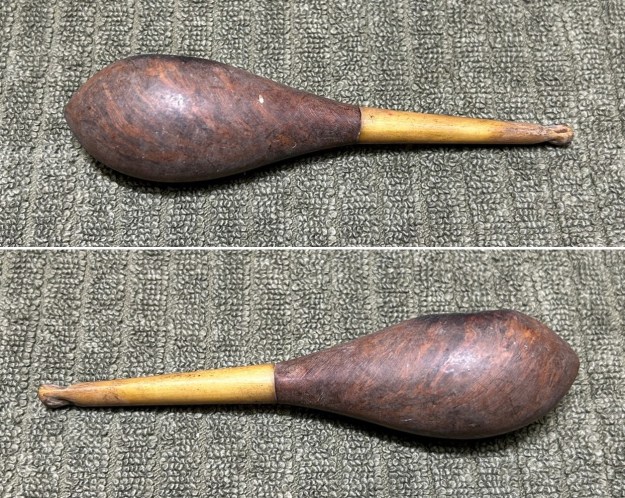
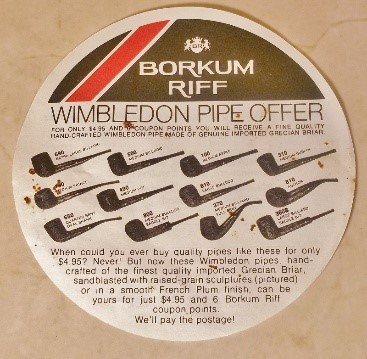 If further confirmation was needed that Borkum Riff offered coupon pipes, then it can be found at the Baccy Pipes blog. In 2017, Troy posted an entry on Borkum Riff pipes (named Wimbledon) made by the Dr Grabow/Sparta Industries plant. I encourage you to read that post here. Thanks to Troy also for the photo below.
Eureka! Now the thread seemingly runs through everything. This information lends itself to what I suspected: Borkum Riff had coupon pipes that were made by the Shalom Pipe Factory in Israel and this is a particularly nice example of such a pipe. I’m not able to date it accurately, but an educated guess would be that it comes from the 1970s or 80s.
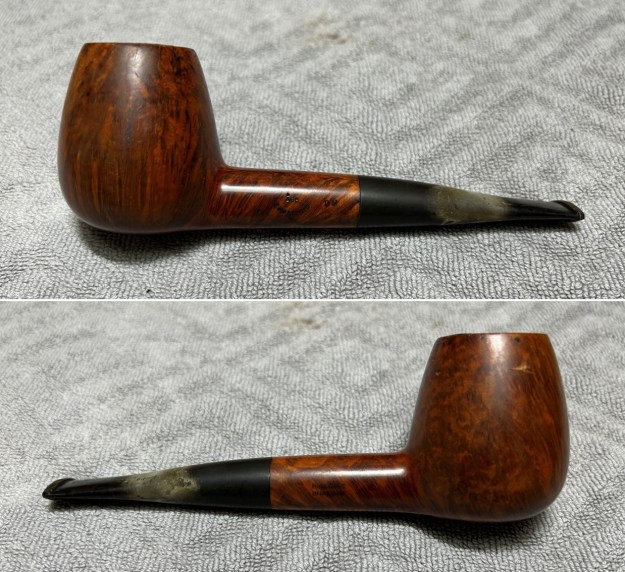
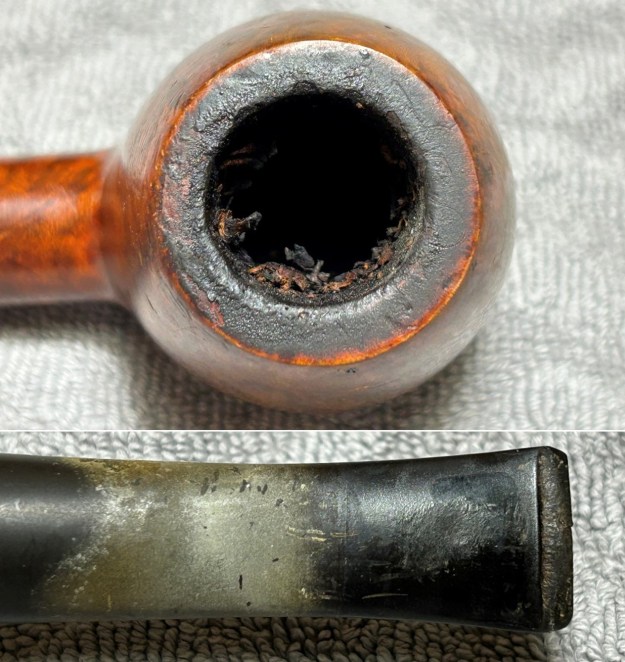
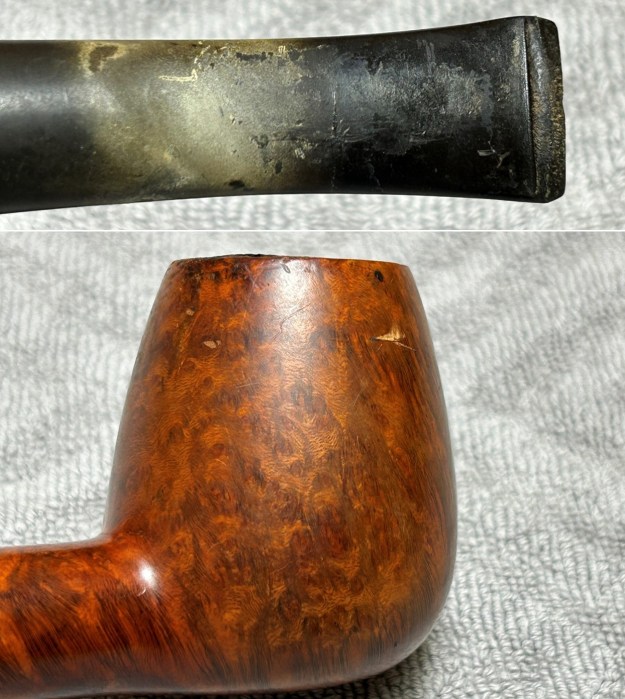
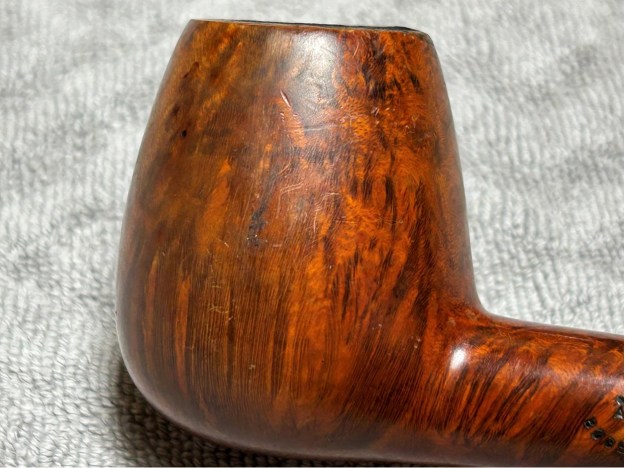
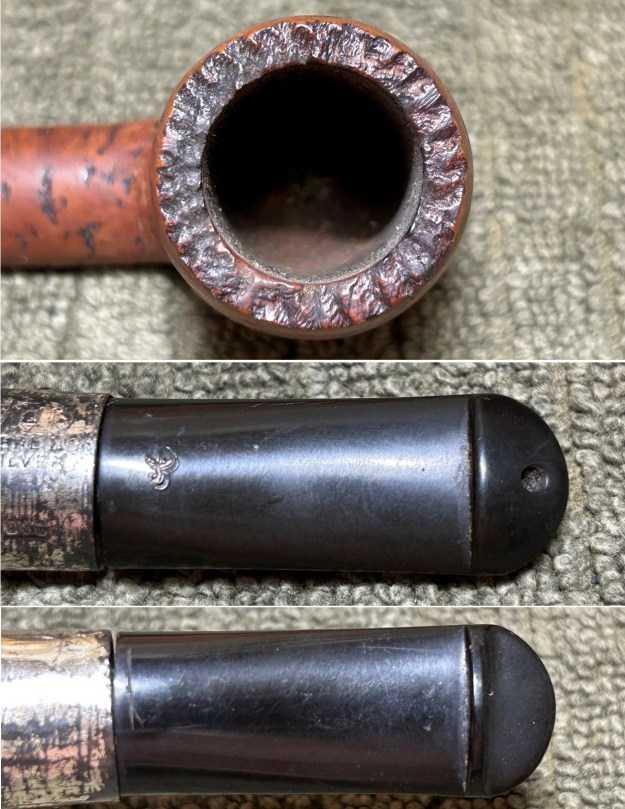
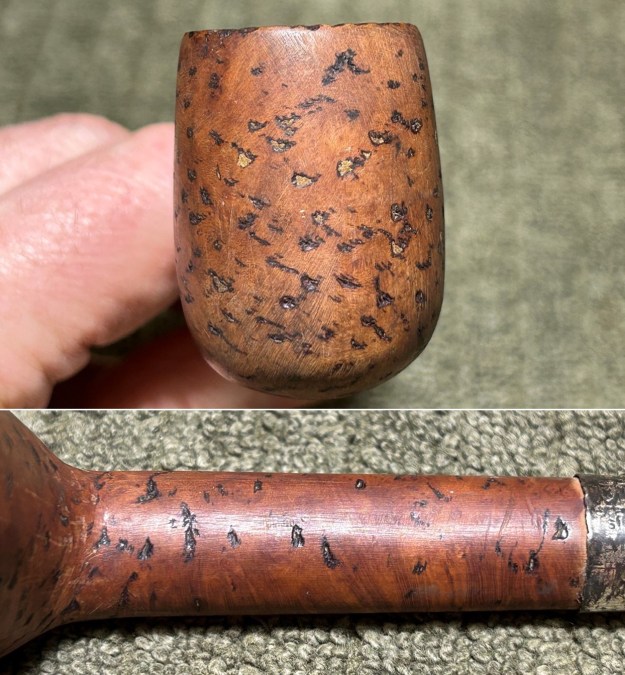
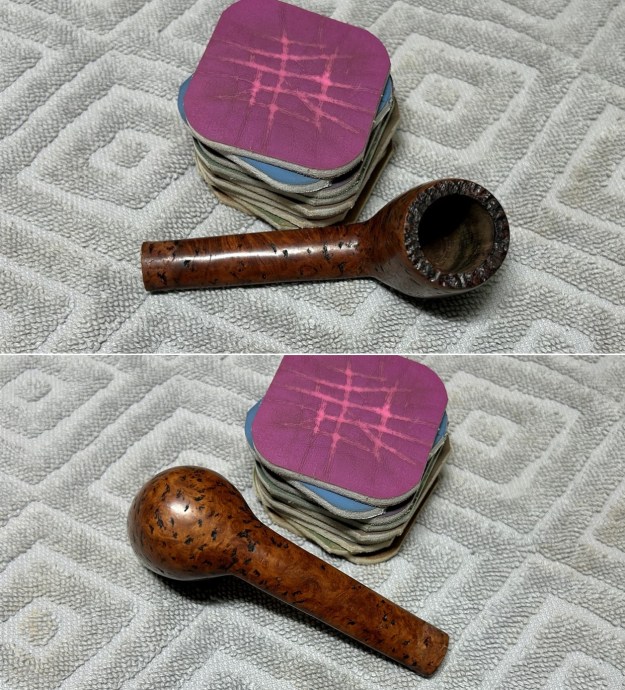
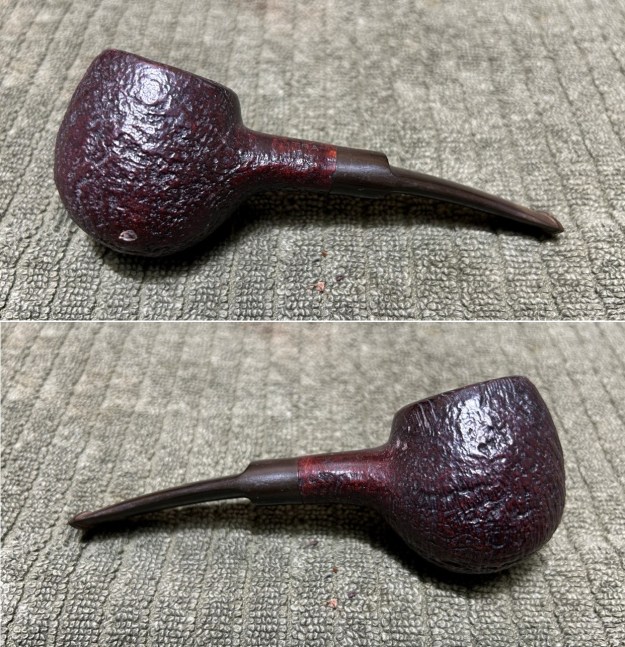
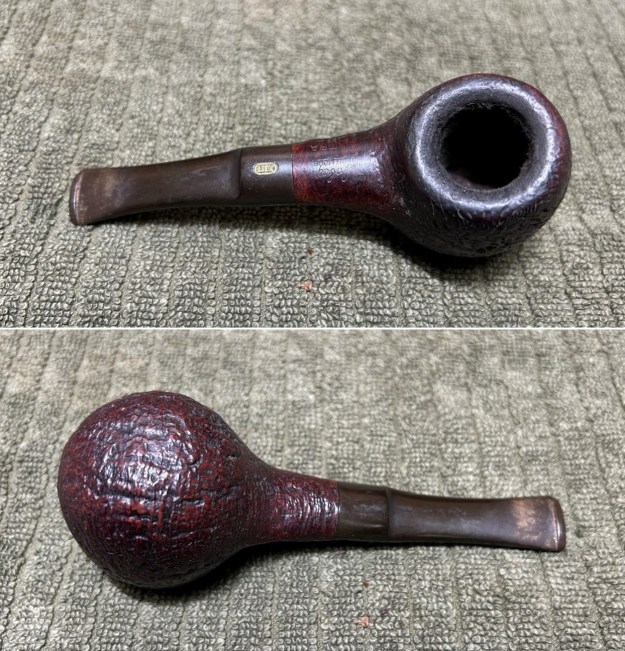
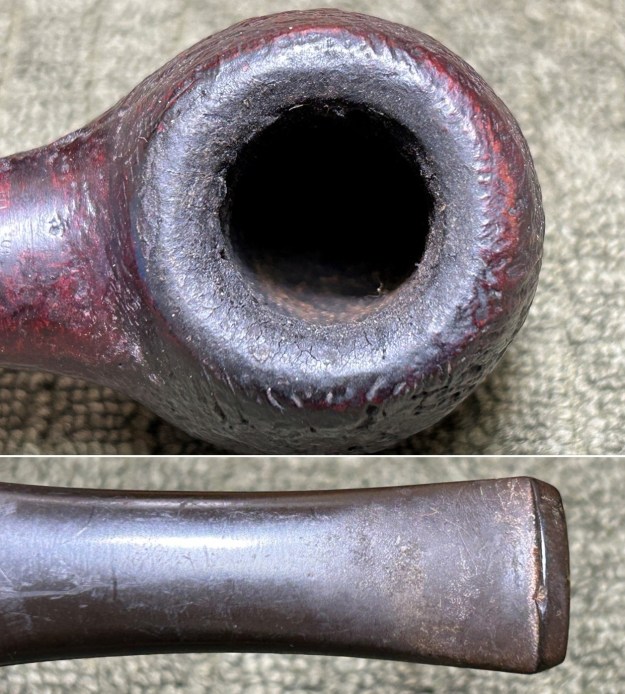
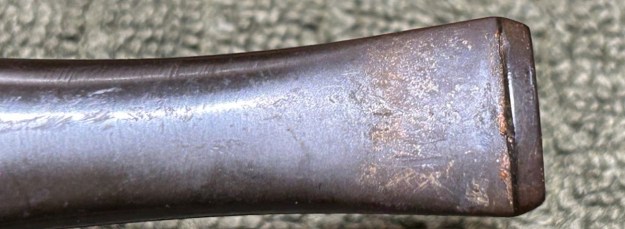
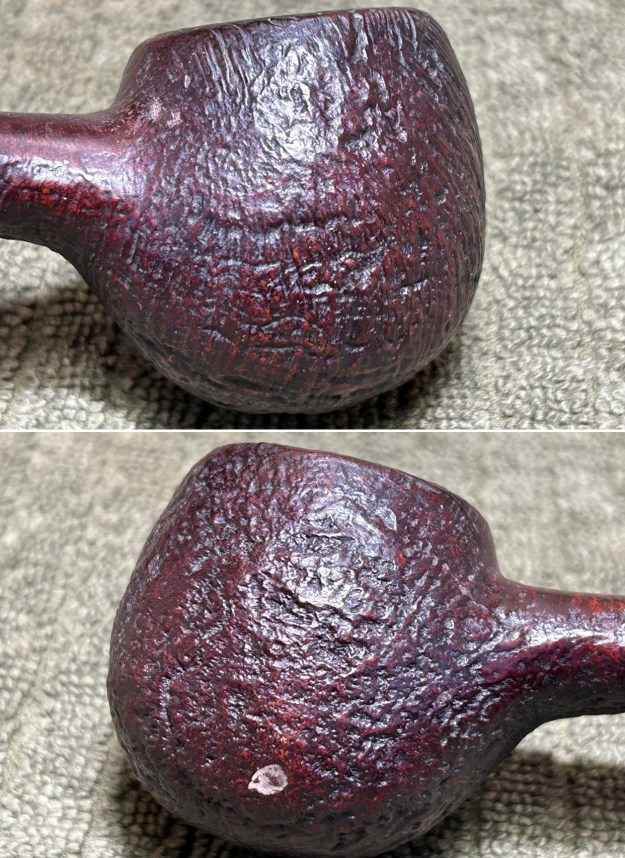
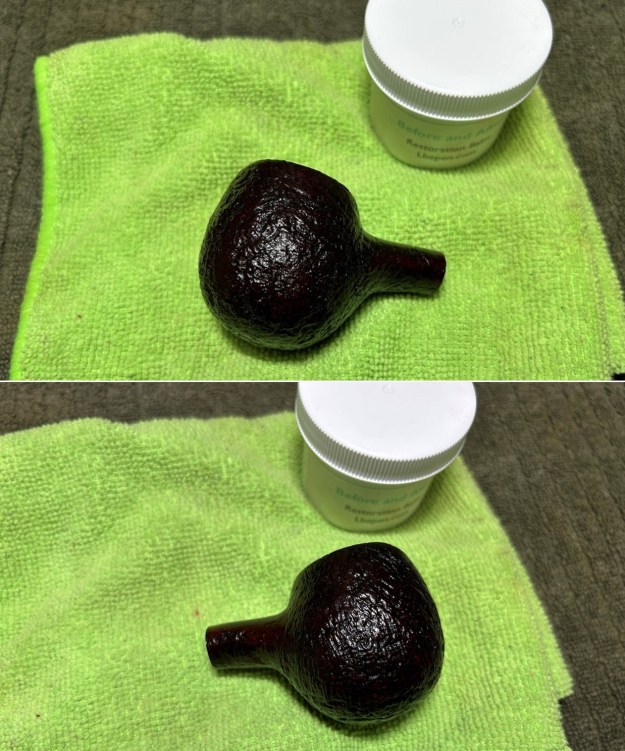
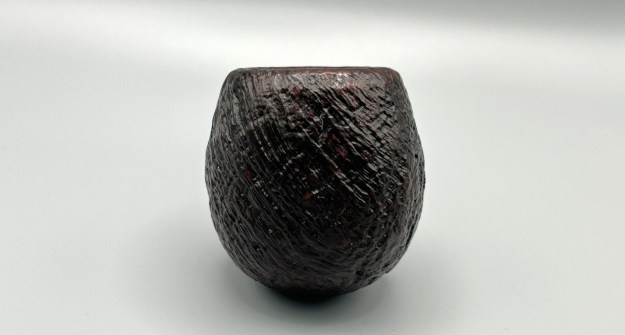
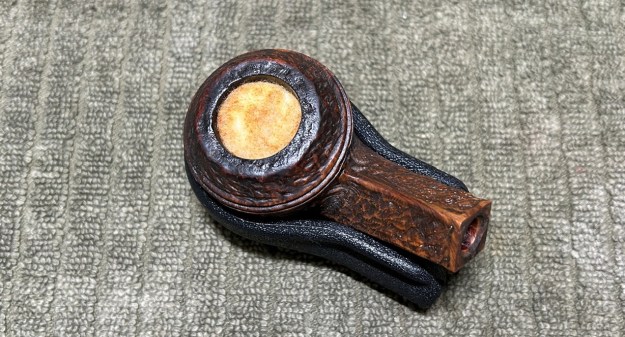
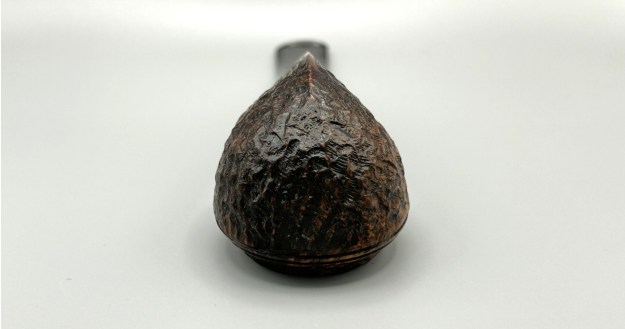
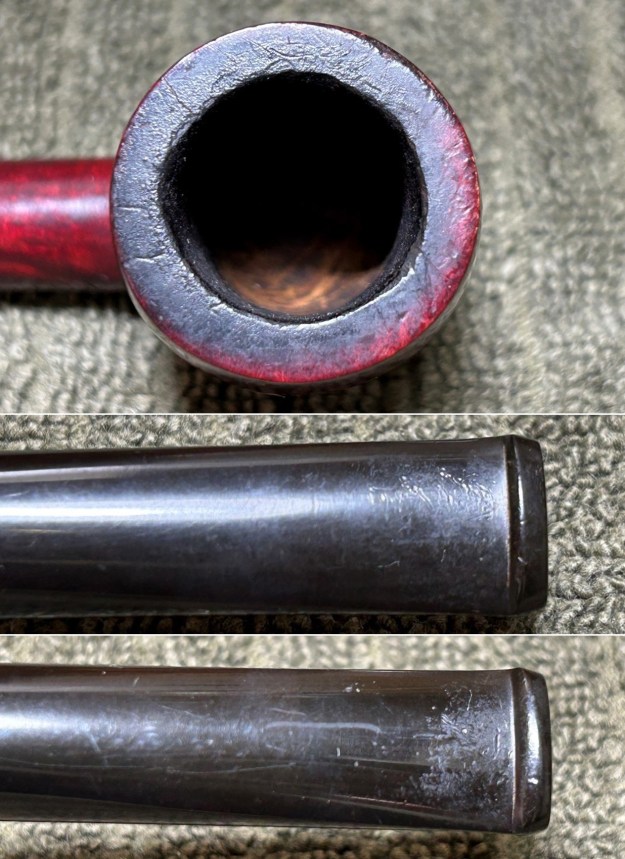
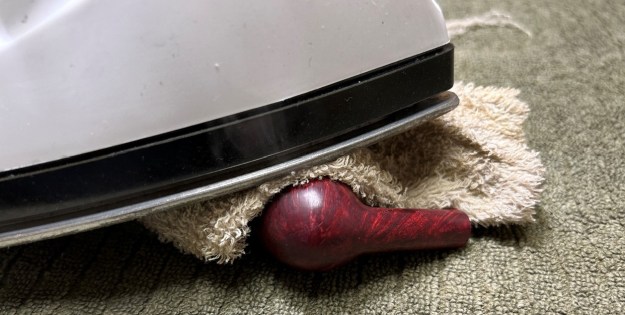
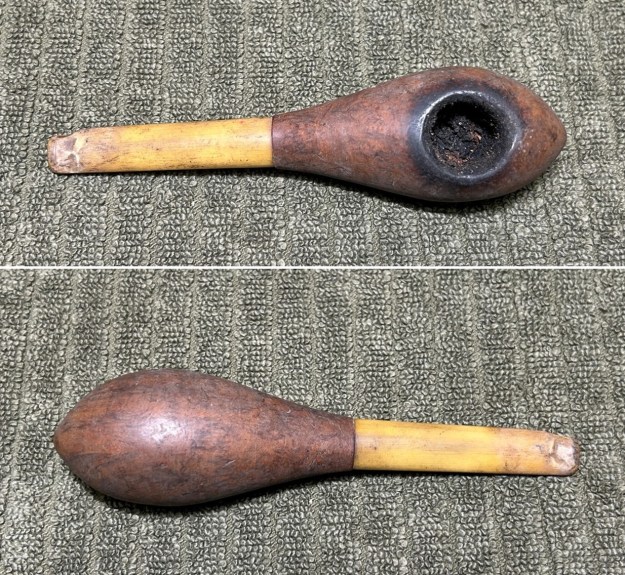
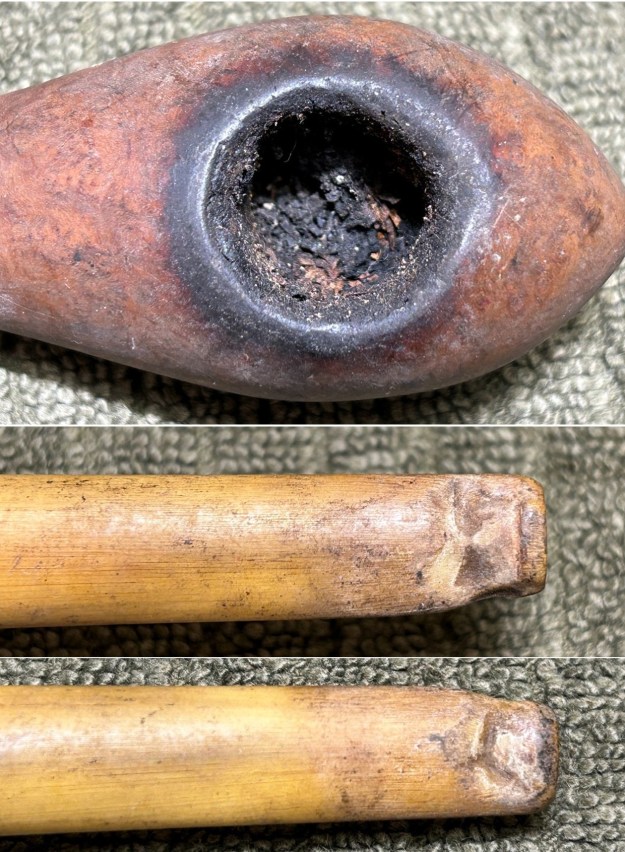
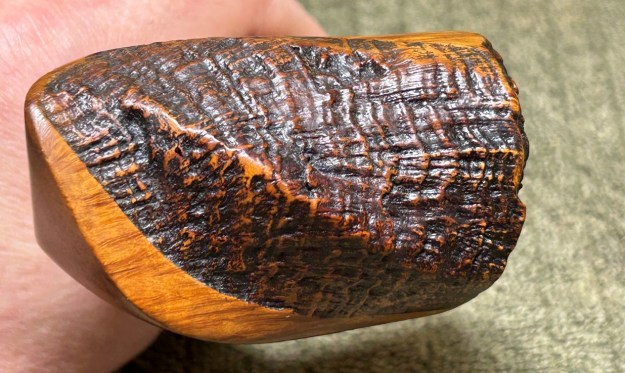
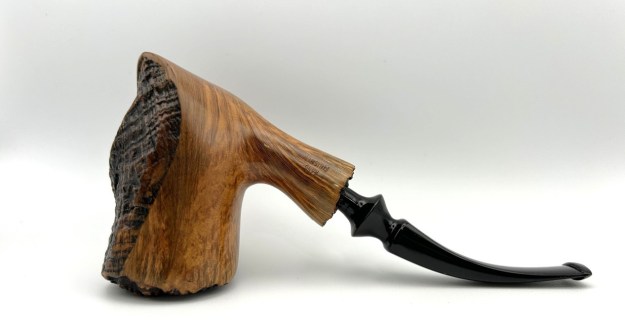
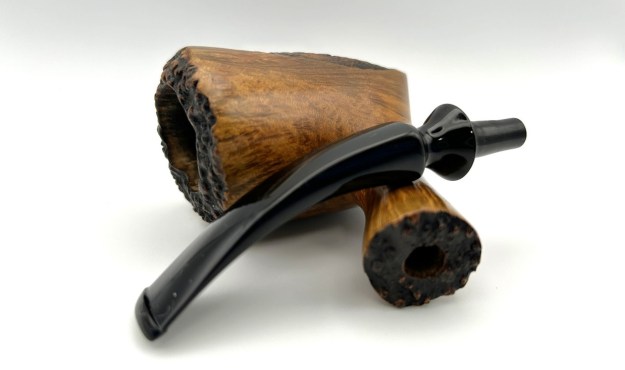
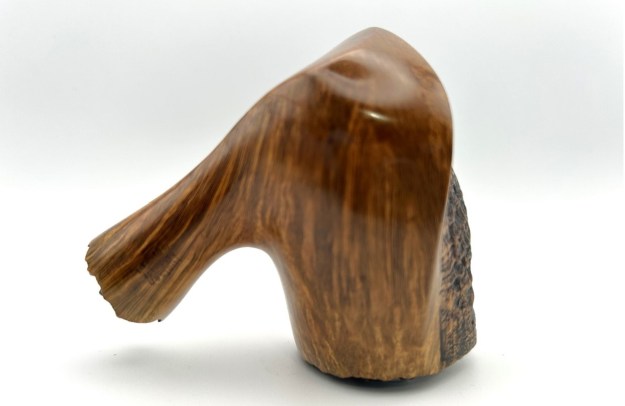
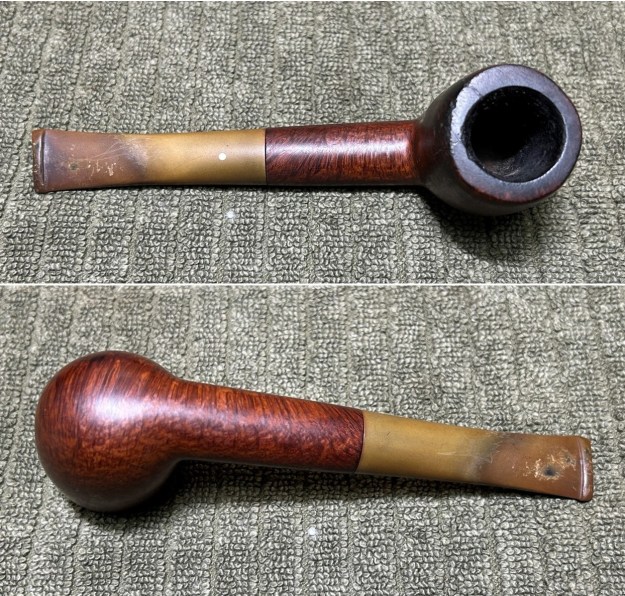
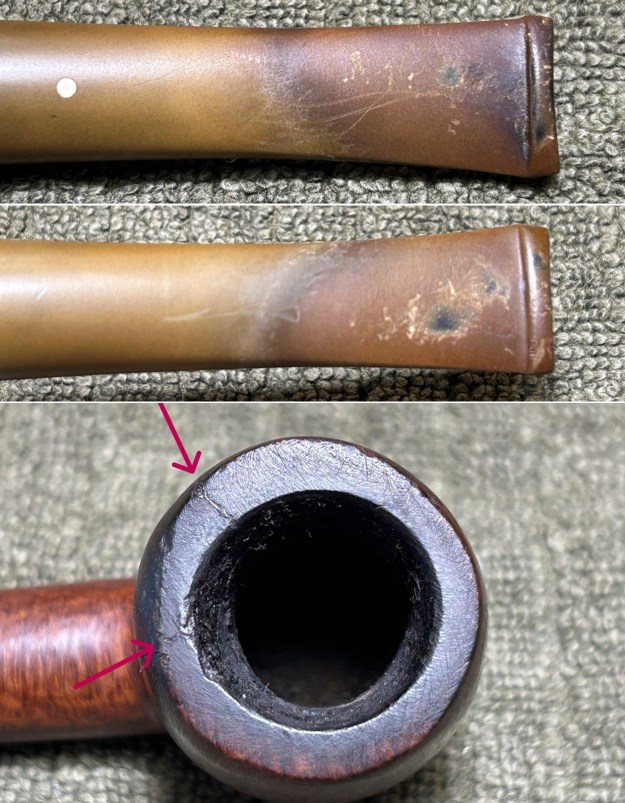
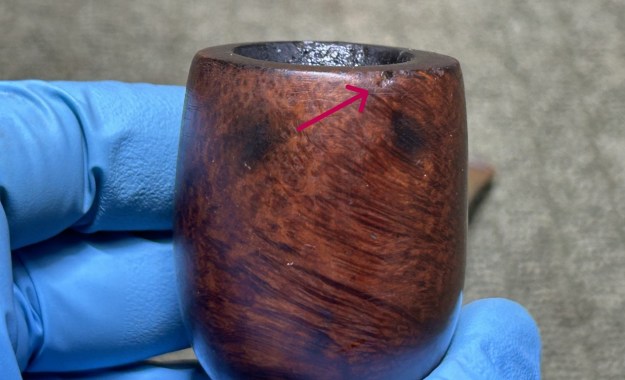
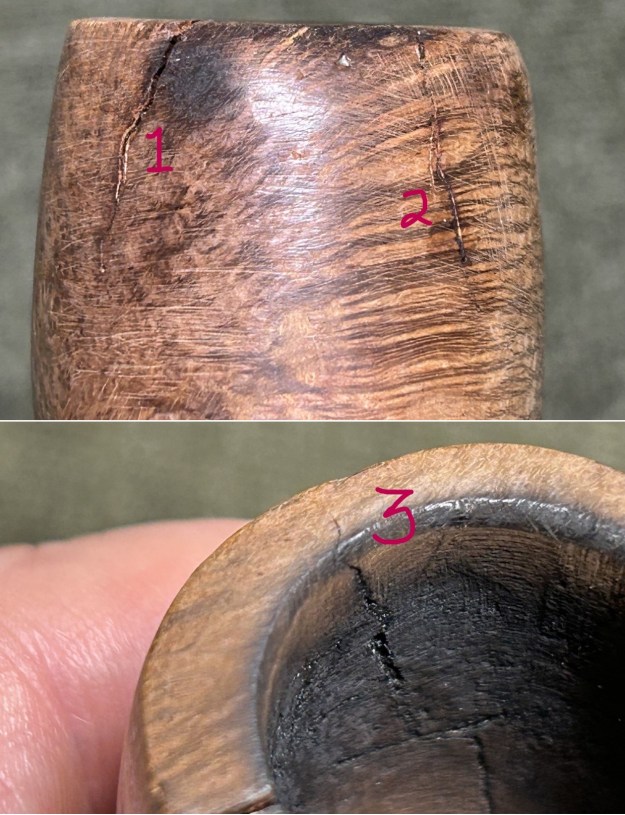
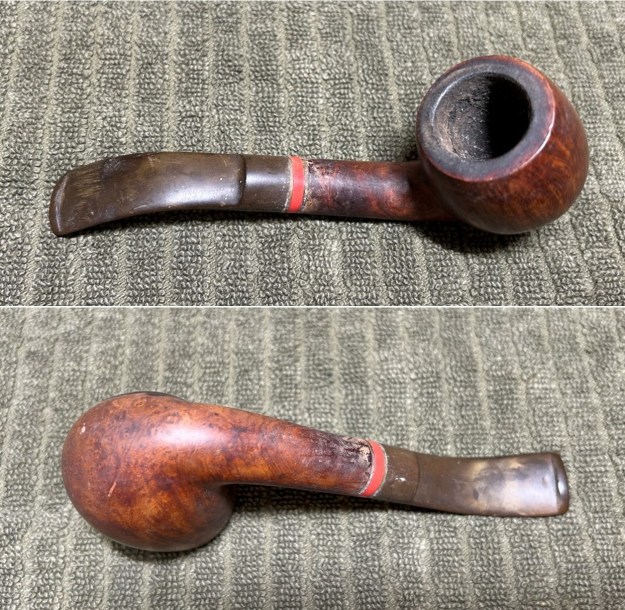
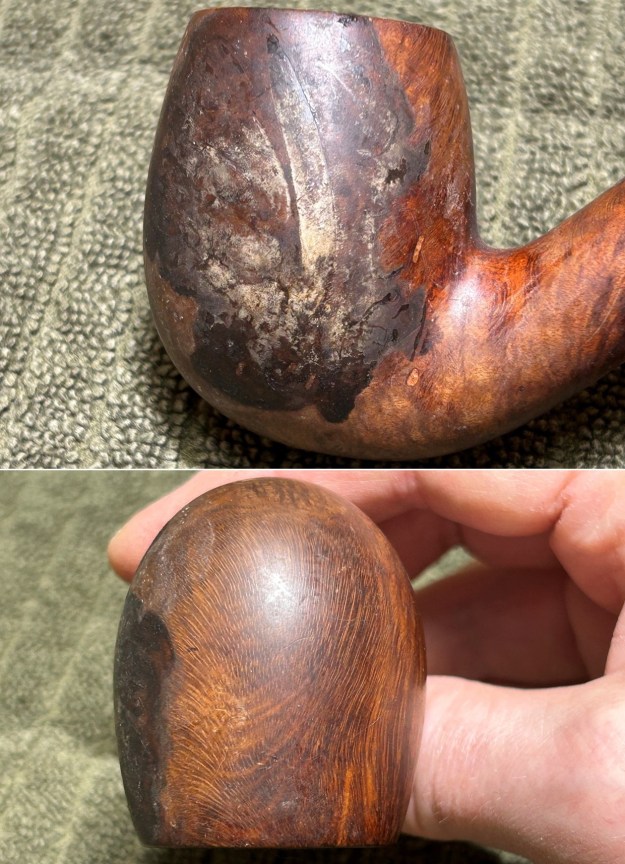
Let’s look at the condition. Yikes! This was one dirty pipe. Who knows where it’s been living for the past few decades? The stem was a bit scraped and dented. It had quite a bit of oxidation and the band seemed to be a bit corroded. The stummel was incredibly filthy. There was cake inside the bowl and a bit of lava on the rim. However, one side of the stummel had the most unsightly stain all over it. It wasn’t immediately apparent what the stain was, but I did wonder if I could get it off.
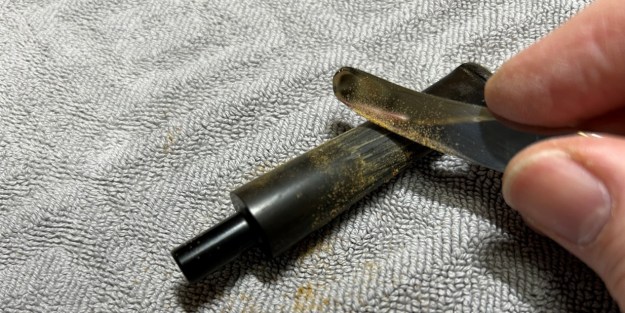
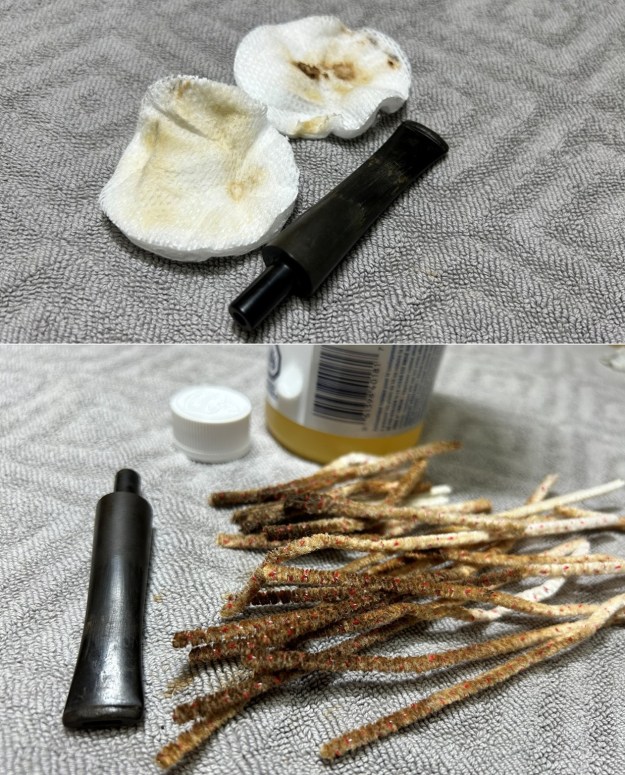
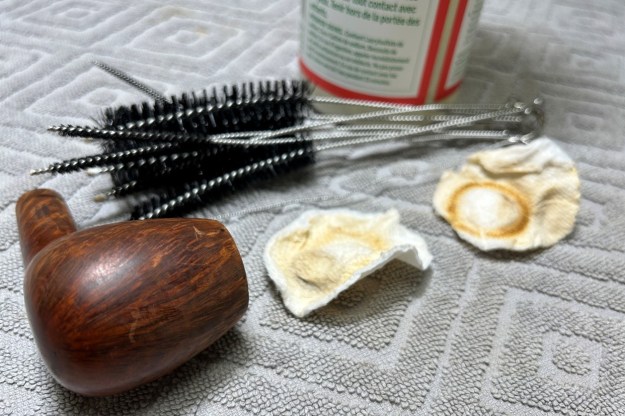
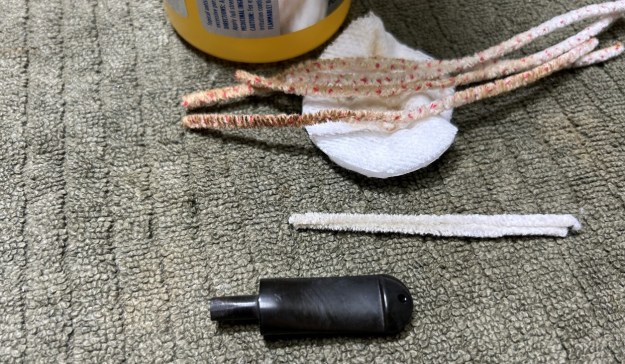
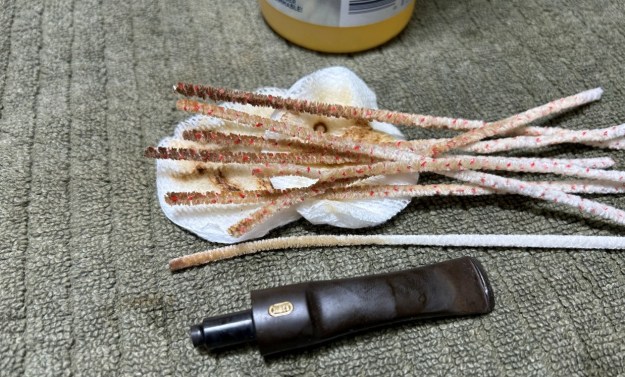
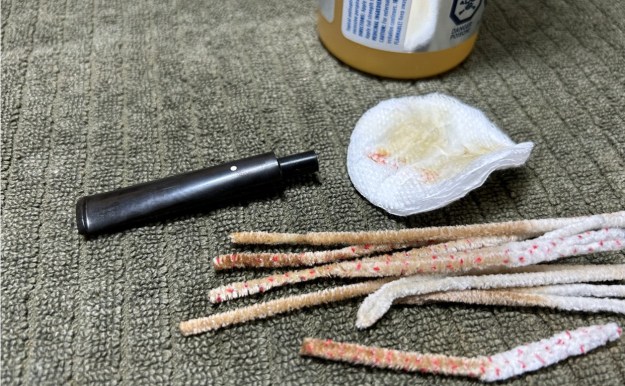
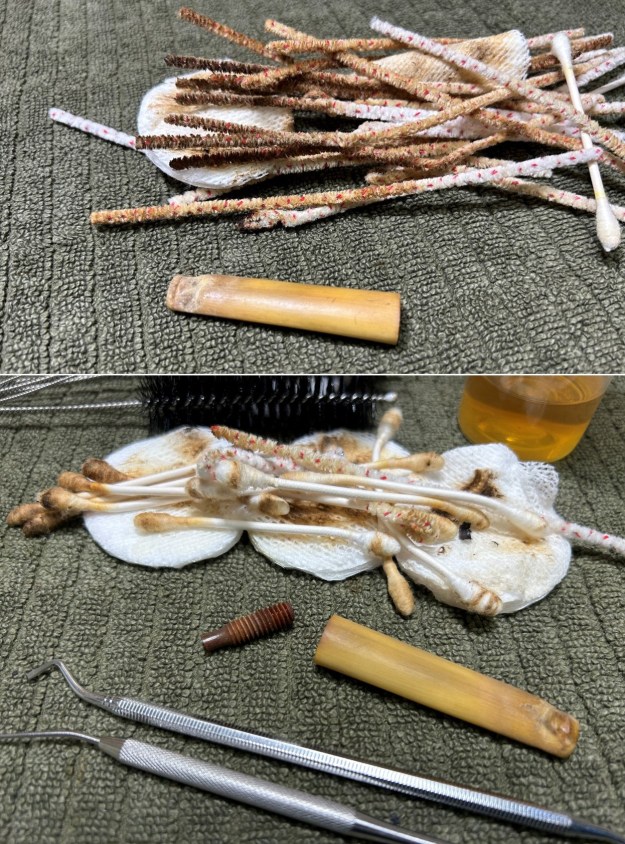
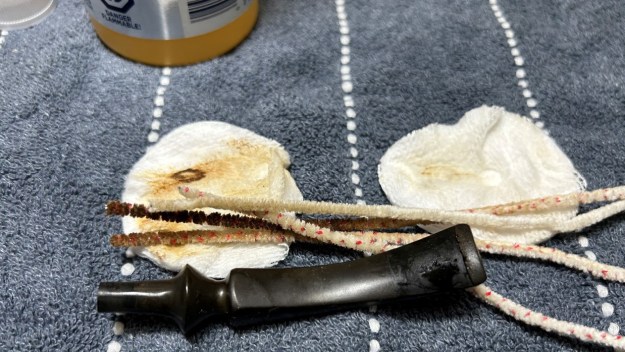
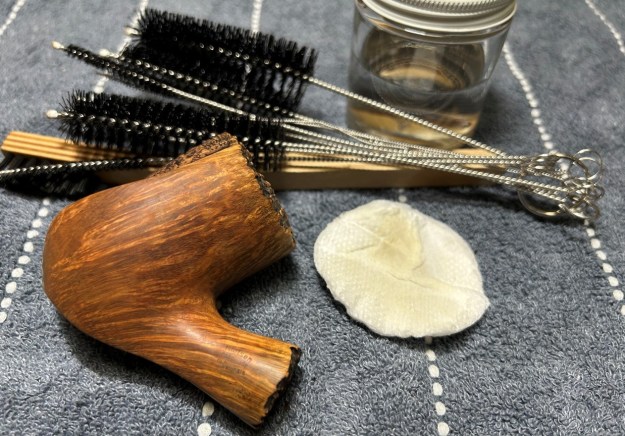
 I used isopropyl alcohol on a few cotton rounds and wiped down the stem to provide an initial cleaning of filth before moving on to the next steps. The primary cleaning came next. I disinfected the inside of the stem with pipe cleaners dipped in lemon-infused 99% isopropyl alcohol. I scrubbed thoroughly to make sure the interior was very clean. I used a lot of pipe cleaners – it was so dirty.
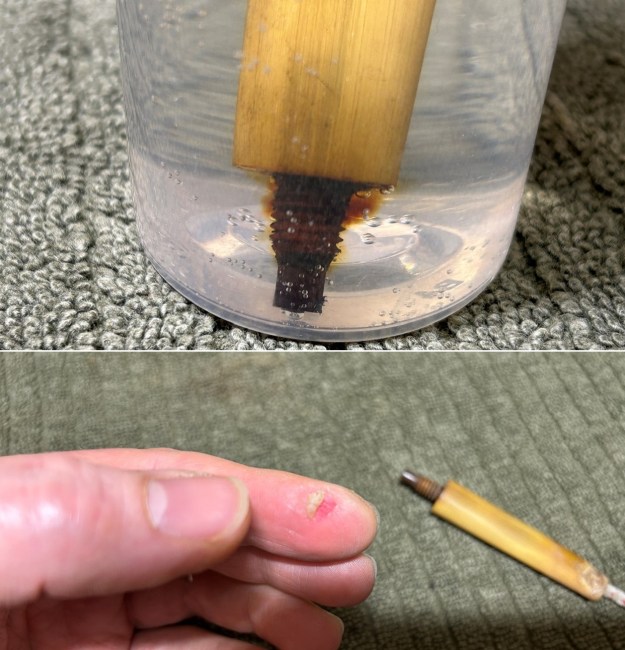
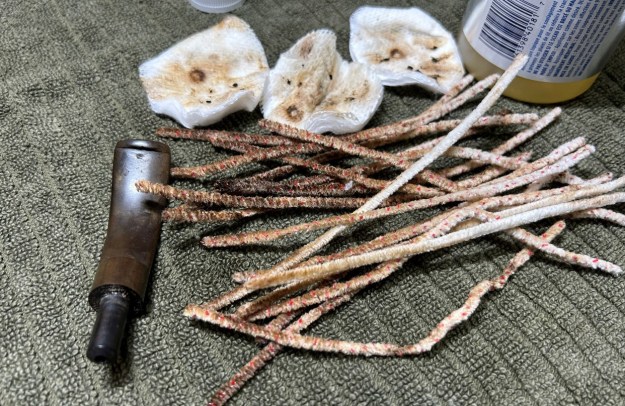 As I was disassembling the pipe, the band came off the stem and then promptly separated into pieces. This wasn’t such a bad thing, as it simplified my restoration. I wiped the pieces down with alcohol, then sanded them with some 0000-grit steel wool. This served to both clean the pieces and slightly roughen them for gluing back together. This I did with some regular white glue. I also (eventually) glued the whole thing back in place on the tenon of the stem.
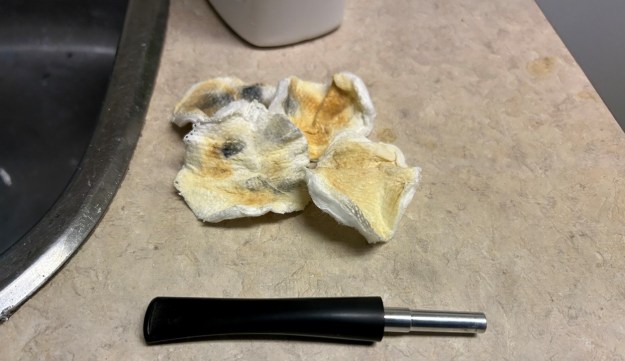
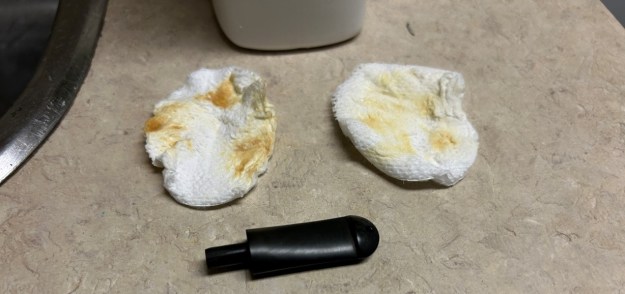
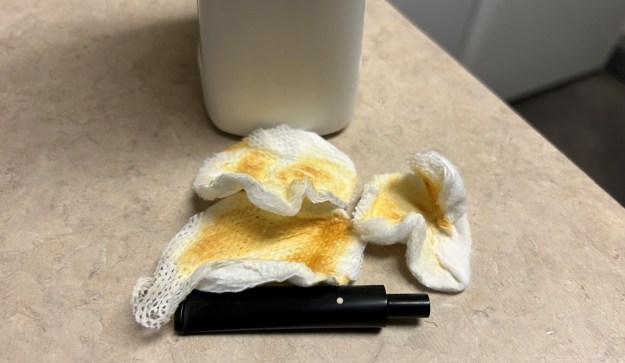
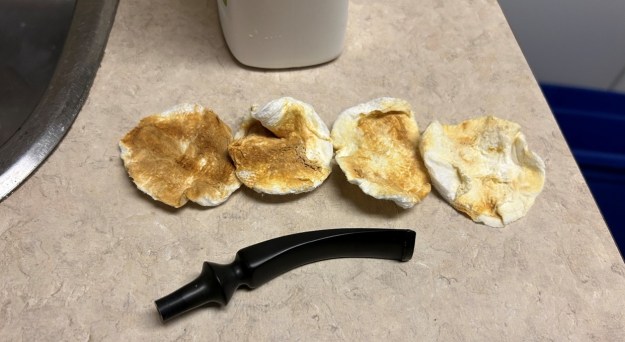
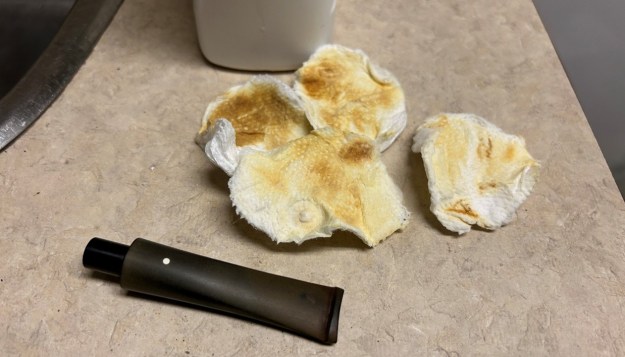
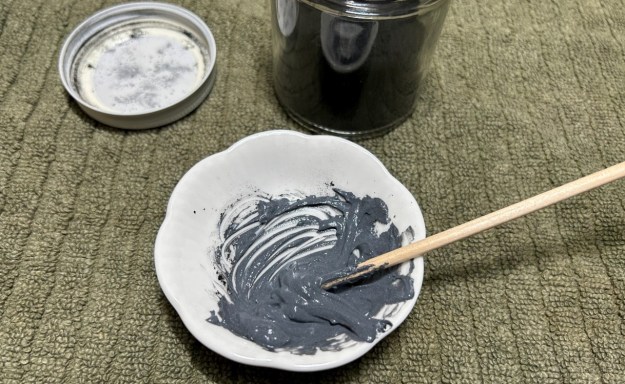
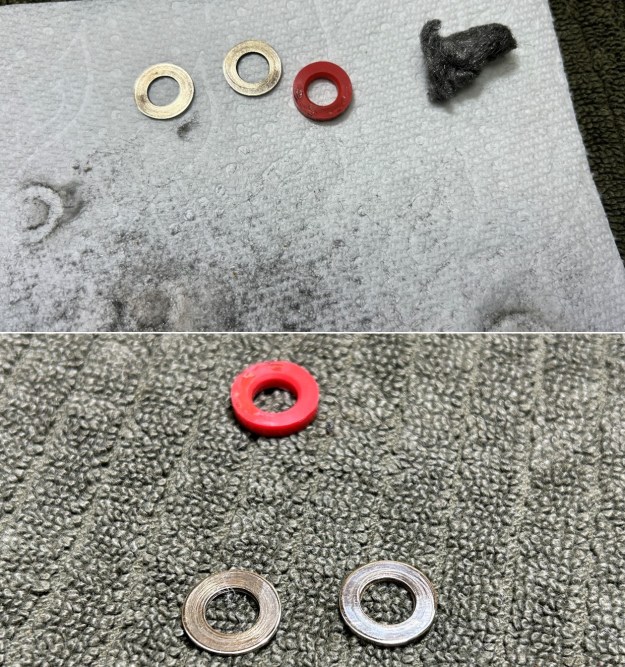 The goal of the next step is the removal (or minimization) of oxidation. Going to my sink, I used cream cleanser, cotton rounds, and a toothbrush, and scoured the stem to remove as much surface oxidation as possible. As the photos show, the result was a hideous, ochre-coloured mess – but better off the stem than on it.
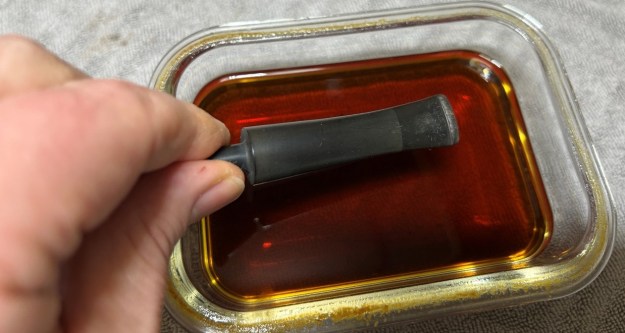
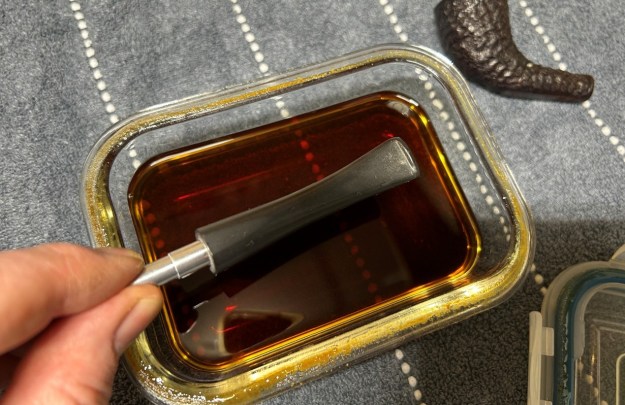
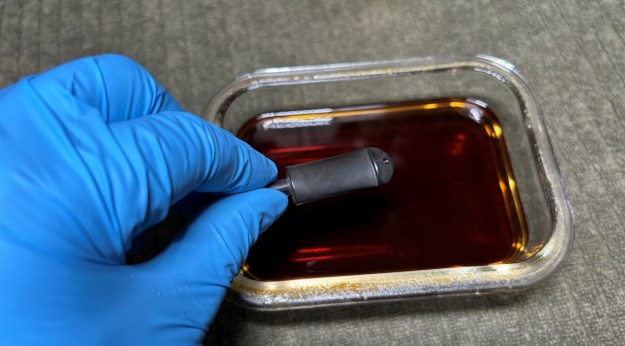
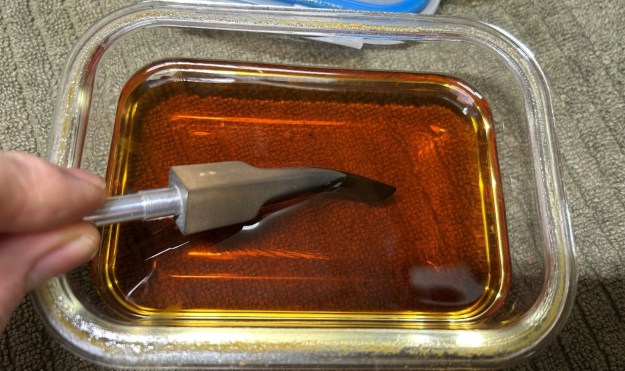
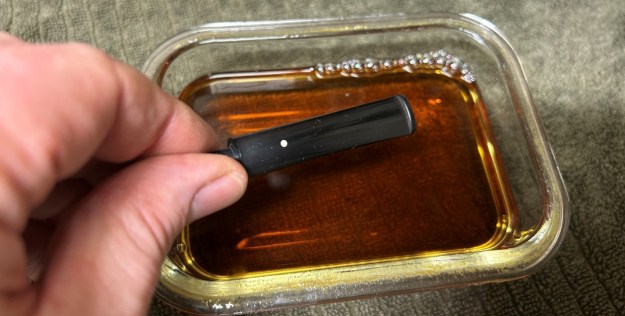
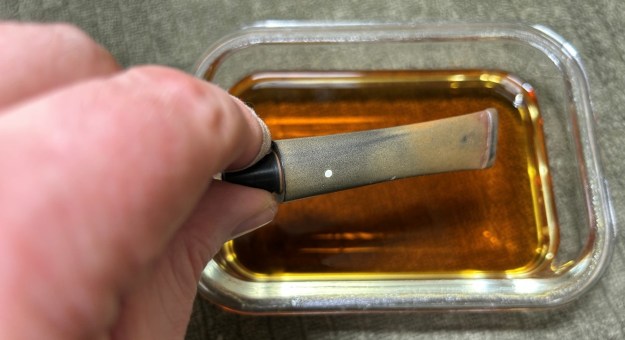
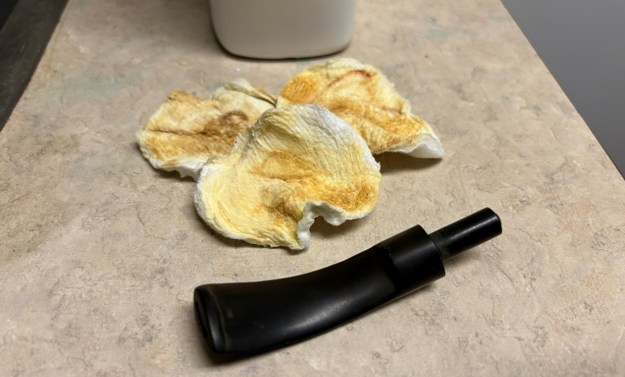 Once the stem was reasonably clean, I soaked it overnight in some Briarville Stem Oxidation Remover. This solution works to draw oxidation in the stem to the surface of the vulcanite. This is a major aid and an important step in ensuring a clean stem. The following day, I drew out the stem from its bath and scrubbed the lingering fluid with a toothbrush. Due to the severity of the oxidation, I then repeated the scrubbing with the cream cleanser for maximum effect.
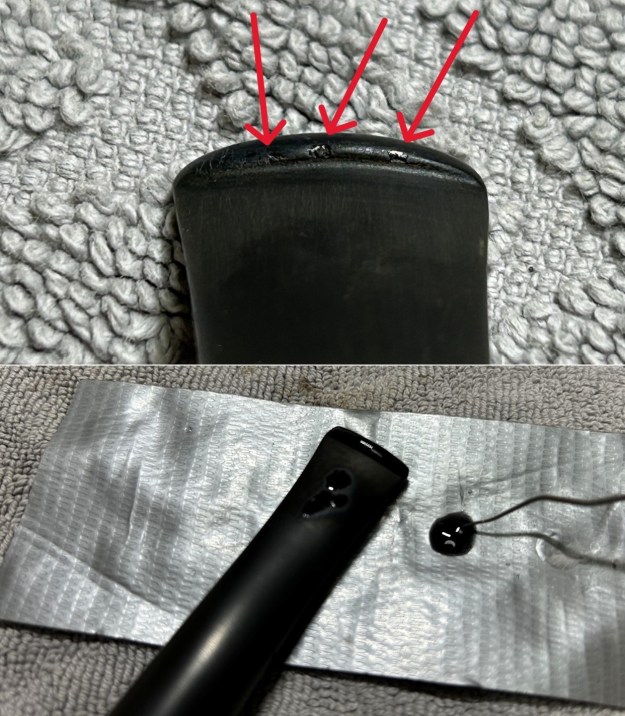
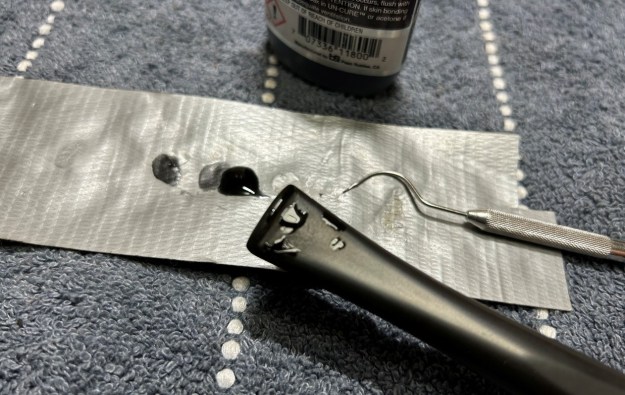
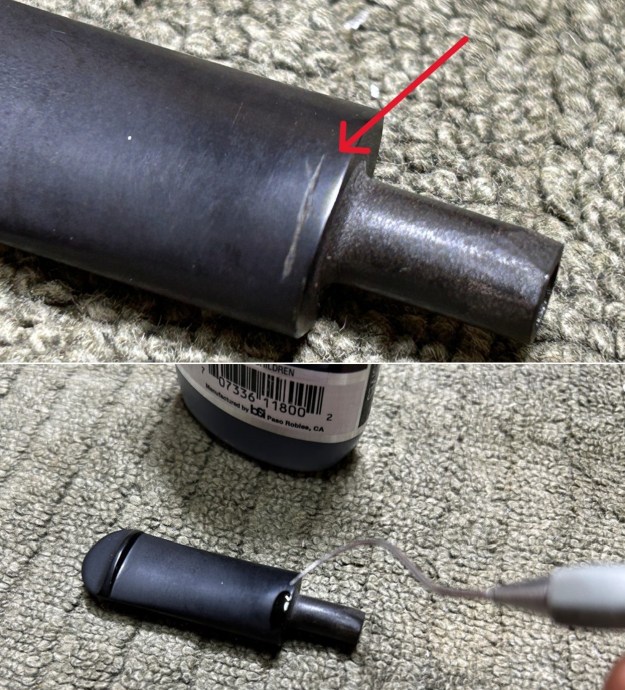
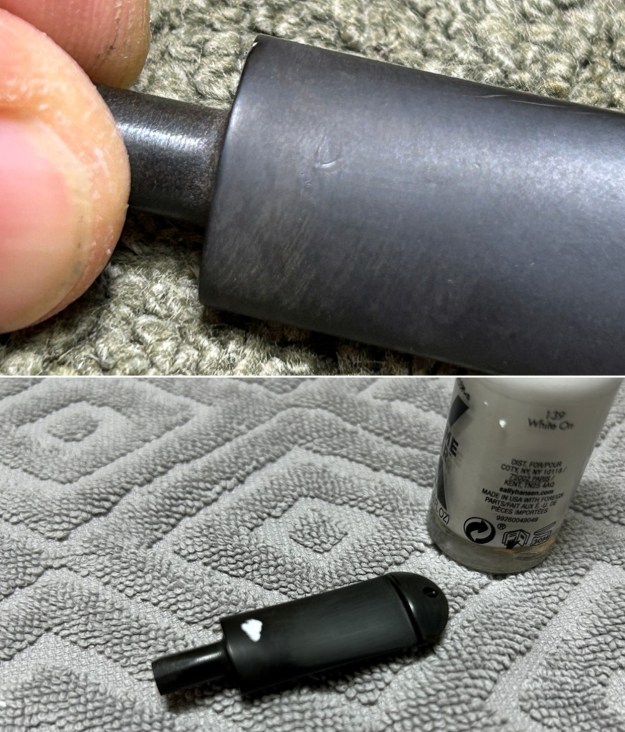
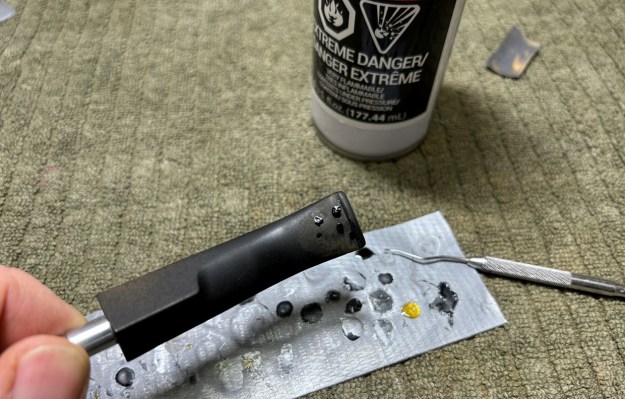
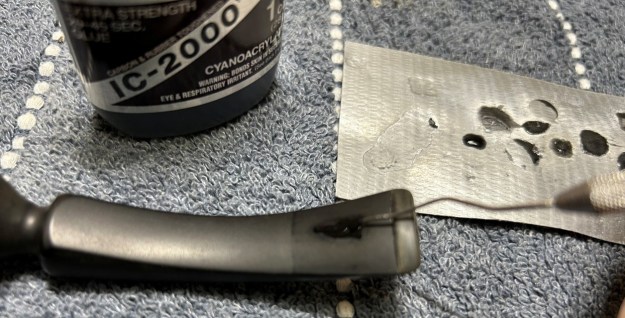
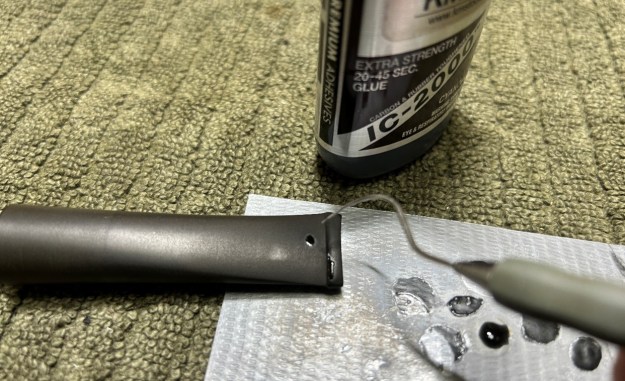
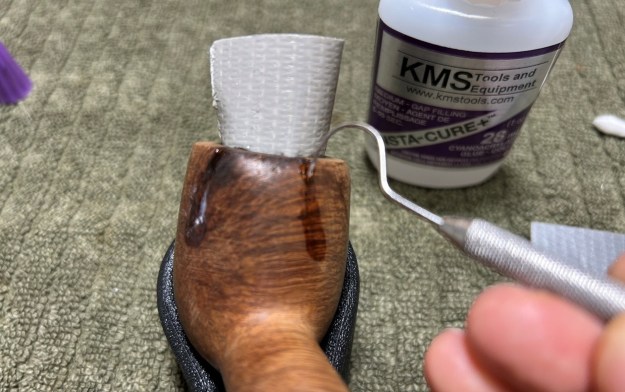
 As the stem was now clean and dry, I set about fixing the marks and dents in the vulcanite. This was done by filling those divots with black cyanoacrylate adhesive, impregnated with carbon and rubber. I left this to cure and moved on.
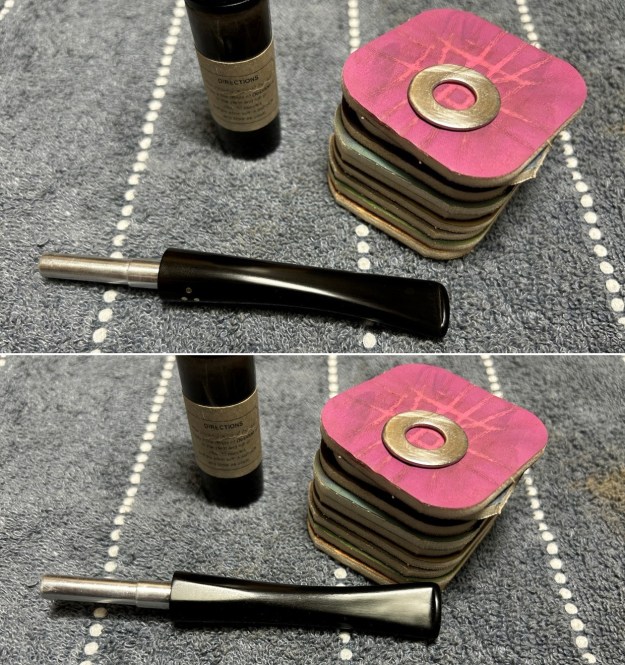
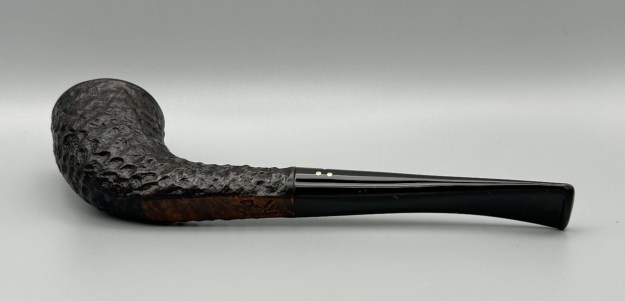
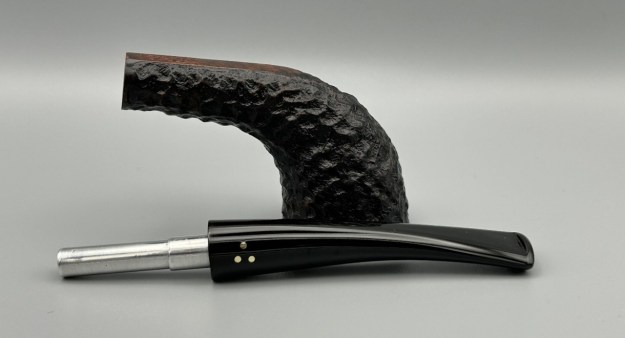
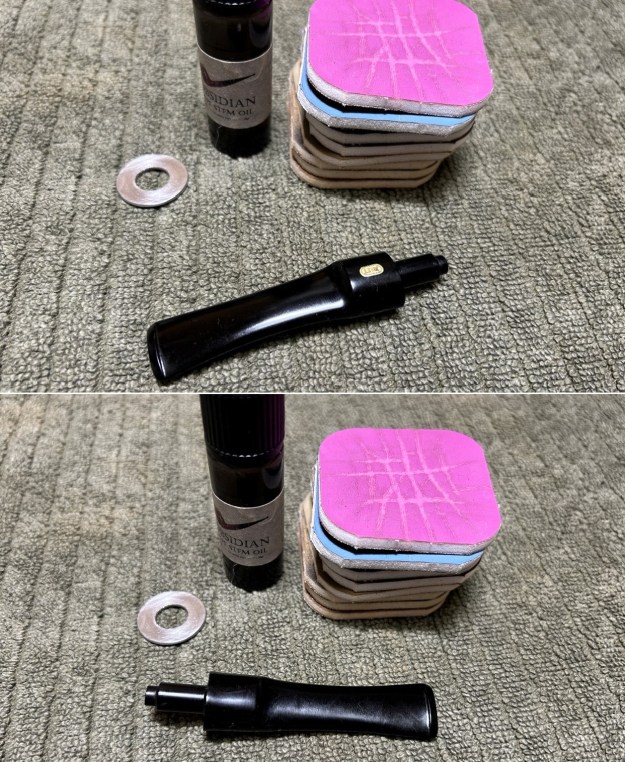
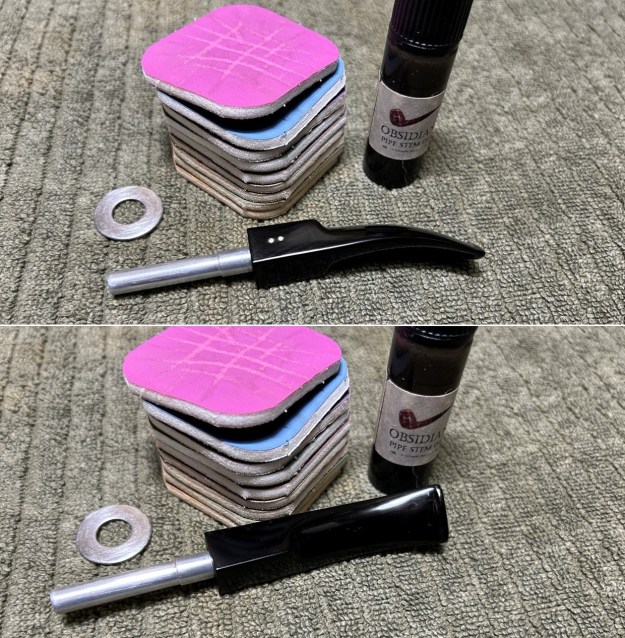
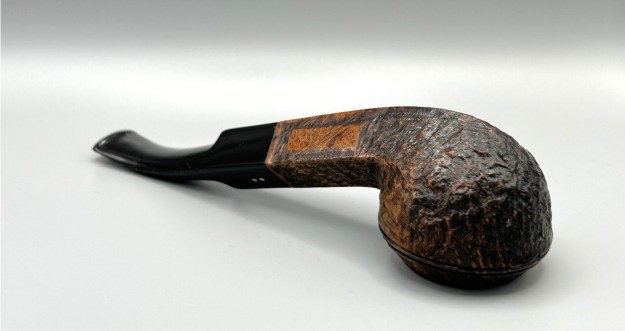
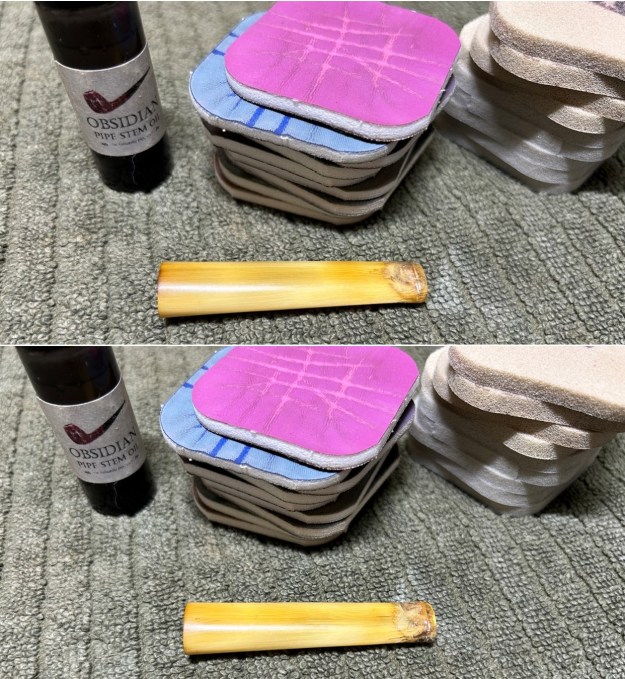
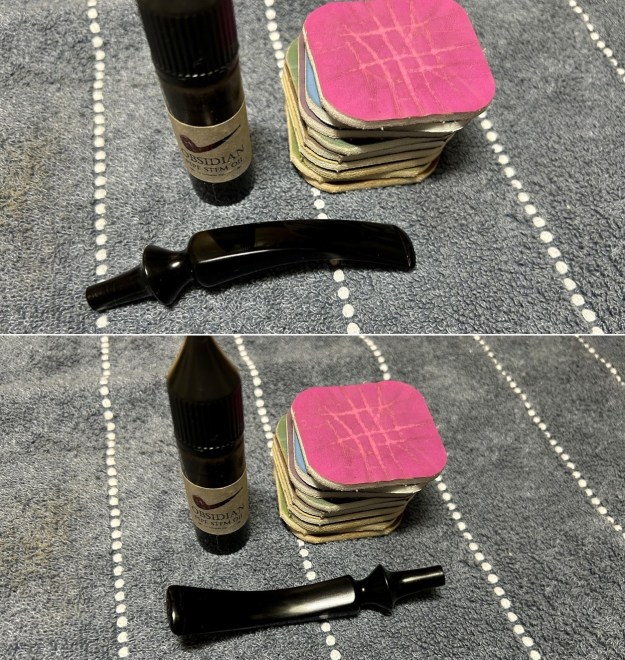
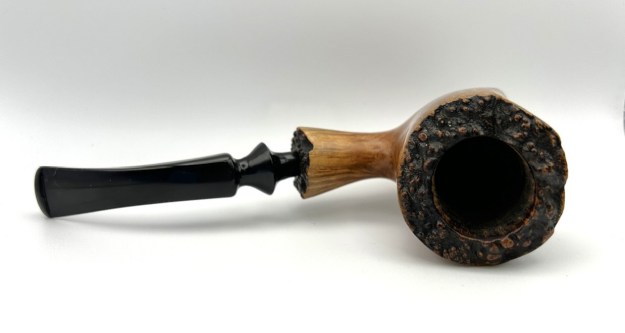
 The penultimate step for the stem is sanding. First, with my set of needle files, I reduced the bulk of the cyanoacrylate repairs. I removed the excess adhesive as near to the surface as possible, without cutting into the vulcanite. Following that, I used all nine of the micromesh sanding pads (1,500 through 12,000 grit) to sand out flaws, even out the vulcanite, and provide gentle polishing of the finished surface. I also applied pipe-stem oil while using the last five micromesh pads. There was a wonderful, deep black shine to the stem when I was done. And doesn’t the band complement the stem beautifully?
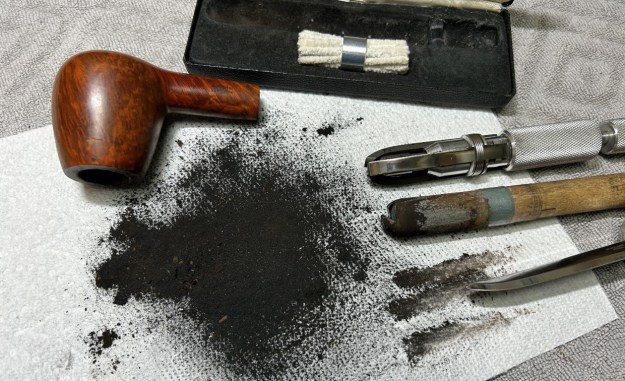
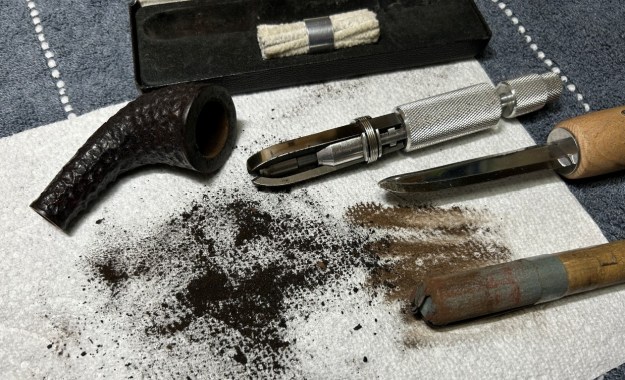
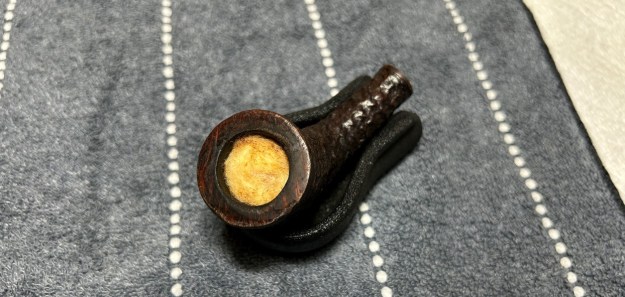
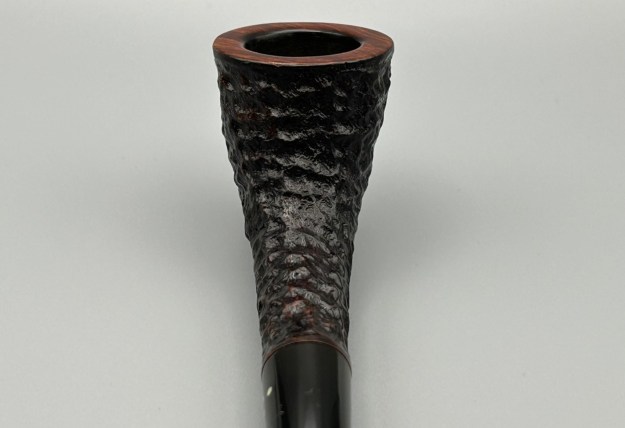
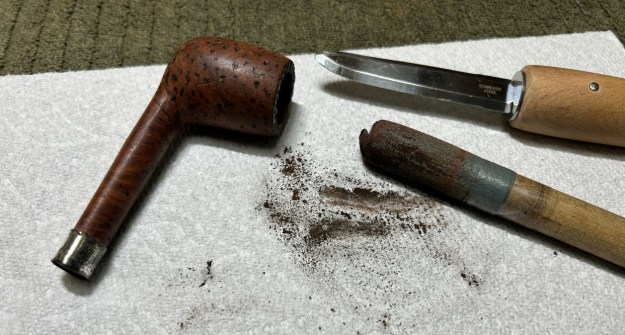
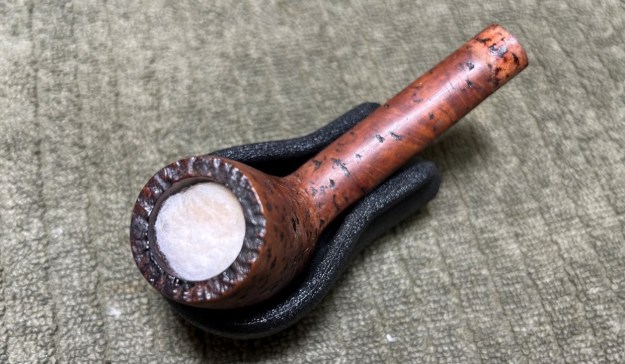
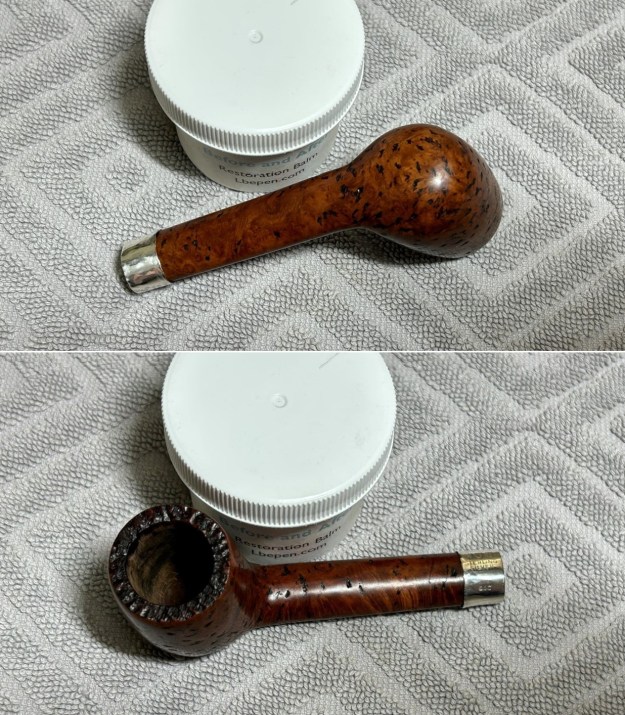
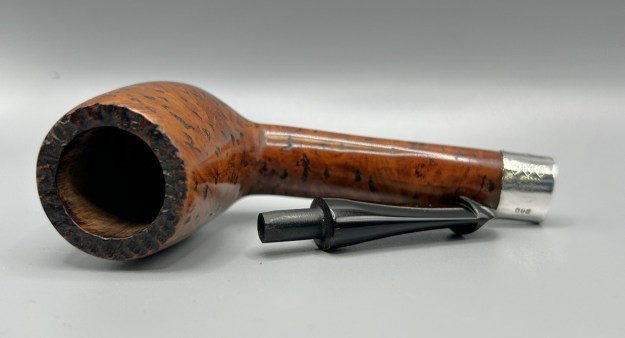
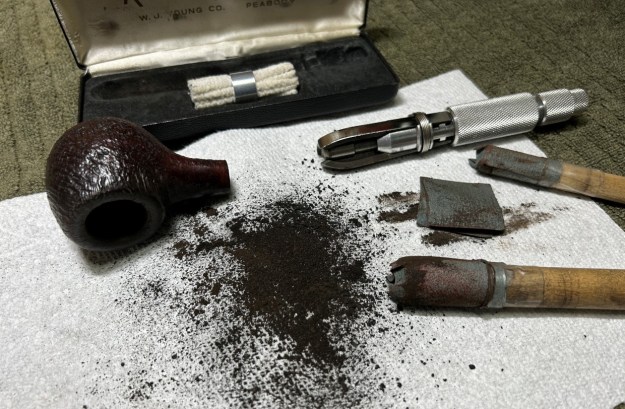
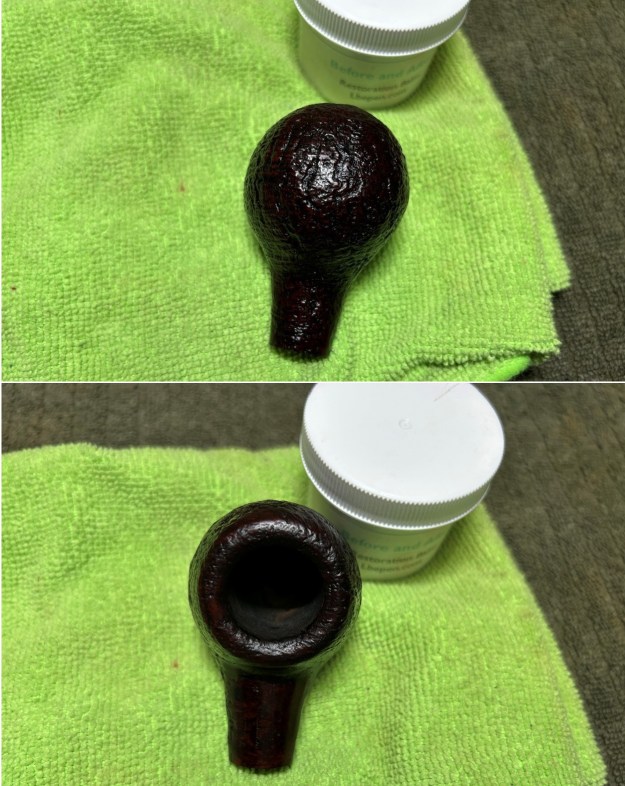
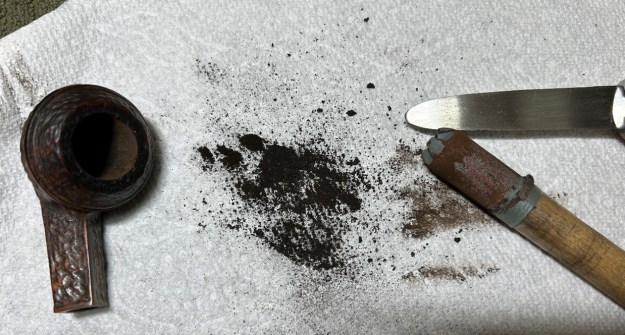
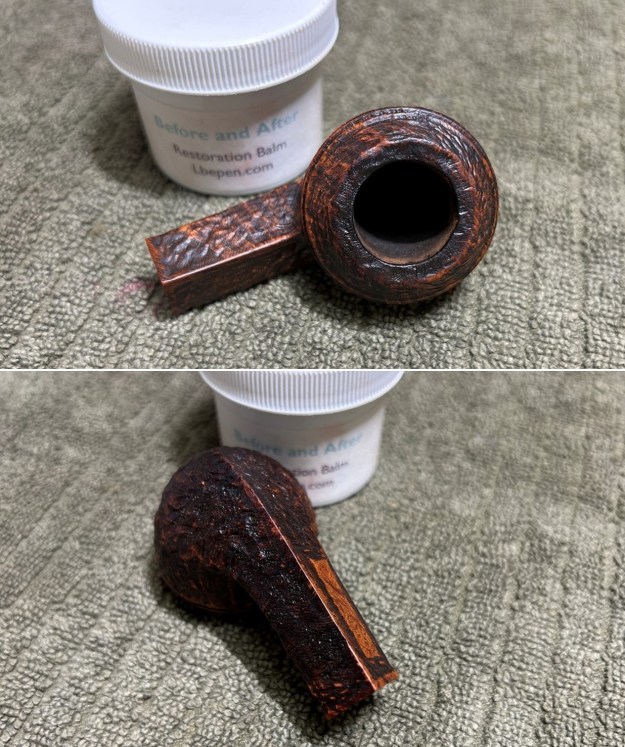
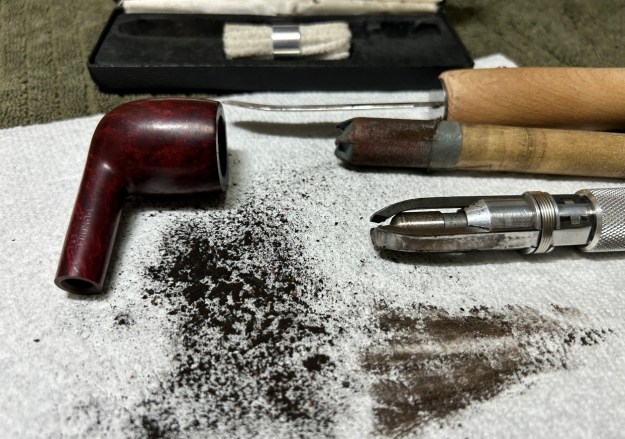
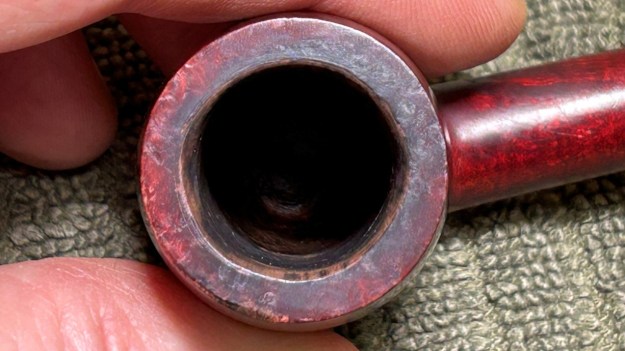
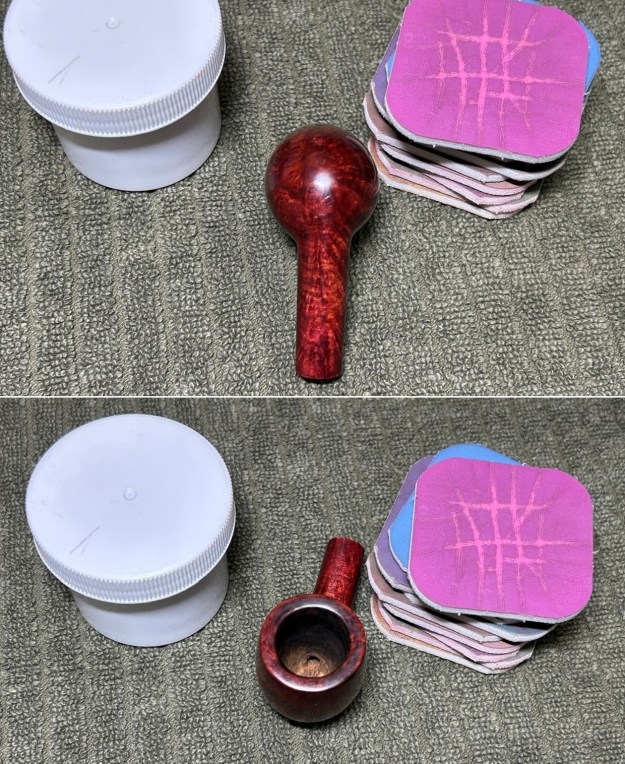
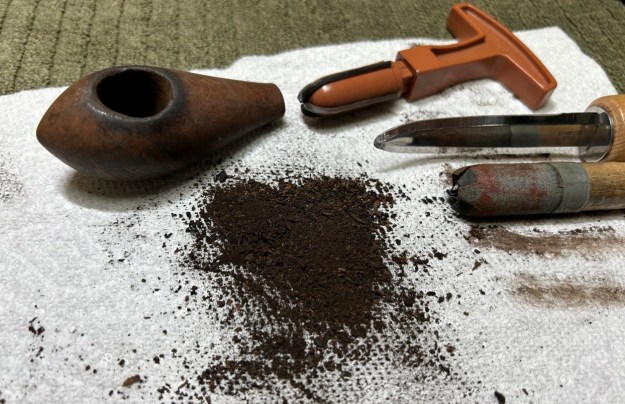
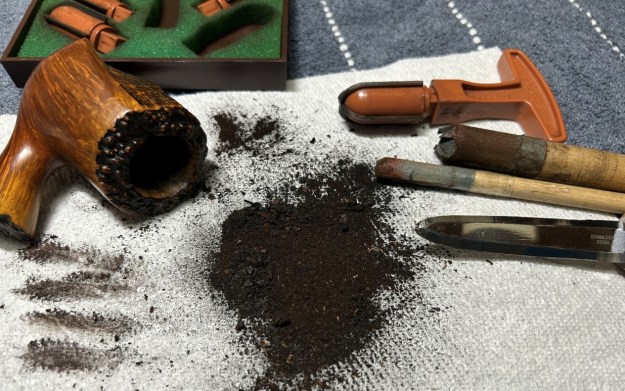
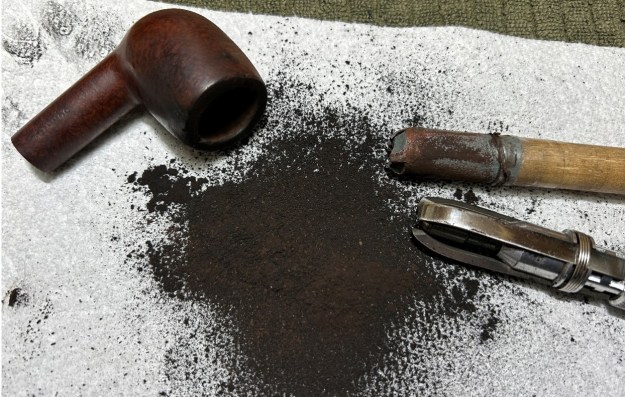
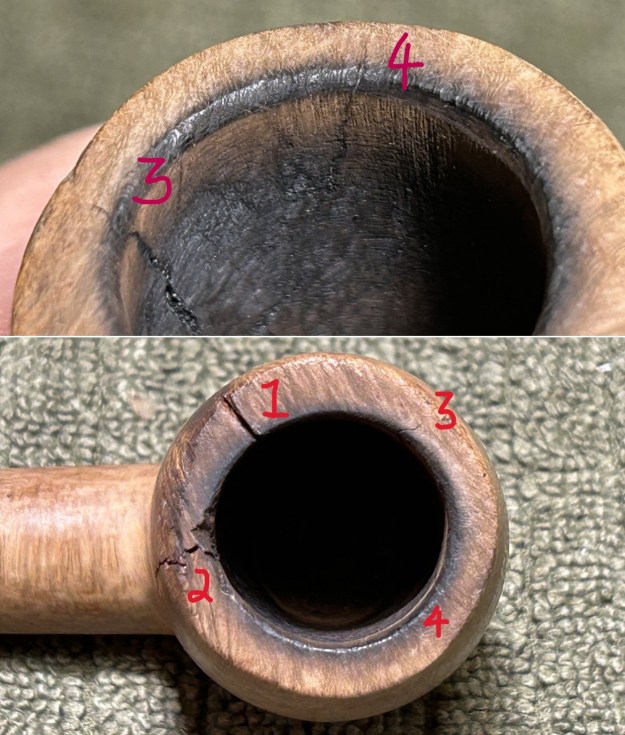
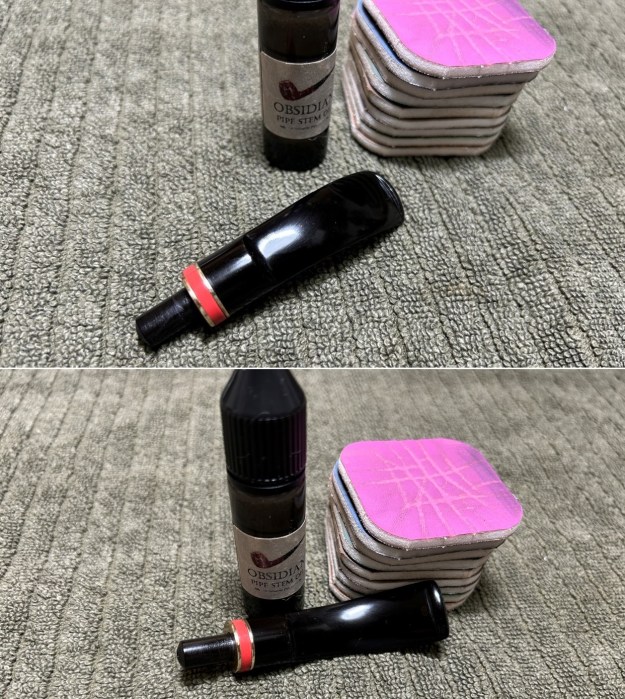 As the stem was (nearly) complete, I moved on to the stummel. The first step was to ream out the bowl – that is to say, remove all the cake inside the bowl. This accomplished a couple of things. First (and most obviously), it cleaned the bowl and provided a refurbished chamber for future smoking. Second, when the old cake was removed, I could inspect the interior walls of the bowl and determine if there was damage or not. I used a reamer, a pipe knife, and a piece of sandpaper taped to a wooden dowel. Collectively, these ensured that all the debris was removed.
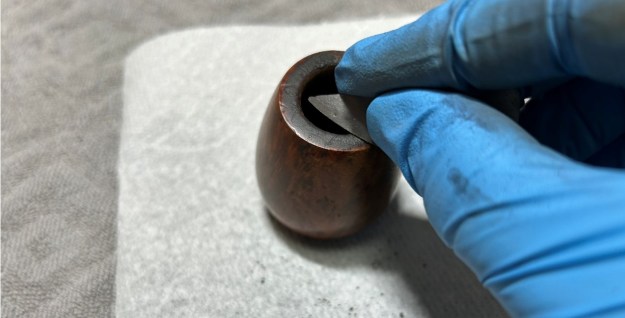
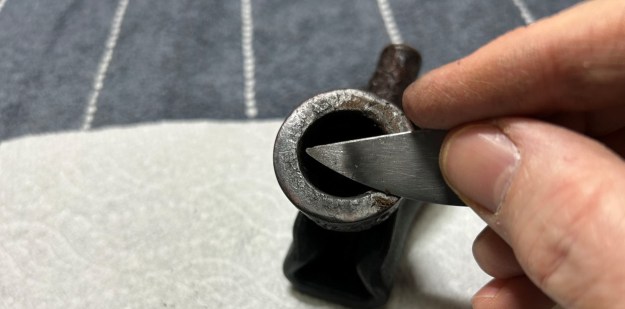
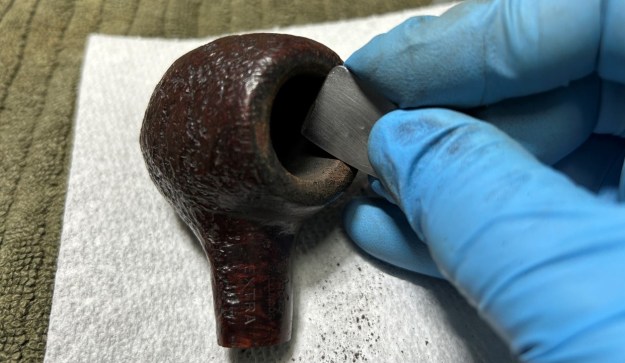
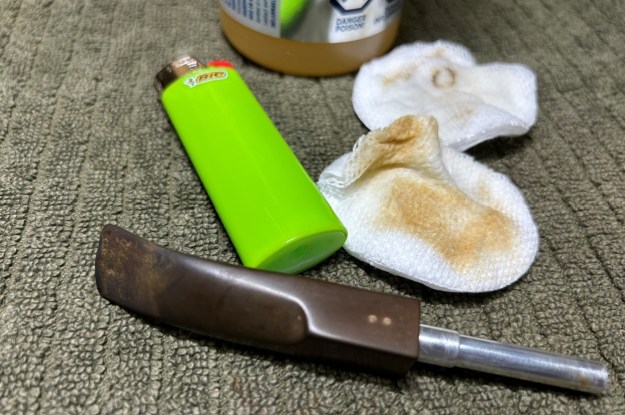
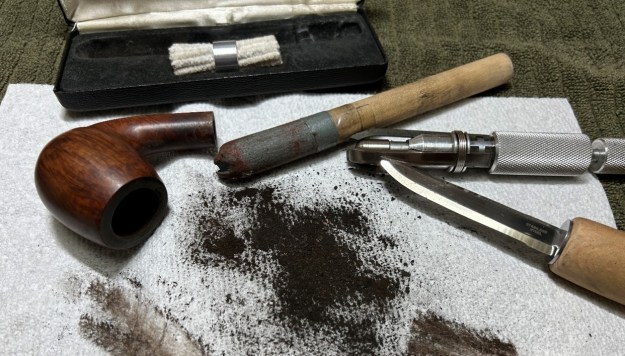 My next step was to remove the lava on the rim. For this, I took a piece of machine steel and gently scraped the lava away. The metal’s edge is sharp enough to remove what I need, but not so sharp that it damages the rim.
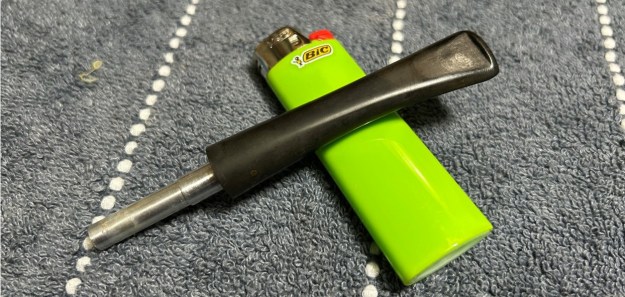
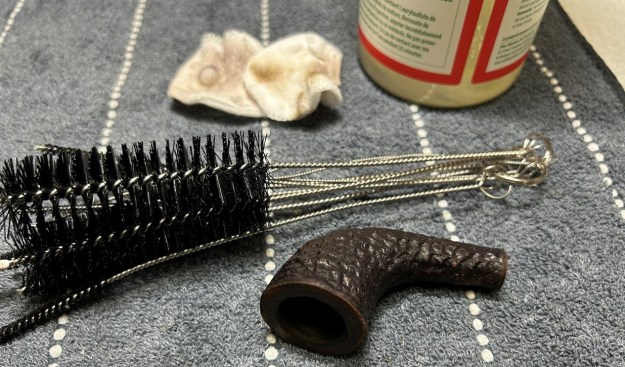
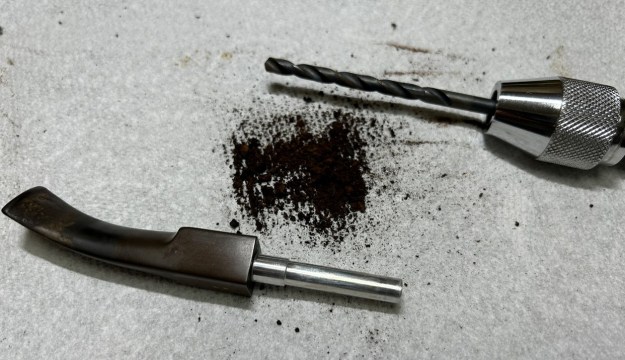
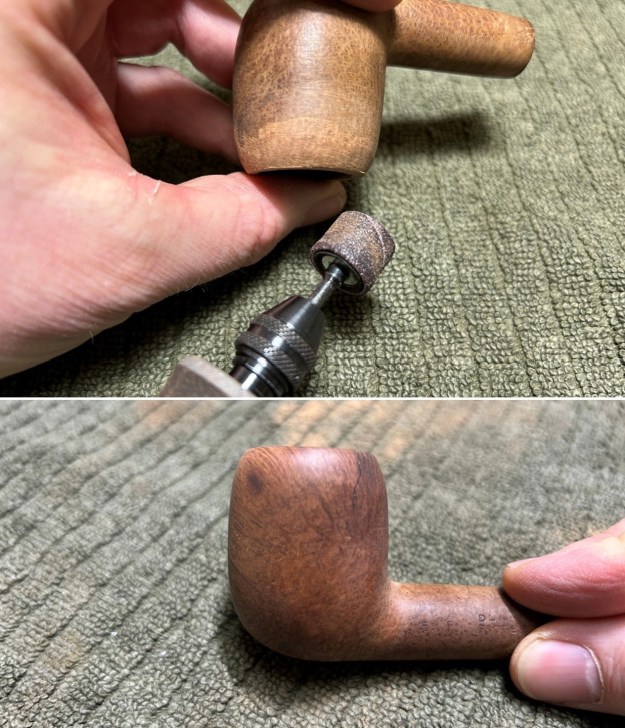
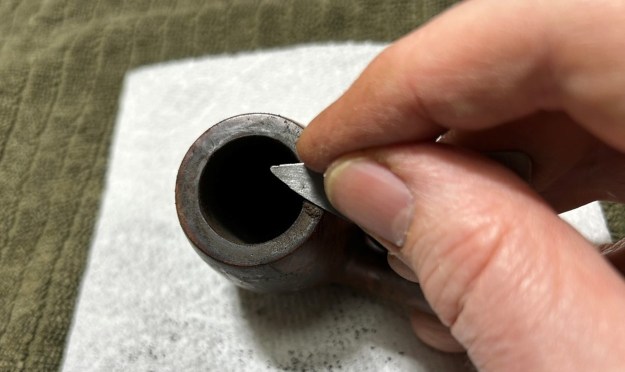 The inside of the stummel needed to be cleaned thoroughly. However, this pipe was so clogged, that I first needed to open the horribly occluded airway. So, I took a long drill bit, held in a drill chuck, and hand-cranked it to dislodge the dreadful detritus inside. Hand cranking is essential because it provides a precision and caution that a power drill cannot provide.
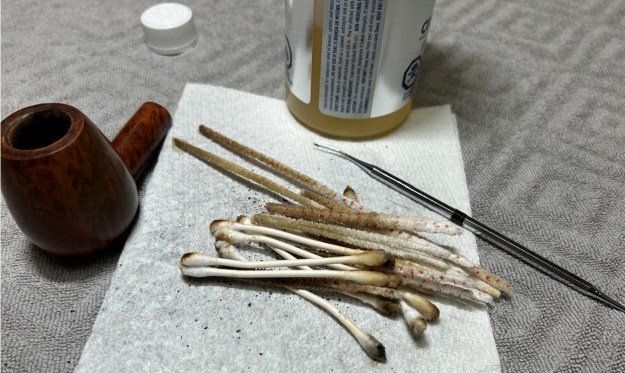
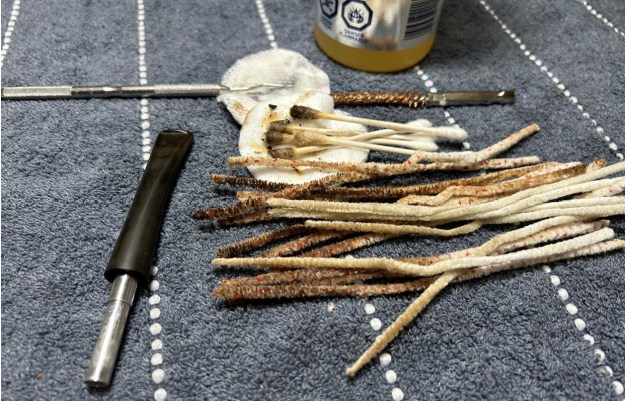
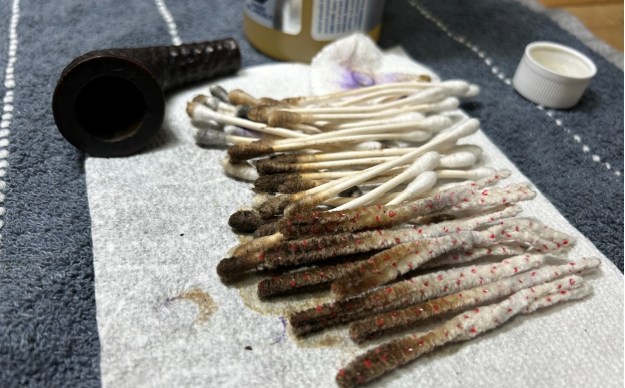
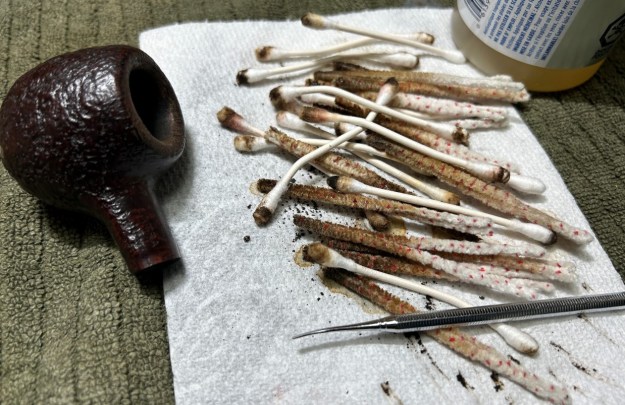
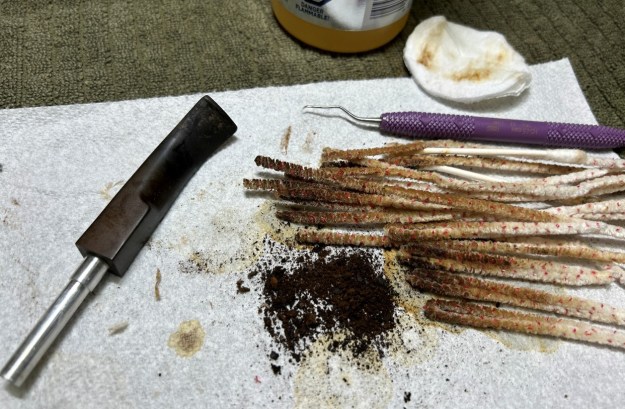
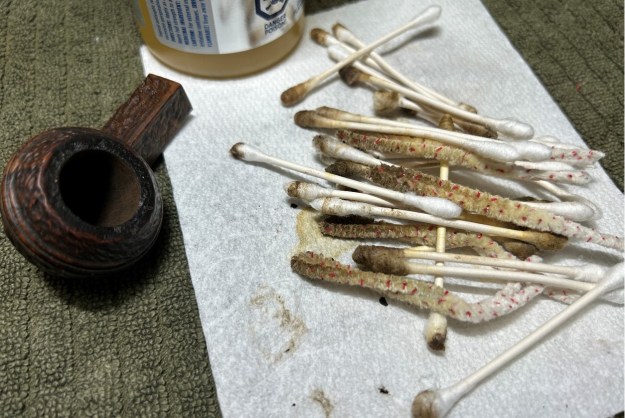
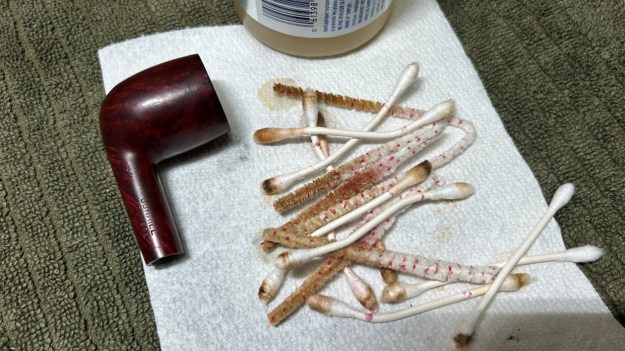
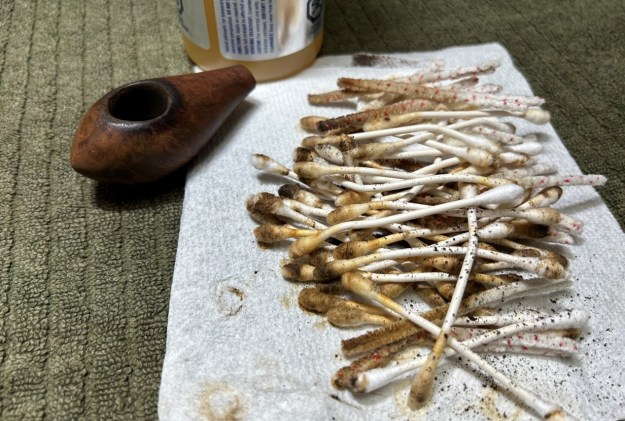
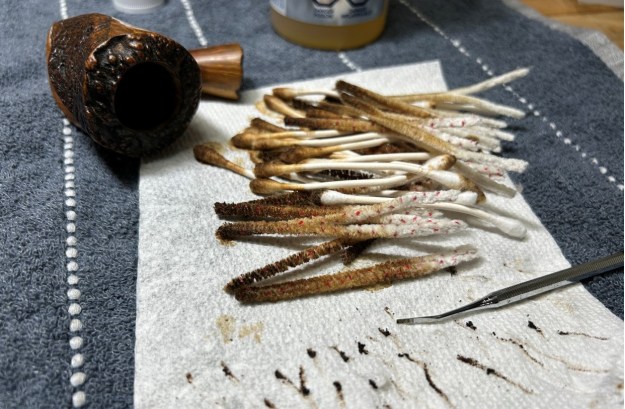
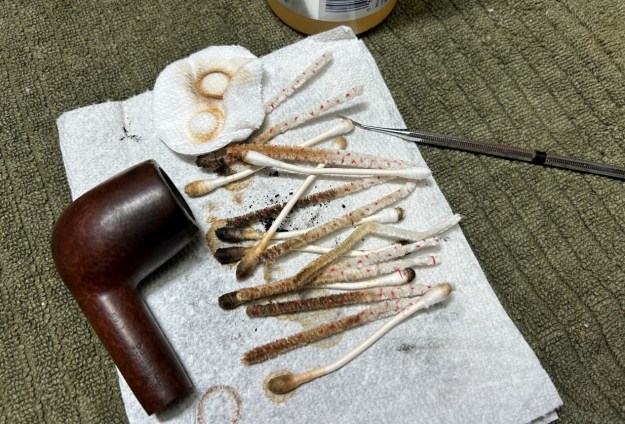
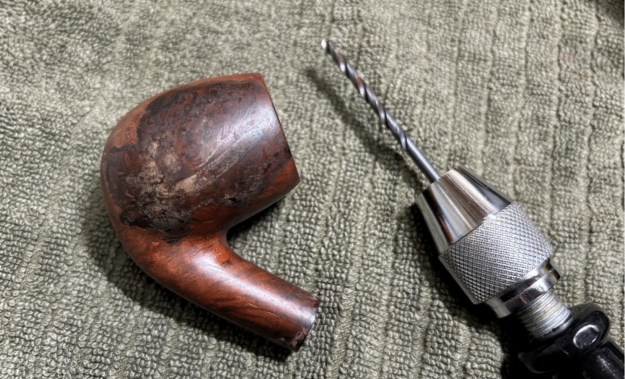 Similar to the stem, I then cleaned the stummel with both pipe cleaners and cotton swabs dipped in lemon-infused 99% isopropyl alcohol. With a pipe this dirty, it took quite a while and much cotton to clean.
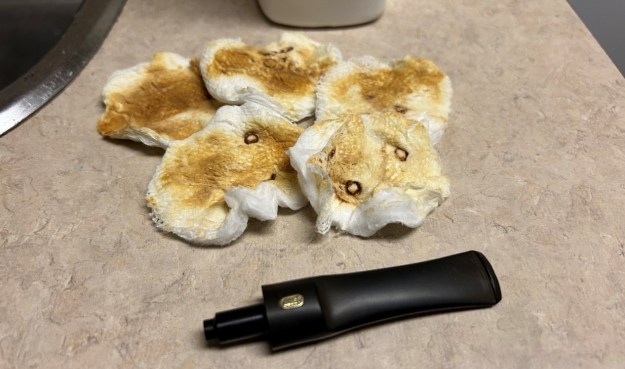
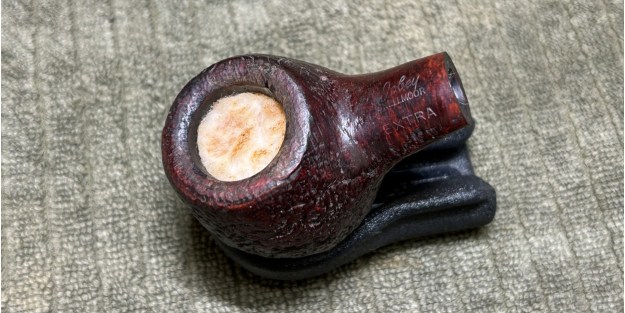
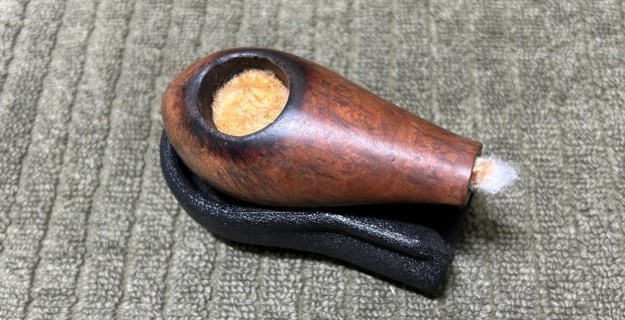
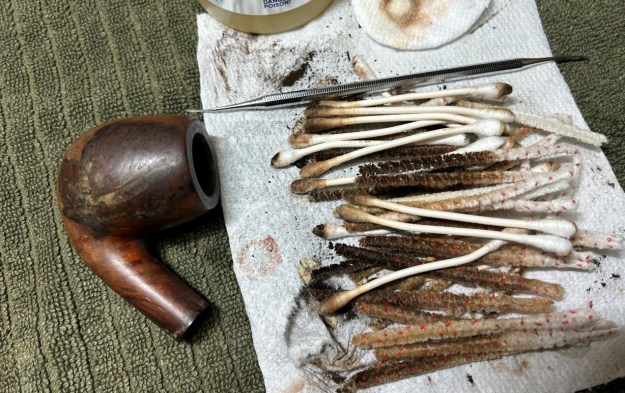 I then decided to ‘de-ghost’ the pipe – that is to say, exorcize the remaining filth from the briar. I filled the bowl and the shank with cotton balls, then saturated them with 99% isopropyl alcohol. I let the stummel sit overnight. This caused the remaining oils, tars and smells to leach out into the cotton.
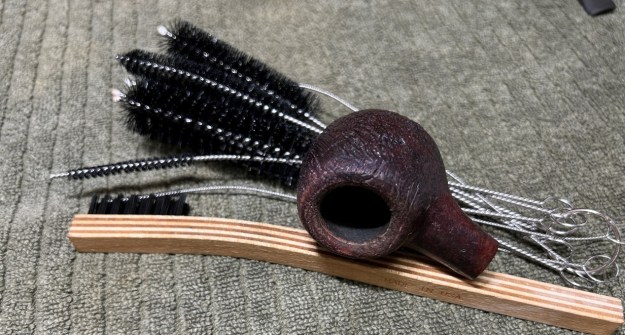
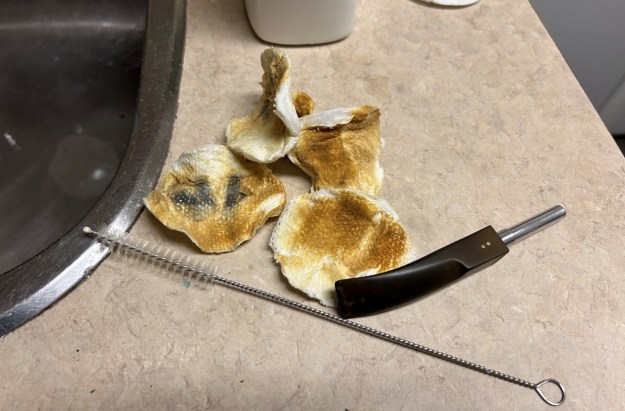
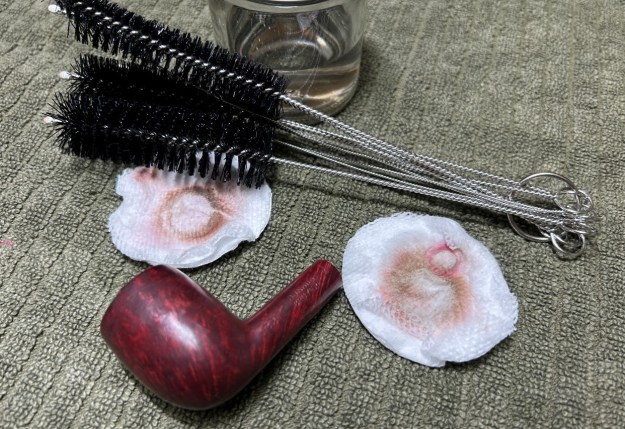
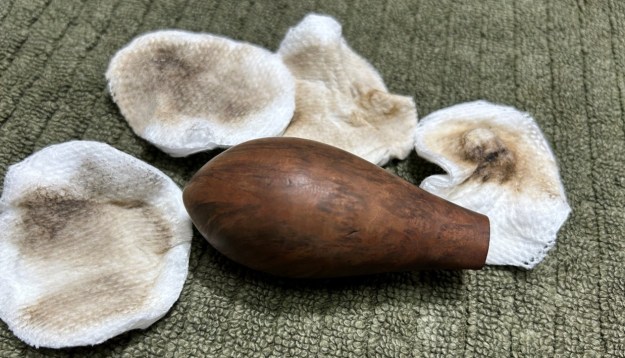
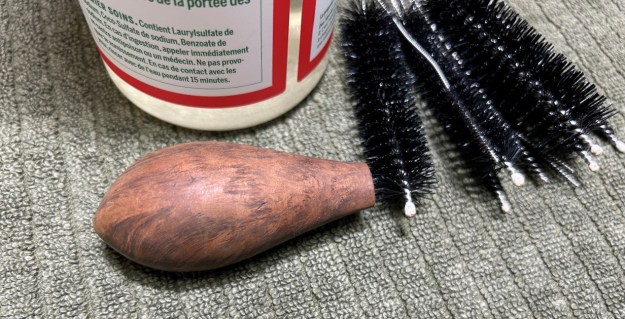
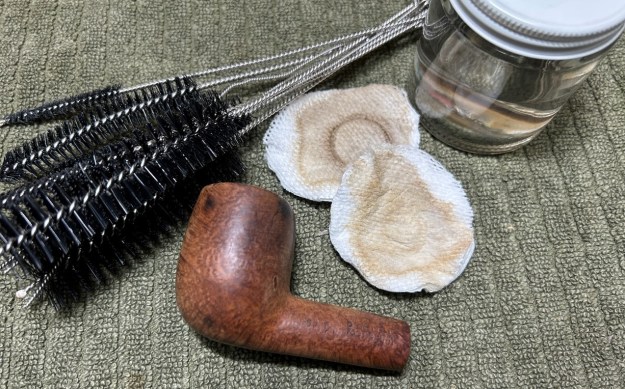
 To tidy up the briar, I wiped down the outside, using a solution of a pH-neutral detergent and some distilled water, with cotton rounds. I also used a toothbrush in the crevices. This did a good job of cleaning any latent dirt on the surface of the briar – but it most certainly didn’t affect the ugly stain on the bowl. So, I used some acetone to wipe the area down. This worked a bit, but not much – I would have to sand this area down. The last step of the cleaning process was to scour the inside of the stummel with the same mild detergent and tube brushes. This was the culmination of a lot of hard work in getting the pipe clean.
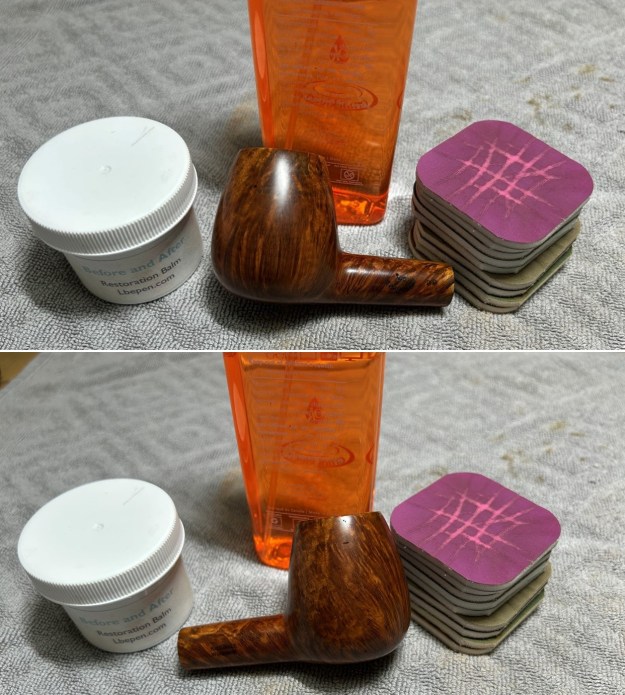
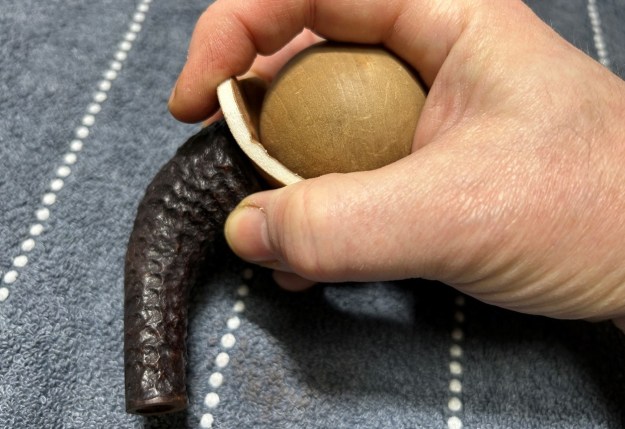
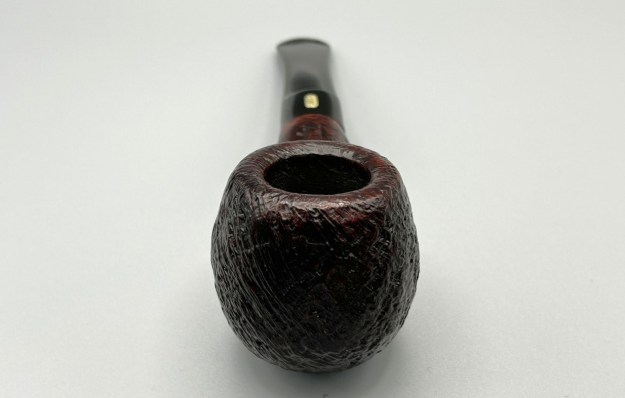
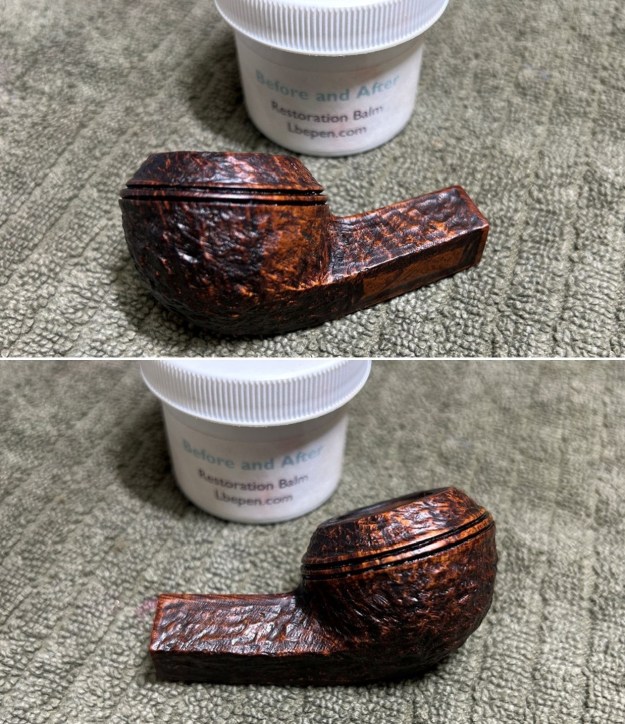
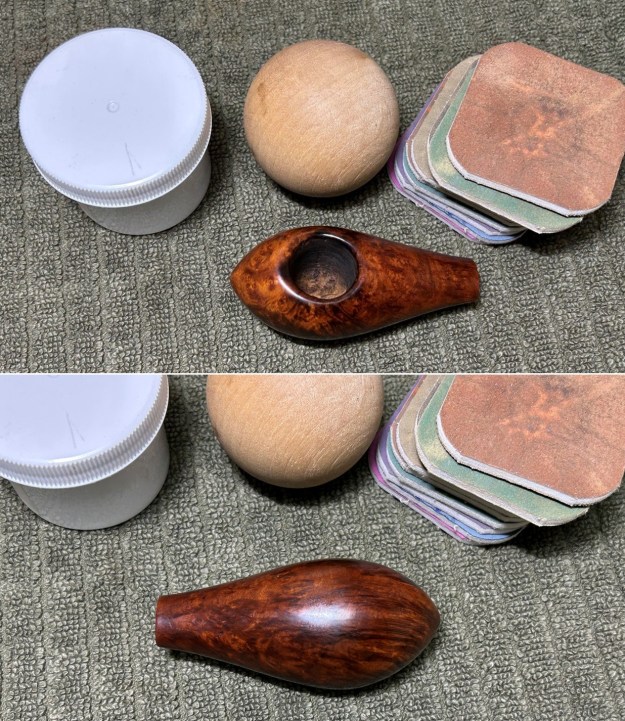
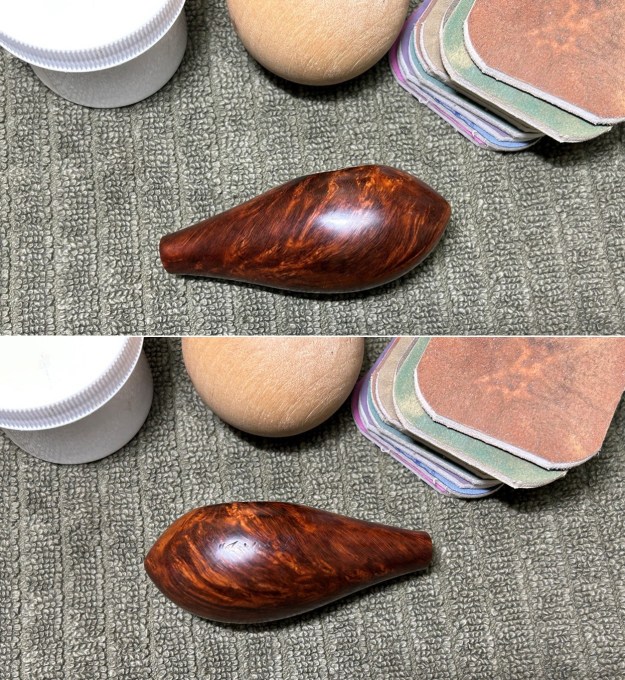
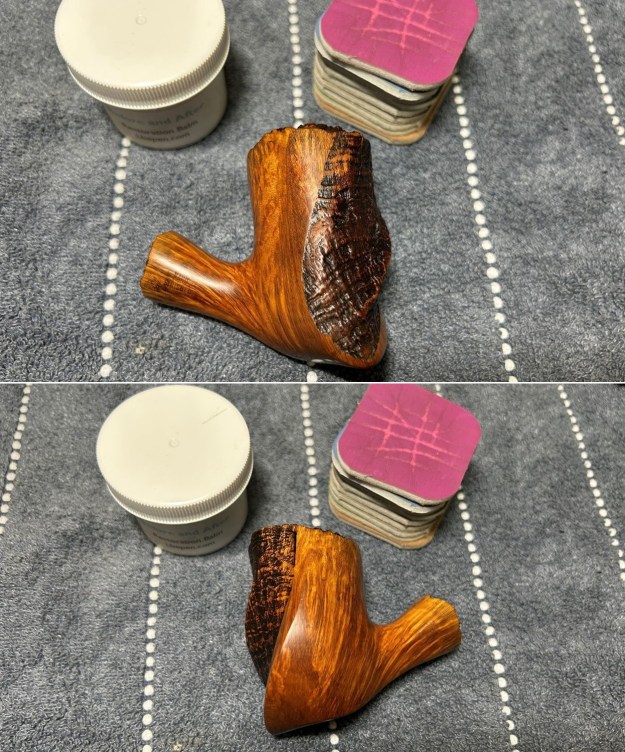
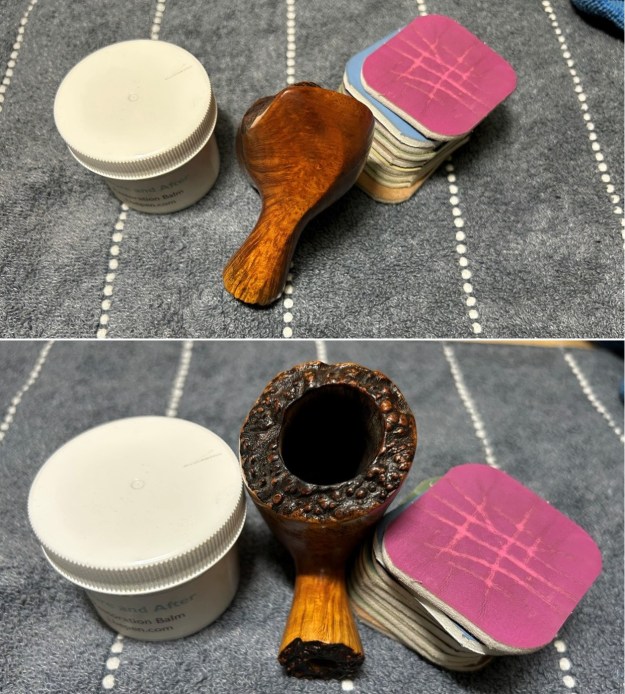
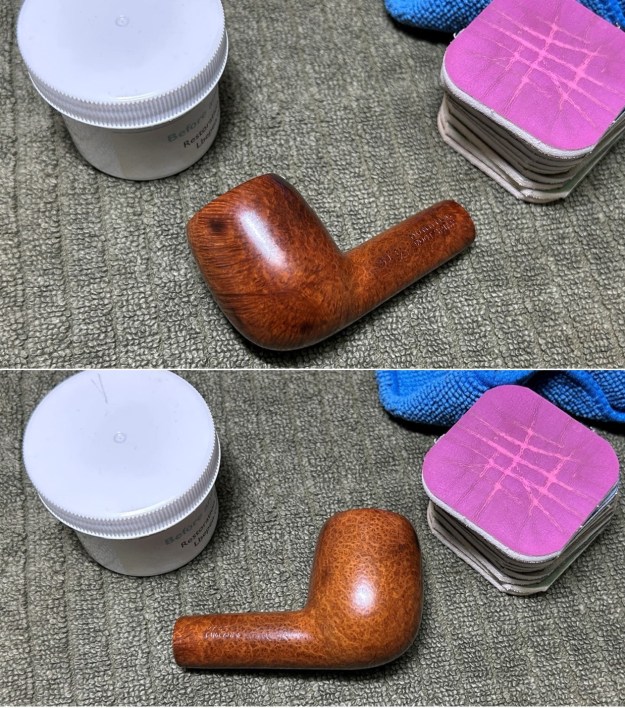
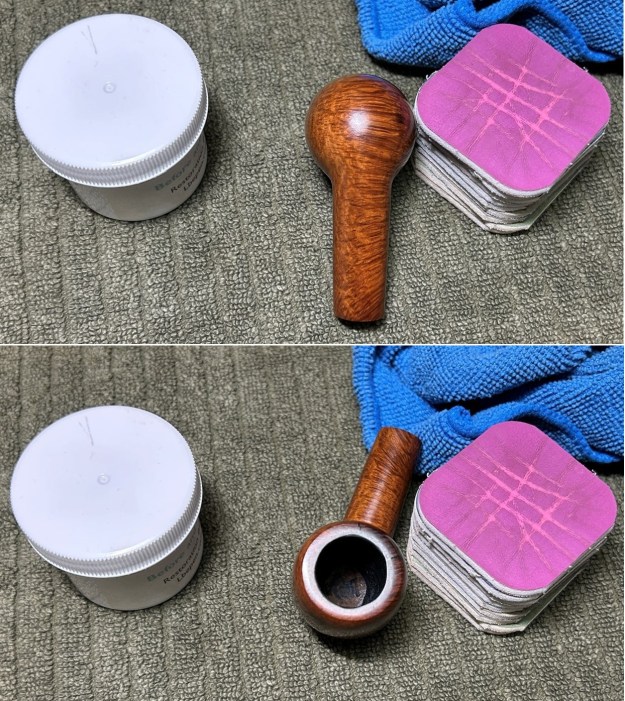
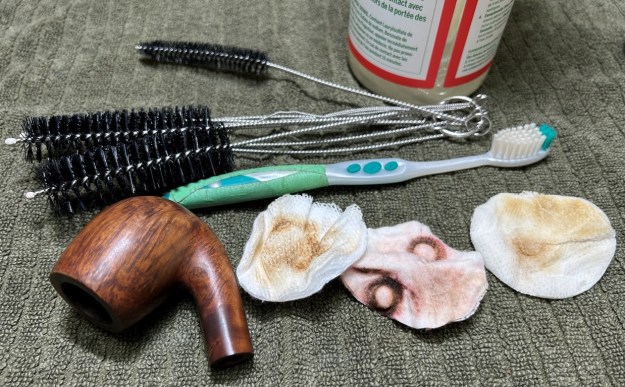 I used all nine micromesh pads (1,500 through 12,000 grit) to sand the outside of the stummel and finish it off. It also removed the dreadful stain and the pipe looks terrific now. This sanding minimizes flaws in the briar and provides a beautiful smoothness to the wood. I rubbed some LBE Before & After Restoration Balm into the briar and let it sit for 30 minutes or so. The balm moisturizes the wood and gives a beautiful depth to the briar. I then buffed the stummel with a microfibre cloth.
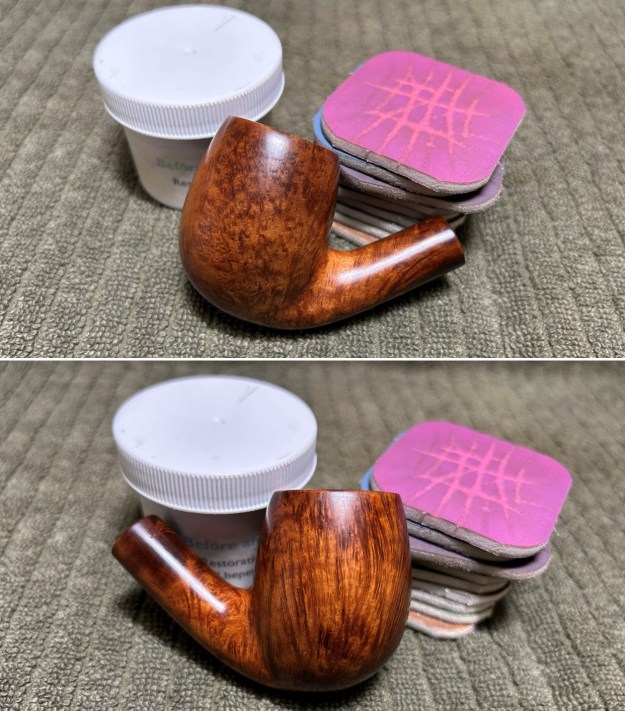
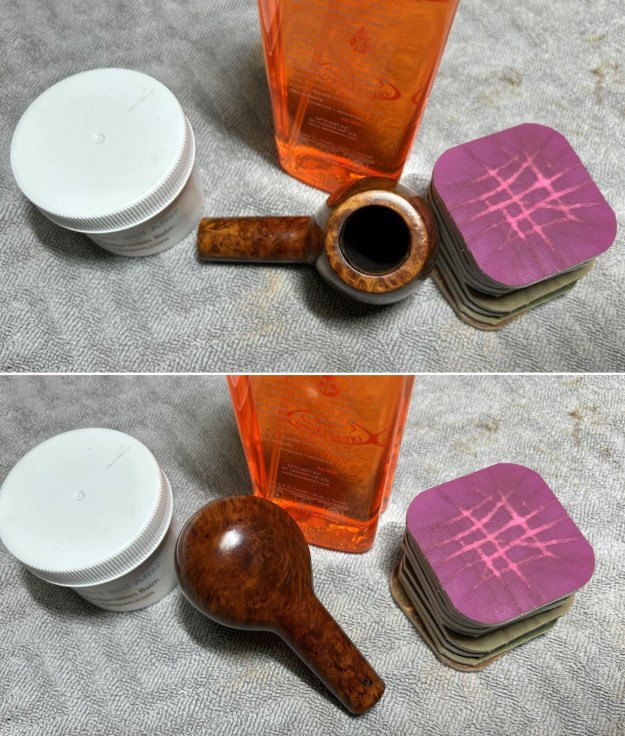
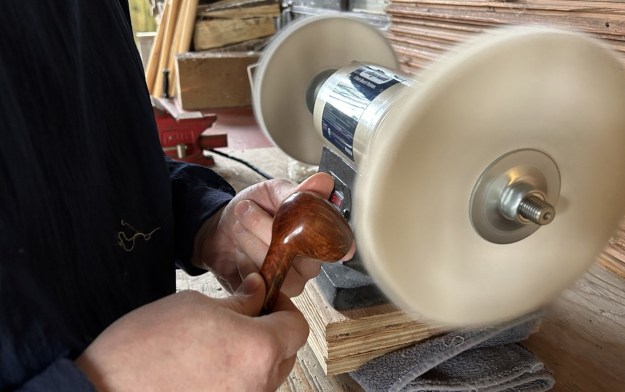
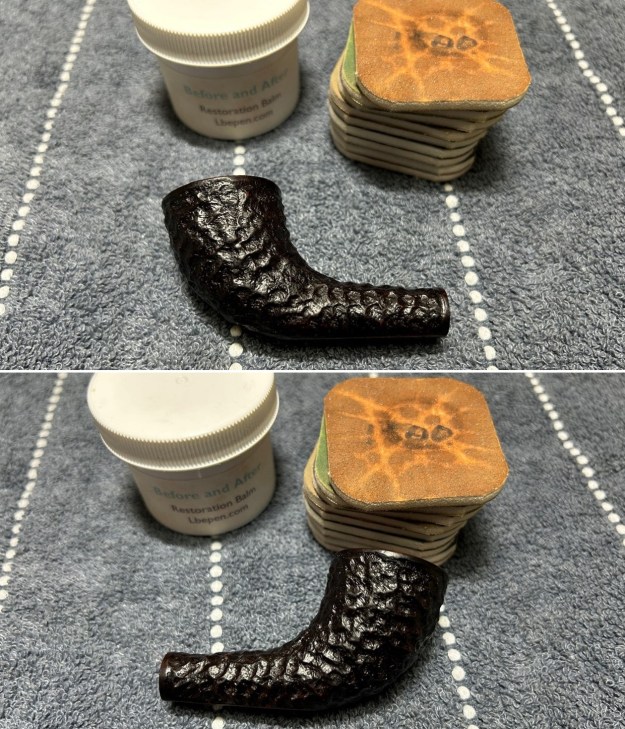
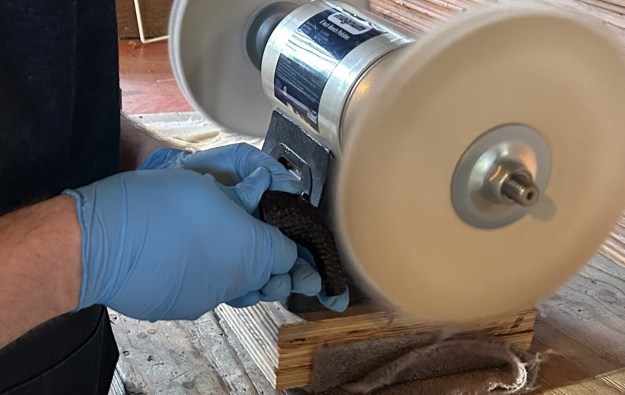
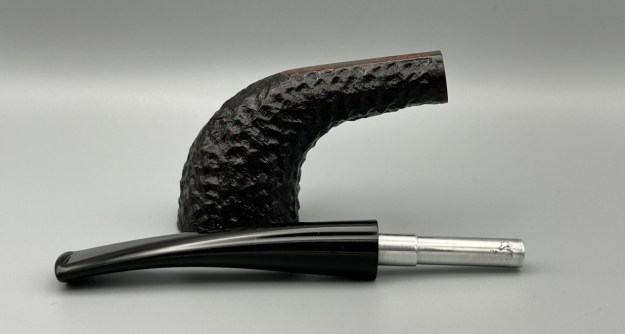
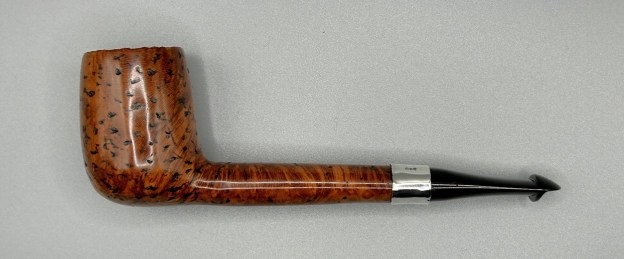
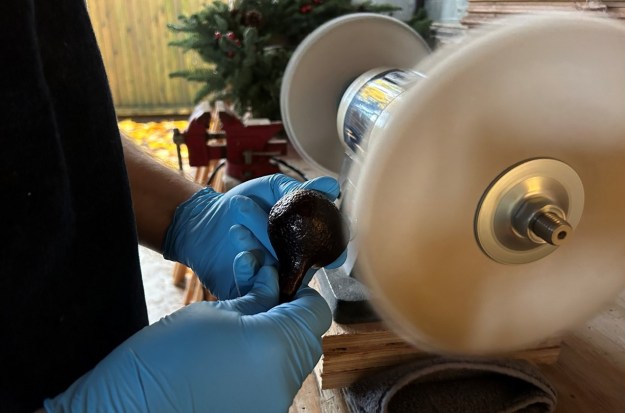
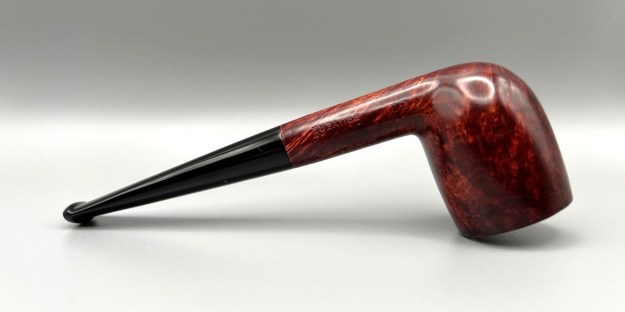
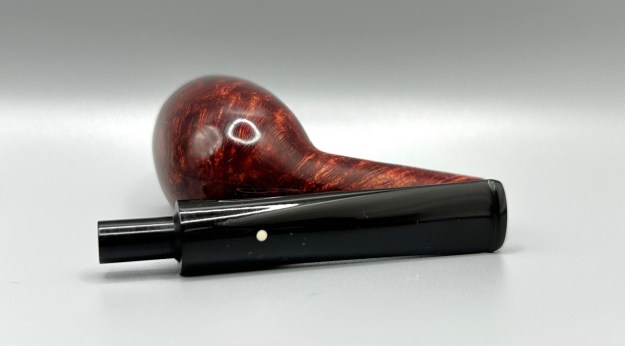
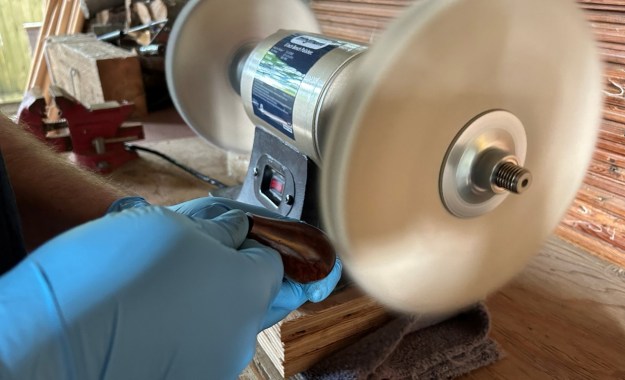
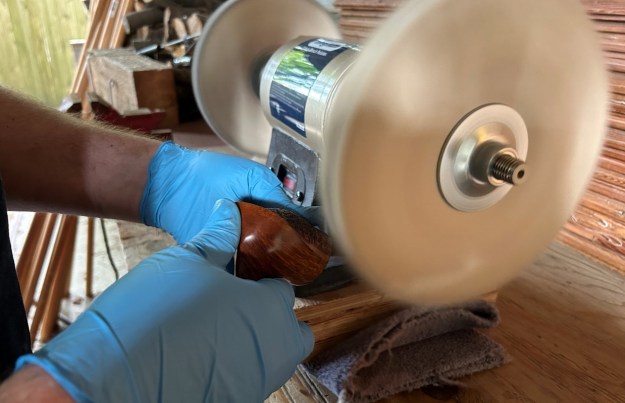
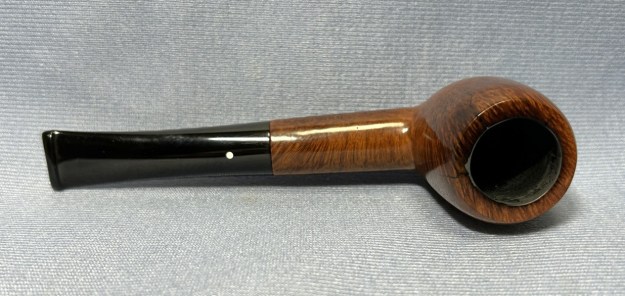
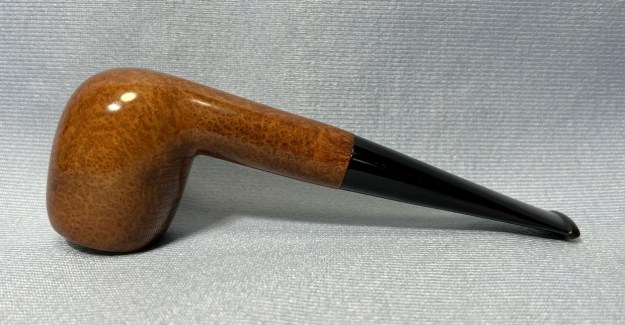
 For the final step, I took the pipe to my bench polisher and carefully buffed it – first with a blue diamond compound, then with three coats of carnauba wax. This procedure makes the pipe look its best – the stummel sings and the stem glows.
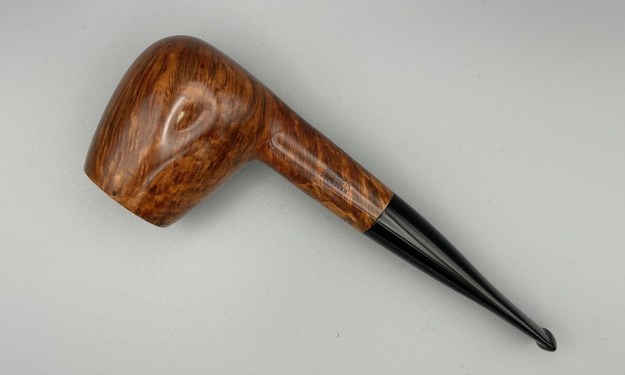
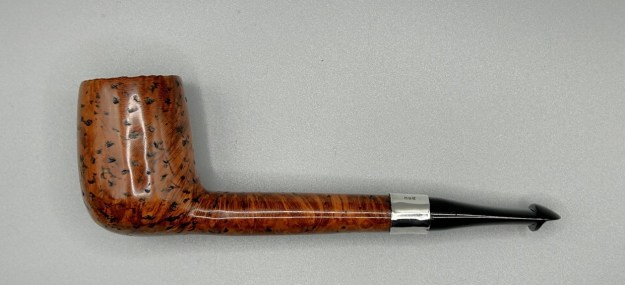
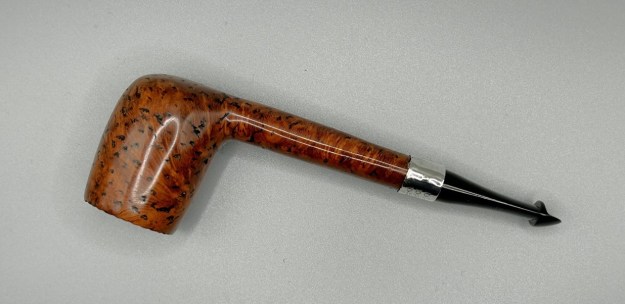
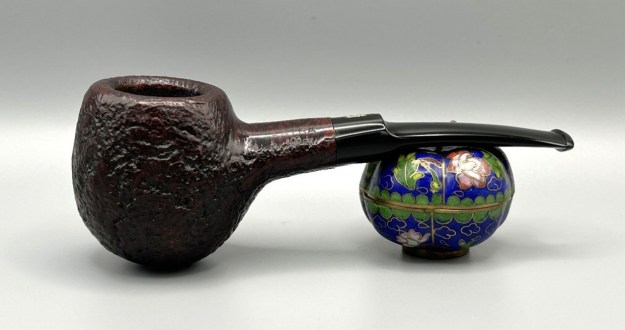
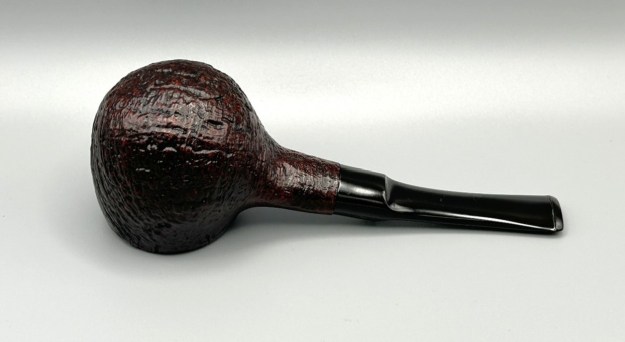
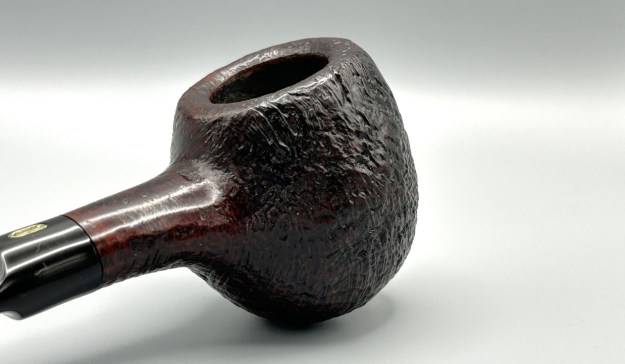
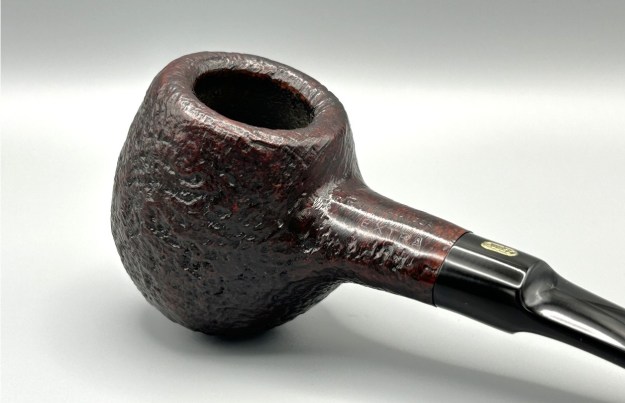
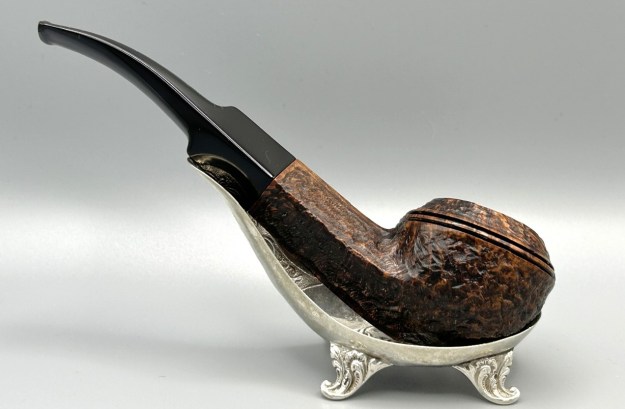
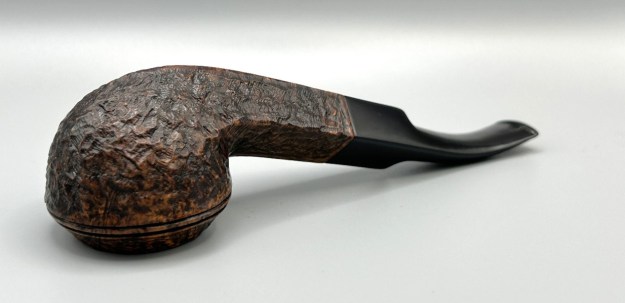
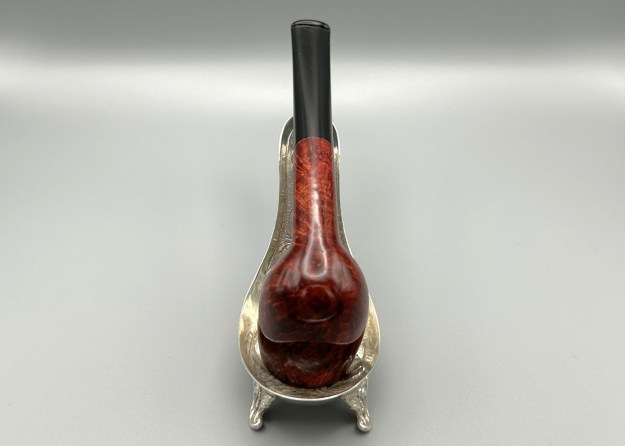
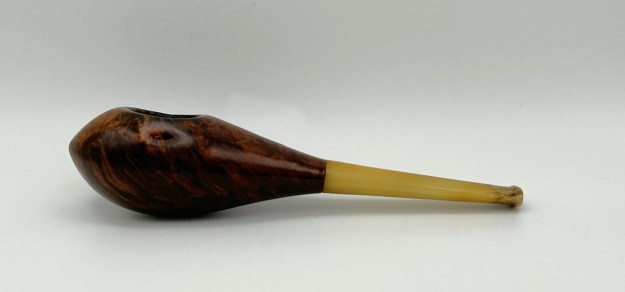
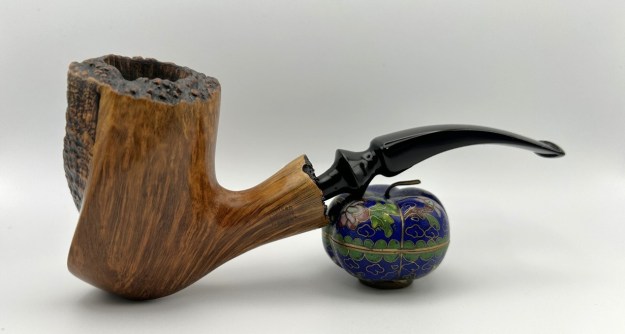
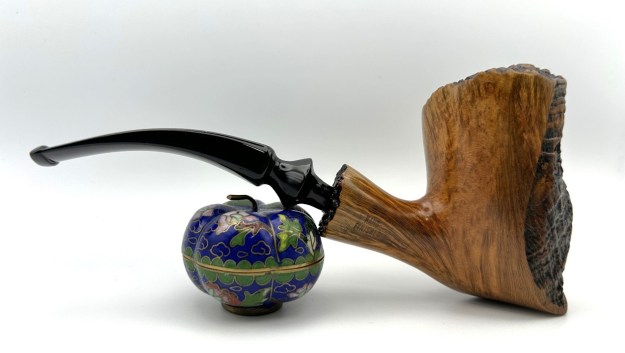
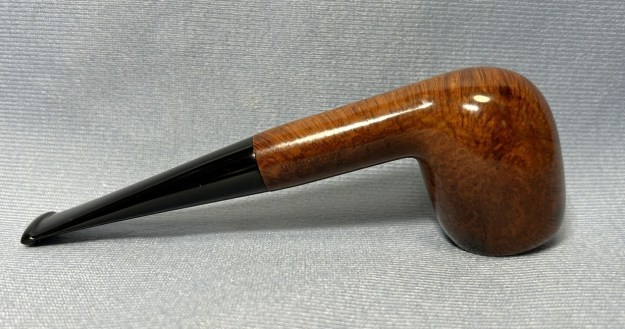
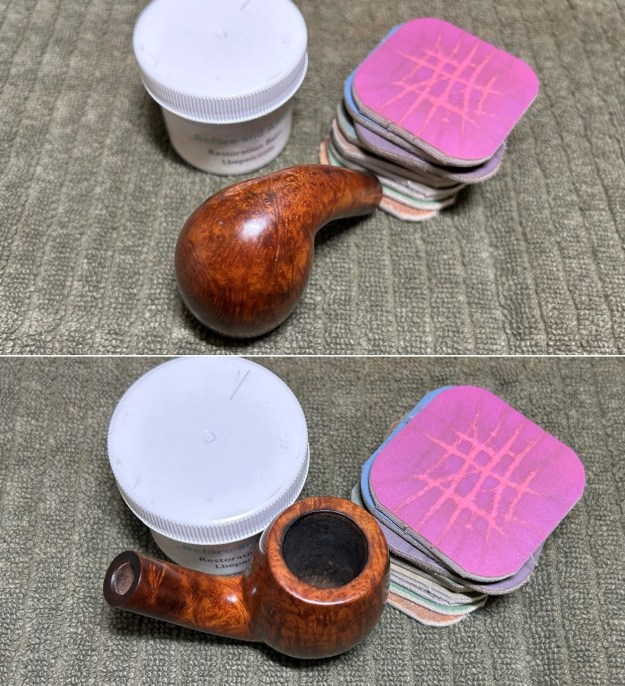
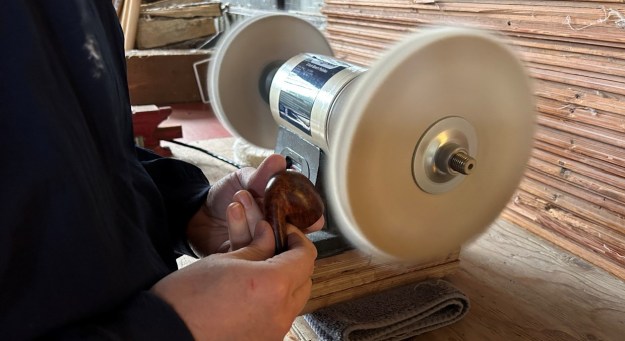 All done! This handsome Borkum Riff bent billiard looks fantastic again and is ready to be enjoyed by its next owner. I am pleased to announce that this pipe is for sale! If you are interested in acquiring it for your collection, please have a look in the ‘Various Makers’ section of the store here on Steve’s website. You can also email me directly at kenneth@knightsofthepipe.com. The approximate dimensions of the pipe are as follows: length 5¼ in. (133 mm); height 2 in. (51 mm); bowl diameter 1⅝ in. (40 mm); chamber diameter ⅞ in. (21 mm). The weight of the pipe is 1¾ oz. (52 g). I hope you enjoyed reading the story of this pipe’s restoration as much as I enjoyed restoring it. If you are interested in more of my work, please follow me here on Steve’s website or send me an email. Thank you very much for reading and, as always, I welcome and encourage your comments.