Blog by Paresh Deshpande
Another surprise pick from my grandfather’s collection is this pipe which I have selected to work on. John Bessai in Rhodesian shape, which I had recently restored, was also a surprise pick in his collection since he had never been to USA, let alone Cleveland, Ohio and this is where most of the Bessai pipes were sold. Well, this pipe now on my work table is a Kaywoodie made from block meerschaum!! I was aware that KBB made briar pipes with meerschaum insert, but block meerschaum pipes, that I was not aware of.
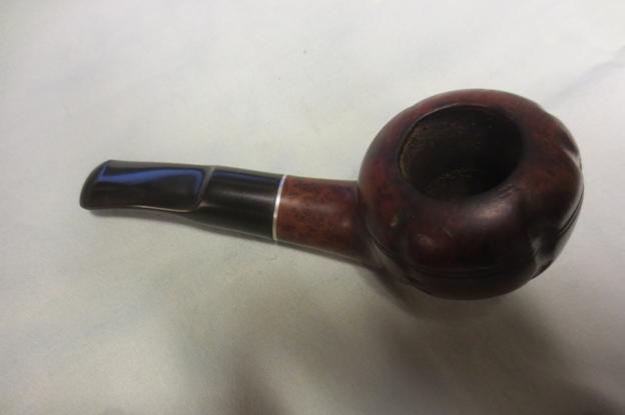
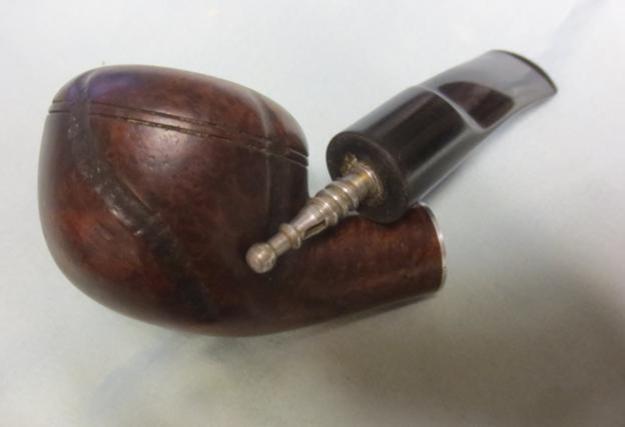
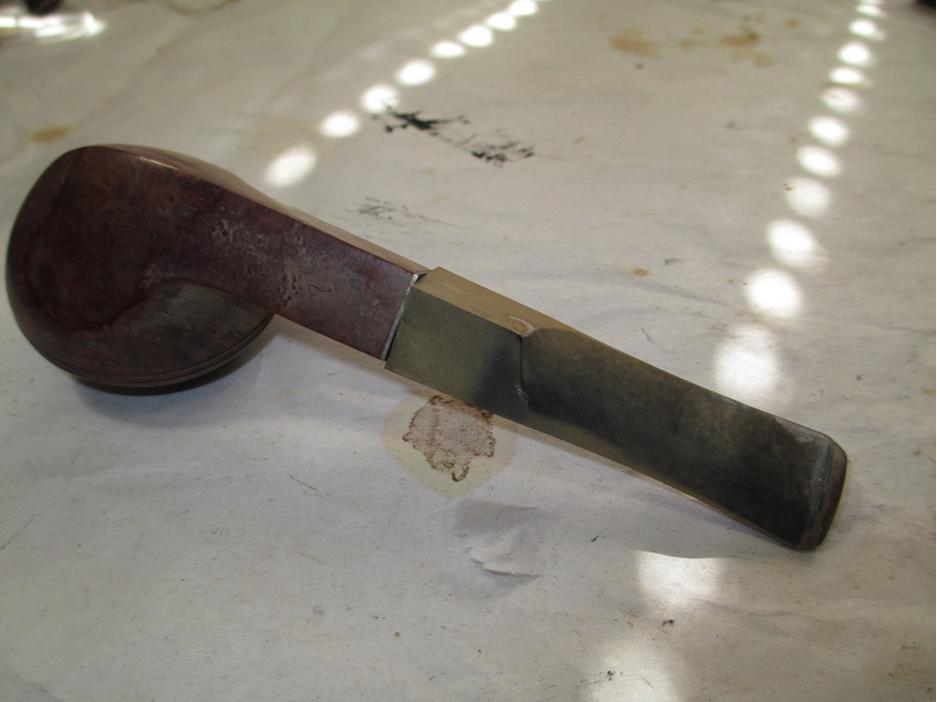
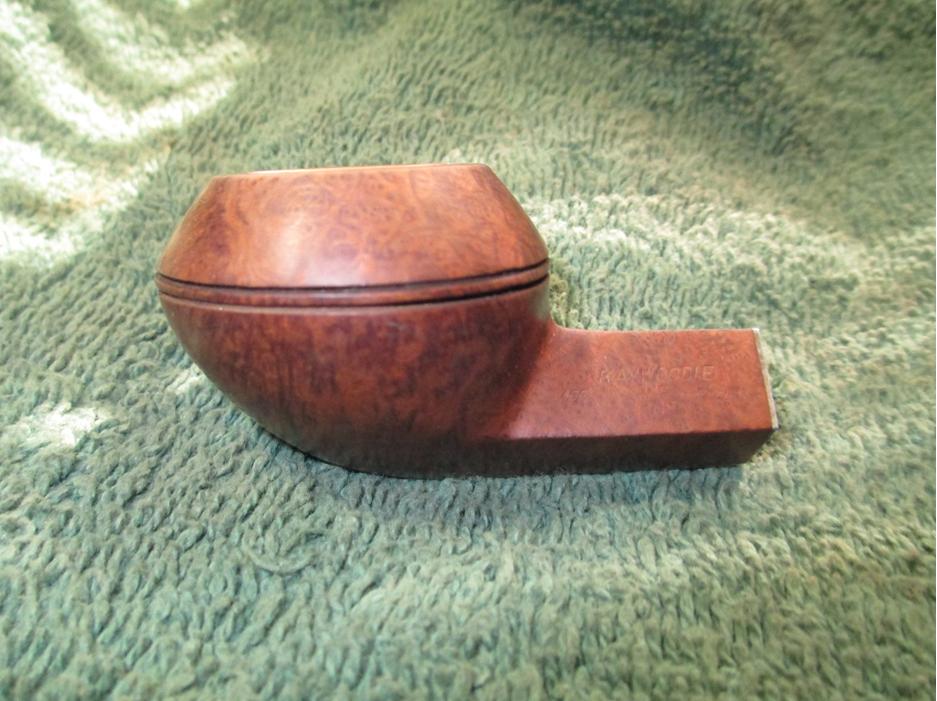
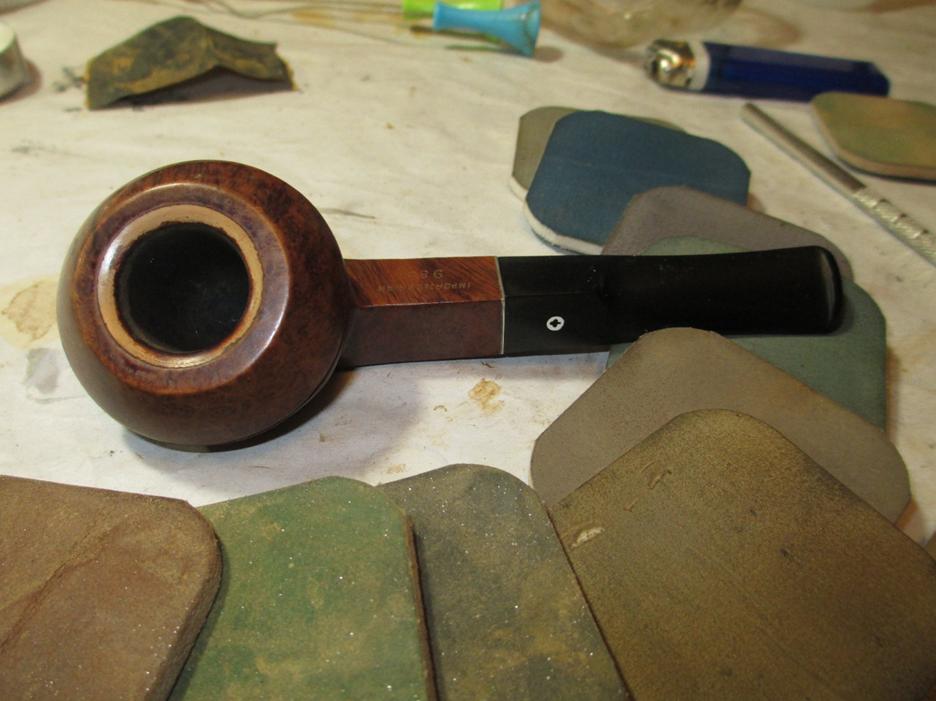
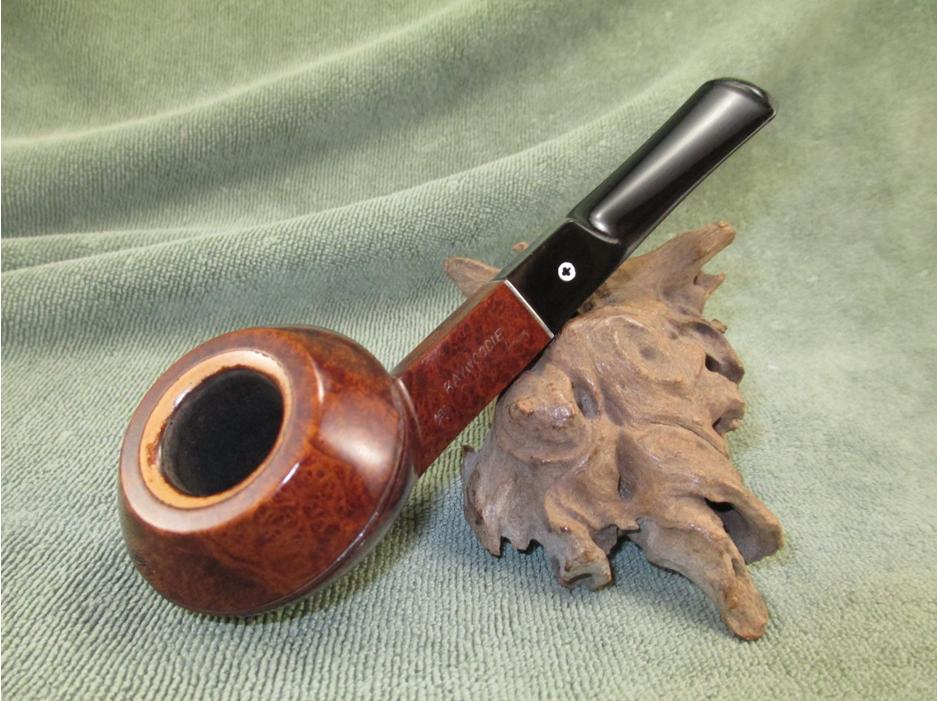
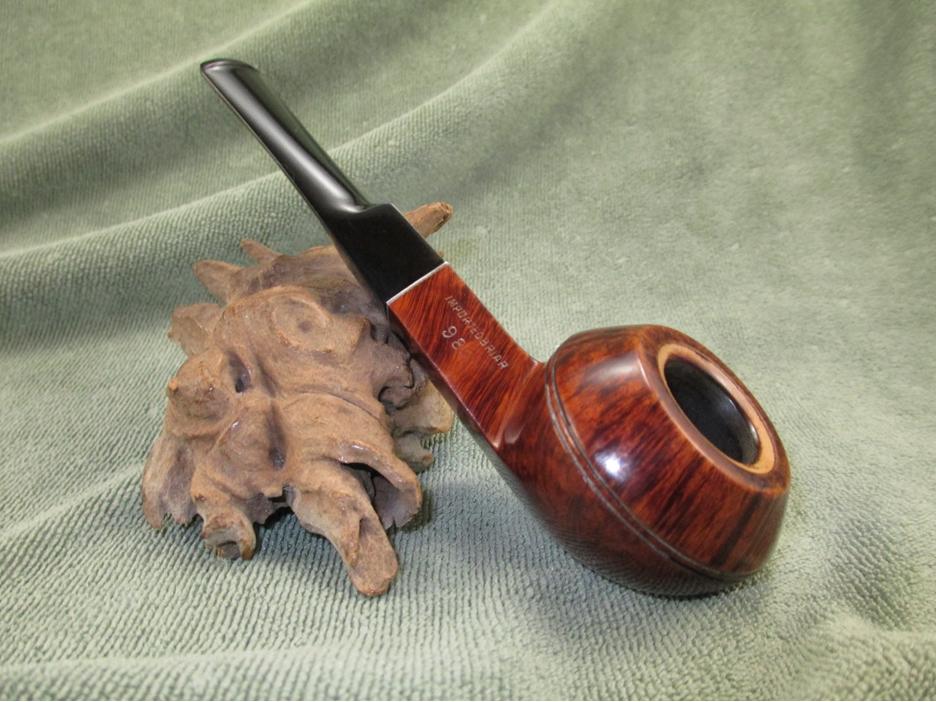
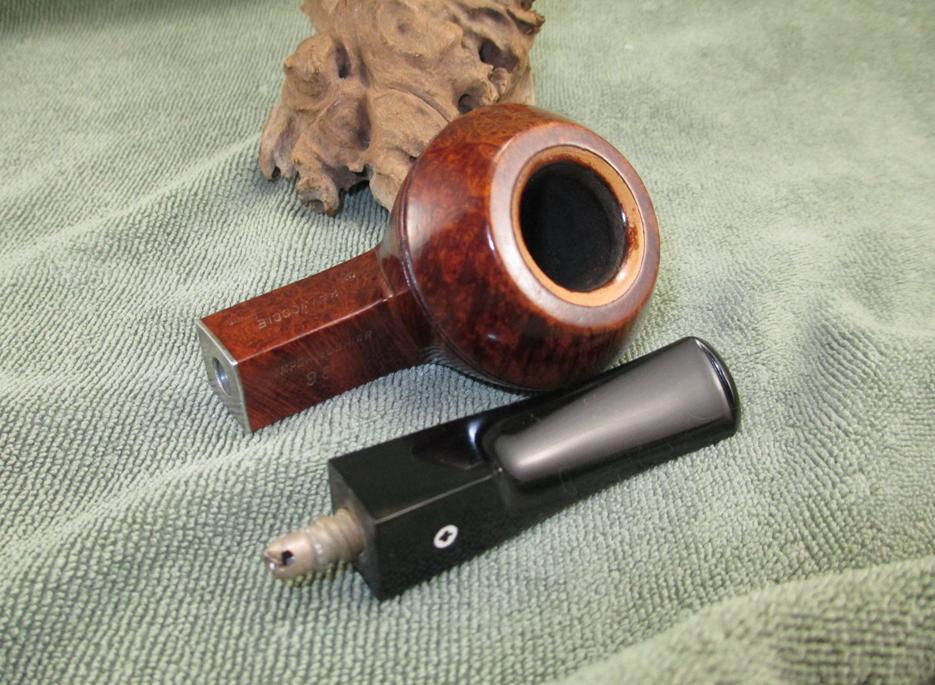
The meerschaum on my work table is a classic Dublin with a stout meerschaum shank and a vulcanite stem. The stummel is sans any stampings and the only way it can be identified as being a Kaywoodie is the trademark cloverleaf insert on the stem and the four holed stinger tenon. However, the cloverleaf insert in this stem differed from the other Kaywoodie stems that I have previously worked on in that here the stem is marked with a “black cloverleaf inside a white dot” as against the white cloverleaf in other Kaywoodie pipes. I searched the internet for more information on Meerschaum line of Kaywoodie pipes. I visited the website, brothersofbriar.com and came across this valuable piece of information from one member, kwguy, who probably, from his comment, appears to have worked for KBB. I have extracted below, the relevant portion of the thread.
“Kaywoodie Block Meerschaums were made from 1938 to the mid 1960’s. The meerschaum pipe business by Kaywoodie was revitalized when Paul Fischer was hired and emigrated from Austria to run the meerschaum pipe department. Kaywoodie meerschaums were available in earlier years but not as prominently as when Paul Fischer came on board. He left in 1960 to make meerschaums under his own name. We continued to make them for several years after he left until we could no longer import meerschaum from Turkey”. (http://www.brothersofbriar.com/t21079-kaywoodie-block-meerschaum)
Another piece of information was available on pipedia.com which I have reproduced below.
HINTS ON COLLECTING, DATING AND PRICING KAYWOODIES
Examine Logo, Stampings and Fitment. The pre-WWII Kaywoodies had elongated white cloverleaf logos and large screw-in fitments (with the possible exception of the pre-1925 and “export” Kaywoodies, which had no fitments). Some of the pre-1936 Kaywoodies were stamped (on the shank) with a cloverleaf around KBB. Sometime between 1936 and 1947, the better pipes were marked with a black cloverleaf inside a white dot. However, because many of the pipes in the 1968-69 catalog still show this type of logo, the black-in-white logo merely indicates a “post 1936” vintage.
Based on the information gleaned from the above sources, it is safely concluded that the Kaywoodie meerschaum pipe presently on my work table is from the period between 1936 to late 1960s.
INITIAL VISUAL INSPECTION
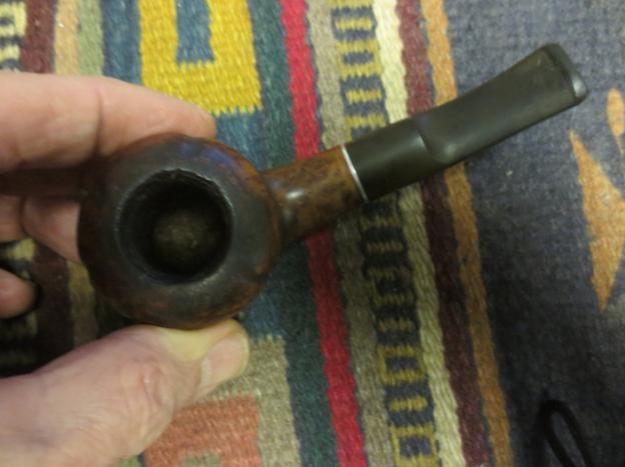
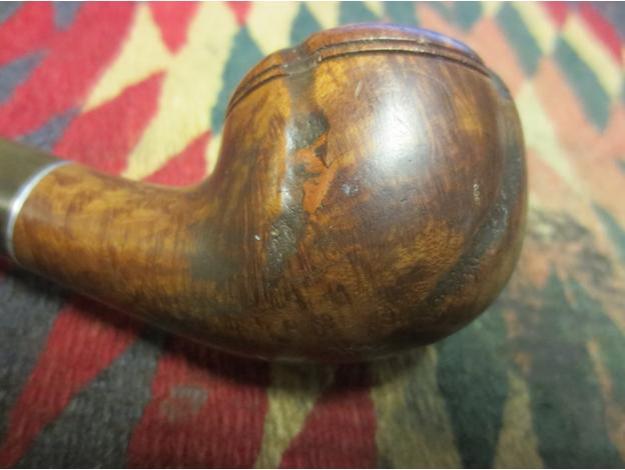
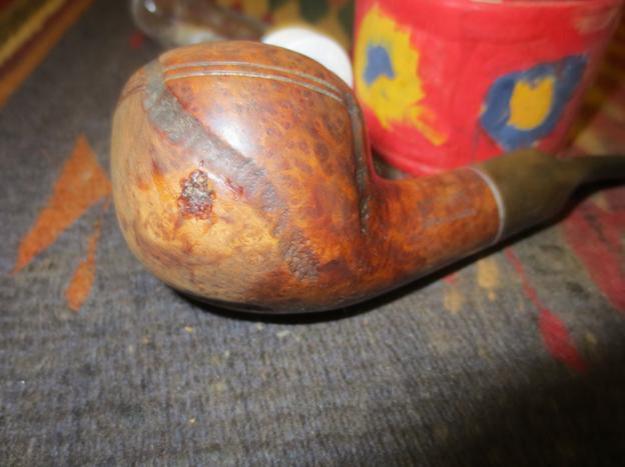
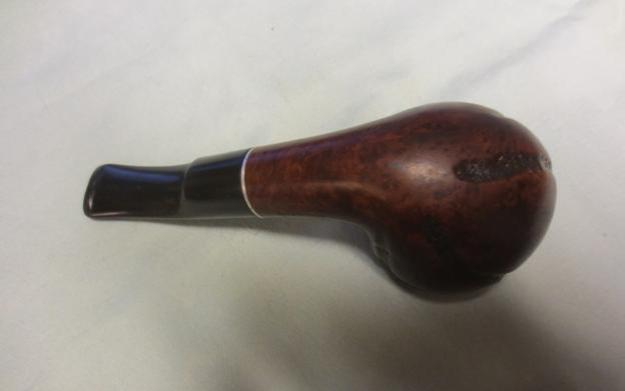
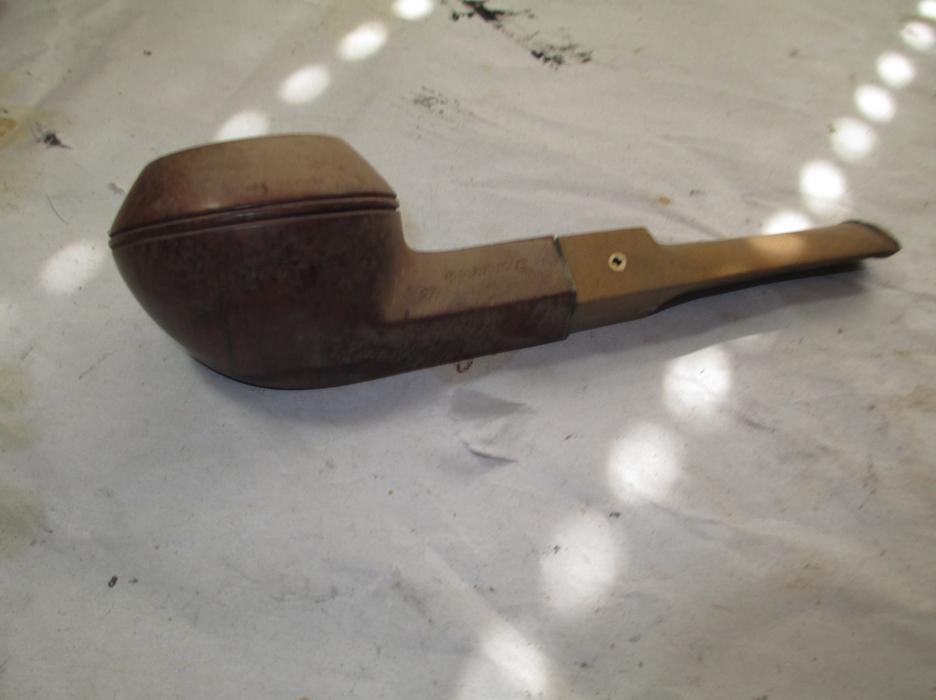
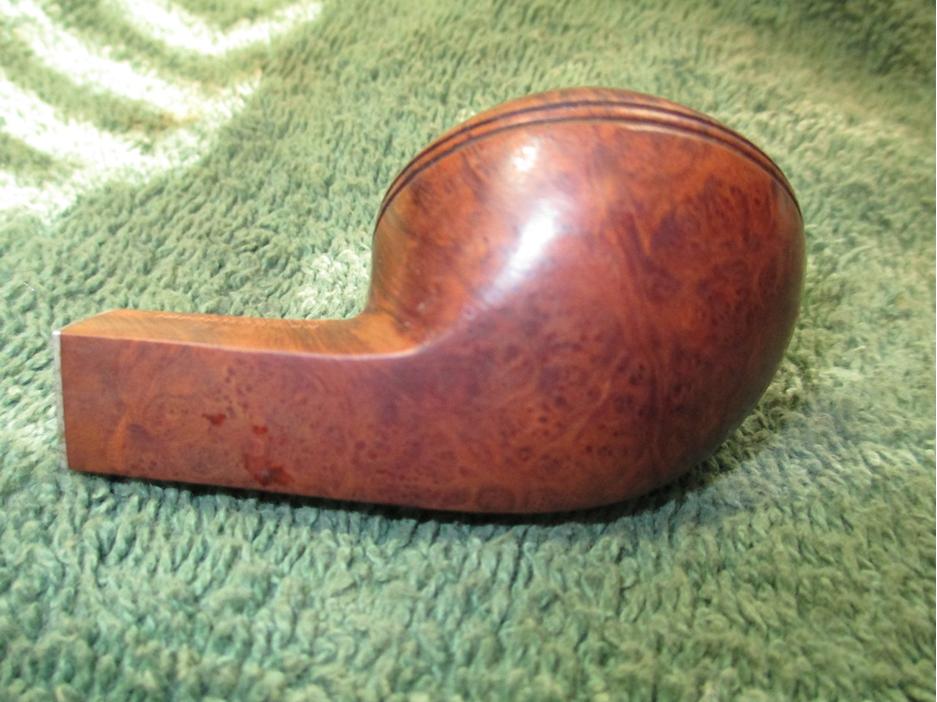
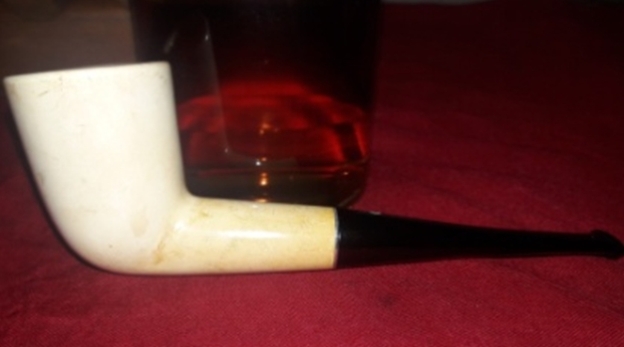
The stummel has developed a nice coloration on the surface, darker on the lower half of the stummel and darkest on the shank. The entire stummel is covered in minor nicks and scratches with slightly deeper ones seen on the front and behind the bowl. There is a patch, similar to what would be seen on a briar when exposed to water, on the front of the bowl. Since this would be my first inherited meerschaum pipe restoration, I shall tread very carefully in addressing these issues.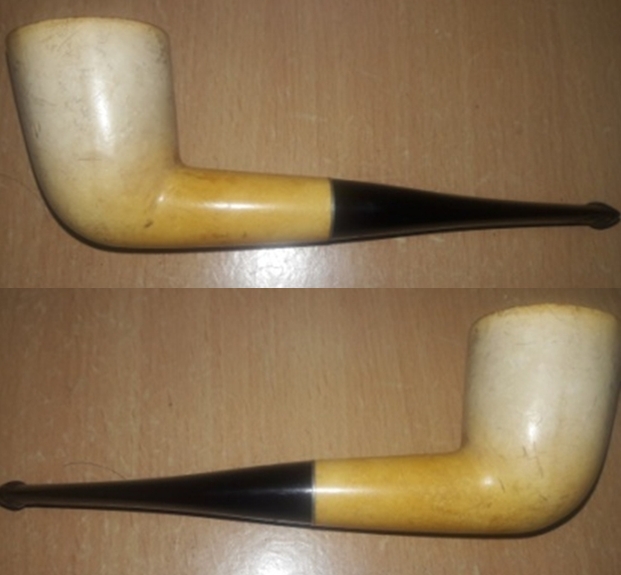

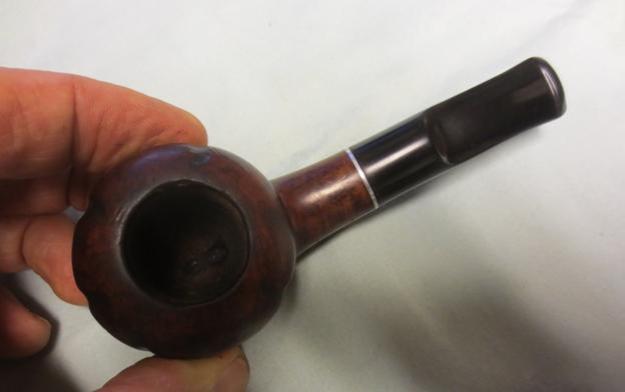
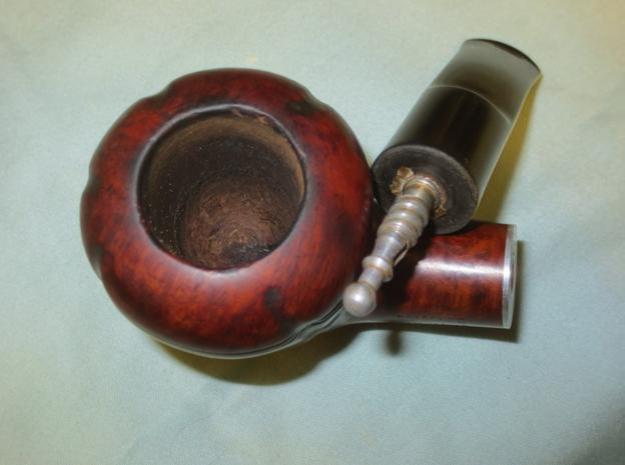
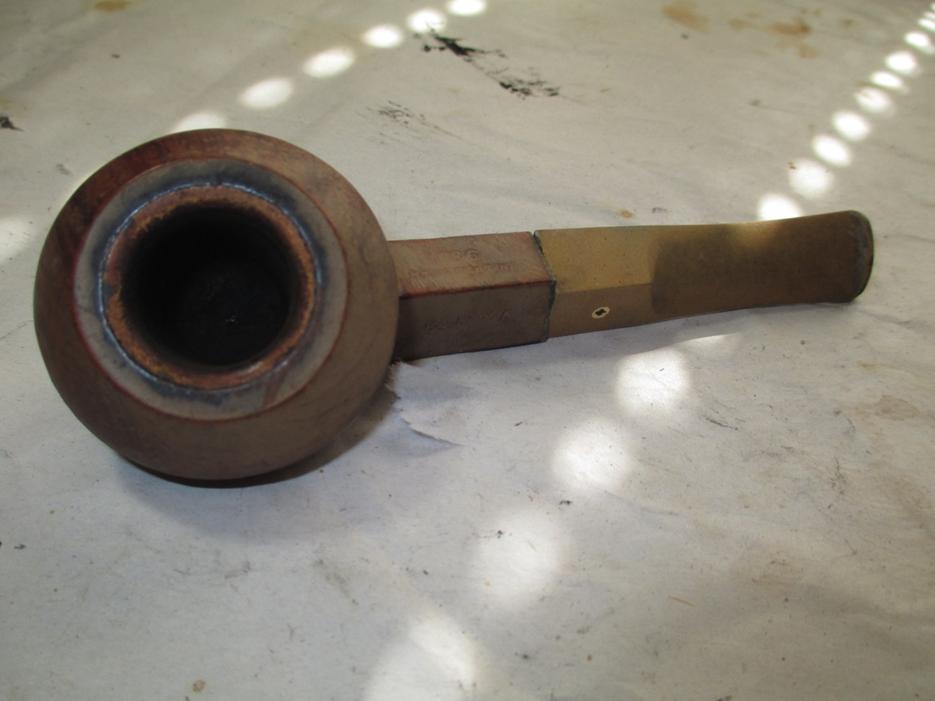
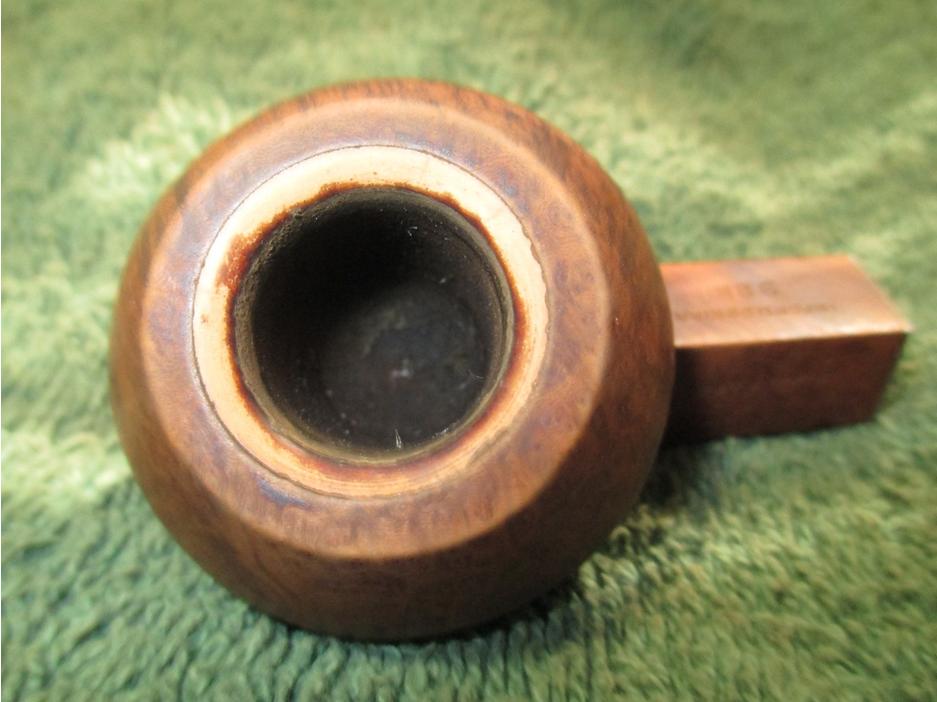
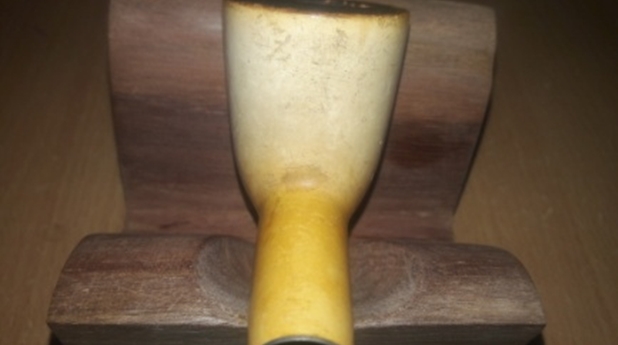 There is thick build up of cake in the chamber with a thicker layer at the bottom half of the chamber. The condition of the inner walls of the chamber can be ascertained only after the cake has been removed completely. No apparent cracks or damage to the stummel surface is seen from the outside, save for a few scratches and nicks/ dents. The rim top has darkened due to thick overflow of lava. There are a large number of dings and chips to the rim top which are visible through the lava overflow. This will be a challenge to address. The inner and outer edge shows minor chips, the result of striking the edges against a hard surface to remove dottle. The shank end of the pipe has an aluminum threaded spacer ring which extends in to the mortise, separating the shank end from the stem end when threaded in. This spacer ring is in pristine condition. The mortise is blocked due to accumulated dried oils, tars and remnants of ash, greatly restricting the air flow.
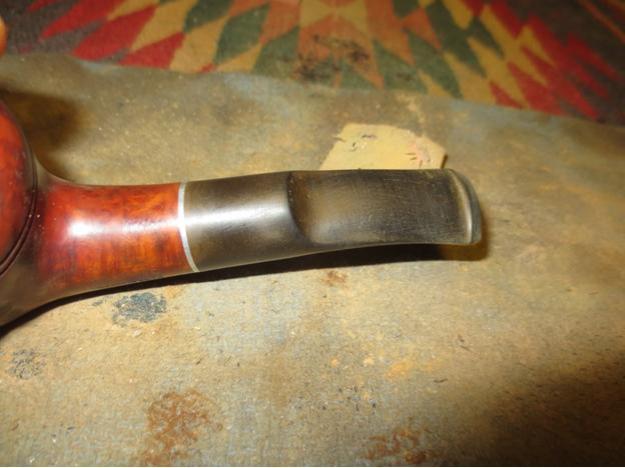
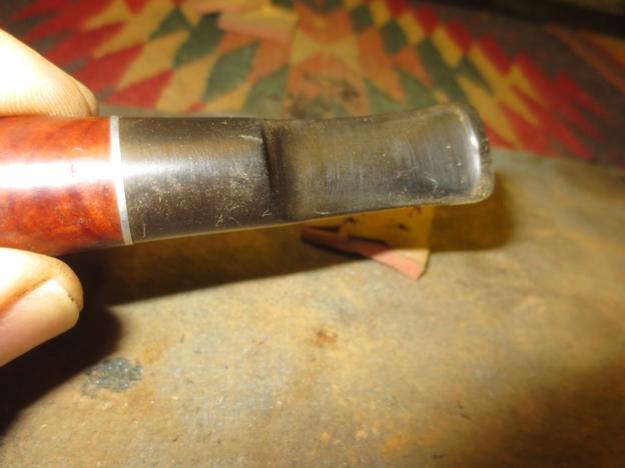
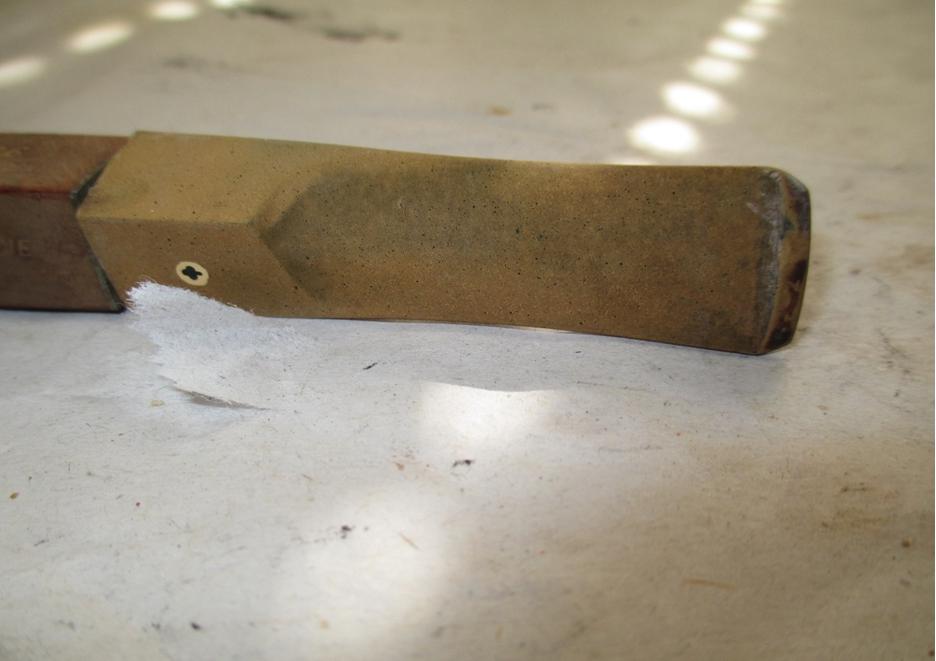
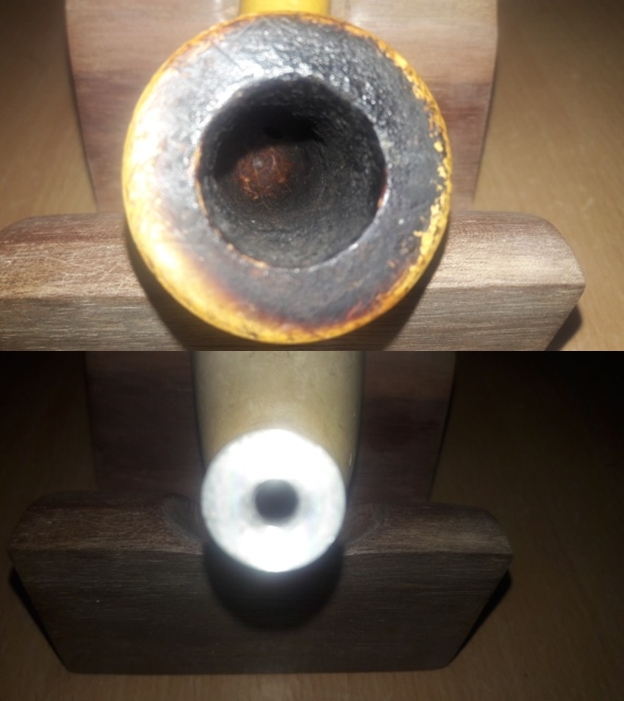 The vulcanite stem has deep tooth indentations and minor tooth chatter on upper and lower surfaces as well on both the button edges. The stem shows minimal signs of oxidation which really is surprising. The air flow through the stems is laborious to say the least. The four holed metal stinger tenon is covered in dried oils and tars with a blocked breather hole near the threads. The alignment of the stem logo and stummel is off center when the stem is fully threaded in to the mortise with a slight overturn. These issues will need to be addressed.
 THE PROCESS
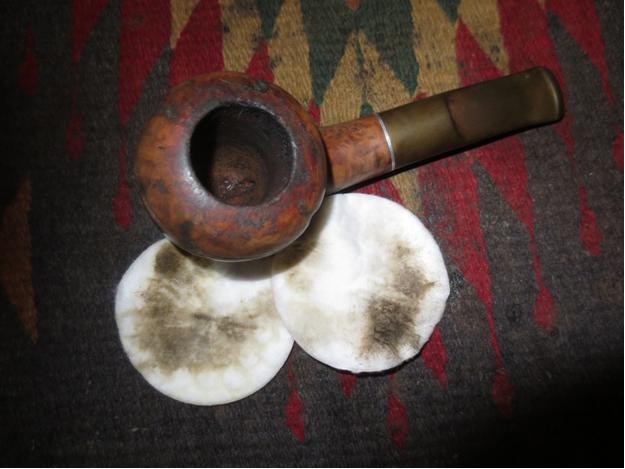
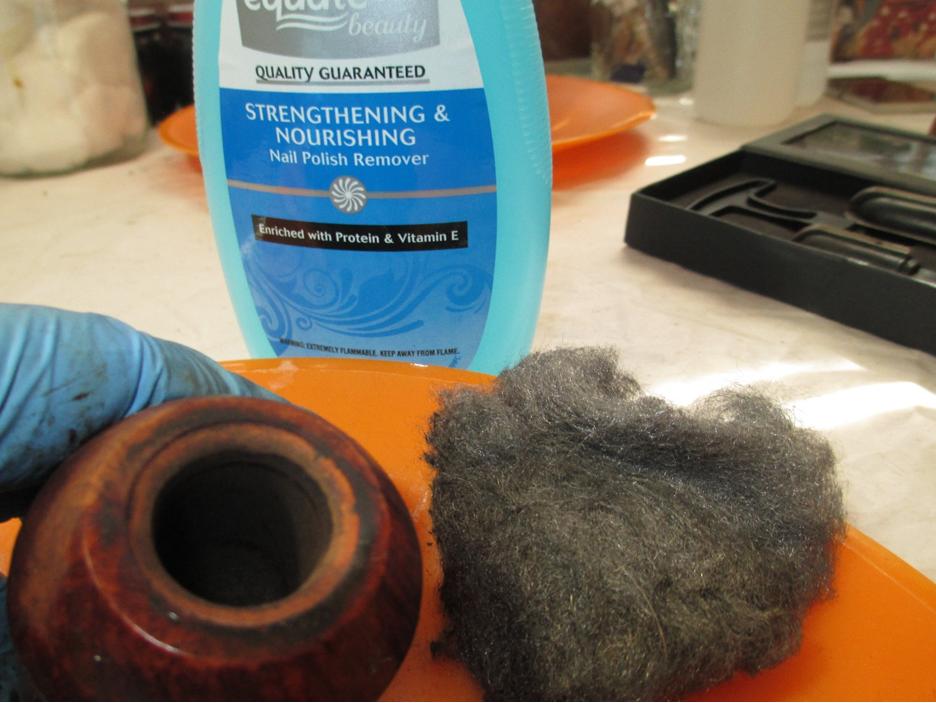
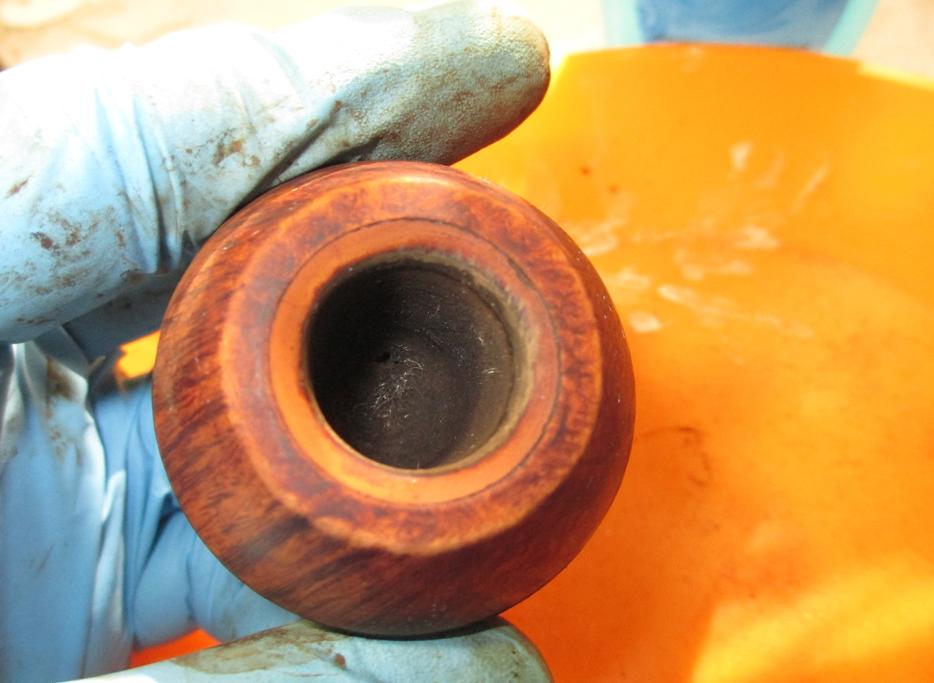
I started this project by reaming the chamber with size 1 followed by size 2 head of PipNet reamer. With my smaller fabricated knife, I scraped out all the carbon from difficult to reach areas. I used a 220 grit sand paper, pinched between my thumb and forefinger, to sand the inner walls of the chamber of the pipe. Once I had reached the bare walls, I wiped the chamber with a cotton pad dipped in isopropyl alcohol. This removed all the residual carbon dust and also rid the chamber of all ghost smells. The walls of the chamber are nice and solid with no signs of heat fissures or cracks. Using a sharp knife, I gently scraped out the overflow of lava from the rim top. The dents and chips on the rim surface are now clearly visible.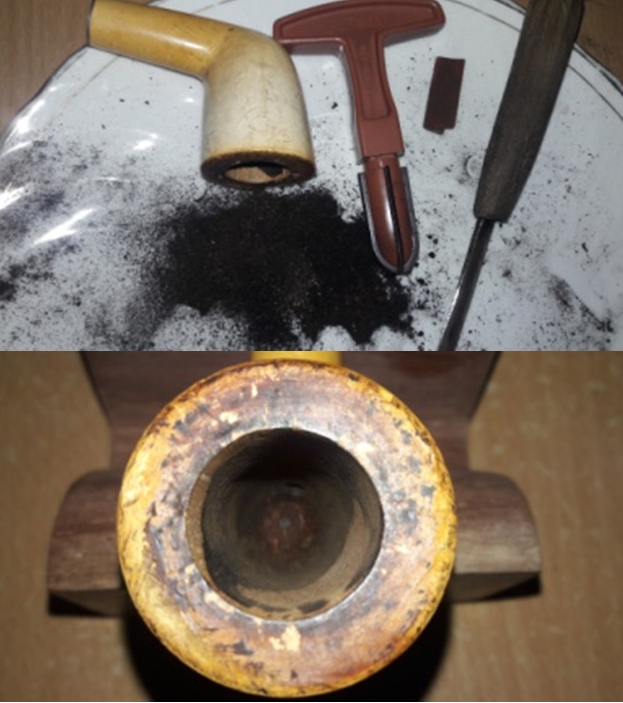 I followed up the reaming by cleaning the stummel surface. I sand the stummel with a folded piece of 220 grit sandpaper followed by 600 and 800 grit papers. This was done with utmost care and diligence as I did not want to sand away a lot of meerschaum material from the surface and also wanted to preserve the nice golden hued color taken on by the meer from being smoked. A few deeper chips and gouges were left unaddressed as it would have led to loss of lot of meerschaum material. Also these dents and dings appear like a soldier’s battle scars and worn with pride!! Similarly, I worked the rim top and addressed the dents and scratches from the surface. The chipped inner and outer edge was leveled by creating a slight bevel on either edge with 220 grit sandpaper.
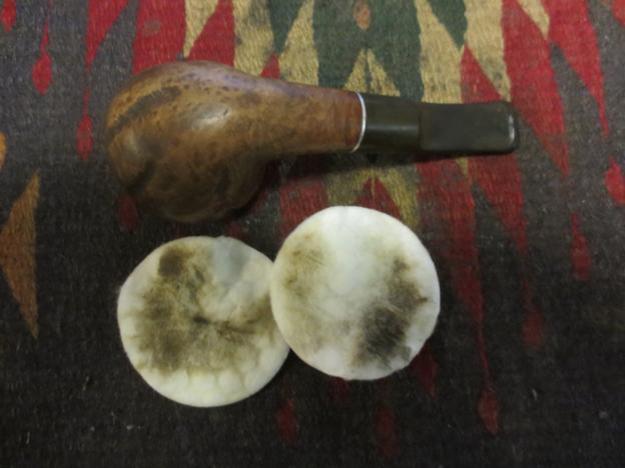


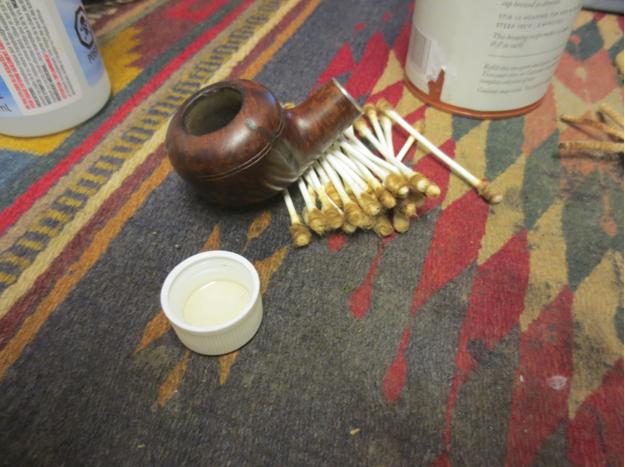
 I cleaned the mortise and air way of the pipe using hard bristled and regular pipe cleaners, q-tips dipped in alcohol. The mortise and the draught hole were given a final clean with shank brushes dipped in alcohol. I dried the mortise with a rolled paper napkin. The shank internals and the draught hole are now nice and clean with an open and full draw.
 I polished the top of the bowl and rim edges with micromesh sanding pads to remove all of the tar and lava that was on the surface. I wet sanded it with 1500-2400 grit pads and dry sanded with 3200-12000 grit pads. I wiped the bowl down with a damp cloth to remove the dust that was left behind by the sanding. While I was working on the bowl top I also worked over the sides and bottom of the bowl to polish them as well. I wanted to minimize the scratching but not necessarily remove them all.


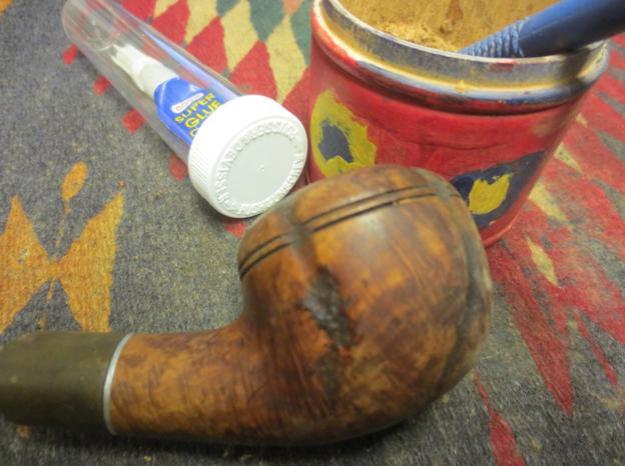
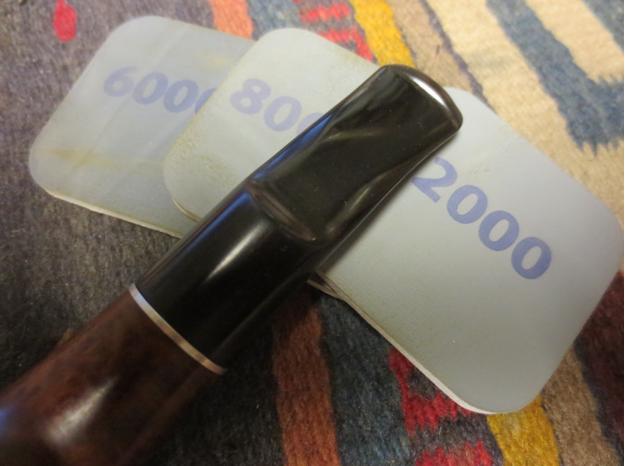
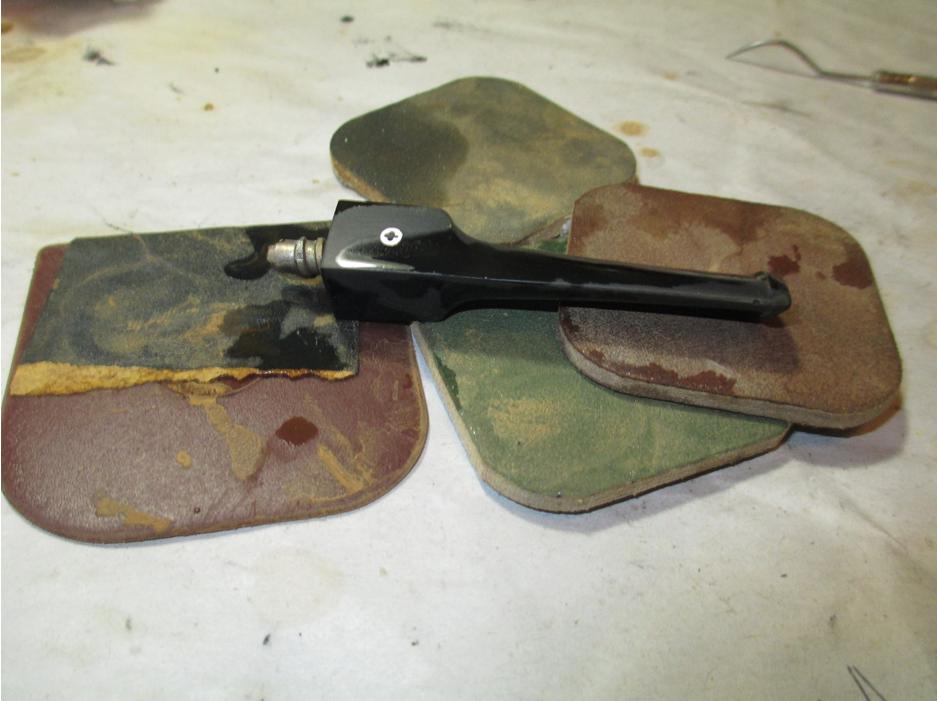
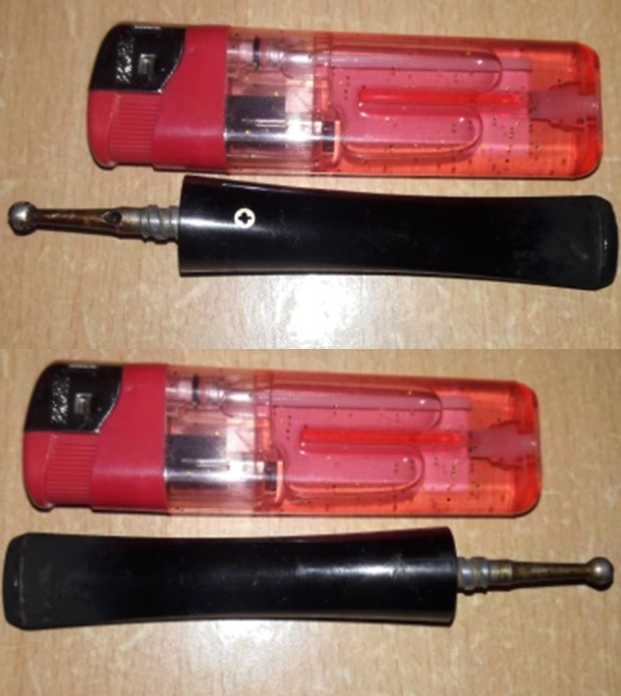
 I cleaned out the internals of the stem using hard bristled and regular pipe cleaners dipped in alcohol. The deep bite marks on the stem were flamed using a Bic lighter. However, this did not work. From my experience, I have learnt that getting rid of the oxidation from and around the surface to be filled helps in subsequent better blending of the fill with the stem surface. With a folded piece of used 150 grit sand paper, I sand the area that is required to be filled. I cleaned the sanded portion of the stem with cotton pad dipped in alcohol and spot filled the damaged area with a mixture of activated charcoal and clear superglue. I set the stem aside for the fill to cure.


 Once the fill had cured, I sand the fills to match the surrounding stem surface with a flat head needle file. I sharpened the lip edges using a needle file and sand the entire stem with 220 followed by 400, 800 and 1000 grit sand paper to achieve an exact match. This also helps to reduce the sanding marks left behind by the more abrasive 220 grit paper as well as eliminated the oxidation seen on the stem. I was so engrossed and preoccupied with the task at hand that I missed out on taking pictures of this process.
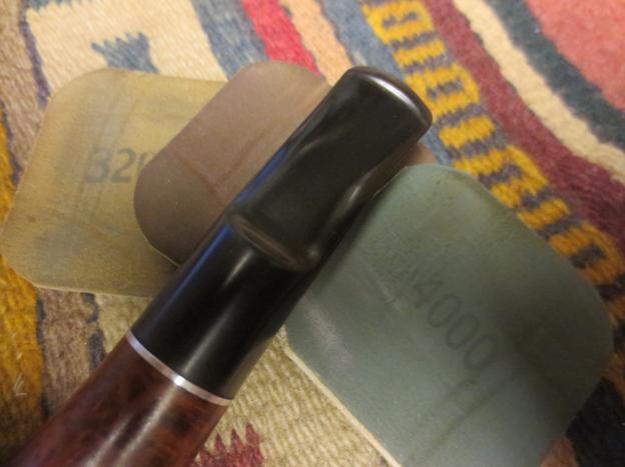
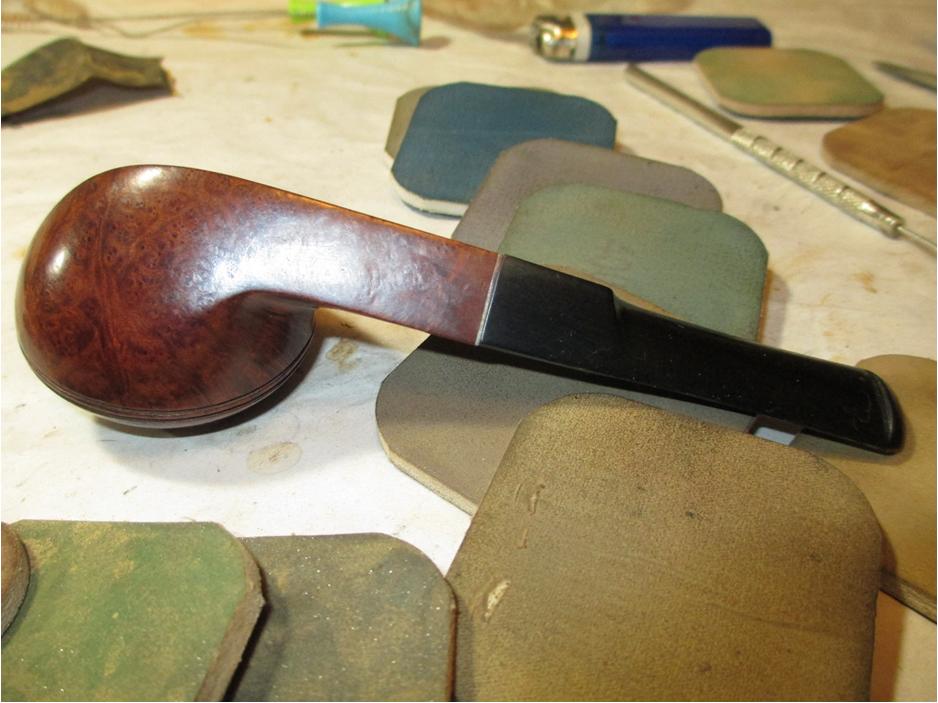
To bring a deep shine to the stem, I went through the complete set of micromesh pads, wet sanding with 1500 to 2400 grit pads and dry sanding with 3200 to 12000 grit pads. I wiped the stem with alcohol after each pad and rubbed it down with Extra Virgin Olive oil. It was at this stage that I addressed the issue of overturned four holed stinger by heating it with the flame of a Bic lighter. This loosens the glue and I under-turn the stinger. I let the stinger cool down and re-harden the glue. I re-heated the stinger and fitted the stem in to the mortise, tightening it till the stem and shank were perfectly aligned. I let the stinger sit in this position till it had cooled down and the glue had hardened again. Now the fit of the stem and the shank is perfectly aligned.
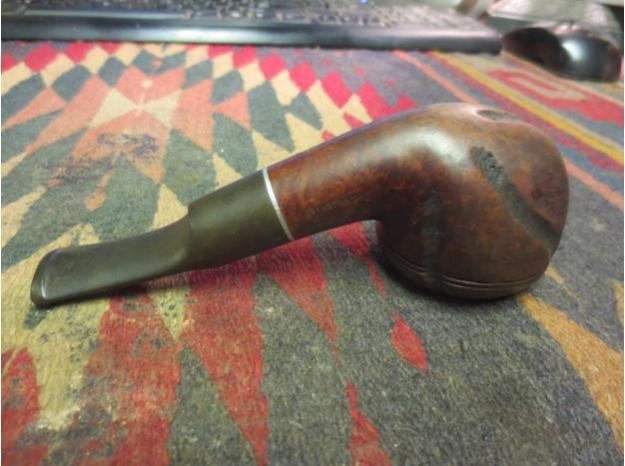
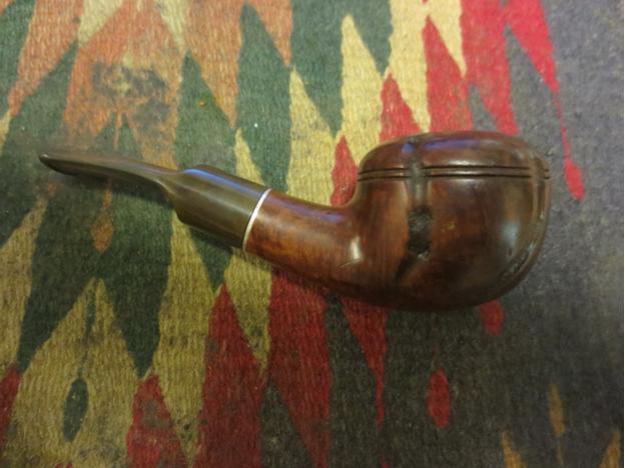
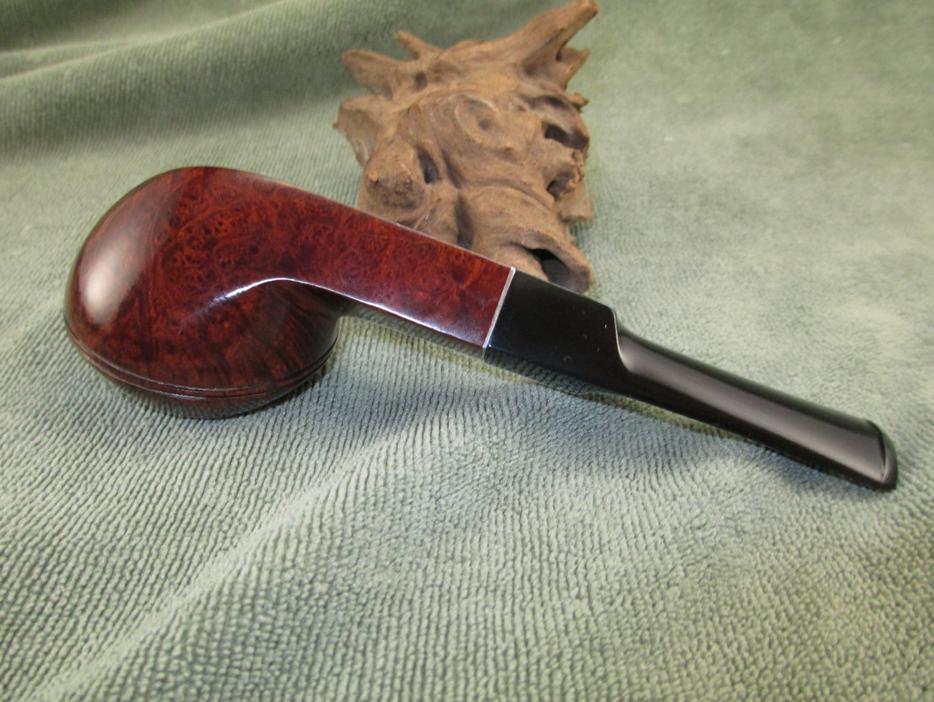
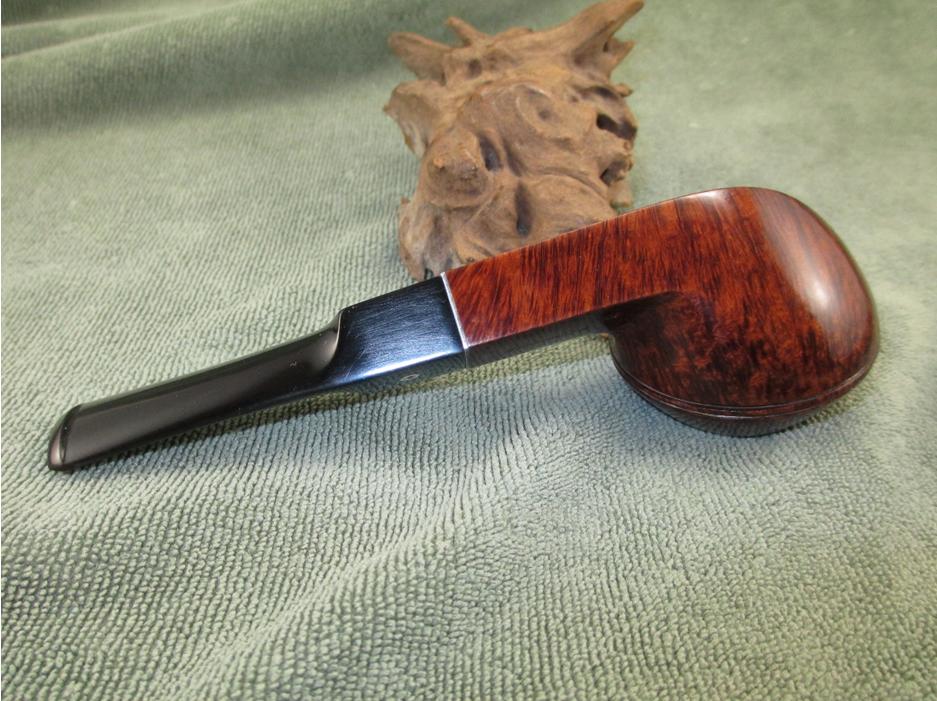
 To finish, I re-attach the stem with the stummel. I mount a cotton cloth buffing wheel on to my local machine which is similar to a Dremel. I set the speed at about half of the full power and applied White Diamond compound to each of the three pipes. I wiped/ buffed the pipe with a soft cotton cloth to clear it of any leftover compound dust. I then mounted another cotton cloth wheel on to the polishing machine and applied several coats of carnauba wax over the stummel and the stem. I finished the restoration by giving the pipe a rigorous hand buffing using a microfiber cloth to raise the shine further. The completed pipe, with the shining white and golden hued meerschaum stummel, contrasting with the shiny black stem, looks lovely, fresh and vibrant; the photographs speak for themselves. Thanks for the read…………..Cheers!!