Blog by Steve Laug
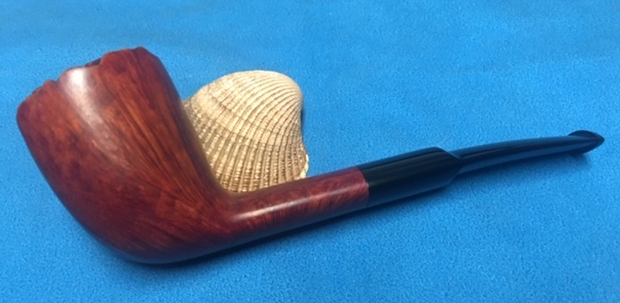
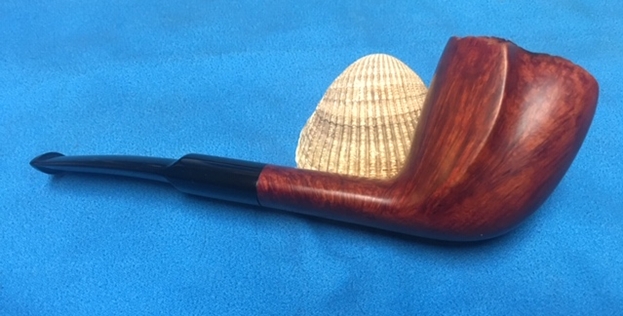
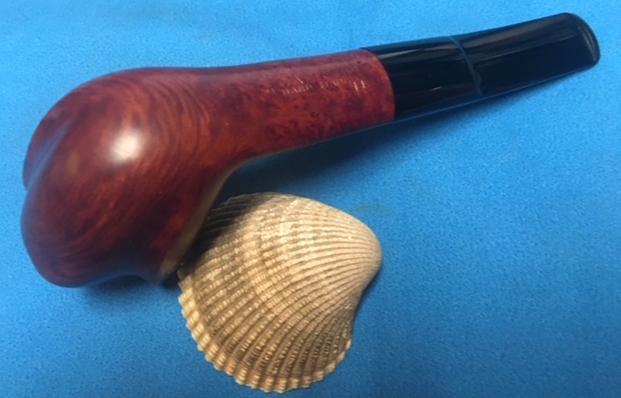
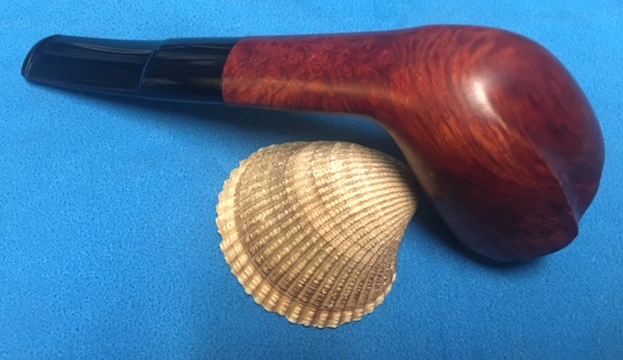
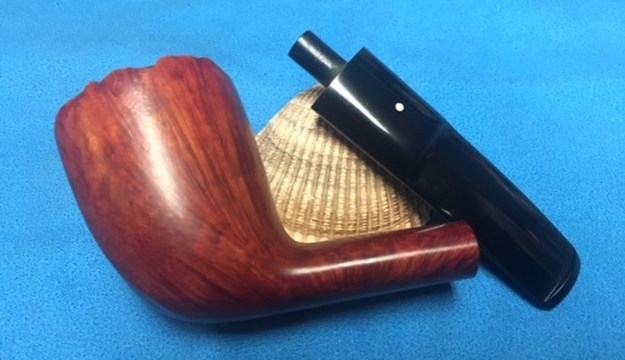
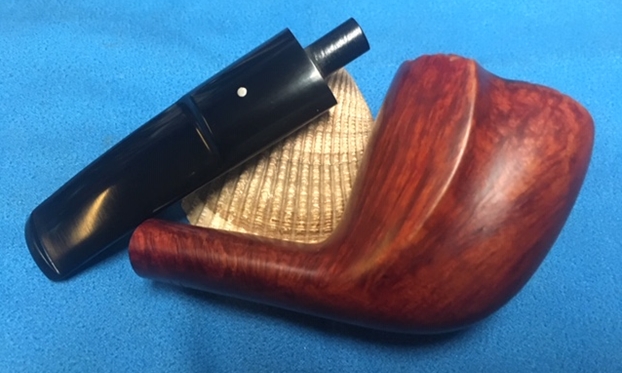
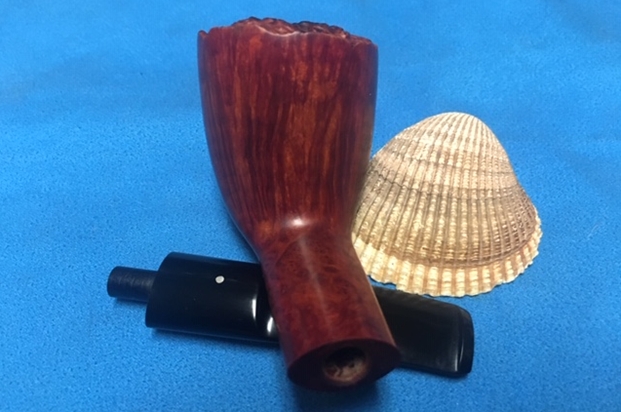
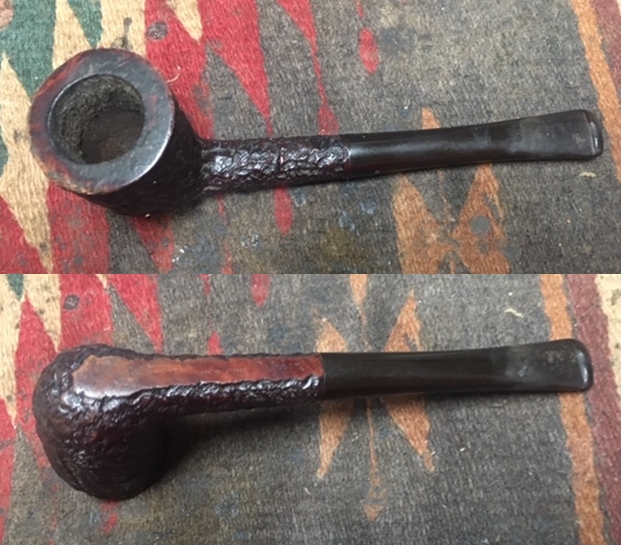
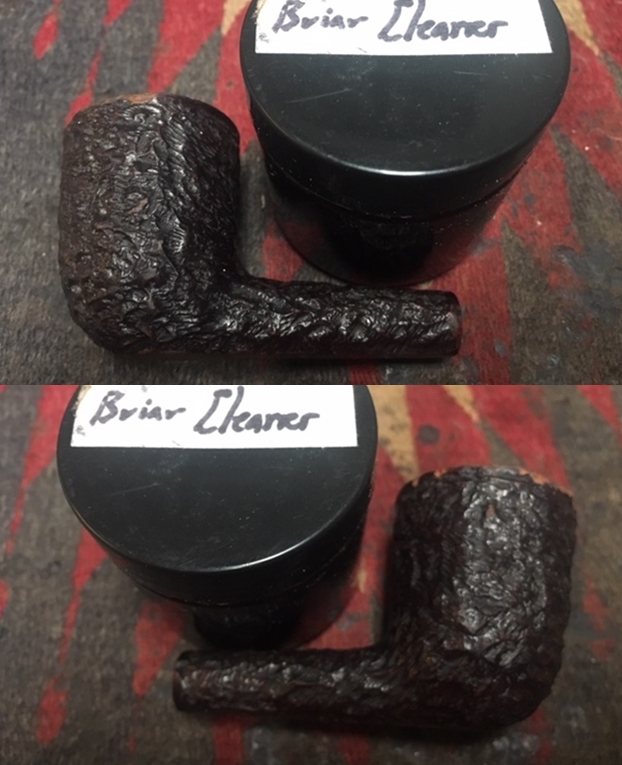
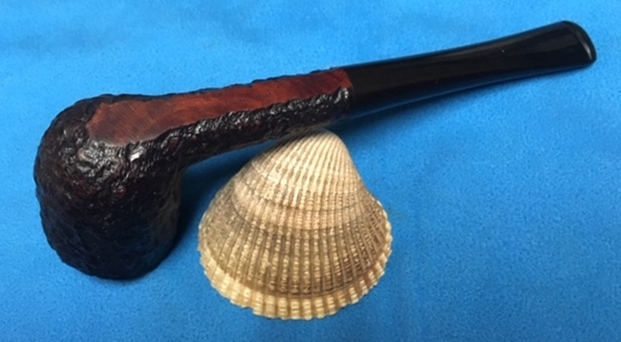
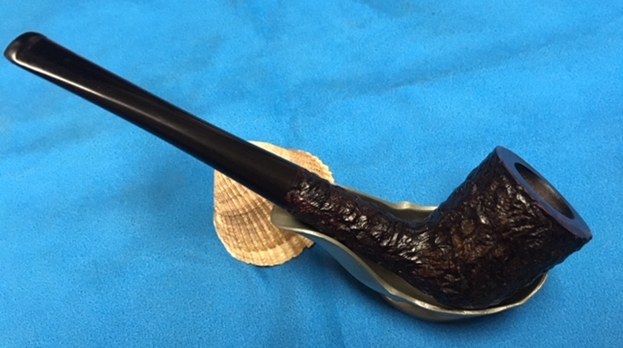
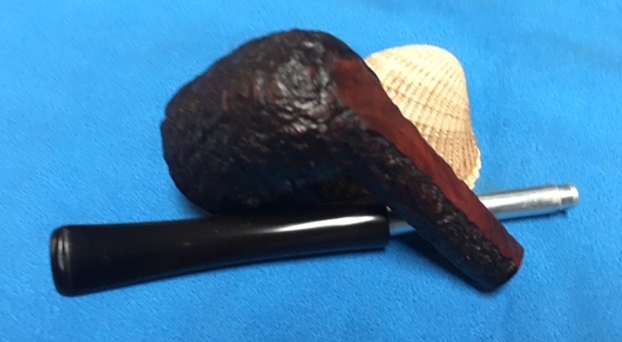
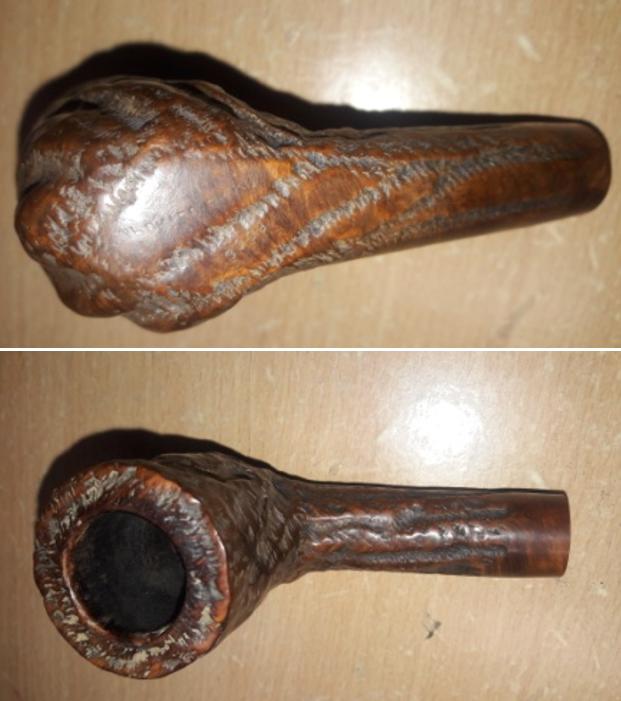
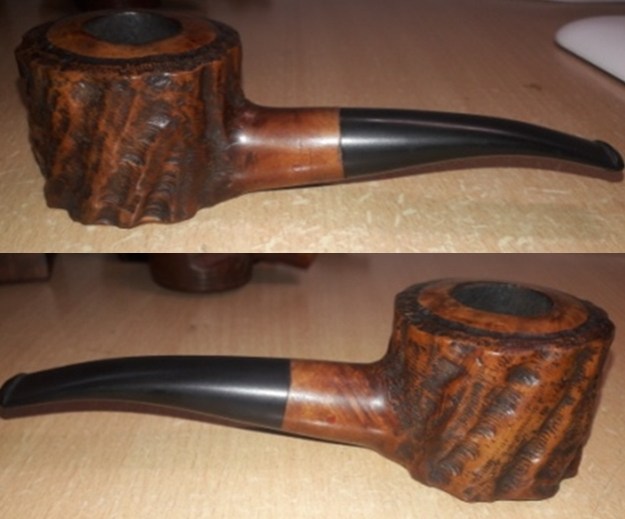
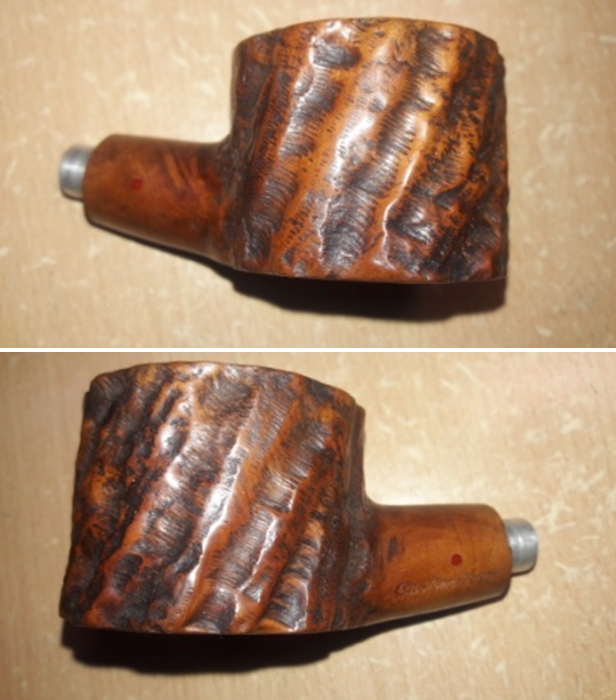
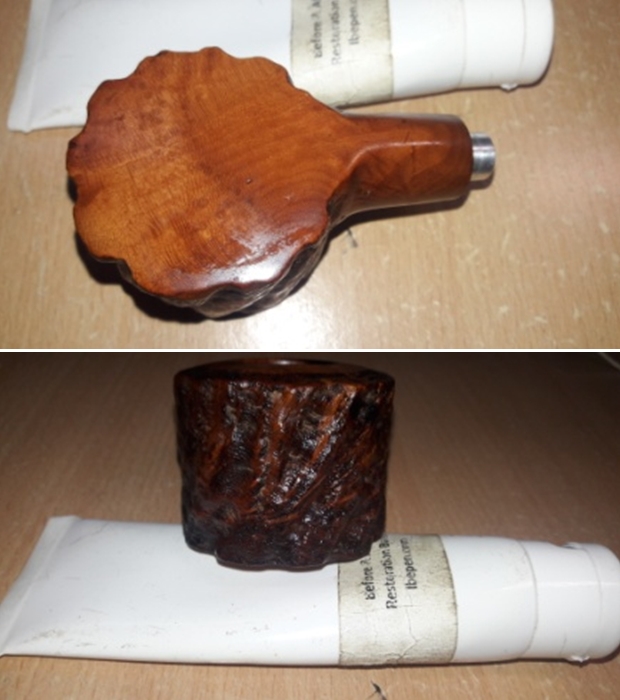
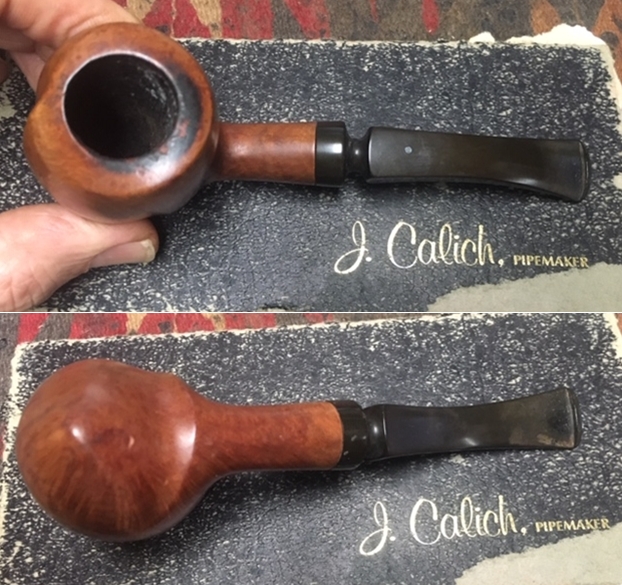
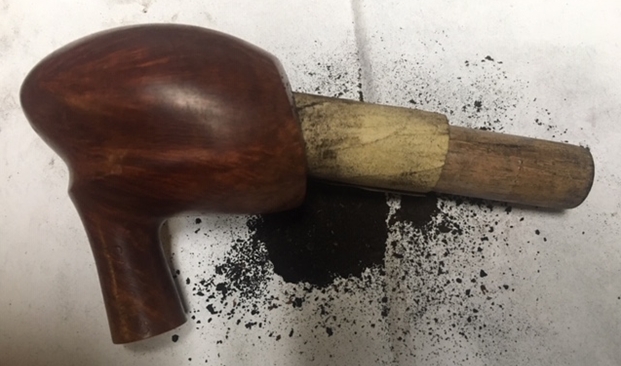
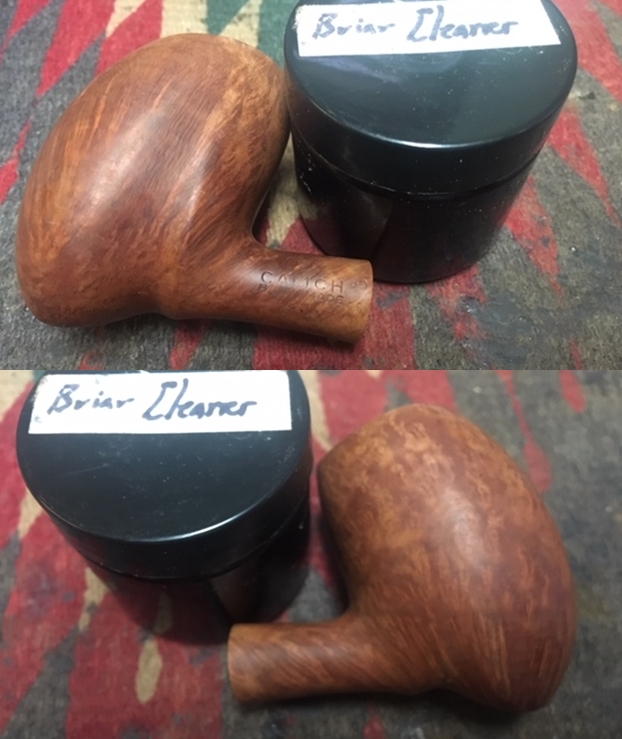
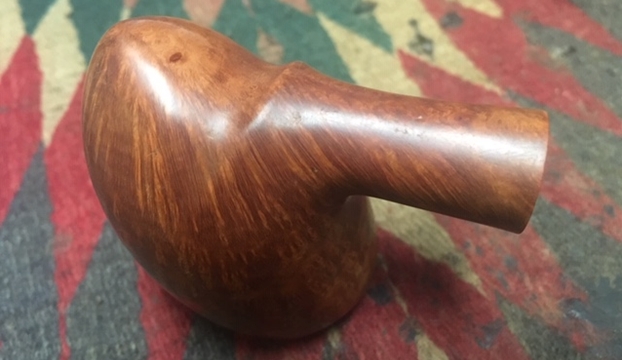
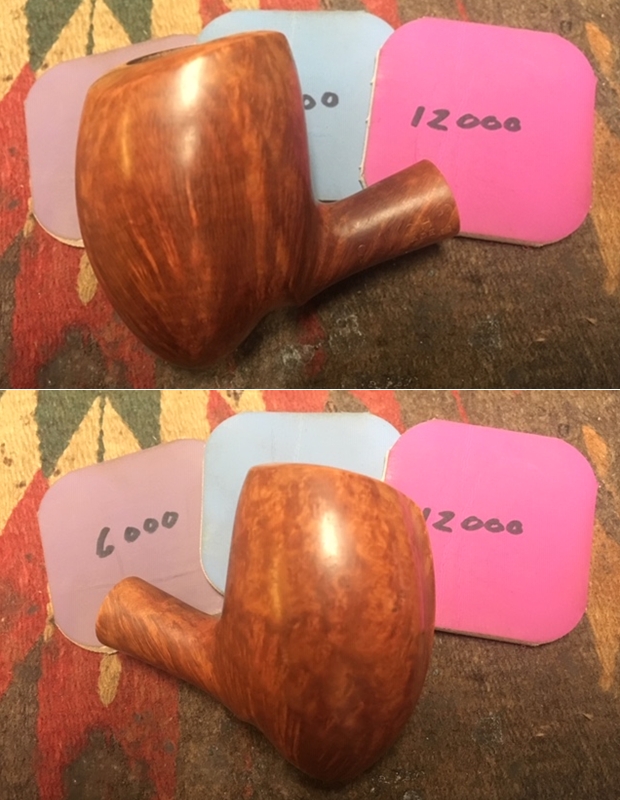
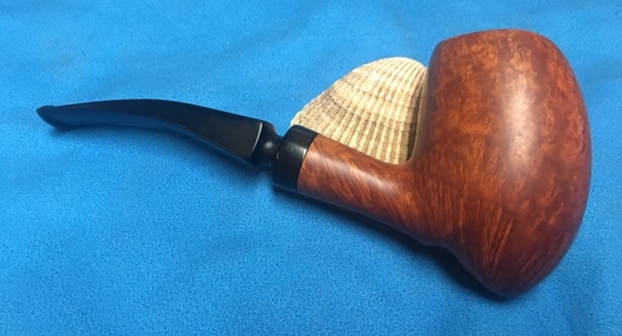
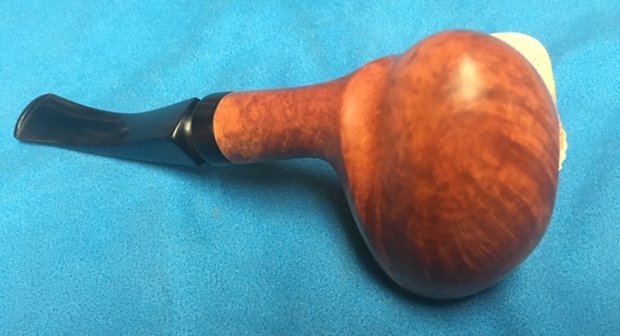
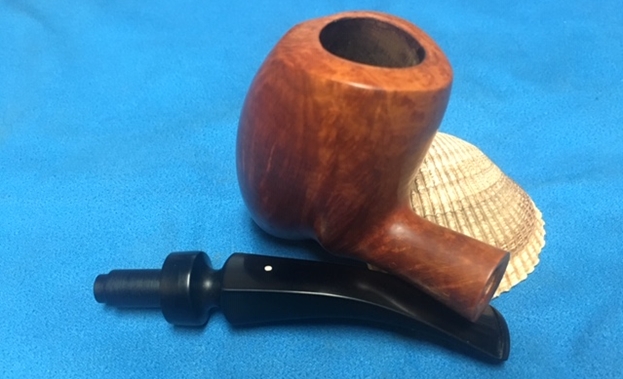
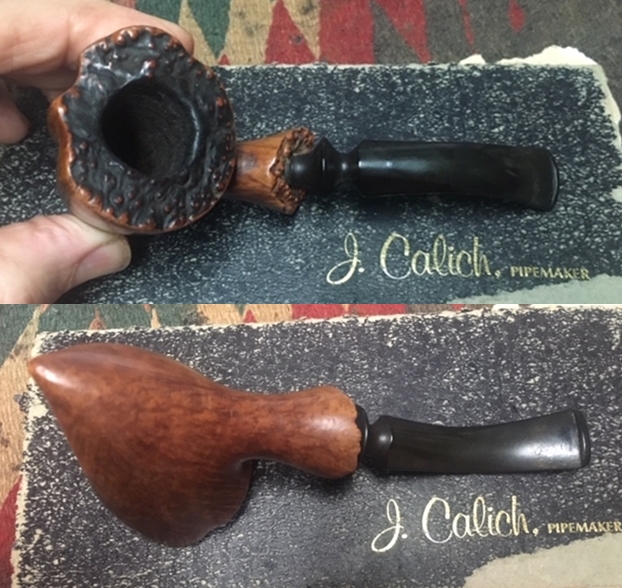
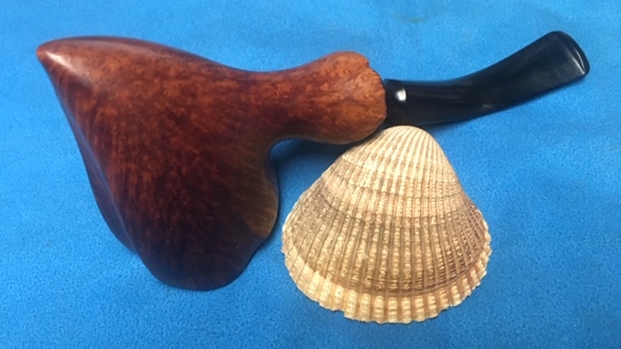
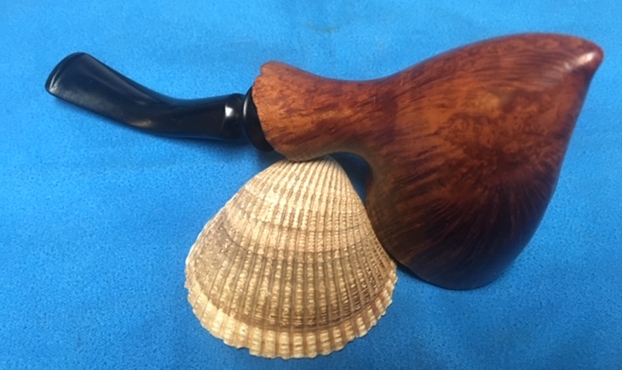
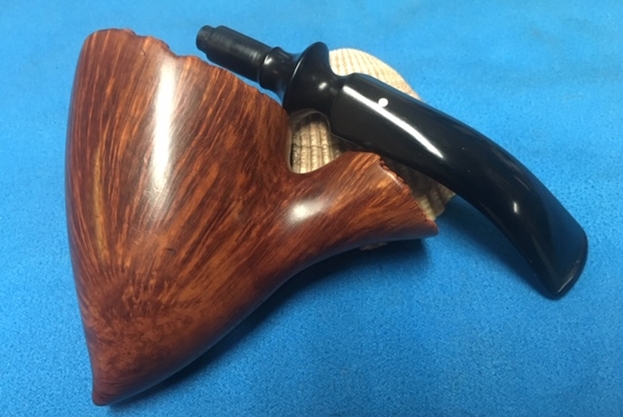
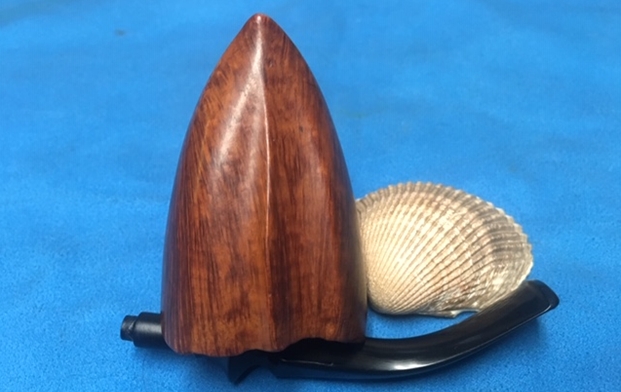
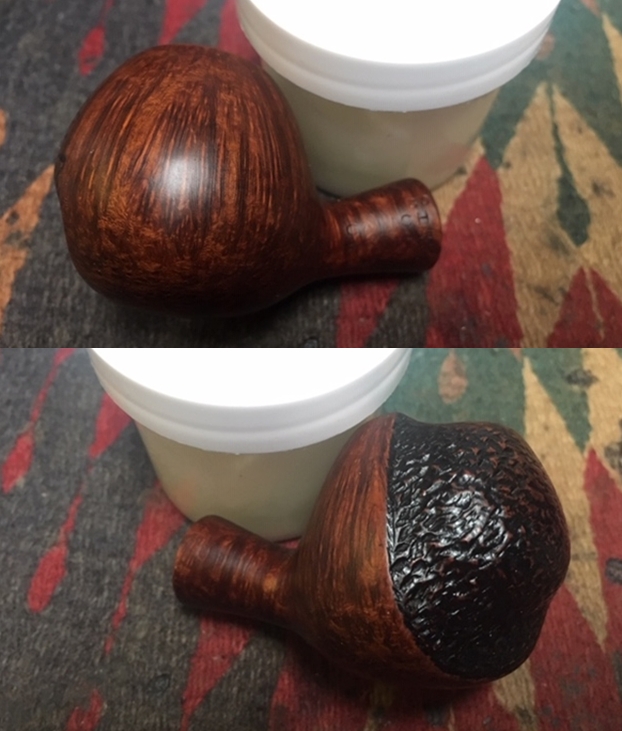
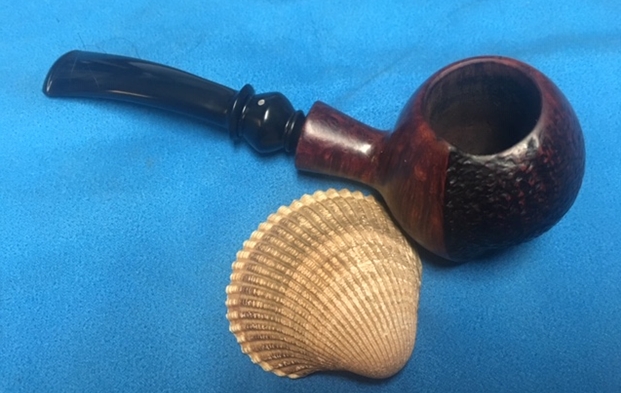
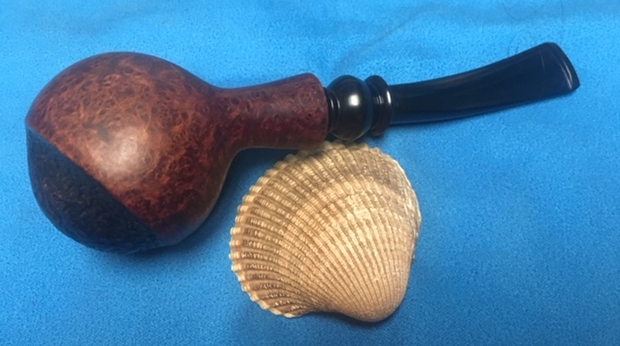
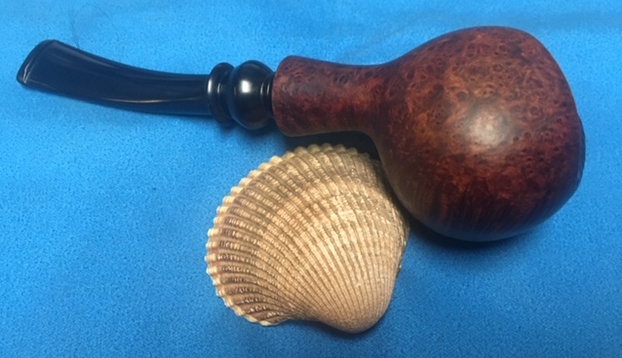
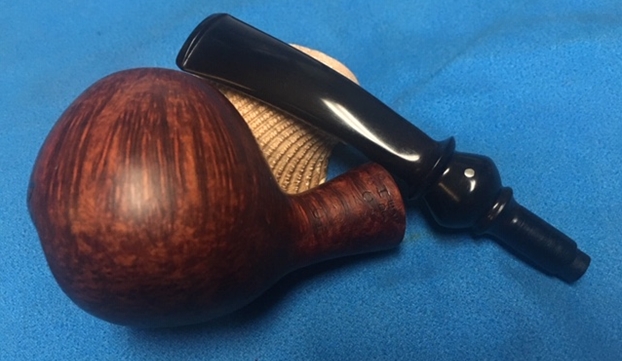
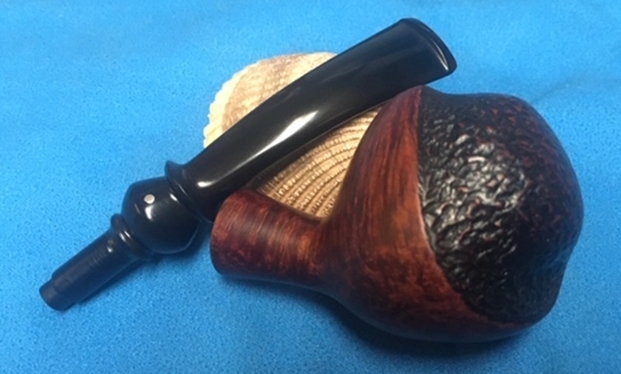
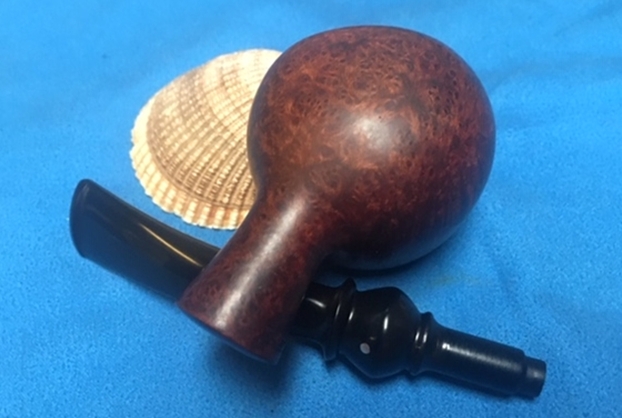
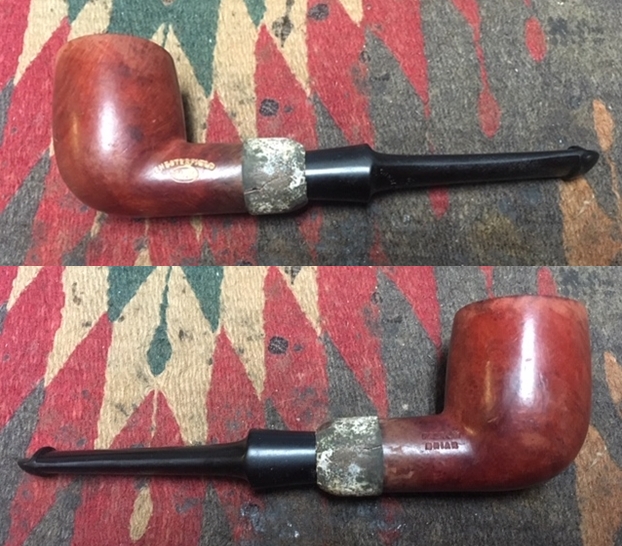
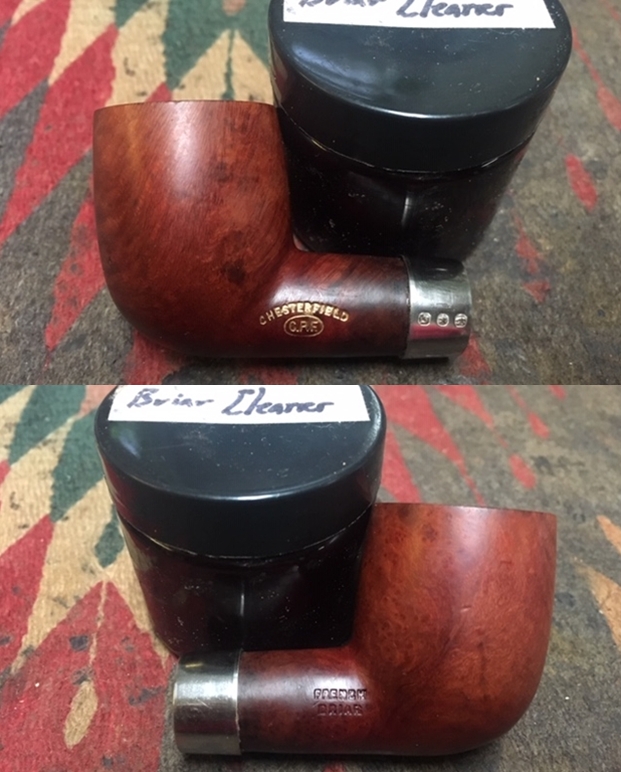
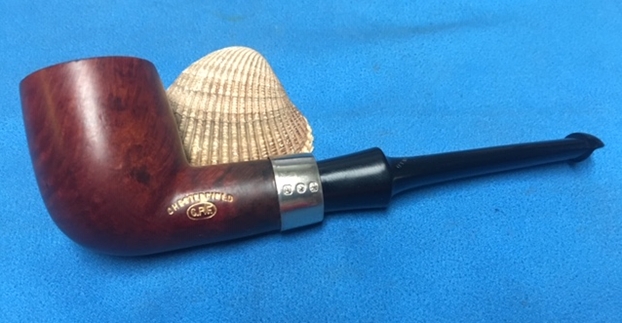
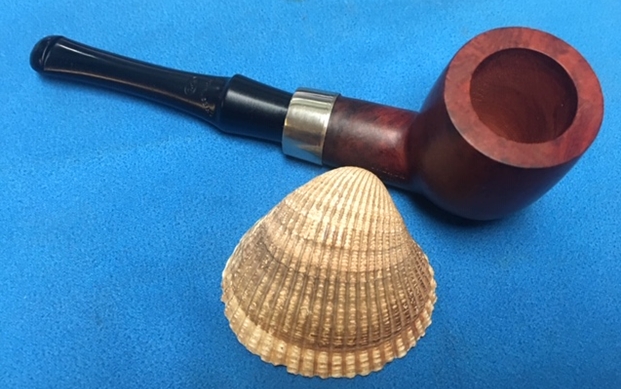
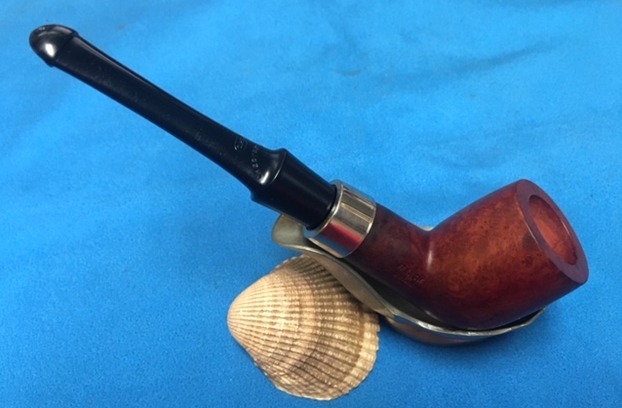
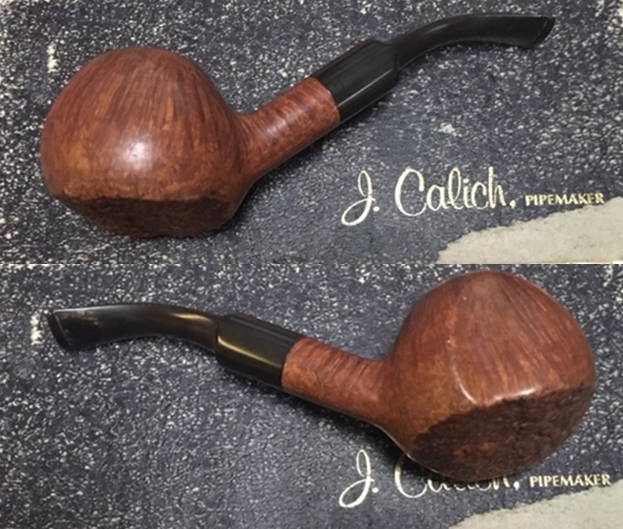
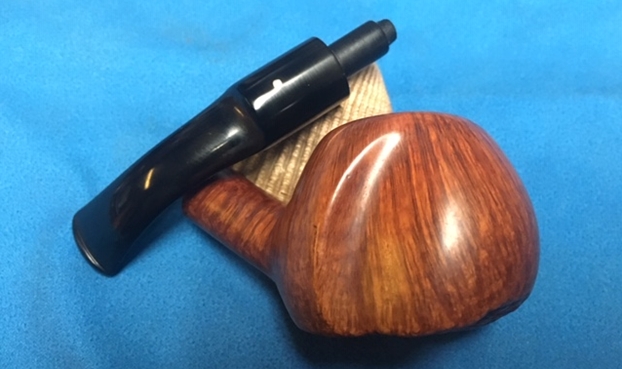
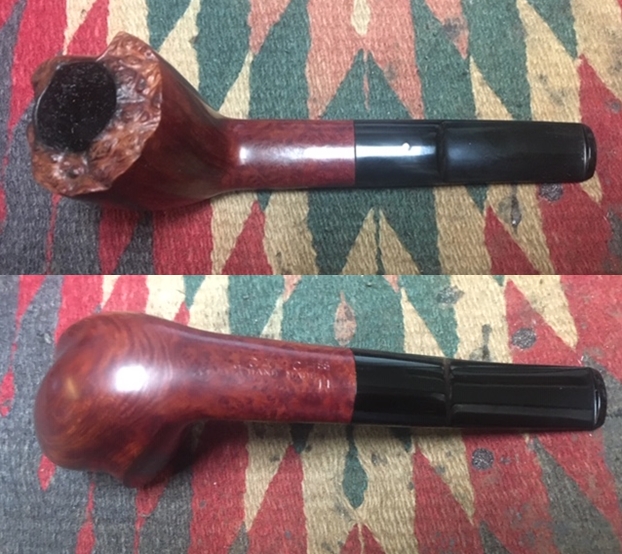
After I had finished the last of Ken Bennett’s estate Calich pipes my friend Alex sent me an email about a Calich oval shank canted Dublin that he thought would be a good match to the Calich pipes from Ken’s estate. Last week we got together for a visit and so that he could drop off some pipes for me to work on and some pipes that he wanted to trade. The Calich was one of them. This pipe had a classic Calich look to it. There was a grooved channel on the front and on the right side of the bowl – kind of a fluted look. The finish was dull and would need to be buffed to polish it. The shape of the bowl followed the beautiful grain of the briar – flame and straight grain around the bowl and some swirls and birdseye as well. The rim top was plateau and canted toward the front. The smooth bowl seemed to have medium brown stain that made the grain pop. Over time John’s pipes take on a rich patina. The bowl had a light cake in it and there was some darkening on front and back side of the plateau rim top. Otherwise the rim top and edges of the bowl looked to be in excellent condition. The stamping on the underside of the shank read G followed by CALICH over Hand Made. After that stamping there was a superscript 88 stamped (year it was carved) with a subscript 11 which was the grade number. The stem has a single metal dot in the top of the saddle. There were some light tooth marks on both sides of the stem on both sides near the button. The shank and stem were dirty inside. 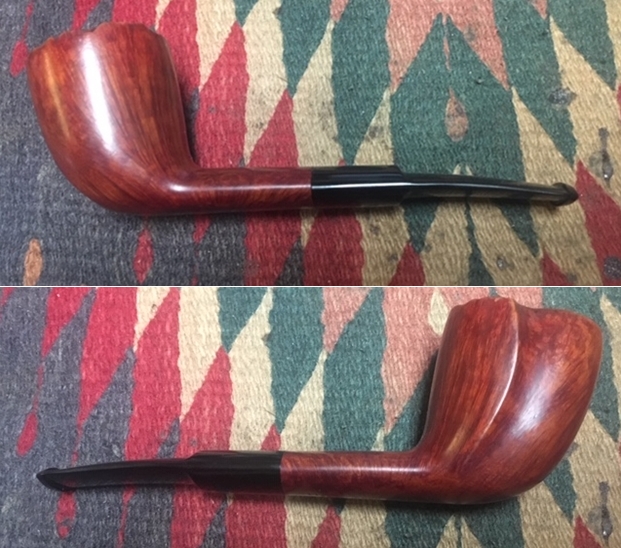
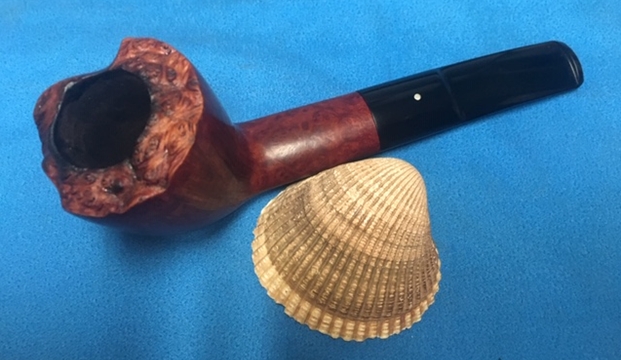
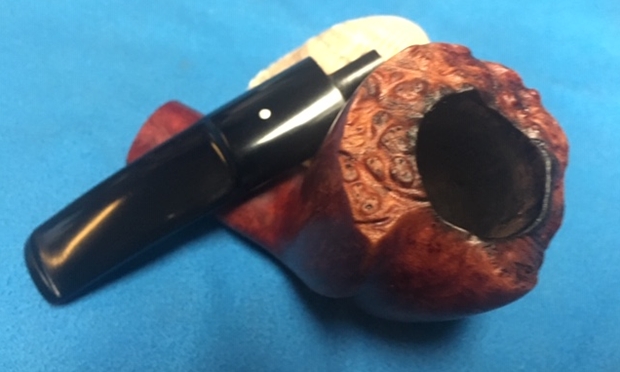
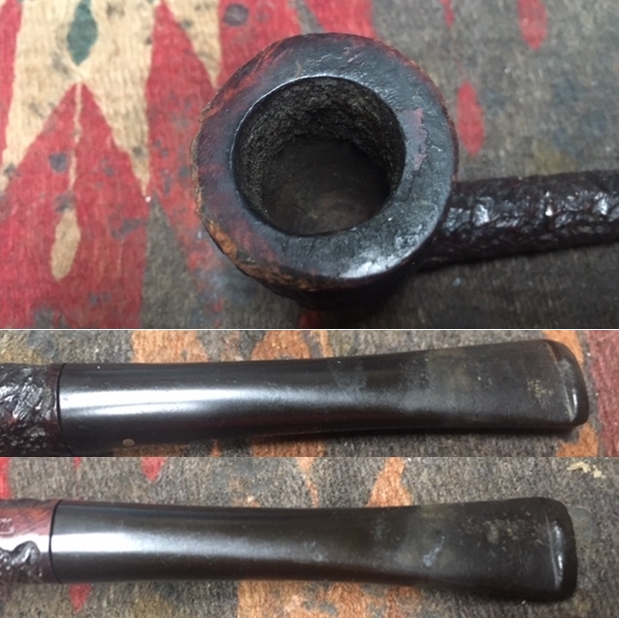
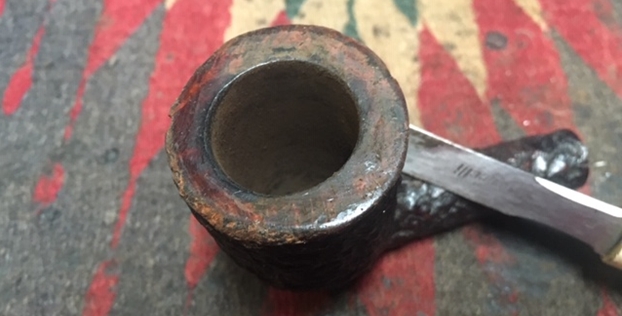
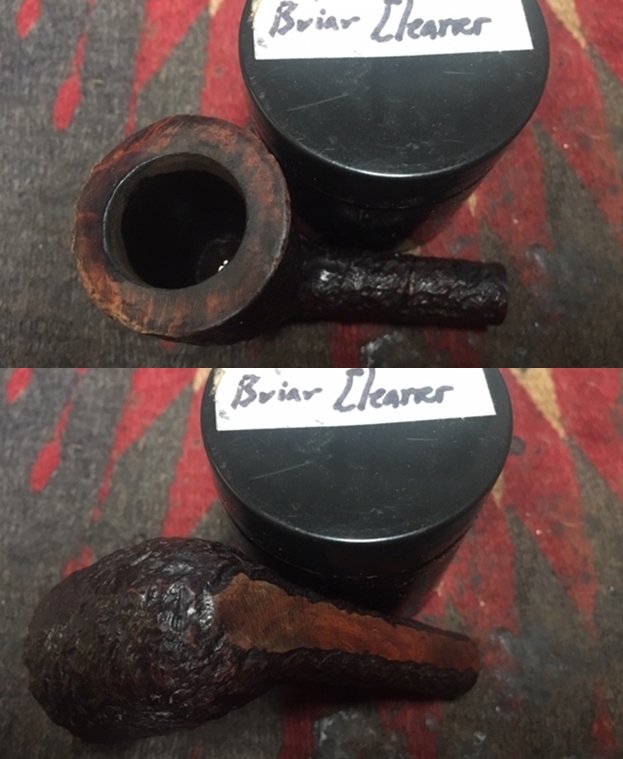
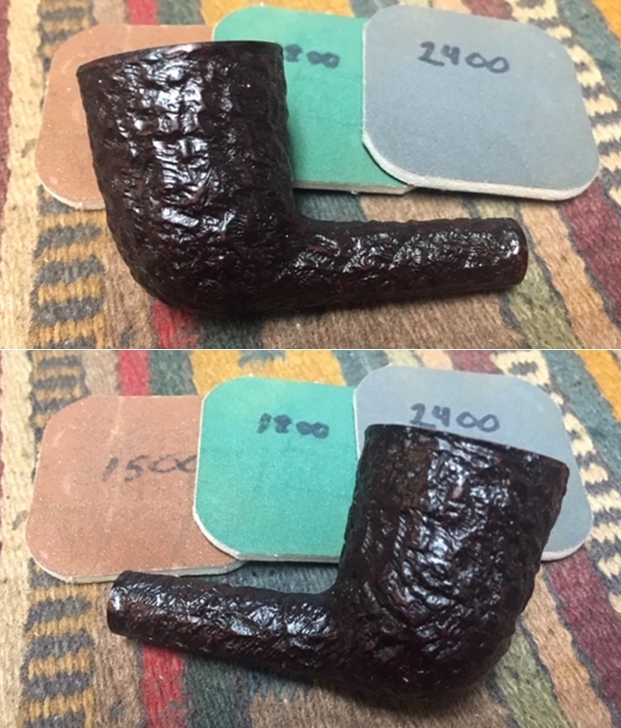
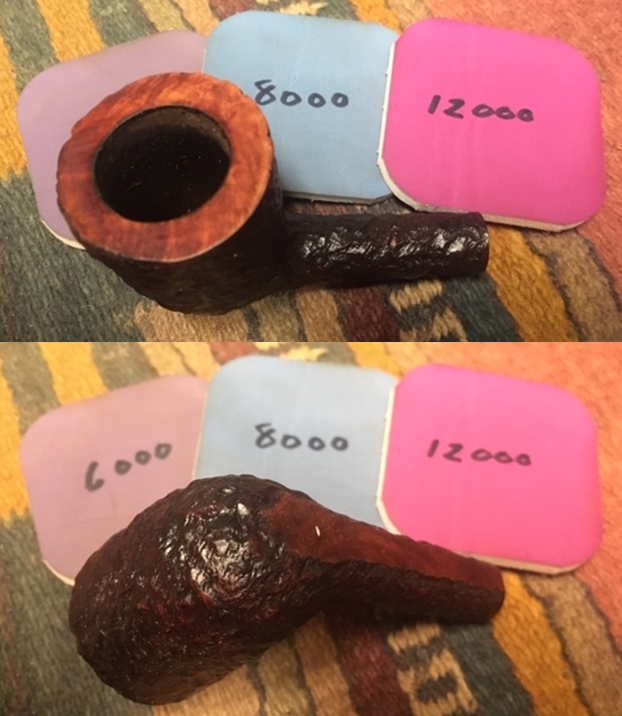
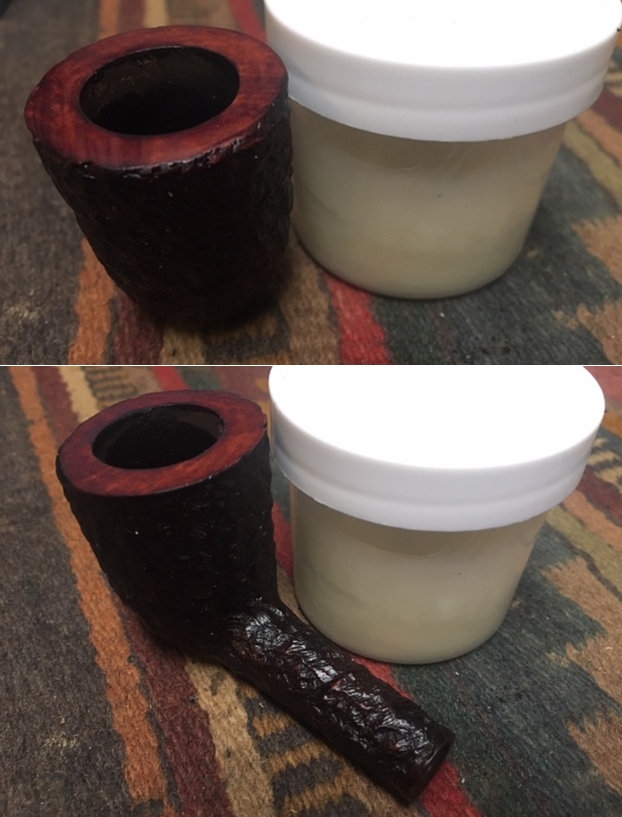
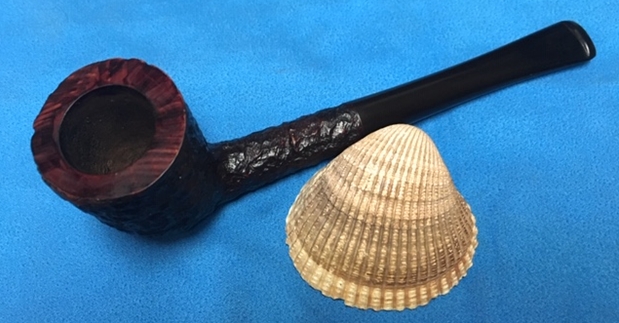
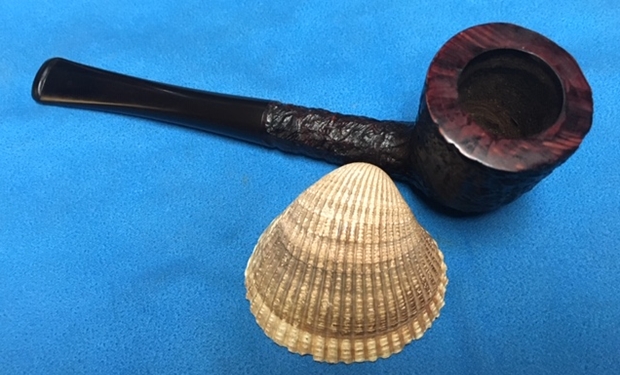
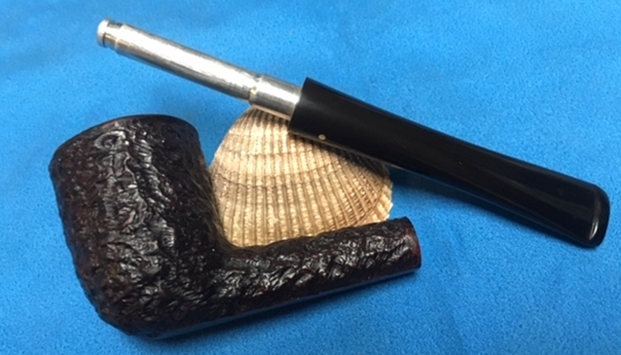
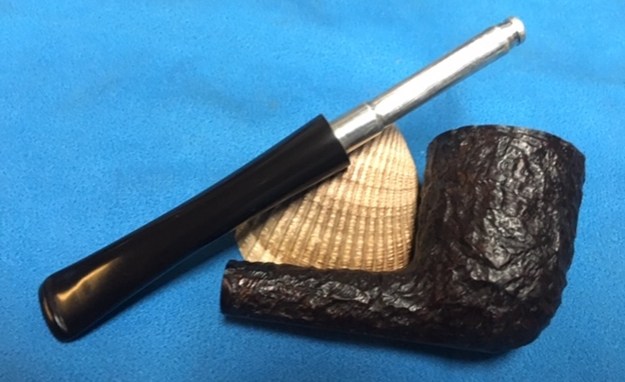
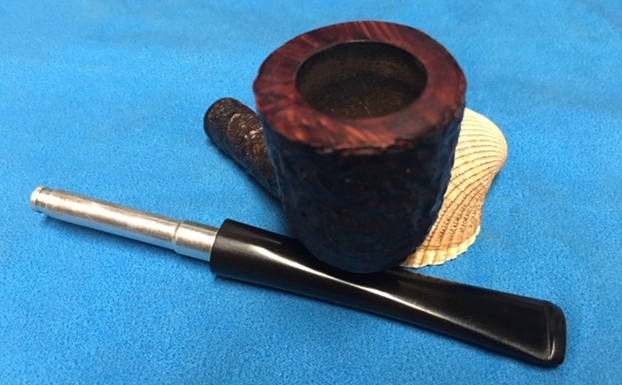
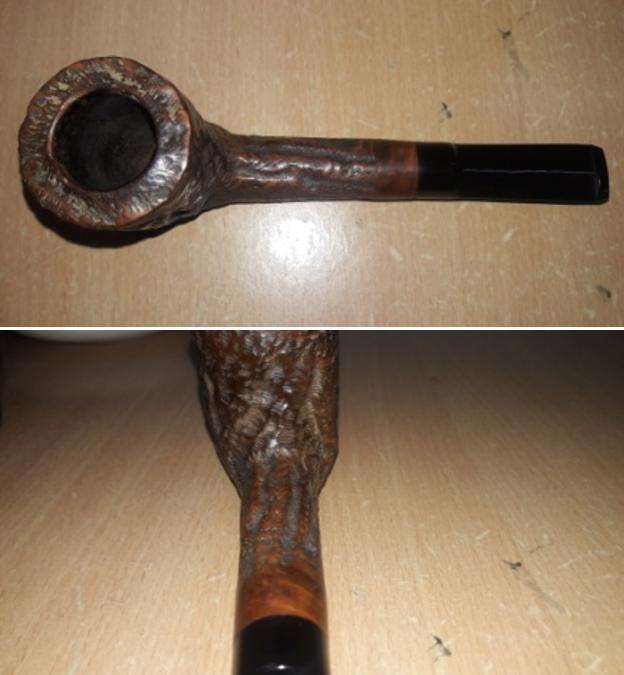
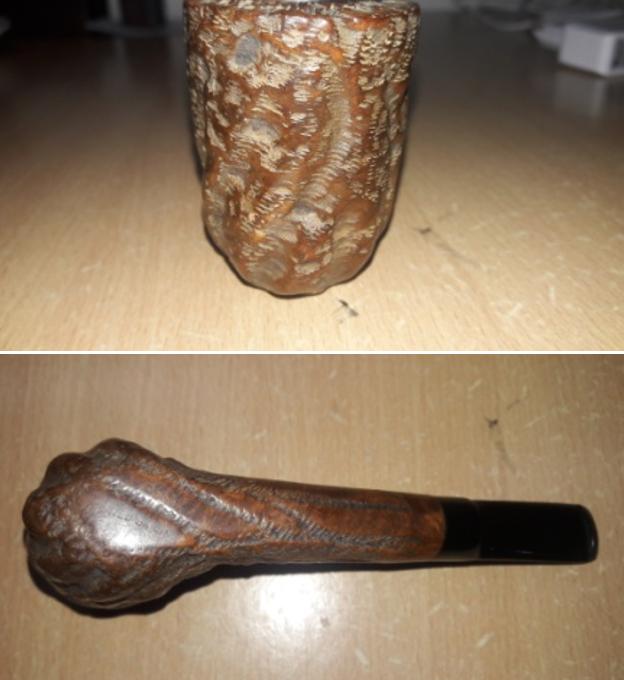
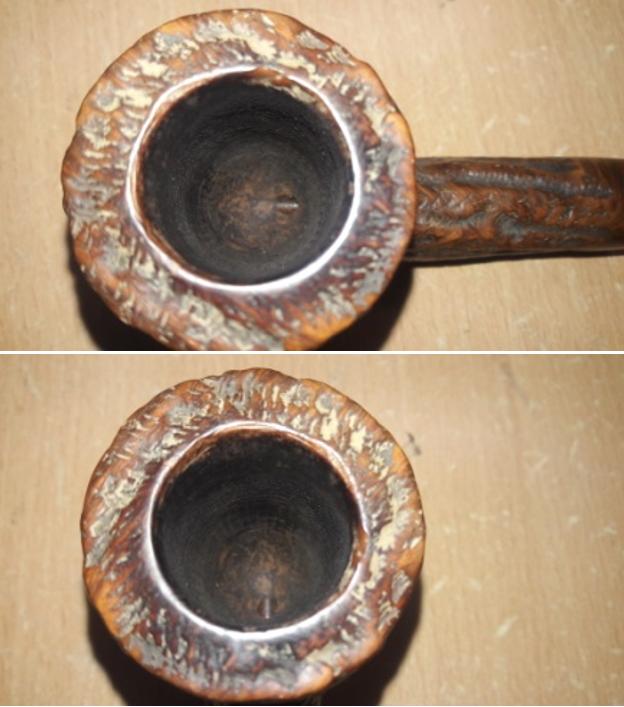
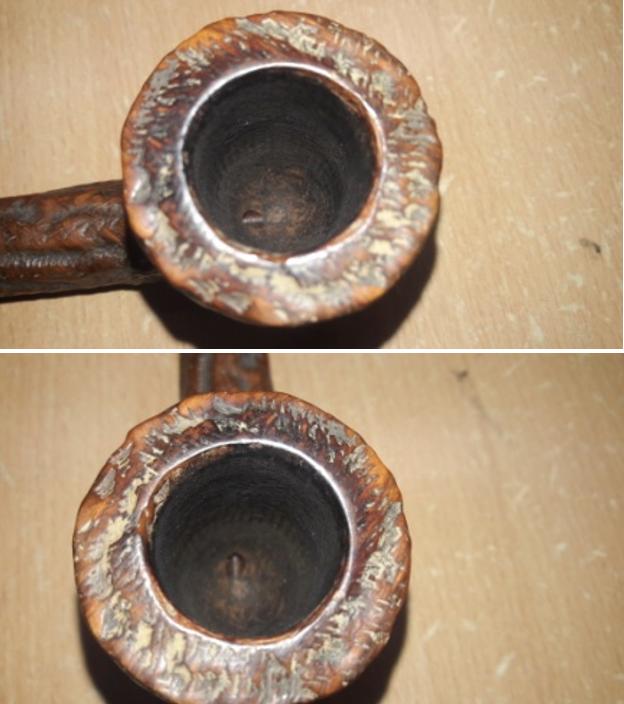
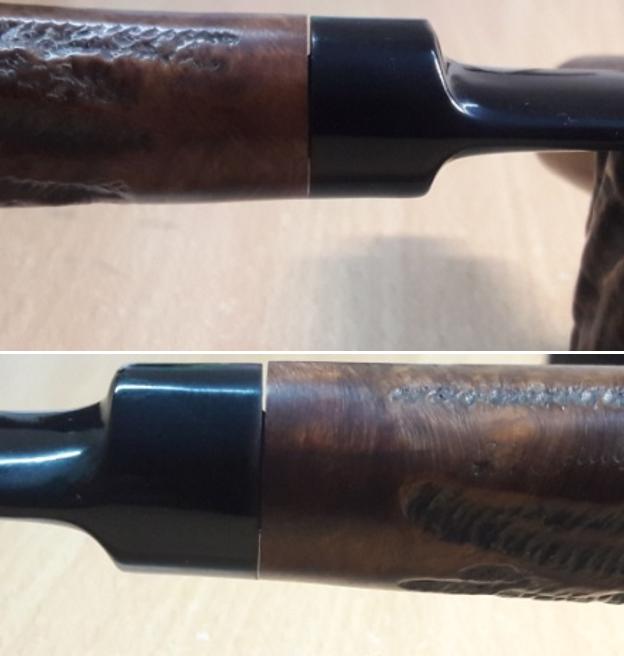
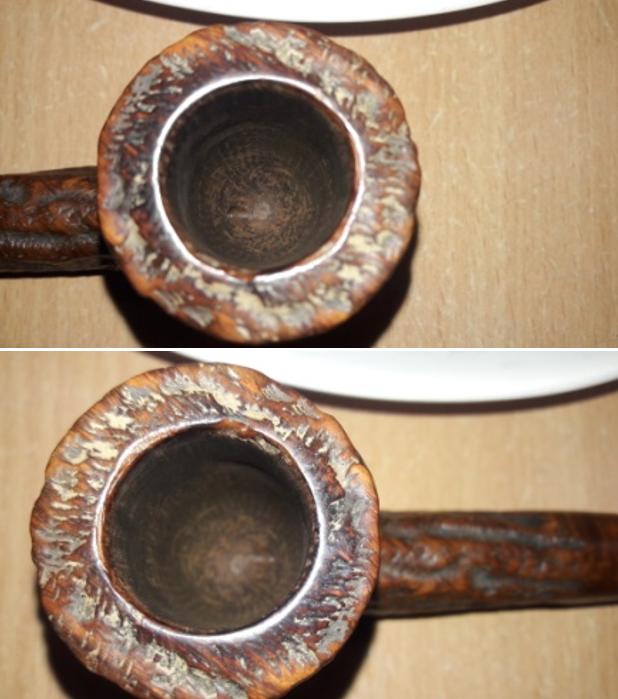
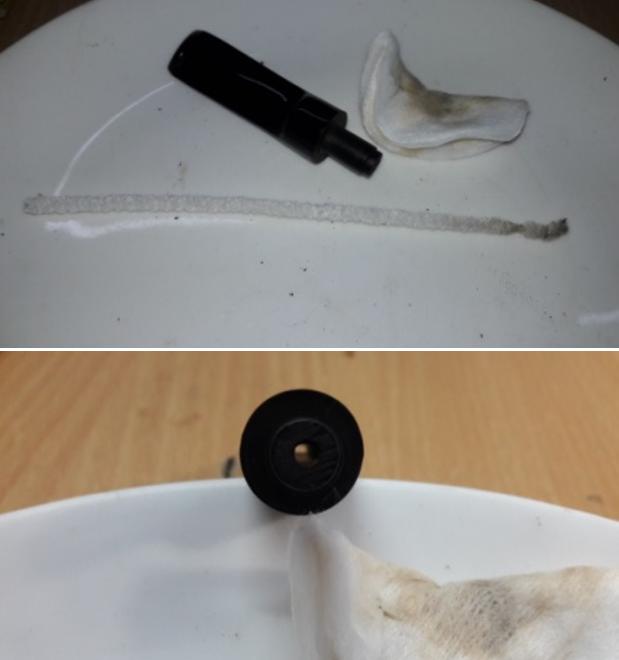
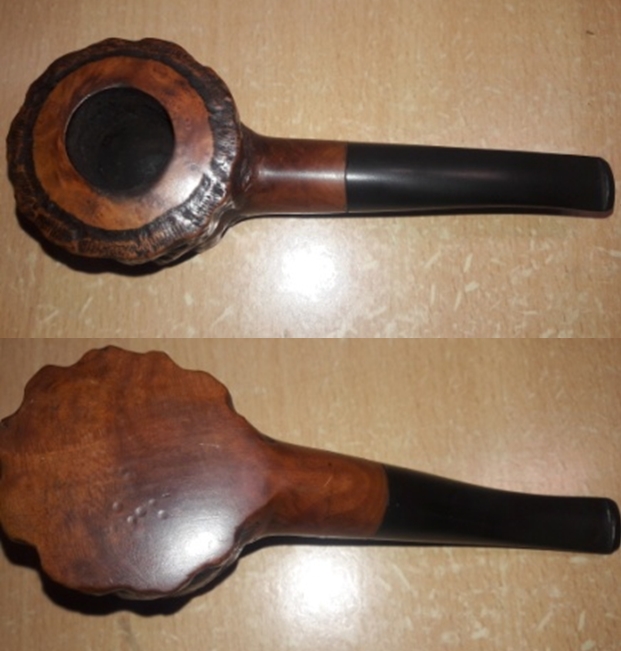
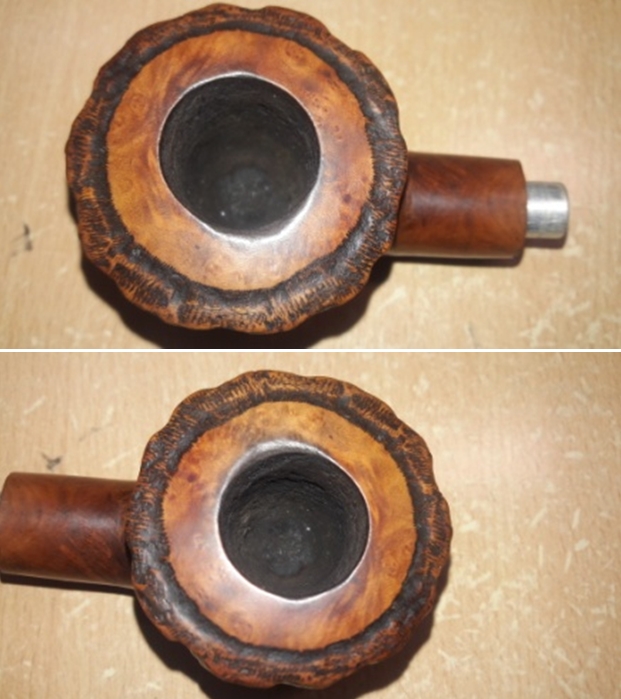
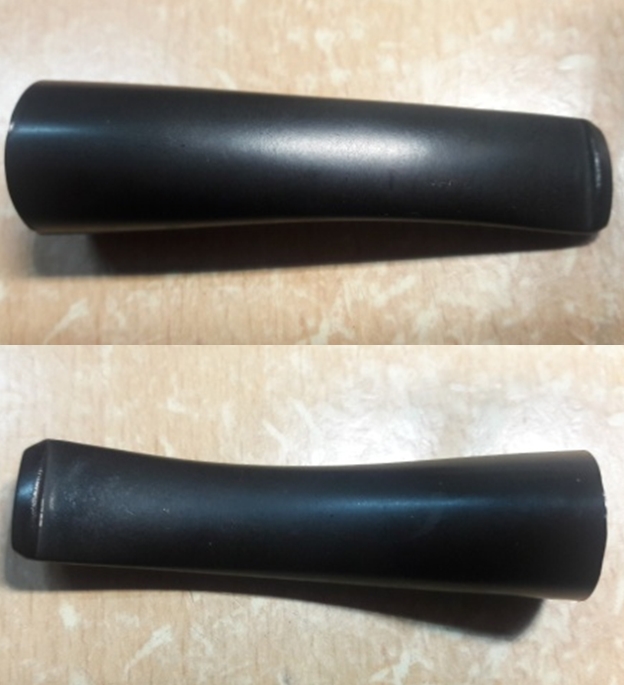
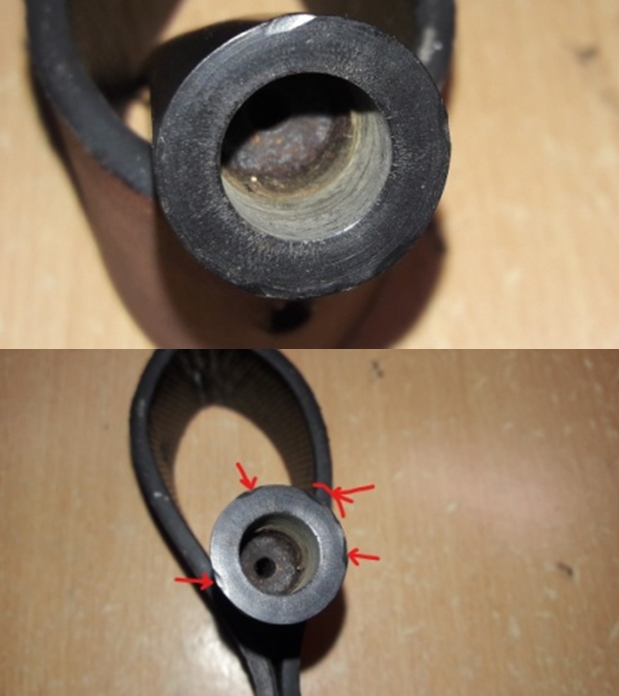
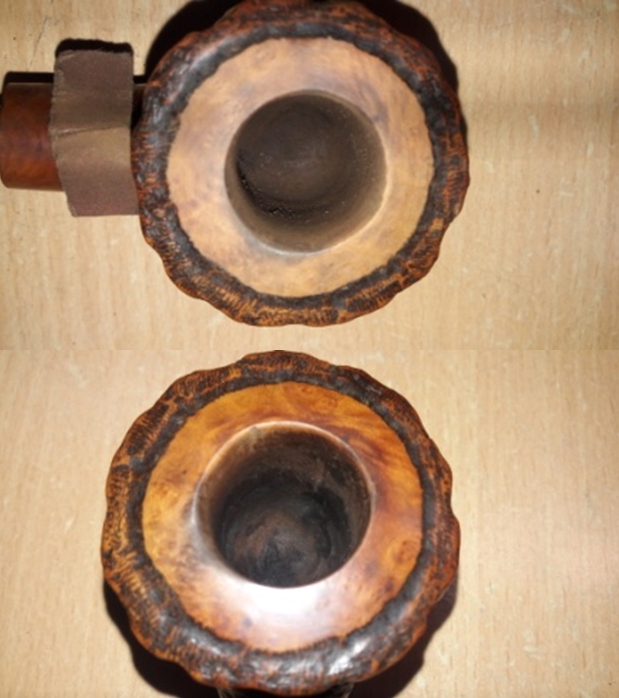
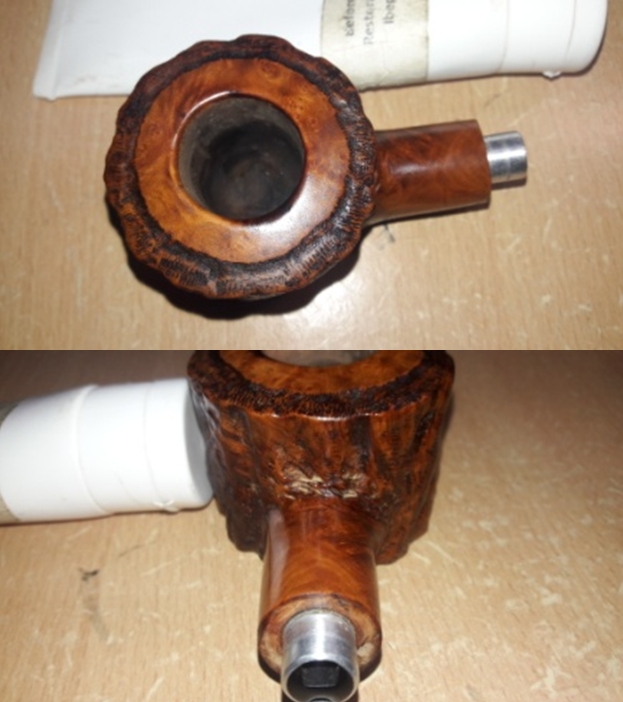
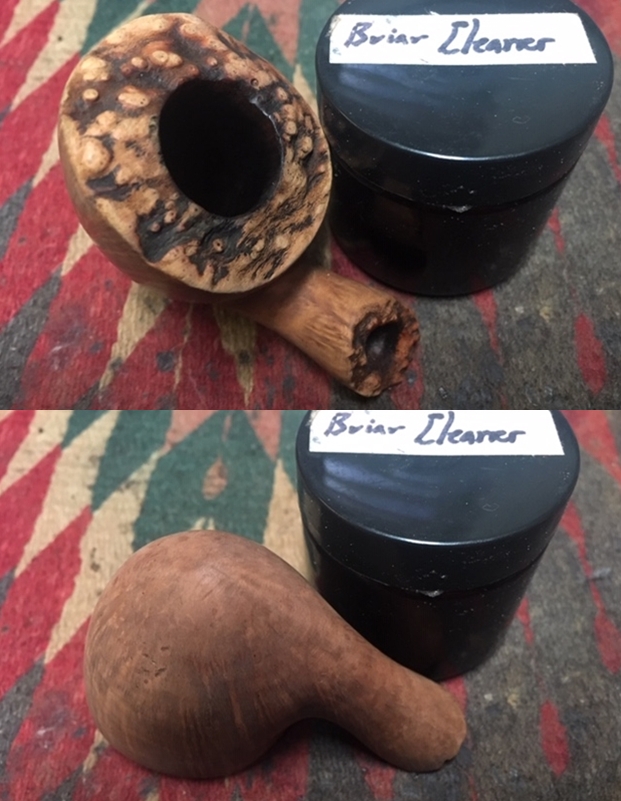
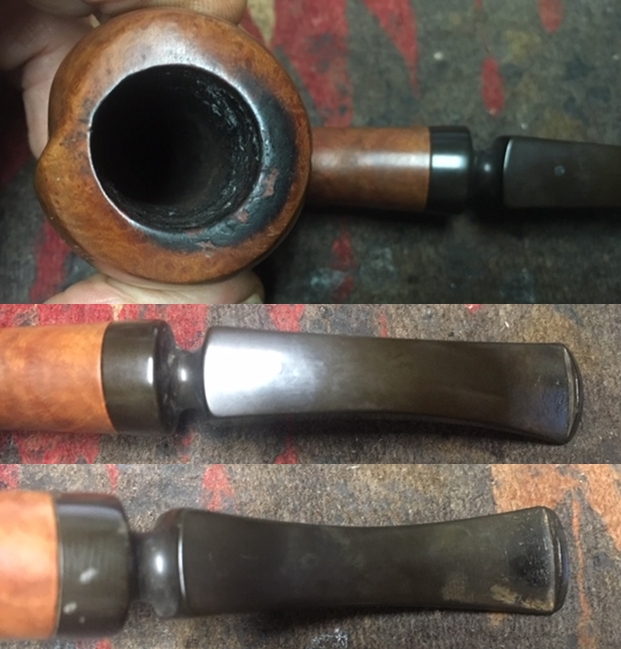
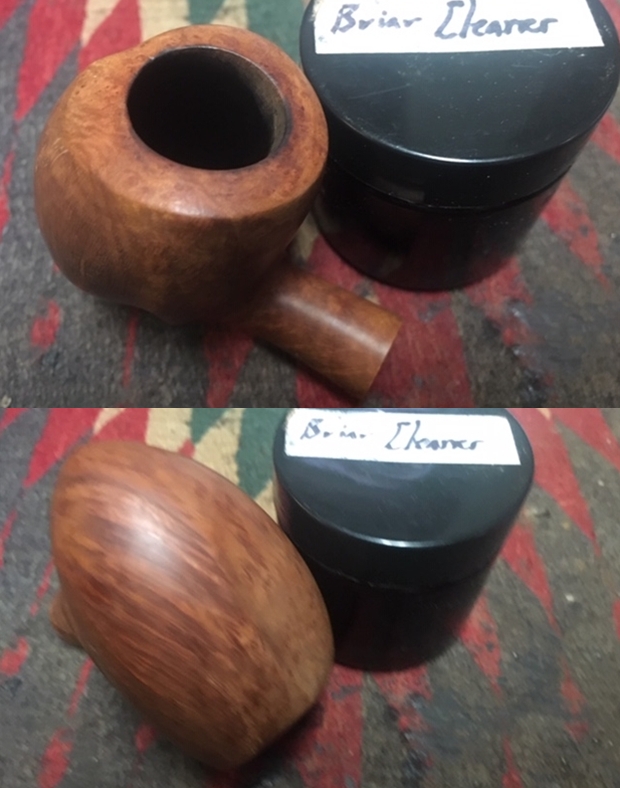
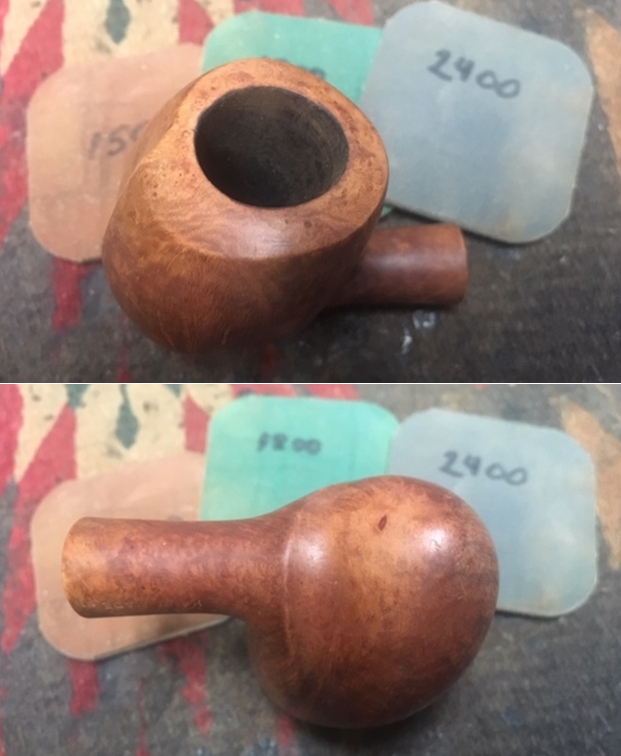
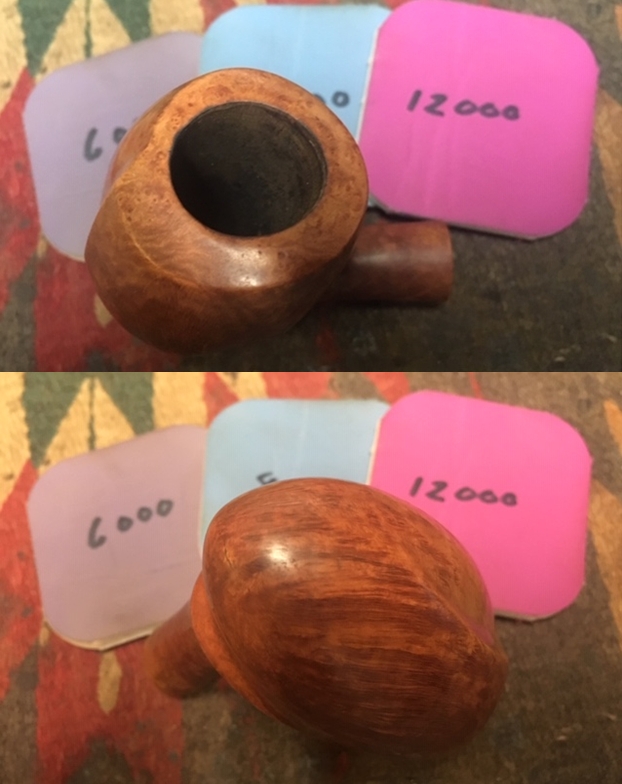
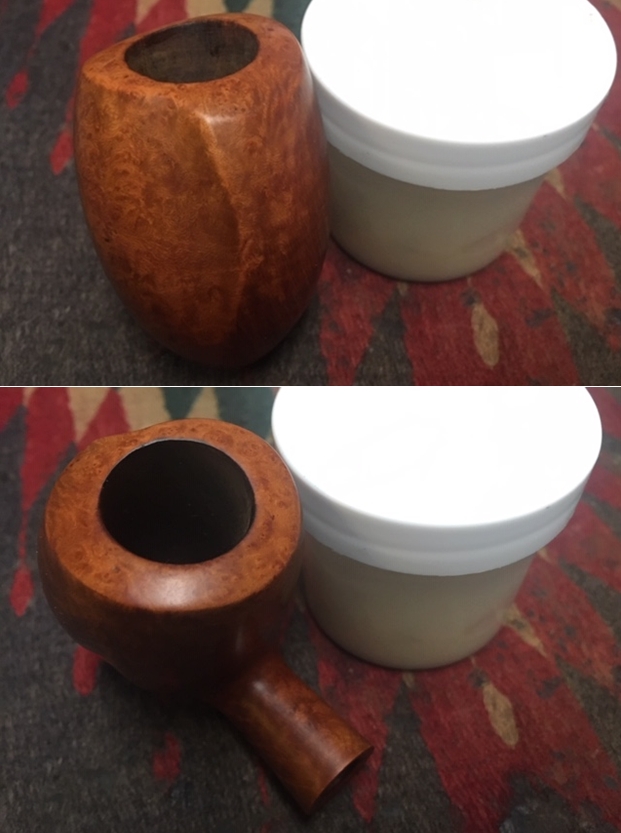
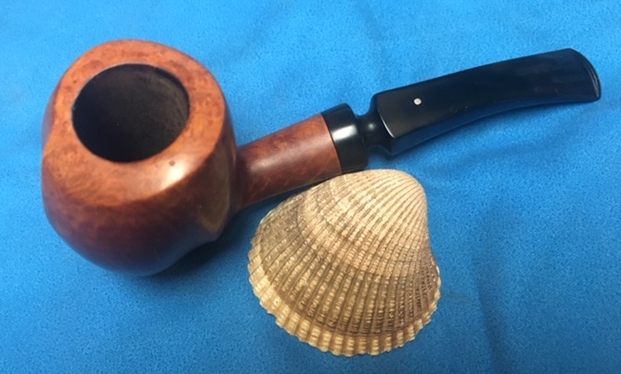
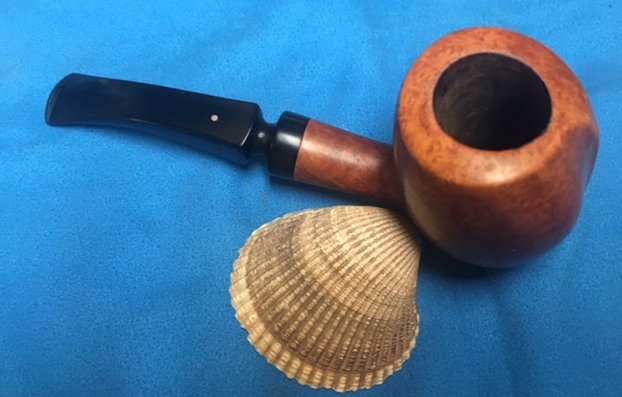
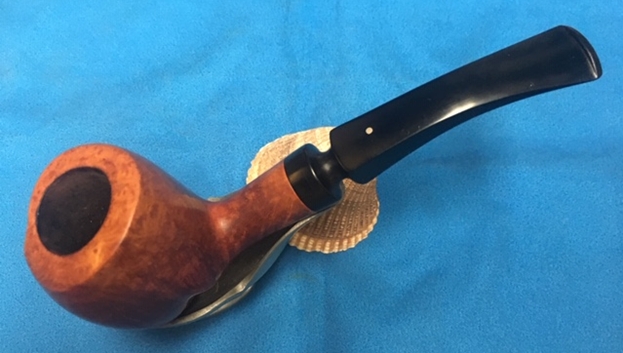
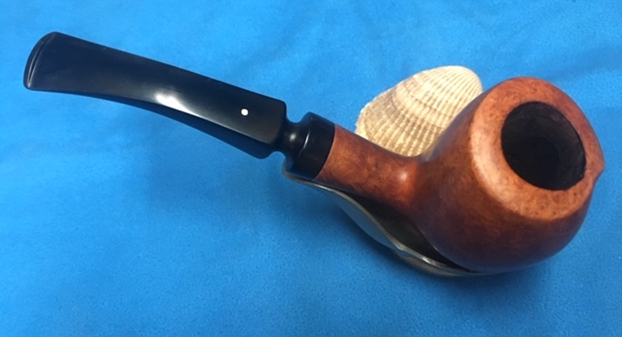
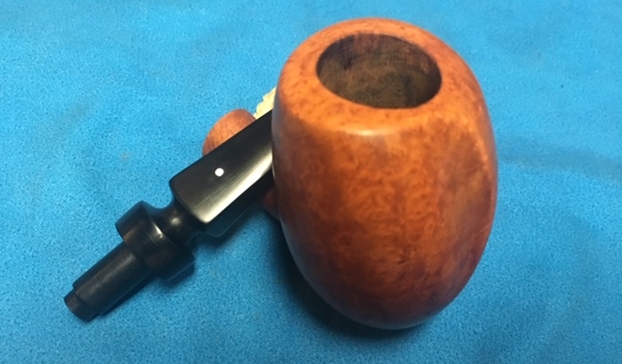
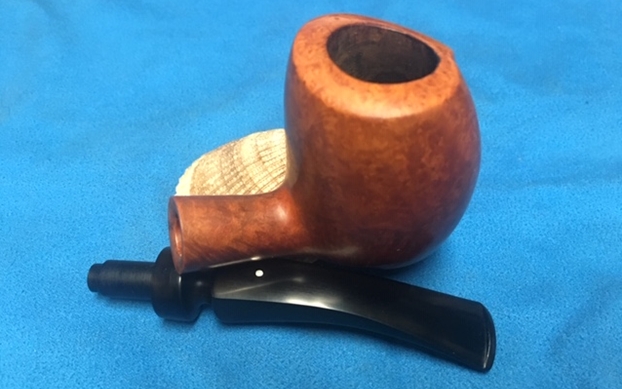
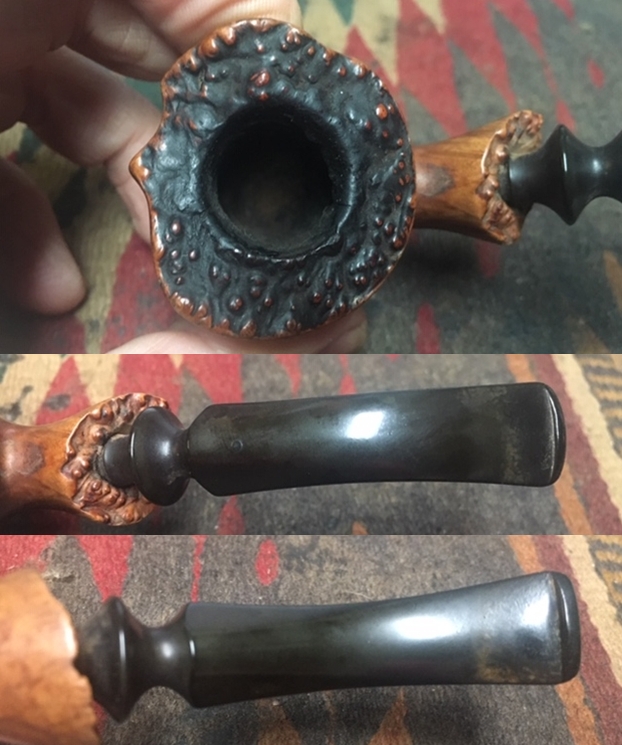
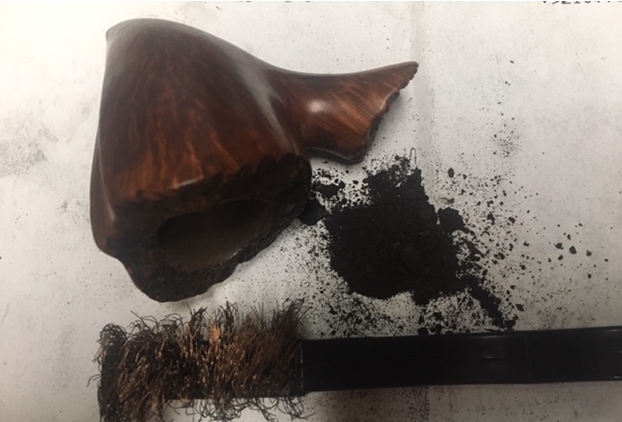
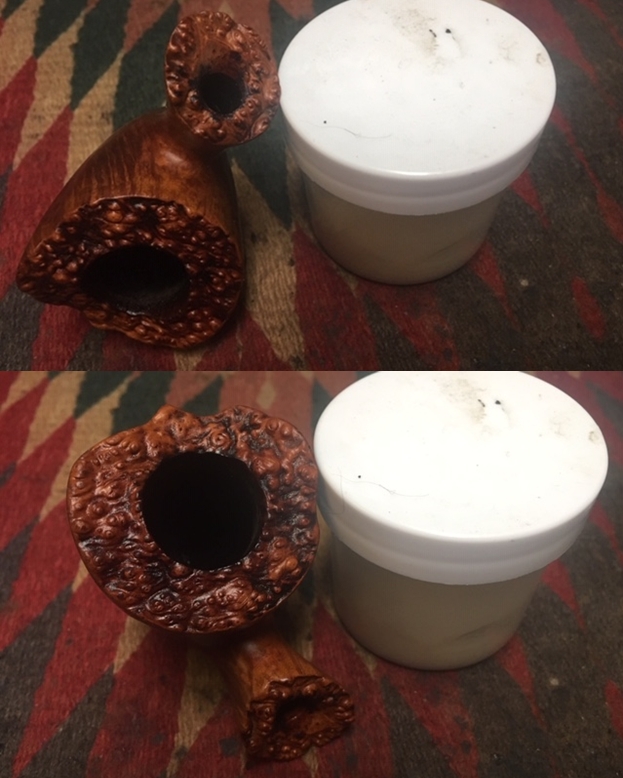
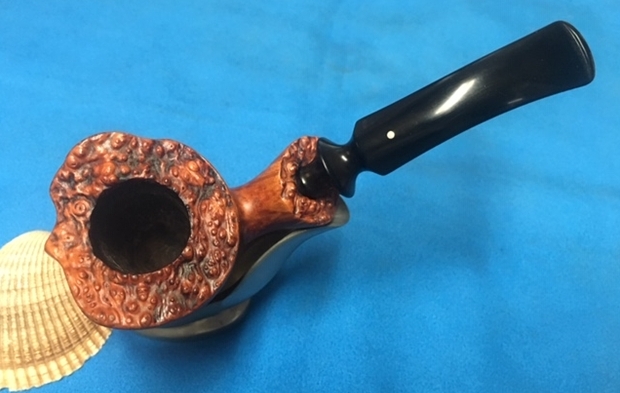
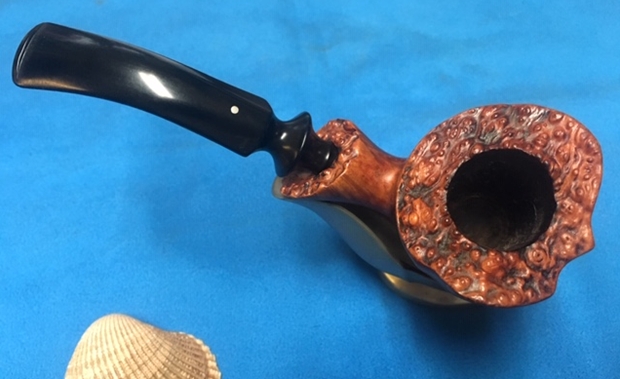
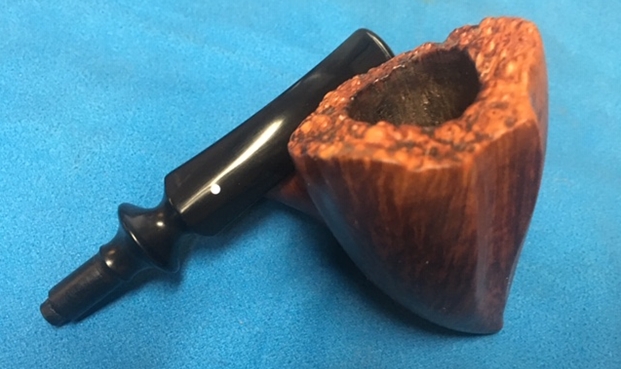
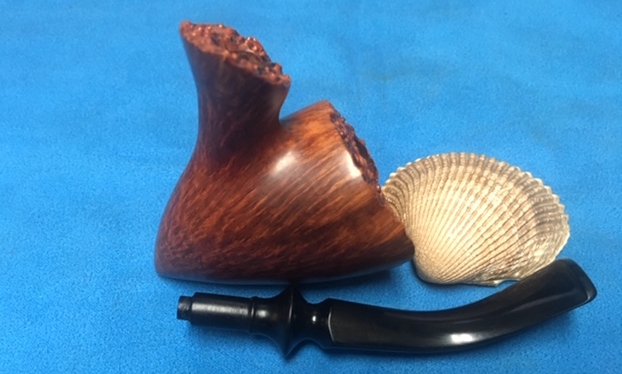
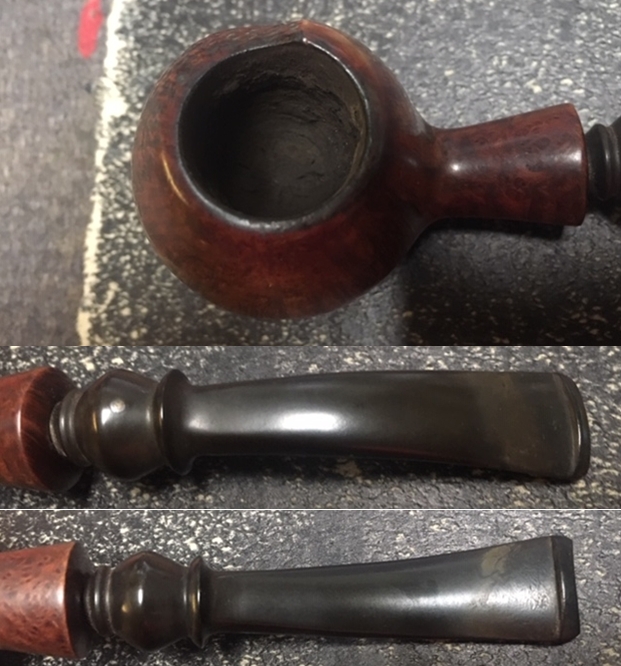
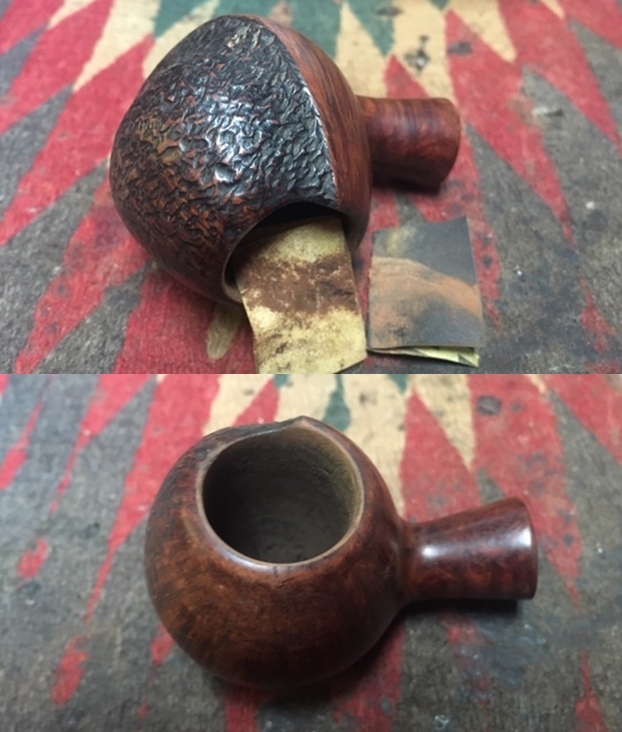
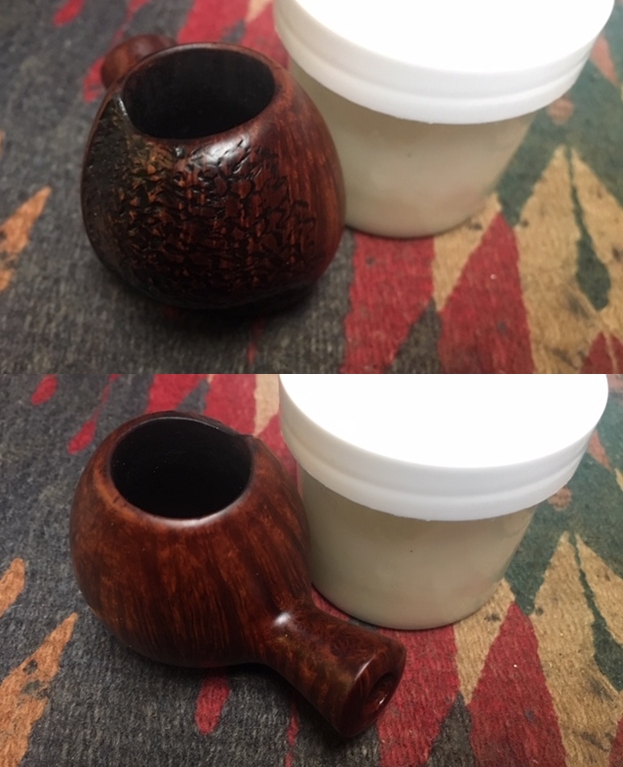
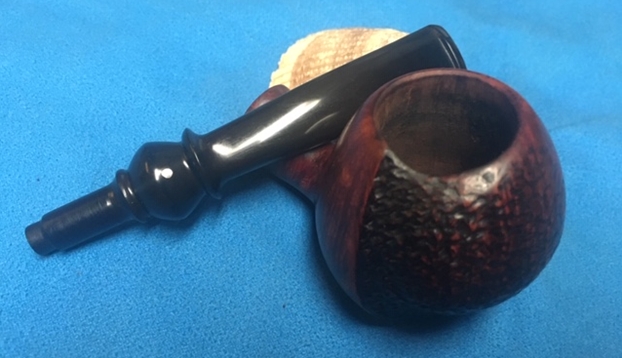
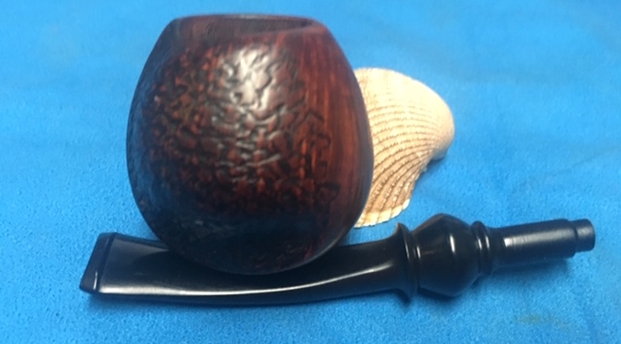
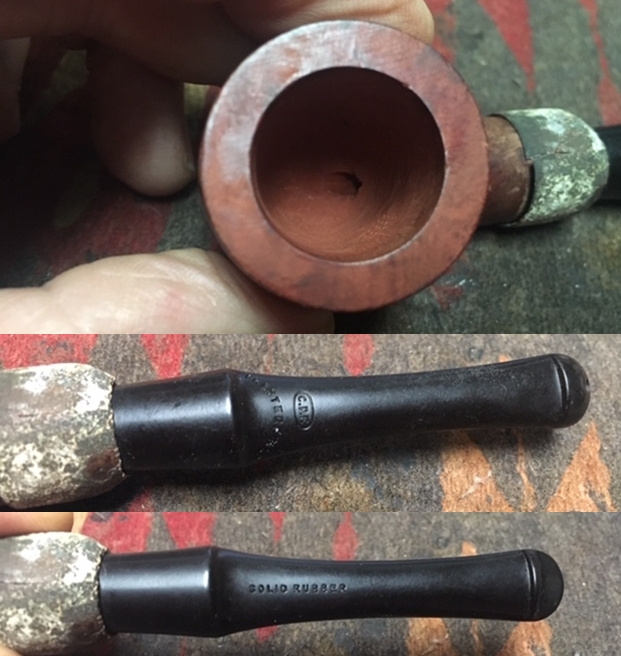
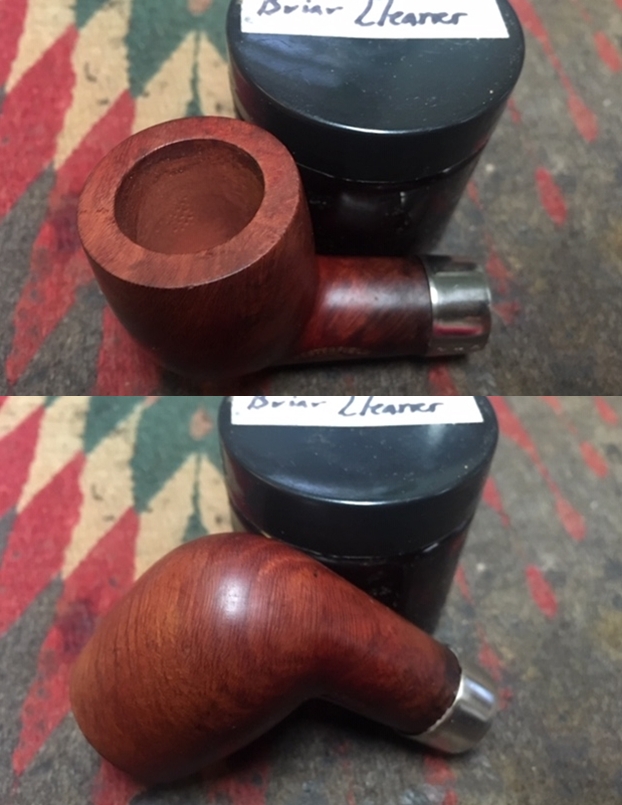
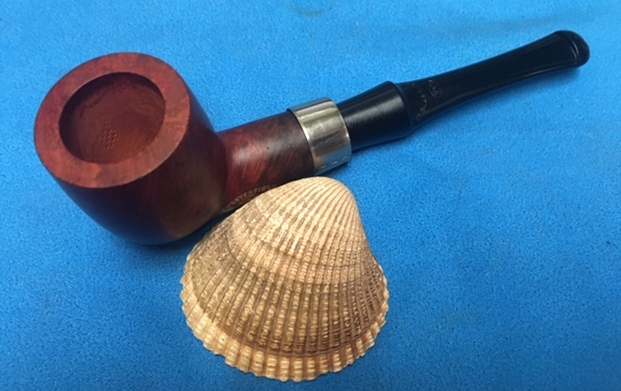
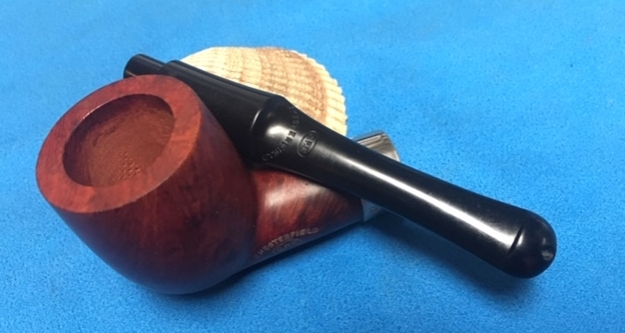
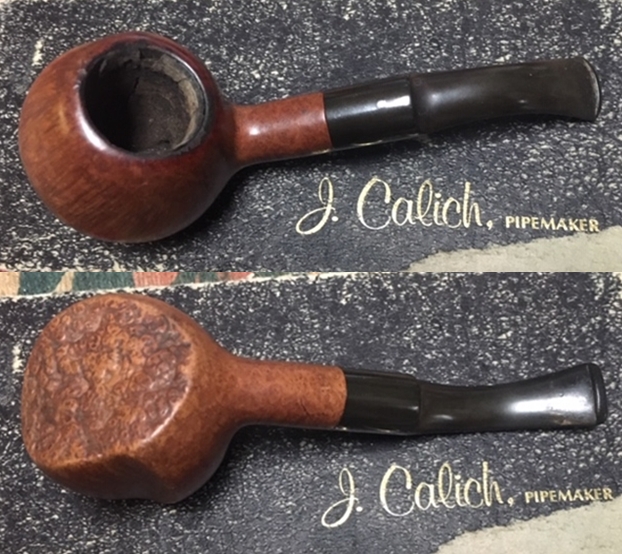
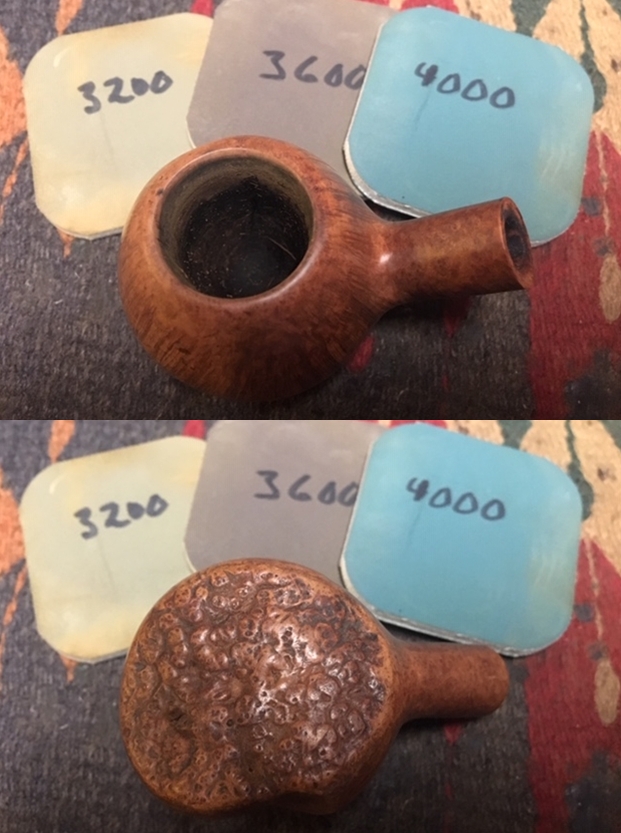
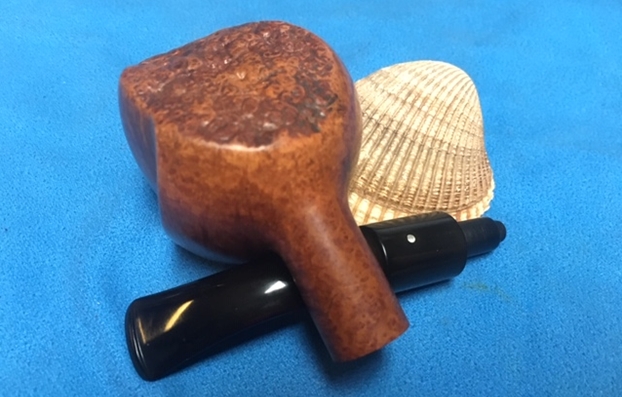
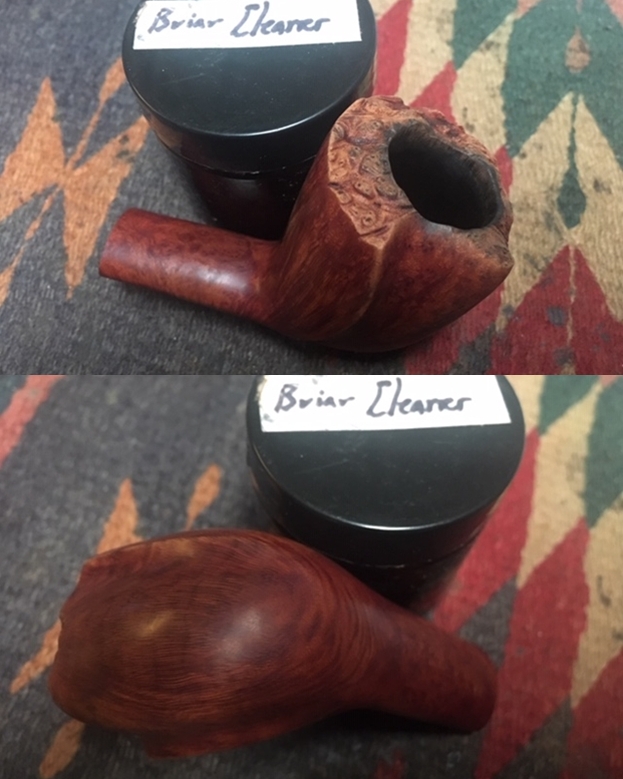
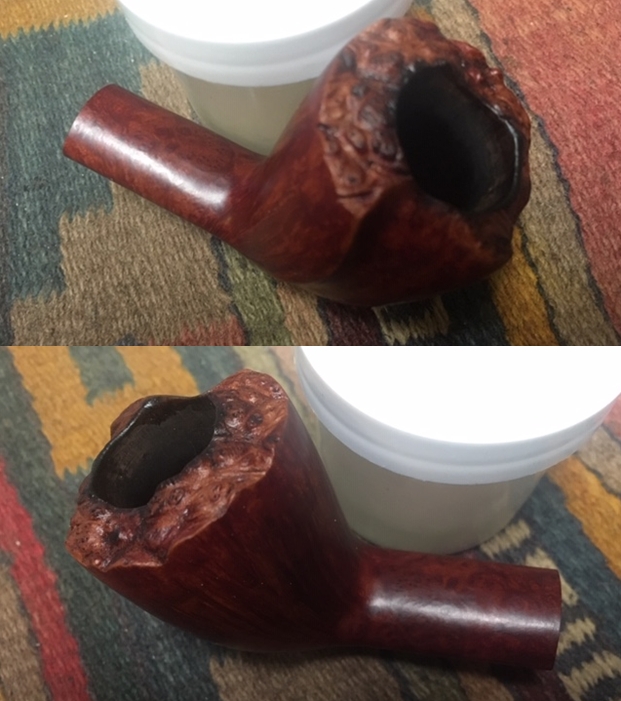
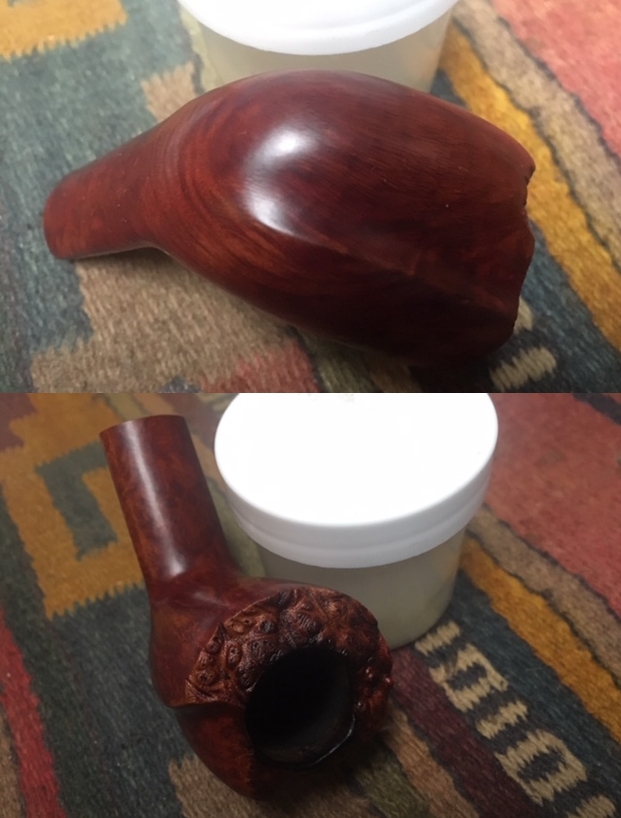
 I took a photo of the bowl and rim top to show the cake in the bowl and the darkening and light lava on the inner edge of the rim top. The cake was thin along the edges of the bowl but hopefully it had protected the rim and edges from damage. Otherwise it looks pretty good. I also took photos of the stem to show the oxidation on both sides and the light tooth chatter on both sides near the button.
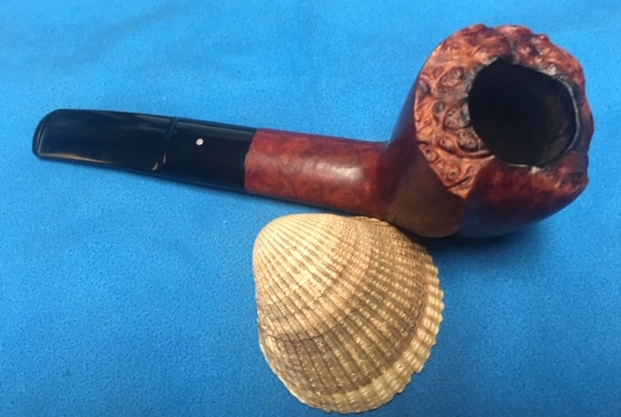
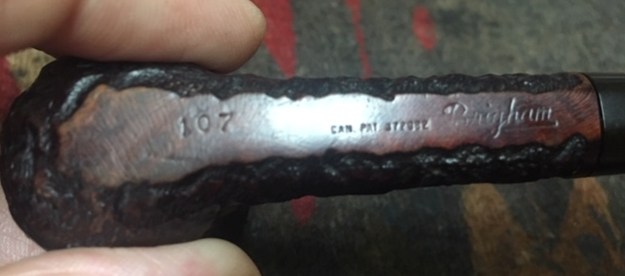
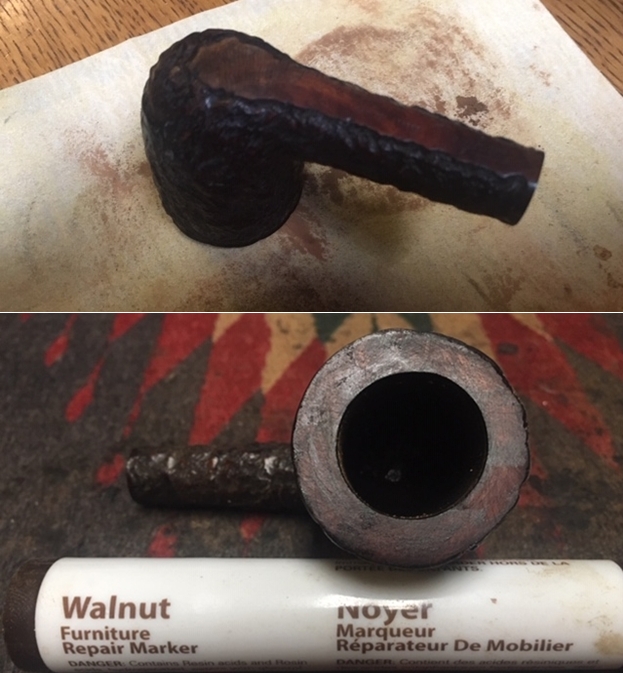
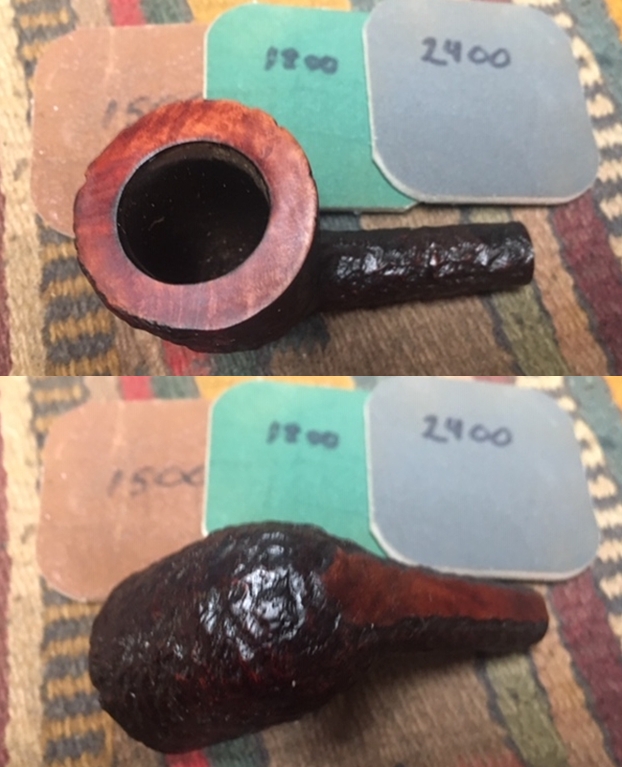
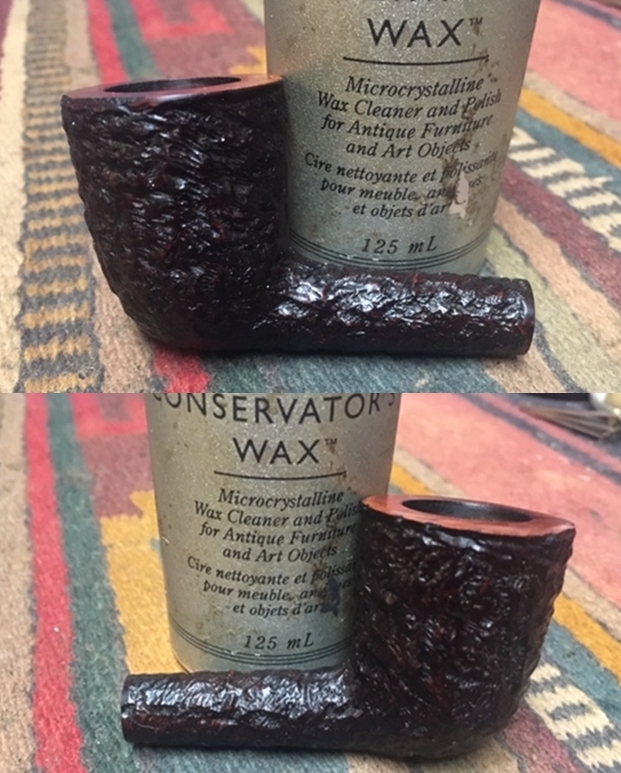
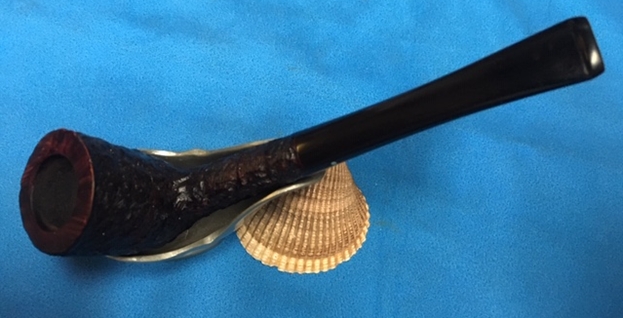
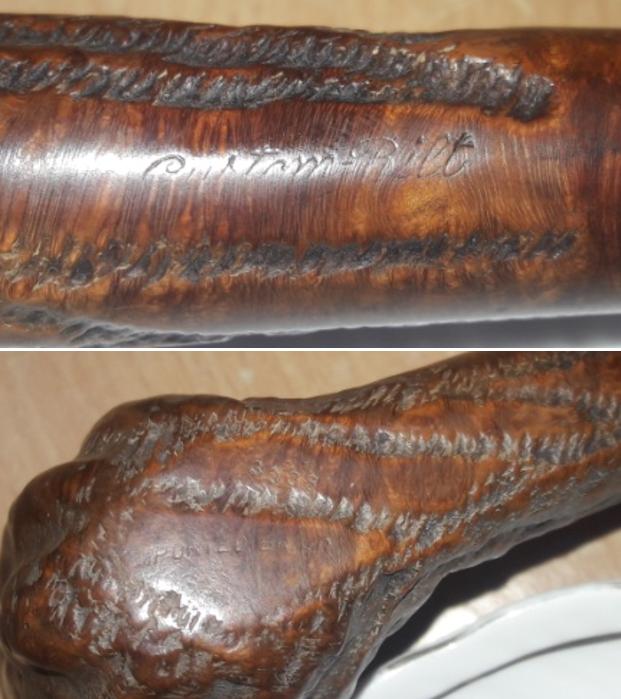
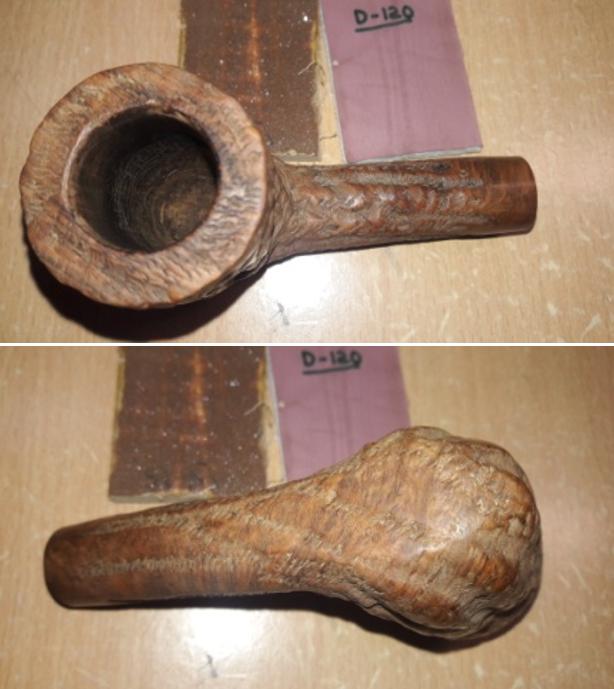
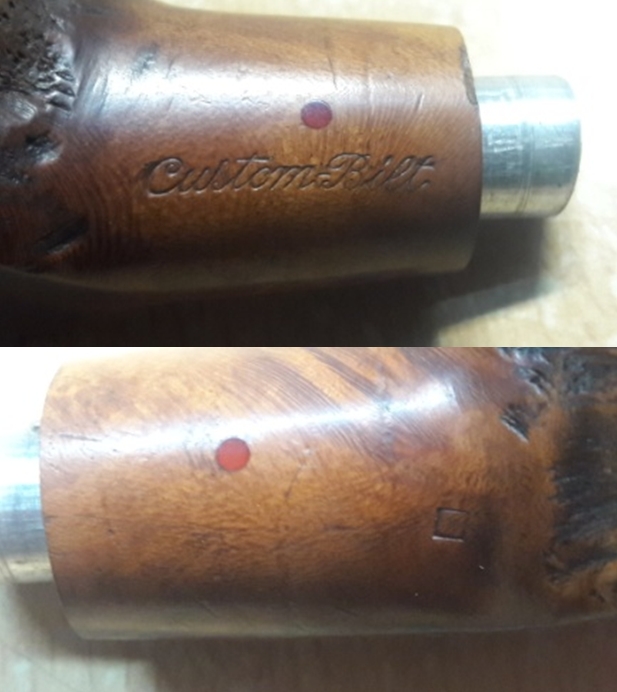
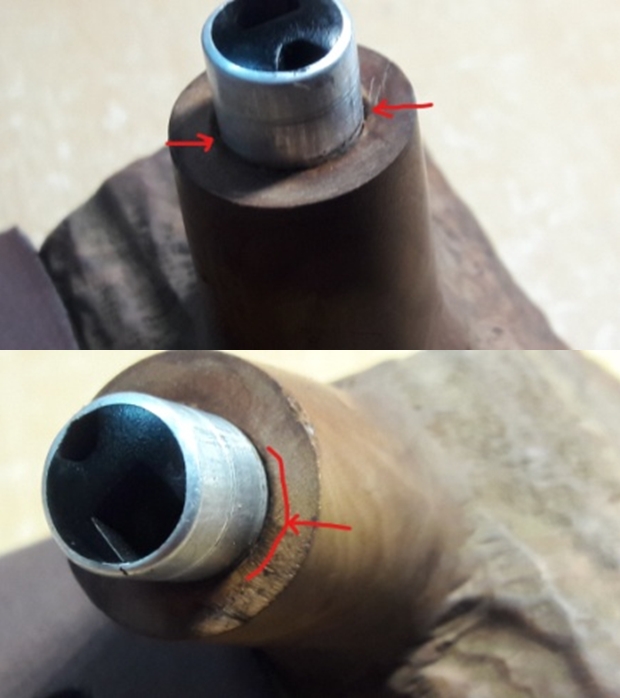
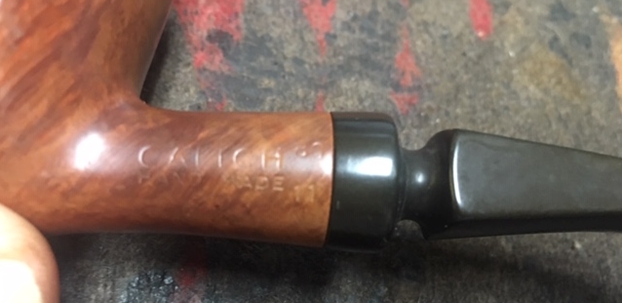
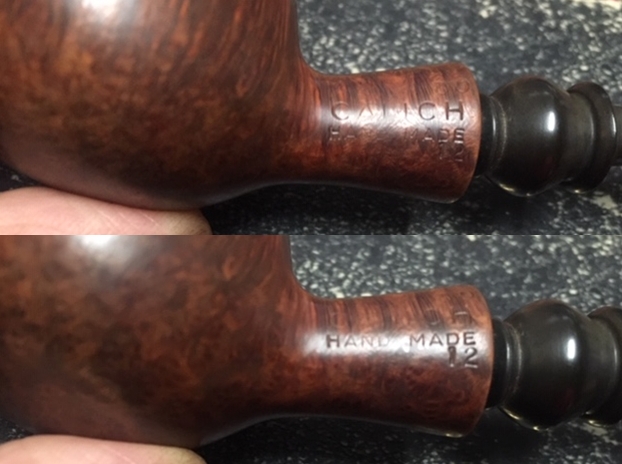
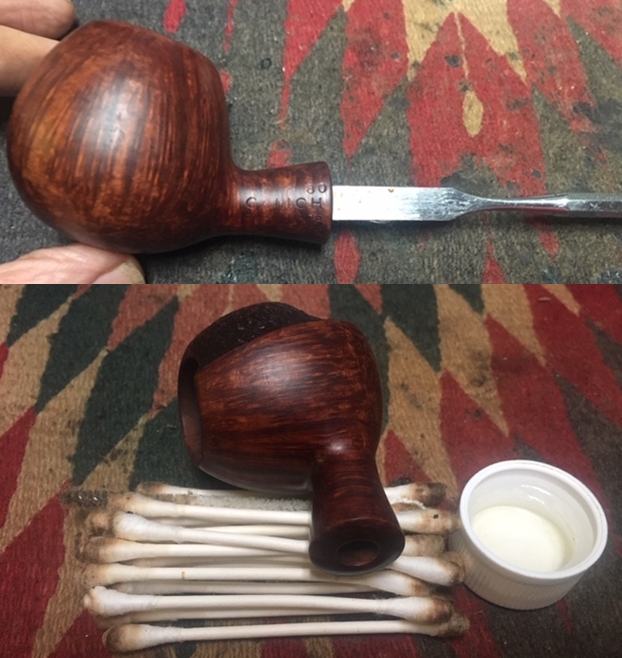
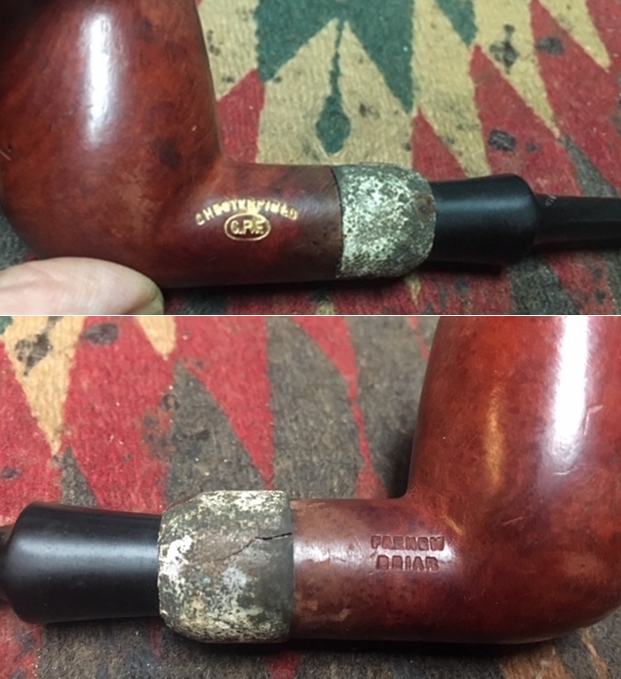
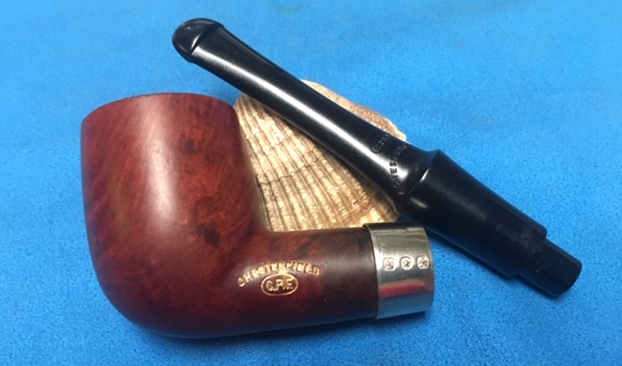
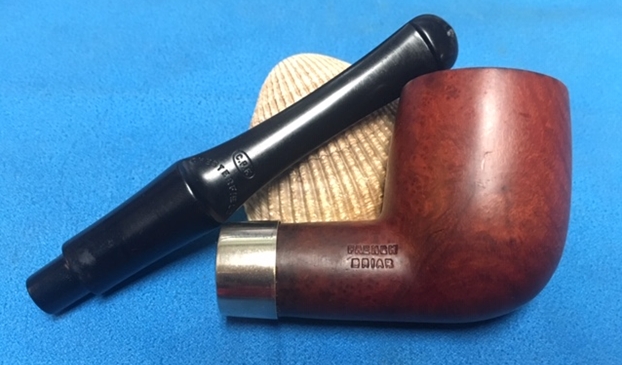
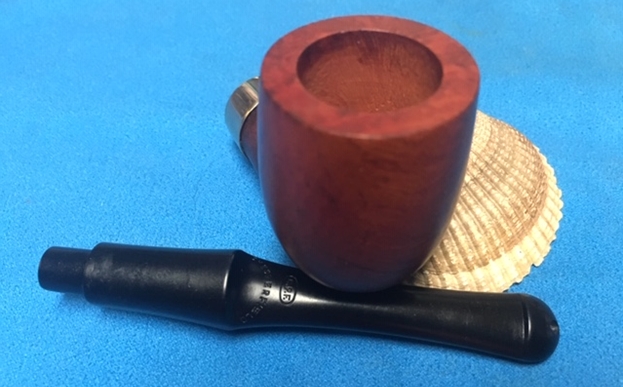
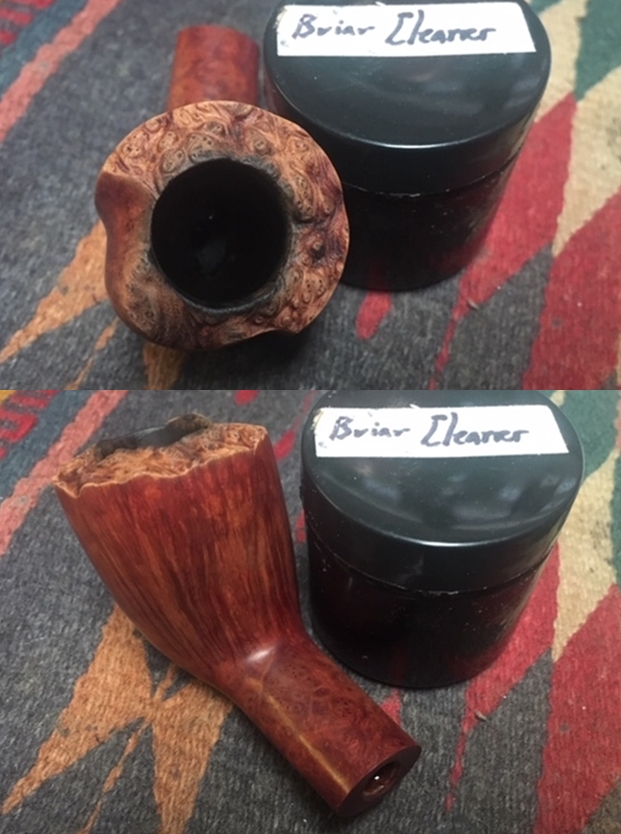
 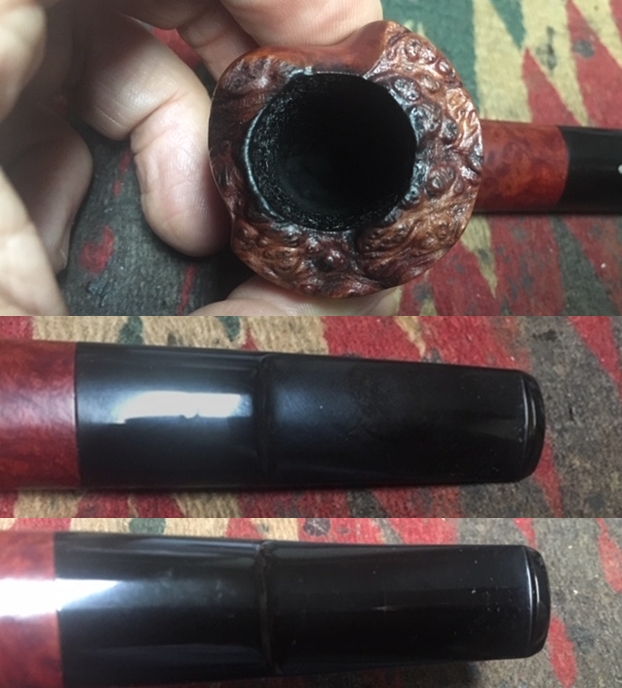 I took a photo of the underside of the shank to show the condition of the stamping. You can see that just ahead of the Calich stamp over Hand Made is the letter G. After the “H” in Calich is a superscript 88 and a subscript 11.
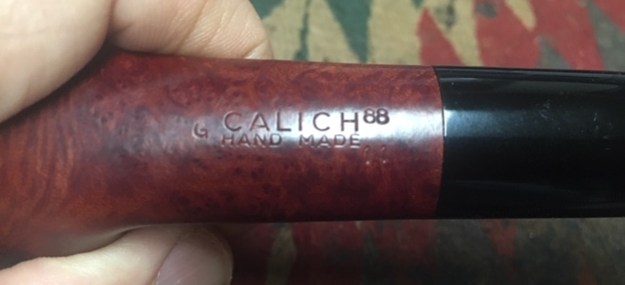 Once again I am including some information about John Calich the pipemaker as I have loved John Calich’s pipes for over 25 years now and have collected a few of them. I have restored quite a few of them and written blogs about them that can be read if you are interested in seeing the kind of pipes that John made. They are unique and beautiful. Each one of them is a work of art to me. I have written blogs on all of Ken Bennett’s Calich pipes and several others that I have in my own collection. Do a quick search on the blog if you are interested in reading about them.

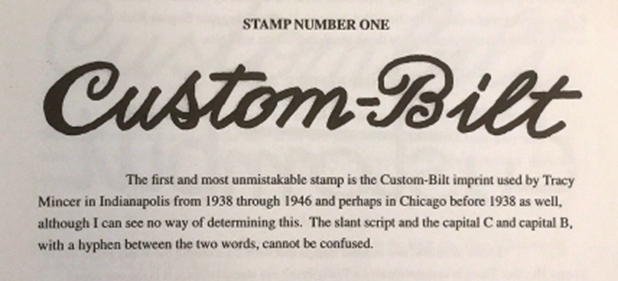
John Calich, courtesy Doug Valitchka
When John was living I spoke with him several times via phone and had him make some new stems for some of his pipes that I picked up off eBay. He was a very kind gentleman and was always helpful when I spoke with him. He was always ready with encouragement and when I needed to know how to do something when I was first learning to repair pipes he was willing to help. He was one of the old guard of Canadian Pipe makers. I miss him. I am including a short piece from Pipedia on John to give details on his work and the grading of his pipes. The second paragraph below is highlighted in blue as it gives some information on the Grade 12 Apple that I am working on with the single silver dot now.
John Calich was one of Canada’s finest carvers. He died in July 2008. John was a full time pipe maker for the last 40 years. Calich pipes were mostly traditional shapes. His signature style is rustication and smooth on the same pipe along with his unique skill to stain a pipe in contrasting colors. He used only top quality Grecian and Calabrian briar. The mouthpieces are hand finished Vulcanite “A”. Each pipe was entirely made by hand. John Calich was featured in the summer 2005 issue of Pipes & Tobacco.
His pipes are graded 3E – 7E. Retail prices range from$ 145.00 to $ 500.00 Each pipe is stamped “CALICH” 3-8E, his earlier pipes were graded from 3-14, and a single, tiny silver dot is applied to the top of the stem (https://pipedia.org/wiki/Calich).
From my other blogs I was able to garner quite a bit of information on John’s grading system. As noted above the newer ones carried a 3E-7E stamp but the earlier ones were graded 3-14. The retail prices for them ranged from $145.00 to $500.00. Each of the earlier pipes was stamped “CALICH” and pipes were graded from 3-14 and had a single, tiny silver dot applied to the top of the stem. More information can be found at the Pipedia article above. All of this information told me as expected that the pipe I had was an earlier one.
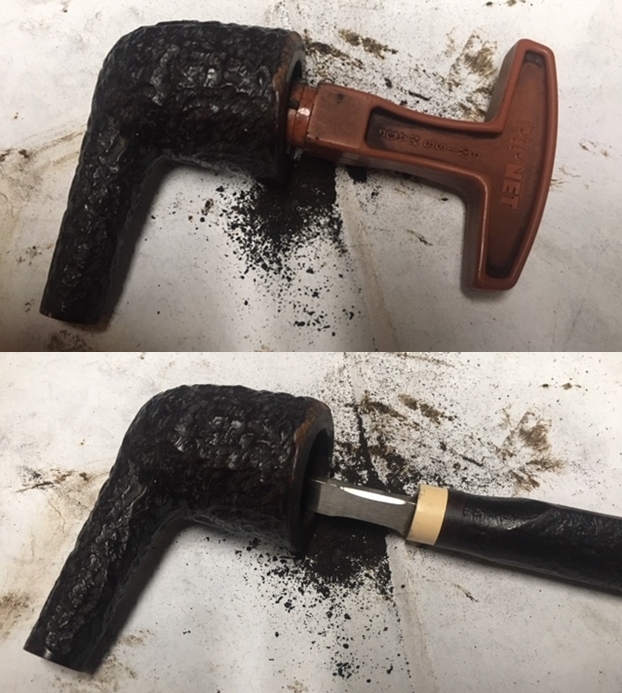
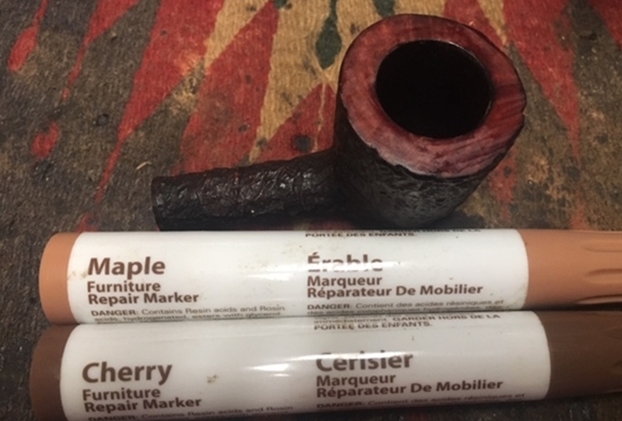
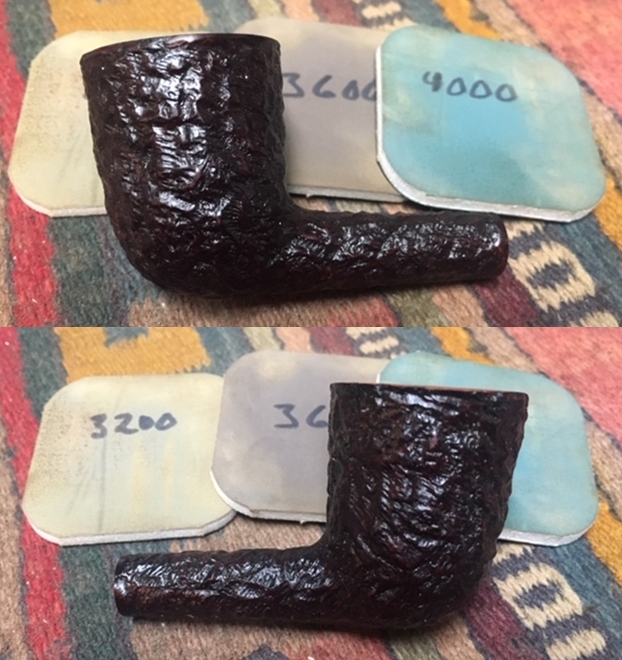
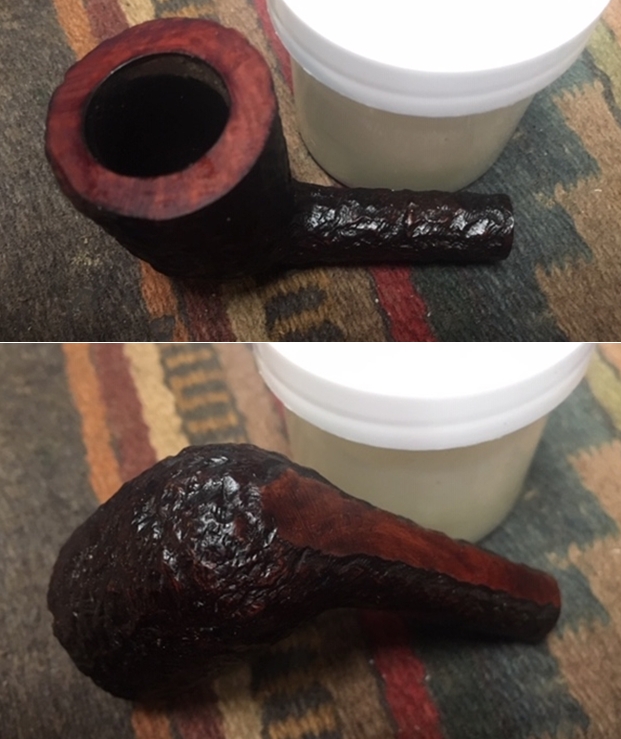
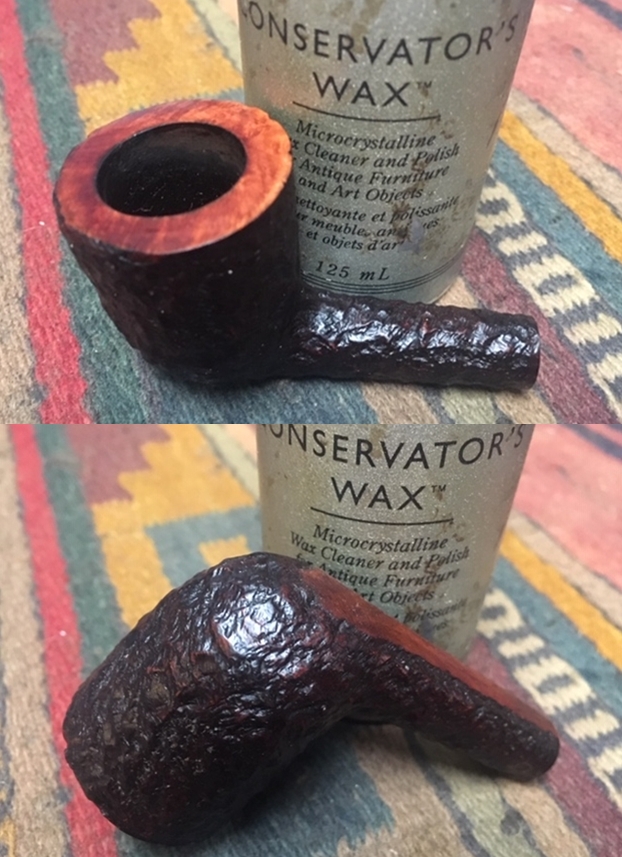
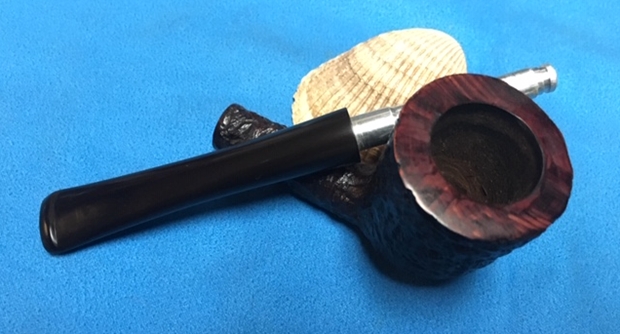
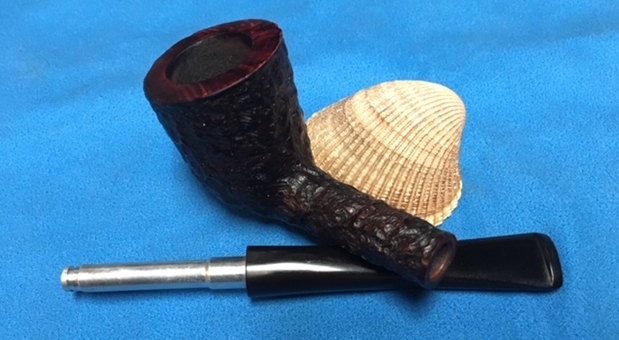
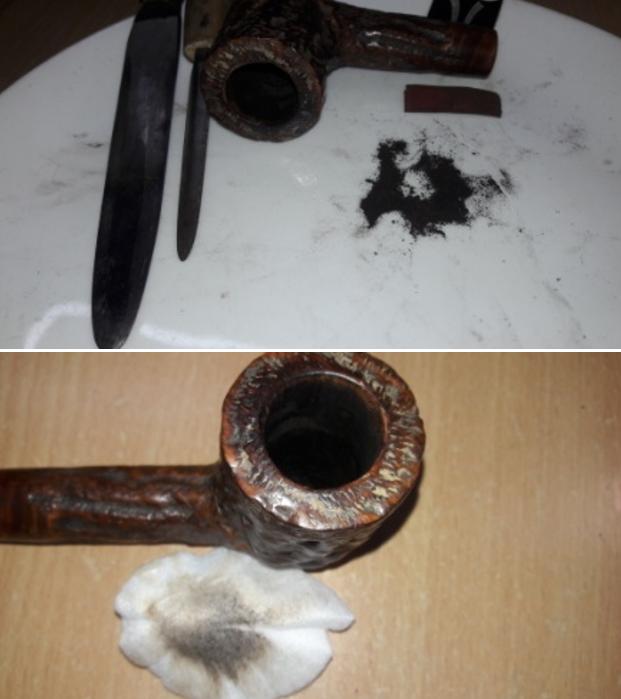
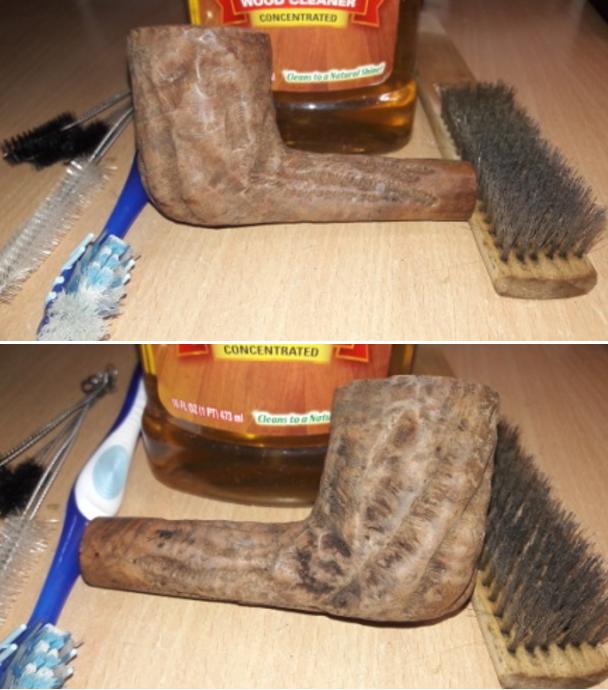
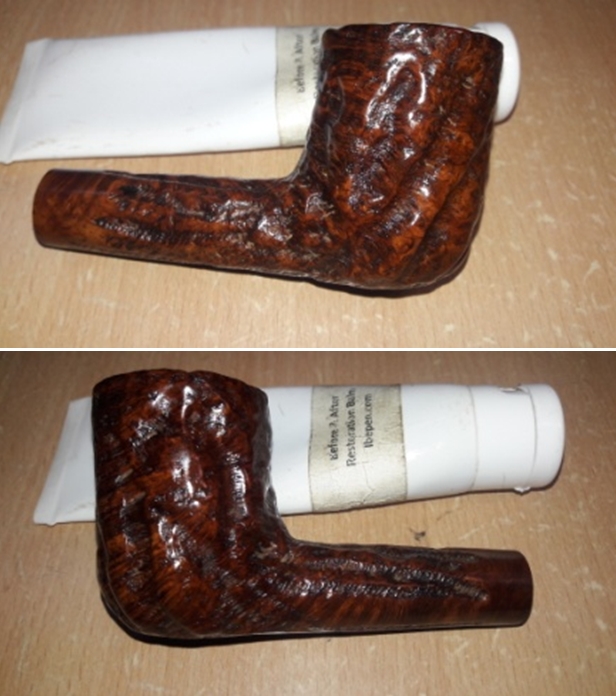
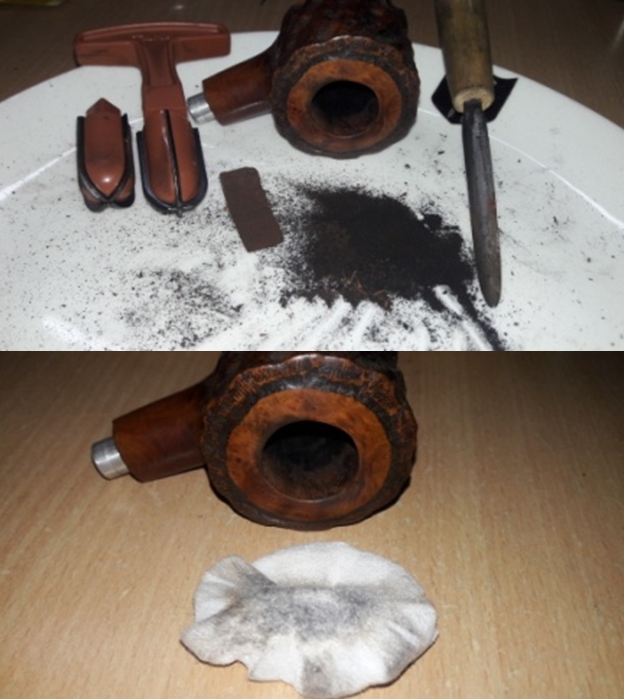
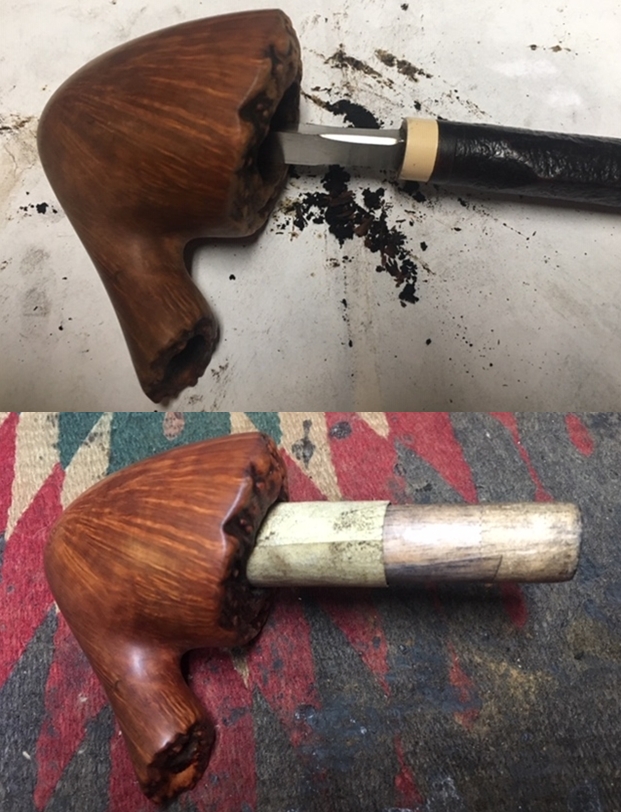
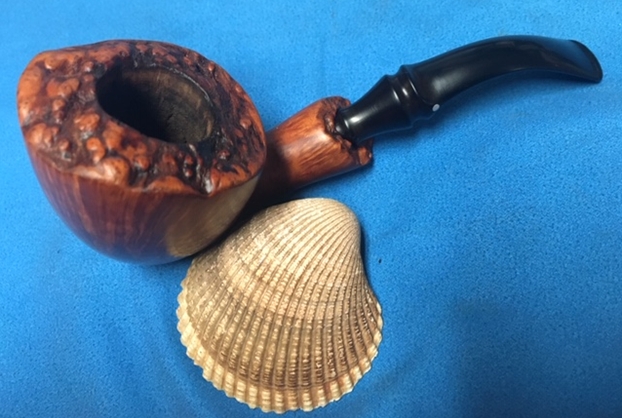
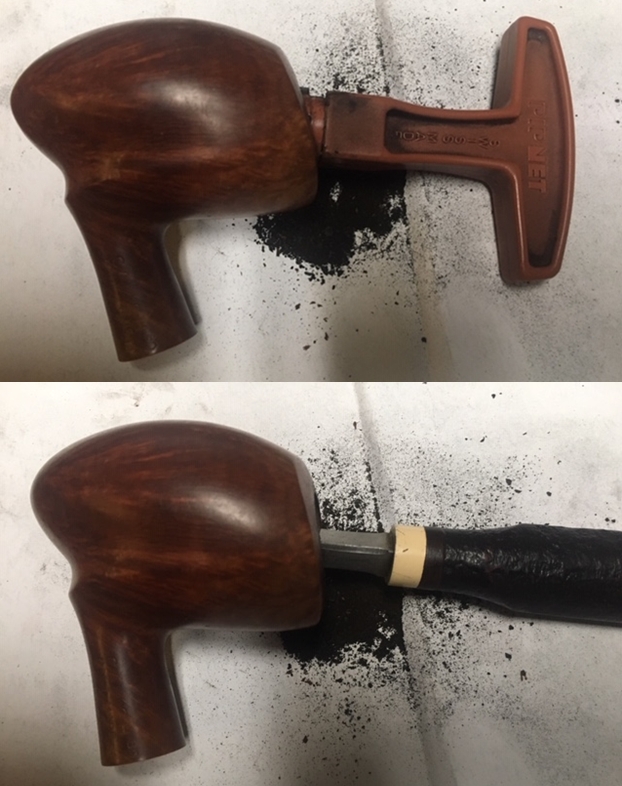
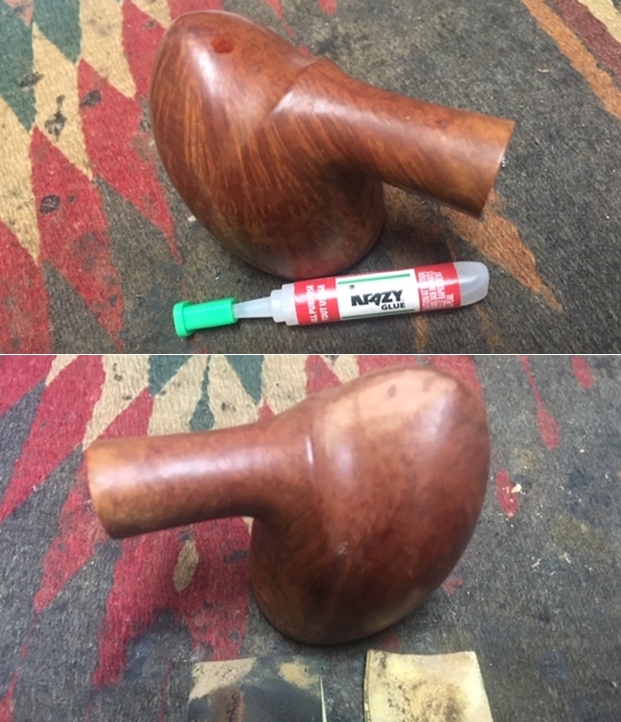
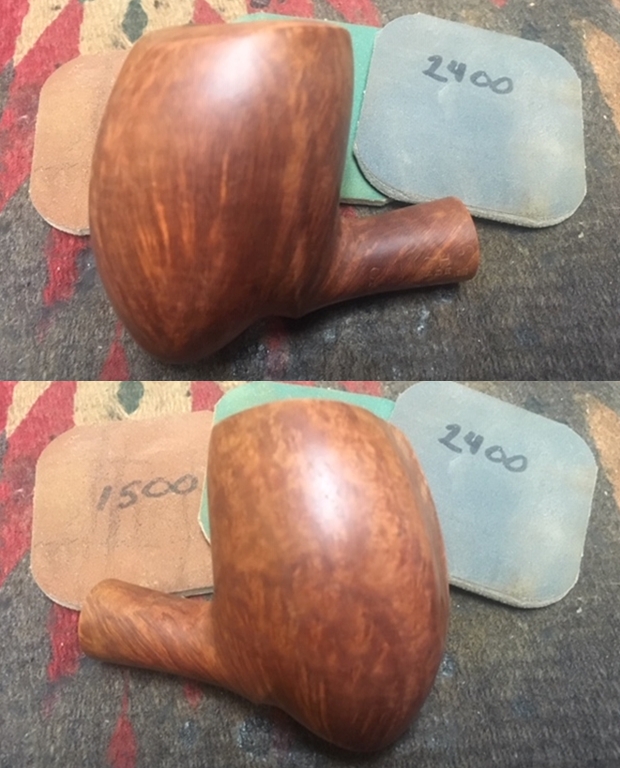
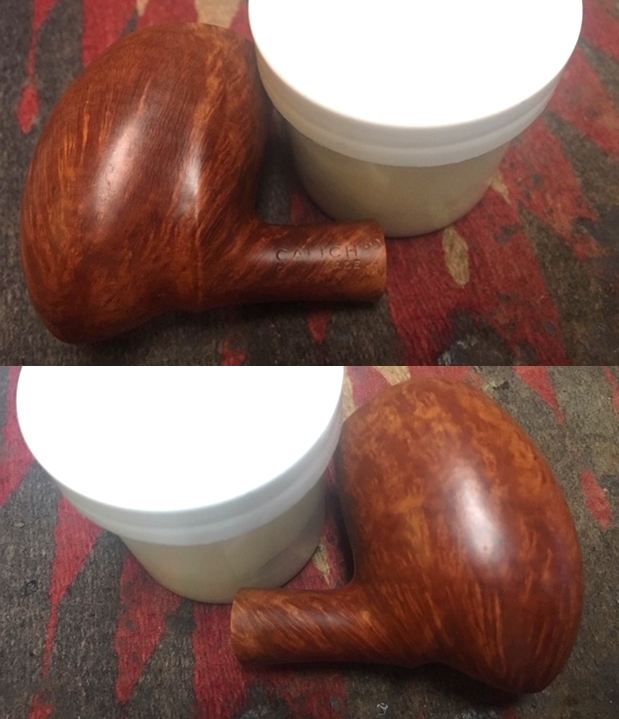
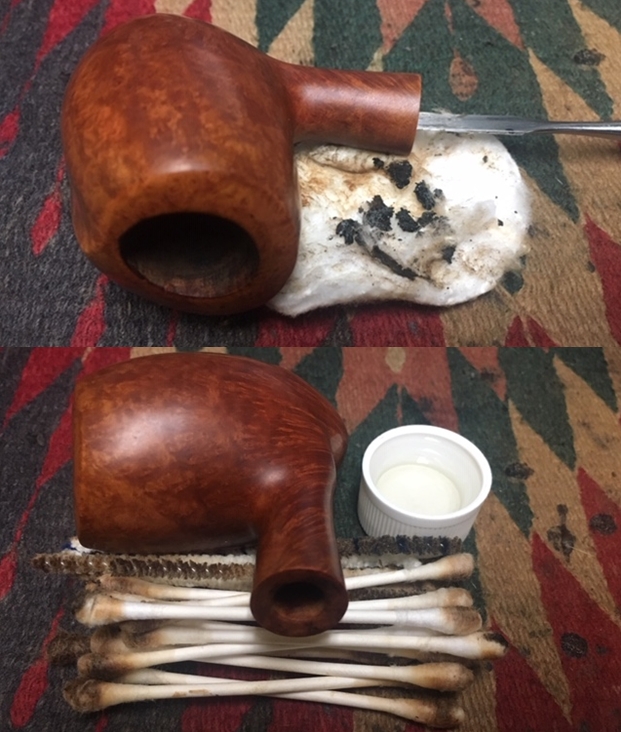
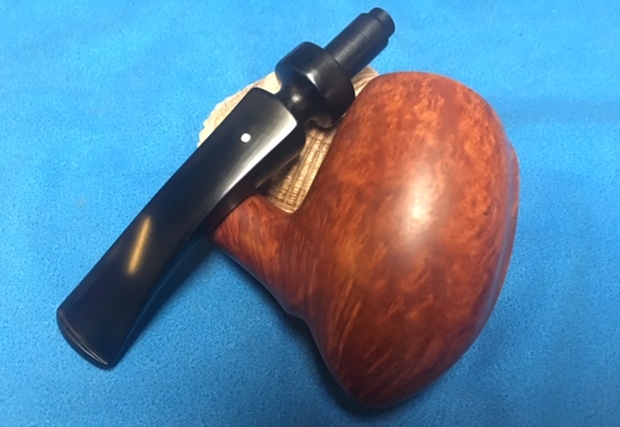
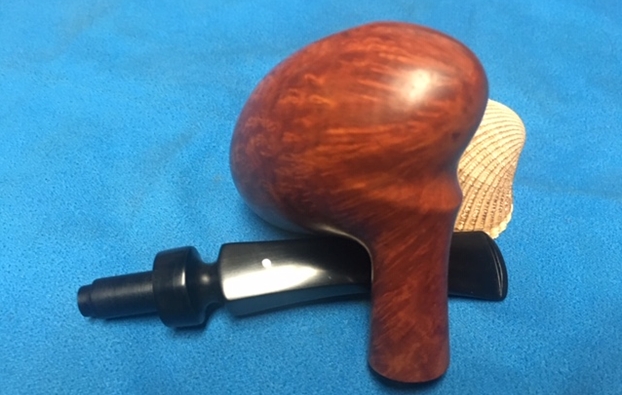
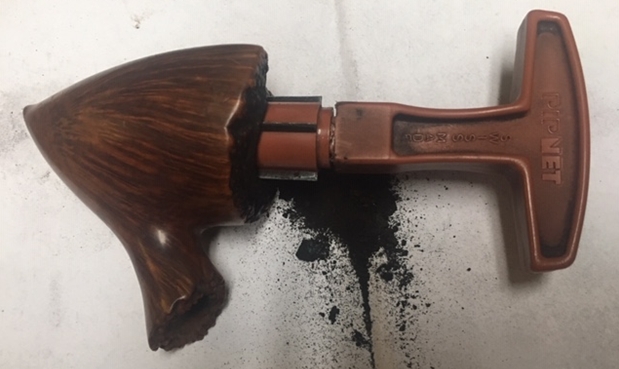
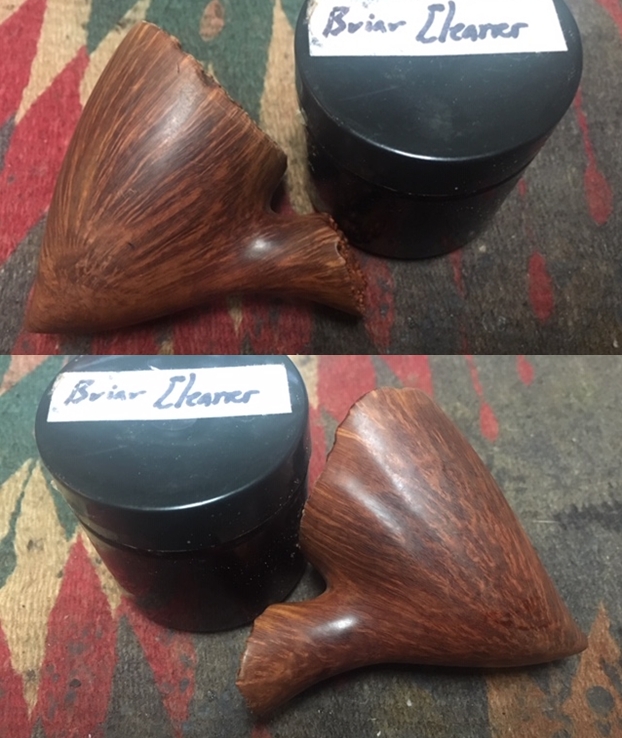
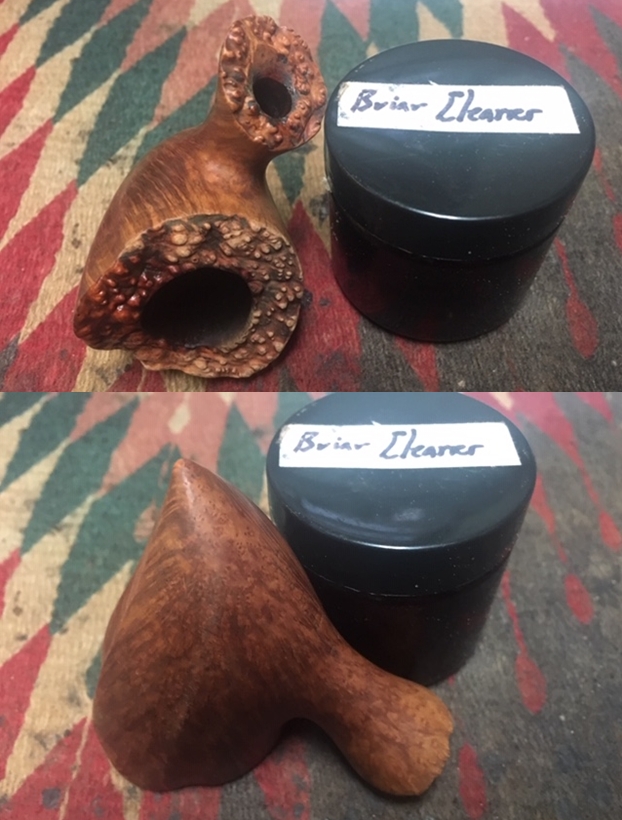
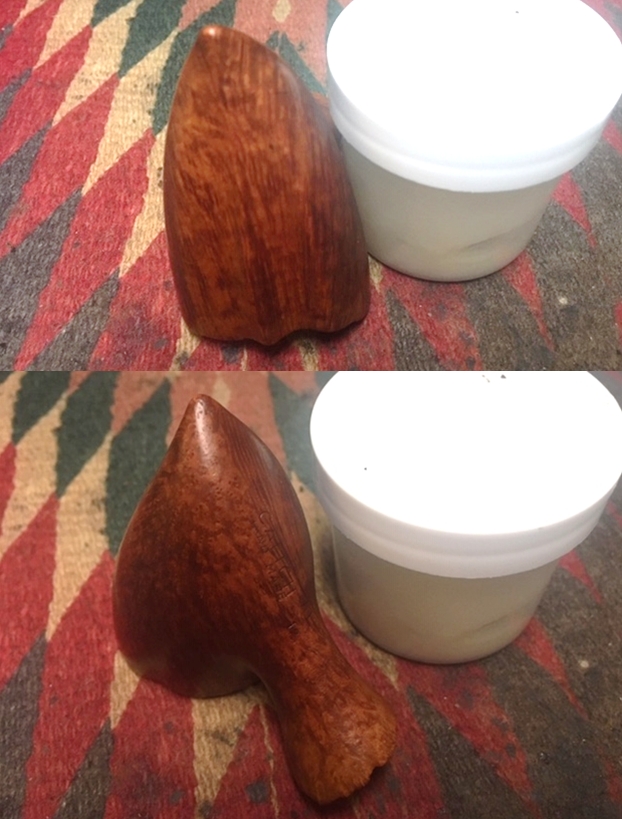
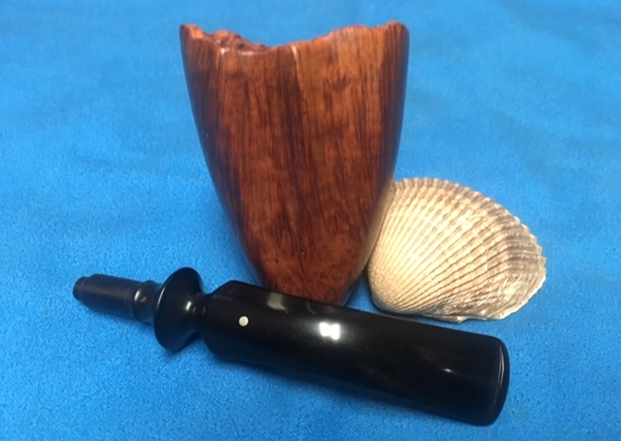
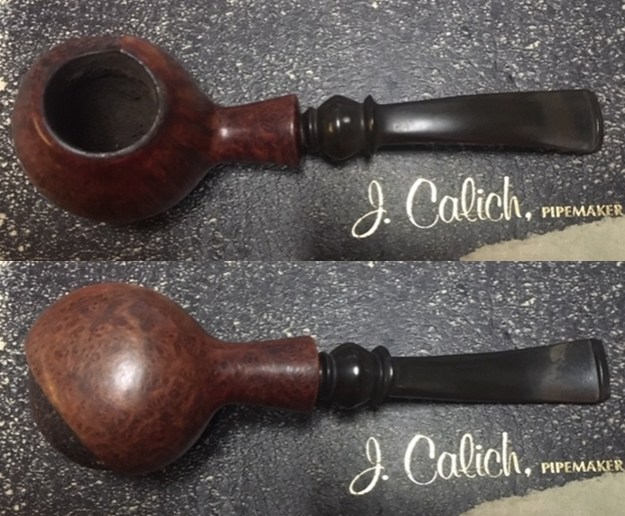
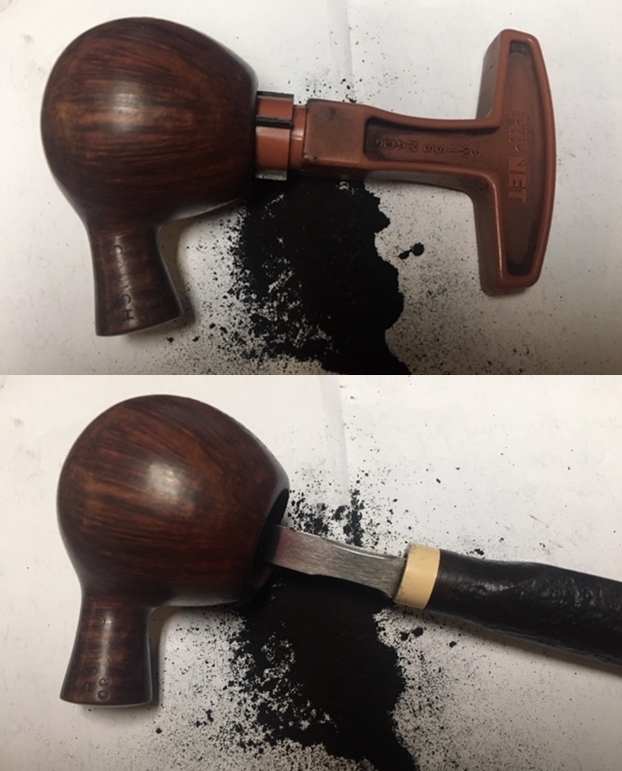
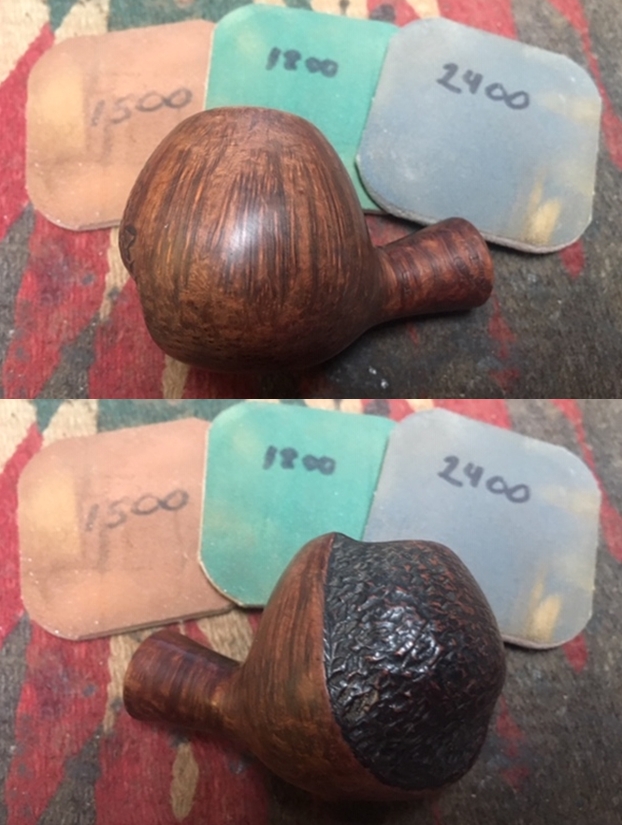
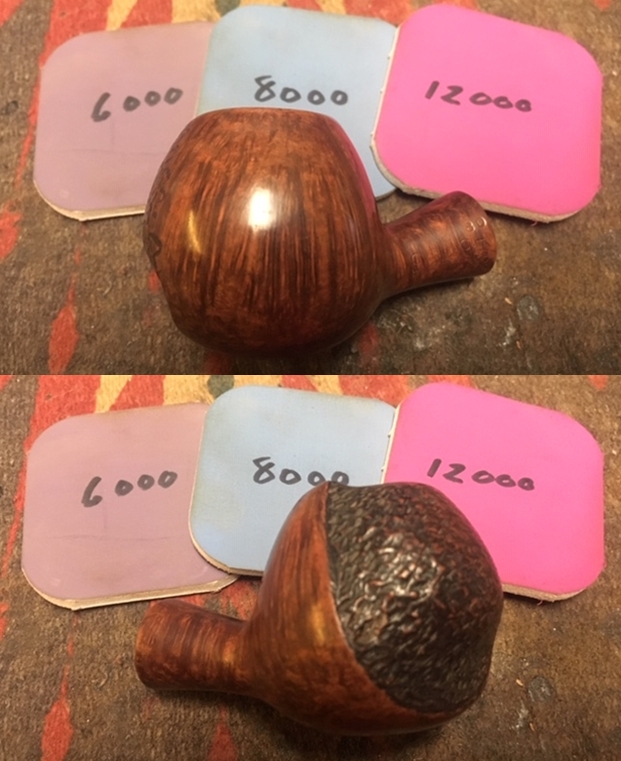
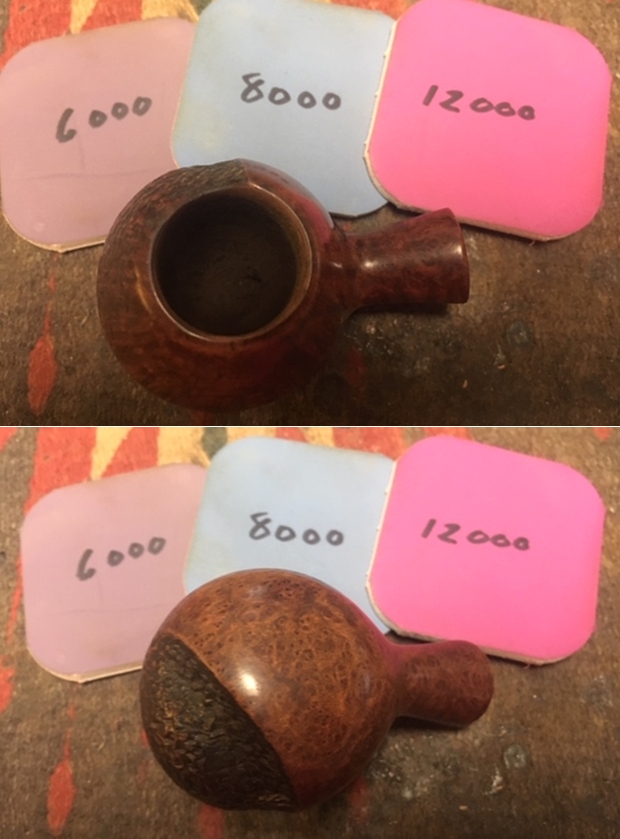
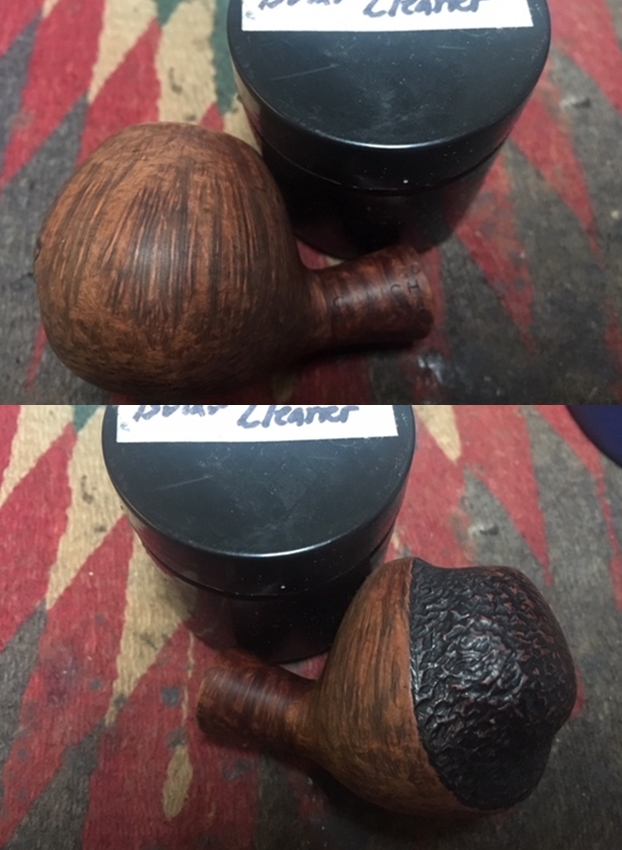
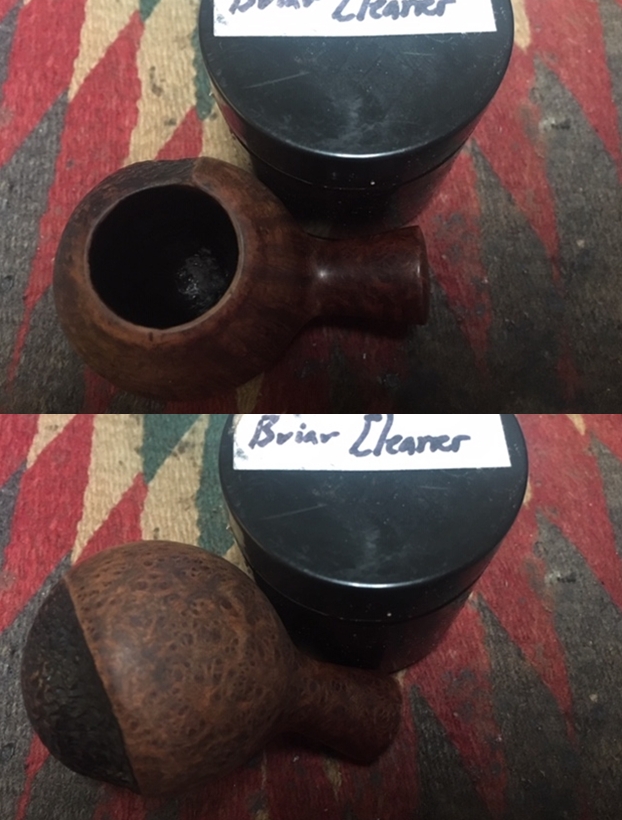
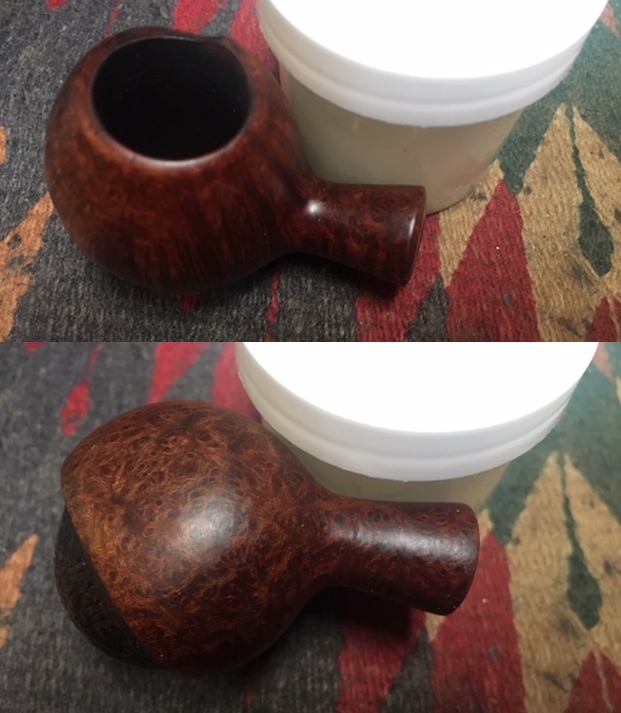
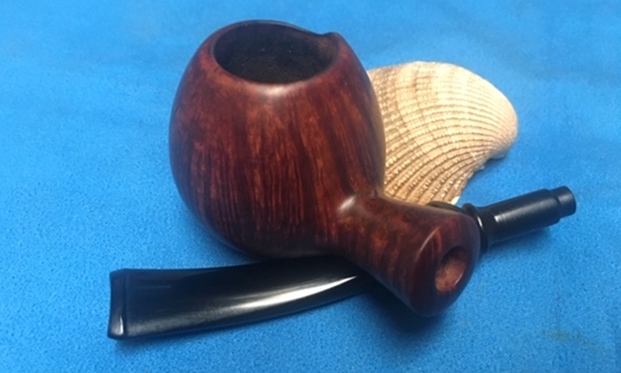
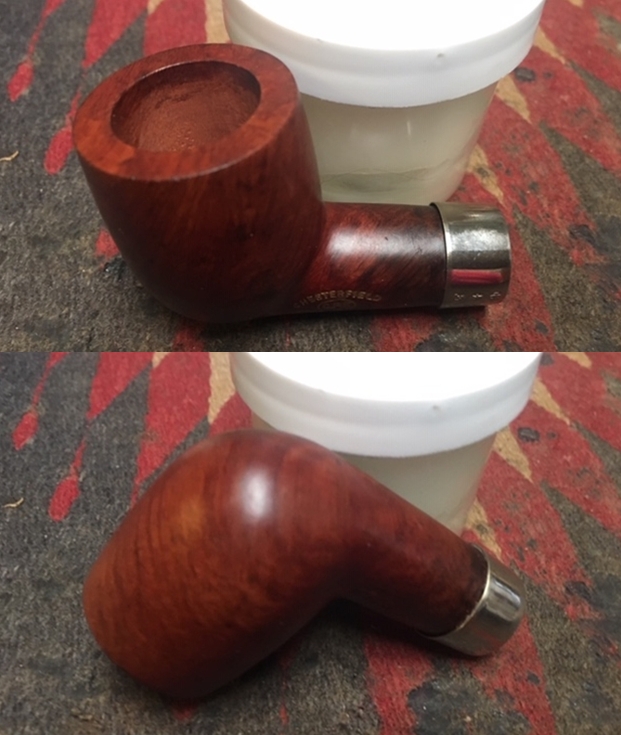
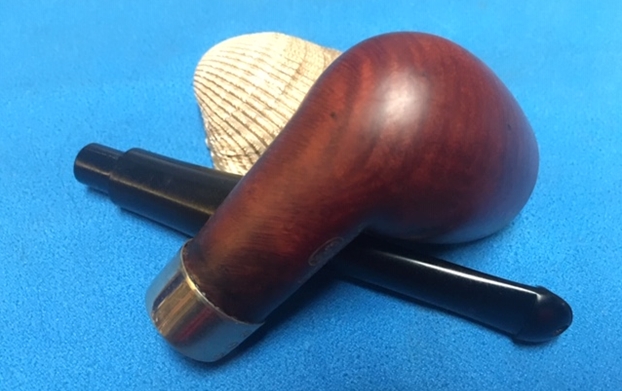
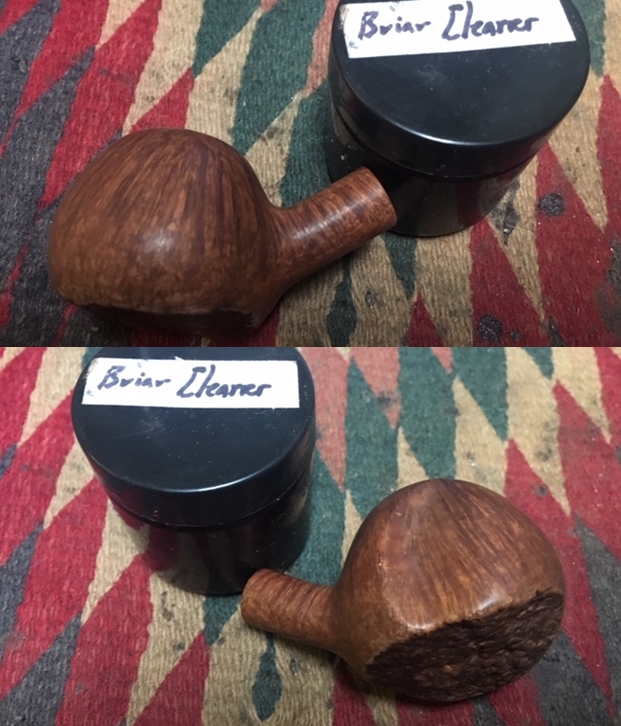
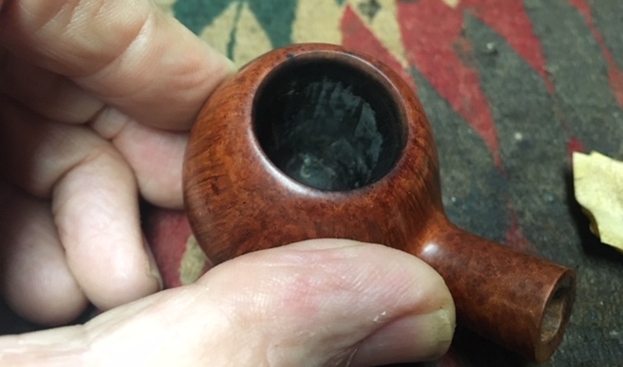
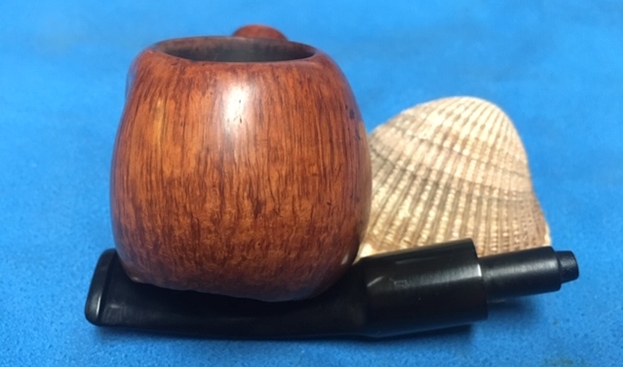
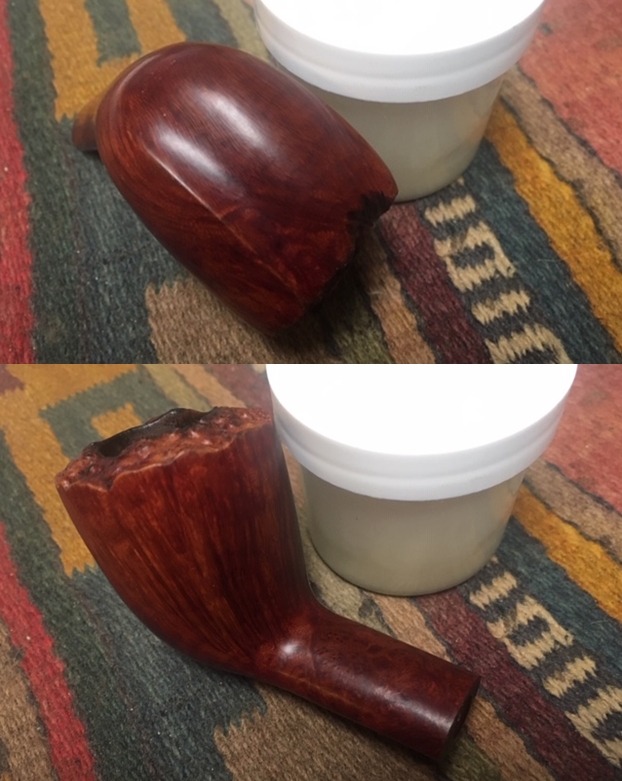
Armed with the facts that I am dealing with a 1988 pipe made by one of my favourite Canadian pipe makers it was time to get back to work on the pipe. I reamed the bowl with a Savinelli Fitsall Pipe Knife to scrape back the cake to briar. I finished my cleanup of the walls by sanding it with 220 grit sandpaper wrapped around a piece of dowel. 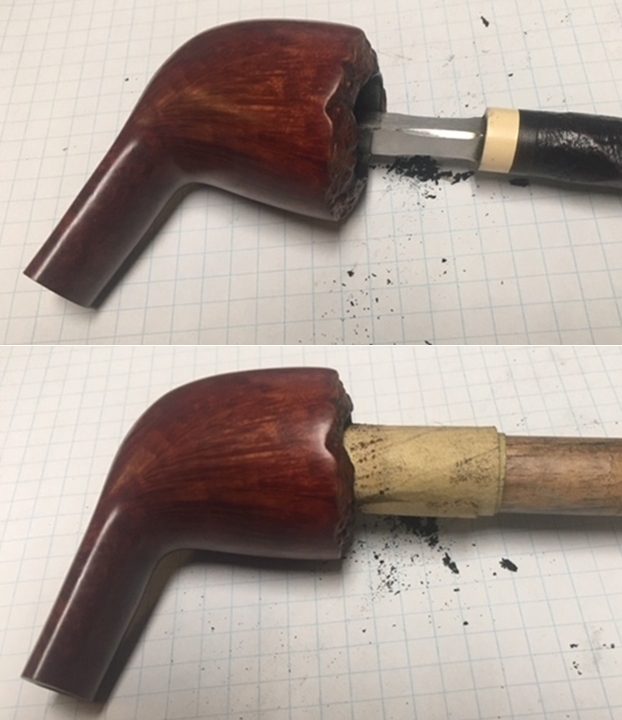 I scrubbed the briar with Before & After Briar Cleaner and rinsed it off with warm running water. I scrubbed the rim top with a tooth brush and warm running water at the same time. I dried the bowl off with a soft microfiber cloth and gave it a light buffing. The photos show the cleaned briar and the grain is really beginning to pop. John once again really followed the grain on the shaping of this pipe.
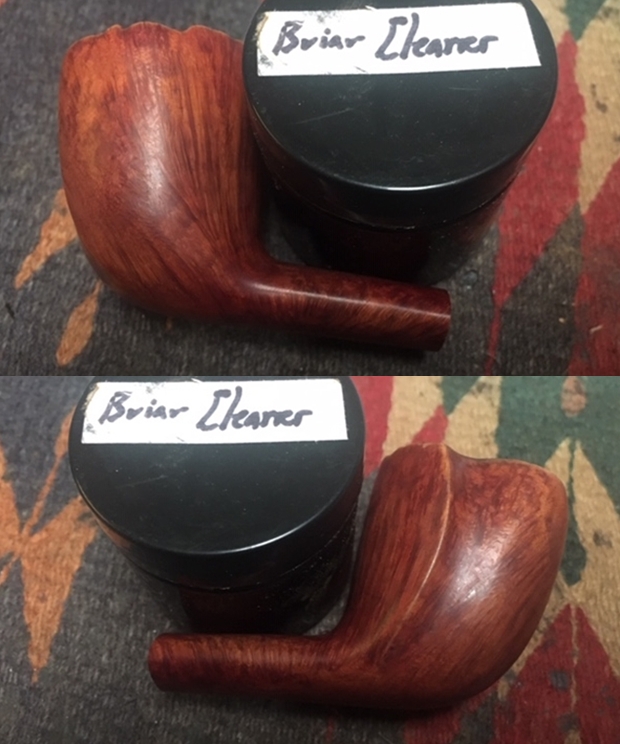
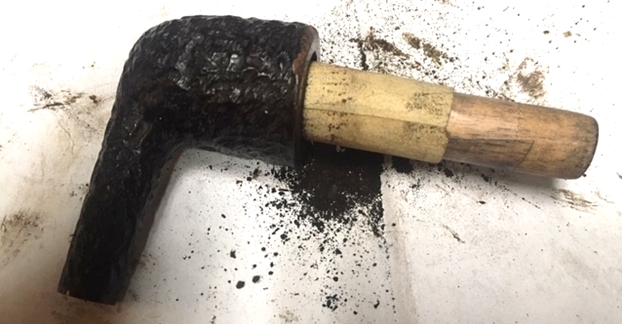
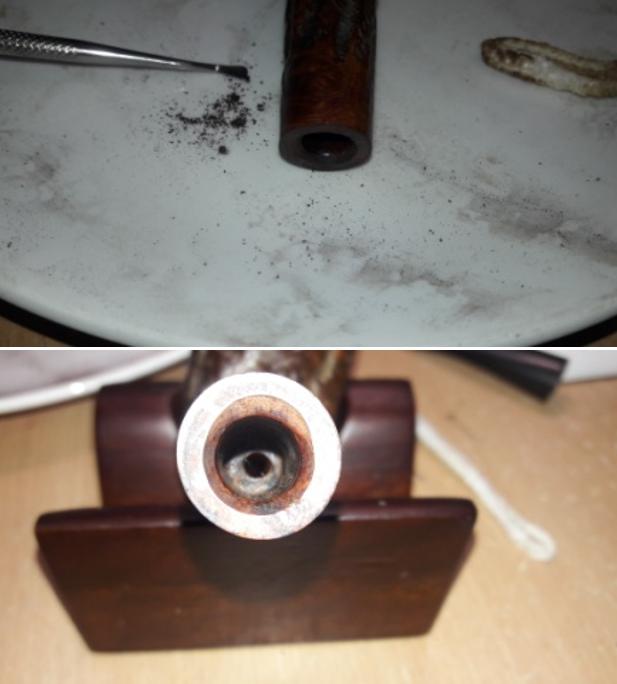
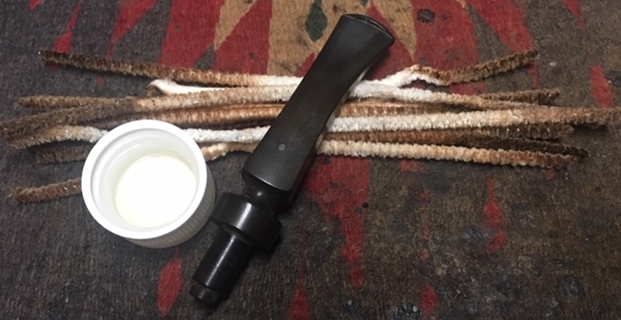
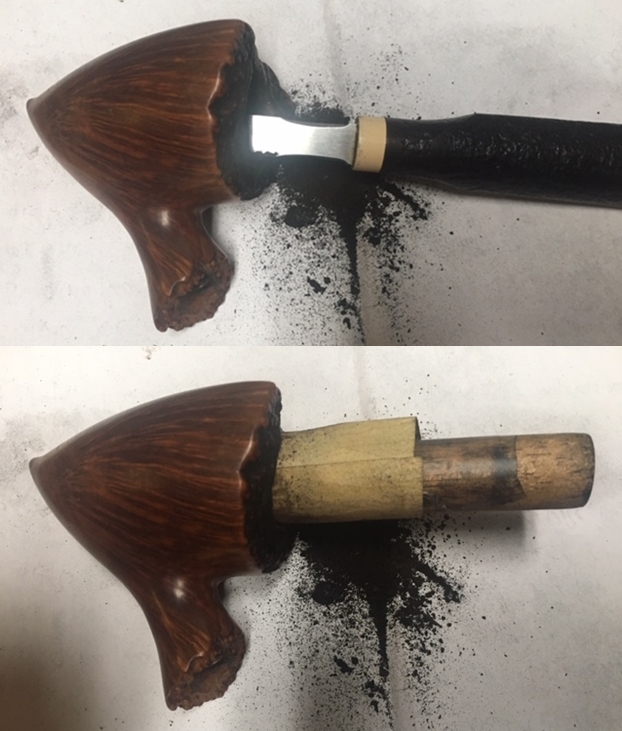
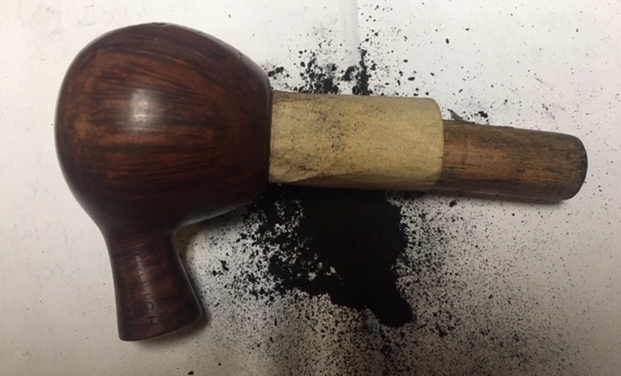
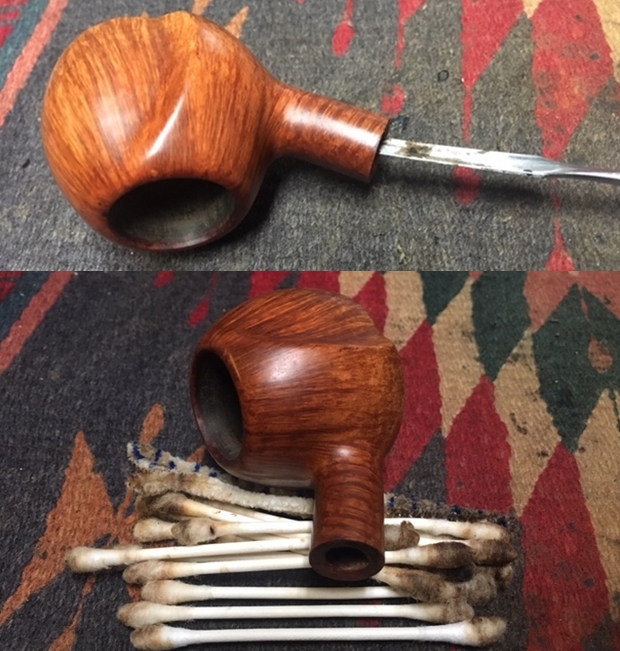
 I worked on the internals. I scraped the inside of the mortise with a dental spatula to remove the hardened tars and oils that lined the walls of the shank. Once I had that done I cleaned out the airway to the bowl, the mortise and the airway in the stem with pipe cleaners, cotton swabs and alcohol. When I finished the pipe smelled very clean.
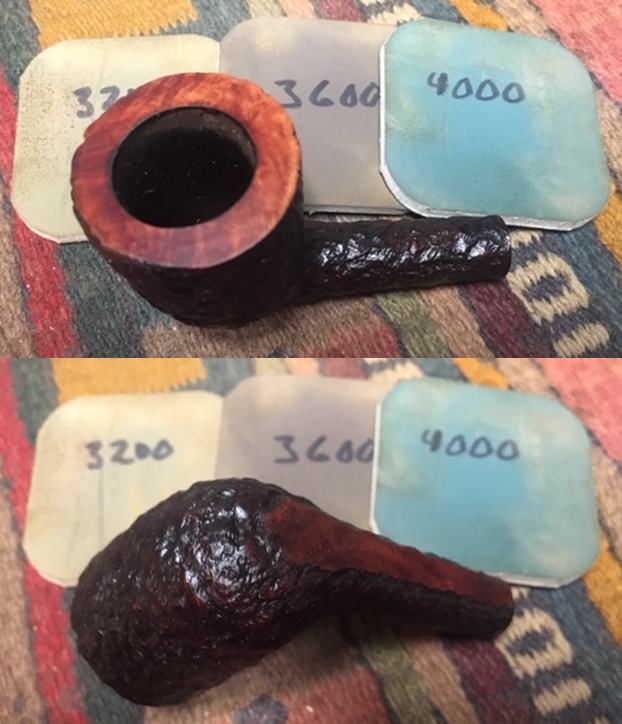
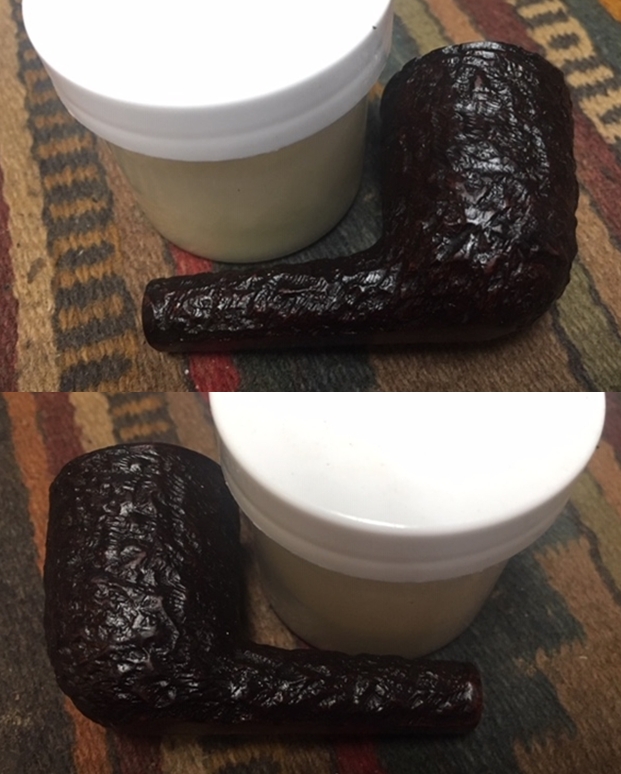
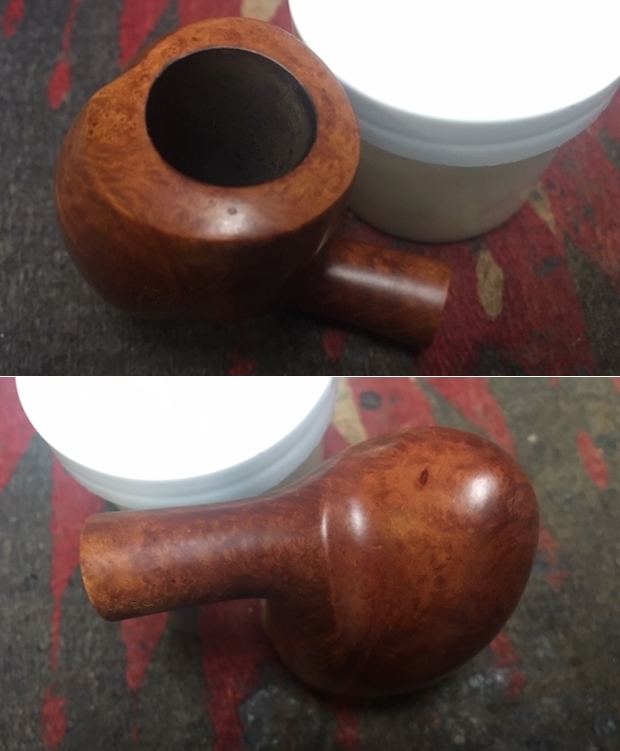
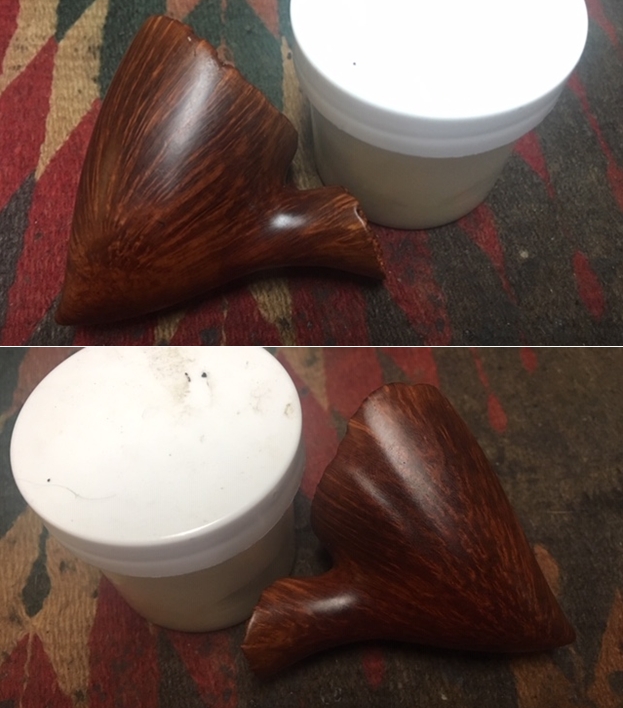
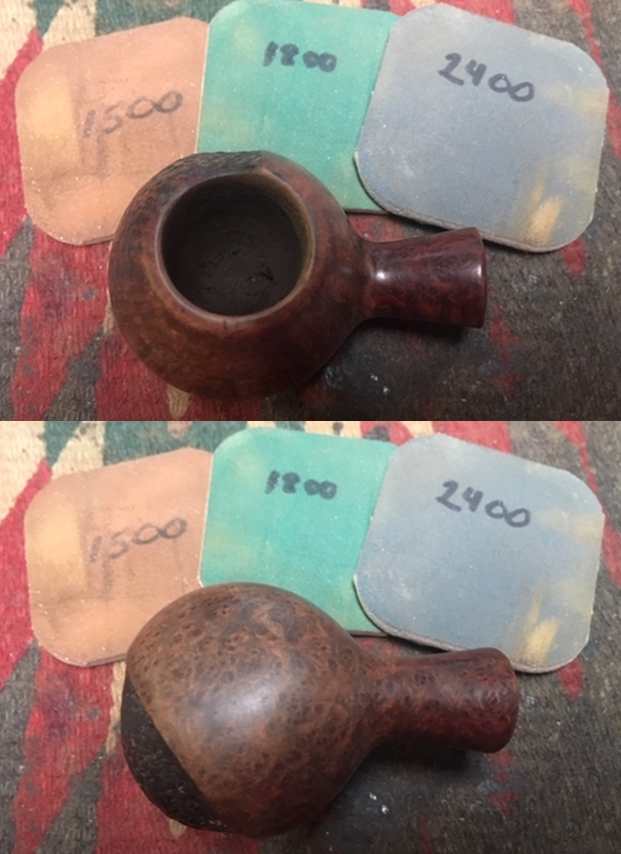
 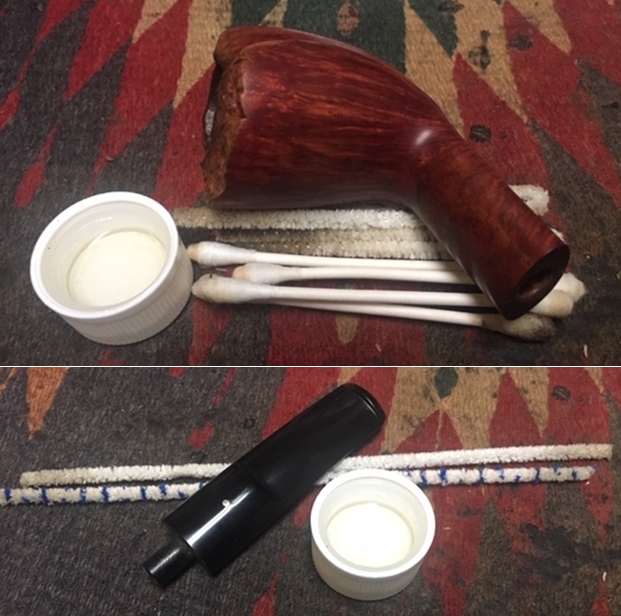 I rubbed the bowl down with Before & After Restoration Balm. I worked it into the surface of the briar with my fingertips to clean, enliven and protect it. I let the balm sit for a little while and then buffed with a cotton cloth to raise the shine. Mark Hoover’s Balm is a product that I have come to appreciate and one I use on every pipe I have been working on.
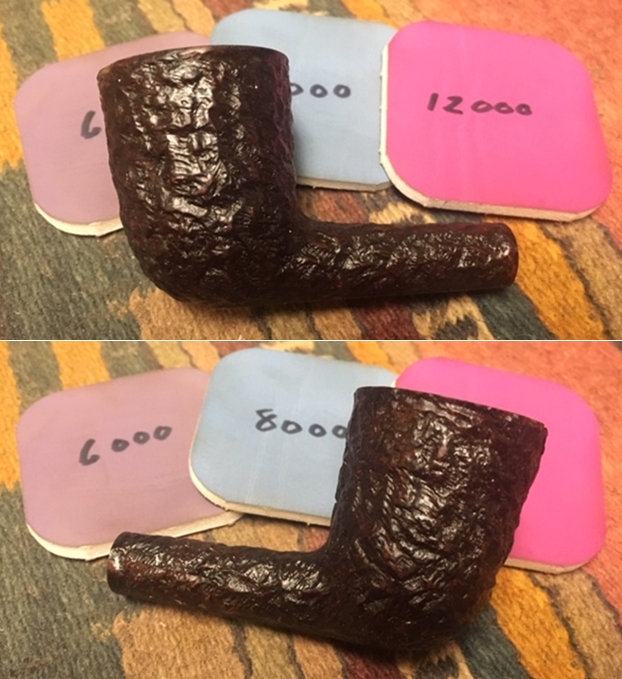
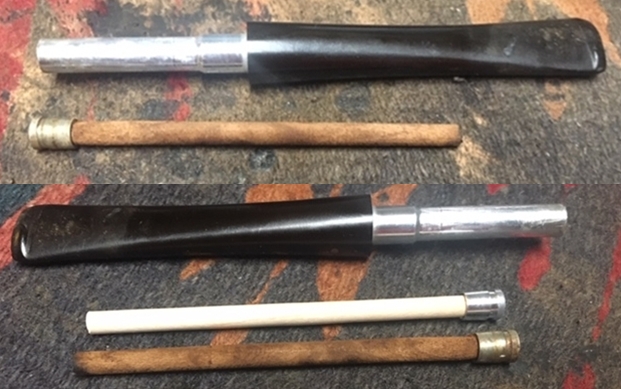
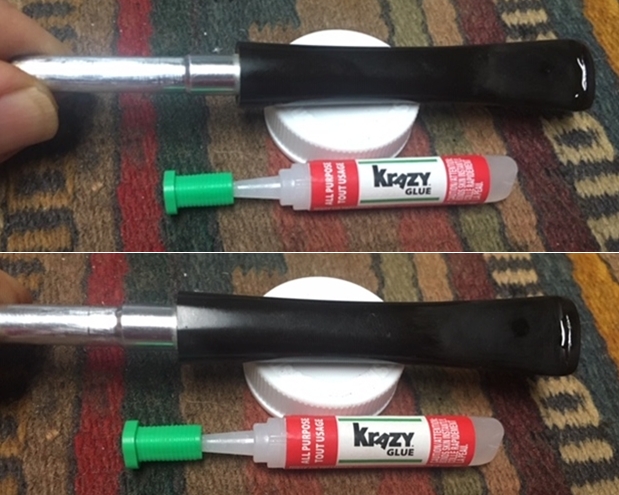
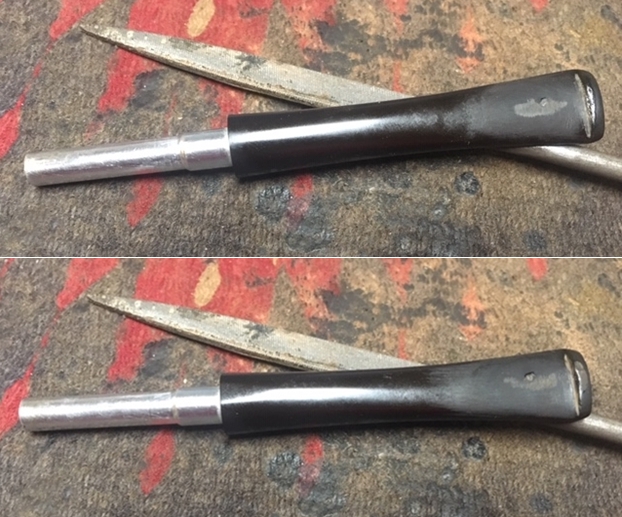
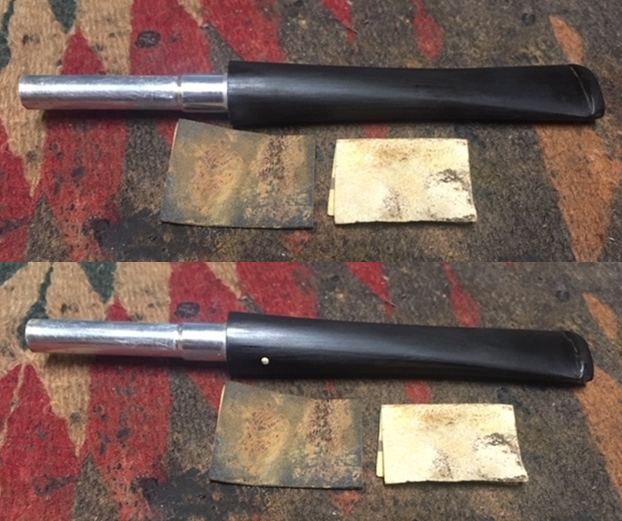
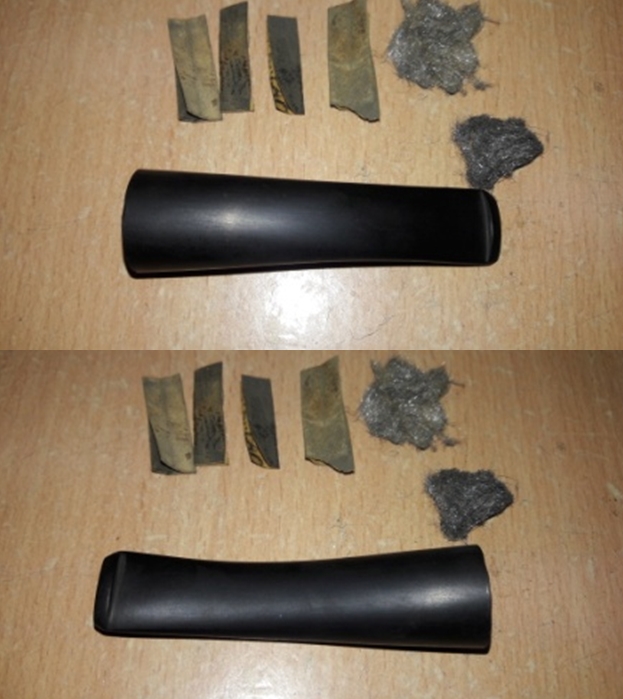
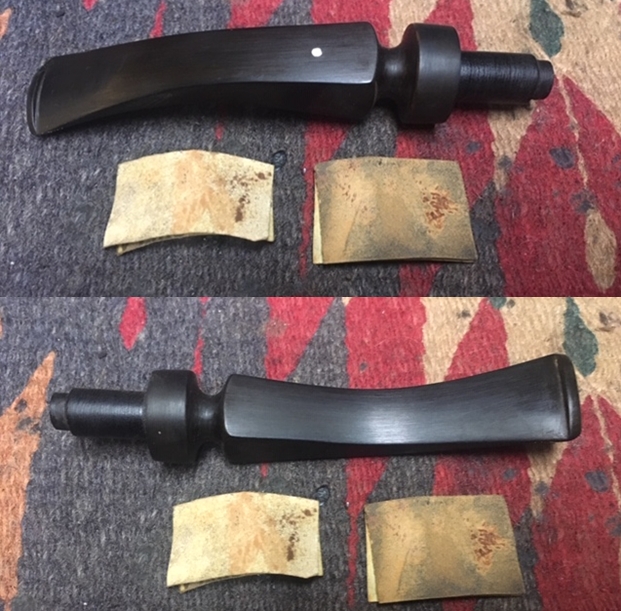
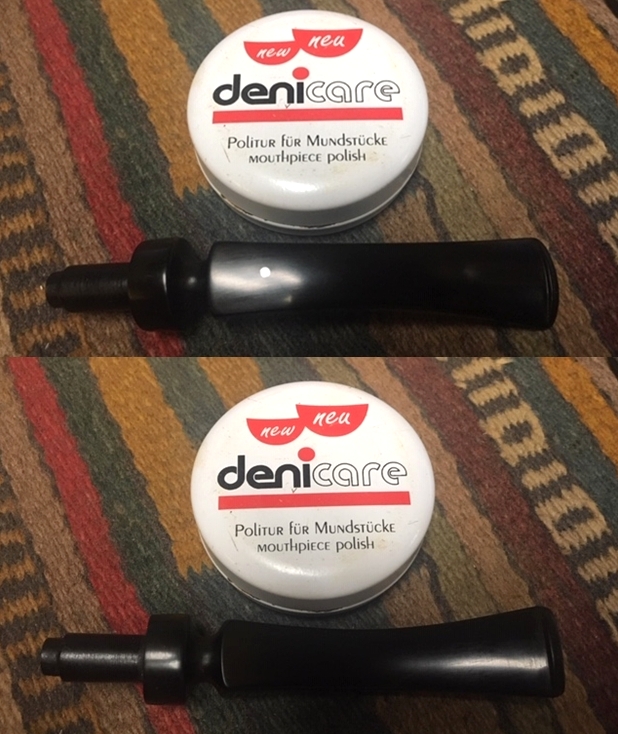
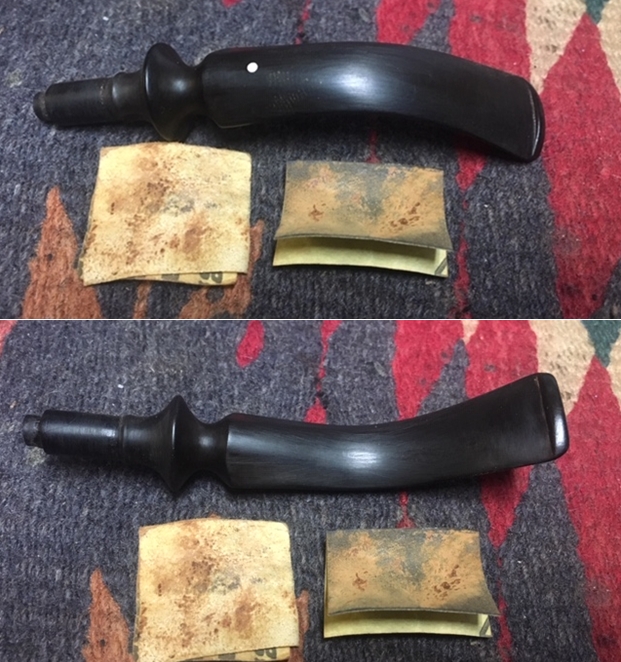
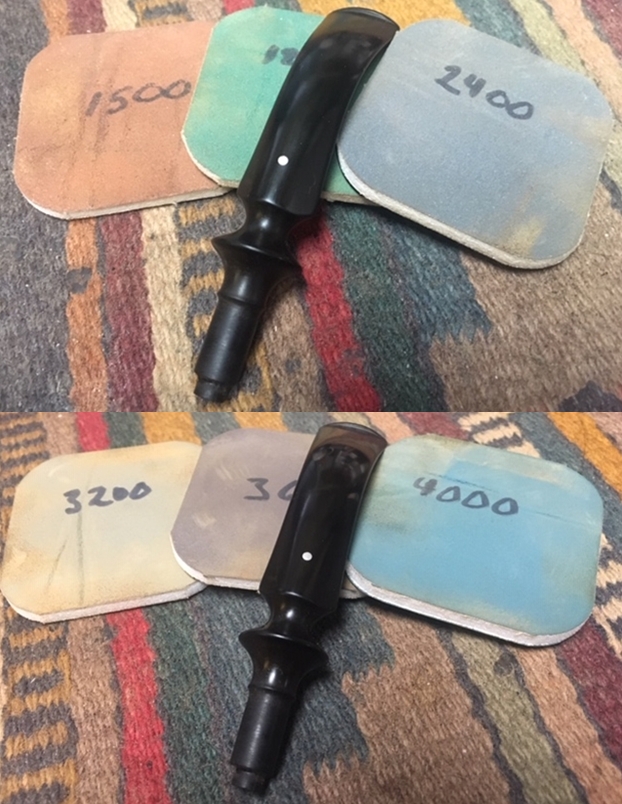
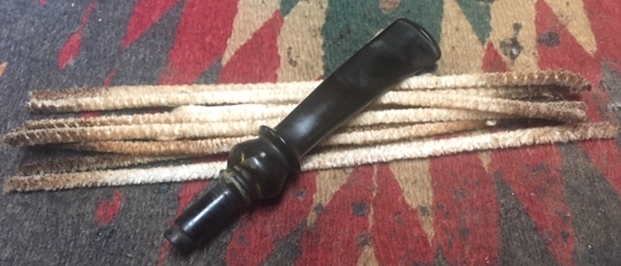
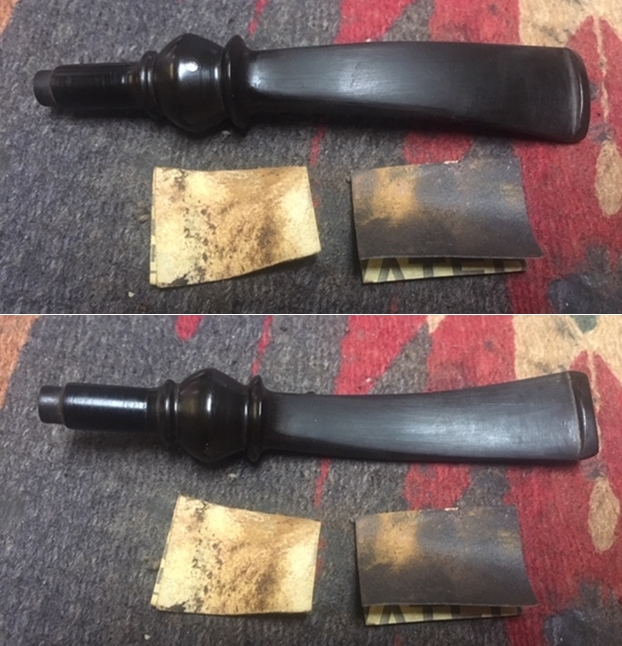
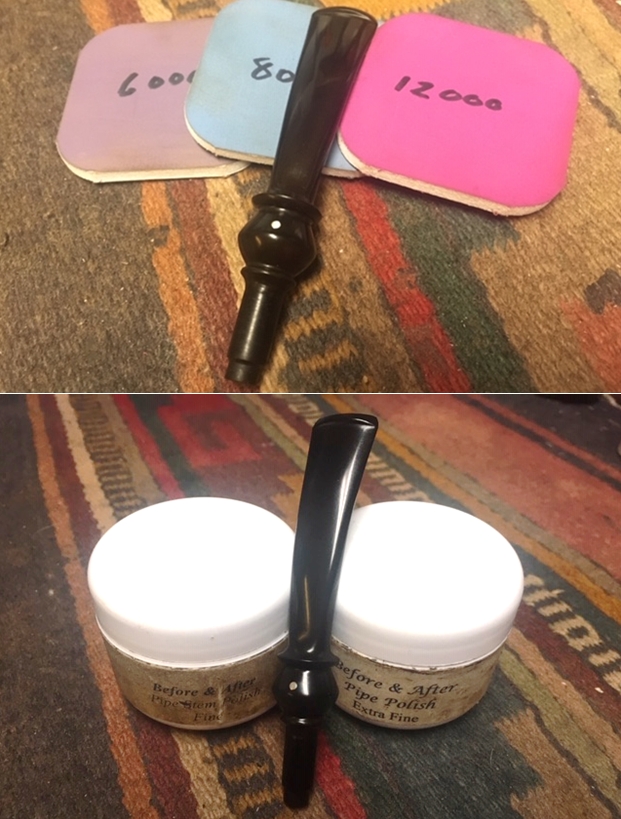
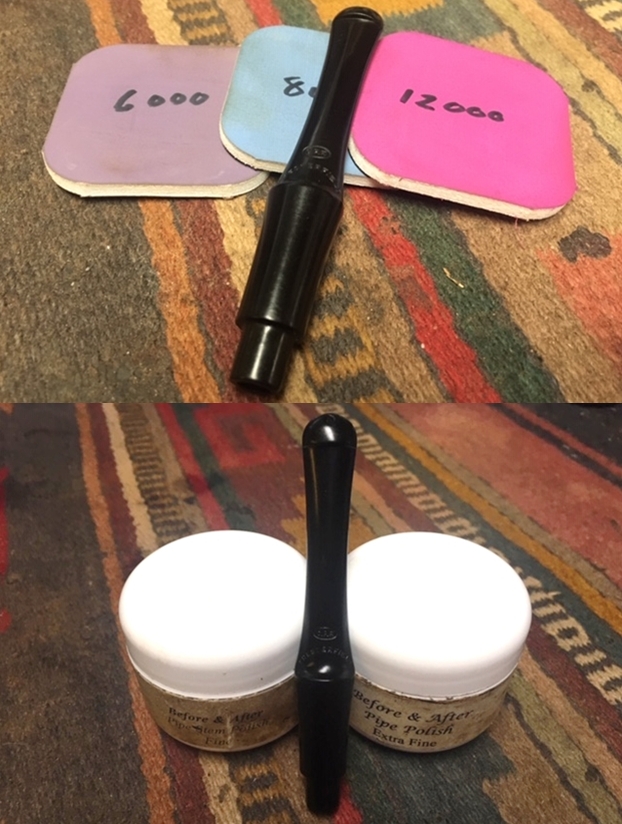
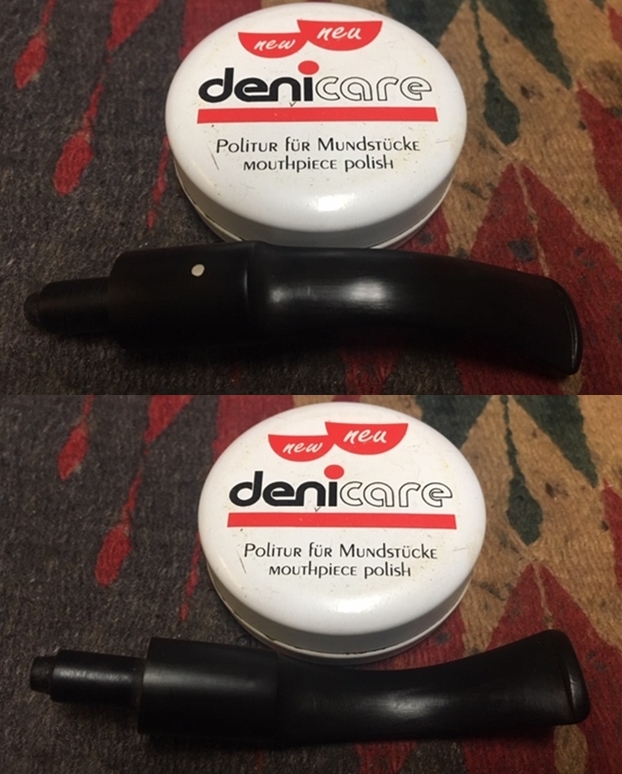
 I set the bowl aside and turned my attention to the stem. I sanded the stem with 220 grit sandpaper to smooth out the tooth chatter and marks on both sides at the button. I started the polishing with 400 grit wet dry sandpaper to remove the scratching. It is starting to look good.
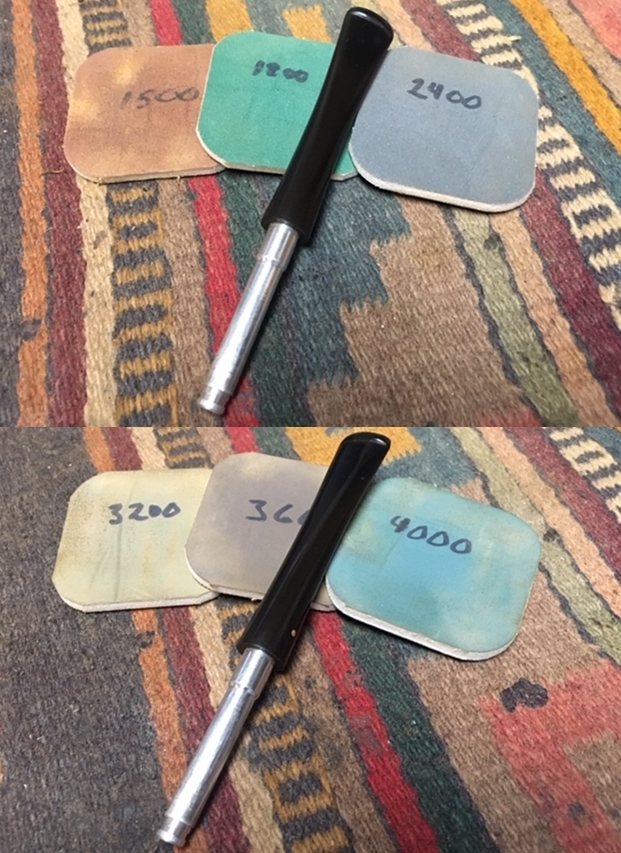
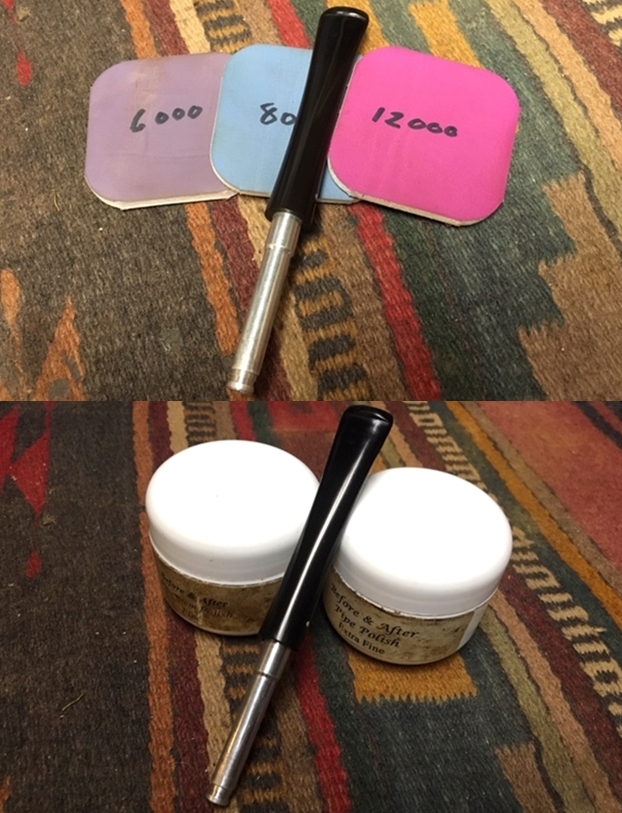
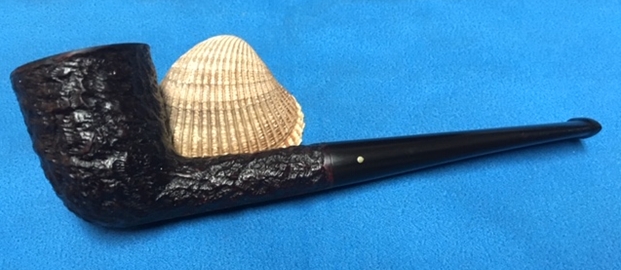
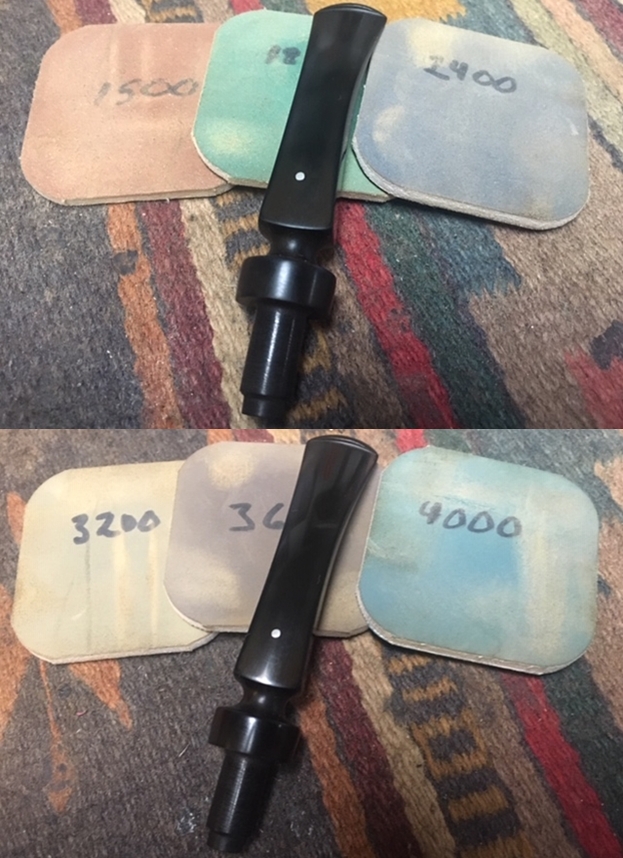
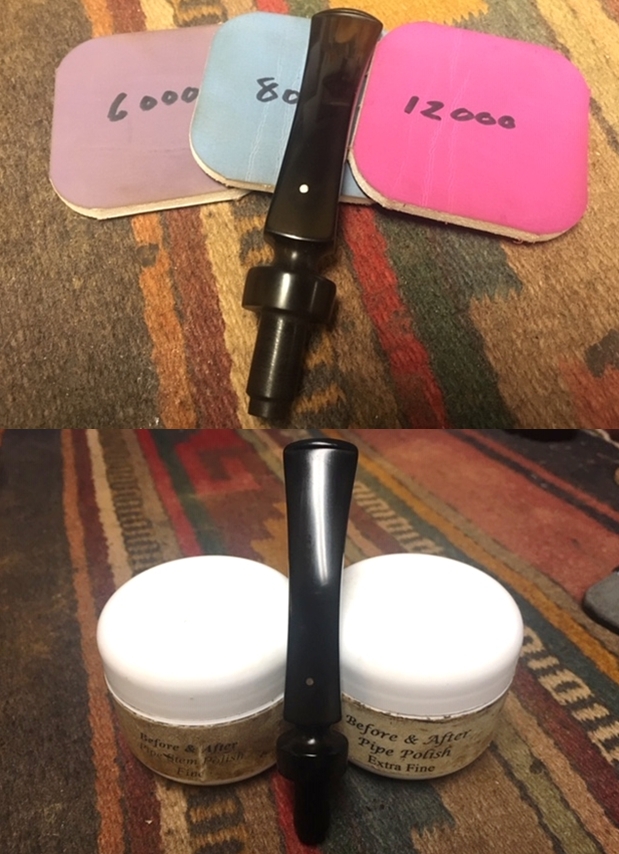
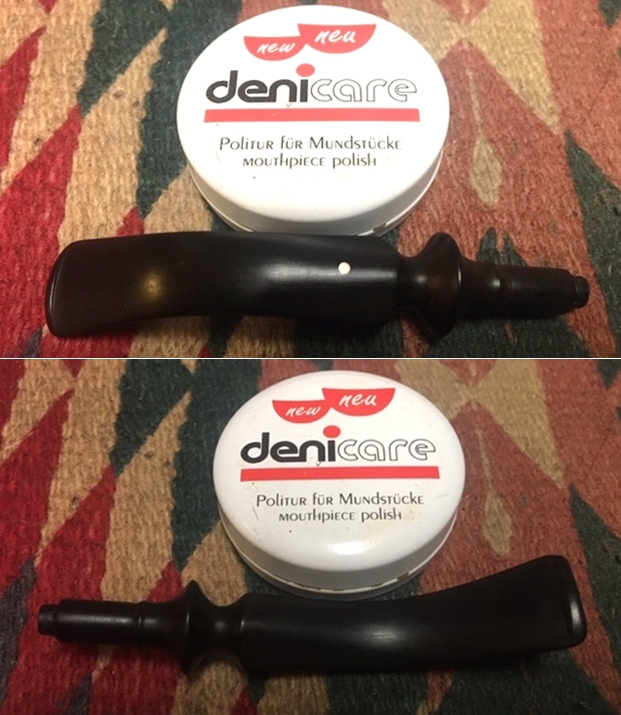
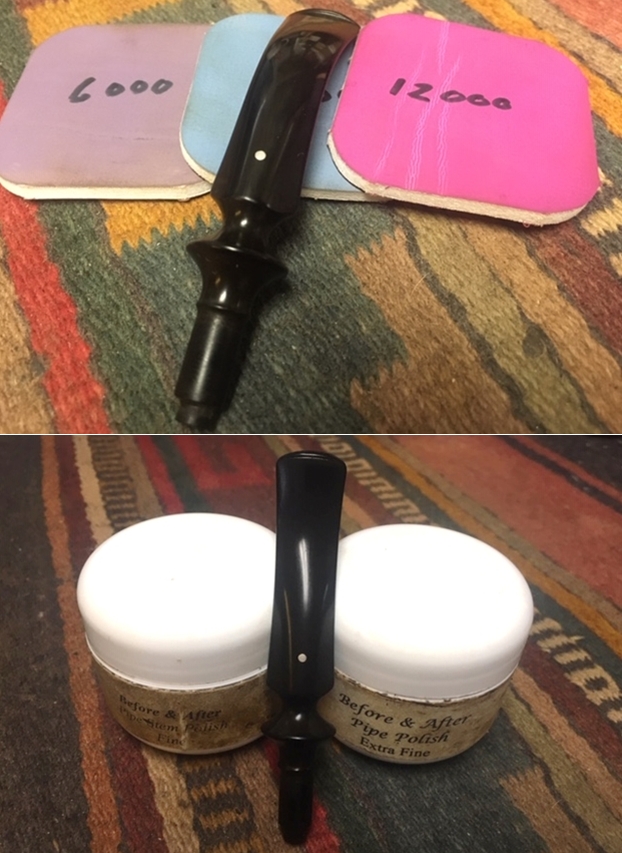
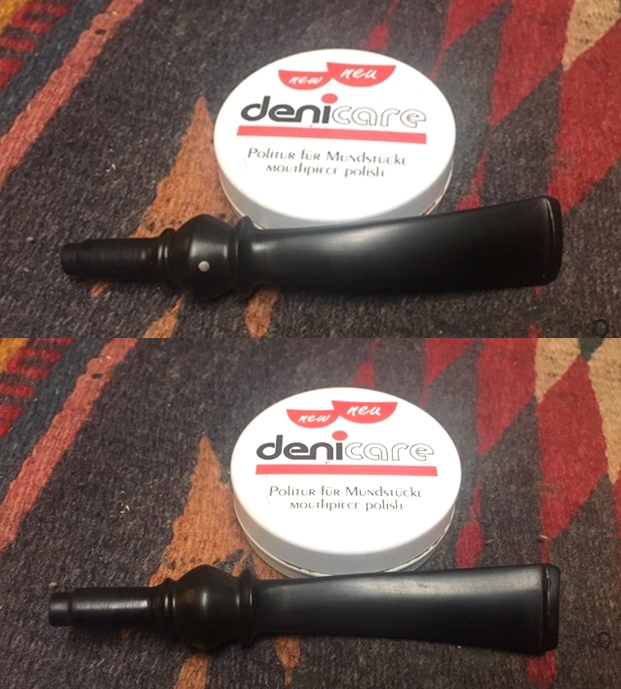
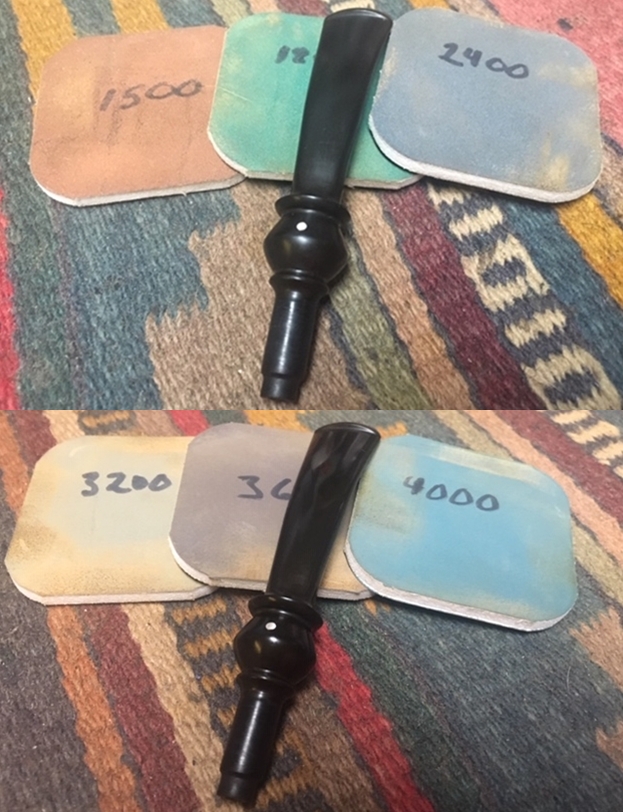
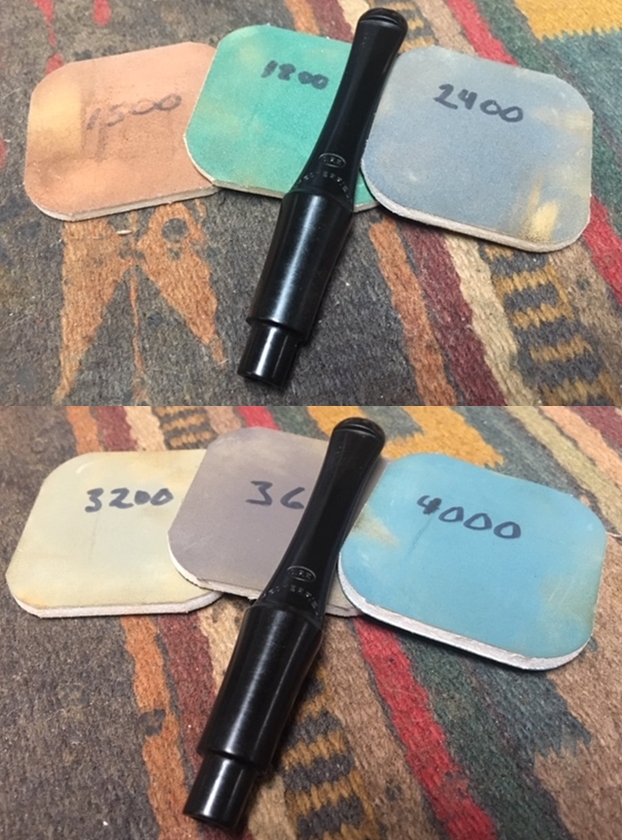
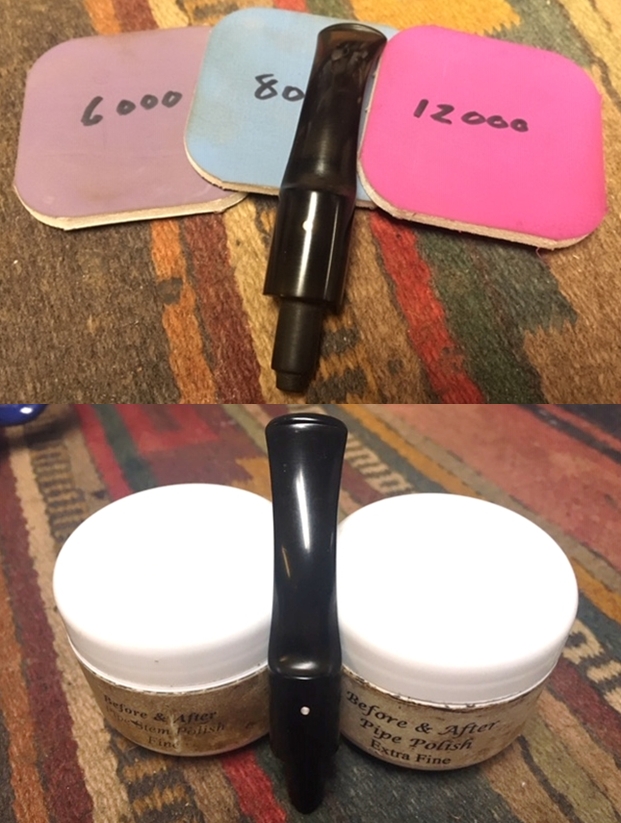
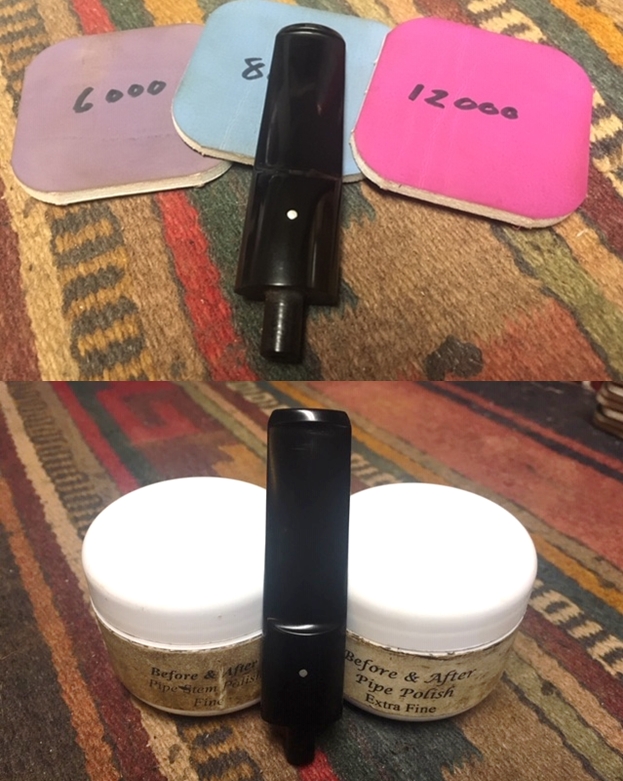
 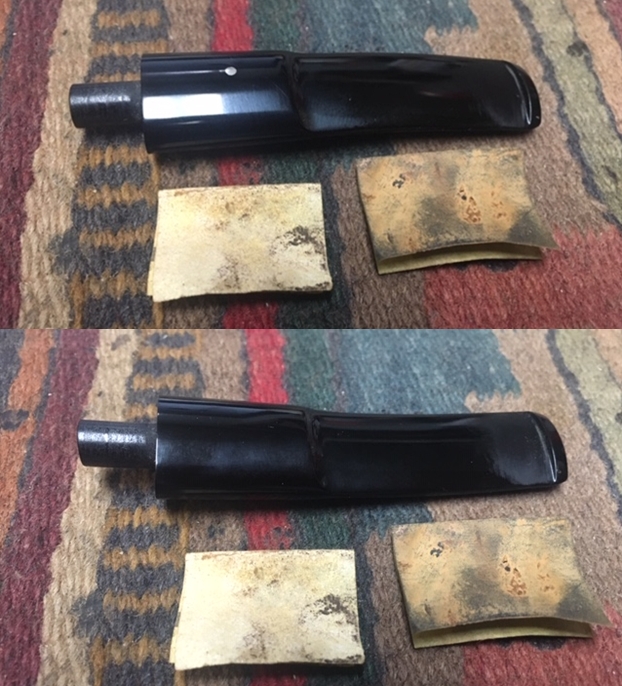 I polished the stem with micromesh sanding pads – wet sanding with 1500-12000 grit pads. I wiped the stem down after each sanding pad with Obsidian Oil. I polished it with Before & After Pipe Stem Polish – both Fine and Extra Fine. Once I had finished the polishing I gave it final coat of oil and set it aside to dry.
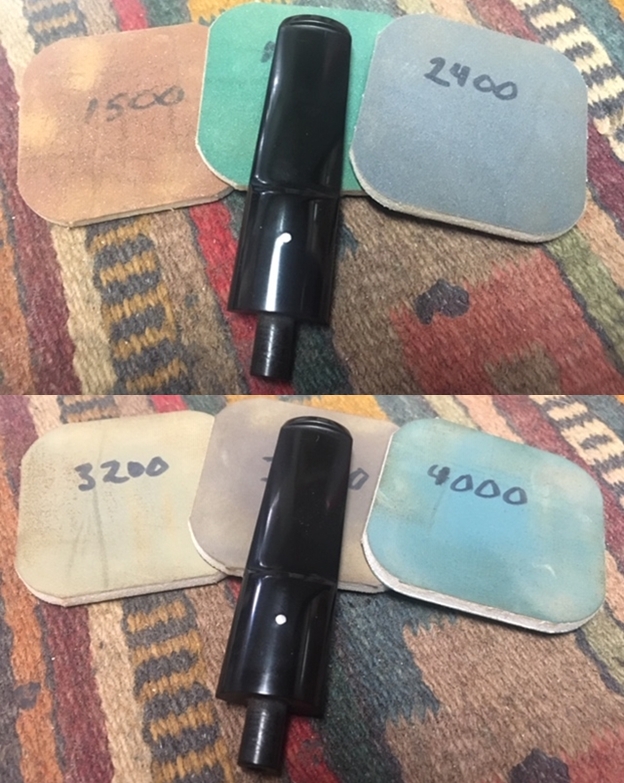
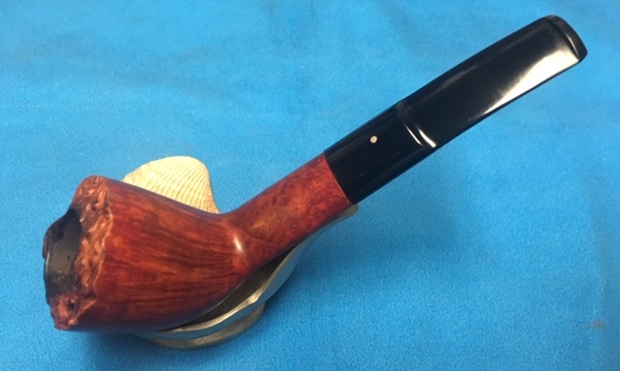
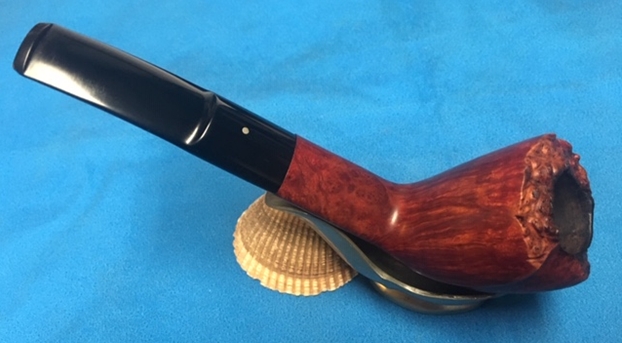
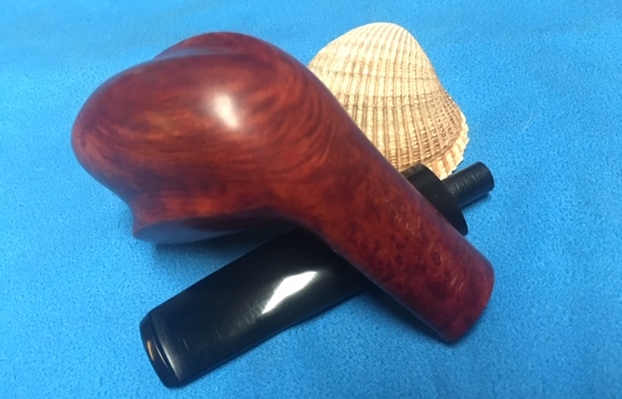
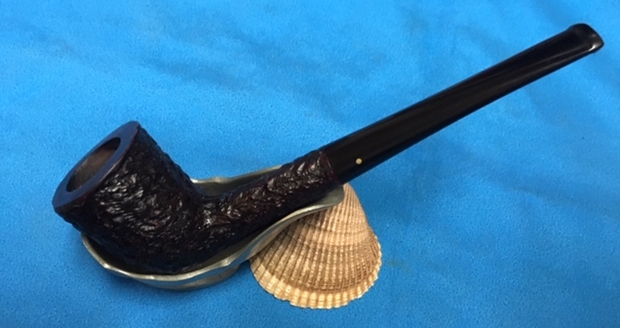
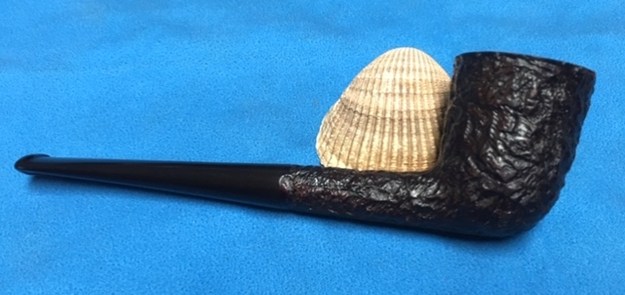
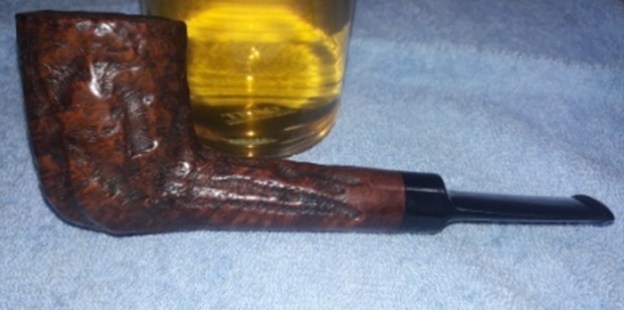
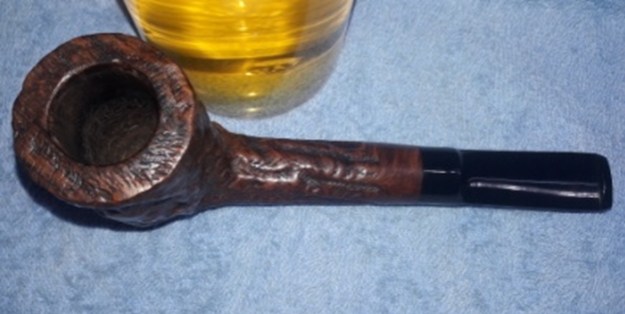
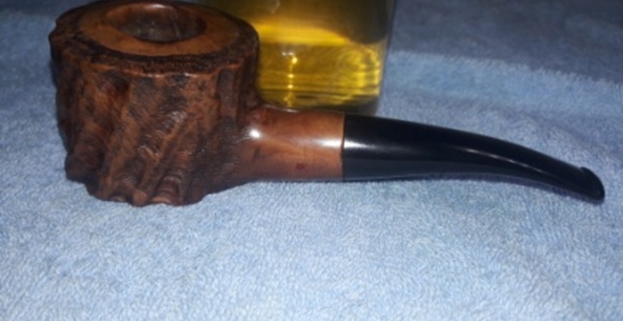
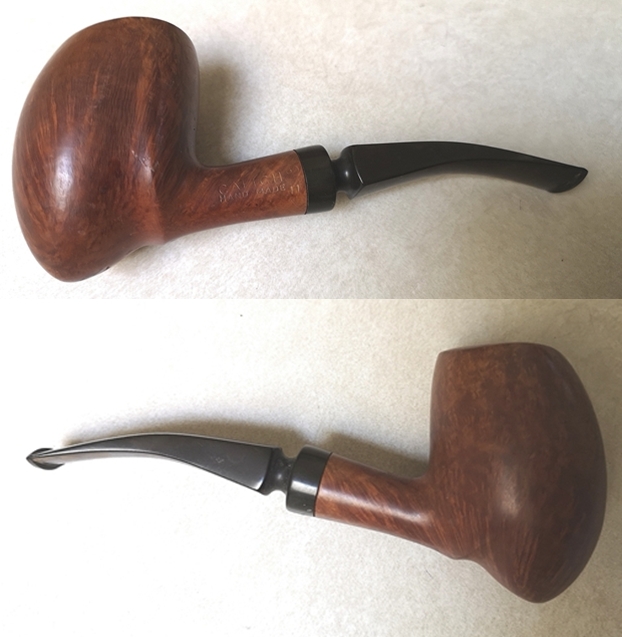
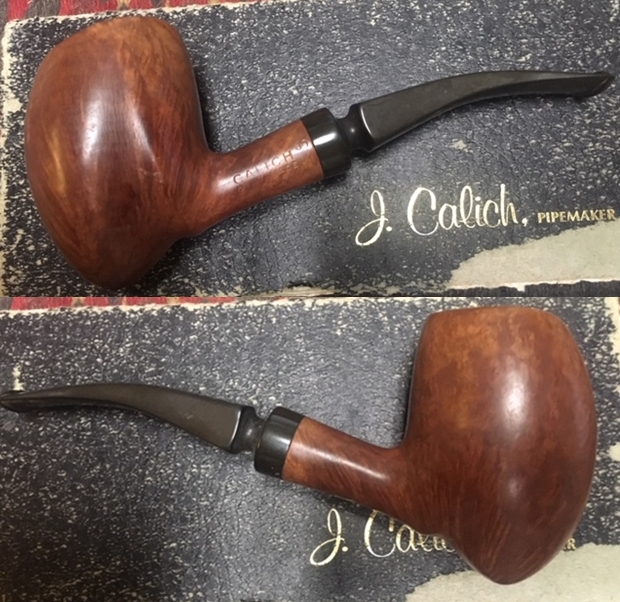
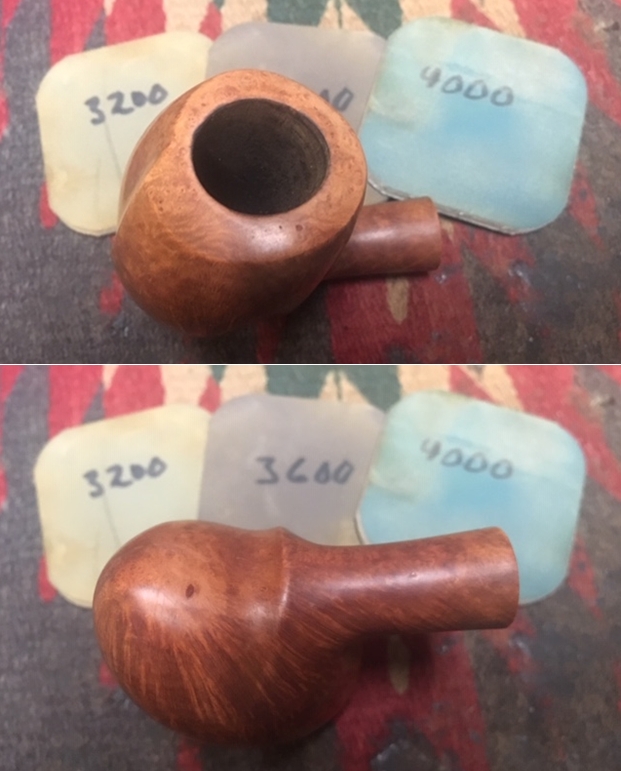
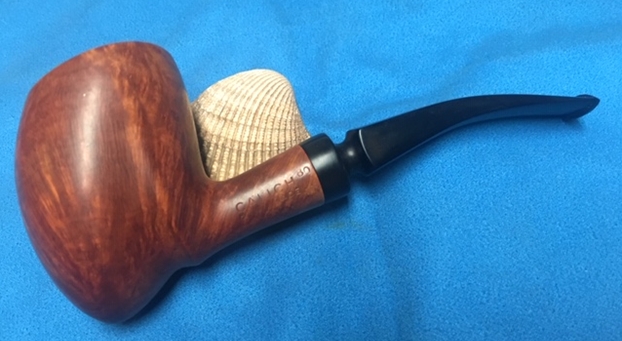
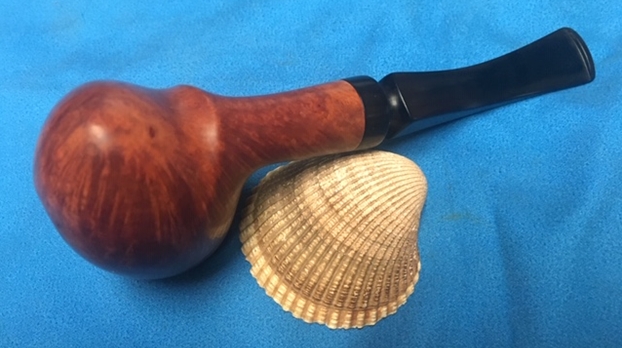
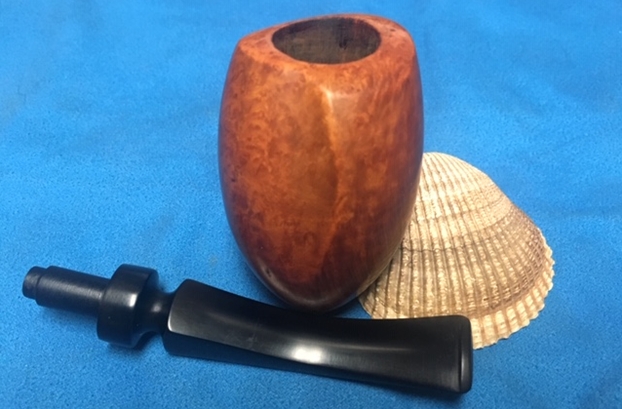
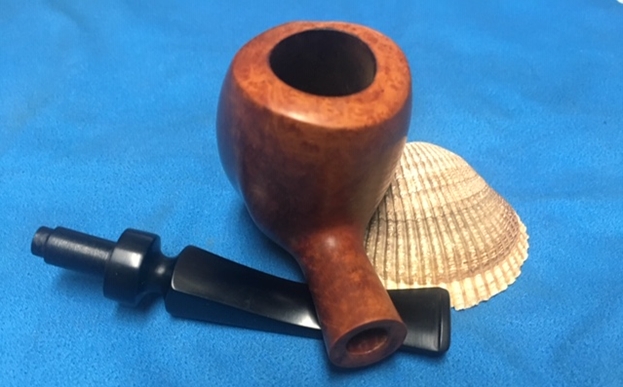
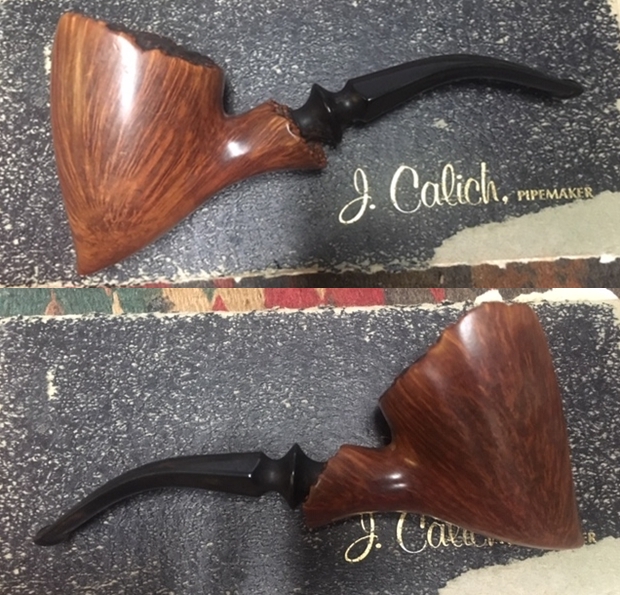
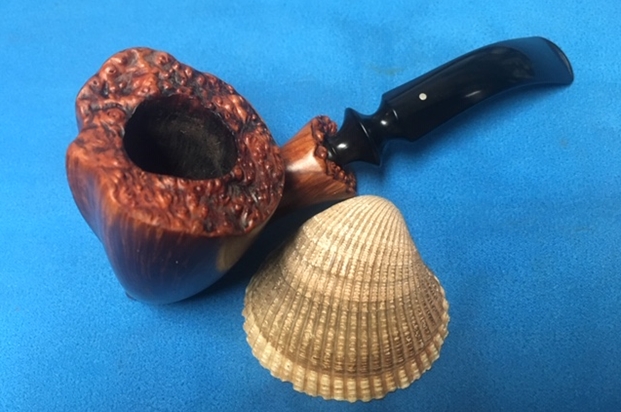
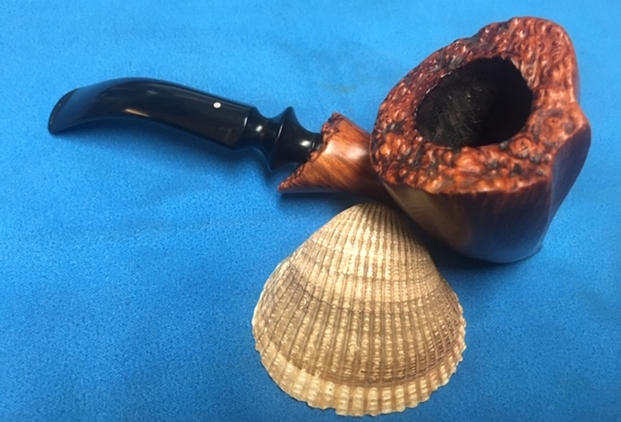
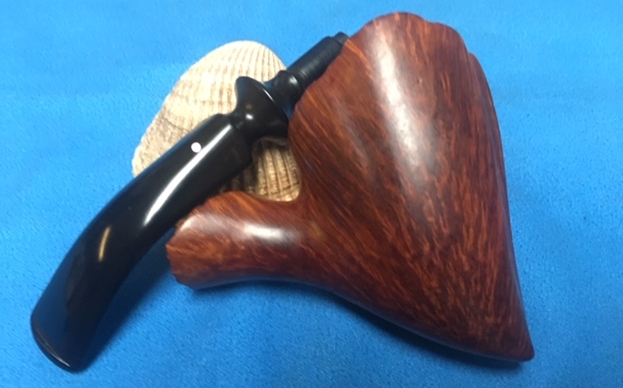
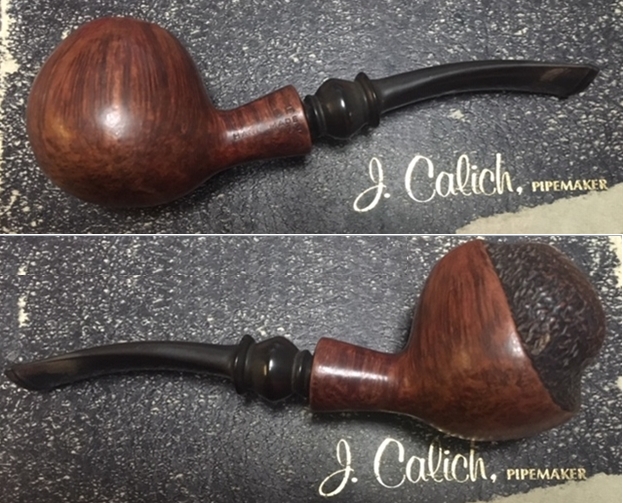
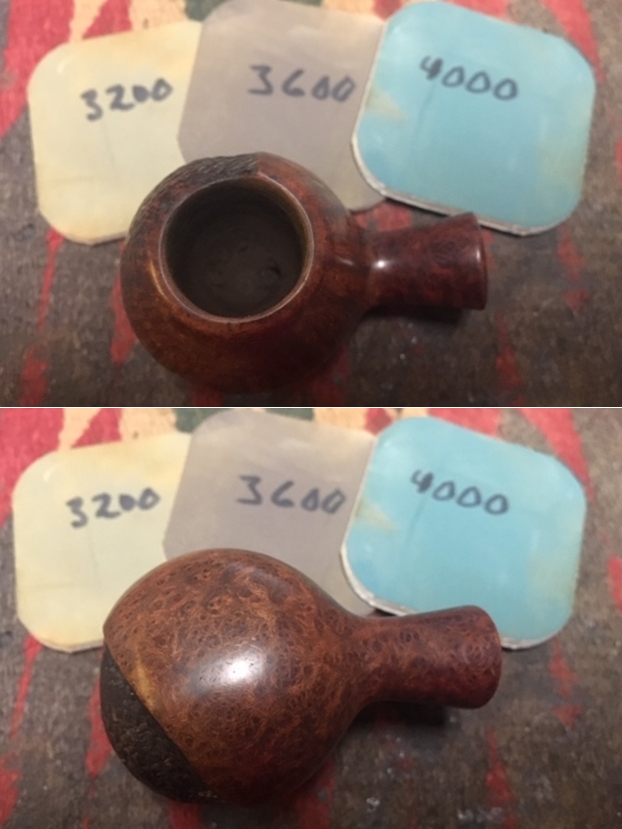
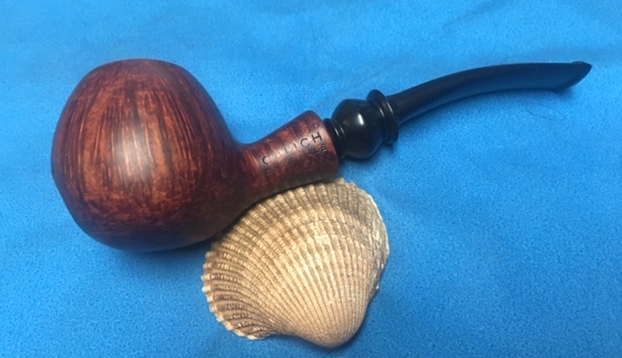
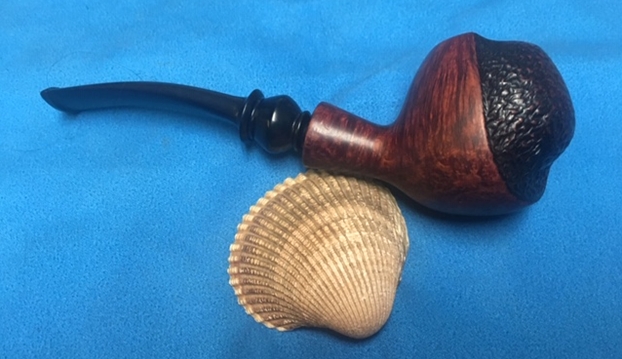
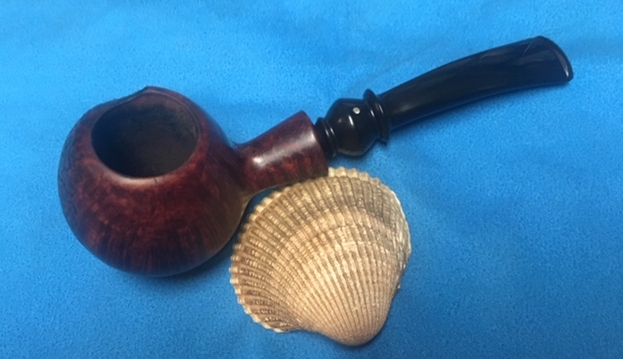
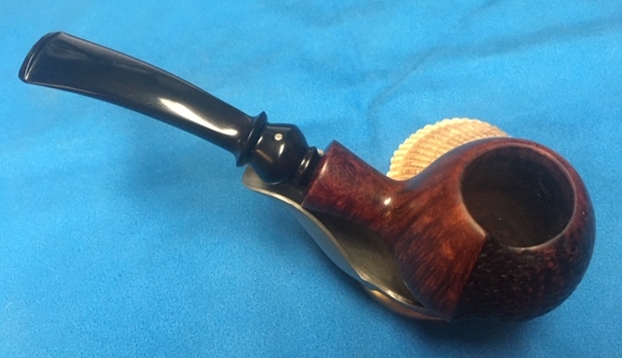
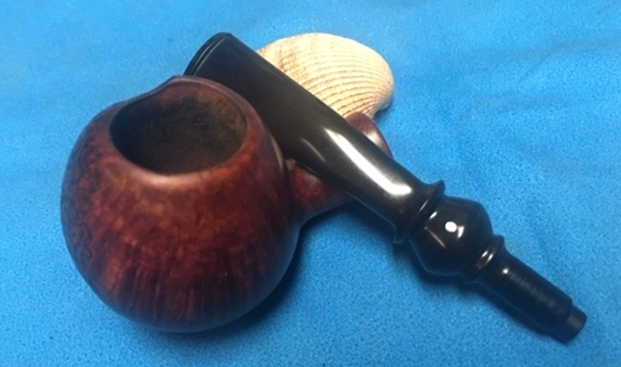
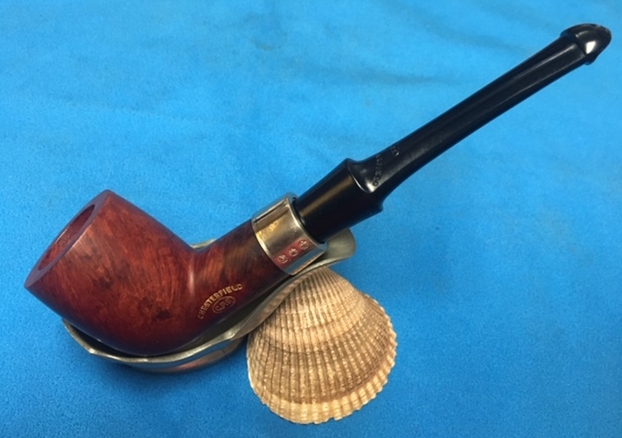
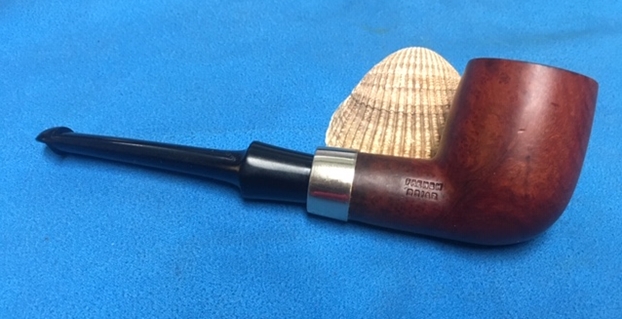
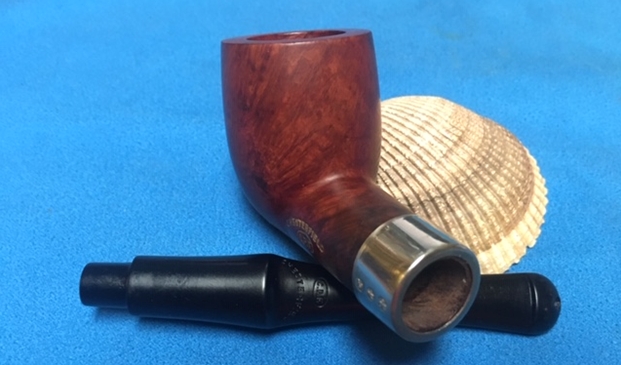
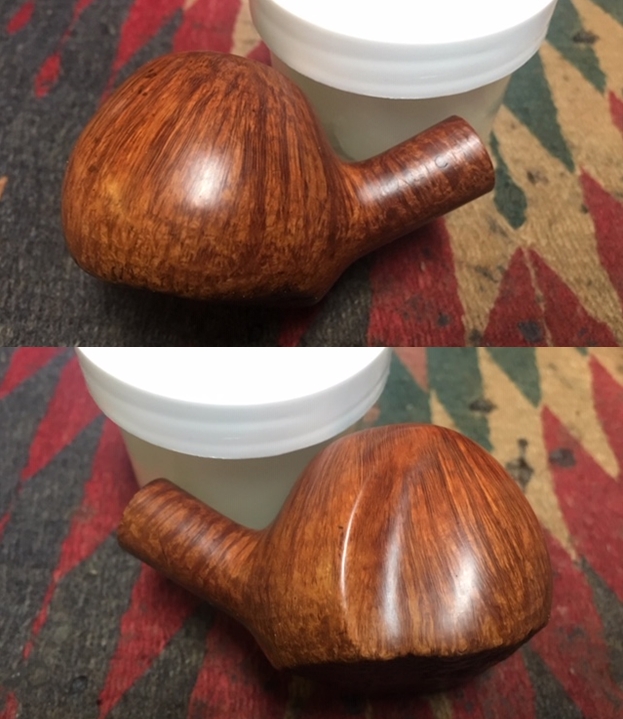
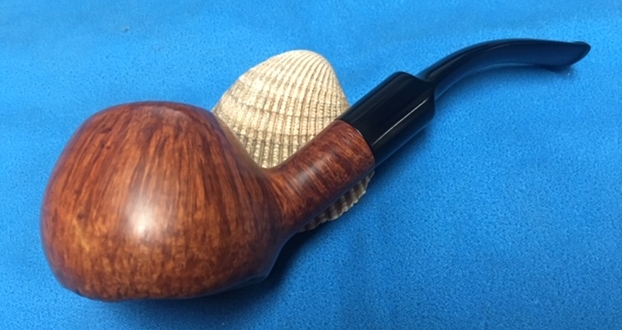
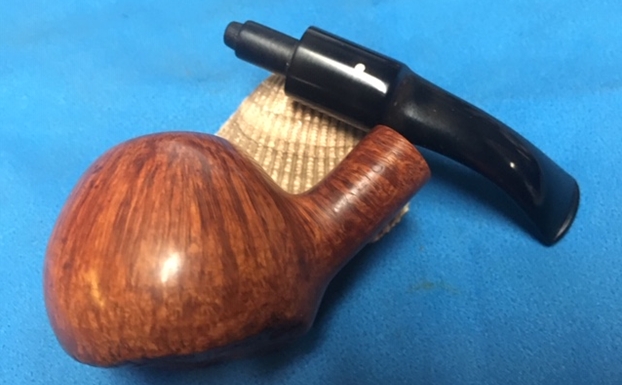
 Alex’s Calich is a similar style to the pipes from Ken’s Estate that I worked on. It is a beautifully grained Canted Dublin Hand Made with an oval shank and saddle stem. It has the kind of beauty I have come to expect from John’s pipes with plateau on the rim top and the fluted front and right side of the bowl. I am excited to be on the homestretch with this. This is the part I look forward to when each pipe comes back together, polished and waxed. I put the bowl and stem back together. I polished the bowl and stem with Blue Diamond to polish out the scratches in the briar and the vulcanite. I gave the bowl and the stem multiple coats of carnauba wax. I buffed the pipe with a clean buffing pad to raise the shine. I hand buffed it with a microfiber cloth to deepen the shine. The pipe polished up pretty nicely. The straight and flame grain on the sides of the bowl and birdseye and swirled grain on the front and back side of the bowl is quite stunning. The plateau on the rim top was originally natural though had been darkened over time. The polished smooth finish look really good with the black vulcanite. This Calich Hand Made was another fun pipe to bring back to life. The medium brown finish and the plateau rim top makes this Canted Dublin pipe look attractive. It is another comfortable pipe to hold in the hand. The finished pipe is shown in the photos below. The dimensions of the pipe are Length: 5 ½ inches, Height: 2 inches, Outside diameter of the bowl: 1 ¾ inch, Chamber diameter: ¾ of an inch. Thanks for reading this blog and my reflections on the pipe while I worked on it. This is entire estate was interesting to bring back to life.