Blog by Steve Laug
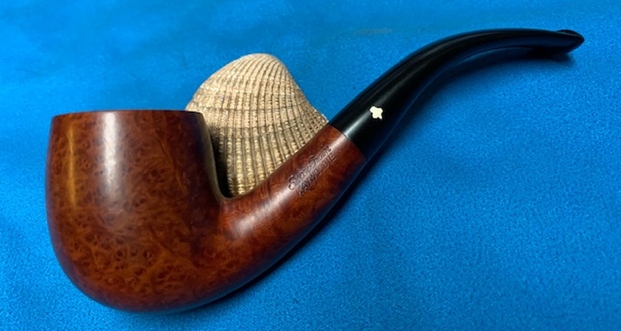
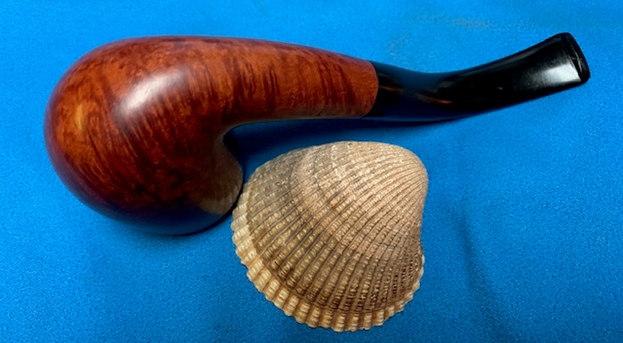
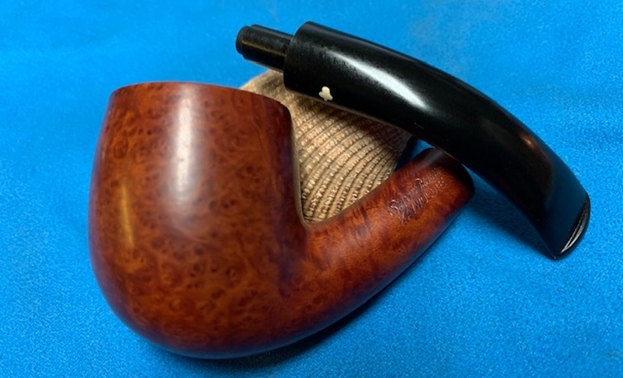
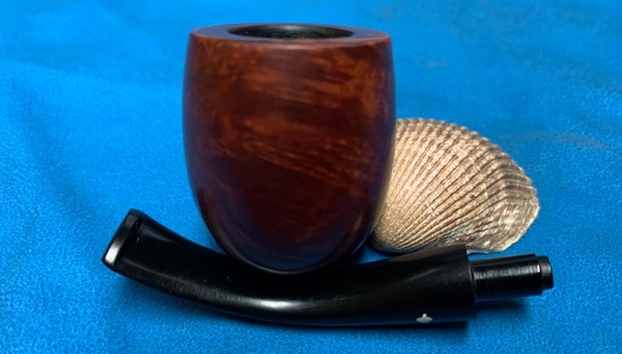
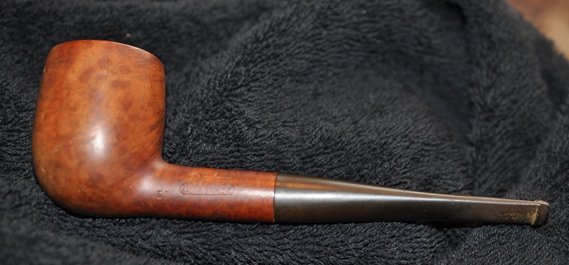
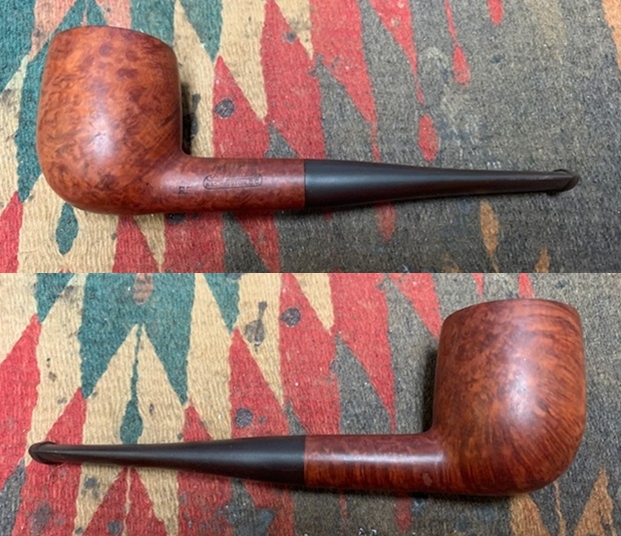
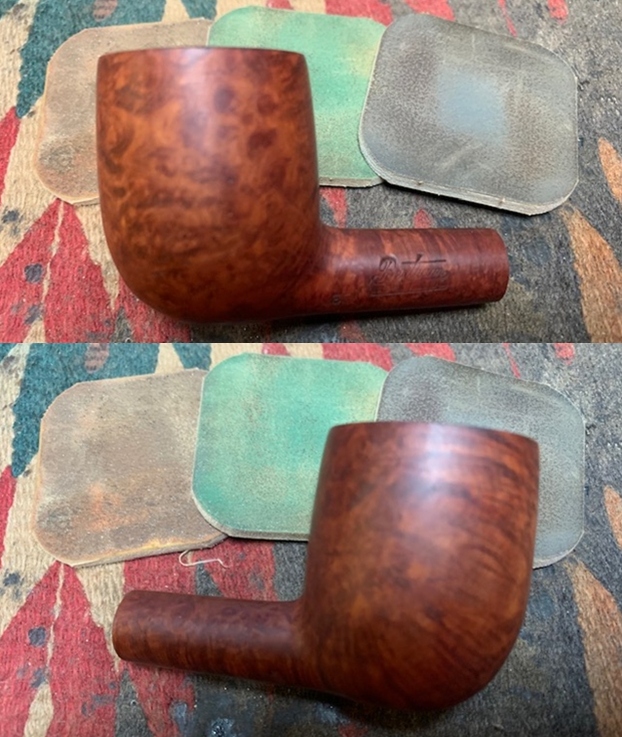
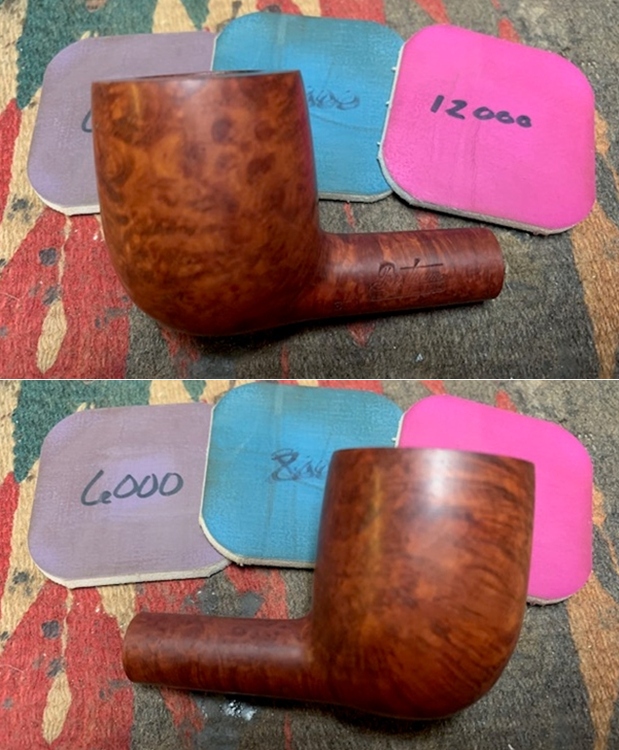
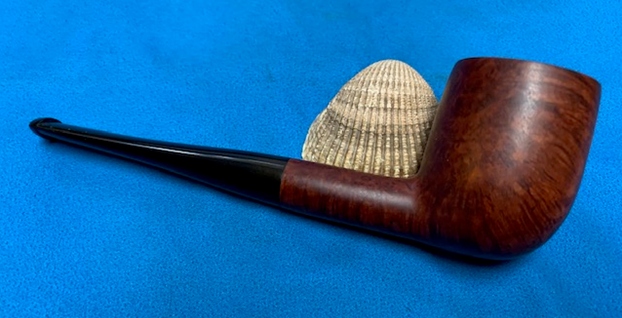
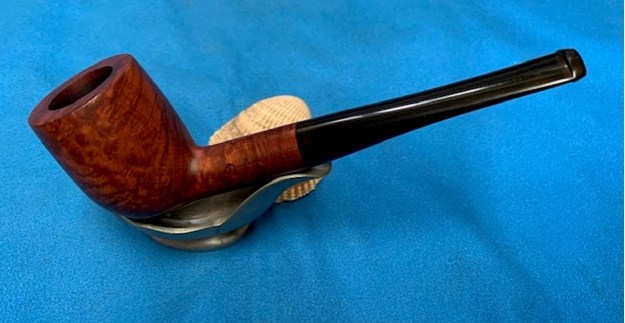
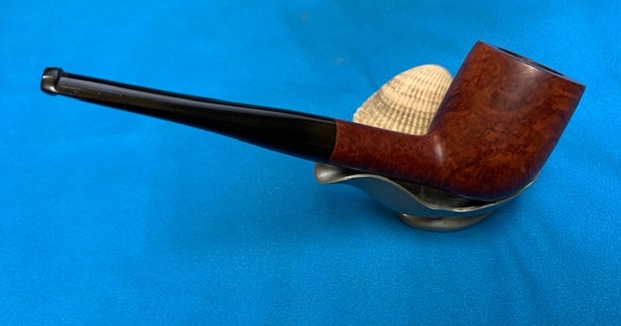
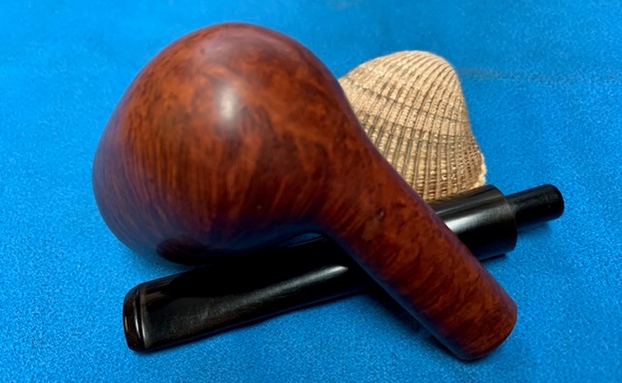
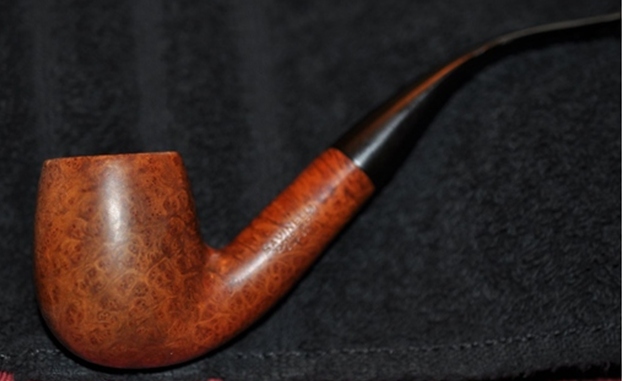
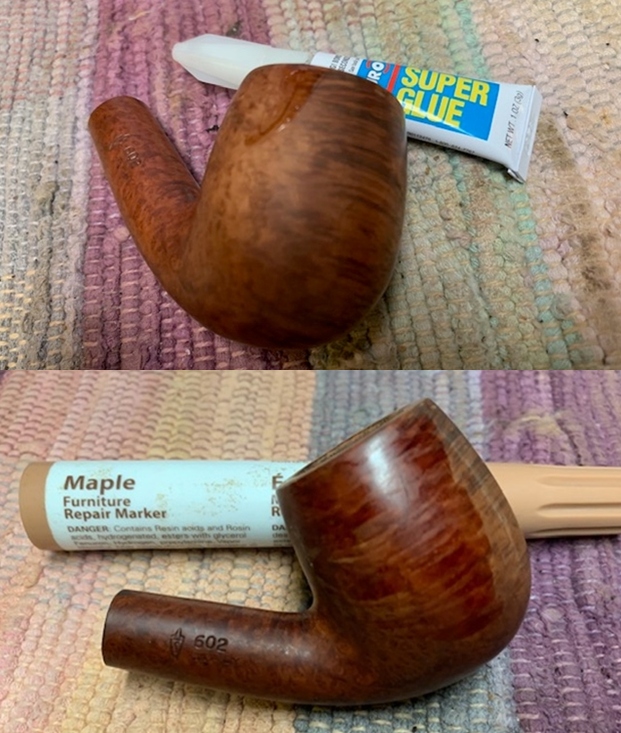
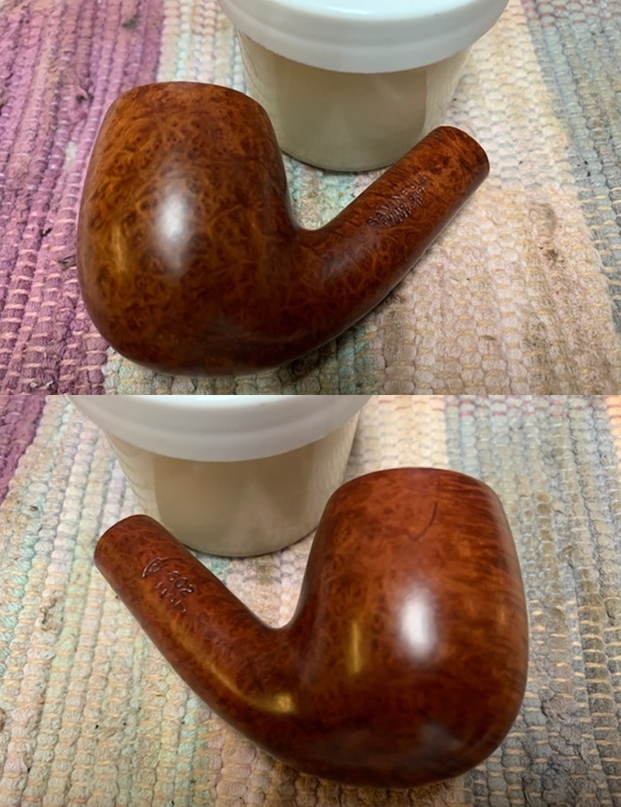
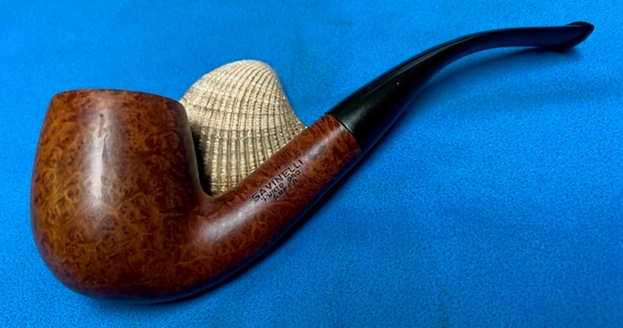
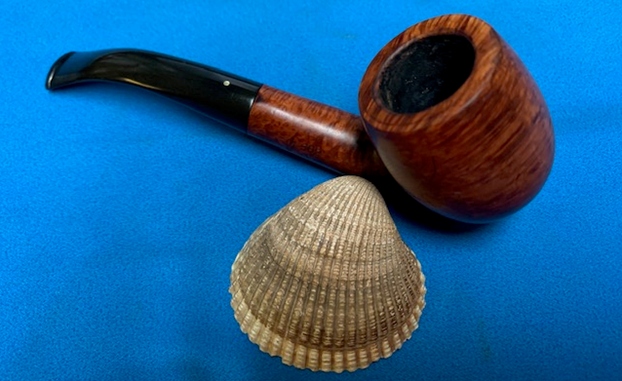
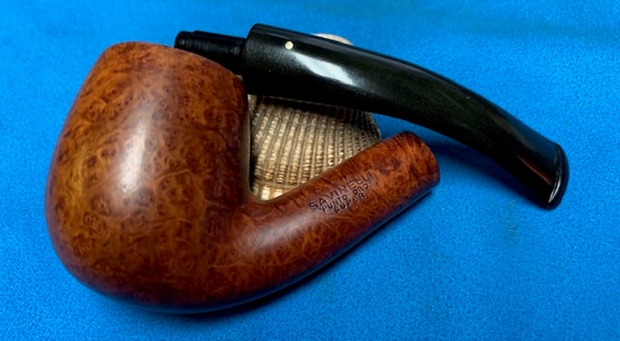
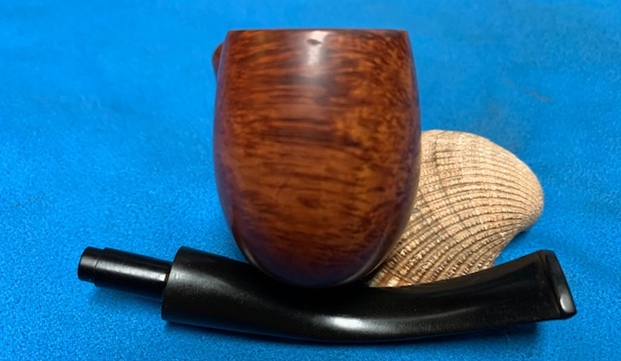
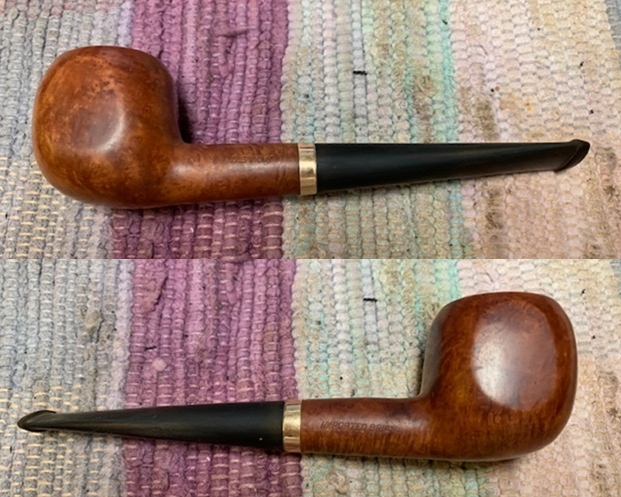
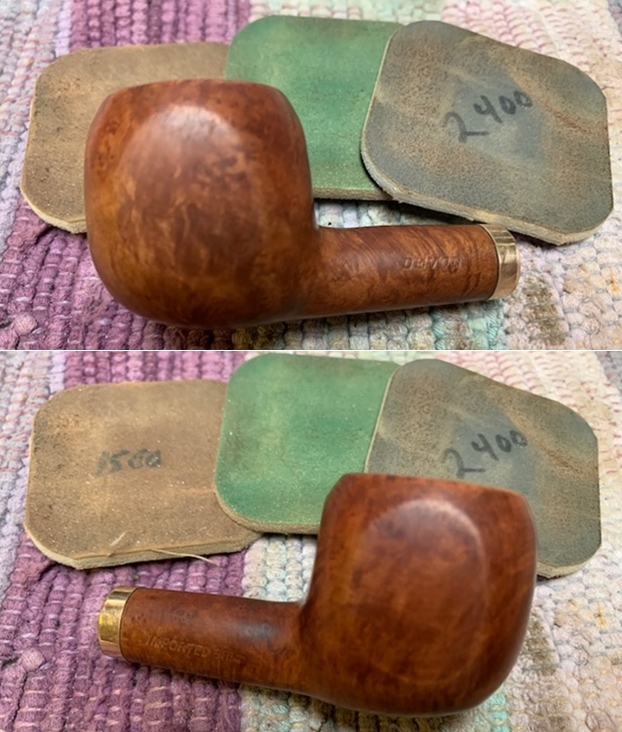
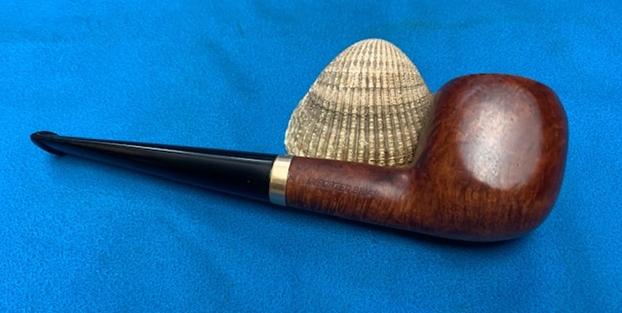
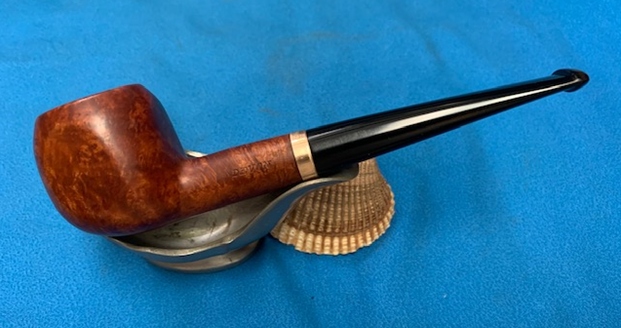
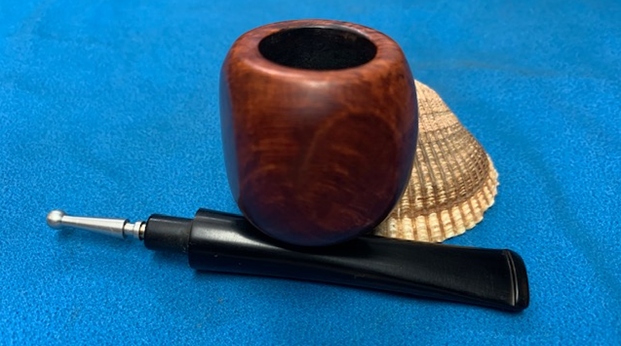
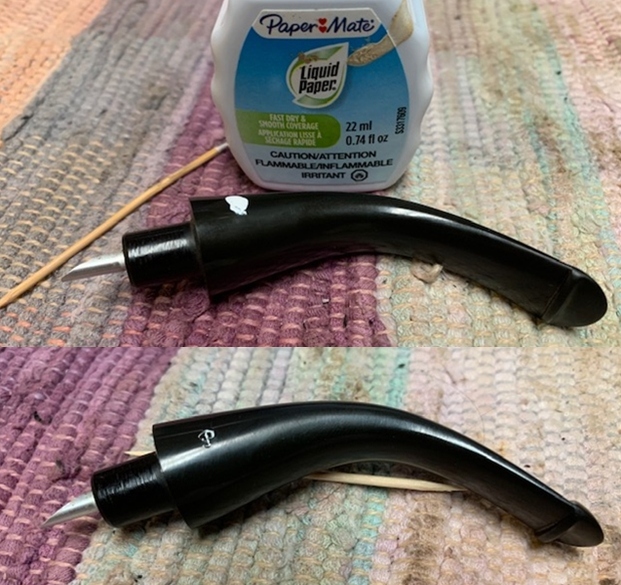
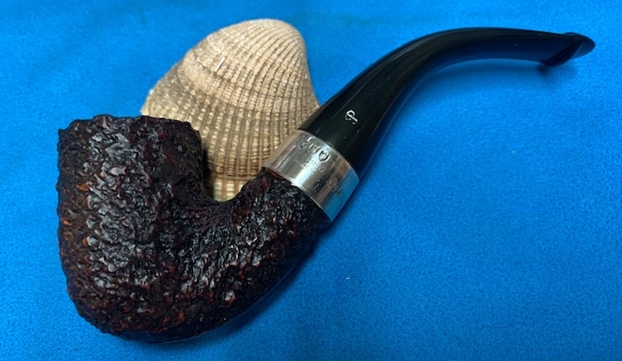
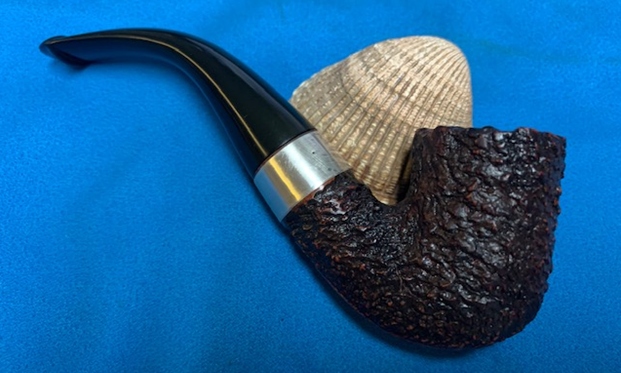
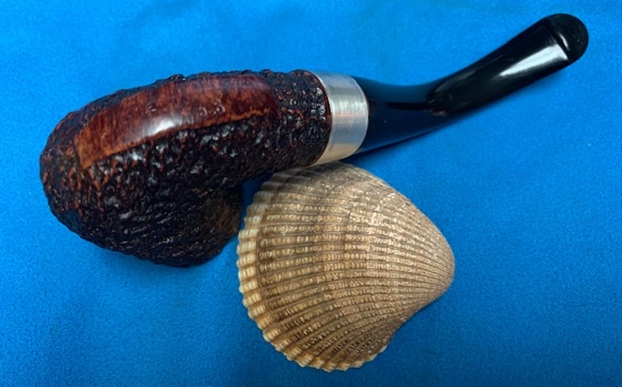
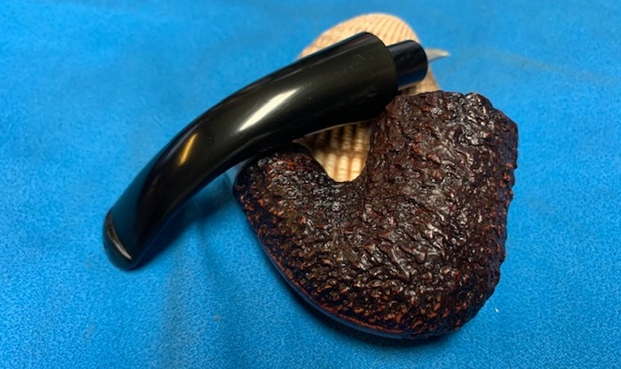
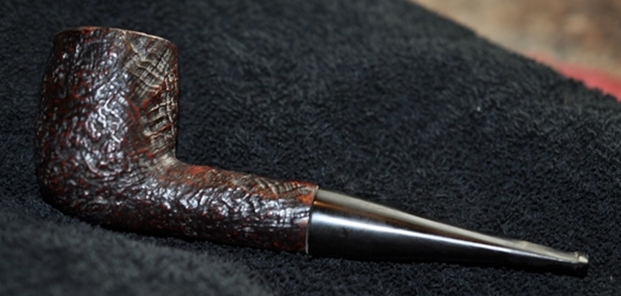
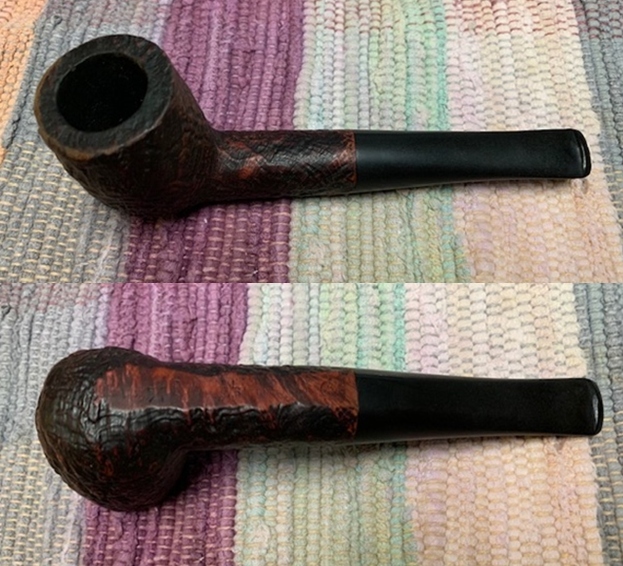
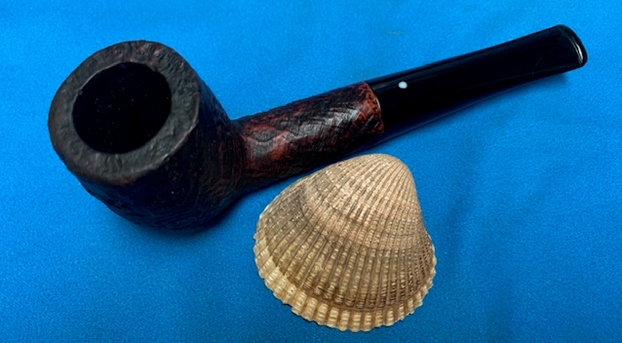
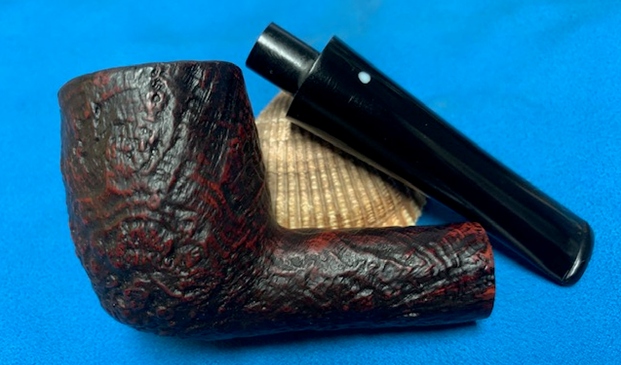
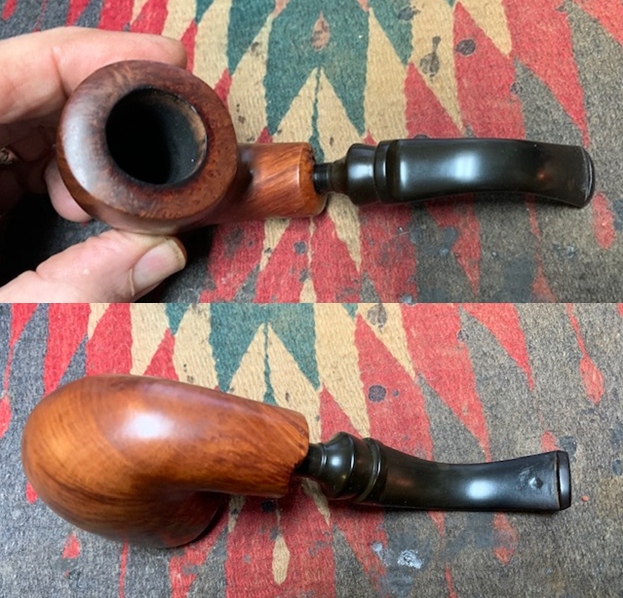
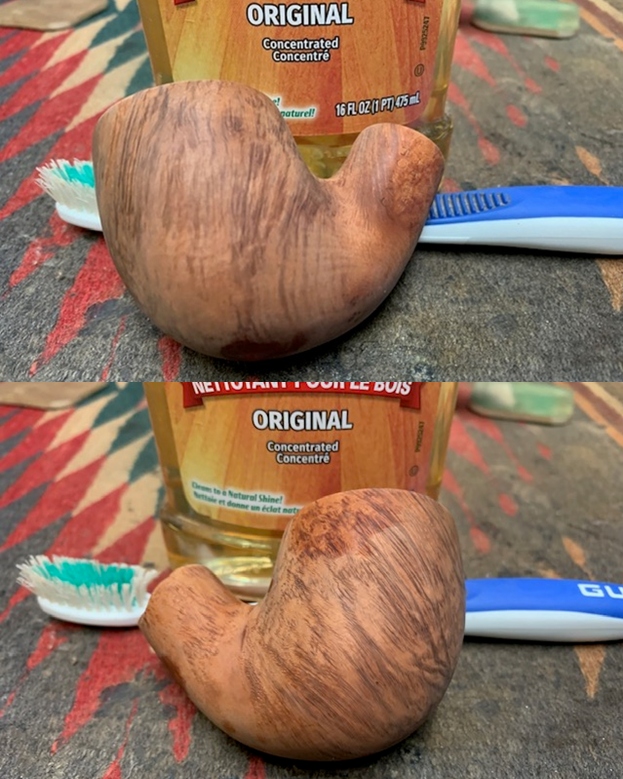
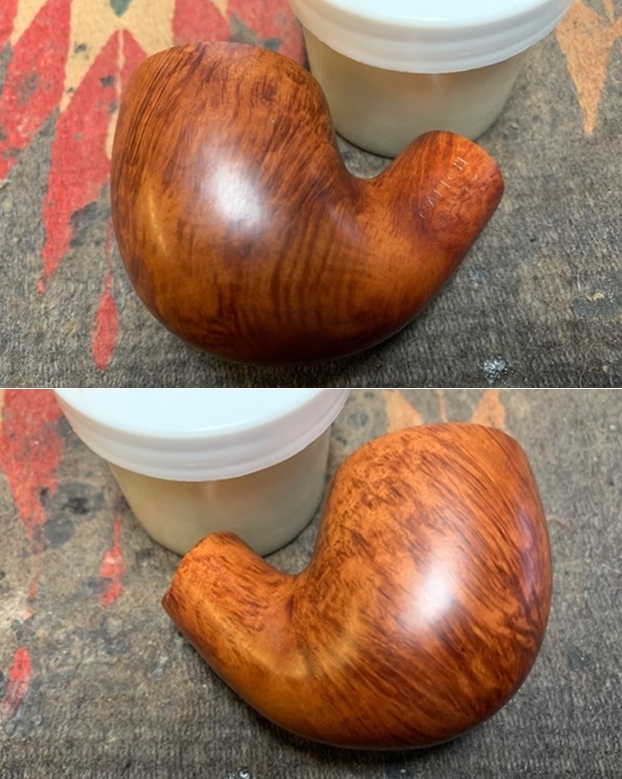
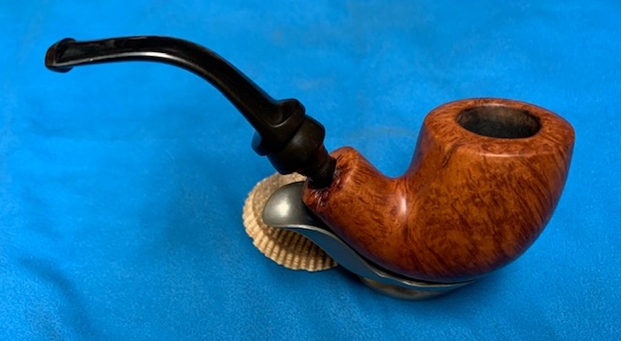
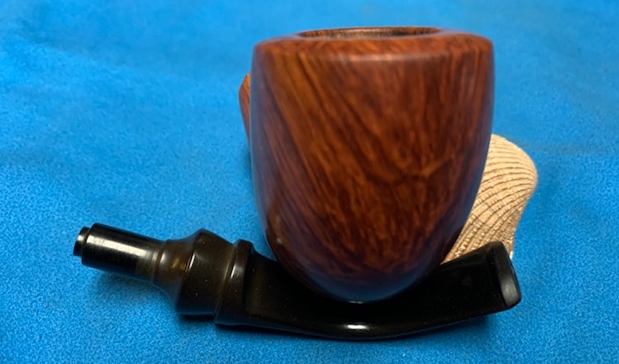
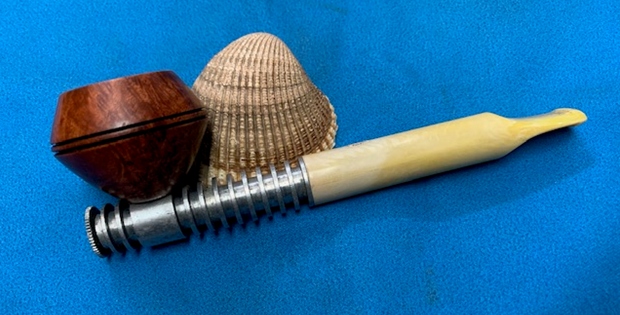
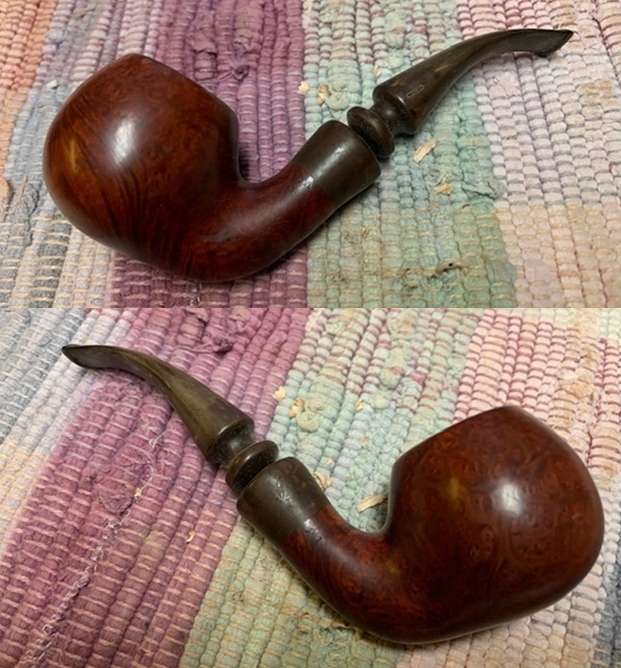
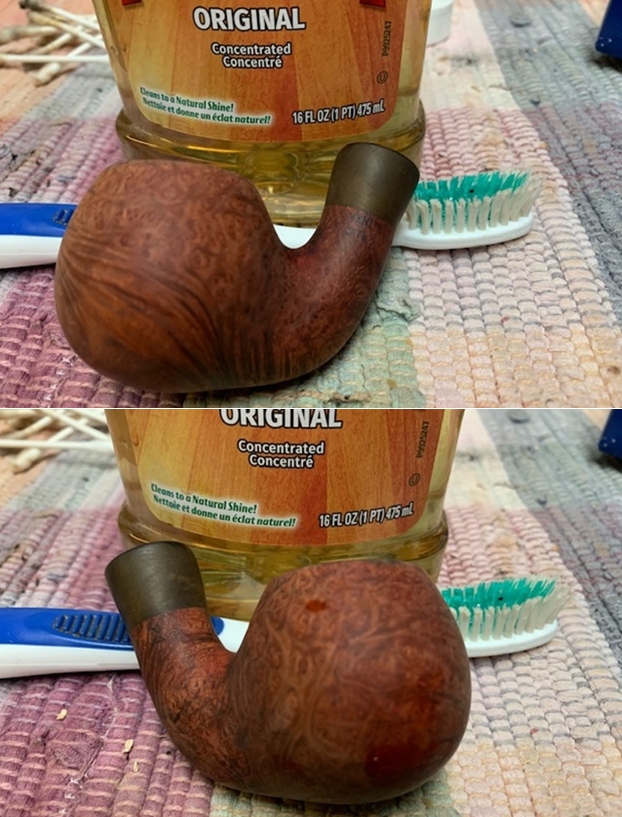
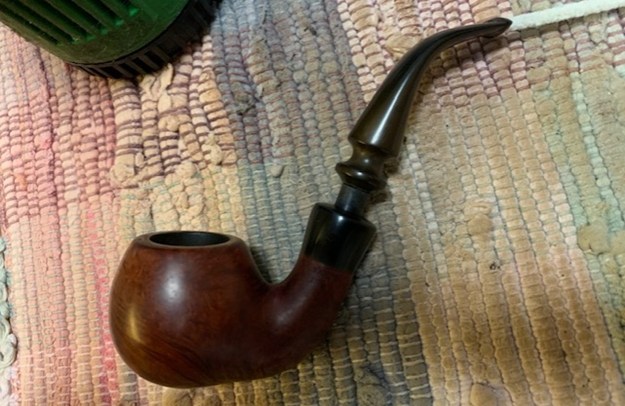
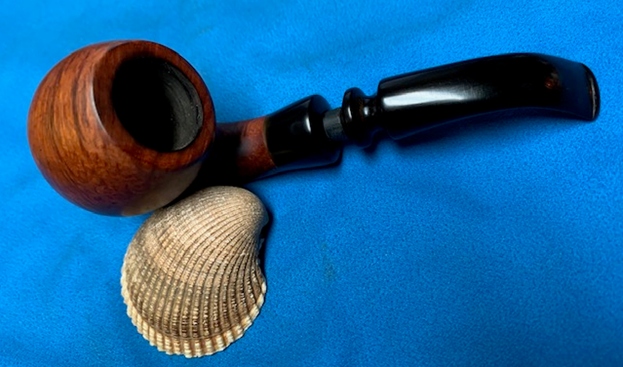
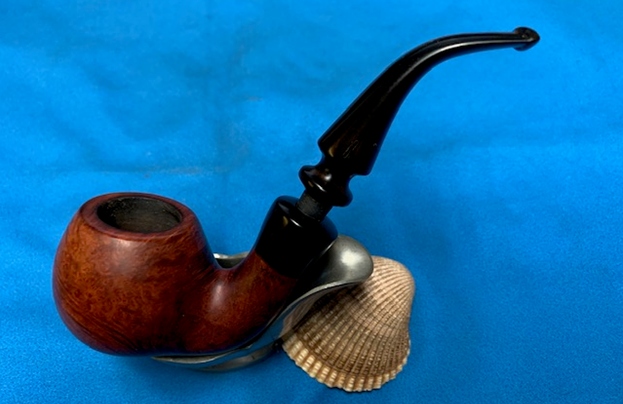
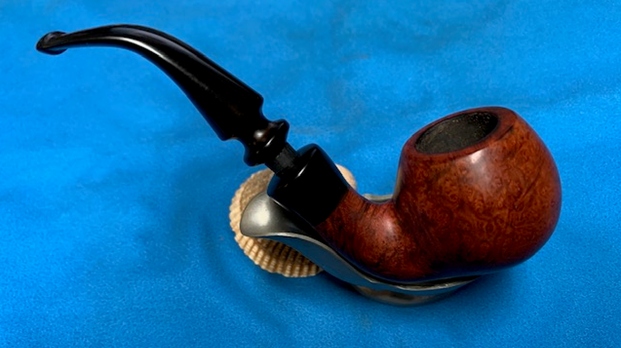
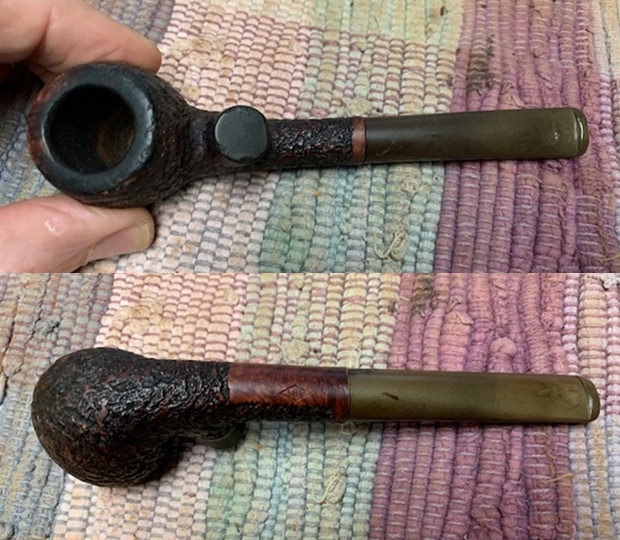
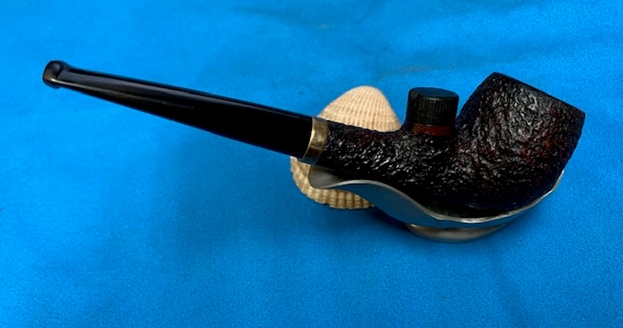
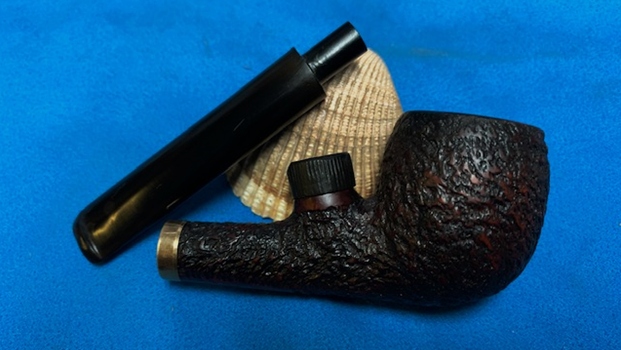
The next pipe on the table came to us from one of our pipe hunts or a trade I just cannot remember. It is a very nice Kaywoodie Super Grain Bent Billiard with a push stem. The finish is quite nice with a classic Kaywoodie smooth finish. The pipe was pretty clean with the exterior polished and dust free. The bowl had been reamed somewhere along the way and the bowl was pretty clean. There was darkening on the rim top and a bit of damage on the inner edge of the rim. The pipe is stamped on the sides of the shank and reads Super Grain [over] Kaywoodie on the left side of the shank. On the right side it reads Imported Briar [over] the shape number 5114. The stamping is clear and readable on the pipe. The stem was dirty and lightly oxidized. There were light tooth marks and chatter on the stem near the button on both sides and some on the surface of the button as well. There was the Kaywoodie White Club/Clover logo on the left side of the taper stem. I took photos of the pipe before I worked on it.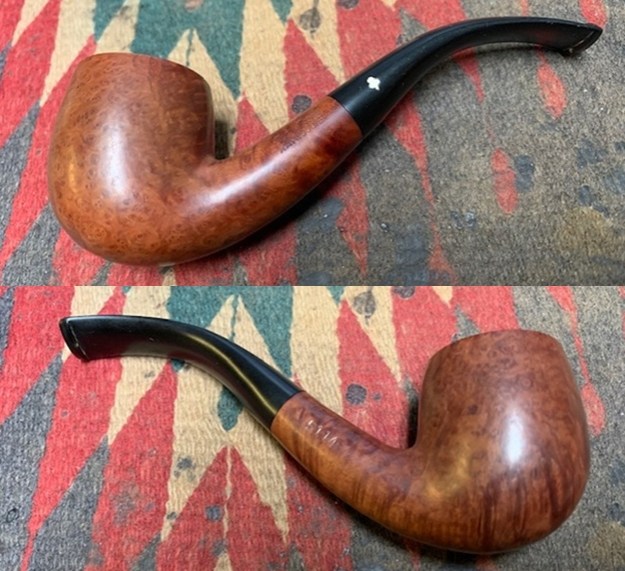
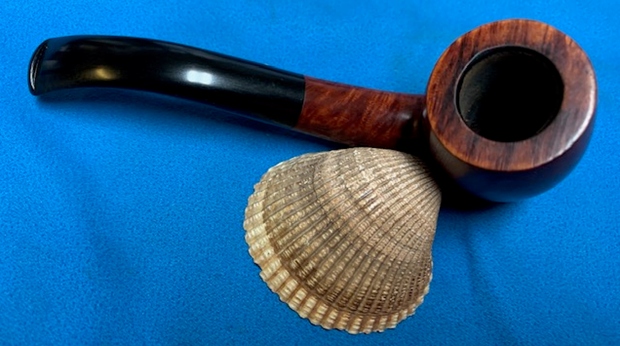
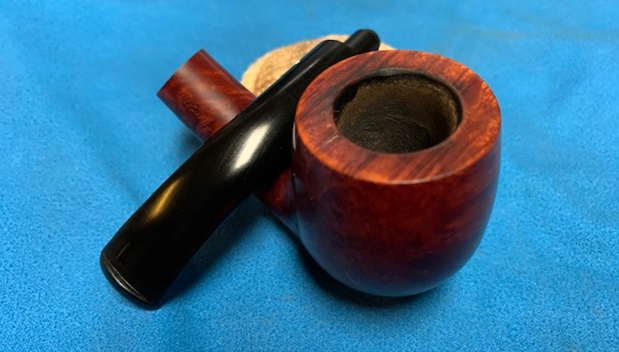
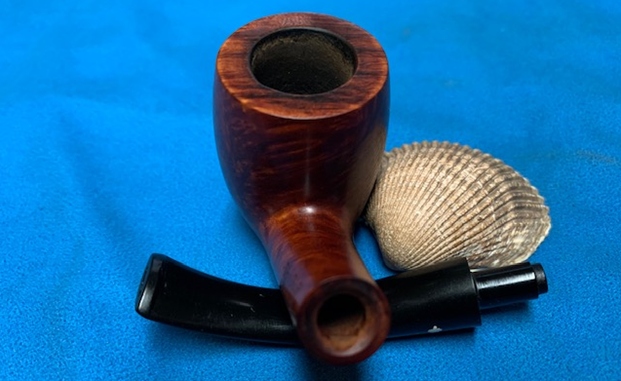
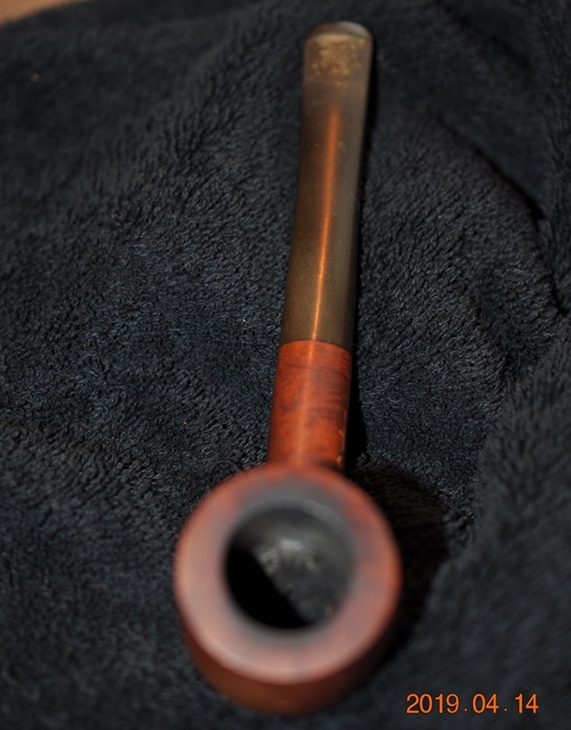
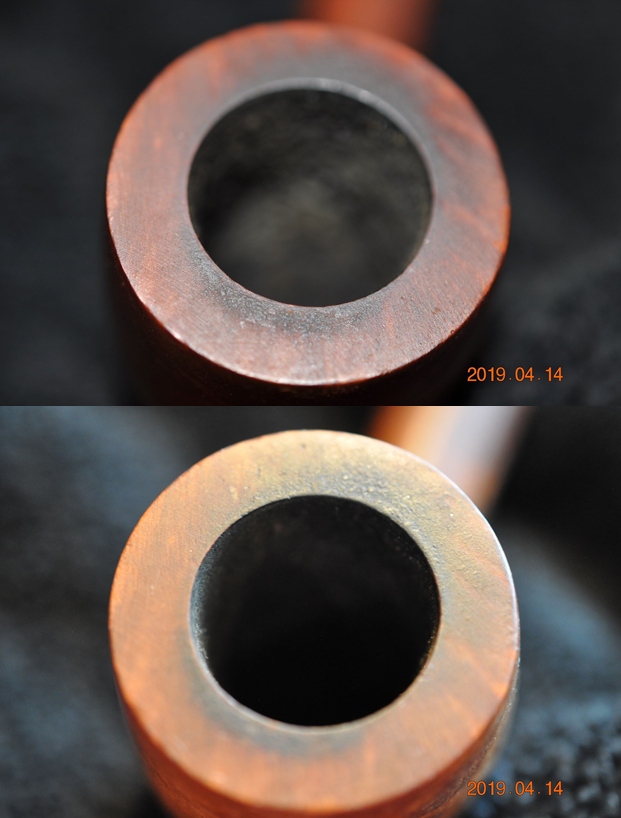
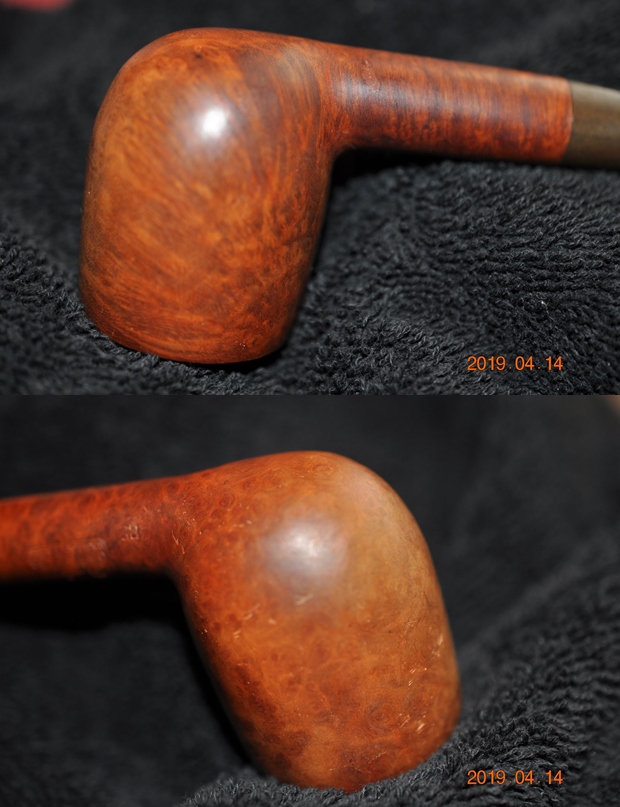
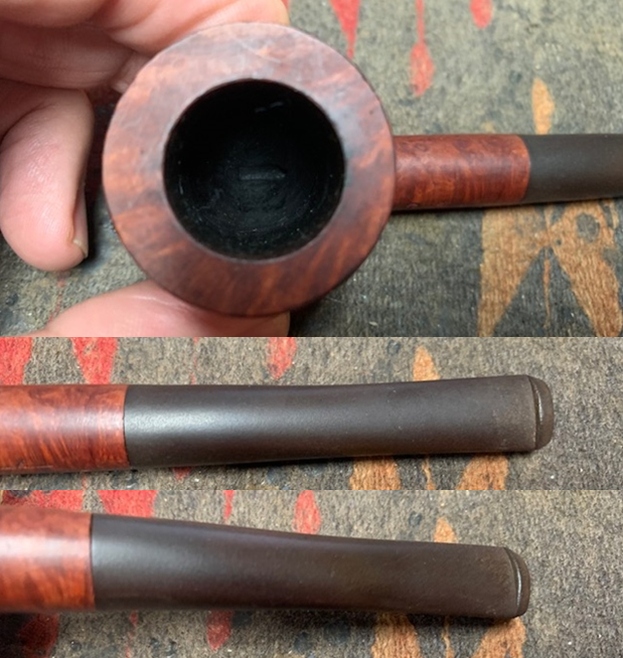
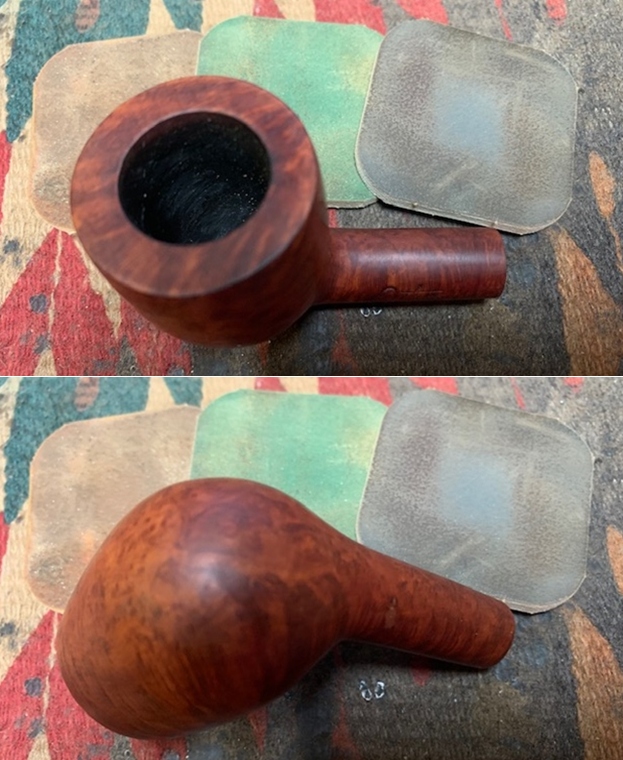
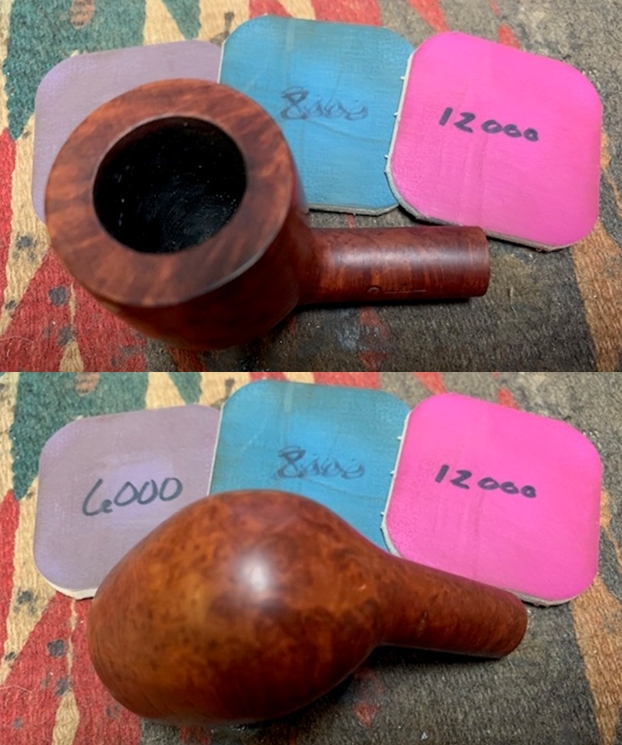
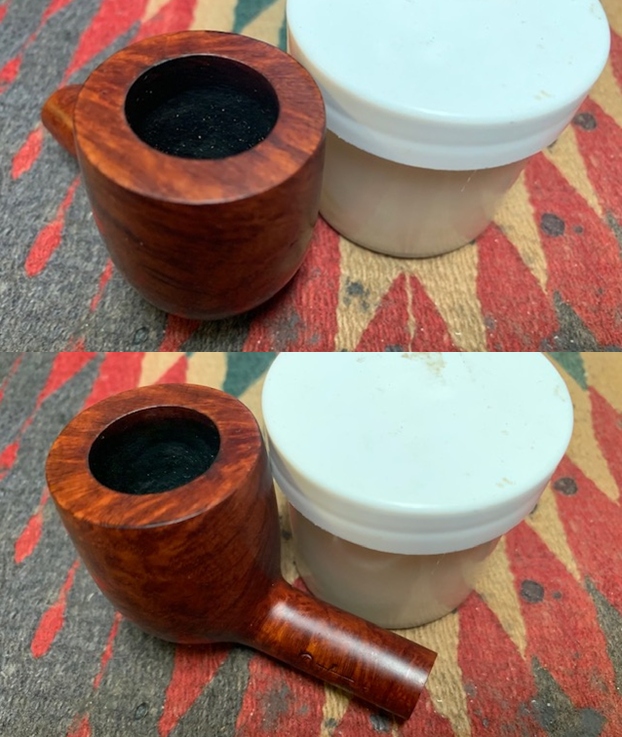
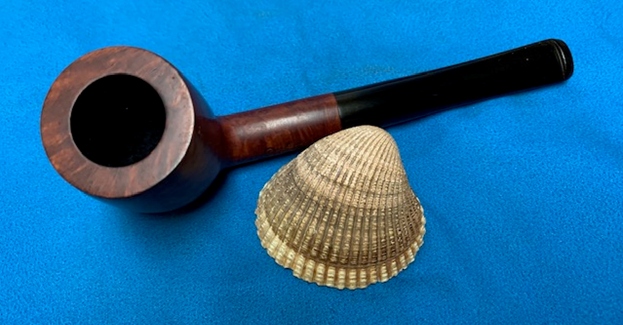
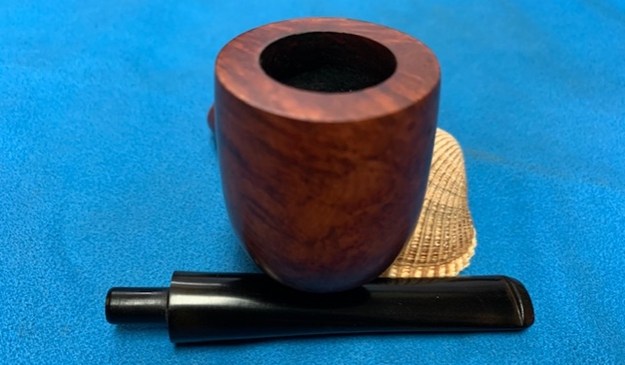
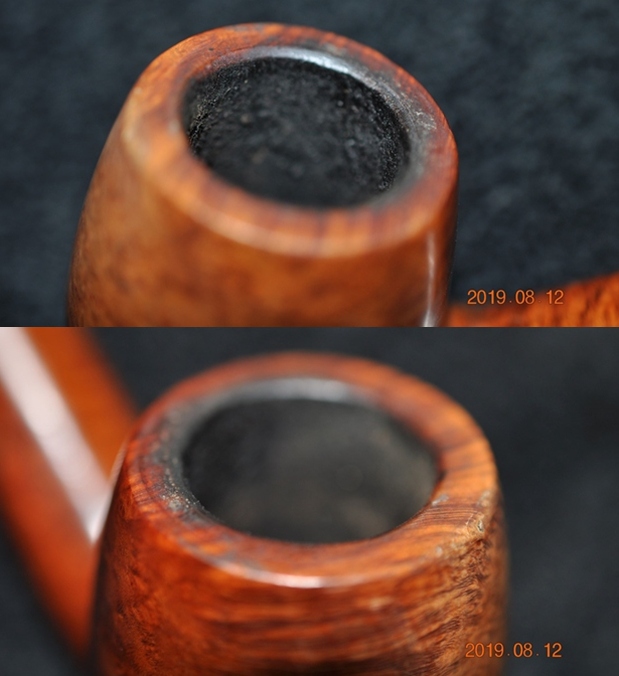
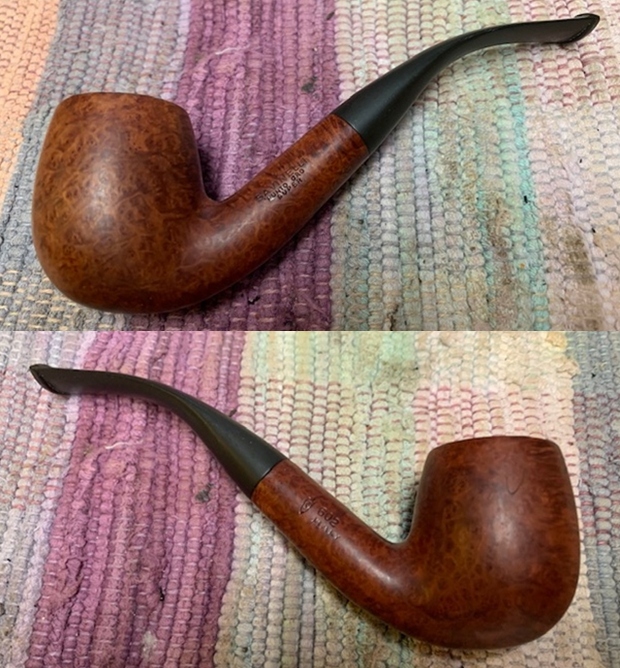
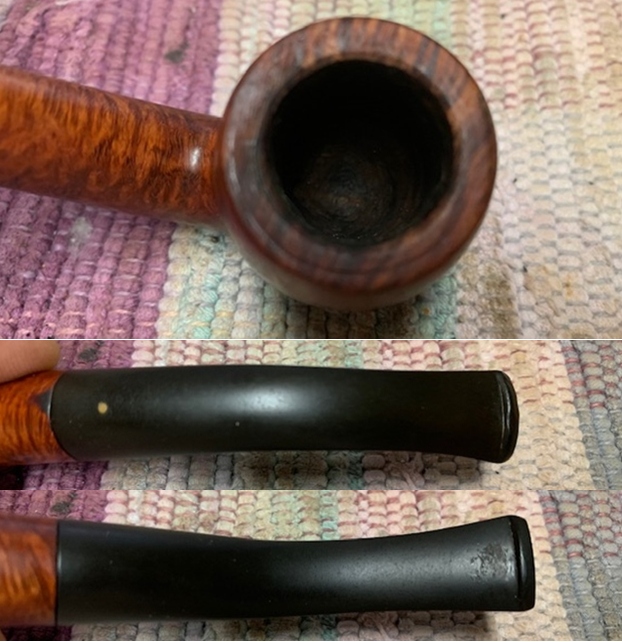
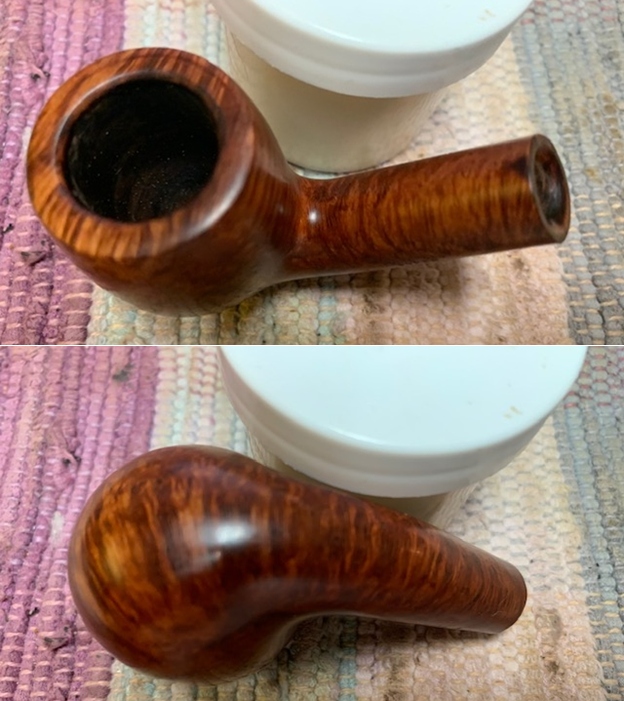
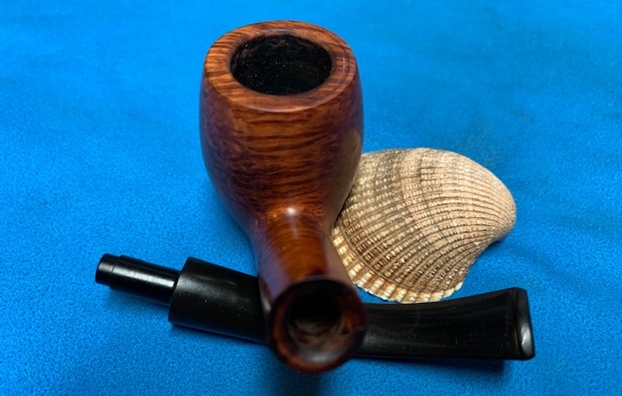
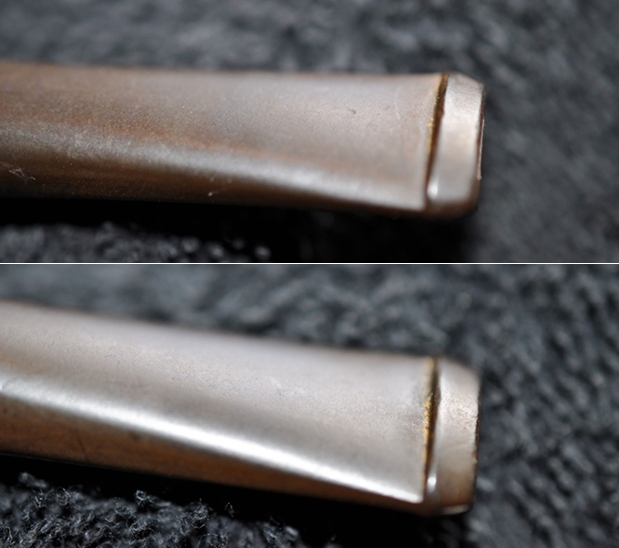
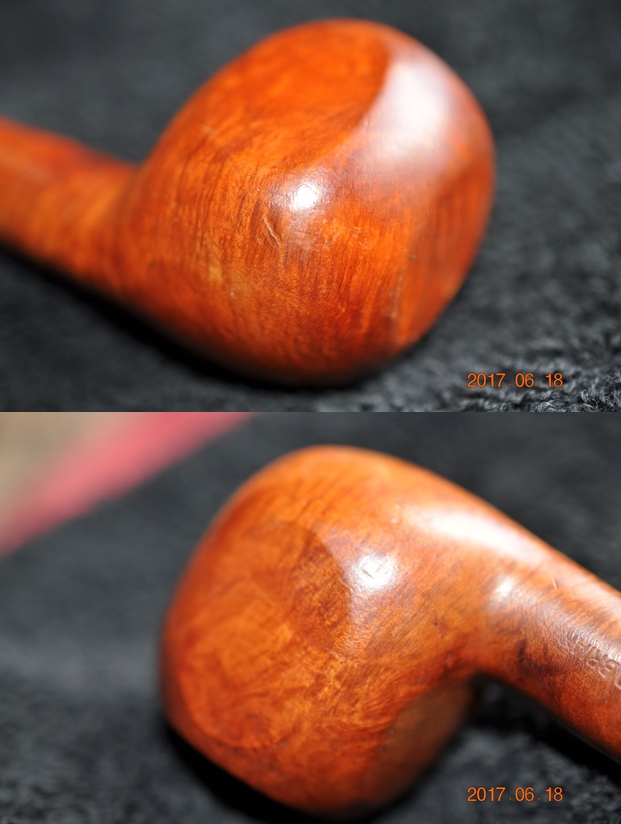
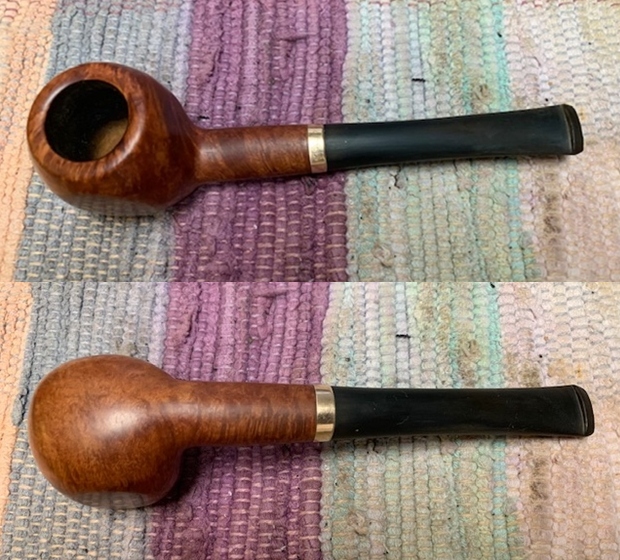
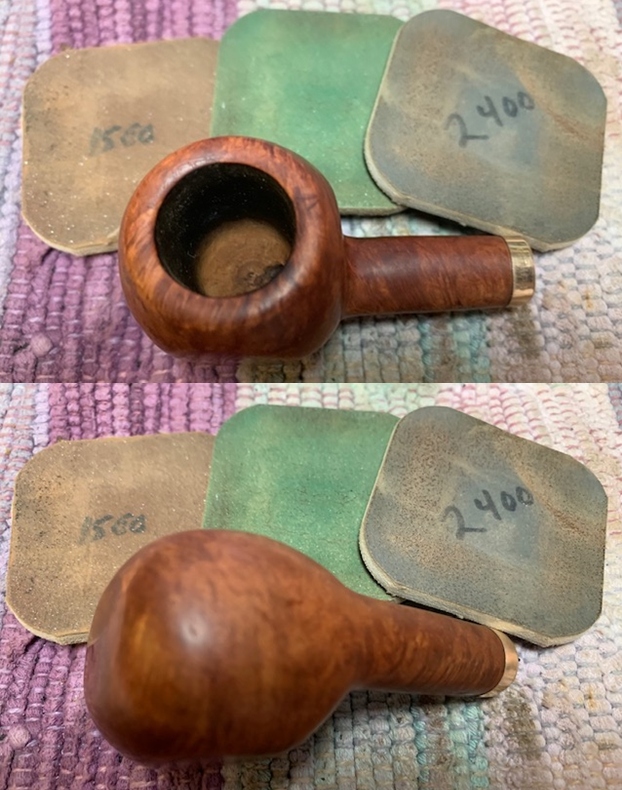
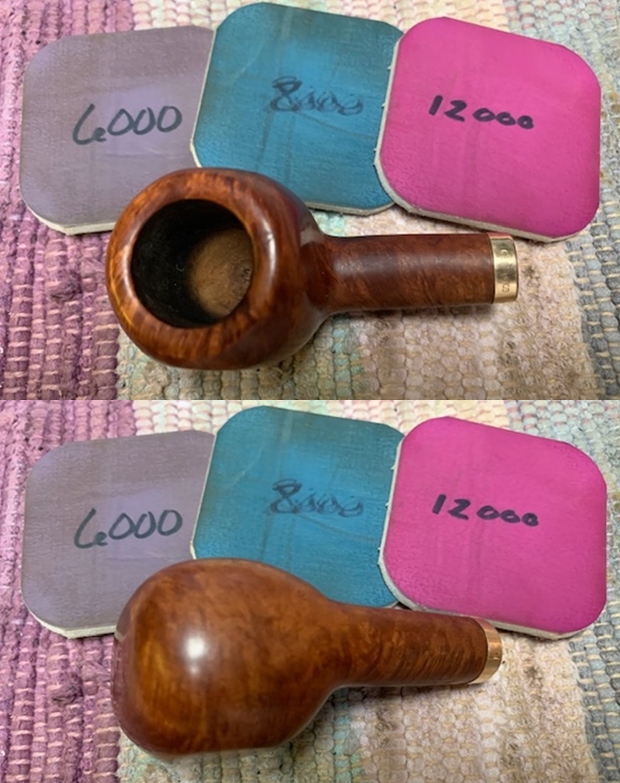
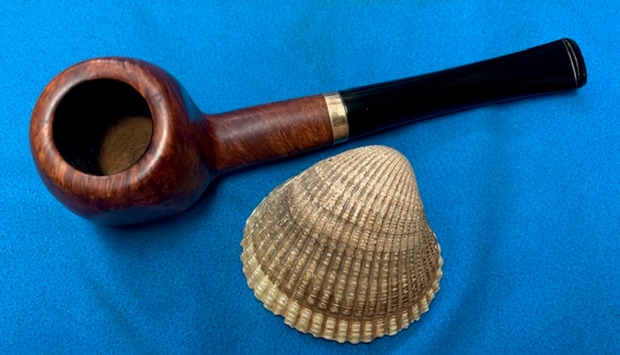
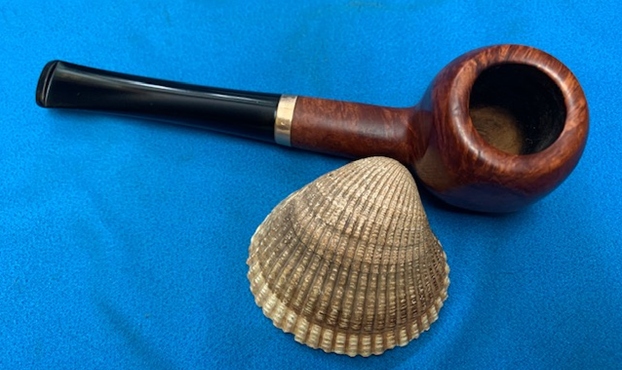
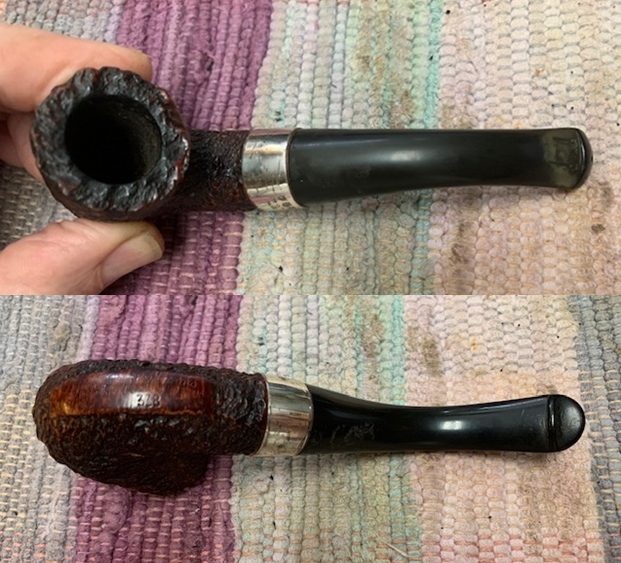
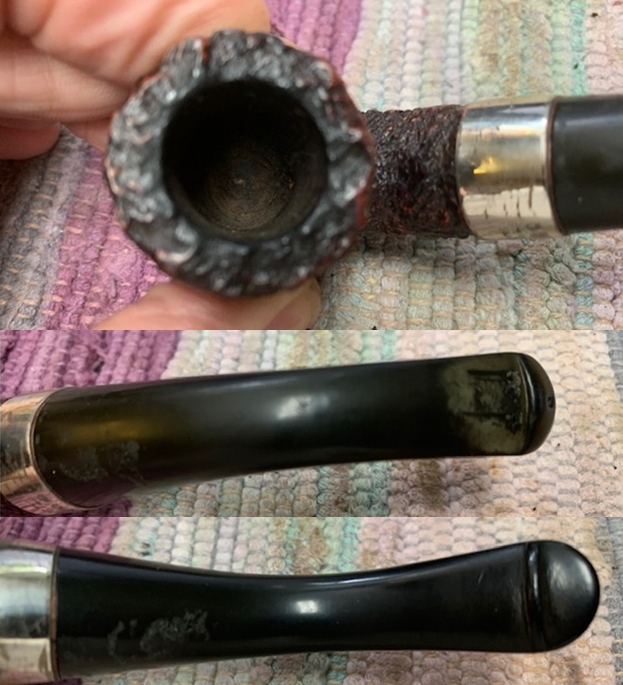
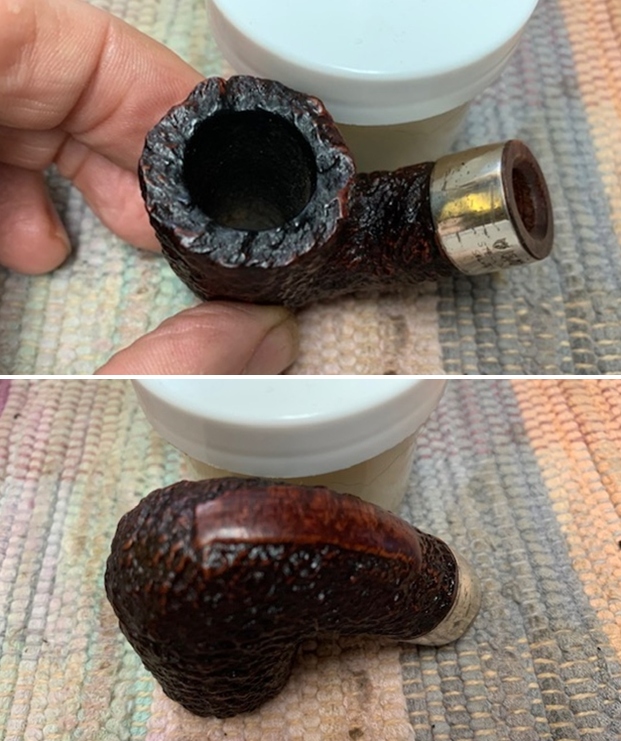
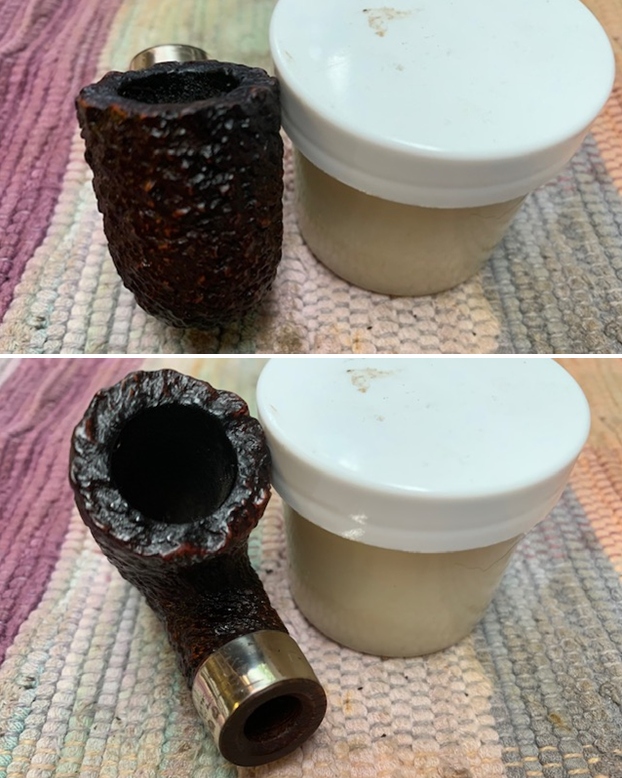
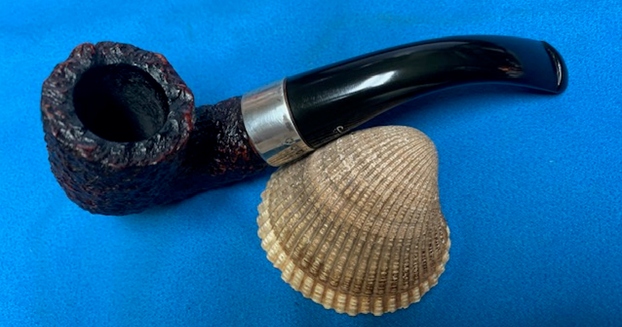
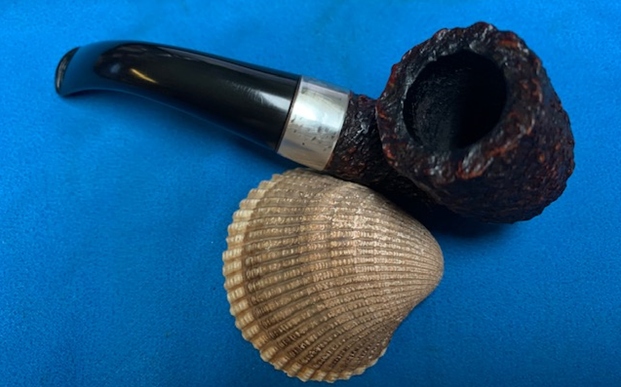
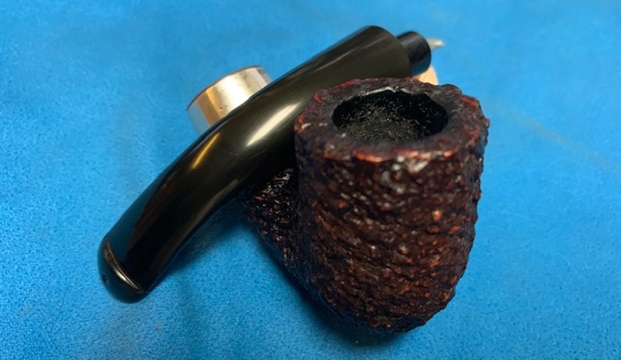
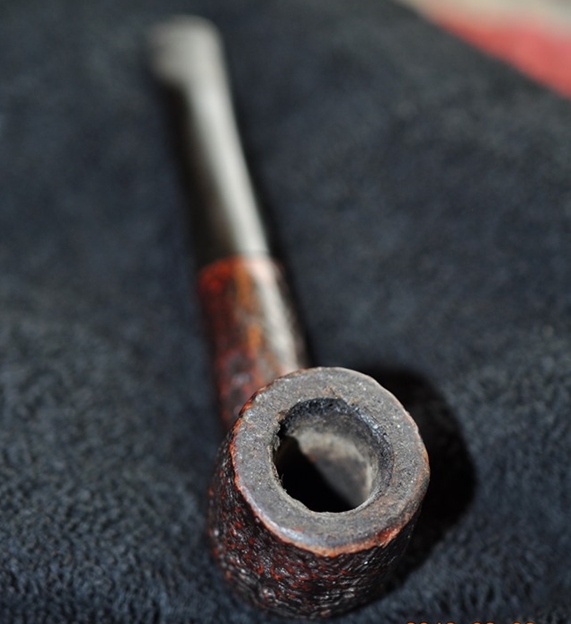
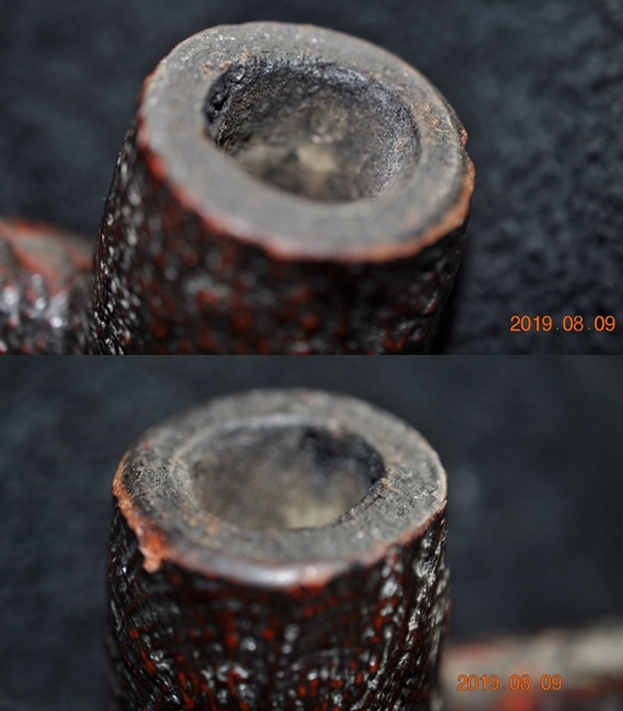
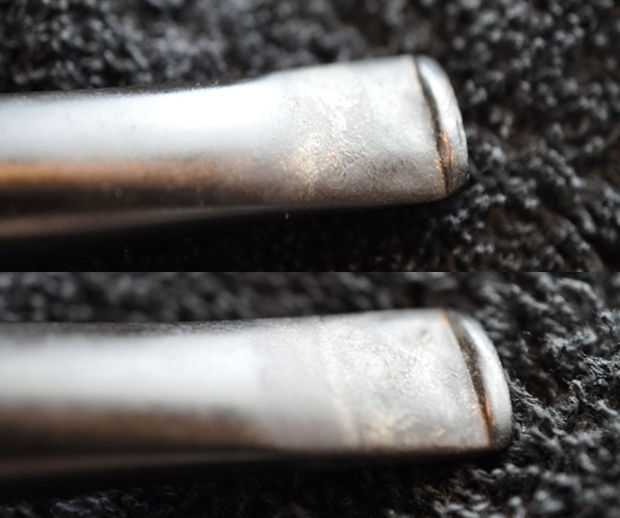
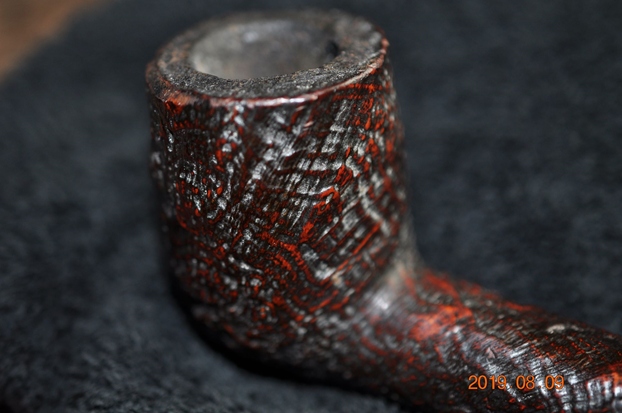
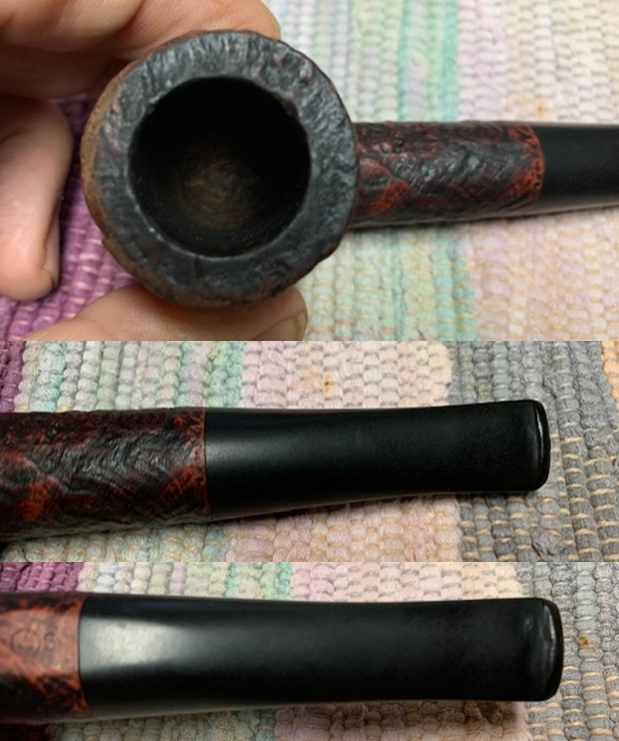
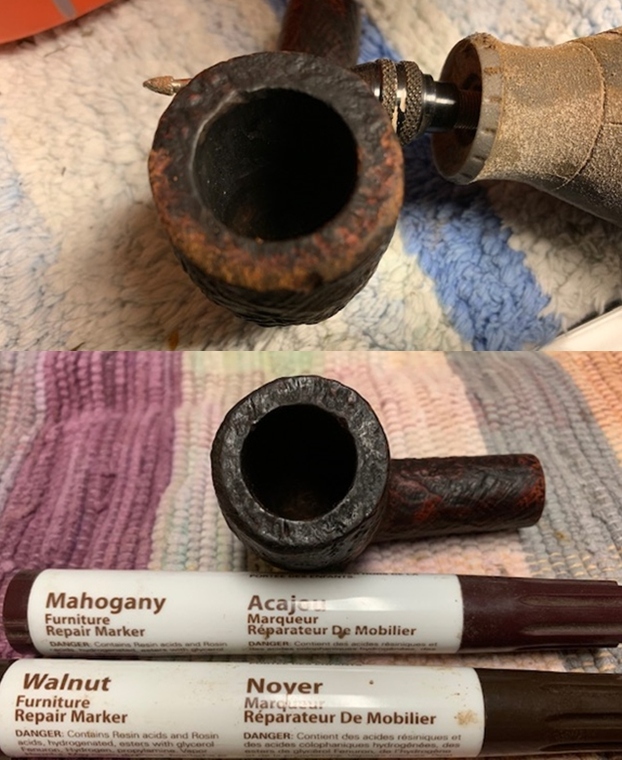
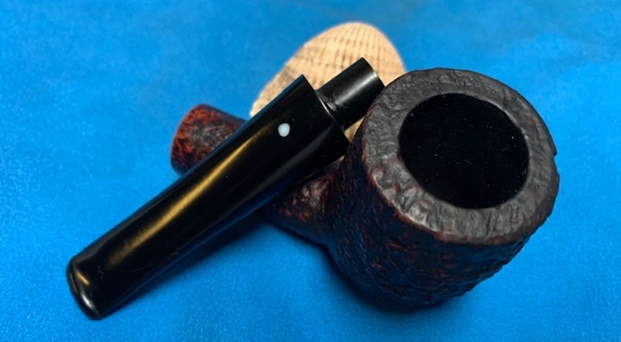
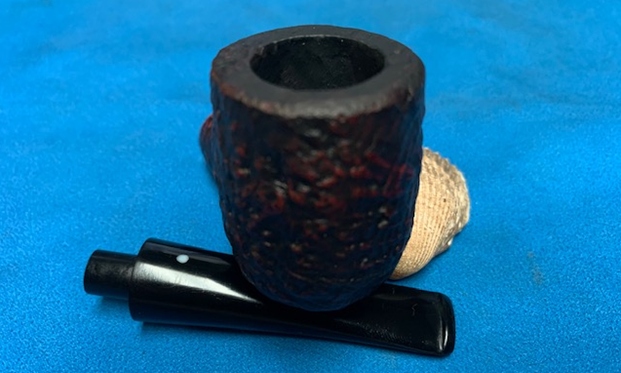
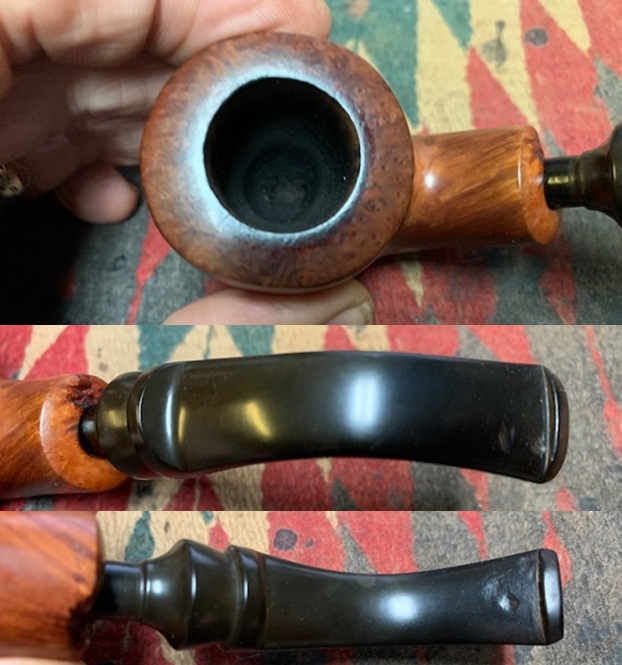
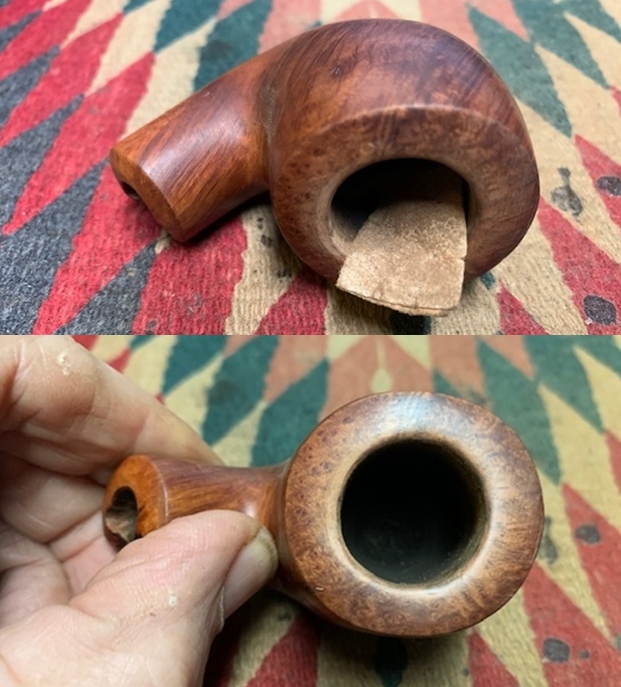
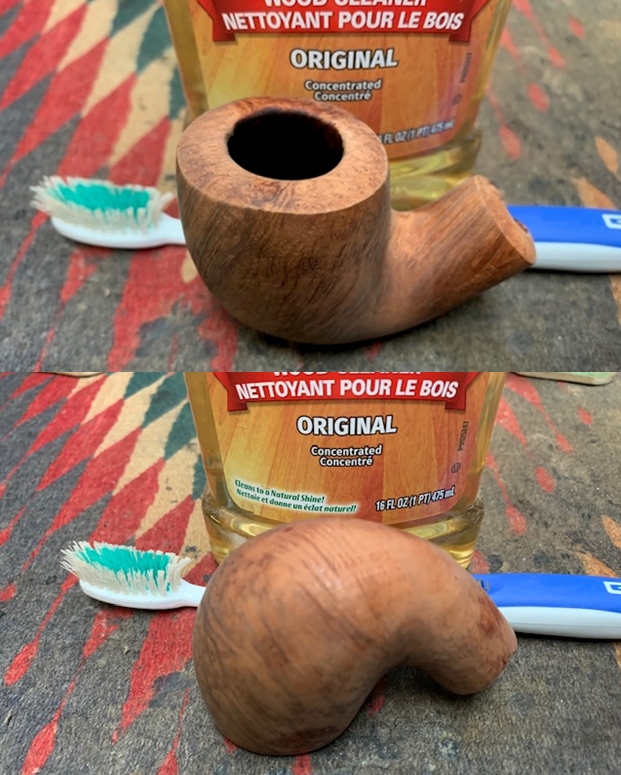
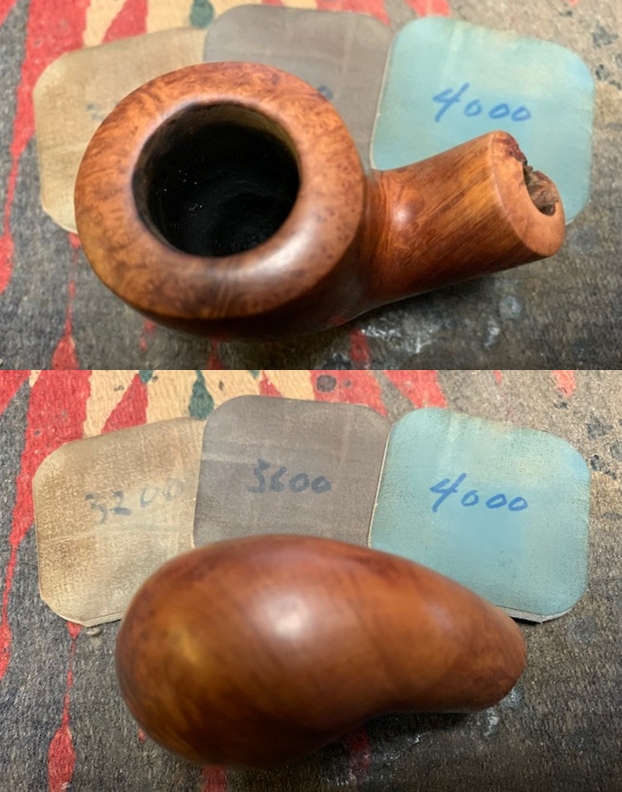
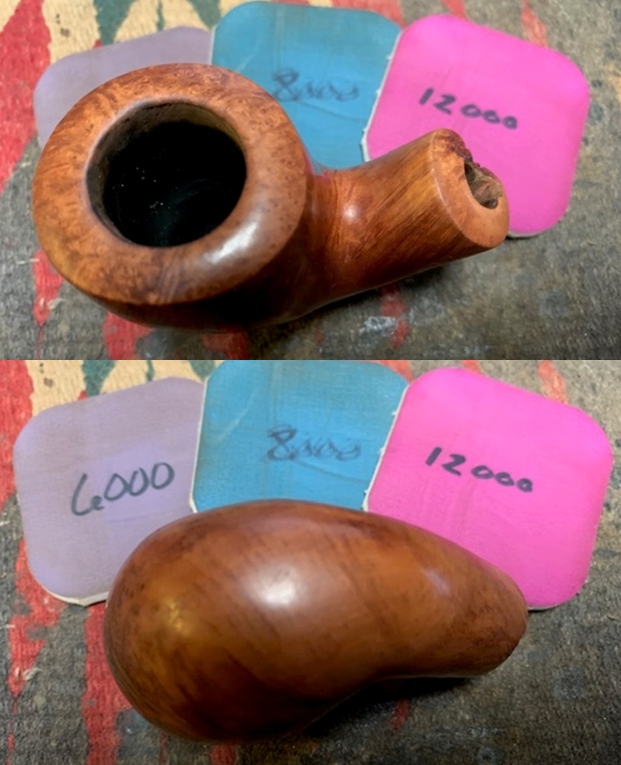
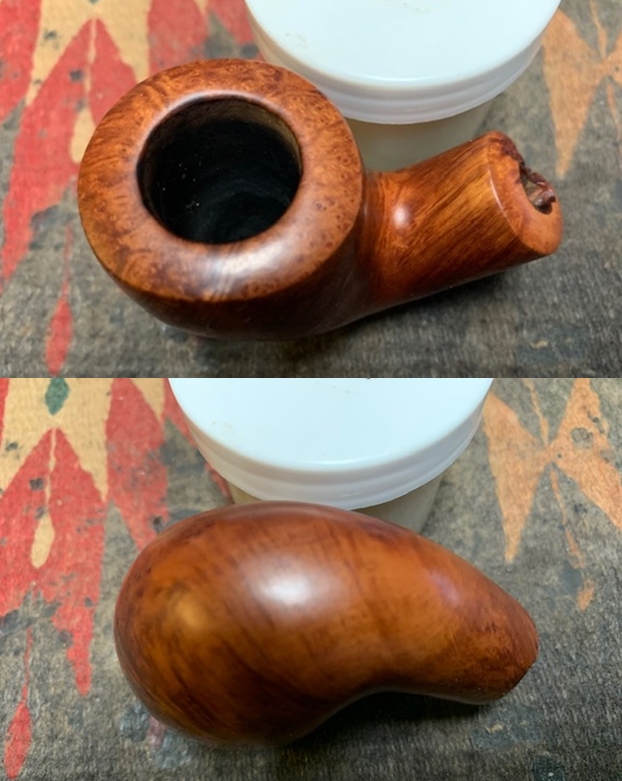
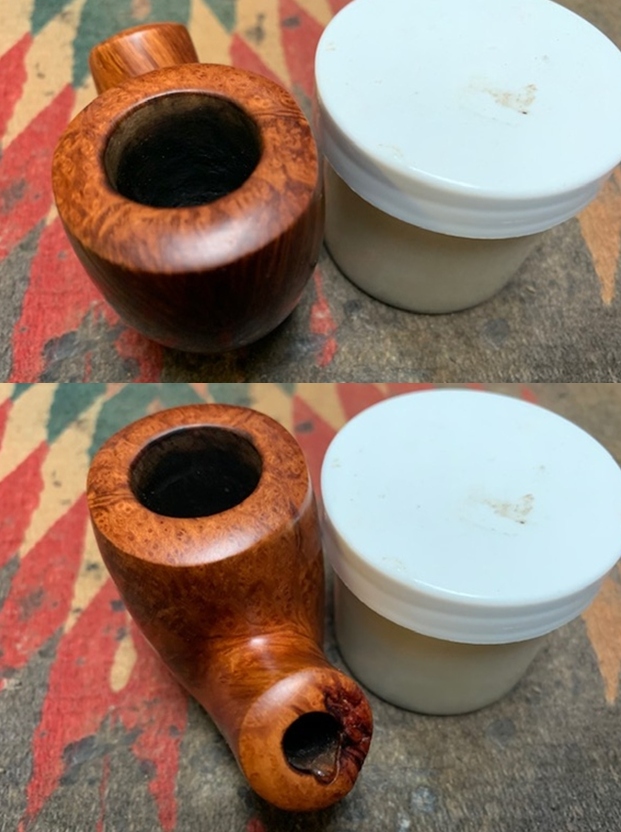
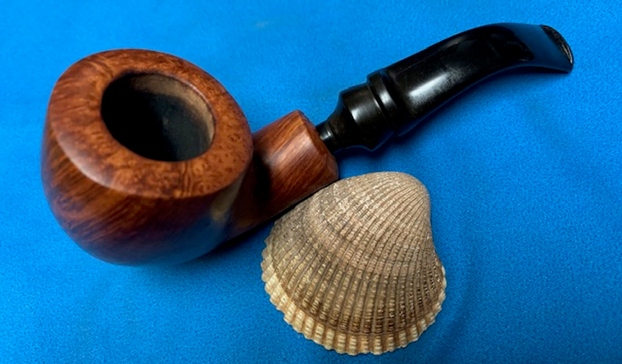
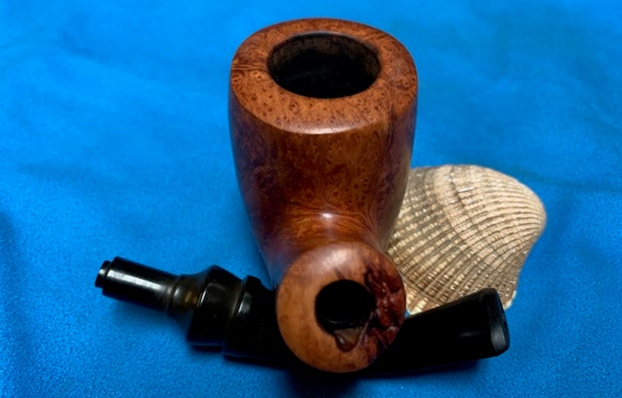
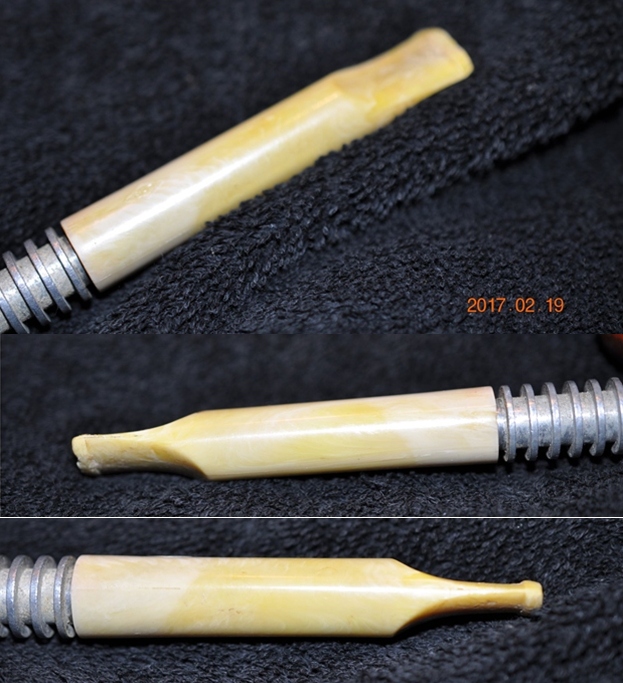
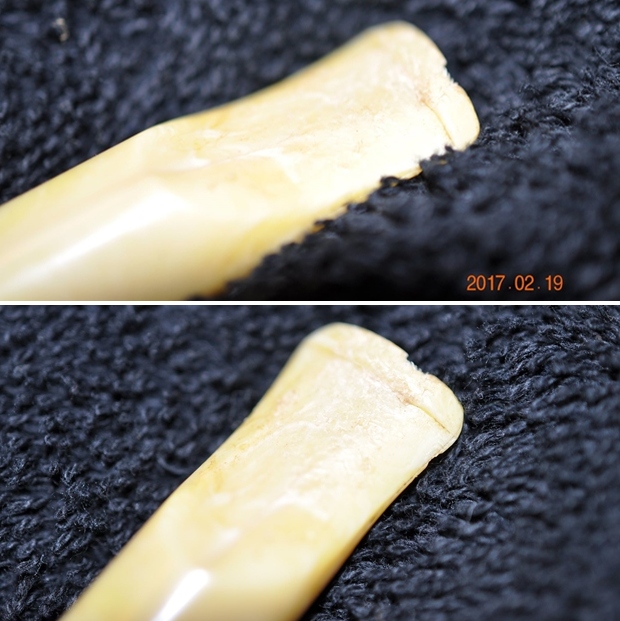
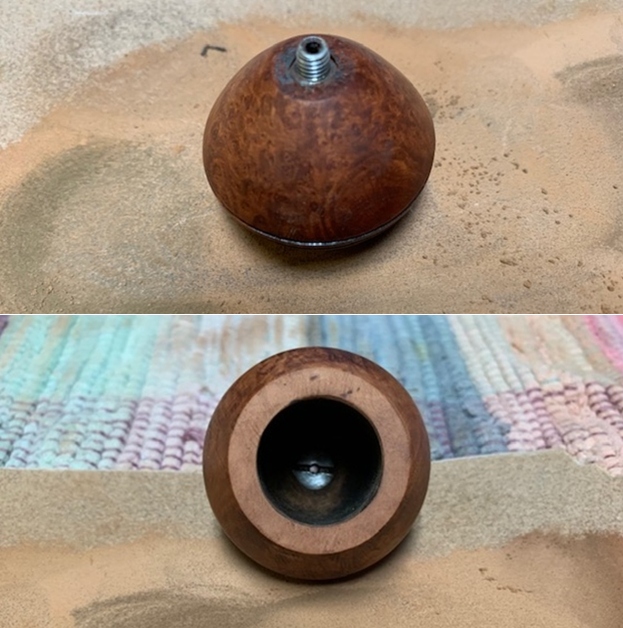
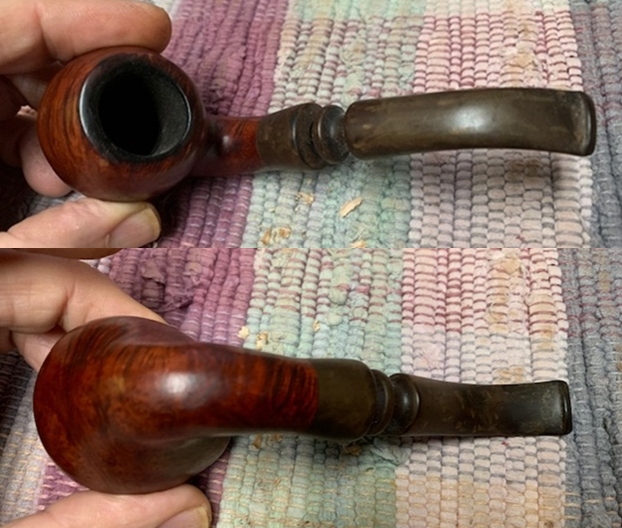
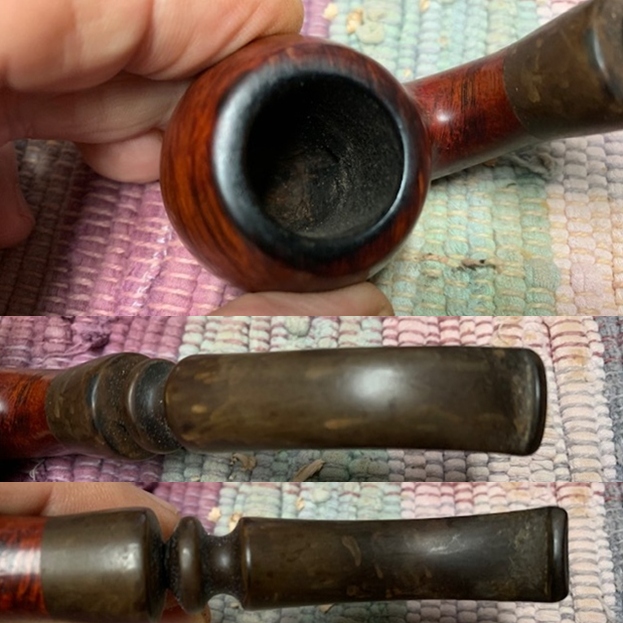
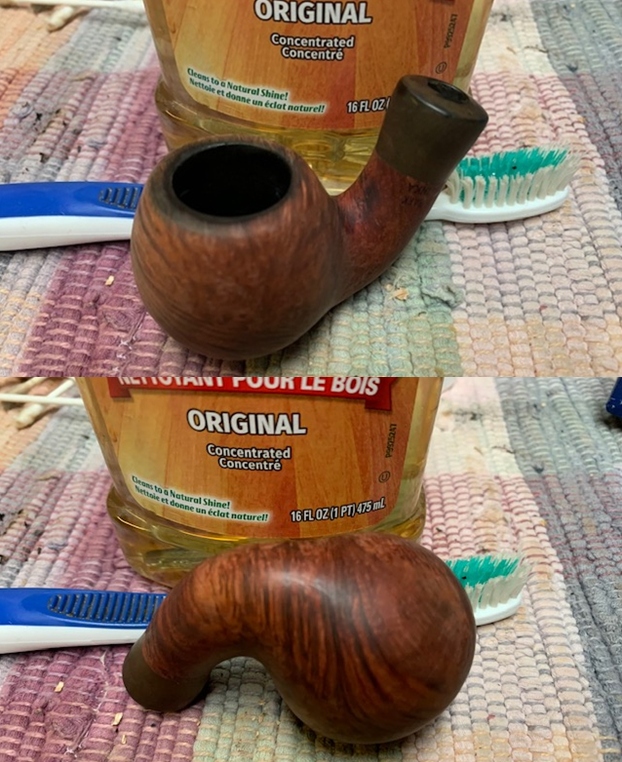
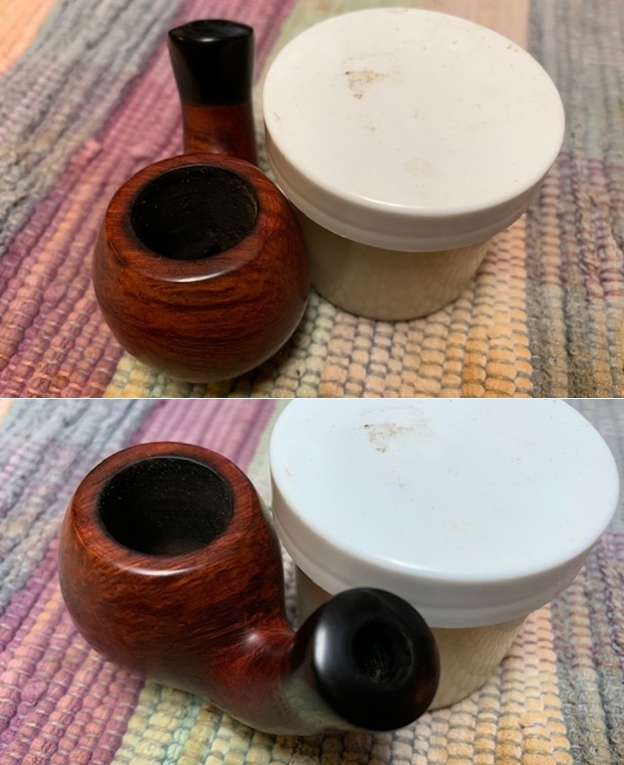
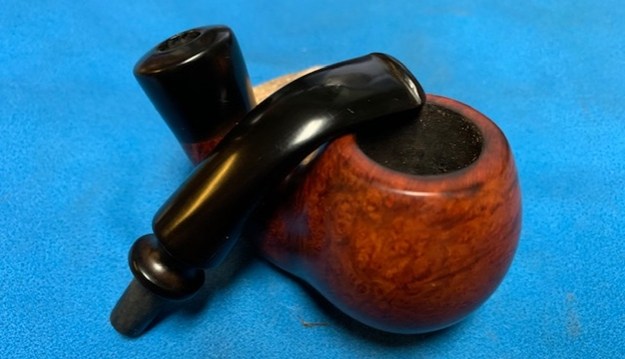
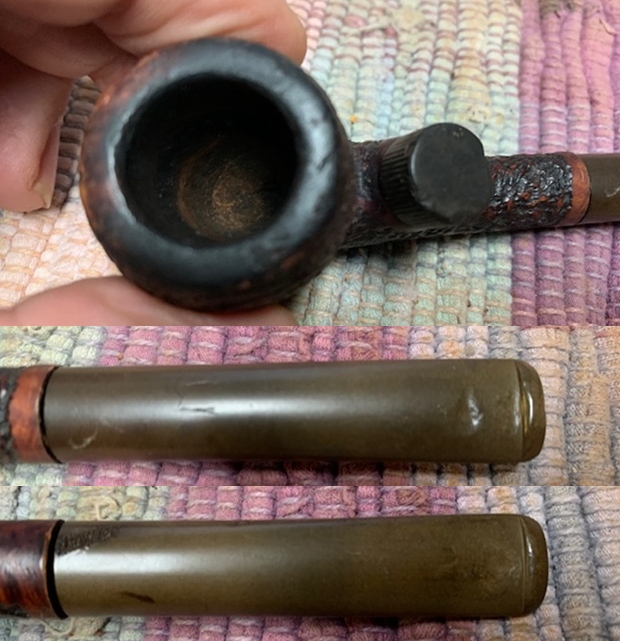
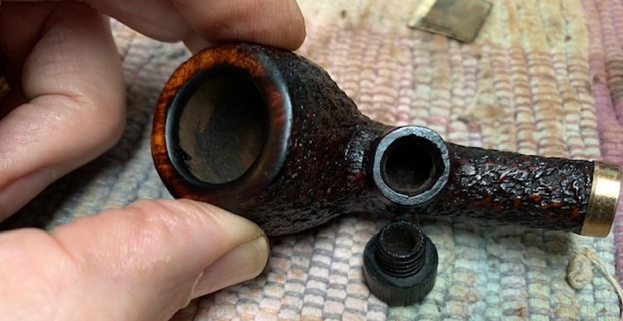
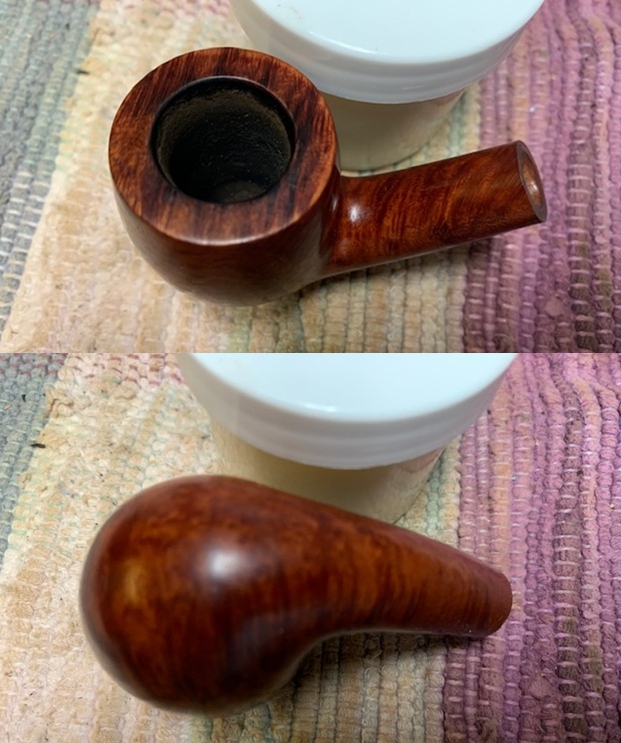
 I took photos of the rim top to show the cake in the bowl and the relatively clean rim top and damaged inner edge. The stem was also in decent condition other than light tooth chatter and marks.
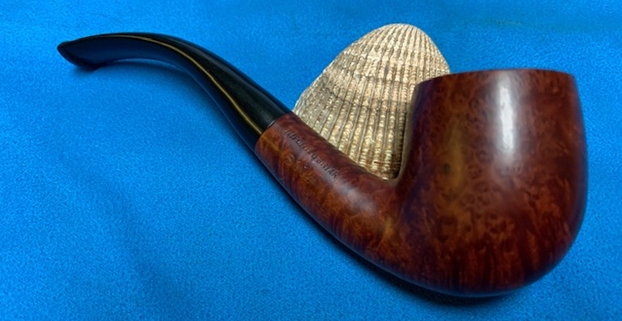
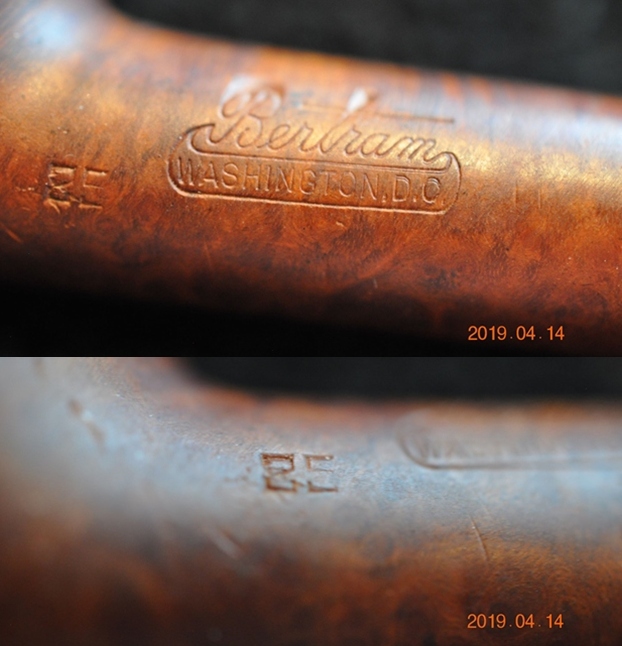
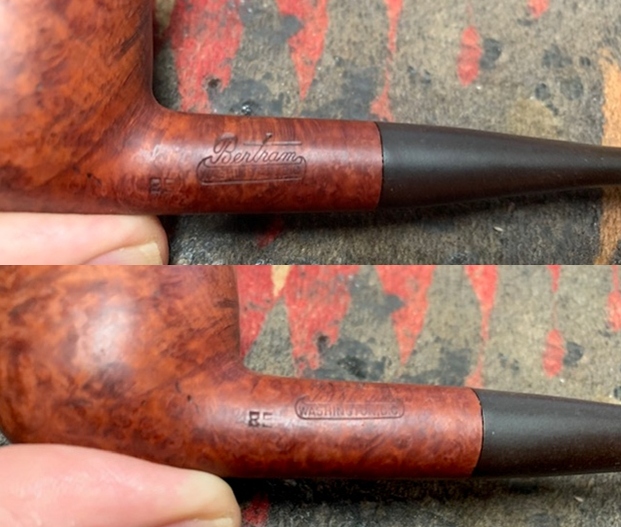
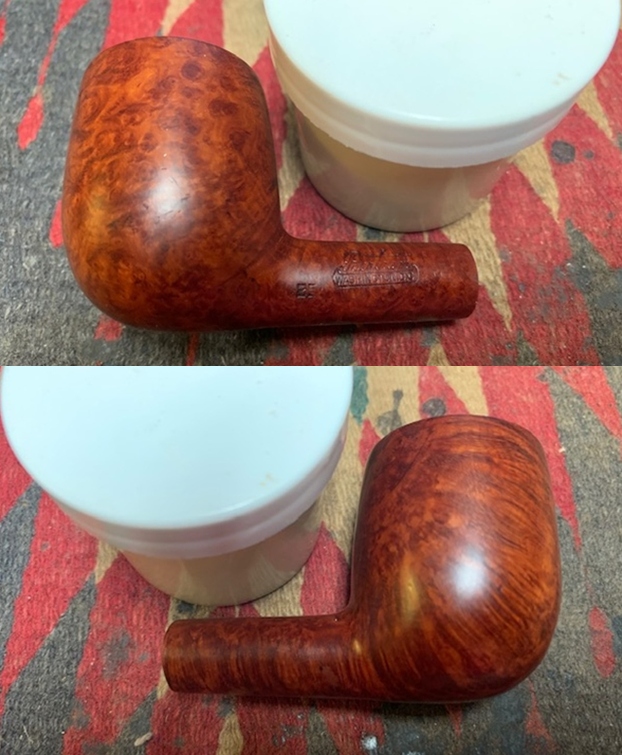
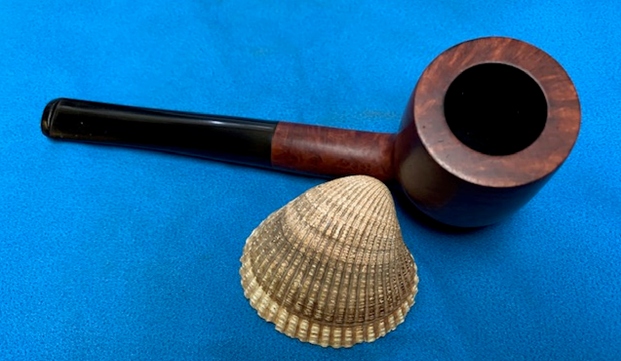
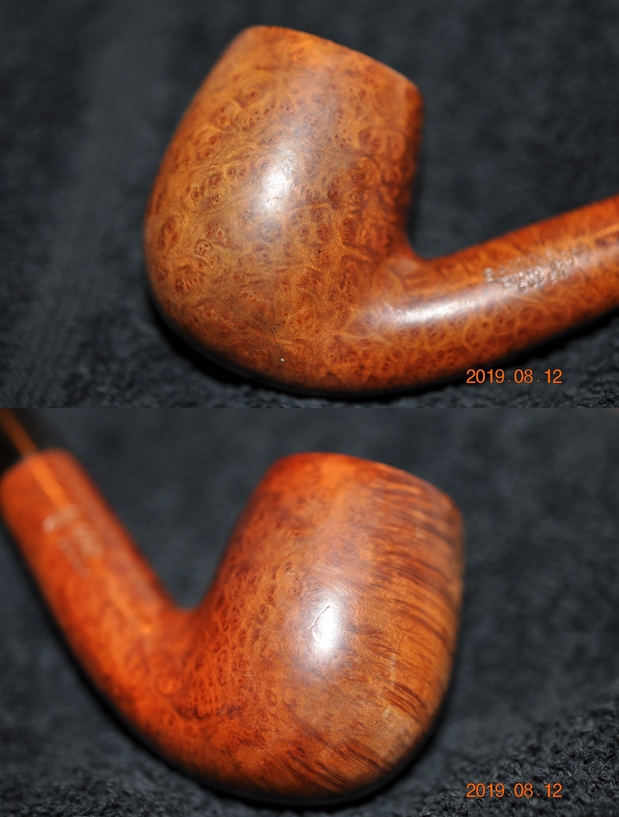
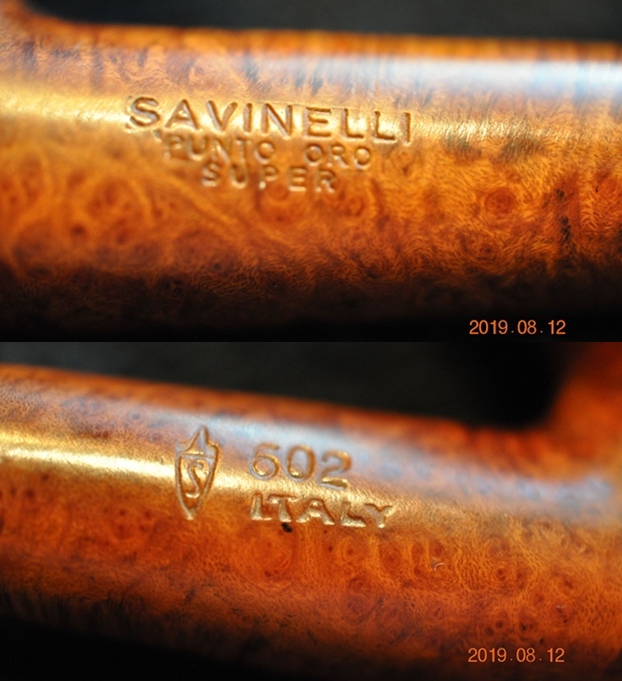
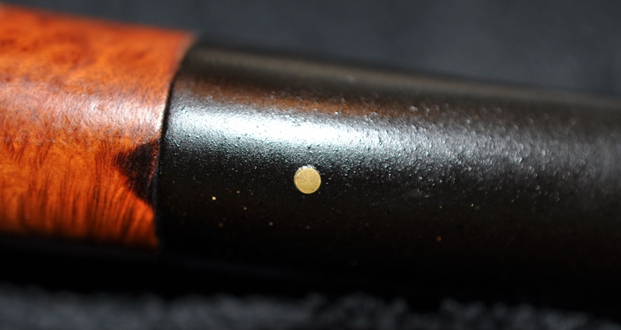
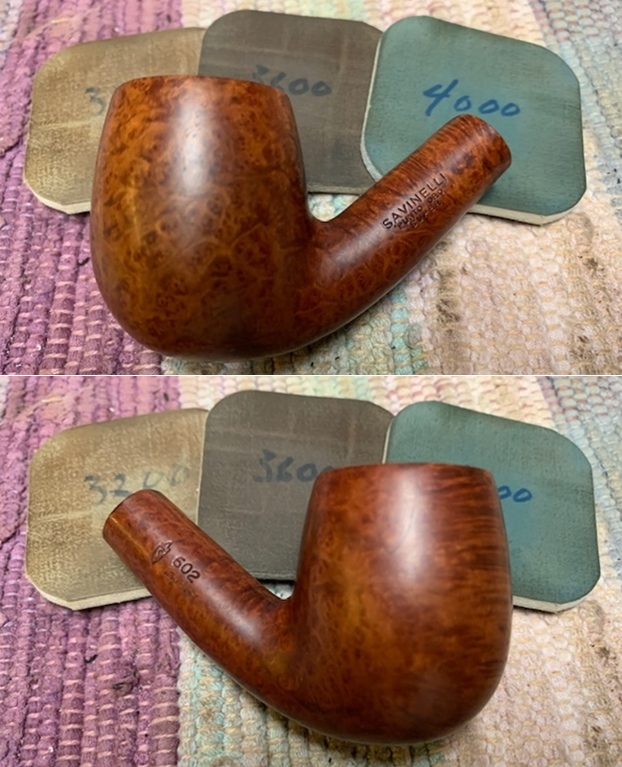
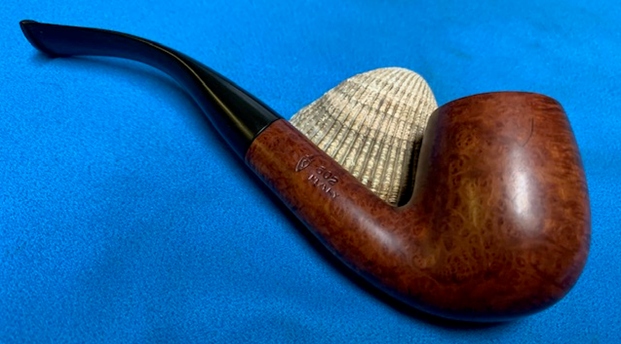
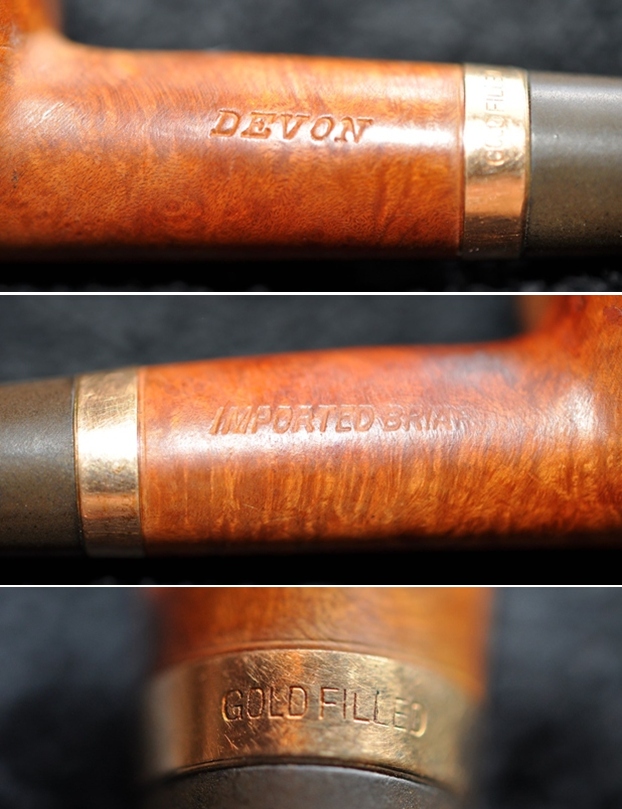
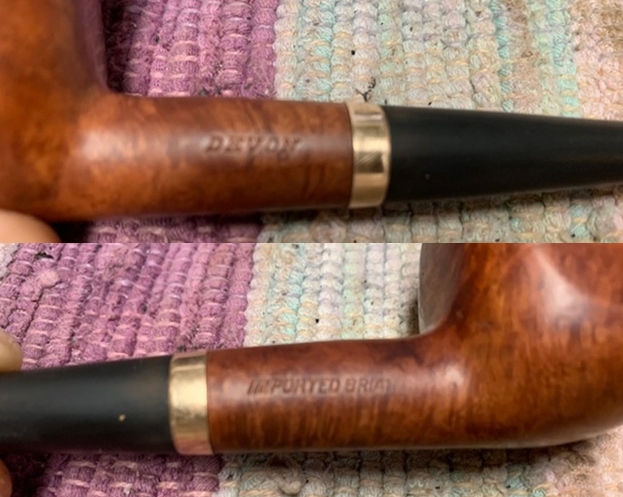
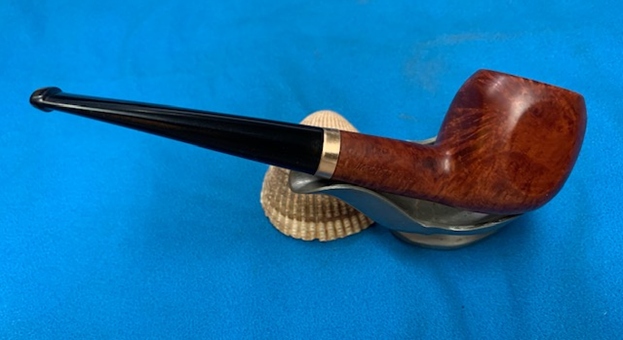
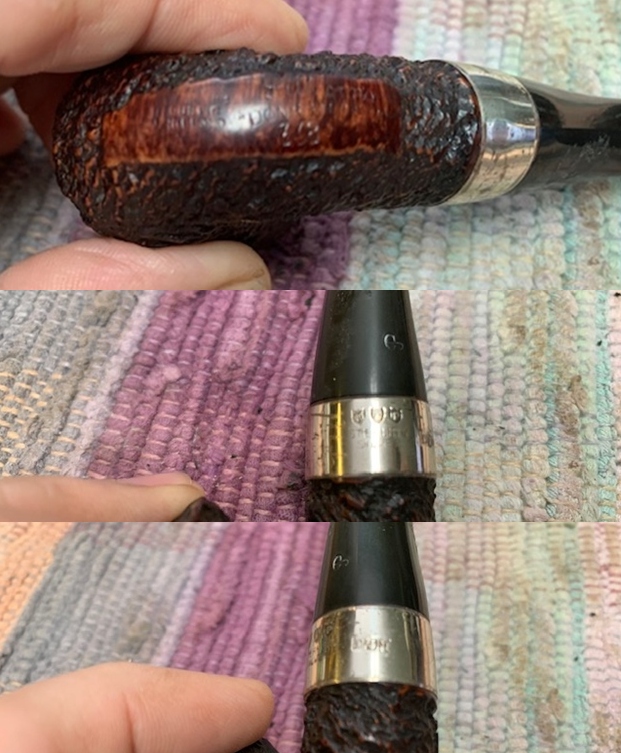
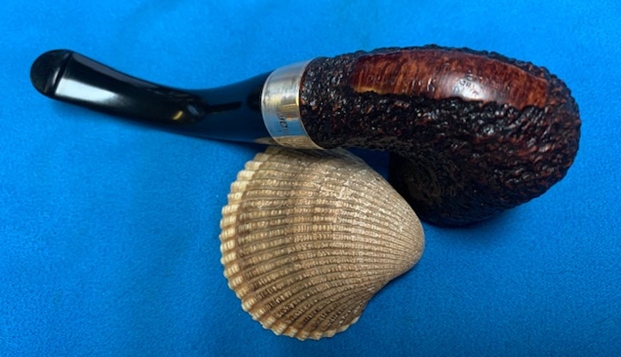
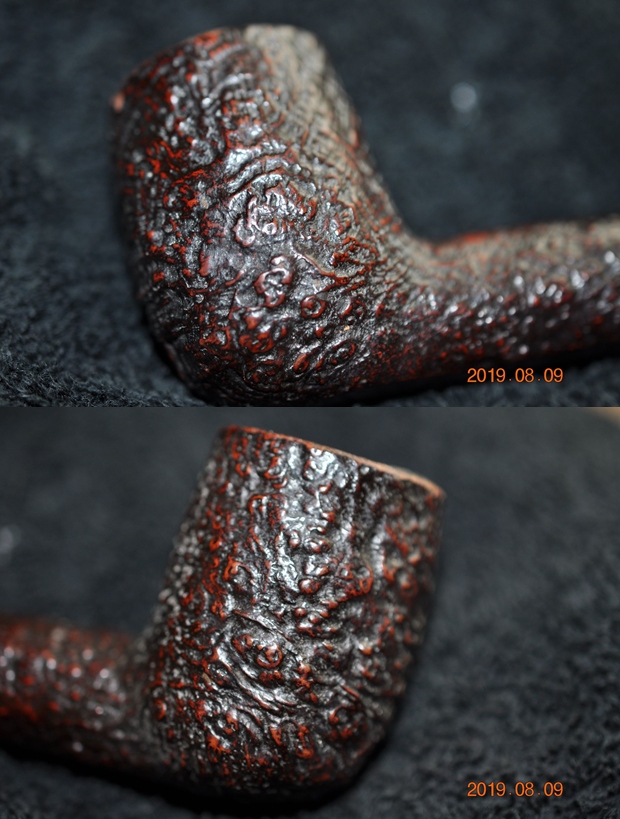
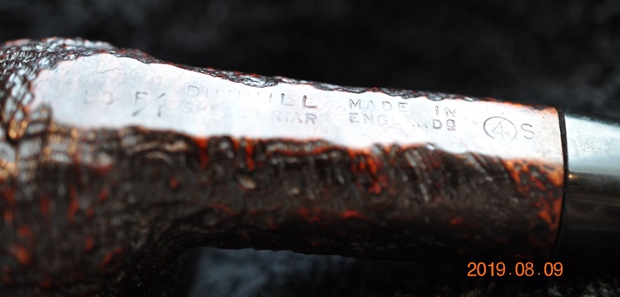
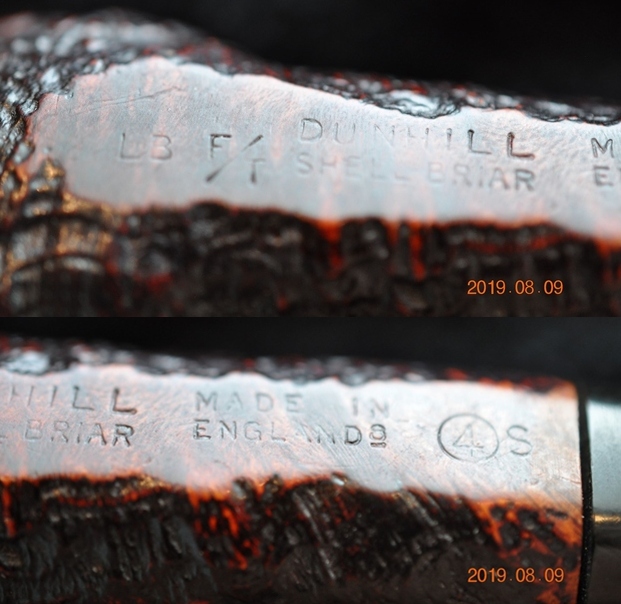
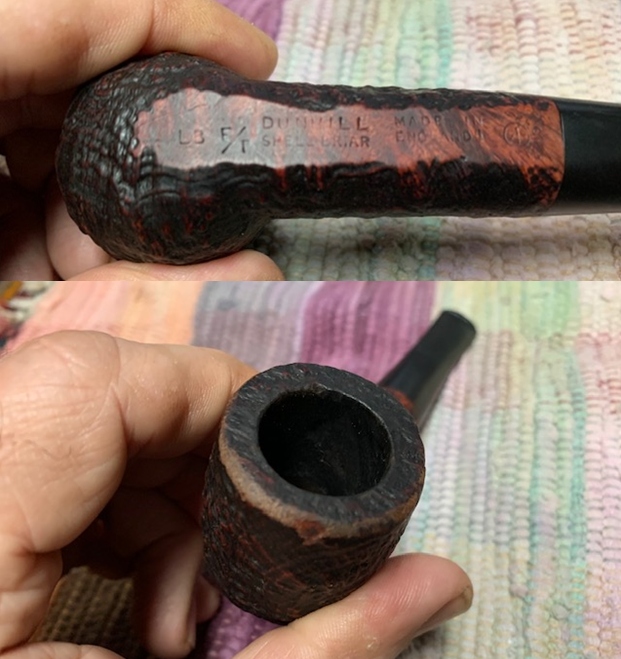
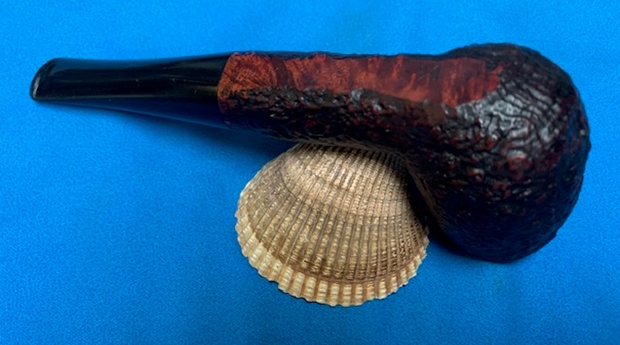
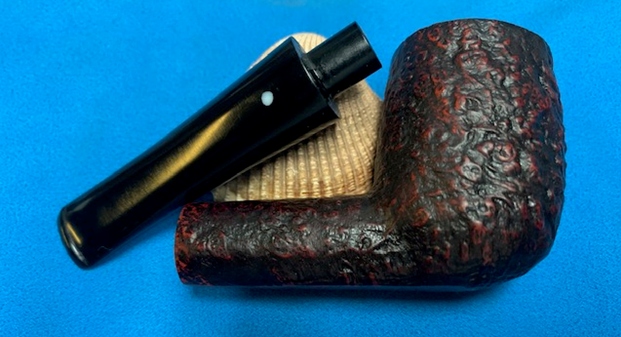
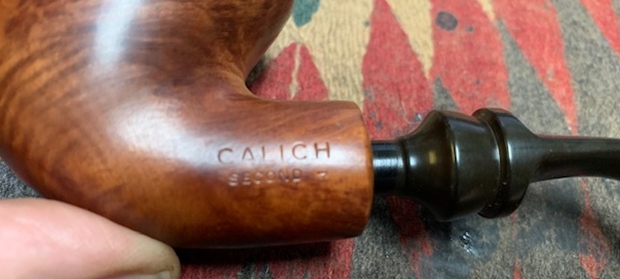
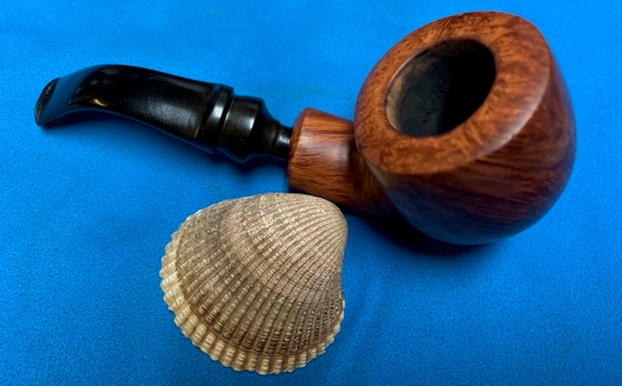
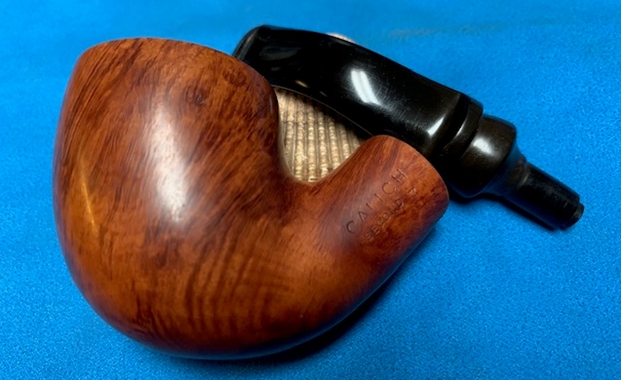
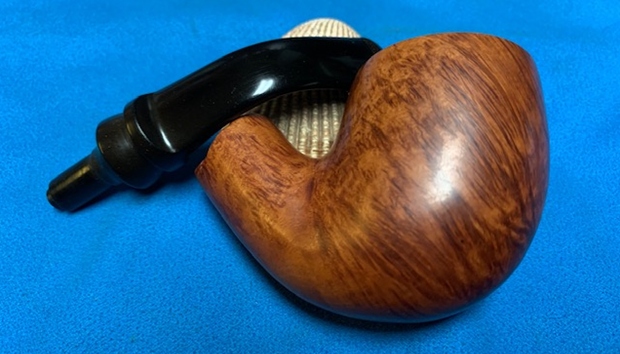
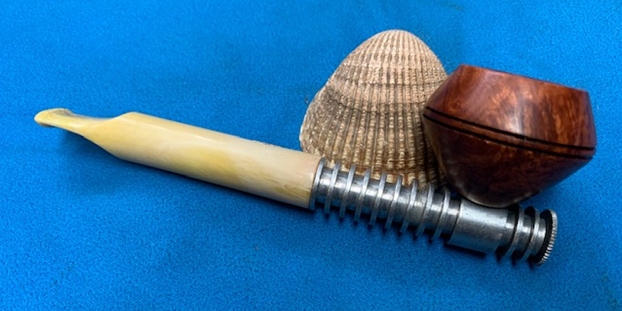
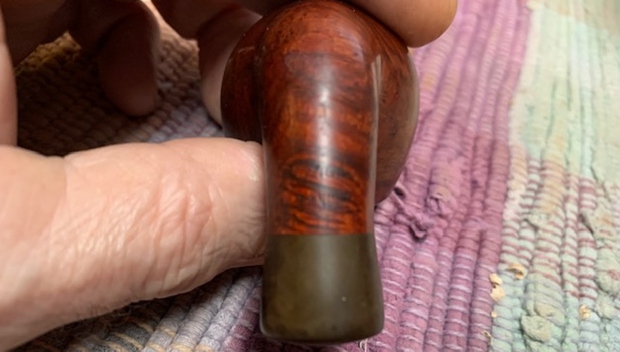
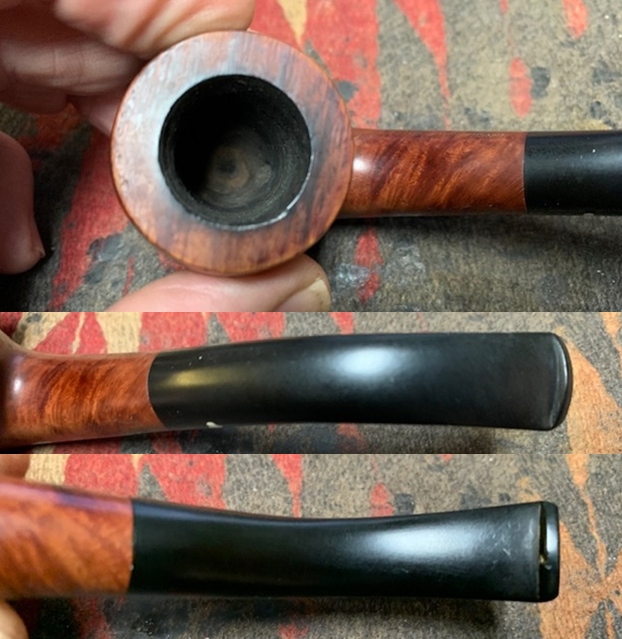 The stamping on the sides of the shank read as noted above. The photo shows that they are very clear and readable. The Clover/Club on the left side of the stem is in good condition.
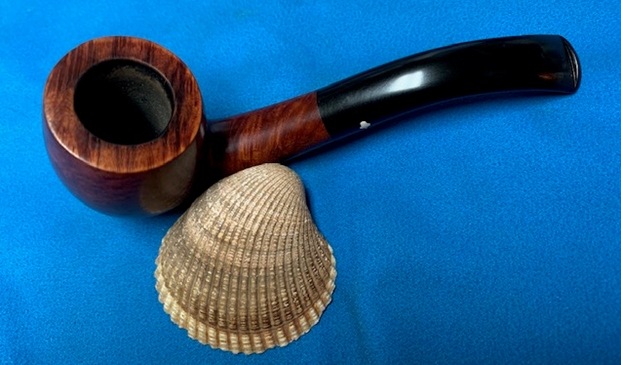
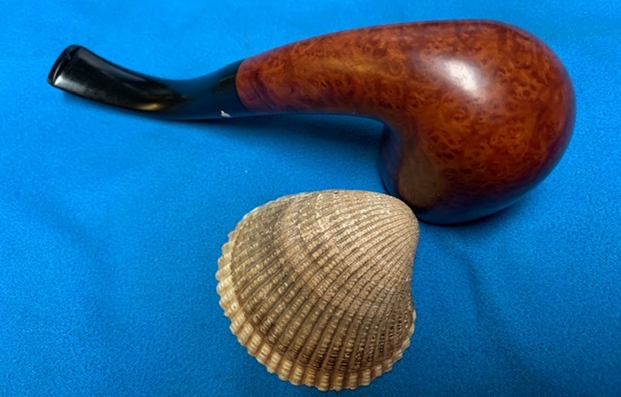
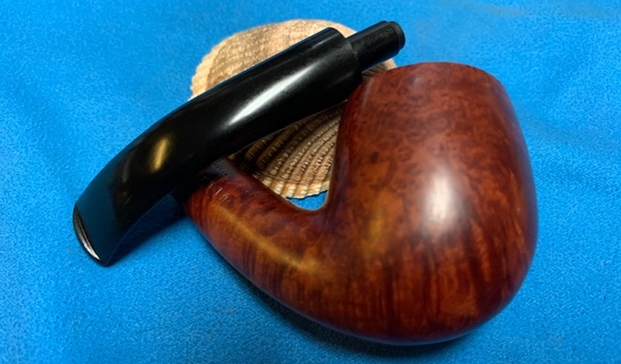
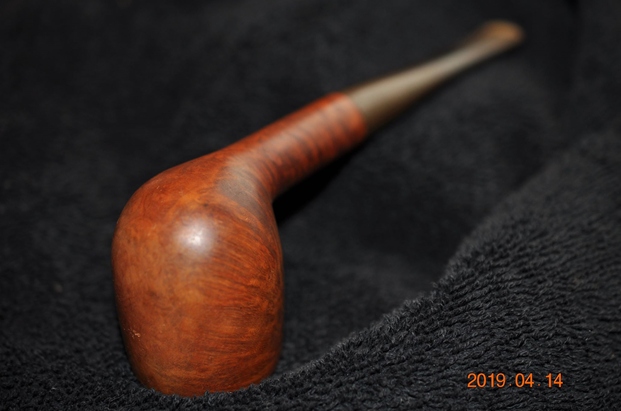
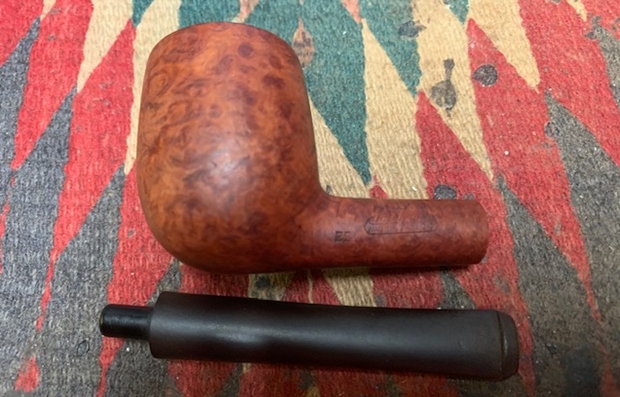
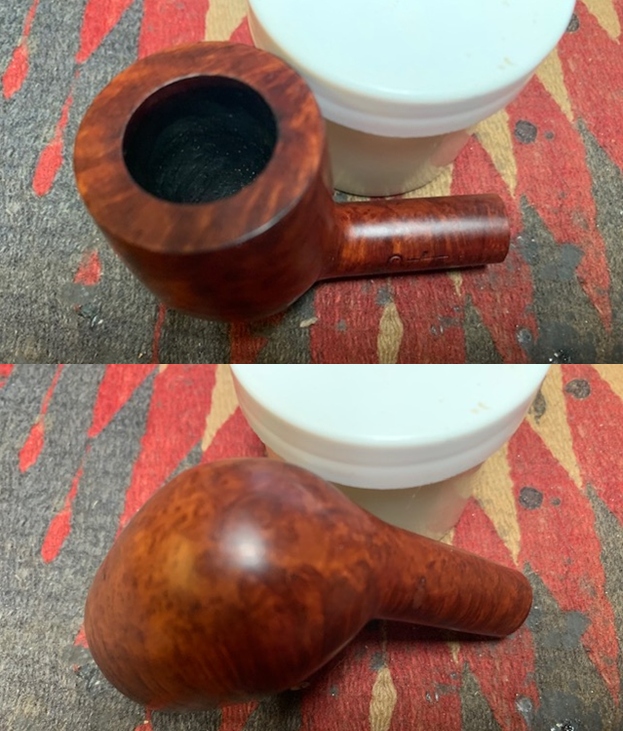
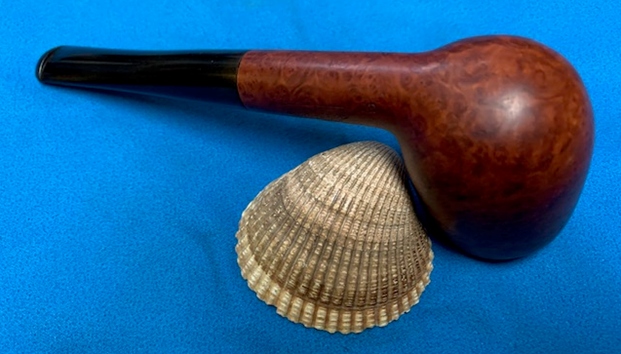
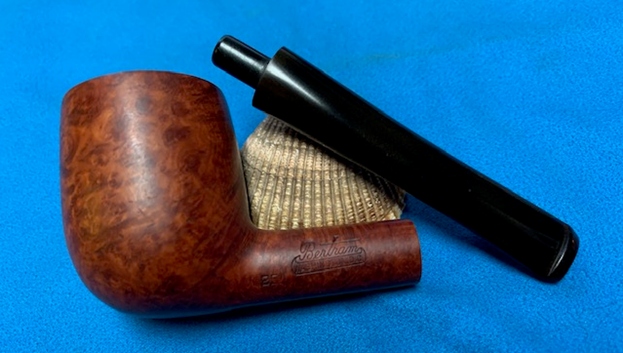
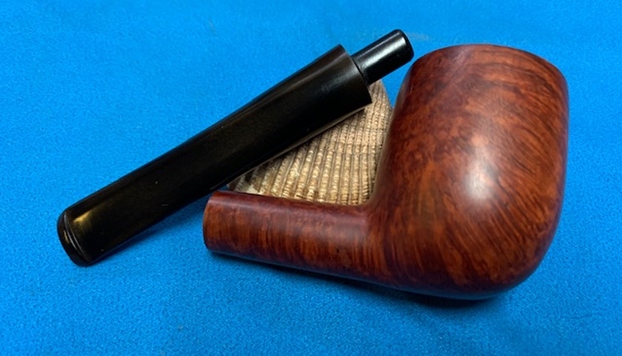
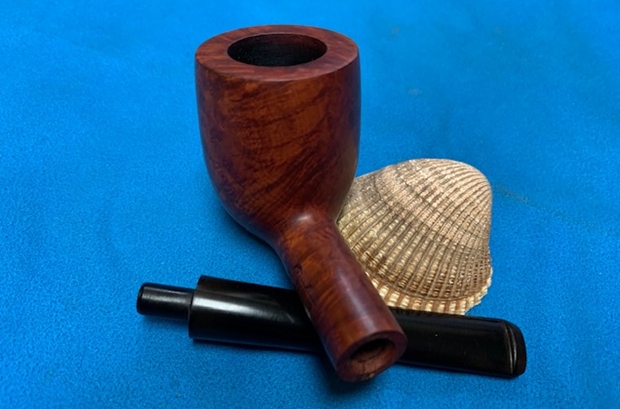
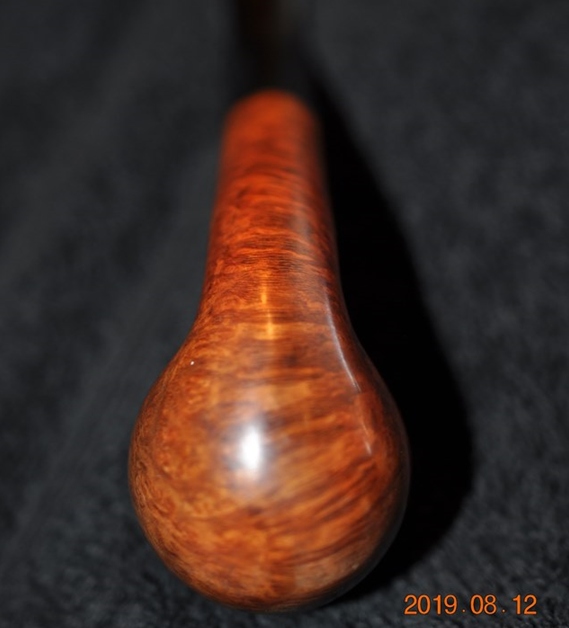
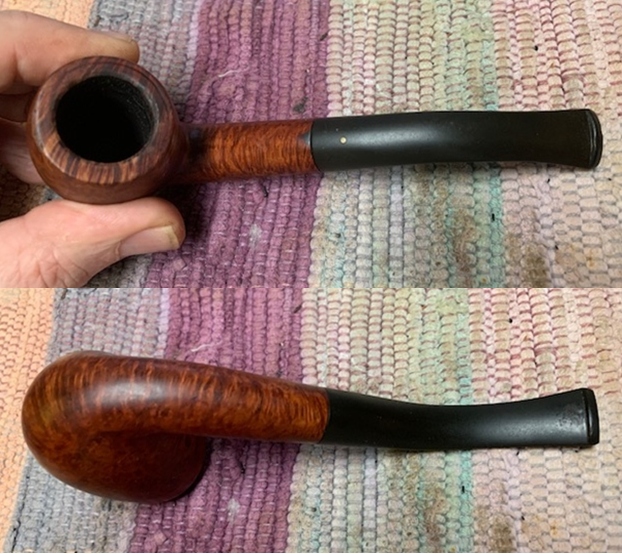
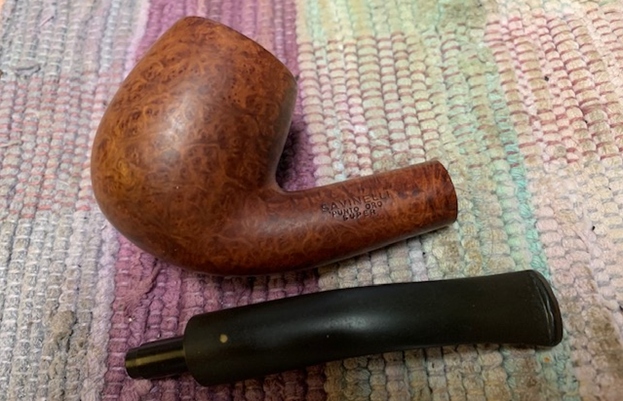
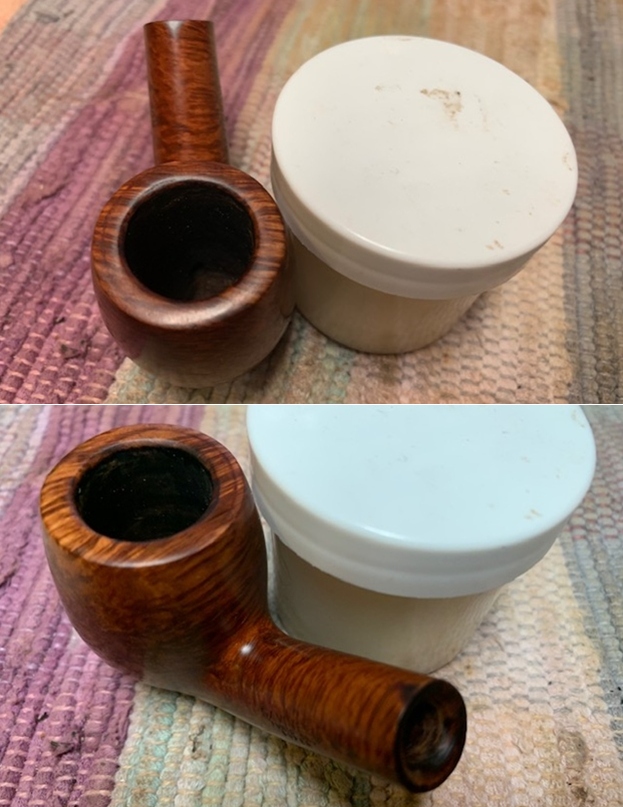
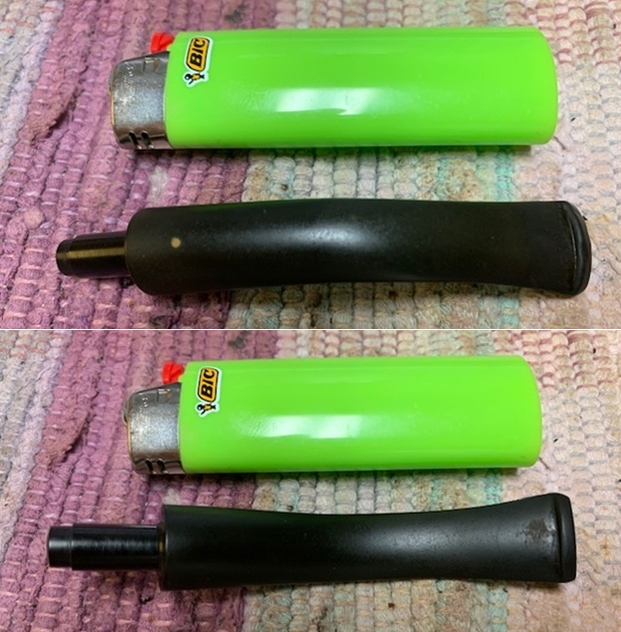
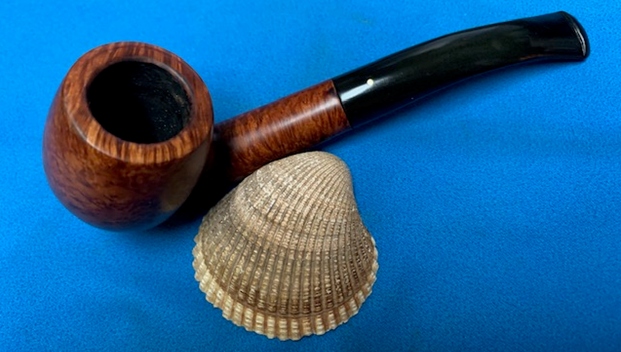
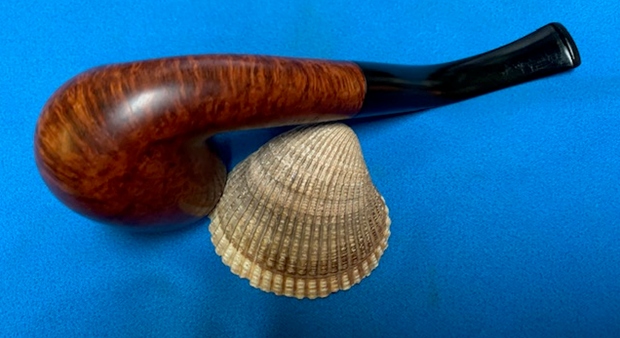
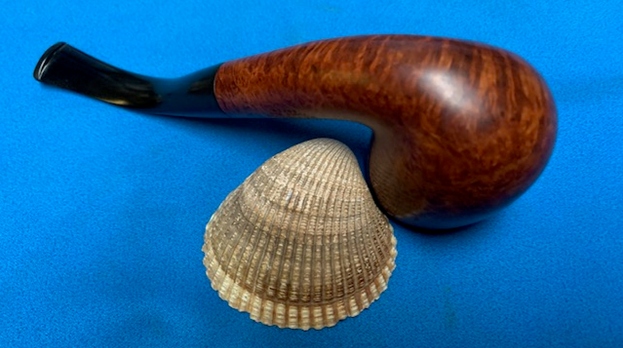
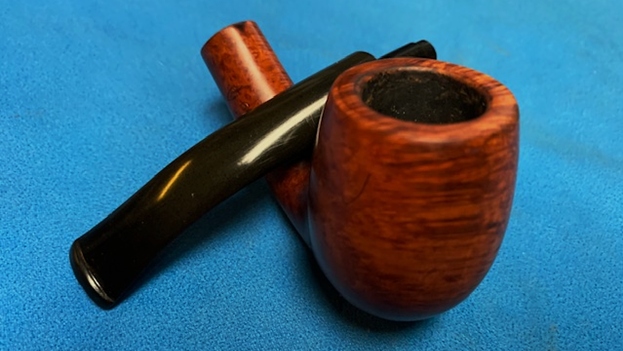
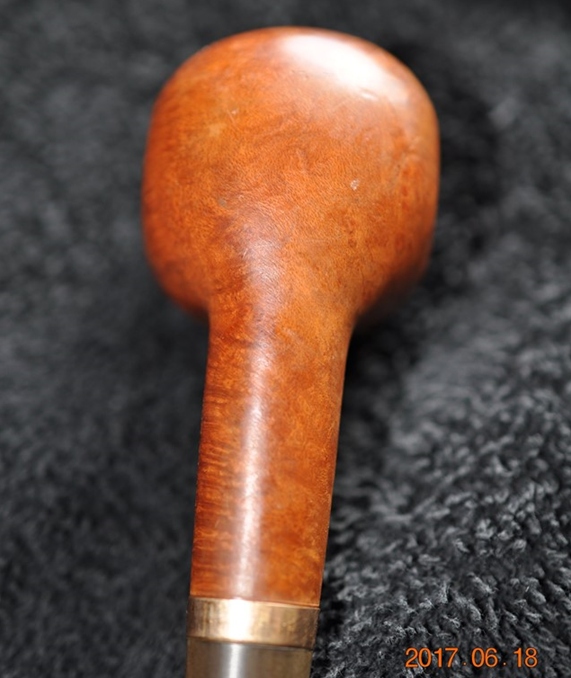
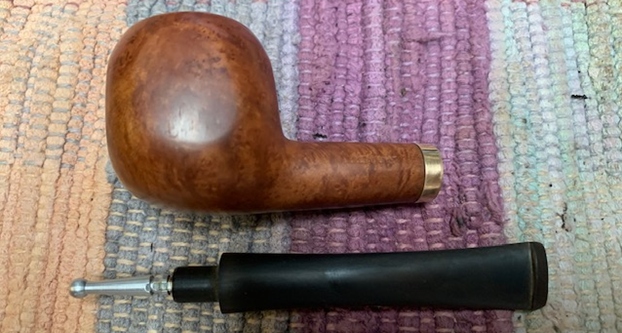
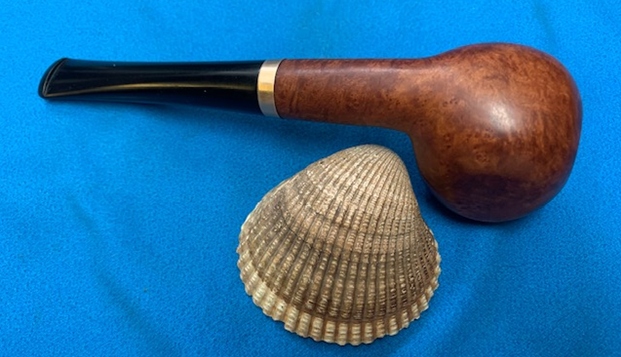
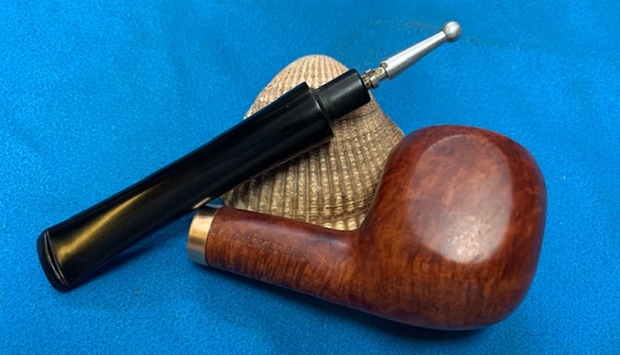
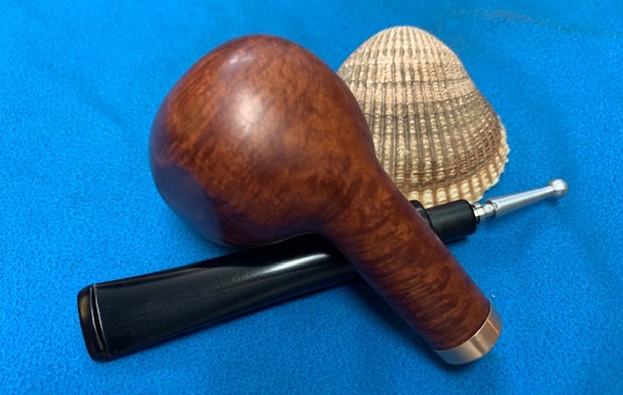
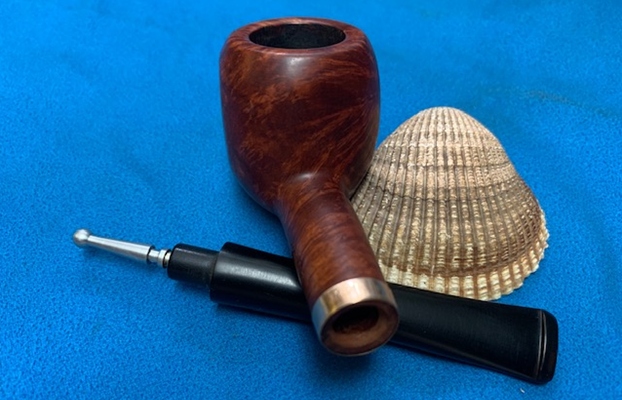
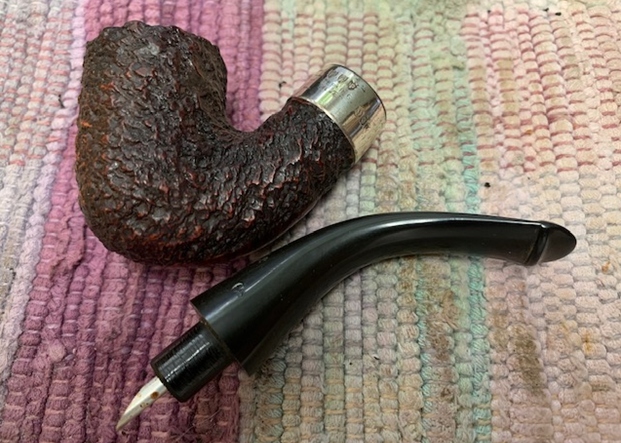
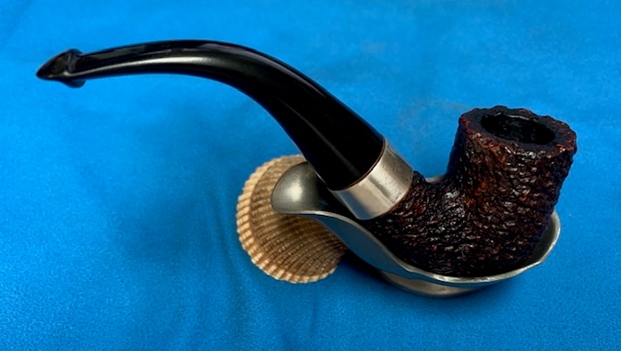
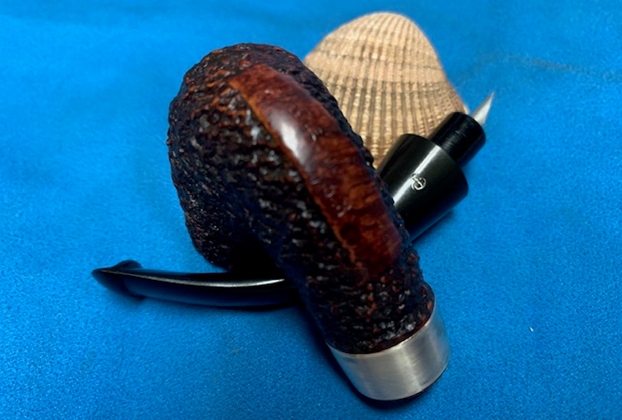
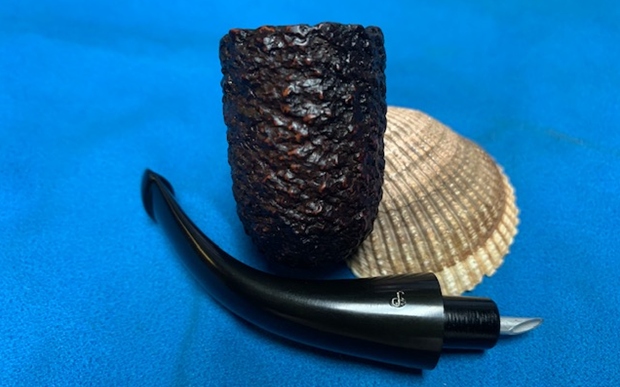
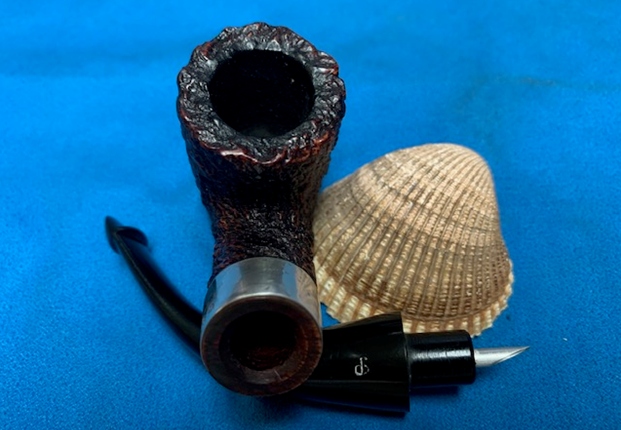
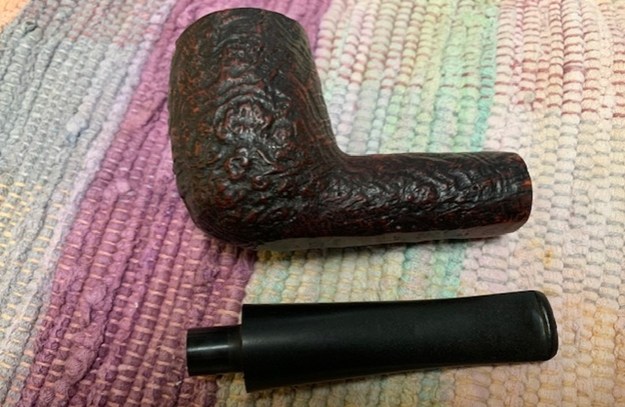
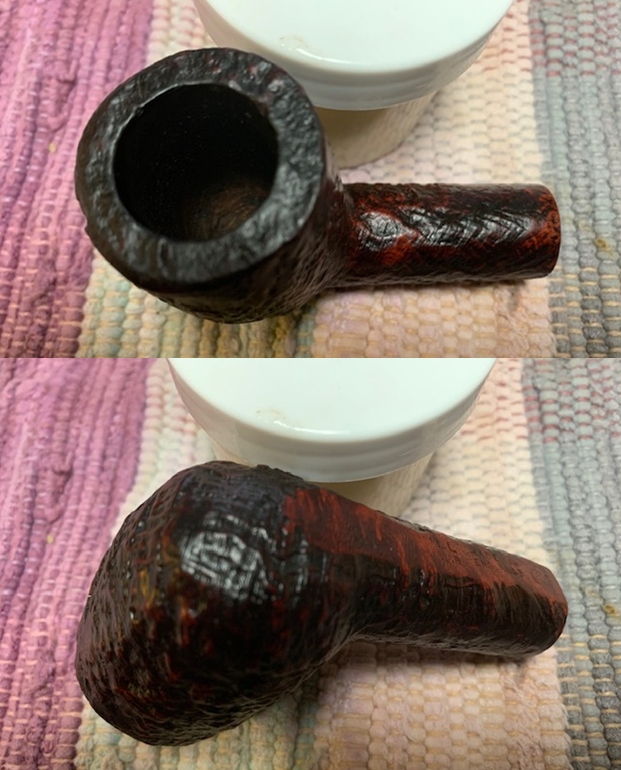
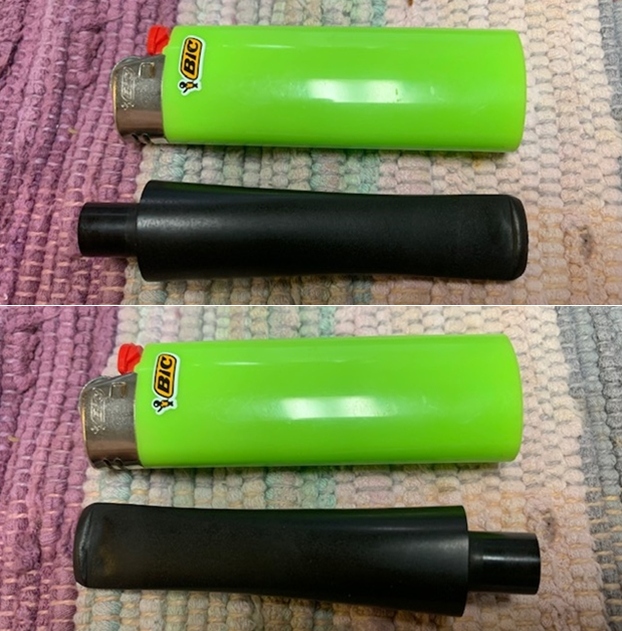
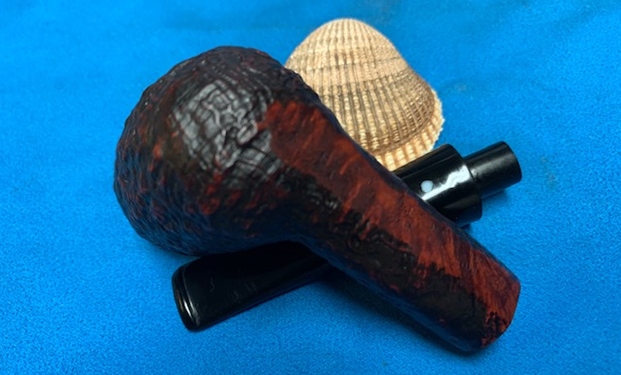
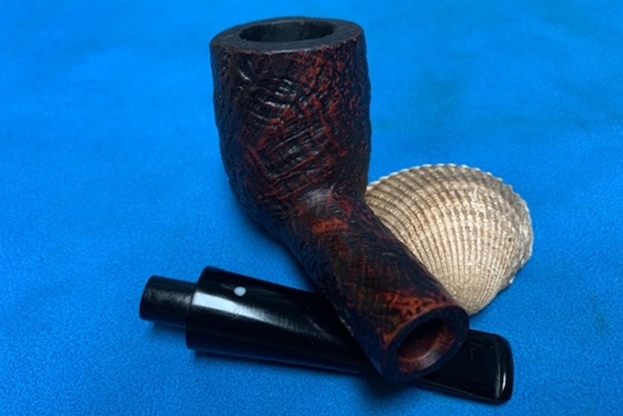
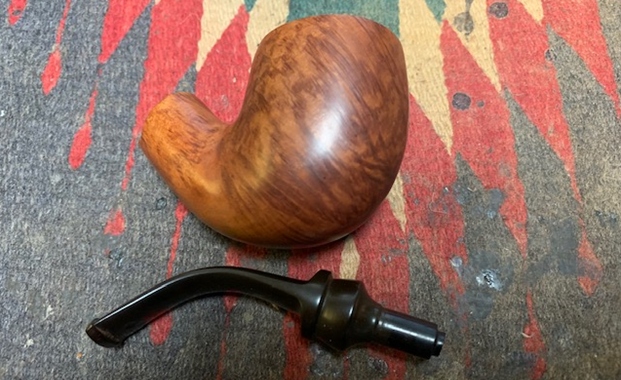
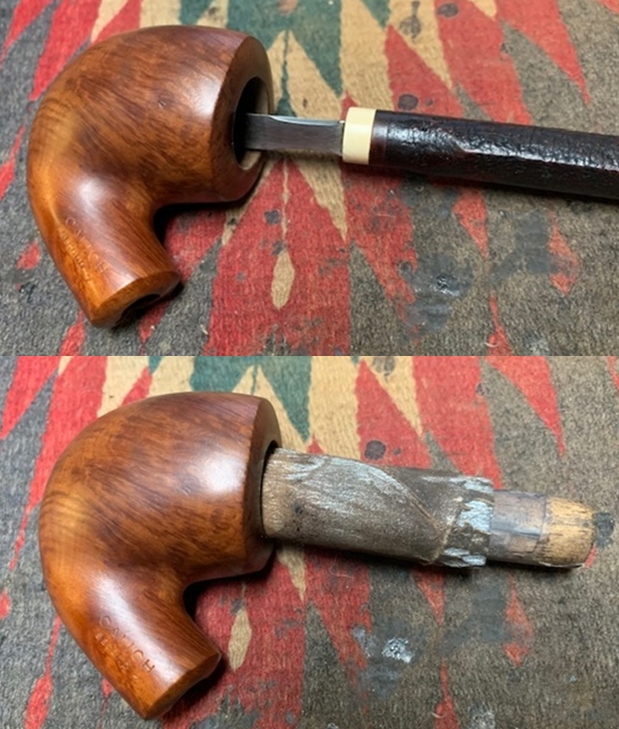
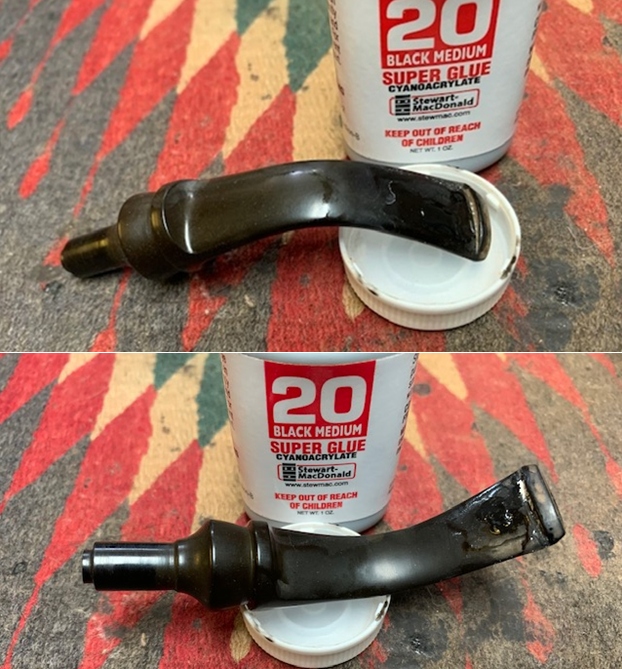
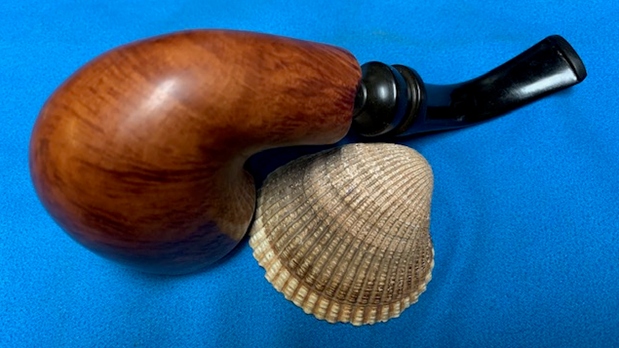
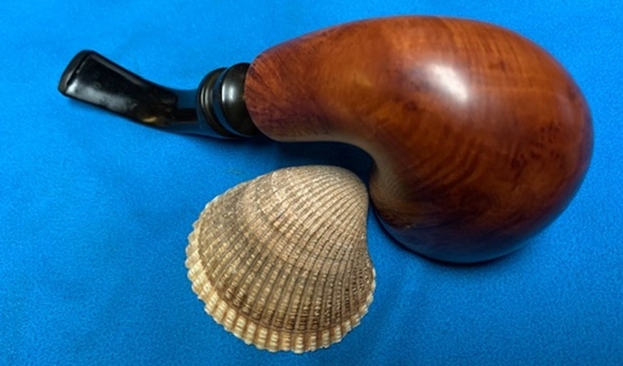
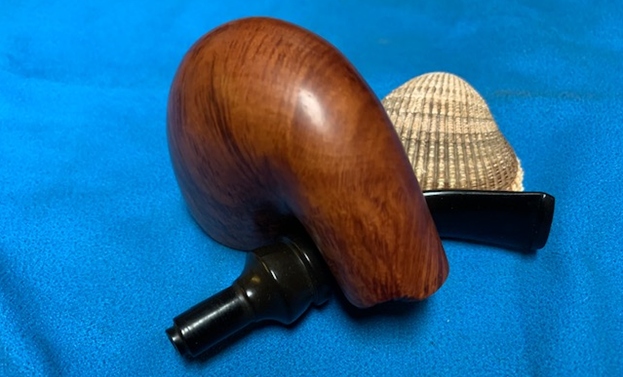
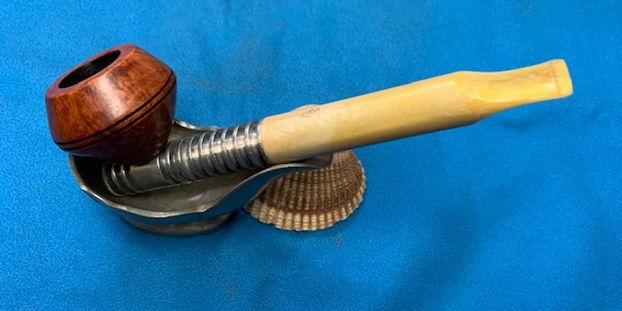
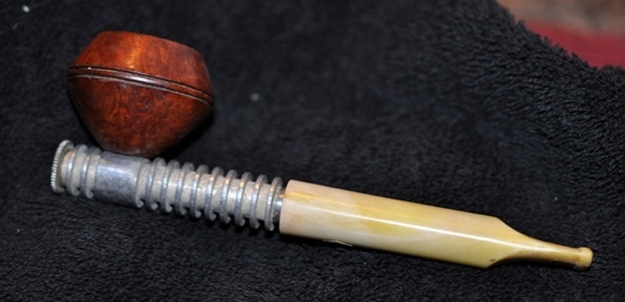
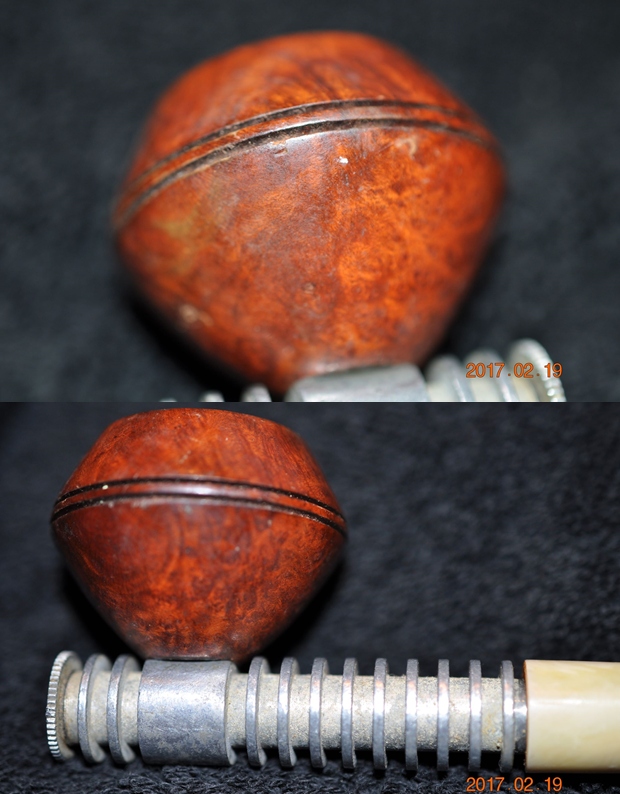
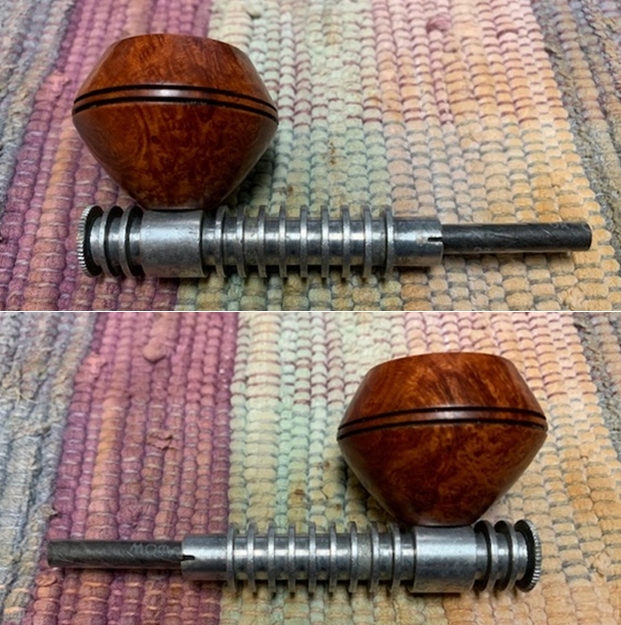
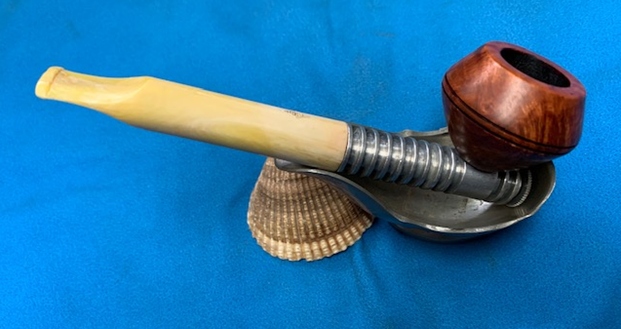
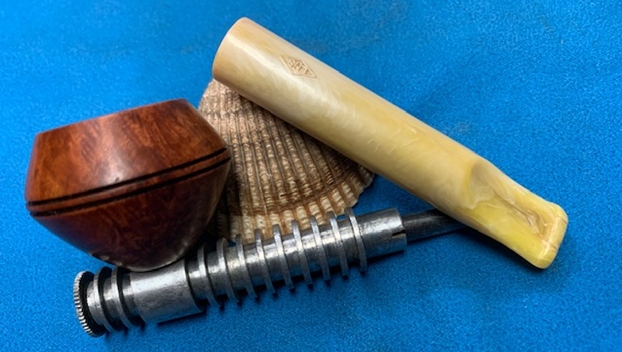
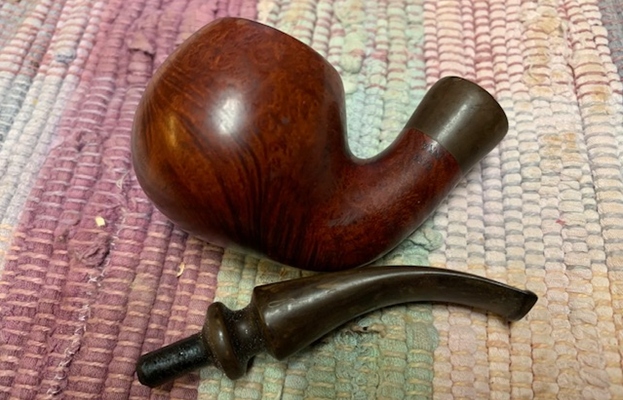
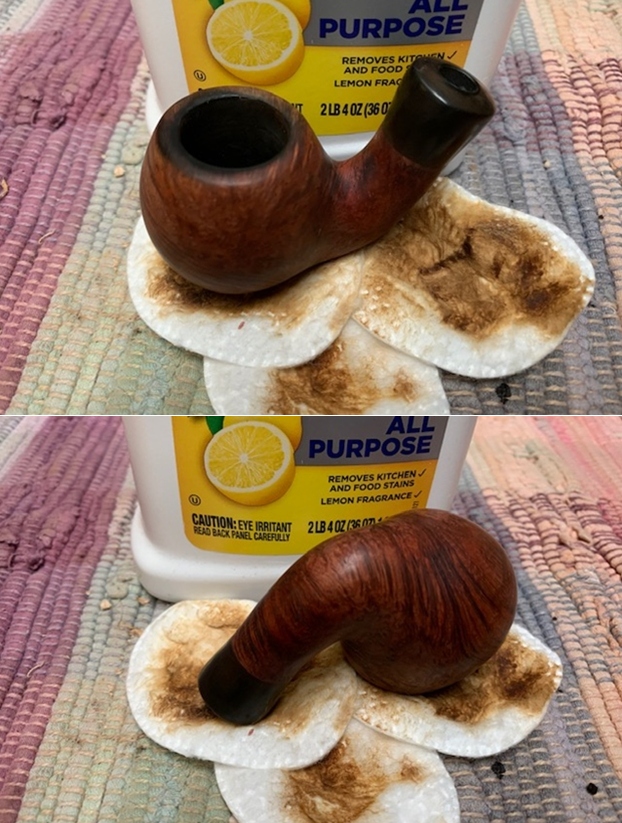
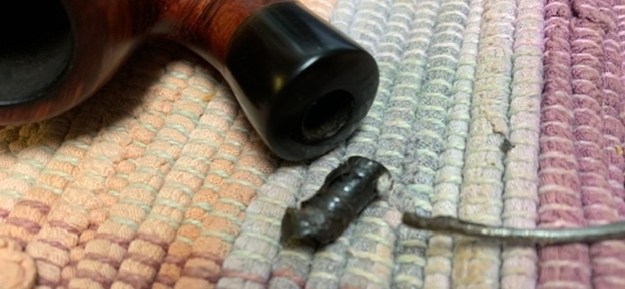
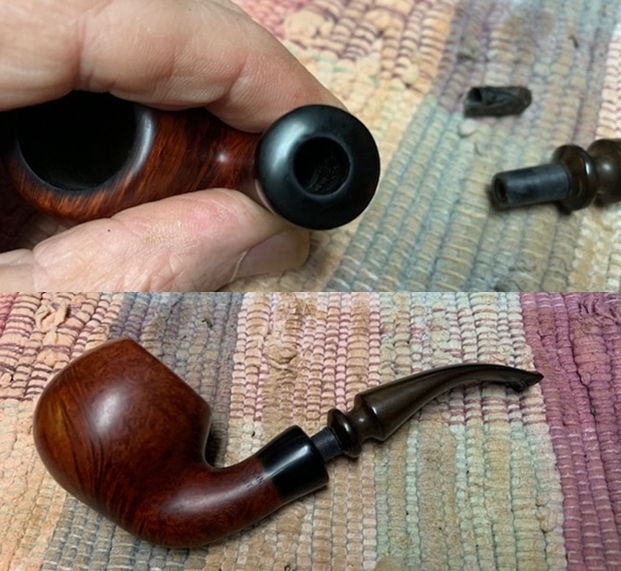
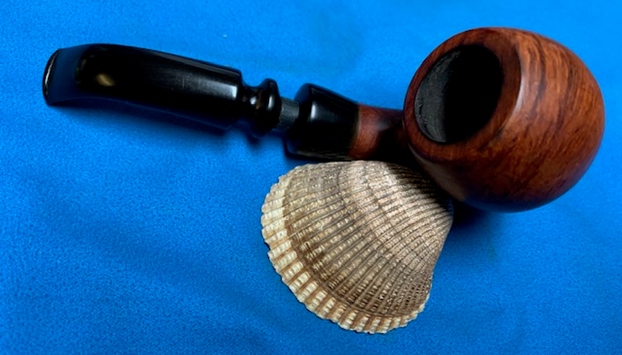
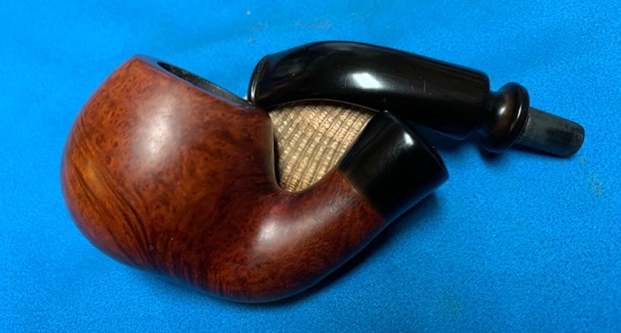
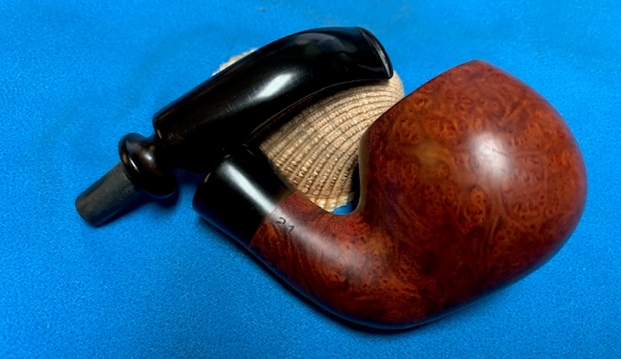
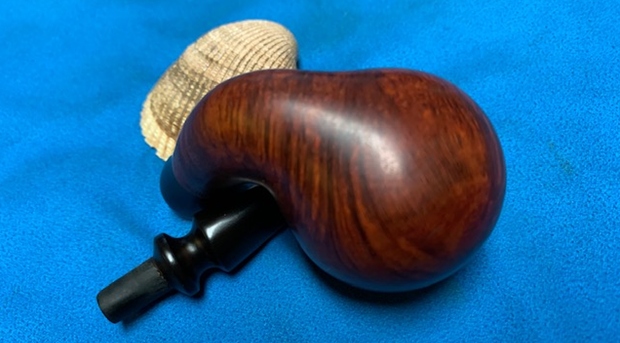
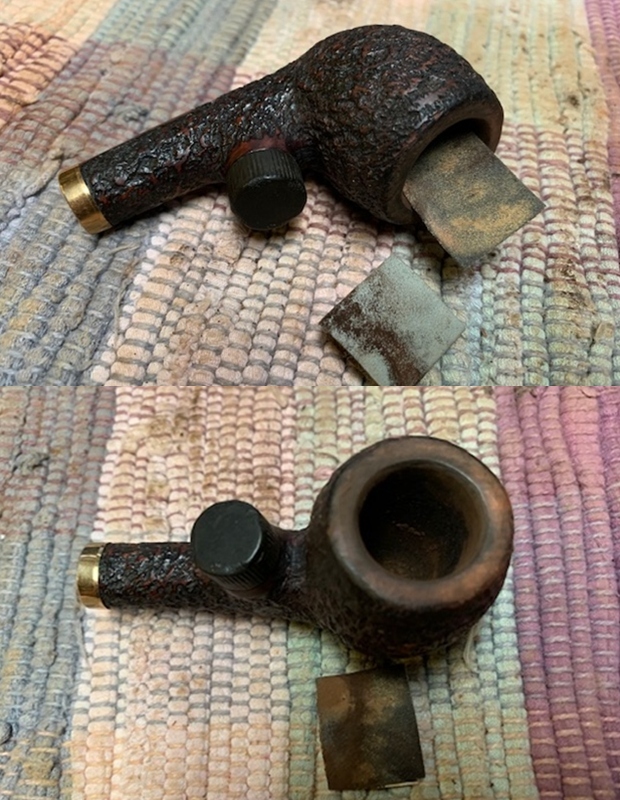
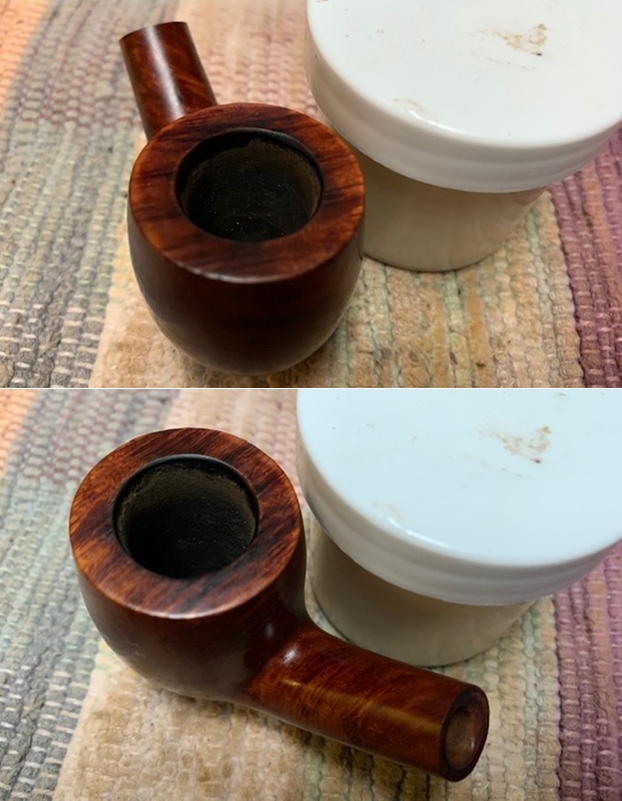
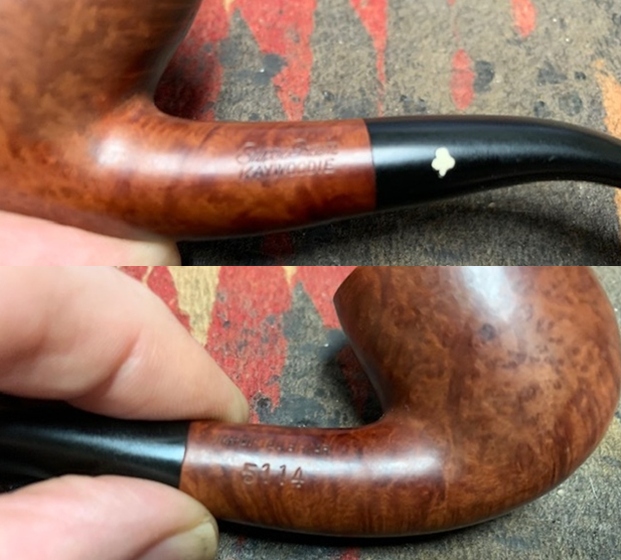 I took a photo of the pipe with the stem removed to show the overall look of stem, tenon and profile of the pipe. It is a great looking pipe.
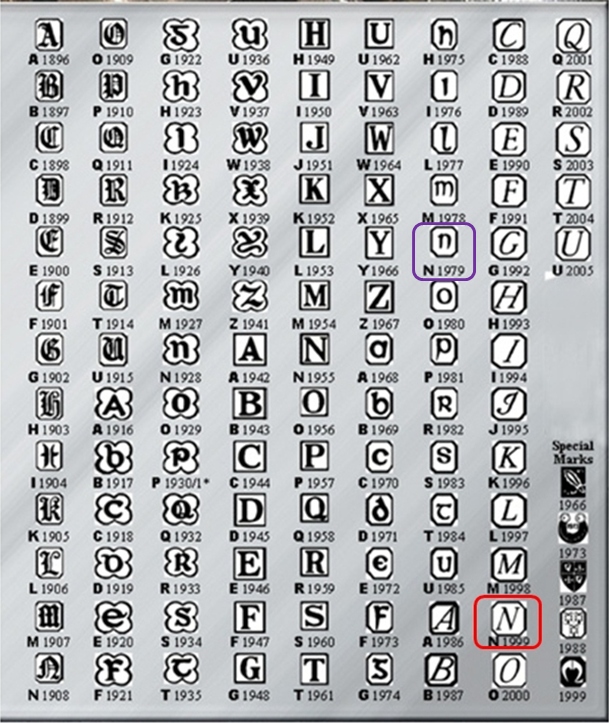
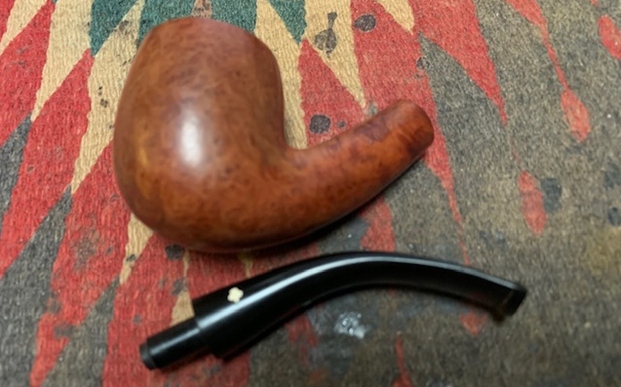 I knew that I was dealing with an early Super Grain because of the four digit shape number and the push stem but I wanted to know a bit more. I turned first to Pipephil’s site as it is always a quick sources of information (http://pipephil.eu/logos/en/logo-kaywoodie-2.html). I have included a screen capture of the section on the Super Grain Below.
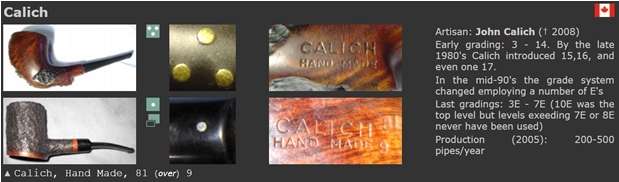
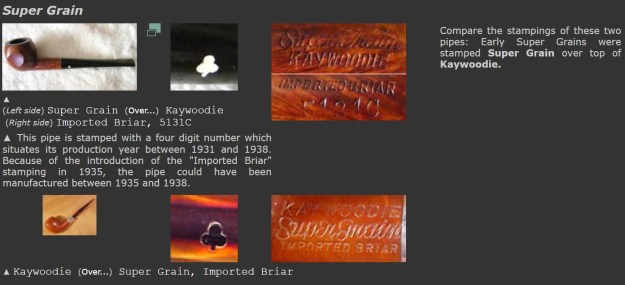 From that section I learned that indeed the pipe was older and because of the 4 digit number it was produced between 1931 and 1938. I also could narrow it down further because it also included the Imported Briar stamp which was added in 1935. So now I knew that the time frame was 1935-1938. The fact that it is stamped Super Grain above Kaywoodie also points to the early date for this pipe.
I then turned to Pipedia’s article on Grades of Kaywoodie pipes. It is helpful in placing the Super Grain in the hierarchy of Kaywoodie pipes. Here is the link to the site. (https://pipedia.org/wiki/Collector%27s_Guide_to_Kaywoodie_Pipes#ANNOTATED_CHRONOLOGY_OF_KAYWOODIE_PIPES_.281936-1969.29). I have included a section from the 1936 line of Kaywoodie pipe because of the time frame of this pipe noted above.
THE 1936 KAYWOODIE LINE OF PIPES
The 1936 Kaywoodie catalog lists only four grades of pipes (Table 1). These four grades, however, were available in 140 shapes (see Appendix). These 140 shapes included many that differed only in size (small, medium, large). For example, the “In-Between”, “Colt” and “Freshman” shapes listed in the Appendix were merely smaller versions of the standard shapes, and the “E-Z-Set” shapes were “flat-bottom” versions of the standard shapes.
Table 1: Kaywoodie Pipe Grades and Prices (1936)
Straight Grain: $10.00
Super Grain: $5.00
Carburetor: $4.00
Drinkless: $4.00
As shown in Table 1, the Straight-Grain pipe was Kaywoodies’ top-of-the-line, selling for $10.00 in 1936. The Straight Grain pipe did not appear again in the catalogs reviewed in this research until 1968-69 (see Section 3.4).
The 1936 catalog shows 3 Super Grain models, selling for $5.00 each. One model is introduced as the “New Banded” Super Grain. The banded Super Grain had the white Kaywoodie cloverleaf logo in the bit and a wide metal band. The non-banded (“original”) Super Grain had the white Kaywoodie cloverleaf logo in the shank of the pipe and was offered in two finishes, virgin and miami (slightly darker than virgin). Due to the gap in catalogs used in this research, it is not known precisely when the practice of putting the cloverleaf in the shank of the Super Grains was discontinued (the 1947 catalog shows the cloverleaf on the bit). The Super Grain was later downgraded and many new grades appeared above it (see subsequent sections of this Chapter). The early (original) Super Grains are particularly interesting not only because they were high quality briars, but because they were the only Kaywoodies (in the author’s knowledge) to have the logo inlaid in the shank of the pipe.
In terms of the Kaywoodie Hierarchy the pipe fit near the top of the Grades in 1936. It sold for $5.00. That was the end of the information for me at this point so it was time to work on the pipe itself.
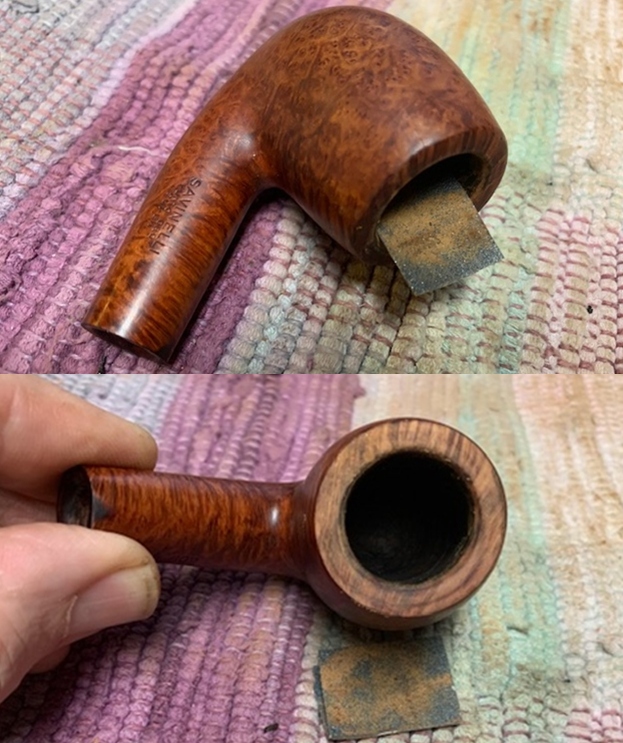
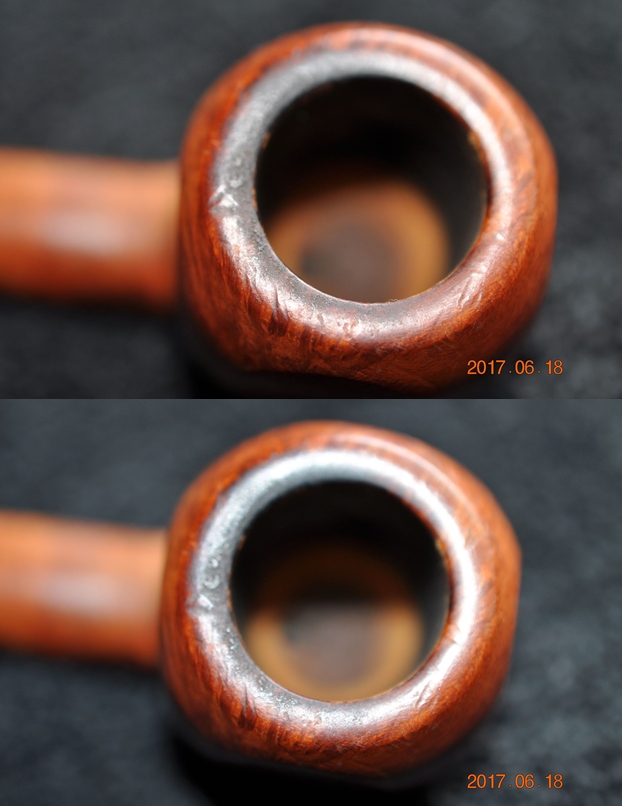
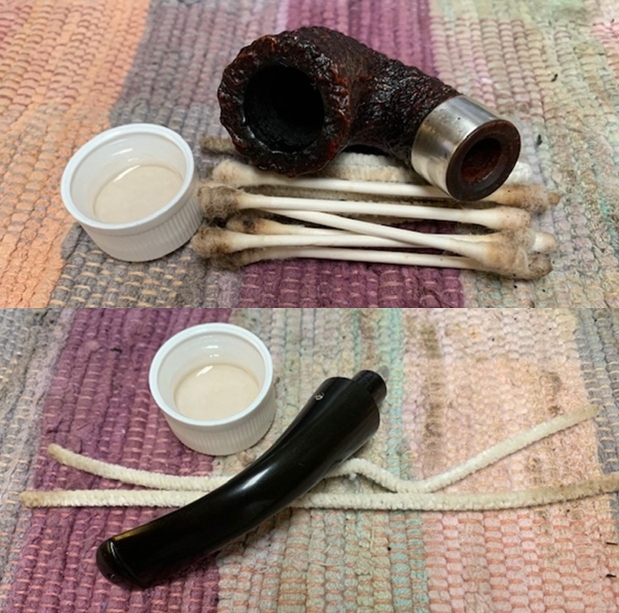
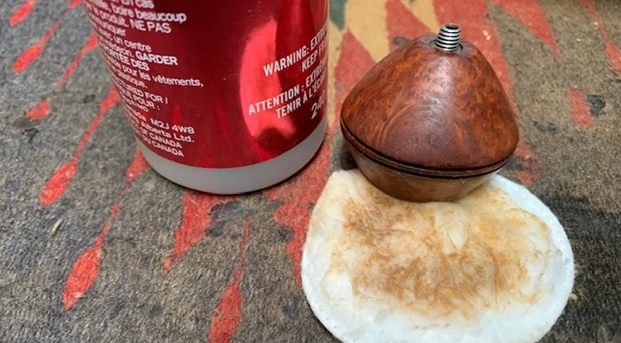
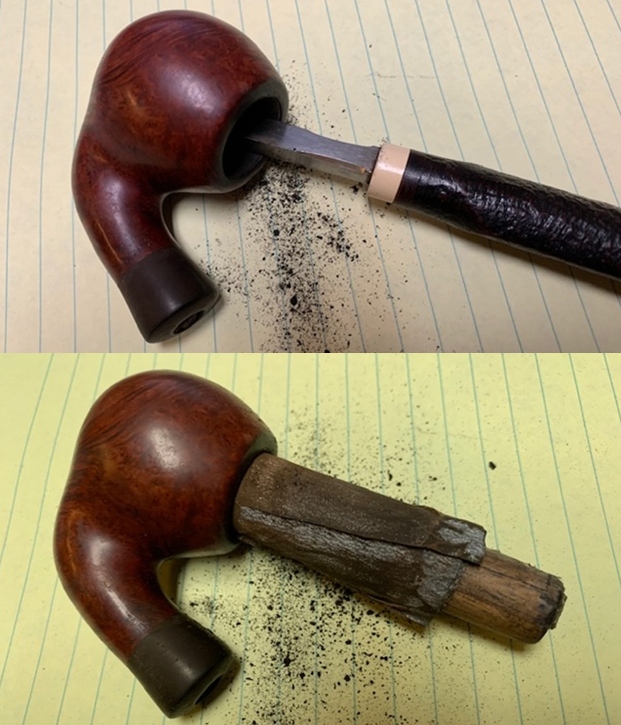
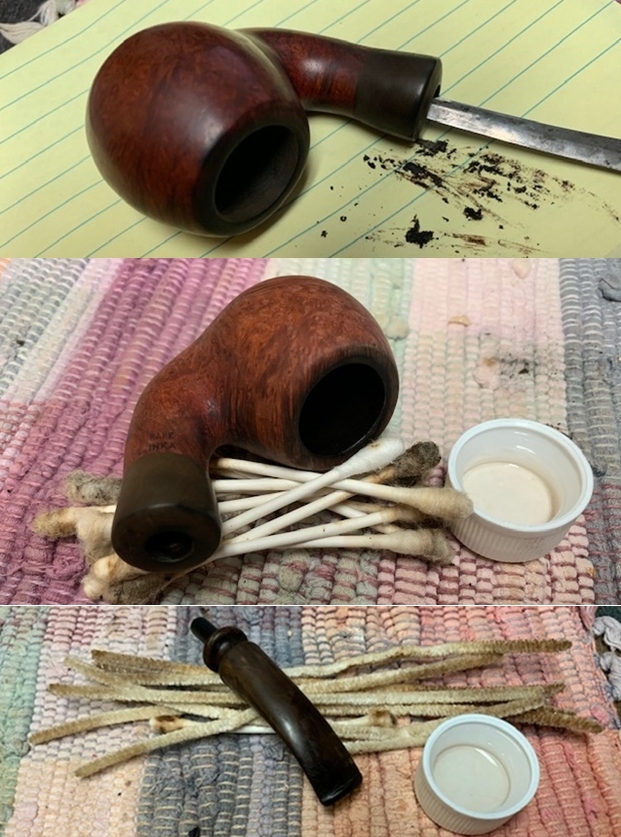
I started my work on the by cleaning out the inside of the shank. The bowl had been reamed somewhere along the way before I received it but it needed to be cleaned. I cleaned it out with alcohol, cotton swabs and pipe cleaners. I cleaned out the airway in the stem at the same time with alcohol and pipe cleaners. 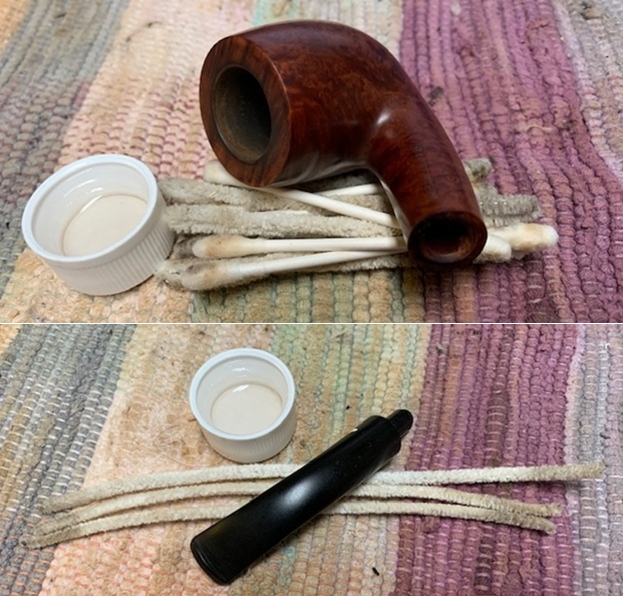 To bring the inner edge of the rim back into round and clean up the darkening and damage I used a folded piece of 220 grit sandpaper. I worked over the rim edge until it was smooth and clean.
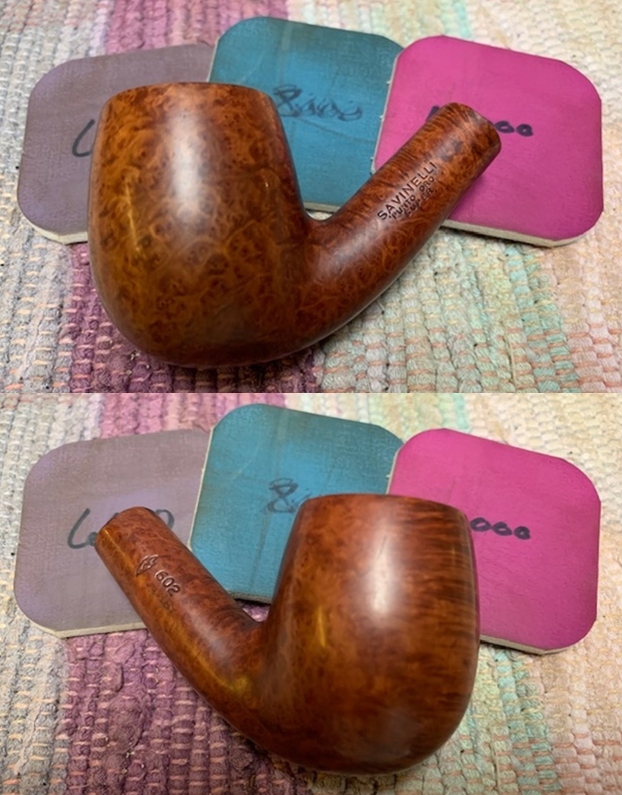
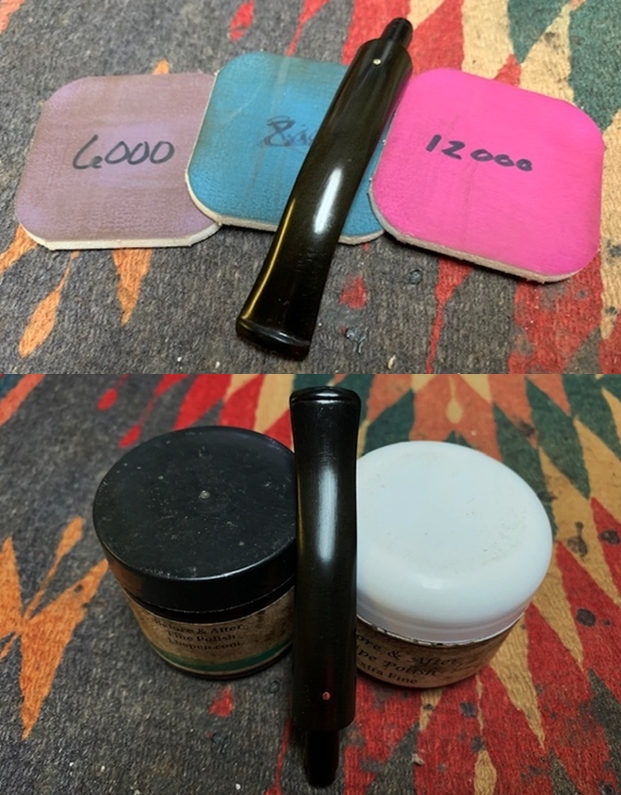
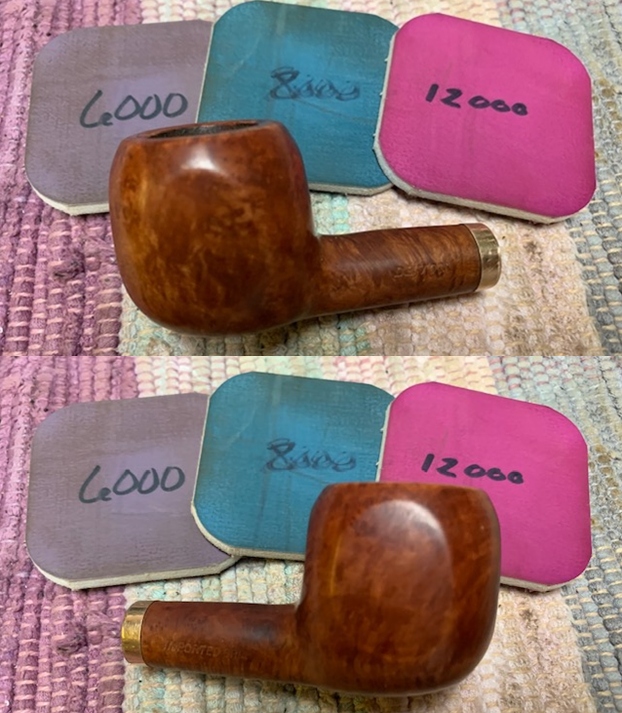
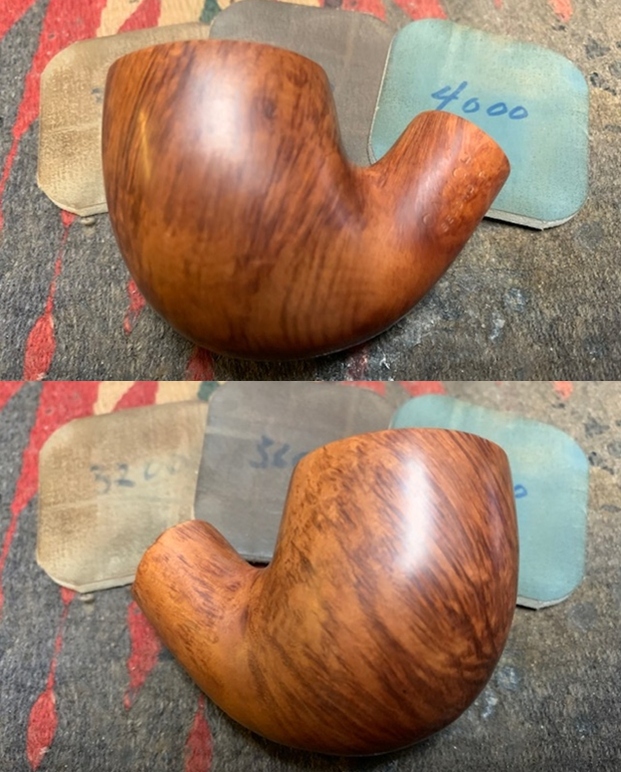
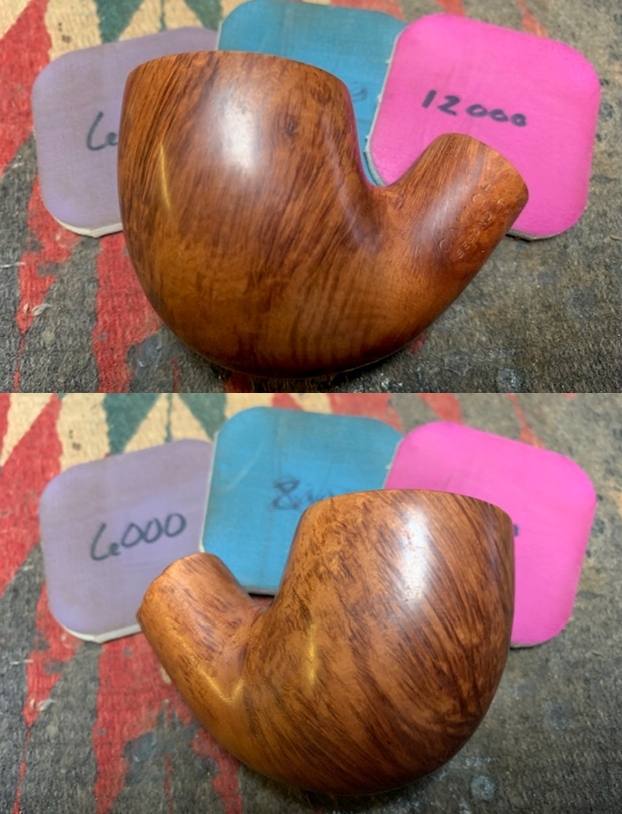
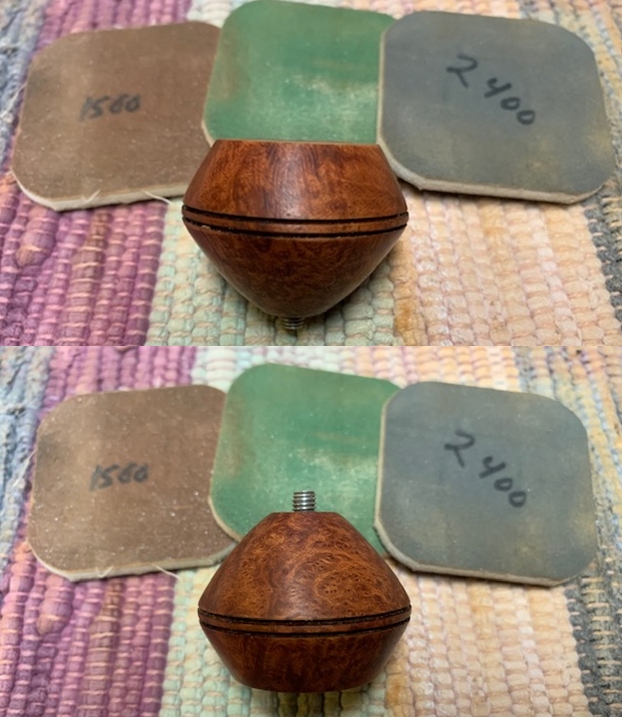
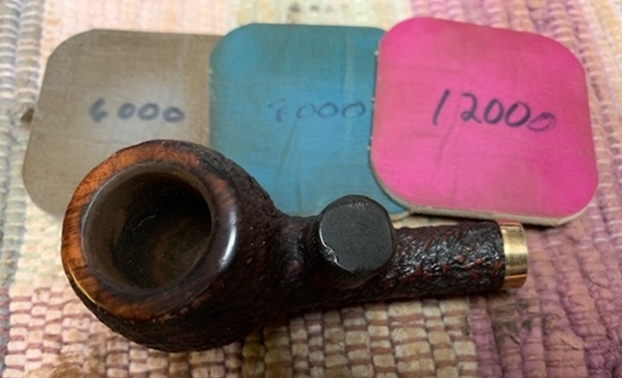
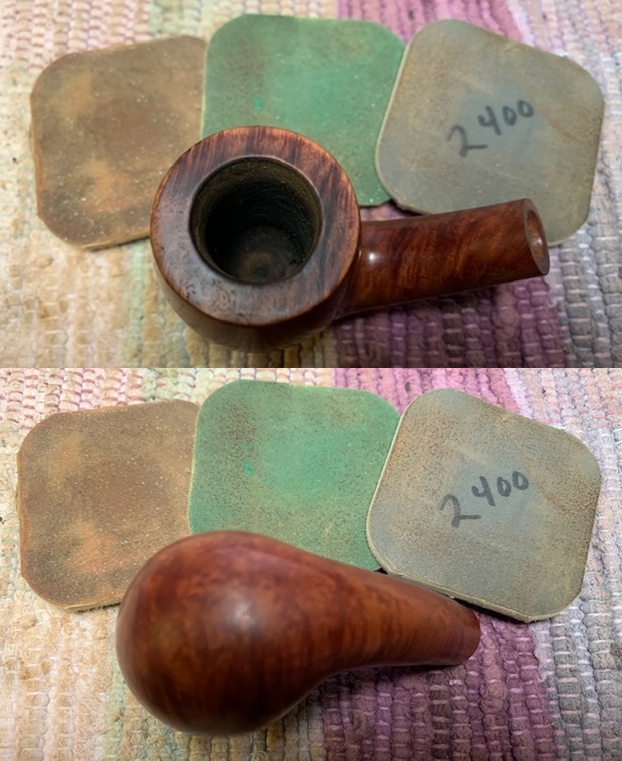
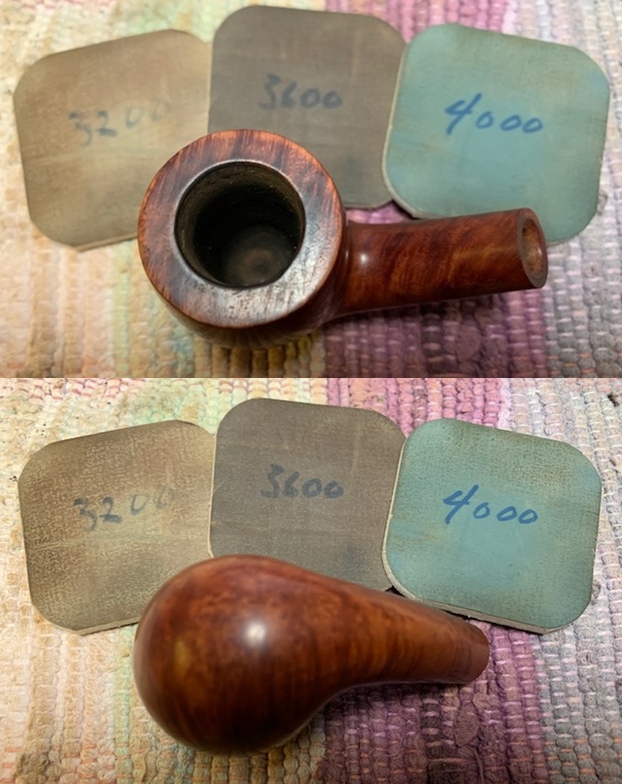
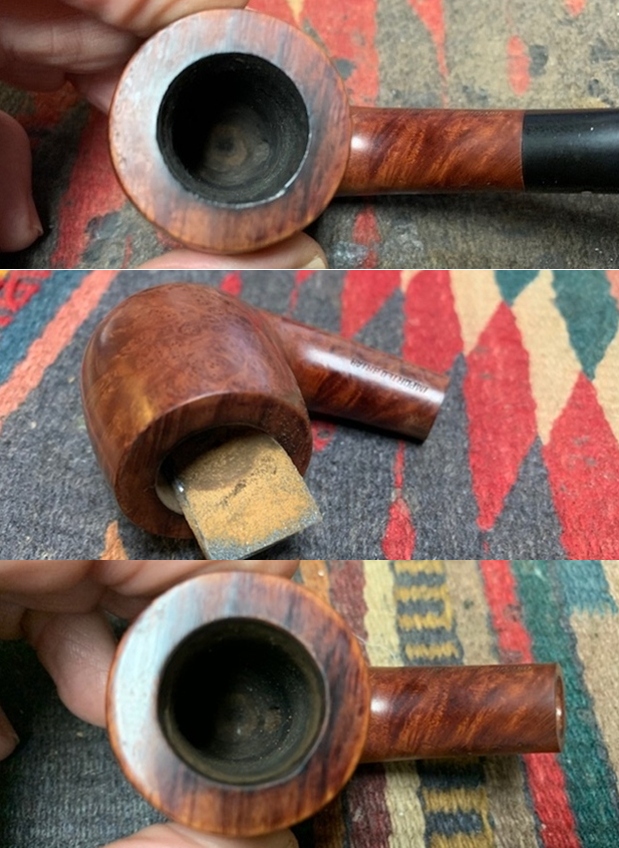 I polished the briar with micromesh sanding pads – wet sanding with 1500-12000 grit pads and wiping the briar down with a damp cloth after each pad. The briar began to take on a rich glow.
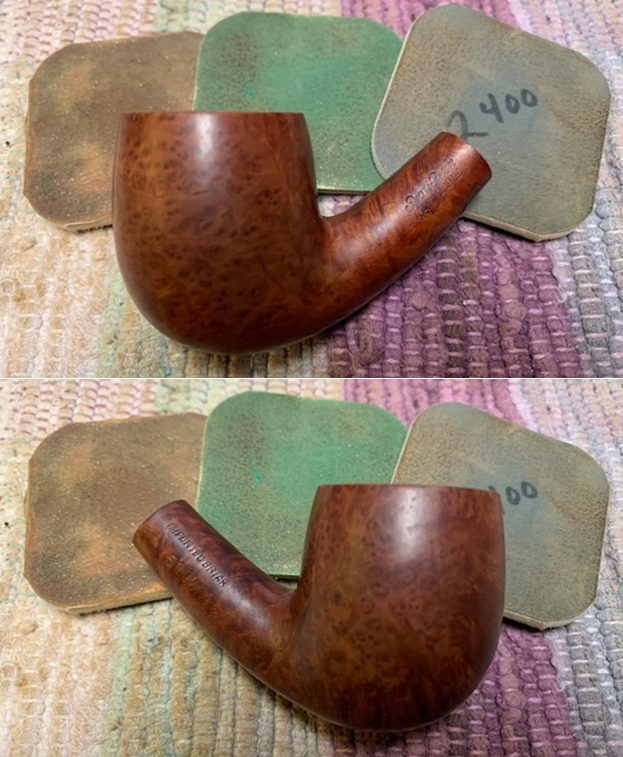
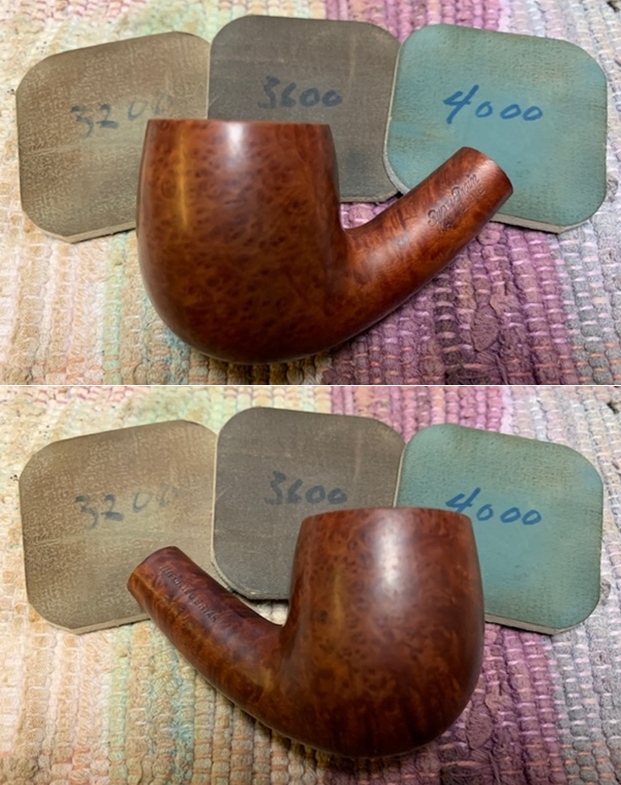
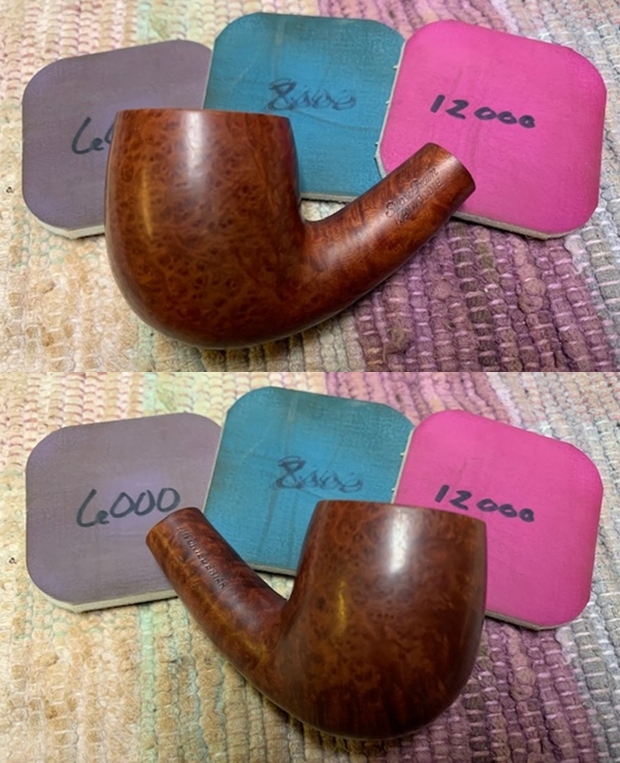
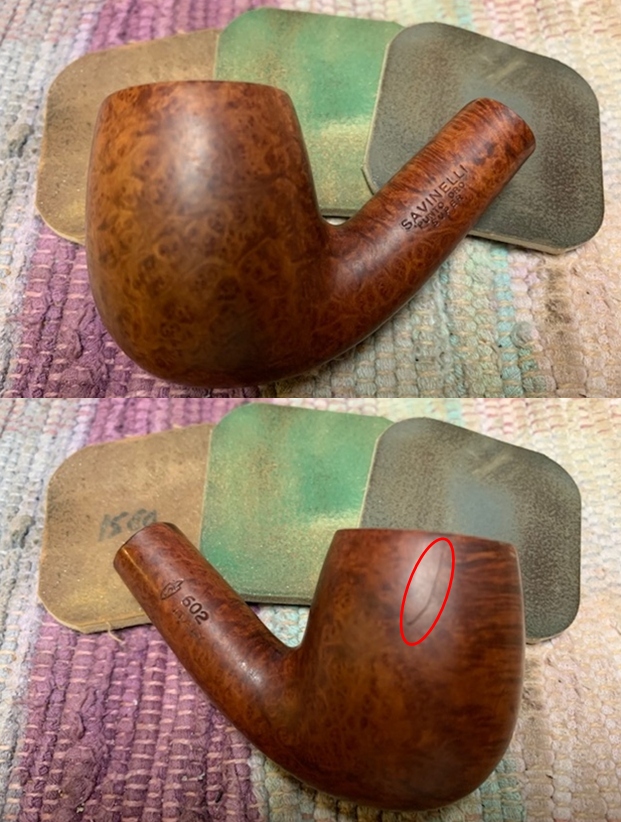
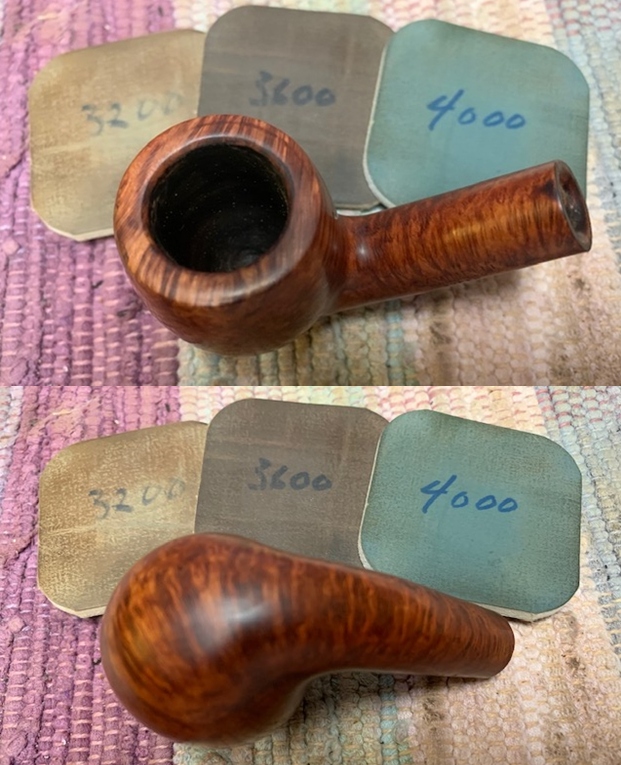
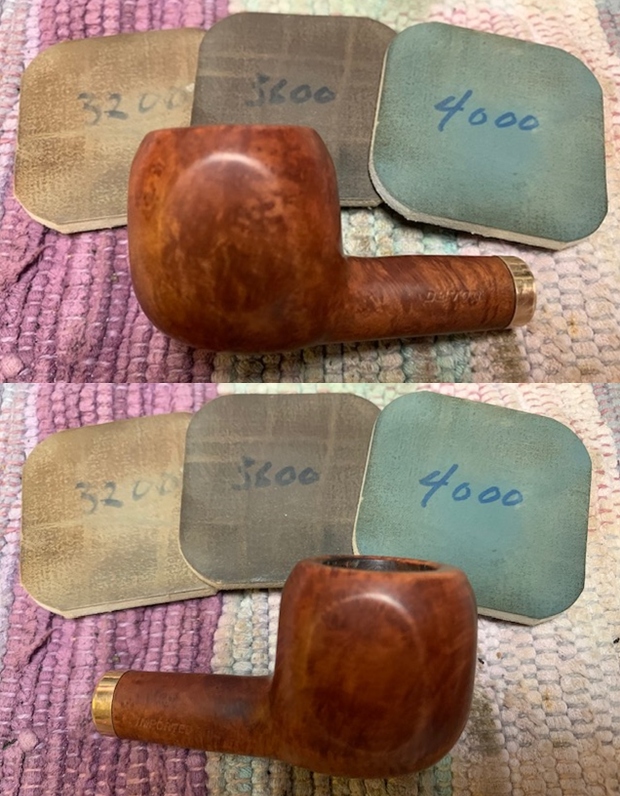
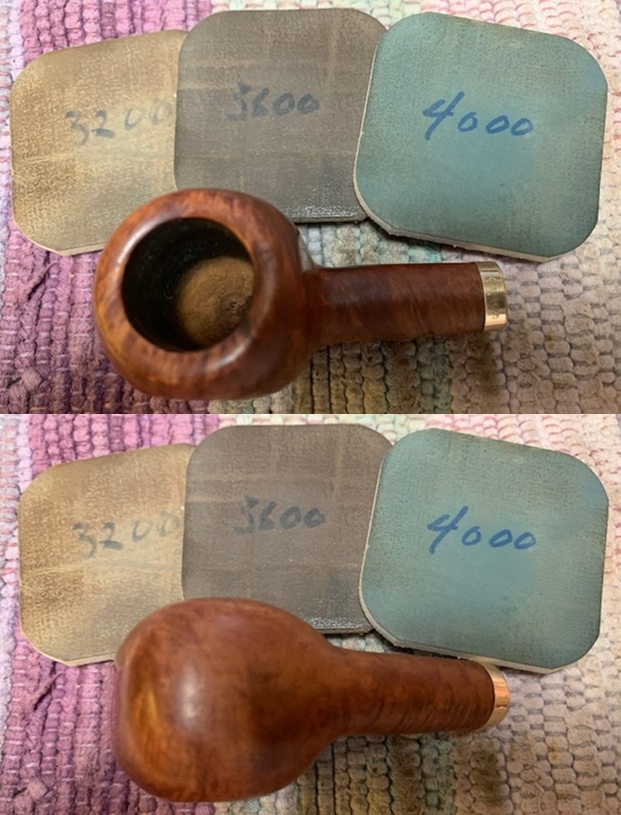
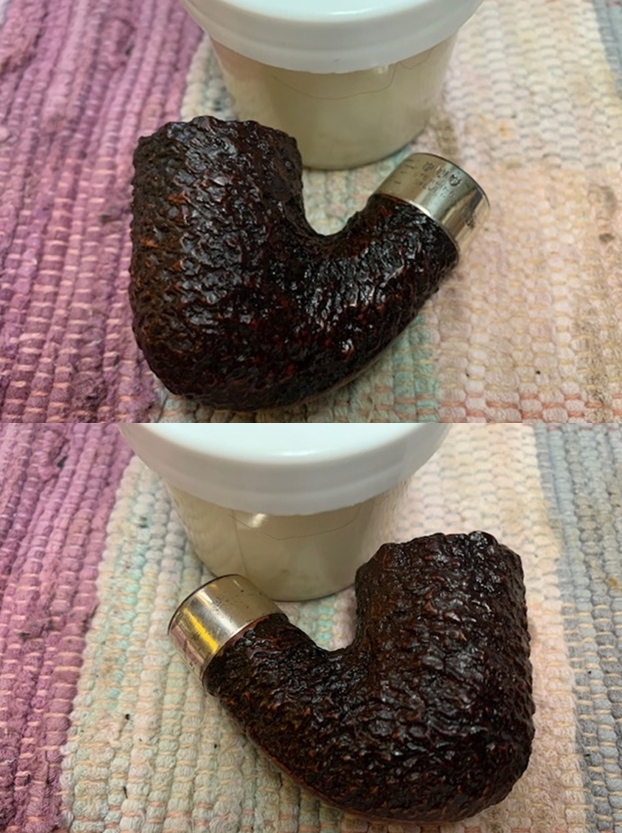
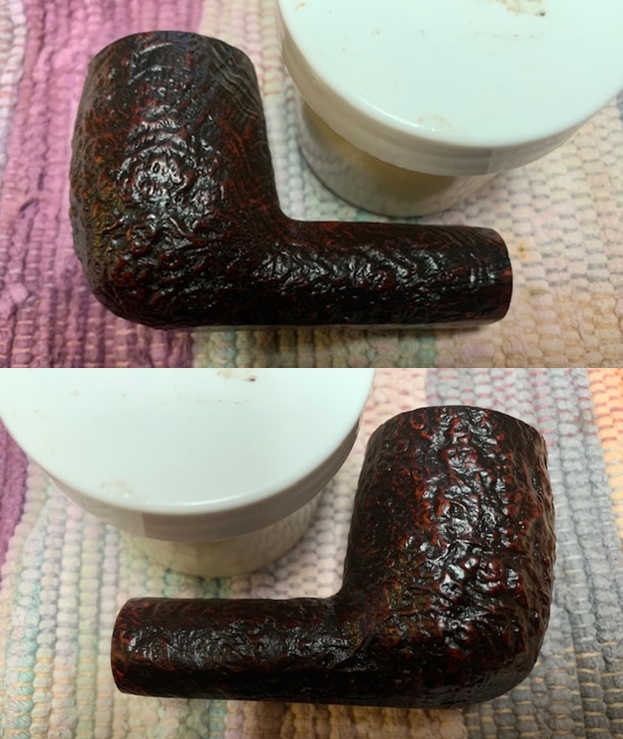
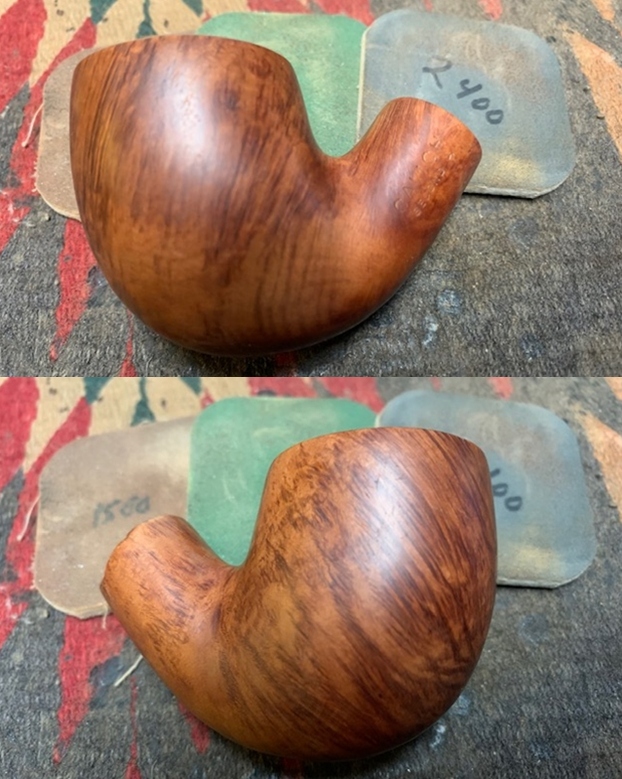
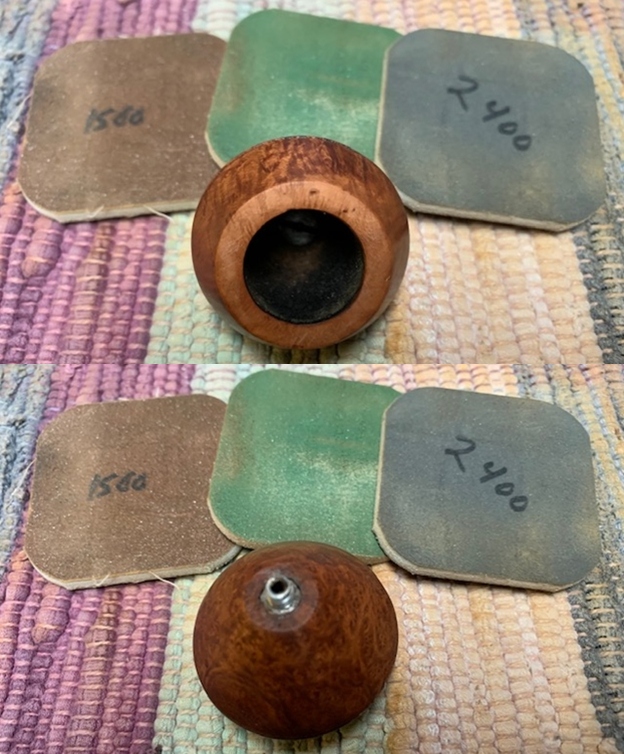
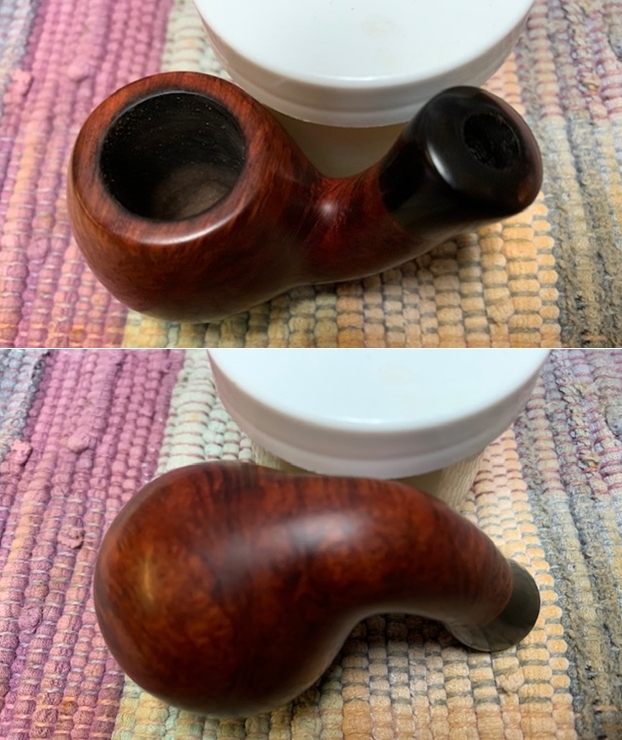
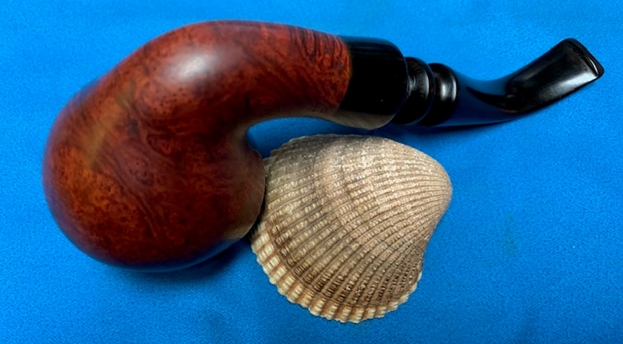
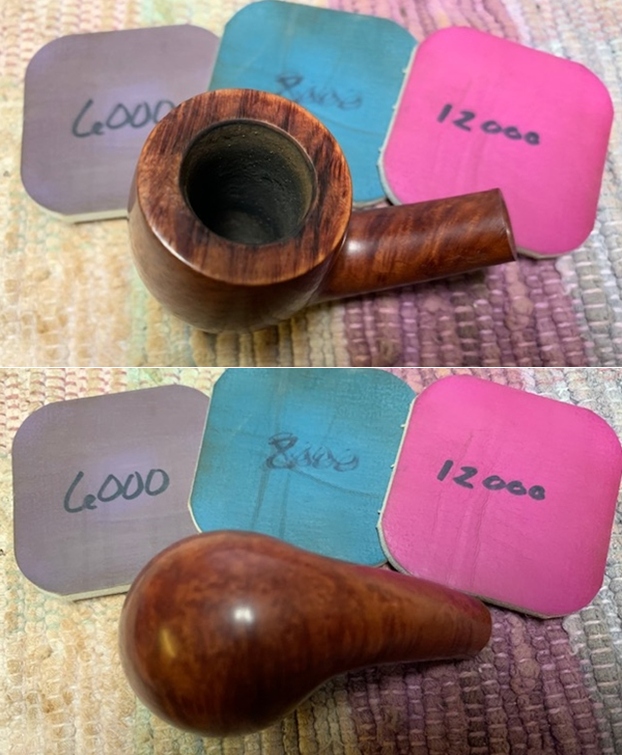 At this point, the bowl was clean and the briar looked very good. The rich birdseye and cross grain stood out clearly.
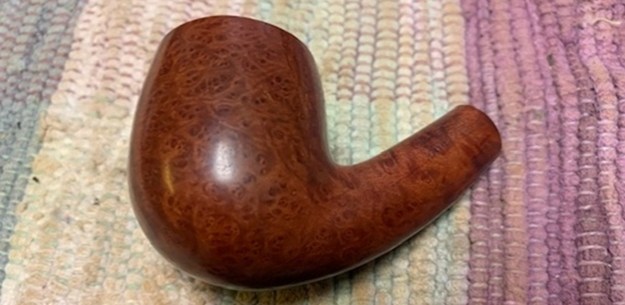 I rubbed the briar down with Before & After Restoration Balm. I worked it into the briar with my fingertips and a horse hair shoe brush to get it into the deep crevices of the rustication. The product works to clean, enliven and preserve the briar. I let it sit for 10 minutes while I worked on the stem. After the time passed I buffed it with a cotton cloth to deepen the shine. The rustication came alive with the balm.
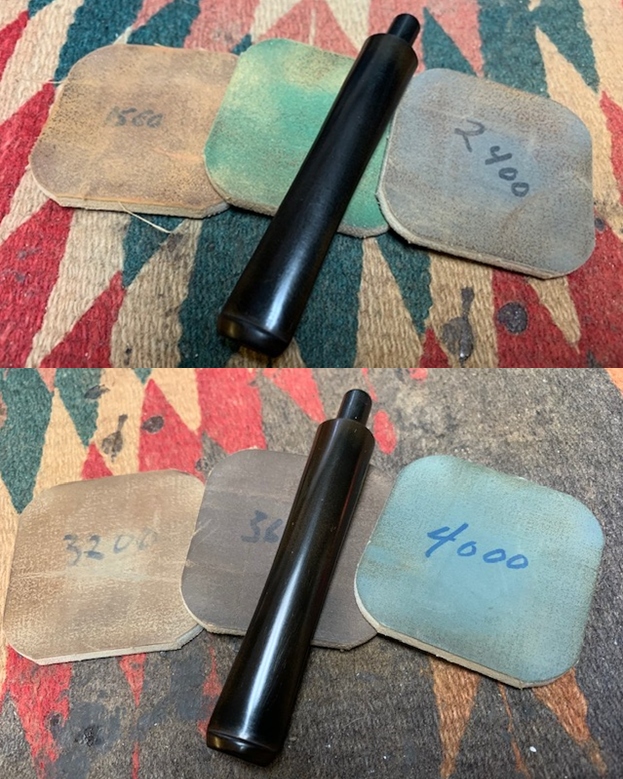
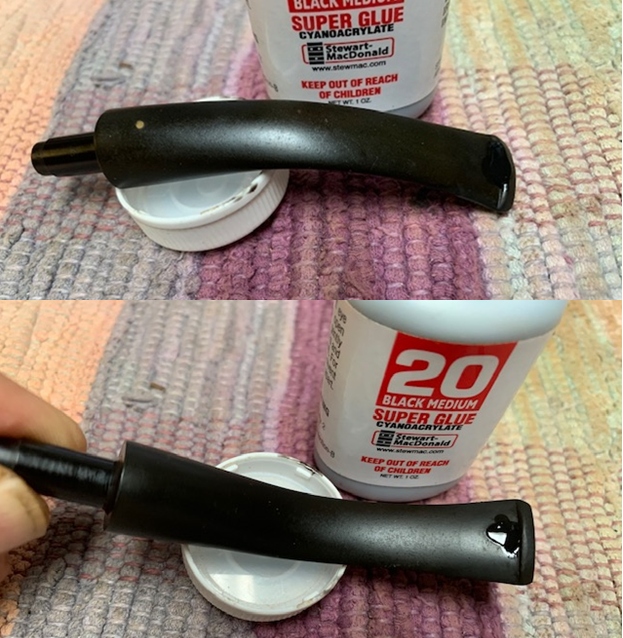
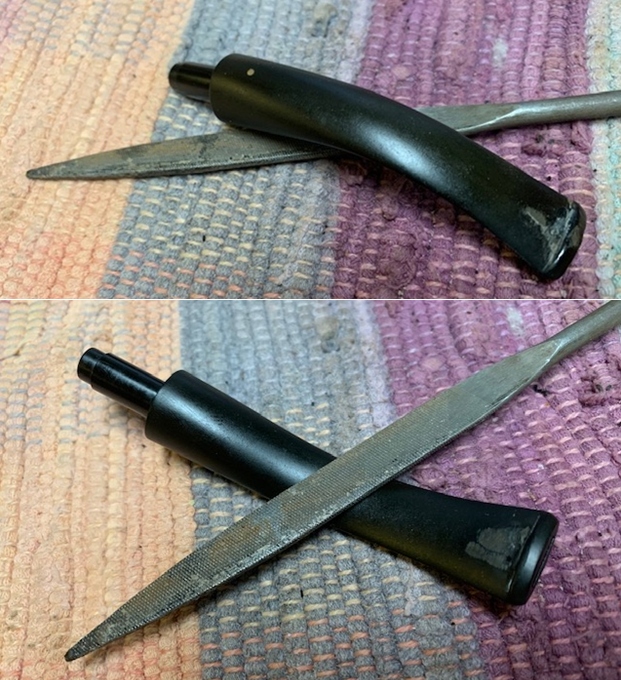
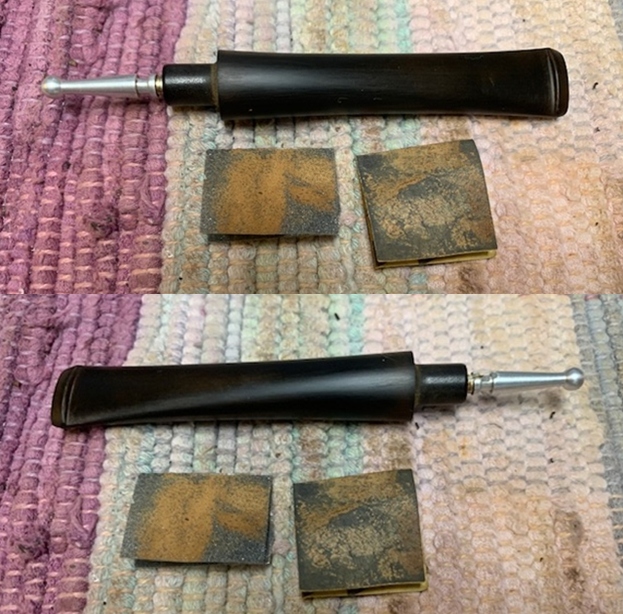
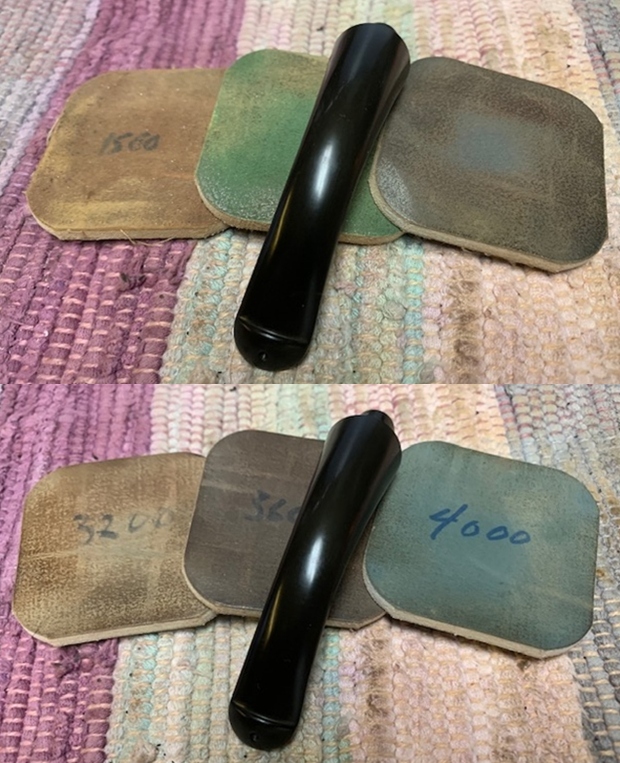
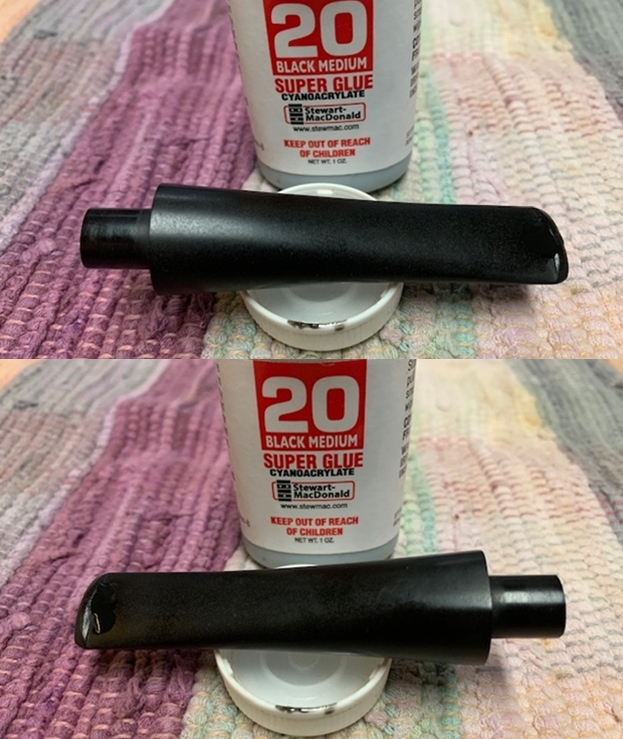
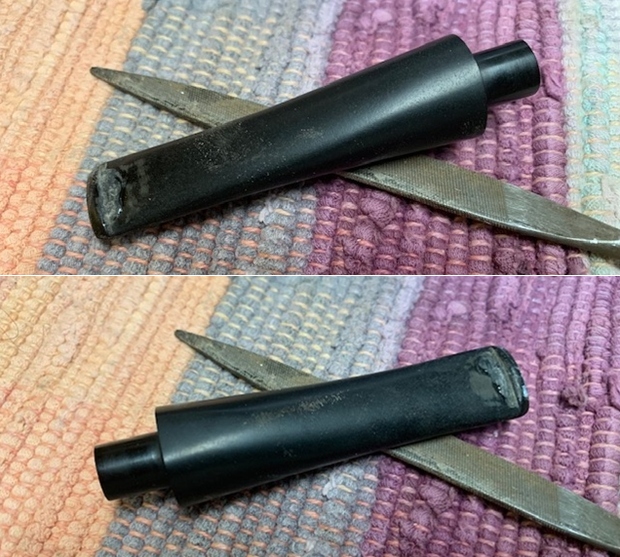
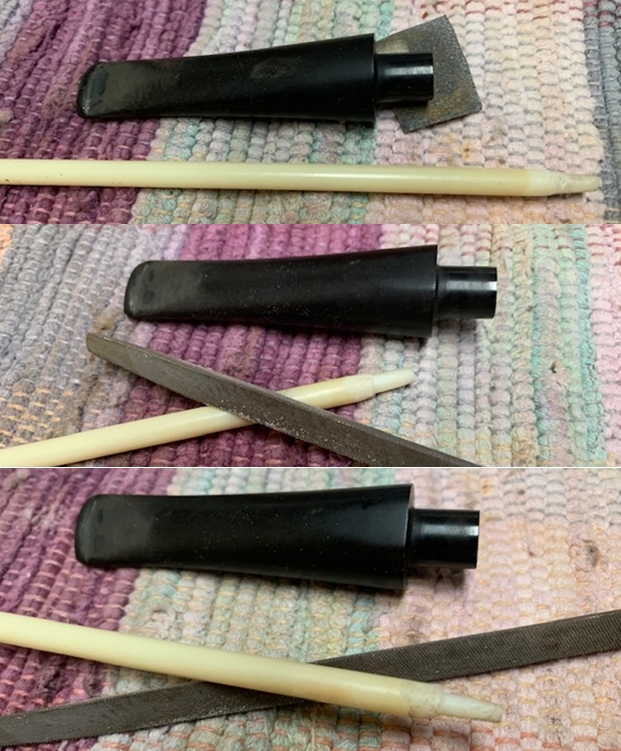
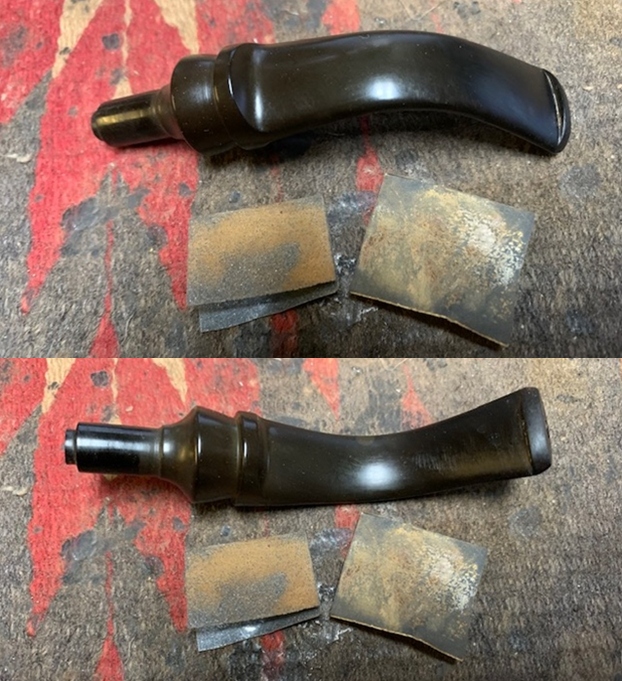
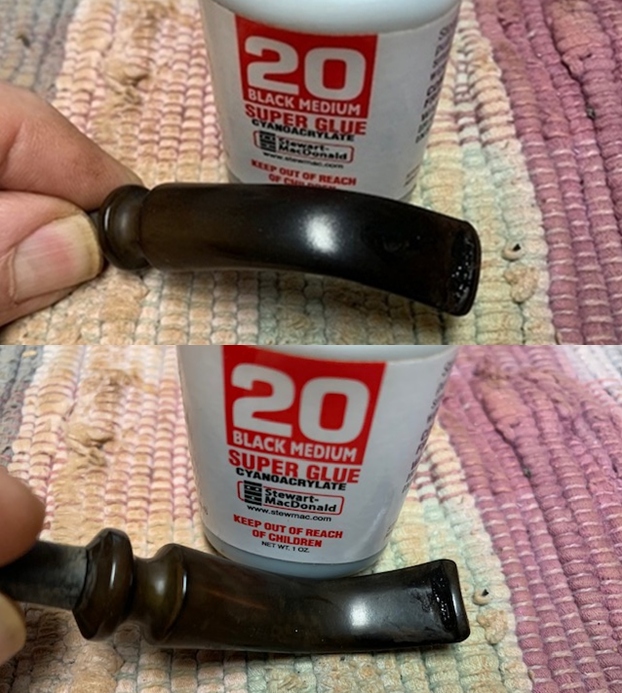
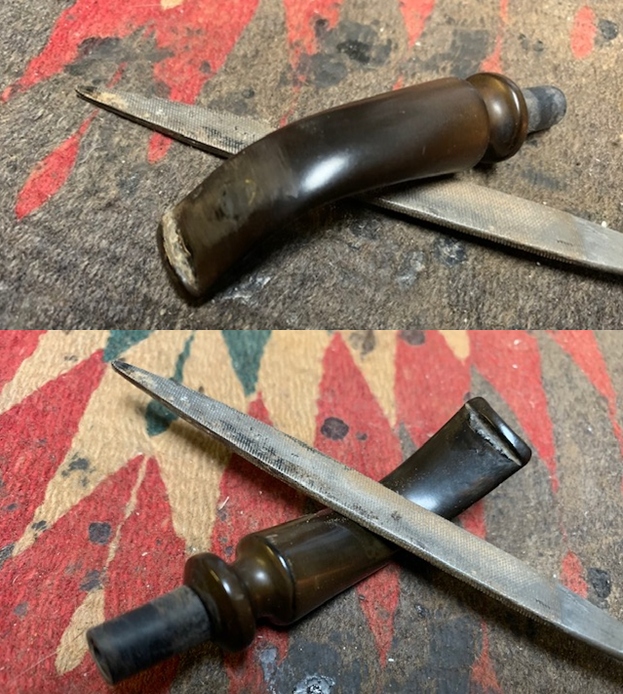
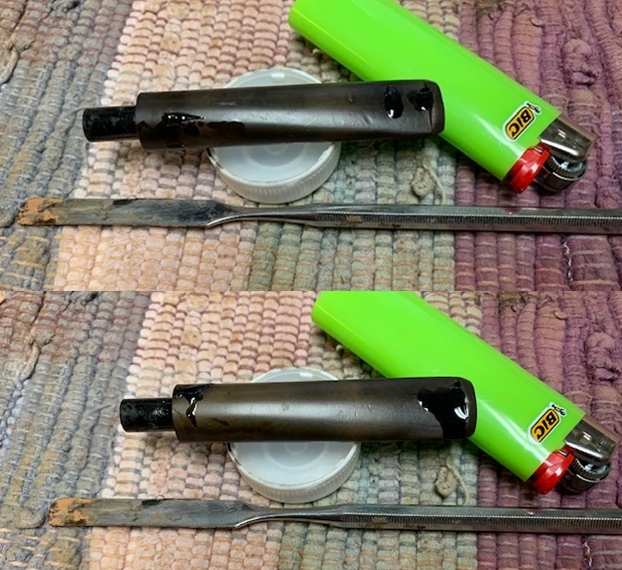
 I set the bowl aside and turned my attention to the stem. I sanded out the tooth marks and chatter on the button surface and the stem just ahead of the button with 220 grit sandpaper. I started the polishing of the stem with 400 grit wet dry sandpaper.
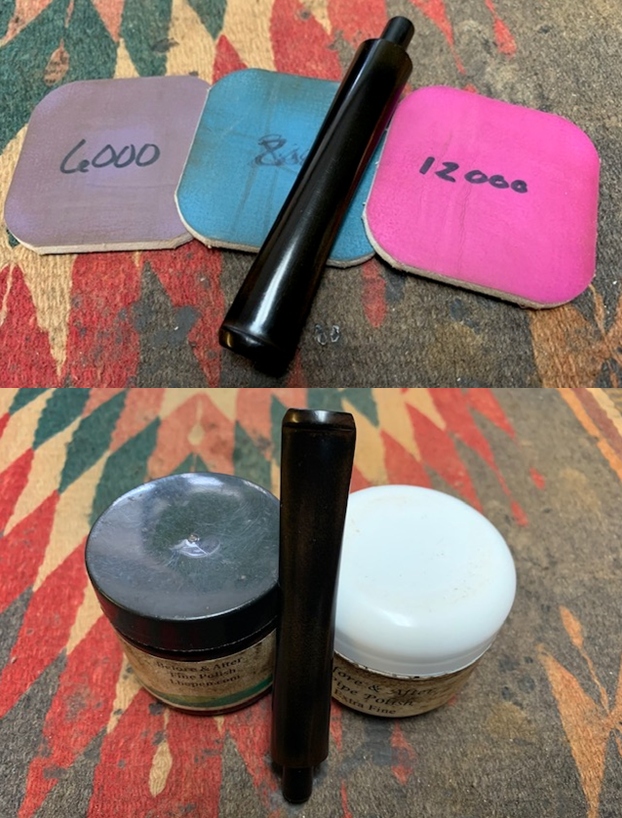
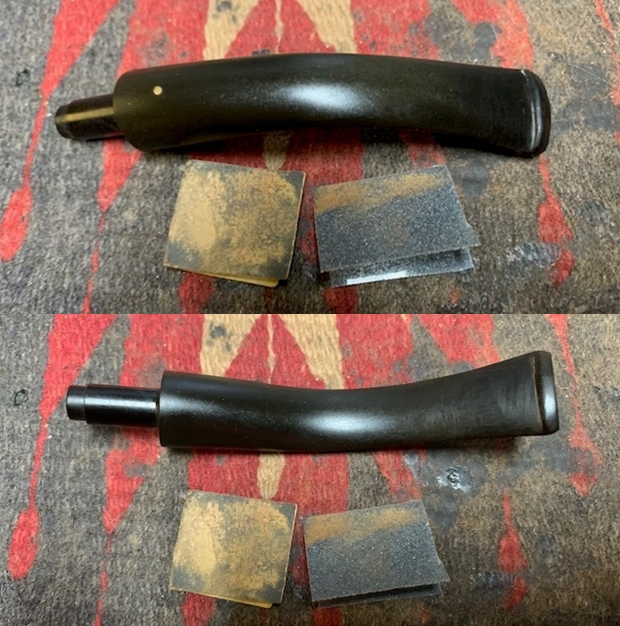
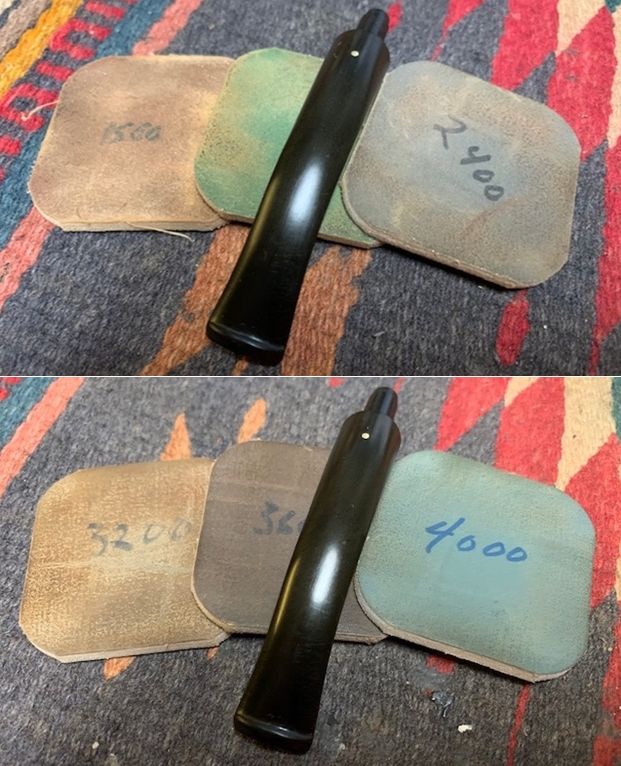
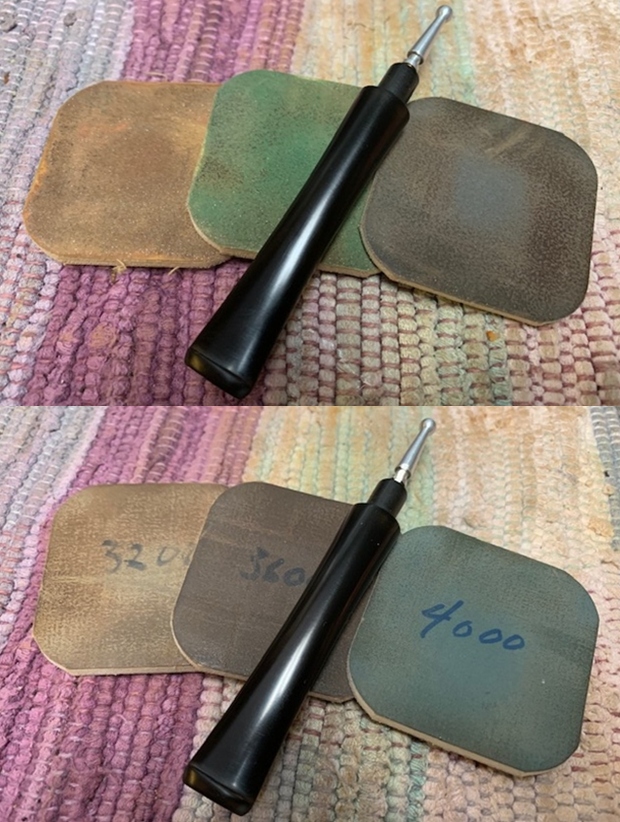
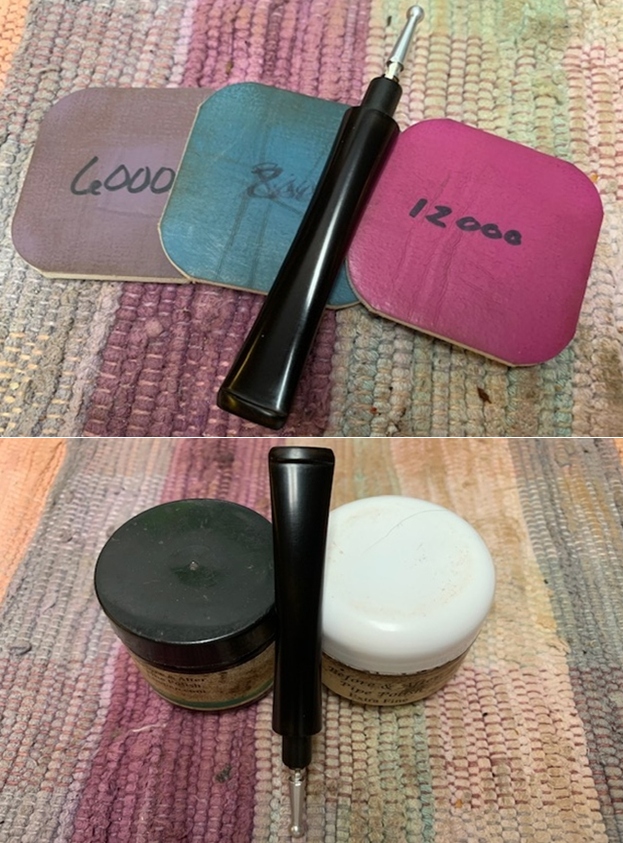
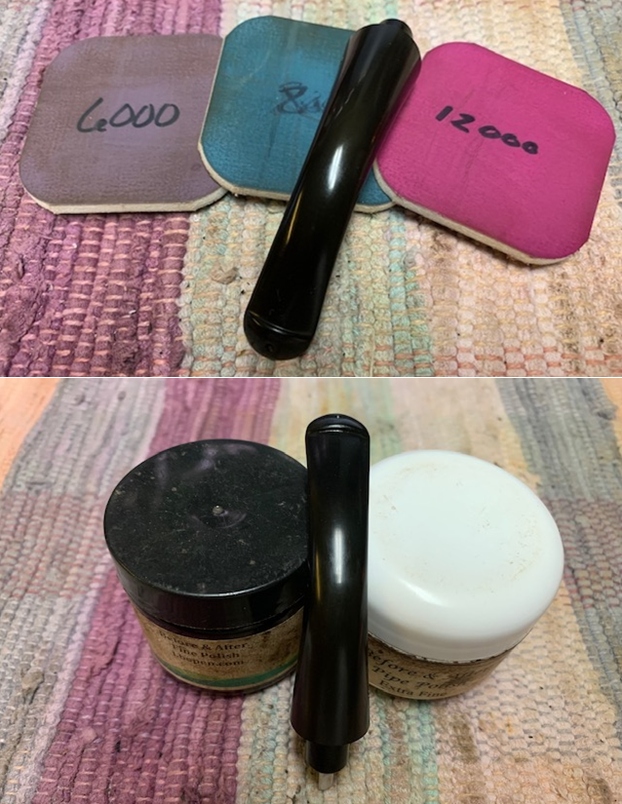
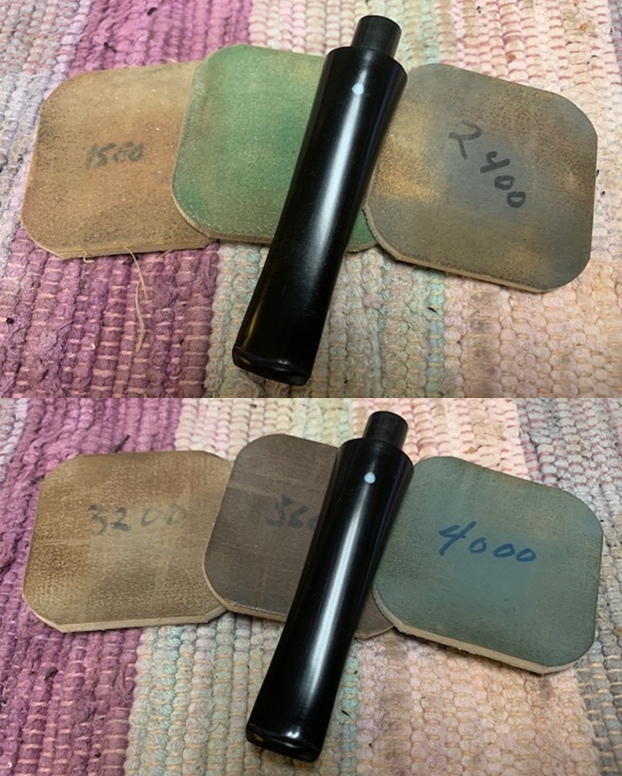
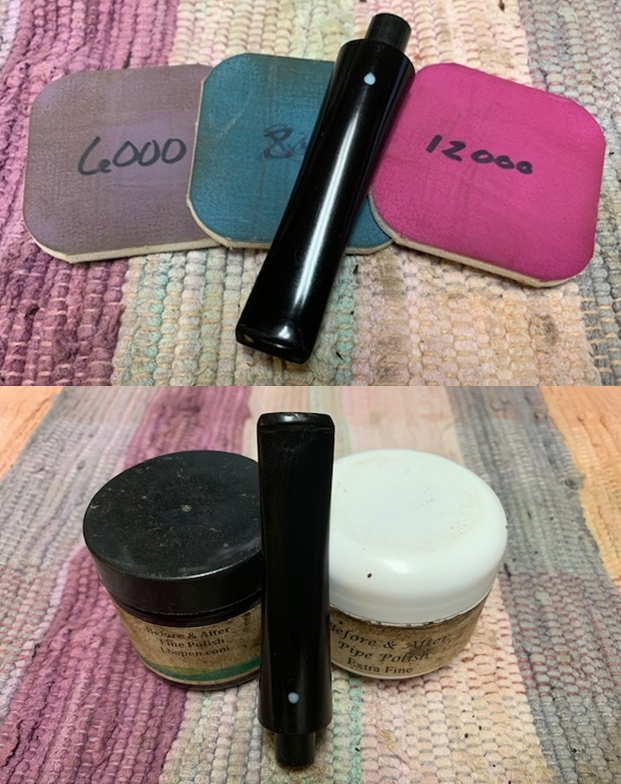
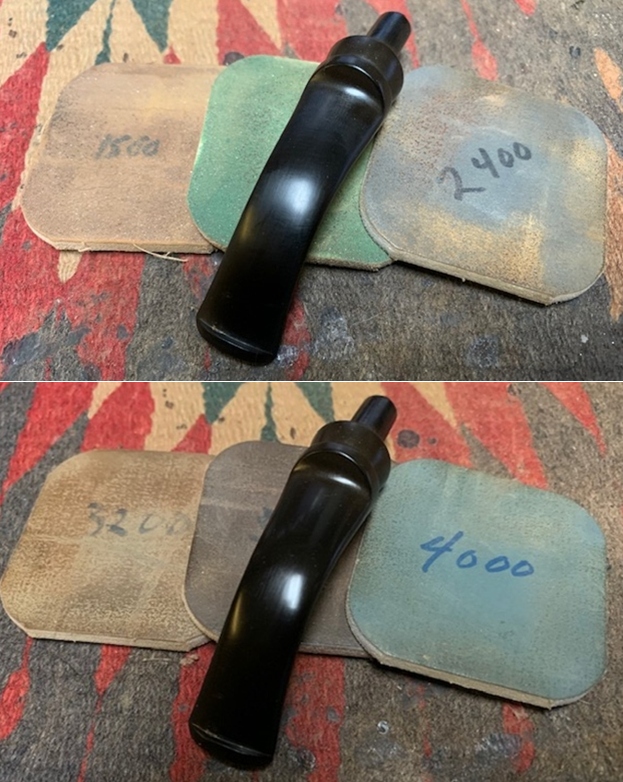
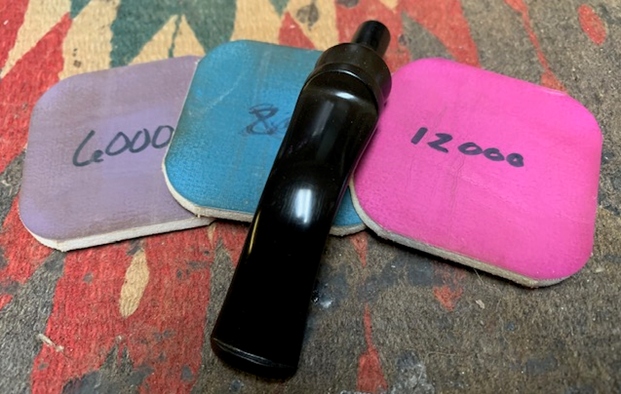
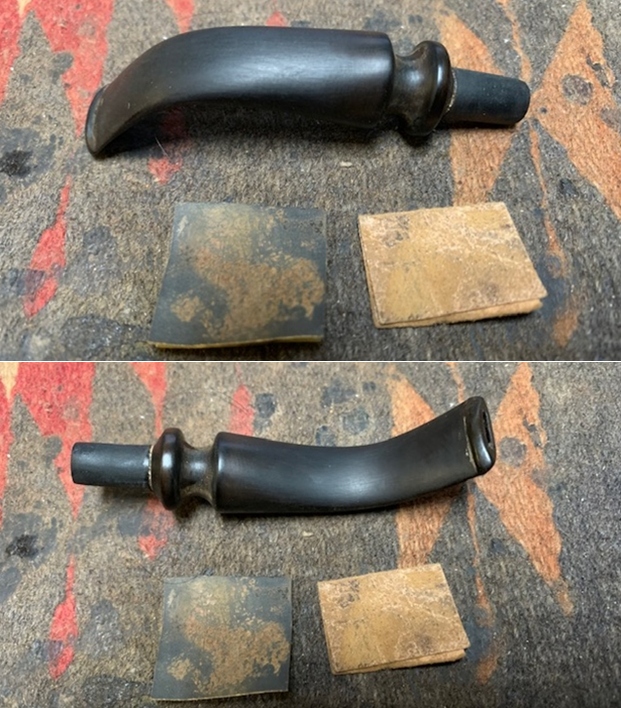
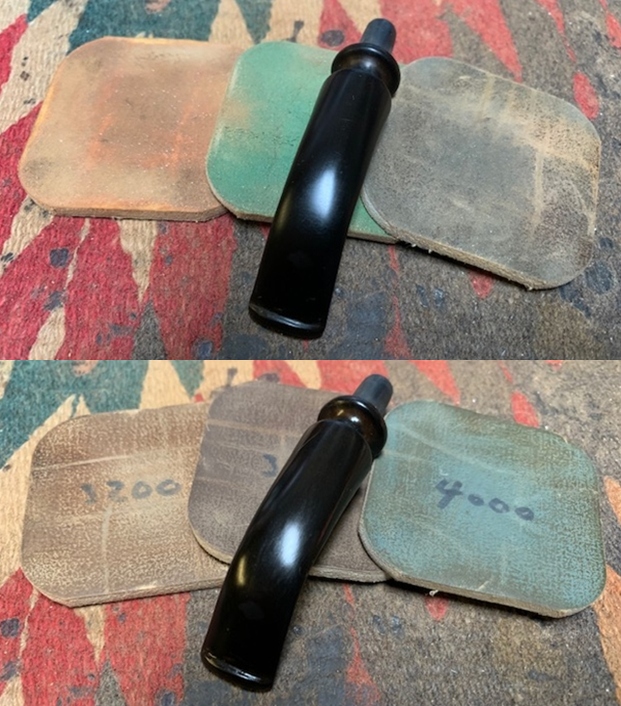
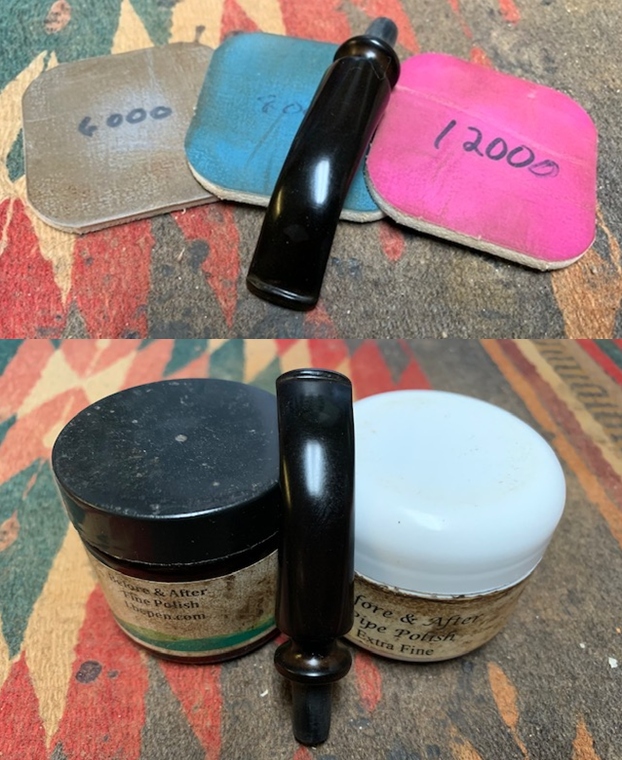
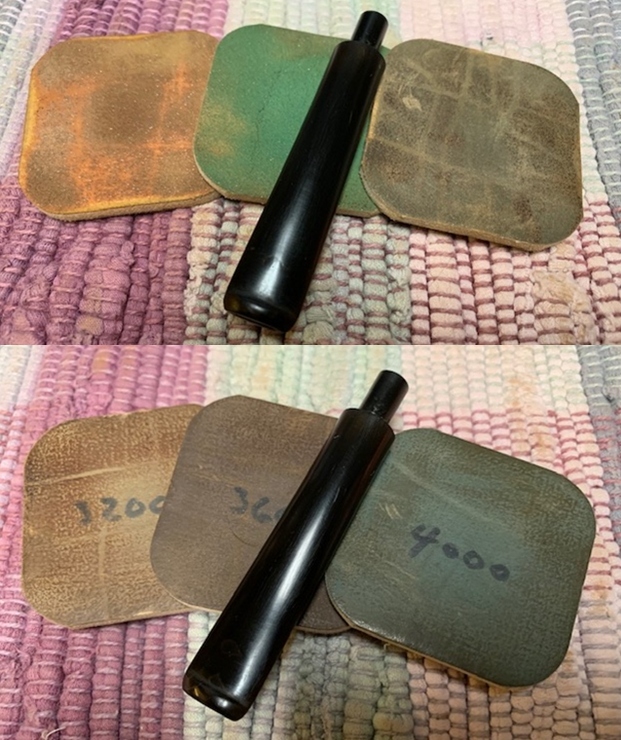
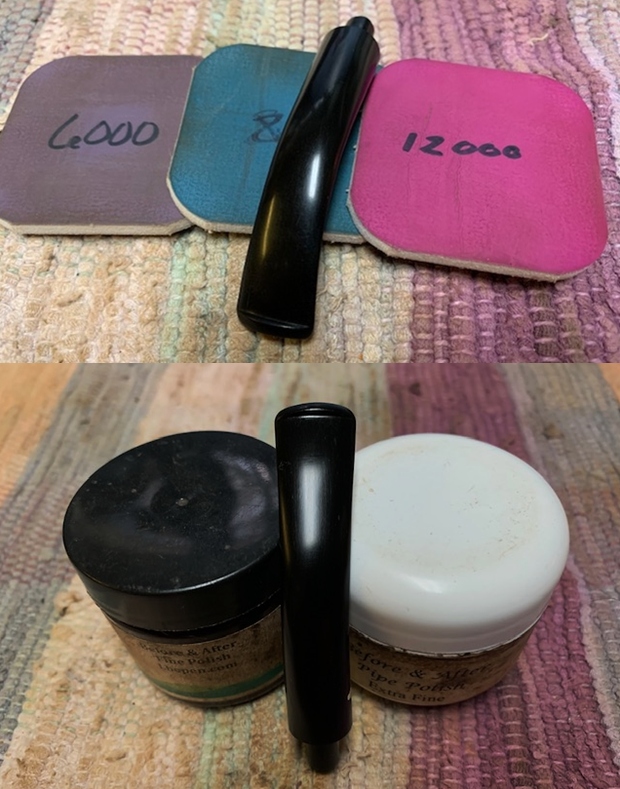
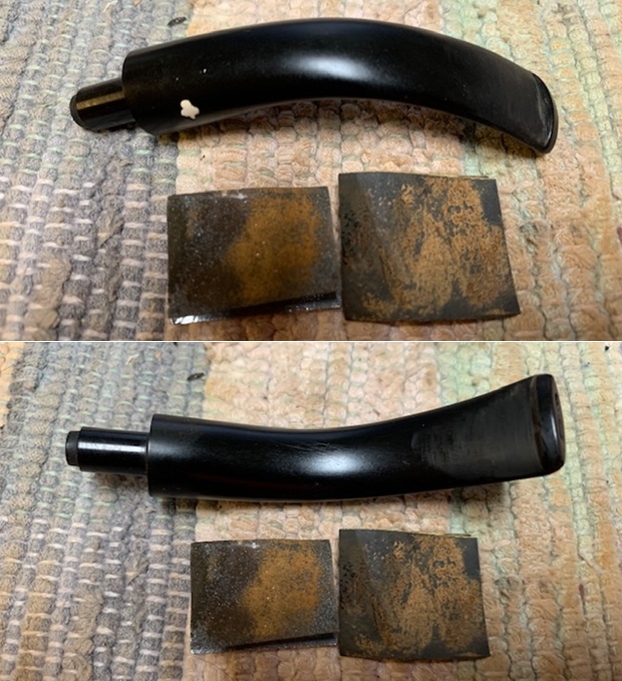 I polished the stem with micromesh sanding pads – 1500-12000 grit pads. I wiped it down with Obsidian Oil after each sanding pad. I used Before & After Pipe Polish – both Fine and Extra Fine to further polish the stem.
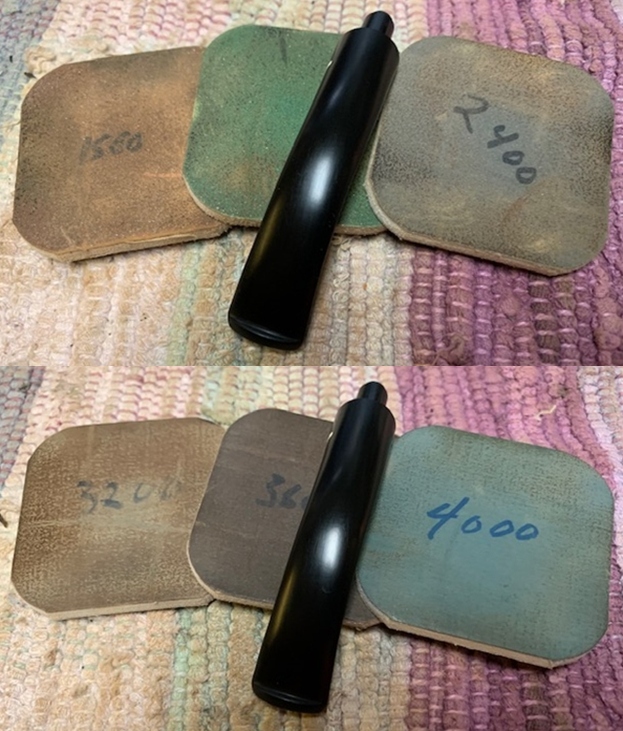
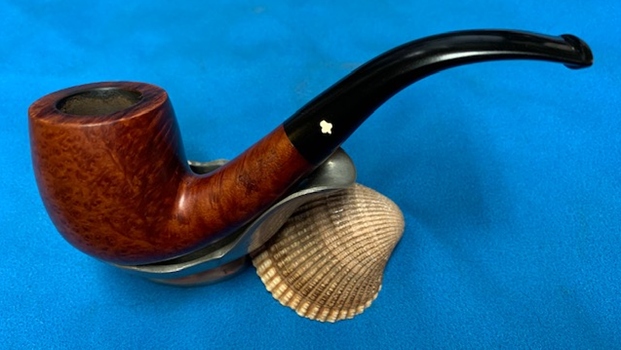
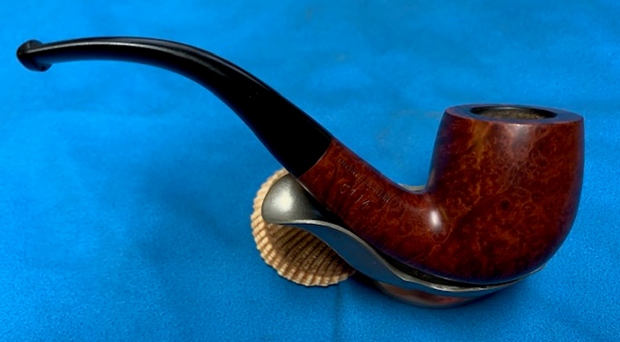
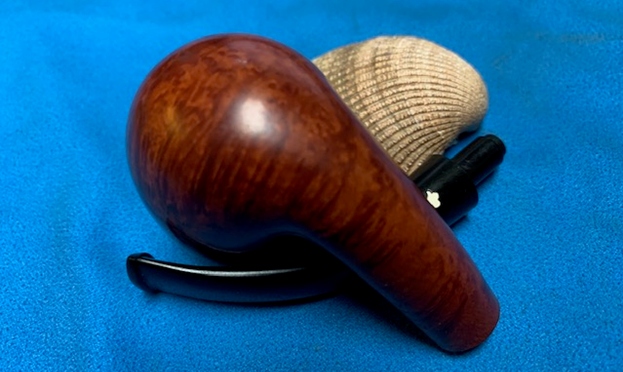
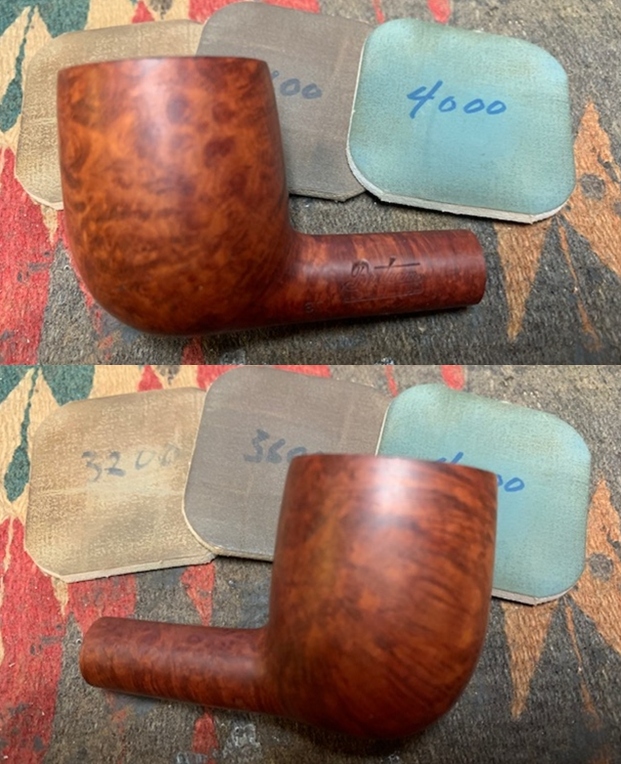
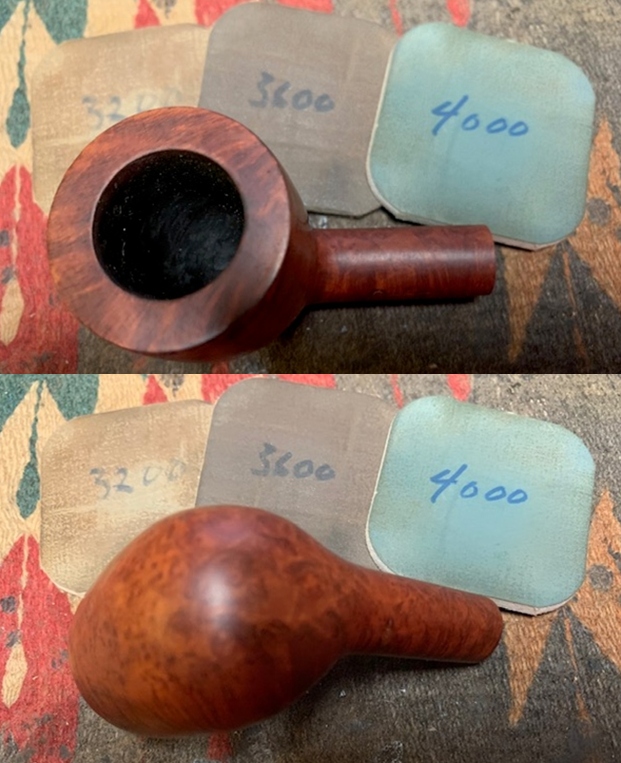
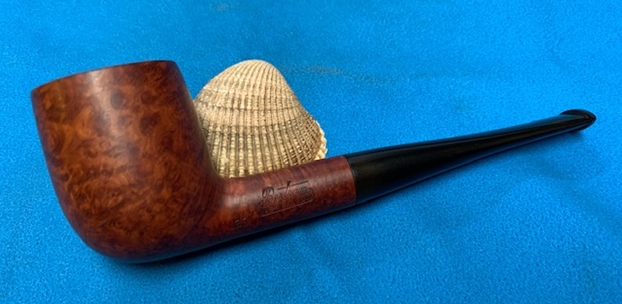
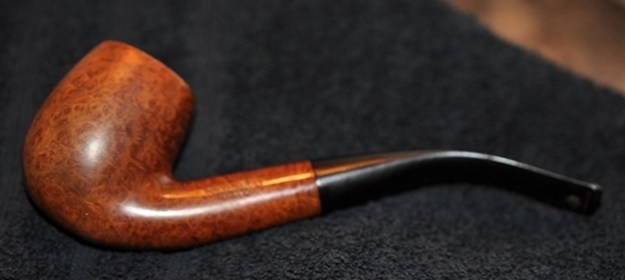
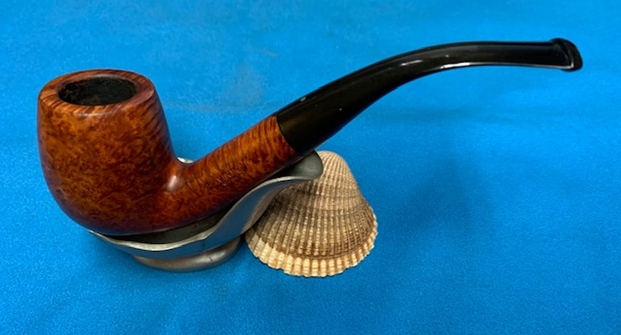
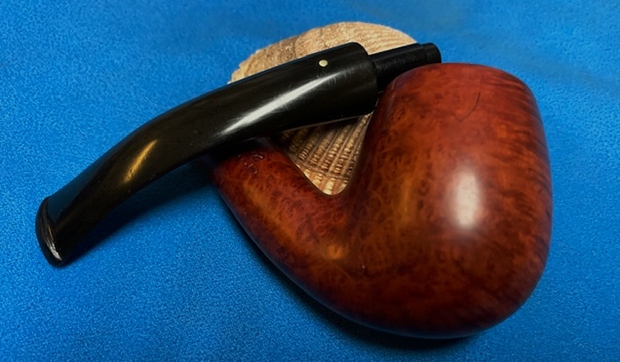
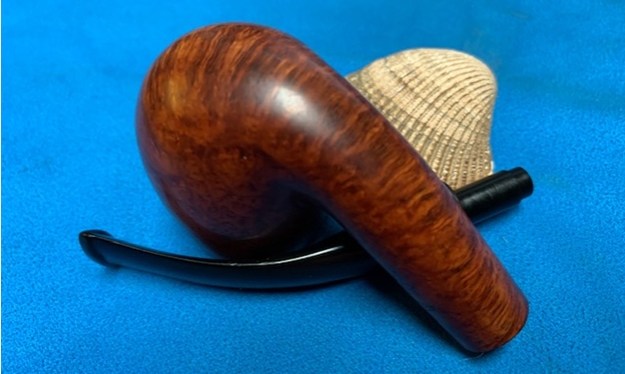
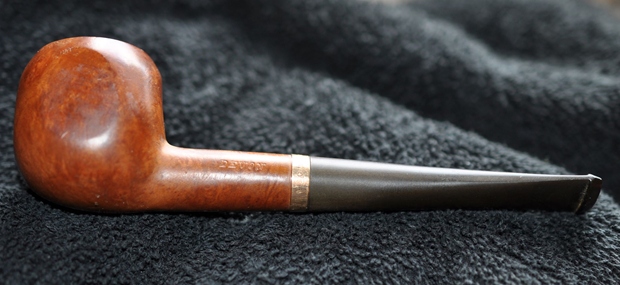
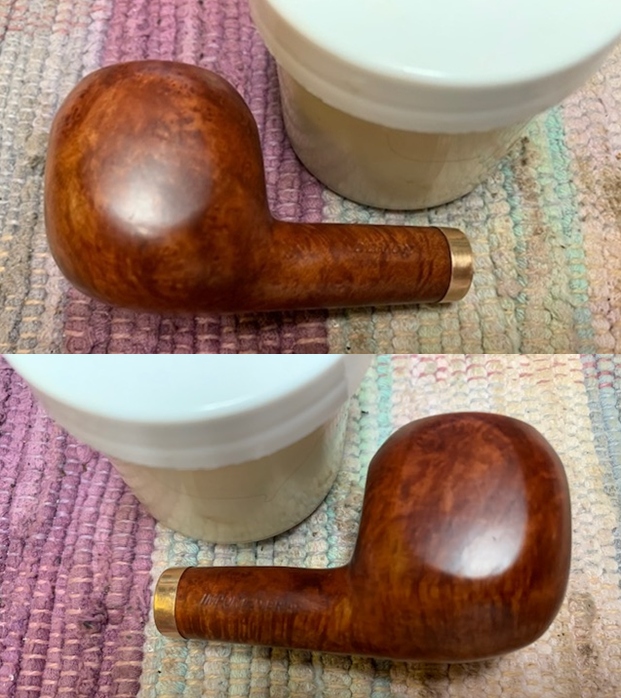
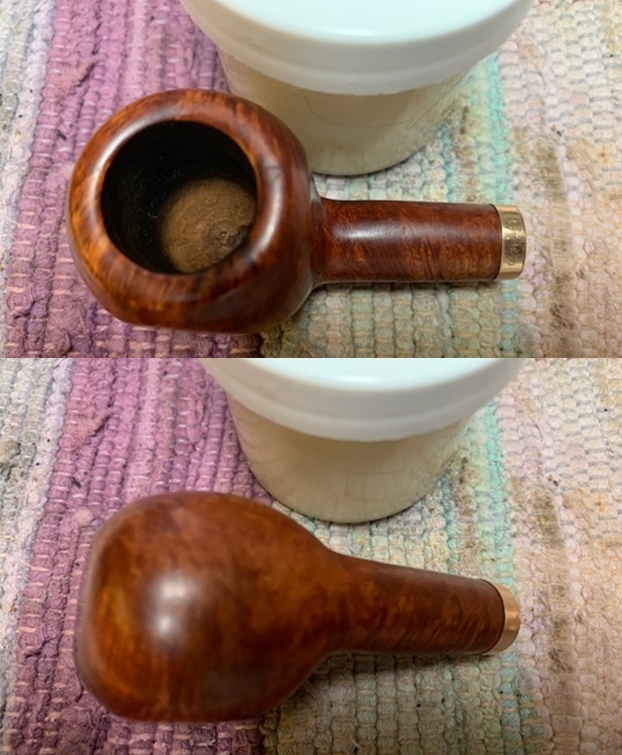
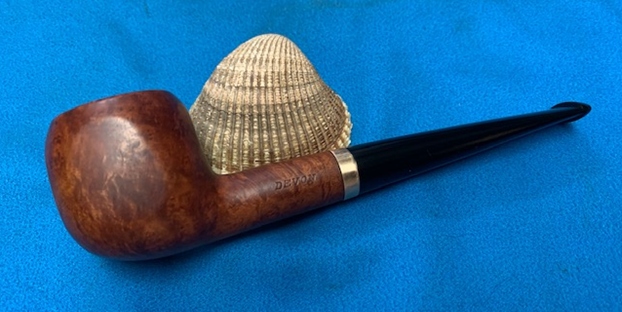
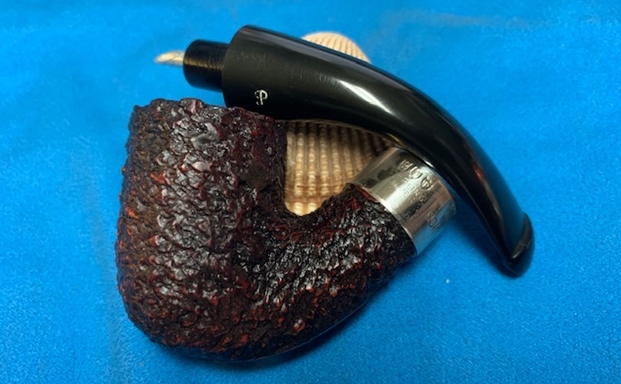
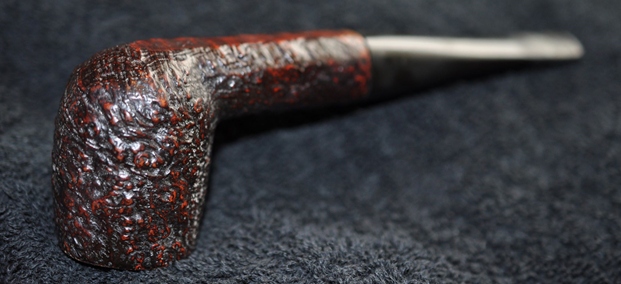
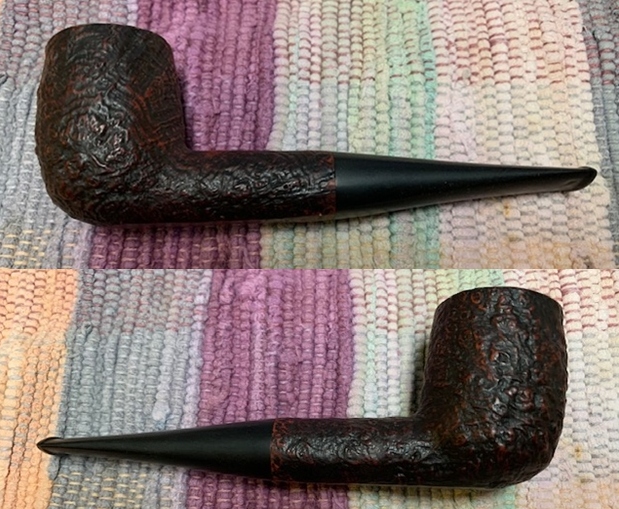
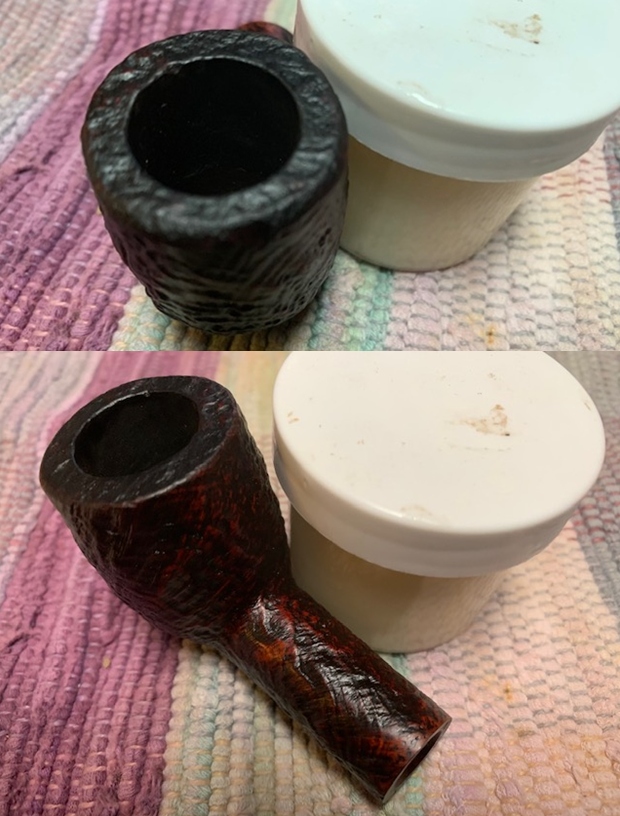
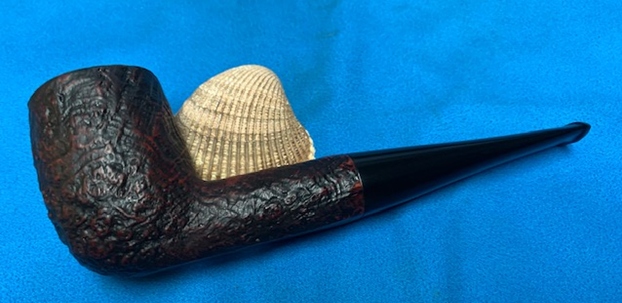
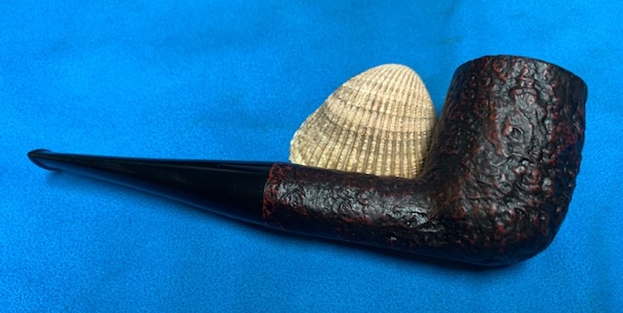
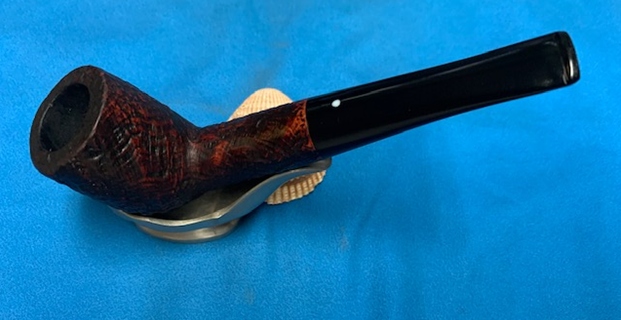
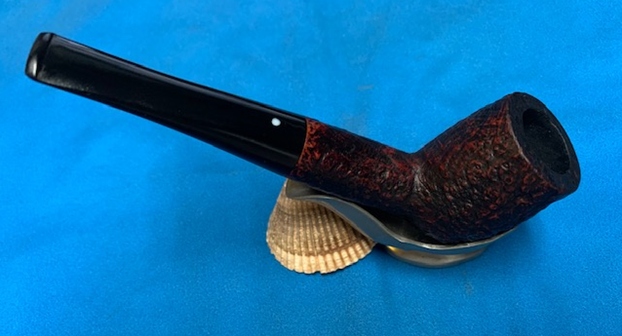
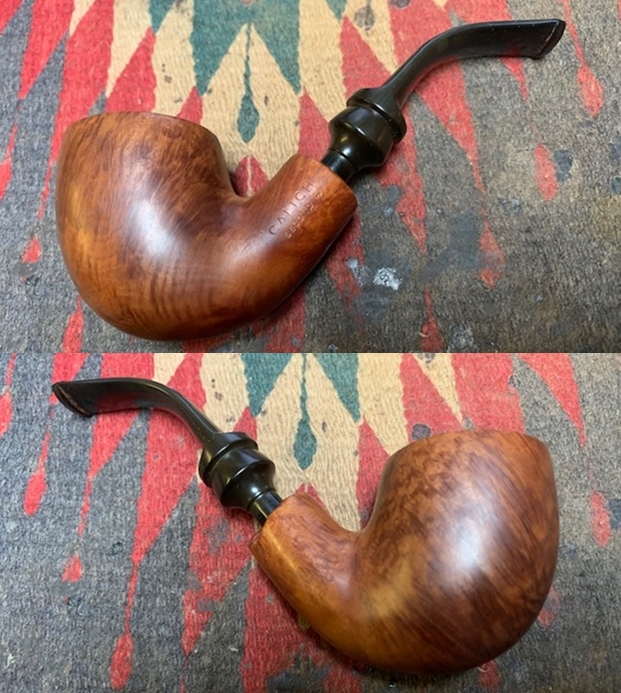
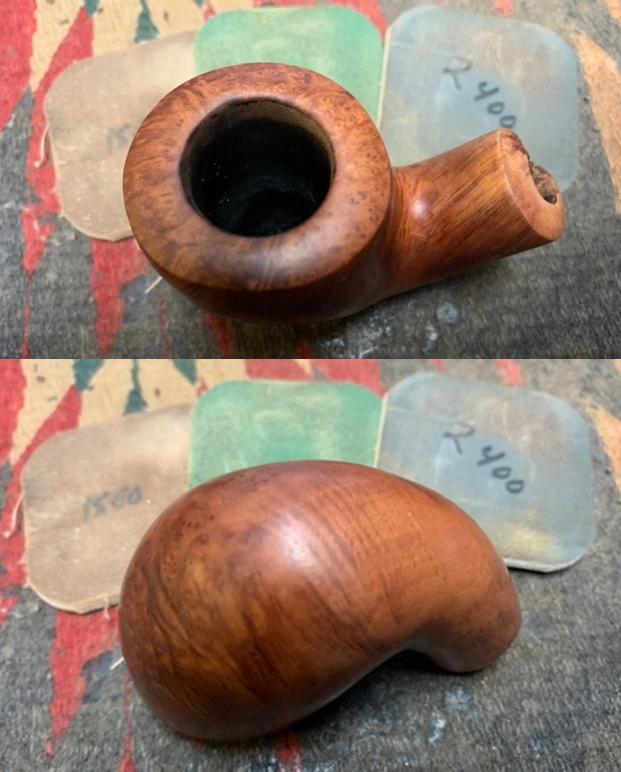
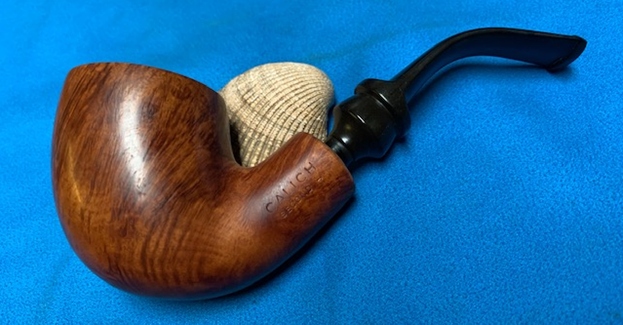
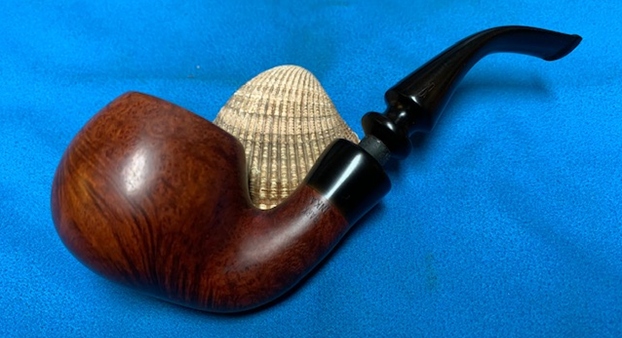
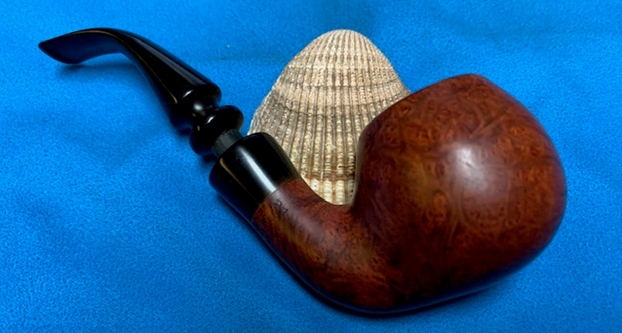
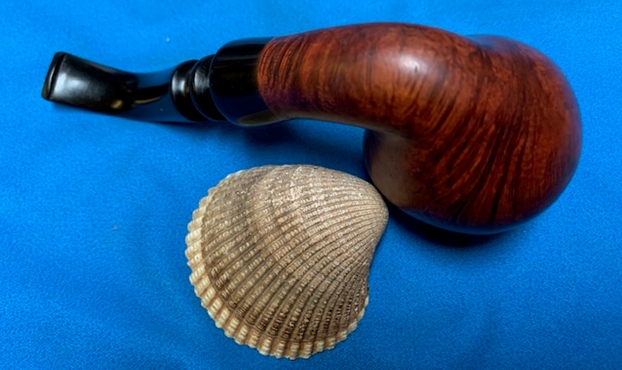
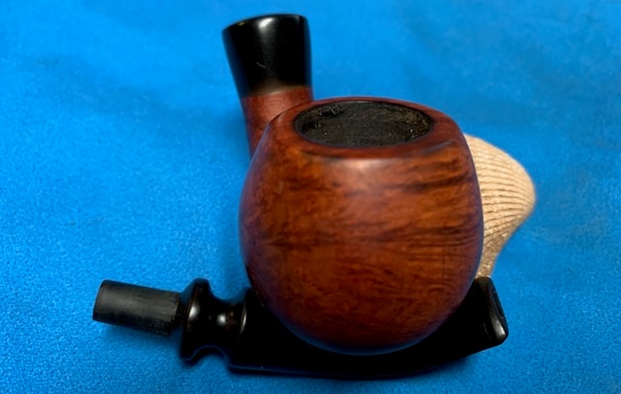
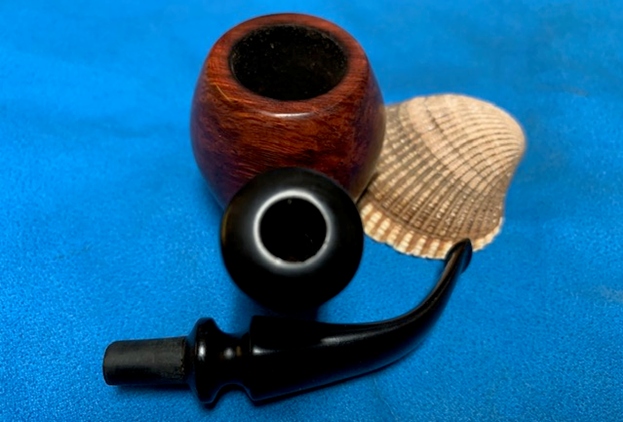
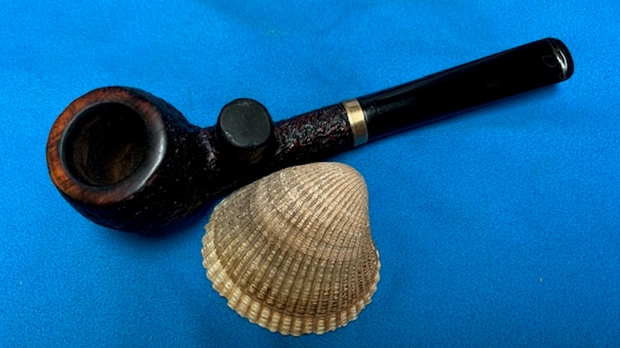
 This 1935-38 Super Grain Kaywoodie 5114 Bent Billiard is a great looking pipe. The smooth finish and brown stain around the bowl sides and shank make the grain just pop. The finish on the pipe is in excellent condition and the contrasting stains work well to give some contrast to the polished black vulcanite taper stem. The pipe is really quite eye-catching. I put the stem back on the bowl and buffed the pipe with Blue Diamond on the buffing wheel, carefully avoiding the stamping on the shank. I gave the bowl and the stem multiple coats of carnauba wax on the buffing wheel and followed that by buffing it with a clean buffing pad. I hand buffed the pipe with a microfiber cloth to deepen the shine. The finished Bent Billiard is quite nice and feels great in the hand. Give the finished pipe a look in the photos below. I can only tell you that like the other pipes I am working that it is much prettier in person than the photos capture. The dimensions of the pipe are Length: 5 inches, Height: 1 ¾ inches, Outside diameter of the bowl: 1 ¼ inches, Chamber diameter: ¾ of an inch. Thanks for walking through the restoration with me as I worked over another interesting pipe. This Super Grain Kaywoodie will be added to the American Pipe Makers section of the rebornpipes store soon. If you want to add it to your collection send me an email or a message! Thanks for your time.