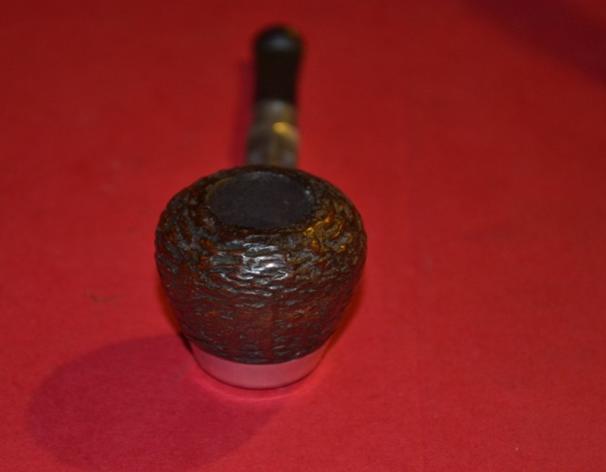
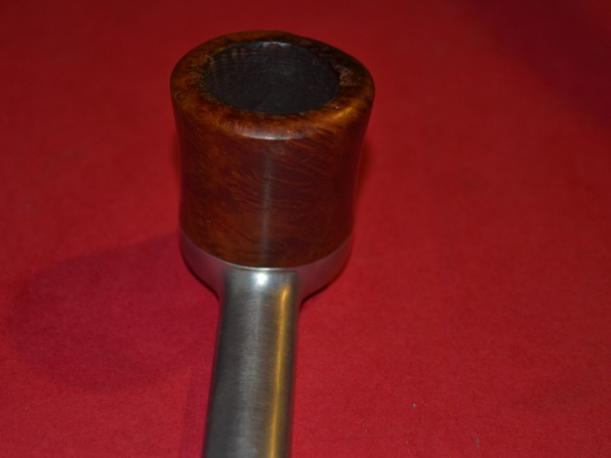
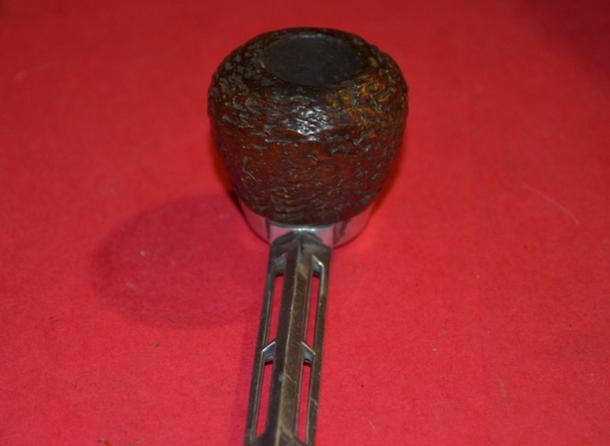
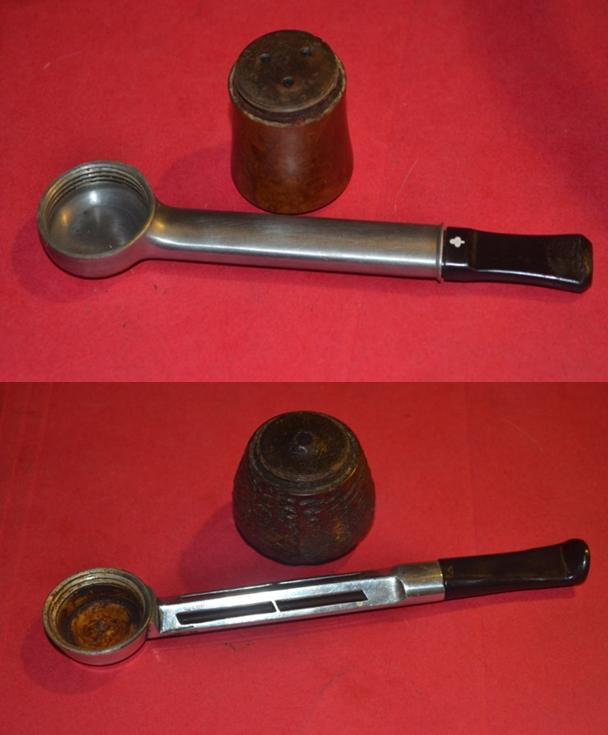
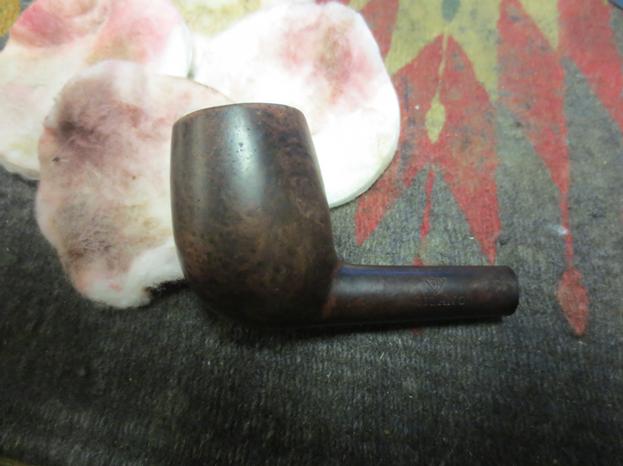
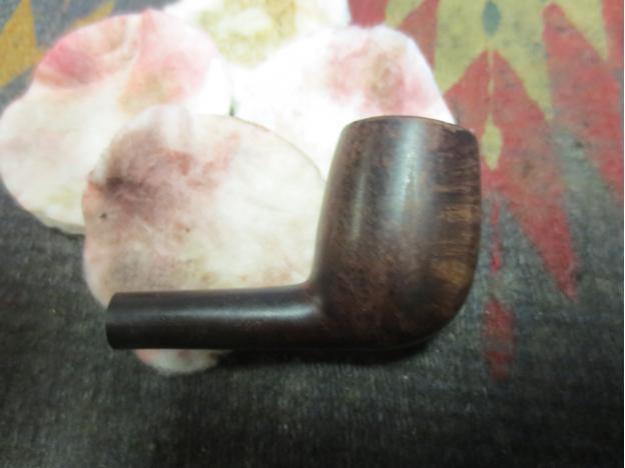
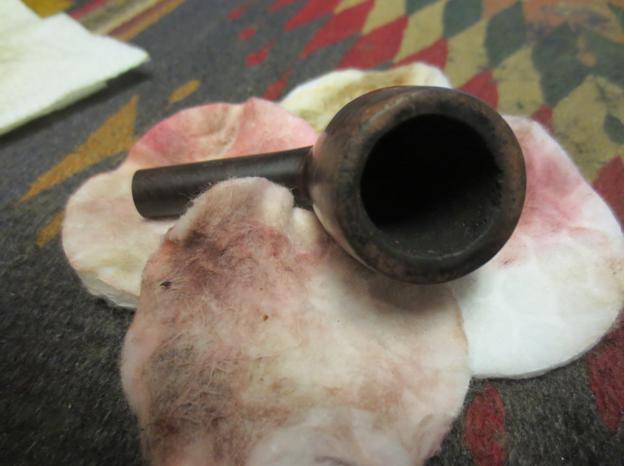
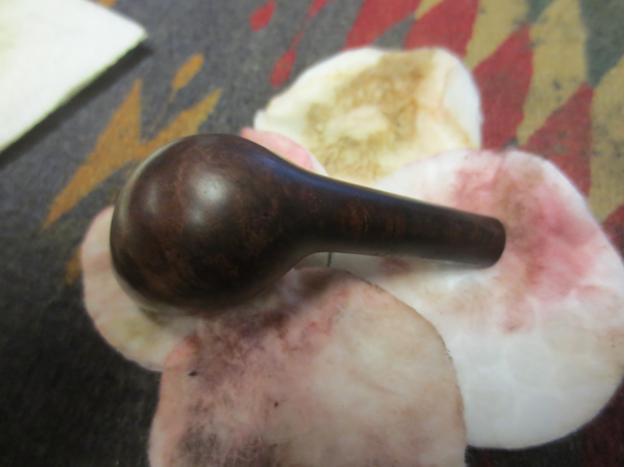
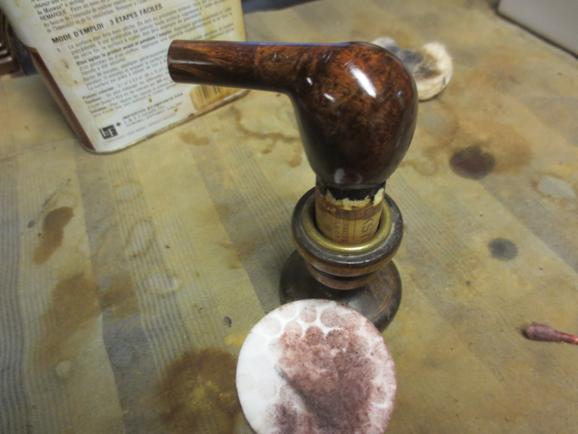
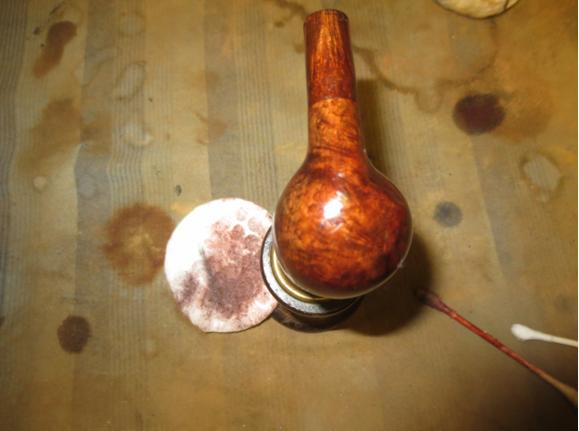
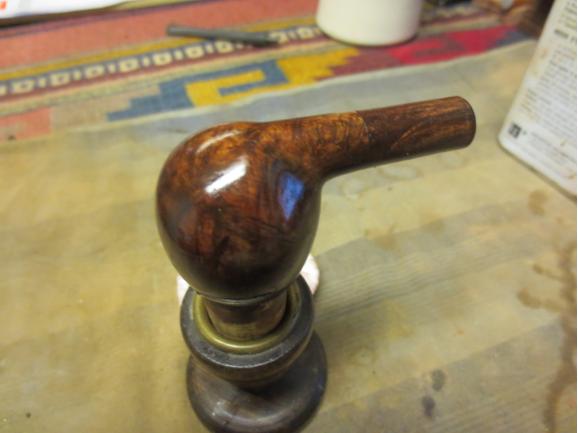
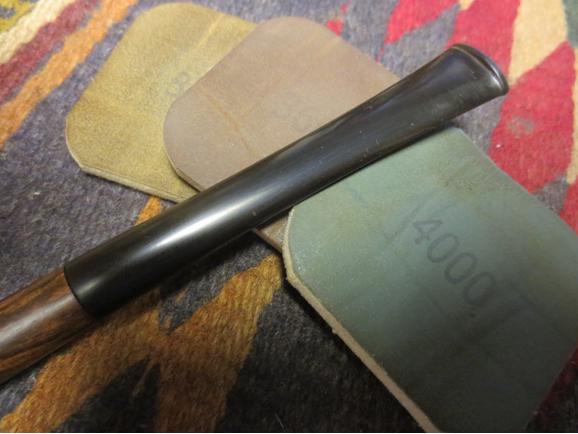
Tag Archives: polishing a stem

I Got the Kaywoodie-Delta Blues


Guest Blog by Robert M. Boughton
Member, International Society of Codgers
Member, North American Society of Pipe Collectors
http://www.naspc.org
http://www.roadrunnerpipesnm.biz (Coming Soon)
http://about.me/boughtonrobert
Photos © the Author

The Delta blues is a low-down, dirty shame blues. It’s a sad, big wide sound, something to make you think of people who are dead or the women who left you.
― David “Honeyboy” Edwards (1915-2011), U.S. Delta blues guitarist and singer

INTRODUCTION
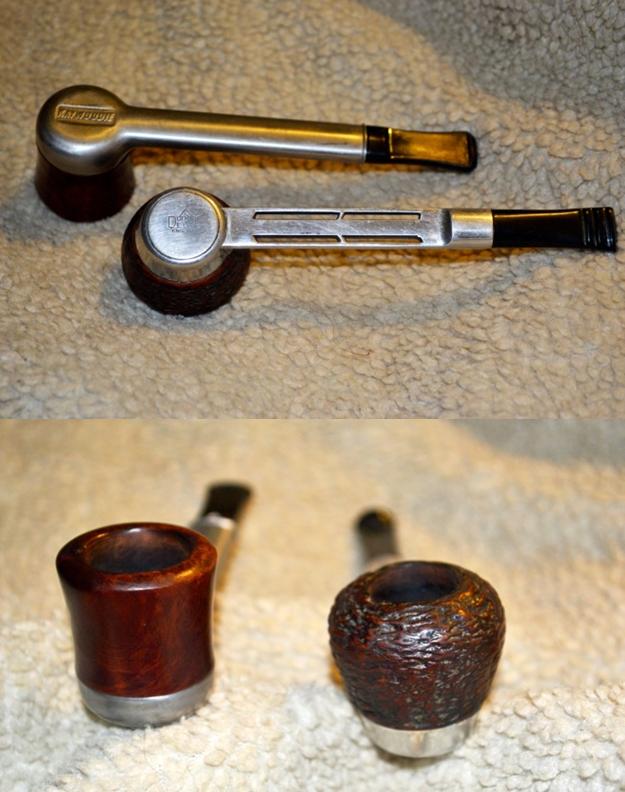
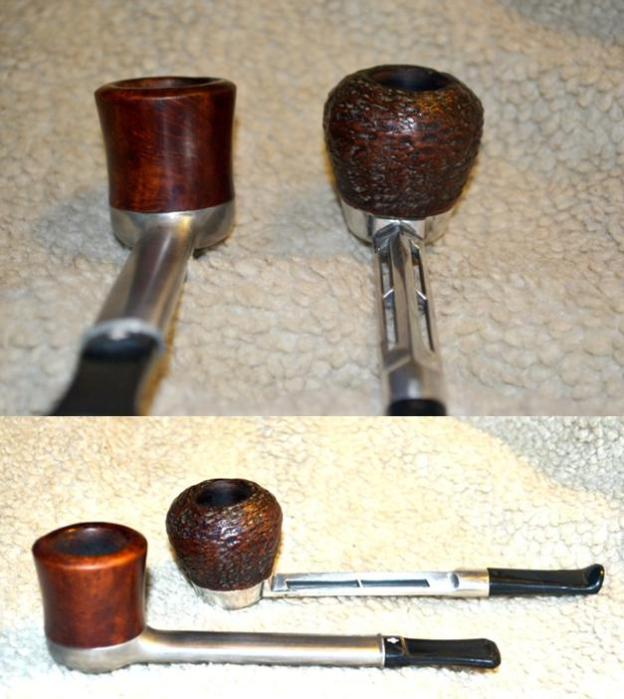
I’ve been sitting on these two nice metal pipes, different brands but modeled after the original of their kind, designed by Frederick Kirsten, a U.S. professor of electrical engineering at the University of Washington who was transferred to the aeronautics department and promptly changed the course of aviation history with the creation of the Kirsten Wind Tunnel for subsonic aerodynamic testing. He also upended the tobacco pipe industry and generally rocked the world of pipe enjoyers with his 1936 invention of a sleek aluminum radiator frame with interchangeable bowls. The patented revolution in a box was more or less a way to quit cigarettes by exercising his boundless creativity. He puffed cigars as well.

Maybe I’m just not as daring as the good professor. Whenever I find myself on the edge of pipe restoration territory I haven’t charted, I hesitate. I don’t panic or freeze in terror. I just pause to survey the terrain and get my bearings; to triangulate my coordinates, find my footing, and then one day, as if on an impulse but really because I’m good and ready, I take the next leap, with some faith.

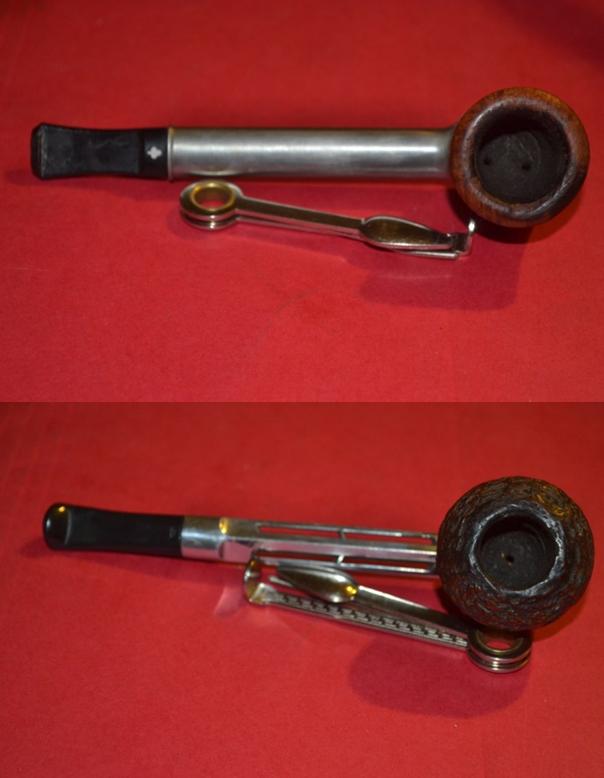
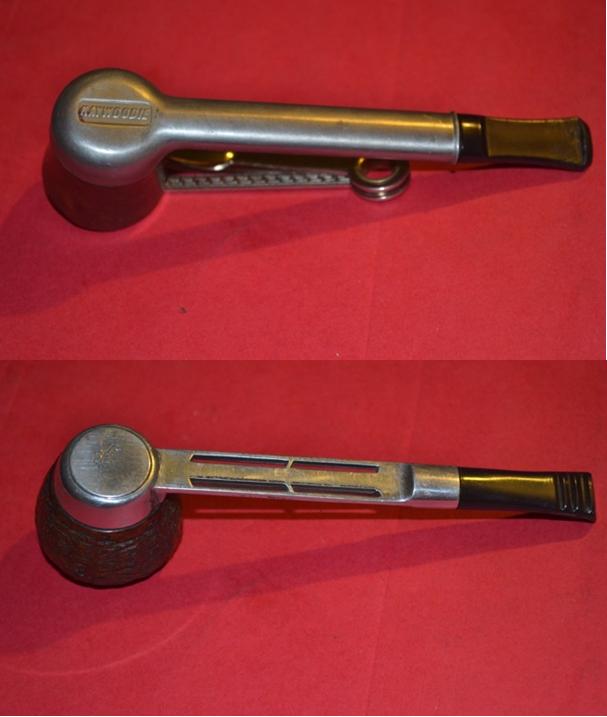
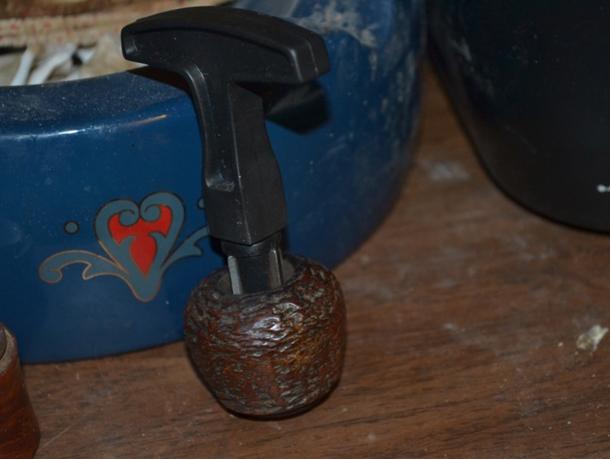
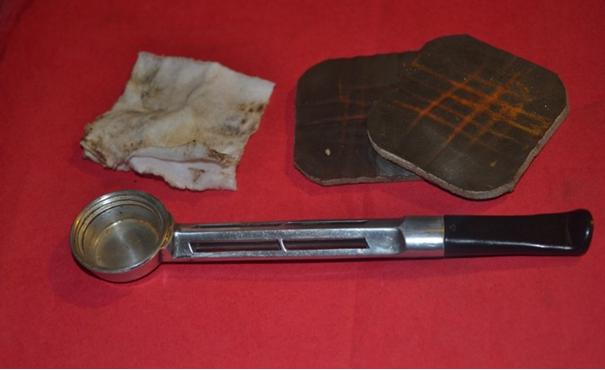
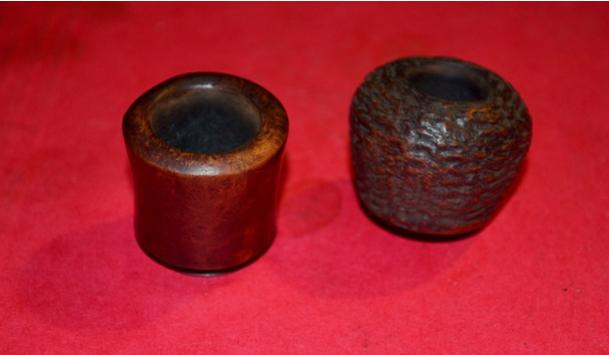
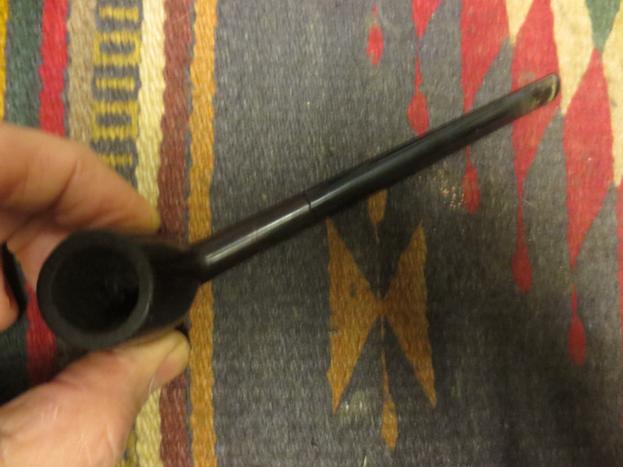
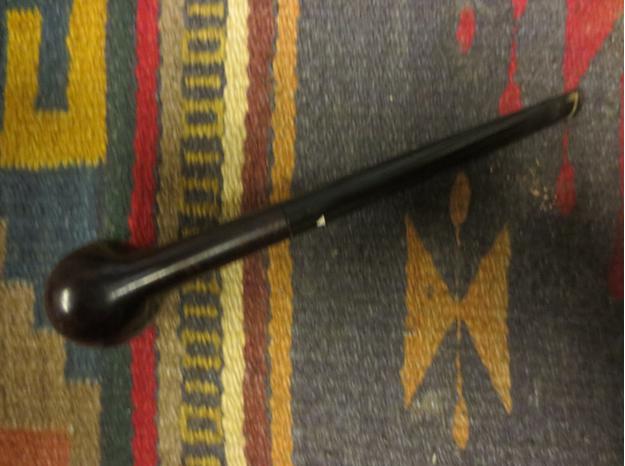
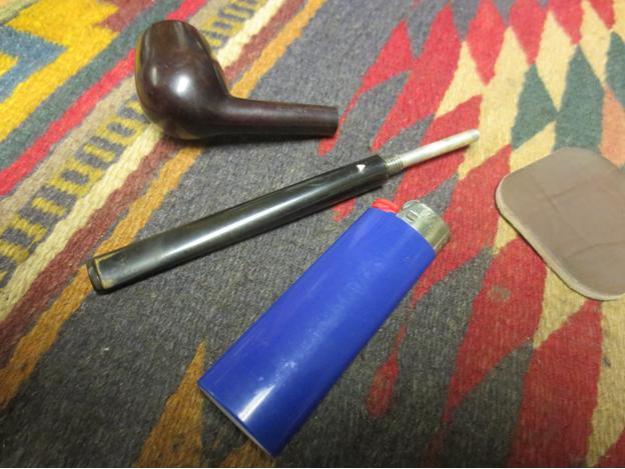
And so it was last night that I looked at the Kaywoodie Smooth Billiard and Duncan Delta Rusticated Brandy with a dental lip – again – and without thinking grabbed them. The next thing I knew, I was looking around for the implements of cleaning and restoring I might need for the combined tasks and remembered another aluminum pipe I fixed up once, an Aristocob, and how I used a solution of white vinegar and baking soda to soak the metal. Although I had bought enough of each for a lifetime when I did the Aristocob, I discovered they were lost in my latest necessarily hasty move.Delta1 The nearest Walmart would close in about a half-hour, at midnight. All of Sam Walton’s children here used to stay up round the clock, but now there are less than a handful that do, and only one within any kind of reasonable distance. They had too many problems with thievery and other shenanigans, you see, mostly through the dock doors, if you follow me. I armed myself against the natives, threw on a coat, petted my cats as they were curious about the sudden hullabaloo and hurried out the door. I was back before the witching hour.
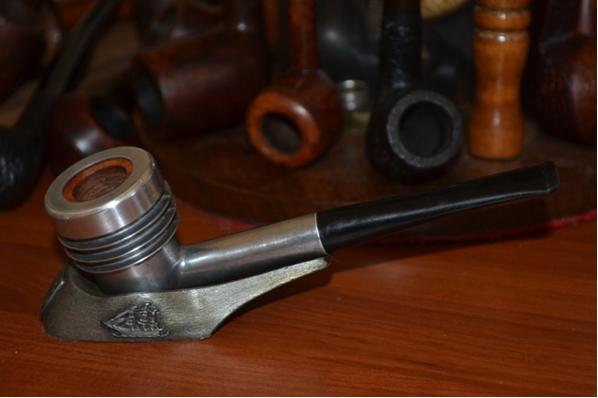
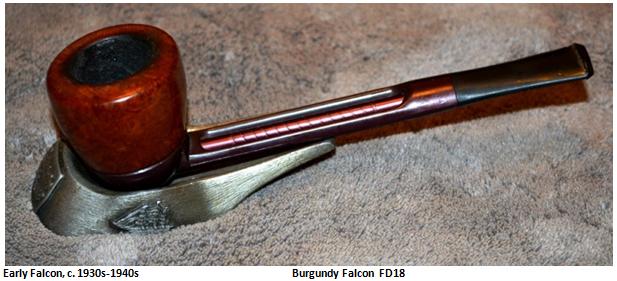
As part of the map checking I did in comforting if only perceived preparation for these restorations, I noted that the Duncan Delta, of the English metal genre, as it were, came with a non-removable bit, as did the two Falcons in my personal collection. At this point I made that greatest of mistakes: I assumed there were no exceptions to the rule.Delta2
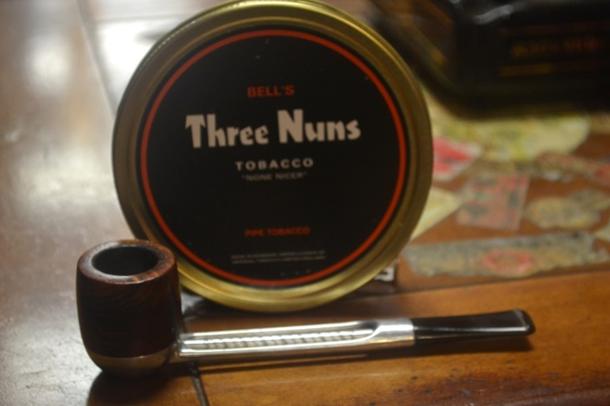
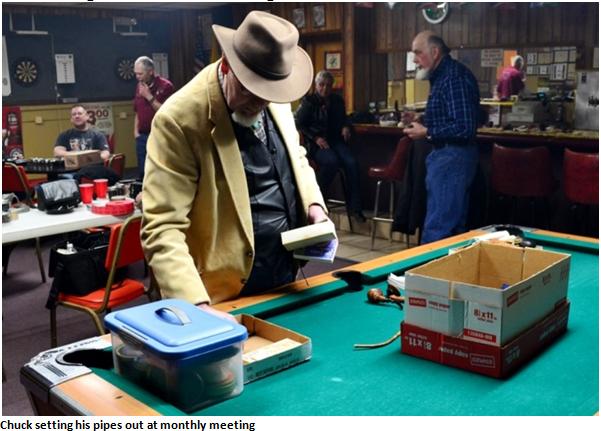
Delta3 To be fair to myself, I showed the Kaywoodie and Duncan Delta to my friend and mentor, Chuck Richards, who is usually infallible, and asked how the bits come off for cleaning. In hindsight and an extended spirit of fairness, I’m not sure he looked all that closely at them.

“They don’t,” he said, with a certain amused grin he has. “You just have to work through them.” Or something to that effect.Delta4 Taking a seat on the couch with the supplies I would need to proceed, I had no idea what I was in for. I can’t wait to show Chuck the mind-boggling discovery I tripped over, figuratively speaking – about halfway through the restorations. To those in the audience who know the astonishing secret of a certain rare Kaywoodie metal pipe made from 1955-1959, with this particular surprise only included during the first year or so of that period, Shhhh! Don’t spoil the revelation for others when it comes, in good time.
RESTORATIONS
Delta5

Delta6

Delta7

Delta8

Delta9

Delta10

Delta11

Delta12

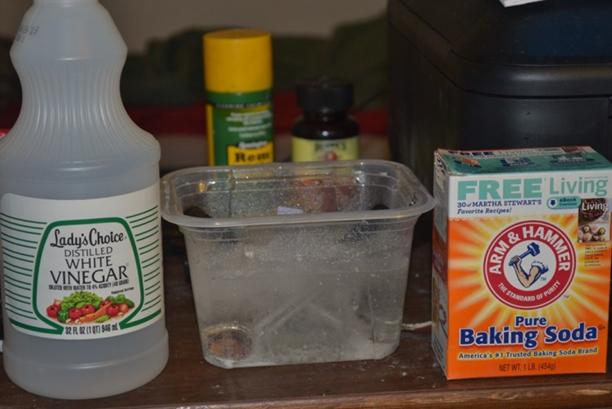
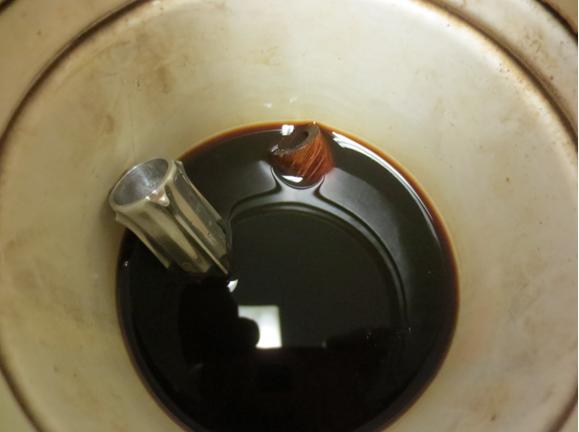
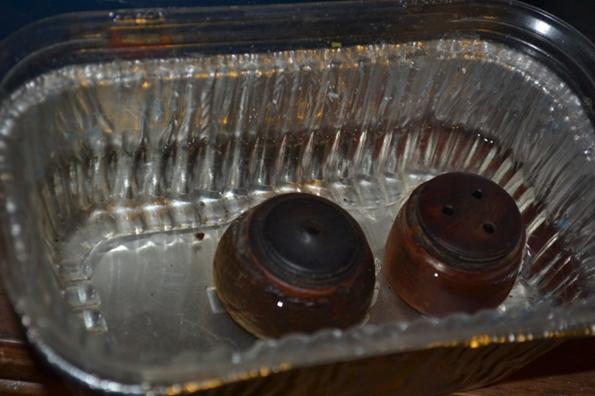
Delta13 I had prepared an empty macaroni salad tub, by cleaning it with scalding water and dish soap, for the vinegar-baking soda soak of the aluminum pipe bodies. It was the widest container I had but also deeper than it needed to be. Into the tub I measured about a tablespoon of baking soda, then added the vinegar and watched it fizz madly until the powder dissolved. I placed the two parts in the mix and added more vinegar until they were almost covered. Considering the possible effects on the bits, I spontaneously chose the bolder path and pushed down a little on each one until they were submerged. The bubble action was really something to see – much more active of an interaction than an OxiClean bath – but I had other things to do.Delta14 The bowls needed cleaning in the worst way, the bases in particular. The moisture from tobacco creates steam, and Kirsten’s system, which is used in metal pipes still today, traps and cools the steam in the stem. Much of the resulting very sticky, cloying gunk ends up on the bottoms of the bowls and can be cleaned in seconds by anyone who enjoys these pipes. But as Steve put it perfectly in one of his blogs on a particularly messy Generation 1 Kirsten A, I’ll just quote him: “The cleaning in seconds must not have been something that the previous owner of this pipe ever read or understood.” https://rebornpipes.com/tag/kirsten-pipes/

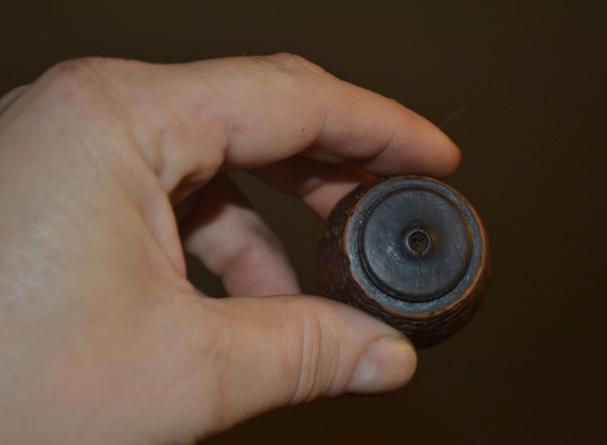
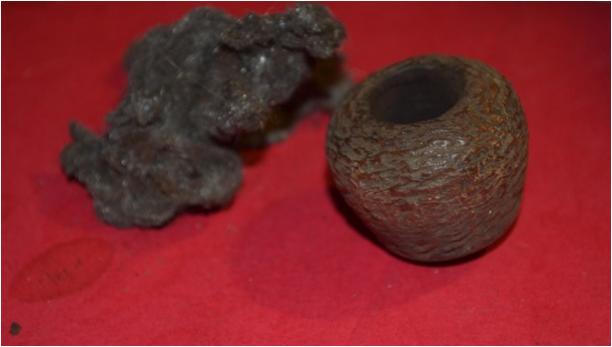
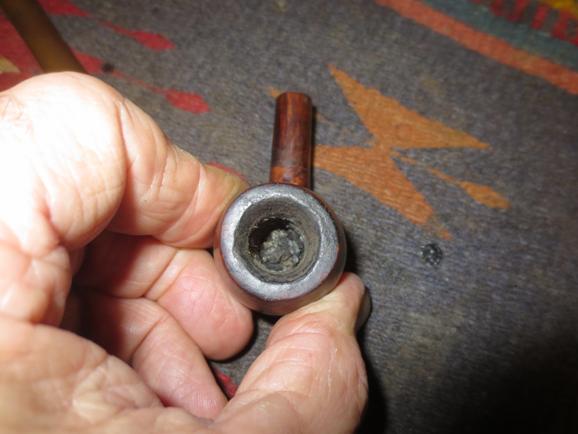
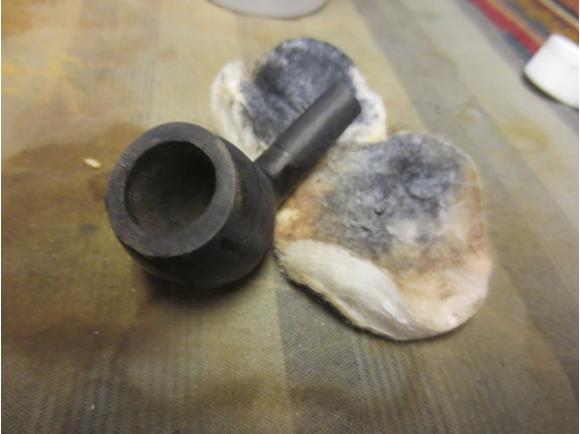
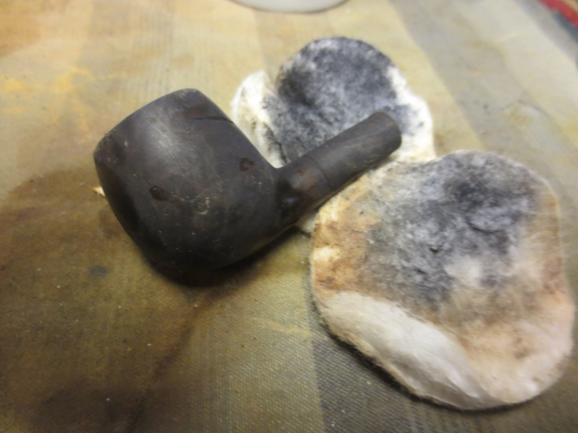
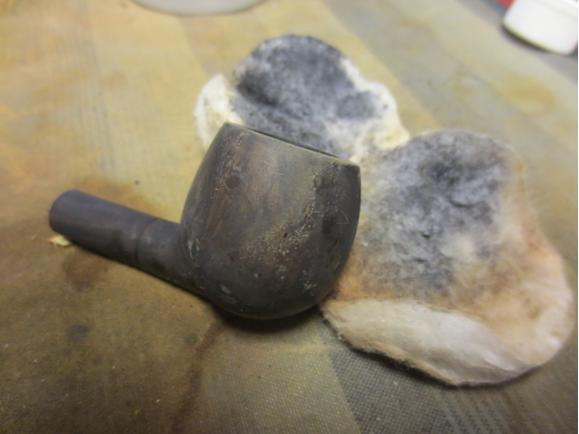
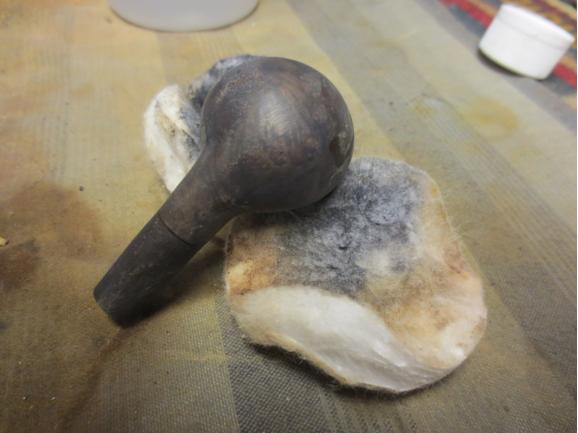
Taking also from this great blog the idea that metal pipes are, for the most part, sturdy things that can outlive generations of a single family of pipe enjoyers, I launched a three-pronged assault on the bottoms of the bowls alone. First I swabbed them and the rest of the bowls’ exteriors with cotton gun cleaning squares soaked with purified water; then the same with Everclear swabs, and next superfine steel wool on the bases and rims. The Delta base, being metal and somewhat pocked with corrosion, needed a little more work with sandpaper before another round of steel wool.Delta16
Delta17

Delta18

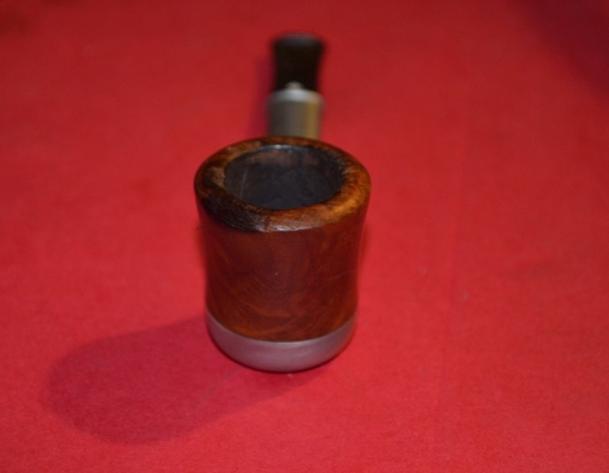
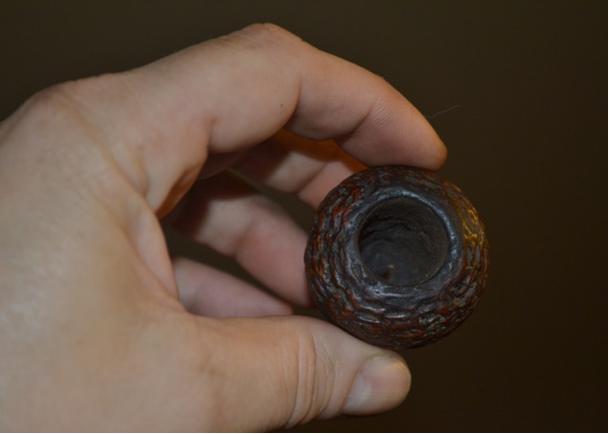
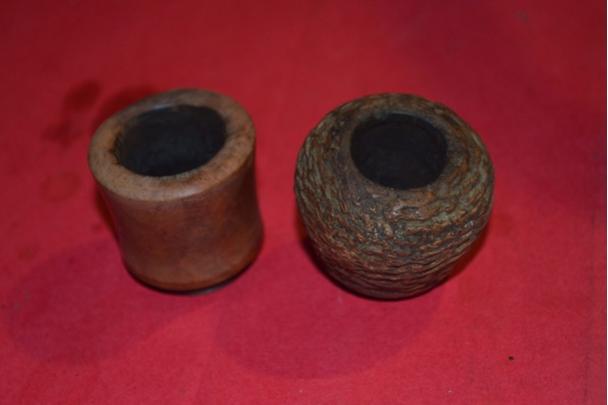
Delta19 An odd trick of sight makes the rusticated Duncan bowl, which indeed has a wider outer diameter than the smooth Kaywoodie (about 5” compared to 4-3/8), appear as if it would need a bigger reamer to clean out most of the excess cake. But the Duncan only took a 19mm fixed reamer while the Kaywoodie held a 21mm.Delta20 I smoothed the chambers with 320-grit paper followed by 200, followed by long and careful consideration of the next step. While I started restoring pipes with the habit of stripping the old finish completely, I have taken to avoiding that step for the most part on different levels of thinking, primarily two. One, I never know for sure what I’ll find beneath the finish that might have been better left uncovered, and two, I have become more purist in my approach, liking the idea of imitating the original.

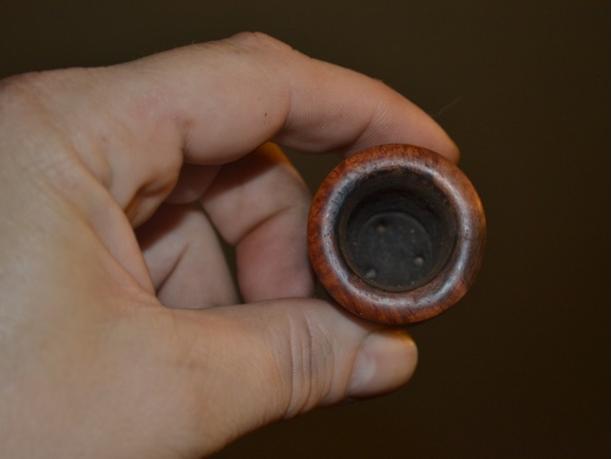
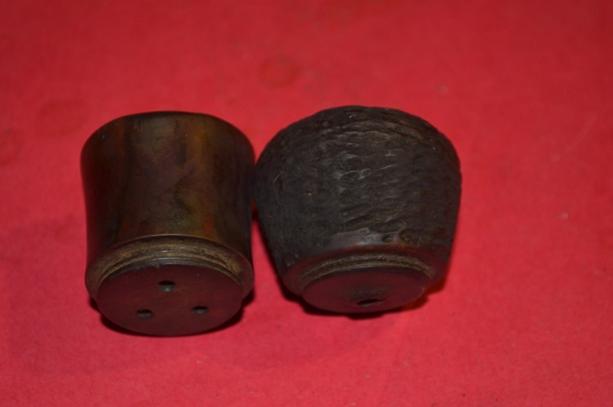
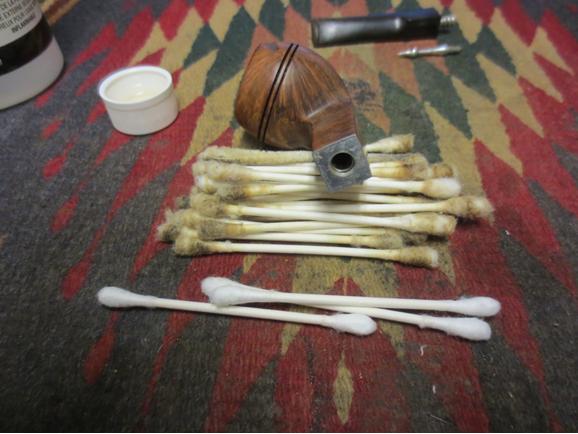
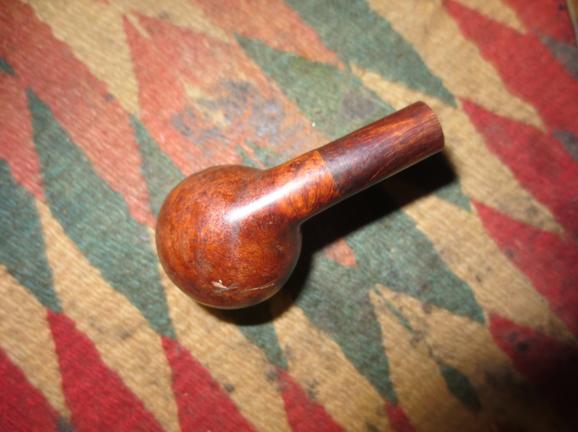
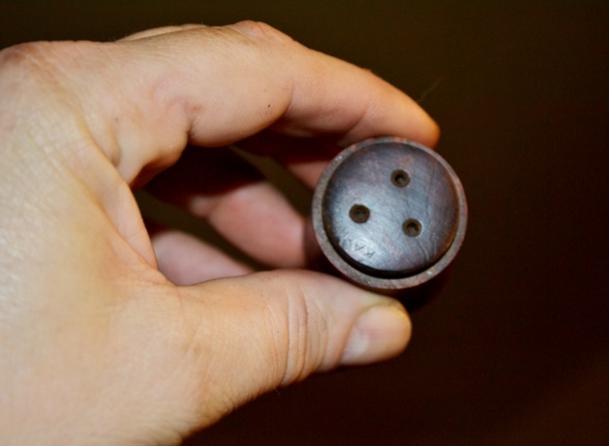
Nevertheless, I concluded I just didn’t care for the light brown shade of the Kaywoodie or the dark brown of the Duncan. As the former was of U.S. origin and the latter of British make, I reasoned, that would make them cousins, as some folks on either side of the Pond refer to each other. But I wanted them to be more like brothers. Therefore, “Off with their stains!” I heard a voice cry in my head, and dunked both bottoms up into an Everclear bath, careful to leave the bases above the alcohol level.Delta21 While the 190-proof alcohol changed from clear to something else, I removed the frames from their long vinegar-baking soda soak, rinsed them thoroughly and began to “work through” the Duncan frame with pipe cleaners dipped in more Everclear, still shocked, as always, at the filth that came out. Seriously, how hard is it to run a cleaner through your pipe now and then? Are restorers the only people who do it? Deep breath; exhale. I suppose that’s a rant better left for my upcoming Encyclopedia of Pipe Trips. Still, seven bristly cleaners through the frame later, and three swabs soaked with alcohol to clean out most of the mess in the round bowl connector, not to mention having to use my wire cleaner to dig out the muck in the grooves of said connector, I thought I was finished with that part.Delta22 But now, looking at the photo above, I see it needs a little more work. I’m going to soak the connector in Everclear and scrub it some more. Give me a few minutes to make it shine better, and I’ll be right back with another picture.Delta23 There. That was easy, and I for one feel better. Plus the picture tells the whole story!
Anyway, enough time had passed to take the bowls out of the Everclear and scrub them cleaner and dry inside-out with more cotton swabs.Delta24 I used the steel wool again on both, lightly on the Kaywoodie to make it shine before heightening the effect with a micromesh progression, and vigorously to take the finish of the rusticated Duncan down still more until it was actually reddish, for which I had hoped.Delta25 Re-staining both with Lincoln Marine Cordovan (Burgundy) boot stain, I flamed them with my Bic and set them aside.Delta26 Now, at last, I near the dramatic moment I know you have all been waiting for! Is that the faint fade-in of a drum roll I hear, or an auditory hallucination? Due to my slight deviation from following the restorations of each pipe part by part – starting when I cleaned the Duncan frame and instead of moving on to the Kaywoodie, continued to the bowls – I did not learn the wonderful nature of the Kaywoodie until I attempted to work through it with bristly cleaners as I had the Duncan…
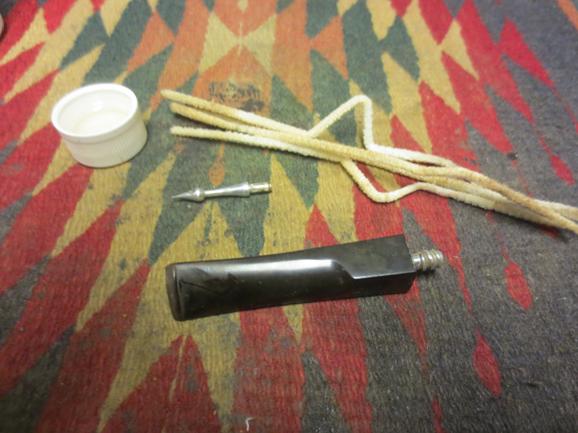
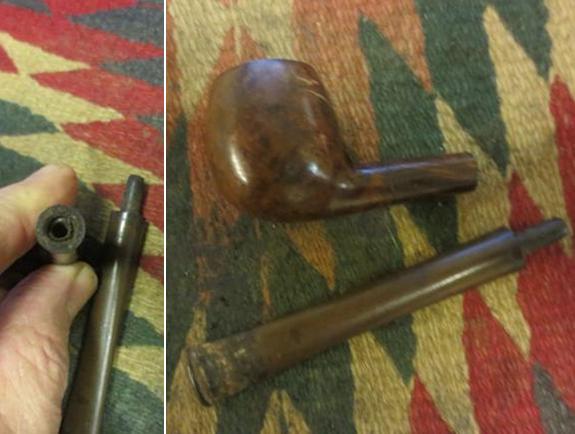
…and the whole thing came apart in my lap! There were the bit that wasn’t supposed to come off and some bizarre, vile, noxious looking thingamabob that looked like a wire brush. I picked it up with distaste and tossed the whole dark, stained mess in the leftover Everclear from stripping the bowls. I knew that would clean it up somewhat, and it did. With the brush out of the Kaywoodie frame, by the way, the metal was quite easy to clean. That should have been a clue, but my first thought was that someone had stuck the brush inside the frame as a makeshift filter. (It is truly scary how close and yet so far from the truth I can be sometimes in my denser moments.)Delta27 At least I had the sense to recognize that the resulting hole in the frame was gaping wide, and turned to pipephil.eu for help, which I found as I almost always do. It was the second metal “filter” pipe in the Kaywoodie models A-K section, the Filter Plus, made from 1955-1959. A convenient link to Smoking Metal led me to the rest of the story. http://www.smokingmetal.co.uk/pipe.php?page=133
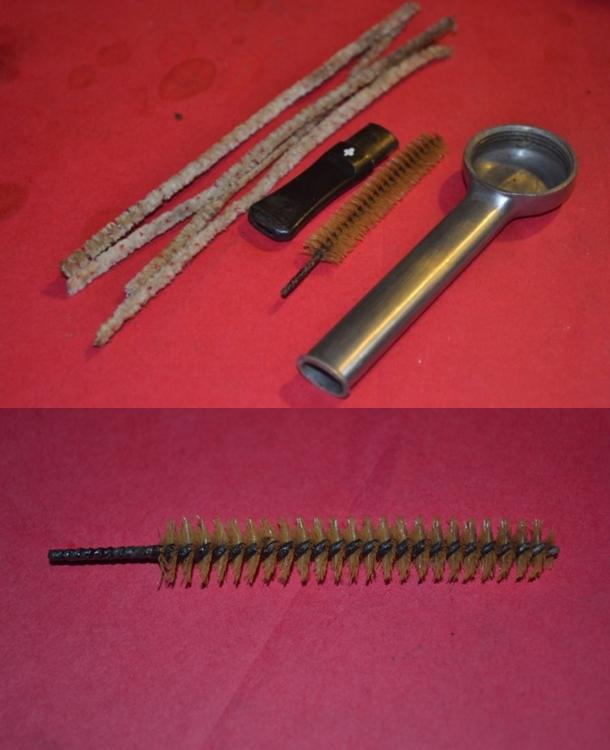
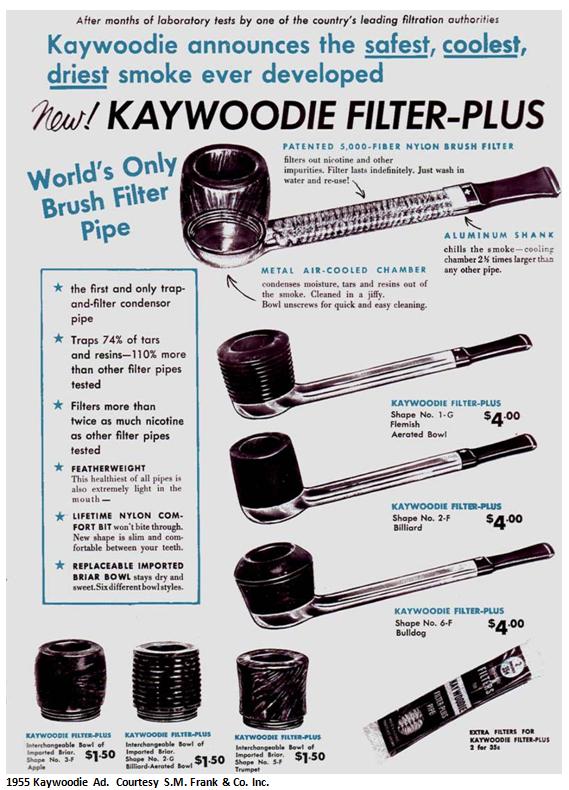
As it turns out, the brush is not a fluke, of course, but an original Kaywoodie nylon brush filter that was only included with the pipe during the first year or so of its four-year run. The filter brush has 5,000 fibers. Now, I want y’all to think on that fer a spell. Finding a pipe with one at all, much less intact, is a miracle. It’s no wonder Bill Feuerbach, president of S.M. Frank & Co. Inc., owner of Kaywoodie, is quoted at the link above as saying of the Filter Plus, “It is one of the most indestructible and durable pipes I have ever run across.”

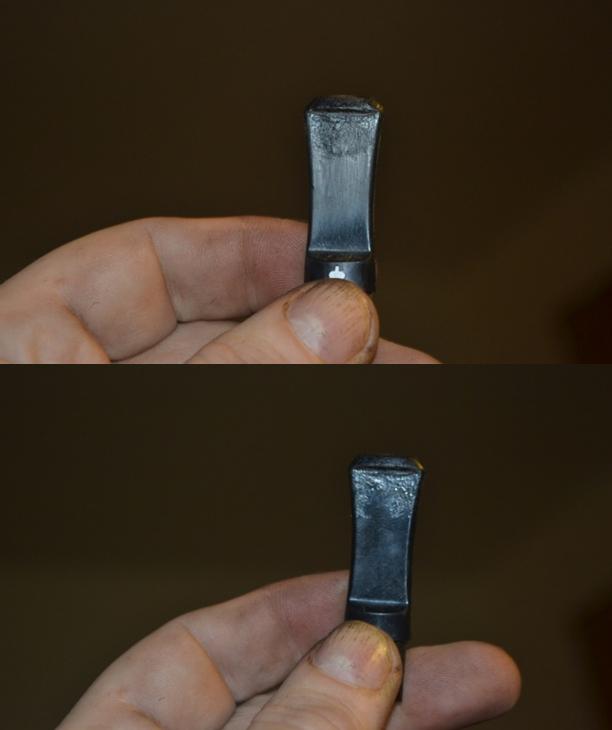
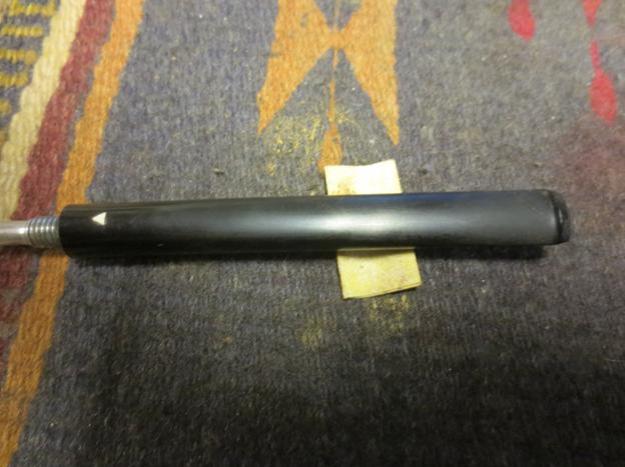
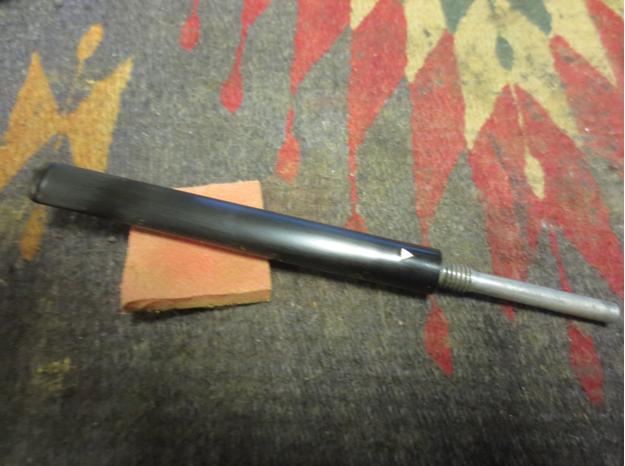
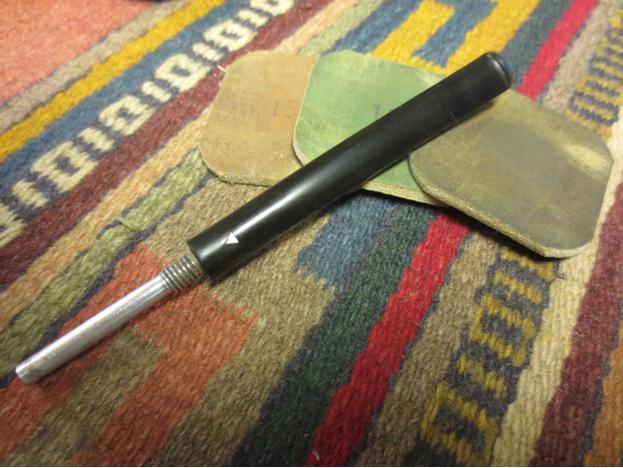
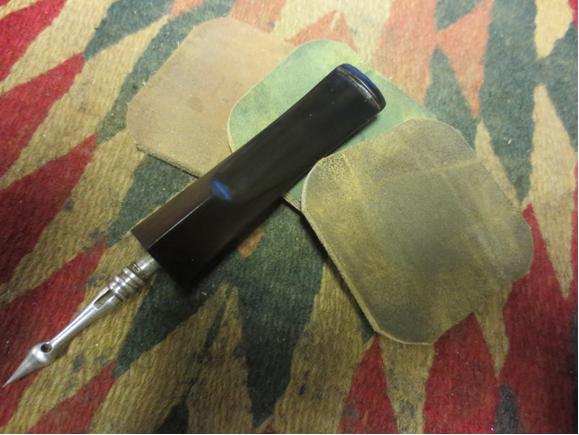
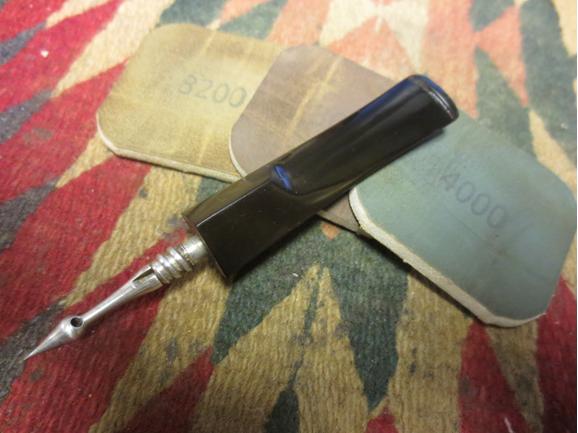
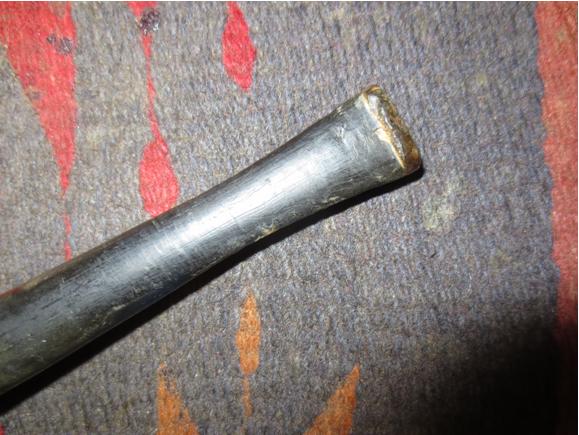
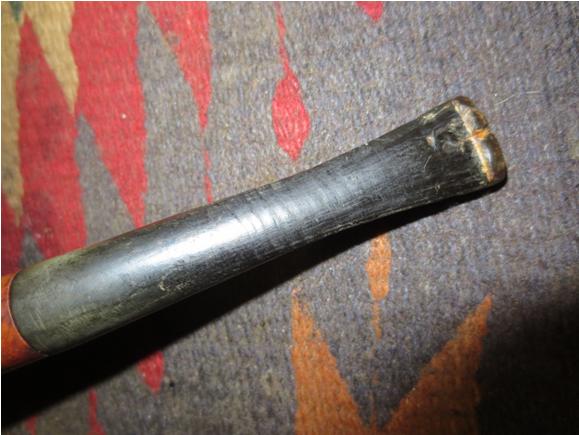
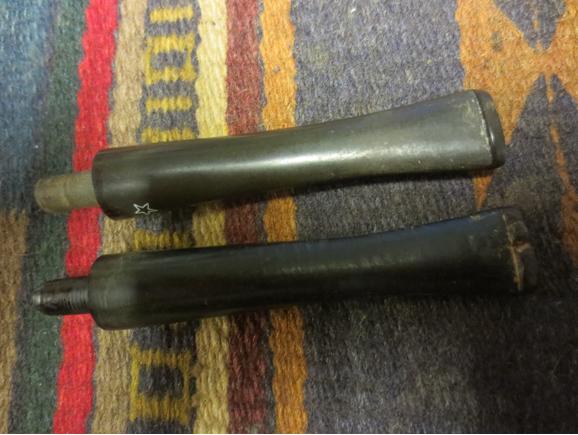
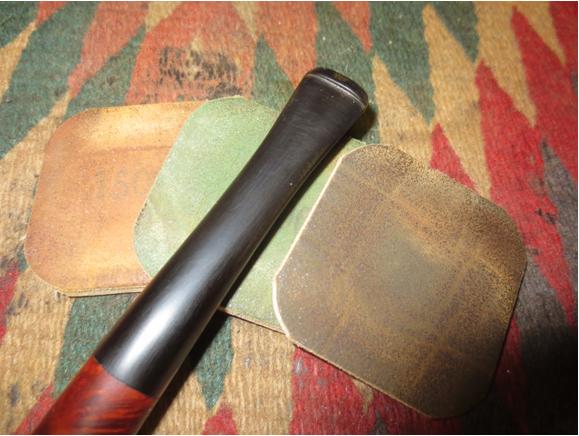
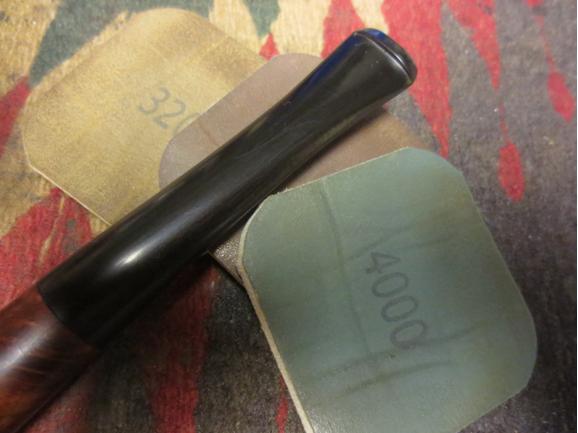
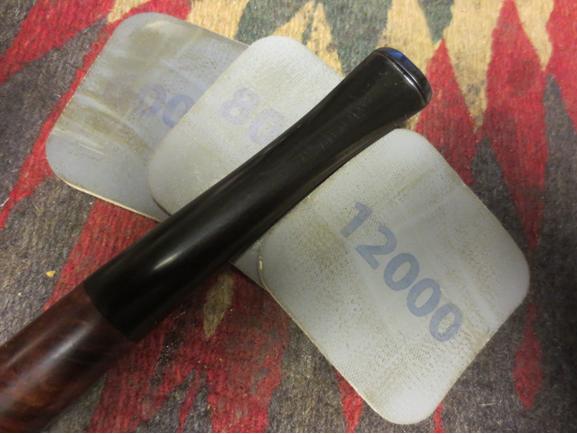
Check out the advertisement below from the first year the Filter Plus was made. Considering how easy it was to clean the frame of the pipe itself, despite (or because of) the dirty condition of the filter brush, it’s a shame they stopped making them. As the ad shows, the pipe cost $4, or $35.42 in today’s money. http://www.usinflationcalculator.com/. Replacement or additional bowls were $1.50 ($13.28), and two-packs of the filter brushes were 35 cents ($3.10).Delta28 Getting close to the finish line always makes my blood start to race! I buffed the two bowls with 4000 and 6000 micromesh.Delta29 Then there was the Kaywoodie bit, which was looking a little rough.Delta30 I sanded it with 200- and 320-grit paper before working my way up the micromesh trail, and moved on to putting a little Halcyon II wax on the Duncan. During a few of the 15 minutes or so it set in, I took the Kaywoodie Filter Plus billiard bowl and the bit (which indeed is removable) into my office. I buffed the bit with red and white Tripoli, then White Diamond, using the clean wheel between each; then the bowl with white Tripoli, White Diamond and a good coat of carnauba, again using the clean wheel in between.
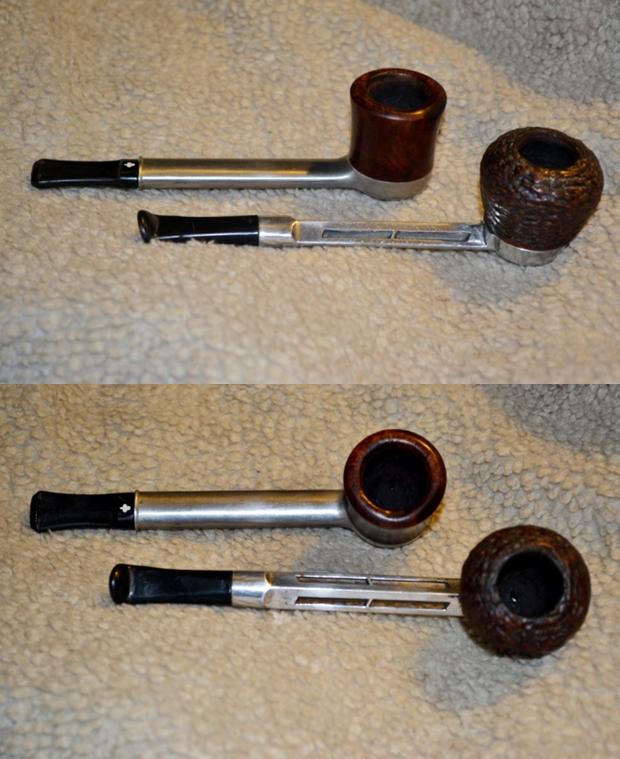
Really only ten minutes more passed, at most, as I sat back on my couch, screwing the Kaywoodie bowl in and out of the frame threads and wiping it down, over and over, because it seemed like the minute hand on the clock was stuck there to spite me! Maybe that’s because I kept eyeballing it. But the time did pass, and I carried the Duncan bowl into the office for a quick spin on the clean wheel only. That was my reward for being so patient and all.Delta31
Delta32

Delta33 CONCLUSION
Well. Now that it’s all said and done, all I really have to add is that this pair of restorations was just plain fun. And full of surprises. And I learned a few new things I never imagined, too, and can’t wait to show Chuck!

ADDITIONAL SOURCE
https://www.reddit.com/r/PipeTobacco/comments/3a5hf9/info_on_falcon_pipe_markings/ Info on FD18 stamp
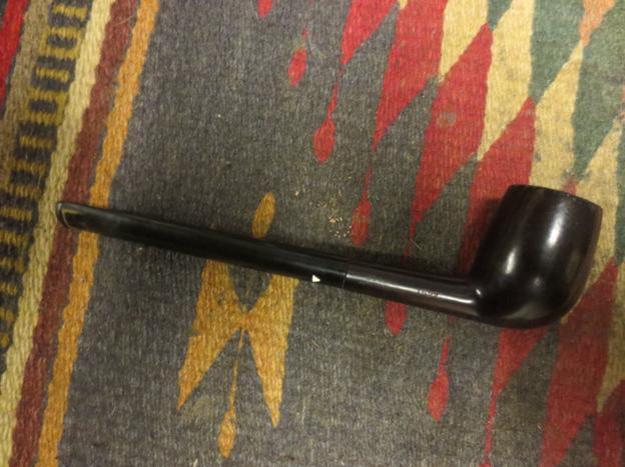
Cleaning up a WDC Milano Hesson 1925 Long stem Billiard


Blog by Steve Laug

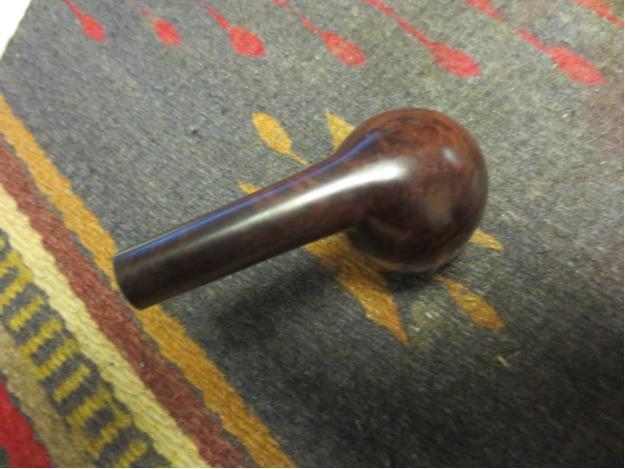
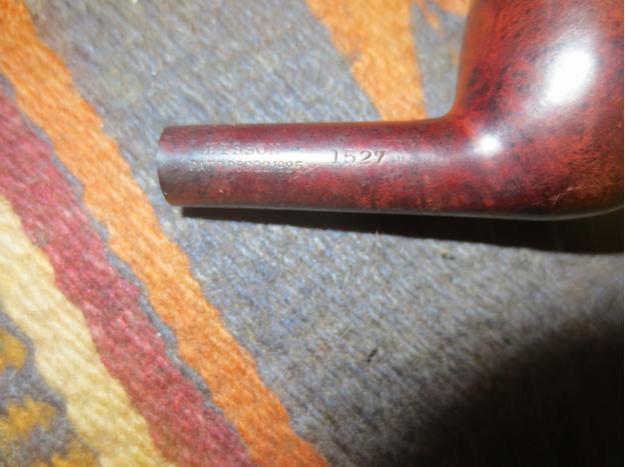
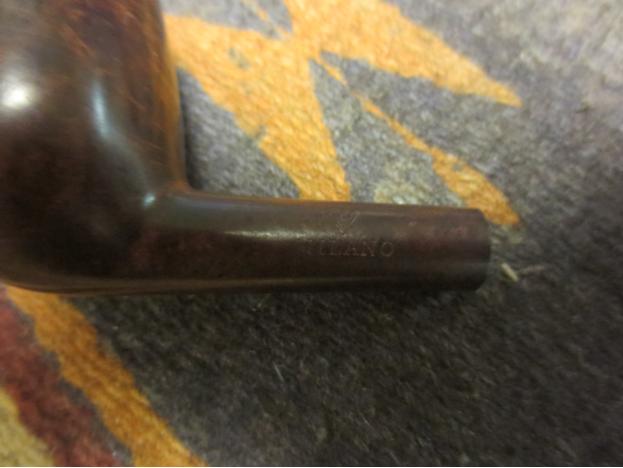
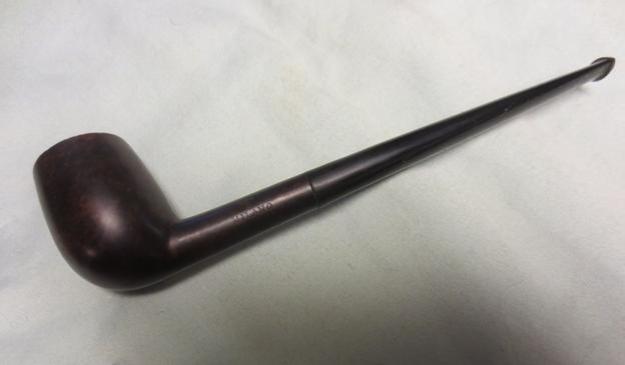
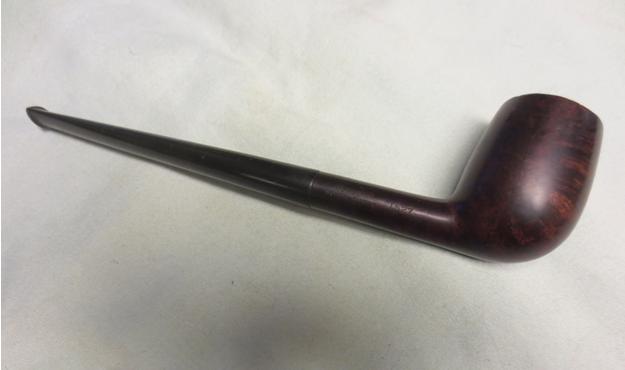
One of the pipes my brother sent me this past week was this long stemmed little billiard. The stem was over clocked almost ½ a turn in the shank and the stem was frozen in the shank. It was dark coloured and the finish was dingy. The rim was covered with an overflow of cake from the bowl but it did not look to be damaged either on the inside or outside edge. The bowl itself had a broken cake lining it – thicker in the middle and the back edge than at the top or the bottom fo the bowl. There was some small pin prick sized marks around the back side of the bowl near the top edge but they were not rough. The stem itself was quite clean – good rubber so it had hardly oxidized. There were two small tooth marks – one on each side of the stem. The WDC white triangle in the stem had lifted and would need to be repaired. The stamping on the shank of the pipe is what got my attention. On the left side it had the WDC in a triangle logo over MILANO. I have seen quite a few WDC Milano pipes over the years. On the other side it is stamped Hesson over Pat’d Dec 22, 1925 and the shape number 1527.Hesson1
Hesson2

Hesson3

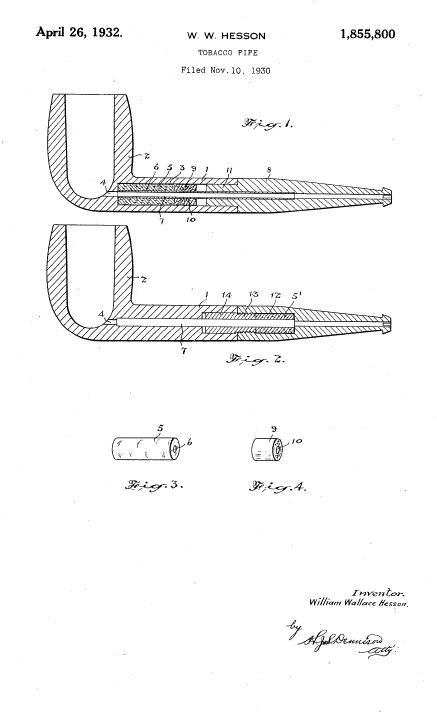
Hesson4 I was not sure what kind of connection I was dealing with on the tenon on this old Milano. Other ones I had worked on were push aluminum tenons and sat in the shank. The aluminum oxidized and the tenons often were bound to the shank when I got them. But there was something about this one that was different. I could not turn it either direction so I put it in the freezer overnight and let the different expansion/contraction rates of briar and metal do their work. In the morning I carefully worked it back and forth and it seemed to give a little. I decided to see if it was a threaded tenon so I held the shank tightly next to the stem and the turned the stem counter clockwise and it came free. Once it was out I could see that I was dealing with a slightly older Milano Hesson system than any of the previous ones I had worked on. This one had a threaded tenon with a long tube attached to the end. The tube extended right up to the entry of the airway in the bottom of the bowl. The shank was also was threaded but the threads had been cut into the briar. There was no mortise insert in the shank.Hesson5 I looked at the documents I had from the other WDC Milano Hesson pipes that I had restored. This one was slightly different. I have included the Patent drawing for your comparison. The differences are readily notable. The patent is from 1932 and the pipe is stamped 1925. The major difference that I see is the internal of the shank and the tube on the tenon in the 1925 edition.Hessiona I decided to use my tried and true method for correcting over clocked stems. I heated the tenon with the flame of the lighter and tried to turn it. It did not work. No matter how long I held the lighter in place it did not heat the glue in the stem enough to allow me to align the stem with the shank. I set up a heat gun and heated the tenon on low heat. It did not take long and I was able to screw it into the shank and align the stem properly. I set it aside and let it cool with the stem in place while the glue hardened again. I took the following three photos to show the properly aligned stem.Hesson6

Hesson7

Hesson8 I cleaned out the shank with cotton swabs and alcohol until it was clean. I ran a pipe cleaner through at the entry of the airway into the bowl. The end of the metal tube sat against the entry so it was pretty clean. Most of the grit and grime were in the threads on the walls of the mortise.Hesson9 I reamed the bowl with a PipNet reamer and the smallest cutting head to take the cake back to the briar.Hesson10

Hesson11 With the inside clean I worked on the bowl finish. It was dirty but it also had a coat of varnish on the surface that had gone opaque. The grain was invisible underneath it. I lightly sanded the bowl and rim with 1500 grit micromesh to break up the surface of the varnish and then wiped the bowl down with acetone on cotton pads until I had removed the grime and varnish coat and the grain was visible. The stain on the pipe was oxblood so it had a rich, deep red hue to it.Hesson12

Hesson13

Hesson14

Hesson15 I scrubbed the metal tube with 1500 grit micromesh and used a brass tire brush on the threads to clean up the grime and oxidation that was present on it. I cleaned out the inside with pipe cleaners, cotton swabs and alcohol.Hesson16 I buffed the bowl with White Diamond (very lightly around the stamping on the shank) and gave it a coat of carnauba wax.Hesson17

Hesson18

Hesson19

Hesson20 I took close up photos of the stamping on the shank. The left side shows in the first photo. The right side of the shank is shown in the second. It is sharp and very legible.Hesson21

Hesson22 I worked on the stem with 220 grit sandpaper to remove the small tooth marks on the top and the bottom sides. I then sanded it with a medium and fine grit sanding sponge to minimize the scratching.Hesson23

Hesson24

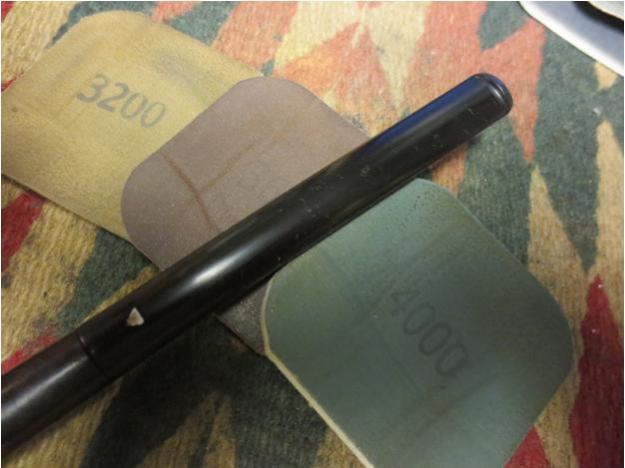
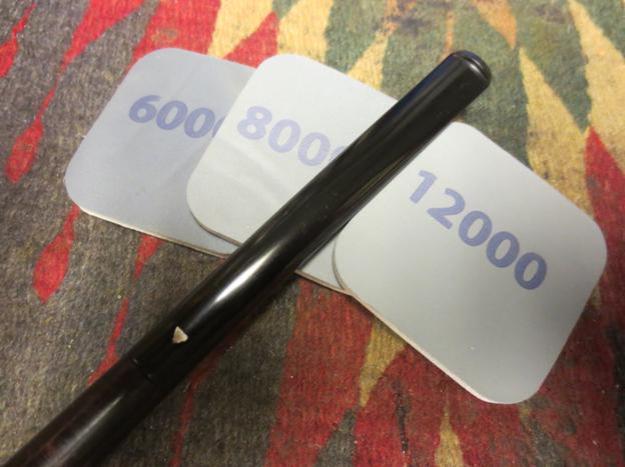
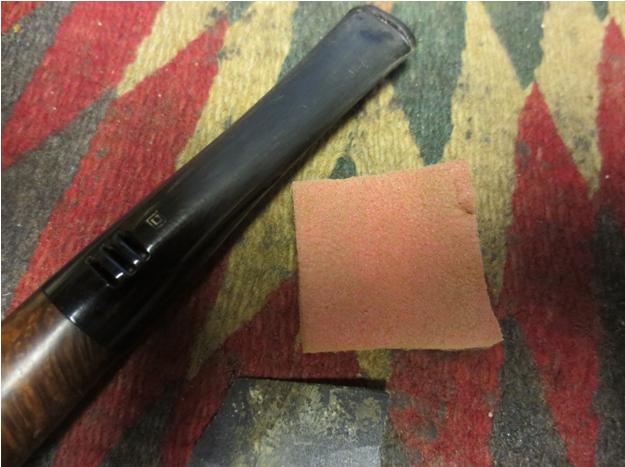
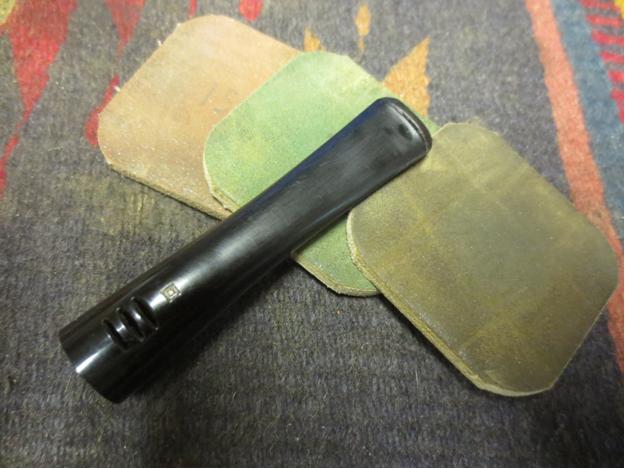
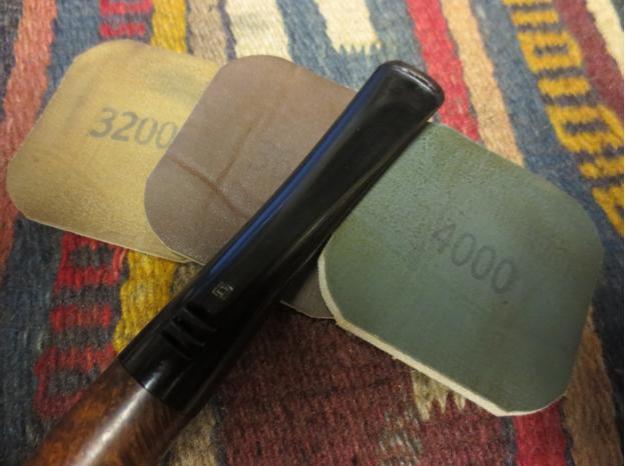
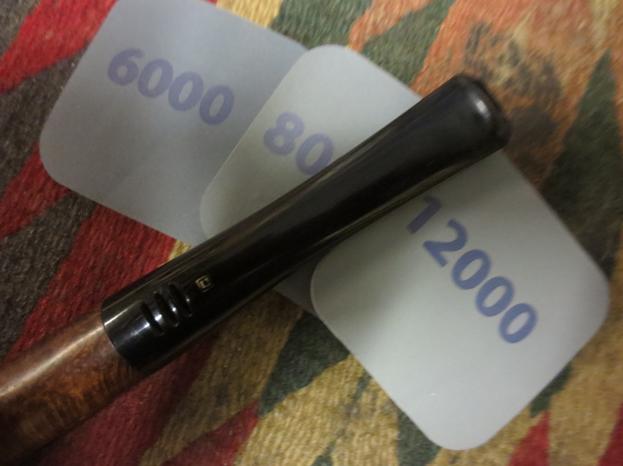
Hesson25 I started to polish the stem with micromesh sanding pads. I wet sanded with 1500-2400 grit pads and then rubbed the stem down with Obsidian Oil. I was just starting to sand with a 3200 grit pad when the edge of the pad hit the edge of the triangle (it sat high on the stem as it appeared to have lifted) and sent it flying. The white triangle was nowhere to be found so now I faced a new dilemma.Hesson26 I filled in the empty triangle in the stem with liquid paper. It is the same white as the previous triangle. It shrinks as it dries so once it was dry I put a drop of clear super glue on top of it to form a bubble. Once it dried I could sand it down to the surface of the stem and I would be good to go with the replacement triangle.Hesson27 Once the glue dried I sanded the fill down to match the surface of the stem and the new triangle looked pretty good. I cleaned out the threads on the tenon with alcohol and a cotton pad and then screwed it back into the mortise. I sanded the newly filled and area with 1500-2400 grit pads and then continued with 3200-4000 grit pads. I rubbed the stem down with Obsidian Oil and then dry sanded with 6000-12000 grit pads. I gave it a final coat of Obsidian Oil and let it dry.Hesson28

Hesson29 I buffed the stem and bowl with Blue Diamond on the wheel and then gave it multiple coats of carnauba wax. I buffed it with a clean flannel buff to raise the shine and then hand buffed it with a microfibre cloth. The finished pipe is shown in the photos below. It does not look too bad for a pipe from Dec. 22, 1925. Thanks for looking.Hesson30

Hesson31

Hesson32

Hesson33

Hesson34

Hesson35

Hesson36

Another Painful 70s Era E.A. Carey Magic Inch Apple Restored


Blog by Steve Laug

Reading the title of this blog you might wonder why I called it another painful Carey pipe. As this refurb description unfolds I think it will become clear what I mean by the title. In the Montana pipes that my brother Jeff sent me there were four E.A. Carey Magic Inch Patent pipes. I worked on the first one in the photo below, the Freehand and found that the bowl was a piece of cake. Getting the plastic apparatus cleaned in the shank was a challenge that took a lot of pipe cleaner and patience to move through. Because of that I have honestly been avoiding working on any of the others in the foursome. I have worked on a lot of others that have been sitting just because the cleaning is a pain, but more importantly trying to clean up the chewed up stems and getting any kind of shine on them is painstaking. The plastic cleans up well enough and I am able to repair the bite marks. The dents will not raise with heat, the inside of the stem takes a lot of scrubbing and is cavernous so lots of cotton swabs are sacrificed and lots of pipe cleaners. The plastic does not take kindly to the boiling alcohol of a retort so I am left to do the work by hand. Then once cleaned polishing the stem feels like an impossible challenge. I don’t remember how many hours of sanding with micromesh pads and then carefully, lightly buffing with the buffer went into bringing the shine on the Freehand so the lot just sat taunting me in my refurb box.

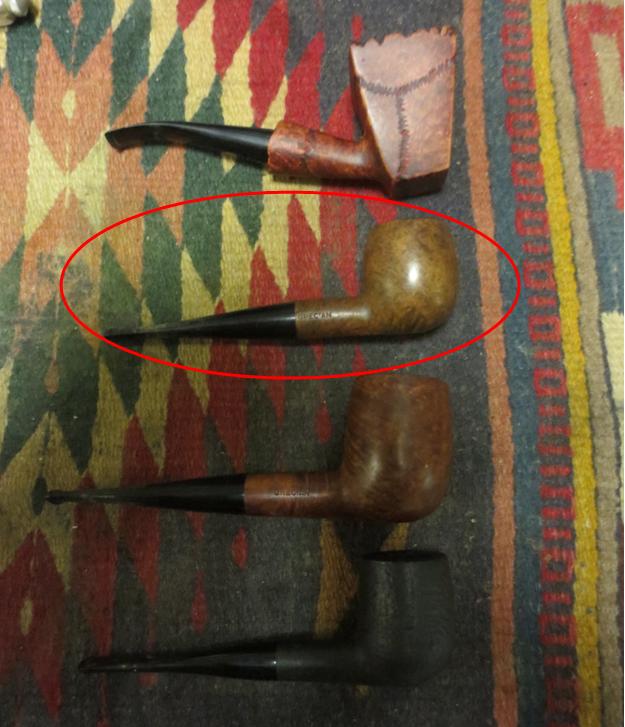
Finally, a few days ago I went through the remaining threesome to see if I had any sudden urge to work on one of them. I looked them over one at a time, examining the internals, the condition of the rim and the briar and also the stem….argghh. The stems on all of them have identical chew and bite marks. All were a mess. One of them stood out to me though and I ventured into working on it. It is the second pipe down from the top in the photo below (I have circled it in red).Carey4
Carey5Before I jumped into working on it I figured I better take some of the advice noted in the photo to the left. These Carey’s are time consuming and I find myself frustrated often in the process of polishing the stem.

I knew without looking to deeply at this old pipe that it would be another one that drove me to the edge. The finish on the briar was dull and dirty. There was some interesting grain poking through – birdseye on the sides and cross grain on the back and front. The stamping was very clean and sharp. The rim was crowned and had a significant lava overflow build up on the top. The good thing was that there was no damage to either the inner or outer edge of the rim. The bowl still was half full of unsmoked tobacco but appeared to be heavily caked. It was hard and dense. The stem was a mess. Once I took it off the apparatus extending from the shank there was still a dirty papyrate filter in place on the tube. The inside of the stem was dark and oily. The outside was covered with deep tooth marks and also a generous case of tooth chatter. There was also a gummy substance on the clean top half of each stem that probably came from price tags that were in place at the antique shop where my brother found them.Carey6

Carey9

Carey8

Carey7 I took the next two photos to show the set up of the apparatus with the papyrate filter in place and the state of the bowl and the rim.Carey10

Carey11 The lava overflow on the rim took a lot of elbow grease to scrub it clean. I used Murphy’s Oil Soap and cotton pads to scrub it until I had it clean. I wiped down the rest of the bowl with the soap and then rinsed it with running water. I dried of the bowl and then cleaned out the shank with pipe cleaners and alcohol.Carey14

Carey15 With the briar clean and the internals of the bowl and shank clean I gave the bowl a light wipe down with olive oil so that I could see the grain more clearly. I took the next photos to show the beauty of this bowl.Carey16

Carey17

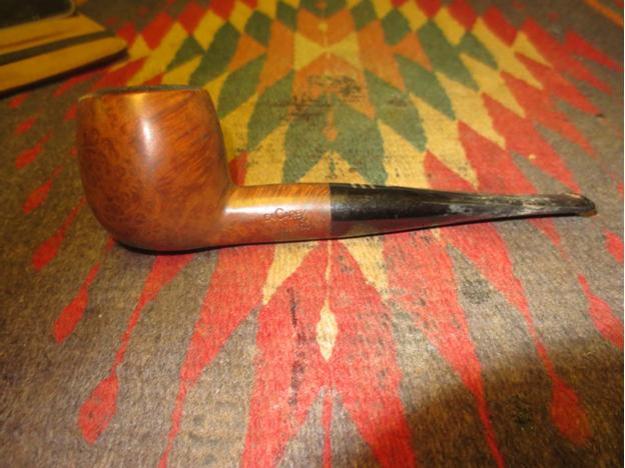
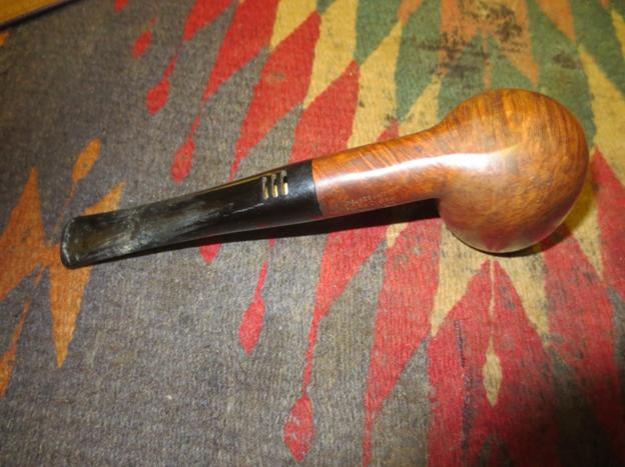
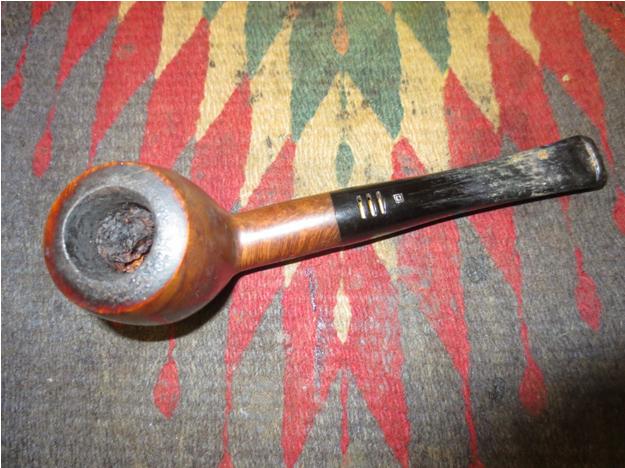
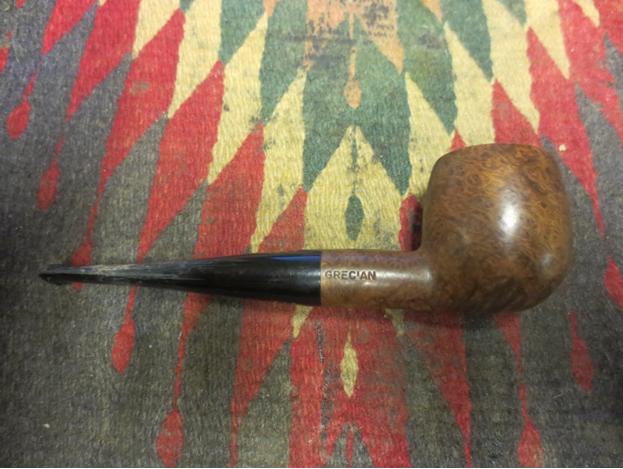
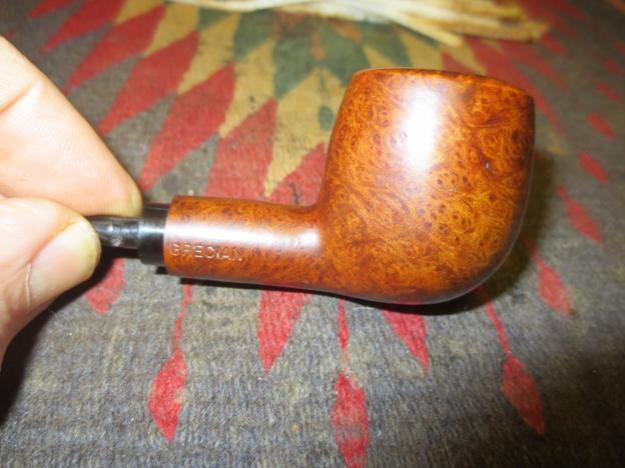
Carey18 The next photo shows the stamping on the left side of the shank. The right side is stamped Grecian.Carey19 I set the bowl aside to work on the stem. I sanded it with 220 grit sandpaper and a fine grit sanding sponge to clean off the tooth chatter and the grime. I wiped it down with alcohol on the outside to prepare it or the repairs on the deep tooth marks. I used black super glue and put drops into the dents, leaving a bubble so that when it dried and shrunk down the dents would be filled and could be sanded.Carey20

Carey21 When the glue dried I sanded the stem with 220 grit sandpaper once again to blend the patches into the surface of the stem.Carey22

Carey23 Before going any further I decided it was time to clean out the inside of the stem. I used cotton swabs, pipe cleaners and alcohol to clean out the internals.Carey24 With the inside cleaned and the repairs smoothed out I sanded the stem with a medium and a fine grit sanding sponge. They removed many of the scratches and the stem was beginning to take shape. I was not getting too excited however as this was when the tedious work really started.Carey25 I wet sanded the stem with 1500-2400 grit micromesh sanding pads and then gave the stem a coat of Obsidian Oil. It does not absorb into the stem material so I use it to give me more bite between the various grit pads of micromesh. I dry sanded with 3200-4000 grit pads and gave it another coat of oil. I buffed it lightly with White Diamond and then finished sanding with 6000-12000 grit pads. I gave it a last coat of oil to wipe down the dust and then hand buffed it.Carey26

Carey27

Carey28 I buffed the pipe with Blue Diamond Polish on the wheel and then gave it multiple coats of carnauba wax. I buffed it with a clean flannel buff and then buffed it by hand with a microfibre cloth. I don’t know how many hours I have in this stem but it certainly seemed to take forever. The bowl cleaned up great and the briar is quite remarkable. The beauty of the grain comes through clearly and the finished pipe looks great. I have two more Carey’s to clean up but I think I will wait awhile to tackle them. This one gets me half way through the lot. The finished pipe is shown in the photos below. Thanks for looking.Carey29

Carey30

Carey31

Carey32

Carey33

Carey34

Carey35

Cleaning an American Made Selected Bulldog


Blog by Steve Laug

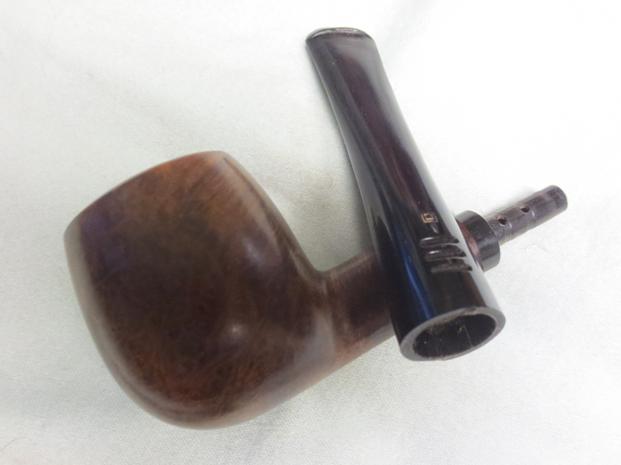
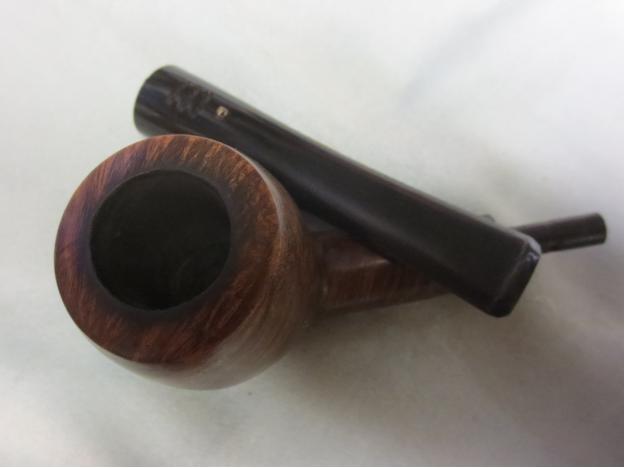
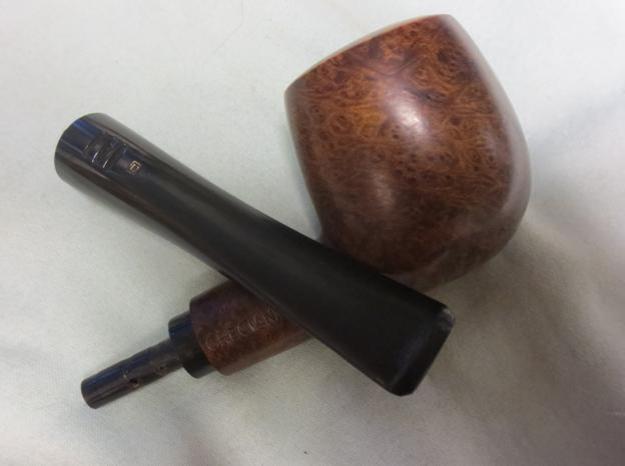
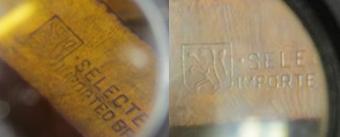
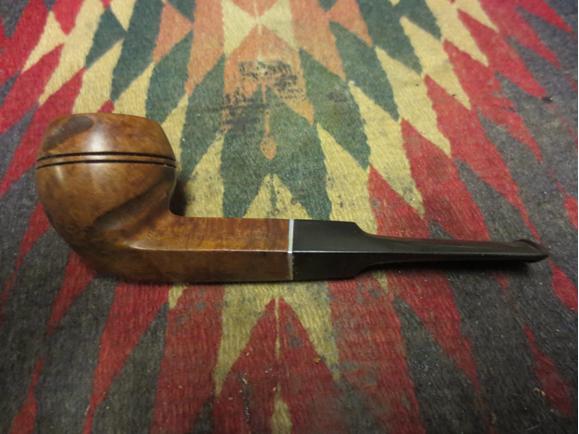
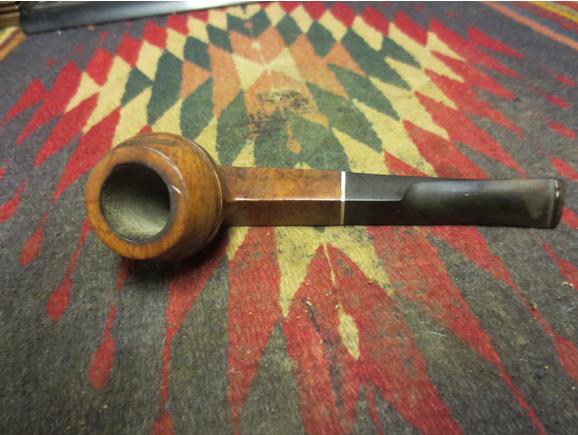
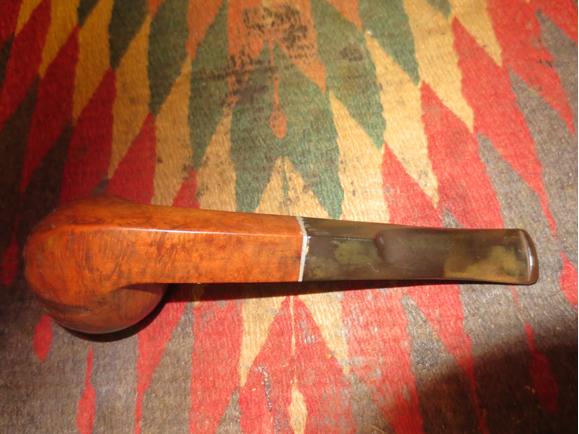
I have had a straight bulldog in the refurbishing box for a long time now. It is an interesting older pipe that has the characteristic worm trail rustication on the sides of the bowl and cap but total only 5 trails. The rest of the bowl is a nice piece of briar. The shank is smooth with no rustication. It appears to be unstained and natural or if stained a light tan colour. The trails on the bowl sides and cap are slightly darker in colour. The bowl was lightly smoked and the bottom half still clean briar. There was no cake in the bowl. There was some burning on the inner edge of the rim on the back left side of the bowl. The stamping on the shank of this bulldog is standing lion inside of a shield and next to that – SELECTED – over Imported Briar. I have searched on the web and in my books for this logo and cannot find it or the company it refers to. Any help would be appreciated. select1 The stem was in good shape with a little oxidation but no teeth marks except for two on top of the button itself. There was an internal stinger apparatus and a metal threaded tenon. The tenon screwed into a metal insert in the shank. The airway from the mortise to the back of the bowl was quite open to give room for the stinger apparatus. I took the following photos of the pipe when I brought it to the work table this morning.Select2

Select3

Select4

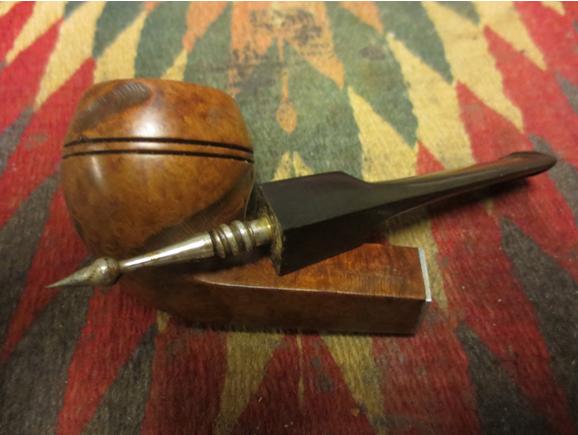
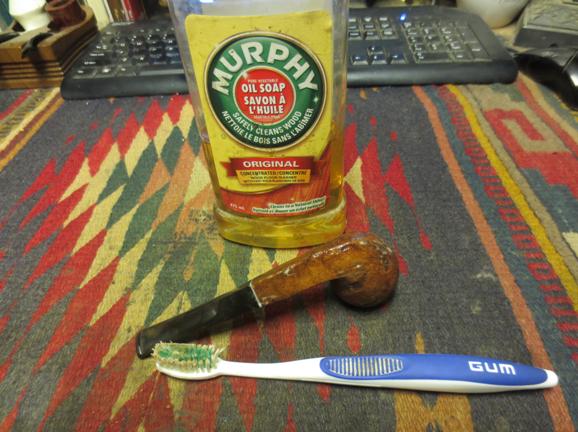
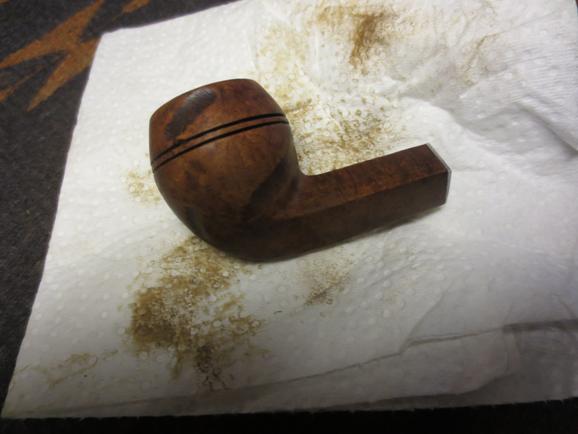
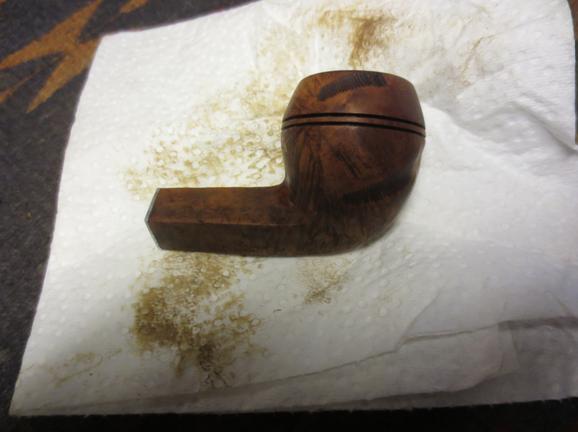
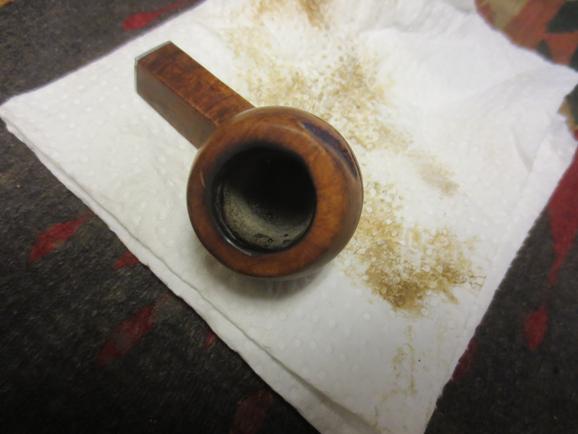
Select5 I took the pipe apart to show the inner apparatus on the stinger. It is unusual in terms of shape. The spear end is very sharp! It is pressure fit into the stem so it should come out for a thorough cleaning of the stem.Select6 The briar was dirty and had what appeared to be the gum from a price tag stuck to it in several places. I scrubbed the bowl and rim with a tooth brush and Murphy’s Oil Soap to clean off the grime.Select7 I wiped it down with a paper towel. A lot of grit and grime came off. I rinsed it with warm running water and dried it off with a towel. The photos below show the grime on the paper towel and the clean bowl.Select8

Select9

Select10

Select11 I heated the stinger with a lighter to soften the tars that held it in the threaded tenon. Once it was warmed I wiggled the stinger free and was able to clean it and the tenon.Select12 I scrubbed the inside of the tenon and the airway in the stem with pipe cleaners and alcohol. I used a brass bristle brush to clean the stinger and the threads on the tenon.Select13 The inside of the shank was wide open and served as a chamber for the stinger. It worked like a condensation chamber to collect the moisture before the smoke move through the holes and slot in the stinger and up the stem. Because of that it was very dirty. I cleaned the bowl and the shank with pipe cleaners, cotton swabs and alcohol until no more grime would come out. The photo below shows the first batch of swabs. There were about that many more used before it was clean.Select14 I lightly sanded the stem with 220 grit sandpaper to break up the oxidation and then with a medium and a fine grit sanding sponge. I wet sanded it with 1500-2400 grit micromesh sanding pads and then gave it a coat of Obsidian Oil. I dry sanded the stem with 3200-4000 grit micromesh pads and then gave it another coat of oil. I finished sanding with 6000-12000 grit pads and gave it a final coat of Obsidian Oil. I set it aside to dry.Select15

Select16

Select17 I put the pipe back together and buffed it on the wheel with Blue Diamond and gave it several coats of carnauba wax. I buffed it with a clean flannel buff to give it a shine. I brought it back to the work table and hand buffed it with a microfibre cloth. The finished pipe is shown below. Thanks for looking.Select18

Select19

Select20

Select21

Select22

Select23

A Tiny Apple Reborn – new stem and new finish


Blog by Steve Laug

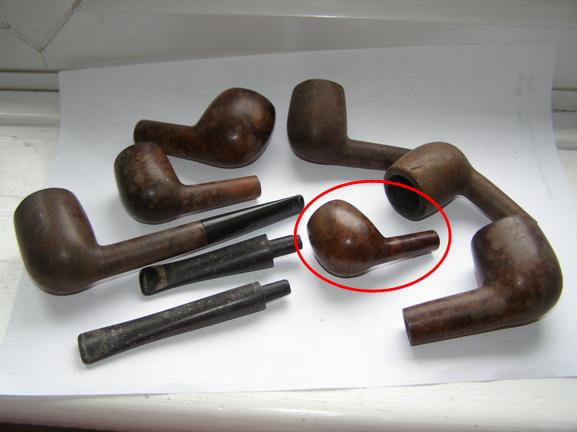
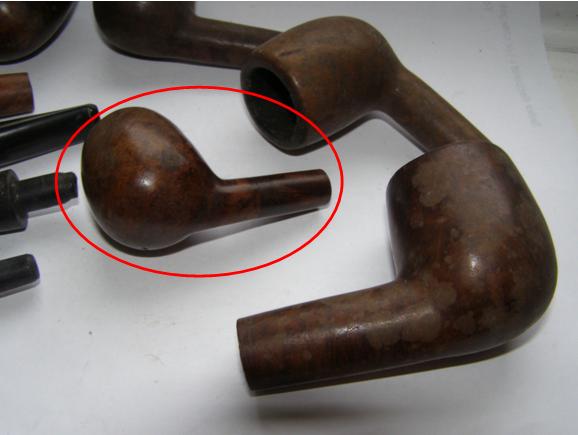
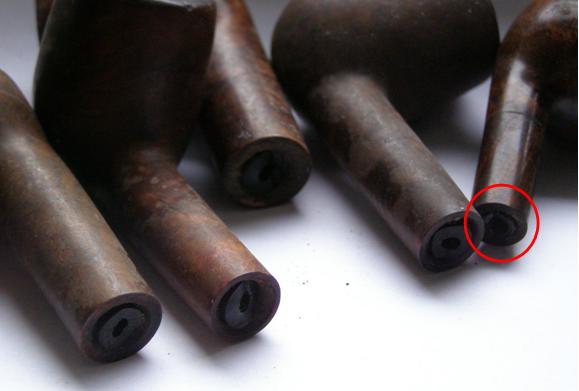
This morning I decided to work on an interesting little pipe that I picked up in an eBay batch from England. All of the bowls in that batch had broken tenons stuck in the shank. All were no name bowls or so worn that the name had long since worn off. This one was the smallest pipe in the batch. The bowl and shank are 2 ½ inches long and 1 ½ inches tall. The bowl is drilled at 5/8 inches and I can insert my little finger. The shank was spliced somewhere along the way and done quite well. It is a smooth splice. I wonder if it was a repair or if it came out that way when briar was scarce during the war. The finish was spotty – varnish was peeling from the bowl and shank. The tenon appears to have had a metal tube in the middle of the vulcanite and both had snapped off when they broke. I have circled this bowl in red in the next three photos. The first shows the batch of pipes that I picked up. The second is an enlargement of the bowl itself and the third photo shows the snapped tenon in the shank.Apple1
Apple2
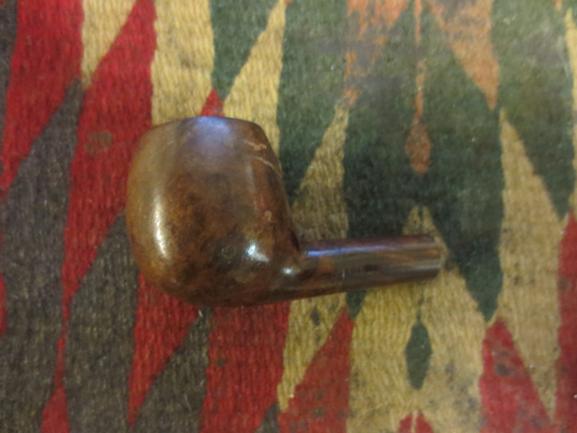
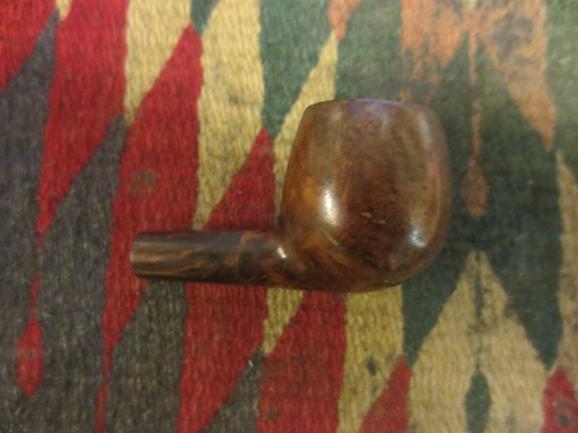
Apple3 The photos above came from the seller. I took the next series of photos before I worked on the pipe this morning. The rough finish is visible in the photos as are the fills on both sides of the bowl. They were shrunken and hard so they would have to be repaired. You can also see the splice in the shank about 2/3 of the way up the shank to the bowl. The bowl had a thick cake that was crumbly and rough. The bowl still was half full of tobacco that had been stuffed into it evidently before the stem broke. The rim had lava overflow and some damage to the inside edge and the top of the rim.Apple4
Apple5
apple6
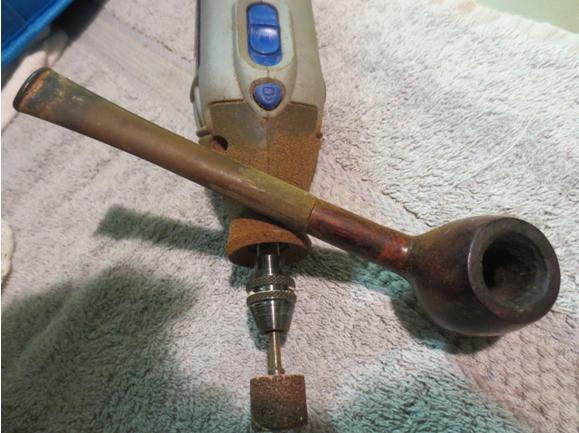
apple7 For a stem for this pipe I turned to my stem can and found a long narrow stem that needed a little adjustment to the tenon and the diameter of the stem at the shank before it would fit. I turned the tenon with a Dremel and sanding drum and finished by sanding it by hand.Apple8 The photos below show the stem in the pipe. The diameter of the shank and the diameter of the stem do not match.Apple9 I used the Dremel and sanding drum to reduce the stem diameter to match the diameter of the shank. I always rough in the fit with the Dremel and then fine tune the fit by hand sanding.Apple10 I reamed the bowl with a PipNet pipe reamer and took the cake back to bare wood. I wanted to look at the inside of the bowl and rim to see what needed to be done at those points.Apple11
Apple12 I stripped the finish off the bowl with acetone on cotton pads. With all of the fills and dents in the no name bowl it was another candidate for sanding and refinishing. Looking down the shank with a light it appears that the splice of shank was done with a metal tube in the shank. The bowl and the added shank also appear to be different wood.Apple13 I topped the bowl to remove the rim damaged and to clean up the edges of the rim.Apple14 I tried to pick out the fills on the bowl but they were tight and were rock hard. I cleaned up around them and filled in the shrinkage with clear superglue.Apple15 I sanded the repaired areas and the rest of the bowl and shank with 220 grit sandpaper. I sanded the repairs smooth and followed up by sanding with a fine grit sanding sponge.Apple16
Apple17 I gave the bowl a black under stain to help hide the fills and the splice. They would always show but the dark under stain would blend them into the finish better. I applied the stain and flamed the bowl and repeated the process to get good coverage.Apple18
Apple19 I wiped down the bowl with alcohol and cotton pads to remove the black from the surface of the briar and leave it in the grain patterns.Apple20
Apple21
Apple22
Apple23 I sanded the bowl with a fine grit sanding block and the stem with the fine grit sanding sponge and fit it in the shank to get a feel for the new look. I took the next series of photos to see how the pipe was developing. I liked what I saw. The black stain had done a good job covering the fills and the splice. I used a black permanent marker to fill in some light spots and drew in some grain lines in the bald spots.Apple24
Apple25
Apple26
Apple27 I gave the bowl a top coat of Danish Oil with Cherry stain and then again used the permanent marker to fill blank spots and darken the fills. I wiped the Cherry stain over the bowl several times until the coverage was good and then set the bowl aside to dry.Apple28
Apple29
Apple30 While it dried I worked on the stem with micromesh sanding pads. I wet sanded it with 1500-2400 grit pads and gave it a coat of Obsidian Oil. I dry sanded with 3200-4000 grit pads and gave it another coat of oil. I finished with 6000-12000 grit pads, gave it a final coat of Obsidian Oil and let it dry.Apple31
apple32
Apple33 I buffed the pipe with Blue Diamond on the wheel and then gave it multiple coats of carnauba wax. I buffed it with a clean flannel buff and then by hand with a microfibre cloth to deepen the shine. The finished pipe is shown in the photos below. I like the looks of it with a long thin stem. It is a like a pencil shank Bing with an apple shaped bowl. Thanks for looking.Apple34
Apple35
Apple36
Apple37
Apple38
Apple39
Apple40

My Second C.A. Sander of Swansea Bent Bulldog Restemmed and Restored


Blog by Steve Laug

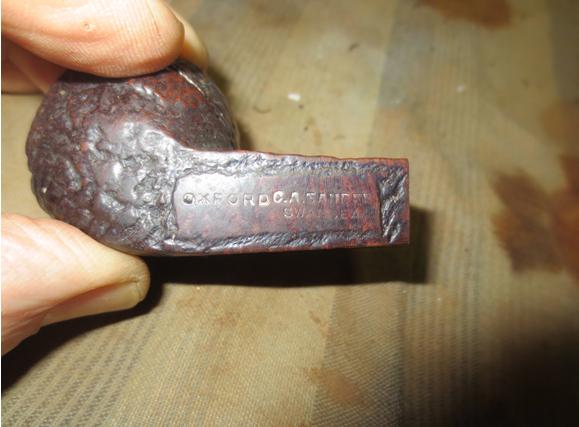
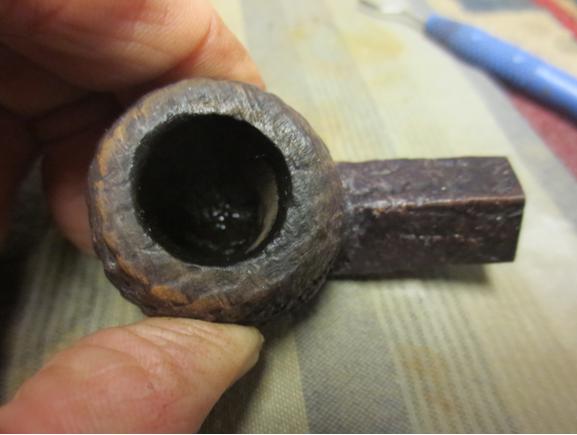
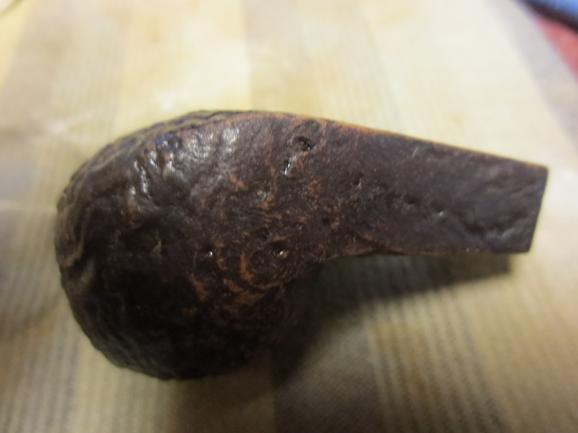
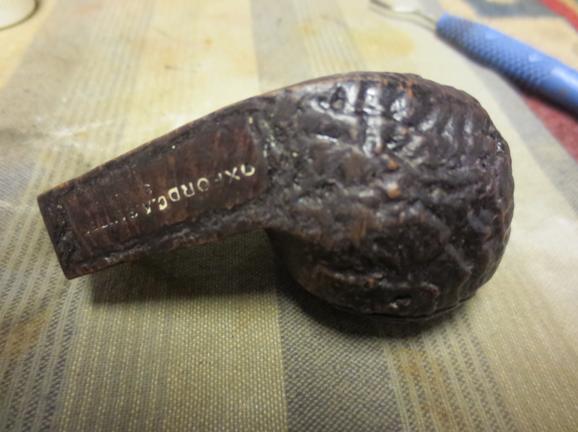
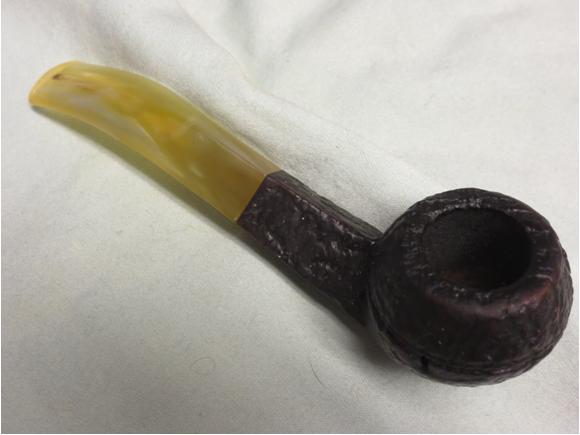
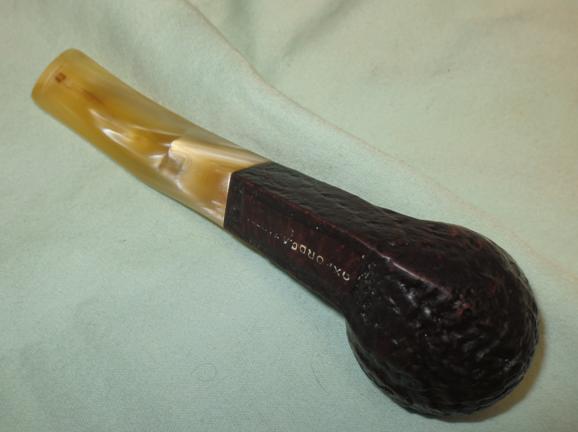
When I was working on the previous C.A. Sander of Swansea straight bulldog that I restored (https://rebornpipes.com/2015/12/13/an-interesting-welsh-pipe-find-a-c-a-sanders-sandhurst-bent-bulldog/) I was looking for information on the brand. In my search on the internet I came upon this small bulldog bowl on eBay. I had found that there were at least two different names stamped on these pipes – both the ones I found were sandblast finishes. The earlier one was stamped Sandhurst and this one is stamped Oxford. Other than that the stamping on both is the same – the name then CA Sander over Swansea. I wrote the seller to see if he had any information on the brand and he replied that he did not. I put a bid on the pipe and ended up winning it. It arrived here on Tuesday this week. I have included the photos that the seller had posted on eBay below. It appeared to be in very good shape even though it did not have a stem.CA1

CA2

CA3

CA4

CA5 When the pipe arrived it was in excellent shape. The seller’s photos were absolutely correct. The bowl had a light cake in it and the rim was dirty with lava overflow and carbon. The shank was dirty and the finish had dust in the crevices of the blast. The stamping was exactly the same as the Sandhurst I restored other than the Oxford name that was present. I took the next series of photos to show the pipe on arrival before I started working on it.CA6

CA7

CA8

CA9

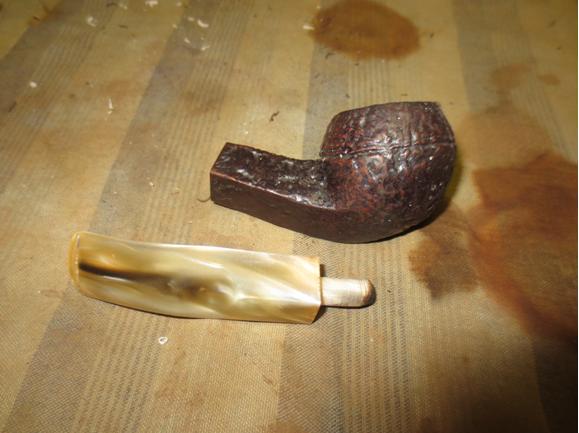
CA10 I went through my can of stems to find one that would work on this bowl. Diamond shanks are notoriously hard to match a stem to as each side and angle is very individual and hardly ever align with used or estate stems. I would have to find one that had a close fit and modify it to match the angles. With that in mind I found several stems that could have worked. In looking at the tapered stems I pulled all seemed too long to go with the petite size of this bowl. None quite aligned at the shank and modifying them was not an option as one or more of the sides did not have enough material to modify. I had several saddle stems that had the same issues. Then in the bottom of my can I remembered that I had a Lucite saddle stem that might very well work. I took it out and measured the sides of the diamond. I have to tell you I was very surprised – this stem was almost a perfect fit. I would need to shorten the tenon slightly and take a little material off to get a snug fit. Only the bottom right side was a little larger than the shank. Everything else matched. The stem is a pearlised cream coloured Lucite that actually would go well with the colour of the bowl once I had it cleaned up.CA11 I used the PIMO tenon turning tool to reduce the diameter of the tenon to get a close match and finished the fit by hand sanding. I shortened the length of the tenon with a Dremel and sanding drum to the same length as the mortise. In doing so I removed the damaged end of the tenon and the rounded right side. Once I had the work done I put the stem in place in the shank and took the photos below. You can see the great fit that the stem had in terms of the width of the sides of the diamond. I was fortunate in terms of the amount of work that would need to be done to fine tune this one. It would take very little work to make a good fit.CA12

CA13

CA14

CA15 I took a photo of the end of the shank and the end of the stem and put them side by side for comparison sake to show how close the two diamonds came to matching each other. This is a very rare occurrence in my experience.CA16 I sanded the bottom right side with 220 grit sandpaper to adjust the fit on that side. I needed to remove enough material to align the bottom of the diamond with the bottom of the diamond on the shank. All others point on the diamond aligned perfectly but this one. It did not take too much sanding before I had the alignment and the fit against the side of the shank perfect.CA17 I reamed the cake in the bowl with a PipNet reamer and took it back to bare briar.CA18 I scrubbed the bowl with Murphy’s Oil Soap and a tooth brush on the sides and bottom of the bowl and shank and with a brass tire brush on the rim.CA19

CA20

CA21

CA22

CA23

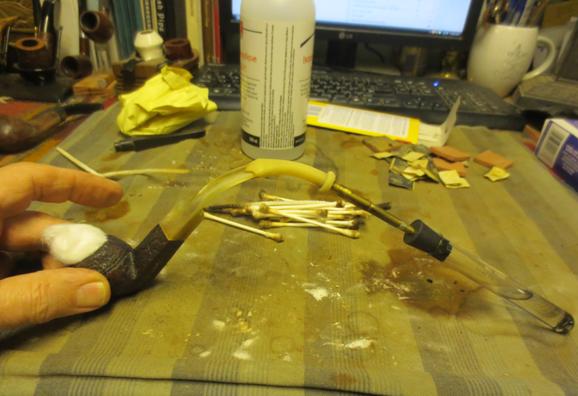
CA24 I put the stem on the bowl, put a cotton ball in the bowl and then set up the retort to clean out the internals of the pipe. I boiled alcohol through the pipe and after two tubes of alcohol the airways were clean. The retort also removed some of the staining in the stem airway. I removed the retort and scrubbed the internals of the bowl and shank with pipe cleaners and cotton swabs to remove the remaining alcohol and grime in the shank. In the end the shank and airway were clean and the pipe smelled fresh.CA24A I cleaned the stem with pipe cleaners and alcohol and also pipe cleaners dipped in Bar Keepers Friend powder to scrub out the tar stains in the airway. It took a lot of scrubbing but I got the majority of the stains out. I did not want to darken the stain on the bowl but wanted to highlight the contrasts in the finish. The combination of dark brown and medium brown on the high spots worked well for me. To keep that and add life to the bowl I wiped it down with a light coat of olive oil and rubbed it into the blast pattern. I took the following photos with the stem in place on the bowl. The pipe is taking shape.CA25

CA26

CA27

CA28 The stains at the button were stubborn and hard to remove. I found that there was a small lip where the slot in the button met the airway in the stem and it collected tars and oils. The pipe cleaners and scrubbing did not touch that as it did not reach into the small crevice there. I used a needle file to flatten out the lip at the junction. With that gone I was able to remove more of the stain from the stem. All that remain was a small spot on the top and the bottom that I could not get out no matter how hard I worked it.CA29 I sanded the stem with micromesh sanding pads to polish and remove the scratching. I wet sanded with 1500-2400 grit pads and dry sanded with 3200-12000 grit pads. As I sanded the stem with each successive micromesh pad it left a richer luster in the pearlised stem.CA30

CA31

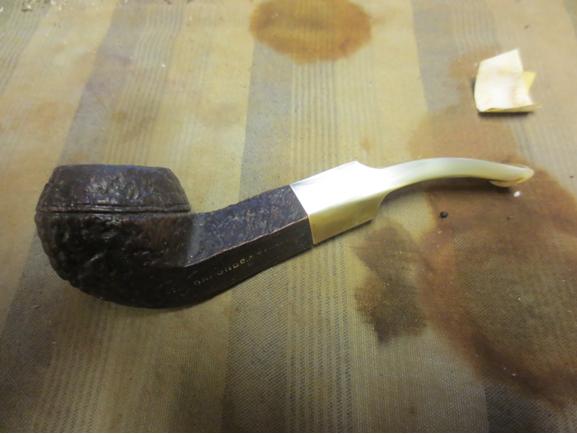
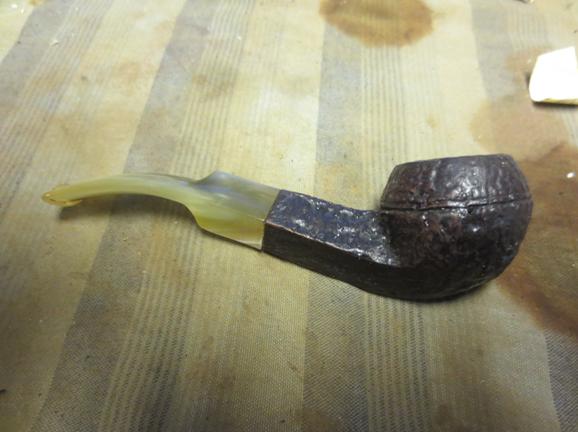
CA32 I buffed the bowl and stem with Blue Diamond on the wheel (lightly on the sandblast bowl as I did not want to flatten the blast) and gave the stem several coats of carnauba wax. I hand waxed the bowl with Halcyon II wax and then buffed the bowl and stem with a shoe brush and a microfibre cloth to raise the shine. The finished pipe is shown in the photos below. It is a petite bulldog – only 5 inches long from bowl to button and 1 3/8 inches tall from rim to point on the bowl bottom. The drilling on the bowl is 5/8 inches. I like the contrast that the Lucite stem gives with the blast on the bowl. The colours work well for me. The stem length works on this bowl and the overall effect is a balanced small sandblast pipe that looks great. At least it does to me! Thanks for looking.CA33

CA34

CA35

CA36

Addendum: 06/06/18 I received an email from Andrew  in answer to a question I asked in my two blogs on CA Sander pipes. I quote in full his email because of the information that it includes.

Comment: You asked about C A Sander

C A Sander were tobacconists based in Wind Street Swansea. I don’t know exactly when the business started but it it passed to my Grandfather from his father (both were C A Sander) and by the 1920 was a successful and well established retail business with shops all over south wales. They were importers and blenders (if that is the term) of tobacco and the shops sold smoking paraphernalia. At my grandfathers retirement late 60’s to business went to my uncle again C A Sander but known generally as Jim. He developed a business supplying cigarette machines around South Wales and moved out of retail he eventually sold the business to Rothermans and went into other business ventures, I expect that was when the limited company you found was formed. Uncle Jim has now retired but still lives in the area.

Hope this helps with your research.

Andrew I received this followup email from someone who would like to get in touch with you. Here is her email

Hi there – I stumbled upon your website when looking for anything to do with C.A. Sander tobacco shop and I saw the pipe you restored – which is amazing! and then saw the comment below left by Andrew. Since that shop was owned by my grandfather, and Andrew’s grandfather – it would seem that we are cousins – but we have never met. I would love to get into contact with Andrew. Would you be able to assist in that? If possible, could you ask him to contact me at my email address pianokey88@hotmail.com?
Many thanks for your help! Georgina


A Dr. Grabow Color Duke Billiard Renewed


Blog by Steve Laug

Most of the Dr. Grabow Color Duke pipes that have come across my worktable have been in rough shape. The paint has been chipped and the finish ruined. This is the second one lately that I have worked on. The first was the Cherry Apple Red Dr. Grabow Viscount that my brother found for me. This second one is a White Billiard with a saddle stem. It is one that was made for a paper filter rather than a stinger/spoon apparatus. The pipe is stamped Color Duke over Dr. Grabow on the left side of the shank and Imported Briar over Adjustomatic over Pat. 2461905. The Patent Number is for the Adjustomatic tenon.

The pipe came to me from a friend quite awhile ago and I just got around to working on it. It was in pretty decent shape other than being dirty. The finish has some dents in the bottom of the bowl on the right side. There was some staining on the right side of the shank at the stem/shank junction. The rim was dirty and had some darkening and a few spots where the finish was worn off. The bowl had a cake that would need to be removed. The screw in tenon was dirty but the stem aligned with the shank perfectly. The stem itself was dirty inside and out. There was tooth chatter on the top and underside of the stem near the button. On the underside was a deep tooth mark in the center about ½ inches from the button. The next photos show the pipe when I brought it to the work table.Duke1

Duke2

Duke3

Duke4 I took some close-up pictures of the rim and the dents on the bottom of the bowl to give a clear picture of the issues with this pipe.Duke5

Duke6 I reamed the bowl with a PipNet reamer and took the cake back to the bare briar. I used a pen knife to clean up remaining cake that the reamer left behind.Duke7

Duke8 I scrubbed the finish with cotton pads and Murphy’s Oil Soap as I did not want to use anything that potentially would damage the painted finish on the bowl. My intent was to get the grime off the finish and to remove as much of the rim darkening as possible without compromising the paint on the rim or edges.Duke9

Duke10 I rinsed the bowl with warm water and dried it off with a towel. Here are some photos of the cleaned bowl.Duke11

Duke12

Duke13

Duke14 I cleaned the inside of the shank and the stem with pipe cleaners, cotton swabs and alcohol until they came out clean.Duke15 With the bowl cleaned inside and out it was time to address the stem. I sanded the surface of the stem to clean off the dirt and tooth chatter. I wiped it down with a cotton swab and alcohol to remove the dust and to examine the dent on the underside.Duke16 After the deep dent was cleaned I filled it with a few drops of clear super glue.Duke17 Once the glue dried I sanded the repair to make it flush with the stem surface using 220 grit sandpaper.Duke18 I sanded the entire stem with medium and fine grit sanding sponges. The repair spot is beginning to blend in very well.Duke19

Duke20 I sanded the stem with micromesh sanding pads – wet sanding with 1500-2400 grit pads and then rubbing it down with Obsidian Oil. I dry sanded with 3200-4000 grit pads and gave it another coat of oil. I finished by dry sanding it with 6000-12000 grit pads. I gave it a final coat of Obsidian Oil and let it dry.Duke21

Duke22

Duke23 In the past buffing the painted bowls and the Grabow stems has caused me a lot of grief. I have found that these stems can take very little heat that the buffing pads generate so I hand buff them with Paragon Wax and a shoe buffer. I buff the bowls the same way using the shoe buffing brush and a microfibre cloth. The finished pipe is shown in the photos below. If you are interested in this pipe email or message me and make an offer. It could easily join your rack. Thanks for looking.Duke24

Duke25

Duke26

Duke27

Duke28

Duke29

An Easy Restoration – an Unsmoked Meerschaum Billiard


Blog by Steve Laug

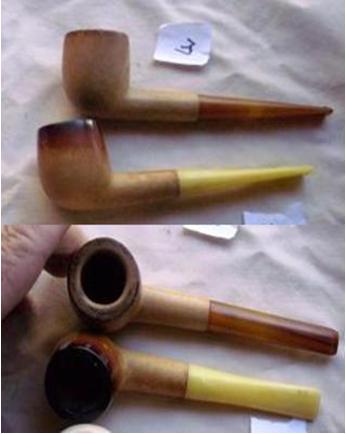
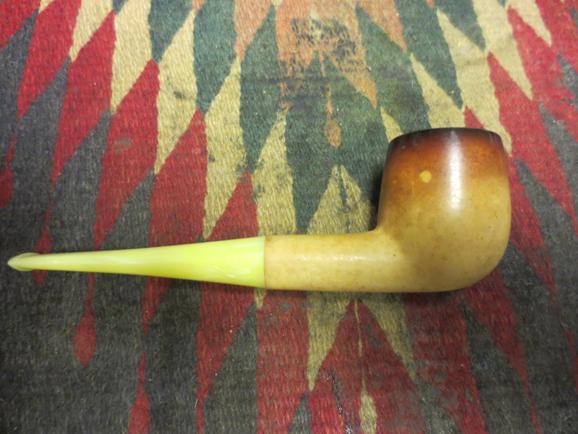
Easy1I picked up two meerschaum pipes – neither bearing any stamping or markings that give a hint to the carver. The one I am working on now is the second one in the two photos to the left. It has a flumed bowl (darkening on the top and the top third of the bowl fading as it goes down the sides. The second third is a bit lighter and the bottom third is natural). It had a metal reverse tenon – the tenon was set in the shank of the pipe and the stem is pushed over that. In this case the stem is similar cheap nylon/plastic as the ones I replaced in the two previous blog articles noted below.

Prom Night – Dressing up a Cheap Meerschaum Apple

Another dressed for the Prom… maybe the Prom King – Cheap Meer Given a New Look

The similarity in tenon and stem setup leads me to believe that I was dealing with the same carver that I noted in the second article above. There I quote a fellow on the Dr. Grabow Collectors Forum who said “They were excellent pieces of meerschaum with bad stems. The bowls were carved by Robert Strambach in Vienna.” Looking at the stems that I kept from the pipes they are identical in look, feel and composition. All three have the casting marks on the sides of the stem and are thin at the button. The difference in this one is that the pipe was unsmoked so the stem had not tooth chatter or damage. It was merely dull and dirty from sitting in someone’s collection for years.

When I received this pipe it was unsmoked. The bowl had darkened from grime and dirt. The fumed rim had a few nicks on the top and inner edge of the rim where the pipe had been knocked about. The meerschaum itself was dirty and had ground in soil on the sides of the bowl and the top and bottom of the shank. There were also a few light spots on the side of the bowl where something had been dripped on the fumed portion and lightened it.Easy2Easy3Easy4Easy5 I took a close-up photo of the rim and the bowl to give an idea of the state of both. The bowl is darkened from sitting but has not been smoked. The rim has some of the nicks I spoke about on the inner edge and the top.Easy6I scrubbed the meerschaum with cotton pads and Murphy’s Oil Soap to clean off the grime. I rinsed the bowl with warm water to remove the soap. I dried it with a cotton cloth.Easy7I sanded the bowl with micromesh sanding pads – wet sanding with 1500-2400 grit pads to remove some of the scratching on the top of the shank and some of the ground in dirt on the sides of the bowl. I dry sanded with 3200-4000 grit pads. I buffed the bowl with Blue Diamond on the wheel and then gave it several coats of soft white beeswax and buff it with a soft flannel buff. The photos below show the cleaned and polished bowl. I was careful in how much of the patina I removed in the process of cleaning the bowl. I wanted it clean but it still needed to look its age.Easy8 Easy9 Easy10 Easy11 Easy12 Easy13To polish the dullness of the plastic stem I wet sanded it with 1500-2400 grit micromesh and dry sanded it with 3200-12000 grit pads. I gave it several coats of Paragon Wax and hand buffed it with a microfibre cloth.Easy14 Easy15 Easy16I put the stem on the bowl and buffed the bowl and stem by hand with the microfibre cloth to give it a shine. The finished pipe is shown in the photos below. This was a simple clean up which is greatly appreciated after the last few hard jobs. Thanks for looking.Easy17 Easy18 Easy19 Easy20 Easy21 Easy22

A Passion for Rhodies and Dogs – Stem Repair on a Dunhill 52081 Rhodesian


Blog by Dutch Holland

With this blog it is my pleasure to introduce you to the work of Dutch Holland. His work comes highly recommended to us by Dave Gossett who has been a contributor to rebornpipes for a while now. Welcome to the blog Dutch. It is great to have you here.

Dutch1A number of years back I had the good fortune to acquire a Dunhill 52081 Bent Rhodesian. I readily admit to a passion for Rhodies and Dogs that borders on obsession. Several years later I came across a second pipe of the same year and style but a different finish. The temptation was overwhelming and I succumbed. The problem was this second pipe not only had been poorly used but it had a nasty chip in the top center of the bit at the button. But the price was right and at worst, I could always invest in a replacement bit. These Rhodies were only offered for a few years and they don’t come on the market very often so I made the decision to buy. That pipe sat in the “Awaiting Action” box in my shop for a number of years. I really wasn’t sure just how to deal with the repair but last year I decided to give it a shot and to my pleasant surprise found it was neither difficult nor complicated. As you can see from the picture above it’s all but invisible. It requires very close inspection by a knowledgeable eye to detect.

I’ve broken the process down into steps outlined below. Being able to fix a broken bit can do for you what it’s done for me, allowed me to rescue a pipe I really wanted. So here’s one way to do it.

Repairing damage to a pipe stem is an easy five step process. This kind of repair can be done by the hobbyist and makes an old pipe serviceable again at a very modest cost. The outcome is very dependent on the skill of the repairman so a few tries on an old stem for practice is recommended. The better your skill set, the better the final result but it’s neither difficult nor complicated, just time consuming. Some question the durability of this kind of repair but my experience is that they hold up to normal use quite well. I don’t recommend the use of harsh chemicals for cleaning but with reasonable care the repair will last a very long time and for the hobbyist it’s more than adequate for your average project.

What you will need:

Supplies
CA Glue, Activated Charcoal, a small drink bottle cap, light cardboard, Pipe cleaners, Scotch tape and some tooth picks

Tools
A small file set, Sandpaper (400, 600 & 1000 grit) and a set or Micro-Mesh pads (1500 to 12,000 grit)

The Process

Step 1, Rough Sanding.
Sand the area to be repaired with the 400 grit sandpaper, beveling the area of the break to provide the maximum bonding area for the repair mixture. I like the courser grade as it scores the area around the break and reduces the stark contrast between the repair area and the rest of the bits surface making the repair difficult to detect. Clean the area to be repaired well and make sure it is free of any contaminants which might inhibit the bond of the glue/charcoal mixture. I usually use a high proof alcohol (Wild Turkey 101)

Step 2, Support the repair.
Insert support into the airway to prevent the mixture from invading it. A piece of light cardboard will do the trick. First rap the cardboard in Scotch tape (mixture won’t stick to the tape) and slide it into the slot. Then slide a pipe cleaner into the slot under the cardboard to force a snug fit up against the repair area.

Step 3, Making and applying the repair mixture.
Place a portion of the activated charcoal in the drink cap. I use a spoon on a Czech pipe tool as about the right amount. To that I add the CA glue until I have about a 50% Glue mixture and then gently stir until the charcoal is completely mixed with the glue. I like to let the mixture set for 15 seconds to allow any air bubbles caused by the mixing to escape. Using the tooth pick apply the mixture to the repair area until the build-up is higher than the bit surface. There is some shrinkage when the mixture dries so extra depth is essential to getting a smooth, flat surface when finished. Work quickly as the CA glue thickens rapidly. If necessary repeat this step to get the surface level to where you want it. In the example shown below I added mixture twice. First to fill the gap and a second time to rebuild the button area.

Step 4, Rough sanding & Shaping
Once the repair mixture has cured, (I usually leave it for several hours, probably overkill but I find it shapes better if it’s well cured) start with the files and reduce the excess mixture and get a rough shape. Do not try to get a close finish to the shape you want as the files are quite course and will leave significant scratches on the surface. Allow for this by leaving some surplus material in place. Now with the sandpaper progressively contour the surface starting with the 400 and moving to 600 and then 1000 grits. Slow, careful sanding works best using the sandpaper to contour the fine details. Sometimes air bubbles get caught in the repair mixture and will leave a tiny void in the surface. Should this happen add a thin touch of the CA glue to the void and re-sand. The imperfection will become un-noticeable. Keep in mind that any irregularities in the surface will become traps for contaminants so don’t be too forgiving of them.

Step 5, Finishing the bit
Now you’re ready to restore luster to the bit. Here Micro-Mesh is a great solution for the task. Progressively sand the bit starting with the 1500 grit and progressing up to the 12,000 grit. The human eye cannot detect scratches left by the 12,000 grit pad so the surface looks shiny. I don’t recommend buffing as an alternative. You can quickly undo all the painstaking work you have just completed. As a final step in the process a light buff with white diamond followed some carnauba wax will give you a great shine and inhibit future oxidation.
So there you have it. Give it a try. You can’t make a broken bit much worse than it already is so there’s little at risk. Who knows, you might like the results and there’s something very satisfying about being able to rescue a pipe others would consider a lost cause. This technique was shared with me by Dave G and it works well so I pass it on with my recommendation.

Note
In subsequent tries I’ve found this solution works invisibly Vulcanite but is more detectable on acrylics.Dutch2

Wm Wales Billiard Restemmed and Restored


Blog by Steve Laug

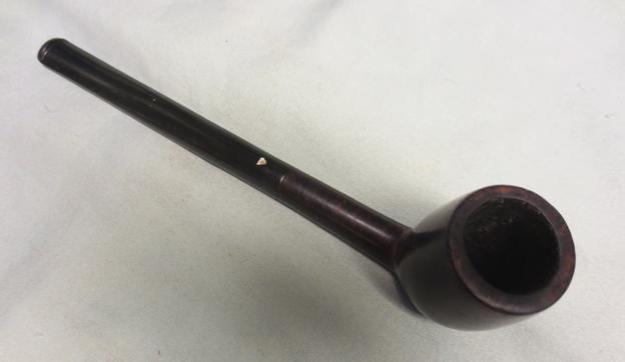
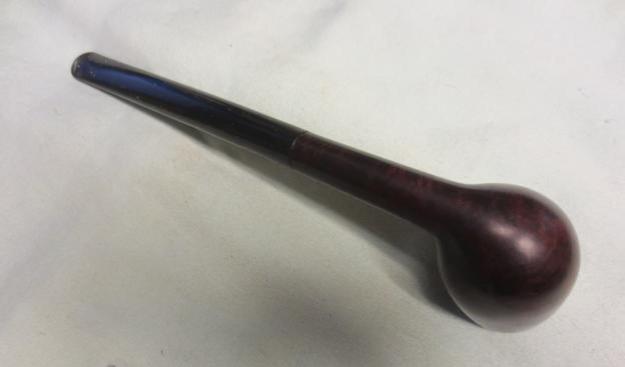
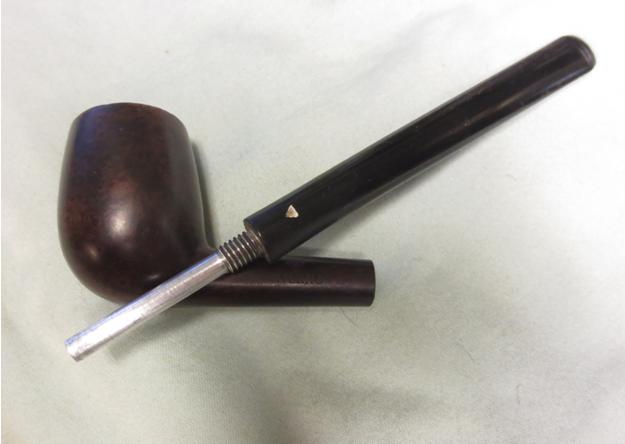
Wm1This is yet another pipe that my brother Jeff picked up in Montana and sent my way. It is stamped Wm Wales on the left side of the shank and on the right side it is stamped Grecian in script. The stamping though a different script than that found on the Carey Magic Inch pipes is similar in the way it is stamped and the stamping of Grecian on the right side of the shank. I did some digging on the internet and found nothing about the brand other than several pipes with the same stamping for sale. There is nothing about the brand on the various pipe information websites. There is nothing about the brand on Who Made That Pipe or in Lopes book so I am left with a bit of a mystery.

The pipe has some pretty decent grain on it. The sides of the bowl have some interesting birdseye grain and the front and the back of the bowl have cross grain on them. The stem is a mix of grains. The finish was worn and dirty. The rim had a cake of tar and grit on the top of the bowl. The inside of the bowl had a hard, thick cake that almost filled the bowl. The rim itself was undamaged and showed no burn marks or damage to either the outside edge of the rim or the inside bevel of the rim. The stem was at first glance workable but upon examination it had a crack in the centre of the button on both the top and bottom sides. There were also tooth marks that were deep and one split the button. The surface of the stem was wavy and rippled from the way it had been buffed. The slot in the stem was clogged and no air would go through the airway.

In the photo above to the left the pipe is the second one down from the top. The next set of four photos show the pipe as was when it arrived at my work table.Wm2

Wm3

Wm4

Wm5 I took a close up photo of the bowl and rim to give a clear picture of what I started with in my clean up. The two photos following that give a good view of the stamping on the shank.Wm6

Wm7

Wm8 The next two photos show the damage to the stem. The more I looked at the damage the more I realized that a replacement stem would be less work than fiddling around with repairing the damage on that one.Wm9

Wm10 I tried to ream the bowl with a PipNet reamer and found that the cake was so hard that reamer did not even cut into the surface of the cake. I tried a KLEENREEM reamer and made no headway either so I dropped the bowl in an alcohol bath to soak. It would soften the cake and clean up the grime on the finish of the rim and bowl as a bonus.Wm11 While it soaked I looked for a new stem in my can of stems and found one that would work quite well. It was a little larger in diameter but once I fit it to the stem some sanding and shaping would take care of that.Wm12 In the morning I took the bowl out of the alcohol bath and worked on it to ream it. I used the PipNet and the KLEENREEM reamer on the bowl. I also used a pen knife to work at cutting away the hard cake. In the process of reaming I found that the bowl was conical in shape rather than U shaped. I used the drill bit from the KLEENREEM tool to open the airway in the shank.Wm13

Wm14

Wm15 Once I had cleaned out the shank and the bowl with alcohol, pipe cleaners and cotton swabs I fit the new stem to the shank. I sanded it with 220 grit sandpaper to clean up the tooth chatter and the oxidation. I sanded it with a medium and a fine grit sanding sponge to further remove the scratching and oxidation. I wiped the stem down with Obsidian Oil.Wm16

Wm17

Wm18

Wm19

Wm20 I scrubbed the briar with acetone on cotton pads to remove the finish and the remaining grime on the rim and bowl.Wm21

Wm22

Wm23

Wm24 I sanded the stem with micromesh sanding pads – wet sanding with 1500-2400 grit pads on the briar and the stem and then rubbed down the stem with Obsidian Oil. I dry sanded with 3200-4000 grit pads and gave it another coat of oil. I finished by dry sanding the stem with 6000-12000 grit pads and gave it a final coat of Obsidian Oil.Wm25

Wm26

Wm27 I buffed the bowl and stem with Blue Diamond polish on the wheel and then gave it multiple coats of carnauba wax. I buffed it with a clean flannel buff to raise the shine. The finished pipe is shown in the photos below. The grain really shines through in the photos. It is a beautiful piece of briar. I would love to know more about the history of the brand to give more depth to my understanding of the pipe.Wm28

Wm29

Wm30

Wm31 I took a few close-up photos of the stem and the bowl showing the grain of the briar and the shape and look of the stem. Thanks for looking.Wm32

Wm33

Wm34