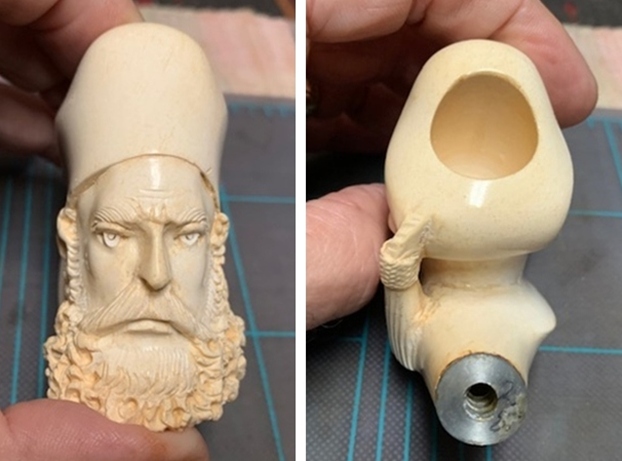
Blog by Paresh
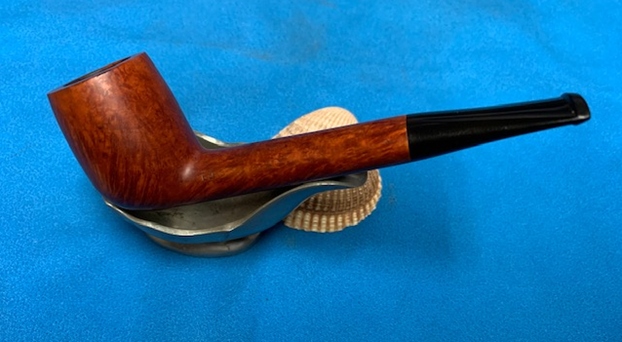
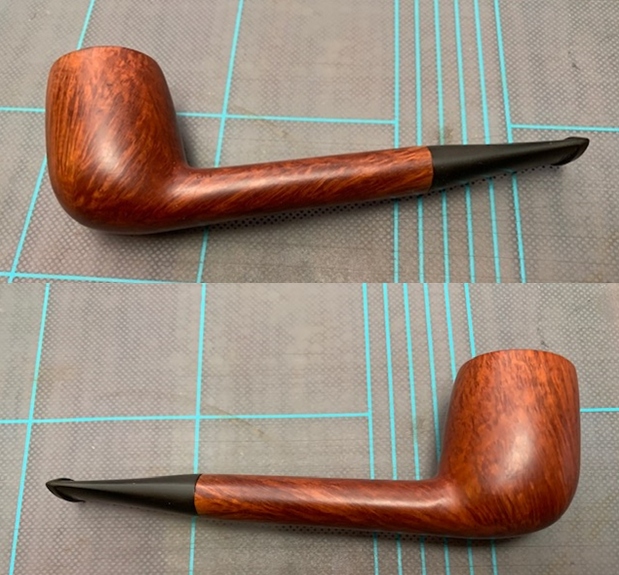
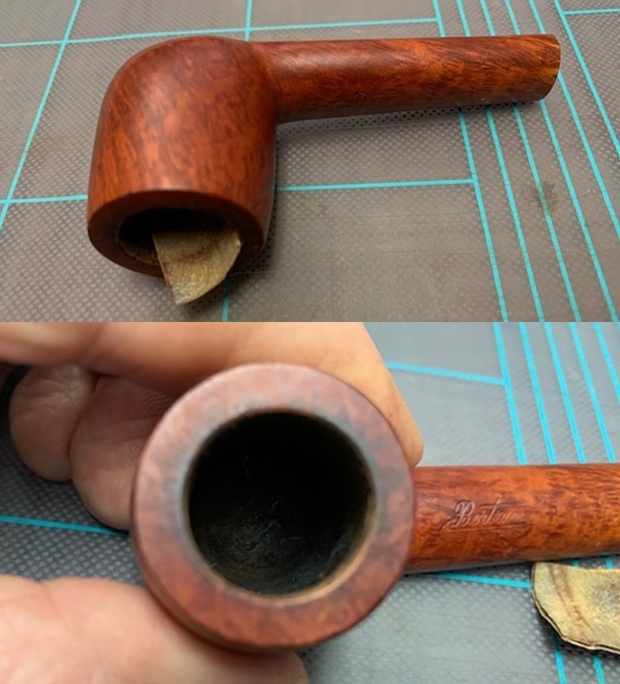
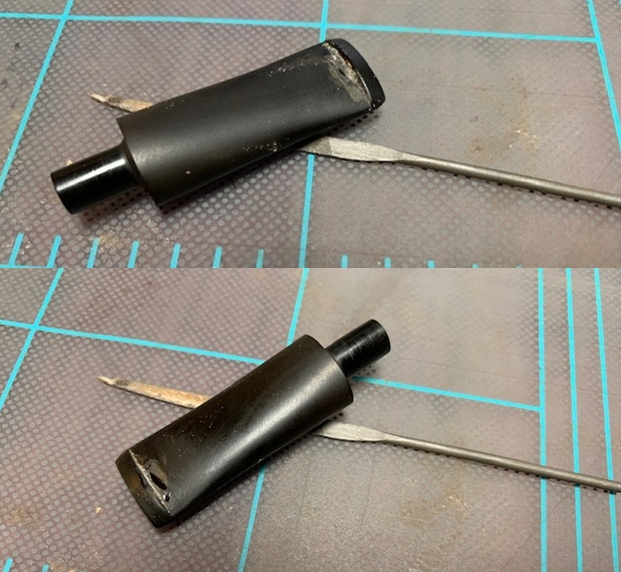
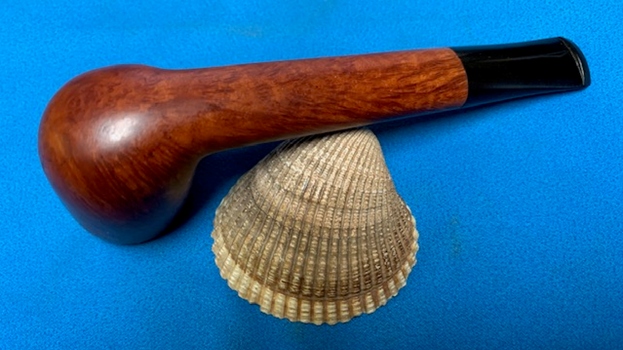
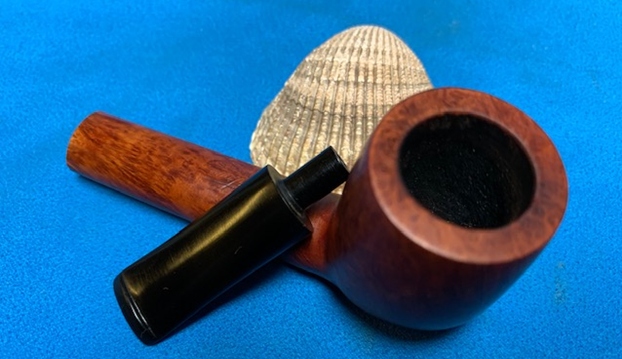
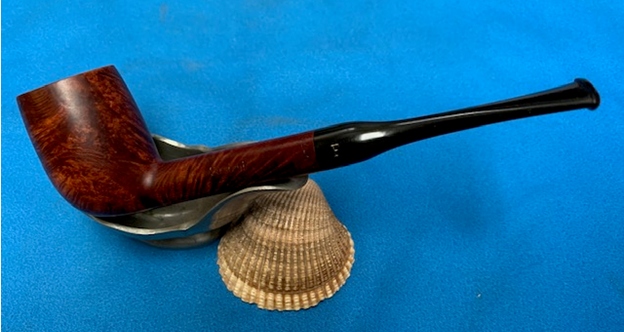
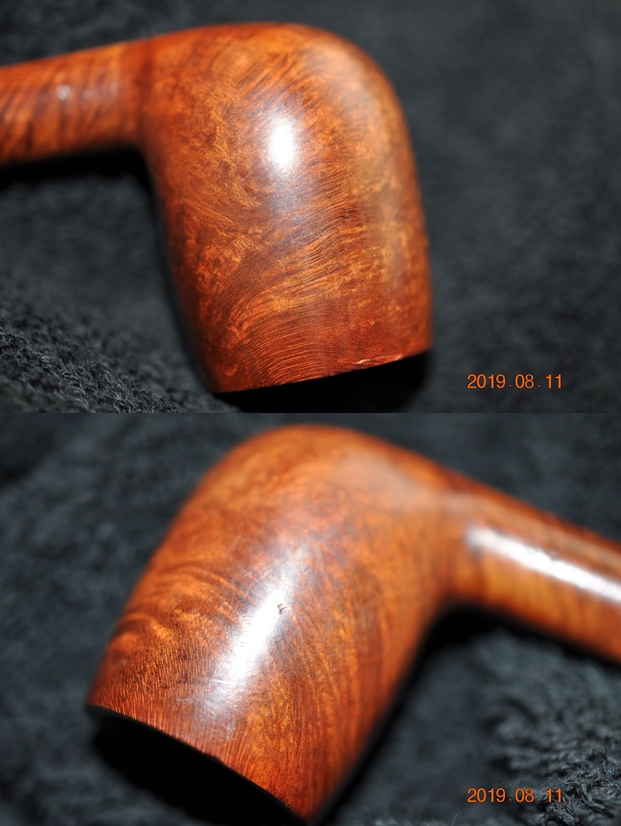
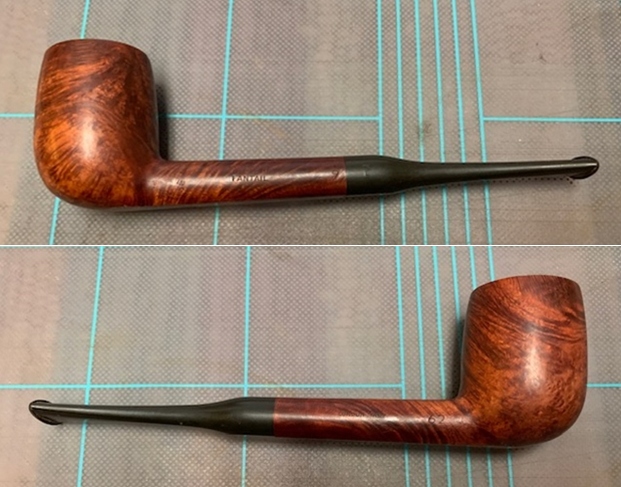
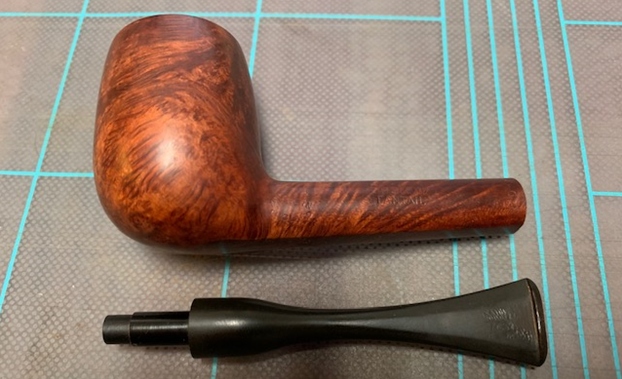
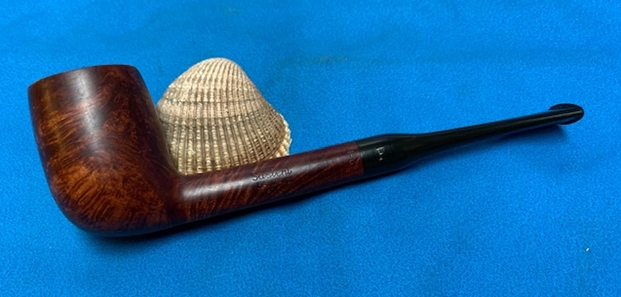
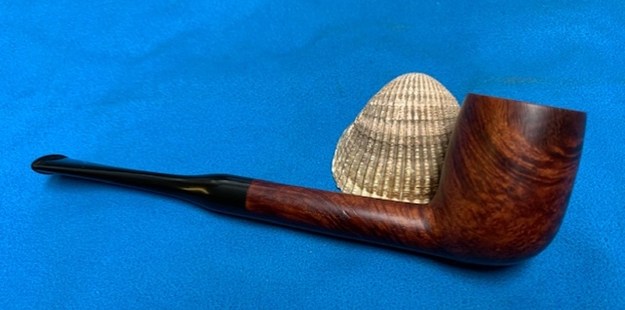
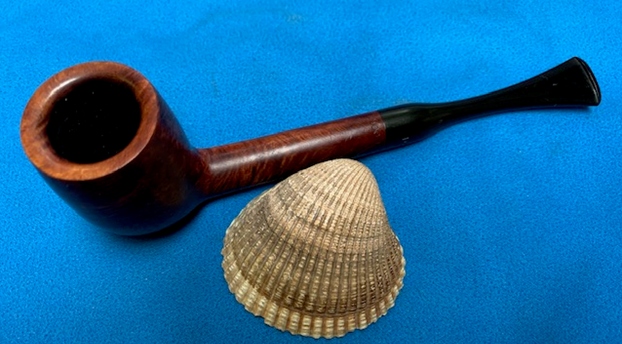
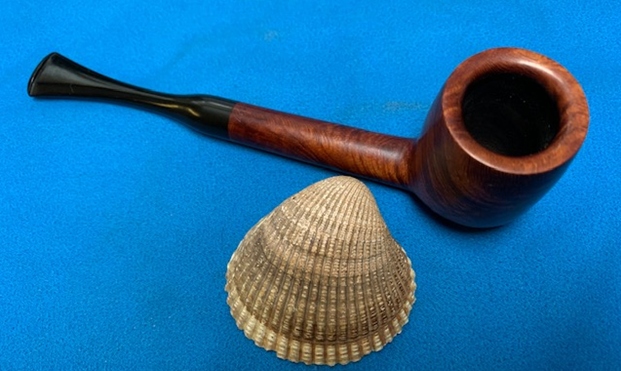
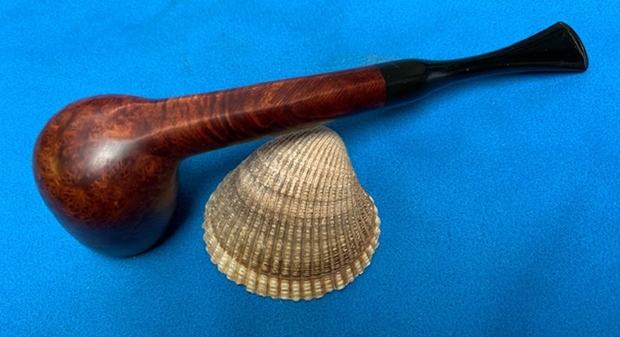
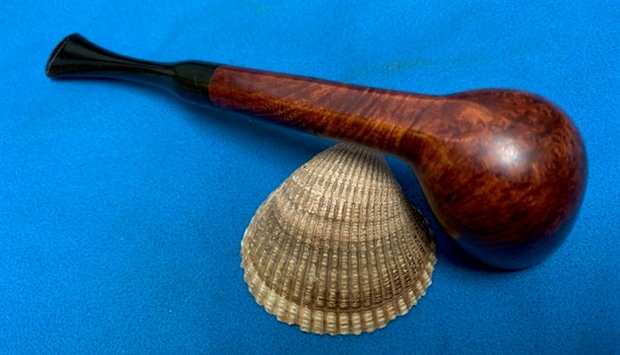
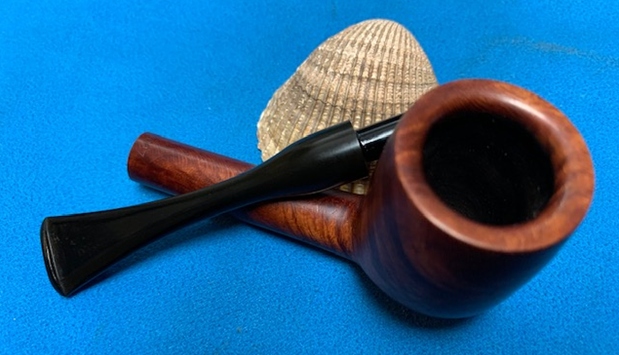
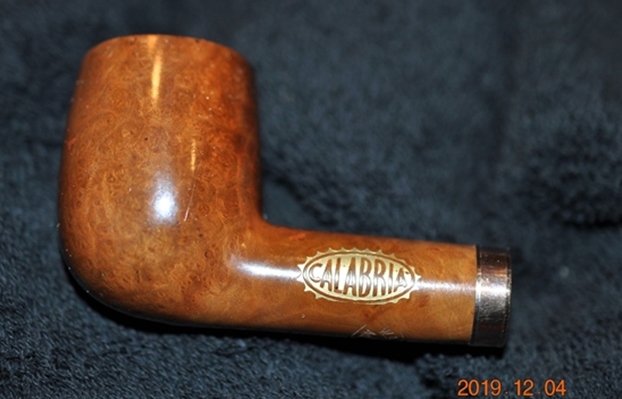
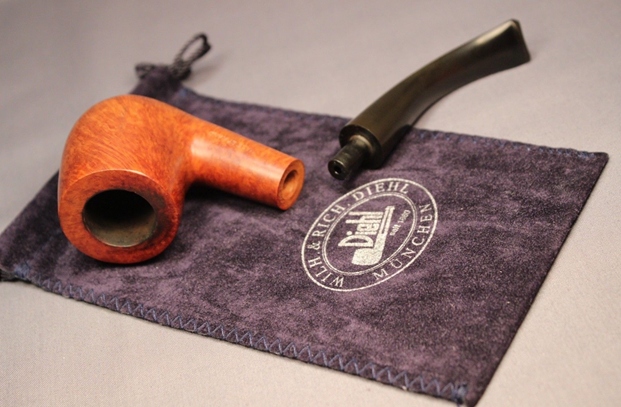
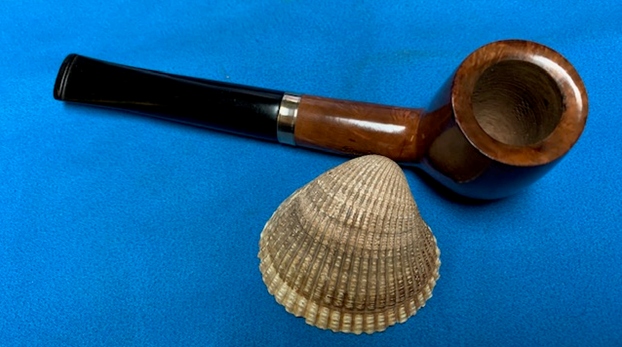
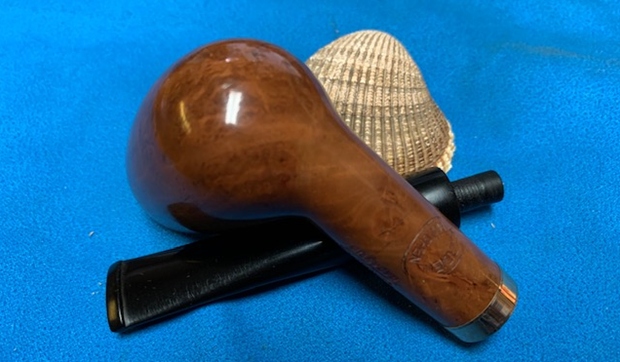
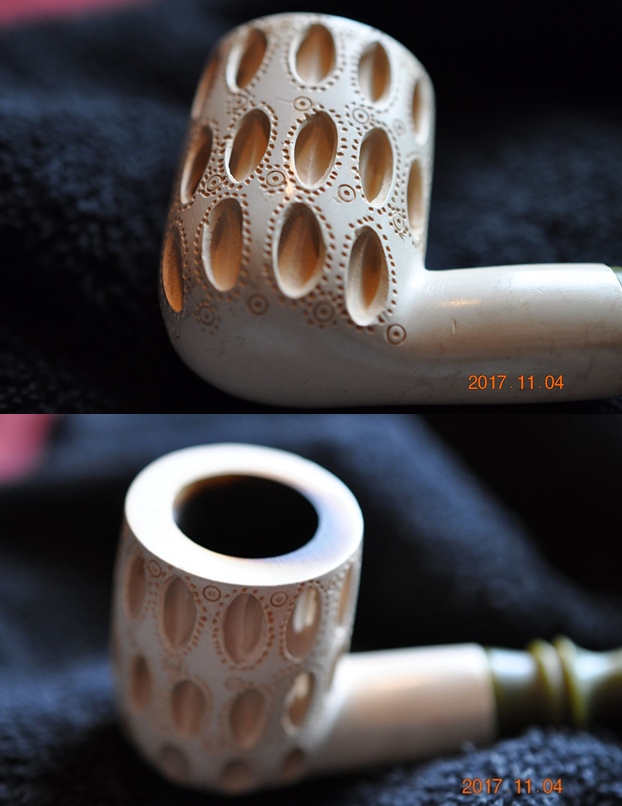
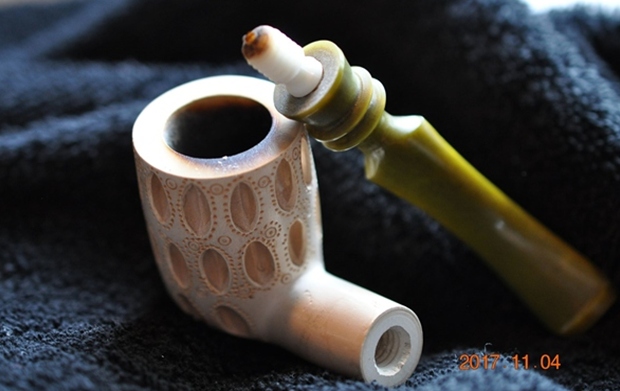
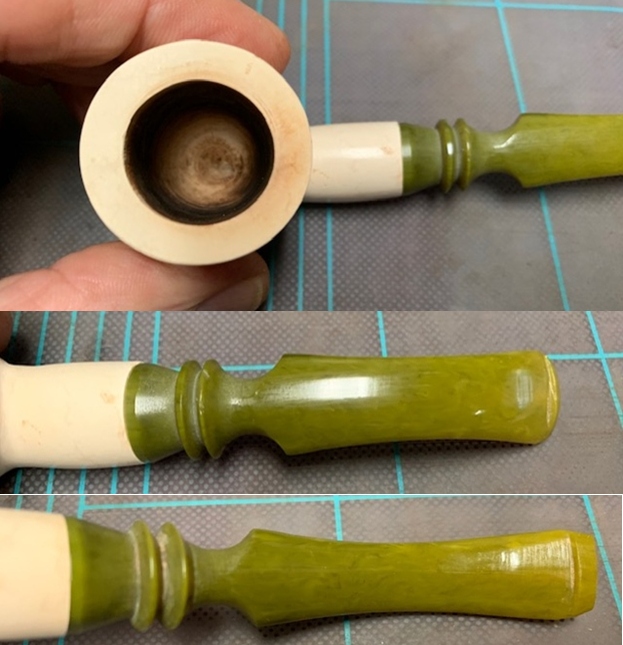
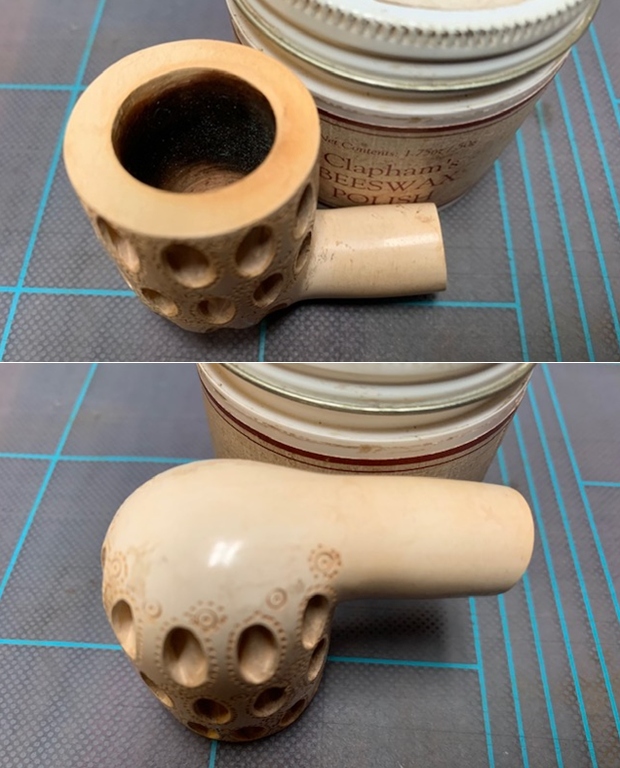
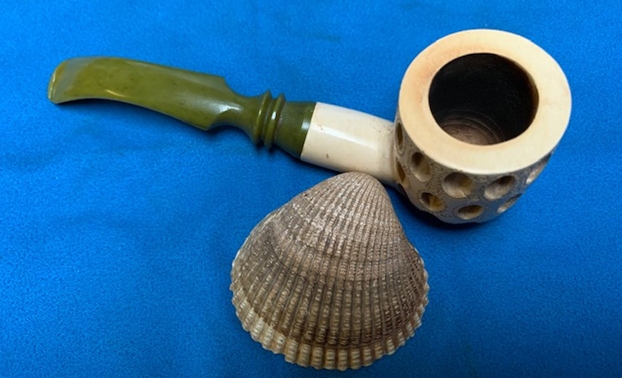
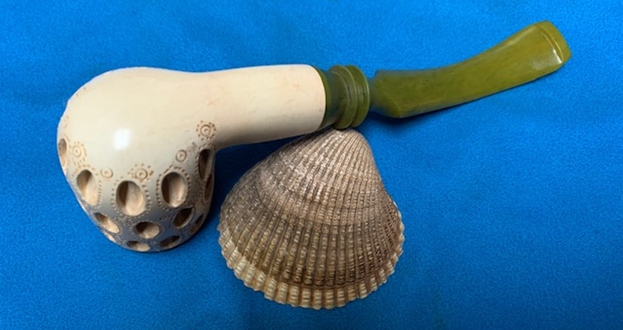
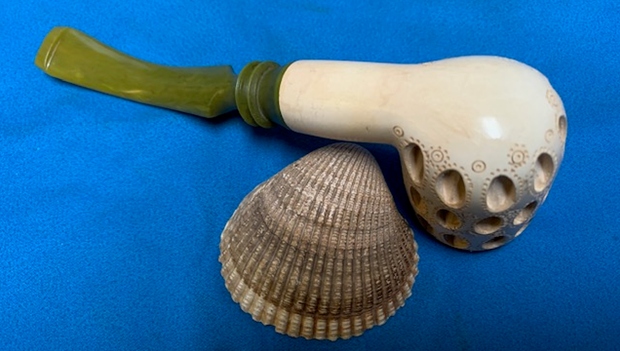
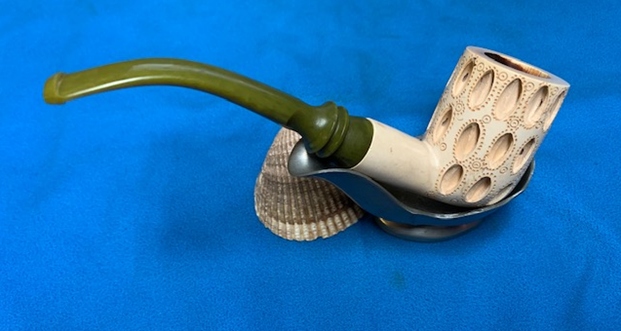
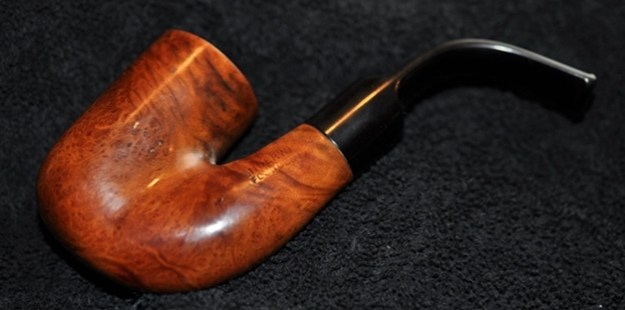
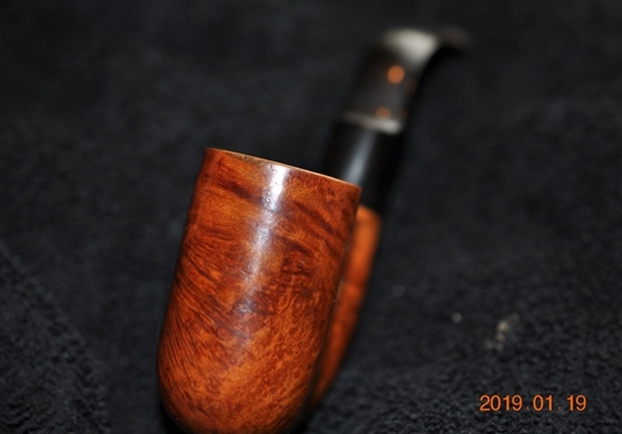
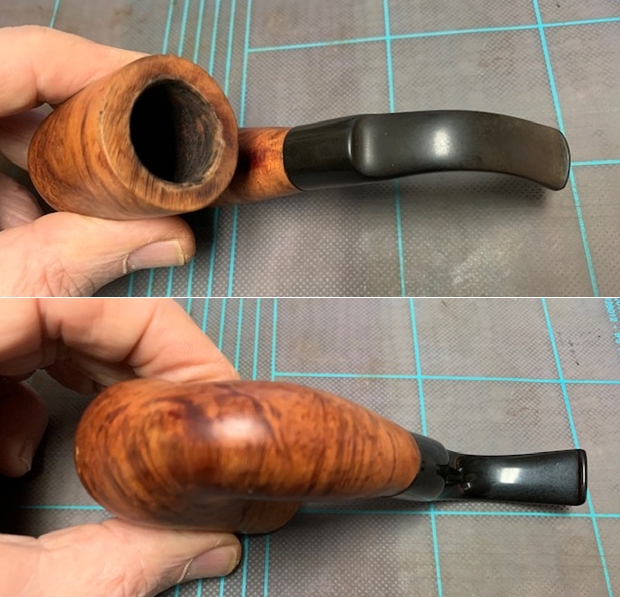
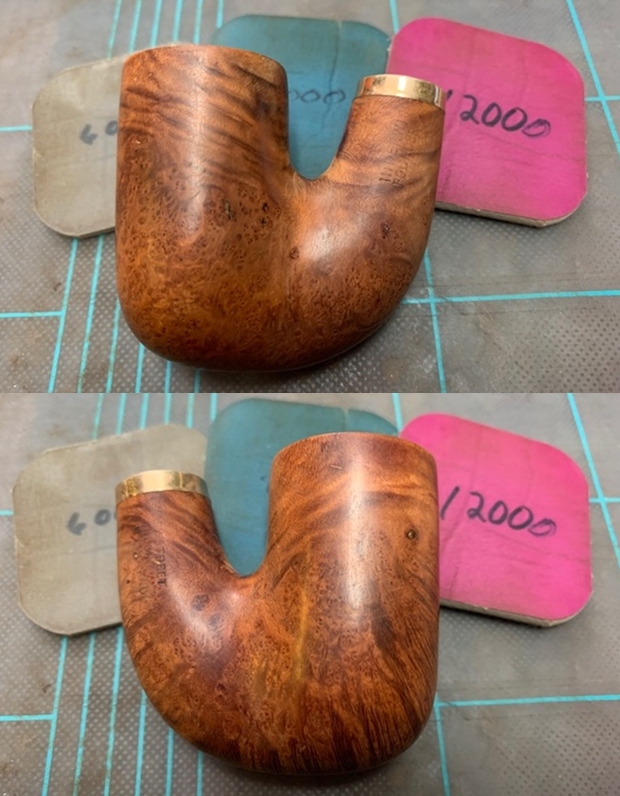
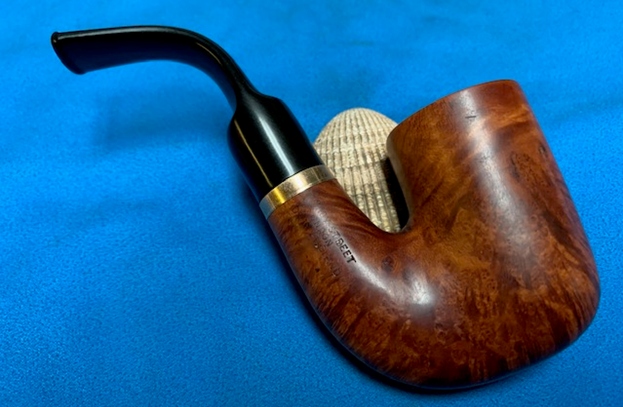
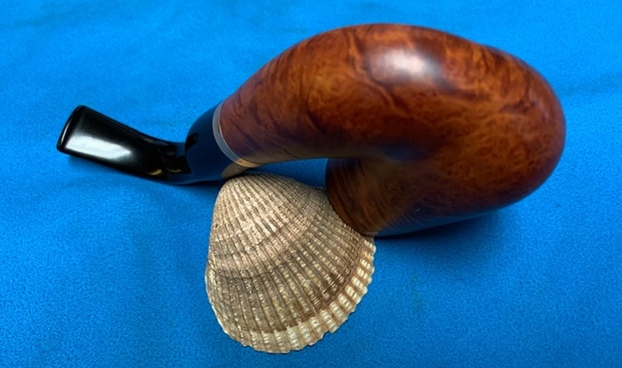
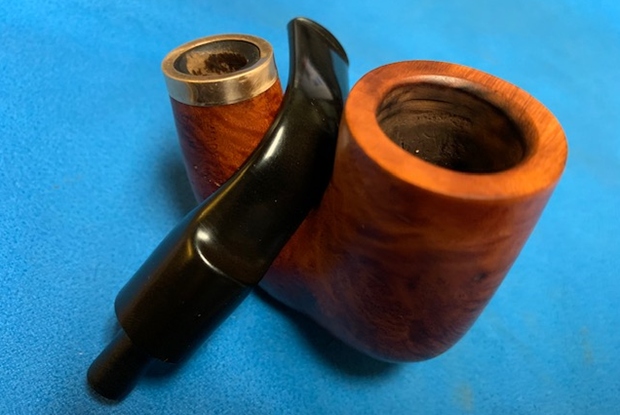
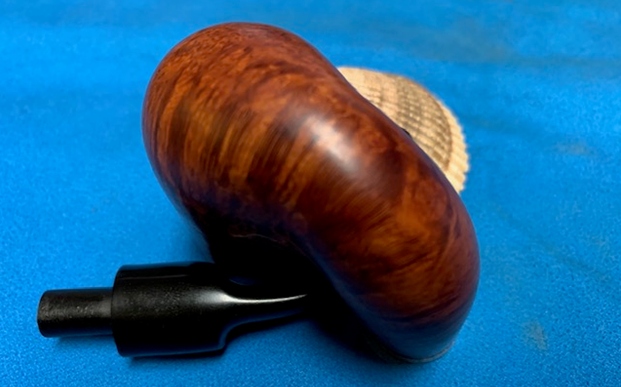
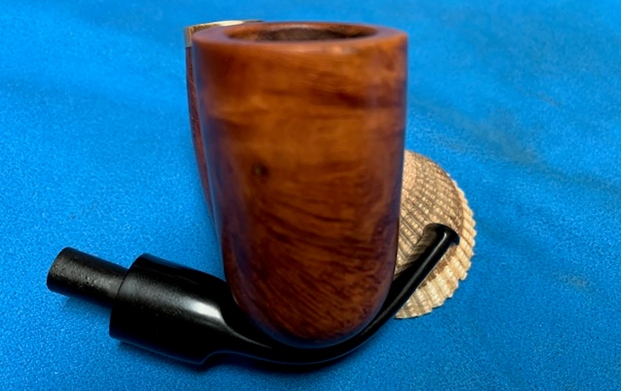
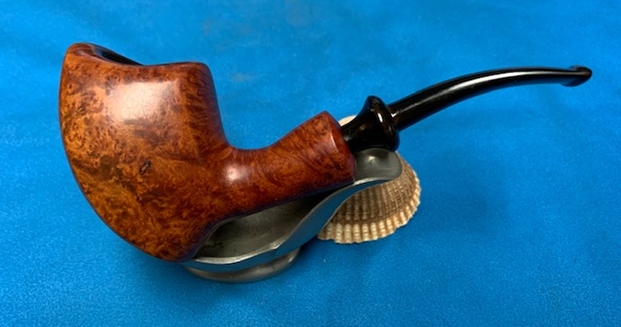
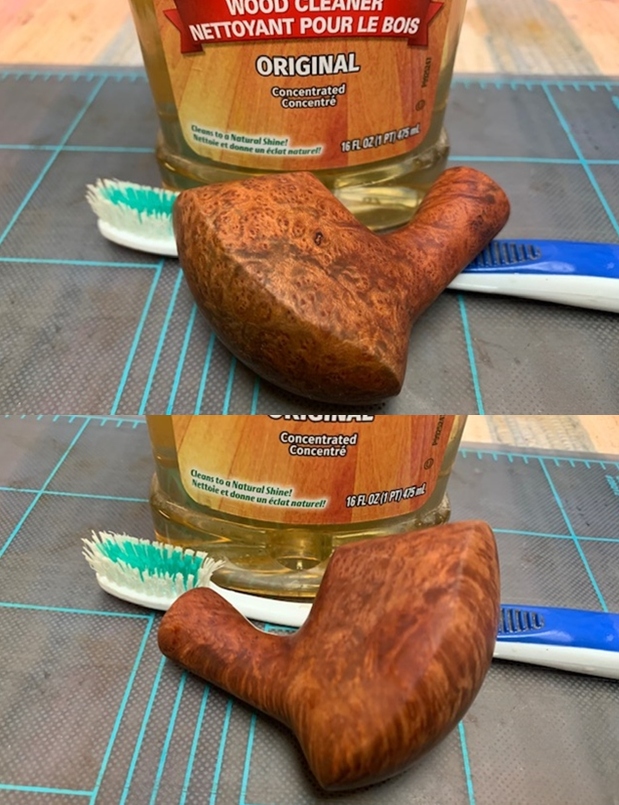
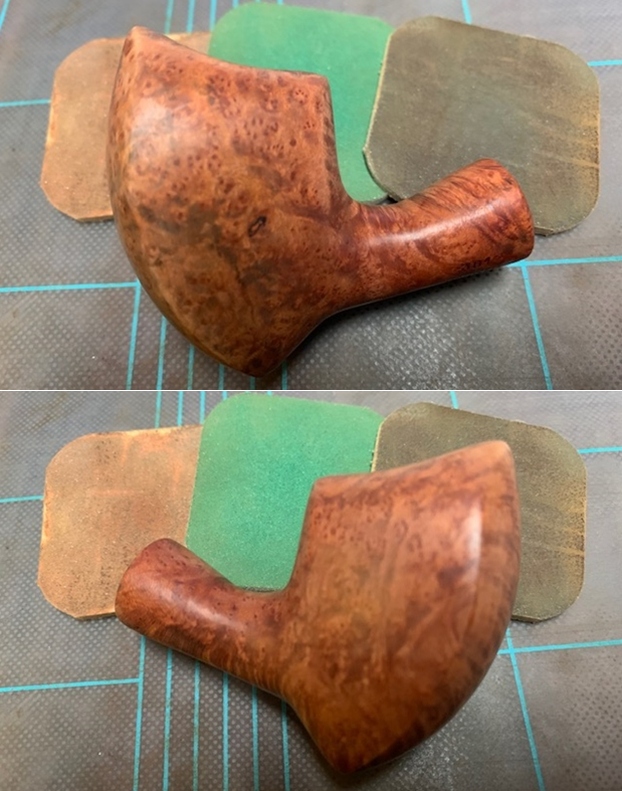
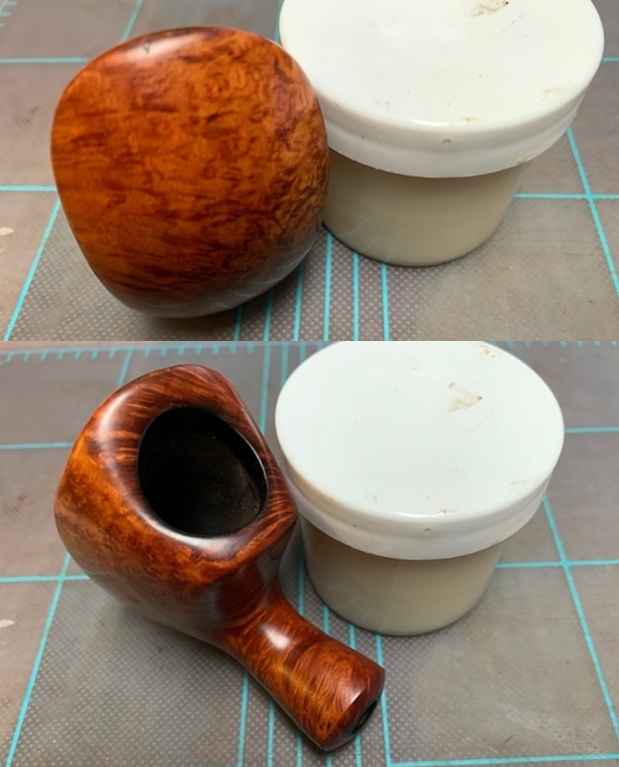
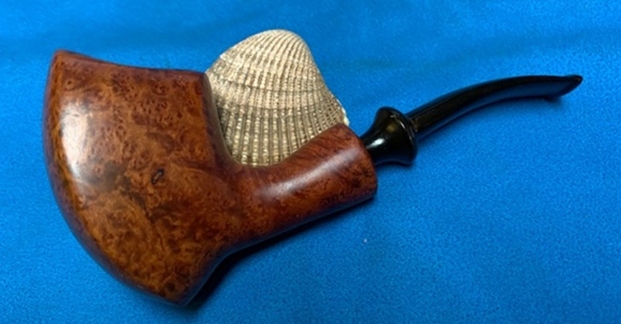
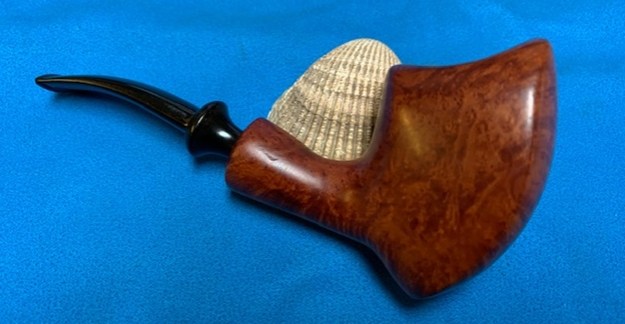
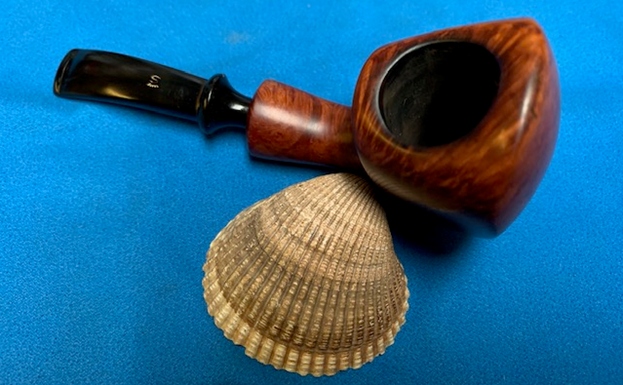
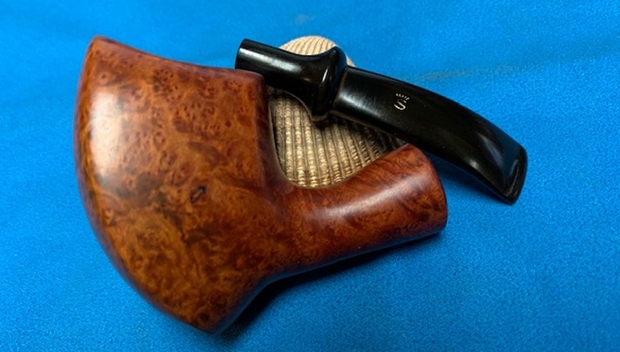
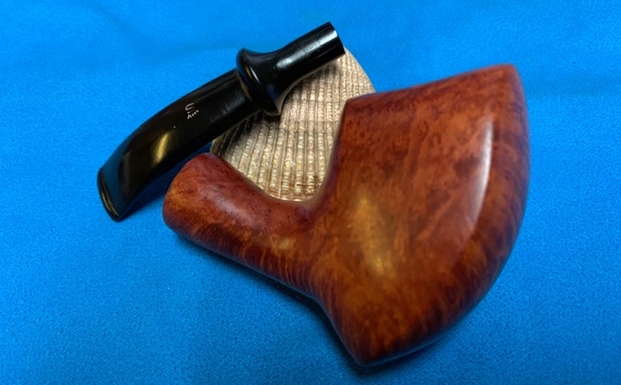
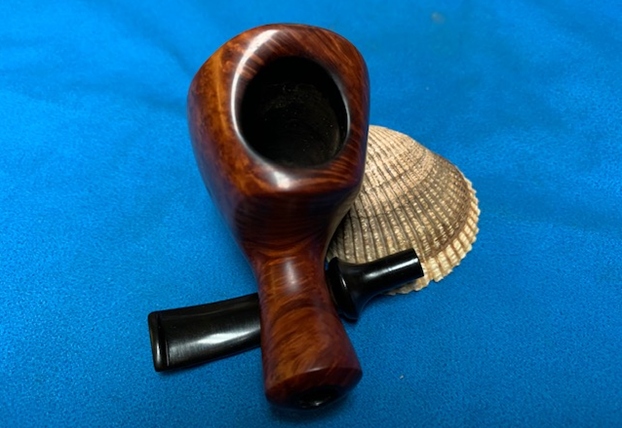
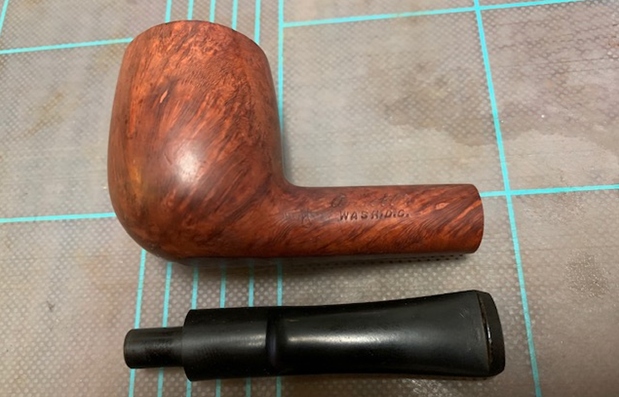
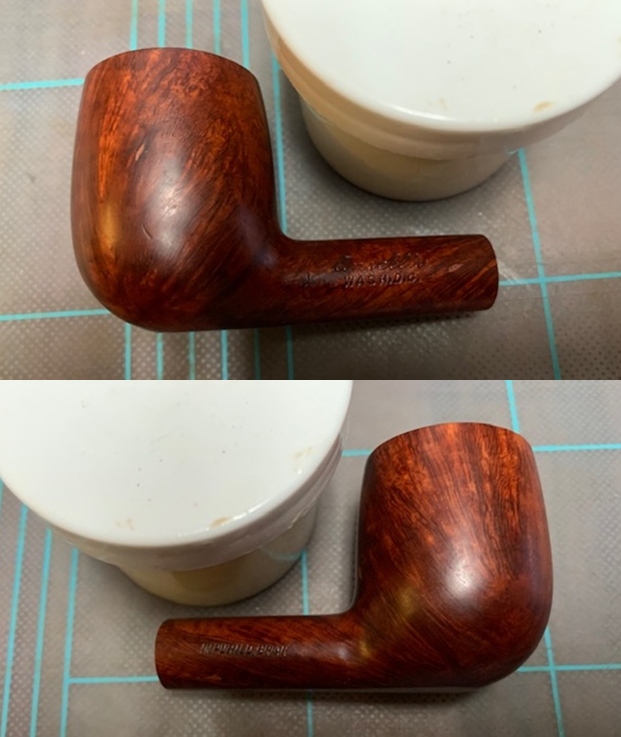
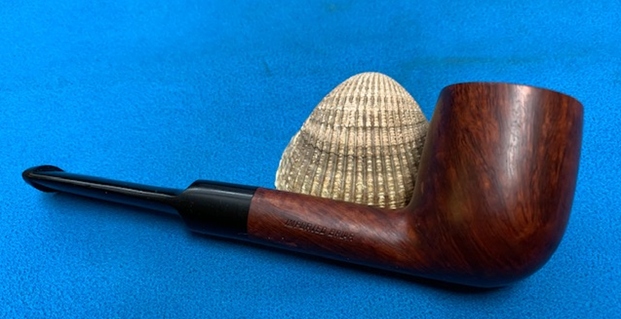
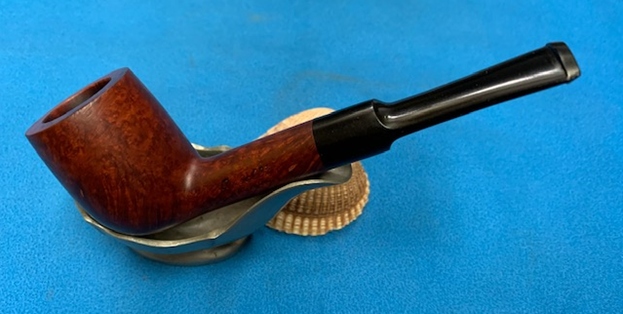
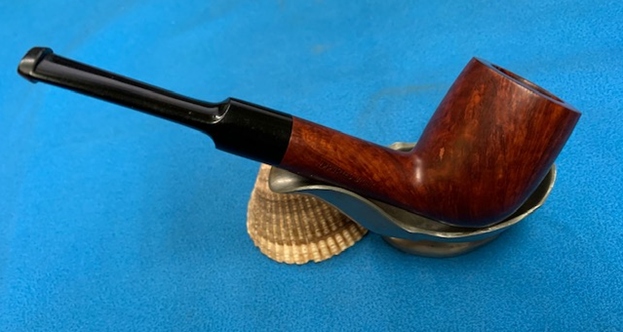
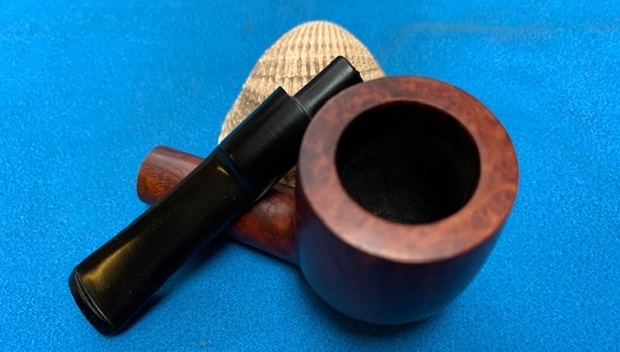
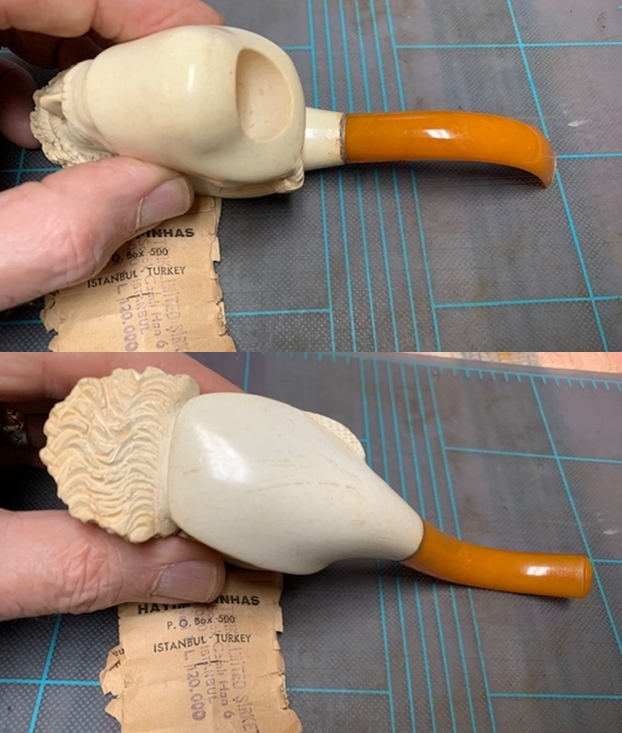
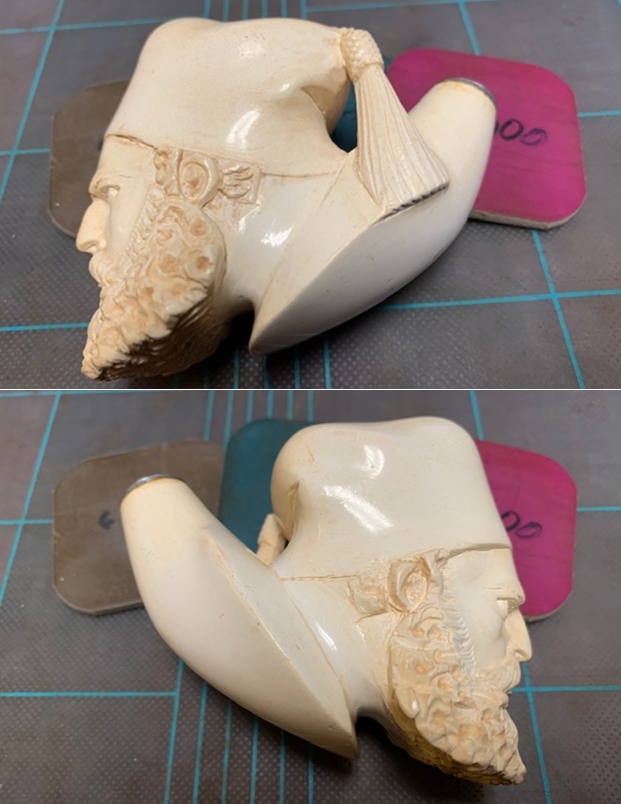
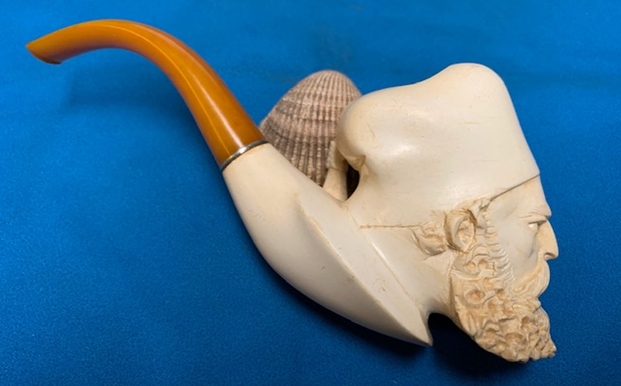
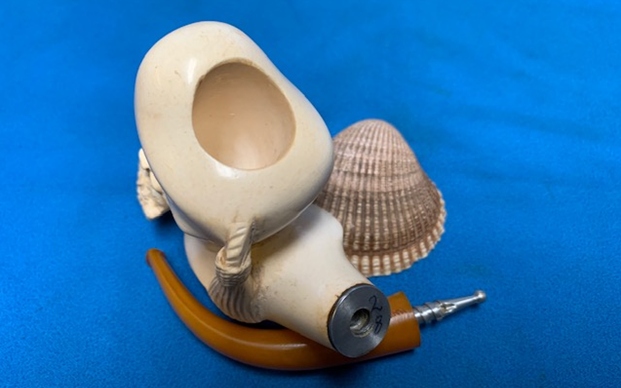
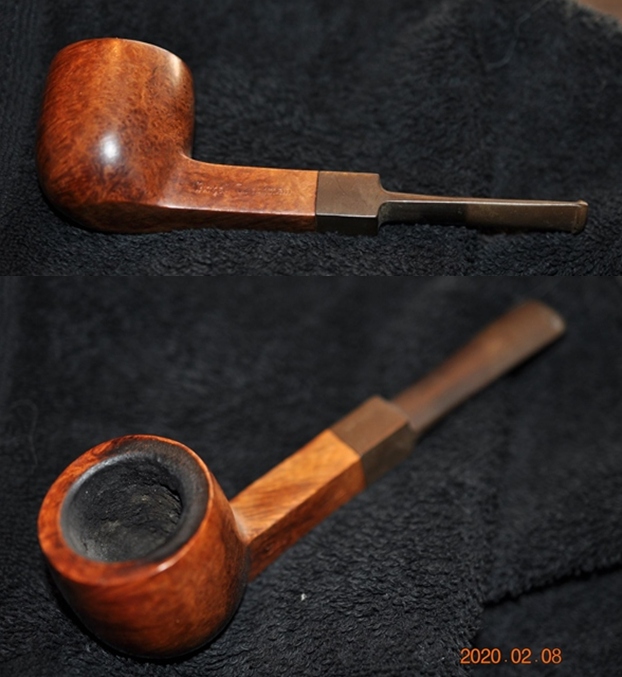
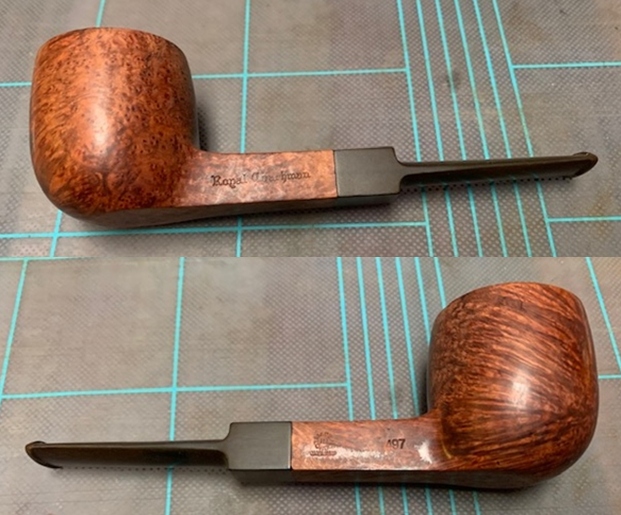
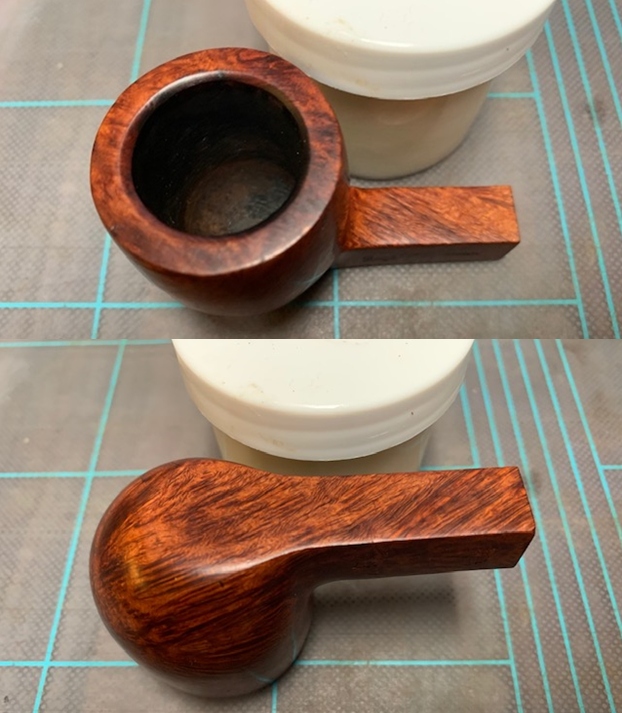
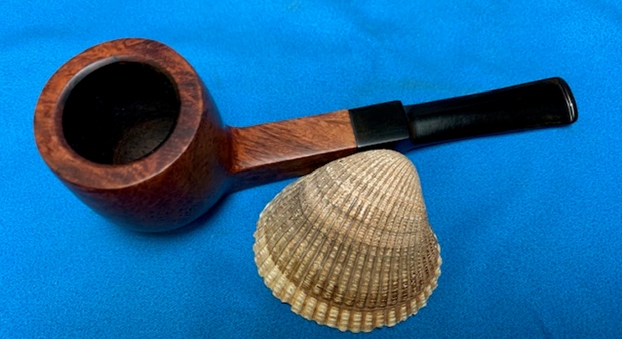
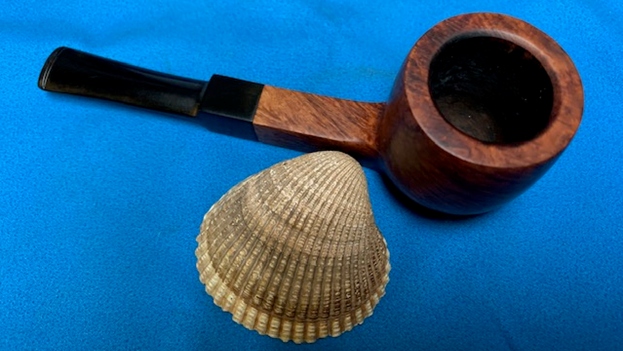
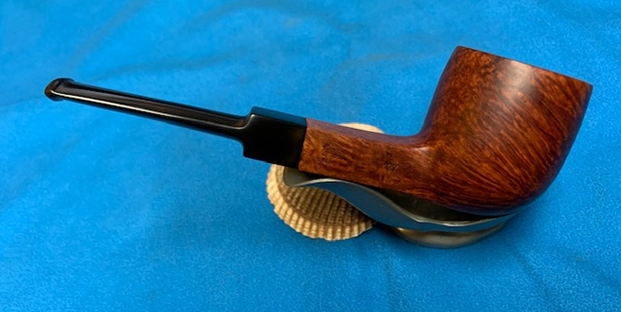
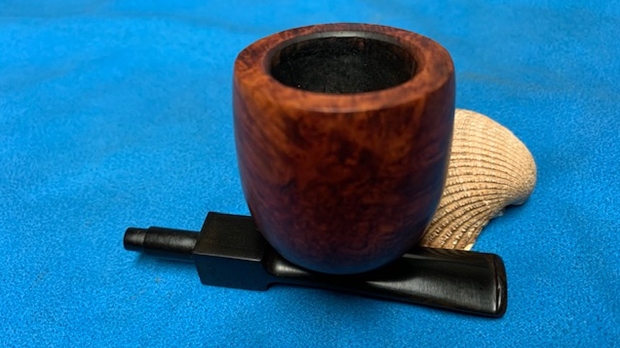
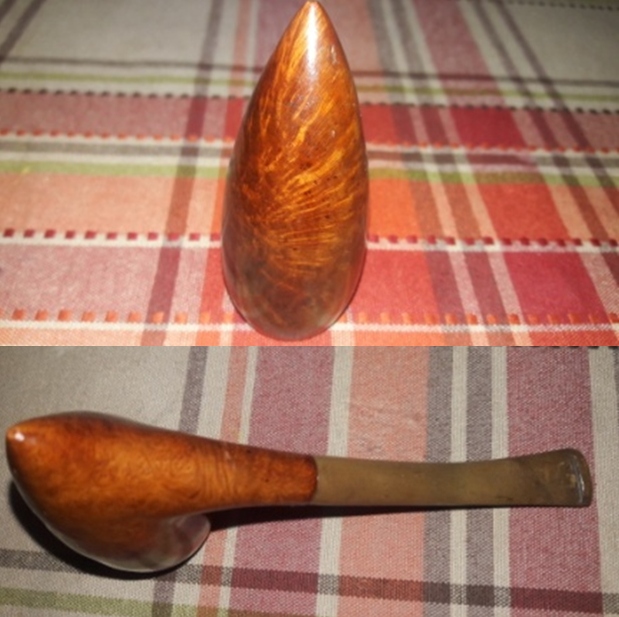
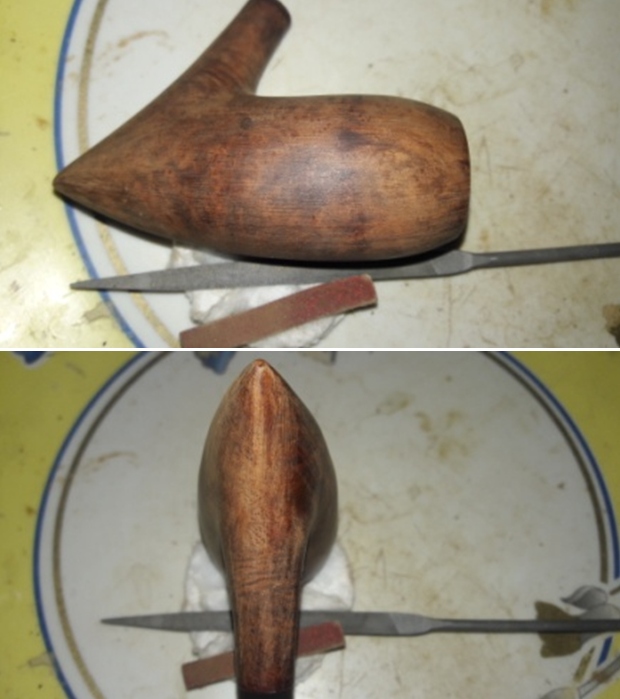
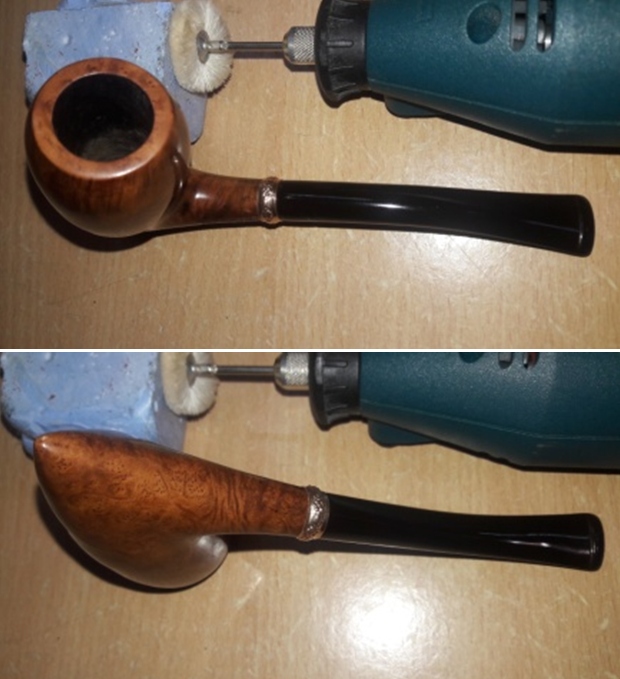
The next pipe selected for refurbishing is a beautifully shaped pickaxe pipe. The stummel has a slender tall chamber with a subtle flare about ½ inch below the outer rim edge. It’s a shape that I have, generally speaking, come to associate predominantly with Danish carvers; however, this one has its links with either USA or Italy!! This pipe has a smooth surface with a nice hand feel as it comfortably fills my entire palm. For a pipe with a length of 5 ½ inches and bowl height of 3 ½ inches, it’s pretty much ultra light weight, making it a perfect to clench. The vulcanite tapered stem is thin and delicate with a slight bend that matches the curve from the foot of the stummel to the shank end. The pipe as it sits on my work table is shown below.
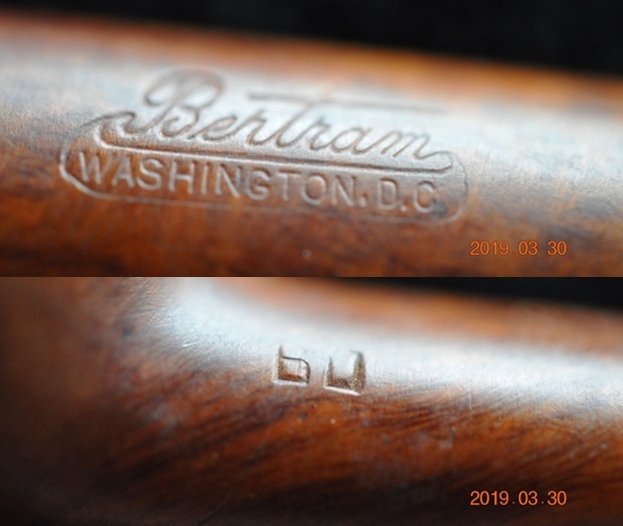
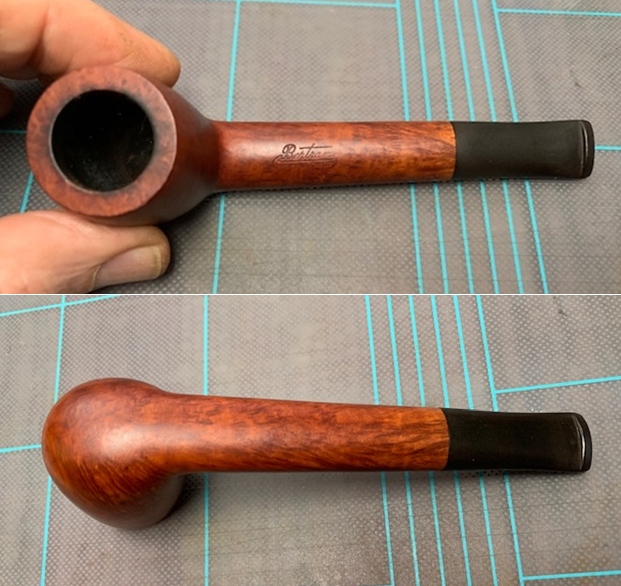
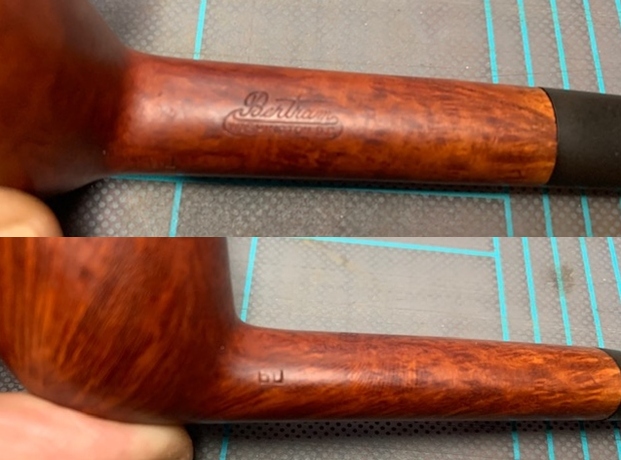
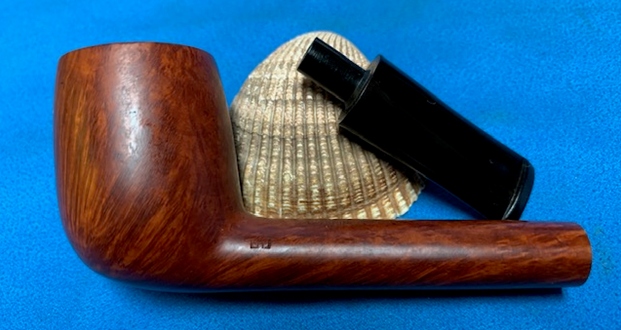
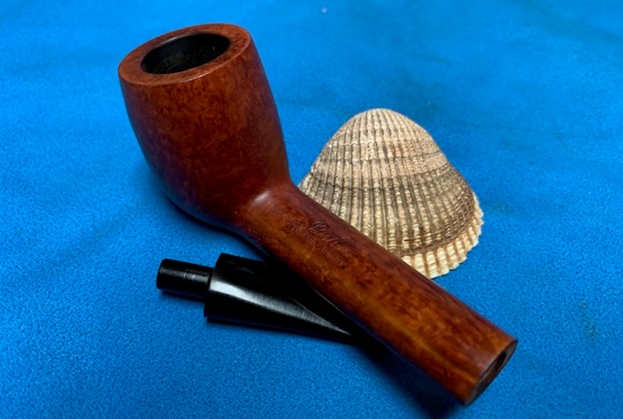
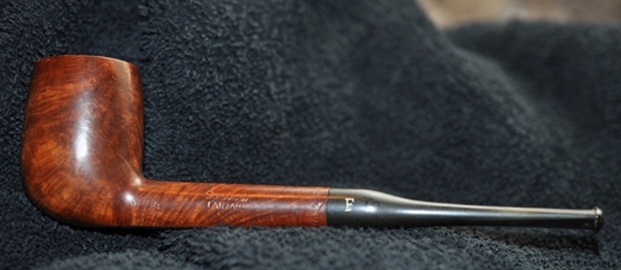
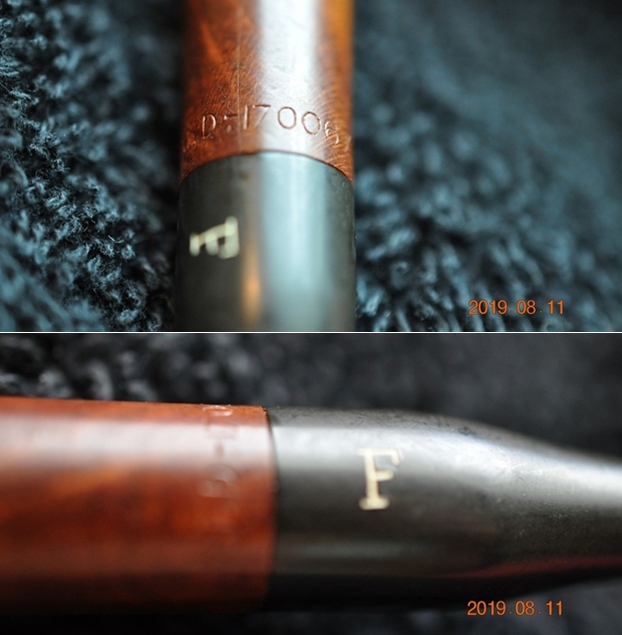
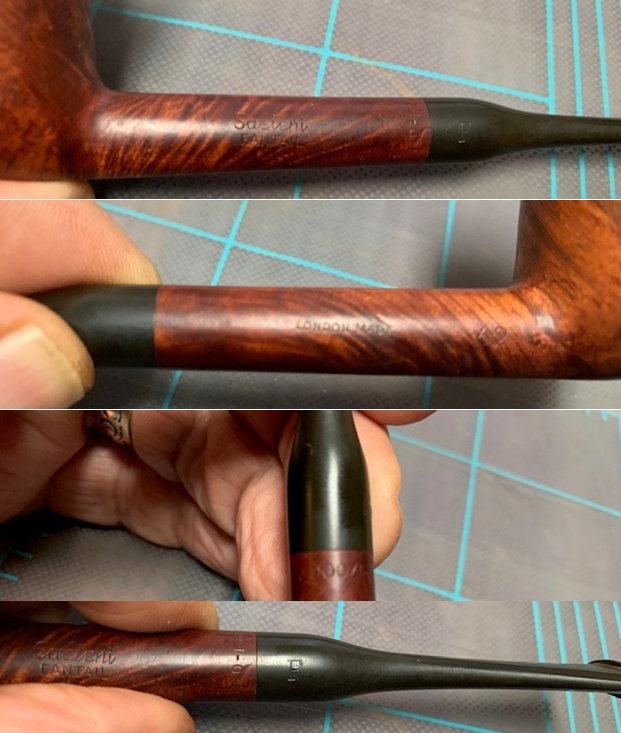
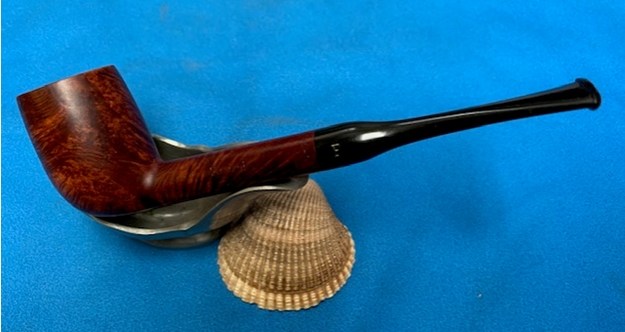
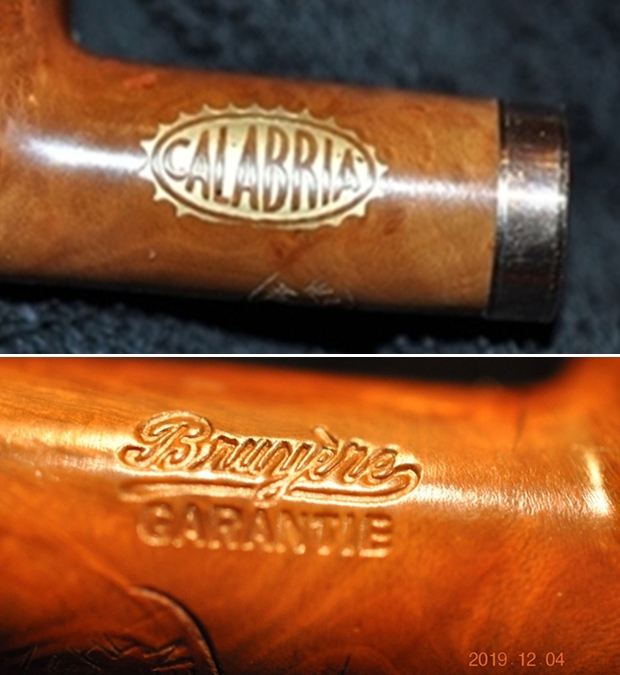
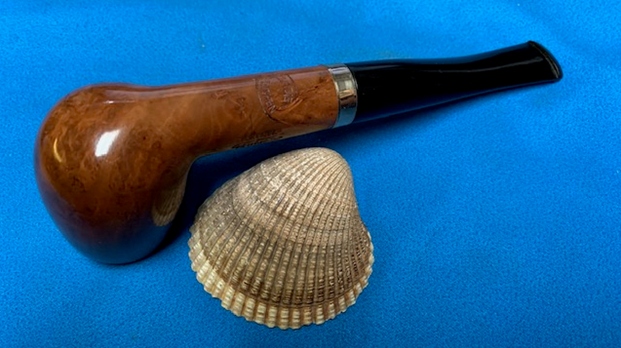
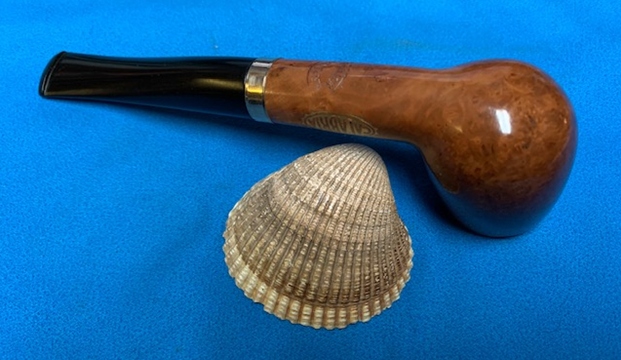
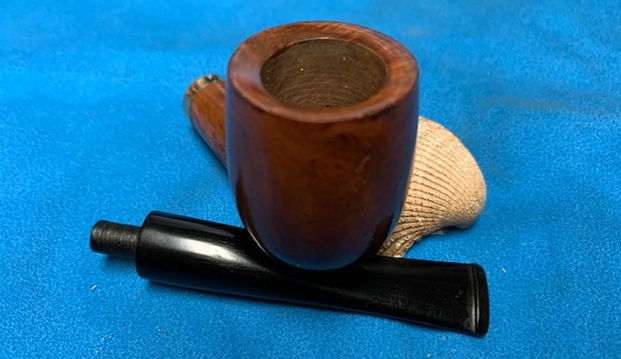
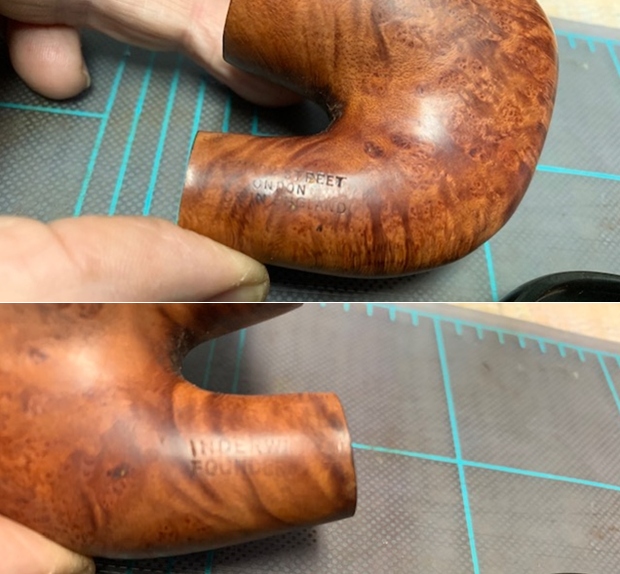
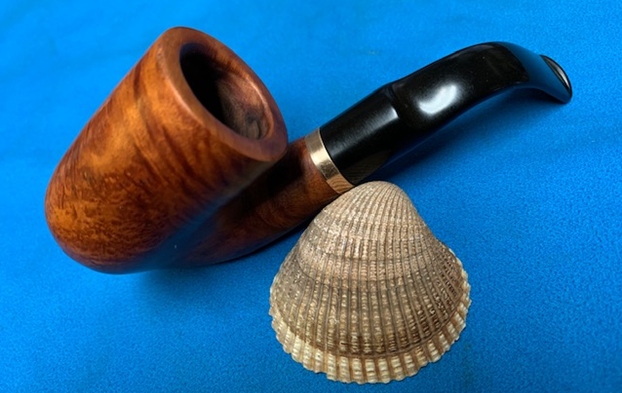
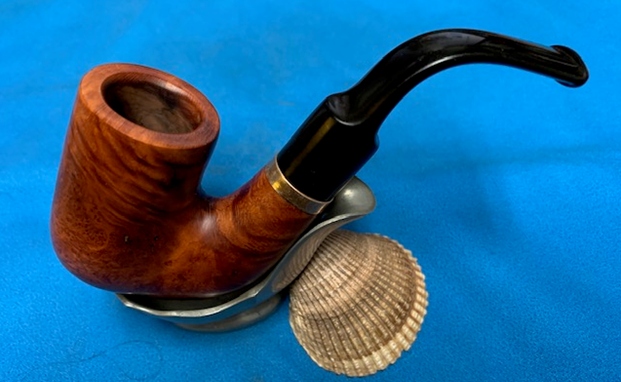
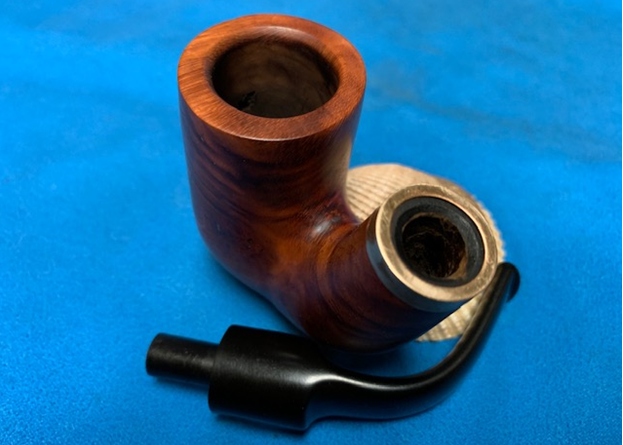
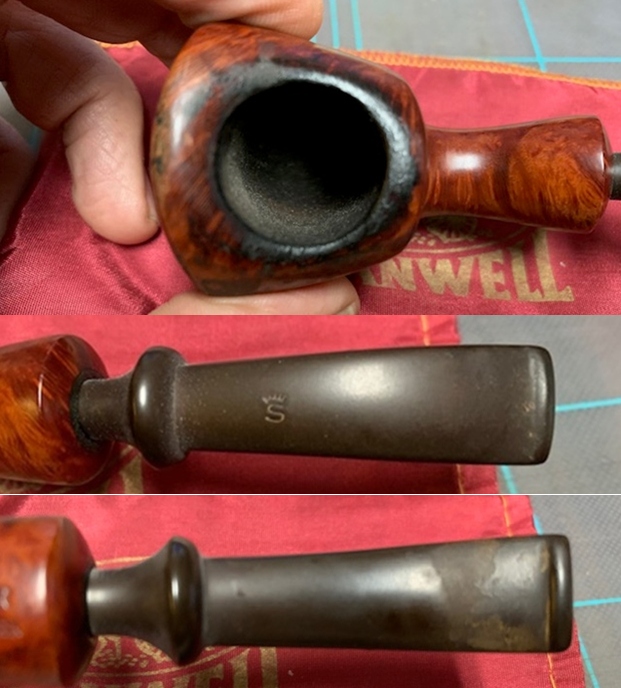
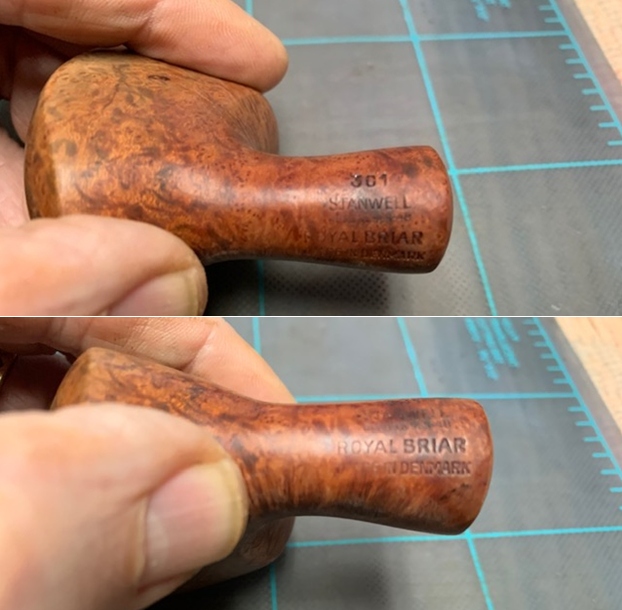
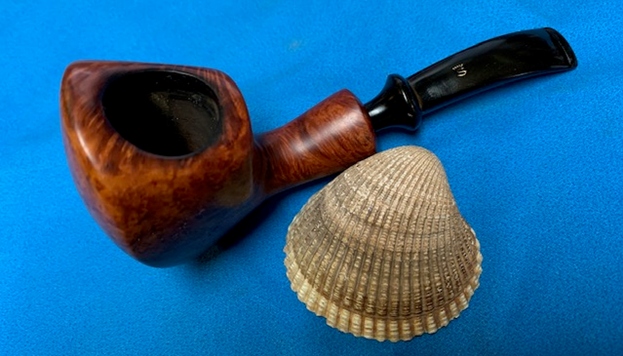
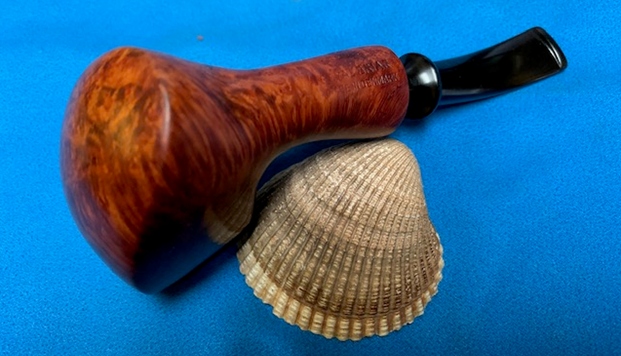
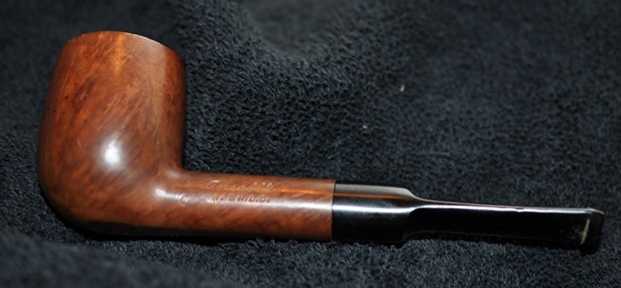
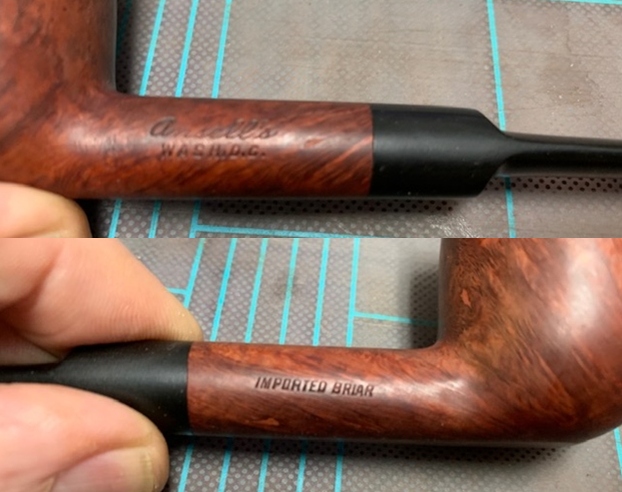
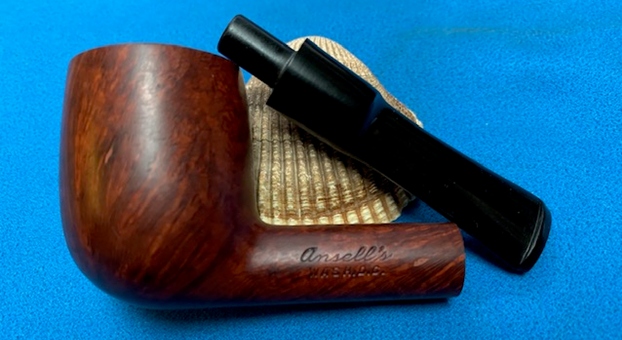
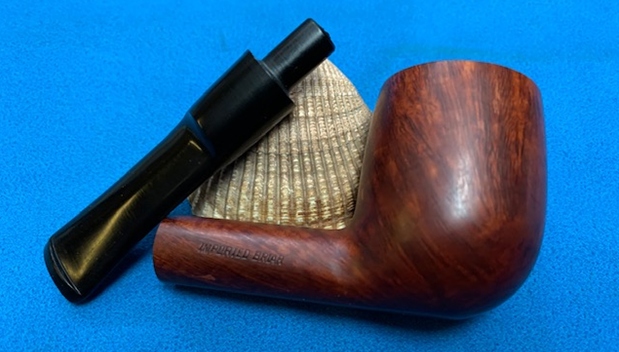
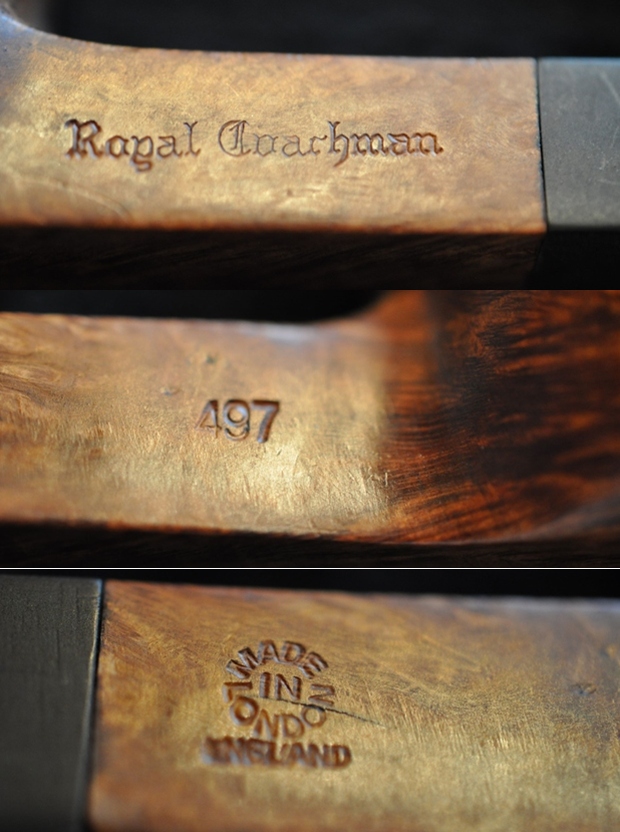
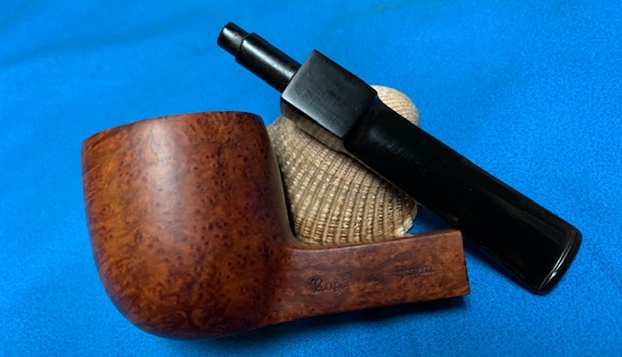
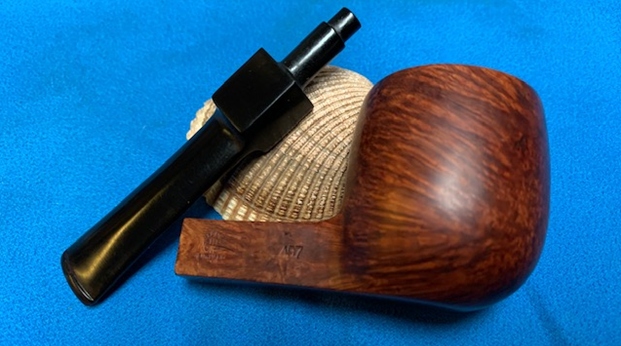
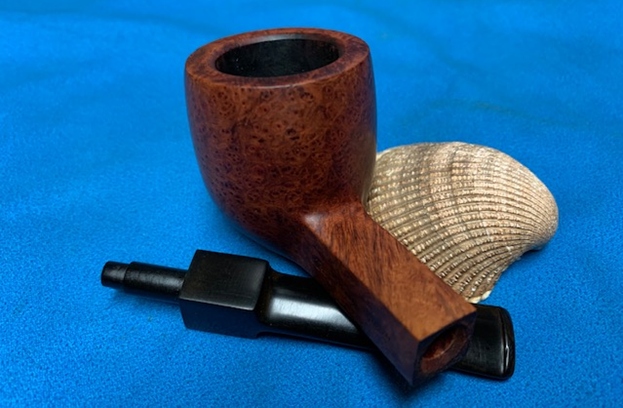
 The pipe is stamped on the left side of the shank as “EMPIRE STATE” in caps over “BRIAR ITALY”, also in capital letters. The thin vulcanite tapered stem is stamped on the left side with an equilateral triangle as stem logo.
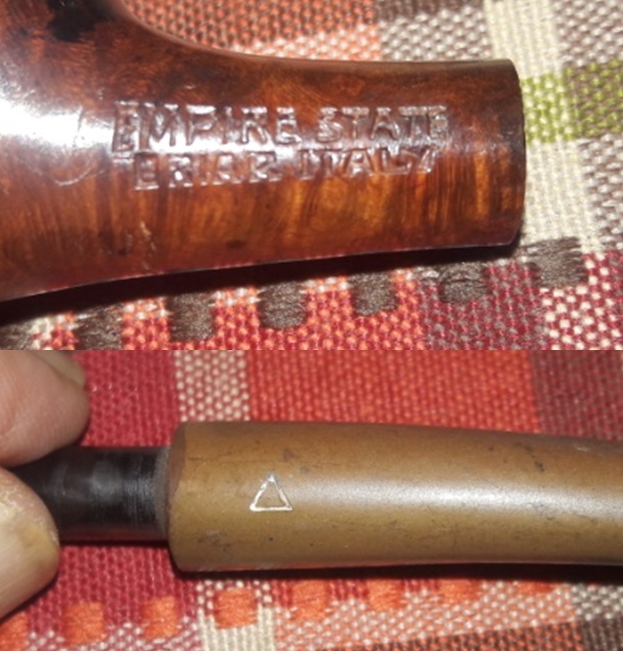 This brand of pipe was completely new to me and had not even heard about this brand. It was, thus, natural that I had to first know about the pipe that I was working on. I turned to pipephil.eu to know more of this brand. I referred to the stem logos “triangle” to narrow down my search parameters to save on time. True enough, there on the screen staring at me was an exact same pipe with exact same shape and stampings!! The only difference being that the site says that “Italy” is stamped on the stem’s underside whereas the pipe on my table has “BRIAR ITALY” stamped on the shank itself. Also there is a band at the shank end which was conspicuous by its absence on my pipe. Given below is the link to the site and a screen shot of the relevant portion with the pipe. http://www.pipephil.eu/logos/en/motifs/mo-triangle.html
 Sadly, there was no information about the brand on this site. Next I visited rebornpipes.com and pipedia.org to seek information on this brand. However, my search was futile as neither site had any information on this pipe.Home
Has this brand got to do anything or related in any which way to the famous EMPIRE STATE BUILDING of New York which housed many famous pipe companies like S M Frank & Co, KBB etc? I am not aware and would request readers to shed some light and share their knowledge with our fraternity.
With the provenance of the pipe a mystery, I proceeded to carry out a visual inspection of the condition of the pipe in my hand. This helps me map the road to restoring the pipe by identifying the issues involved and identifying methods/ options to address the same beforehand.
Initial Visual Inspection
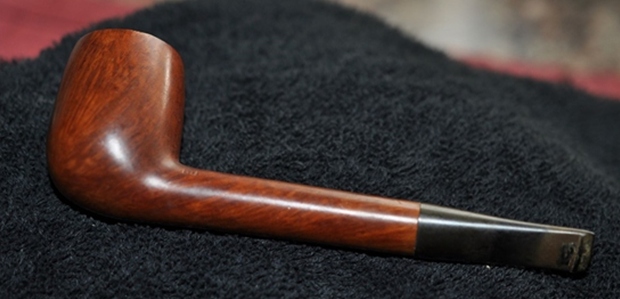
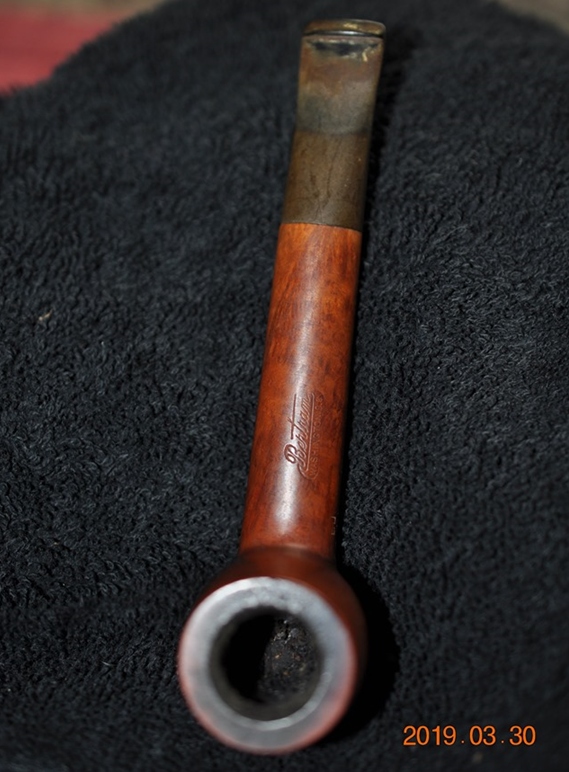
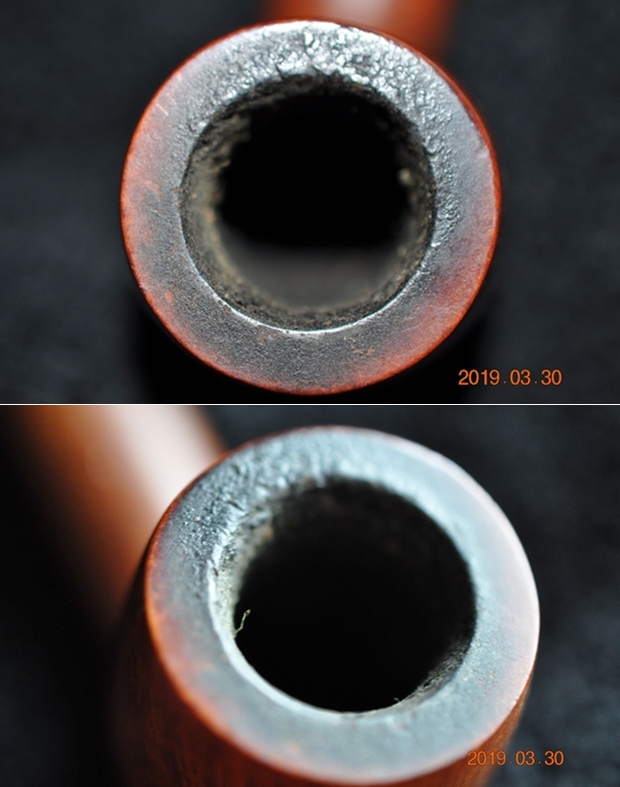
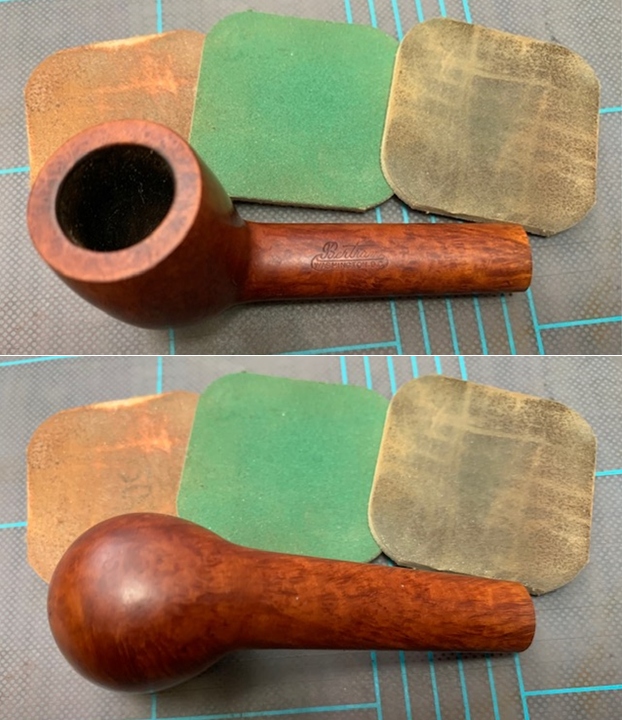
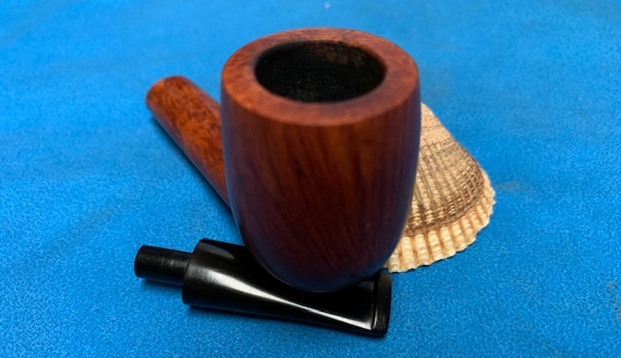
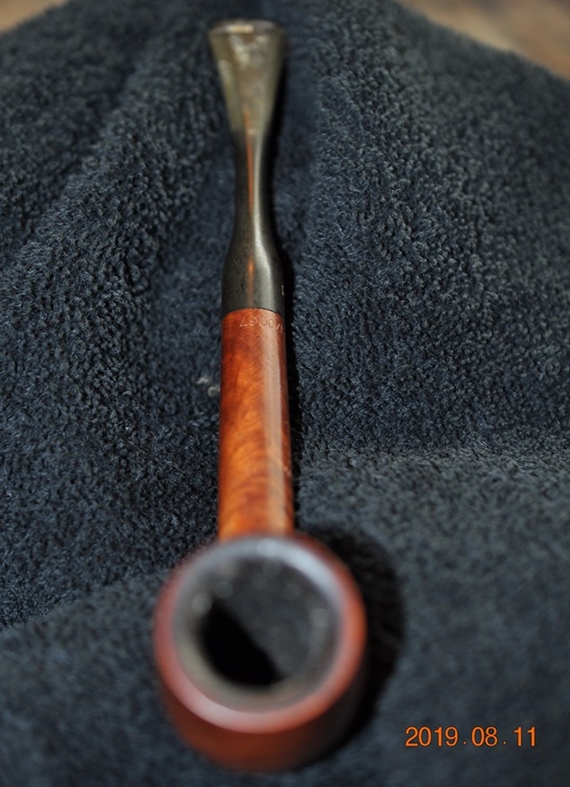
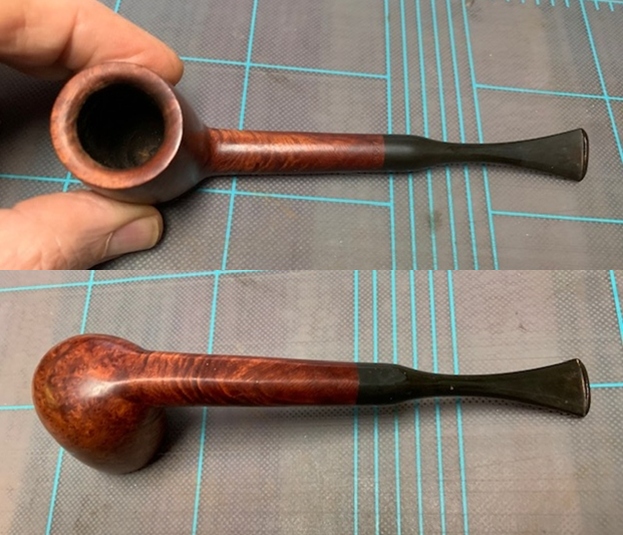
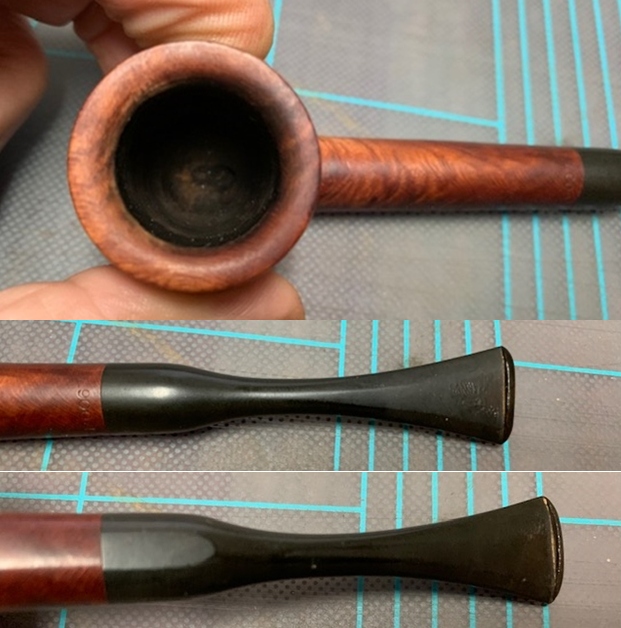
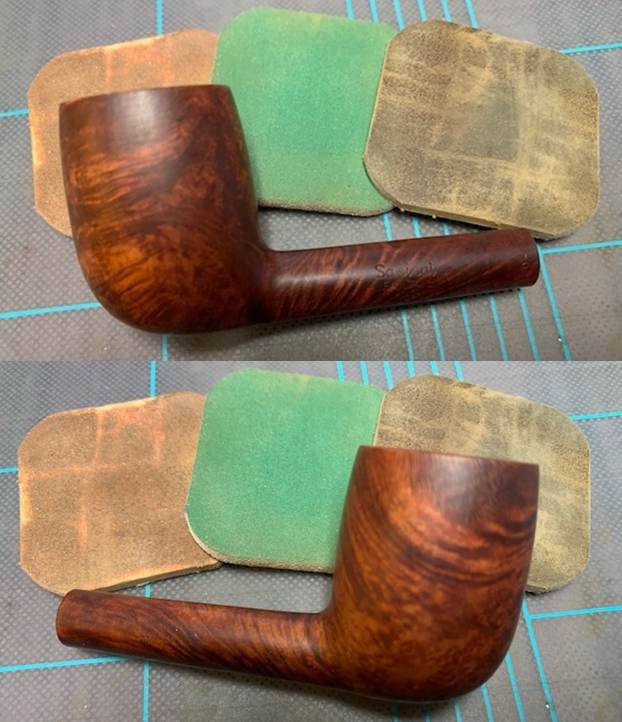
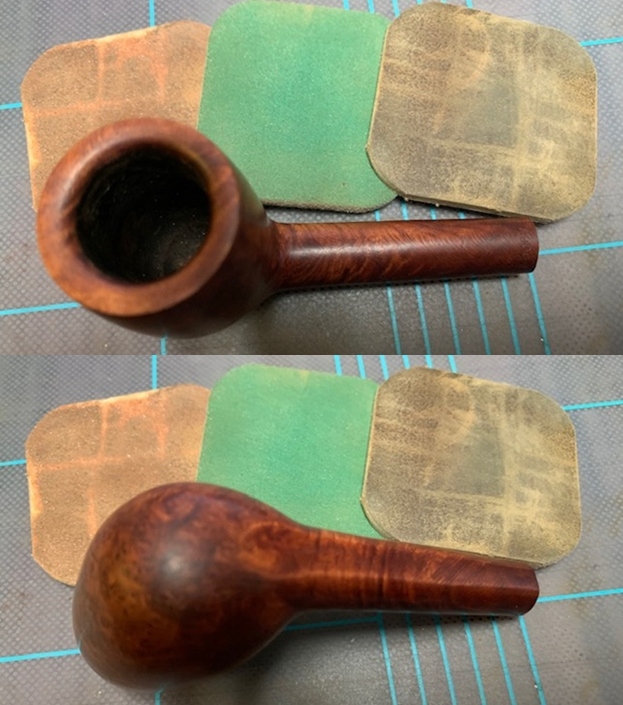
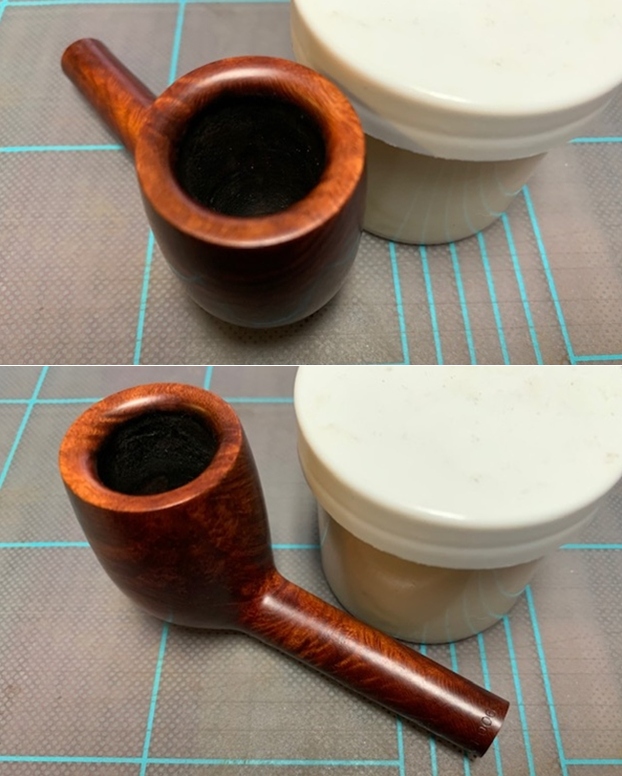
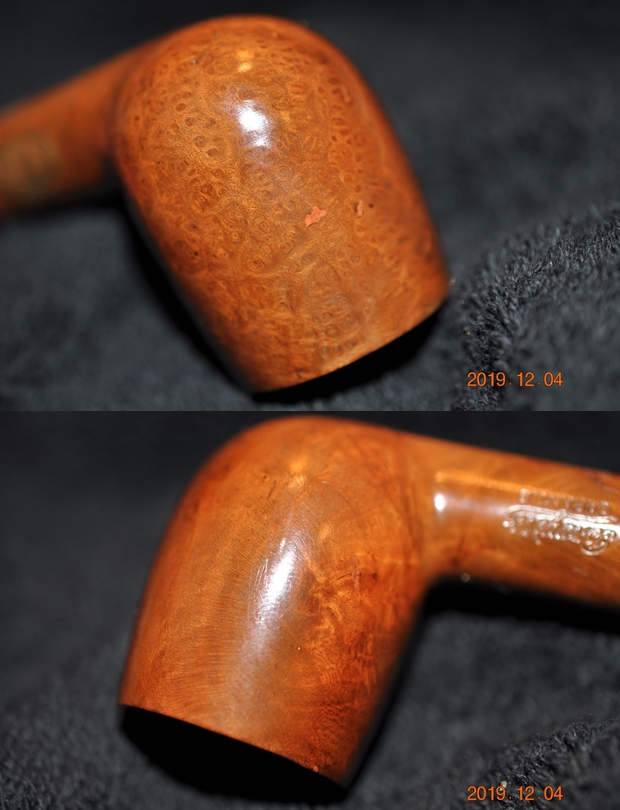
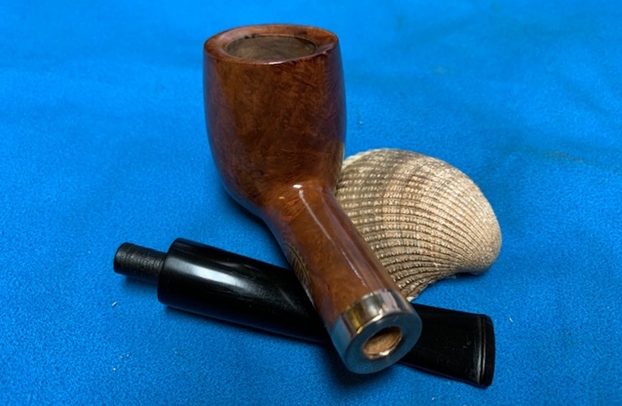
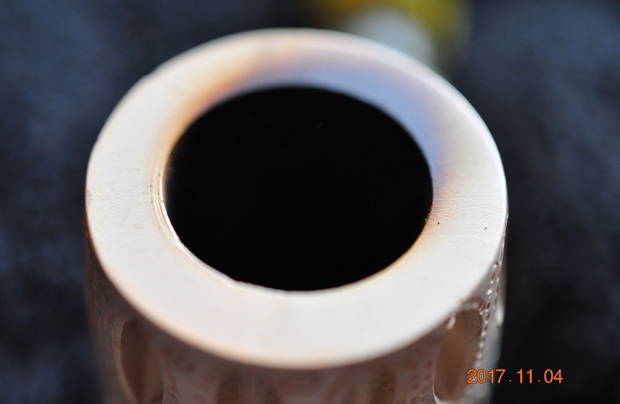
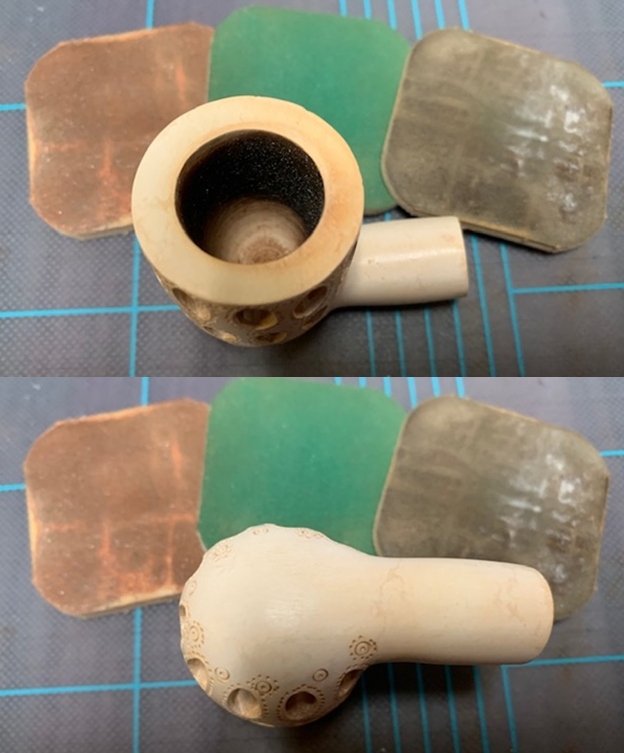
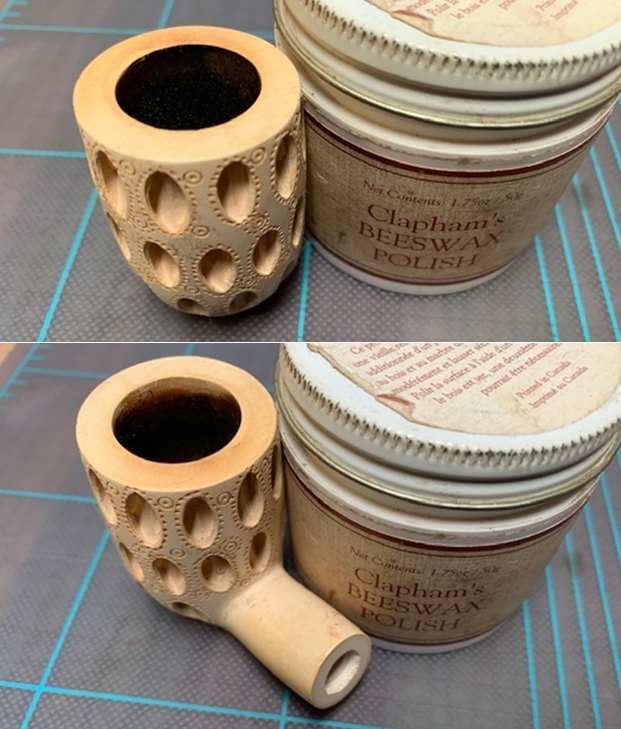
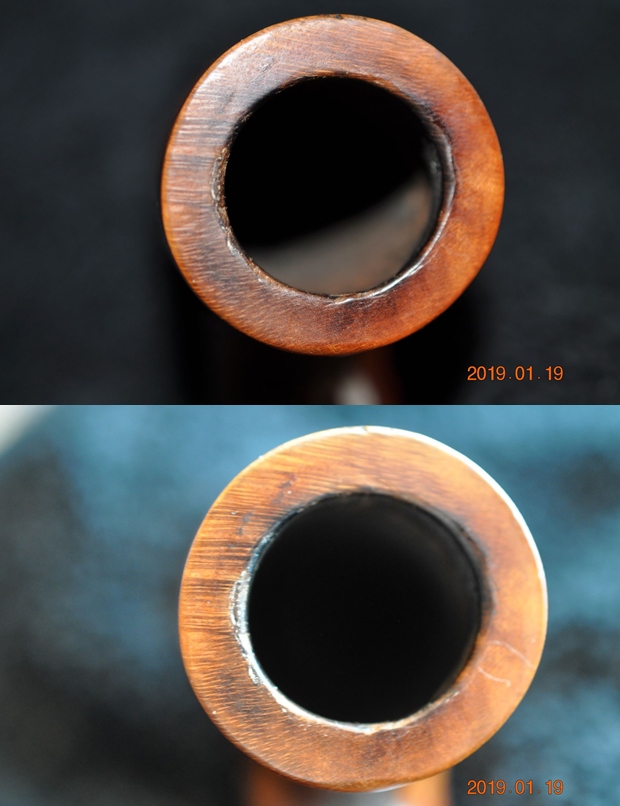
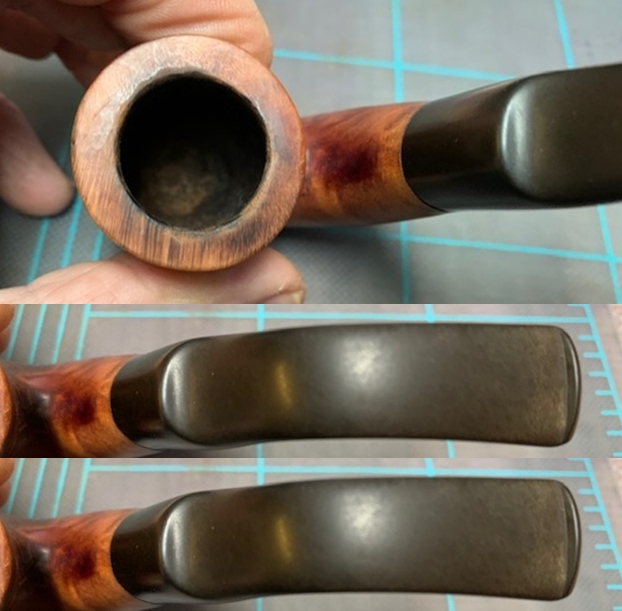
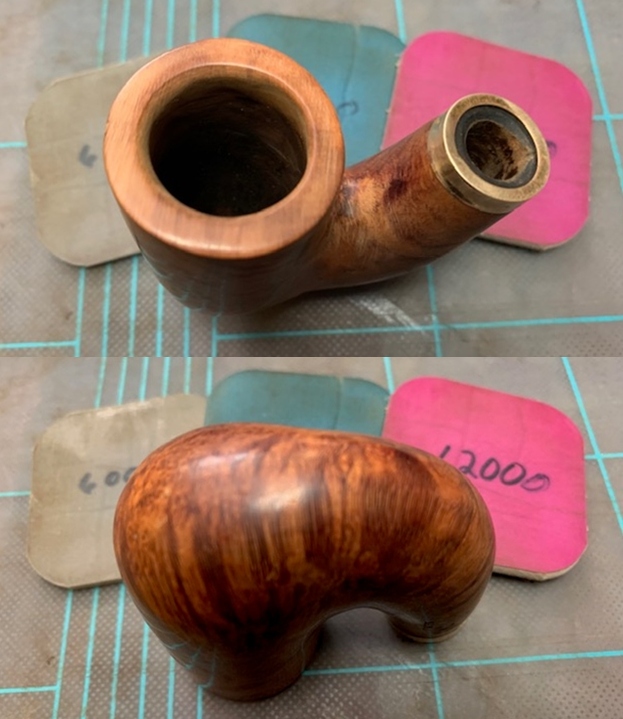
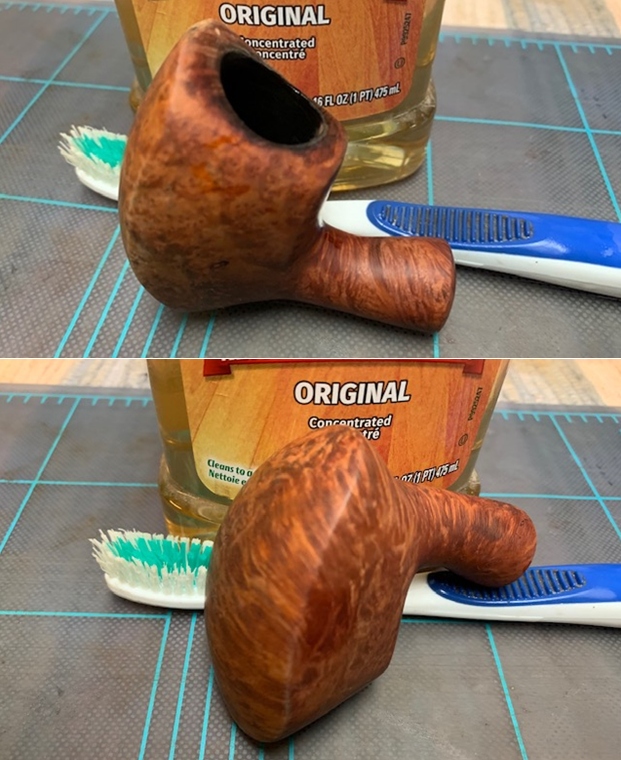
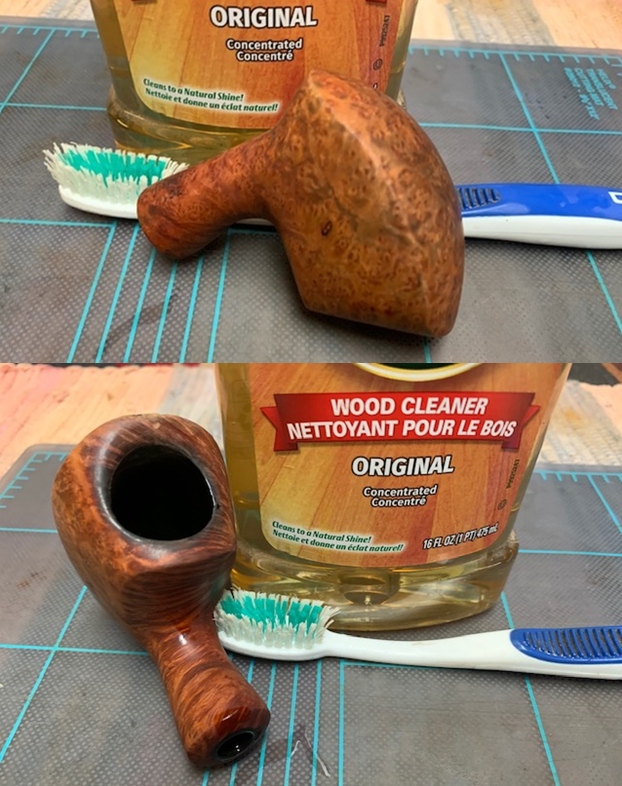
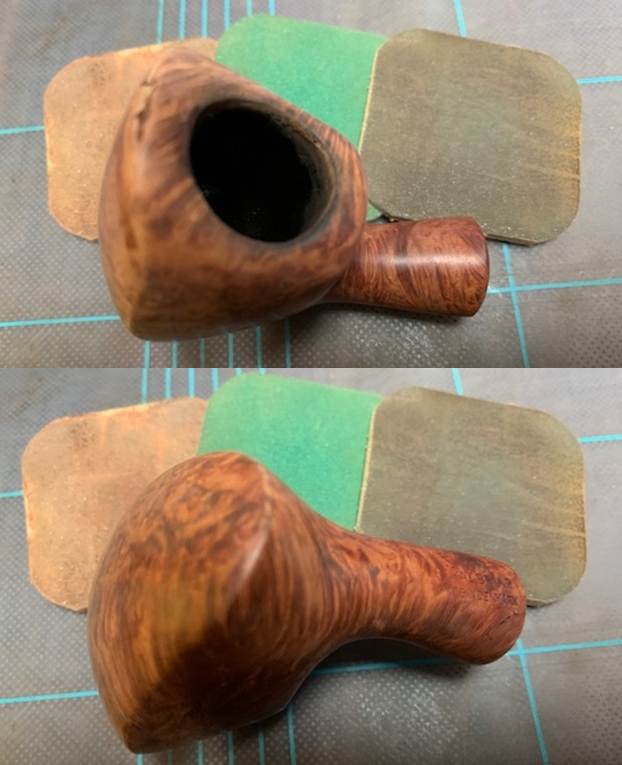
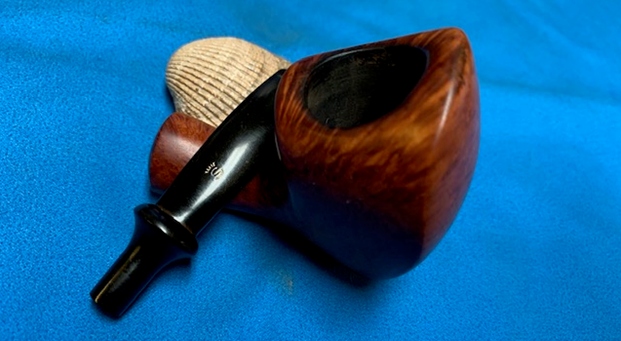
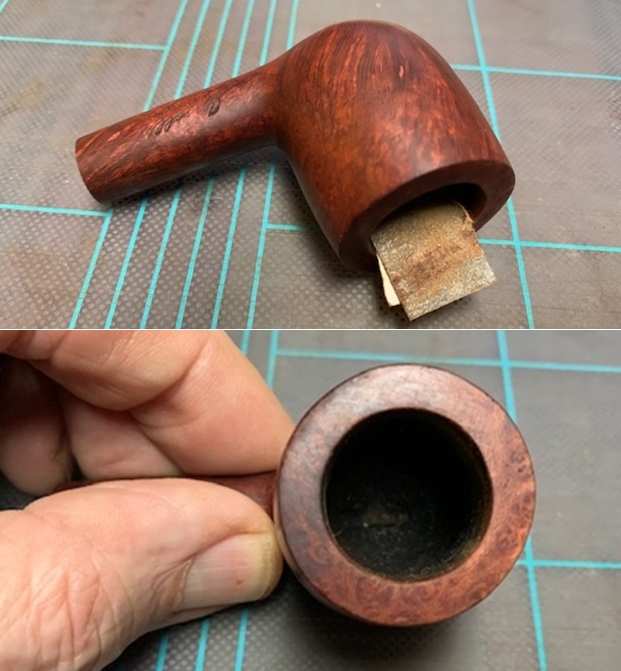
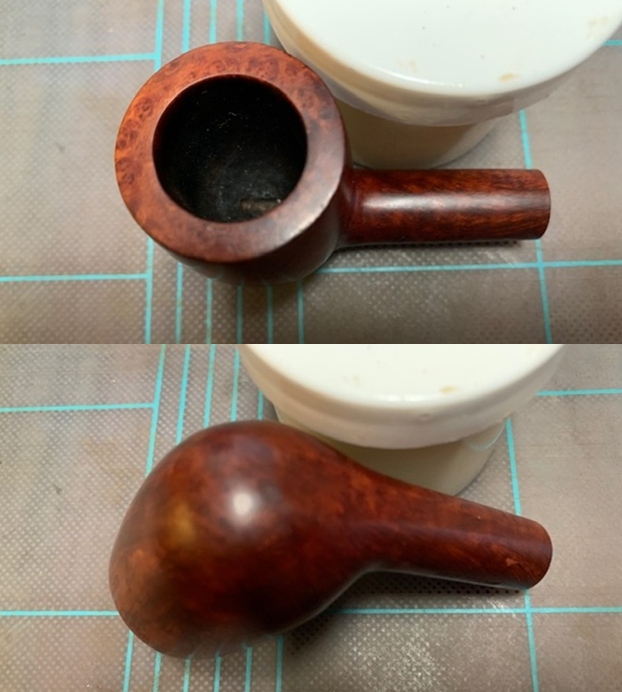
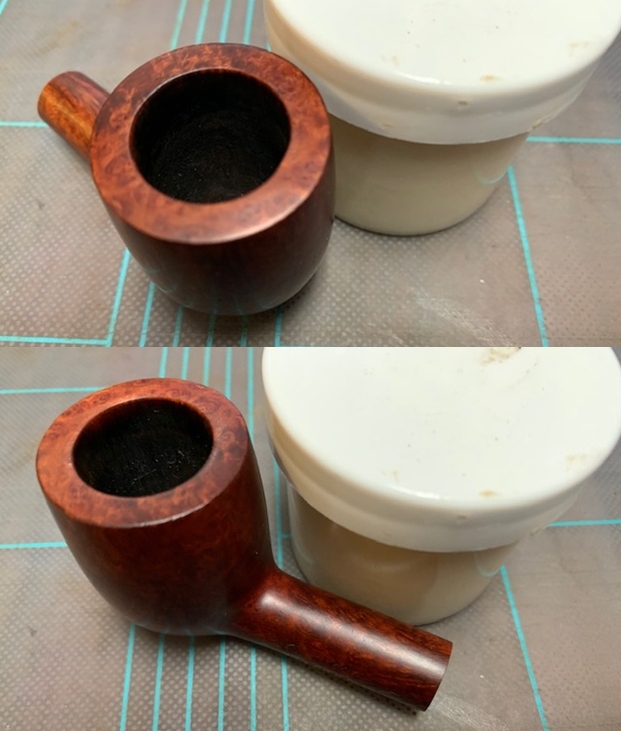
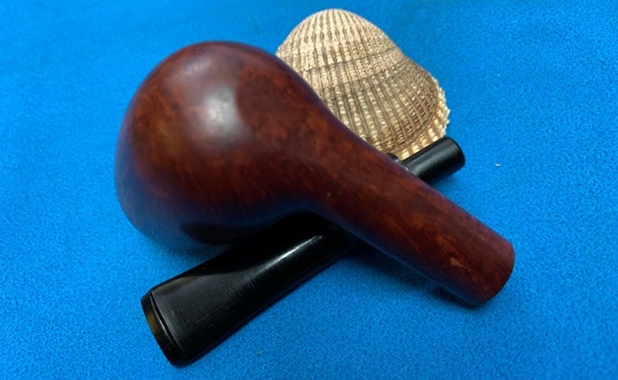
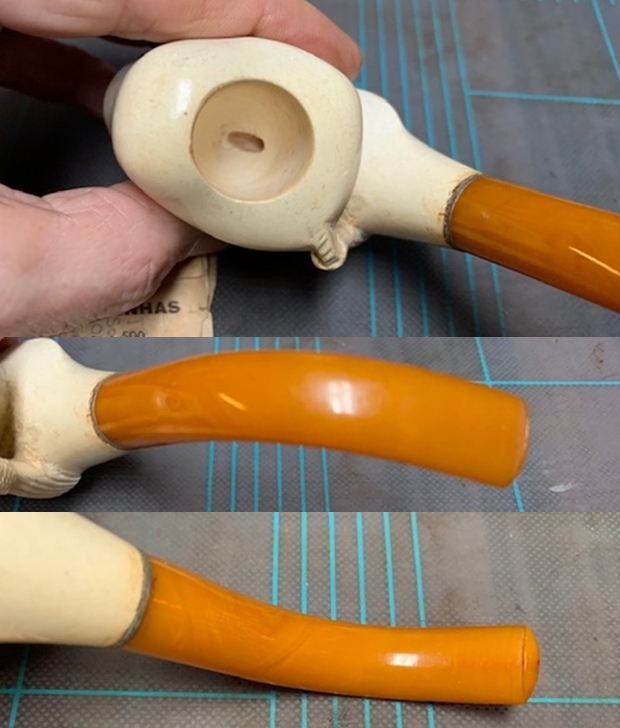
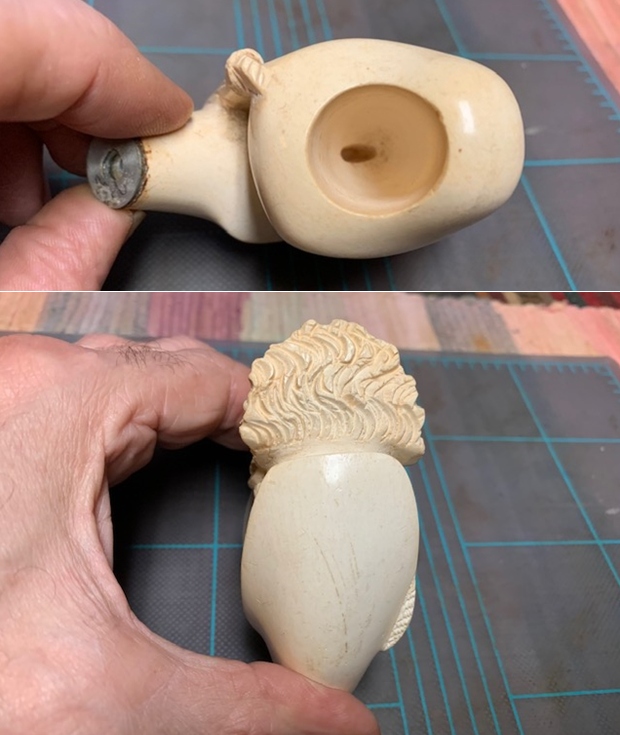
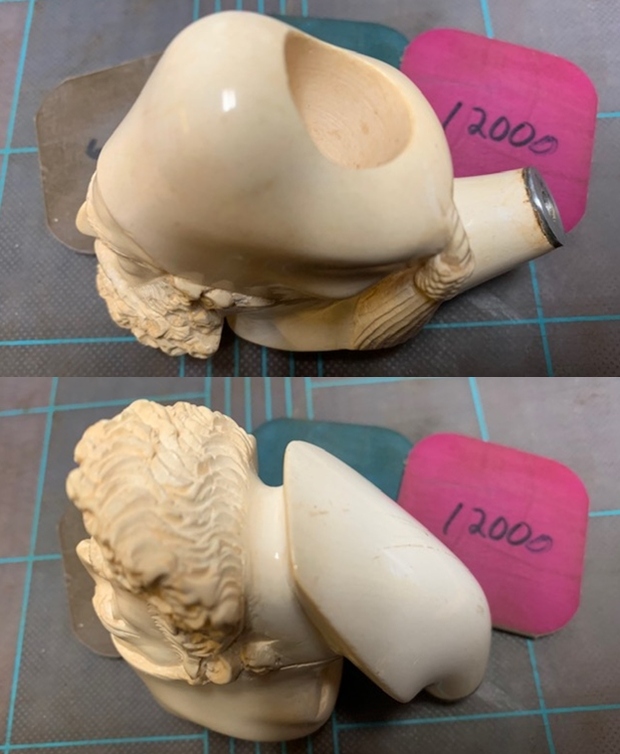
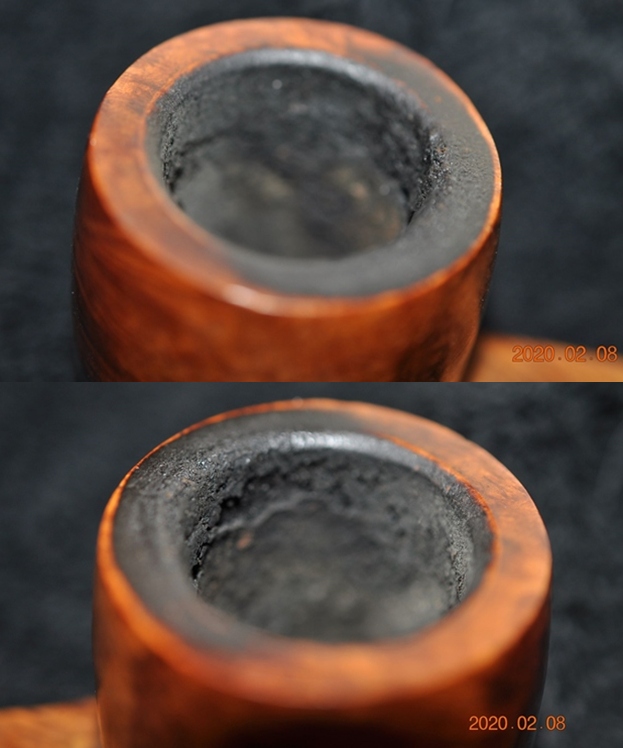
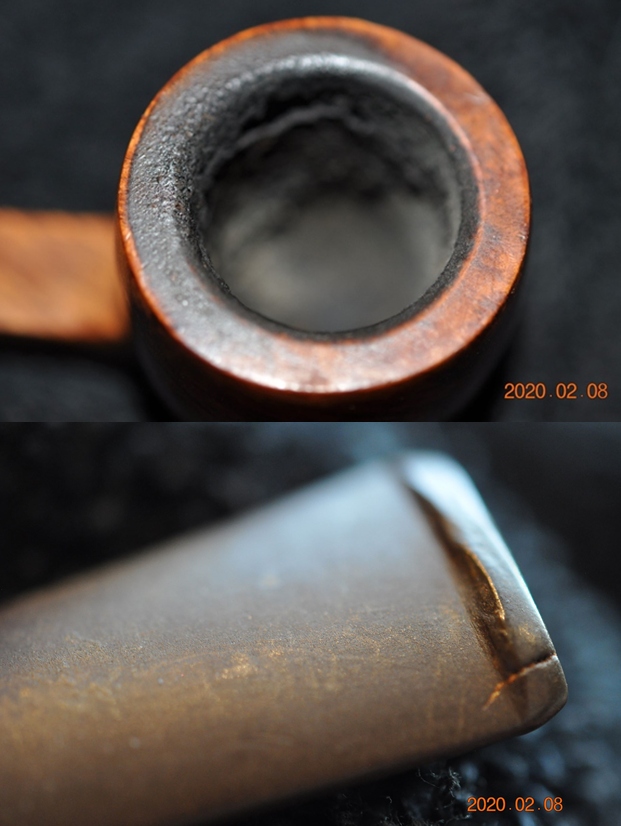
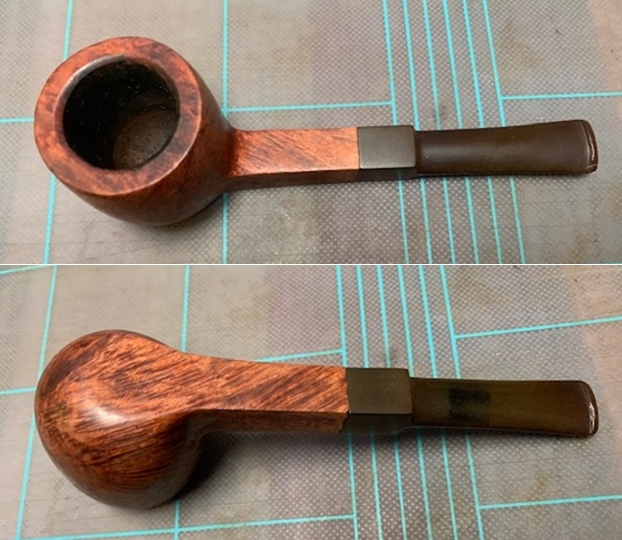
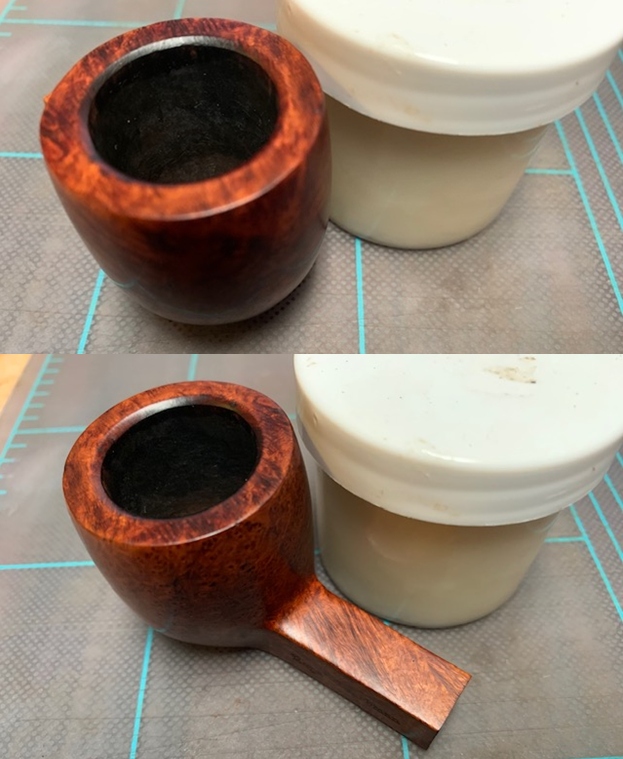
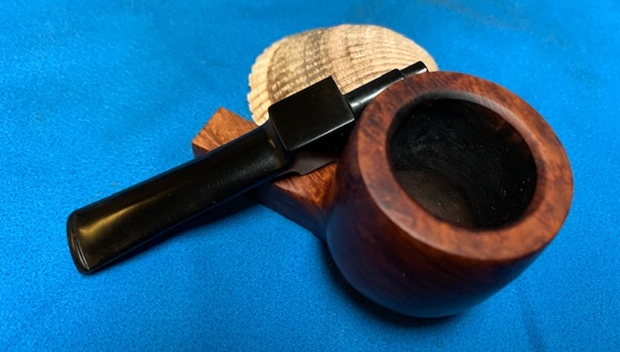
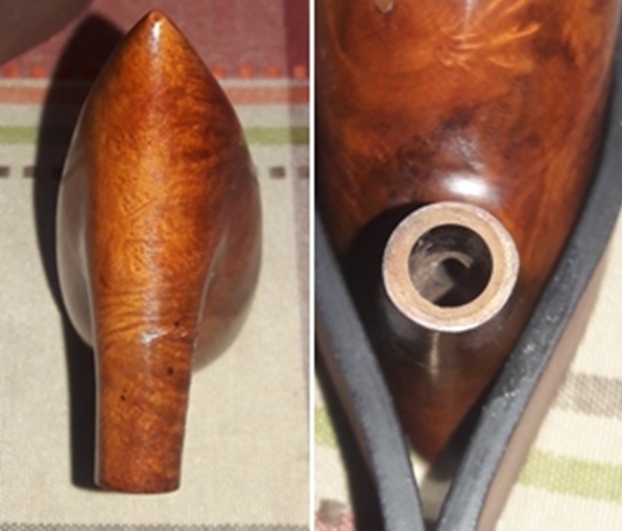
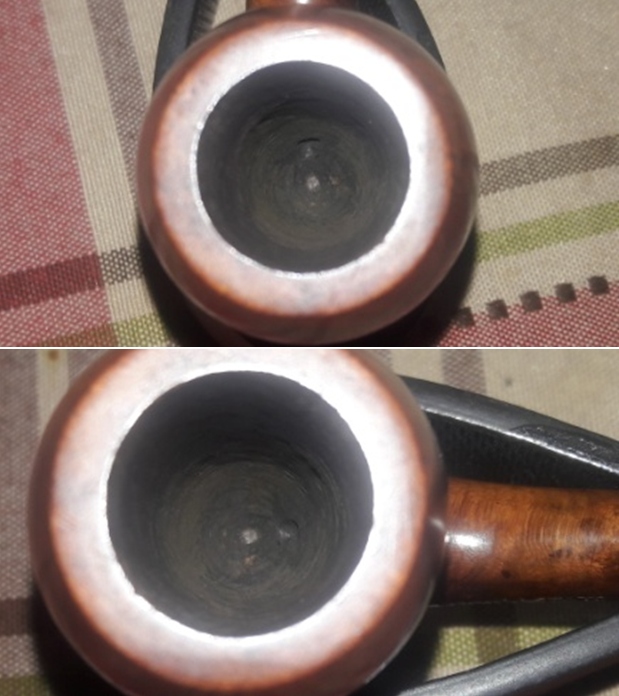
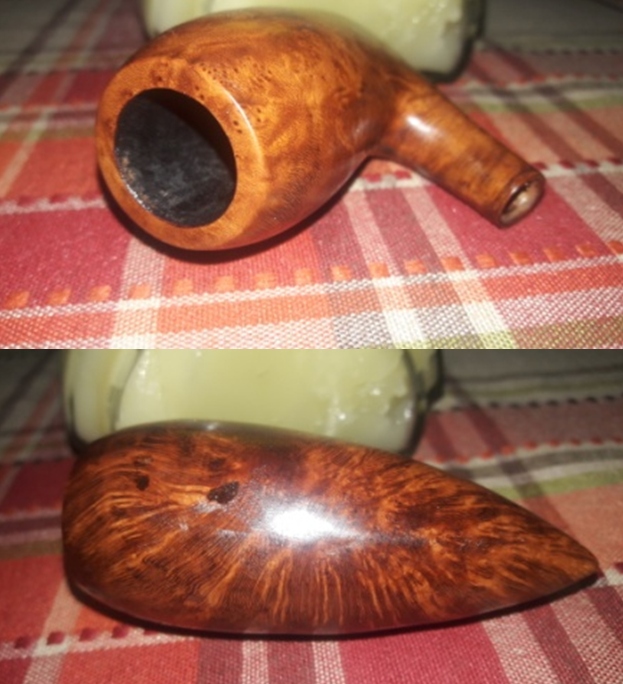
The chamber has a decent build up of cake. The build-up of the cake is heavier on the middle half of the bowl, but overall well maintained. The condition of the inner walls of the chamber can be commented upon after the cake has been taken down to the bare briar. The draught hole is right at the bottom of the chamber with a nice wide opening. The rim top is clean and a couple of minor dings are visible over the rim top surface. The chamber odors are not very strong and should be completely eliminated once the cake has been removed and the shank has been thoroughly cleaned. The pipe does not seem to have seen much use or possibly it has been used but nicely taken care of as is apparent from the condition of the pipe. The chamber has a nice thickness to it and should provide a nice cool smoke. 
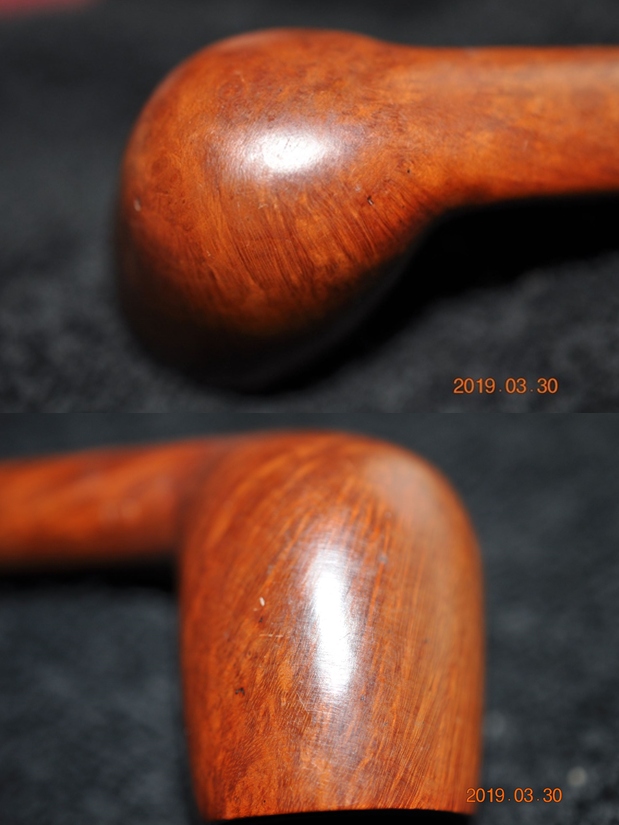
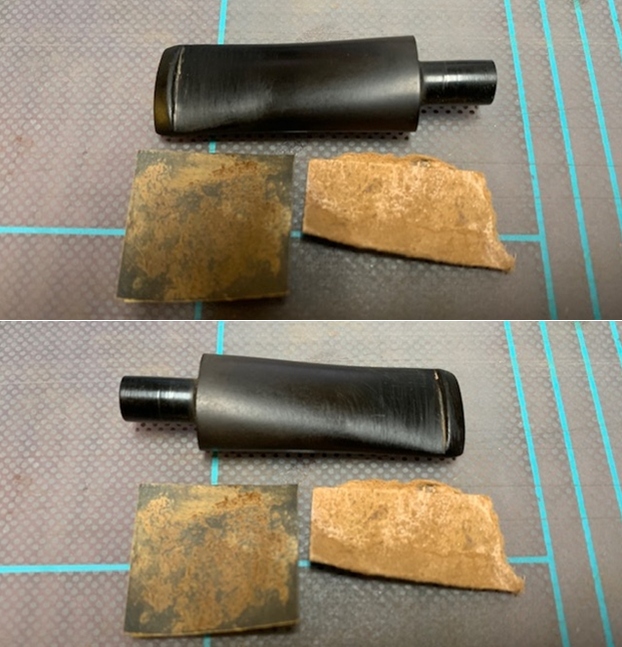
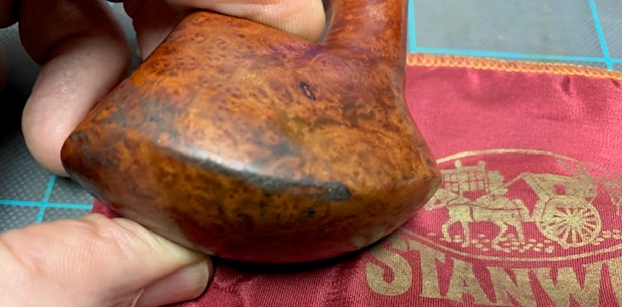
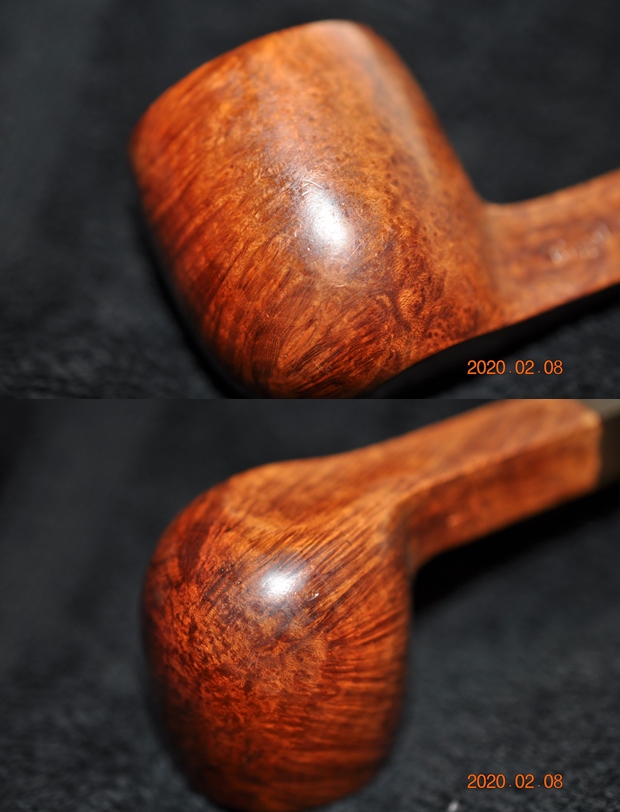
 The stummel surface appears dull and lackluster due to the accumulated dirt, dust and grime. I could identify a couple of fills over the stummel surface and the same are indicated with pastel blue arrows. There are few scratch marks over the bottom surface of the shank. The mortise is relatively clean with small amount of oils and tars accumulated on the walls of the mortise. Thorough cleaning and rising under warm water of the stummel surface will confirm if these fills are required to be refreshed or otherwise and should also highlight the grain patterns. I shall need to sand the stummel surface with sand papers to remove and minimize the scratches, dents and dings. Micromesh polishing will further help minimize these dents and scratches to some extent.

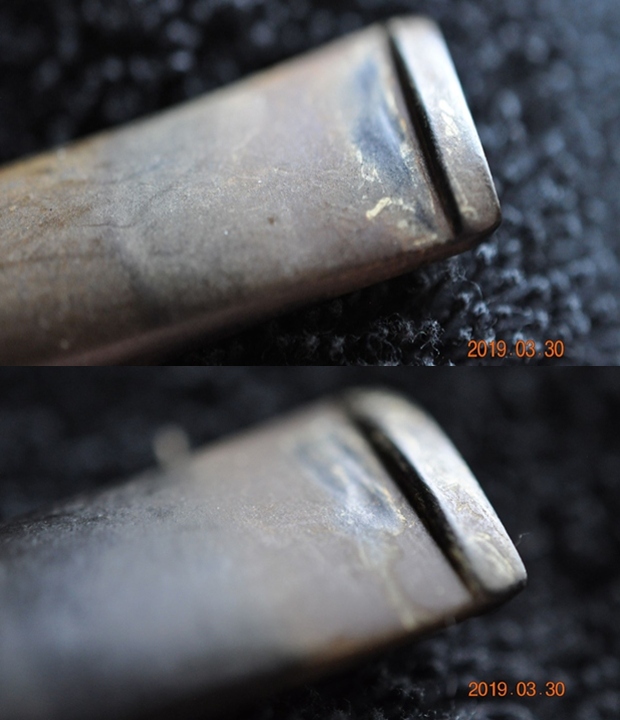
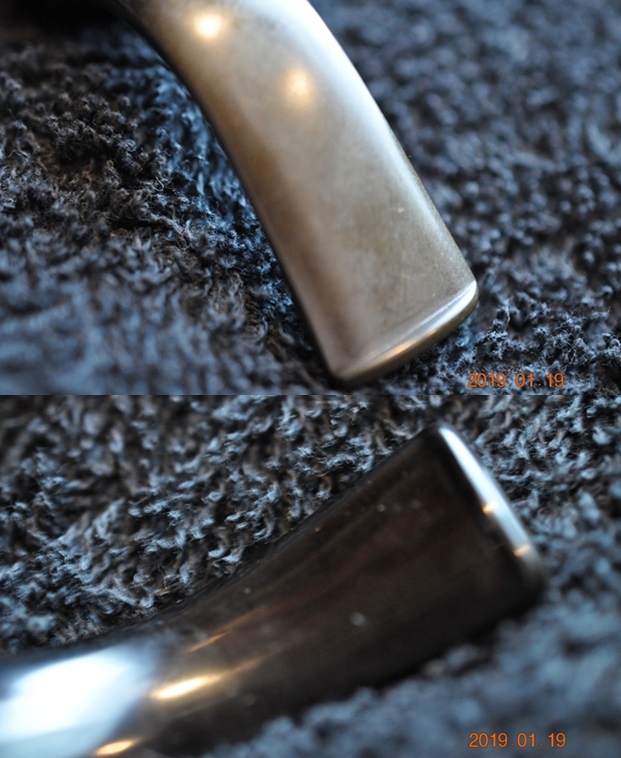
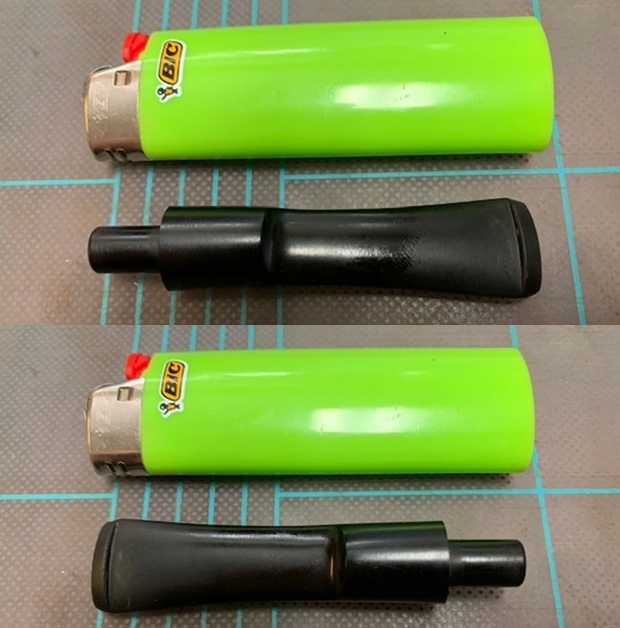
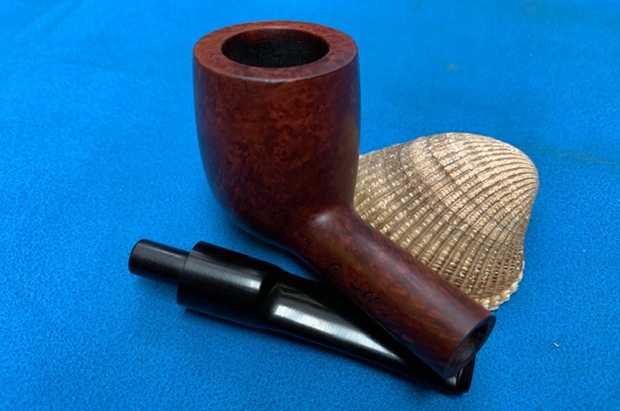
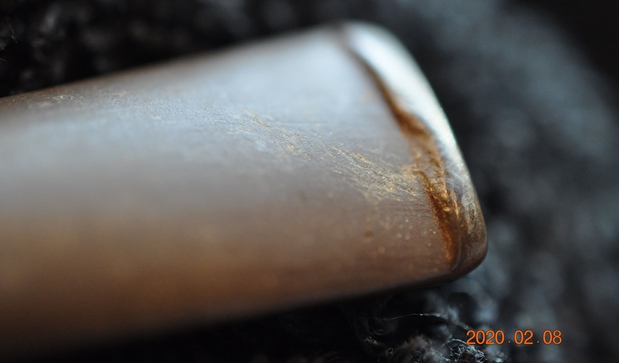
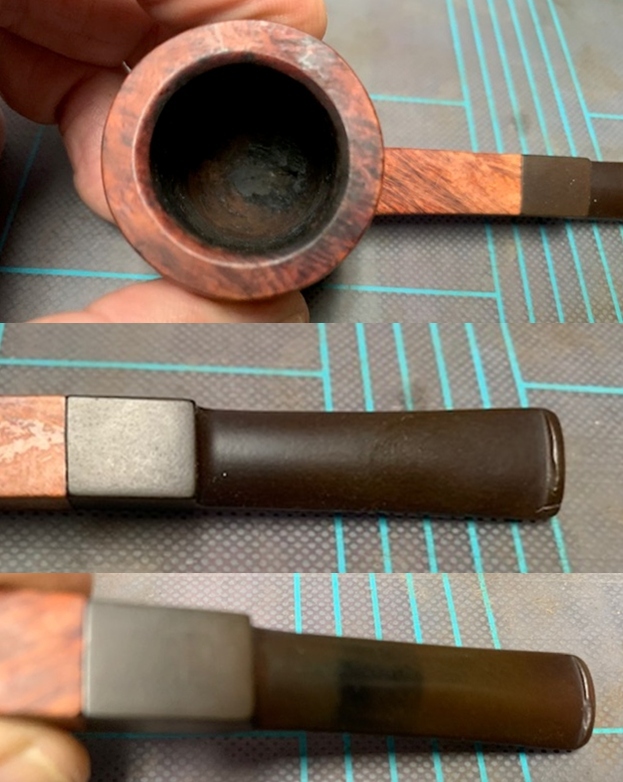
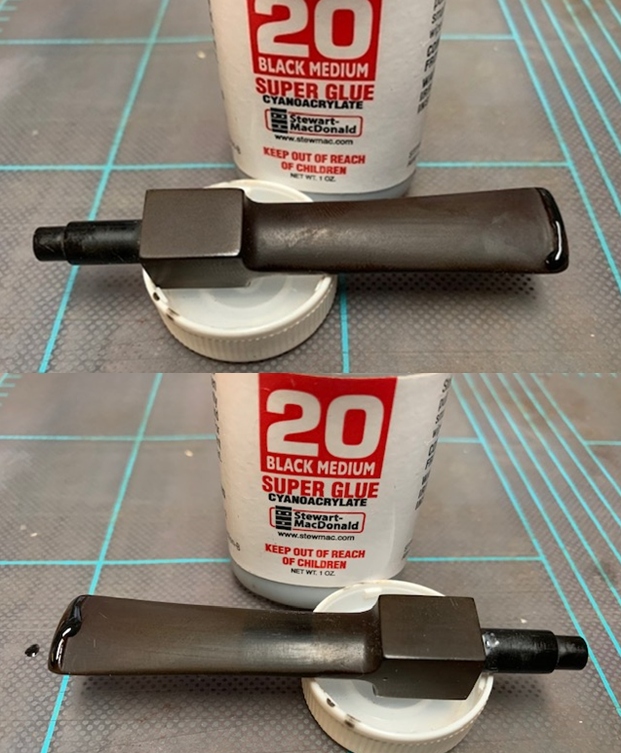
 The delicate vulcanite tapered stem is heavily oxidized and has taken on a dirty brown coloration. The lip has some minor bite marks on both surfaces and will need to be rebuilt and reshaped. There is some minor tooth chatter seen in the bite zone on both the surfaces. The stem airway appears to be relatively clean. Further internal cleaning of the stem should make the draw full and open. The tenon and horizontal slot is nice and clean. The removal of deep and heavy oxidation from the stem surface is going to be the most tedious and time consuming part of this restoration.
 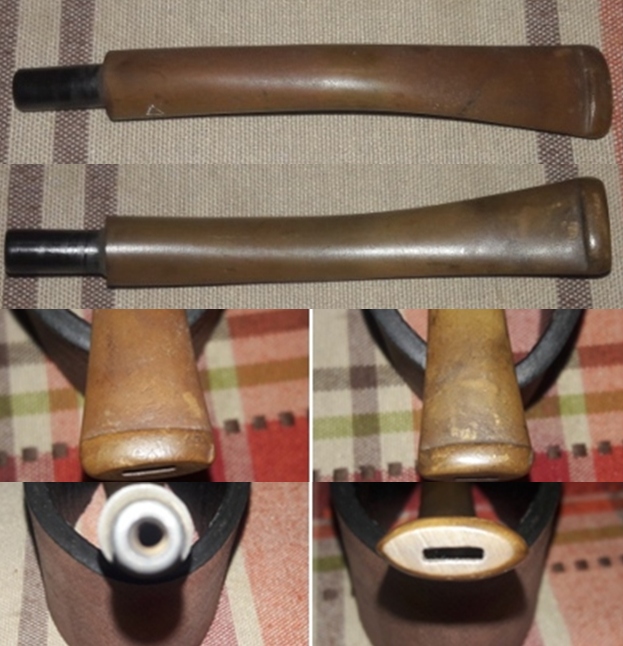 The Process
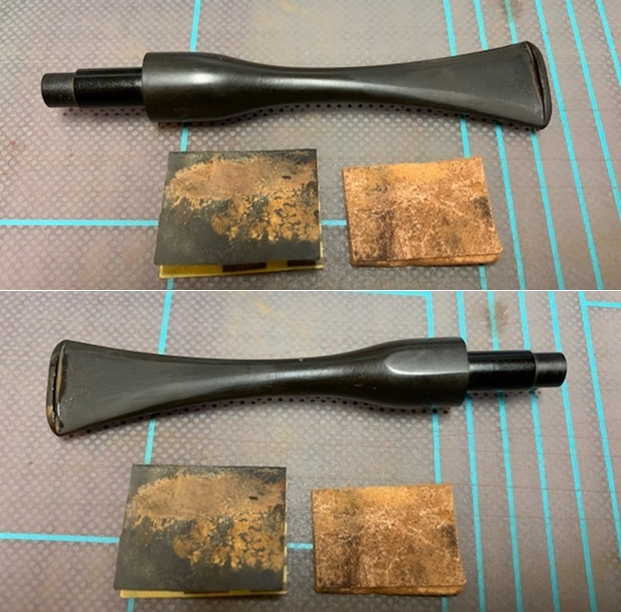
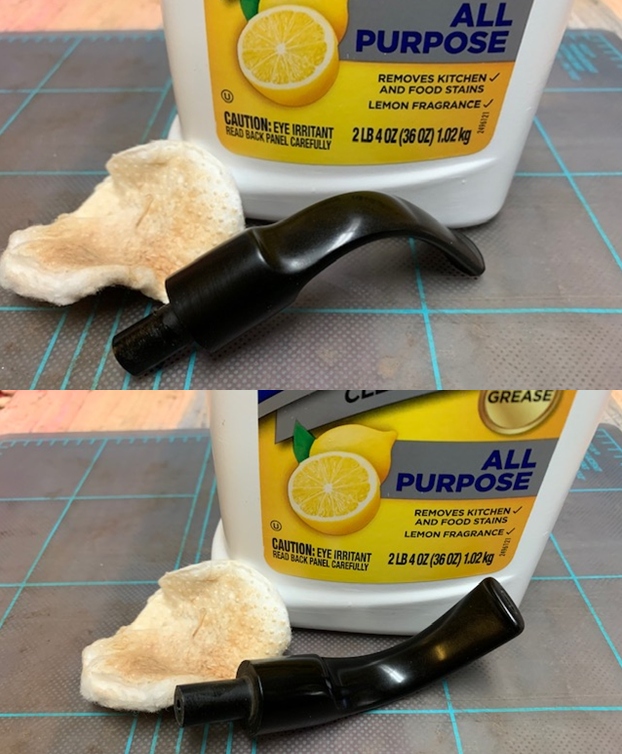
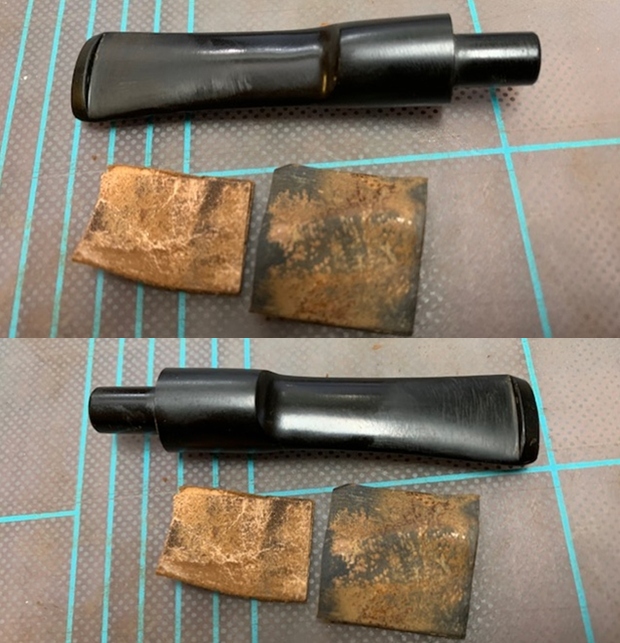
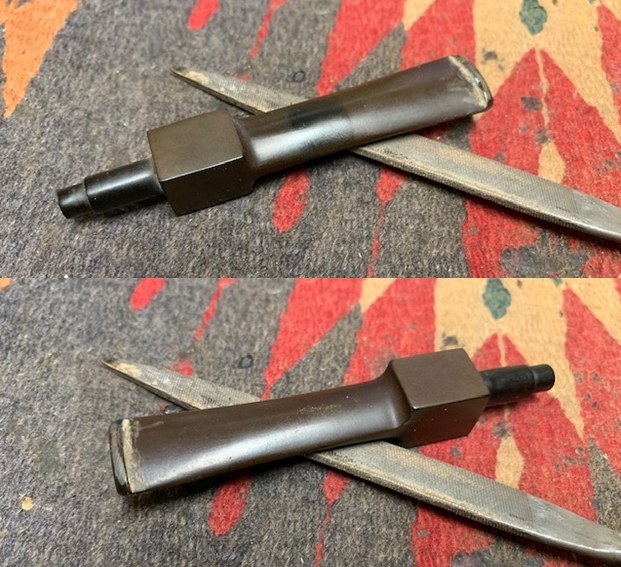
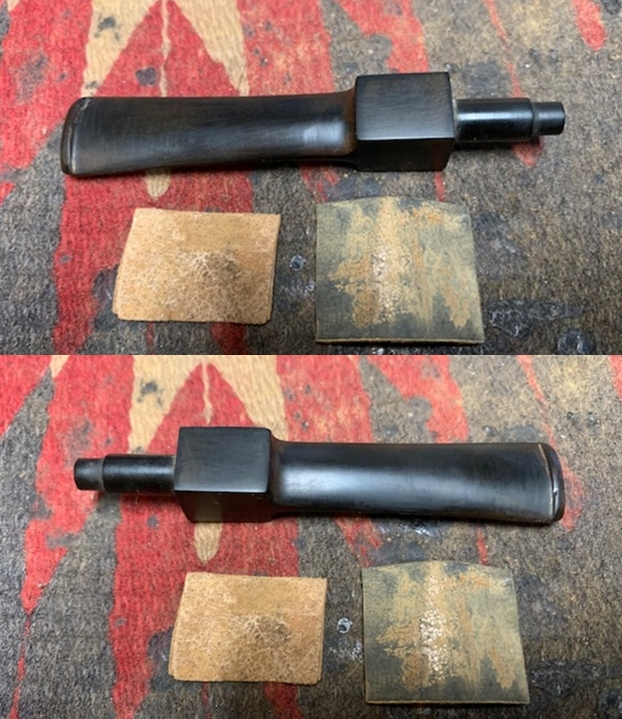
The process of refurbishing this pipe started with the cleaning of the stem. Abha cleaned the stem air way with regular and bristled pipe cleaners dipped in 99.9% pure isopropyl alcohol. She further cleaned the stem internals with thin shank brushes and dish soap to remove the stubborn and thick gunk from within the airway. The heap of pipe cleaners and their appearance tells a sordid story. With a sharp fabricated knife, she scraped off the little gunk and dried tars from the tenon and slot end. Since this stem did not have any issues to address and I wanted Abha, my wife, to progress beyond just initial cleaning to stem polishing, I requested her to complete this stem. She agreed though with great reluctance!! The stem surface was sanded down with a worn out piece of 180 grit sand paper by Abha. We have realized that following this step prior to immersion into the “Before and After Stem Deoxidizer” solution has two advantages, firstly, the stem surface oxidation gets loosened and the solution works deeper and more efficiently in pulling the deep seated oxidation from the stem surface. Secondly, the minor tooth chatter and calcium depositions are taken care of prior to the immersion. She immersed it in “Before and After Deoxidizer” solution along with the stem of other pipes in line for restoration. This solution has been developed by Mark Hoover and works to draw out all the deep seated oxidation from the surface making its subsequent cleaning and polishing a breeze. I would definitely recommend this product as it saves on to time and efforts. The pipe has been marked with a yellow arrow for easy identification.
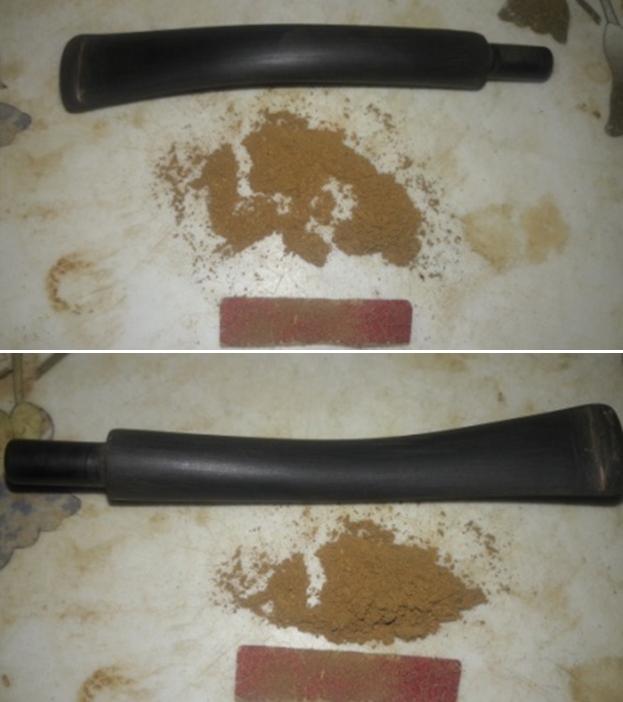
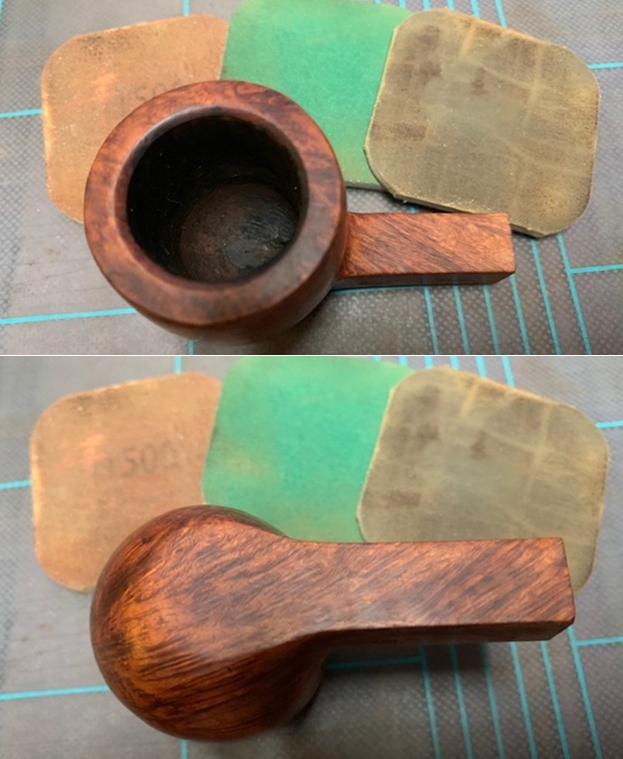
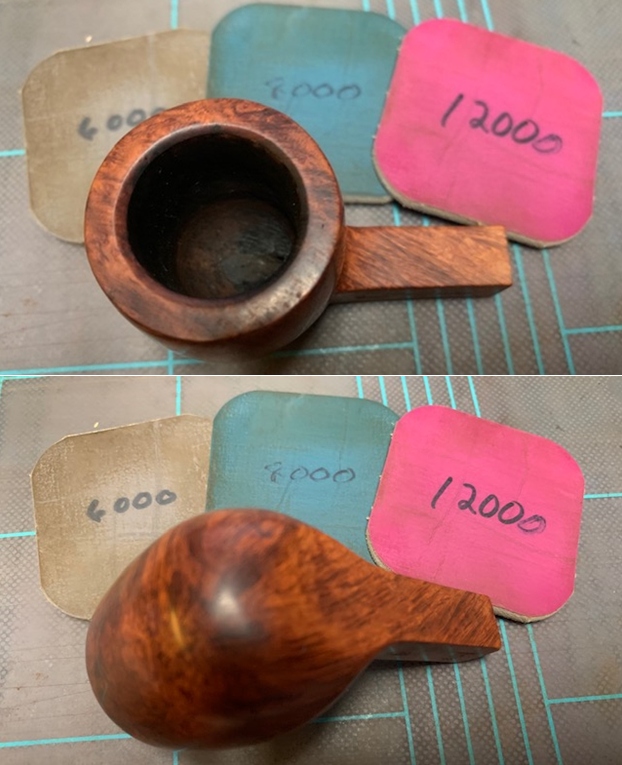
 With the stem in the deoxidizer solution, Abha, my wife, dealt with the cake by reaming the chamber with a fabricated knife as the narrow chamber opening was small even for size 1 head of the reamer. She further scraped the cake from the bottom of the bowl and also the walls of the chamber. She was especially very careful while reaming with the knife so as not to damage the inner edge of the rim. Once the solid briar was exposed, she further smoothed the walls and removed remaining cake by sanding with a 180 followed by 220 grit sand paper. Another advantage of this process is the elimination of traces of ghosting to a great extent. She wiped the chamber with a cotton swab wetted with 99.9% isopropyl alcohol. The chamber walls are pristine and solid with no heat fissures or pits.
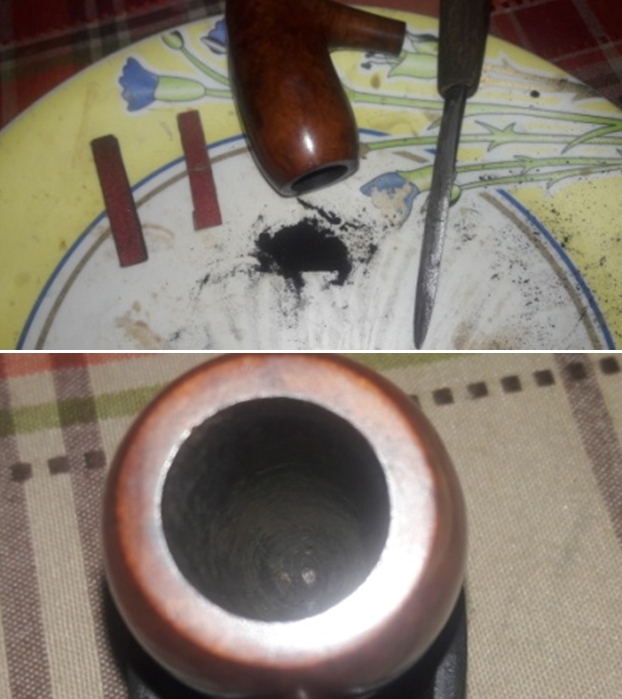
 Simultaneously she cleaned out the internals of the shank/ mortise and airway using q- tips, pipe cleaners and isopropyl alcohol. She scraped the walls of the mortise with a fabricated knife till the accumulated gunk was removed. Further cleaning of the shank internals will be carried during the external cleaning of the stummel.
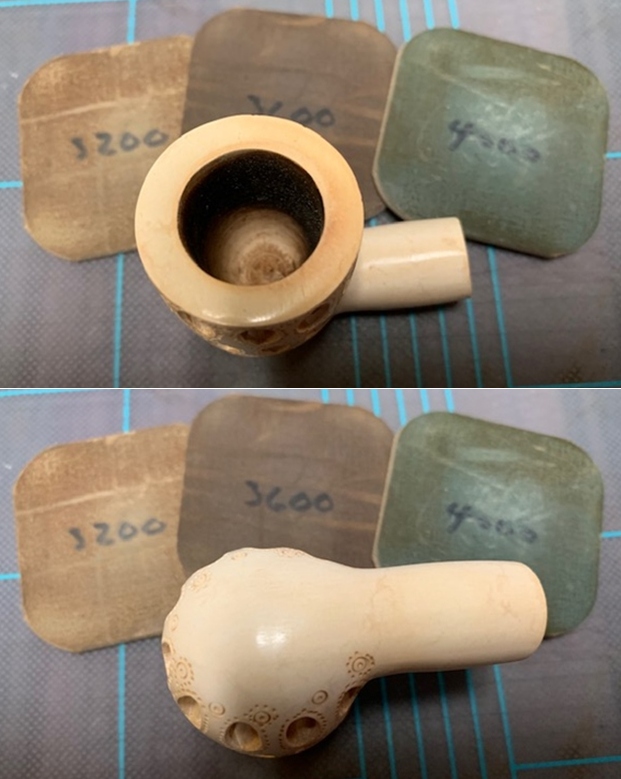
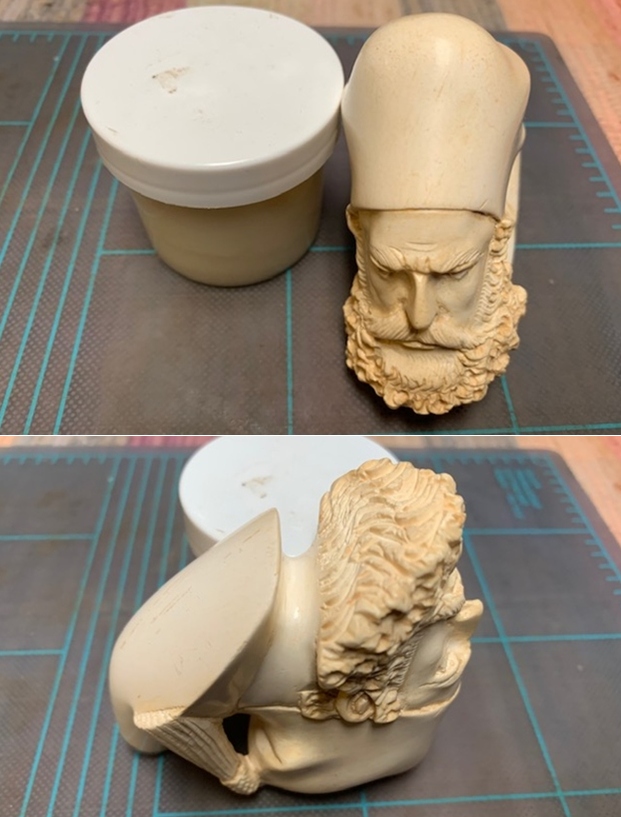
 Thereafter, she generously rubbed “Briar Cleaner”, a product that has been developed by my friend Mark Hoover, into the external surface of the bowl and the rim top surface. It works similar to Murphy’s oil soap and needs to be applied to the stummel surface and set aside for 5- 10 minutes. The product pulls out all the dirt and grime to the surface making further cleaning easy. We are quite happy with this product. She used a hard bristled tooth brush to scrub the stummel and rim top with the solution. After the scrub with Briar cleaner solution, she washed the stummel under running warm water with anti oil dish washing detergent till clean and dried it using paper towels and soft cotton cloth. She simultaneously cleaned the shank internals with the detergent and hard bristled shank brush. The stummel surface has cleaned up nicely with the mixed grains on full display. The stummel now looks and smells fresh and the old smells are all gone. She set the stummel aside to dry out naturally. I checked the fills for solidity and realized that all the fills had gone soft and would need to be refreshed. Otherwise the stummel had cleaned up nicely and the rim top surface was in pristine condition.

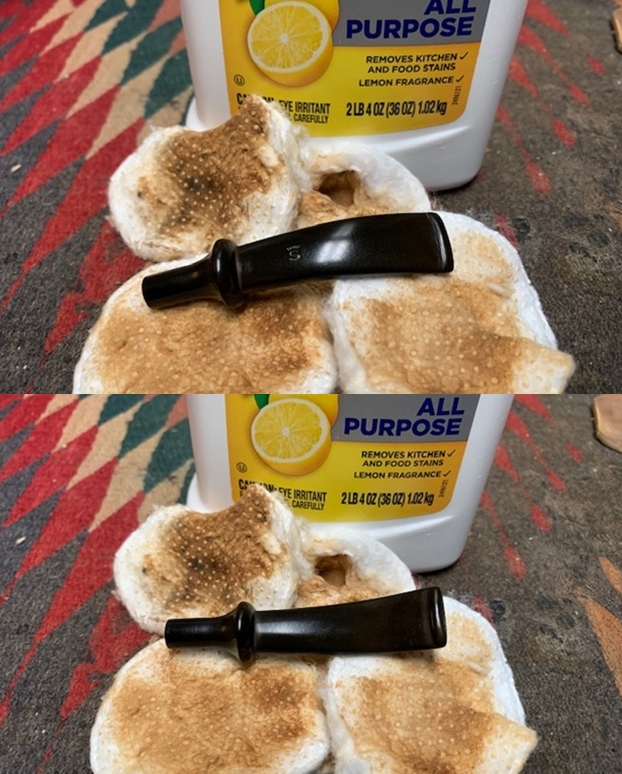
 The next morning, Abha removed the stems that had been soaking in the deoxidizer solution overnight. She cleaned the stem and the stem airway under running warm water and scrubbed the raised oxidation from the stem surface using a Scotch Brite pad and the airway with thin shank brush. She further removed the oxidation by scrubbing the stem with 0000 grade steel wool and applied a little olive oil to rehydrate the stem.
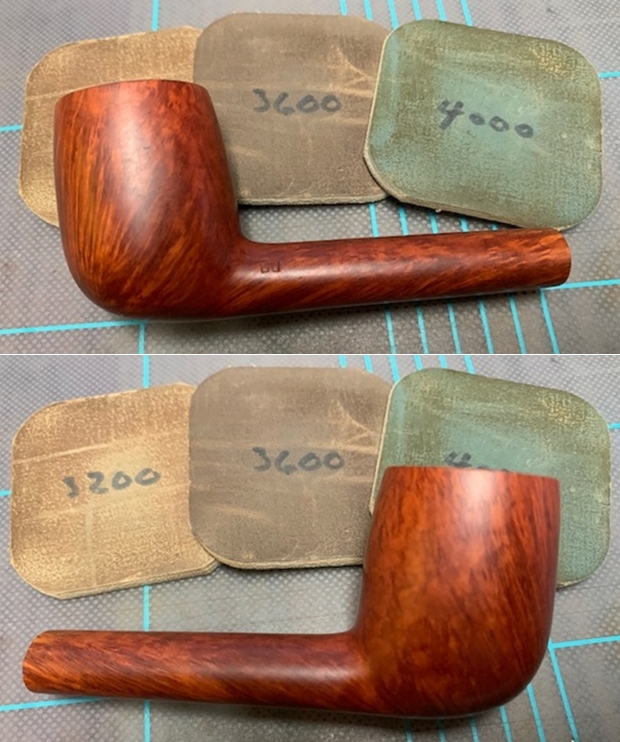
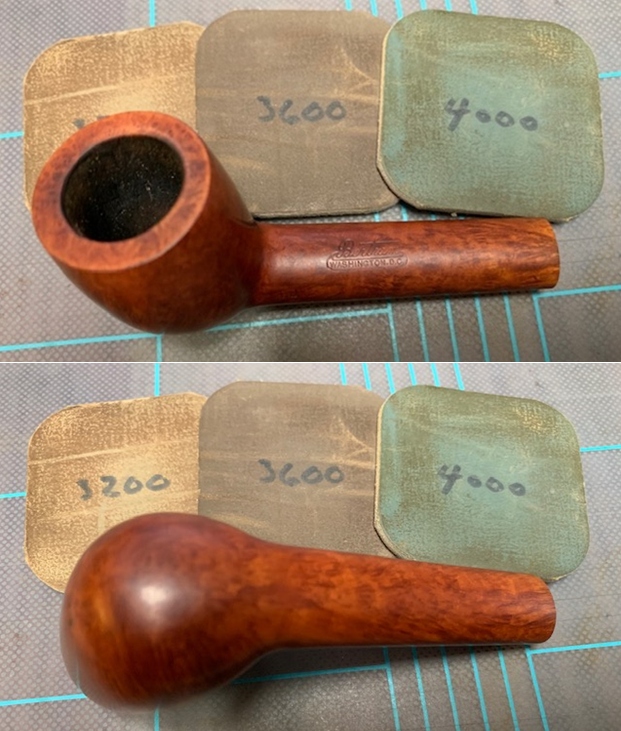
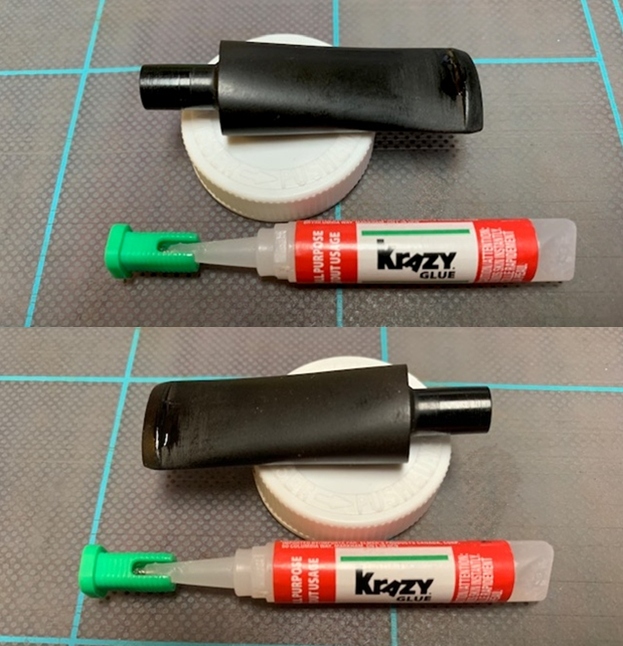
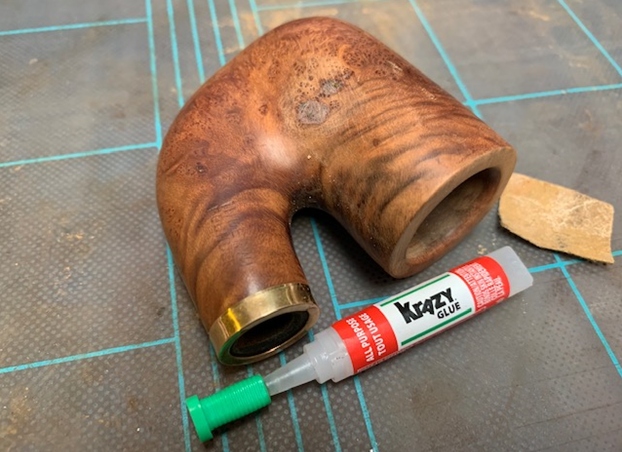
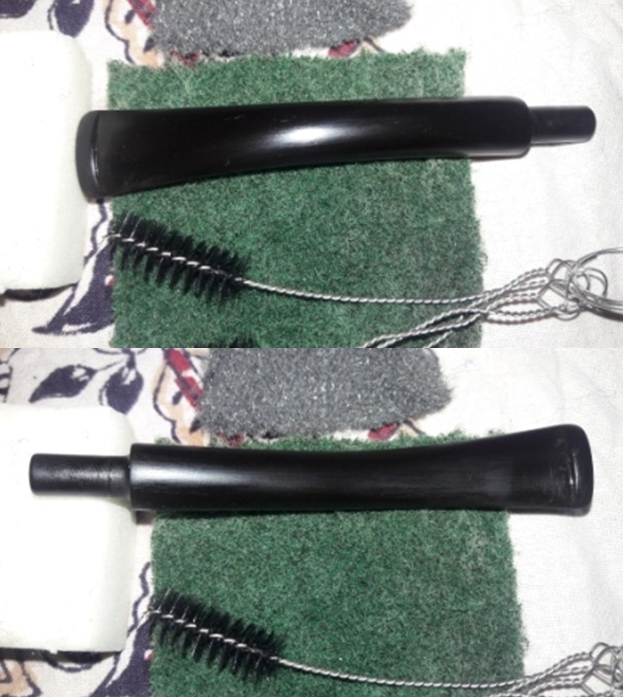 While Abha was busy with the stem cleaning and sanding, I removed the old fills from the stummel surface with a thin edged sharp knife. I cleaned the gouged out spots with cotton swab and alcohol in preparation for a fresh fill. Using the layering method, I filled the gouged out spots with CA superglue and briar dust. I always ensure that the fill is above the rest of the stummel surface. This helps in subsequent sanding and blending in of the fills with rest of the surrounding surface. I set the stummel aside for the fills to cure. I had run out of medium CA superglue and had only the thin superglue. This glue is not ideal for a fill as it spread all over the stummel surface. It sure does look messed up, however, since I was to sand the entire stummel to achieve a perfect blending of the fill with the rest of the surface, I was not very perturbed with the spreading of the superglue.
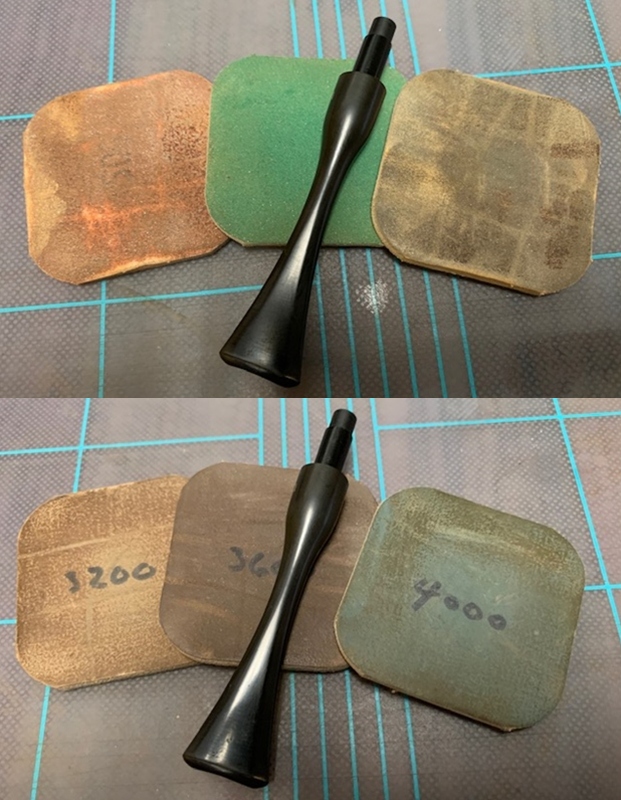
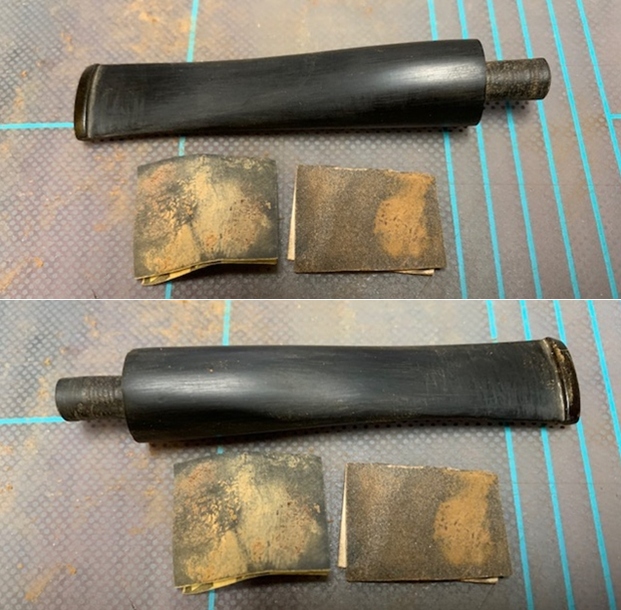
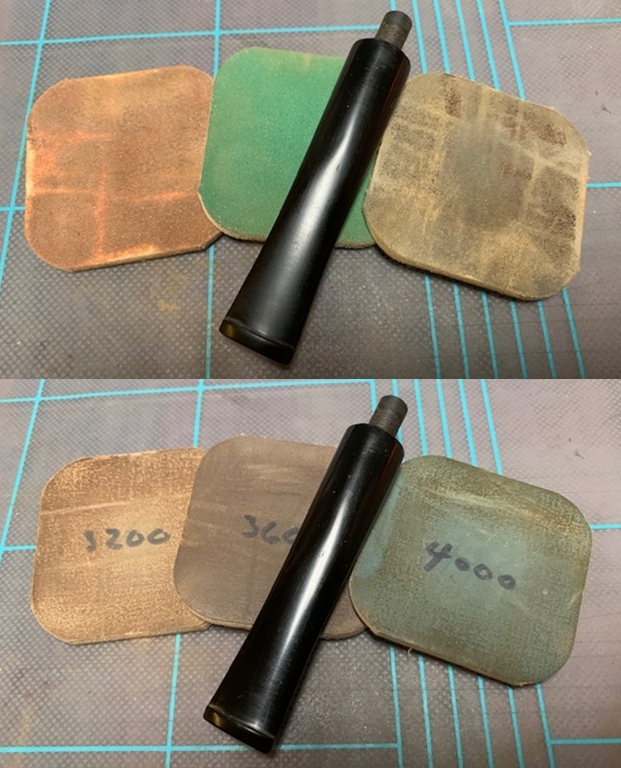
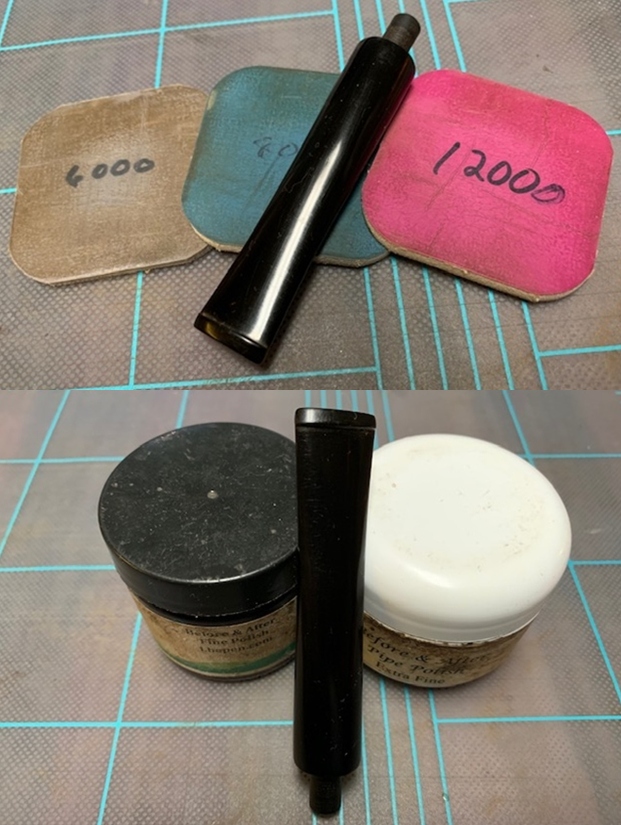
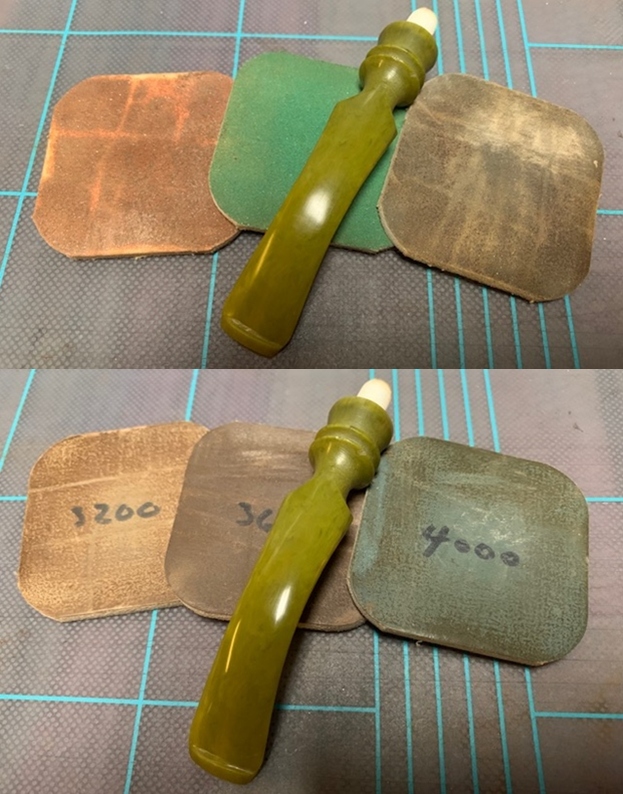
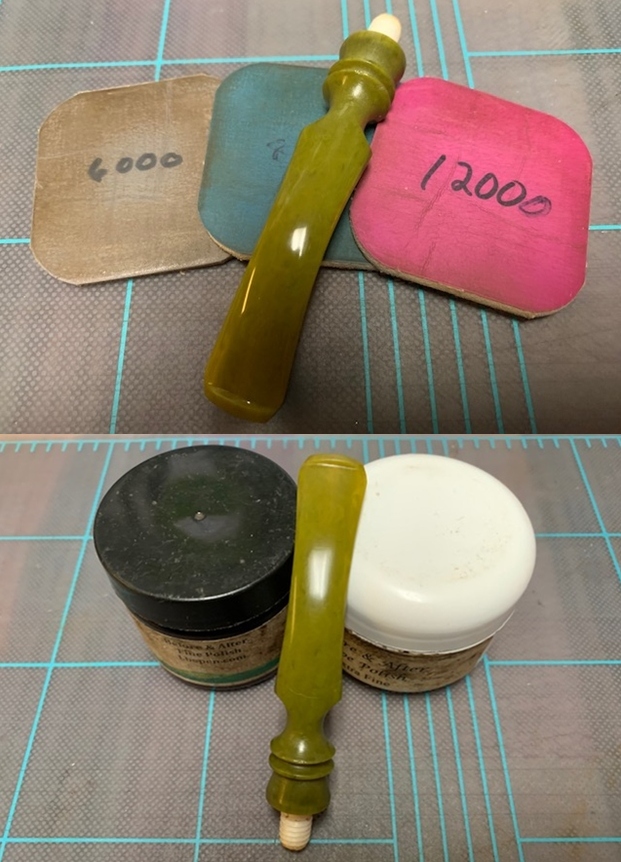
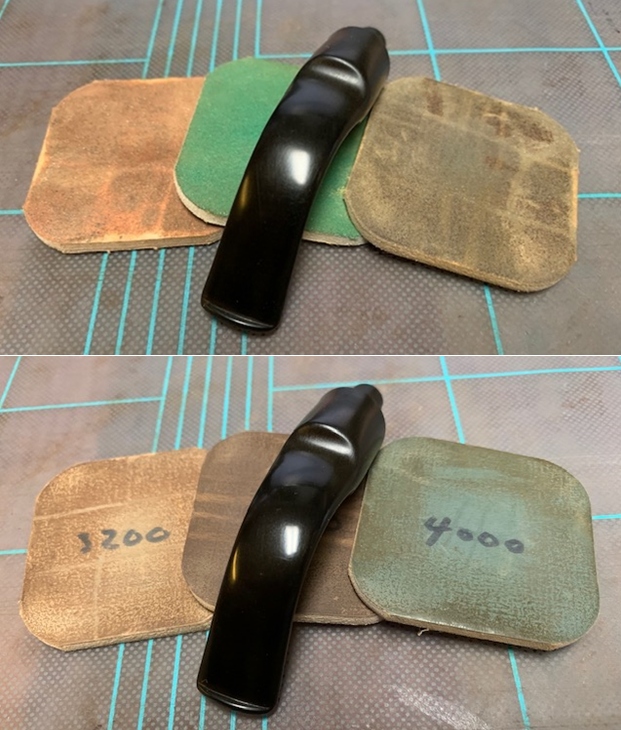
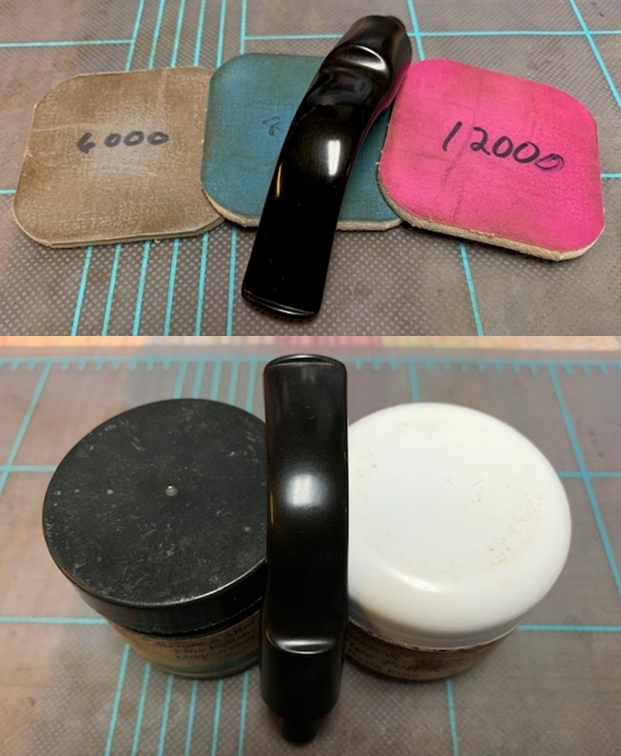
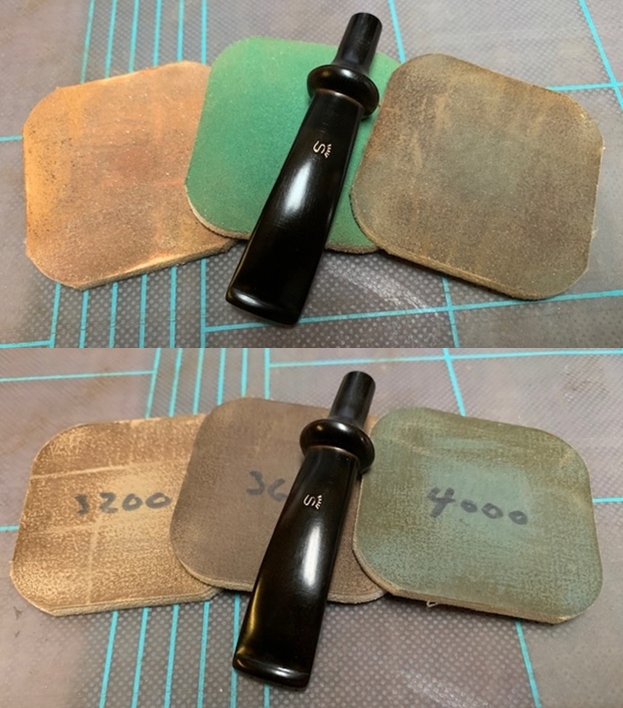
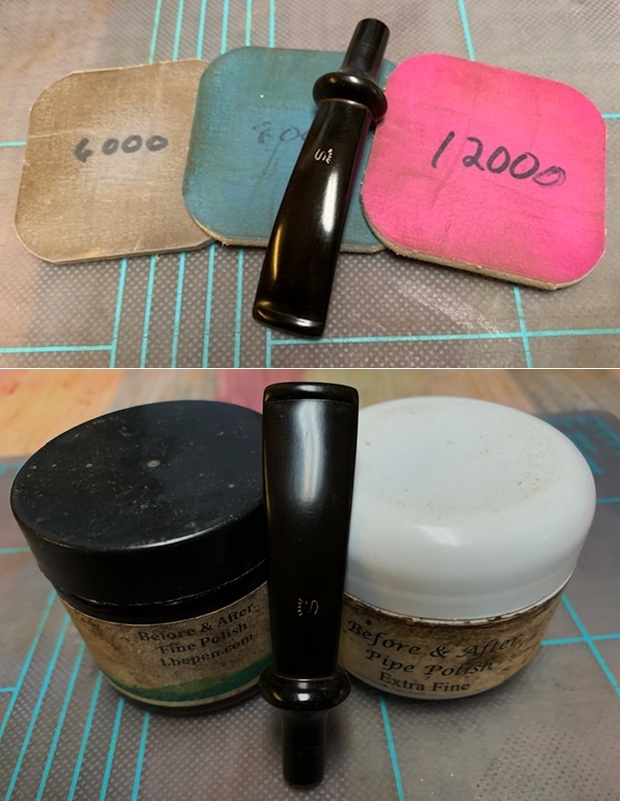
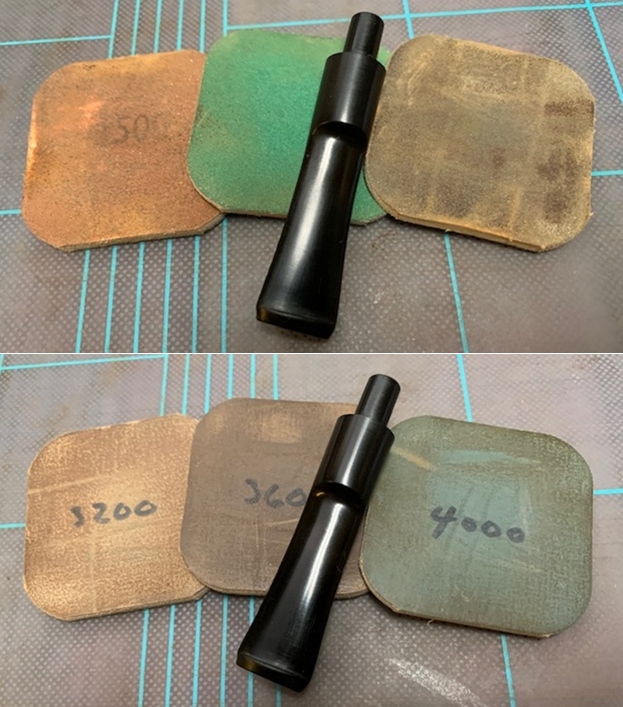
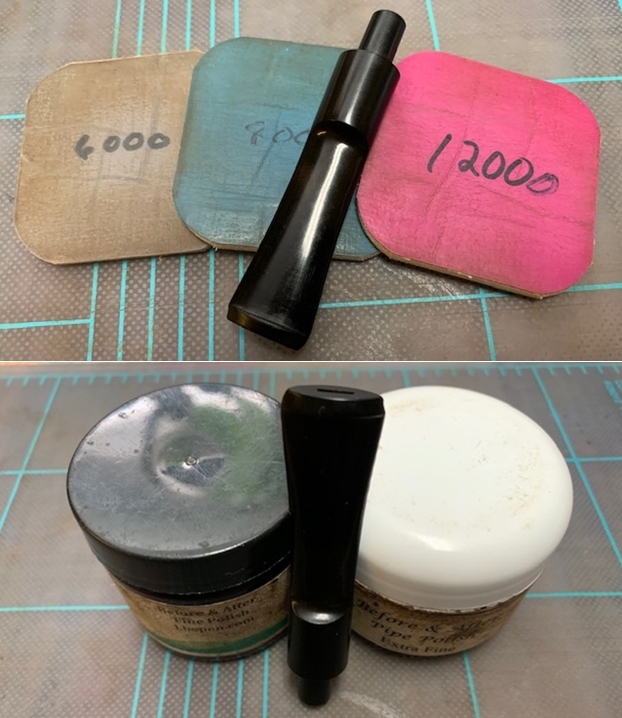
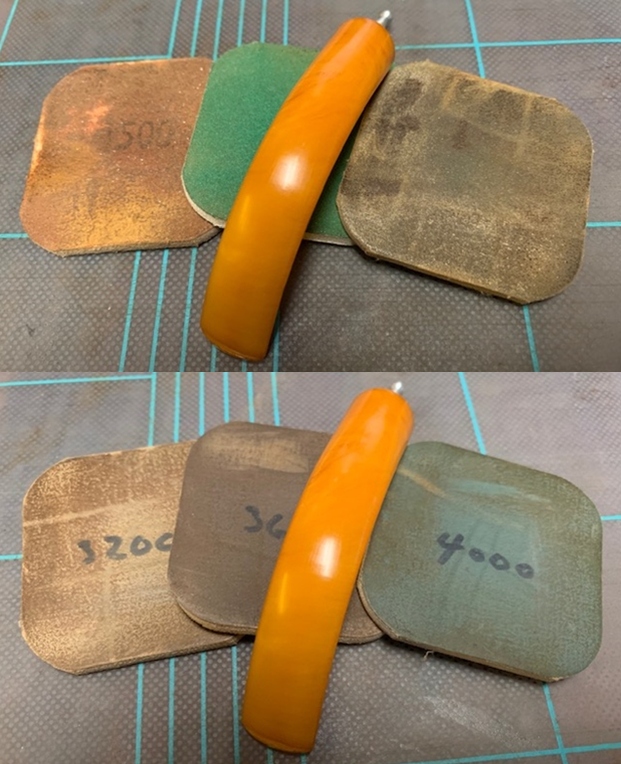
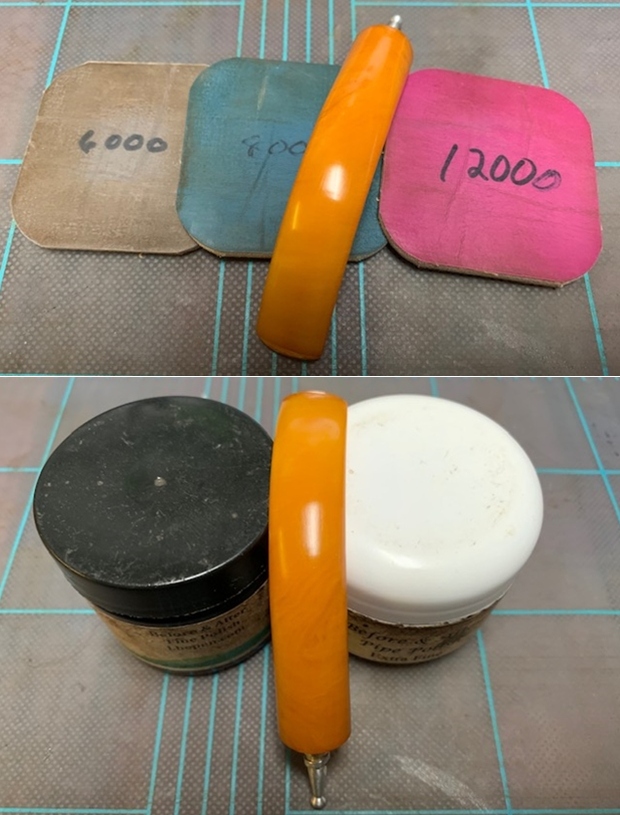
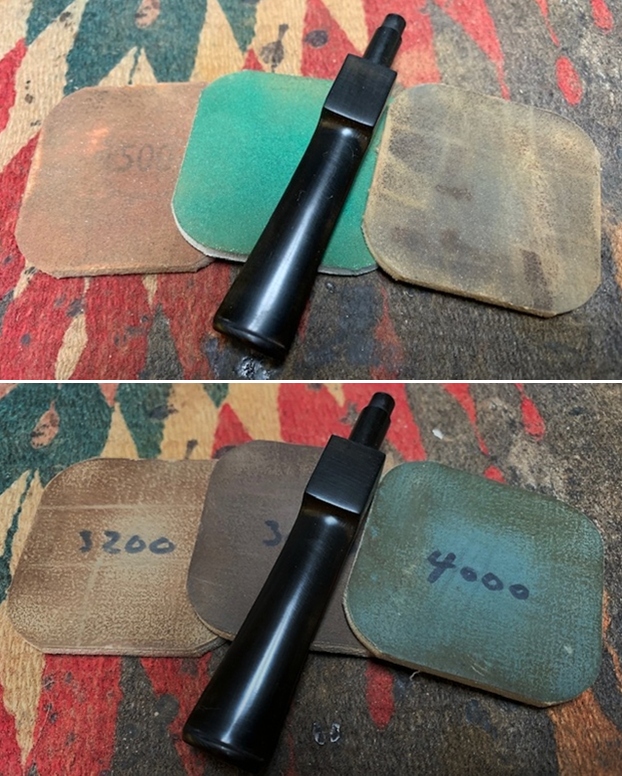
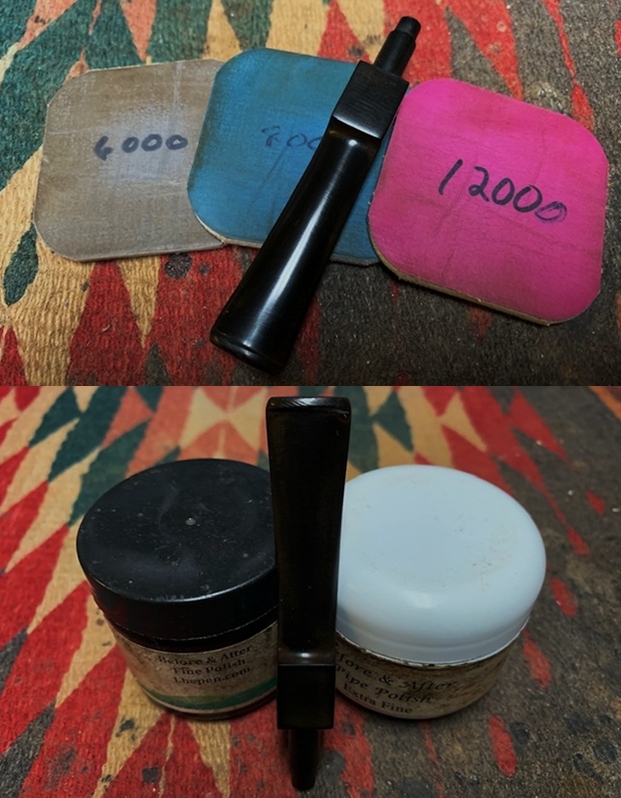
 With me working on the stummel repairs, Abha had continued her work of polishing the stem. She further sanded the stem surface with a folded piece of 220 and 320 grit sand papers to completely remove the remaining traces of oxidation and reduce the sanding marks and followed it with wet sanding the entire stem with 1500 to 12000 grade micromesh pads (1500 to 2400 grit micromesh pads had completely worn out and we were unable to order a set due to lockdown. The use 1500 and 2000 grit wet or dry sand paper is the nearest option that we had). She wiped the stem with a moist cloth to remove the dust and monitored the progress being made after every three grit pads. The stem polished up nicely and had a rich deep black shine to it. She applied a little Extra Virgin Olive oil to rehydrate the vulcanite and set the stem aside.
 Once the fills had sufficiently cured, with a flat head needle file she sanded the fills and achieved a rough match with the rest of the stummel surface. To achieve a perfect blending in of the fills and to remove the excess spread of the thin superglue, She sanded the entire stummel surface with a folded piece of 220 grit sand paper. The minor scratches that were observed at the bottom surface of the shank were also addressed by this sanding. The fills have blended in nicely and further polishing with micromesh pads should further mask these fills and sanding marks left behind by the abrasive 220 grit sand paper.
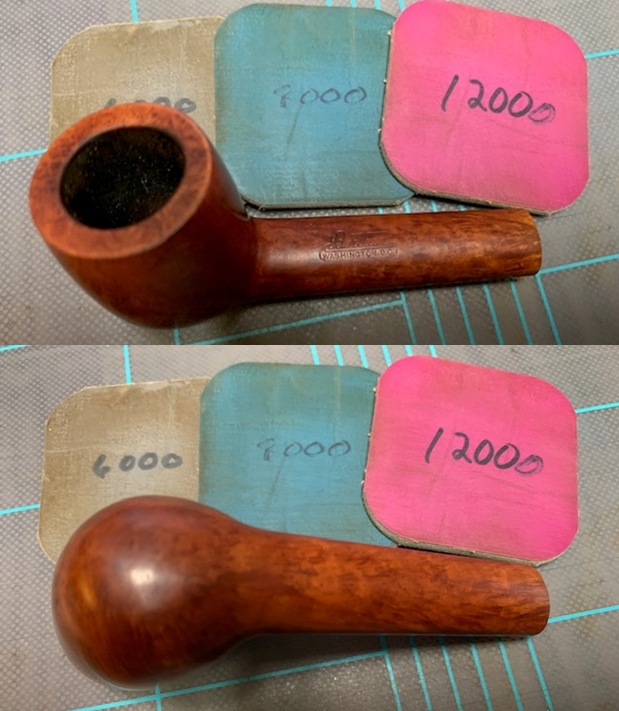
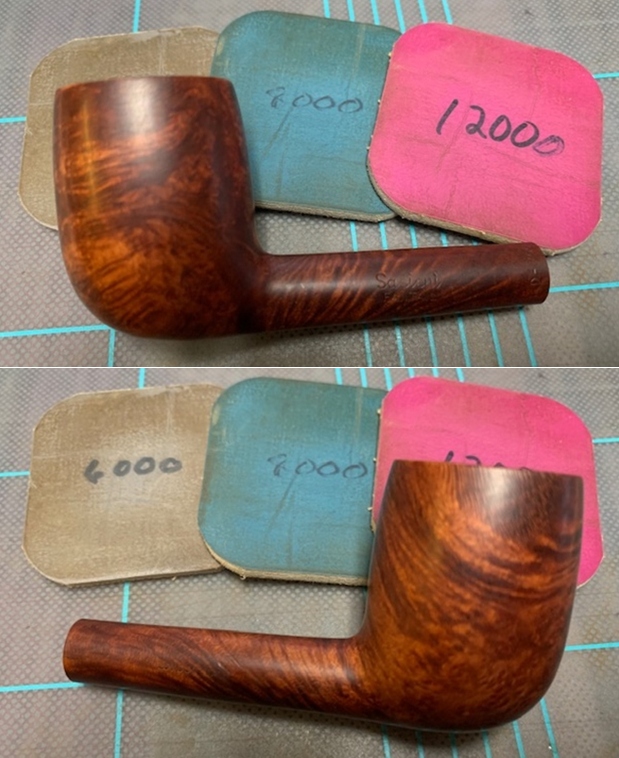
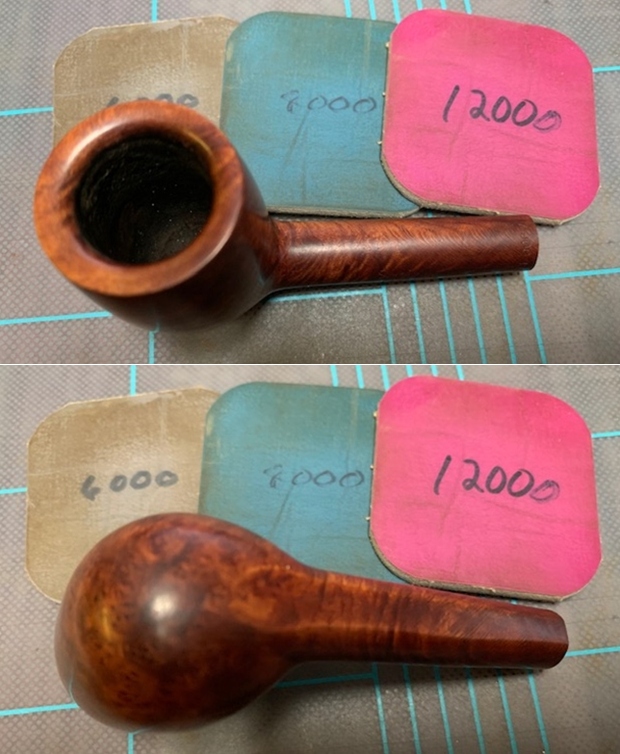
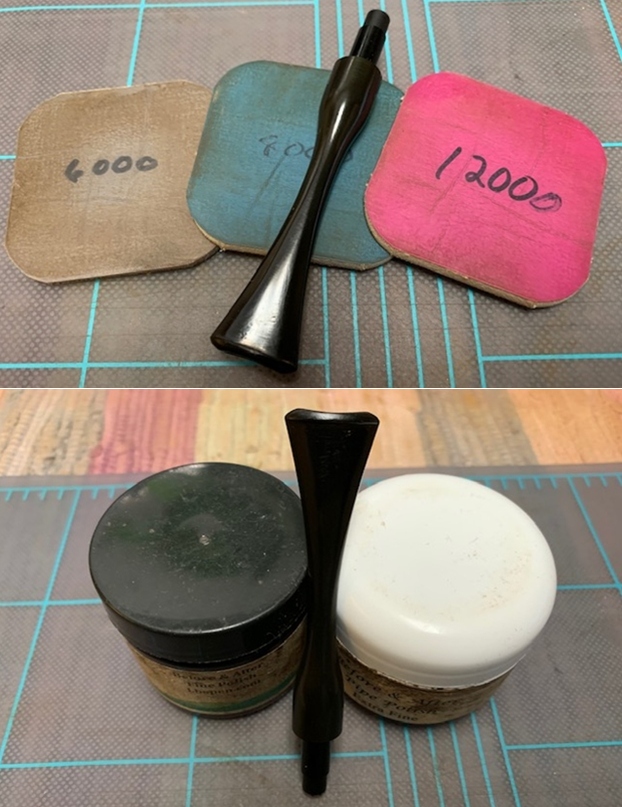
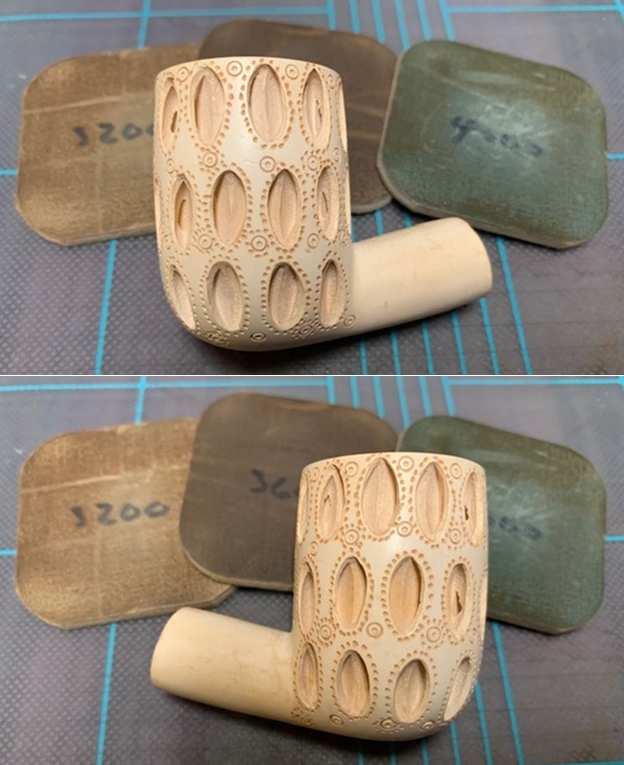
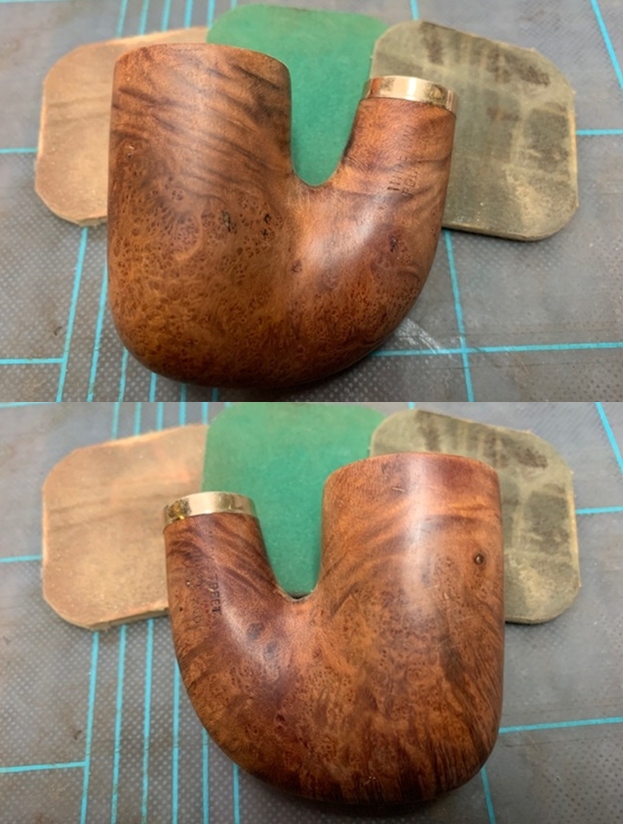
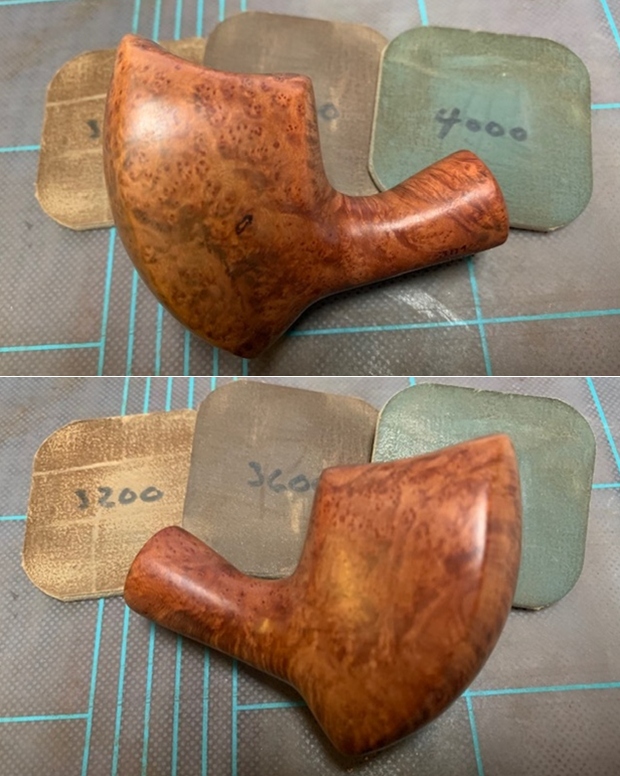
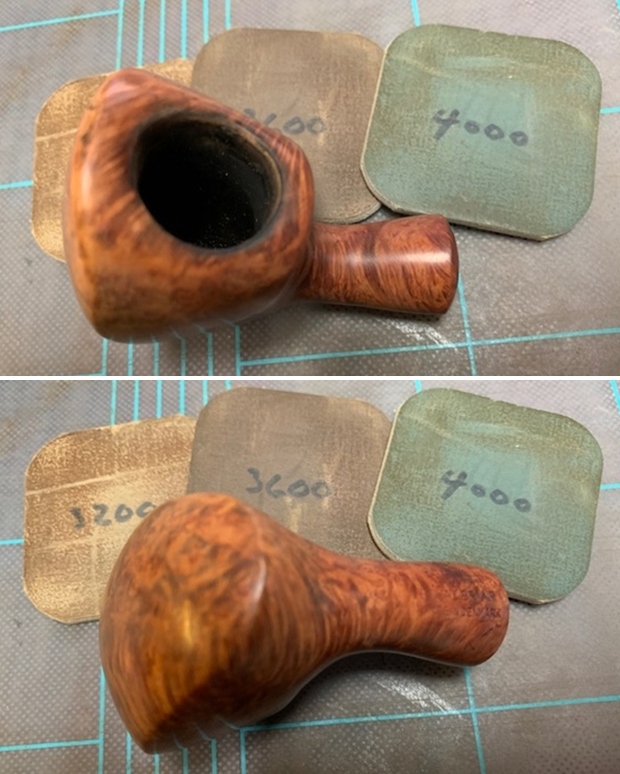
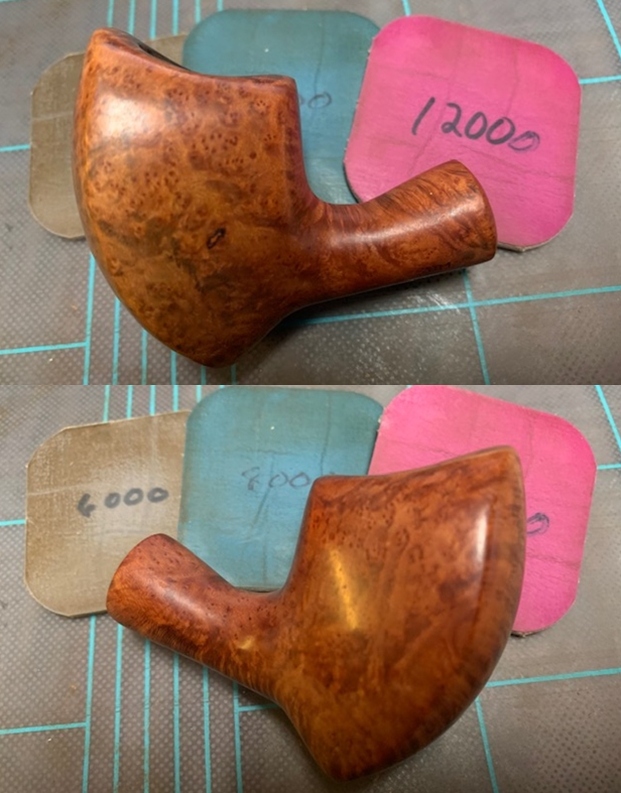
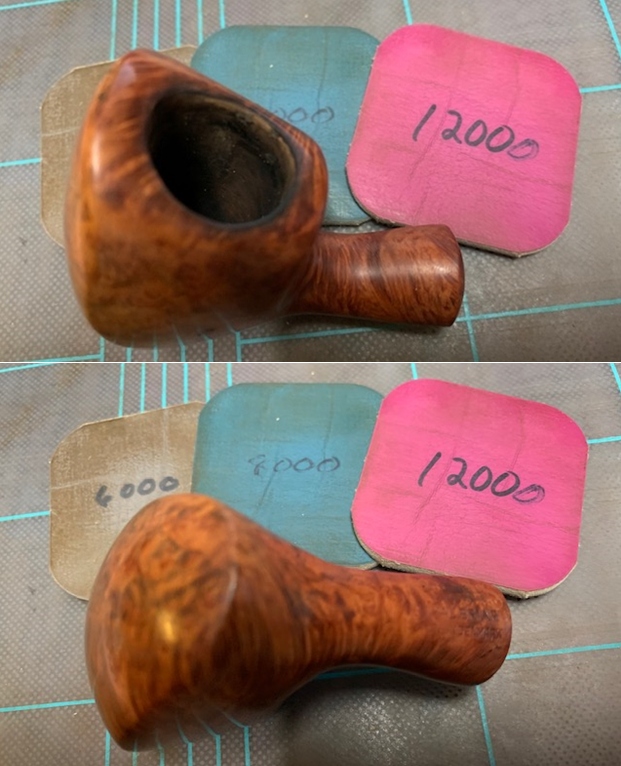
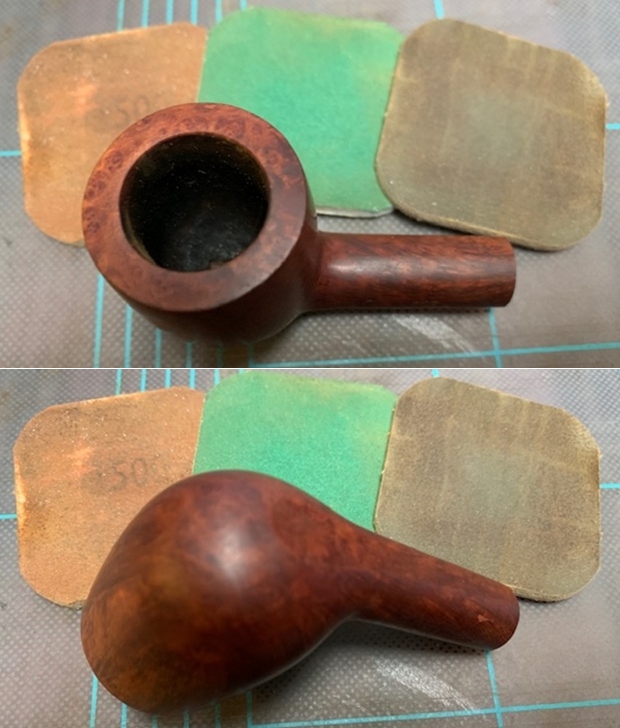
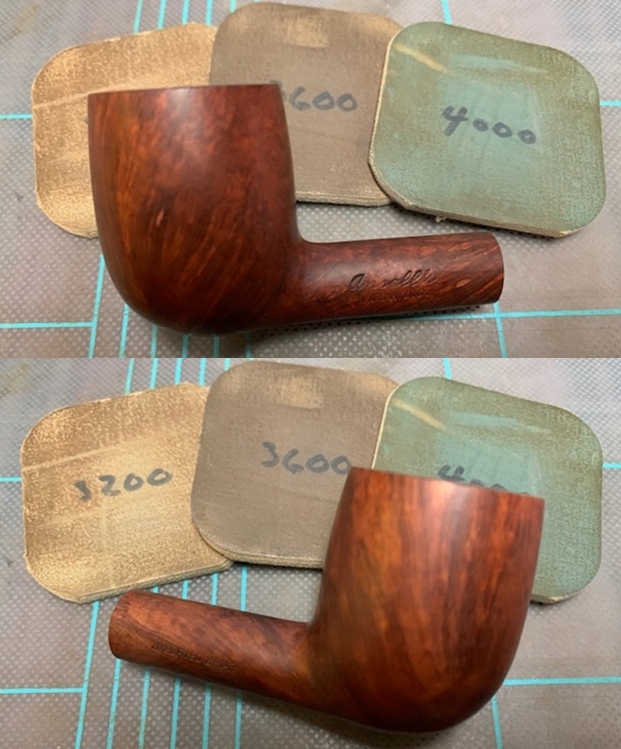
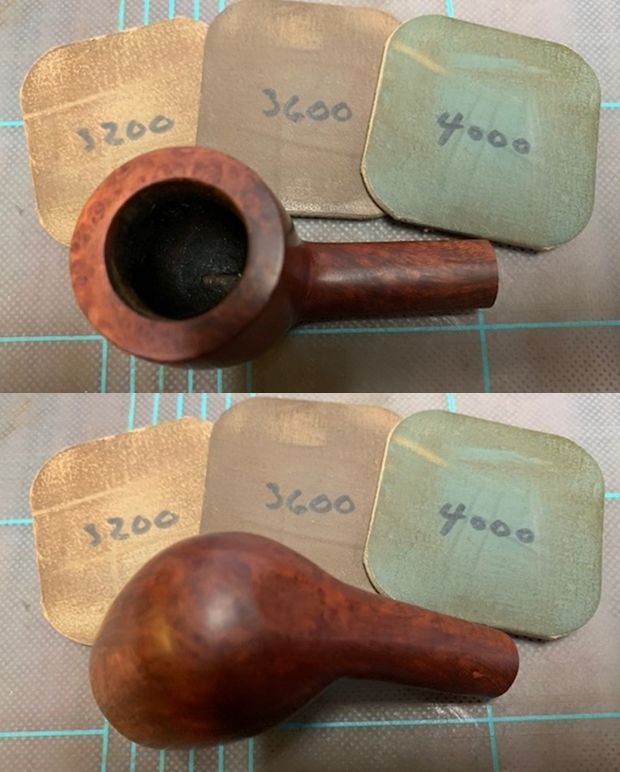
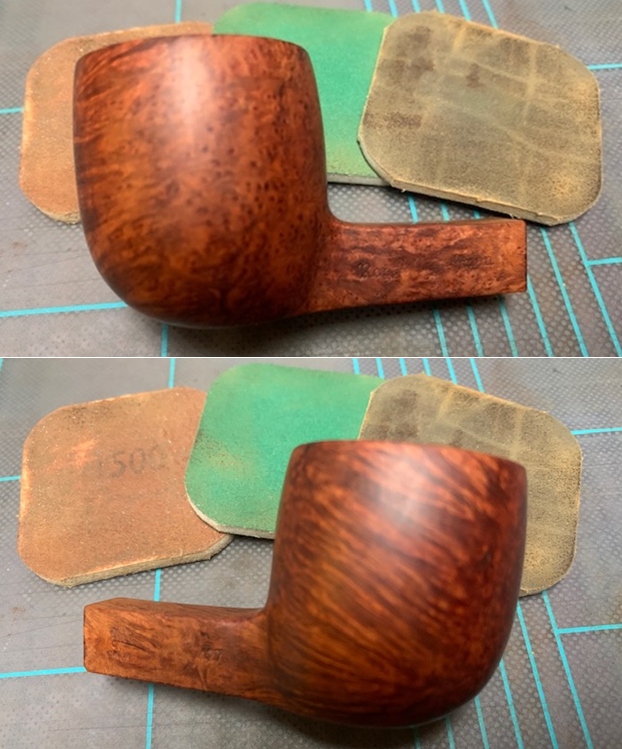
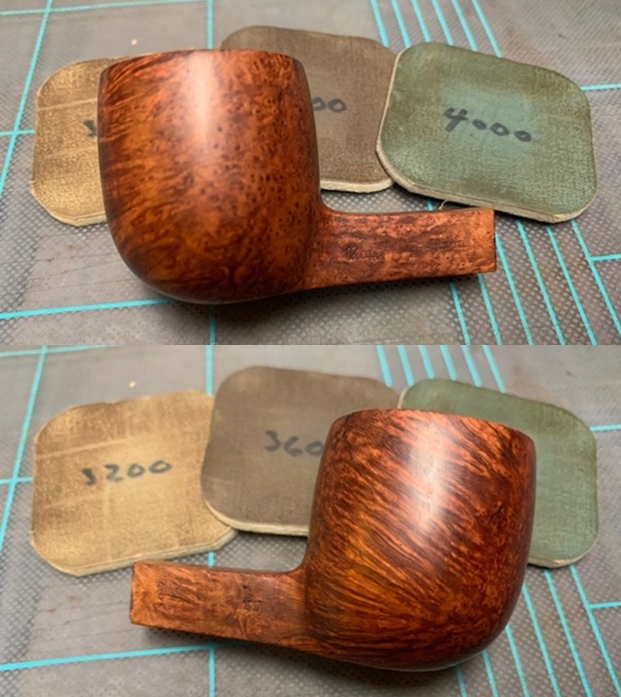
 Abha polished the stummel by wet sanding with 1500 to 2000 grit wet or dry sand paper and followed it up with further wet sanding with 3200 to 12000 grit micromesh pads. The stummel has taken on a nice deep and dark brown color, nicely masking the refreshed fills to naked eyes. I was prepared to satin the stummel if need be to mask the fills, however, that does not seem necessary at this stage. We are very happy with the appearance of the stummel at this point in restoration.

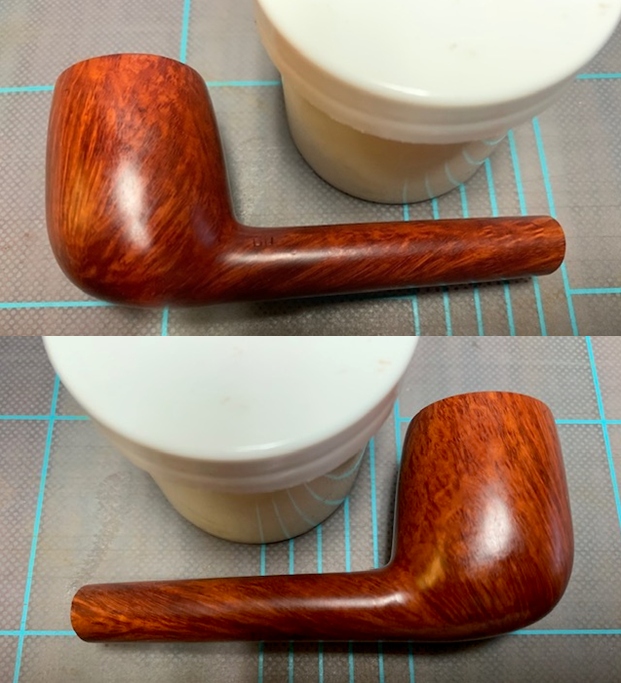
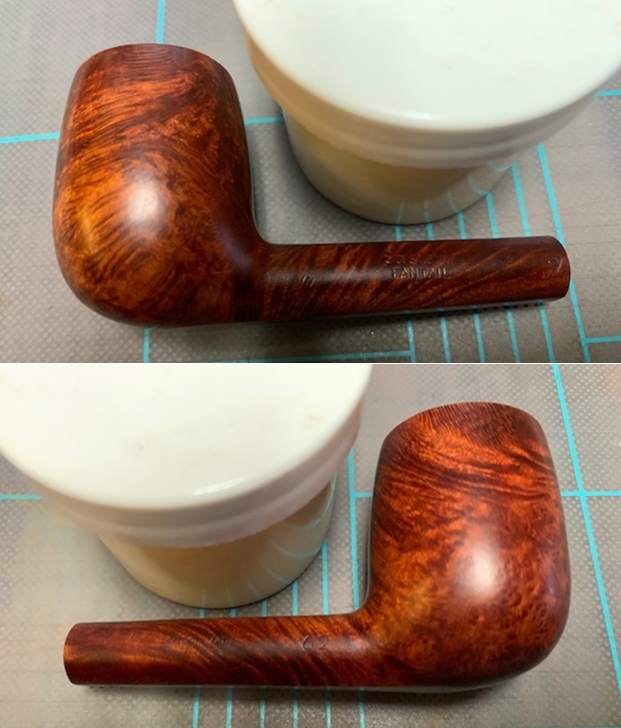
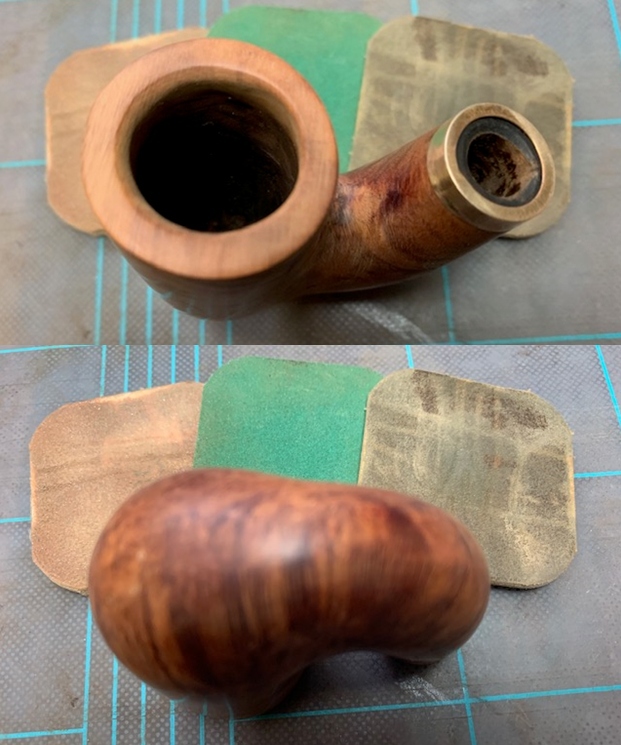
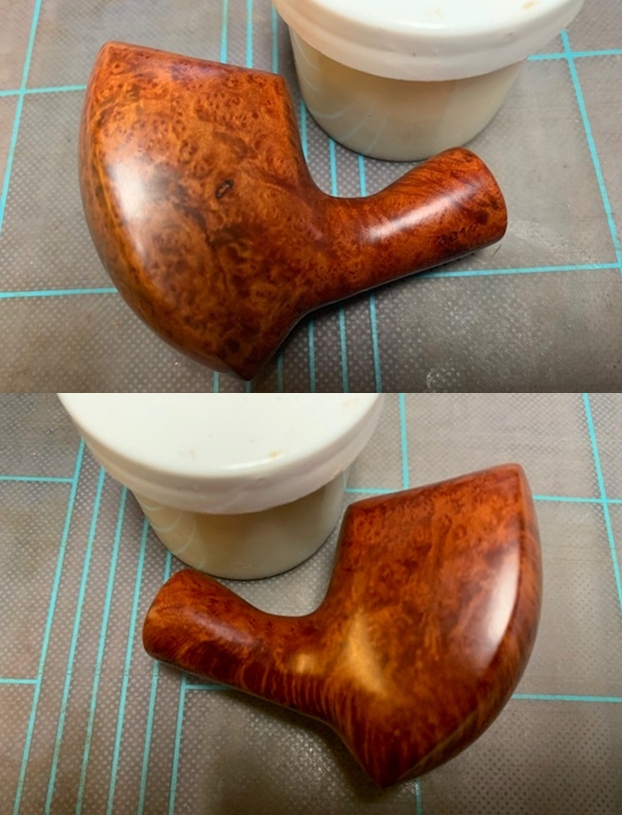
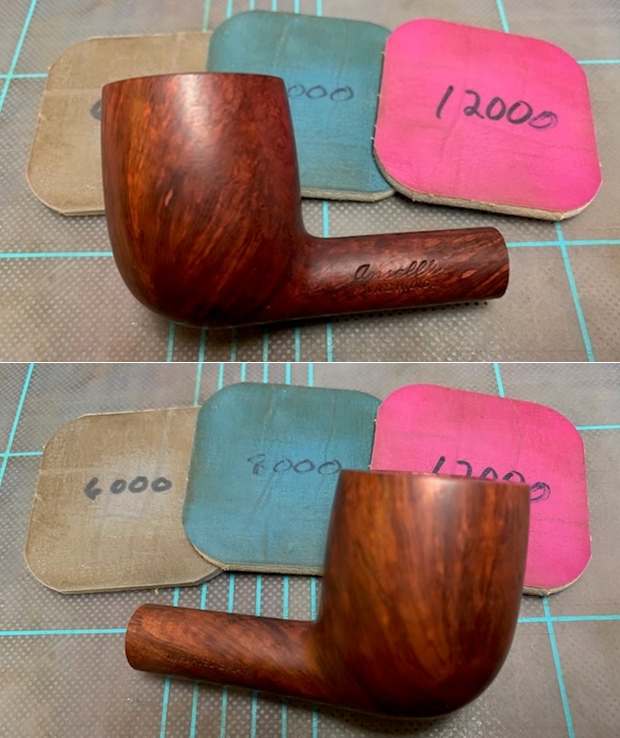
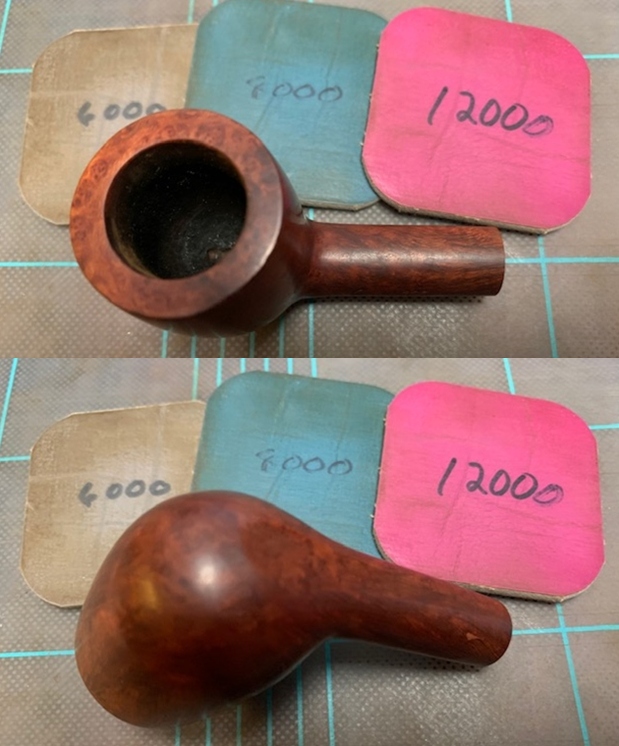
 Next, I rubbed a small quantity of “Before and After Restoration Balm” in to the briar with my finger tips, working it deep in to the briar and let it rest for a few minutes. The balm almost immediately works its magic and the briar now has a nice vibrant appearance with the beautiful grain patterns displayed in their complete splendor. The contrast of the dark brown of the stummel interspersed with darker cross grains and Bird’s eye, adds an interesting dimension to the appearance of the stummel. I further buffed it with a horse hair brush.
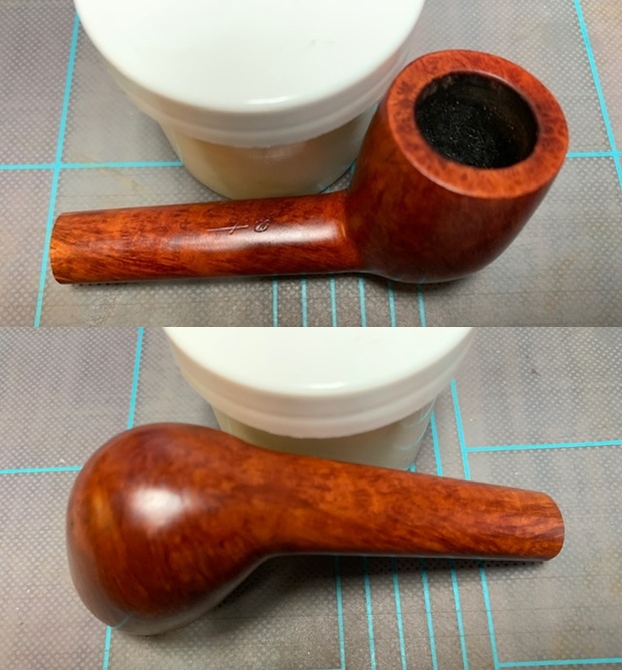
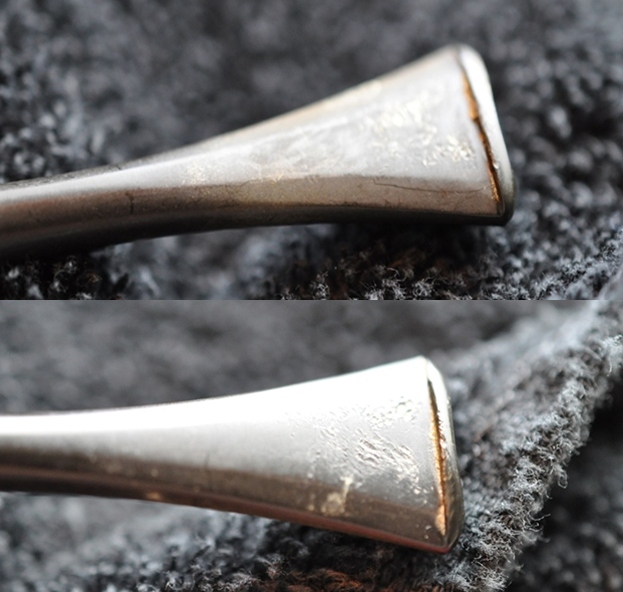
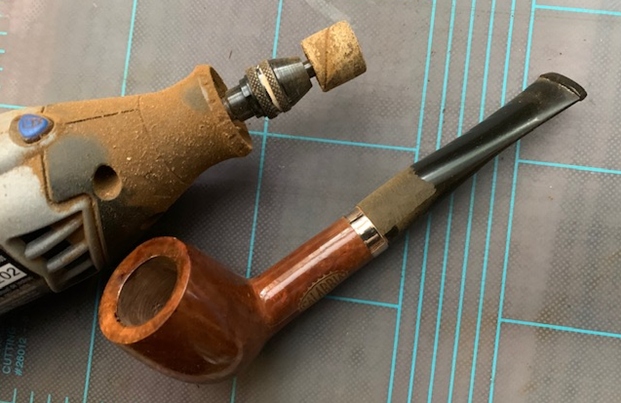
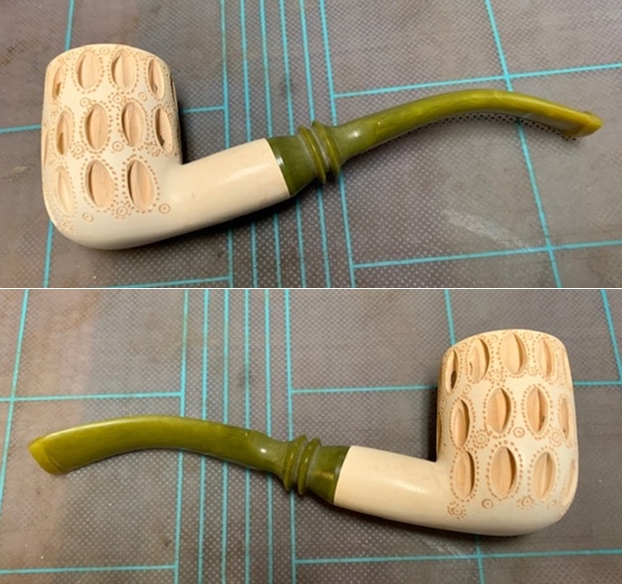
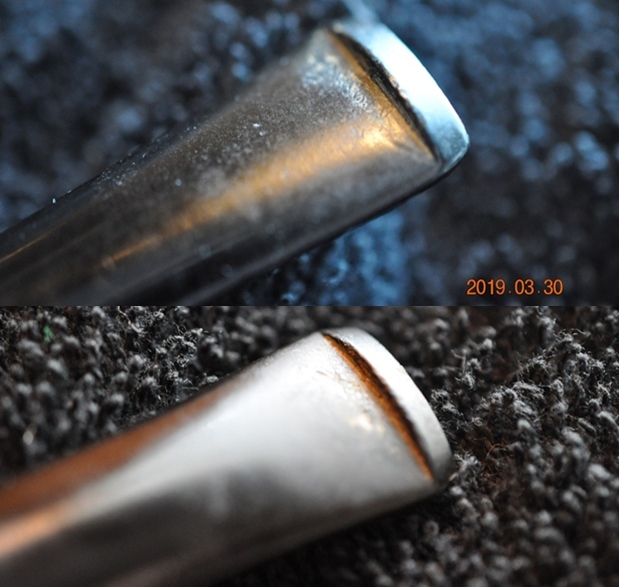
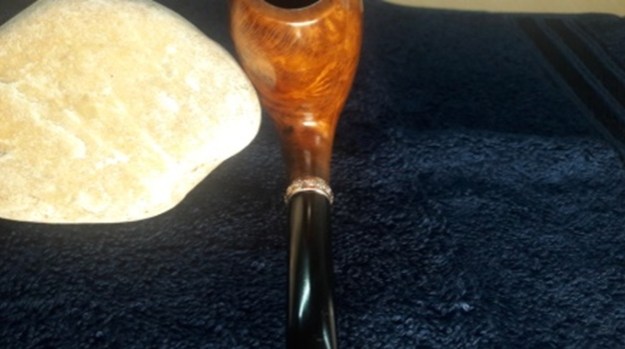
 On to the home stretch!! I attach the stem to the stummel to first polish it with Blue Diamond. This helps in addressing the minor scratches that are left behind. It was at this point in restoration that I noticed that the stem was inadvertently rounded at the shoulder, causing what is called “shouldering” (indicated with yellow arrows). Abha felt very guilty for having caused it, however, I showed her the picture of the pipe on pipephil.eu and suggested that when I reach back at my place of work I shall band it and that it will look very nice and original.
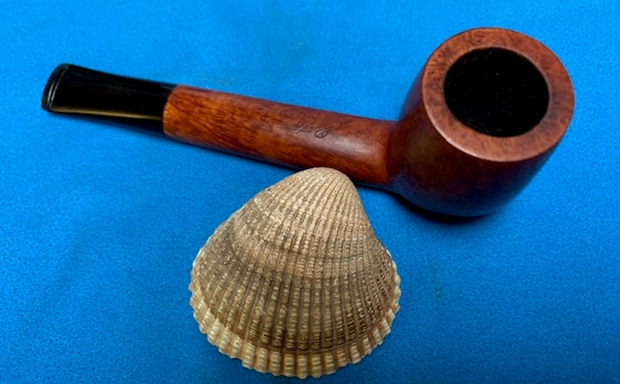
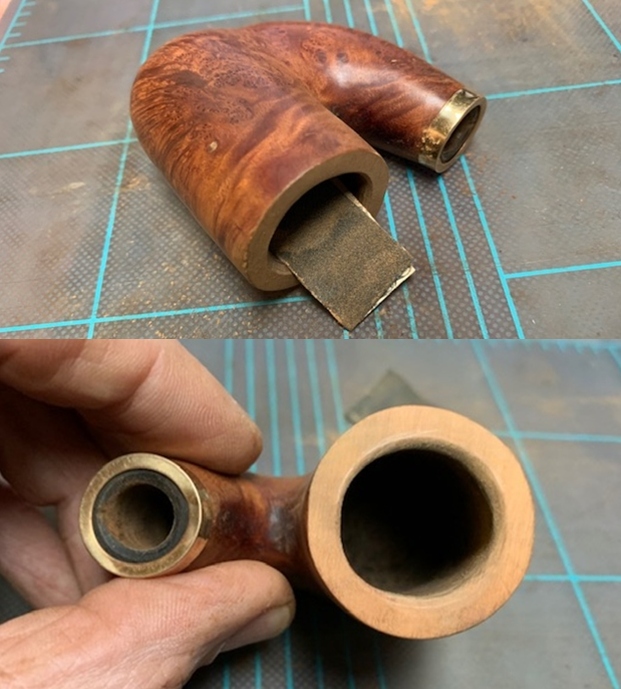
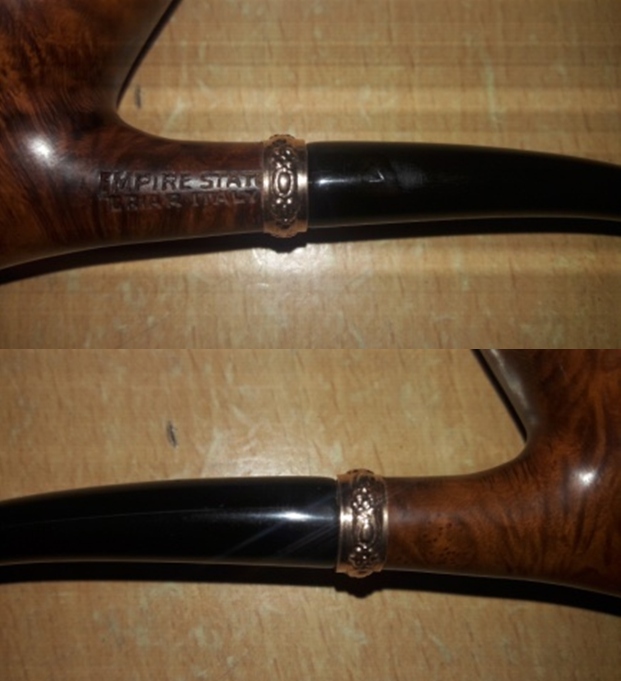
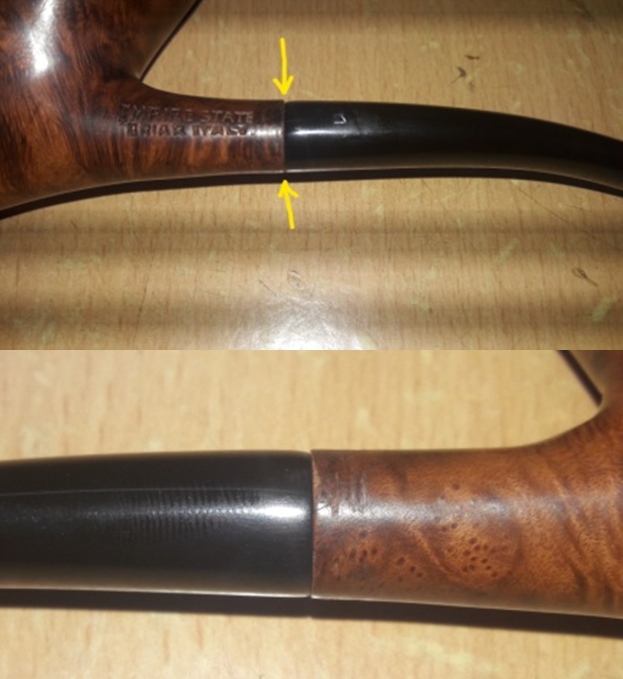 Now that I have reached my place of work, I rummaged through the various bands that I have and found one that matched perfectly with the size of the shank end. It was an ornately designed brass band with embossed floral design. I tried a rough fit and realized that the stamping was being covered when the brass band was completely seated on the shank face. The letter “E” of the word “STATE” was getting masked under the band. I shall address this issue by sanding down the band to a size that would not cover the stamping at all. I have had a terrible experience of using a sanding drum on my hand held rotary tool once and since then I have been doing such band modifications by manually sanding it on a piece of 150 grit sand paper. The aesthetics of the pipe has been transformed completely by this addition of the band. Abha, my wife, too liked the appearance of this pipe with this addition of the brass band.

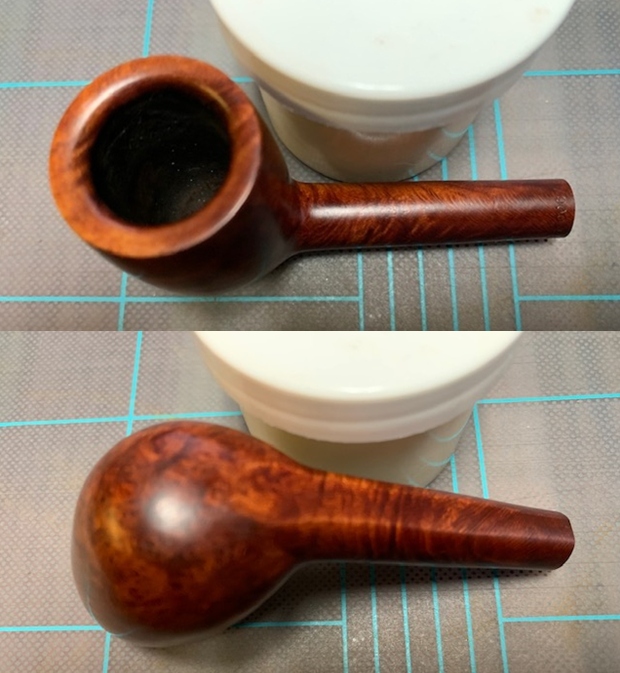
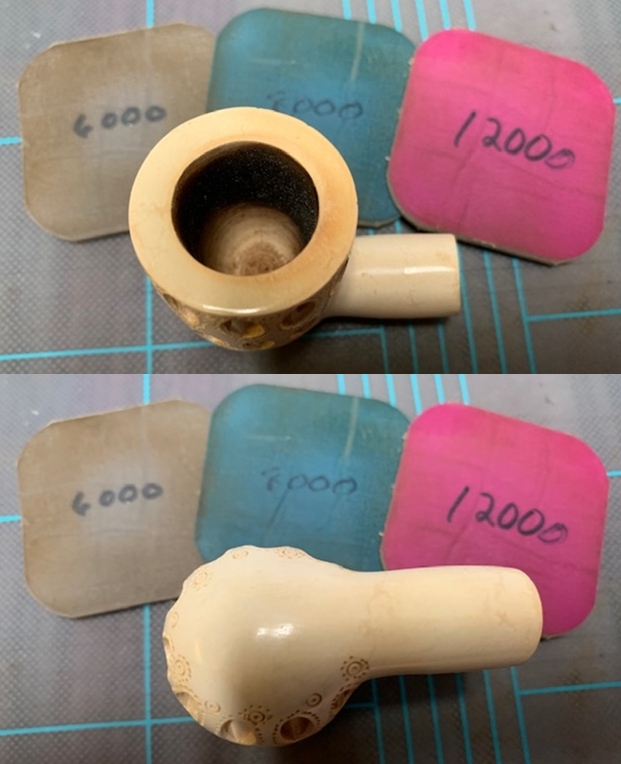
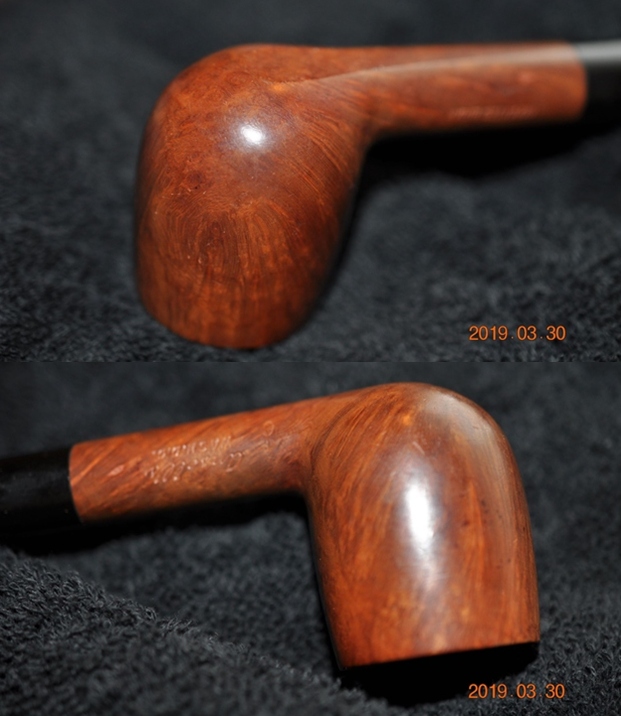
 I attach the stem to the stummel to first polish it with Blue Diamond. This helps in addressing the minor scratches that are left behind. The fills that were refreshed have merged beautifully with surrounding briar.
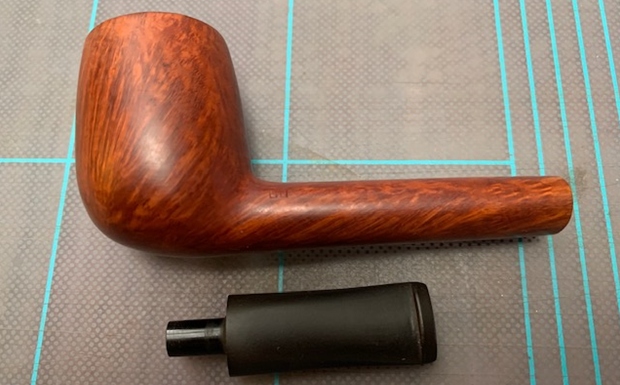
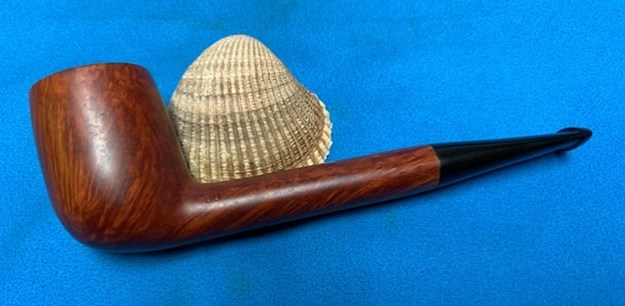
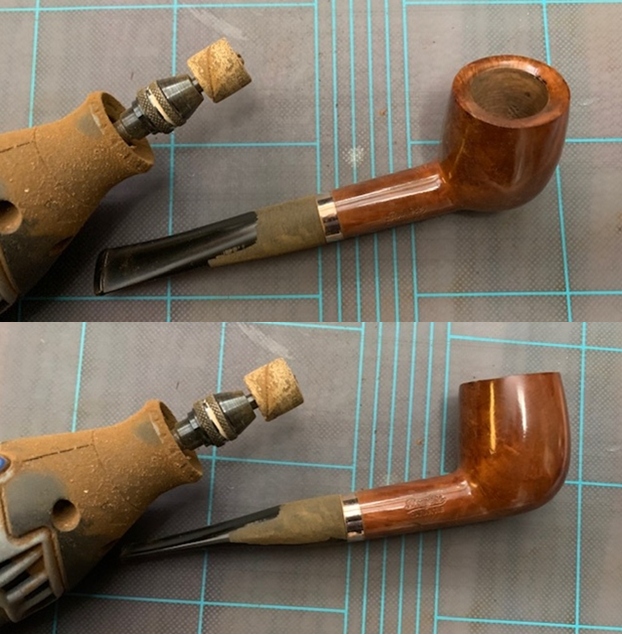
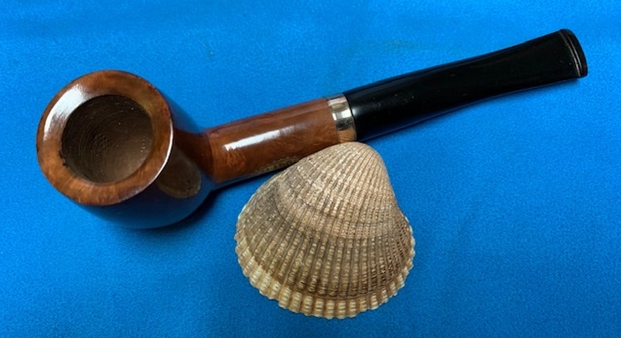
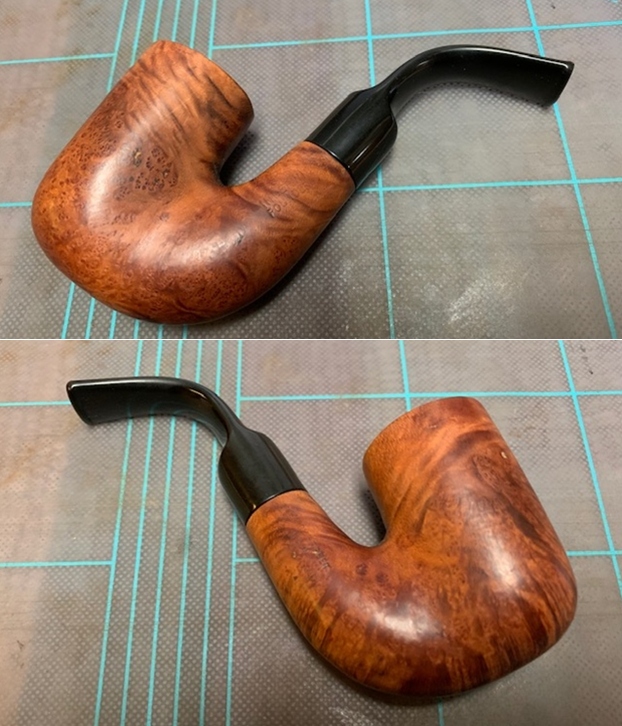
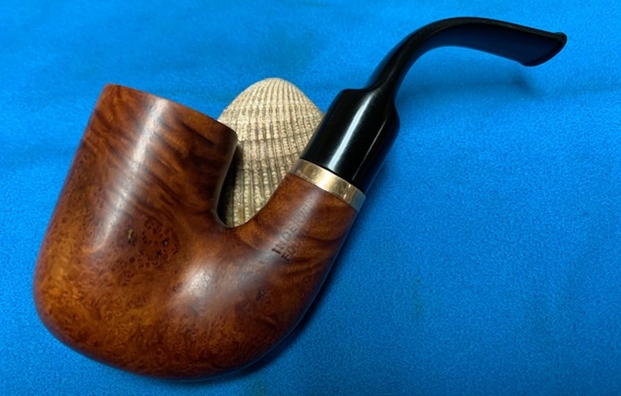
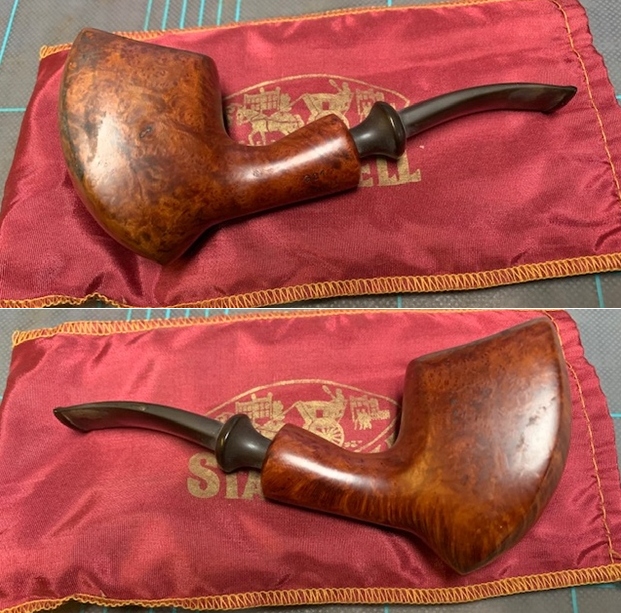
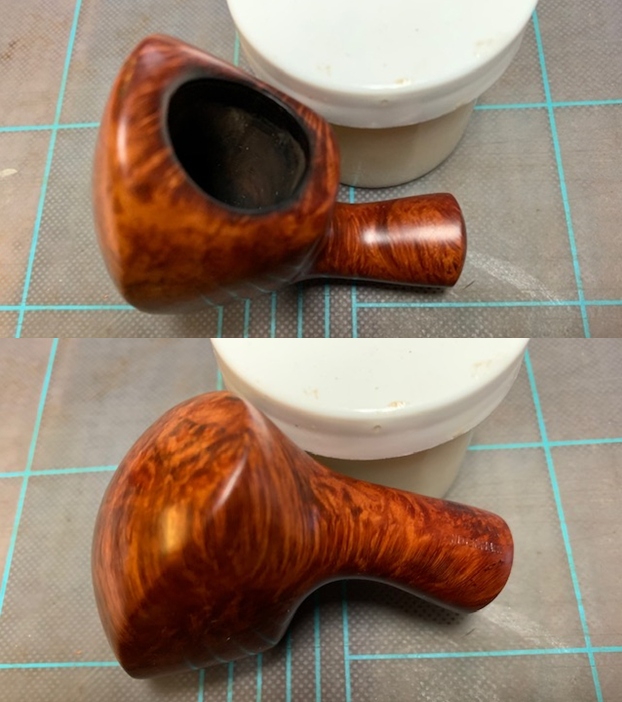
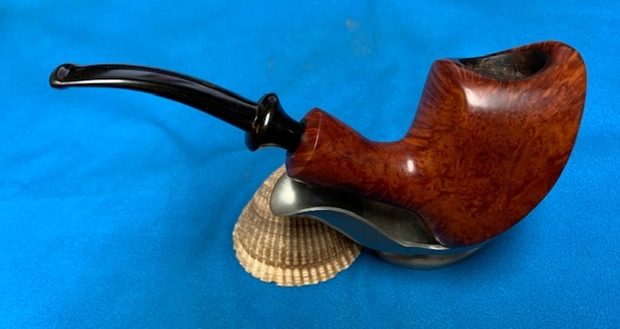
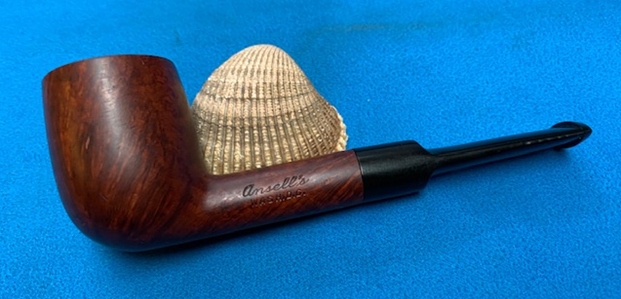
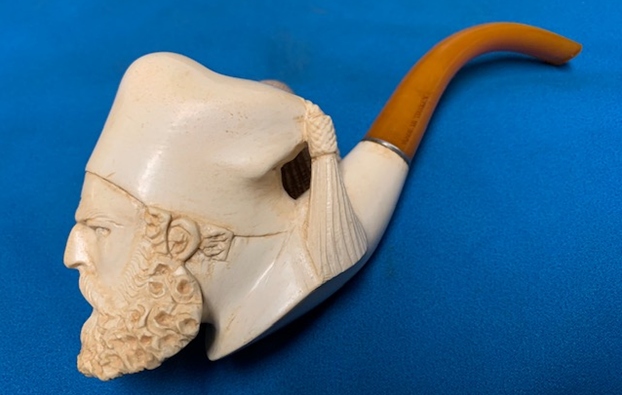
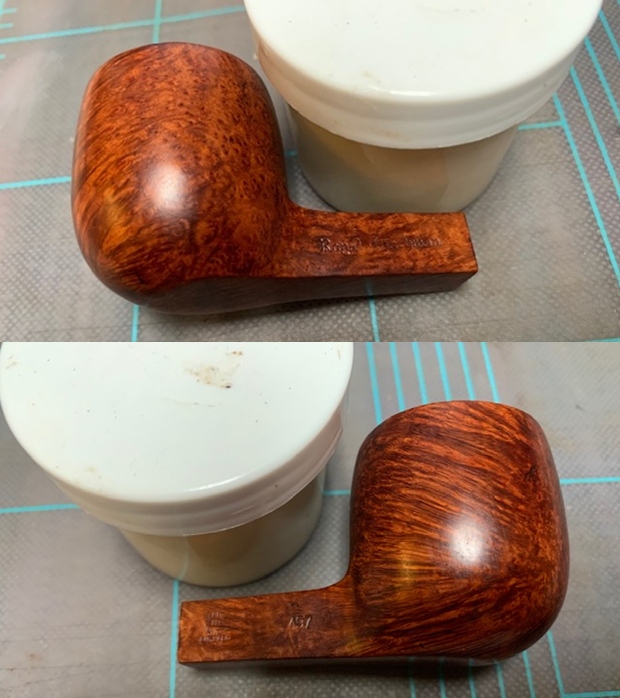
 I mounted a cotton cloth buffing wheel on to my hand held rotary tool and applied several coats of carnauba wax. I finished the restoration by giving the entire pipe a rigorous hand buffing using a microfiber cloth to raise the shine further and remove any residual wax from in between the sandblasts. The finished pipe looks amazingly beautiful and is now ready for its long second innings with me. I tweaked the seating of the stem in to the mortise a bit and now it seats flush with the shank band.


 P.S. This pipe shall always remain special to me and will find a place of pride in my modest collection…reason? Well, this is the first pipe that was worked on by Abha and it has turned out to be the most beautiful pipe, just like her!!
I wish to thank each one for sparing their valuable time to read through this write up and praying for the health and safety of entire mankind. Stay home…stay safe!!