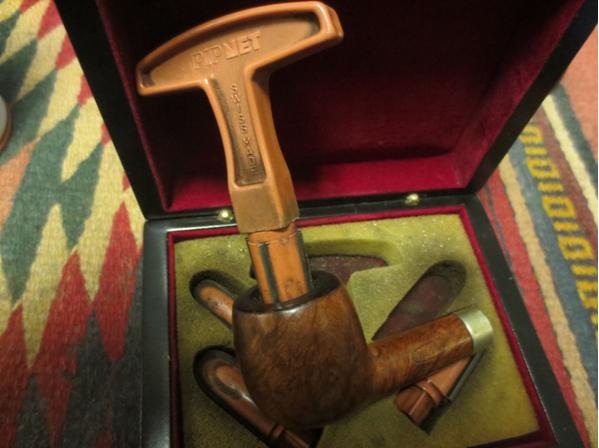
Blog by Aaron Henson – 2/20/16
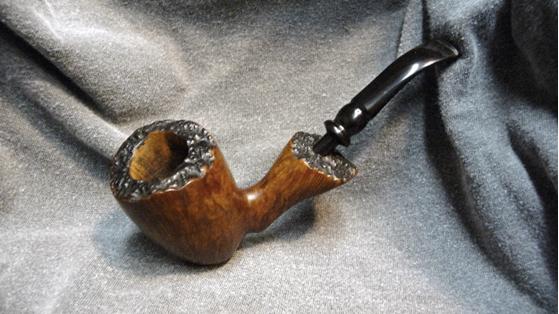
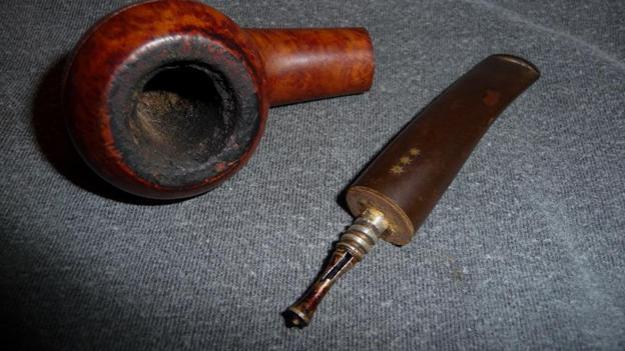
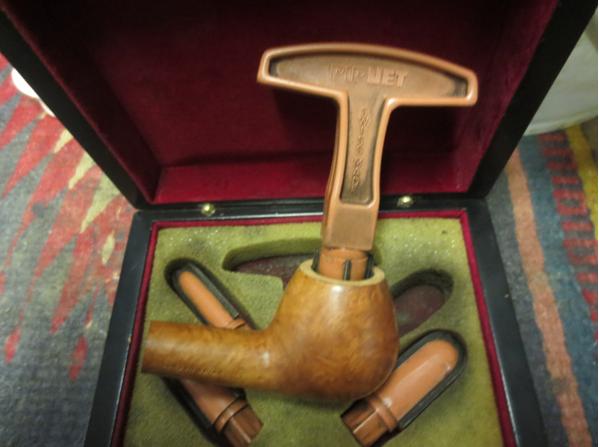
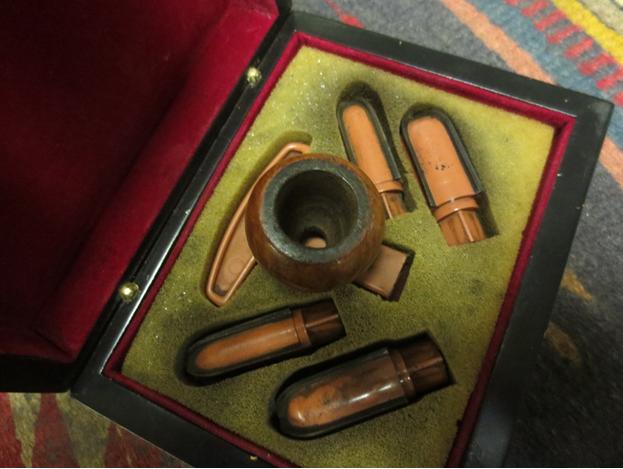
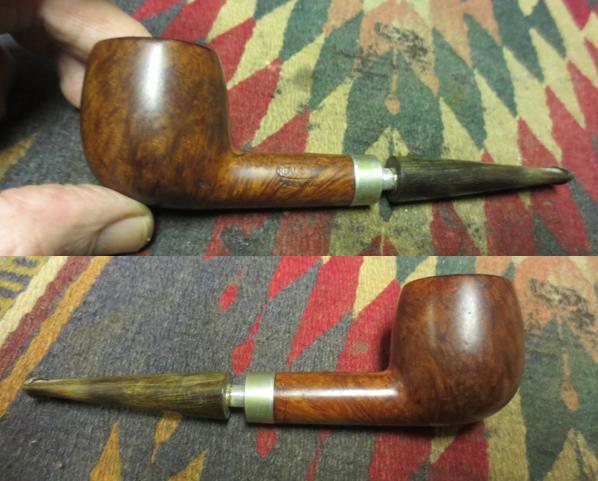
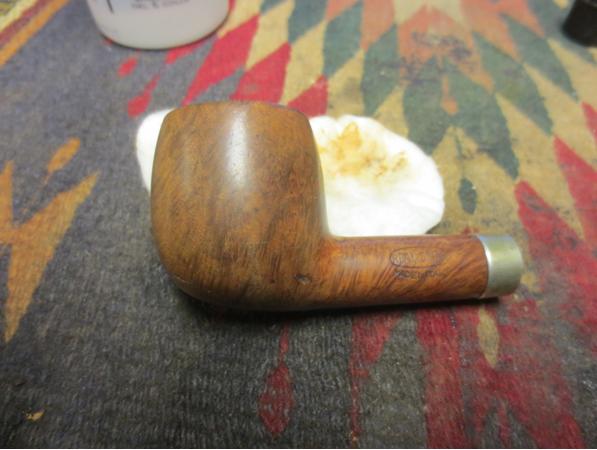
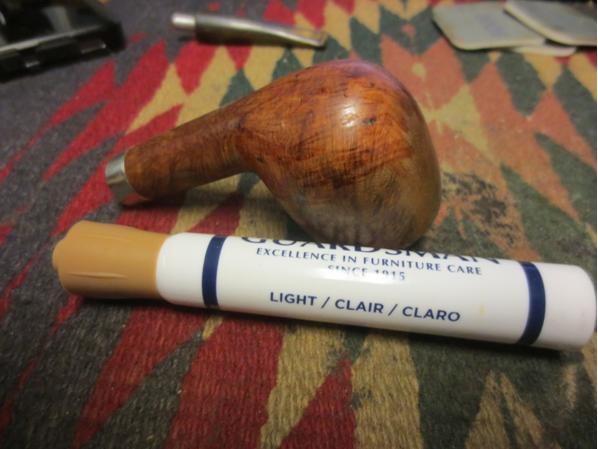
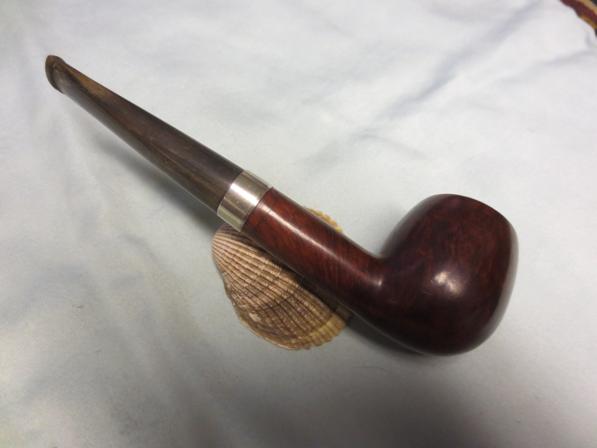
I have had my eye on this pipe for several months. It has been languishing in a local antique shop since last summer and was priced as if it were fully restored. To my surprise it was still there at the end of January and the shop had lowered the price. I talked with the owner for a while and eventually got his rock bottom price (which was my top end price). After all, it is a beautiful piece of briar.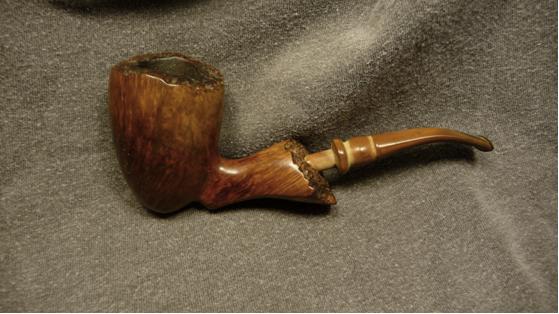
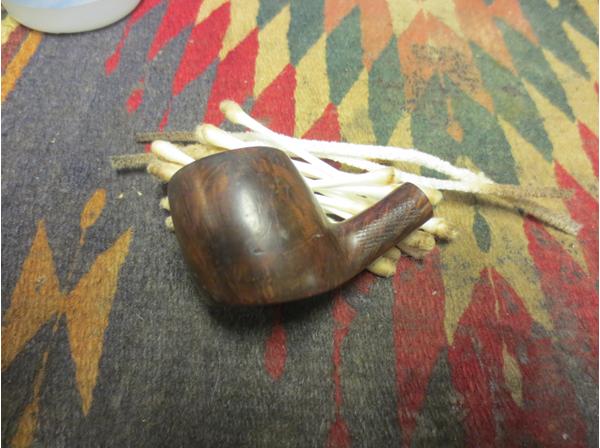
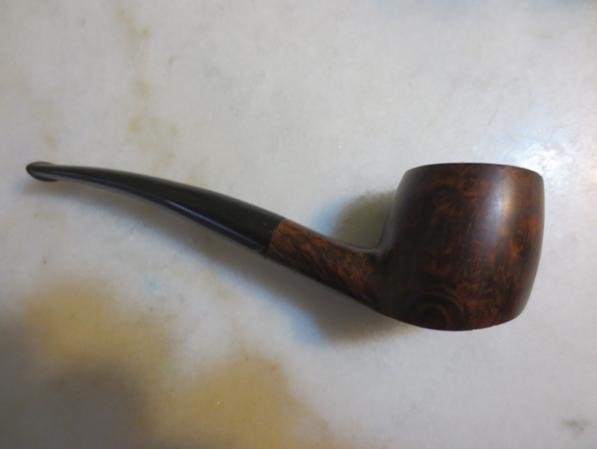
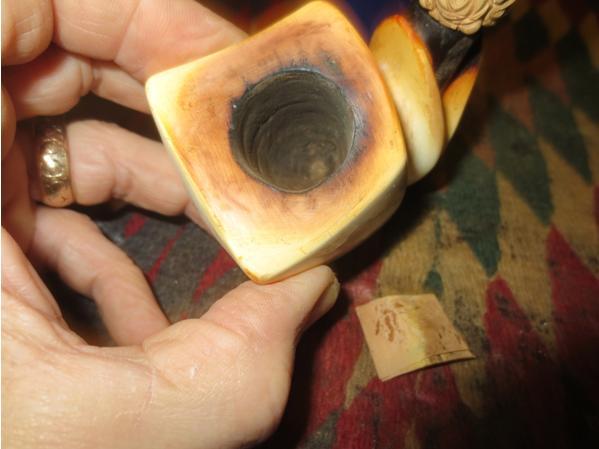
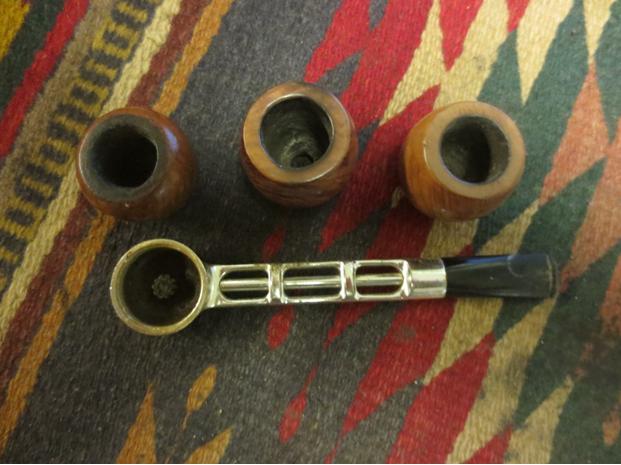
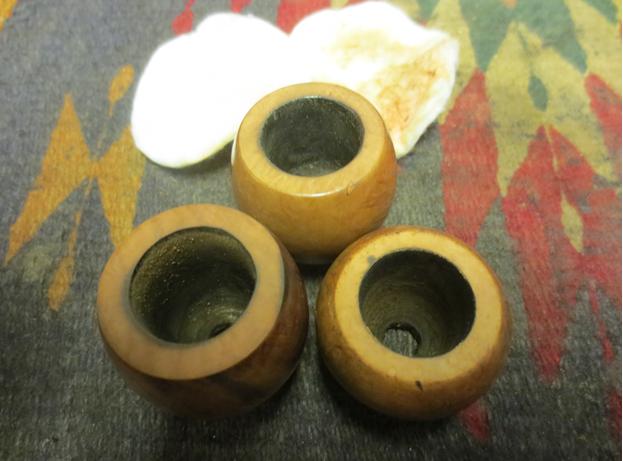
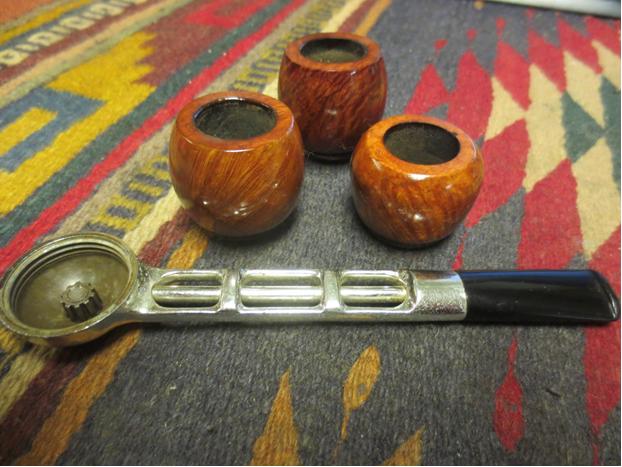
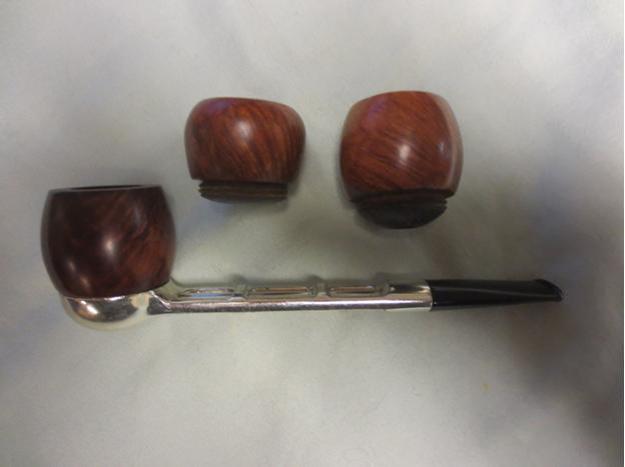
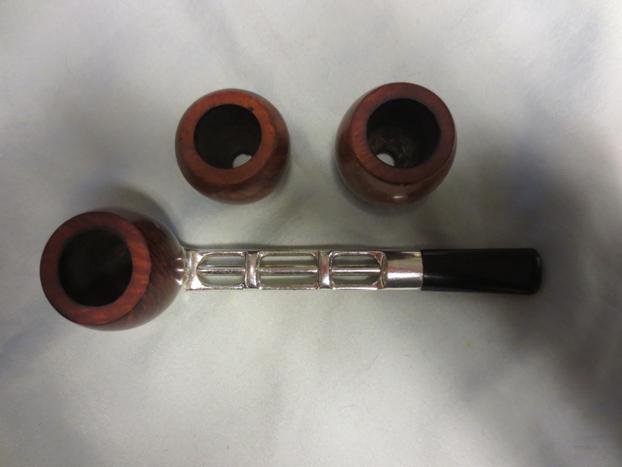
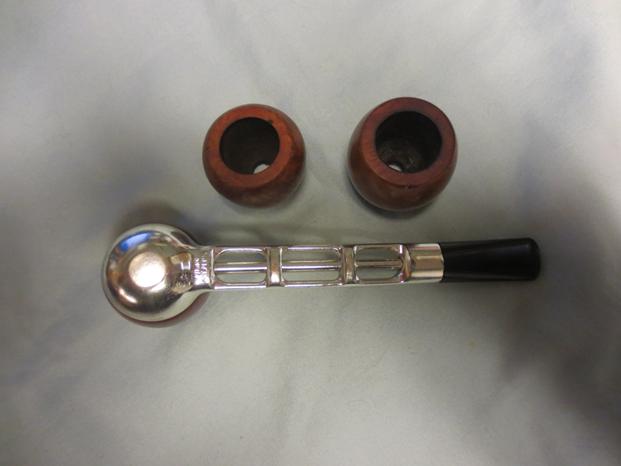
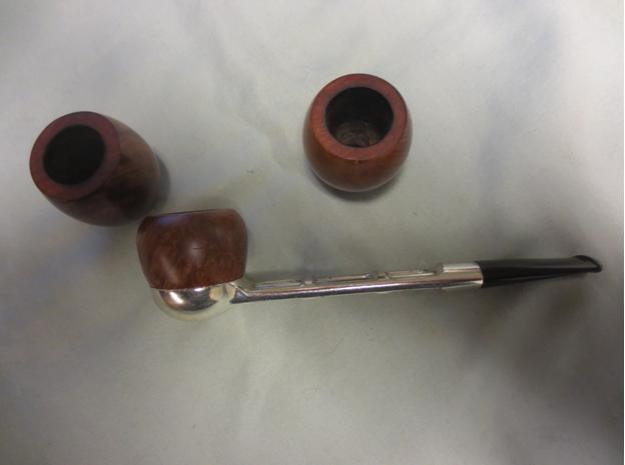
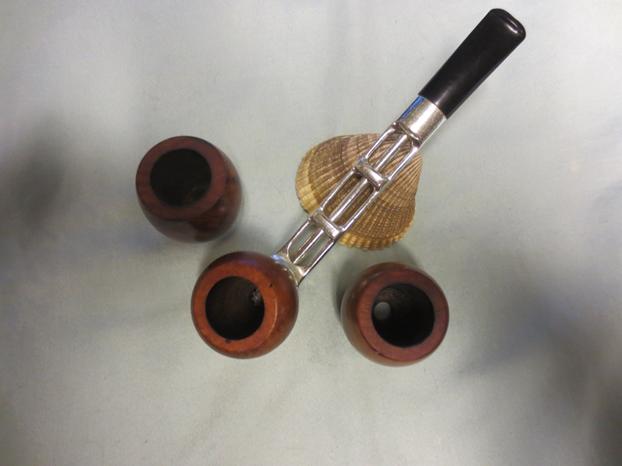
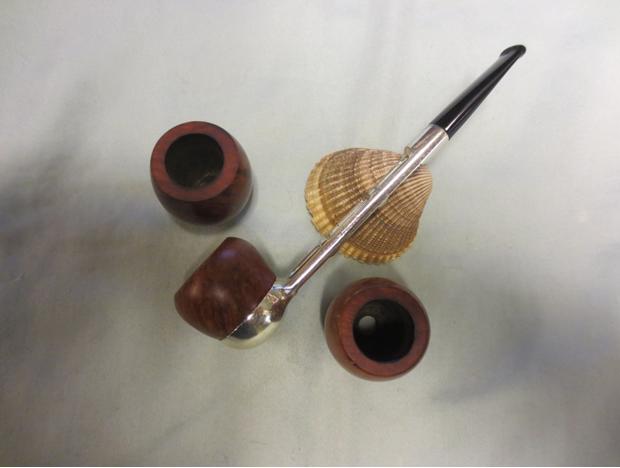
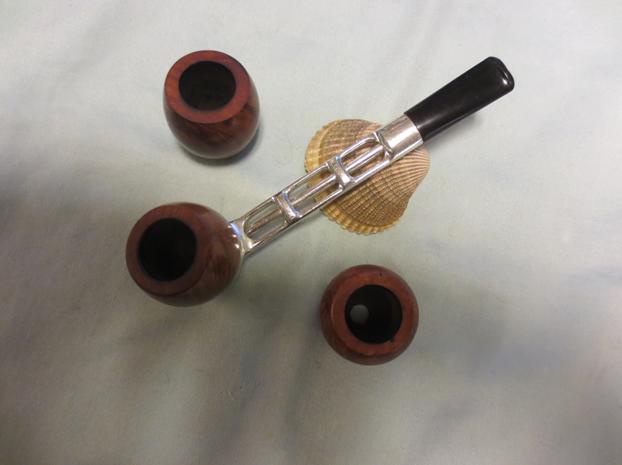
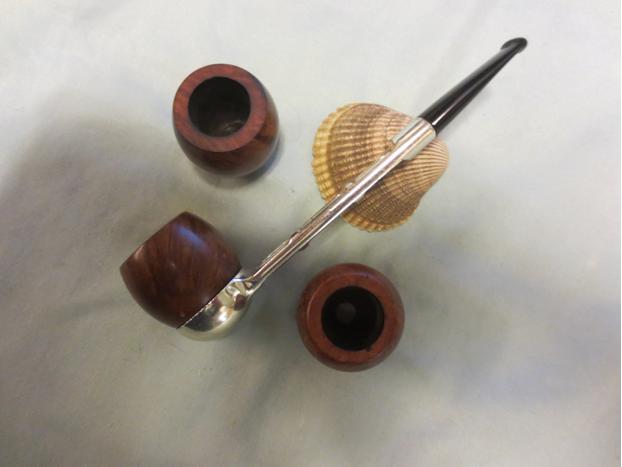
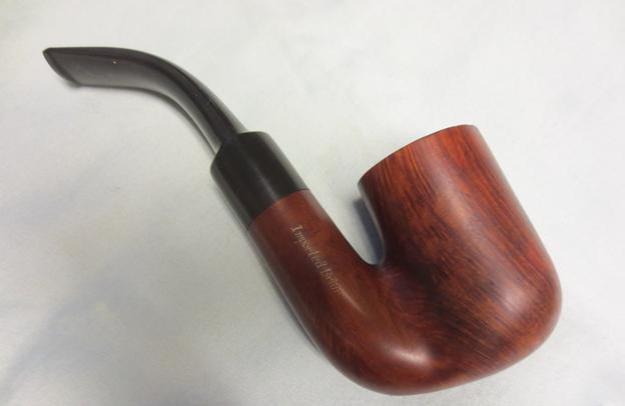
 This is big pipe: the chamber is 7/8” (22 mm) diameter and 1¾” (45 mm) deep and the walls are more than 3/8” (10mm) thick.
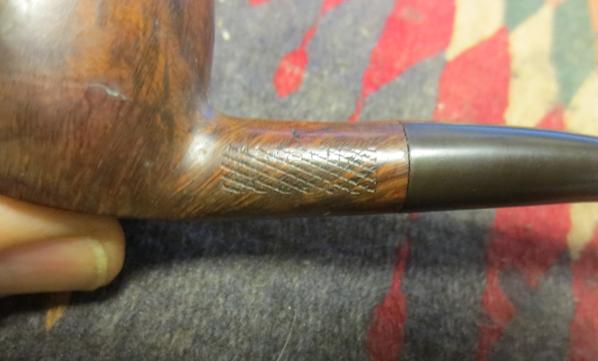
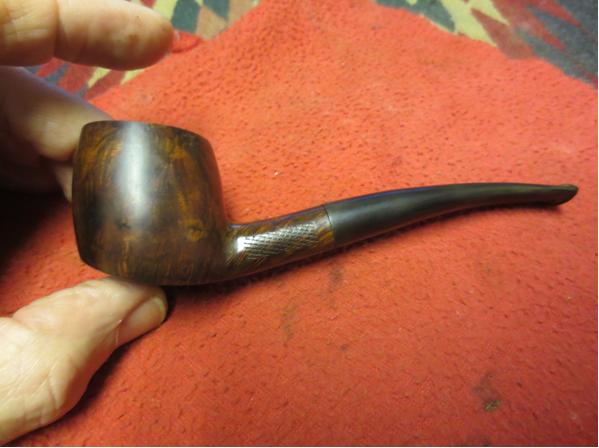
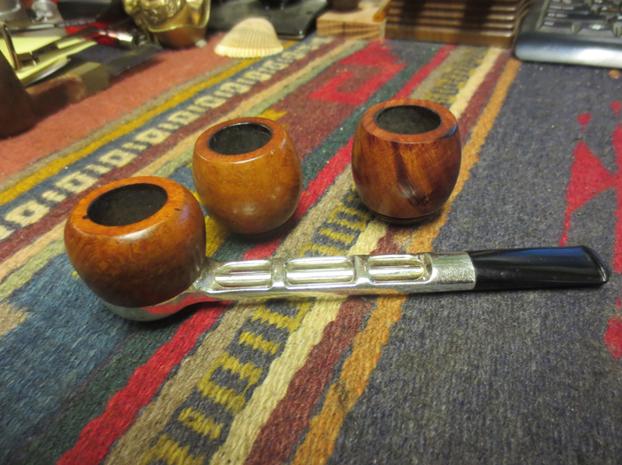
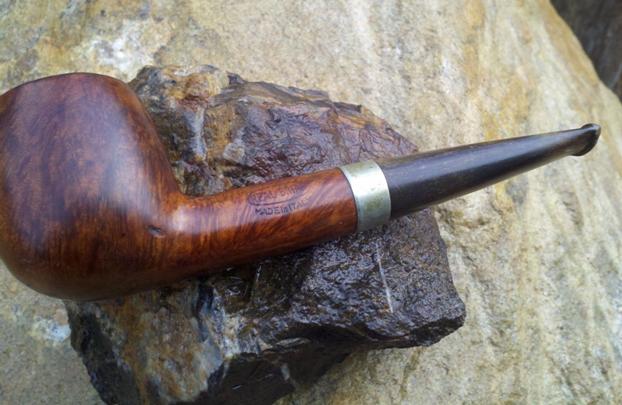
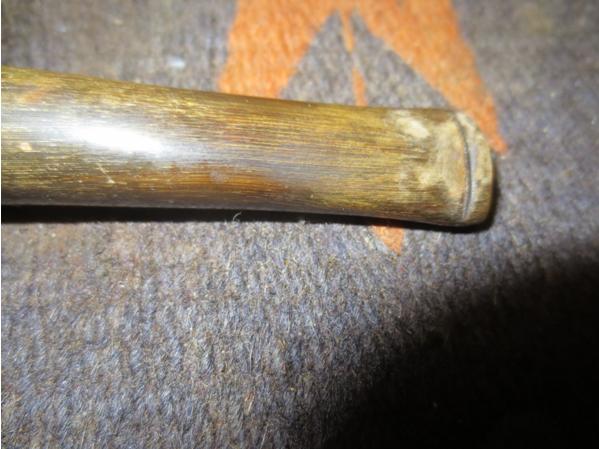
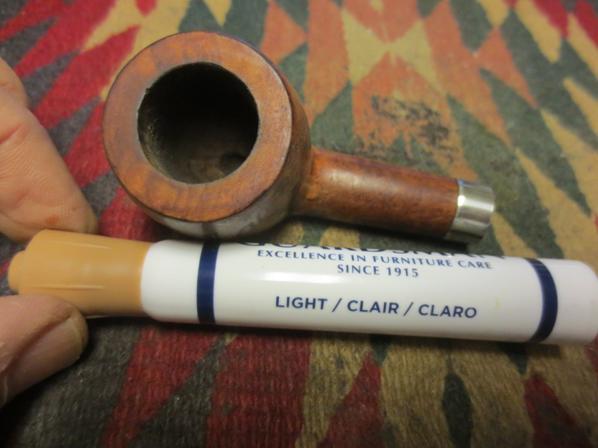
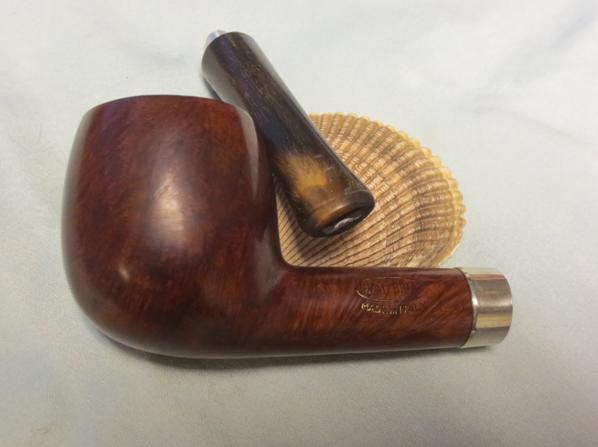
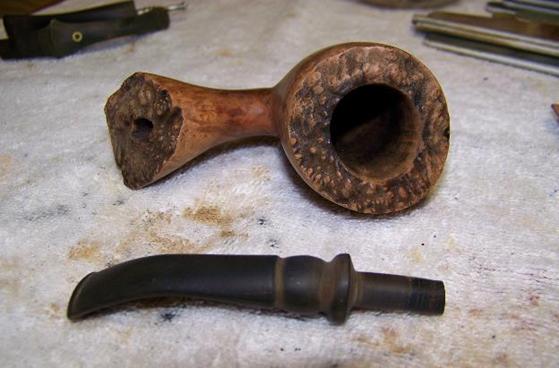
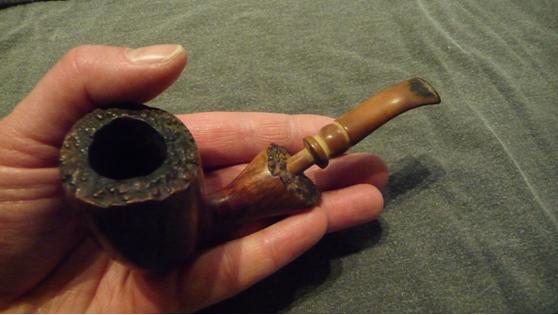 Inspecting the pipe I did not find much wrong. The stem was heavily oxidized and had very little tooth chatter. The briar was free from dent, gouges and the like. A few minor scratches and the worn stain was all that needed to be addressed. And there was only a light cake in the bowl. As for markings, there were none on the stem and some double markings on the bottom of the shank. It read STANWELL over de Luxe (double stamped) over MADE IN DENMARK (also double stamped). From what I could find, I estimate this pipe was made sometime in the 1970’s. If anyone can date it better please let me know.
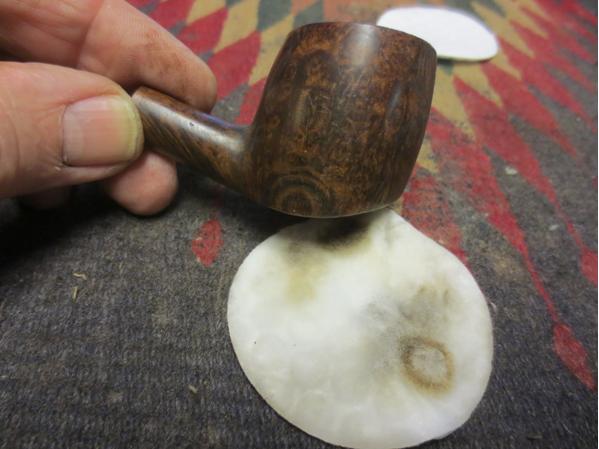
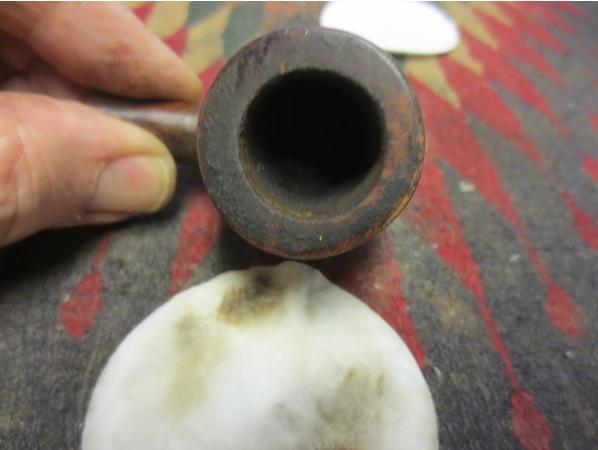
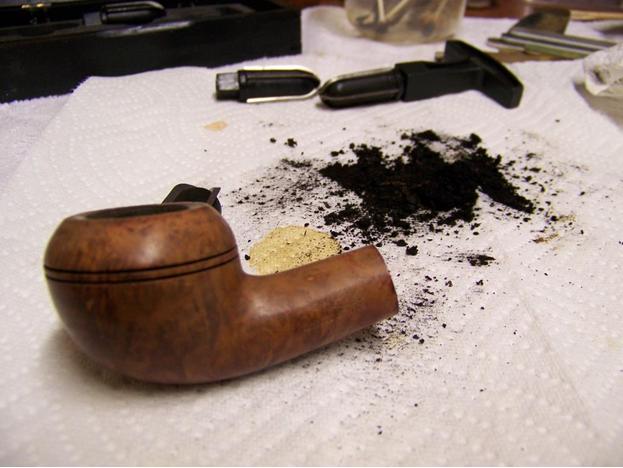
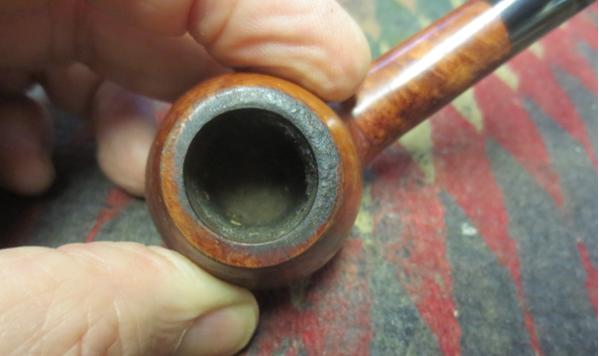
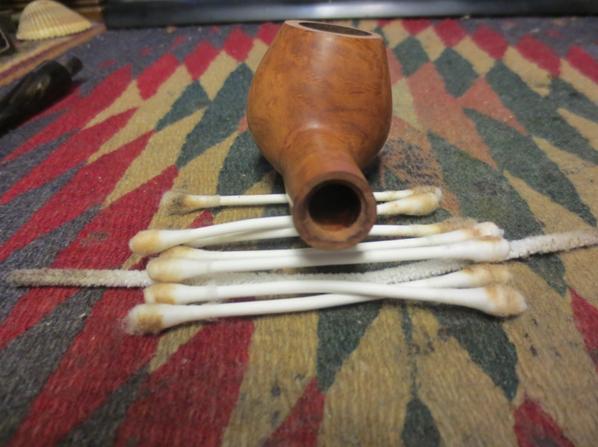
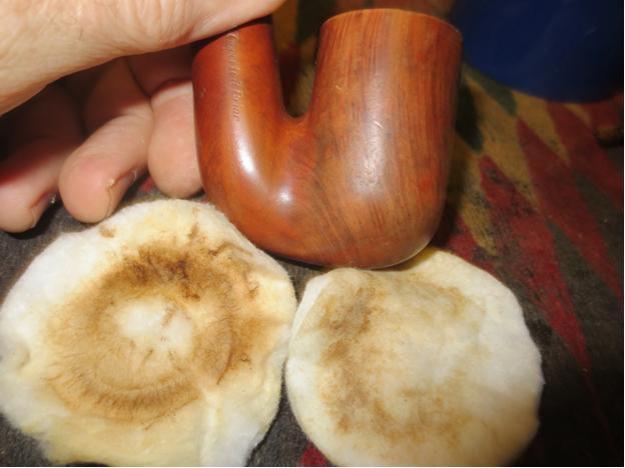
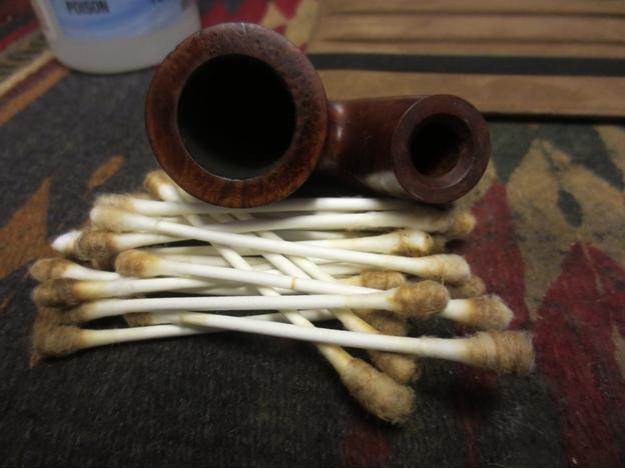
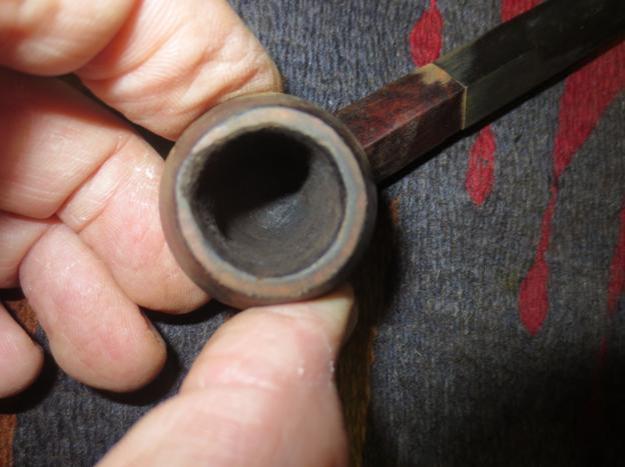
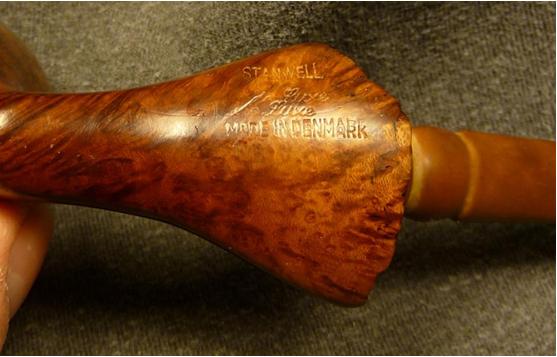 I set the stem to soak in an Oxyclean solution and began working on the stummel. I cleaned the outside of the briar with a tooth brush and Murphy’s oil soap, rinsing with water then quickly drying with a paper towel. I repeated the process on the plateaux several times. Next I reamed the chamber back to bare wood and inspected the internals. Then the internals of the shank cleaned up easily with cotton swaps and bristled pipe cleaners.
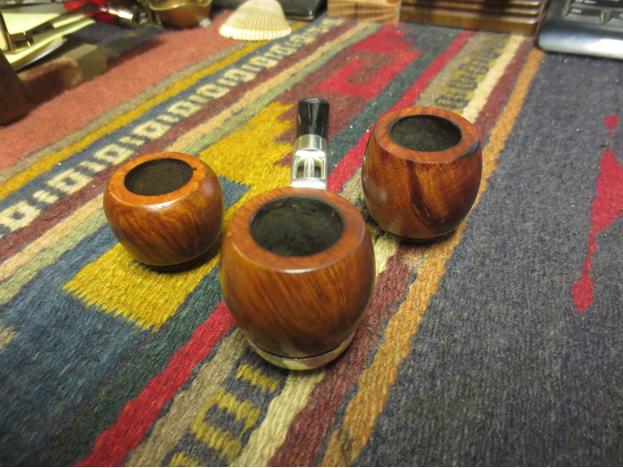
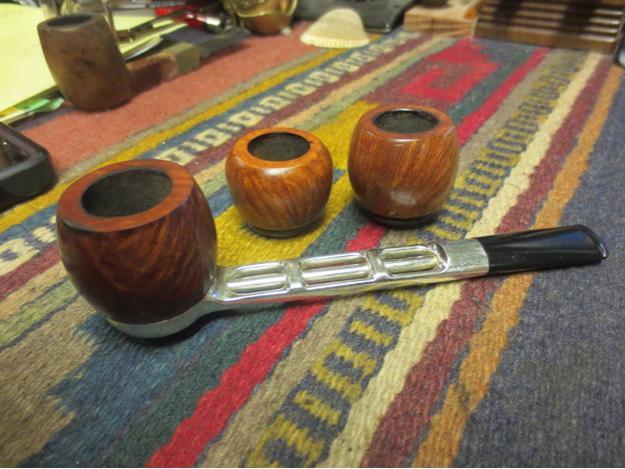
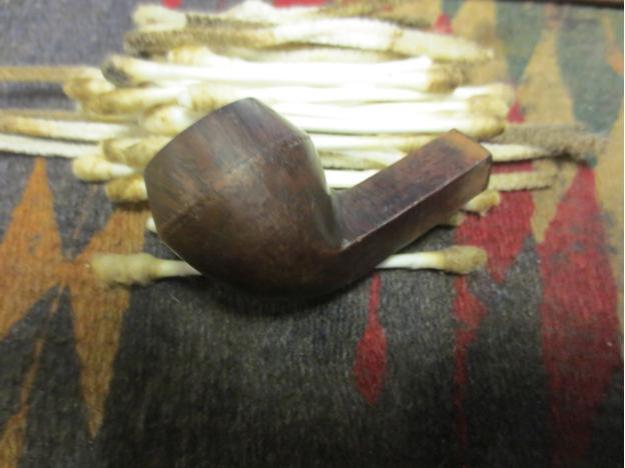
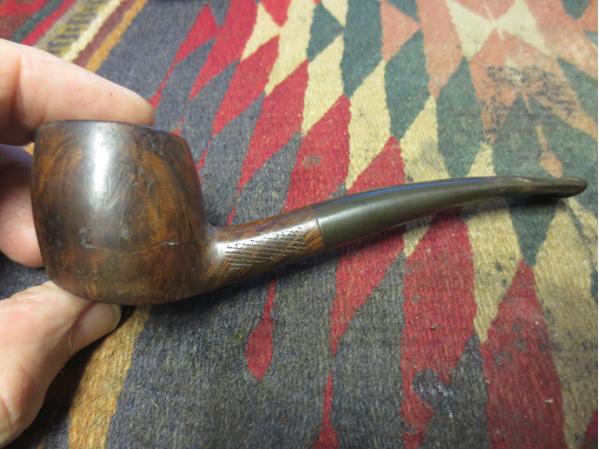
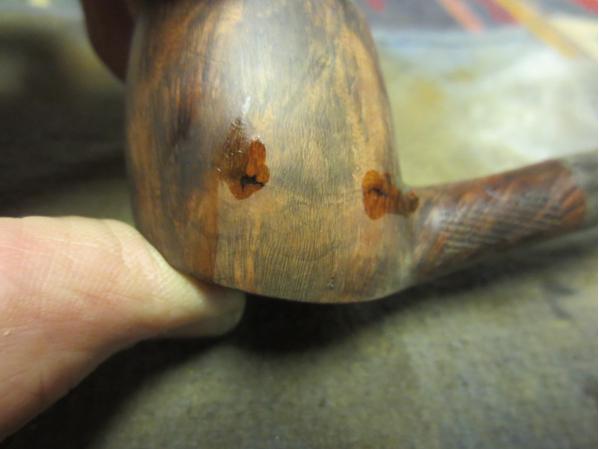
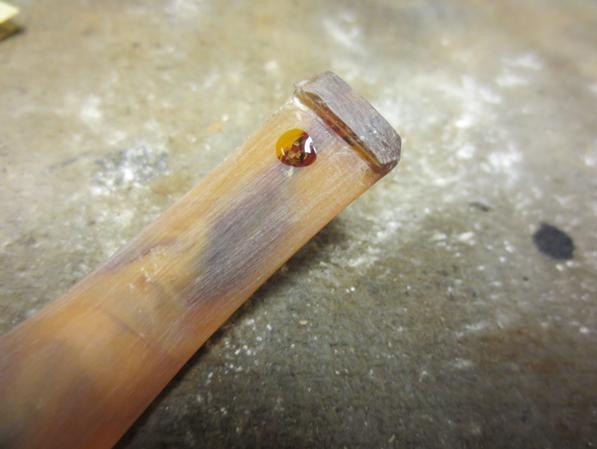
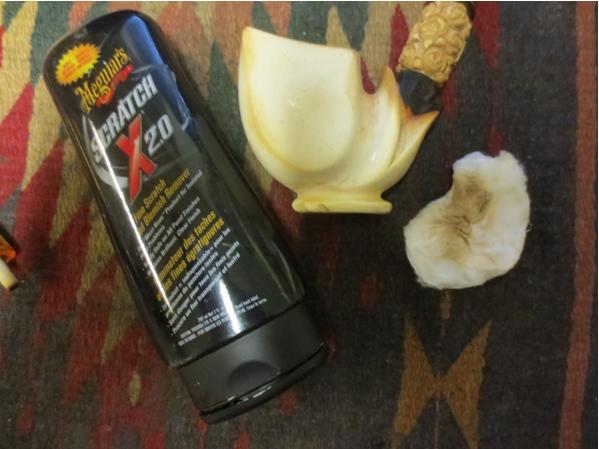
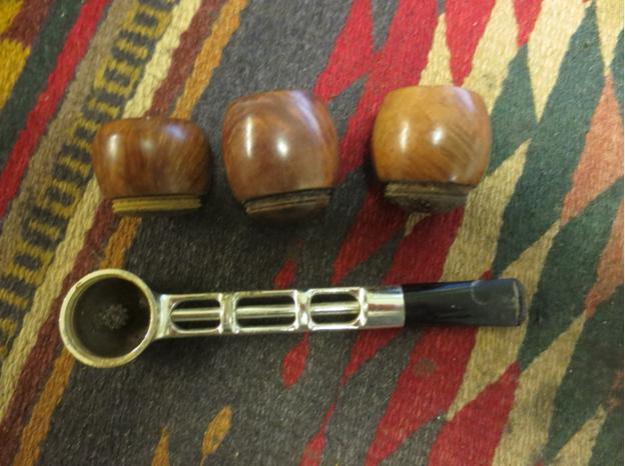
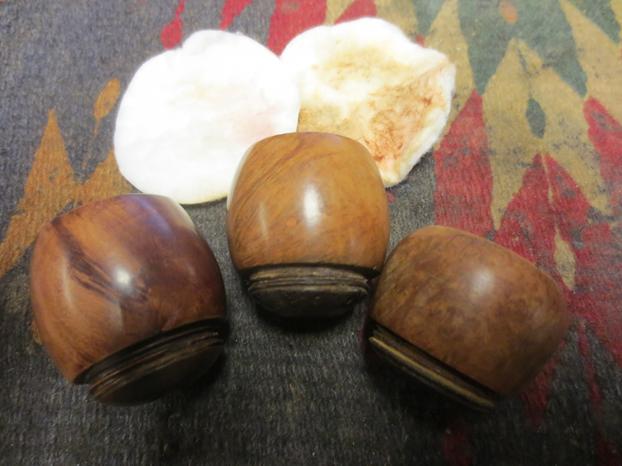
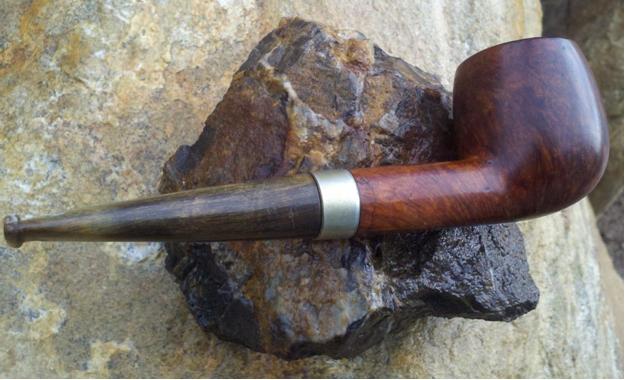
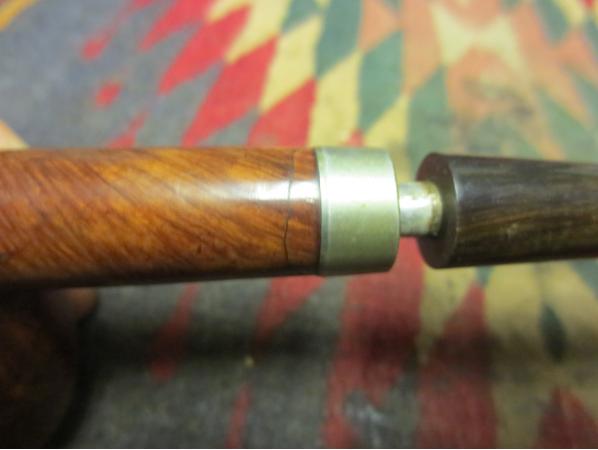
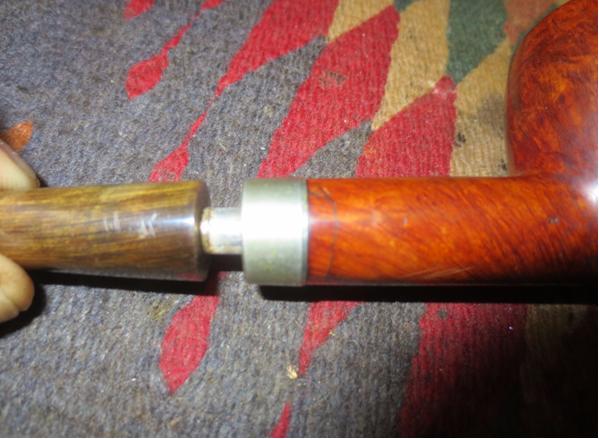
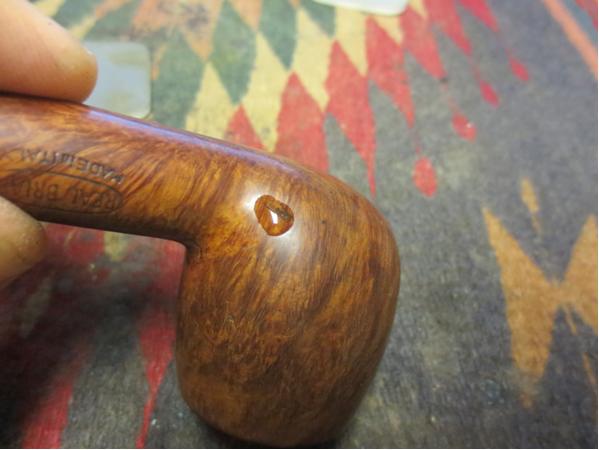
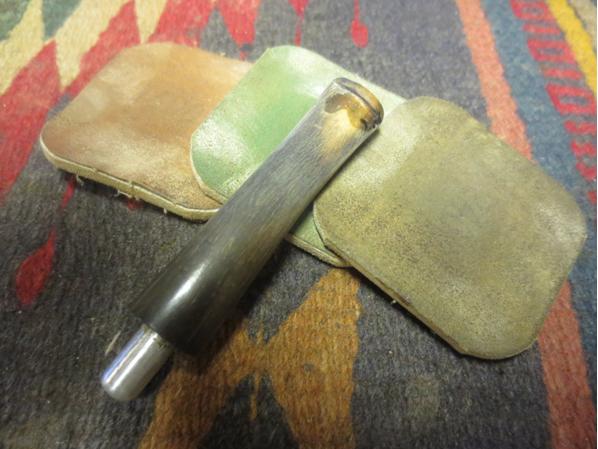
All-in-all, other than a micro crack on the outer surface, the briar was in great shape. There was one long scratch near the stamping but I didn’t want to touch that and risk damaging the stamps. I wanted a very smooth finish so I sanded the outside of the pipe with 1500 – 3200 micromesh pads and set it aside.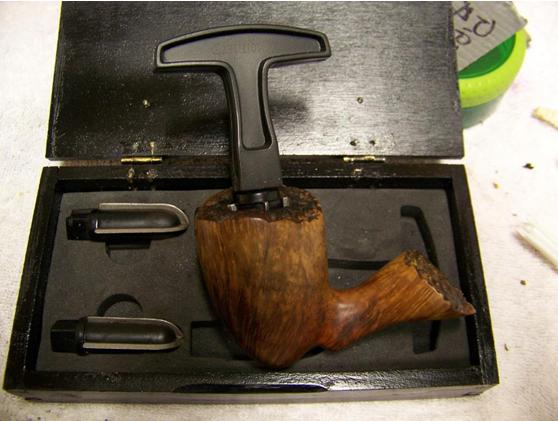
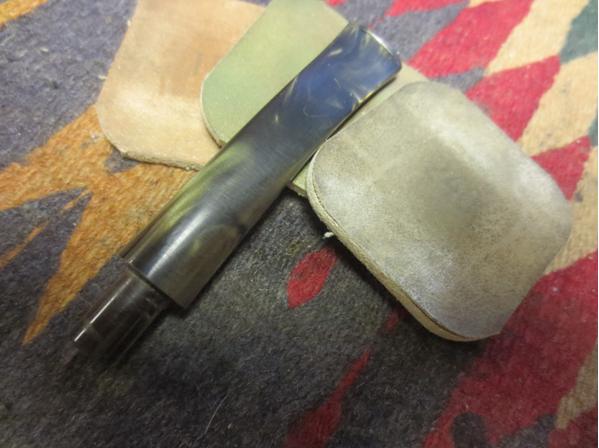
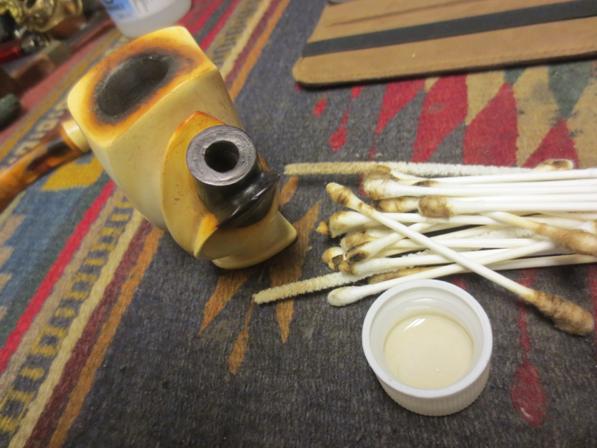
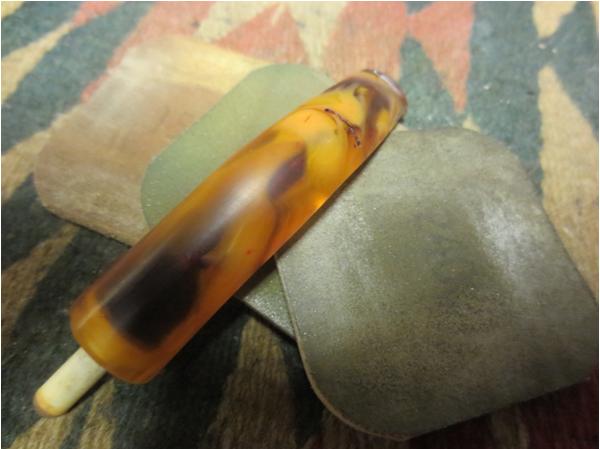
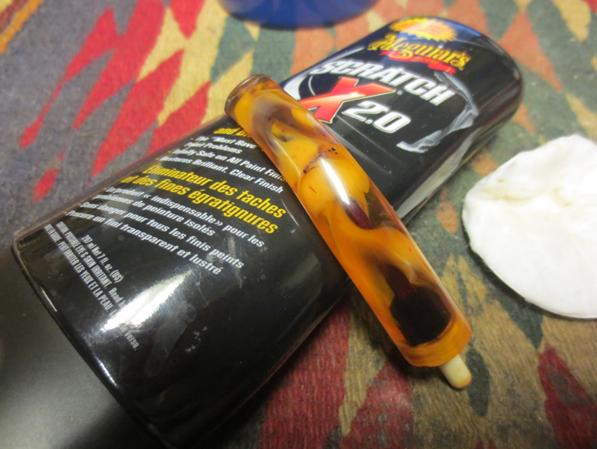
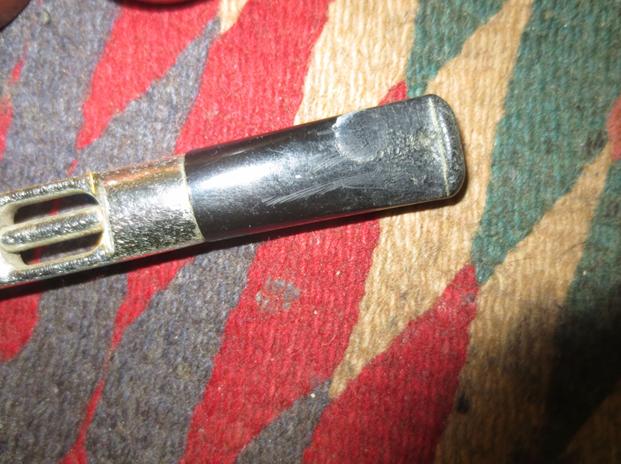
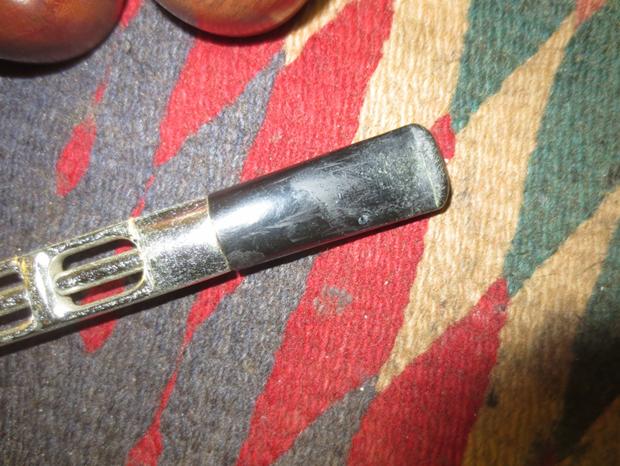
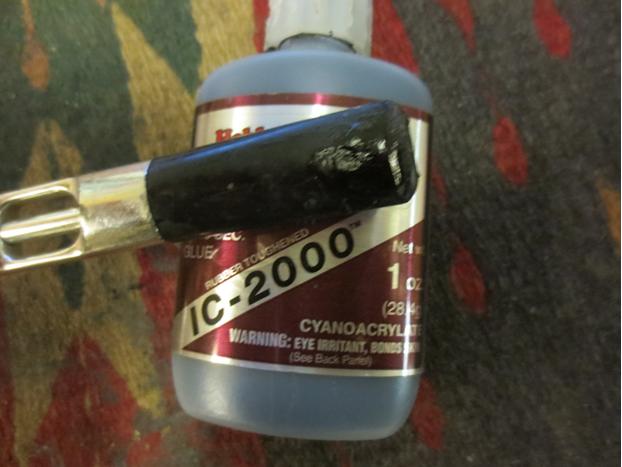
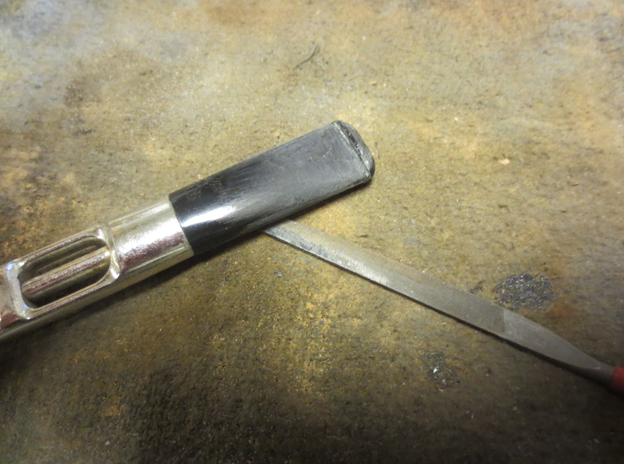
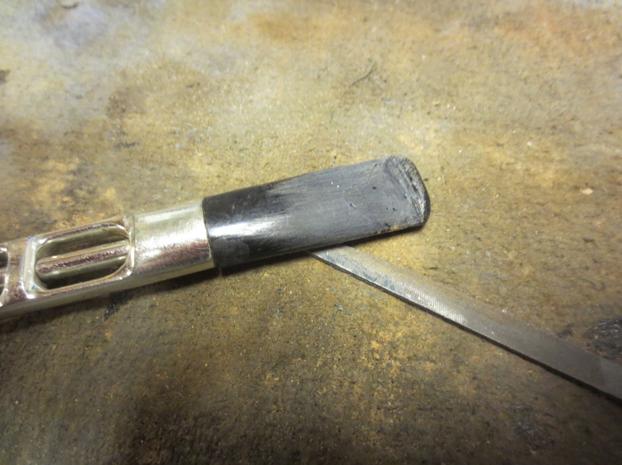
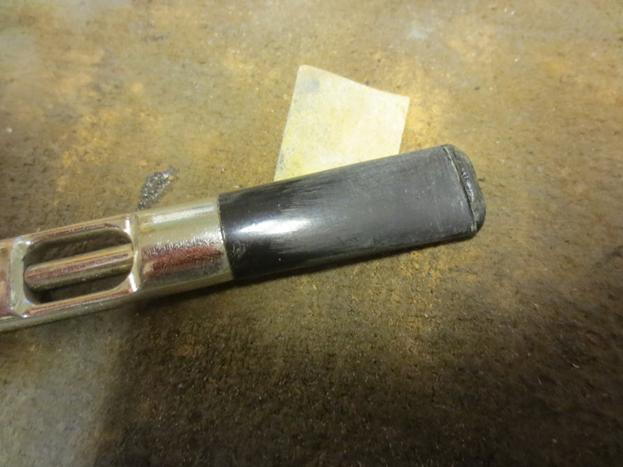
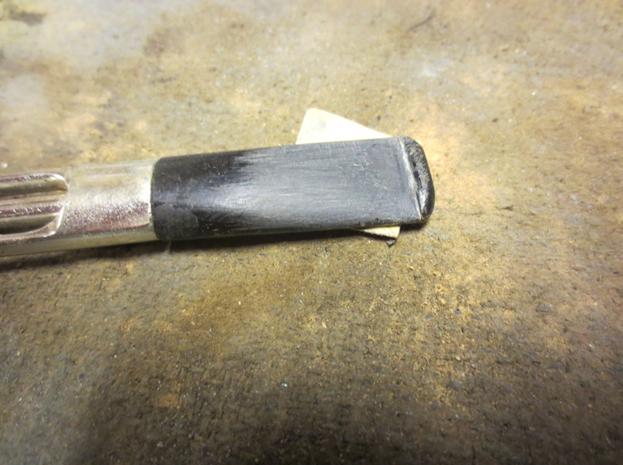
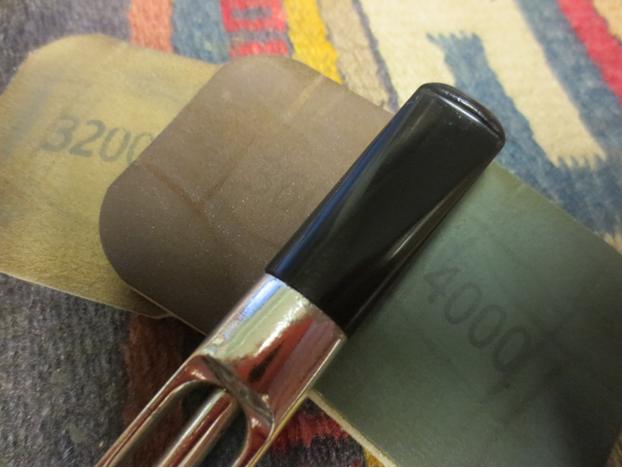
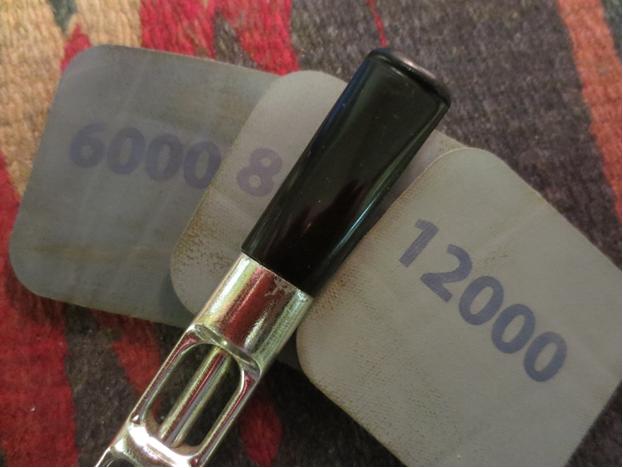
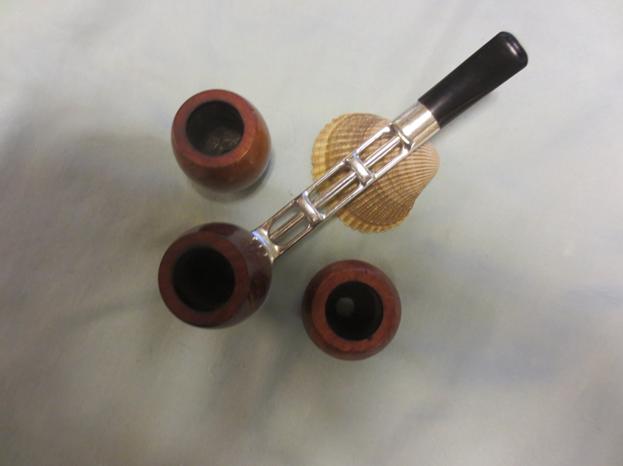
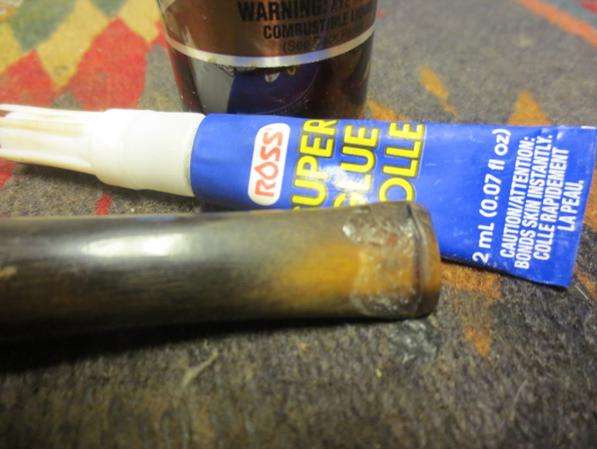
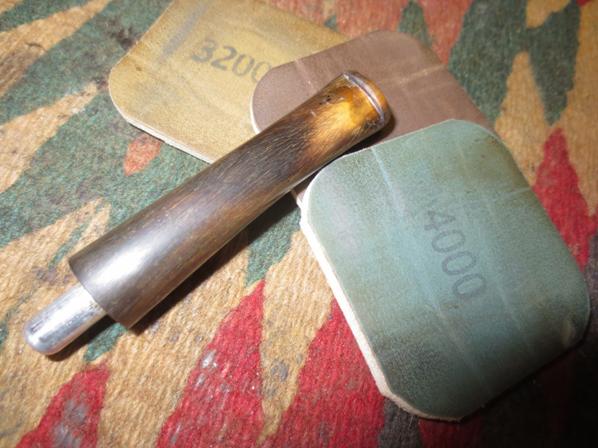
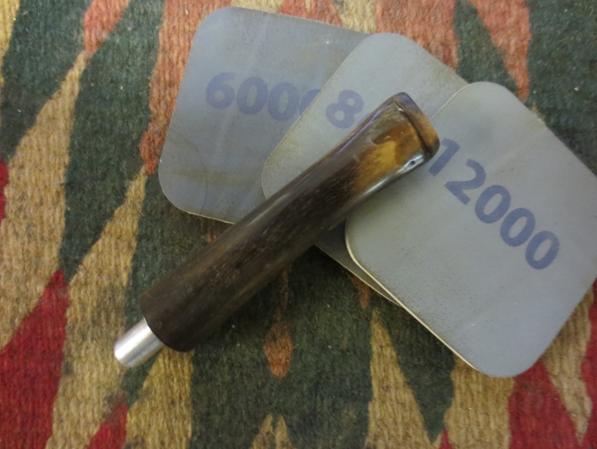
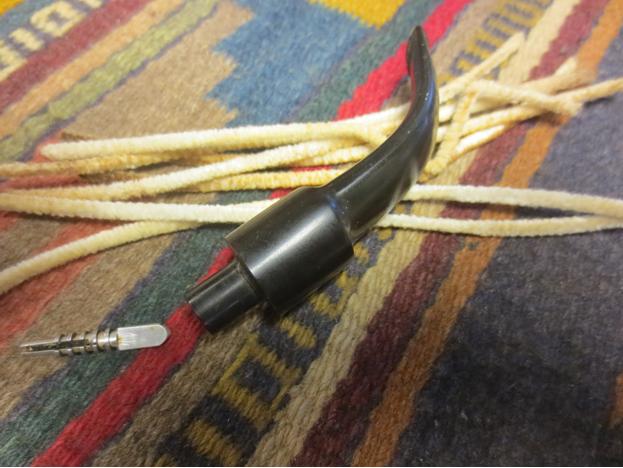
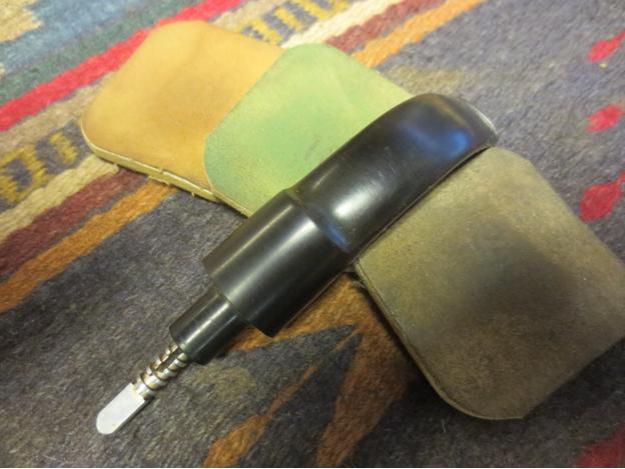
 Returning to the stem, I scrubbed off the oxidation with a green pad and scrubbed the airway with a series of alcohol soaked pipe cleaners – bristled then soft. The tooth chatter was raised with heat from a lighter and the deepest tooth mark was filled with black superglue. When cured, the stem was sanded and polished with 1500 – 12000 micromesh pads. I wet sand with the first six pads and dry polish with the last three. A little mineral oil between sets of three pads seems to help too.
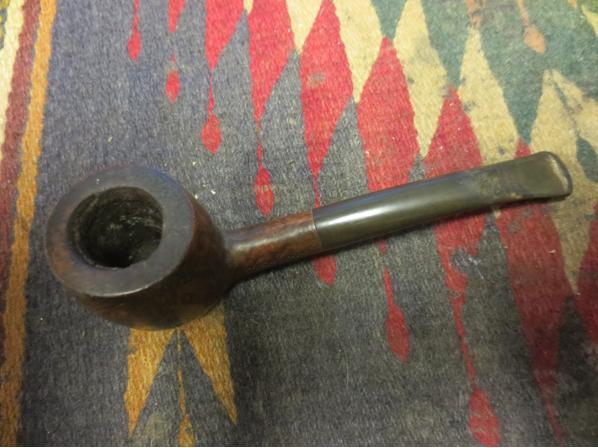
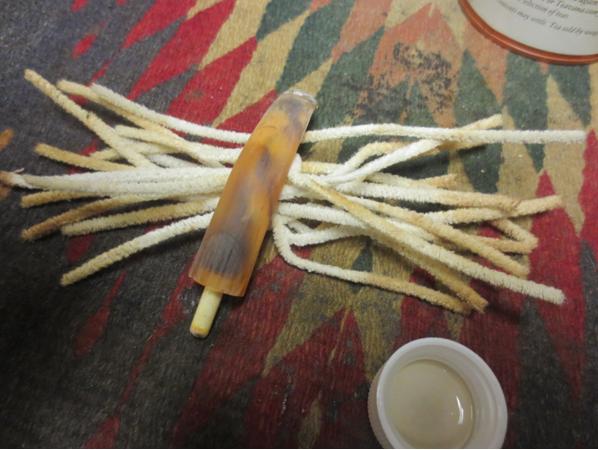
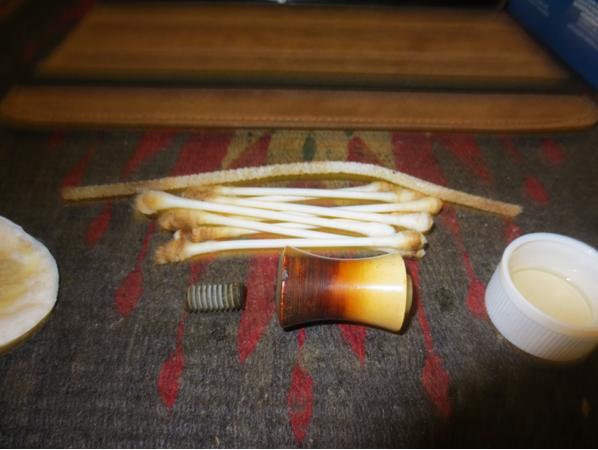
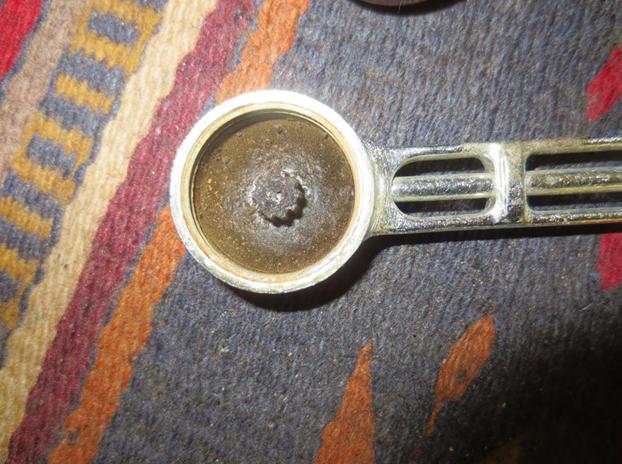
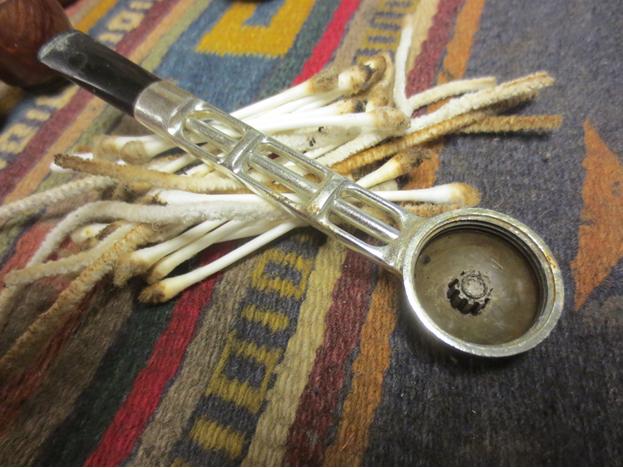
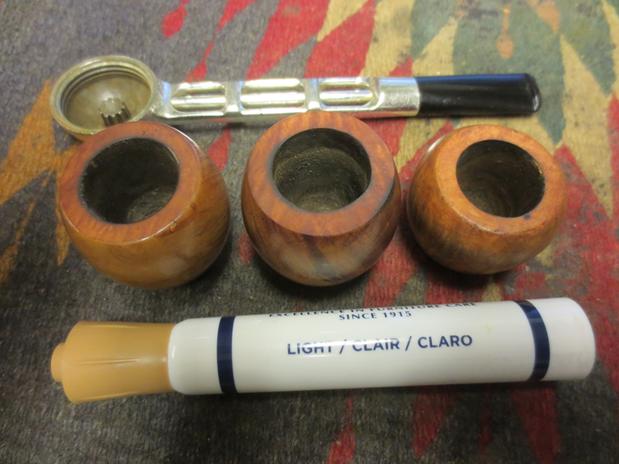
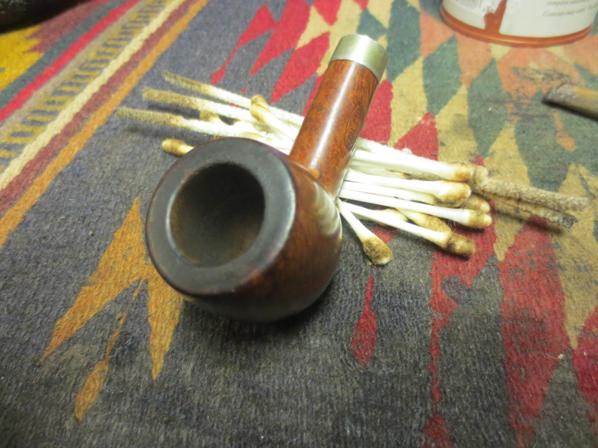
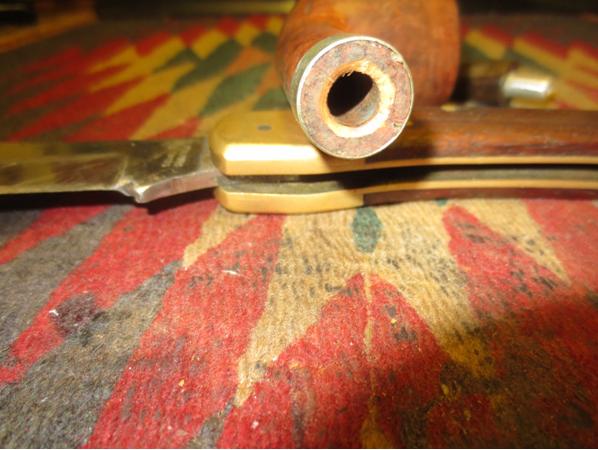
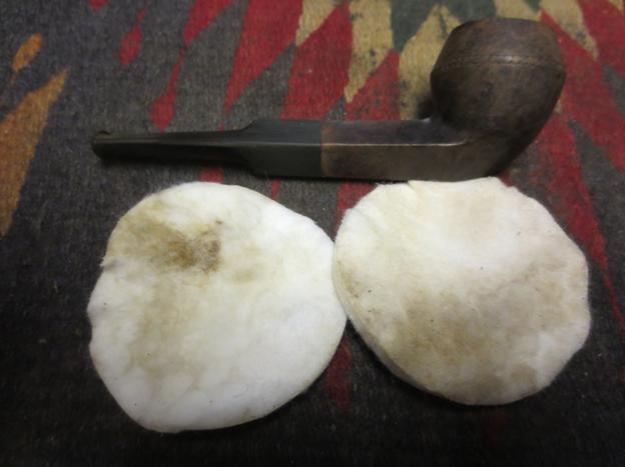
 Next the pipe was assembled and taken to the alcohol retort. Even thought I had scrubbed the internals thoroughly, it took 3 test tubes of Everclear until I no longer smell the ghosts of the previous owner’s tobacco.
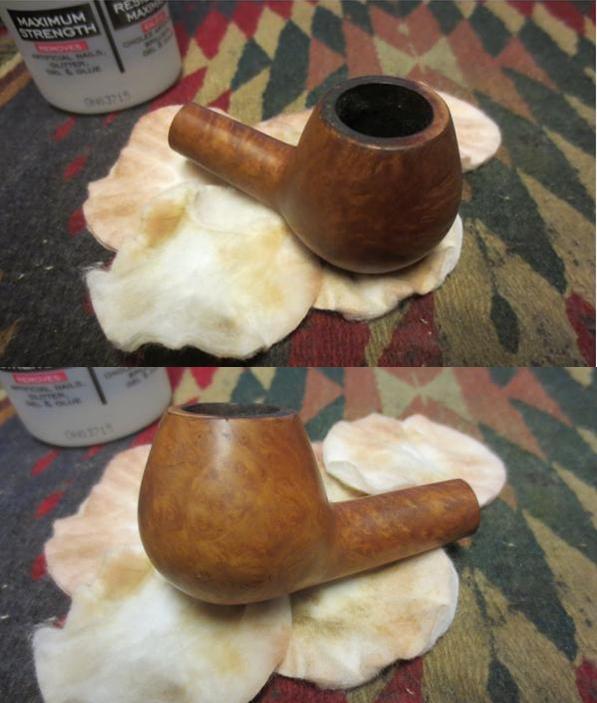
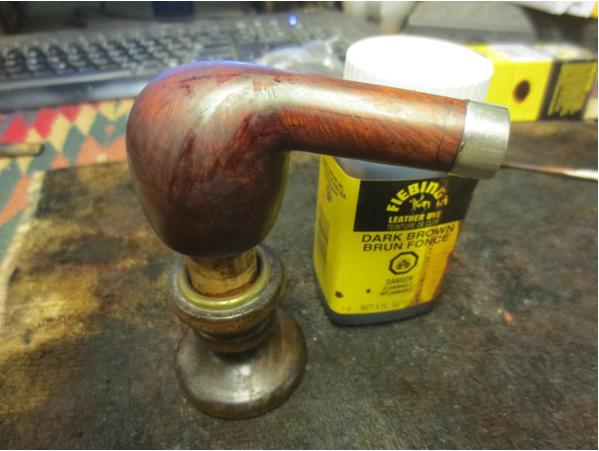
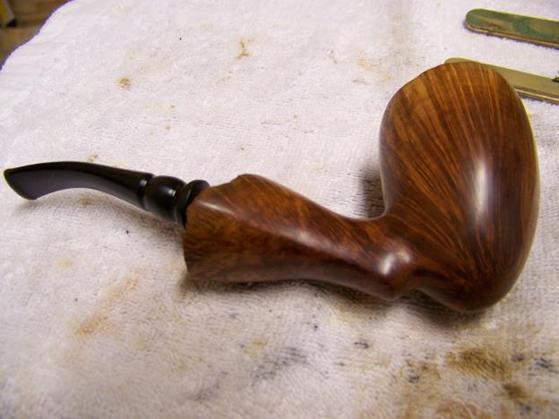 In my research of the Stanwell pipes, I found that Stanwell used a walnut stain. This was consistent with the remnants of stain that I found on this pipe and I wanted to restore the original look. I began by applying and undiluted Feibing’s dark brown. After it set I realized that Feibing’s brown dye have too much of a red base and it was not direction I wanted to go.
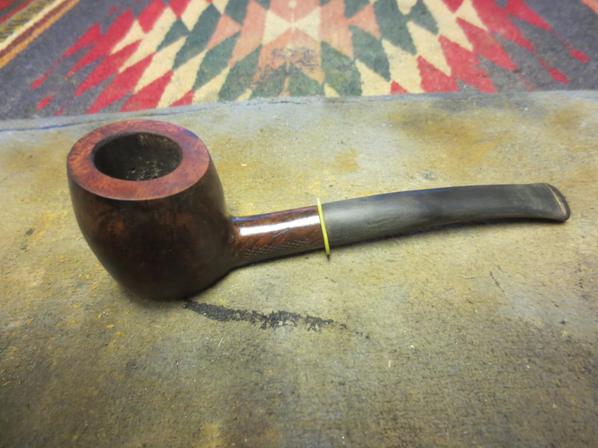
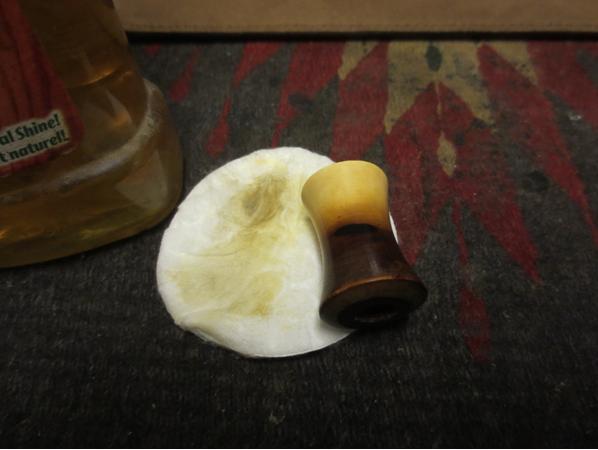
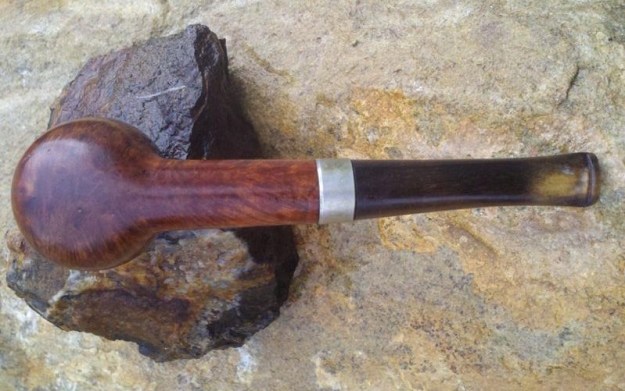
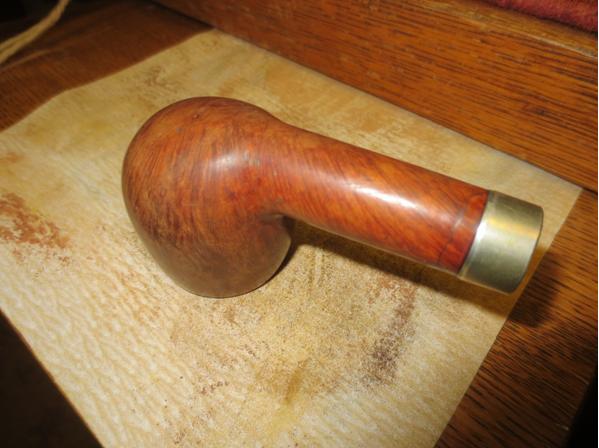
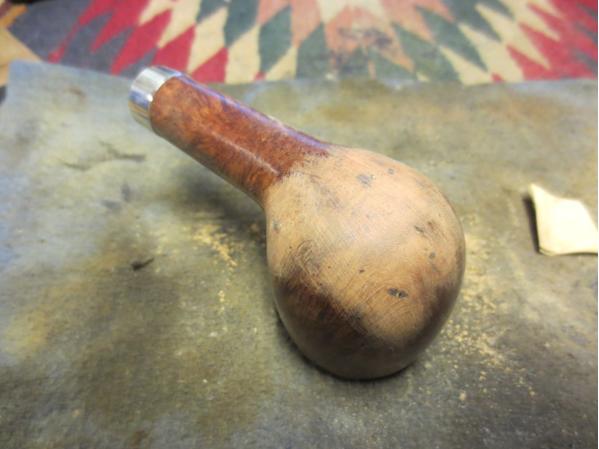
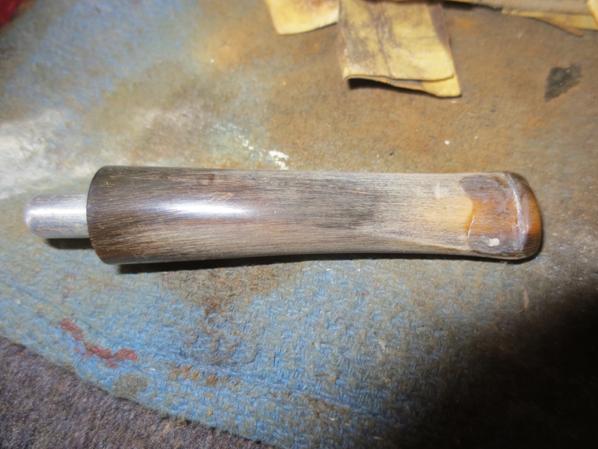
I wiped as much off as I could with an alcohol soaked cotton pad and sanded the surface with the 2400 micromesh pad again to remove a bit more. Returning to my local Tandy Leather, I searched for a walnut stain. After looking at stain samples on leather (which responds much differently than briar) I placed my bets on Eco-Flo’s Bison Brown. This time the results were much more like what I had seen in pictures of similar Stanwell pipes. I applied the stain at full strength and flamed it. After the second coat dried I wiped the excess off with an alcohol soaked pad.
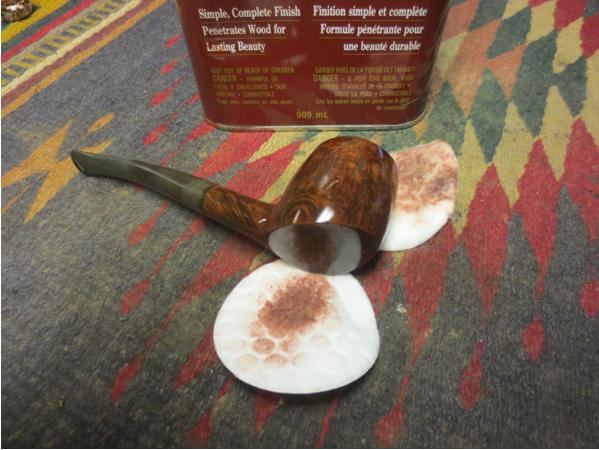
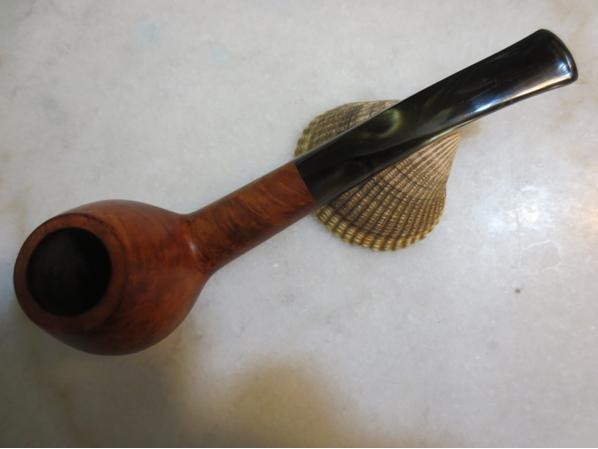
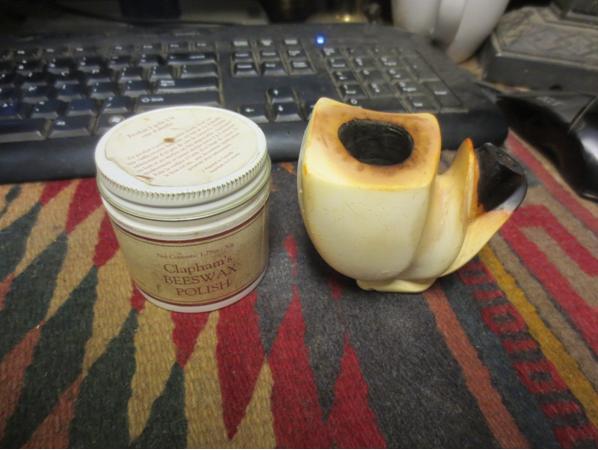
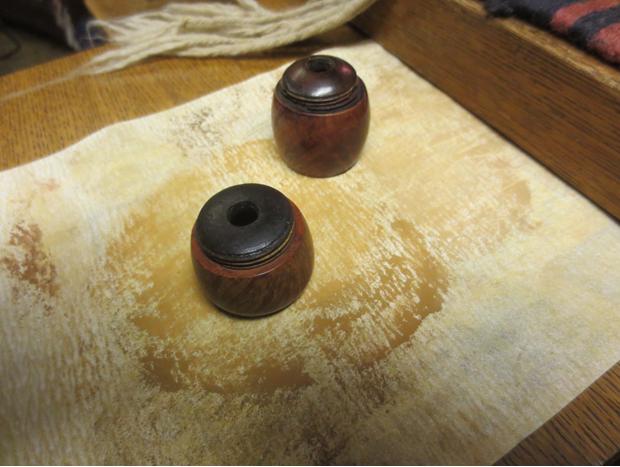
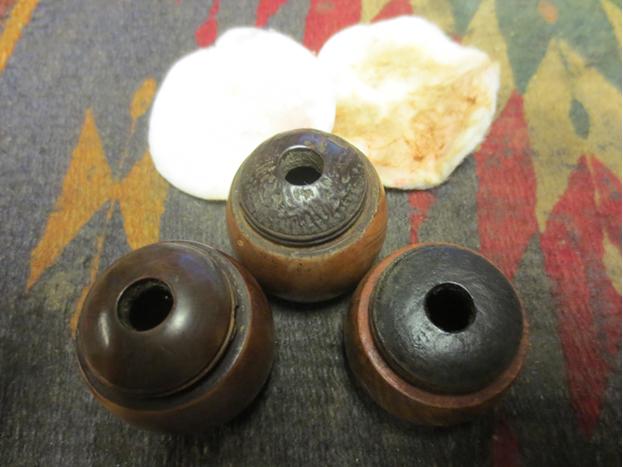
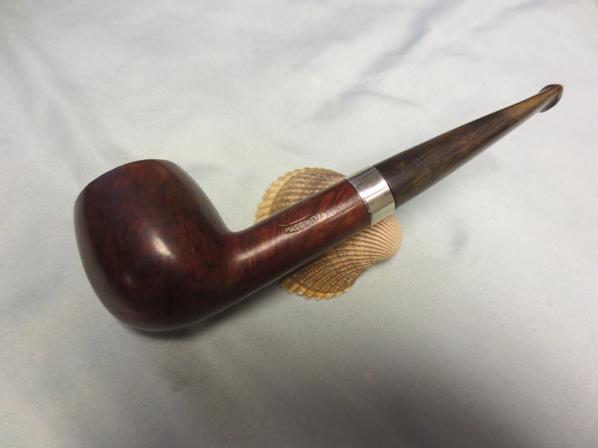
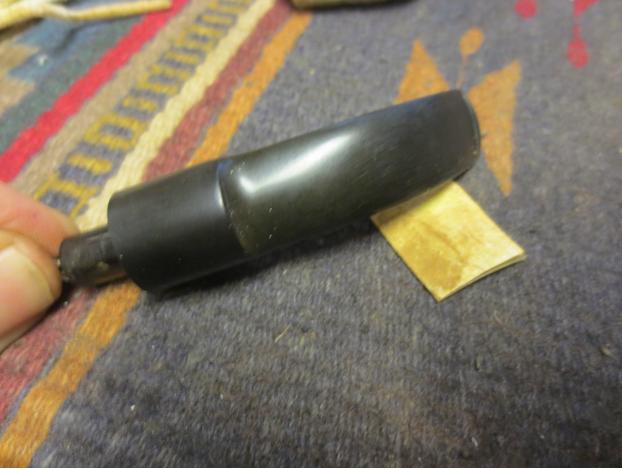
With the smooth surfaces done I stained the plateaux with Feibing’s black dye. Once it dried, I wiped the entire wipe down with mineral oil then set it aside to soak in. It was two days later that I found time to return and take the pipe to the buffing station. I buffed the entire pipe with red diamond then applied three coats of carnauba.
Thanks for reading and I would like to hear your comments.