by Steve Laug
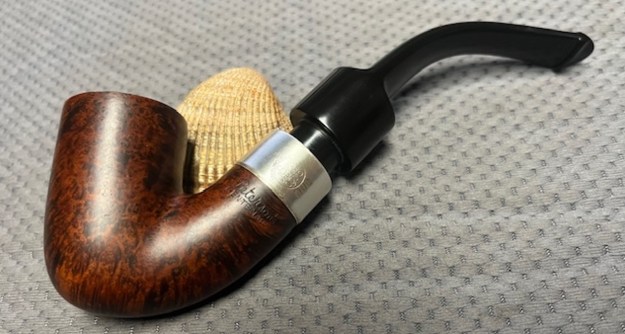
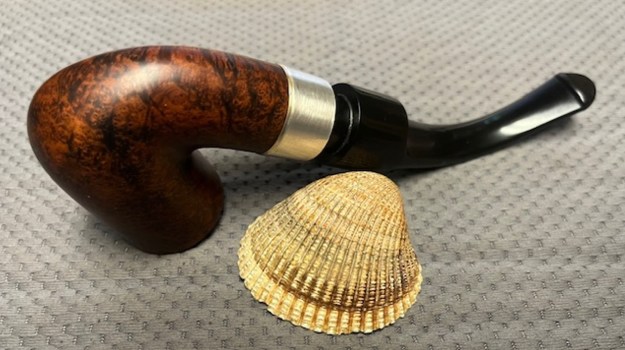
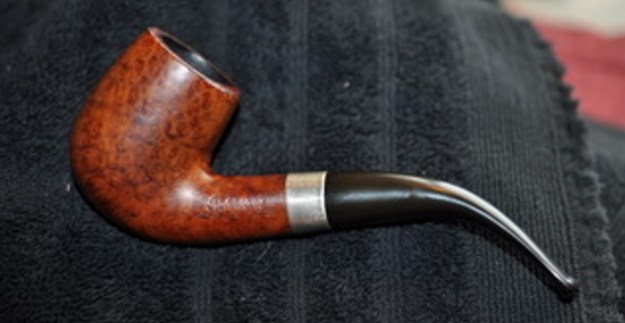
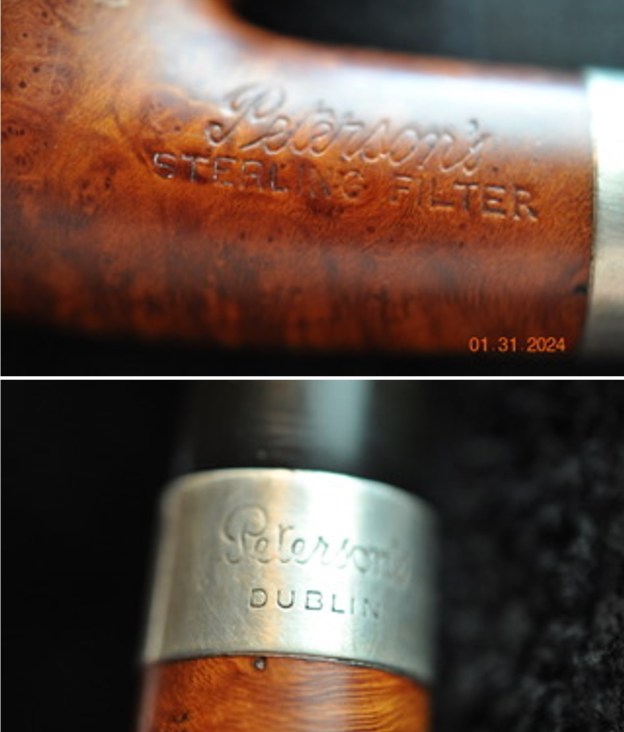
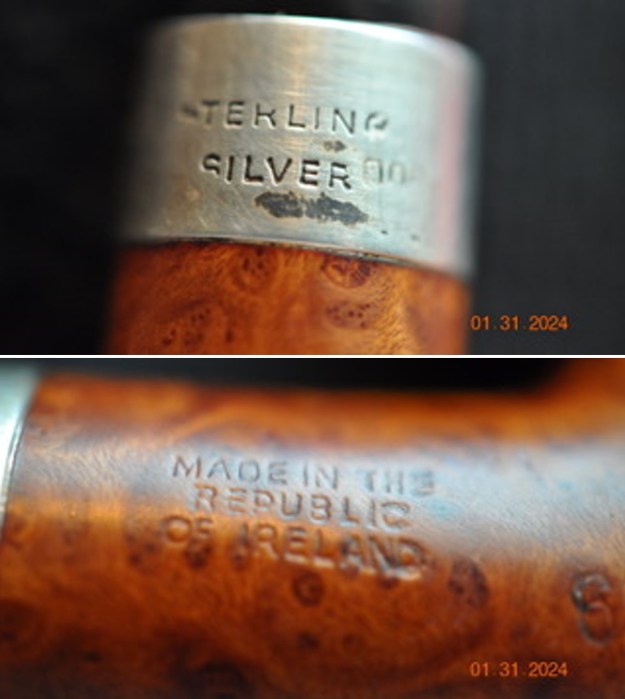
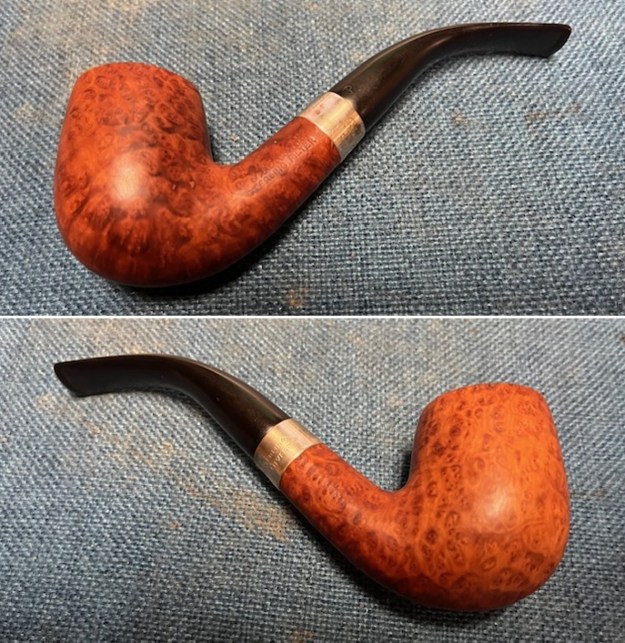
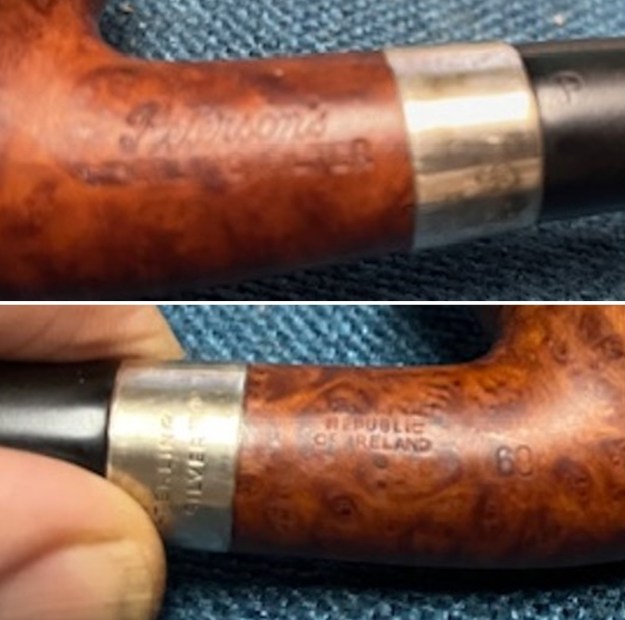
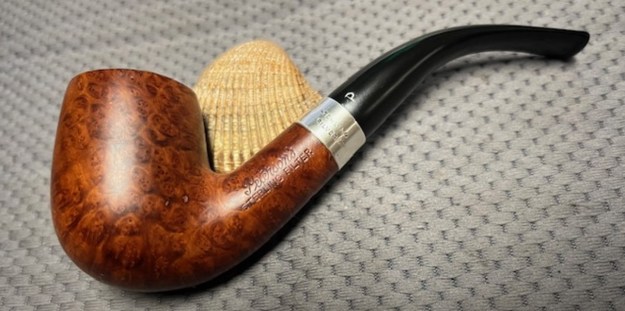
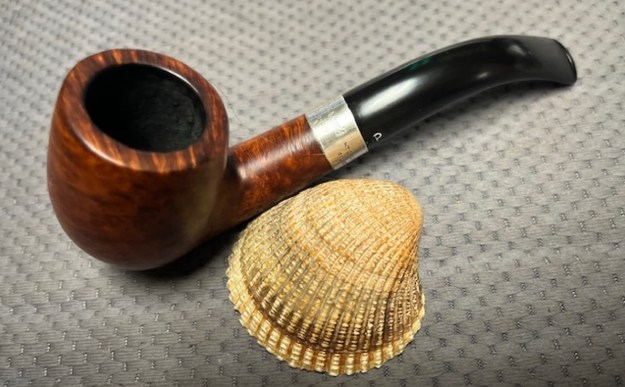
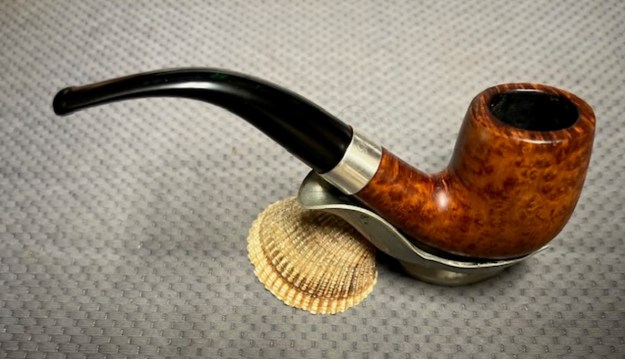
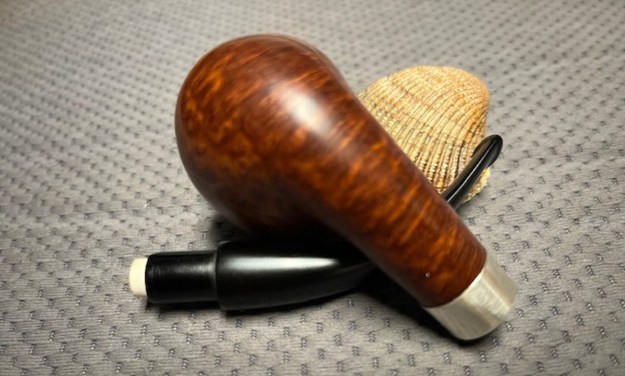
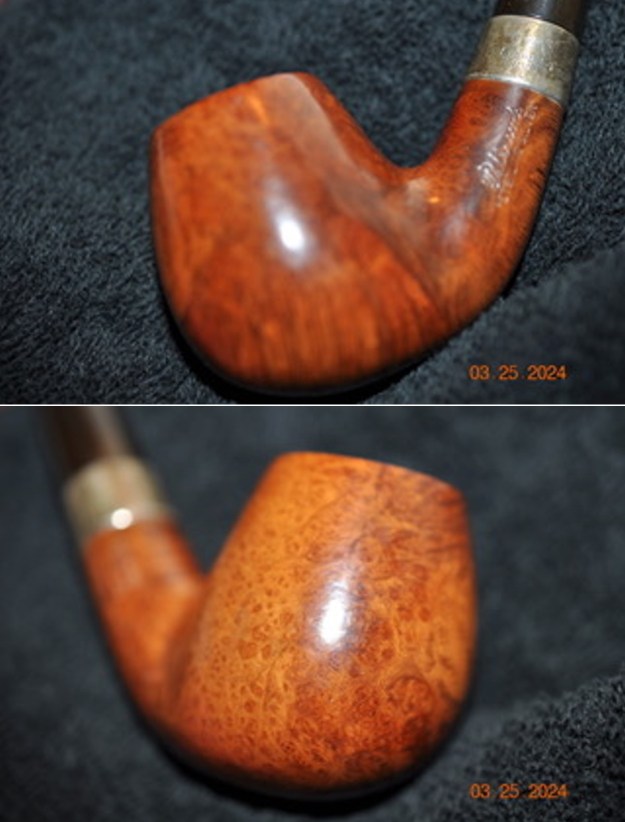
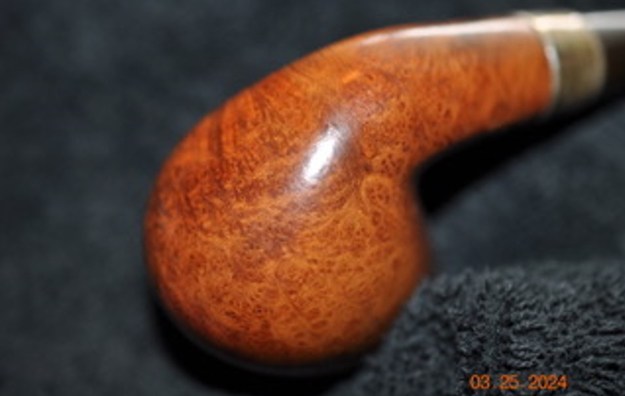
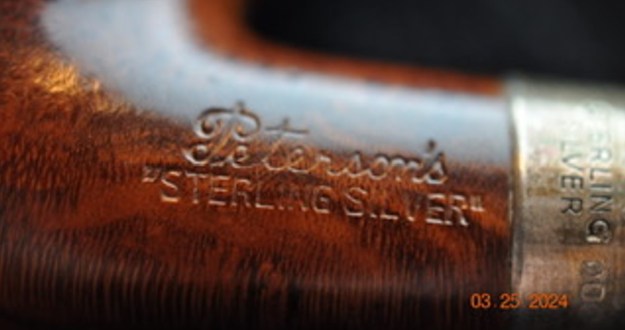
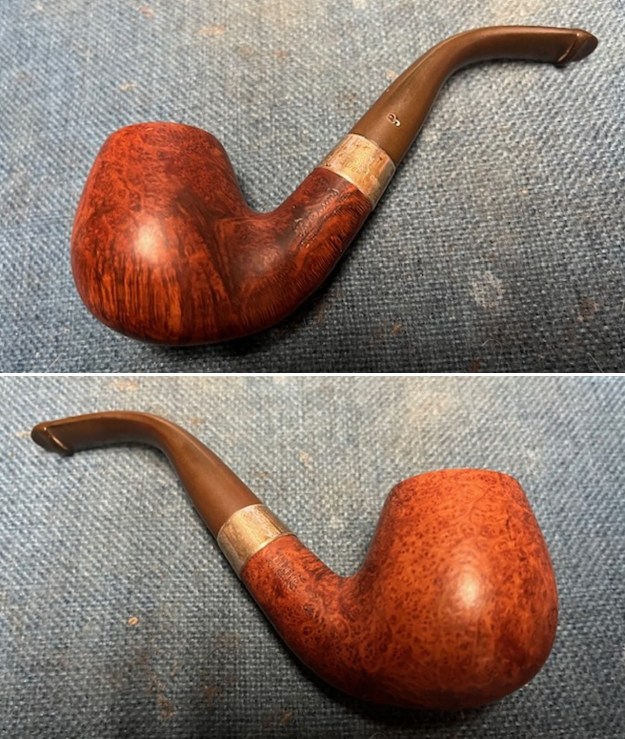
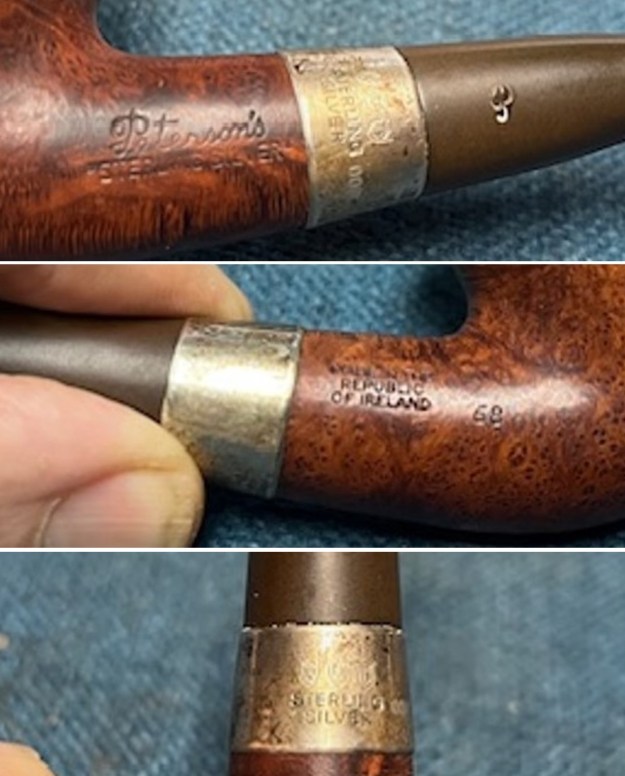
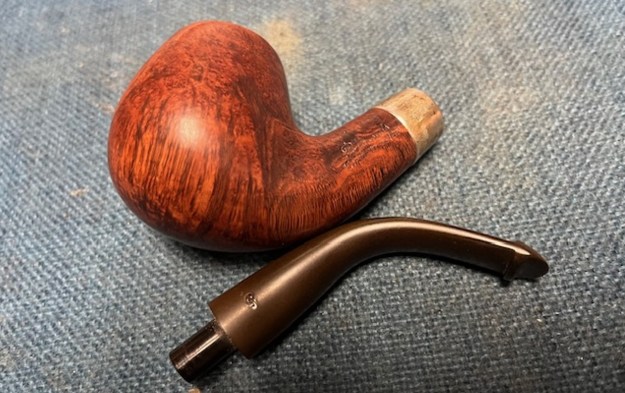
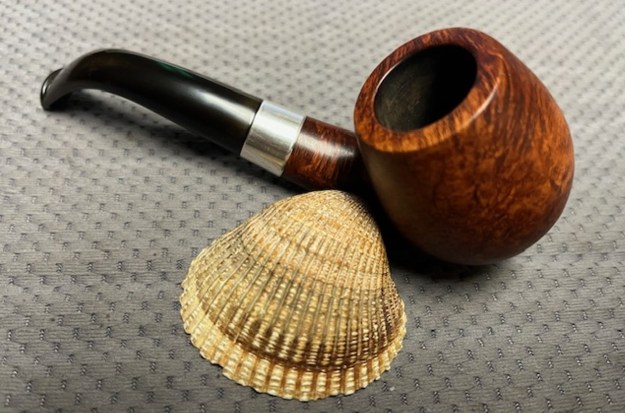
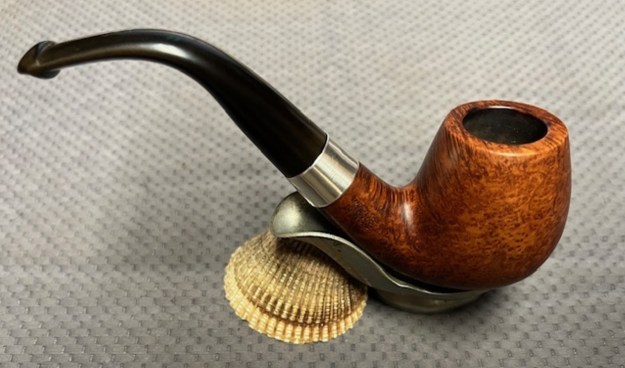
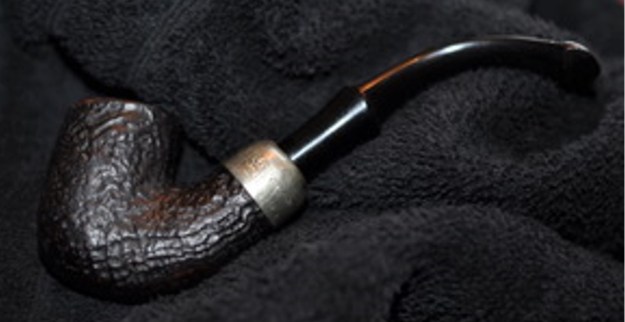
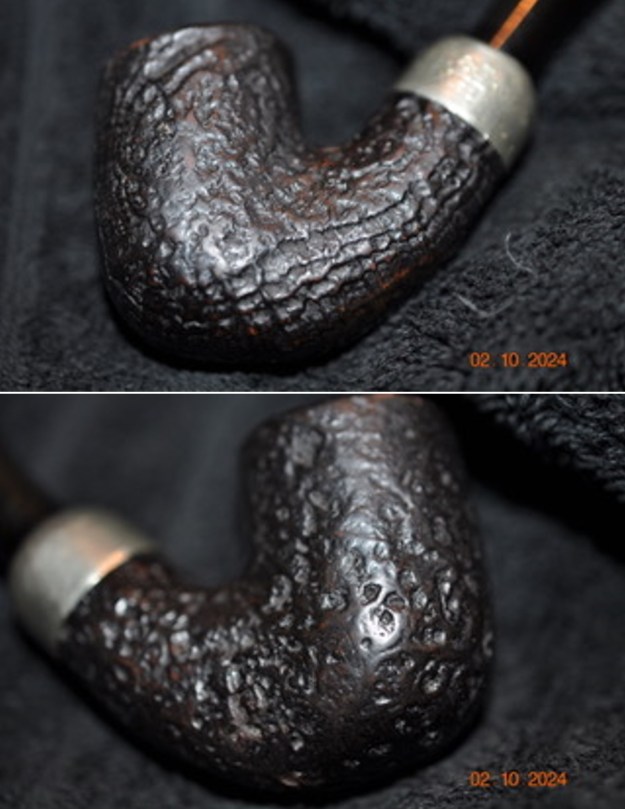
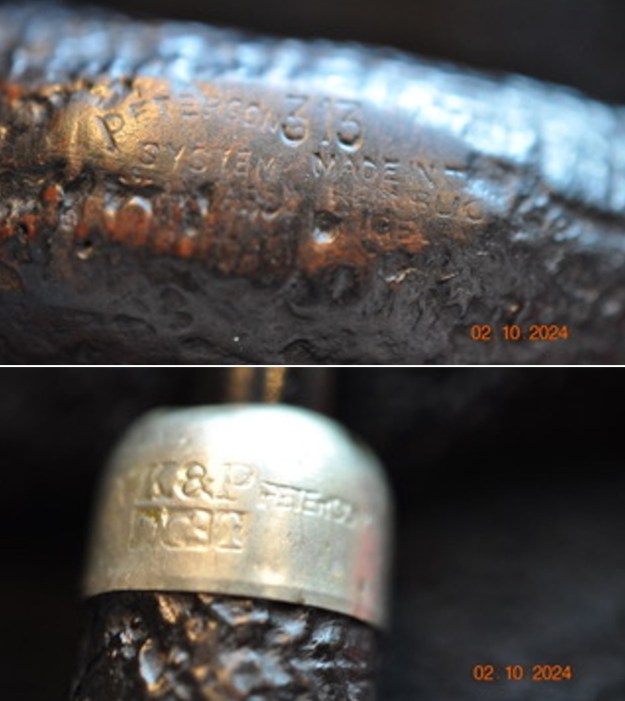
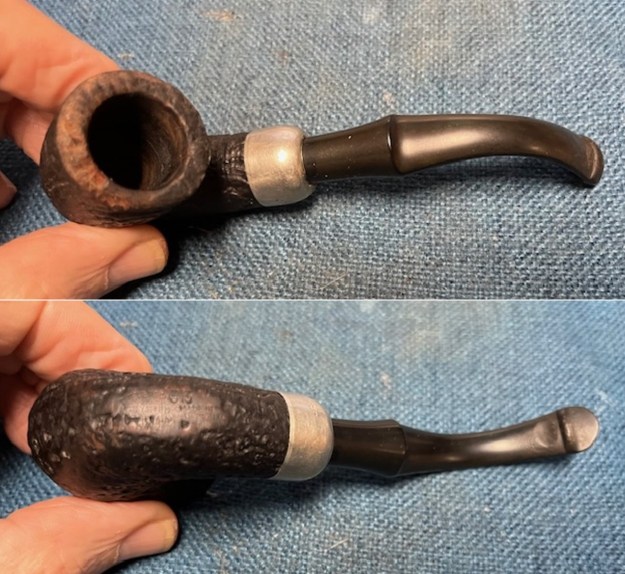
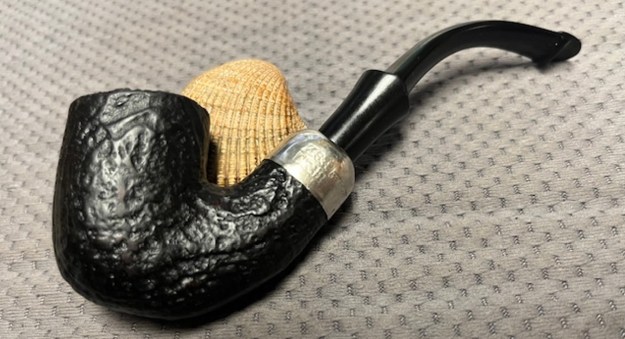
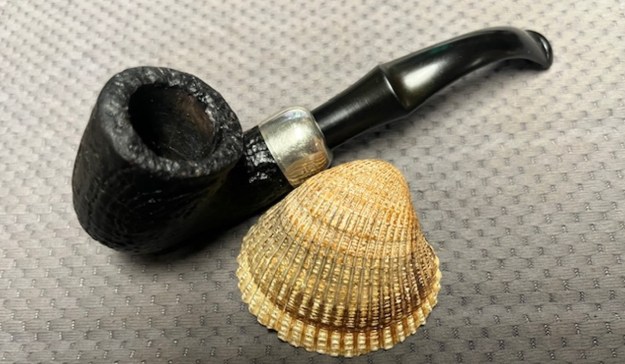
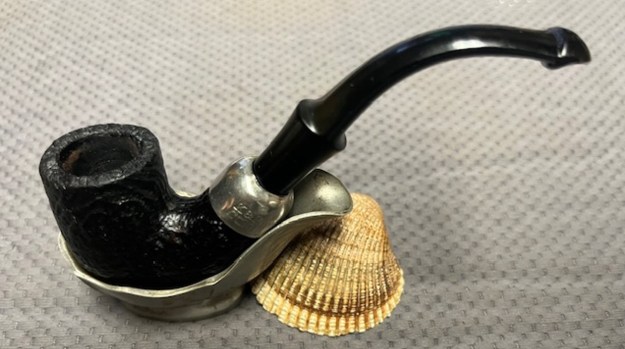
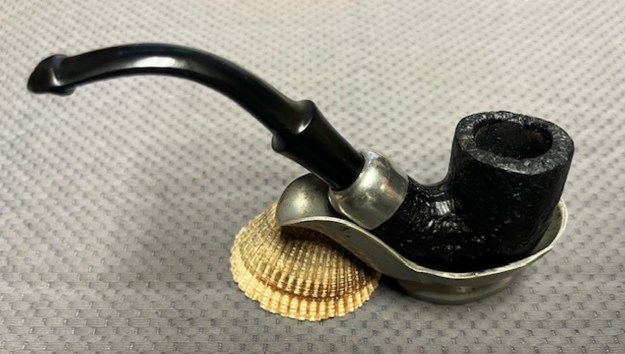
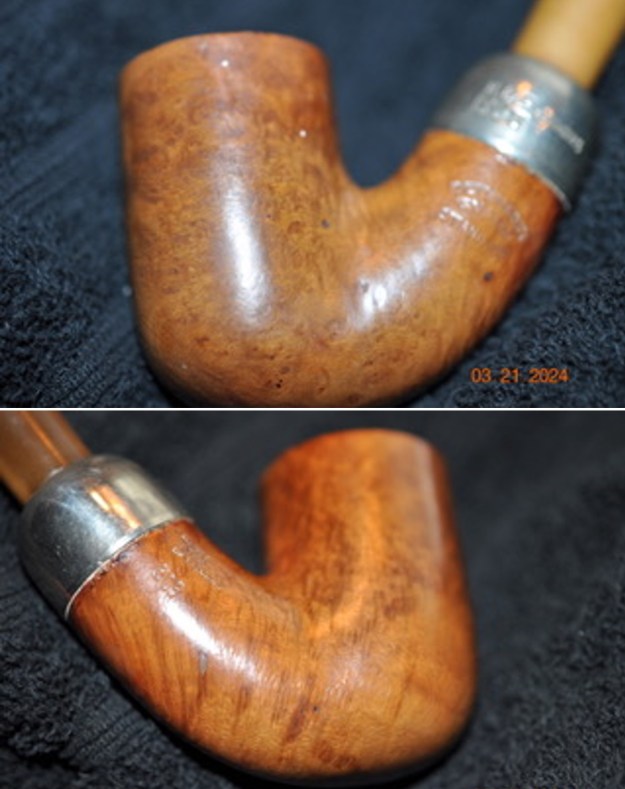
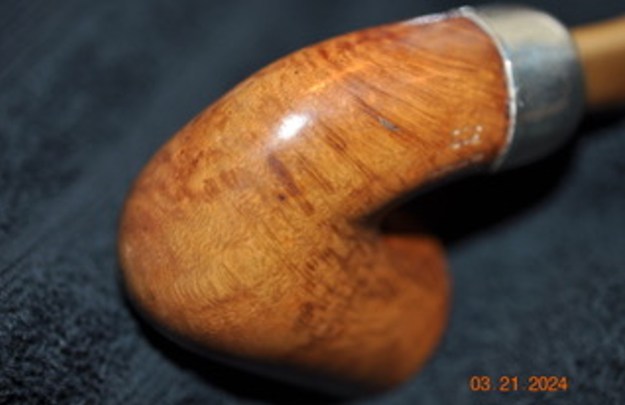
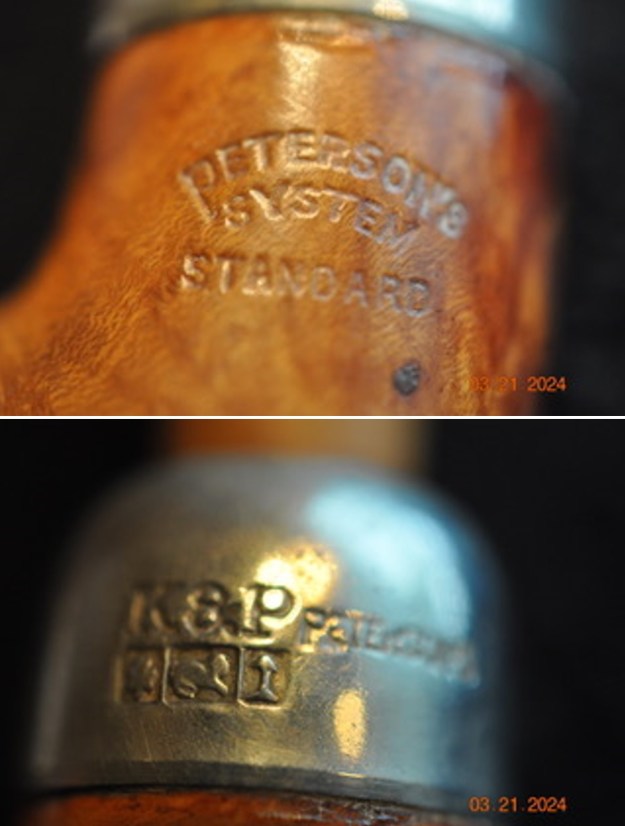
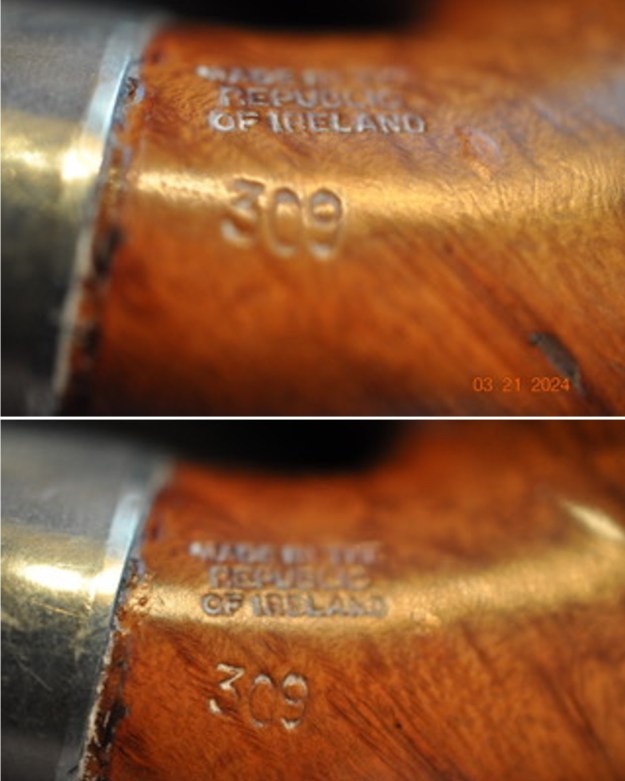
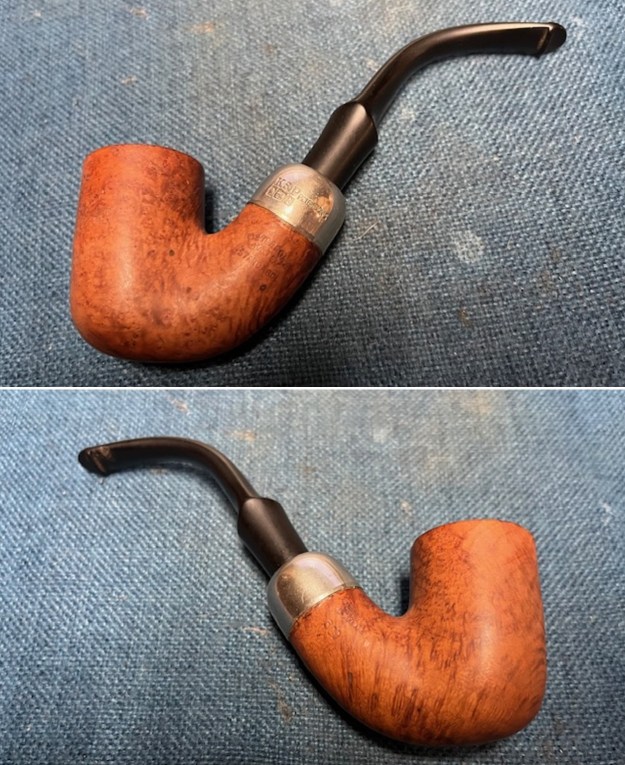
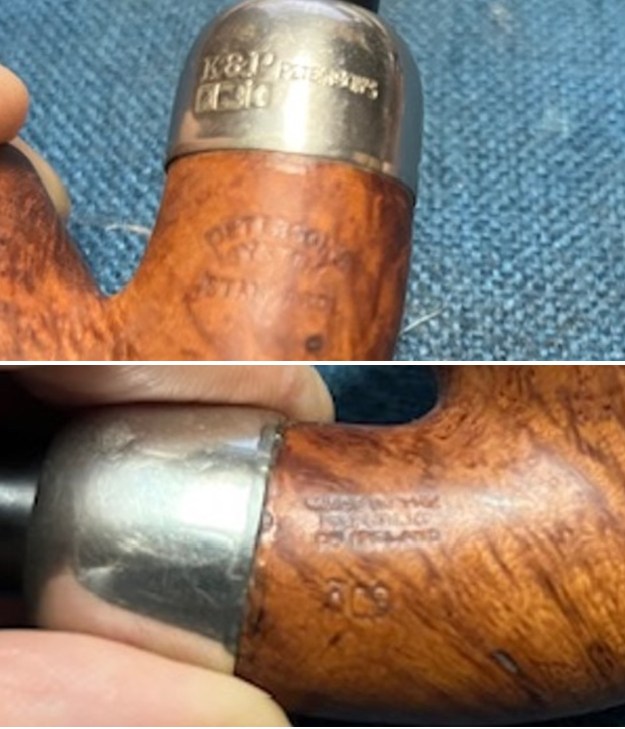
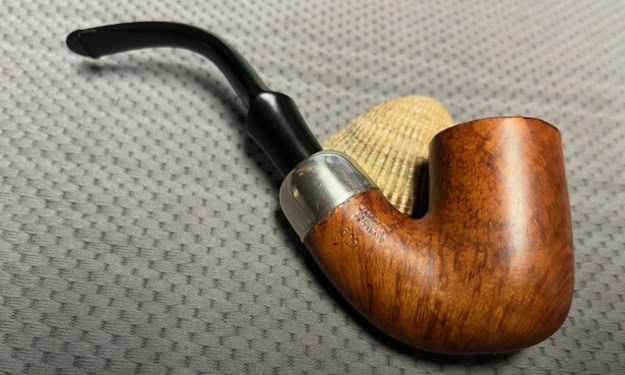
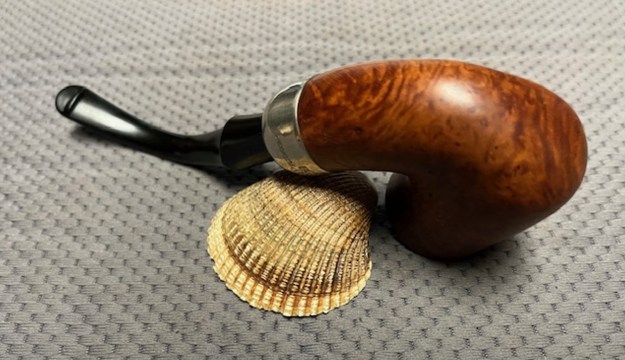
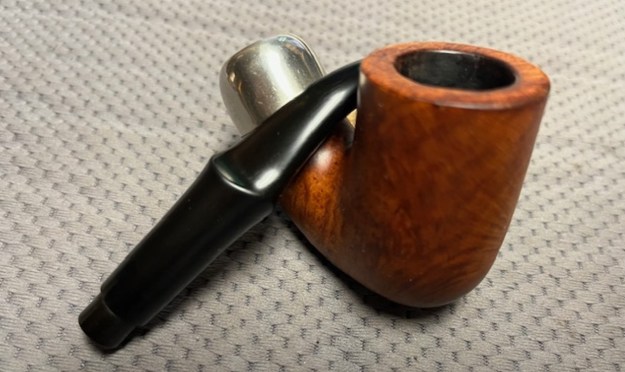
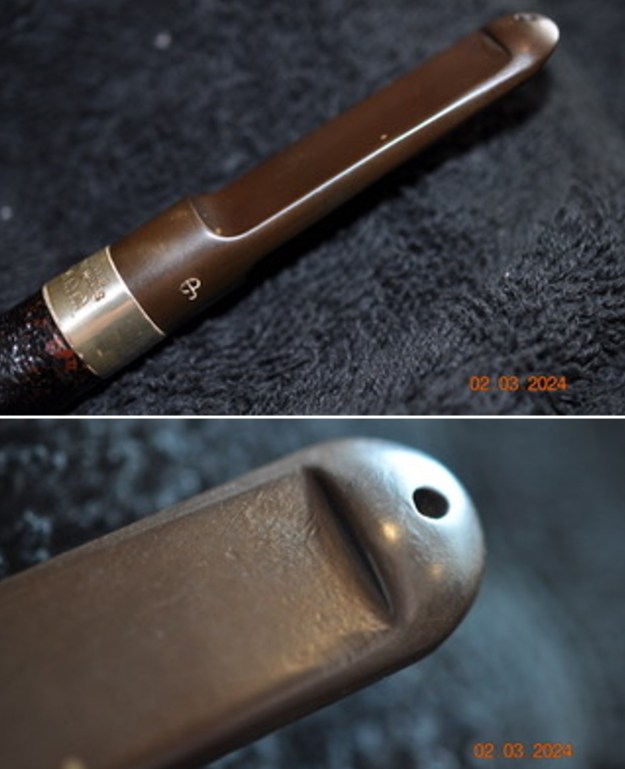
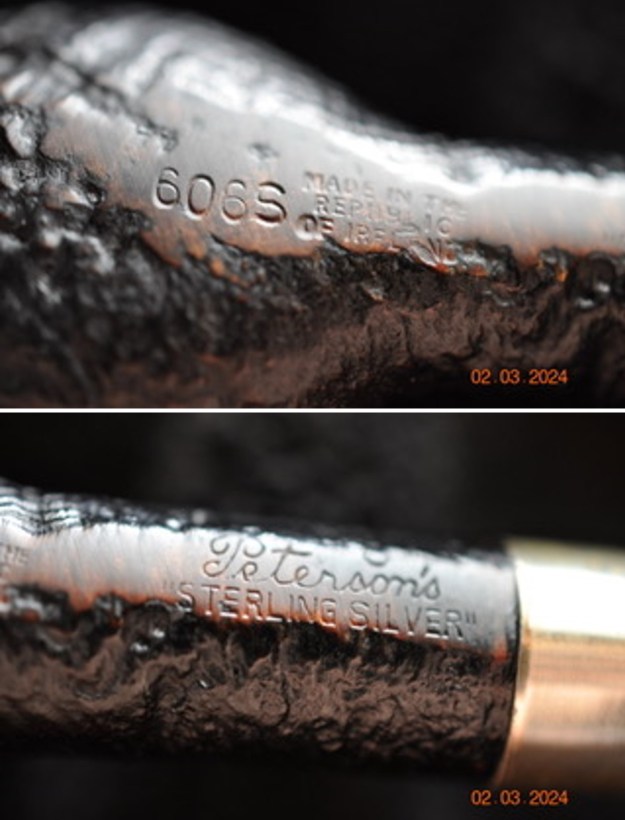
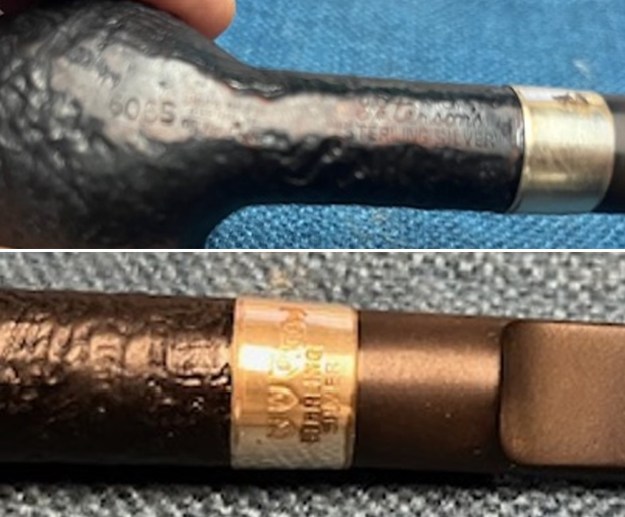
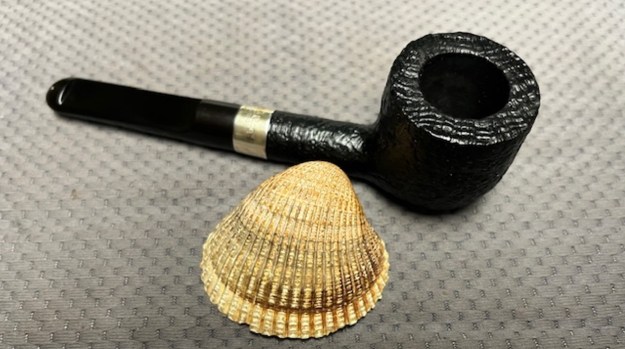
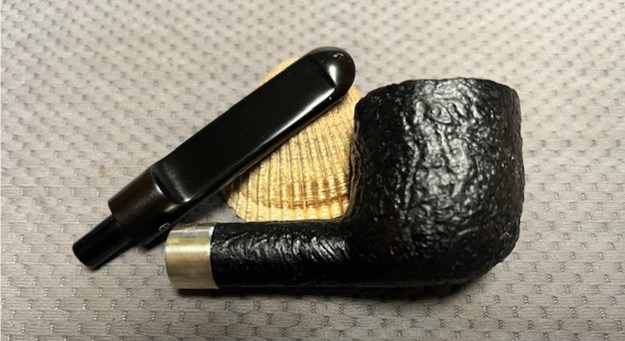
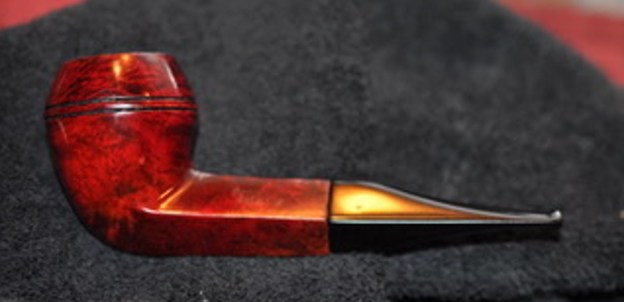
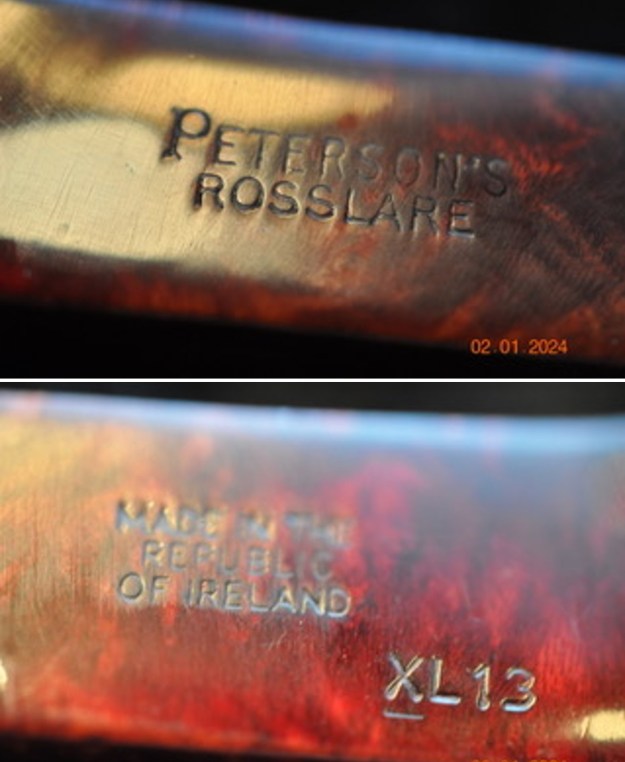
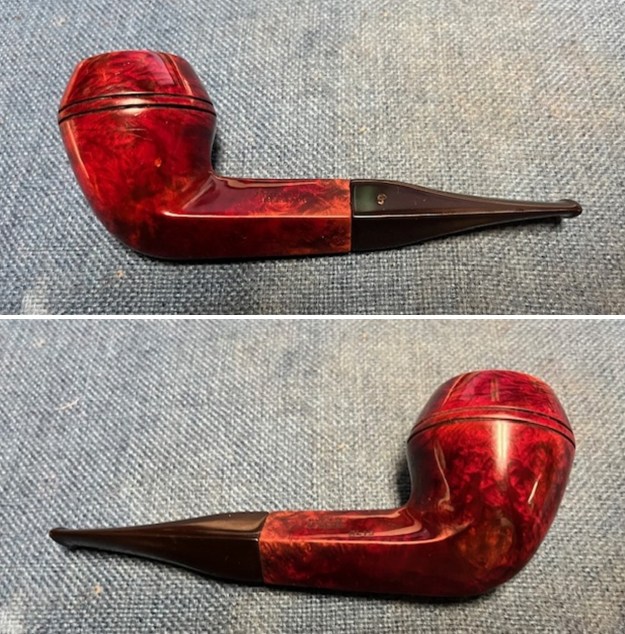
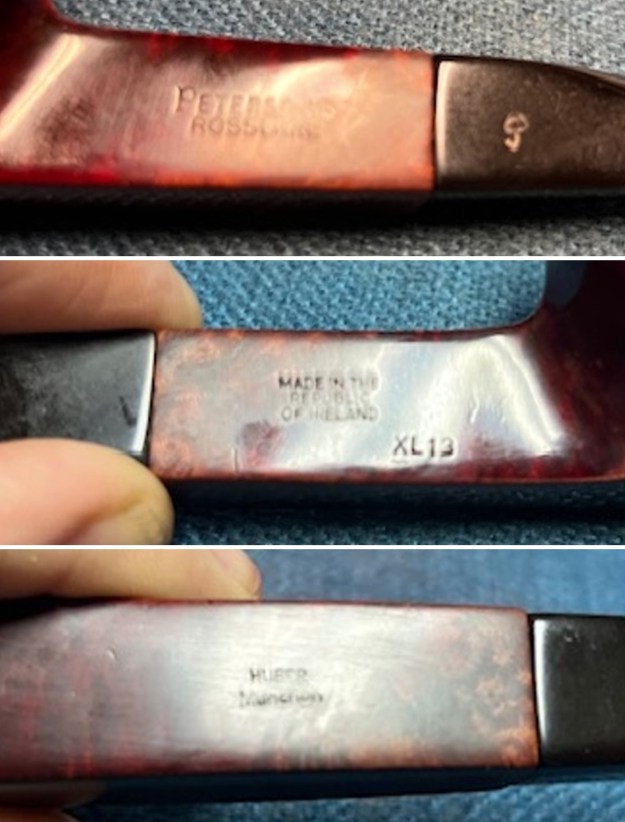
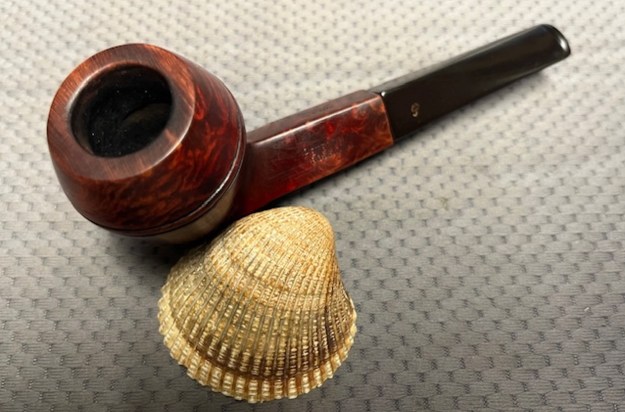
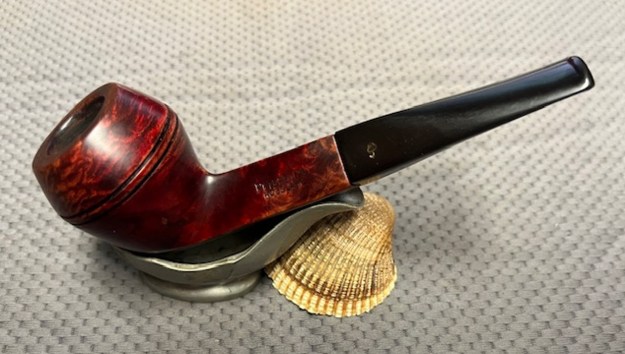
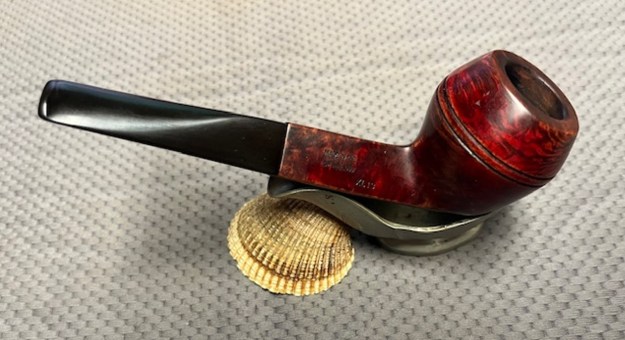
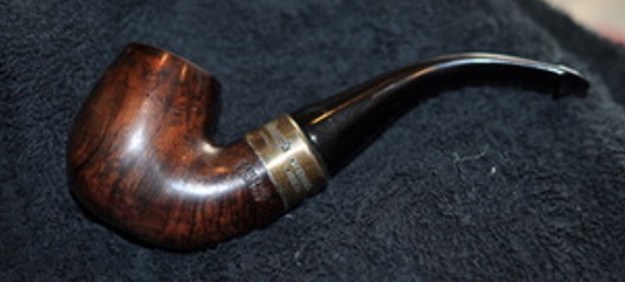
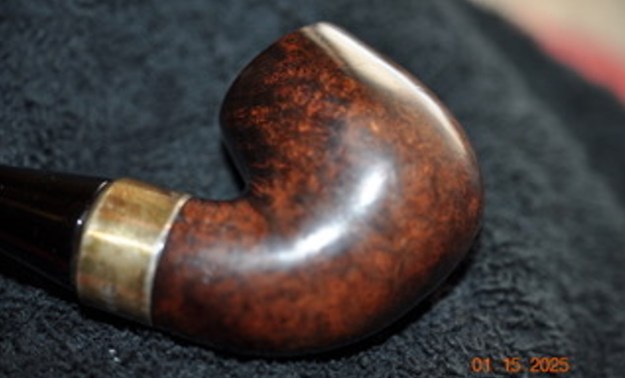
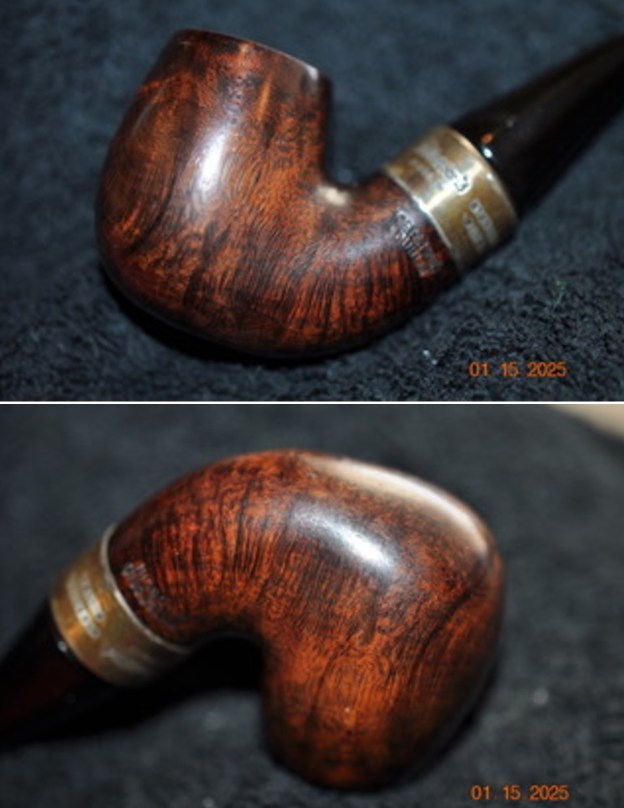
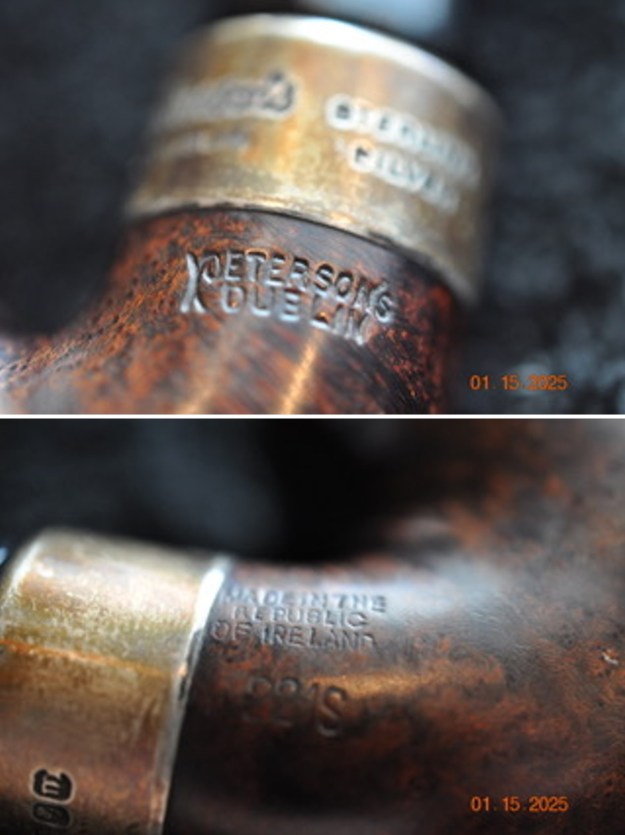
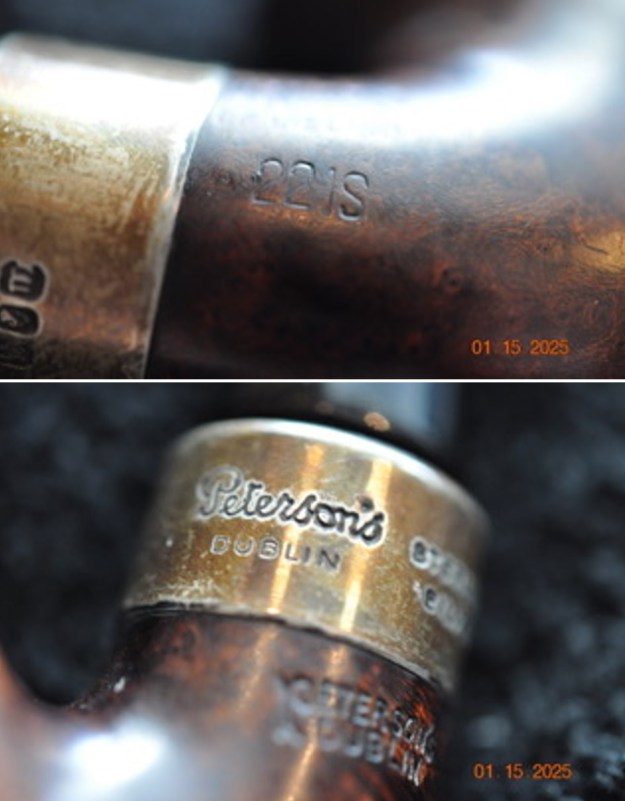
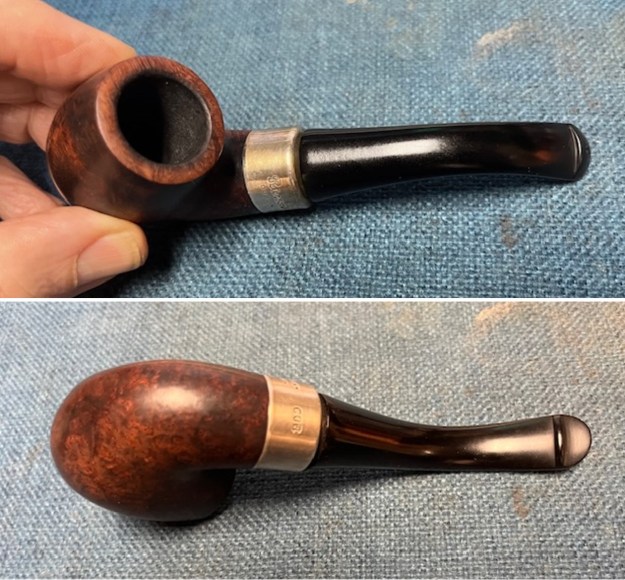
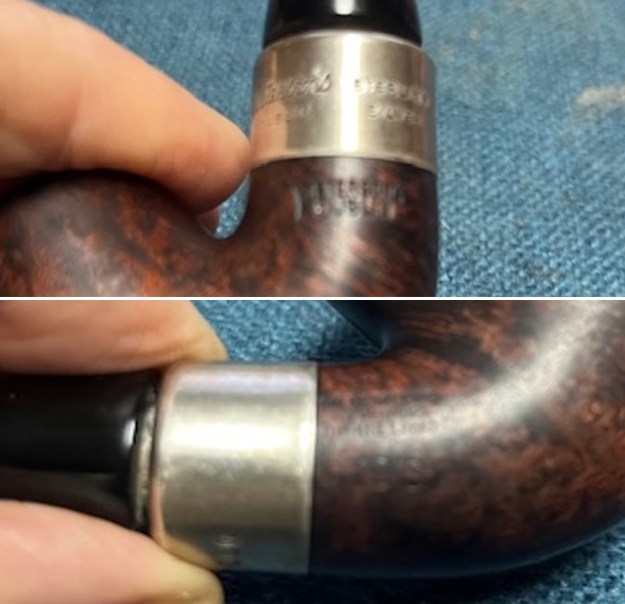
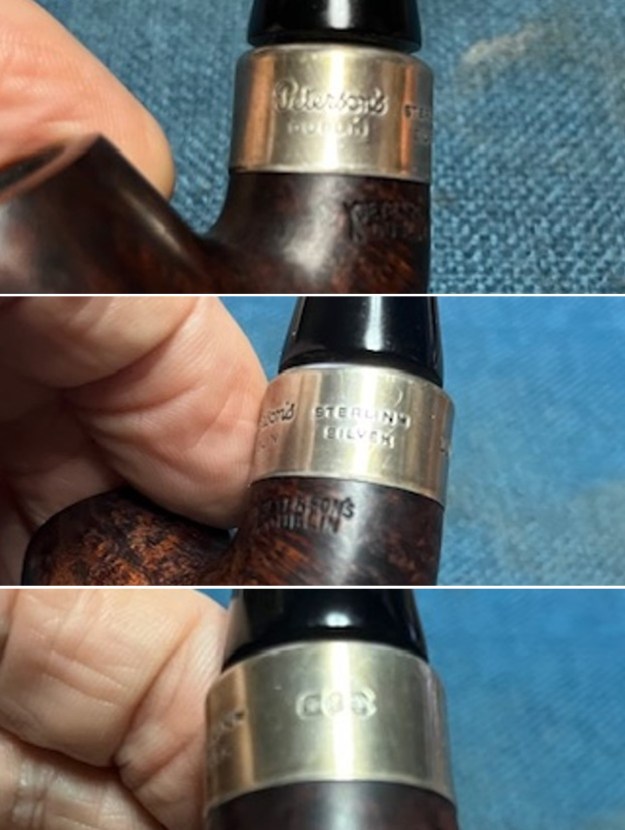
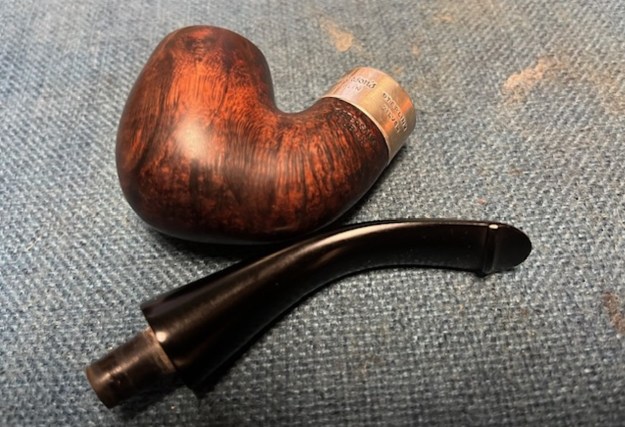
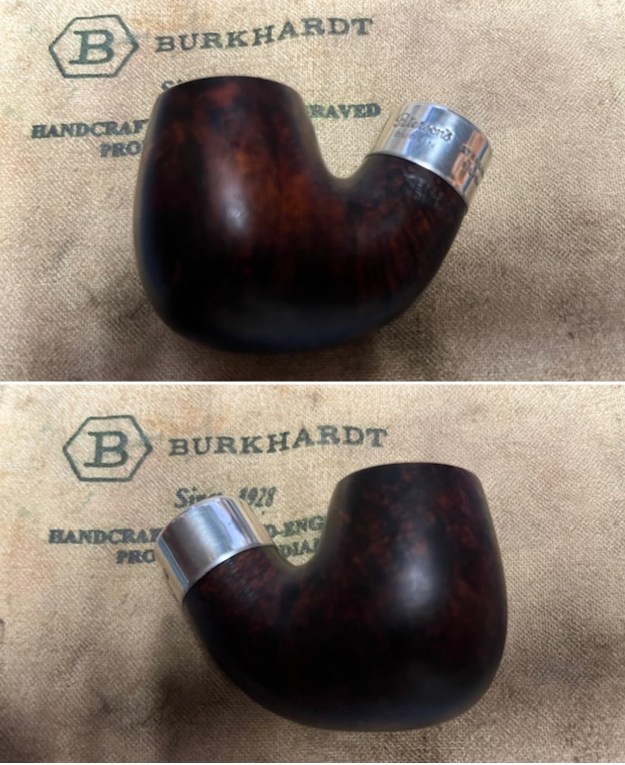
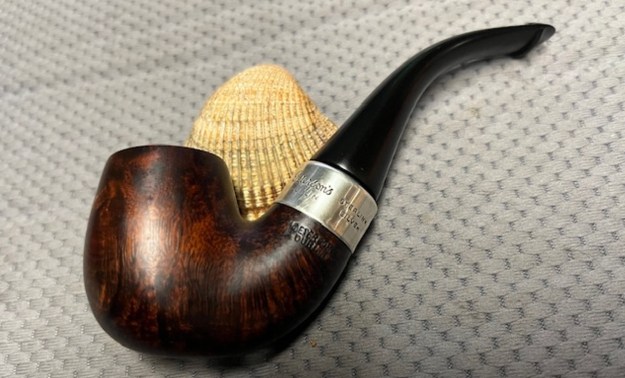
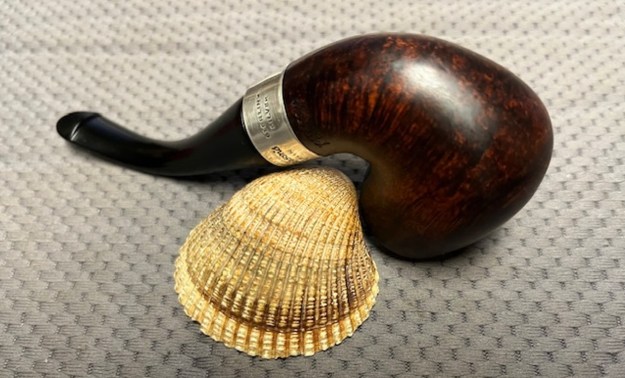
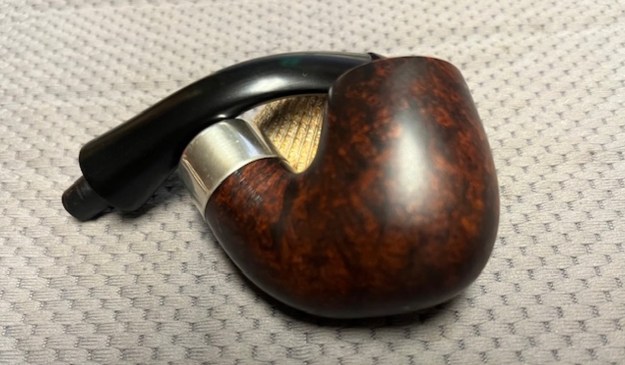
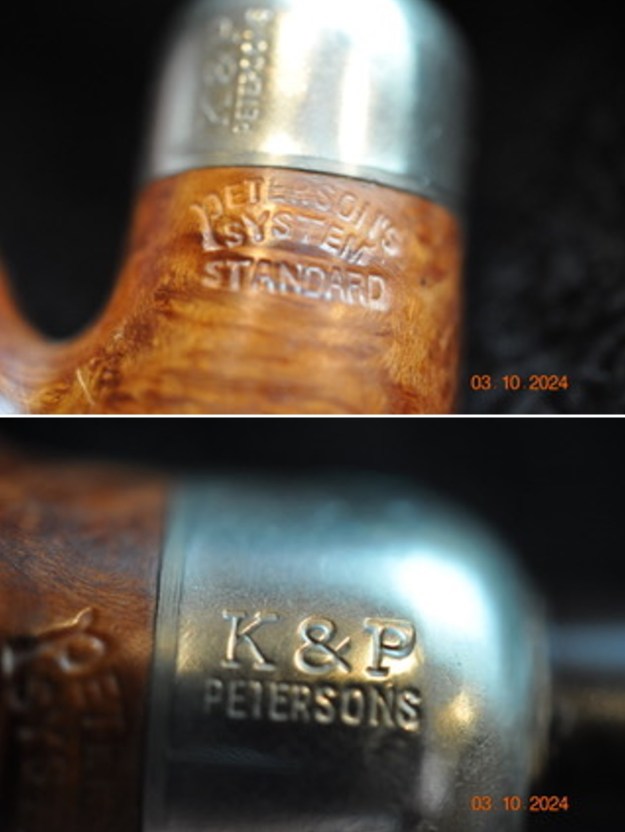
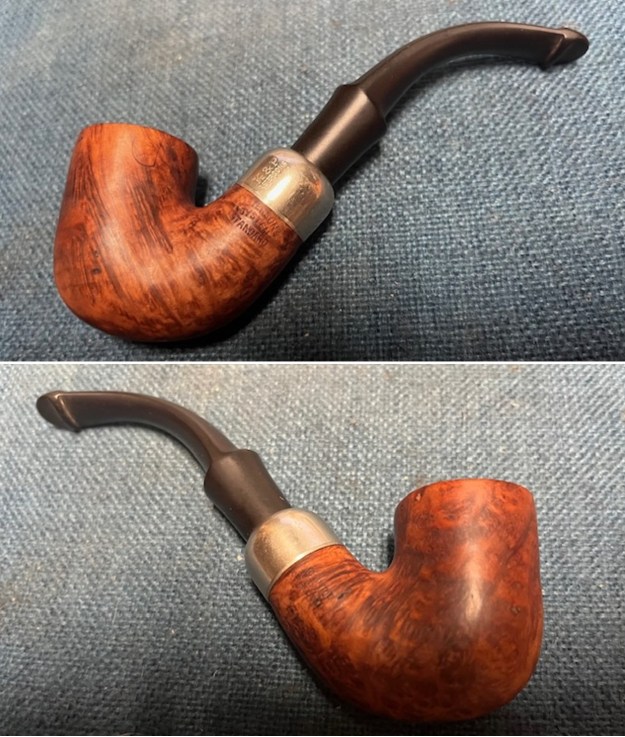
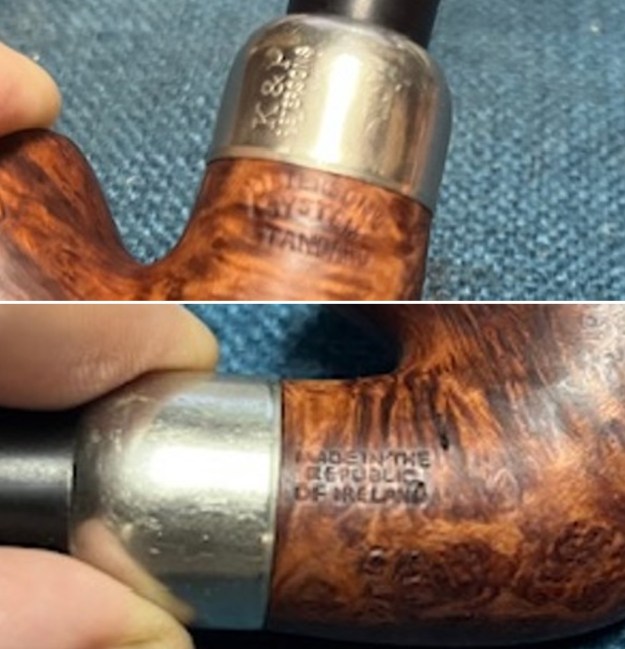
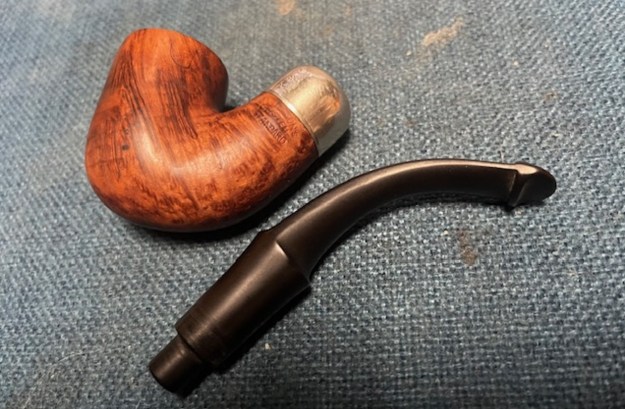
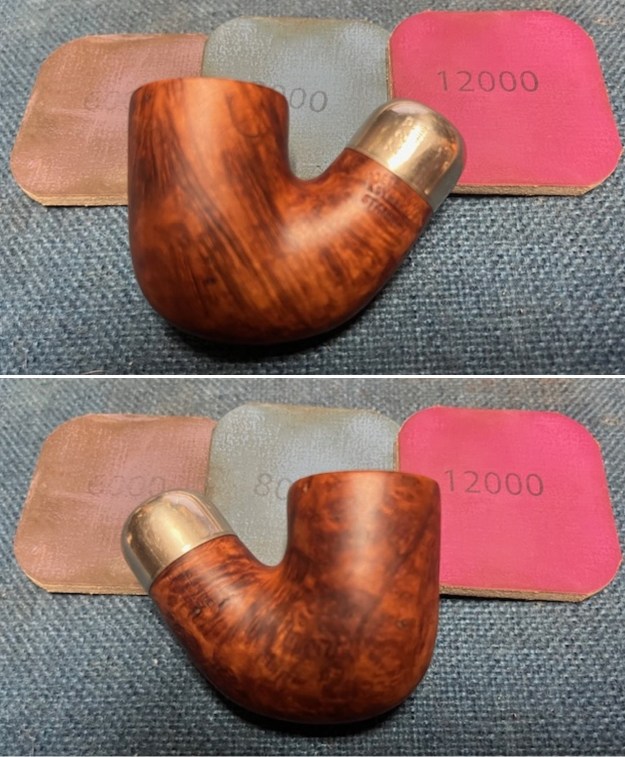
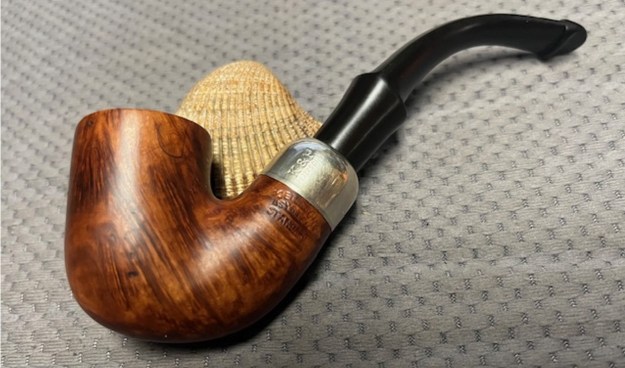
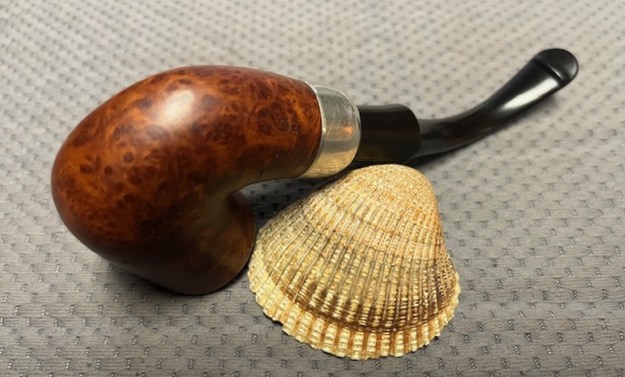
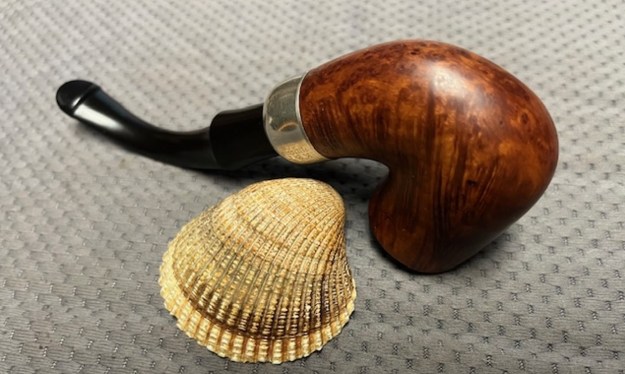
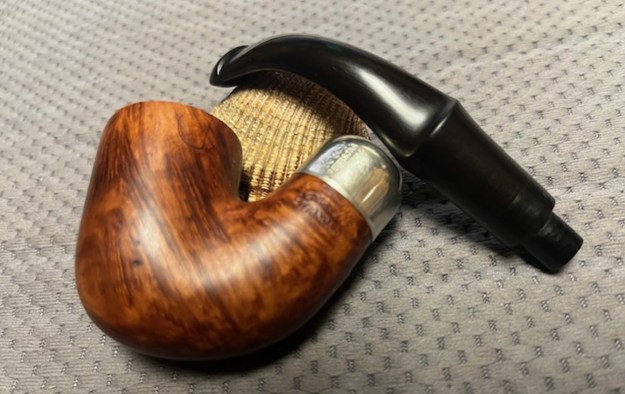
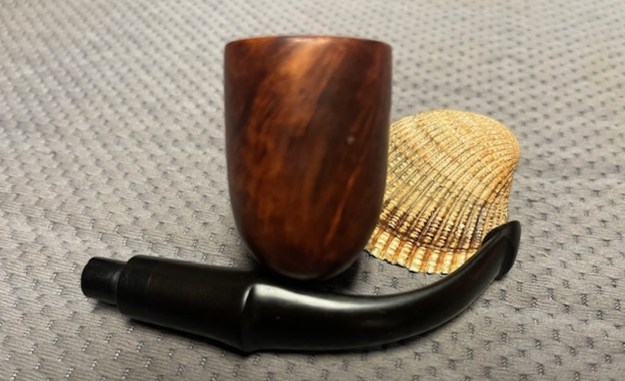
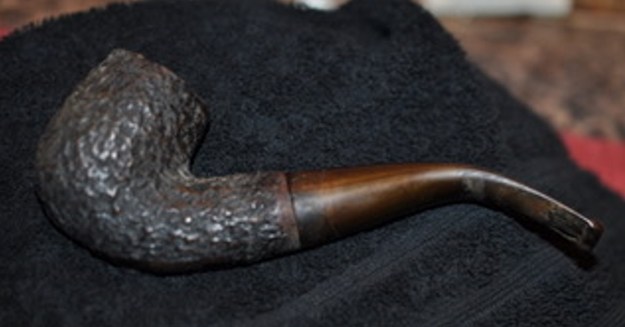
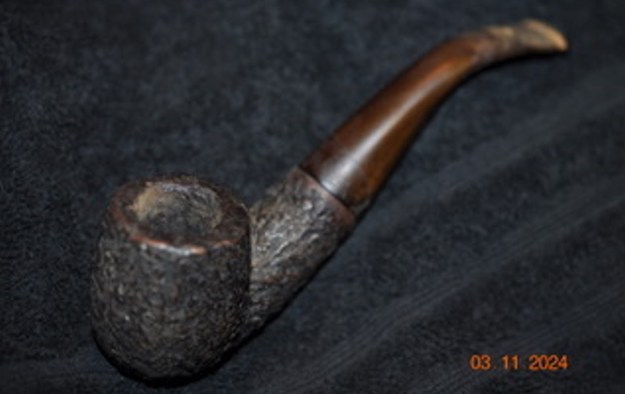
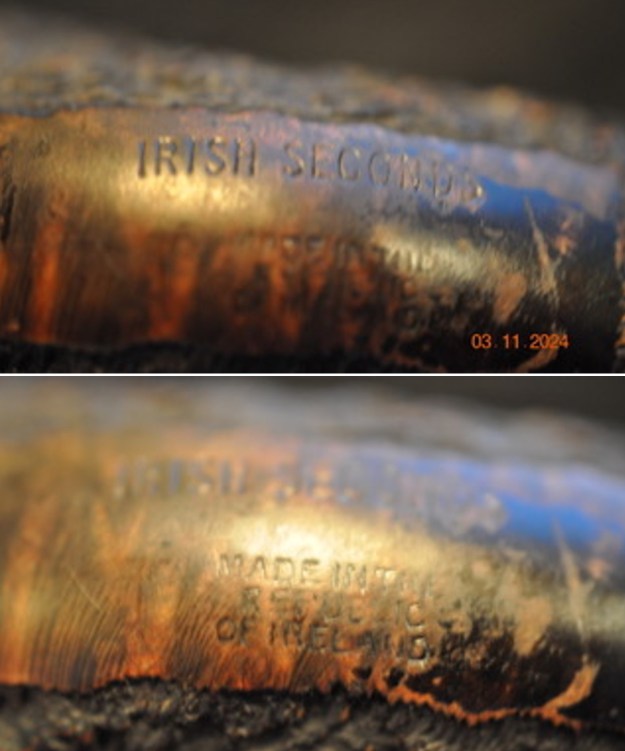
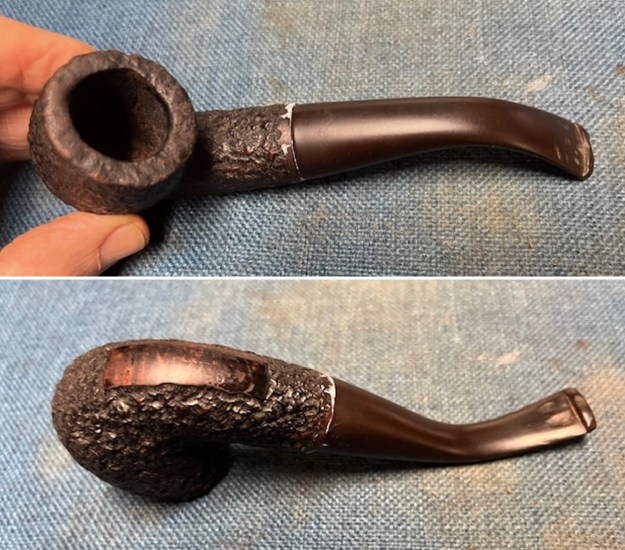
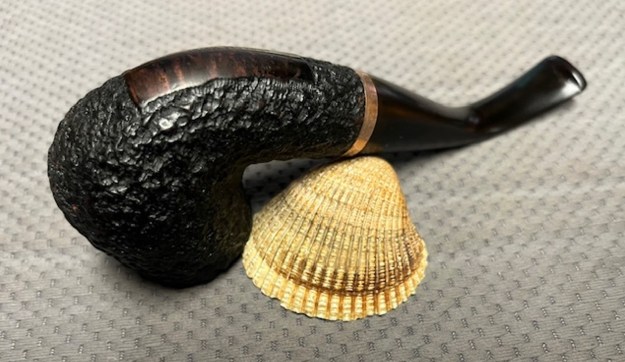
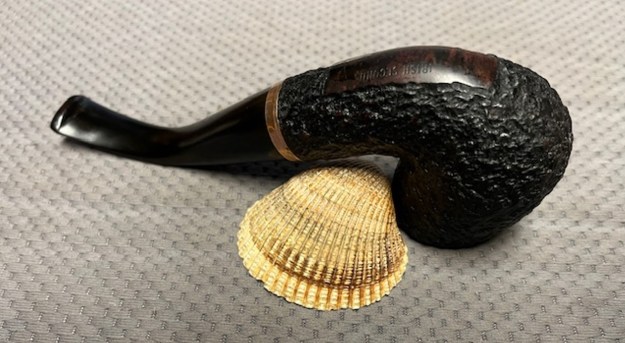
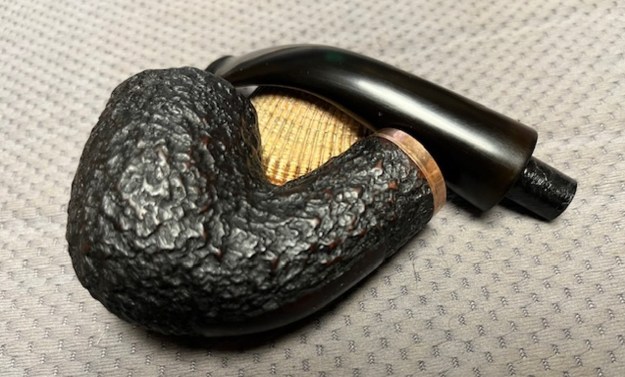
The next pipe on the table is another one that came to us from the seller in Caldwell, Idaho, USA on 07/12/2025. It is a Peterson’s Deluxe Style pipe with a silver band and a saddle stem. I would call the shape a Bent Billiard but others may have other ideas. It is in dirty but in good condition as can be seen in the photos below. It is stamped on the left side of the shank and reads Peterson’s in script [over] a block printed Centenary. On the right side of the shank it is stamped Made in the Republic of Ireland in three lines and underneath it is stamped with the shape number 4S. On the underside of the shank it is stamped 0/20. The stamping is clear and readable. The silver ferrule/band is stamped Sterling Silver arched over a circle that bears the stamping 1875 [over] Peterson [over] 1975. Underneath it is stamped with three silver hallmarks. The first was Hibernia seated, arm on a harp for the country of manufacture. The second was a Crowned Harp designating sterling quality. The third mark was a date stamp and, in this case, a lower-case cursive “h” which dated the pipe as a 1975. The finish was dusty and dirty with grime ground into the finish. The bowl had a moderate cake and there was tobacco debris in the bowl. The rim top had a thick lava coat on the top and inner and back edges. The stem was quite dirty and lightly oxidized. It has light tooth marks and chatter on both sides. I took photos of the pipe to show what it looked like before I started working on it.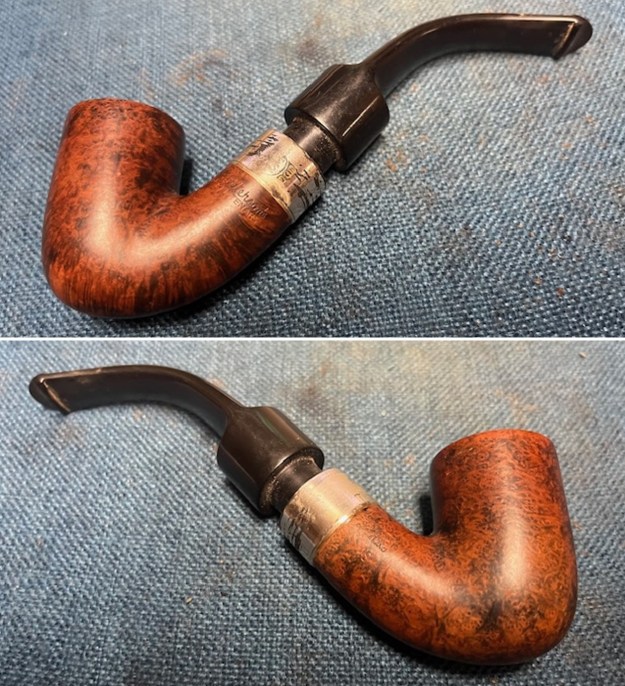
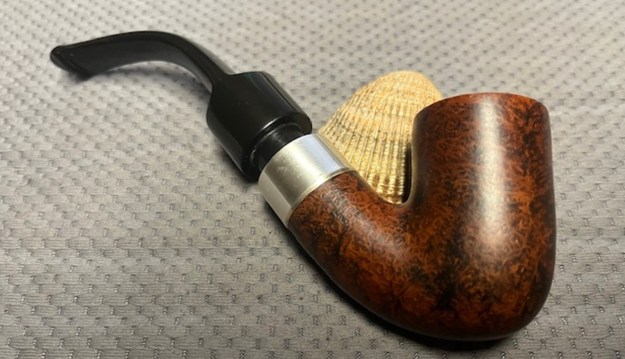
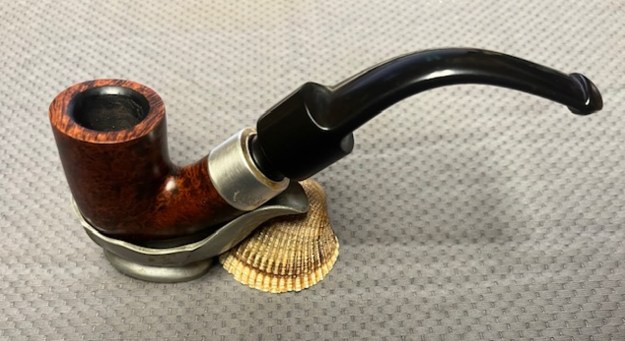
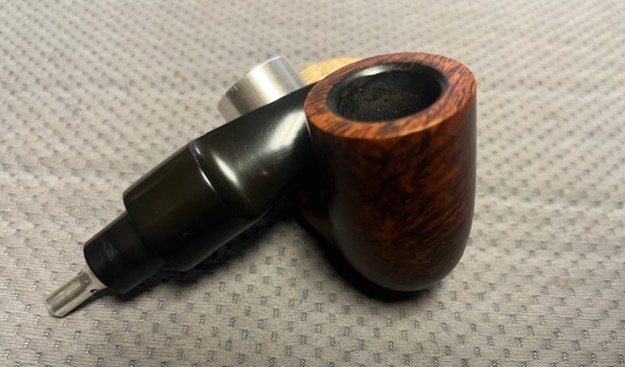
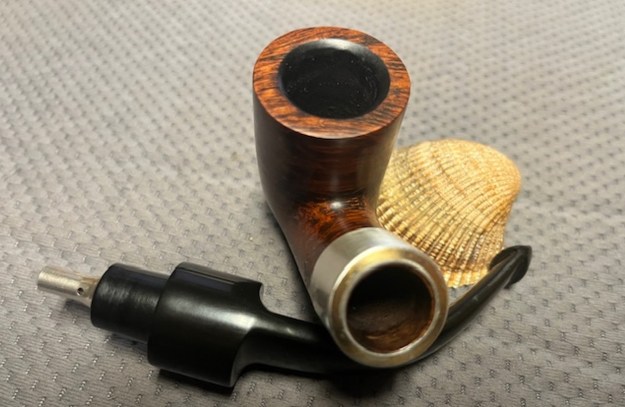
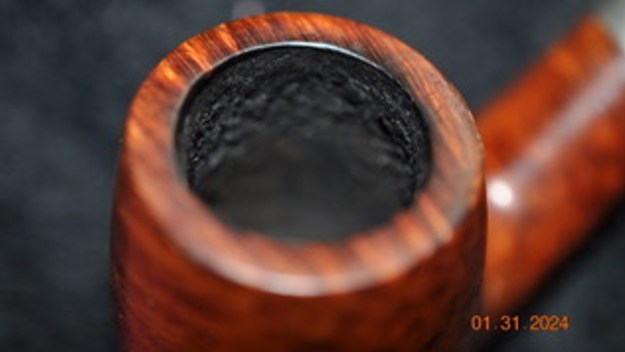
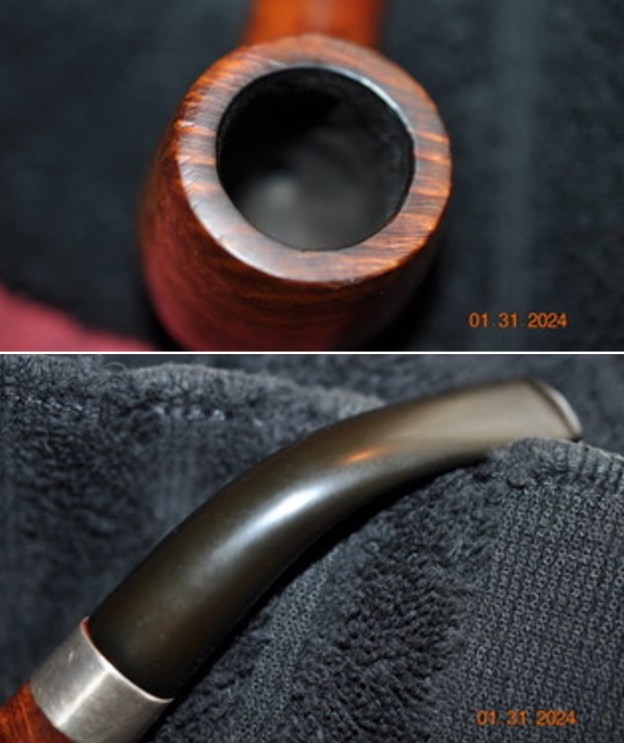
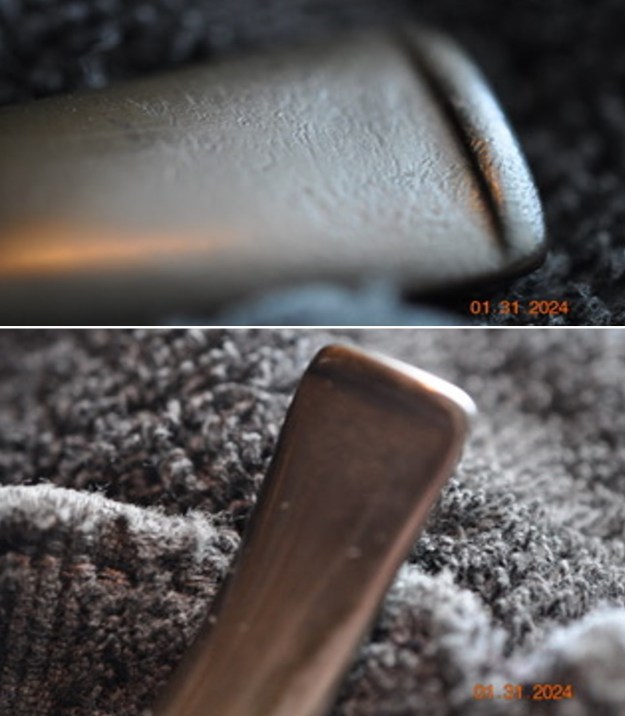
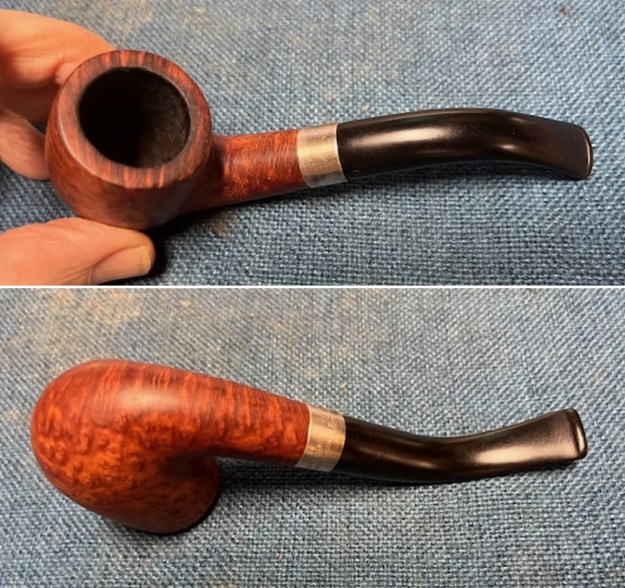
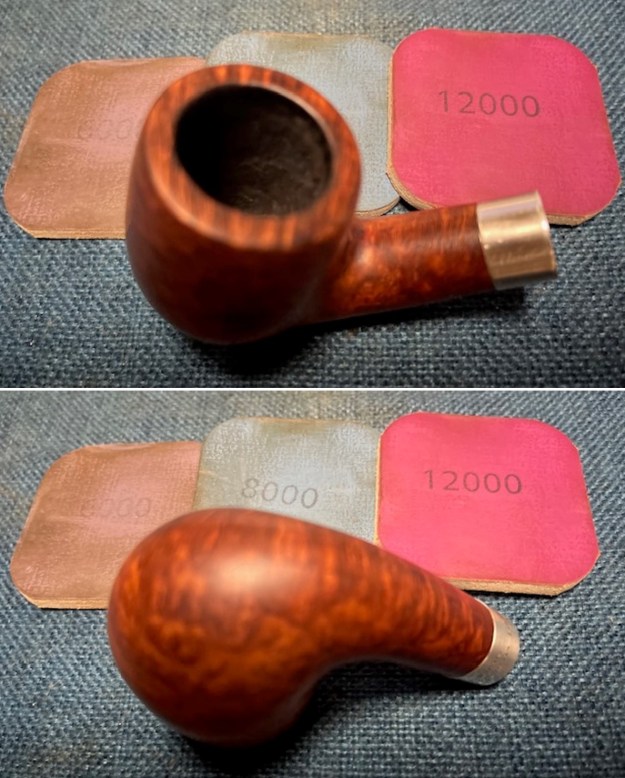
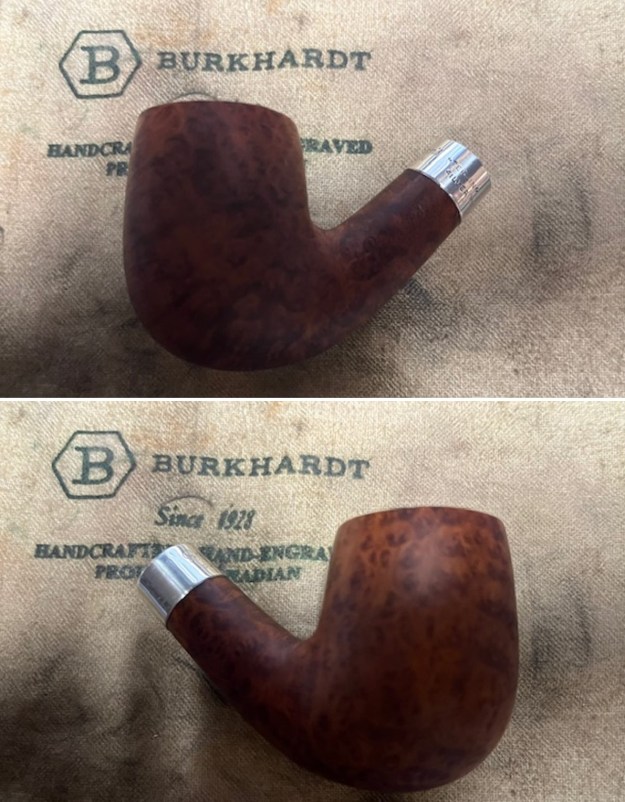
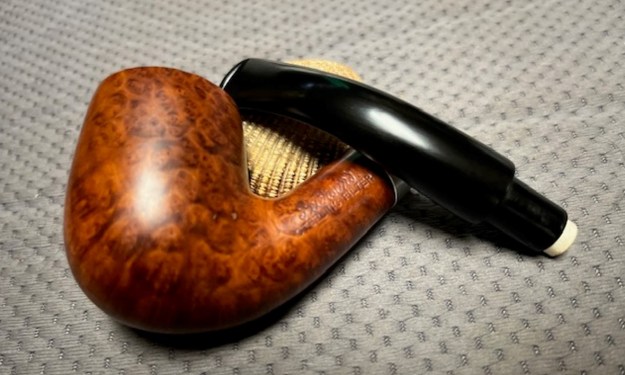
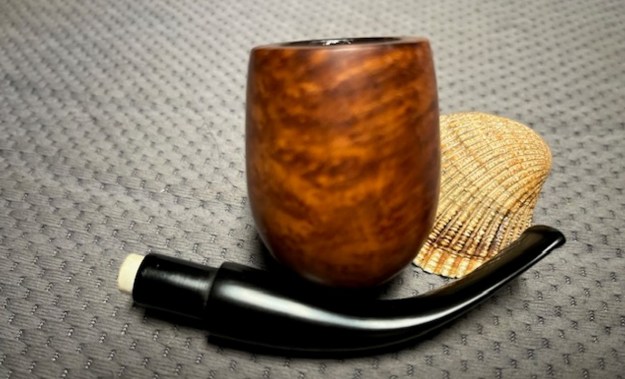
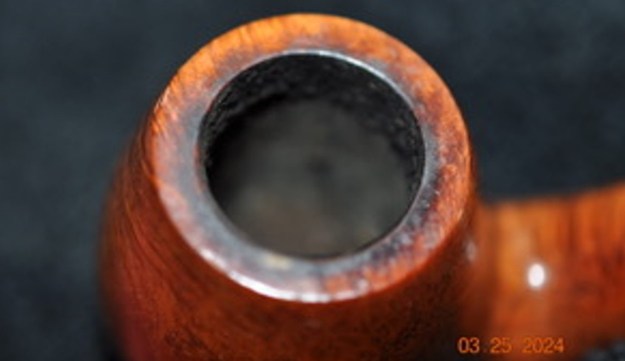
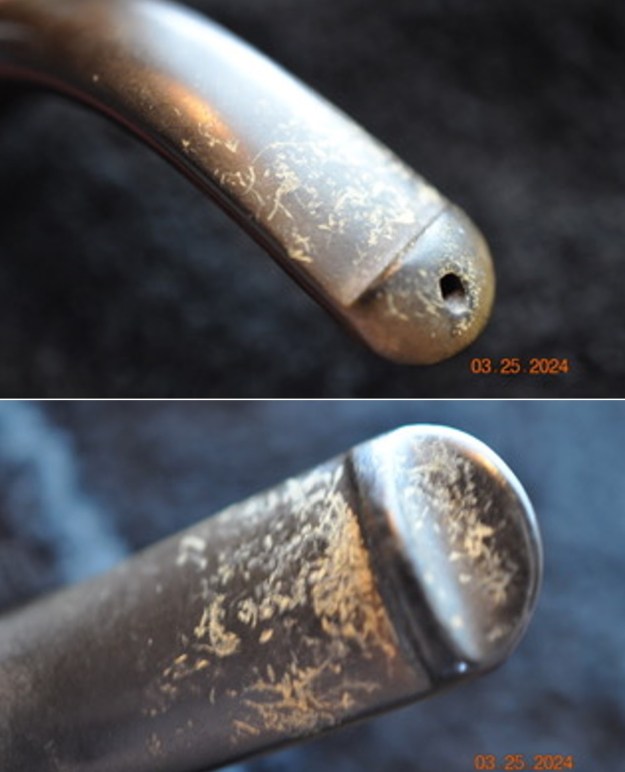
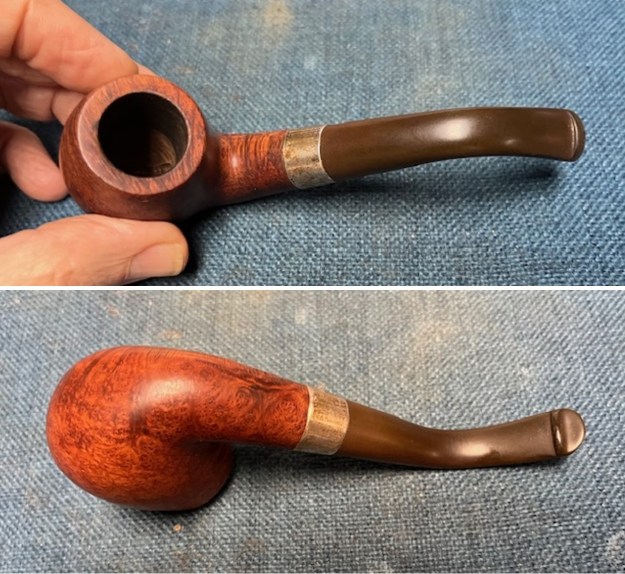
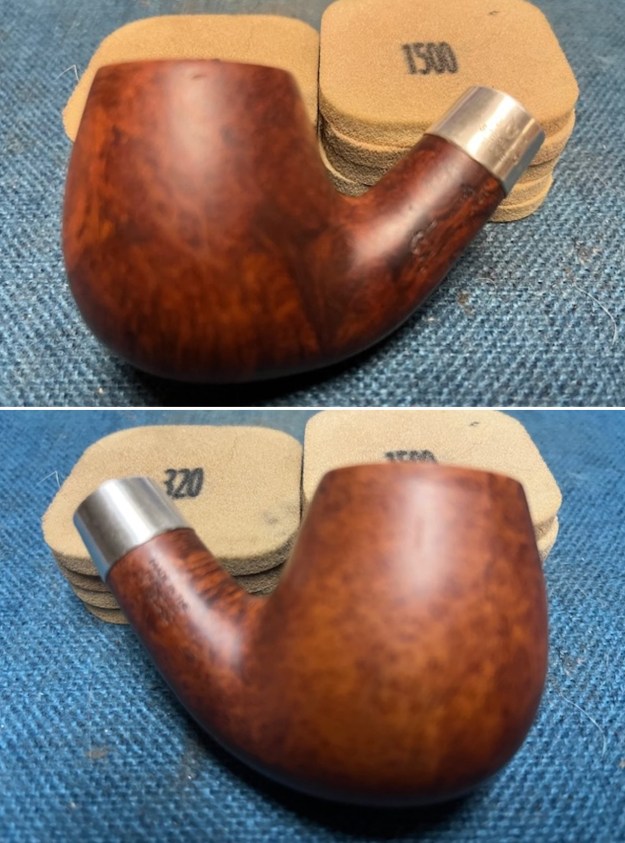
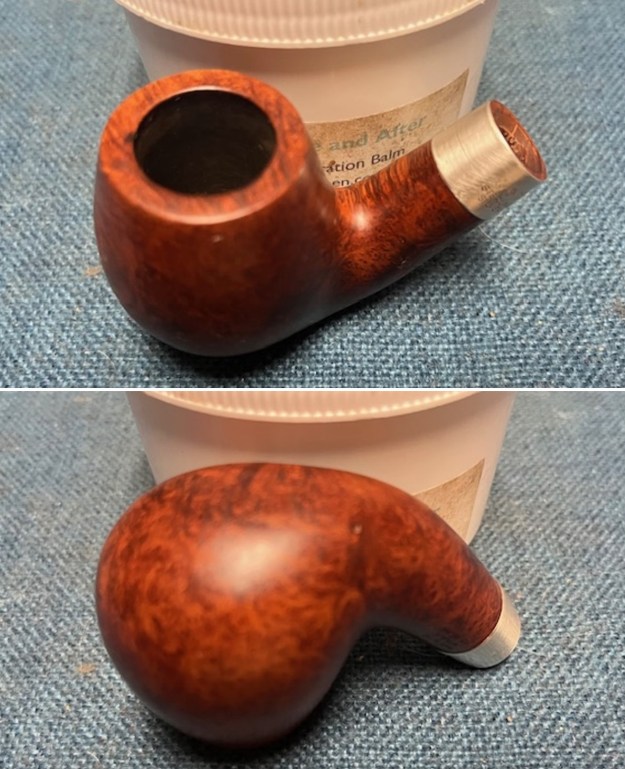
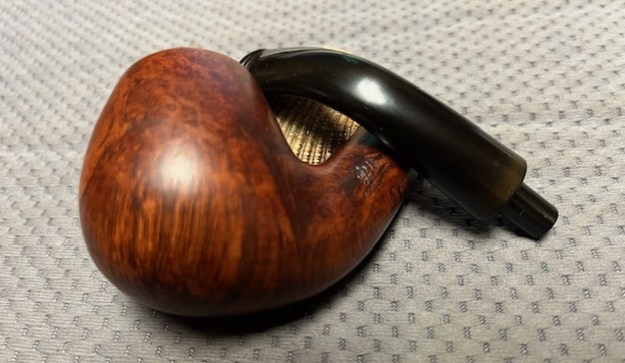
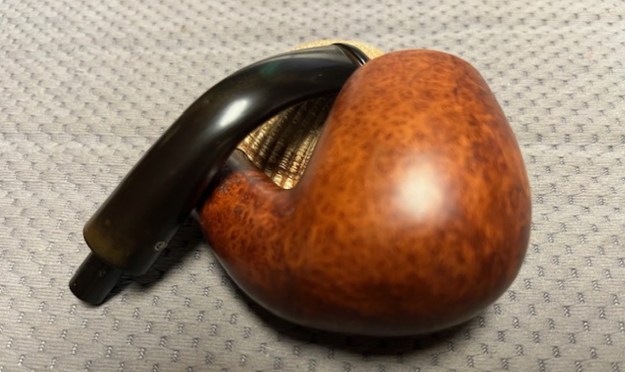
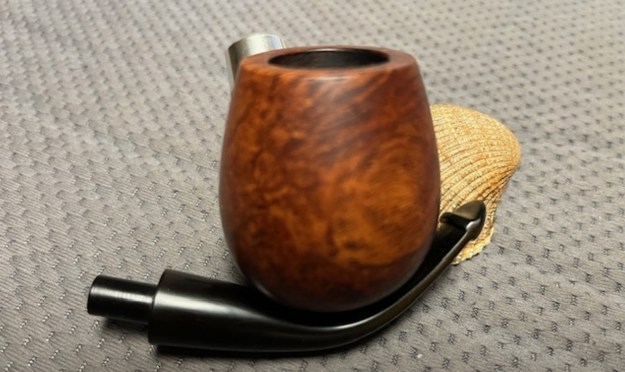
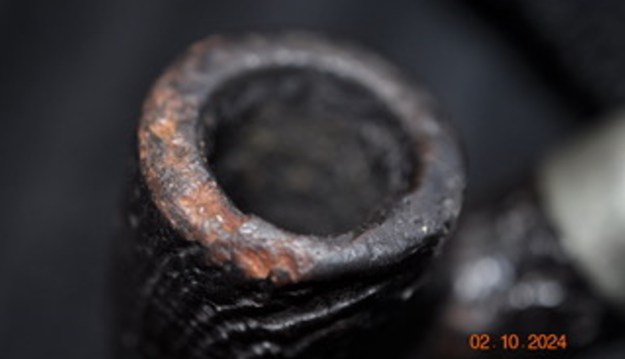
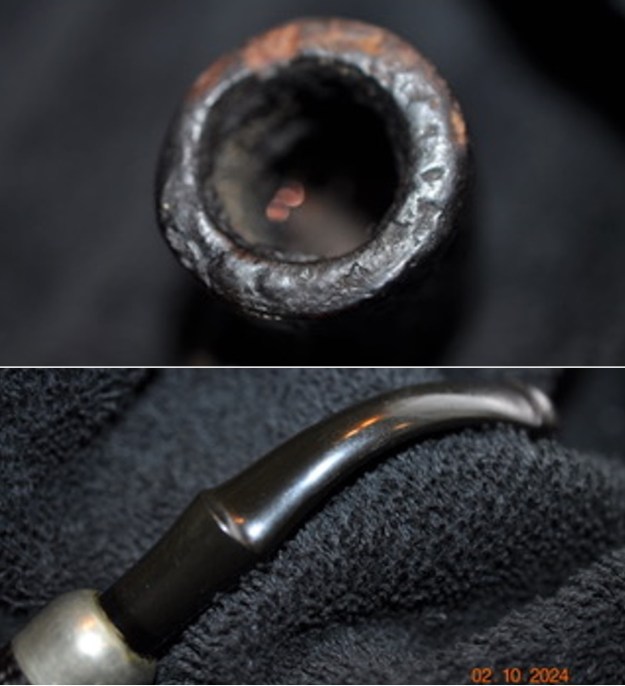
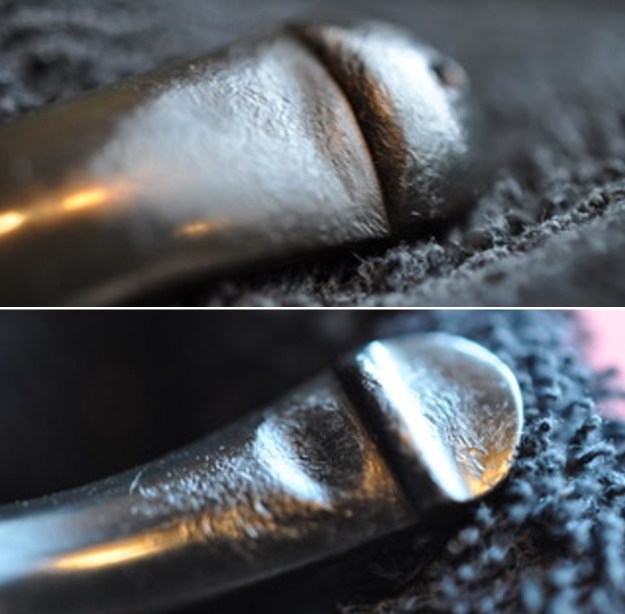
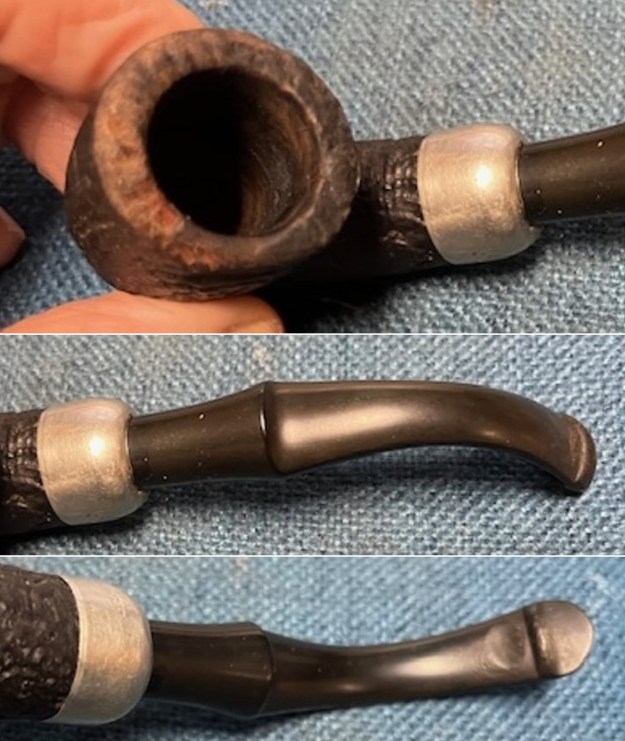
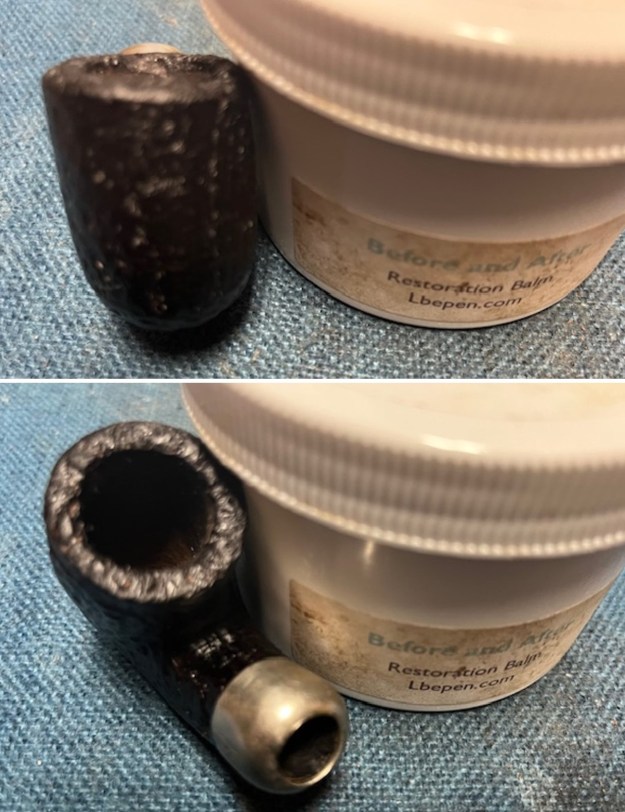
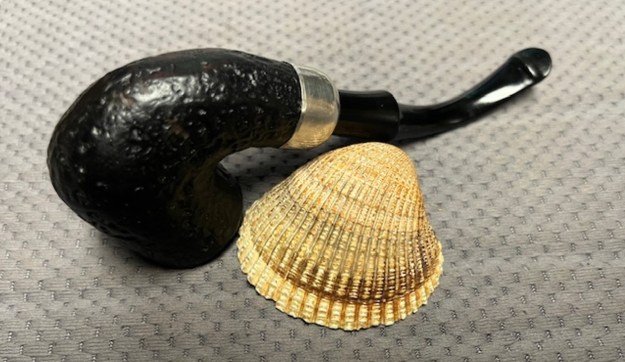
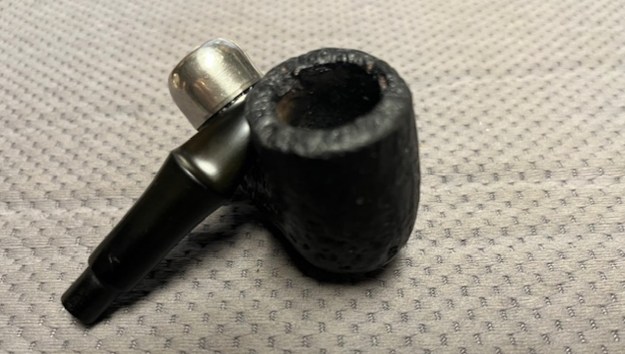
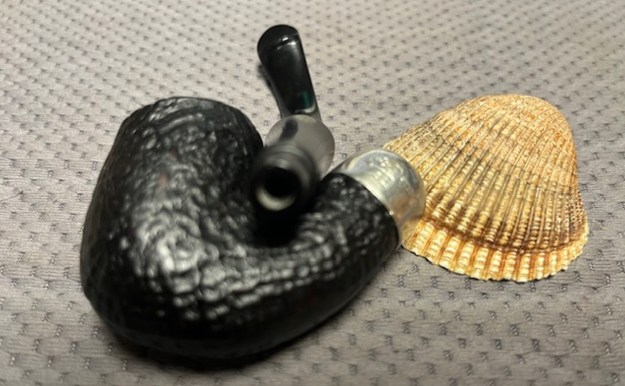
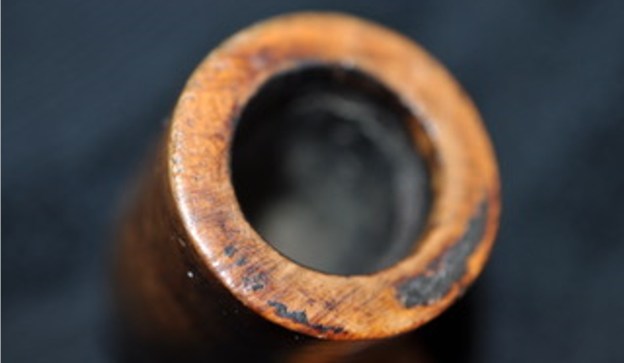
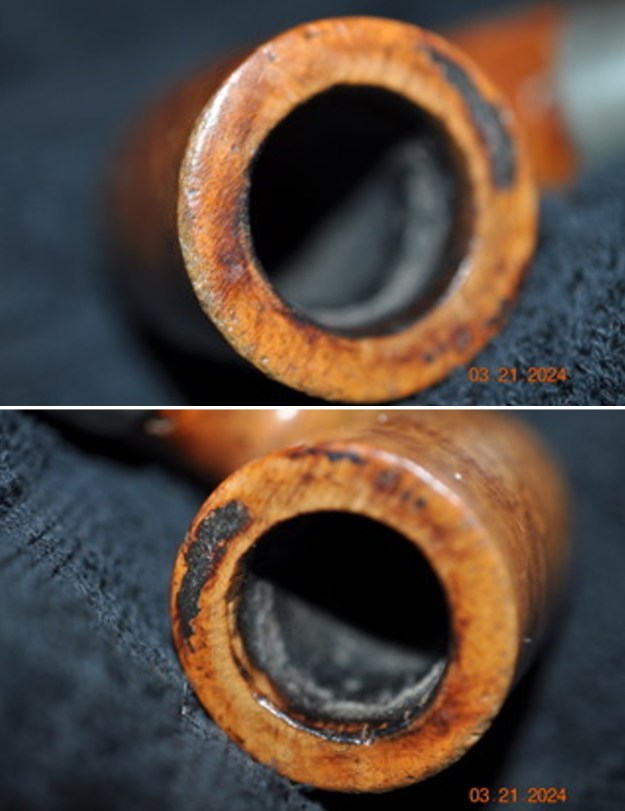
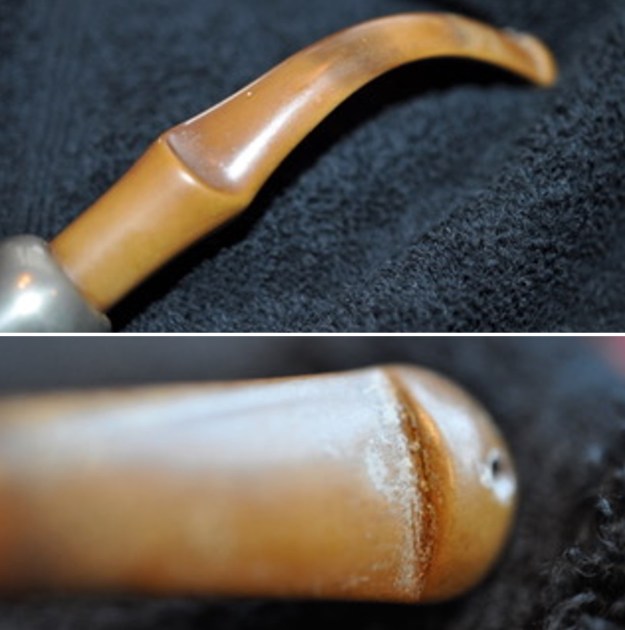
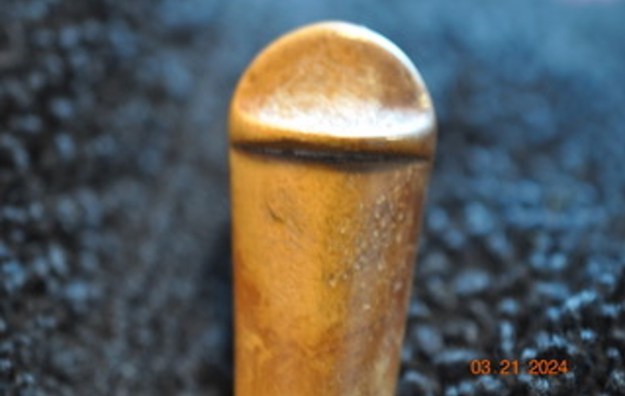
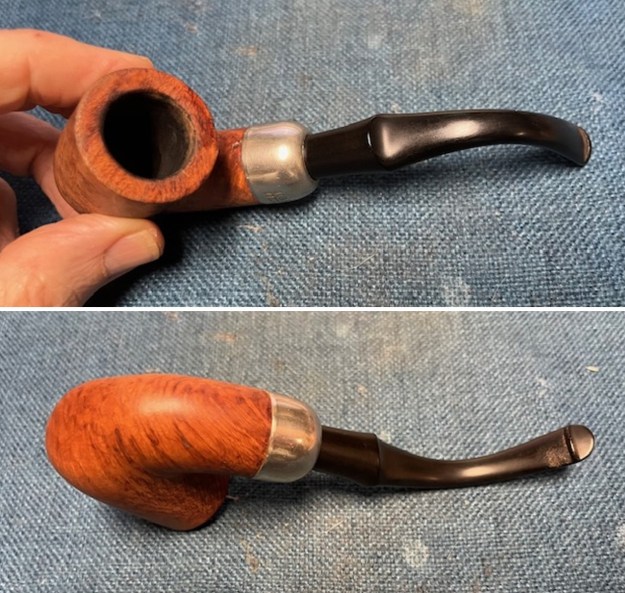
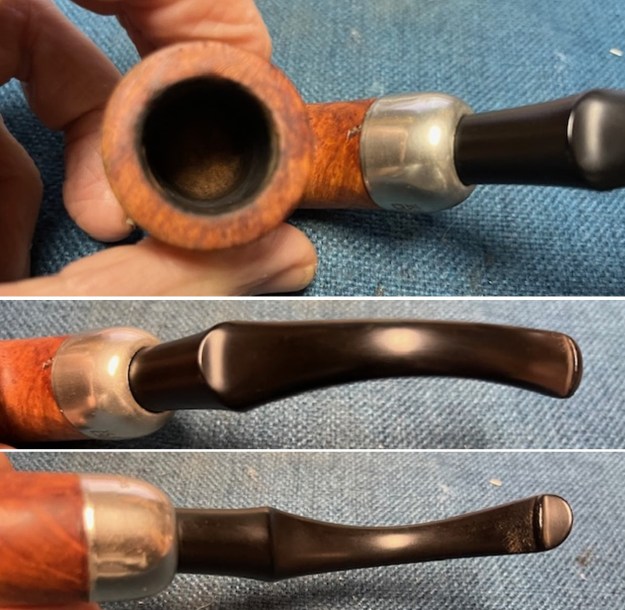
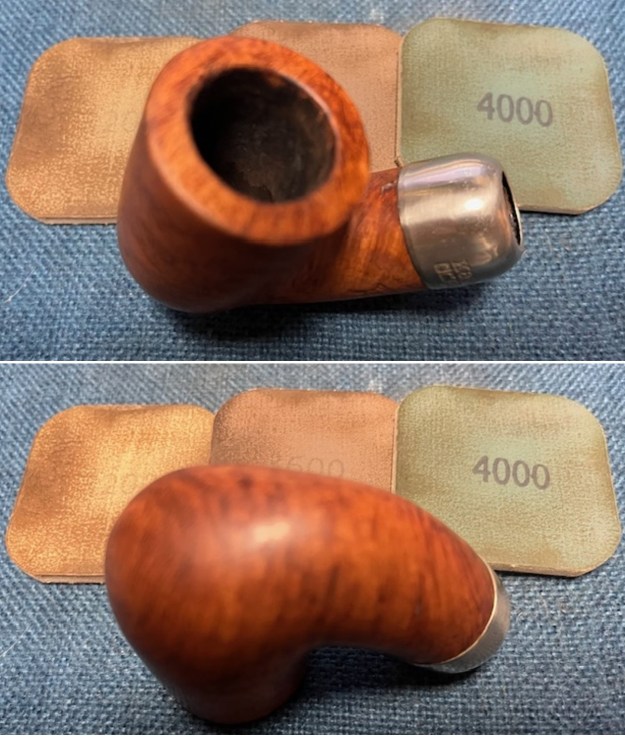
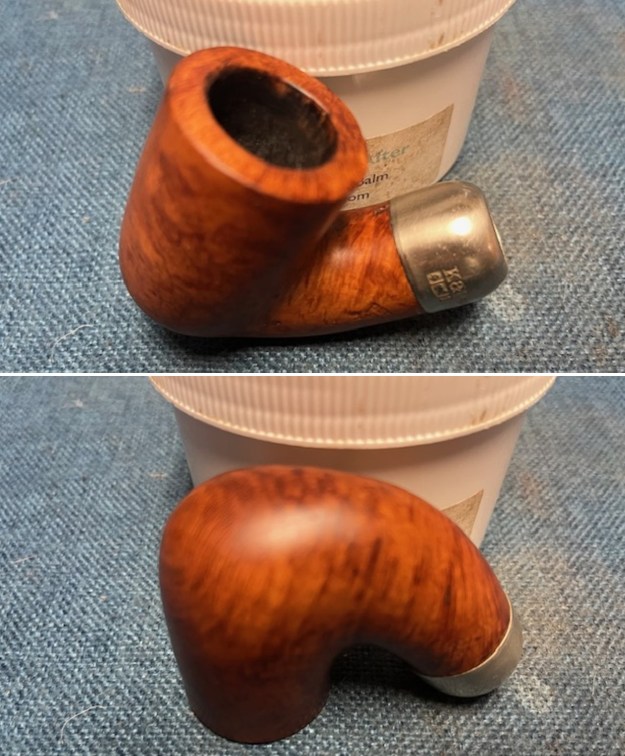
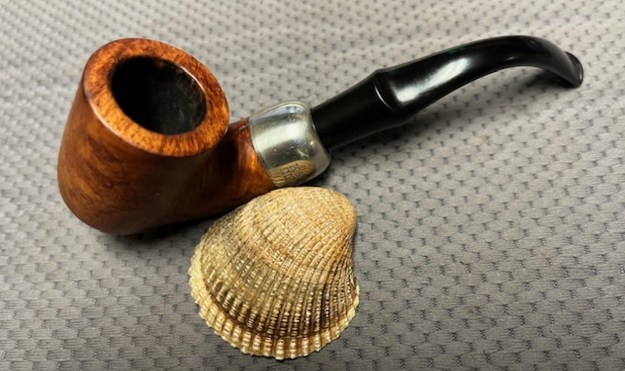
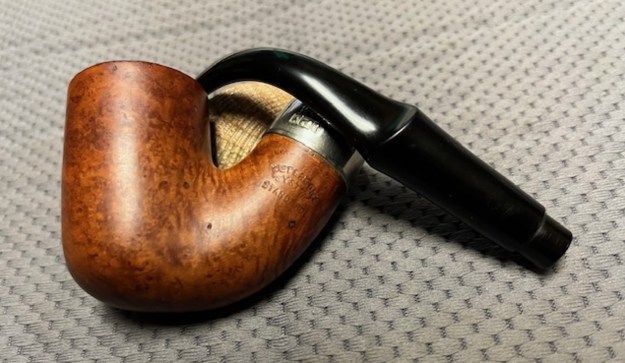
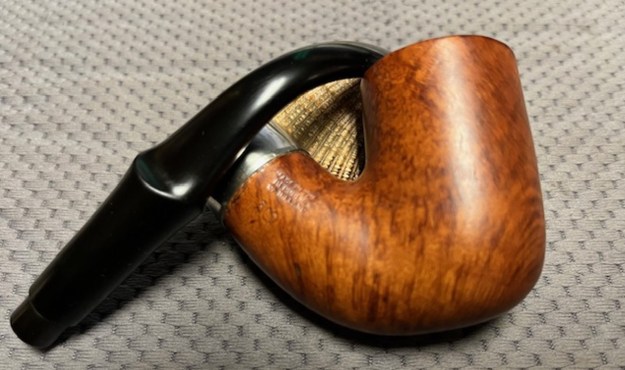
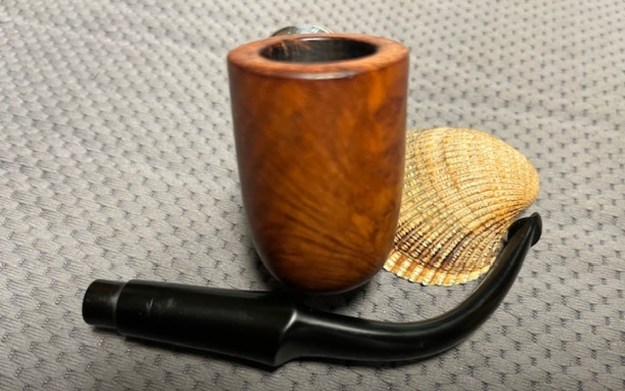
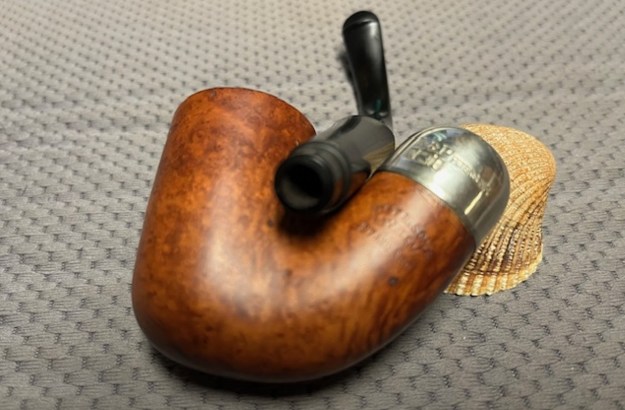
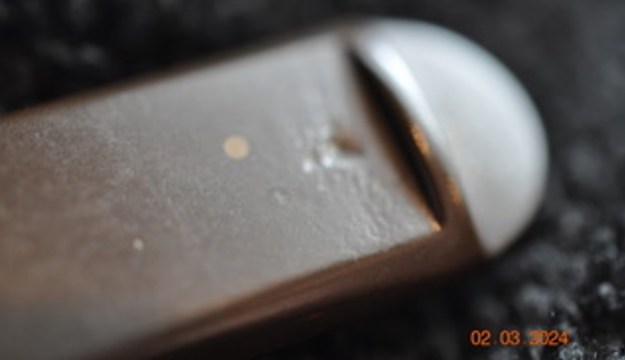
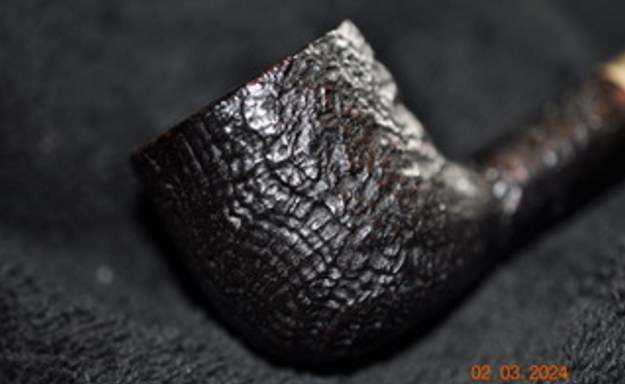
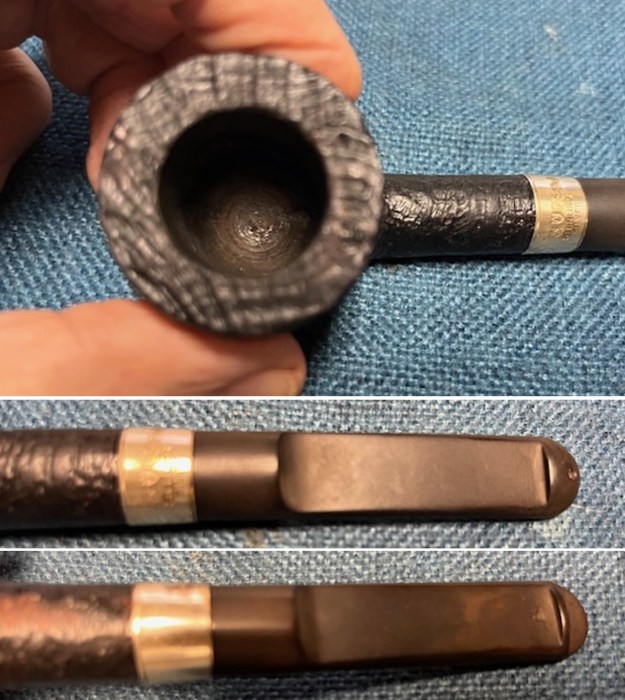
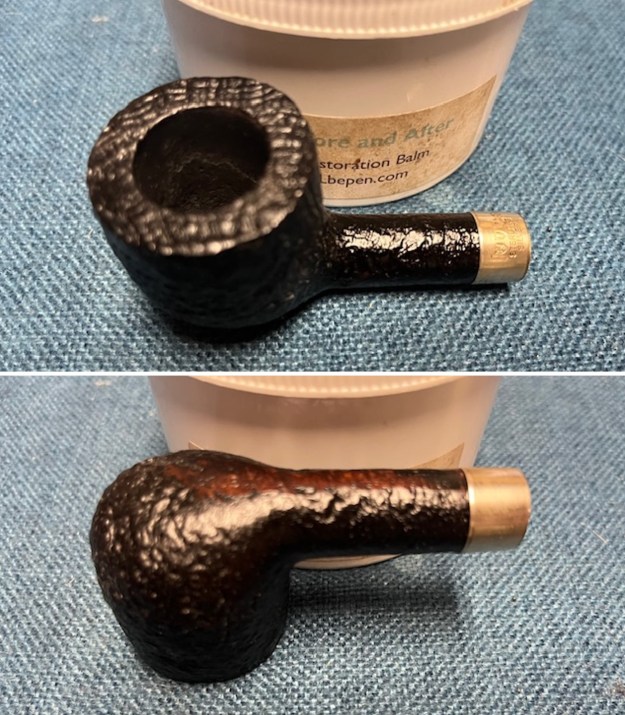
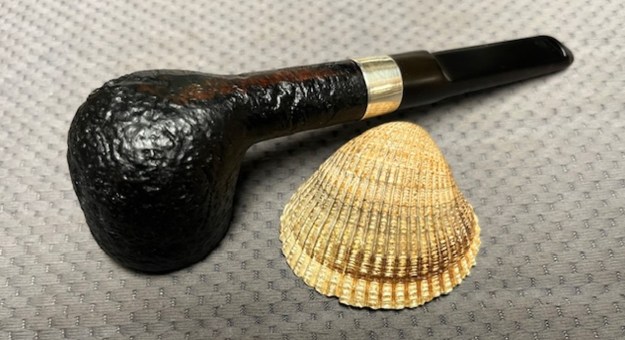
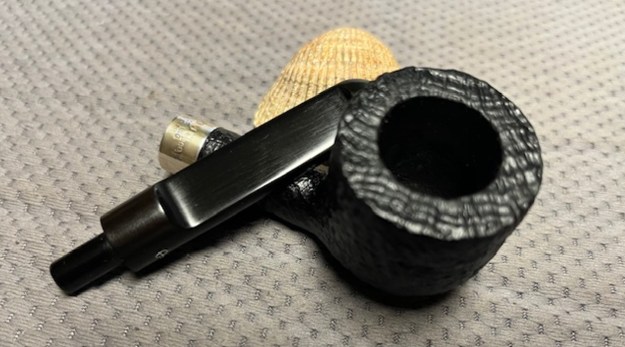
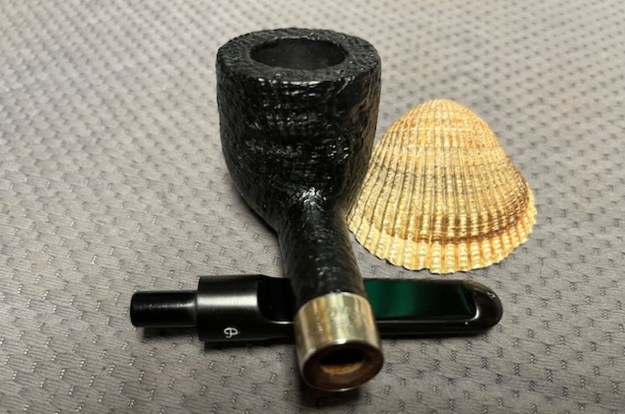
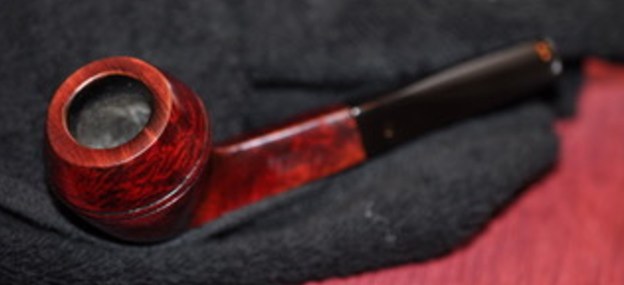
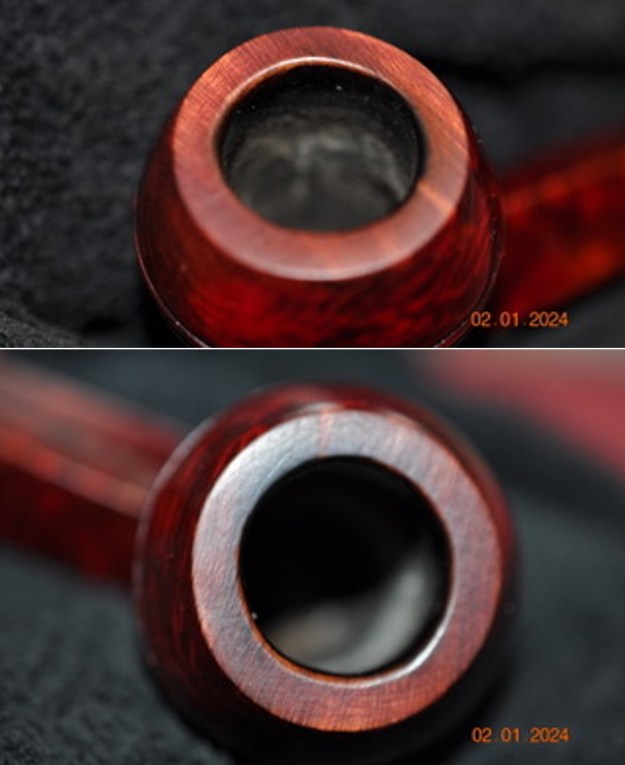
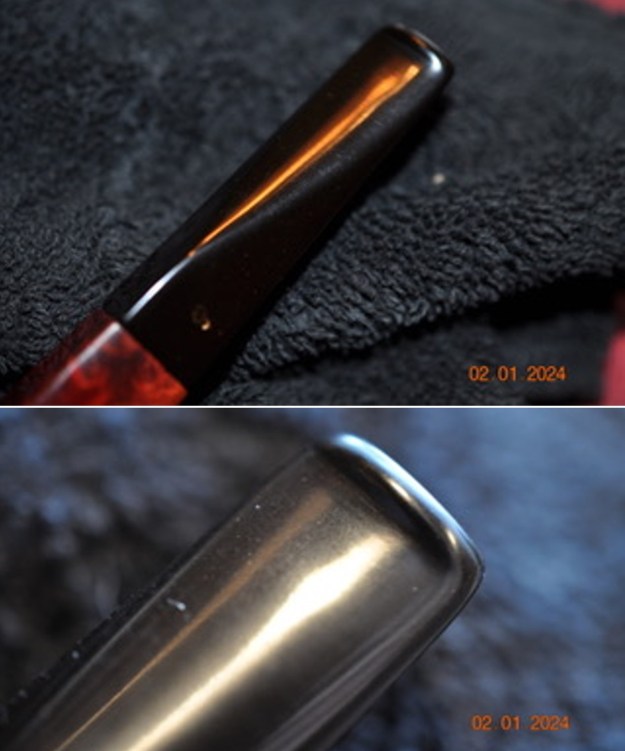
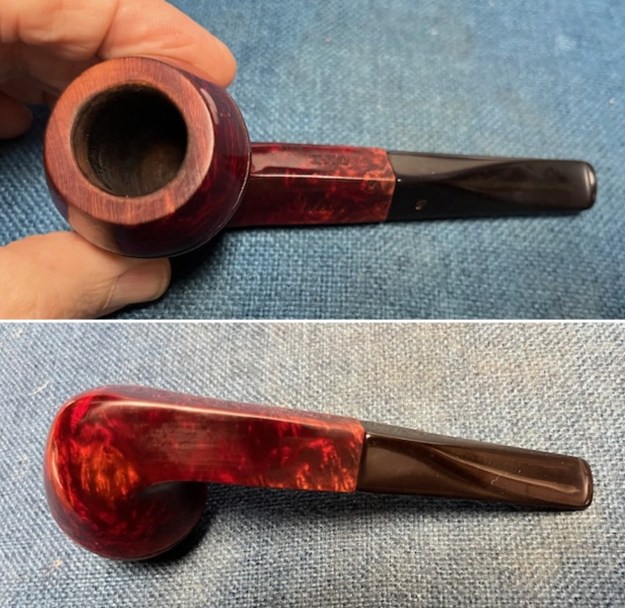
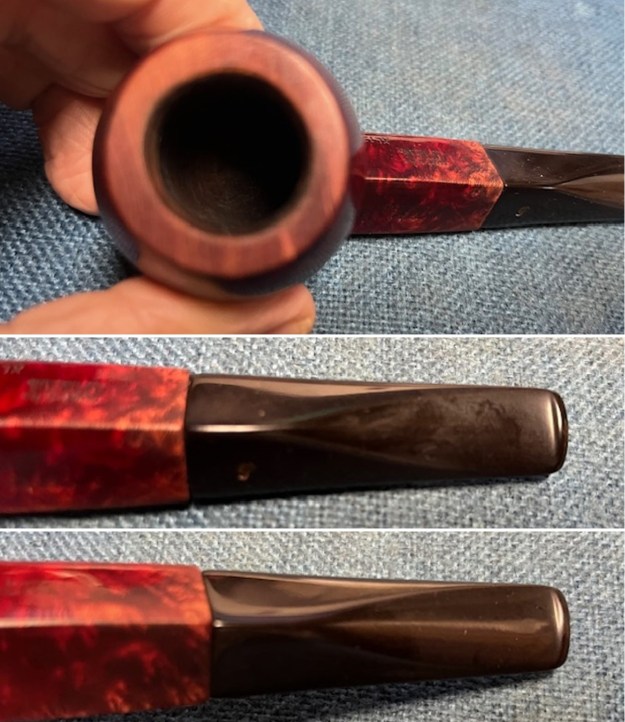
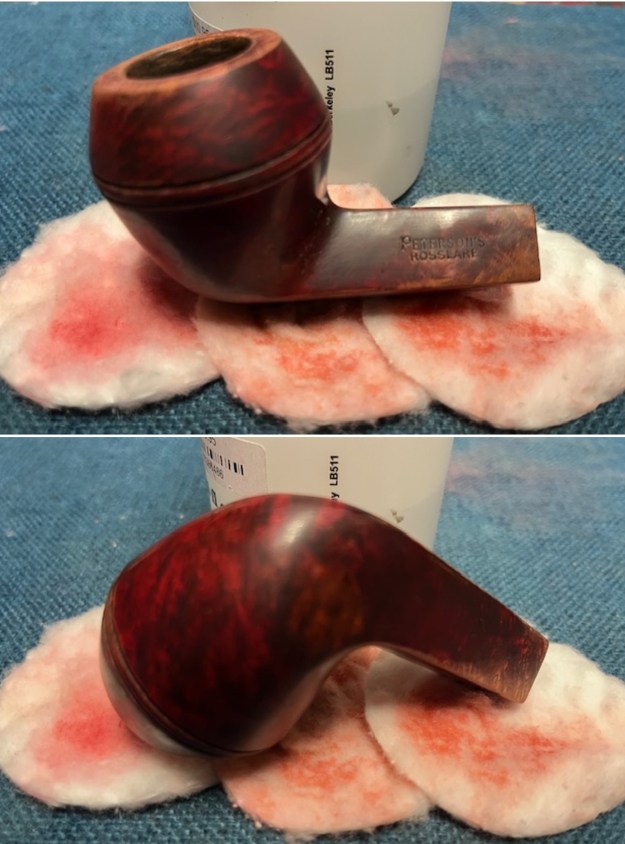
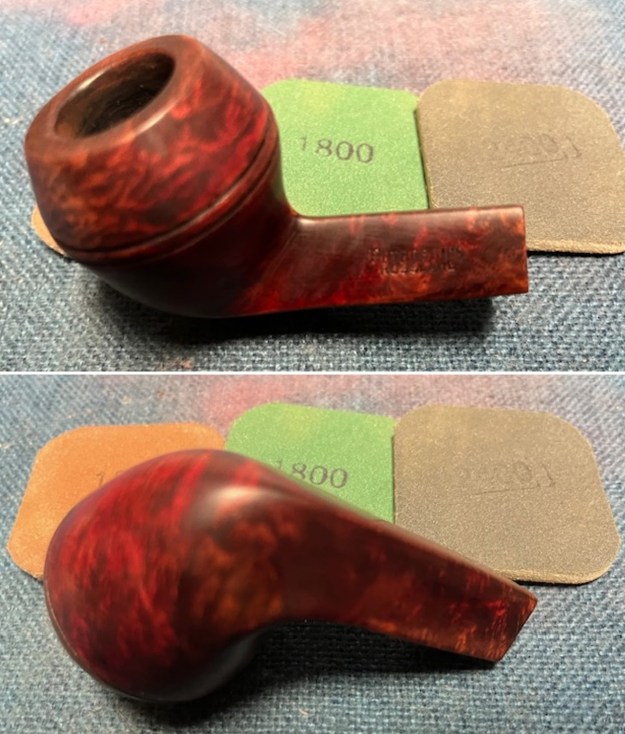
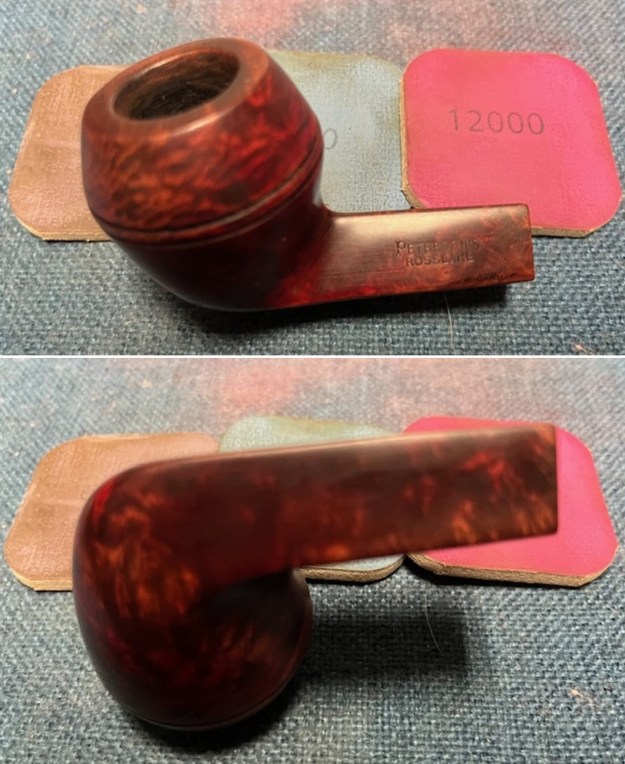
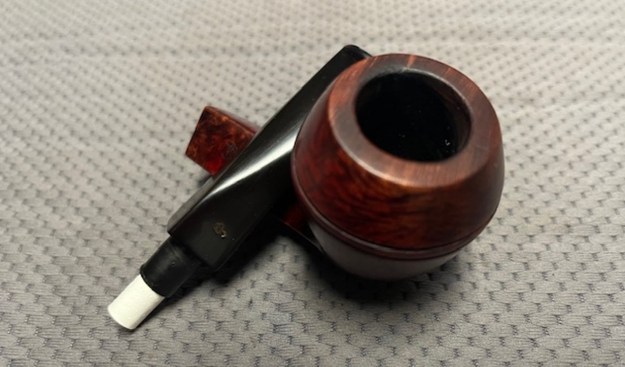
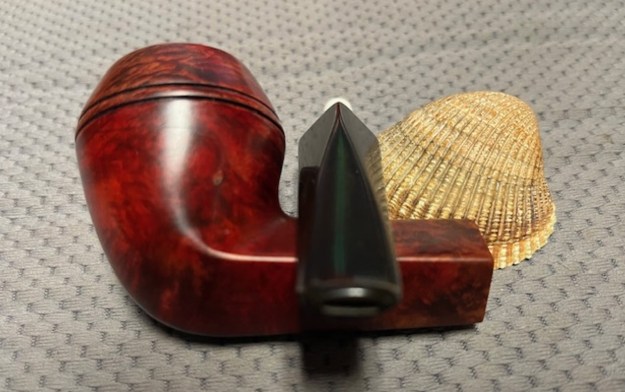
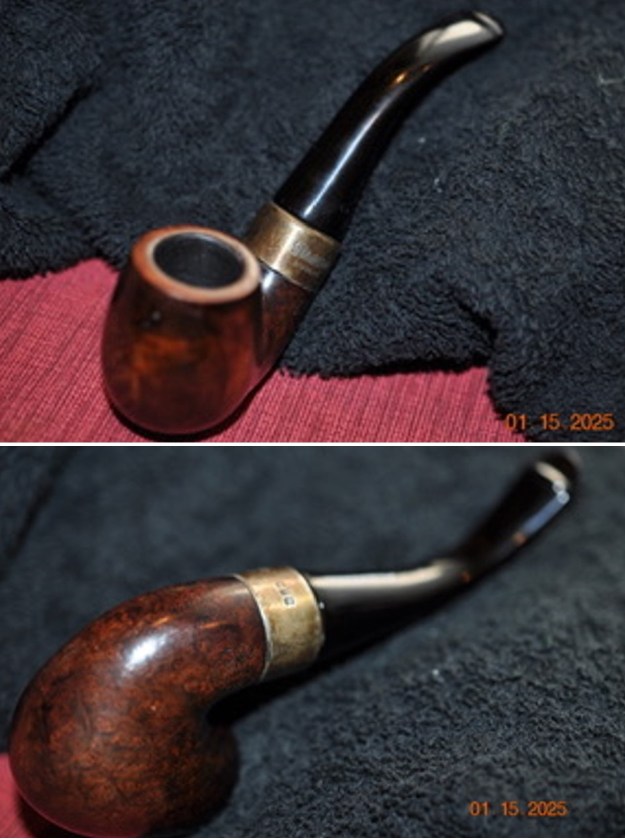
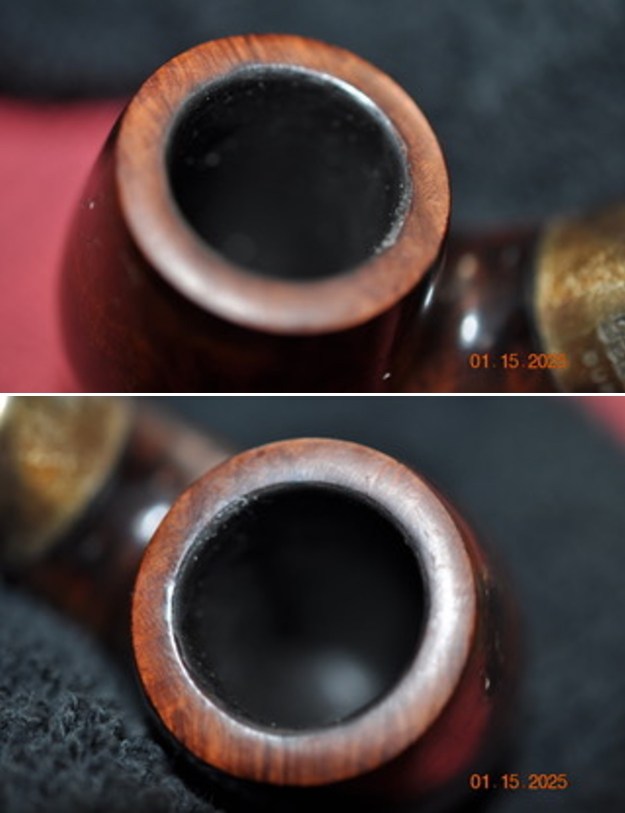
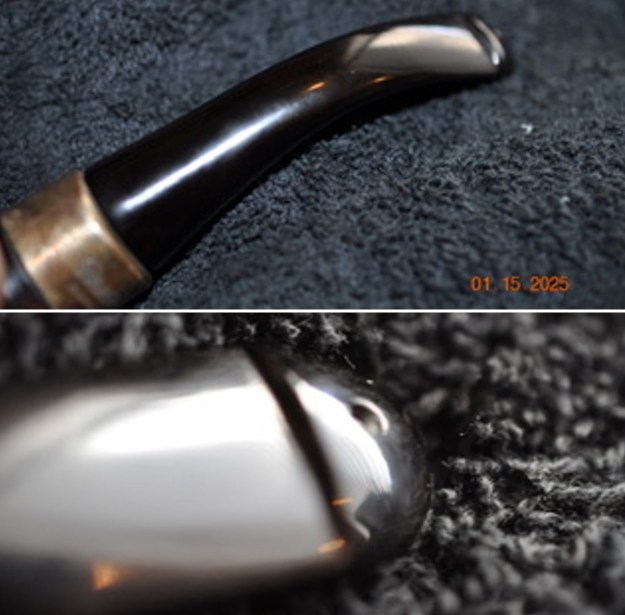
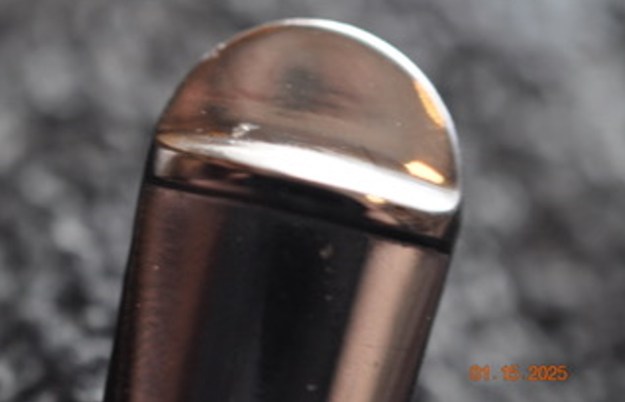
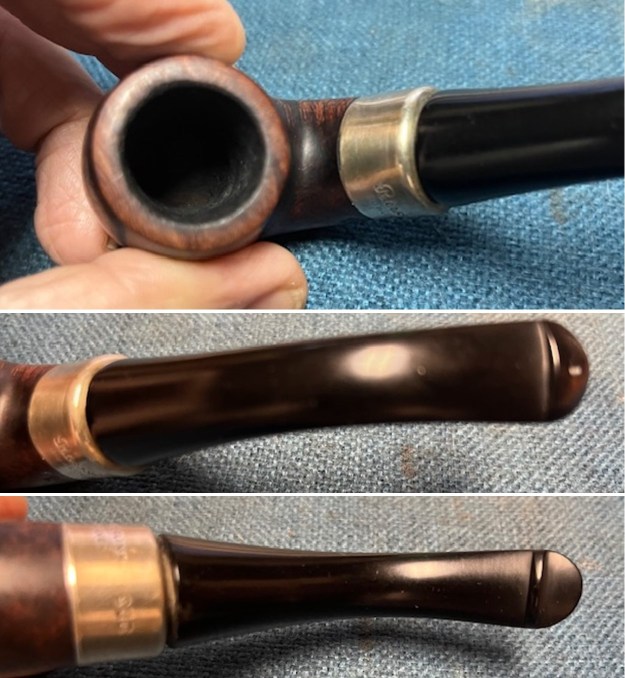
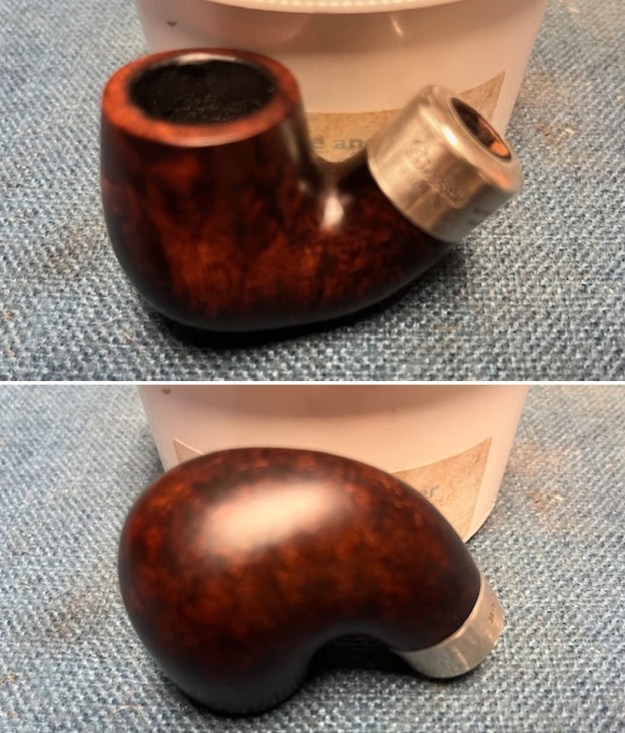
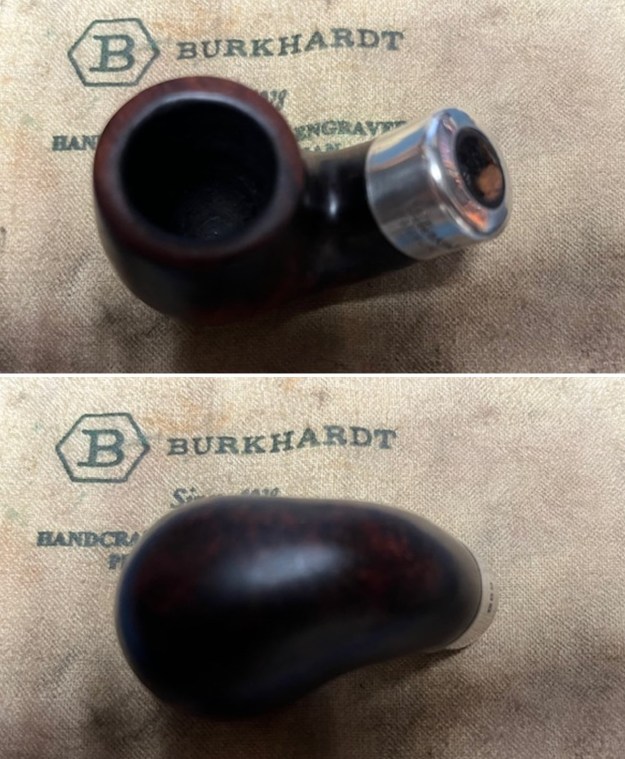
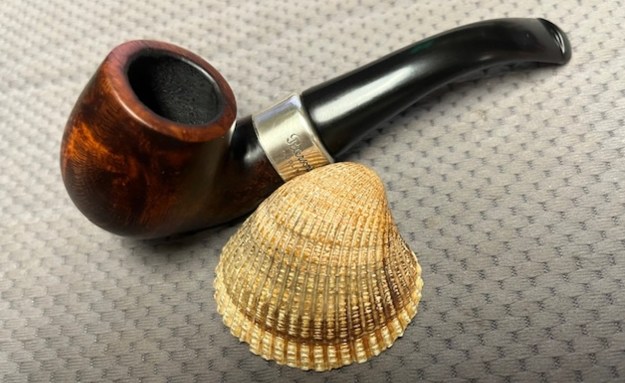
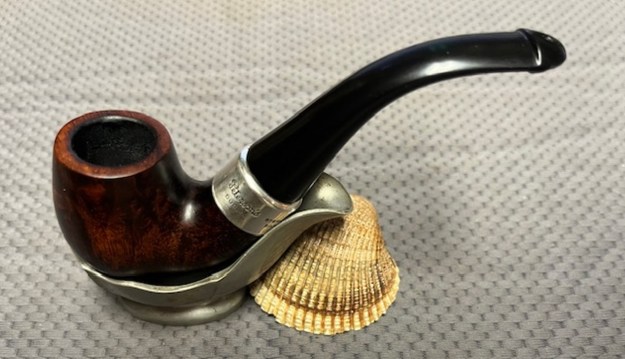
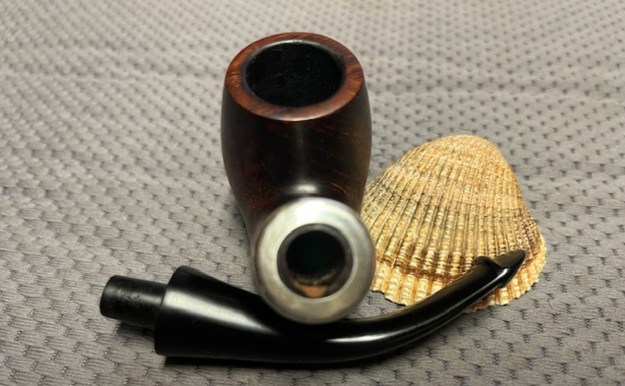
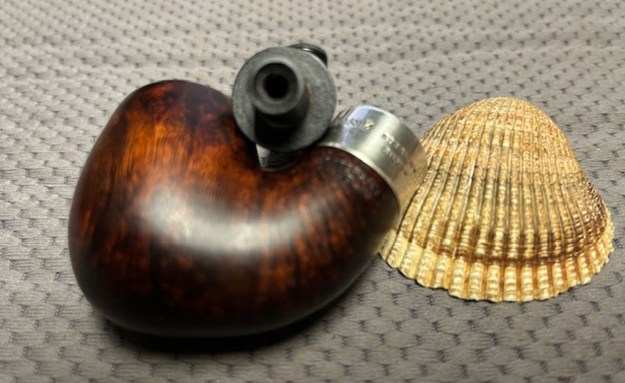
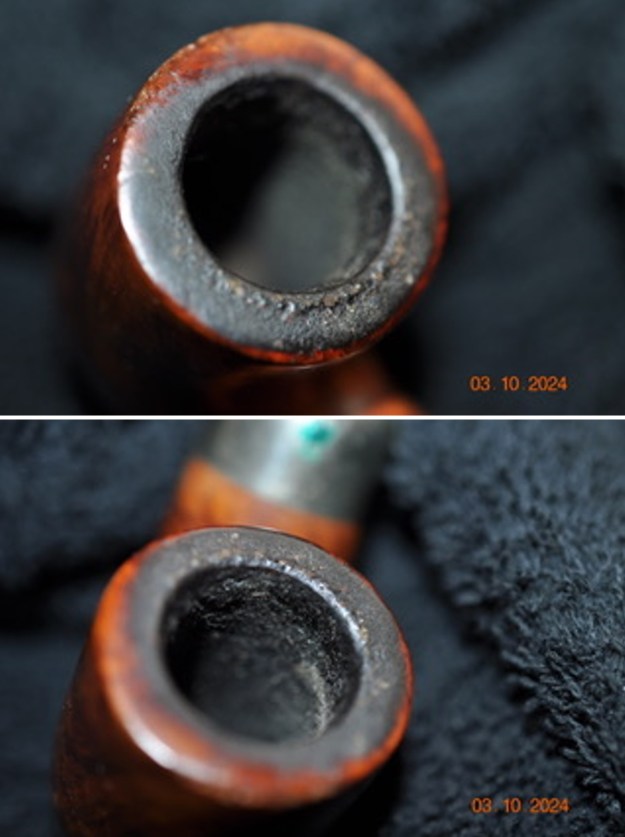
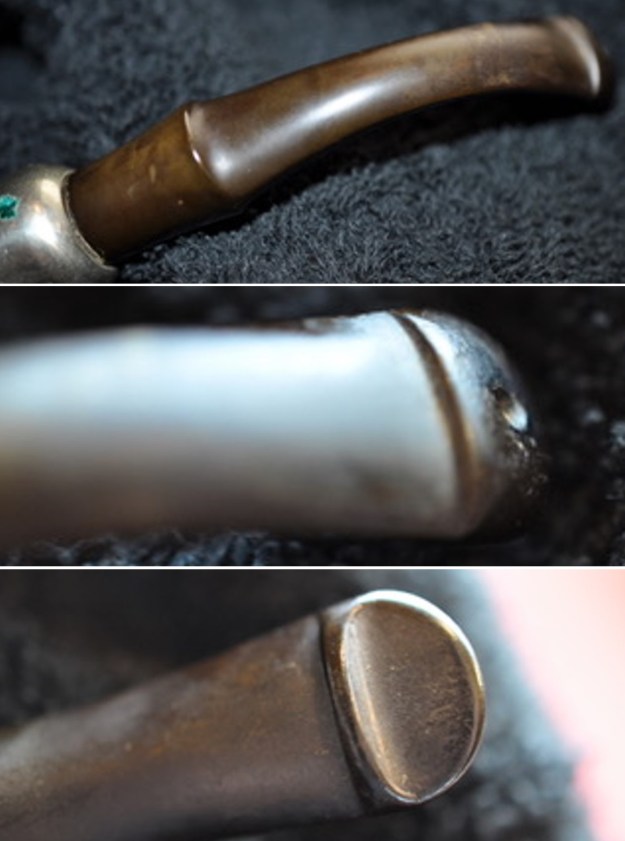
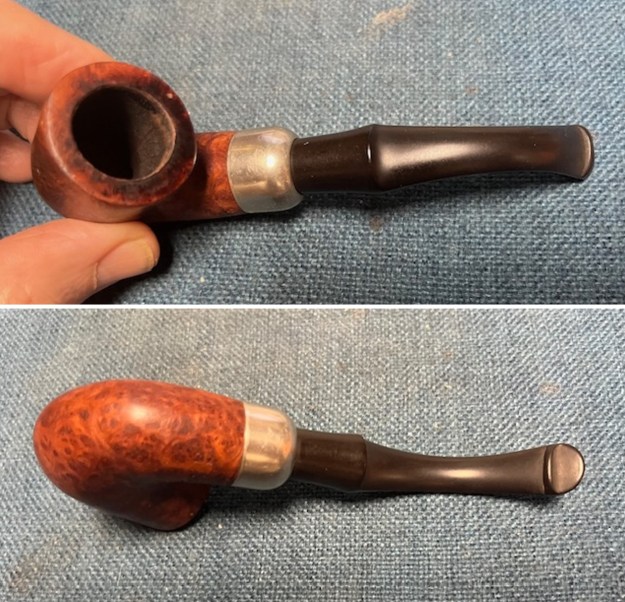
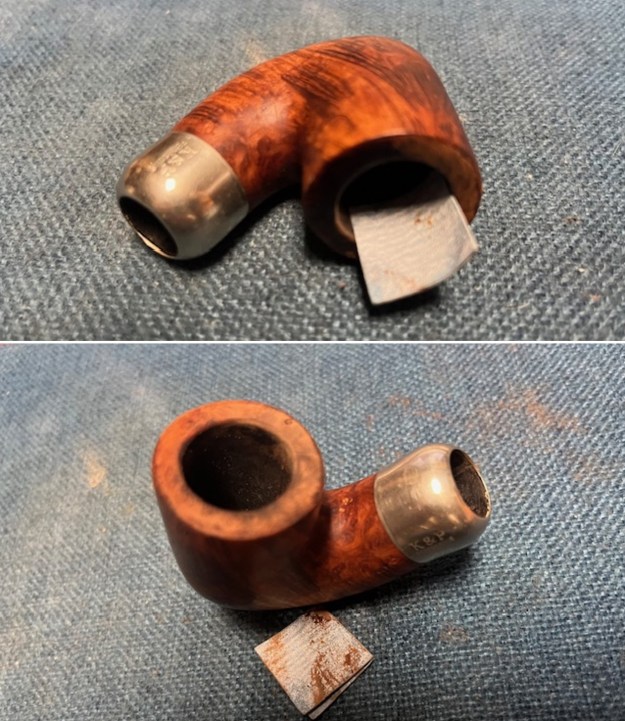
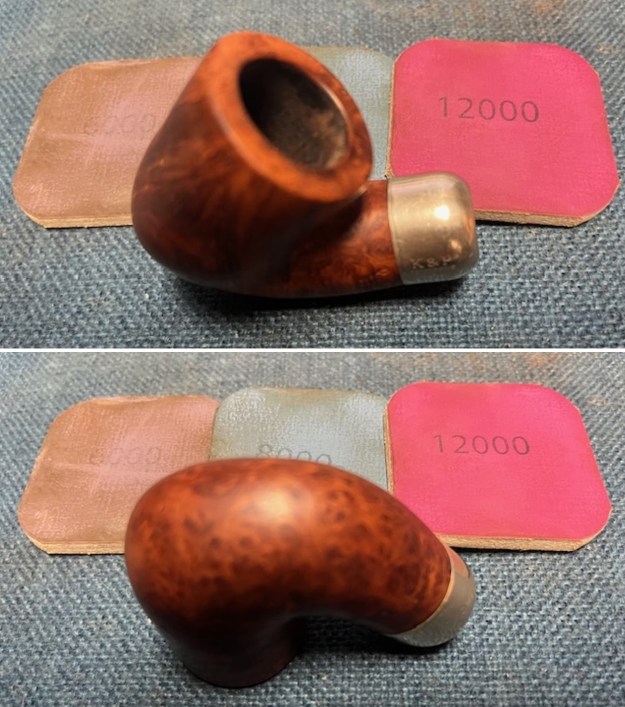
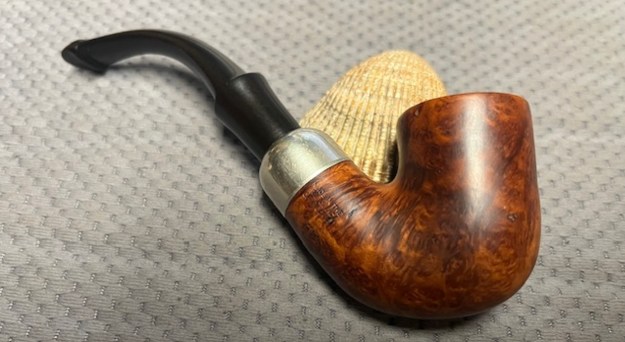
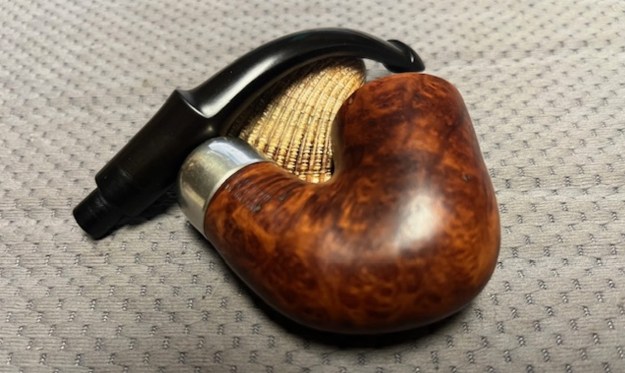
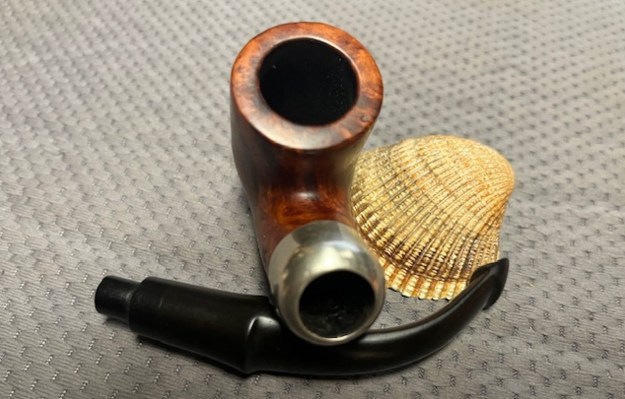
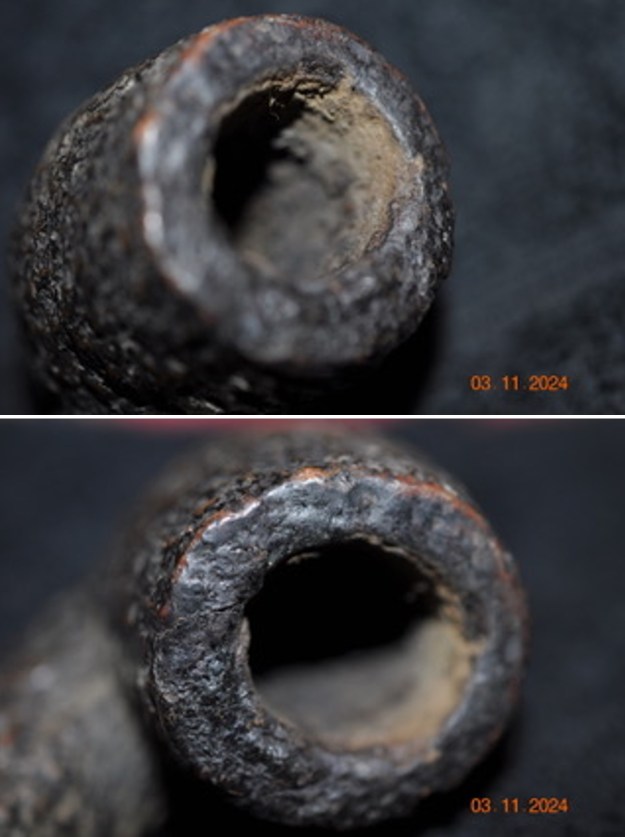
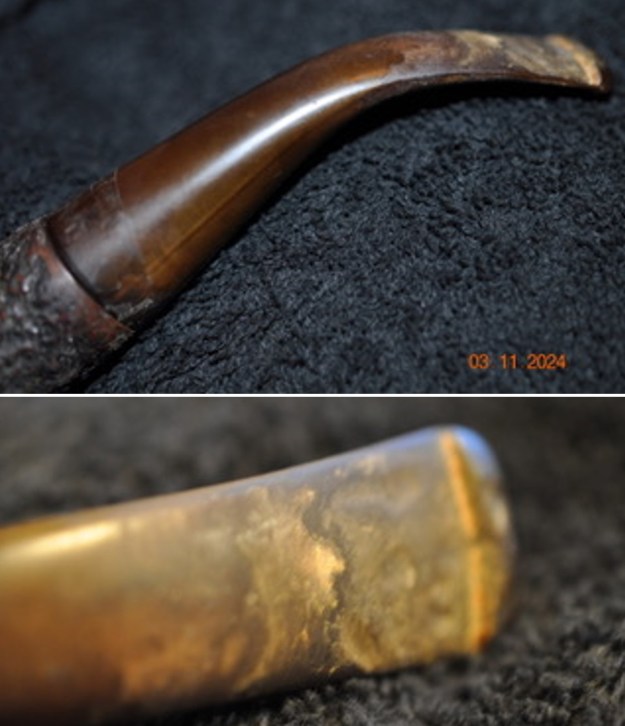
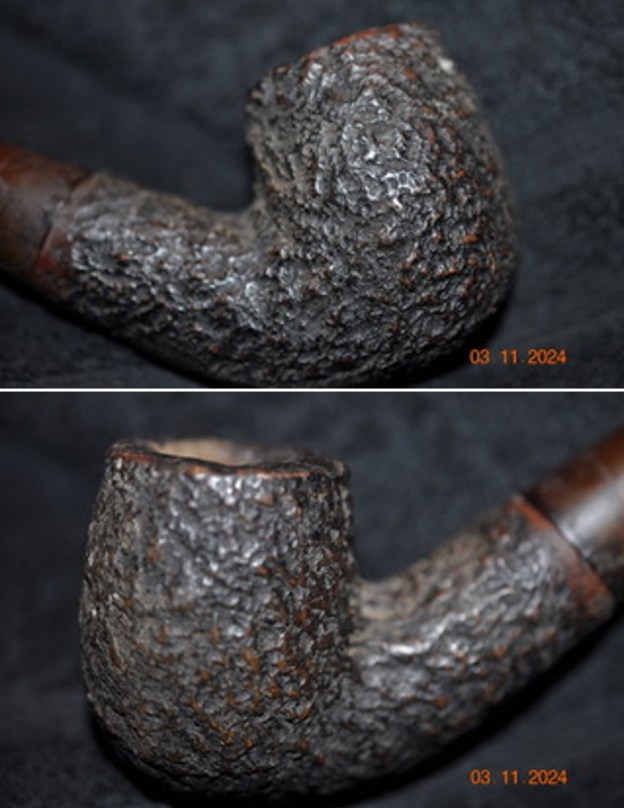
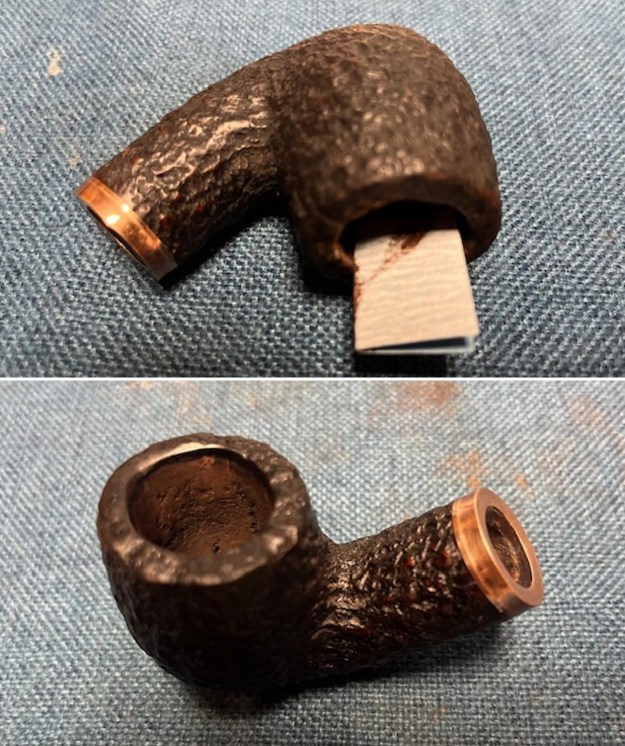
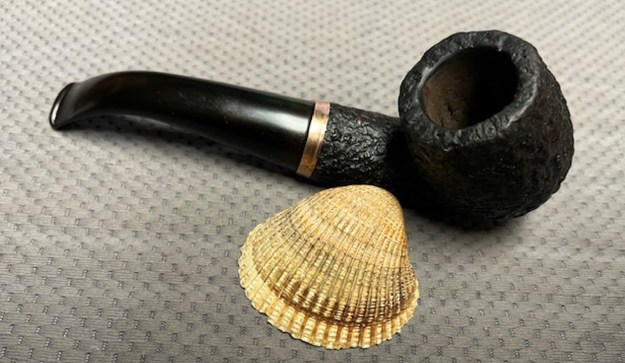
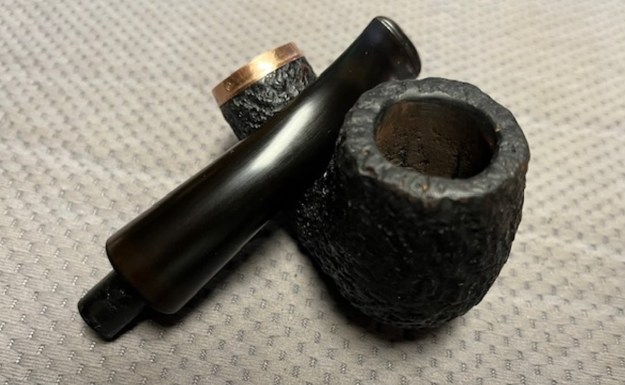
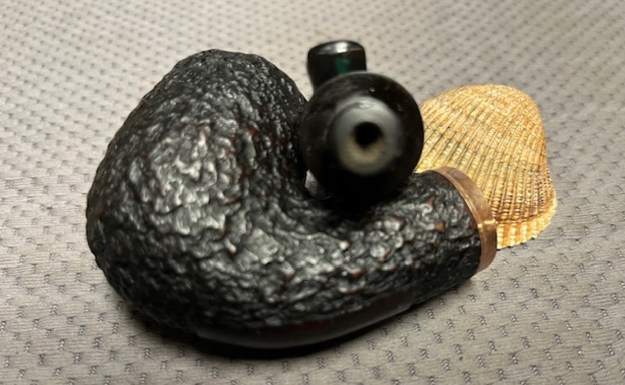
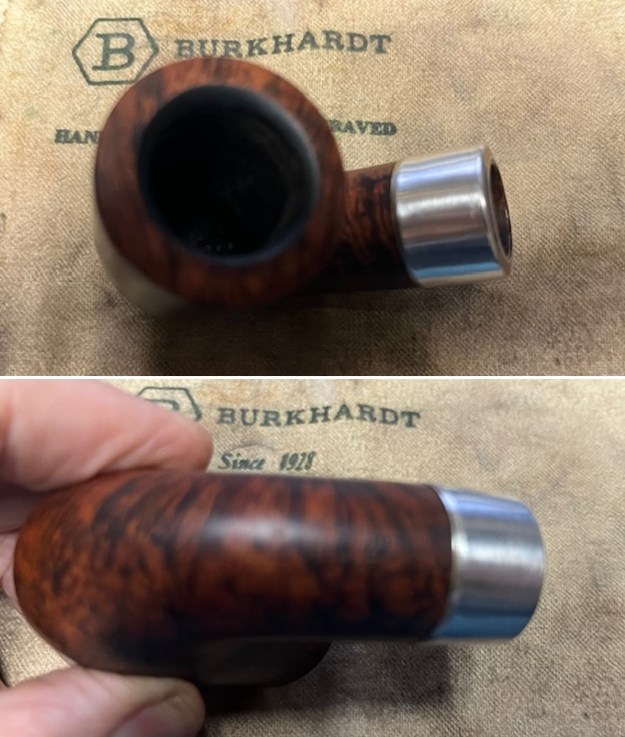
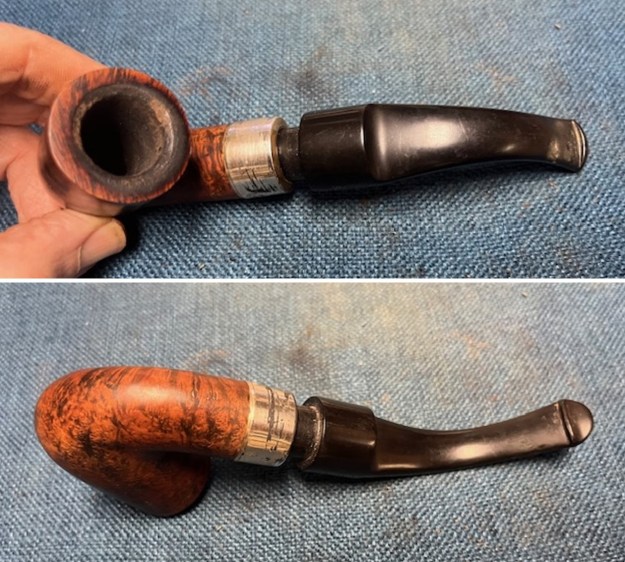 I took a photo of the bowl and rim top to show their general condition. You can see the tars on the bevelled inner edge of thick lava coated rim top. The cake in the bowl is quite thick and there is tobacco debris on the walls of the bowl. The finish on the bowl is very dirty with grime and oils ground into the bowl, but still very stunning. This pipe has a classic Peterson’s P-lip stem that has some light oxidation, calcification on the surface of the vulcanite. There is chatter and tooth marks on the top and underside.
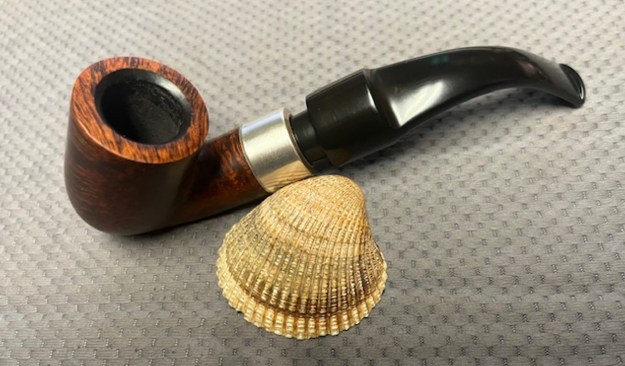
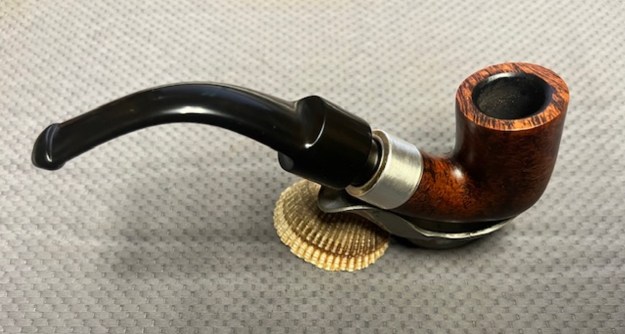
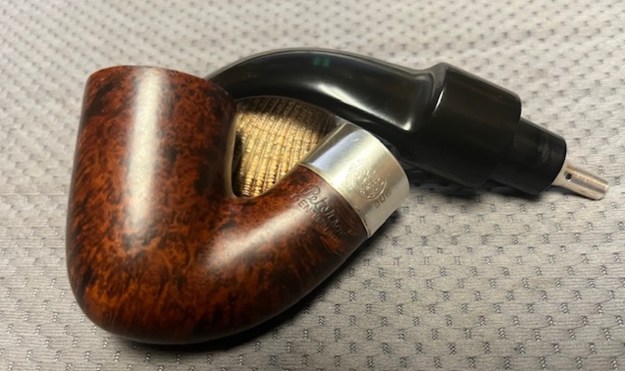
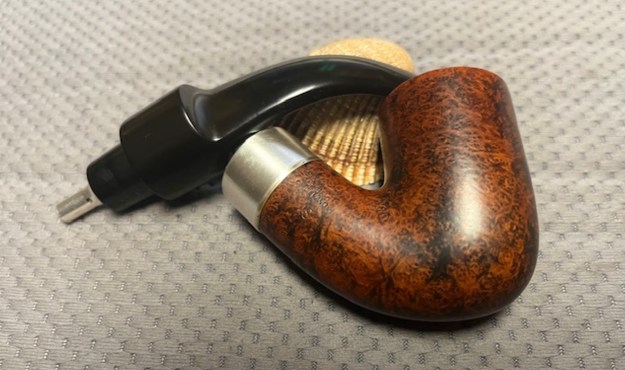
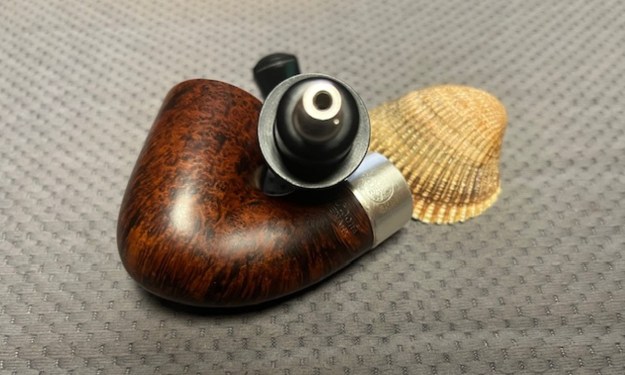
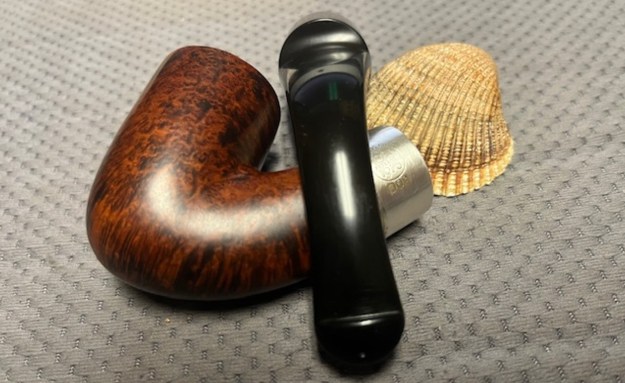
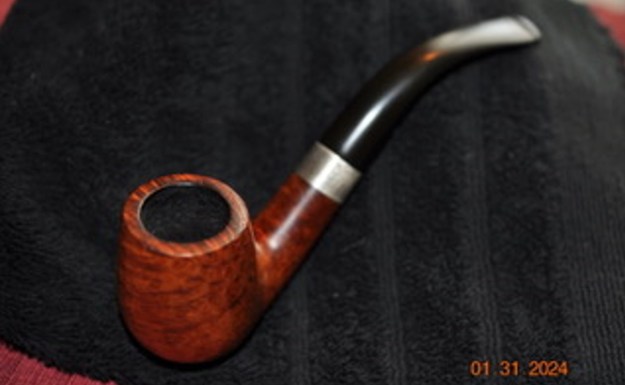
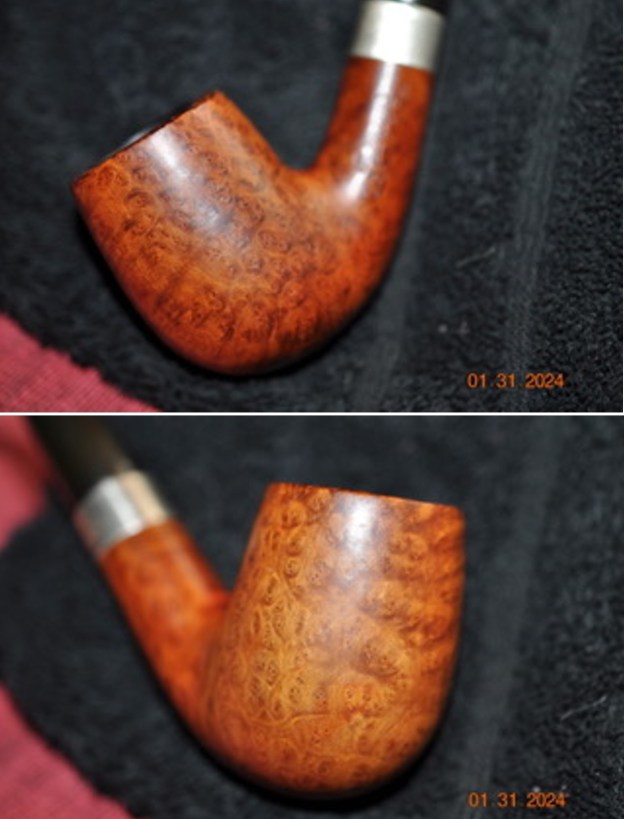
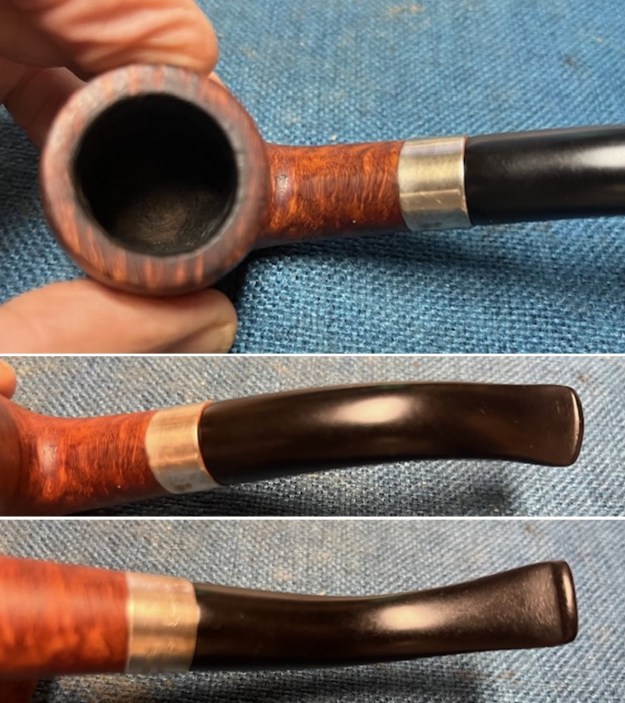
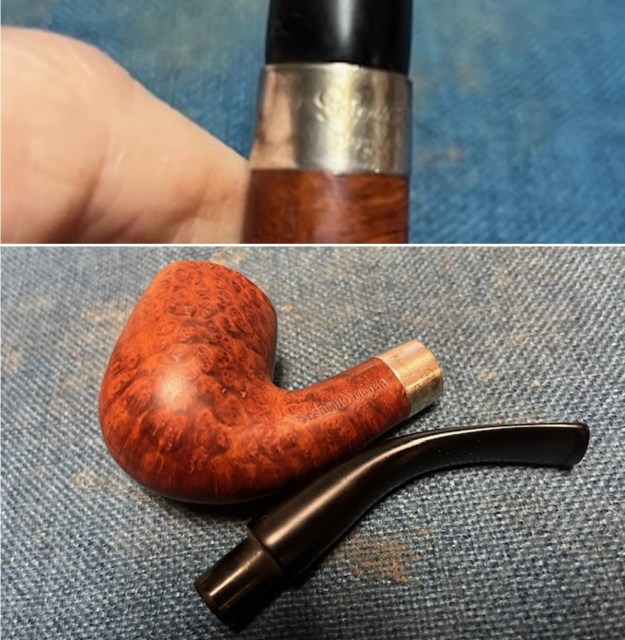
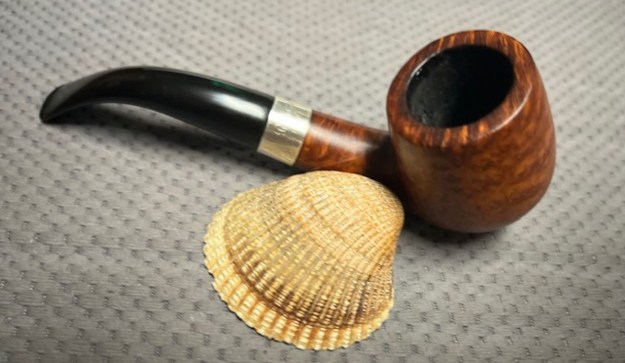
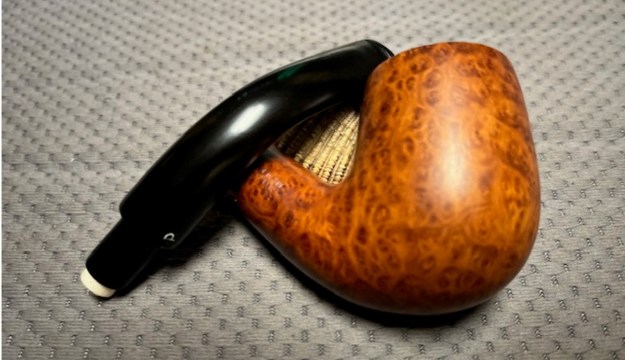
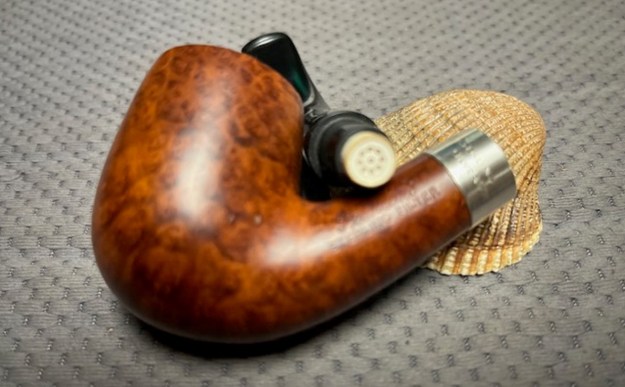
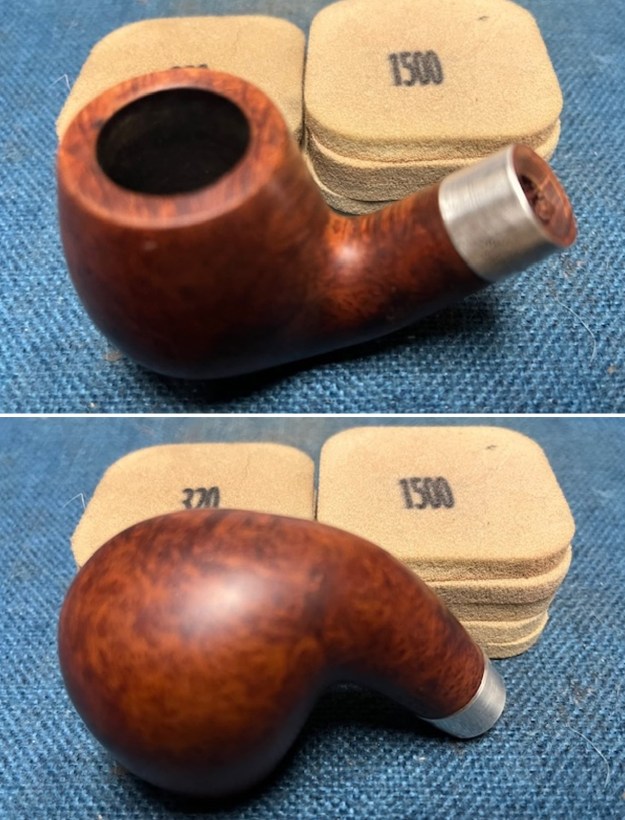
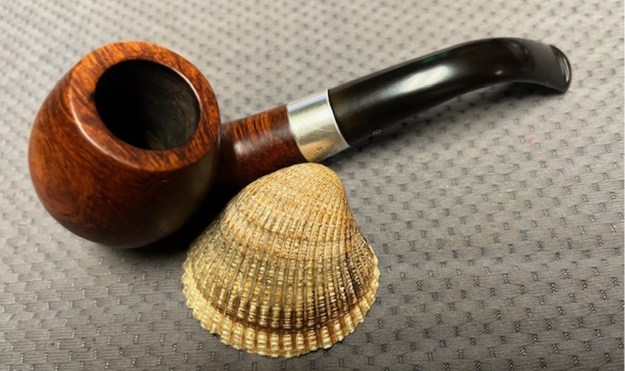
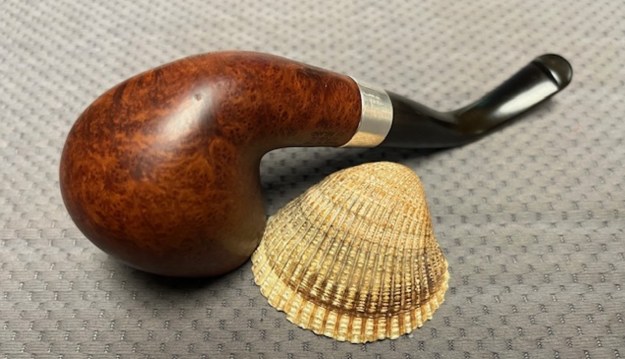
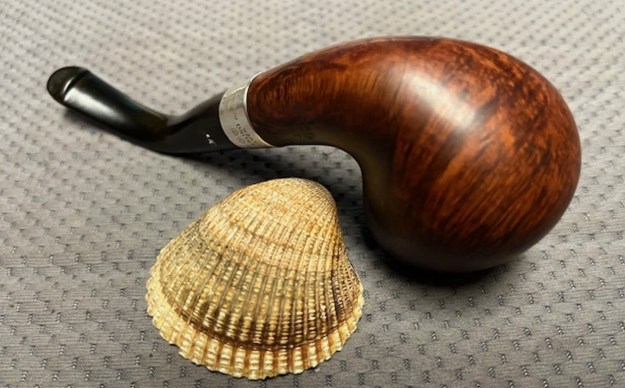
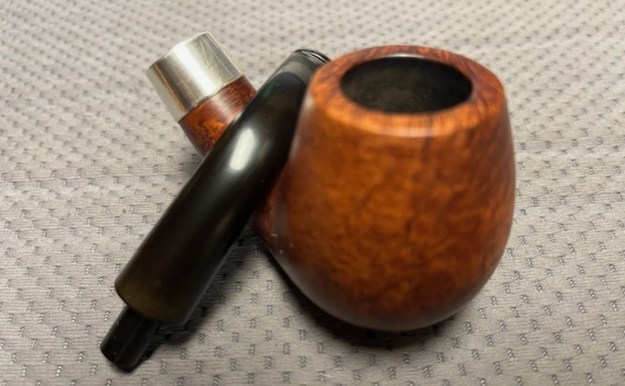
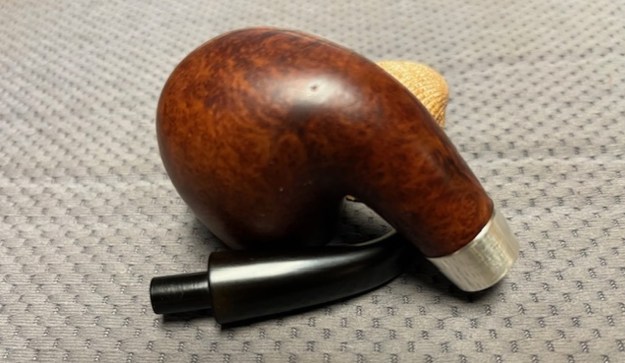
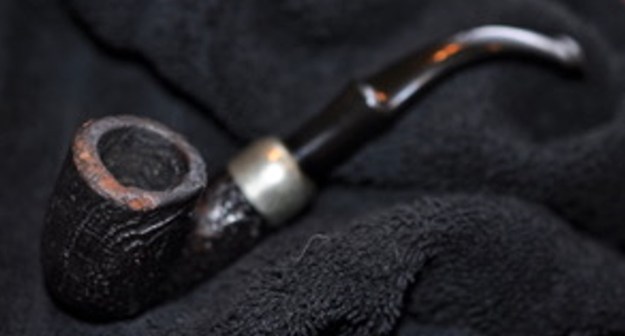
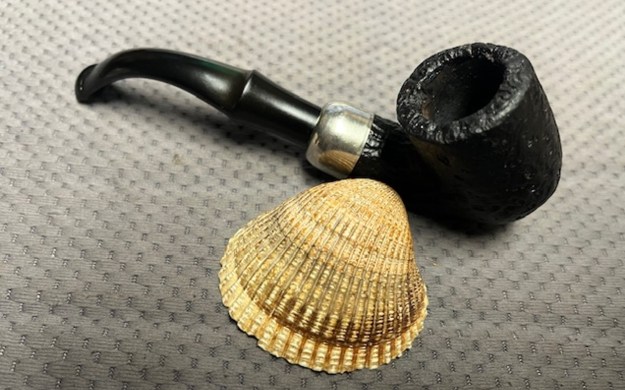
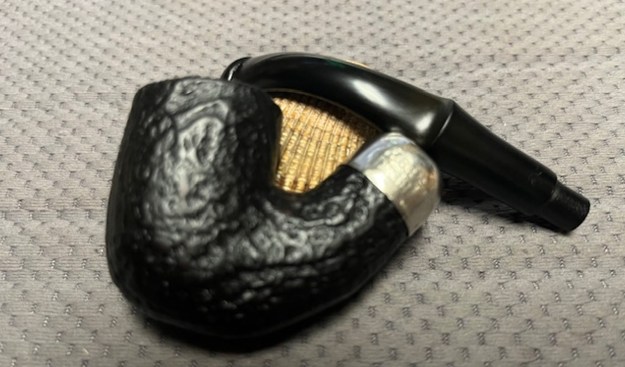
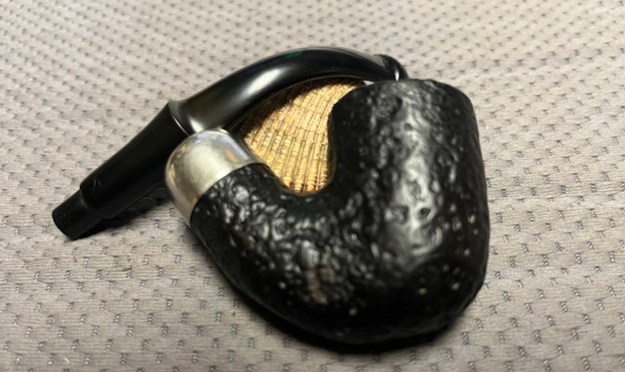
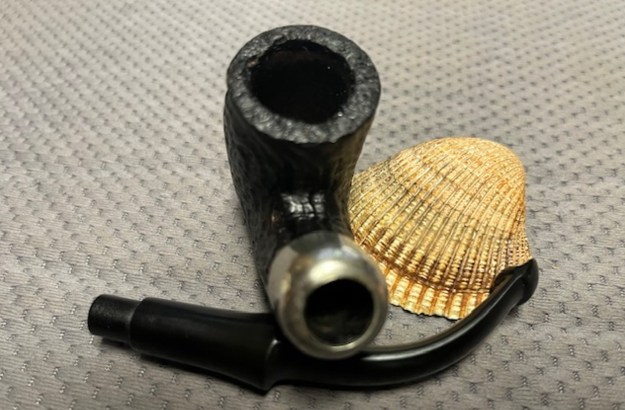
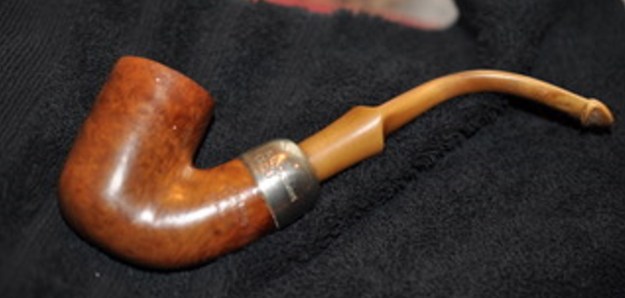
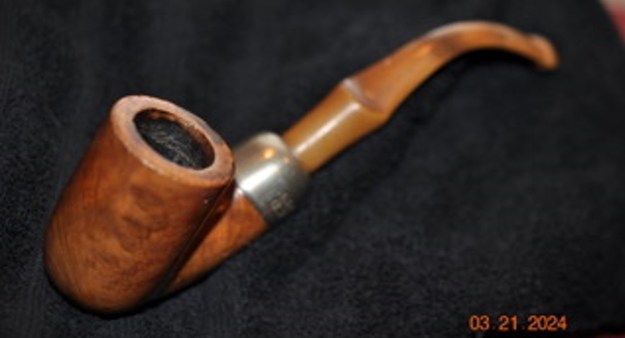
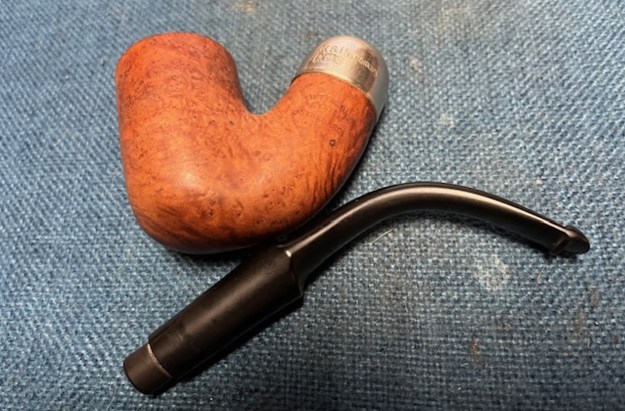
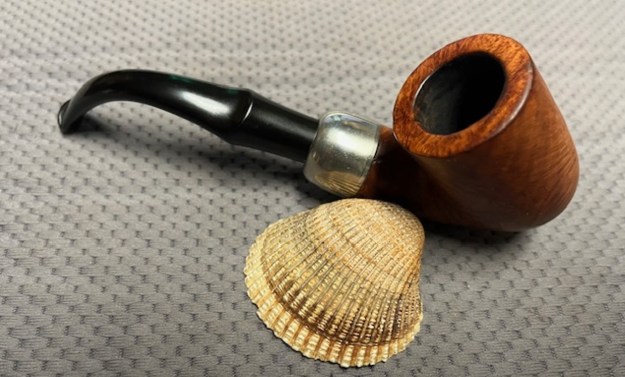
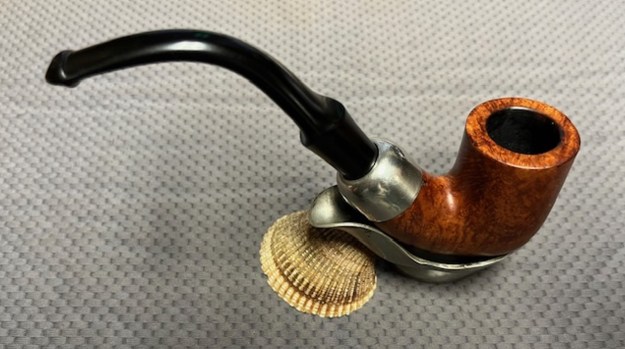
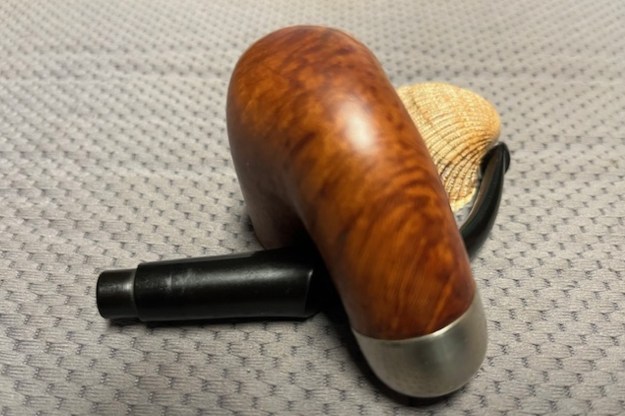
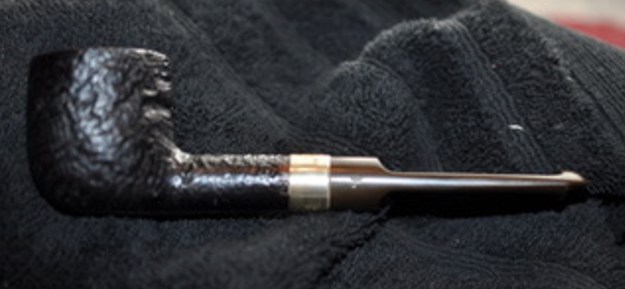
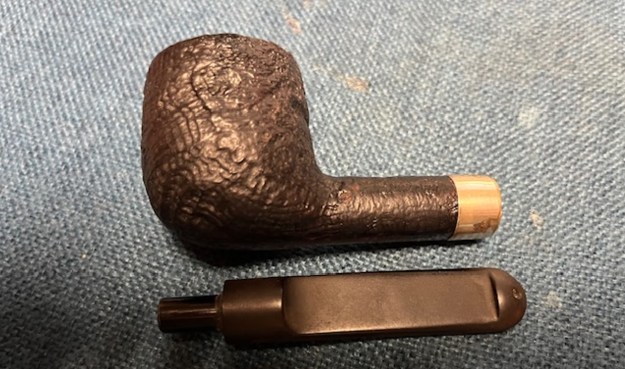
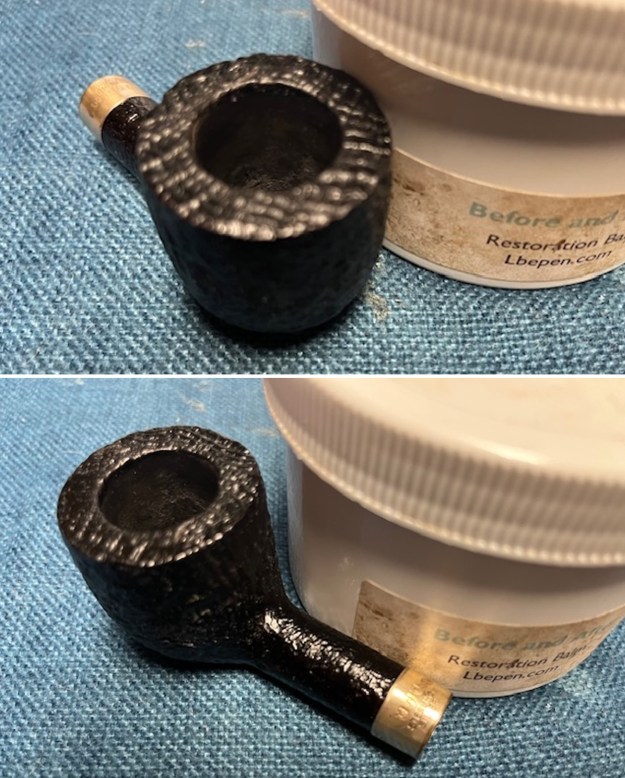
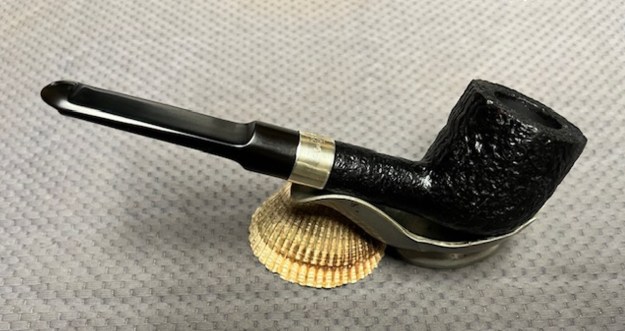
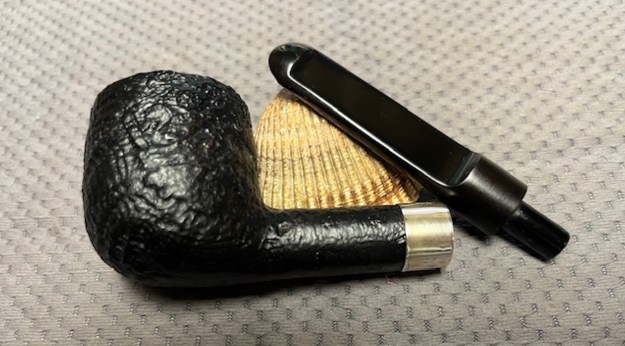
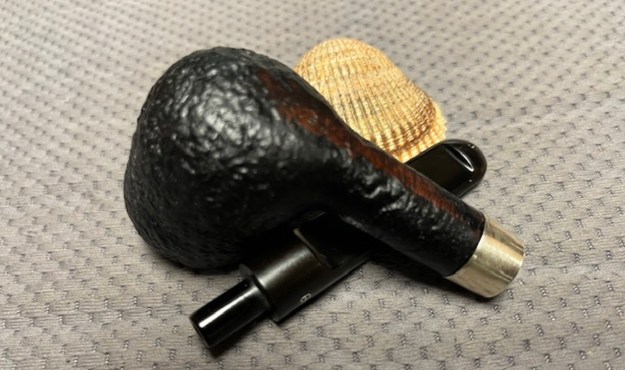
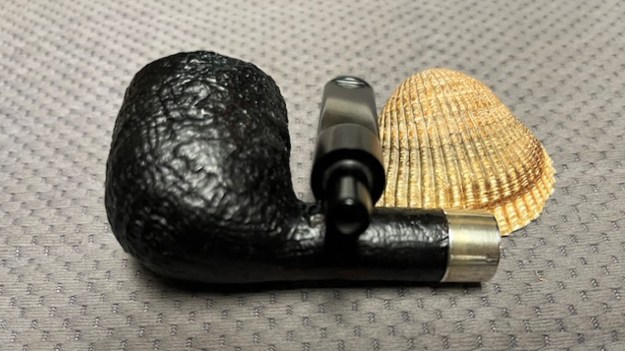
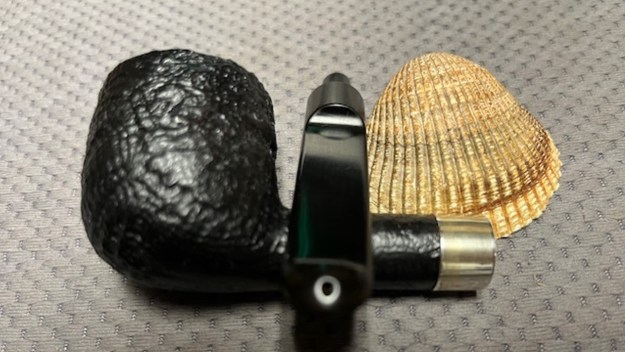
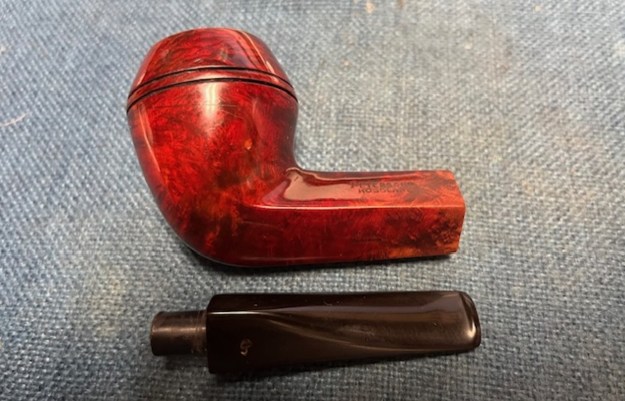
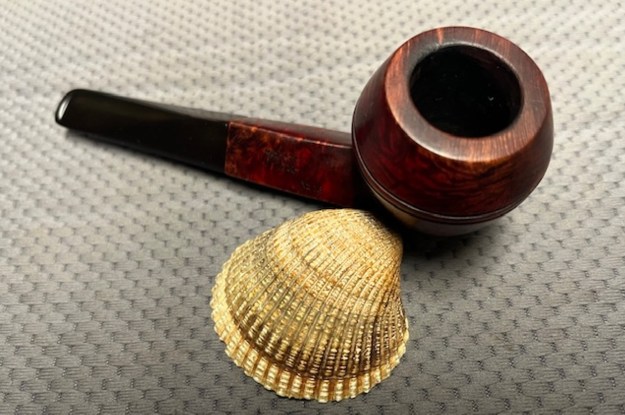
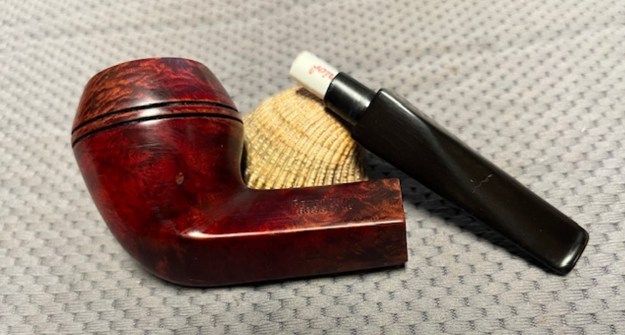
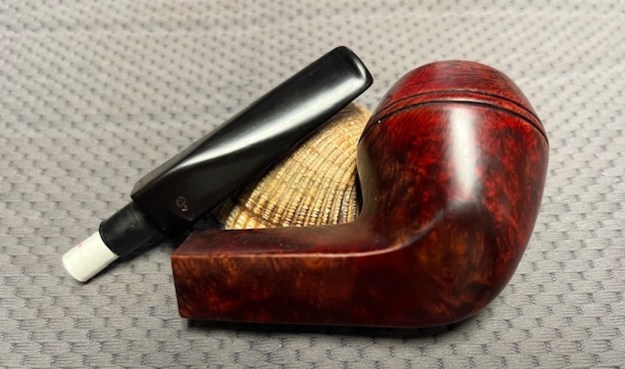
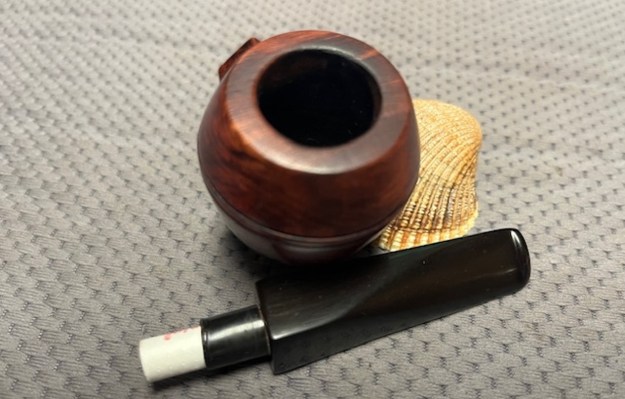
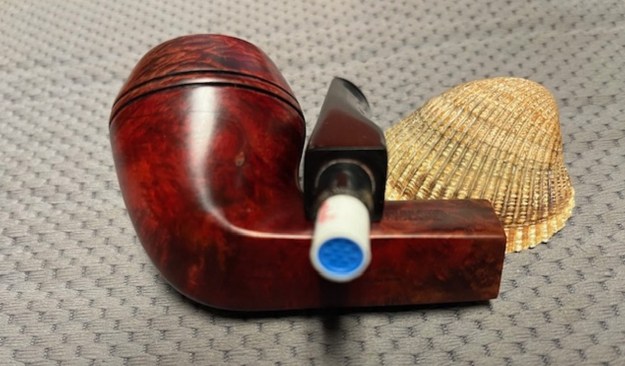
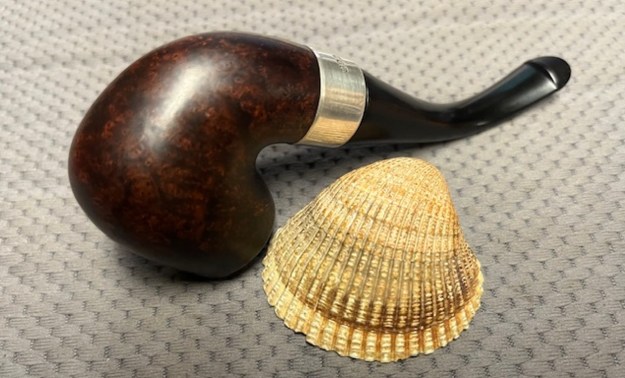
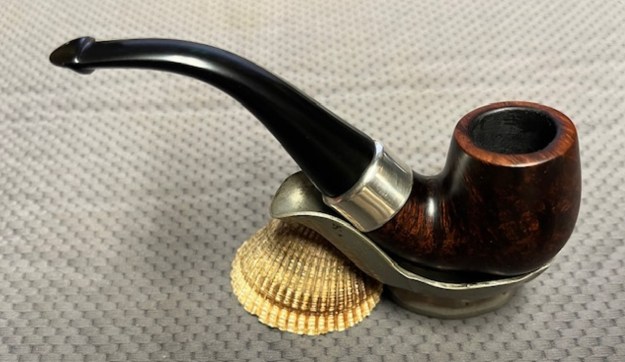
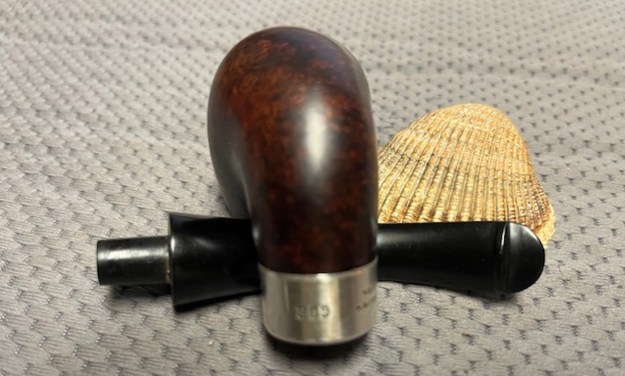
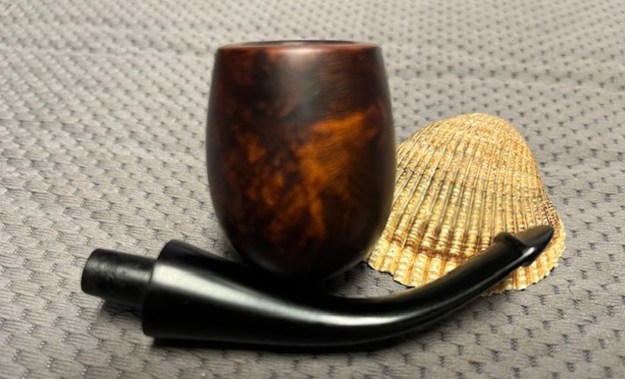
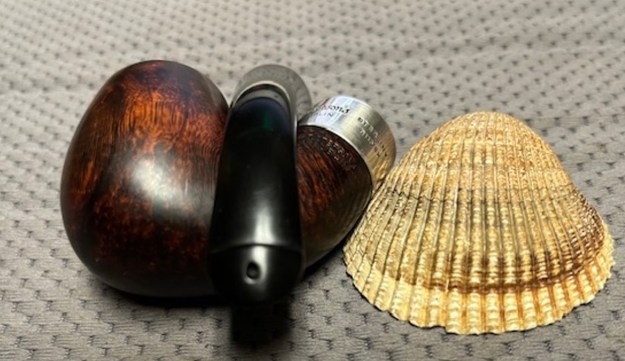
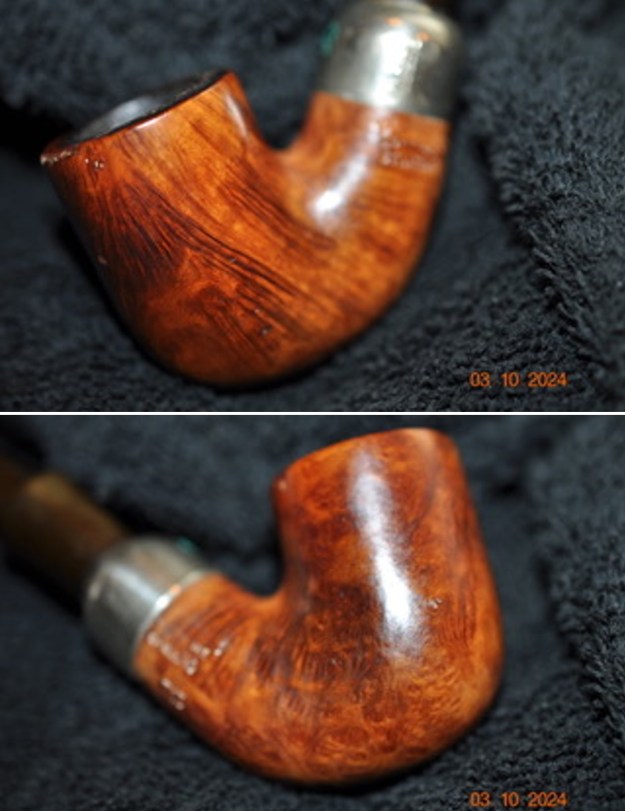
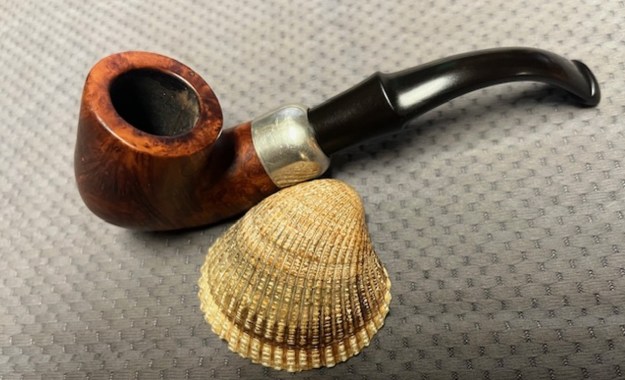
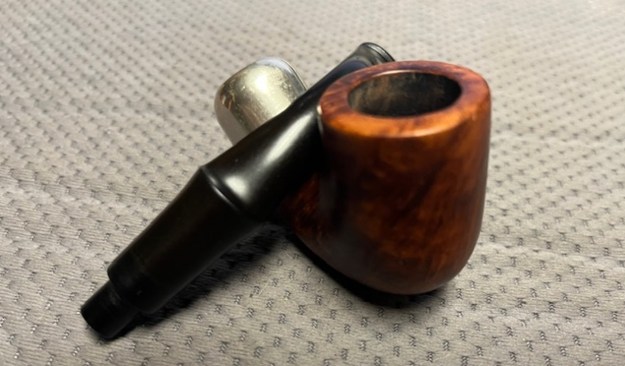
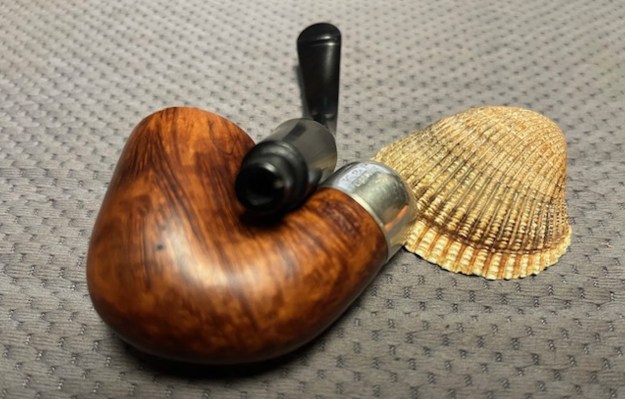
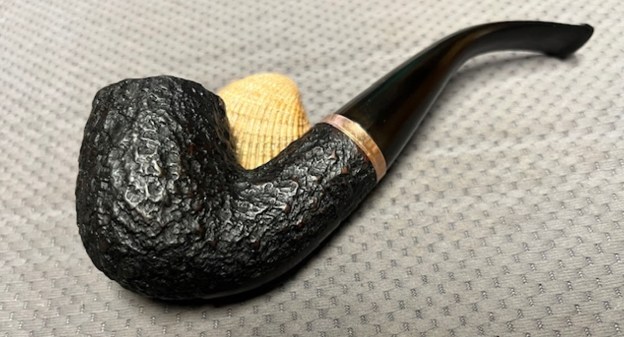
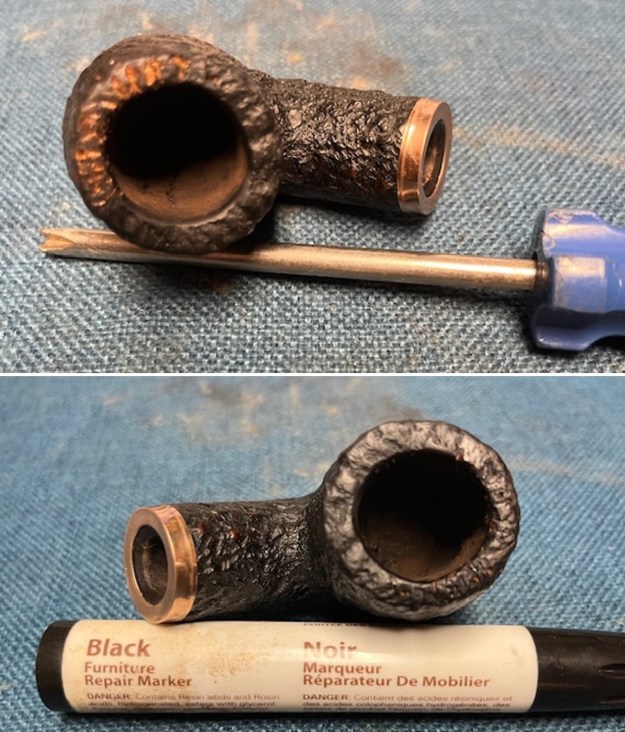
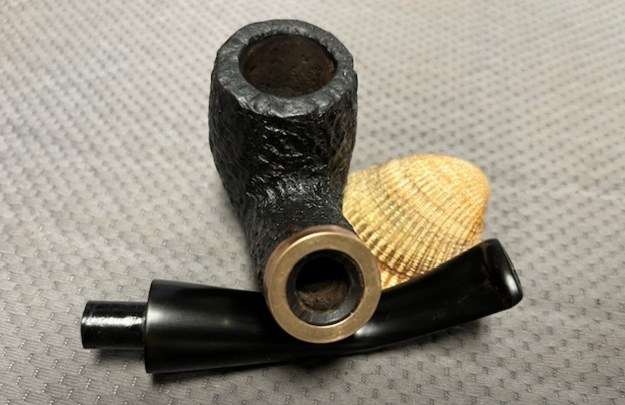
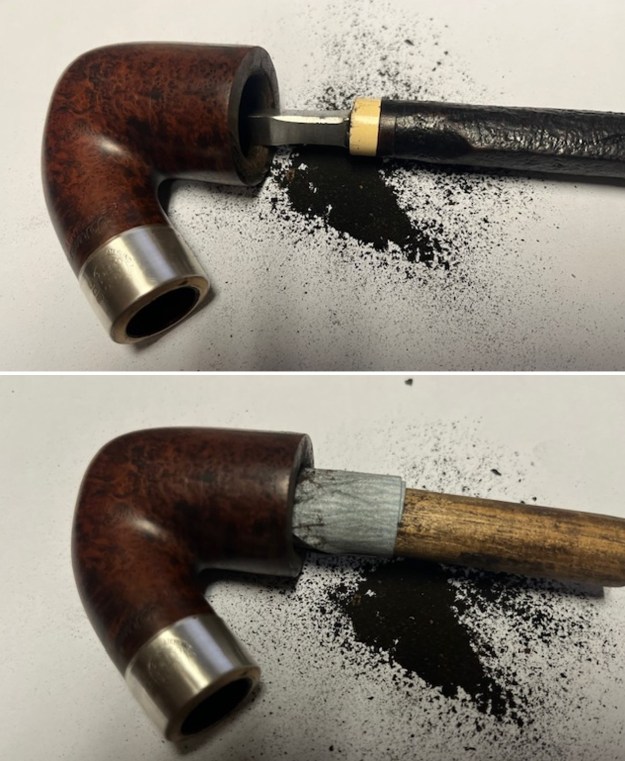
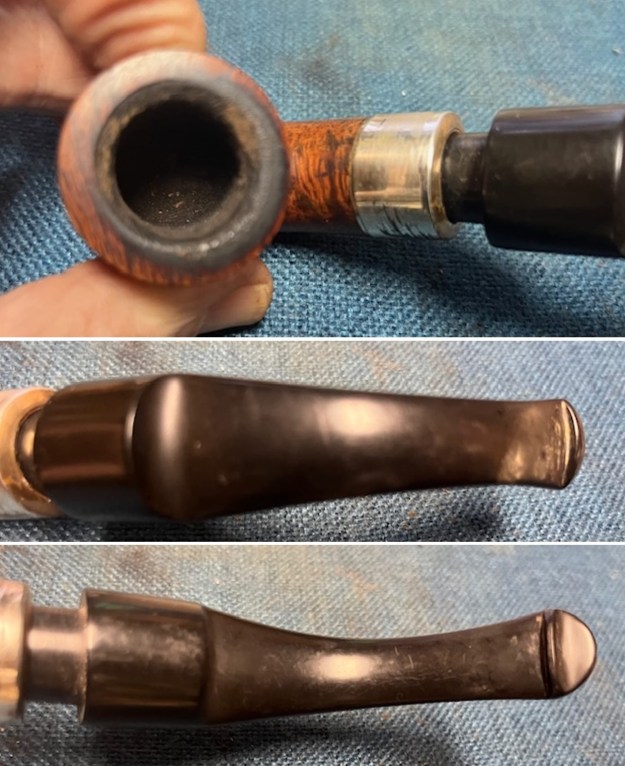 The stamping on the sides of the shank is faint in spots but readable as noted above. I took a photo of the pipe with the stem removed to give a sense of the proportions of the pipe. You can also see the aluminum chimney in the tenon end. The pipe is a real beauty.
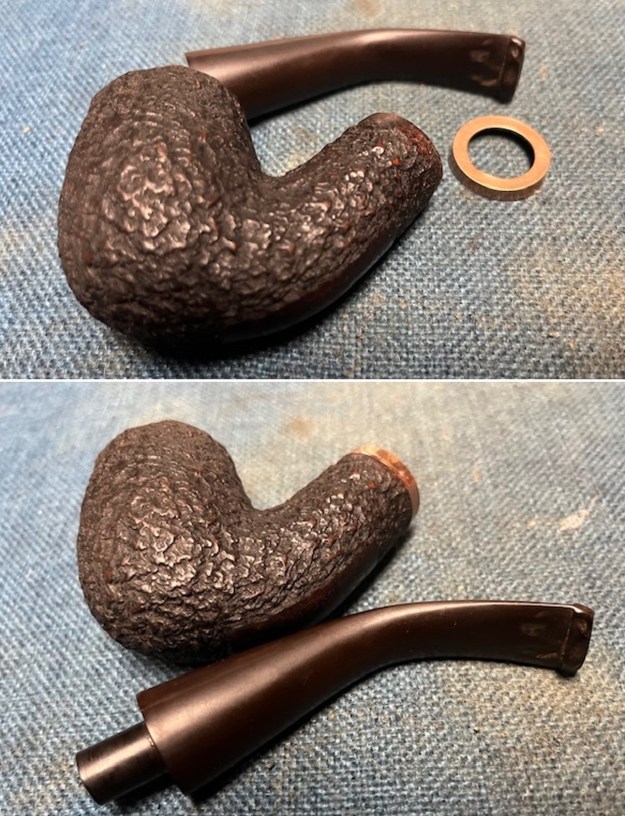
 I did a bit of work on Google to gather background on the Centenary line of pipes. The first information I found was on the Peterson’sPipenotes.org website that gave a general base of information (https://petersonpipenotes.org/preserving-a-peterson-centenary-commemorative-xl339/). I quote from the description of the line below. I have highlighted several key portions in bold black for emphasis.
On my first visit to the Peterson factory in 2009, I fell into a conversation about the stand-out pipes in Peterson’s long history with then-factory manager Tony Whelan, Sr. and silversmith David Blake, since retired. They began a back-and-forth litany of the pipes they felt were truly important in the time they’d been working there. Their list began with the 1975 Centenary pipes.
1975 was an incredible year for Peterson, a high-water mark not seen since the 1910s: pipe sales were going through the roof, the company had a new factory out in what was then the countryside of Dún Laoghaire (the workers played football in the field behind it for many years), and they were celebrating what they thought of as their 100th Anniversary. 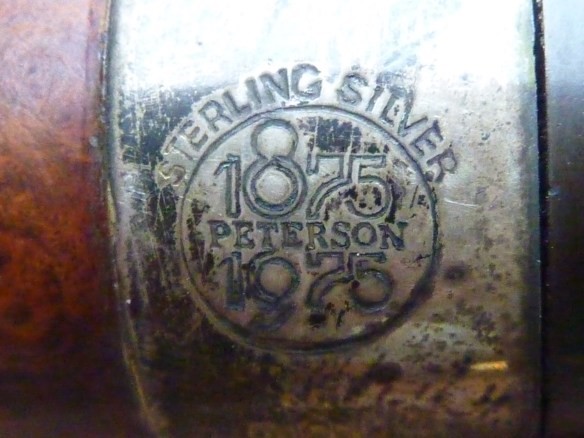 As part of that celebration, the company released the first of its true commemorative pipes—the 1875 – 1975 Centenary issues. Unsmoked and with their original boxes and certificates, these will become among the most highly sought-after collectibles in the Peterson world, and they deserve to be for a number of reasons:
- they were the first true commemoratives of the company;
- they were among the first forays into the “collectible mindset” that would signal a sea change in the pipe-collecting world at the end of the 1970s and beginning of the 1980s;
- the bowls were high grades;
- they were individually, serially stamped by bowl shape – that is, “x” out of so many—it could be 1/11 or 22/83, depending on the bowls Peterson was able to source in that particular shape;
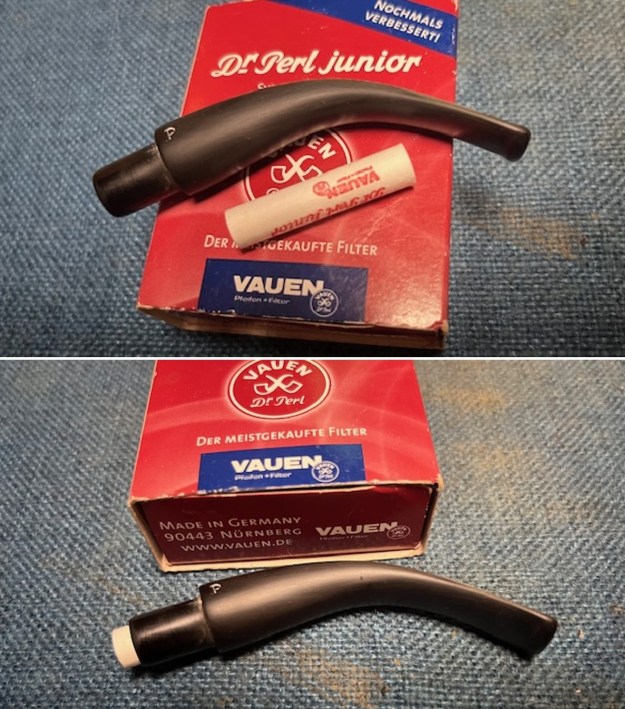
- they all featured the complete P-Lip: button, graduated bore, aluminum tenon;
- the bent shapes featured a System reservoir.
Issued in smooth bowls, they were uniformly given a deep undercoat of black – you’ll notice the striking black grain pattern popping through – followed by a rich dark mahogany top coat. The sterling bands were stamped with the 1875 – 1975 Centenary logo, hallmarked “h.”
I turned to Pipedia to see what I could find. Buried in a paragraph in the Republic Era section was a note on the Centennial Limited Edition (https://pipedia.org/wiki/Peterson). I quote below:
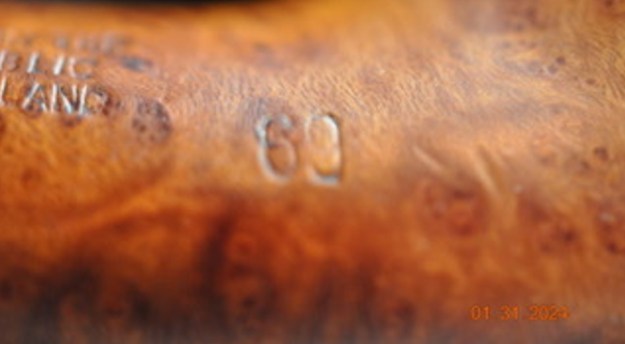
In 1975 Peterson issued the Centennial Limited Edition 1875 – 1975. The Peterson Centennial pipes, were released in celebration of 100 years of the company’s pipe making. Two pipes were issued, 100 of each shape, a sterling silver banded straight and a bent shape 69, both were offered for sale individually.
The quote above spells out something that is a bit different from the pipe I have in hand. The above talks about two pipes in lots of 100 pipes – a sterling silver banded straight and bent 69. However, the pipe I have is a Deluxe 4S shape.
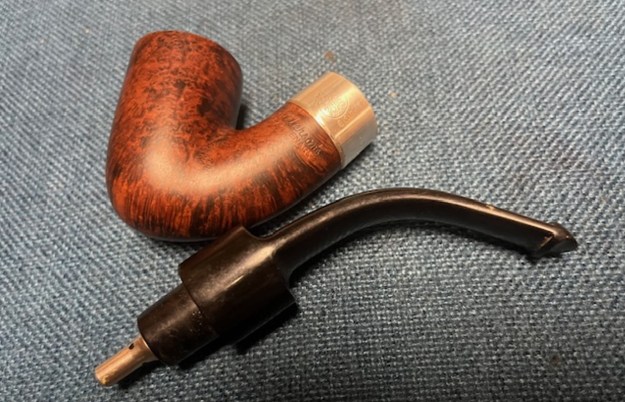
From that information I knew how the DeLuxe fit in the hierarchy of Peterson’s pipes. It was always the highest tier of the System pipes. It also was made with the gap in the fit of the stem to the shank on purpose with the idea that the distance would decrease over time with prolonged use. The attachment of a aluminum chimney at the end of the tenon to maximize System performance.
From there I also turned to Pipedia to read an article by Jim Lilley – take time to read it at the link below. (https://pipedia.org/wiki/A_Closer_Look_at_The_Peterson_Deluxe_System_Pipe).
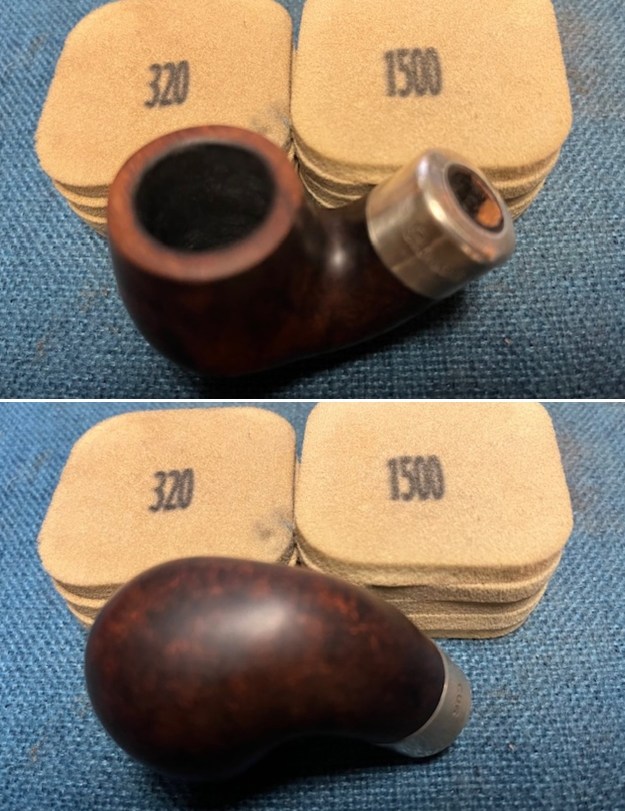
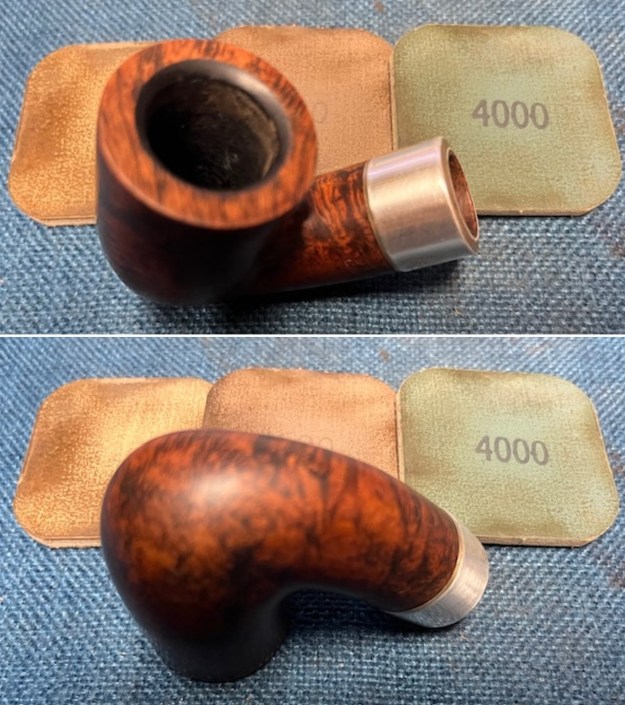
I turned to work on the pipe itself. I reamed the bowl with a PipNet pipe reamer using the cutting heads 2 and 3. I finished the reaming with a Savinelli Fitsall Pipe Knife. I sanded the walls of the bowl with 220 grit sandpaper wrapped around a piece of dowel. 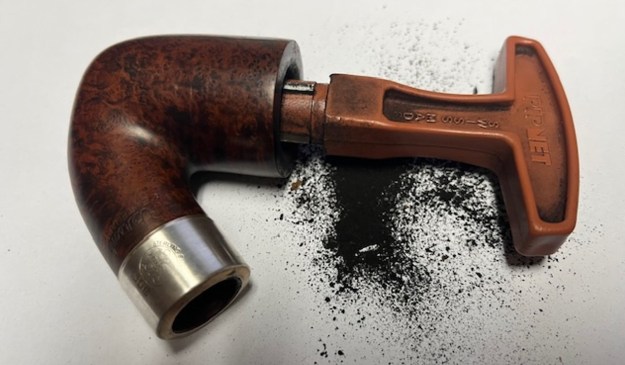
 I scraped the rim top and bevel with the edge of the pipe knife to remove the buildup of lava. I sanded it carefully with a folded piece of 220 grit sandpaper to further remove the lava.
 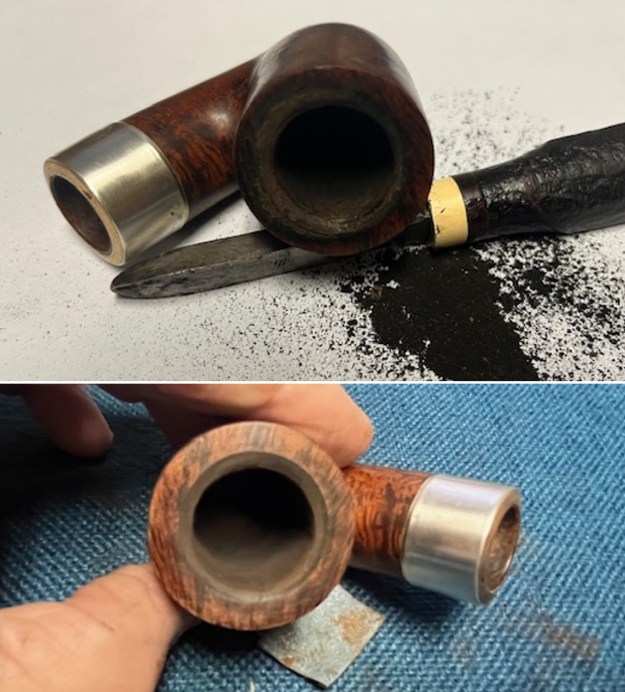 I cleaned out the inside of the shank, the airway in the stem as well as the inside of the chimney and the seat in the tenon with alcohol, cotton swabs and both bristle and regular pipe cleaners.
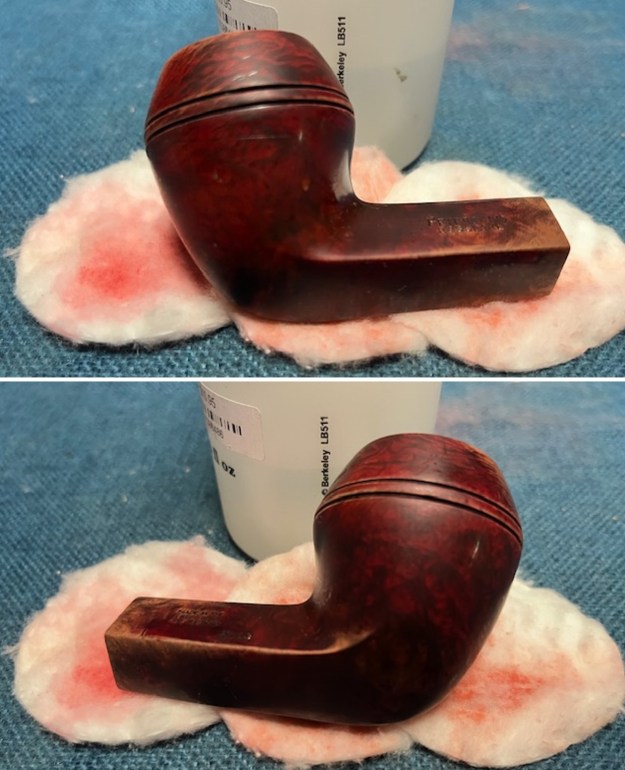
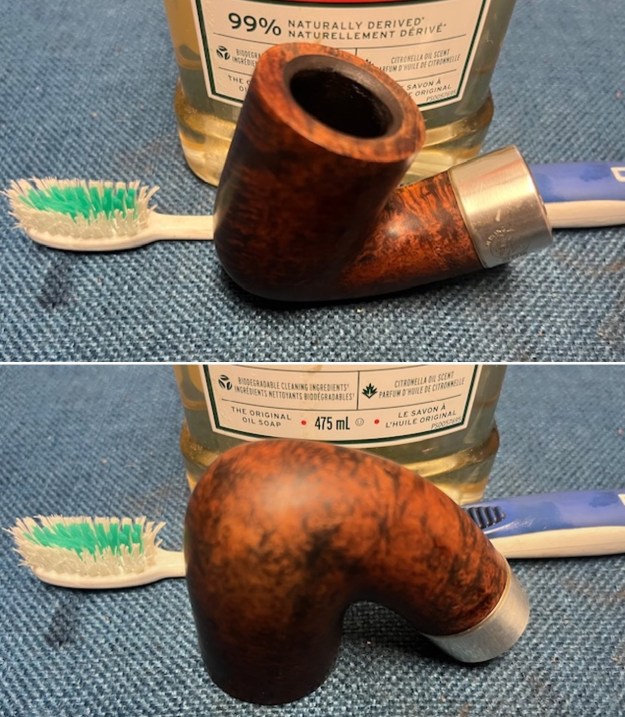
 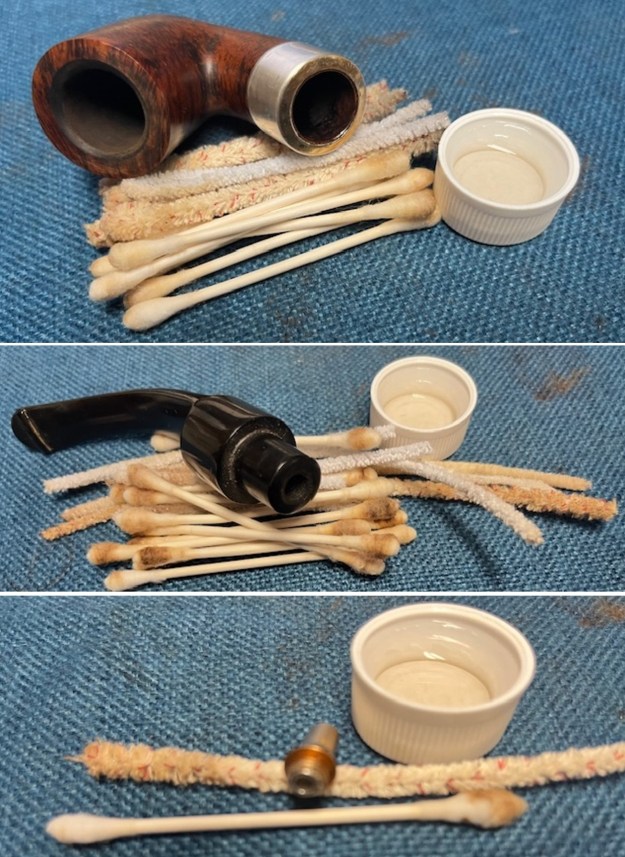 I scrubbed the bowl and shank with a tooth brush and some undiluted Murphy’s Oil Soap. I rinsed it off with warm water to remove the dust and soap from the finish. I dried it off with a soft cloth and it looked much better.
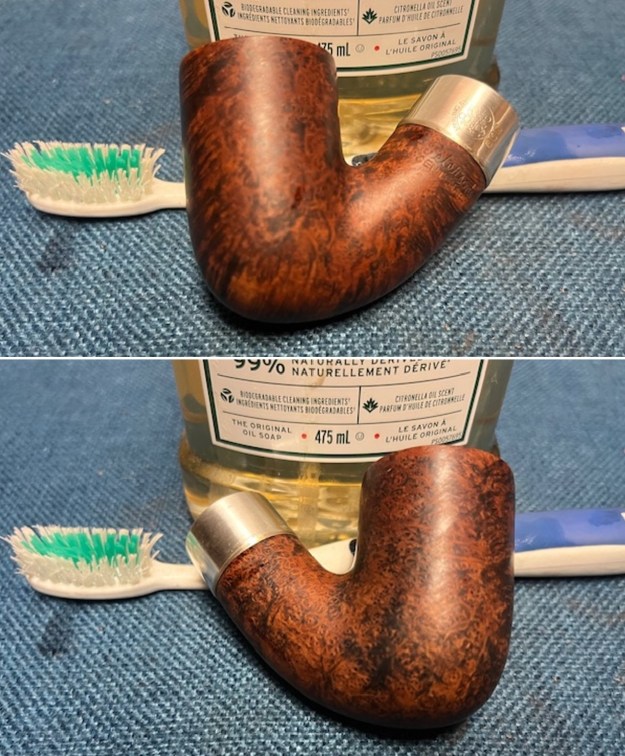
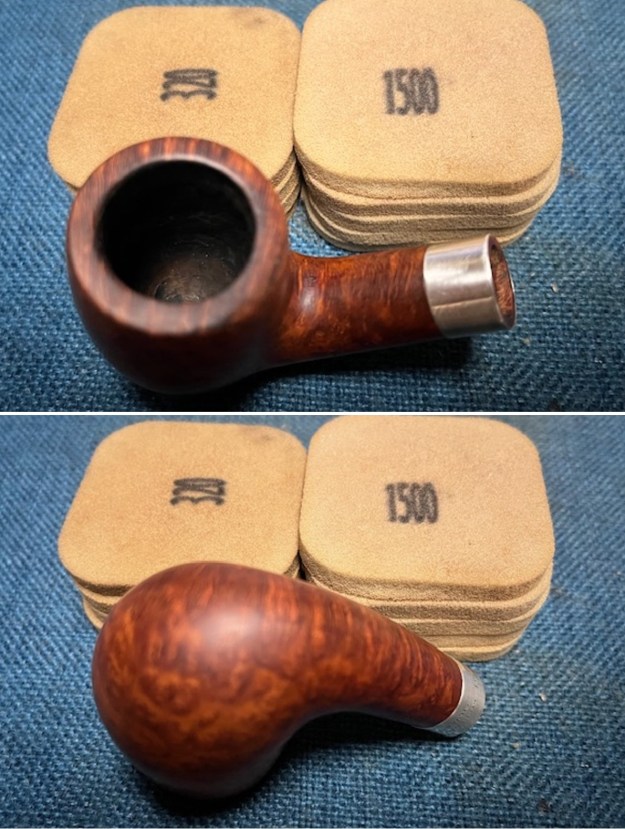
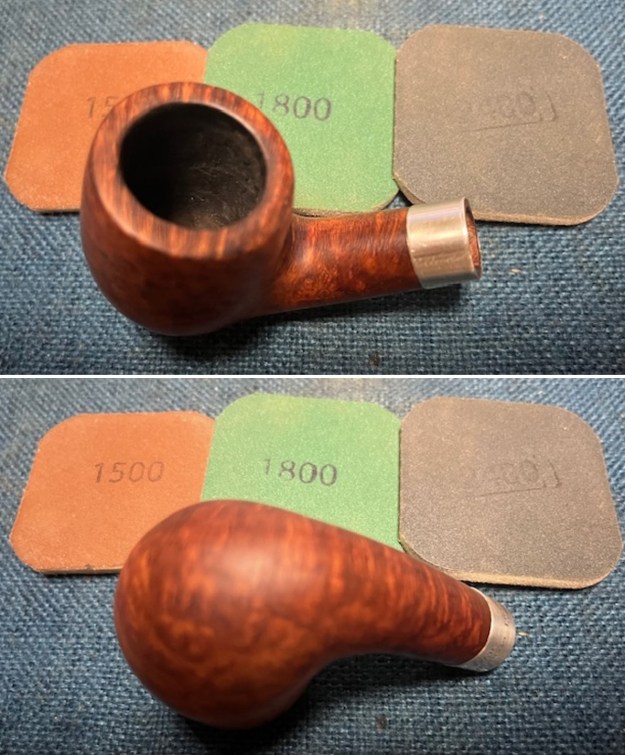
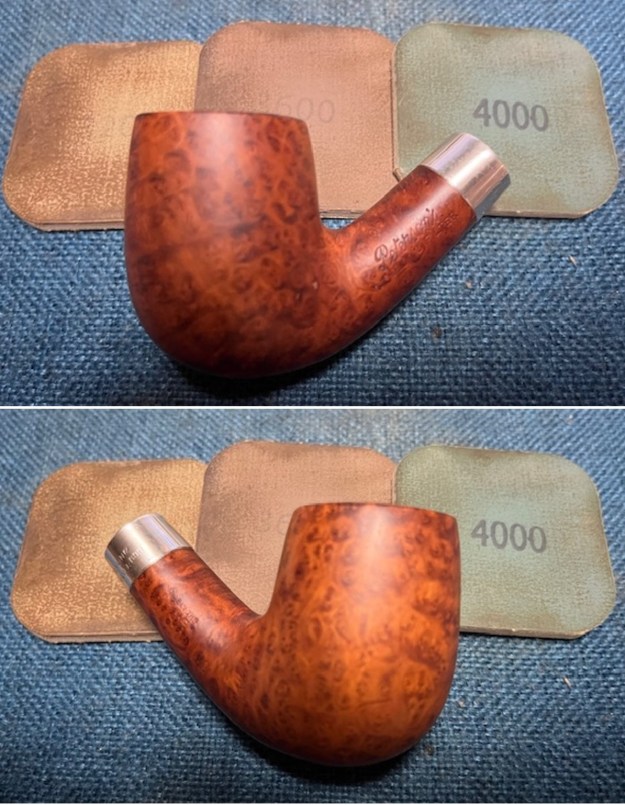
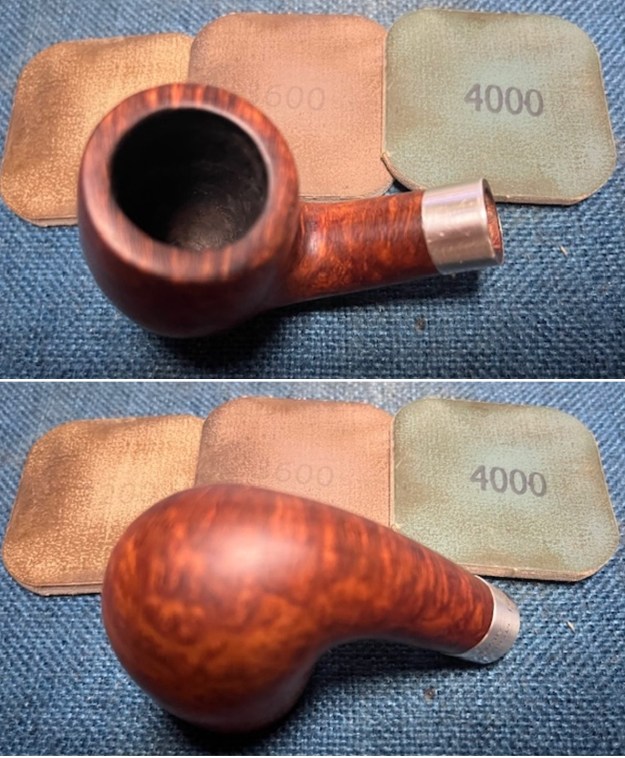
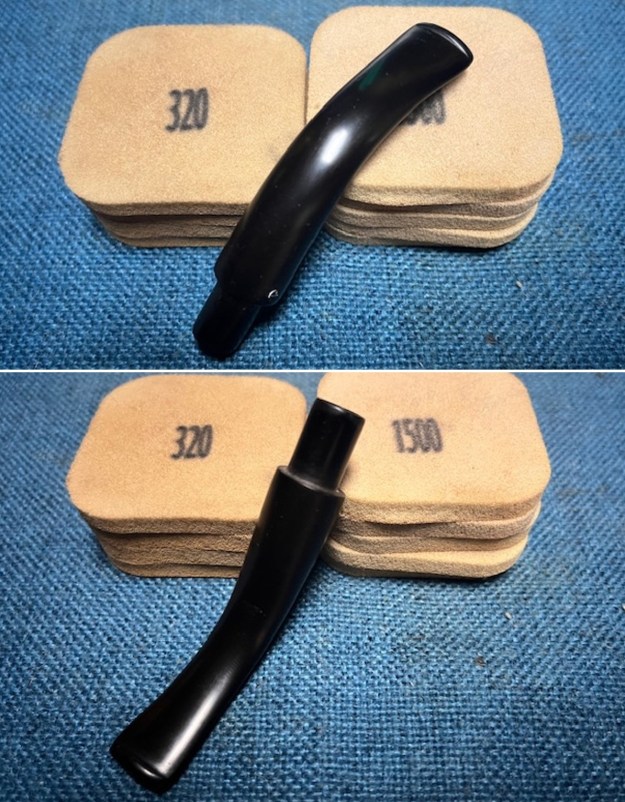
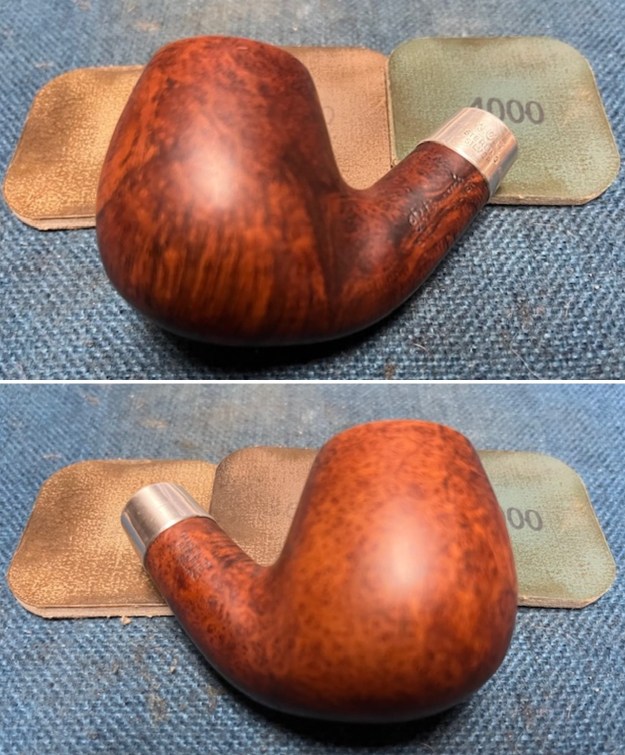
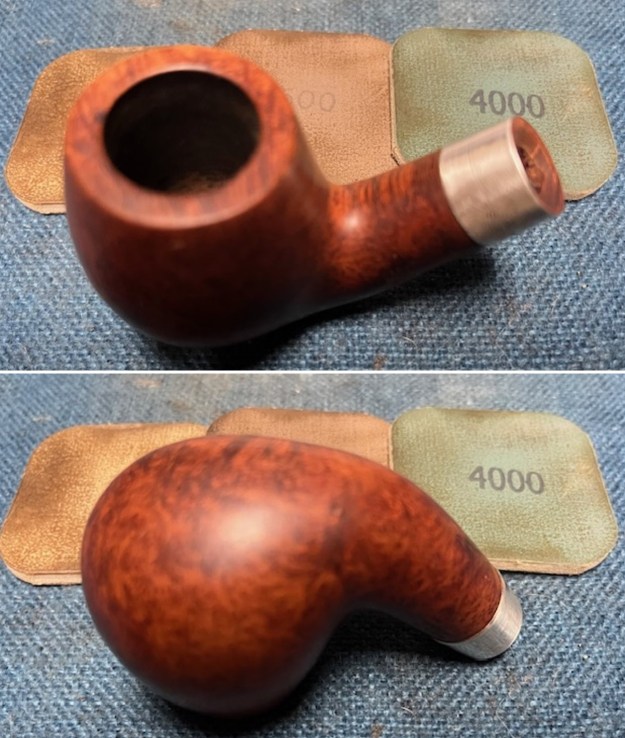
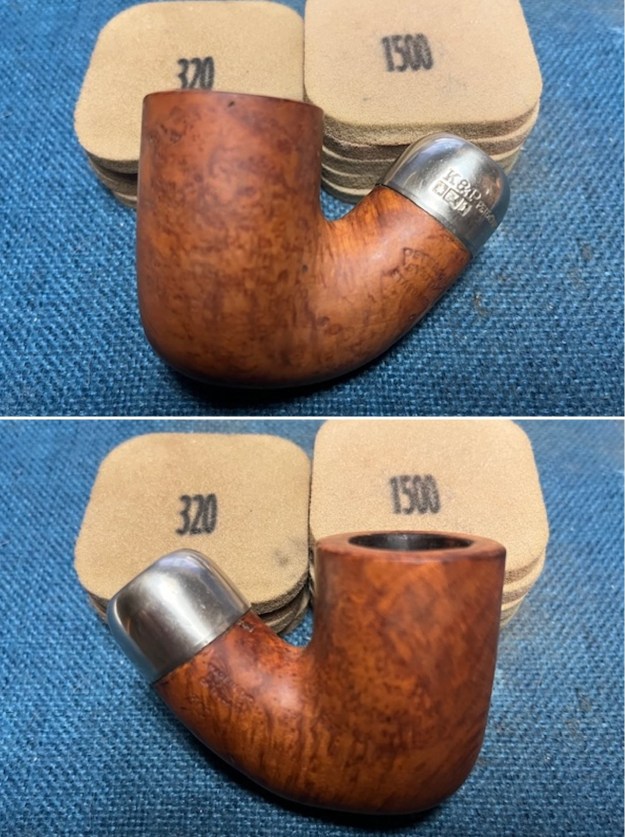
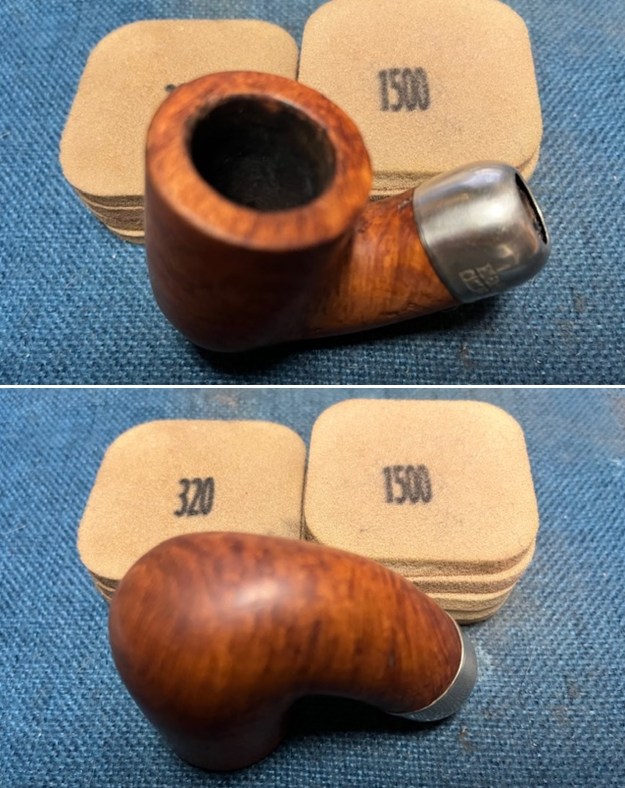
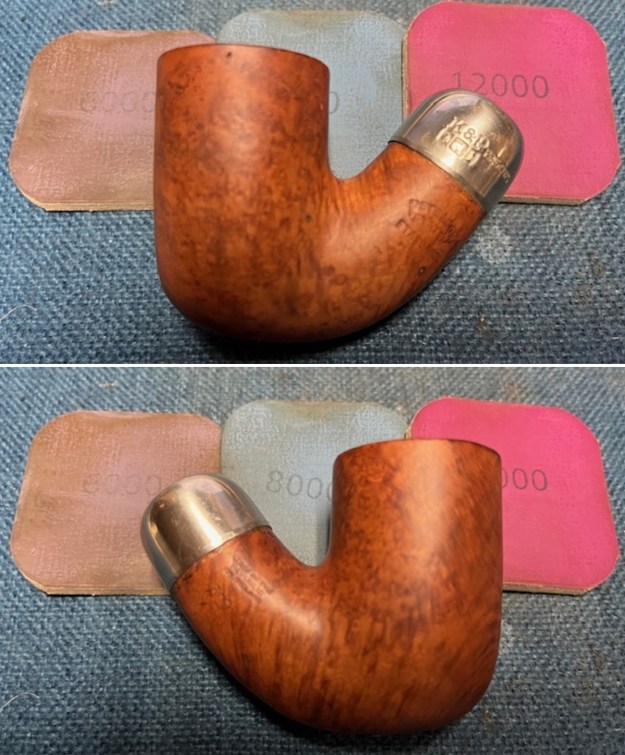
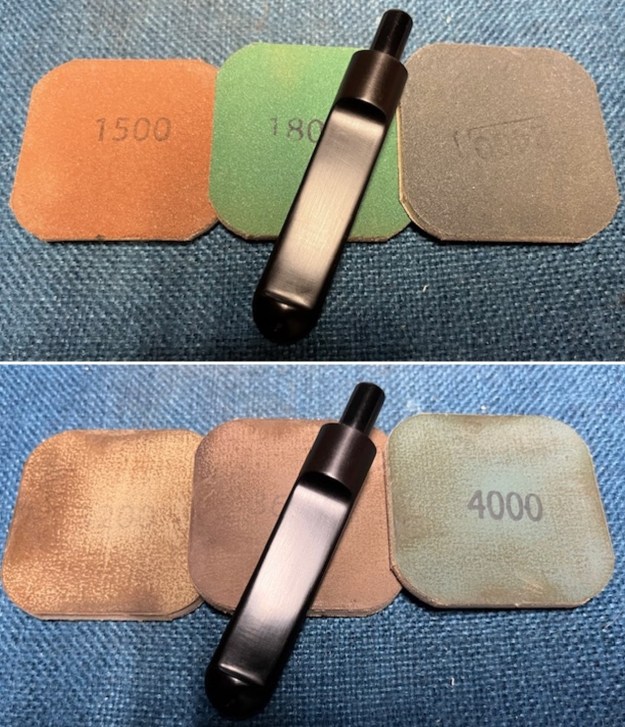
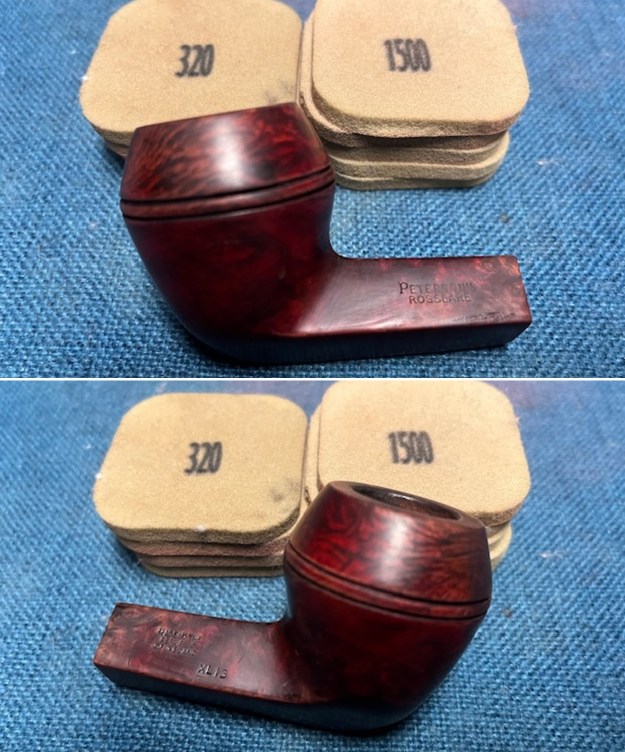
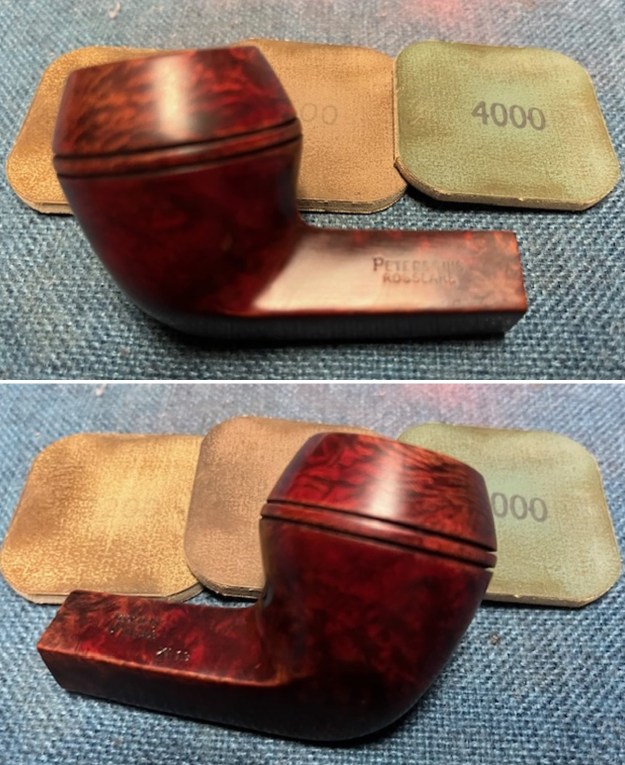
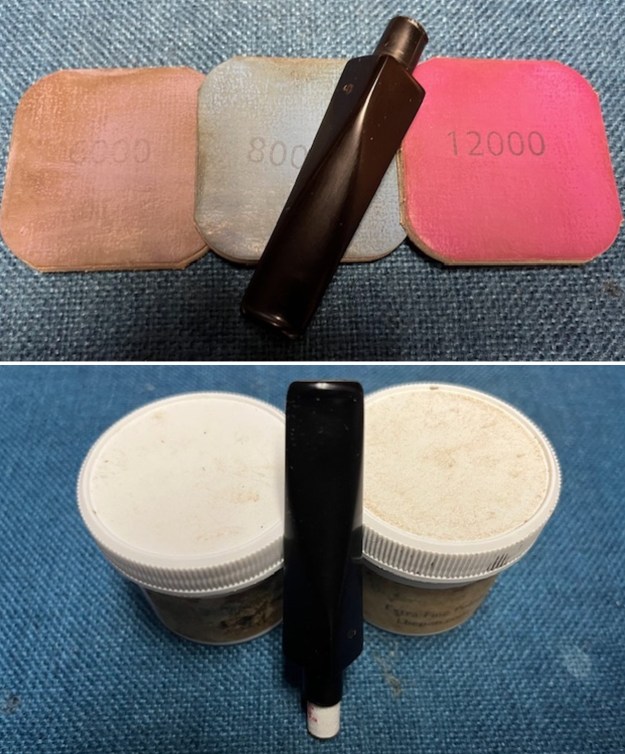
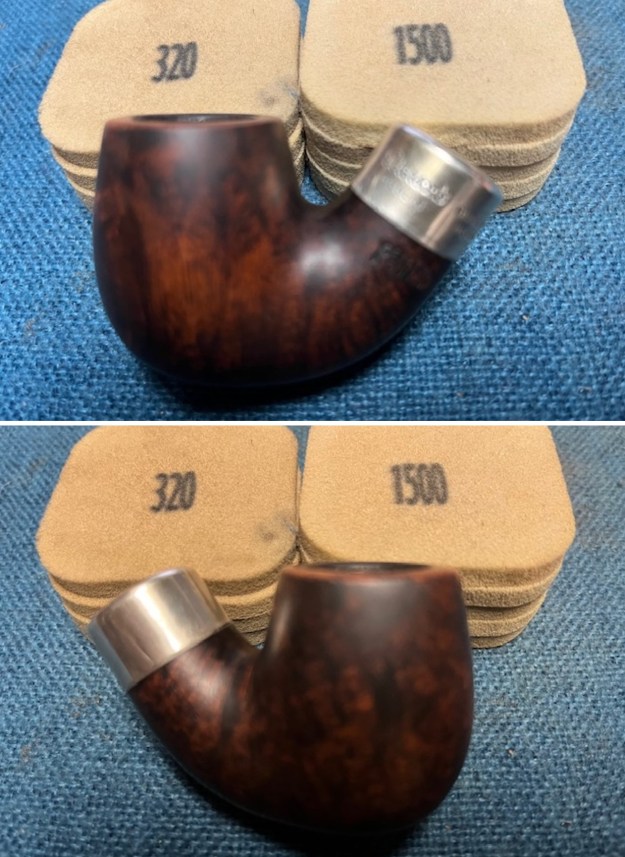
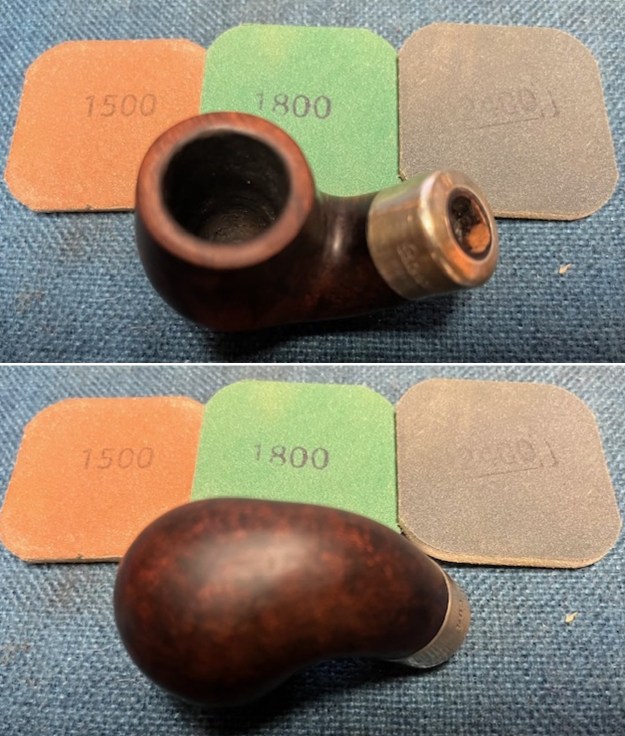
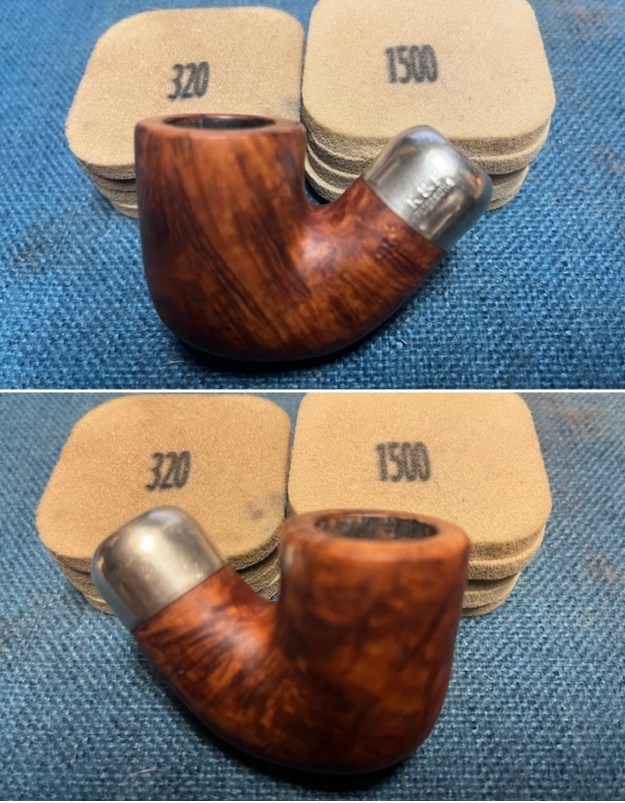
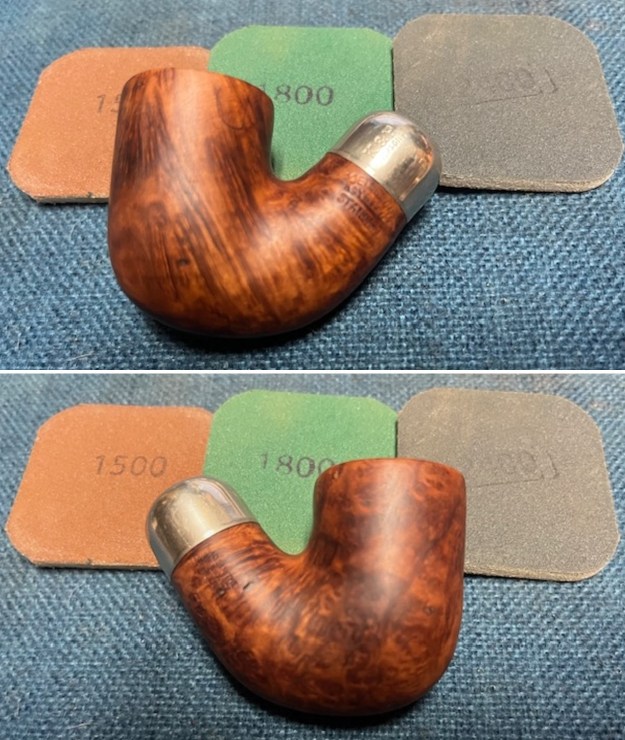
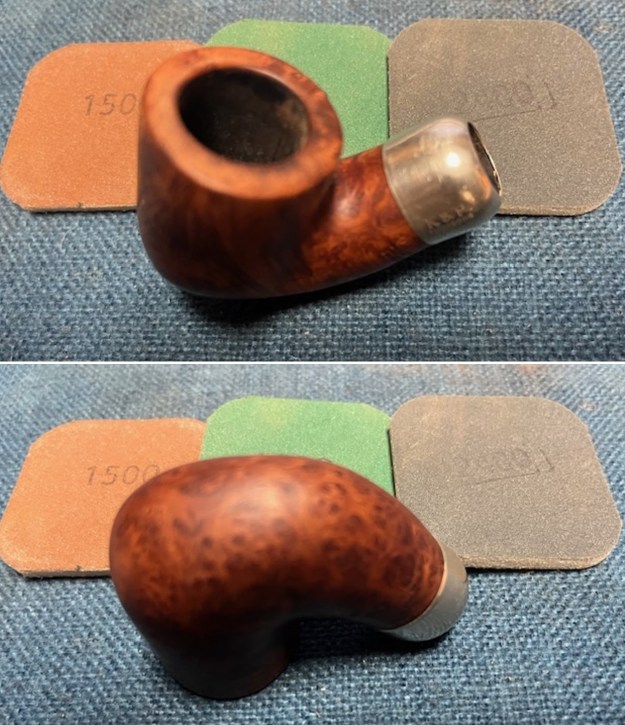
 I sanded out the scratches in the bowl with 320-3500 grit 2×2 inch sanding pads. I worked on the Sterling Band to remove the dark scratches at the same time. I carefully used the pads on it. I wiped the bowl and band down between sanding pads with a damp cloth to remove the debris from the sanding.
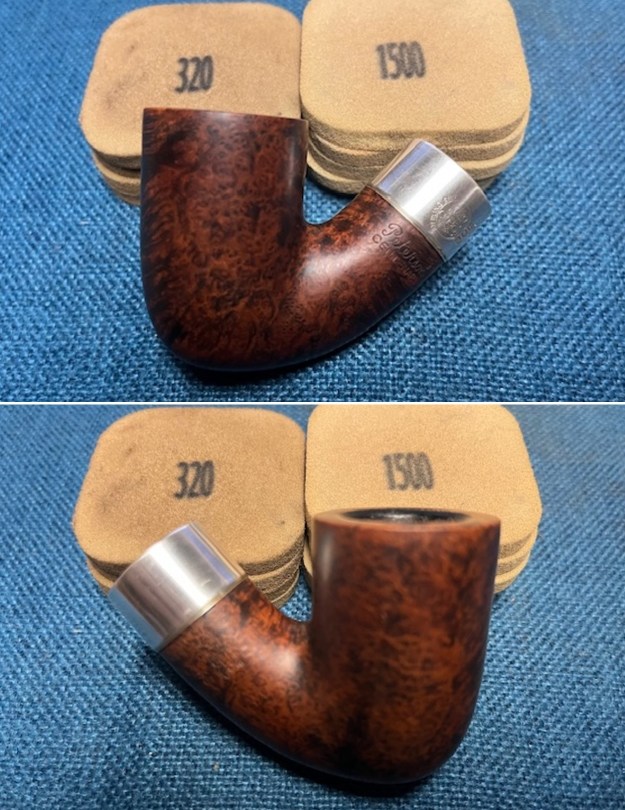
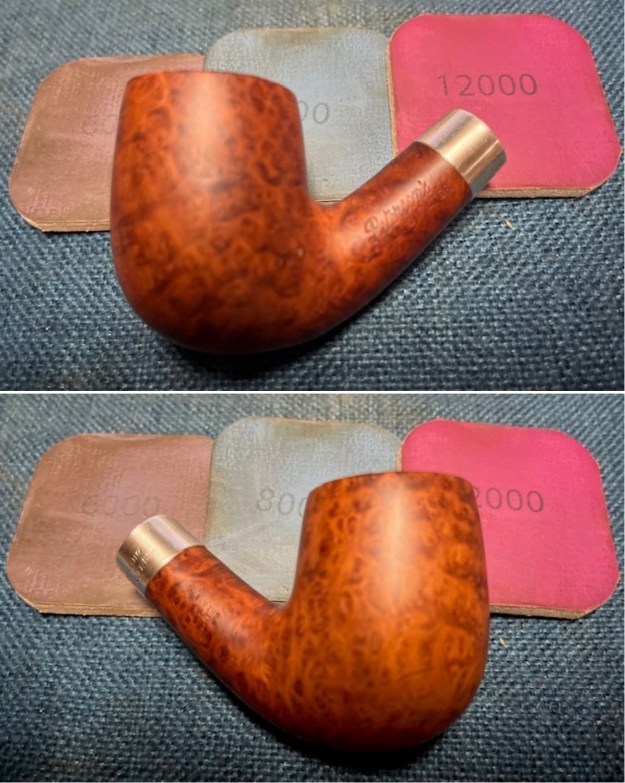
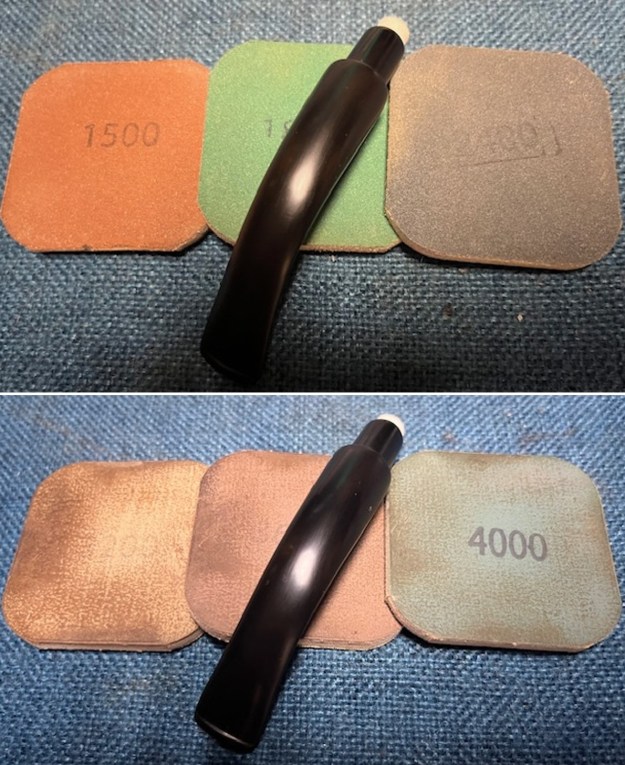
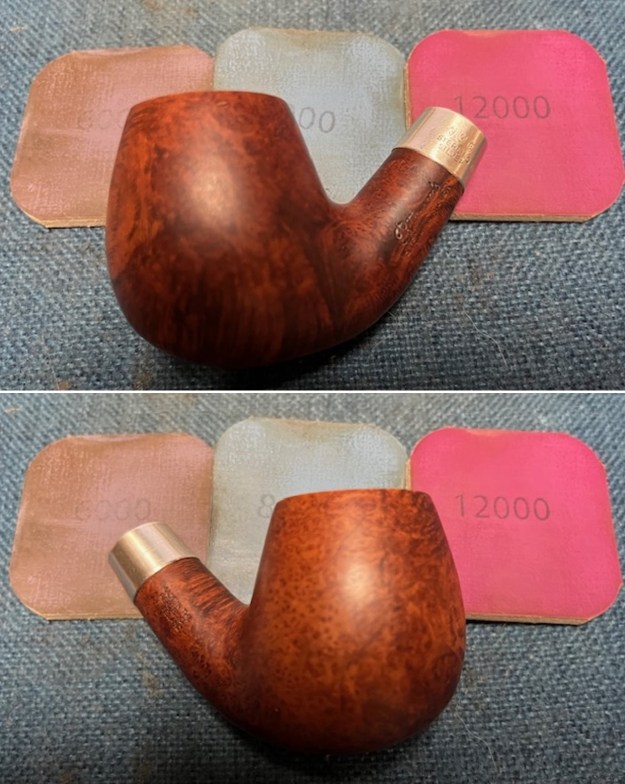
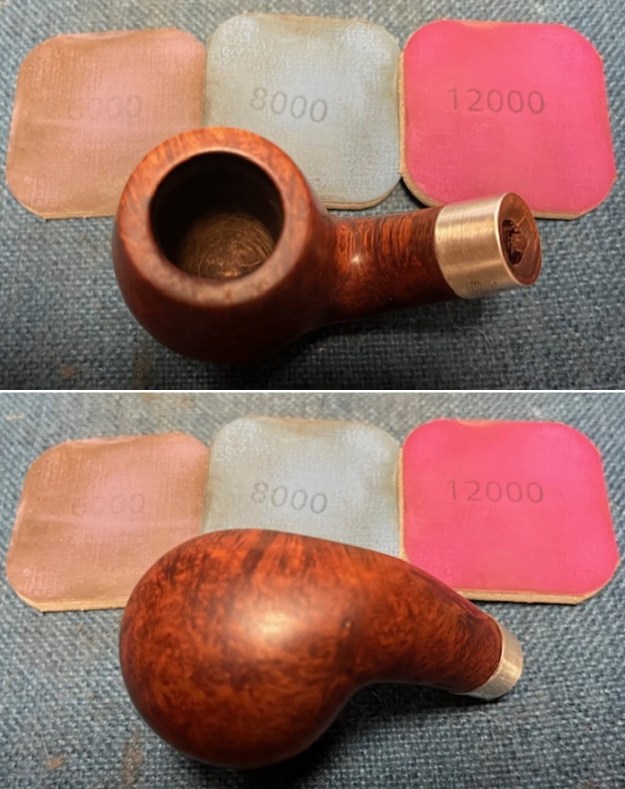
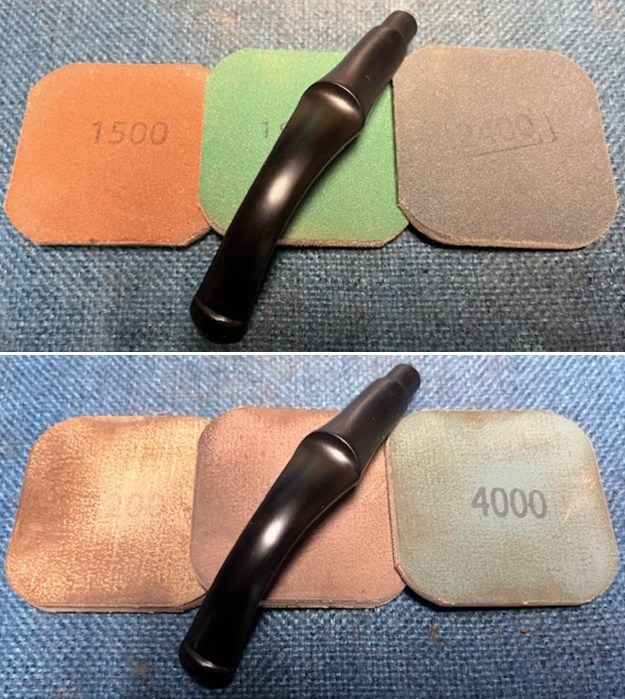
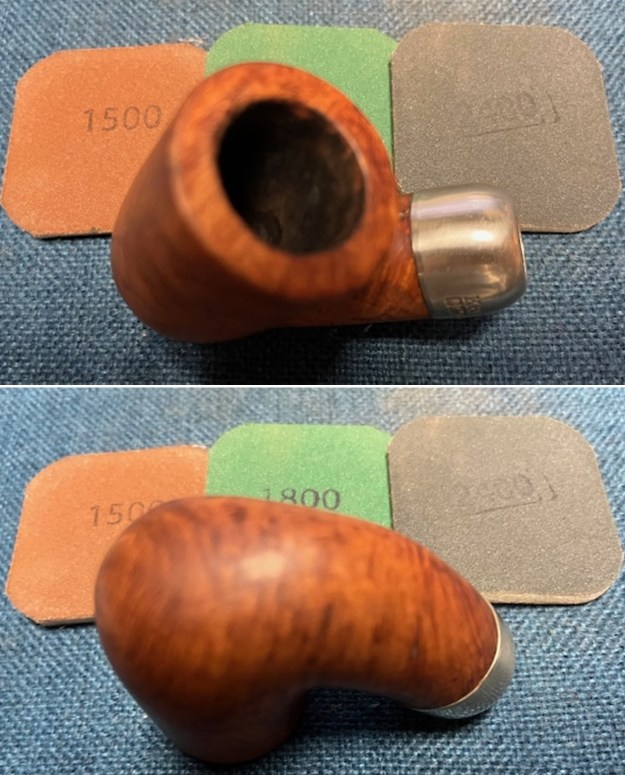
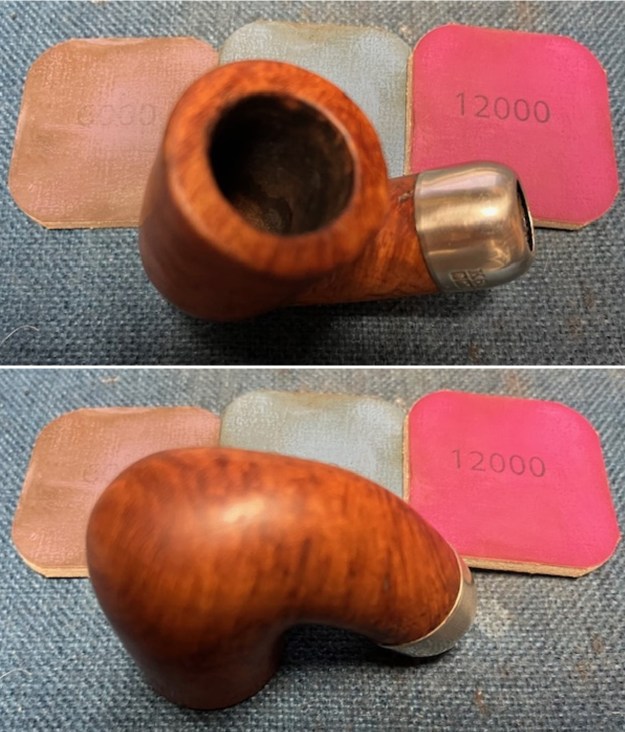
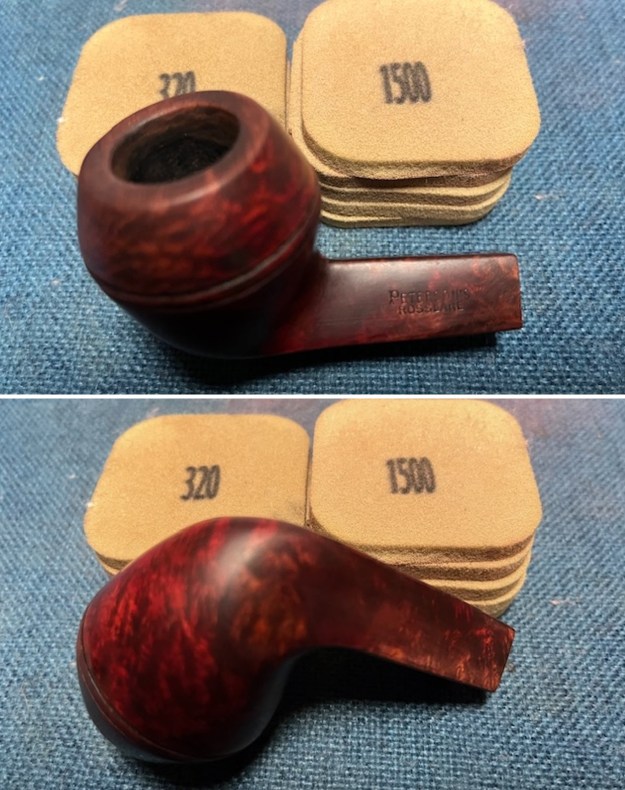
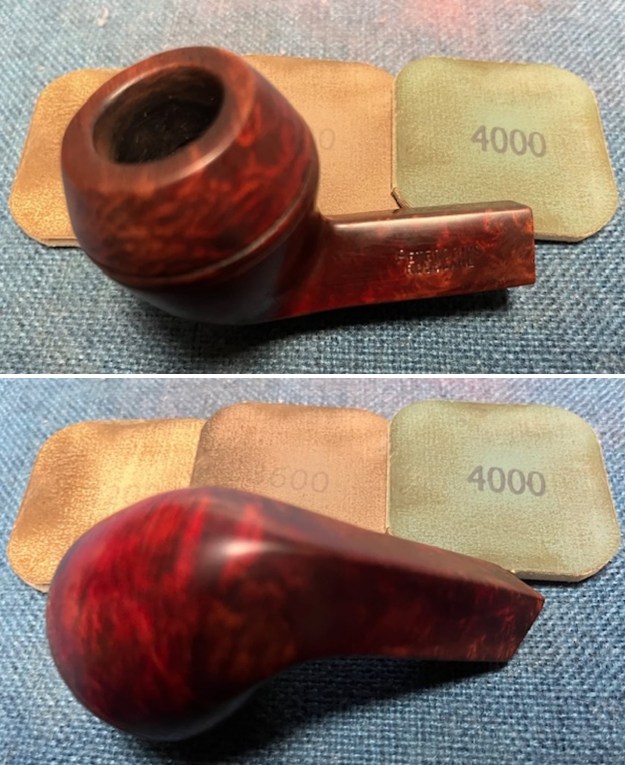
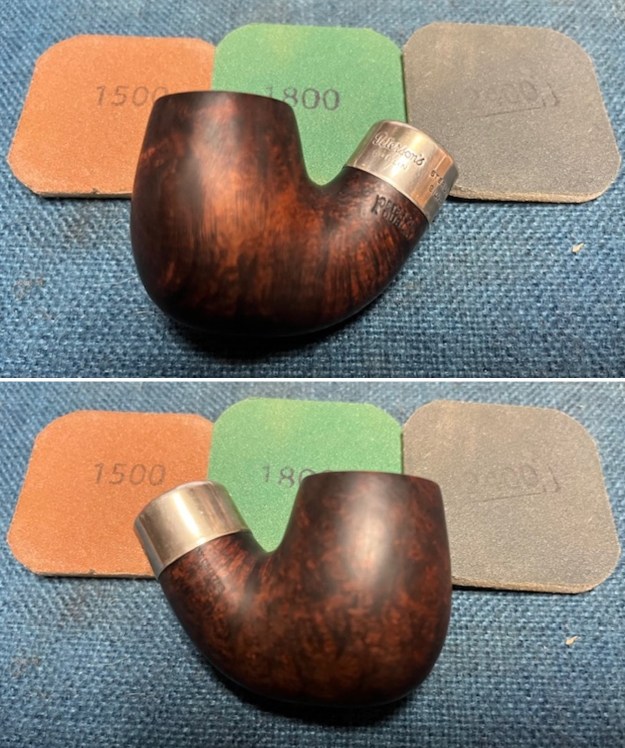
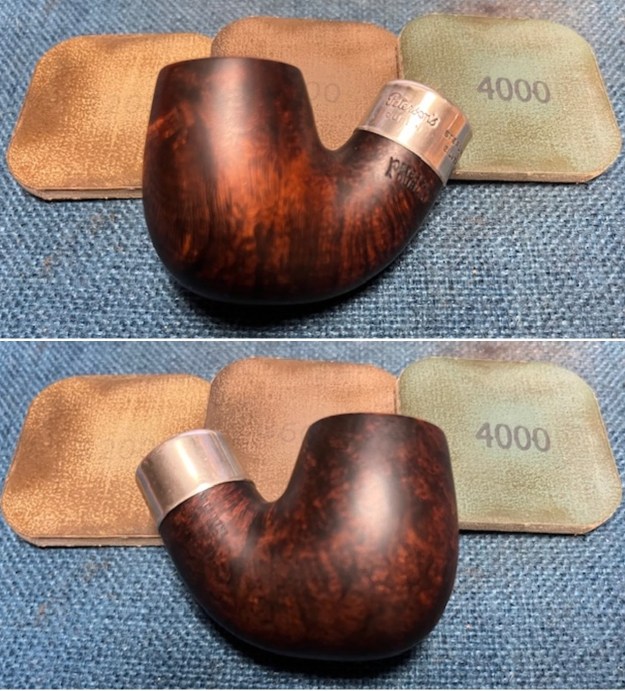
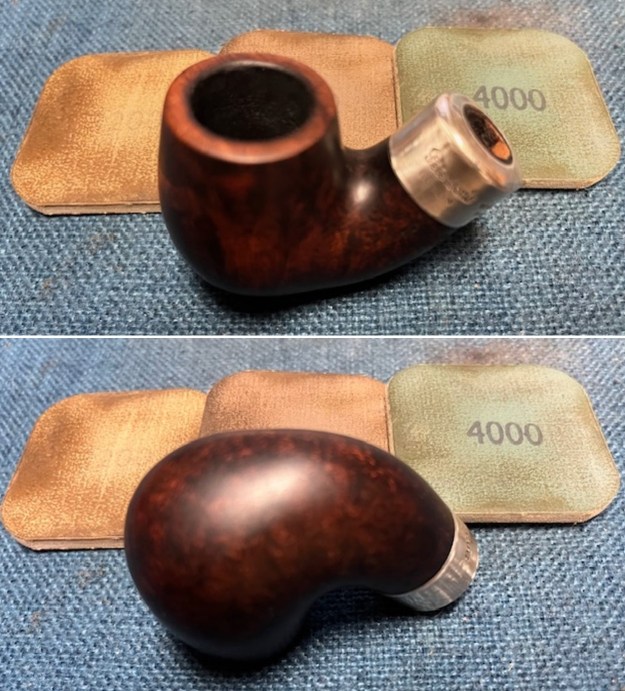
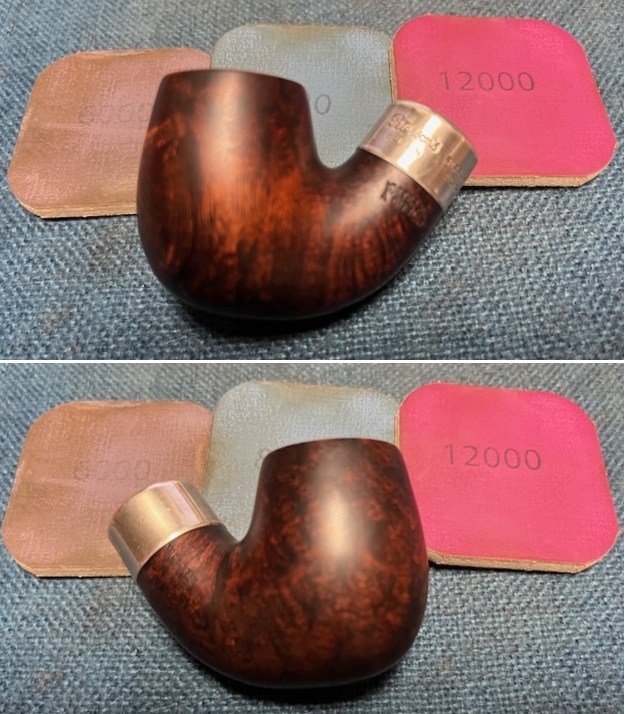
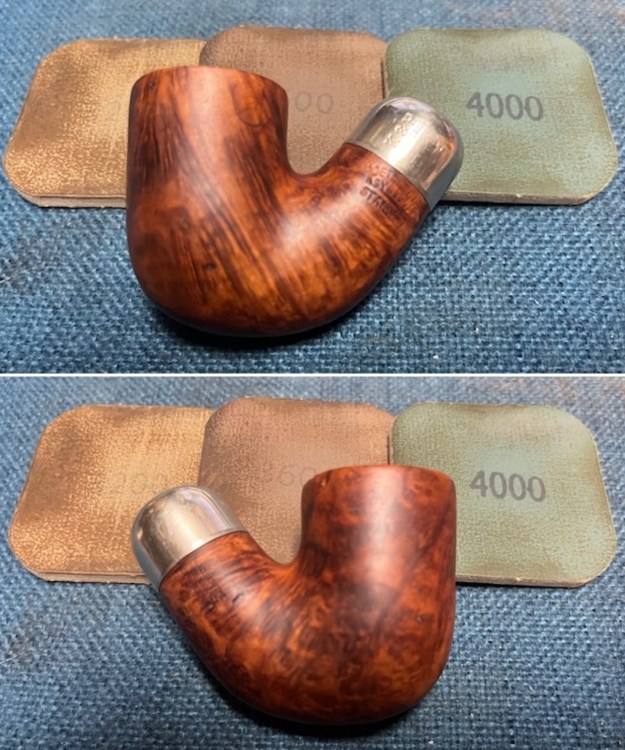
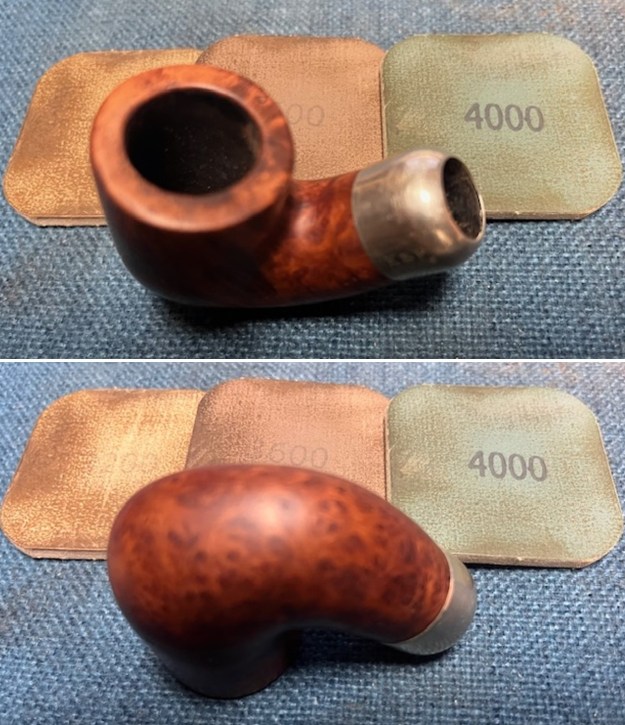
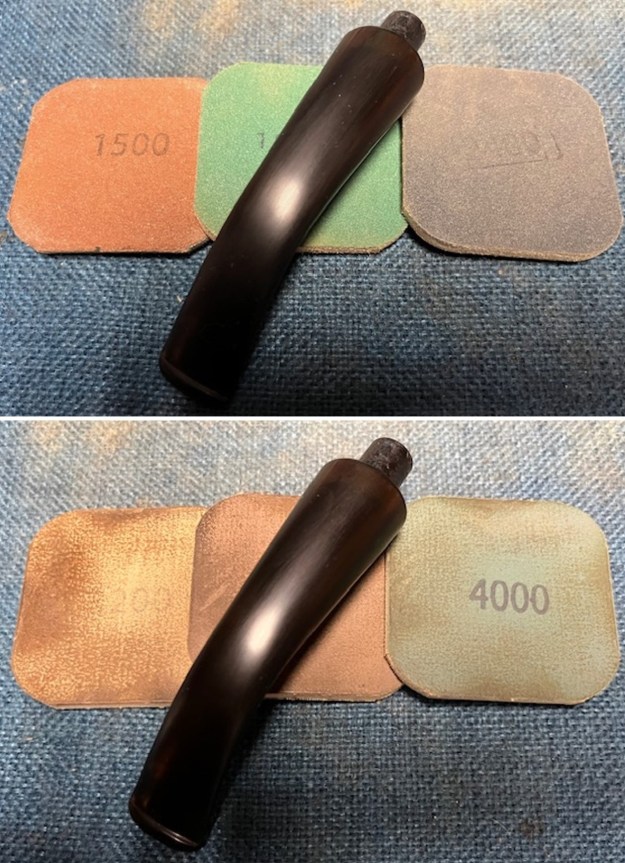
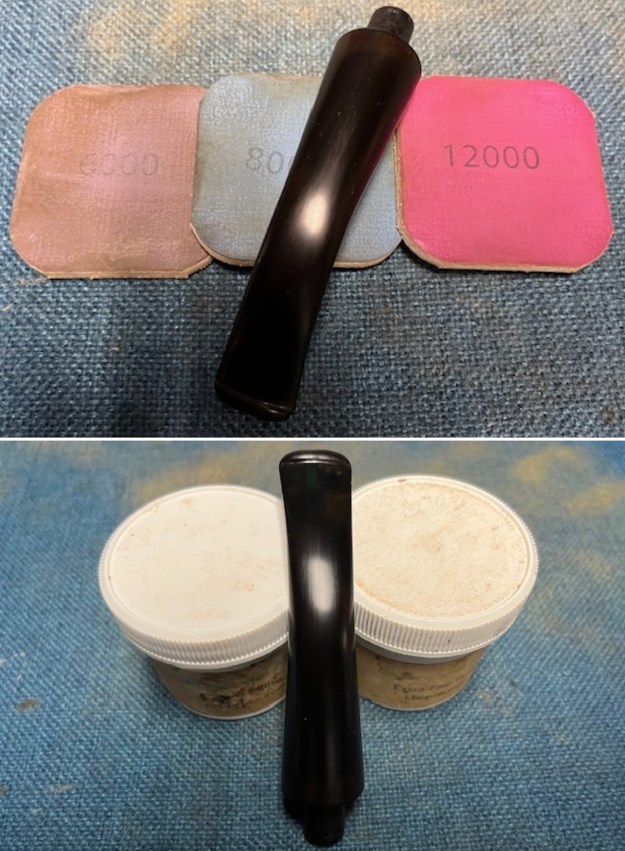
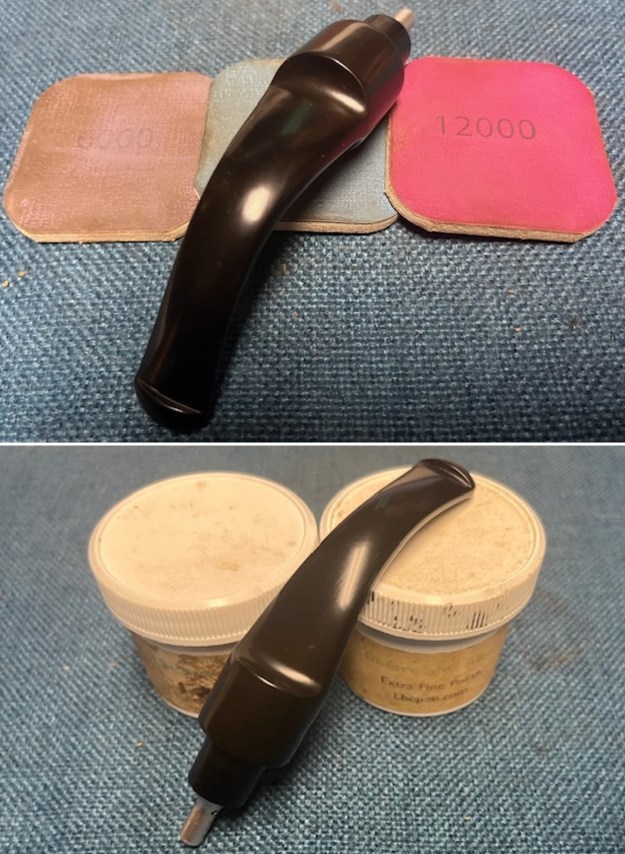
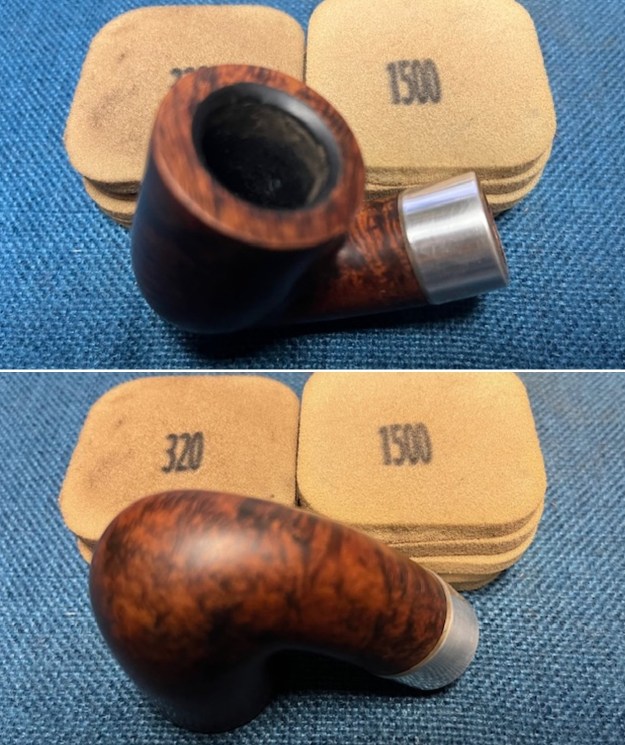 I started my polishing regimen on the bowl. I used nine micromesh sanding pads and dry sanded the bowl with 1500-12000 grit pads. I wiped the bowl down with a damp cloth after each pad. The bowl really shines by the final three pads.
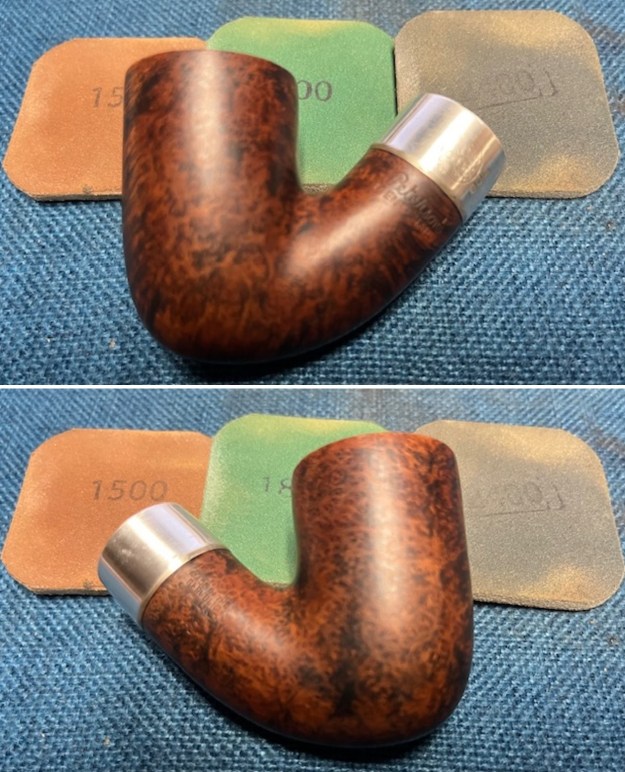
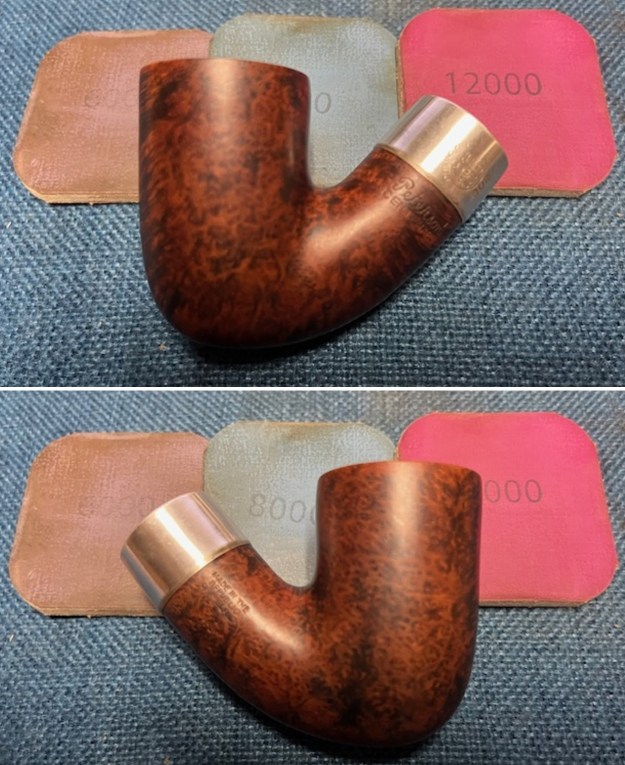
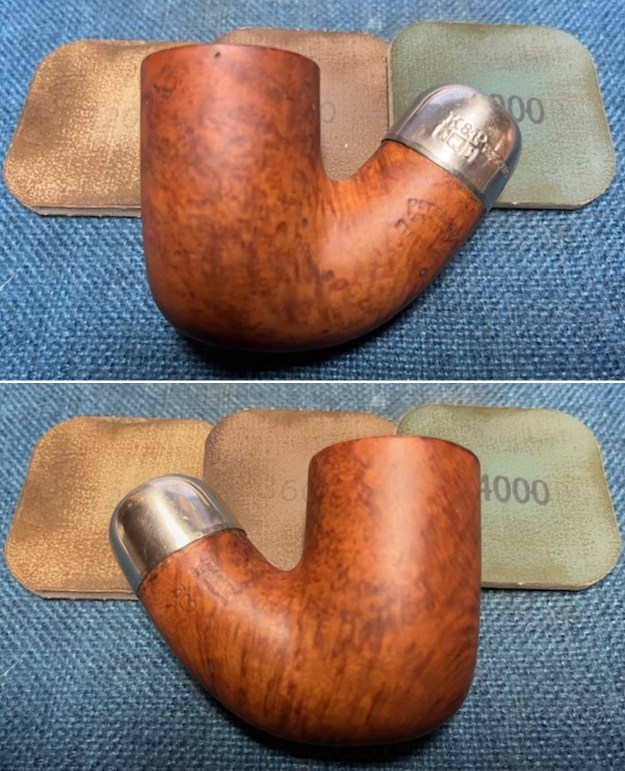
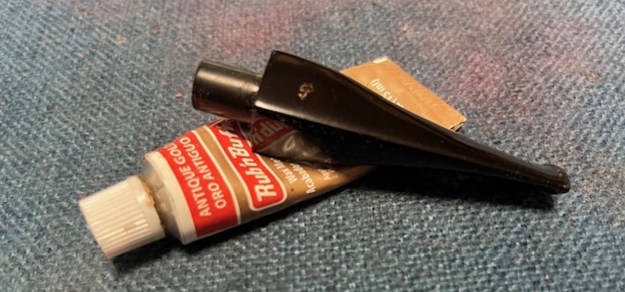
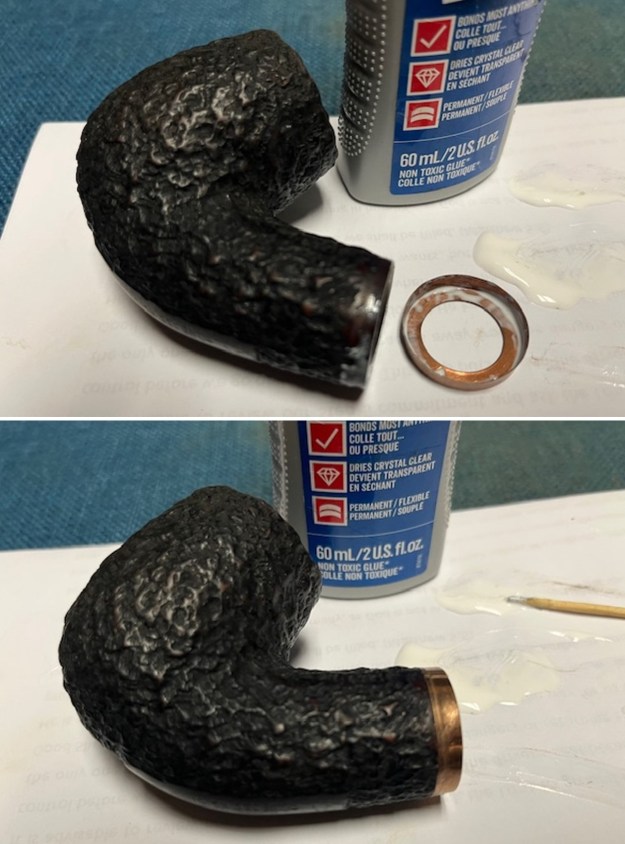
 I polished the Sterling Silver ferrule with a jewellers polishing cloth to remove the tarnish and protect it from further tarnishing.
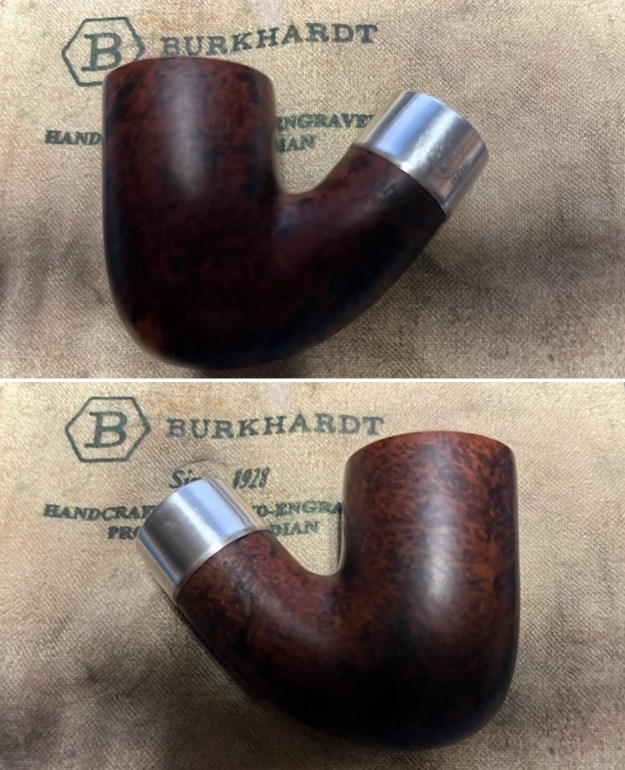
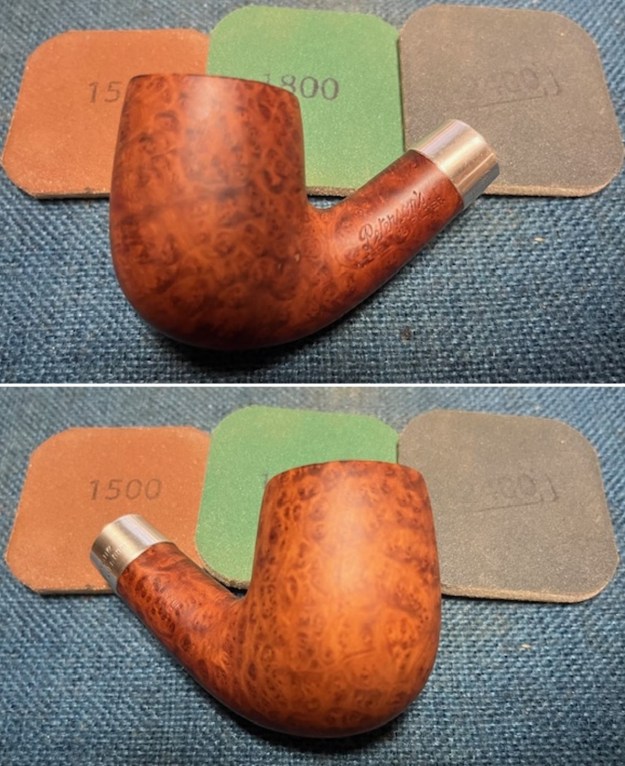
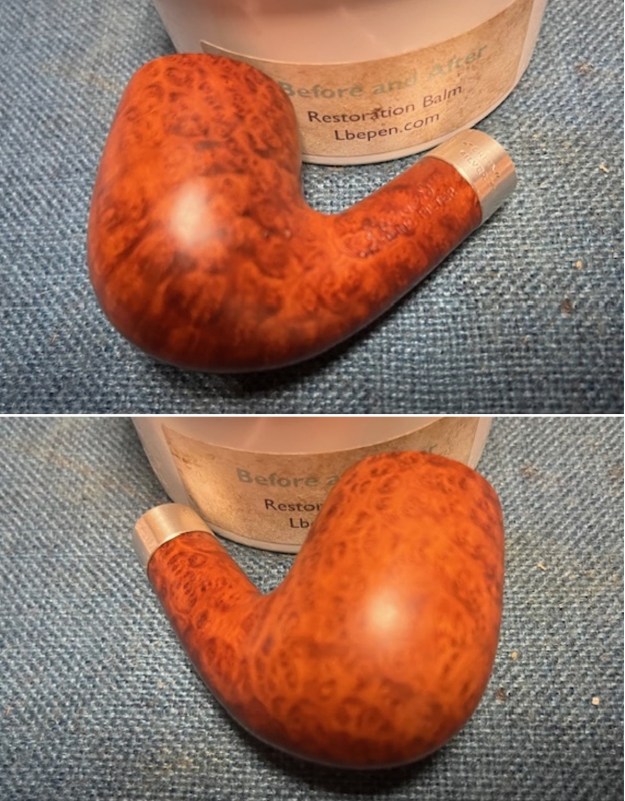
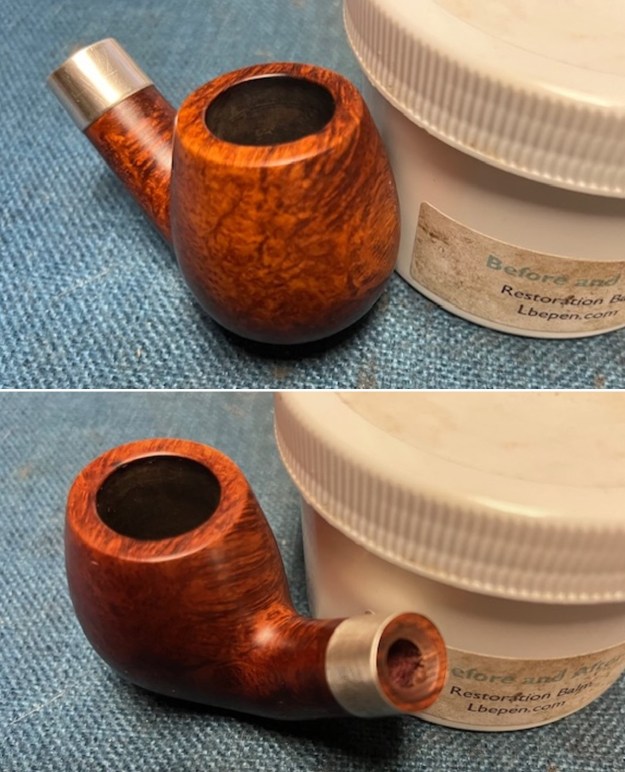
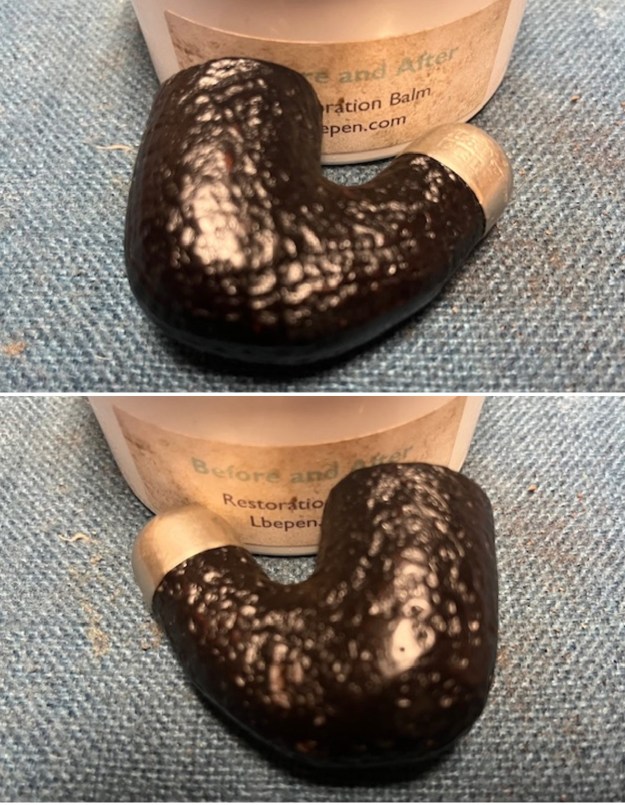
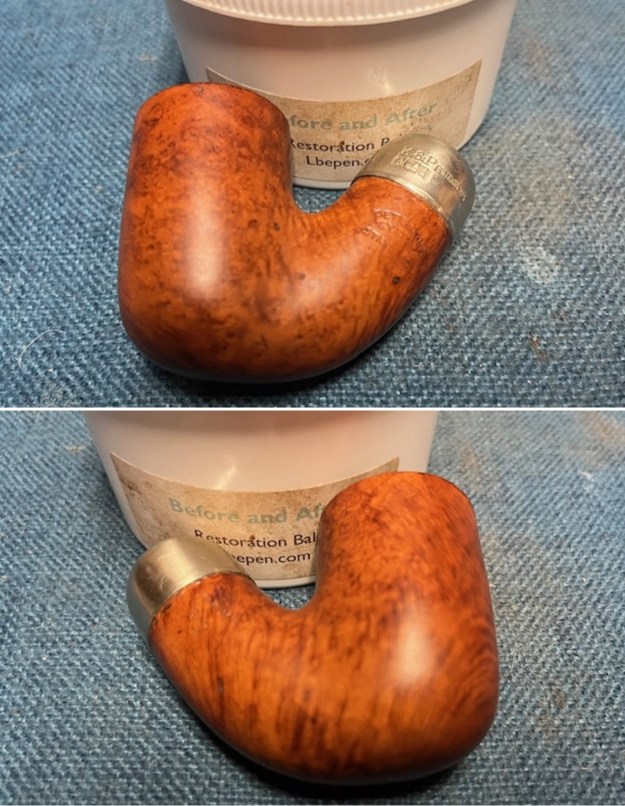
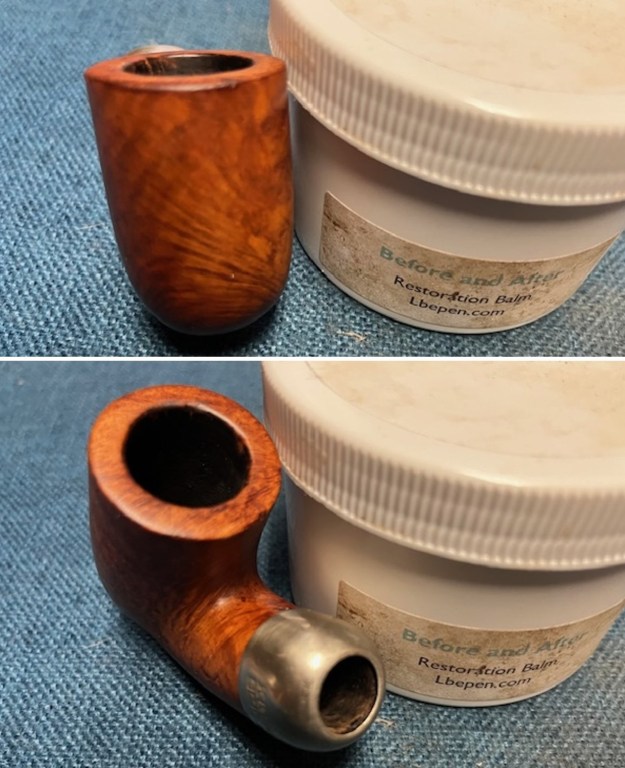
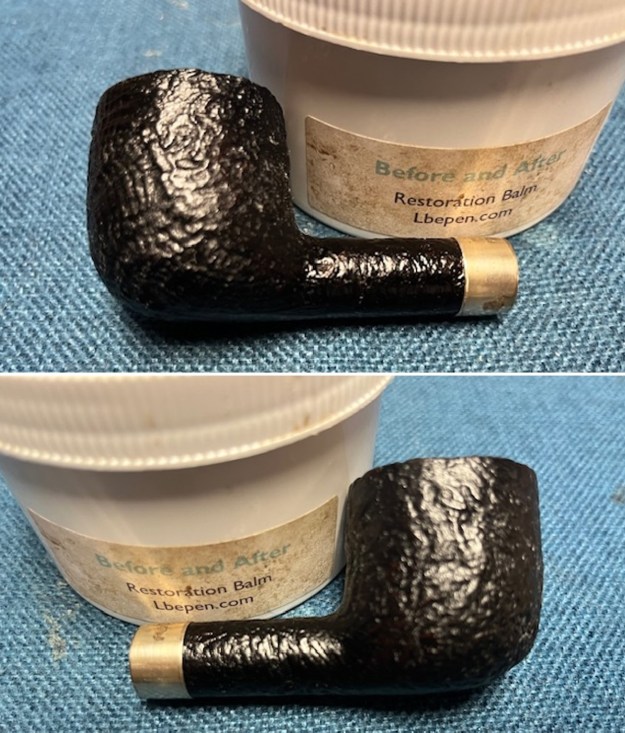
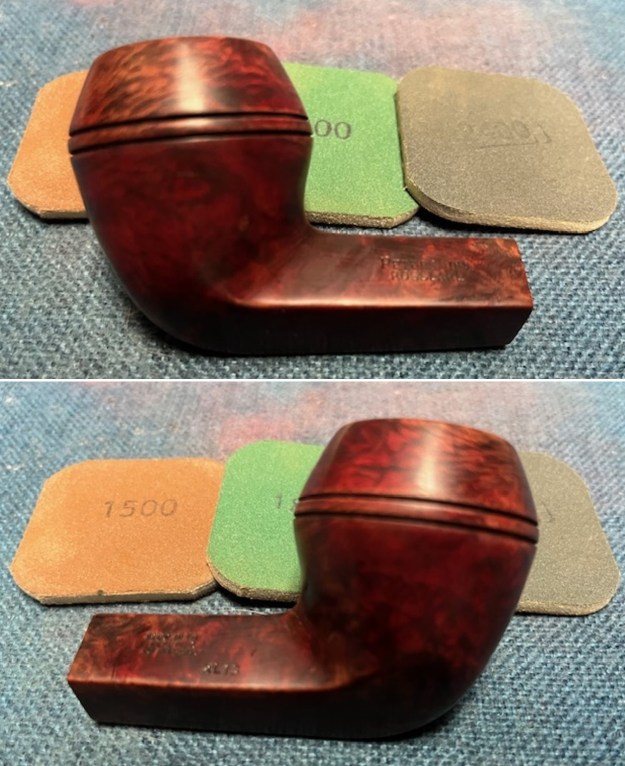
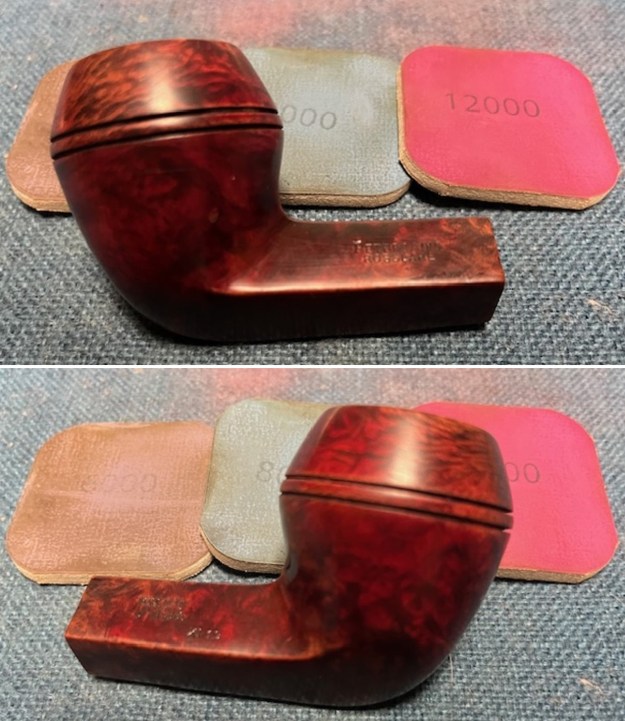
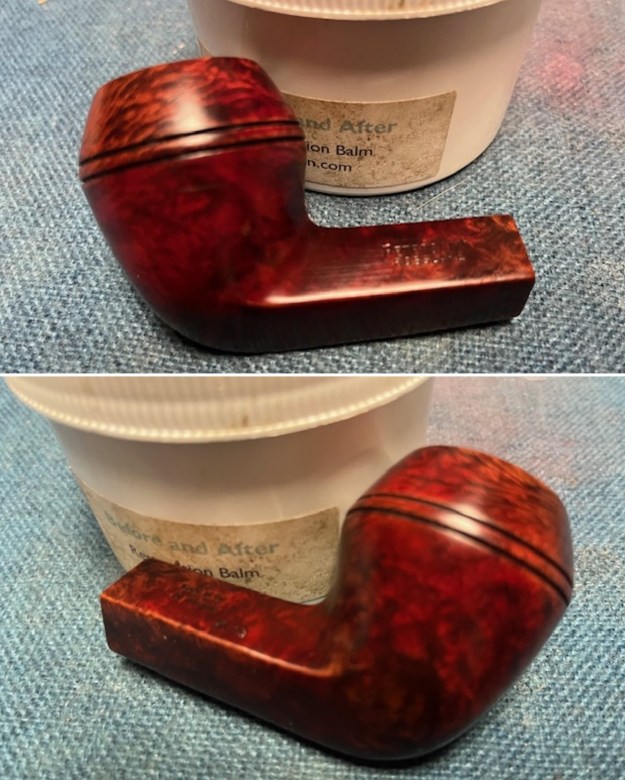
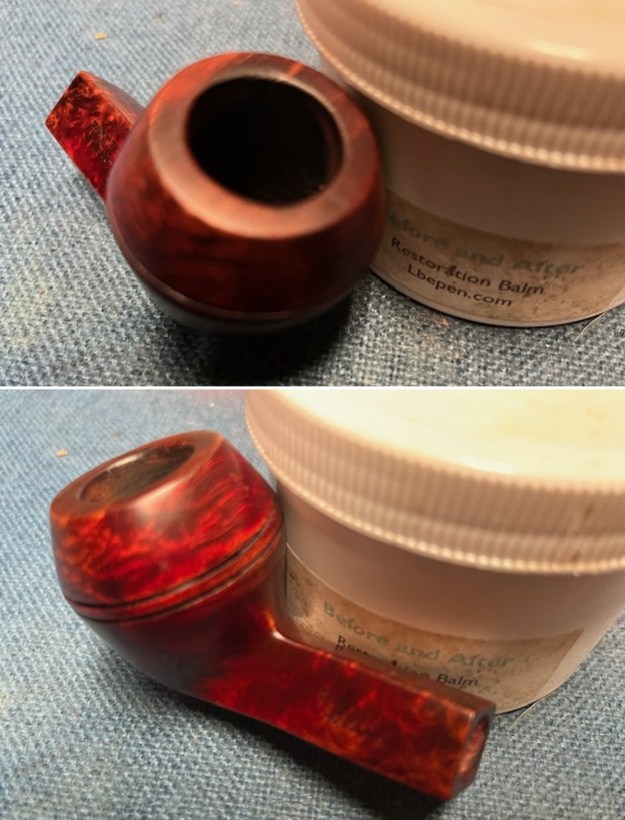
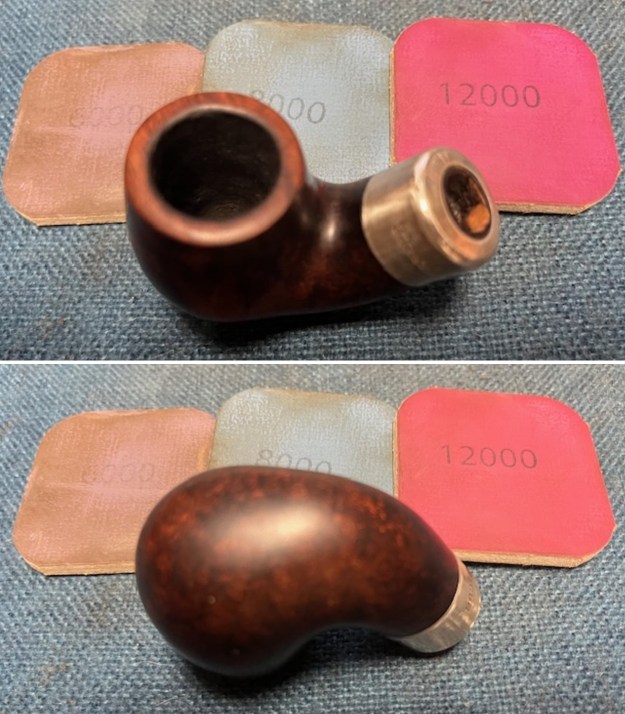
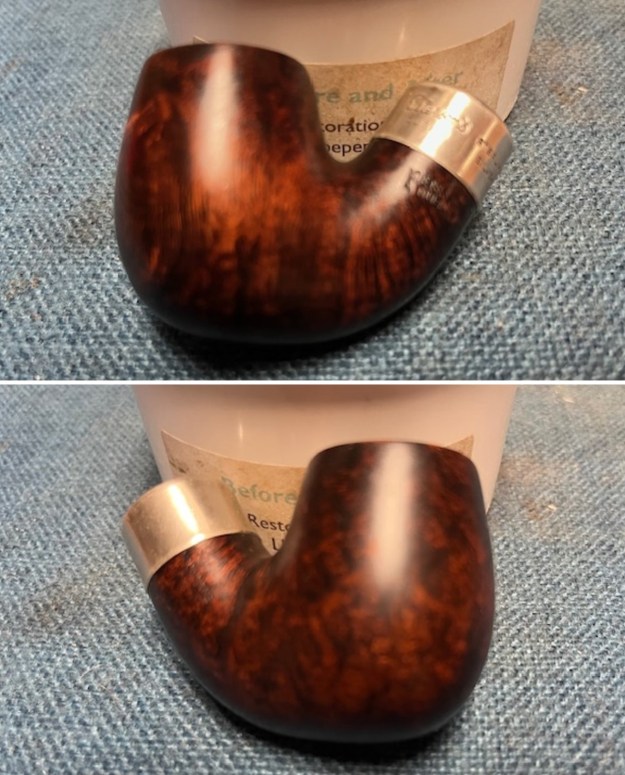
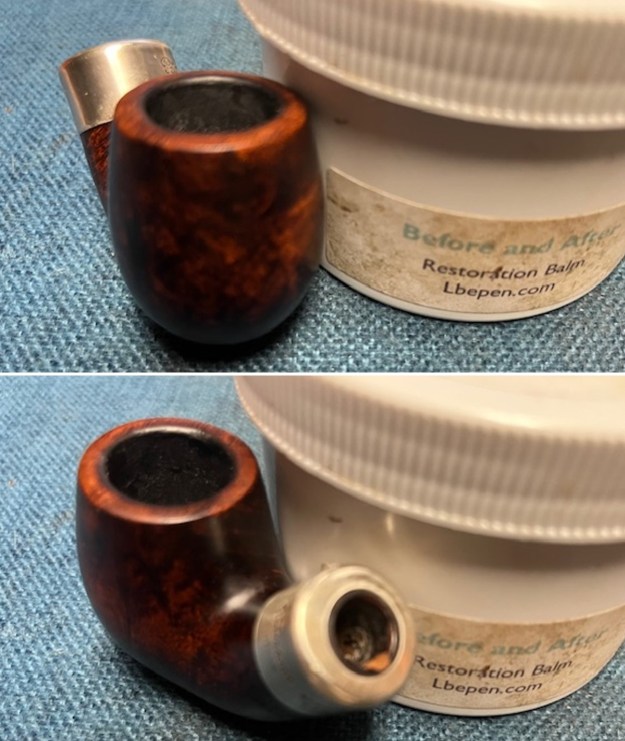
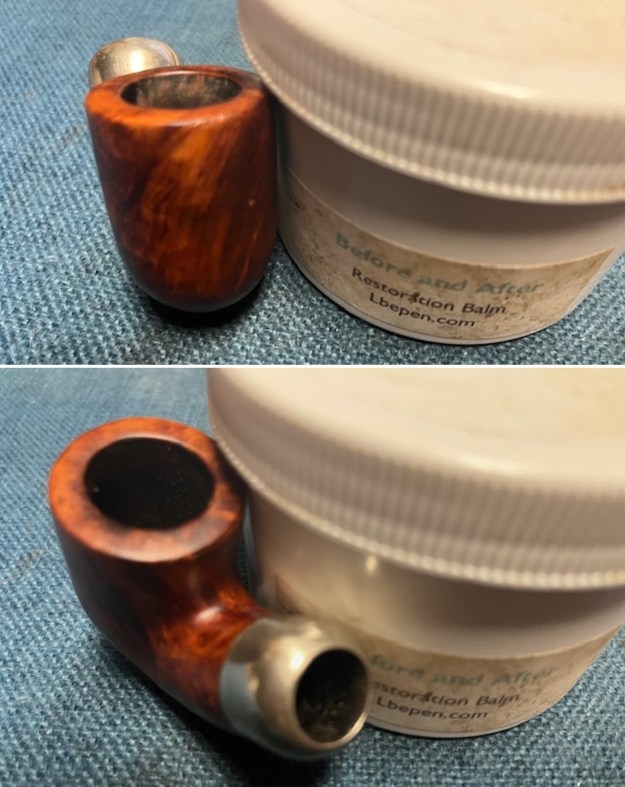
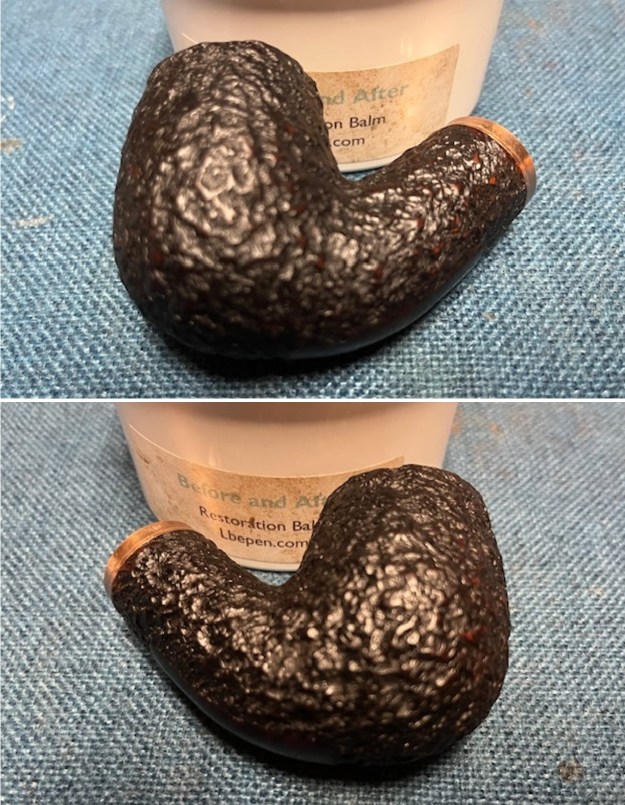
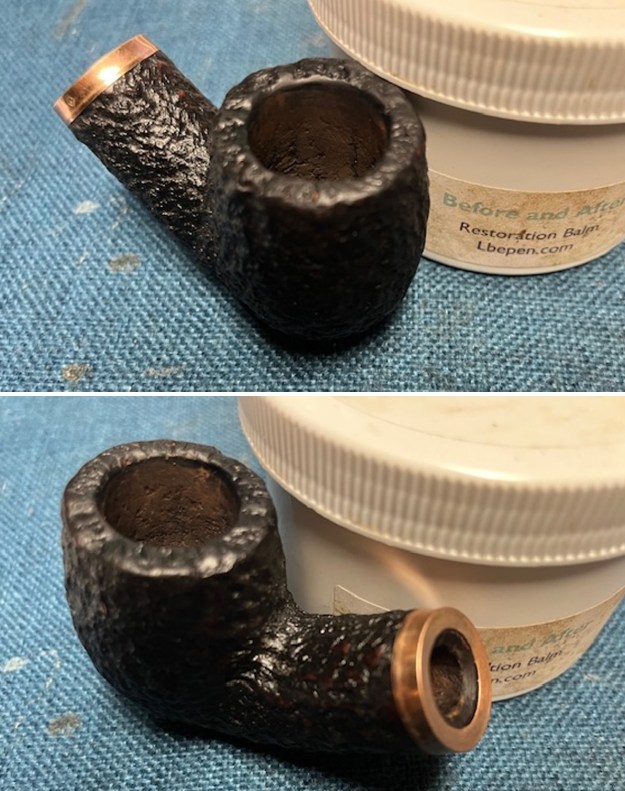
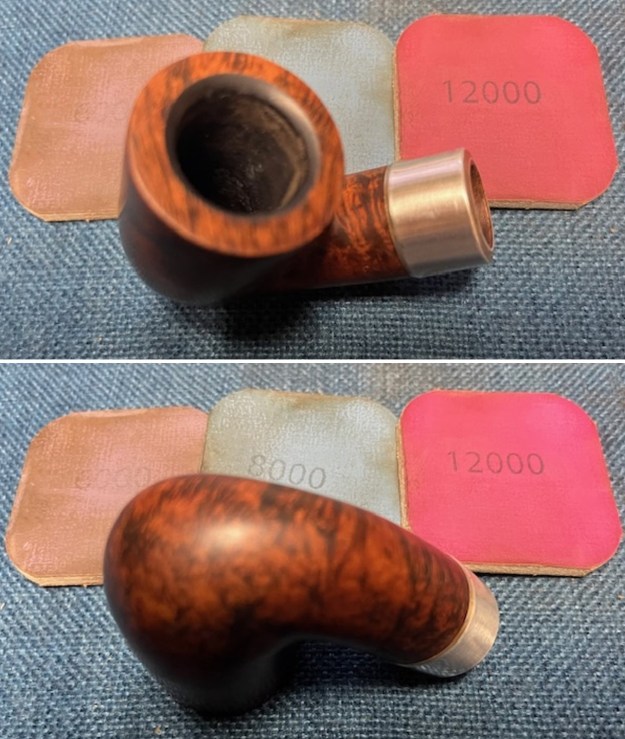
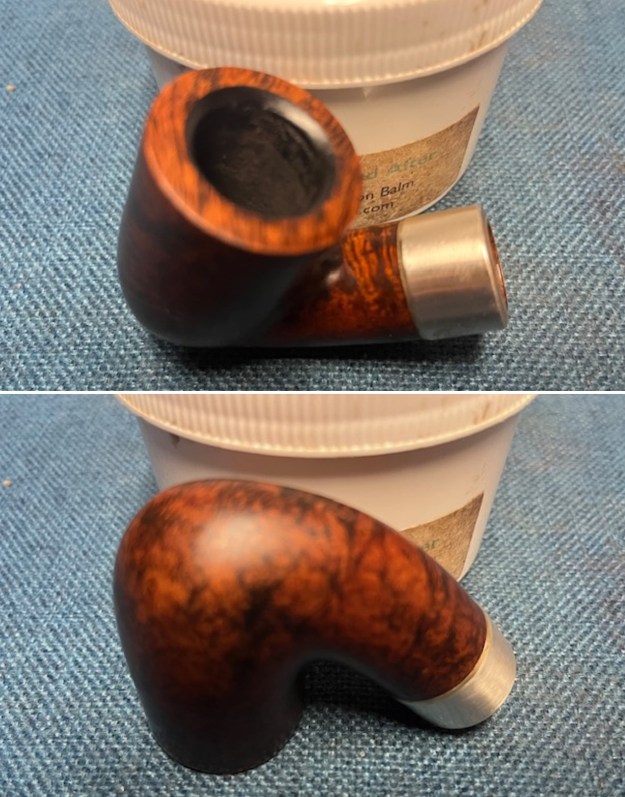
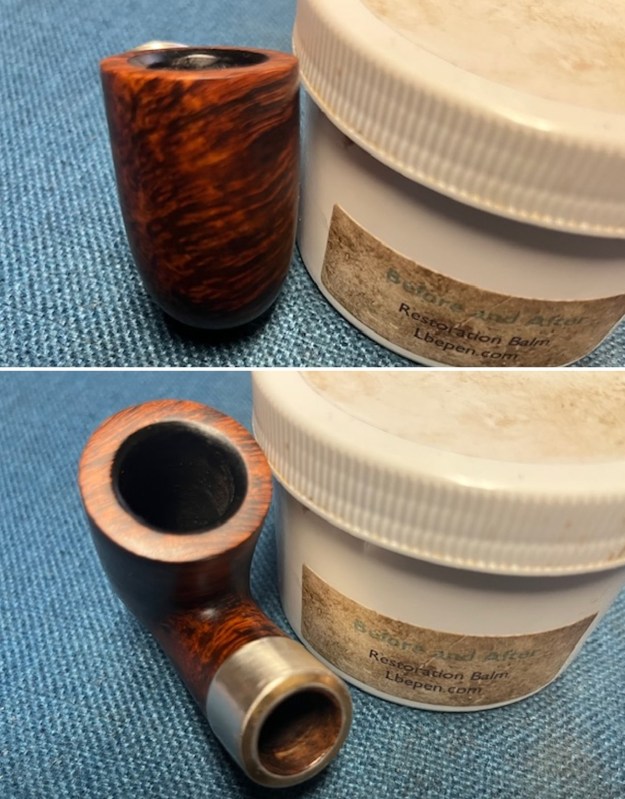
 I rubbed the briar down with Before & After Restoration Balm. I worked it into the briar with my fingertips to work it into the finish. The product works to clean, enliven and preserve the briar. I let it sit for 10 minutes then I buffed it with a cotton cloth to deepen the shine. The briar really comes alive with the balm.
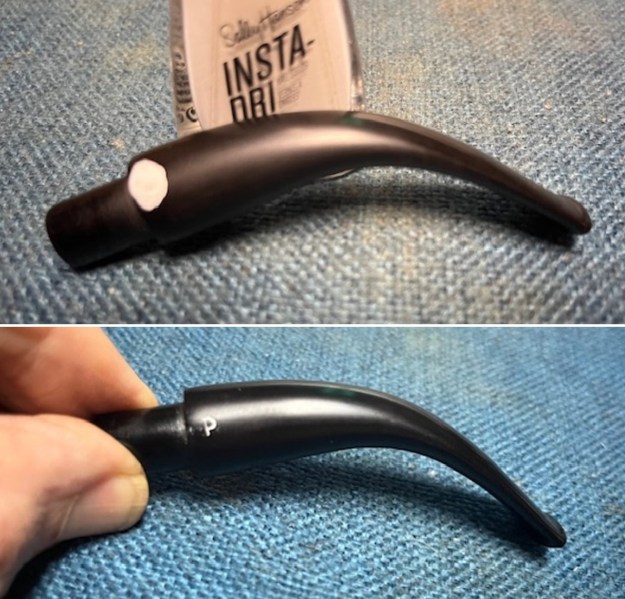
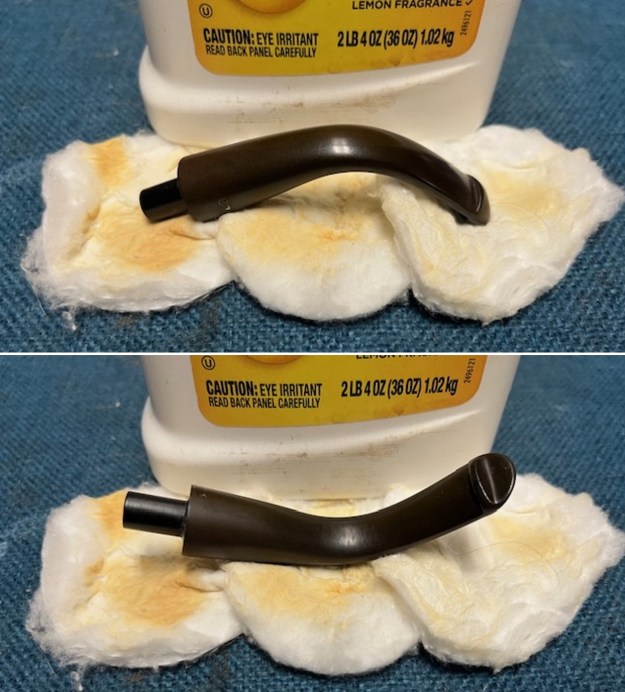
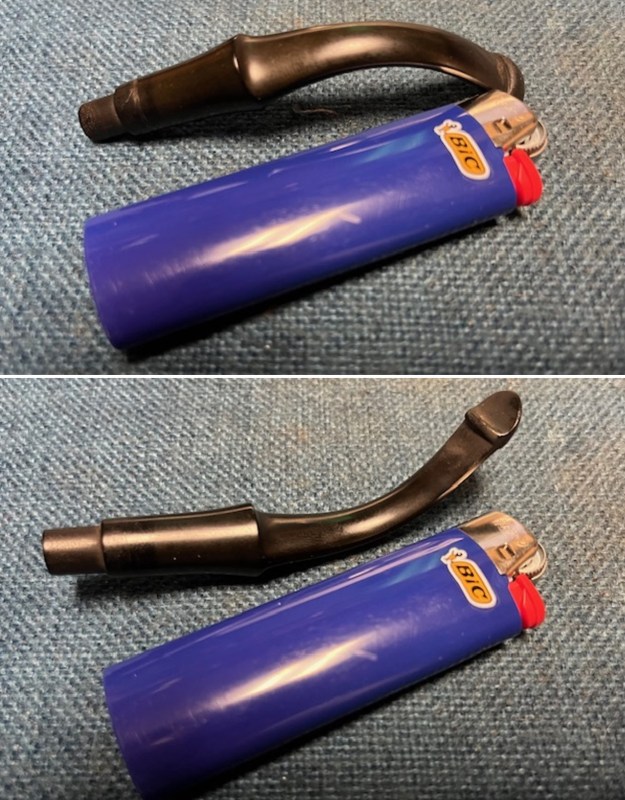
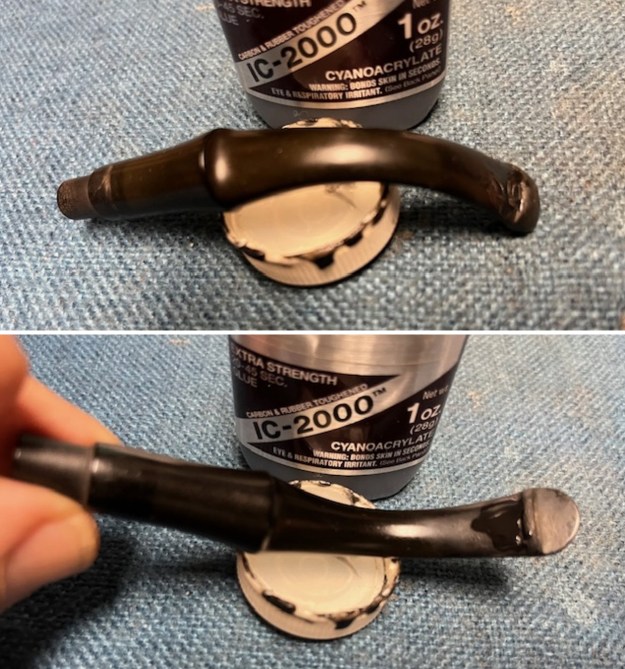
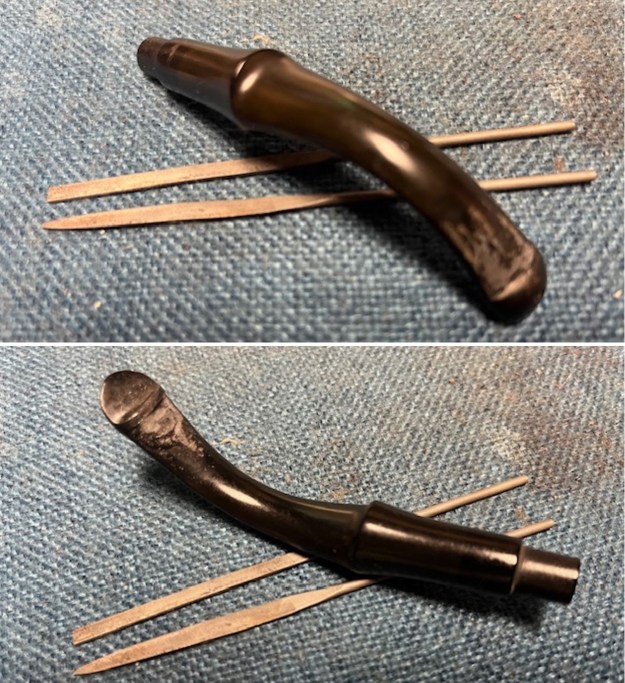
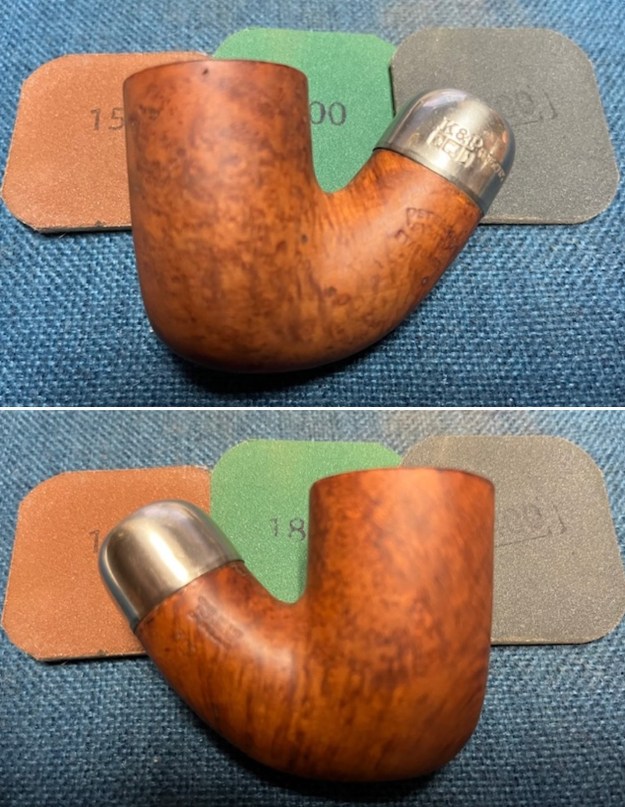
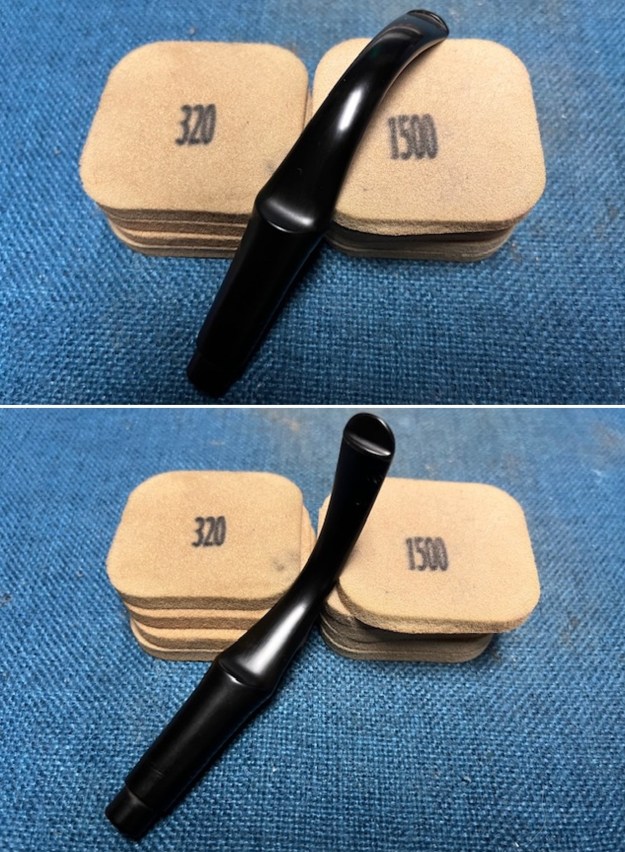
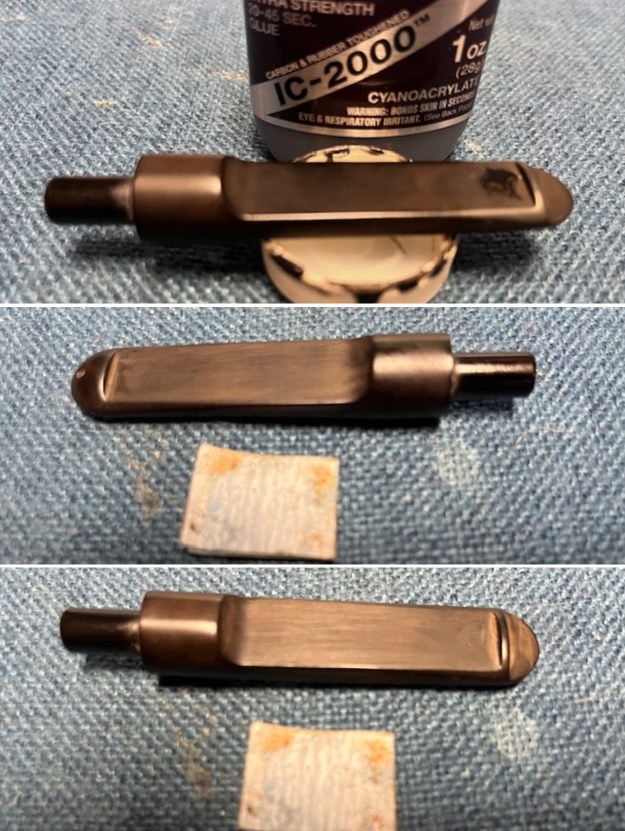
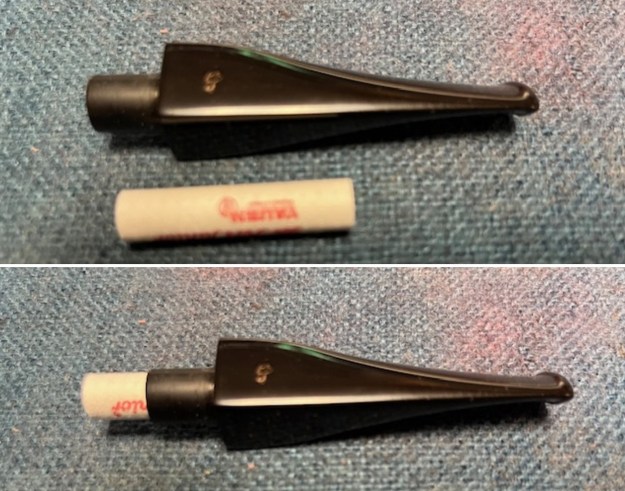
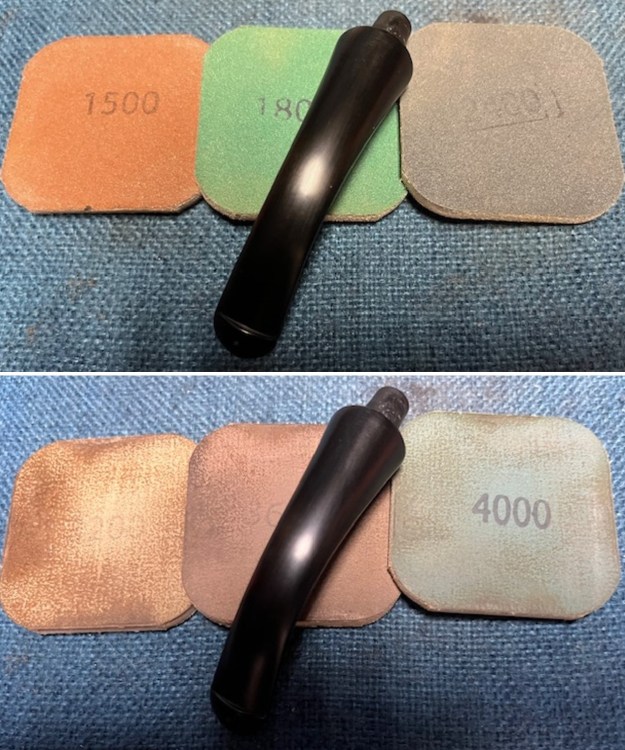
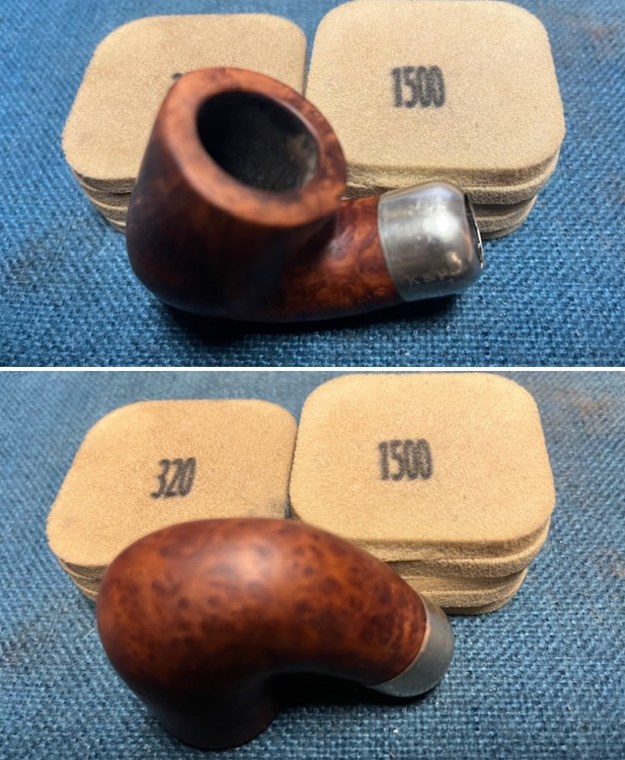
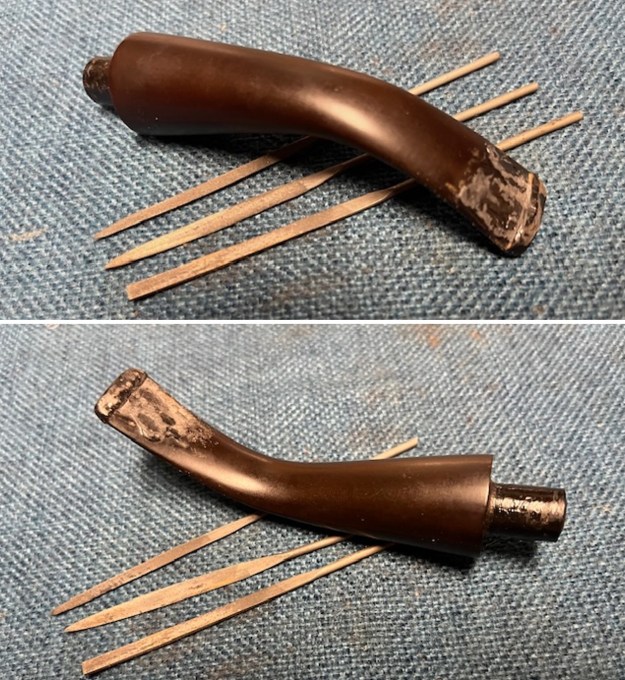
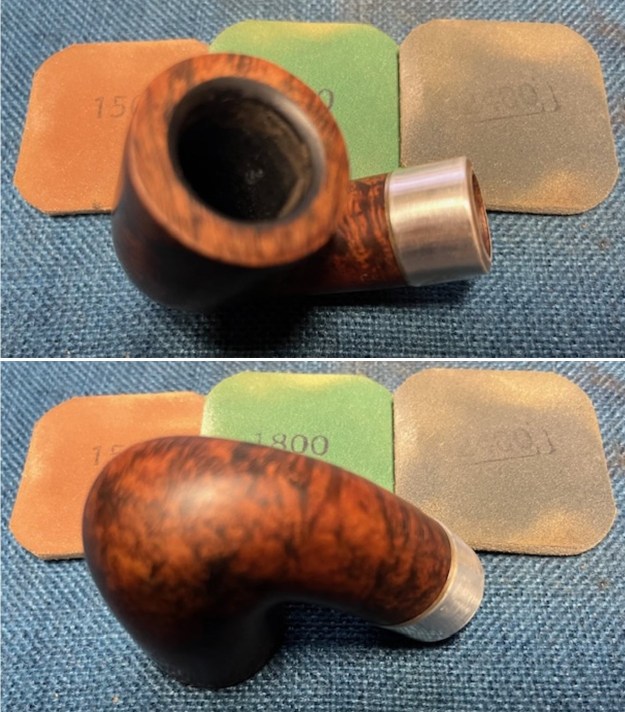
 I set the bowl aside and worked on the stem. I sanded the surface of the stem with a folded piece of 220 grit sandpaper to remove the oxidation and clean up the tooth marks and chatter on both sides of the stem ahead of the button. Once finished I put the chimney back in the tenon.
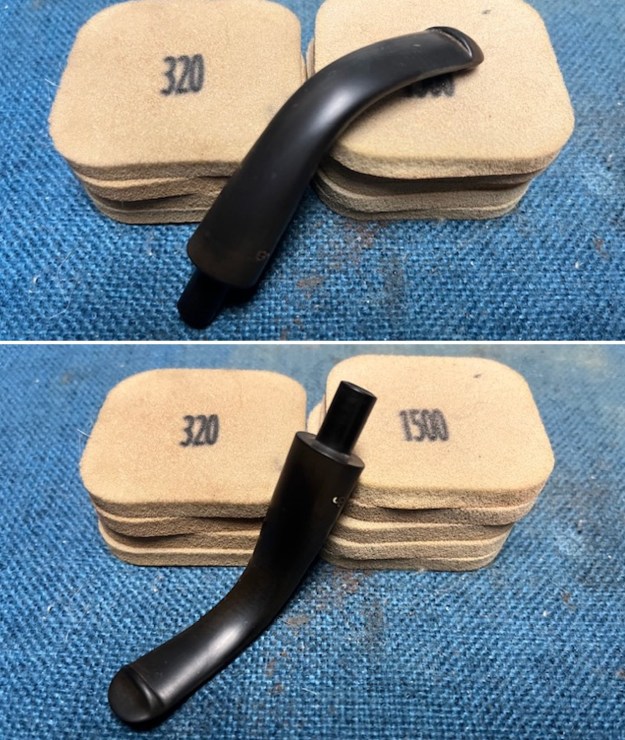
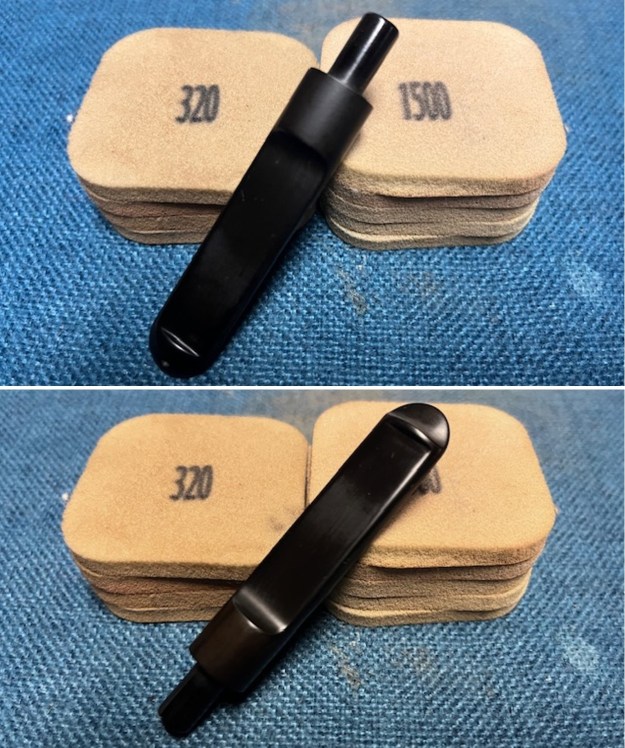
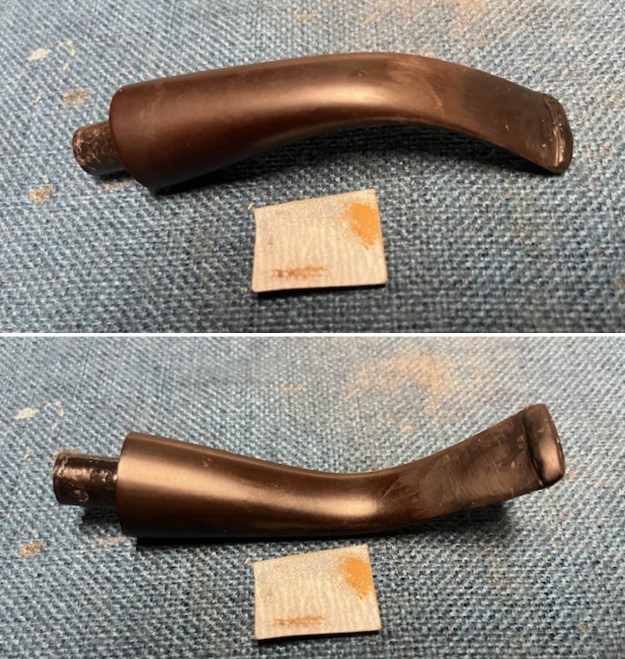
 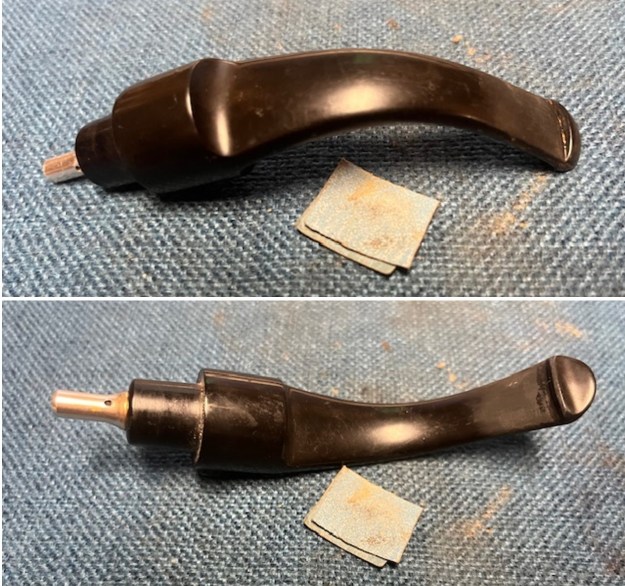 I sanded the stem with 320-3500 grit 2×2 inch pads. I wiped the stem down with an Obsidian Oil cloth after each sanding pad.
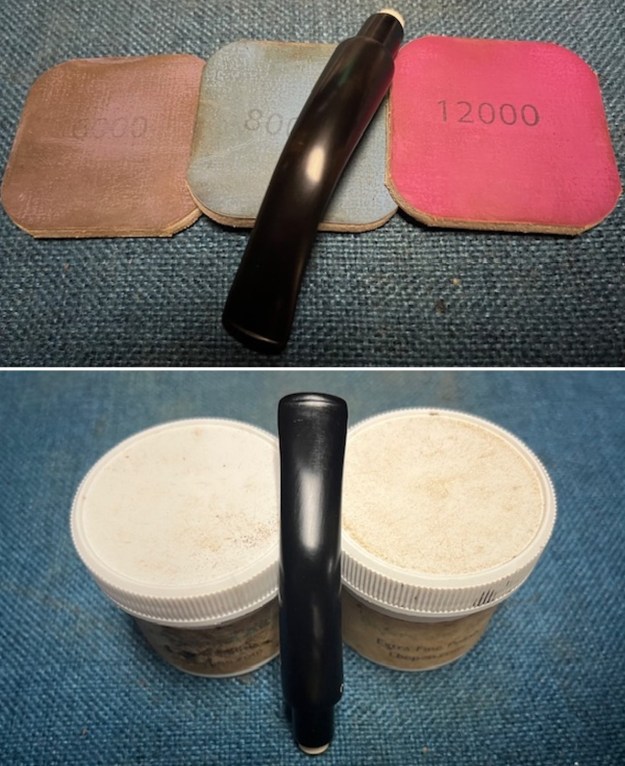
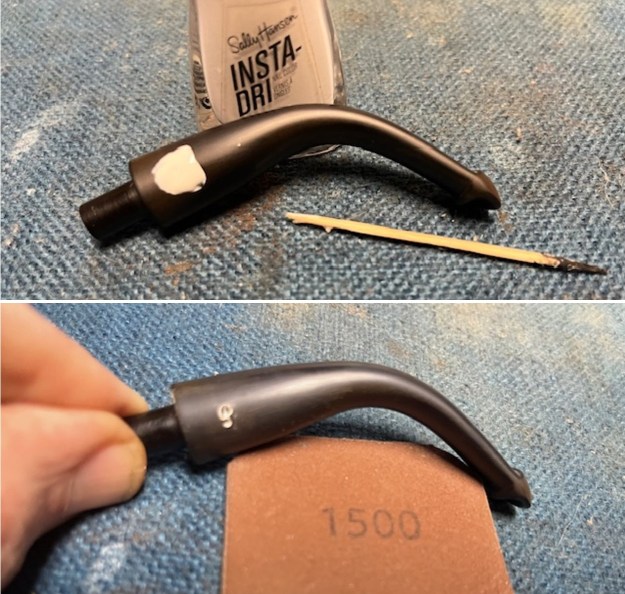
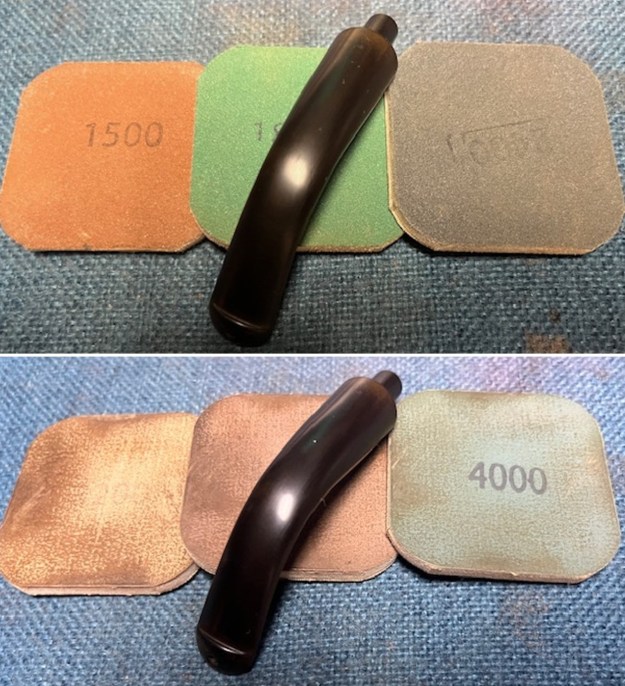
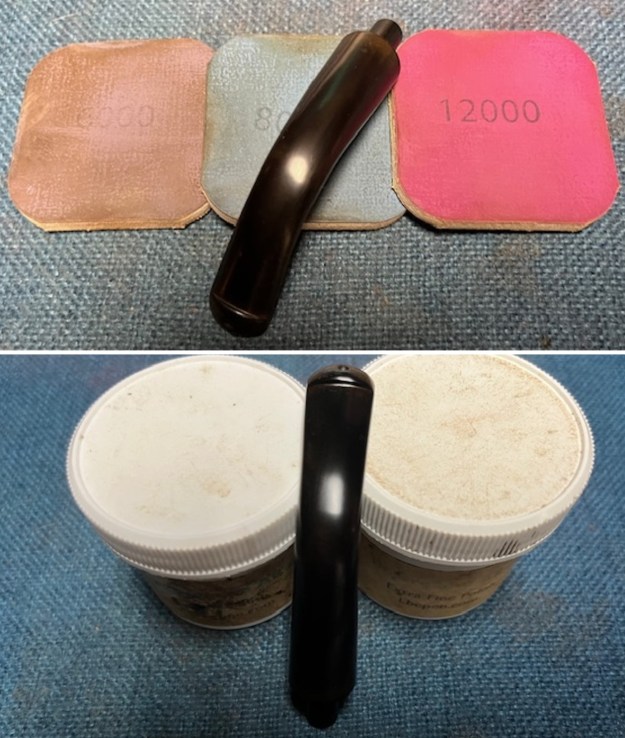
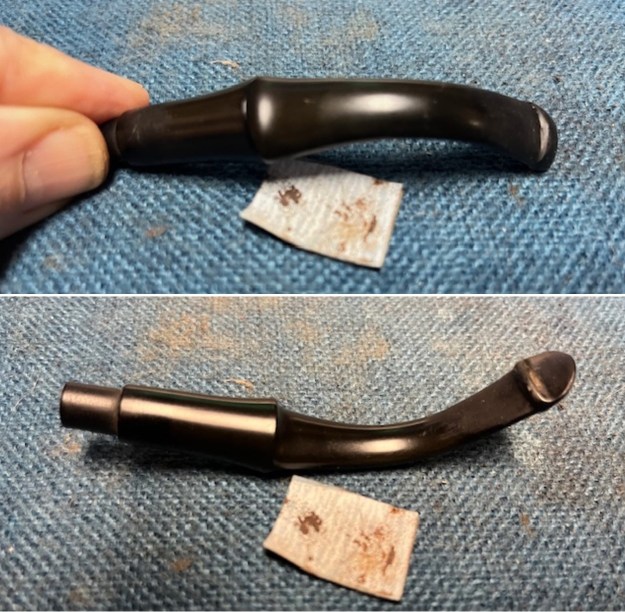
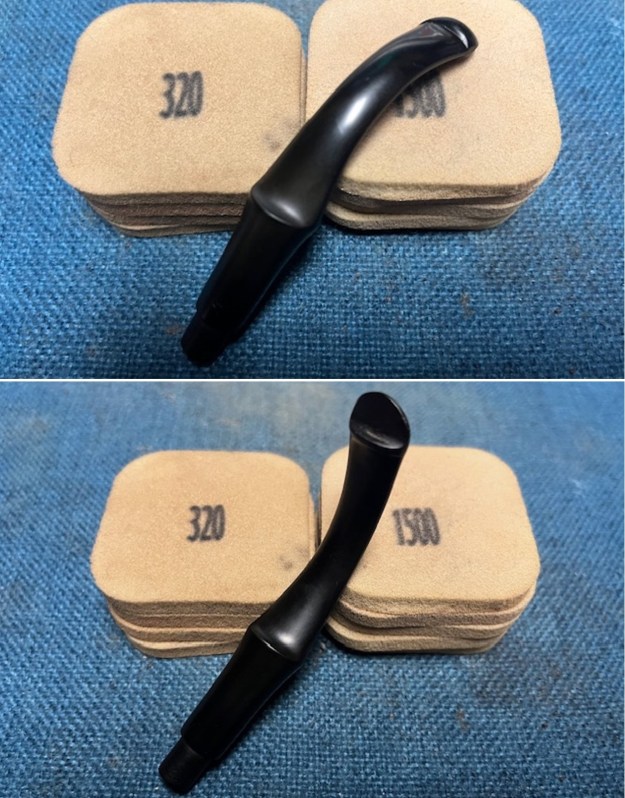
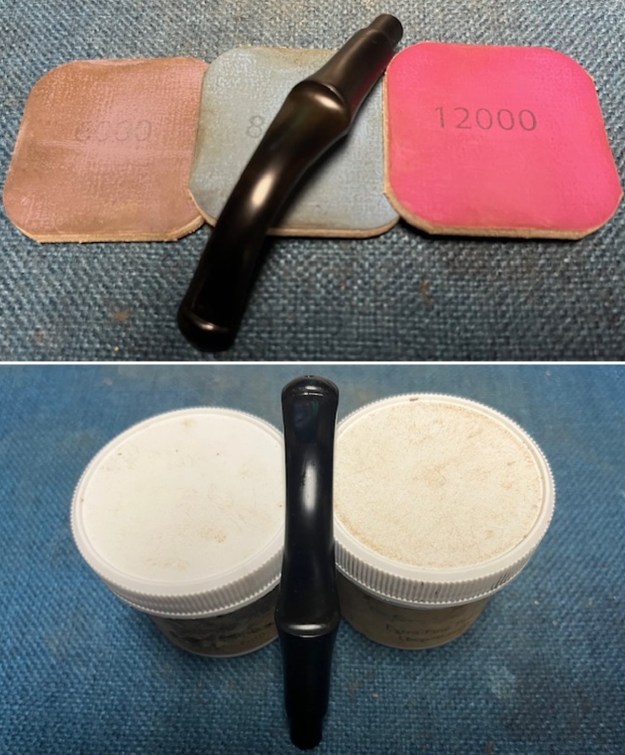
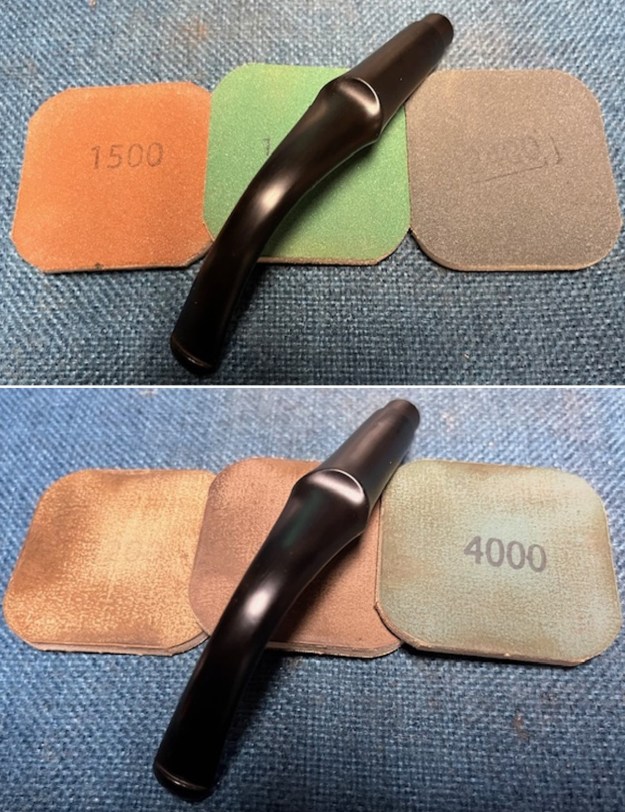
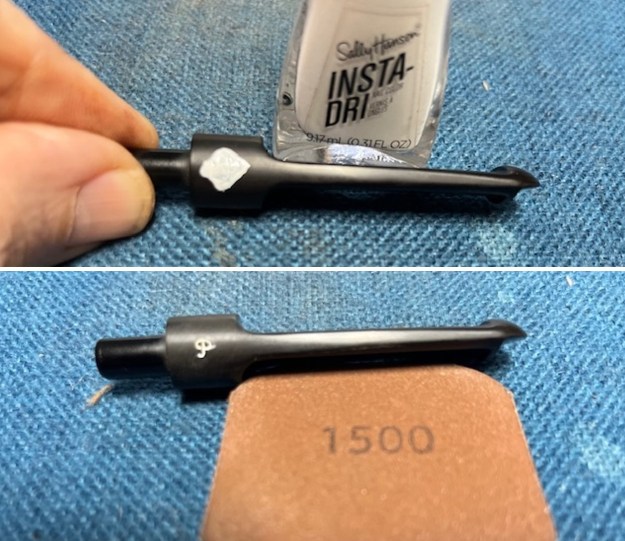
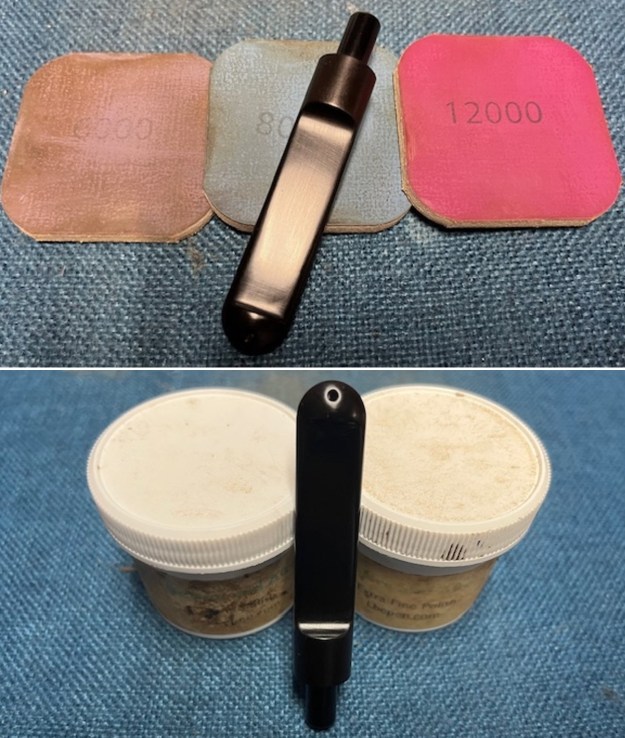
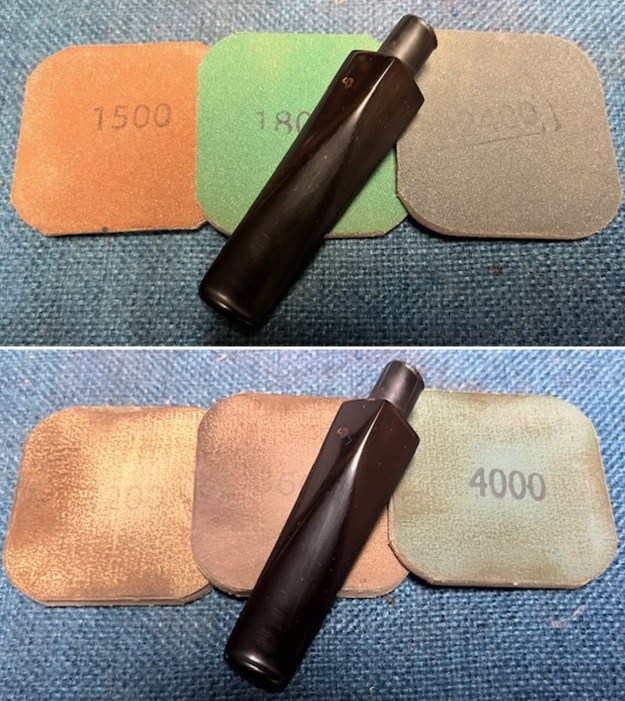
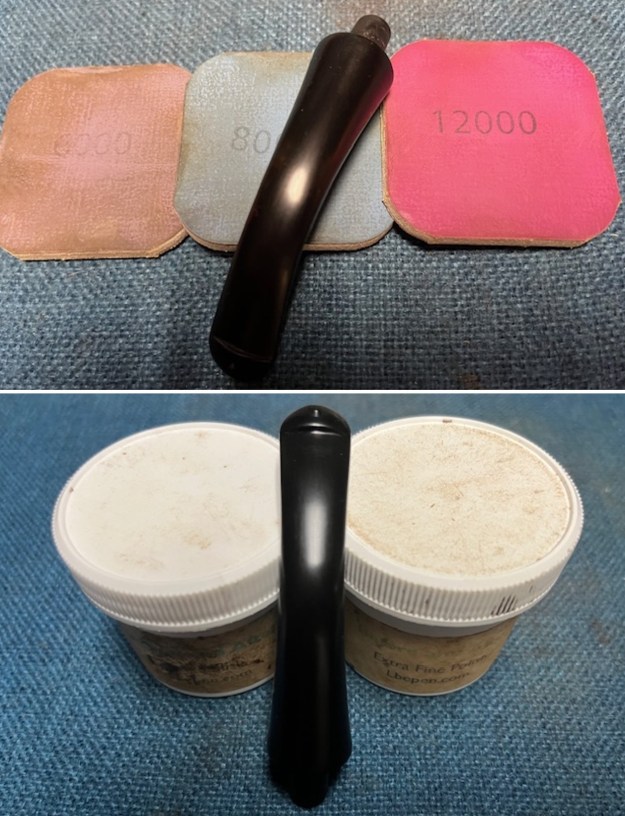
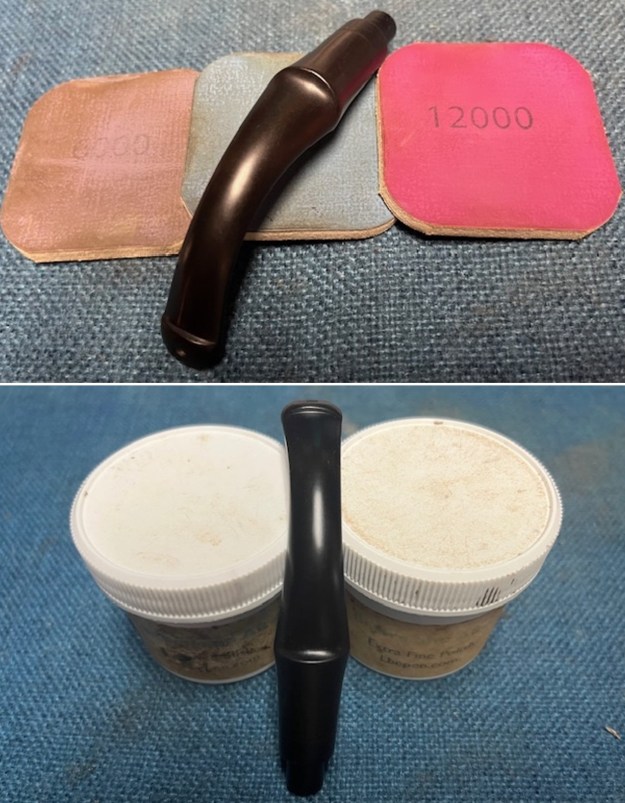
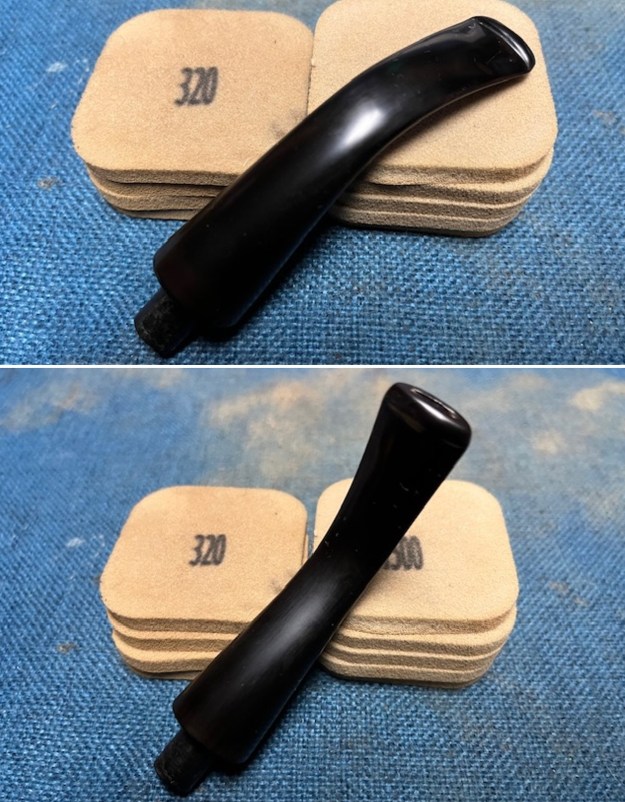
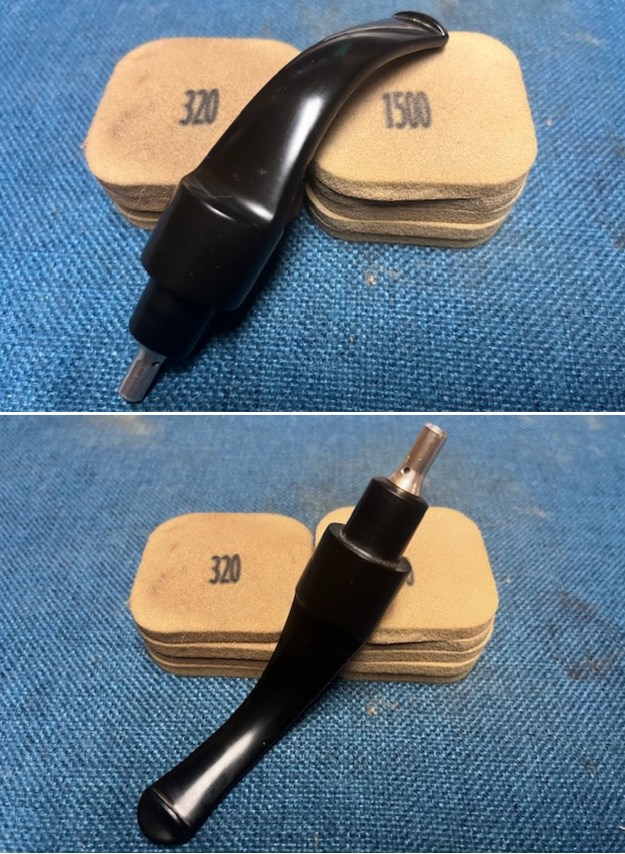 I polished the vulcanite with micromesh sanding pads – 1500-12000 grit pads. I wiped it down with Obsidian Oil after each sanding pad. I used Before & After Pipe Polish – both Fine and Extra Fine to further polish the stem.
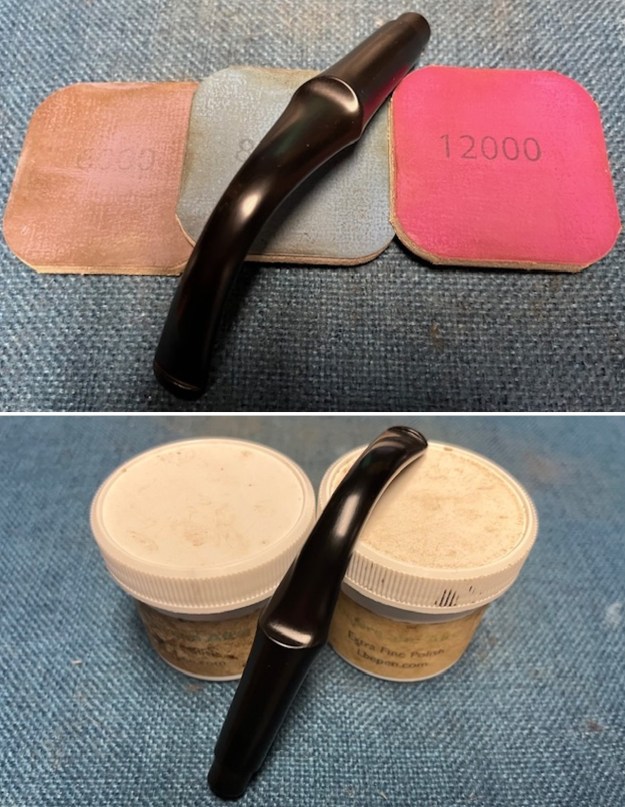
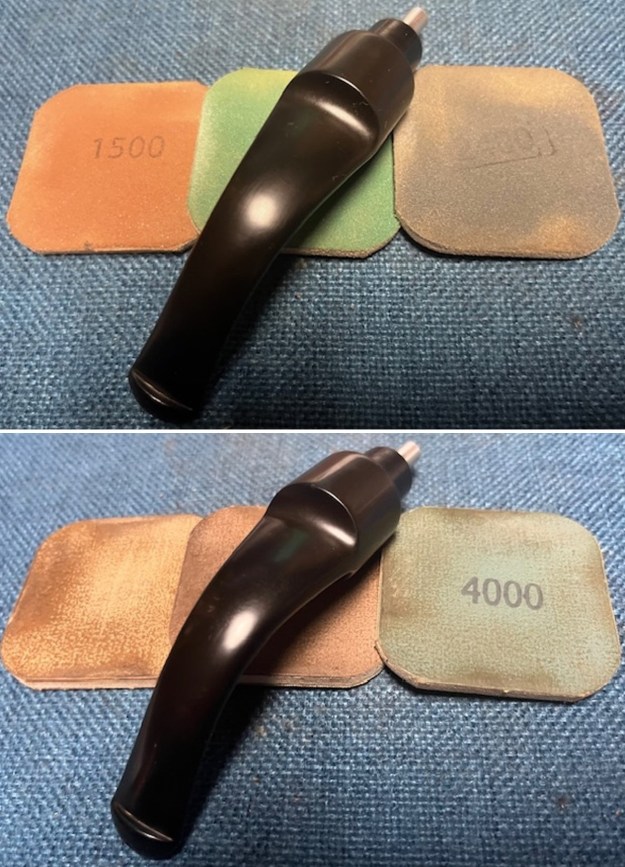
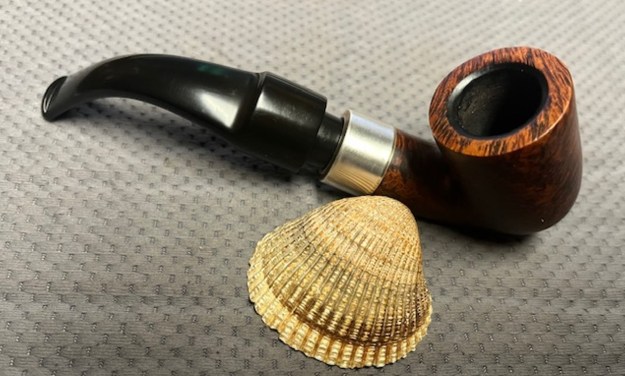
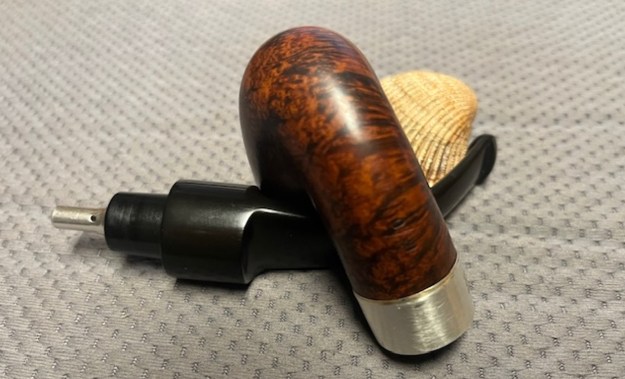
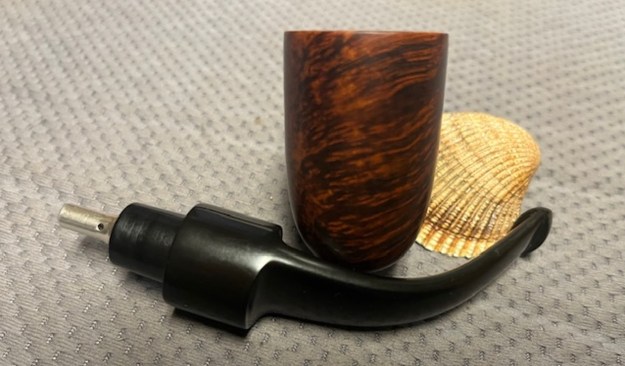
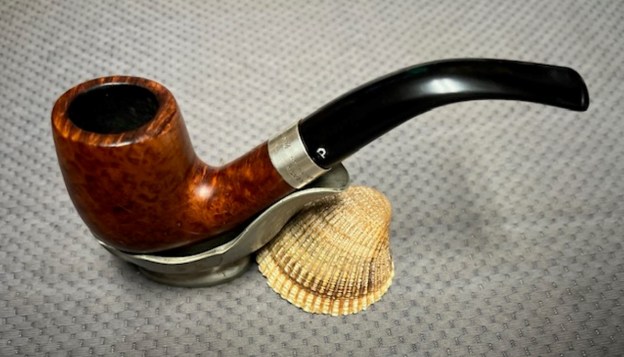
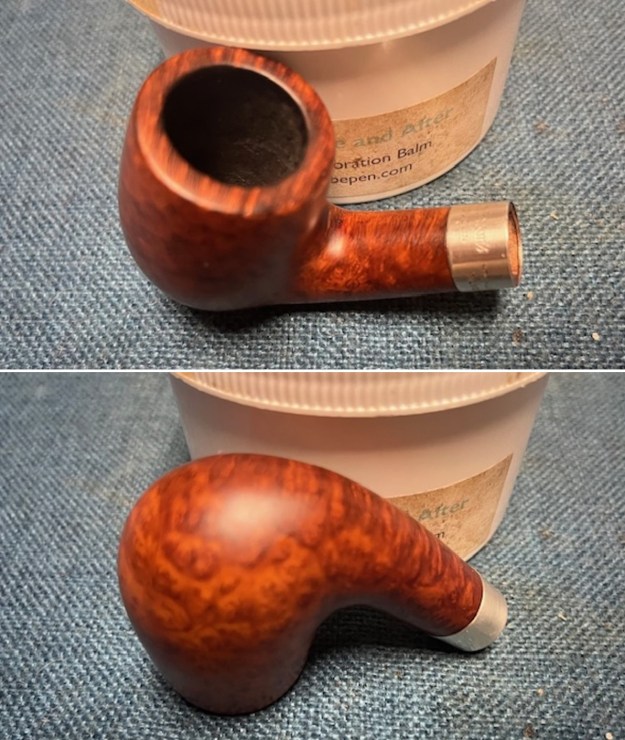
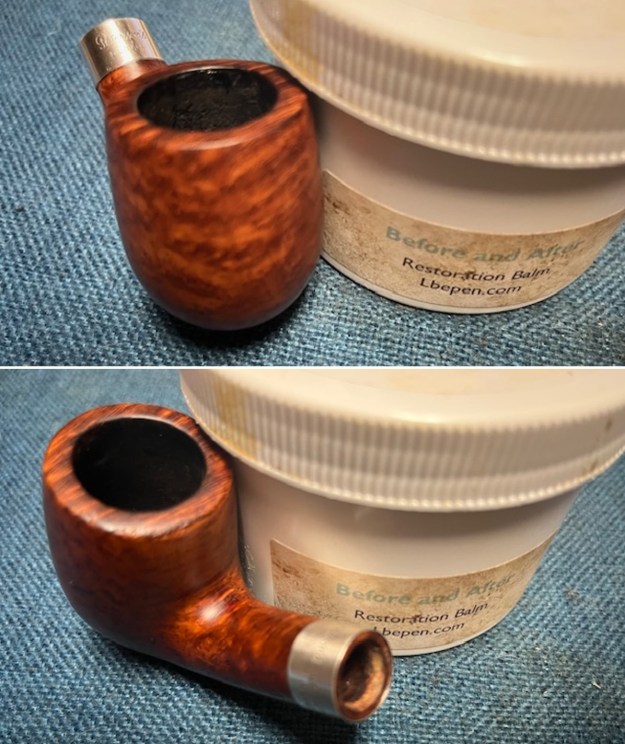
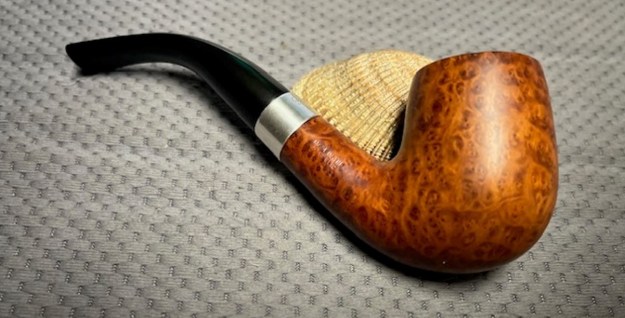
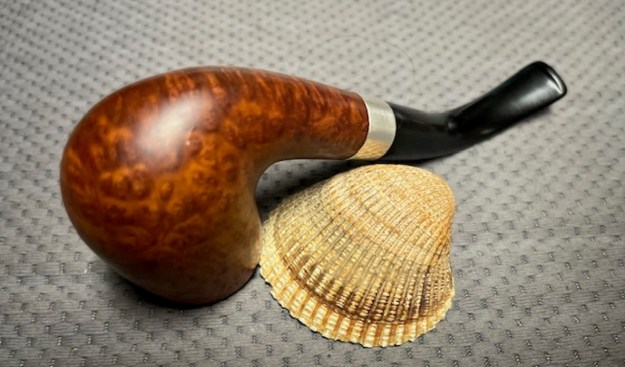
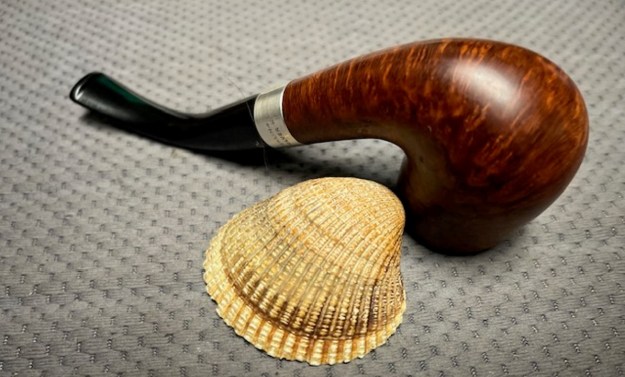
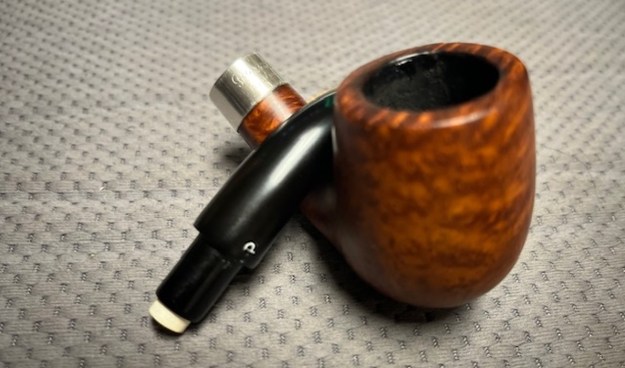
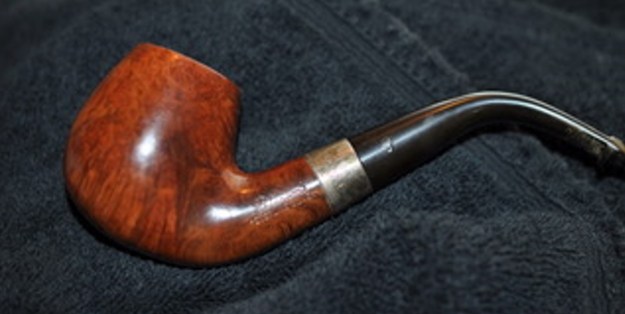
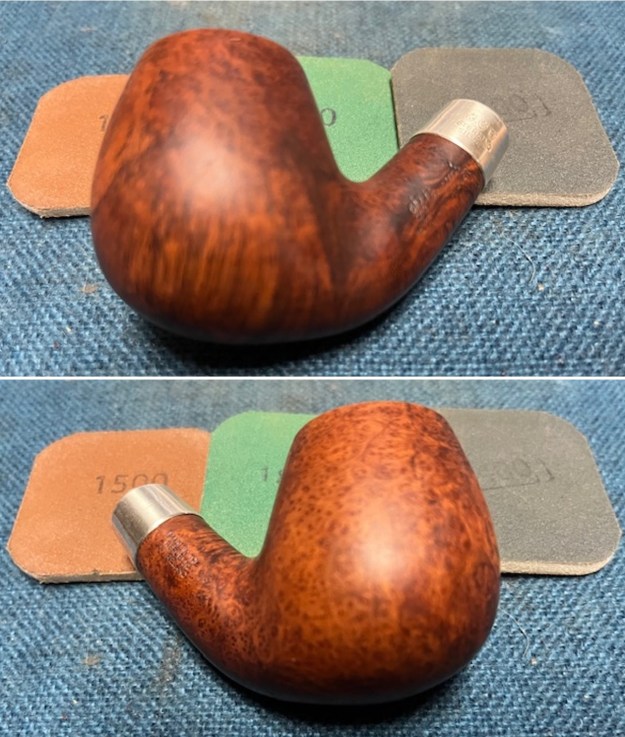
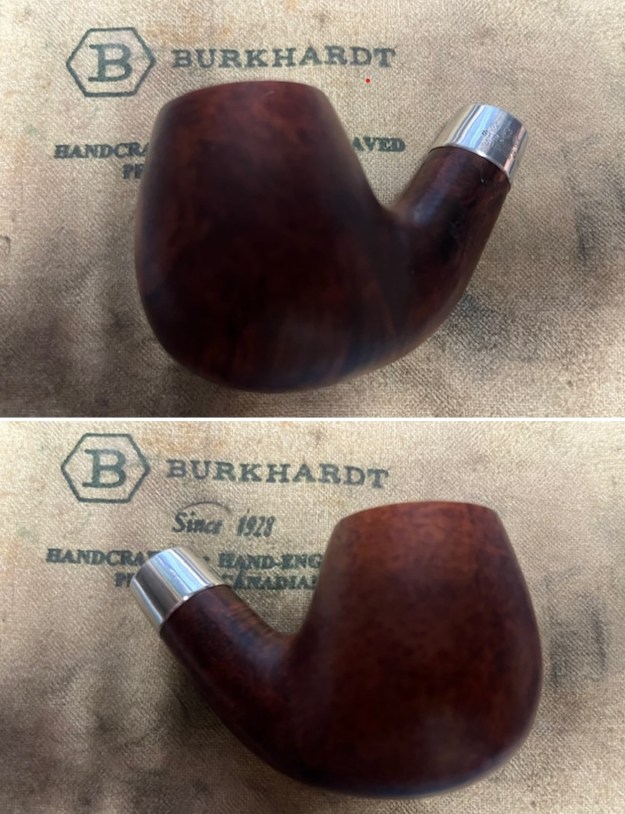
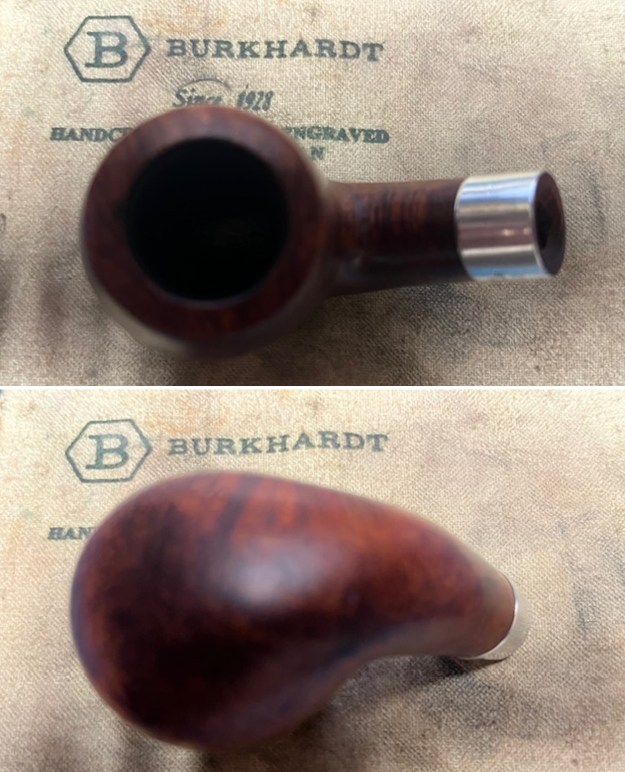
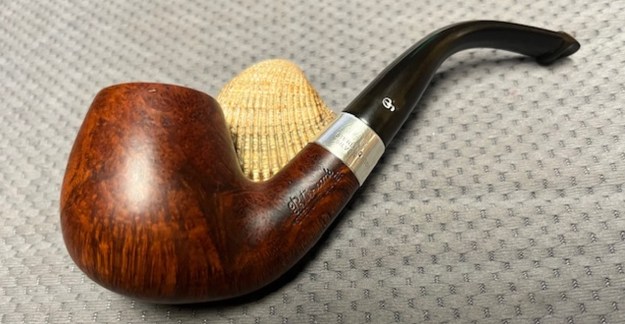
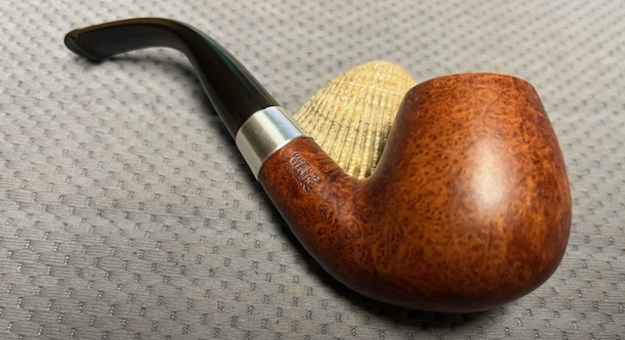
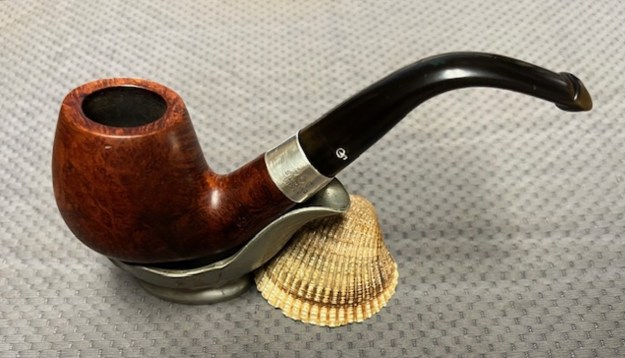
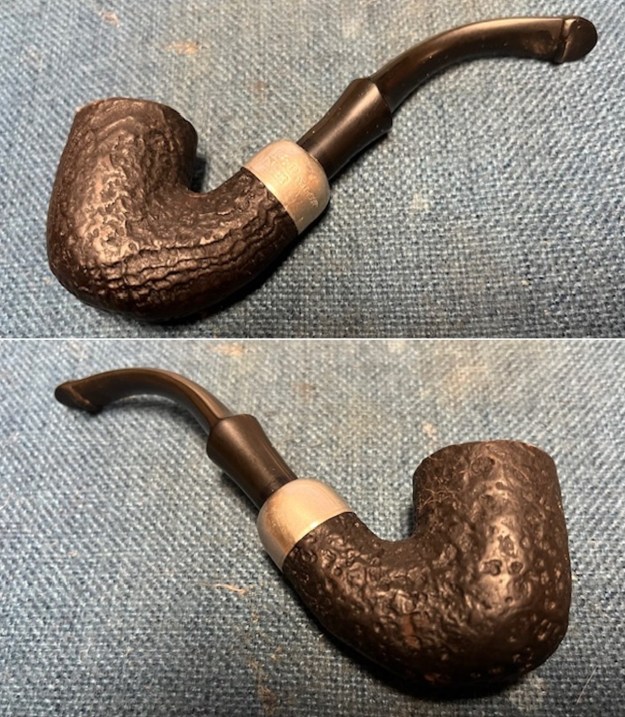
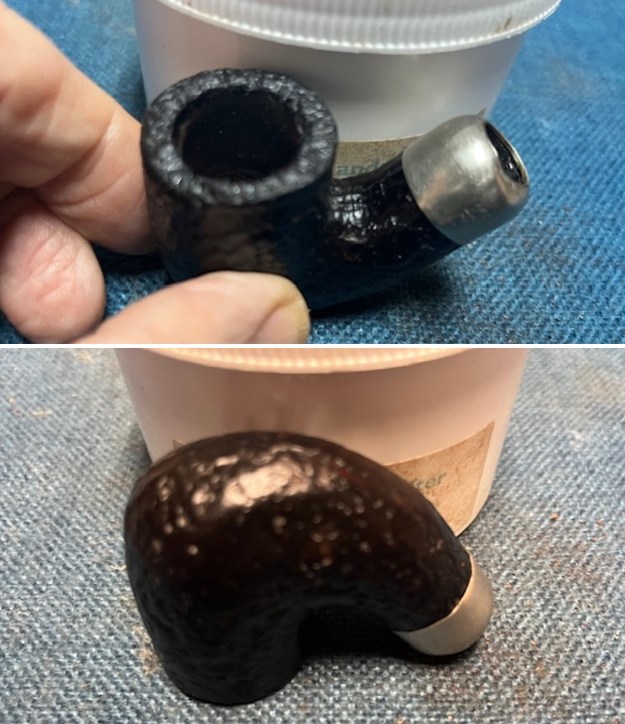
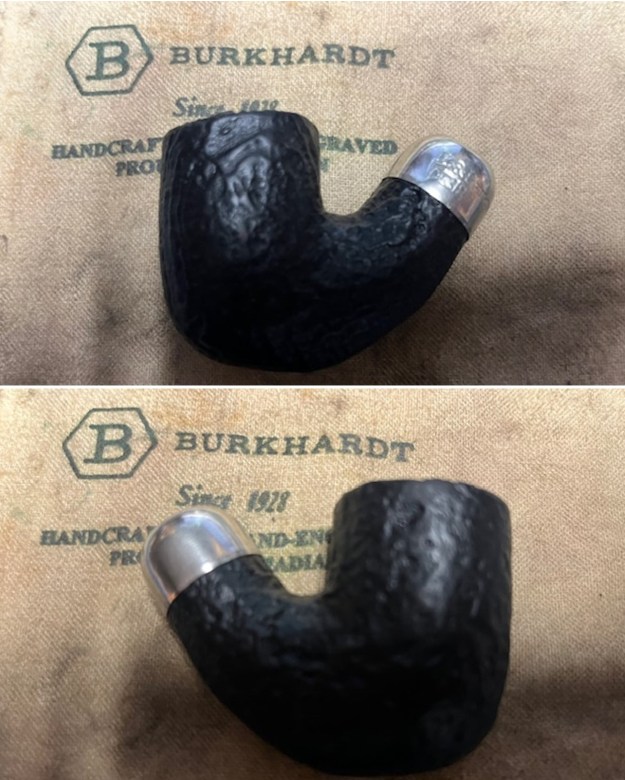
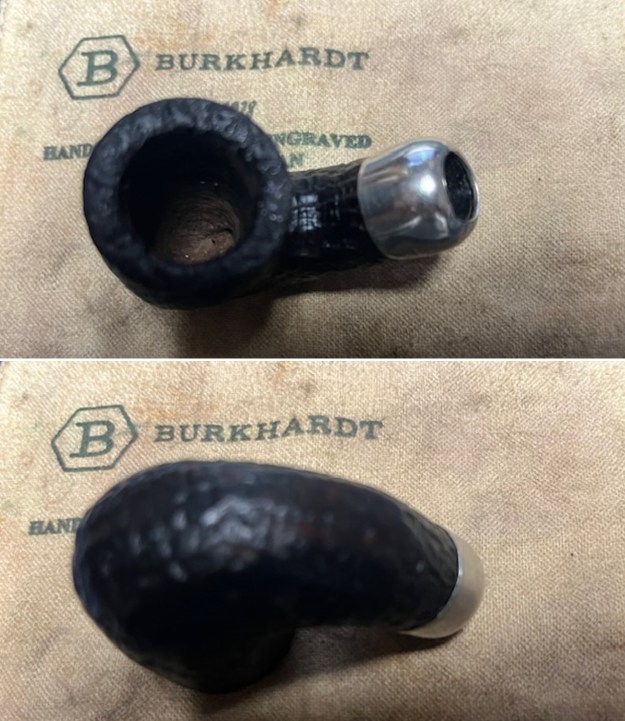
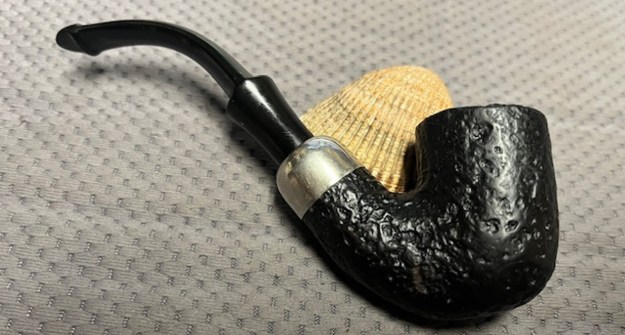
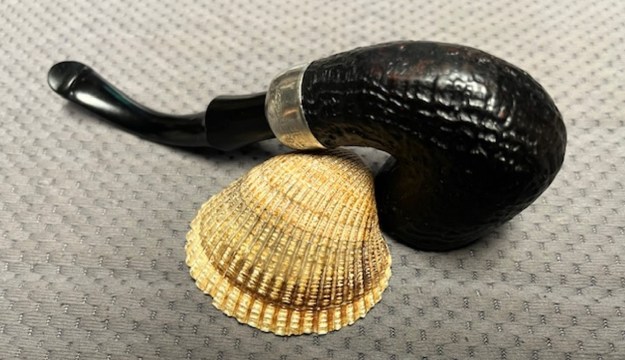
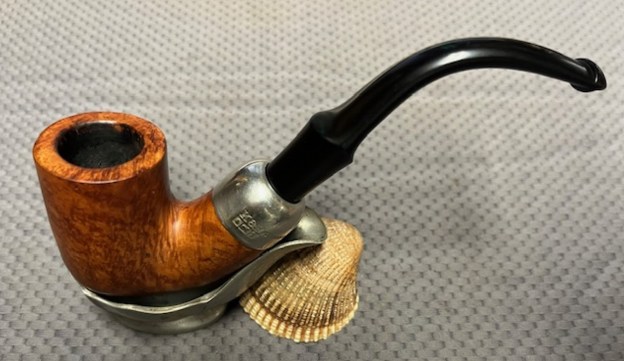
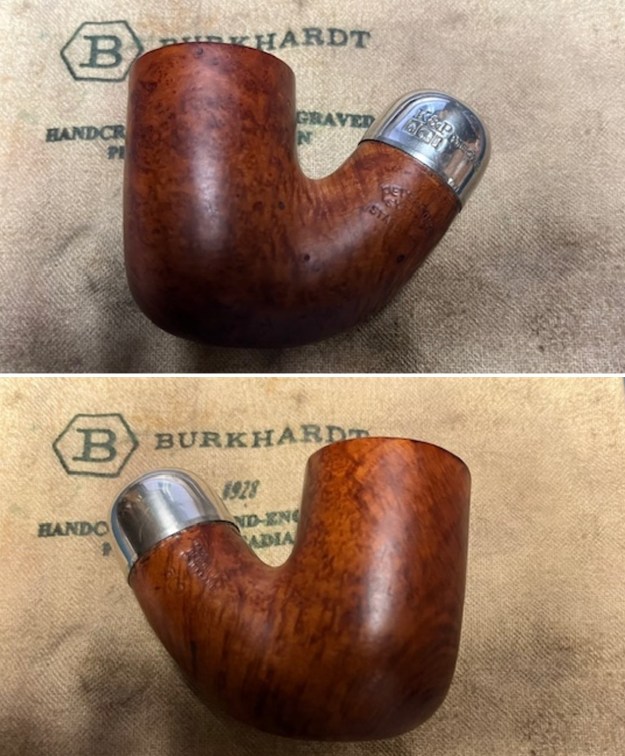
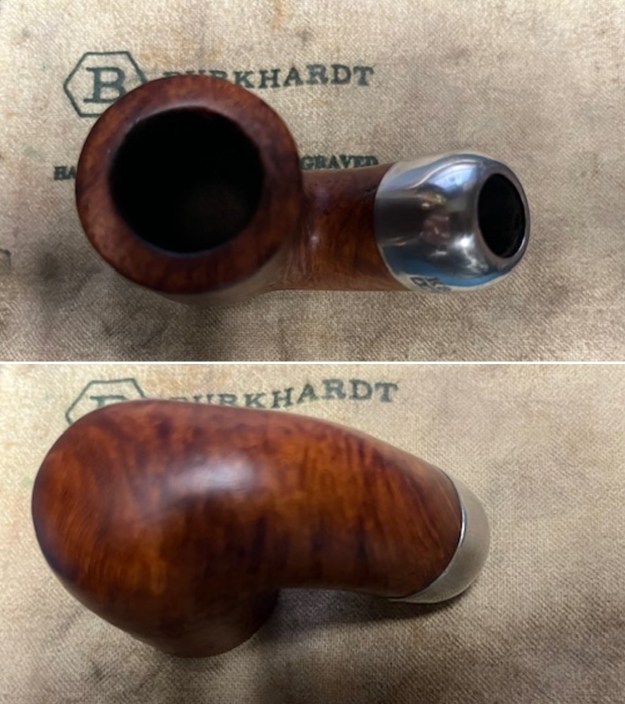
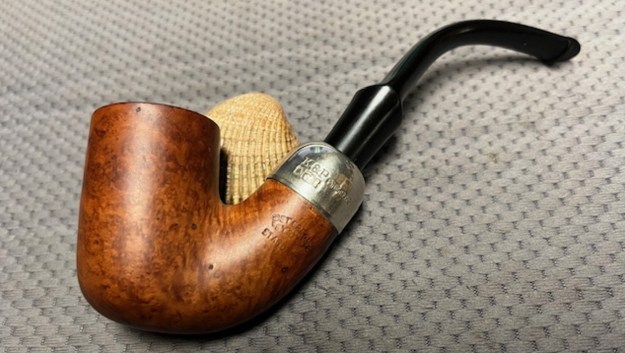
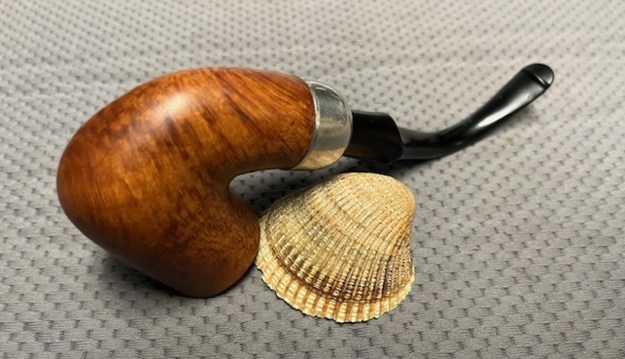
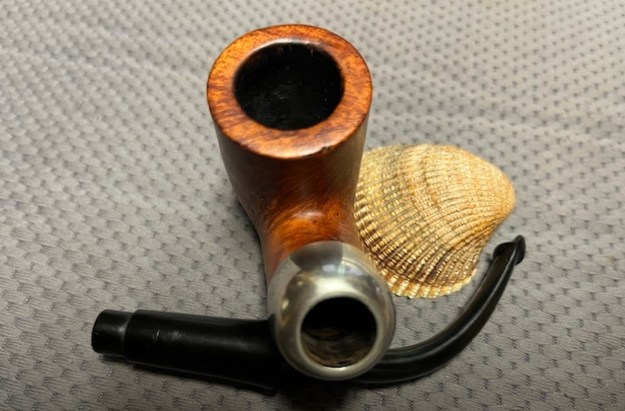
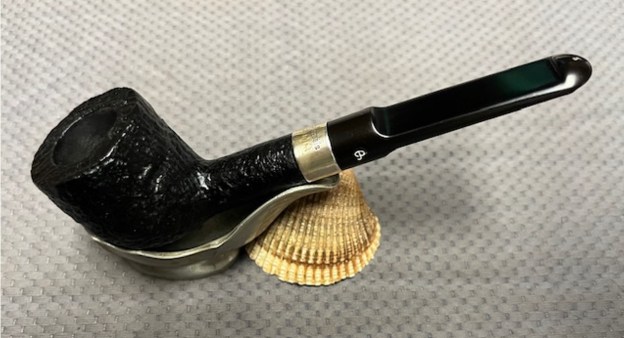
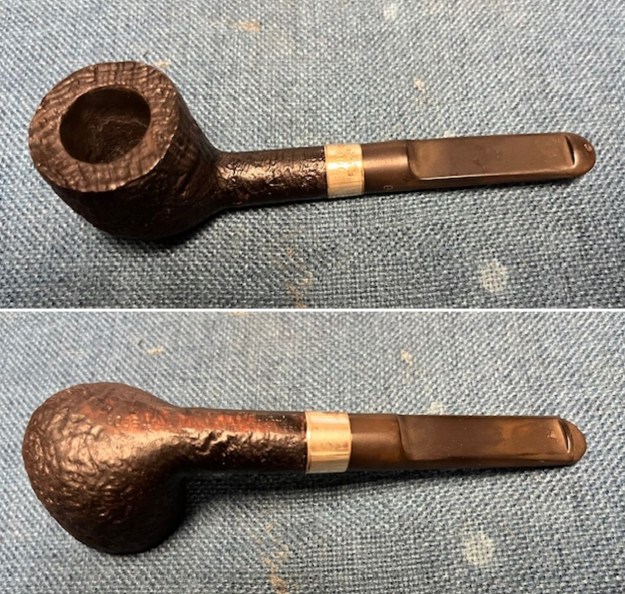
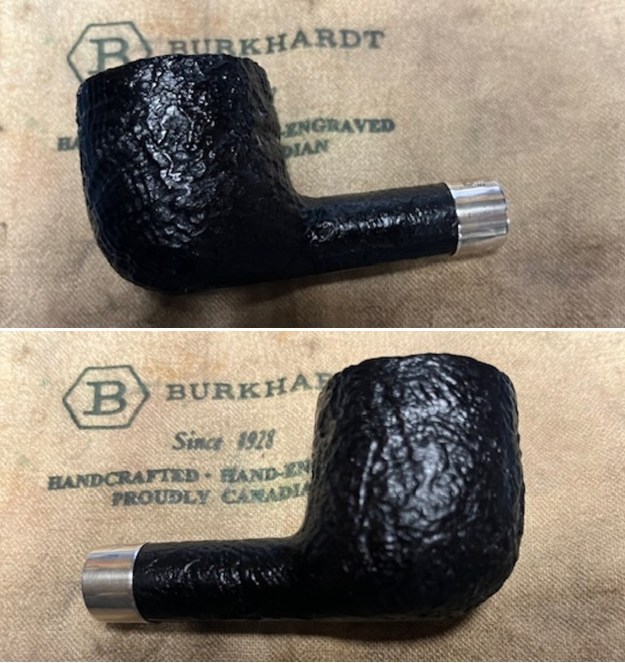
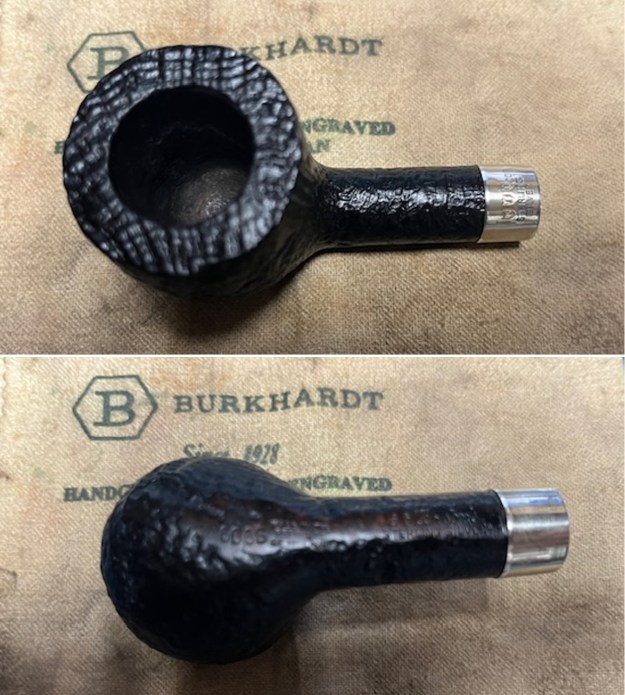
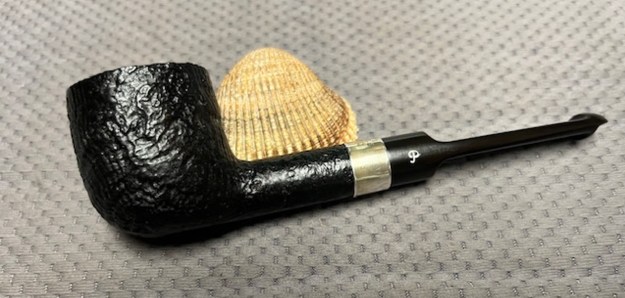
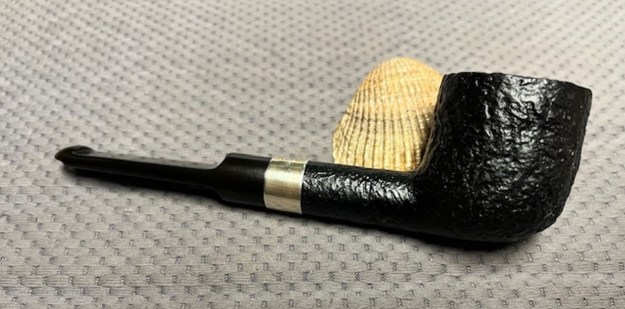
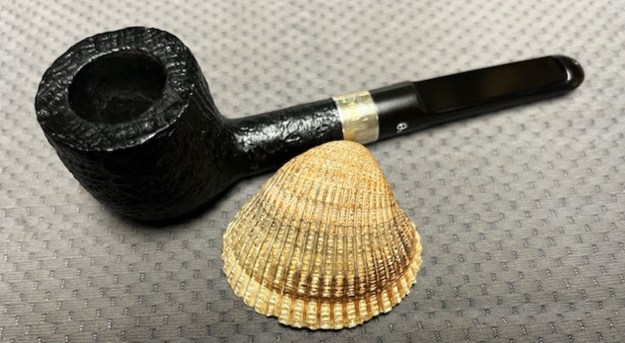
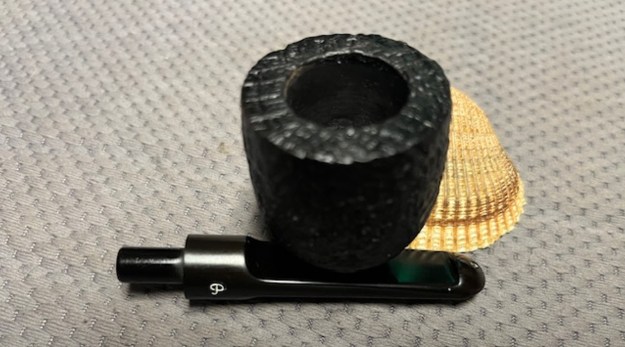
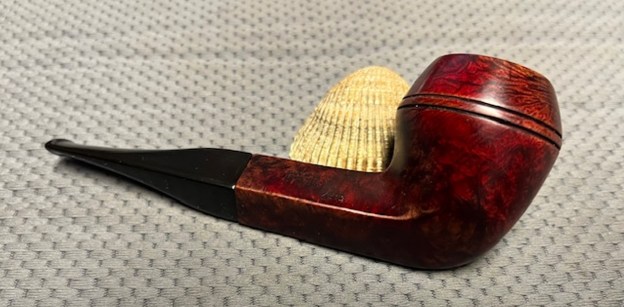
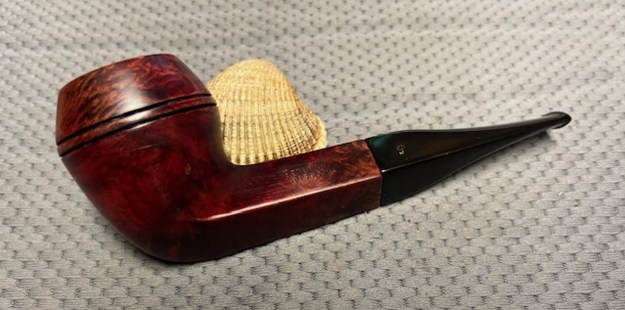
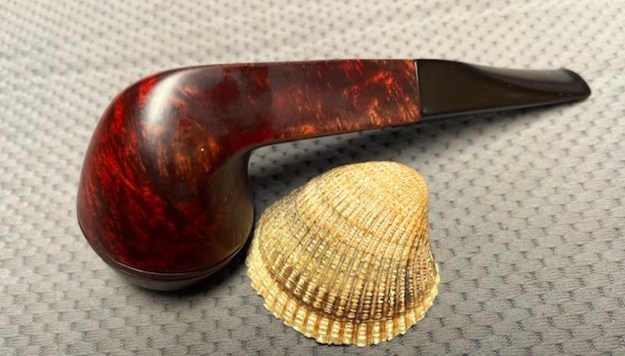
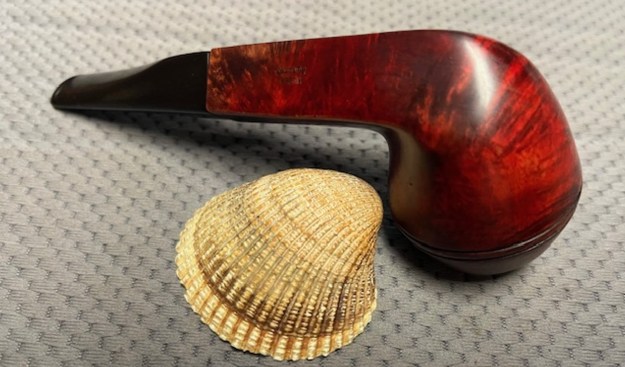
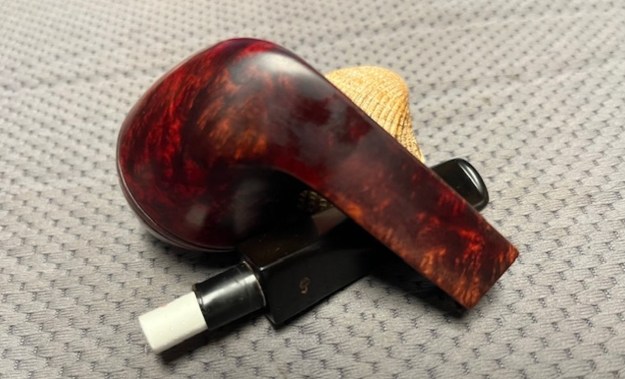
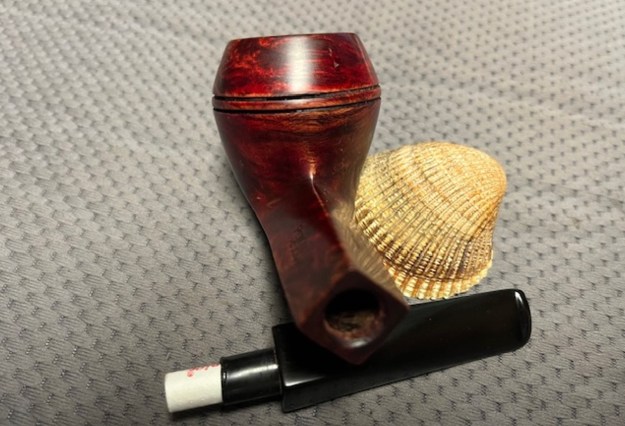
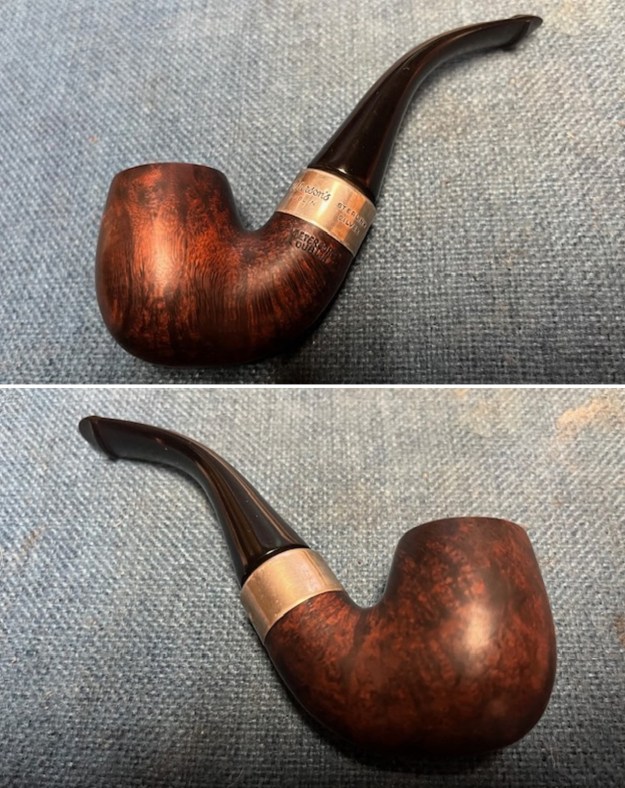
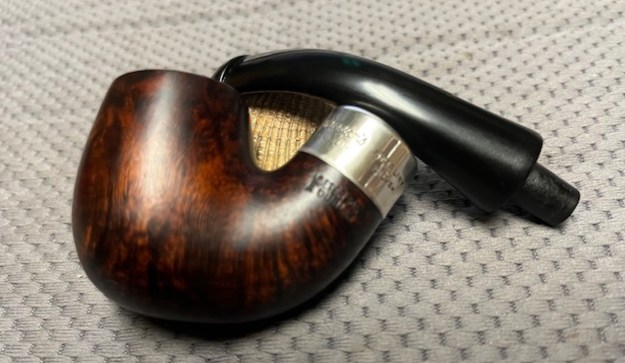
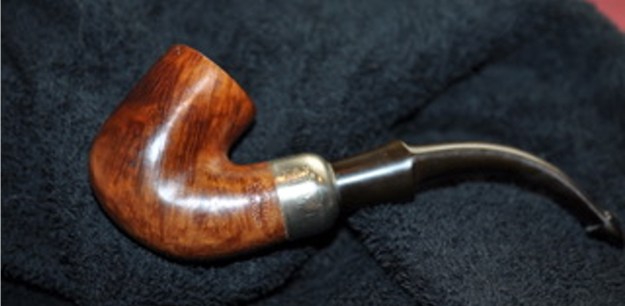
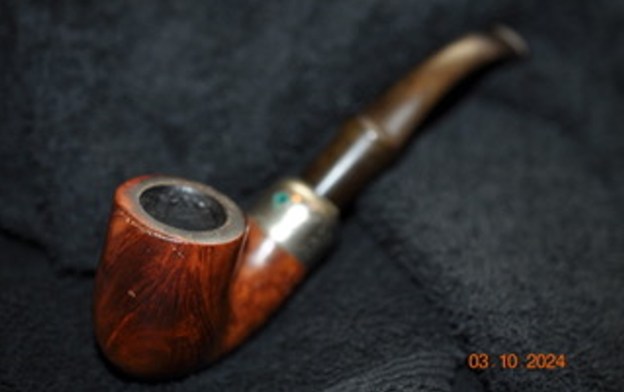
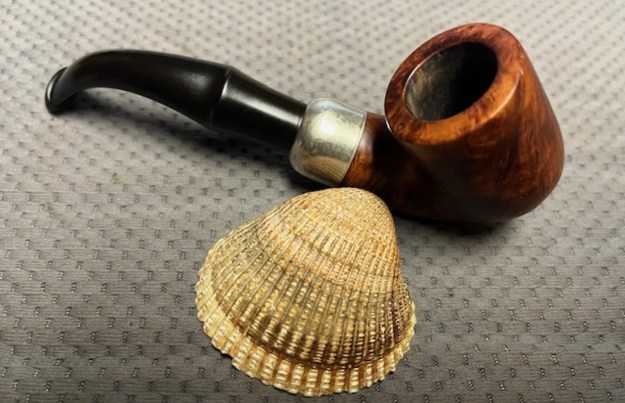
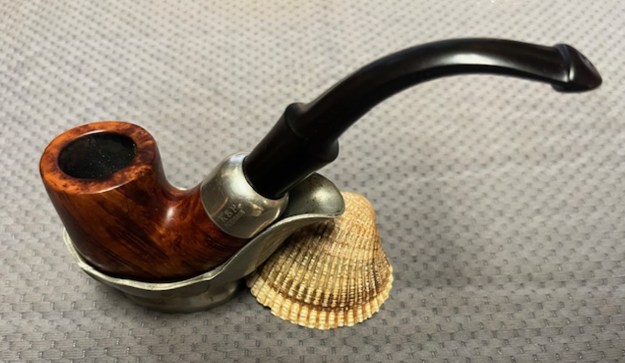
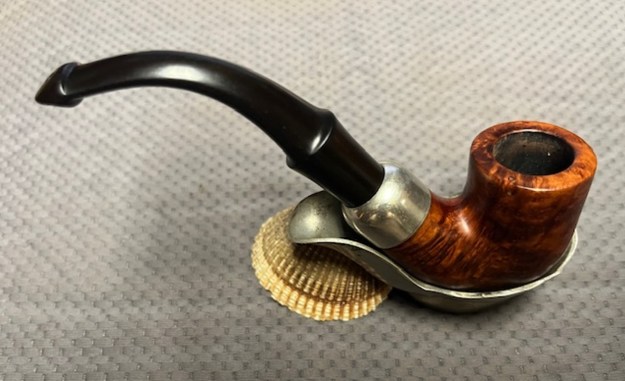
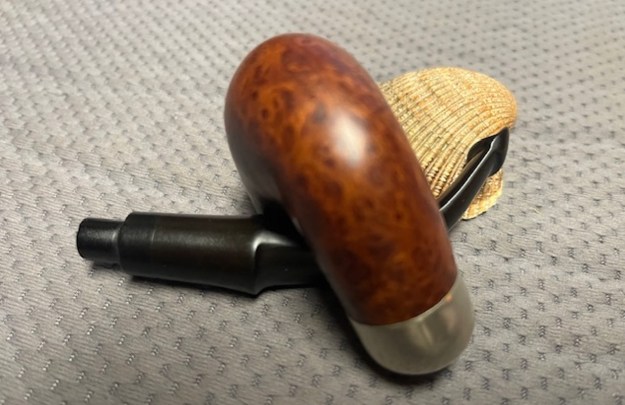
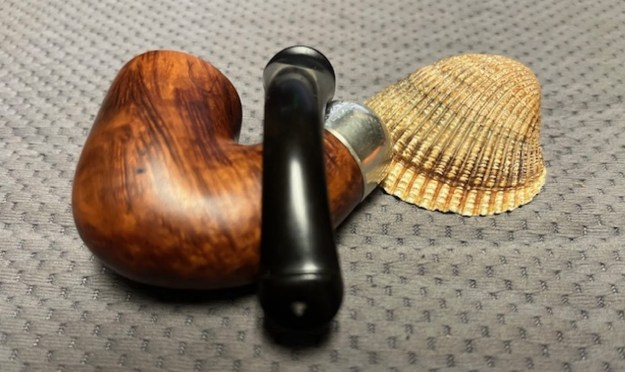
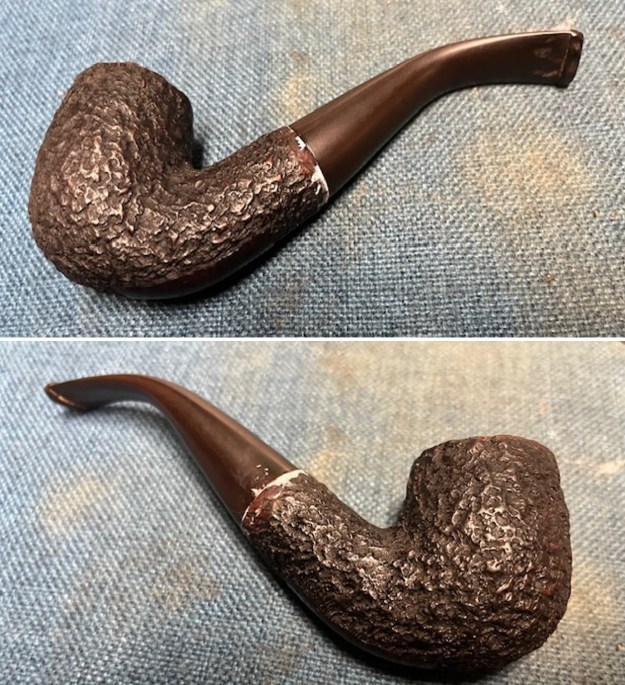
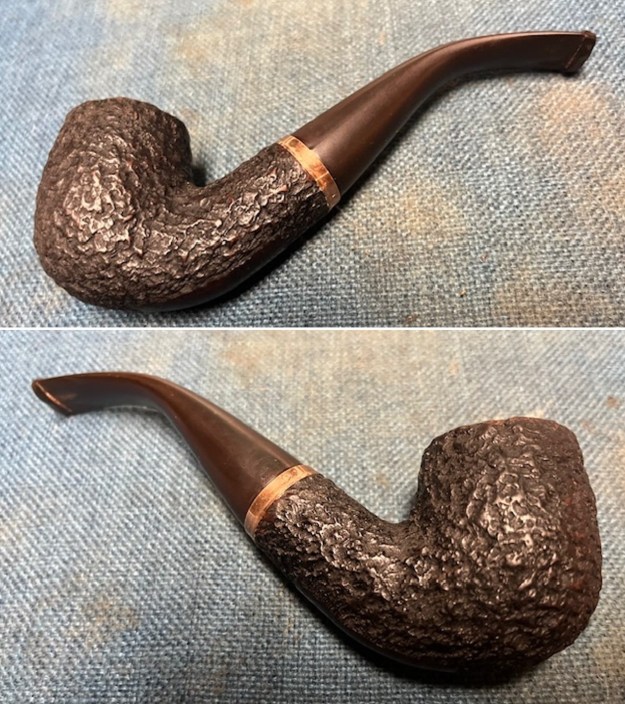
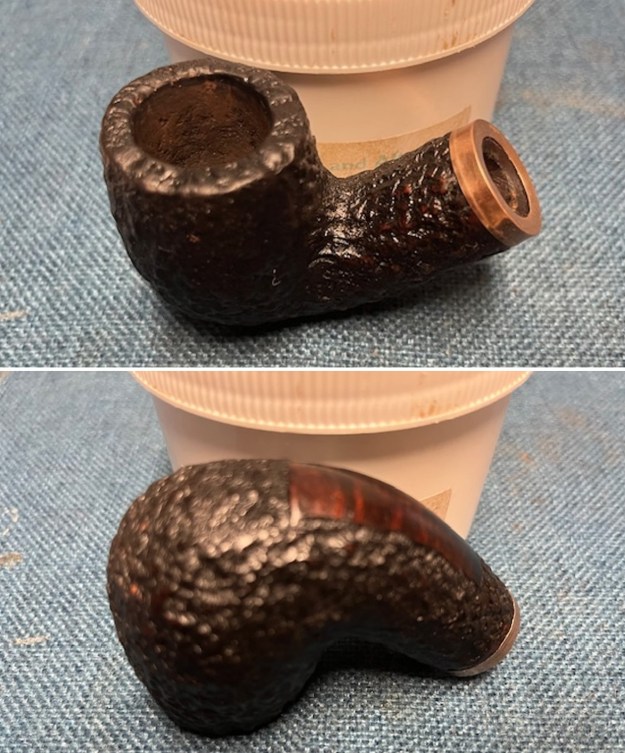
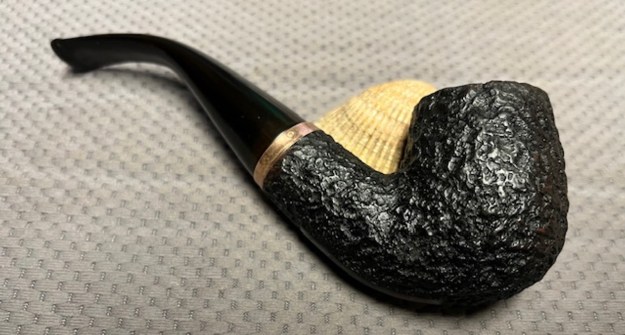
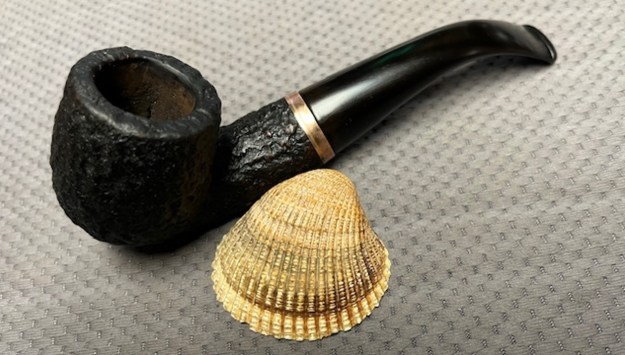
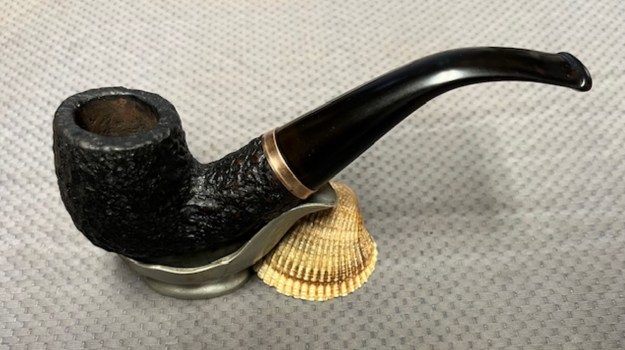
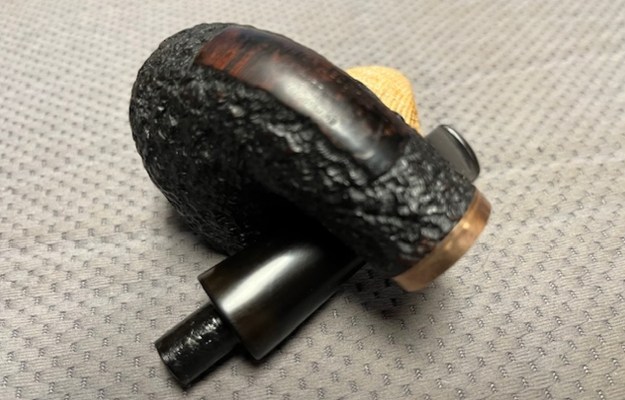
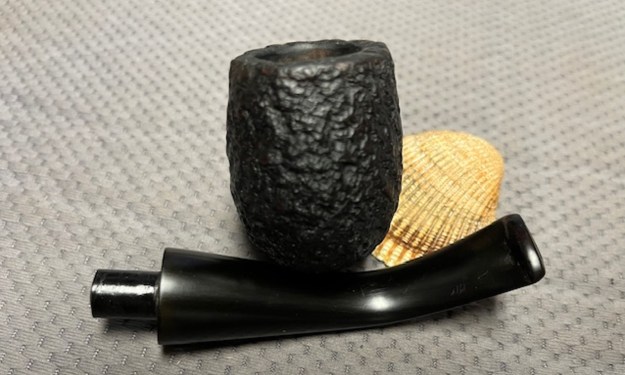
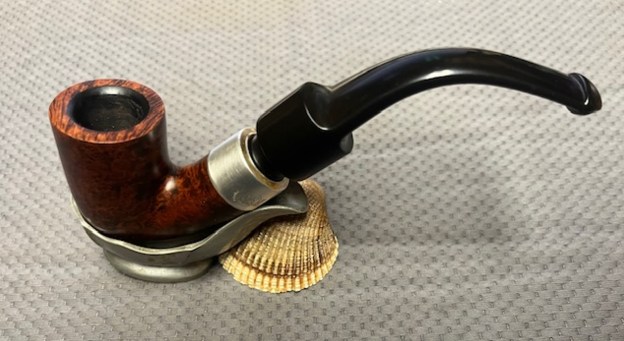
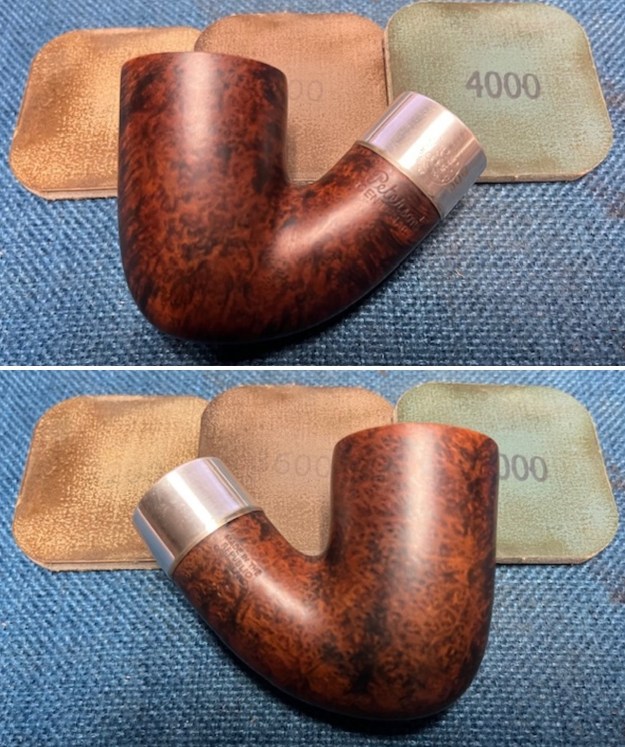
 I don’t know how many times I have said this but I love it when I come to the end of a restoration and all of the parts come together and the pipe looks better than when we started the cleanup process. I put the stem back on the Peterson’s 1875-1975 Centenary 4S System Bent Billiard and buffed the pipe with Blue Diamond on the buffing wheel. I carefully avoided the stamping on the shank sides during the process. I gave the bowl and stem multiple coats of carnauba wax on the buffing wheel and followed that by buffing it with a clean buffing pad on the buffer. I hand buffed the pipe with a microfiber cloth to deepen the shine. The finished pipe is a real stunning example of a Republic Era Peterson’s Centenary 4S Bent Billiard. Once again, the grain and the way the shape follows the grain is amazing. Give the finish pipe a look in the photos below. I can only tell you that it is much prettier in person than the photos capture. The dimensions of the pipe are Length: 6 inches, Height: 2 inches, Outside diameter of the bowl: 1 ¼ inches, Chamber diameter: ¾ of an inch. The weight of the pipe is 2.80 ounces/59 grams. This Peterson’s Centenary 4S is a great piece of pipe history that is in exceptional condition. Thanks for walking through the restoration with me as I worked over another beautiful pipe. I will be putting this one on the rebornpipes store in the Irish Pipemakers Section. Let me know if you are interested in adding it to your collection. Thanks for your time.
As always, I encourage your questions and comments as you read the blog. Thanks to each of you who are reading this blog. Remember we are not pipe owners; we are pipe men and women who hold our pipes in trust until they pass on into the trust of those who follow us.