Blog by Dave Weagle
When I saw Dave’s work on this old pipe I knew I wanted to read about the process he used in repairing this old friend. I wrote him a message on the Facebook Tobacco Pipe Restorers Group and asked him if he would be interested in putting together a blog for us here at rebornpipes. He gladly accepted the offer and today he sent along this blog. Welcome to rebornpipes Dave. It is a pleasure to have you show your work and skills here. The invitation is always open to you. With no further intro I will let Dave speak for himself. Enjoy.
Growing up I always knew that someday I would be a pipe smoker. I remember during an anti smoking discussion in grade 1 at the rip old age of 7, I told the teacher I had no interest in cigarettes but someday I would smoke a pipe. That was 1978.
Over the past 40 years I have had a few passions that have shaped my life. Recently pipe smoking and restoration has been one of them. During the 90’s while working backshifts I discovered old black and white suspense movies from the 1930’s & 1940’s. Of these the Sherlock Holmes movies starring Basil Rathbone became a favorite.
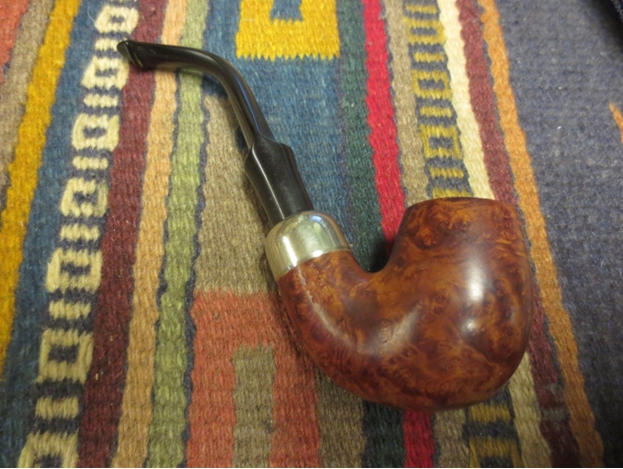
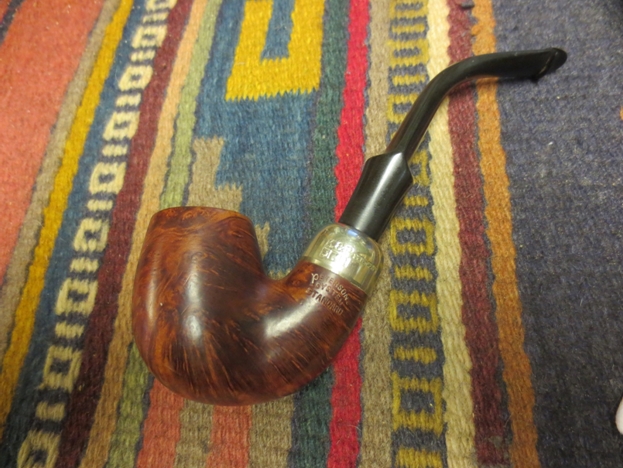
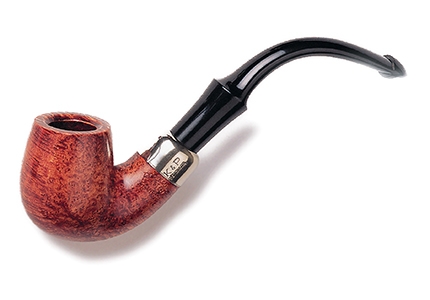
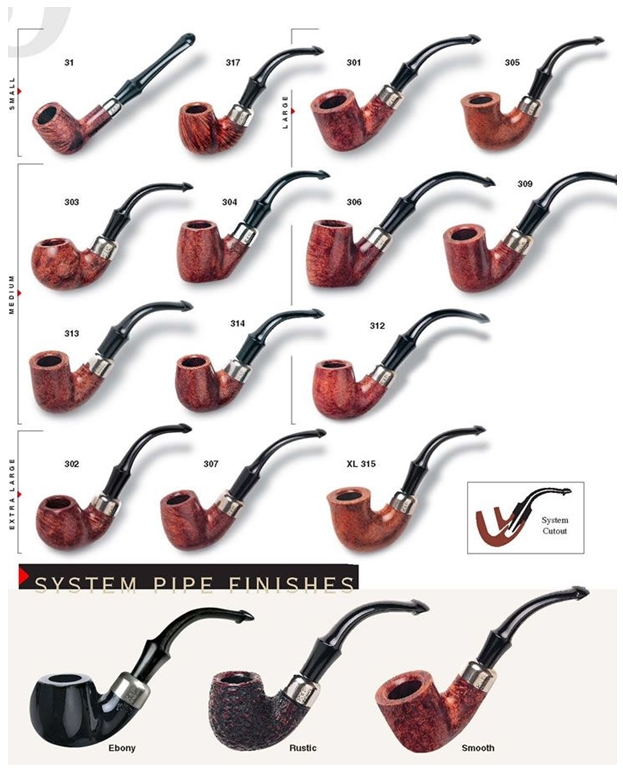
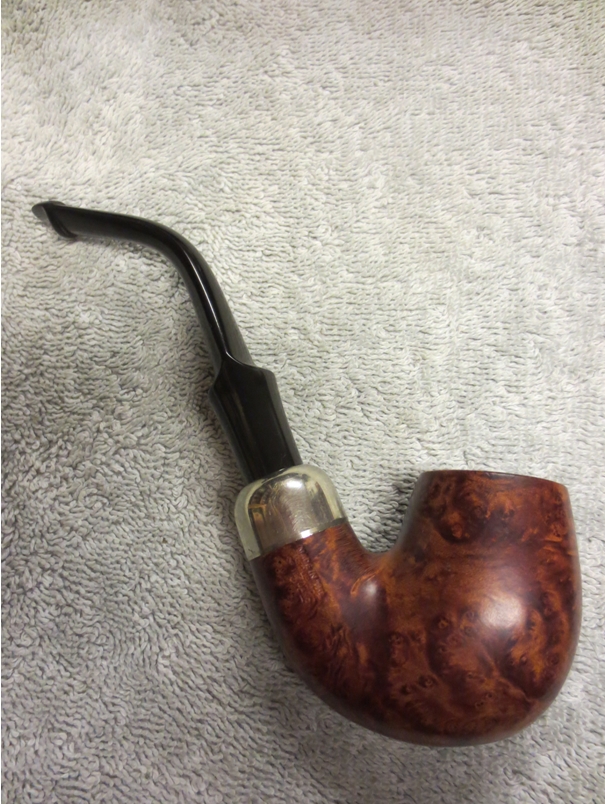
Once I decided I was ready to take up pipe smoking I knew there was one pipe brand I would have to acquire. Peterson. After some research I found that Basil Rathbone smoked a 4ab in the movies produced by Universal. Further research suggested the 4ab shape would become the 309. I found a Peterson Patent pipe a few years ago hiding in a lot on Ebay with a bunch of old burnt cobs. With a bit of work I had a close copy of a 4ab.

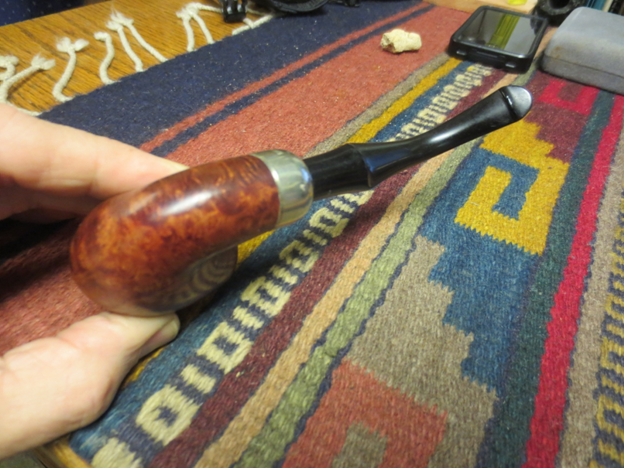
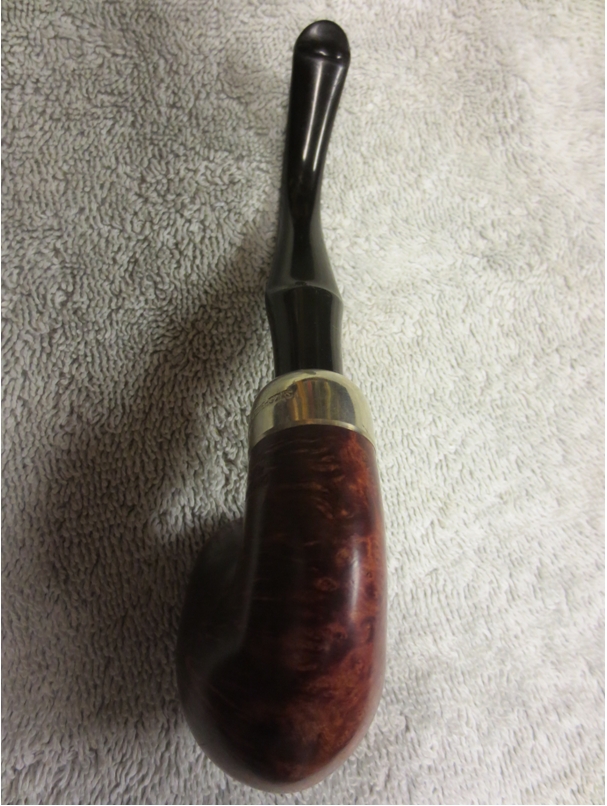
My Peterson Patent pipe with a stem I modified.Now for the back story.
Now for the back story. Since March of 2016 I have started chasing pre- republic pipes. This past Christmas (2017) with a little cash burning a hole in my pocket, I went surfing my usual online pipe haunts for older Petes. I found a seller on Etsy that had some interesting older pipes. One was a Pete. There was no shape number in the listing so I emailed the seller. It turned out to be a 313. I have three 313 already, so I thanked the seller but declined the pipe. To my surprise he emailed me back and asked if I’d be interested in some older unrestored Petersons. We emailed back and forth and came up with an arrangement that both were happy with. I bought 8 pipes. A Peterson calabash with a silver hallmark dated 1908 and a S17 sealed the deal (those will be future restorations). The other 6 pipes where all Republic era pipes. My favorite shape 309 was there so I was very pleased with my purchase.
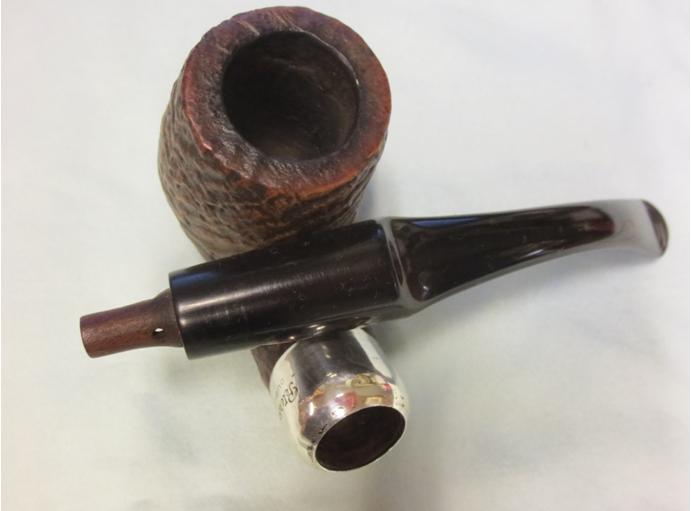
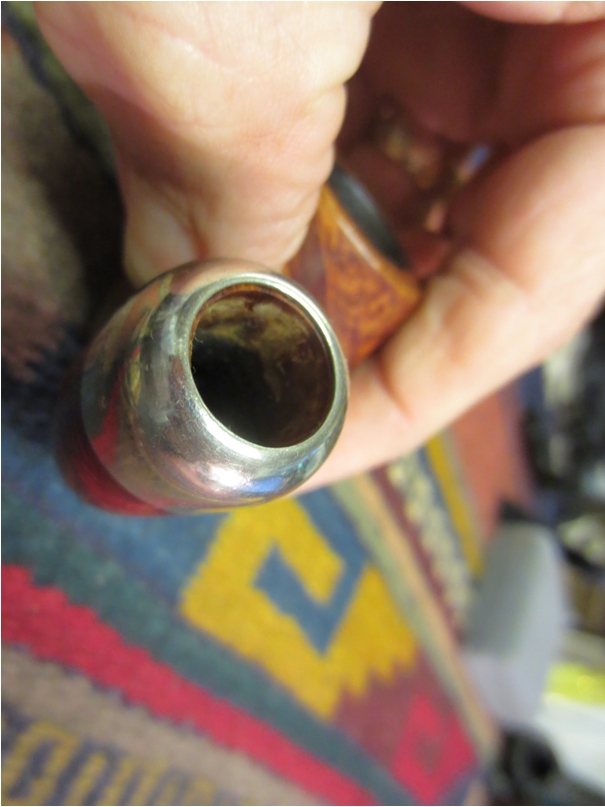
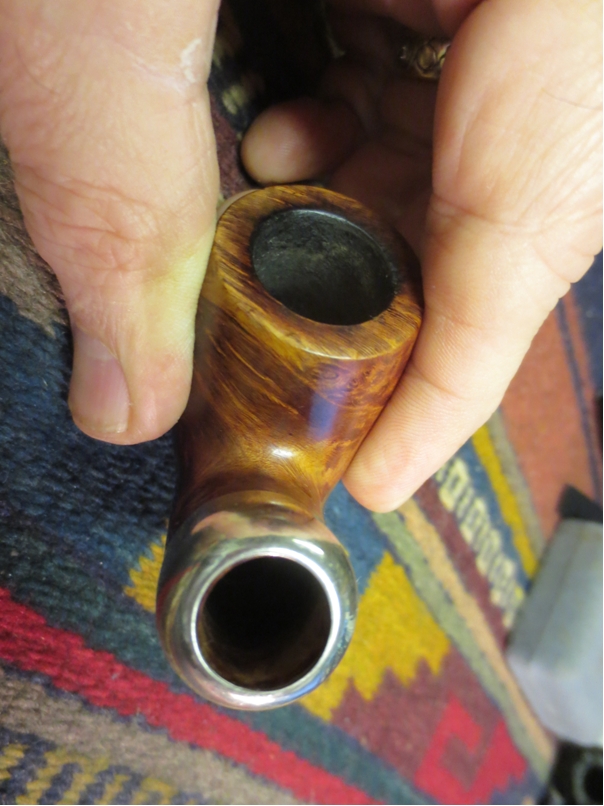
This is where my restoration story begins. When the pipes arrived from England I was surprised to find how well loved the 309 was. The shank was actually worn crooked. The stem was worn and the nickel cap had a crack and 11 dents. I contacted Peterson about getting a new cap on the 309. When I found out how expensive it was I decided this was a lot of money to restore a well used 309. I started looking for a donor 309. It didn’t take long to find a cracked 309 (a cracked Chacom and Nording came with it) which would be a great parts pipe for about half the price of shipping my original 309 back to the factory to be fixed.
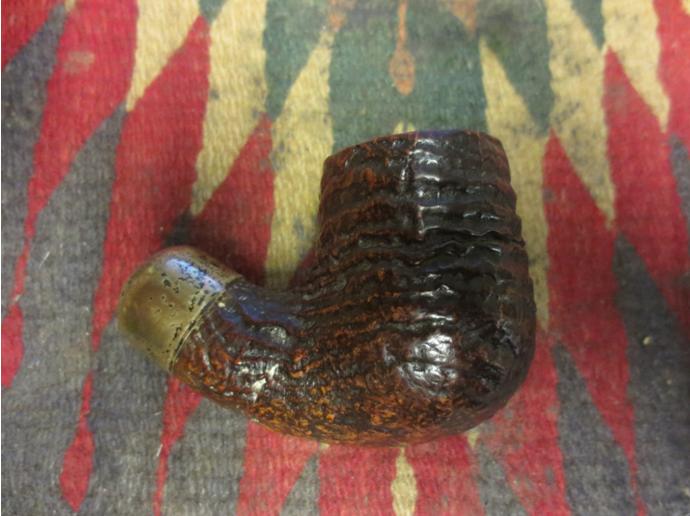
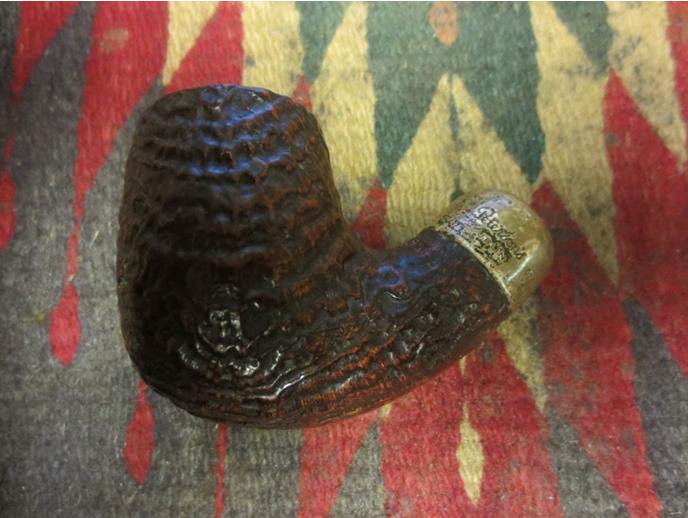
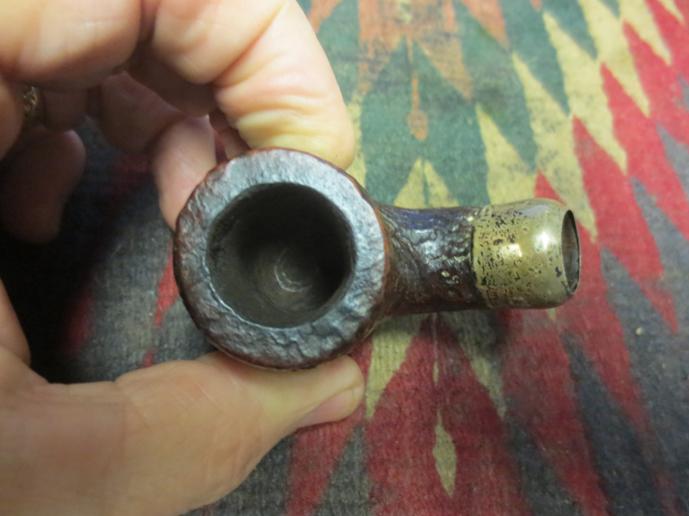
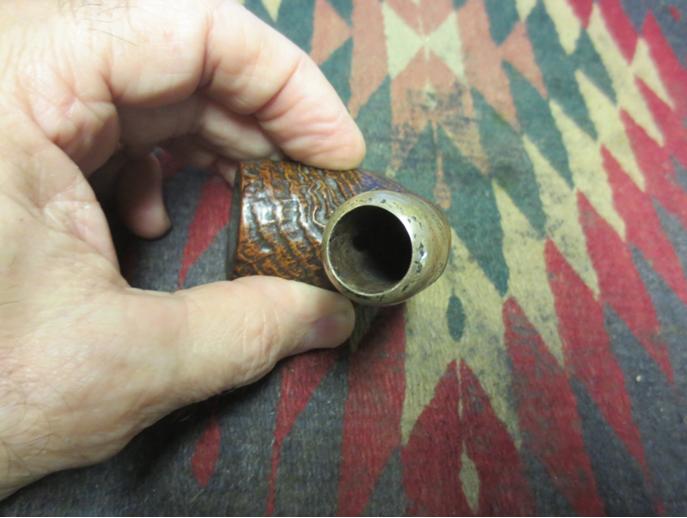
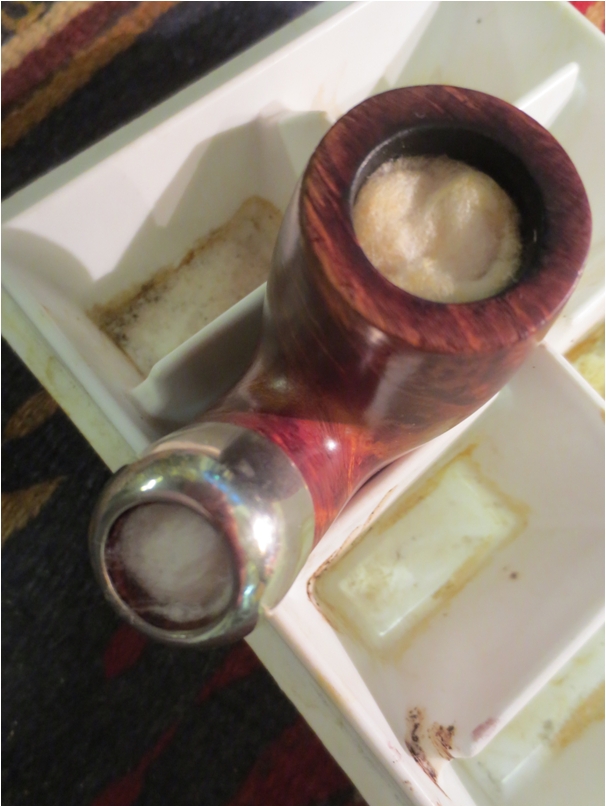
The donor 309 came from EBay. It took two weeks for the pipe to travel from California to Nova Scotia. During the two weeks, I kept going back to the original listing and night after night I keep thinking I can’t send this donor 309 to the scrap pile without at least attempting to save it. This is how the pipe arrived. Not sure how to approach this repair I decided to gently ream it to see the extent of the inner bowl damage. I didn’t want to just start filling the crack with CA glue and briar dust.
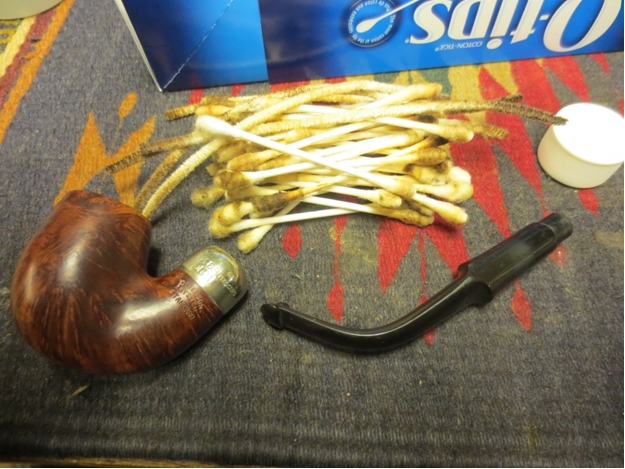
 This was the result of reaming. Some people might have been upset by the result but I knew it was a good thing. I now knew the extent of the damage. Also, I could clean up the cracked surfaces to remove any loose char or ash. Using cotton swabs and isopropyl alcohol I cleaned all the damaged area before reattachment. I now had two pieces of the bowl which I glued together and let them set. Once they dried I fit them back in place and set to gluing and pinning.
 I started by drilling several vertical holes and then drilled the horizontal holes making sure that the two broken pieces were pinned to each other and into the remaining bowl. I used several types of CA glue in this process. I used a thinned glue designed to flow into cracks. The pins were cut to fit and glued with a thicker gap filling gel CA. When it came time to fill the cracks and the drilled holes I used a standard CA and briar dust. I used several coats of glue and dust to fill everything in, brushing the bowl between coats with a brass bristled bush to remove any loose dust and checked each coat with my jeweler’s lope for coverage. Once I was happy with the surface coverage, using my jewelers lope and a rotary tool I tried to copy the rustification as close to the original as possible. I always wear a dust mask when I attempt surface repairs using a jeweler’s lope and a rotary tool. The pipe is right about nose level and the tool blows the dust right in your face.
 This is the outer surface after about two hours of work. Now it was time to fix up the inner bowl. After the outer repair was complete it was evident that a burnt out was the cause of the crack. There was an indent which need to be filled. Usually I use fireplace cement (a paste I make out of hardwood ash that I collect from my woodstove) to patch small burns in a bowl but this was going to be a large patch ,so I wanted something stronger. JB Weld was what I used. After wiping out the bowl with cotton swabs and isopropyl alcohol to remove any loose char and ash I mixed up some JB Weld and applied it to the inner bowl. After let it dry overnight I turned again to my rotary tool with a sanding drum to even out the walls. Again, wear a mask if using when this method because it throws a lot of dust in the air, and you’ll be sneezing for a few days (past experience).
 With the inner bowl smooth and round it was on to cleaning the draft hole and the shank. Using a 4mm drill bit I redrilled the draft hole. With cotton swabs, isopropyl alcohol and a dental tool I cleaned the shank and draft hole.
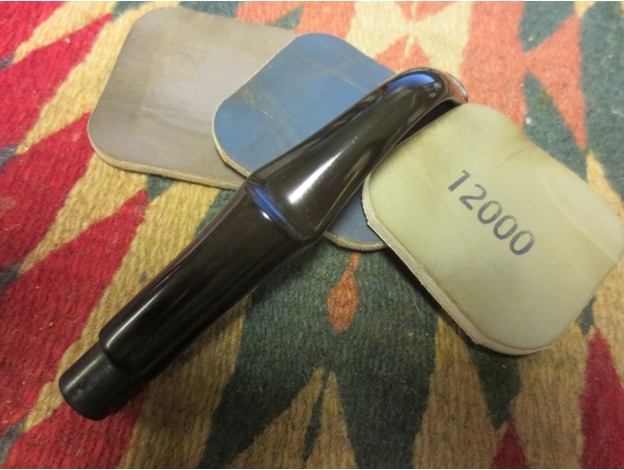
 After cleaning and drilling I didn’t like the depth of the bowl reverses the position of the draft hole so I added a bit more JB Weld to the bottom of the bowl. Using a small piece of 220 grit sand paper I sanded the inner bowl again so there were no rough seams. With the repairs to the bowl it was time to refinish. Using my brass bristle brush and a 3M autobody scuff pad I gently buffed the outer bowl. I carefully polished the stamping using micro mesh pads starting at 3200, finishing with 12000.
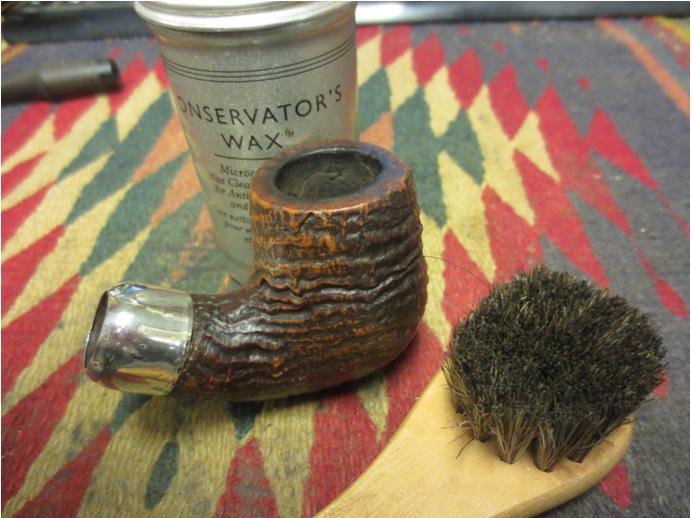
When it came to the staining I used Fiebing’s leather dye. USMC black was the base coat and Ox Blood was the finish coat. Both colours where flamed to set the dye into the grain. I then hand buffed the bowl before coating the bowl with Halcyon II wax. Once the wax had dried I hand buffed the bowl again. While staining the bowl I got some red stain on the cap which I removed with Autosol polish (I use it to polish the chrome bumpers on my Dodge Ram) which also cleans up the oxidation.

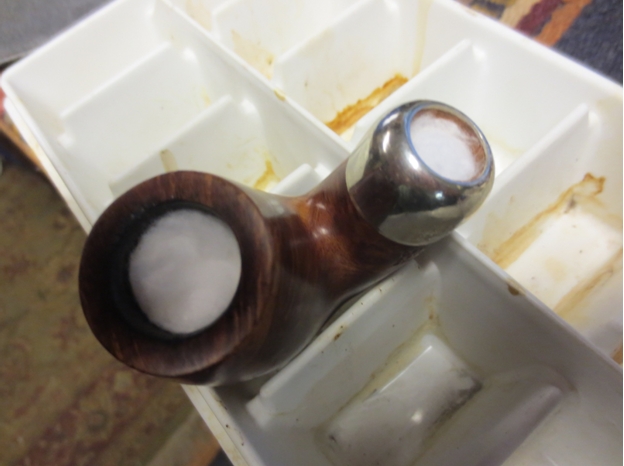
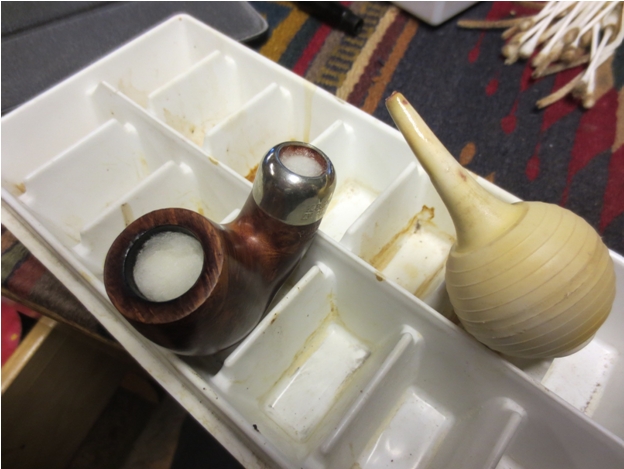
 With the outside finished it was time to finish the inside. For this I decided a coating of maple syrup and charcoal would be the best to help rebuild the new cake as the pipe is smoked. With a pipe cleaner placed in the draft hole the inner bowl was lined with maple syrup. Then the bowl was filled with charcoal. I gently tapped the top of the bowl with a spoon to remove any air gaps (not unlike how I may tap a bowl when I fill it with tobacco). I let the bowl dry before removing the excess charcoal.
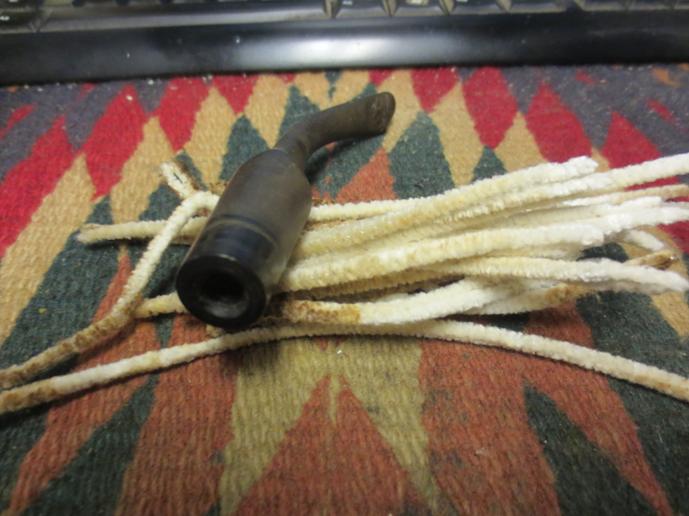
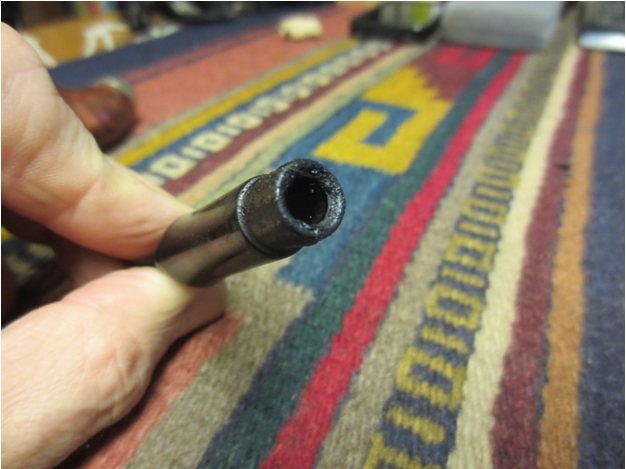
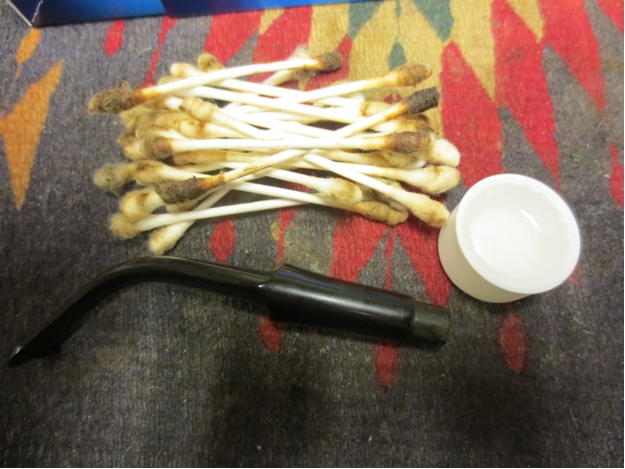
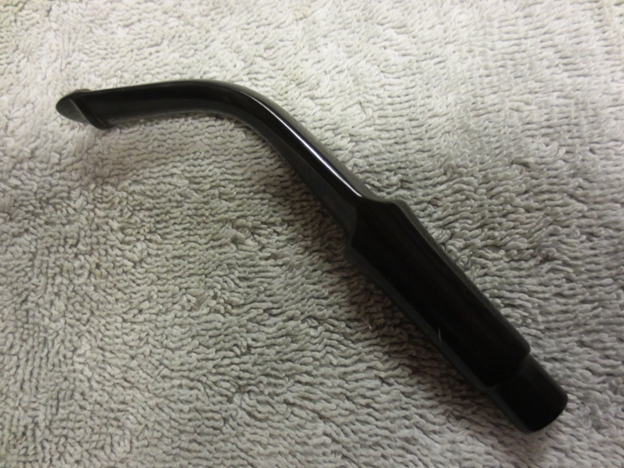
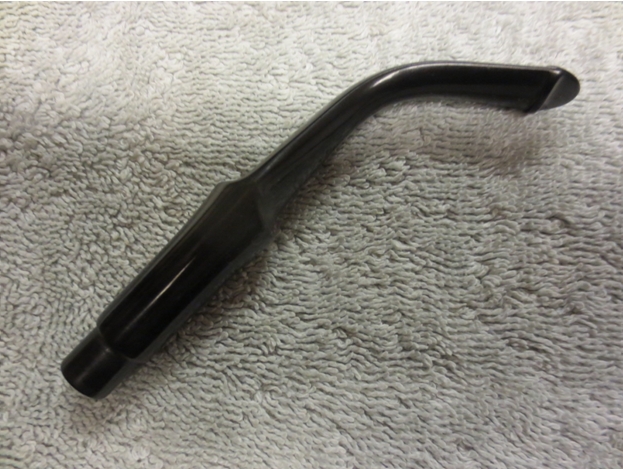
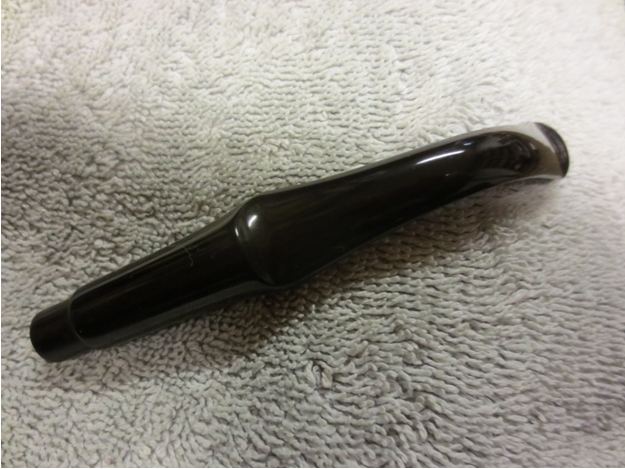
 This was the finish of the work on the bowl. All that was left to finish was the stem. The stem was heavily oxidized so a soak in Oxiclean for a few hours. After removing the stem from its Oxi bath I cleaned the inner stem with bristle pipe cleaners and Isopropyl alcohol. There was a lot of chatter on the tip including some dents on the P lip. I heated the stem with a heat gun to raise the dents with some success. A quick sanding with 220 grit sand paper and a wipe with isopropyl alcohol I was ready to repair the dents that didn’t raise. Rubberized CA glue and charcoal powder were mixed and used to patch the dents.
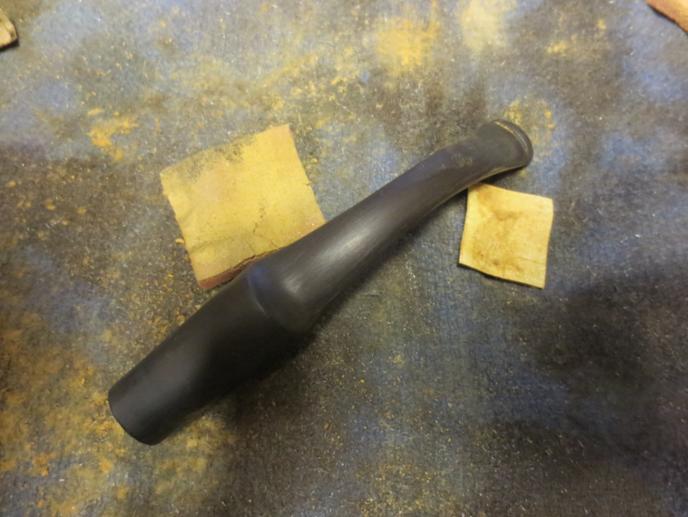
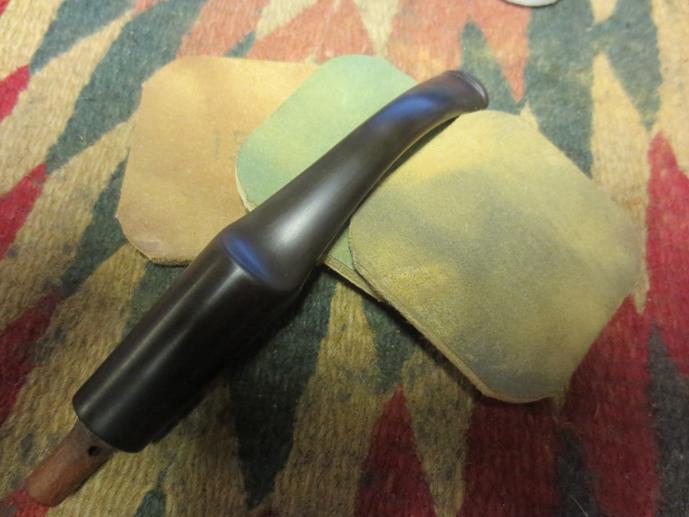
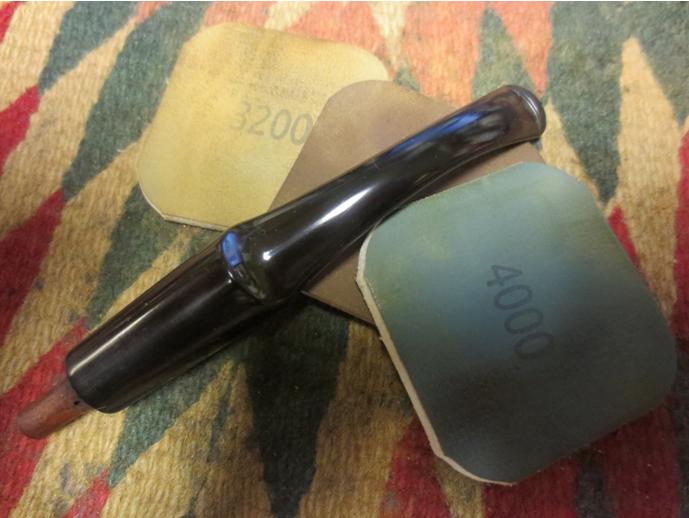
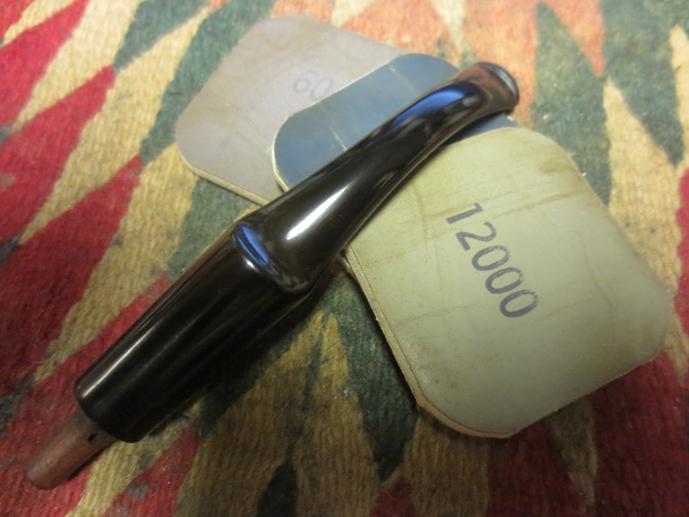
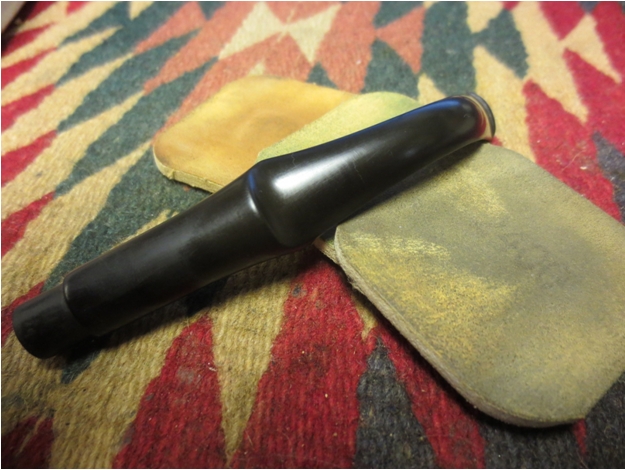
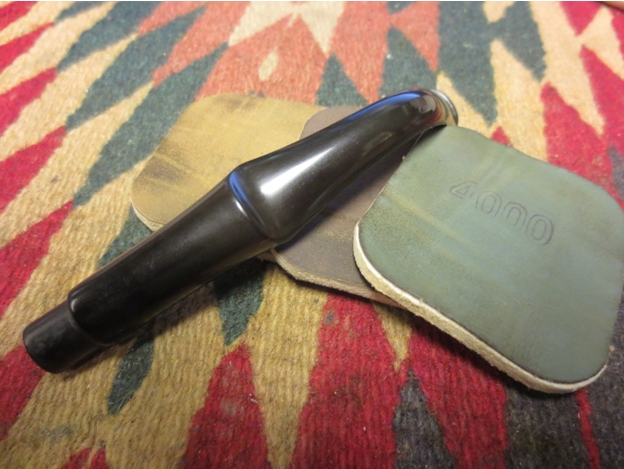
  With a coarse file I reshaped the P lip. Starting with 220 grit sand paper I dry sanded the stem removing the excess glue. From there I dry sanded the stem with 600 grit. I then changed to wet sanding with 1000, 2000, and 3000 sand paper. I switch to dry sanding with 4000 – 12000 grit micro mesh pads. Once I was happy with the sanding, I polished the stem with blue diamond compound on a buffing wheel. To finish, I applied several coats of carnauba wax on a soft buffing wheel. A hand buff finished the stem work.
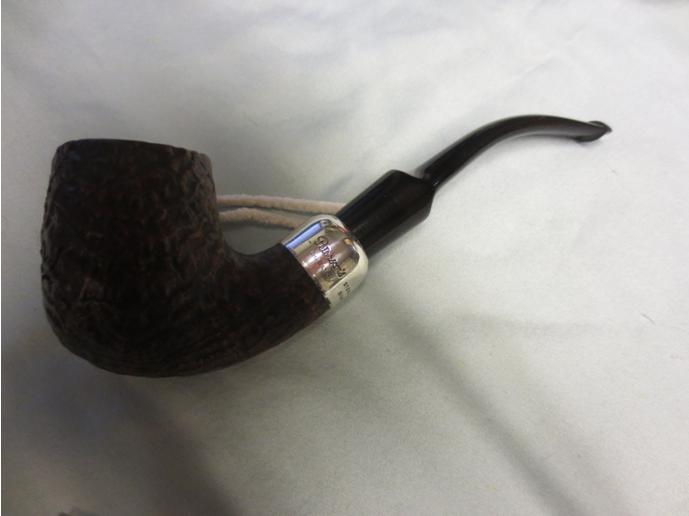
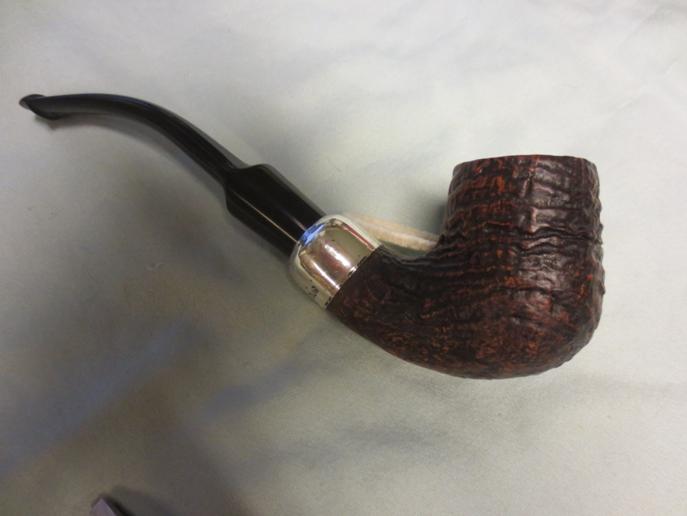
 All that was left was to assemble the stem and the bowl.


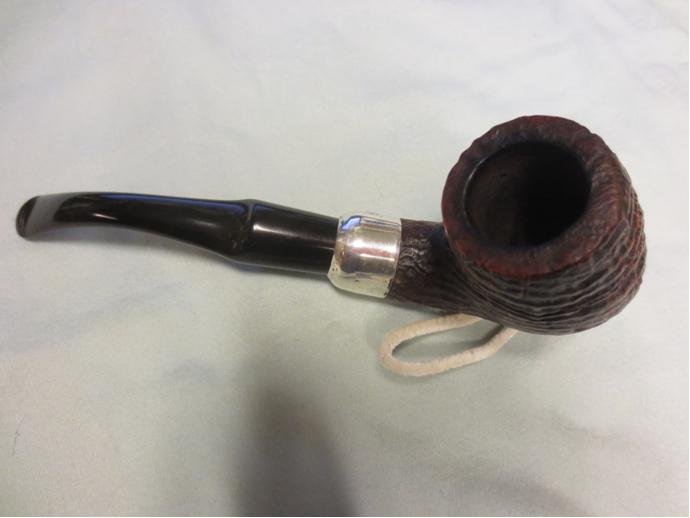
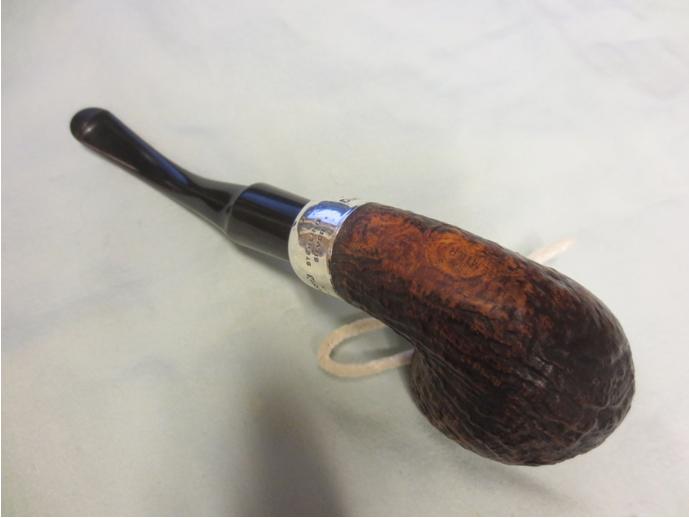
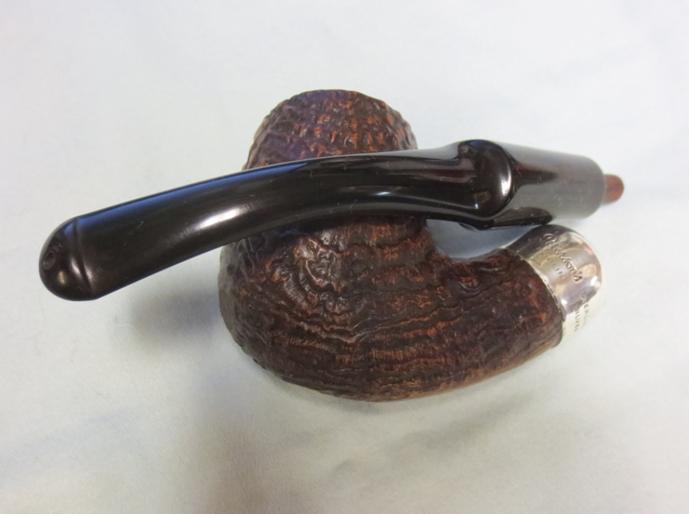
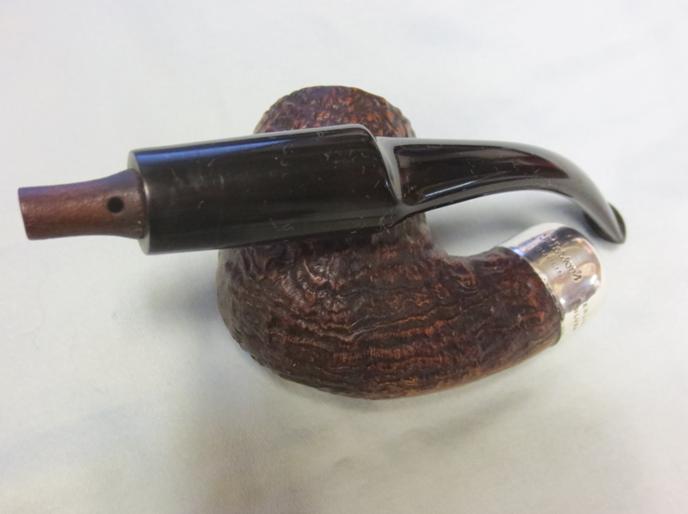
 Here is a shot of the two 309’s involved in this project. The donor being in the front. With guidance from certain pipe repair blogs, I have used their techniques and developed some of my own. A few years ago starting out buying estate pipes I never thought I’d be able to do repair work like this.
Just for the record, I have decided to just send the other 309 to Peterson to have a new cap installed. My attempt to save money ended up costing me more, but one can never have too many pipes. Right?