Tag Archives: Nylon stems

Restoring an older KBB Yello-Bole Imperial Dublin


Blog by Steve Laug

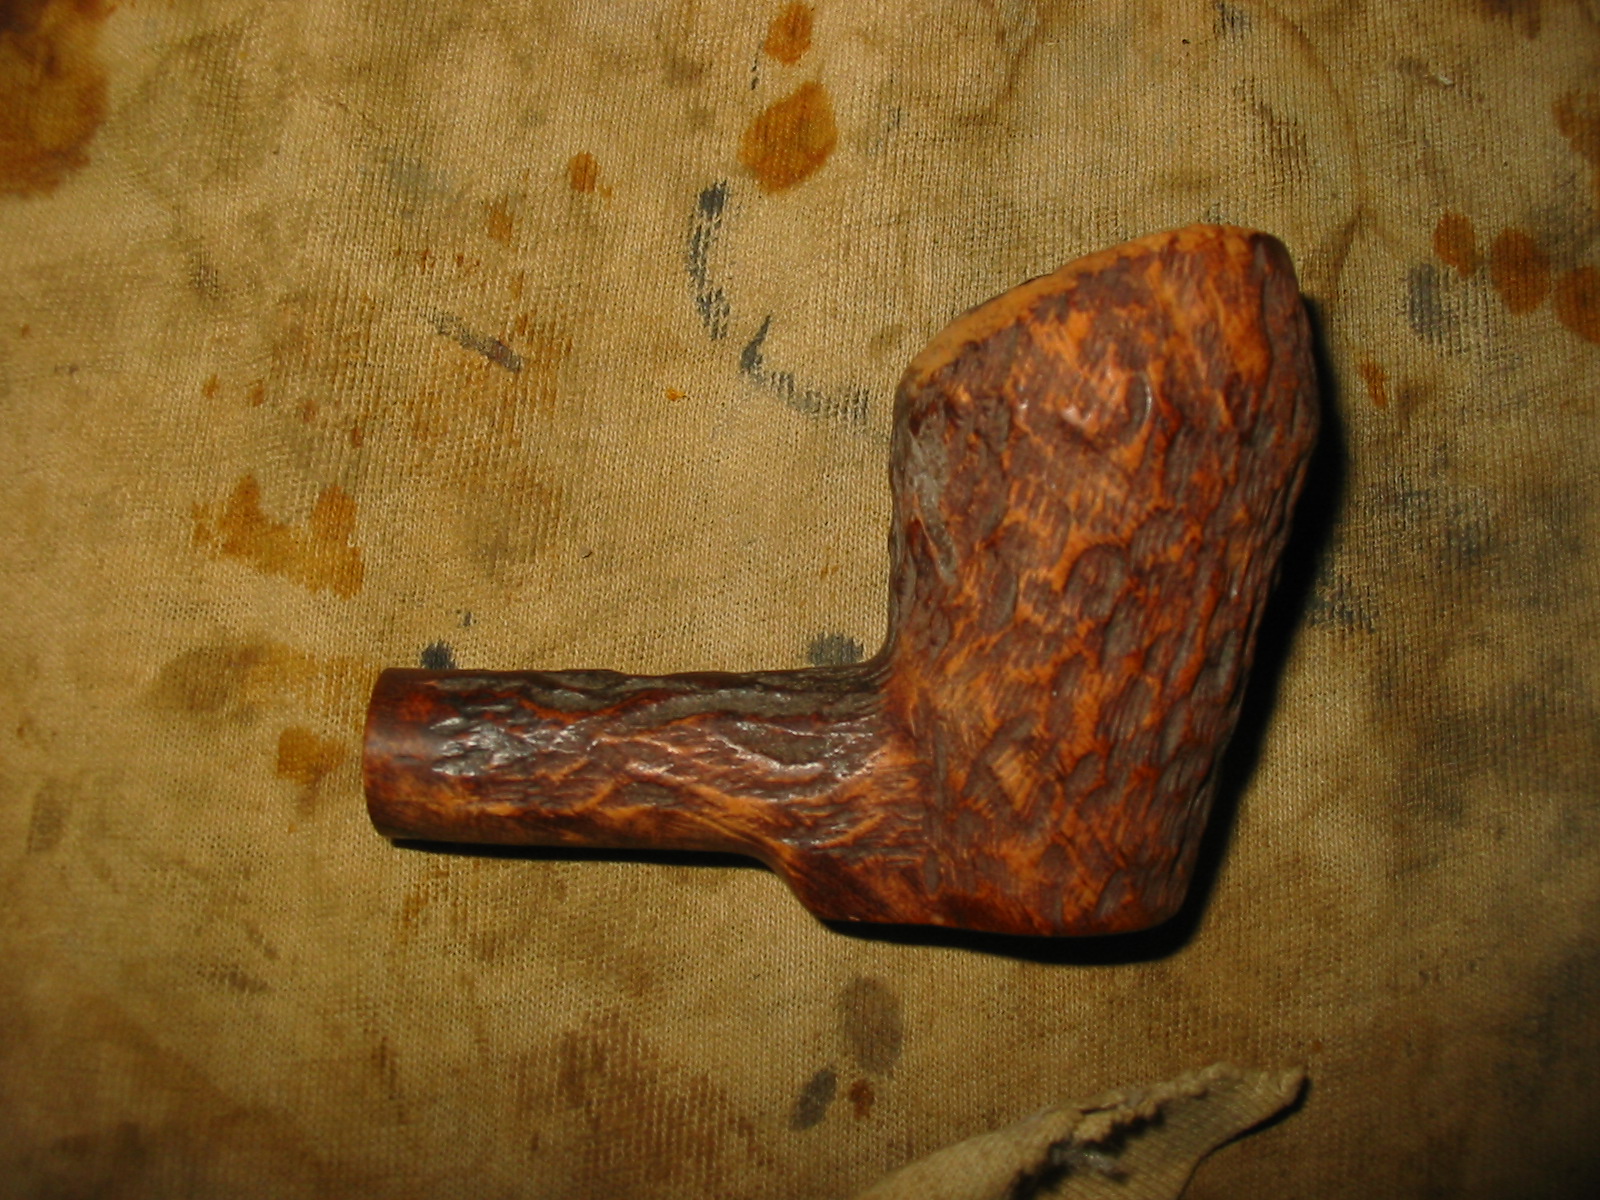
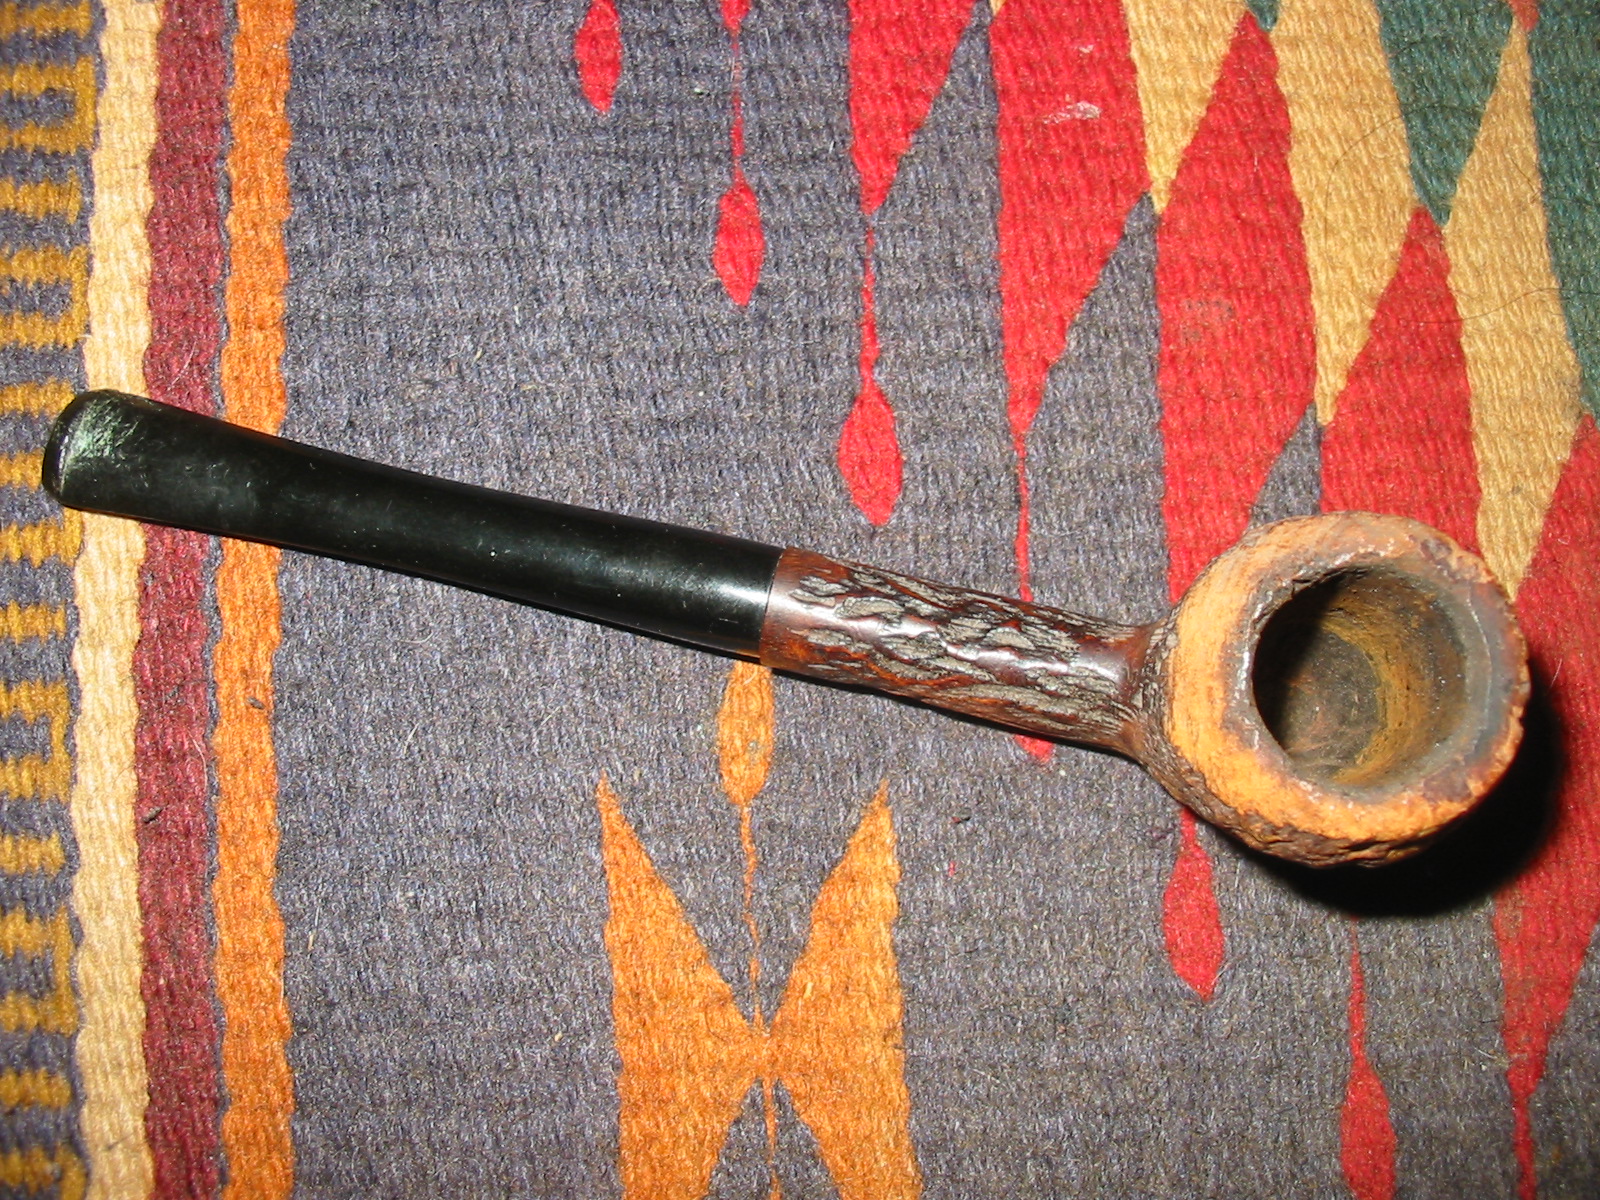
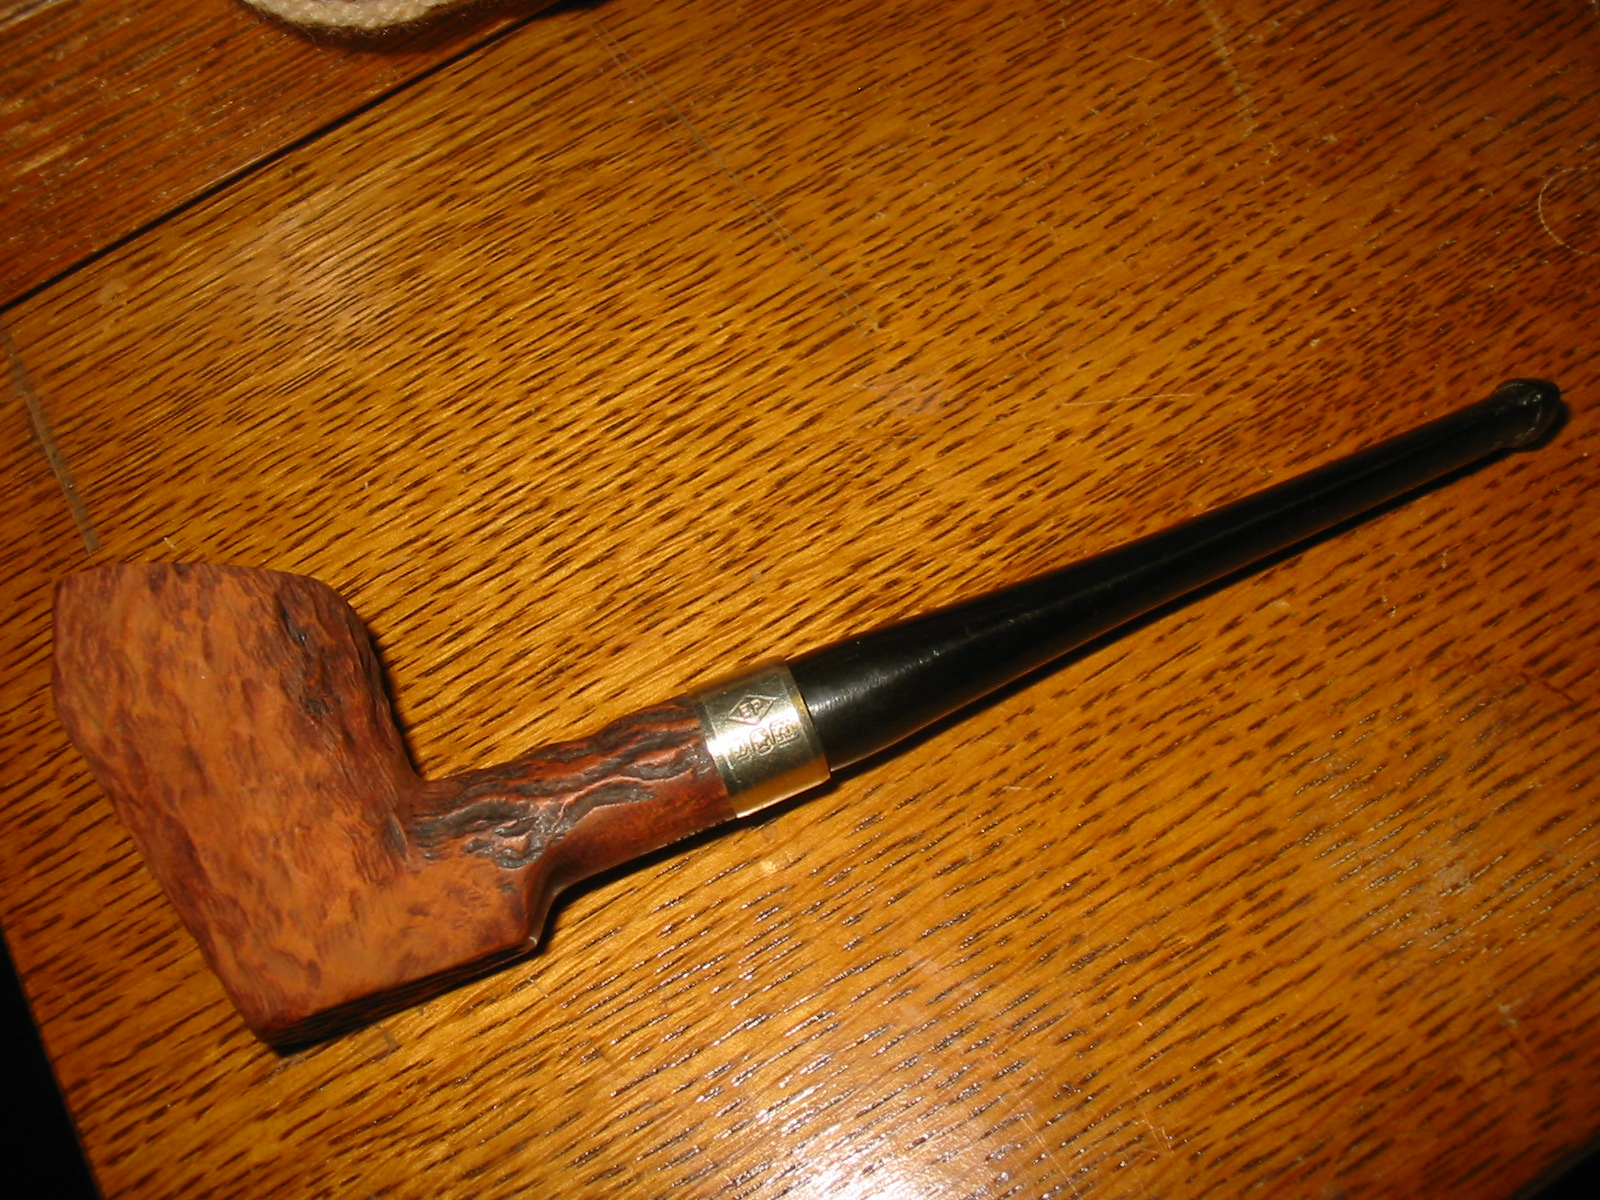
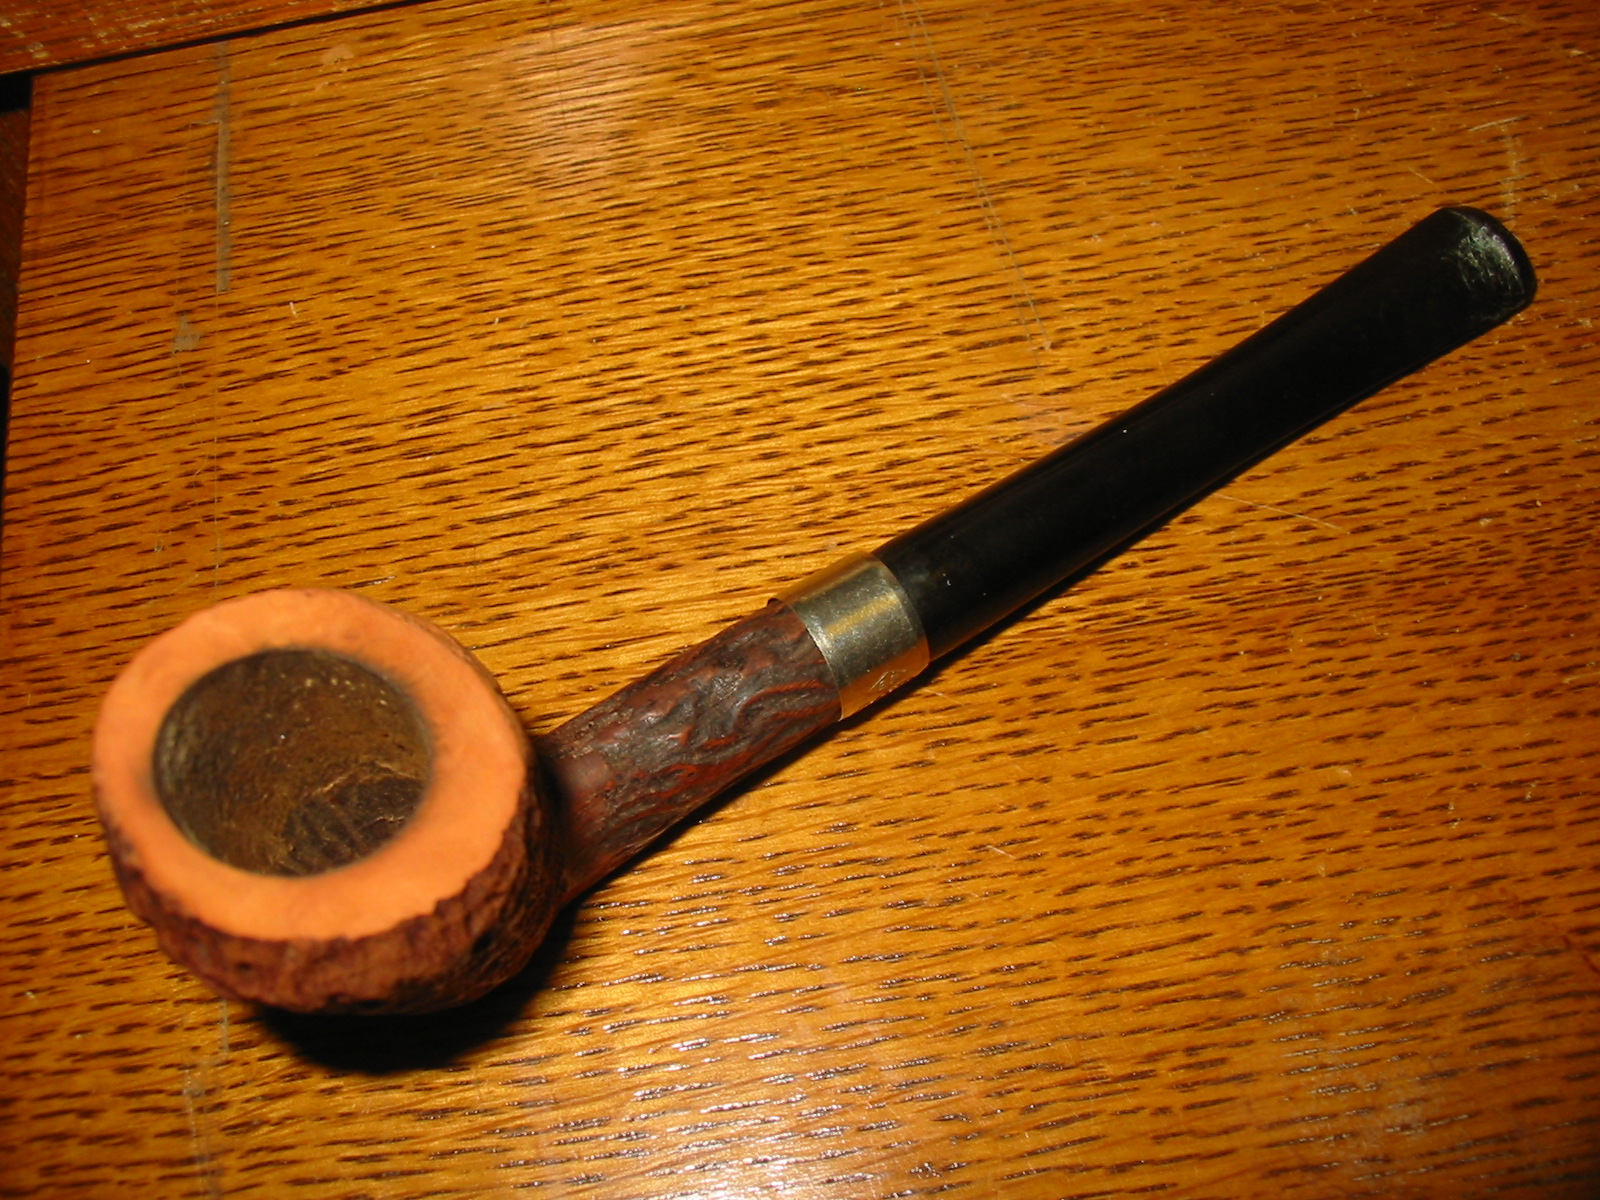
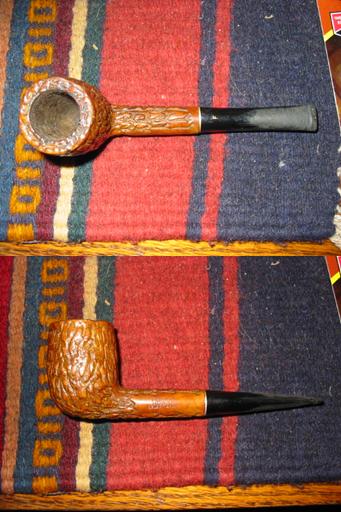
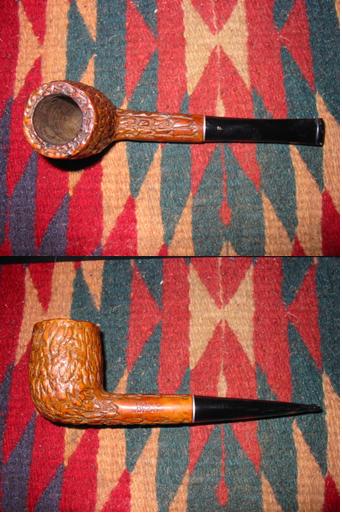
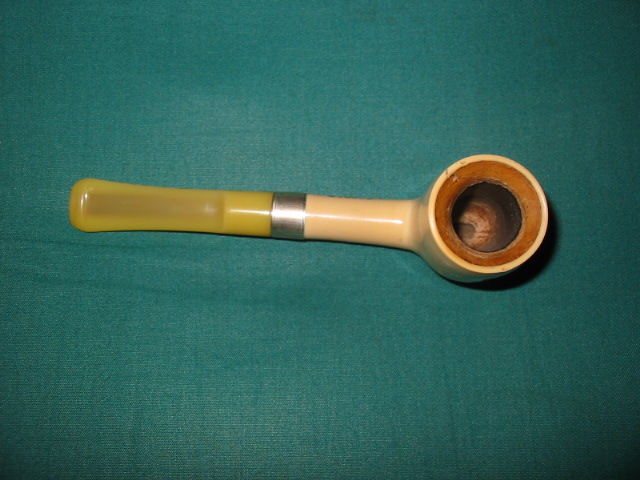
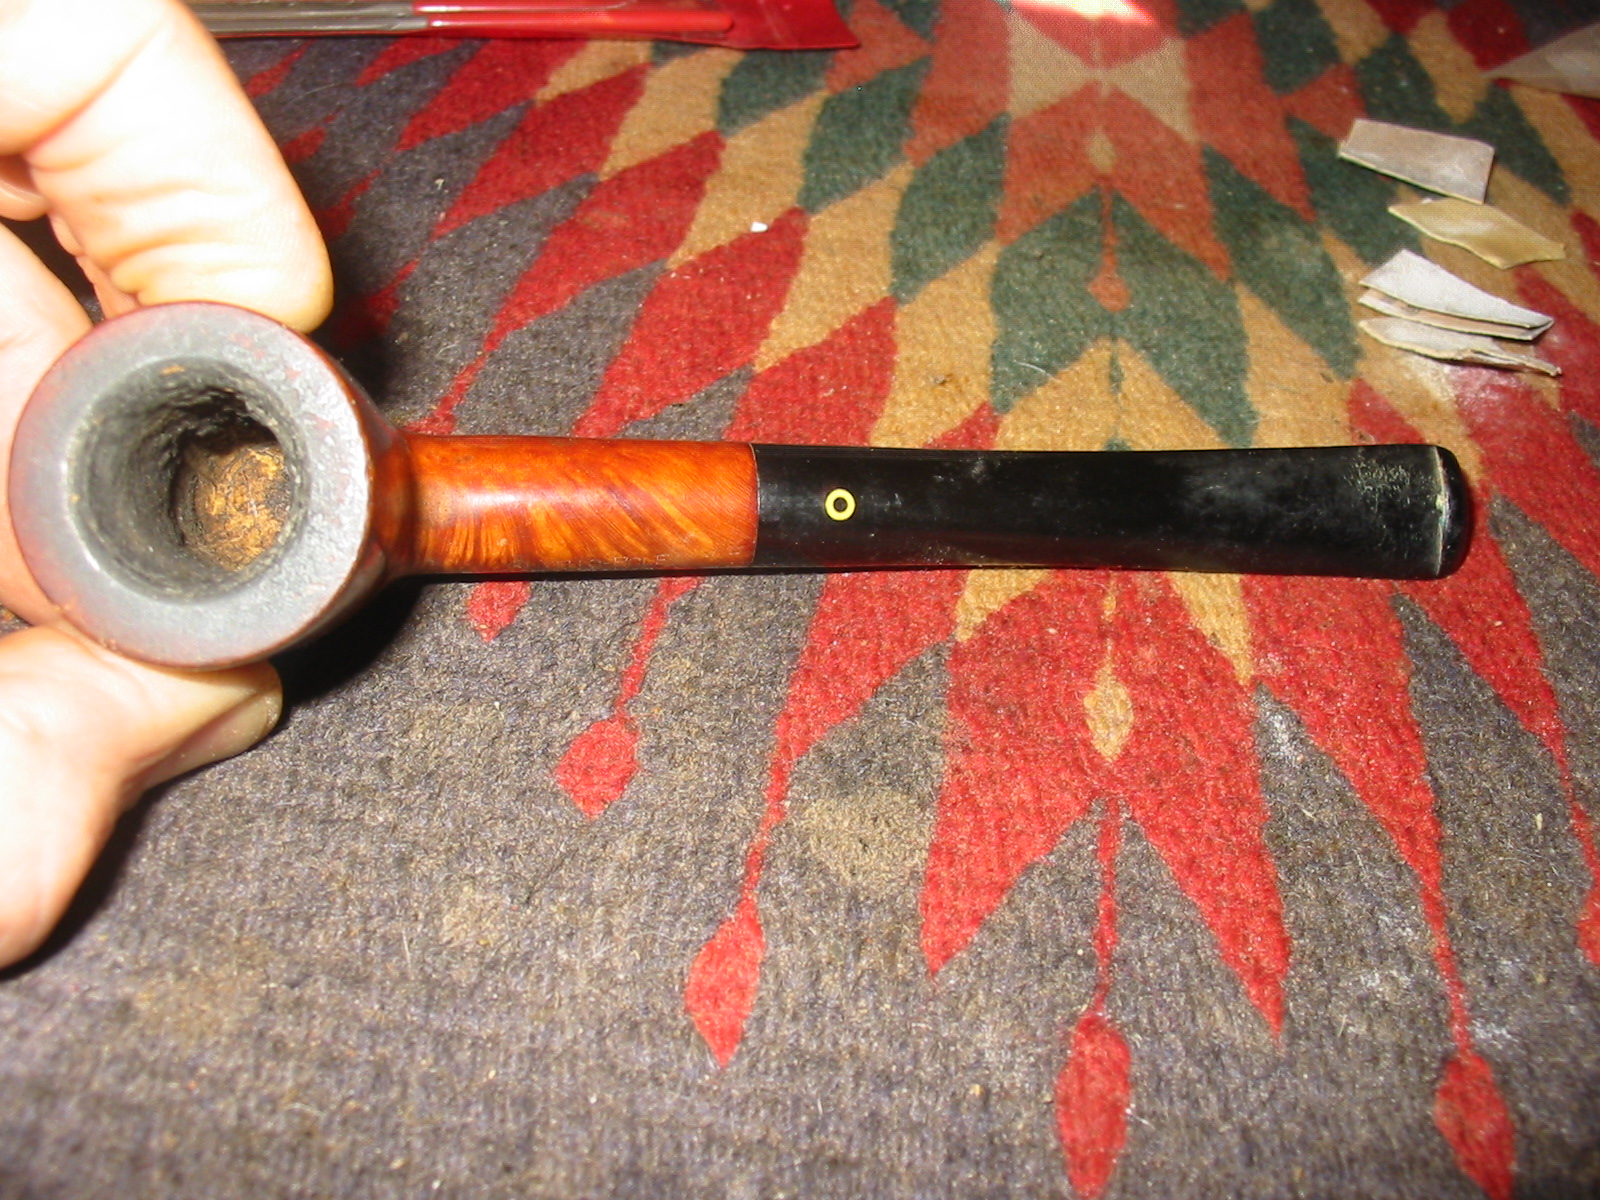
This is the last of the pipes I picked up when I was down in Washington State with my wife for 38th Anniversary. It is an older KBB (no ampersand between the two B’s). It had no shape numbers on the right side of the shank, but on the left side it had the KBB in the cloverleaf/club and next to it was stamped Yello-Bole over Imperial over Imported Briar. The Imperial stamping had been over-stamped with a cross hatch pattern. The bowl was in decent shape. The finish had dark soiling and oils on both sides of the bowl. There were also some dark spots on the sides of the bowl. There was a heavy coat of varnish over the bowl except for the worn spots where the oils and darkening was. The rim was heavily caked with tars and oils. The bowl was caked from the top half way down the bowl, though the yellow honey coating was still visible on the bottom half of the bowl. There were some burn marks along the outer edge and top of the rim.

Again since Yello-Bole is one of my favourite older US brands I did some more reading online to see if I could narrow down when this one was made. I have come to understand that these older Yello-Boles are great smoking pipes and underrated. I turned to one of my go to sources of information on all things KBB and Kaywoodie – the Kaywoodie forum http://kaywoodie.myfreeforum.org/ftopic13-0-asc-0.php. There I found a very helpful article by Dave Whitney that helped narrow down the date. The pipe I have has the shovel drinkless mechanism, the KBB-in-a-clover logo on the left side of the shank and the yellow circle on the stem. From what I can ascertain from Dave’s information it seems to have been produced between the years of 1938-42. I am fairly certain that it did not come from the later period of 1945-50 (World War II) since it did not have the aluminum stem ring and the aluminum drinkless mechanism which came out during those years.

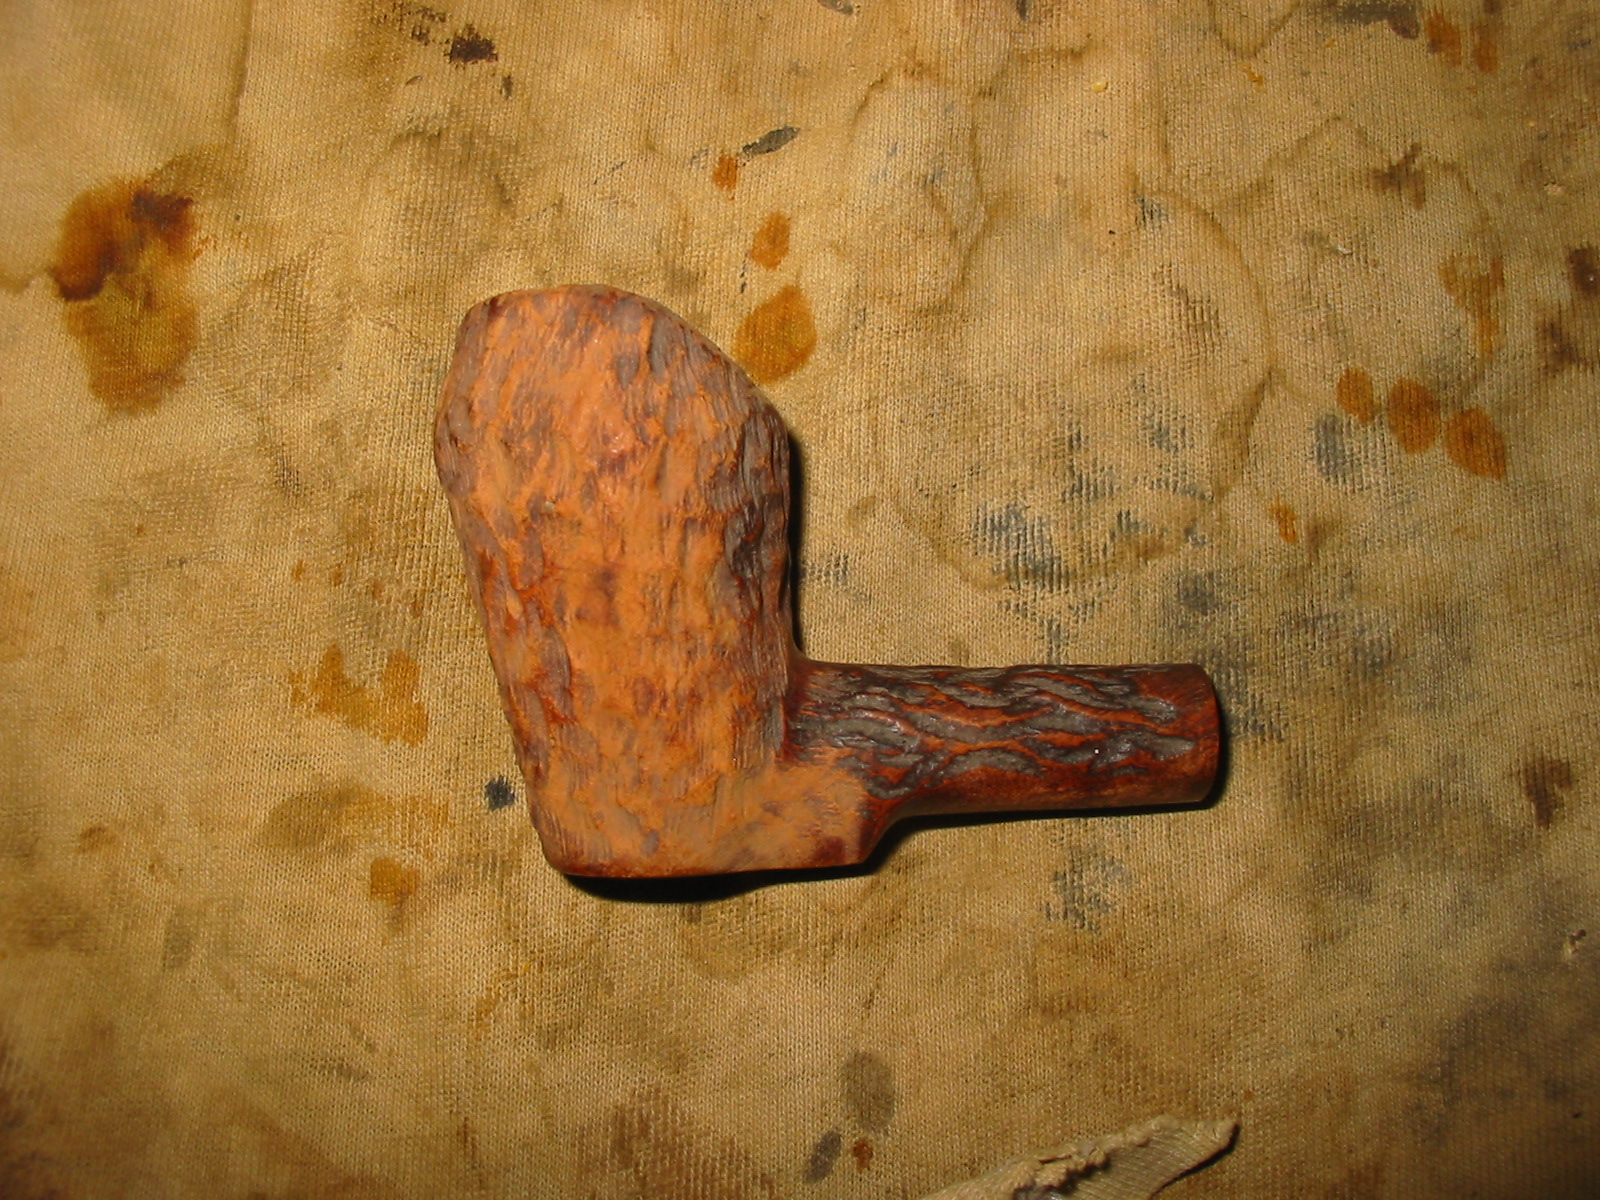
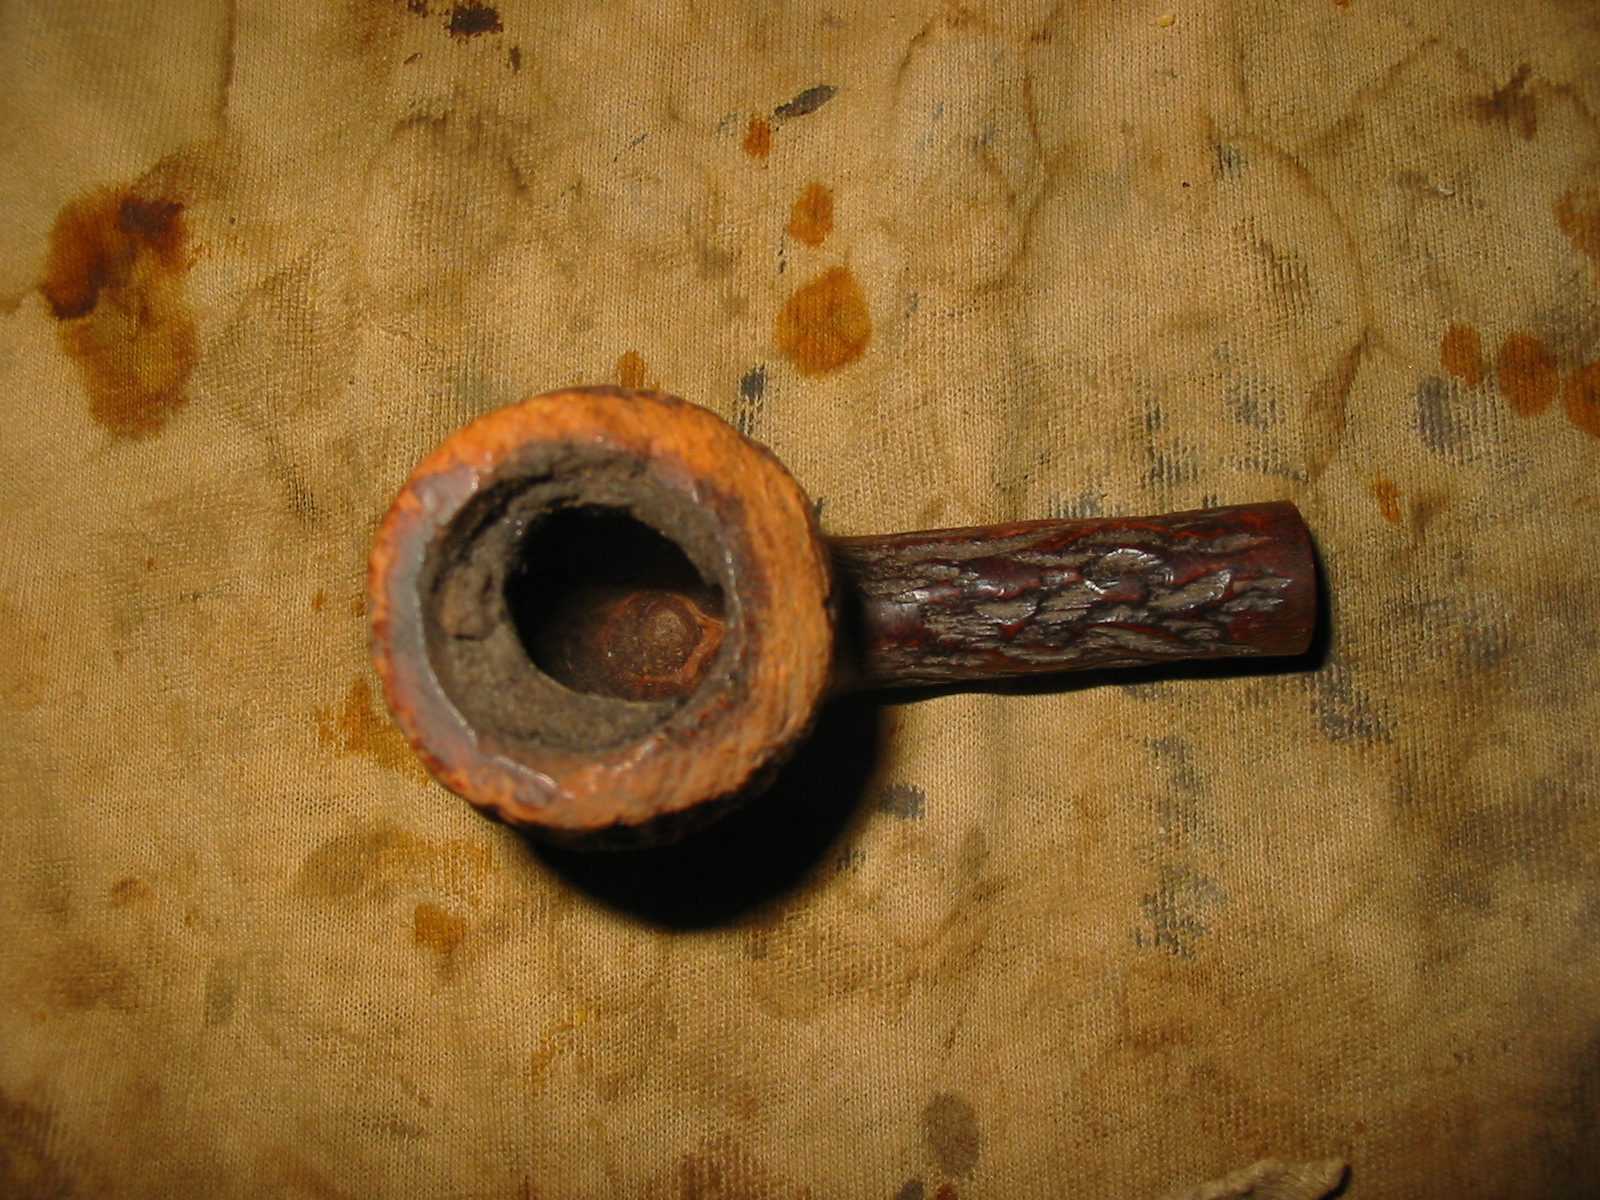
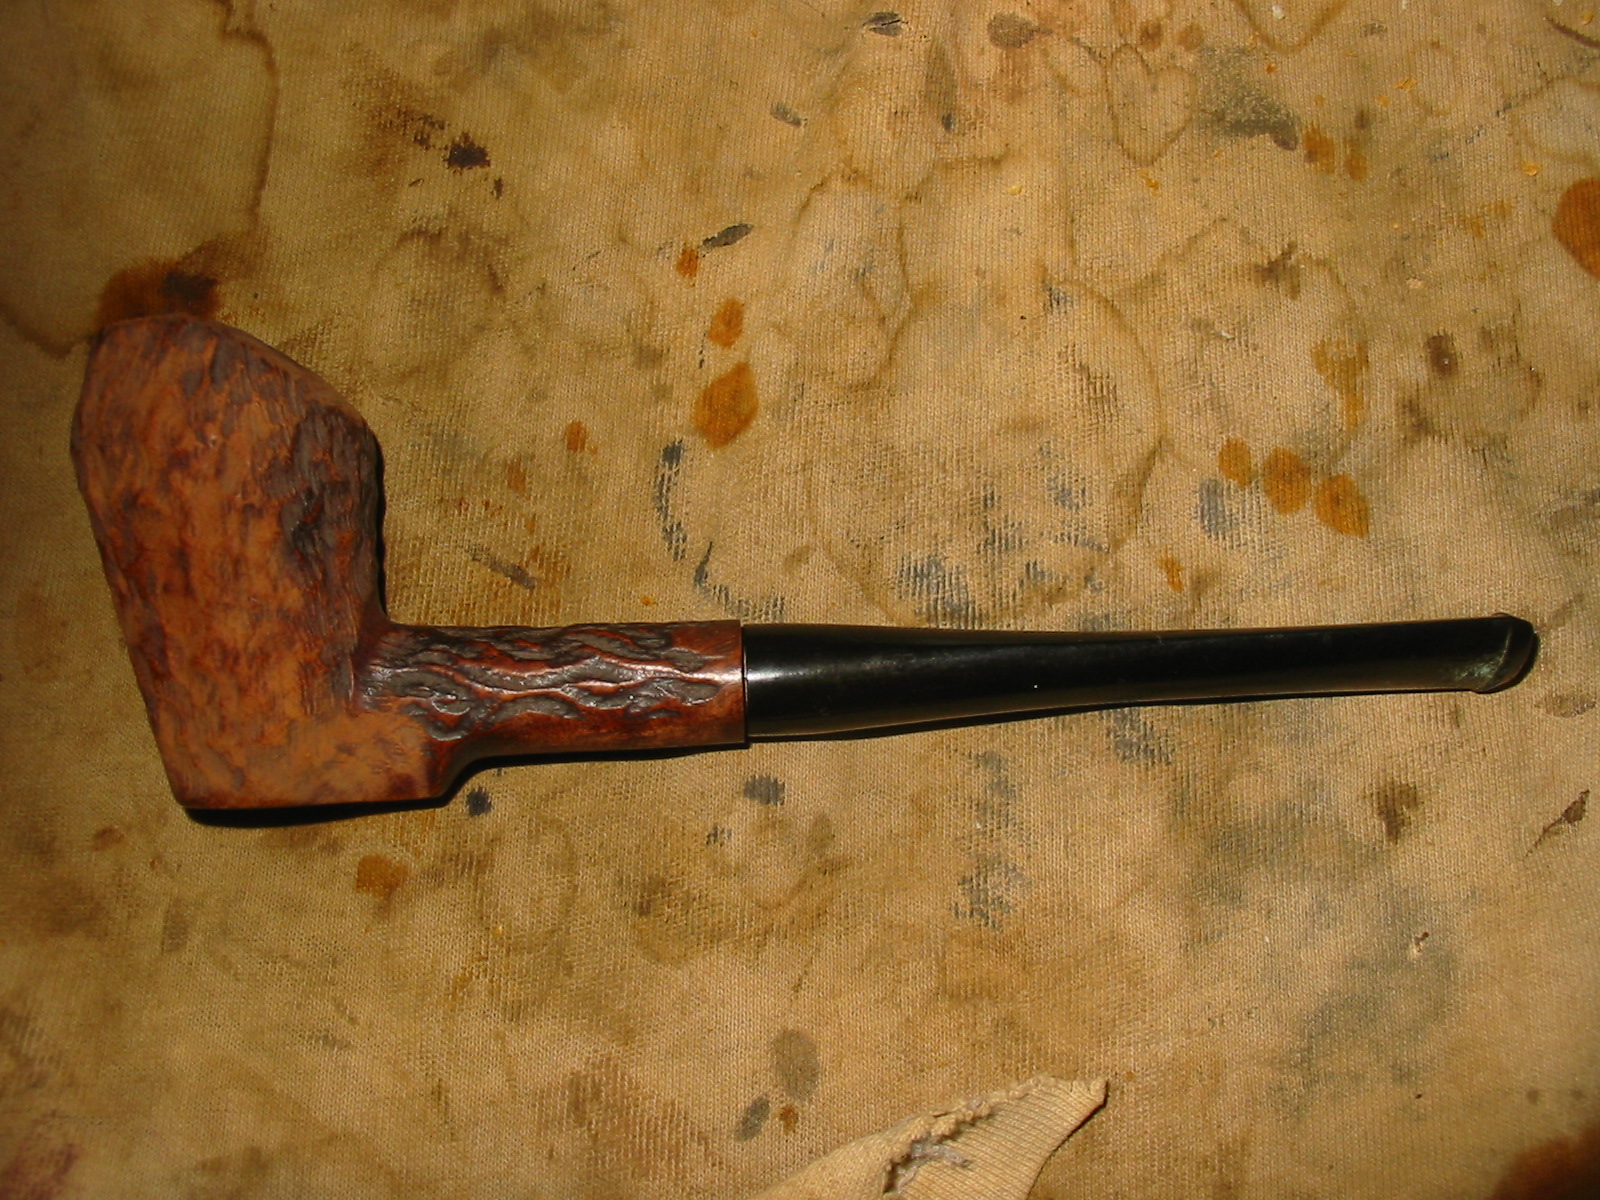
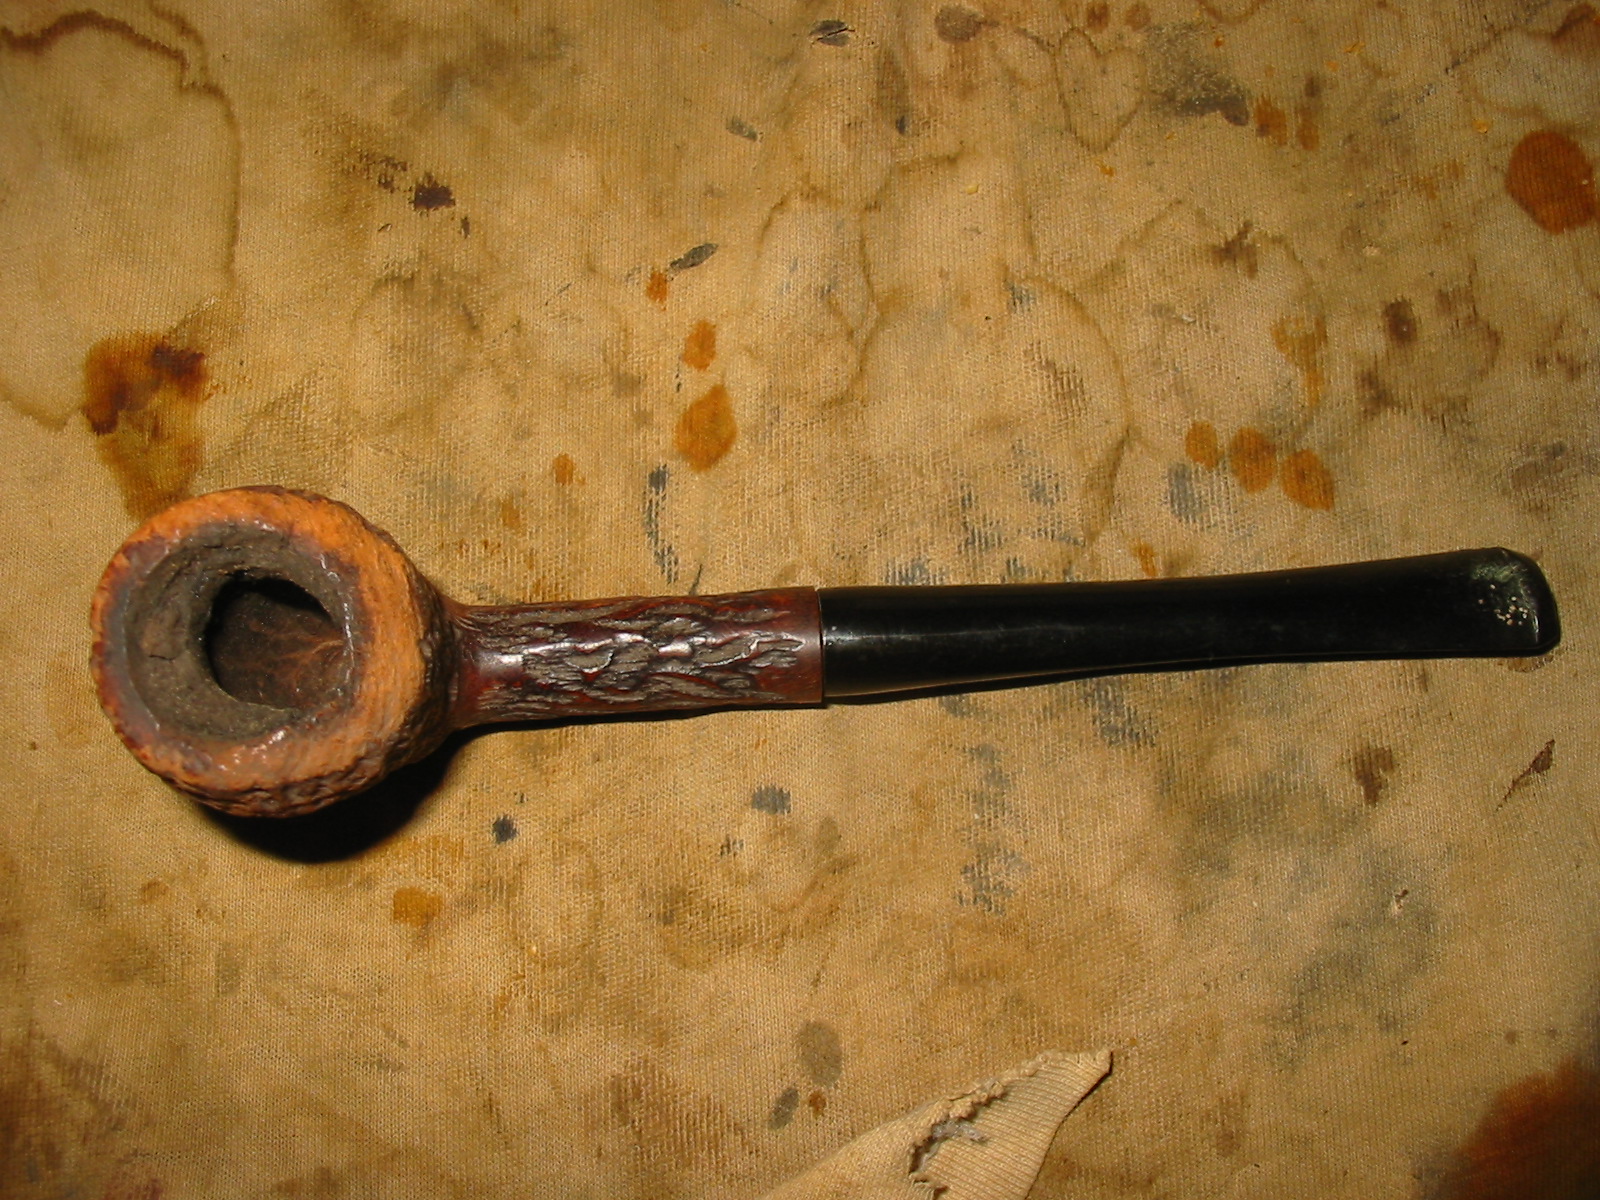
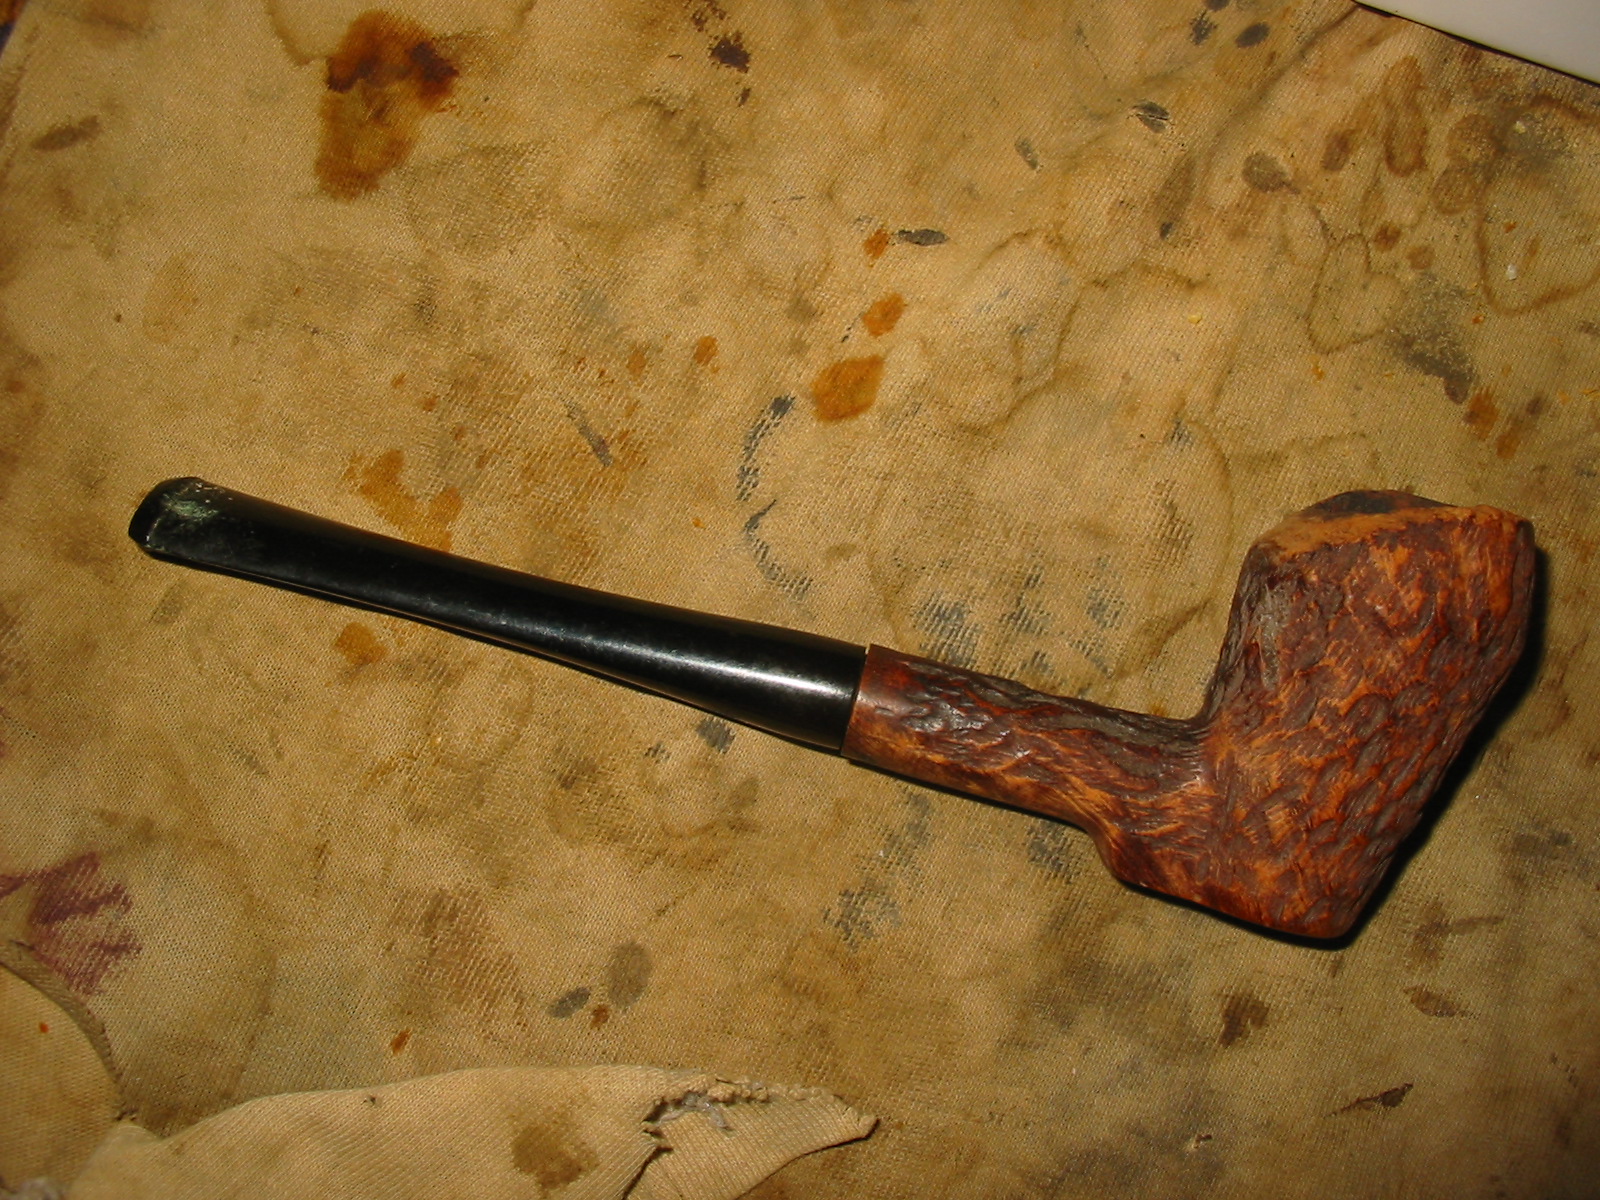
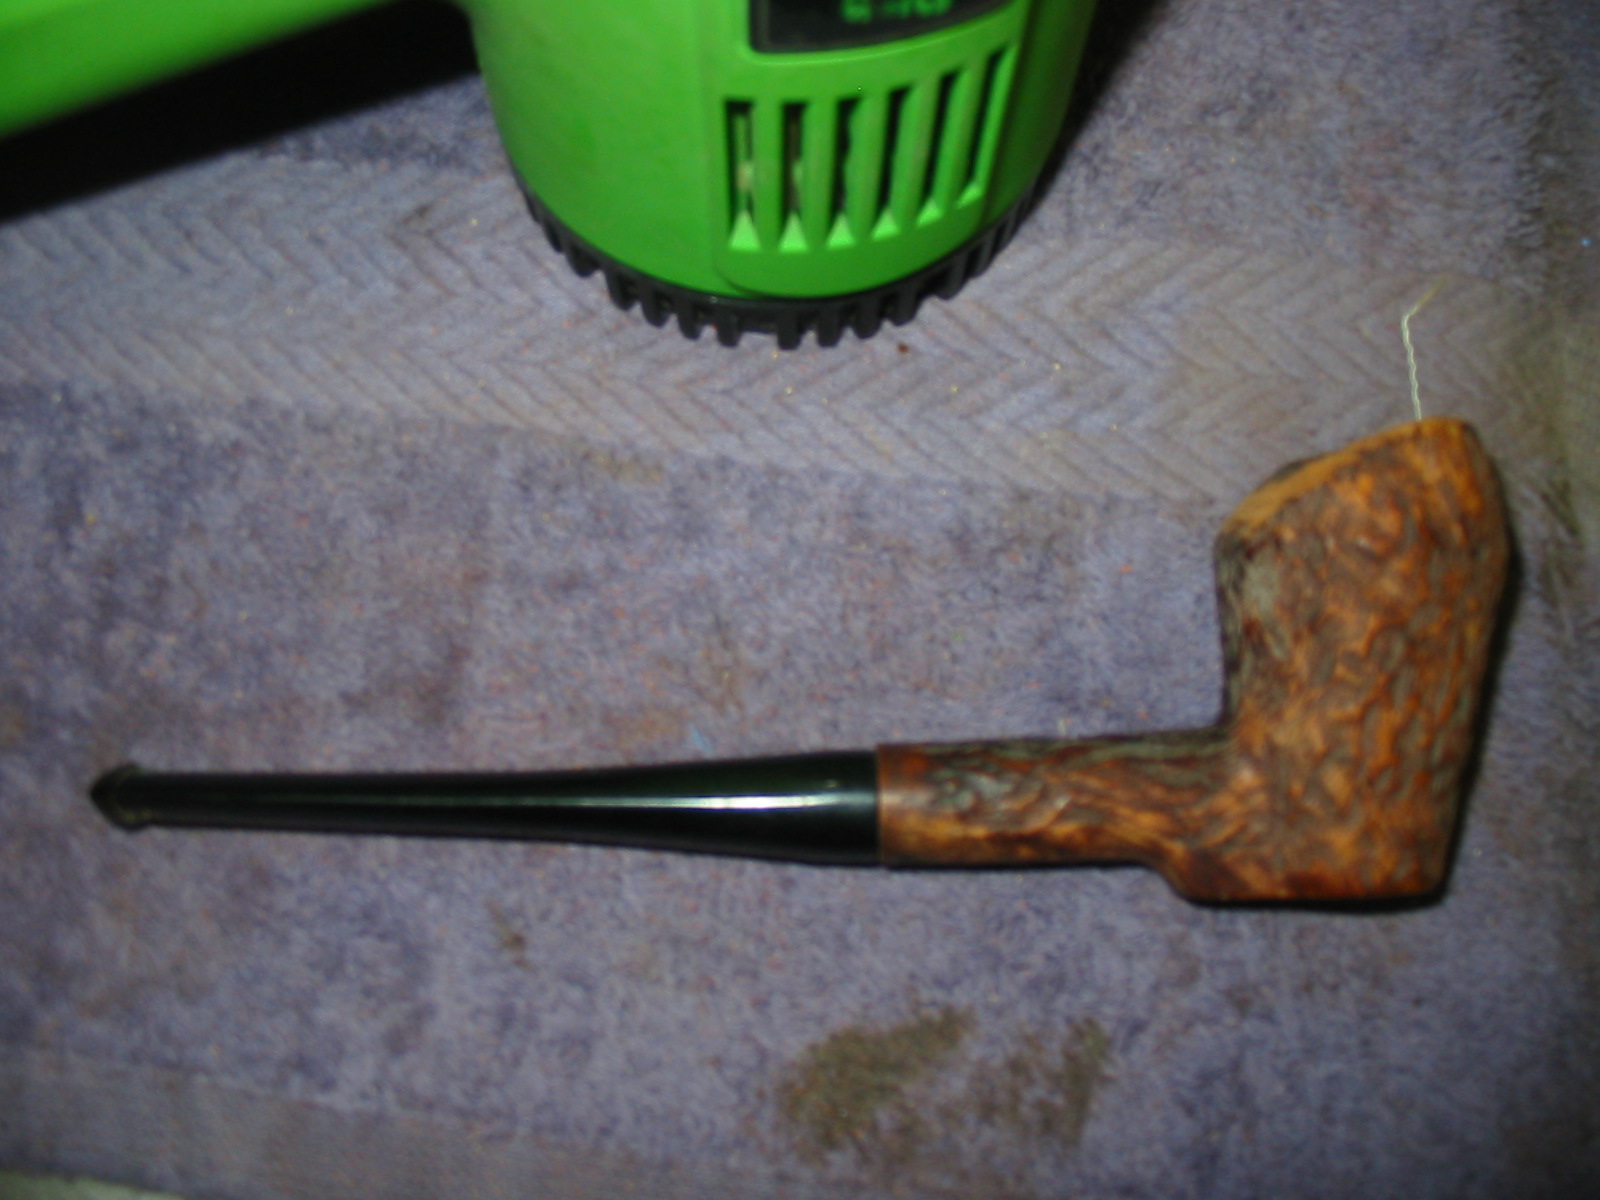
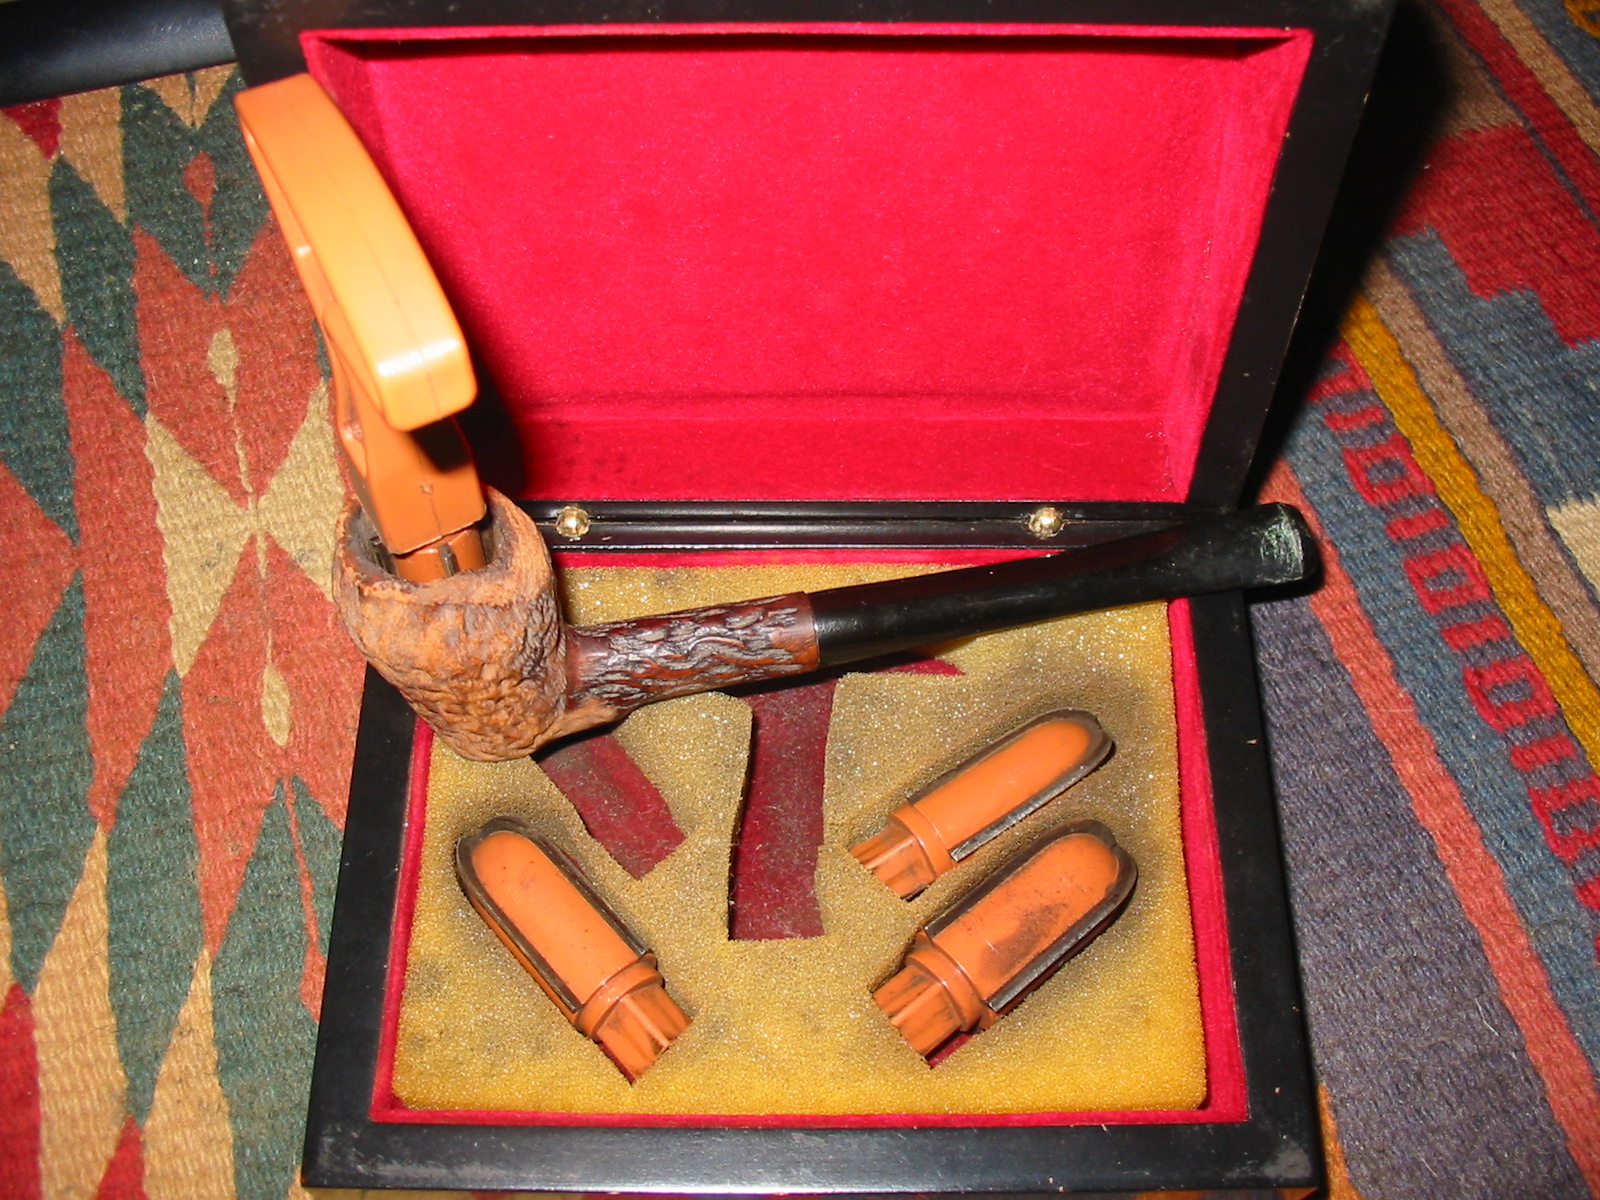
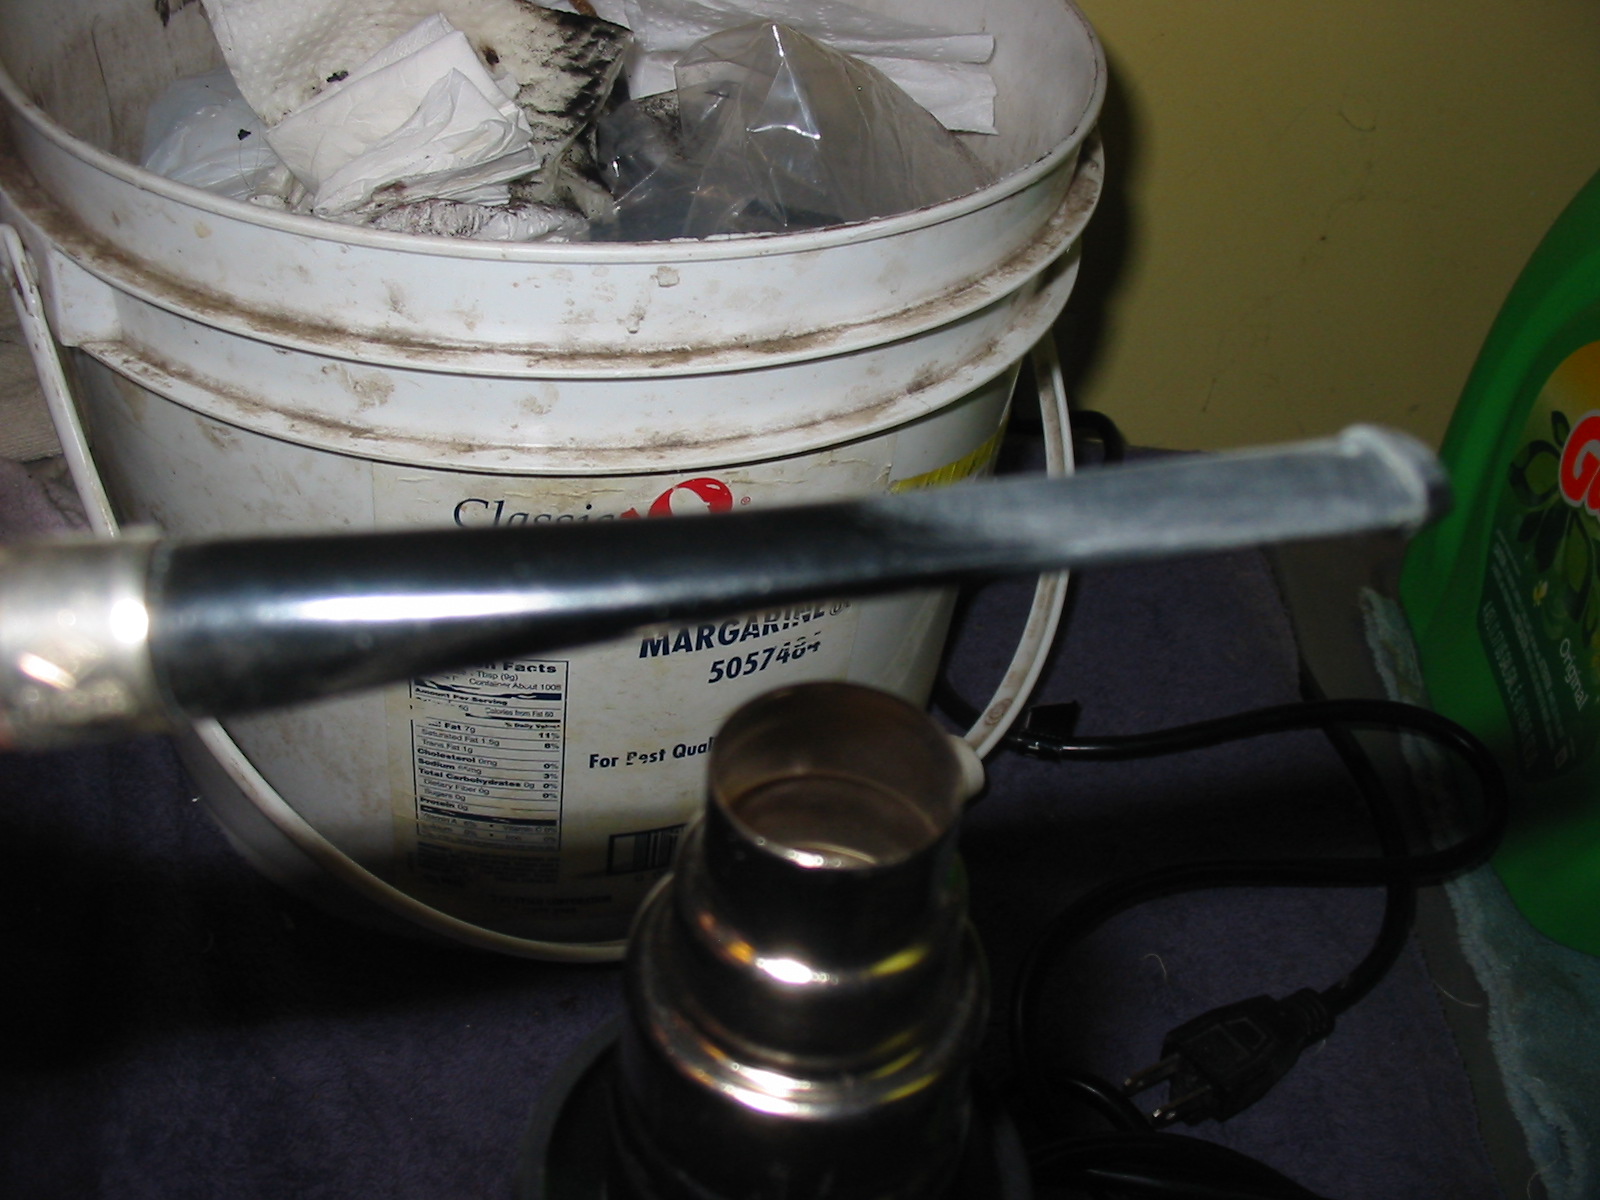
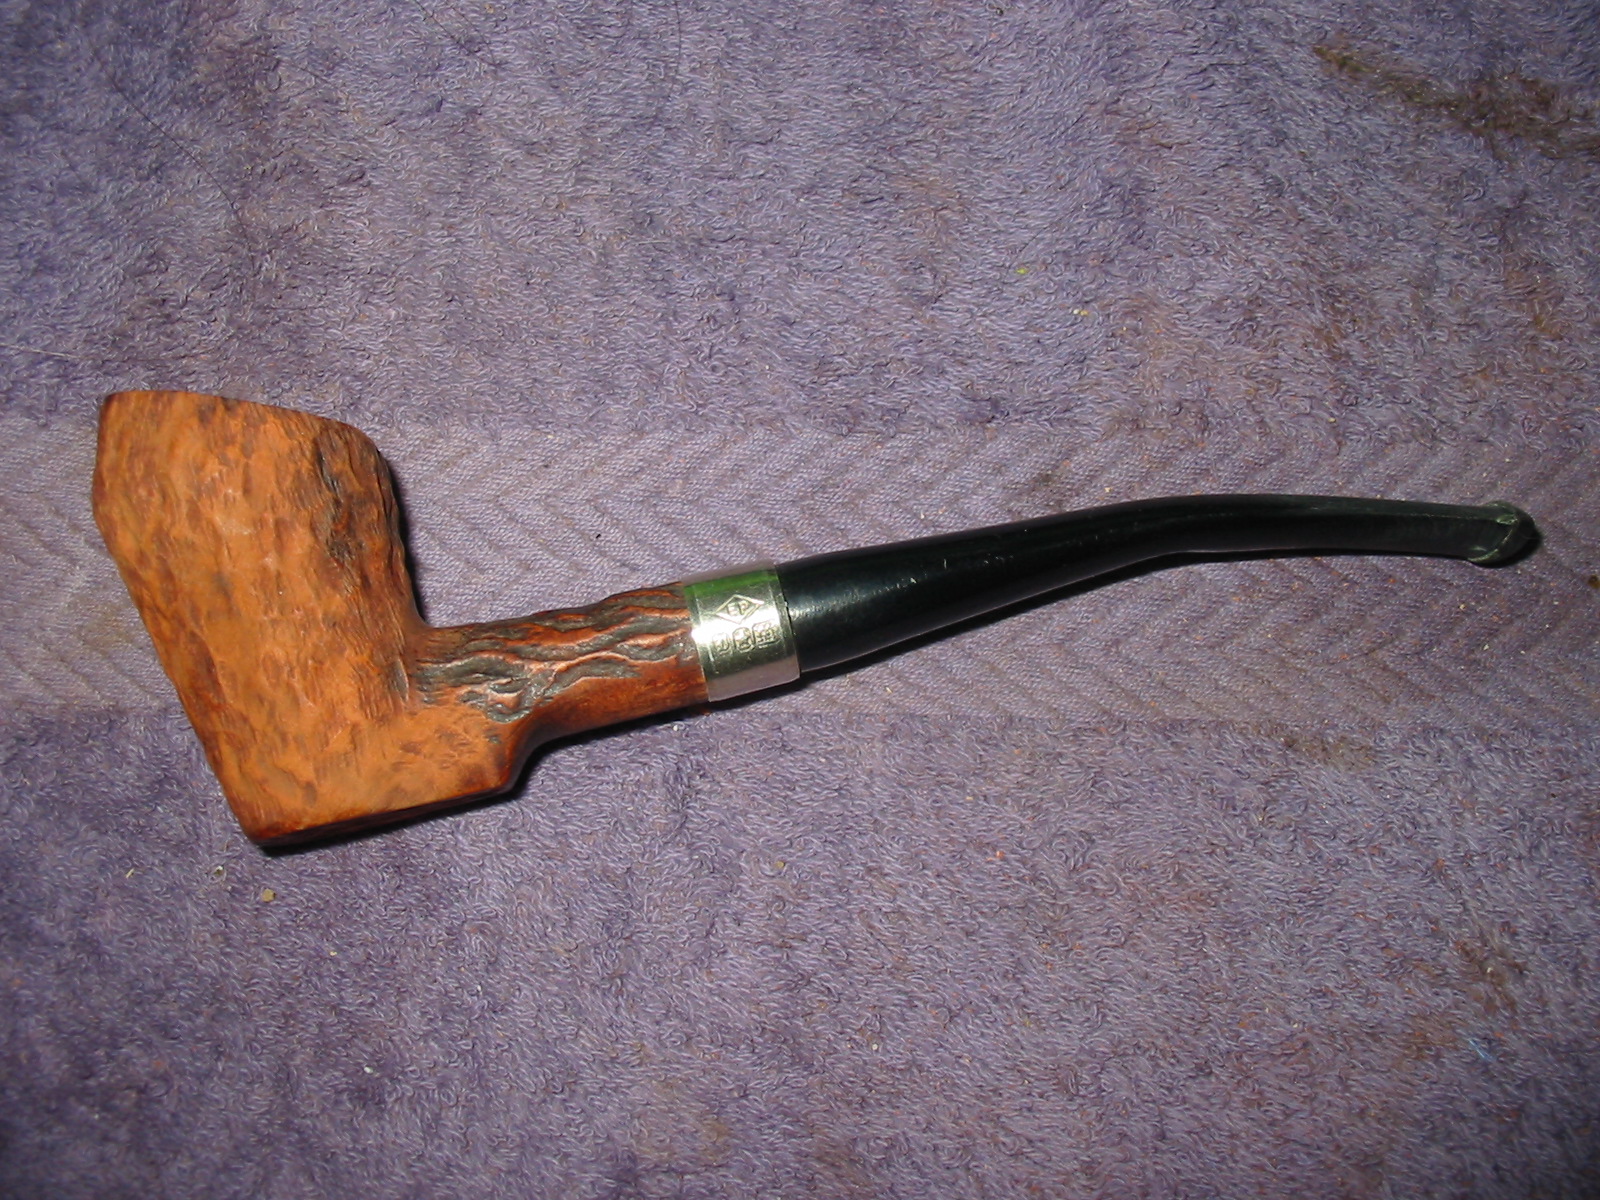
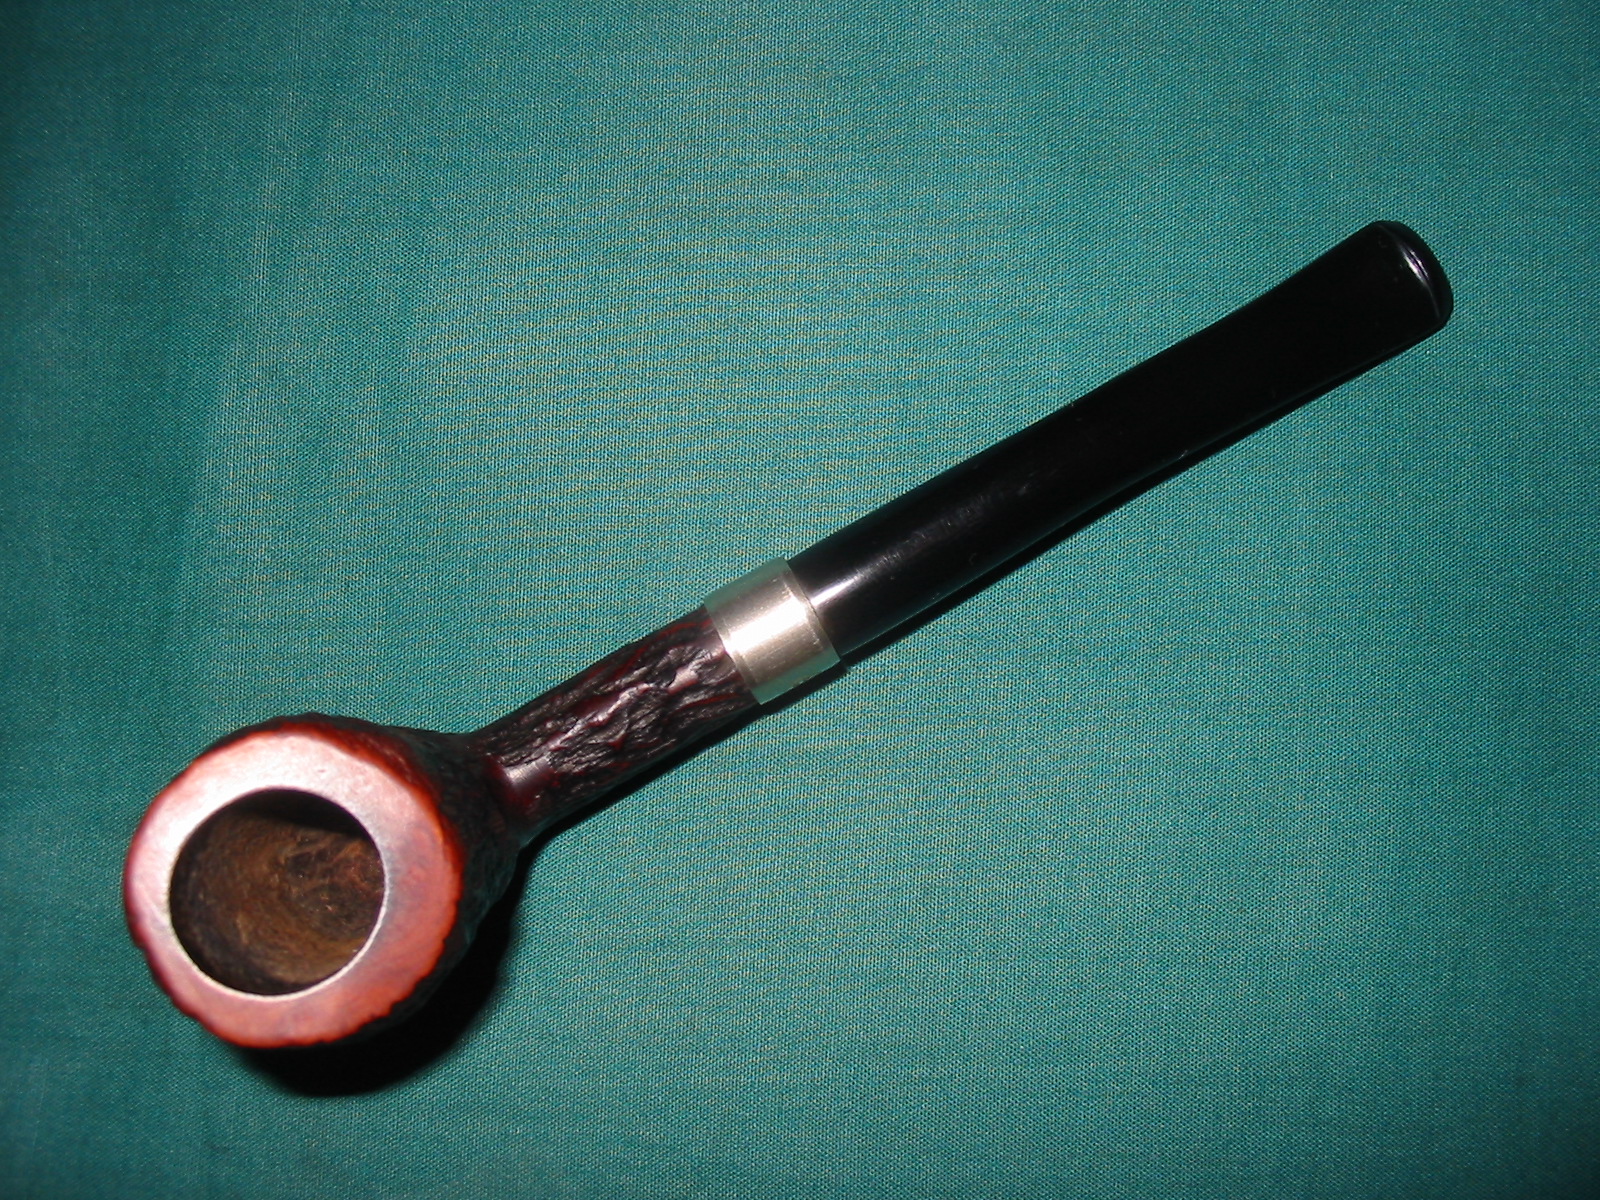
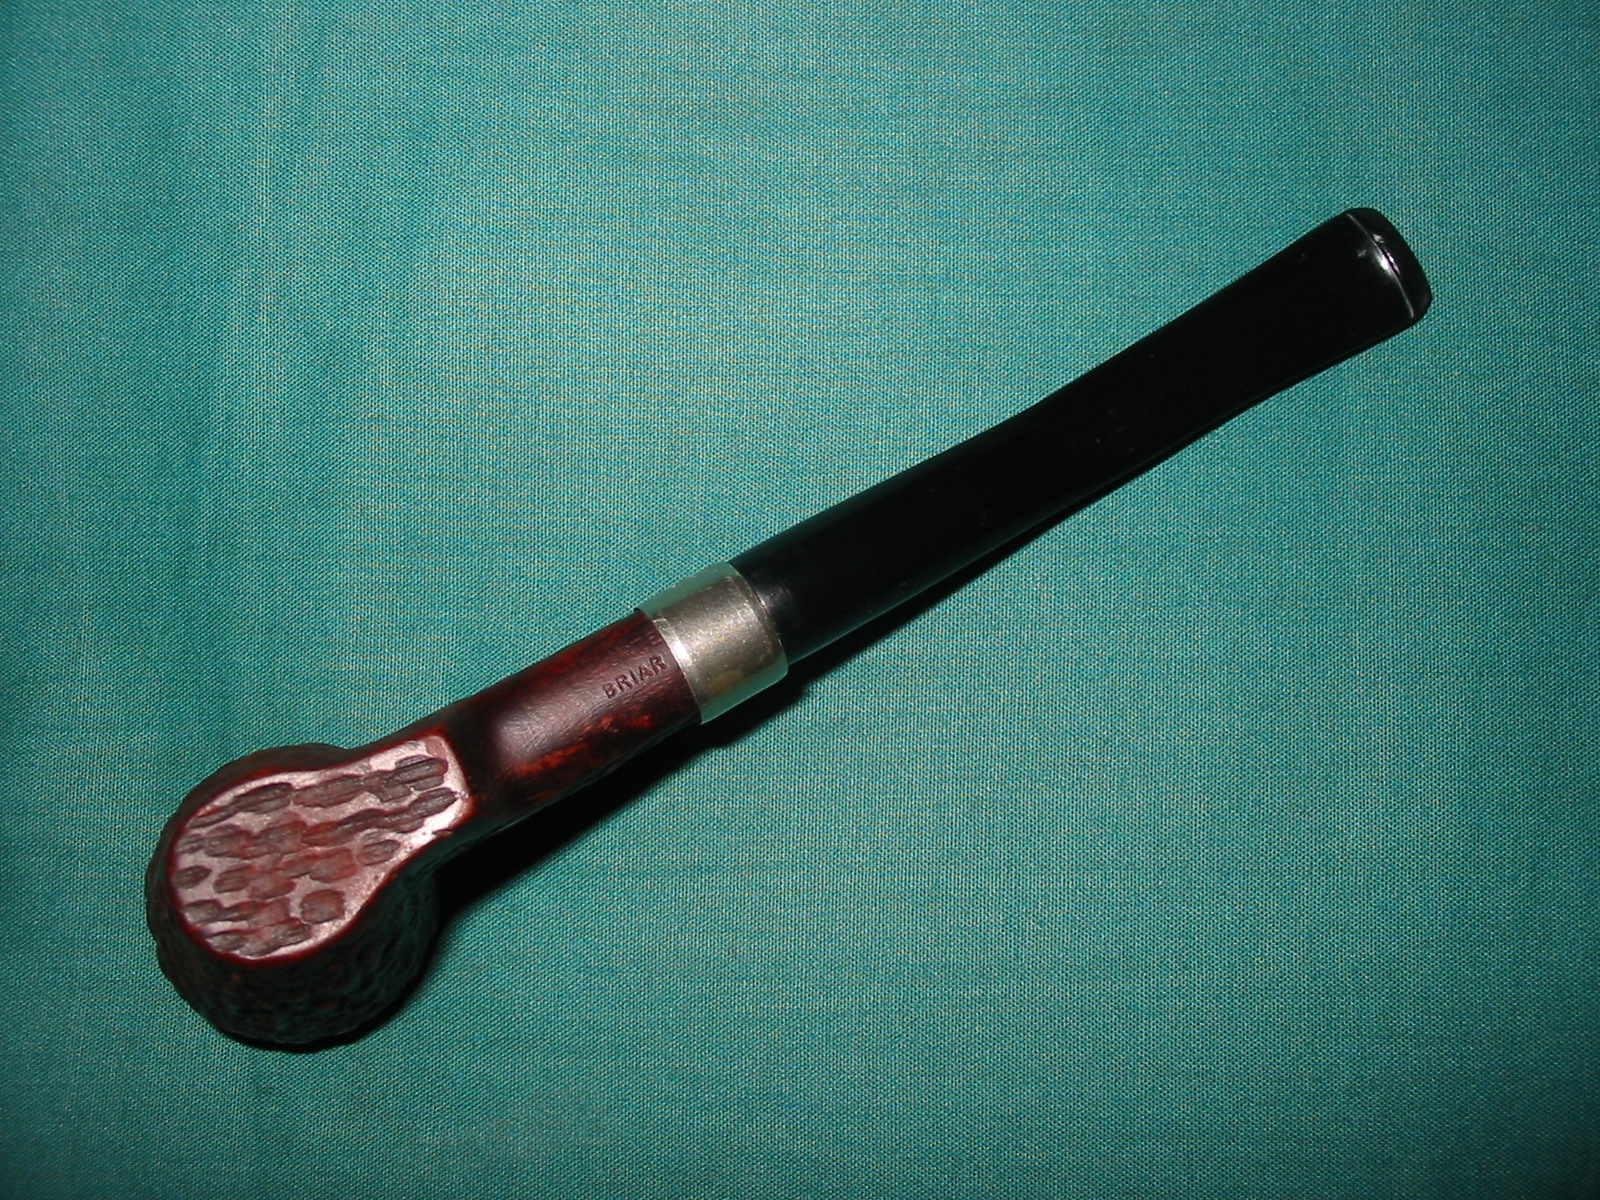
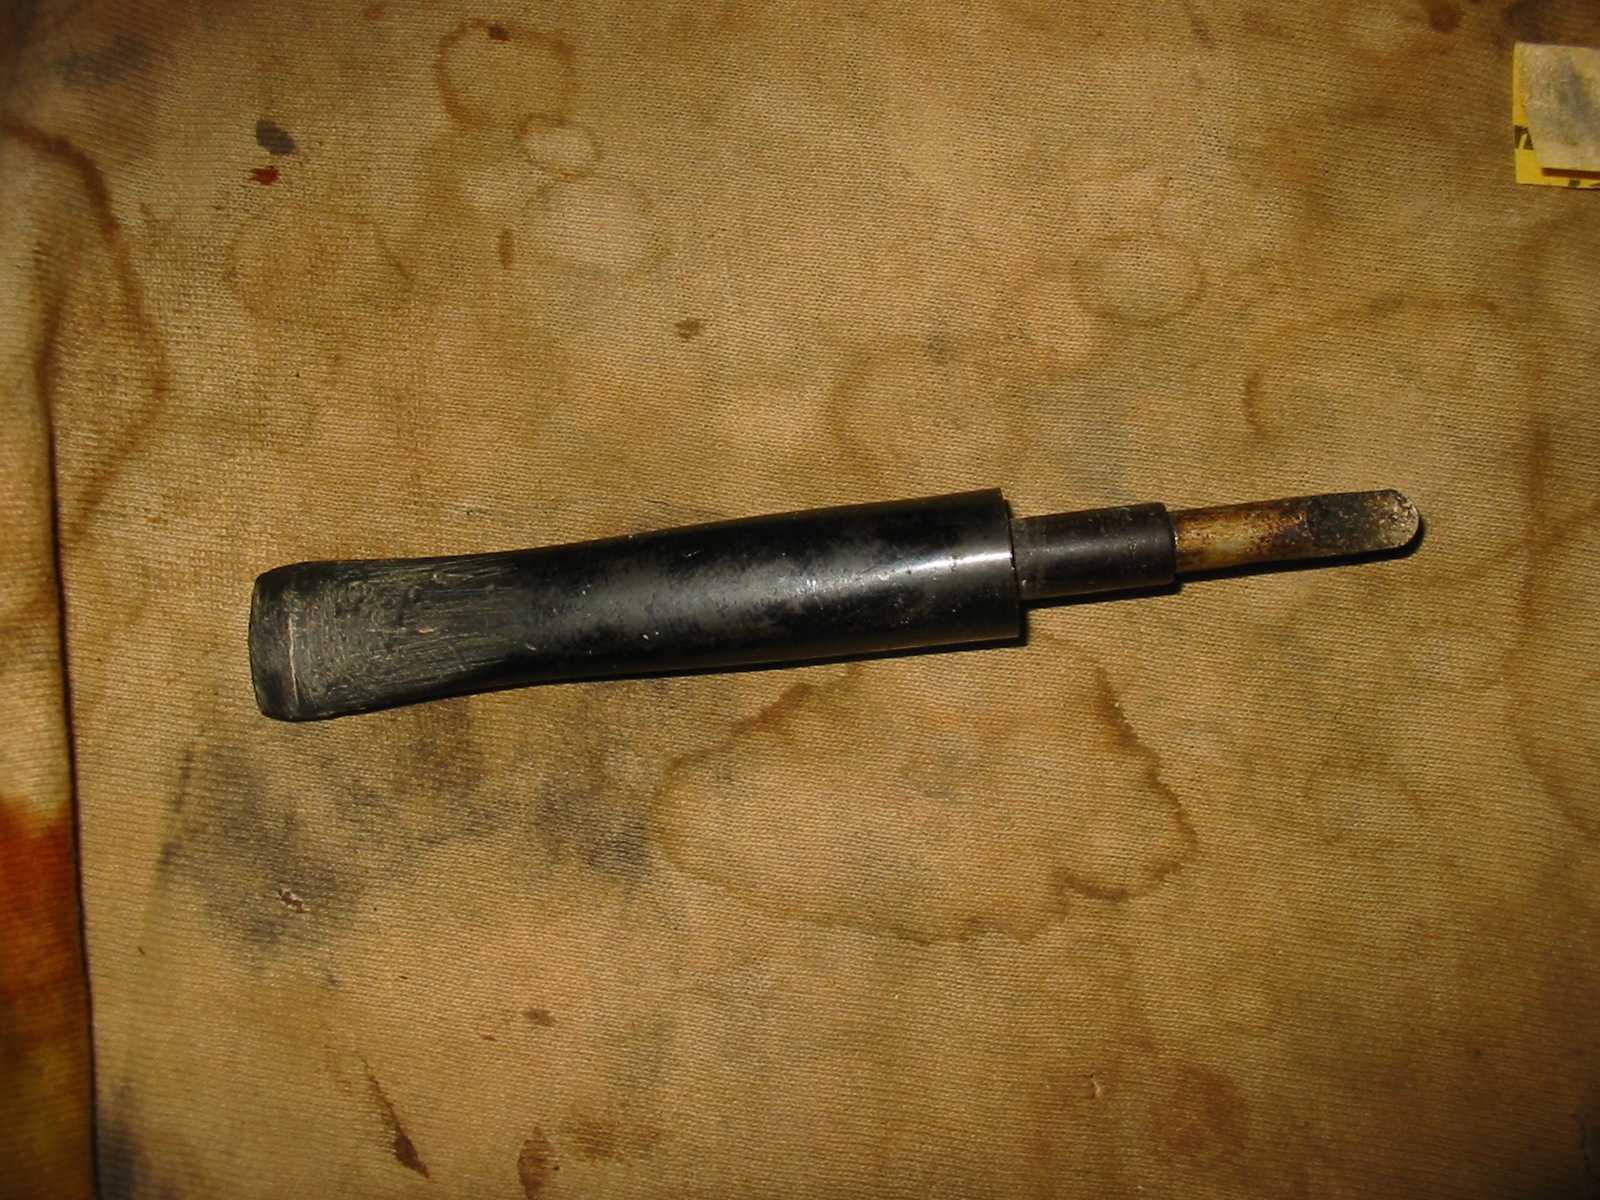
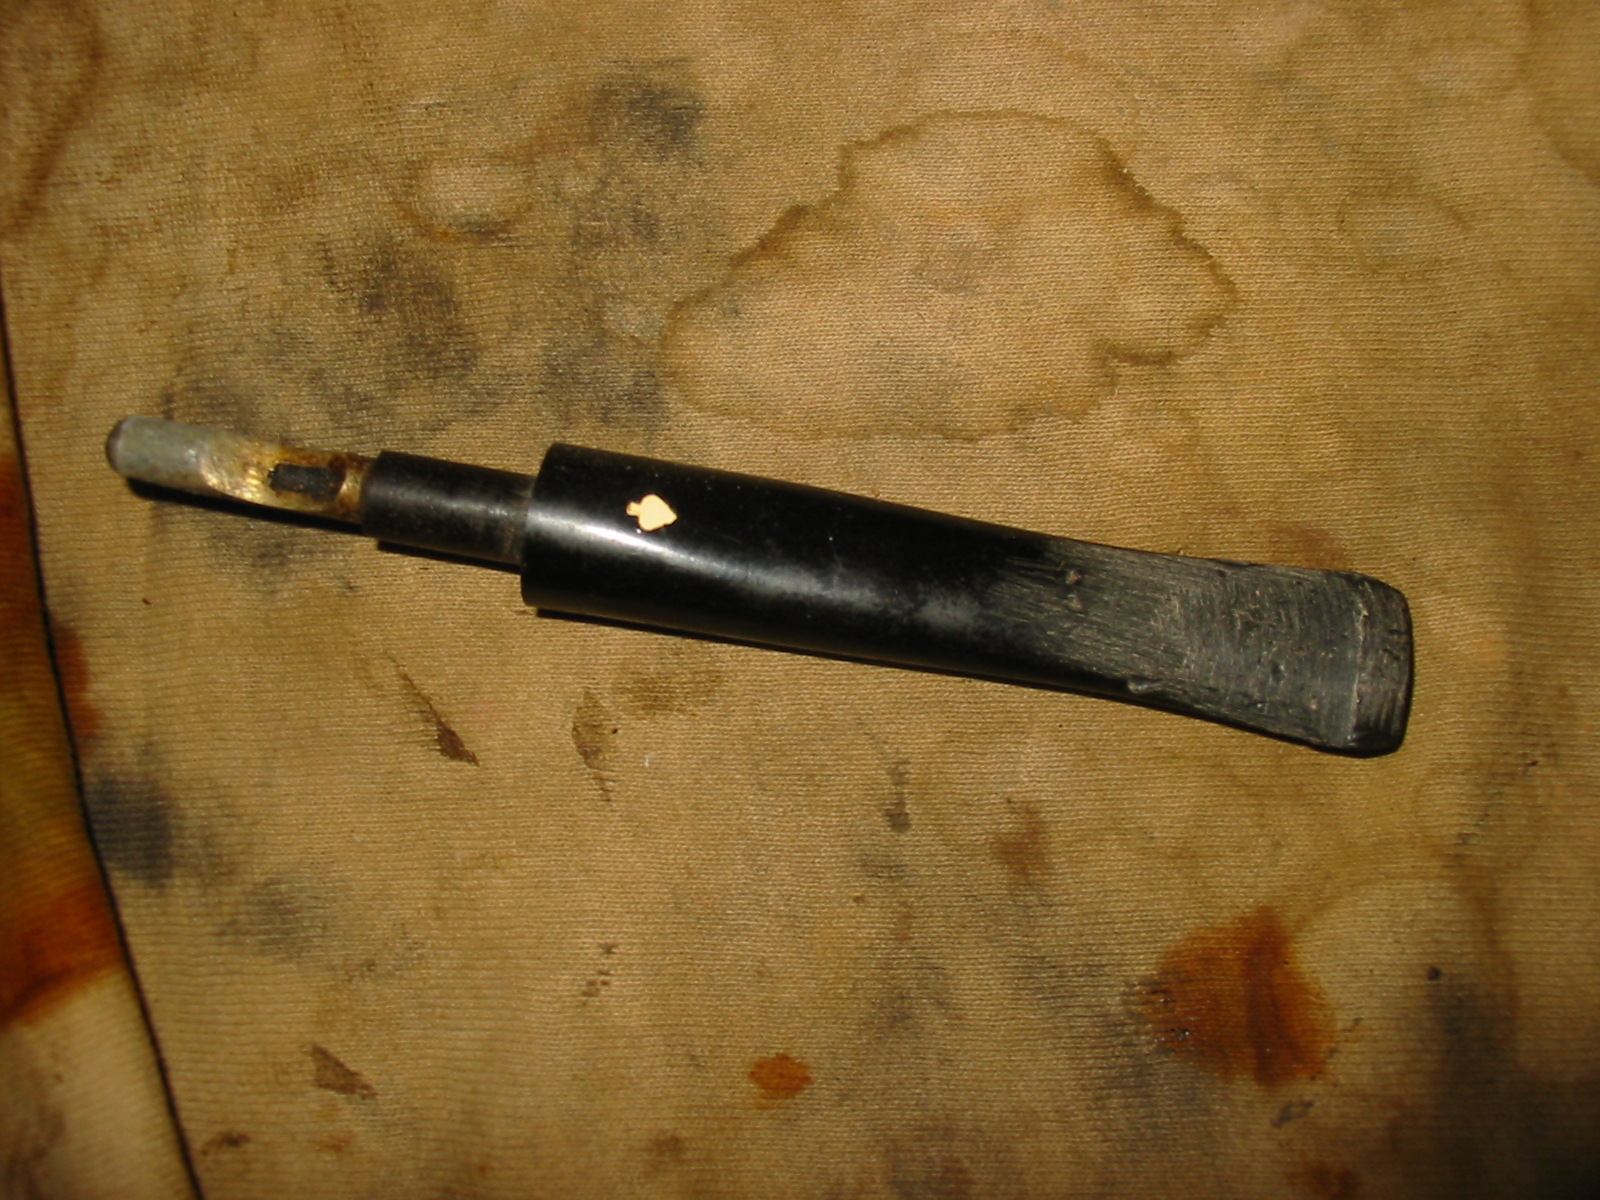
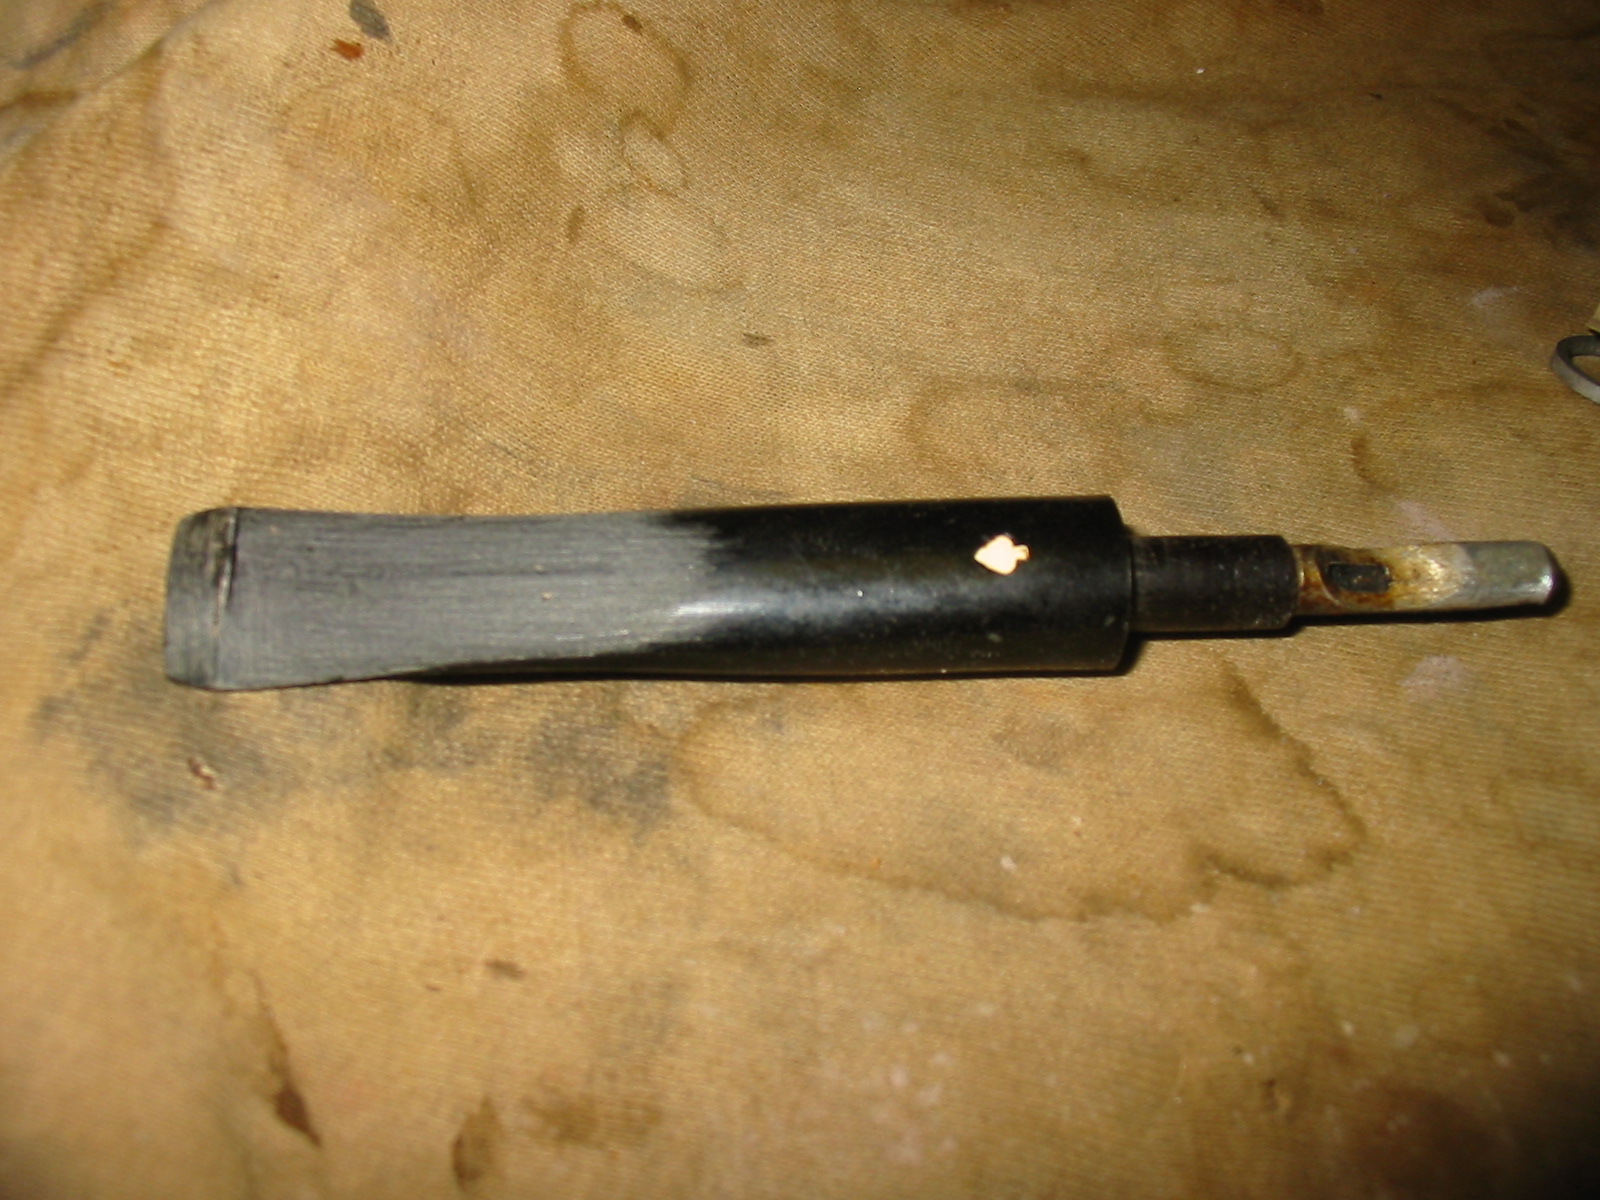
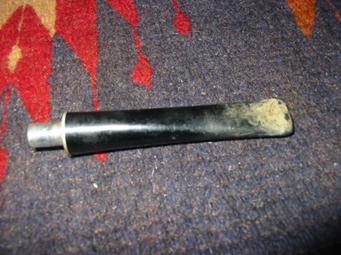
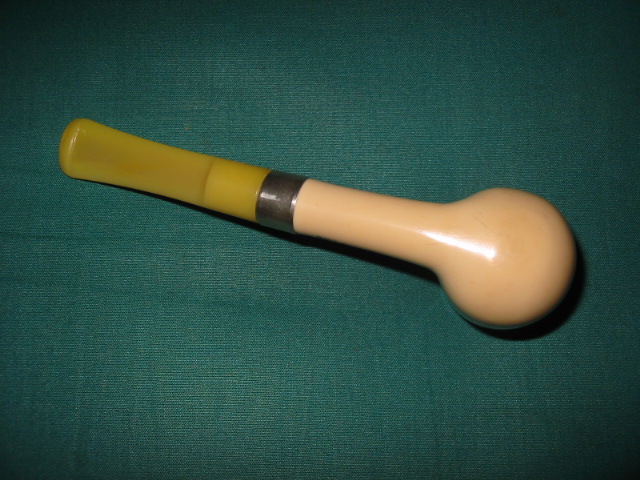
The photos below show the pipe as it was when I found it in the antique shop. IMG_7924 IMG_7926 IMG_7923 IMG_7927 
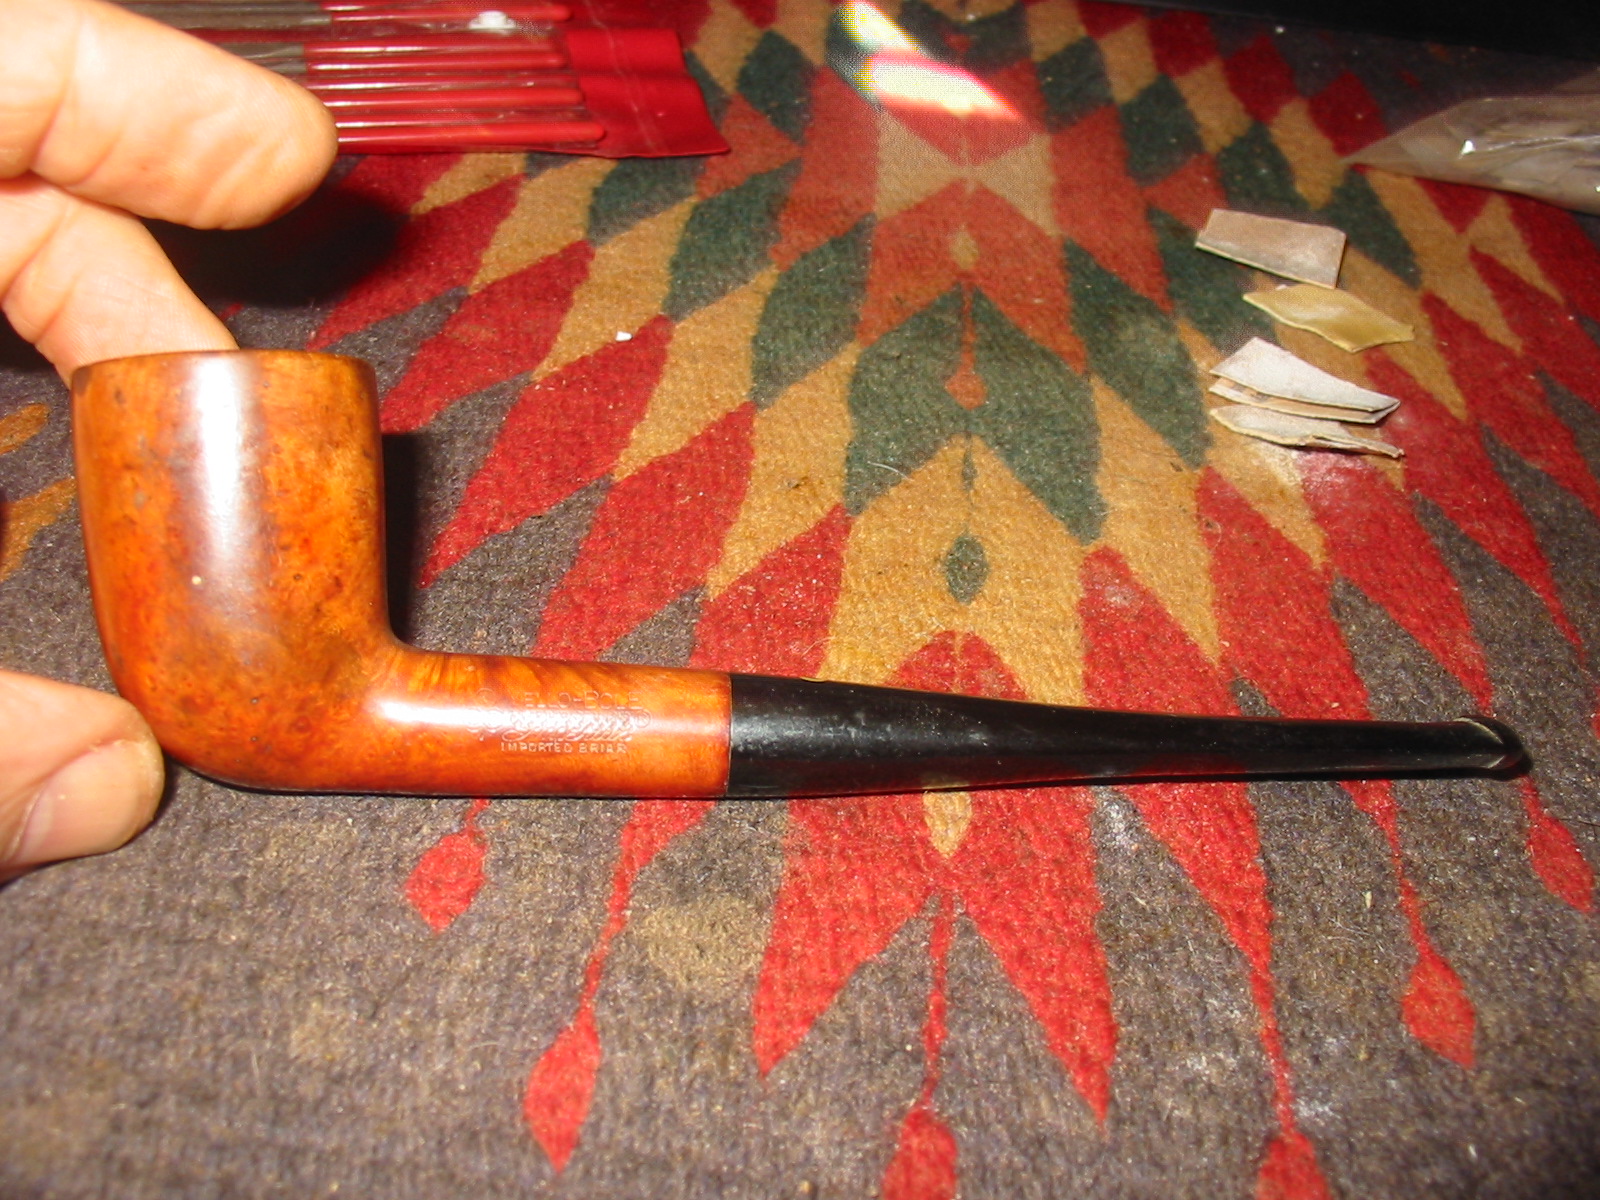
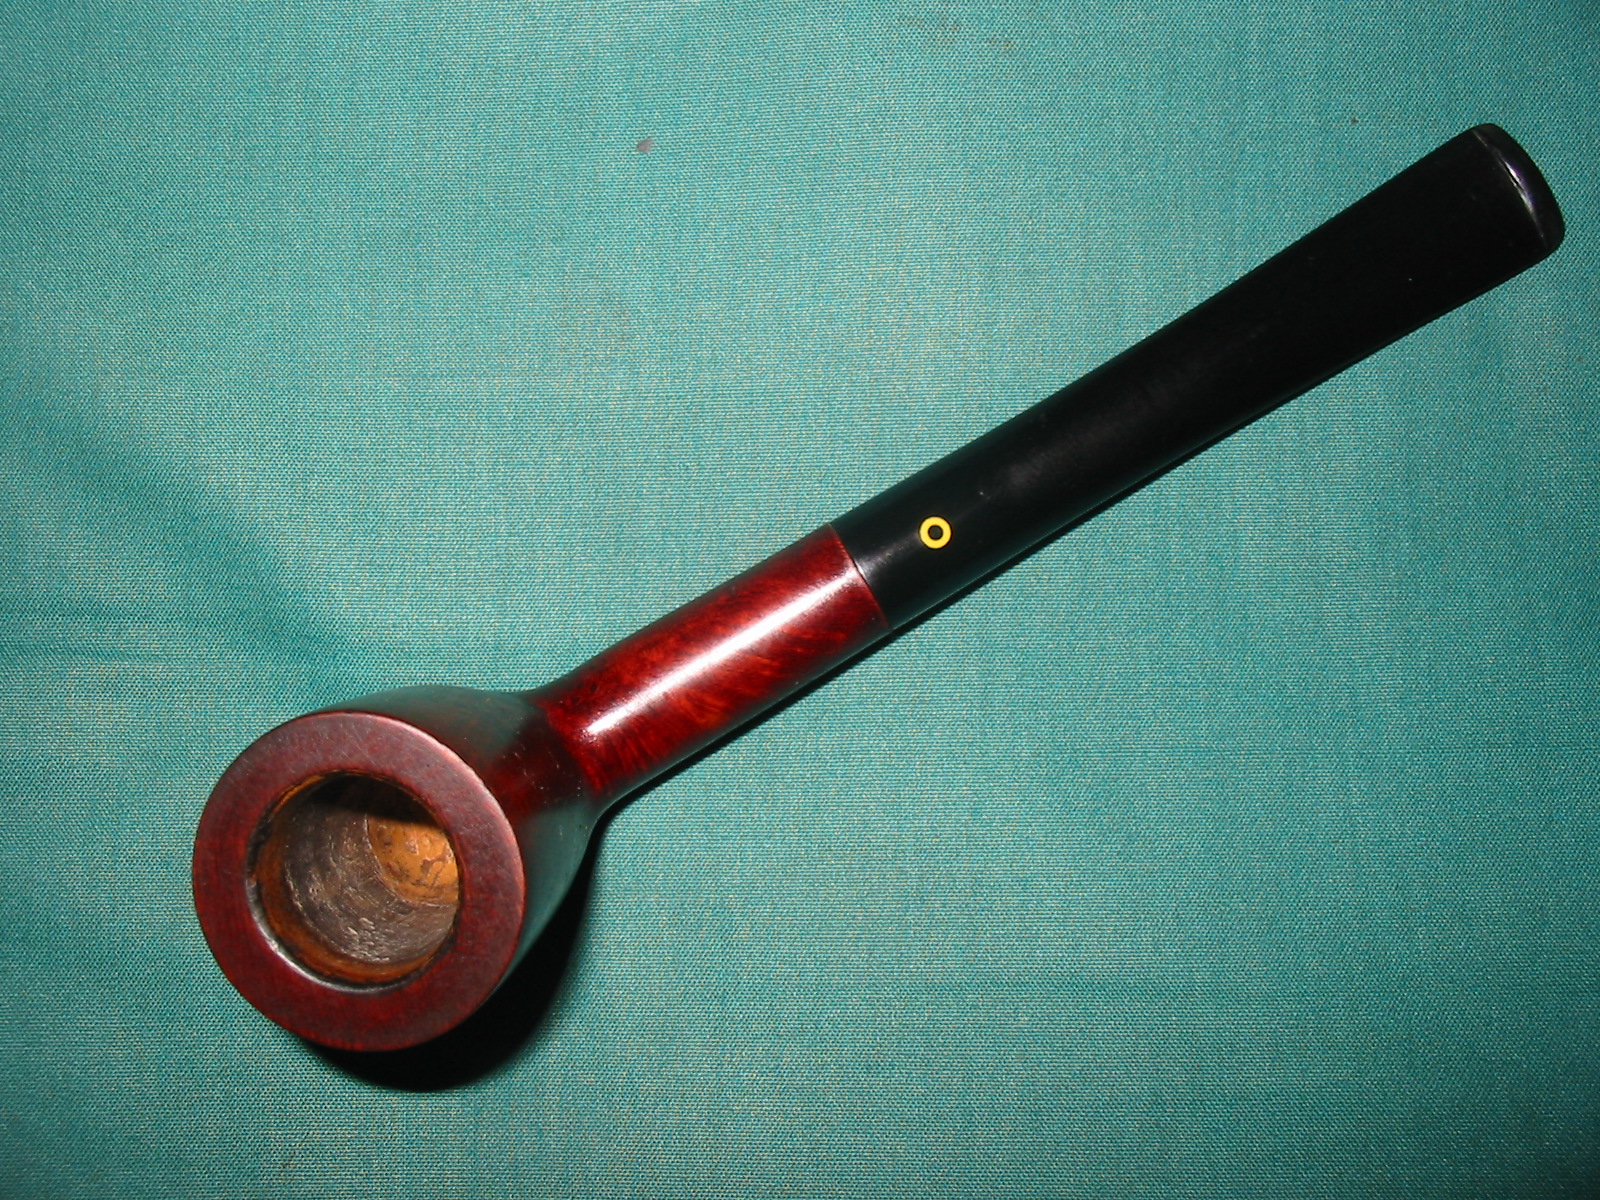
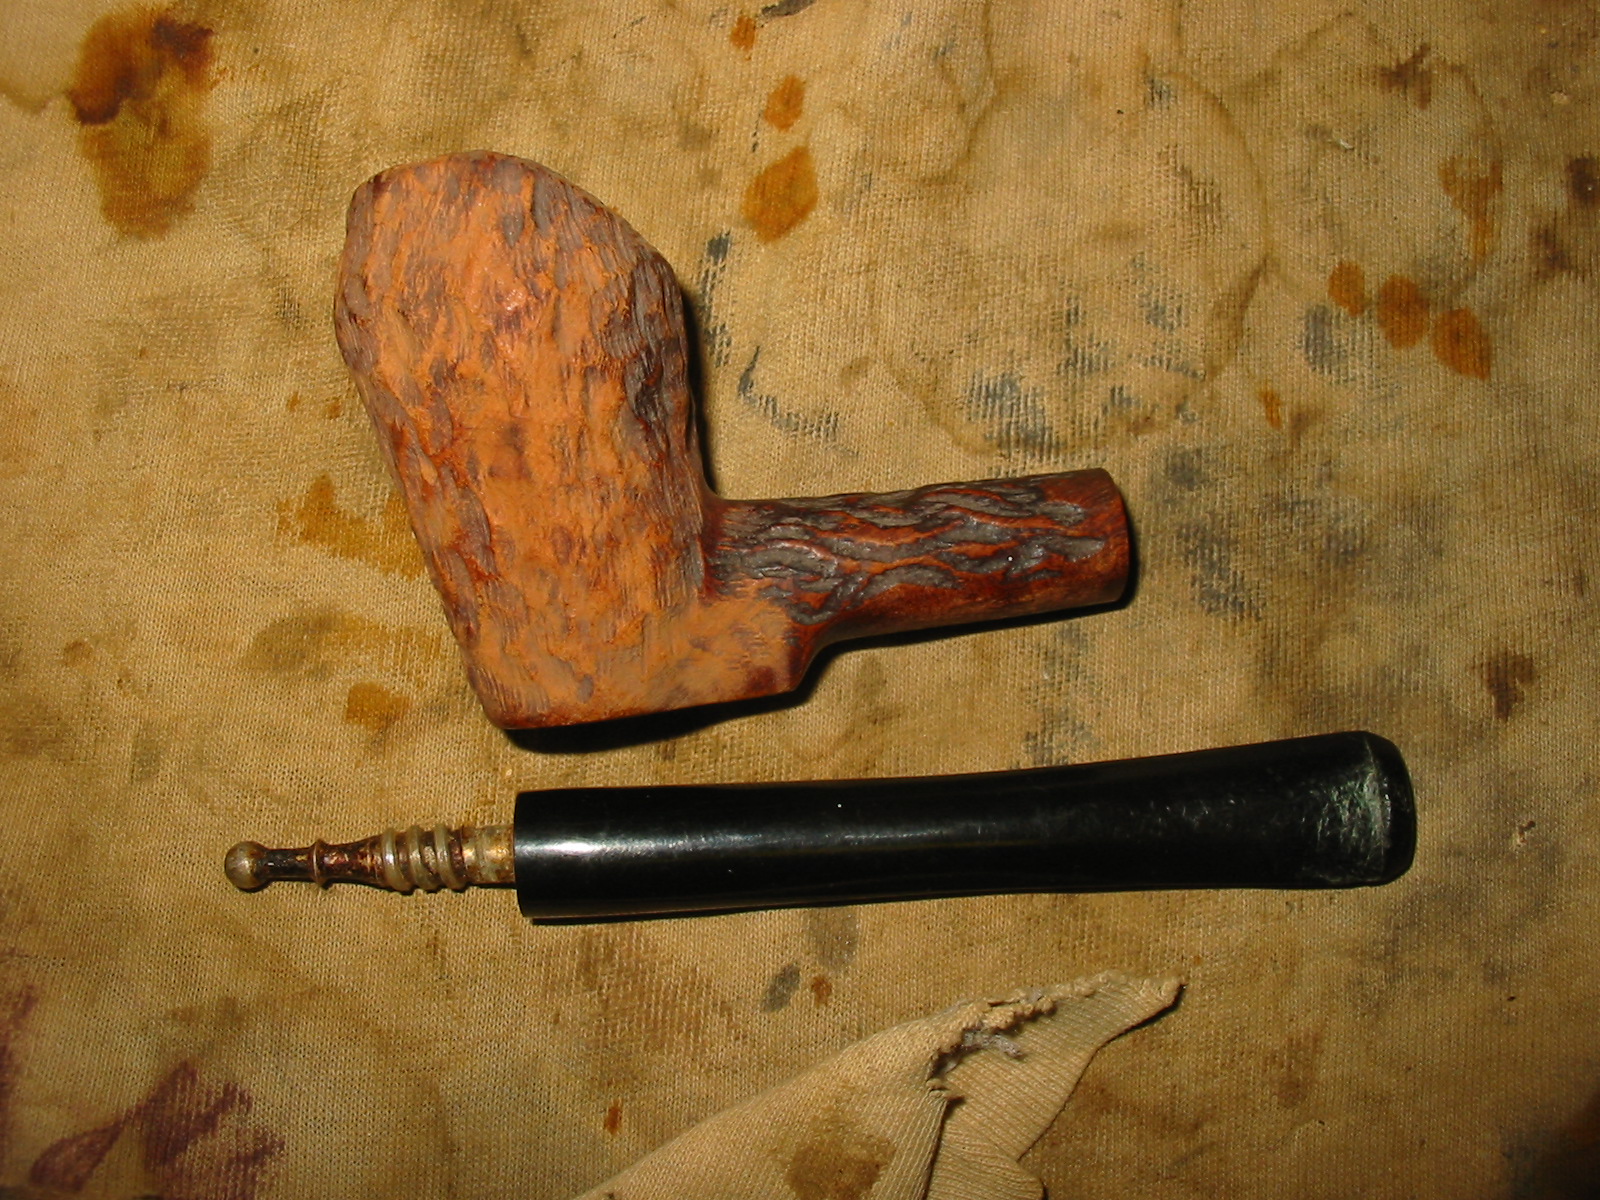
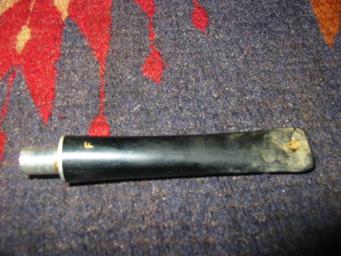
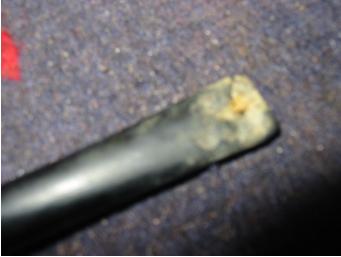
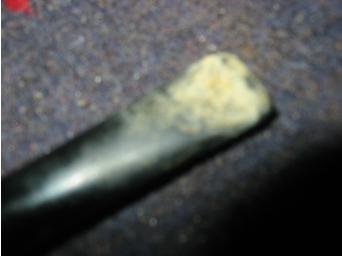
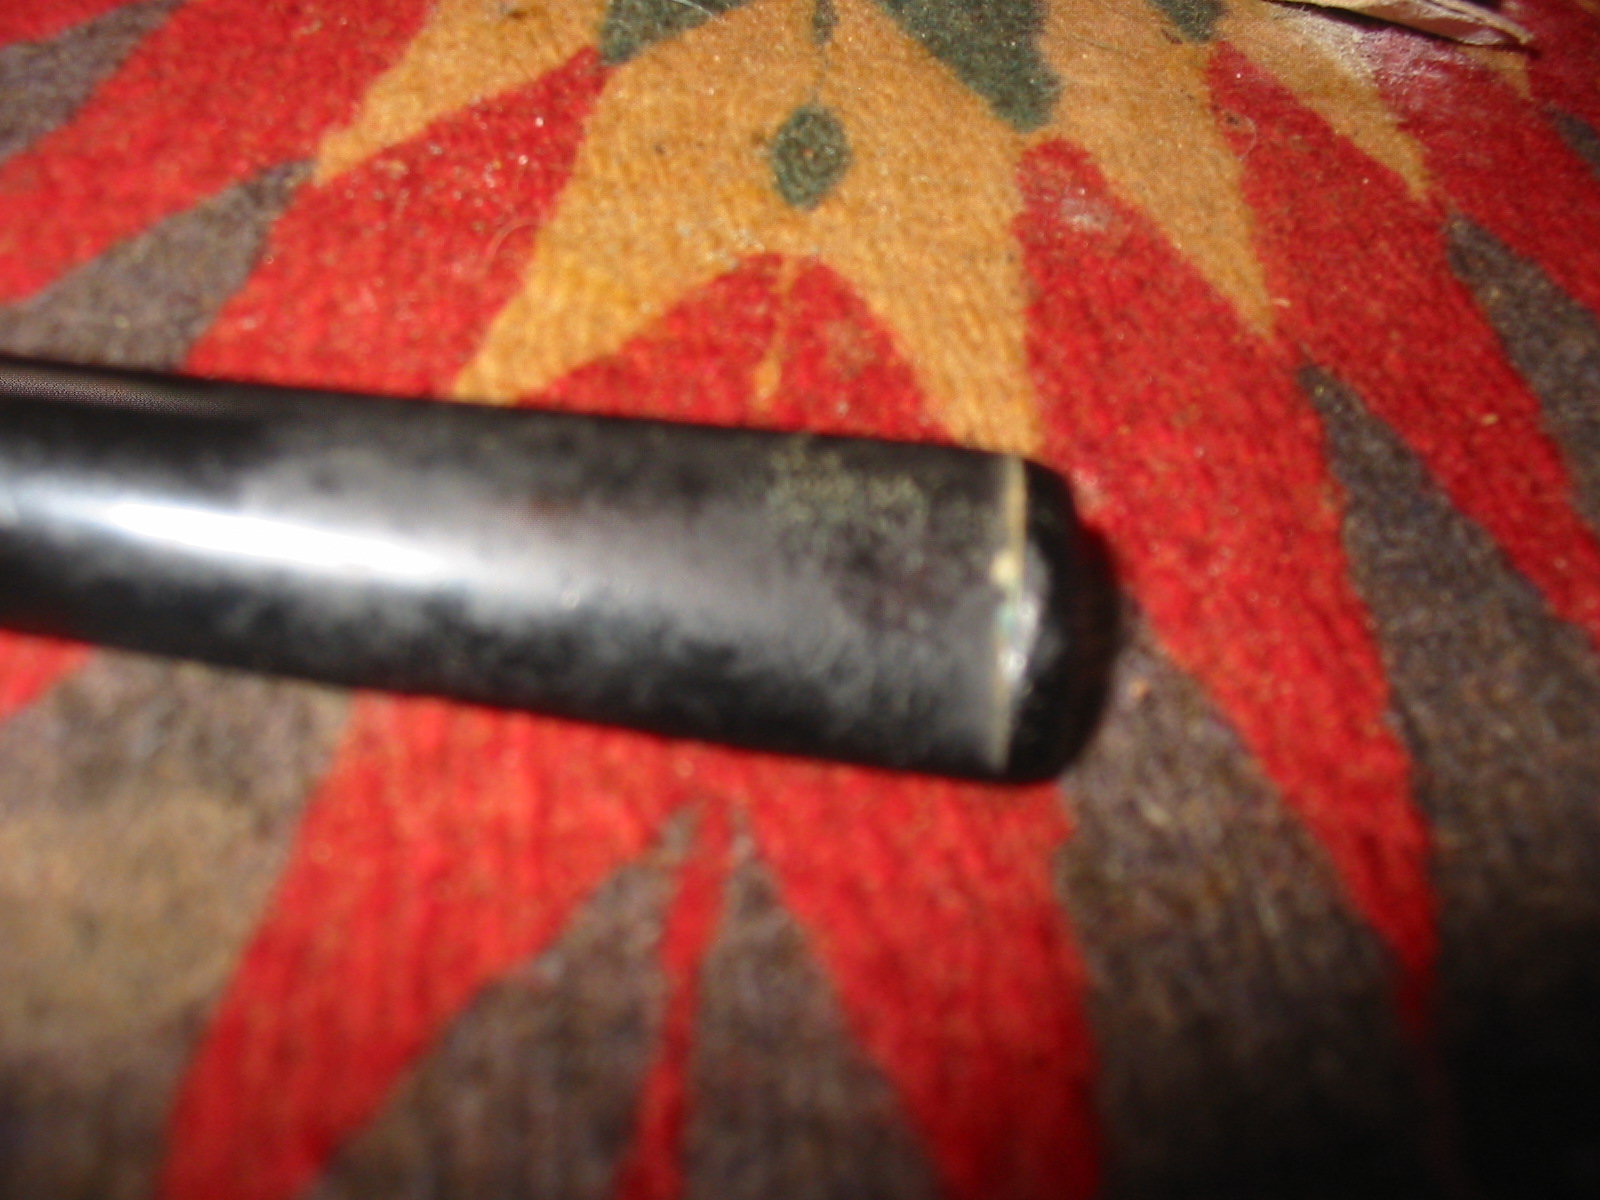
The stem is made of nylon rather than vulcanite. It has the yellow circle inset in the top near the shank of the pipe. The button area was chewed and dented. There was a shallow dent on top of the stem and deeper ones on the underside of the stem next to the button. The button had been chewed down and had deep dents on the underside while the slot had been dented in so that it was not longer straight. IMG_7920 IMG_7922 
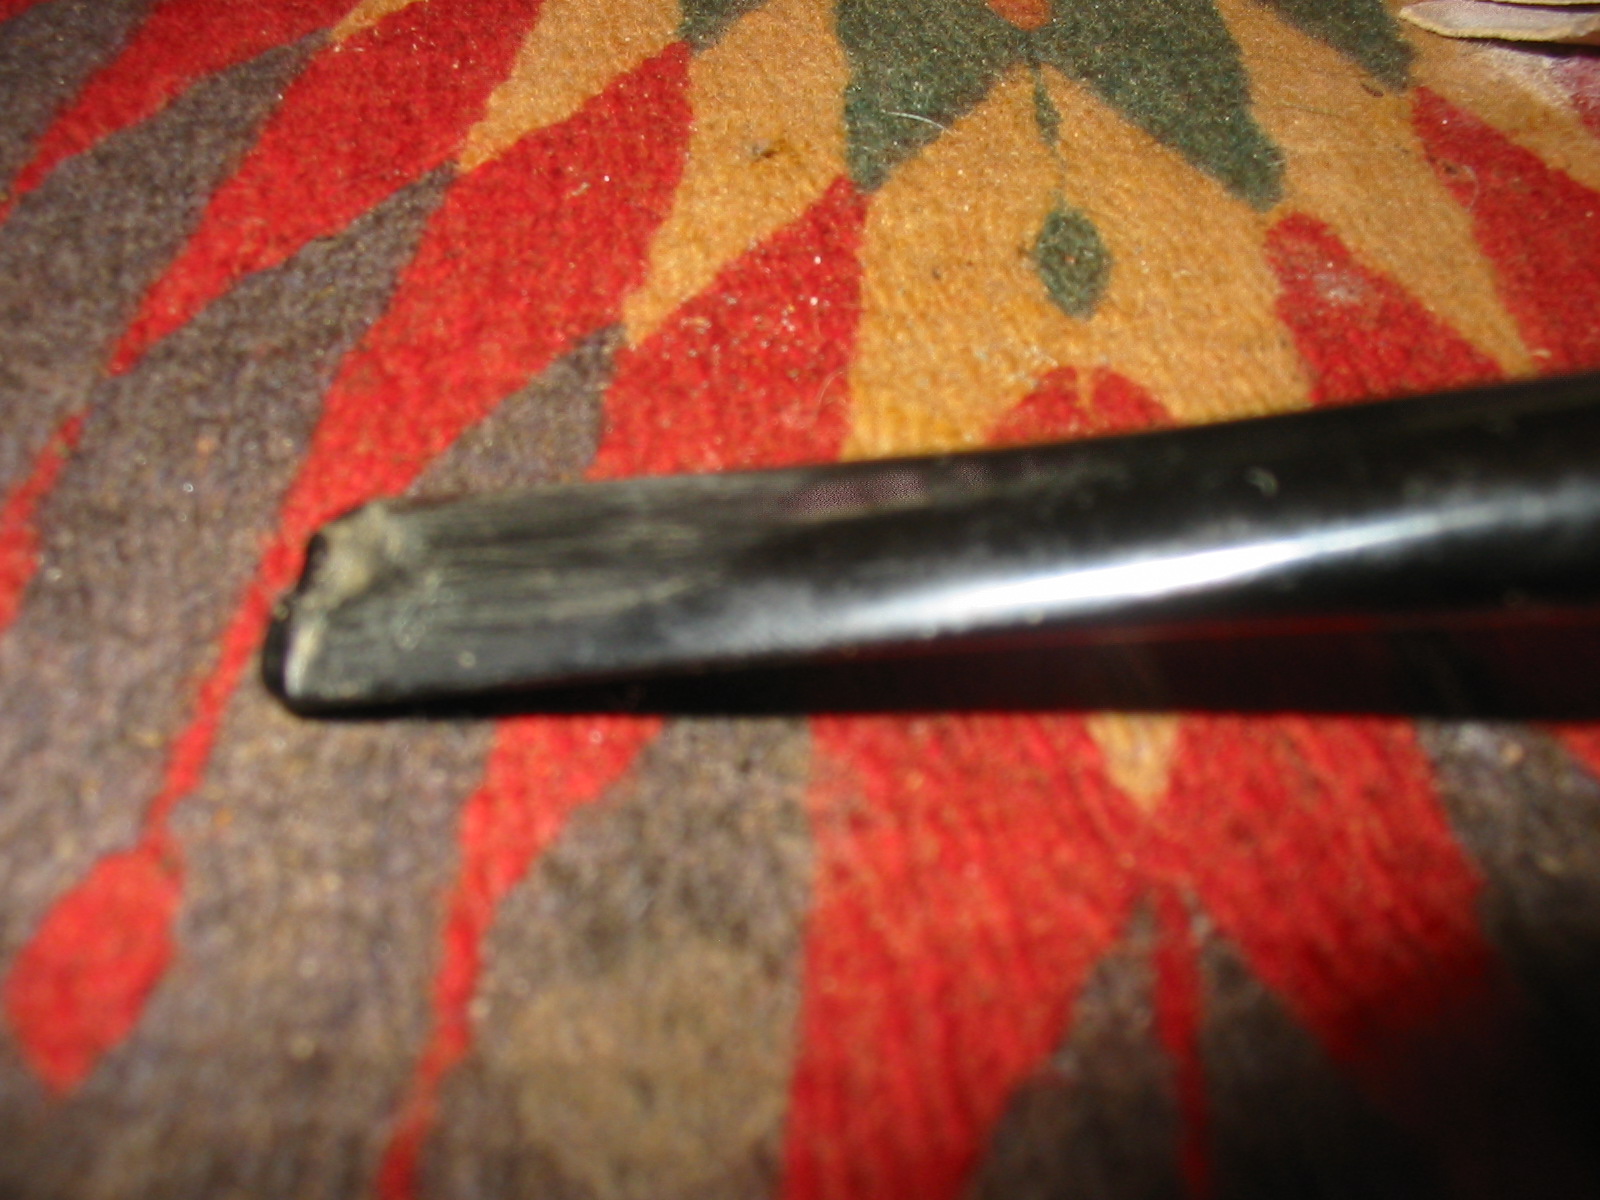
I sanded the stem down and was able to remove the dents on the topside. The underside tooth mark was too deep to sand or even heat and raise. IMG_7929 
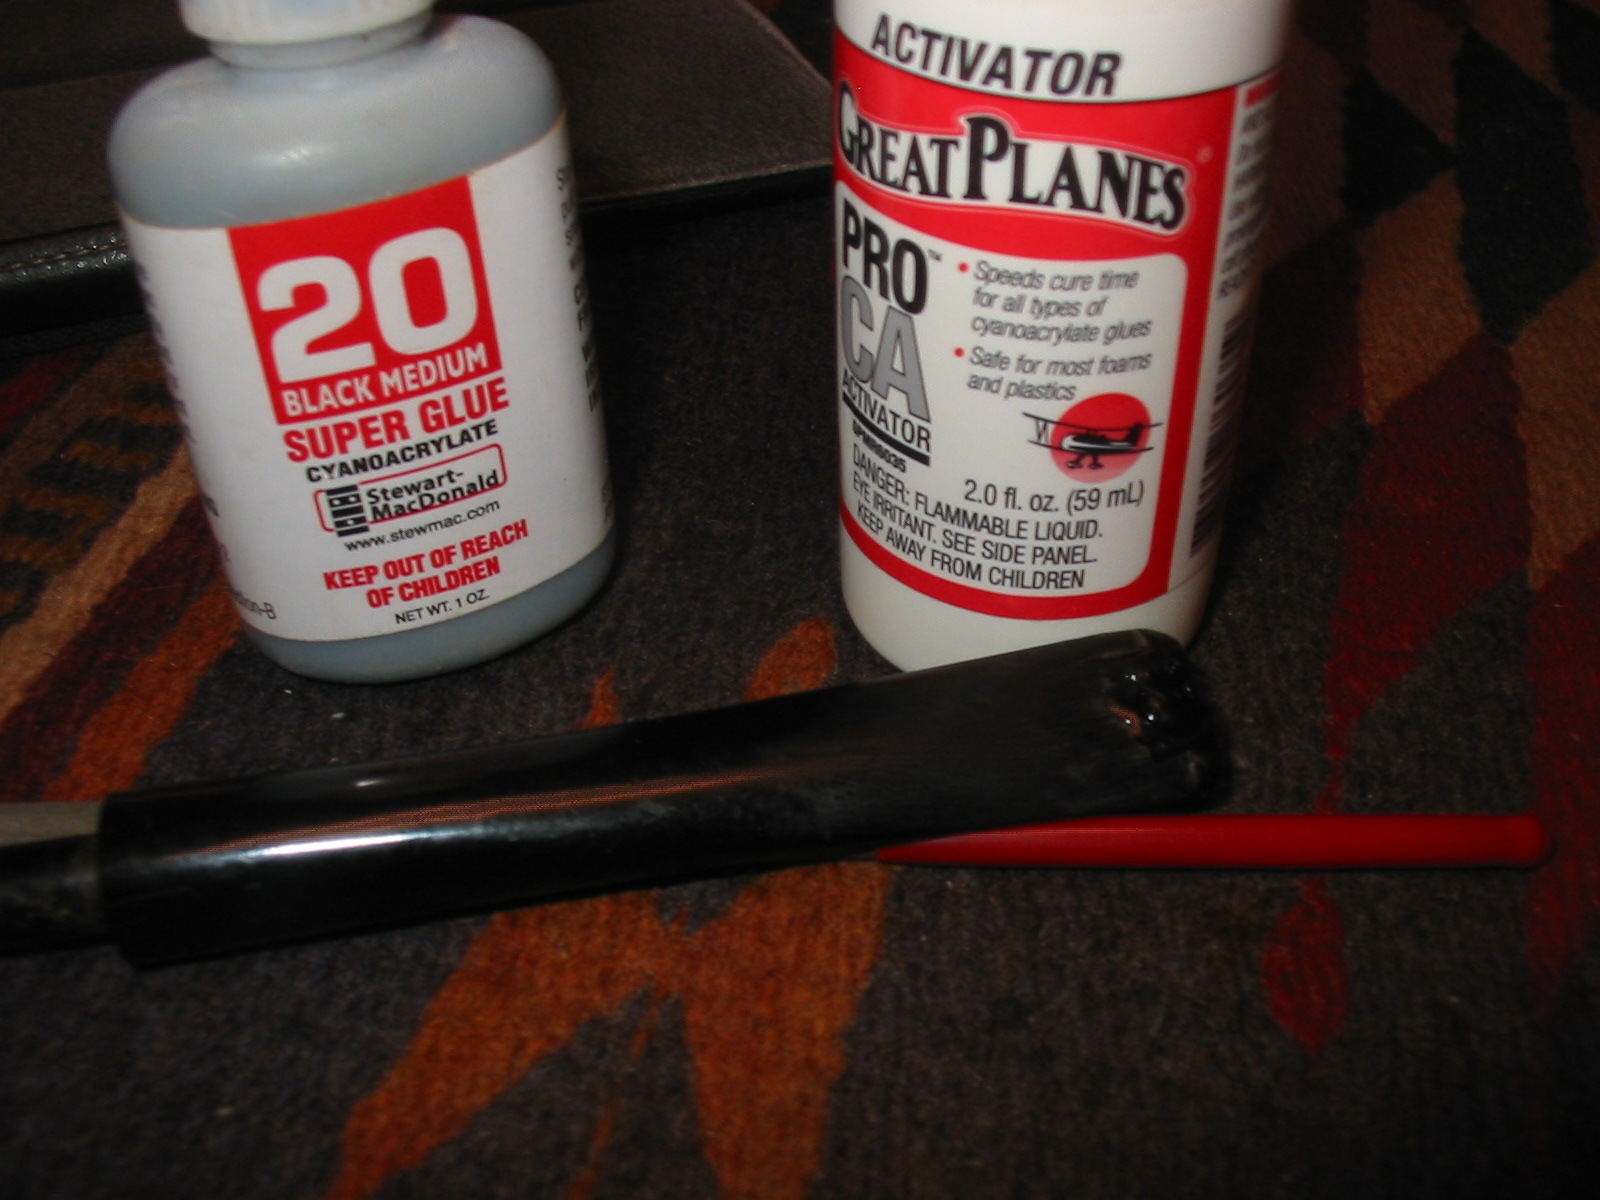
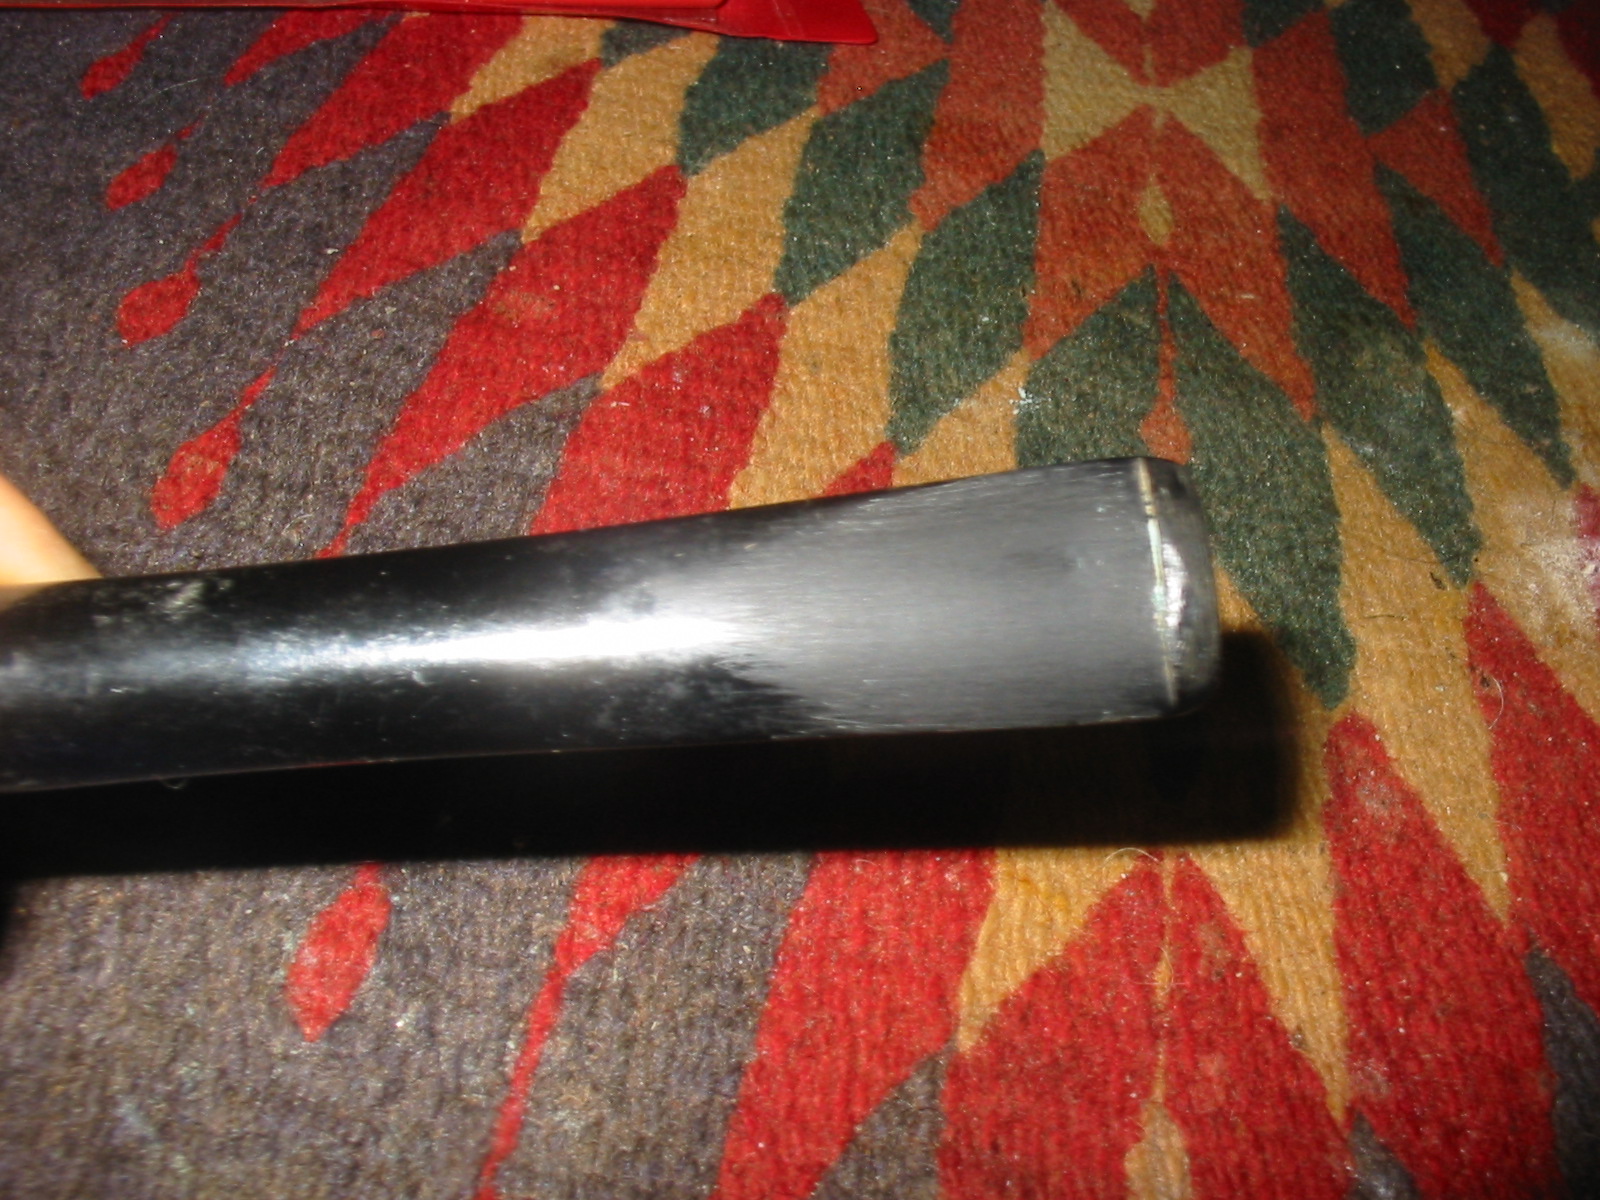
I sanded it with 220 grit sandpaper to clean up the chatter further up the stem and then picked the area clean around the large dent with a dental pick. I wiped the stem down with alcohol to clean off the dust and then filled it with black super glue that I purchased from Stewmac online. I filled it the first time and sprayed it with an accelerator. Once it dried it had shrunken and left a divot in the stem surface. I refilled it with the glue and then sprayed it again with the accelerator. I set it aside overnight to cure and worked on the bowl. IMG_7928 IMG_7942 
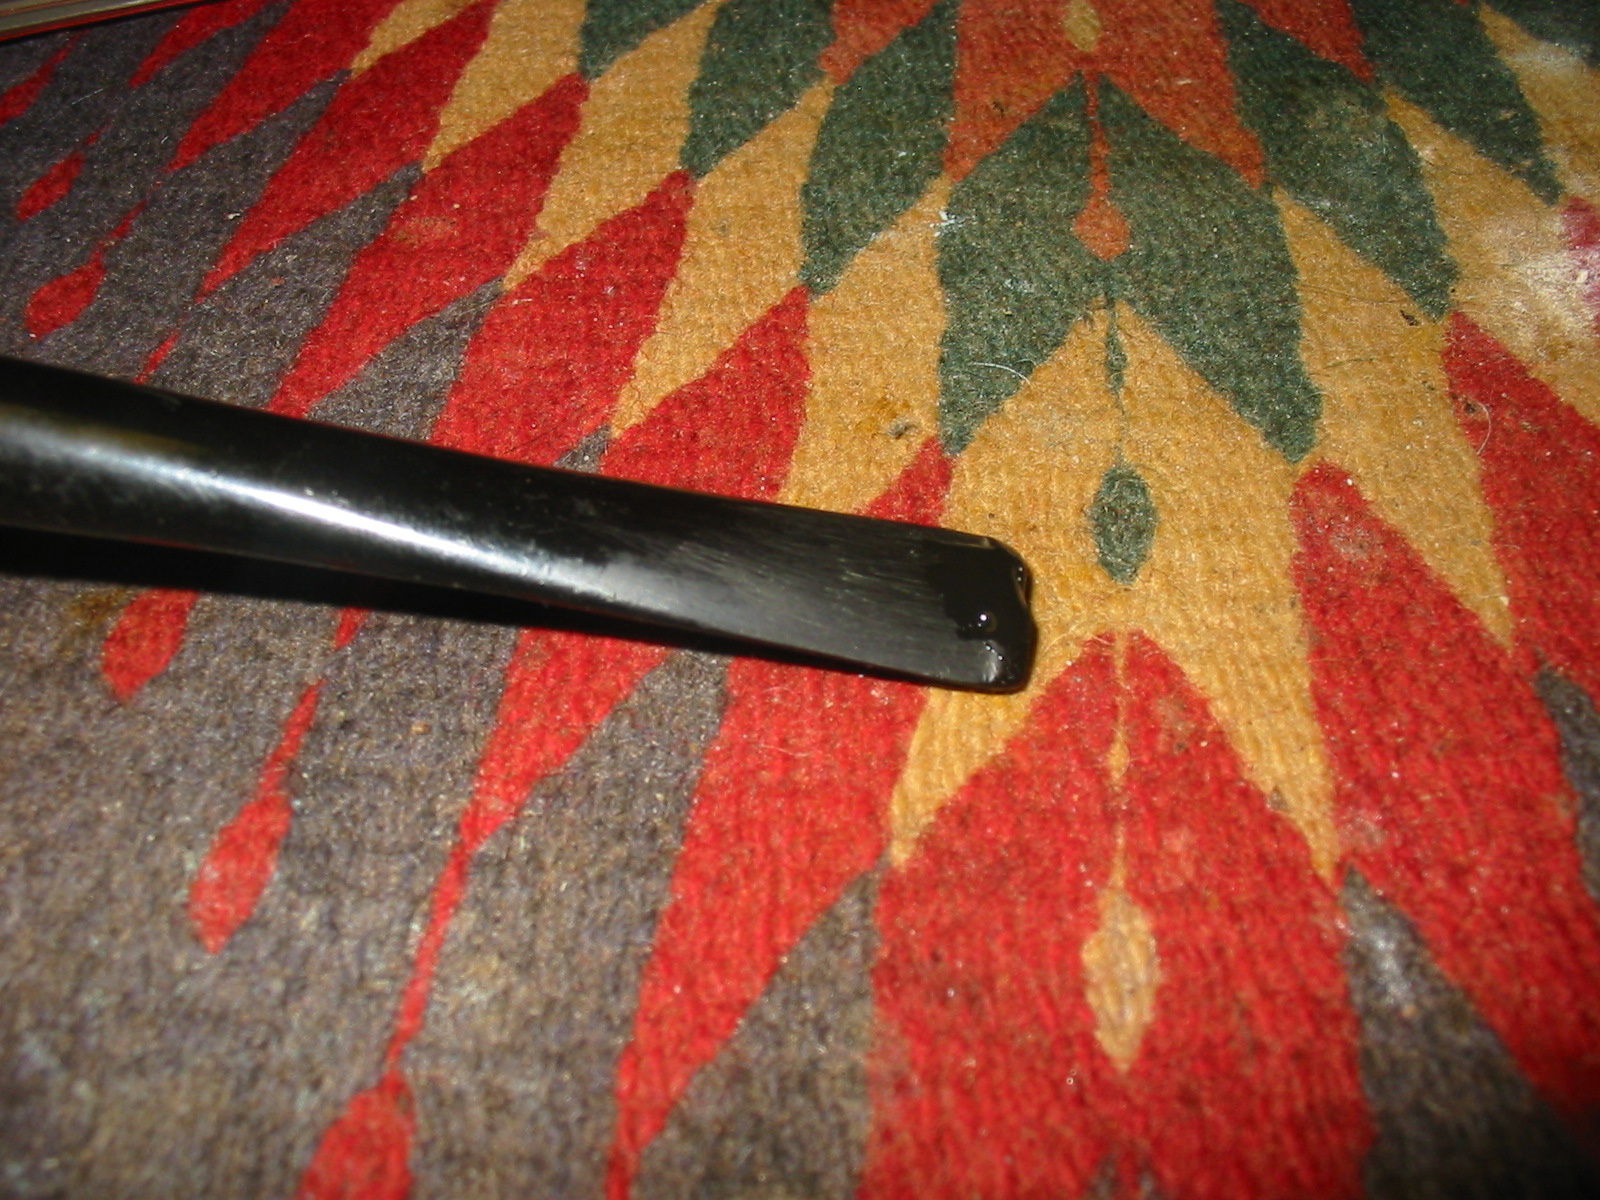
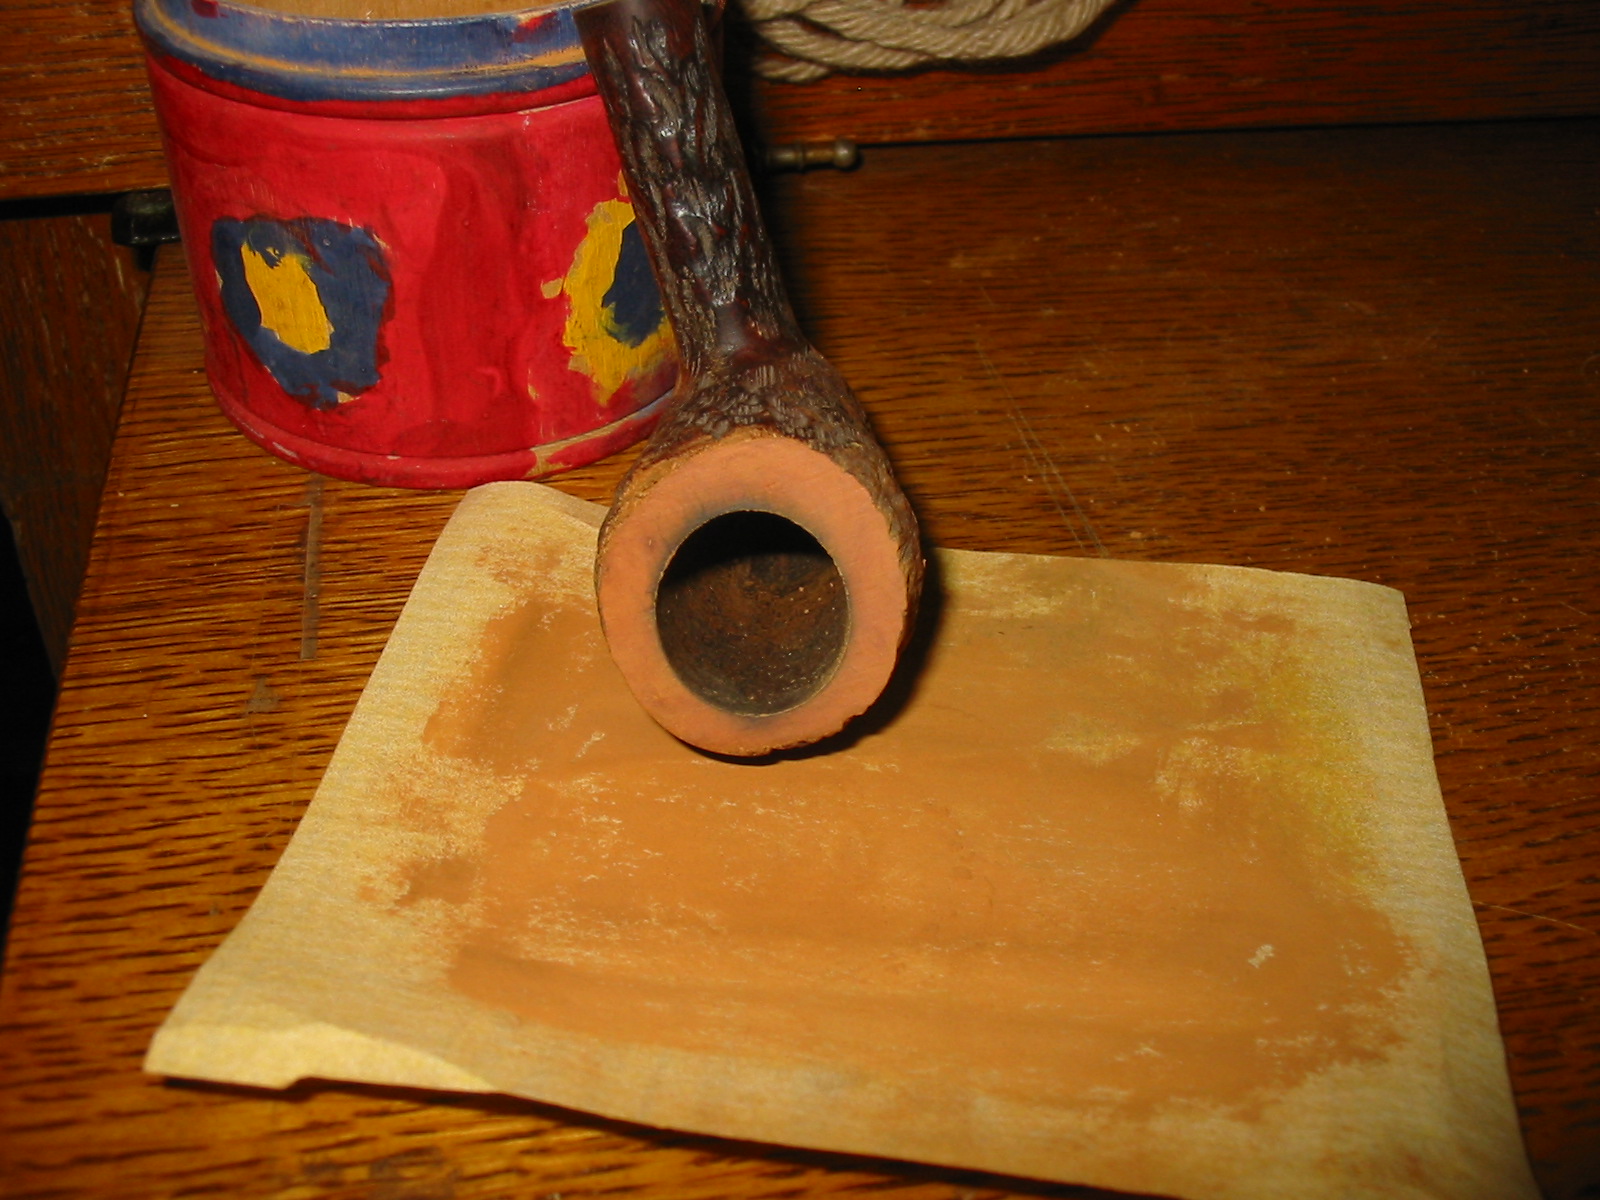
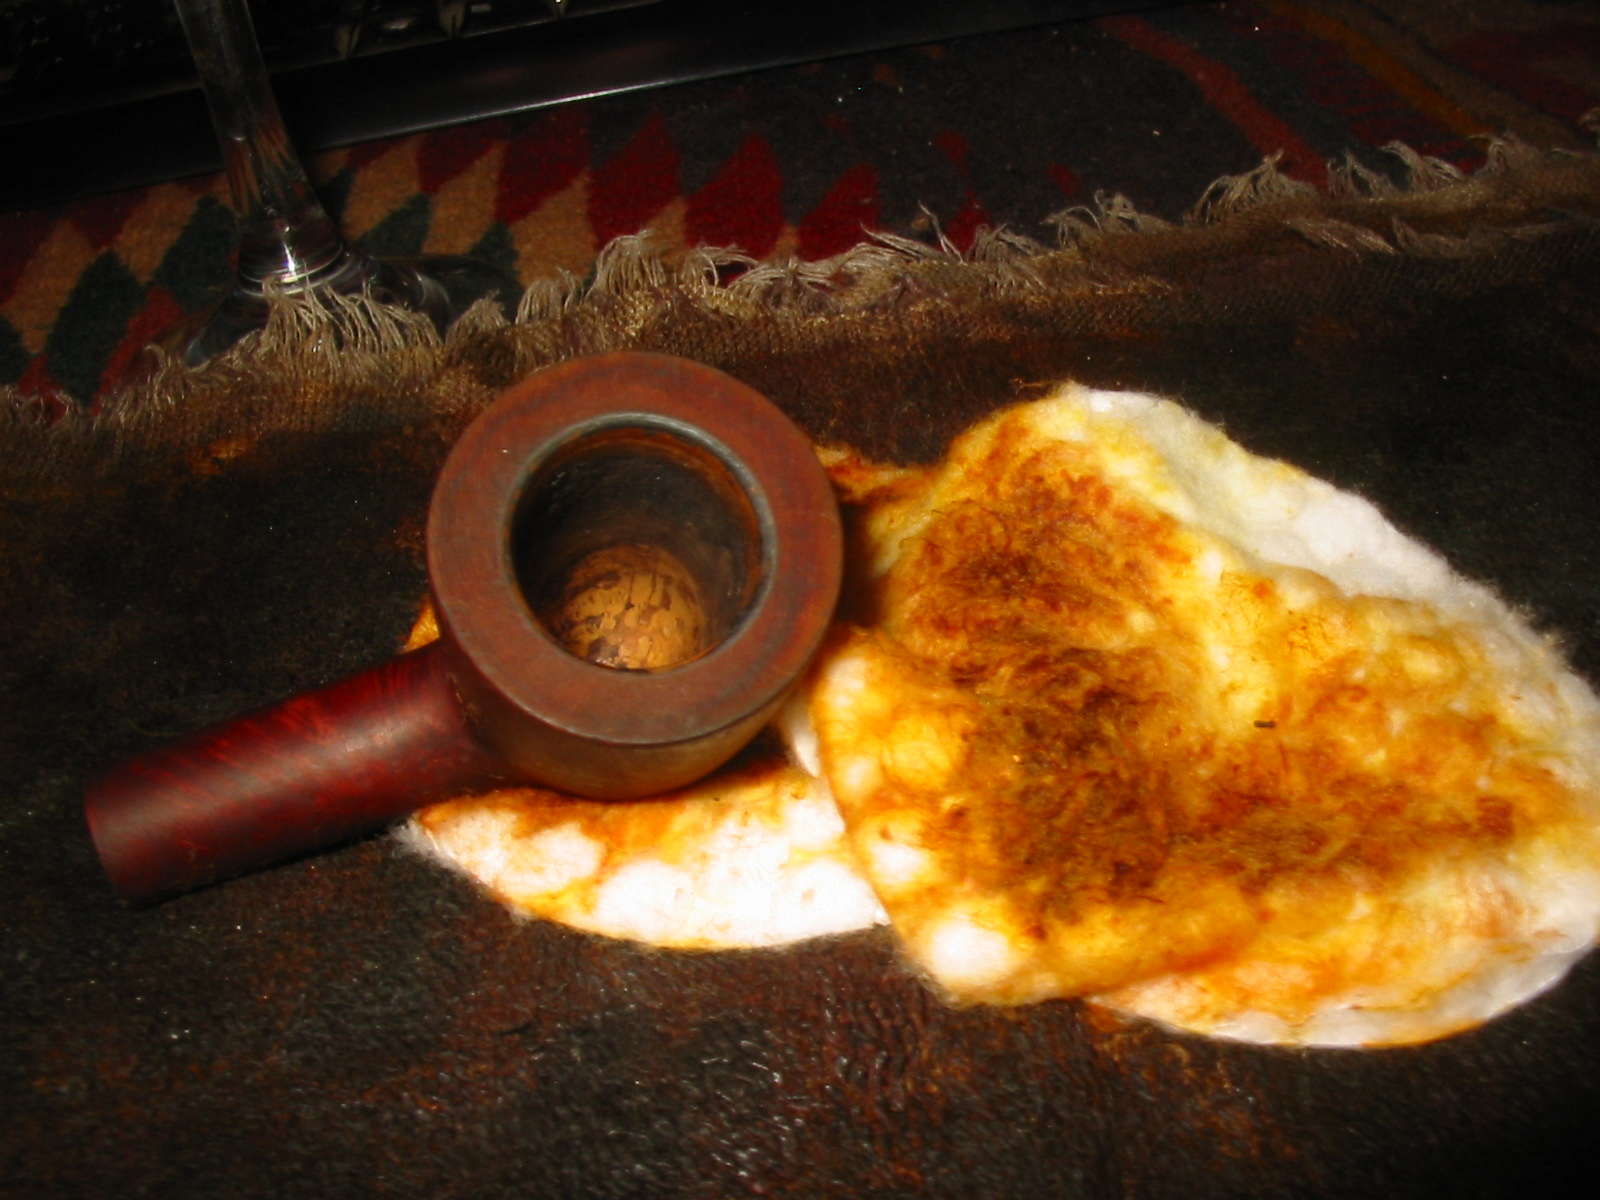
The bowl and rim were caked with an uneven cake so I reamed it with a PipNet pipe reamer to take it back to the briar. The cake was soft and once I removed it from the middle portion of the bowl I could see the yellow coating on the bottom half and partway down from the rim. The only portion that was darkened was in the centre of the bowl. IMG_7930 IMG_7931 
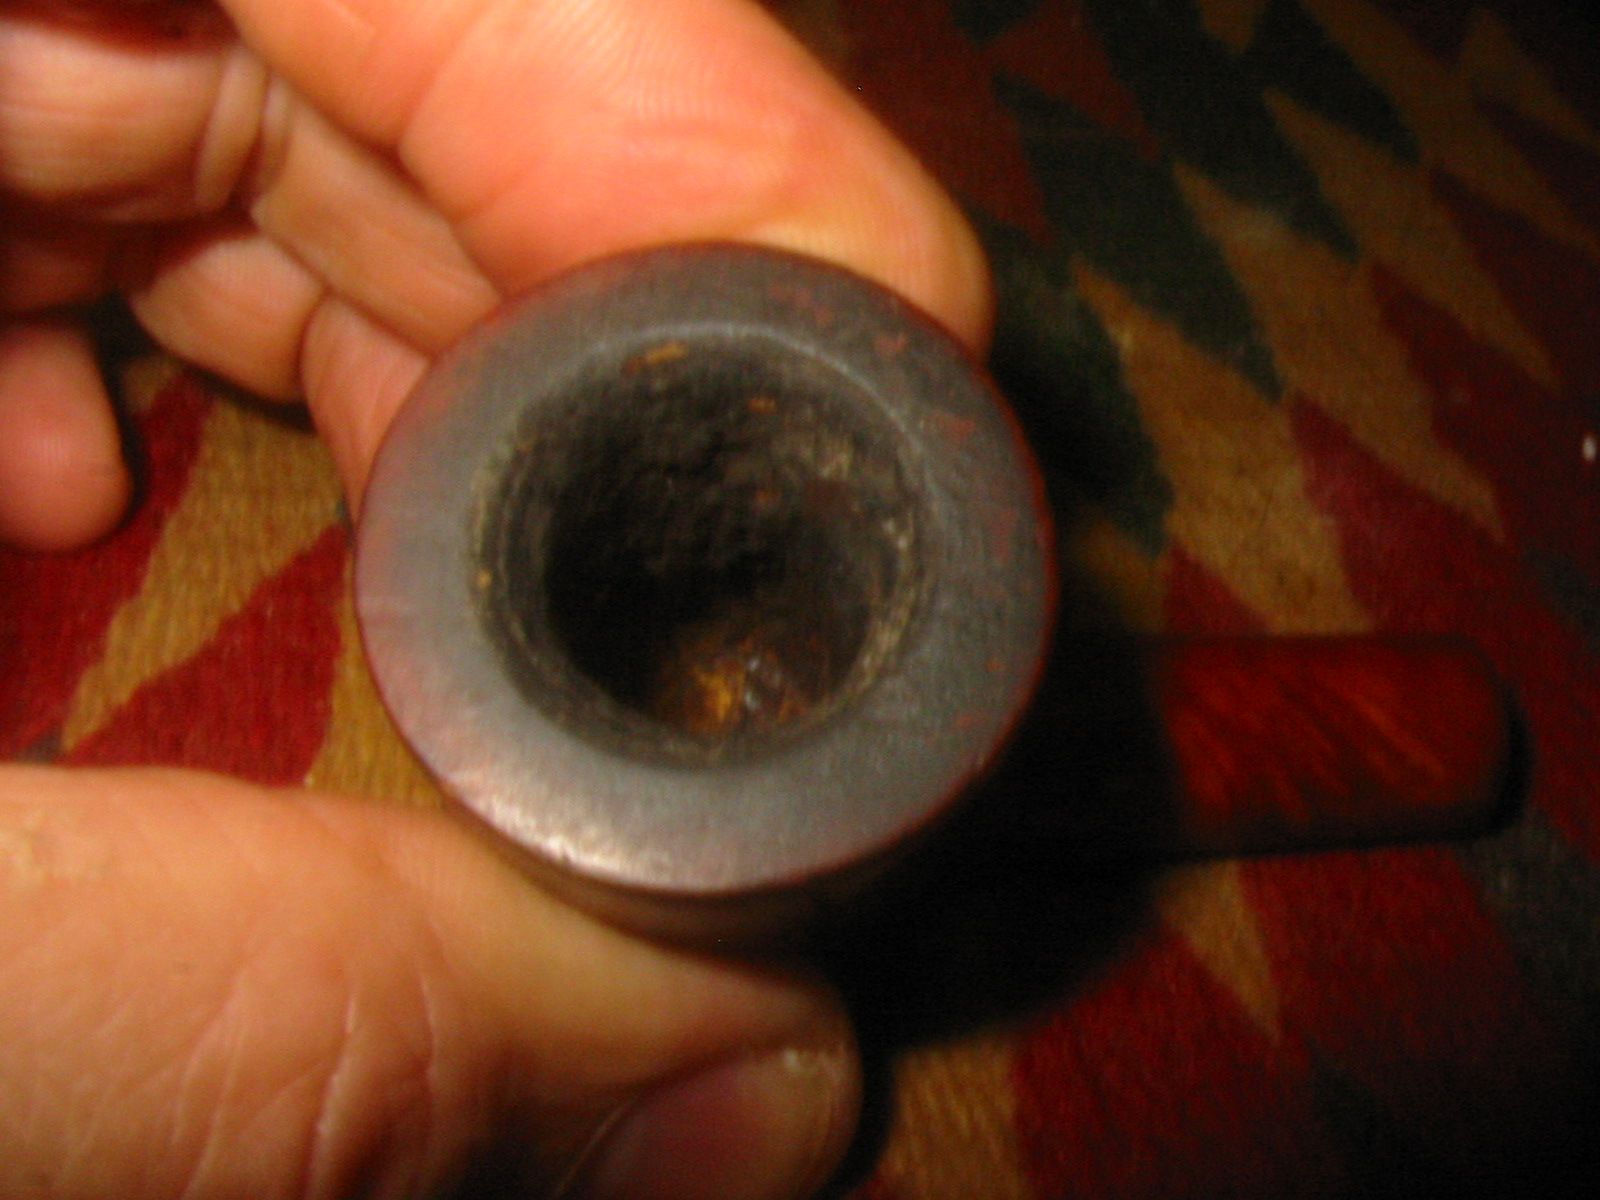
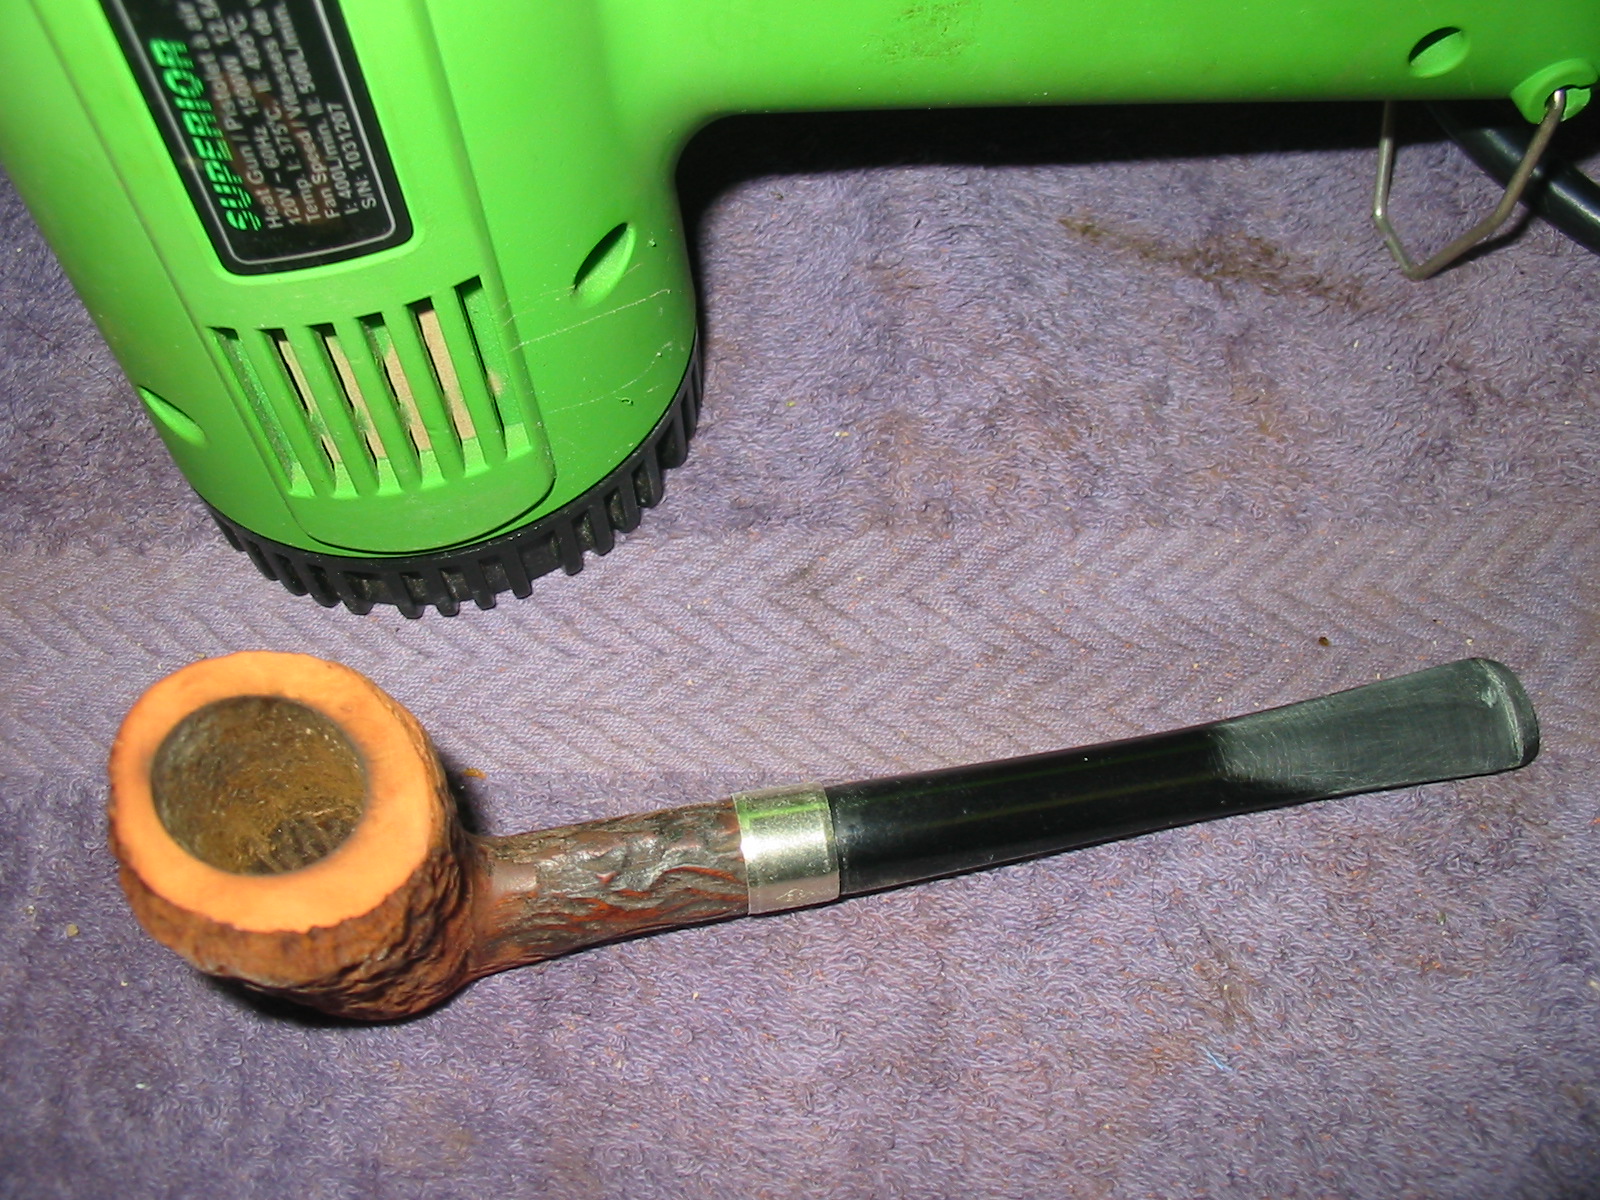
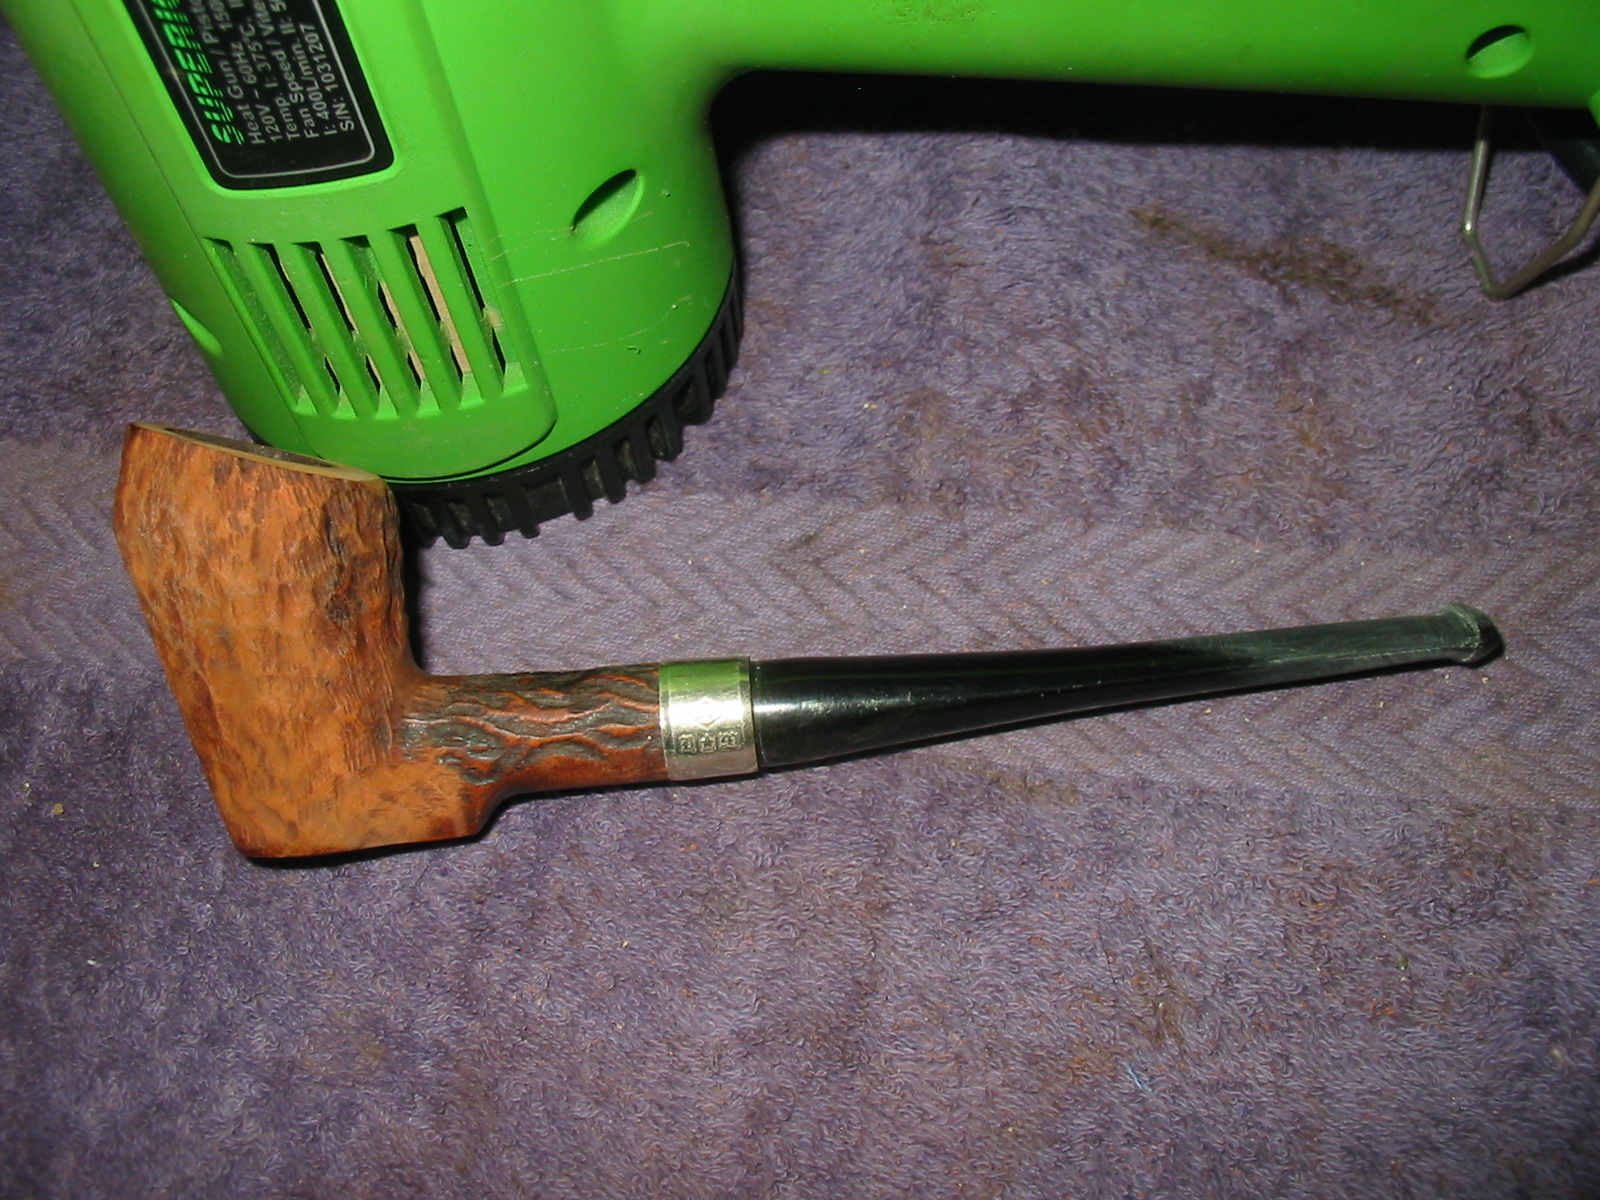
I set up my topping board to remove the hard tars on the rim and also the burn damage. Fortunately the burn damage did not go too deep but merely sat on the surface under the tar coat. IMG_7932 
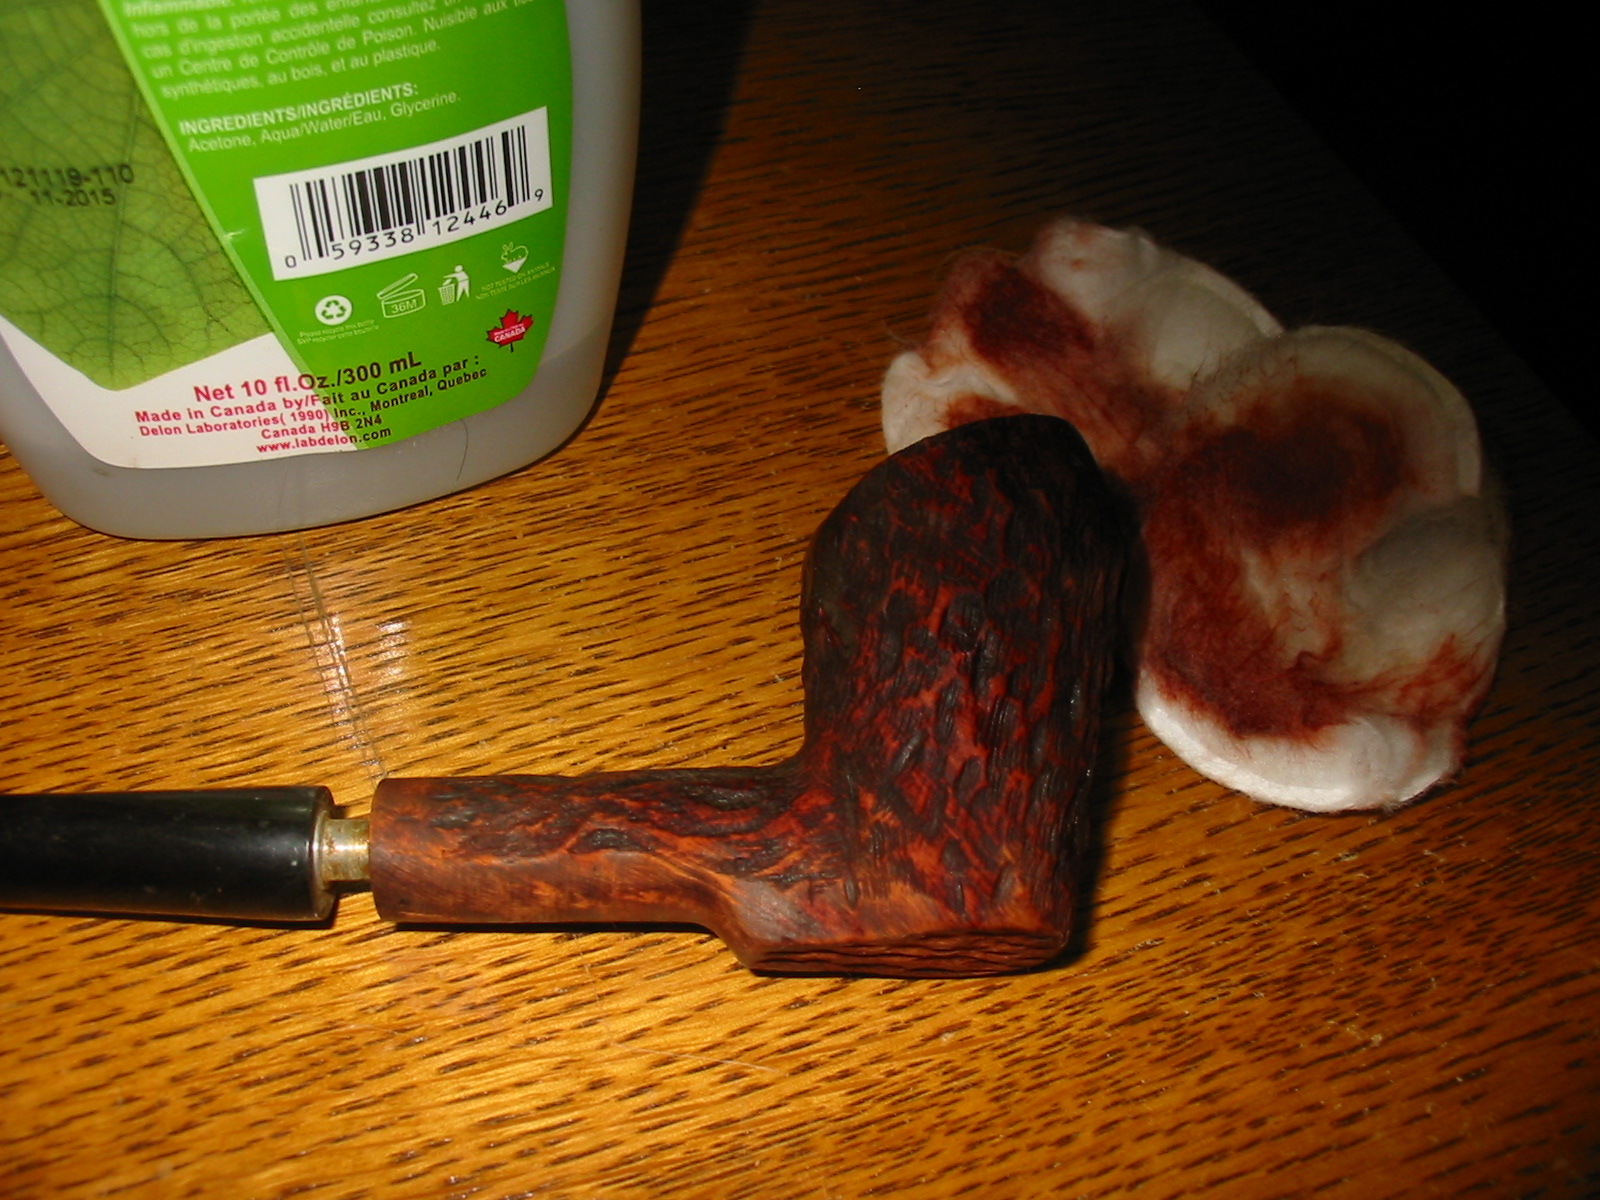
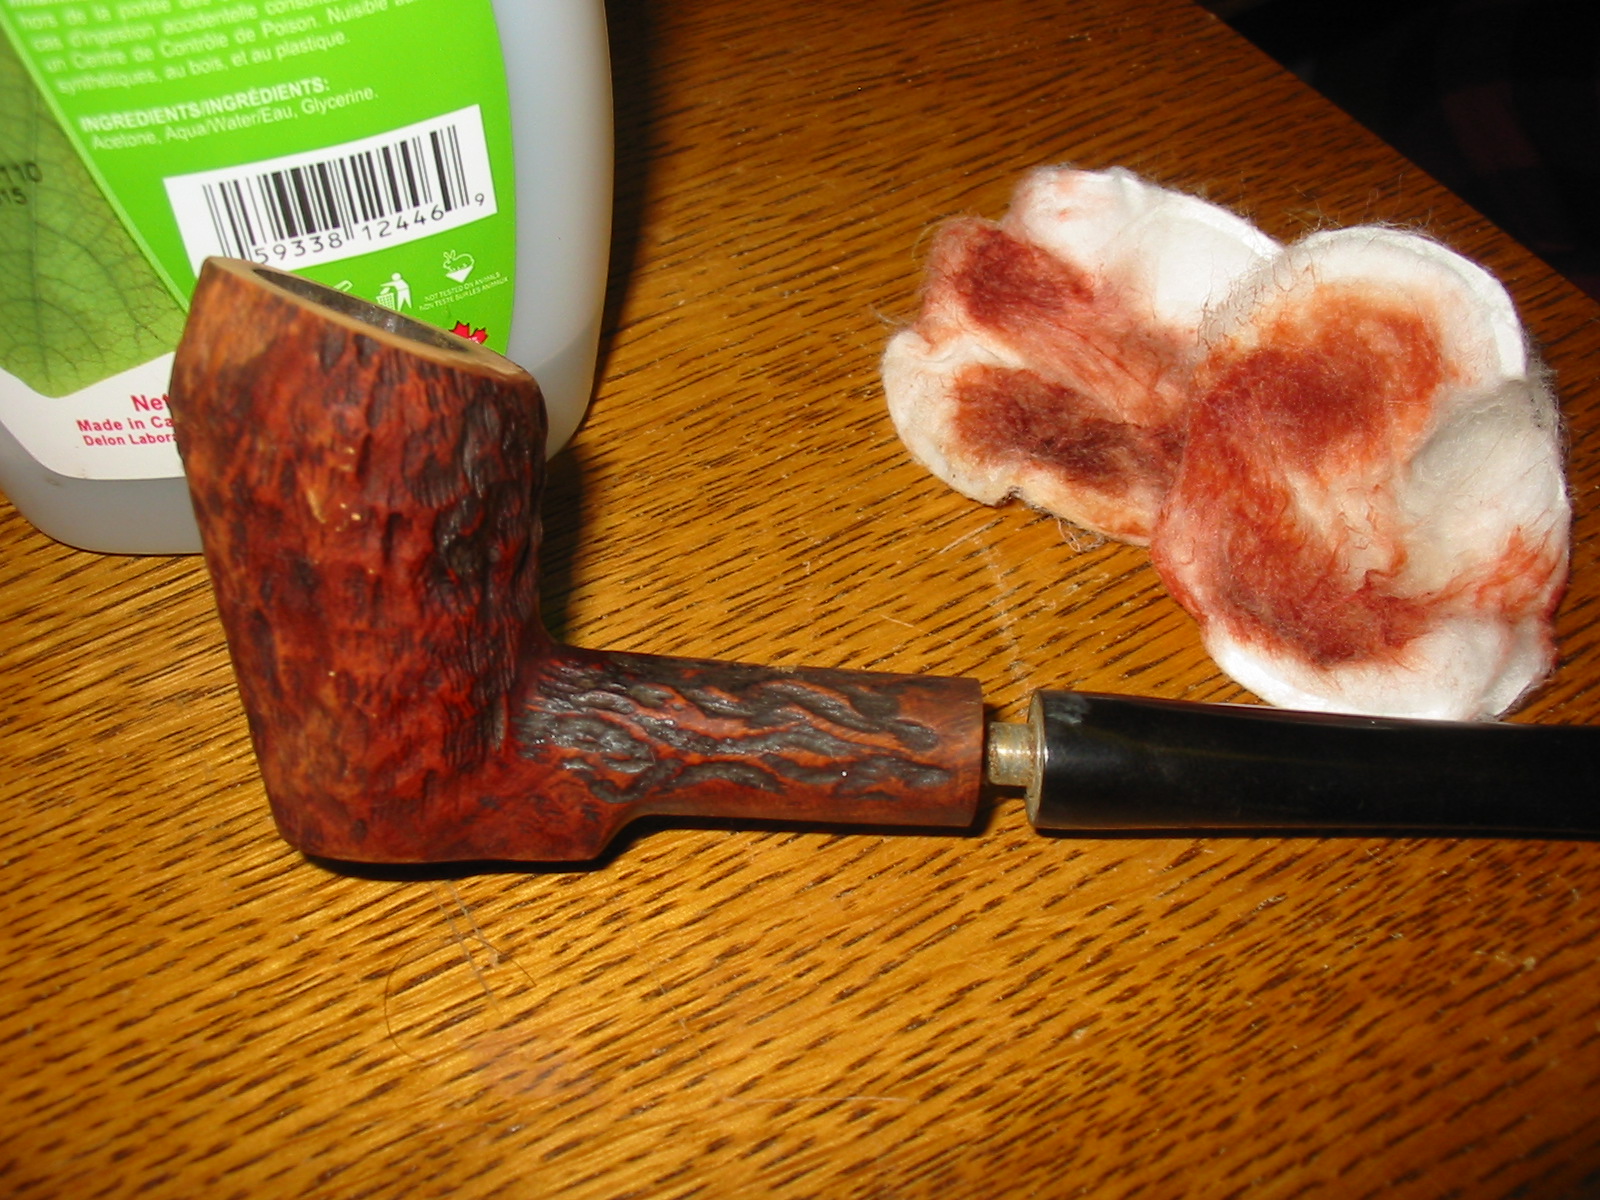
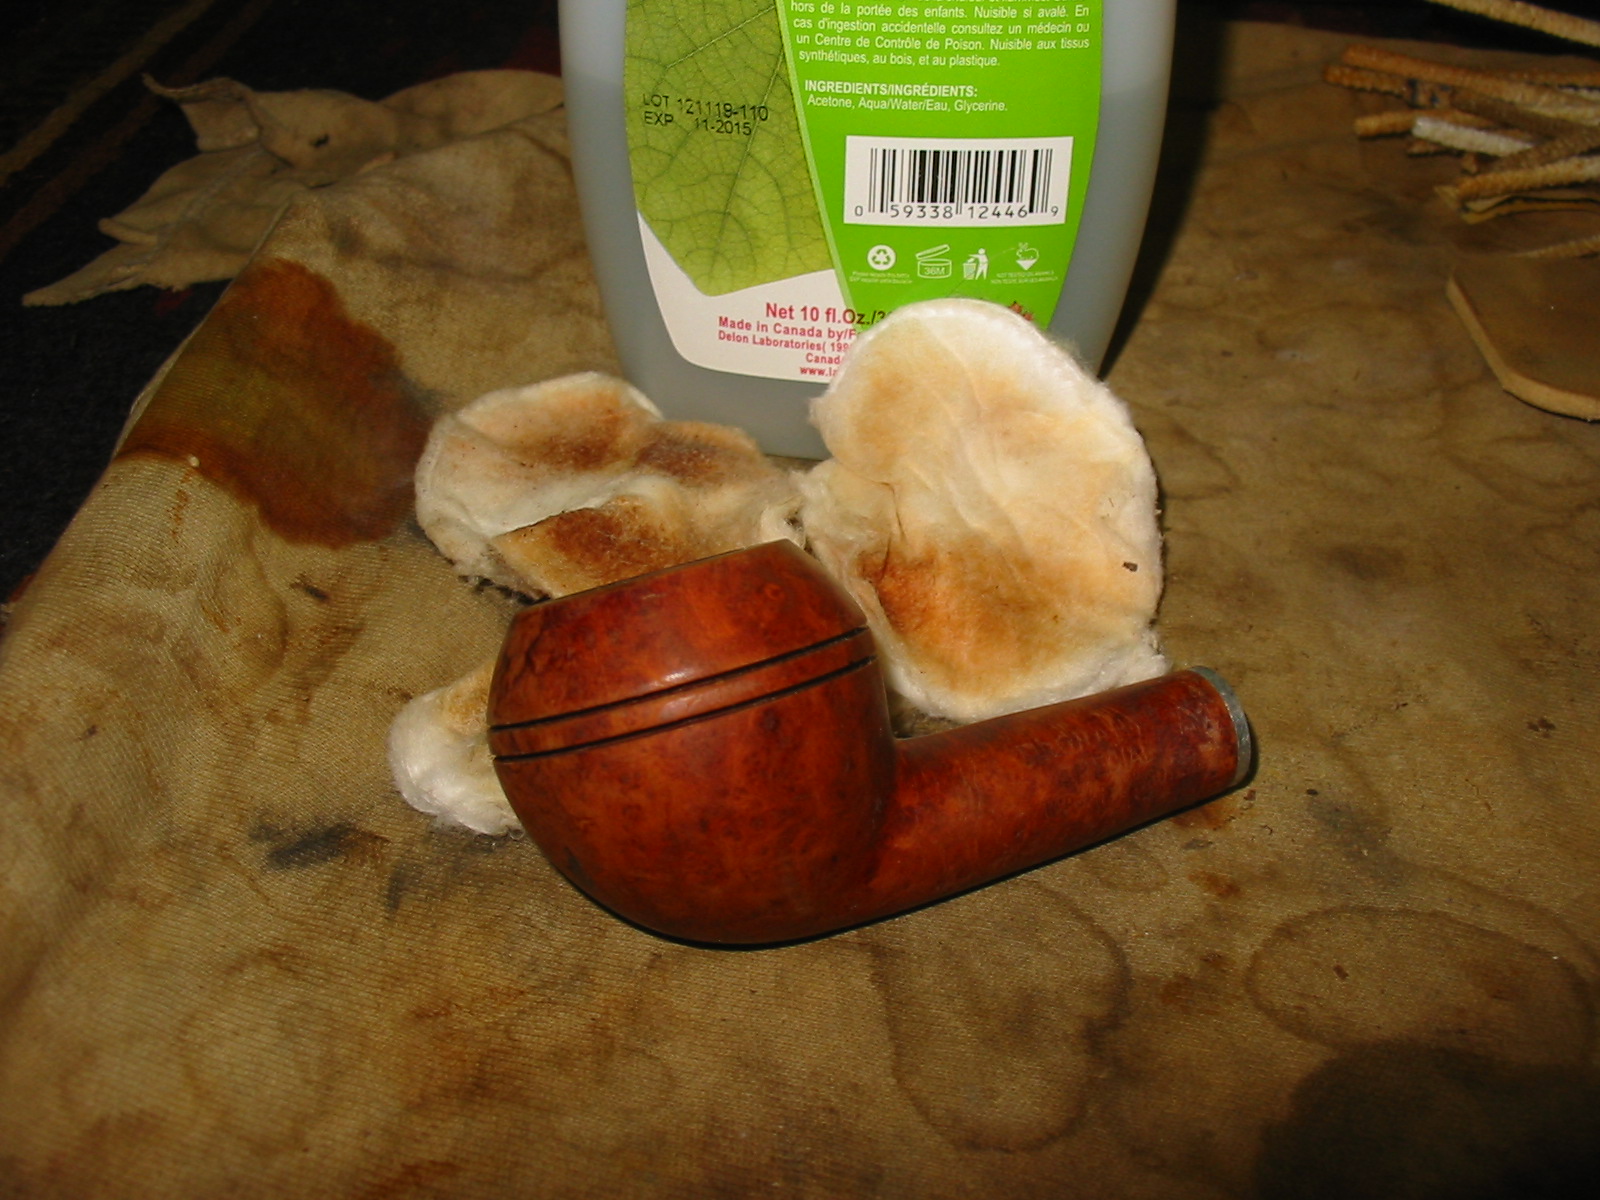
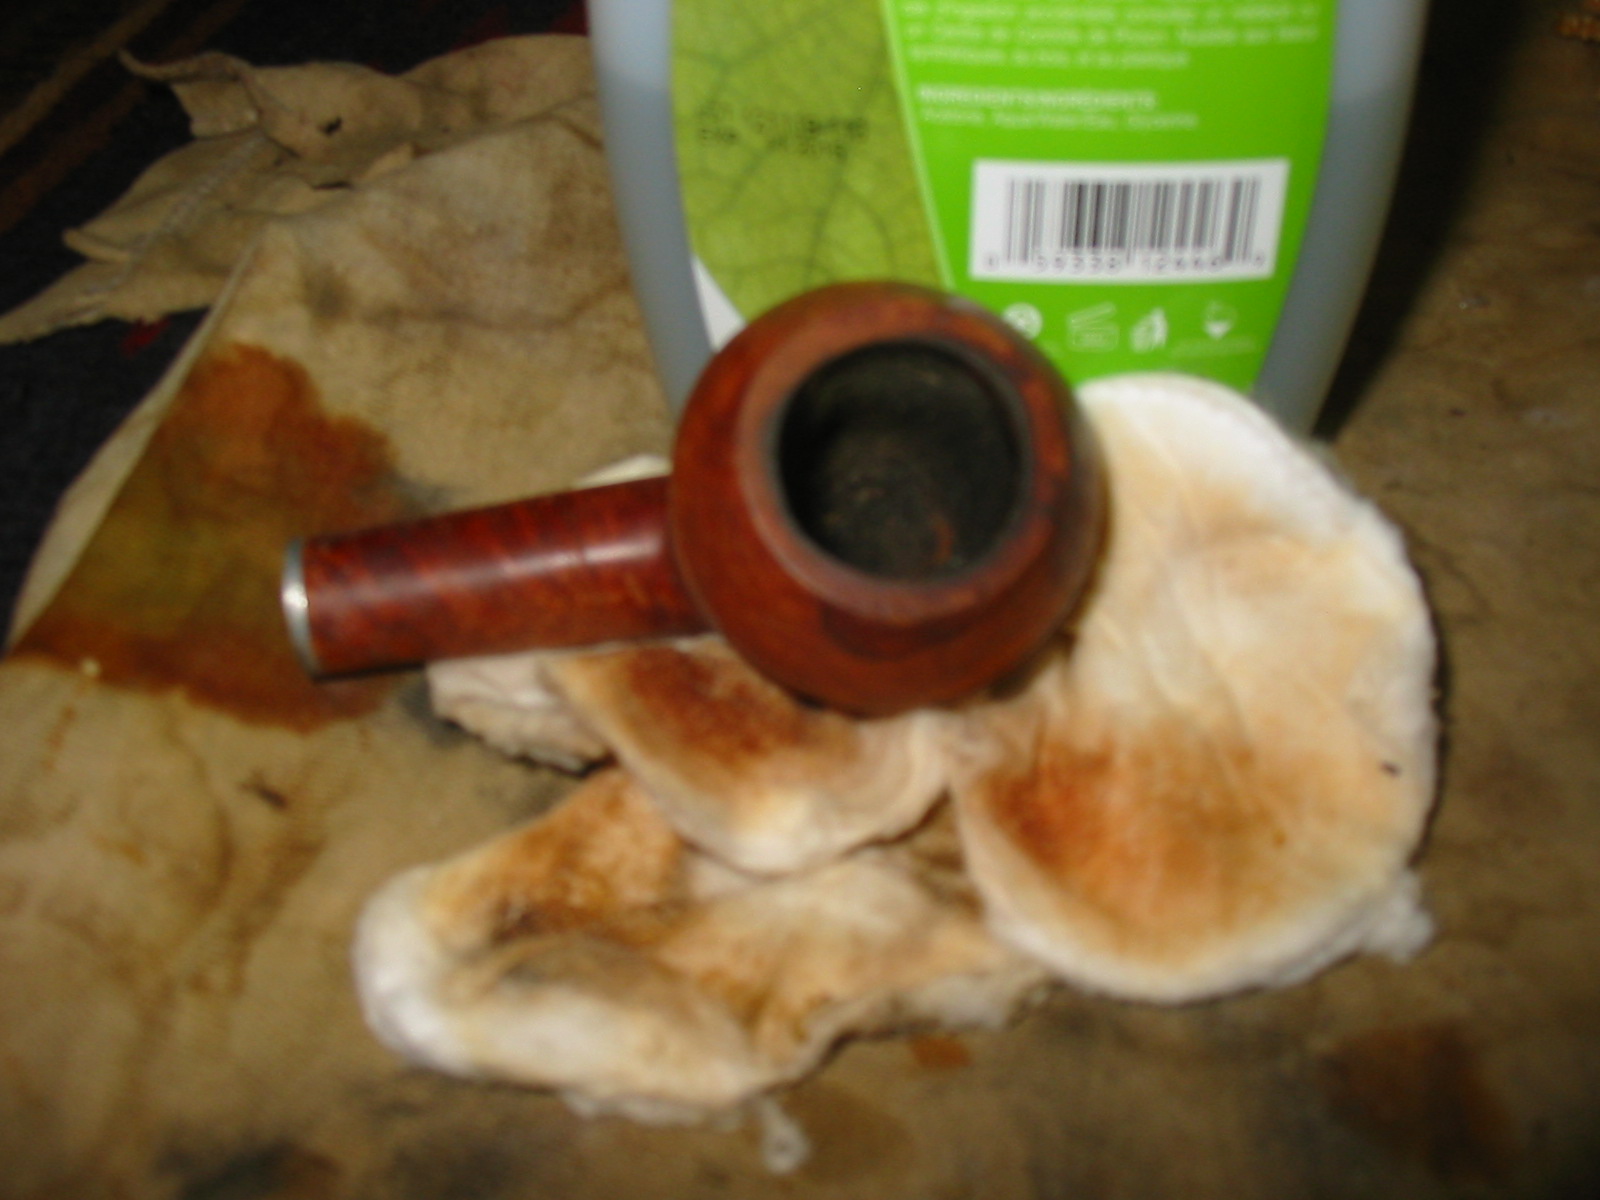
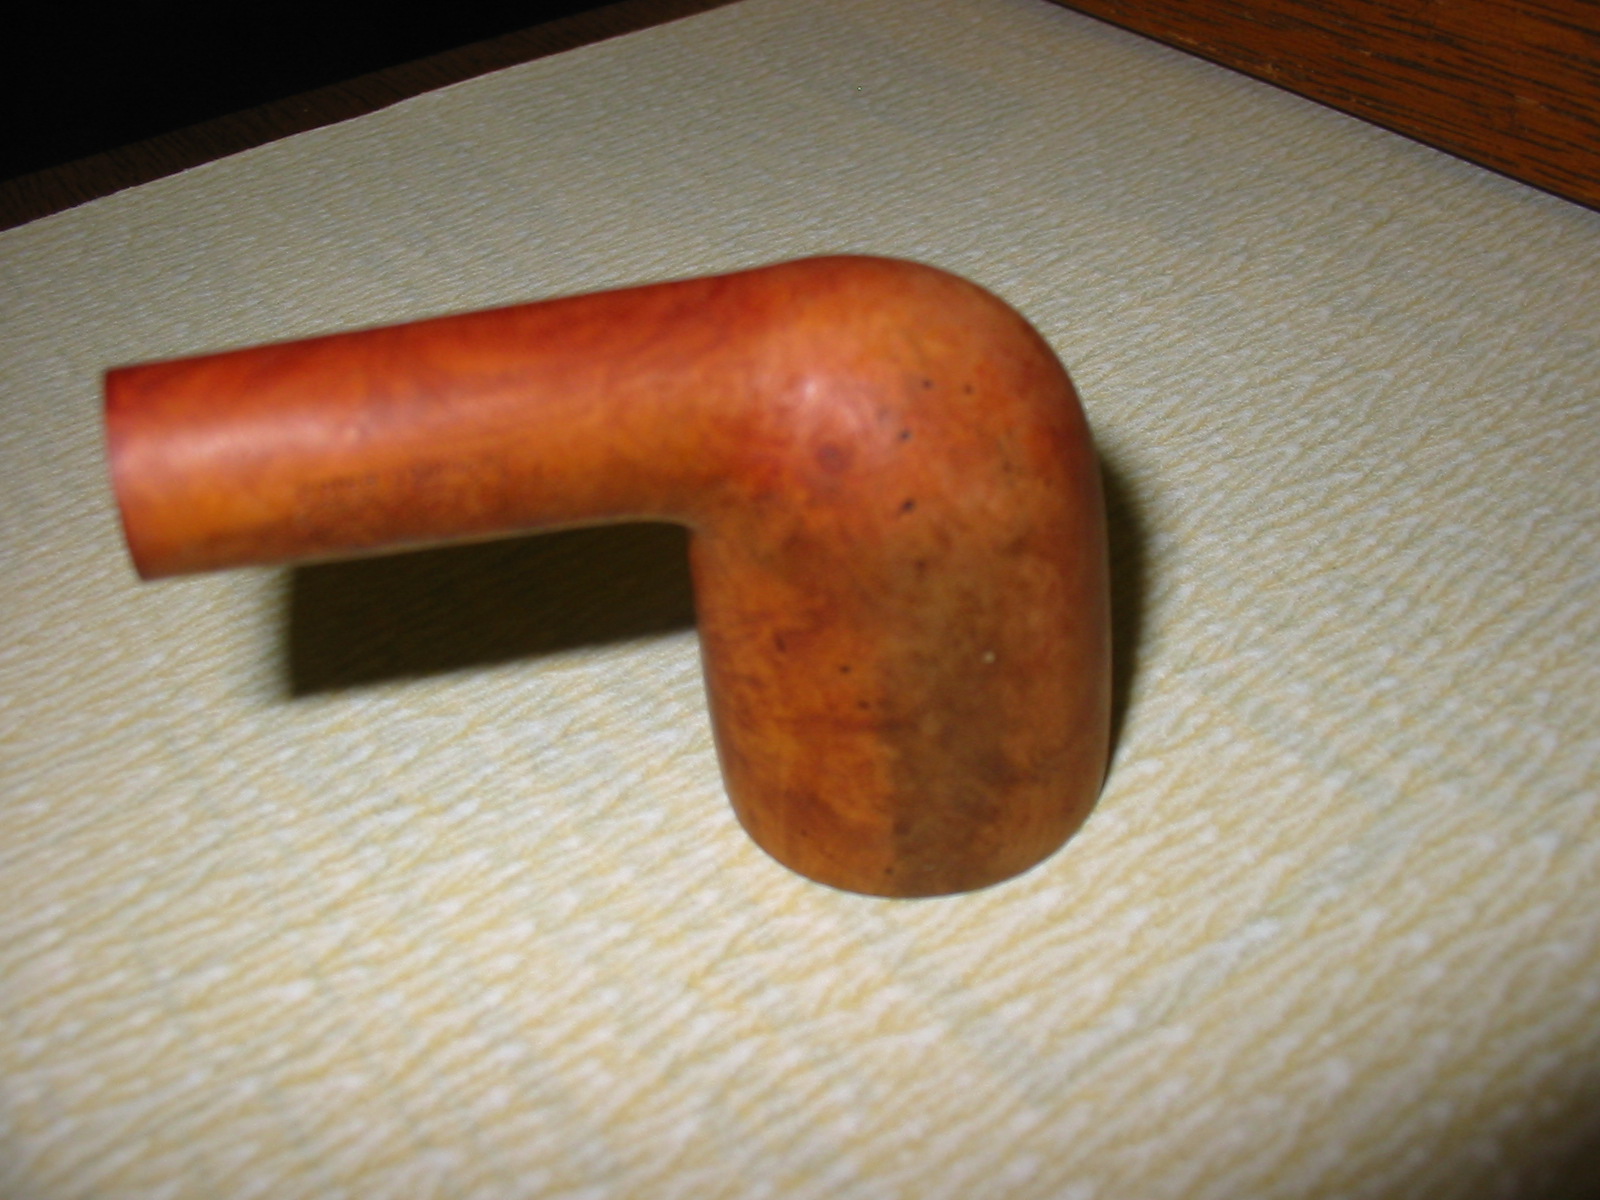
I wiped down the bowl with acetone on cotton pads to remove the finish and as much of the dark staining on the side of the bowl as possible. The dark spots were deep in the finish of briar so I was not sure I would be able to remove them. IMG_7937 IMG_7934 IMG_7936 IMG_7939 
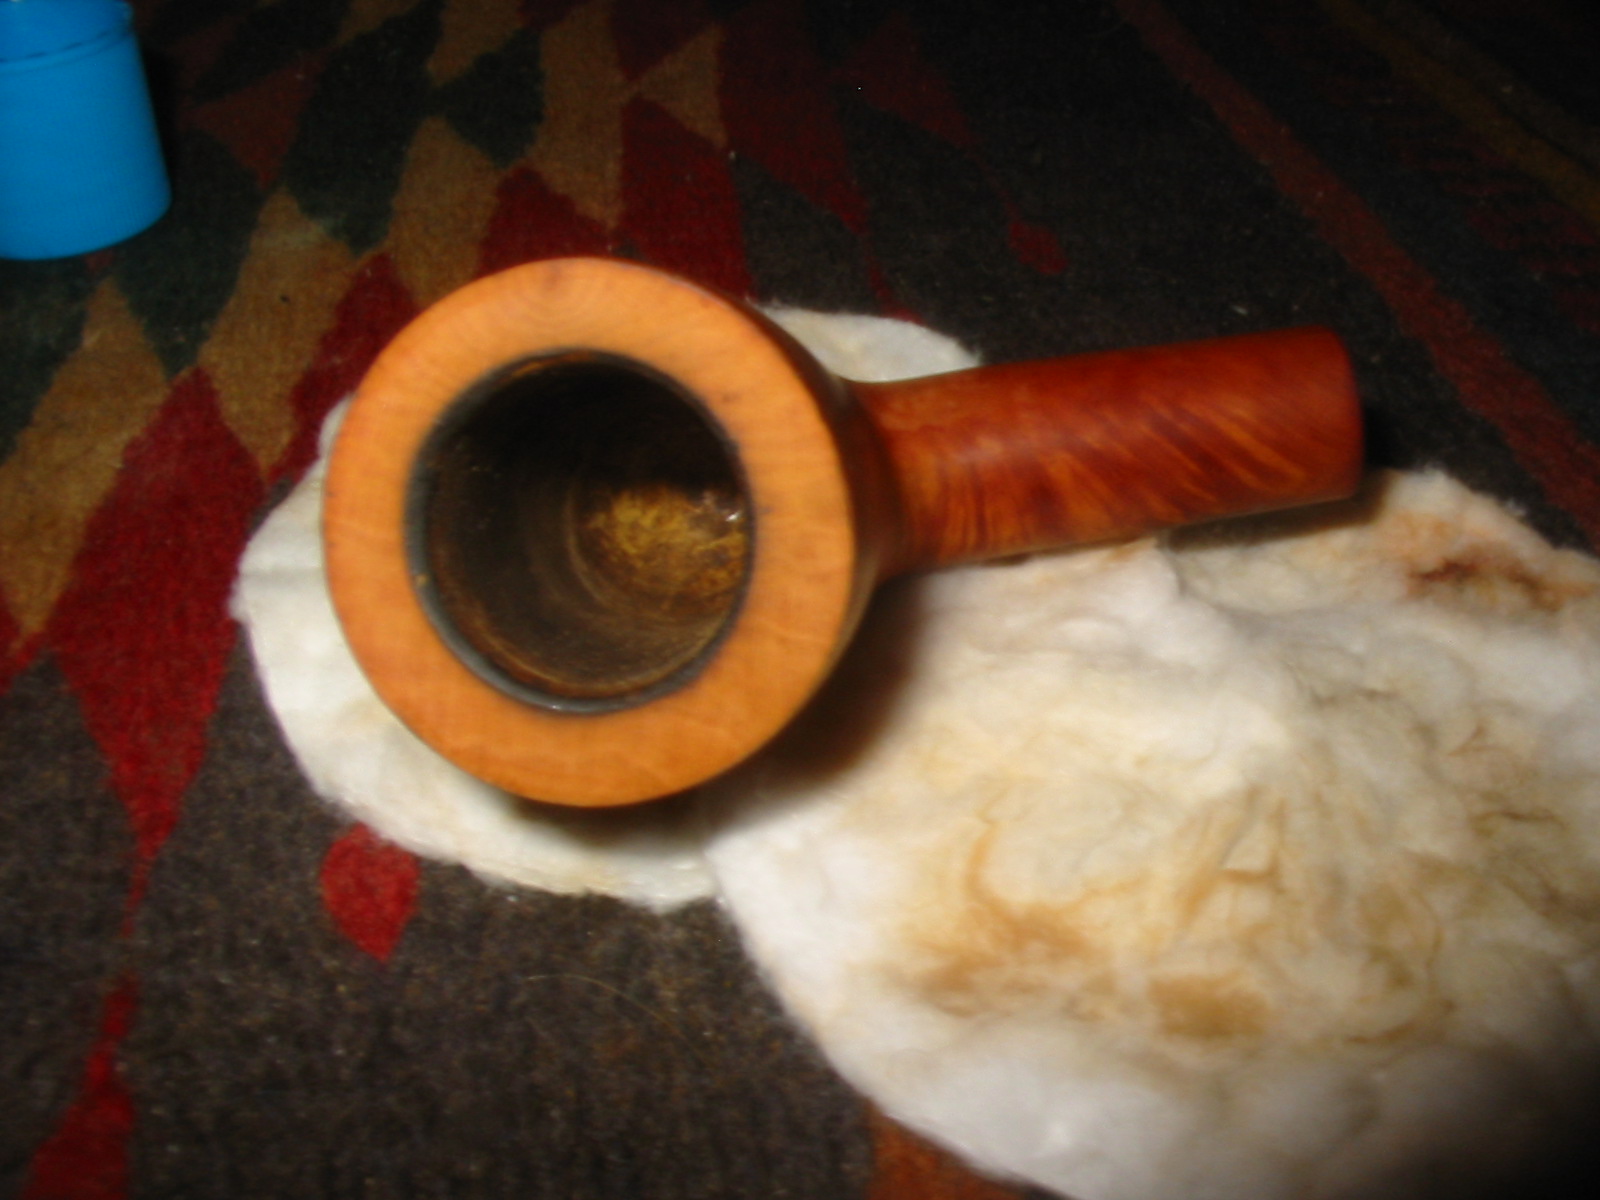
Even after wiping down the bowl repeatedly the dark stains on the sides remained, lighter though still present. The dark spots appeared to be ink stains and they too remained. I decided to let the bowl soak in an alcohol bath overnight and address it again in the morning. IMG_7941 
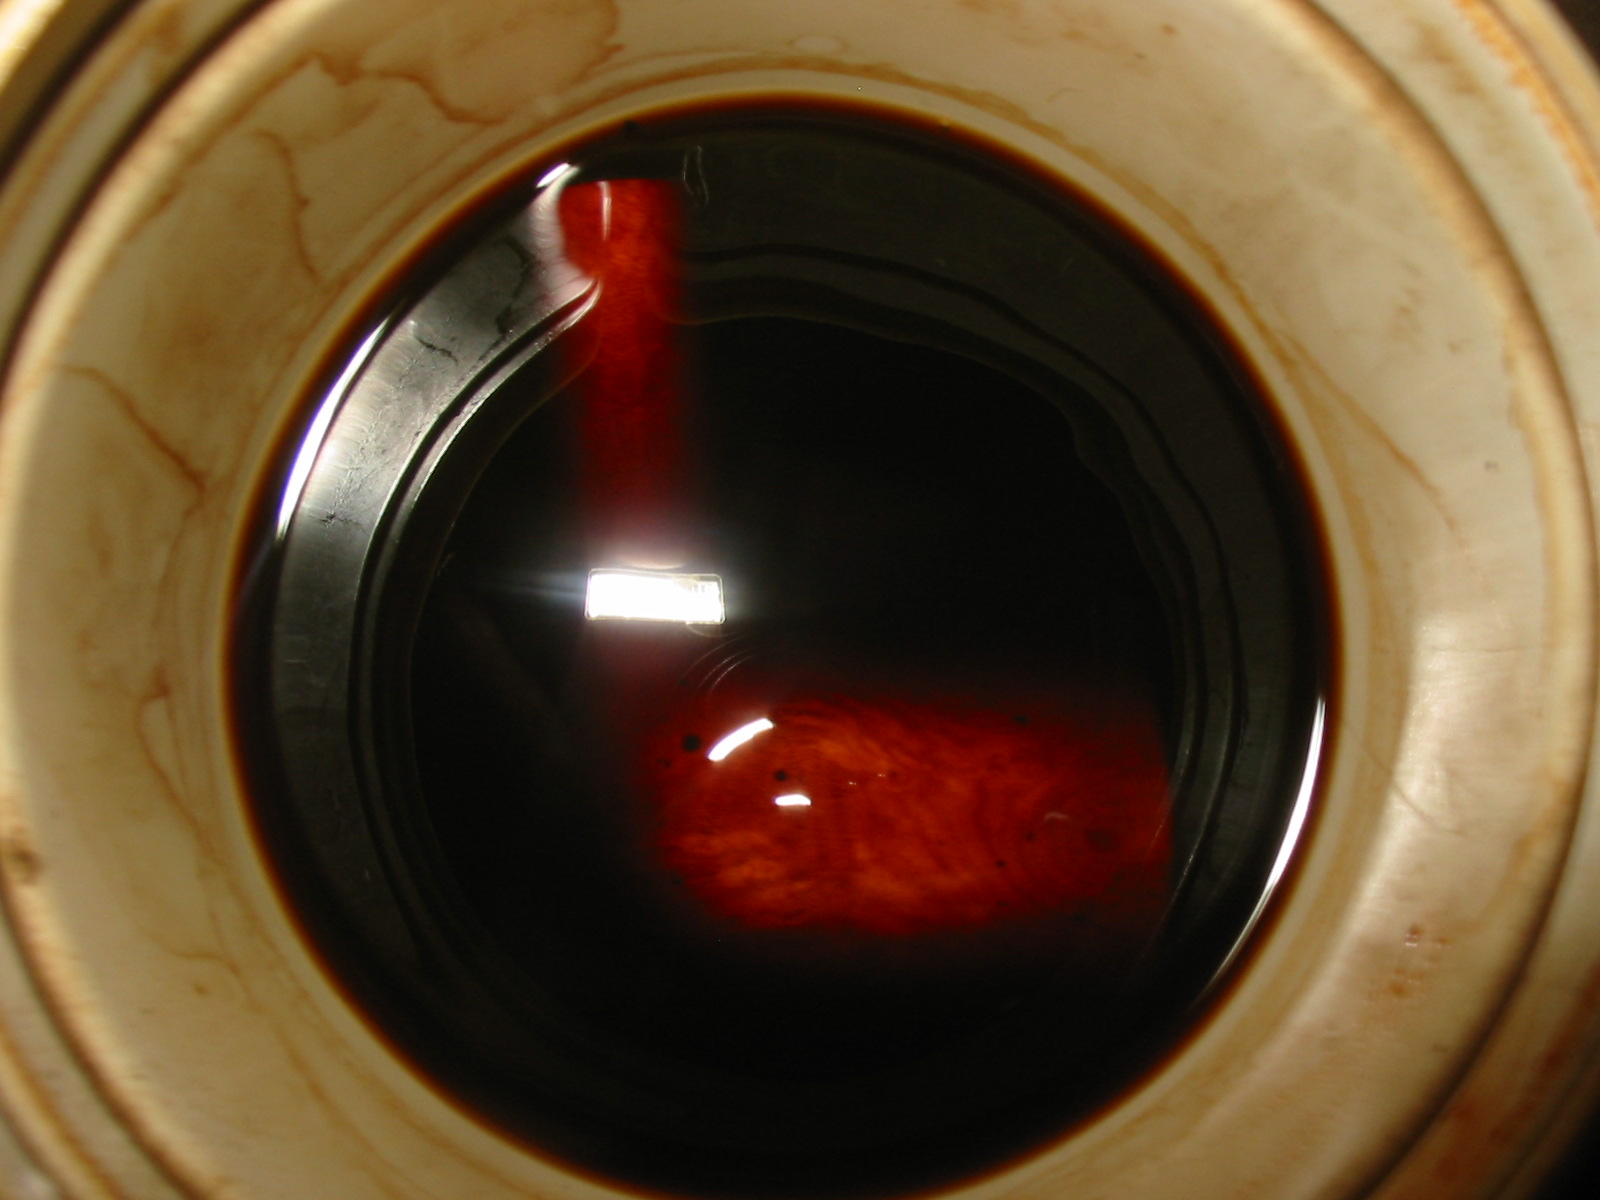
The next morning I removed the bowl from the alcohol bath and found that it had done its magic. The stains were gone and the ink stains were significantly lighter. I cleaned out the shank with cotton swabs, pipe cleaners and alcohol. I kept cleaning until the pipe cleaners and swabs came out clean. IMG_7946 I stained the bowl with Fiebings Dark Brown aniline stain. I applied the stain and then flamed and repeated the process until the coverage was even. IMG_7947 IMG_7948 
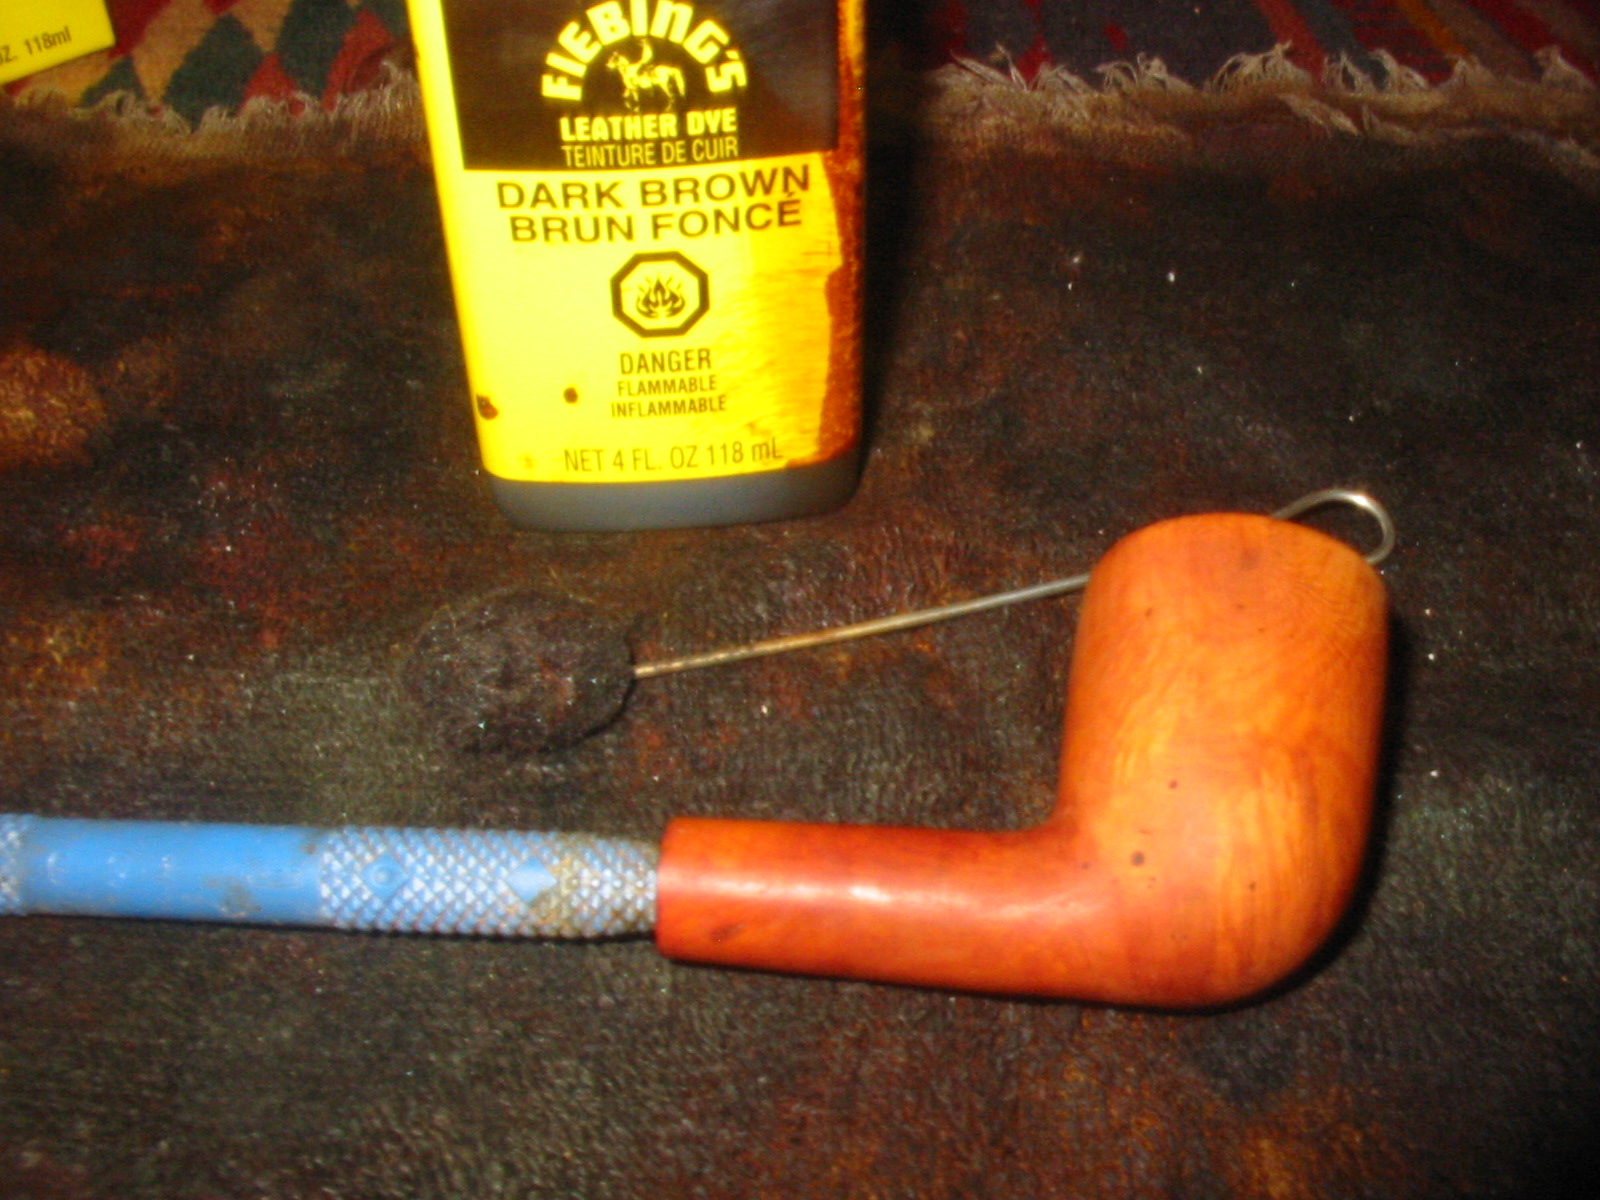
I wiped it down with alcohol on cotton pads to remove some of the opaque colour of the stain and to make the grain more visible. IMG_7949 IMG_7950 IMG_7951 
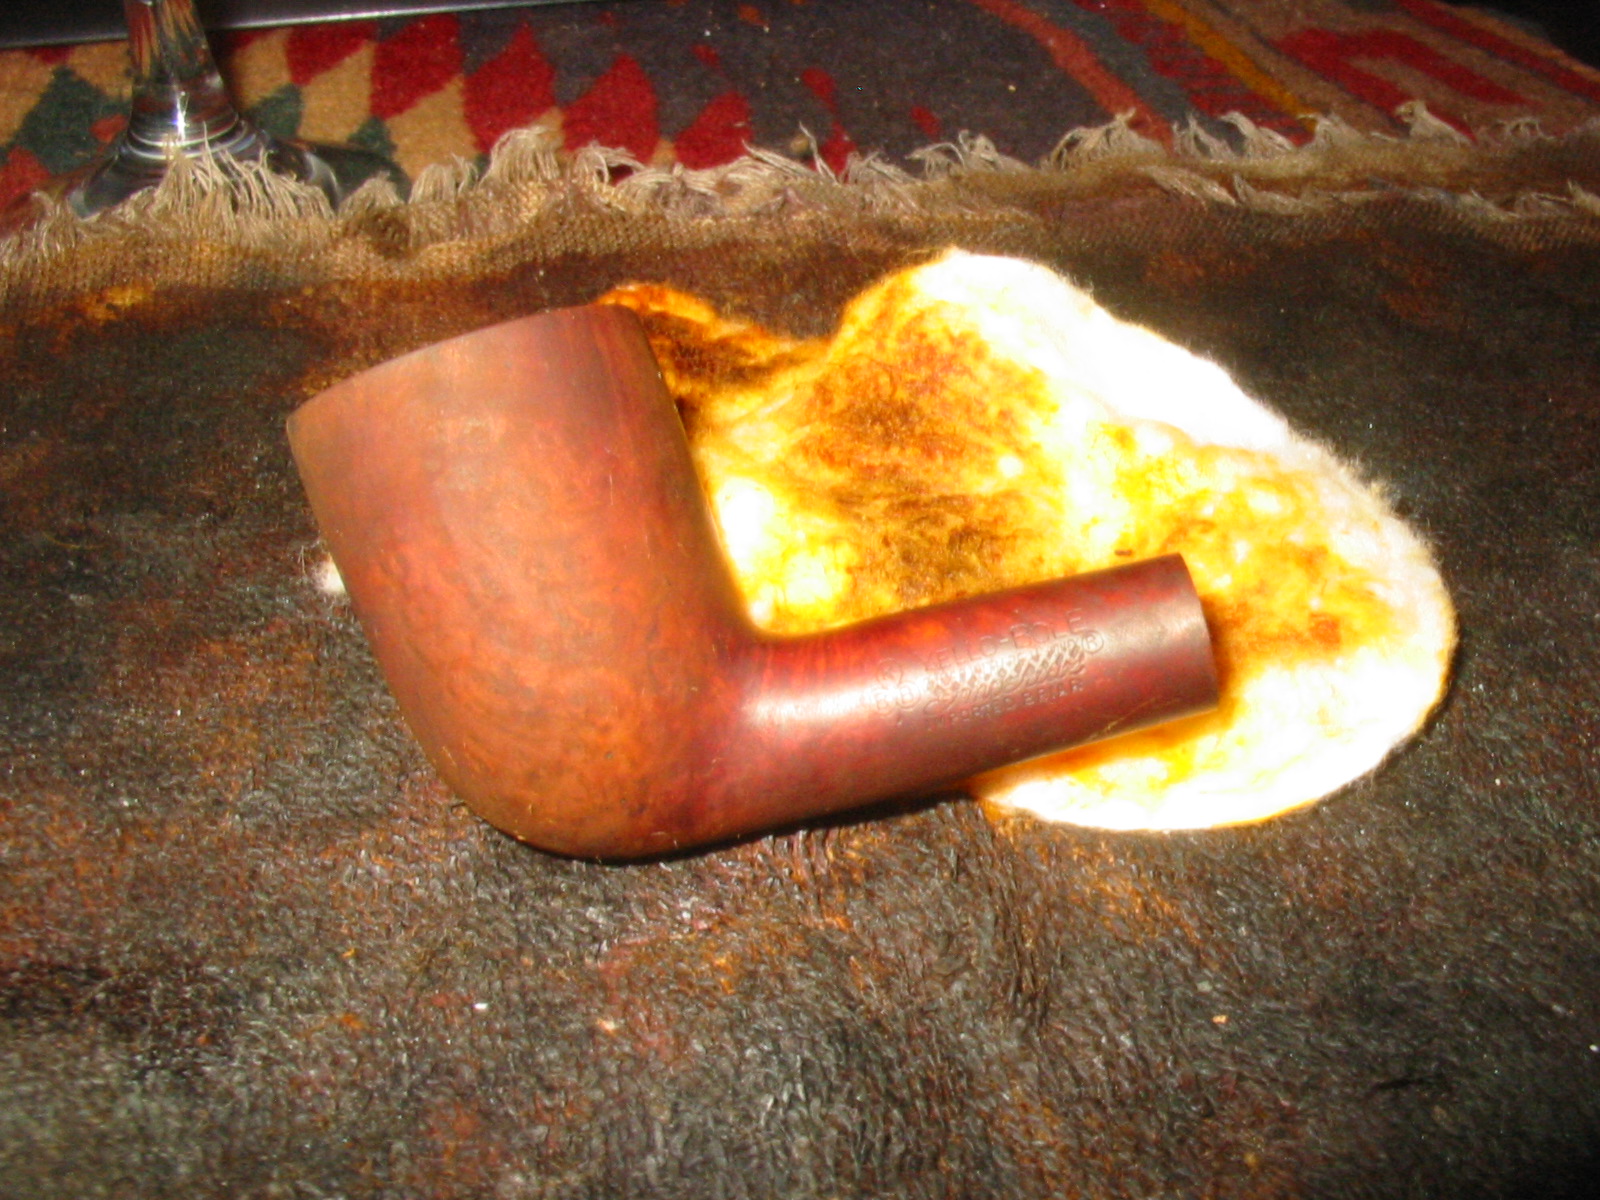
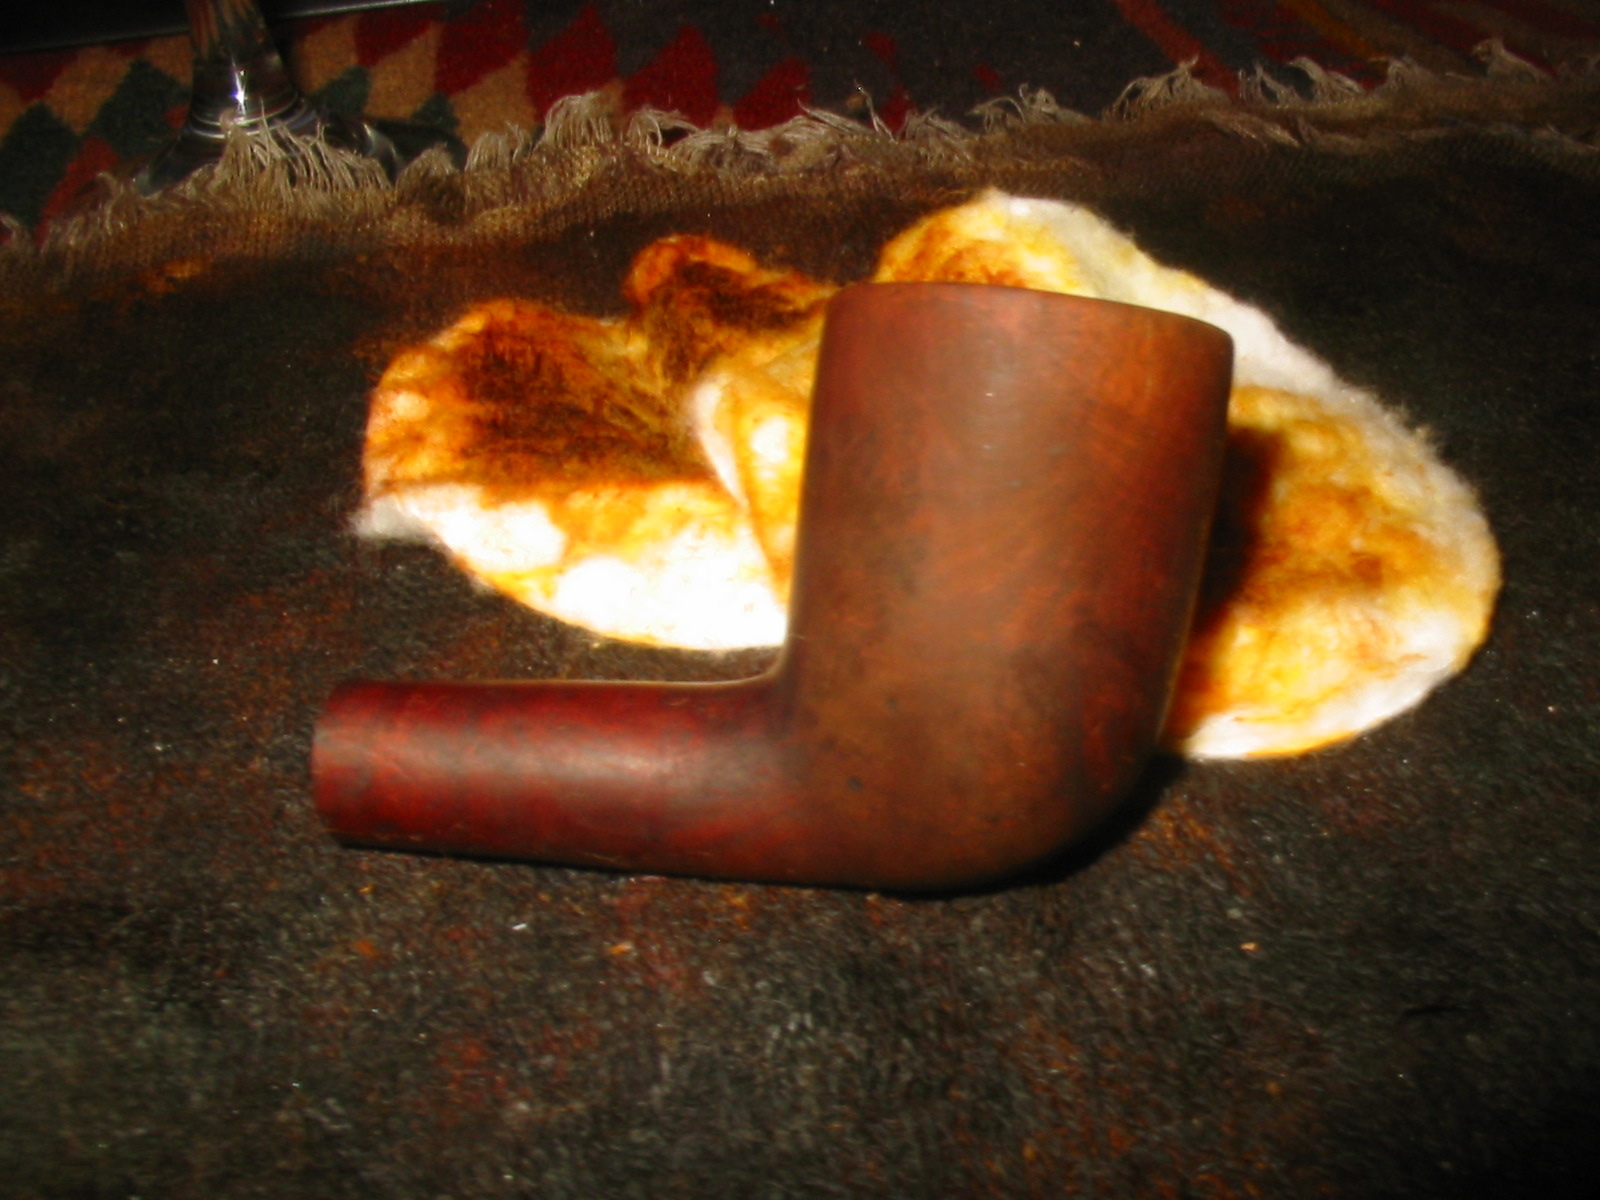
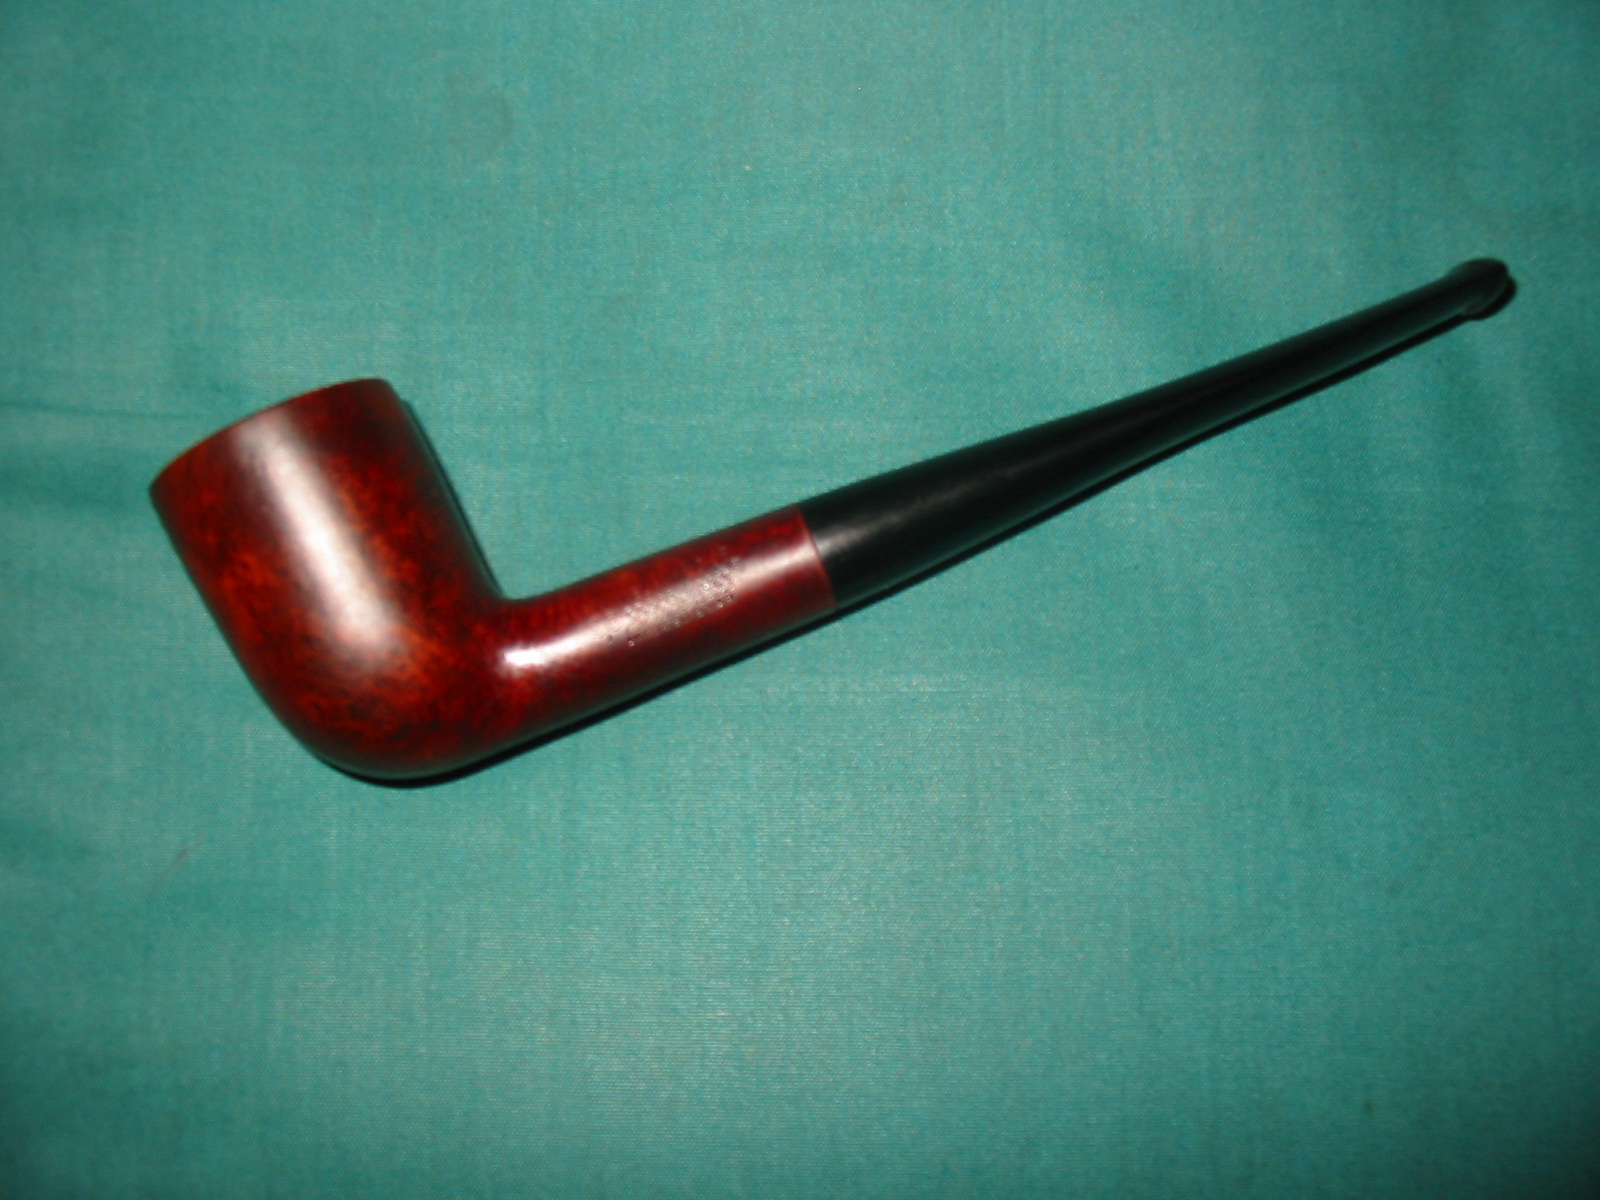
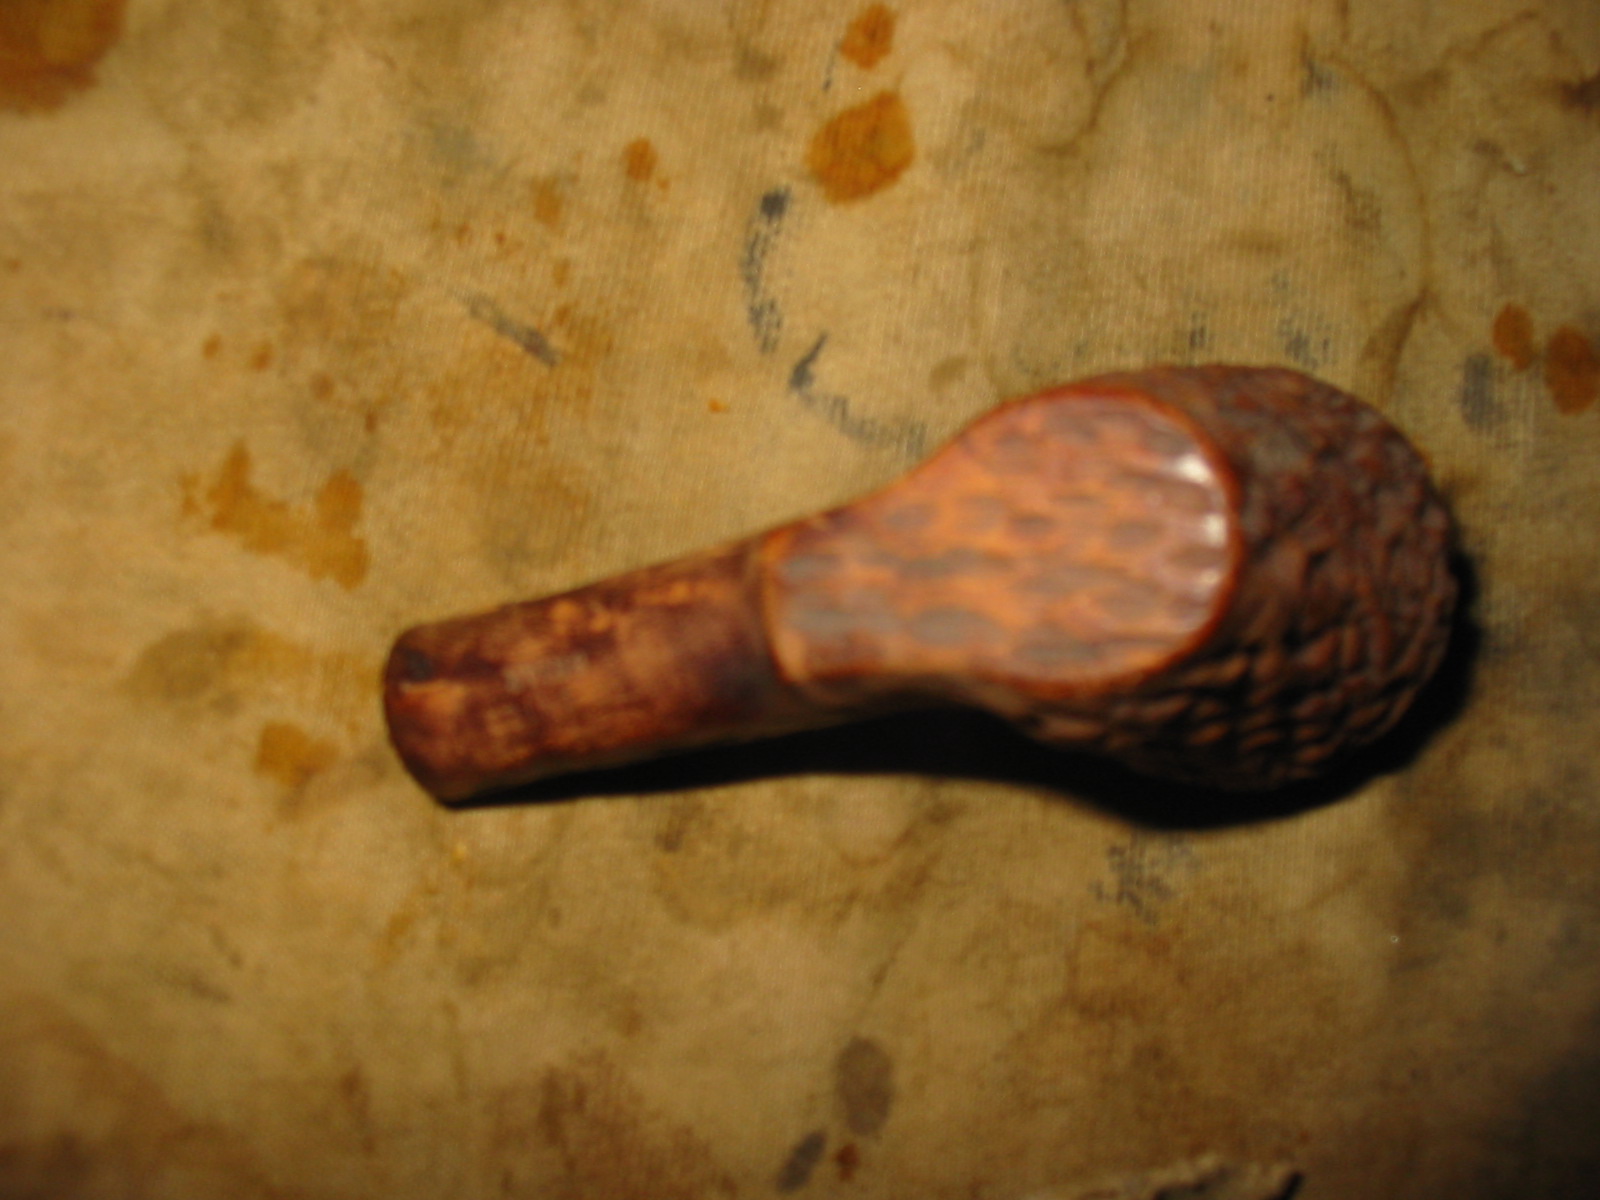
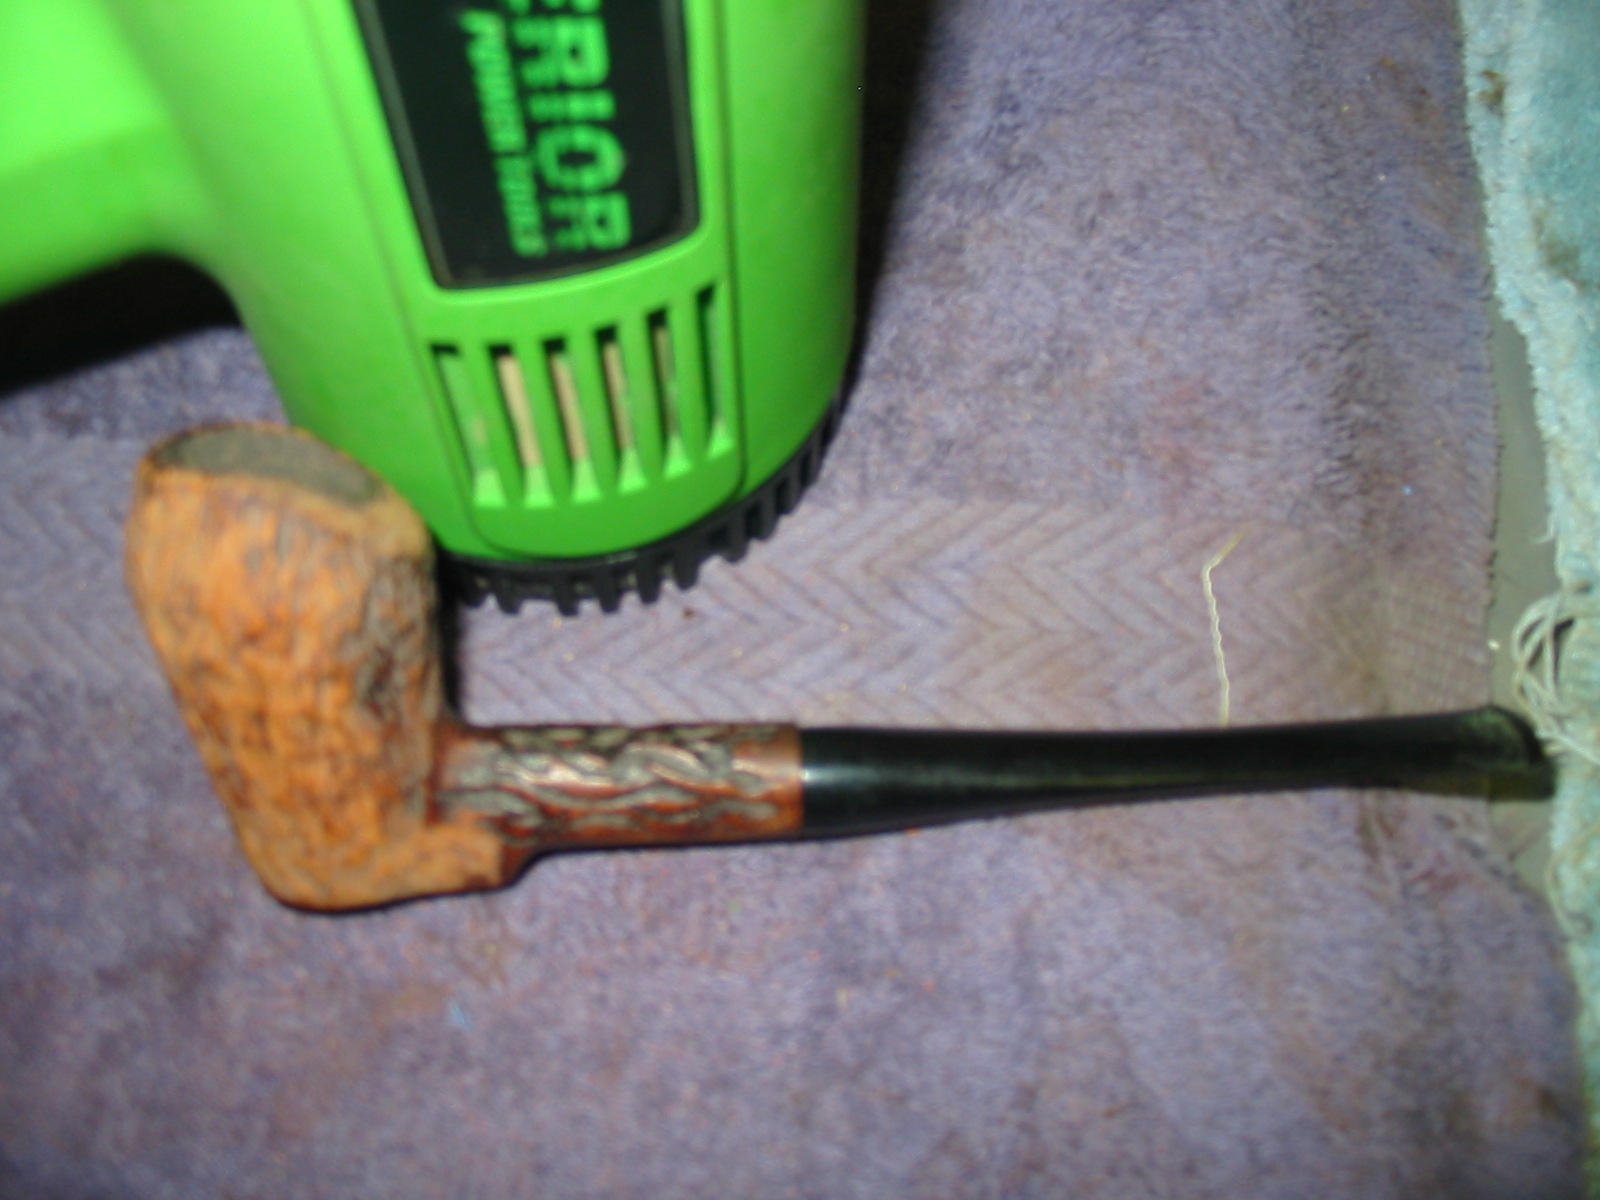
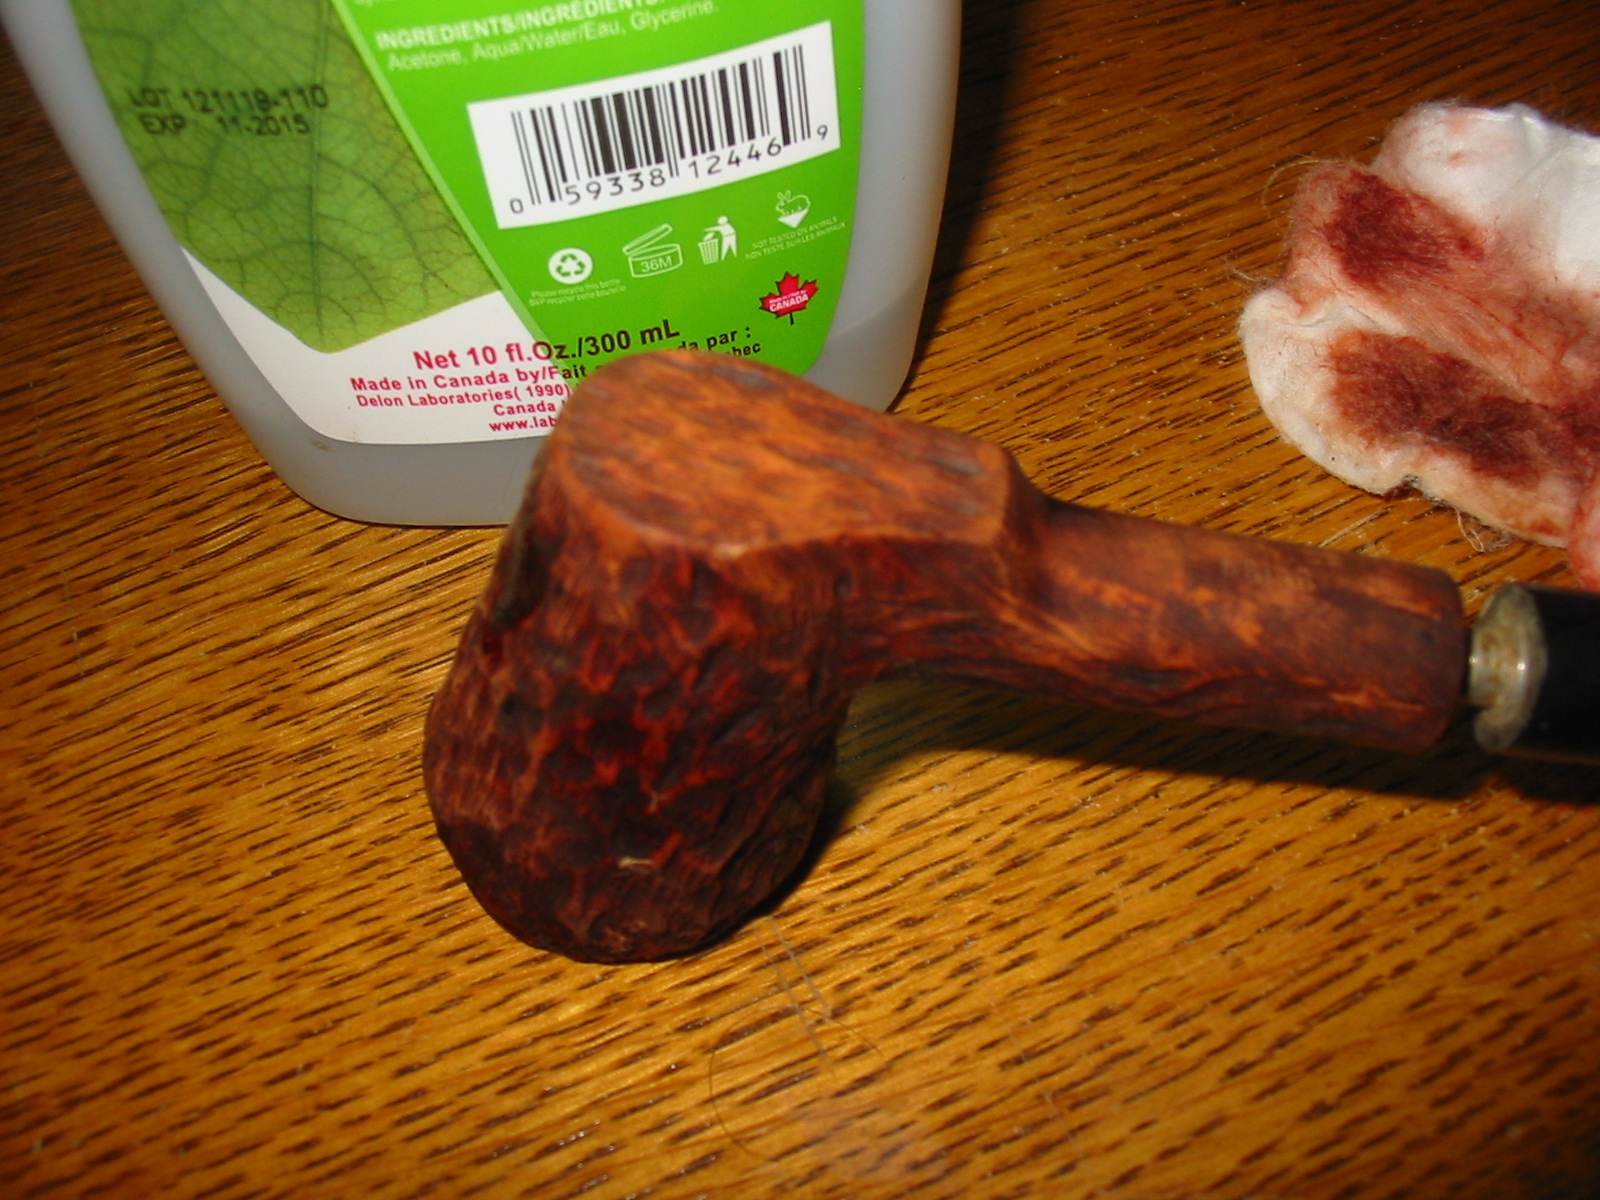
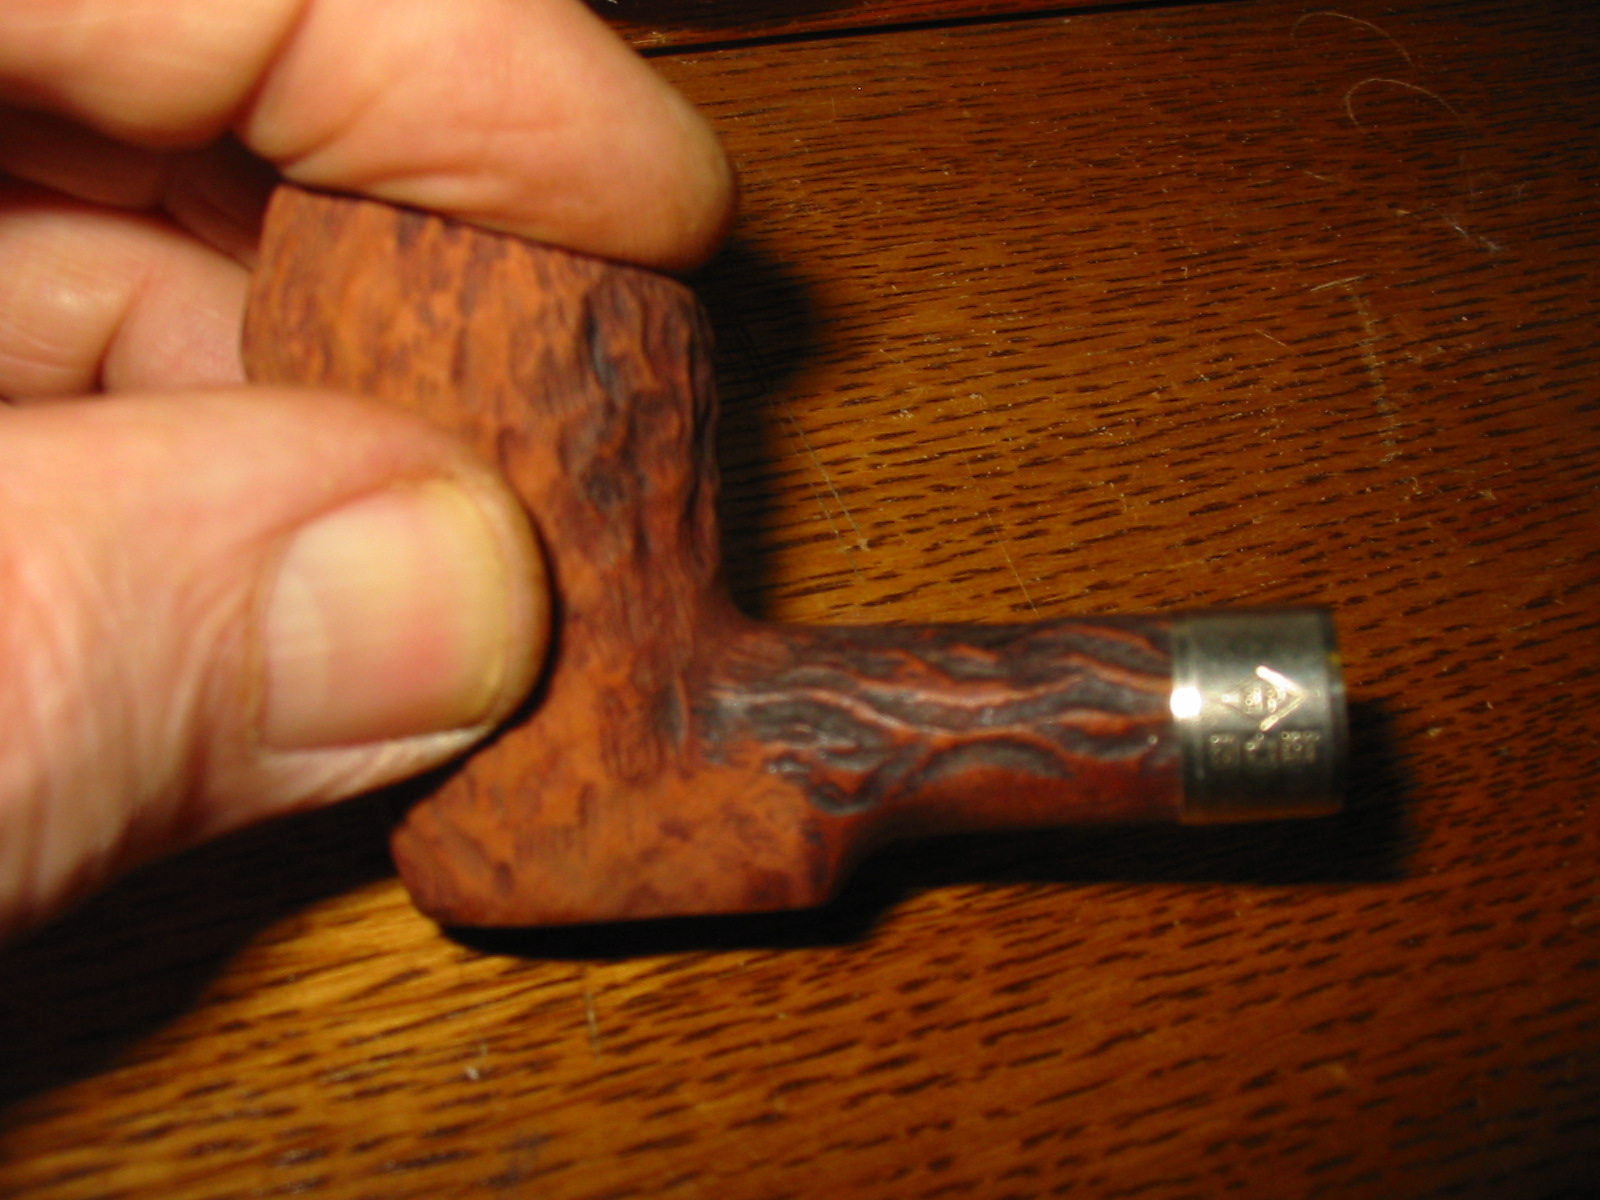
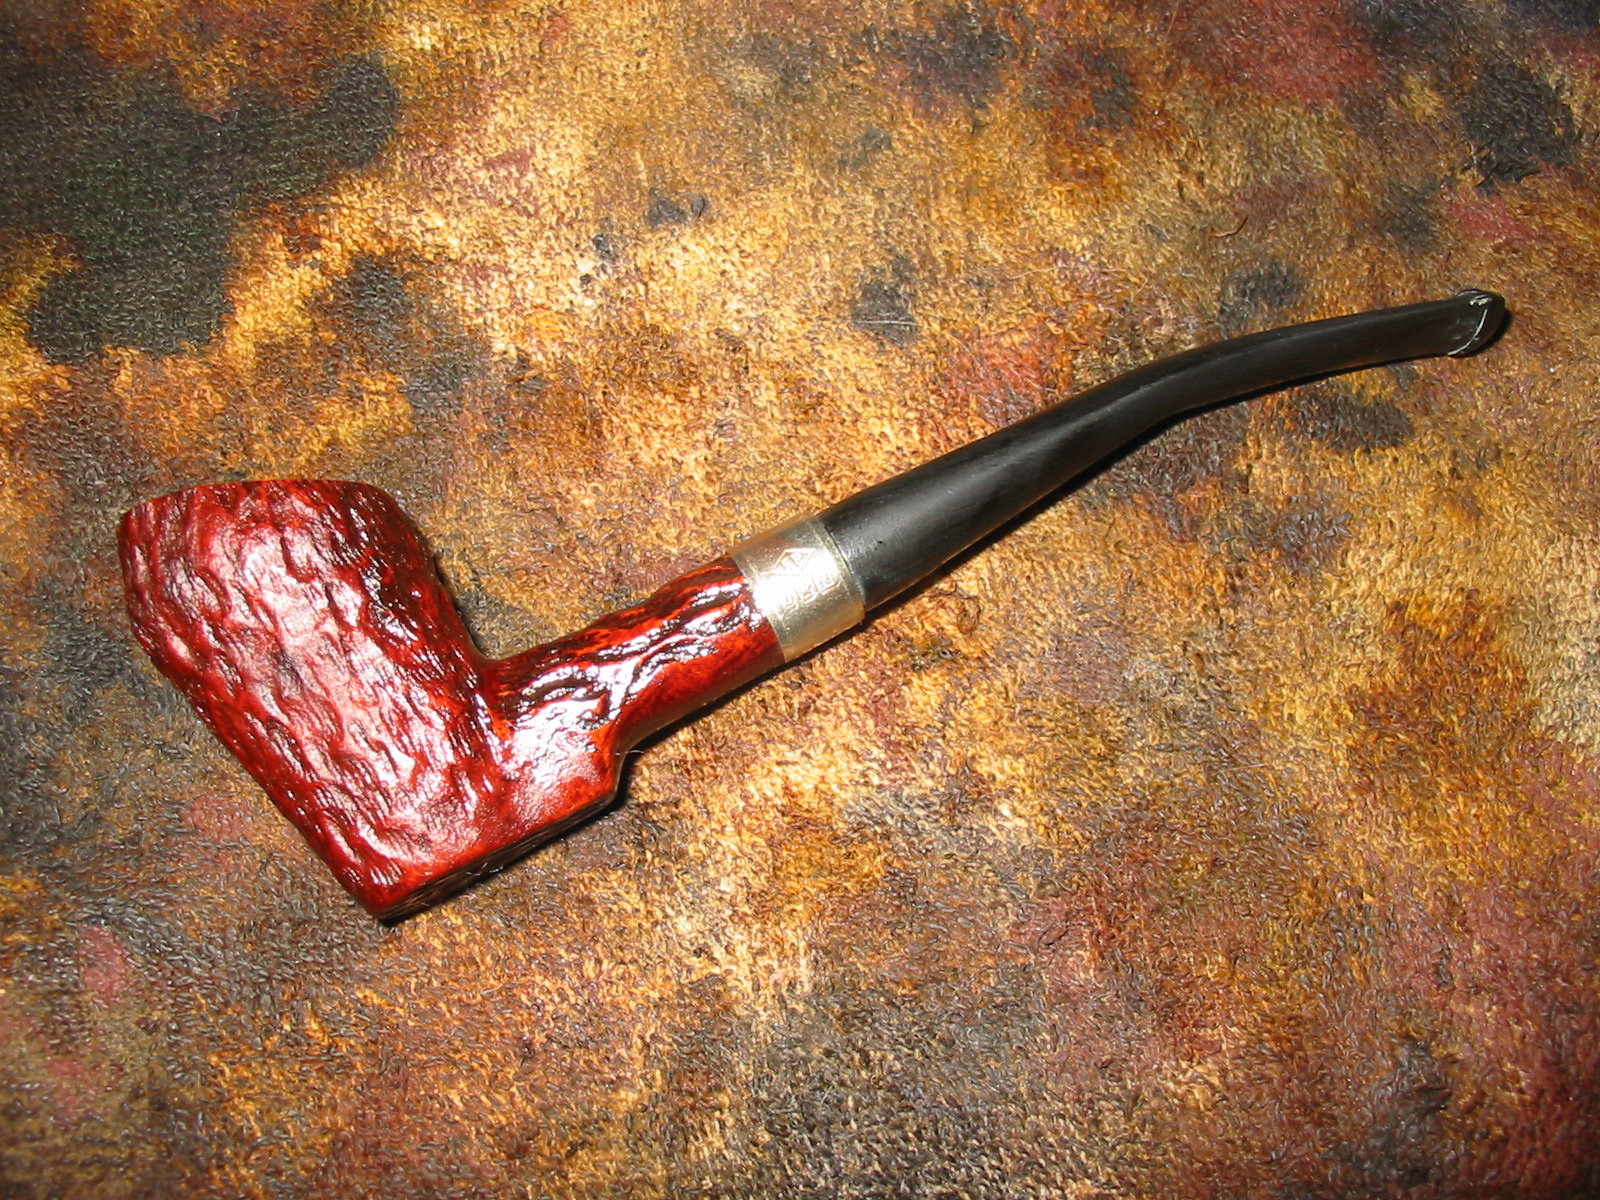
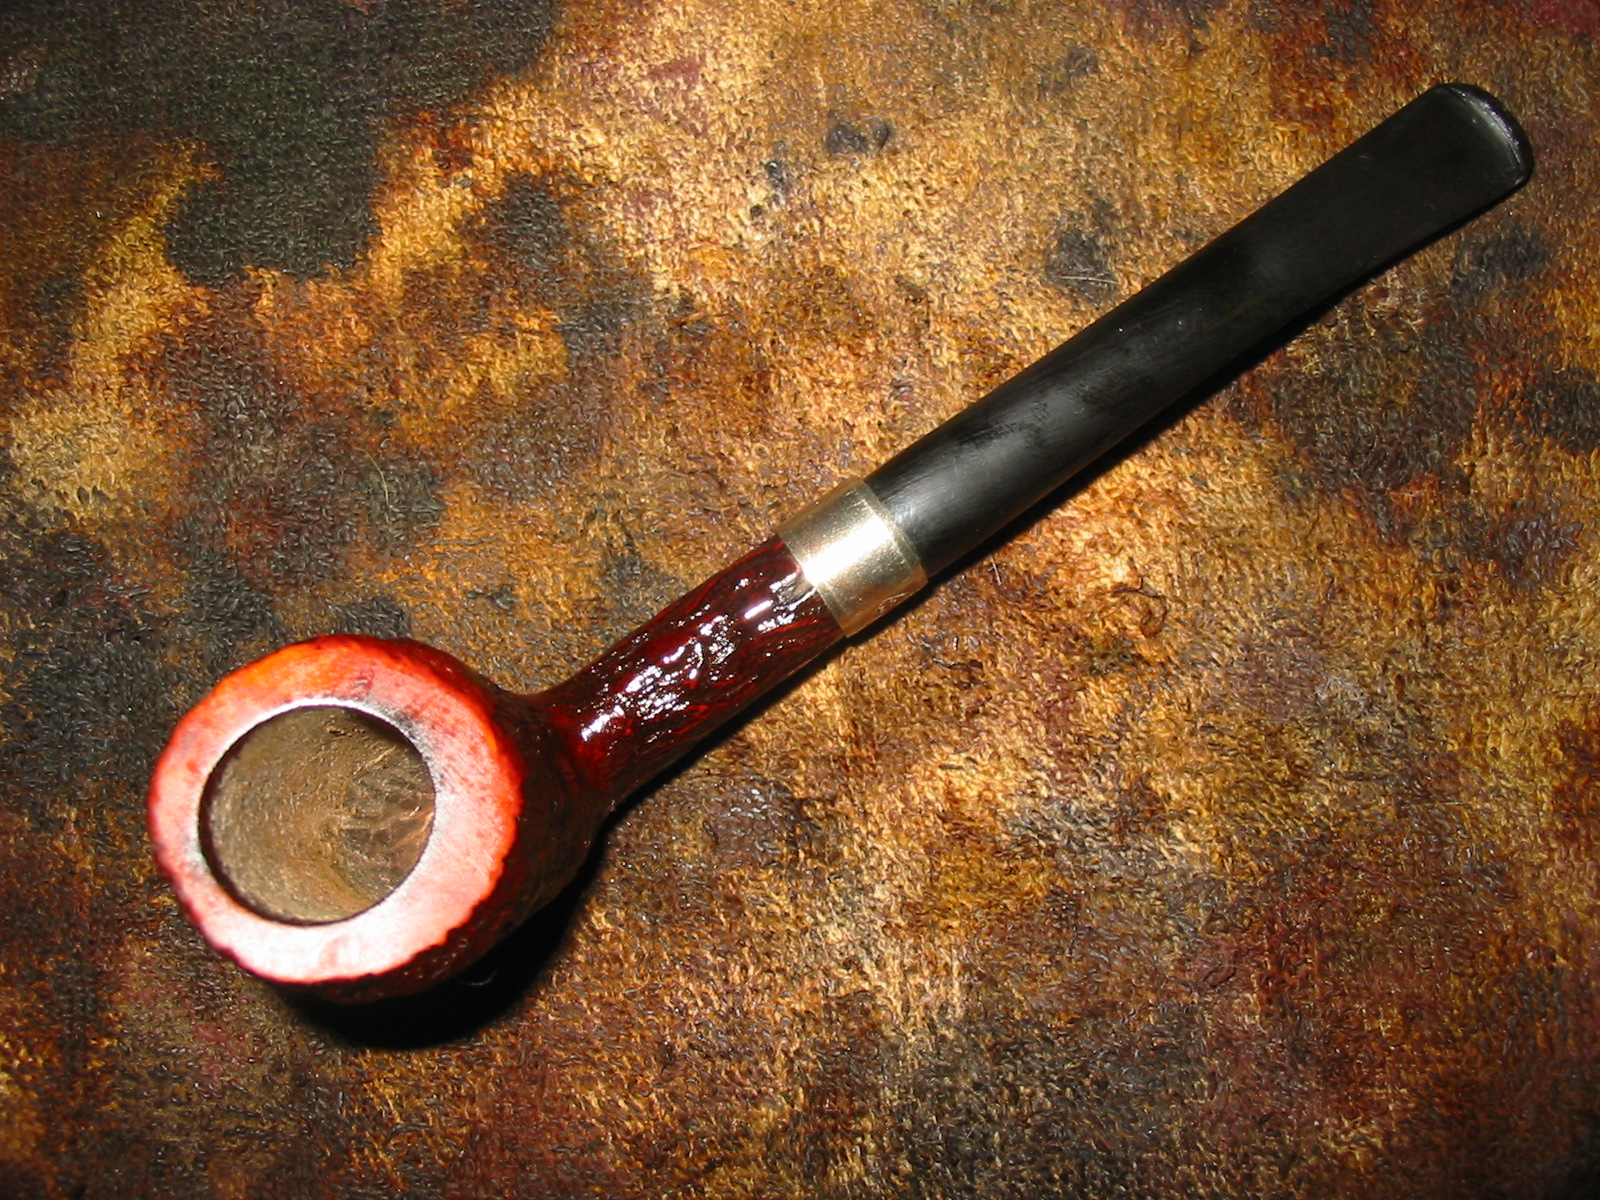
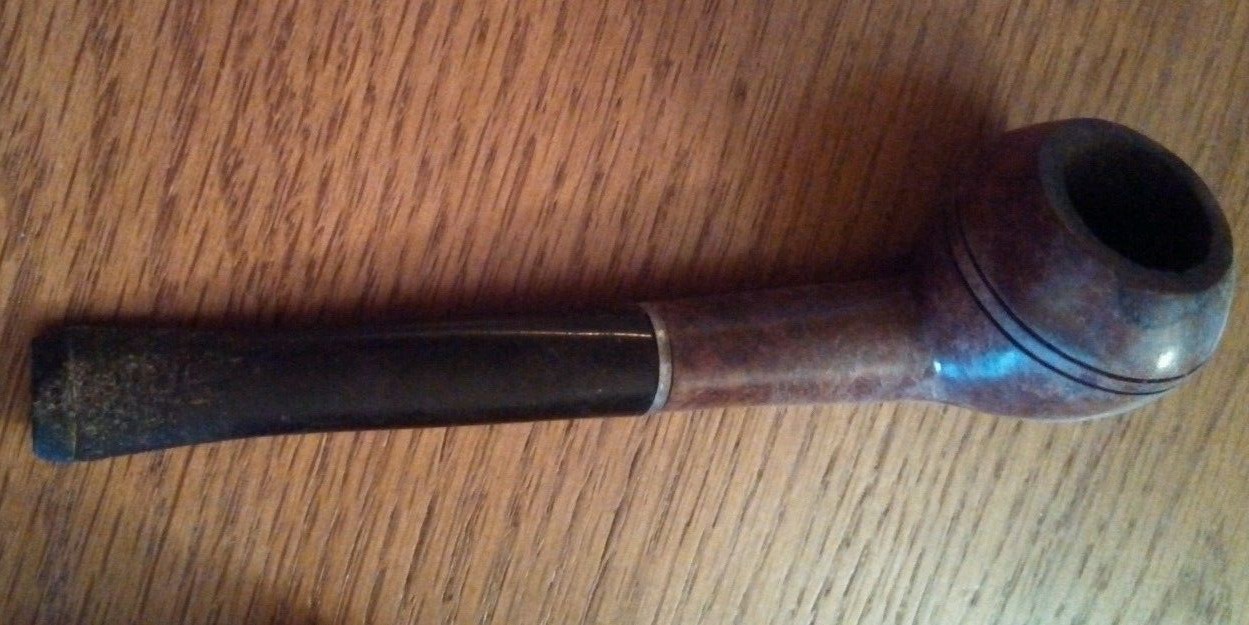
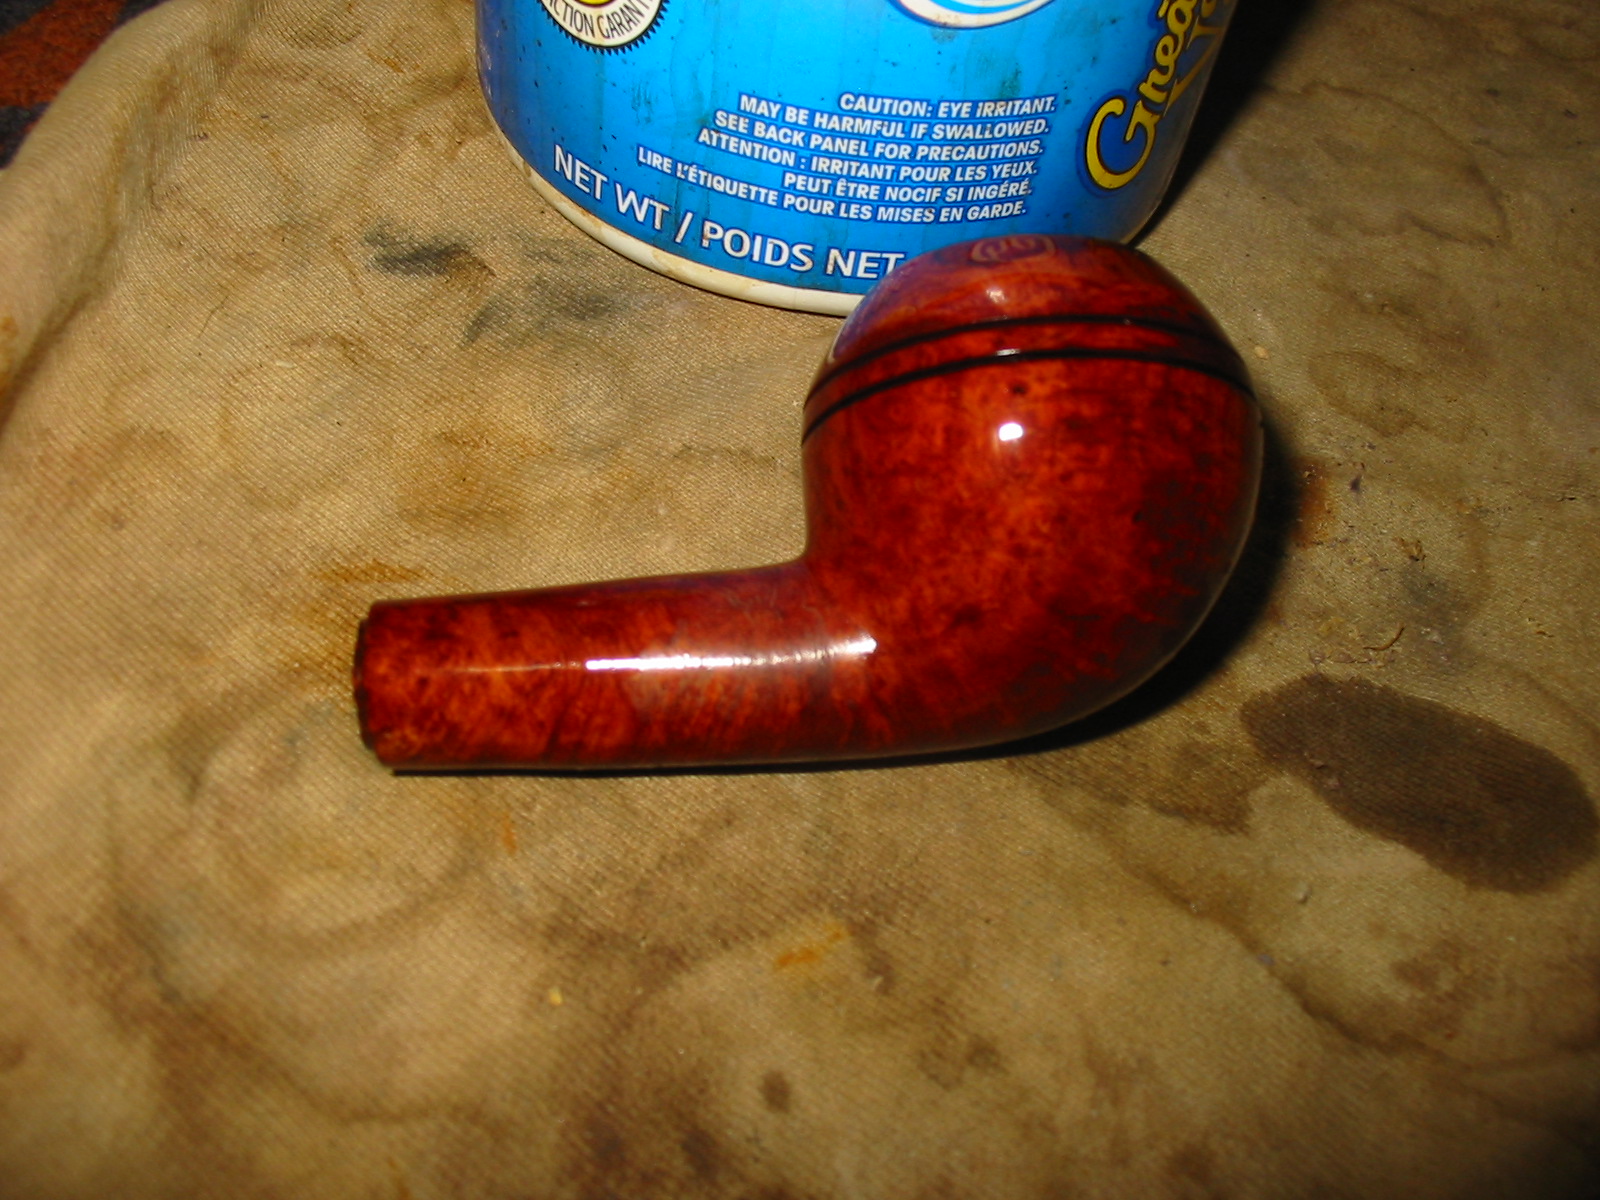
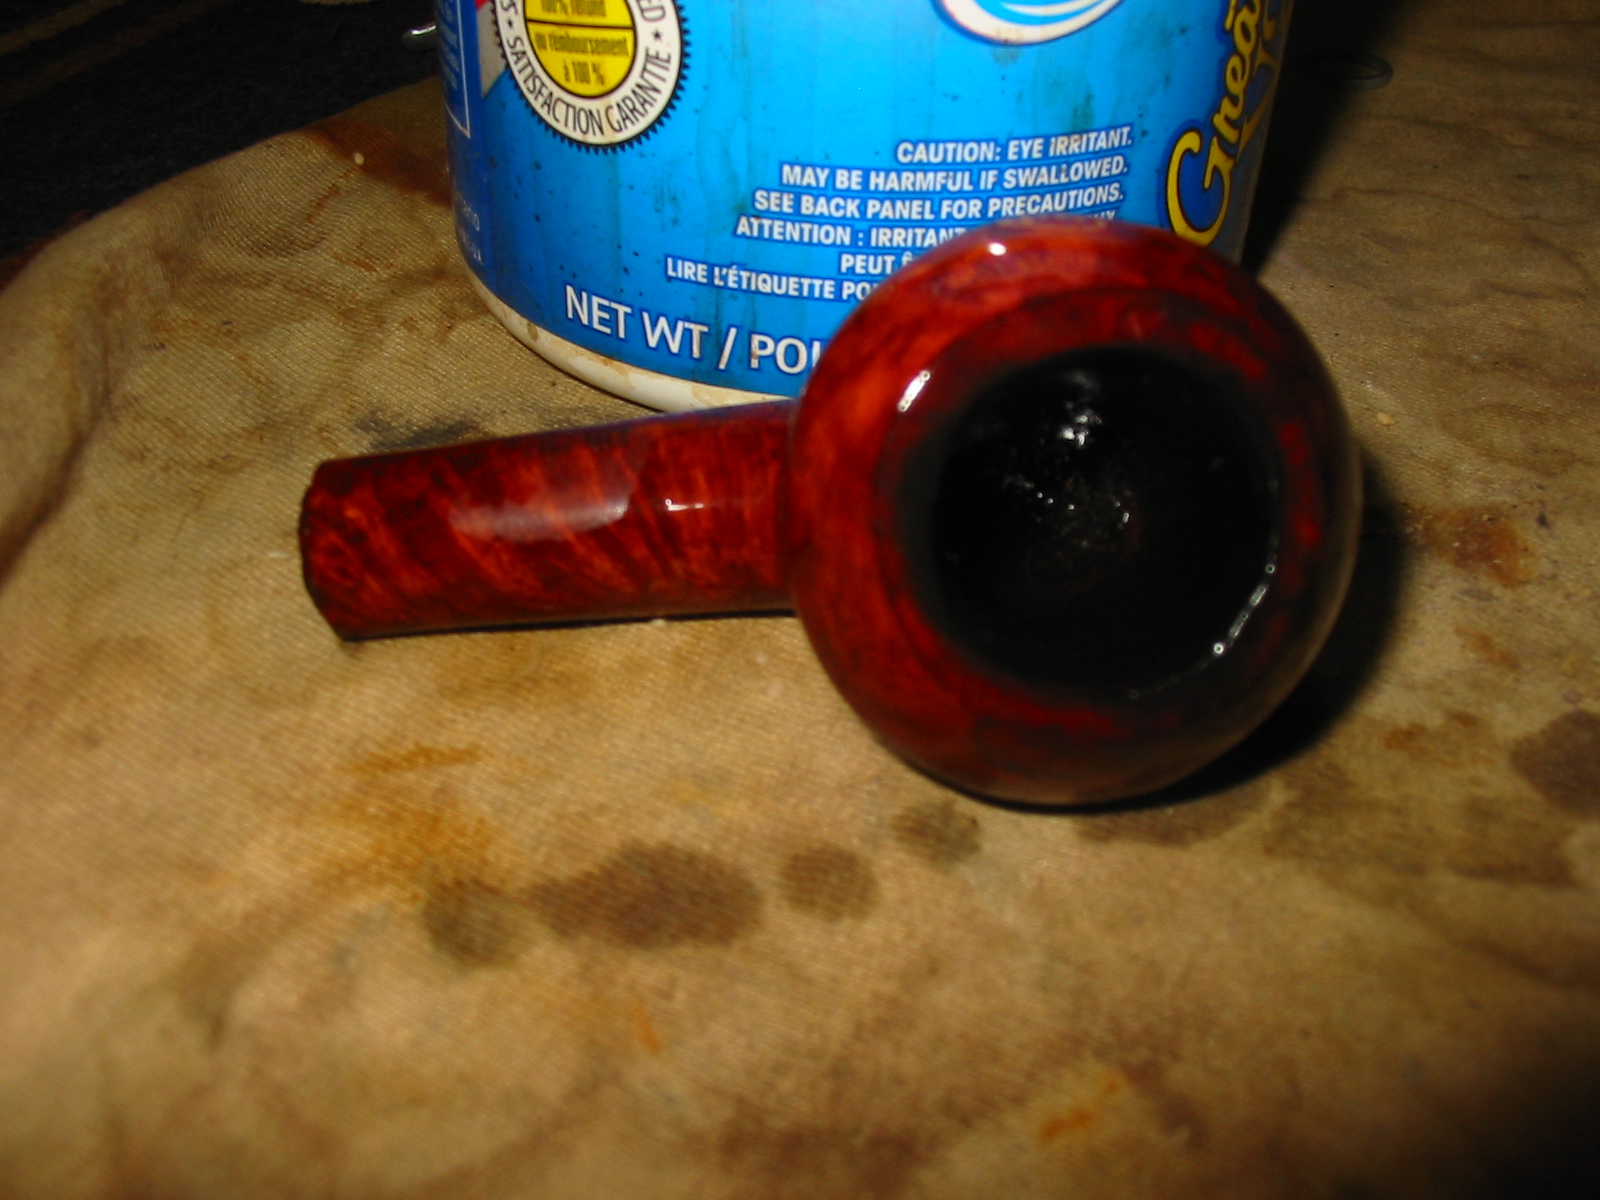
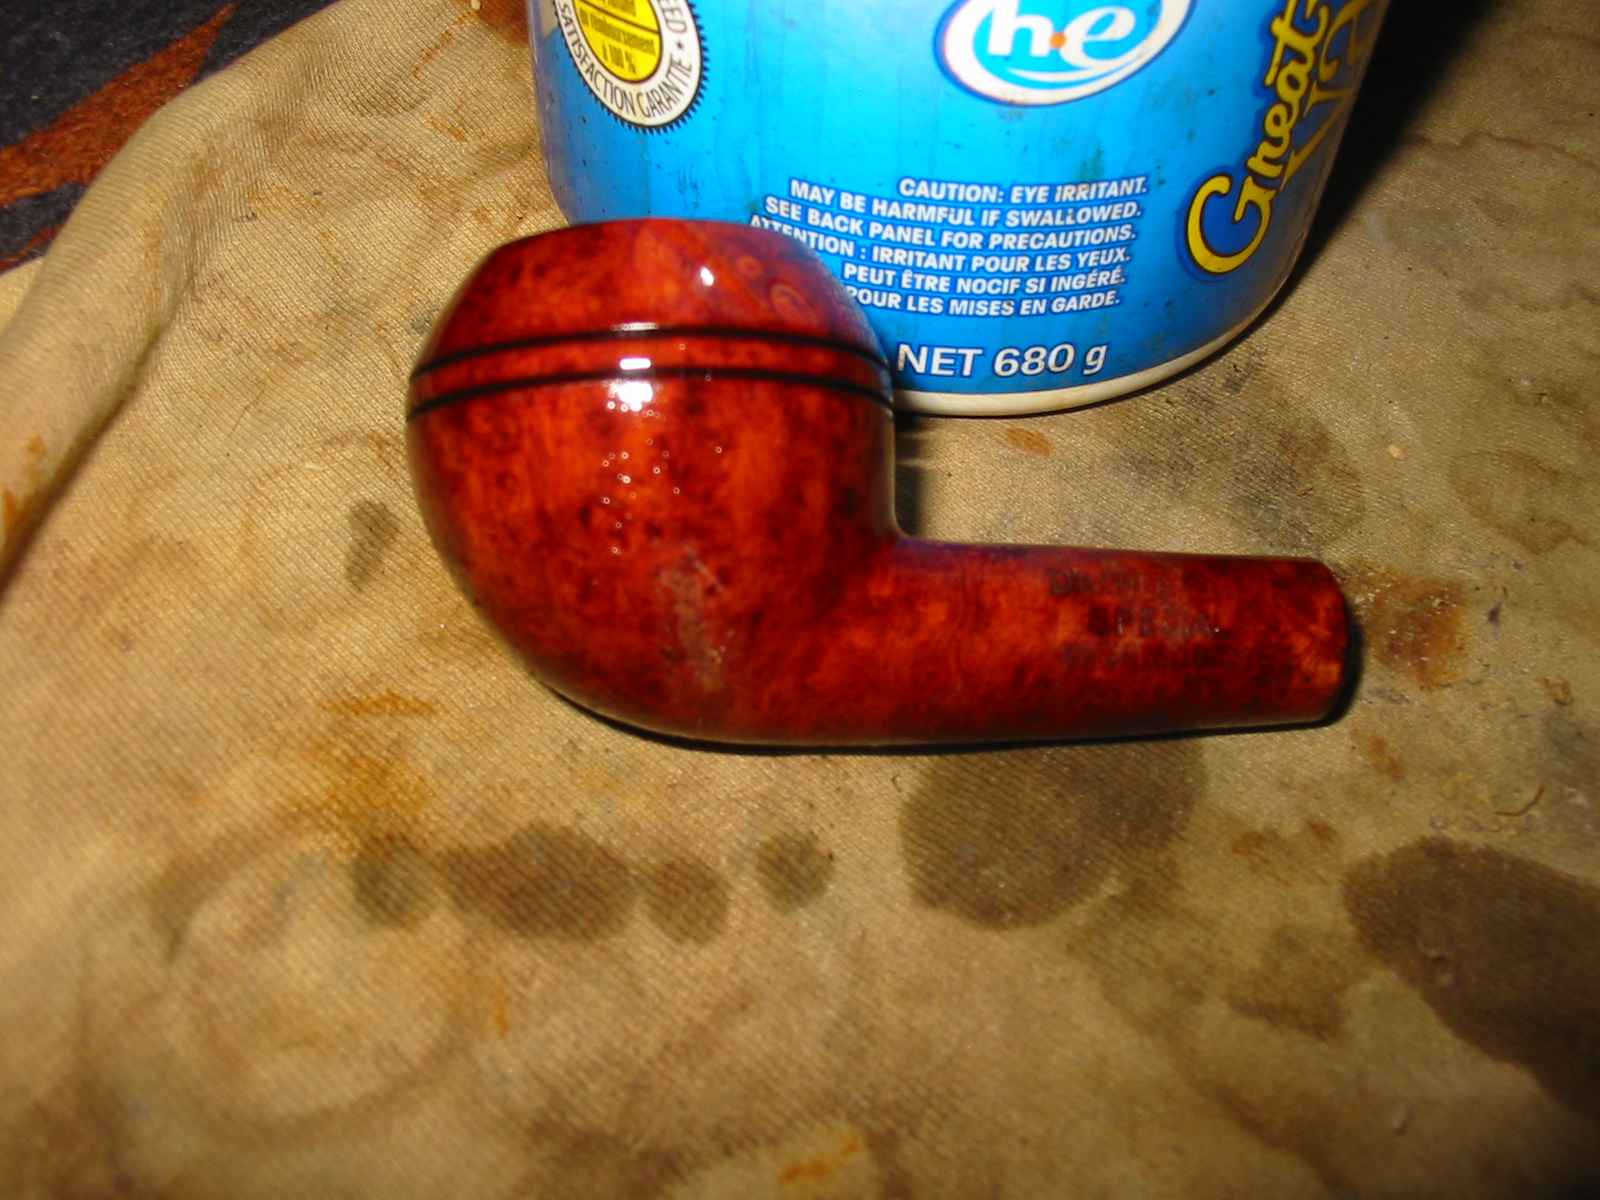
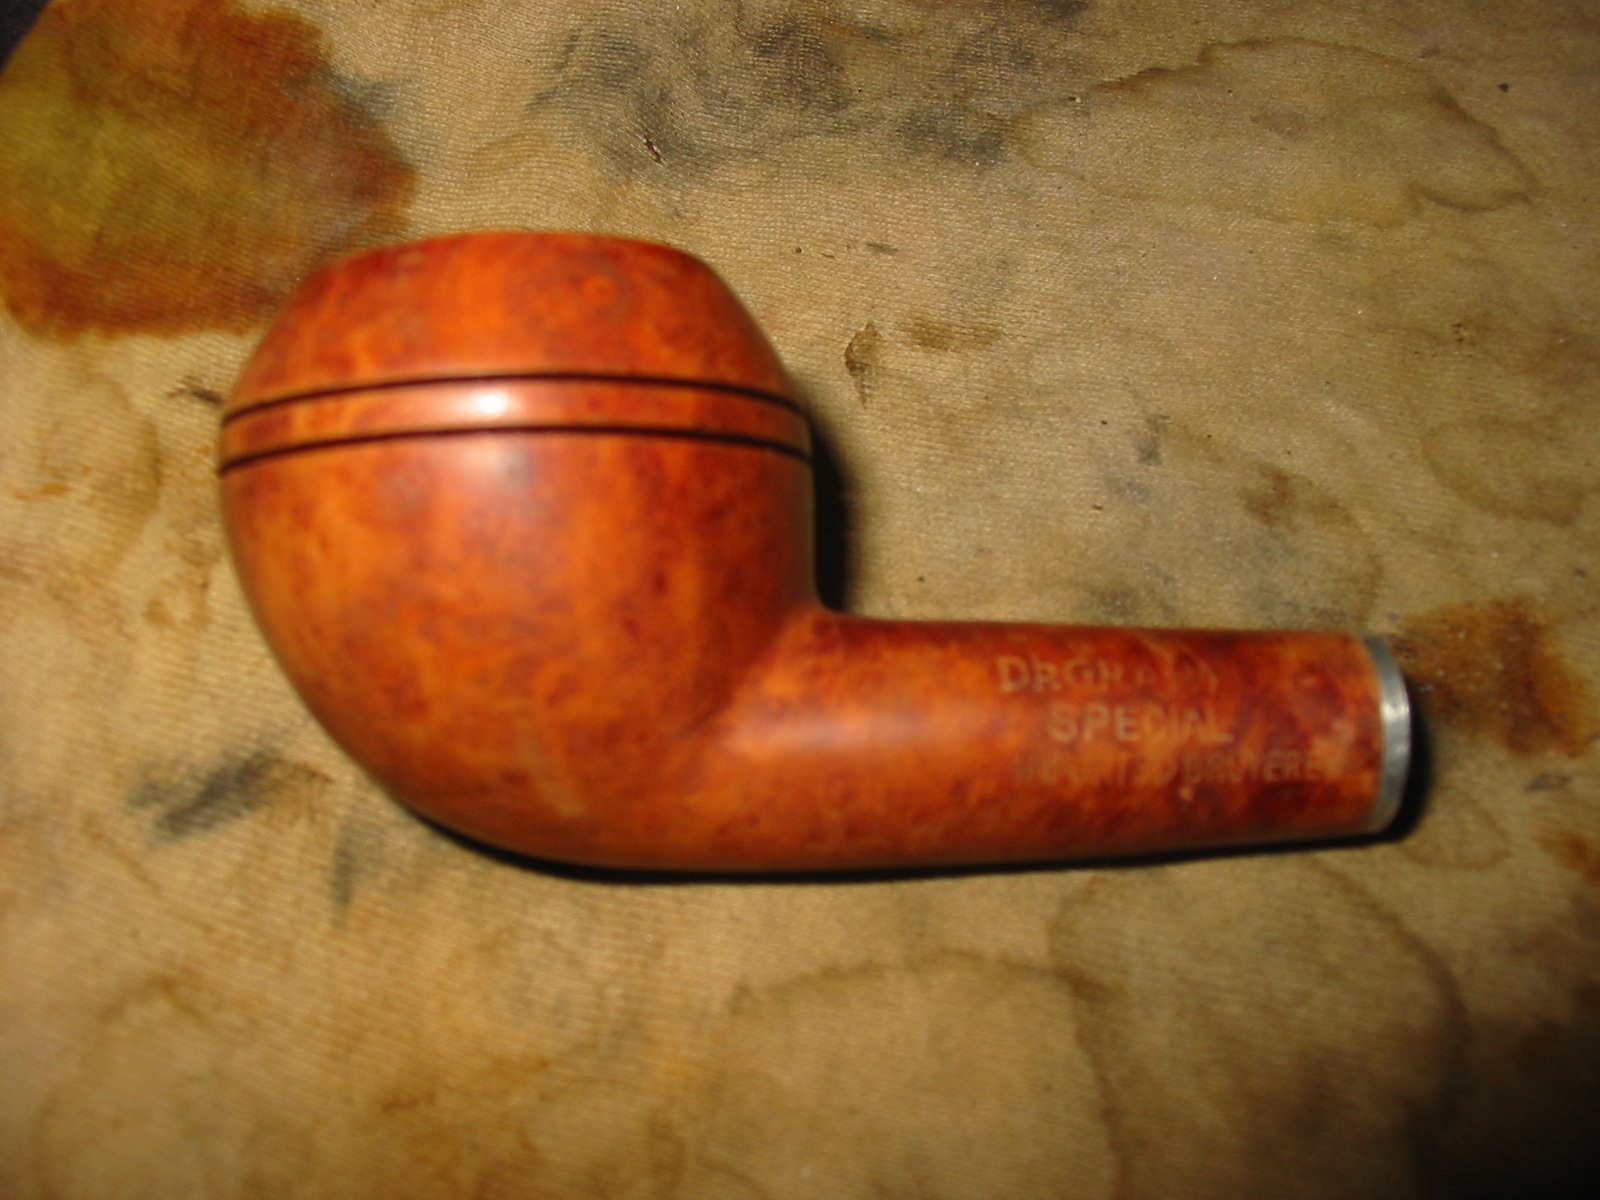
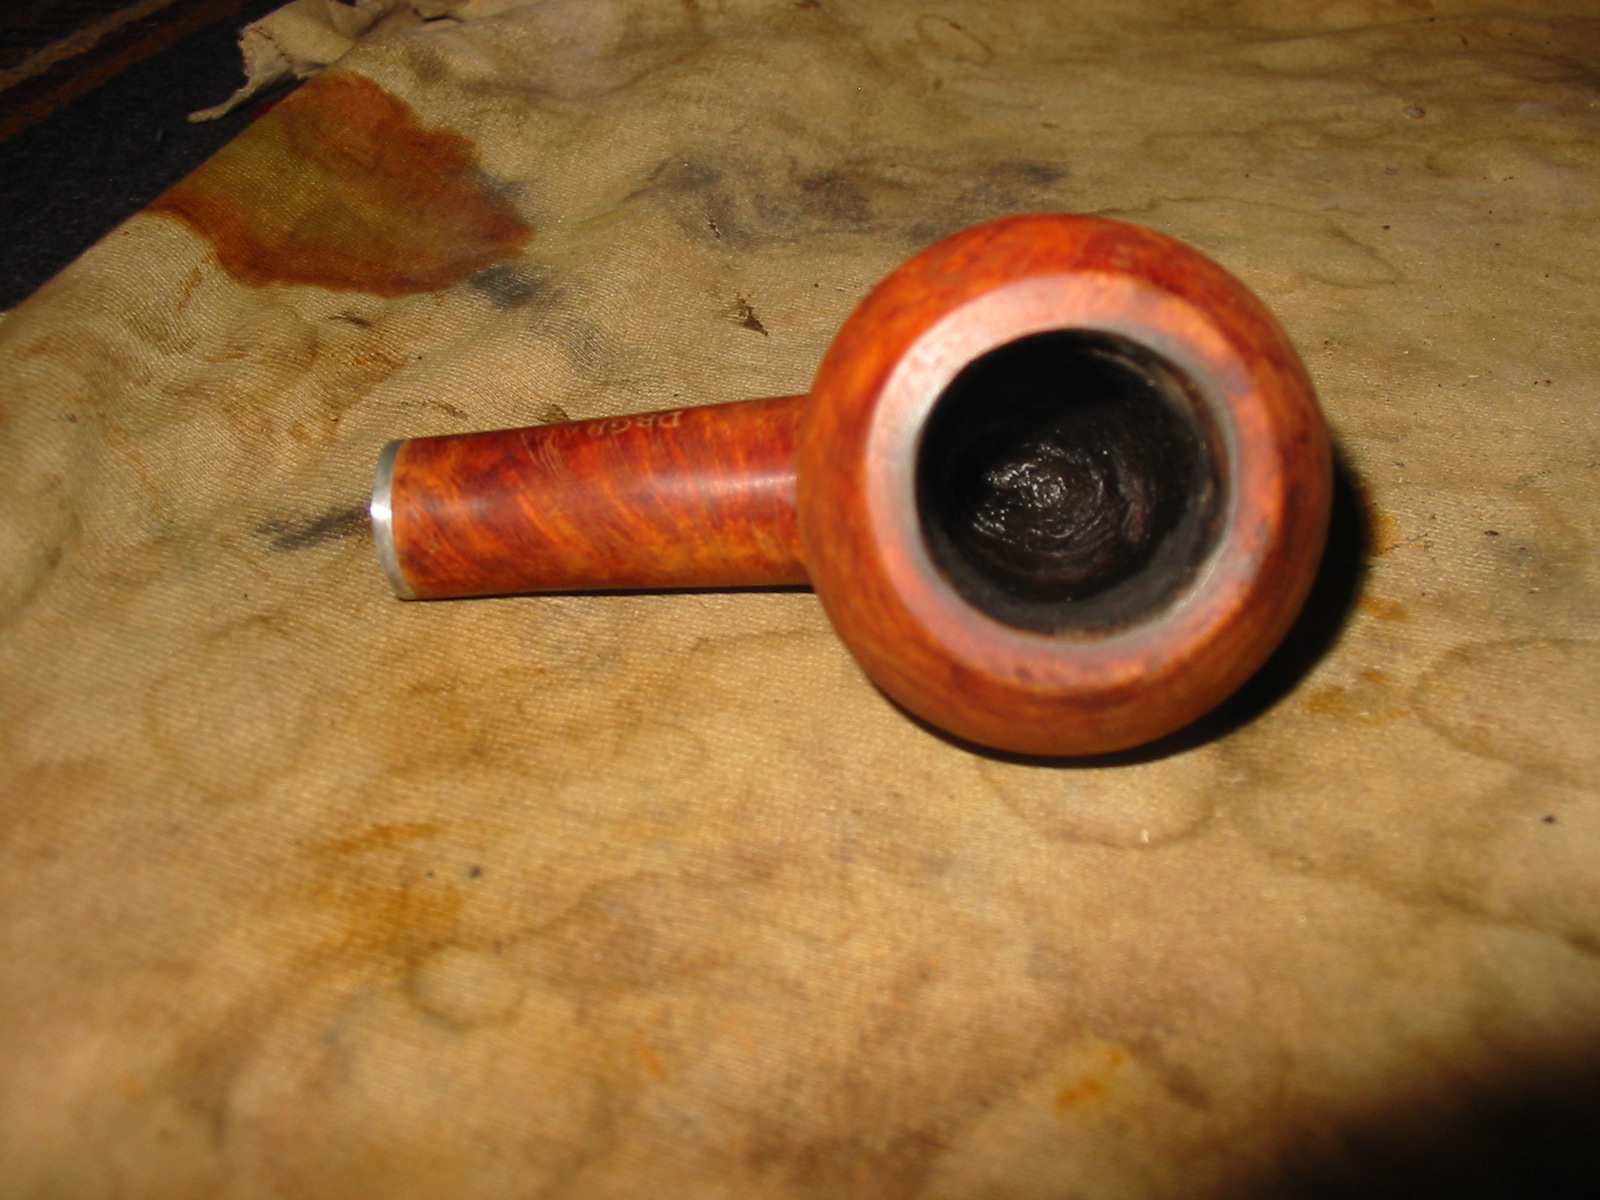
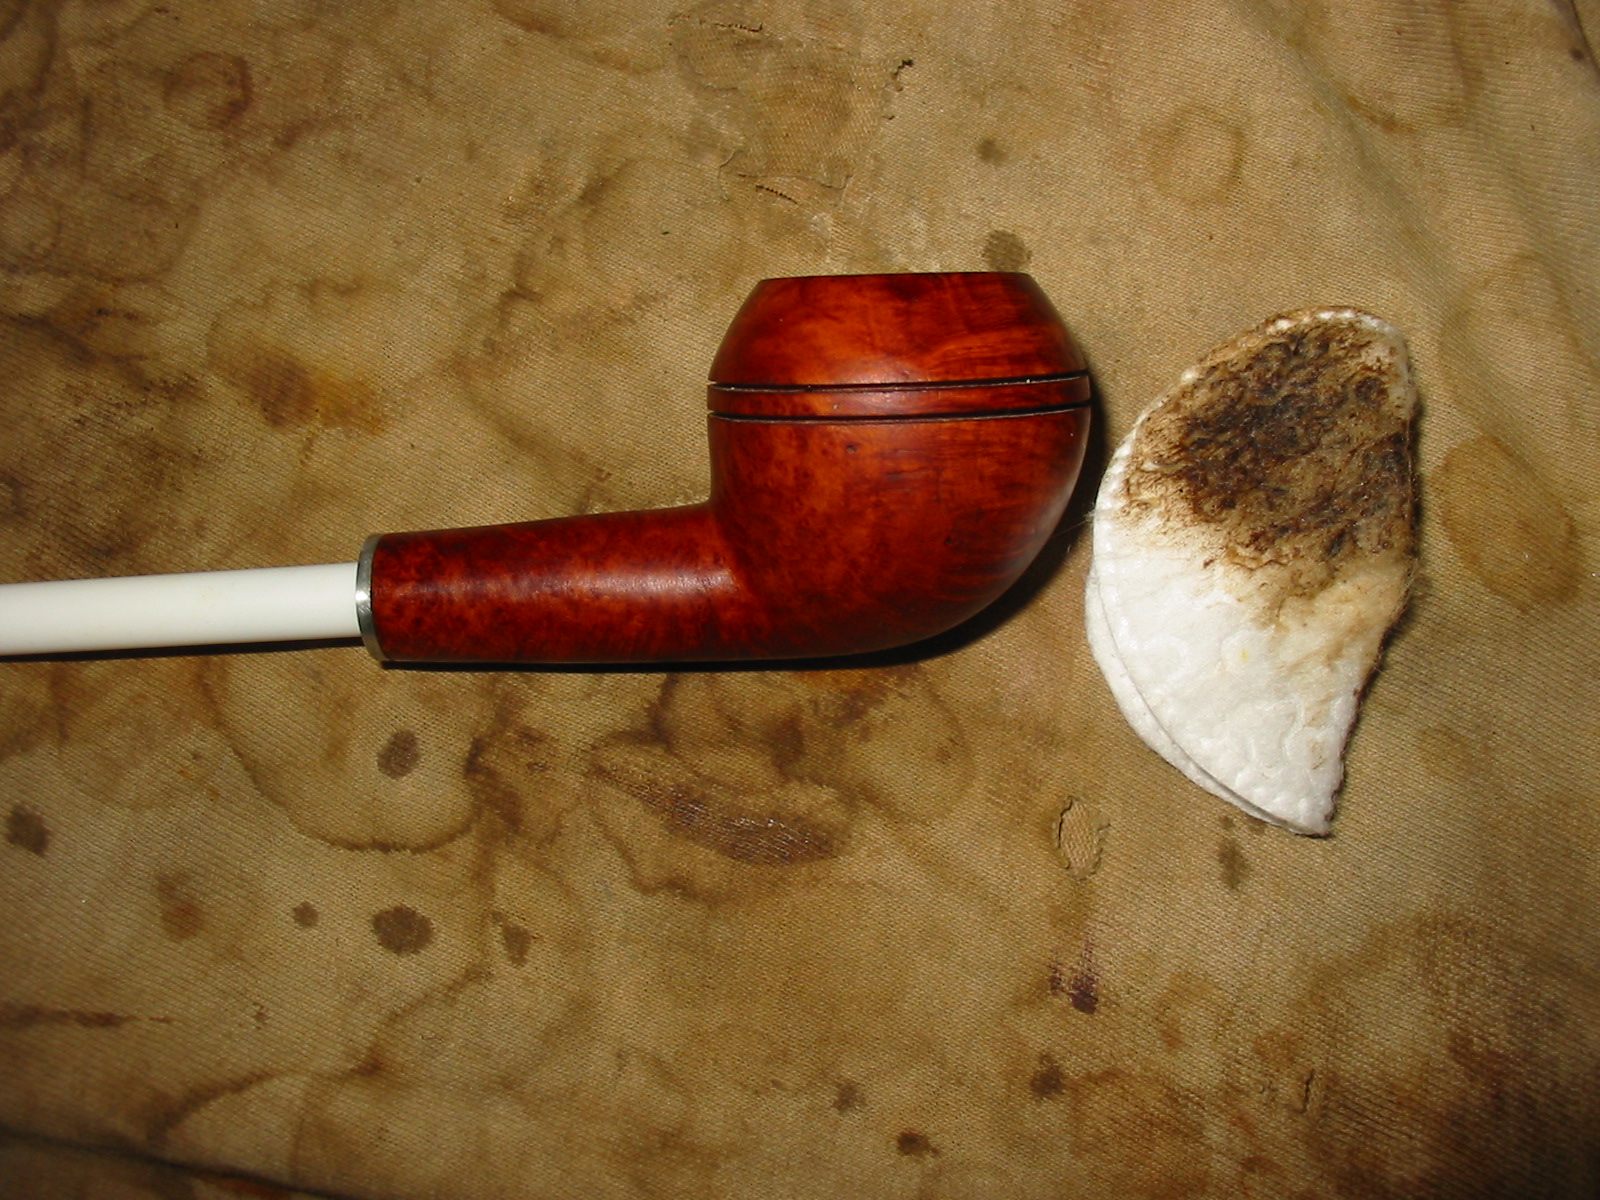
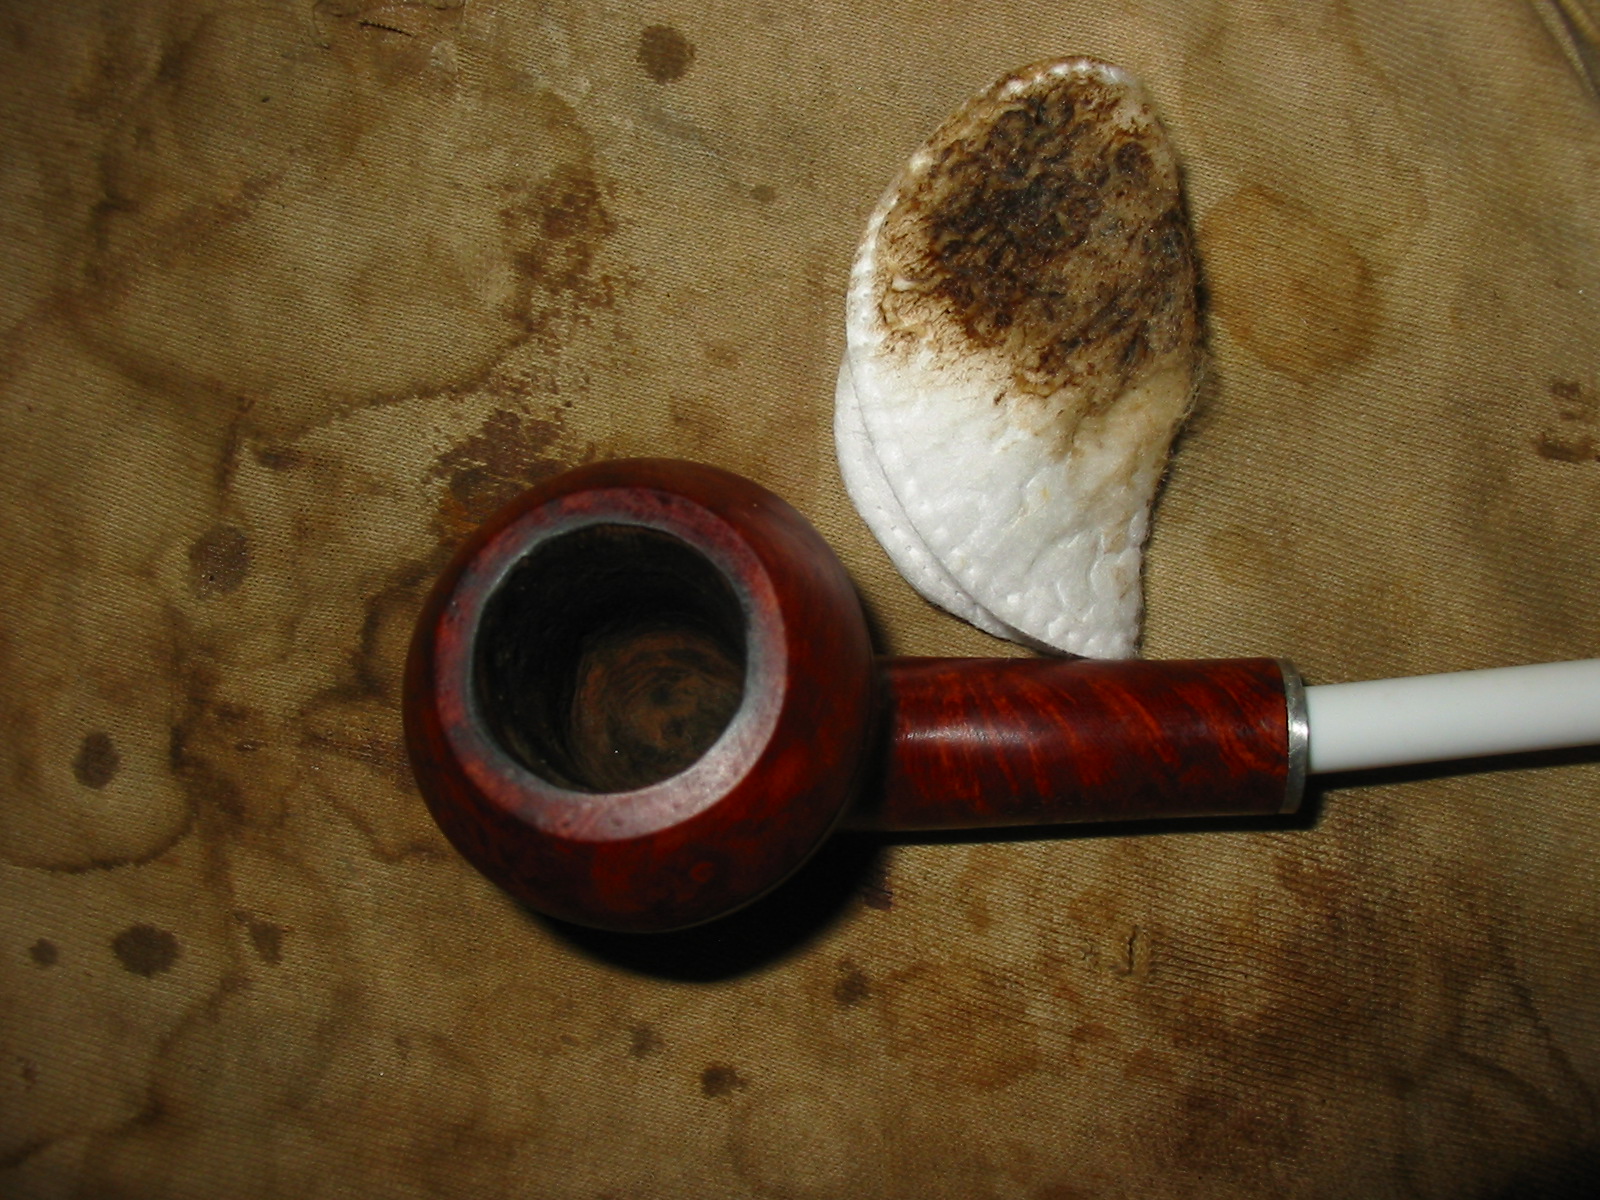
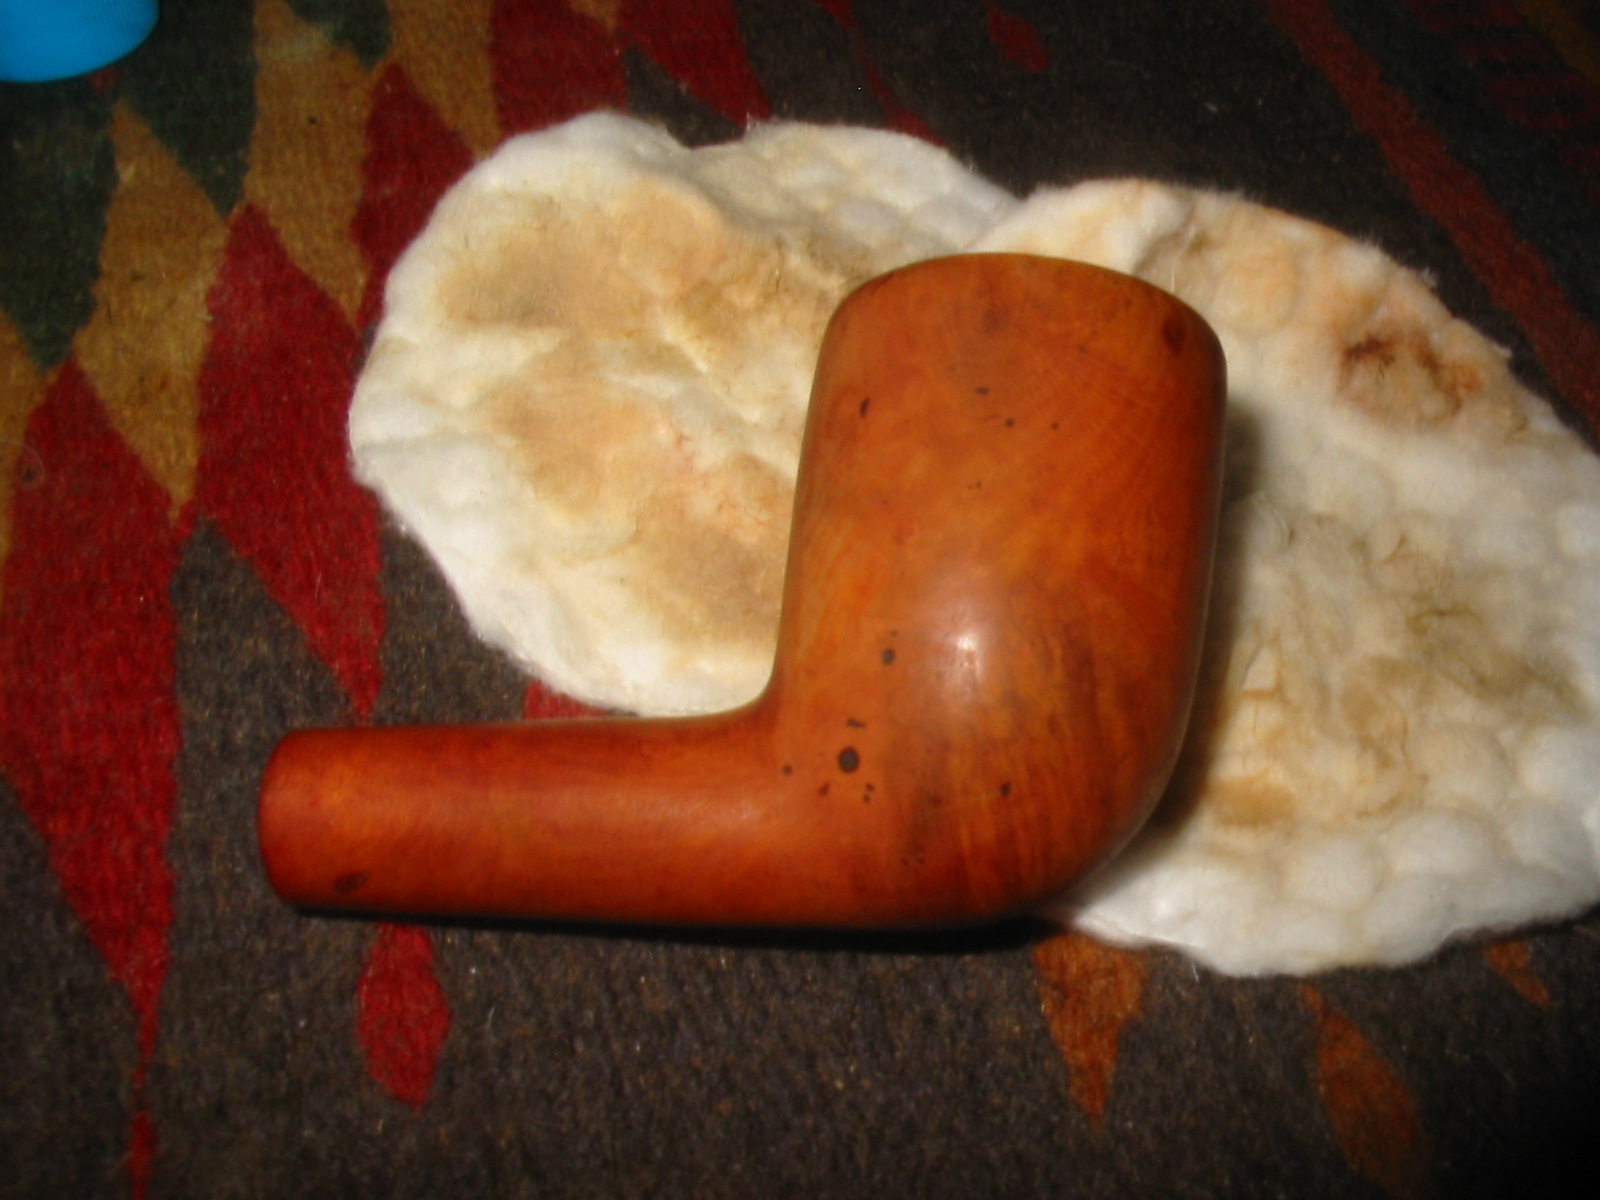
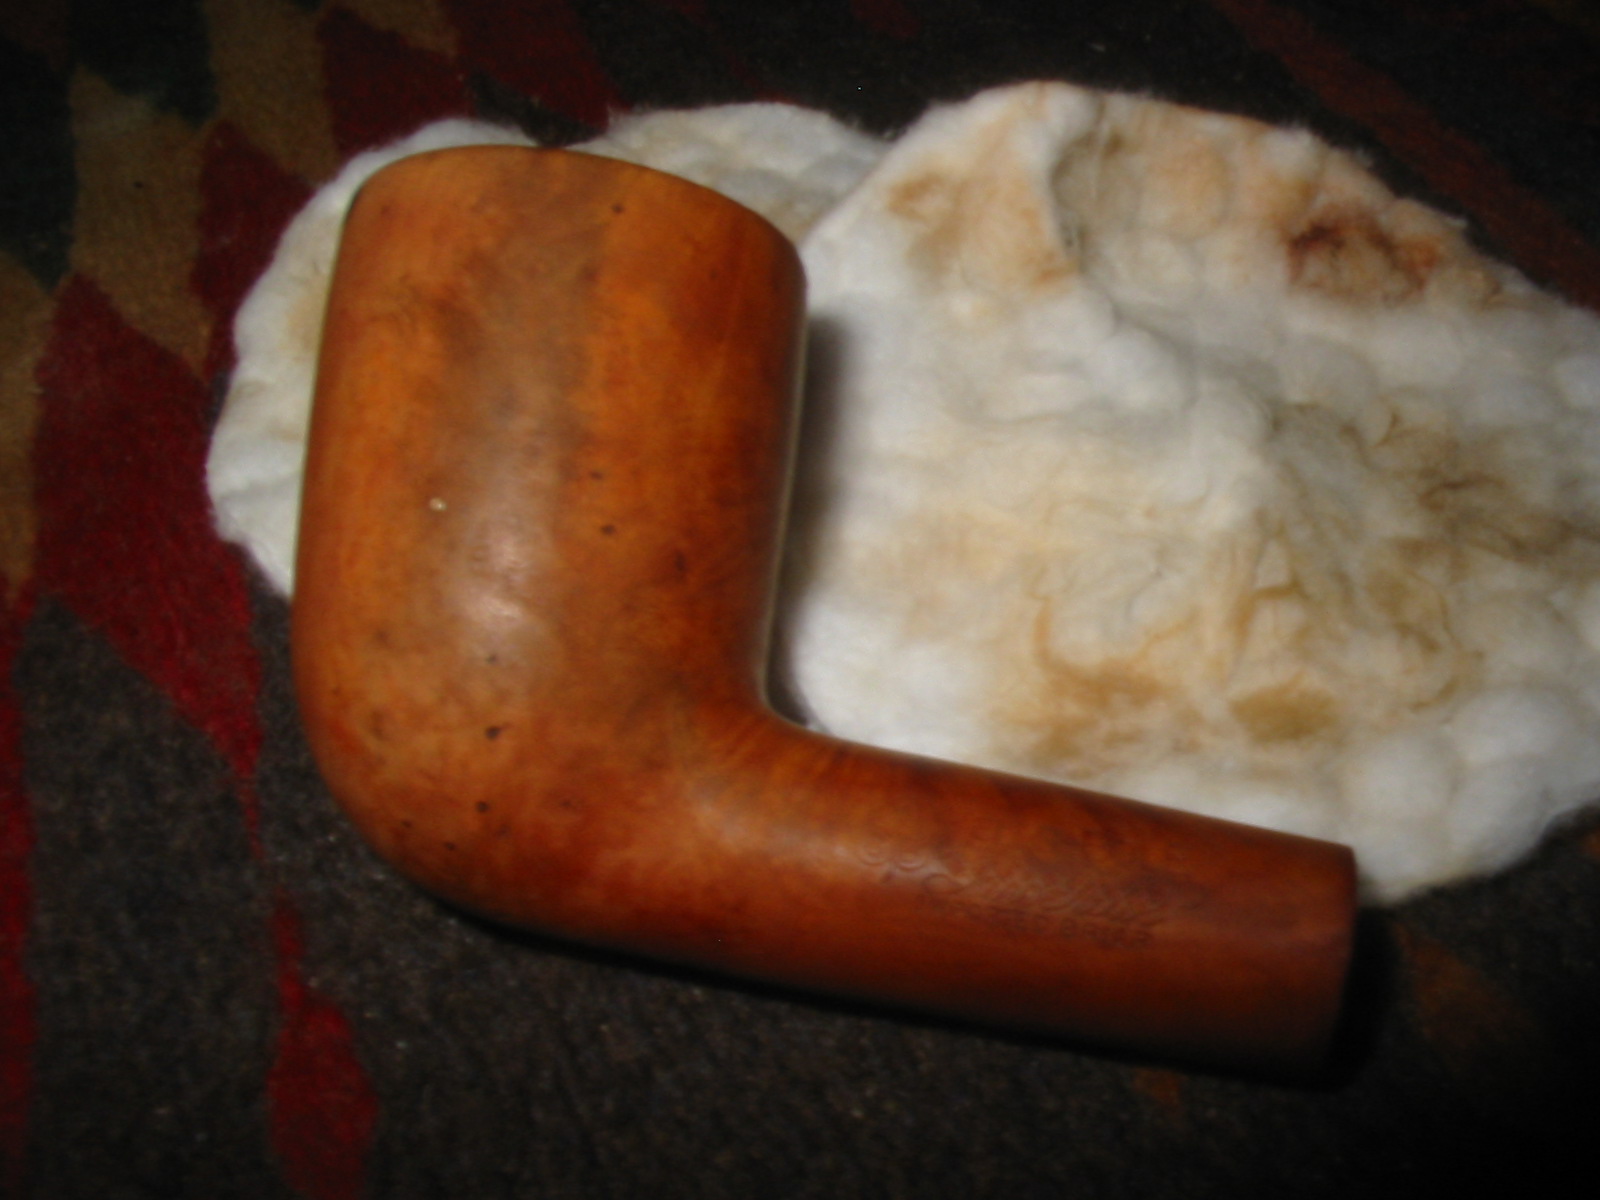
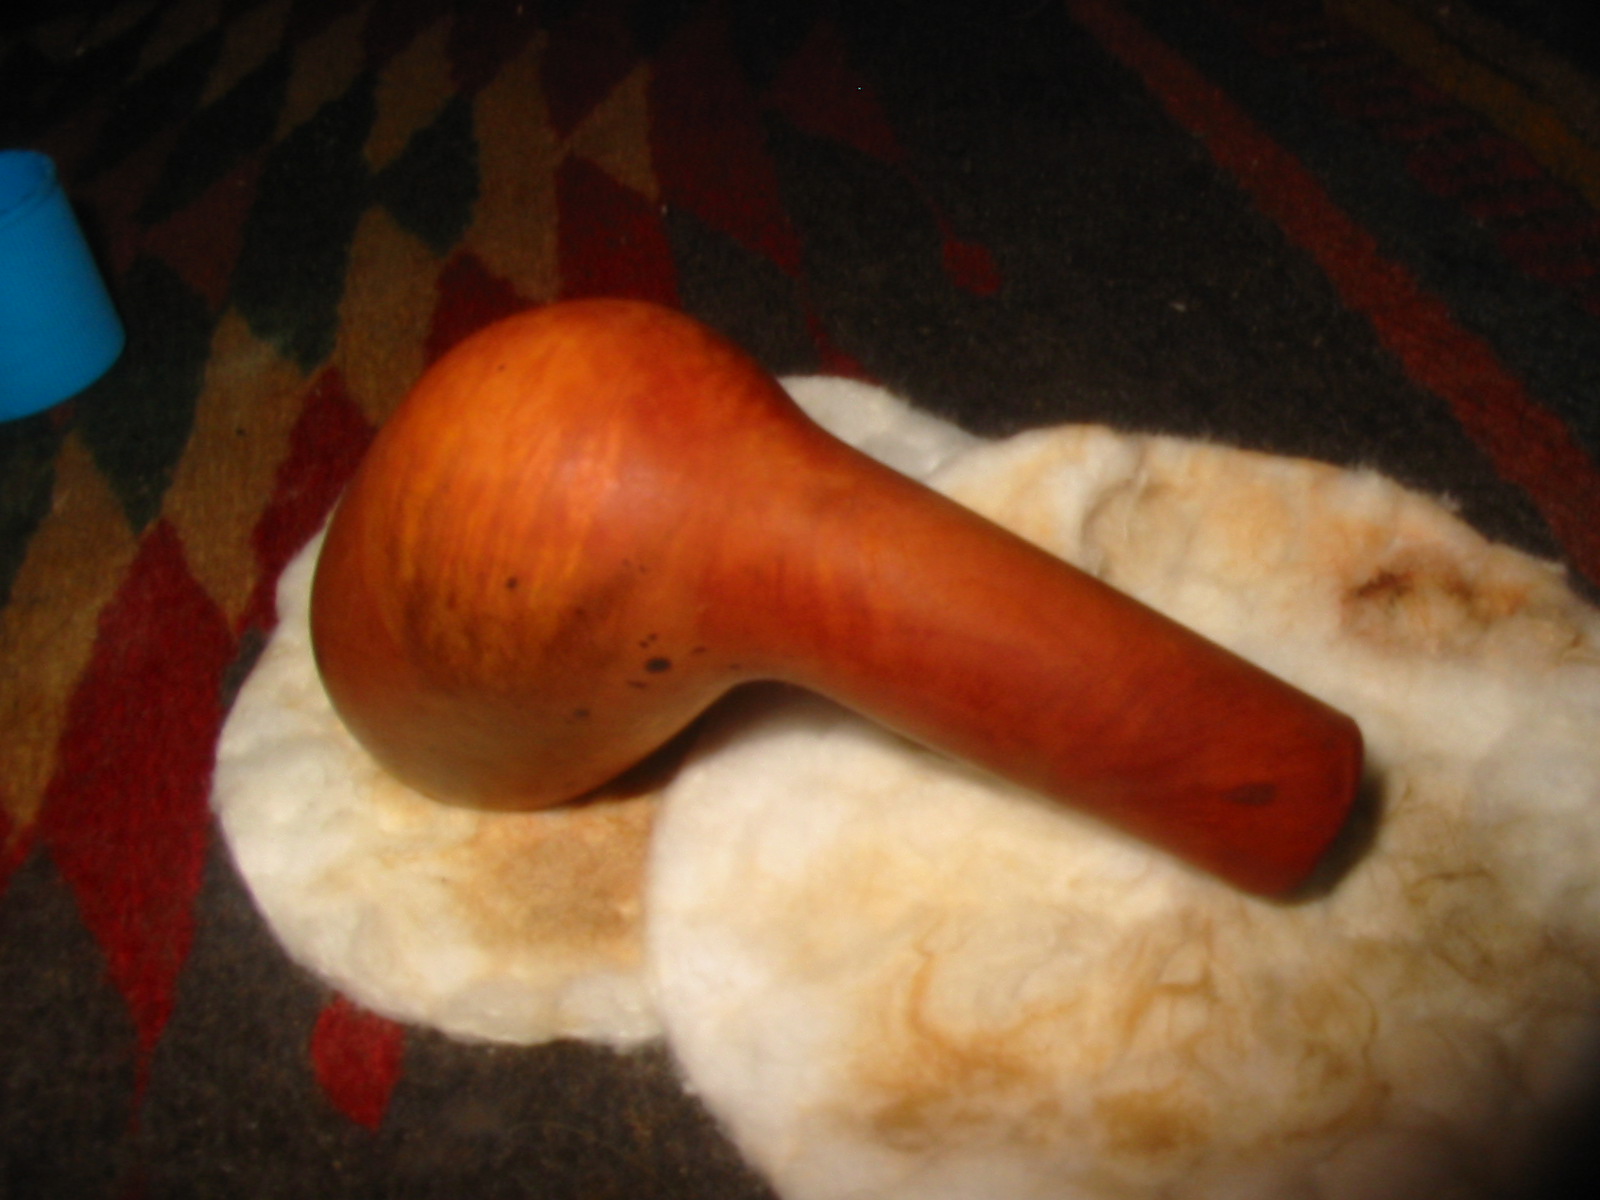
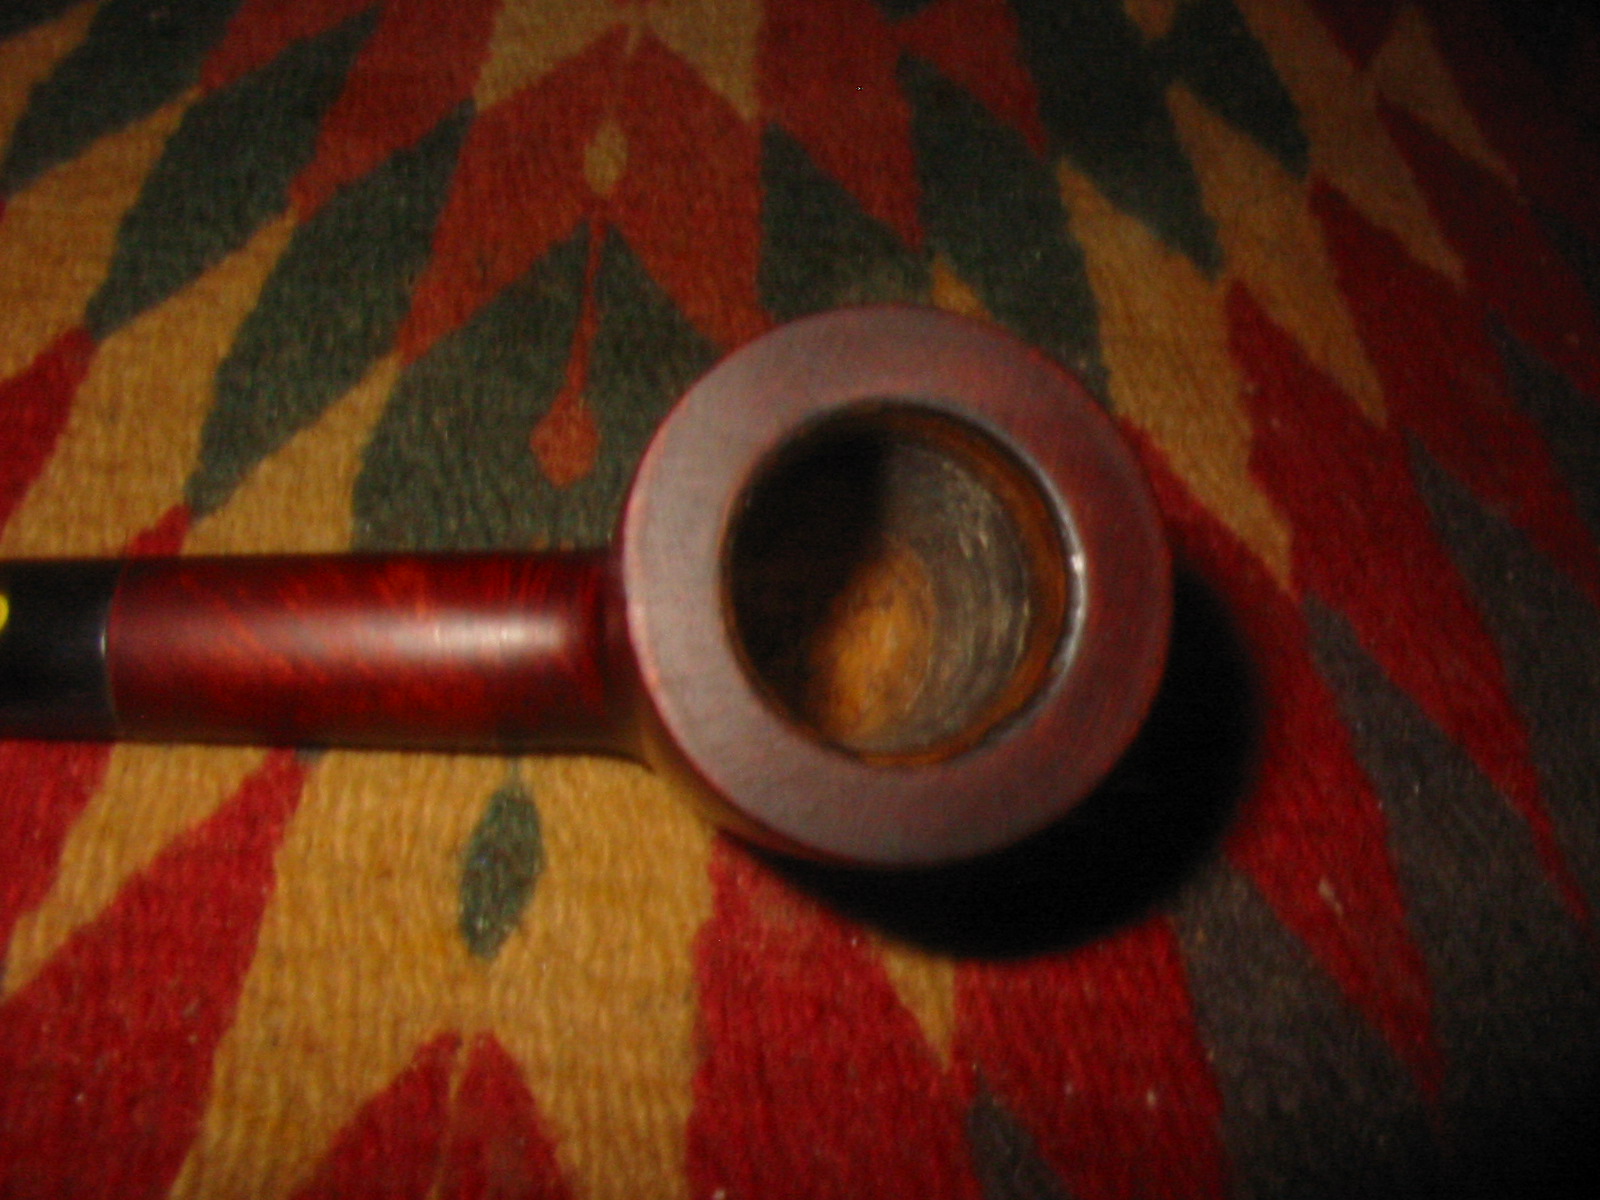
I buffed the bowl with White Diamond. The next three photos show the bowl at this point in the process. IMG_7953 IMG_7954 IMG_7957 
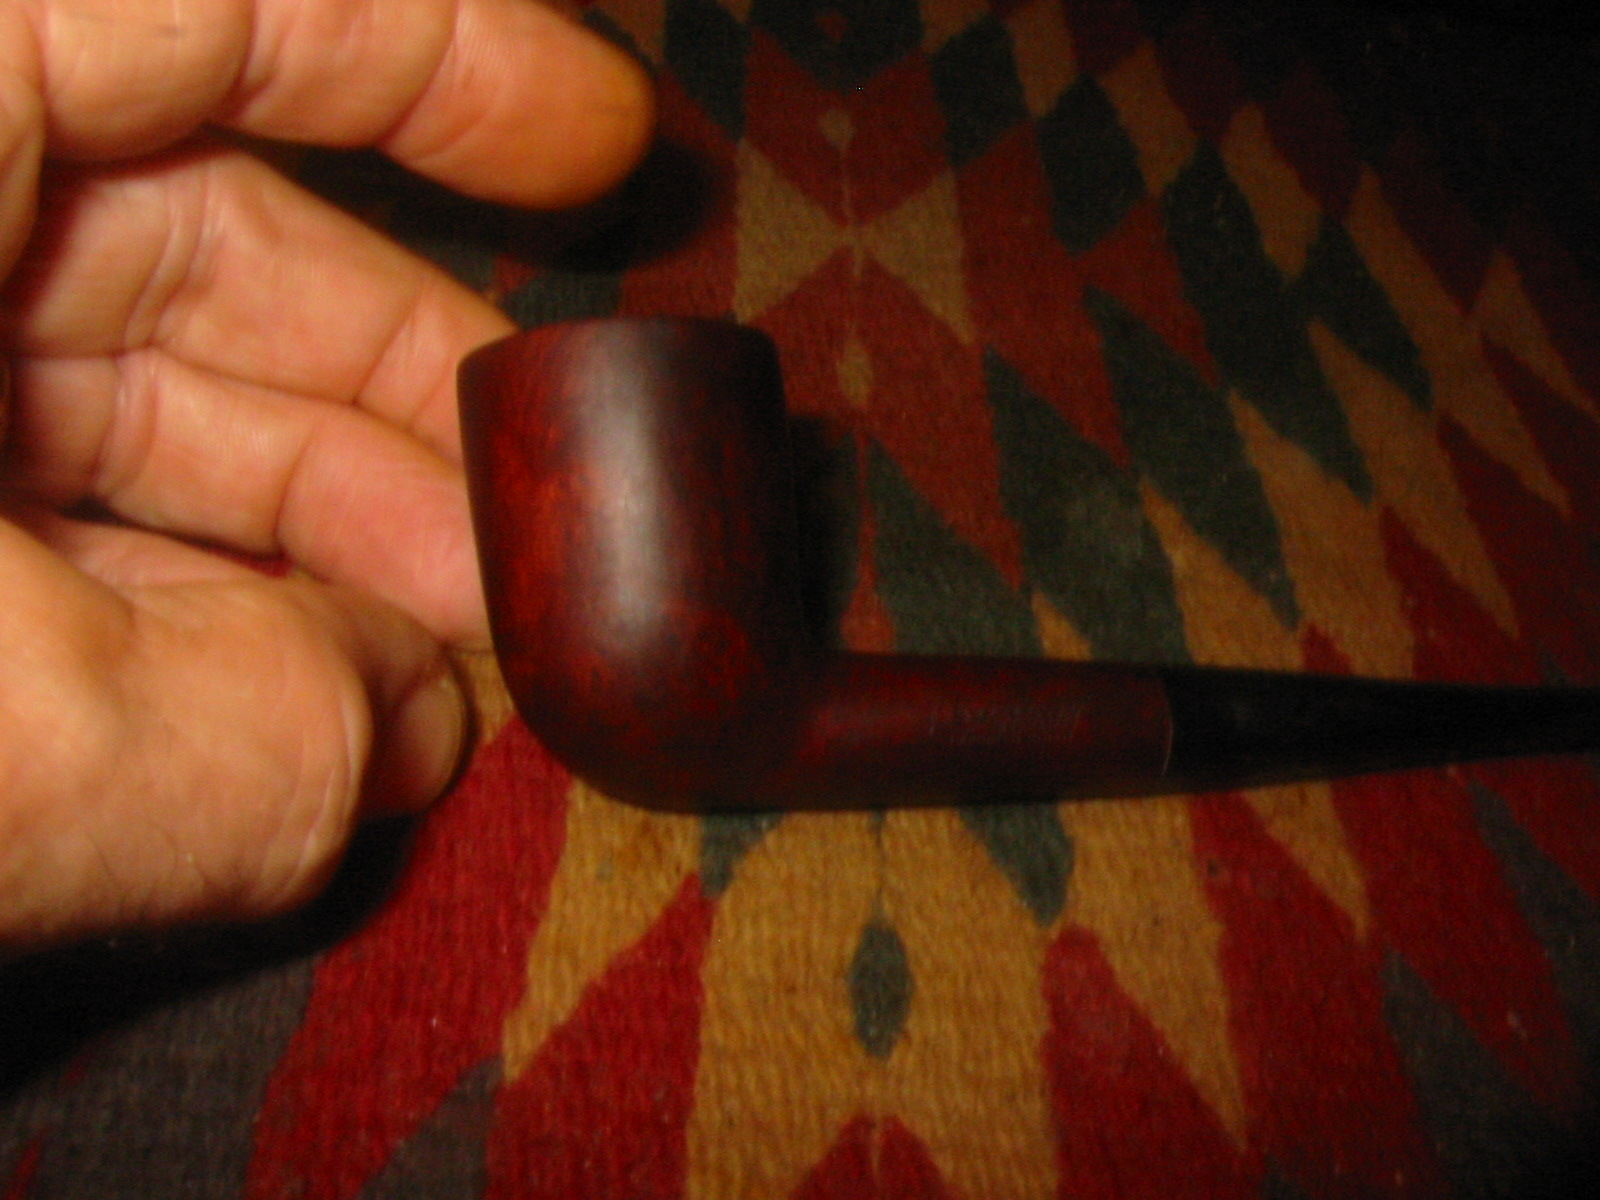
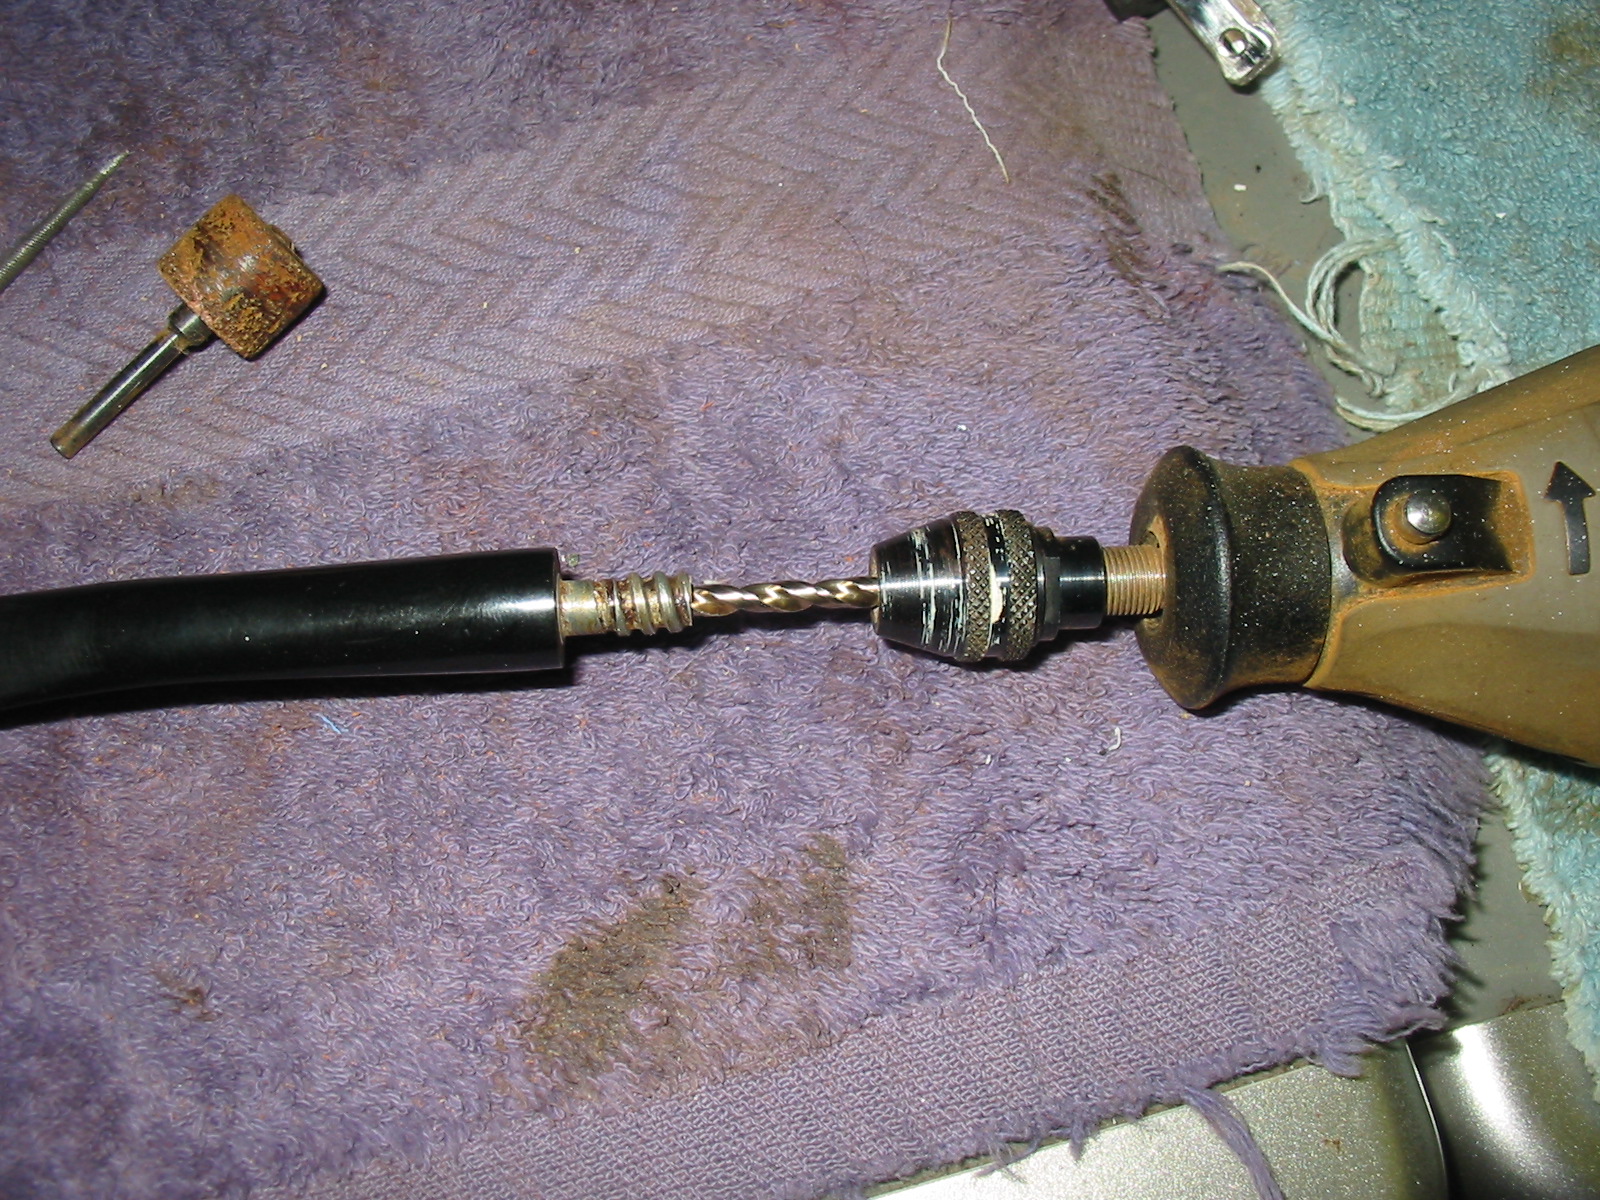
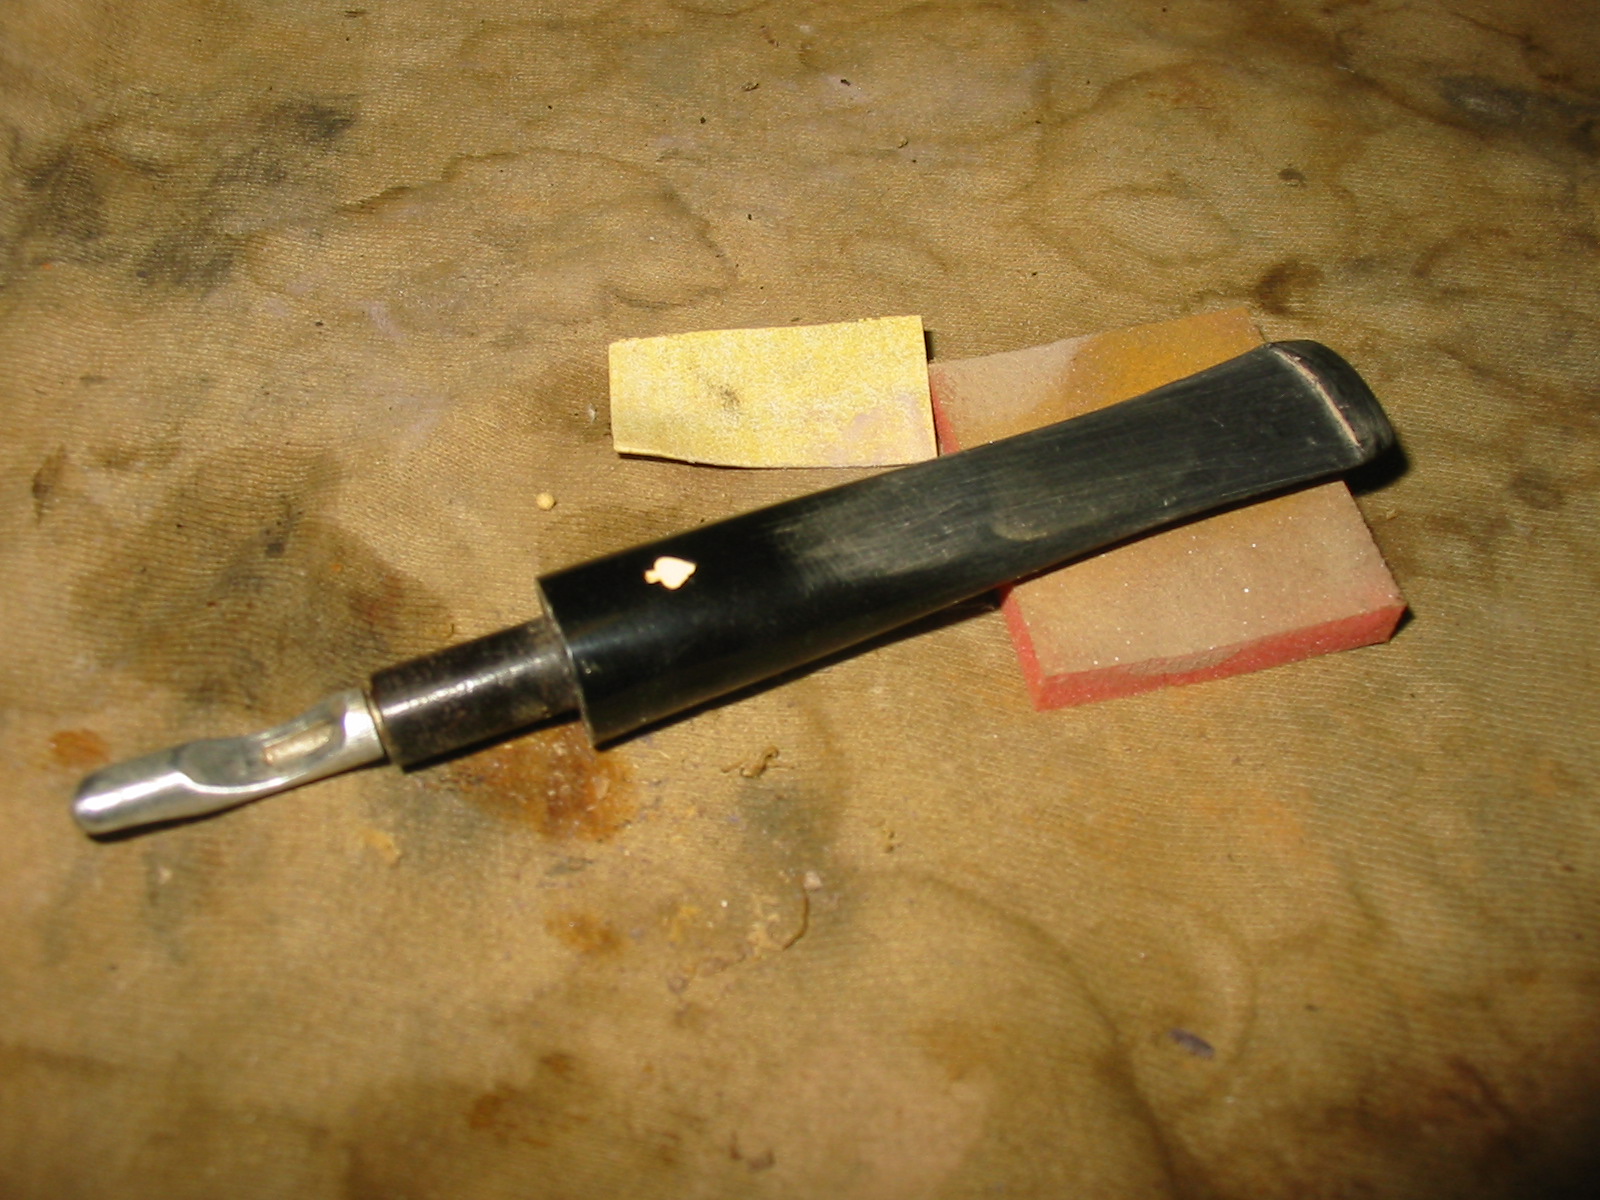
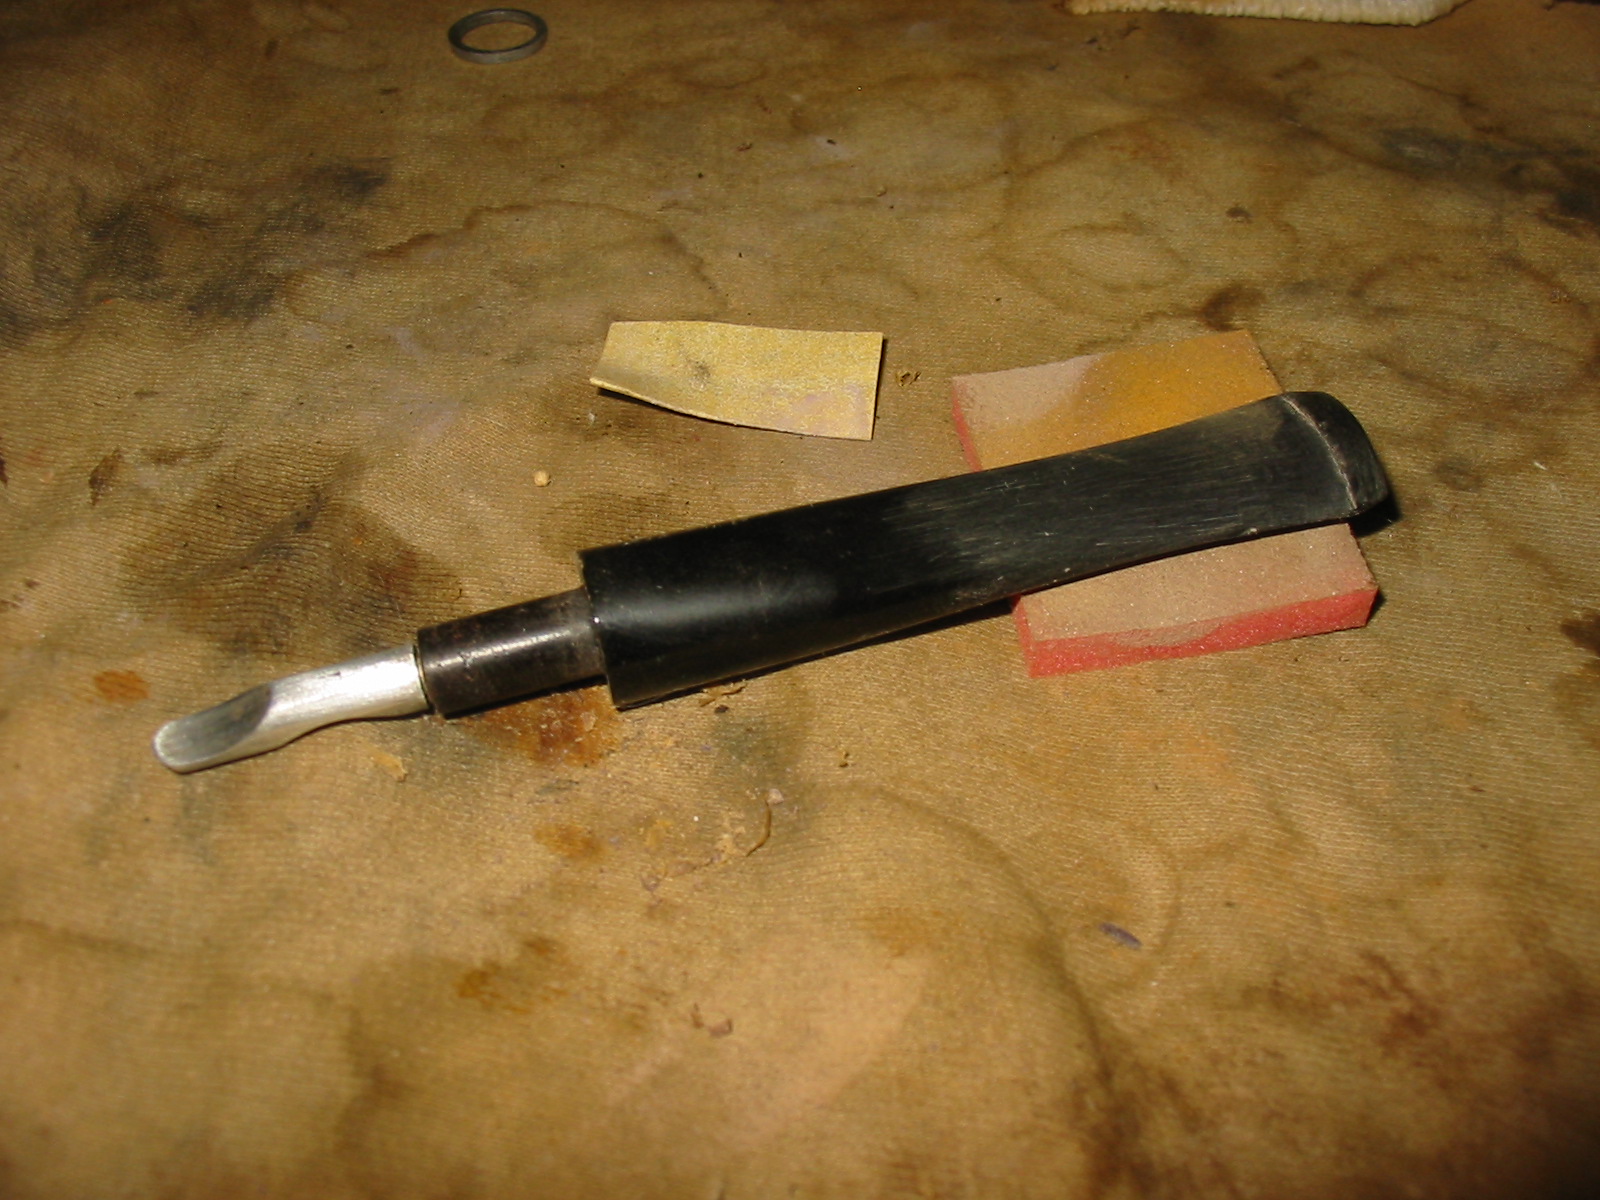
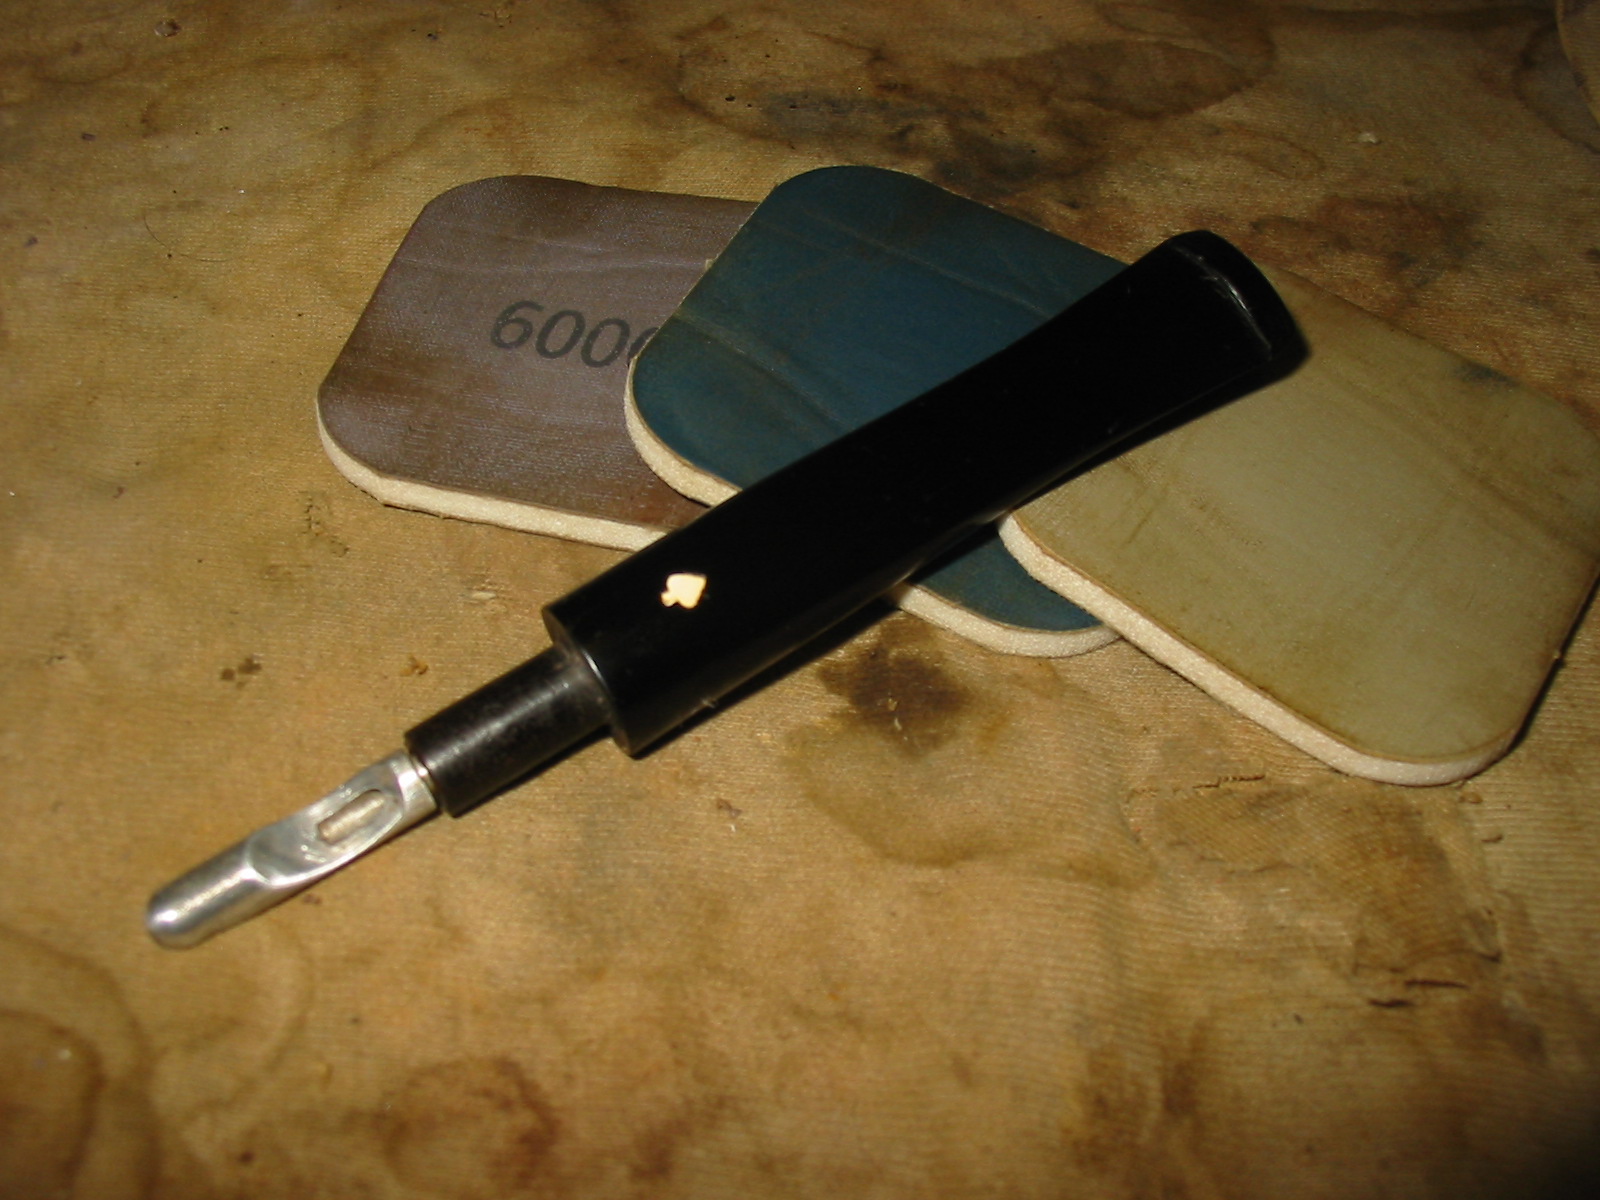
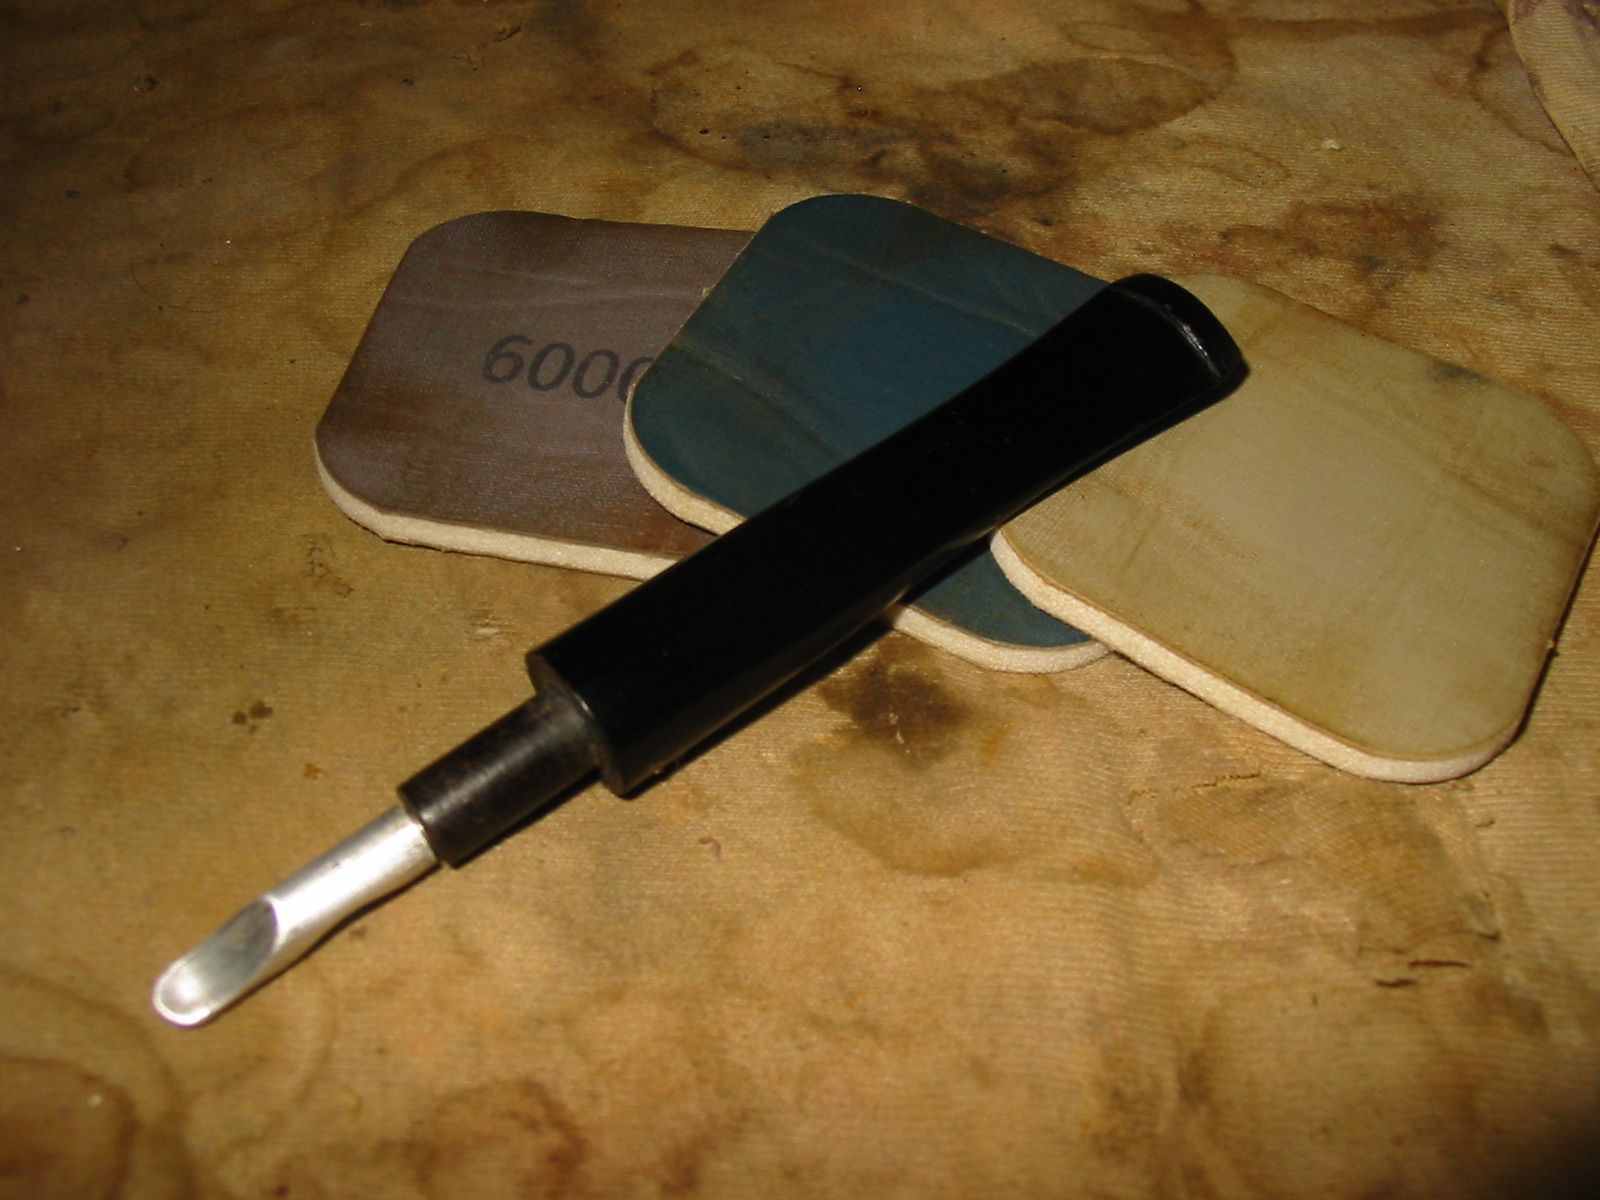
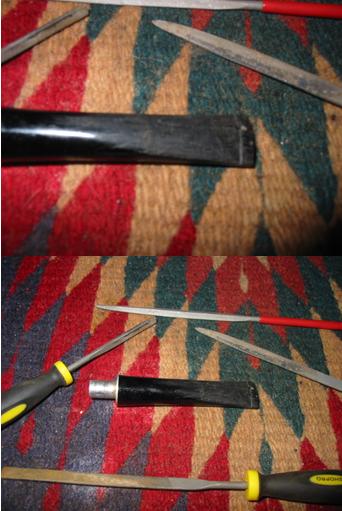
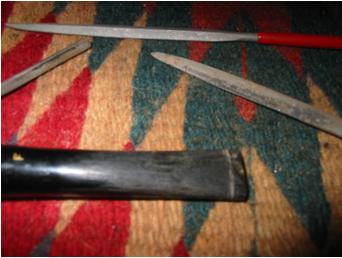
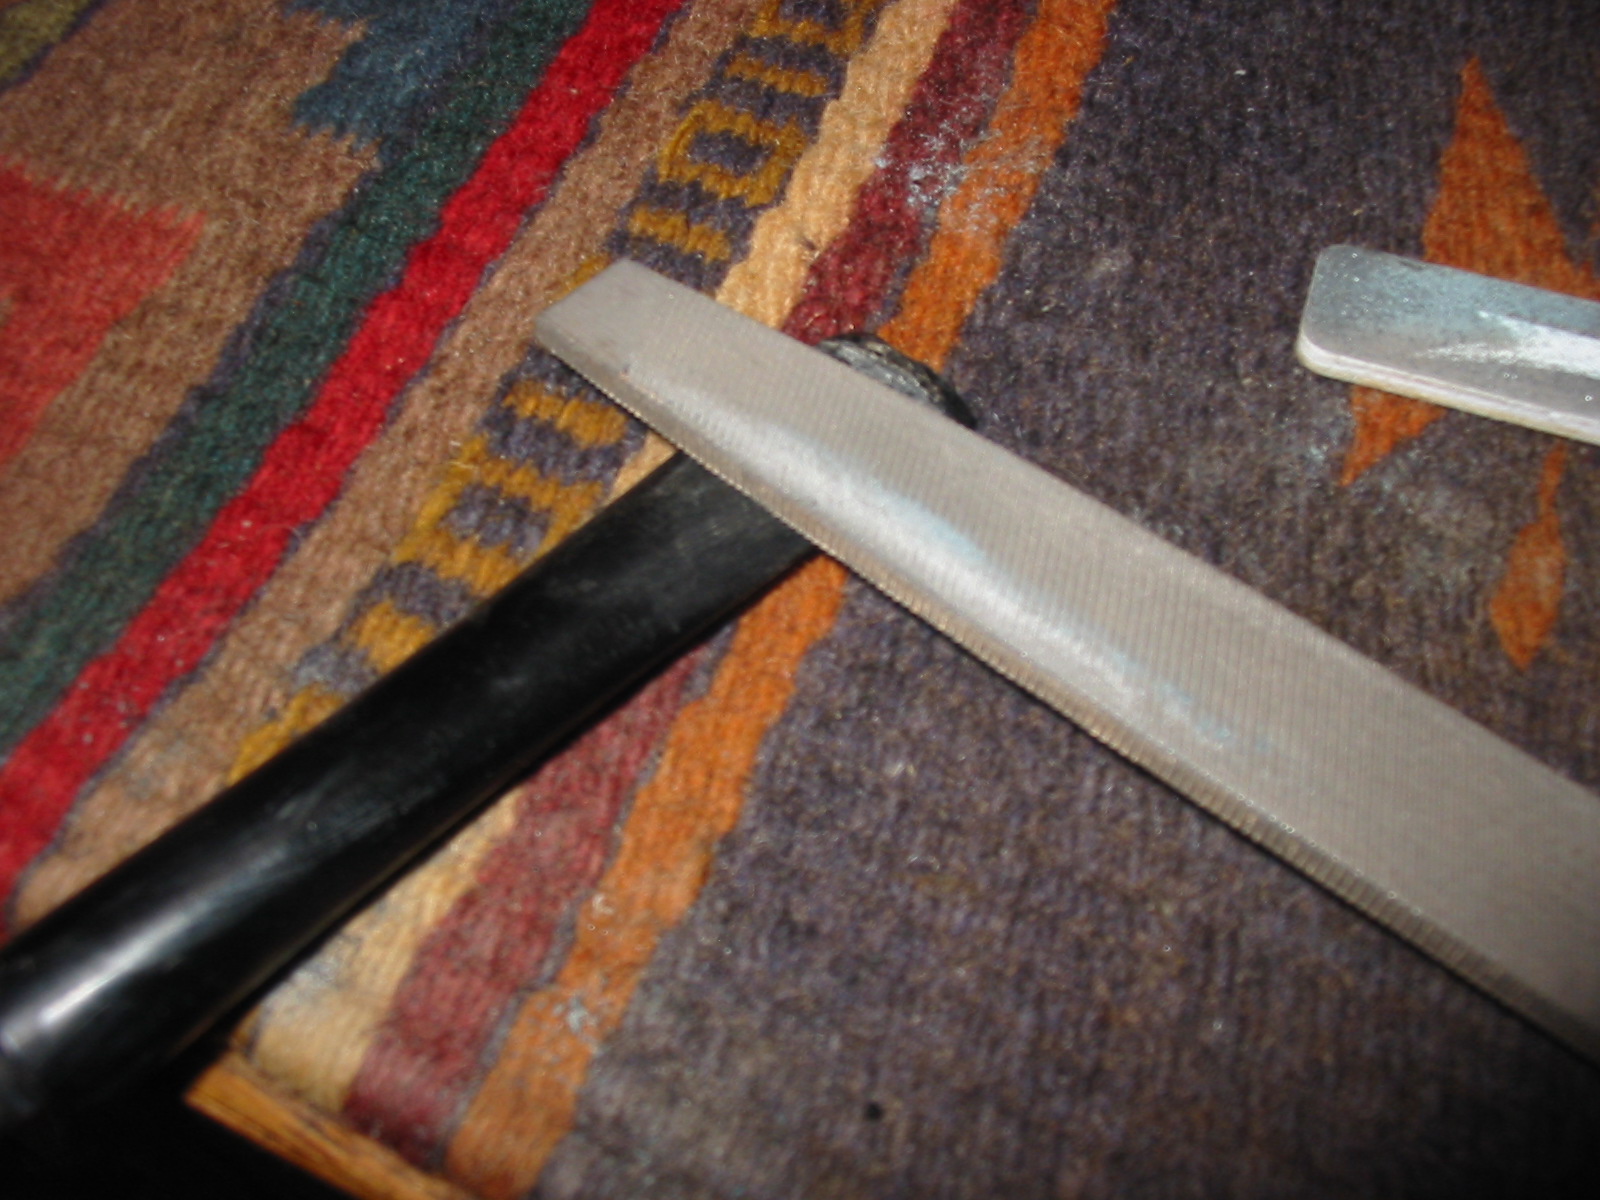
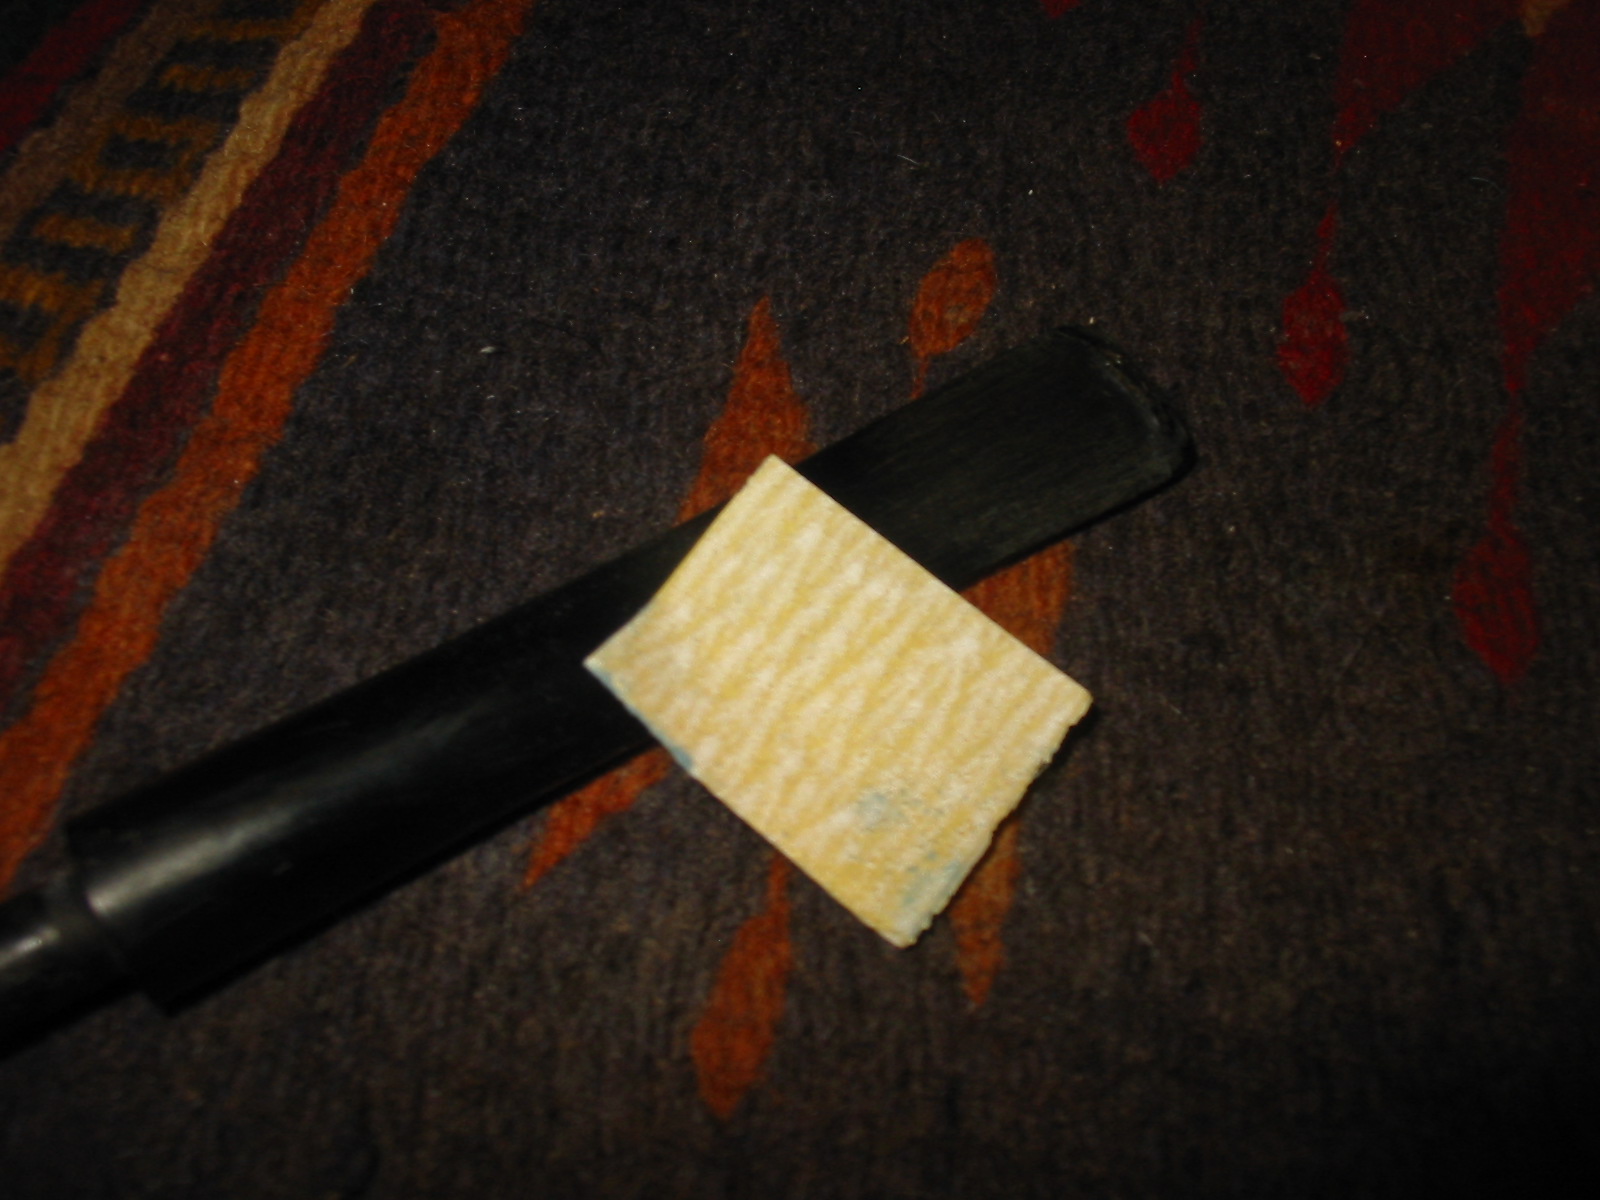
Once I had finished the work on the bowl to this point I decided to work on the stem. I used a coarse grit sanding stick to cut the sharp edge of the button. While it worked relatively well I could see that the hardened super glue needed something with more teeth to cut into the repair. I used a file to take off the overfill on the repair and then followed that with the sanding stick and 220 grit sandpaper. IMG_7963 IMG_7964
IMG_7965 
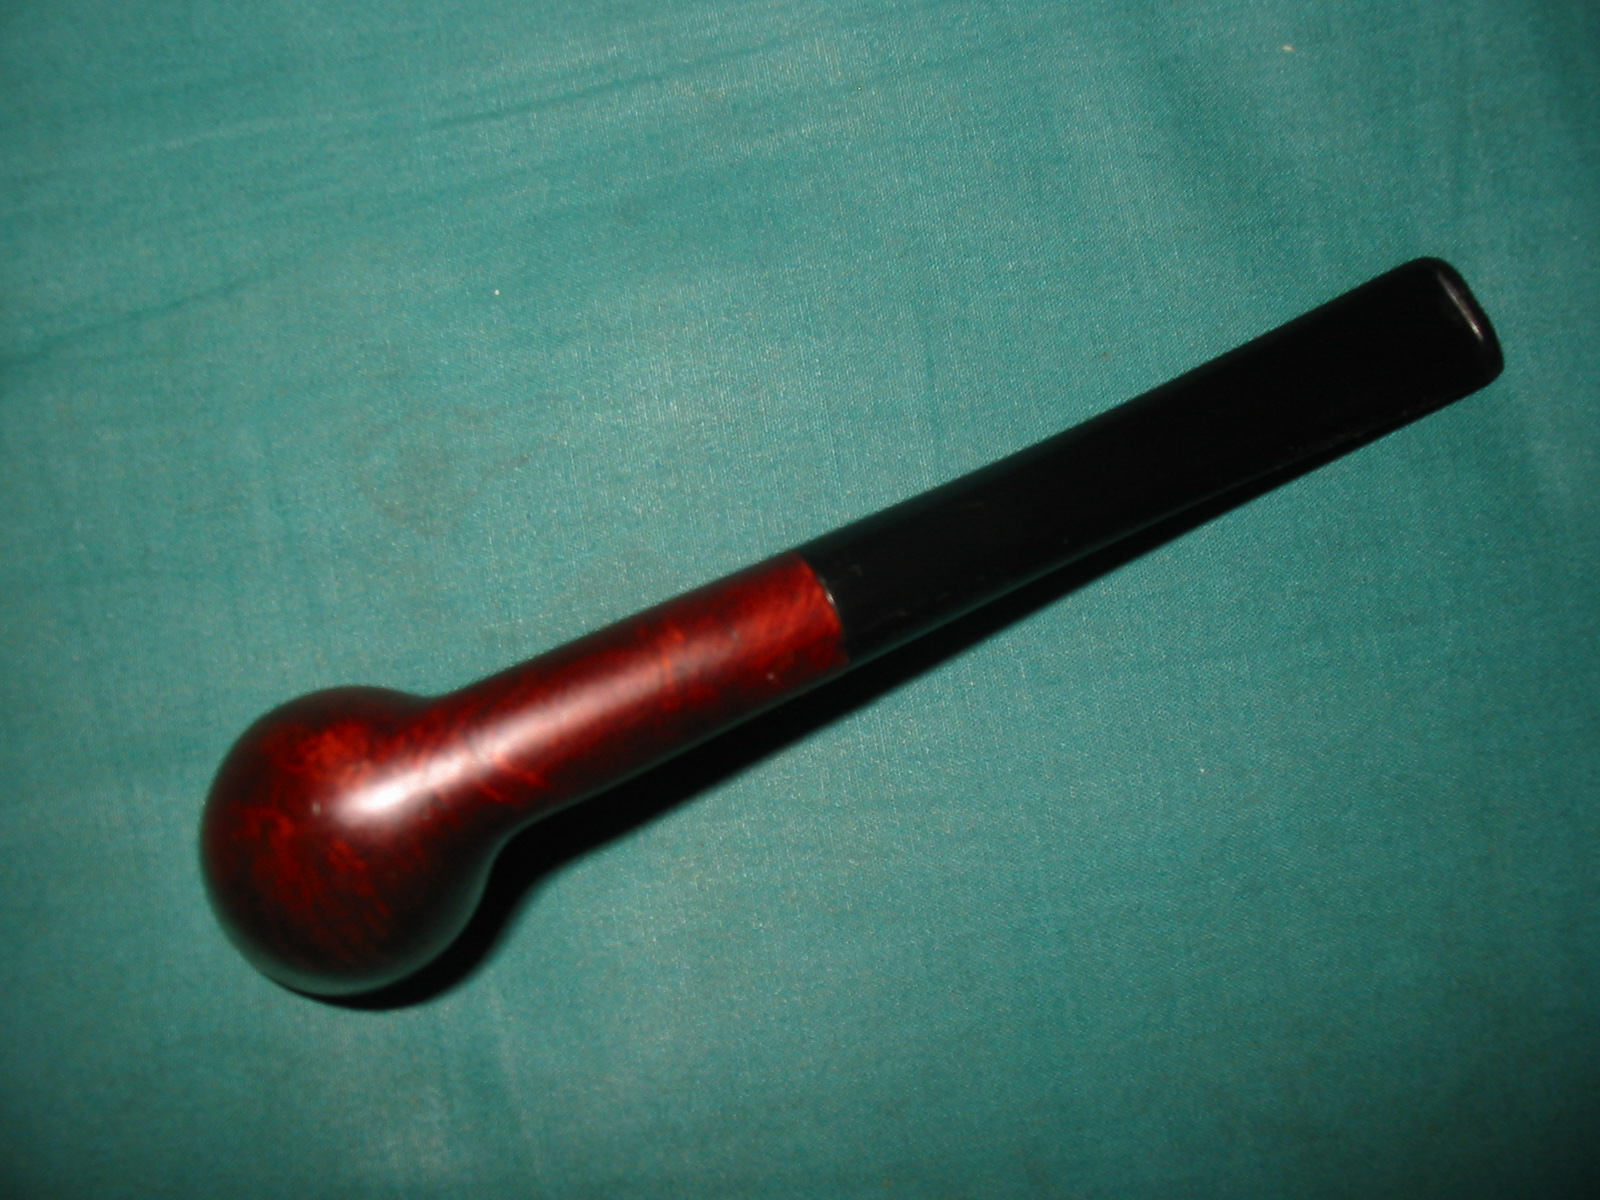
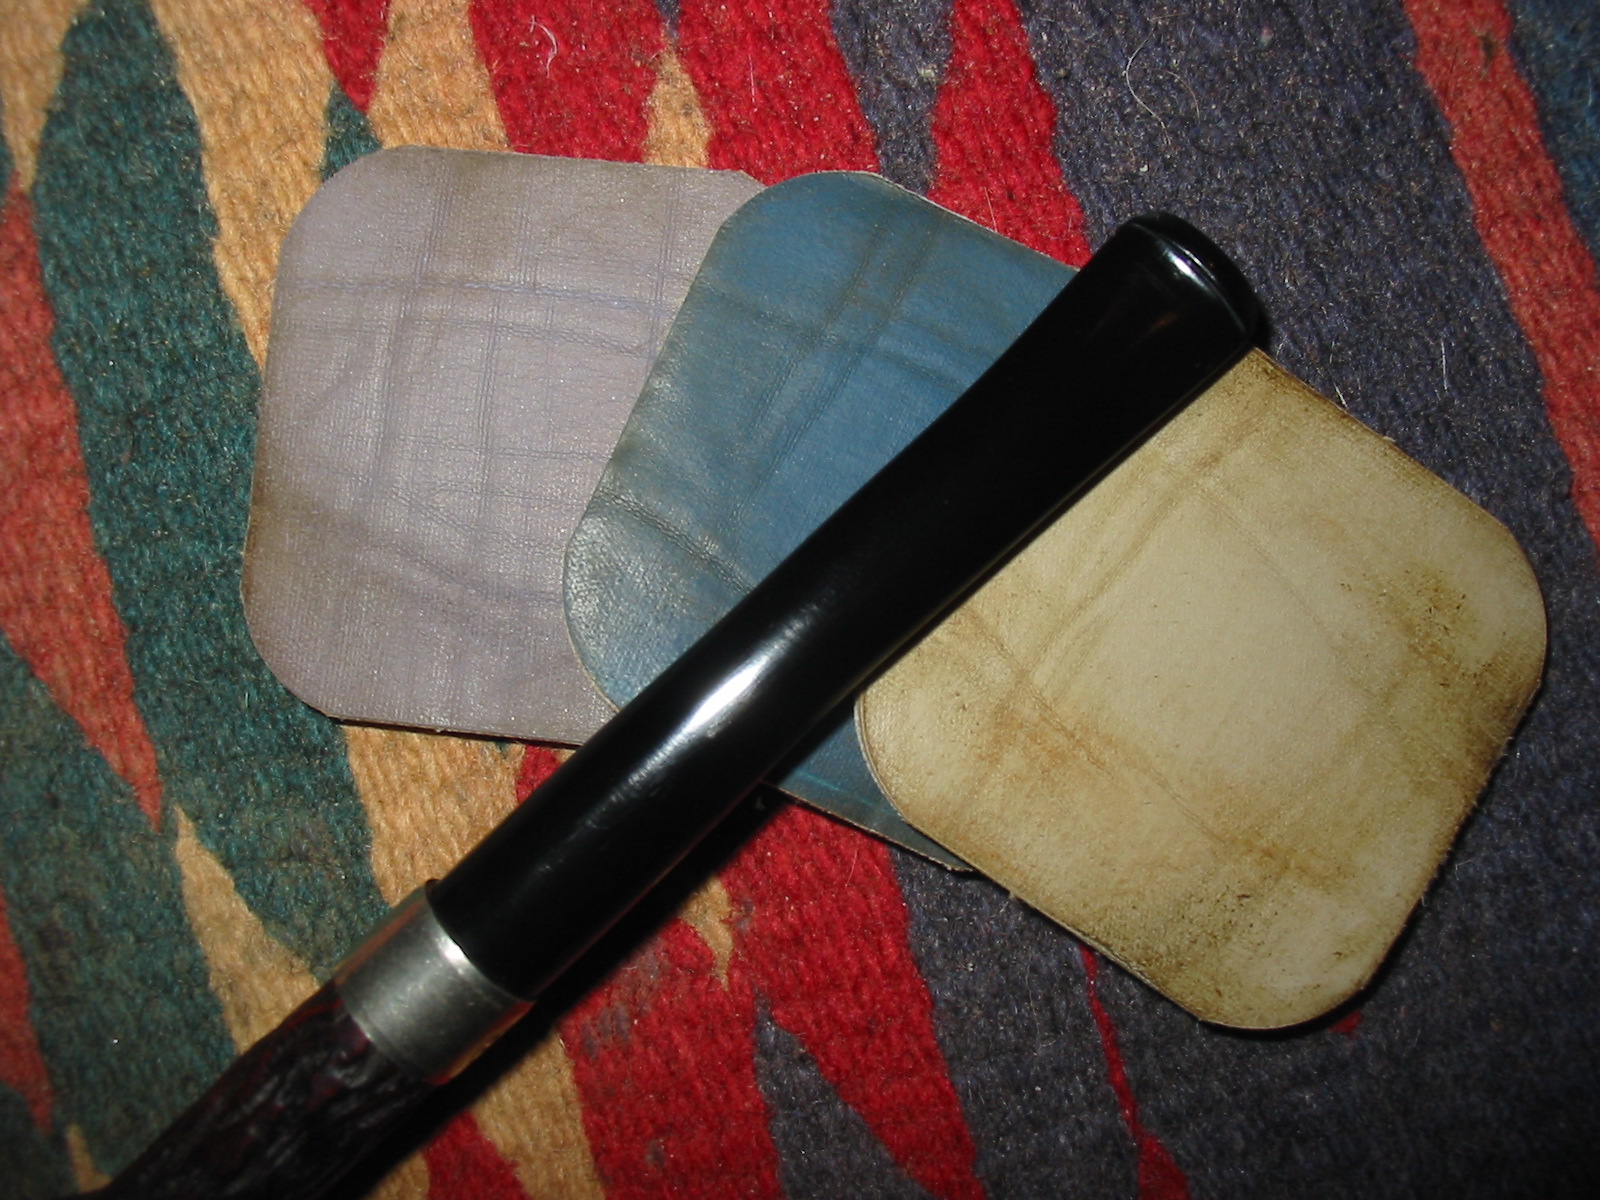
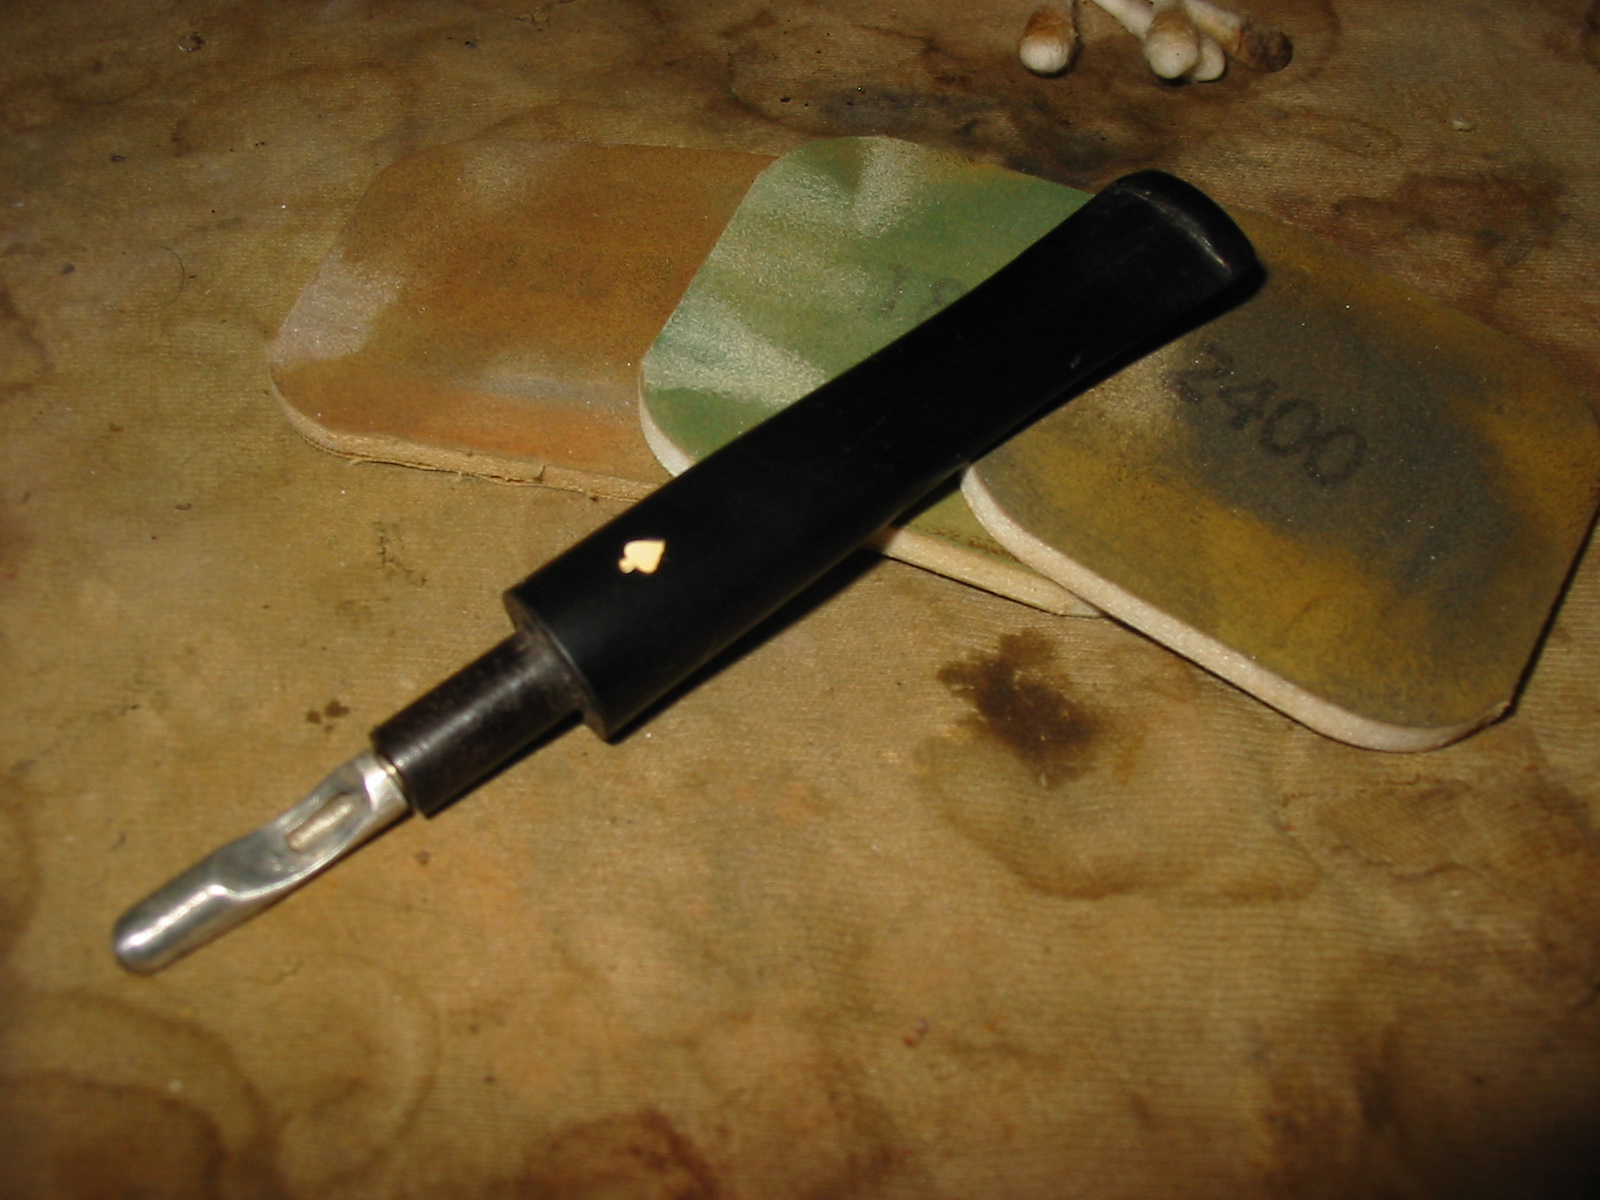
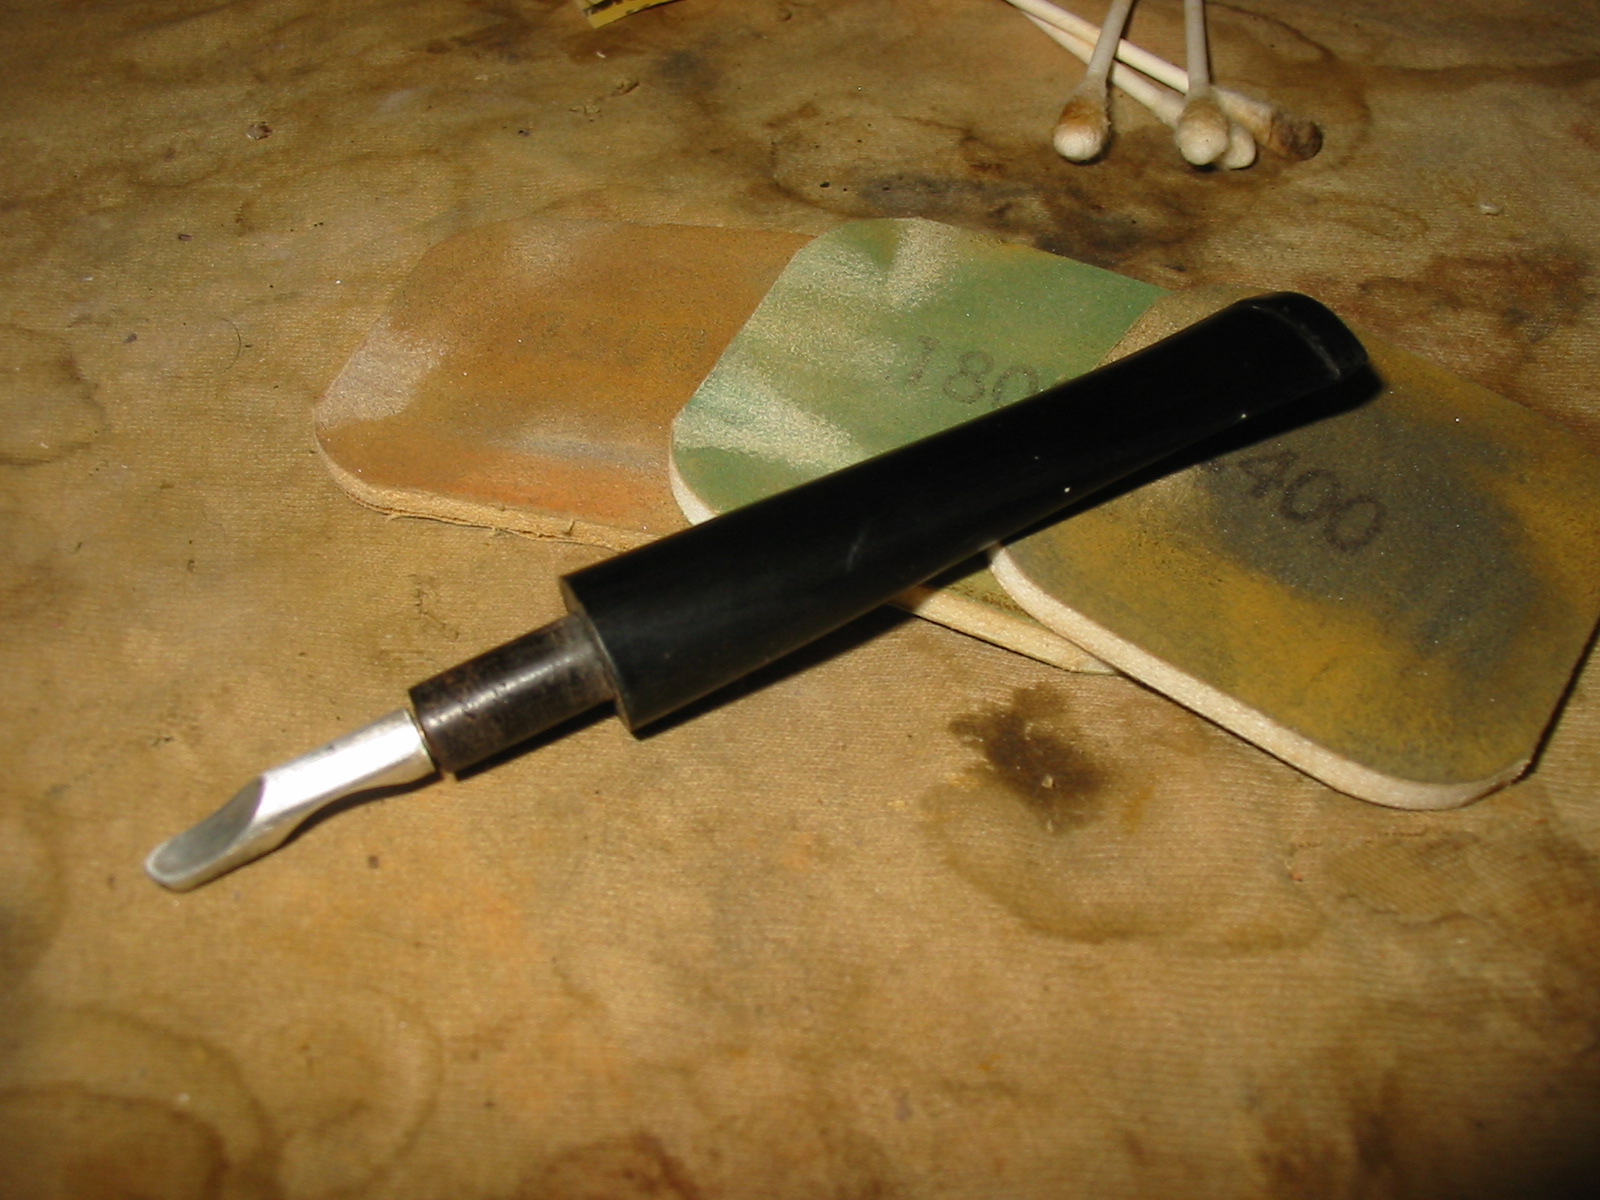
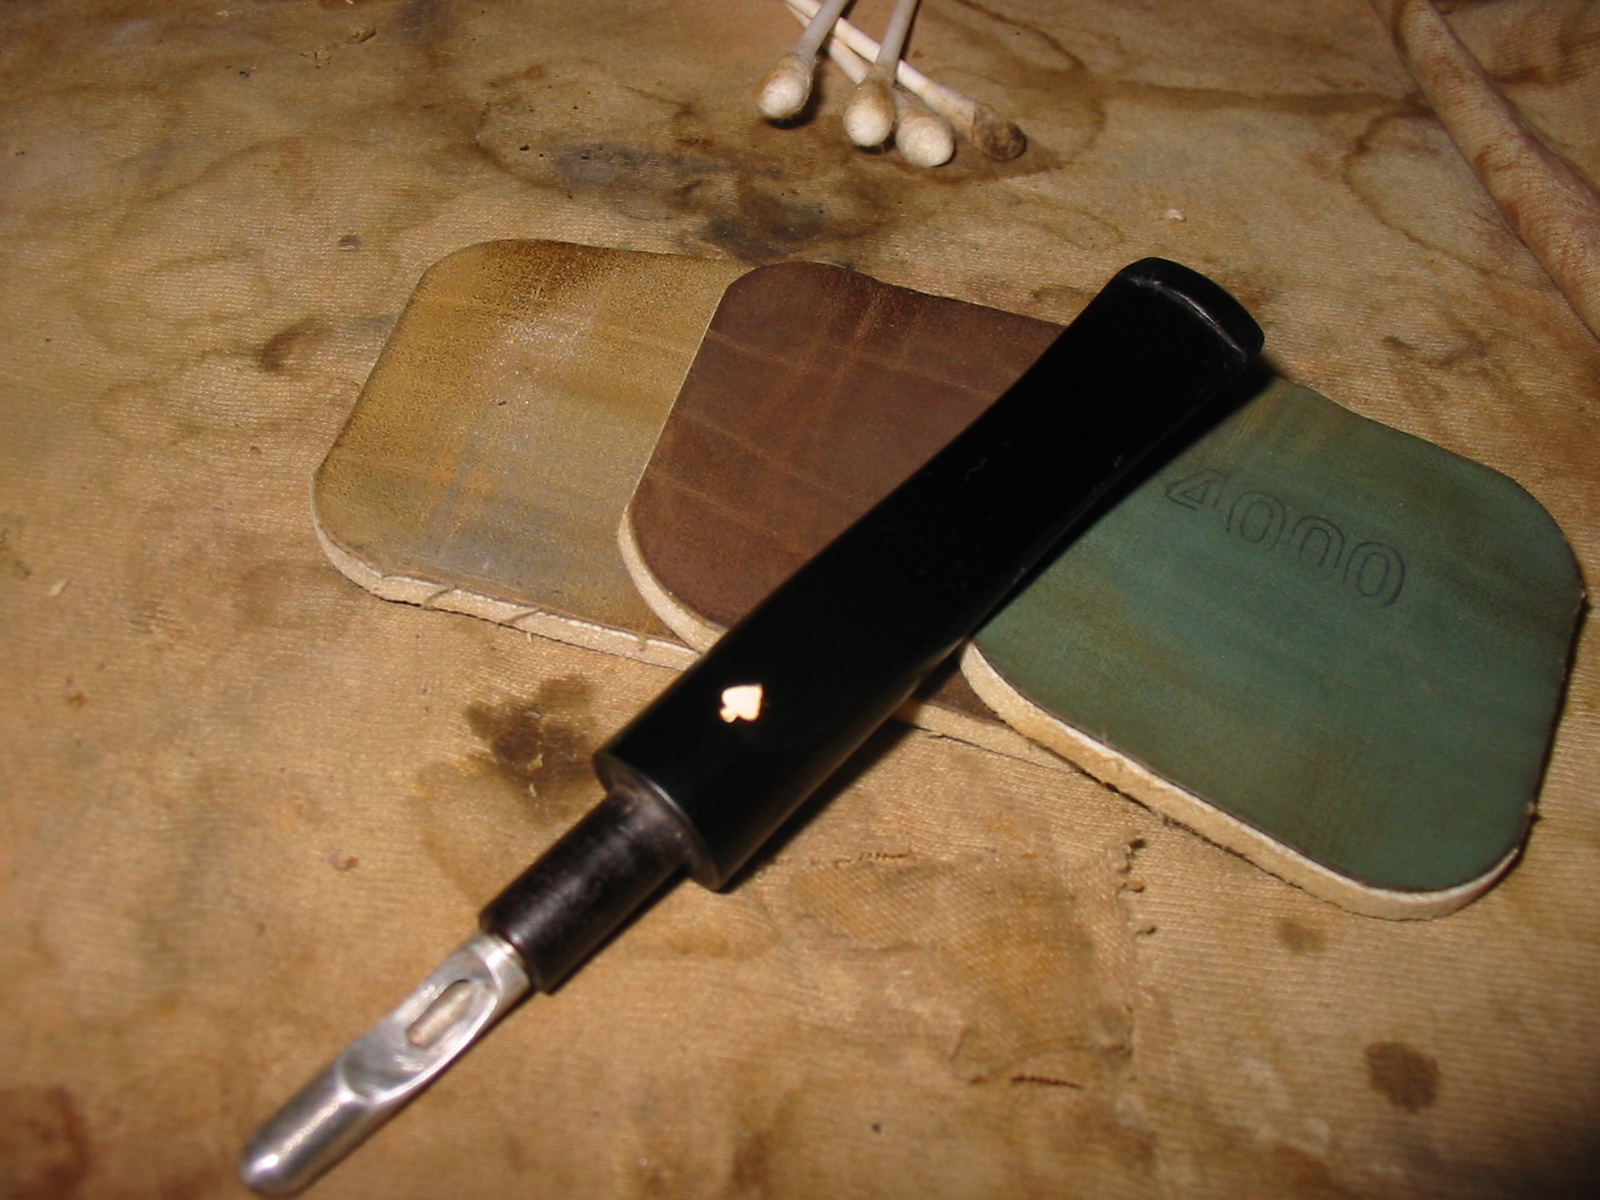
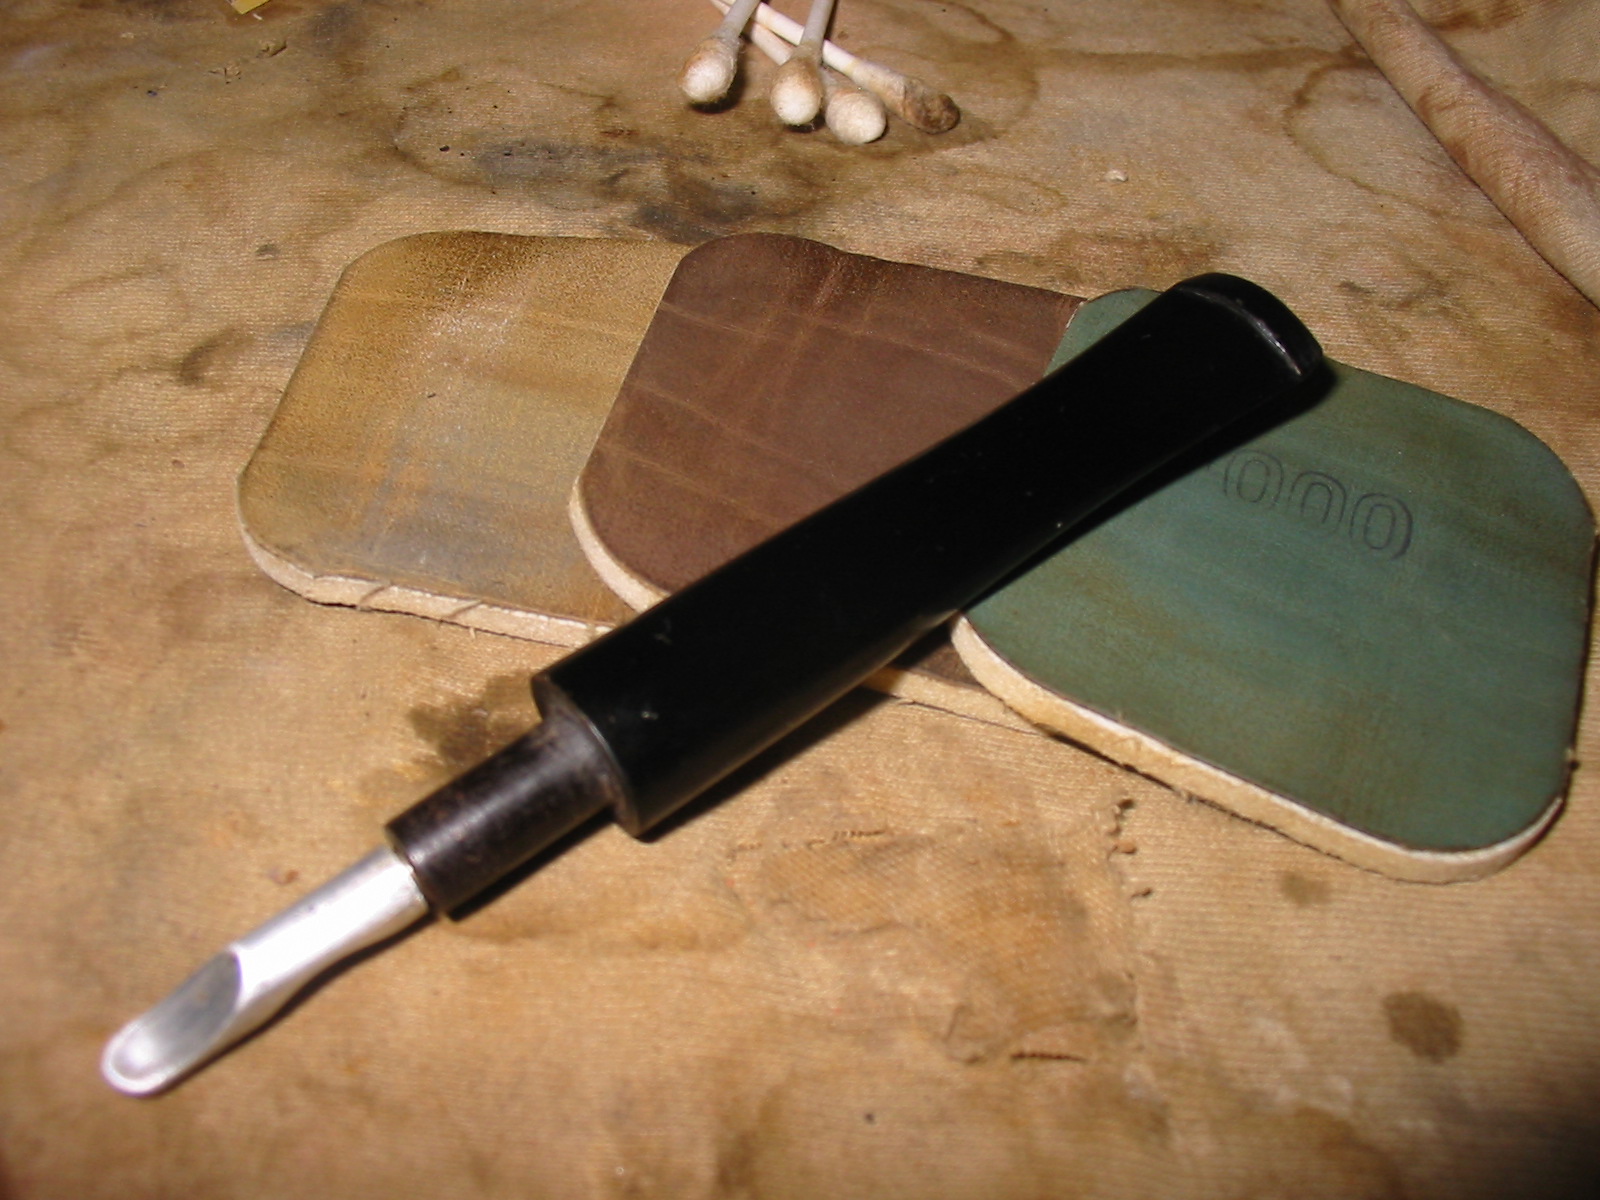
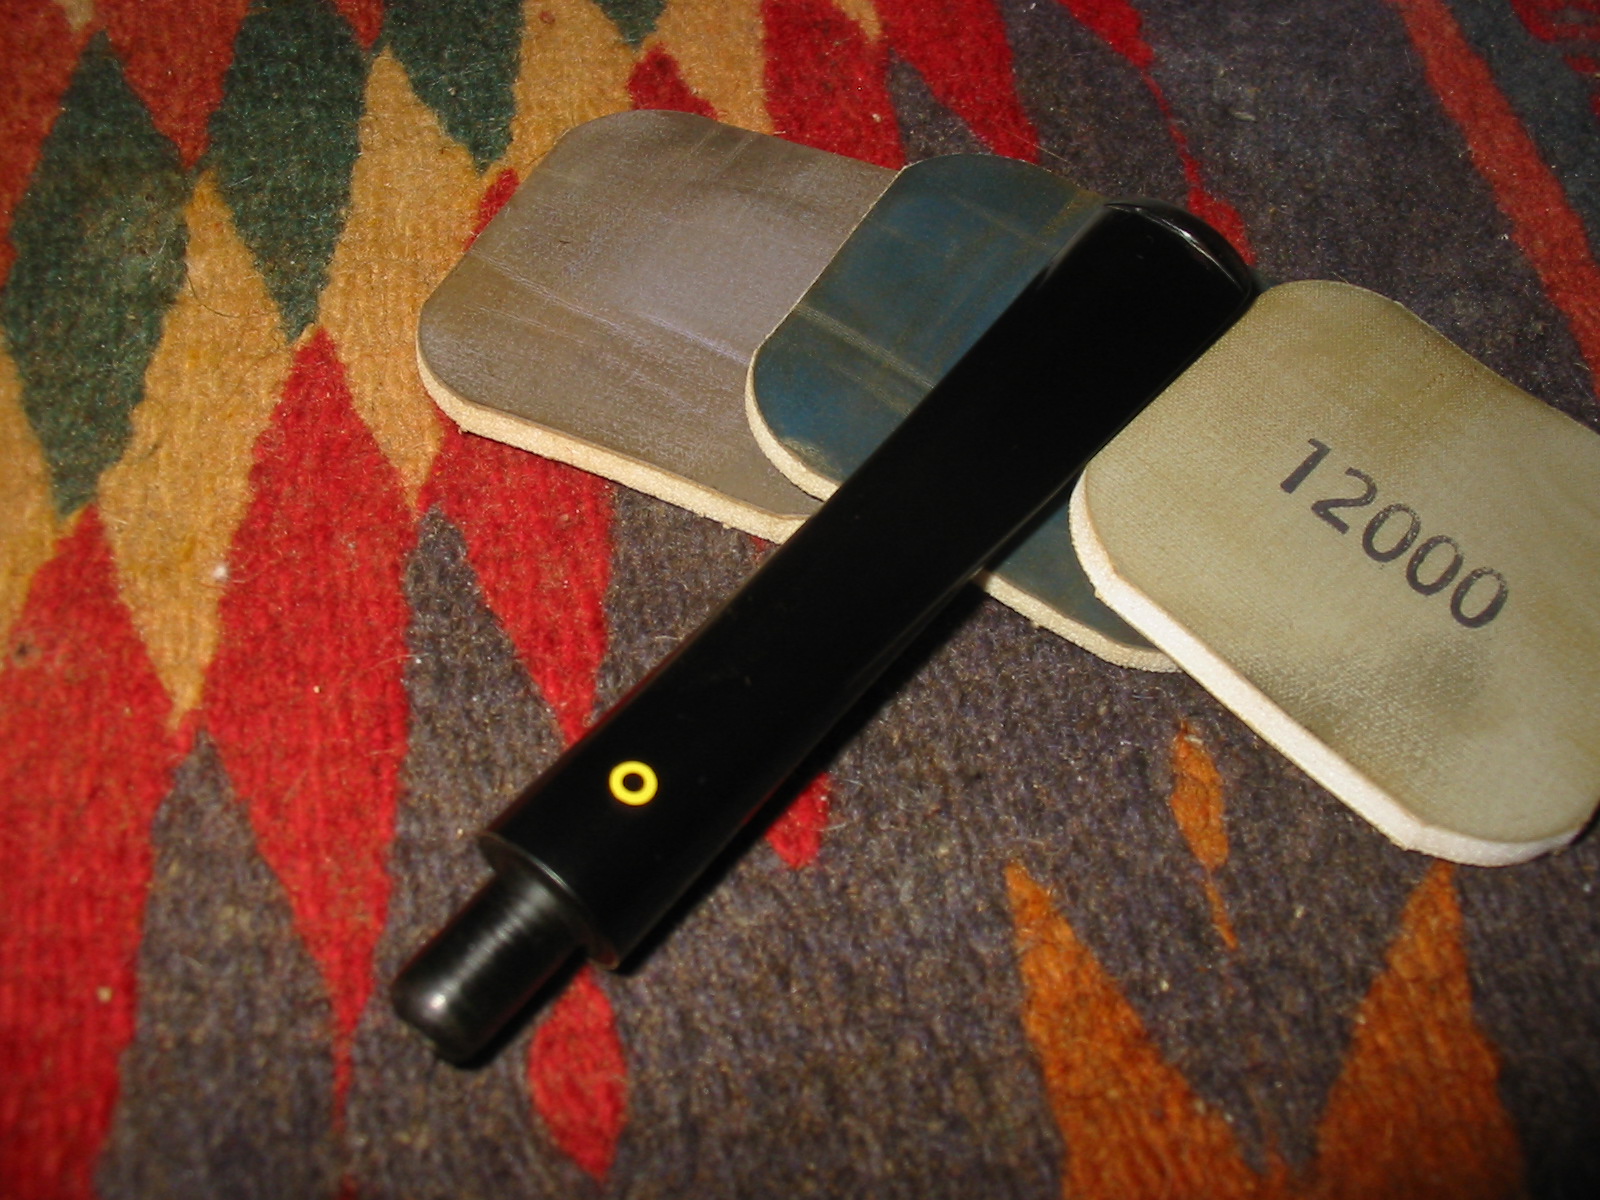
I sanded the stem further with the 220 grit sandpaper and then with medium and fine grit sanding sponges to remove the scratches in the surface. I wet sanded with 1500-2400 grit micromesh sanding pads and dry sanded with 3200-12,000 grit pads. Between each grit of micromesh I wiped the stem down with olive oil. I have found that the olive oil allows the micromesh sanding pads to really cut into the surface of the nylon stem. I cleaned up the stinger with alcohol and cotton pads and then 0000 steel wool. IMG_7972 IMG_7979 IMG_7983 
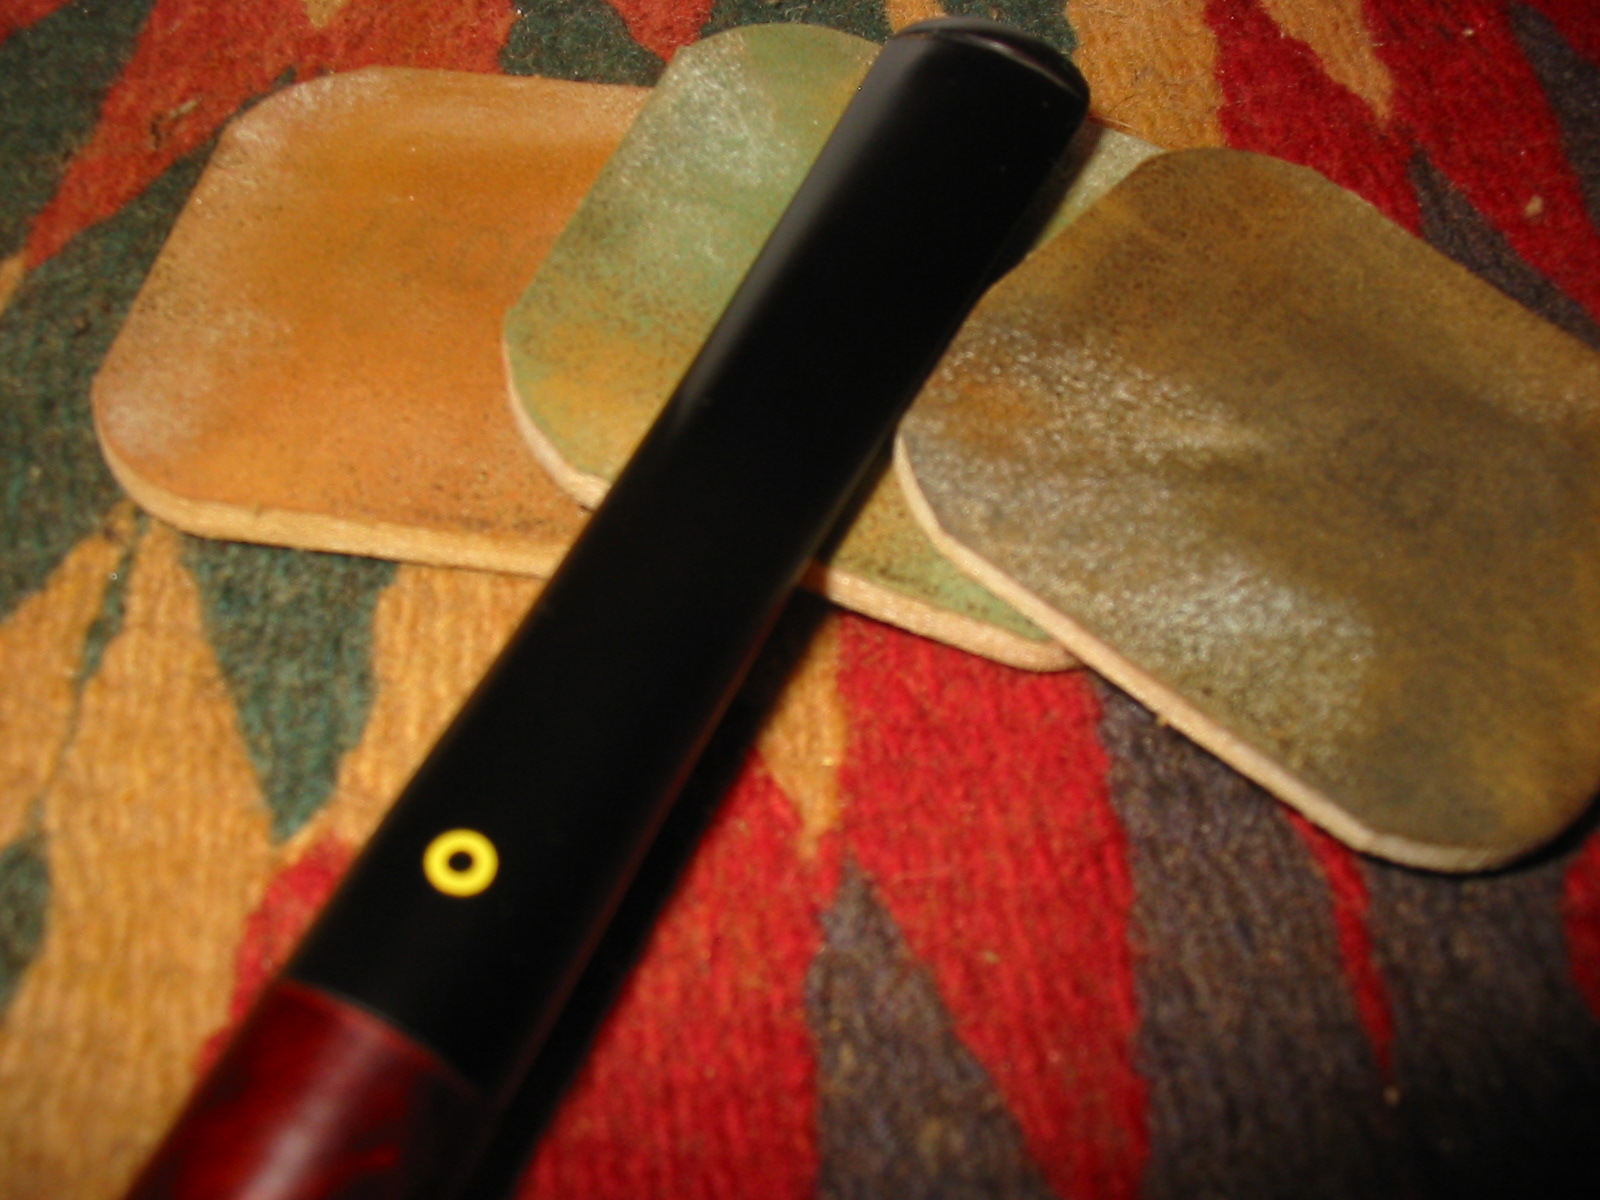
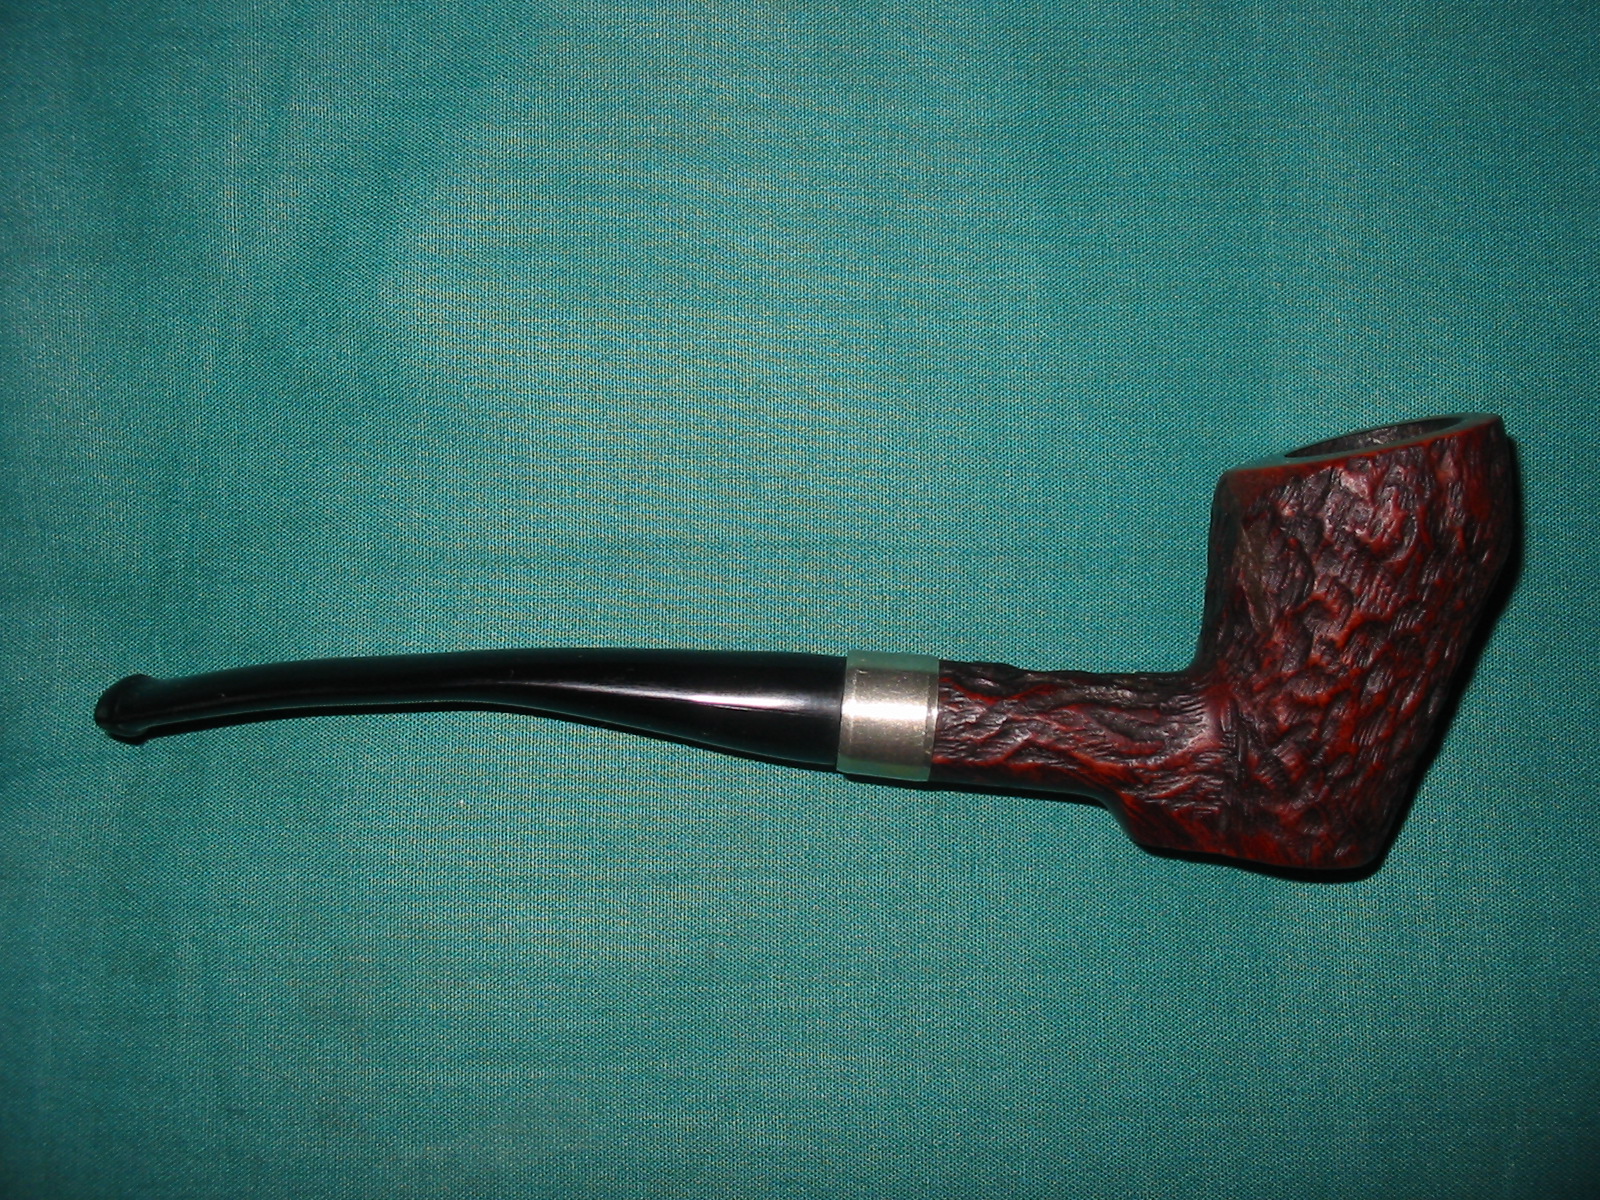
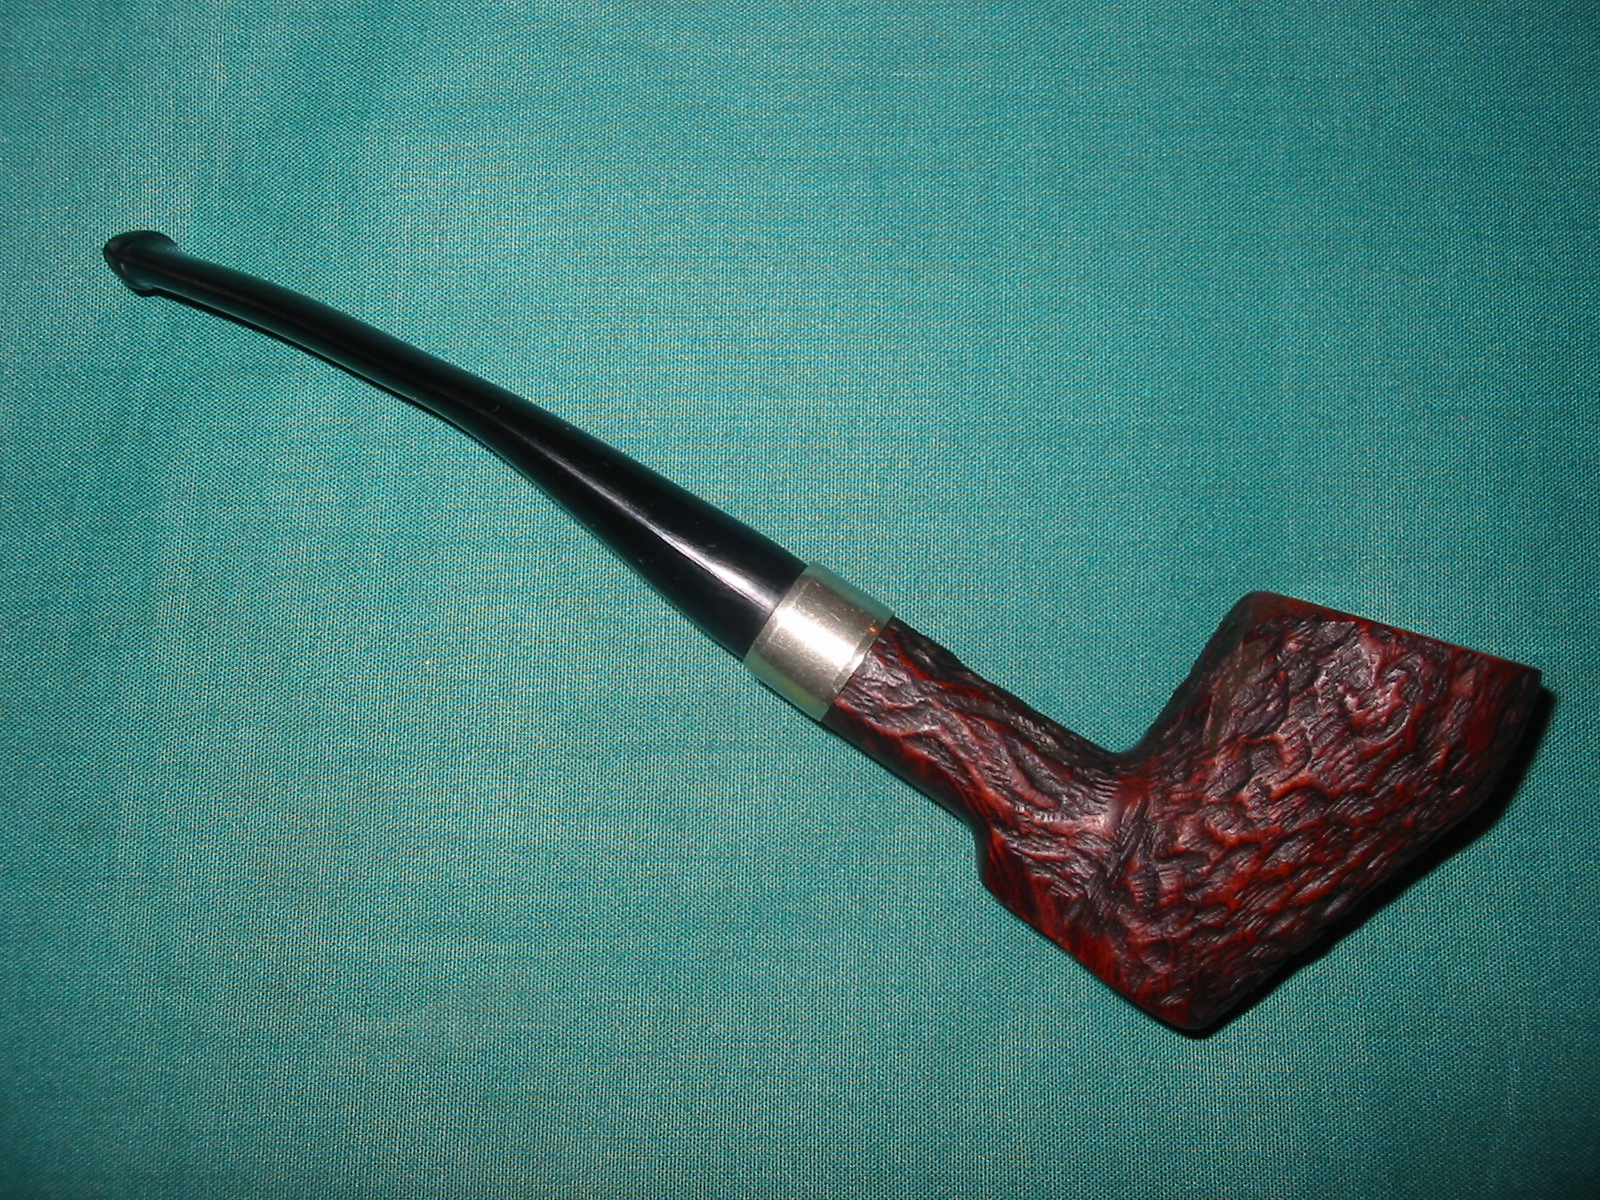
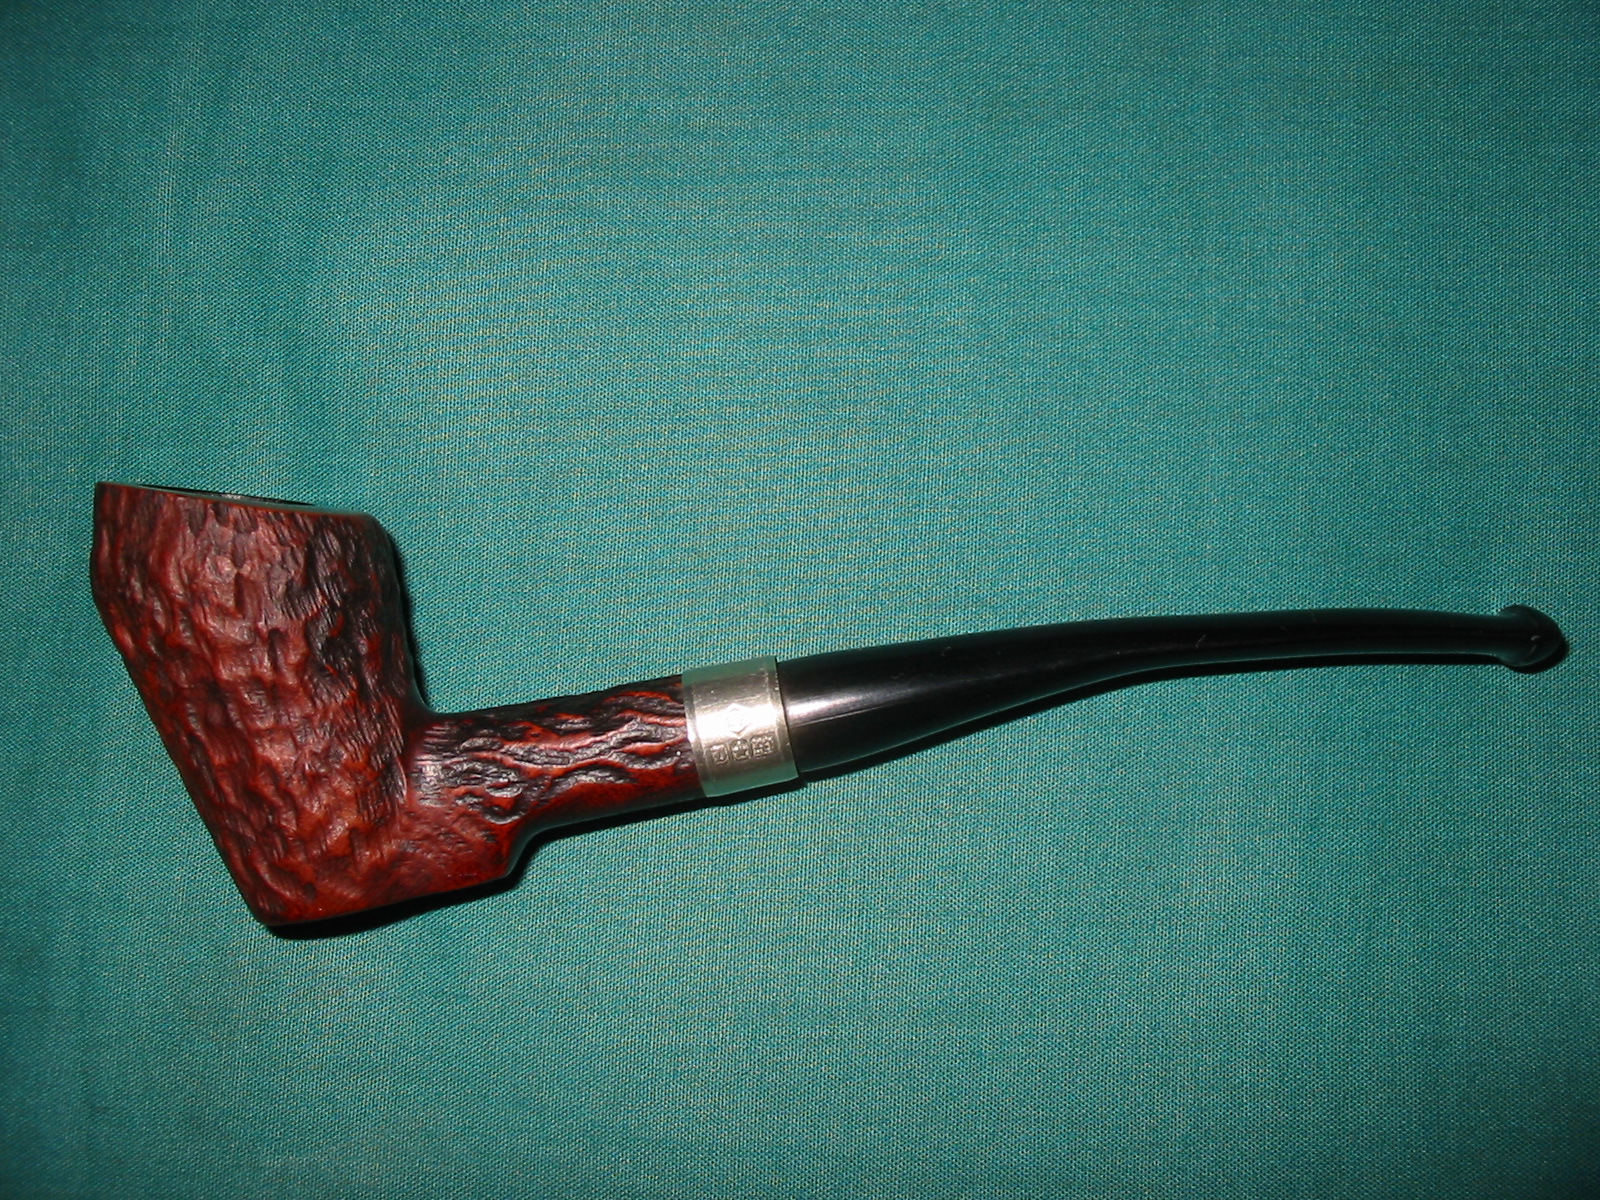
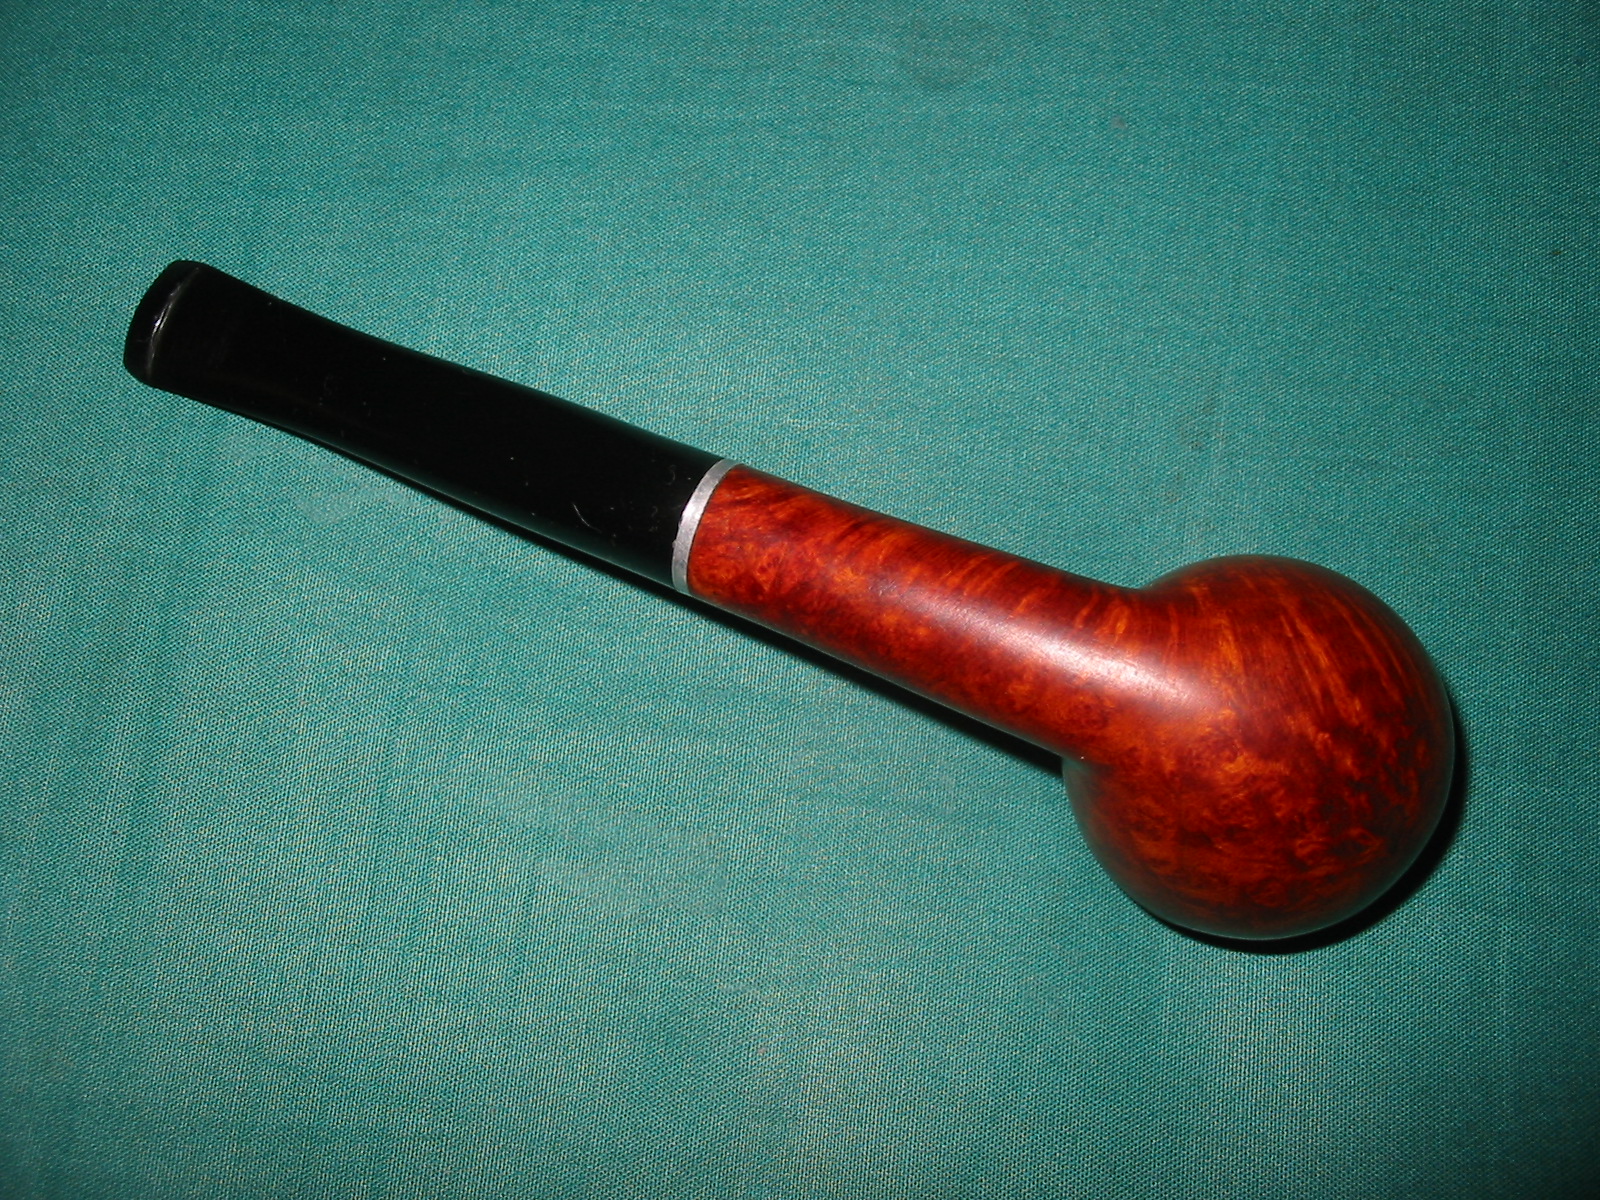
I gave the bowl a coat of walnut stain and boiled linseed oil to bring out a shine. I wanted the pipe to have a similar shine to what it originally had when it left the factory but did not want to use a varnish coat. I wiped it on the bowl with a cotton pad and then set it aside to air dry. IMG_7975 
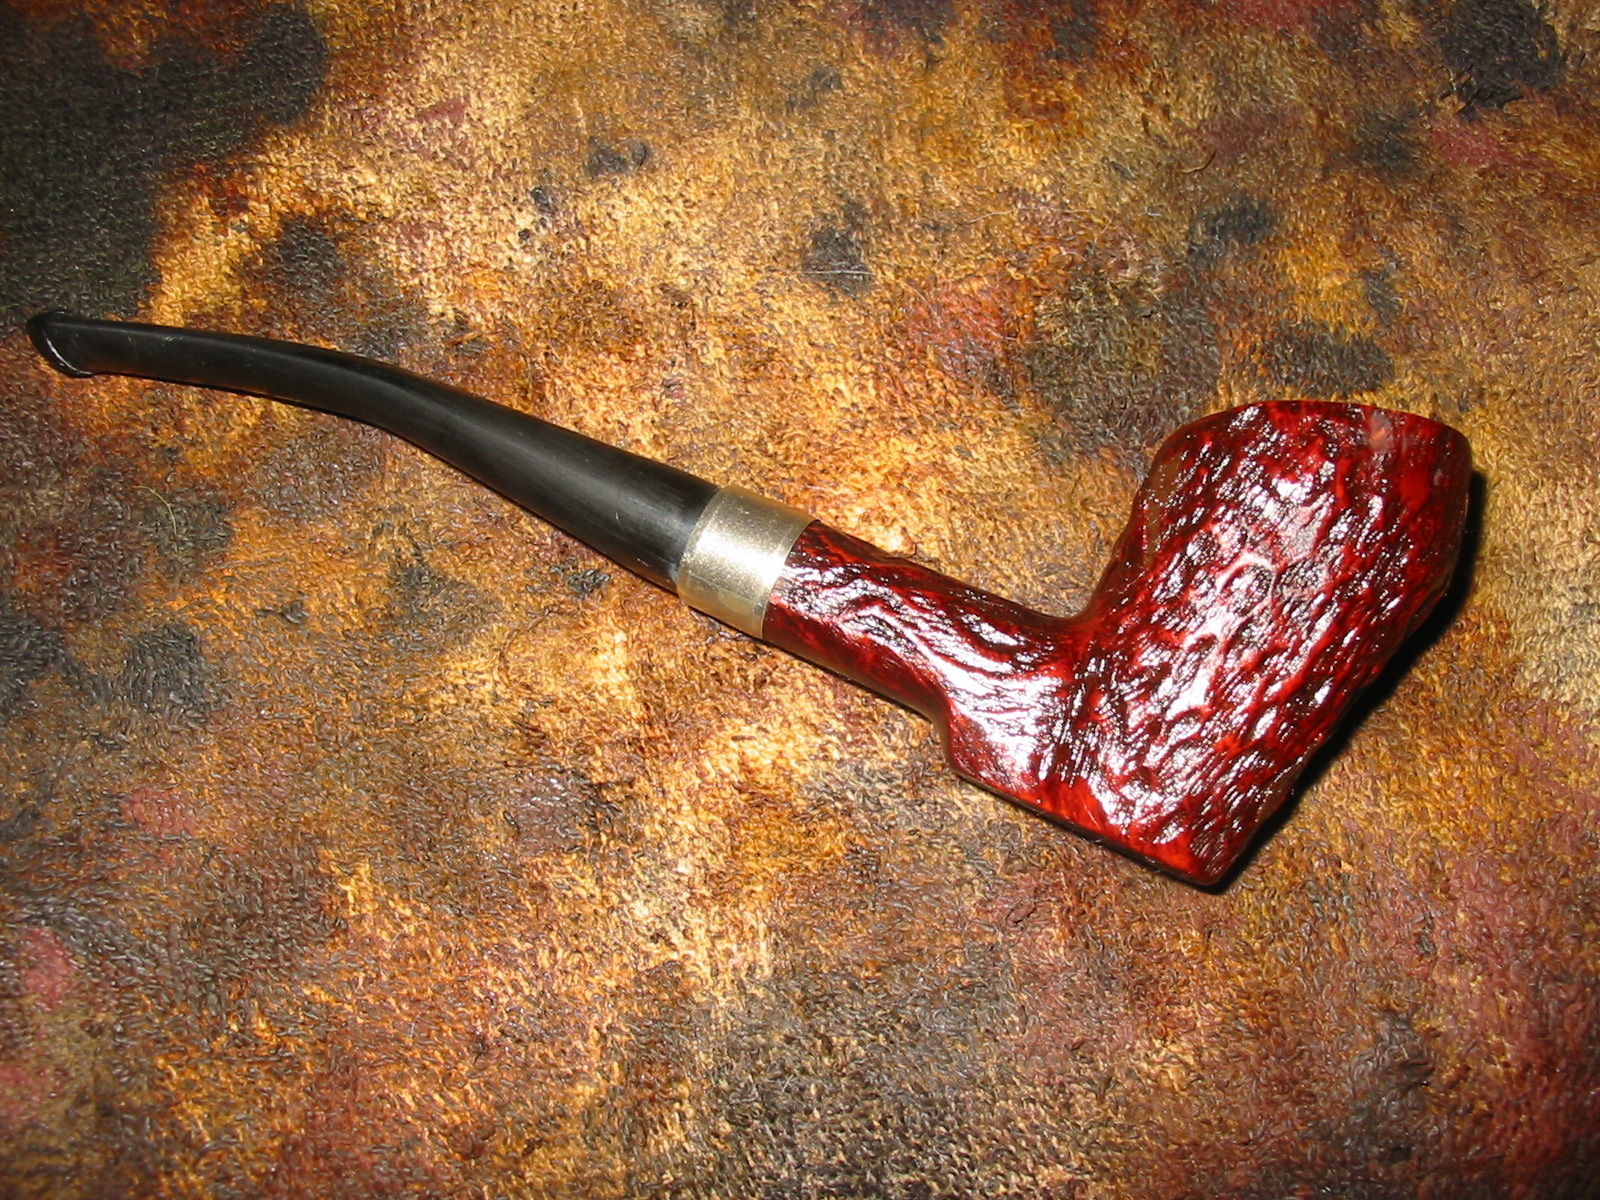
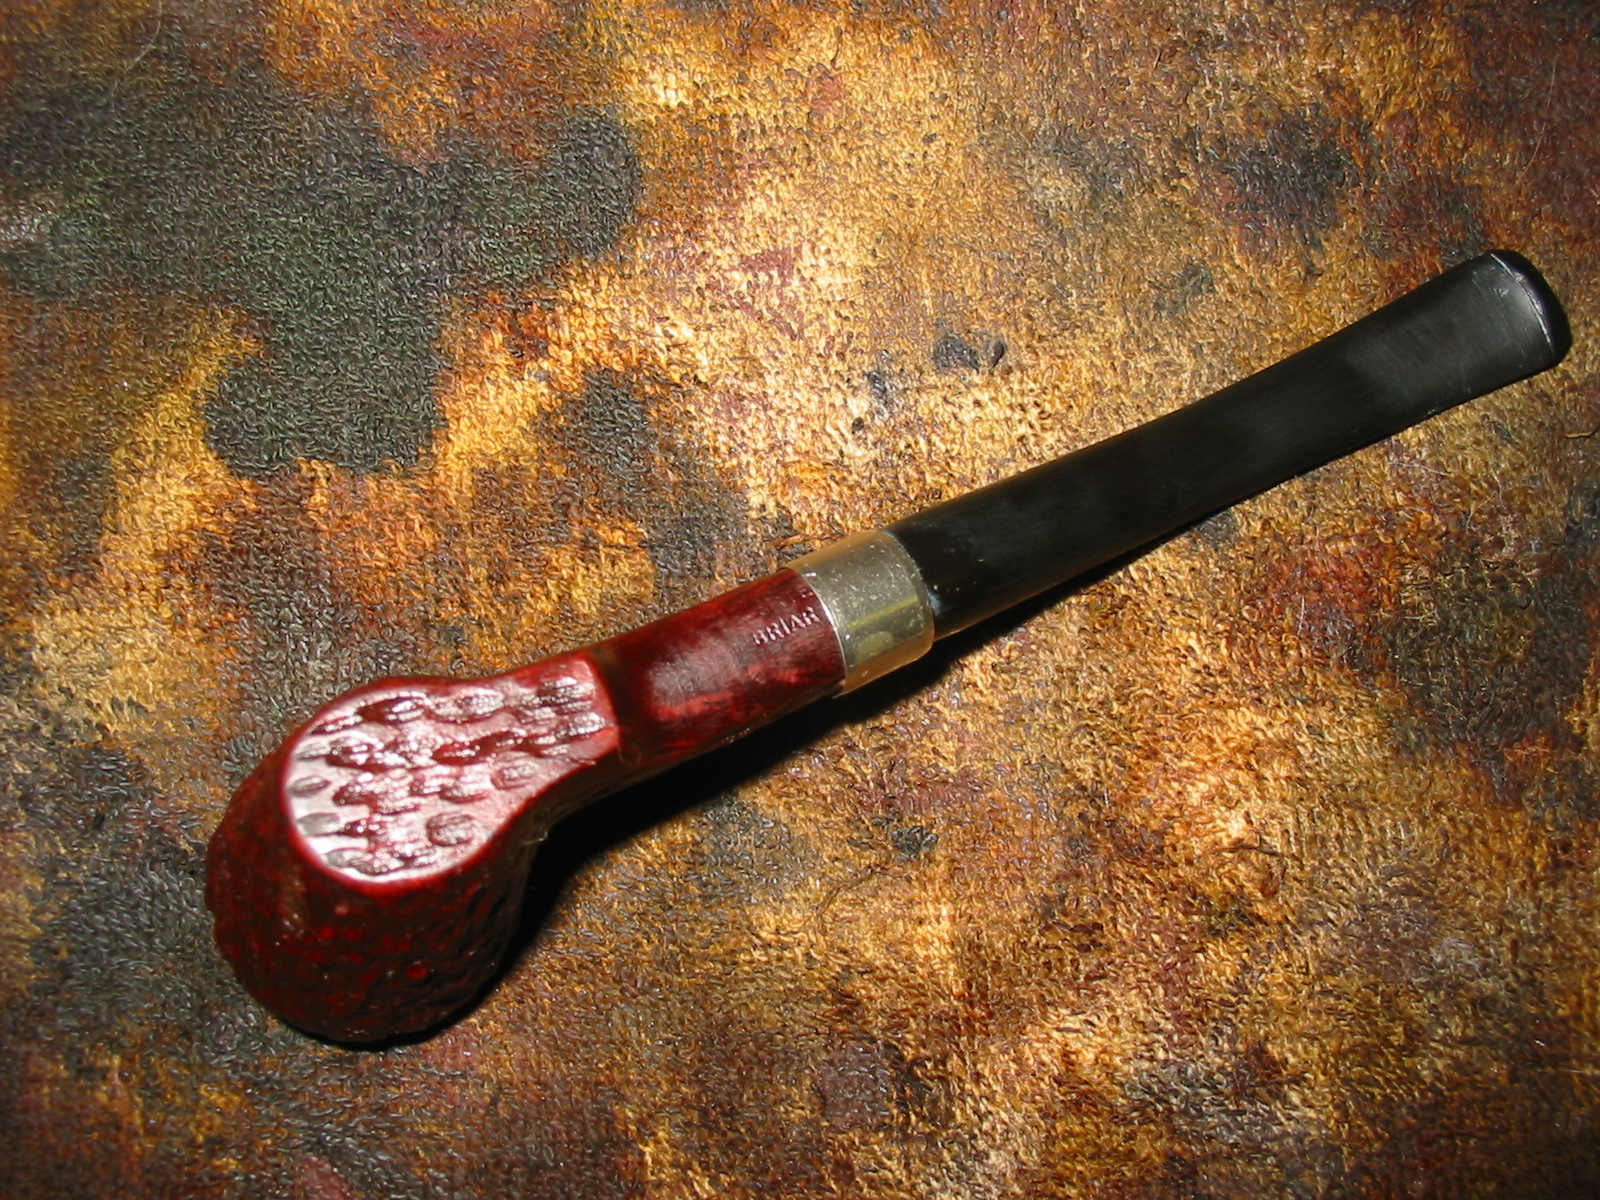
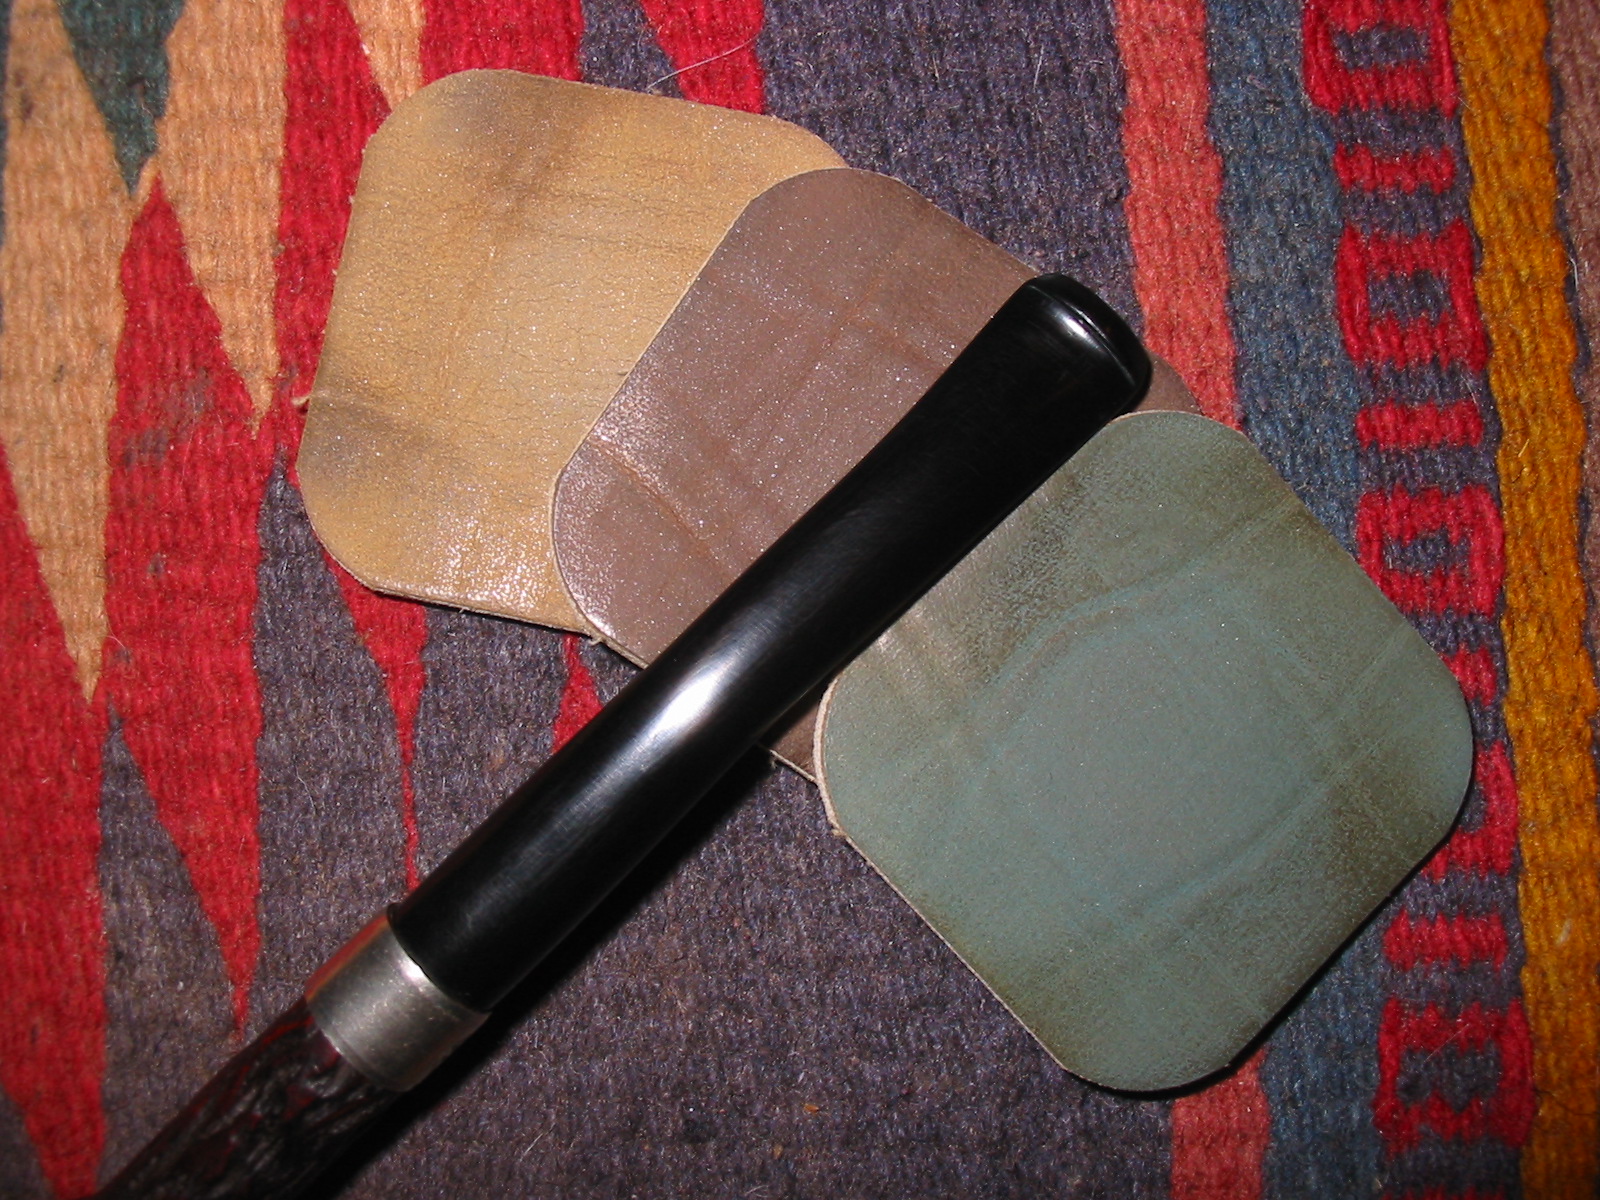
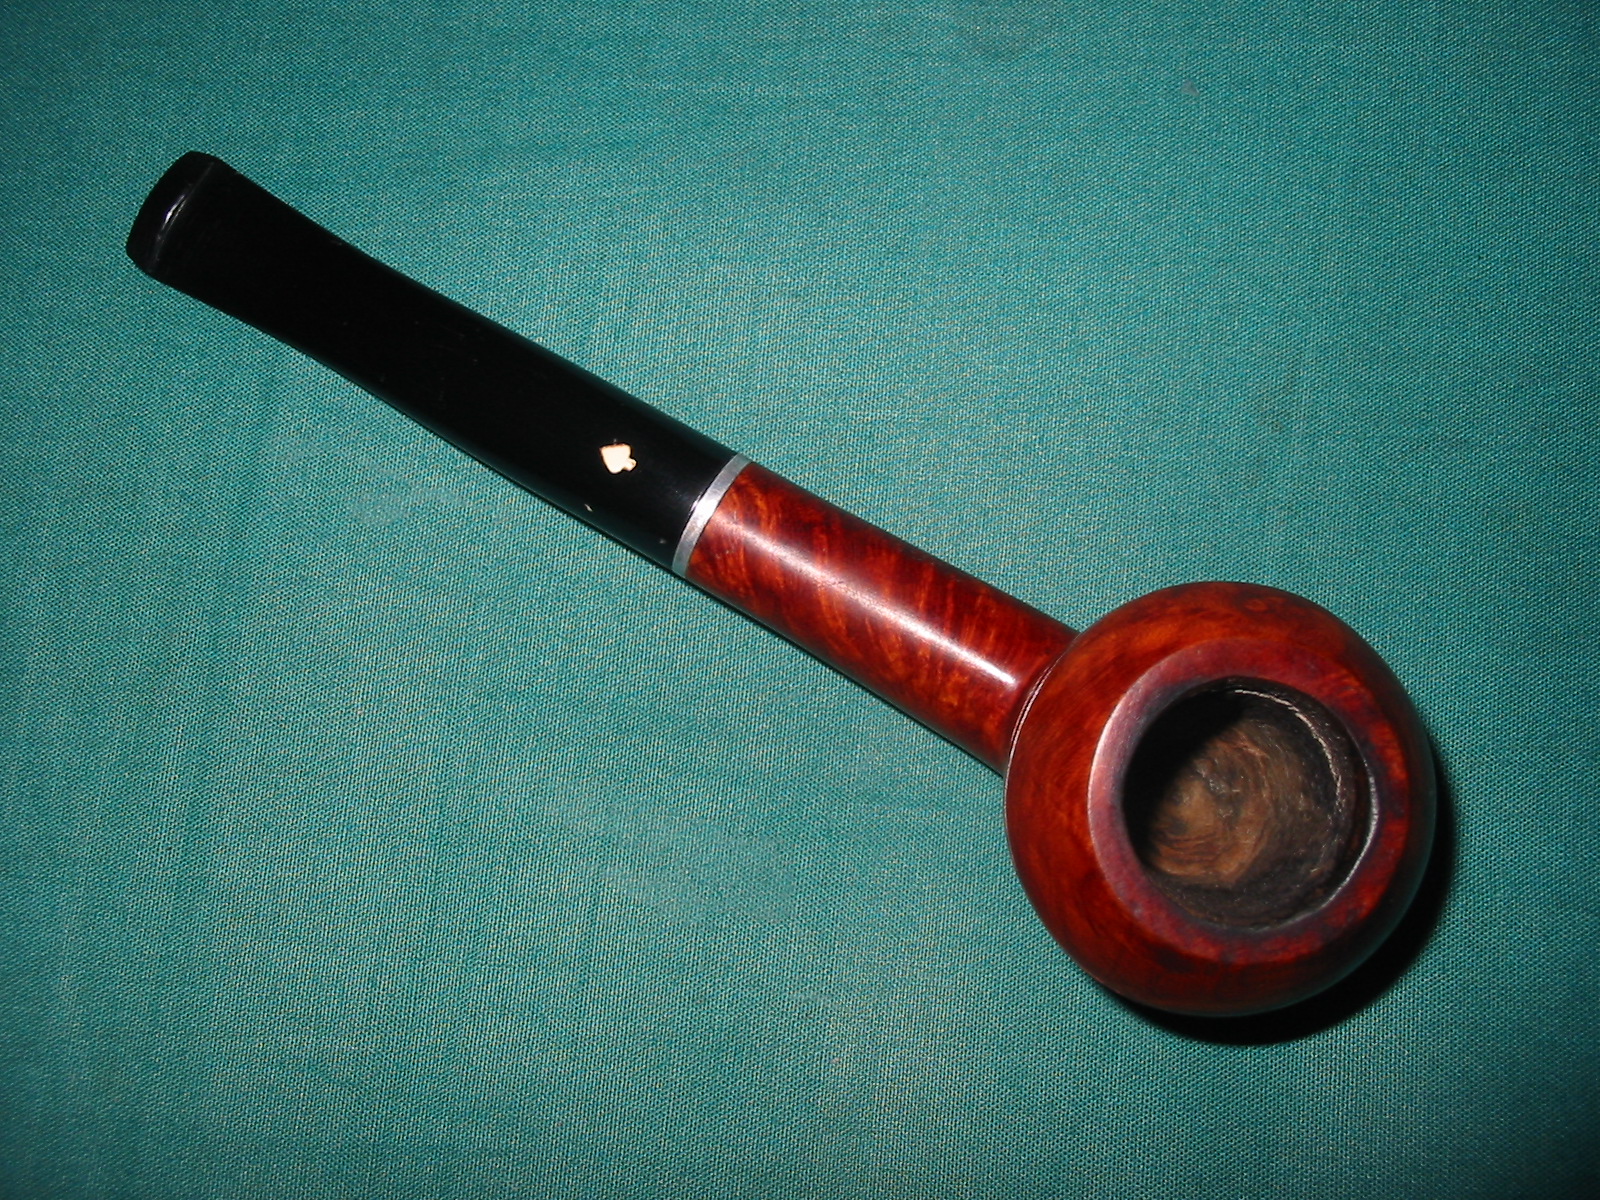
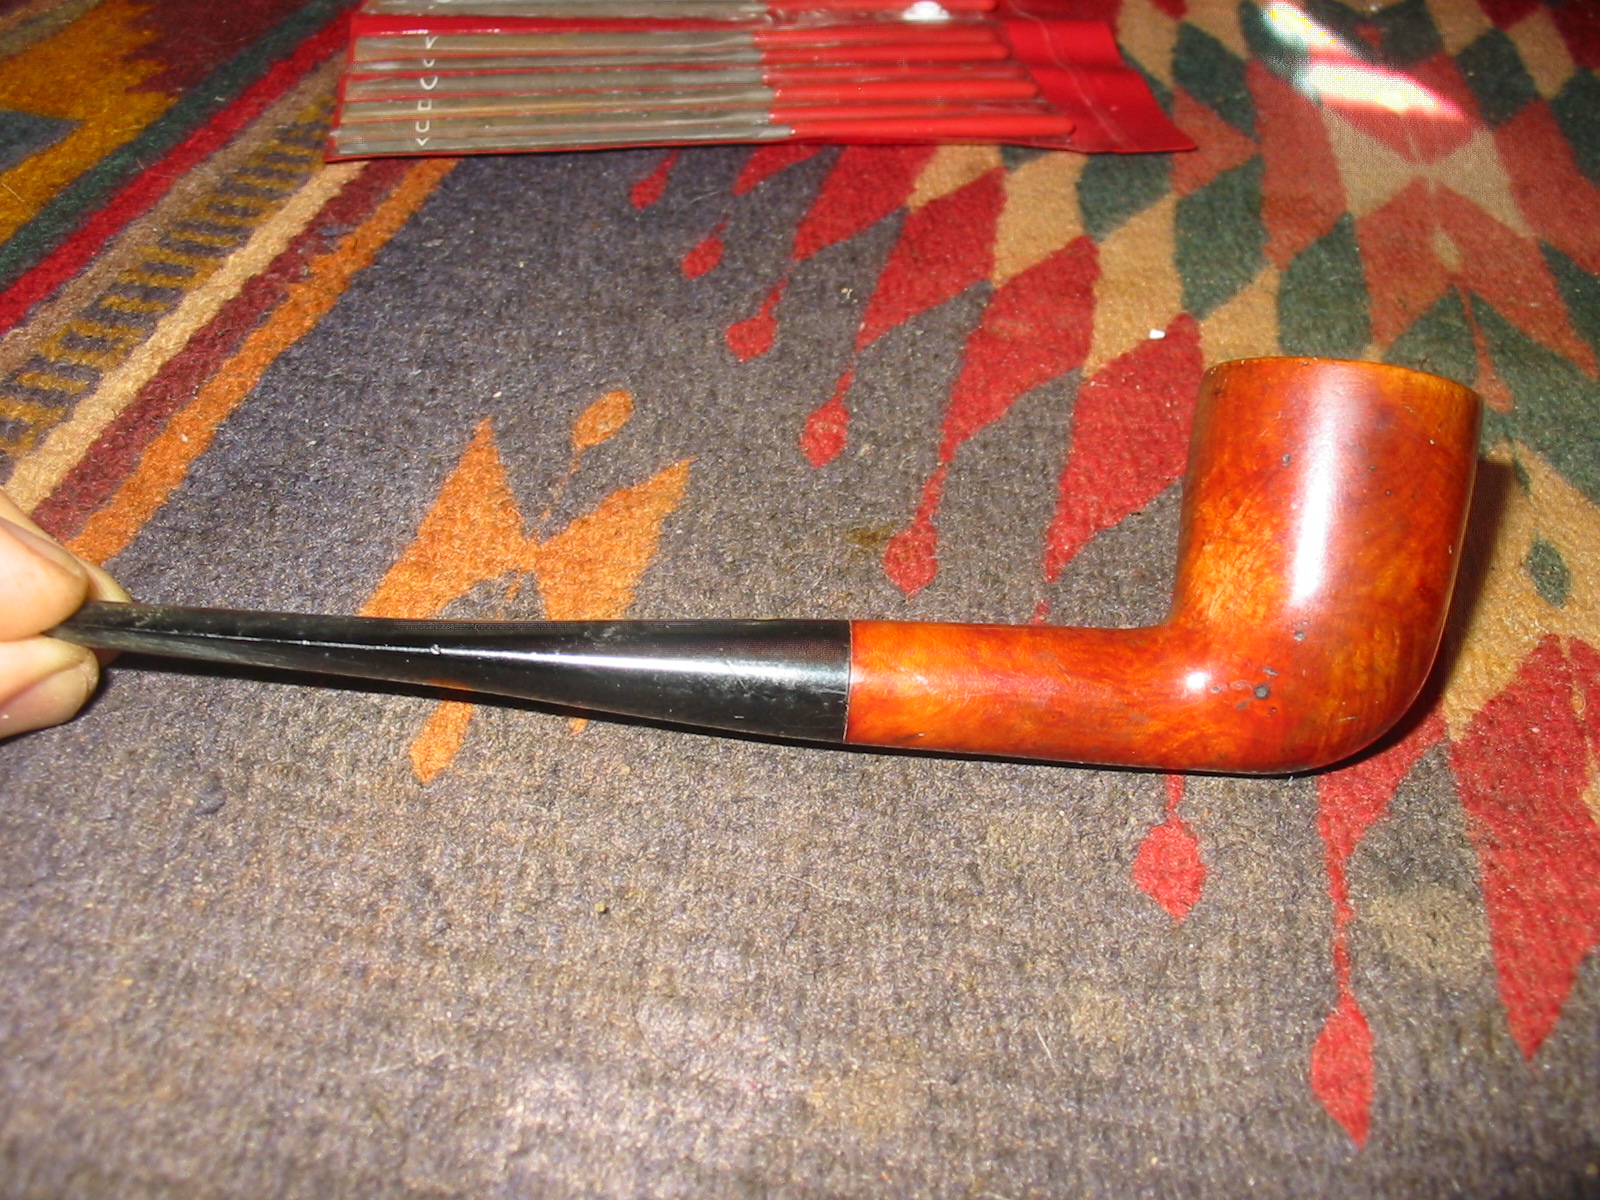
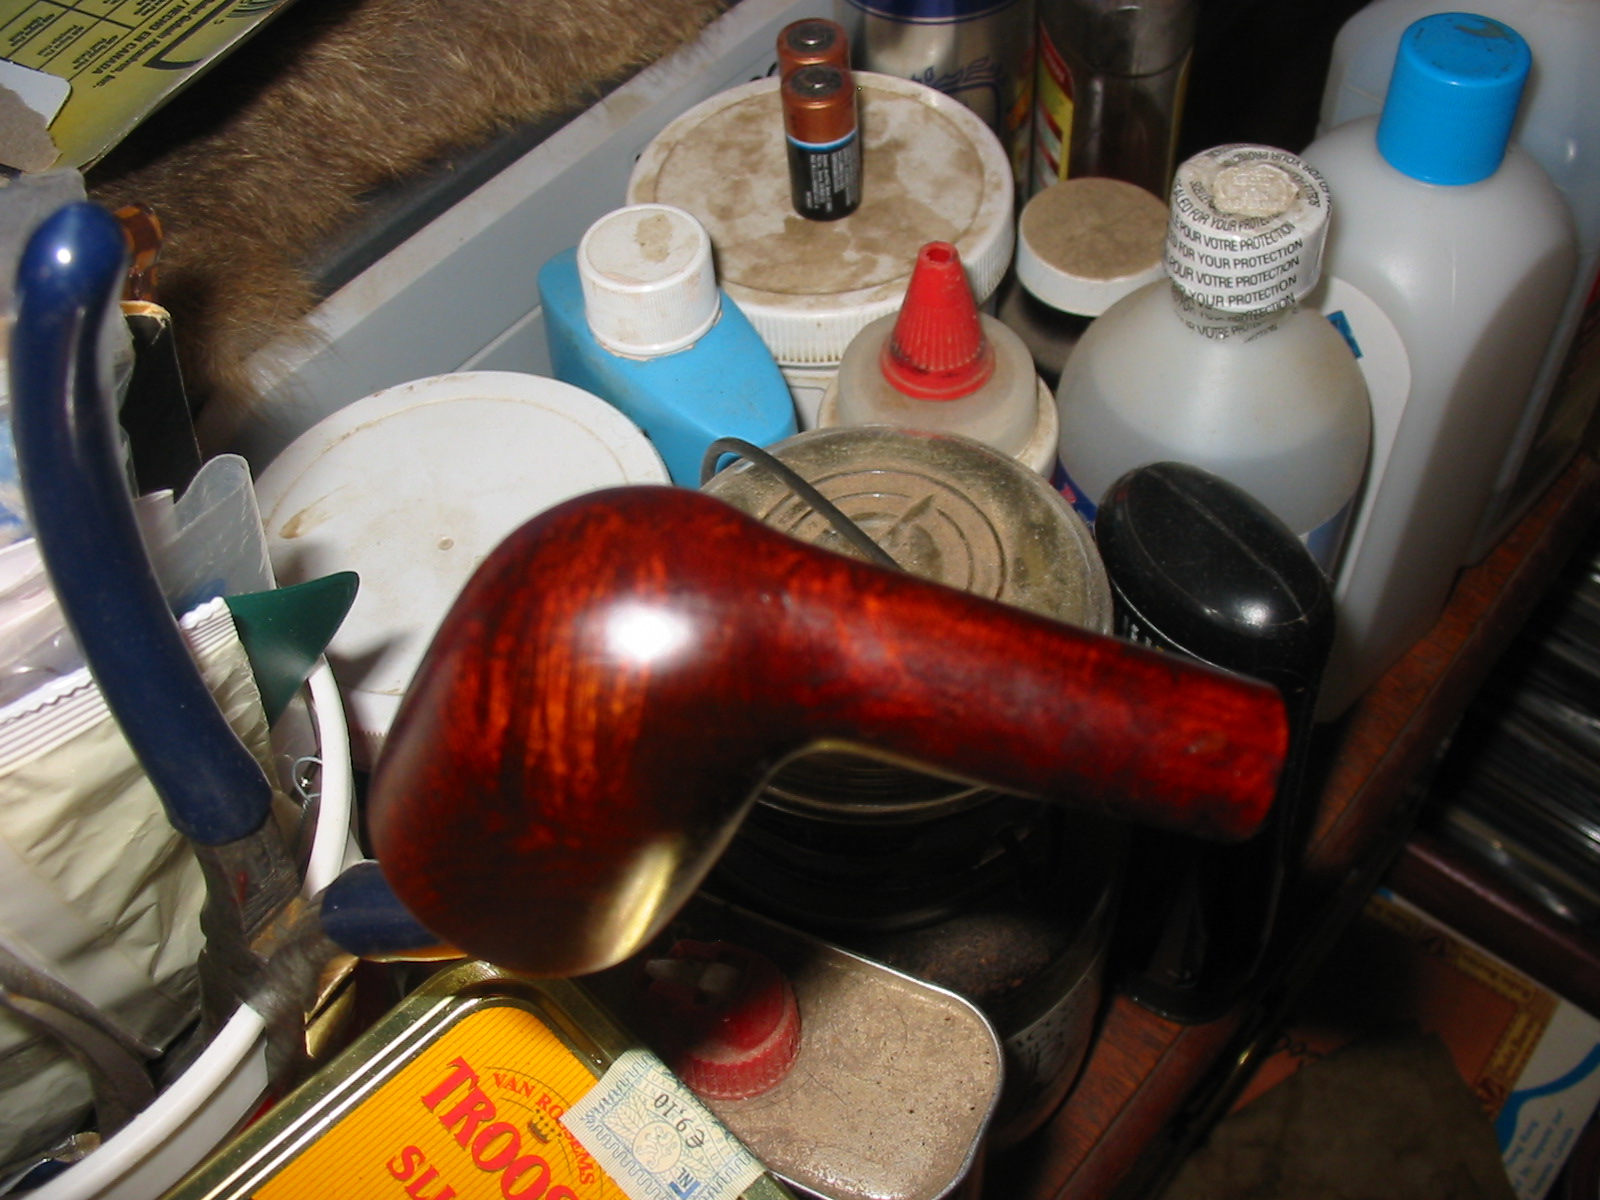
Once the finish had dried I buffed the pipe with White Diamond and then gave it several coats of carnauba wax and buffed to a shine with a soft flannel buff. I hand waxed the stem with Paragon Wax as I find that the nylon stems are hard to buff. Without a light touch the wheel can do irreparable damage to the nylon stem. The heat generated by the buffer will actually cause the stem to melt. The final photos below show the finished pipe cleaned, polished and ready to enter into the next years of its life. I think that this one will outlive me if properly cared for by the next pipeman after me. IMG_7986 IMG_7987 IMG_8003 IMG_8008

Giving New Life to an Old, Tired Unique


I am not sure who the maker of this pipe original was. It has some rustication patterns that remind me of Dr. Grabow. It has a metal screw mount mortise. The flat base that extends from the bottom of the bowl backward toward the stem also has similarities to a Grabow shape. But this one is only stamped Imported Briar on the bottom of the shank. When I received it the bowl was in rough shape. The finish was gone. The stem was gone, the rim was a beaten and worn down mess. I think originally the rim was probably straight across but it was worn and beaten to the point that it was now angled. If indeed it was originally angled then the rim was badly beaten. Either way it was rough. The cake in the bowl was quite thick. The internals of the shank and airway were quite clean – that was a surprise. The briar was solid and relatively thick and sound.
IMG_5281

IMG_5282

IMG_5283

IMG_5284

As I looked at it and studied it there was something about it that drew me to the shape. The wear and tear still did not hide the fact that there was some life still left in this old pipe. I went through my can of stems and found an old screw mount stem. The stinger apparatus on it was slightly different than the old Grabows that I had seen but it would work. The draw on the stem was very constricted anyway so I figured I would end up cutting the stinger off and drilling out the metal tenon. The stem has lots of tooth marks and chatter but was solid. It was a nylon stem and not vulcanite so it was a little trickier to work with. The diameter was also slightly off and the stem was overturned once it was on the shank.
IMG_5285

IMG_5286

IMG_5287

IMG_5288

I heated the metal tenon with a heat gun until the glue softened and then turned it in the shank until it lined up. This type of tenon is actually very easy to realign.
IMG_5290

IMG_5291

IMG_5292

Once the stem was aligned I reamed the bowl with a PipNet reamer and heads taking the bowl back to bare wood. I wanted to see what the shape of the bowl under the cake was like to assess whether I wanted to continue to put time into the pipe. The interior bowl was actually in excellent shape under the cake. This pipe must have been a good smoker – someone’s favourite pipe.
IMG_5300

IMG_5301

I set up a topping board and sanded the rim at the angle of the bowl to even out the top and to minimize the damage. The back edge was very ragged from tapping the pipe out, or using it as a hammer! It took some time to get the top flat and the angle correct from the back of the bowl to the front edge.
IMG_5302

IMG_5303

I wiped the bowl down with acetone on cotton pads to clean up the grime in the grooves of the rustication and to even out the remaining stain coat. There was also some varnish left on the shank that I wanted to remove.
IMG_5304

IMG_5305

IMG_5306

Once the finish was gone I experimented with a metal band. The shank was not cracked or broken. It was solid but I wanted to see what the shiny silver would look like against the rugged rustication. I also wanted to minimize the slight difference in the diameter of the shank and the stem. I decided I liked the look of the band so I heated it with the heat gun and pressed it into place on the shank. I liked the finished look of the nickel band. I feel it gives a bit of bling to a rough looking pipe.
IMG_5307

IMG_5308

I screwed the stem in place to have a look at the fit and finish of the pipe as a whole. I thought to myself that it would work well. I would need to give the stem a bend to make a correct fit to the sitter style of the bowl but it would work.
IMG_5309

IMG_5310

I decided to sand out the tooth marks and chatter as much as possible. I was hoping that the heat would lift the marks a bit. I heated the stem with a heat gun to do the bending. I bent it over a rolling pin. It took awhile for the nylon to be flexible enough to bend. Bending nylon stems is far trickier than vulcanite. It does not seem to have the memory of vulcanite so once bent it remains even if heated and has to be pressed back into shape. It also kinks very easily so you have to be very careful when bending it. I have also found that the wire in a pipe cleaner heats up and the pipe cleaner can stick to the inside of the stem. All of the above make it a pain to bend this type of stem.
IMG_5313

IMG_5314

IMG_5315

I finished the bend and set it with cold water. I was not happy with the overall look and flow of the stem. The bend was correct in terms of allowing the pipe to sit flat on the bottom of the bowl with the tip of the button arching to touch as well but the flow/arch of the stem was not right. I reheated and tried it a second time and still it did not quite work. I decided to stop and revisit that later.
IMG_5316

The draught on the pipe bowl was wide open and easy but the stem itself was very constricted. The stinger apparatus had a slotted entry into the stem. It was very narrow and seemed to extend quite a distance up the stem. A pipe cleaner would not pass through the stem and the stinger. I decided to sacrifice the stinger end so I sawed it off with a hack saw and then drilled out the airway in the metal tenon. As can be seen in the photo below the drill bit went a long ways into the stem before it broke through the slotted airway. Once I had opened the airway in the stem and removed the stinger the draught on the pipe was excellent – open all the way and passing a pipe cleaner with ease.
IMG_5317

I stained the bowl with an oxblood aniline based stain. I flamed it and restained until it was well covered. I then buffed the bowl with White Diamond on the buffing wheel. The photos below show the bowl after the staining and buffing. The colour of the briar after the stain coat was workable. The black undertones that were deep in the grooves of the rustication worked well with the red of the oxblood stain. The rim colour matched the bowl and the birdseye grain showed nicely on the flat of the rim.
IMG_5318

IMG_5319

IMG_5320

IMG_5321

The stem being nylon required all handwork. I could not use the buffer on it as it would melt and make more work than I desired to do on this pipe. Before I sanded it I used the heat gun to rebend the stem and get the angles and bend correct. Once I had that done I sanded it with 220 grit sandpaper and then with a medium and a fine grit sanding sponge. I then sanded the stem with my usual array of micromesh sanding pads – wet sanding with 1500-2400 grit pads and dry sanding with 3200-12,000 grit pads.
IMG_5325

IMG_5326

IMG_5327

I rubbed the nylon down with Obsidian Oil and once it was soaked in I hand buffed it with Paragon Wax. I gave it multiple coats of the wax to preserve it. I buffed the bowl with White Diamond and then gave it multiple coats of carnauba wax with a light touch to keep the wax from building up deep in the grooves of the rustication. The next series of photos show the finished pipe. The side profile photos show the pipe in the sitter position and also from an angle. The top and bottom view photos show the new finish on the rim and the shape of the bottom of the pipe. This old worn pipe is now freshly reworked and ready to give many more years of service.
IMG_5328

IMG_5333

IMG_5329

IMG_5332

IMG_5330

IMG_5331

A Dr. Grabow Special Rhodesian/Bulldog – A Makeover


The last of the pipes from the Ebay lot below was the one in the bottom left corner of the photo. It was stamped Dr. Grabow over Special over Imported Bruyere on the left side of the shank. The finish was a varnish or polyurethane coat over the briar. It was bubbling and crackling. There was water damage on the edges of the rim. The briar itself was in good shape with no dents or roughening on the rim. The rim was slightly darkened but no dents or dings. The bowl was slightly out of round from poor reaming but very workable. The stem was a mess with chew marks on the top and the bottom for about an inch up the stem from the button. The stem was made of nylon and not vulcanite. The tenon was a push style and not a screw in stem. There was a shovel like stinger in the end of the tenon. The stem was loose in the shank and there was significant debris and buildup in the shank and in the stem. The second photo below shows the pipe as it was in the pictures from the seller.
pipes1

pipes3

I took it to my worktable this evening and went to work on it. I took the stem out and began to sand on the bite marks on the top and bottom of it. The next series of five photos show the progress of smoothing out the stem by sanding. I began with 220 grit sandpaper and worked up to a medium grit sanding sponge. By the fourth and fifth photo the bite marks are gone and some sanding scratches remain that will need to be worked out with micromesh sanding pads. I recut the edge of the button on the top and bottom with a needle file to clean up the angles. That is also visible in the last two photos. I also removed the stinger and cleaned it with 0000 steel wool and then polished it with micromesh sanding pads.
IMG_2564

IMG_2565

IMG_2566

IMG_2567

IMG_2568

While I worked on the stem the bowl had been soaking in an alcohol bath to help loosen the varnish or urethane finish. My plan was to remove the finish totally and sand and restain the pipe once it was cleaned and sanded.
IMG_2569

IMG_2570

IMG_2571

The alcohol bath softened the finish so when I dried it off the finish was cloudy. I have found that with this kind of finish I can use acetone on a cotton pad afterward to further remove the softened finish. The next two photos show the bowl with the finish removed. There is some nice looking birdseye grain coming through. Once the briar was clean I reglued the metal decorative band back on the shank and let it dry.
IMG_2572

IMG_2574

I sanded the bowl with the medium grit sanding sponge and then with 1500-2400 micromesh sanding pads. The next series of four photos are a little out of focus but the cleaned surface of the briar is visible and the grain that was underneath the finish is quite nice. I was also able to remove the water marks/damage that was along the outer edge of the rim and down the side of the bowl in the process of the sanding. I also cleaned out the shank with cotton swabs and Everclear. I did the stem as well and cleaned until the cleaners and swabs came out clean and white.
IMG_2575

IMG_2576

IMG_2577

IMG_2579

While the glue dried I worked on the nylon stem. I was able to remove all of the tooth damage. I wet sanded it with 1500-2400 micromesh sanding pads and removed the majority of the scratches left behind by the sanding sponge. I continued to rework the stem with these sanding pads until all of the scratches were gone and the stem began to take on a shine. (Photos 1-2 below show a top and bottom view of the stem).
IMG_2581

IMG_2582

I dry sanded with the remaining grits of micromesh sanding pads from 3200-12,000 grit. The stem took on its original shine. The next series of four photos show the stem as it moves through each level of polishing.
IMG_2583

IMG_2584

IMG_2585

IMG_2586

I wiped the bowl down a final time with acetone on a cotton pad to remove the sanding dust and grit. I dried it carefully and then it was ready to stain. I decided to use a linseed oil and medium walnut stain on this pipe. I felt it would make the grain show well and give the bowl a good protective coat. I applied the stain and wiped it off, reapplied and wiped it until I got the coverage I wanted on the bowl. The next series of four photos show the stained bowl.
IMG_2587

IMG_2588

IMG_2589

IMG_2590

I buffed the bowl and shank on the buffing wheel lightly with Tripoli and then with White Diamond to give it a shine. I then buffed it with carnauba wax and gave it several coats to protect the wood. I did not buff the stem on the wheel as the nylon heats too quickly on the buffing wheel and melts. I have made a mess out of more than one nylon stem. It does not seem to matter how light a touch I use the wheel and the nylon stems do not work well together. I gave the stem a coating of Obsidian Oil and rubbed it into the stem. I then hand applied several coats of carnauba wax and hand buffed the stem with a shoe brush and a soft cotton cloth. The finished pipe is pictured below. All in all it is not a bad looking old Grabow. It is clean and should smoke very well.
IMG_2591

IMG_2592

IMG_2593

IMG_2594

Stem Repair Just for the Practice


Blog by Steve Laug

Sometimes I just repair a stem because it is there and I can get the practice working with it. Such was the case with the pipe below. It is a very low end pipe with a nylon stem and a metal tenon that holds a paper filter. The bowl of the pipe was rusticated and definitely not a favourite shape or style of mine. This one would not be a pipe I kept or would be tempted to add to the collection. It was solely a pipe that would provide me an opportunity to work on the tooth dents, the bite through holes on the top and the bottom of the stem near the button as pictured in the two photos below. A decision had to be made whether to fill the hole with super glue or to cut of the bitten through end of the stem and reshape a new button. The dents and holes were very big and the stem was truly a mess.
I used heat from a heat gun and boiling water to raise the tooth dents in the stem and then sanded it to provide a smooth surface in front of the button. I wanted to minimize the amount of the stem that I would have to cut off should I choose that method.
stem1

stem2

I used heat from a heat gun and boiling water to raise the tooth dents in the stem and then sanded it to provide a smooth surface in front of the button. I wanted to minimize the amount of the stem that I would have to cut off should I choose that method.
stem3

stem4

Once I had leveled the stem out, I again studied the bite through areas. It was clear to me that I was going to cut off the stem and reshape the button. I used a Dremel to cut back the button and the damaged area of the stem. The next three photos show the result of the cut back. I did not have to remove nearly as much as I originally thought I would as the heat had raise many of the tooth marks in the stem. I sanded the stem to smooth out the flow and slope of the stem and remove the remaining tooth damage. Even though the photos are a bit out of focus you can see the work that was done on the stems. If I had doubted that the stem was made of nylon it became very clear as I sanded it. The grey hue of the material can be seen in the photos below.
stem5

Once the stem surface was smooth and the remaining dents were minimized it was time to take out the needle files and begin to cut the new button on the stem. I used a square bladed needle file to do the initial cuts in the button. I am always concerned to make a clean straight edge on the button so I find that a square blade with no taper or tip makes that task simple. I then clean it up with a flat bladed file and smooth out the transition between the button and the slope of the stem. The other files in the pictures below are used to shape the button and to define its final form. The three photos below show the files and the progress in cutting the new button. You can also see that the small dents that remained are disappearing in the shaping of the button. Care must be taken not to cut the edge too deeply and recreate the hole in the stem again. In this case I had enough meat on the stem to allow me to cut a well defined button.
stem6
stem7

Once I had the button cut and defined I put the stem on the pipe to continue the process of refining the line of the stem and smoothing out the transition to the button. I wanted to taper the button toward the lip rather than leave it flat so you can see that in the profile picture below. The stem is just about finished by the time these photos were taken and only needed the final sanding to bring the stem to completion.
stem8

The stem was then sanded with 400 and 600 grit wet dry sandpaper to remove the deep scratches and then followed that with micromesh sanding pads from 1500-12000 grit. The finished stem is picture below both in profile and from a top view. The new button is comfortable and the slot is open and passes a pipe cleaner easily.

The pipe provided a great opportunity to work on a stem restoration and the recreation of a button and it has since found a new home in the rack of a happy pipe smoker who needed some pipes for working outside and in the yard. This is a perfect yard pipe and should continue to deliver a great smoke to him as long as he chooses to keep it.
stem9

A Unique Piece of Pipe History – A Royden Meer-Tone


Blog by Steve Laug

I picked this old Royden Meer-Tone up in a sale on EBay where a friend wanted the tobacco pouch that came with it. I won the bid and the result was he got the pouch and I got to keep this unique little pipe. It is different than any I have seen. I have done some research trying to find information on it and cannot find much at all. I have seen several on EBay that are unsmoked, some on Etsy that are also unsmoked, one even in a box. But there is not any information on the manufacturer that I can find. Anyone know anything about this brand and maker? Let us know.

The stem is a yellow nylon, the bowl is a white plastic (maybe Bakelite) and the lining of the bowl is a meerschaum cup inserted into the bowl and drilled on the side like a regular pipe. The meer cup is fit tight to the bottom of the bowl with no airspace between it and the bottom of the bowl. When it arrived the meer was dirty – possibly smoked just a few times as the bottom of the bowl was still clean. The top half of the bowl and the rim were darkened. The shank had a fine crack in it.

I used 1500 grit micromesh to clean up the rim of the insert and the outer edge of the bowl. I also used the micromesh to polish the plastic bowl that the insert sat in. There were rub marks and some scratches that the micromesh took care of. The nylon stem was dirty on the inside and stained with tobacco oils. I cleaned that with some alcohol on pipe cleaners and a shank brush until it was clean. The inside of the shank was also dirty and I cleaned it as well. I repaired the crack in the shank with a little superglue and then banded the shank with a pressure fit nickel band. The stem had tooth marks (fortunately not deep). I am not sure about heating a nylon stem to raise the marks so in this case I sanded them with 240 grit sandpaper until they were gone. I used 400 and 600 grit wet dry (you probably have gotten the pattern by this point in my stem refurbishing) and then used micromesh pads 1500-12,000 grit. I find that the 8000 and the 12,000 add a noticeable shine to the stem.

The pictures below give you a good idea of what the pipe looks like. It is a small pipe – roughly 5 inches in length.

ImageImageImageImage