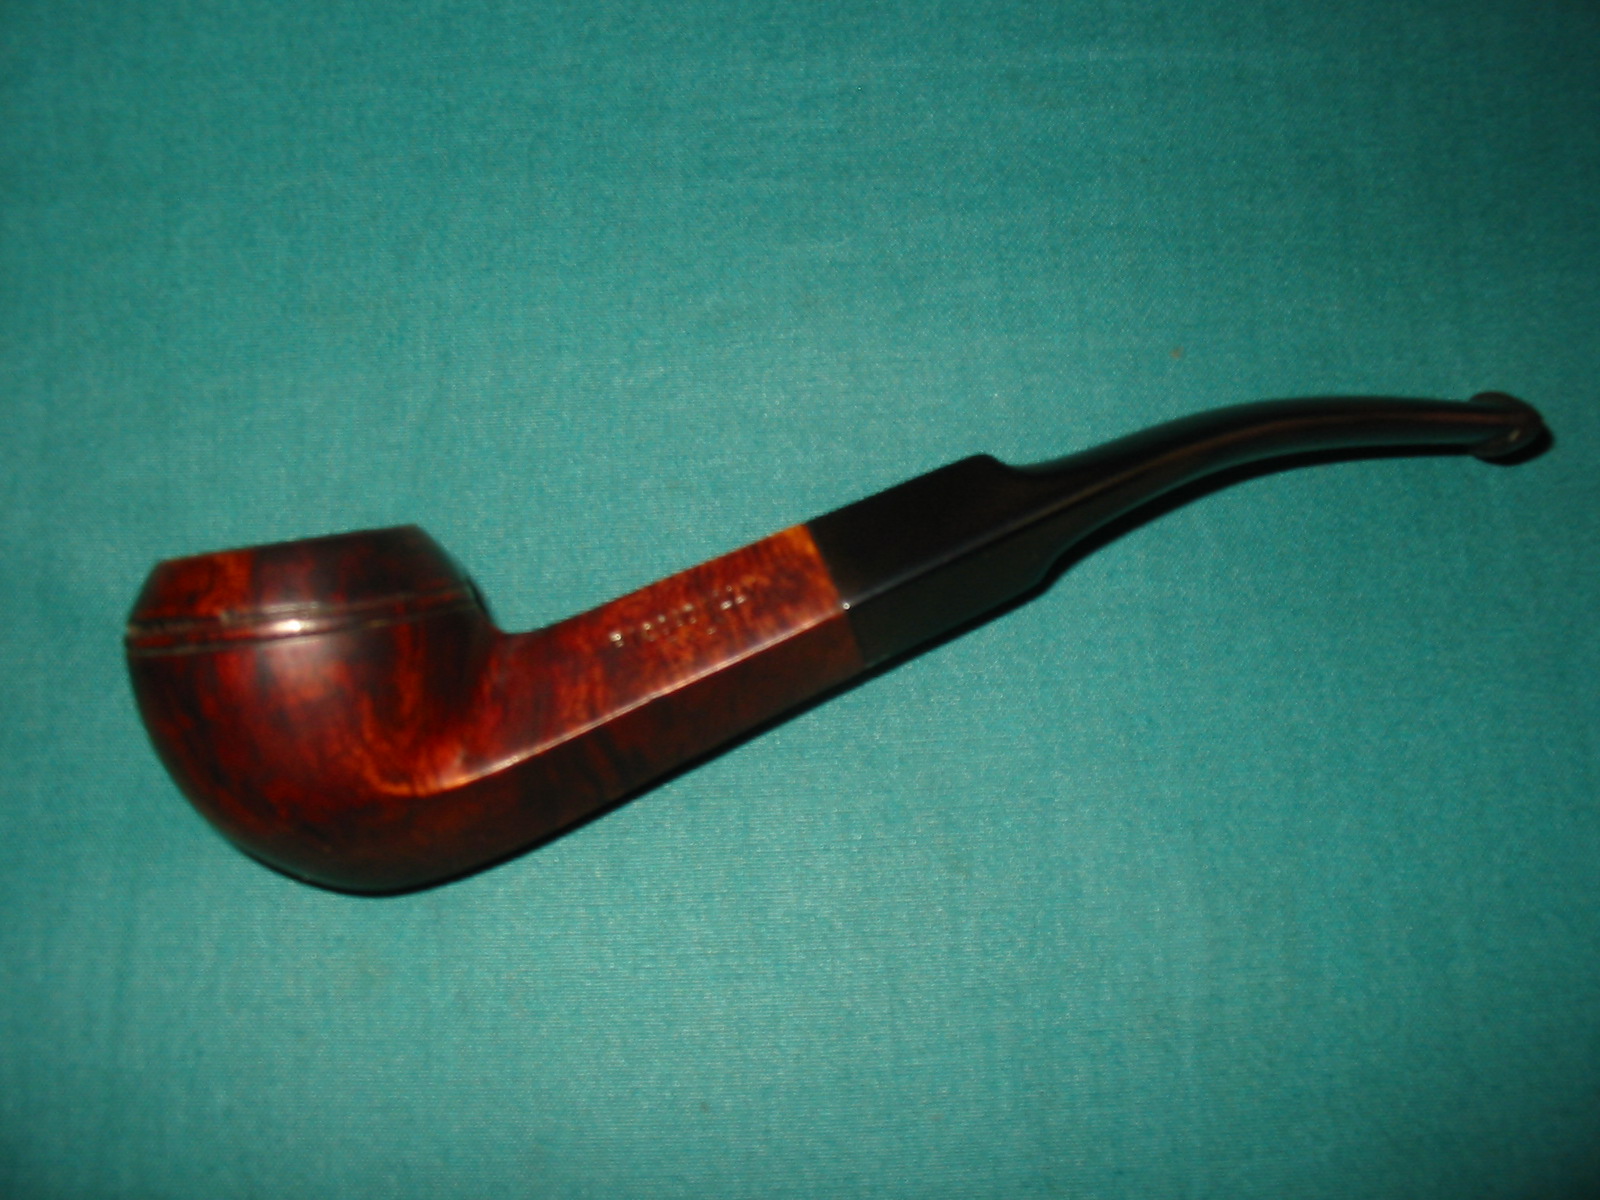
Blog by Greg Wolford
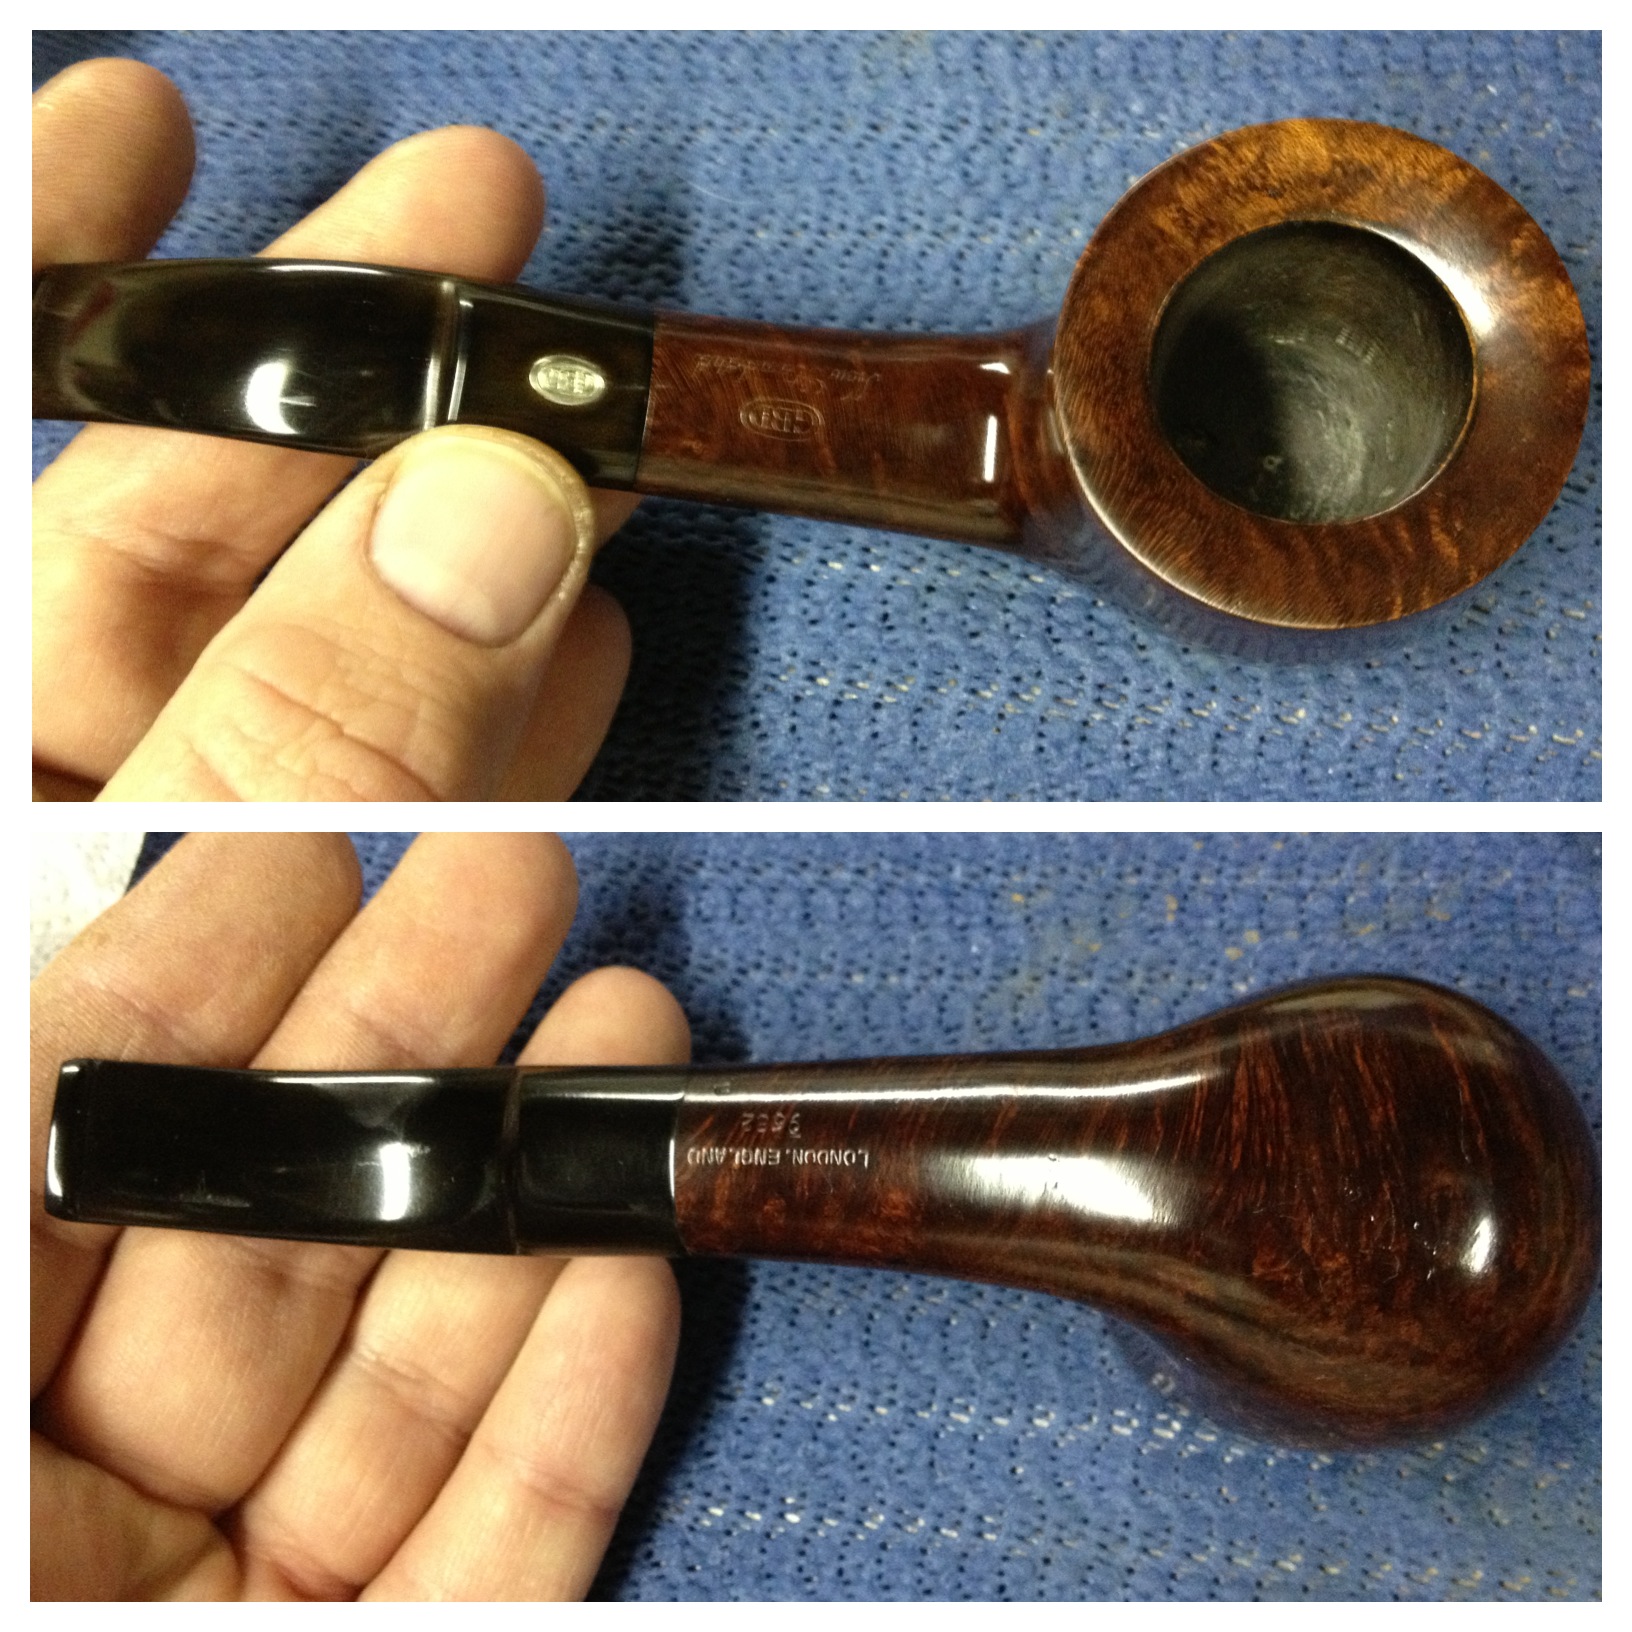
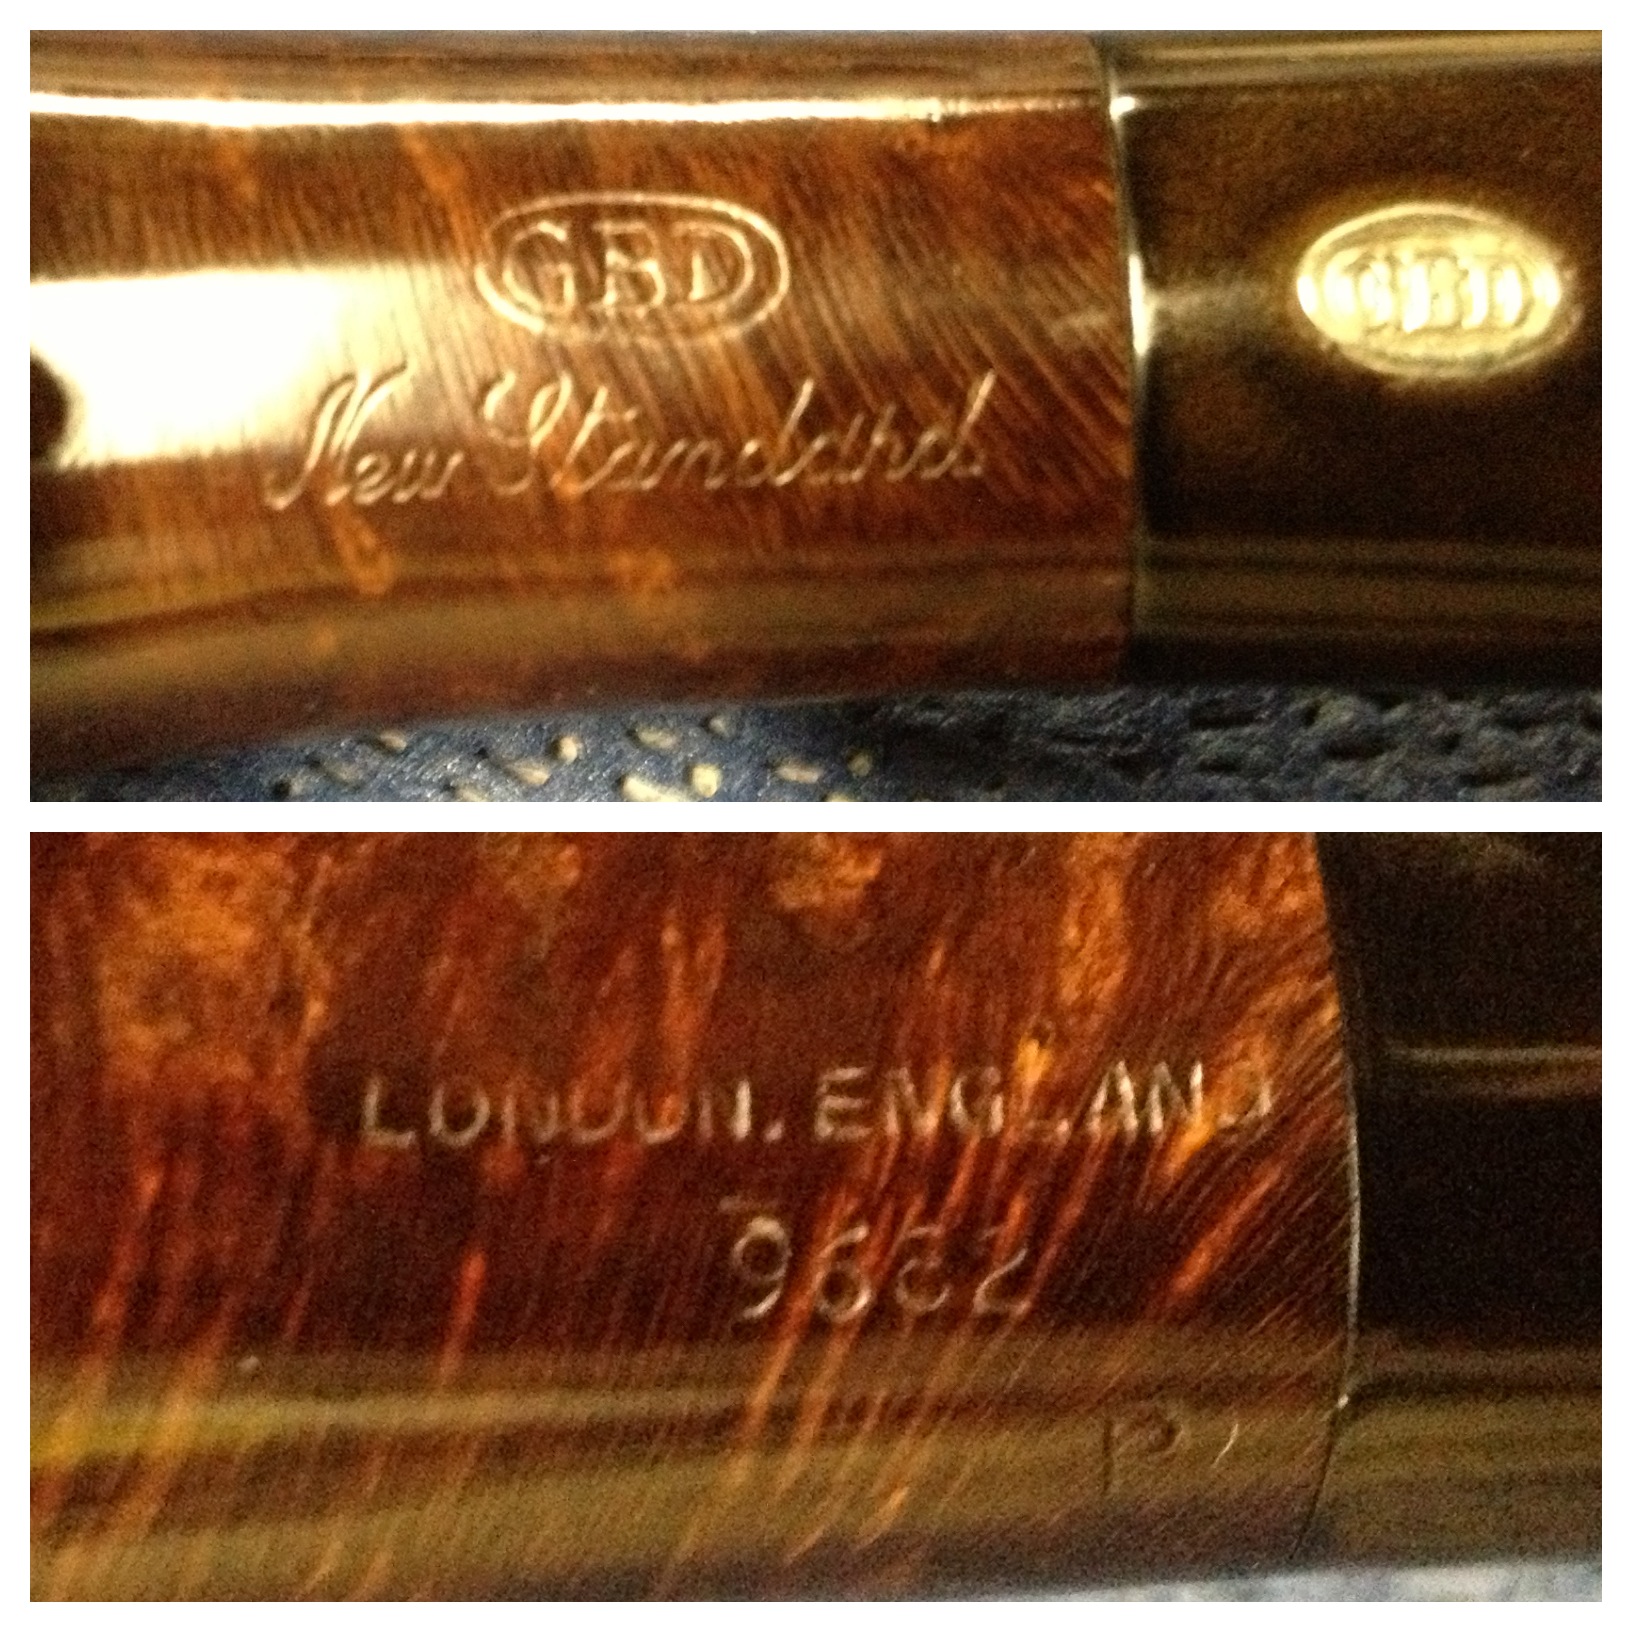
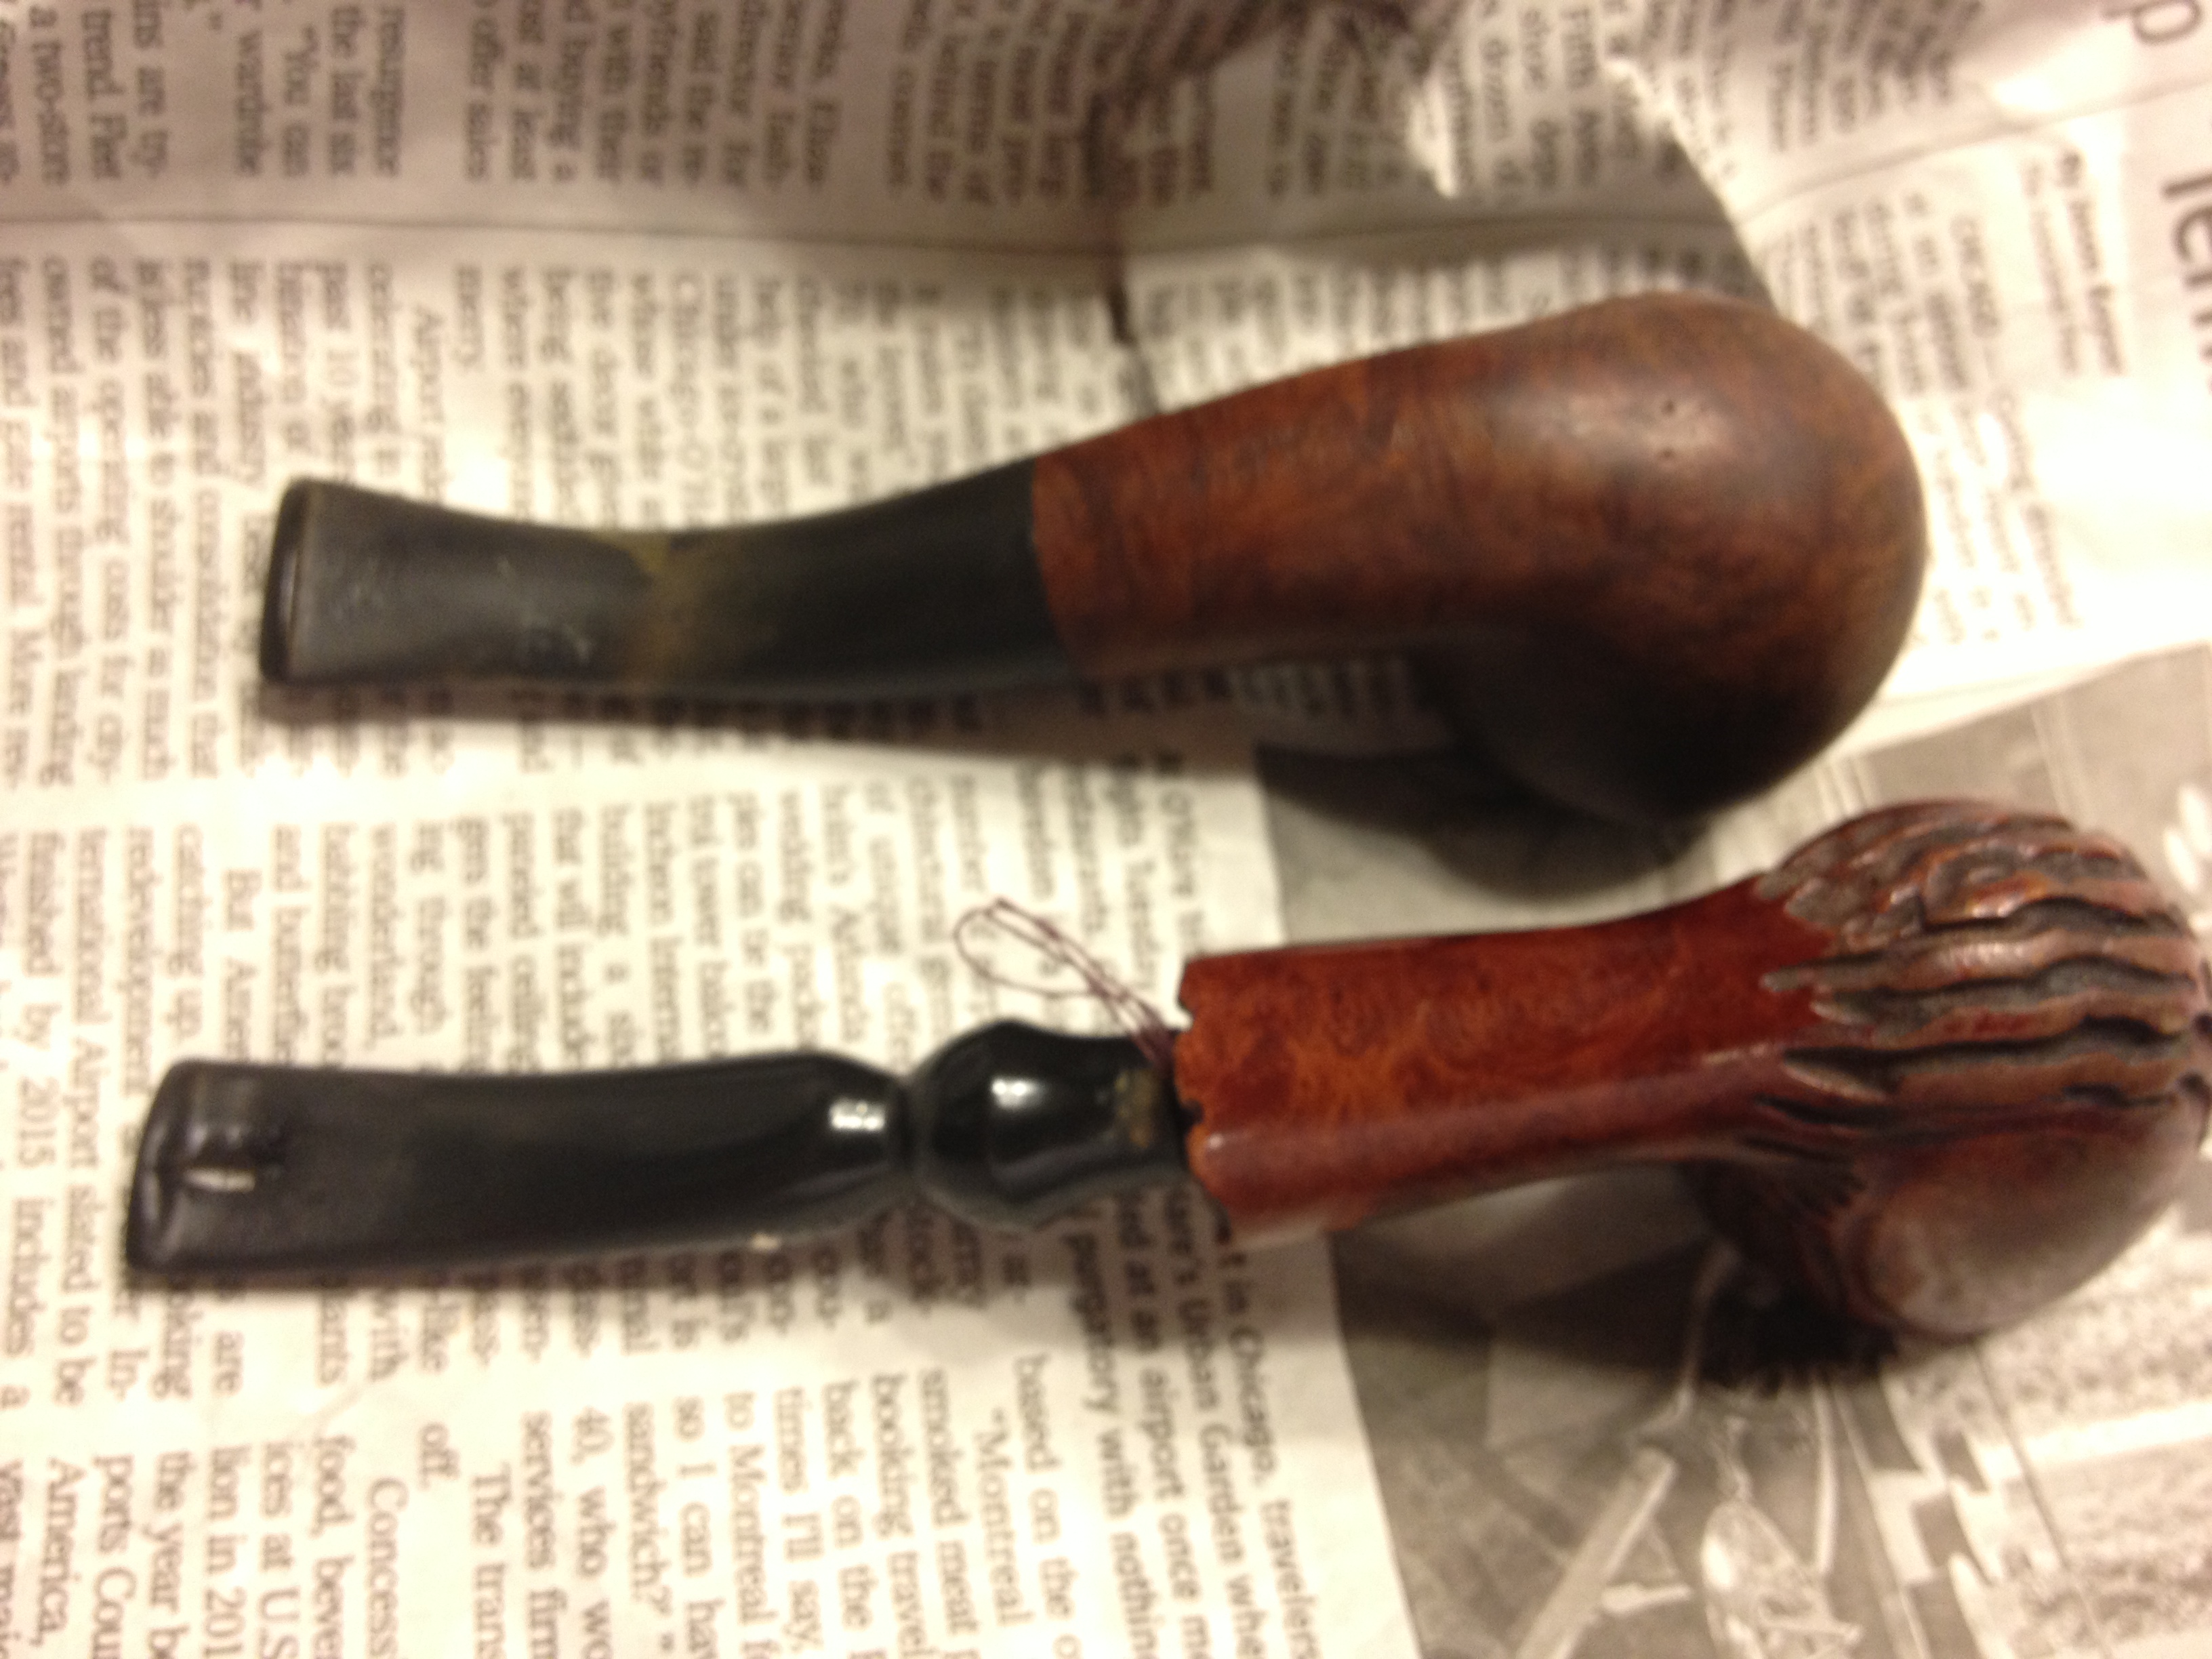
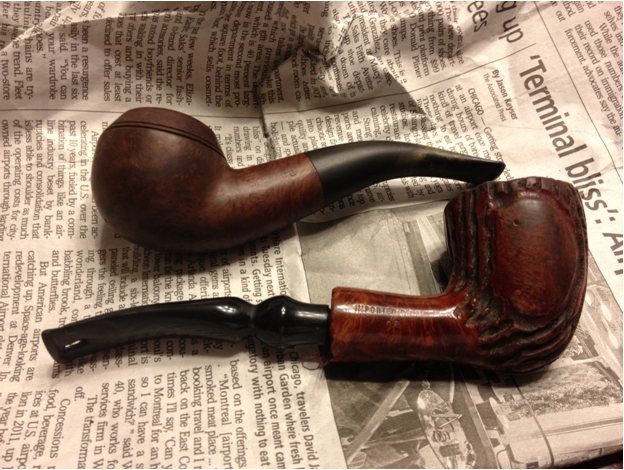
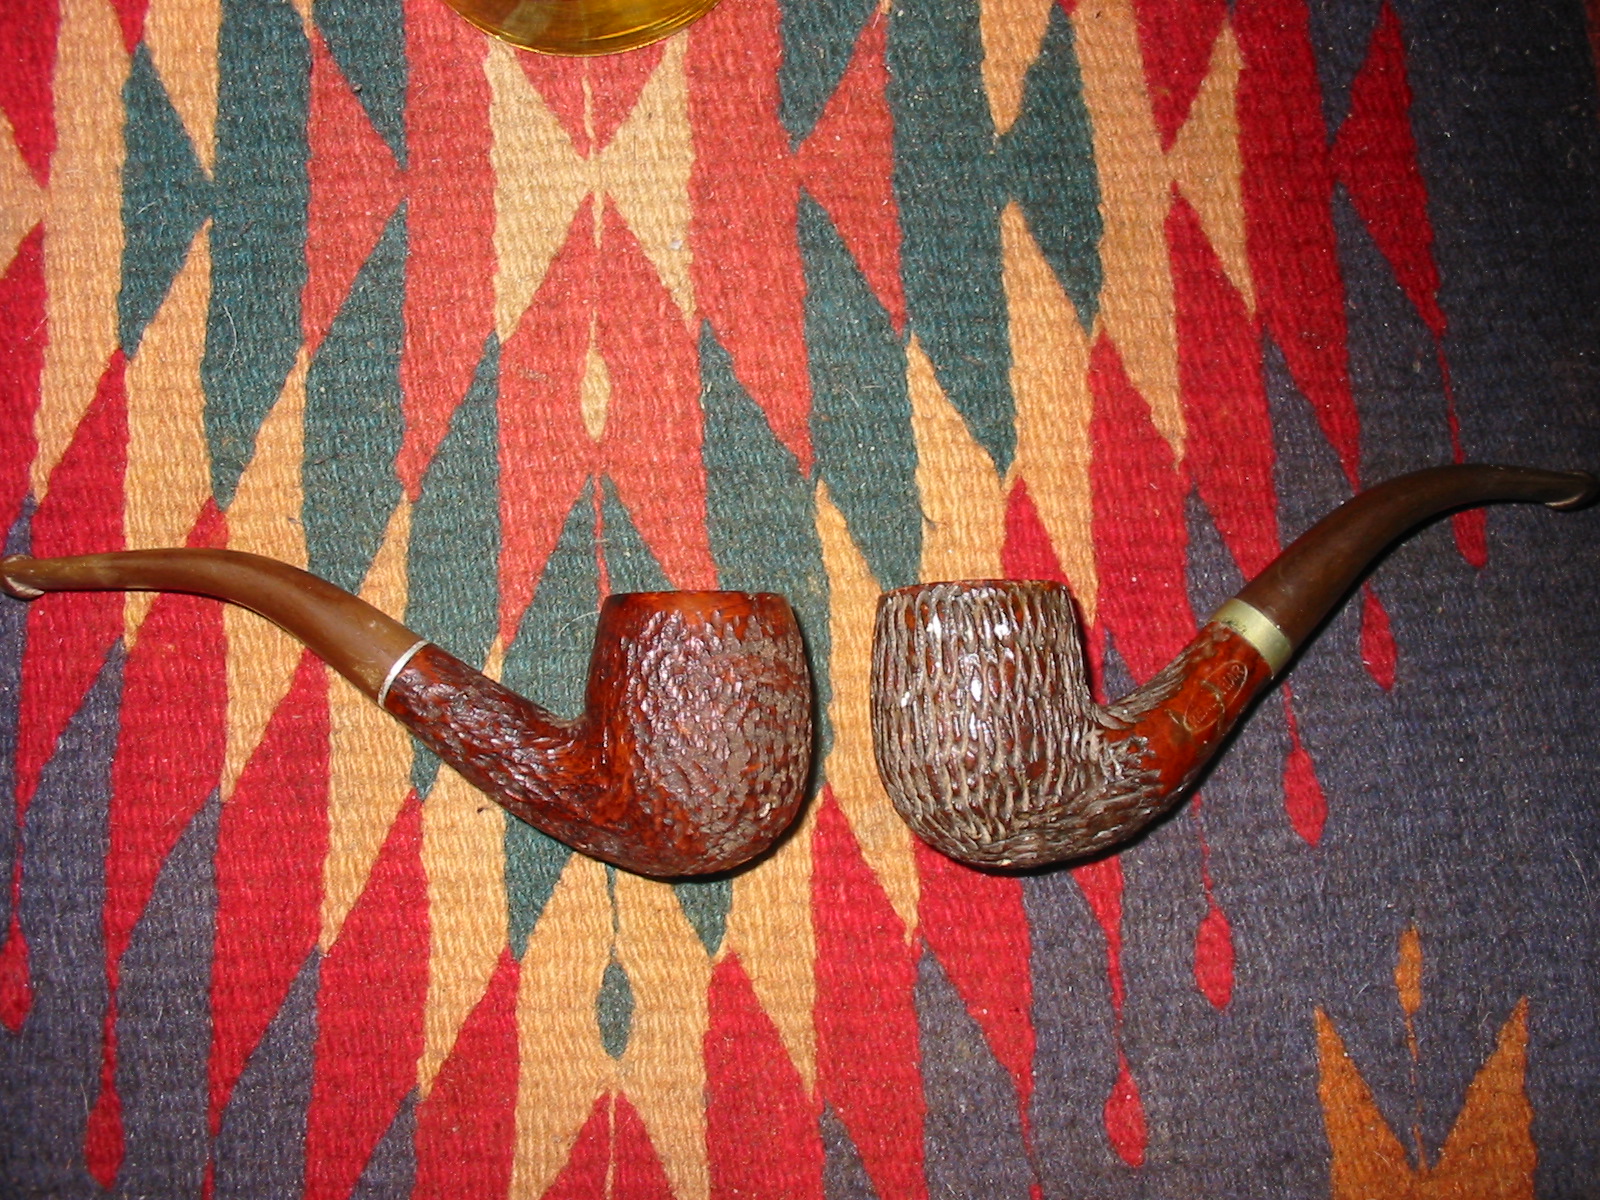
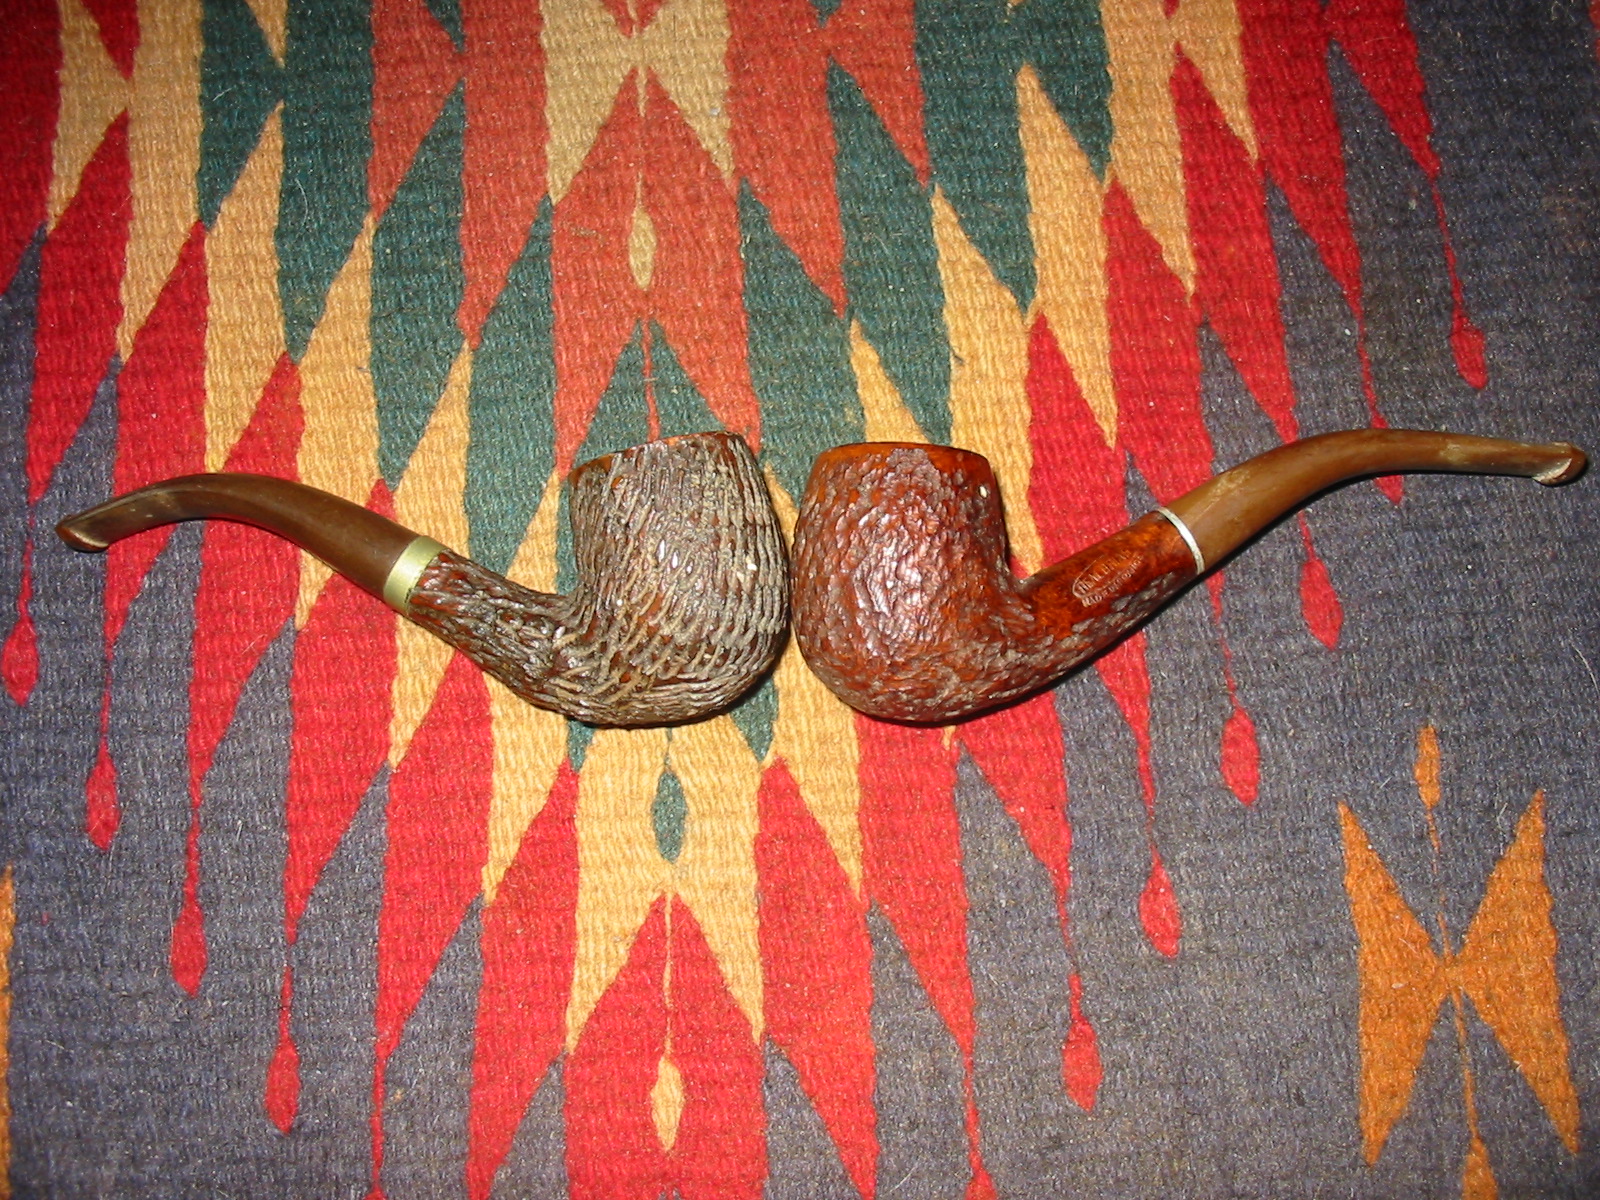
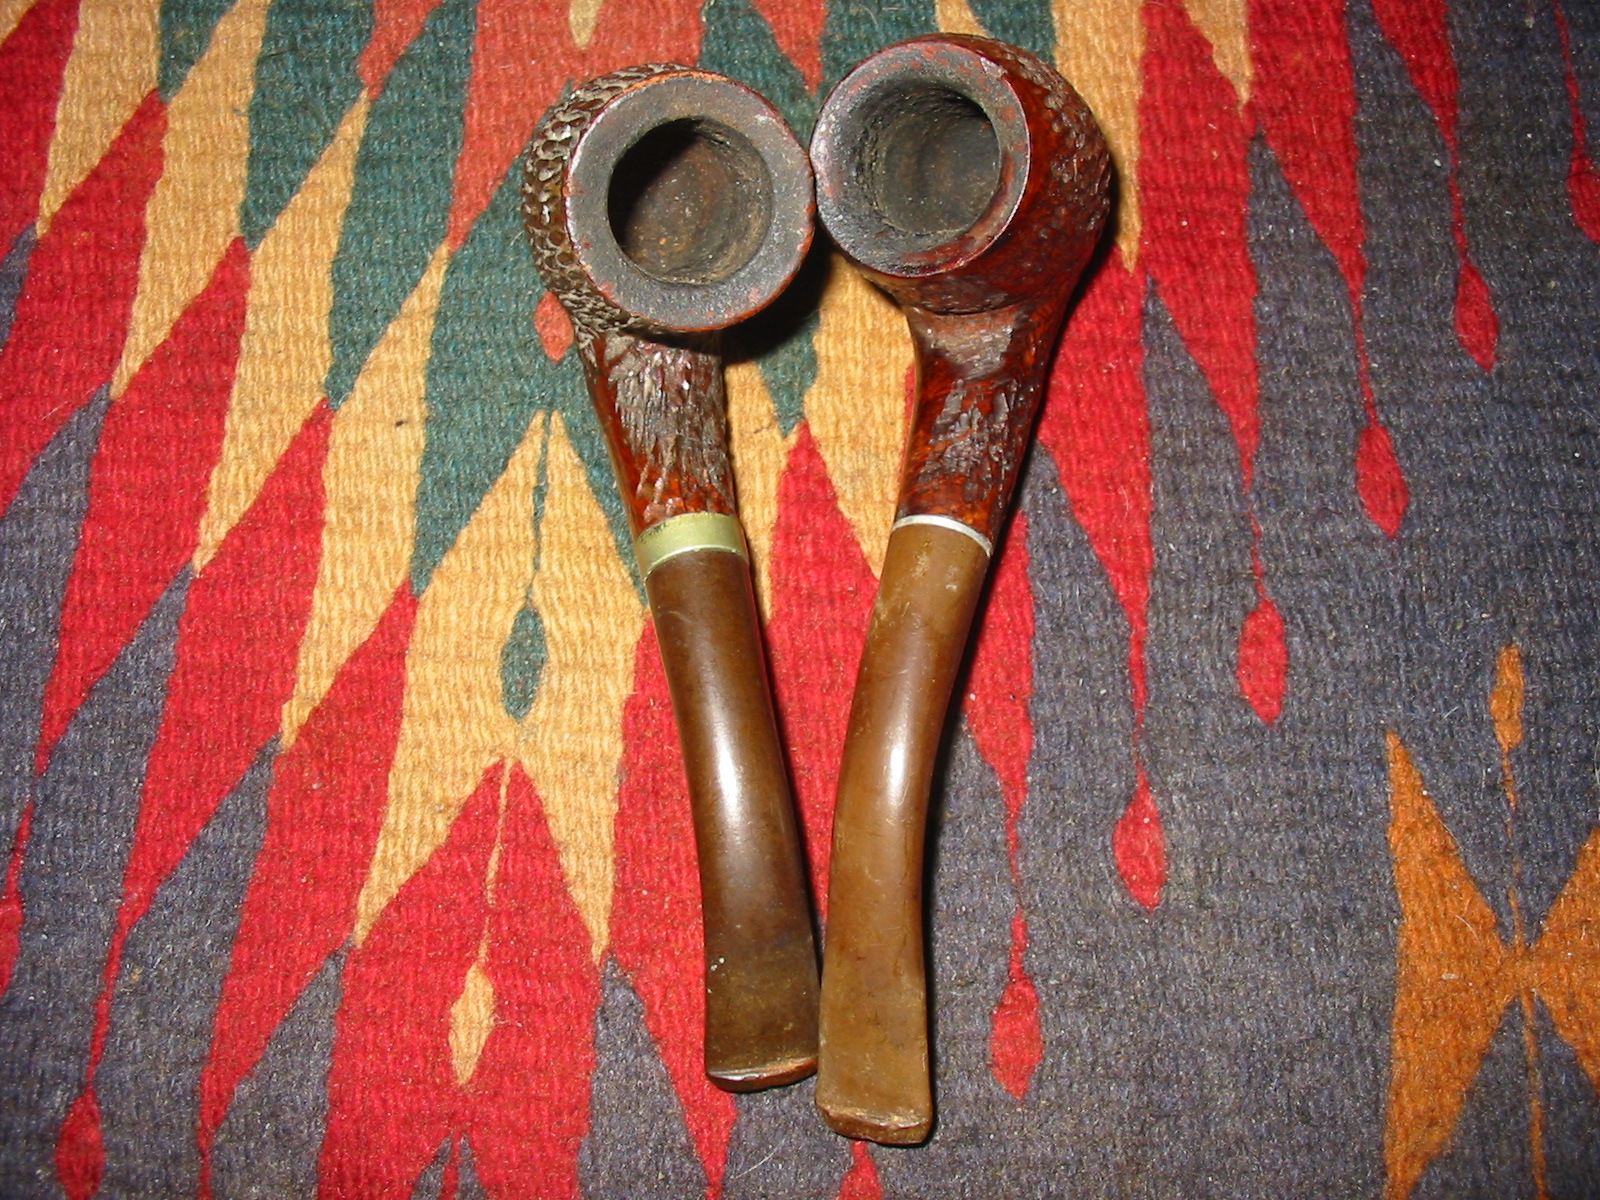
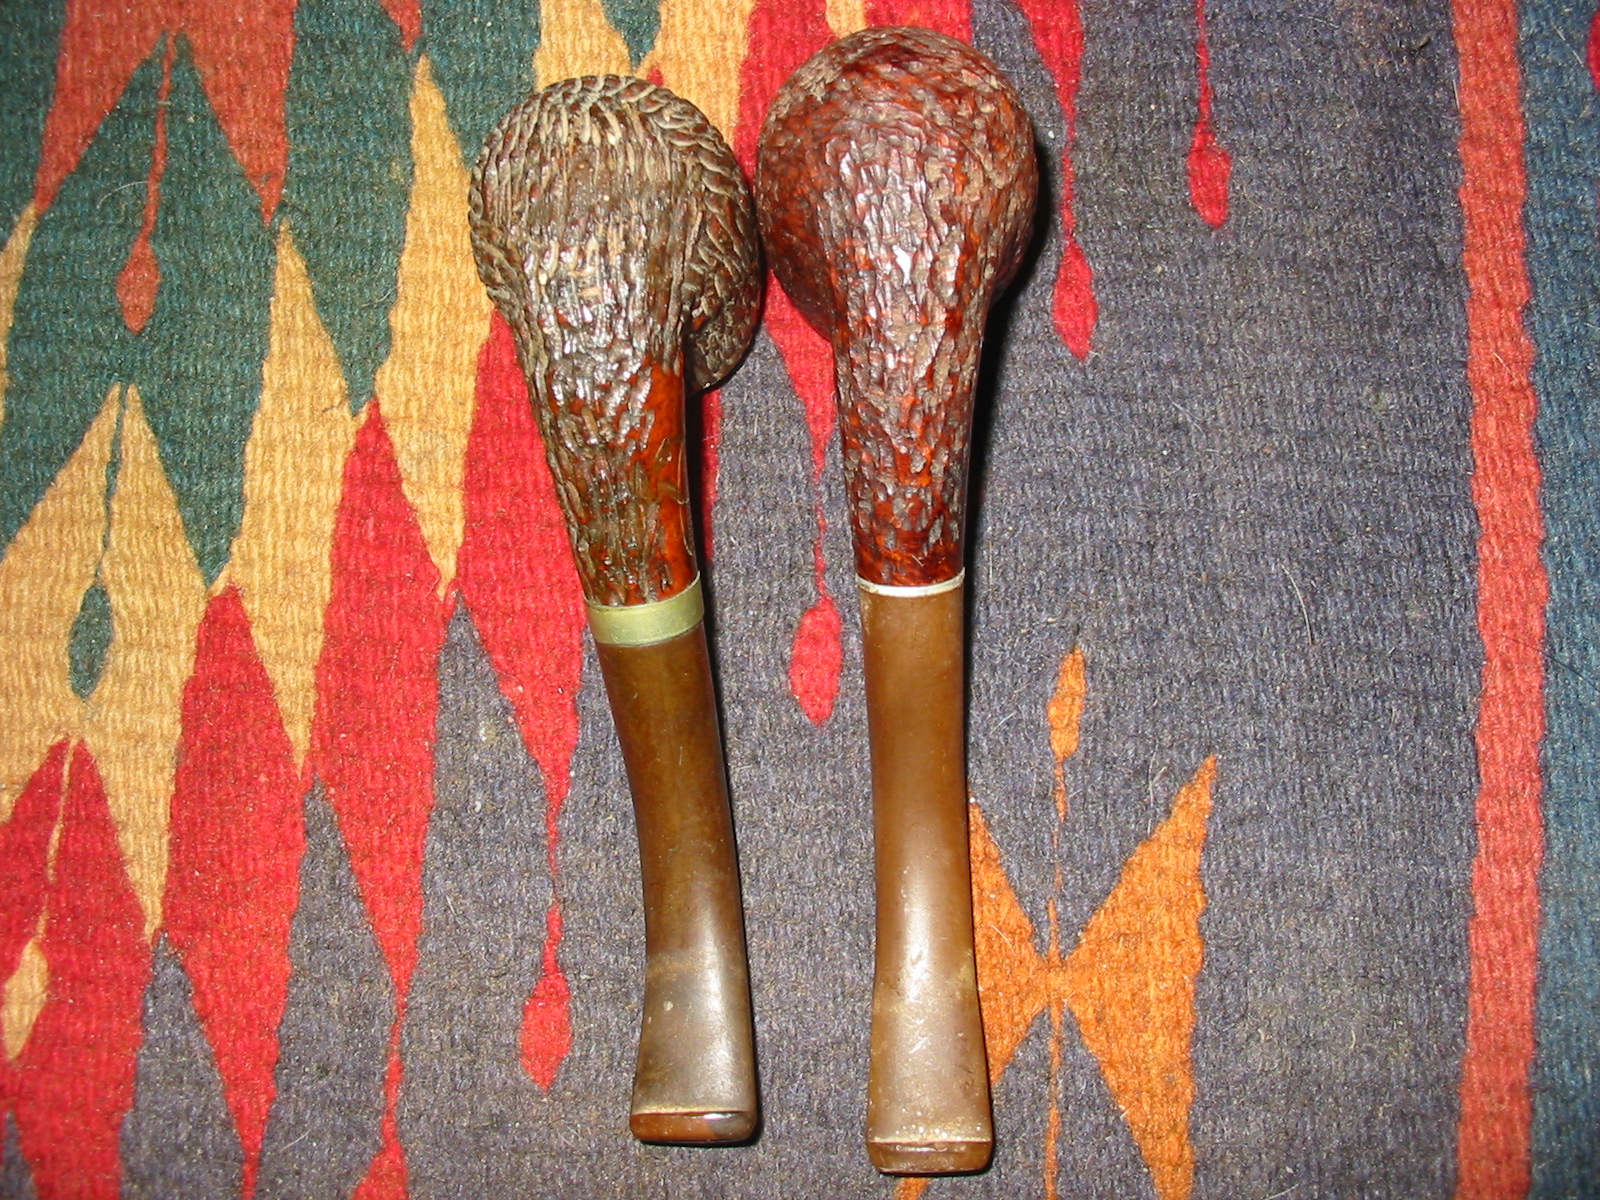
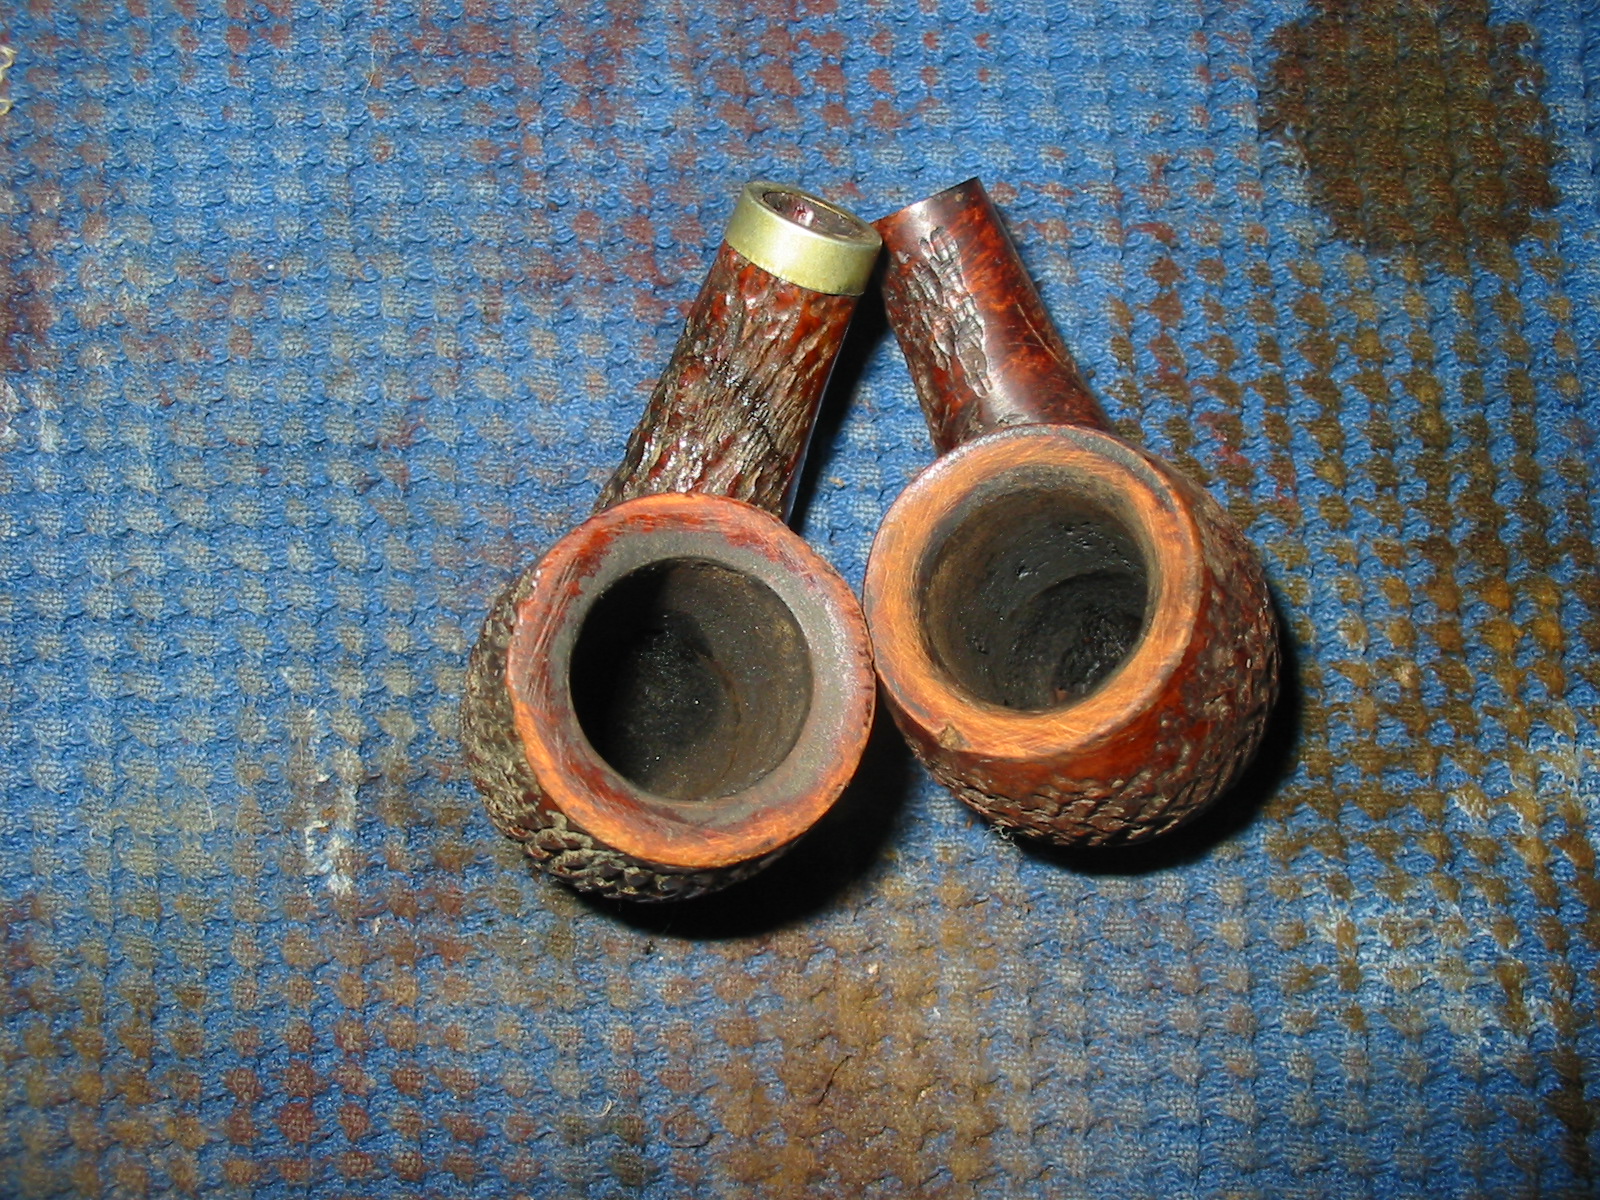
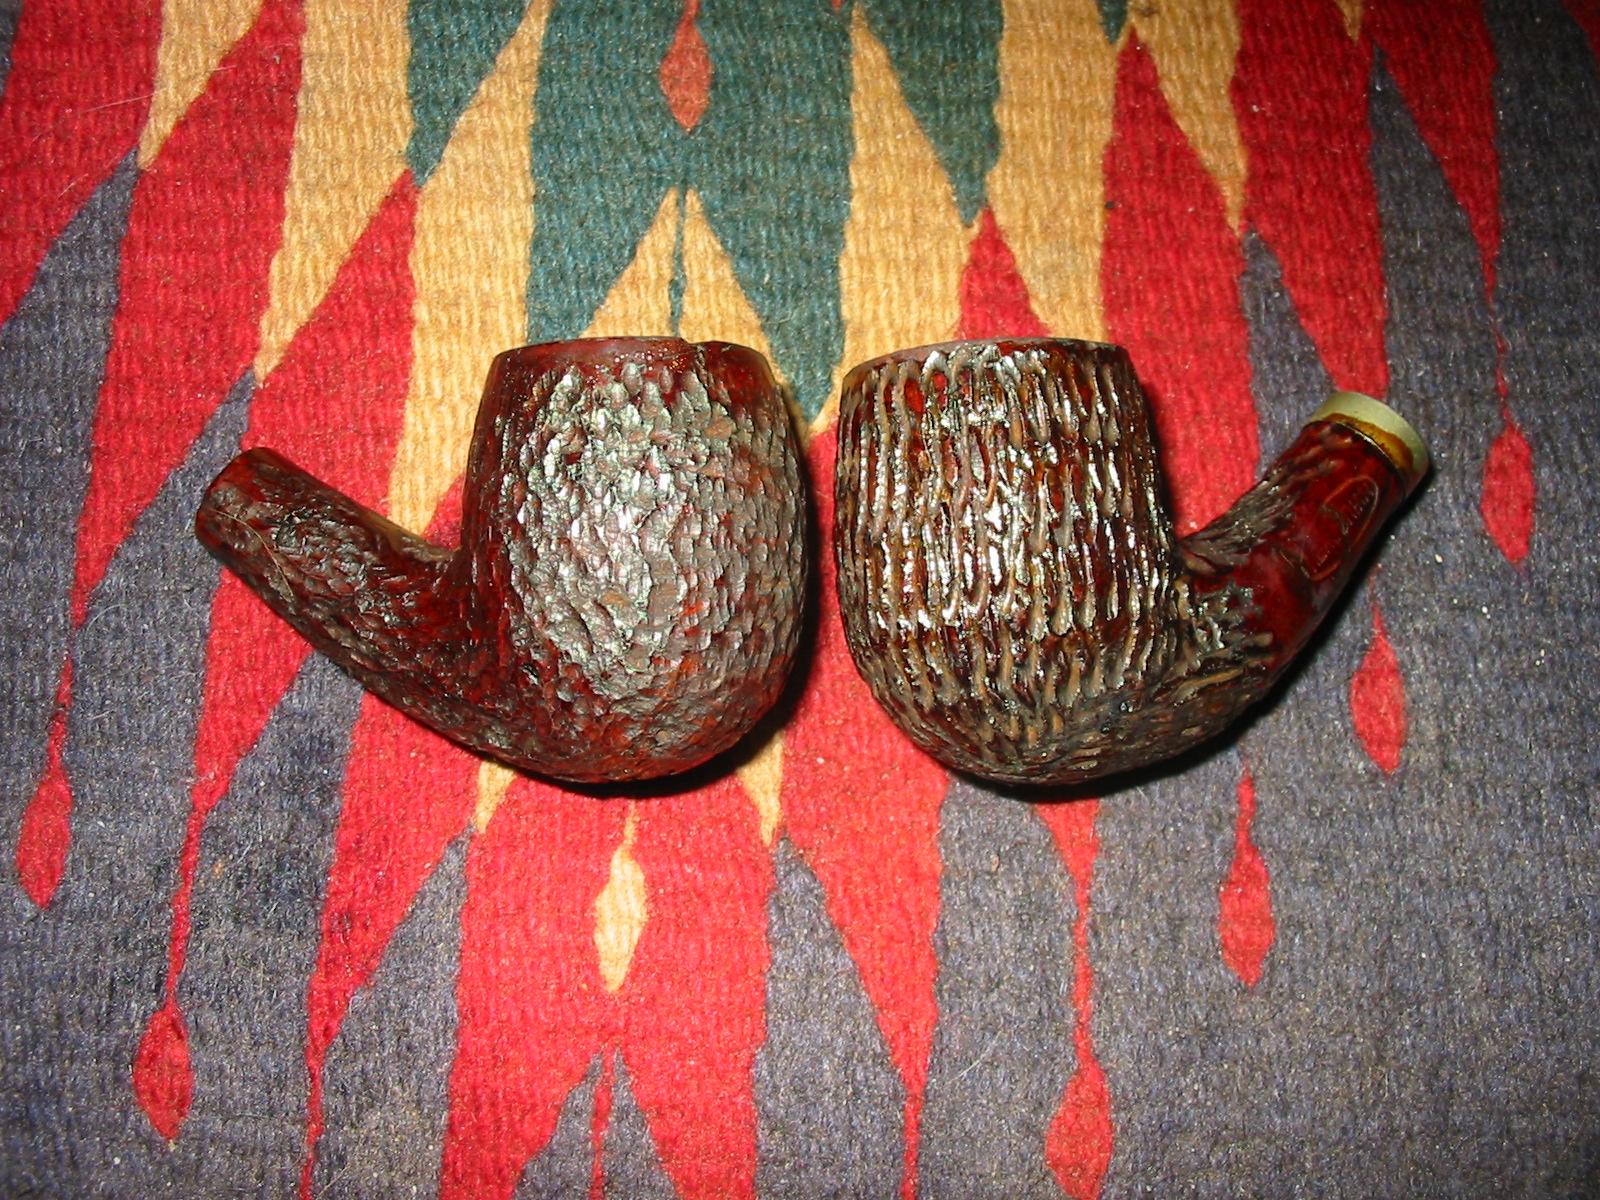
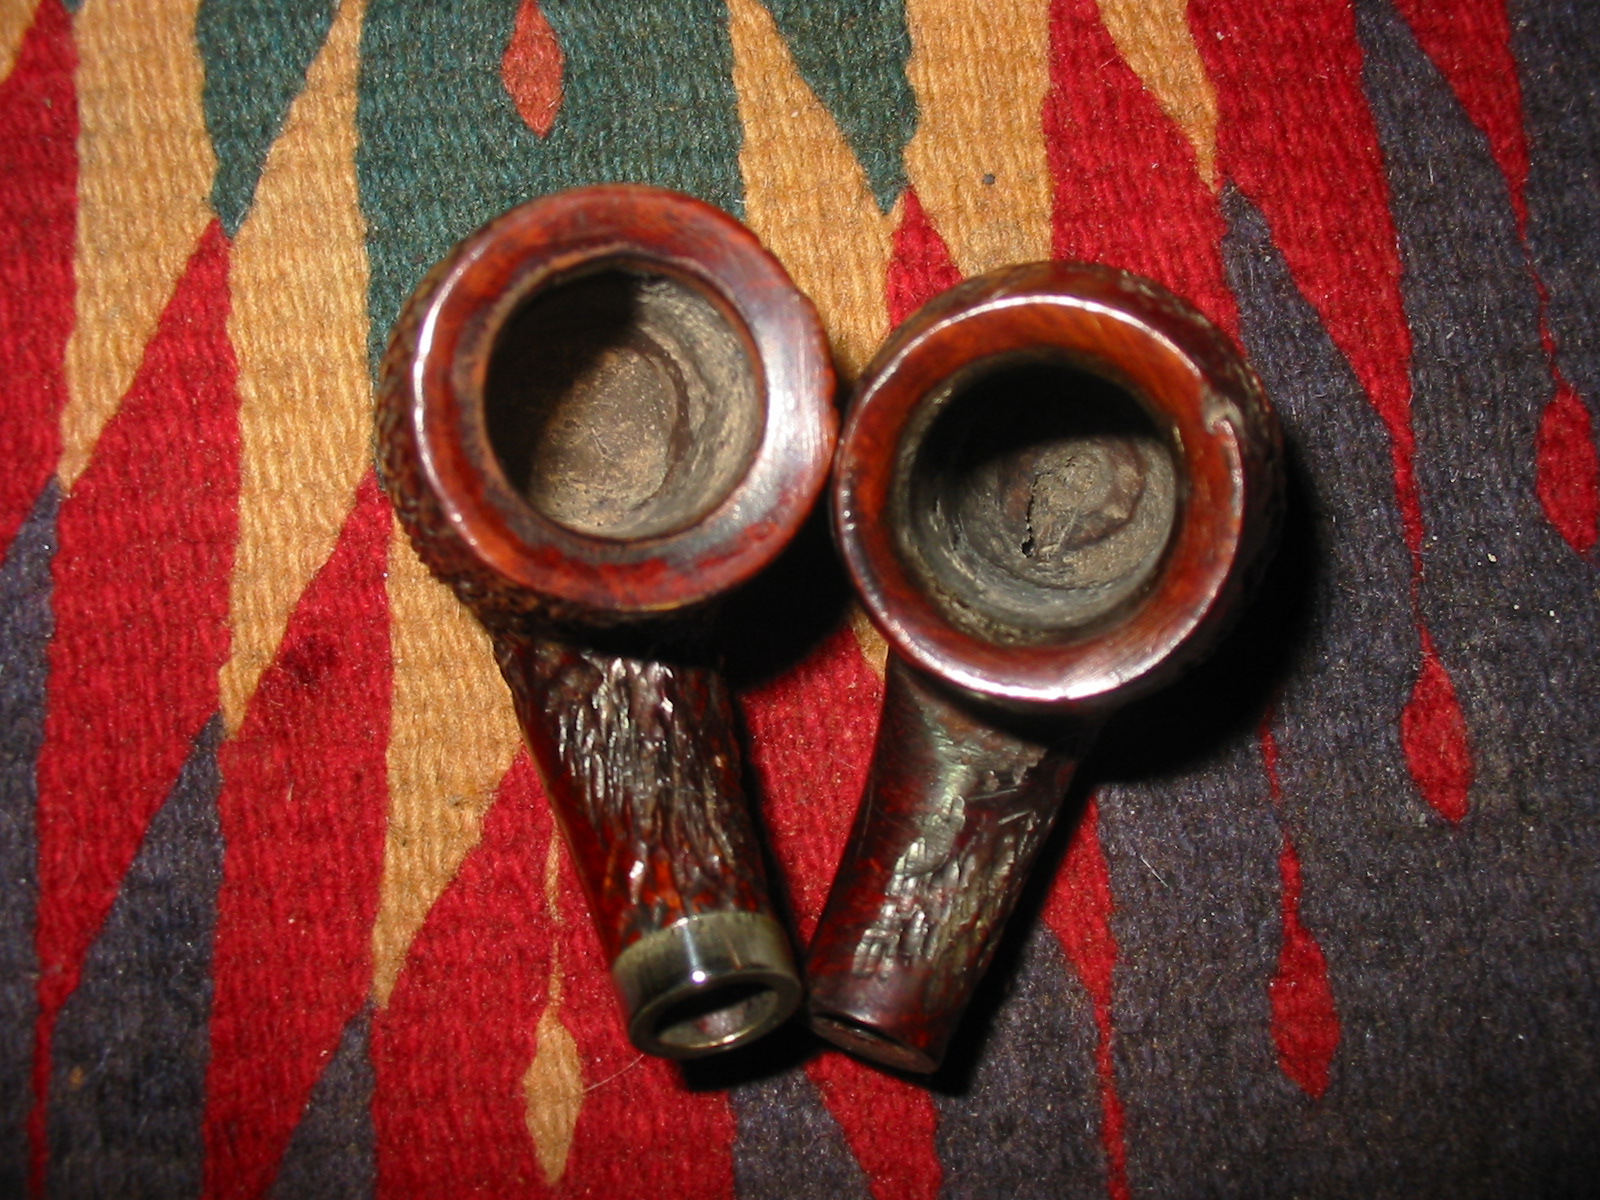
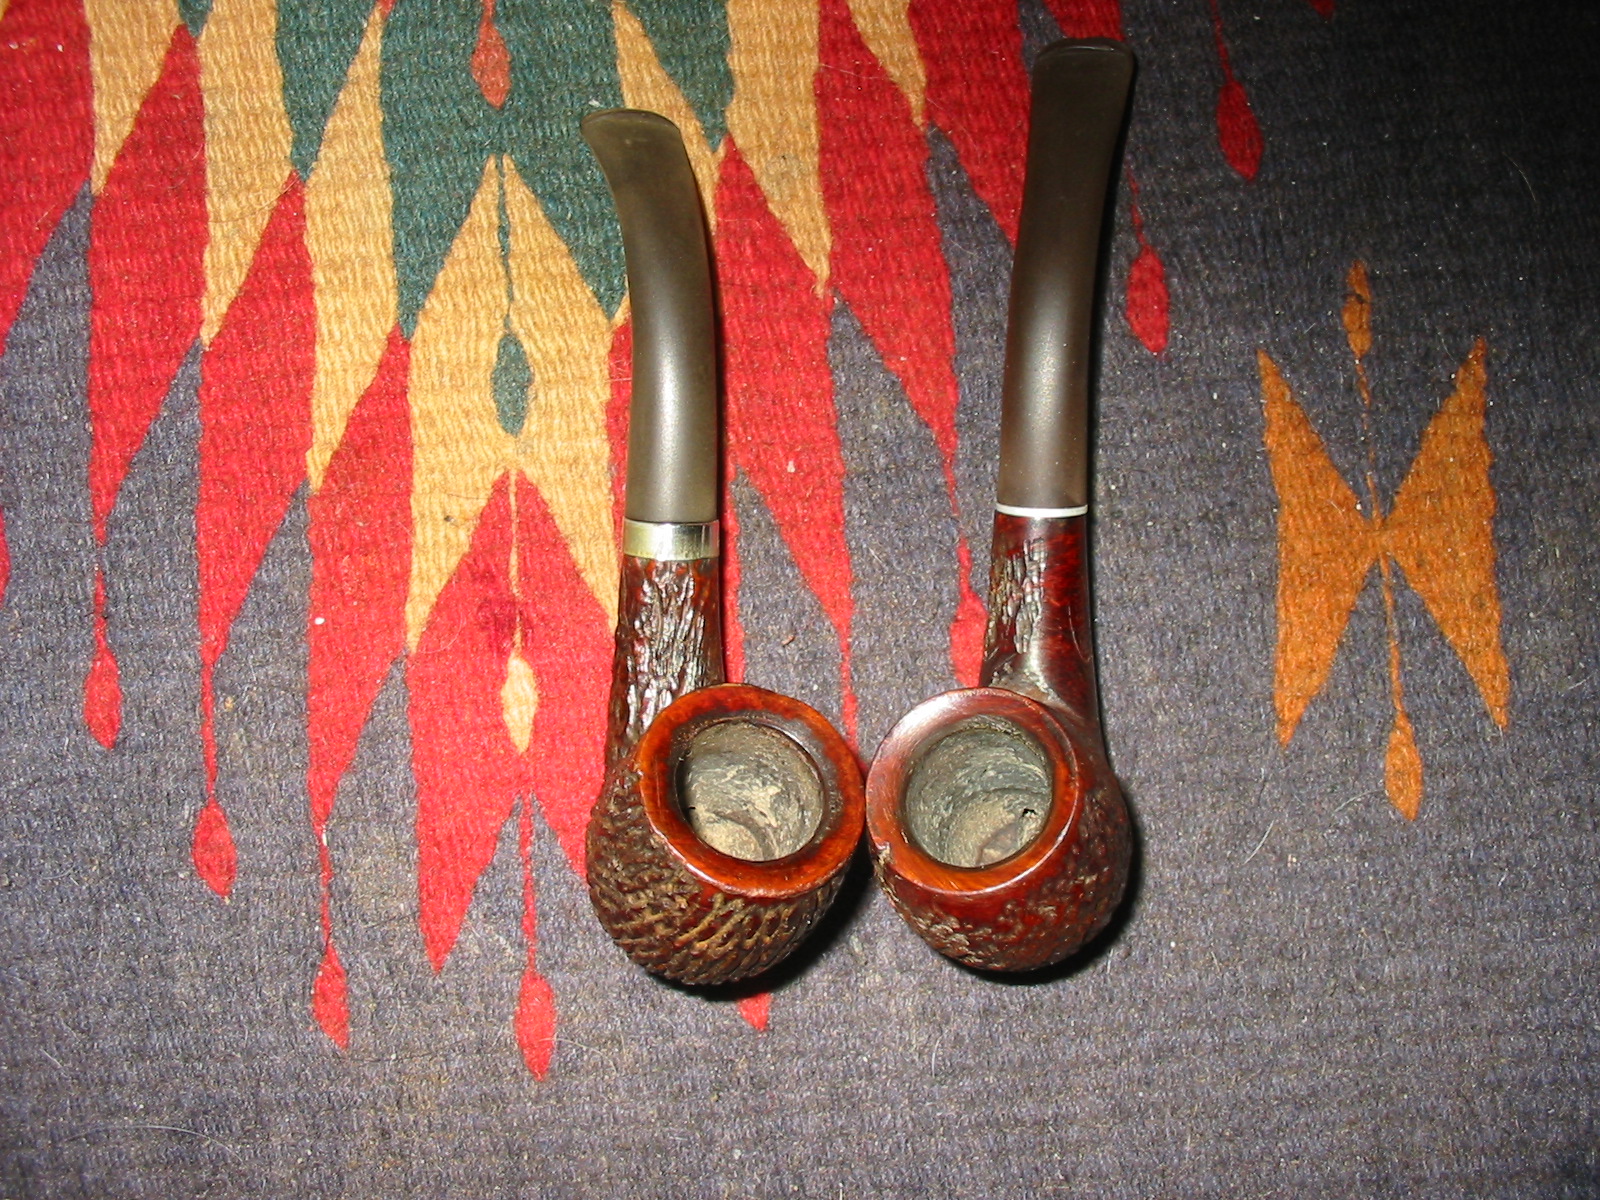
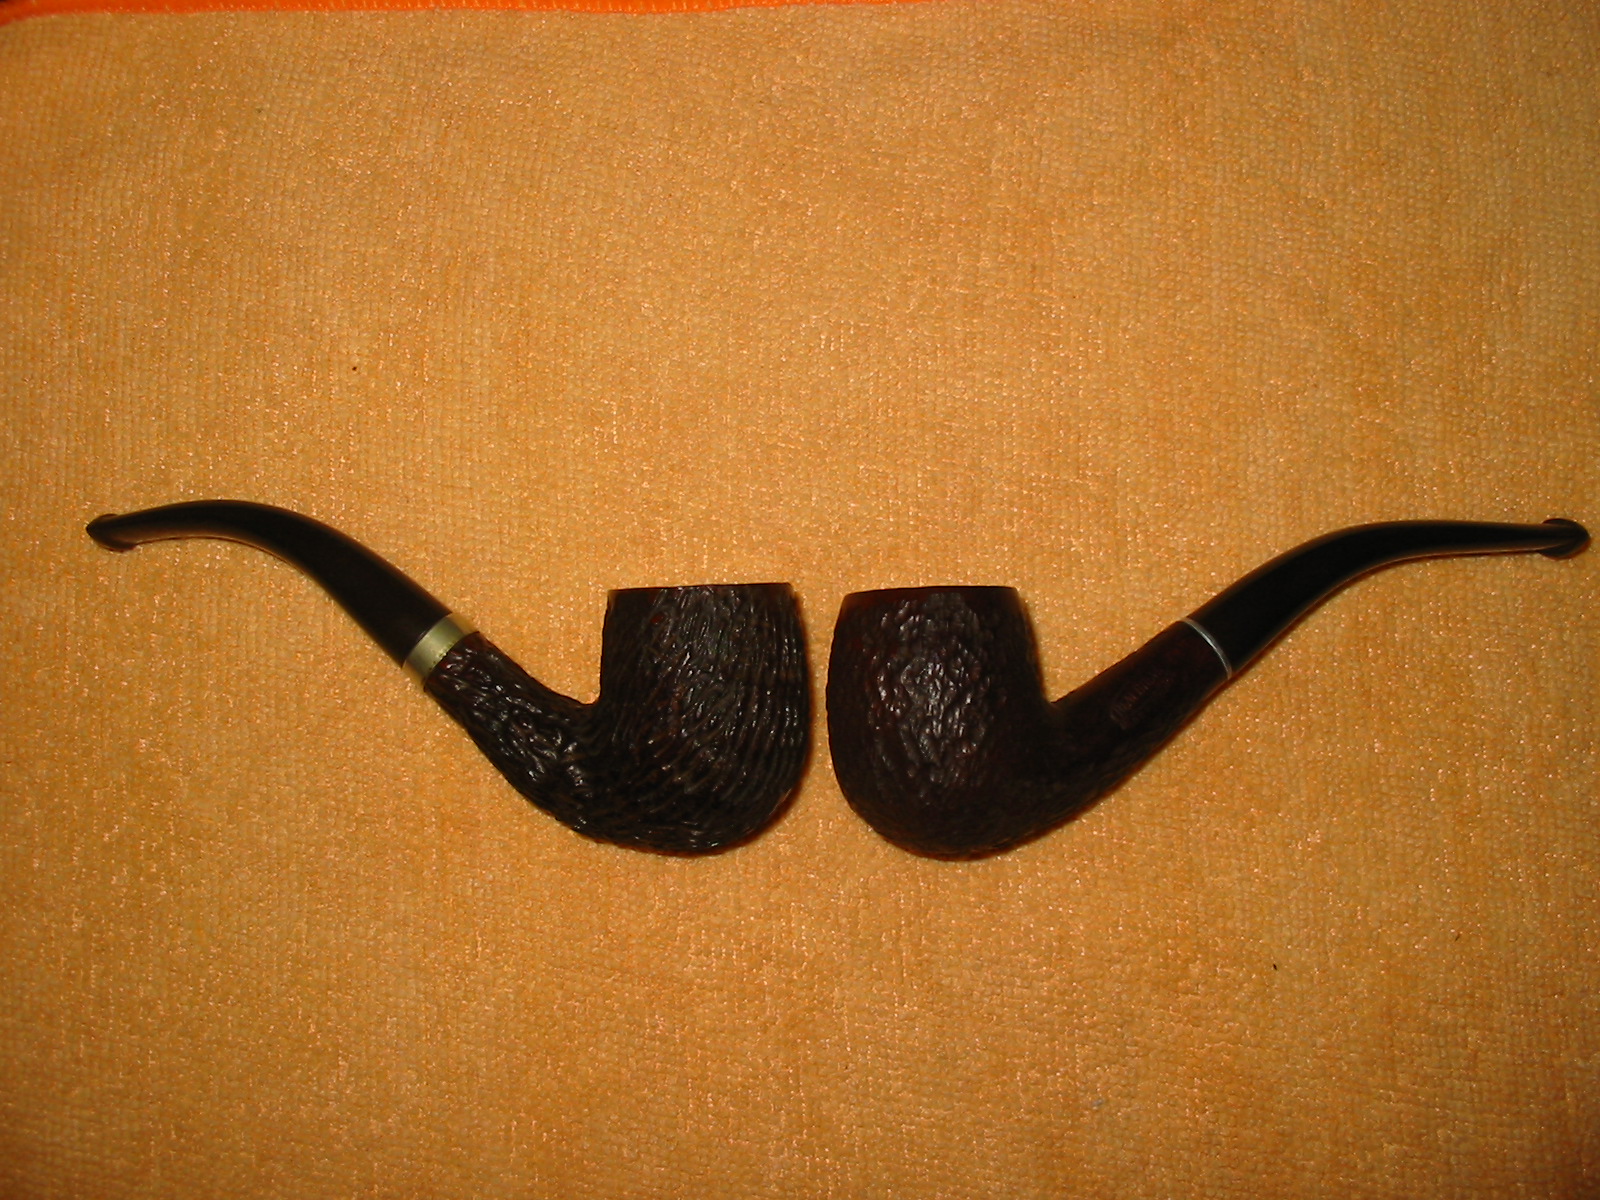
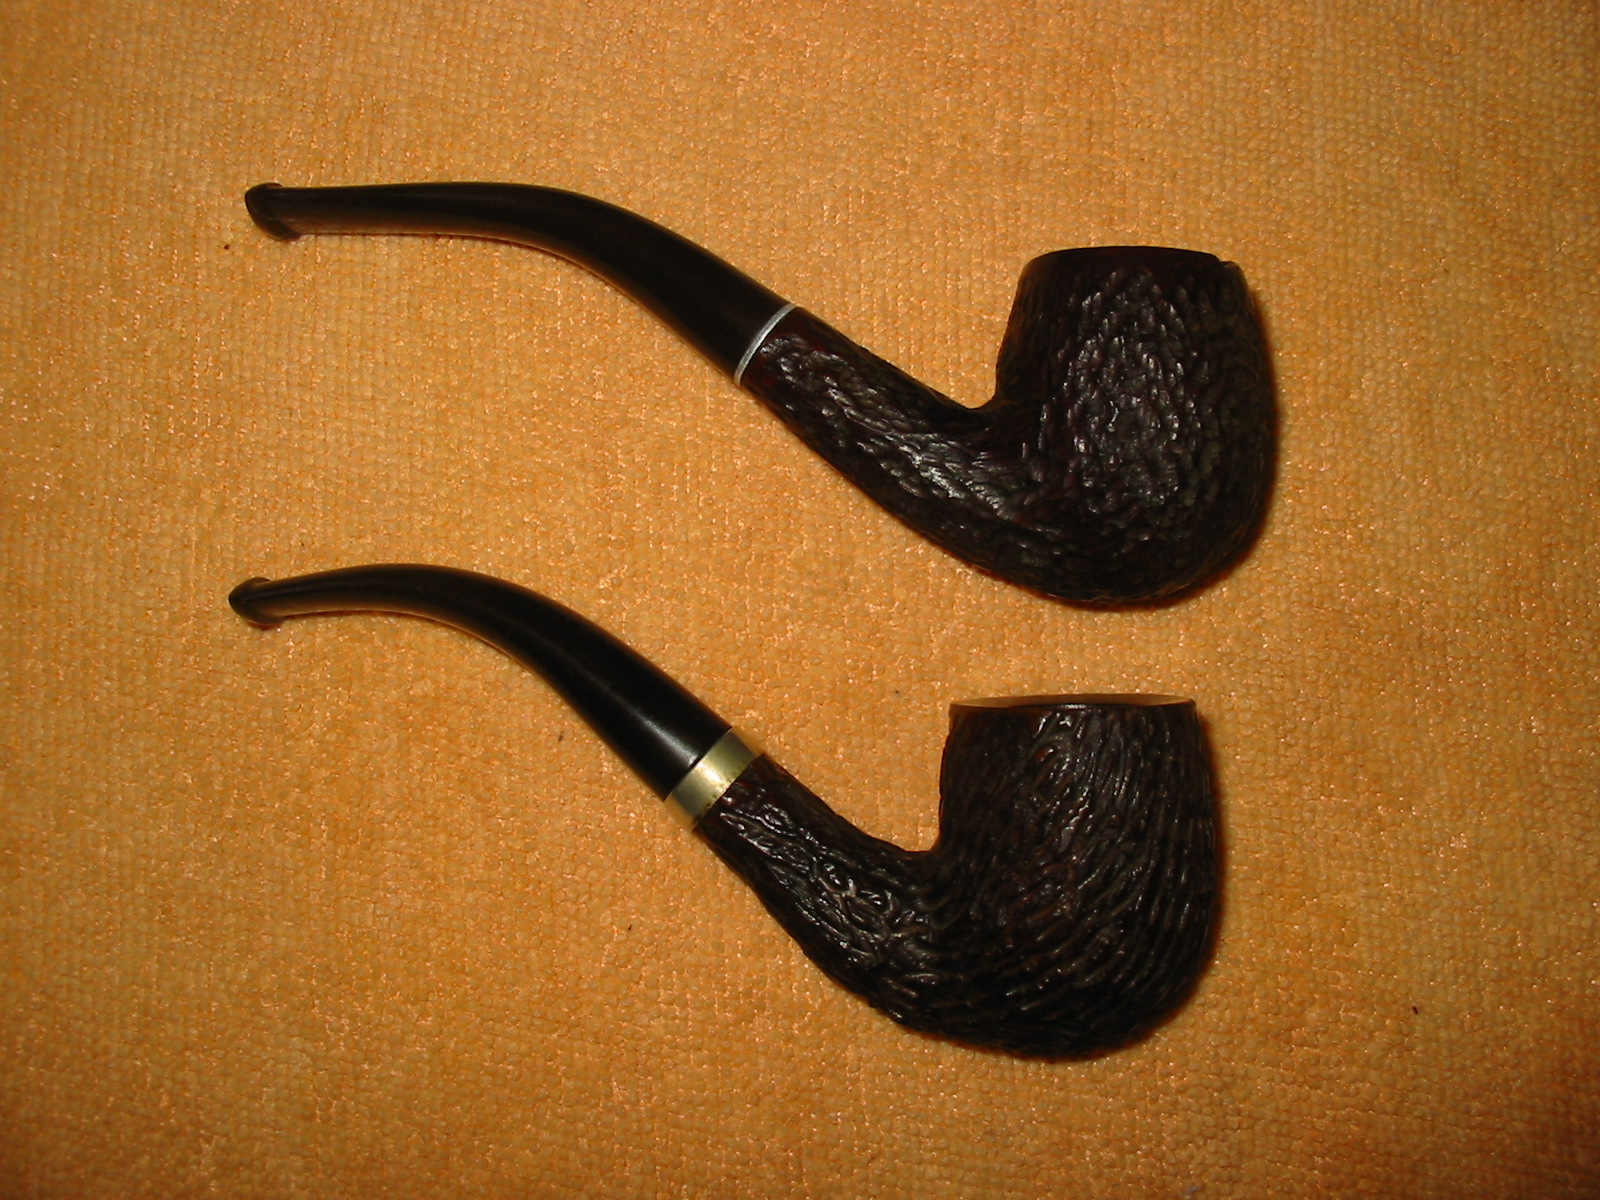
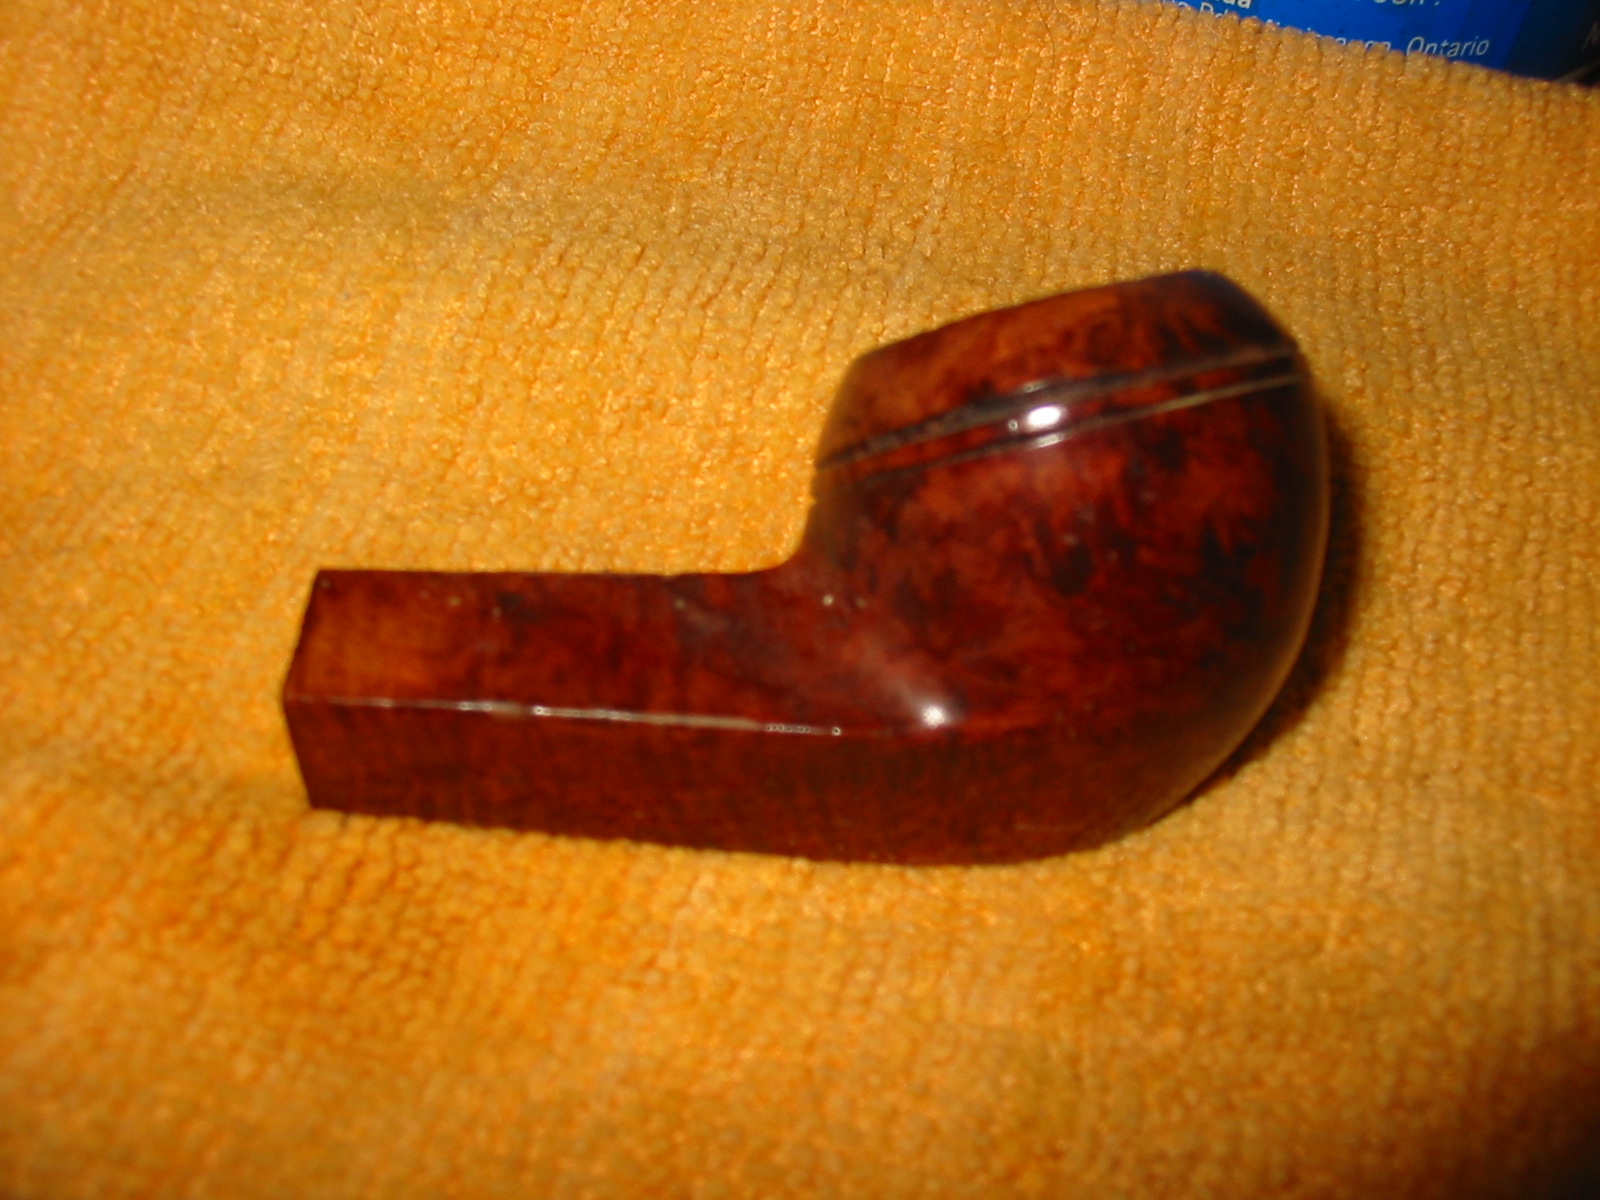
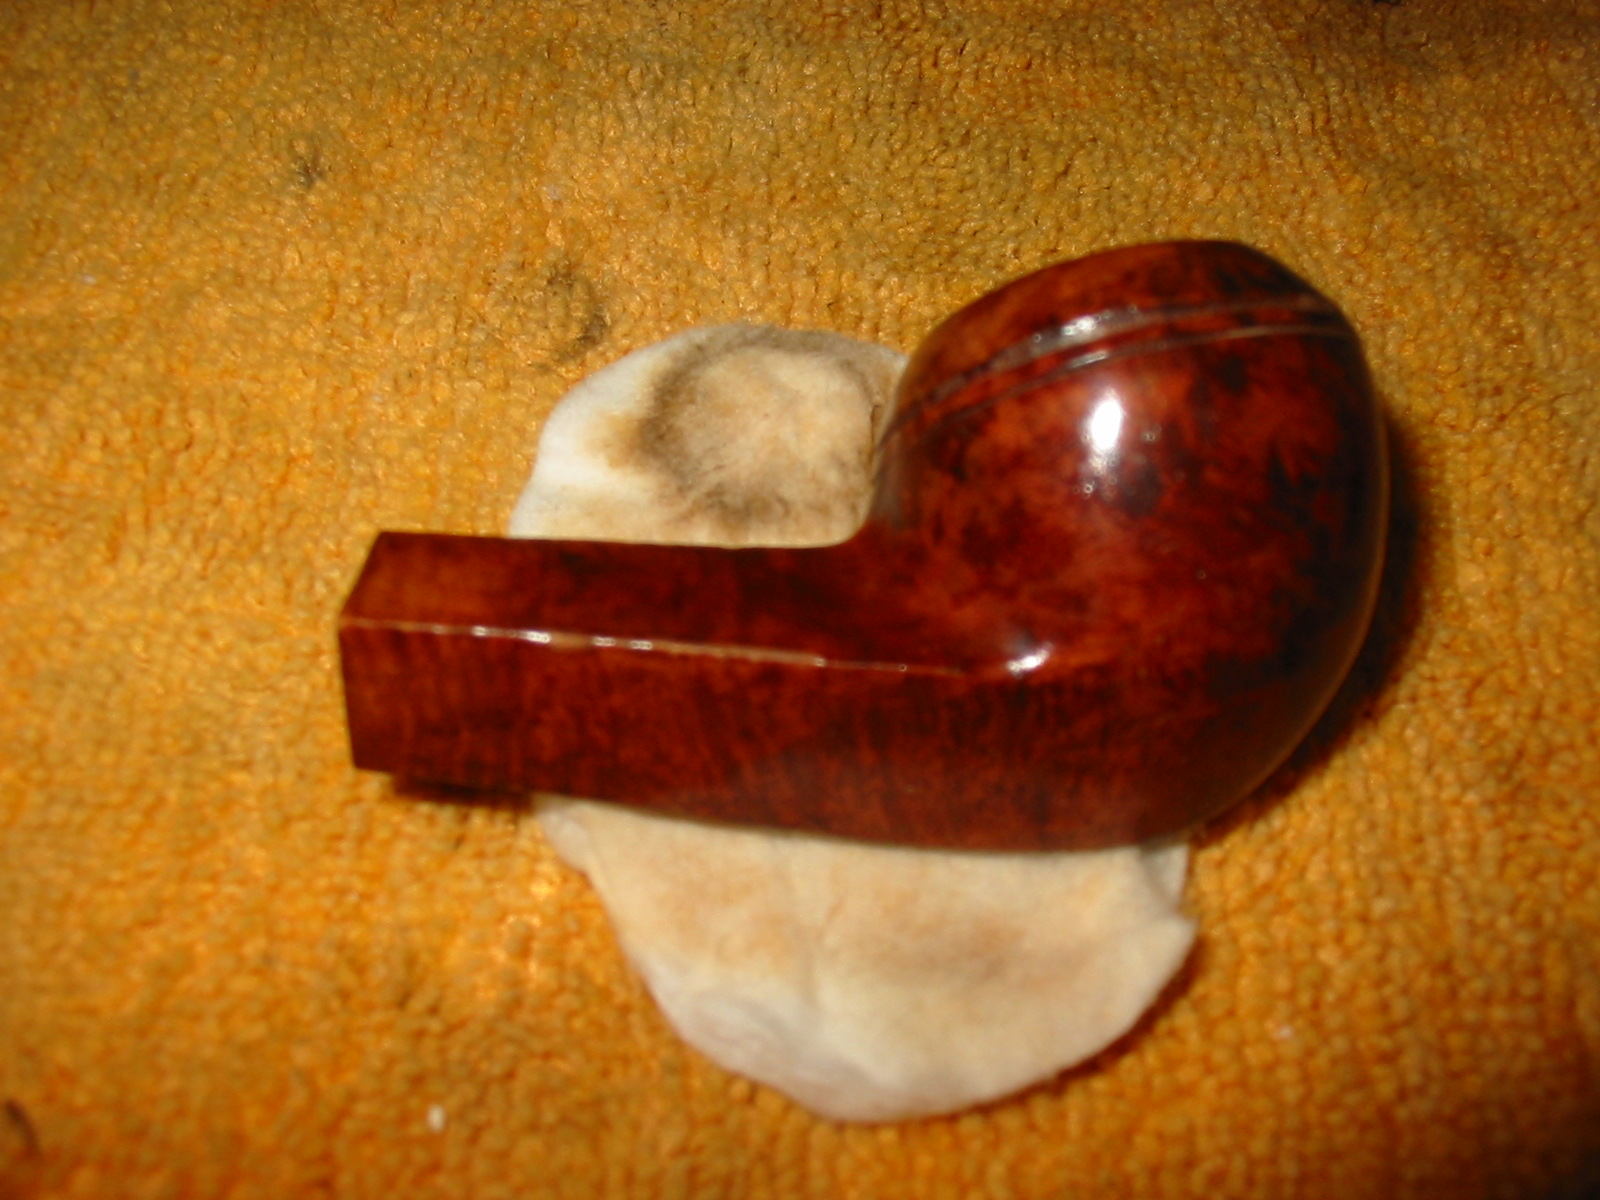
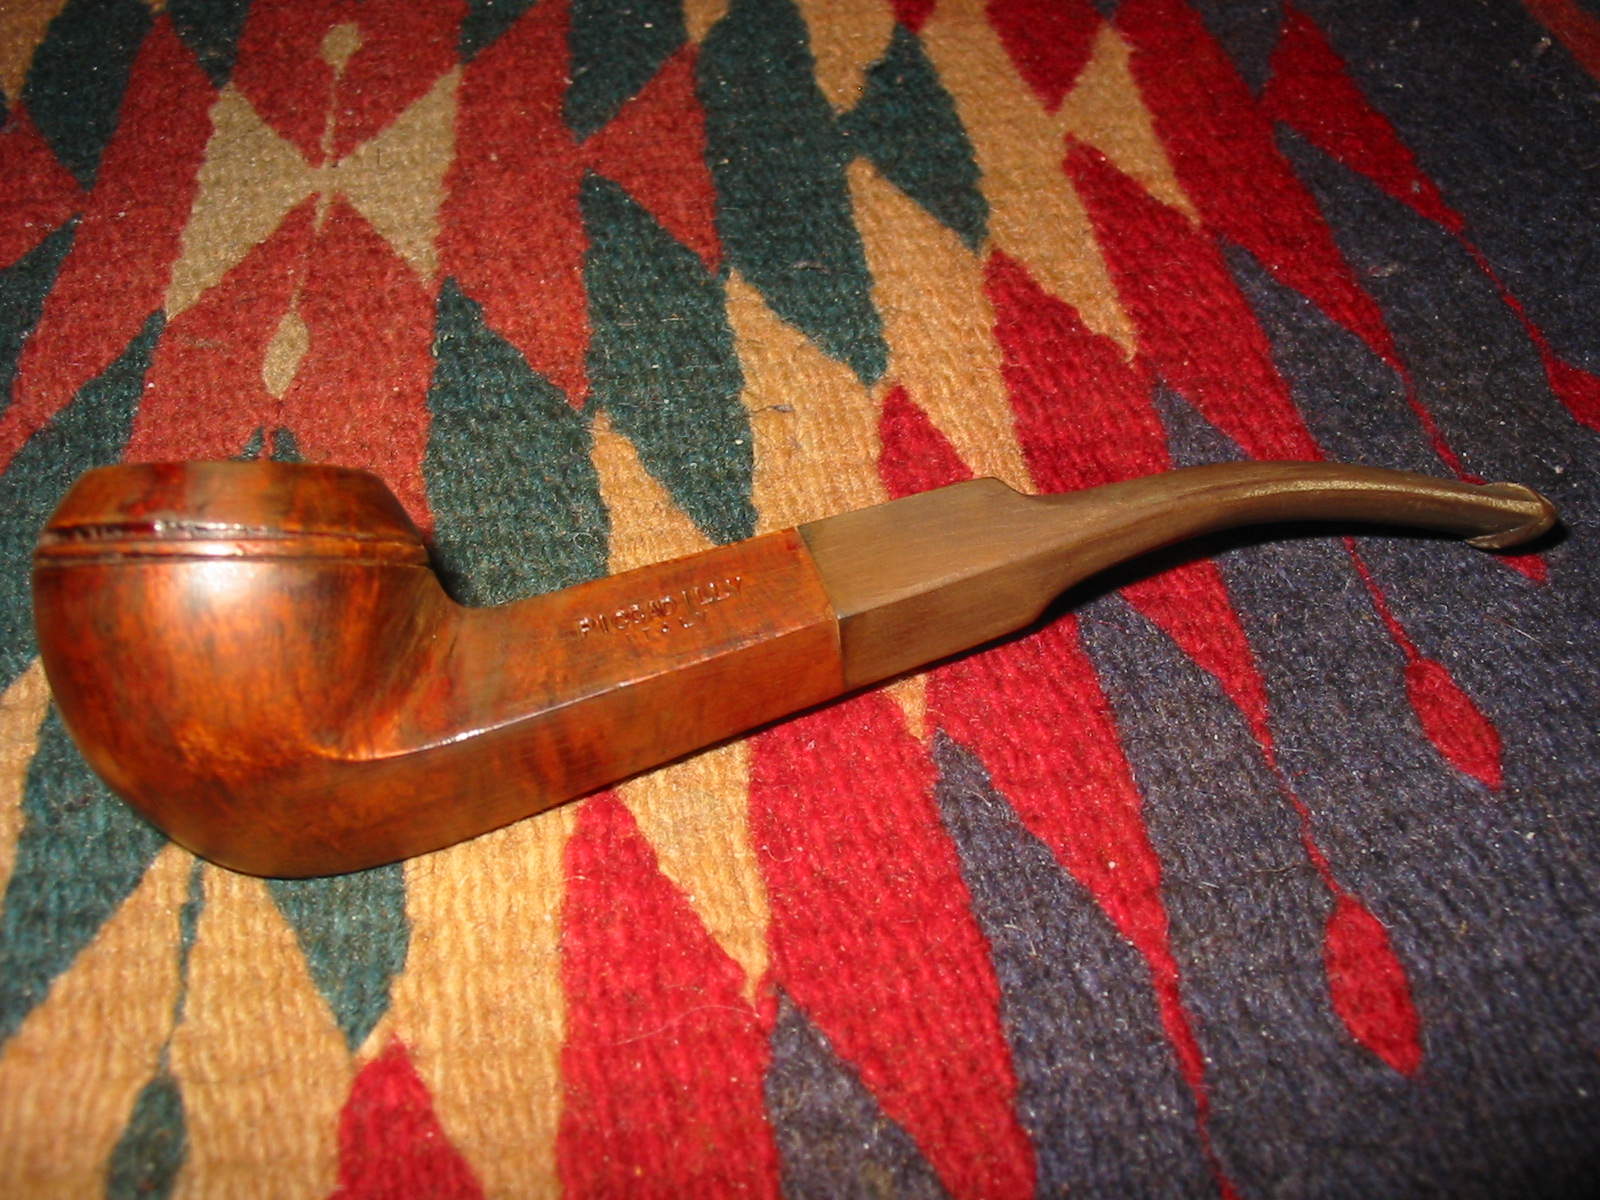
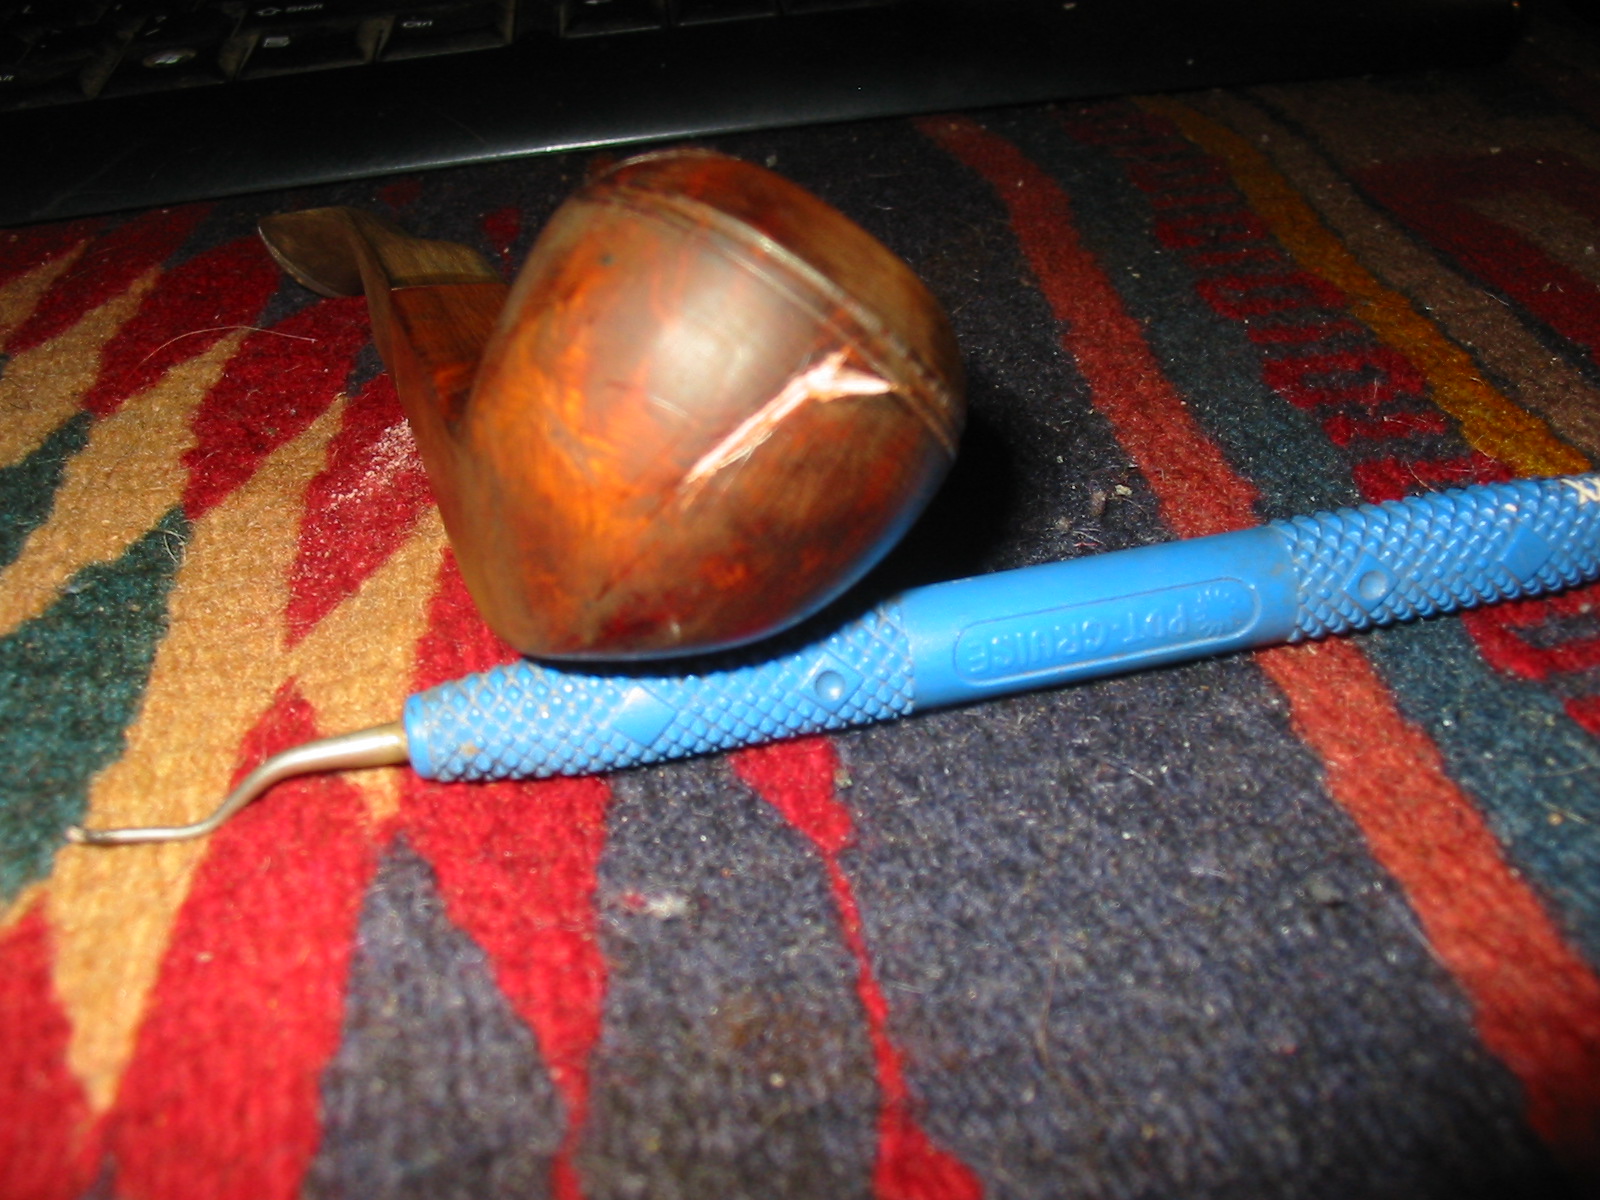
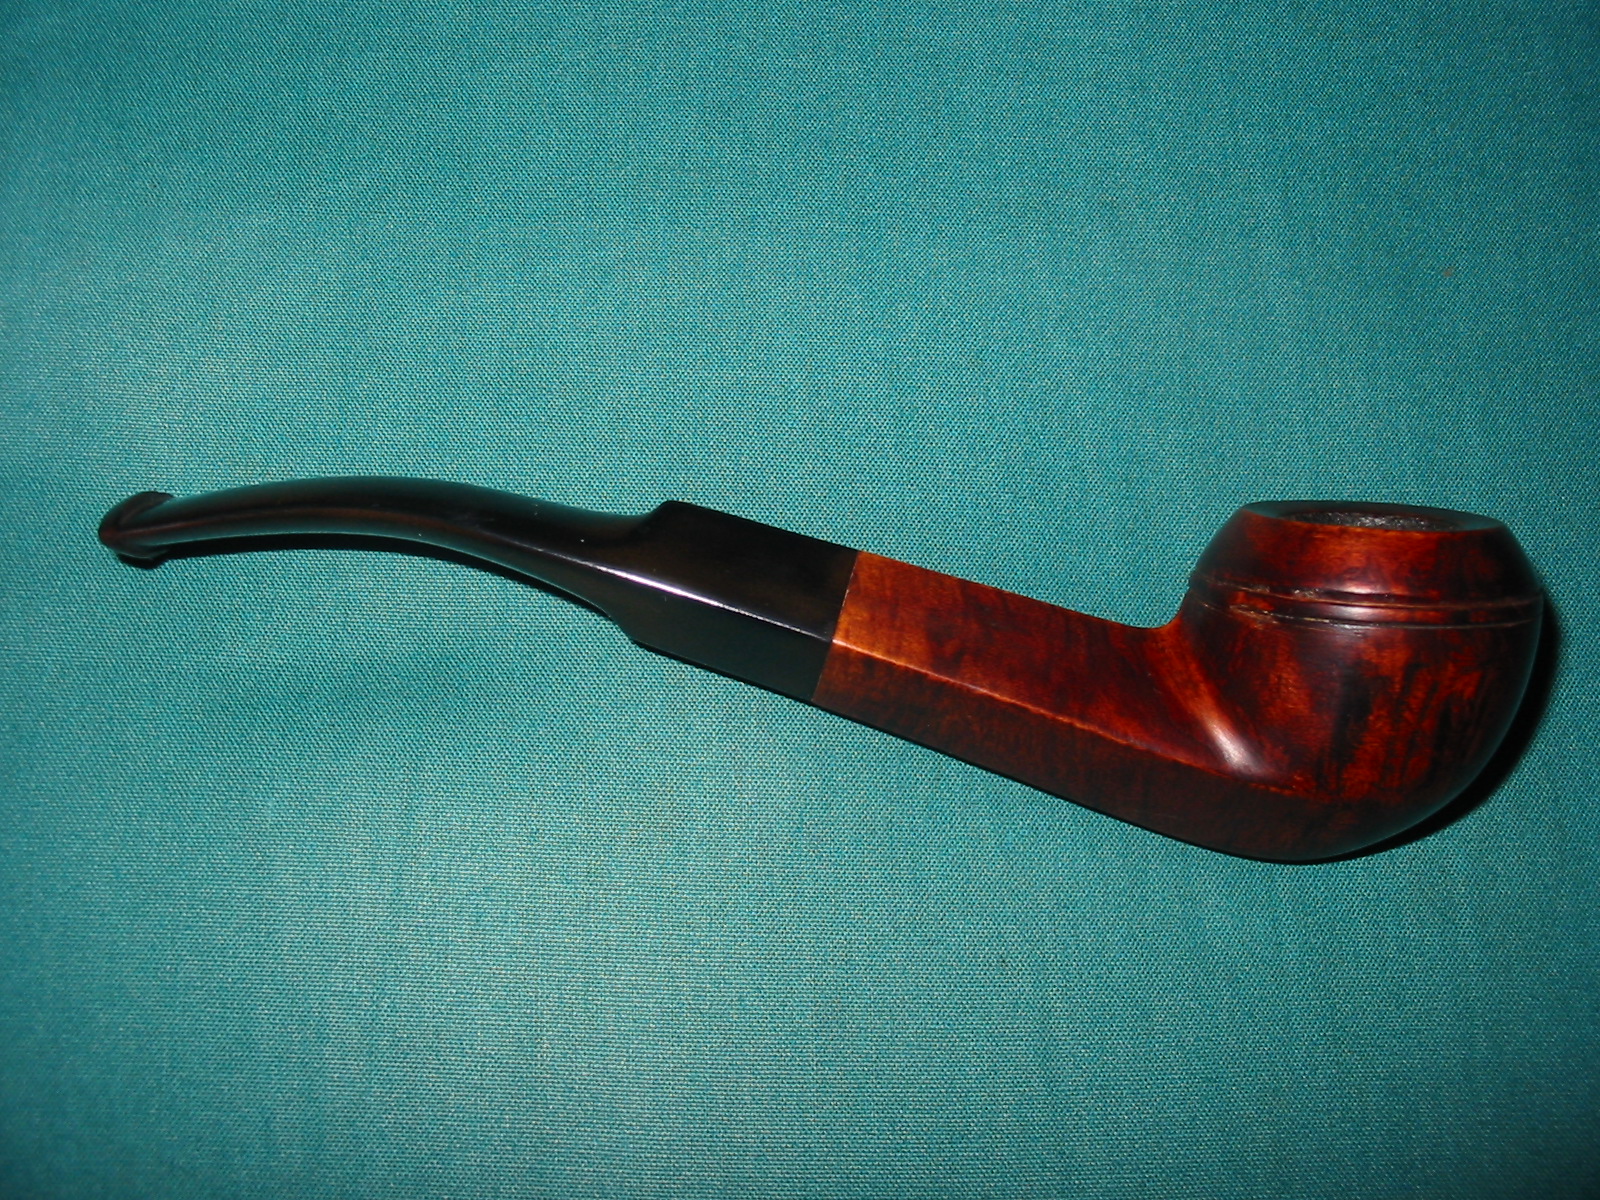
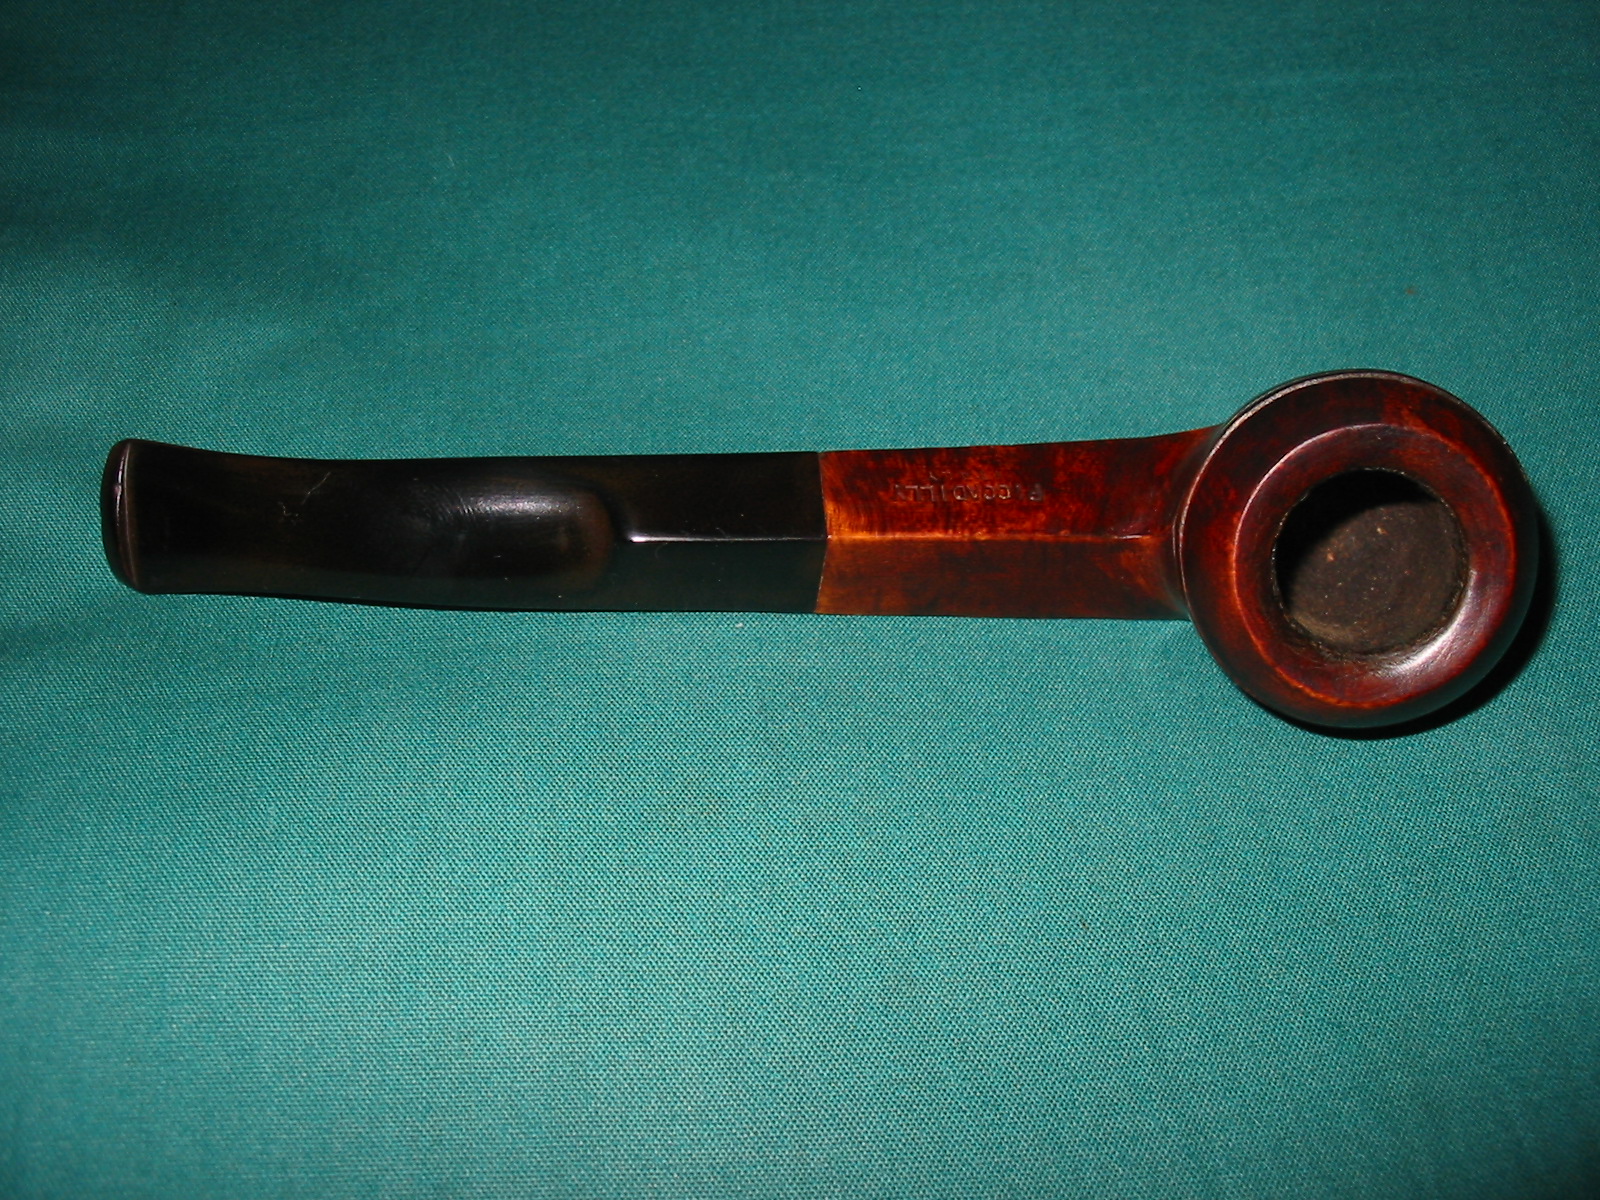
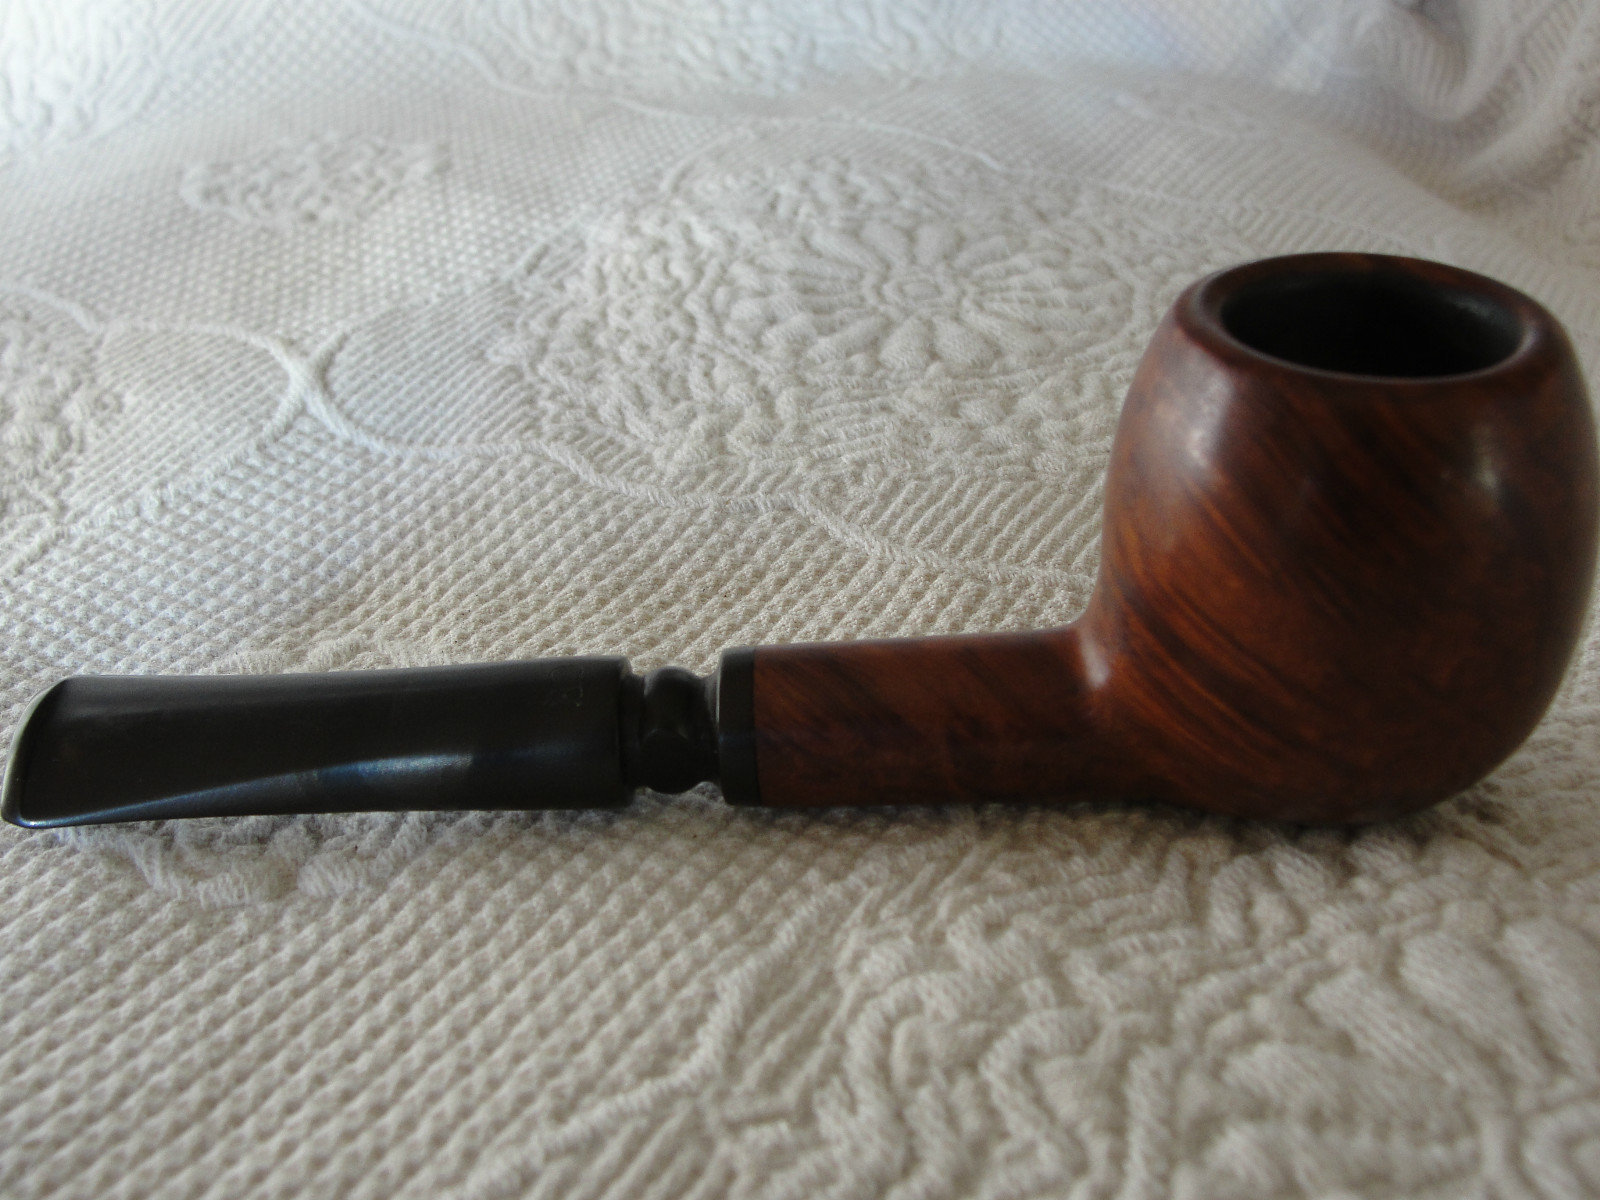
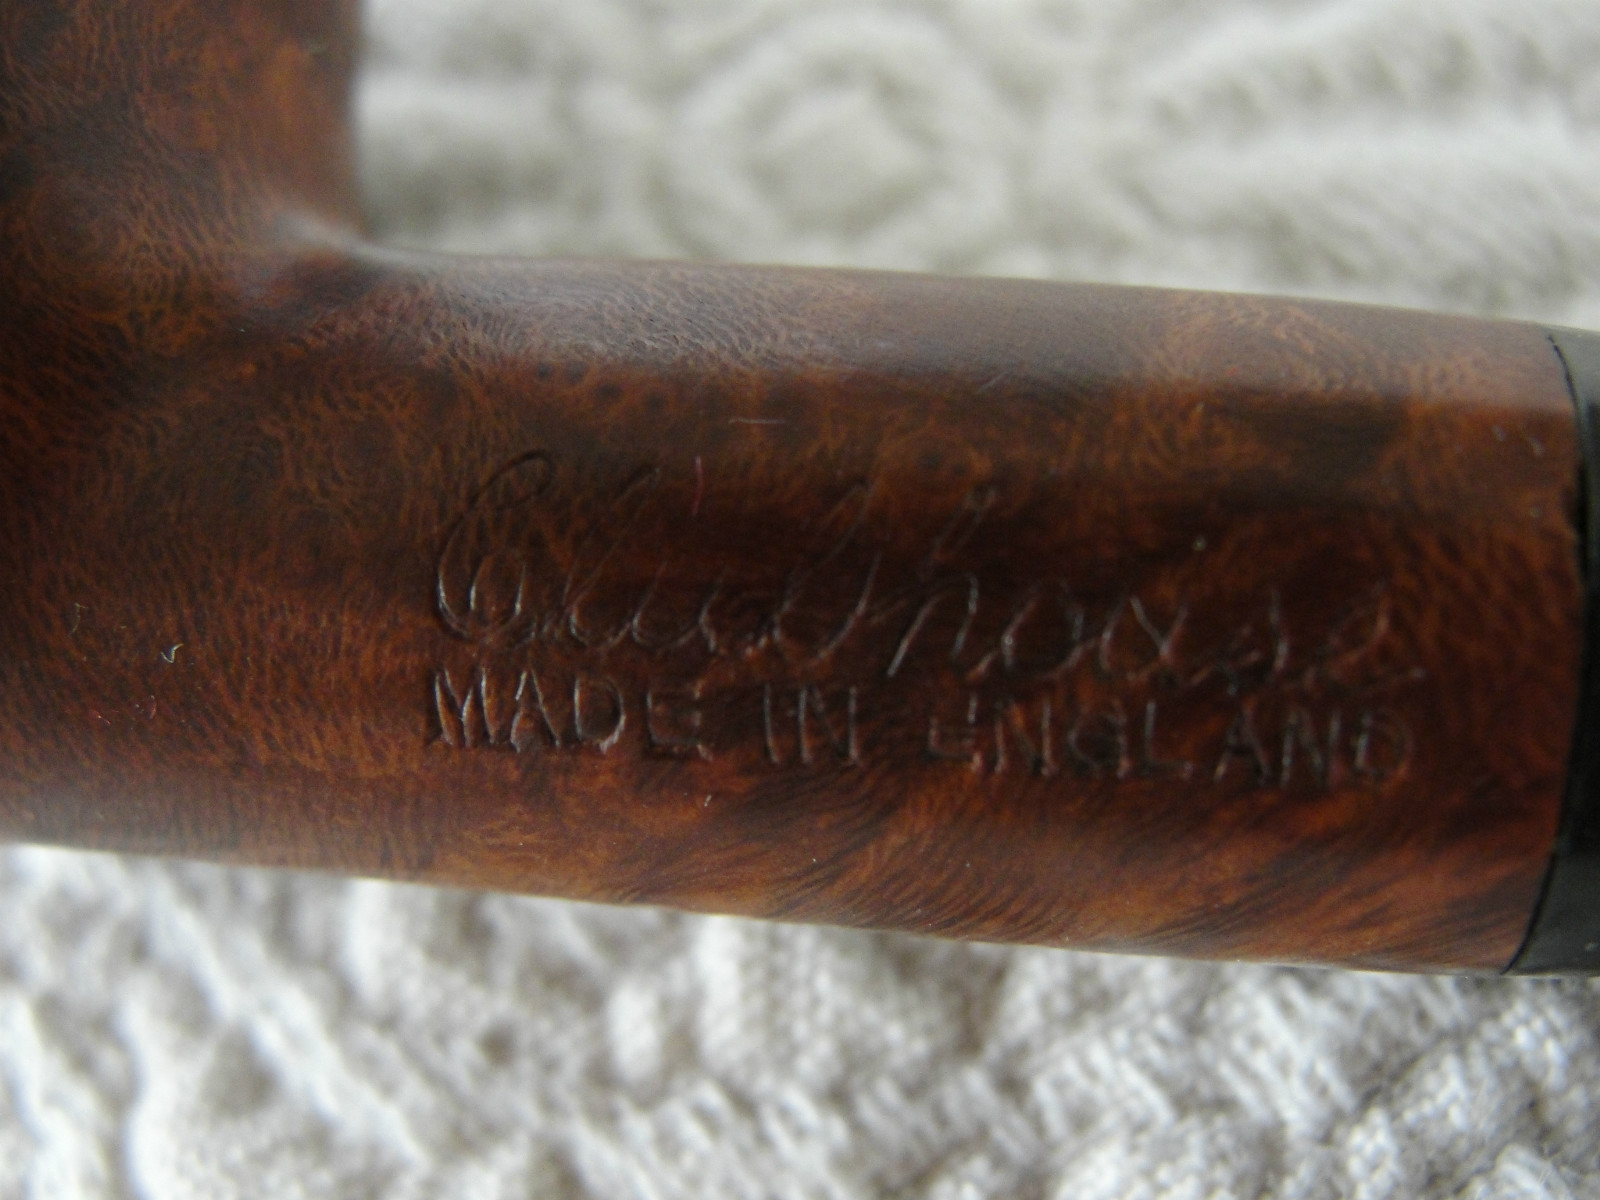
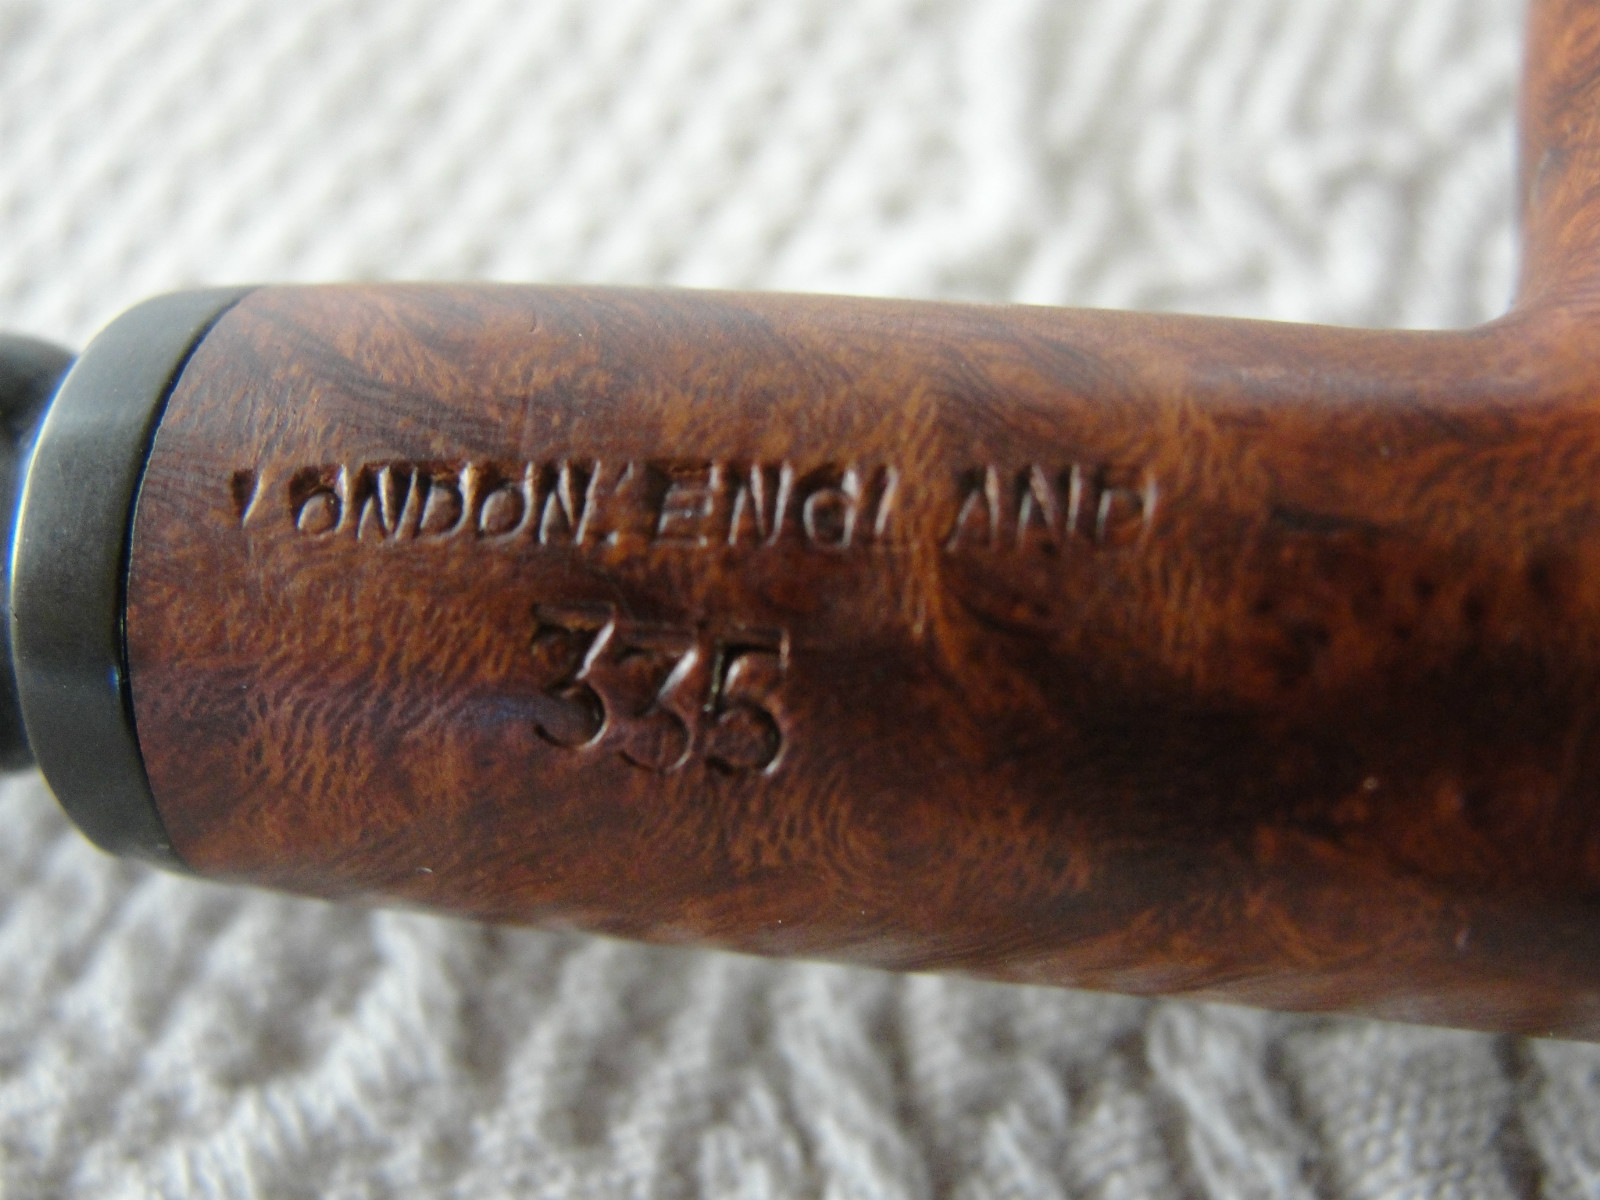
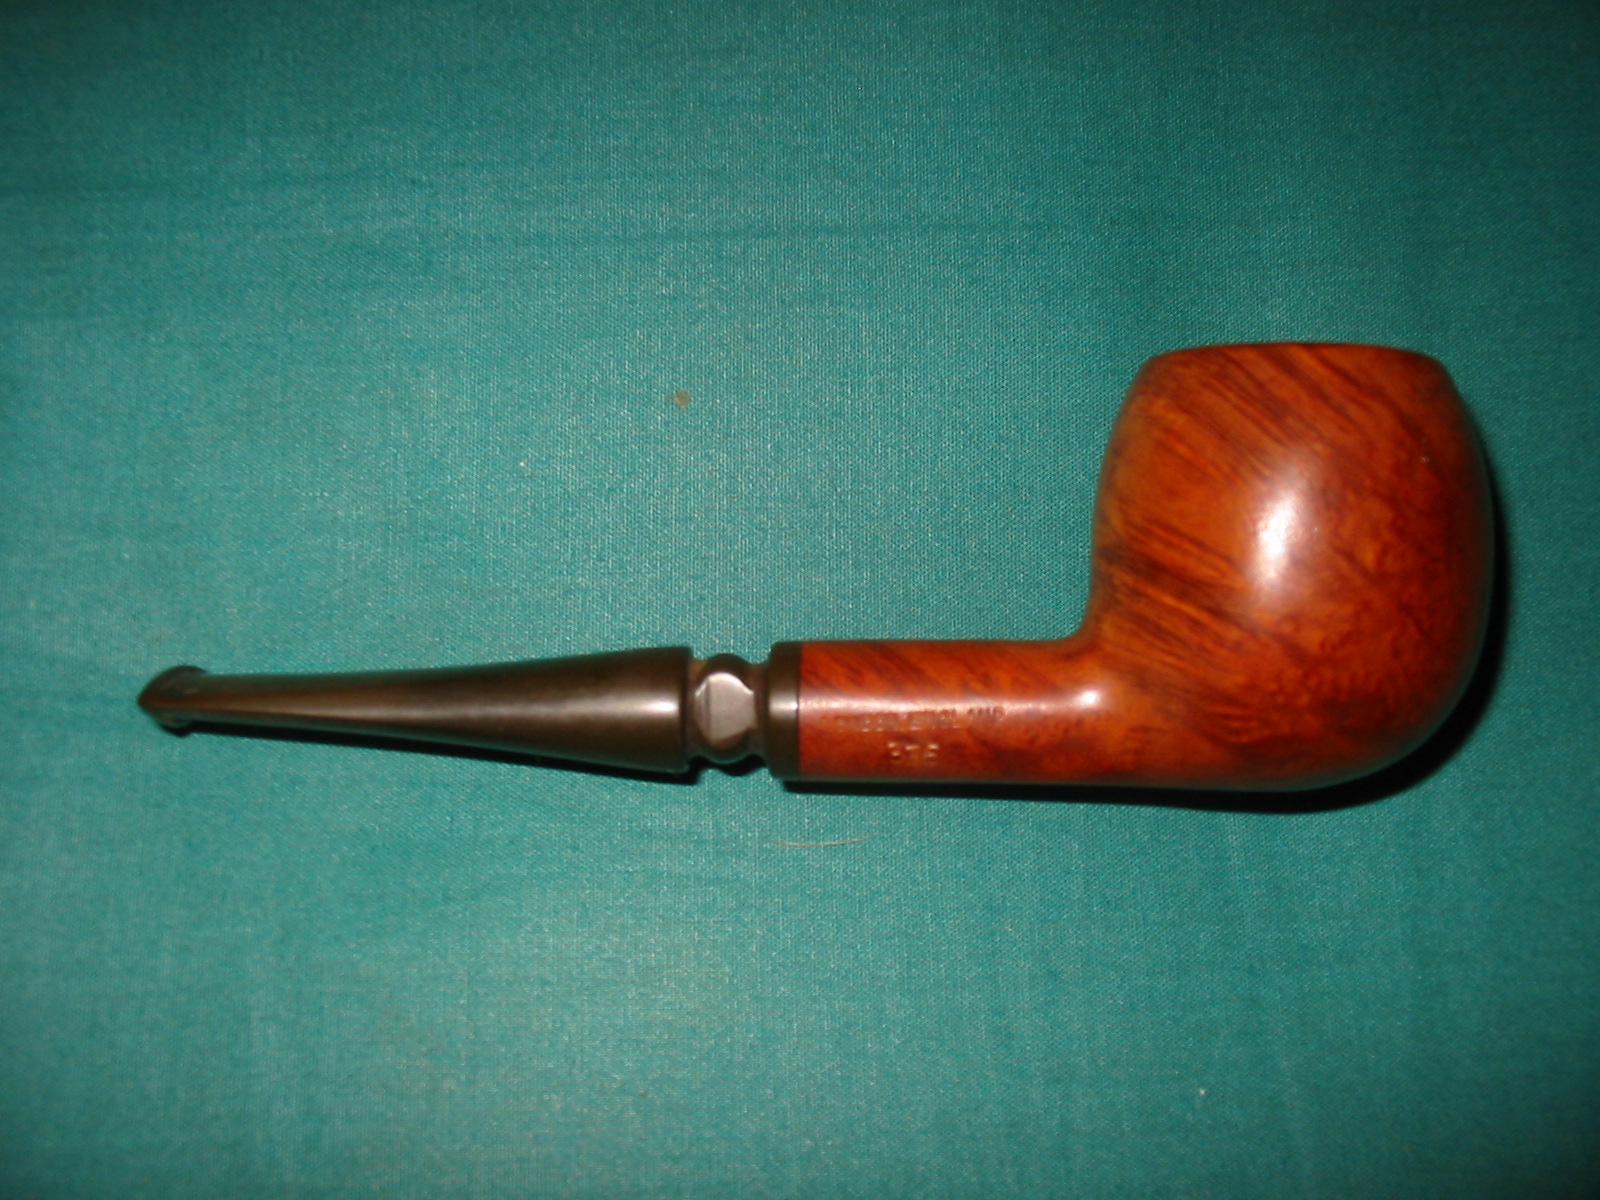
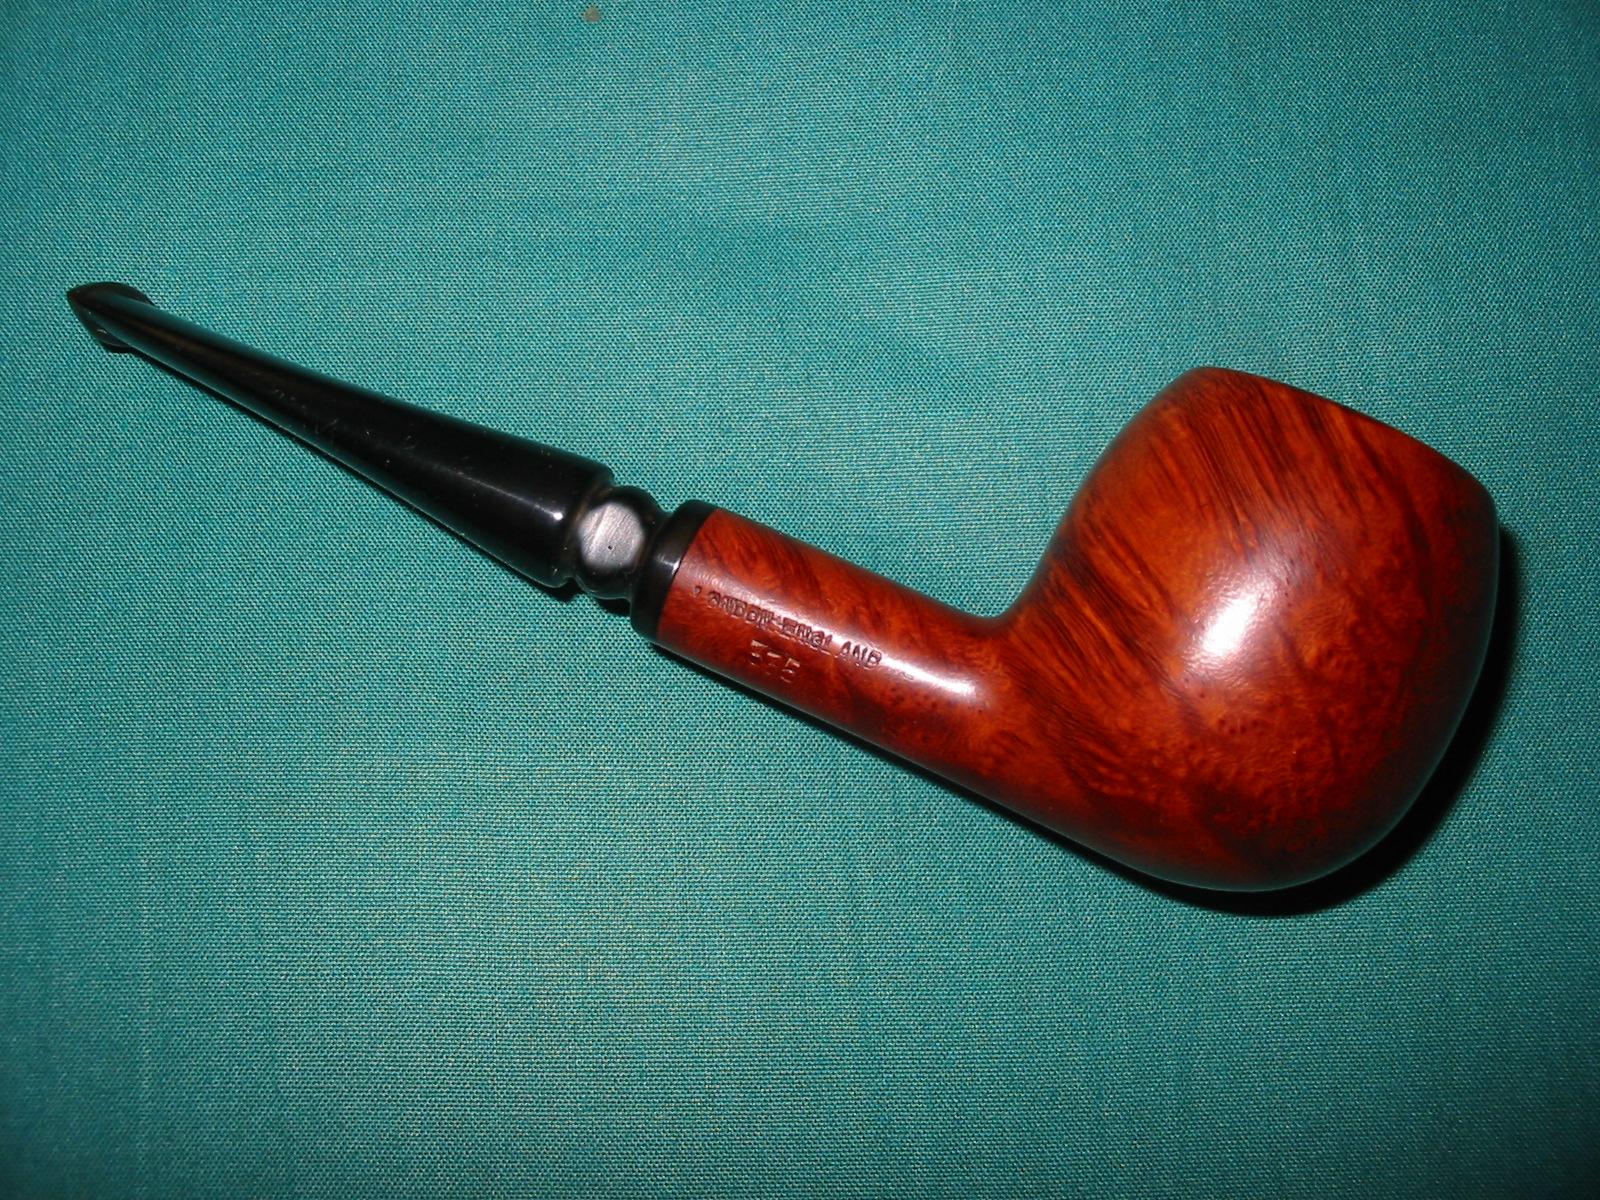
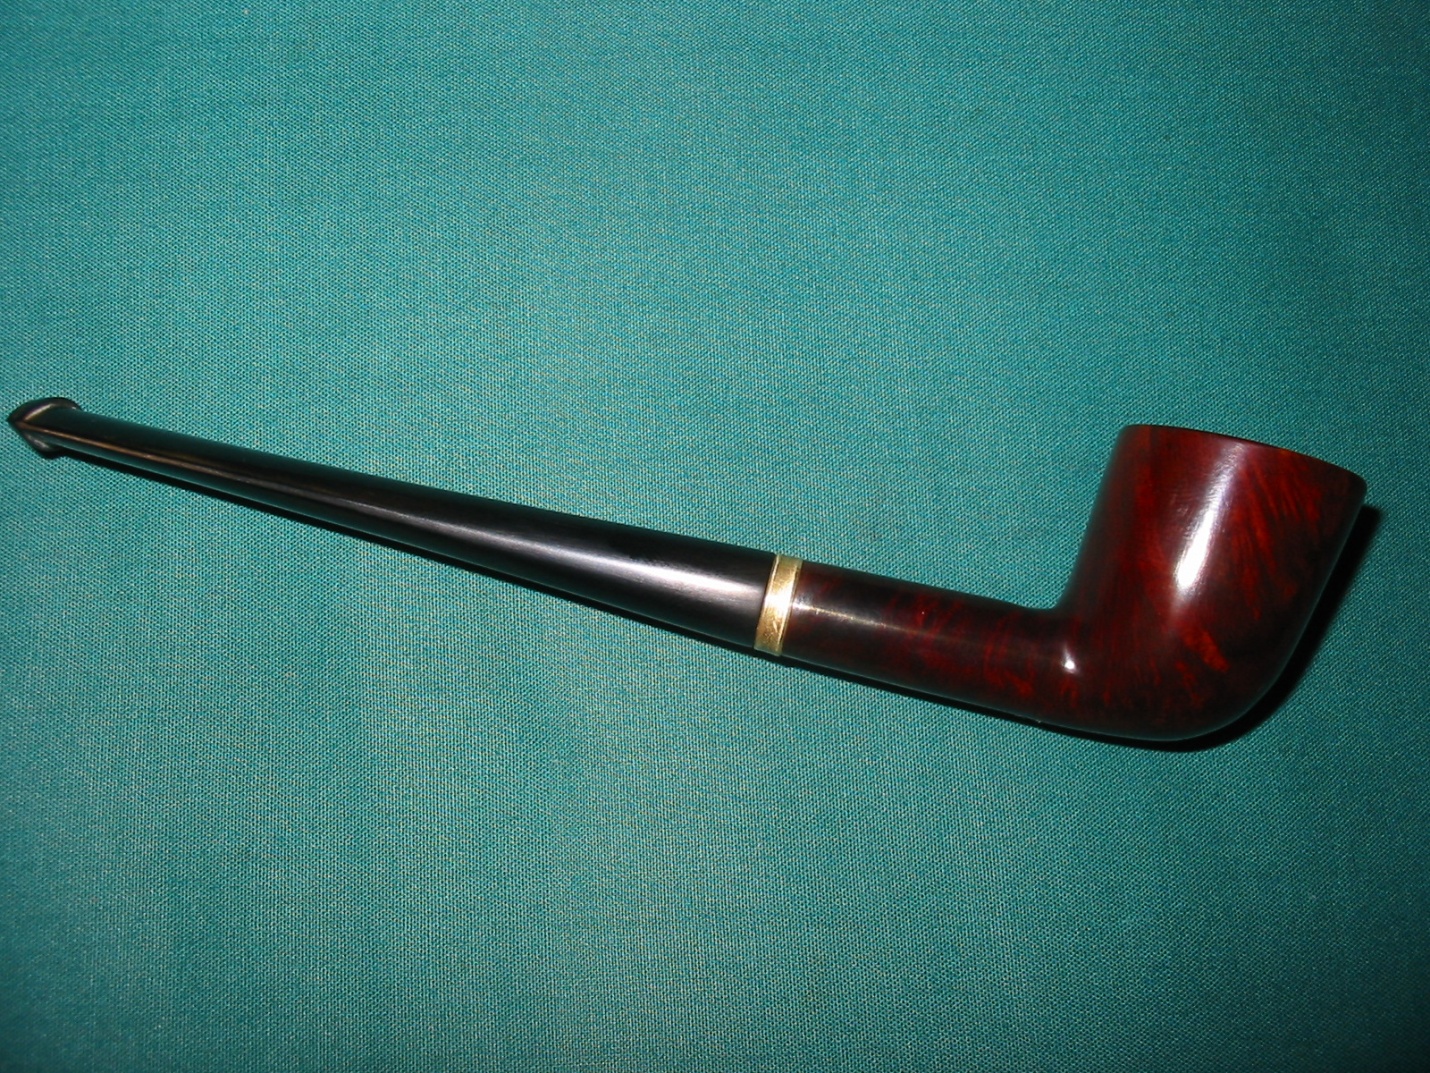
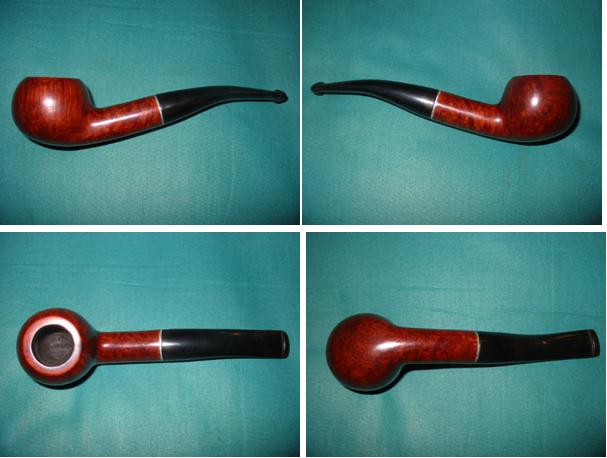
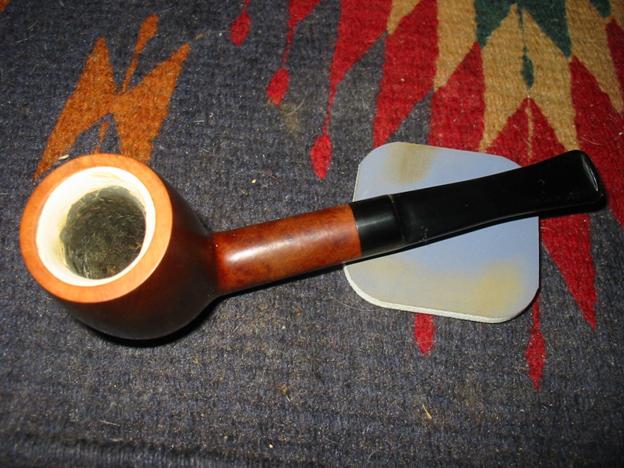
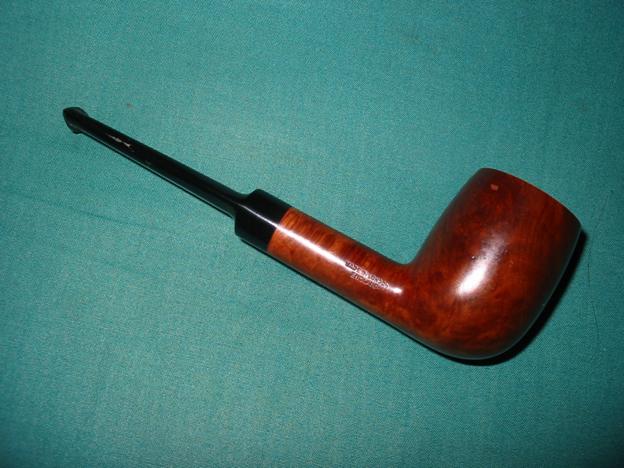
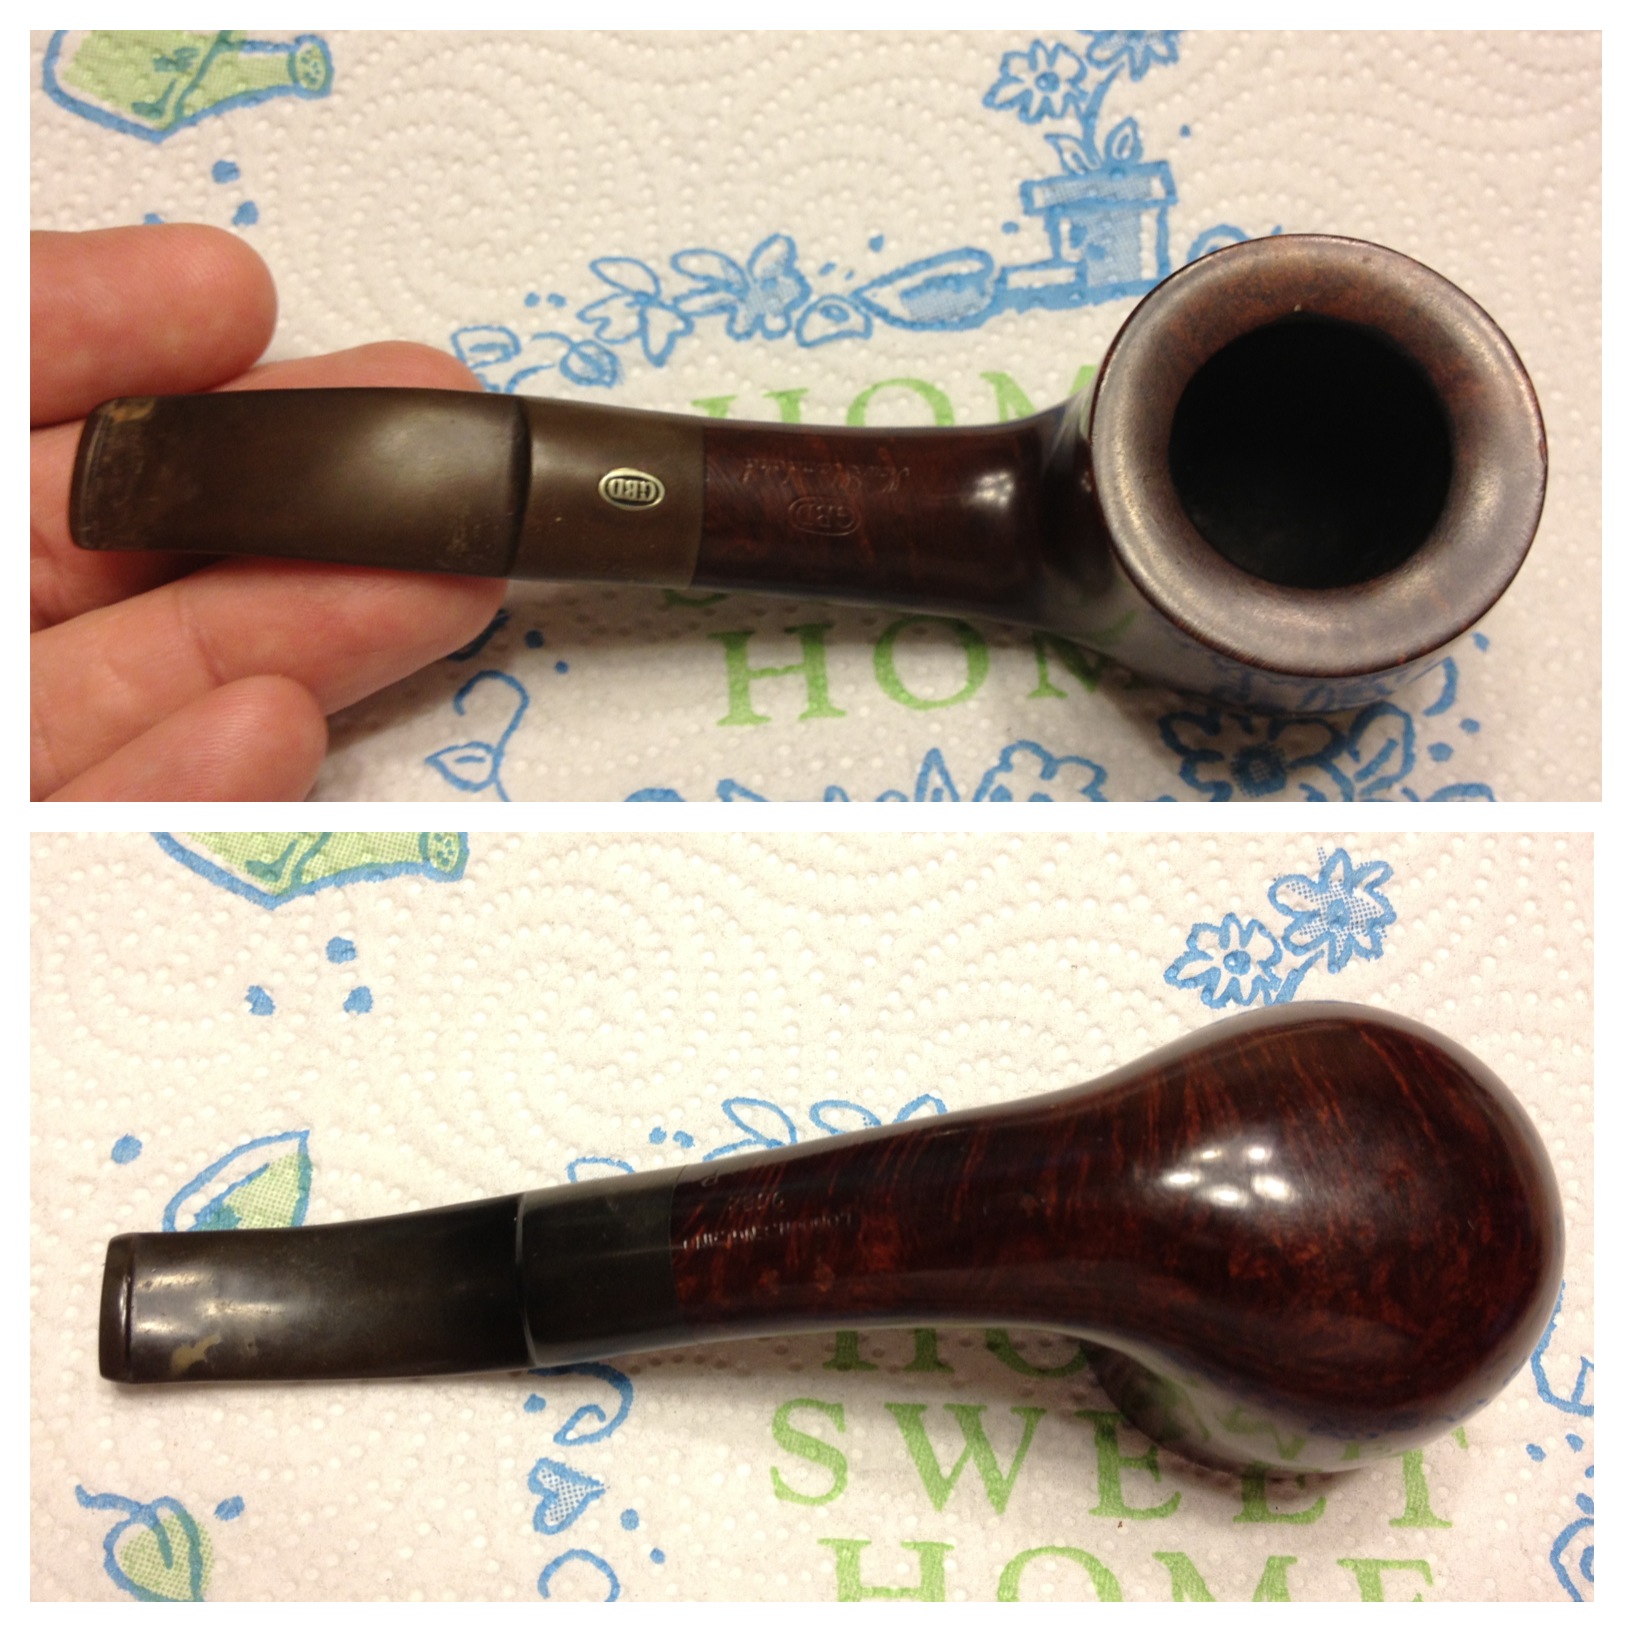
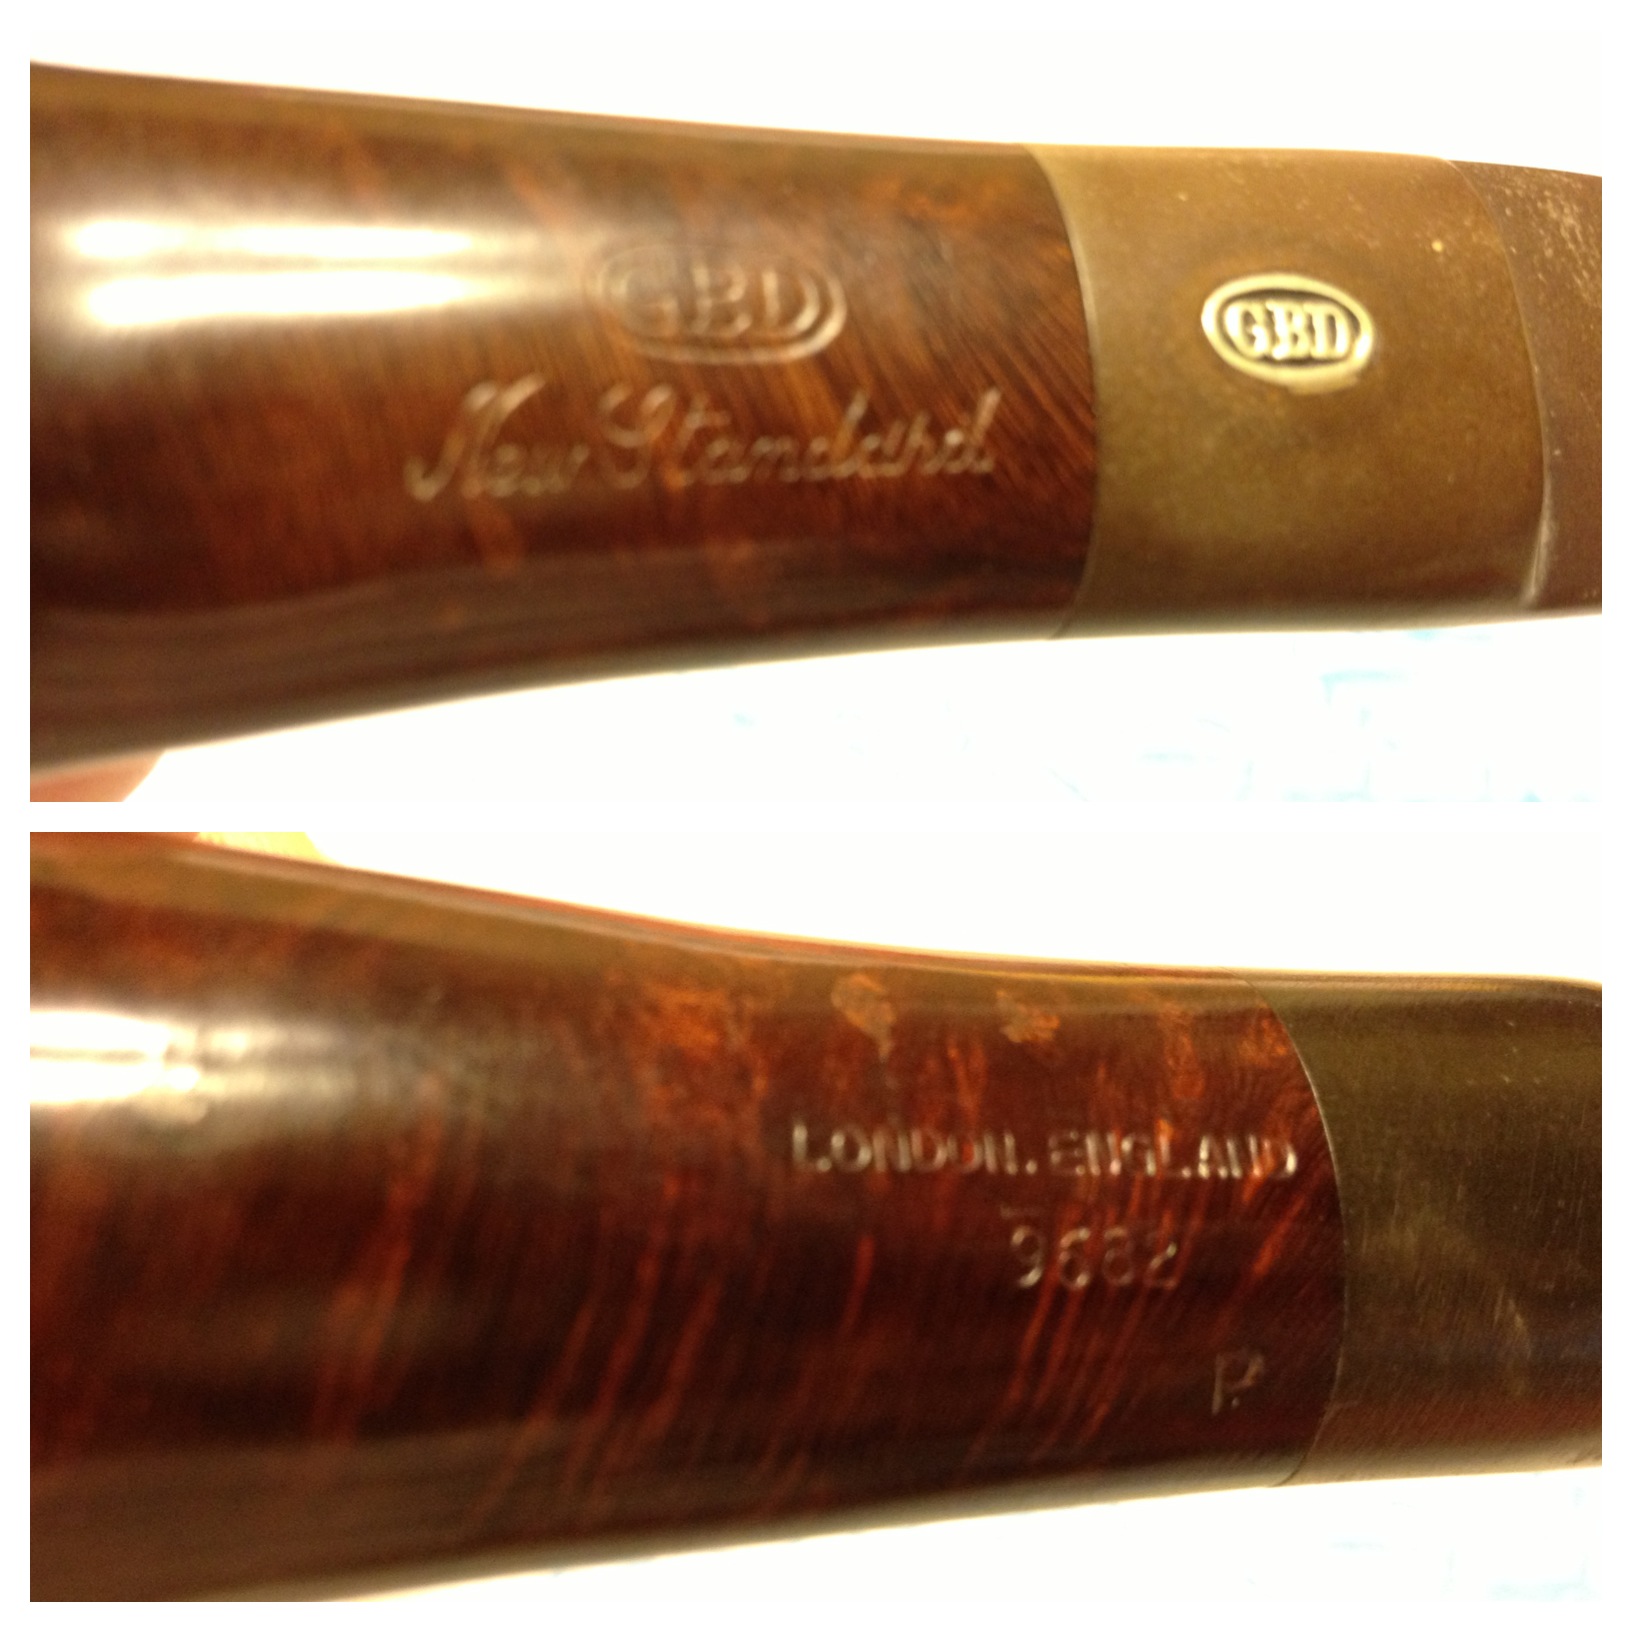
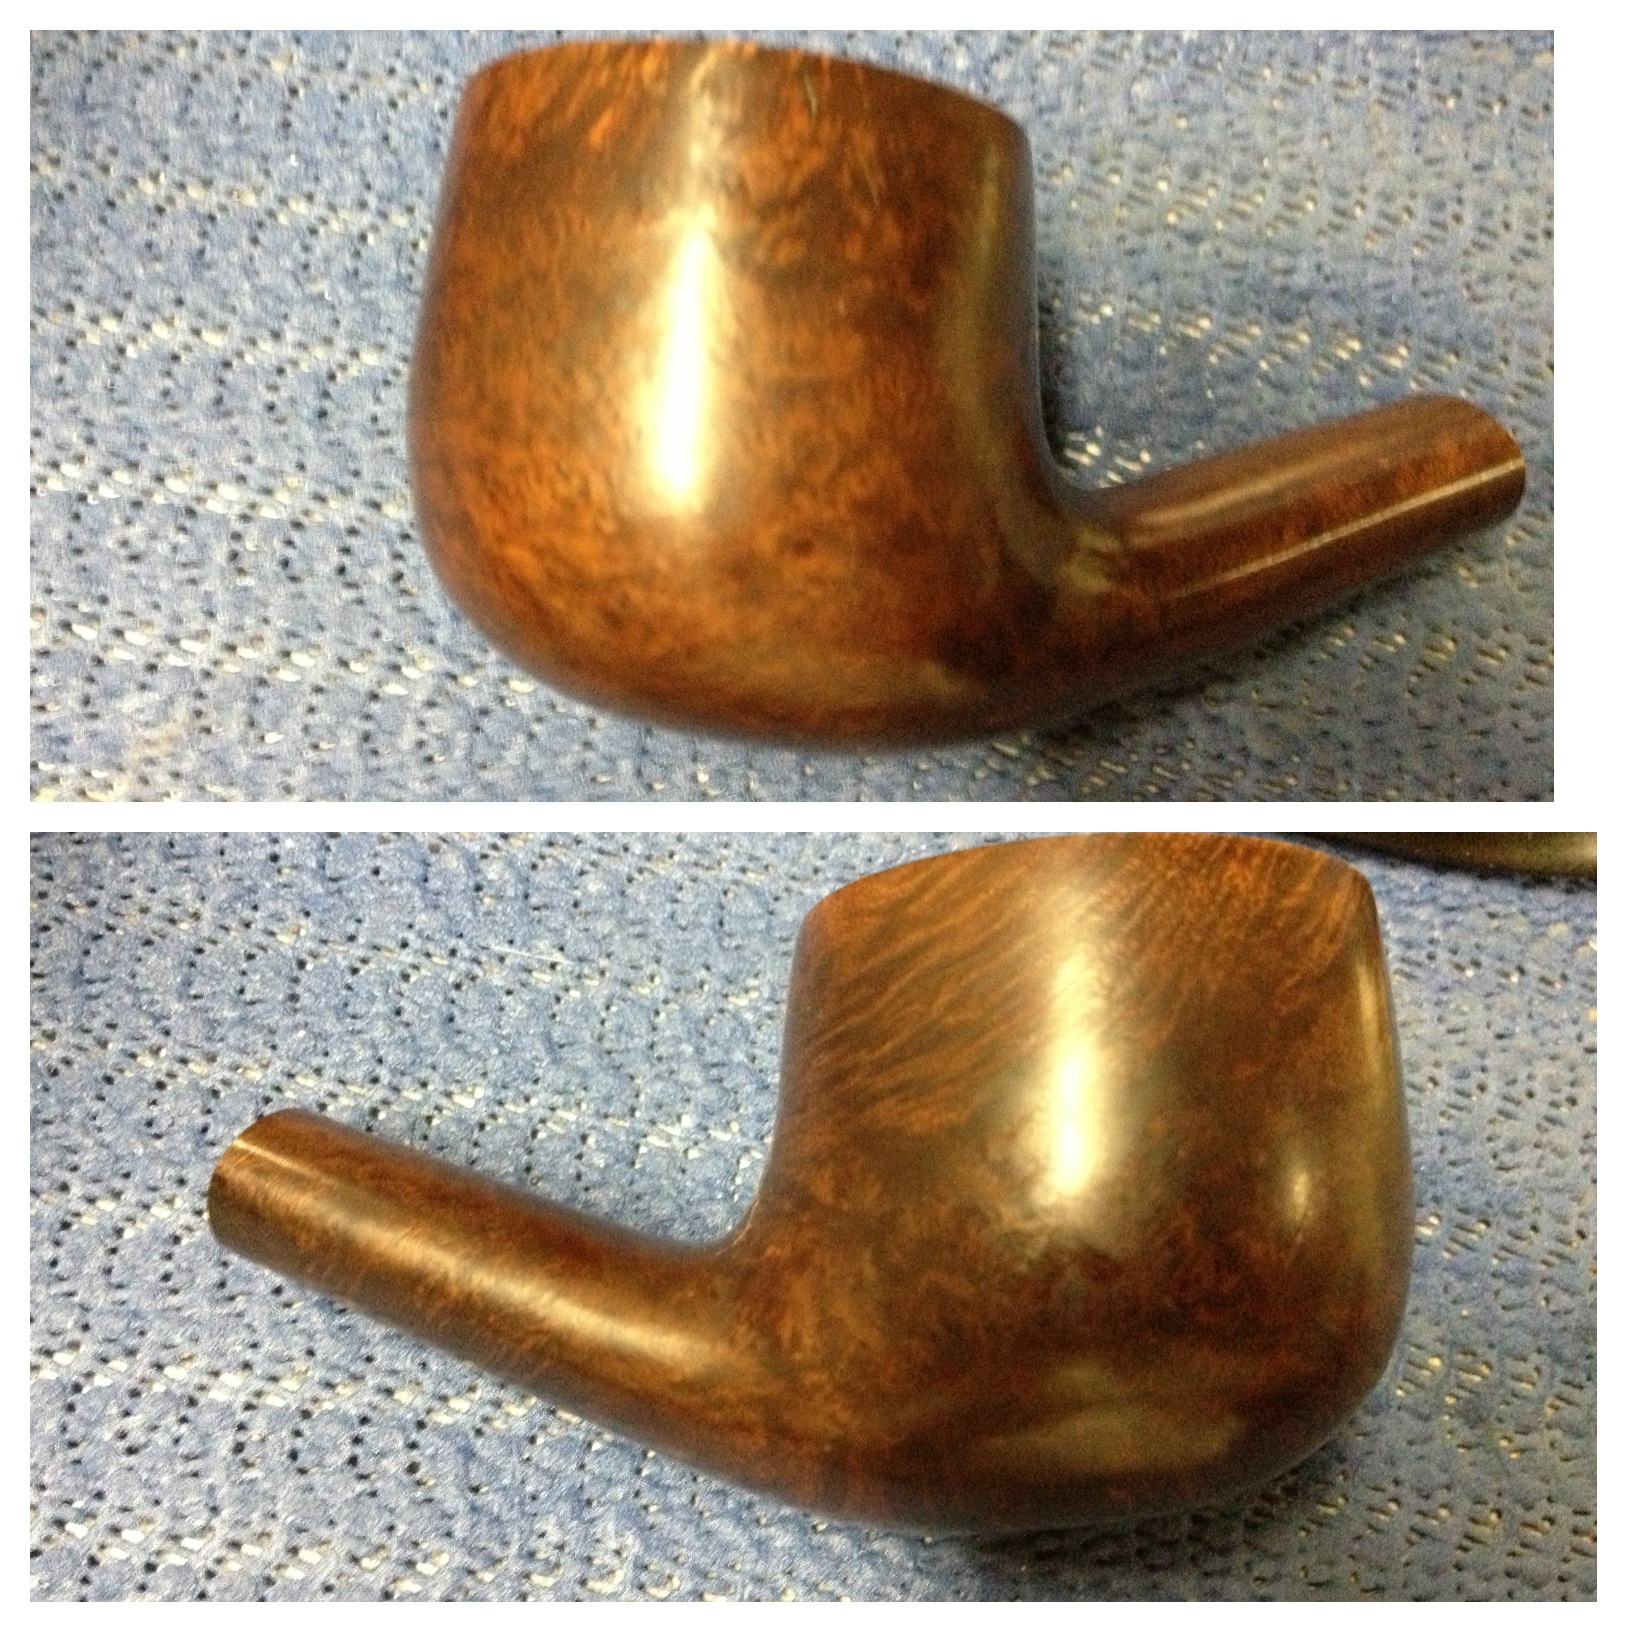
I picked up the GBD New Standard recently because of its shape mostly: a thick-walled pot. It is stamped GBD in the oval over New Standard on the top of the shank. The bottom of the shank is stamped London England over 9682 with a “P” below and to the right of that.
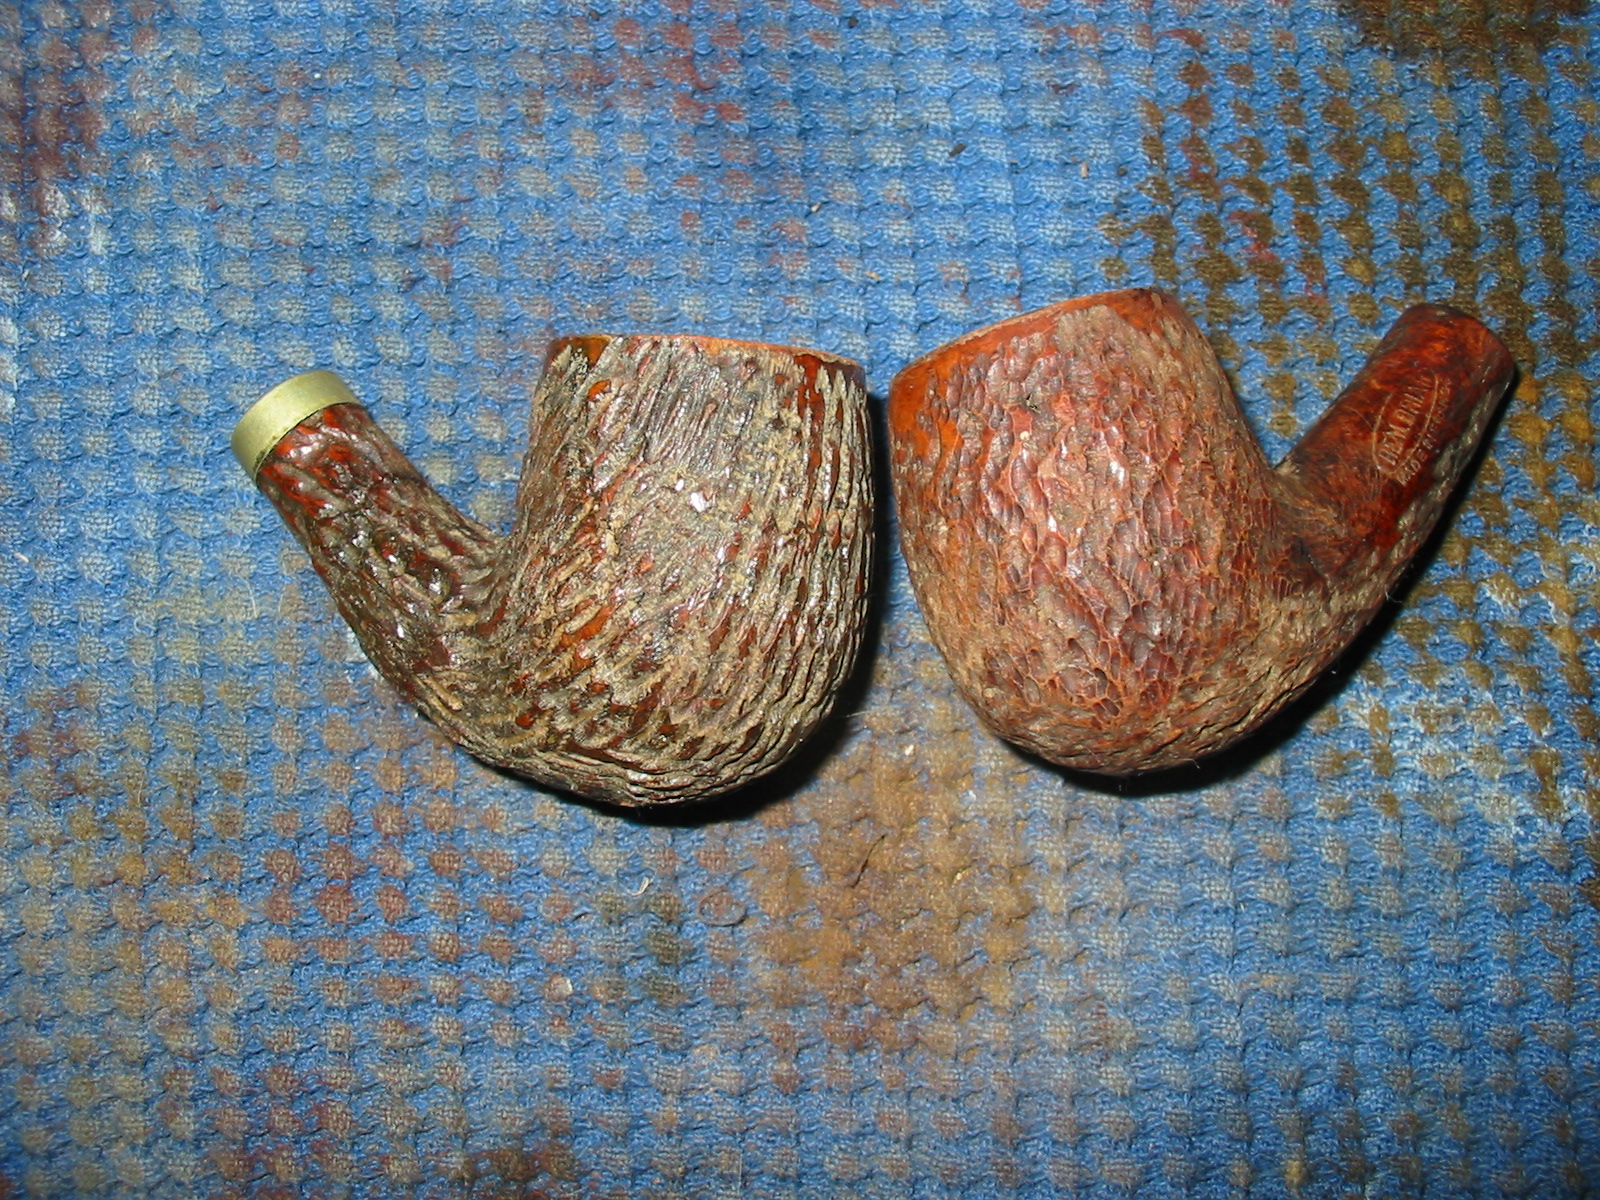
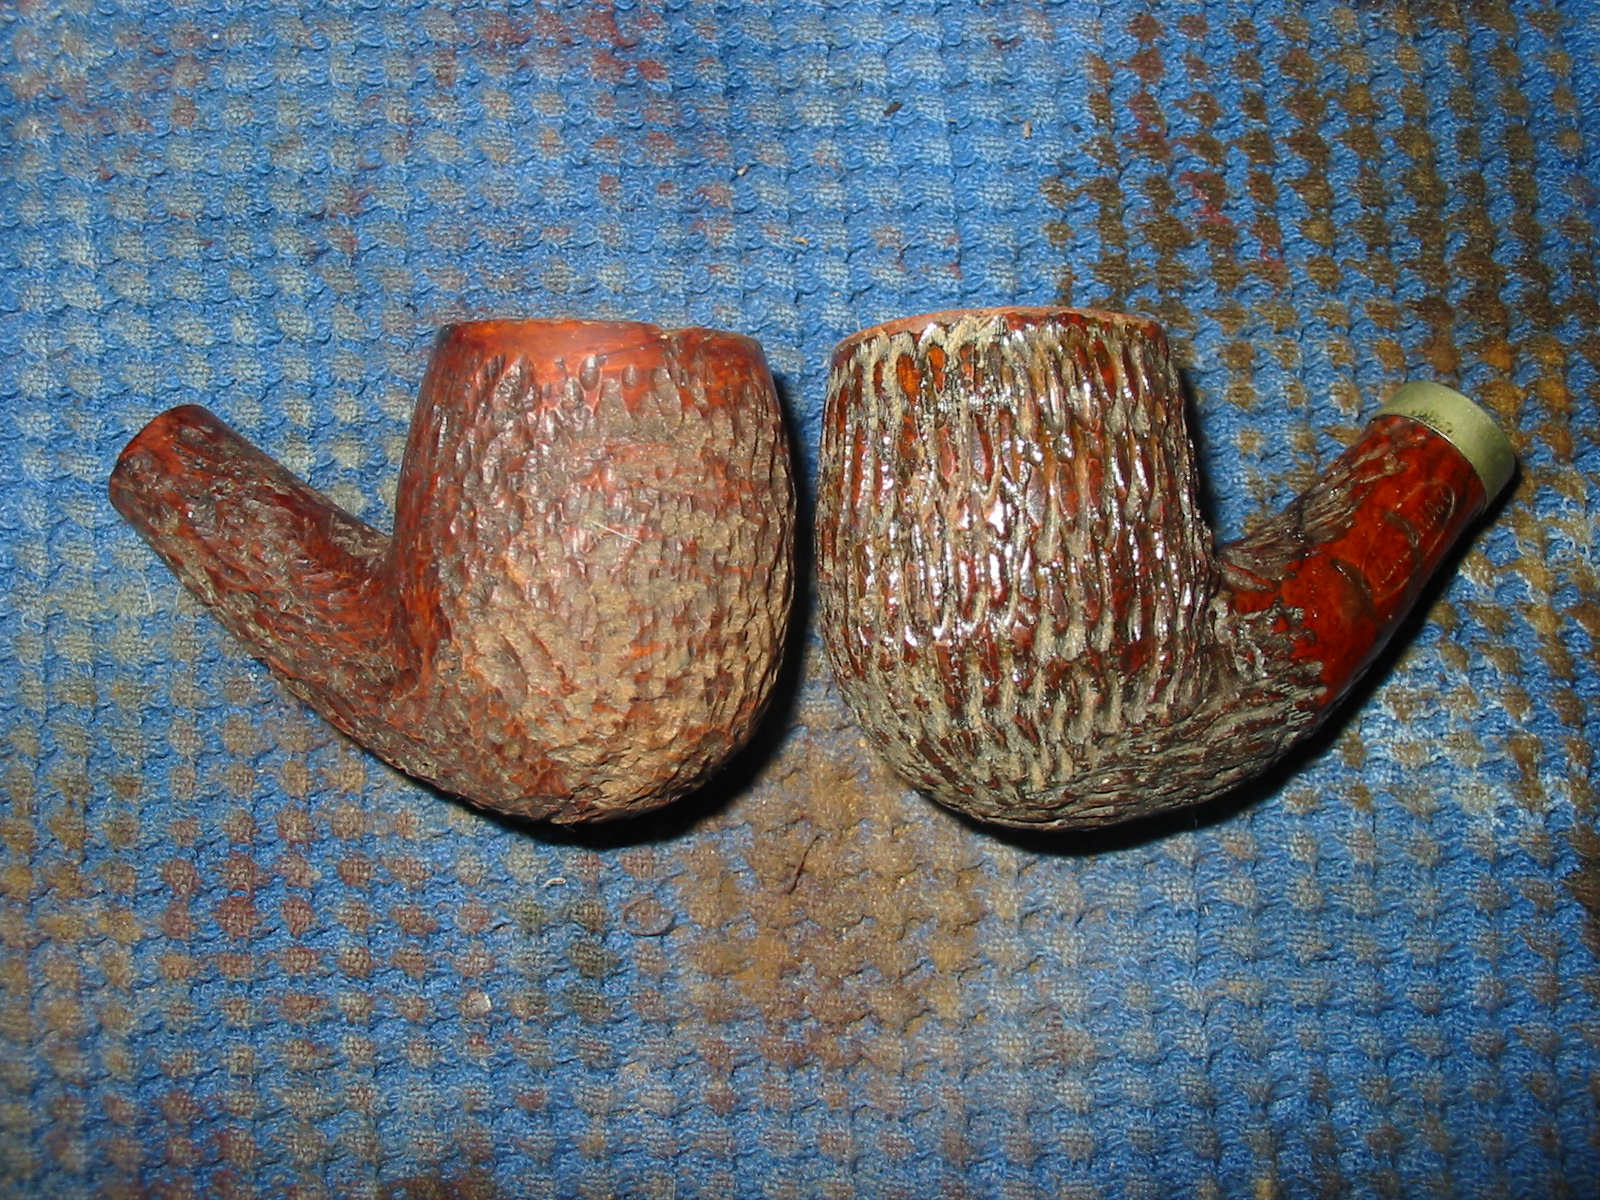
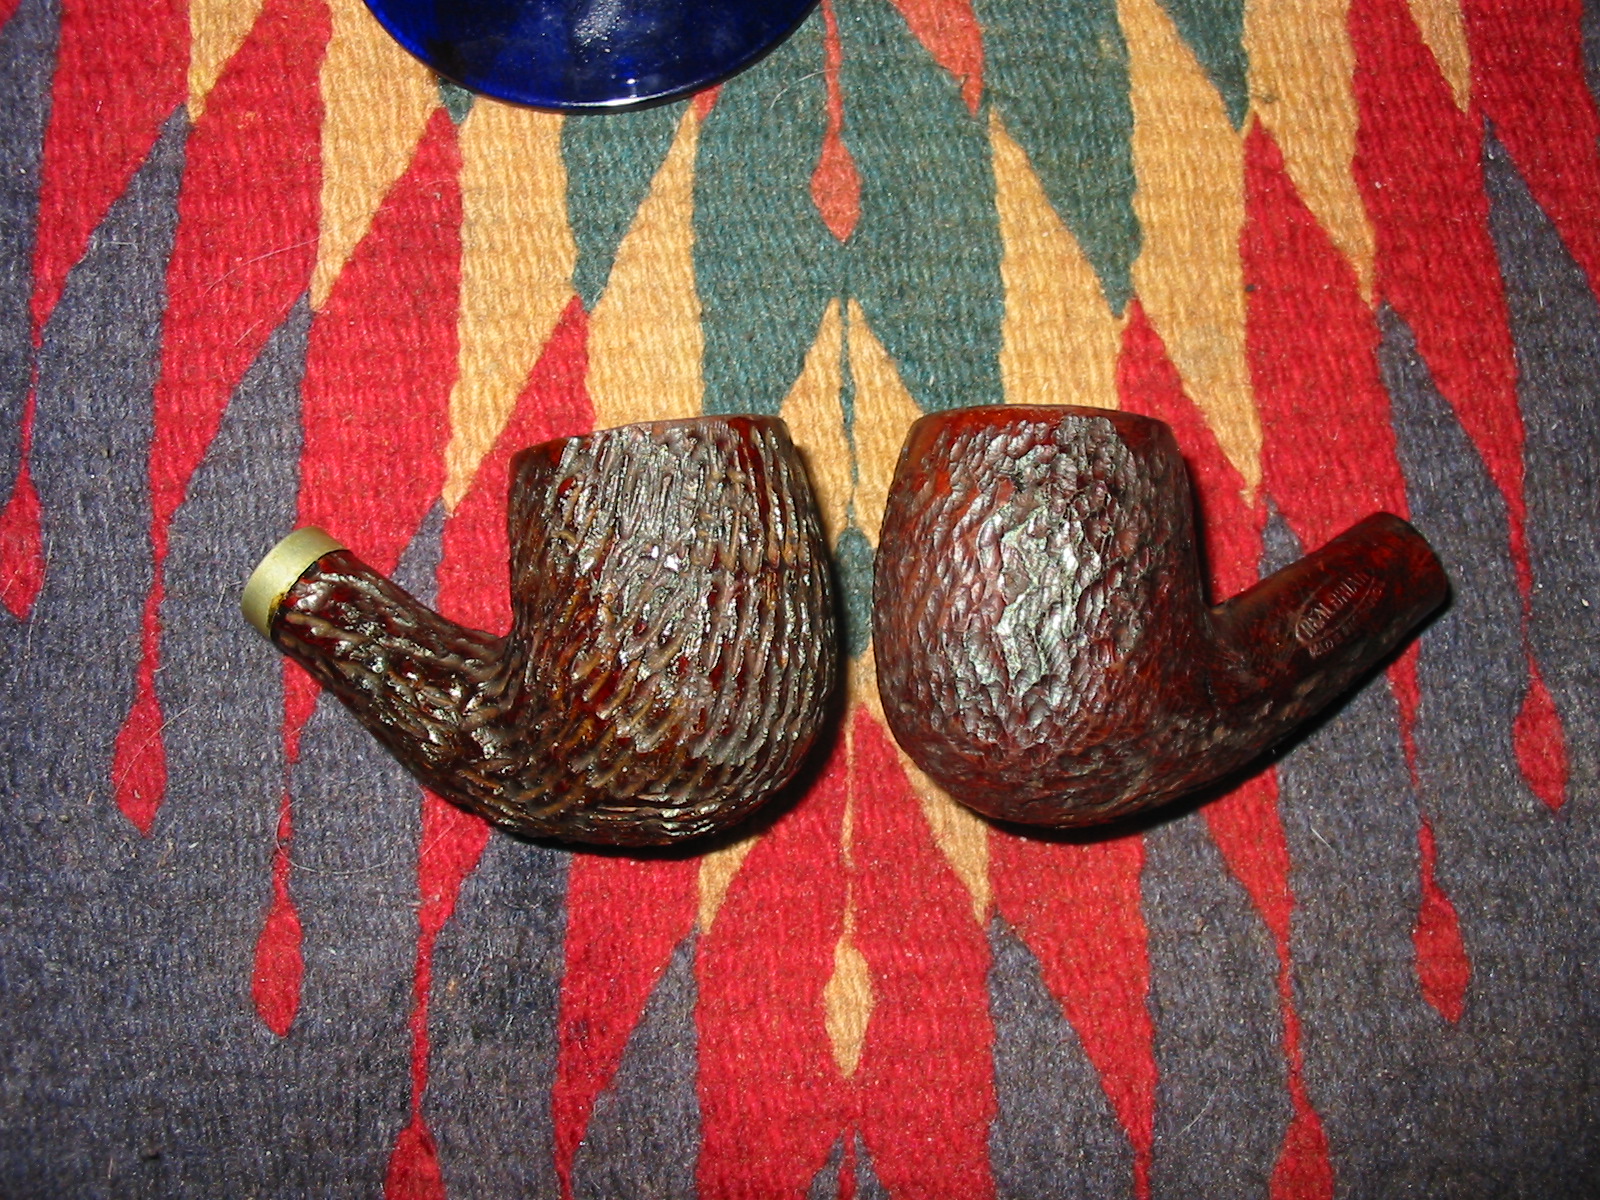
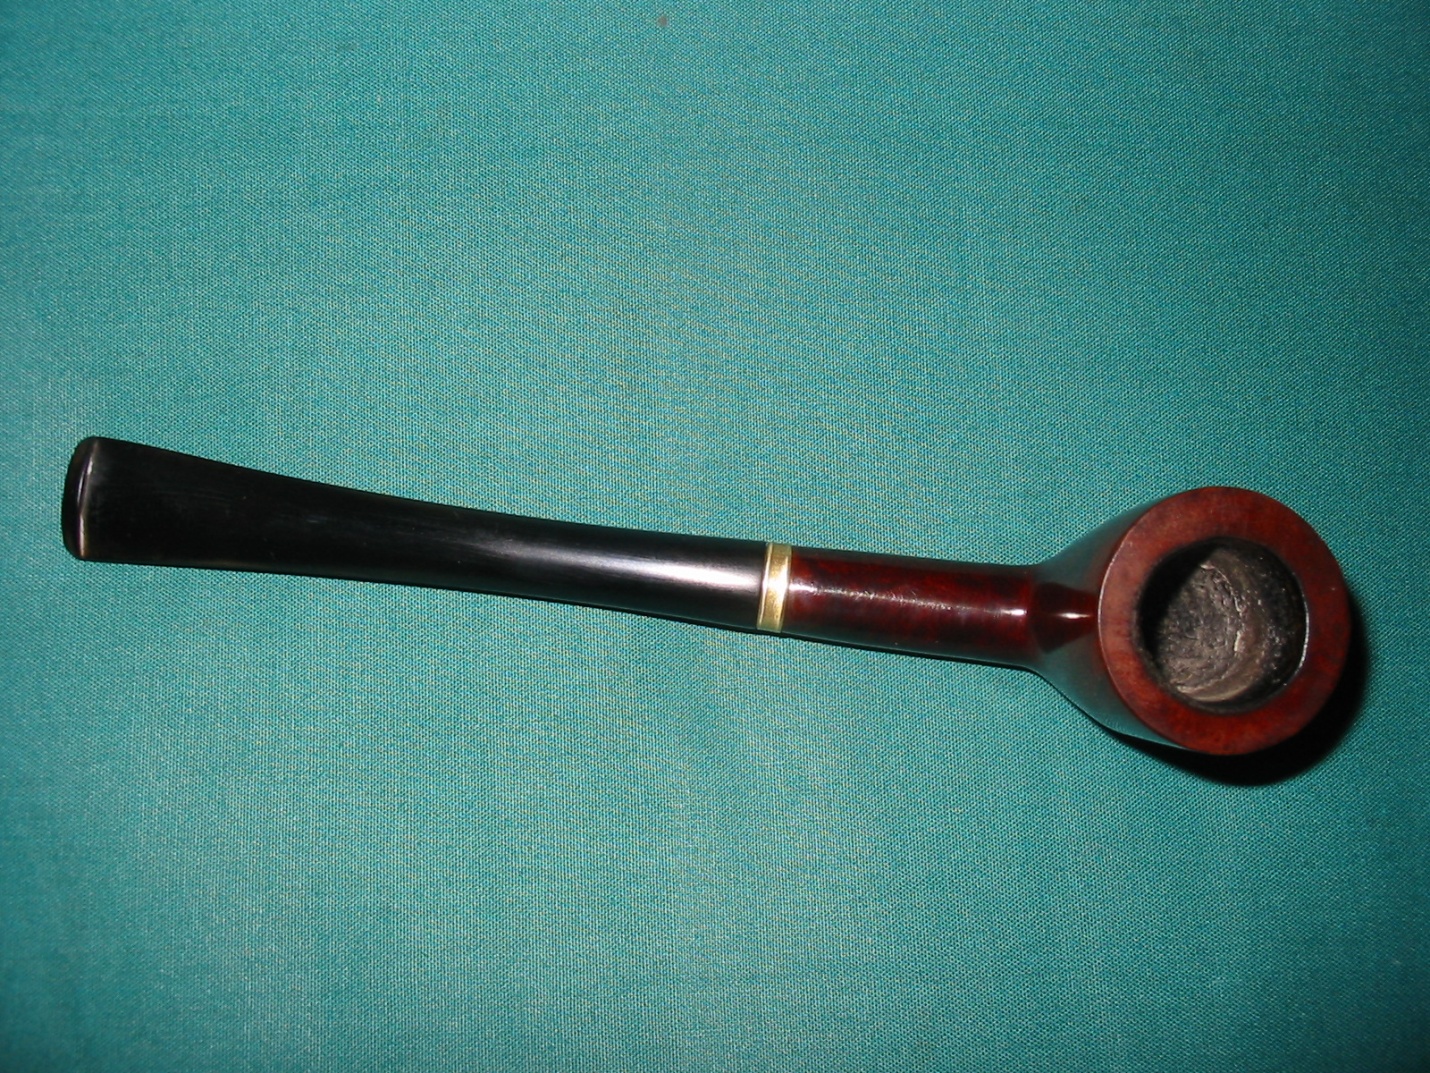
When I got the pipe it was in pretty good shape: dirty, oxidized, the normal stuff. But it seemed lightly smoked with no cake and no real issues and only light chatter. 
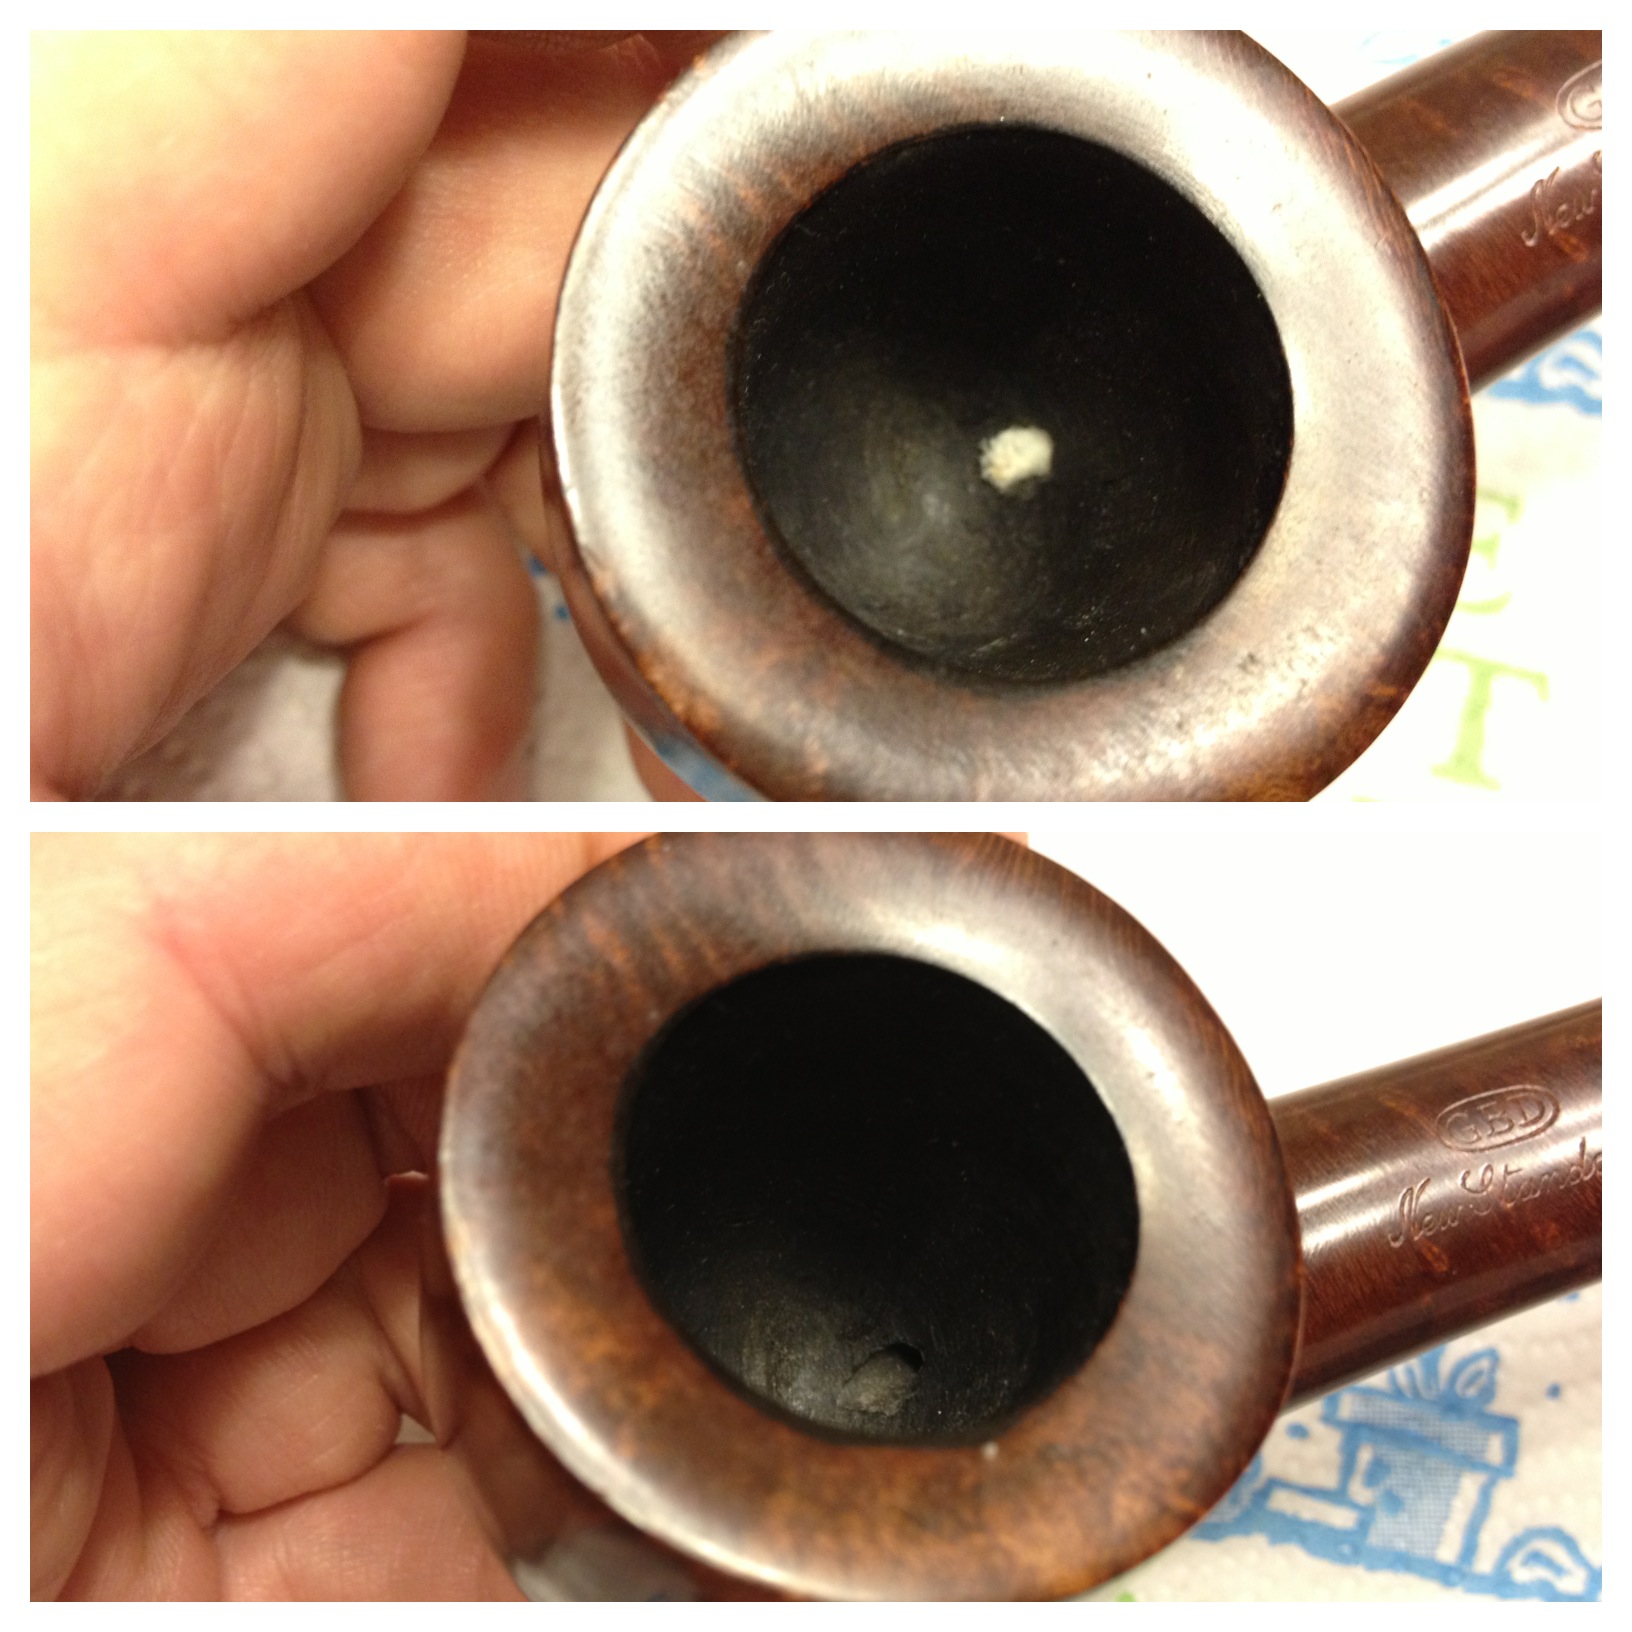
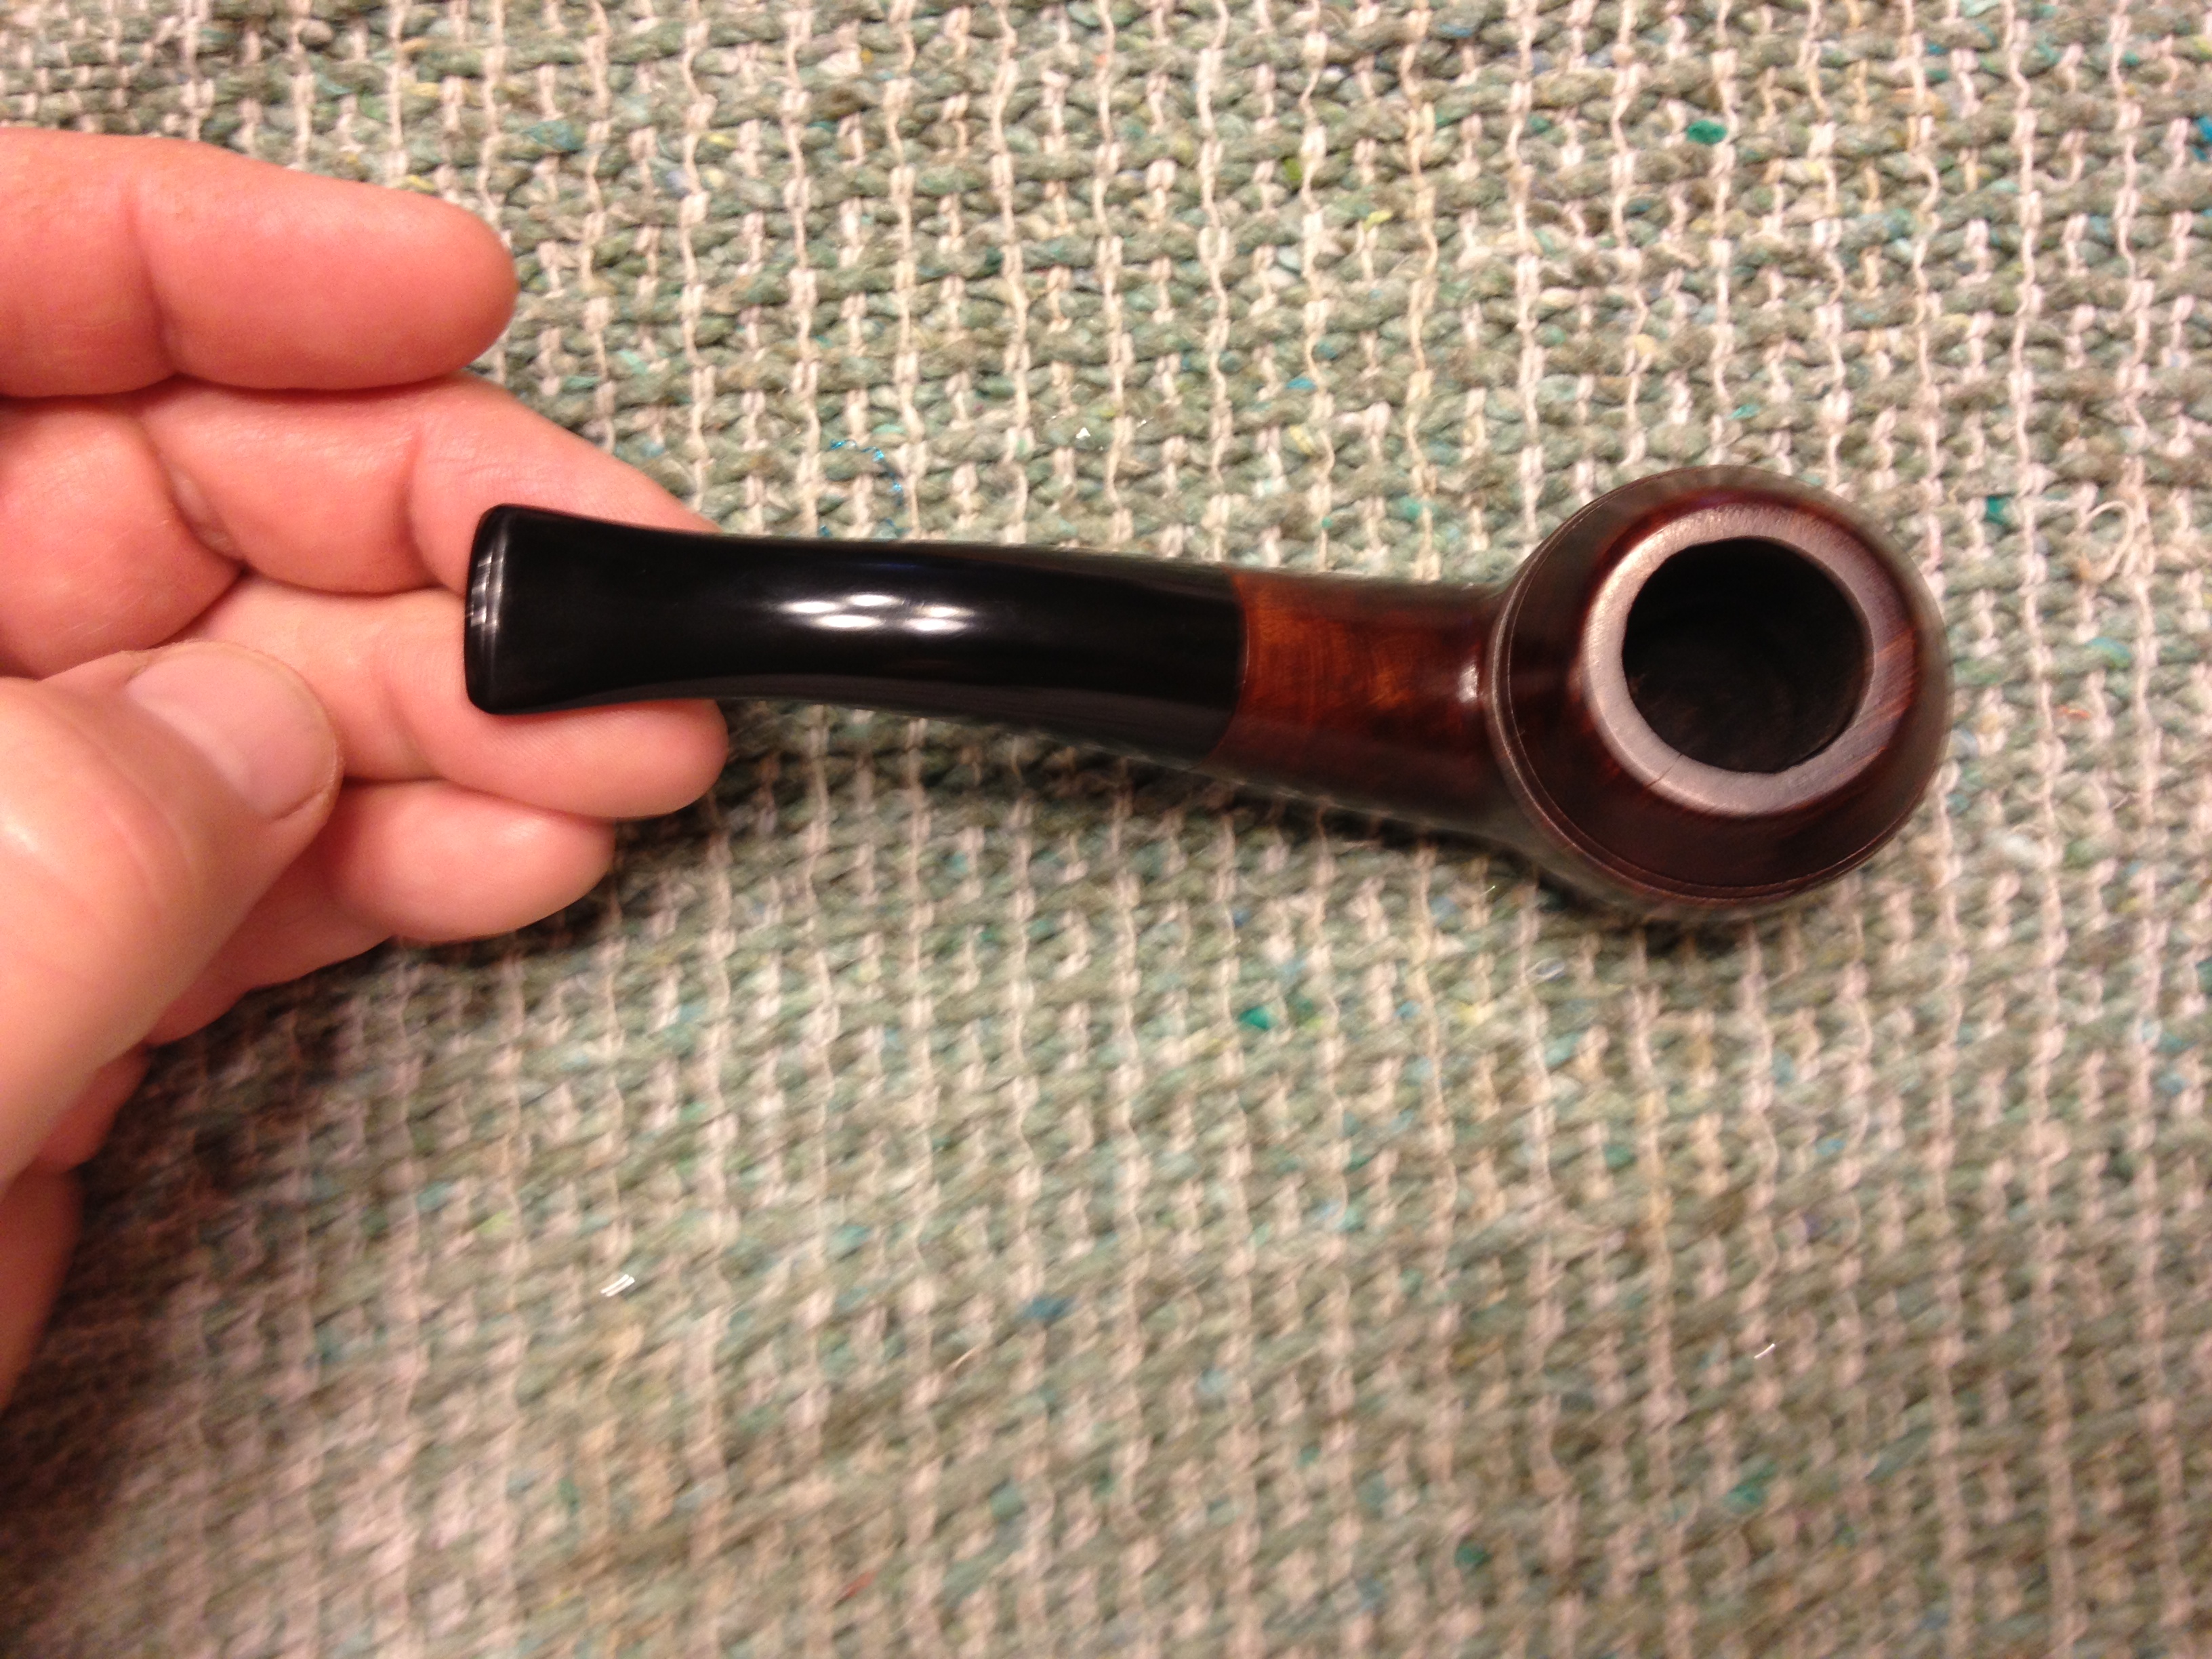
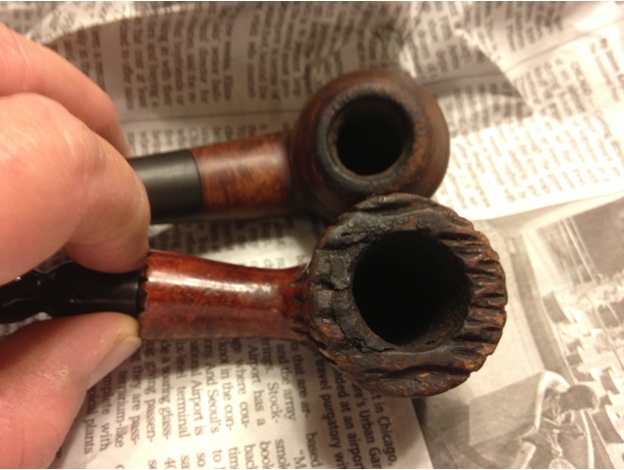
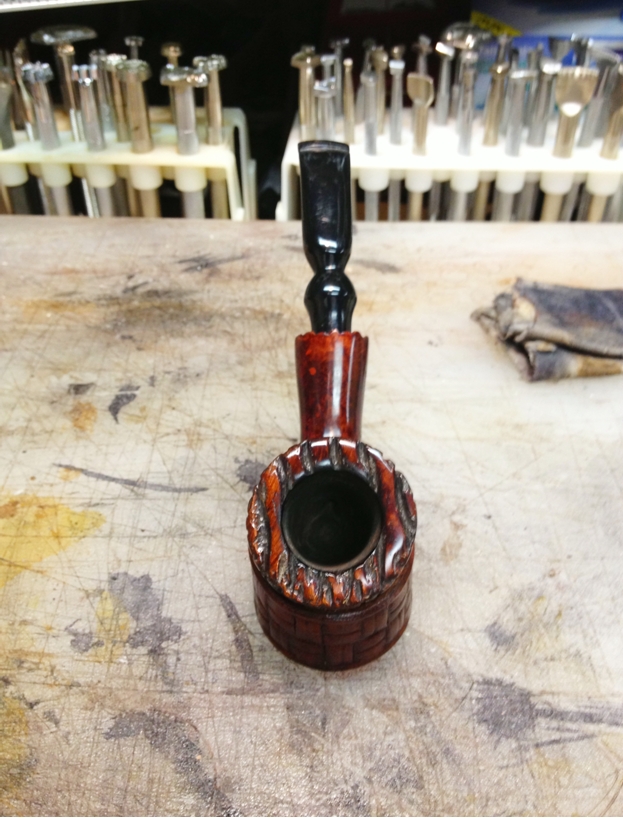
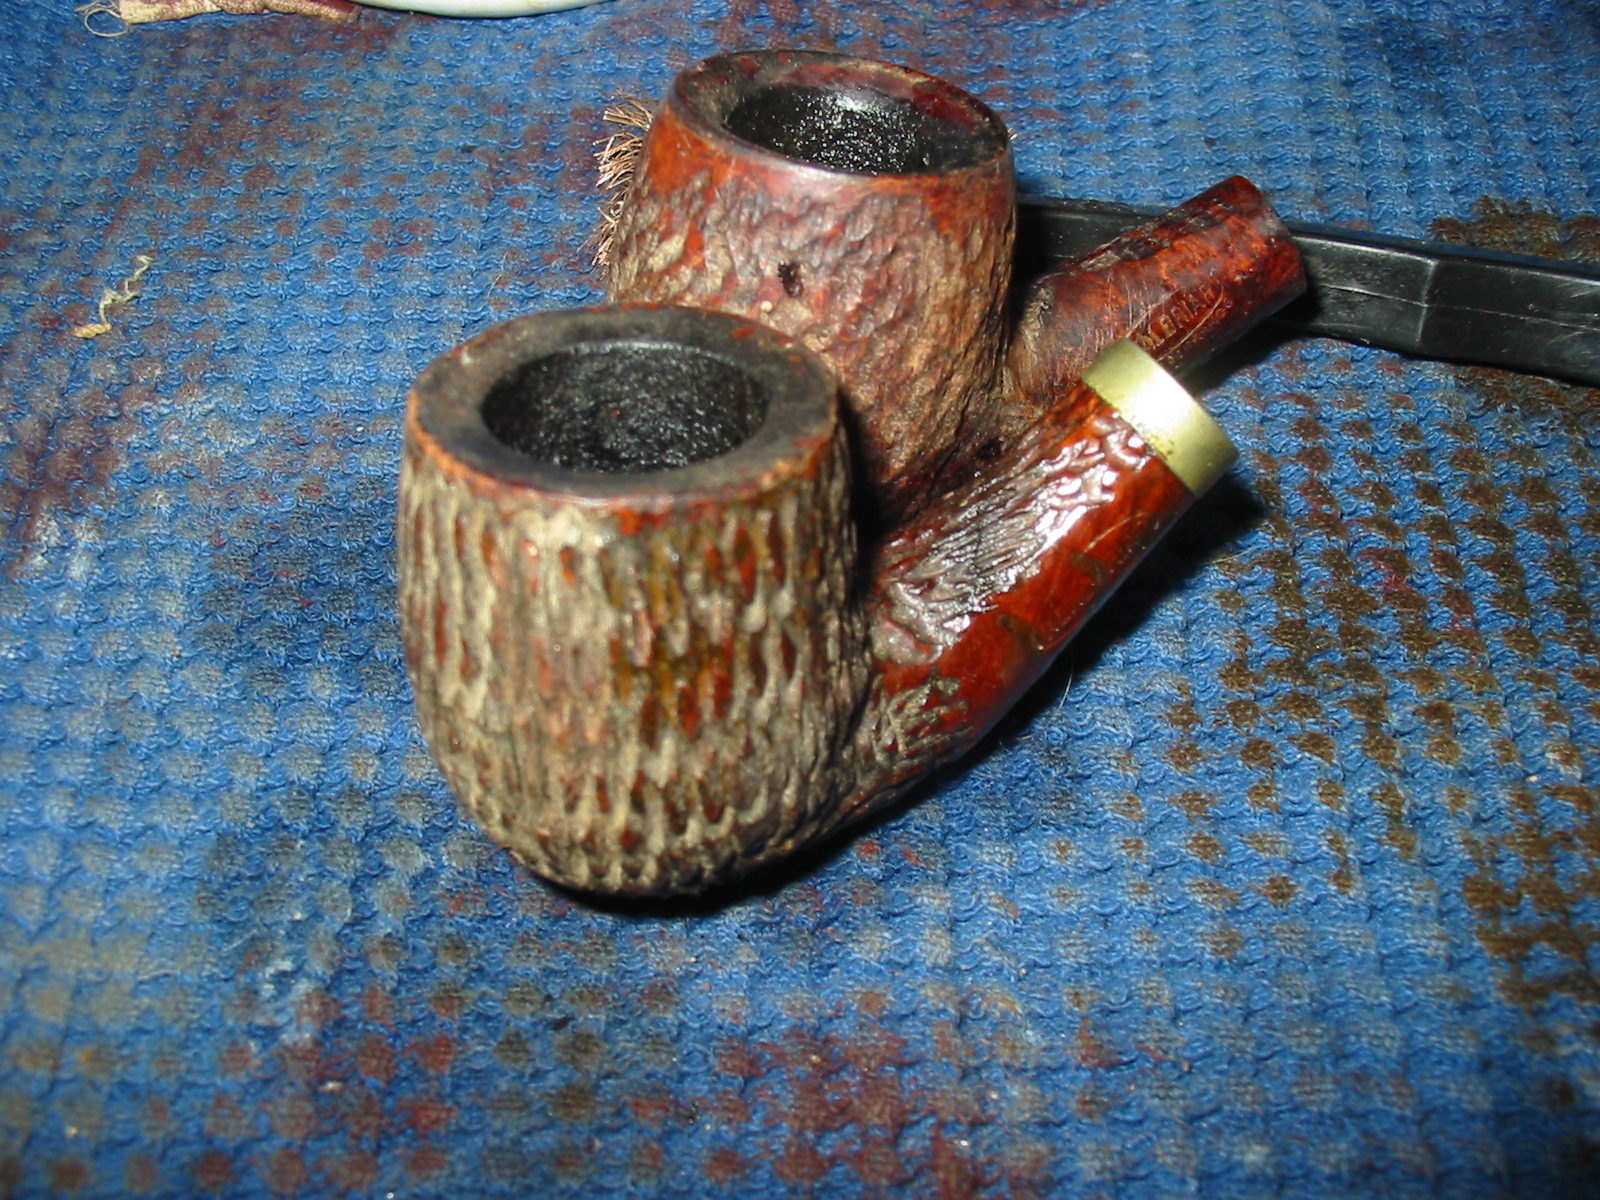
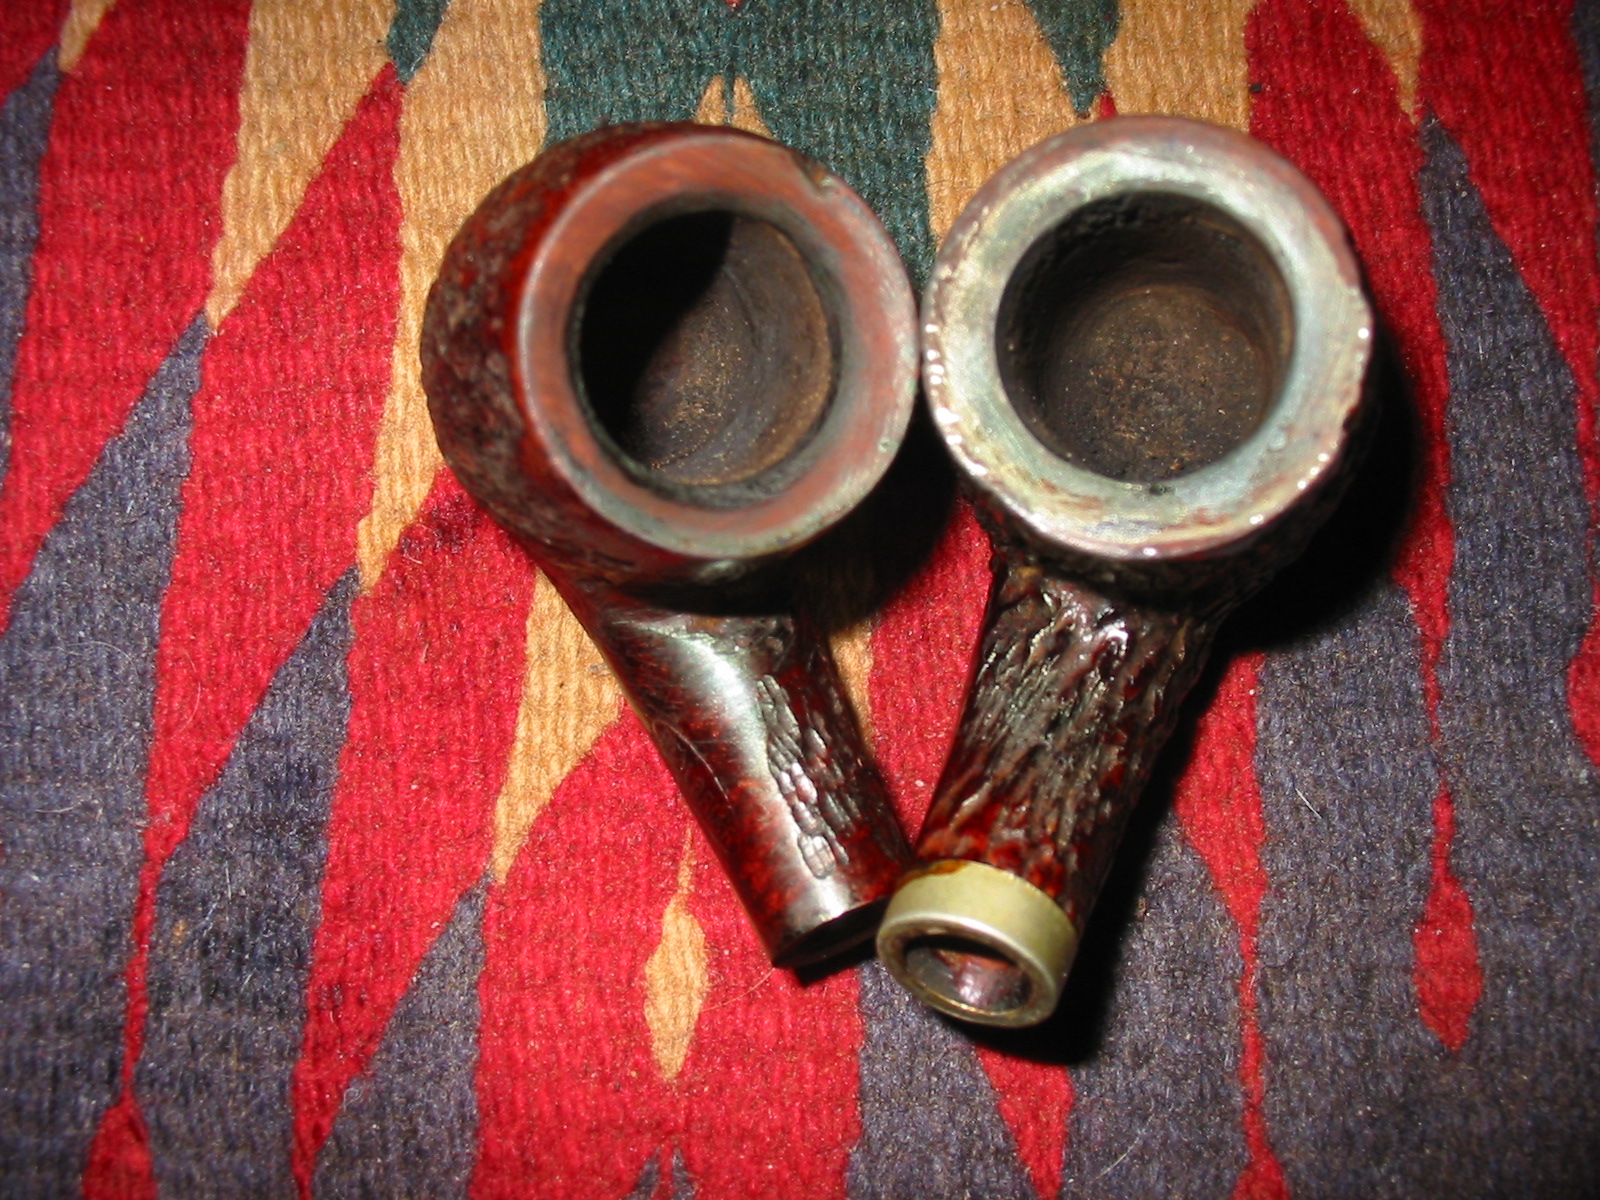
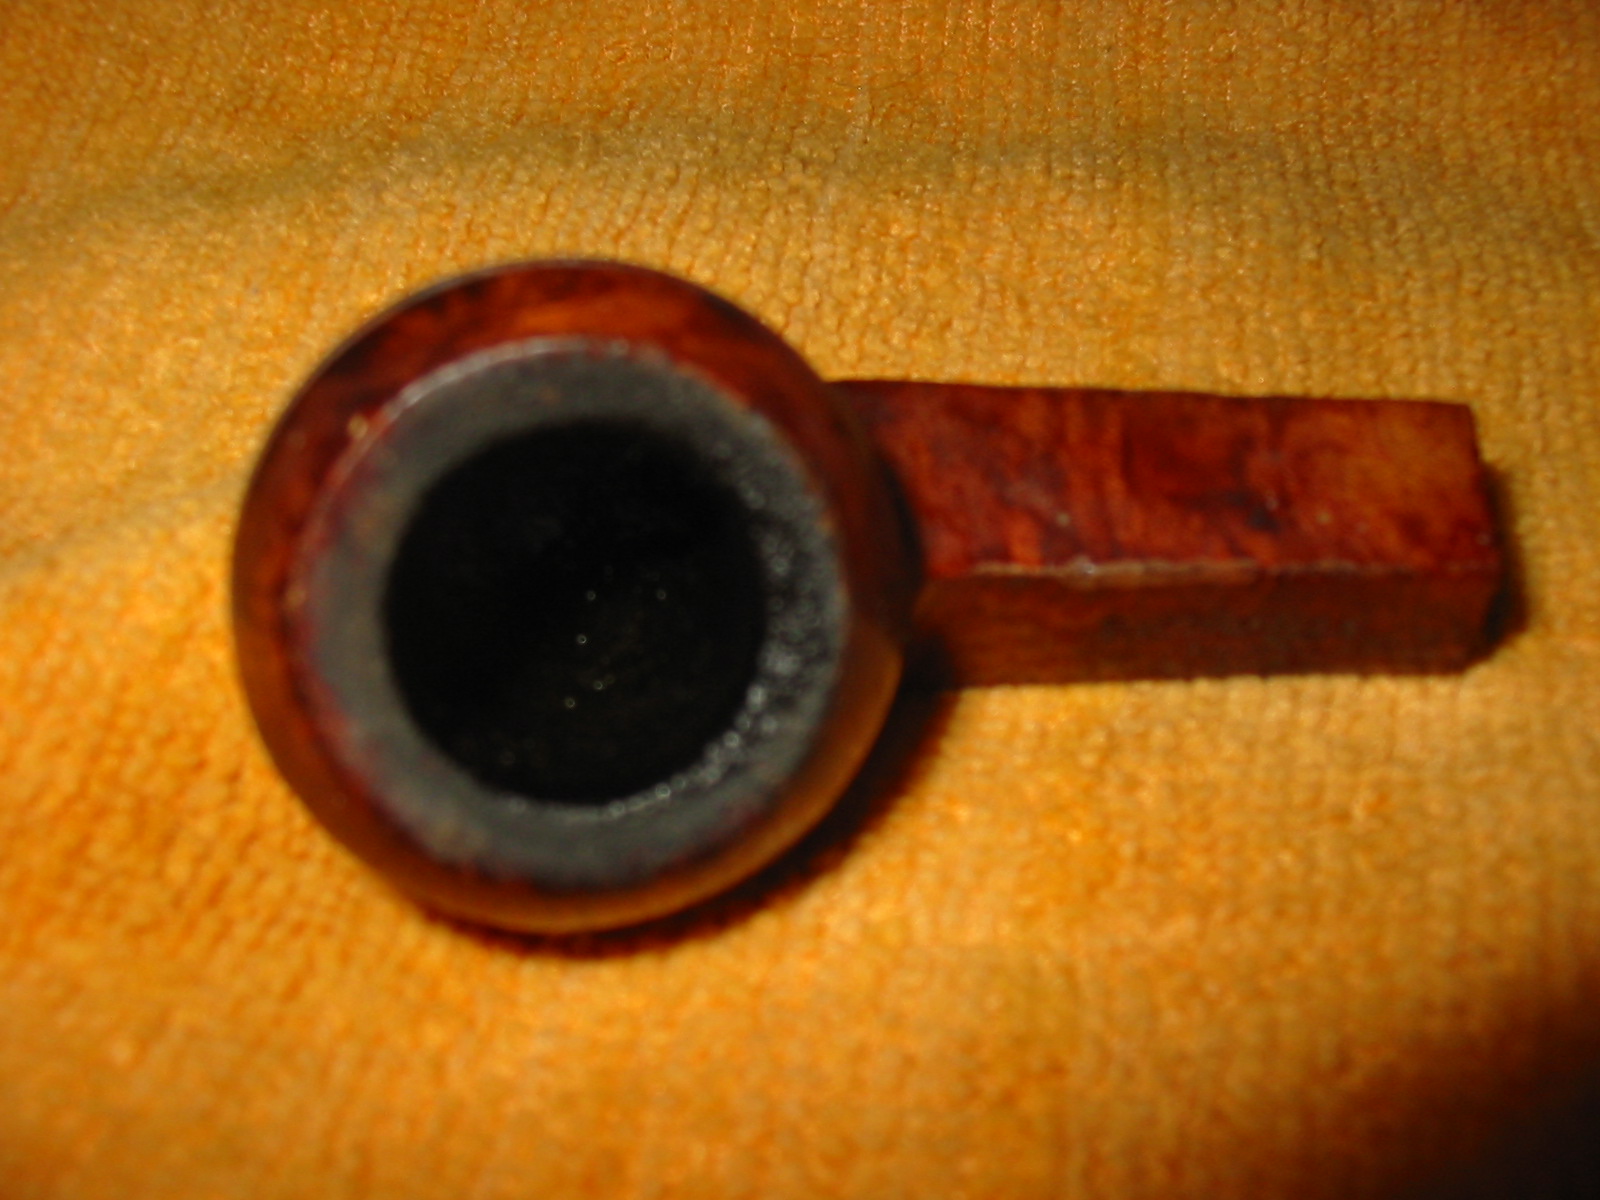
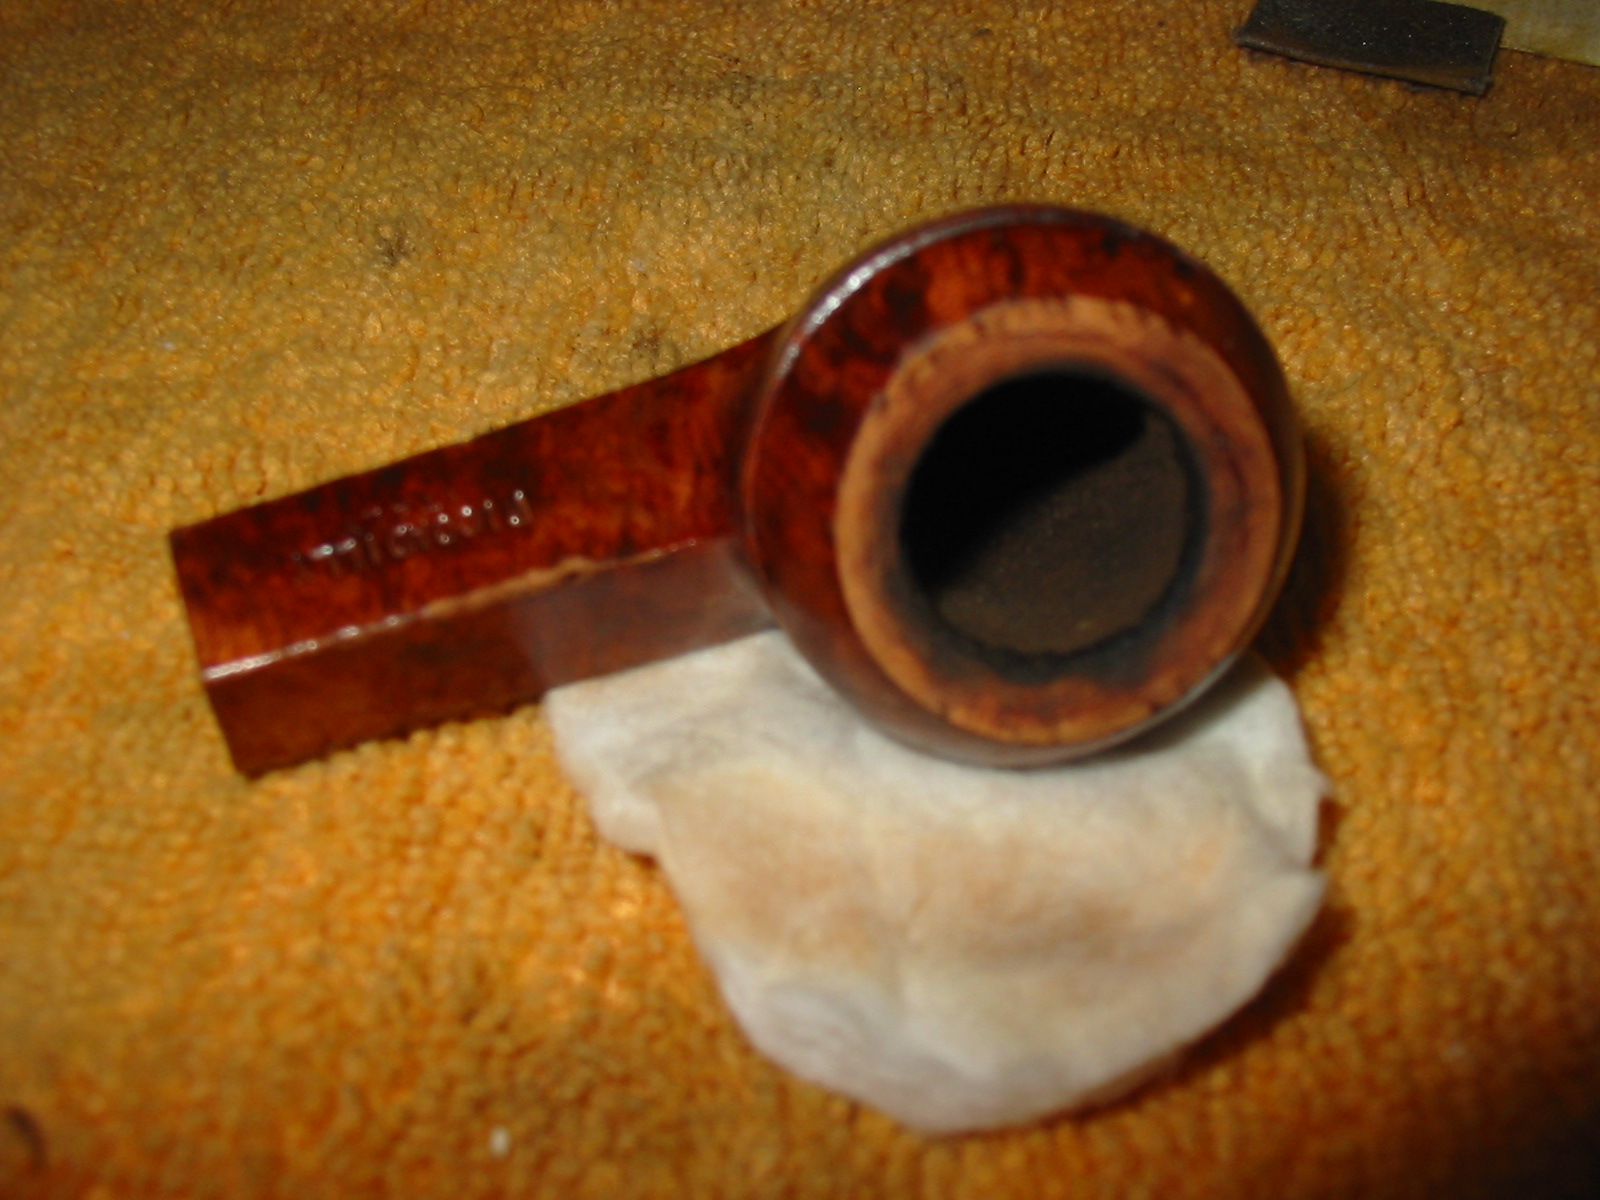
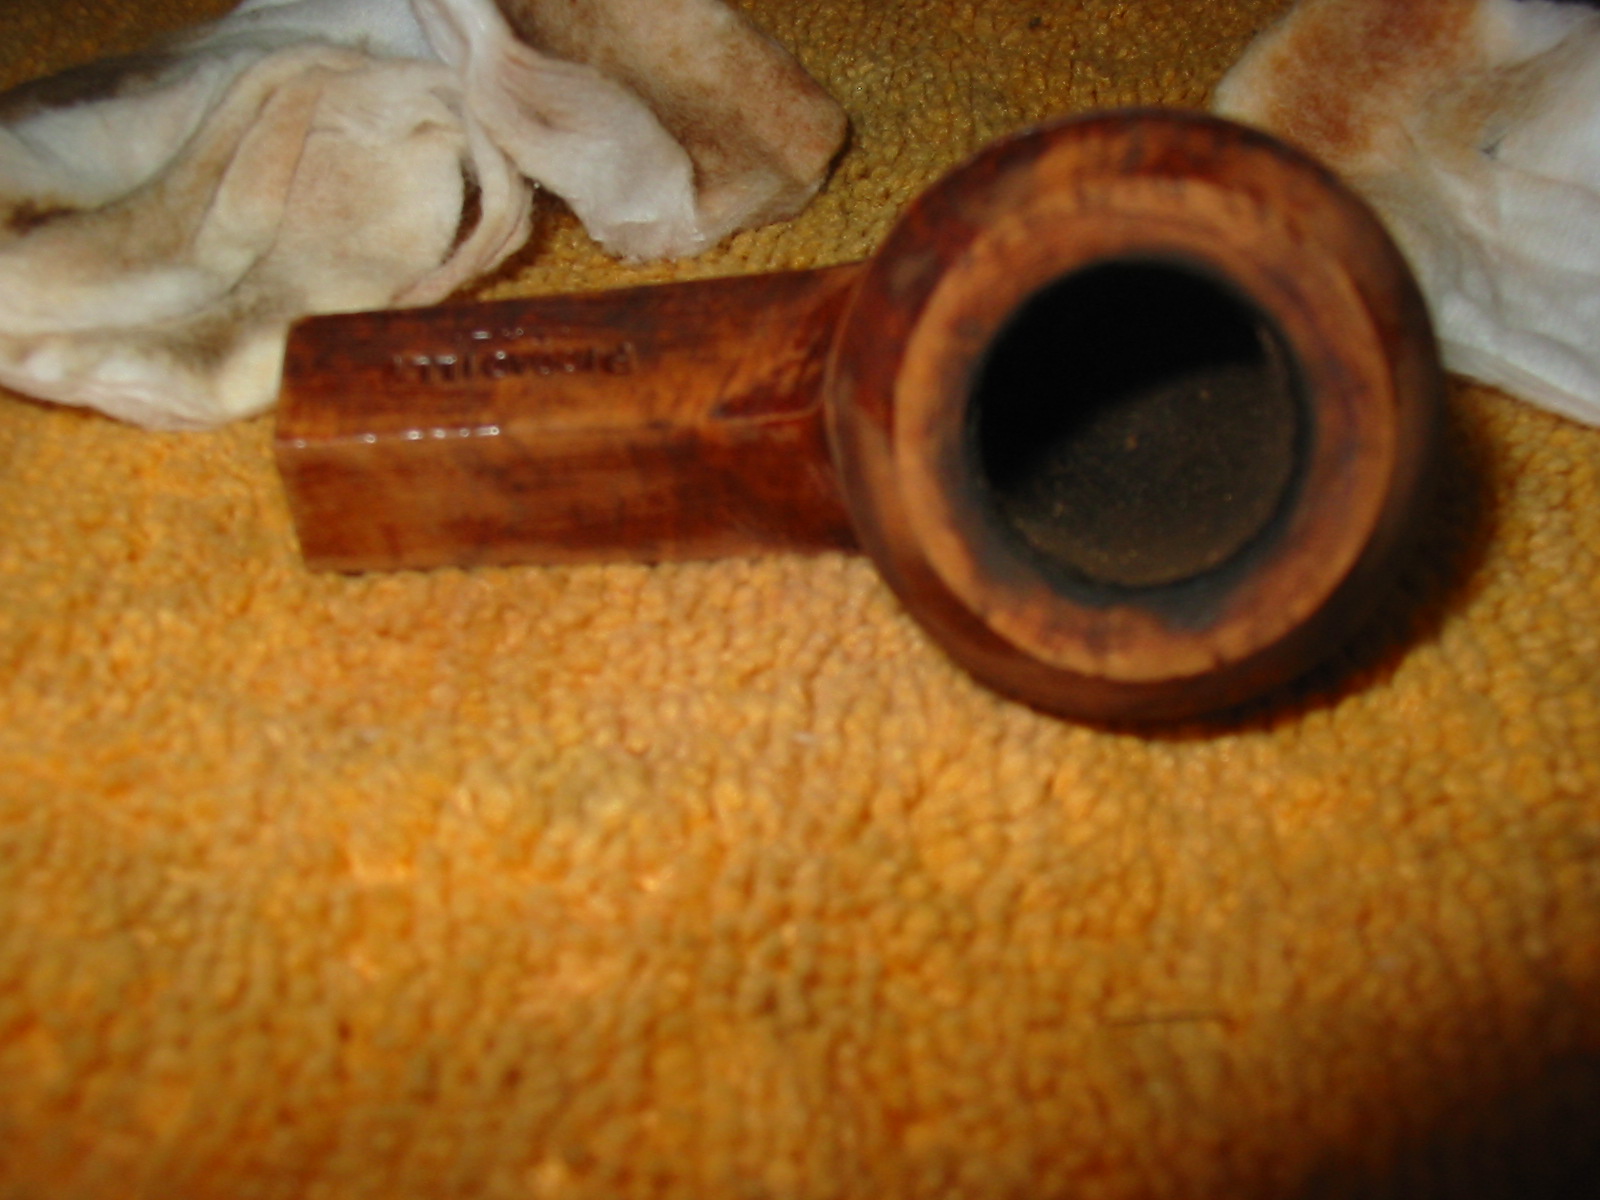
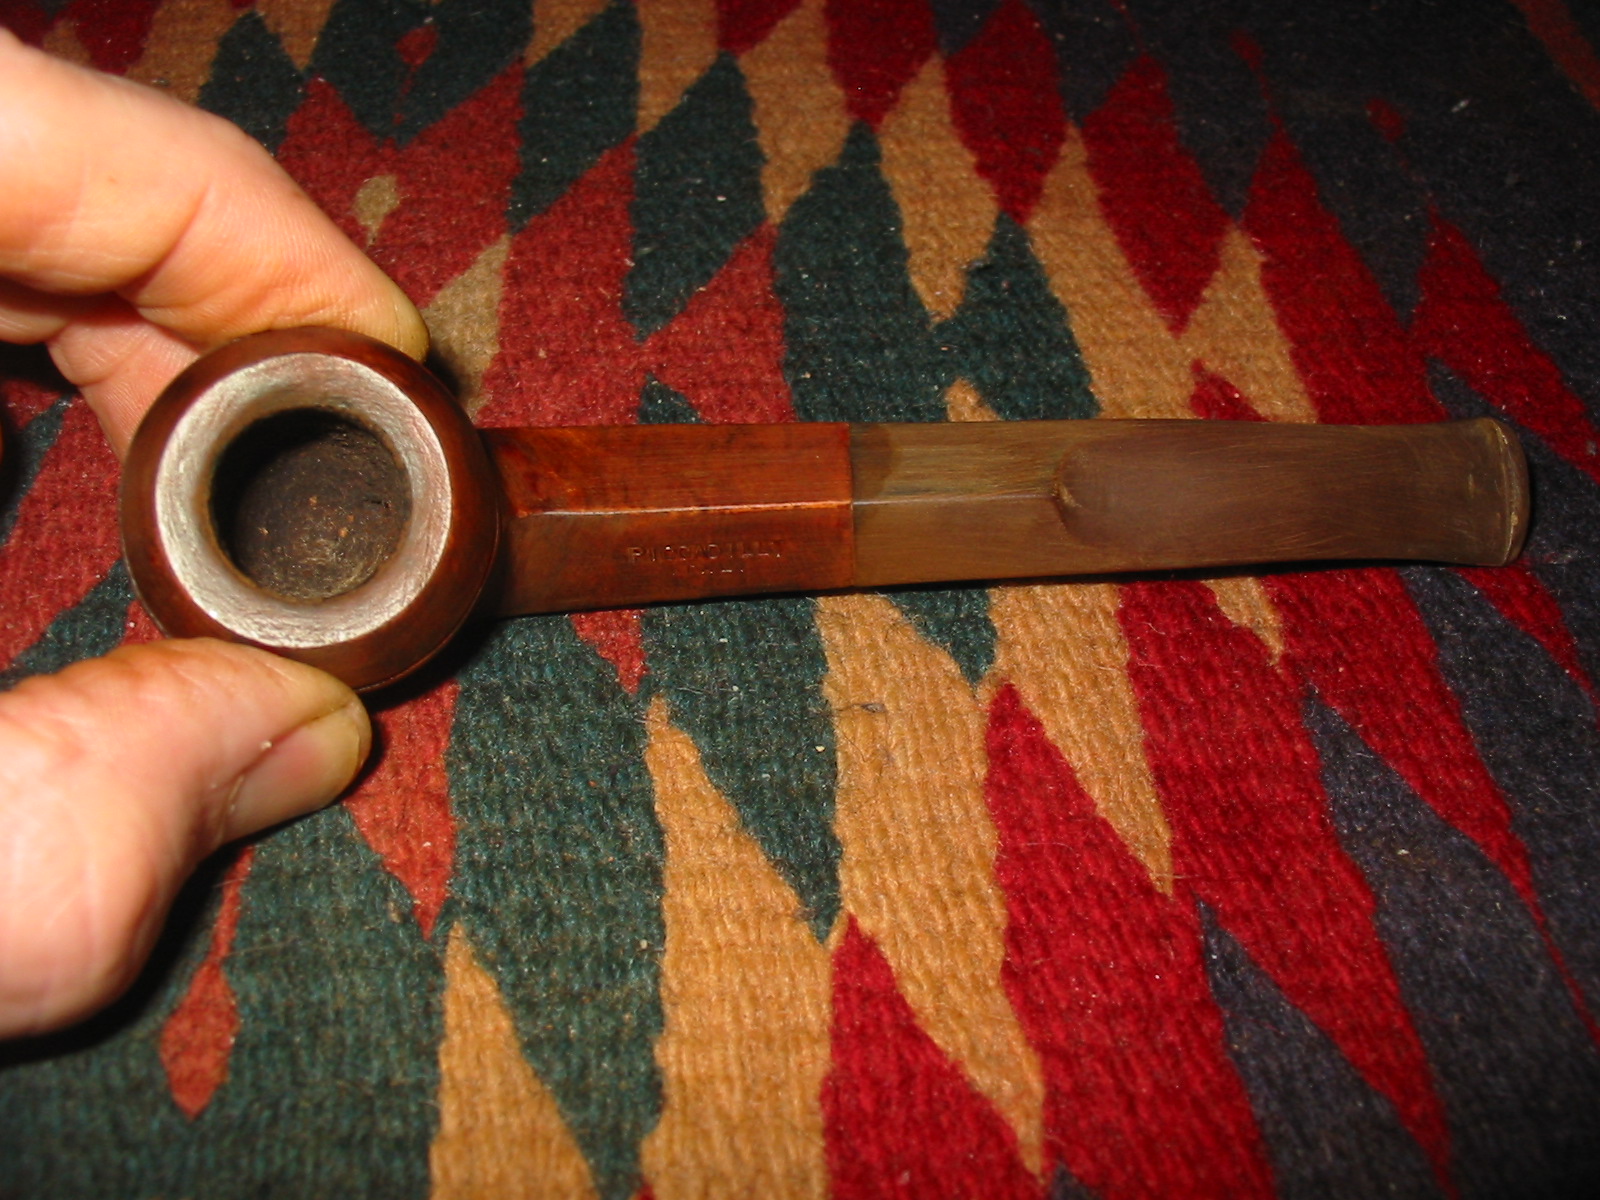
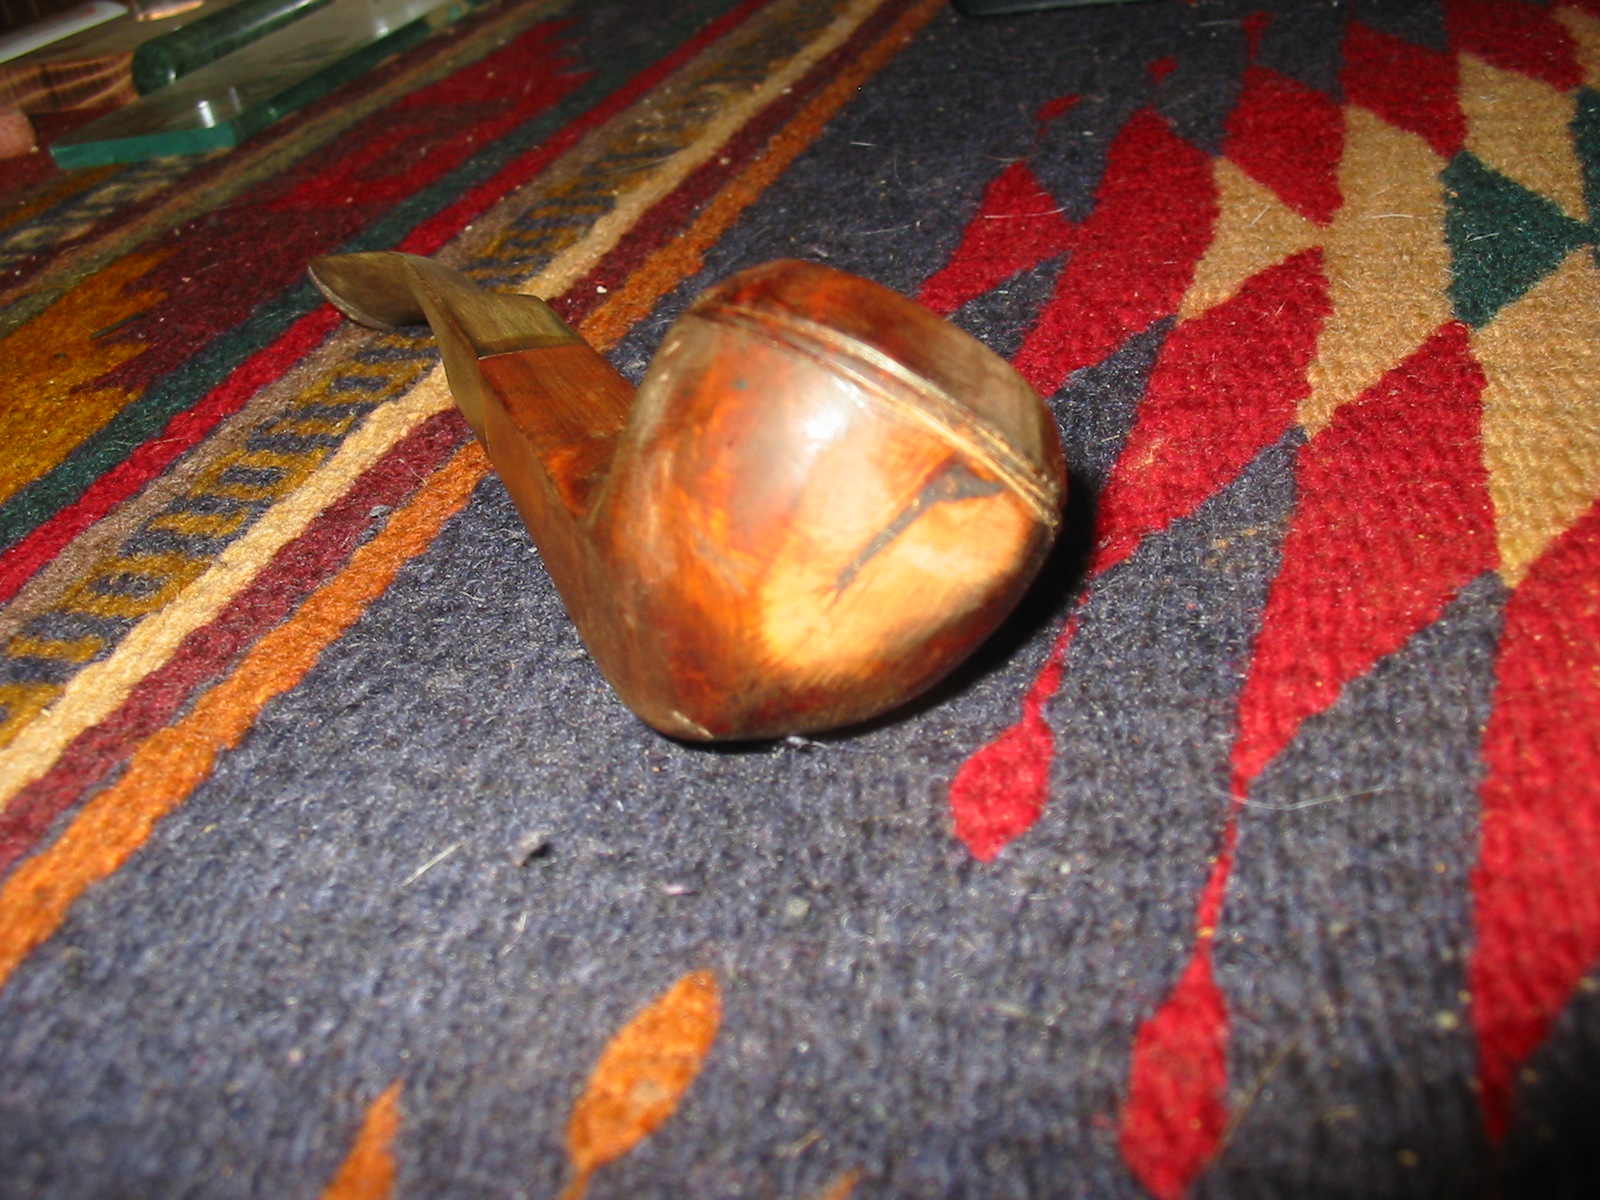
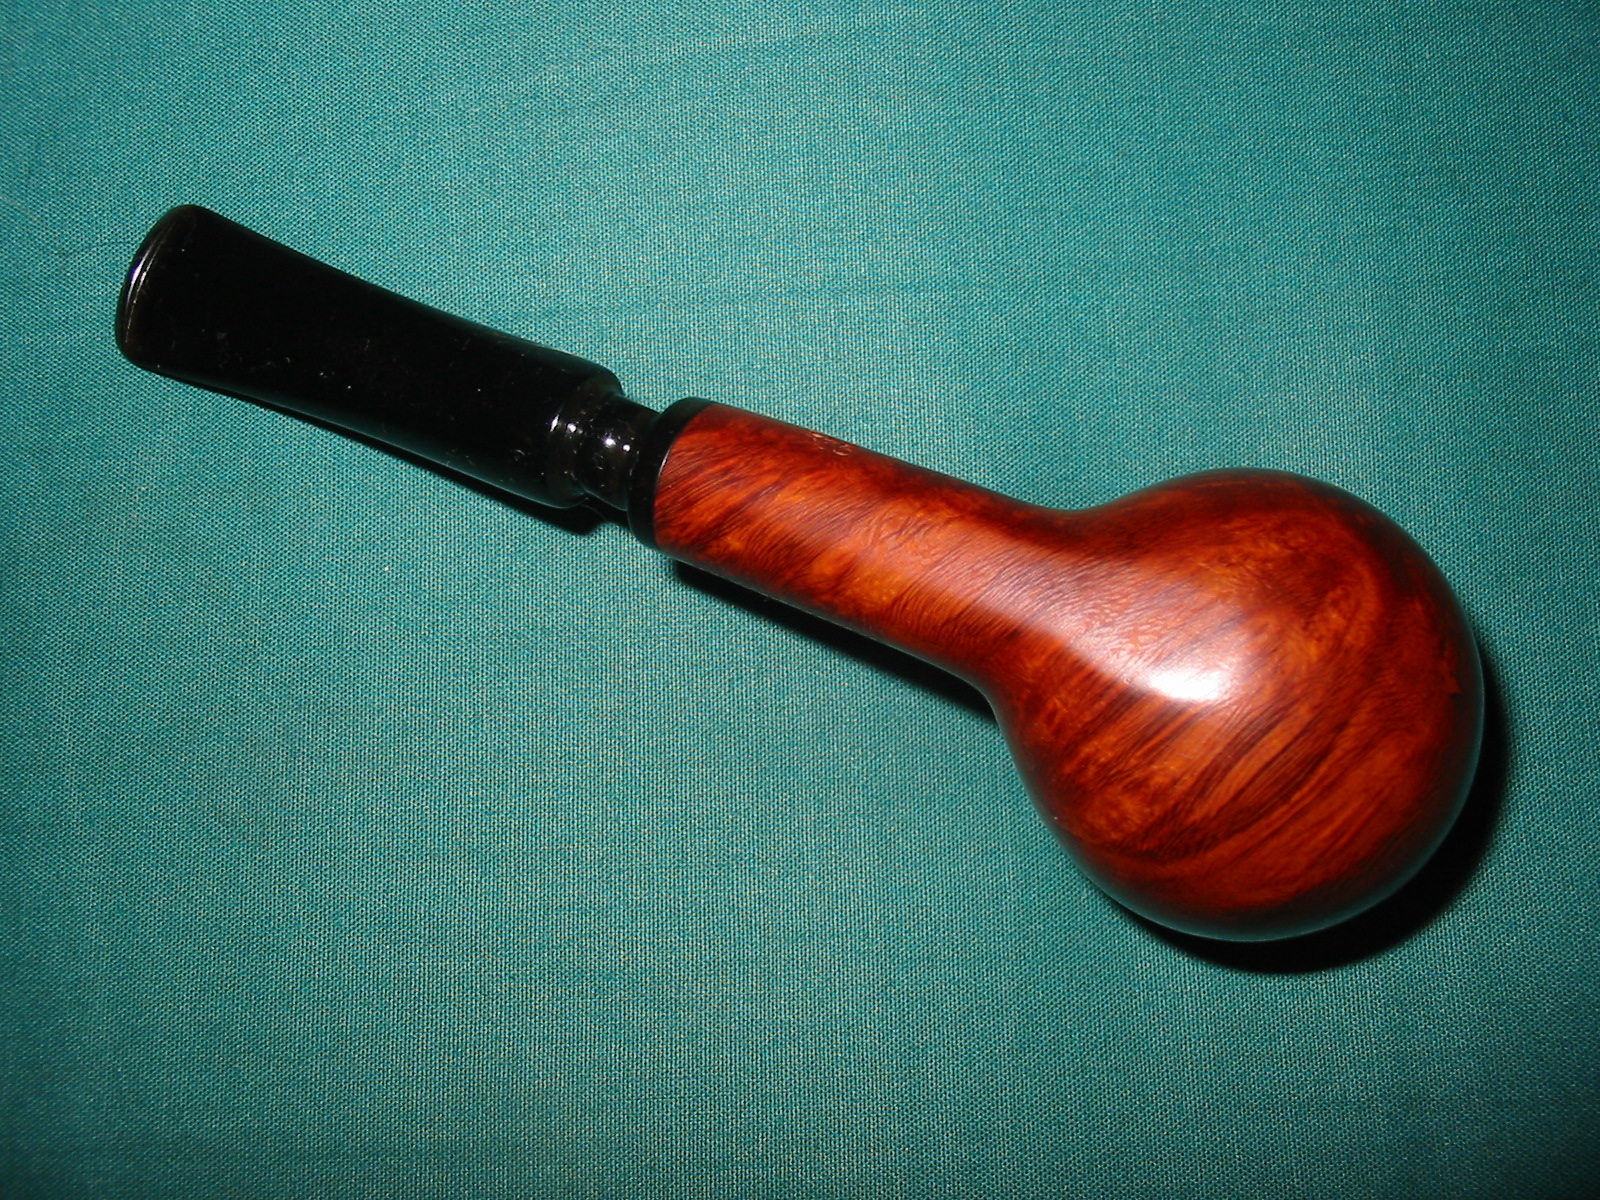
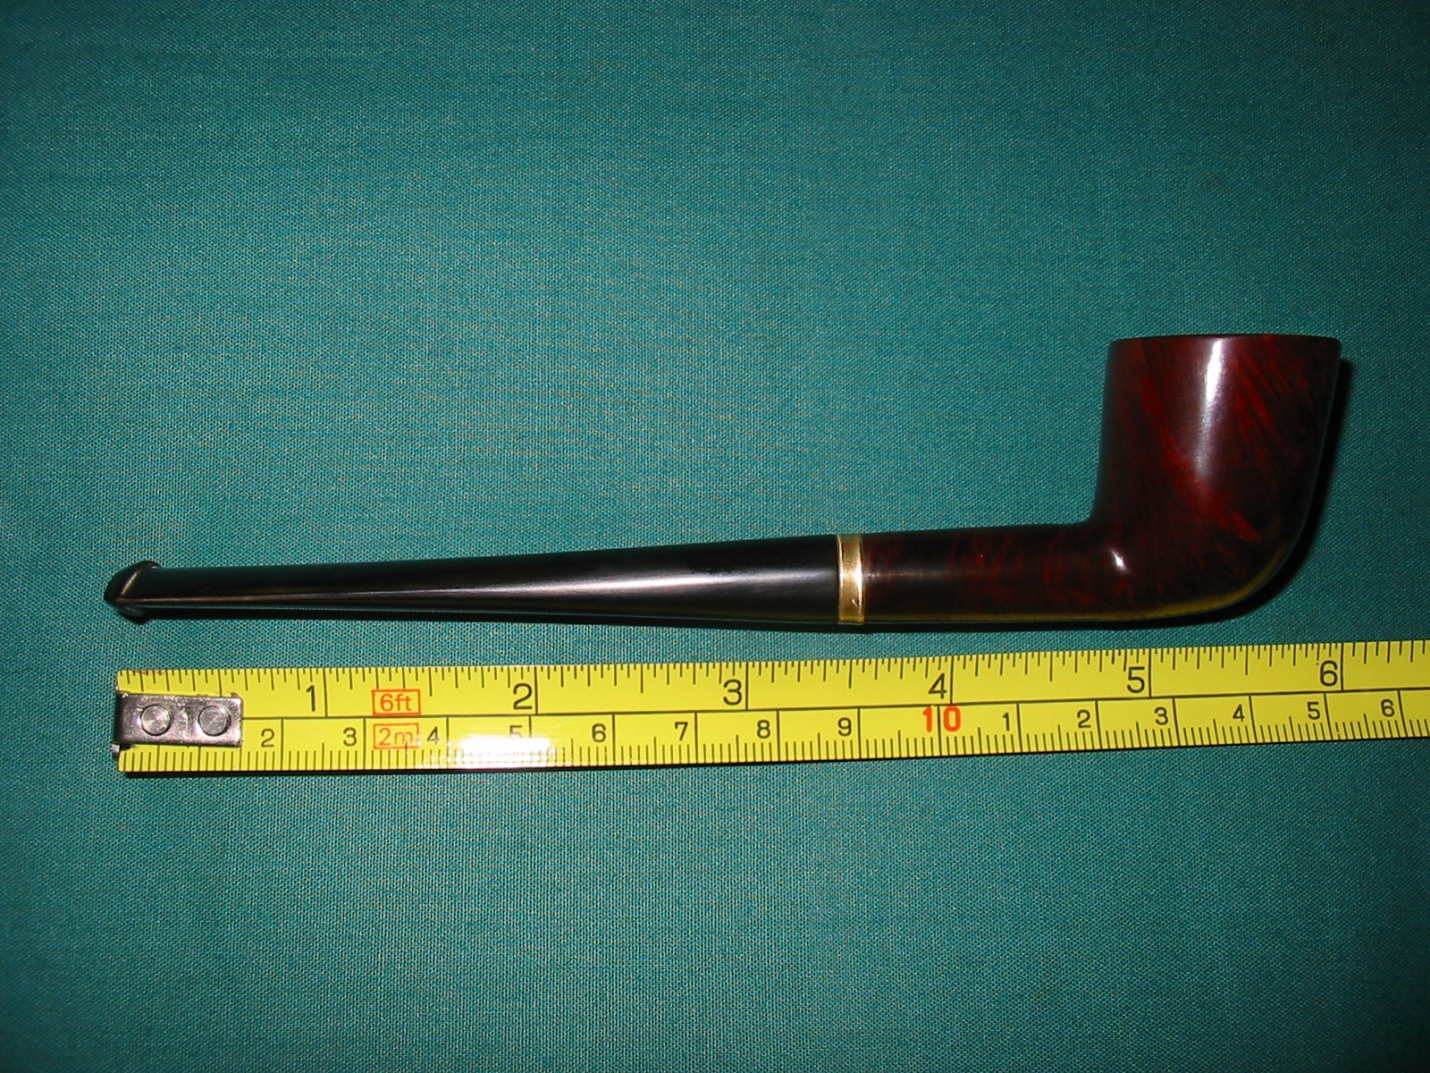
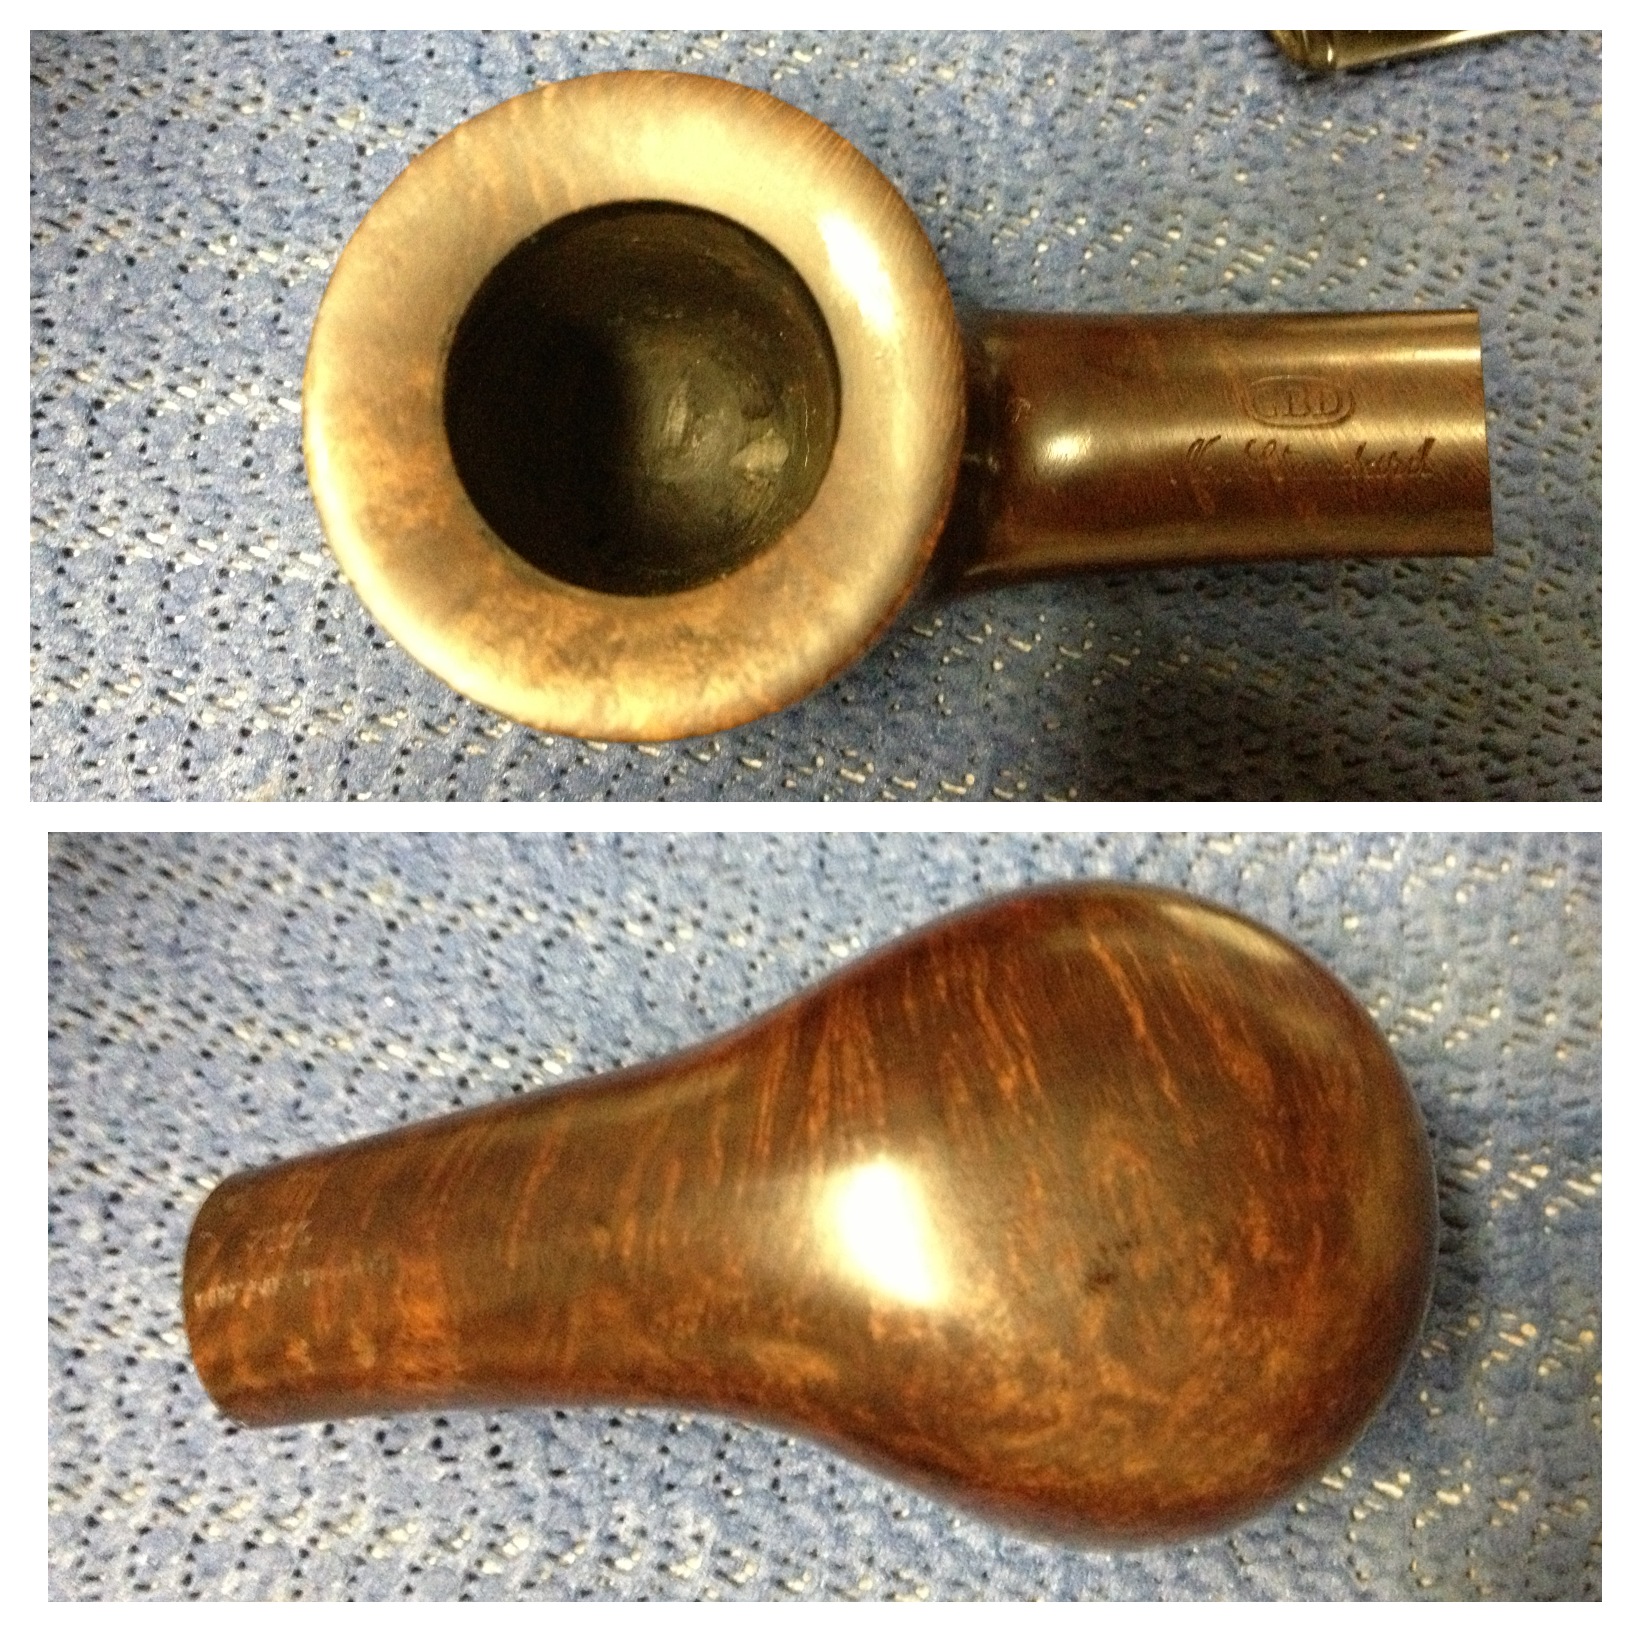
You can see in the top a pipe cleaner sticking through the drought hole, showing a well-drilled pipe.
The pipe has a few fills but the are mainly on the bottom – out of sight, out of mind – and I wanted to keep this pipe as original as I could so I didn’t bother with them.
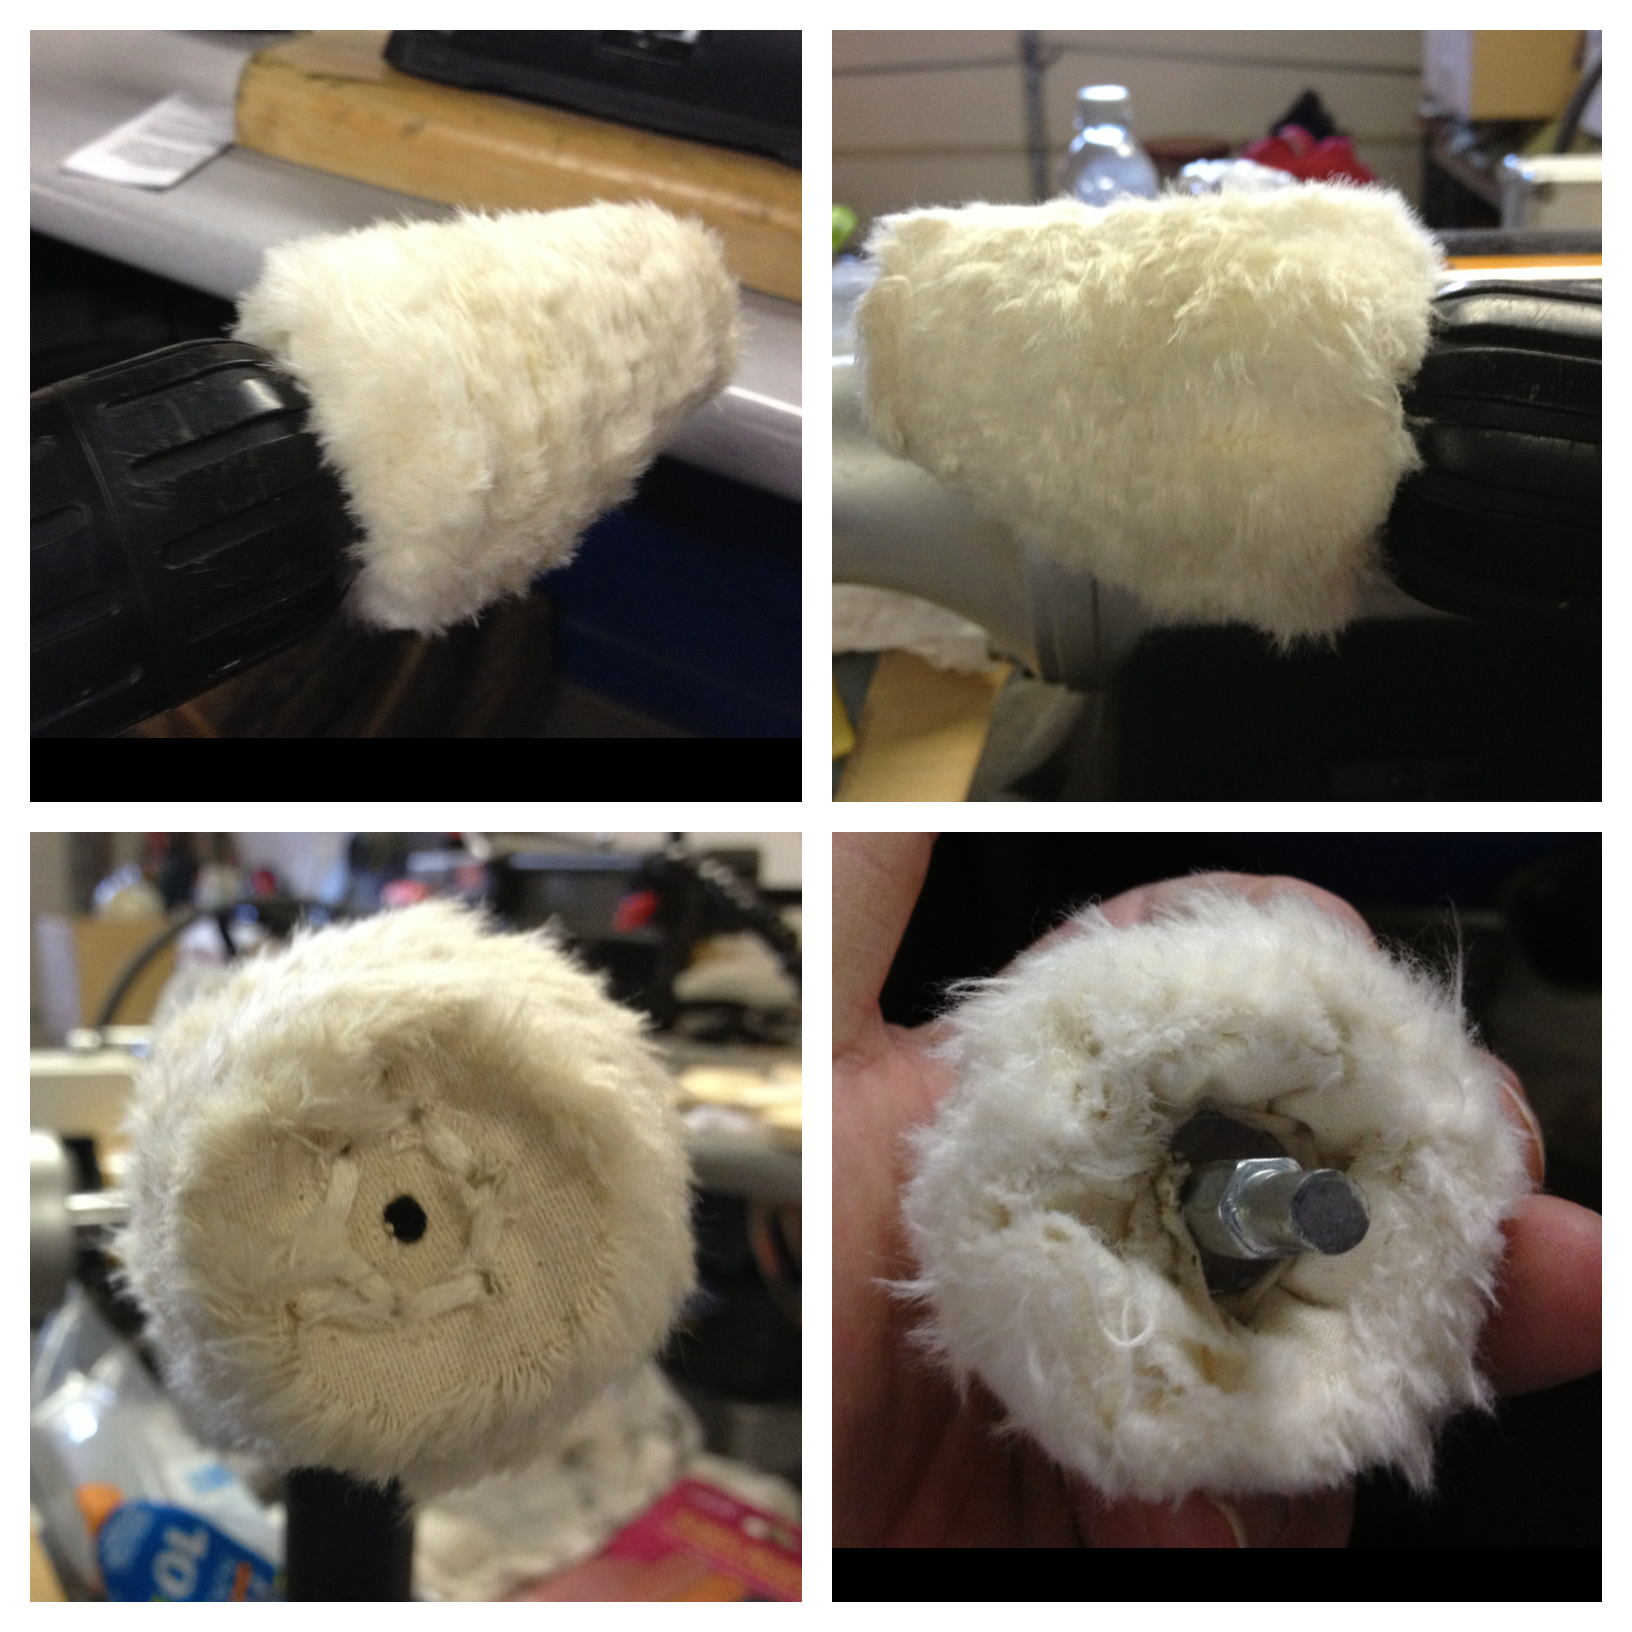
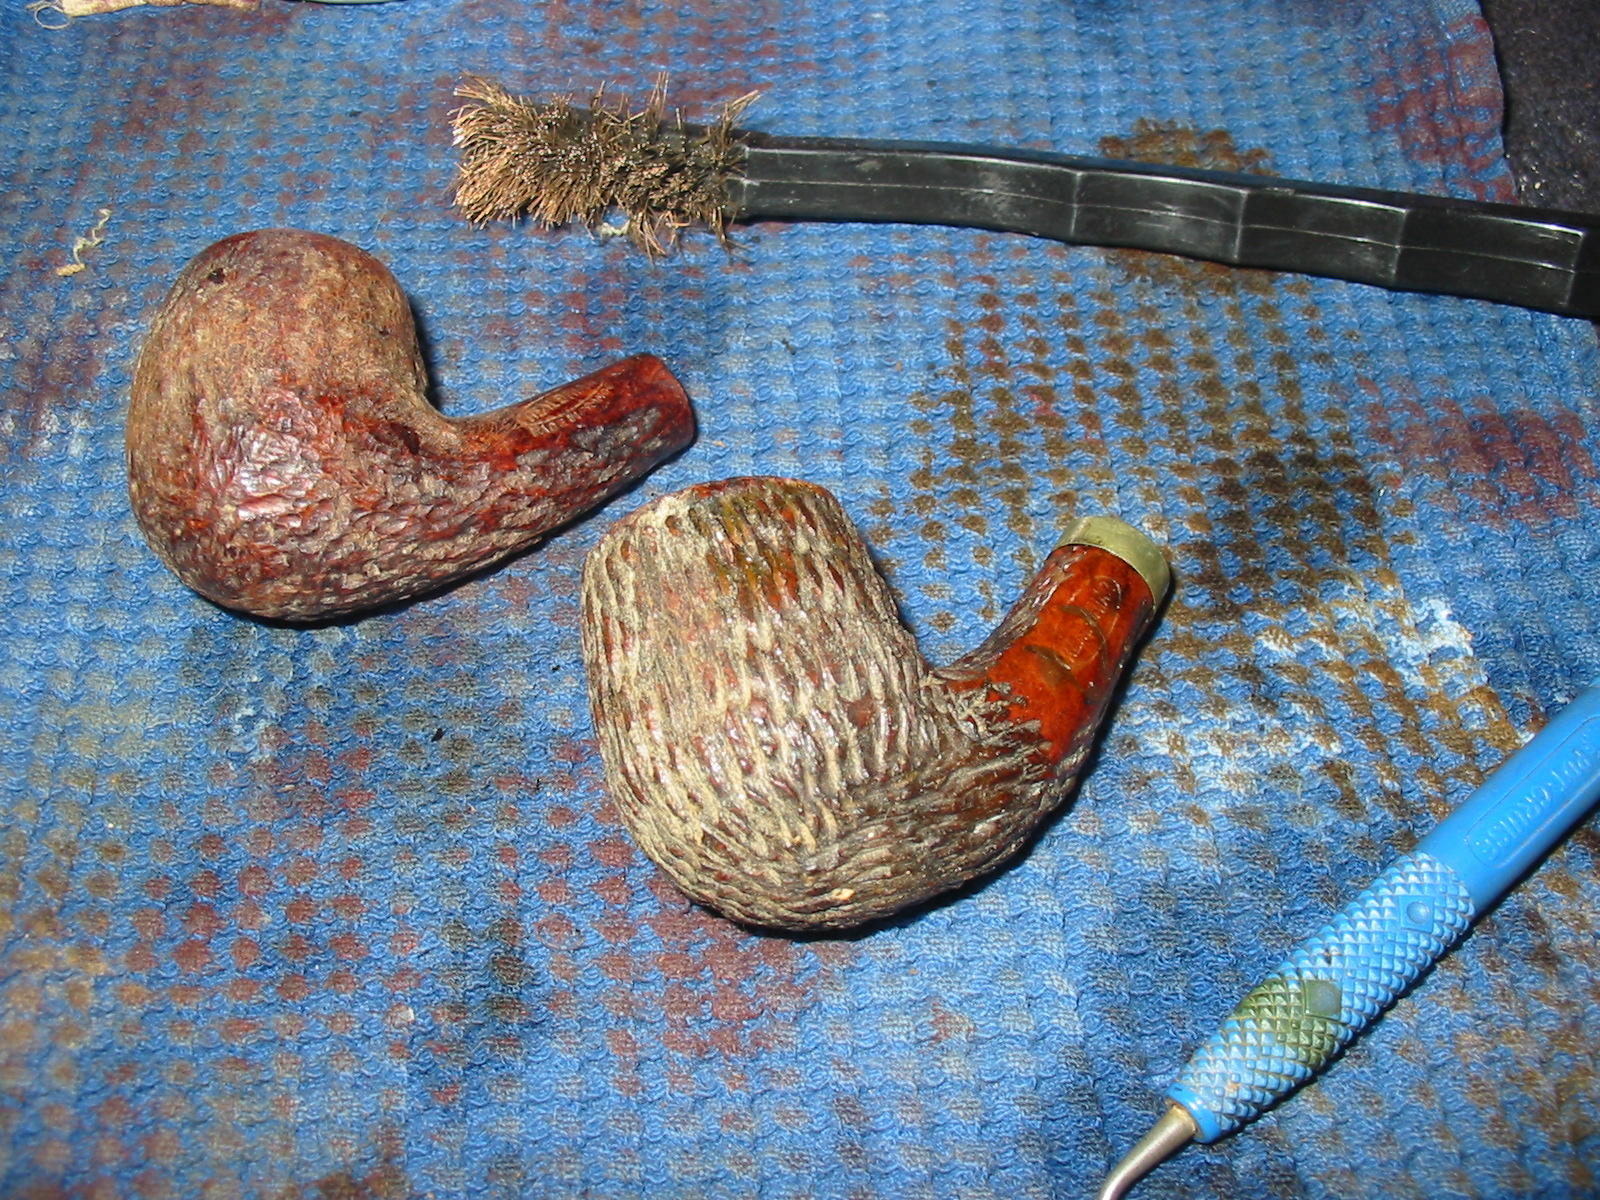
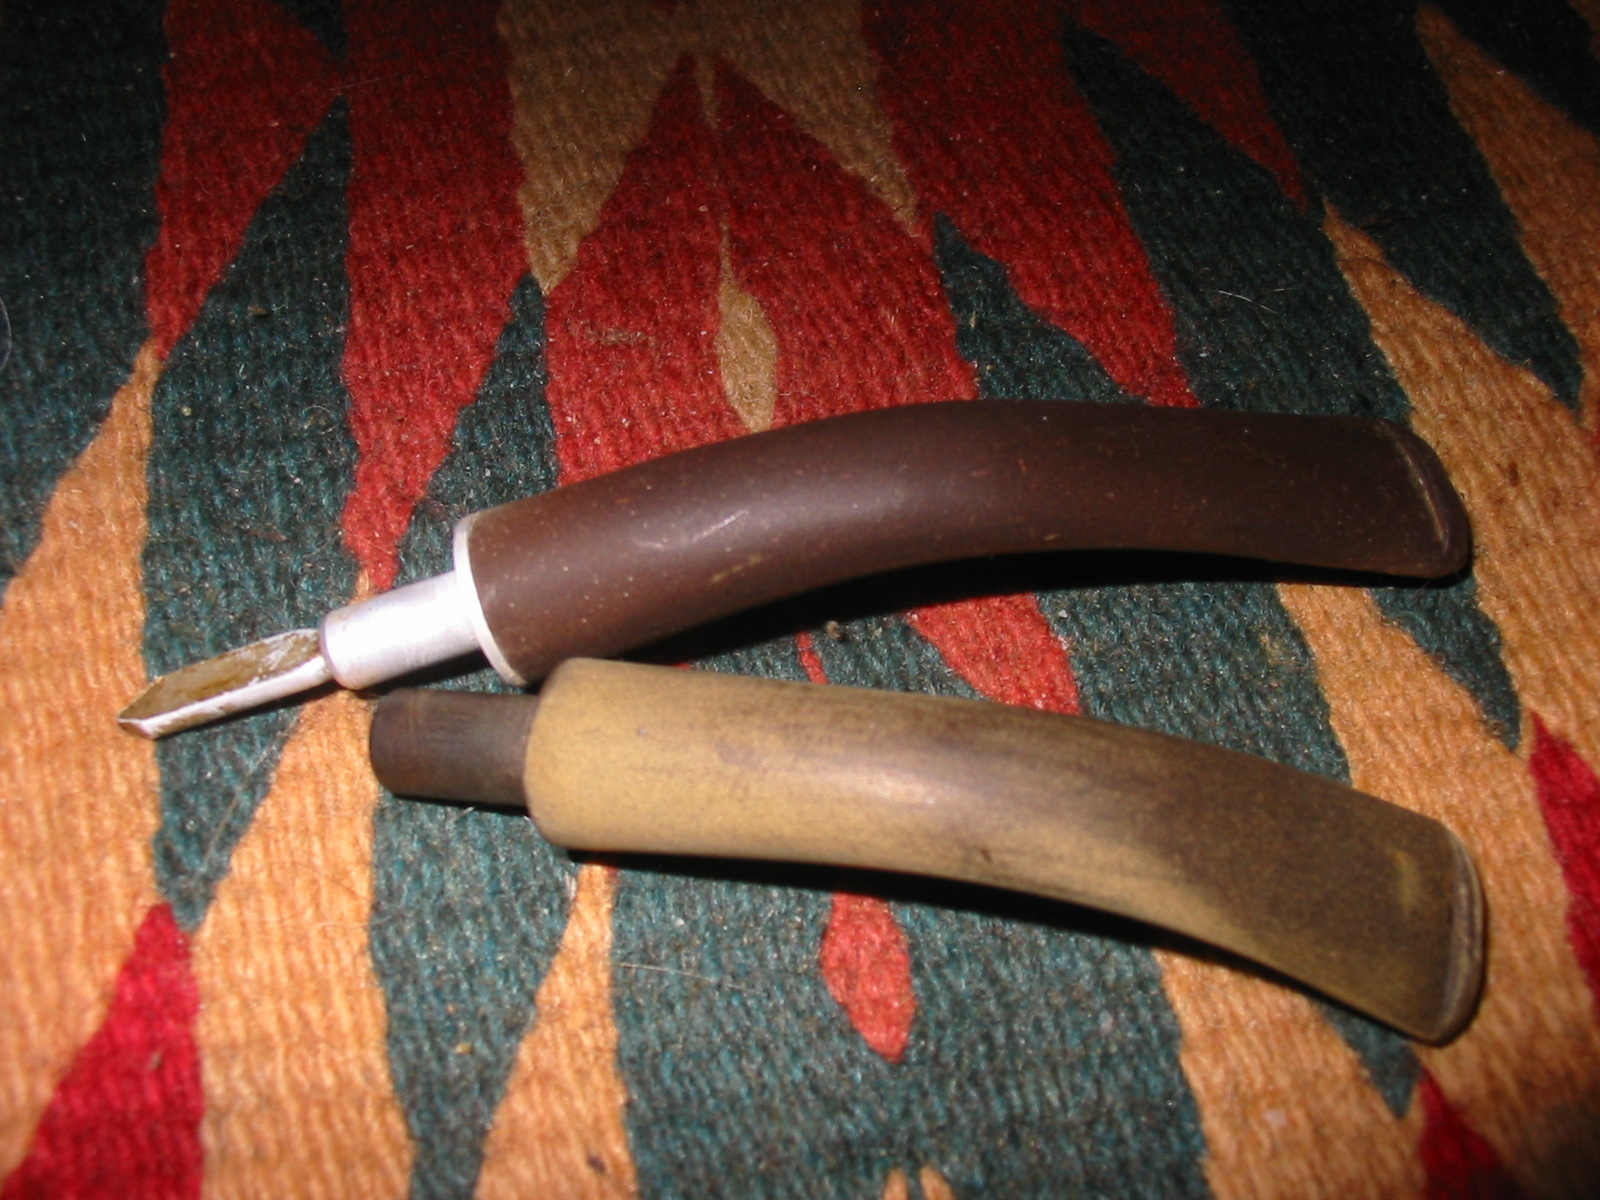
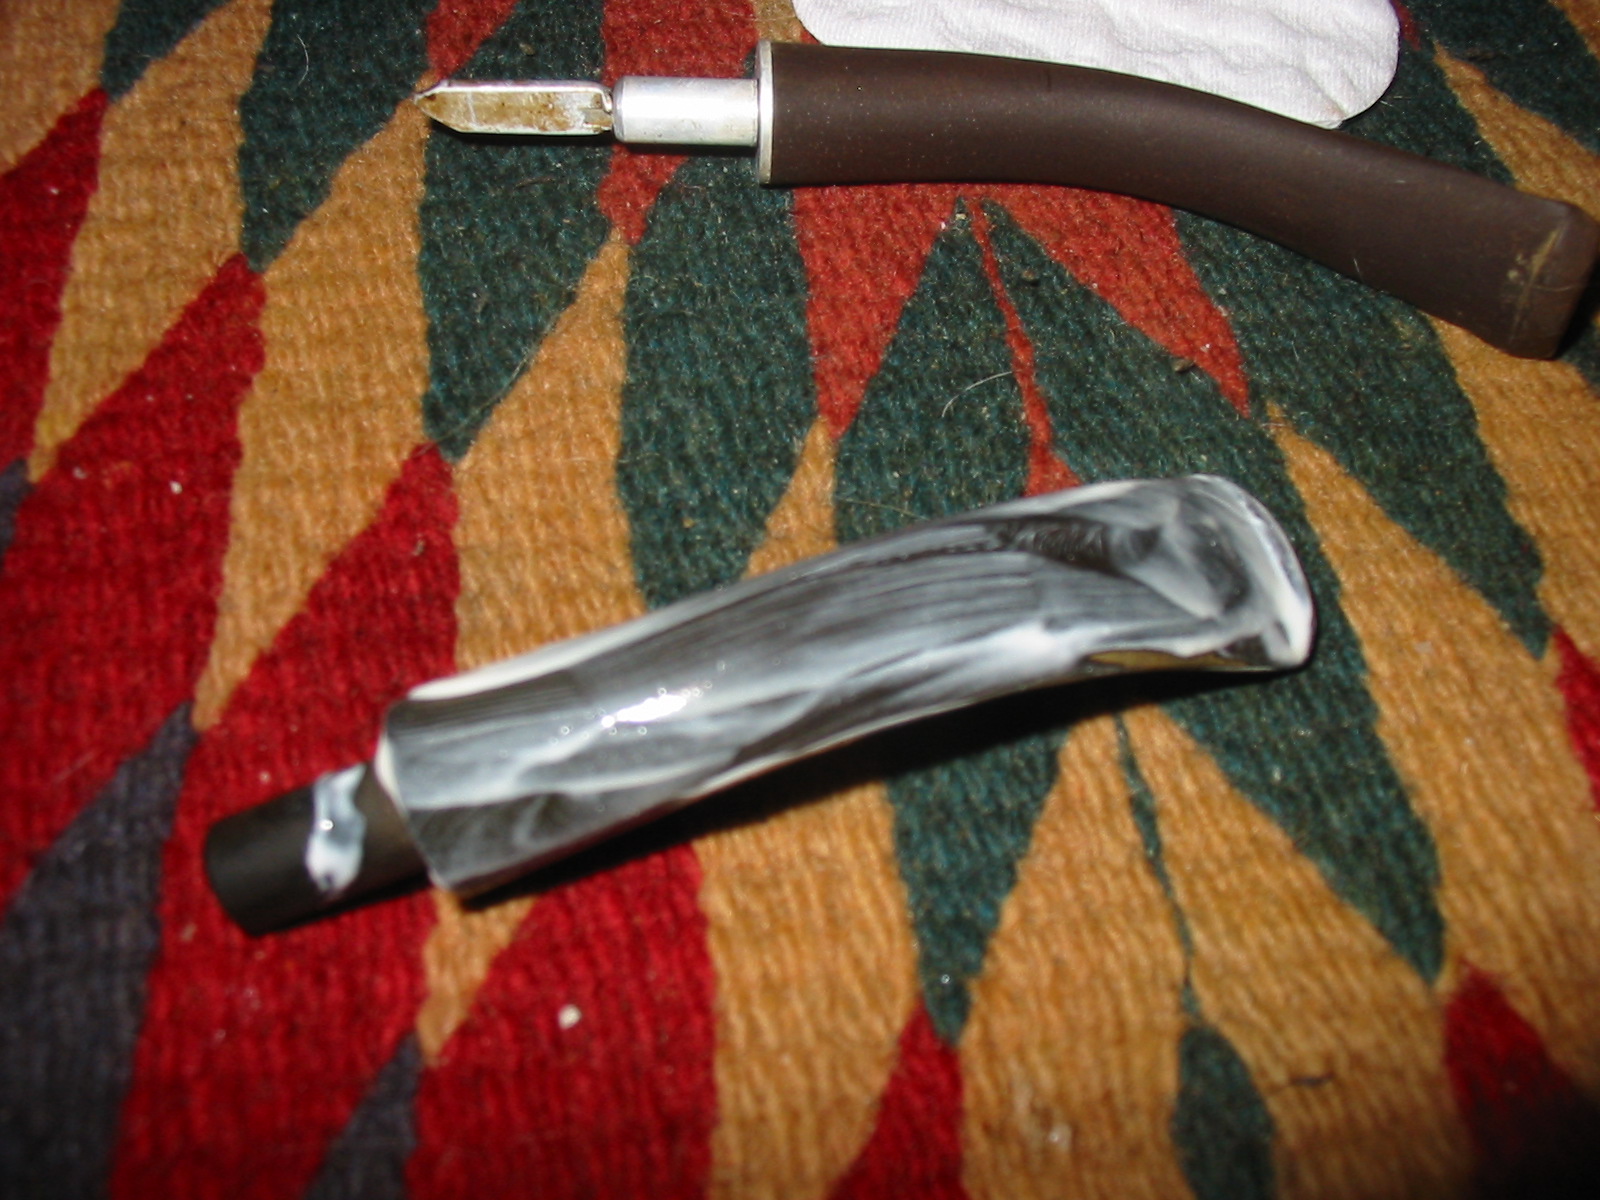
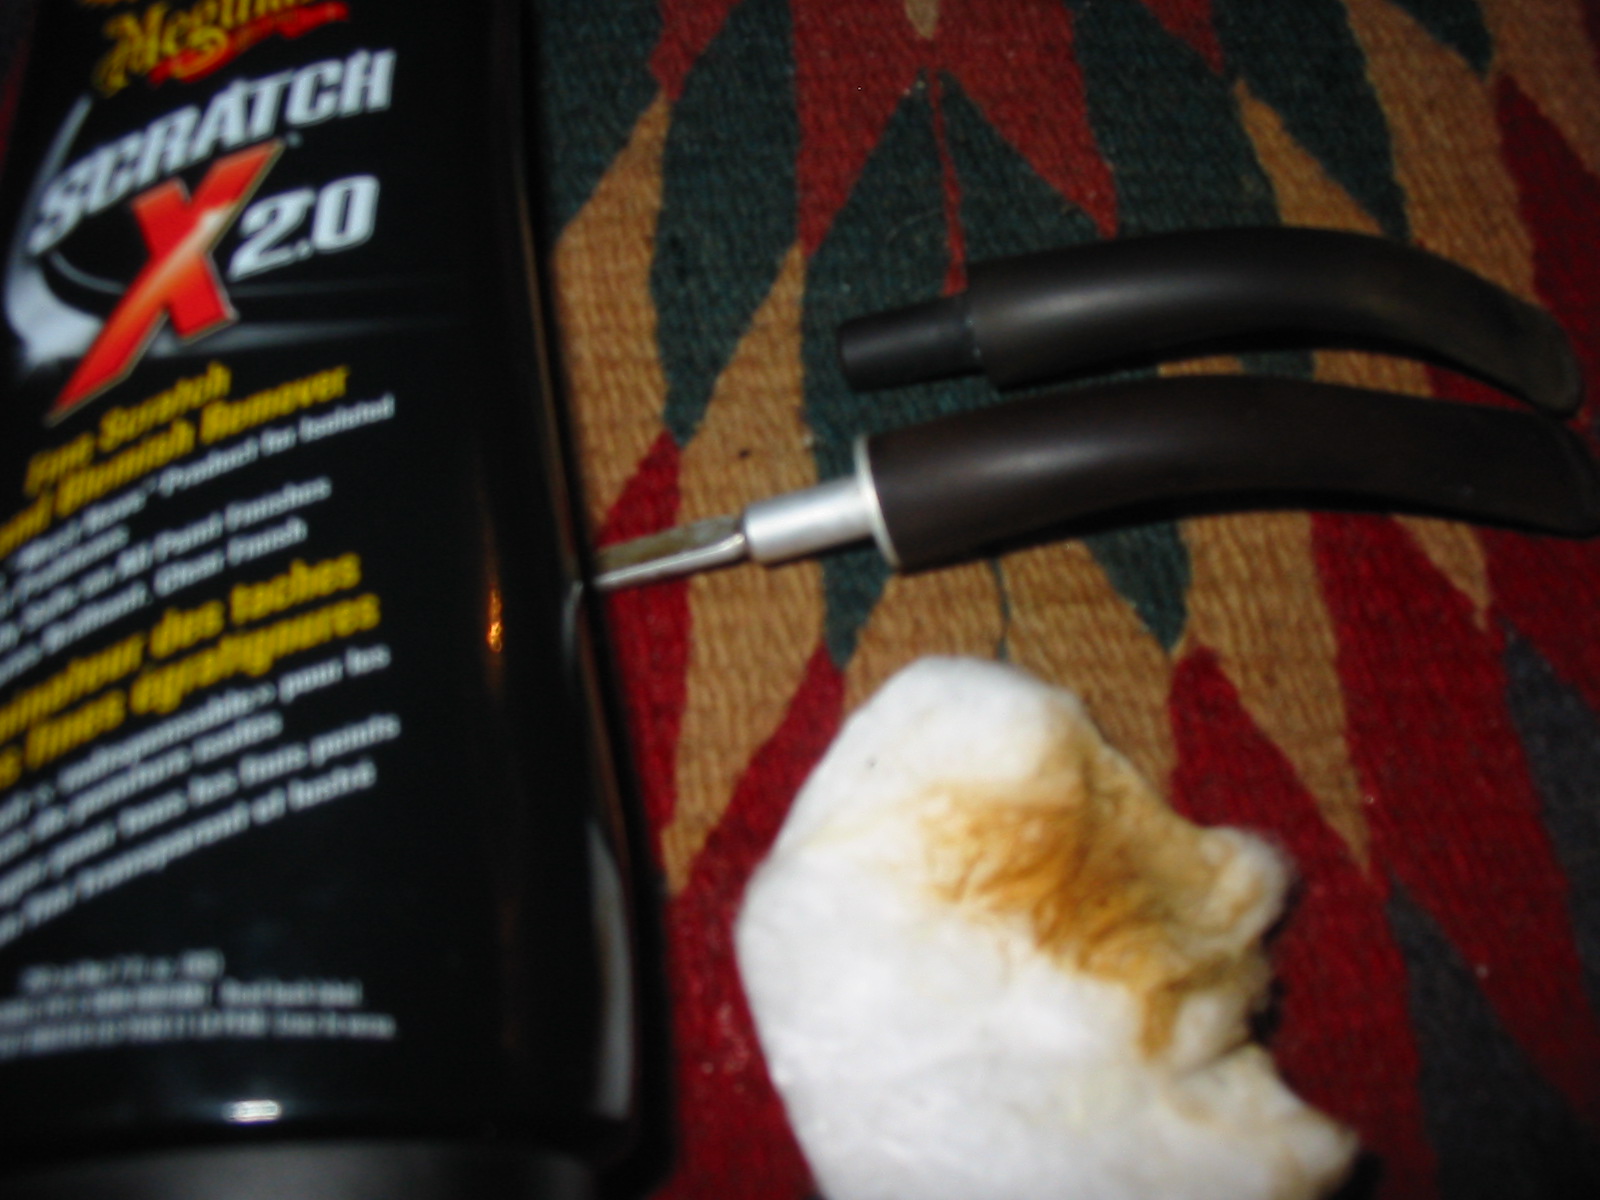
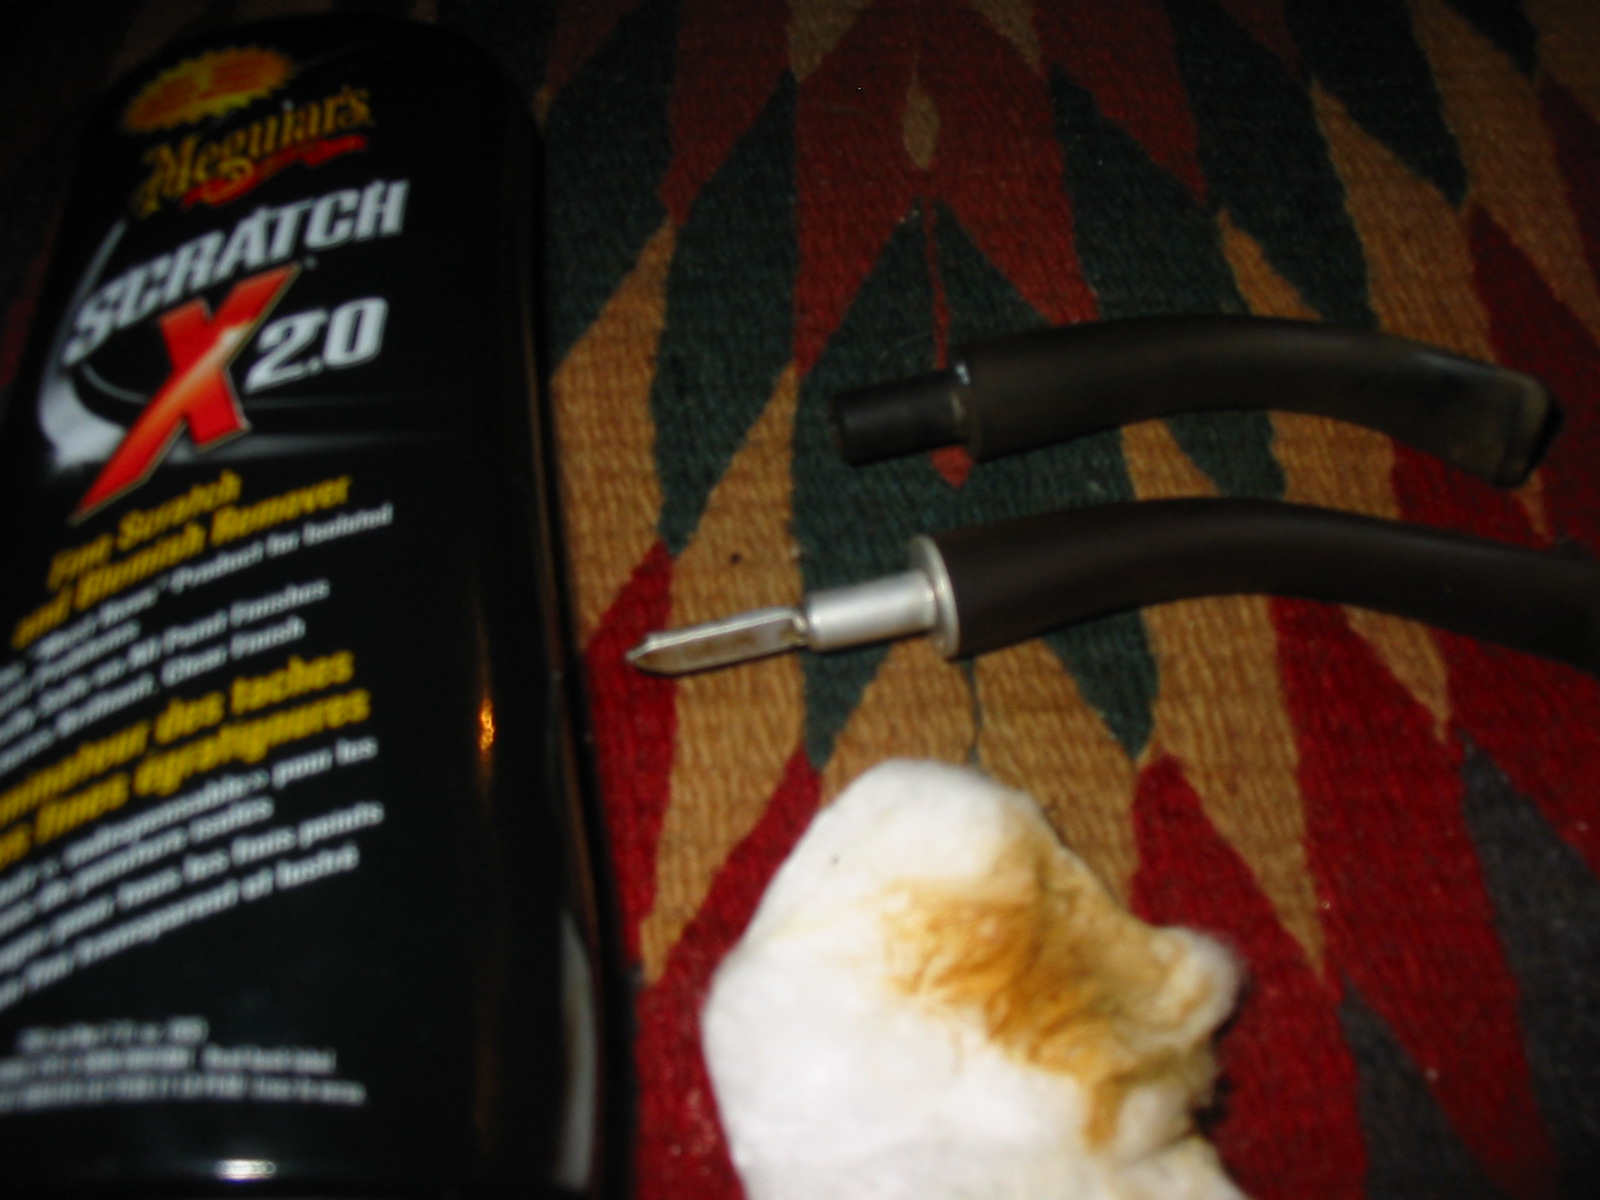
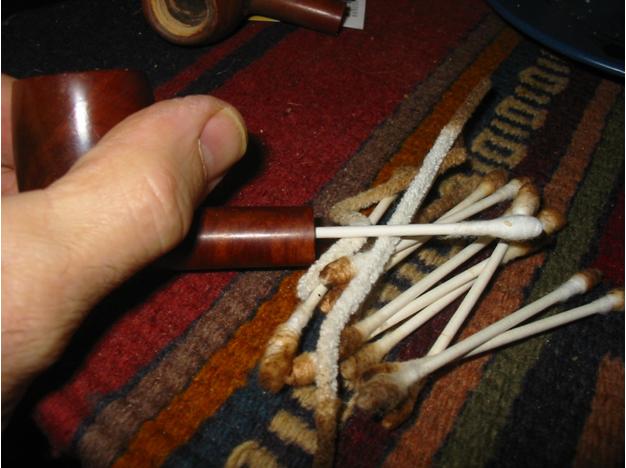
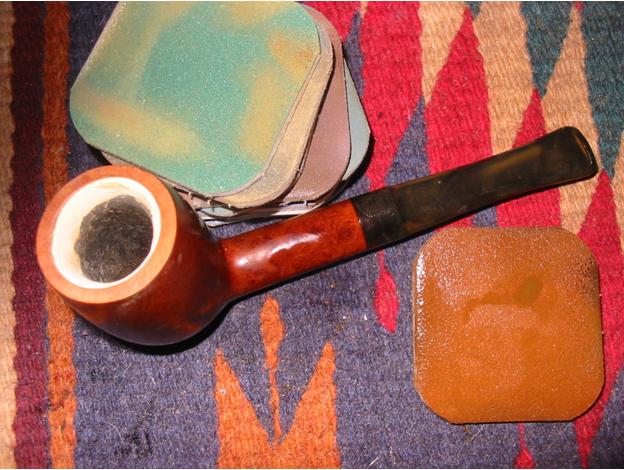
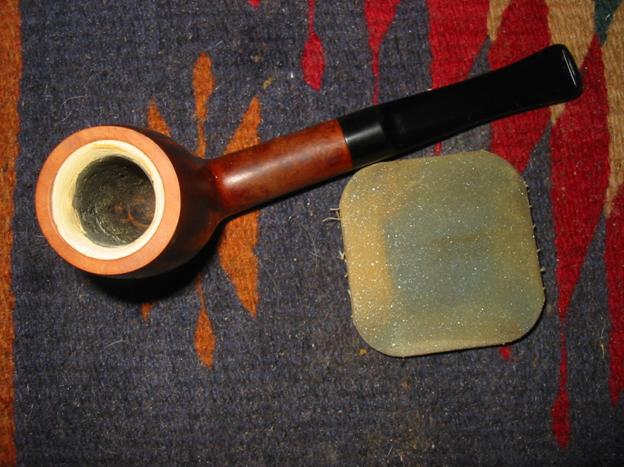
I started with putting the stem into a OxiClean bath; I let it soak for about 45 minutes I believe. While the stems (I actually was doing two pipes at a time, as I often do) soak I did a cotton ball and alcohol treatment on the two bowls. Usually I use coarse salt, not cotton balls, for this but since this bowl appeared to be so lightly used and the second bowl was fairly gunky I thought this would be a good time to experiment with the new-to-me cotton ball treatment. I put one large cotton ball into each bowl, plugged the shanks with cotton swabs and set them up on a steel drainer I have in my kitchen. I then filled the bowls with 91% isopropyl alcohol, slowly, with an eye dropper.
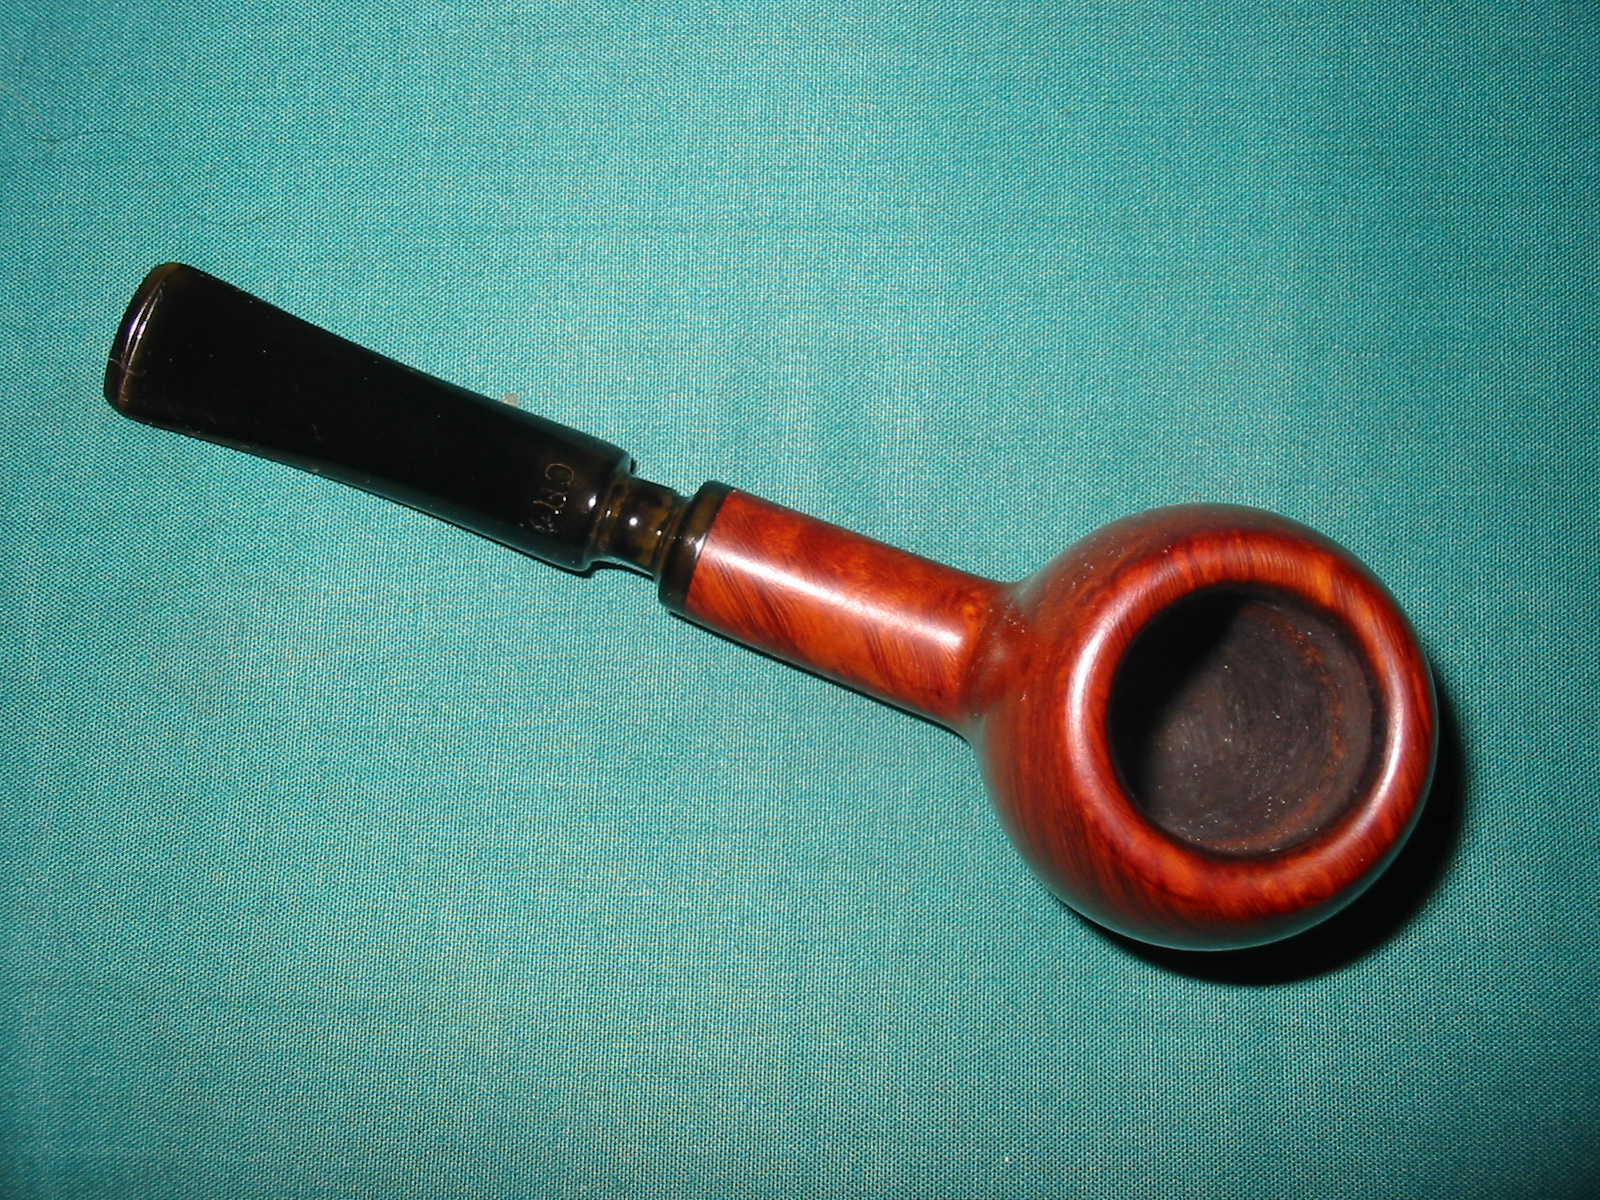
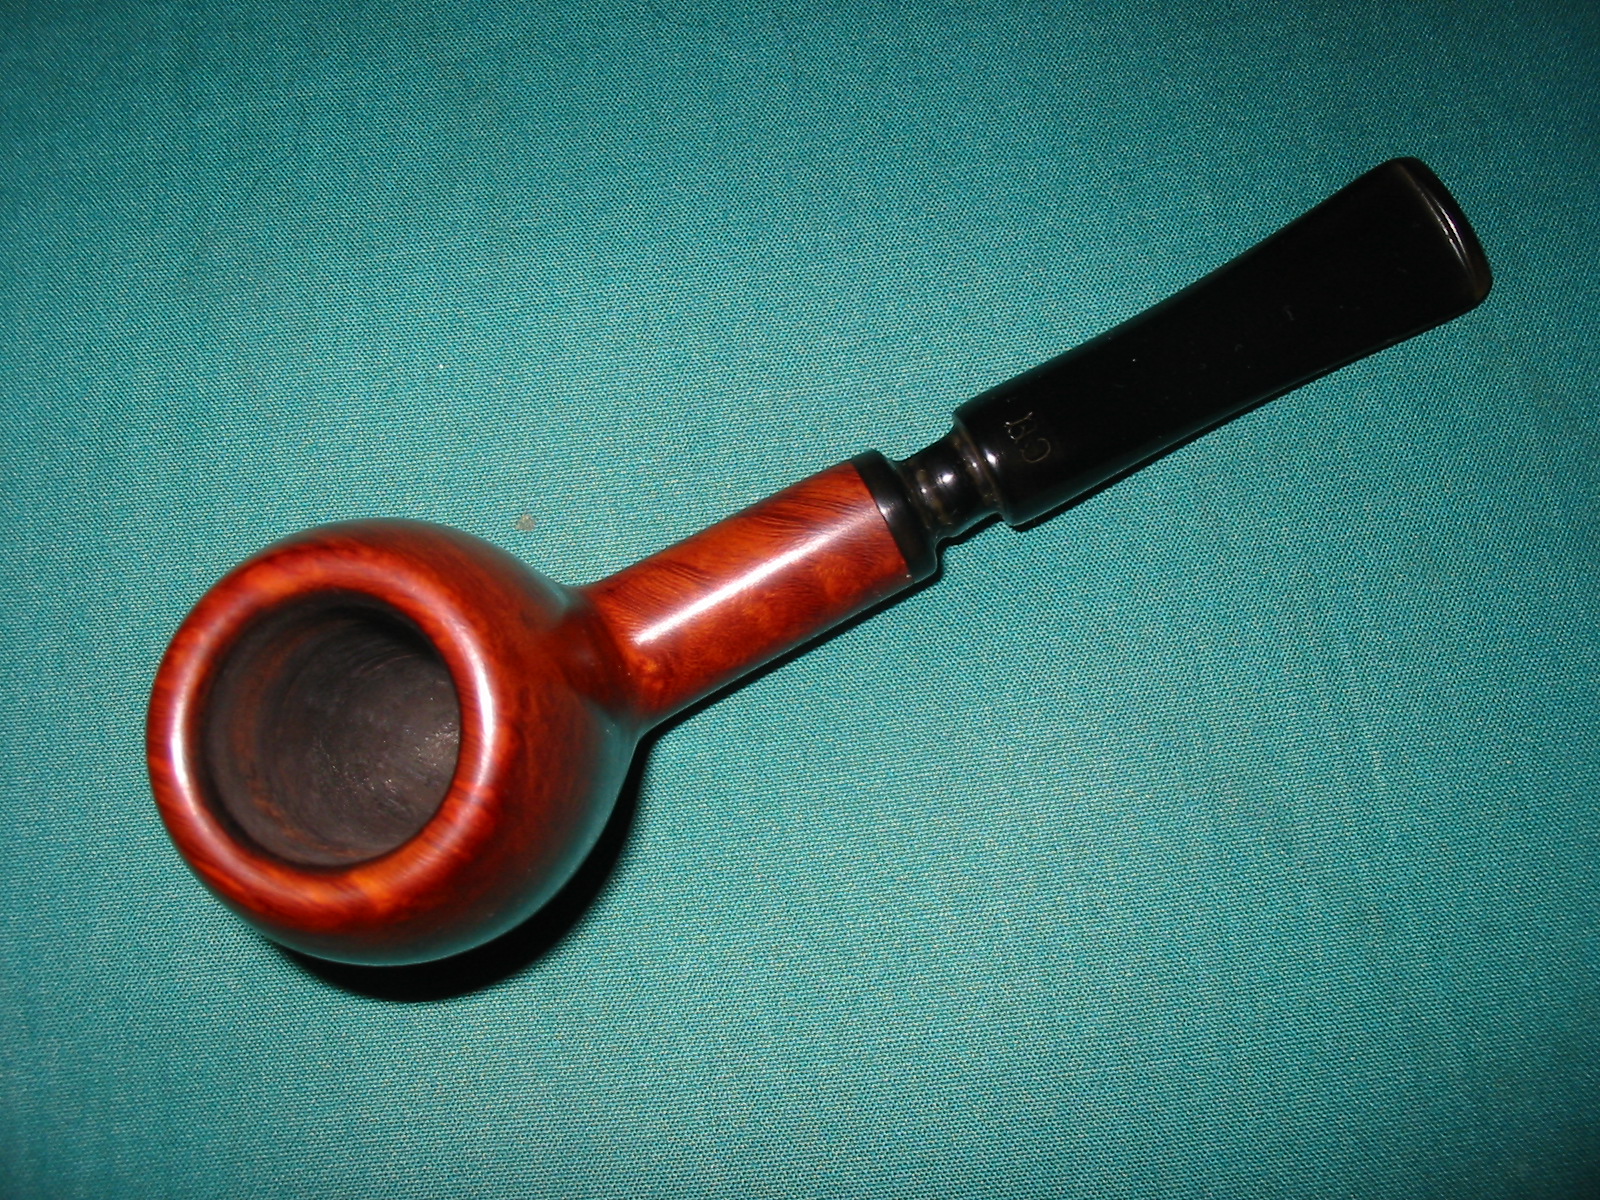
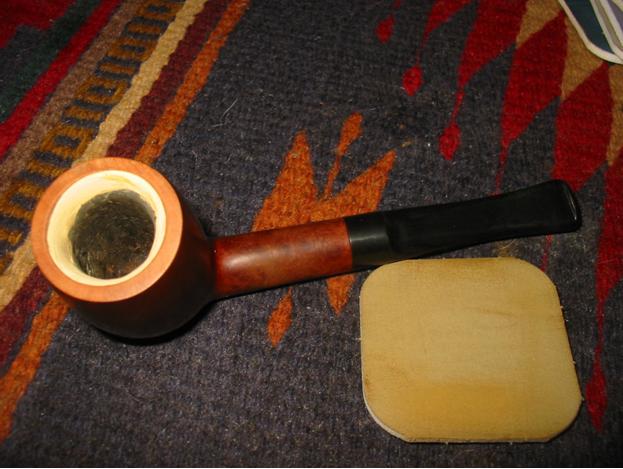
The photos below show the progression of black “stuff” drawn out of the GBD bowl; you may also see some of the tars (brownish-yellow stuff) in the cotton ball from the other pipe. This process started within a minute, the first photo, and then each picture after is after about 15 minutes, with the final result at about one hour.
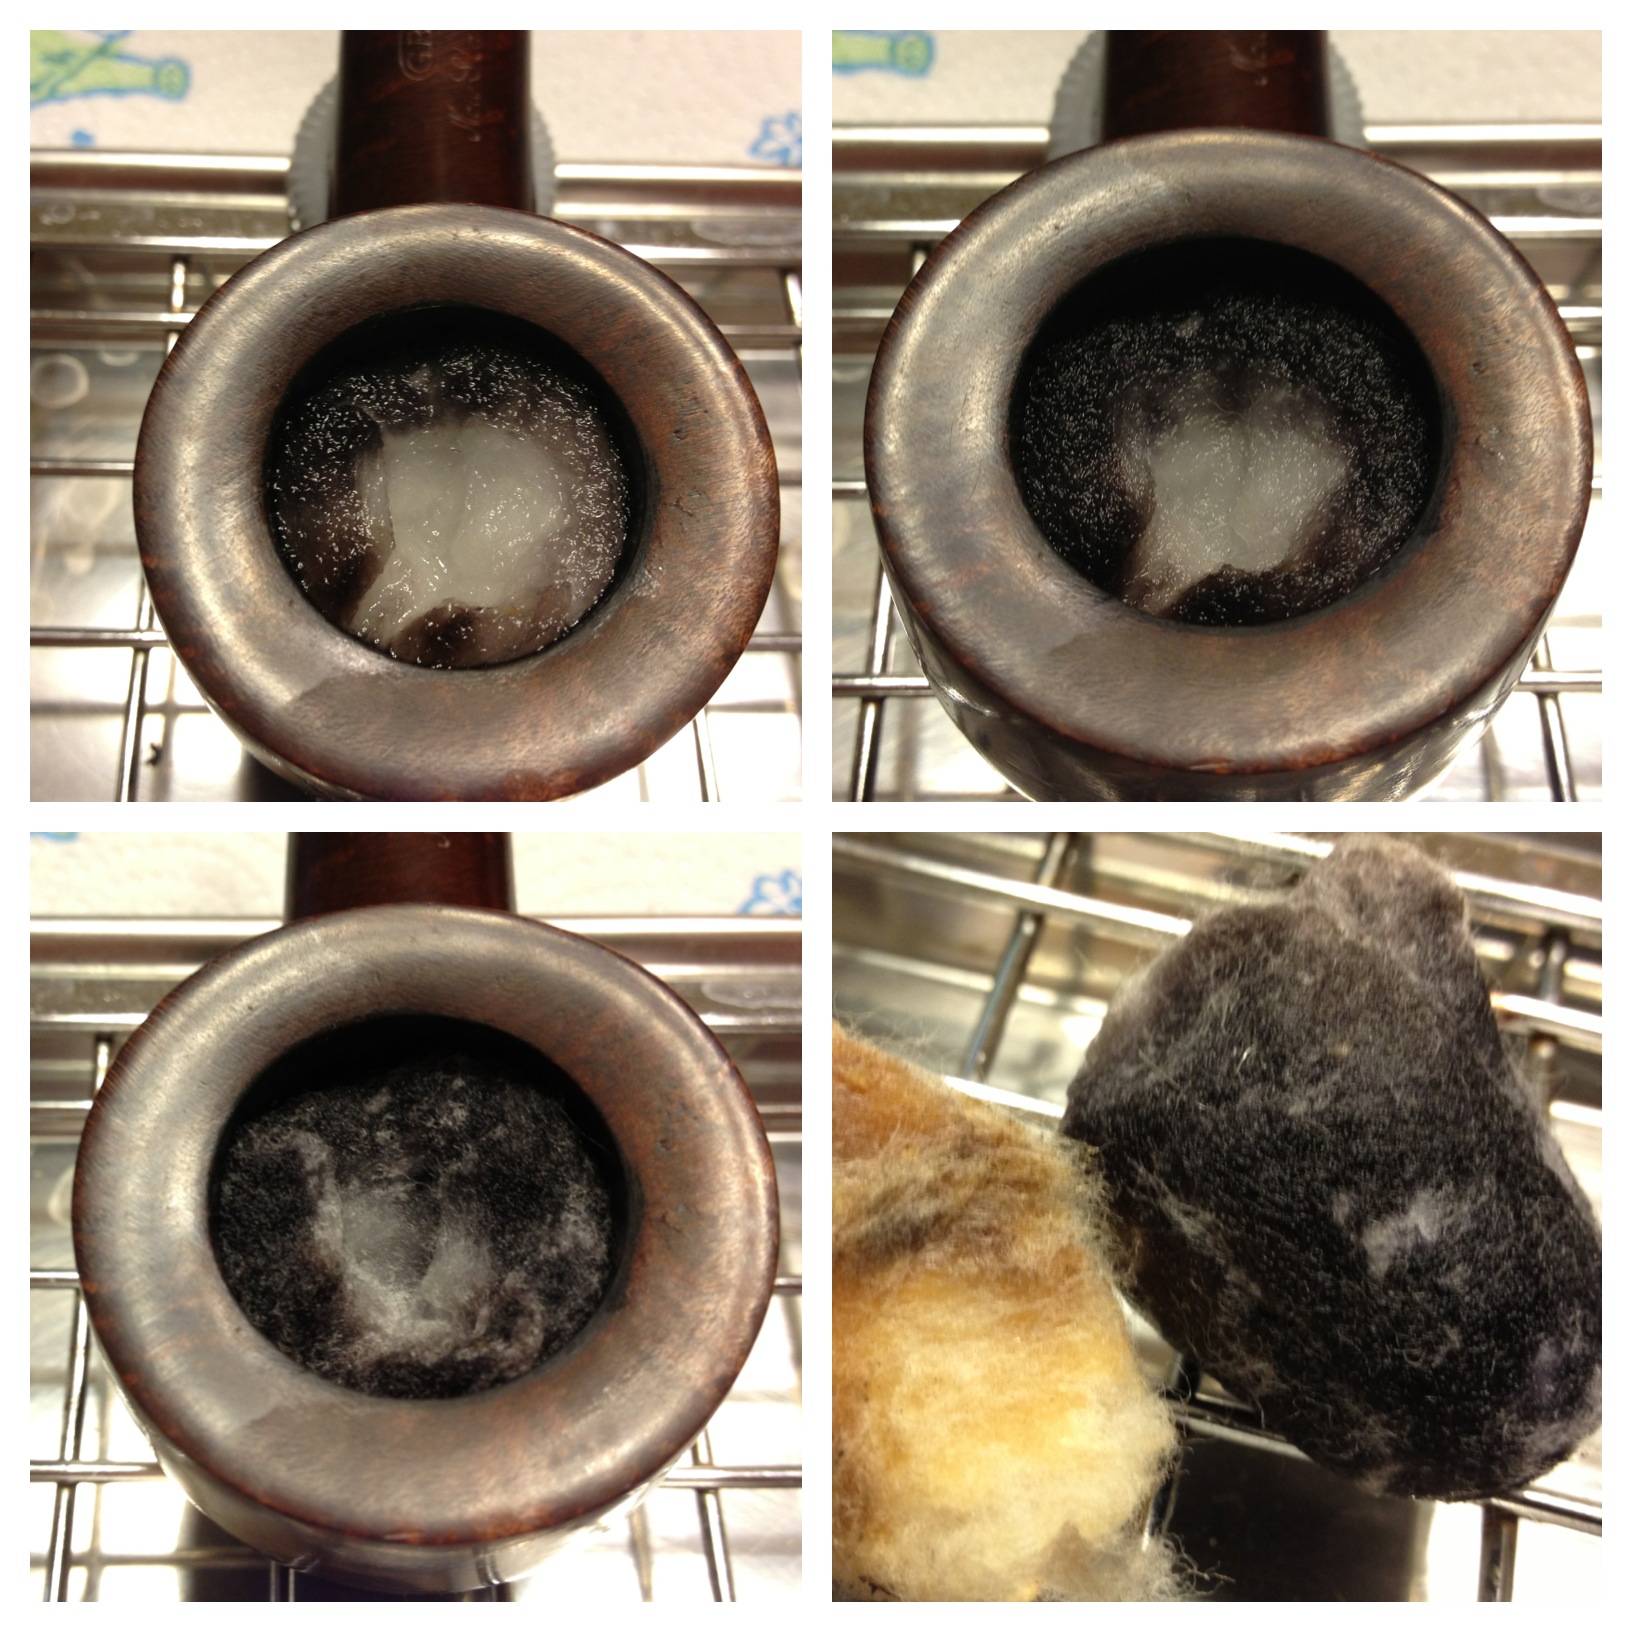
I don’t know what the black “stuff” was but it sure removed a lot of it in the treatment! As a side note, I found the cotton balls easier to deal with than the salt and it seems to have done as good a job, too. I will probably continue to us this method in the future.
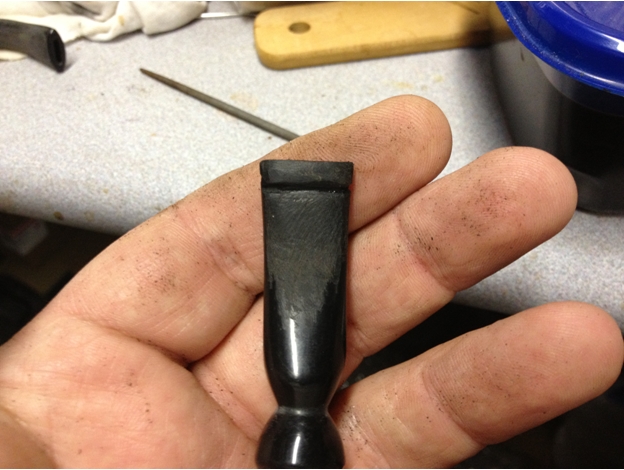
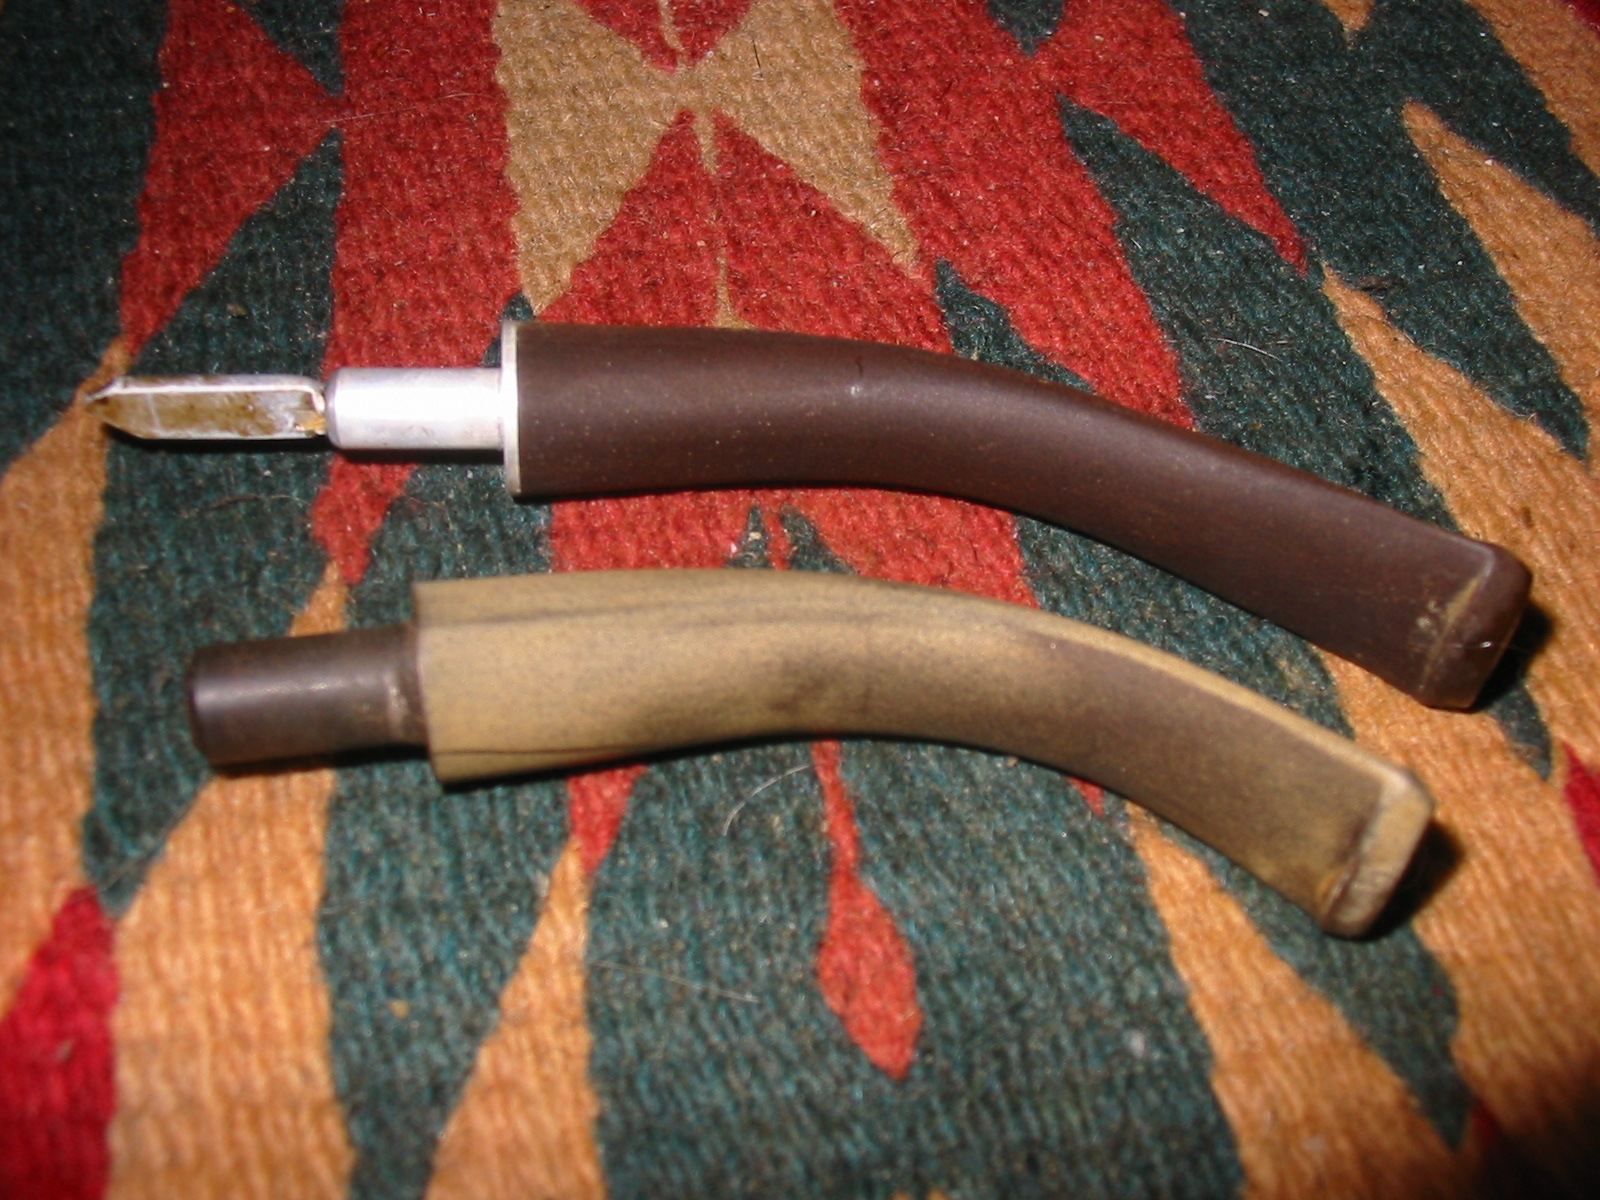
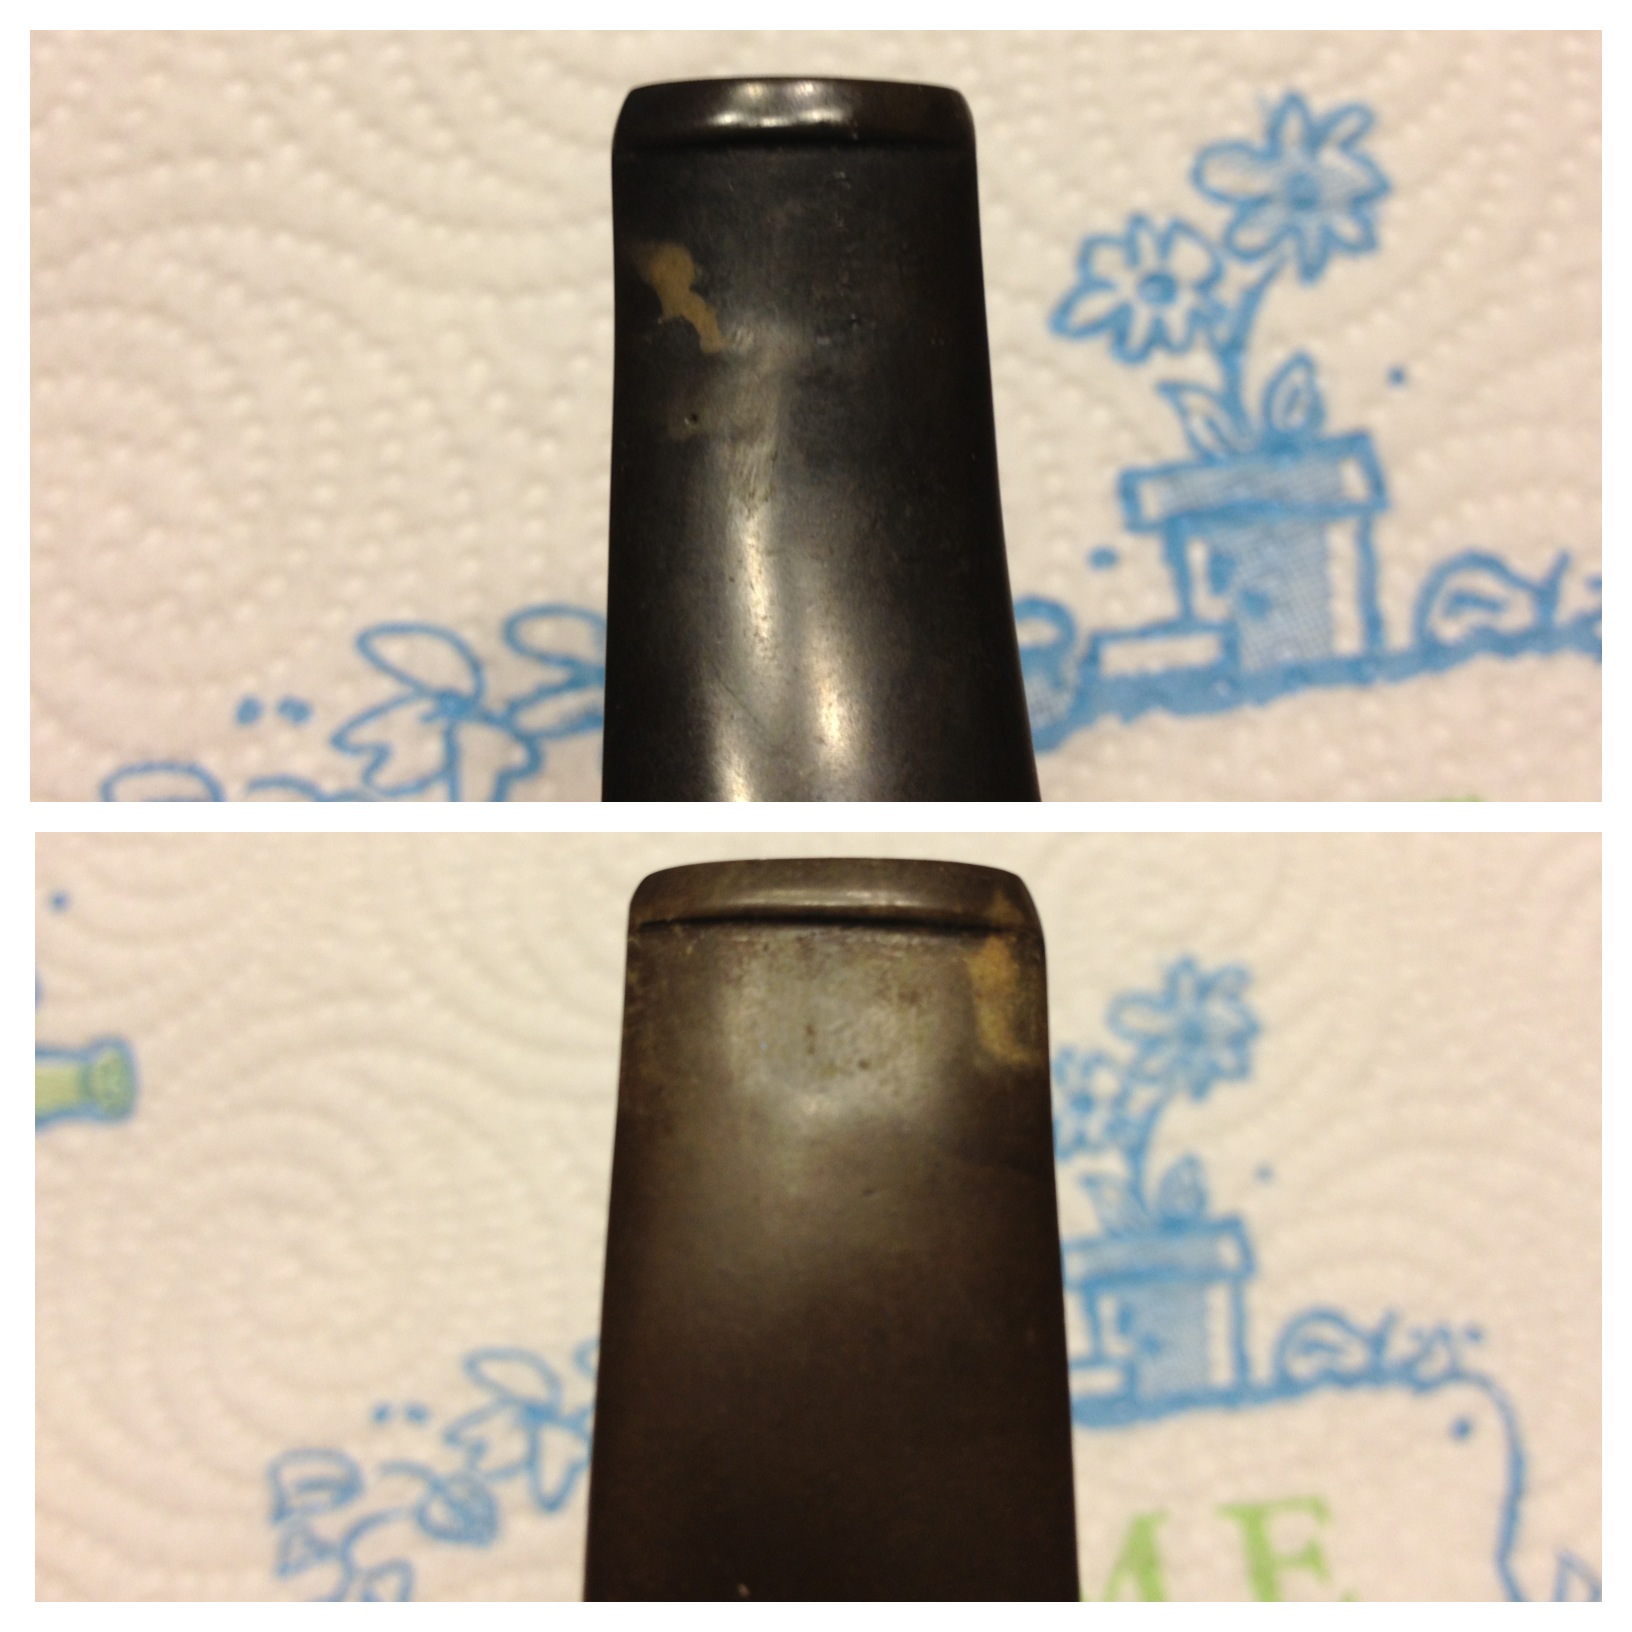
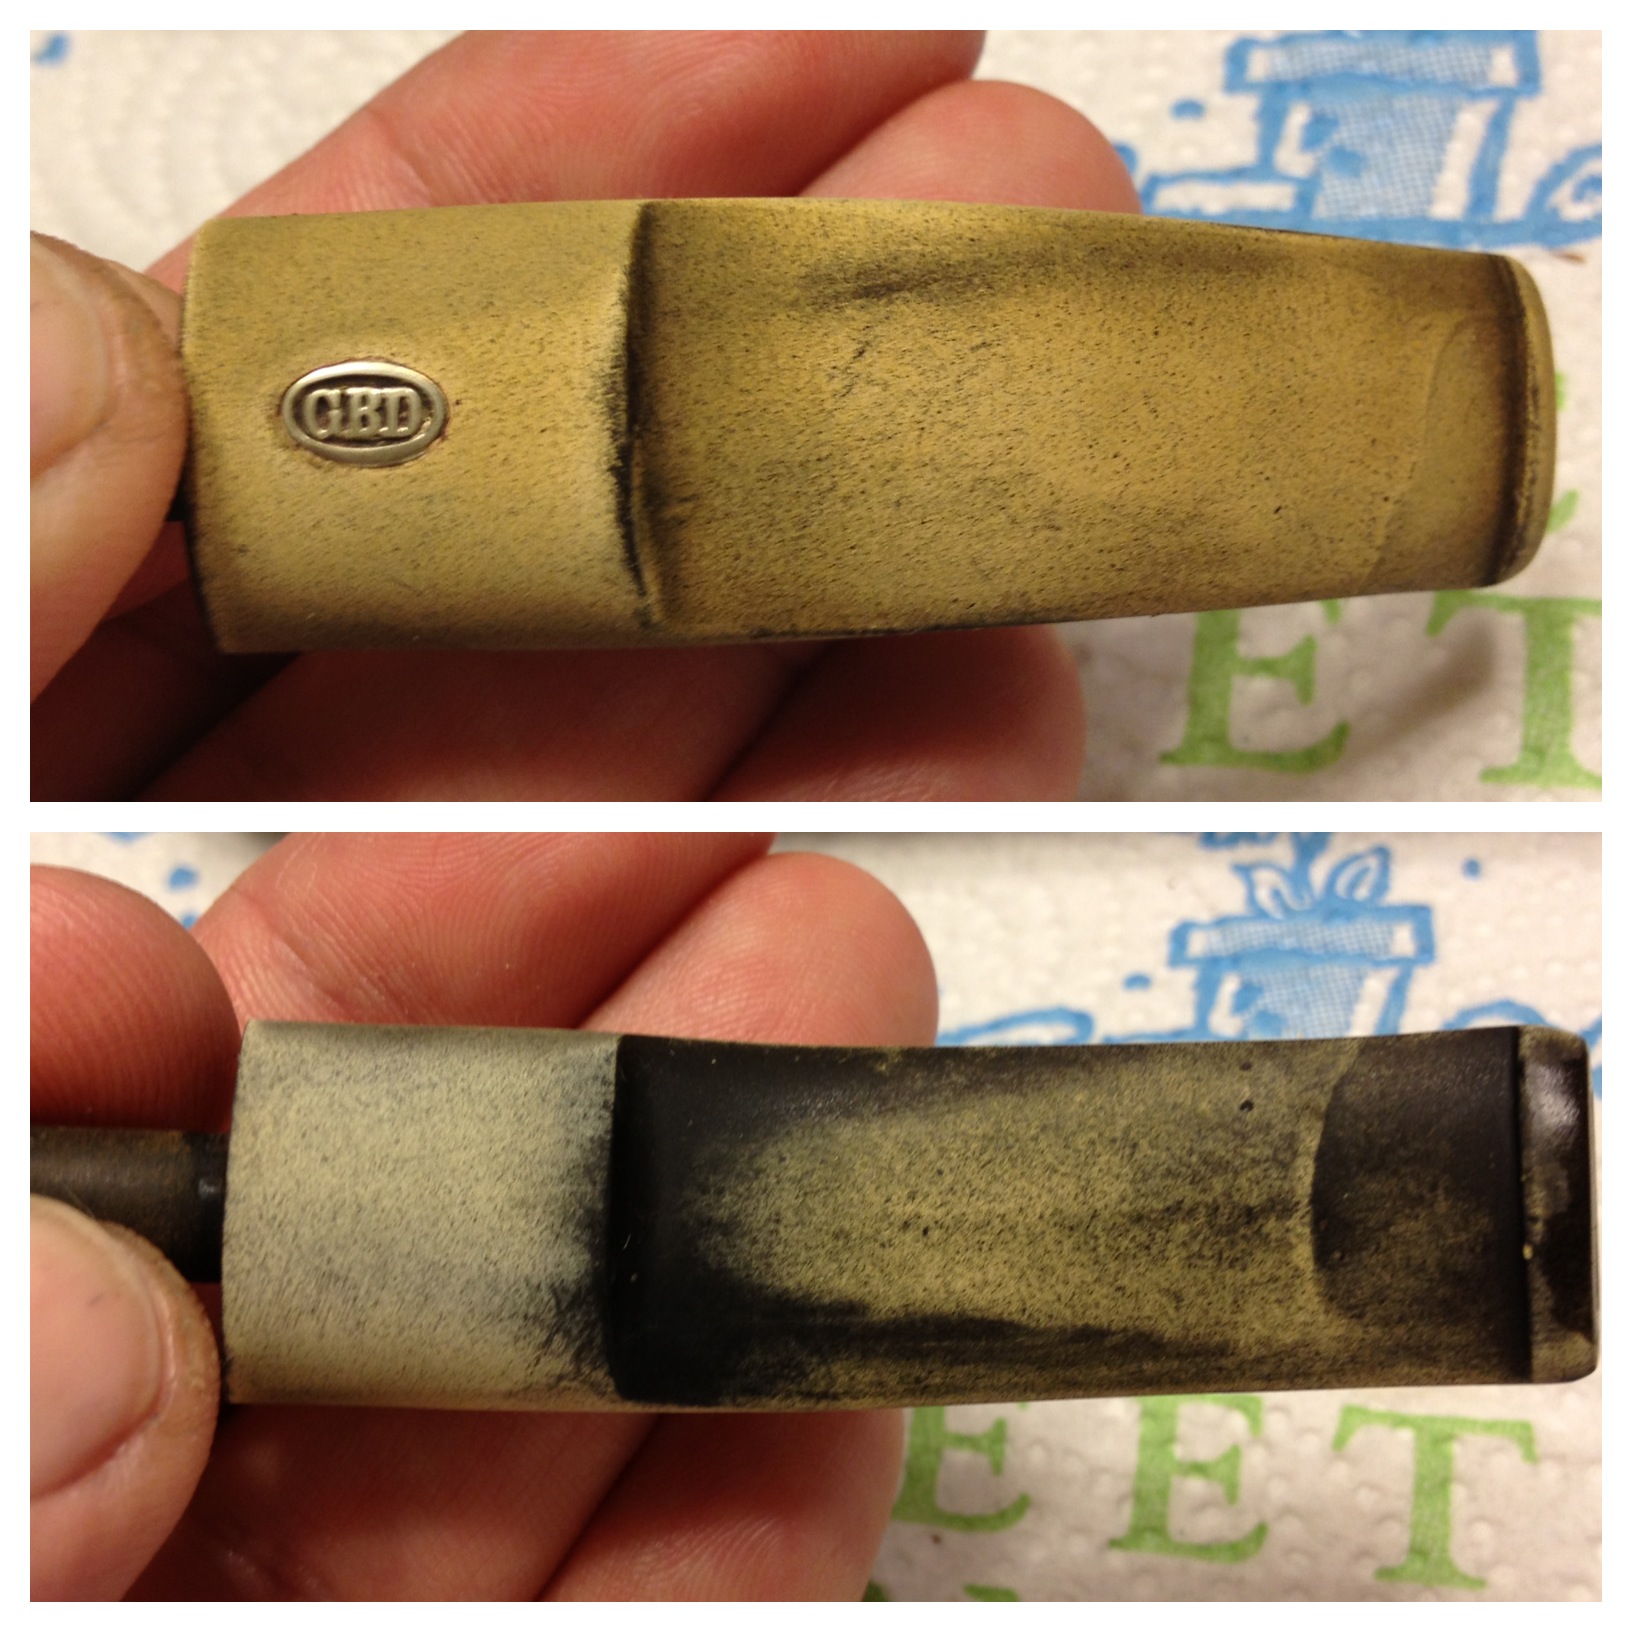
The stems had been soaking for about an hour, maybe 45 minutes, at this time and were ready to come out of their bath. As you can see, quite a lot of oxidation was raised and loosened by this soak.
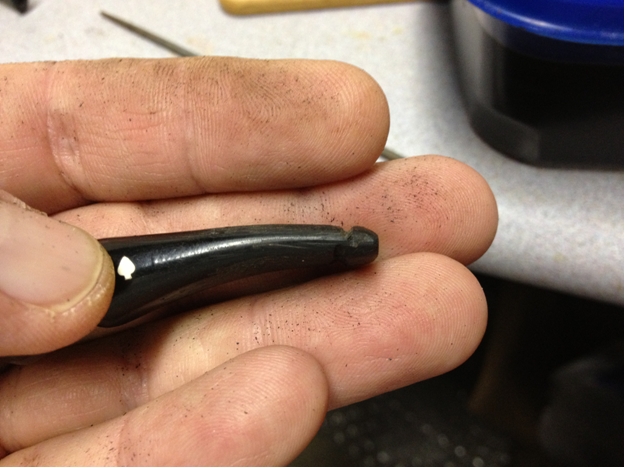
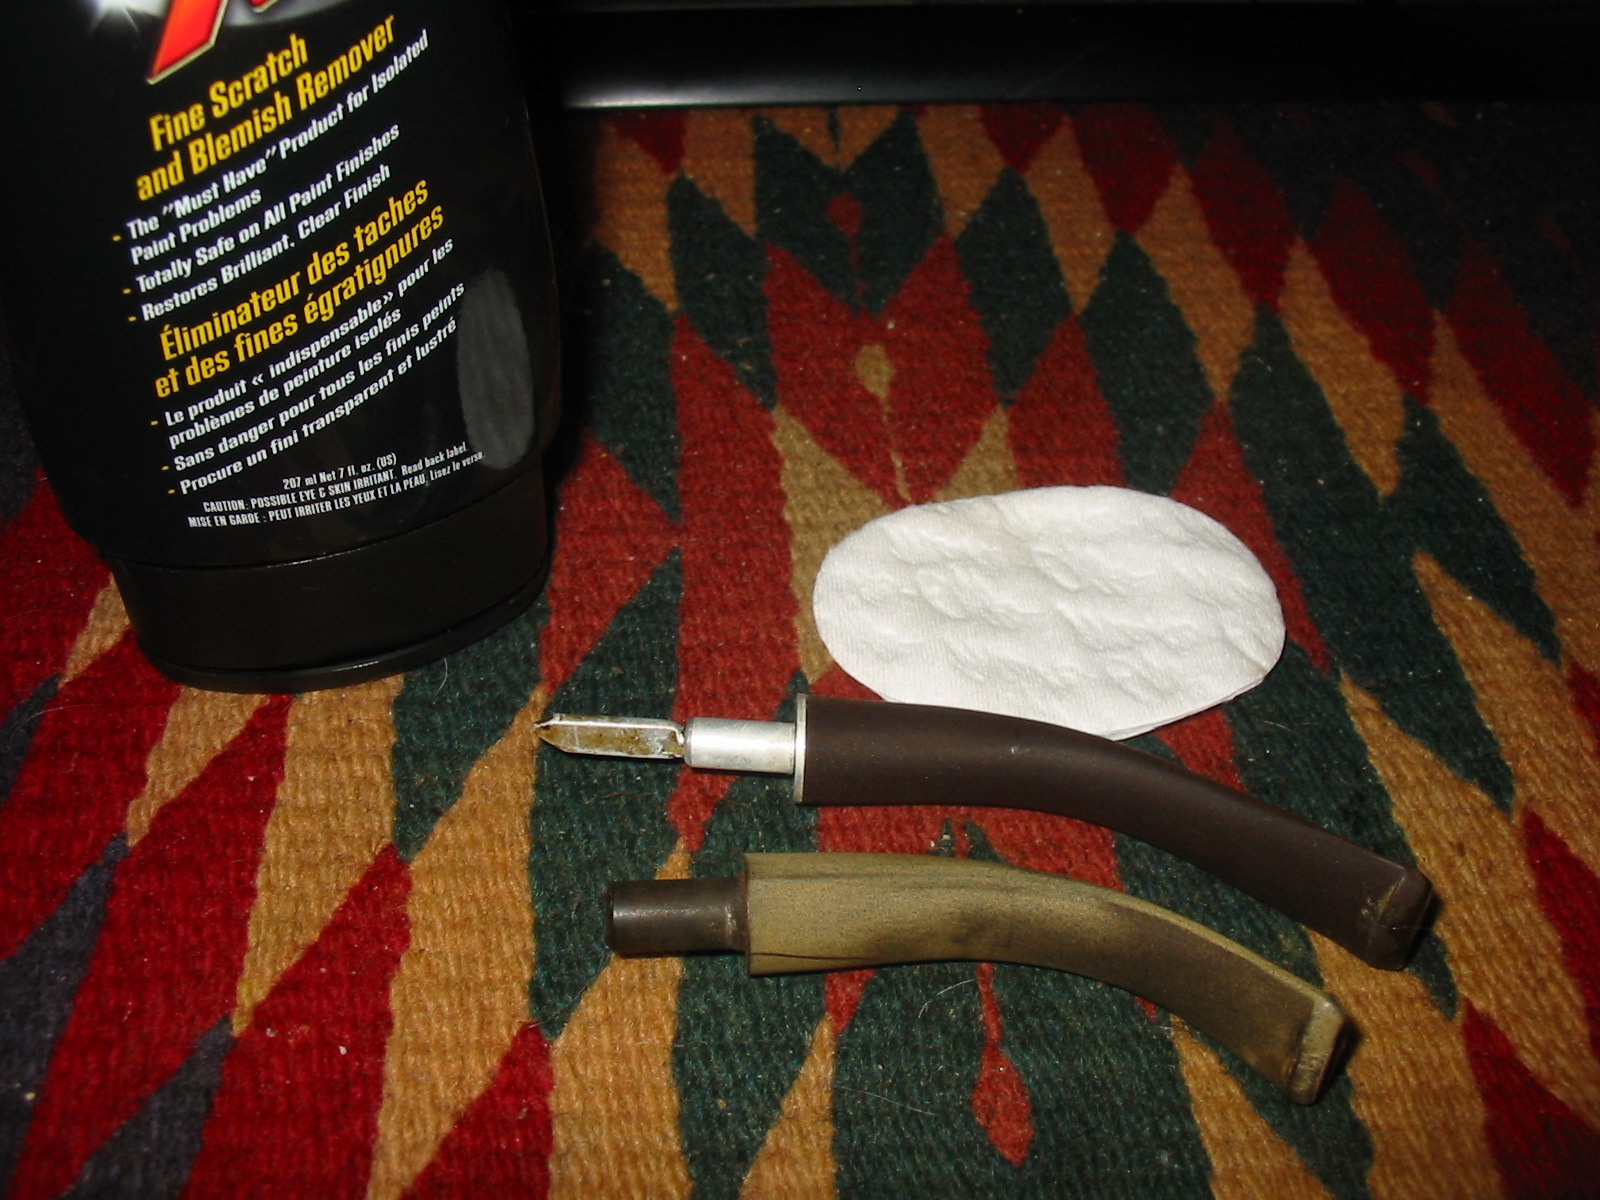
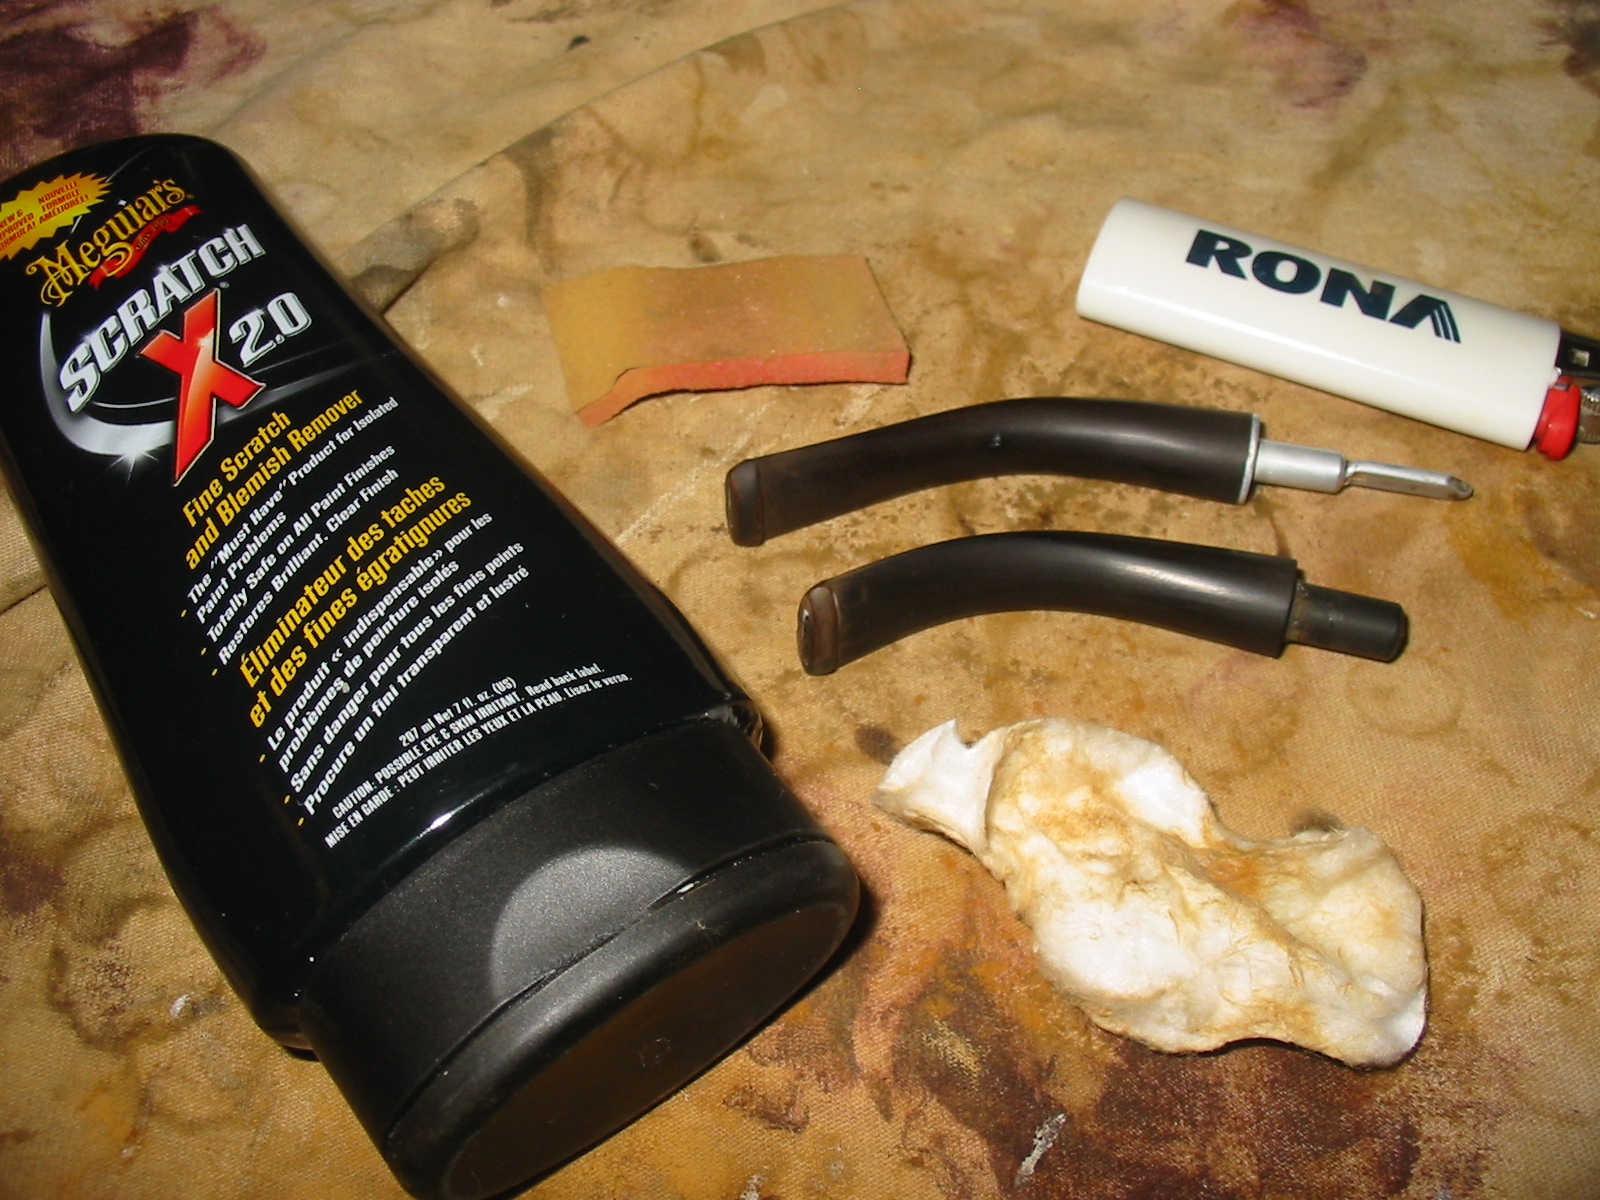
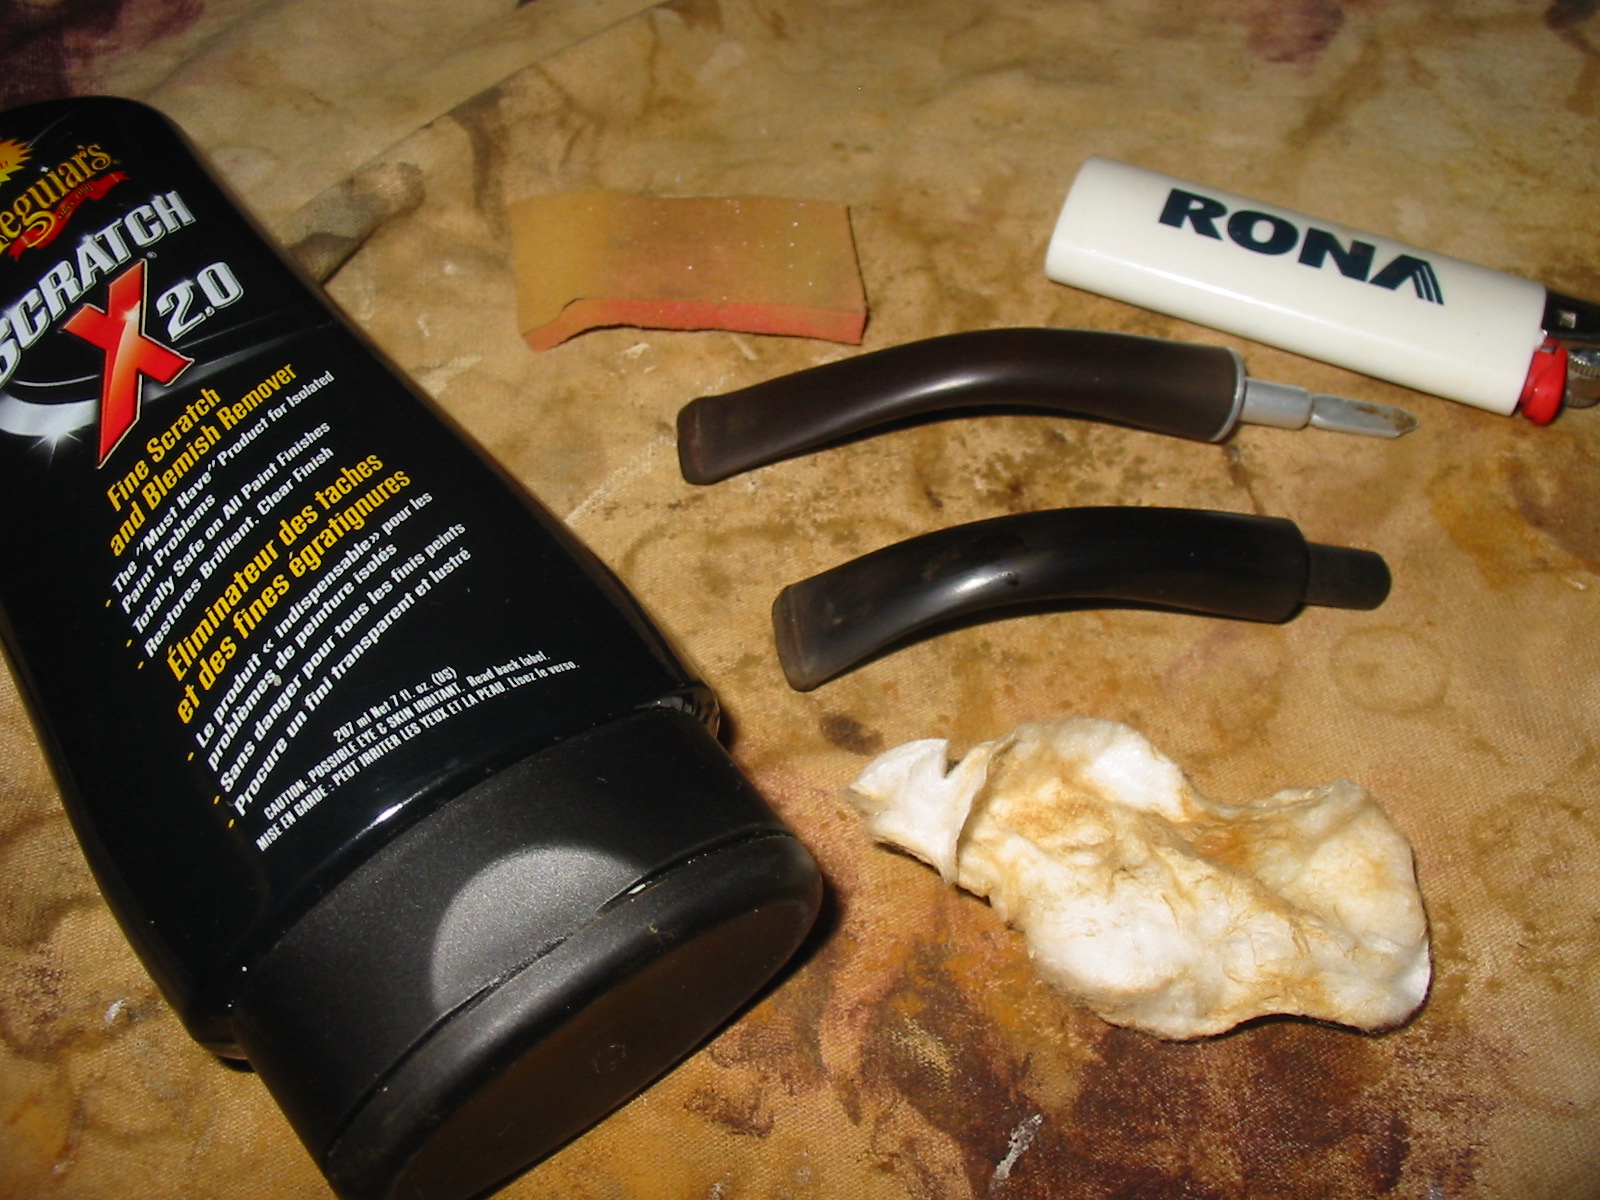
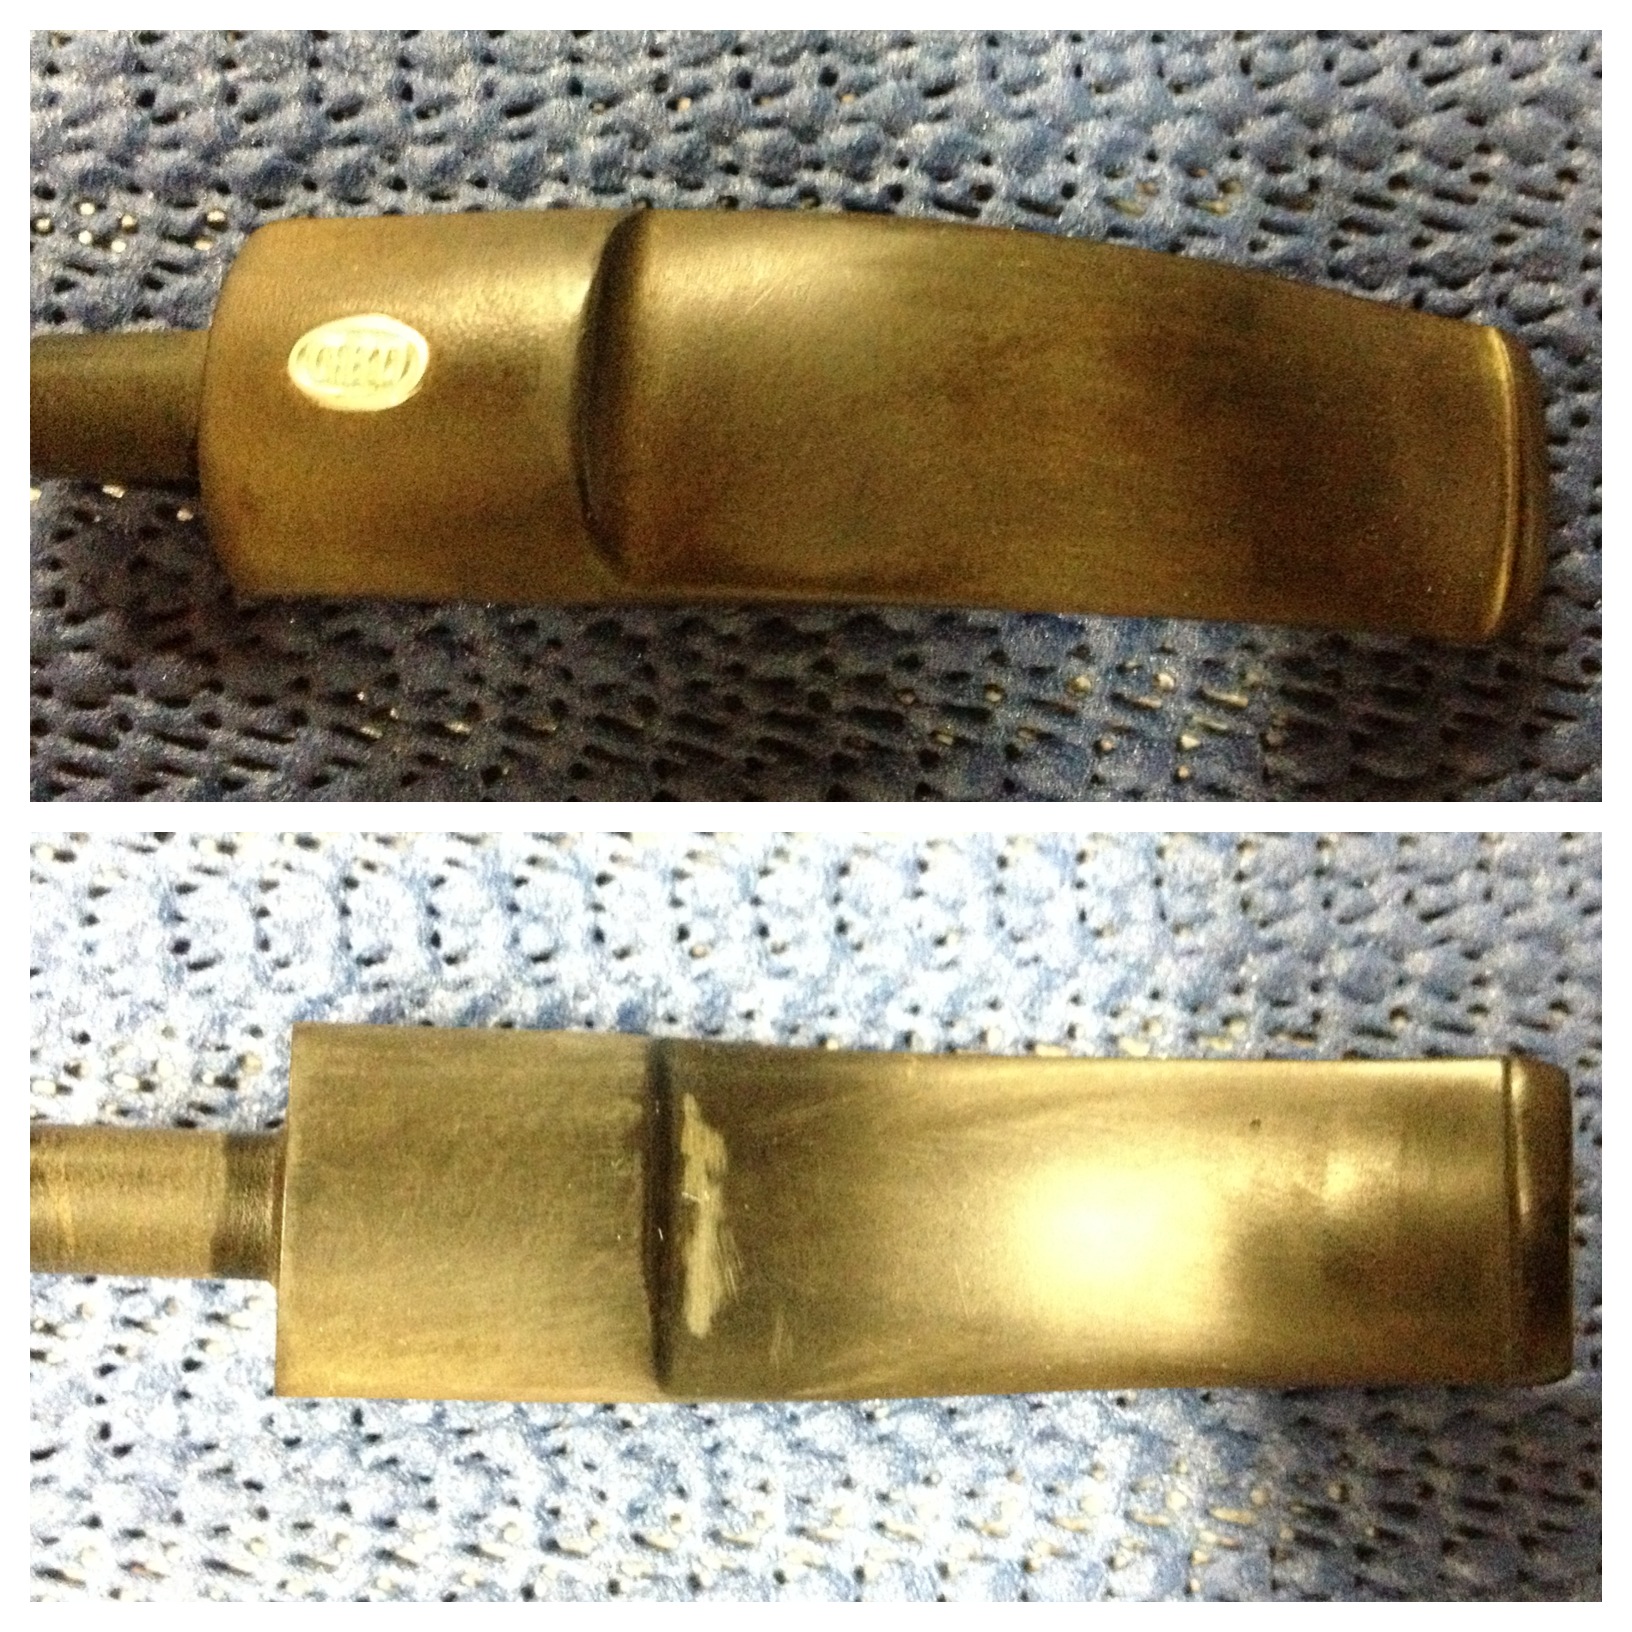
I then washed the stems in dish liquid and scrubbed them with Bar Keepers Friend and an old toothbrush; this took about an hour, making a paste of the powder and scrubbing, rinsing and wiping, then repeating. The results from that looked like this:
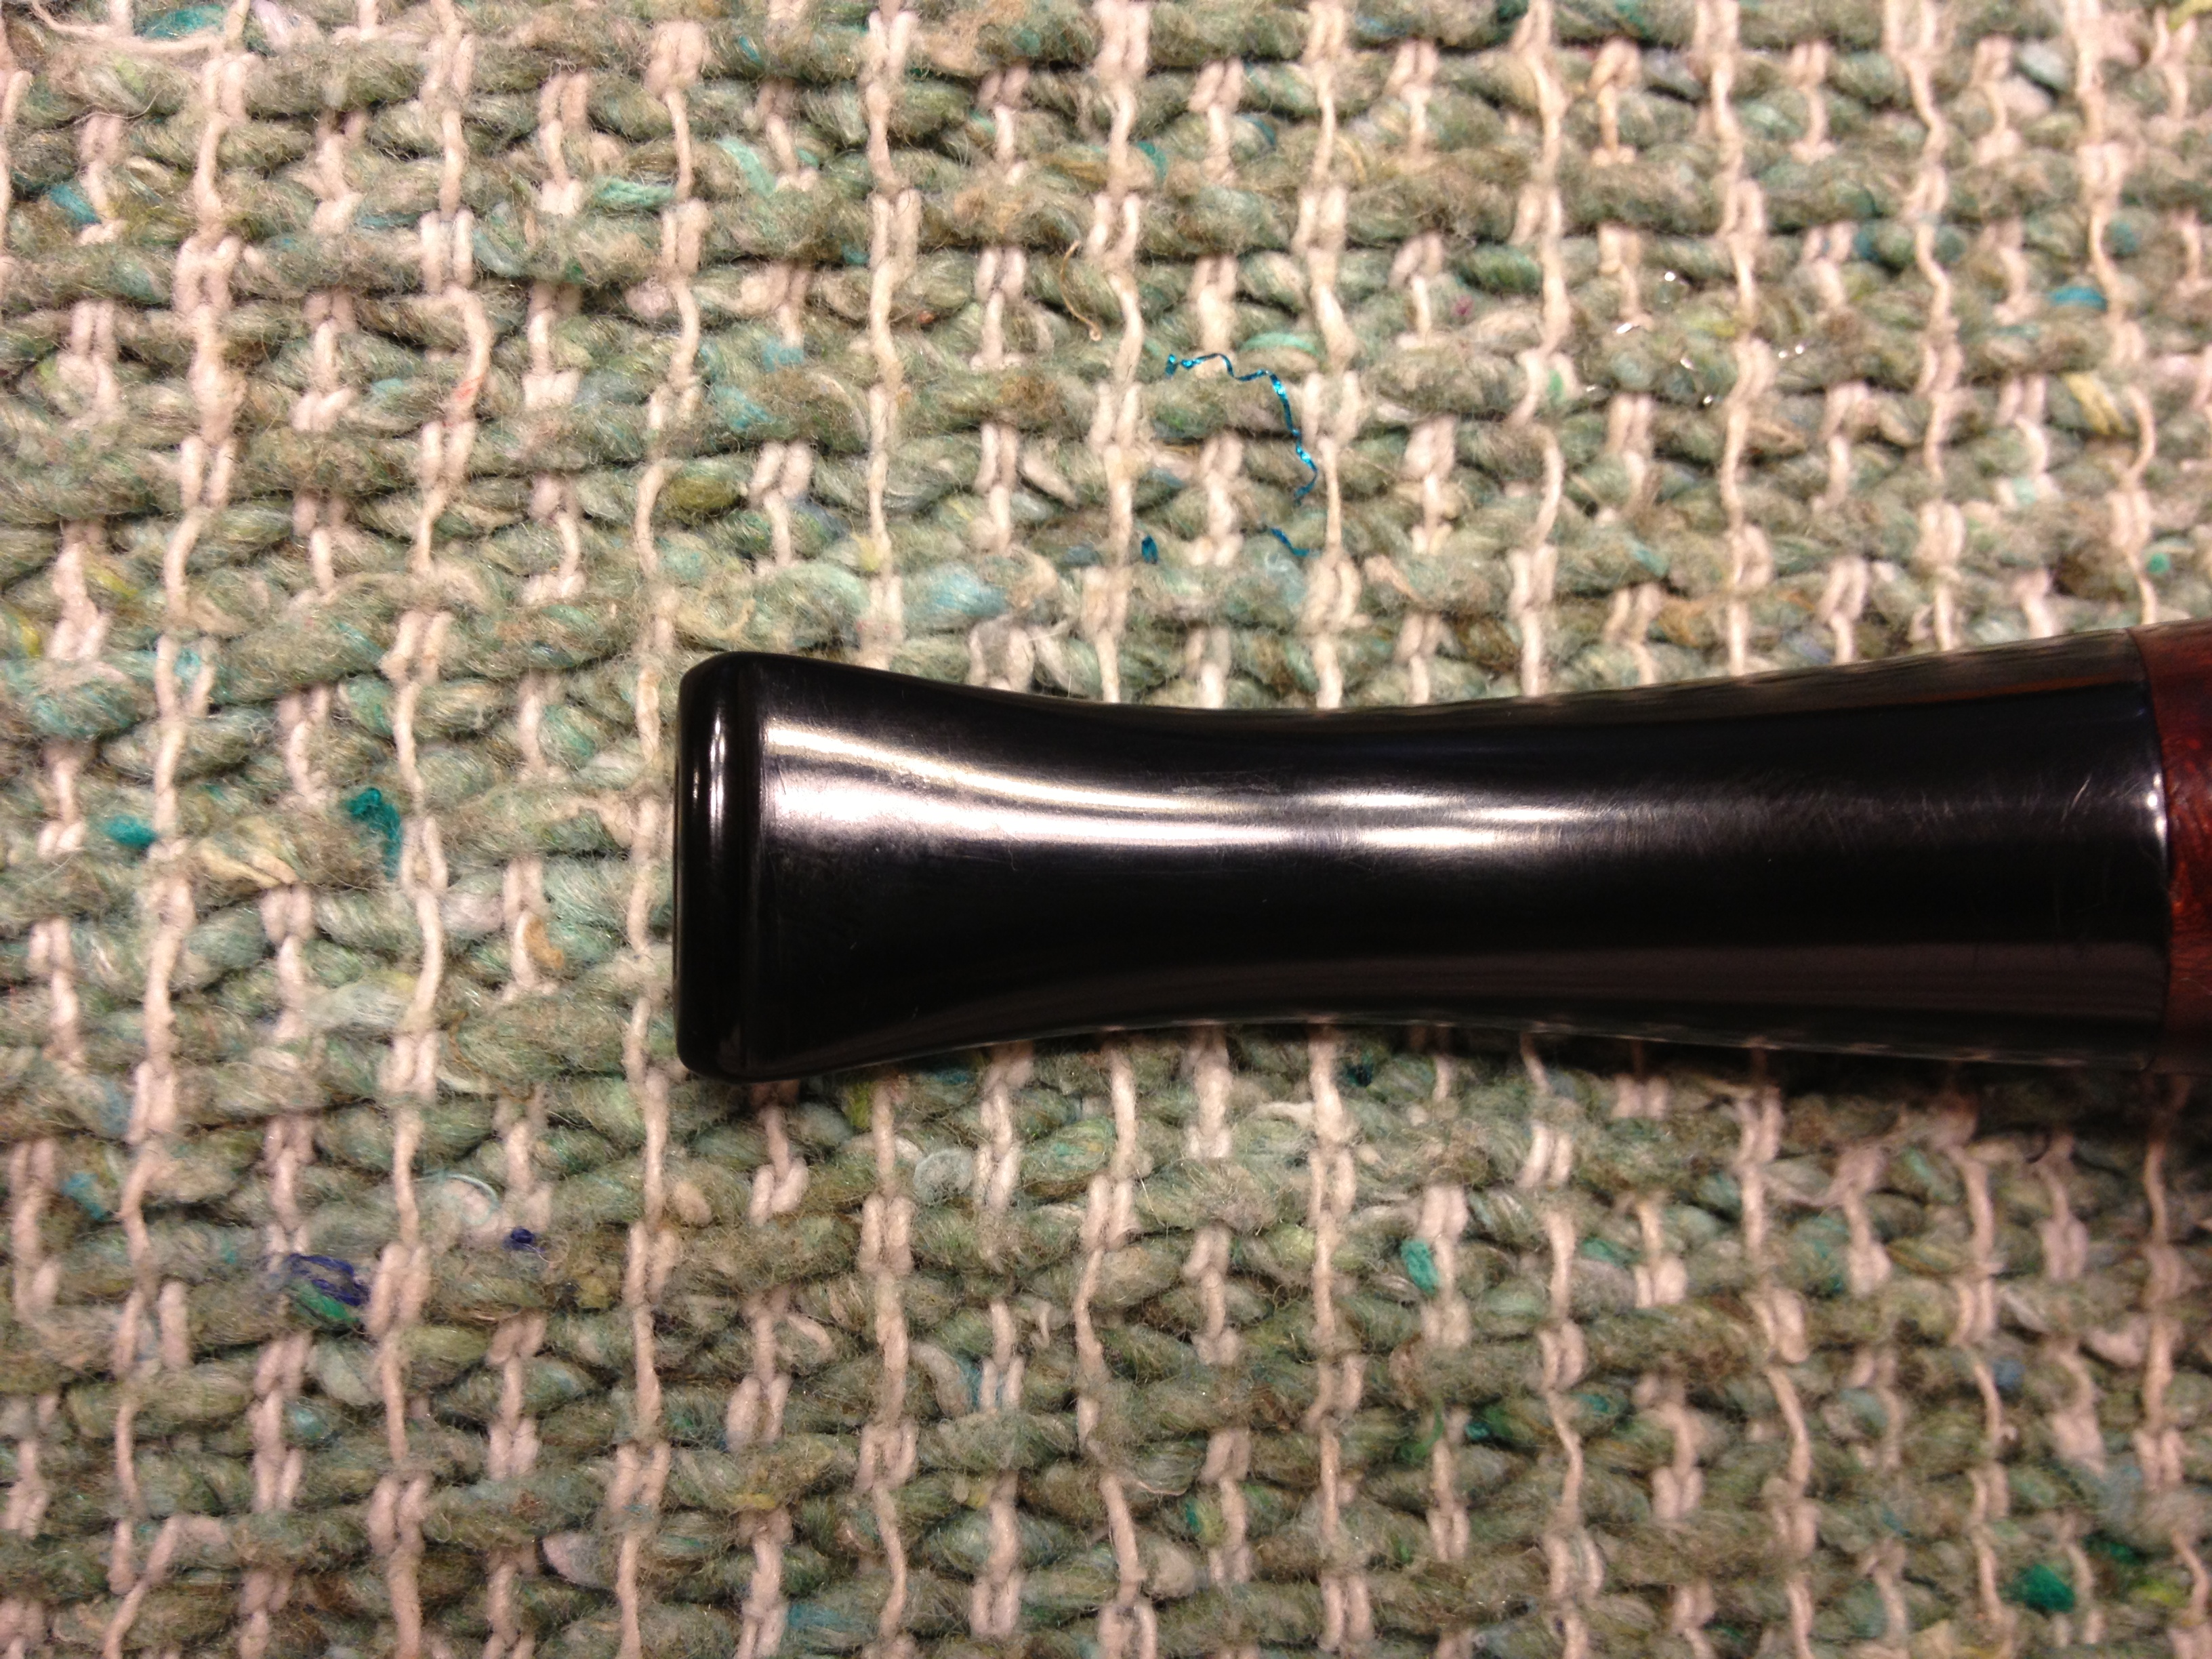
Still a lot of oxidation and work left to go. Next came sanding and polishing with wet/dry paper and micro mesh. I used 320 & 400 wet/dry paper before moving on to the micro mesh. Before the mesh, though, I used the Novus 2 plastic polish on the stem to take off some of the scratches and a little more left over oxidation. I wet sanded with micro mesh 1500-4000 and then polished with the Novus 2 again. I now dry sanded/polished with the remaining grits of 6000-12000, then polished with Novus 1 plastic polish to get to this look
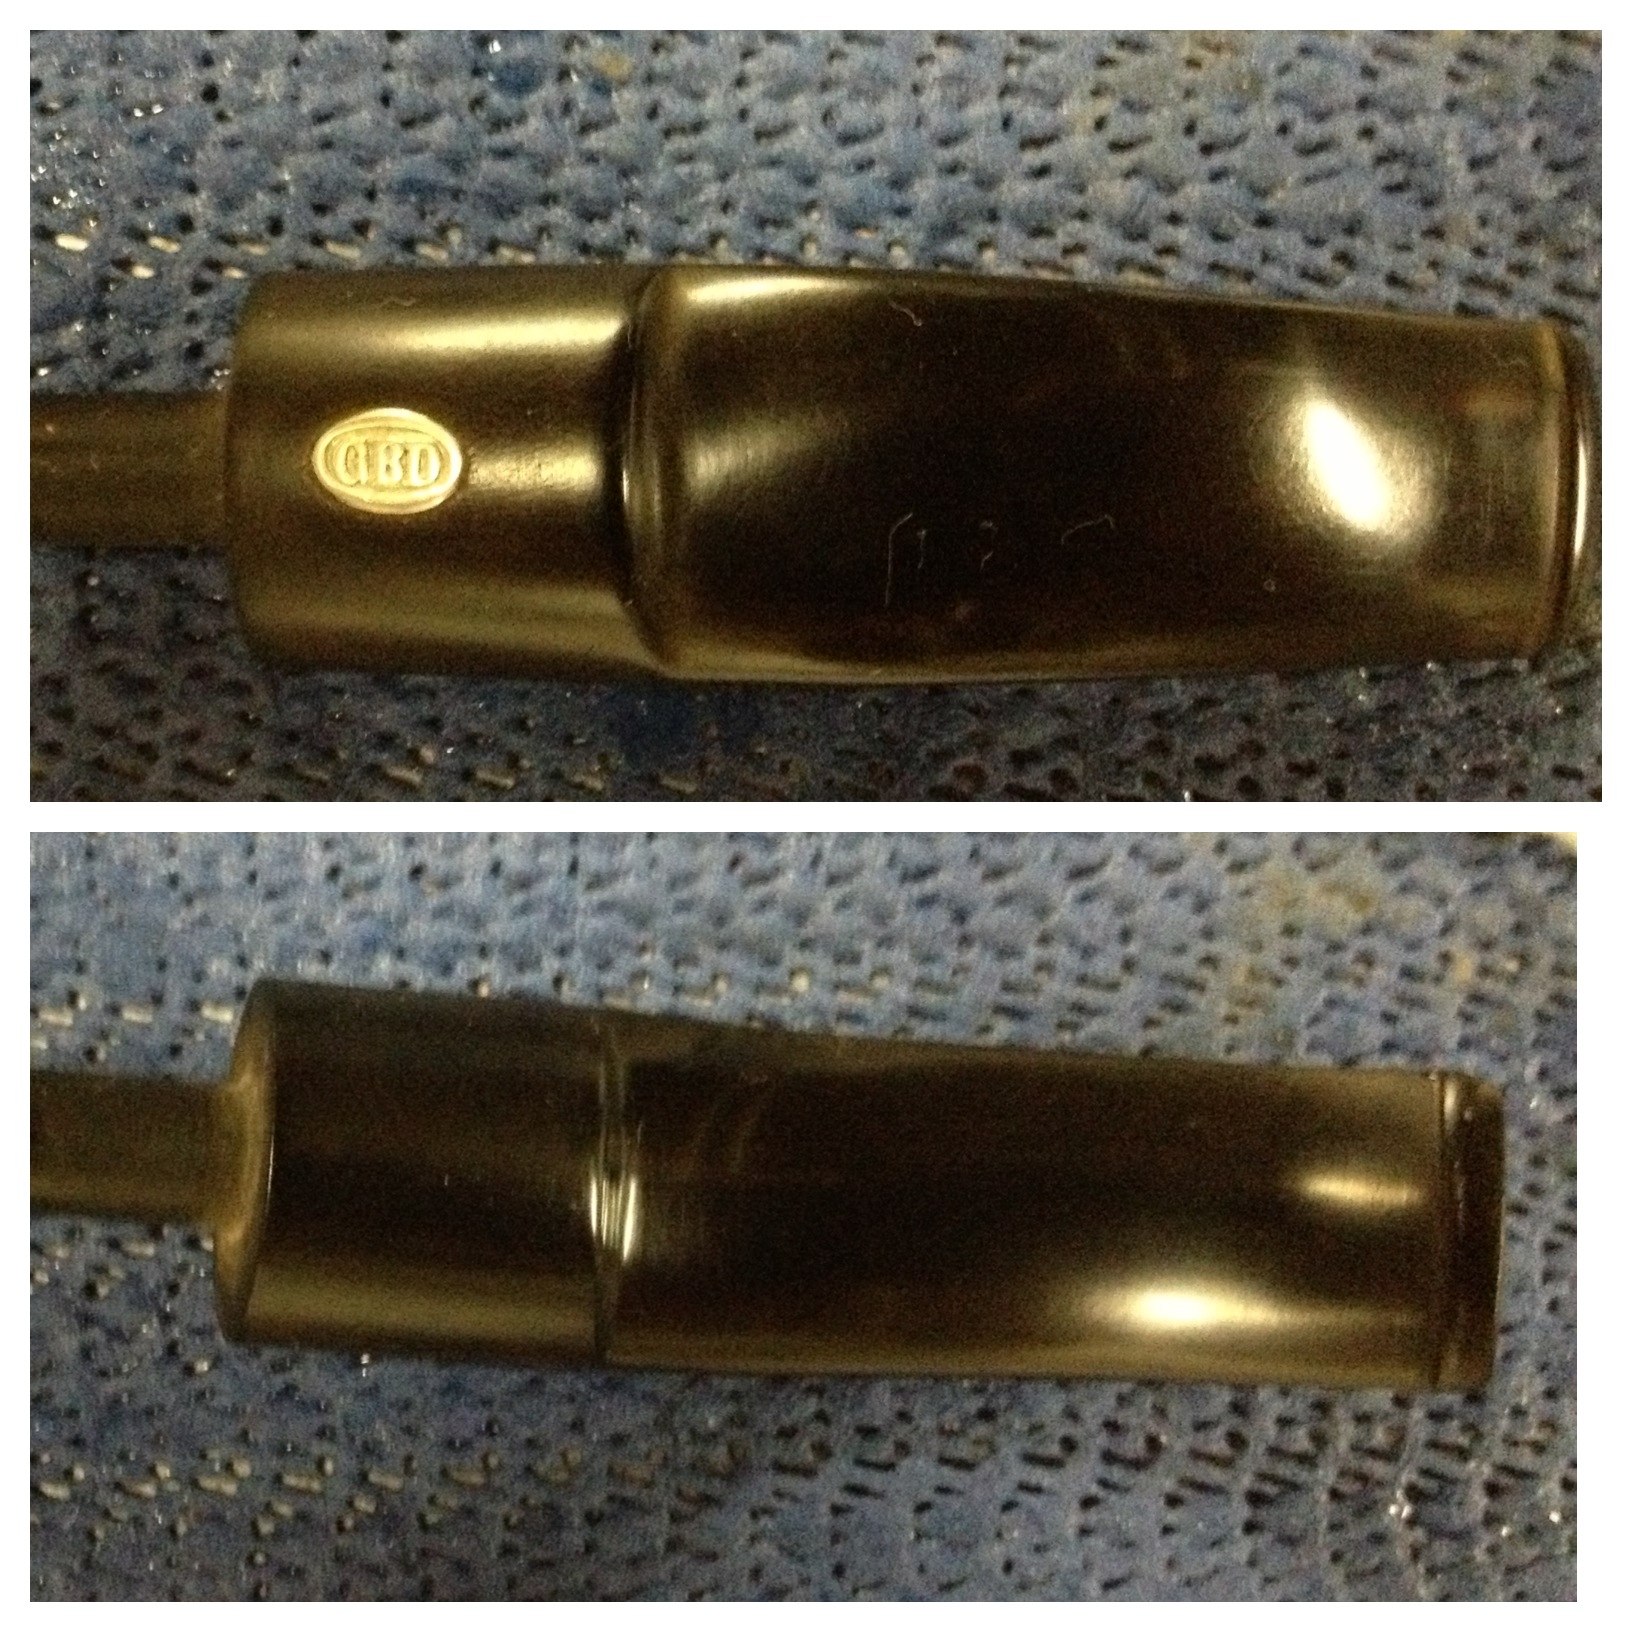
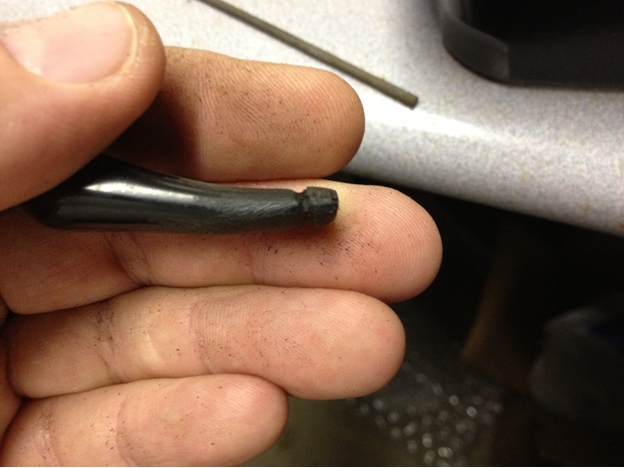
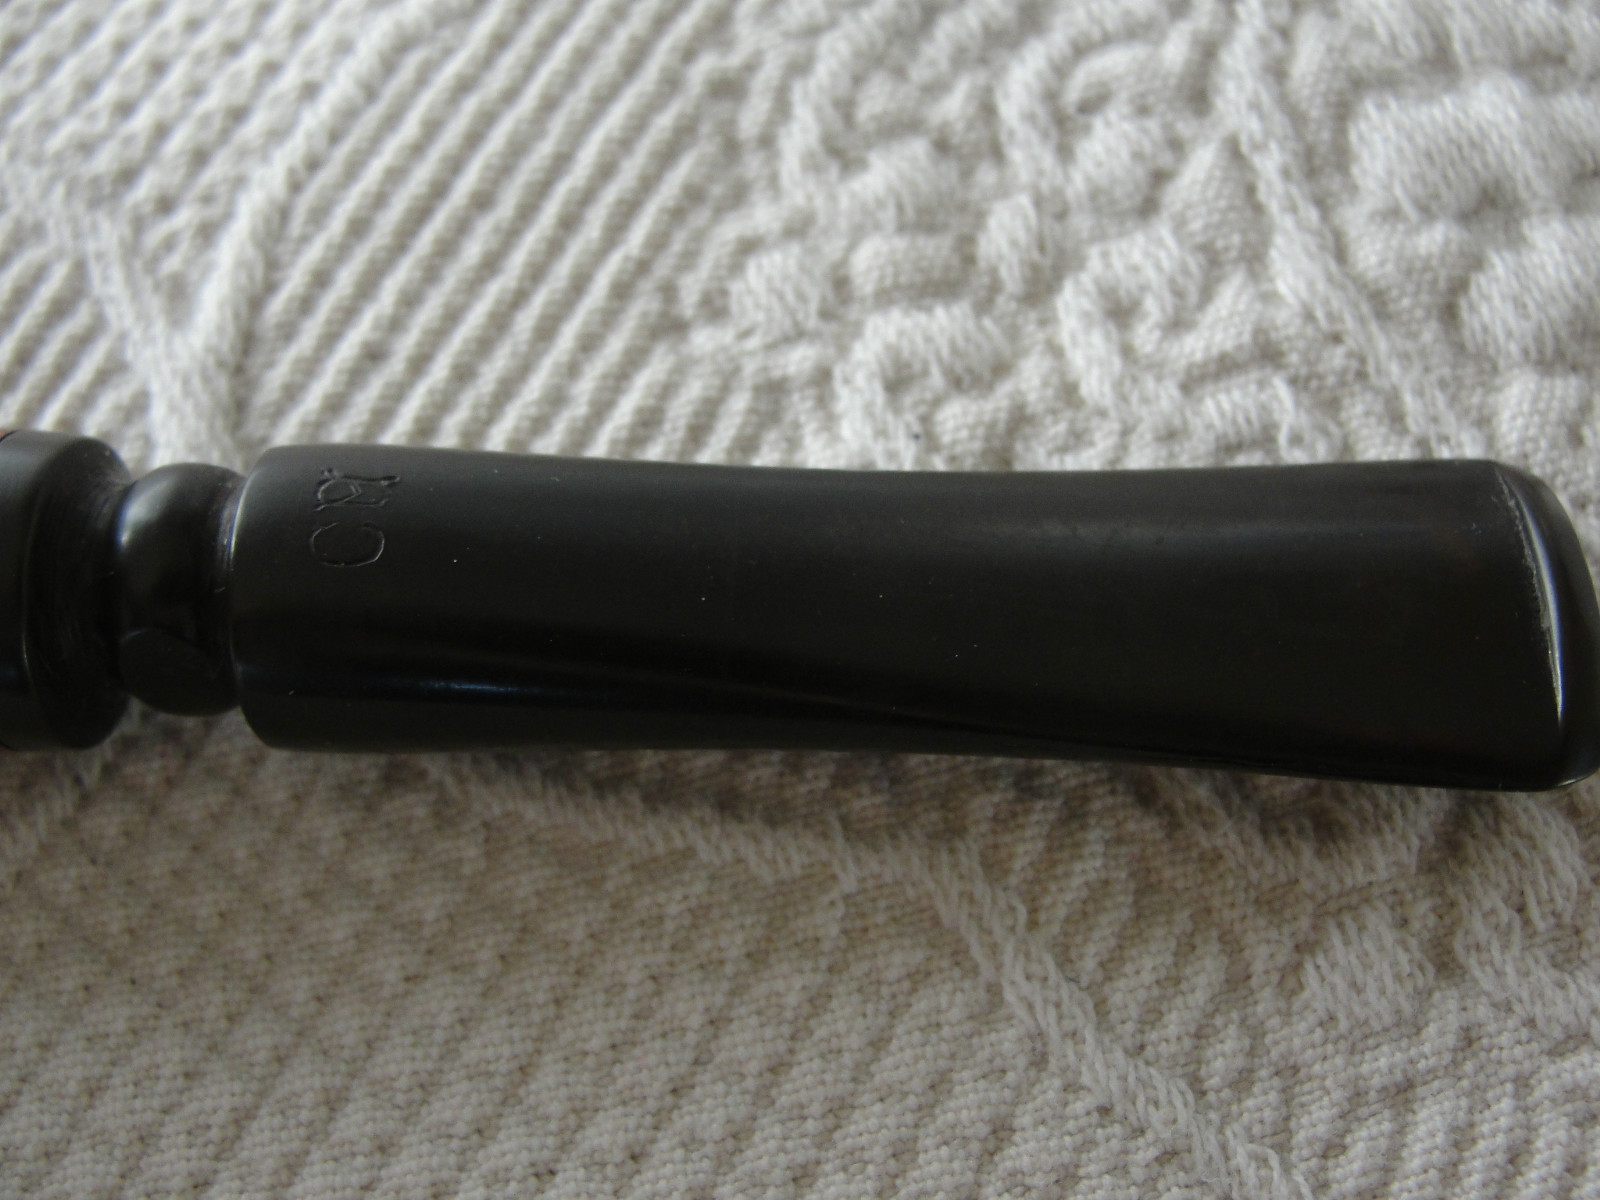
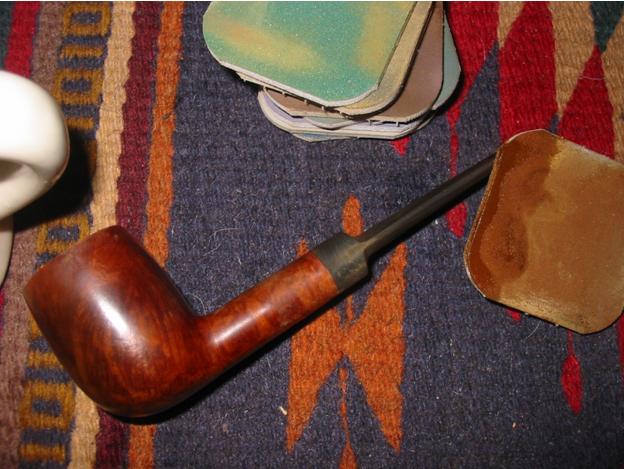
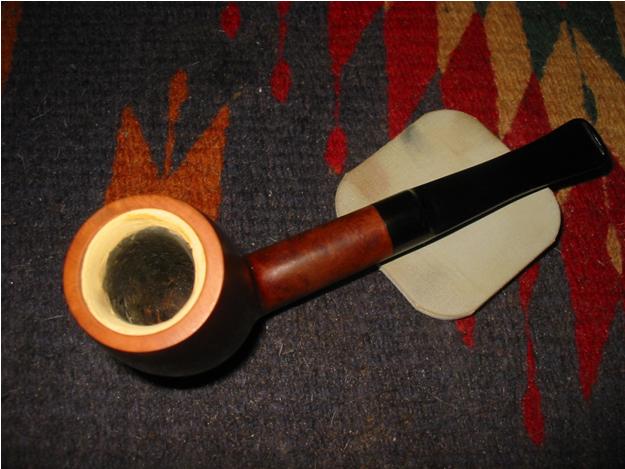
Now I applied my “secret substance” before setting the stem aside to work on the bowl. This is how the stem looks at this point:
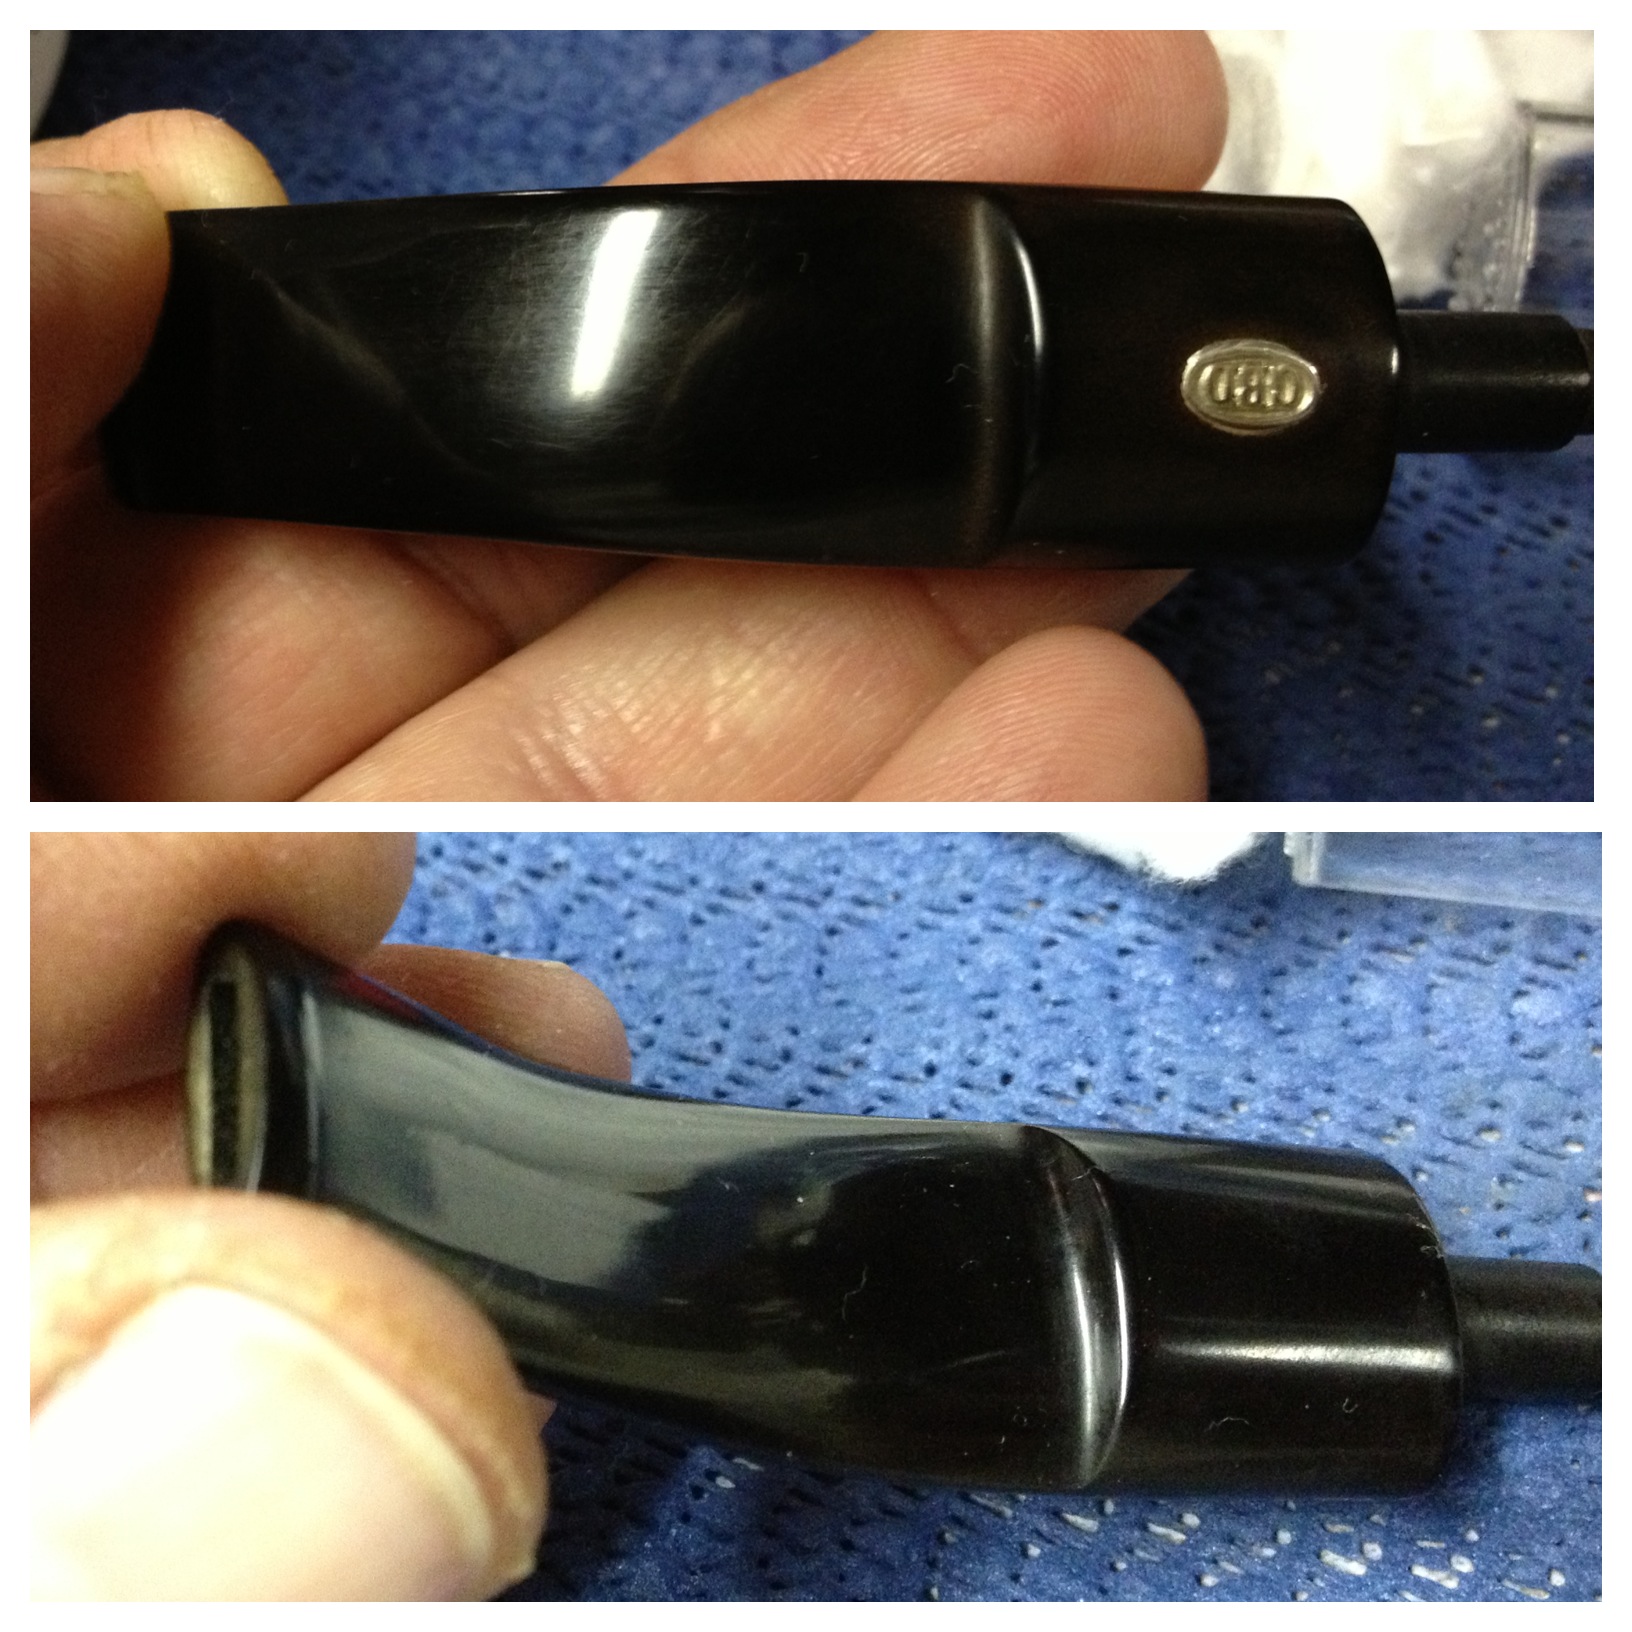
What, you may ask, is my “secret substance”? Obsidian oil maybe? No. It is Mothers Back-to-Black automotive polish.
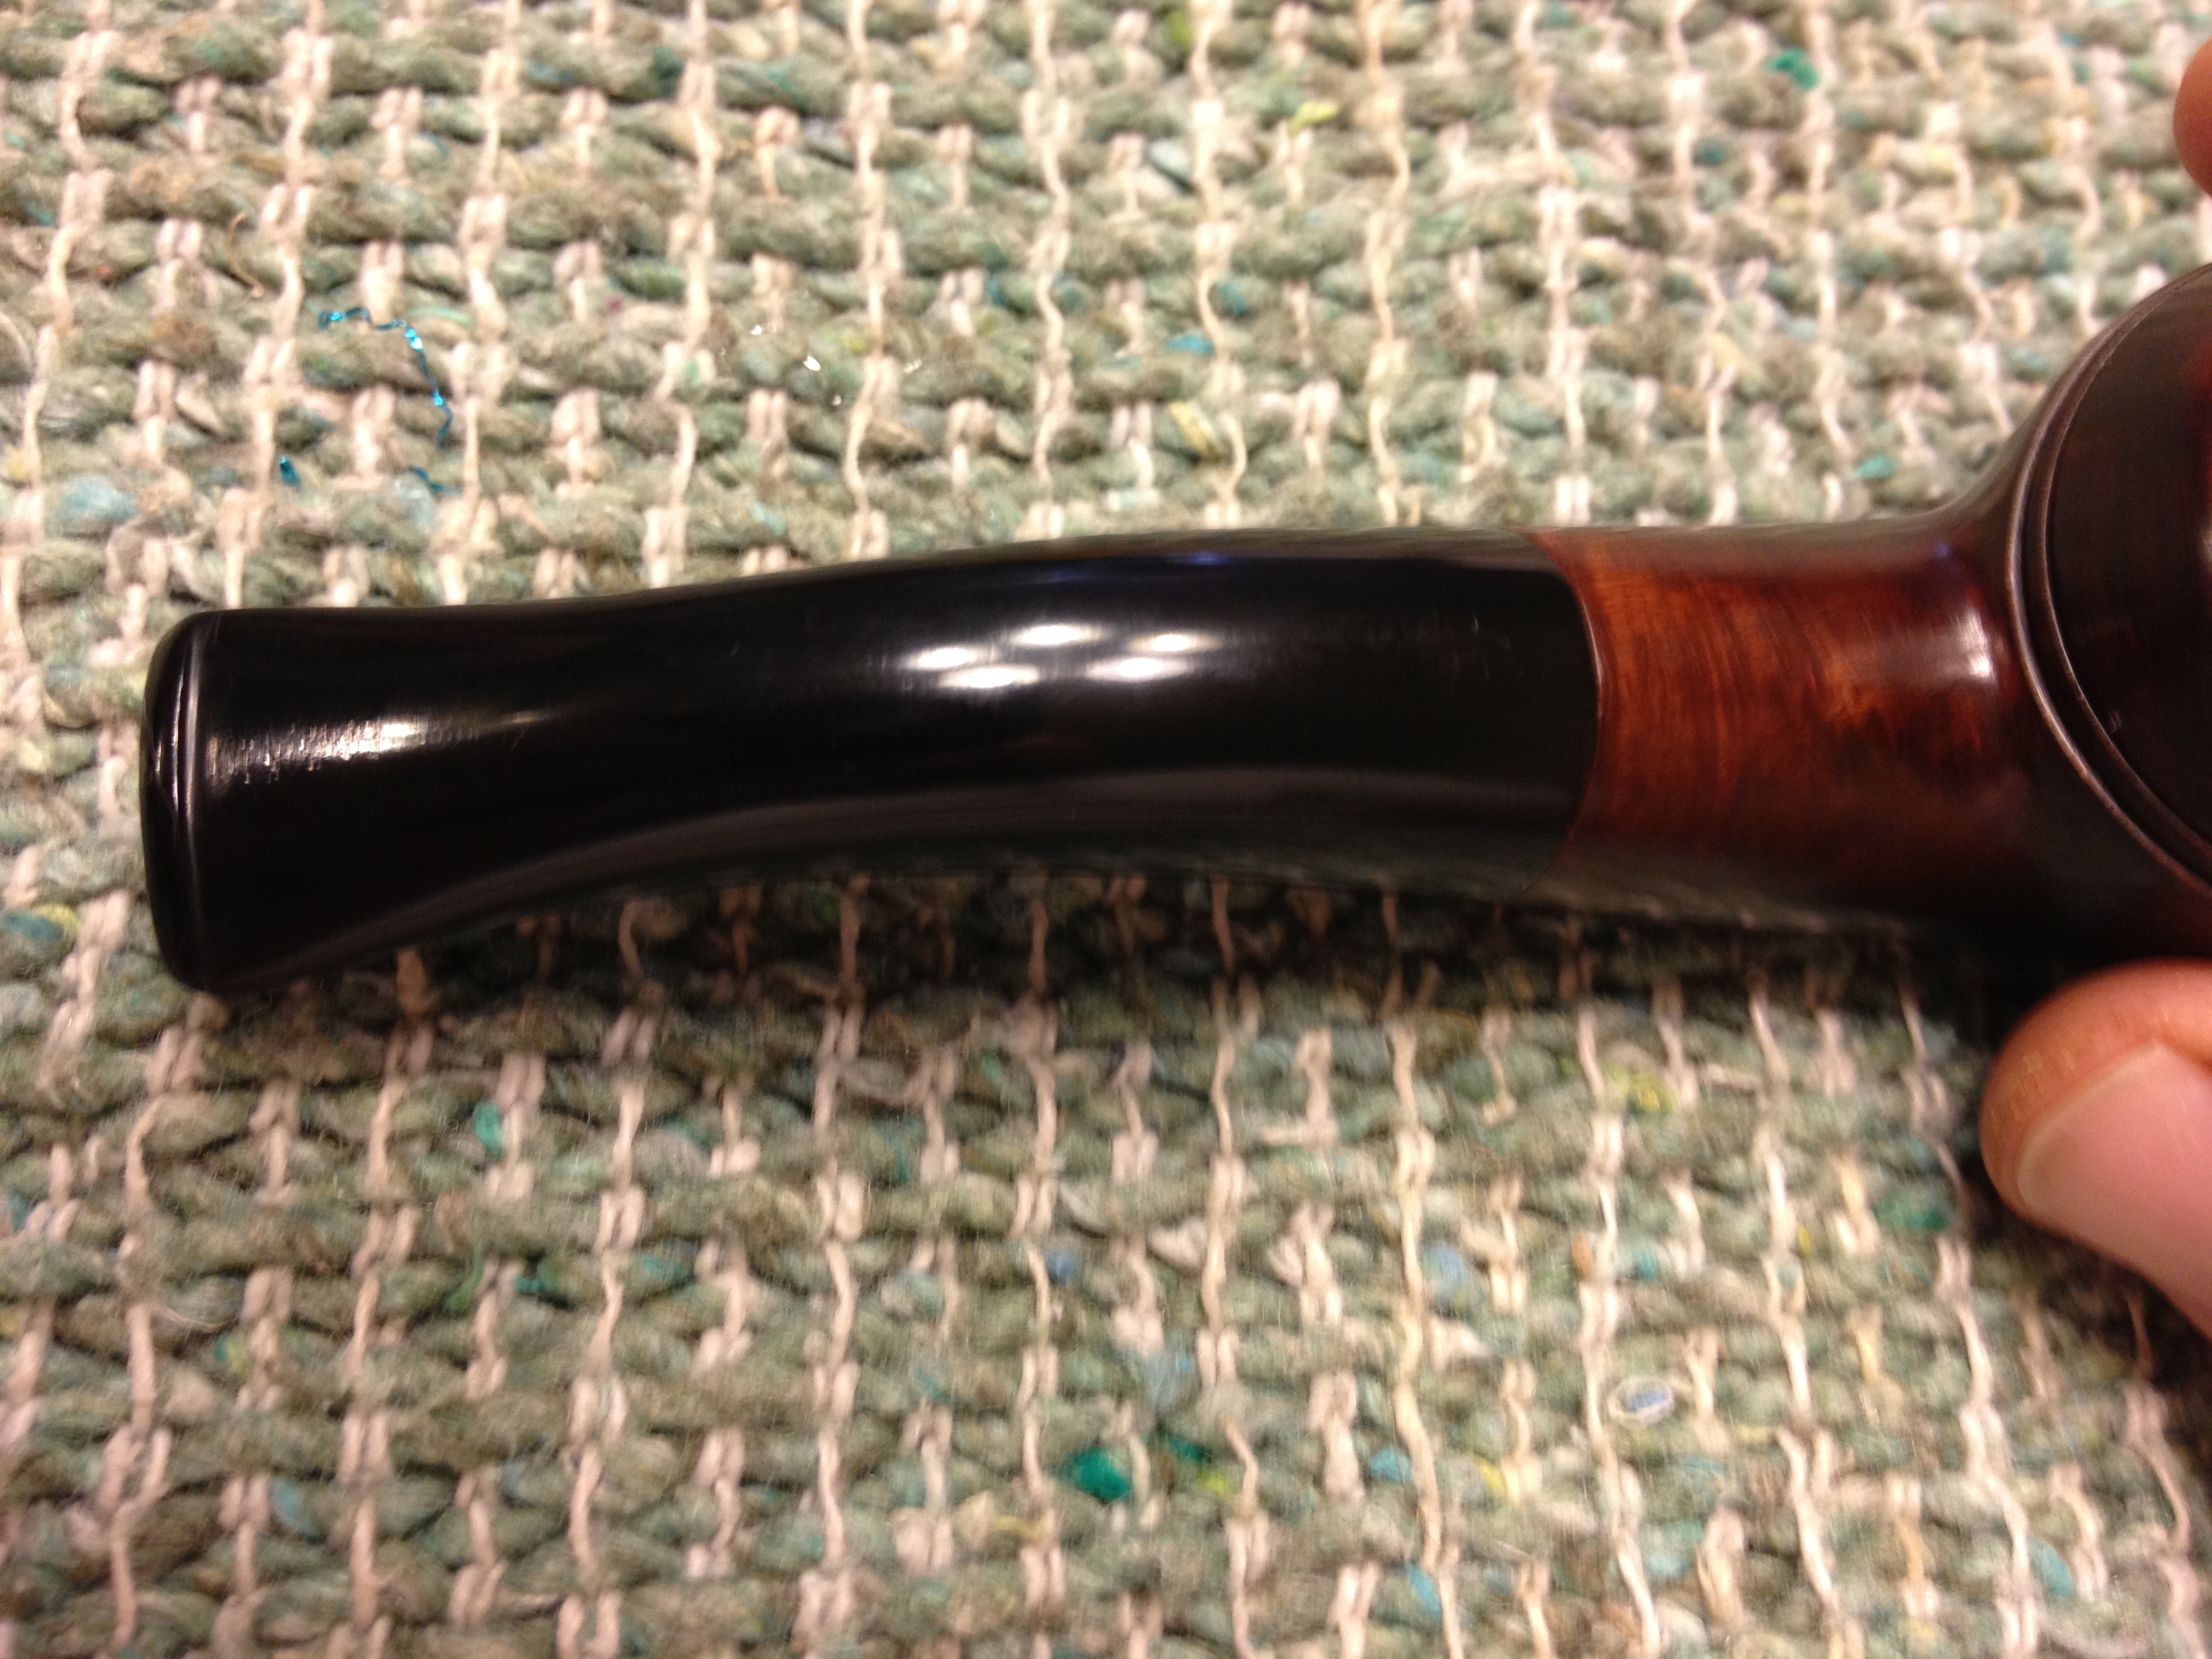
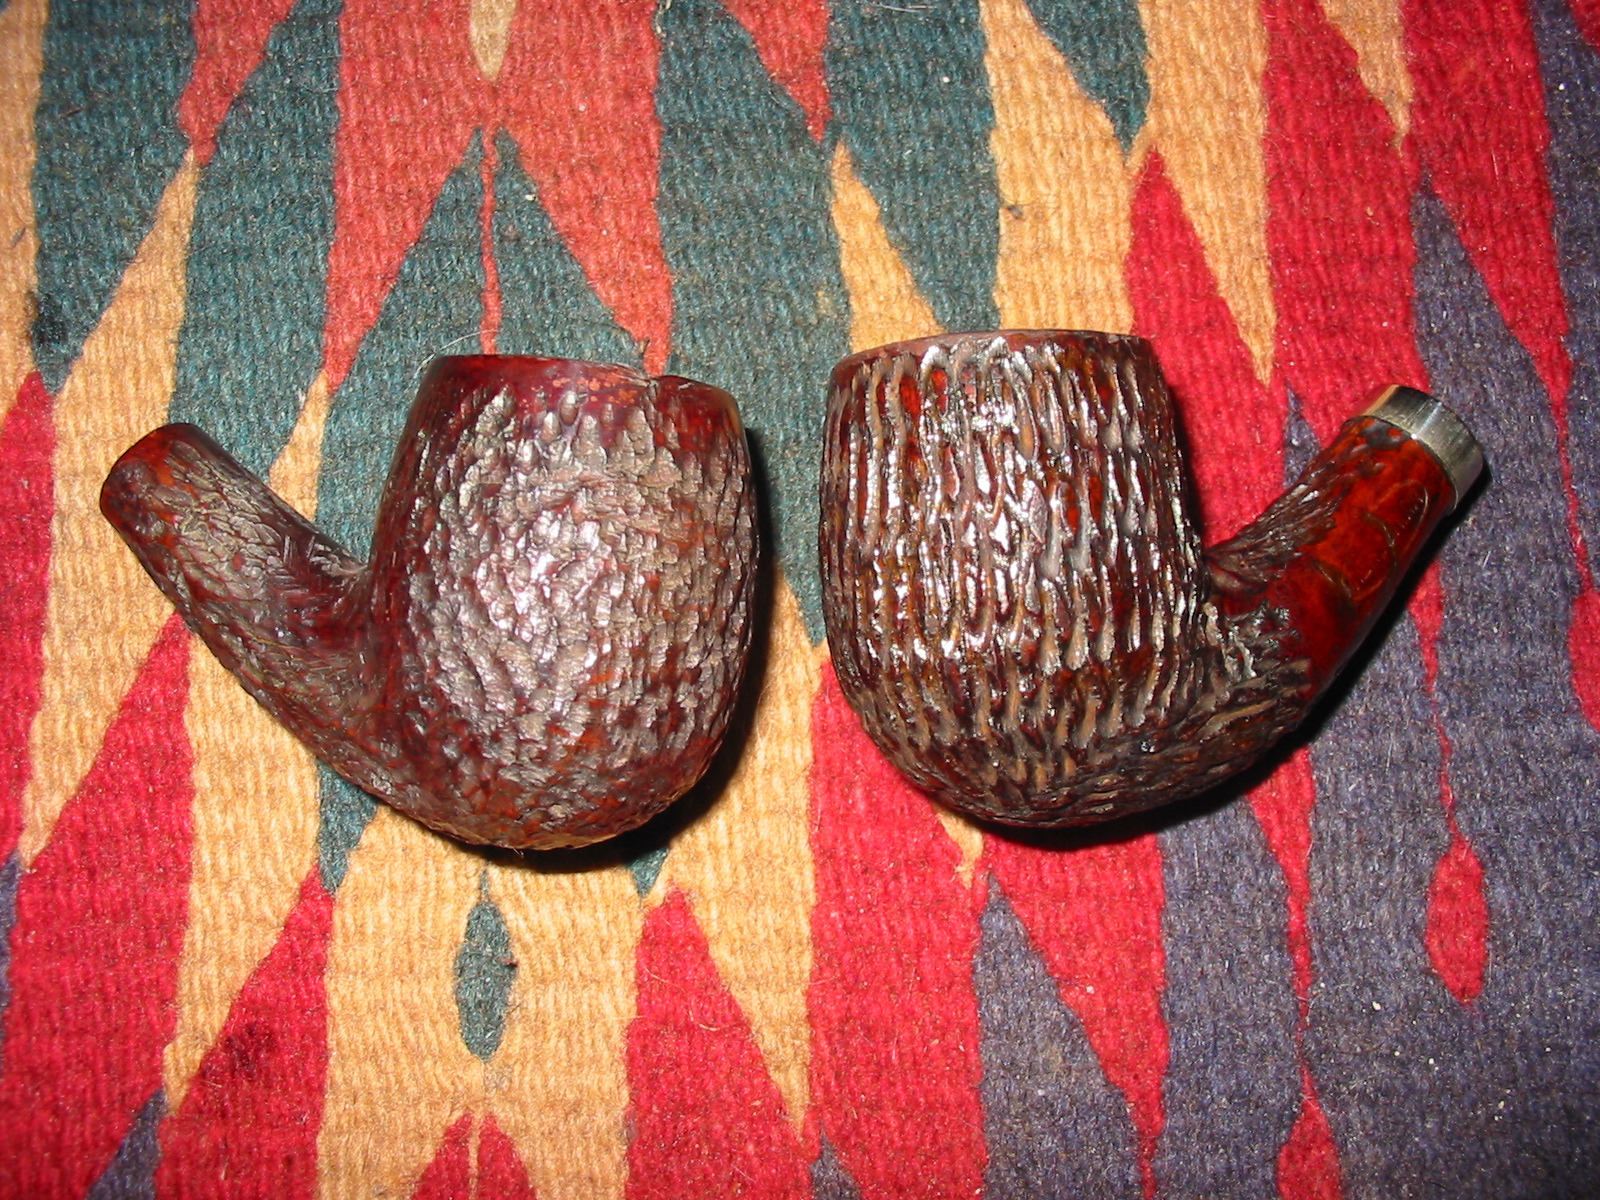
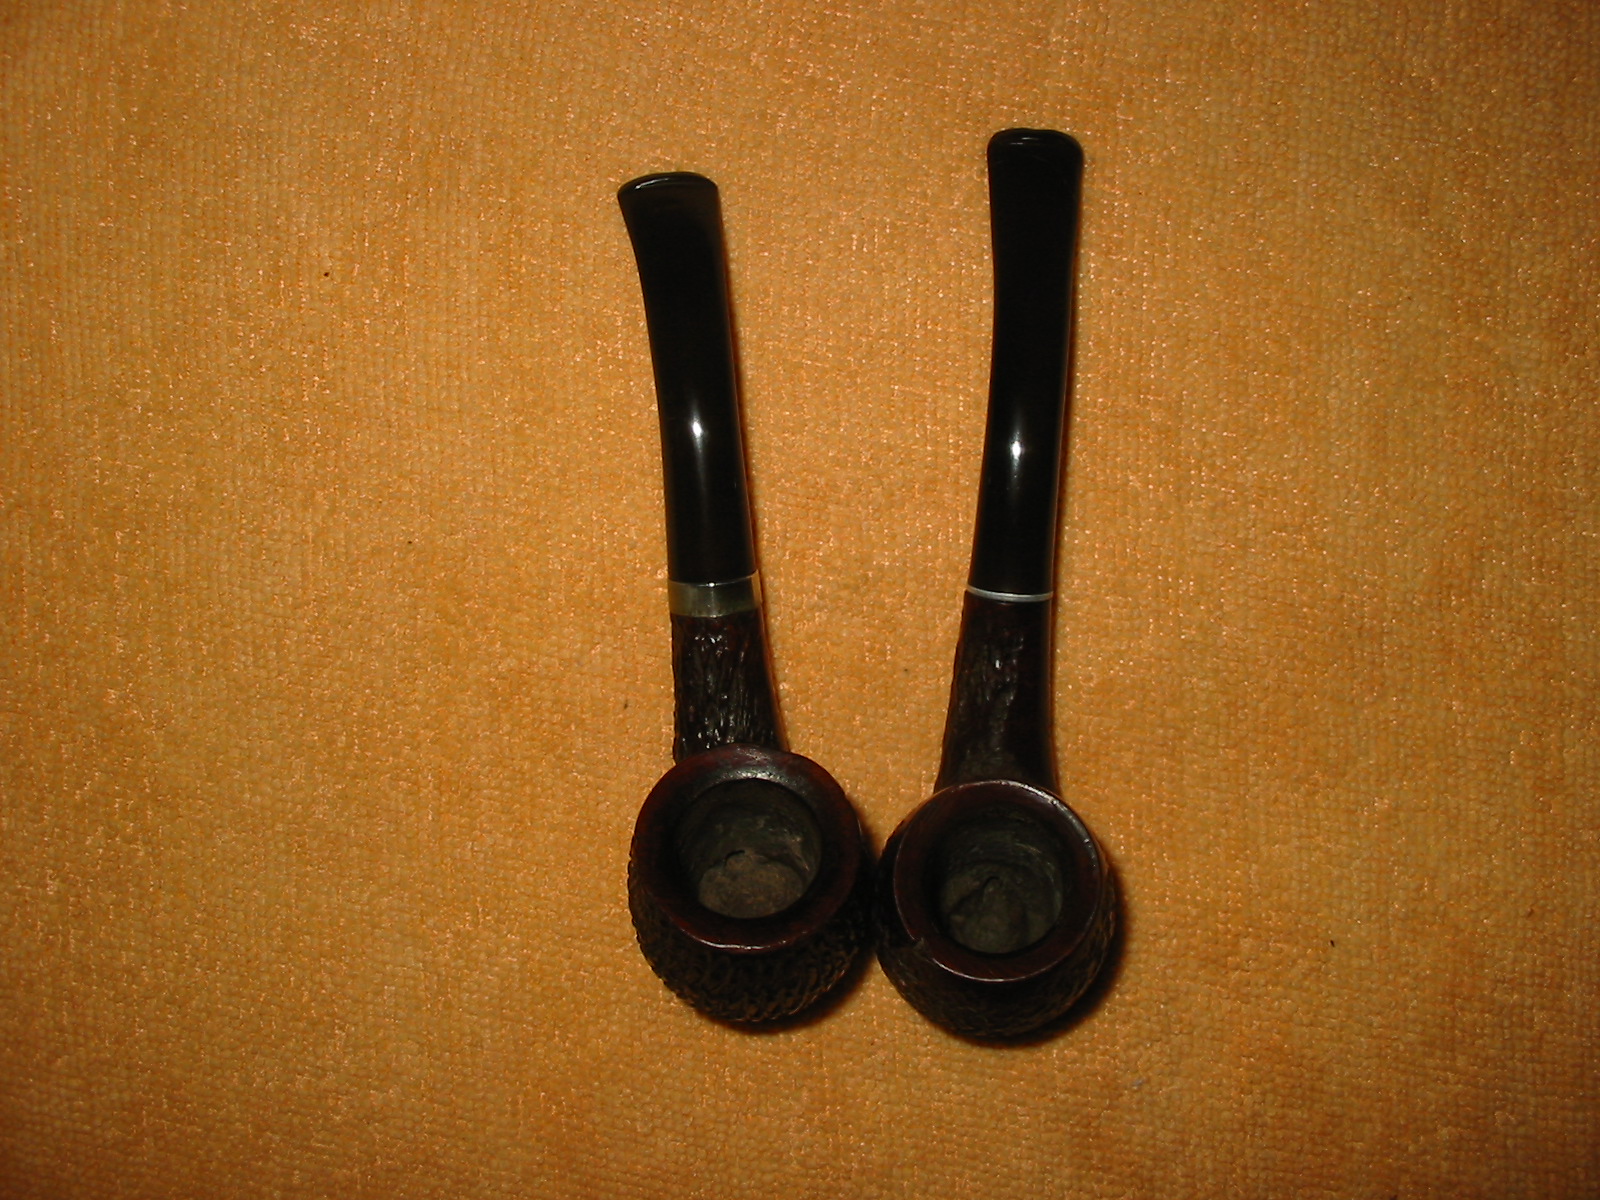
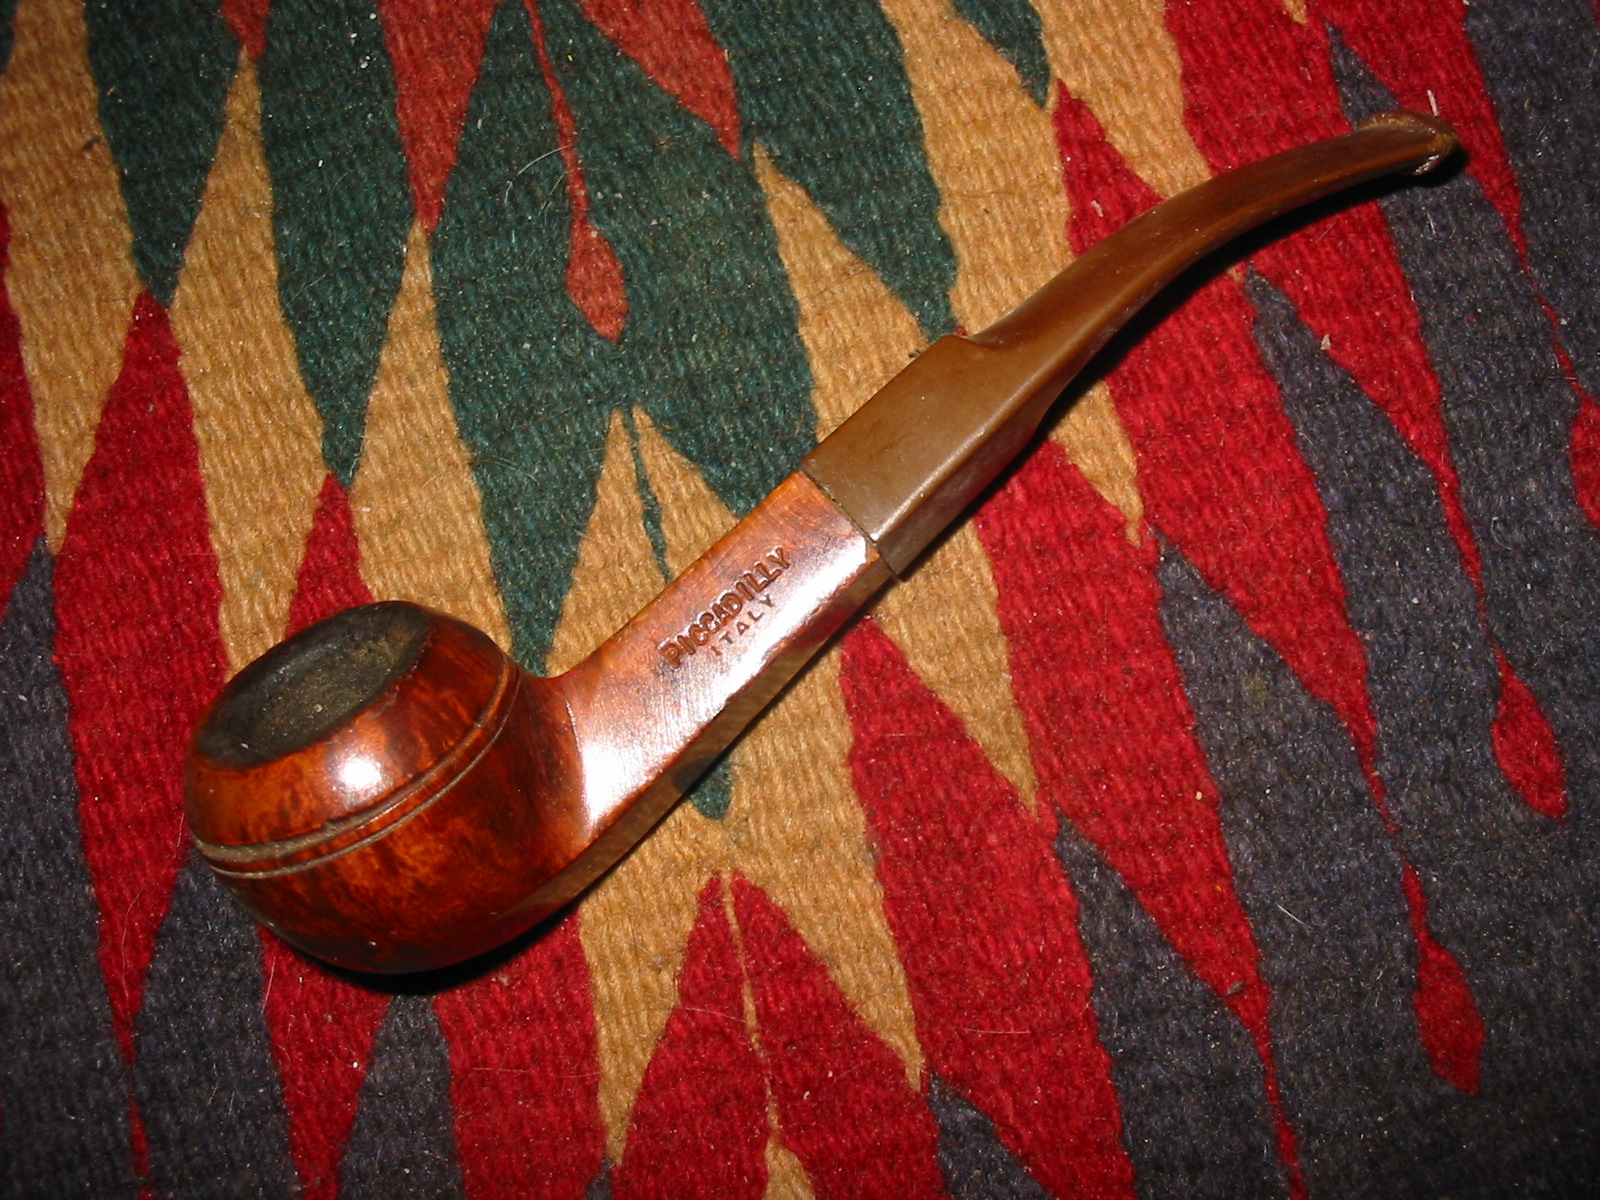
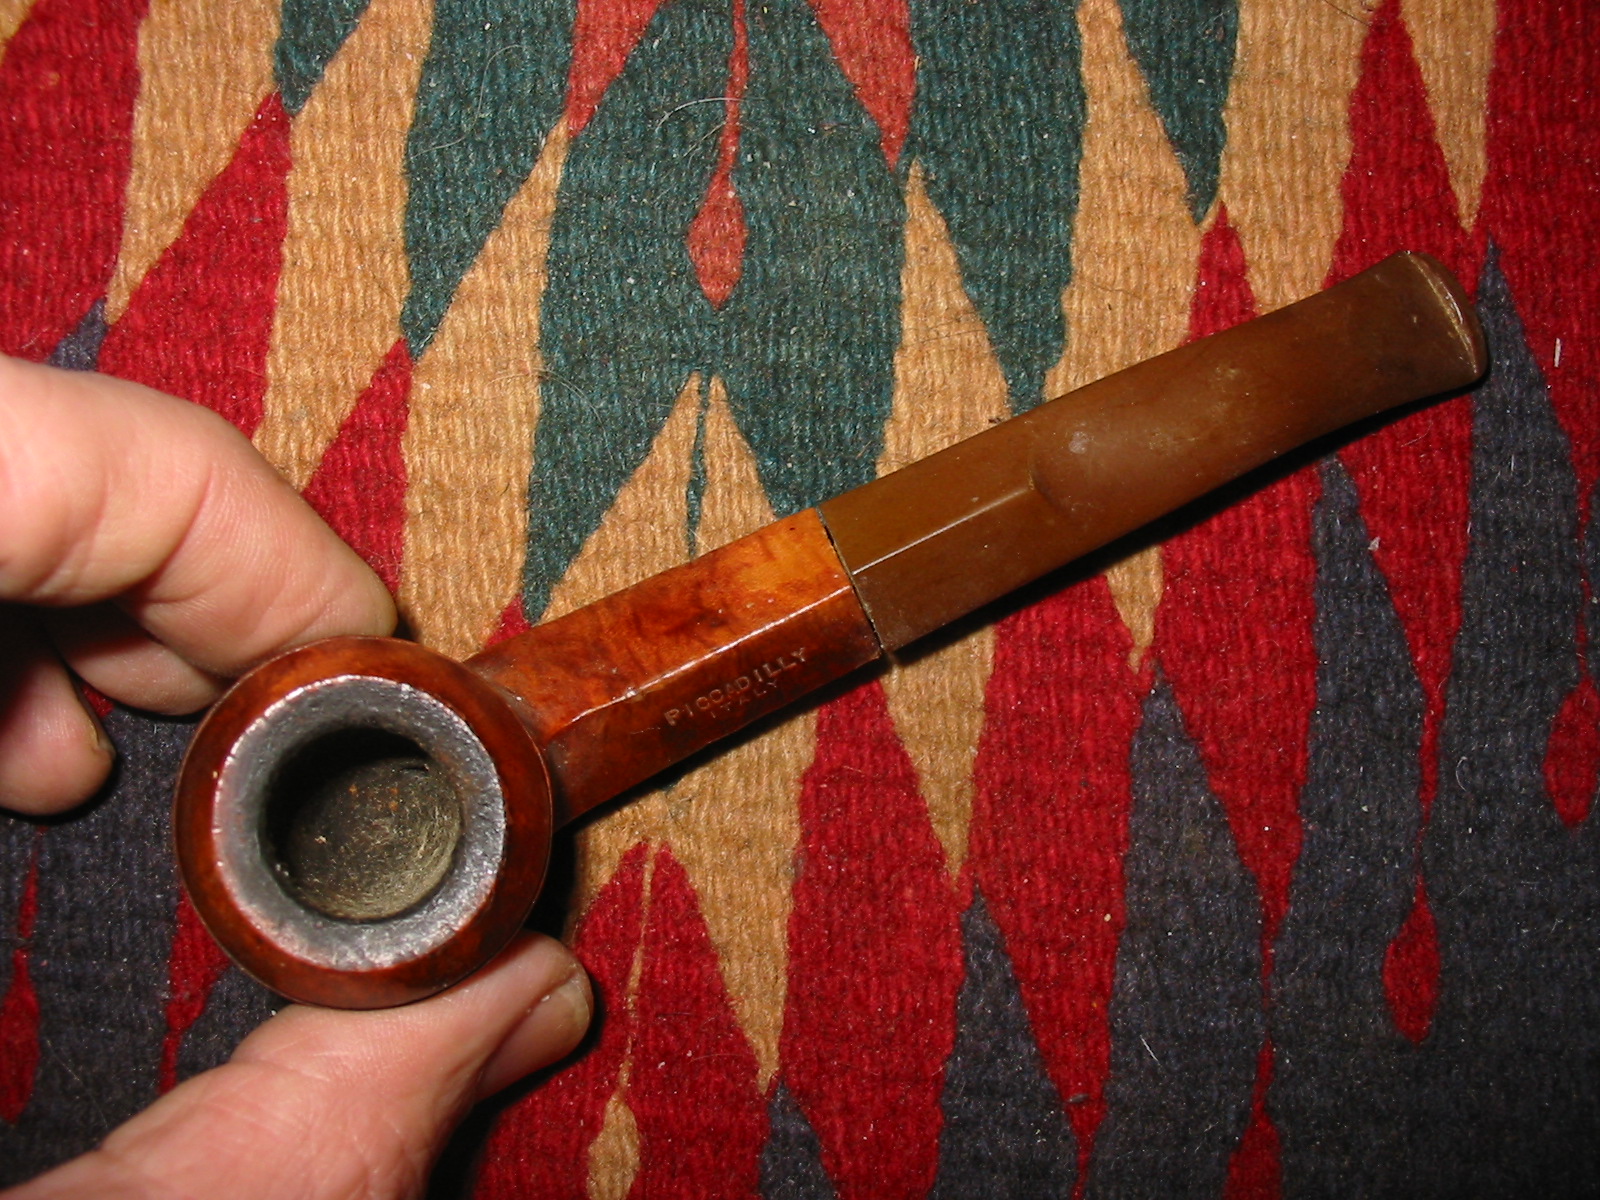
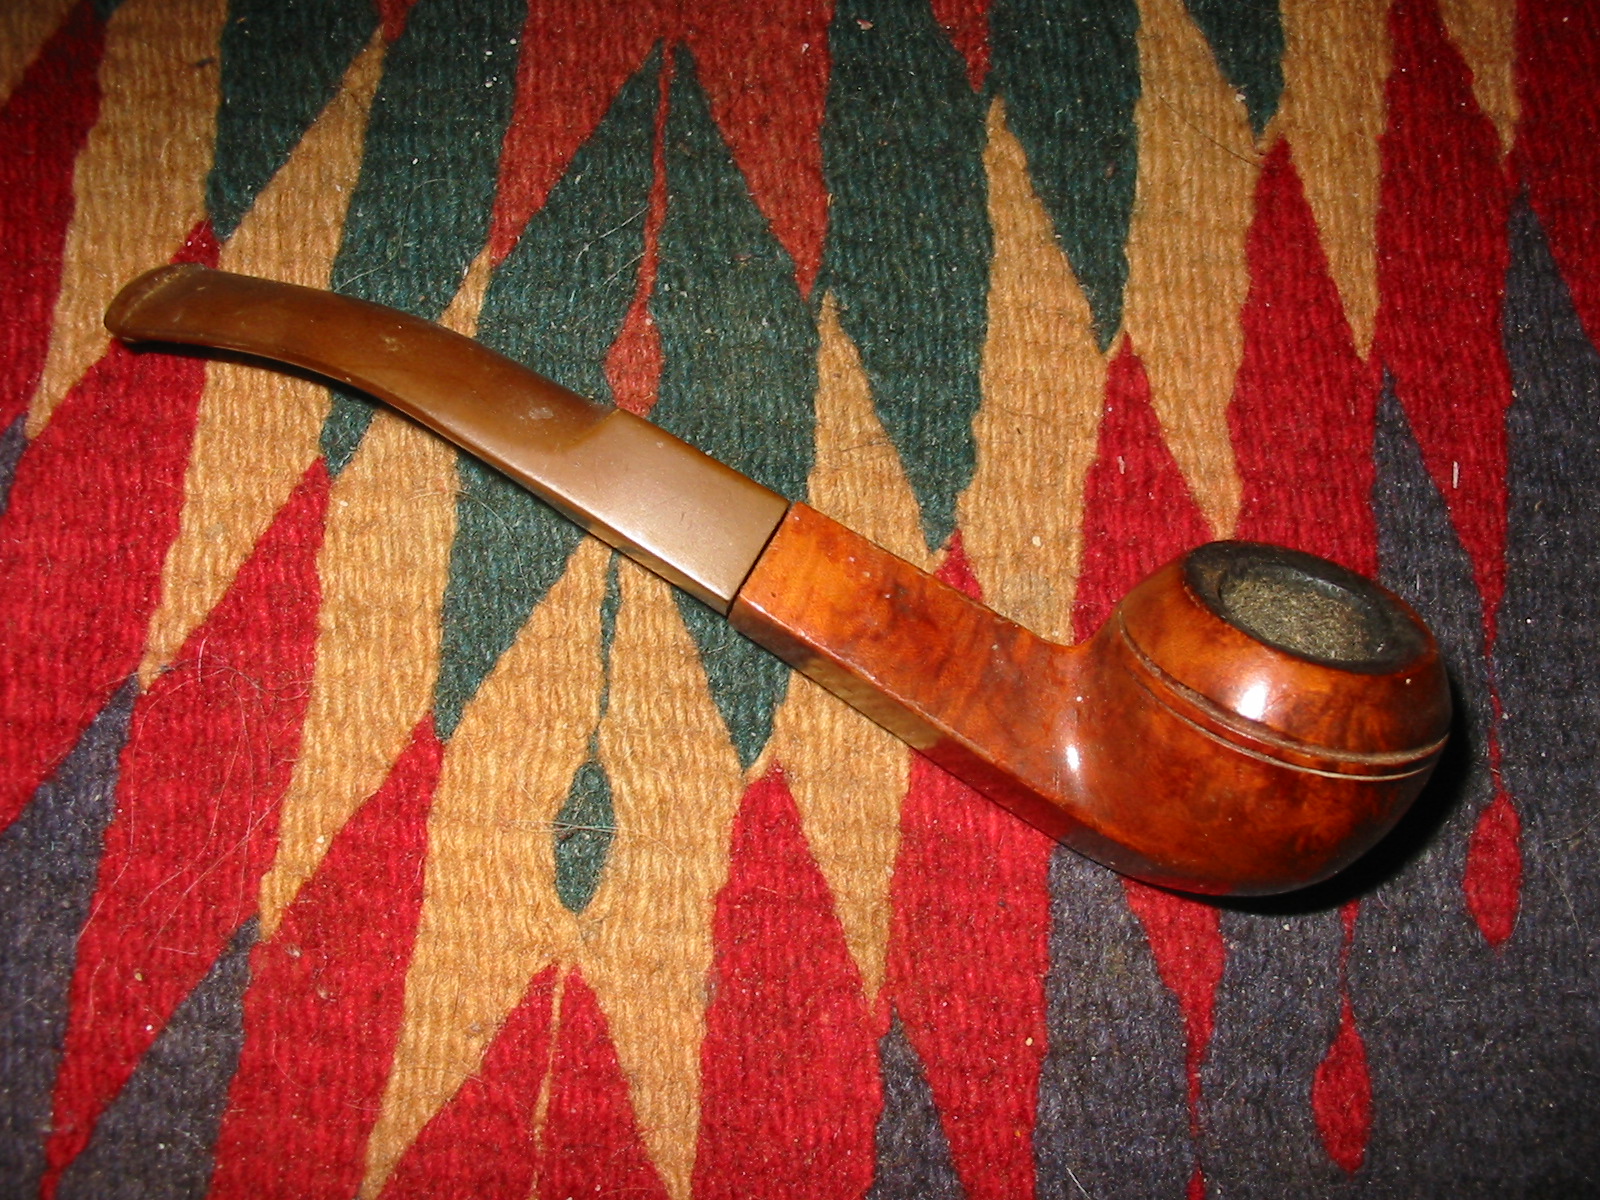
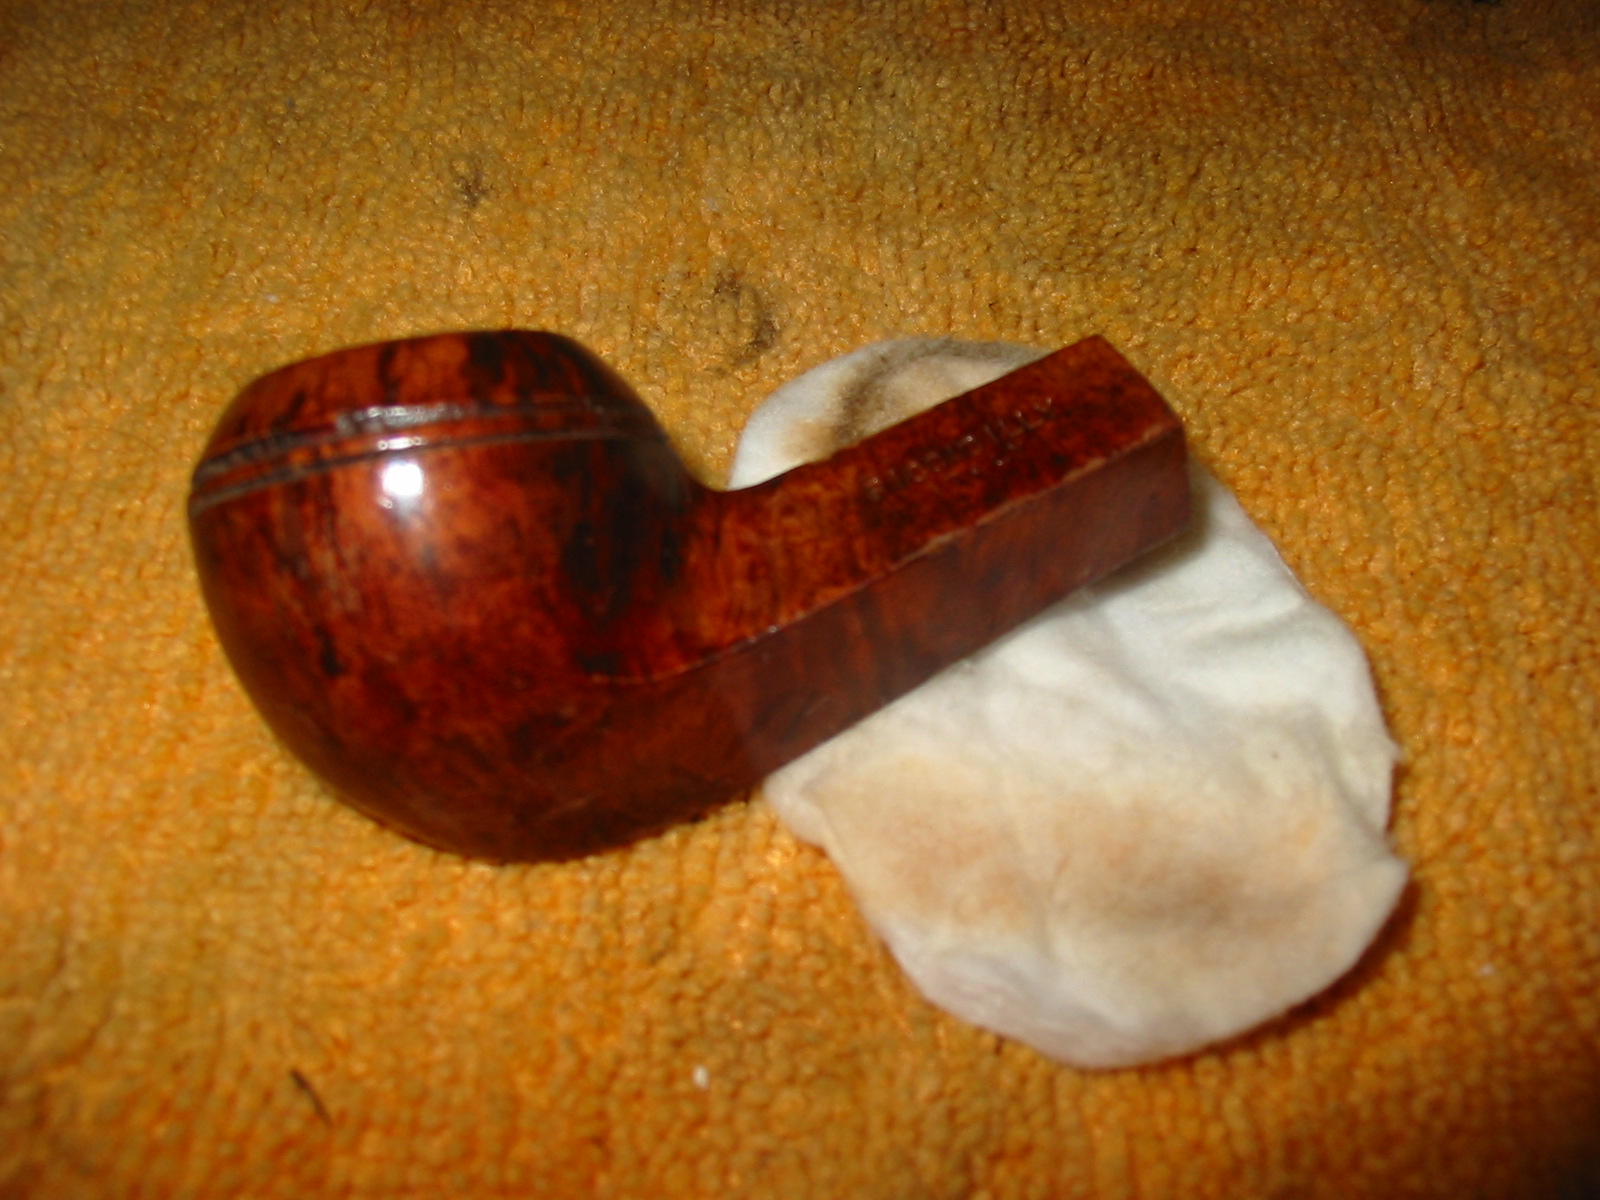
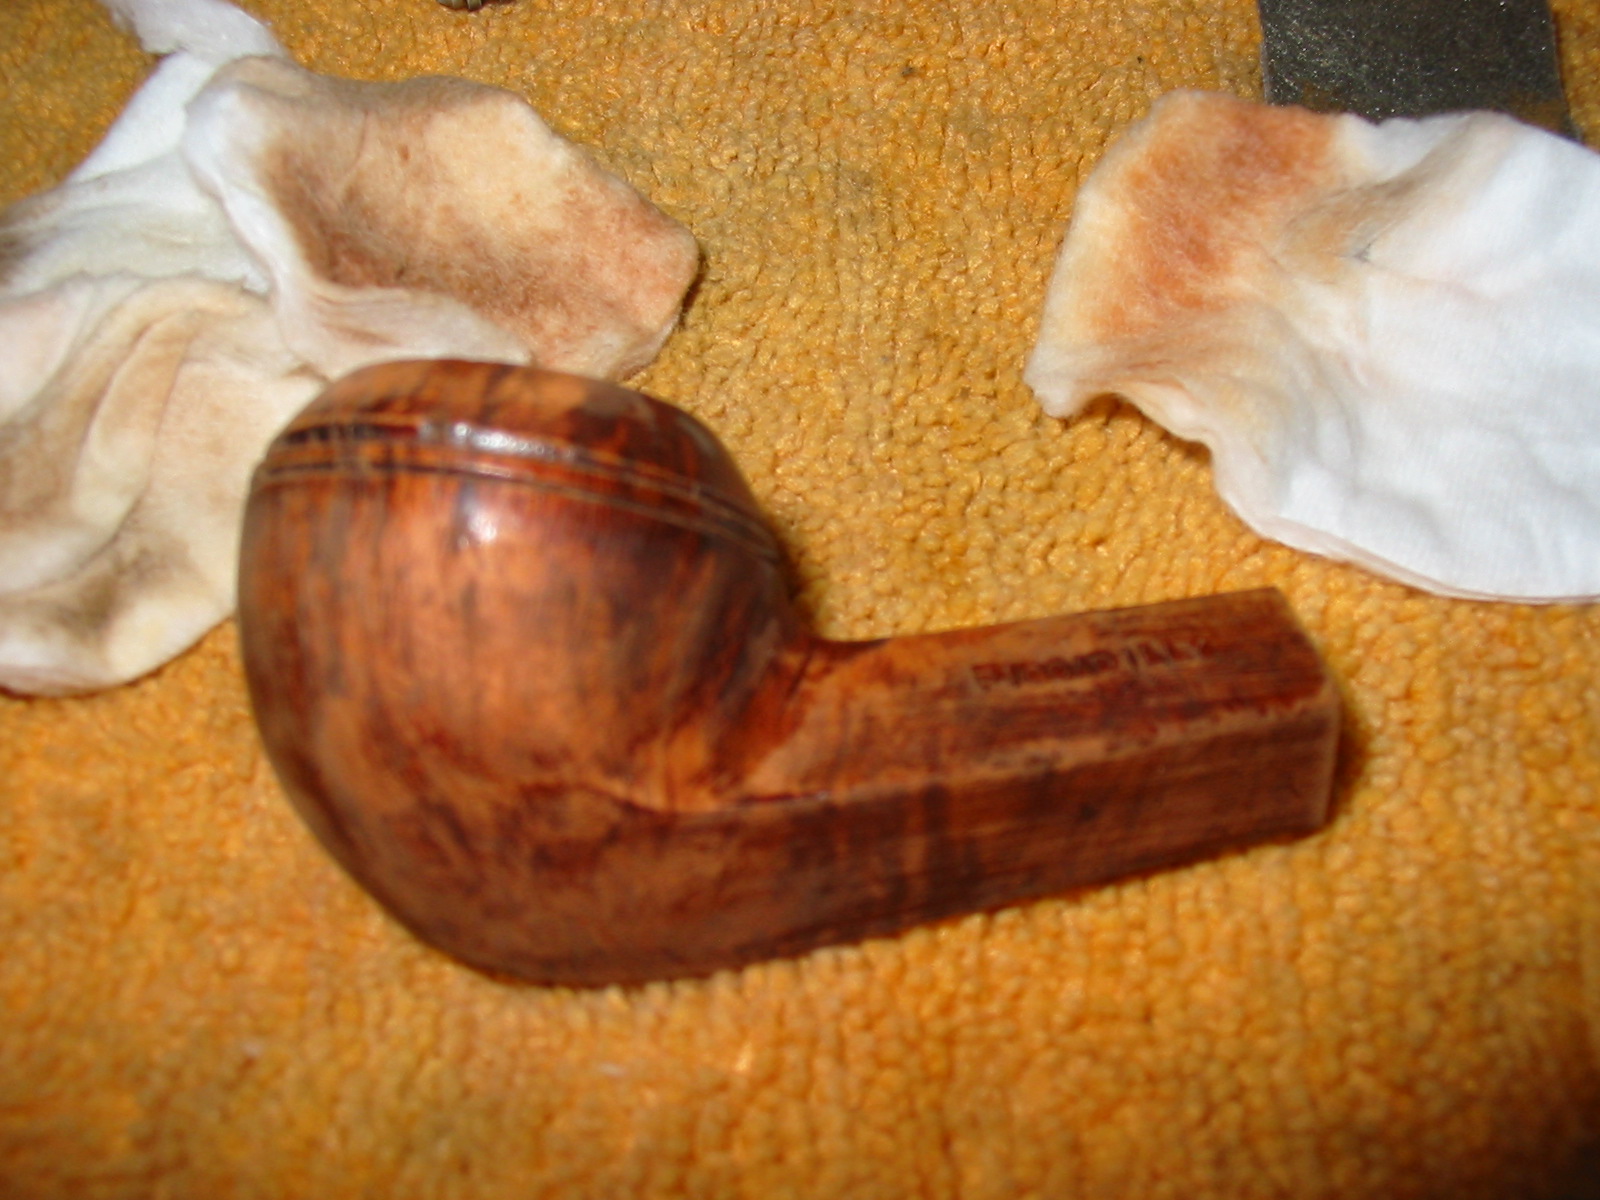
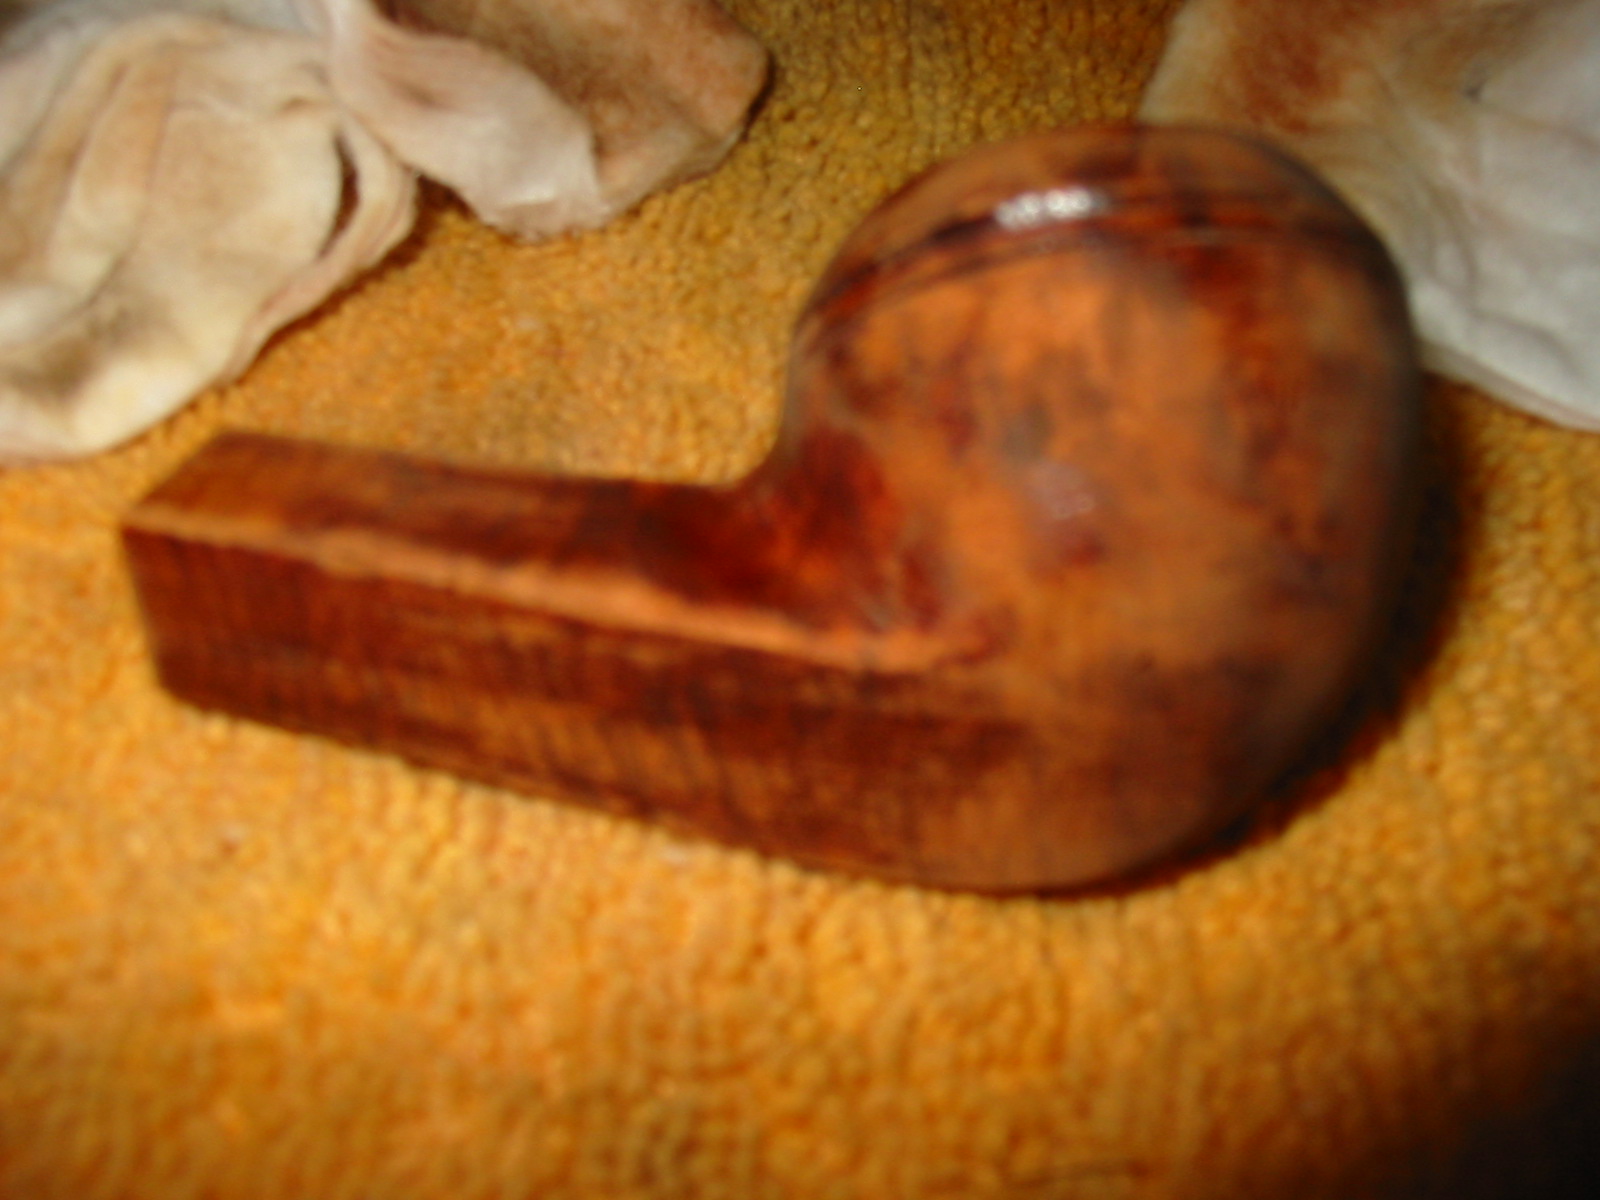
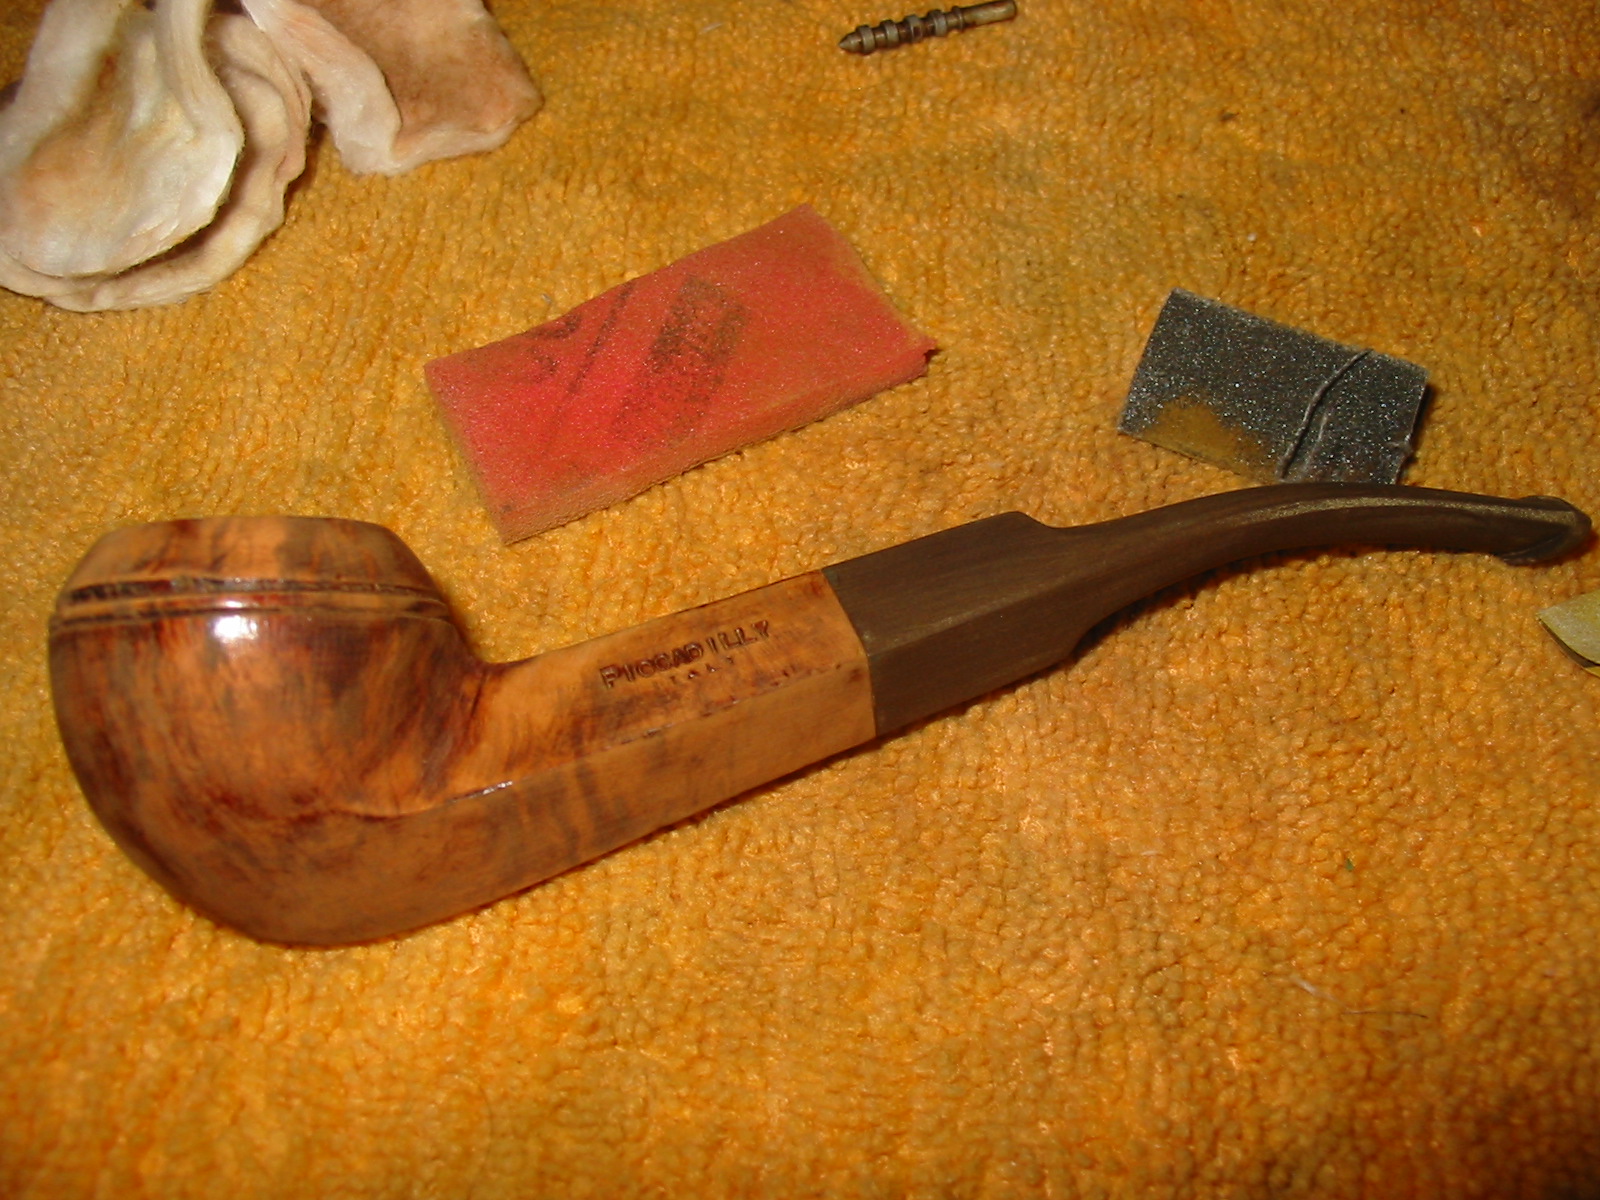
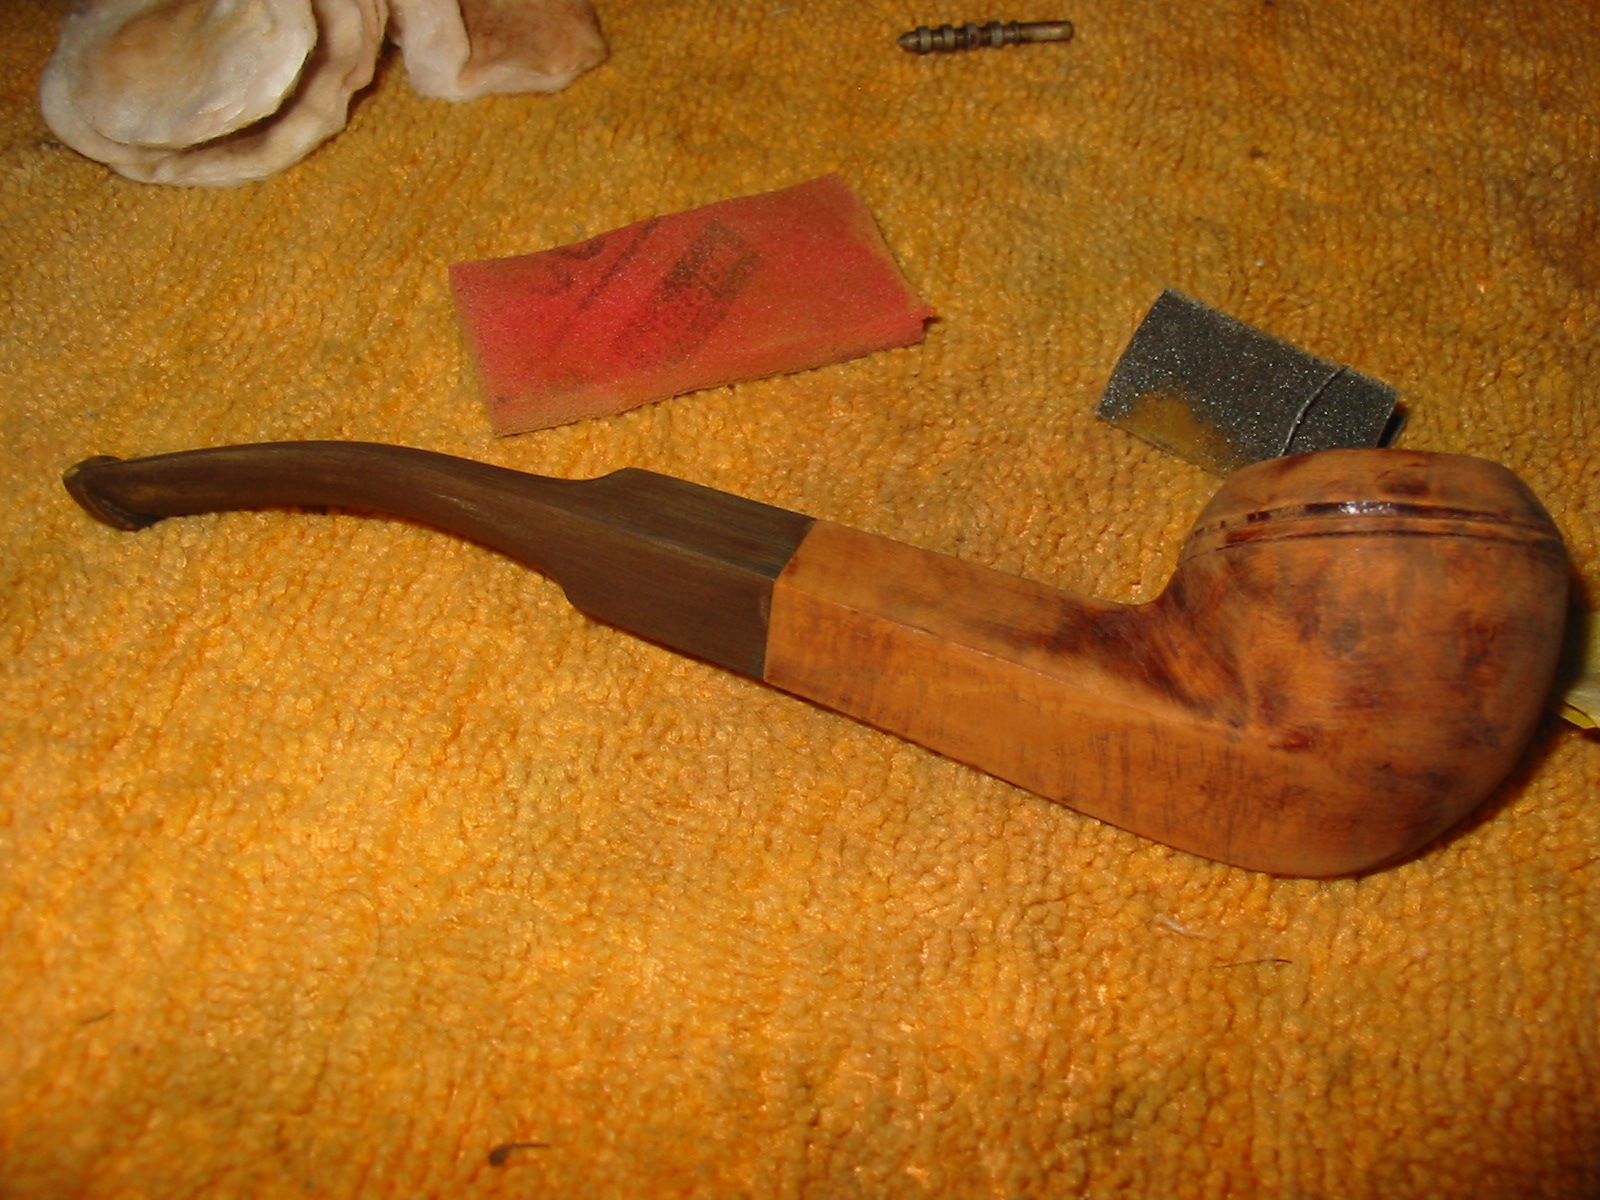
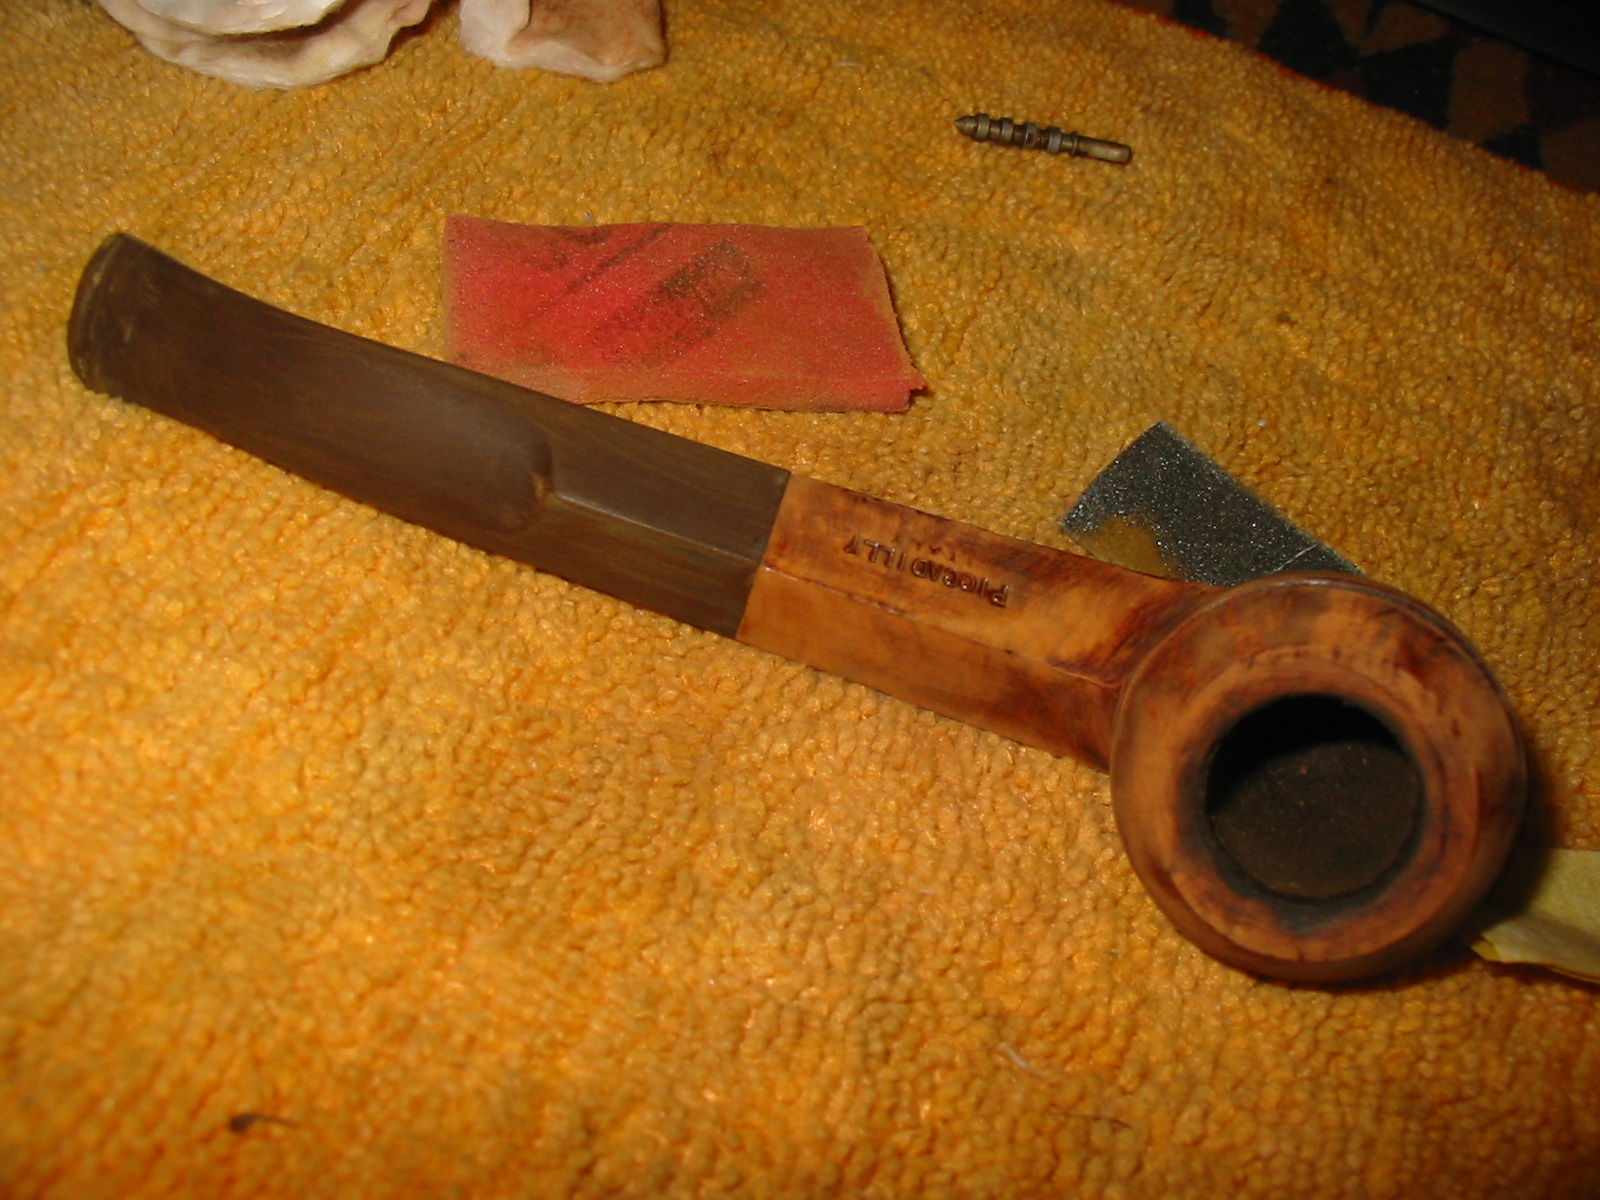
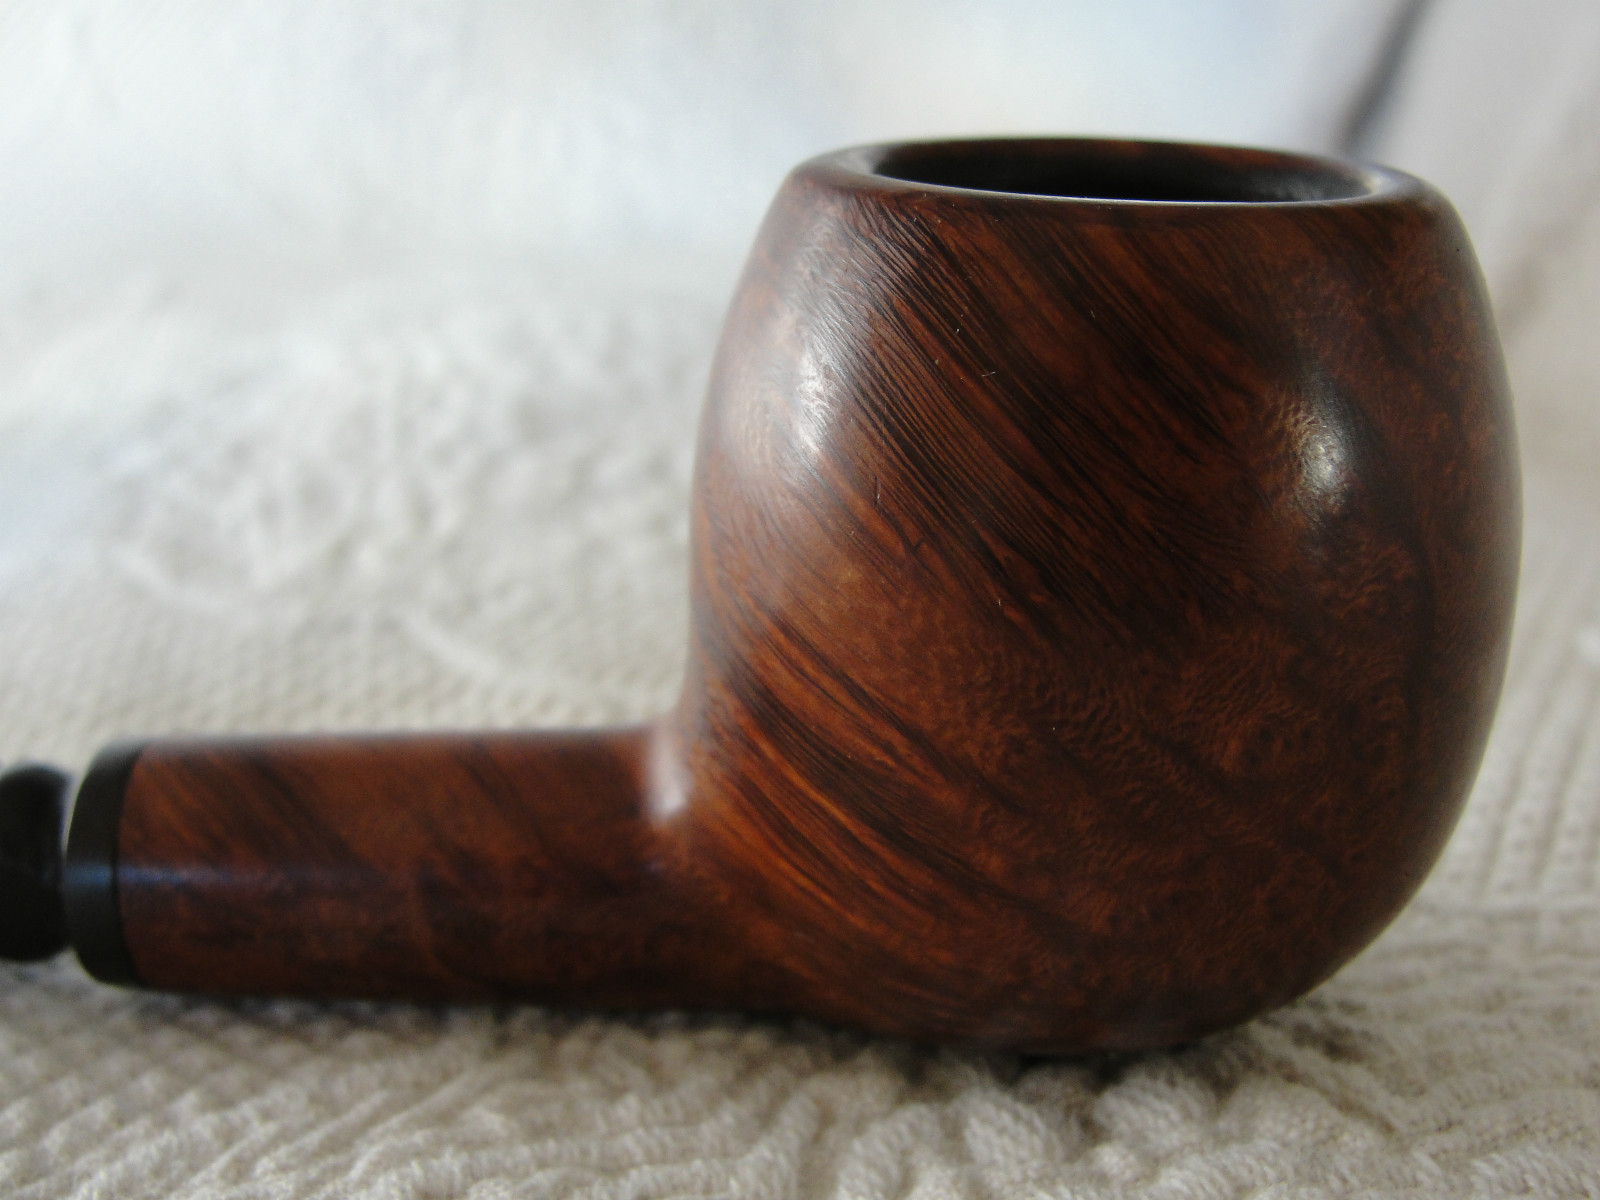
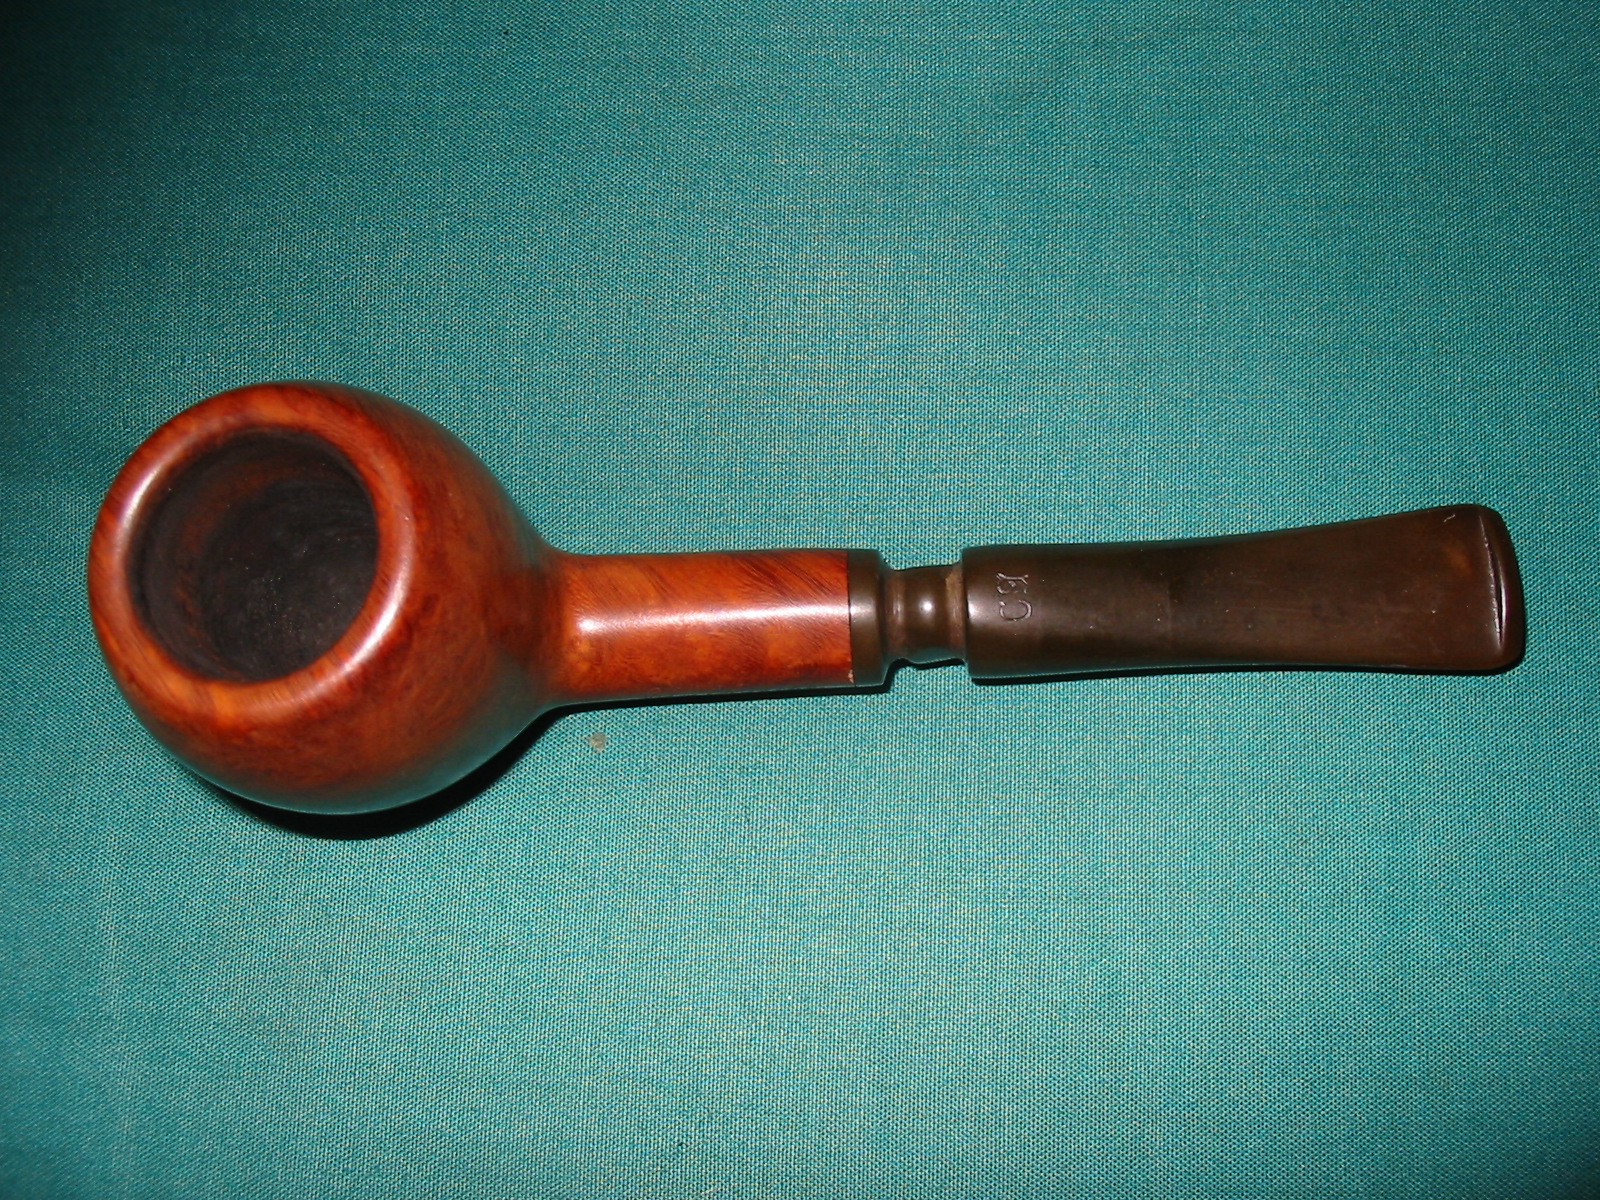
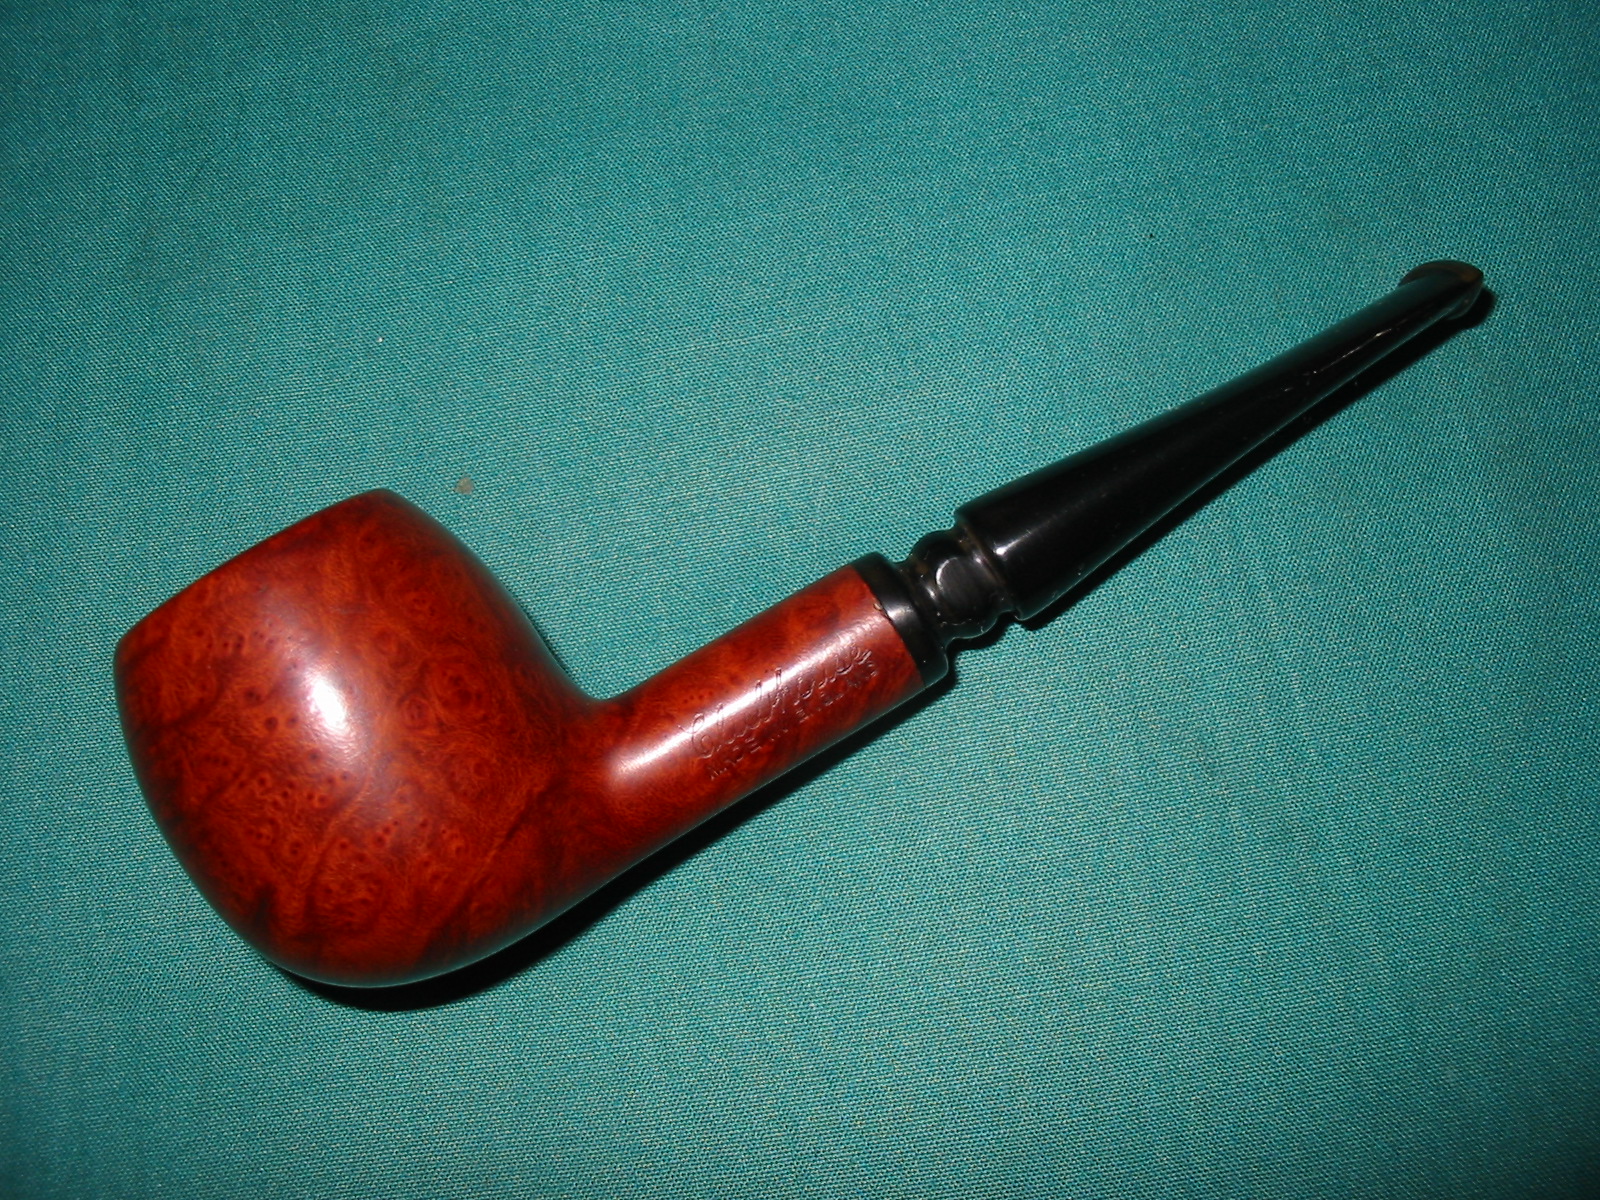
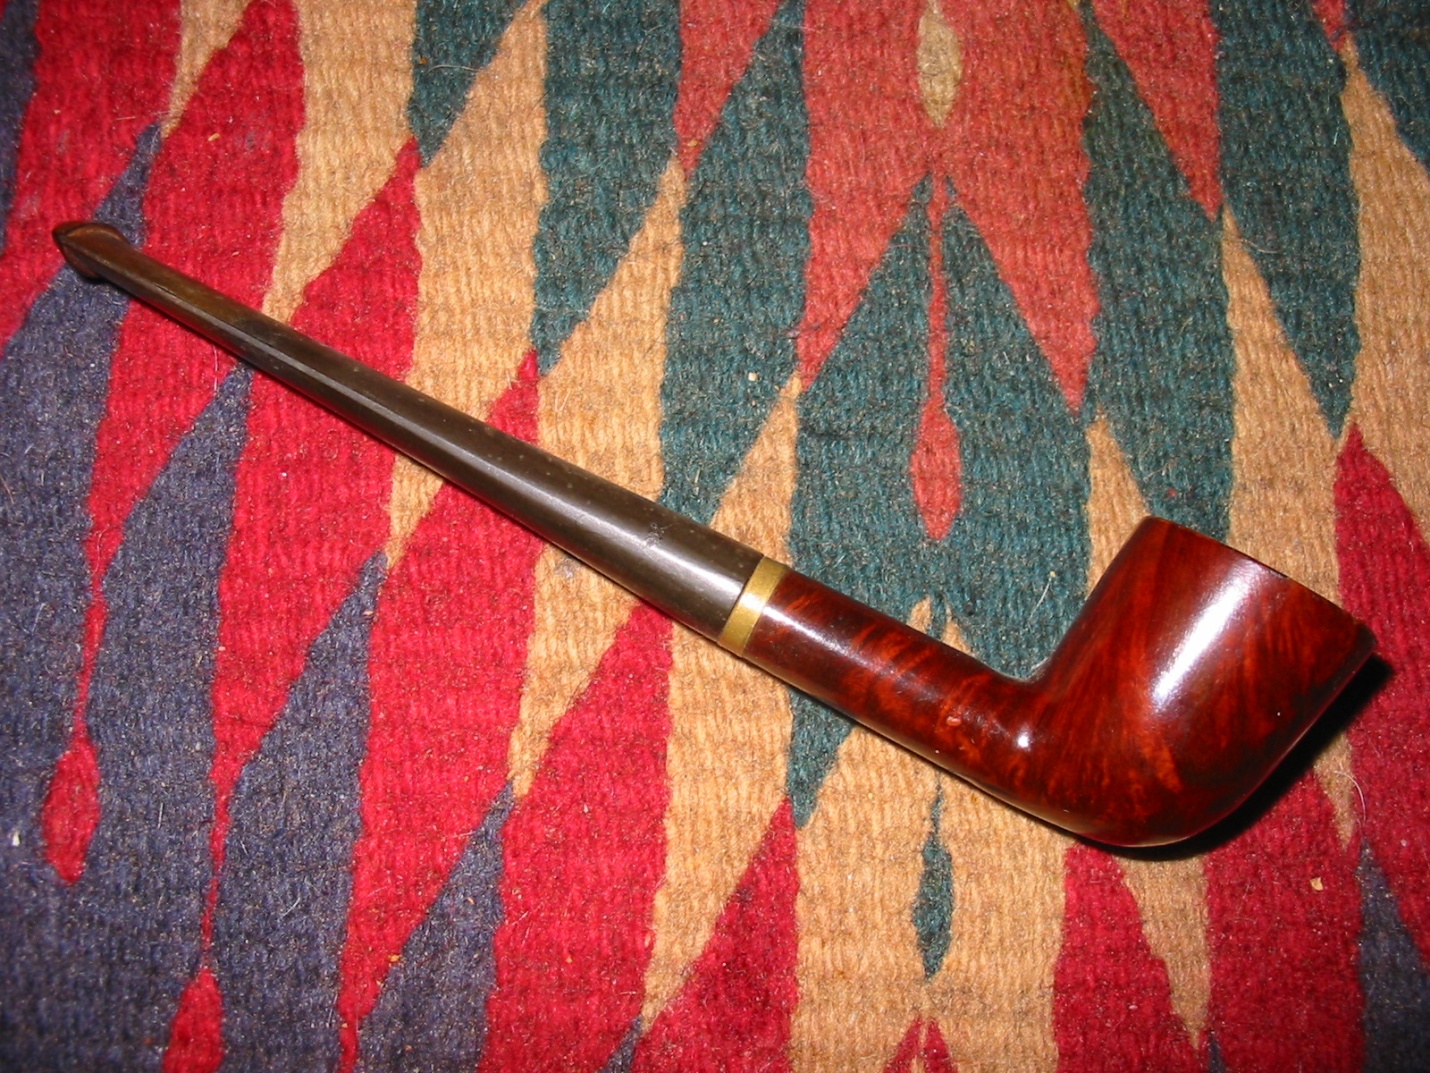
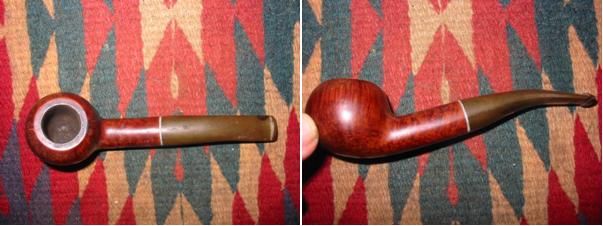
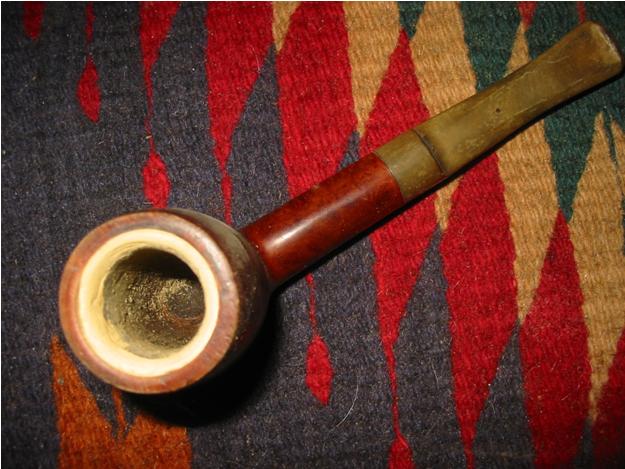
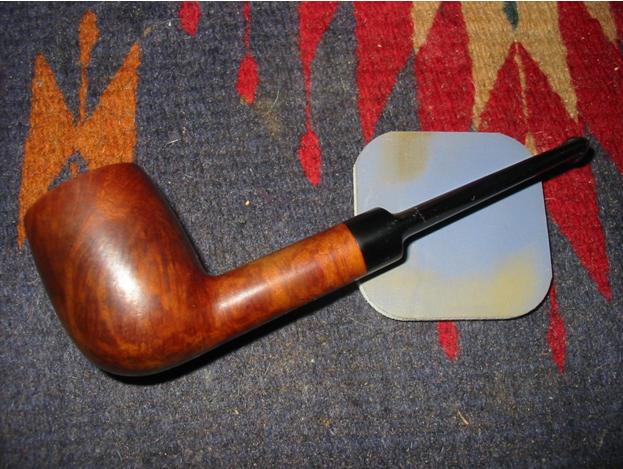
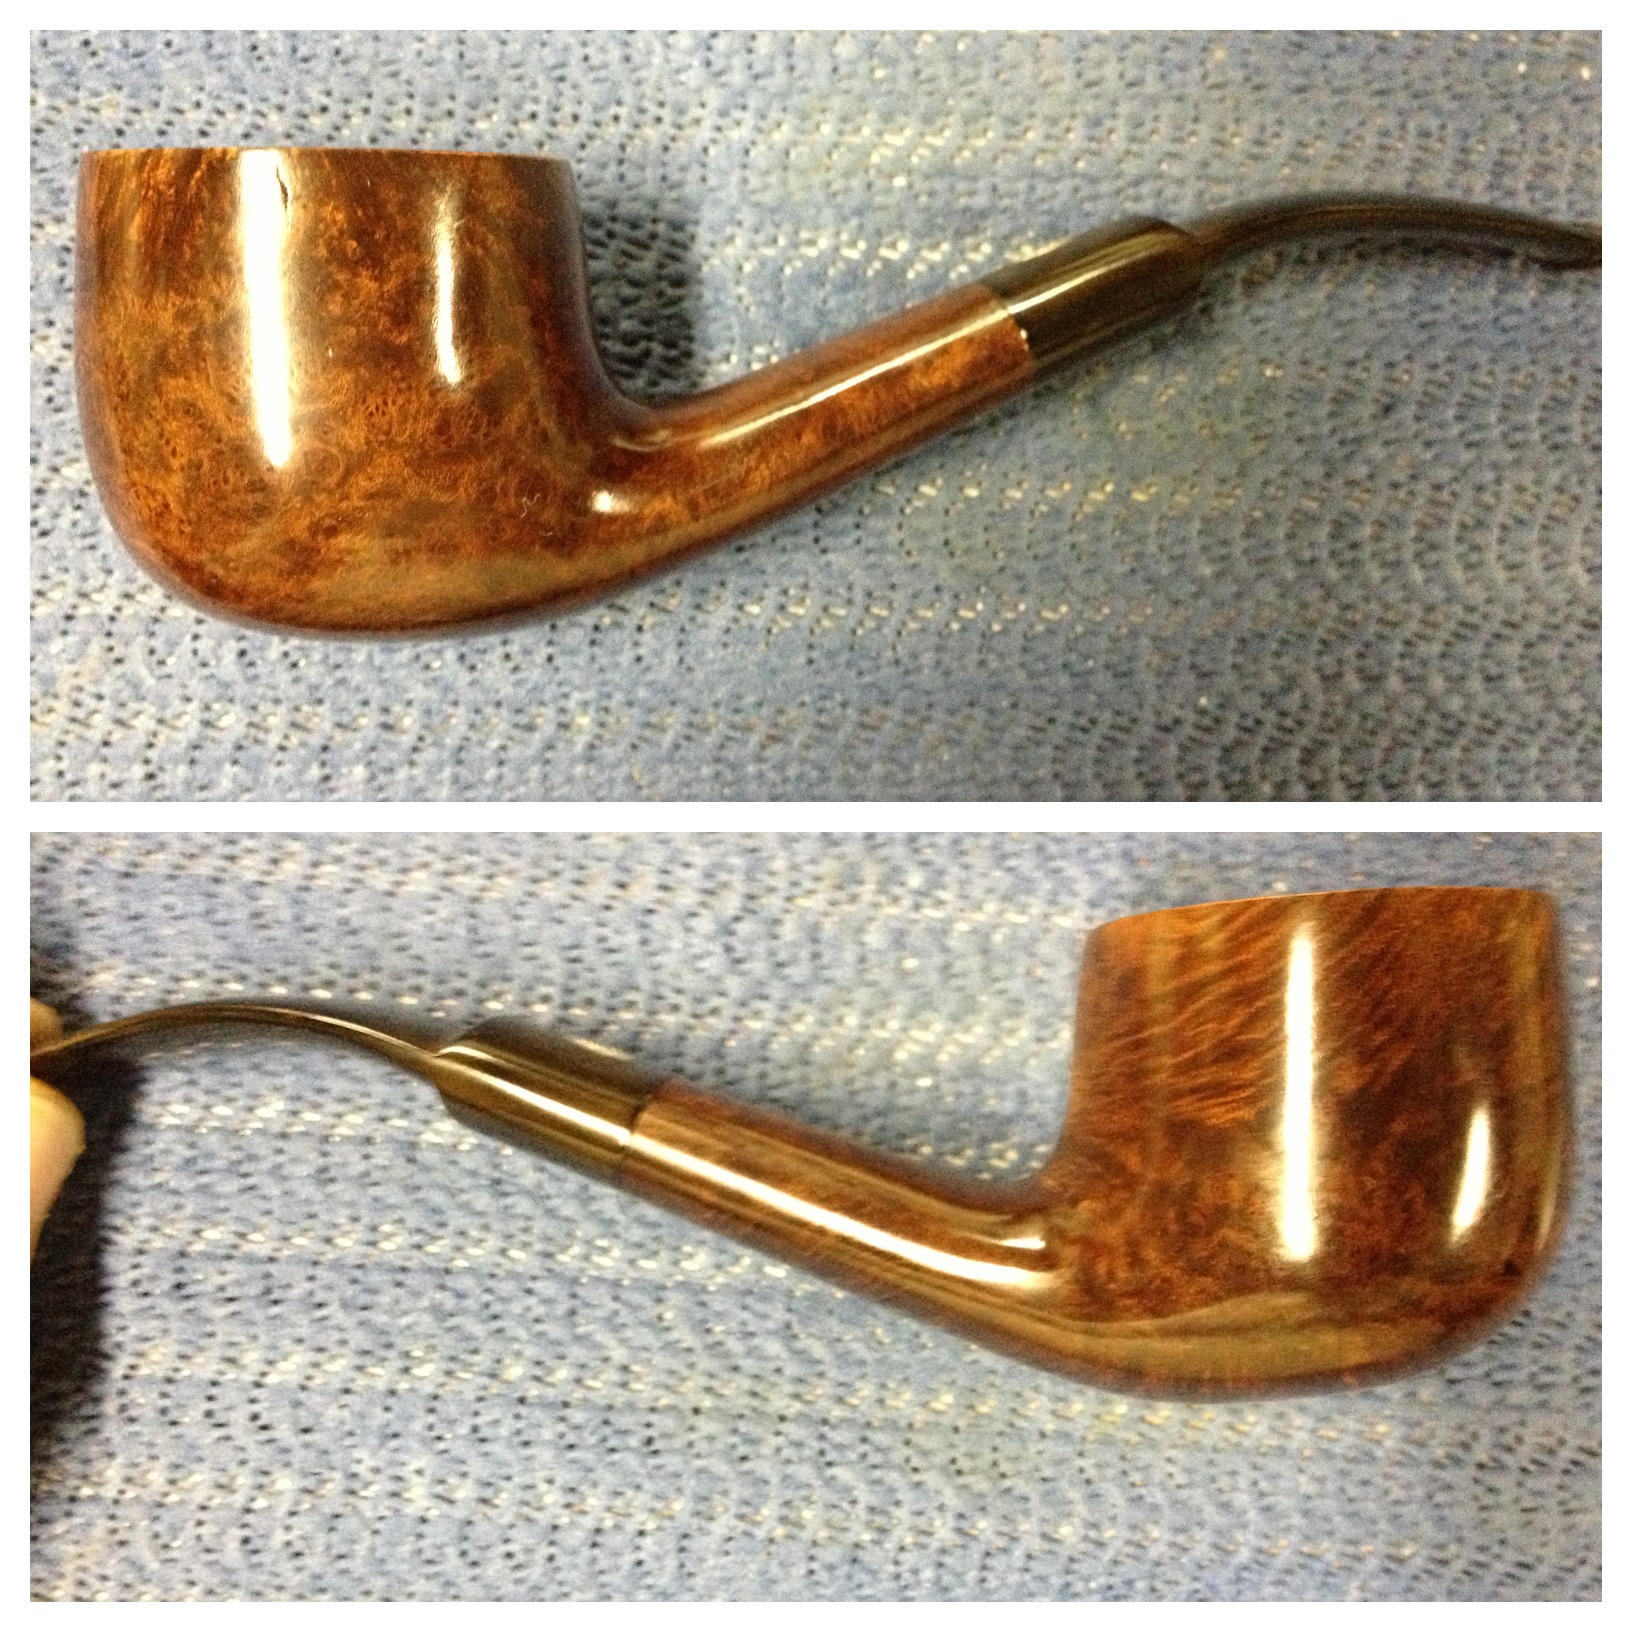
The bowl was really very easy since I didn’t plan on totally refinishing it. I wiped it down several times with acetone to take off the old finish and get the grime off of it. I then wiped it down a few times with cotton pads dampened with alcohol. I lifted a small amount of stain in the process but not enough to really change the color of the pipe, only enough to let the grain pop a bit more. The most time-consuming part here was rubbing, with alcohol then saliva on cotton swabs, to clean the rim. There were a couple of small dents I lifted with steam ( I heat an old “butter” knife with a heat gun and apply it to a dampened cotton towel that is laying over the dent) but can’t actually recall how many or where they were they were so incidental. The next photos show the stummel before taking it to the buffer:
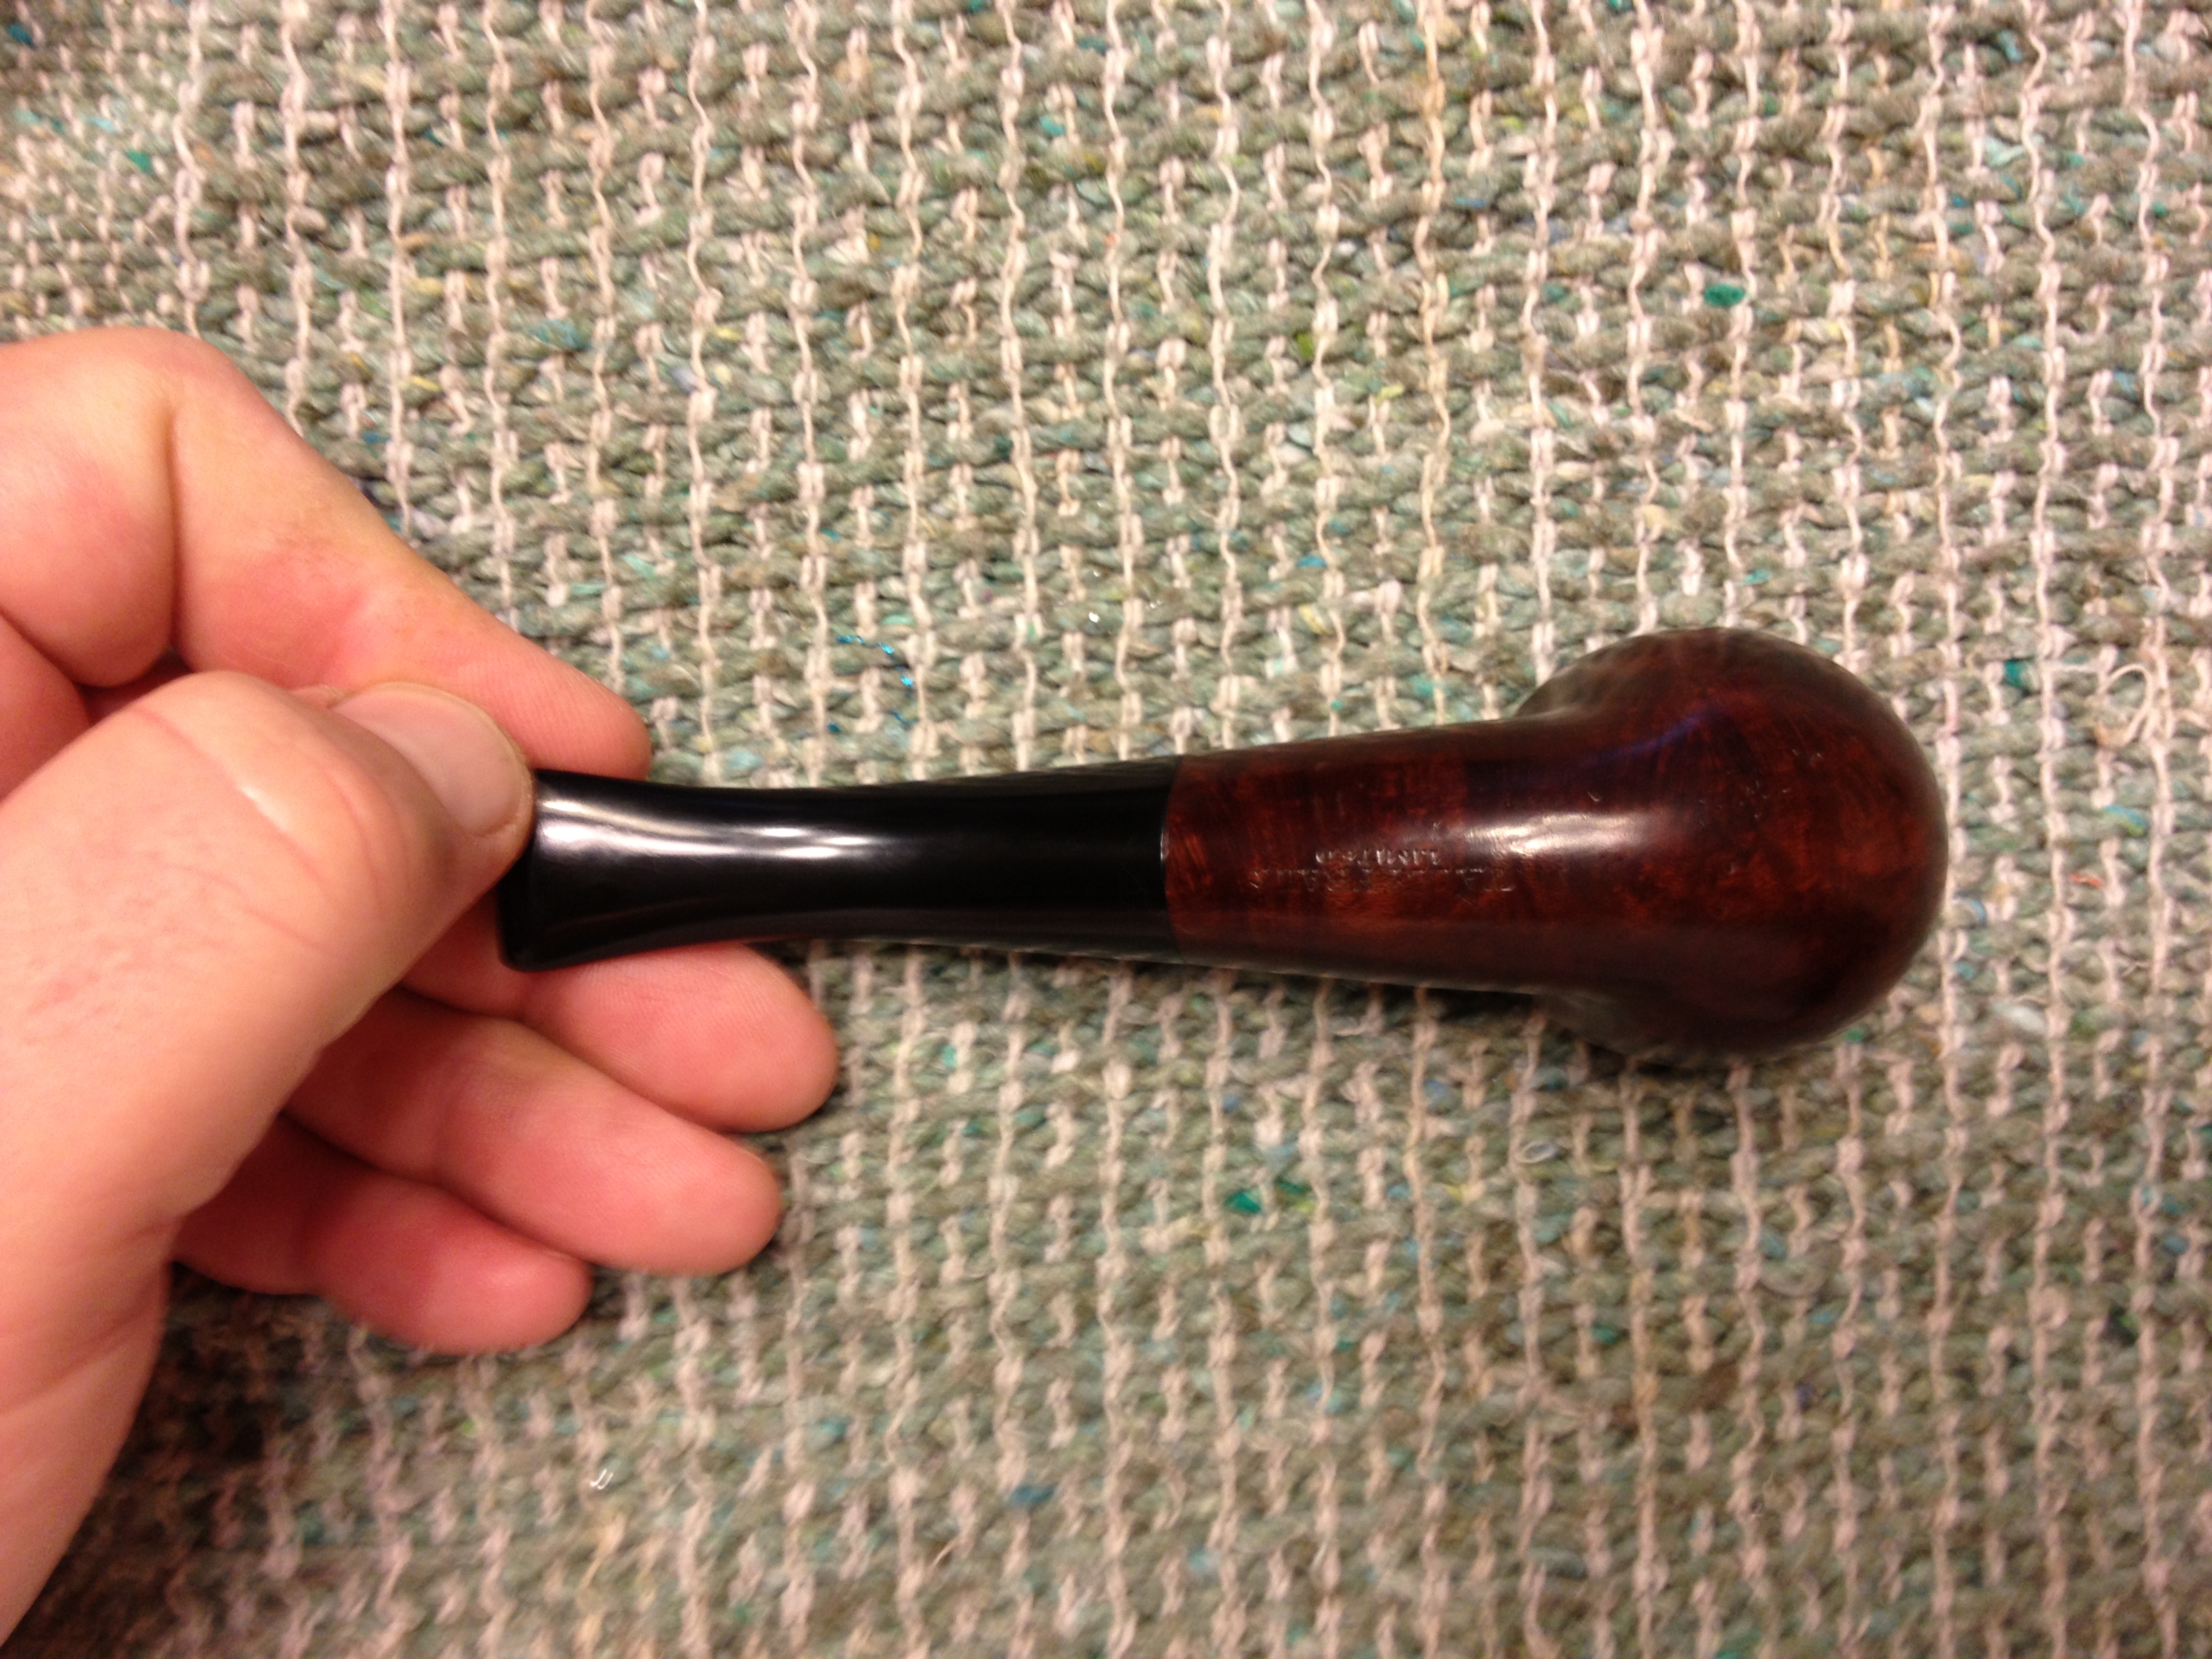
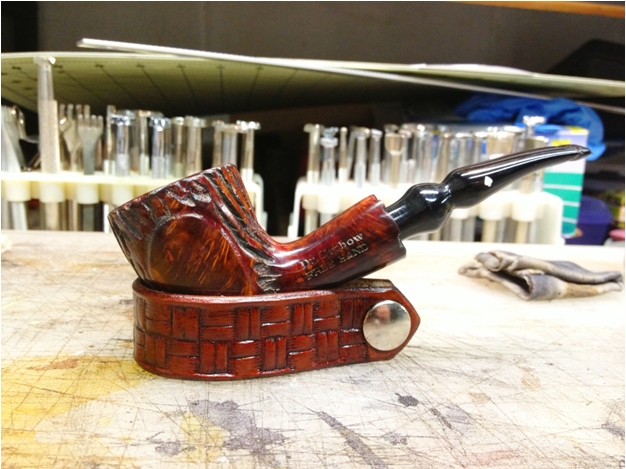
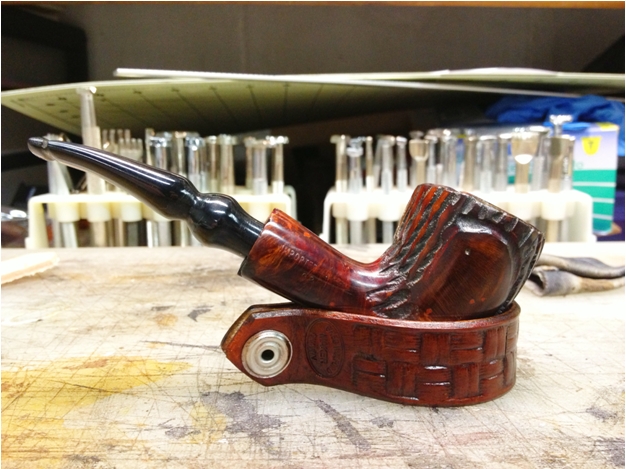
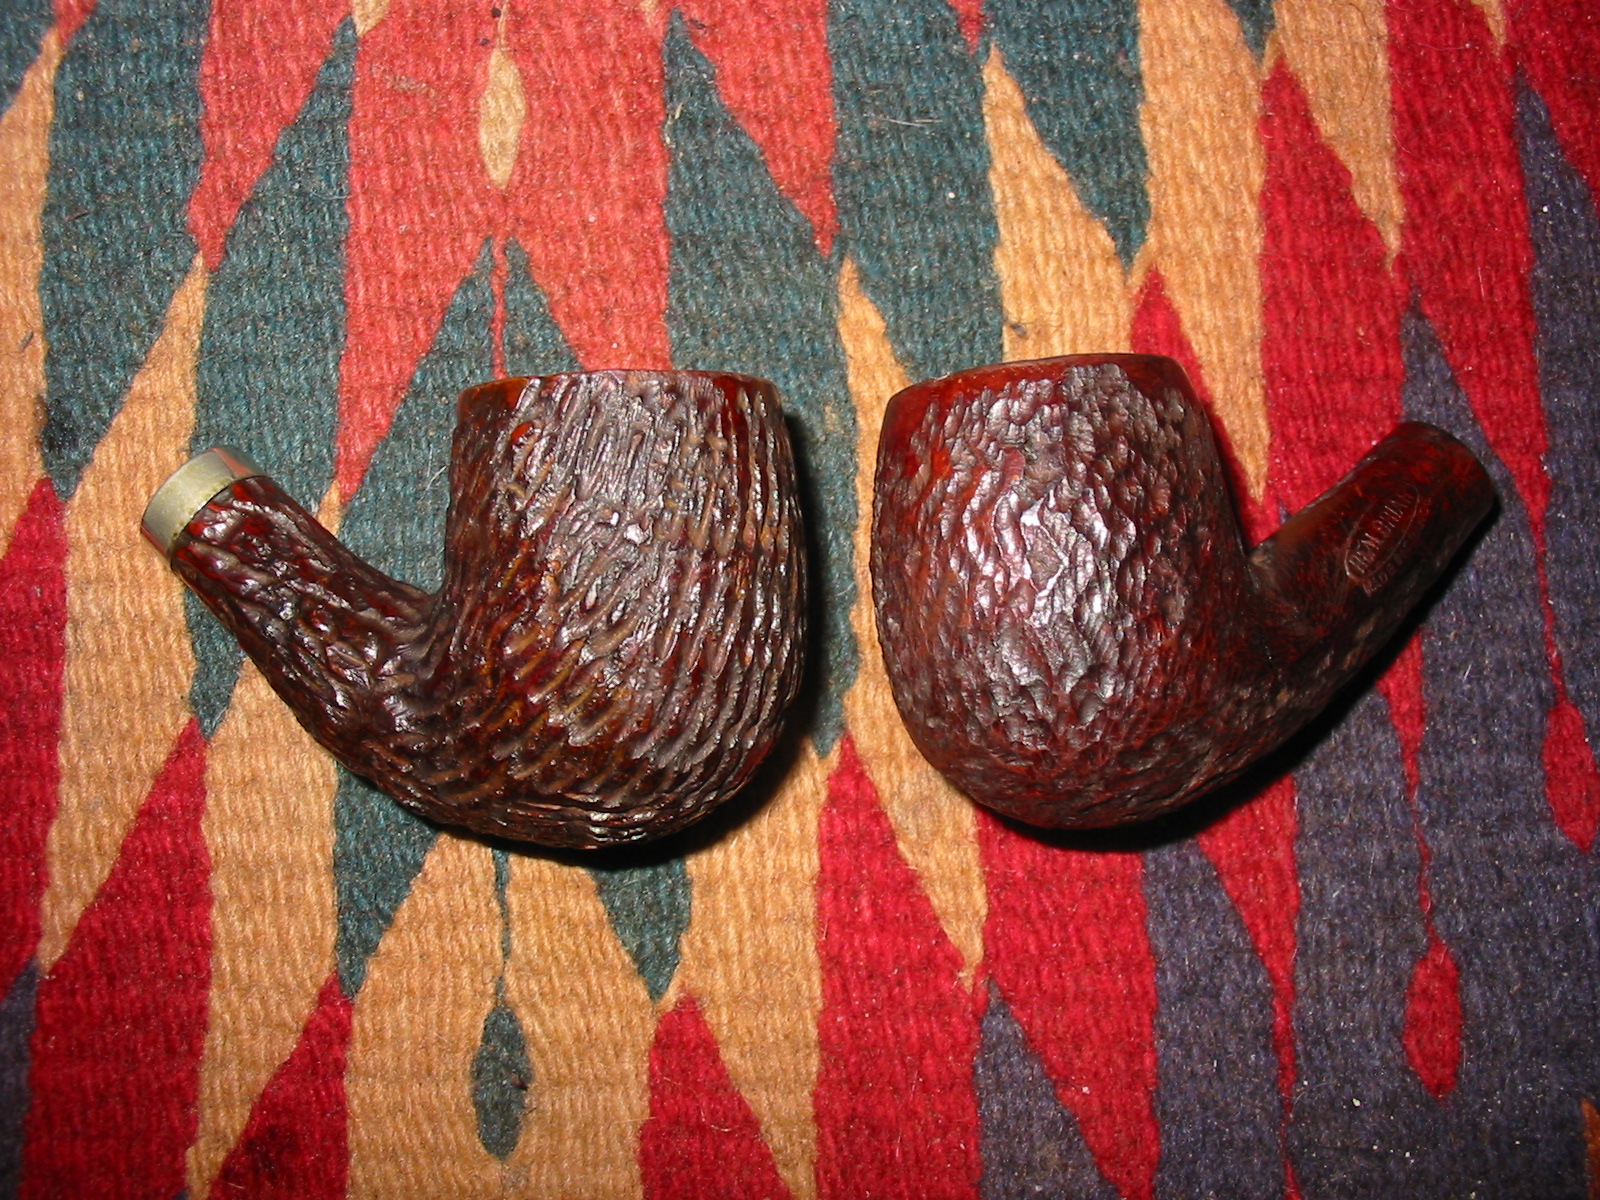
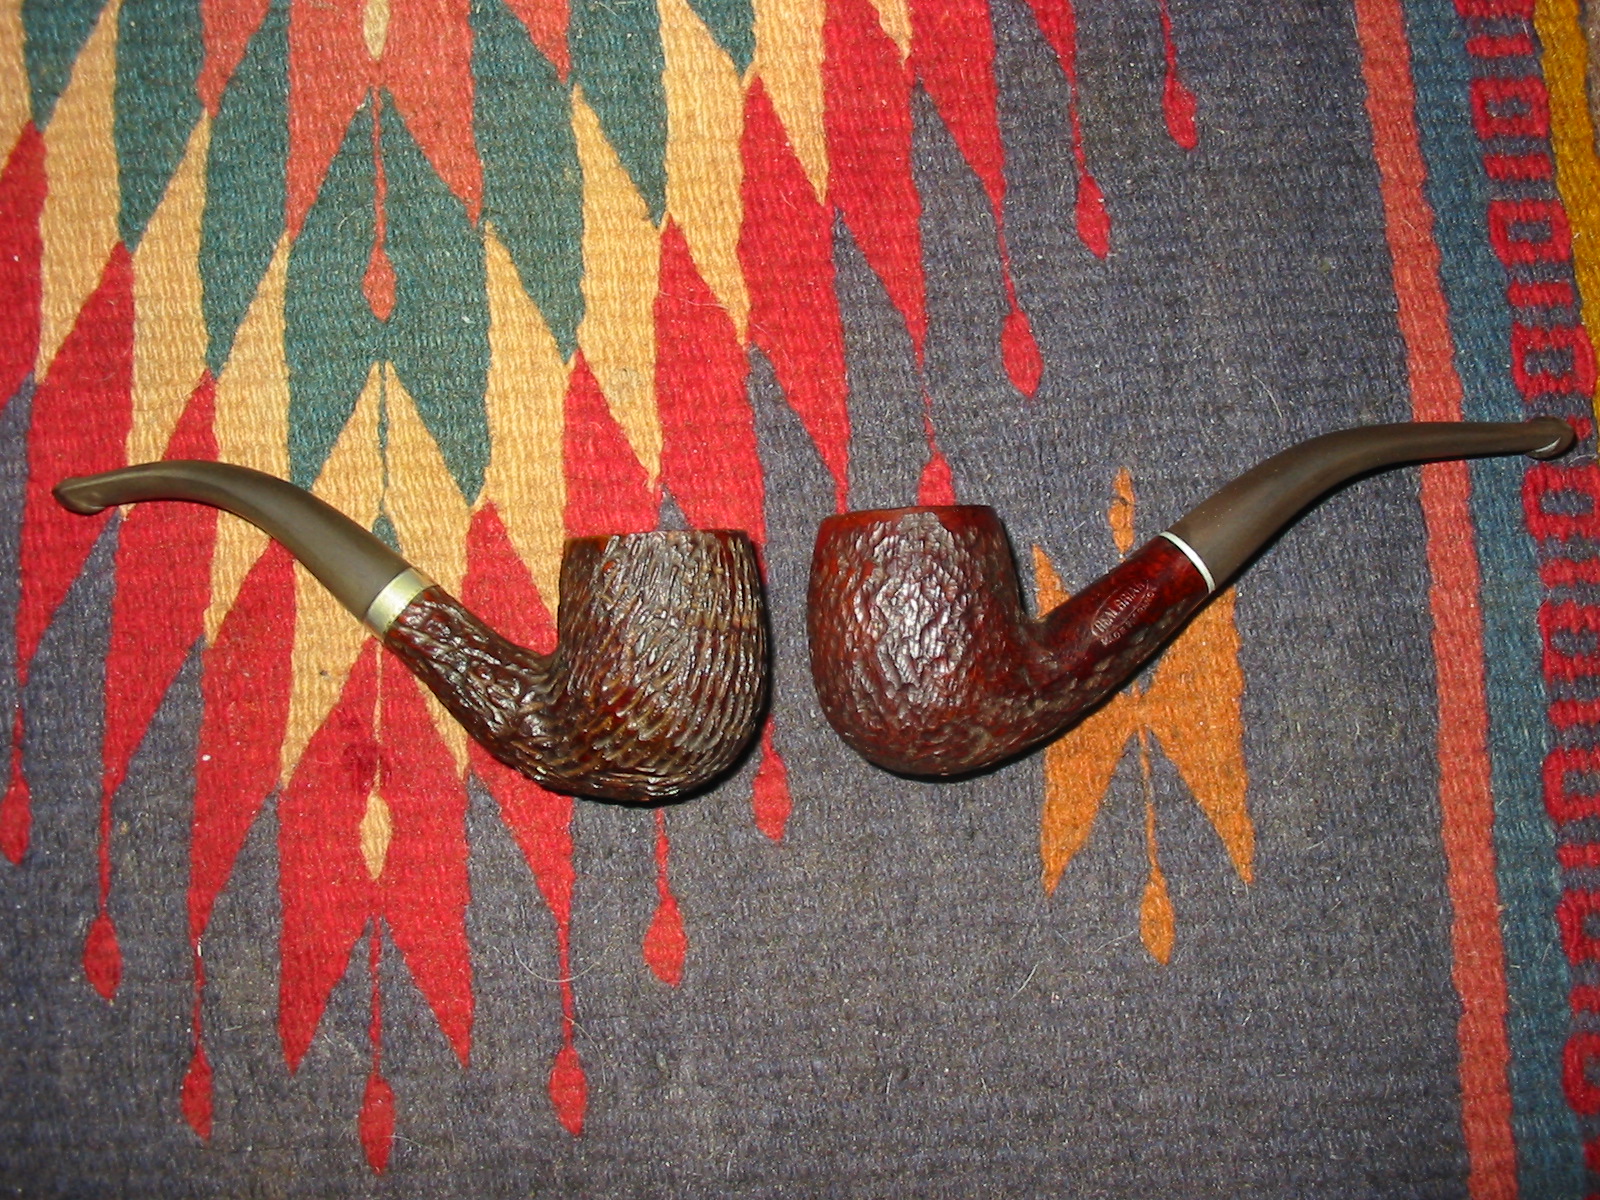
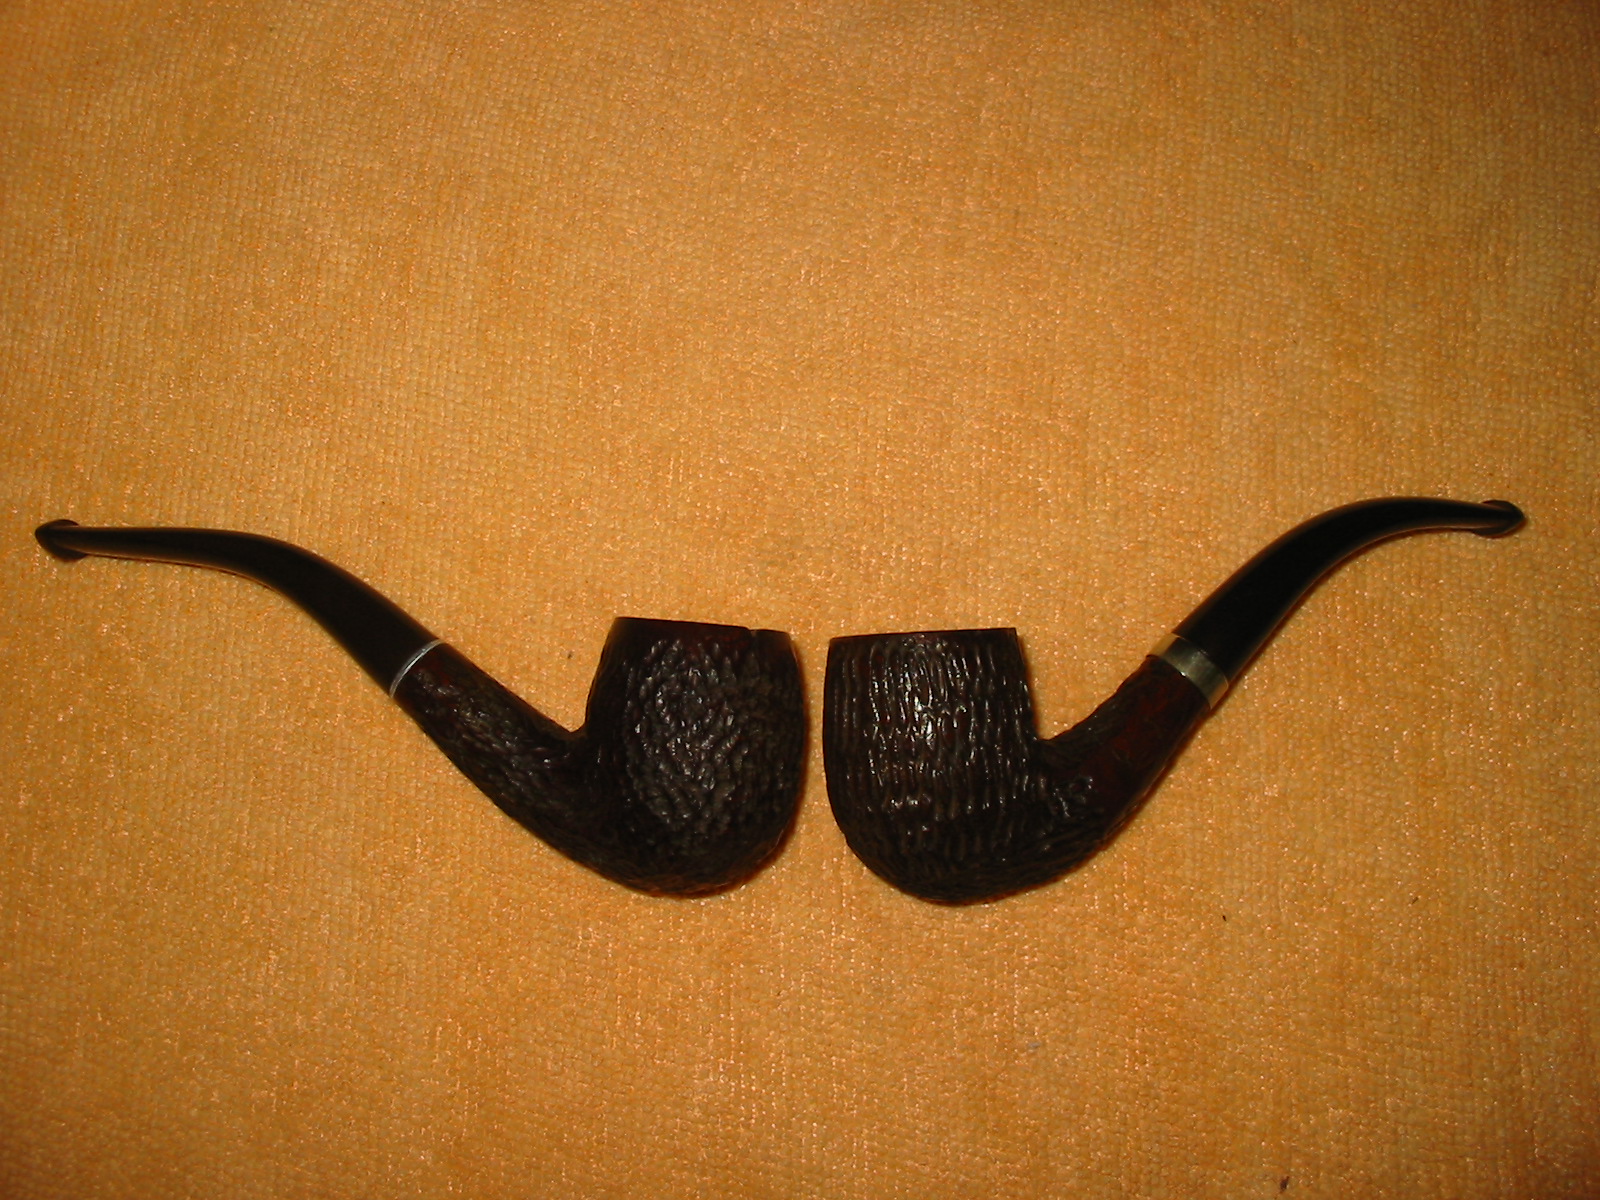
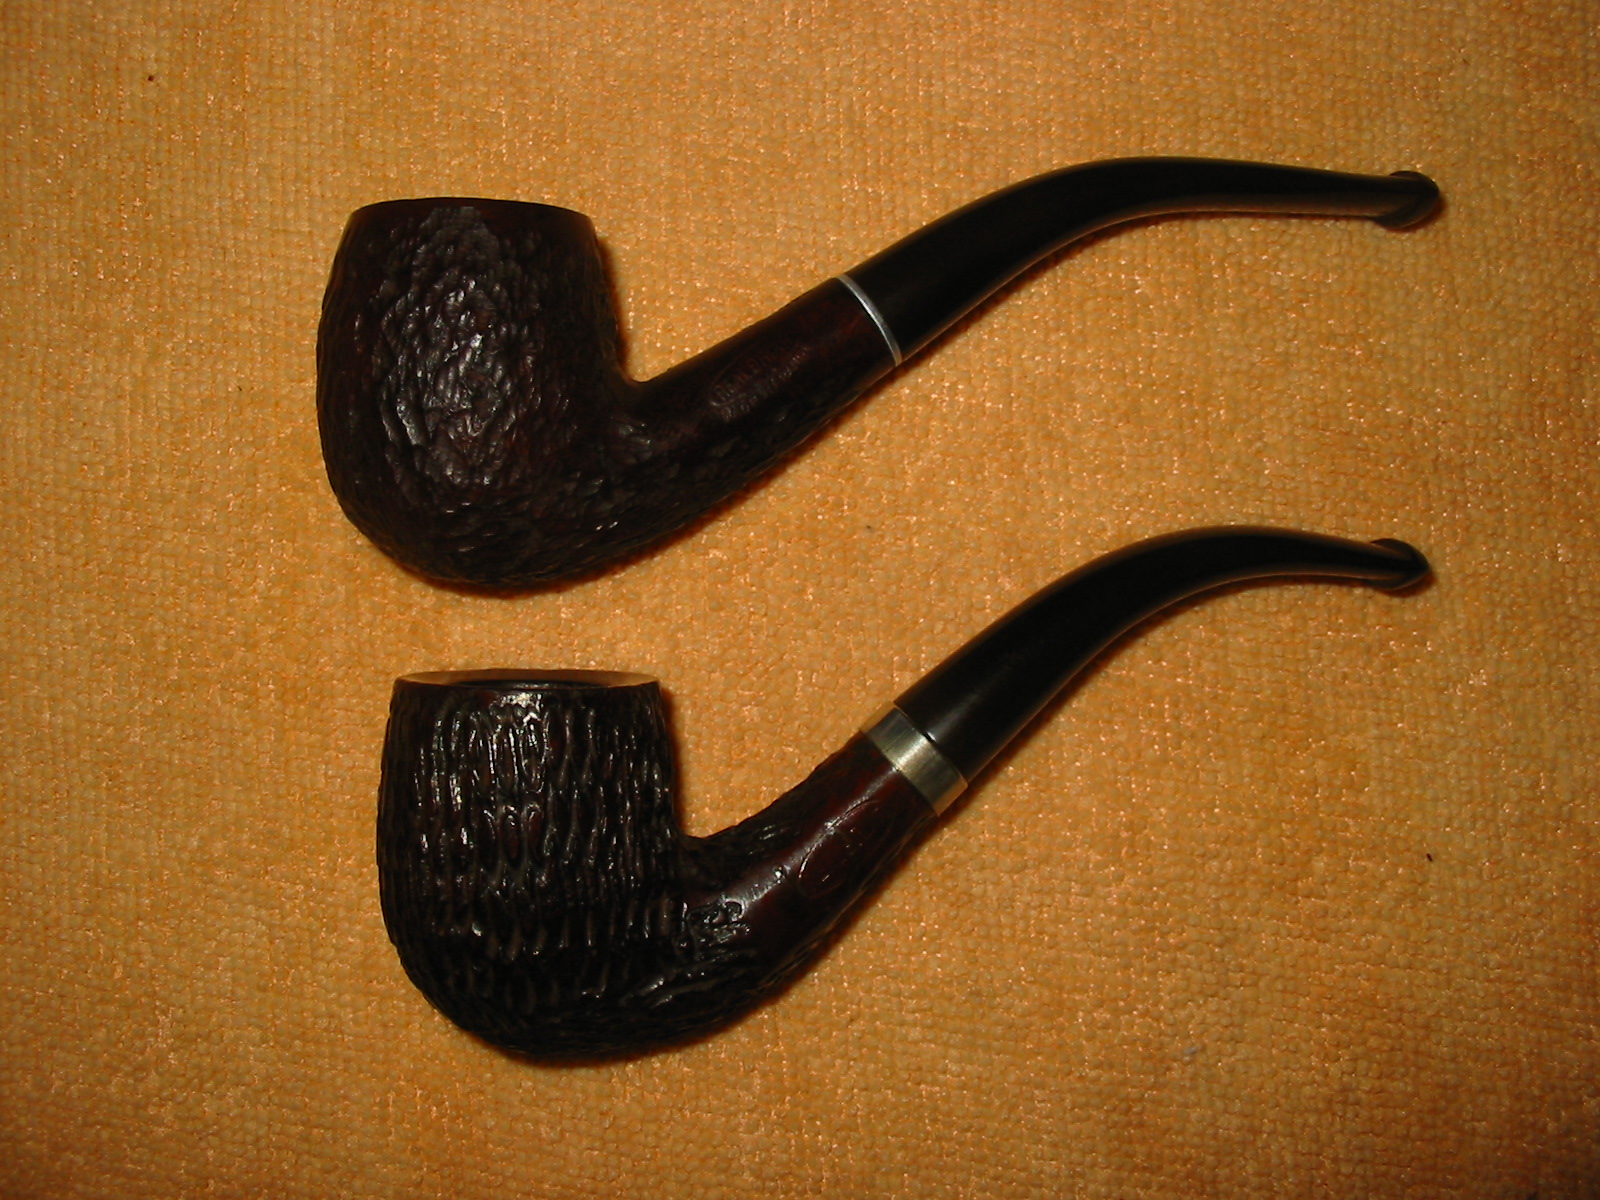
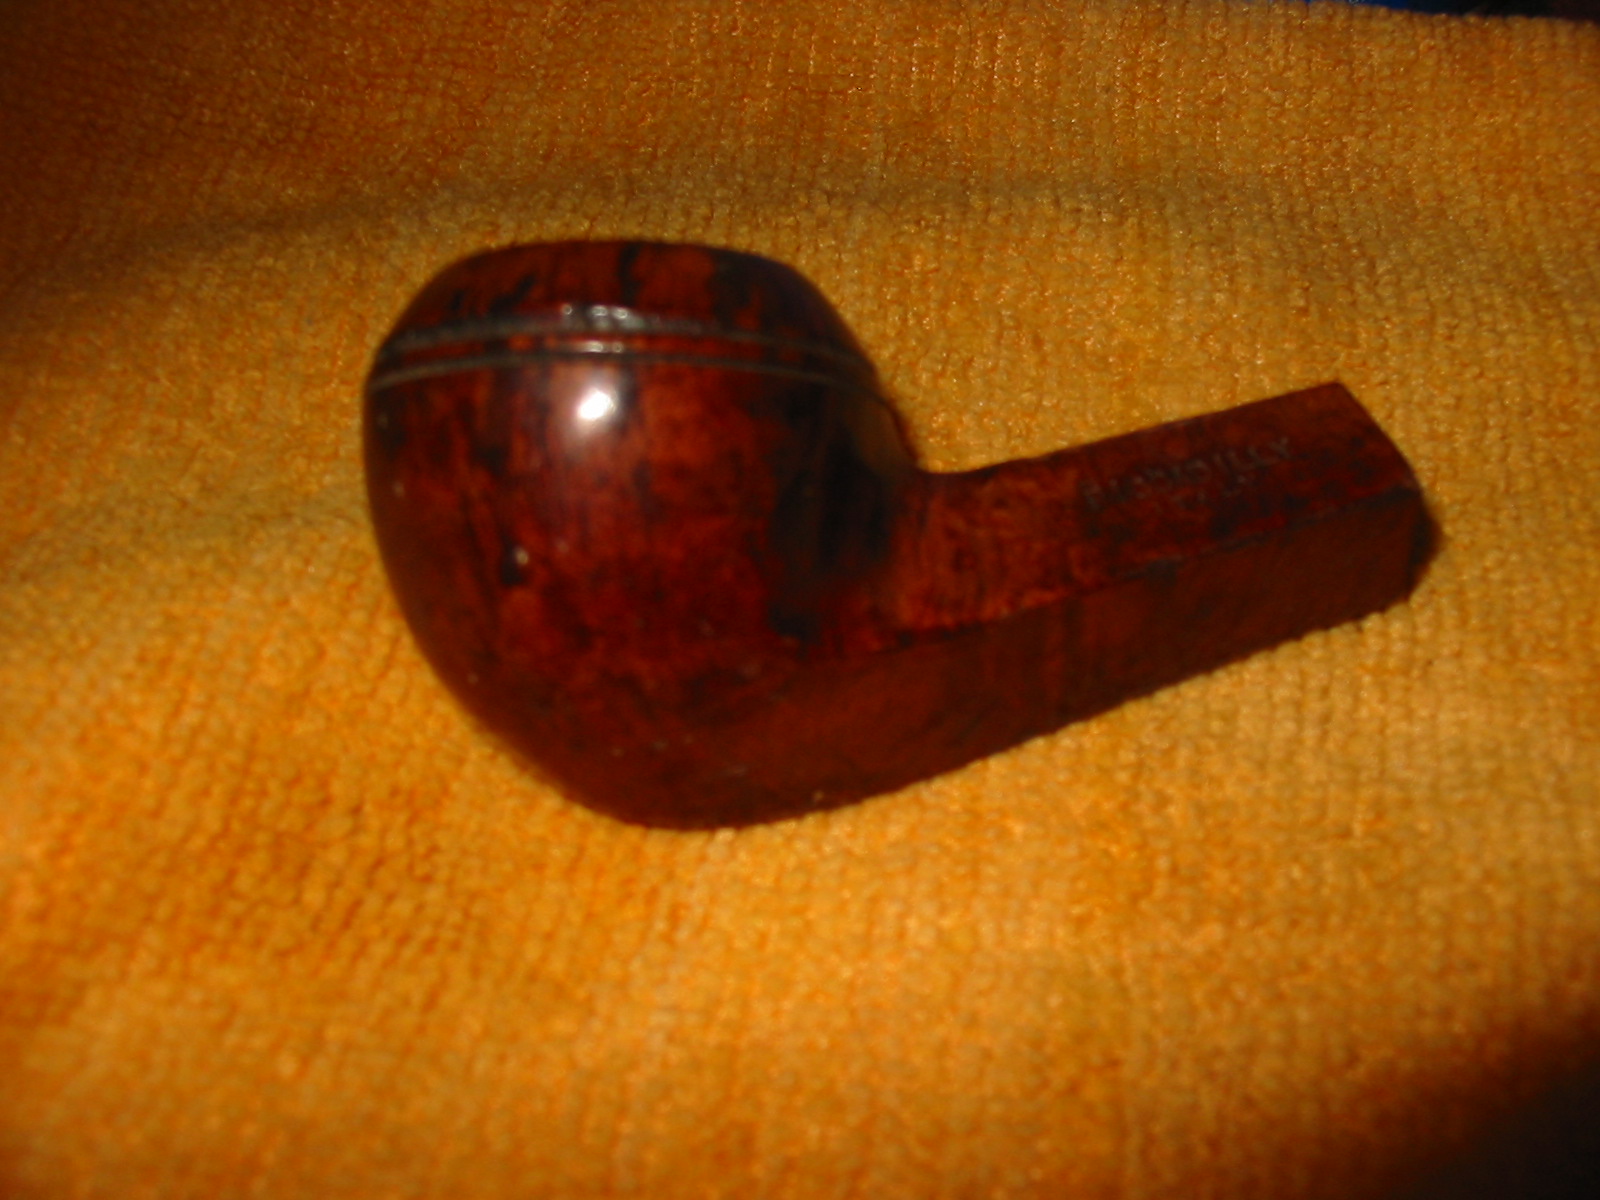
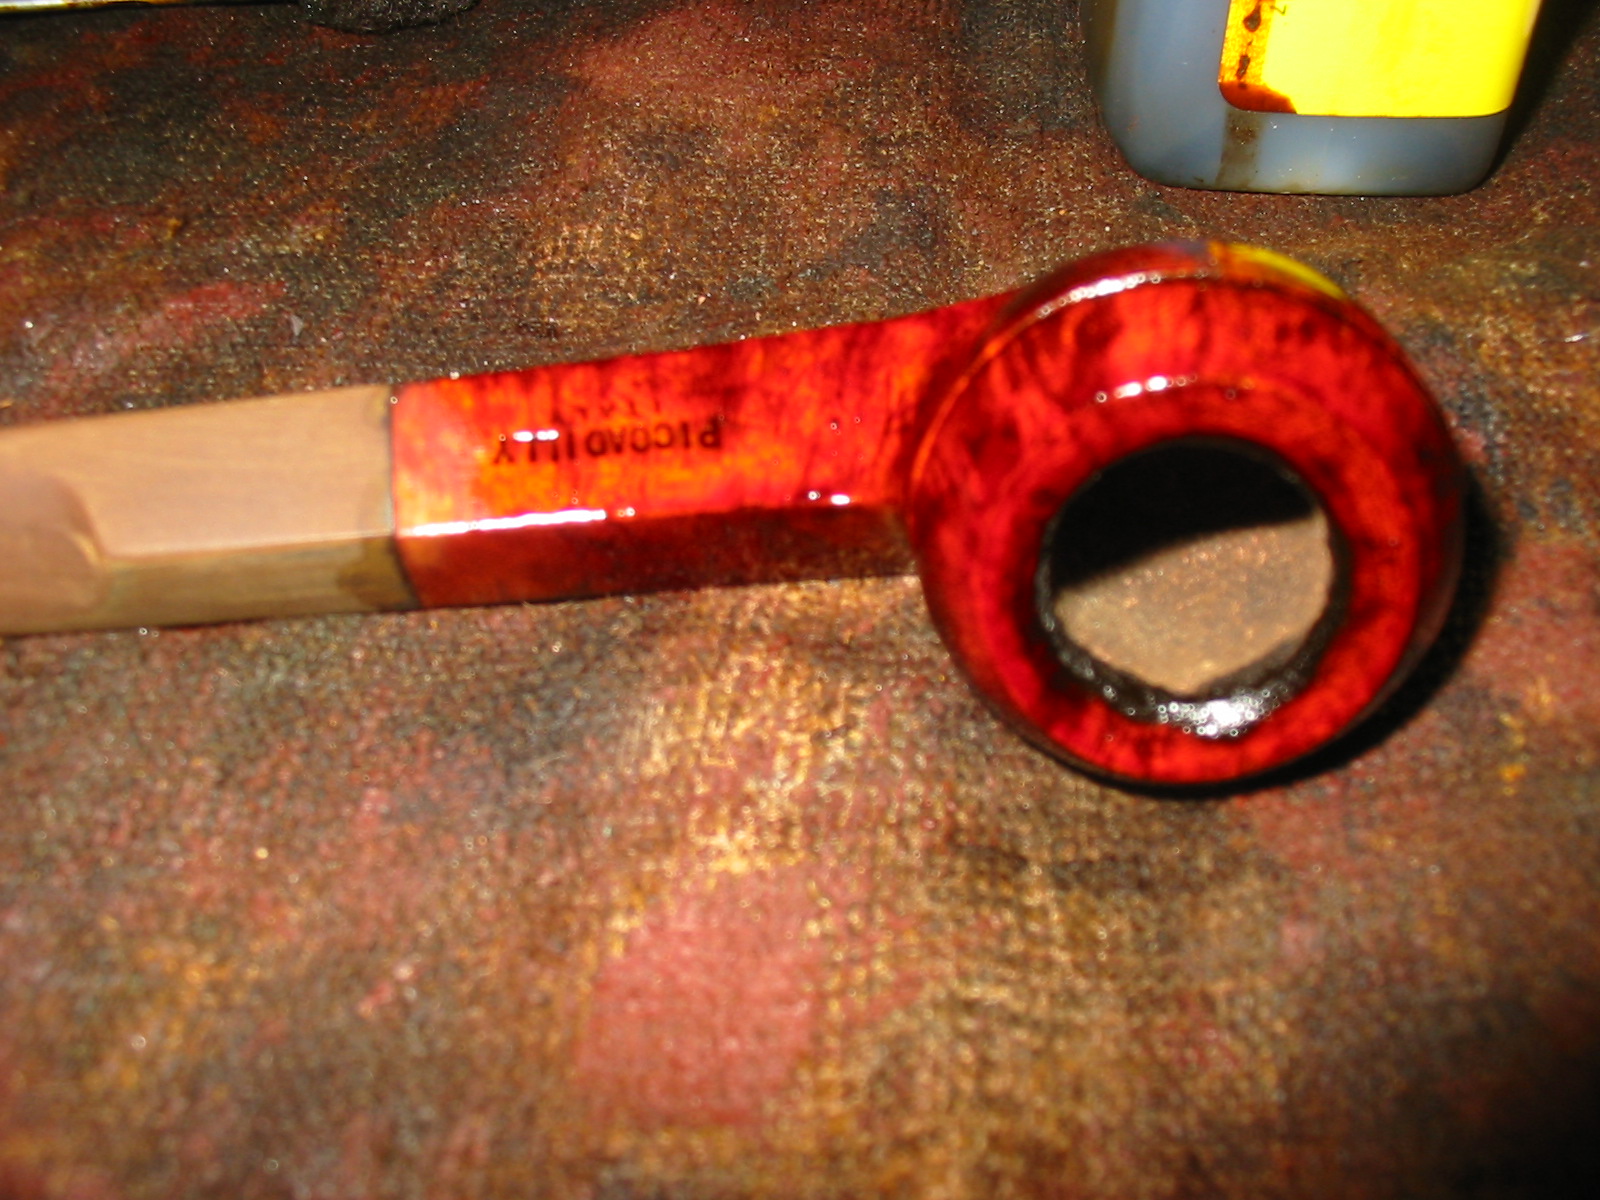
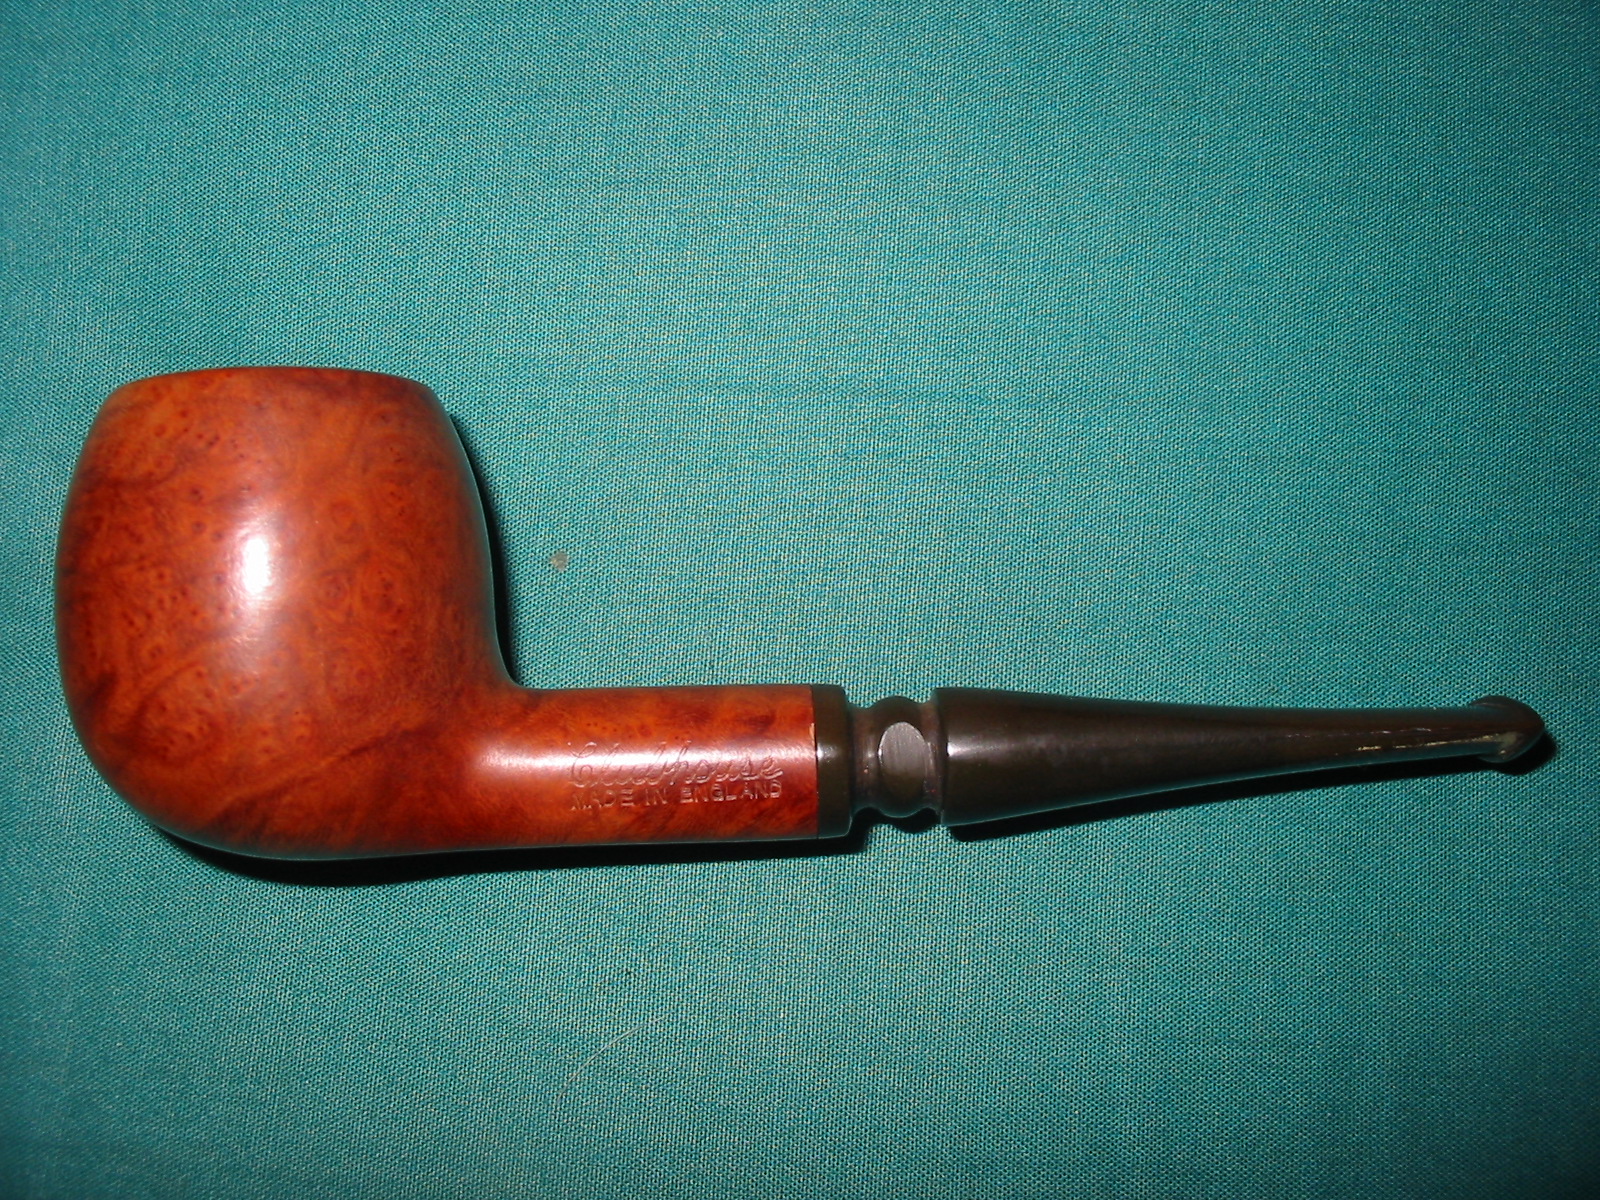
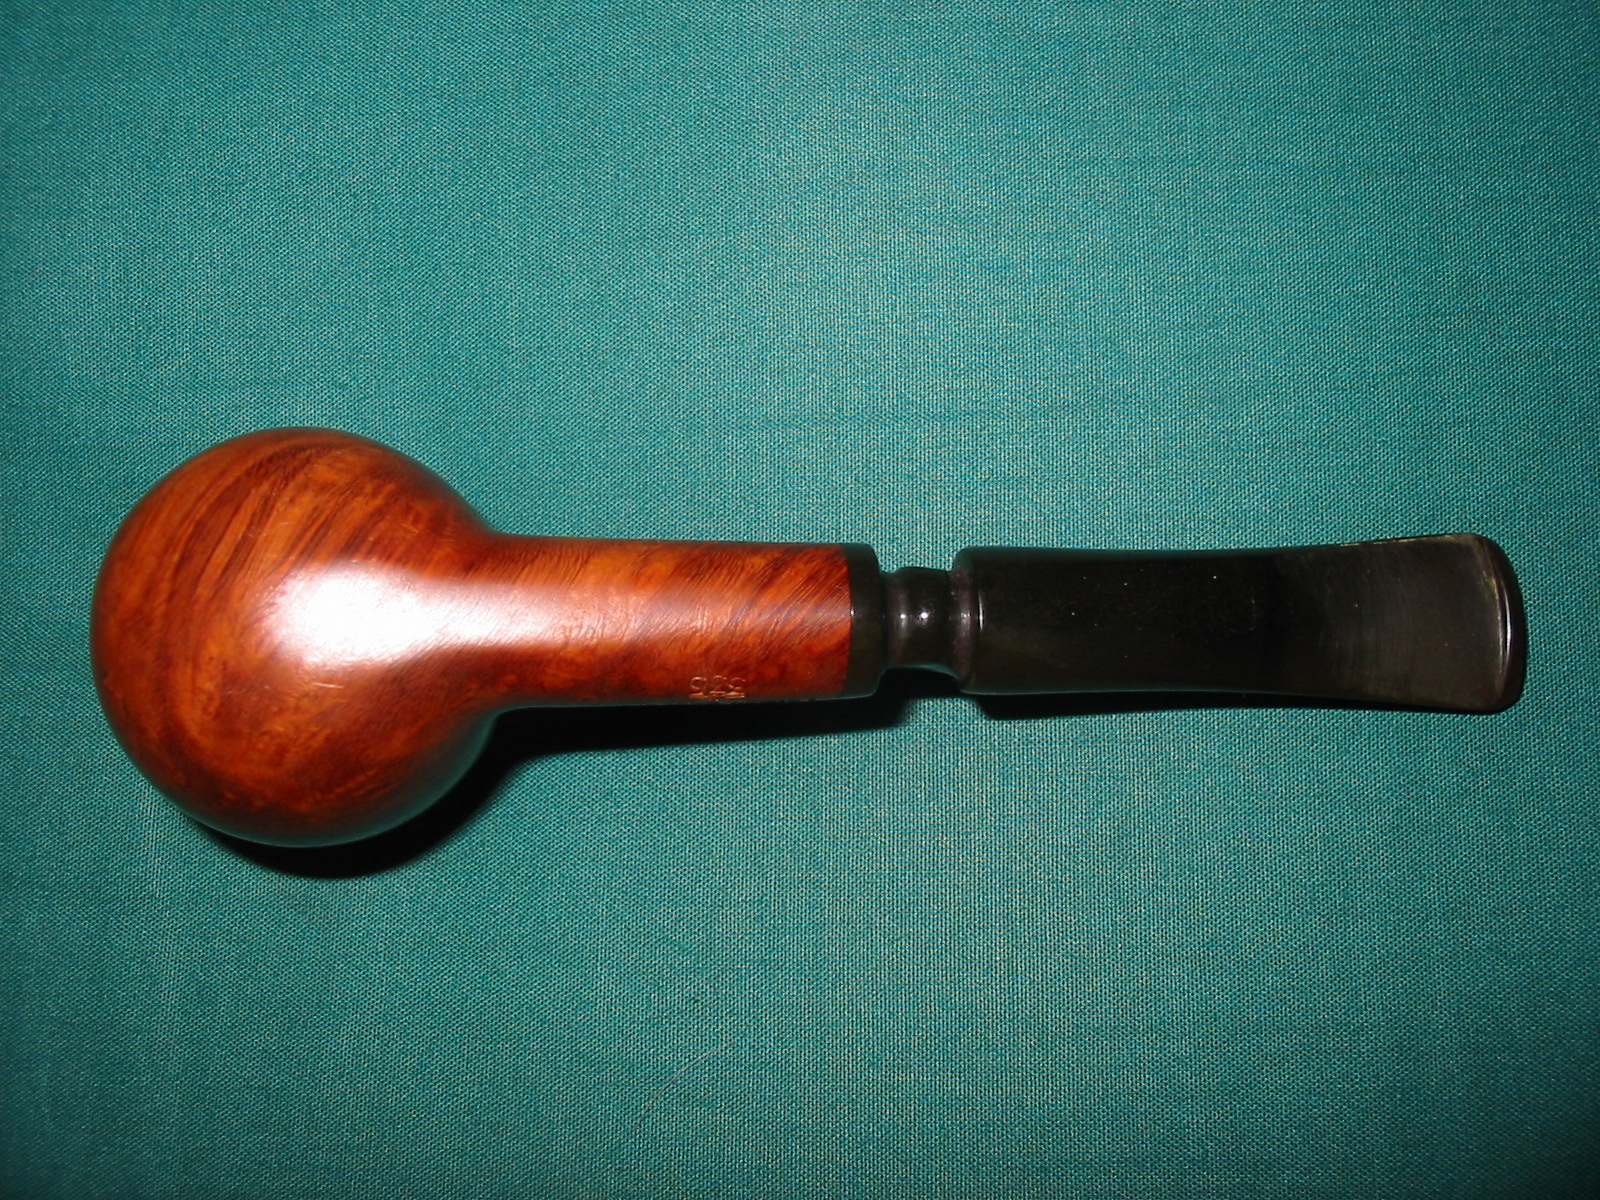
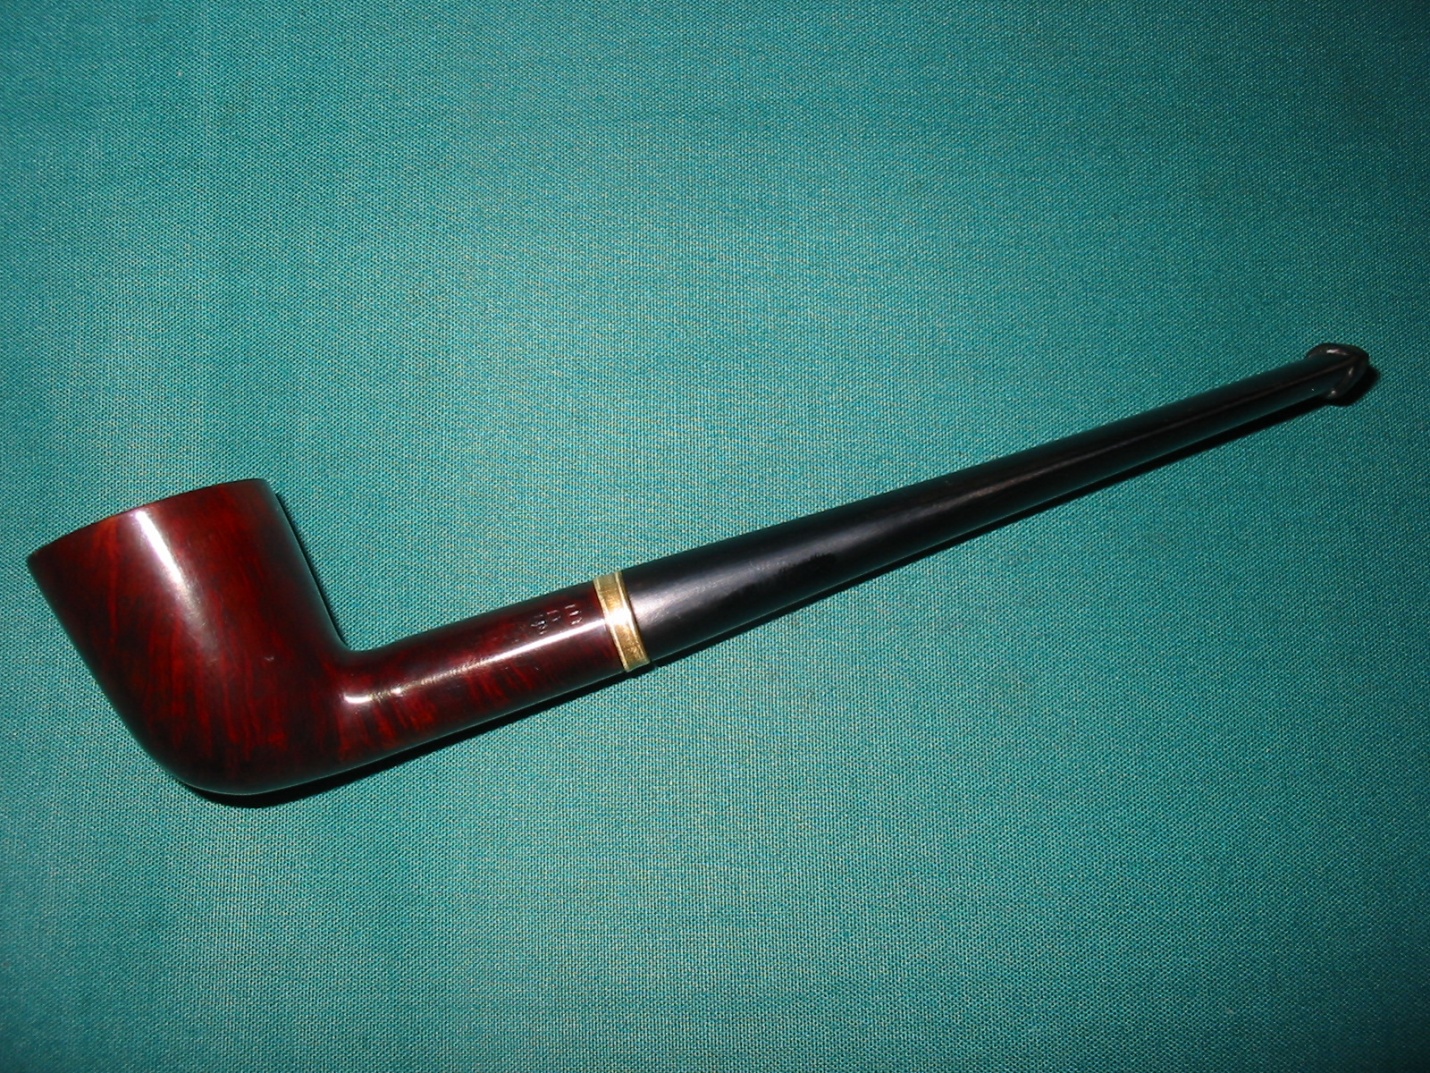
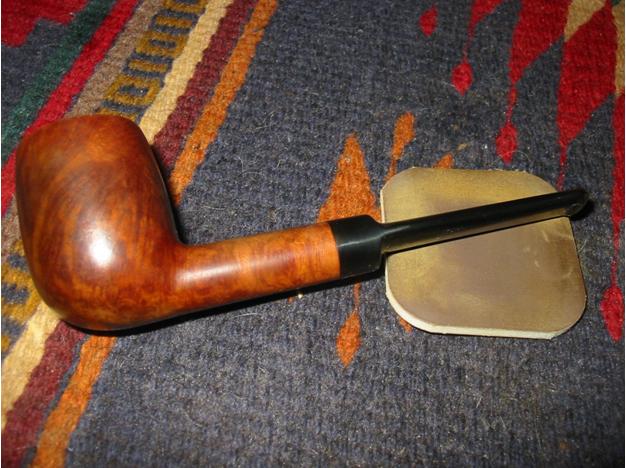
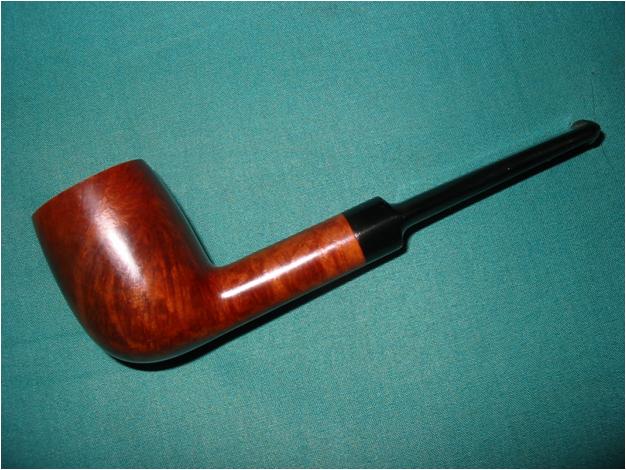
I then buffed the stummel with Tripoli before reassembling the pipe and buffing the whole thing with white diamond and then carnauba wax. Here is the finished pipe:
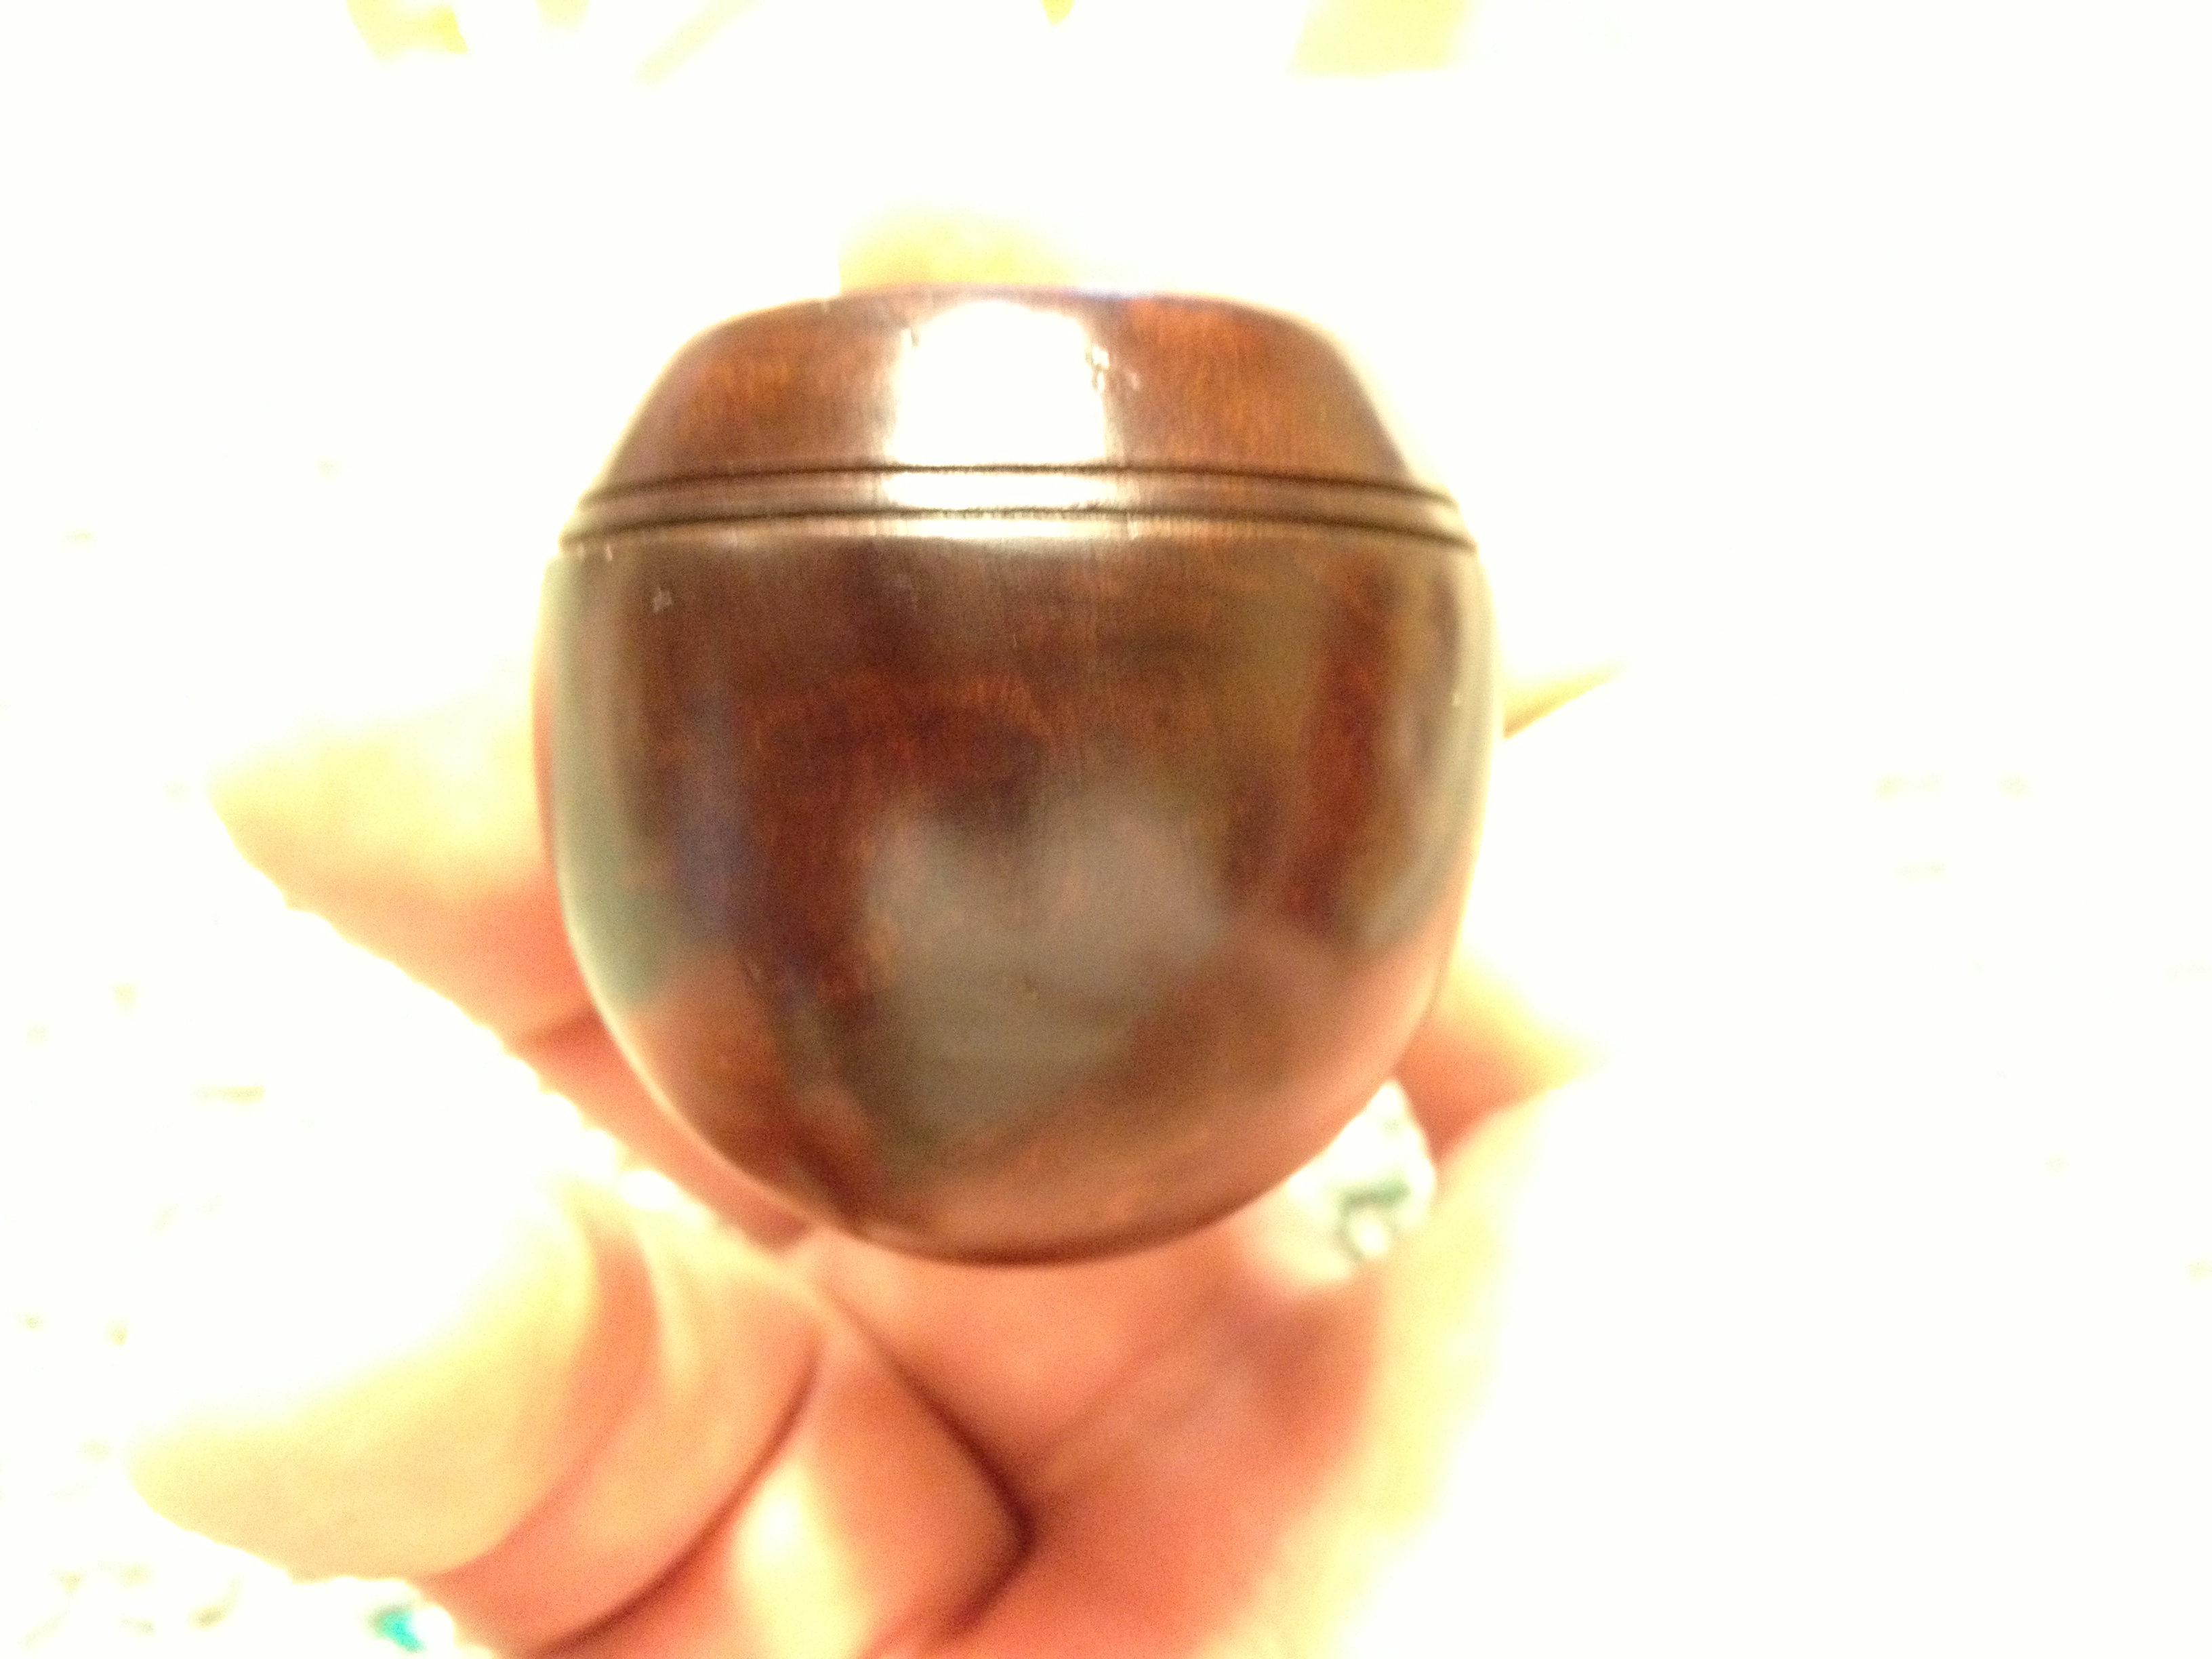
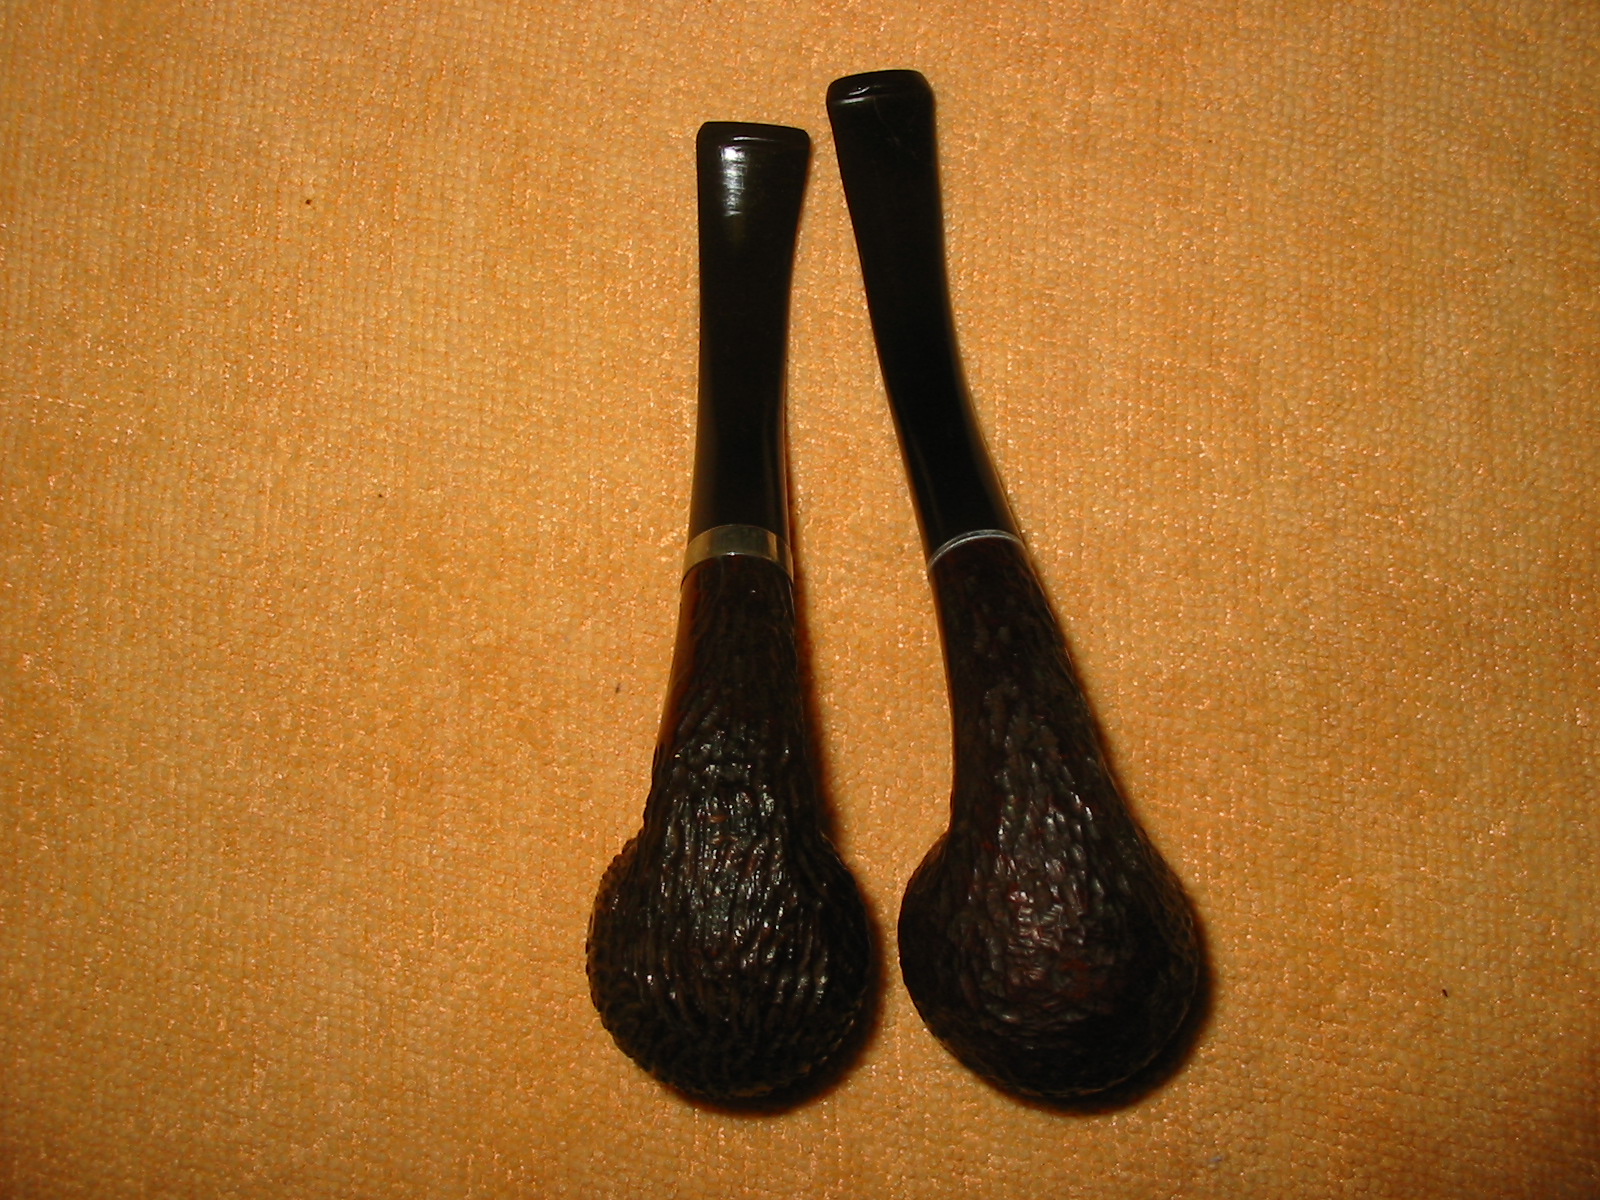
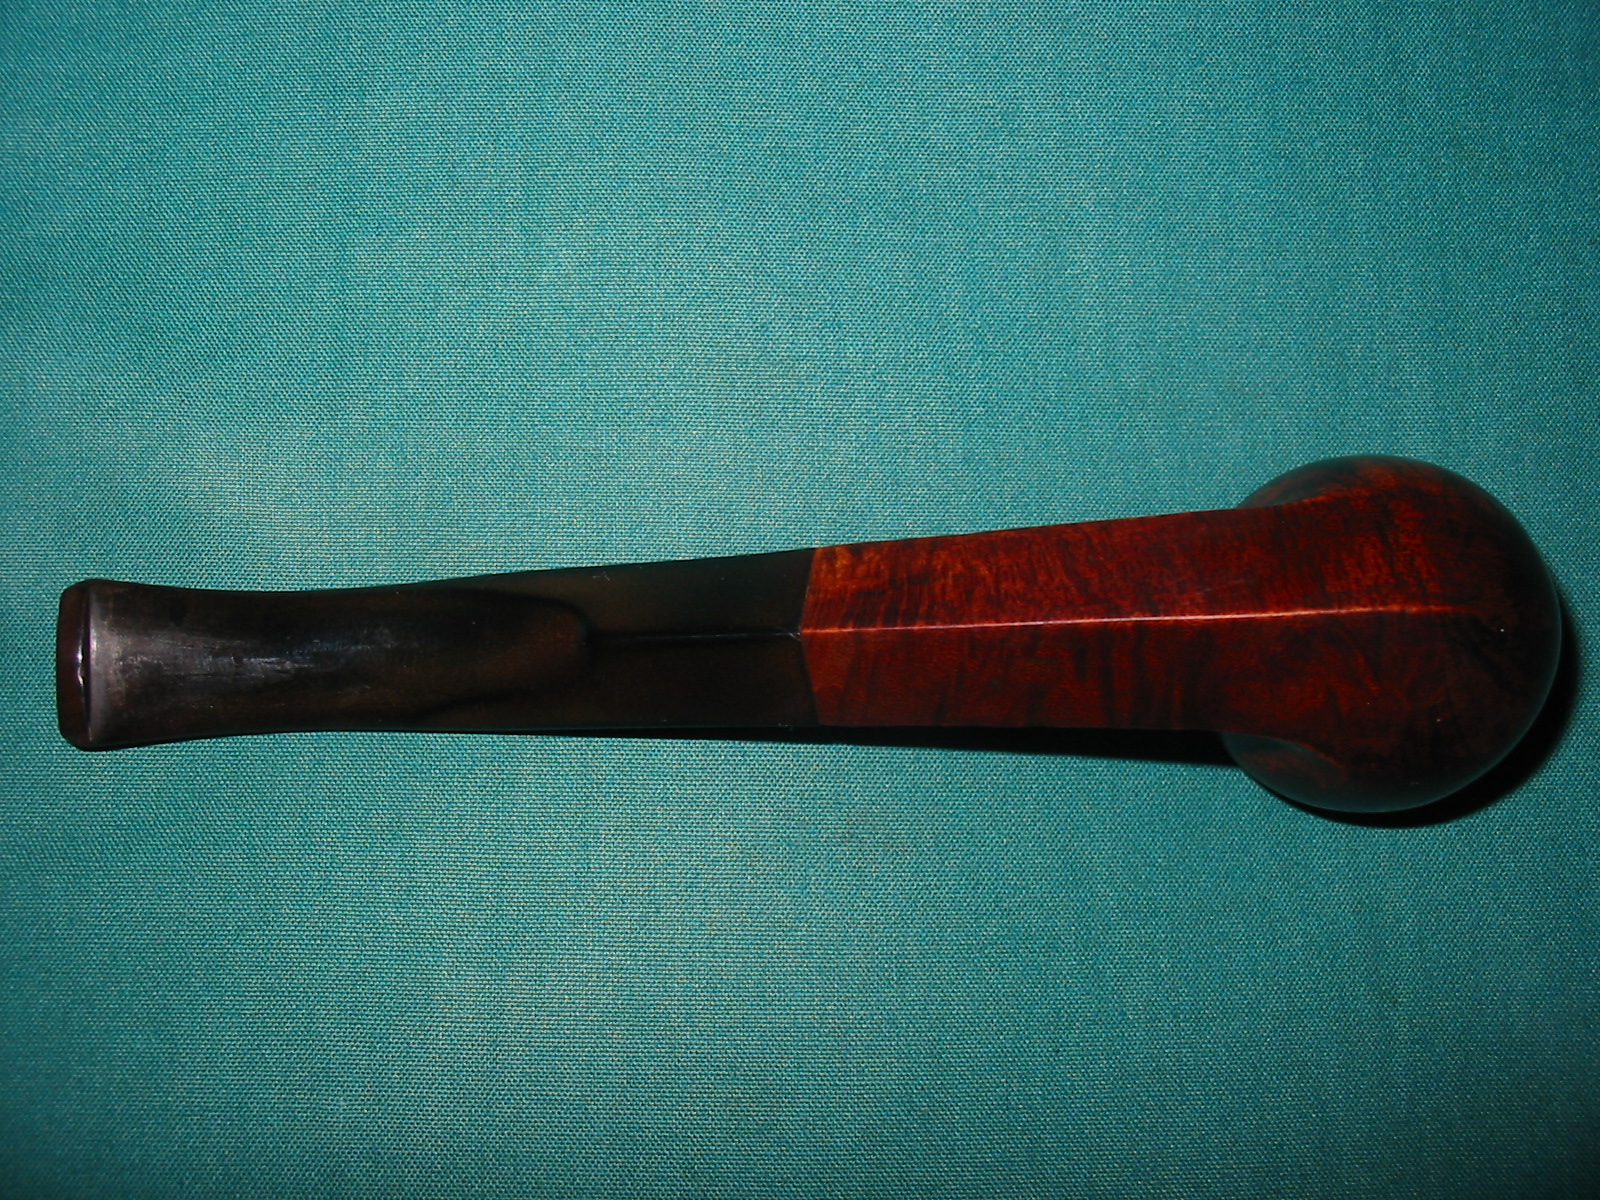
This photo is slightly over exposed