Blog by Steve Laug
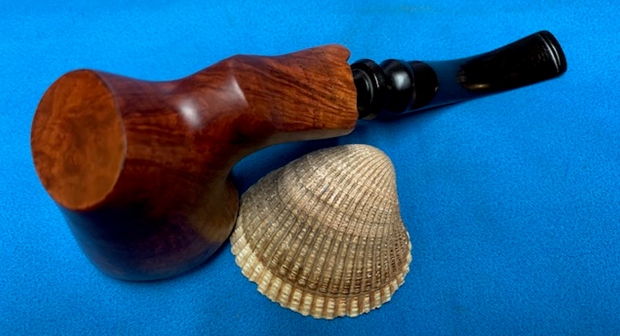
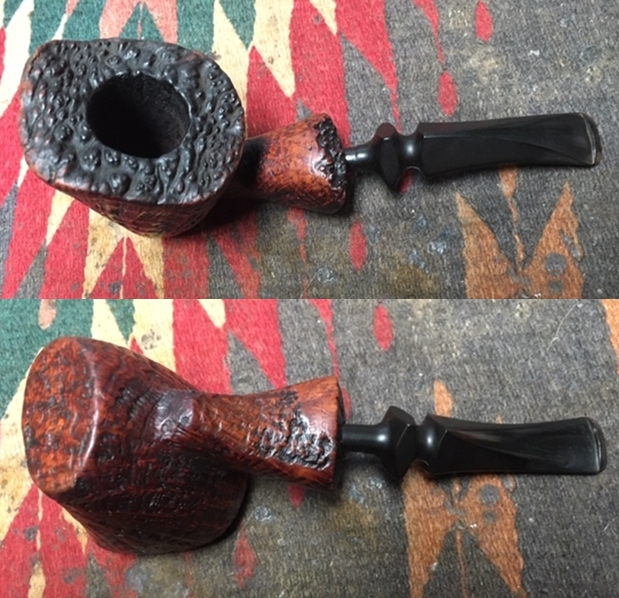
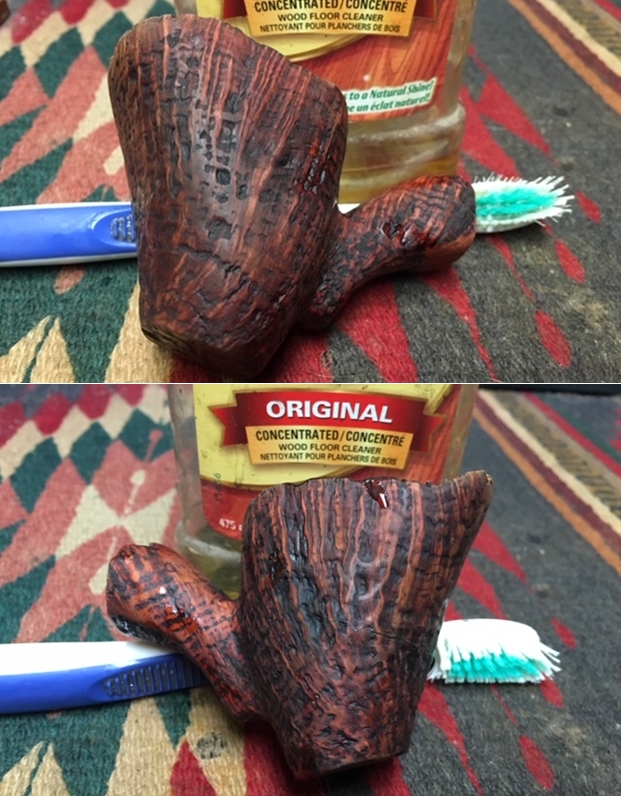
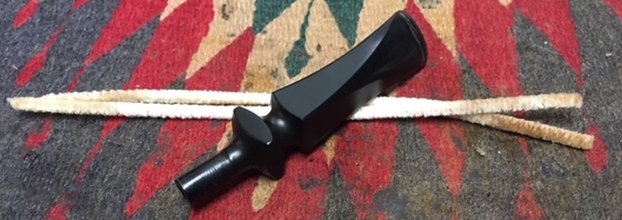
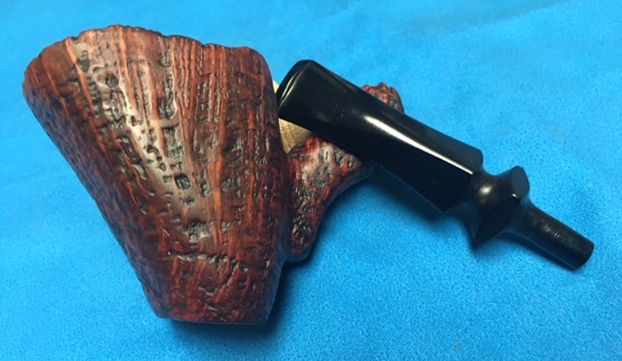
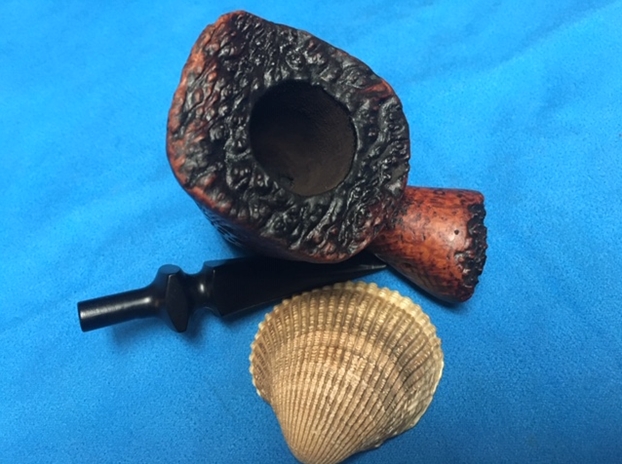
 The next pipe on the work table came to me from another of our estate purchases. It has been around for a while waiting to be worked on. Jeff did the original photographs of the pipe in December 2019. It is a beautifully grained Malaga Freehand that is really quite nice. The stamping is the faint but readable. It is stamped on the underside of the shank and reads the Malaga [over] Custom Carved. The Malaga Oil finish had a lot of grime ground into the bowl and some darkening around the sides of the bowl. The bowl was heavily caked and had an overflow of lava on the top of the rim. It was hard to know what the rim top and inner edge of the bowl looked like under the grime. The rim top and shank end is plateau finished and had a lot of grime ground into them. The fancy turned Freehand stem was calcified, oxidized and had light tooth chatter and marks on the top and underside. There were also some wrinkles from when the stem was bent on the underside in the bend itself. The surface of the button was surprisingly free of damage. The pipe had promise but it was very dirty. Jeff took photos of the pipe before he started his cleanup work.
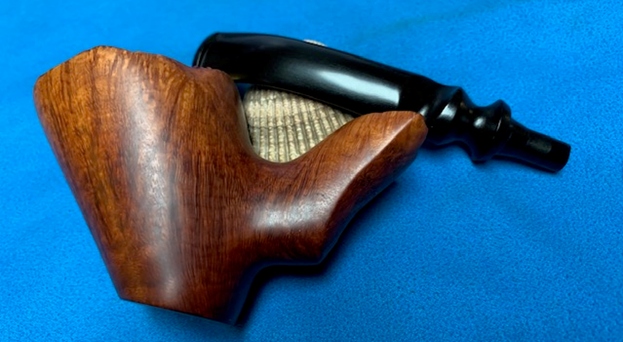
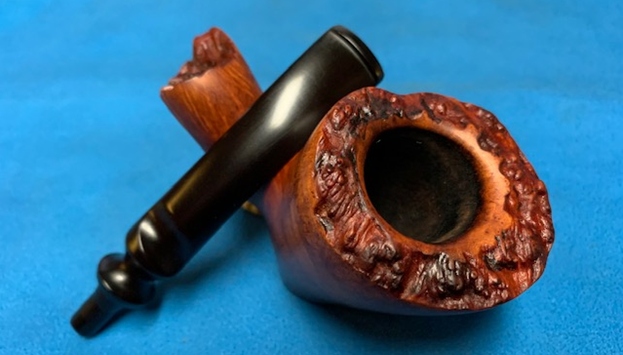
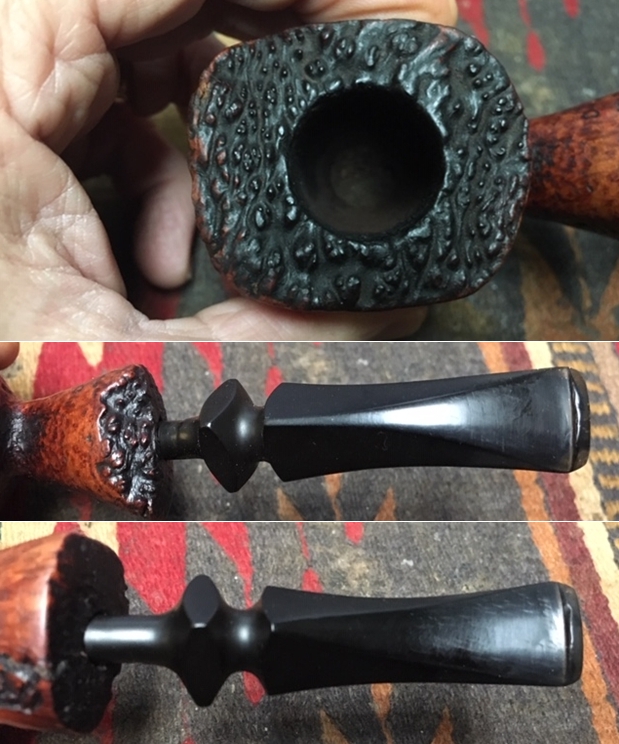
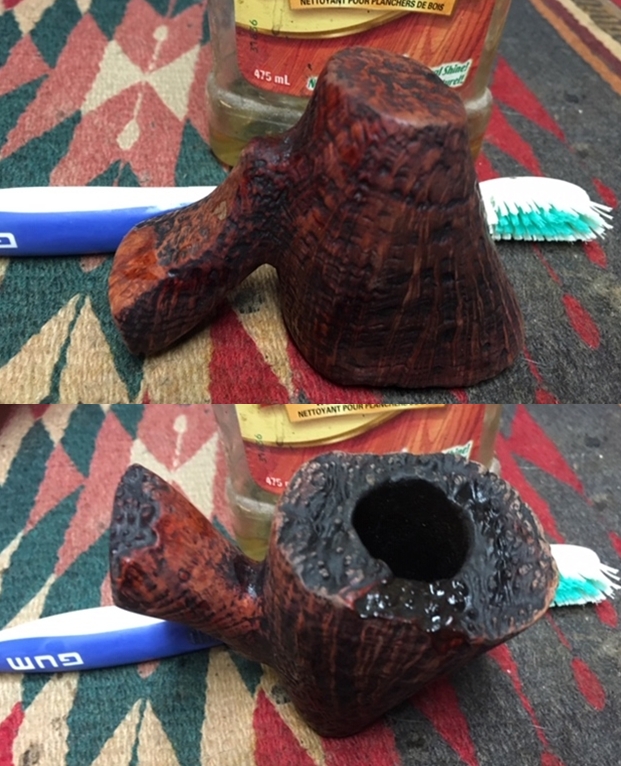
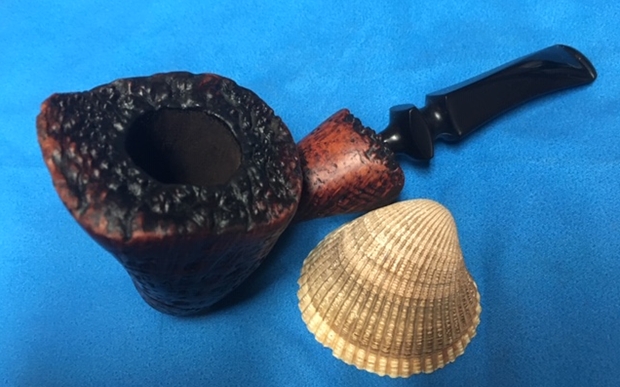
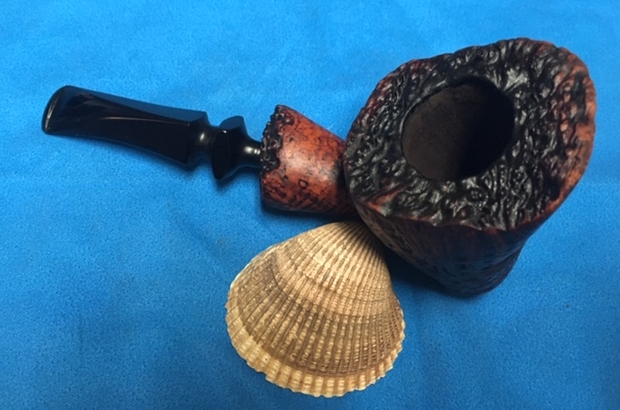
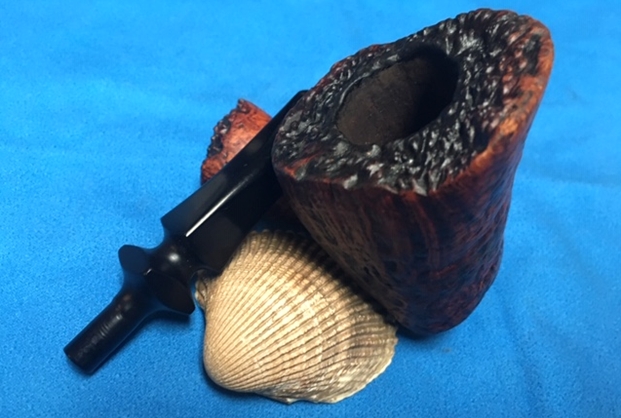
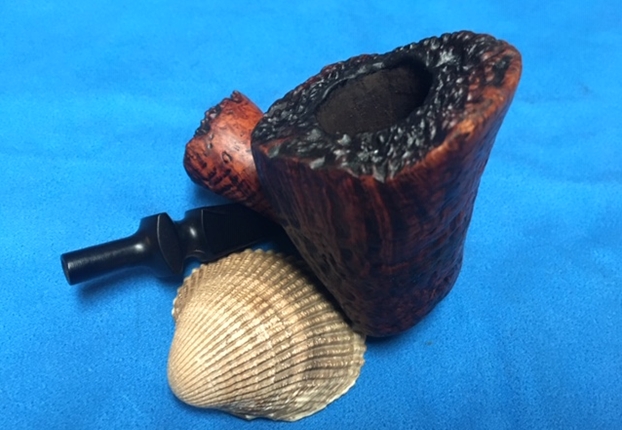
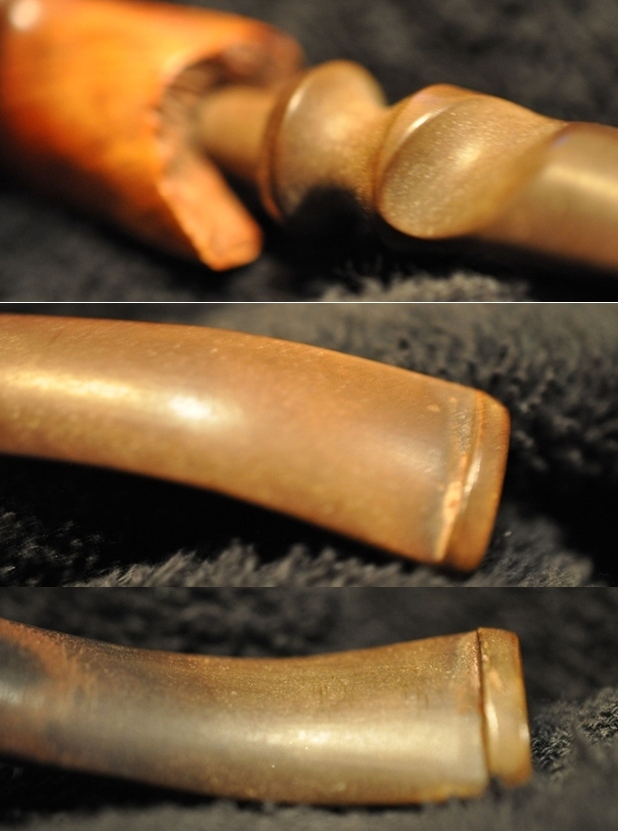
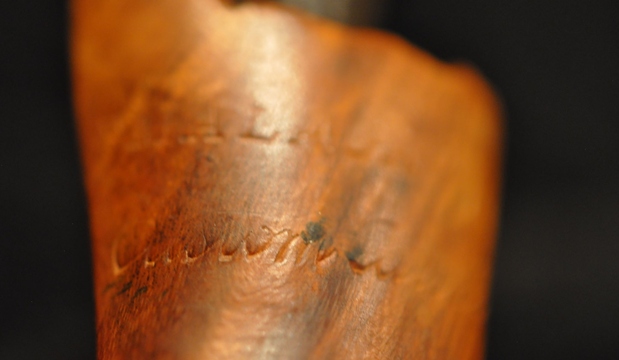
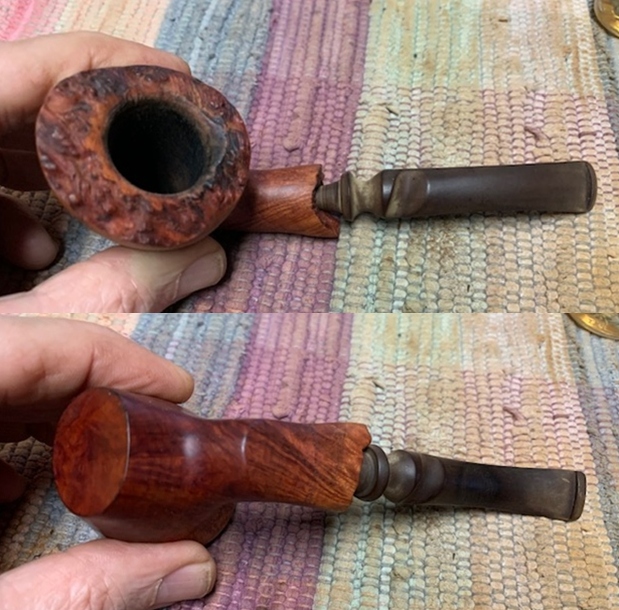
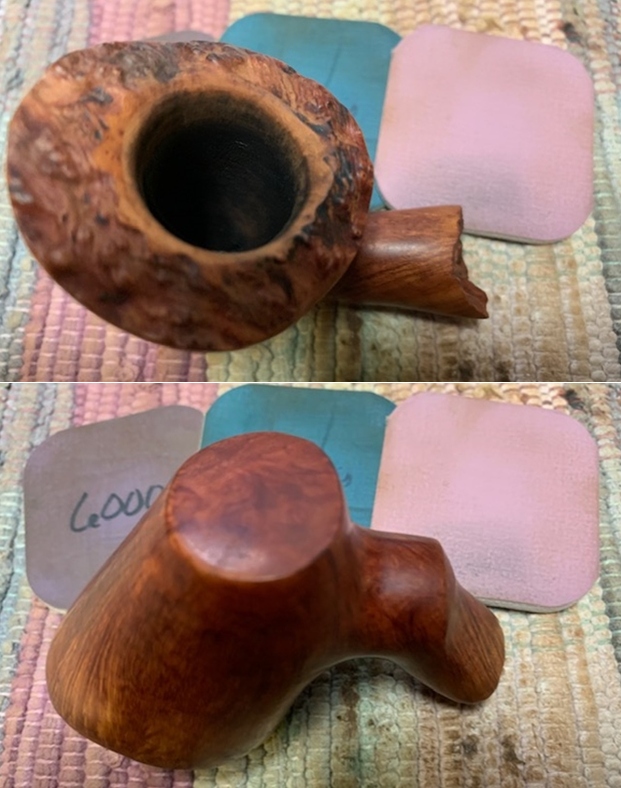
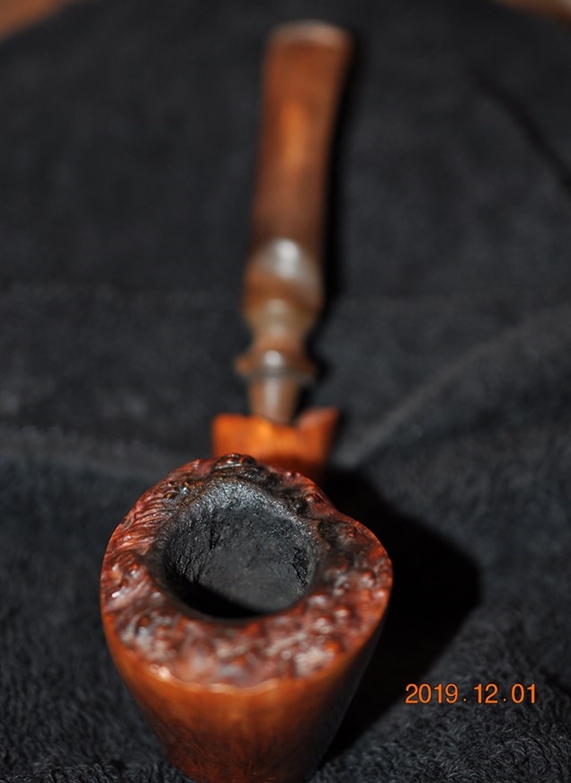 He took photos of the rim top and bowl to give a clear picture of the thickness of the cake and the overflow of lava on the rim top. It is hard to know what the rim edge looks like under the lava coat. He also took photos of the fancy turned portion of the stem as well as the top and underside of the stem to show the oxidation, calcification, light chatter and tooth marks.
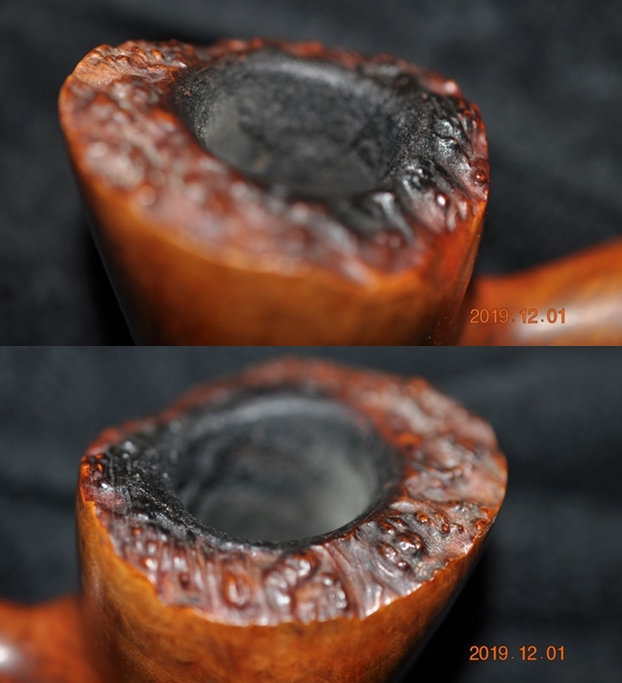
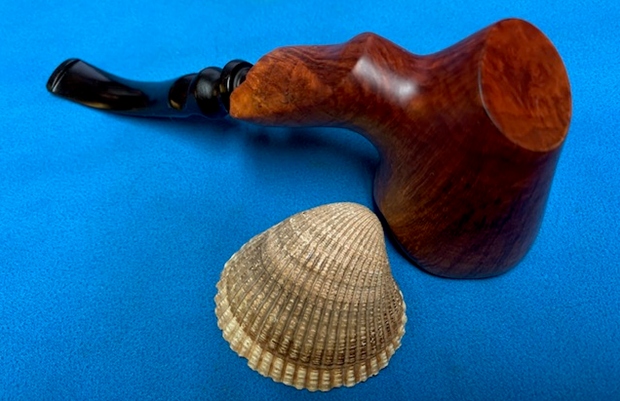
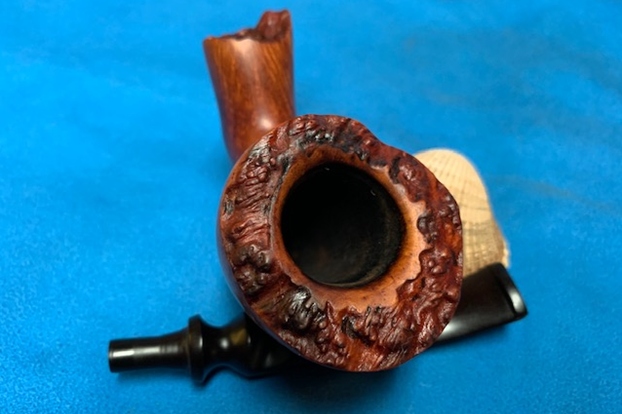
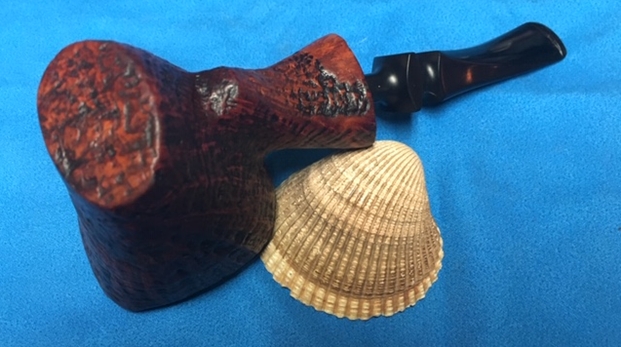
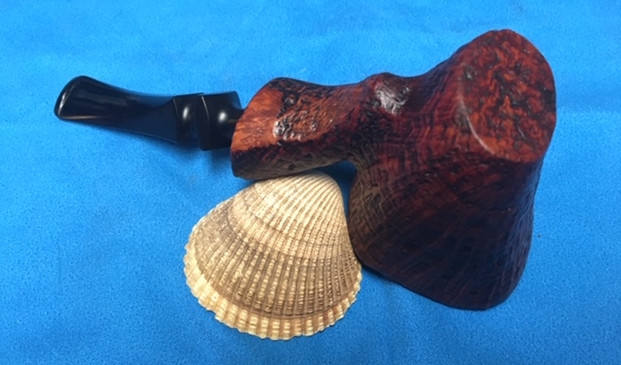
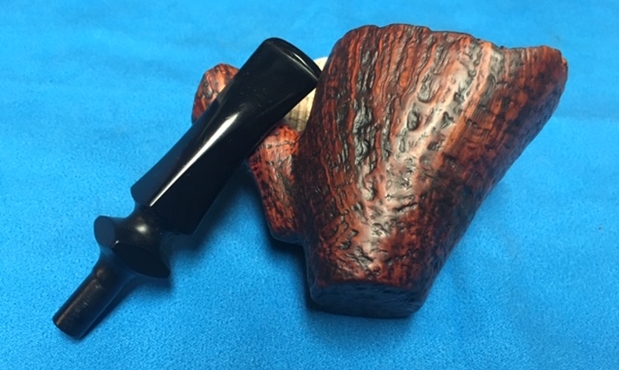
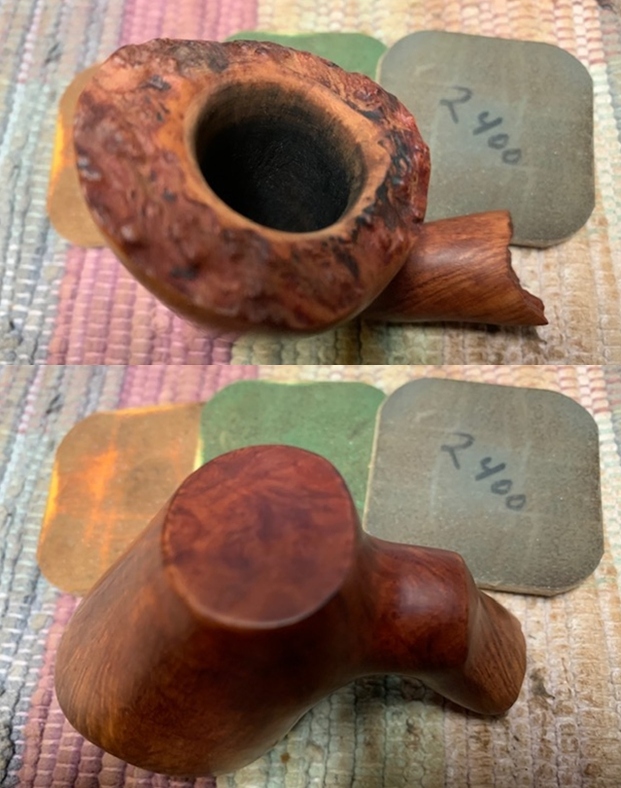
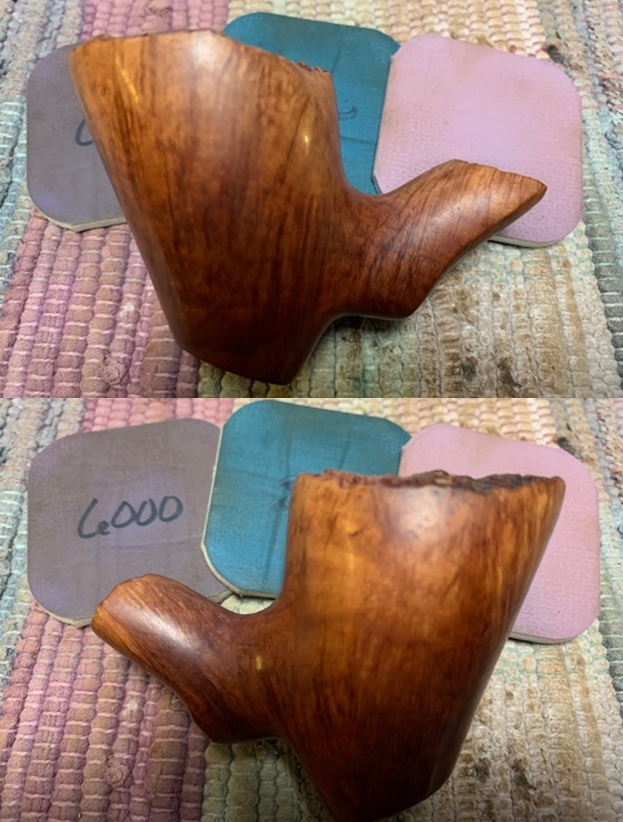
 Jeff took photos of the sides and heel of the bowl to give a picture of what the briar around the pipe looked like. There is some interesting grain under the grime.
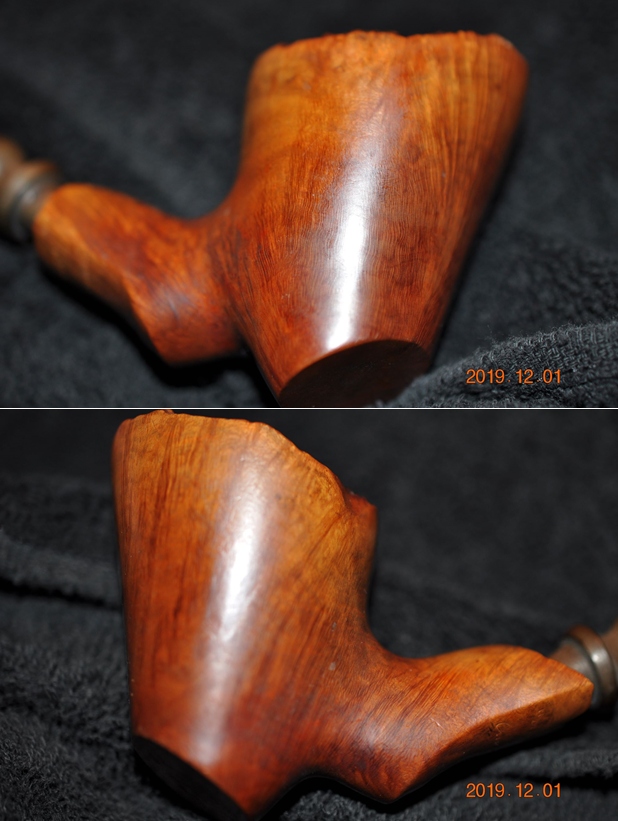
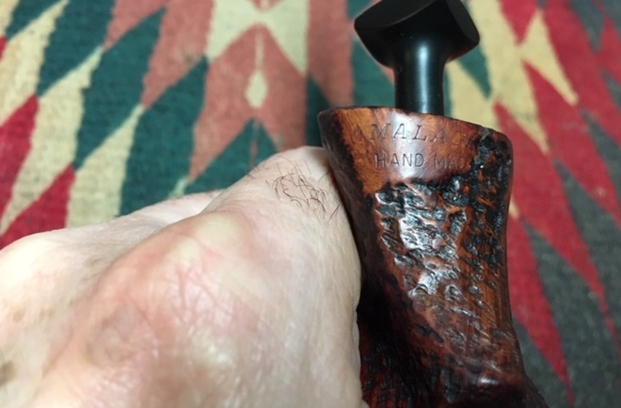
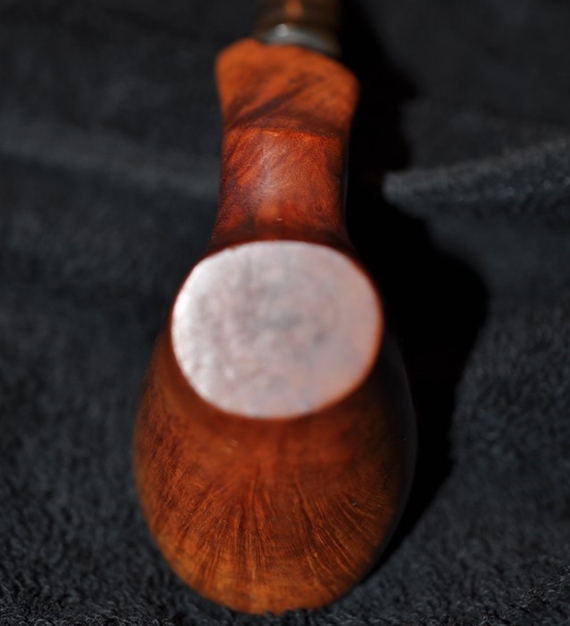 He took photos of the stamping on the underside of the shank. They read as noted above.
 I am also including the link to a blog that I wrote that gives some of the history of the Malaga brand and the Malaga Pipe Shop in Royal Oak, Michigan in the USA. I have written an earlier blog to give a little history of the Malaga Brand and the pipemaker, George Khoubesser. Here is the link – https://rebornpipes.com/tag/malaga-pipes/. That blog also includes links to a catalogue and the history of the pipemaker George Khoubesser. Follow the link to get a feel for the brand and the pipemaker.
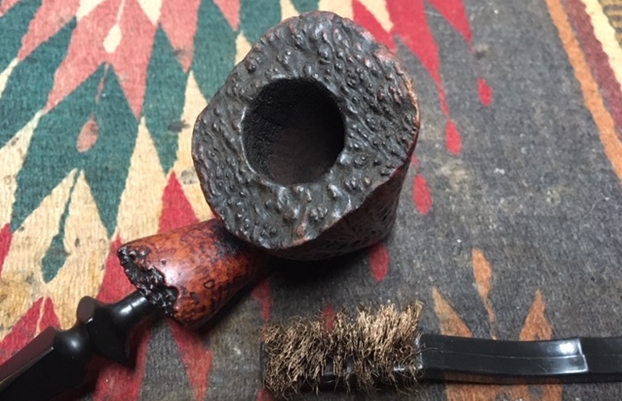
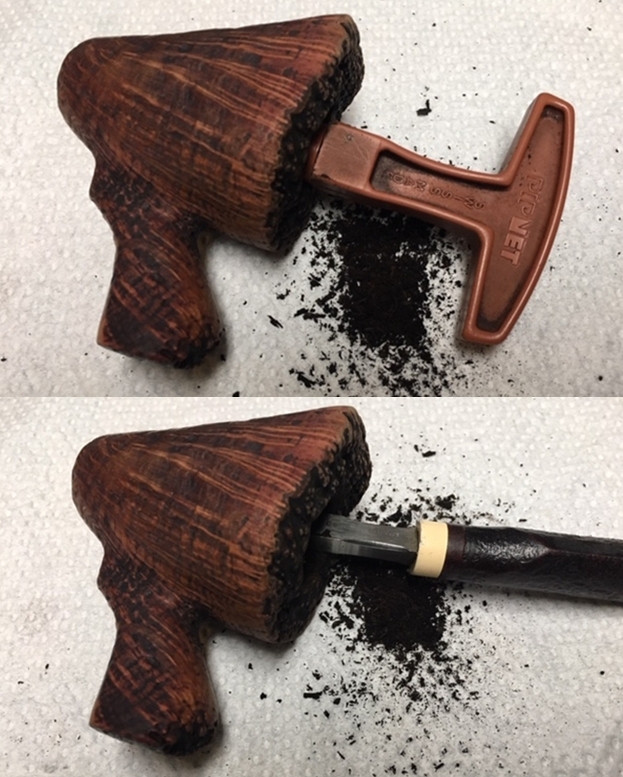
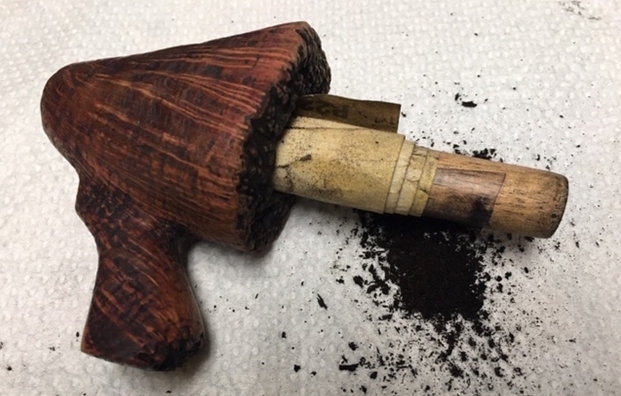
Since Jeff follows the same pattern of work in his cleanup we do not include photos but rather just a simple summary. Jeff reamed the bowl with a PipNet pipe reamer and followed up with a Savinelli Fitsall pipe knife to remove the cake. He scrubbed out the mortise and the airway in the shank and the stem with alcohol, cotton swabs and pipe cleaners. He scrubbed the exterior of the bowl, rim, shank and stem with a tooth brush and Murphy’s Oil Soap to remove the oils and tars on the rim and the grime on the finish of the bowl. He rinsed it under running water. He dried it off with a soft cloth. He was able to remove the lava build up on the rim top and you could see the damages to the top and edges of the rim. I think this pipe may well been before we worked with Mark Hoover’s Before & After Deoxidizer so he cleaned the internals and externals. The stem was clean but lightly oxidized. I took photos of what the pipe looked like when I brought to my worktable. 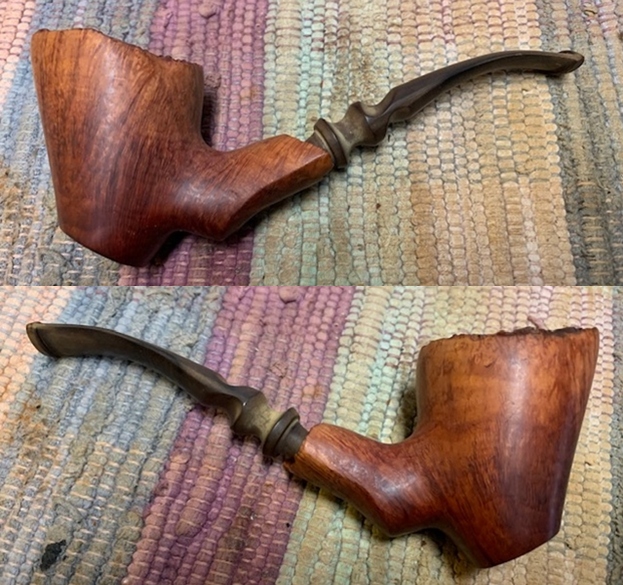
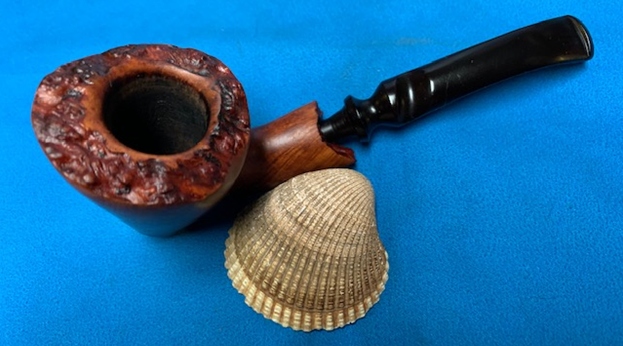
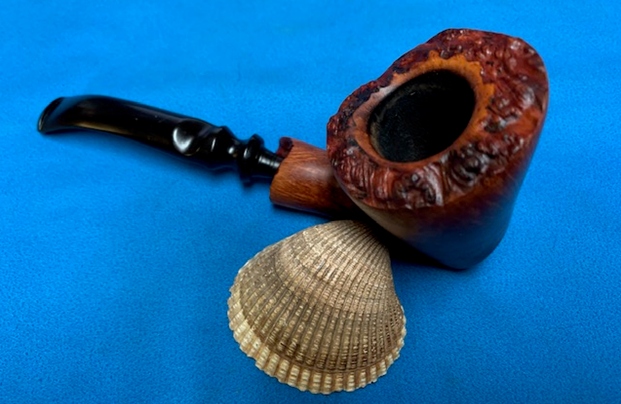
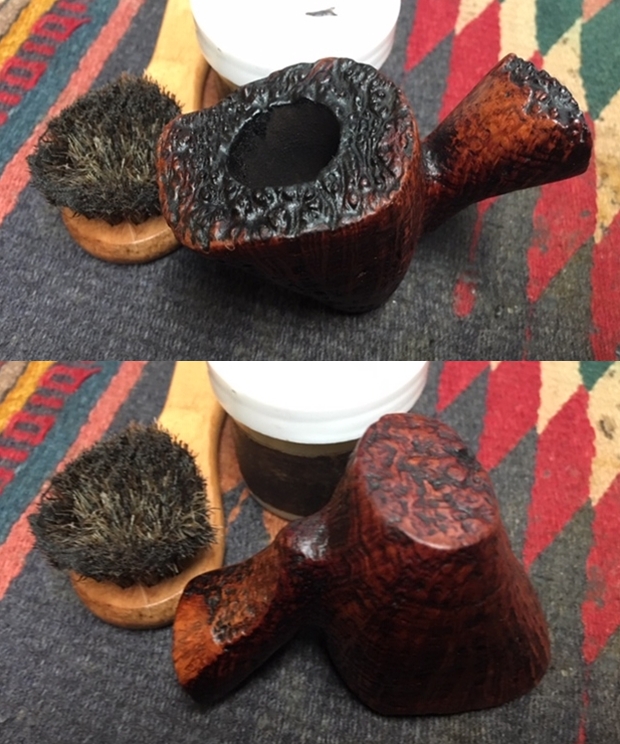
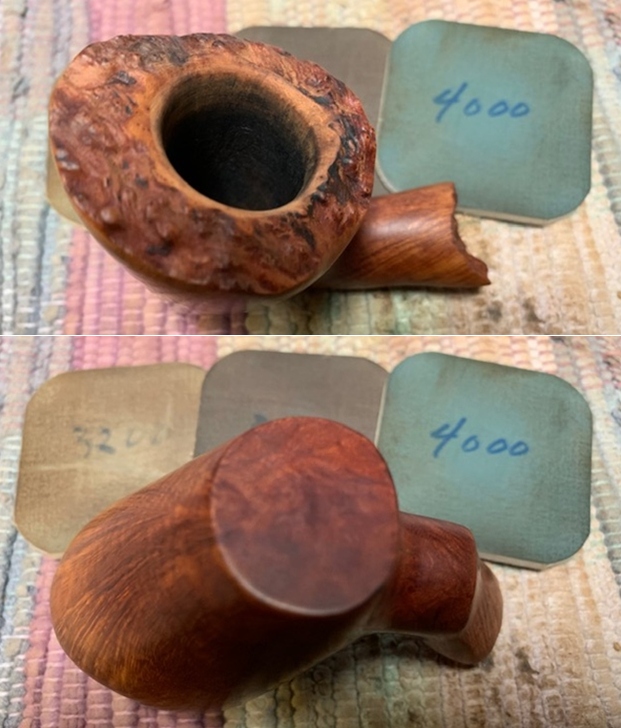
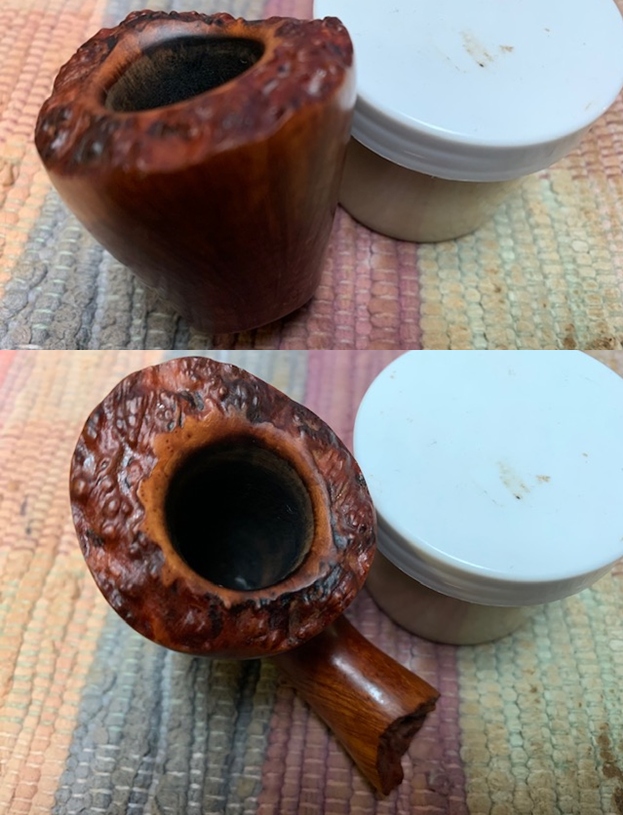
 The plateau rim top cleaned up really well with the lava coat removed. The rim top, inner and out edges of the rim showed some darkening. There is some burn damage on the back beveled edge. The stem surface looked very good with heavy oxidation remaining and some light tooth chatter and marks on both sides ahead of the button. You can also see the wrinkles in the vulcanite on the underside of the stem that occurred when the stem was bent.
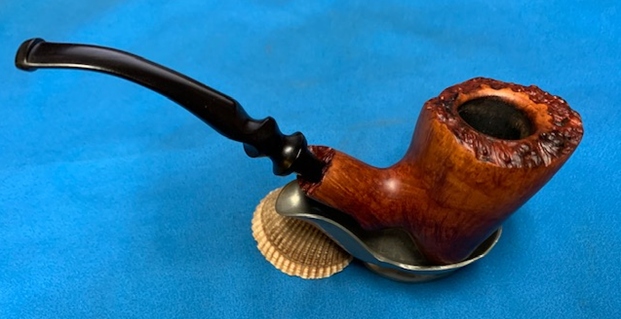
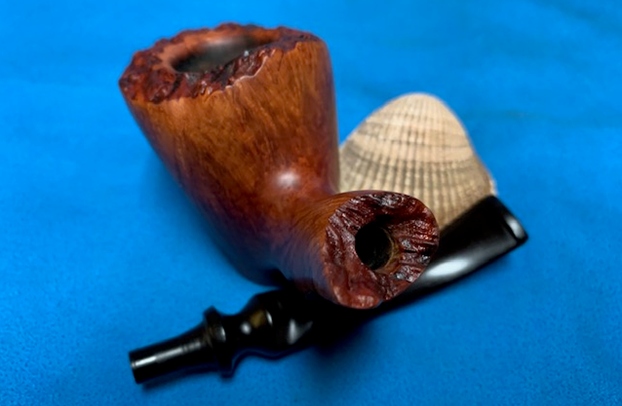
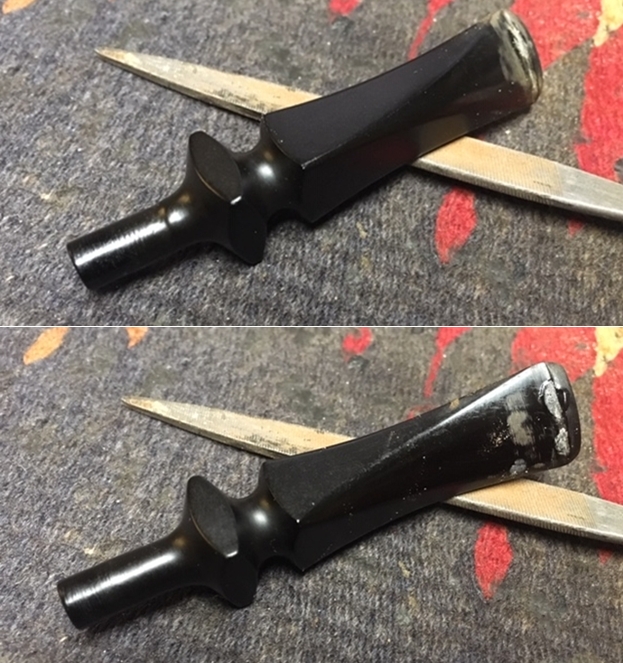
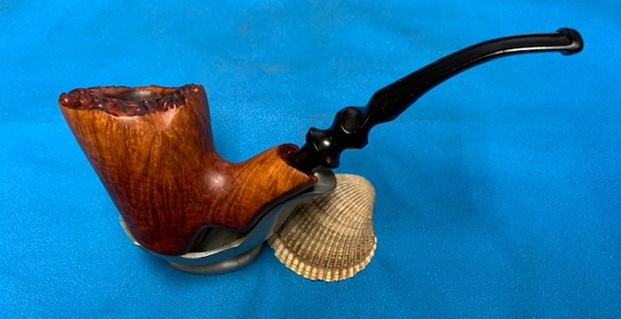
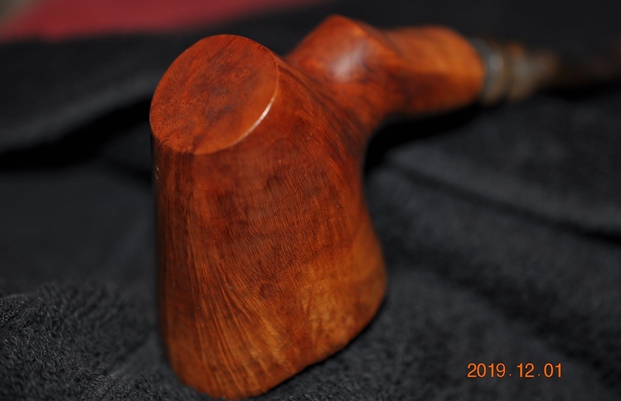
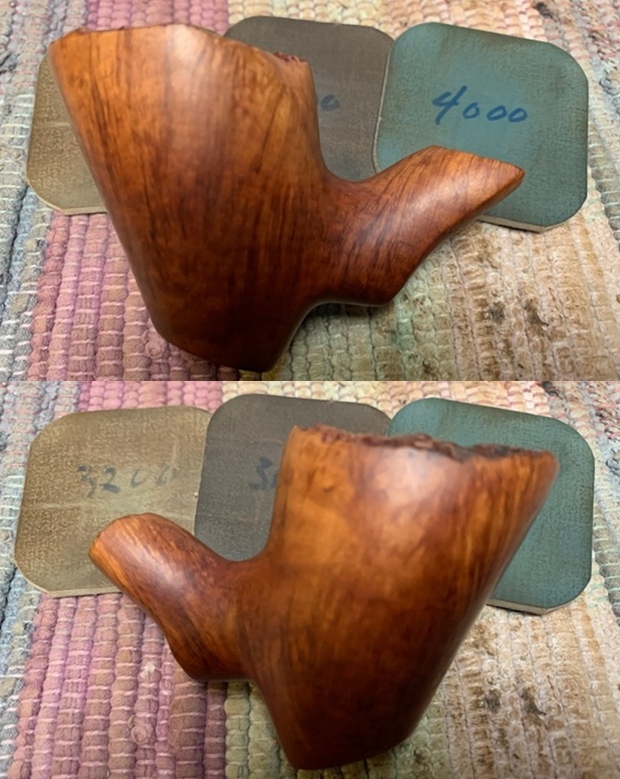
 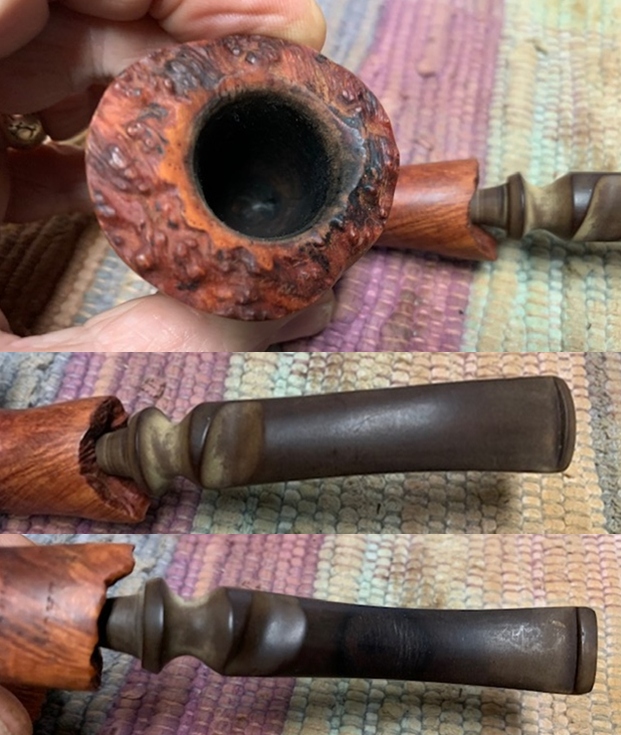 I removed the stem and took a photo of the pipe to give a sense of the well shaped Freehand.
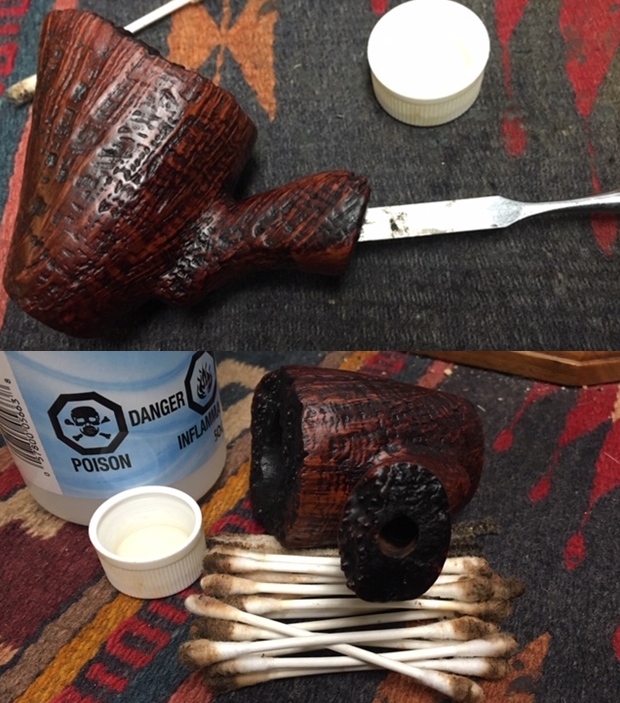
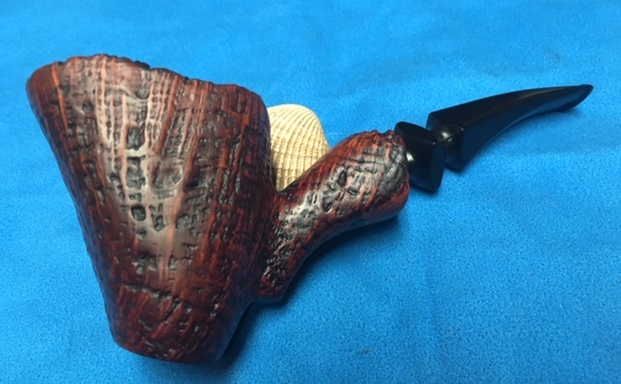
  Now it was time to do my work on the pipe. To remove the damage to the rim top and the inner edges of the bowl I worked them over with a folded piece of 220 grit sandpaper. I was able to clean up the smooth bevel and smooth out the damages.
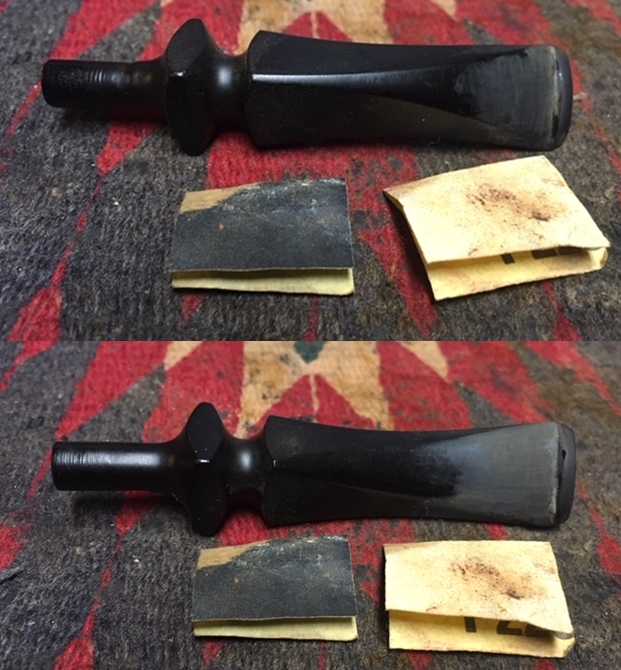
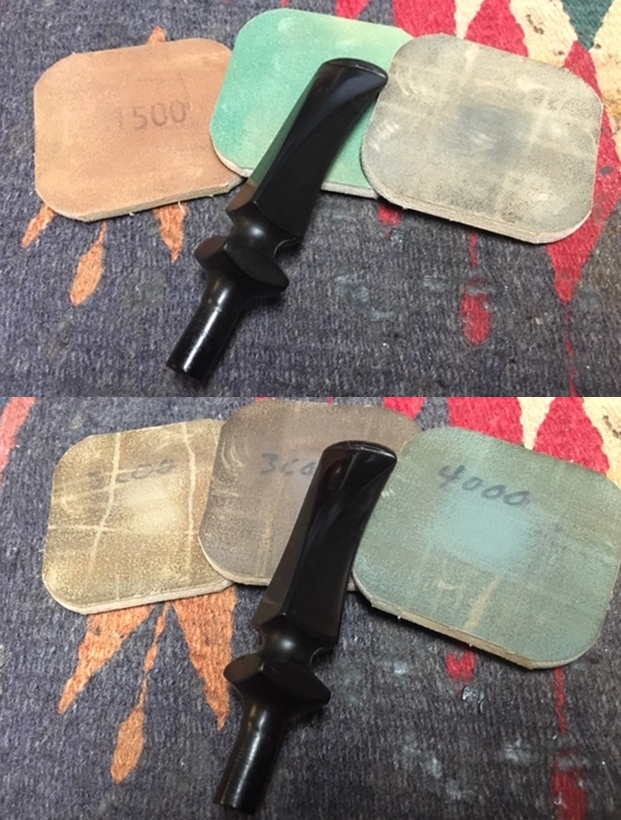
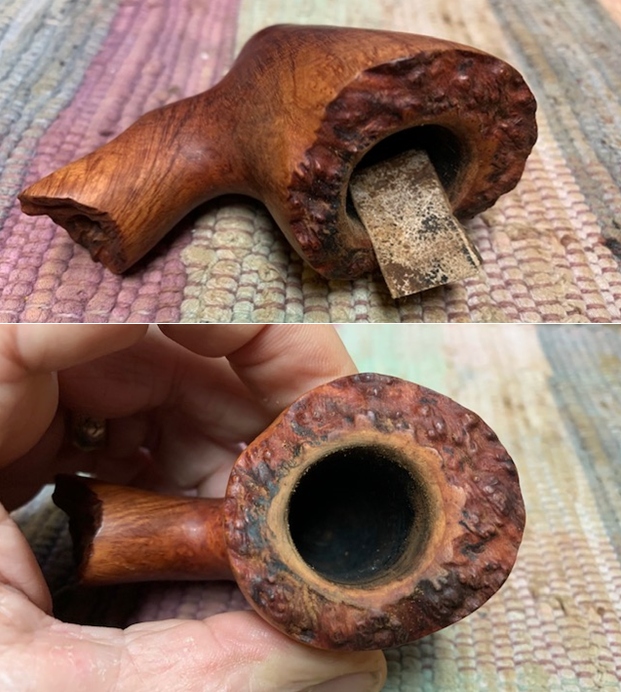 I polished the bowl and the rim top, sides and shank with micromesh sanding pads – wet sanding with 1500-12000 grit pads and wiping it down after each pad with a damp cloth. I carefully avoided the stamping on the top and underside of the shank so as not to damage the already faint stamping.
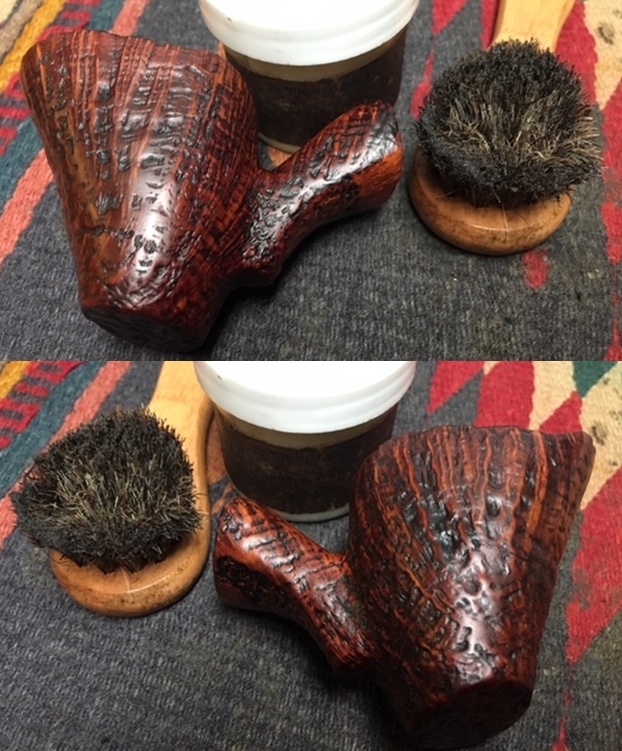
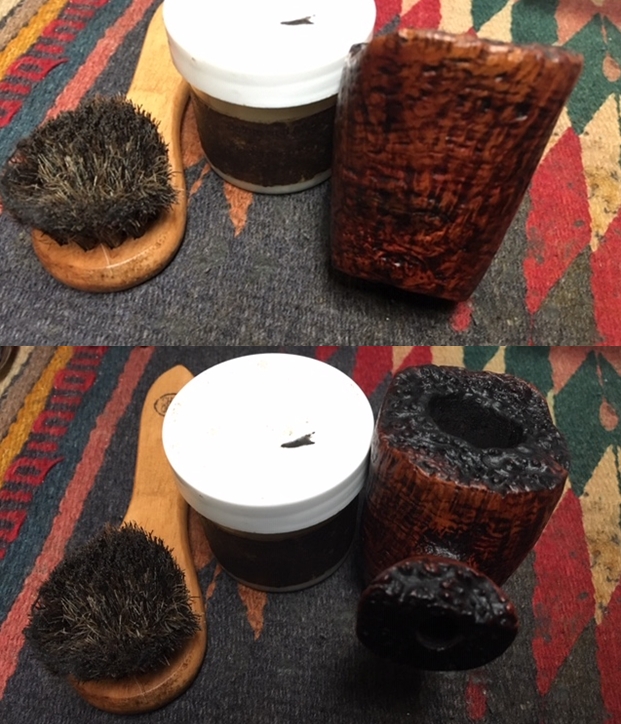
 I rubbed the bowl and shank down with Before & After Restoration Balm. I worked it into the surface of the bowl sides, plateau top and shank end with my fingertips and a horse hair shoe brush to clean, enliven and protect the briar. I let the balm sit for a little while and then buffed with a cotton cloth to raise the shine.
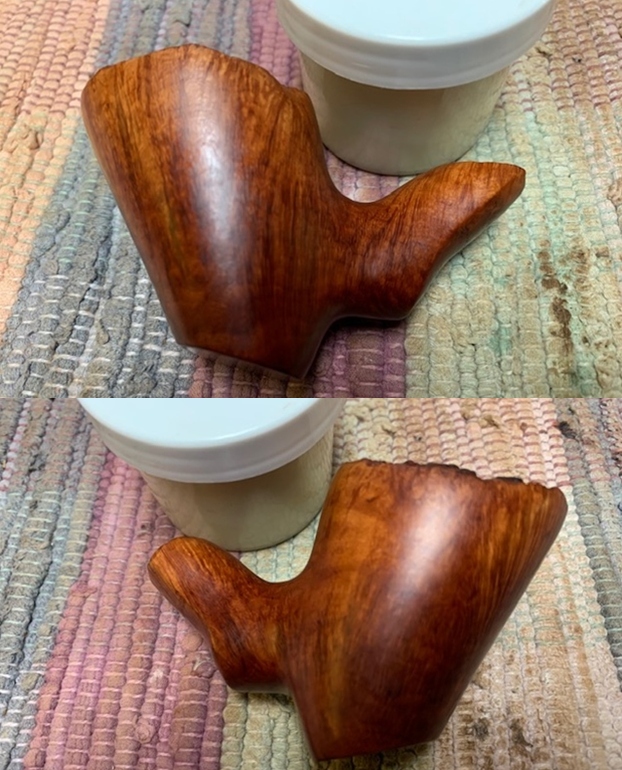

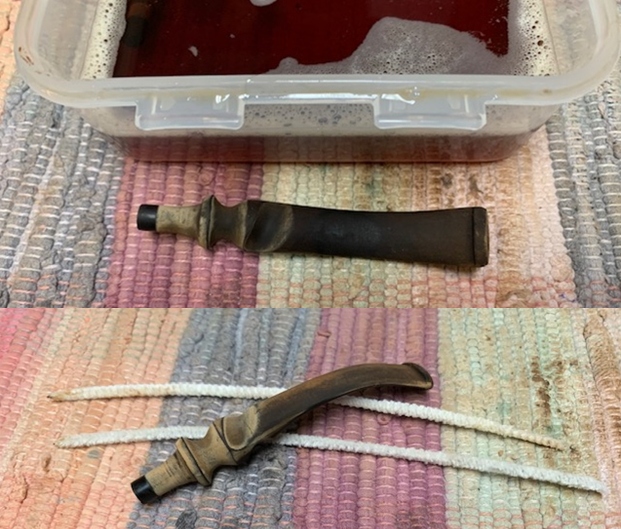
 While I was working on the bowl the stem was soaking in a new product I received from Briarville Pipe Repair – Pipe Stem Oxidation Remover. It is a liquid of about the same consistency as apple juice. The stem sat in the mixture for 2 ½ -3 hours.
  I removed the stem from the bath, scrubbed lightly with a tooth brush and dried if off with a paper towel. I was surprised that it was quite clean. Just some light oxidation on the top of the saddle remaining. The bath was dark with the removed oxidation of the seven stems. I cleaned out the inside of the stem with alcohol and pipe cleaners.
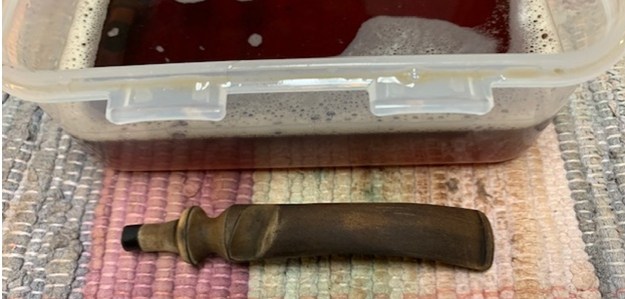
 I scrubbed the stem surface with Soft Scrub All Purpose cleanser to remove the remaining oxidation. The oxidation was strongest in the twists and turns of the lower portion of the stem. It took quite a bit of elbow grease to remove the oxidation but when I was finished it looked very good.
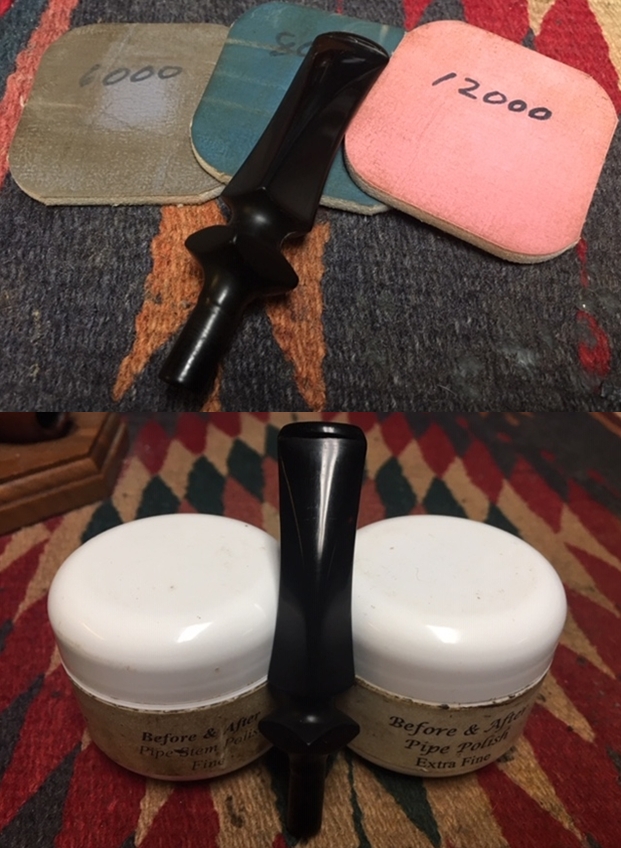
 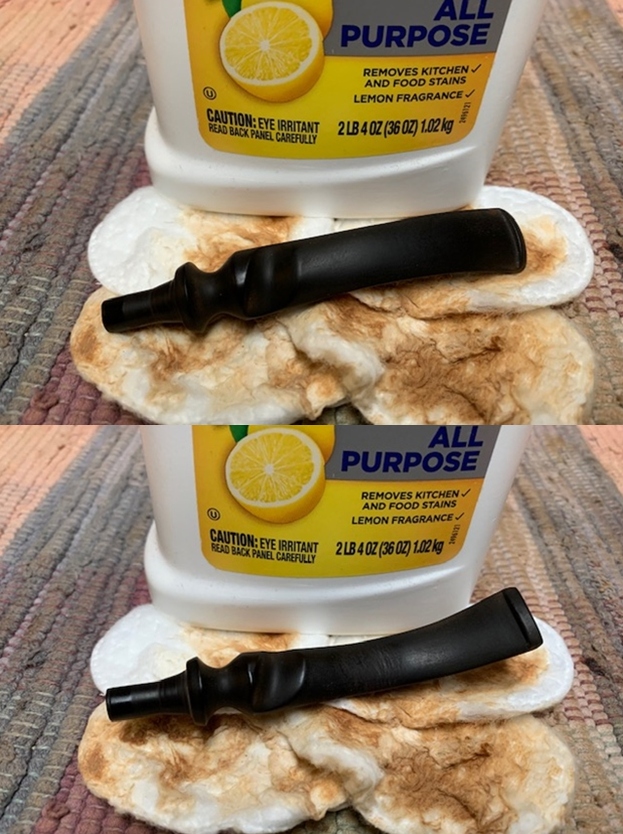 I polished the vulcanite stem with micromesh sanding pads – 1500-12000 grit pads. I wiped it down with a damp cloth after each sanding pad. I used Before & After Pipe Polish – both Fine and Extra Fine to further polish the stem.
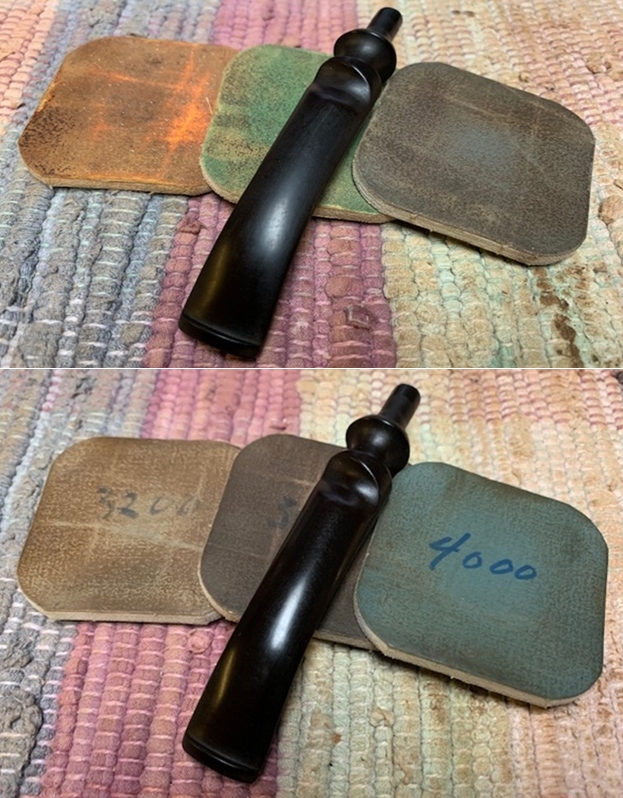
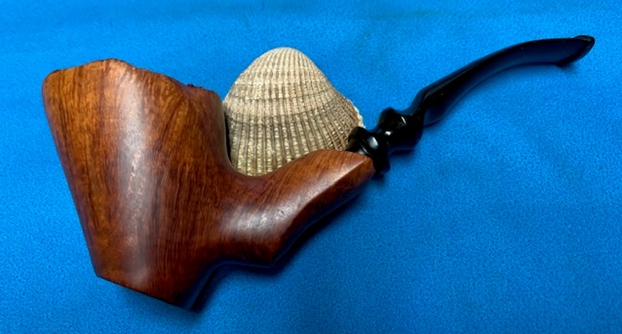
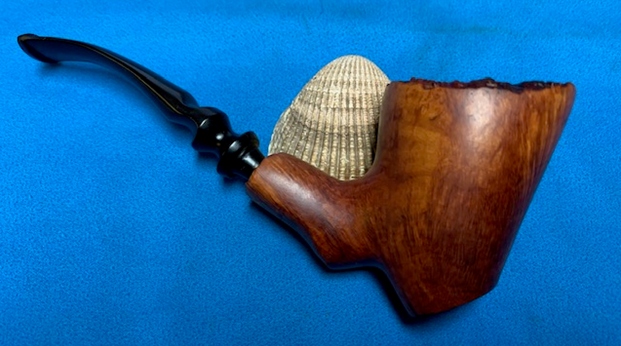
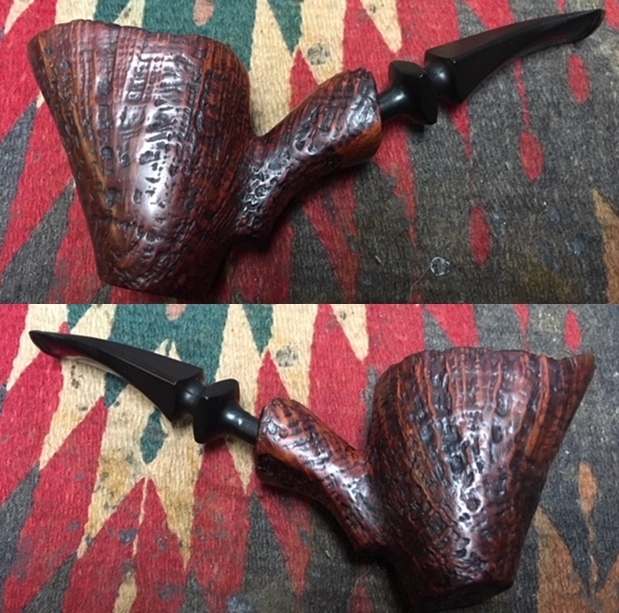
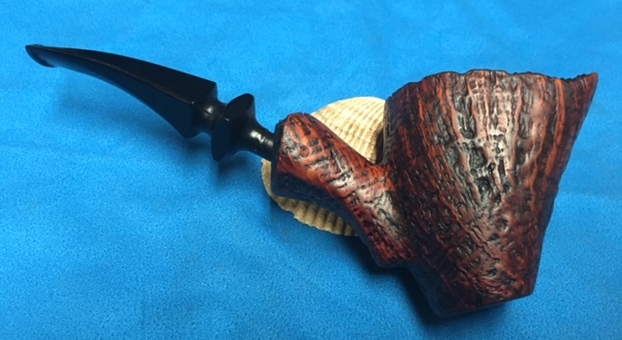
 This well made, classic Malaga Custom Carved Freehand with a fancy turned vulcanite stem is a great looking pipe now that it has been restored. The rich oil finish that Malaga used came alive with the polishing and waxing. I put the stem back on the bowl and carefully buffed the pipe with Blue Diamond on the buffing wheel using a light touch on the briar. I gave the bowl and the stem multiple coats of carnauba wax on the buffing wheel and followed that by buffing the entire pipe with a clean buffing pad. I hand buffed the pipe with a microfiber cloth to deepen the shine. The finished Malaga Custom Carved is a beauty with combination of smooth and plateau rim and shank end. It fits nicely in the hand and looks very good. Give the finished pipe a look in the photos below. The dimensions of the pipe are Length: 6 ¼ inches, Height: 2 ½ inches, Outside diameter of the bowl: 1 ¾ inches, Chamber diameter: ¾ of an inch. If you are interested in adding this pipe to your collection send me a message or an email. Thanks for reading this blog and my reflections on the pipe while I worked on it. There are many more to come!