by Kenneth Lieblich
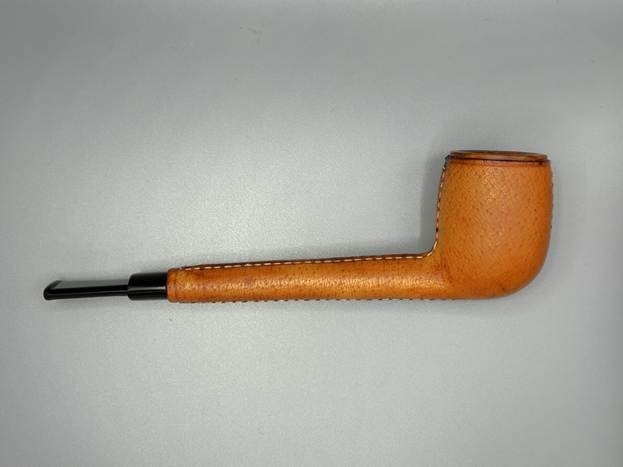
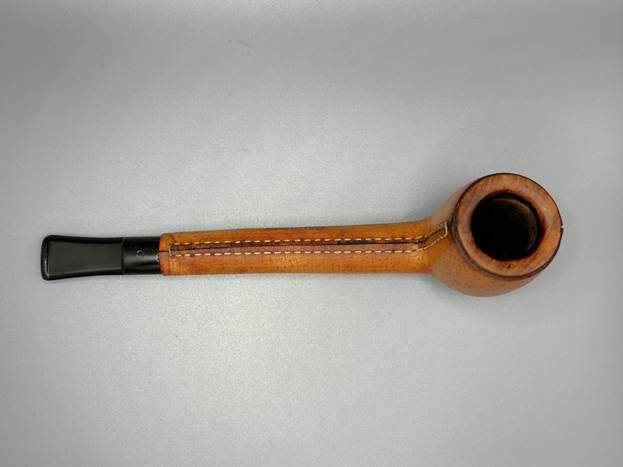
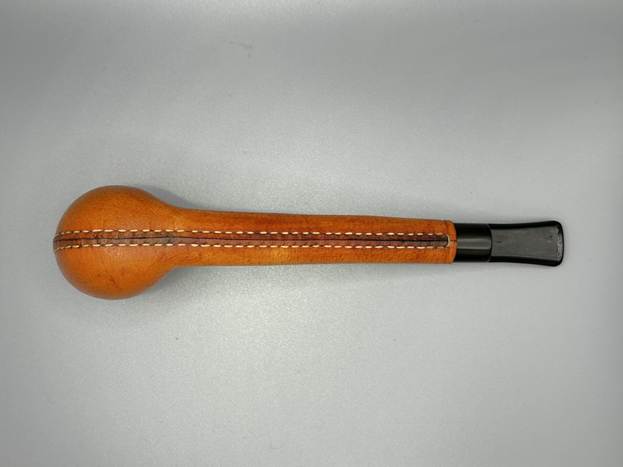
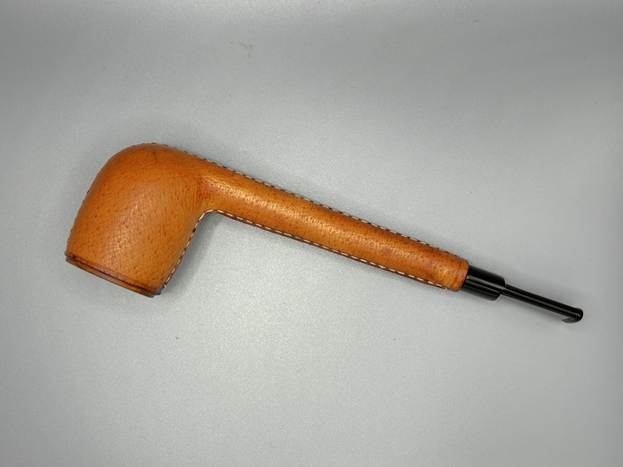
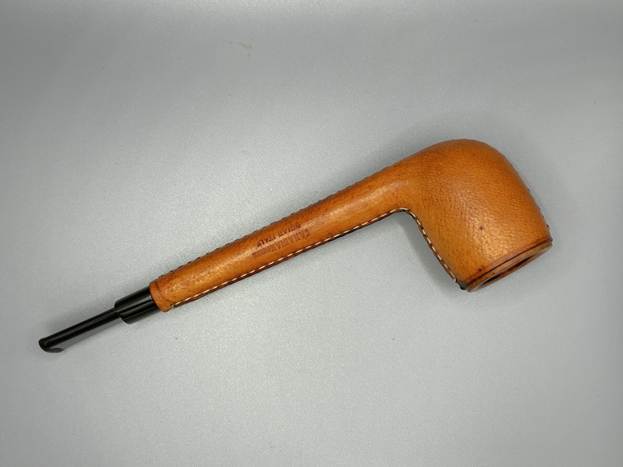
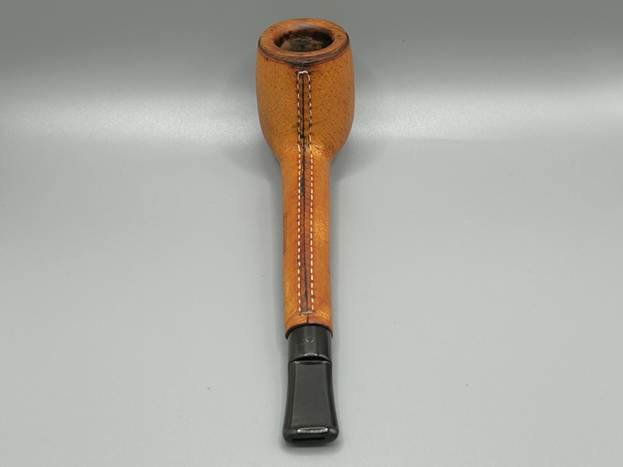
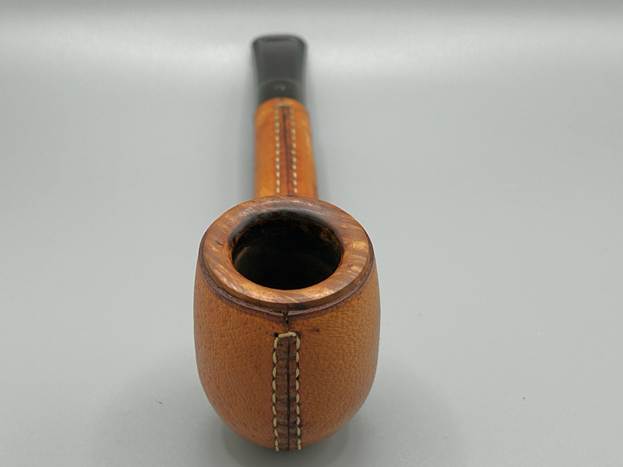
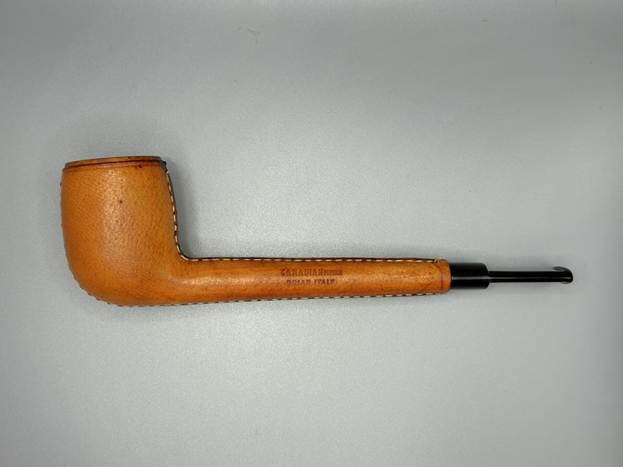
From time to time, Steve and I come across leather-wrapped pipes. They tend to follow a familiar pattern: the majority are billiards, sometimes pots; many are meerschaum lined. So, my interest was piqued when I saw this pipe: a lovely, long lumberman shape completely in briar, wrapped in elegant leather. The stem was a charming vulcanite saddle stem. I hadn’t seen a leather pipe like this before, and it seemed particularly well made.
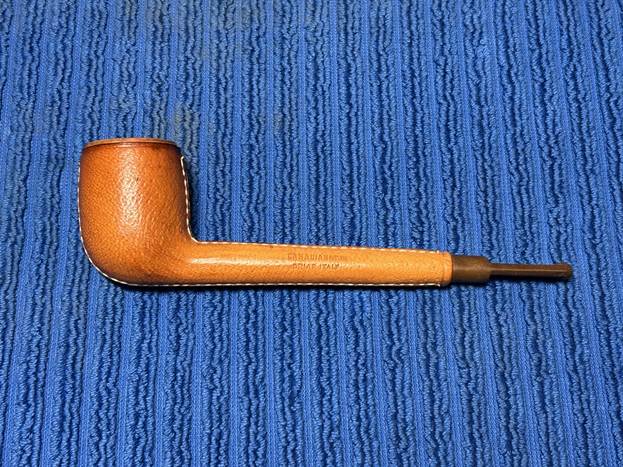
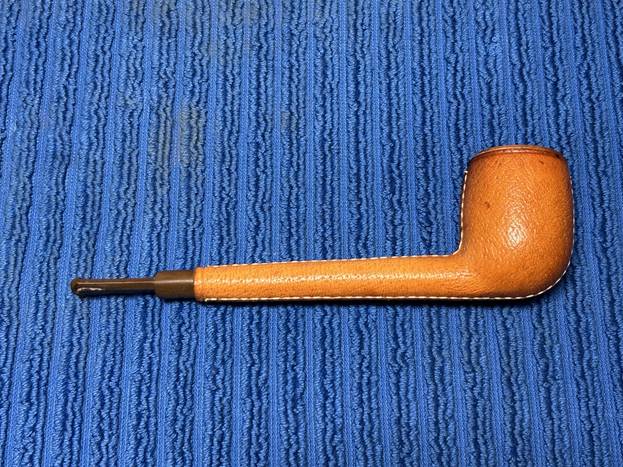
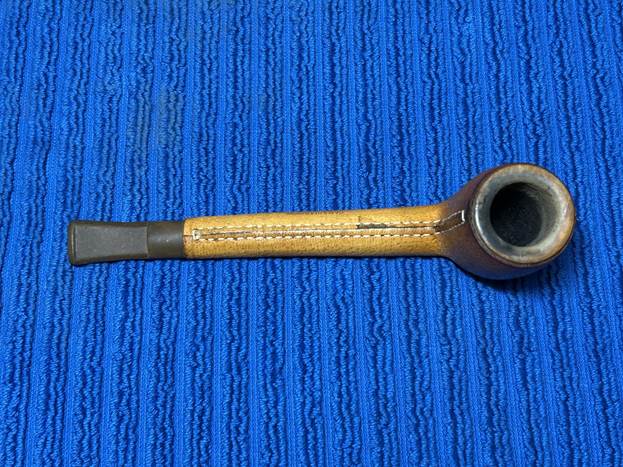
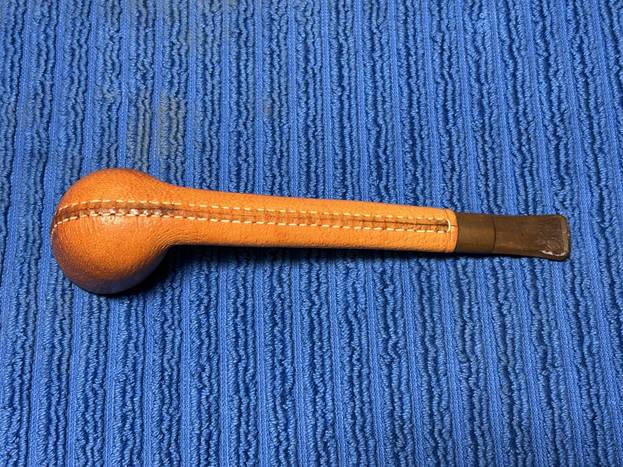
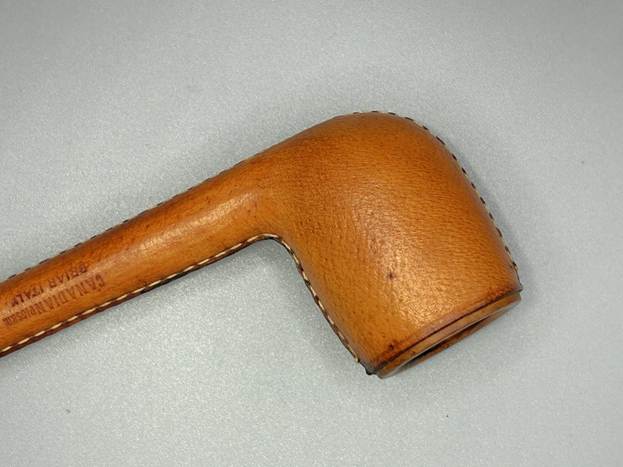
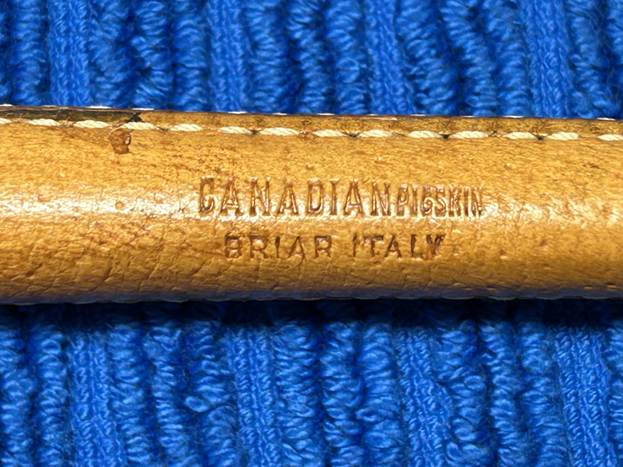
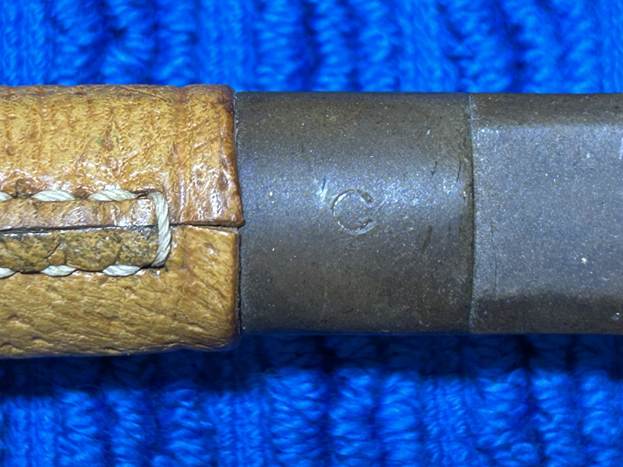
The markings pressed into the leather are very clear. We see Canadian Pigskin [over] Briar Italy. In addition, on top of the stem, we see the letter C. Unfortunately, that isn’t very helpful – the letter C could mean anything. So, we don’t know anything about this pipe other than the leather was from Canadian pigs and the wood was from Italian tree heath.
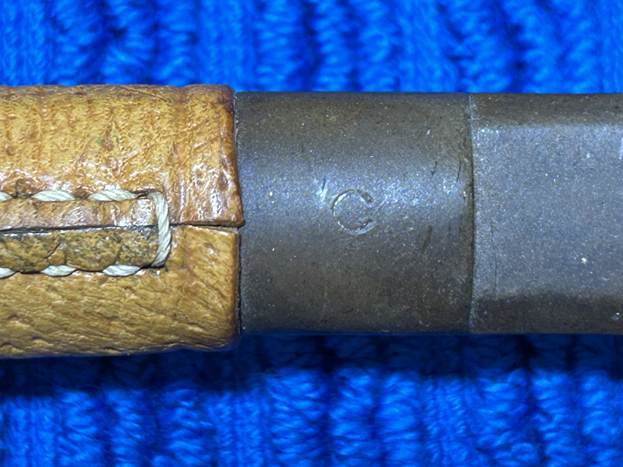
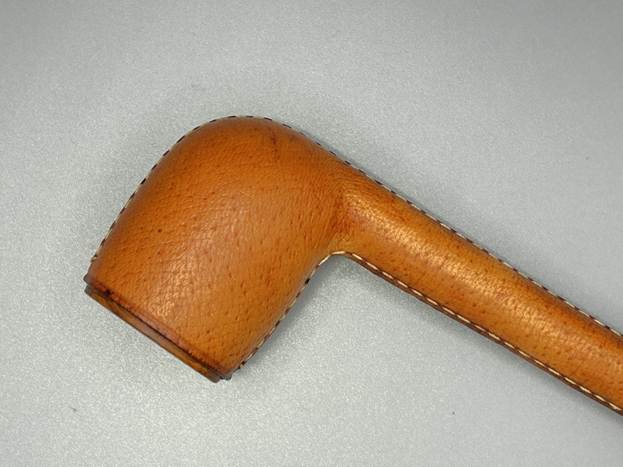
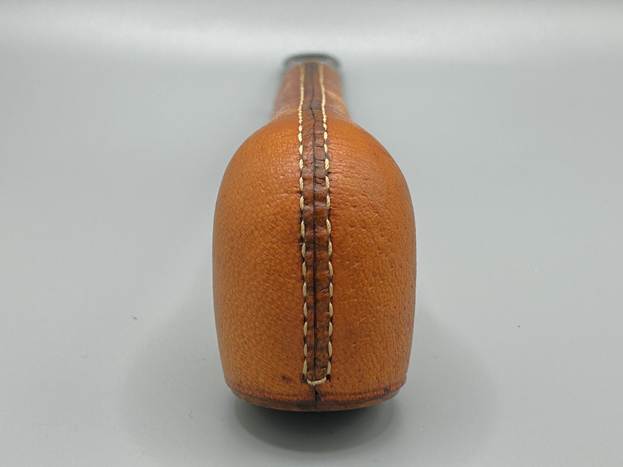
Let’s examine the pipe’s condition. The stem was pretty good. It had some tooth marks; it was quite dirty; and had a small craze line – but none of this was critical. The leather around the stummel was very nice. I’m no leather expert, but it seemed to be of good quality. There were some minor stains but easily cleaned. There were no scuffs, rips, or gouges. The stitching was tight and sound. The bowl had a bit of lava on the rim and some cake in the bowl. Nothing significant.
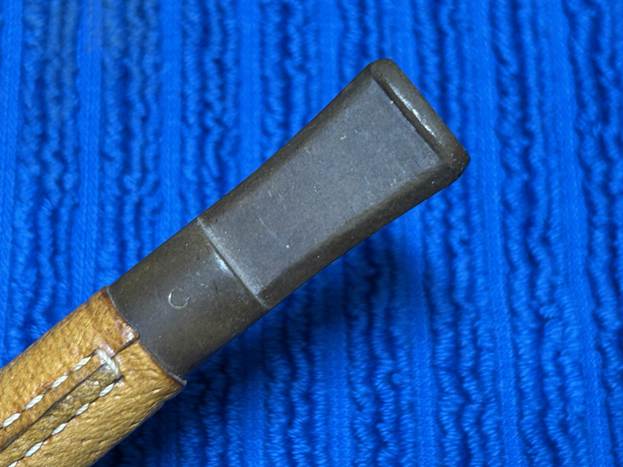
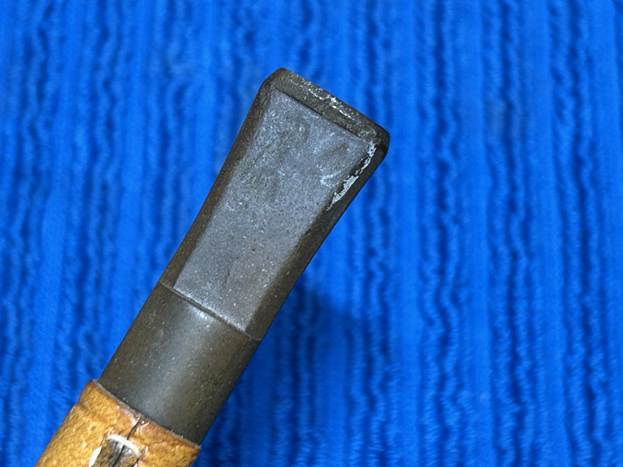
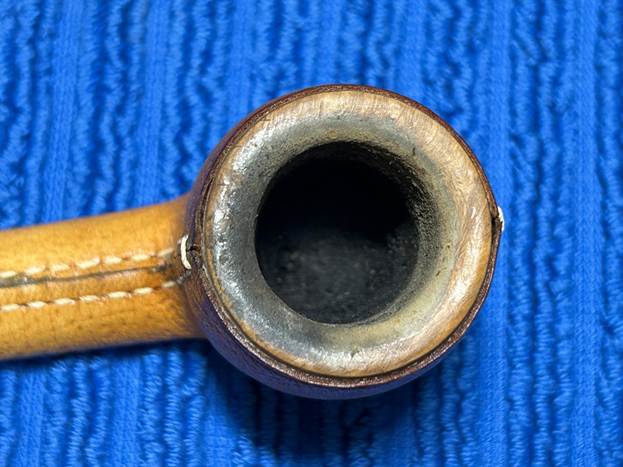
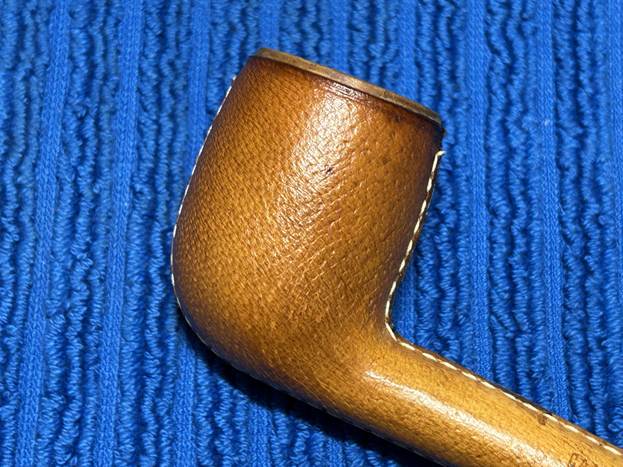
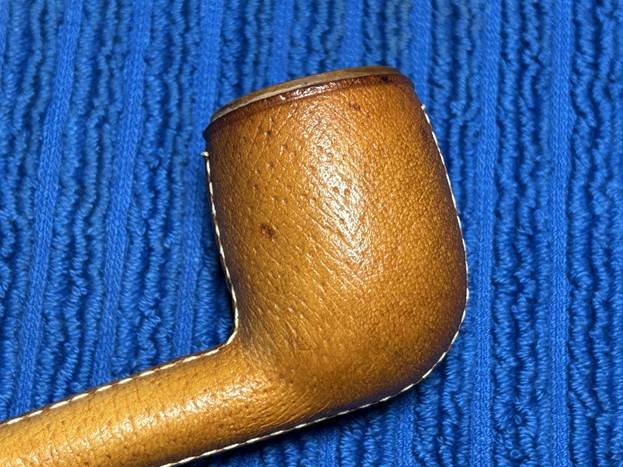
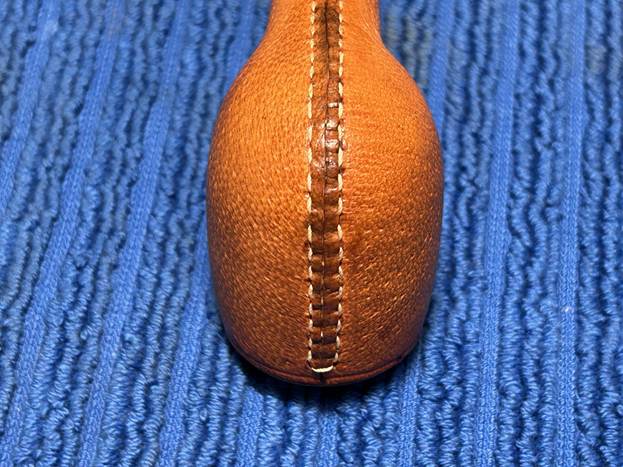
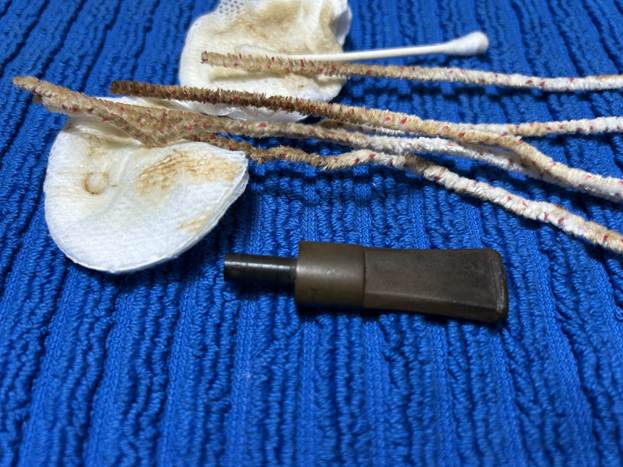
I used a disposable lighter and ‘painted’ the stem with its flame. The gentle heat of the flame can cause the dents in the vulcanite of the stem to expand back into shape. It worked quite well. I used isopropyl alcohol on a few cotton rounds and wiped down the stem to provide an initial cleaning of filth before moving on to the next steps. The primary cleaning came next. I disinfected the inside of the stem with both pipe cleaners and cotton swabs dipped in lemon-infused 99% isopropyl alcohol. I scrubbed thoroughly to make sure the interior was very clean.
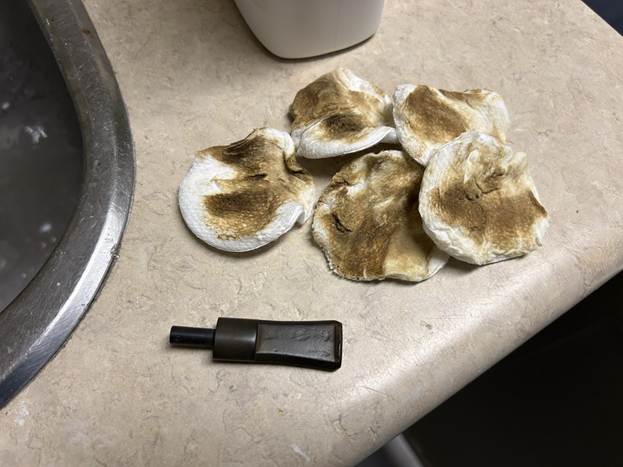
The goal of the next step is the removal (or minimization) of oxidation. Going to my sink, I used cream cleanser, cotton rounds, and a toothbrush, and scoured the stem to remove as much surface oxidation as possible. As the photos show, the result was a hideous, ochre-coloured mess – but better off the stem than on it.
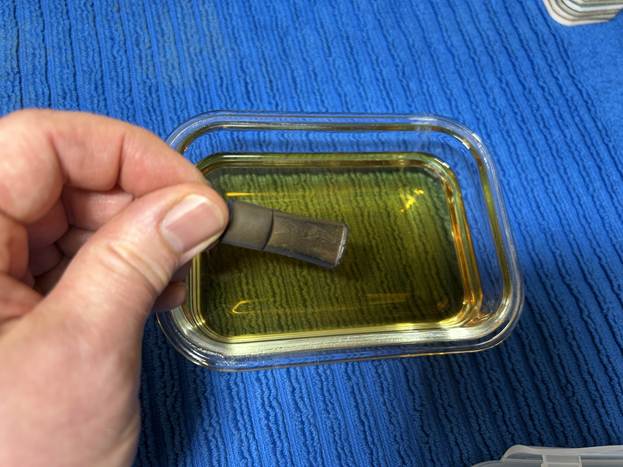
Once the stem was reasonably clean, I soaked it overnight in some Briarville Stem Oxidation Remover. This solution works to draw oxidation in the stem to the surface of the vulcanite. This is a major aid and an important step in ensuring a clean stem. The following day, I drew out the stem from its bath and scrubbed the lingering fluid with a toothbrush.
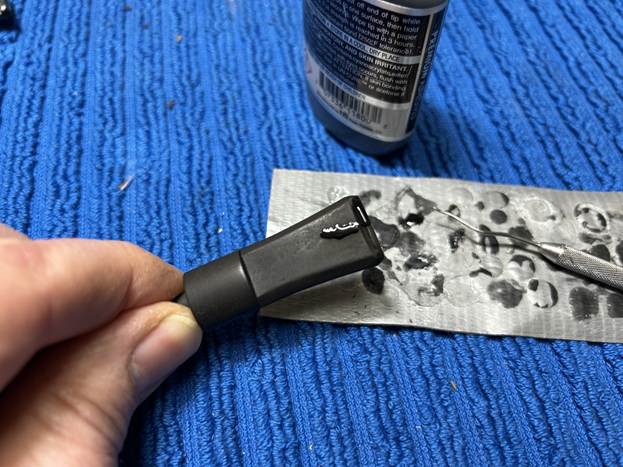
As the stem was now clean and dry, I set about fixing the marks and dents in the vulcanite. This was done by filling those divots with black cyanoacrylate adhesive, impregnated with carbon and rubber. I left this to cure and moved on. After this, I painted the logo on the stem with some enamel nail polish. I restored the logo carefully and let it fully set before proceeding.
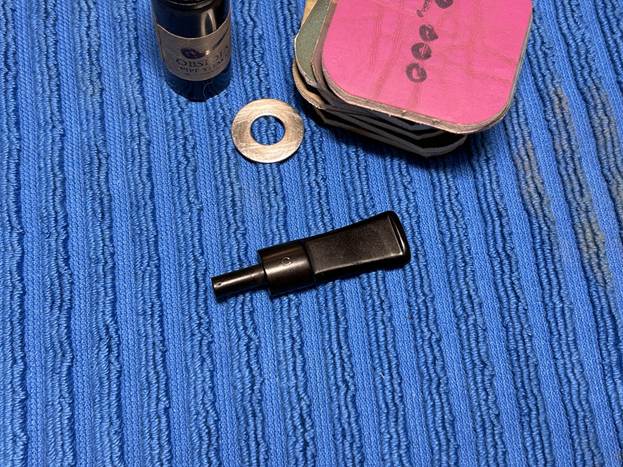
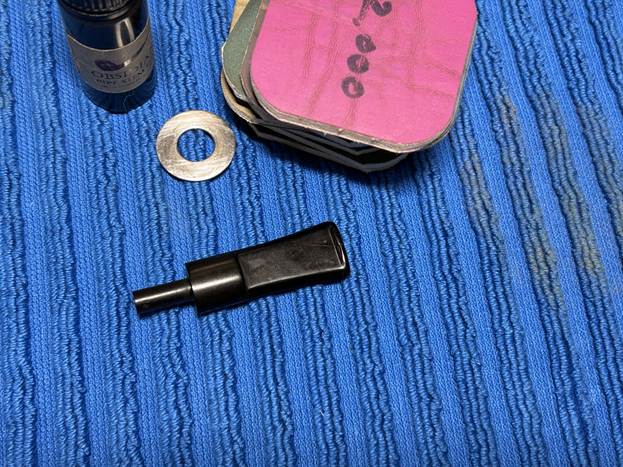
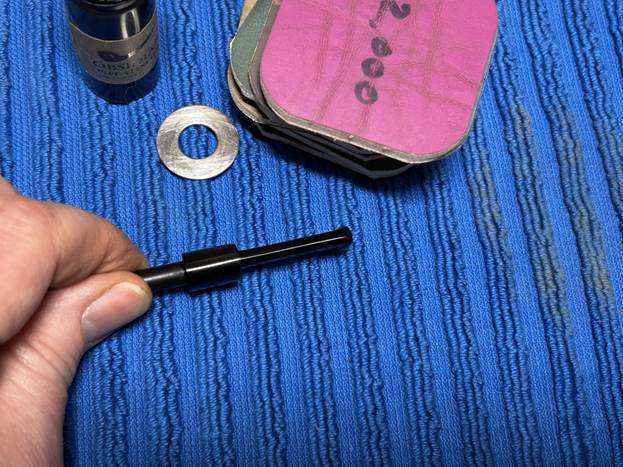
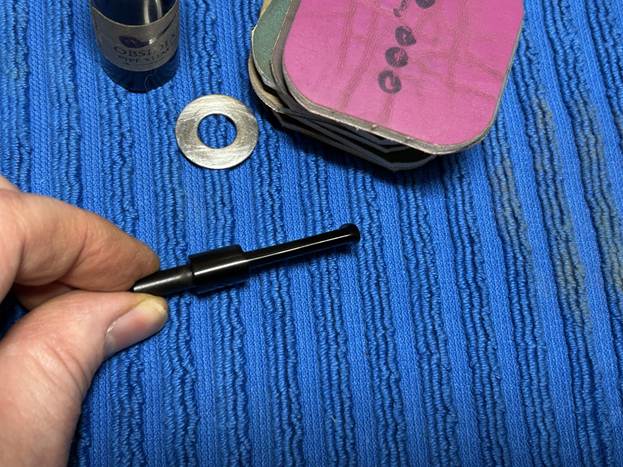
The penultimate step for the stem is sanding. First, with my set of needle files, I reduced the bulk of the cyanoacrylate repairs. I removed the excess adhesive as near to the surface as possible, without cutting into the vulcanite. Following that, I used all nine of the micromesh sanding pads (1,500 through 12,000 grit) to sand out flaws, even out the vulcanite, and provide gentle polishing of the finished surface. I also applied pipe-stem oil while using the last five micromesh pads. There was a wonderful, deep black shine to the stem when I was done.
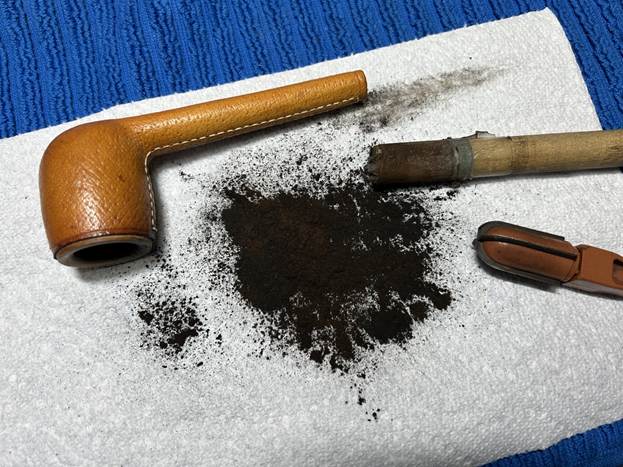
As the stem was (nearly) complete, I moved on to the stummel. The first step was to ream out the bowl – that is to say, remove all the cake inside the bowl. This accomplished a couple of things. First (and most obviously), it cleaned the bowl and provided a refurbished chamber for future smoking. Second, when the old cake was removed, I could inspect the interior walls of the bowl and determine if there was damage or not. I used a reamer, a pipe knife, and a piece of sandpaper taped to a wooden dowel. Collectively, these ensured that all the debris was removed.
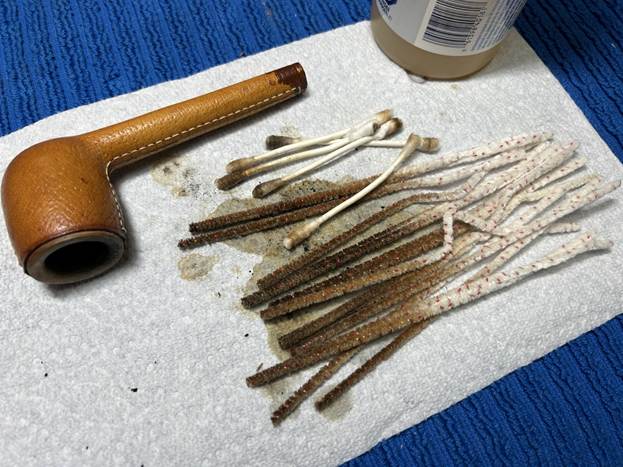
Similar to the stem, I then cleaned the stummel with both pipe cleaners and cotton swabs dipped in lemon-infused 99% isopropyl alcohol. With a pipe this dirty, it took quite a while and much cotton to clean.
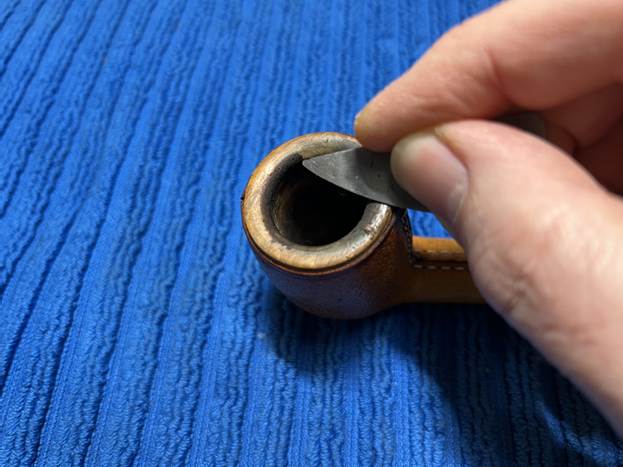
My next step was to remove the lava on the rim. For this, I took a piece of machine steel and gently scraped the lava away. The metal’s edge is sharp enough to remove what I need, but not so sharp that it damages the rim.
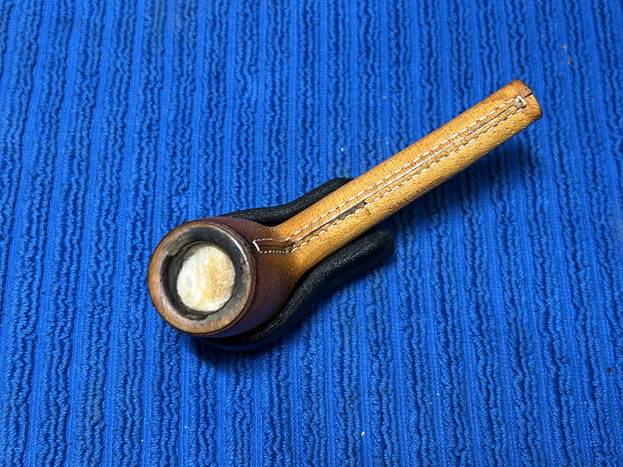
I then decided to ‘de-ghost’ the pipe – that is to say, exorcize the remaining filth from the briar. I filled the bowl and the shank with cotton balls, then saturated them with 99% isopropyl alcohol. I let the stummel sit overnight. This caused the remaining oils, tars and smells to leach out into the cotton.
On to the next step. To clean the leather, I wiped down the outside with some saddle soap, a tiny bit of distilled water, and a soft toothbrush. I followed the instructions closely and it came out very well. This did a good job of cleaning any latent dirt on the surface of the leather. I let this dry completely before moving on.
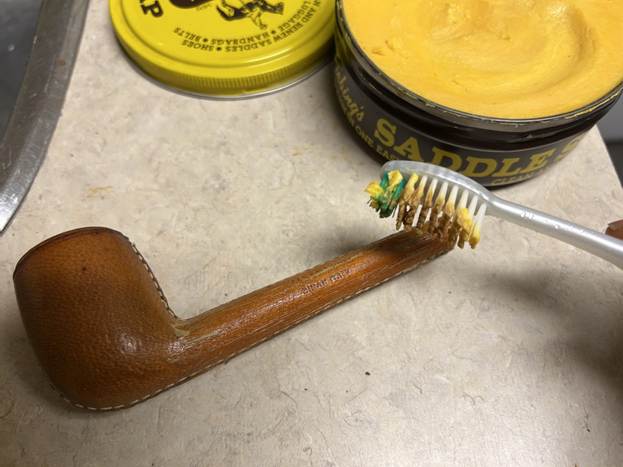
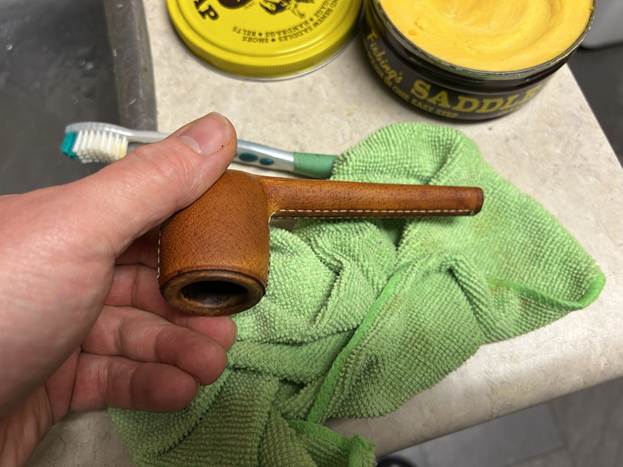
I used all nine micromesh pads (1,500 through 12,000 grit) to sand the rim of the stummel and finish it off. This sanding minimizes flaws in the briar and provides a beautiful smoothness to the wood. I rubbed some LBE Before & After Restoration Balm into the leather and briar and let it sit for an hour or so. I then buffed the stummel with a microfibre cloth. For the final step, I took the stem to my bench polisher and carefully buffed it – first with a blue diamond compound, then with some carnauba wax. No buffing for the stummel this time.
All done! This Canadian leather lumberman with Italian briar looks fantastic again and is ready to be enjoyed by its next owner. I am pleased to announce that this pipe is for sale! If you are interested in acquiring it for your collection, please have a look in the ‘Italian’ or ‘Canadian’ section of the store here on Steve’s website. You can also email me directly at kenneth@knightsofthepipe.com. The approximate dimensions of the pipe are as follows: length 6⅞ in. (175 mm); height 2 in. (51 mm); bowl diameter 1½ in. (38 mm); chamber diameter ¾ in. (20 mm). The weight of the pipe is 1½ oz. (43 g). I hope you enjoyed reading the story of this pipe’s restoration as much as I enjoyed restoring it. If you are interested in more of my work, please follow me here on Steve’s website or send me an email. Thank you very much for reading and, as always, I welcome and encourage your comments.