By Steve Laug
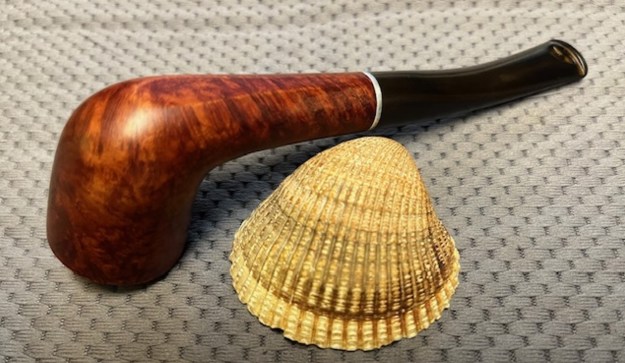
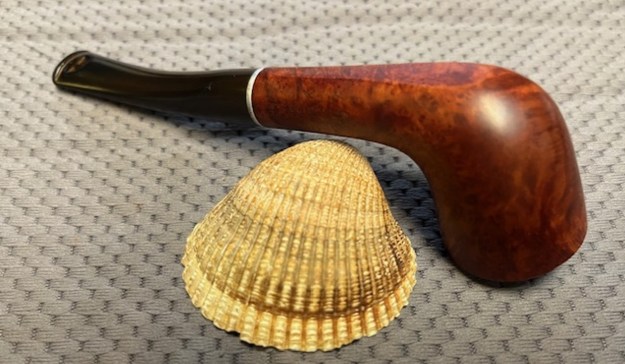
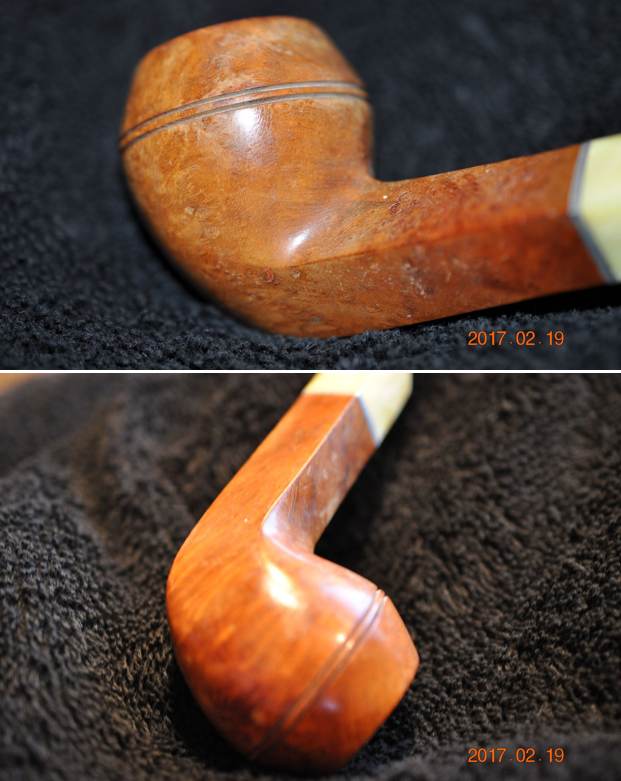
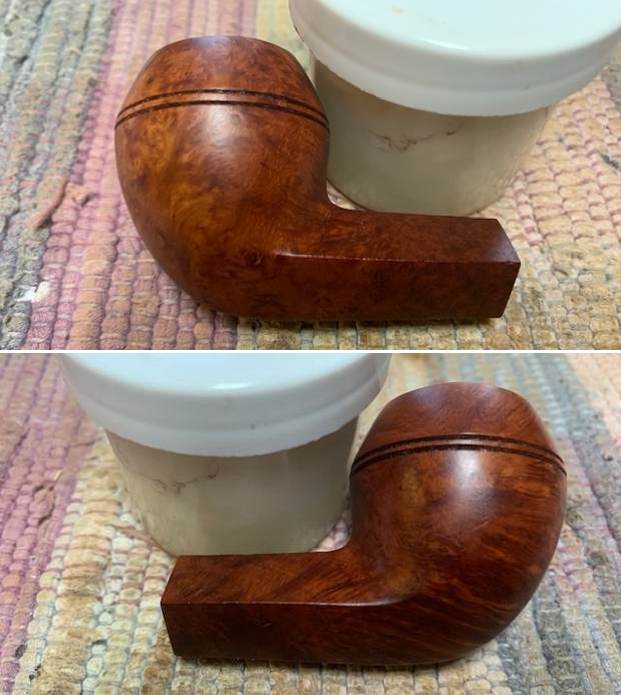
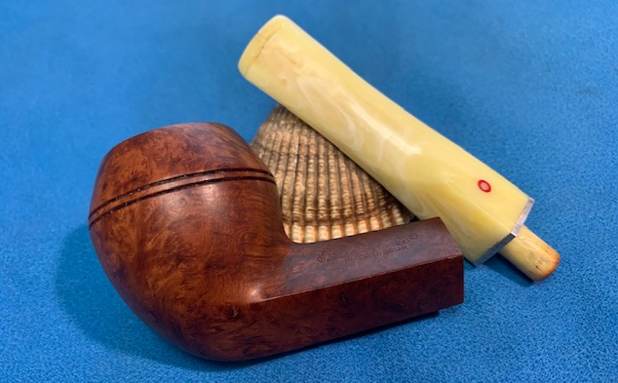
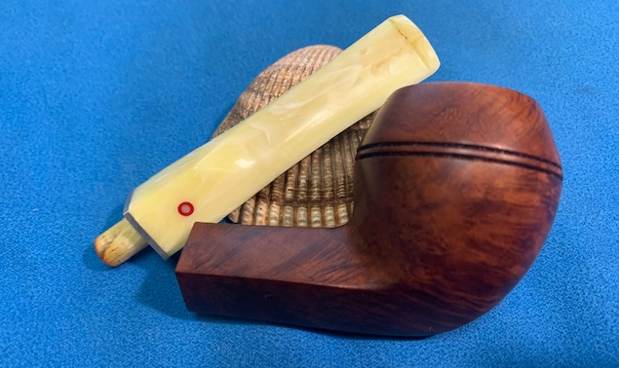
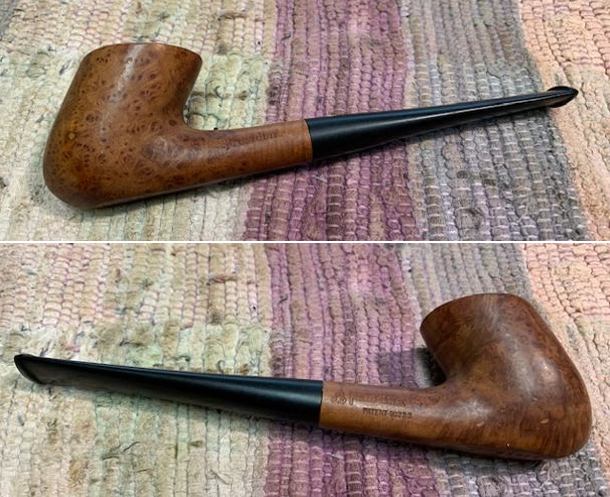
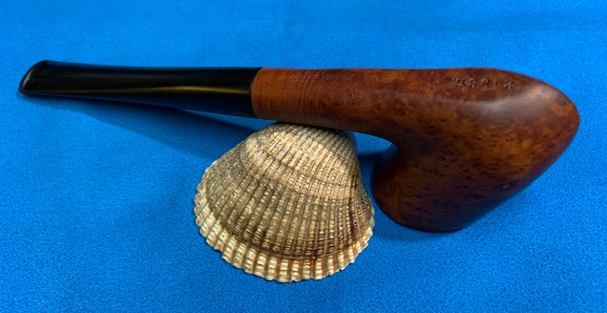
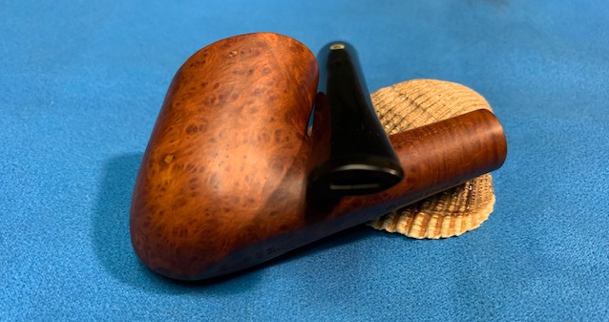
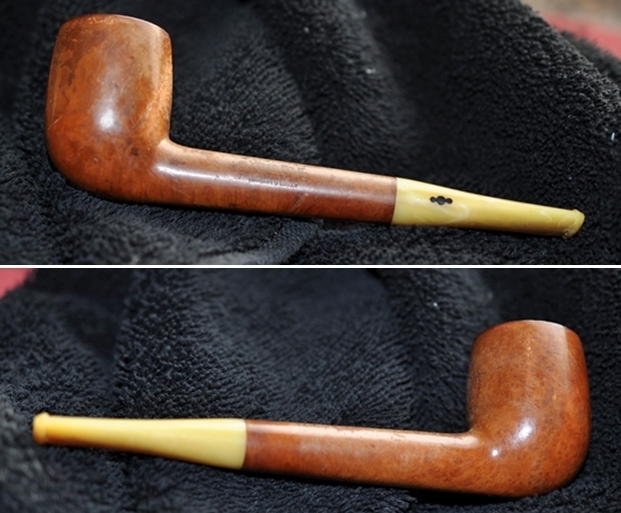
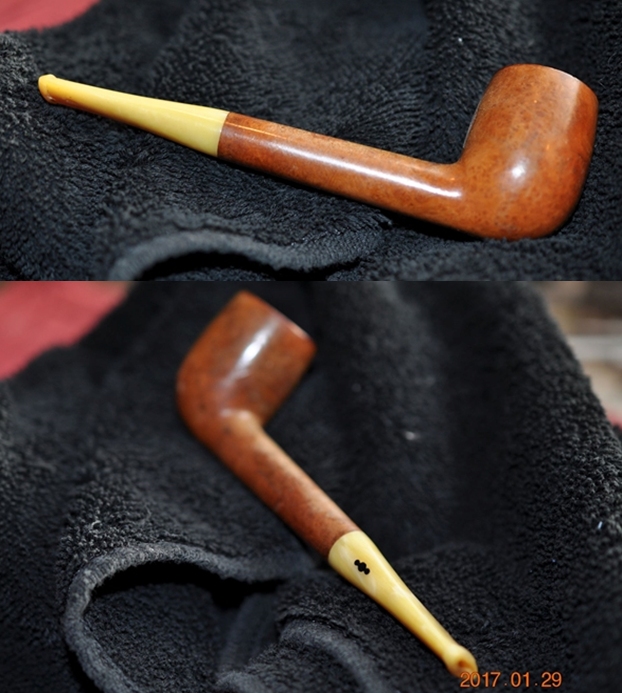
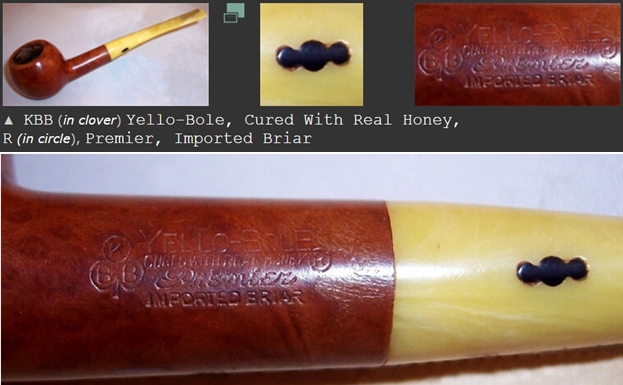
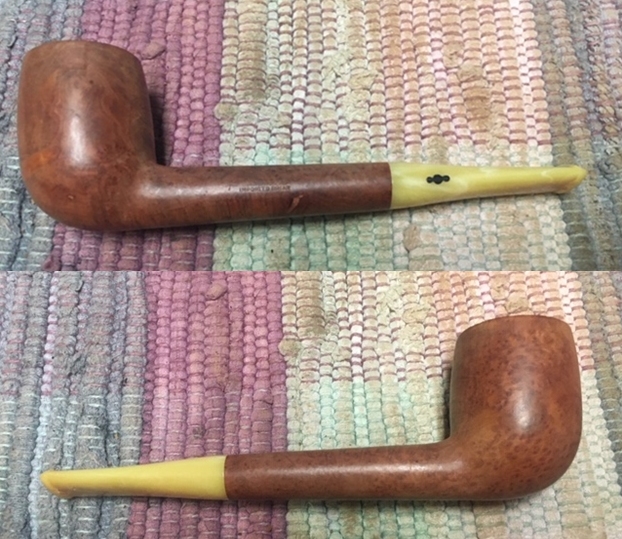
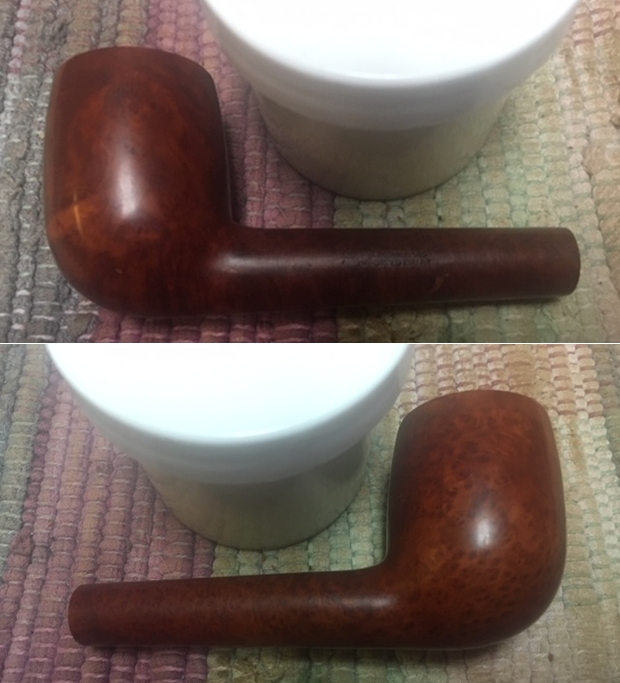
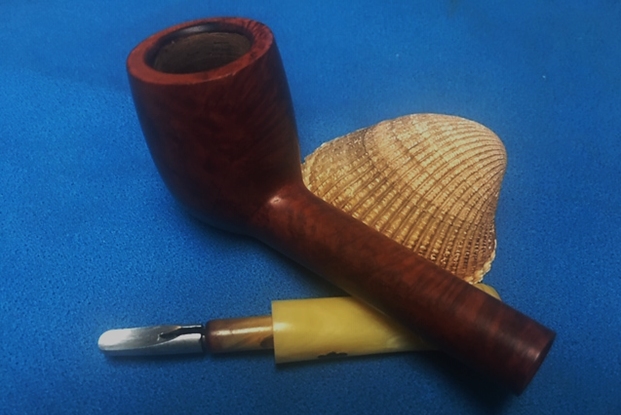
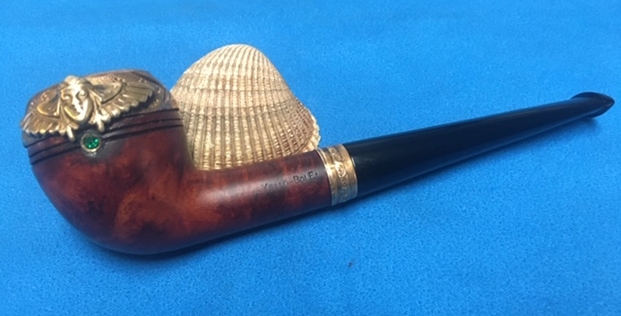
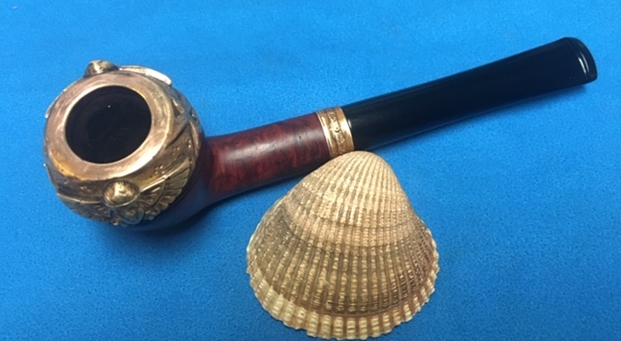
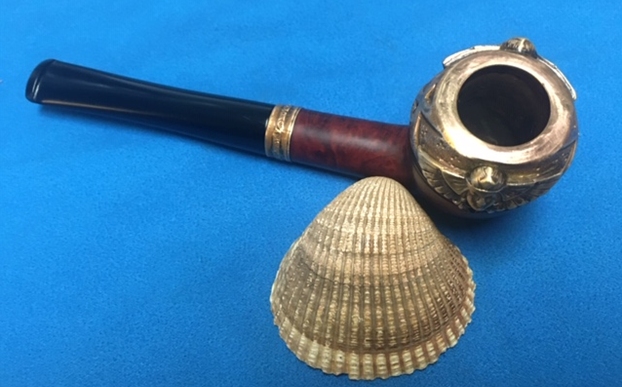
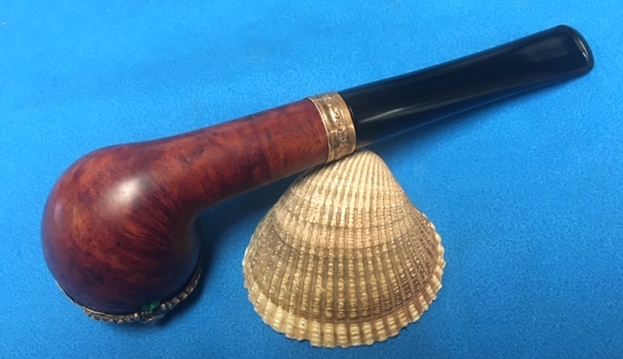
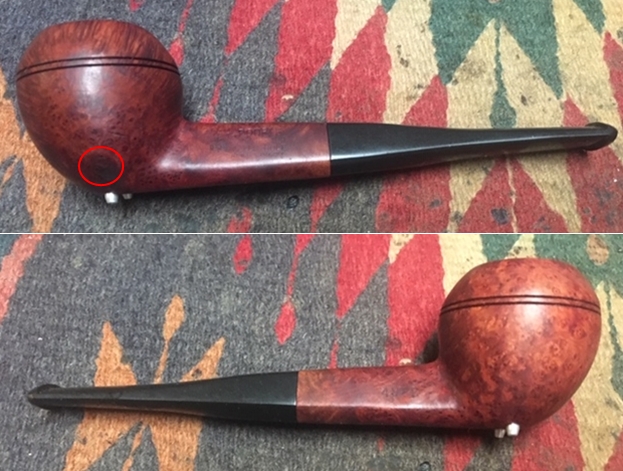
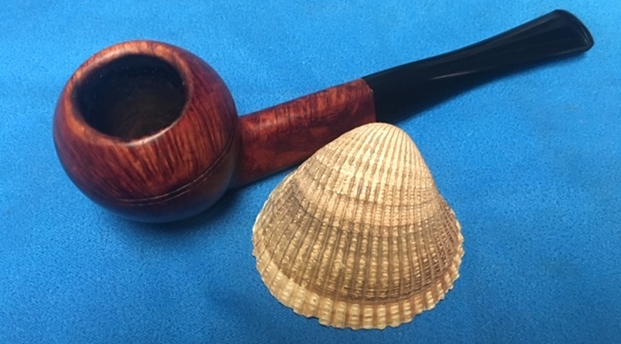
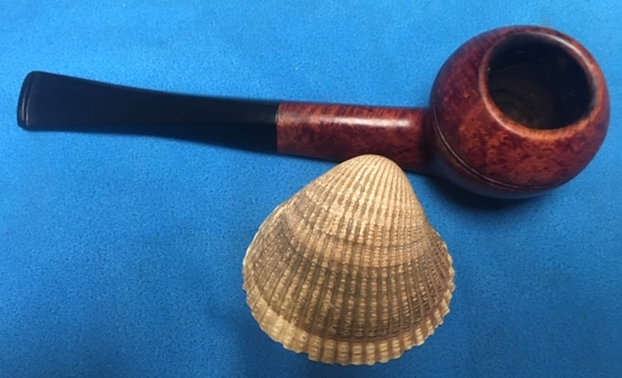
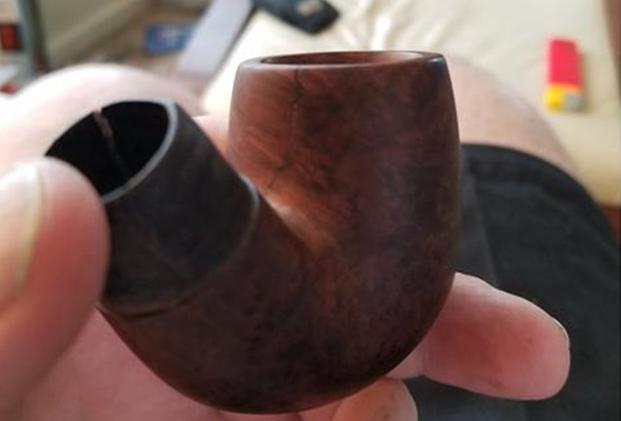
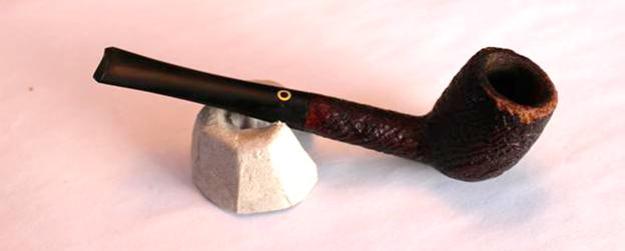
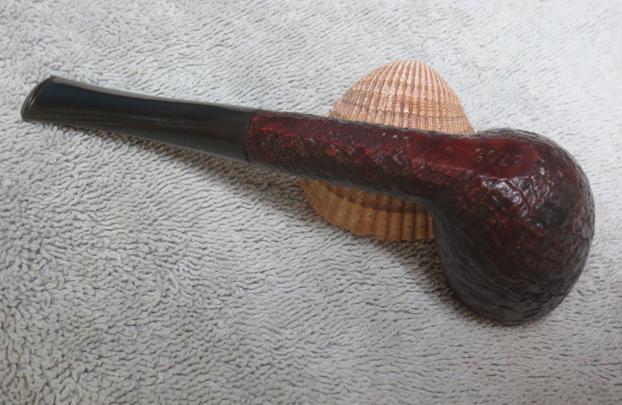
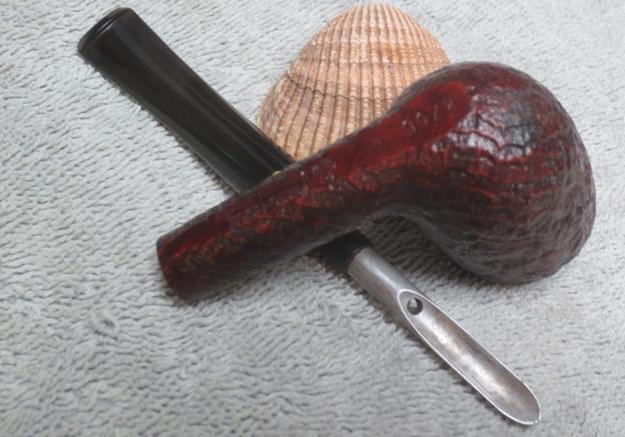
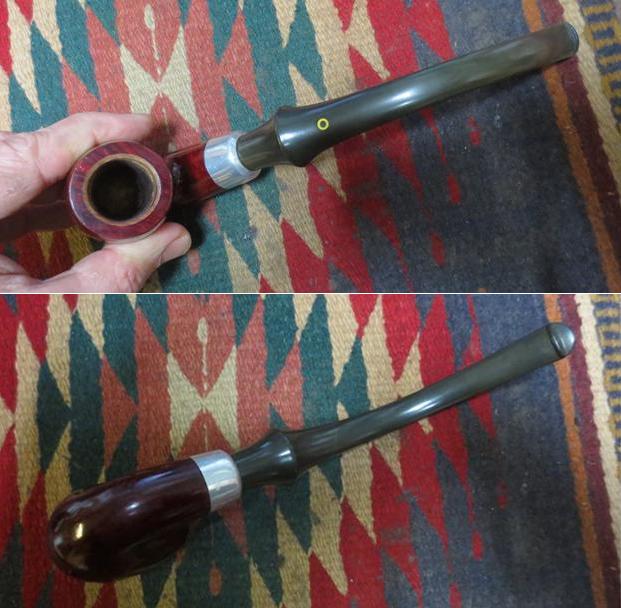
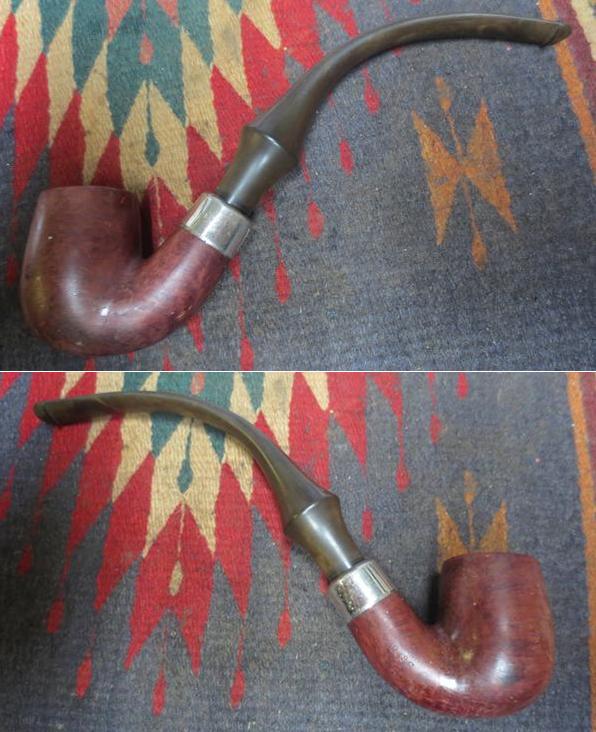
The next pipe on the table is one of three that was dropped off at my house on Saturday for clean up and restoration. Robert stopped by with a bag of pipes that his brother had picked up for him while hunting for pipes in New York. The lot included a Medico Ventilator, a couple of Grabows, a small salesman’s pipe, a Smokemaster, an unmarked sandblast pot, an Oom Paul Natural Grain Algerian Briar France, a Comoy’s Grand Slam Patent Pot, and an interesting KBB Yello-Bole Zulu/Yacht with a unique biteproof stem. We went through the lot and chose the three pipes that he wanted to work on. I have circled them in the photo below. I chose to work on the Yello-Bole Zulu/Yacht first as it was unique and just called out to me. The finish was very dirty but the grain was quite beautiful around the bowl and the shank. The pipe is stamped on the left side and reads KBB in a cloverleaf next to the bowl/shank union. To the right of that it is stamped Stembiter [over] Yello-Bole [over] Cured with Real Honey. On the right side of the shank it is stamped with the shape number 4261B. The bowl had a thick cake but underneath there was remnants of the yellow Honey Coating that Yello-Bole draw their name from. The finish was dirty and had some peeling varnish around the bowl. The base of the bowl and shank had been flattened to make the pipe a sitter. It had a vulcanite push stem with the classic Yello-Bole Spade style stinger apparatus in the tenon. The stem was oxidized. The aluminum spacer on the shank end of the stem was oxidized and pitted. It was rough to touch. There were very light bite marks on the surface ahead of the button. The Stembiter system was unique on the stem end – a scooped out divot on both sides and then a twin bore button end. I took some photos of the pipe before I started my clean up work.
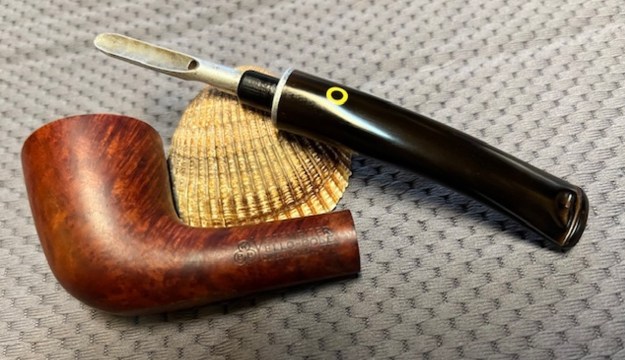
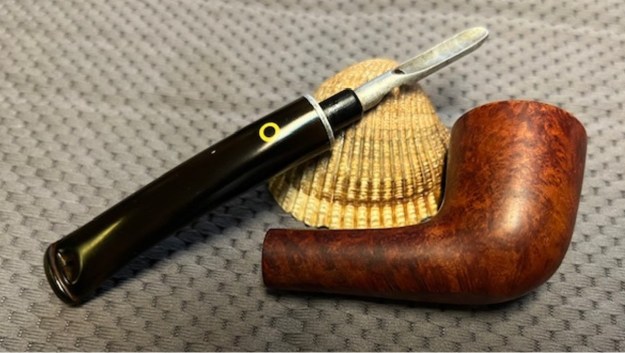
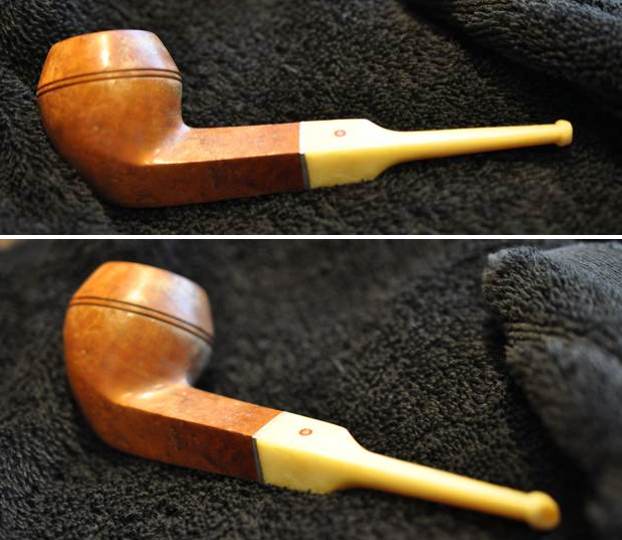
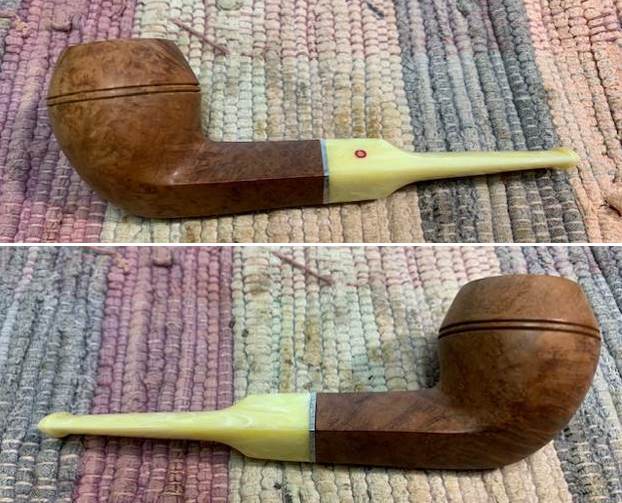
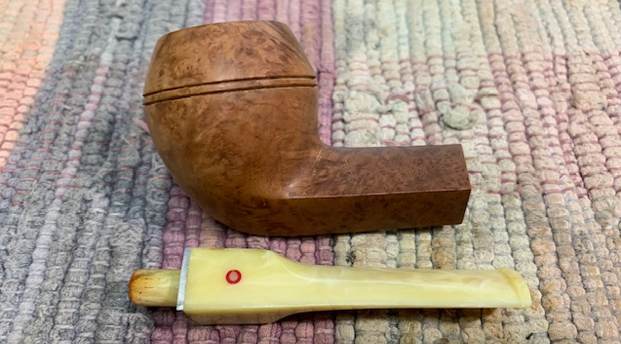
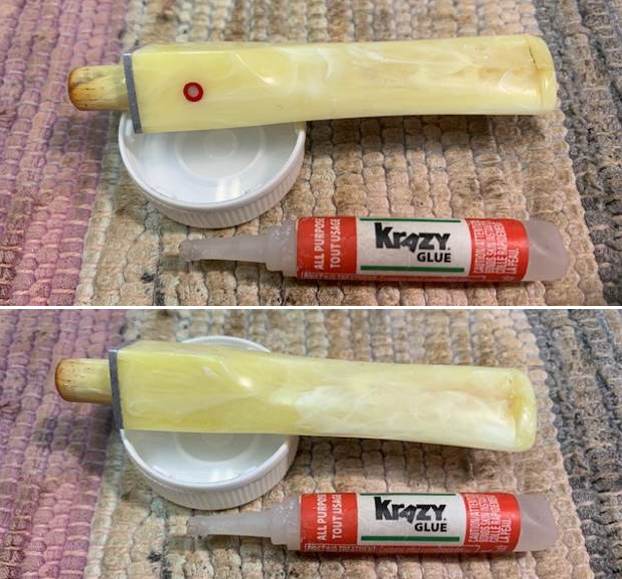
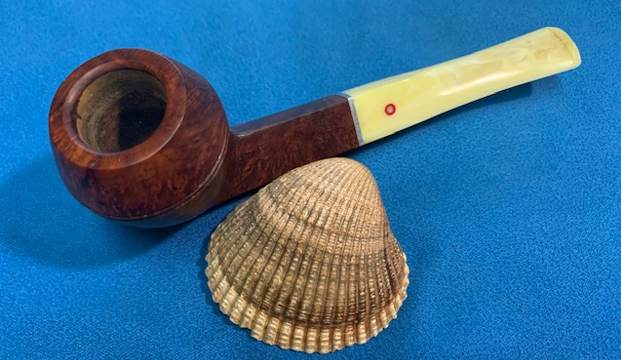
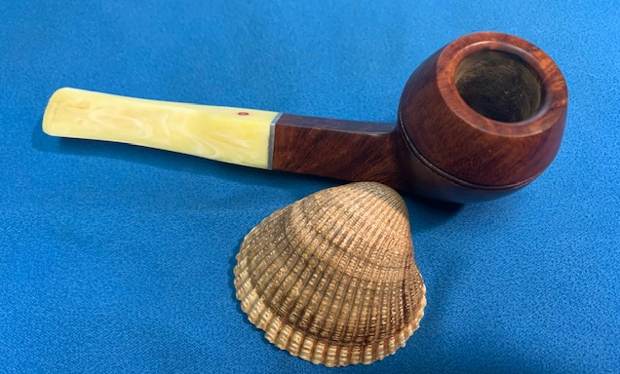
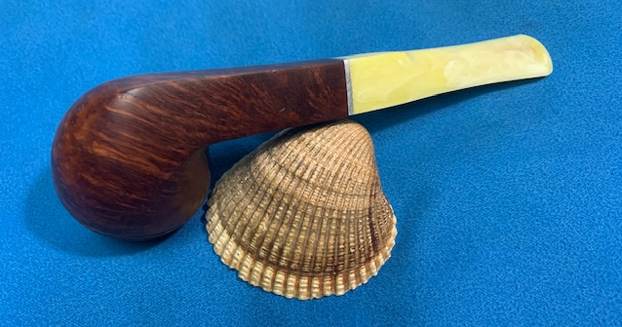
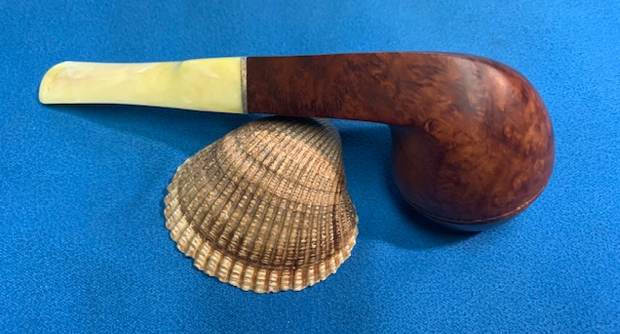
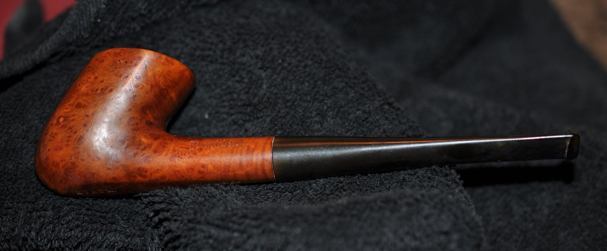
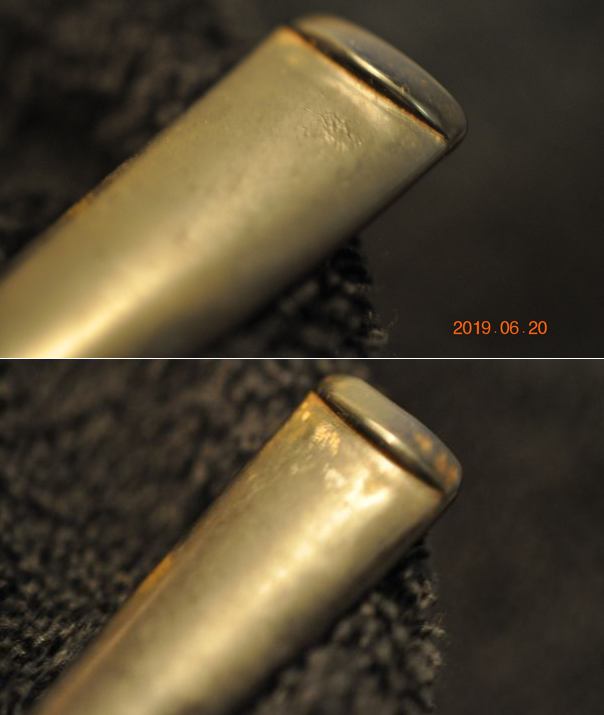
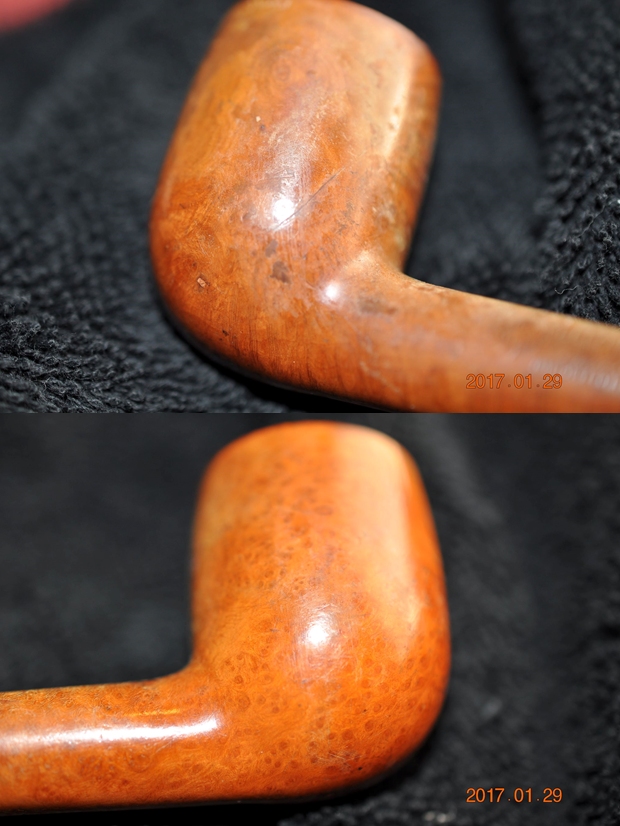
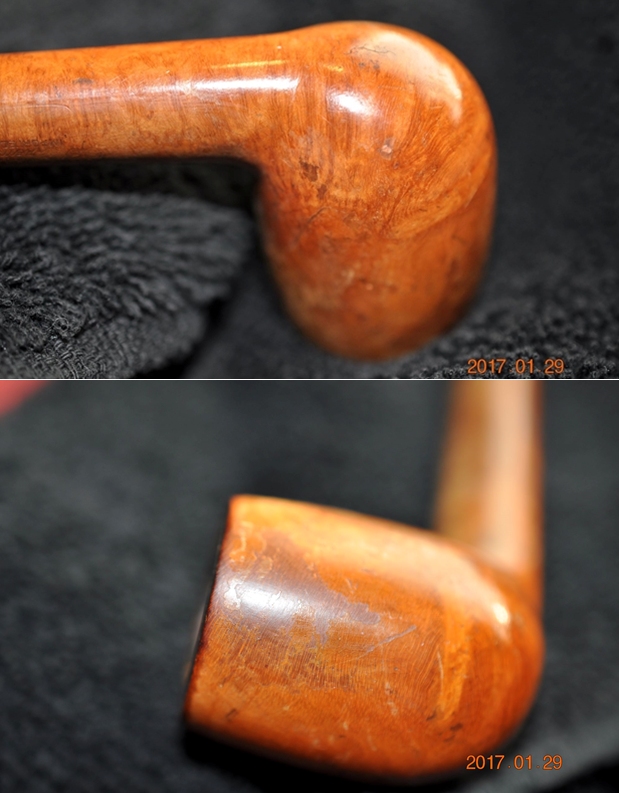
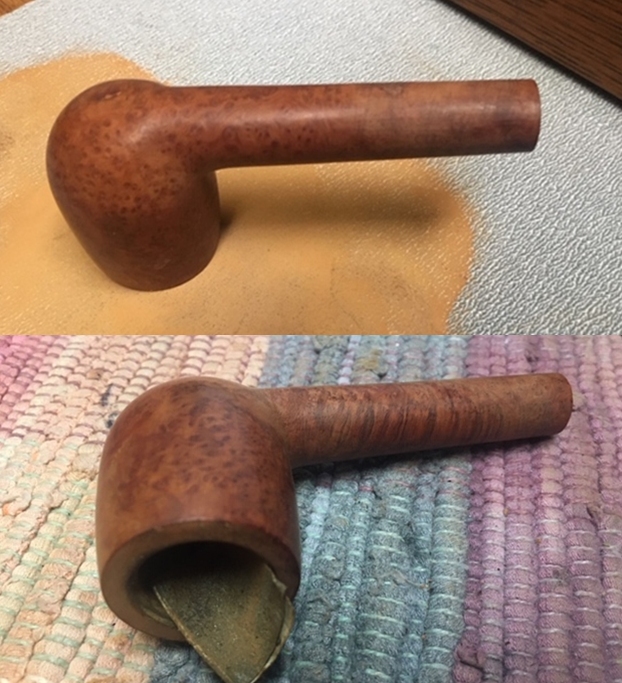
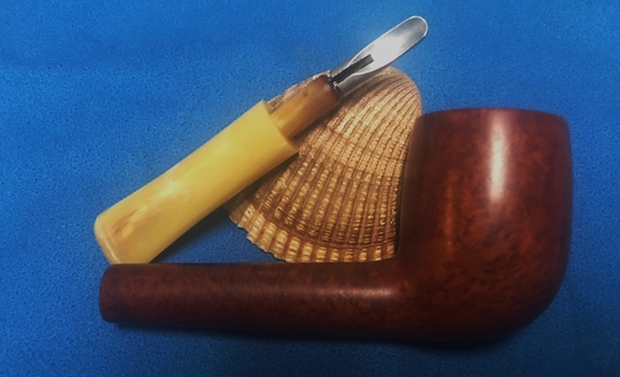
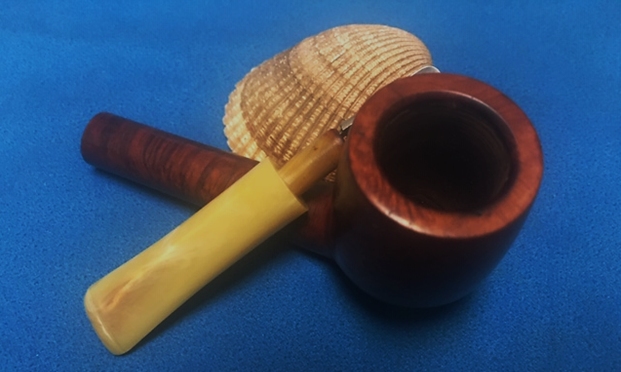
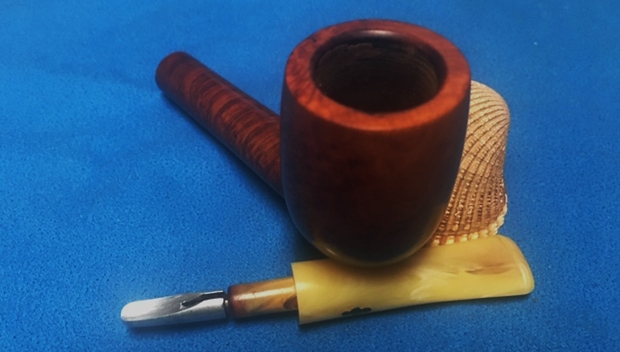
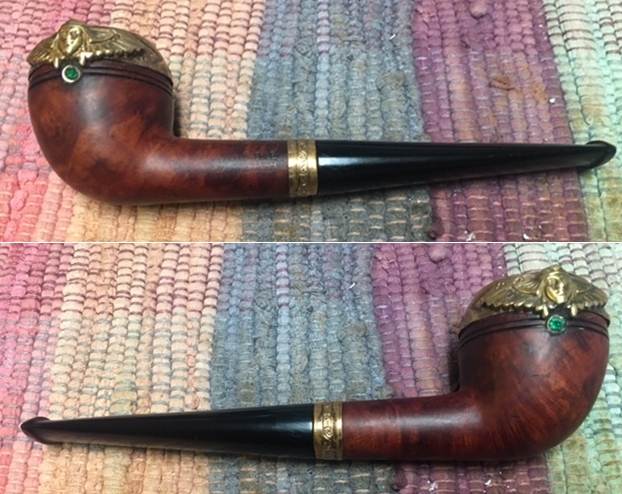
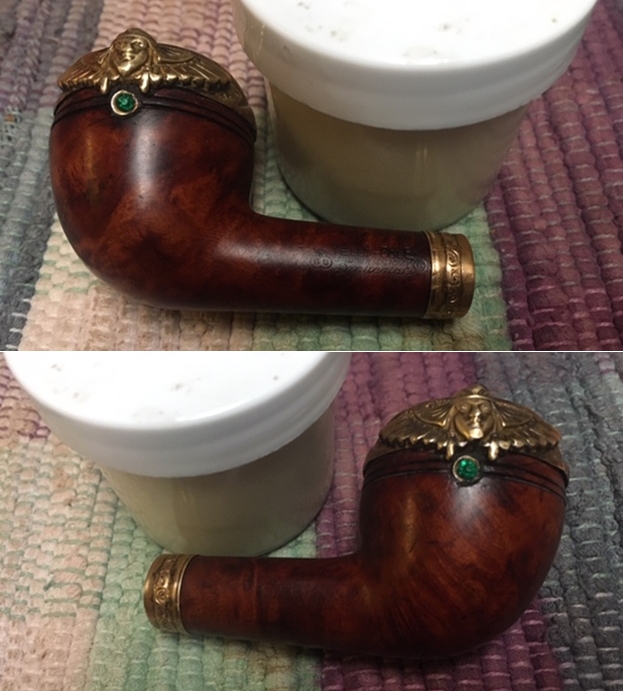
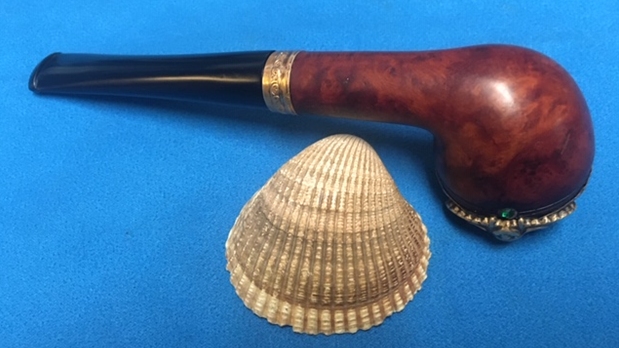
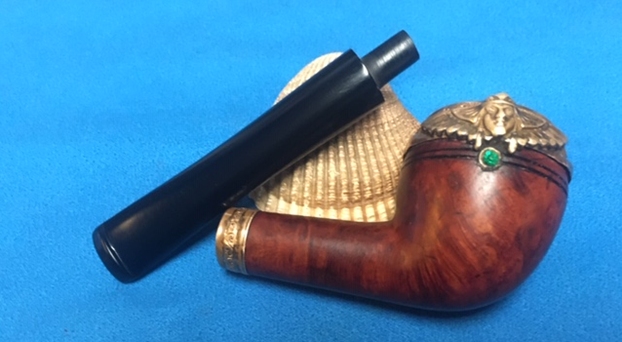
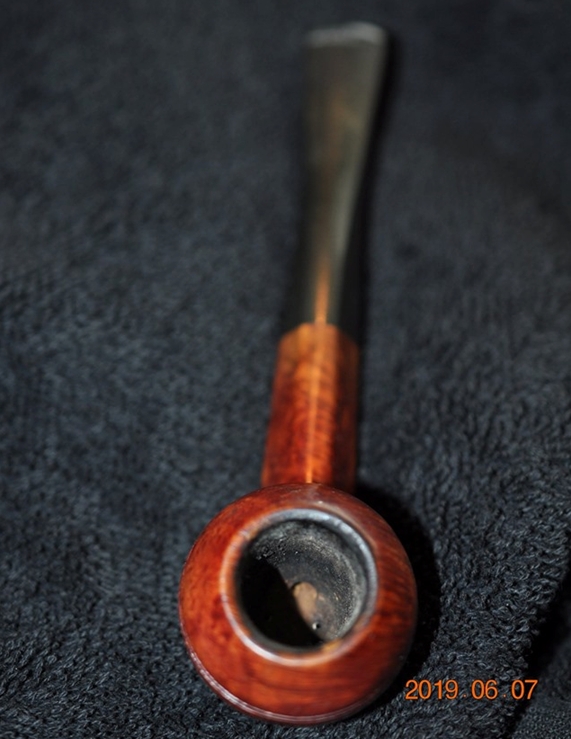
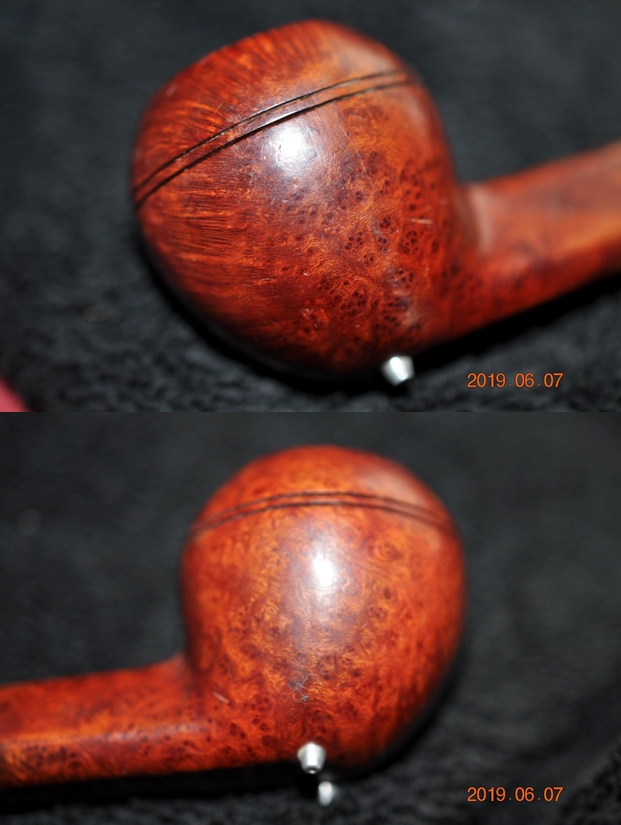
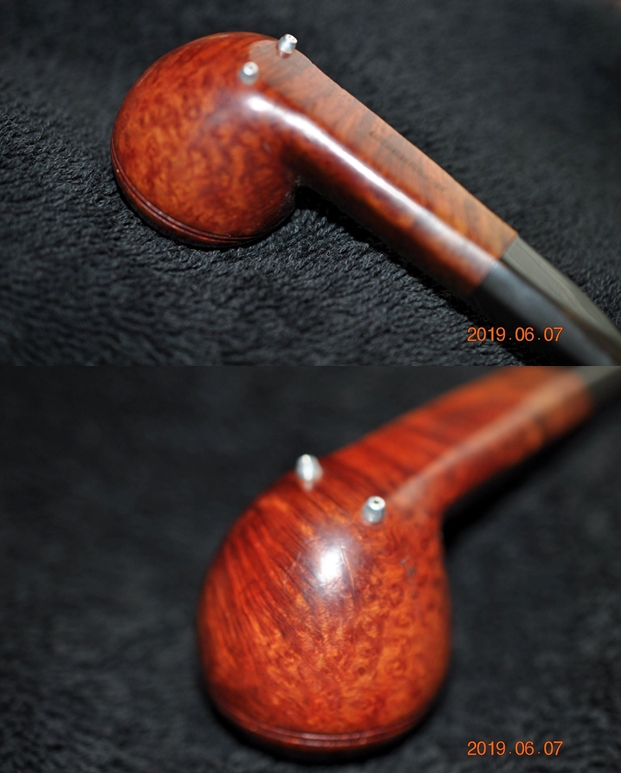
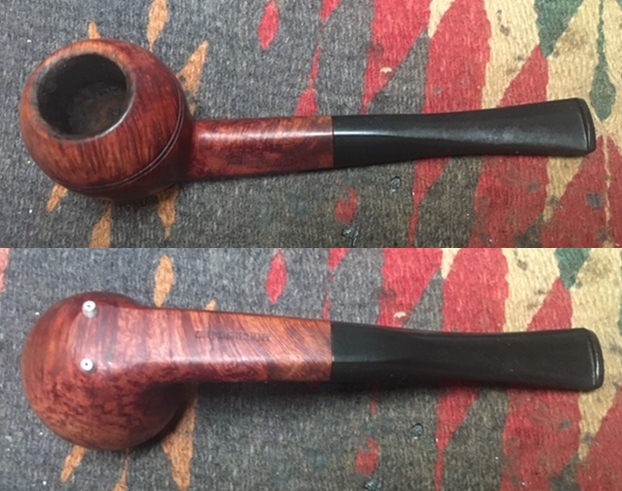
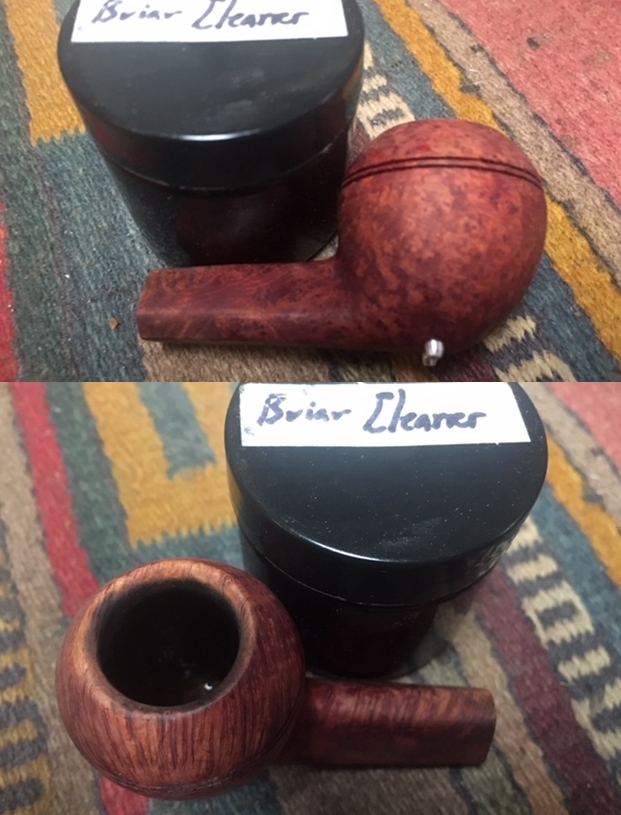
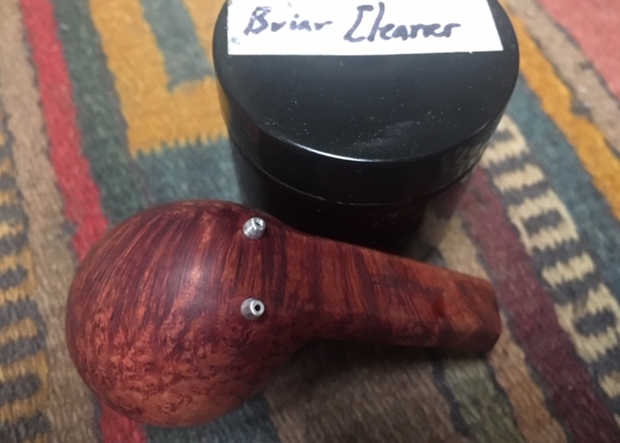
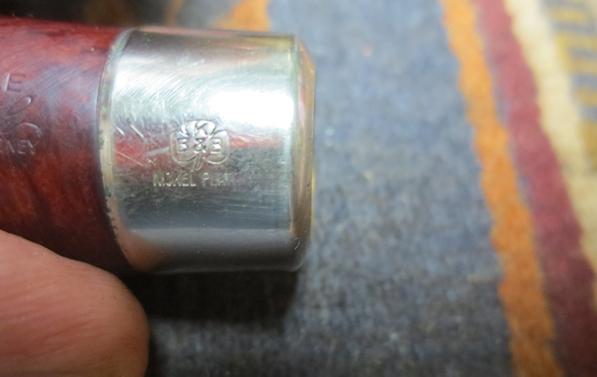
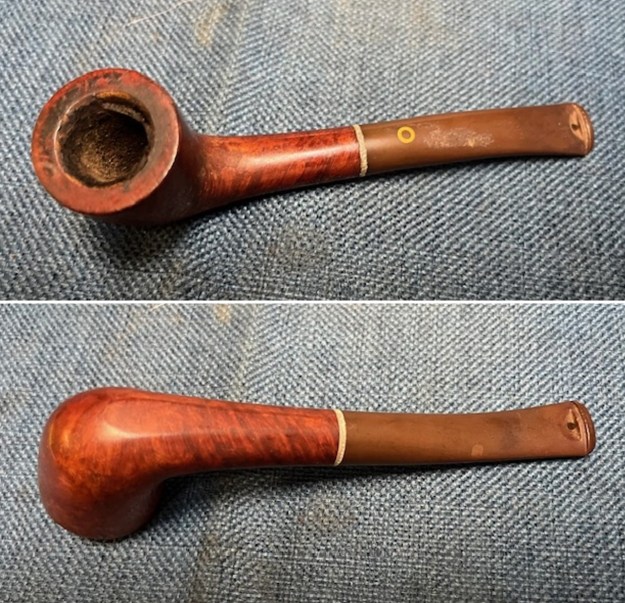
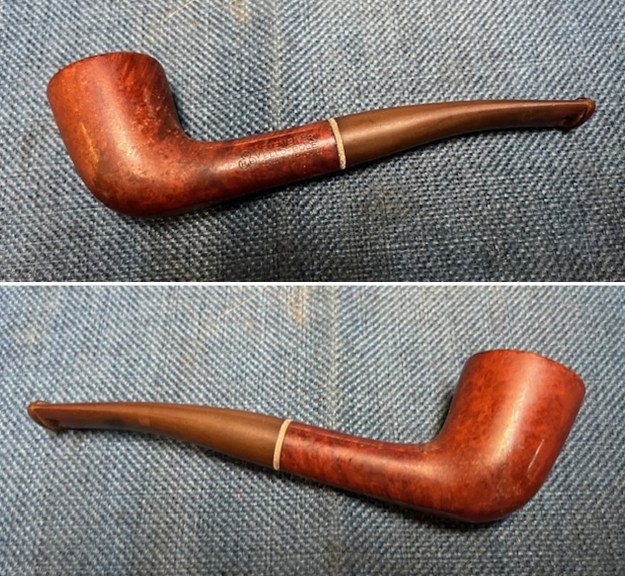
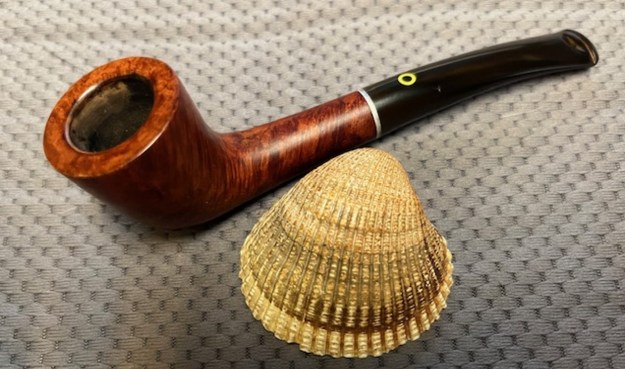
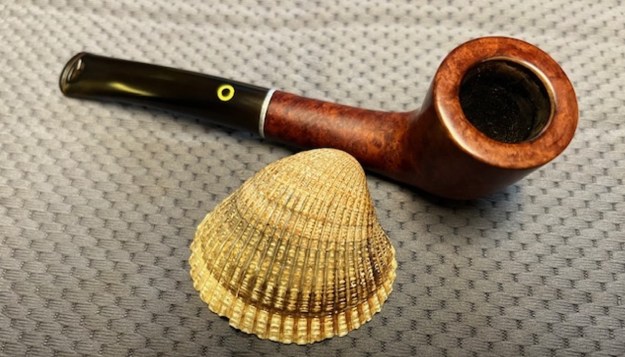
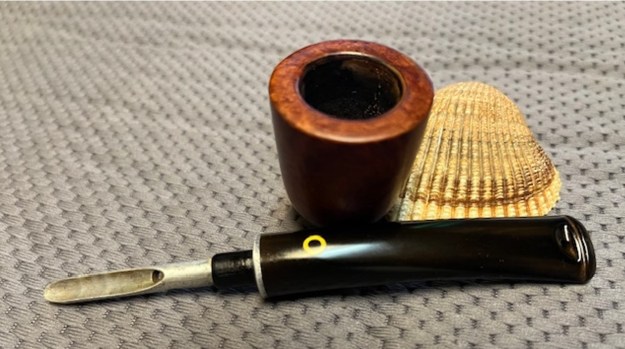
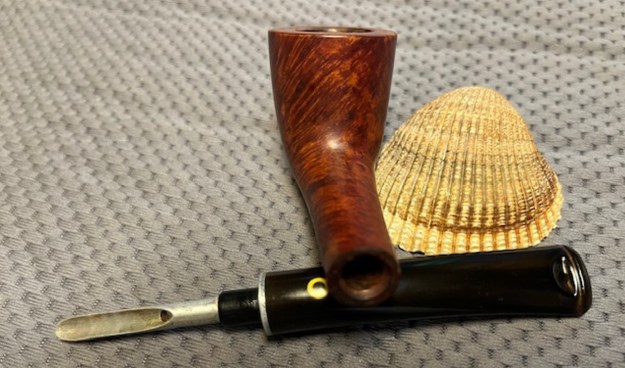
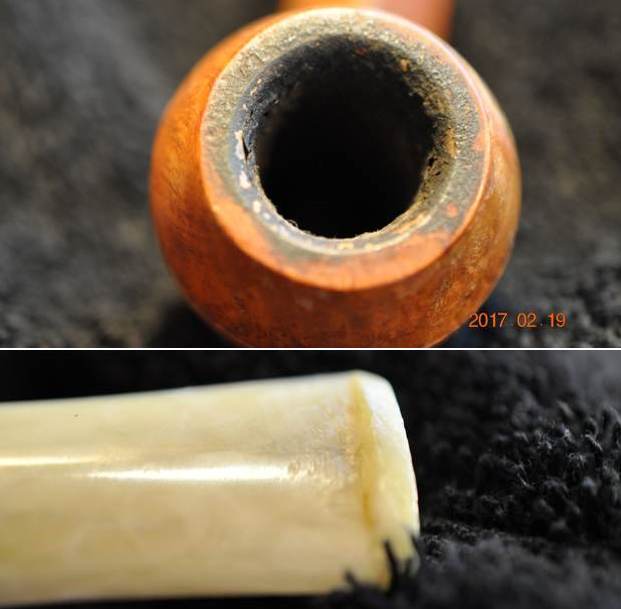
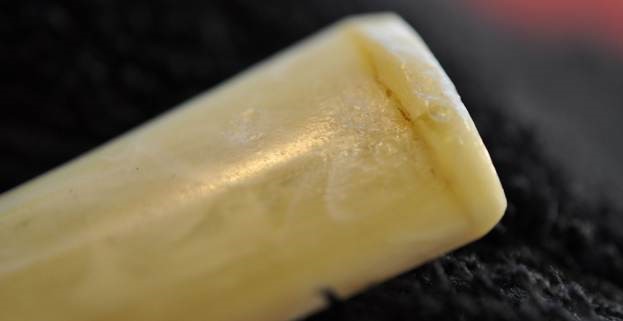
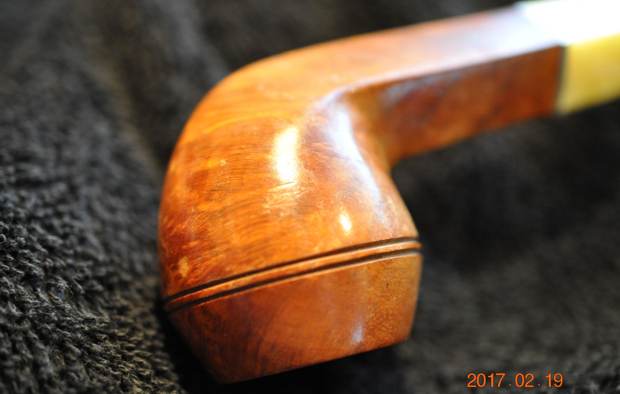
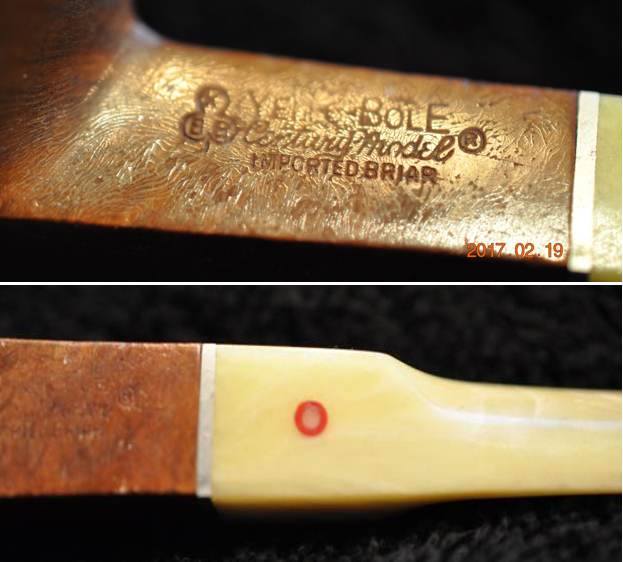
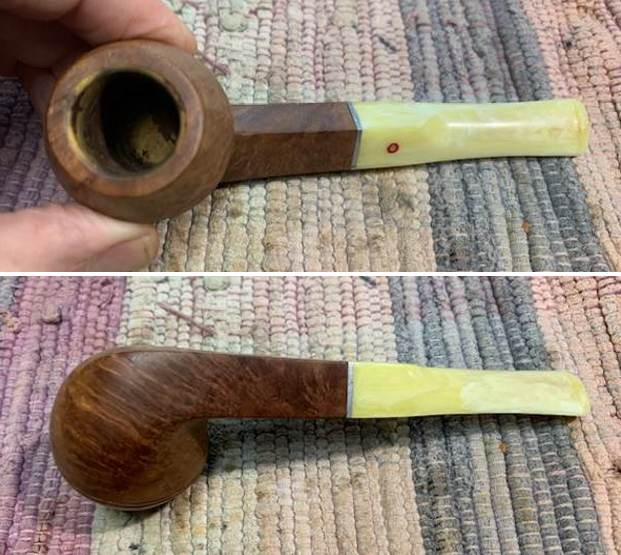
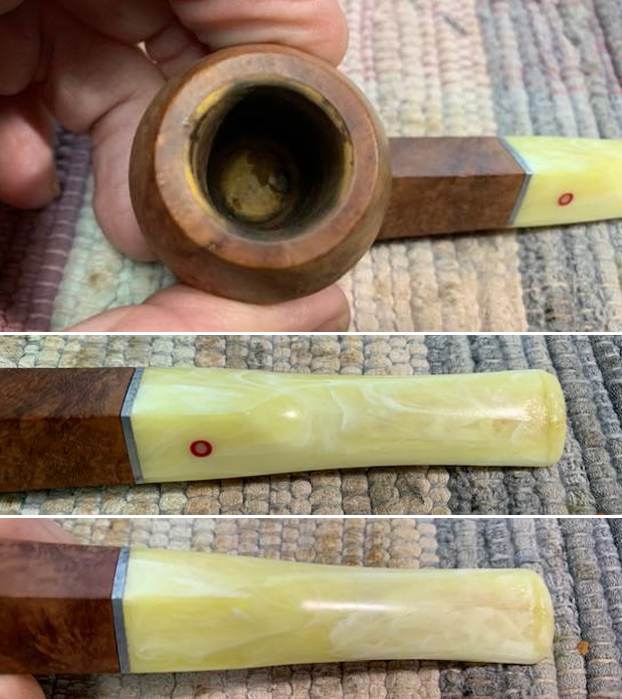
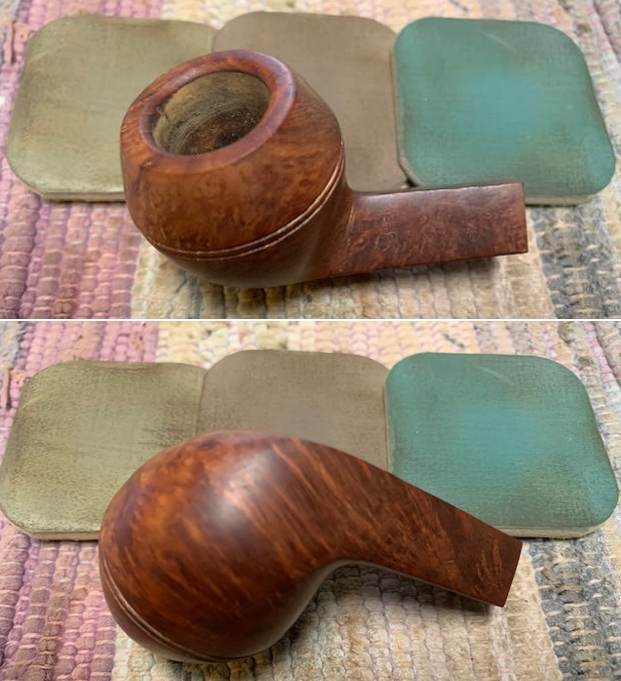
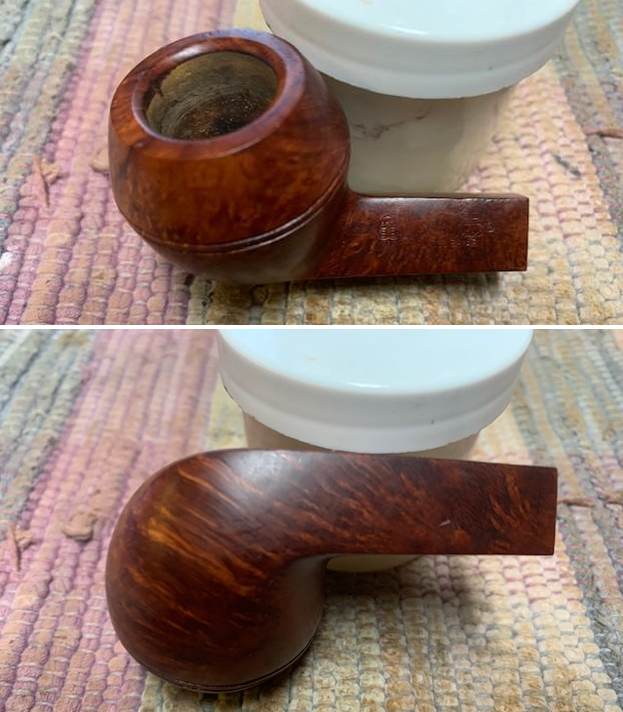
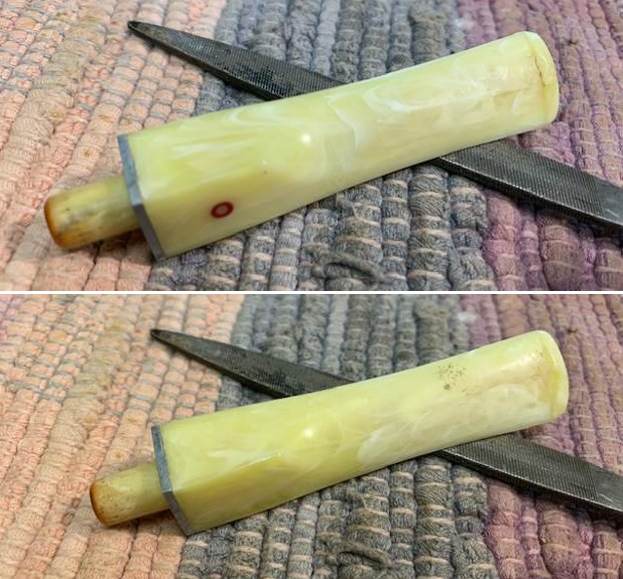
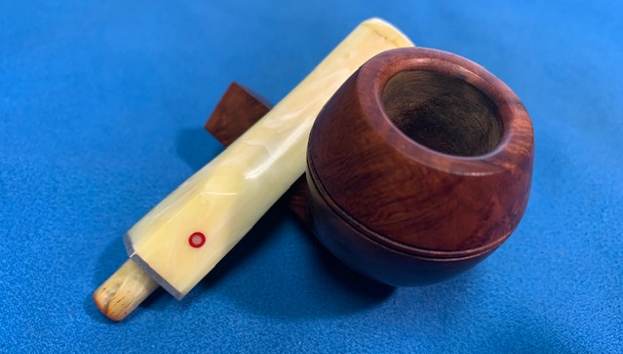
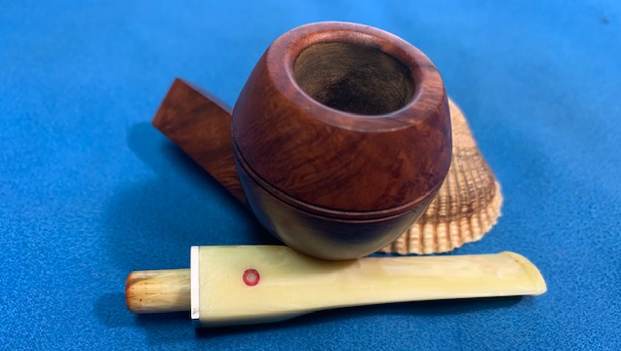
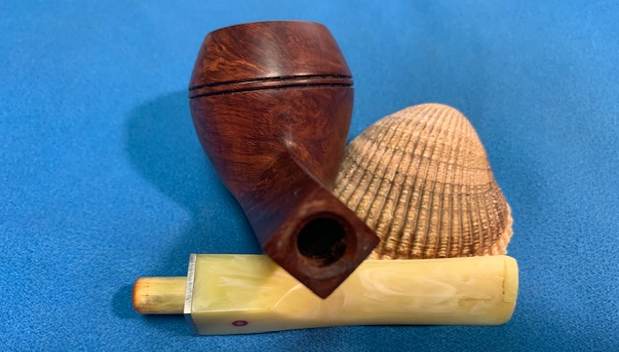
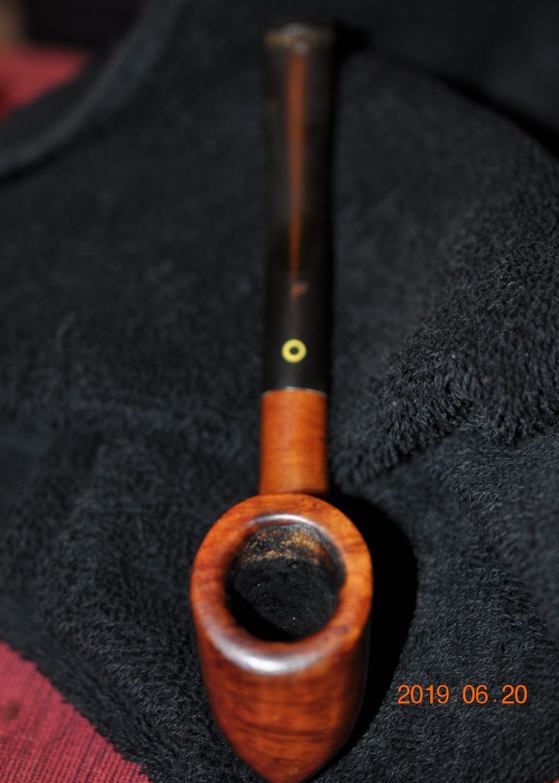
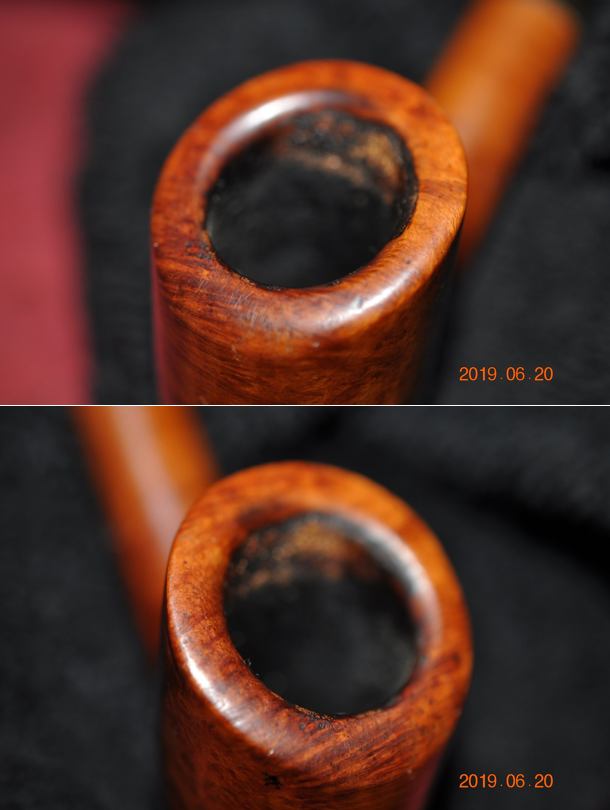
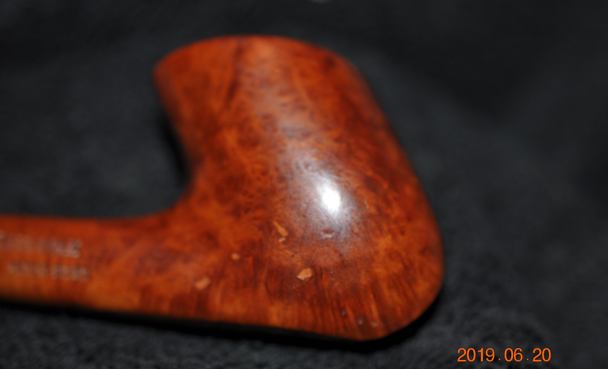
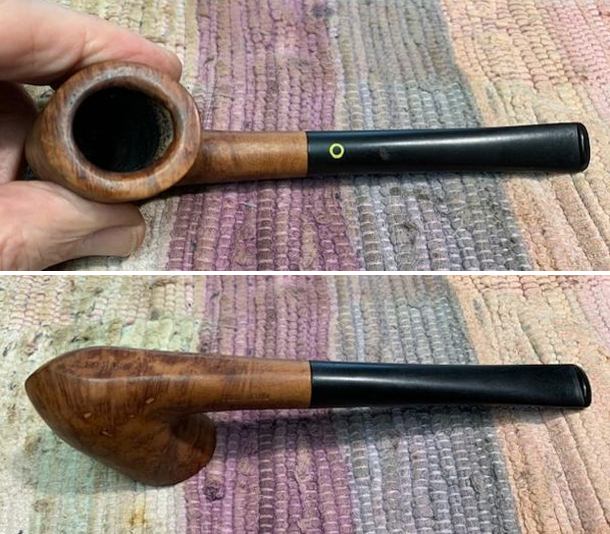
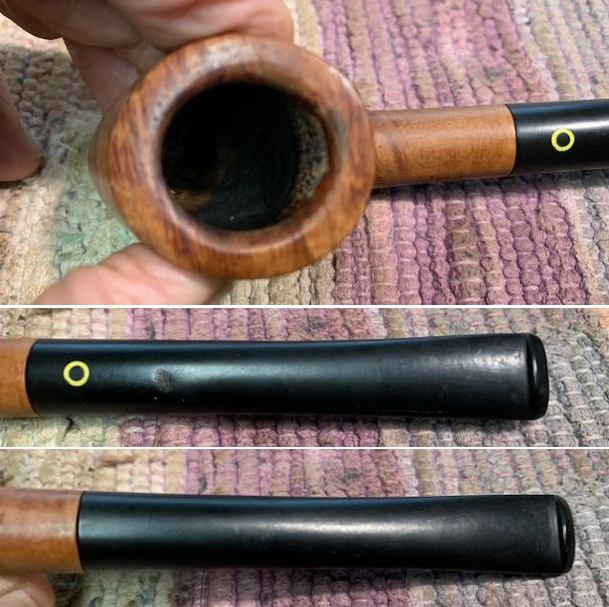
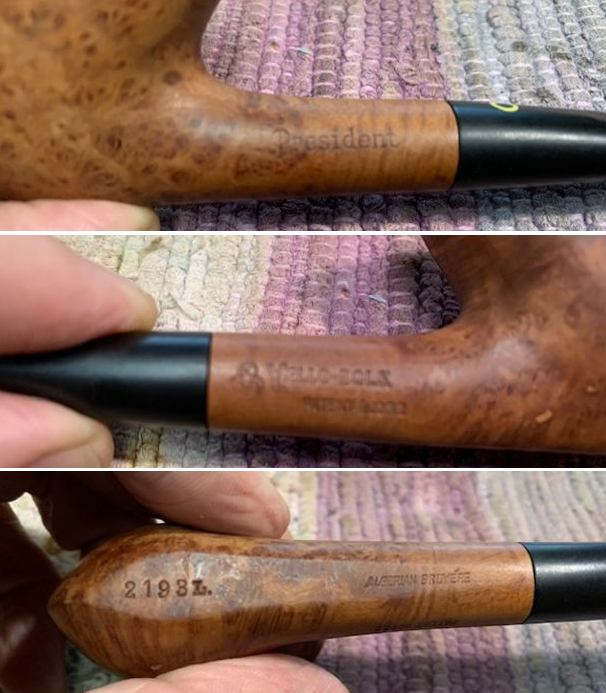
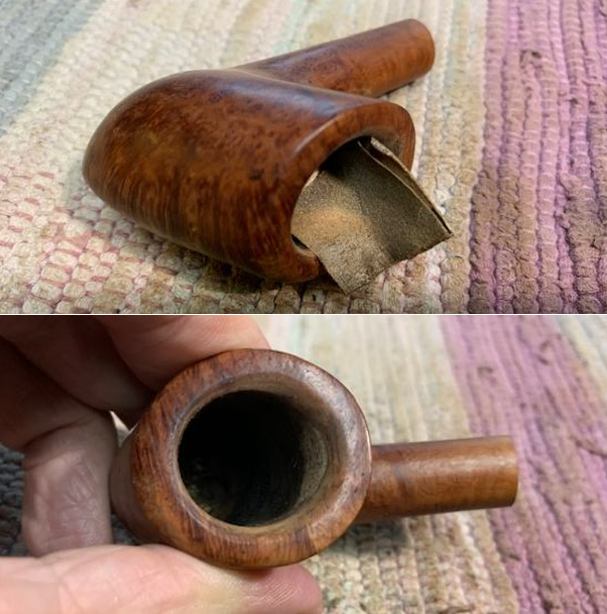
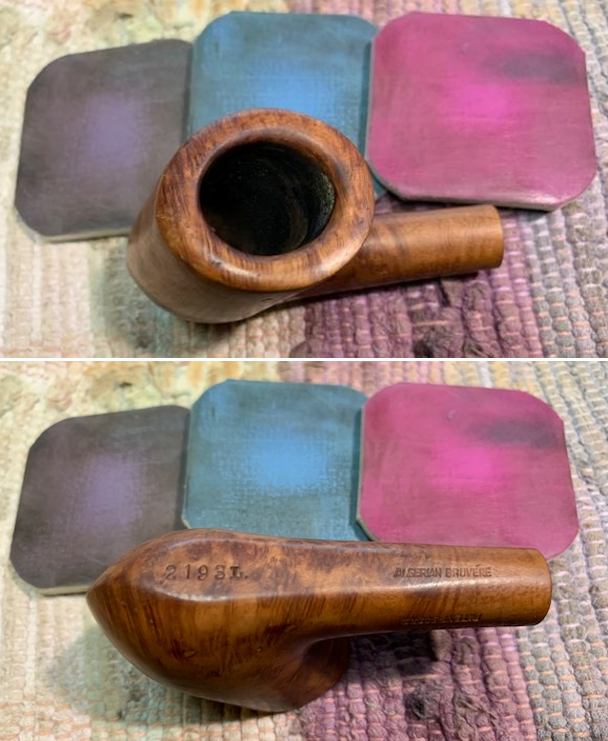
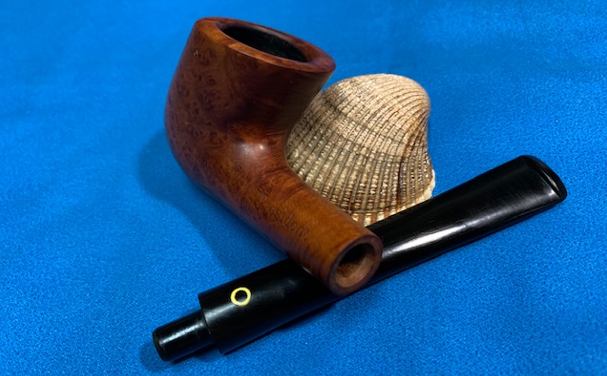
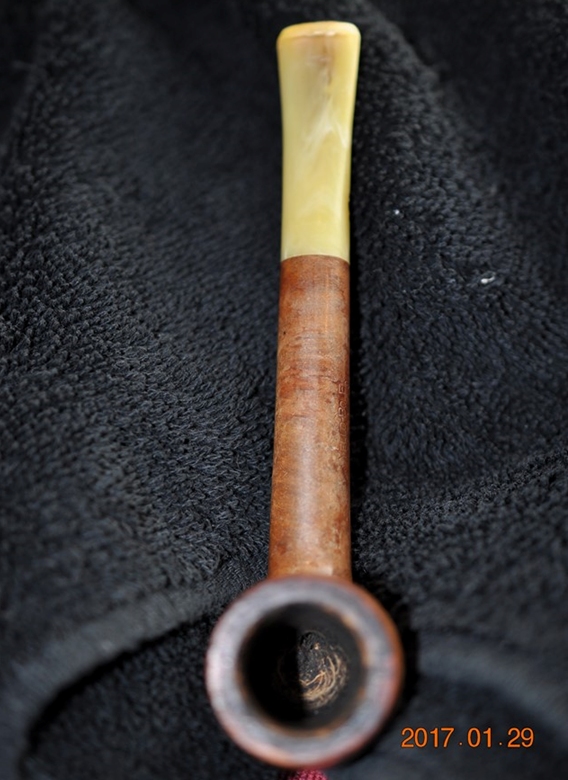
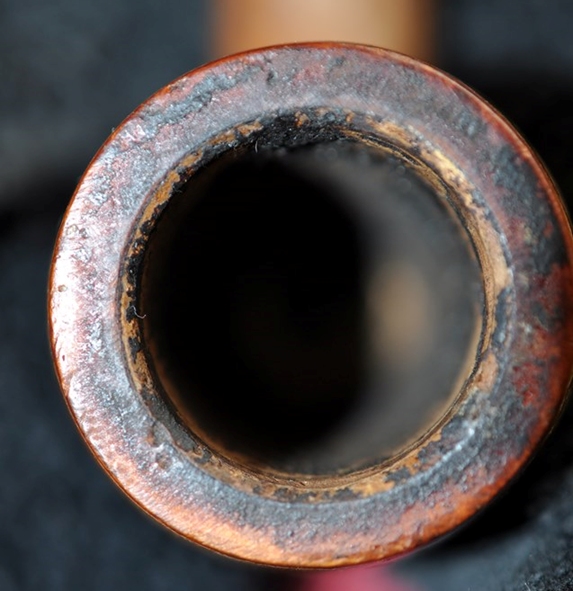
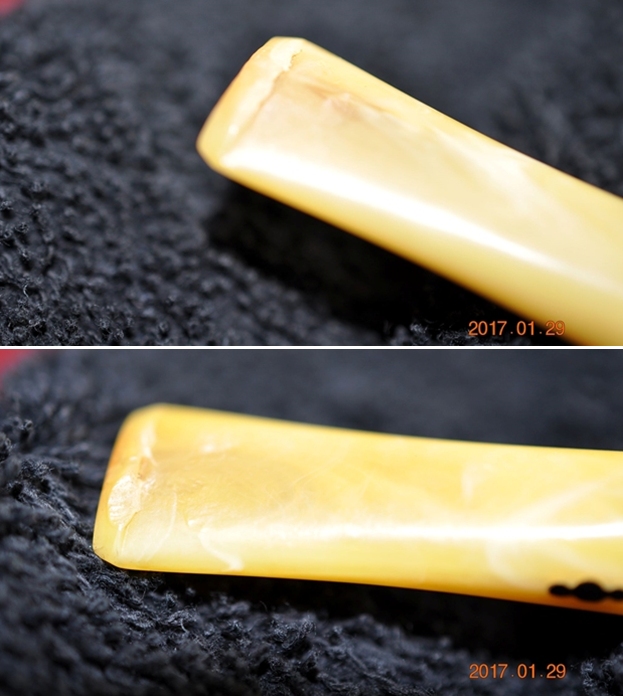
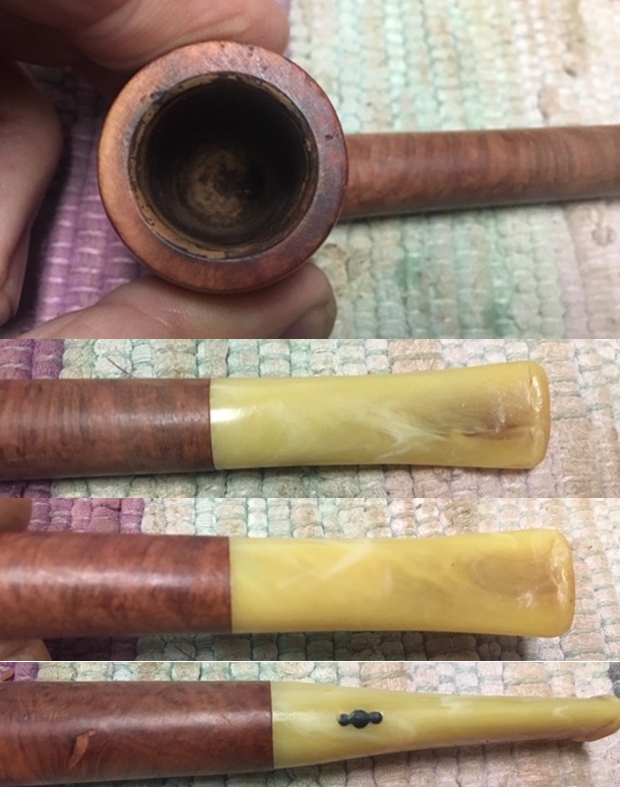
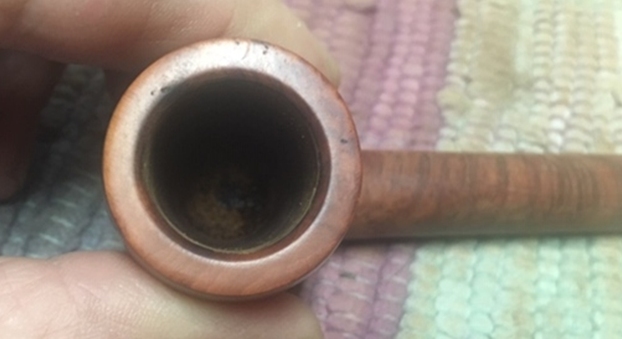
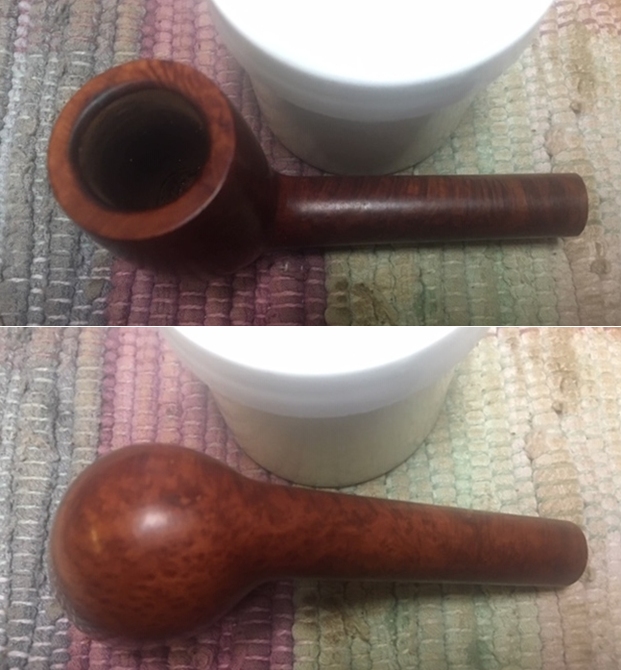
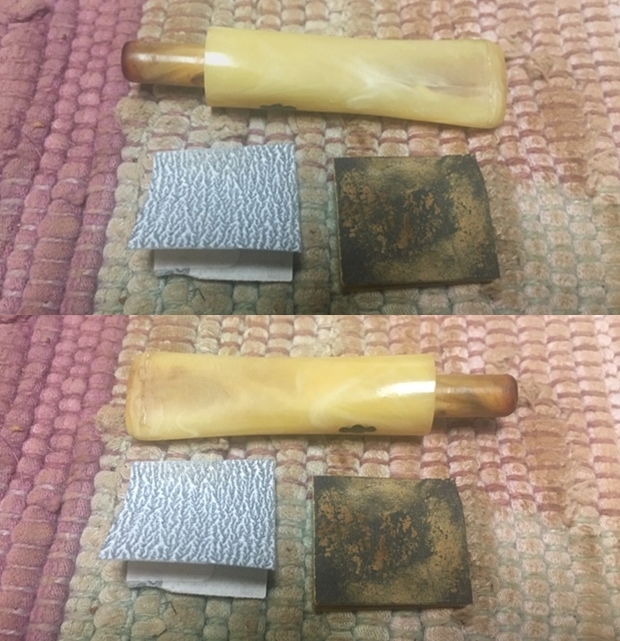
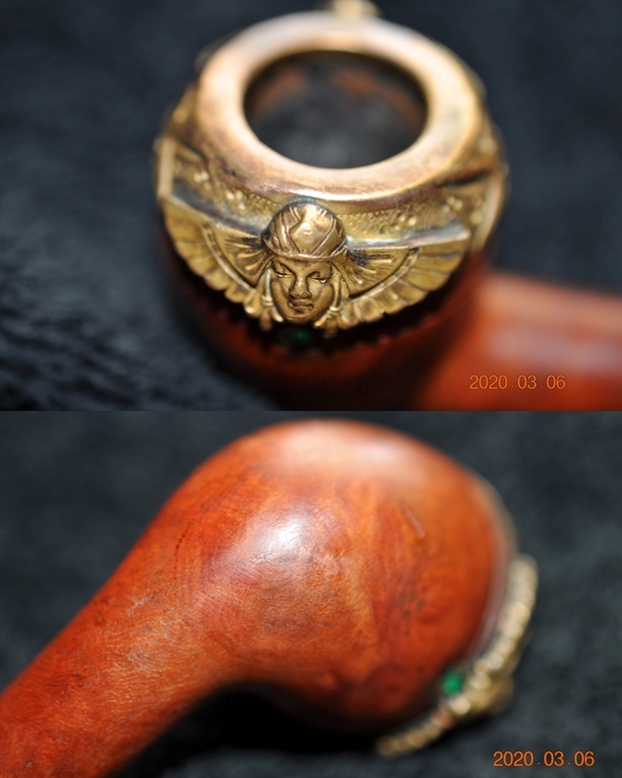
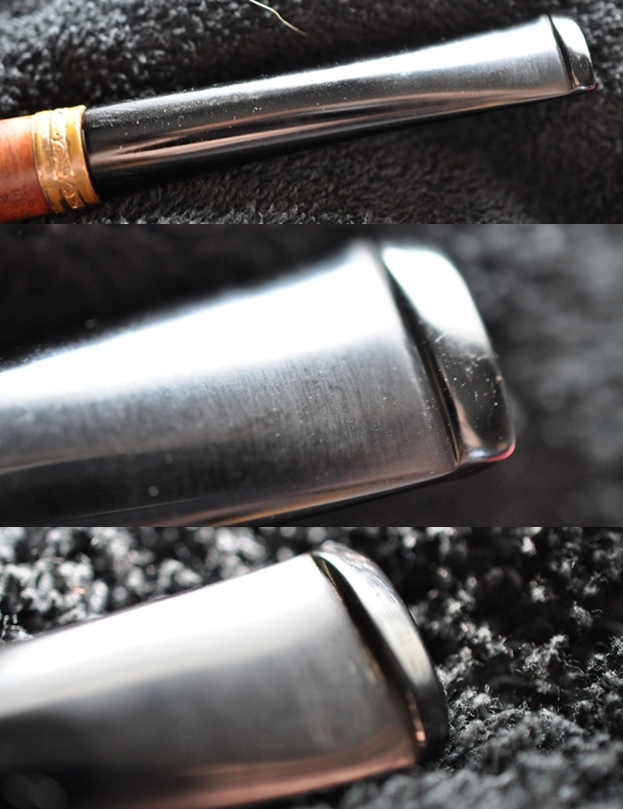
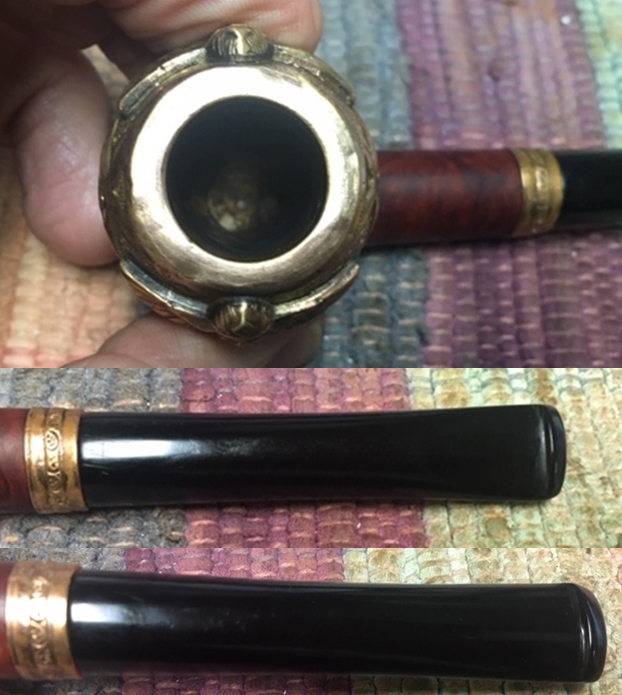
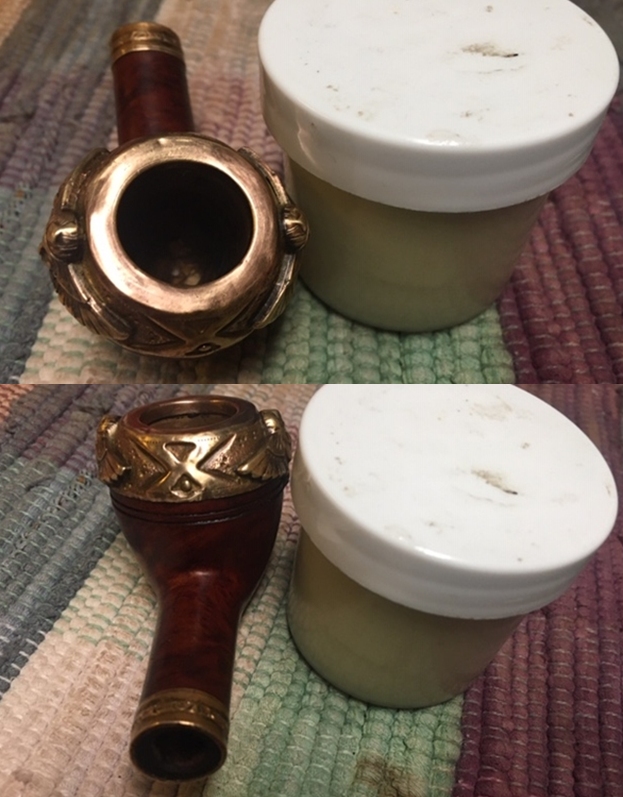
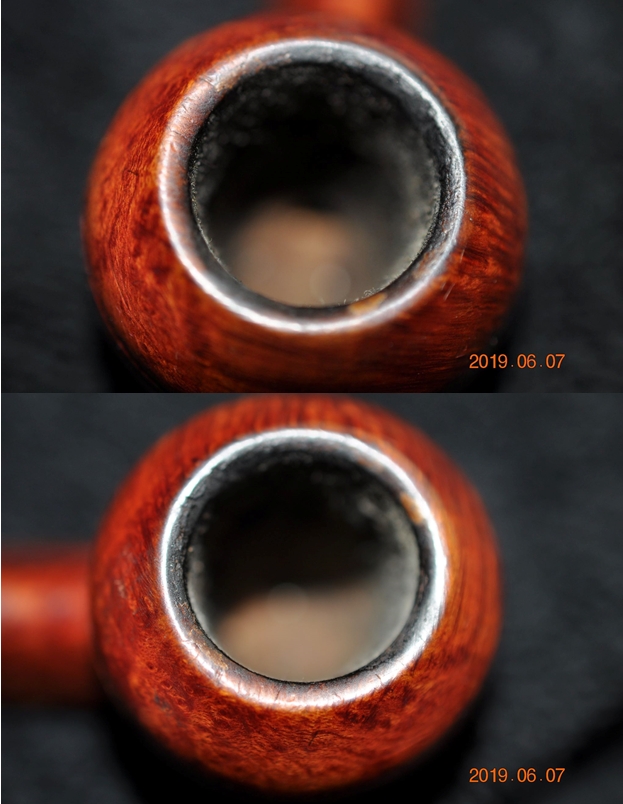
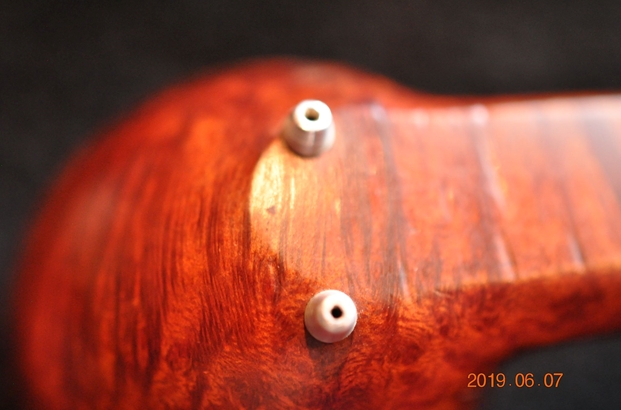
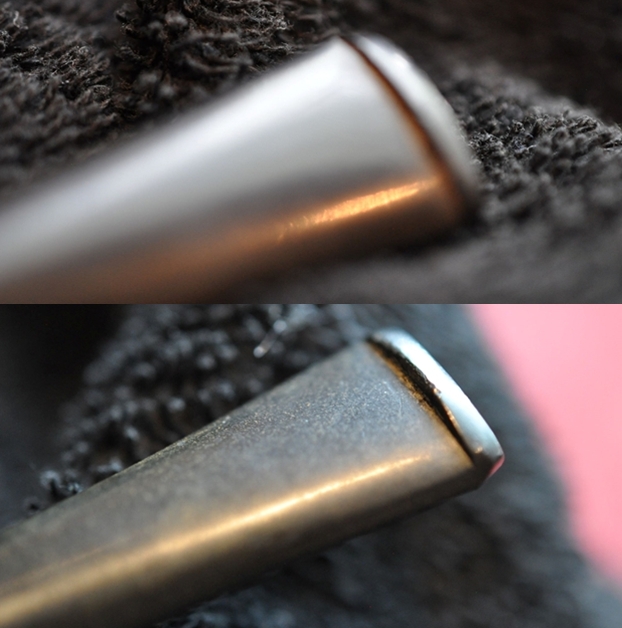
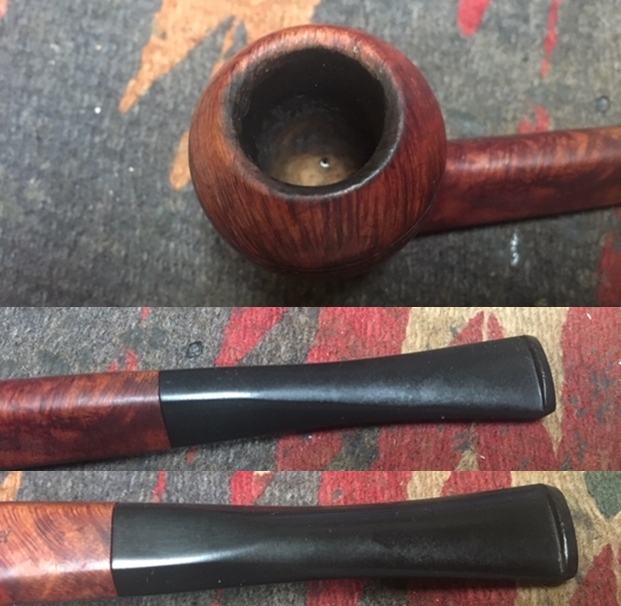
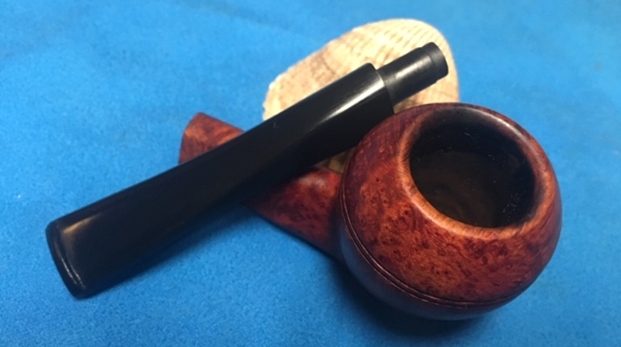
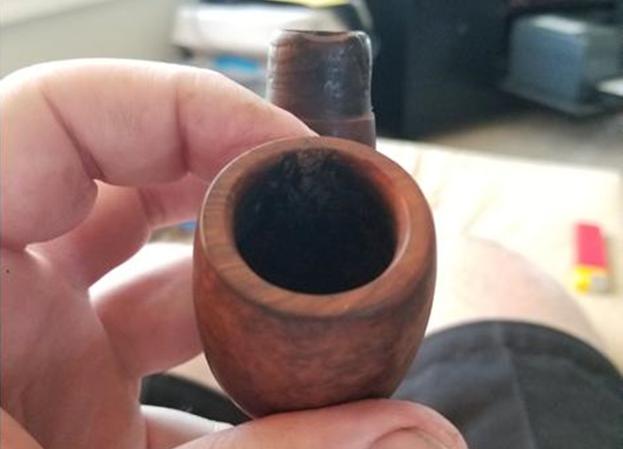
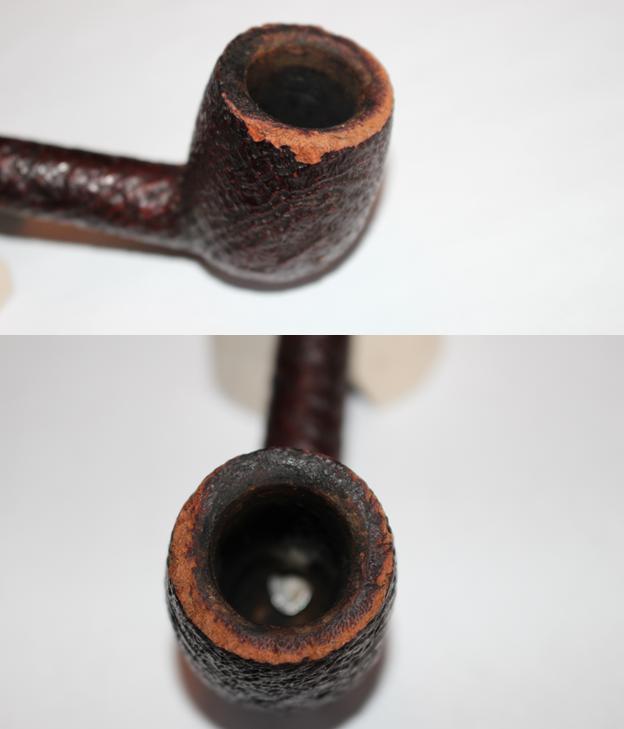
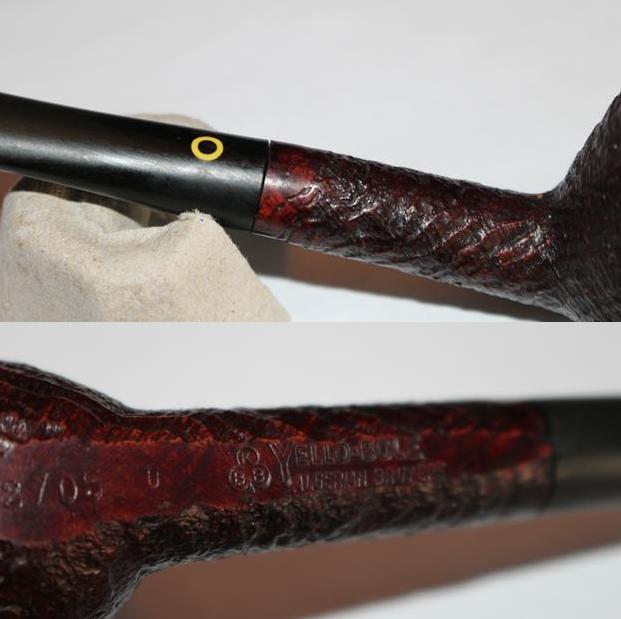
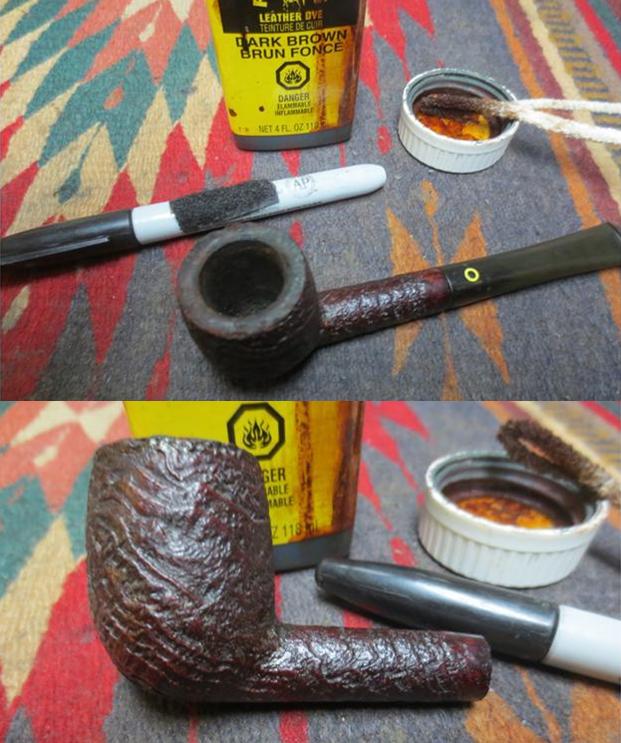
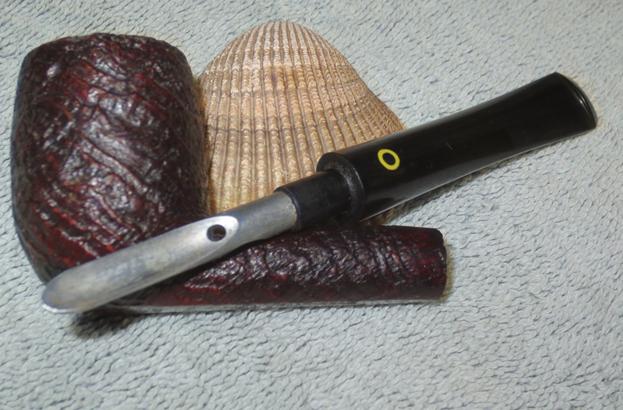
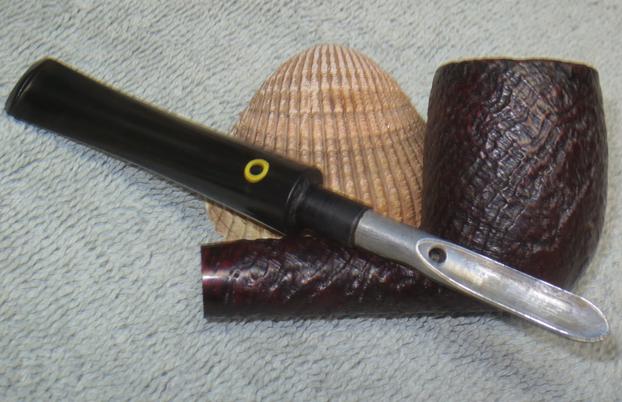
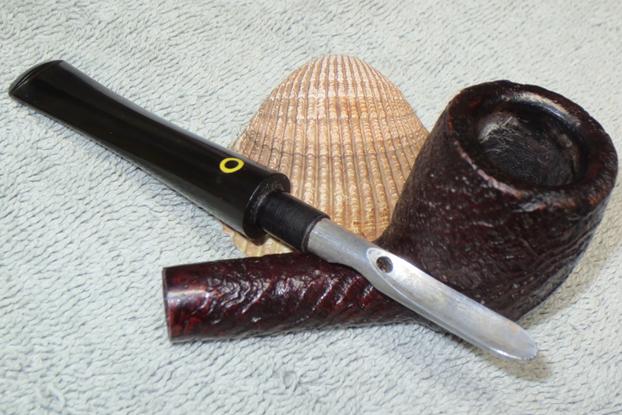
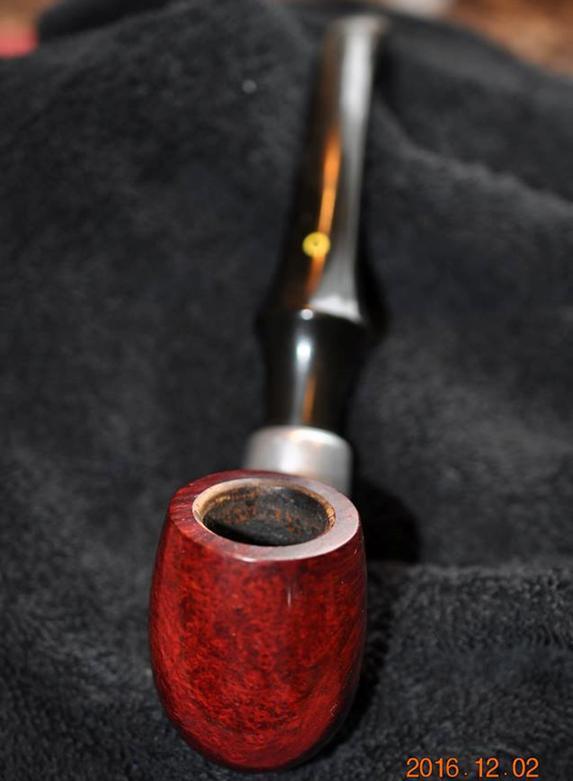
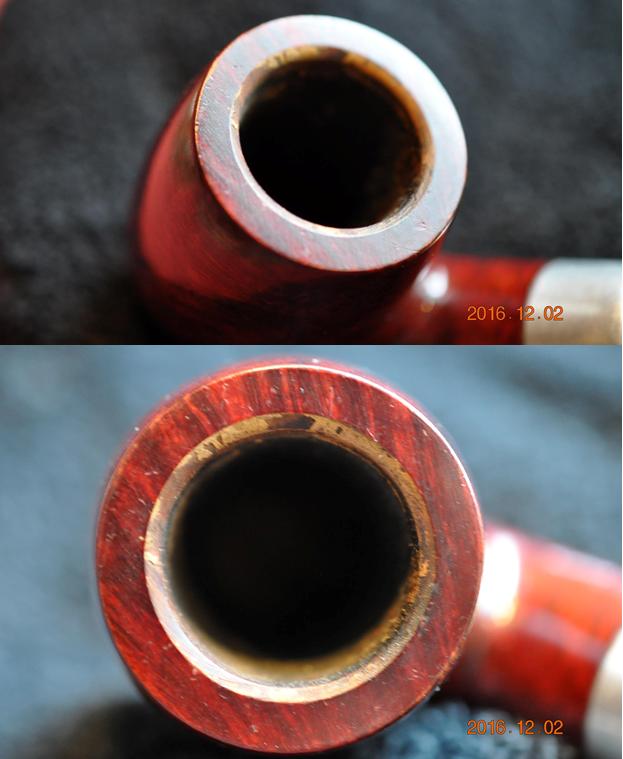
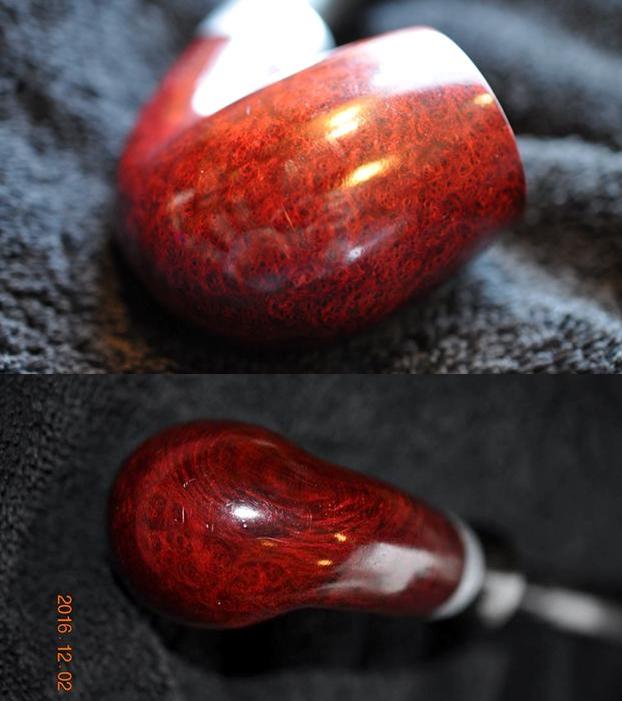
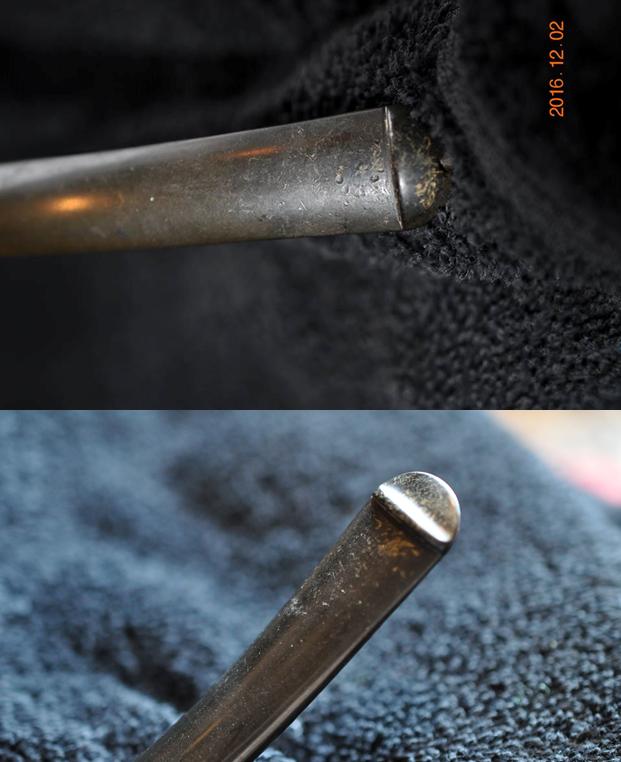
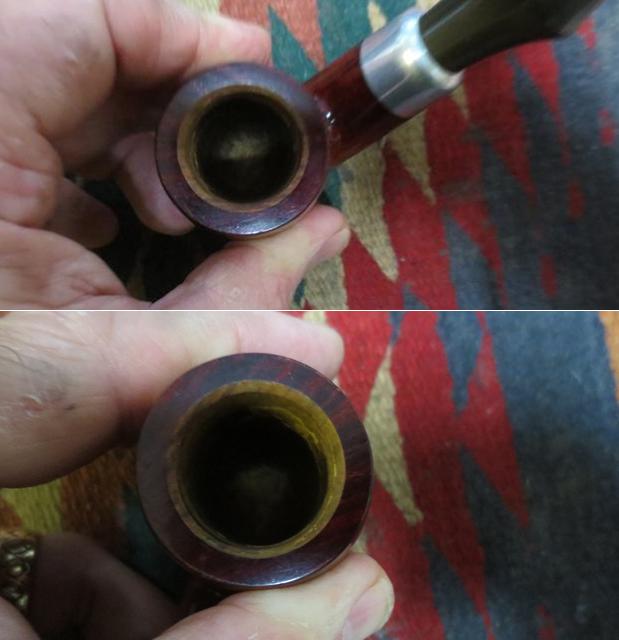
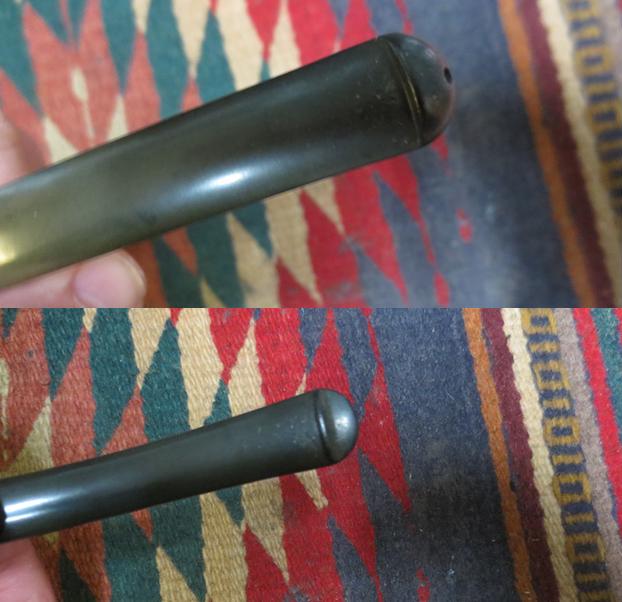
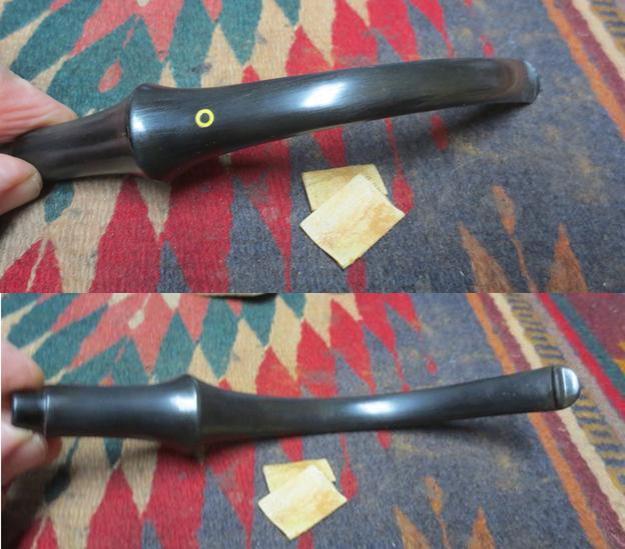
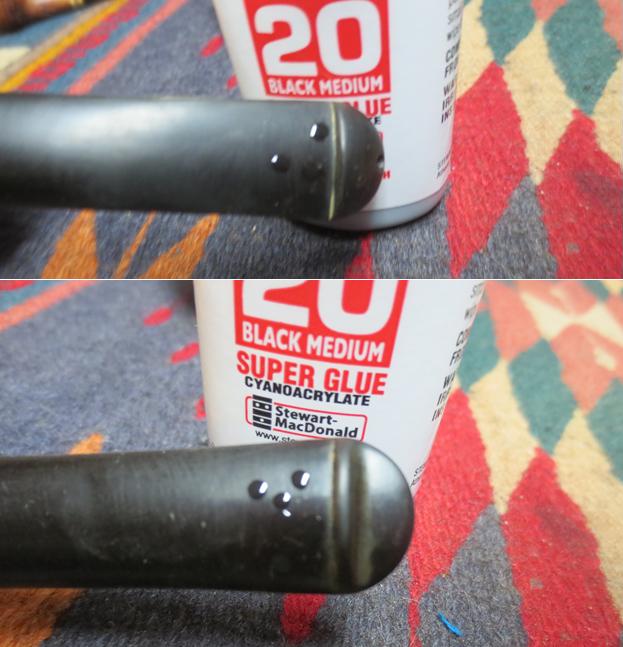
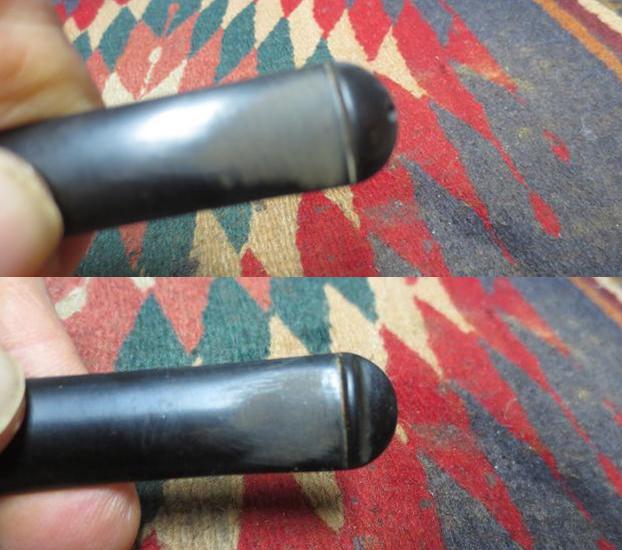
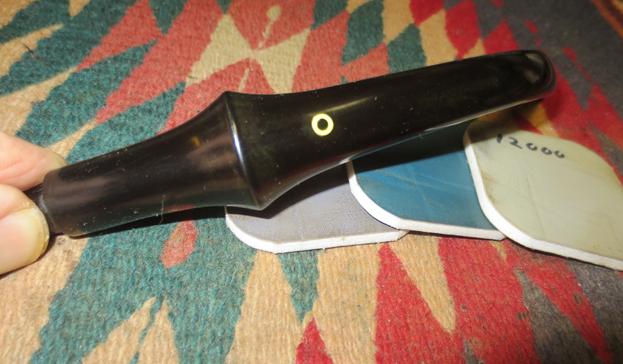
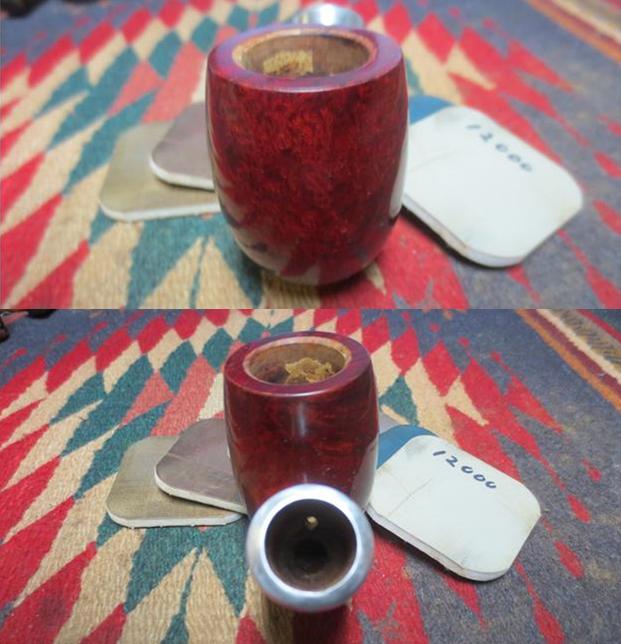
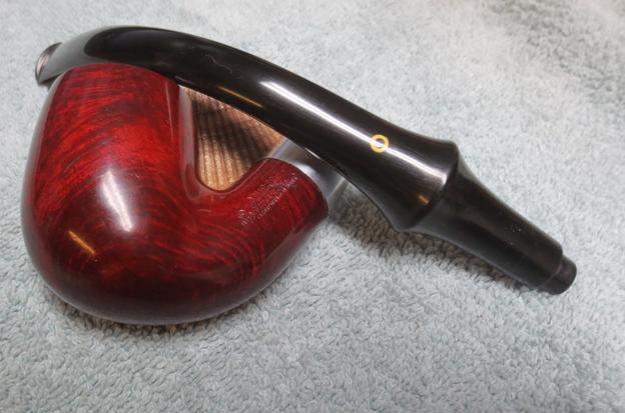
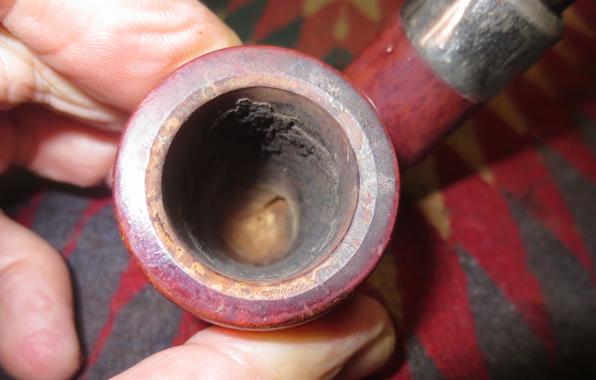
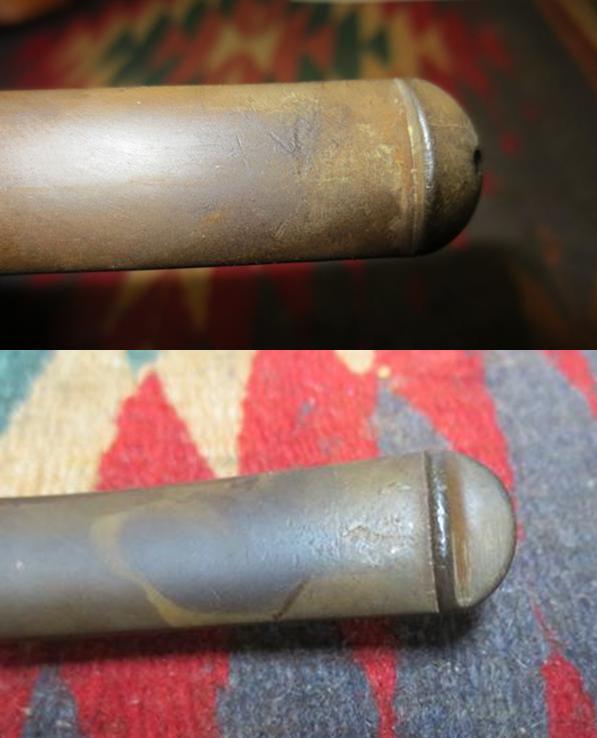
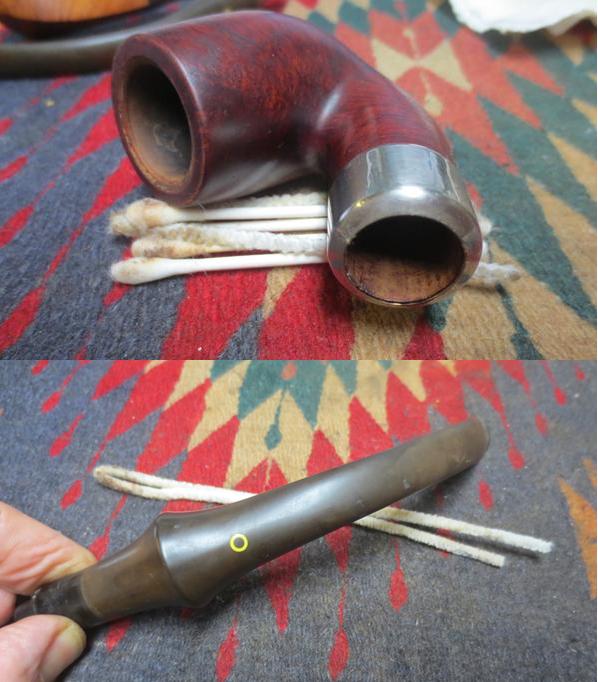
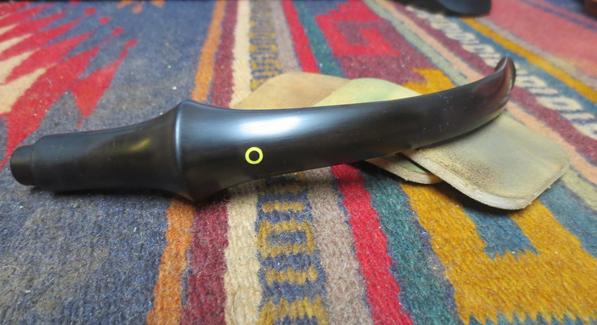
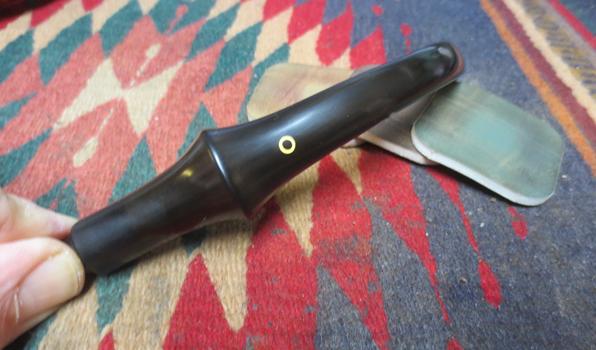
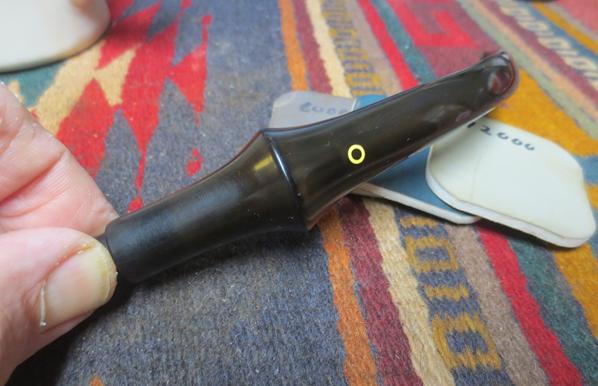
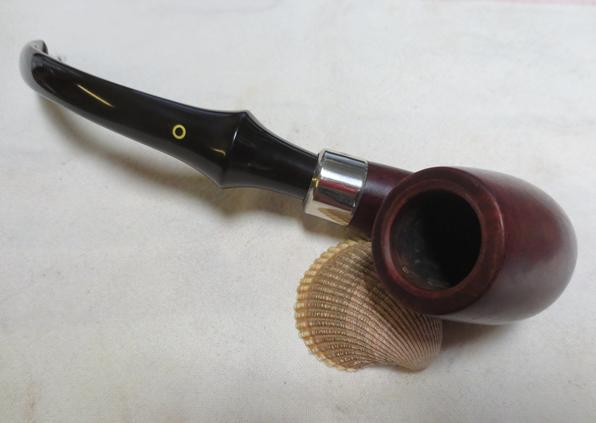
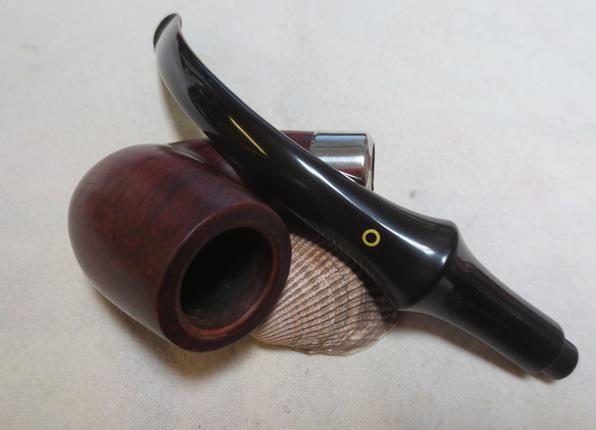
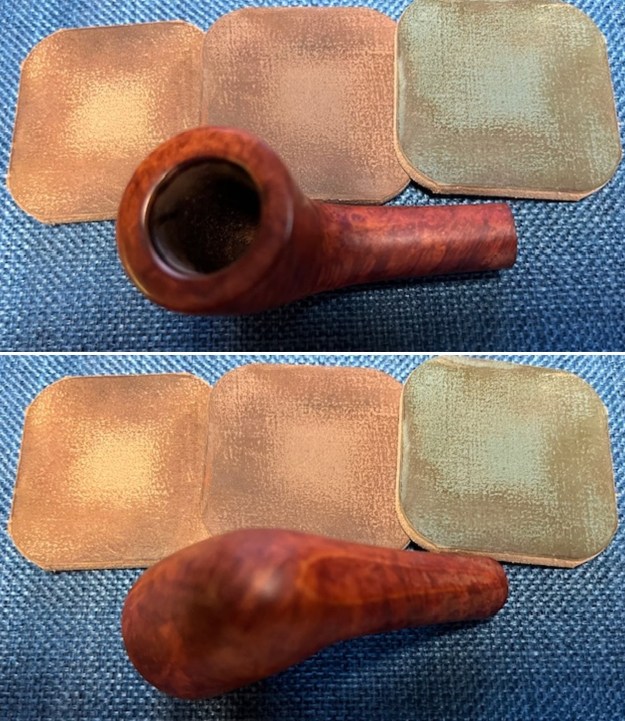
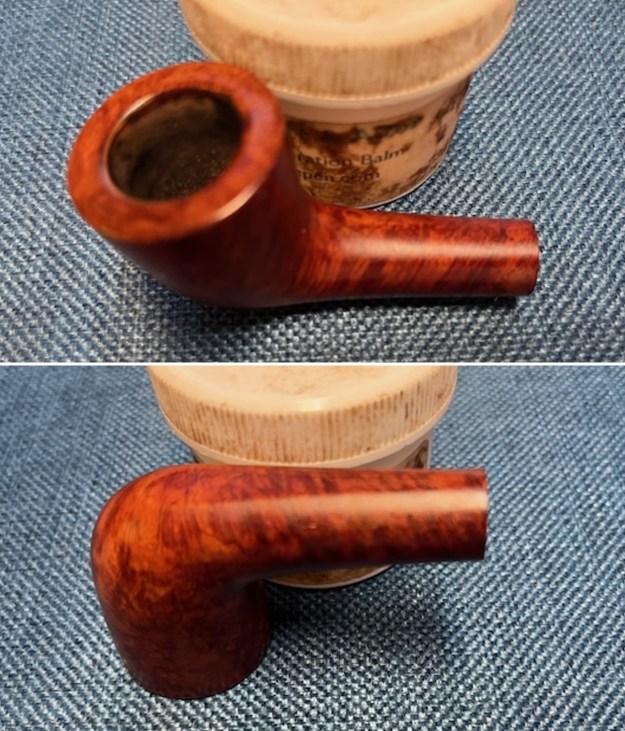
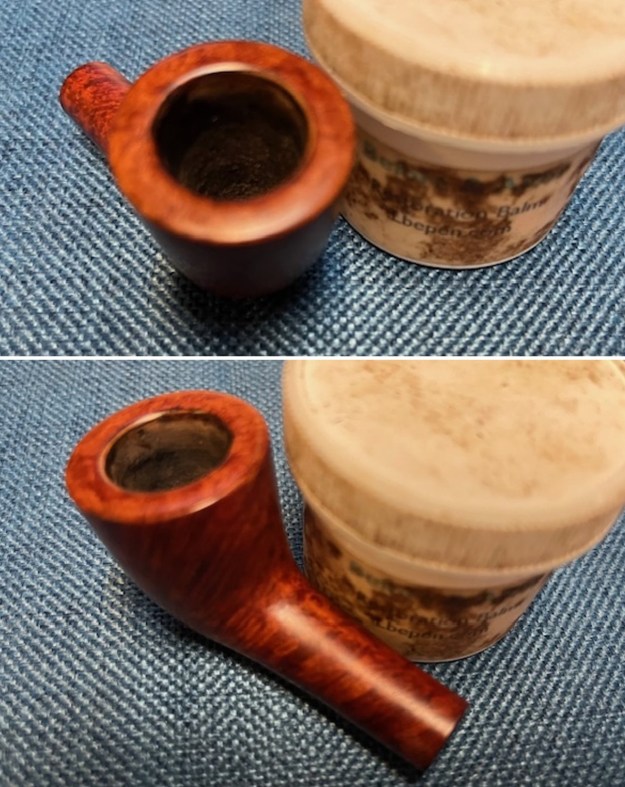
 The photos of the rim top show the lava build up and marks on the top and the darkening on the inner edge of the bowl. You can also see the yellow bowl coating on front side near the bottom of the bowl surrounded by the cake. The photos of the stem show the deep oxidation on both sides. They do show the yellow O logo on the stem top. The stem end shows the Stembiter system.
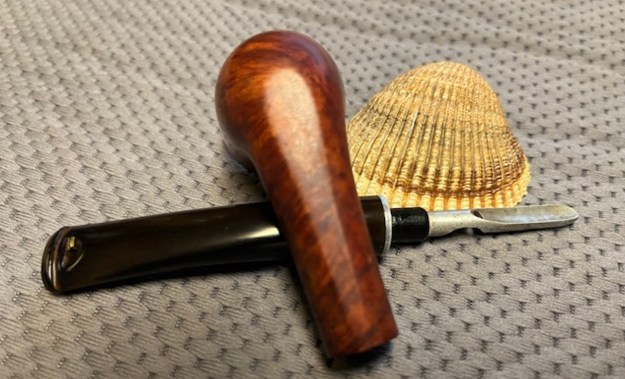
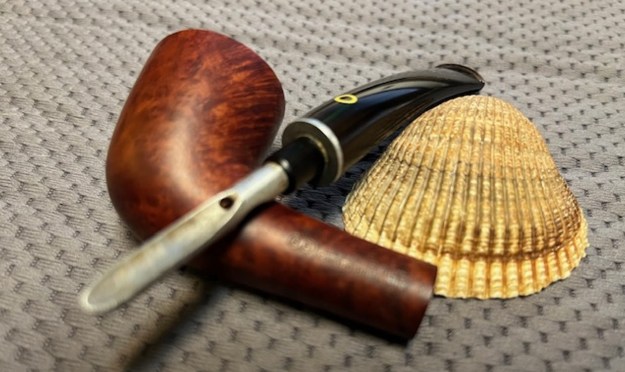
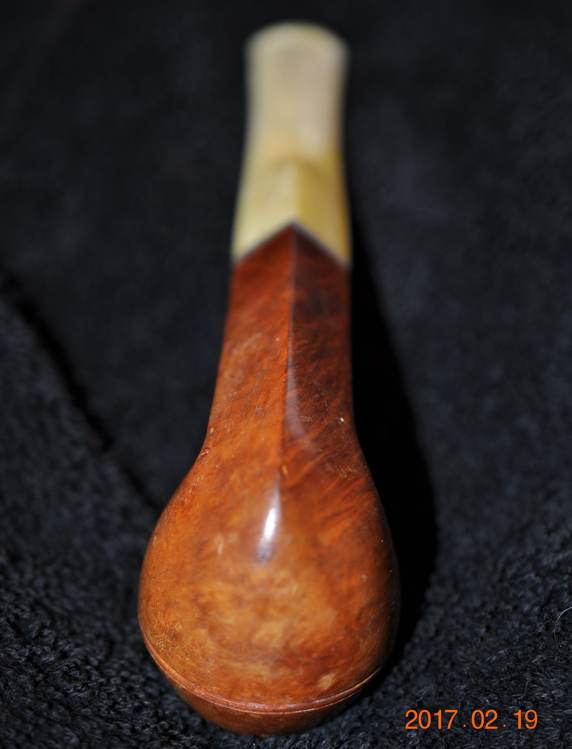
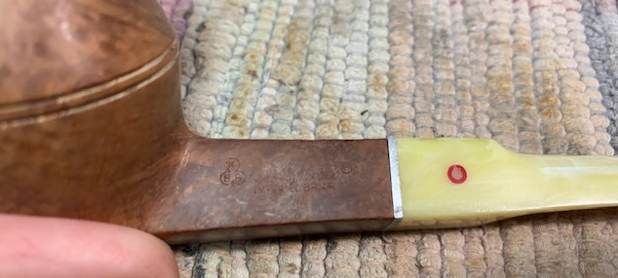
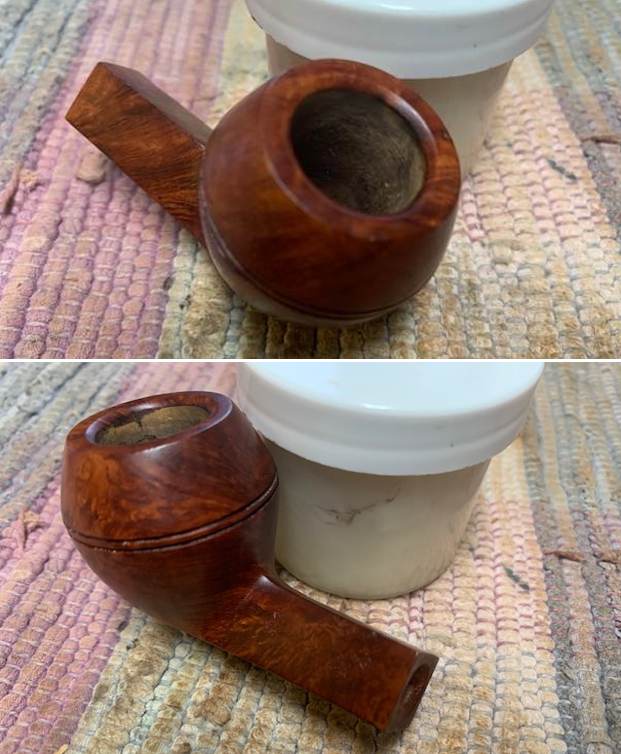
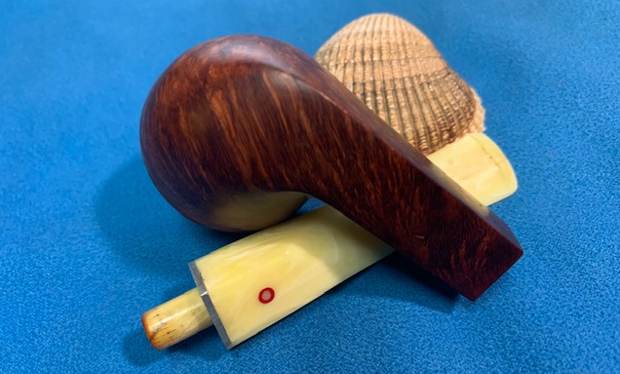
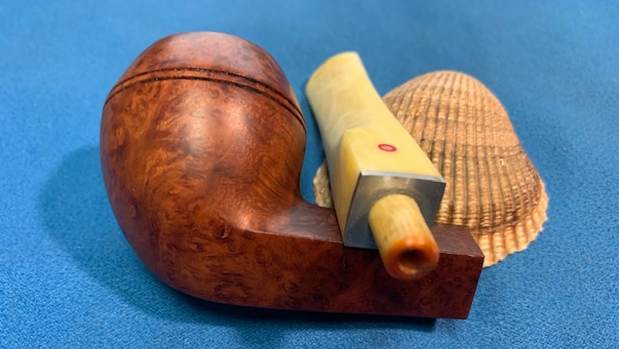
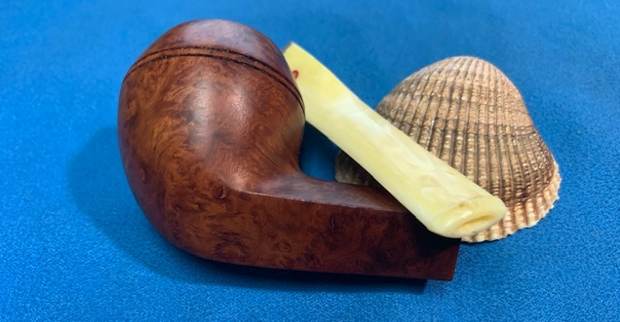
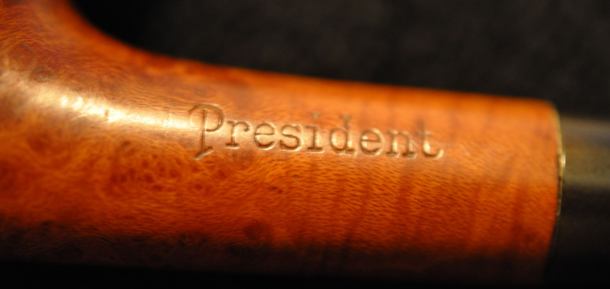
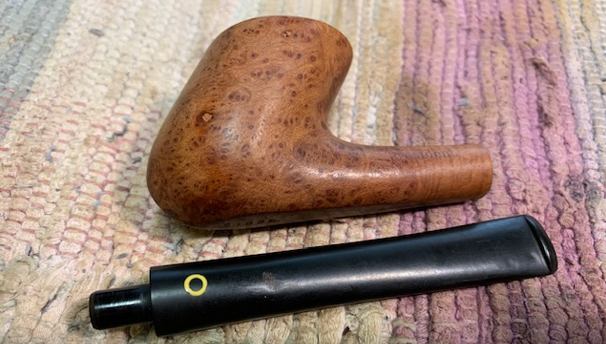
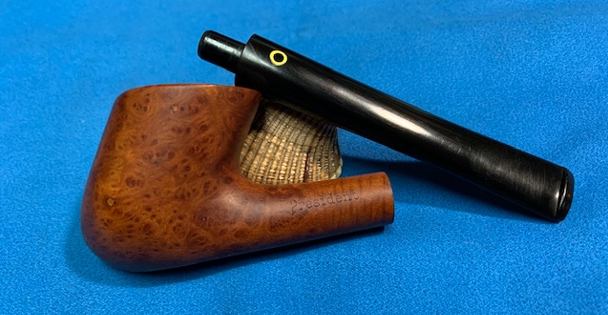
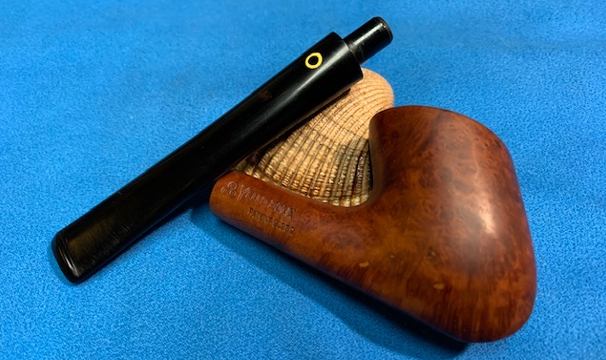
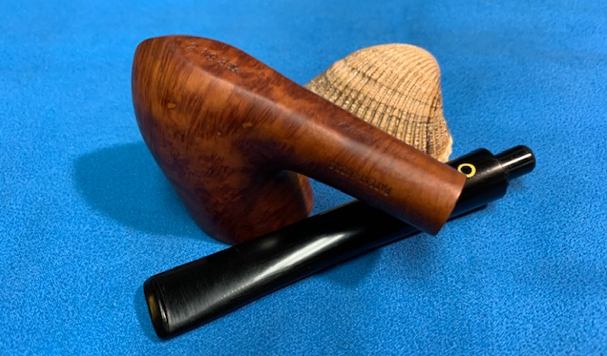
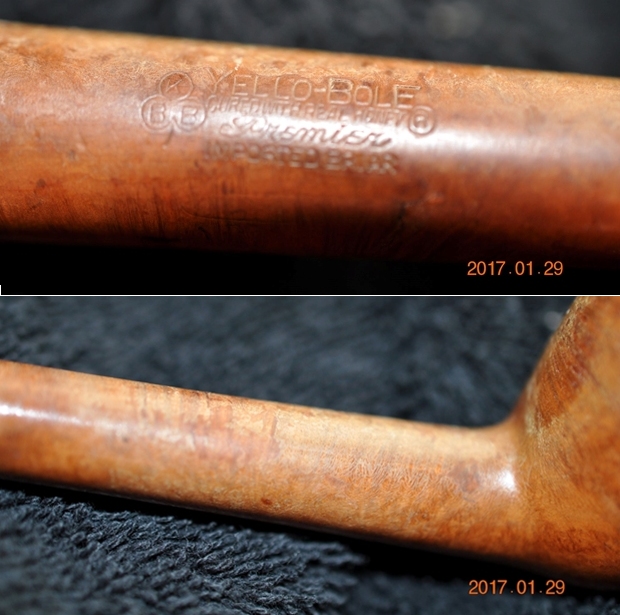
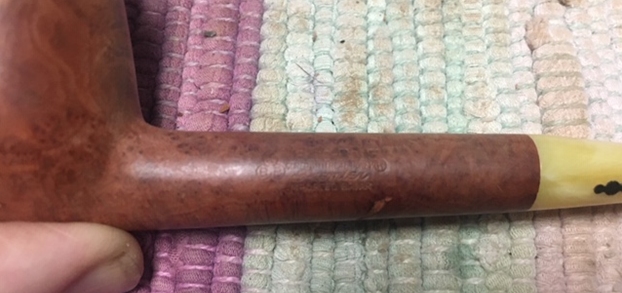
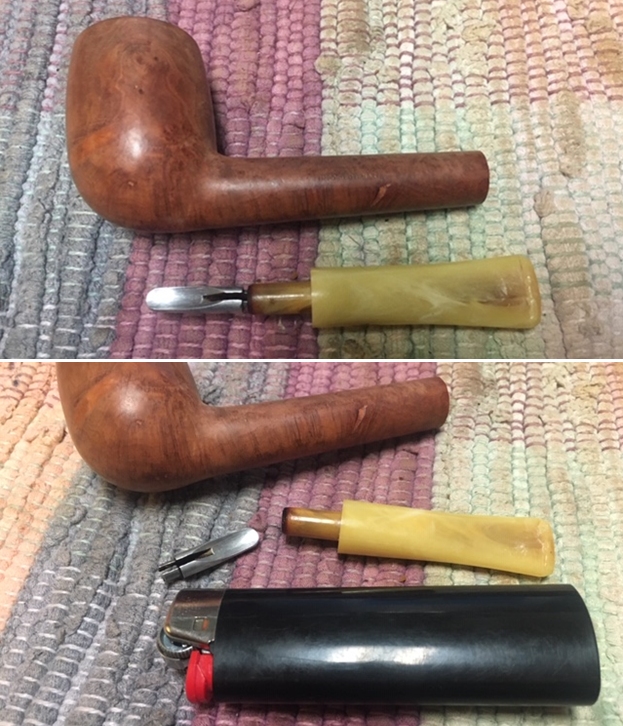
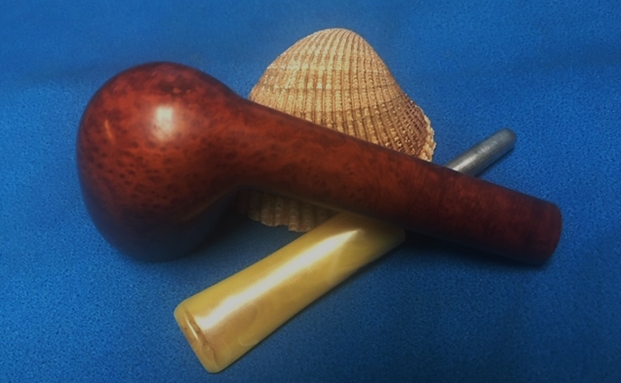
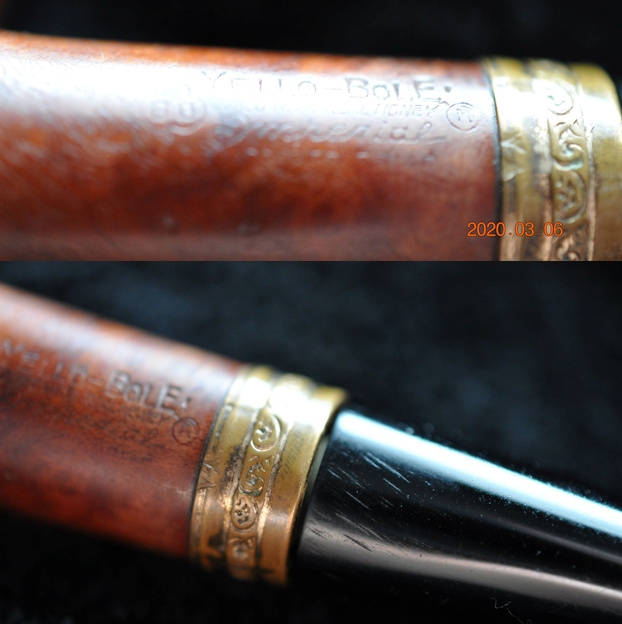
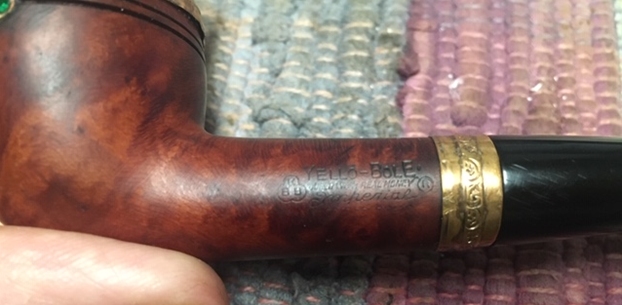
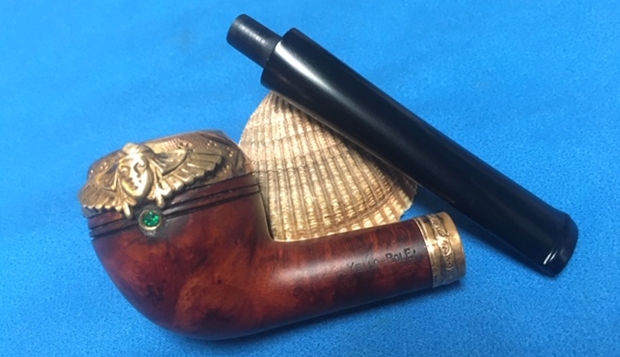
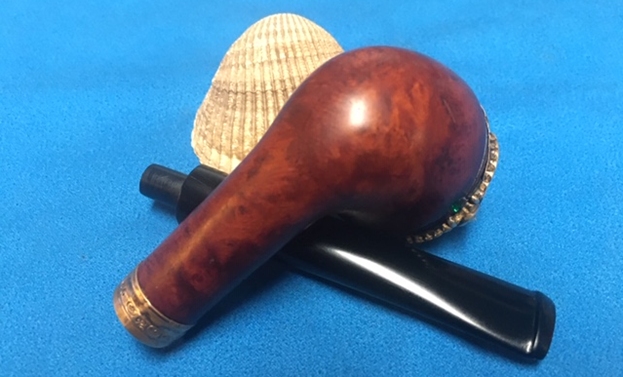
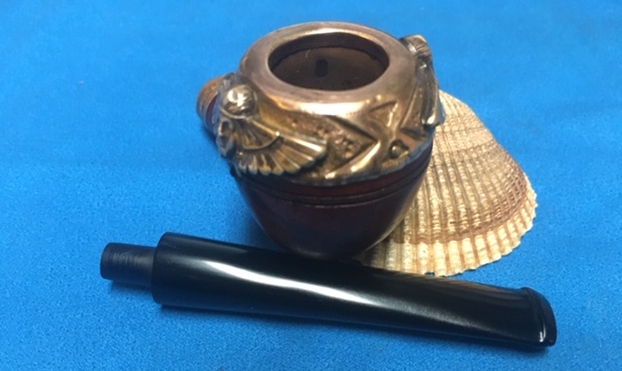
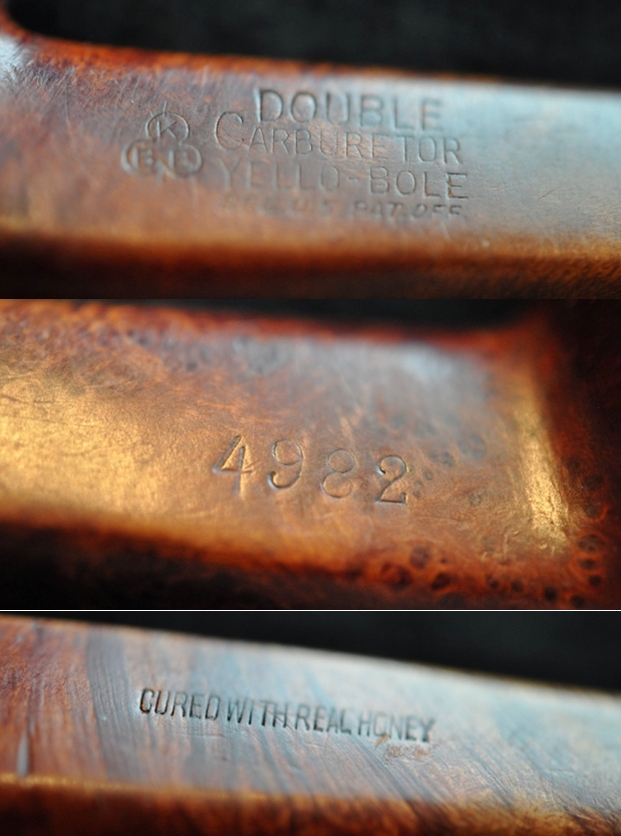
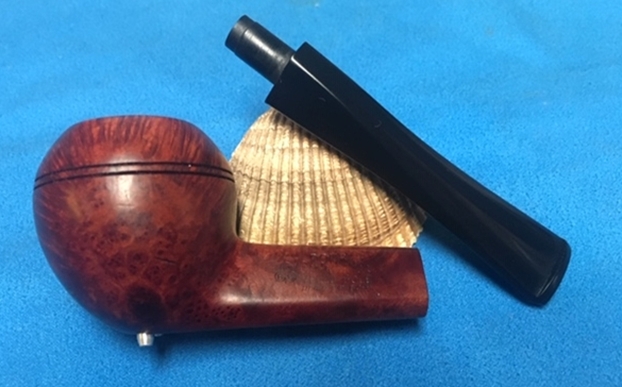
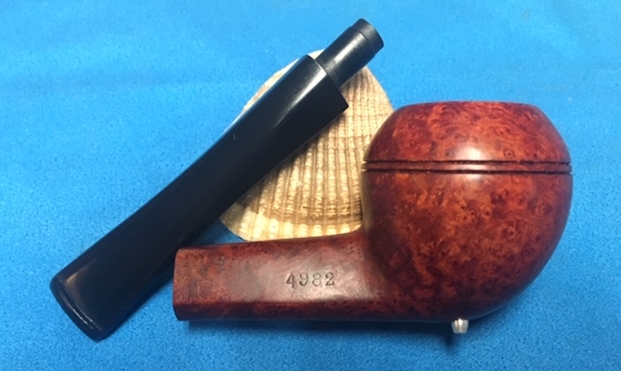
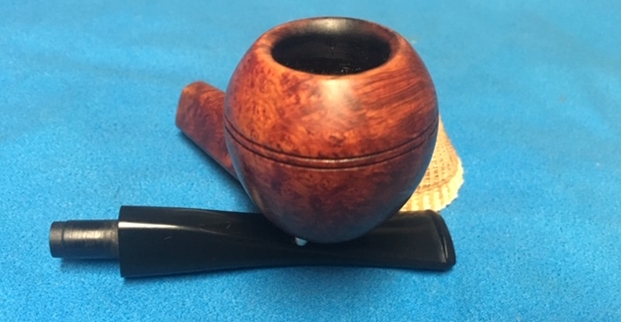
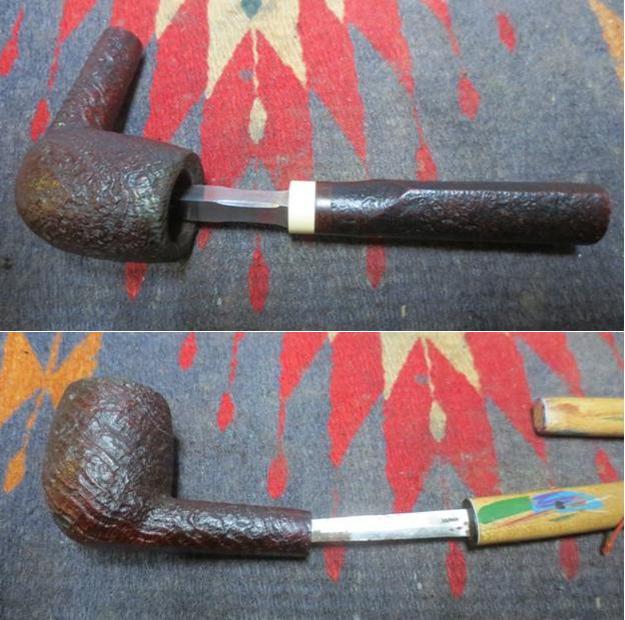
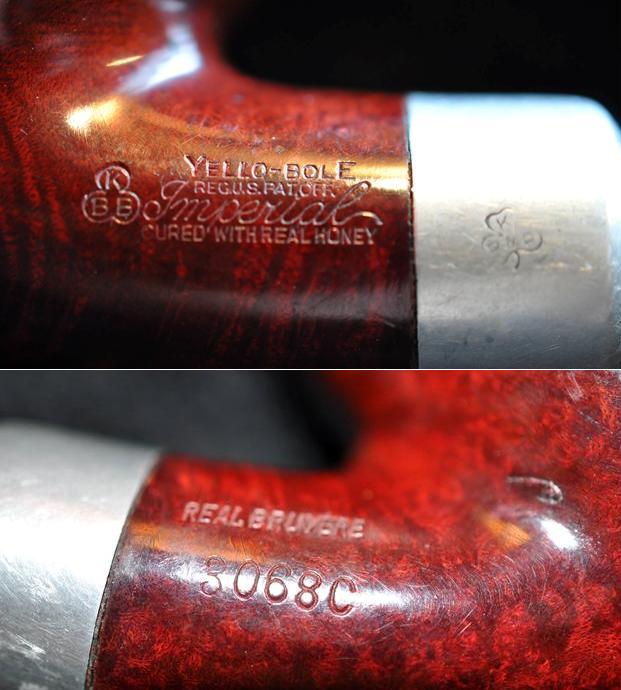
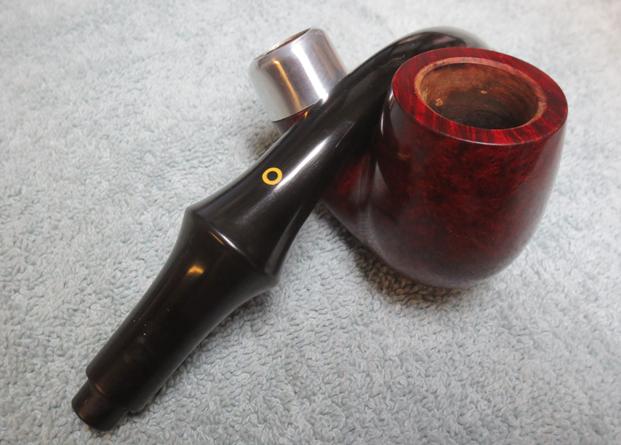
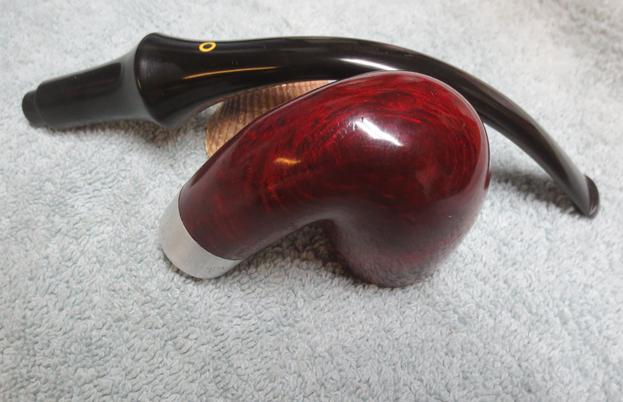
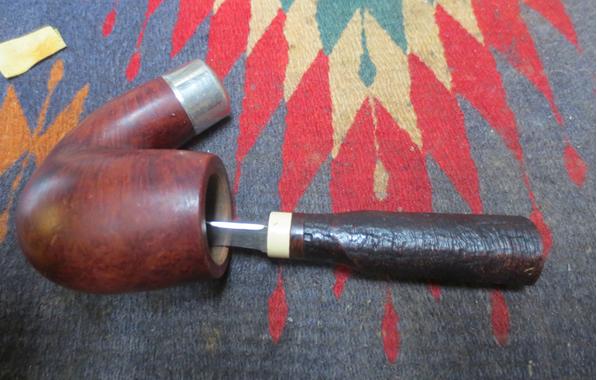
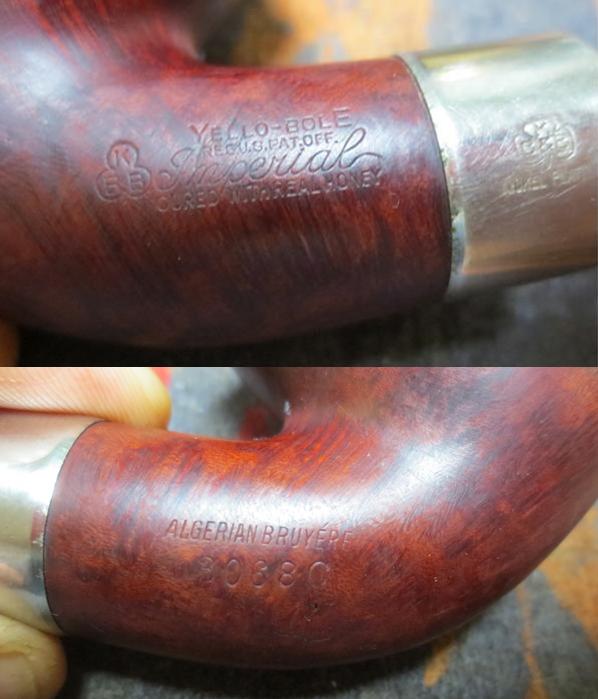
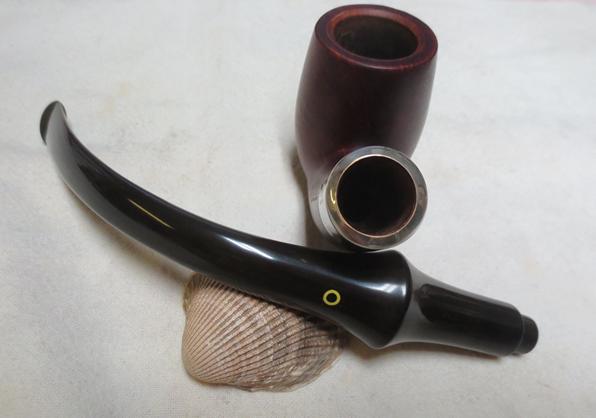
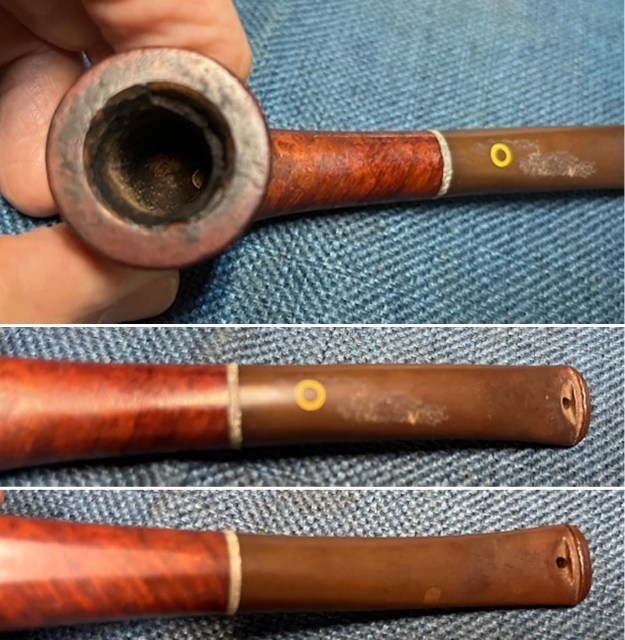 The next series of photos show the stamping on the shank sides. The stamping is clear and readable as noted above. I removed the stem from the shank and took a photo of the parts of the pipe. It looks quite beautiful.
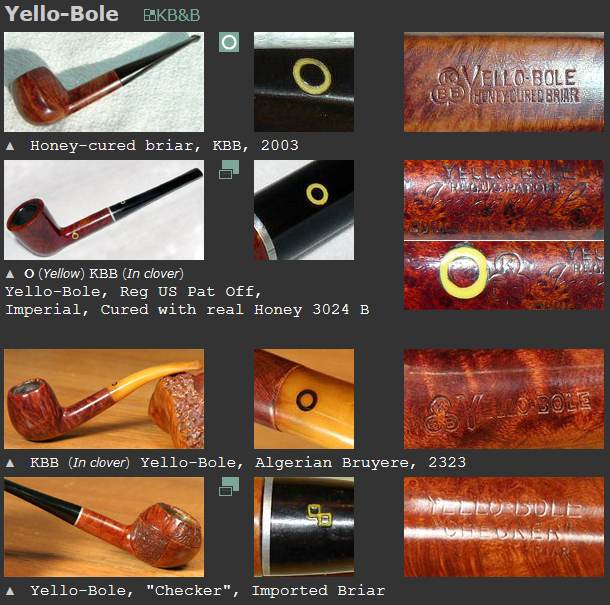
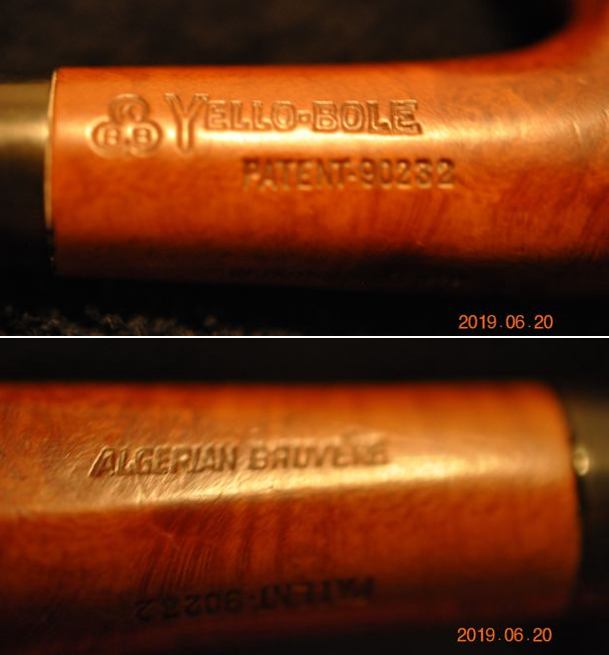
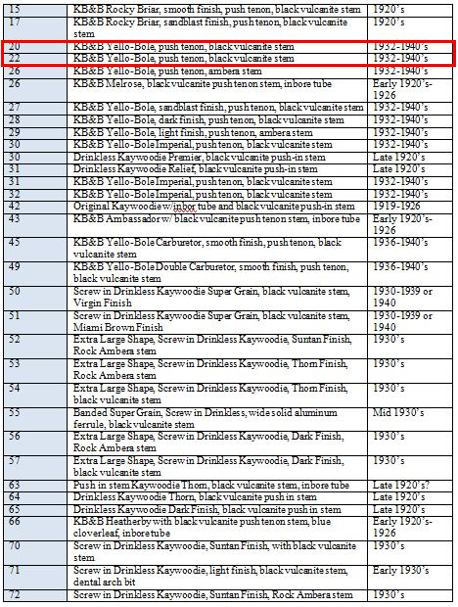
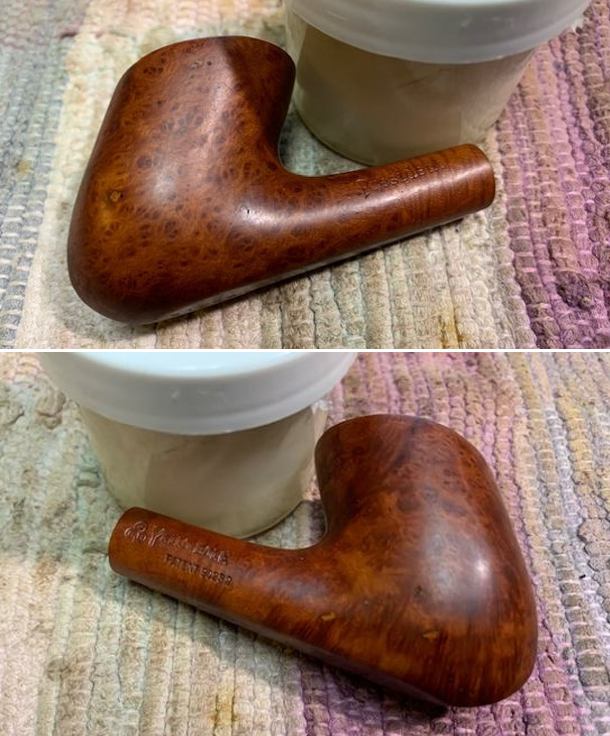
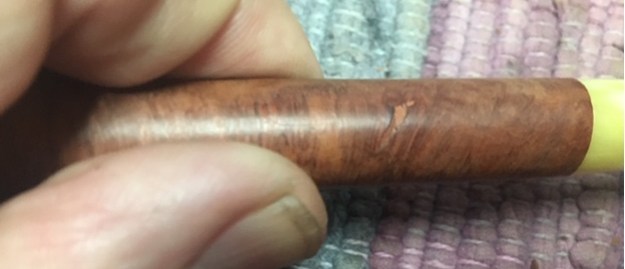
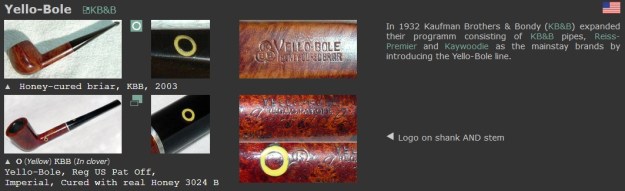
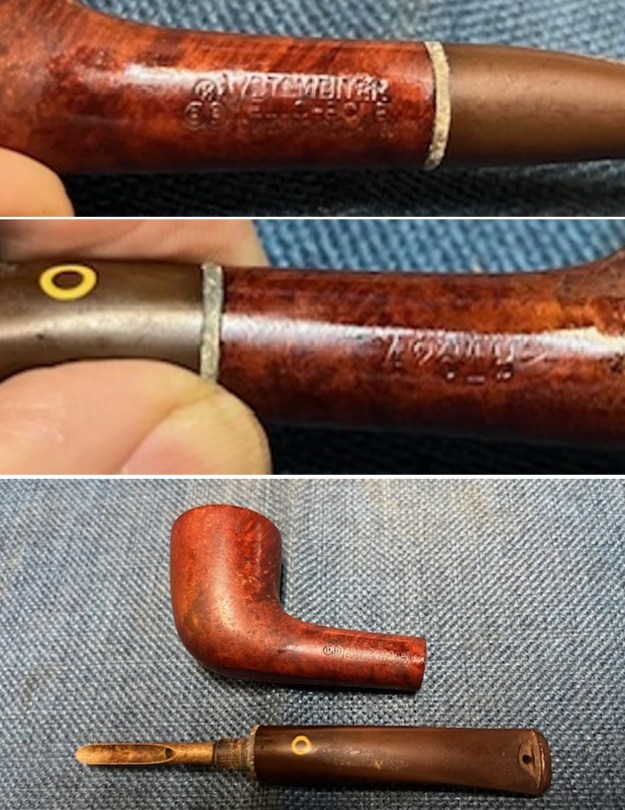 Before I started my work on the pipe I decided to do a bit of work on the Patent Number and the shape number on the heel of the bowl. I remembered that Troy Wilburn, one of our blog writers and good friend of rebornpipes sent me a shape number list for old Kaywoodie and Yello-Bole pipes that is on the blog. I found it very useful and typed it into a chart format. Troy said that he got the data for this from the Kaywoodie Forums. I decided to post the chart on the blog for easy access. Thank you to the KW forum for the information. Here is the link to the full shape chart information that I have on the site (https://rebornpipes.com/2016/05/07/kaywoodie-yello-bole-shape-numbers/). The pipe I am working on has a push tenon, vulcanite stem as noted in the expanded Kaywoodie/YB charts on the above link. While there is not a listing for a 61 the numbers around that on the chart all include that the pipes had a vulcanite push stem. The good news is that I have the original stem.
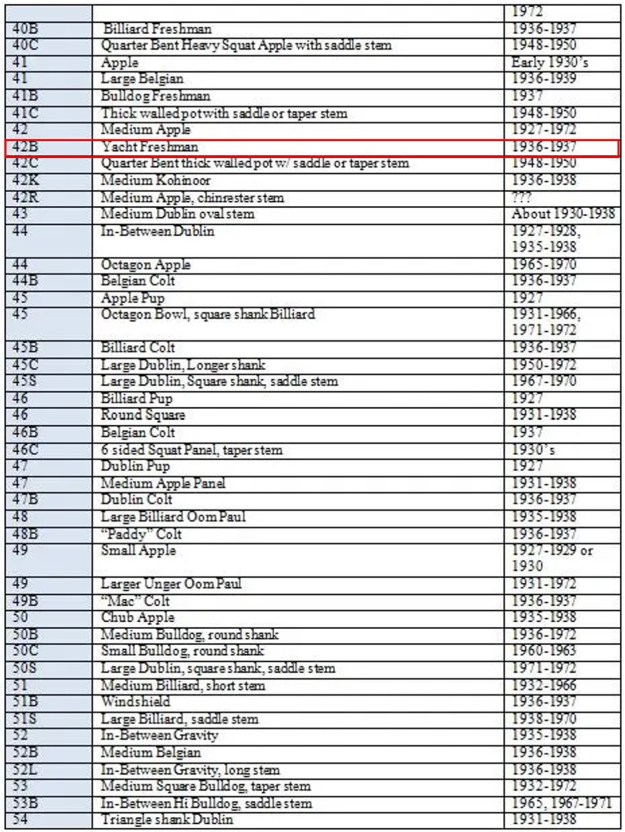 Troy also included the following information on the first two digits of the shape number. I quote in full regarding that below.
2-digit prefixes for 4-digit pipes – you might find an odd ball or a rare one that is not on the list.
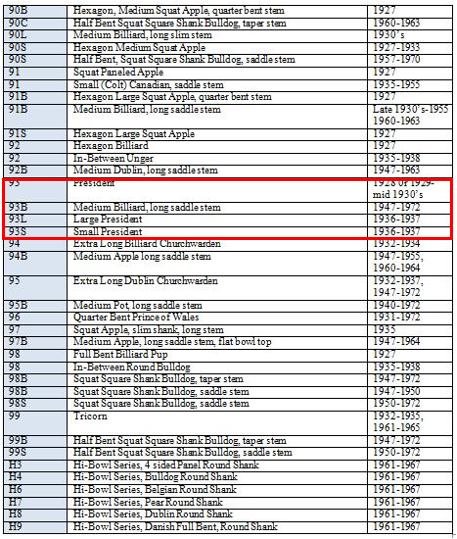
From the time of the first Kaywoodie until 1938 for Kaywoodie and for Yello-Bole, Kaufmann Brothers & Bondy used a 4-digit number system (plus a letter sometimes) to identify the line and shape number. The 4-digits were not used after 1938. The first two, which we’ll call the prefix, referred to the finish and the second two, the suffix numbers referred to the shape number.
The 42B is the Yacht Freshman shape and the L identifies it as a large version of the pipe. Note also that the pipe was only made between 1936-1937 so it is an old timer.
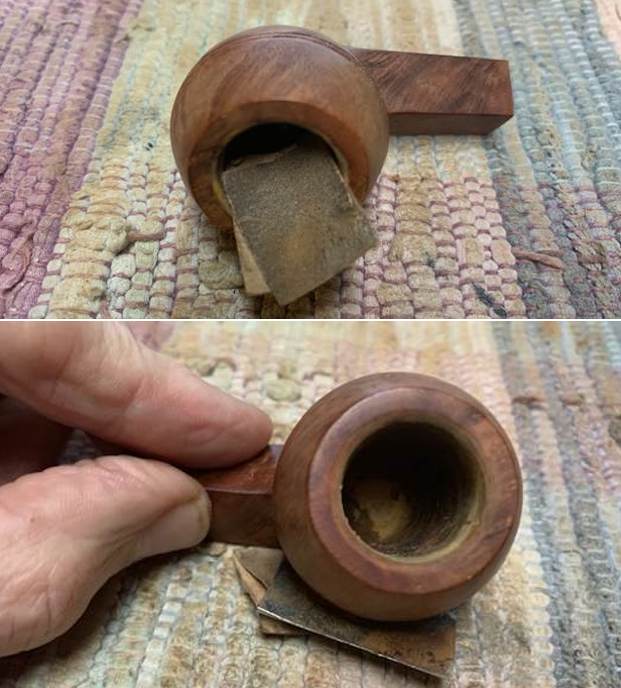
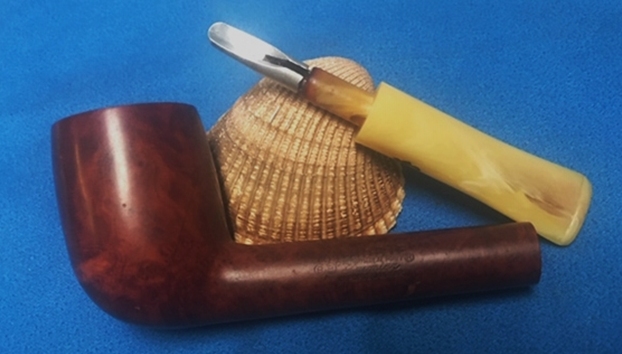
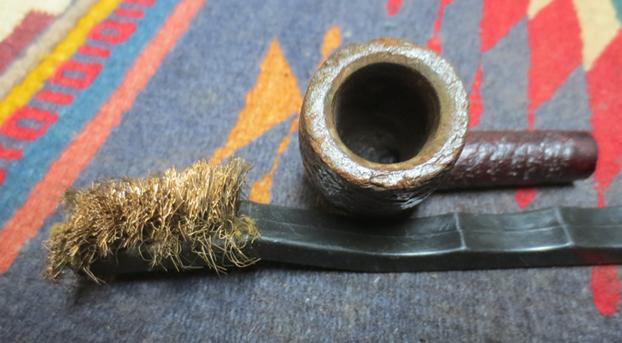
Now to work on the pipe itself. I started by reaming it with a PipNet Pipe Reamer. The bowl was large enough that I used the second and third cutting heads. I took the cake back to bare briar. I cleaned up the reaming with a Savinelli Fitsall Pipe Knife. I also scraped off the lava build up on the rim top with the knife. I sanded the bowl walls with 220 grit sandpaper wrapped around a dowel. I took it back to smooth walls. The walls looked very good with no sign of checking or burning. 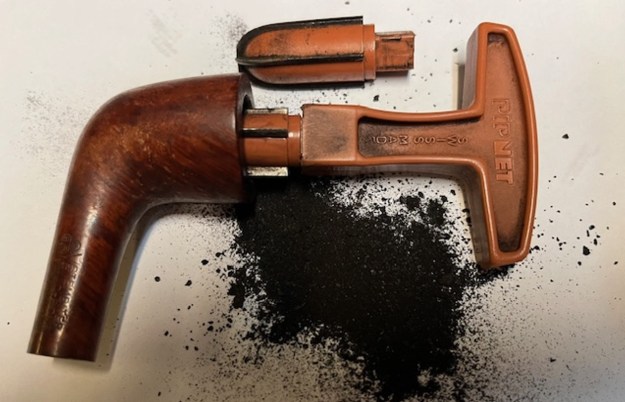
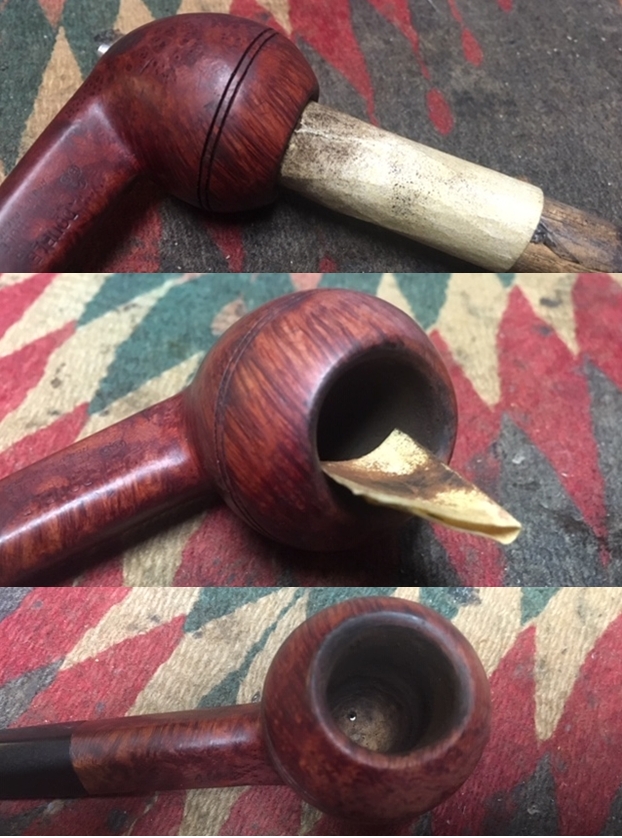
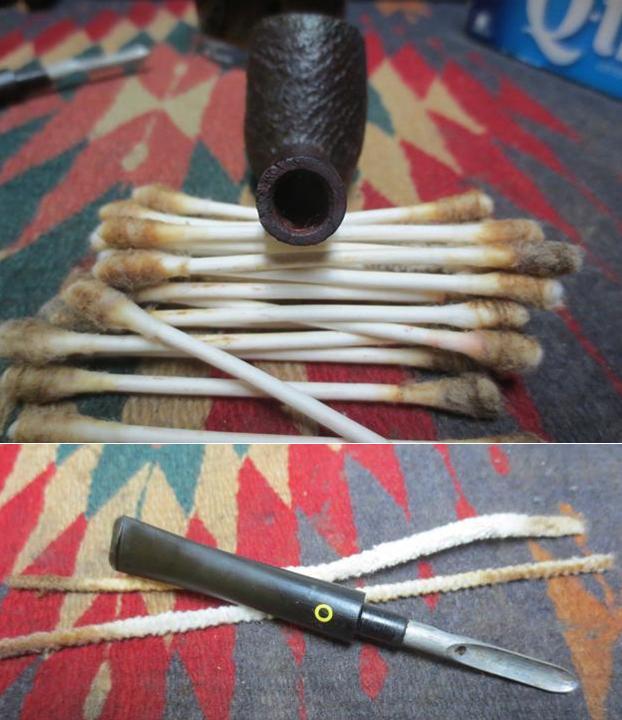
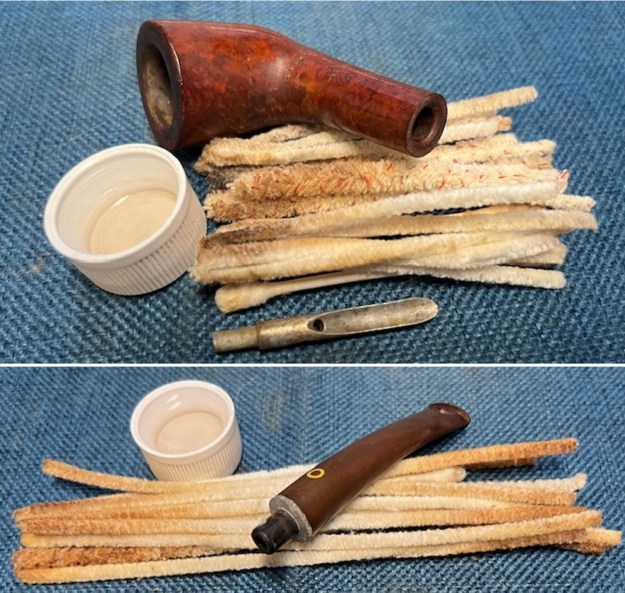
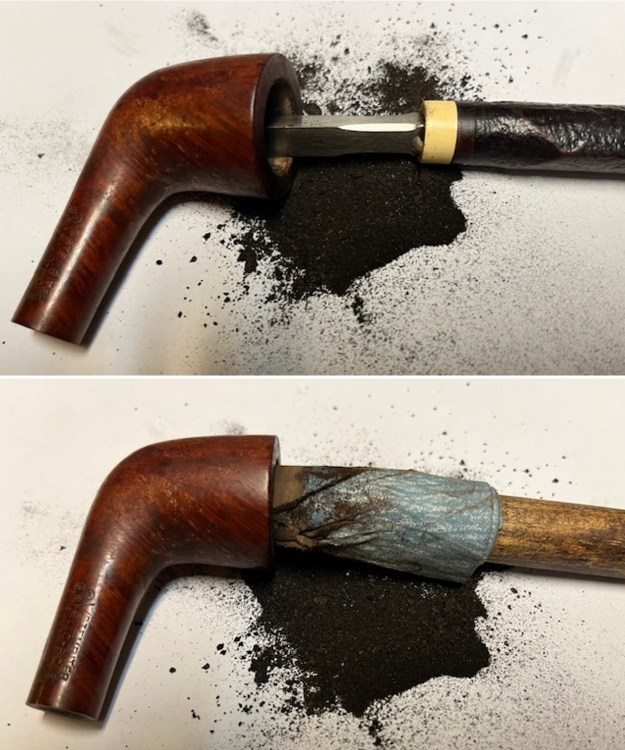 I heated the spade style stinger with a lighter flame and once it heated the tars that held it in place let loose and I was able to remove it. I cleaned up the aluminum stinger with alcohol and a 320 grit sanding pad to remove the debris. I set the stinger aside and then I cleaned out the shank, mortise and the airway in the bowl and the stem with pipe cleaners (both smooth and bristle), cotton swabs and 99% isopropyl alcohol. It took a lot of cleaners but I got the grime and oils out of the shank and stem. The pipe smelled of tobacco it was much cleaner smelling than previous to that.
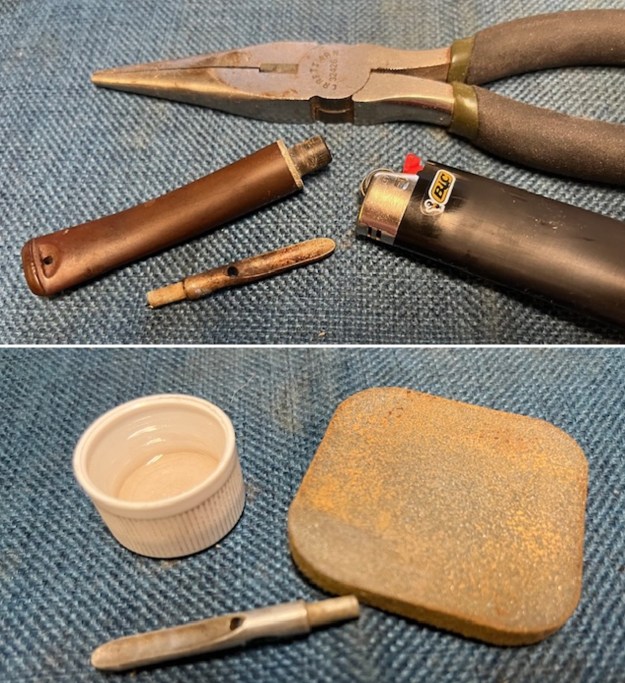
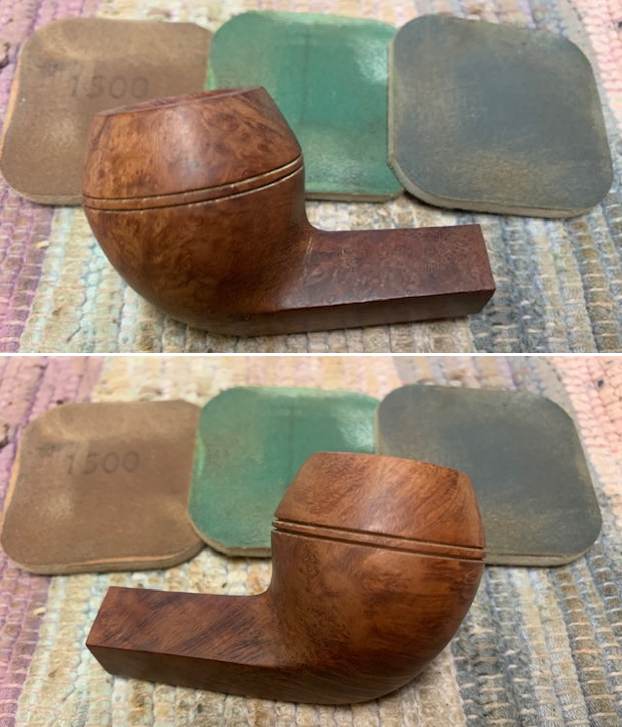
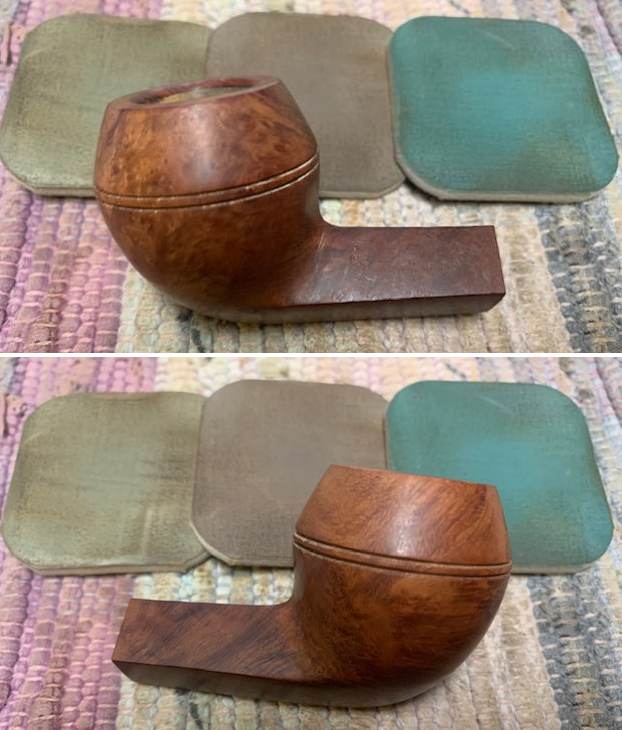
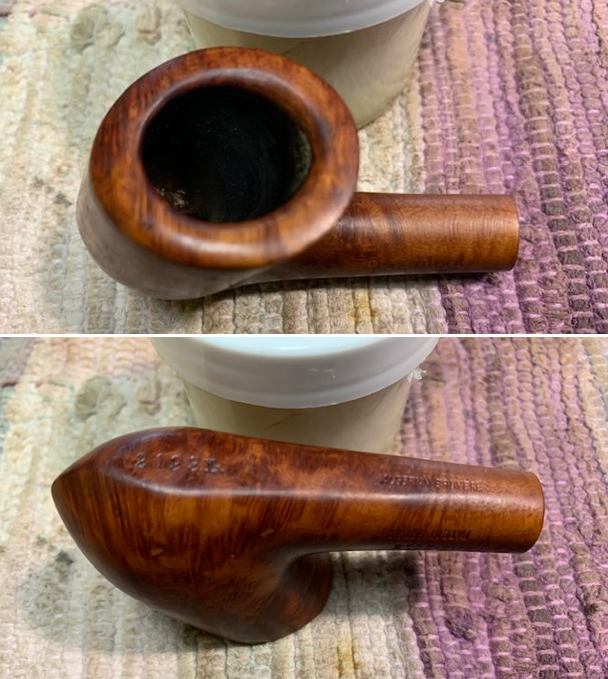
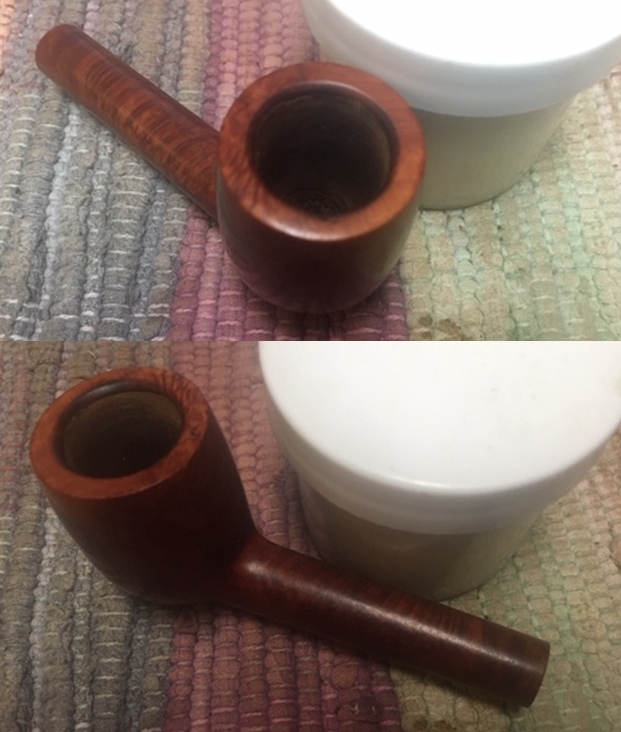
 I set the stem aside and turned my attention to the bowl. I wiped it down with some 100% acetone to remove the varnish coat and clean up the remnants of that finish around the bowl and shank. It came off quite quickly and looked nice.
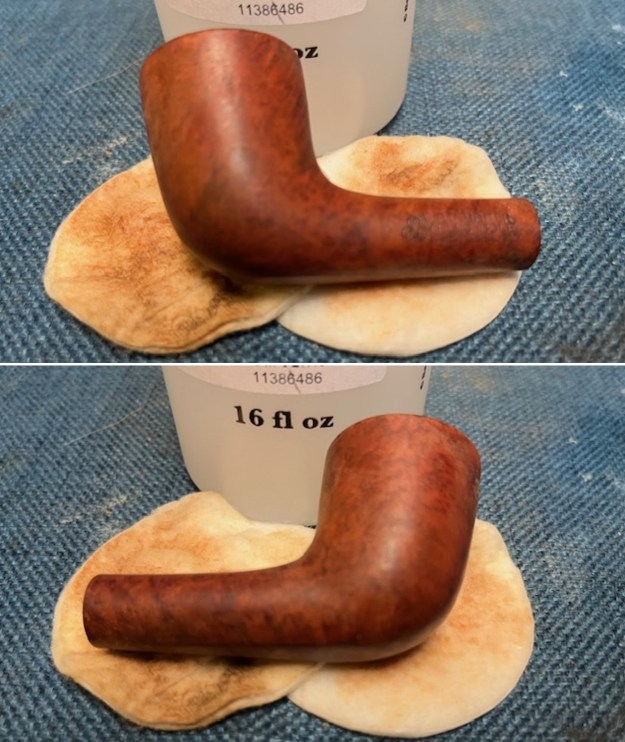
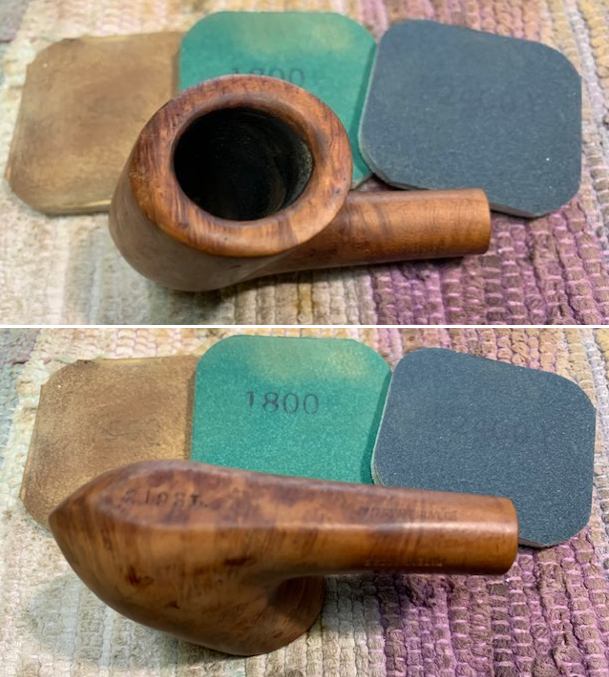
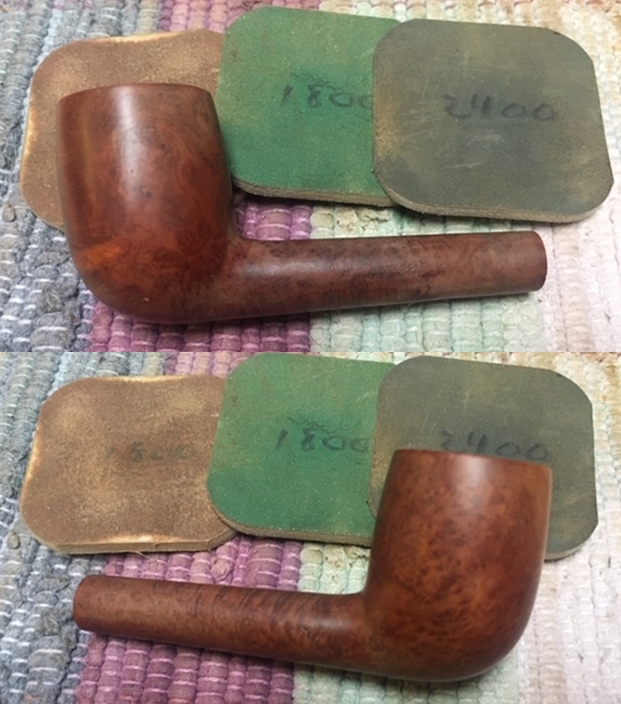
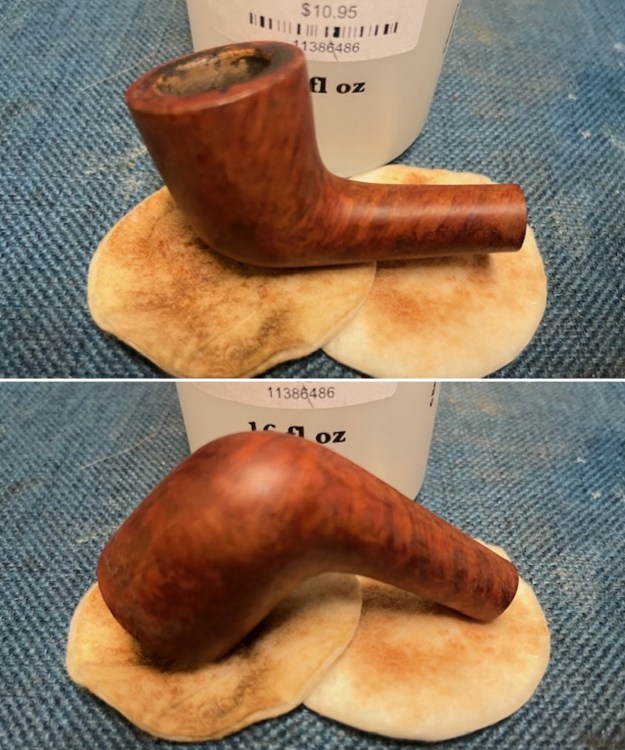 I touched up the spotty rim top and inner edges with a Cherry stain pen. It matched the colour of the rest of the bowl and shank. Once it was buffed and polished it would blend in perfectly.
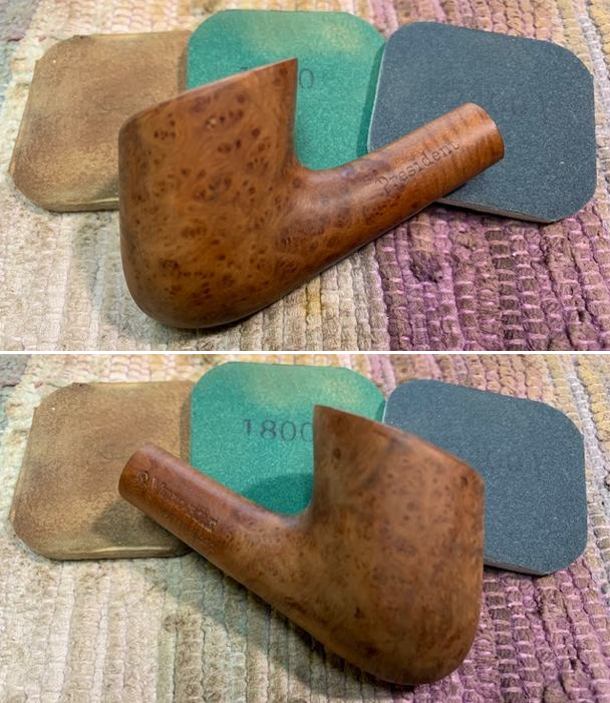
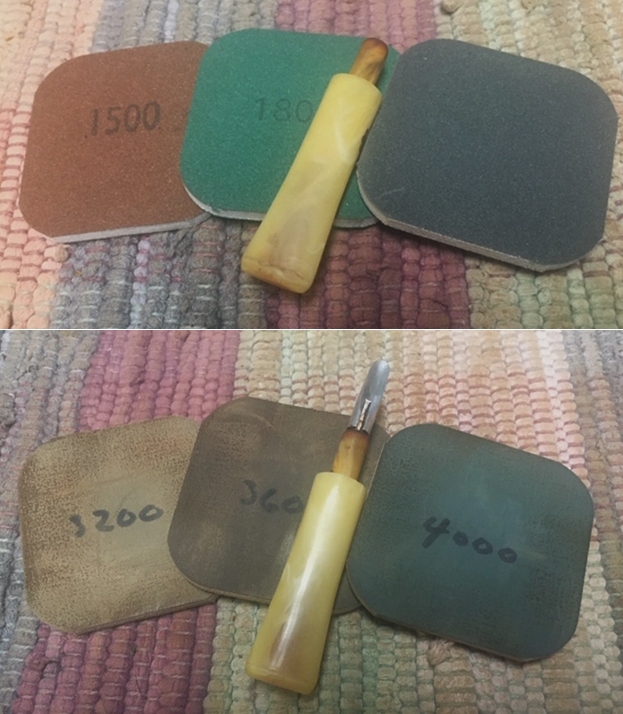
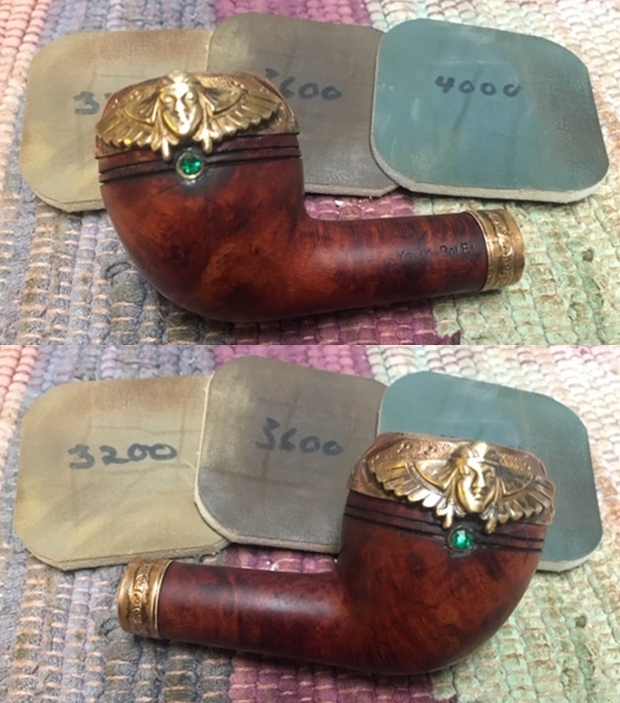
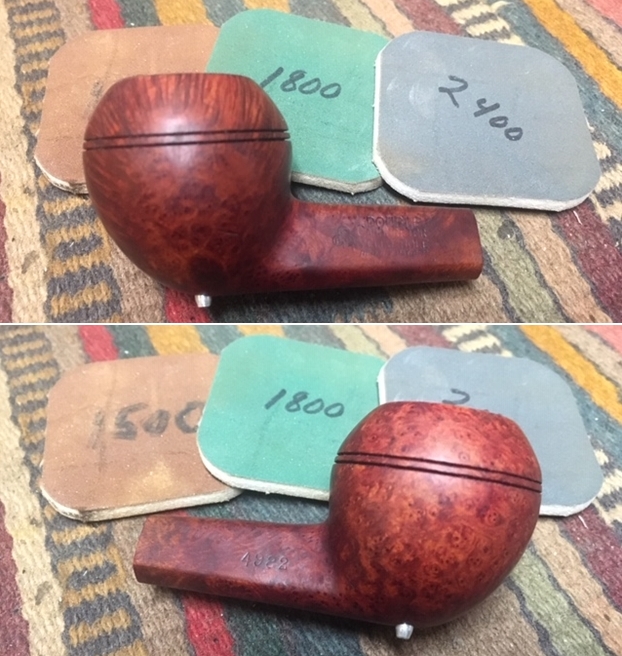
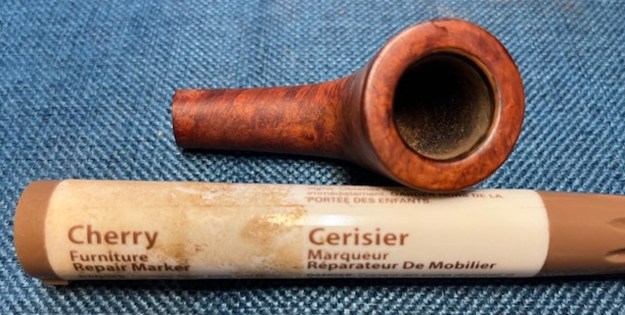 I sanded the bowl with sanding pads – 320-3500 grit pads. I dry sanded it and wiped it down with a damp cloth after each pad. I was able to remove all of the shiny coat and the bowl began to take on a natural shine.
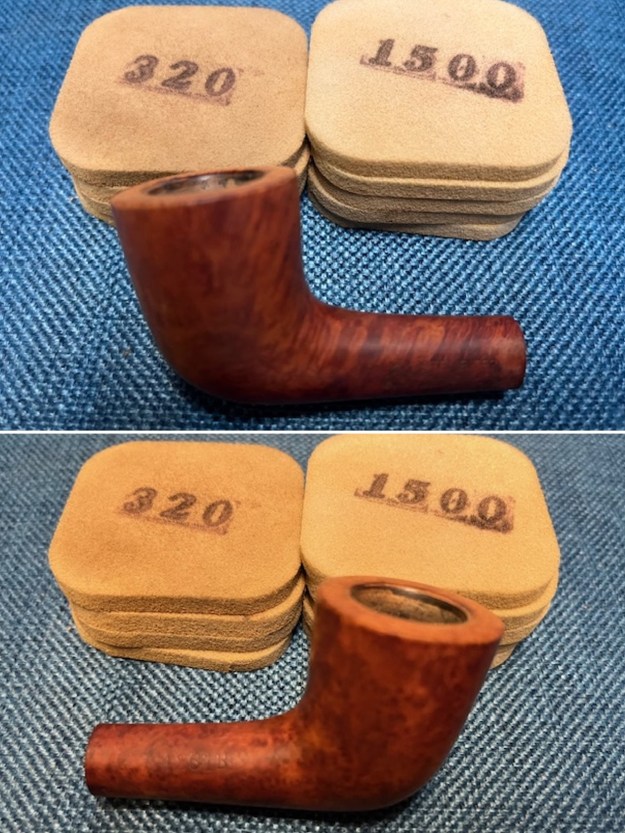
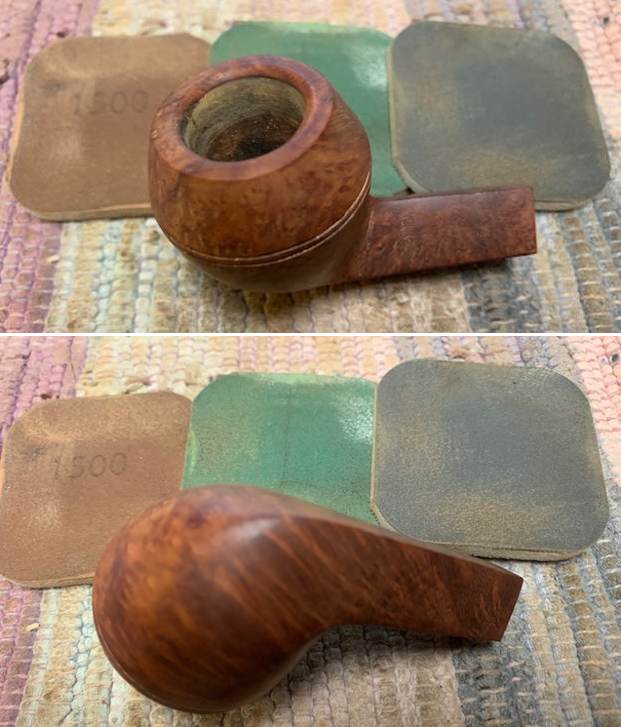
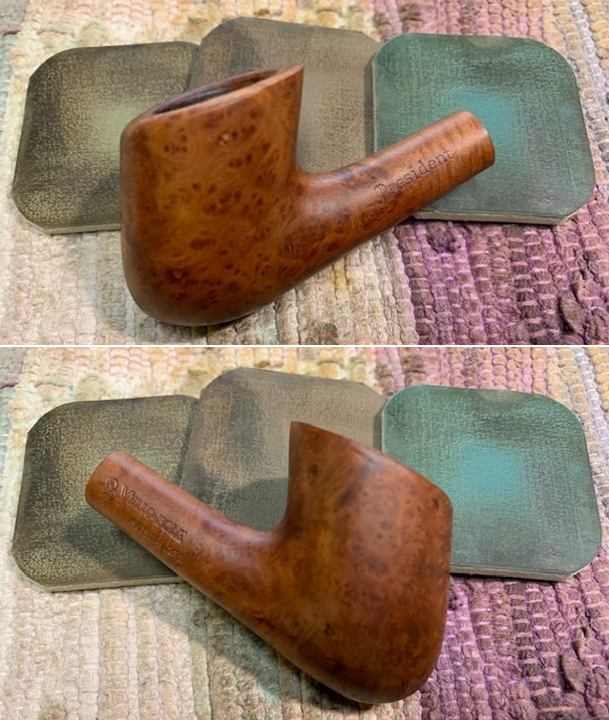
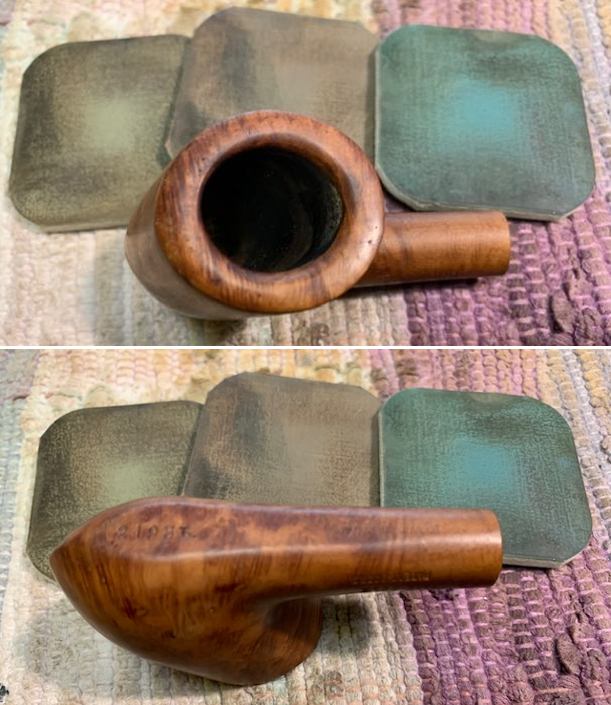
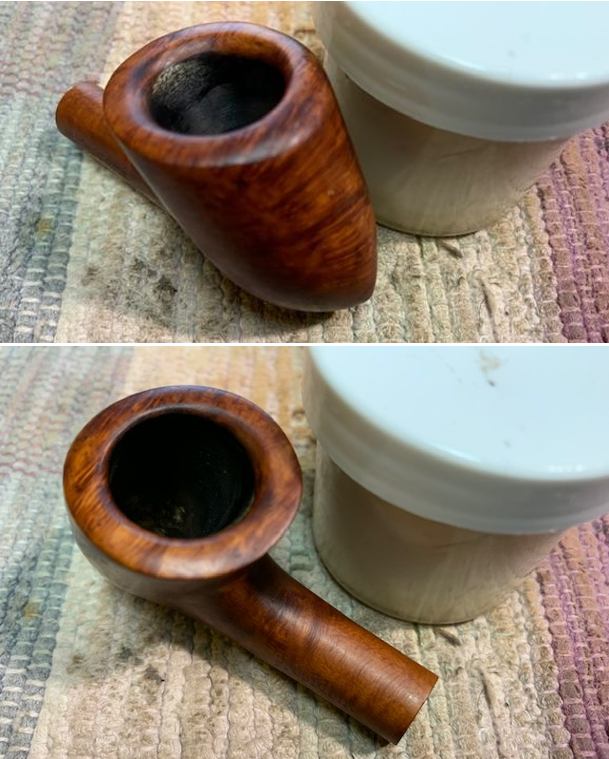
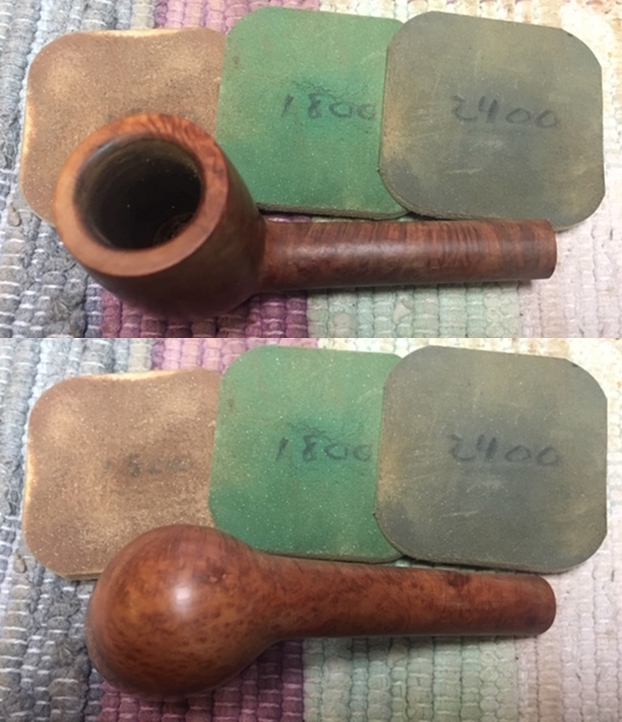
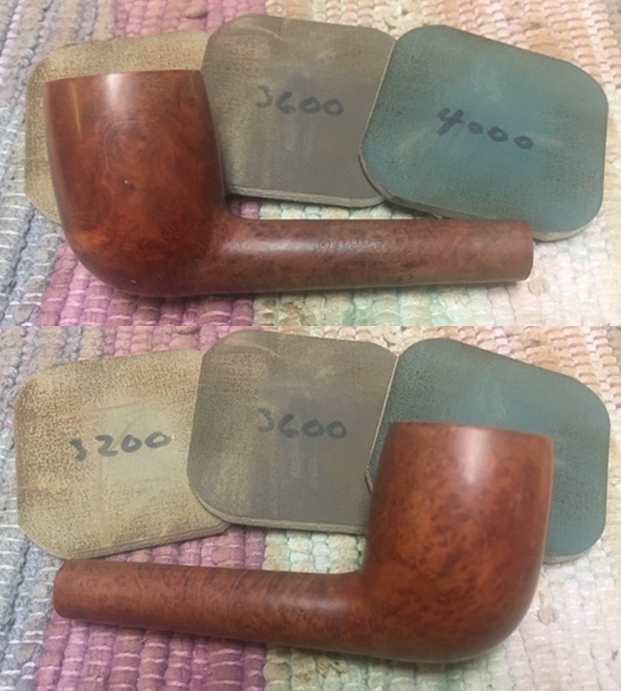
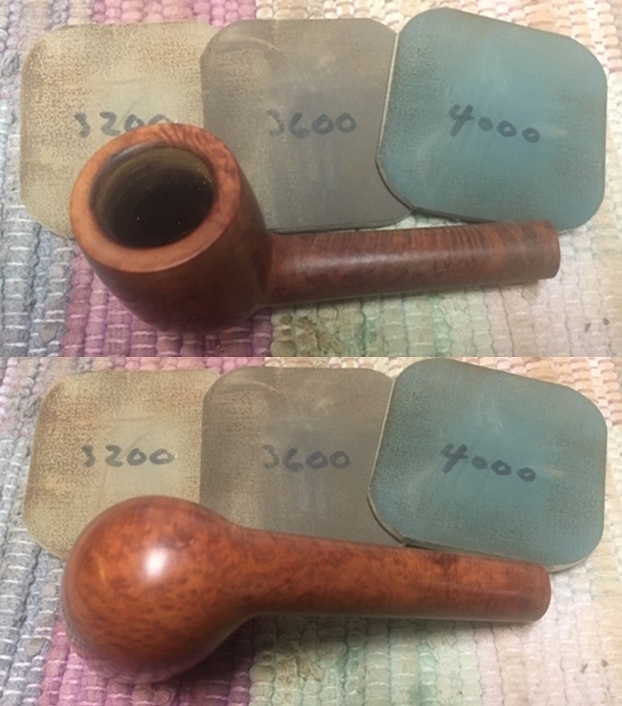
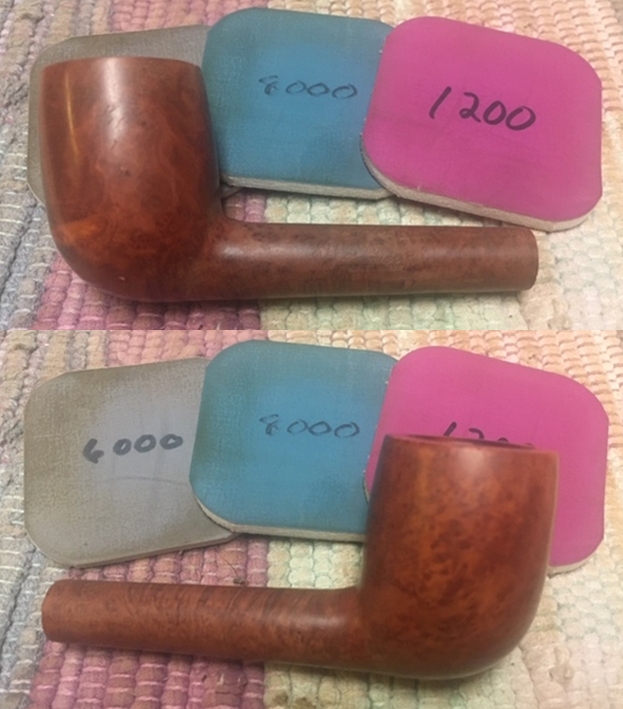
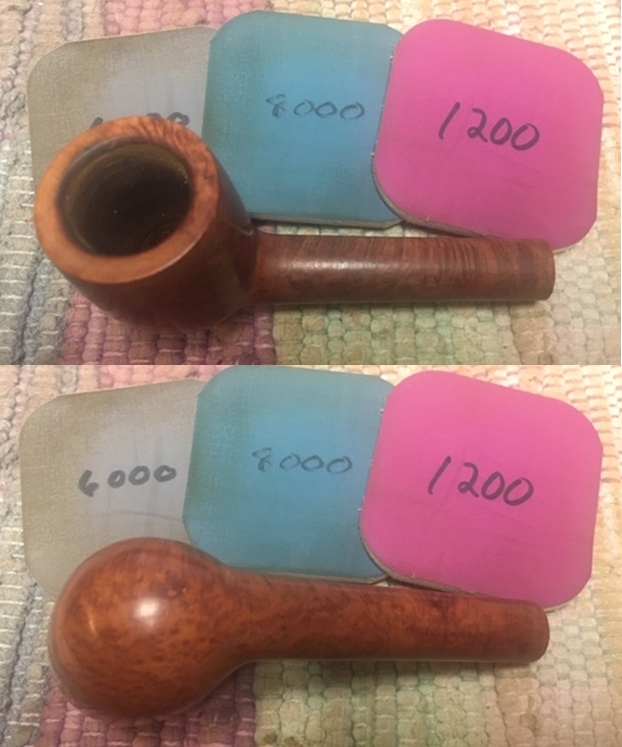
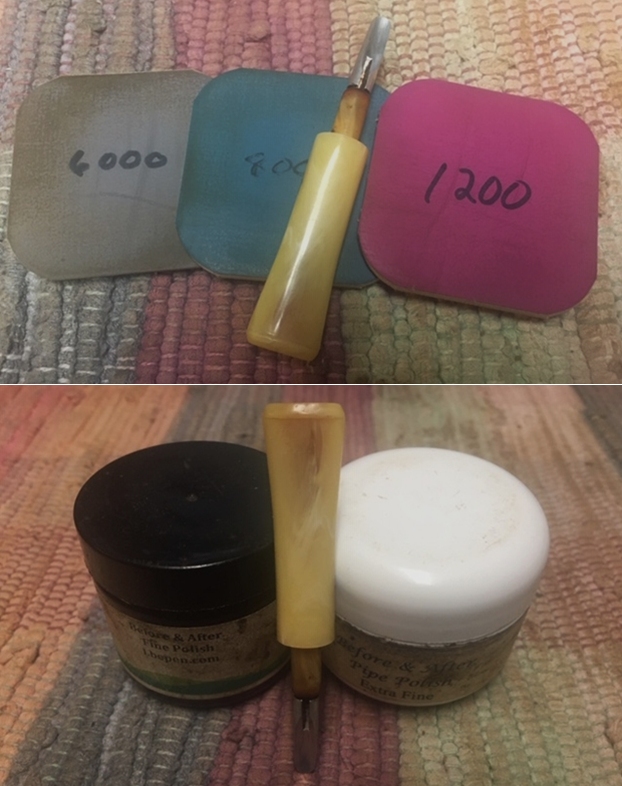
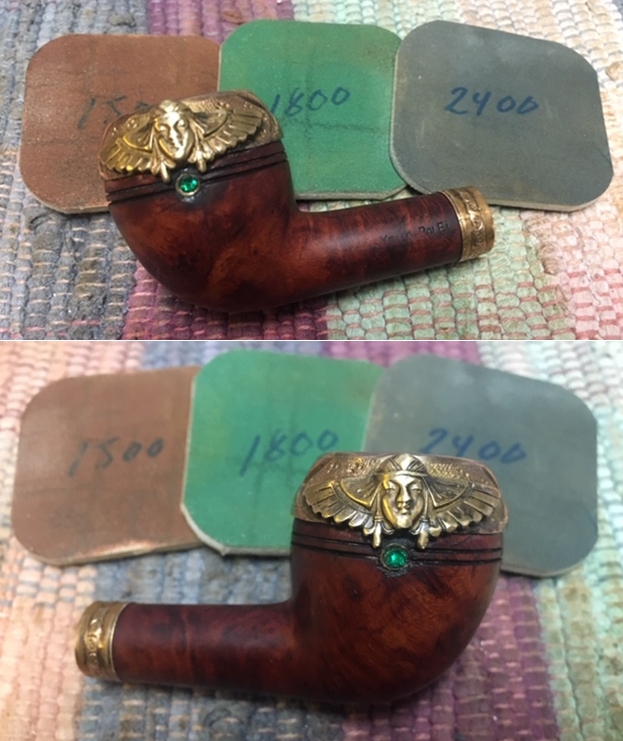
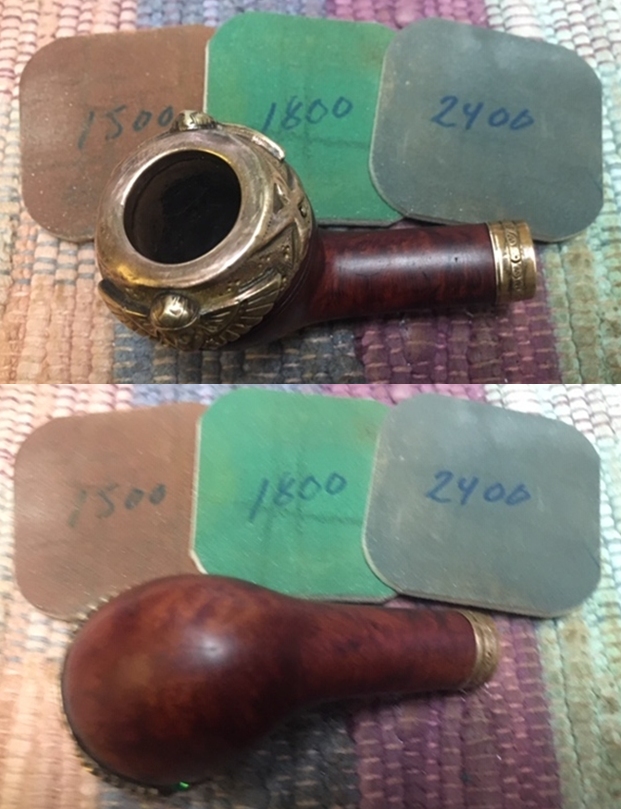
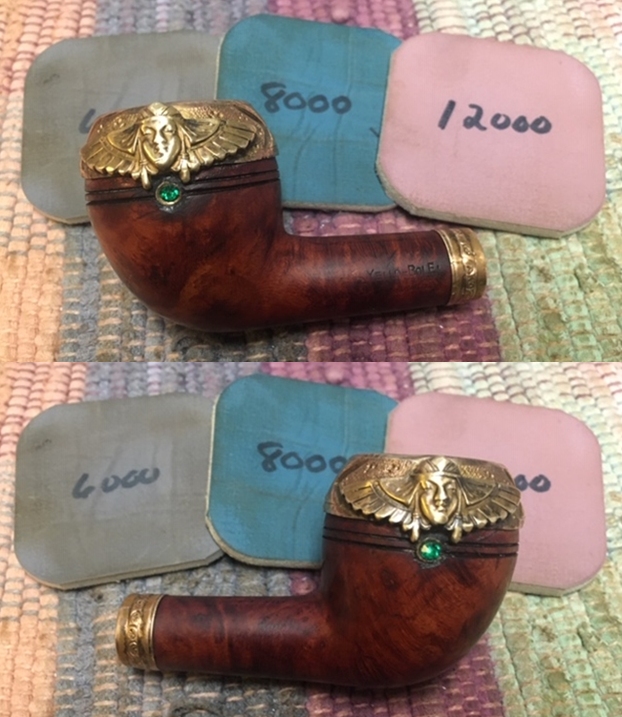
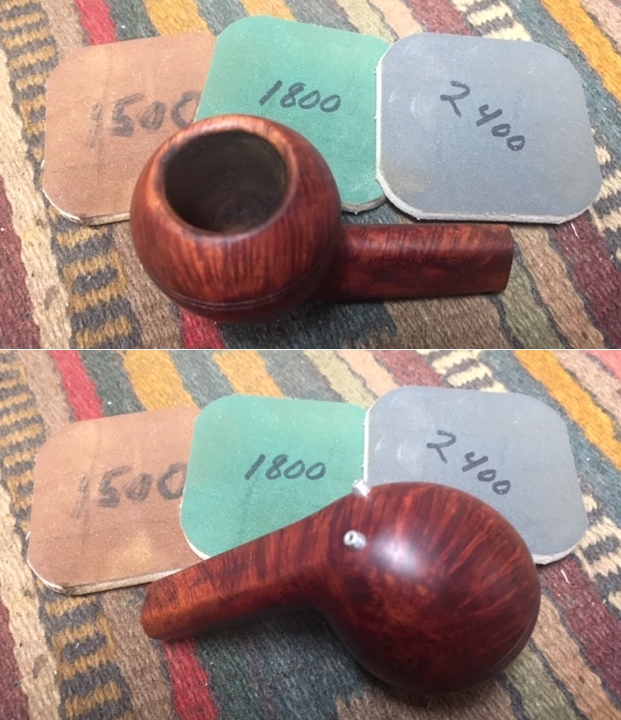
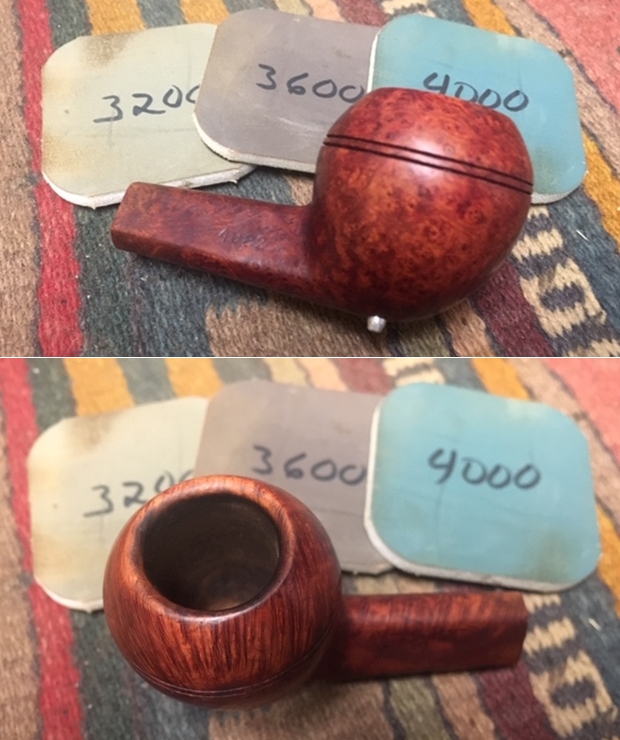
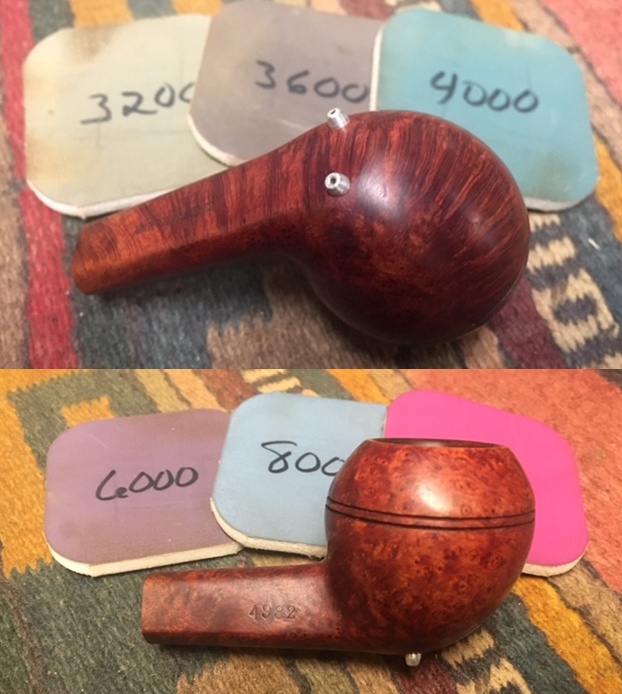
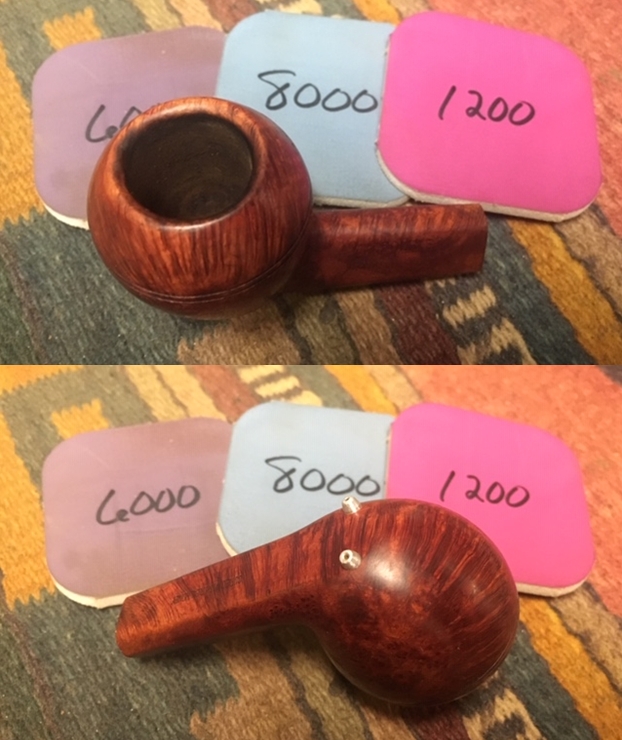
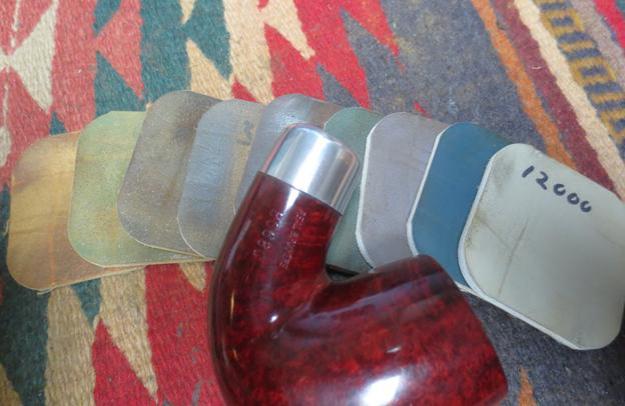
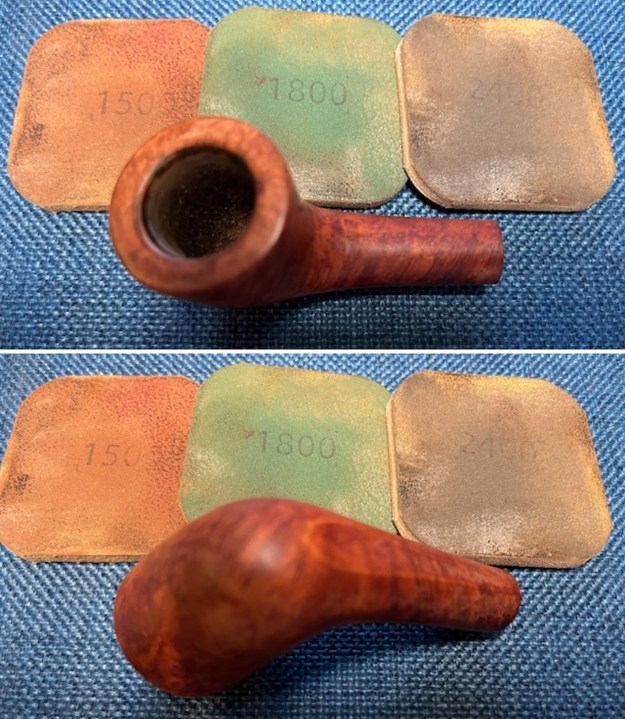
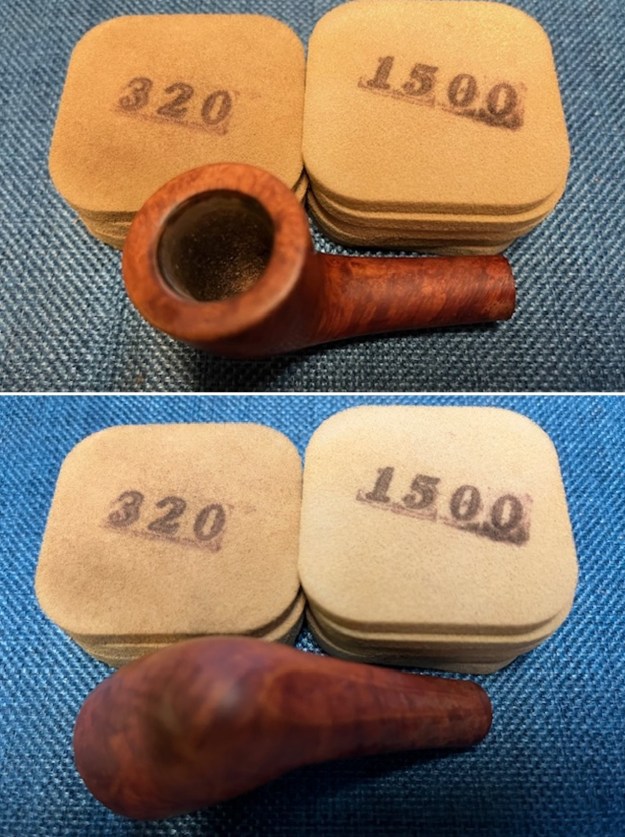 I polished the briar with micromesh sanding pads – dry sanding with 1500-12000 grit pads. I wiped it down after each sanding pad with a damp cloth to remove the sanding debris on the surface.
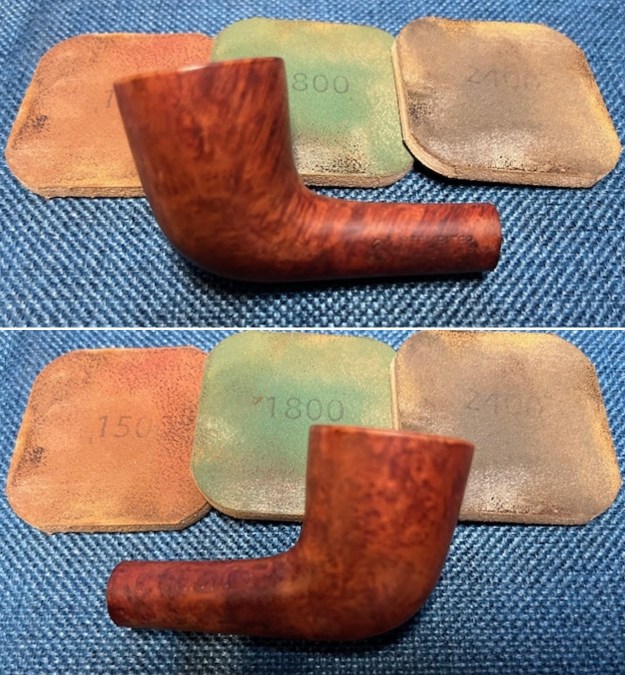
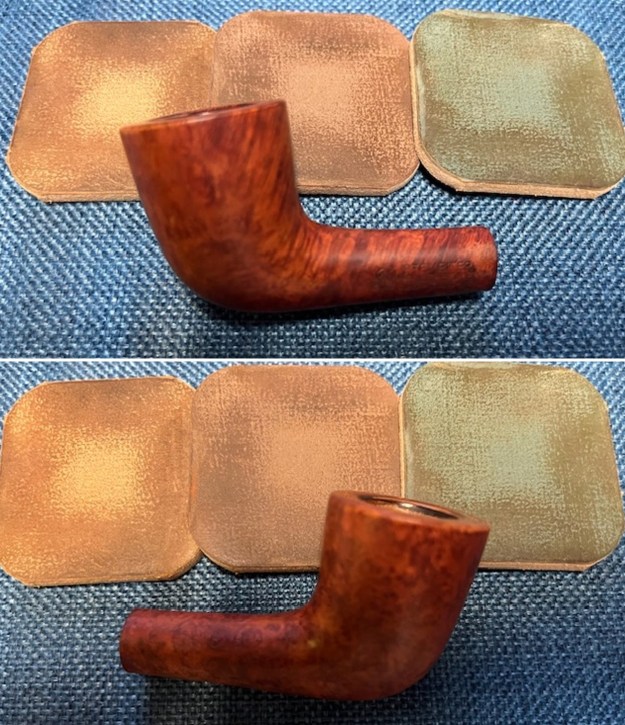
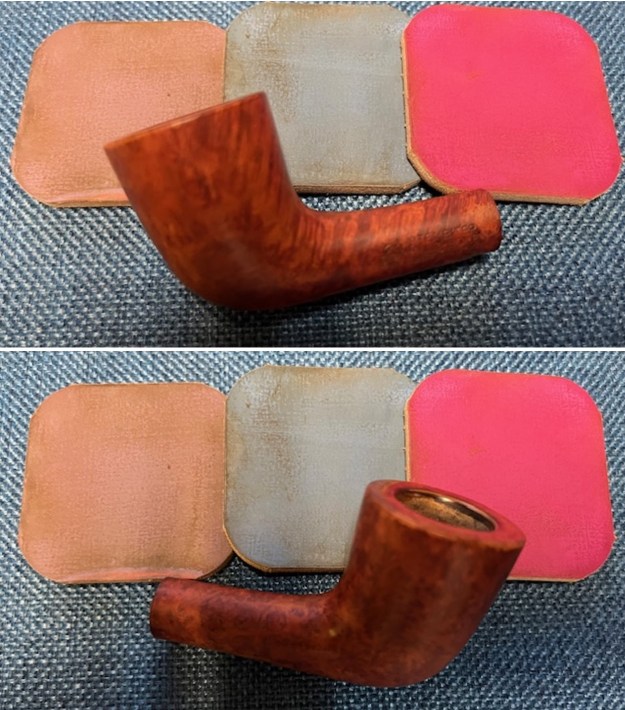
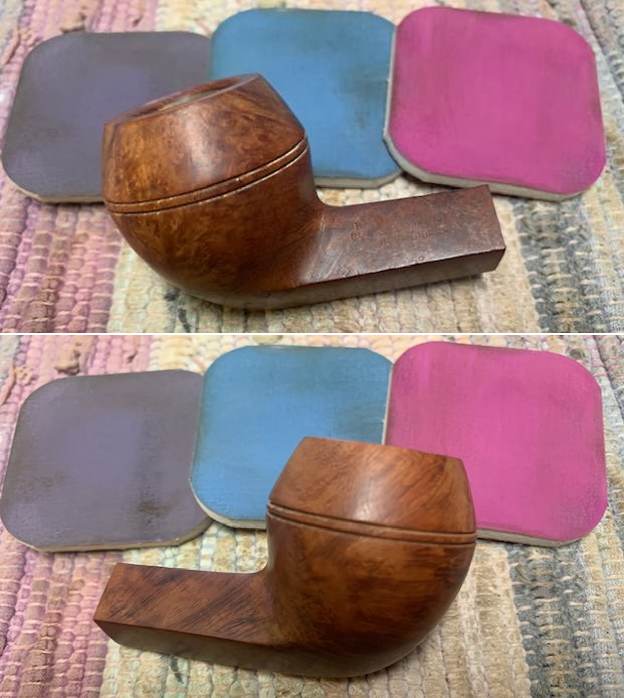
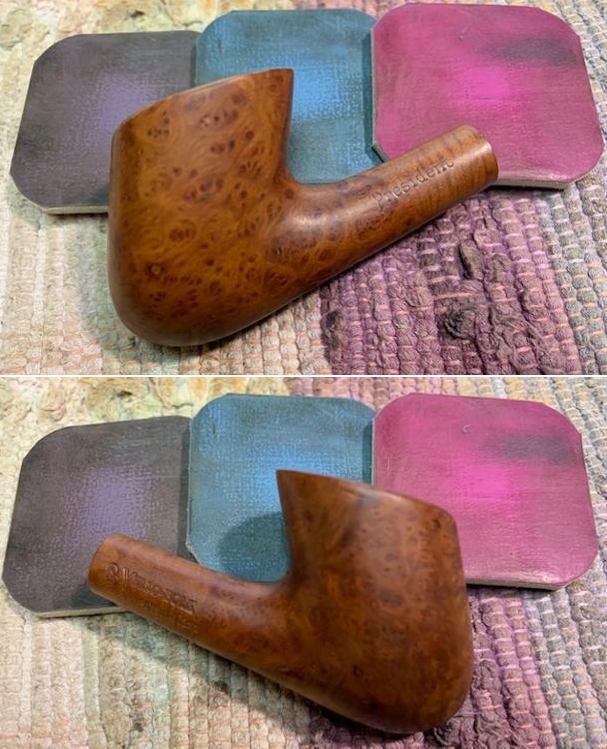
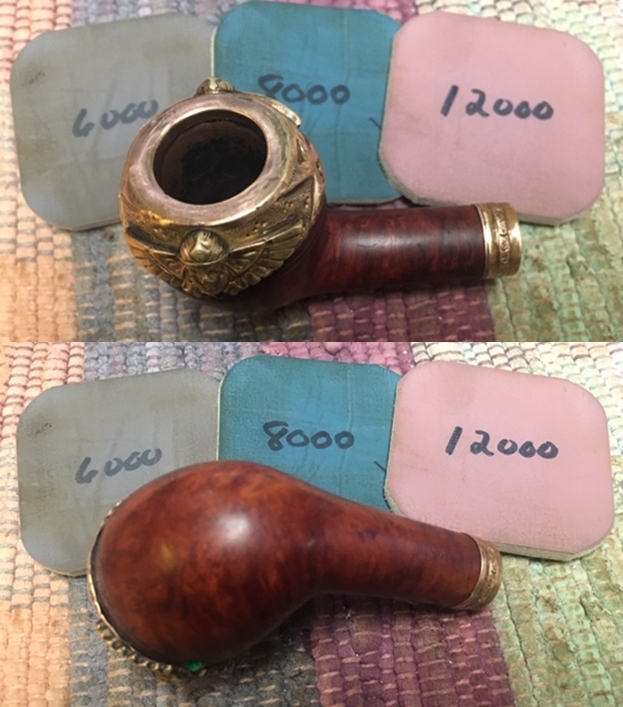
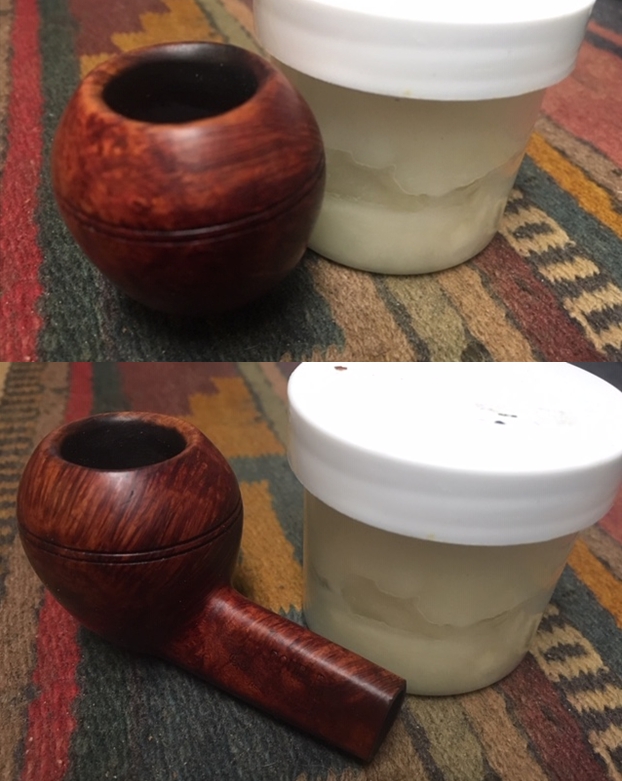
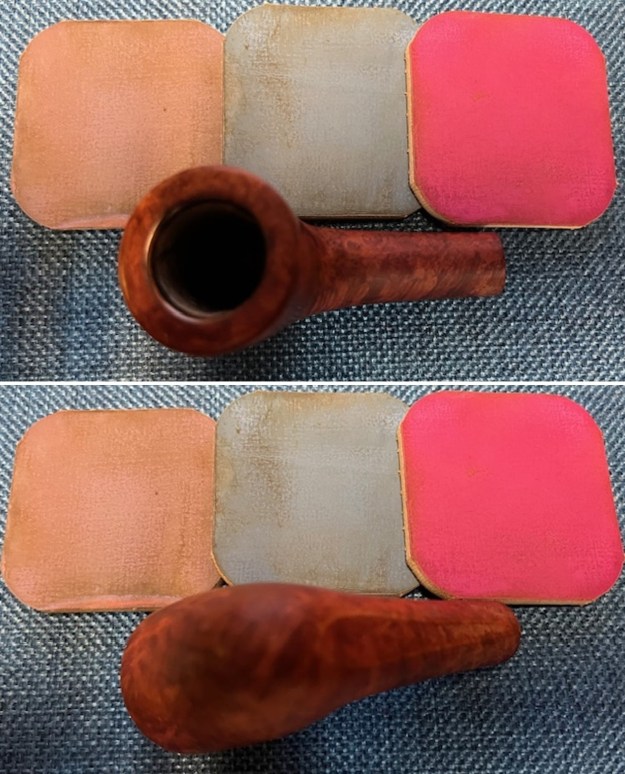 I rubbed the bowl down with Before & After Restoration Balm. I worked it into the surface of the briar with my fingertips to clean, enliven and protect it. I let the balm sit for a little while and then buffed with a cotton cloth and shoe brush to raise the shine.
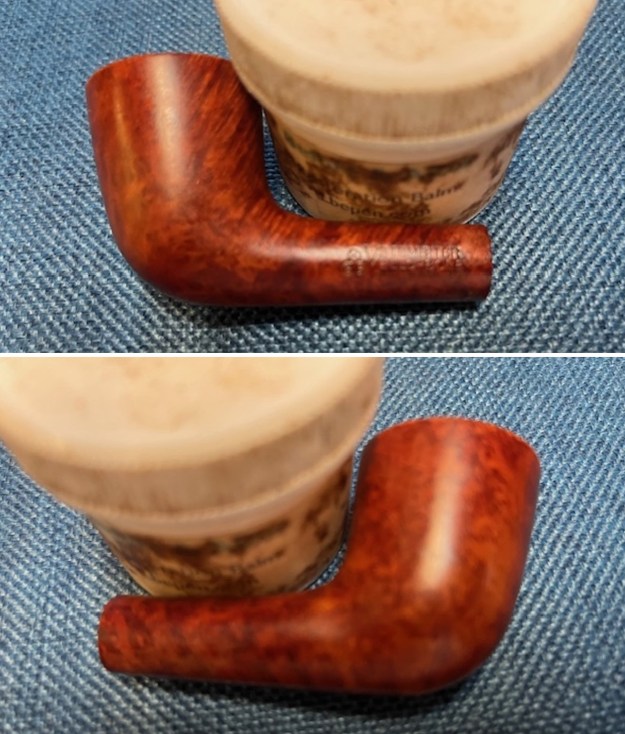
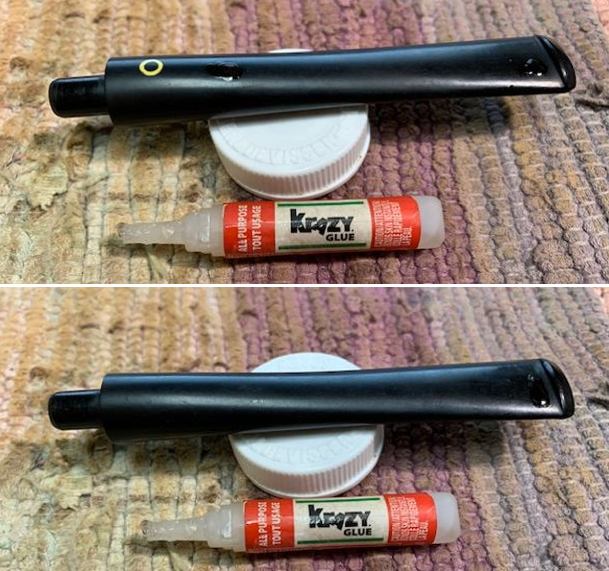
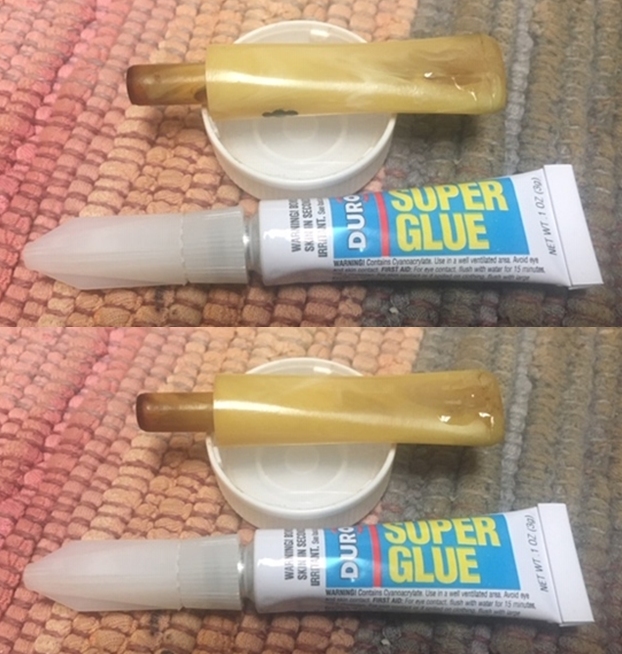
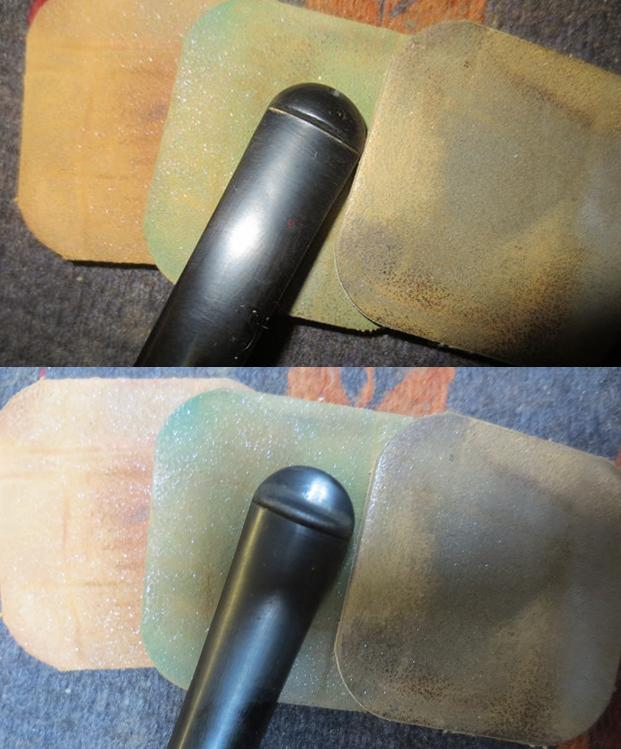
 I set the bowl aside and turned my attention to the stem. I wiped down the stem surface with Soft Scrub. I used cotton pads to remove the oxidation and it was amazing how much came off with the scrubbing.
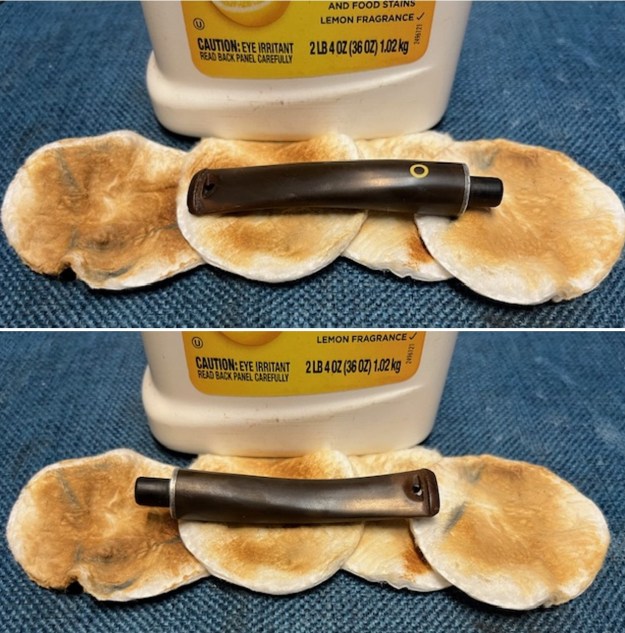 I cleaned out the oxidation in the Stembiter with cotton swabs and Soft Scrub. I was able to remove all of the oxidation and the stem is looking much better at this point.
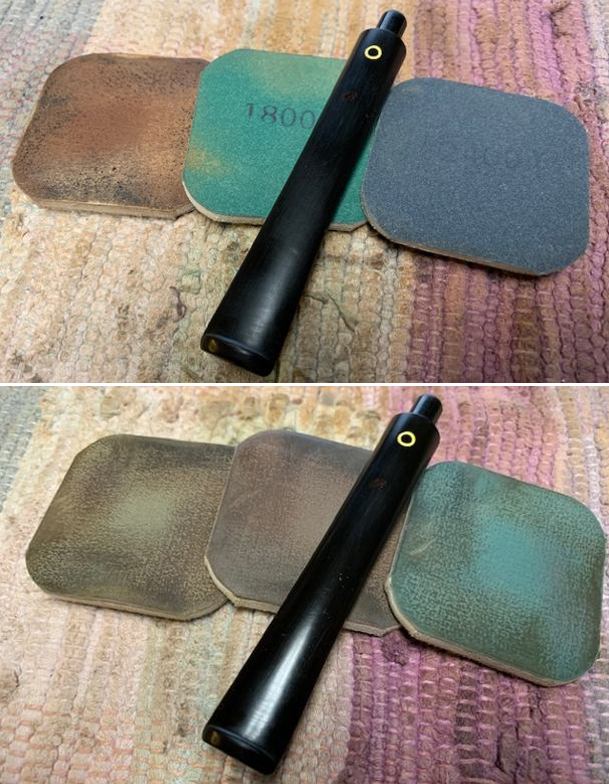
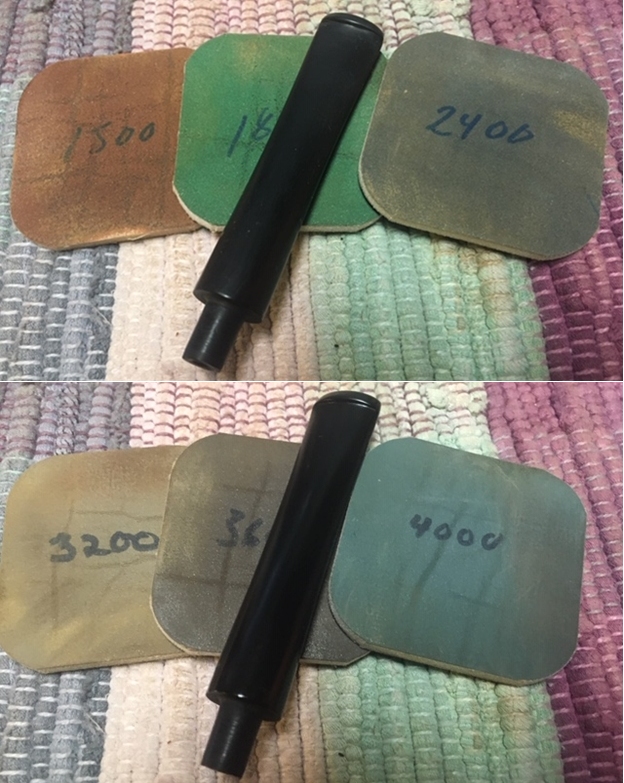
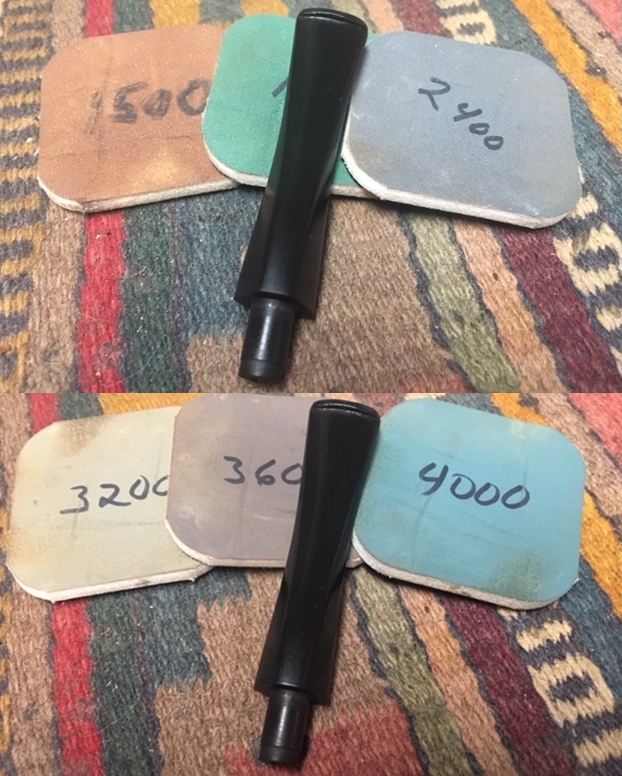
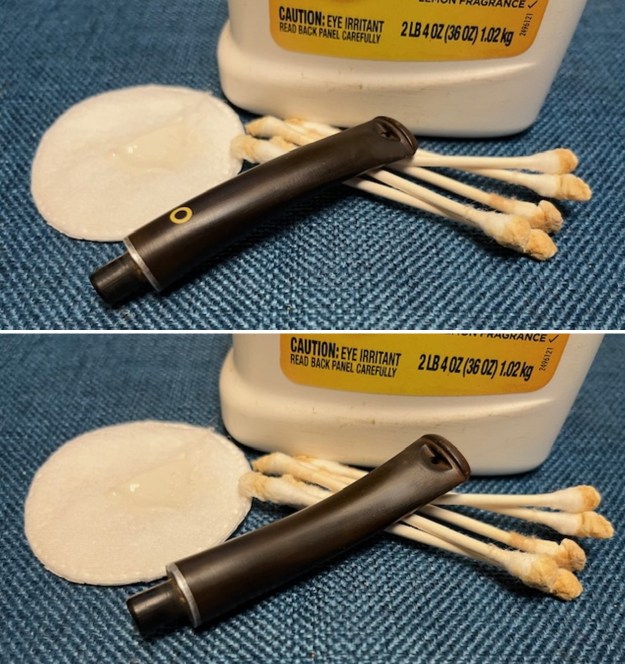 I polished the stem with 320-3500 grit sanding pads. I wiped the stem down after each sanding pad with an Obsidian Oil impregnated cloth. It removes the dust and also gives the sanding pads some bite. By the final pad it was looking quite good.
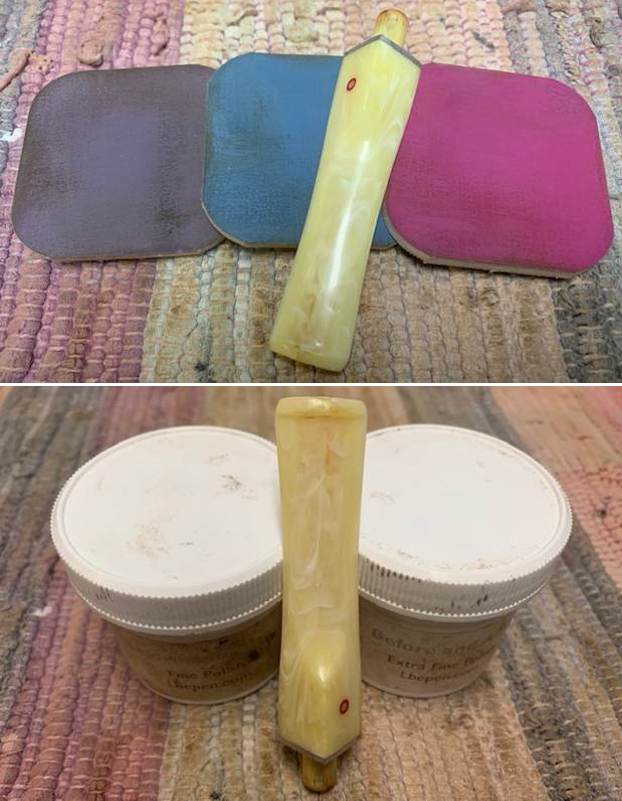
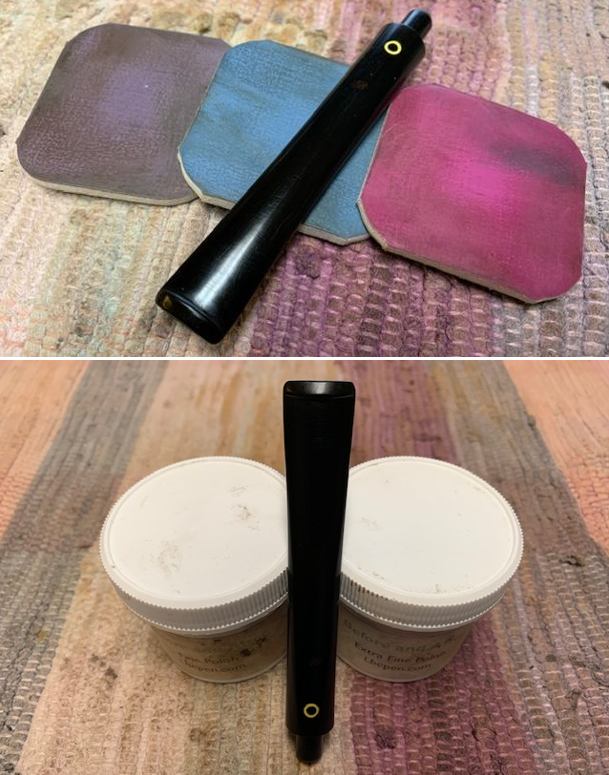
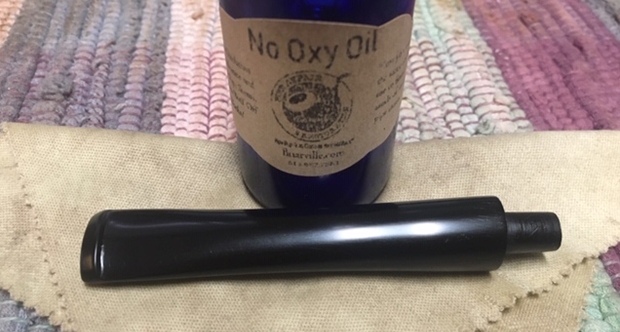
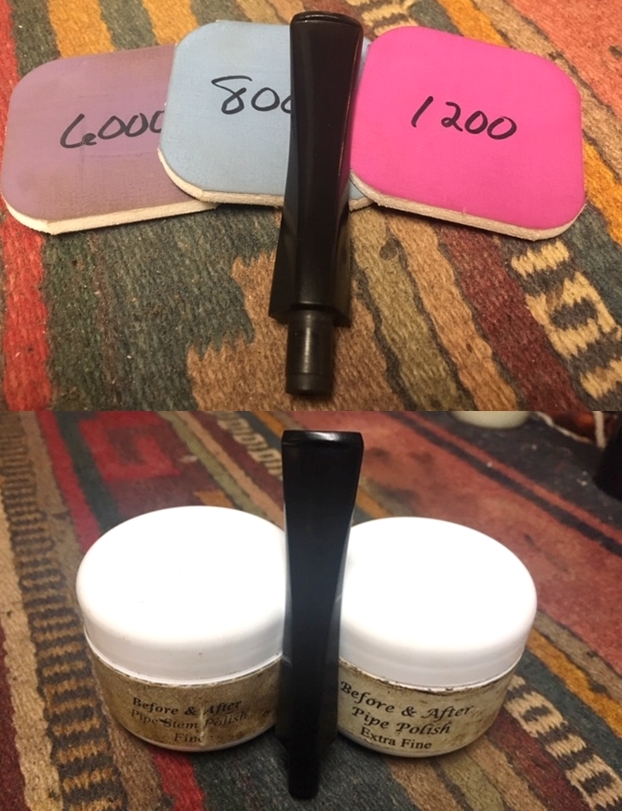
 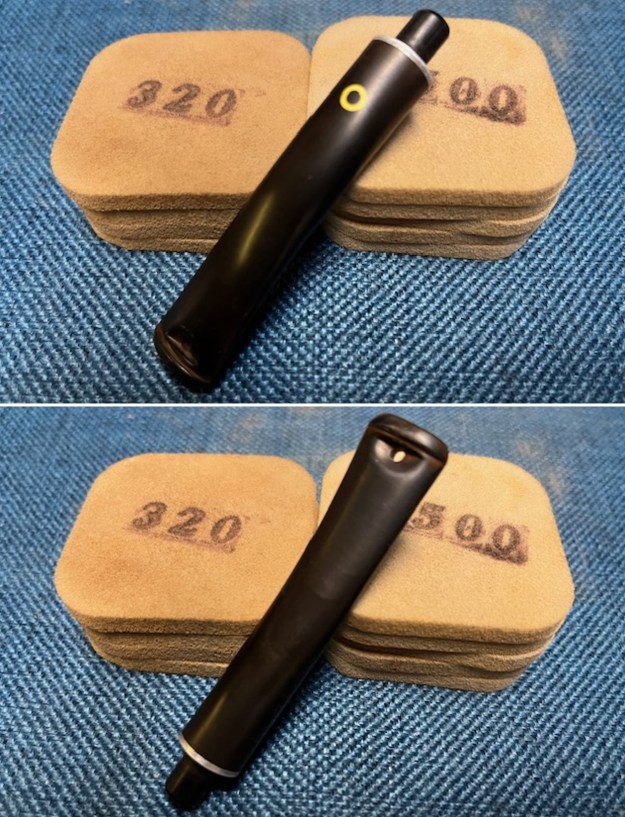 Following my usual process in restoration I polished the stem with micromesh sanding pads – dry sanding with 1500-12000 grit sanding pads. I wiped it down after each sanding pad with Obsidian Oil. I polished it further with Before & After Stem Polish – both Fine and Extra Fine. I gave it a final coat of Obsidian Oil and set it aside to absorb the oil.
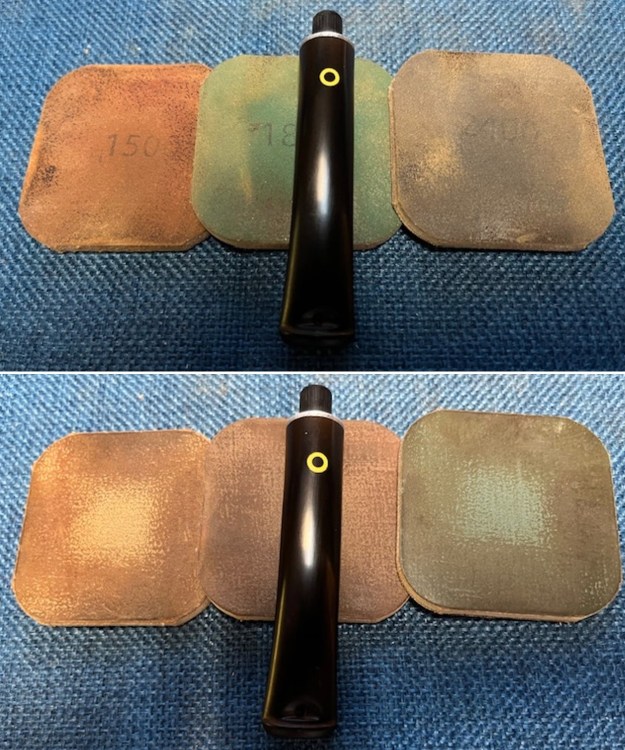
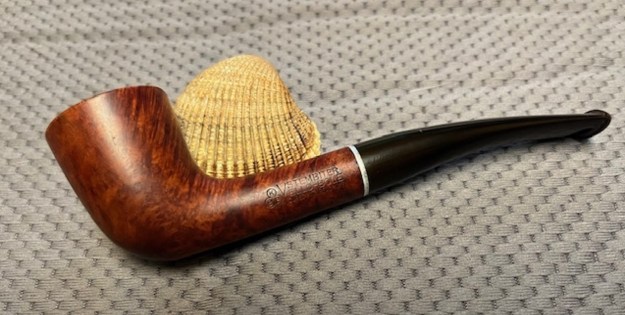
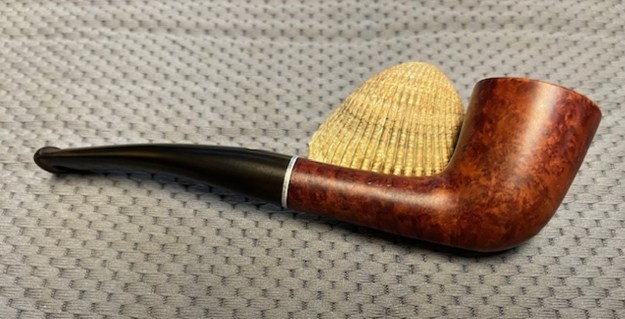
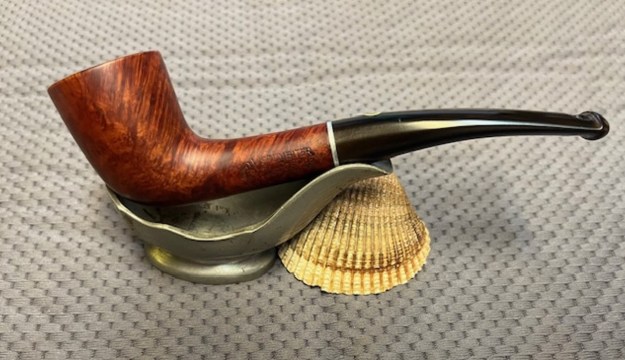
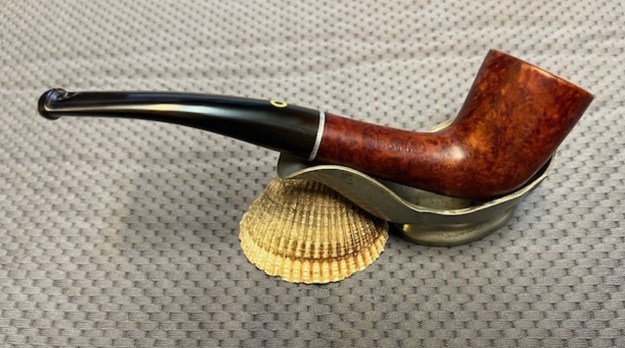
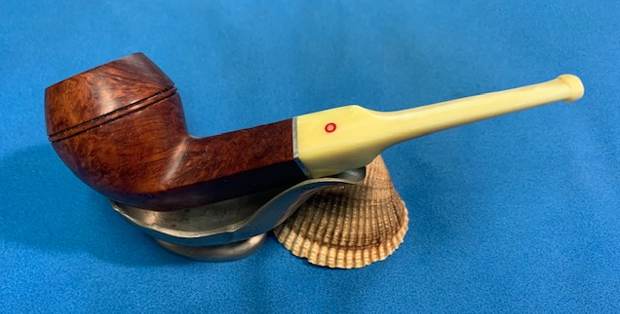
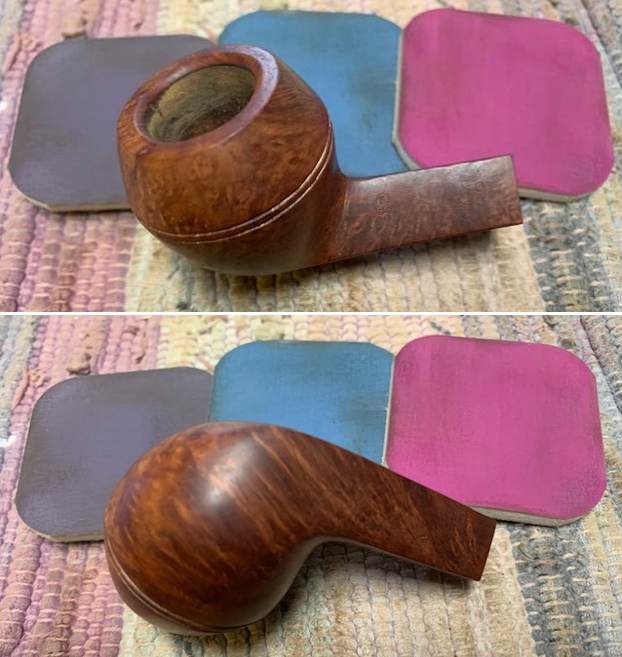
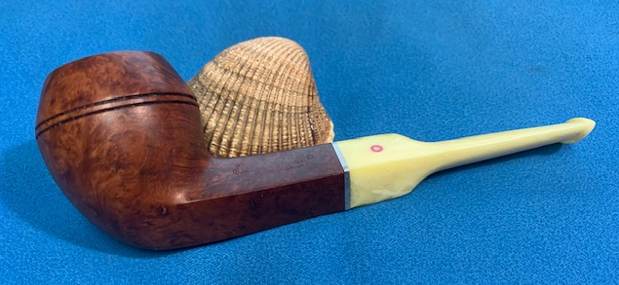
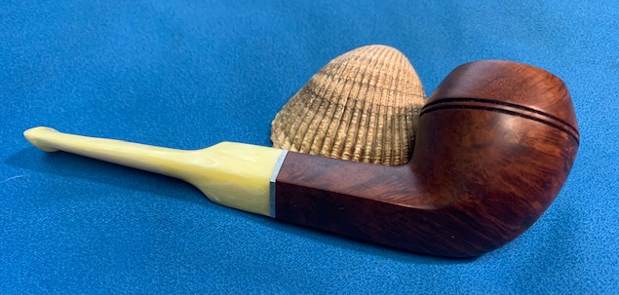
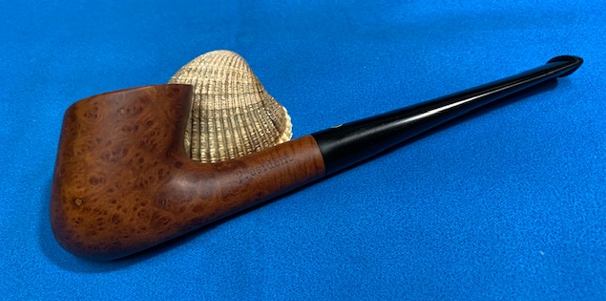
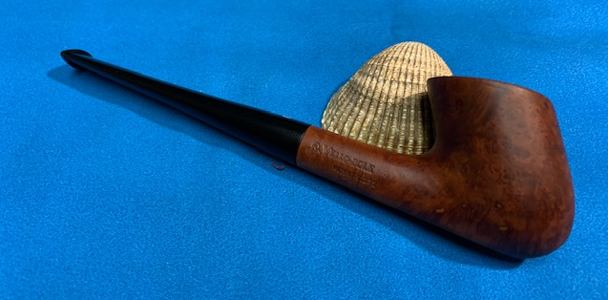
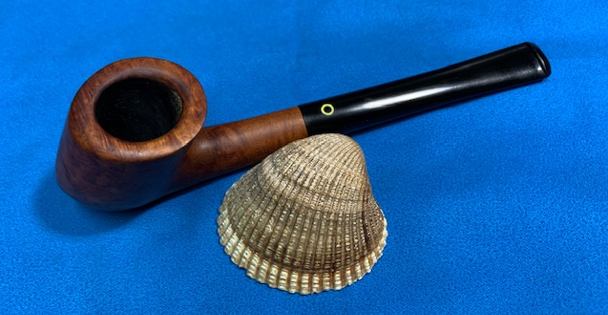
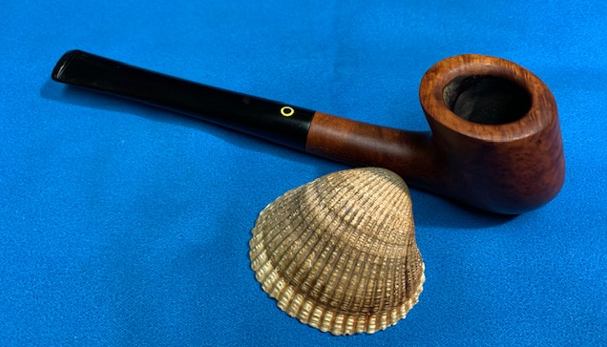
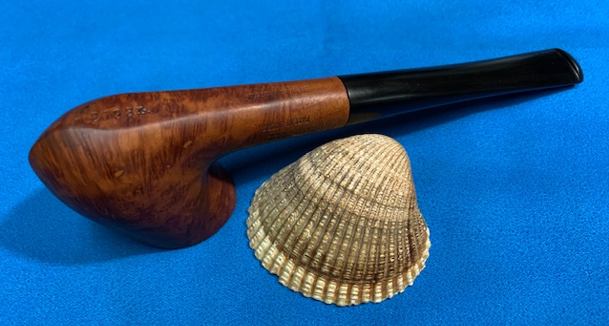
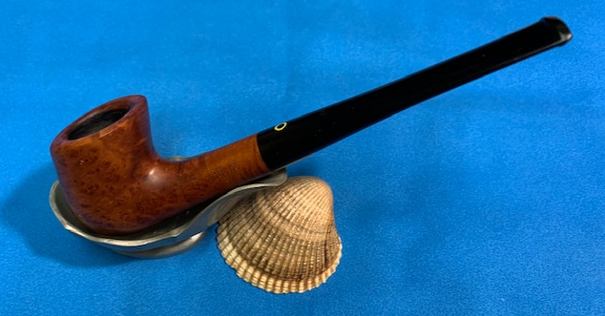
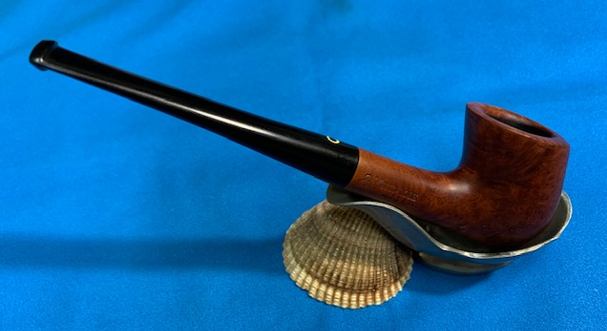
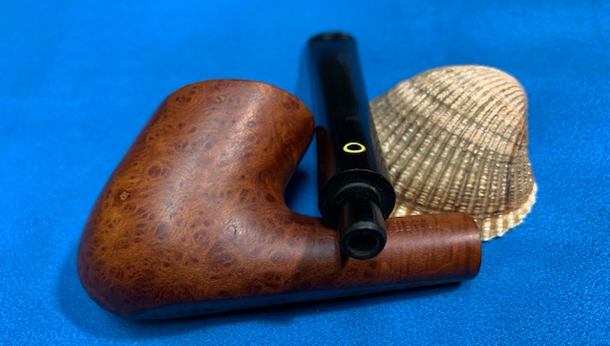
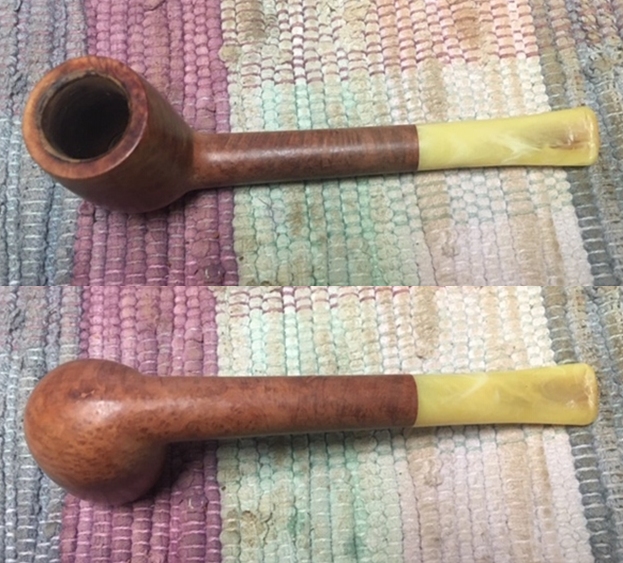
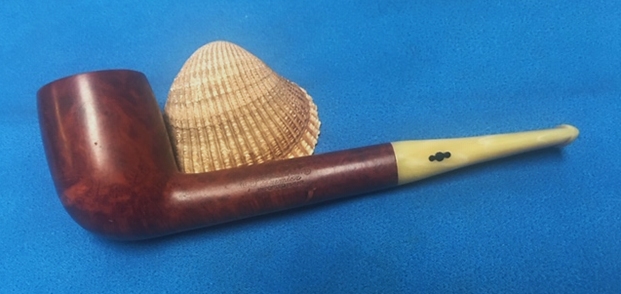
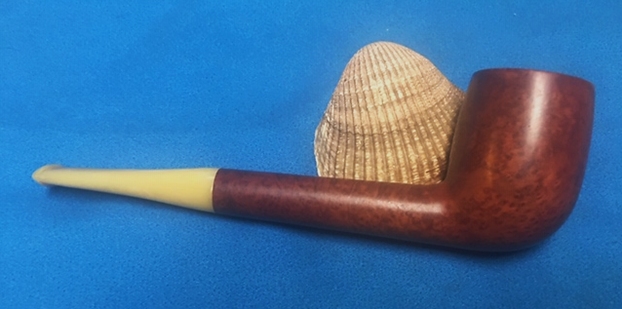
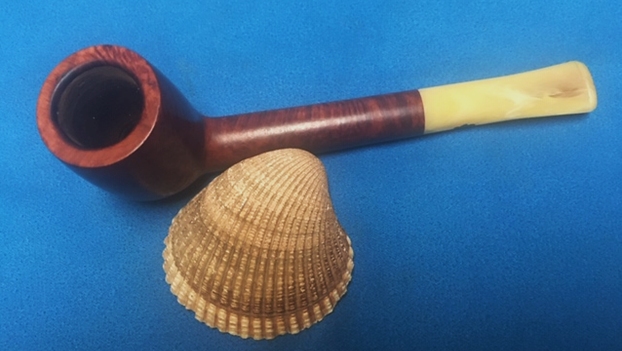
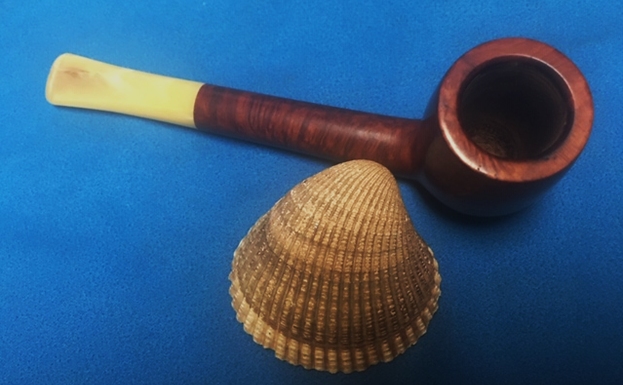
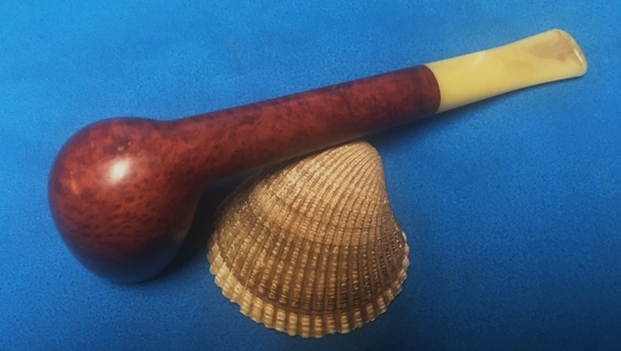
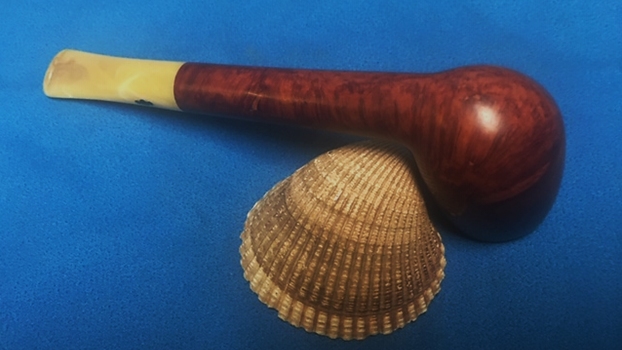
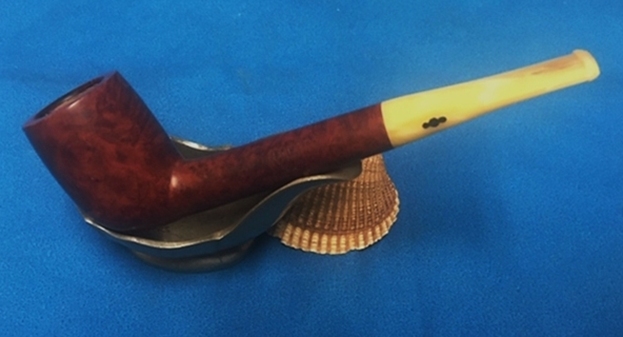
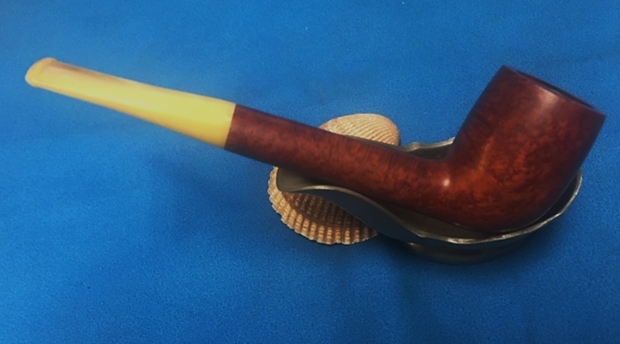
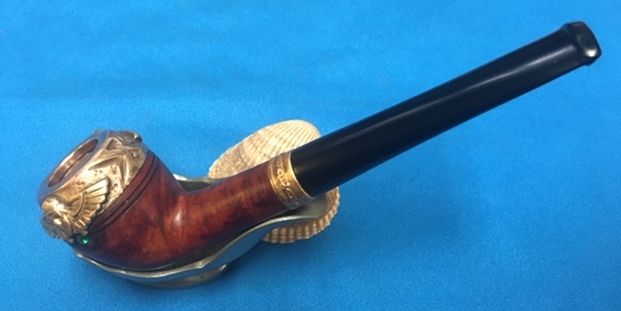
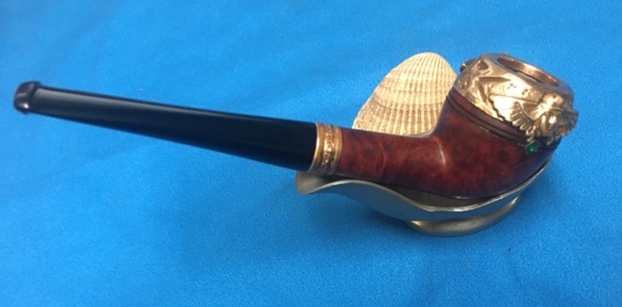
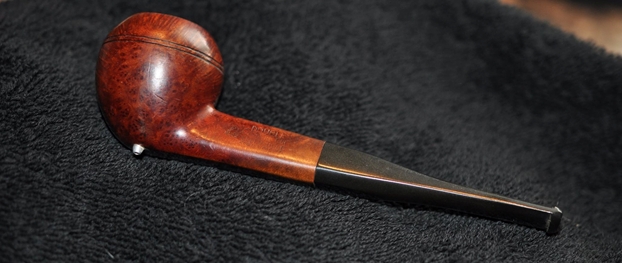
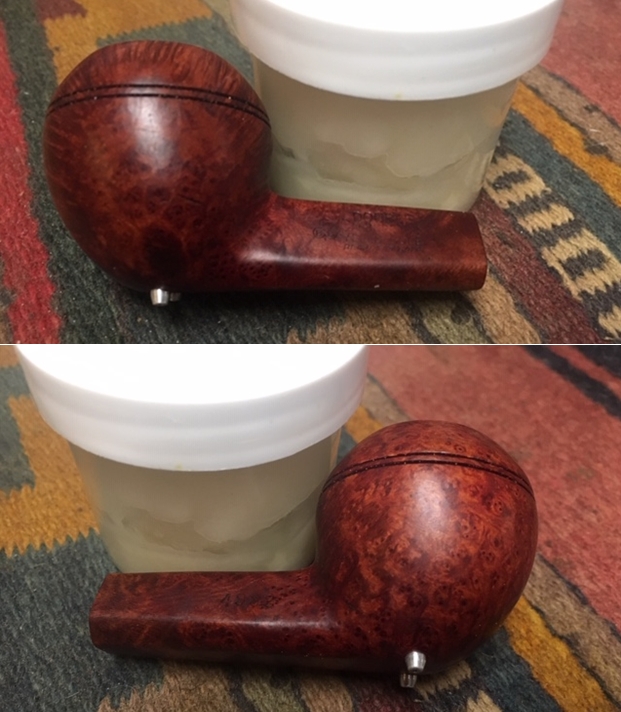
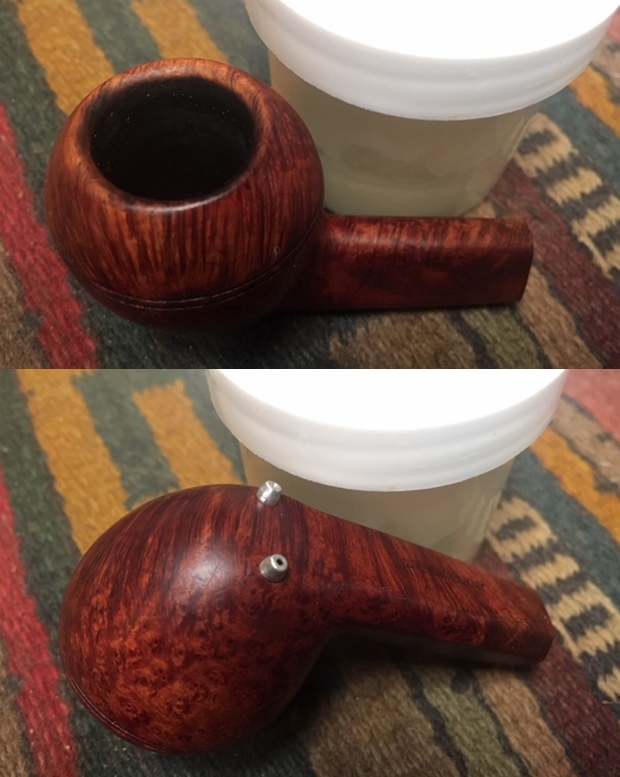
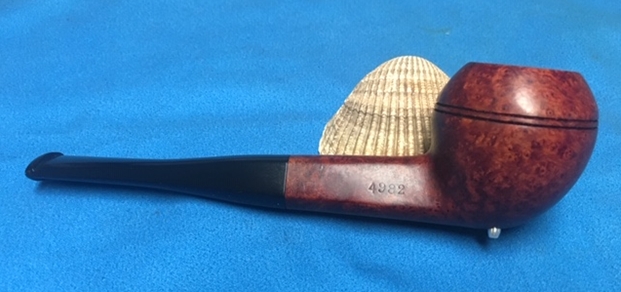
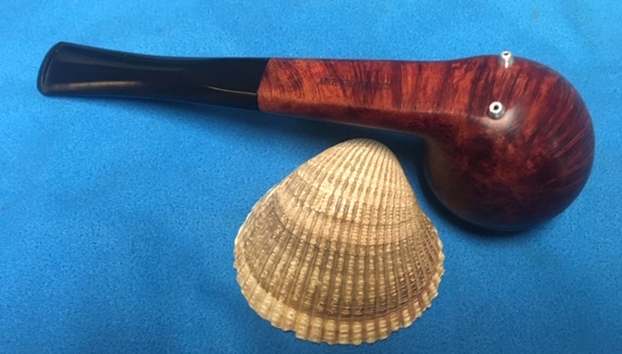
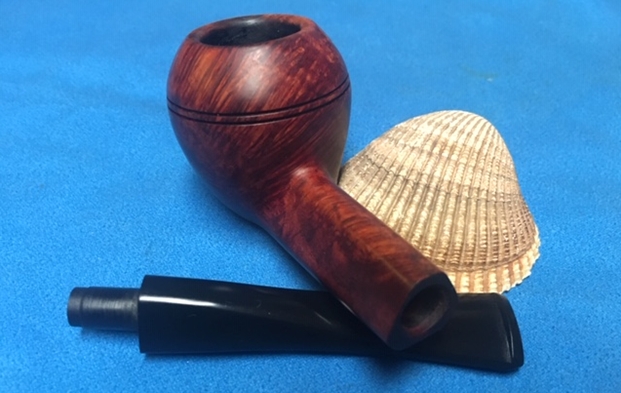
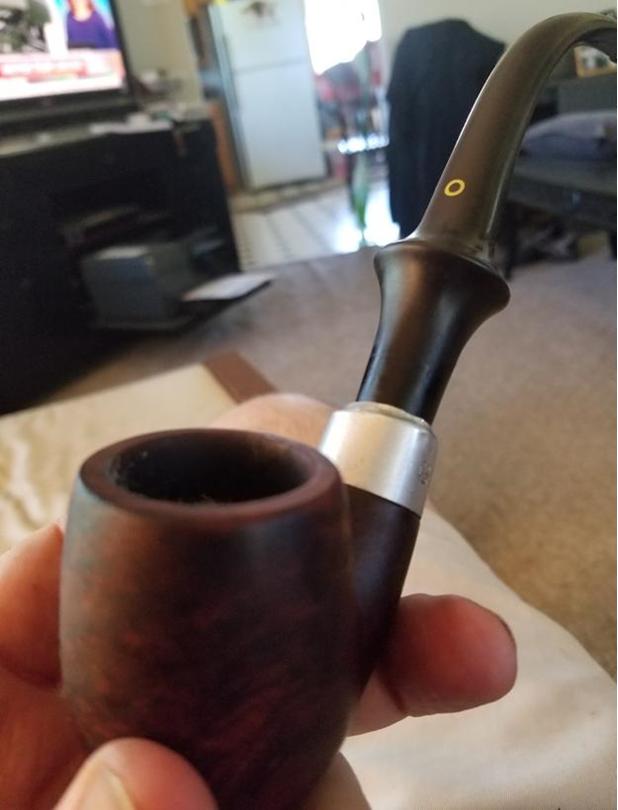
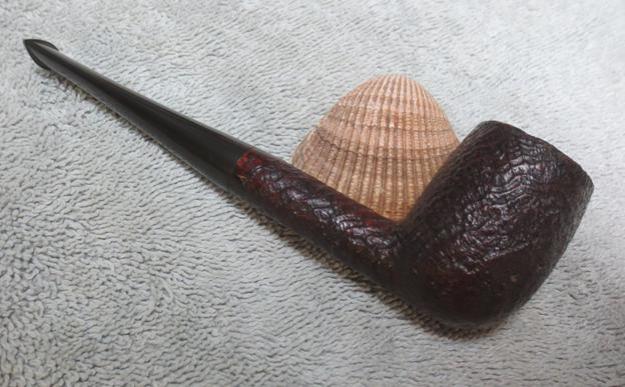
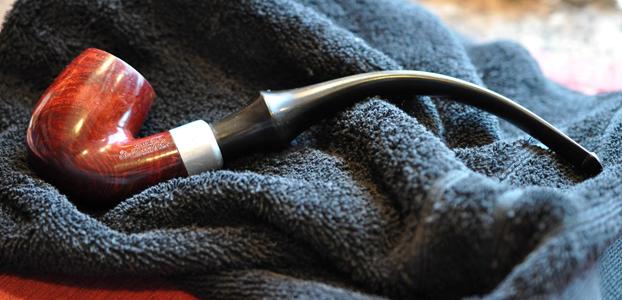
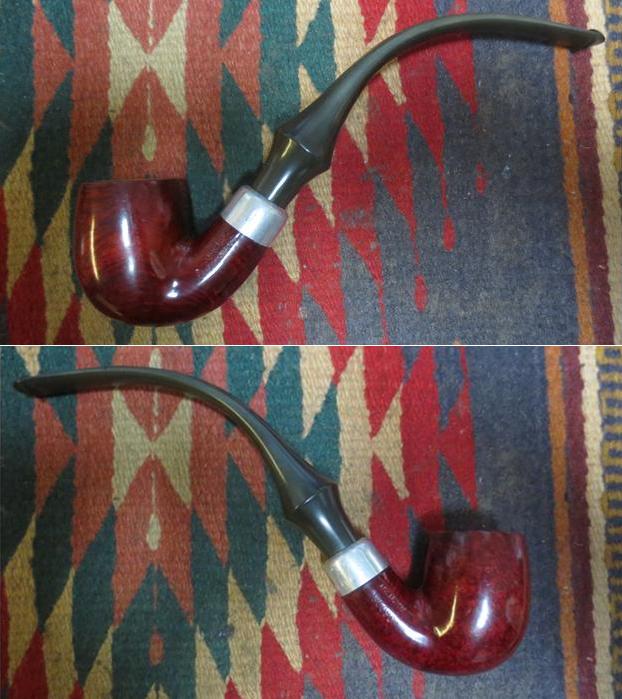
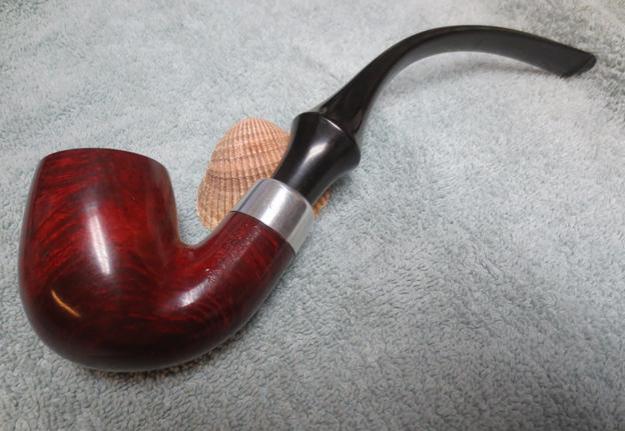
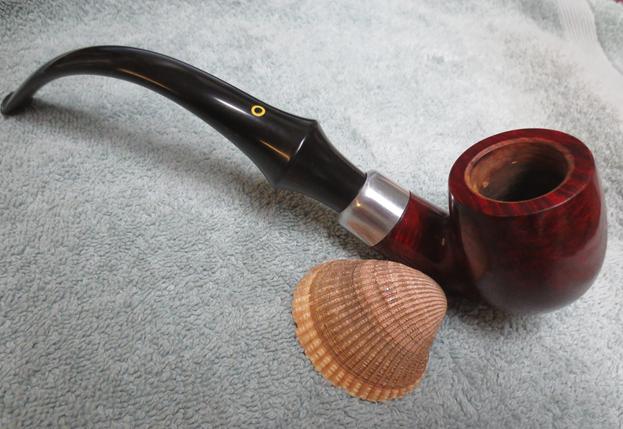
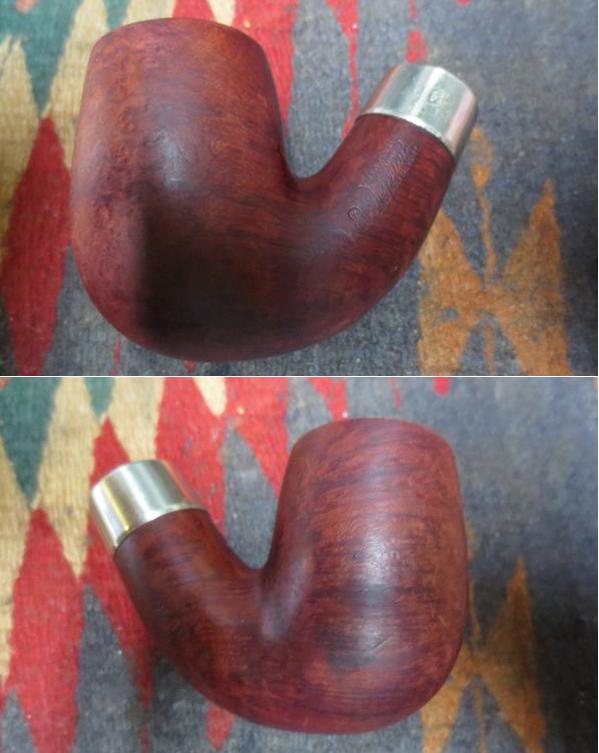
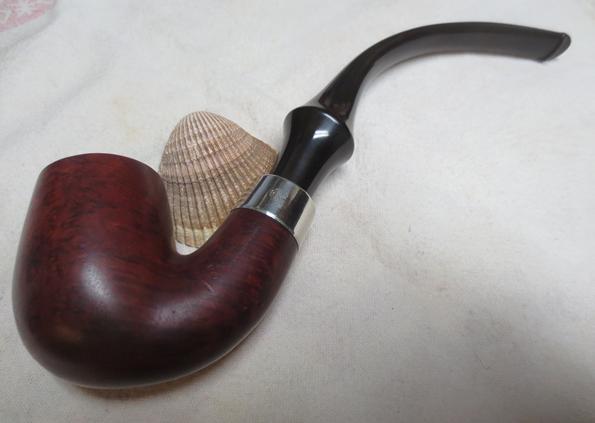
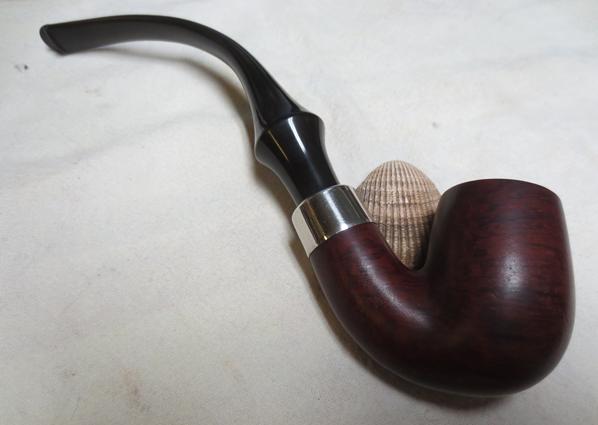
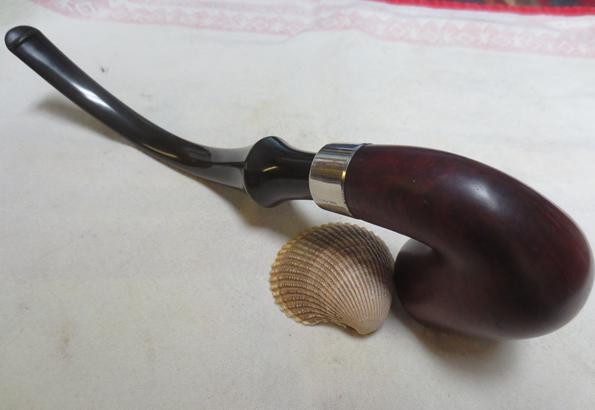
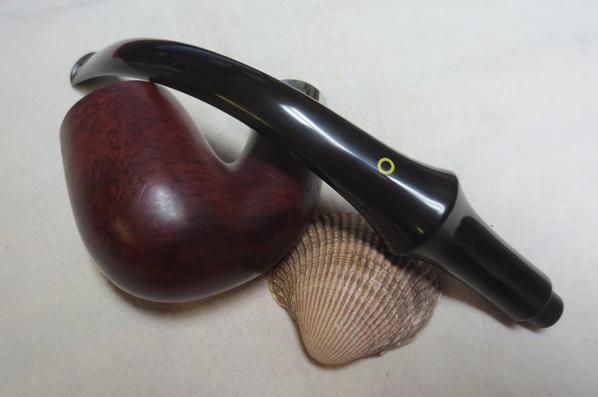
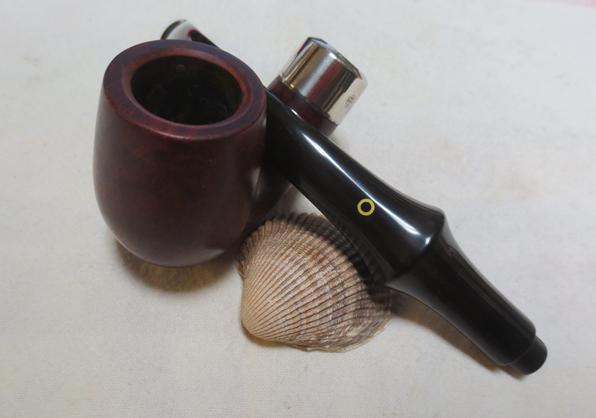
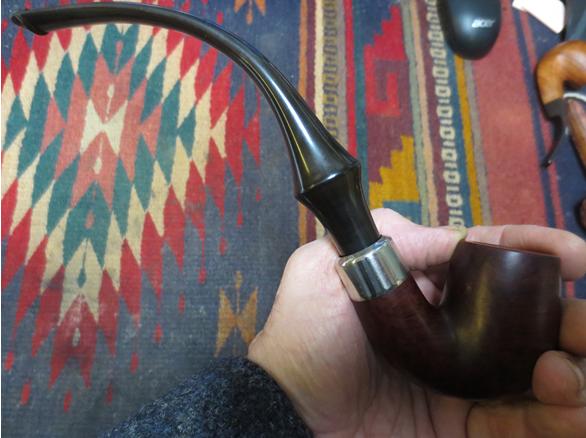
 The KBB Yello-Bole Stembiter Cured with Real Honey 4261B Yacht Freshman is finished other than the final waxing and buffing. I polished the bowl and stem with Blue Diamond to polish out the remaining small scratches and gave it several coats of carnauba. I buffed the pipe with a clean buffing pad on the buffer to raise the shine. I hand buffed it with a microfiber cloth to deepen the shine. The pipe polished up pretty nicely. The finished pipe is shown in the photos below. The dimensions are Length: 5 ½ inches, Height: 1 ½ inches, Outside diameter of the bowl: 1 ¼ inches, Chamber diameter: ¾ of an inch. The weight of the pipe is 26 grams/.92 ounces. It is a great looking pipe now that it is restored. It feels great in the hand and as it warms up it as smoked it should be even better. I have two more of Robert’s pipes that I need to work on and then will call him to pick them up. I look forward to hearing what he thinks of it once he has them in hand. If the condition was any indicator it is a good smoker. Thanks for walking through the restoration with me as I worked over this KBB Yello-Bole Stembiter Yacht Freshman.