Tag Archives: KBB Yello-Bole

Bringing New Life to a Yello-Bole Metal


Blog by Steve Laug

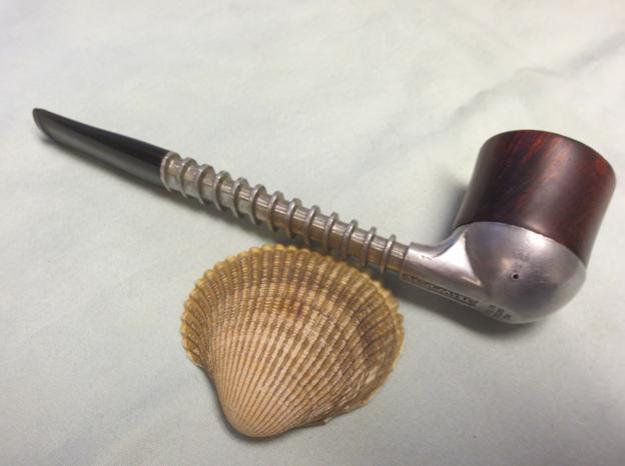
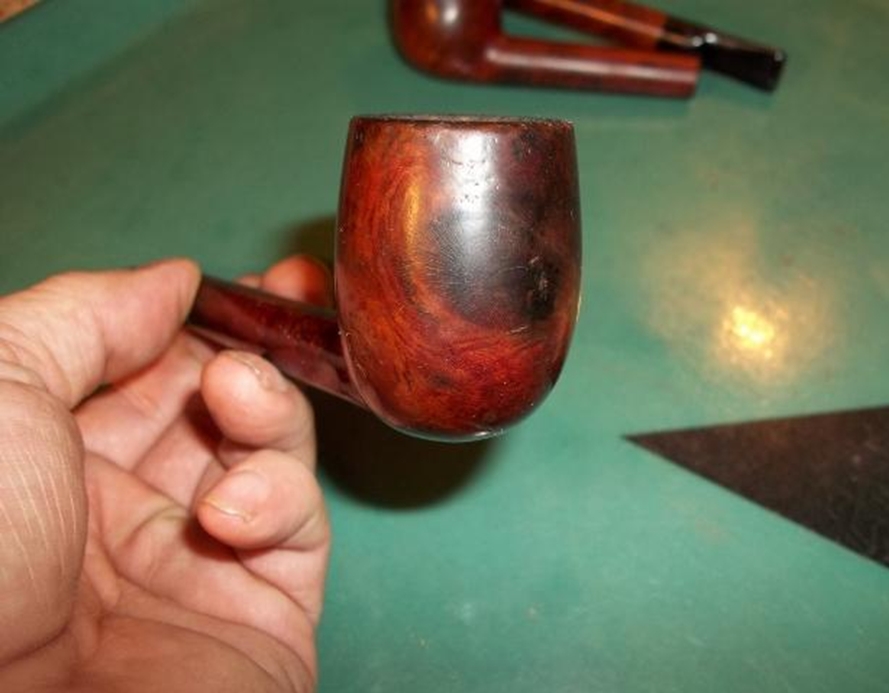
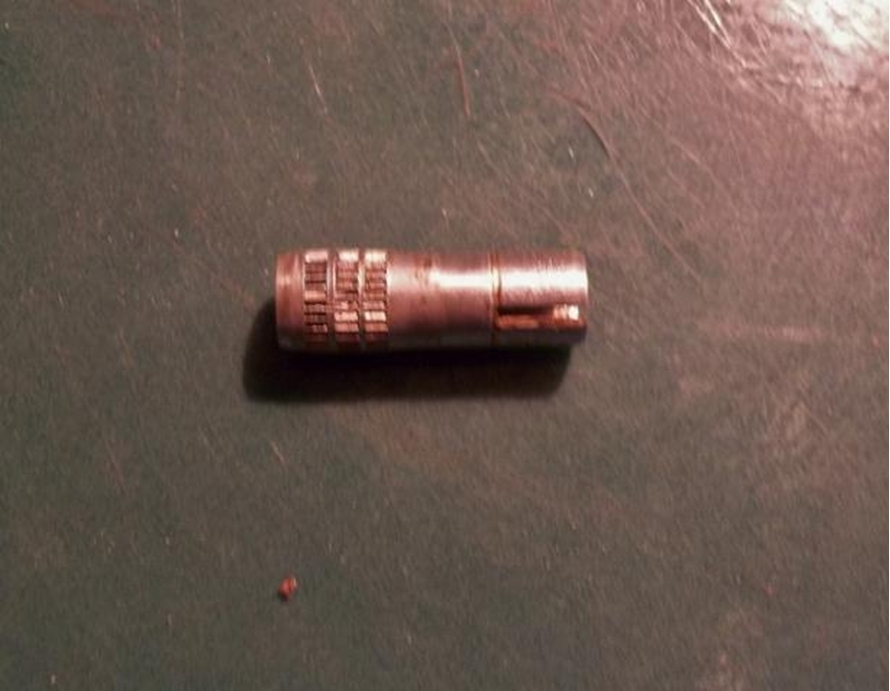
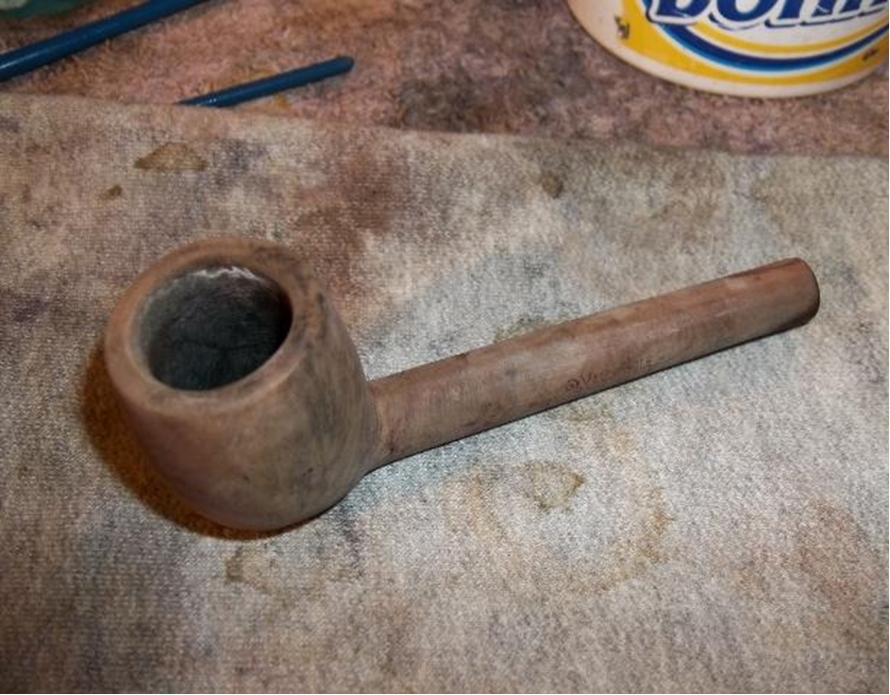
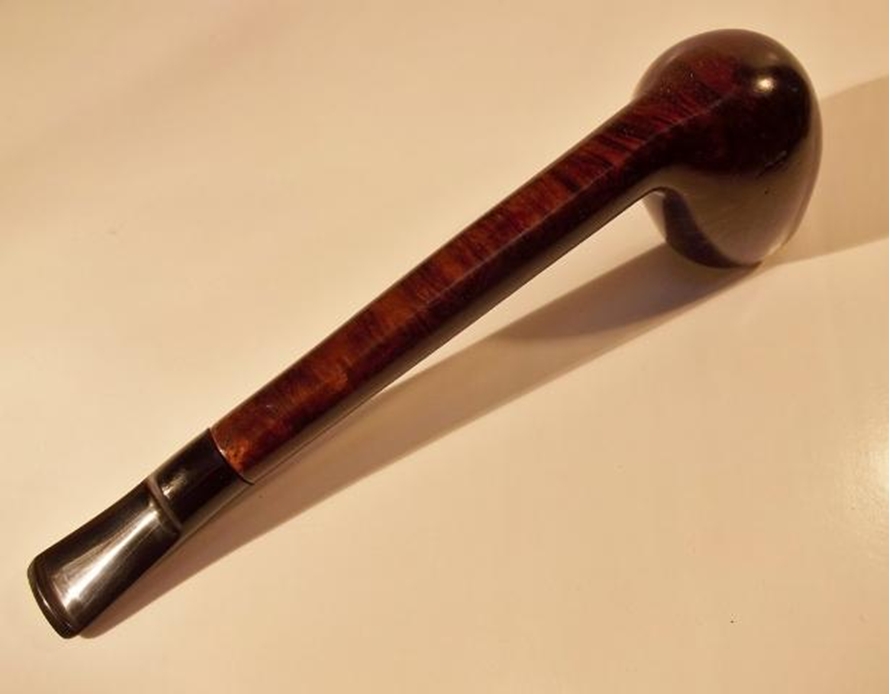
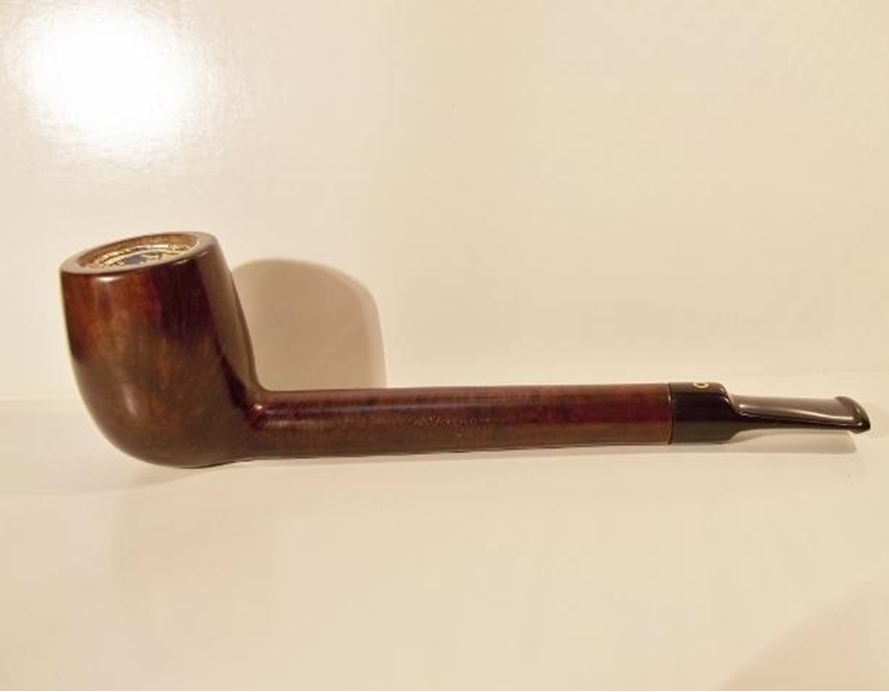
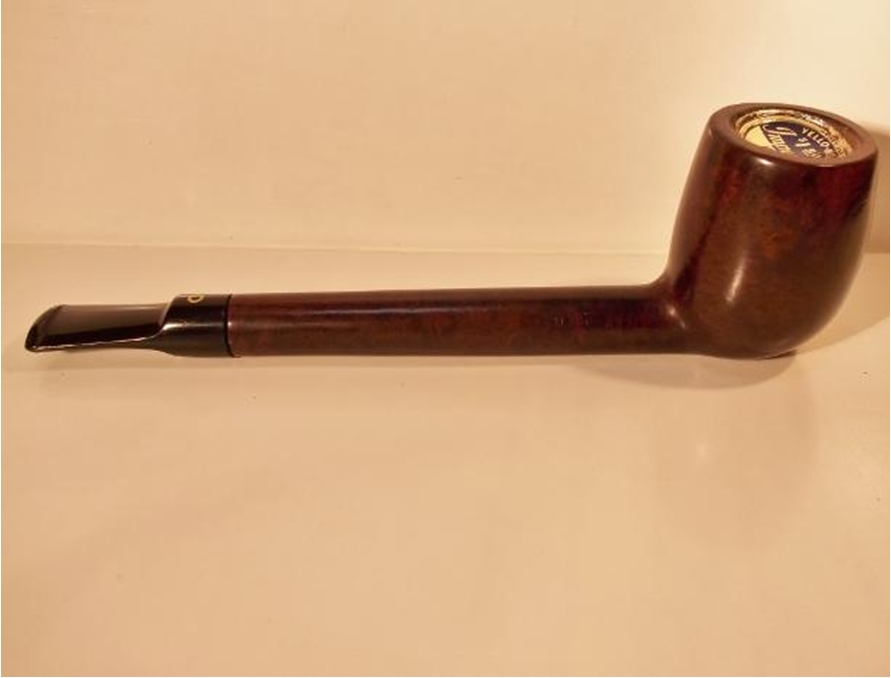
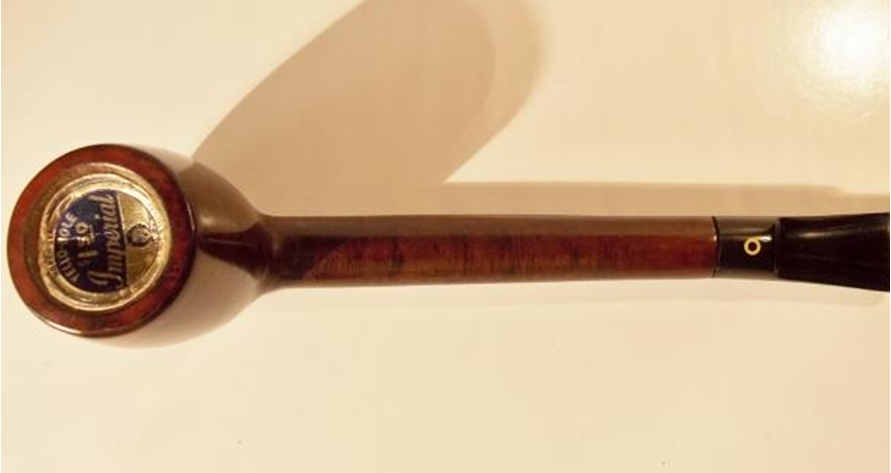
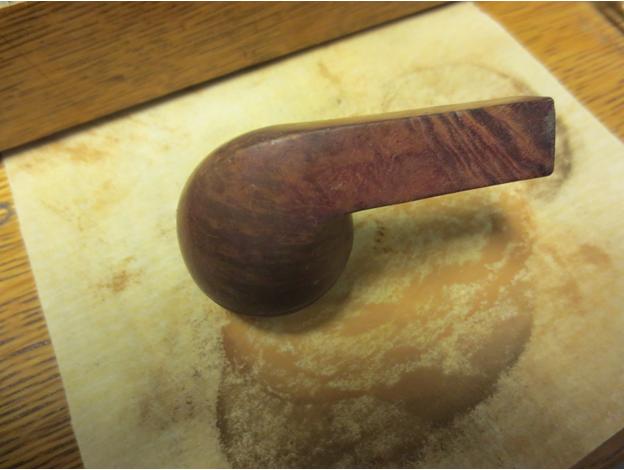
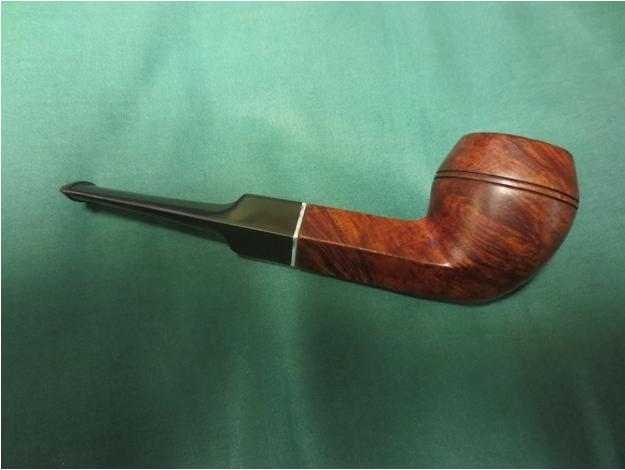
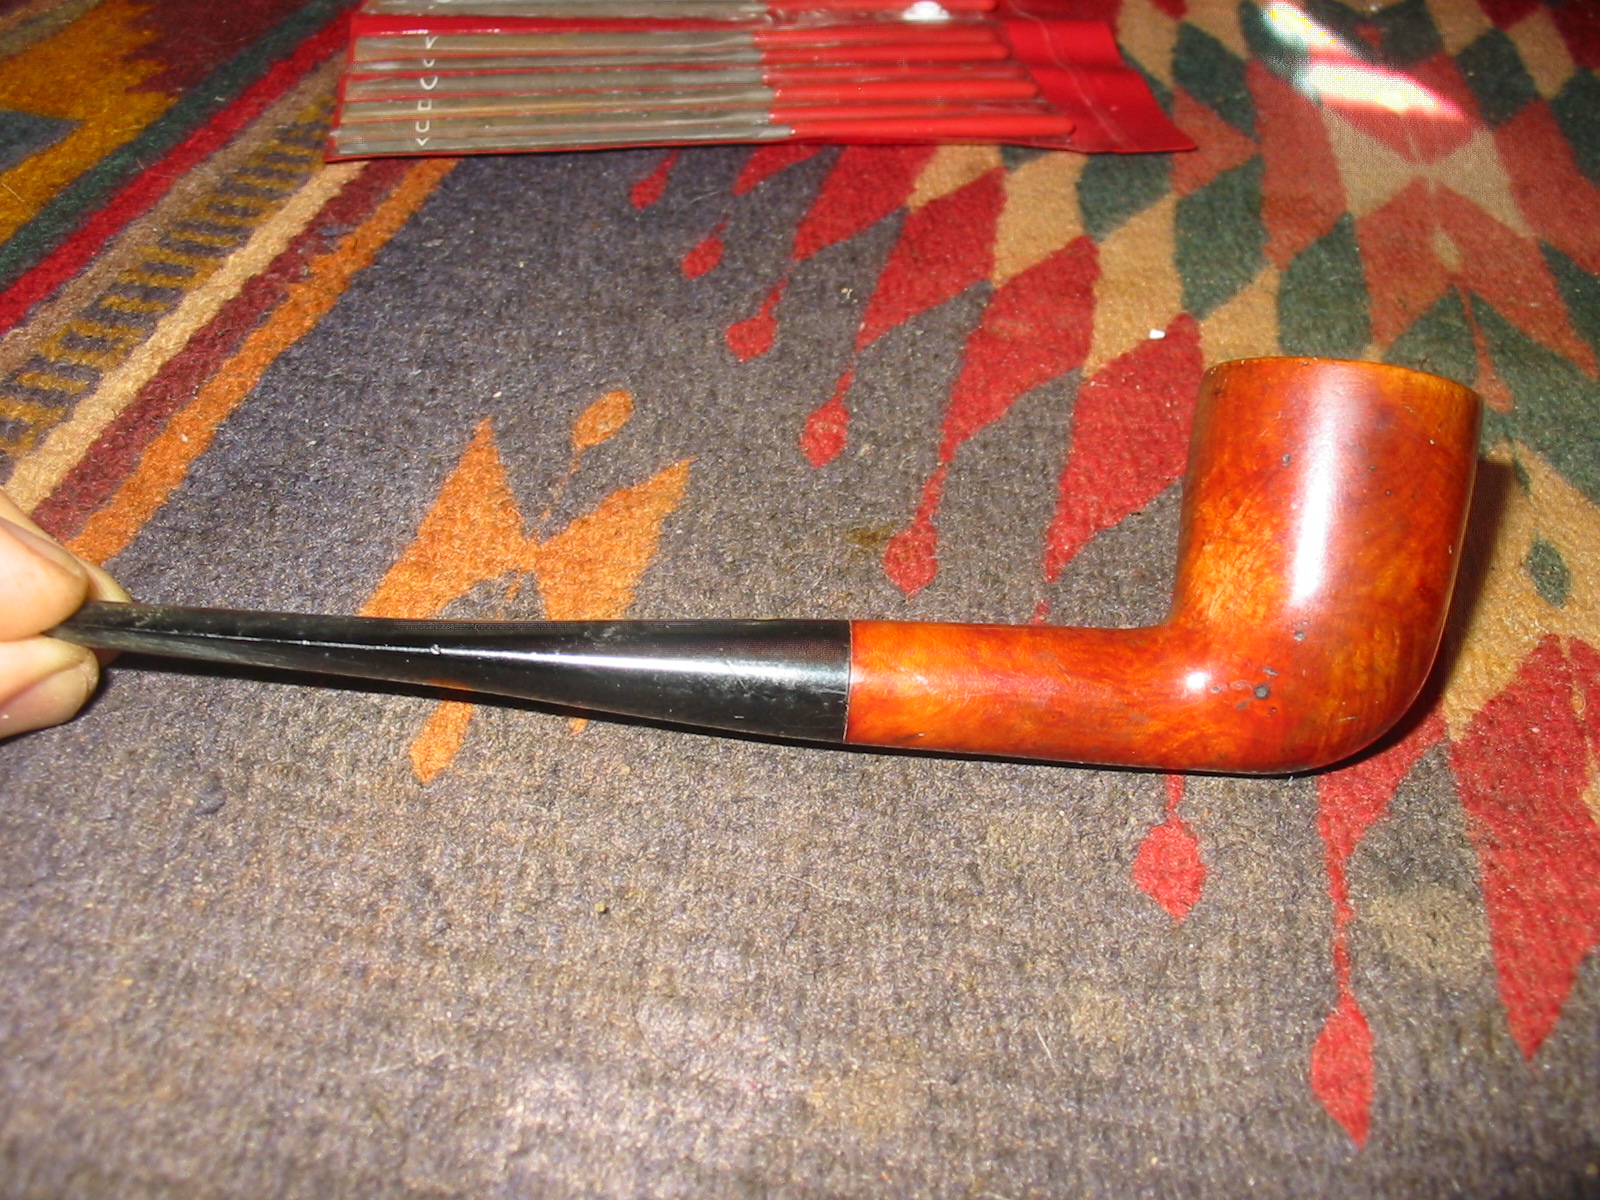
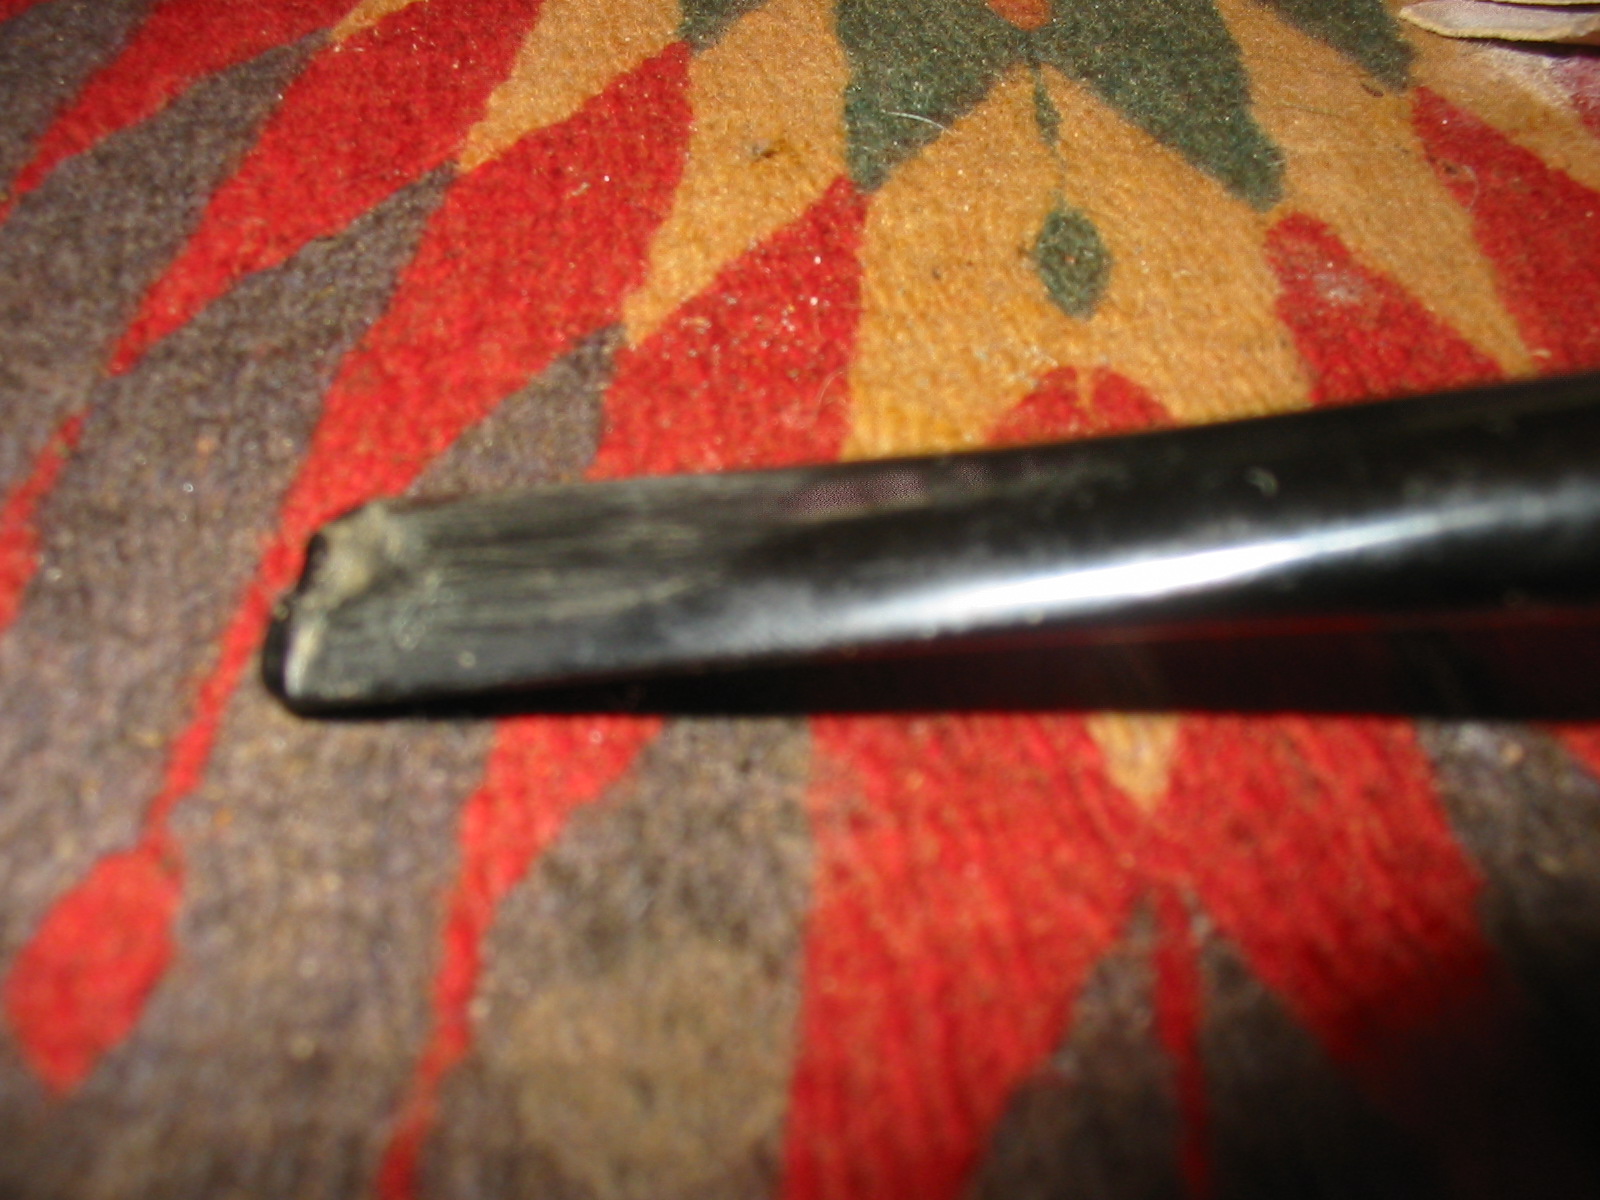
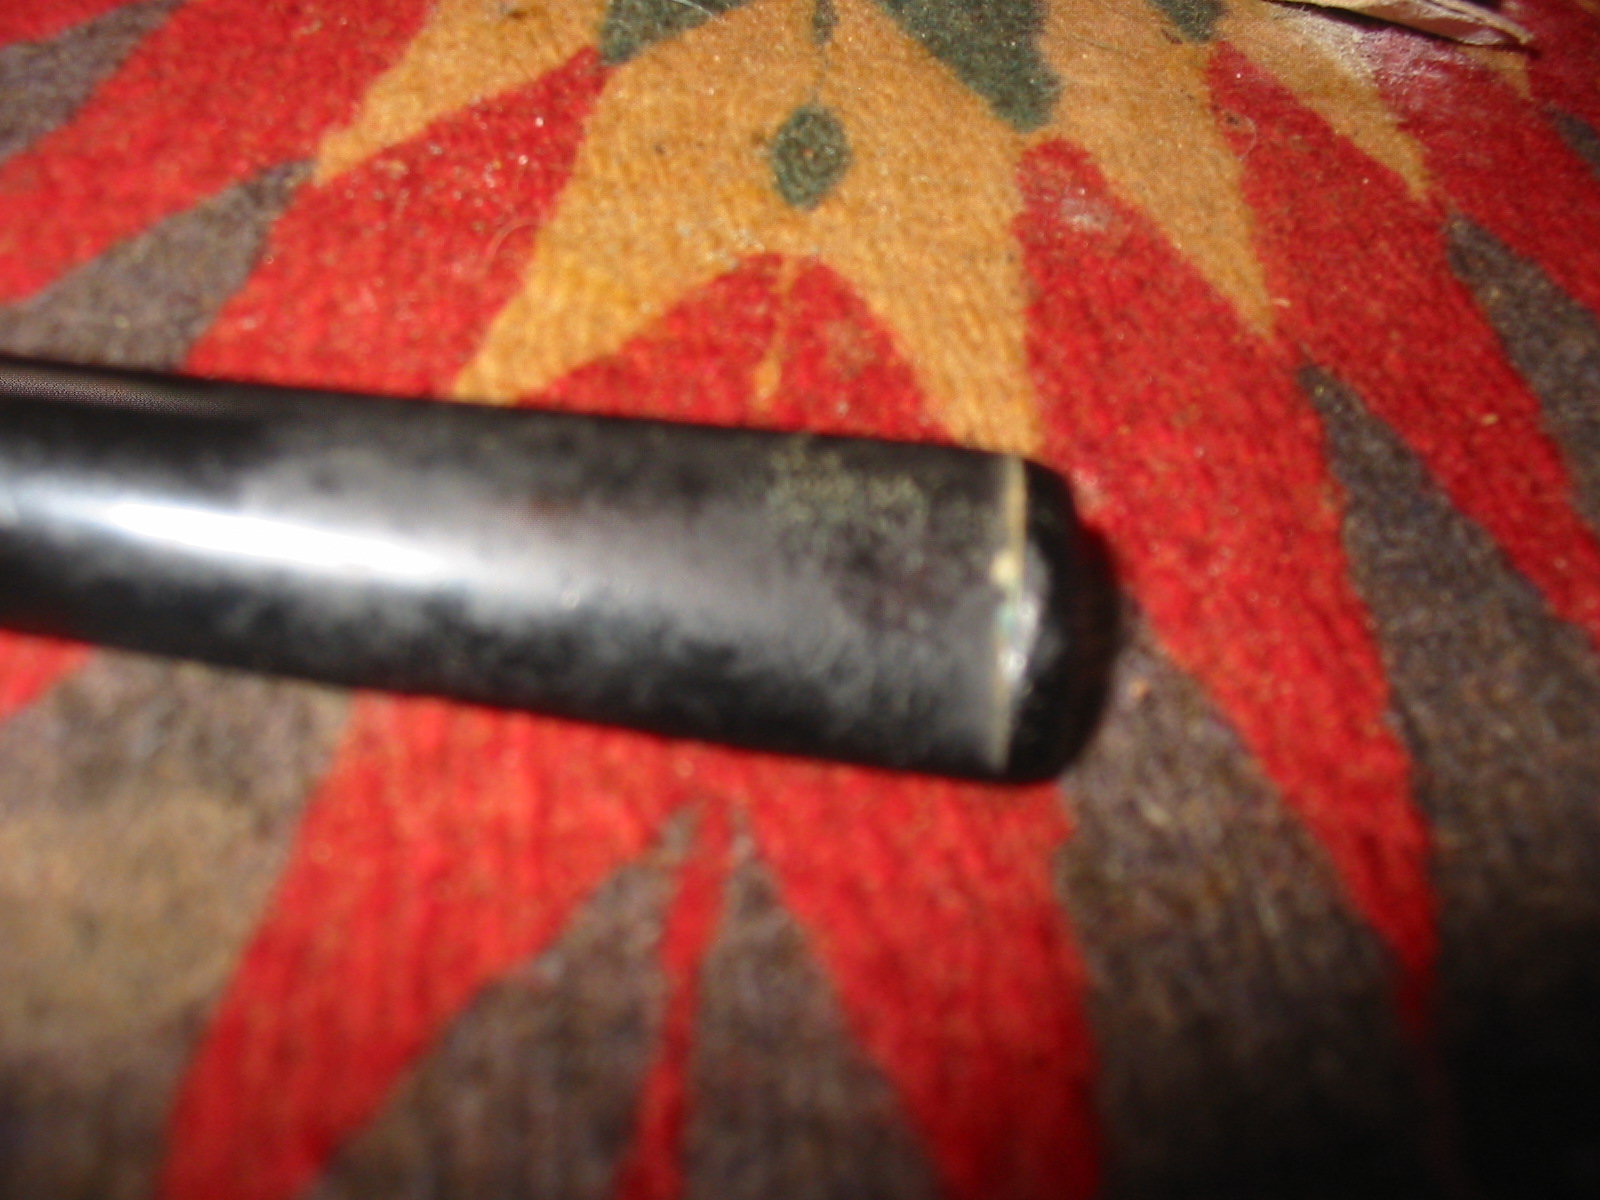
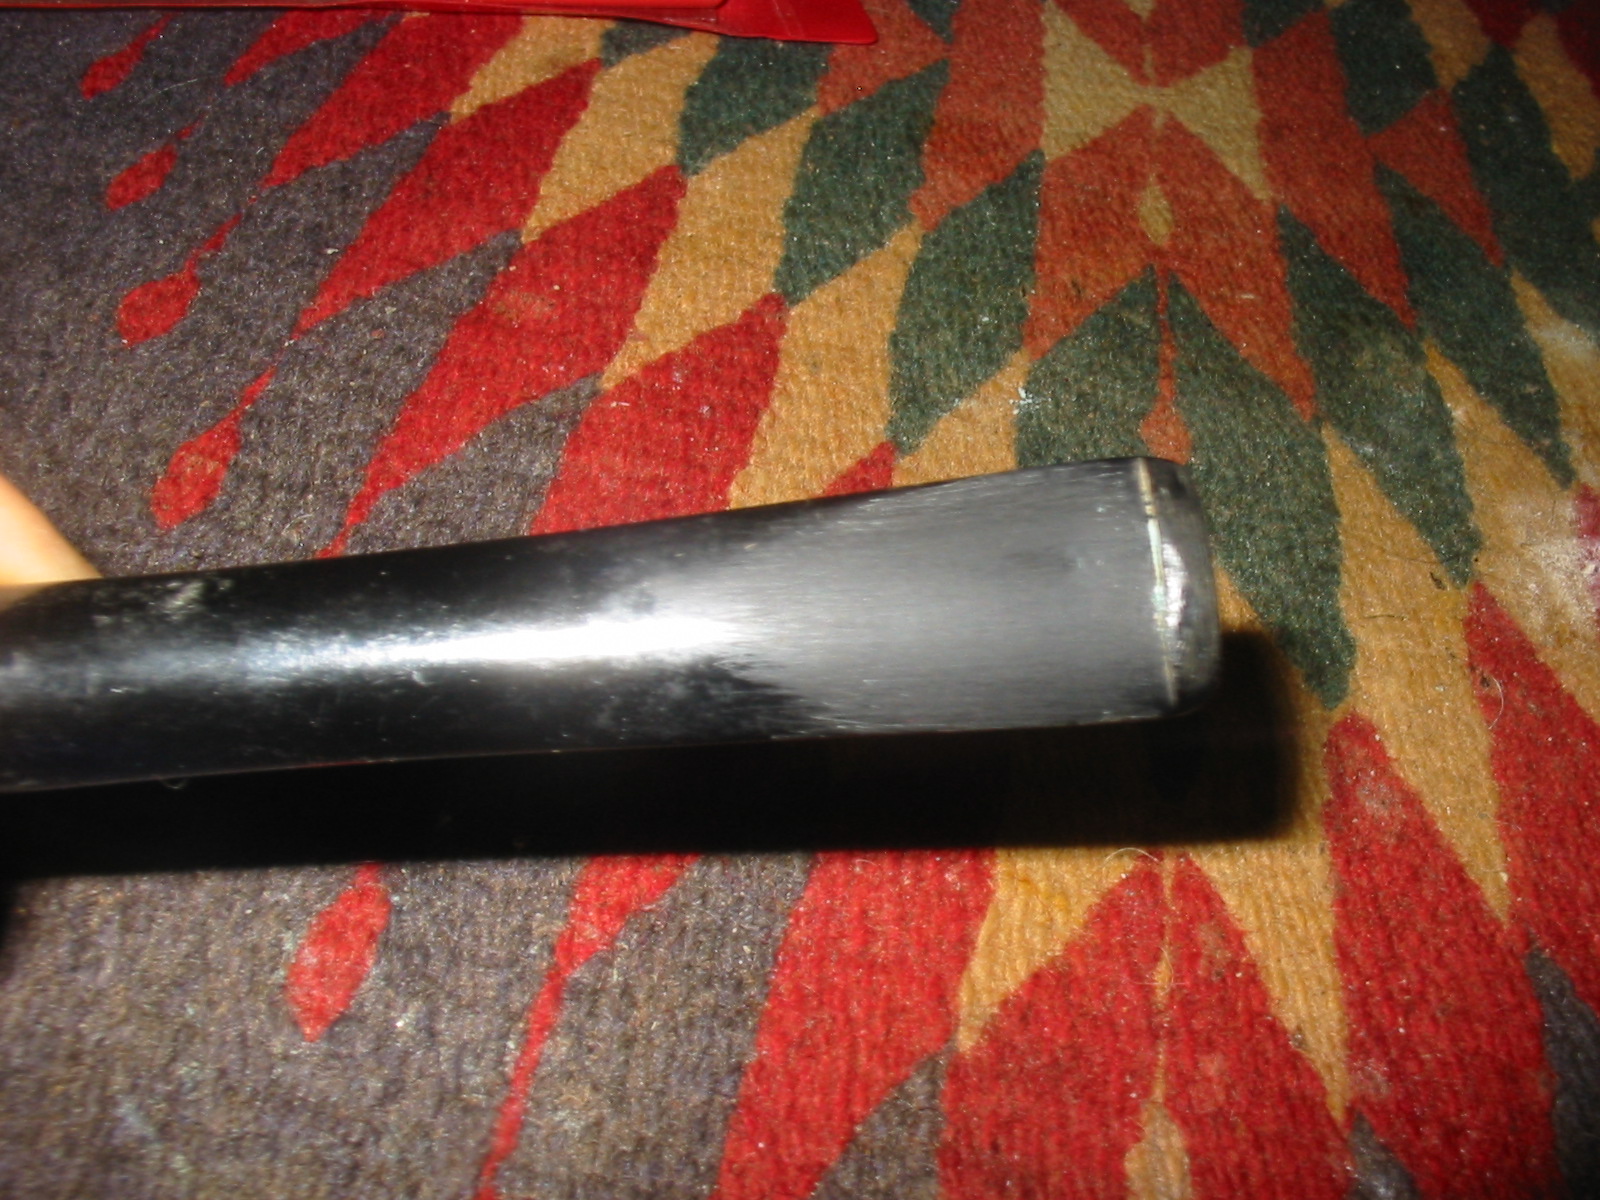
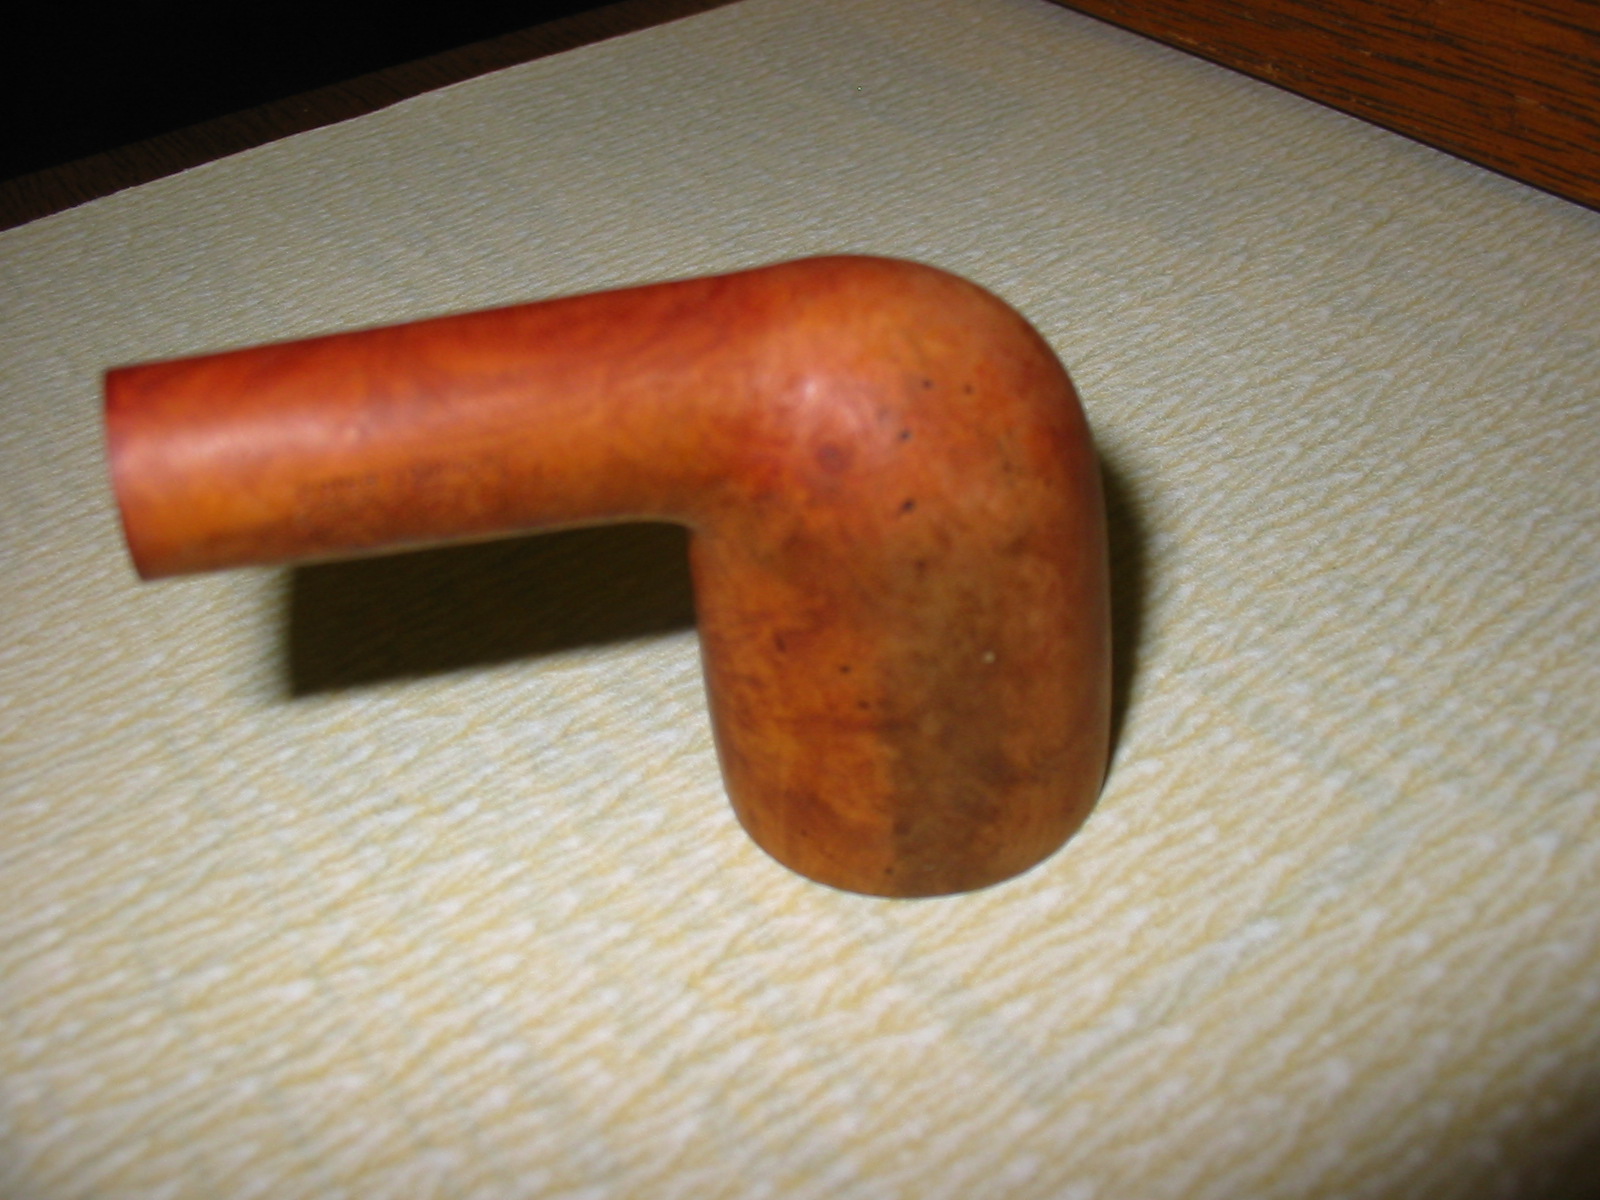
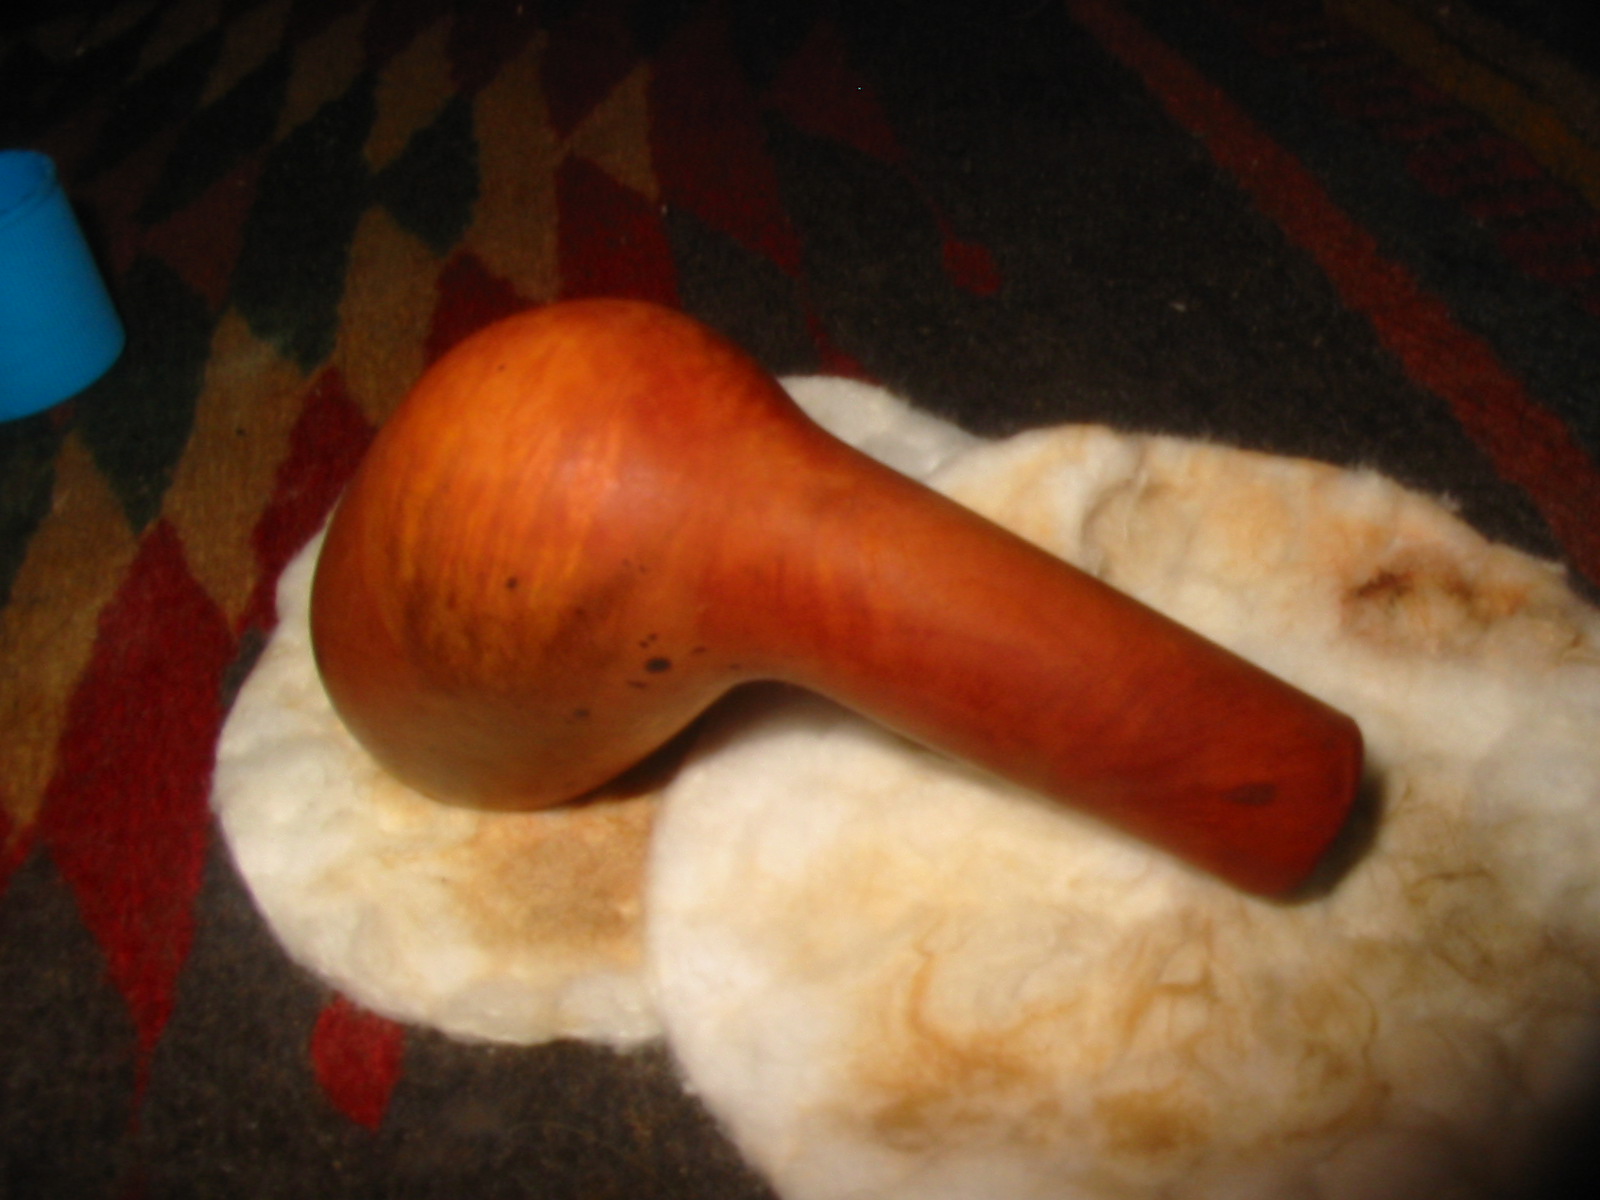
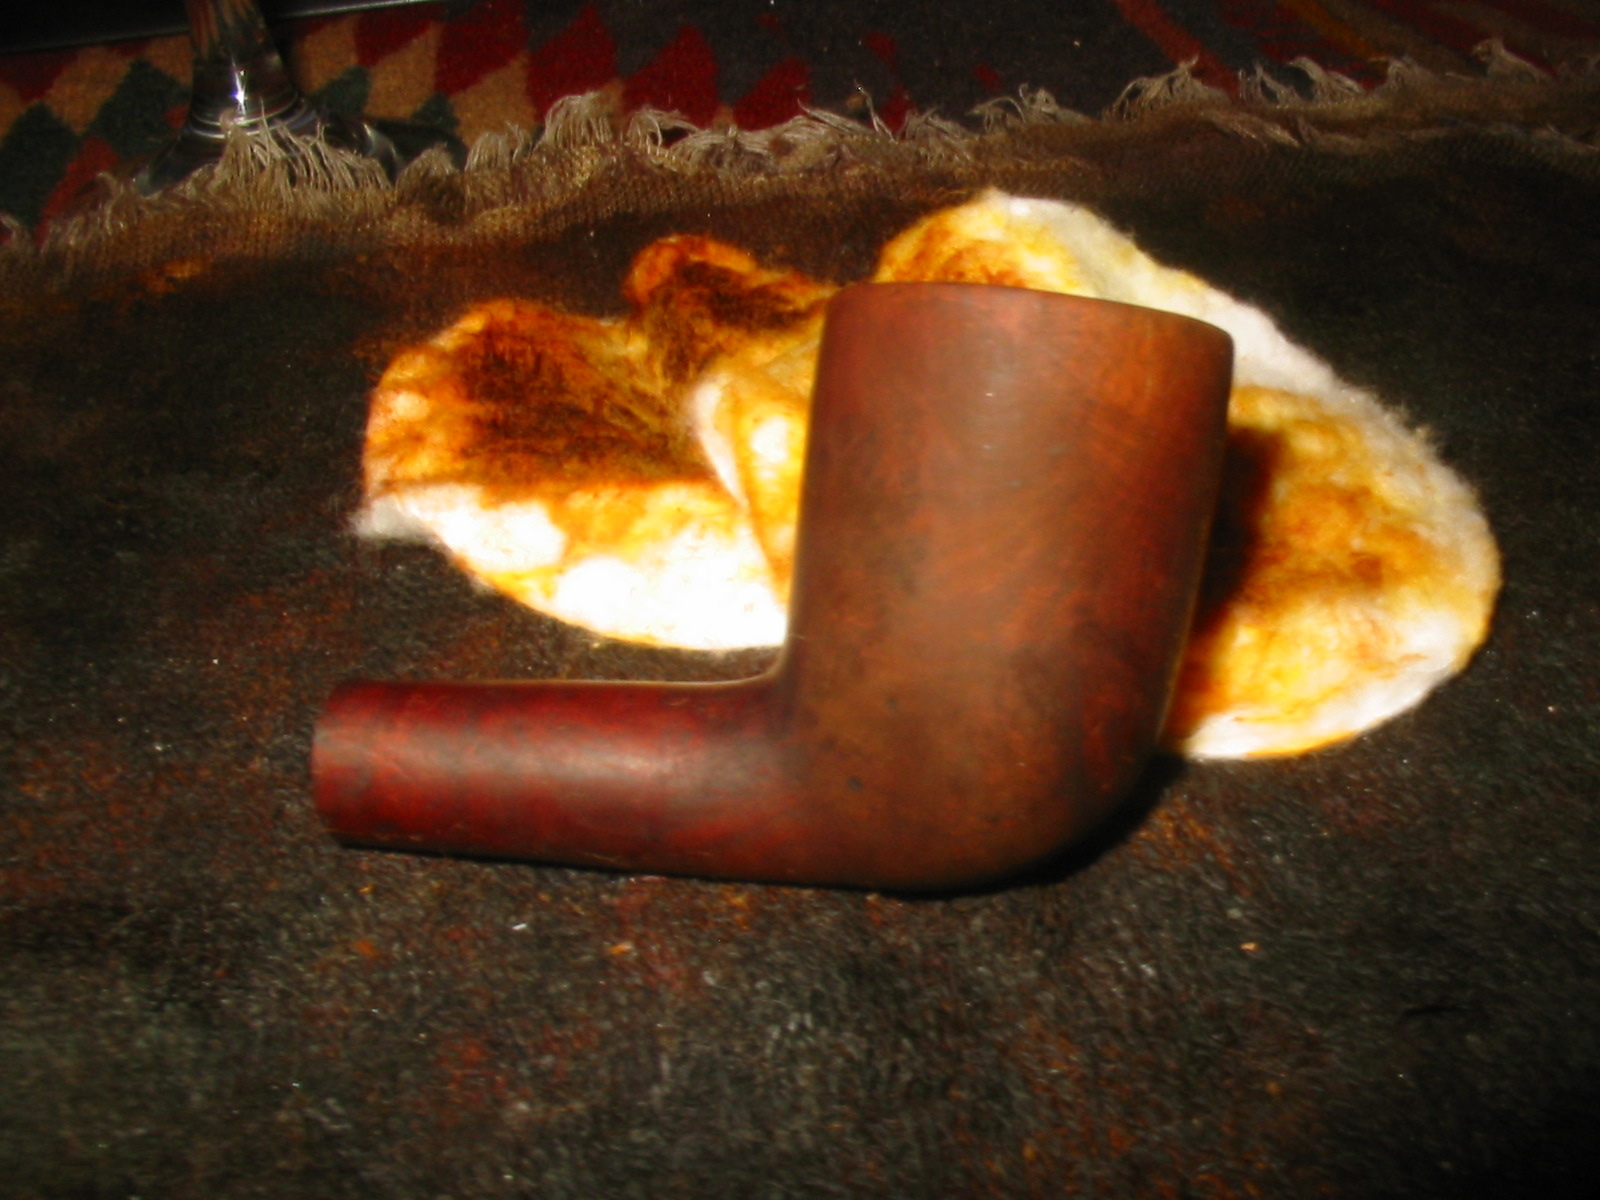
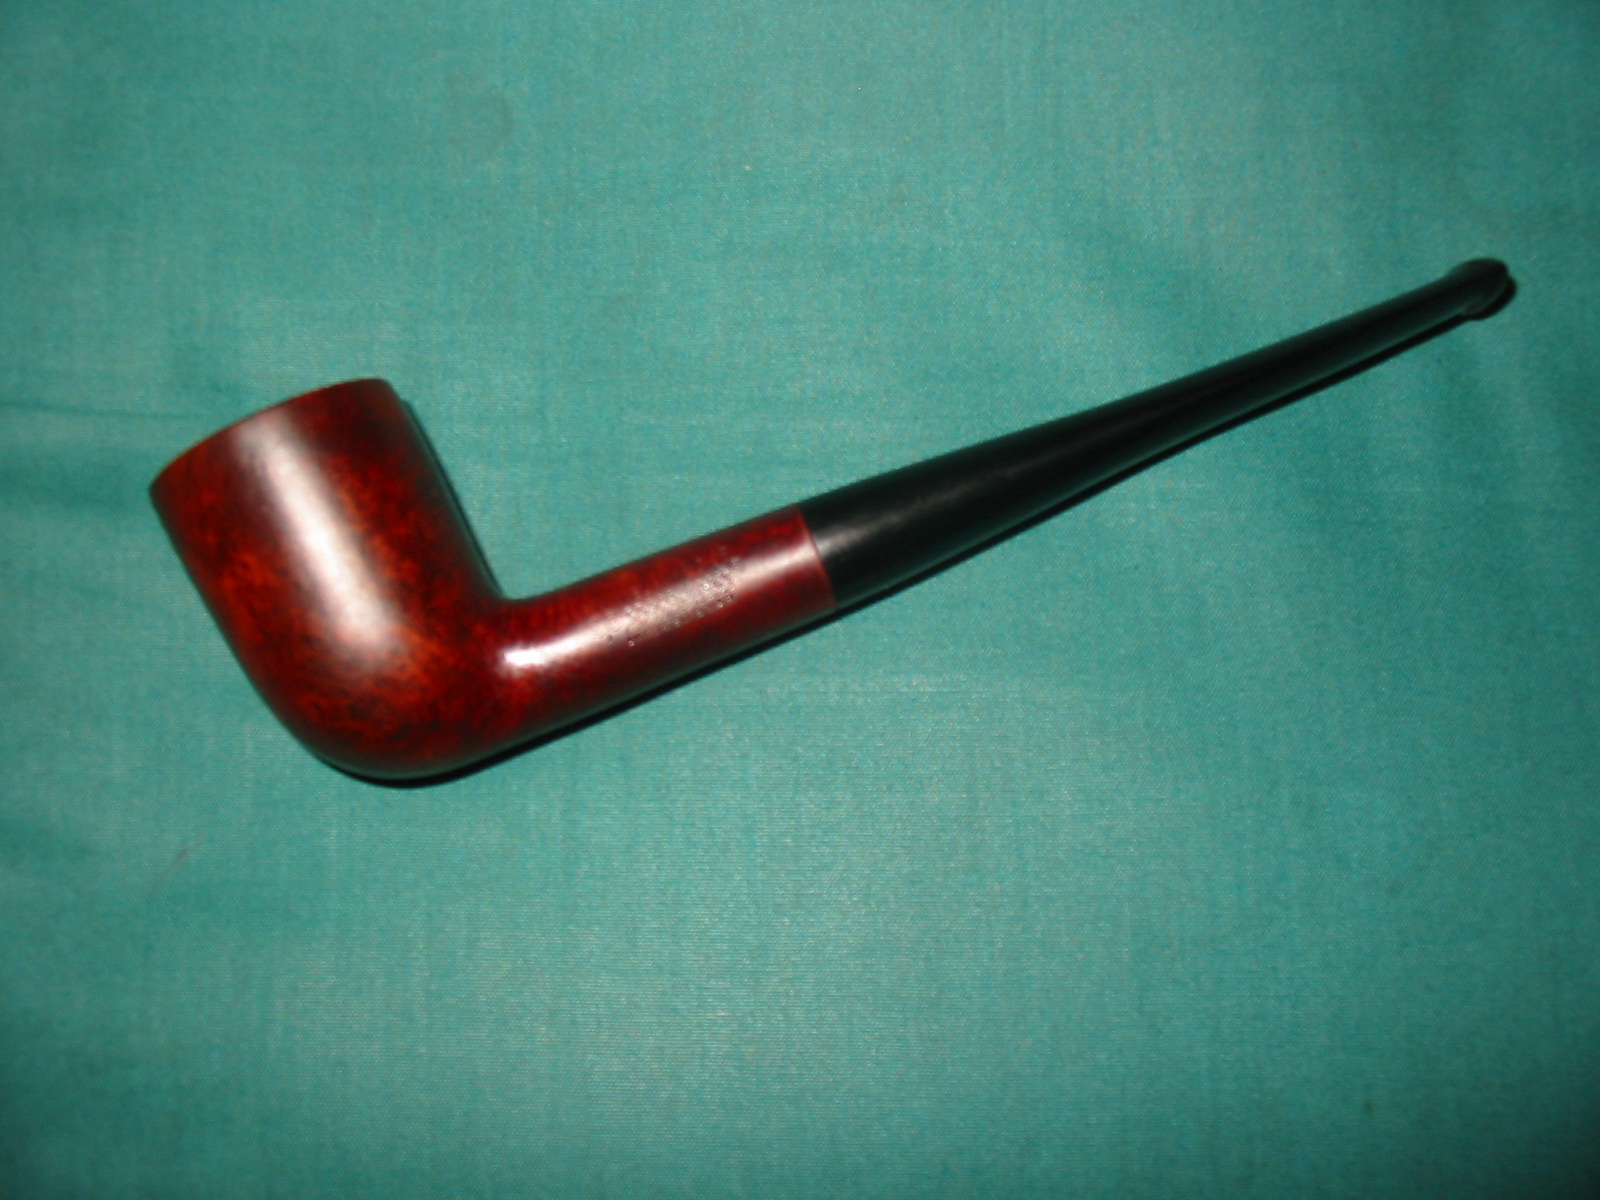
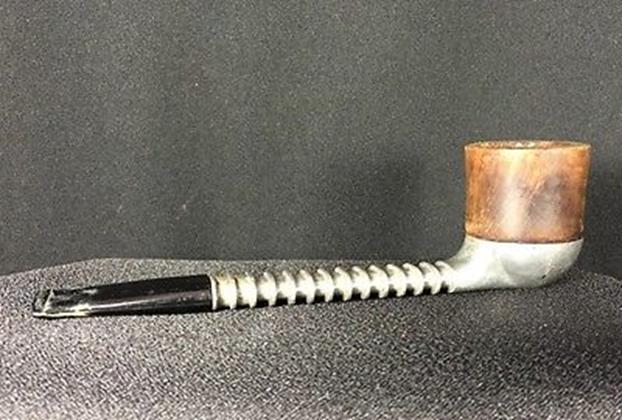
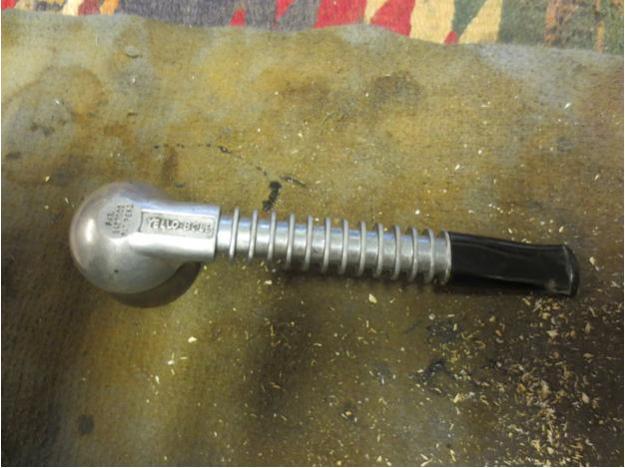
My brother found this older Yello-Bole metal pipe. It is a lot like the older Grabow Vikings but the bottom of the bowl is different from the Grabow. Between the bowl and the metal base there is a flat perforated screen or disk that the tobacco sits on. It acts as the bottom of the bowl. The wooden bowl itself is a threaded tube that screws into the base. There are two pin holes on the sides of the base (one on each side about mid base below the bowl). These serve as openings to draw air into the bowl. This one was in decent shape and would take a little work to clean up. The photos below were provided by the eBay seller and show the state of the pipe. From the first two photos below you can see the wear on the stem and the white calcification that generally builds up under a rubber softee bit. The finish on the bowl is shot. There is nothing but bare briar showing. The outer edge of the rim looks good. YB1 YB2
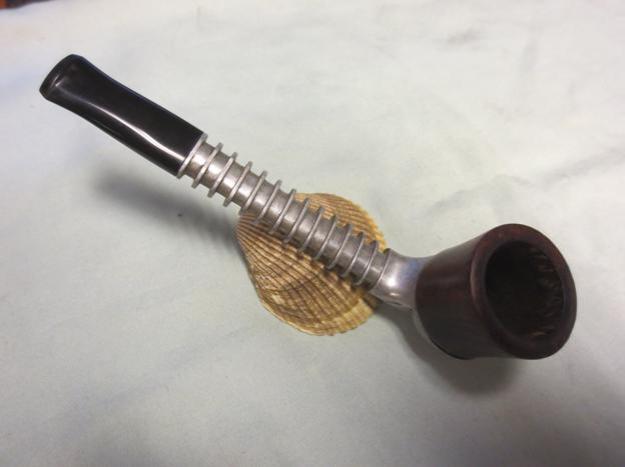
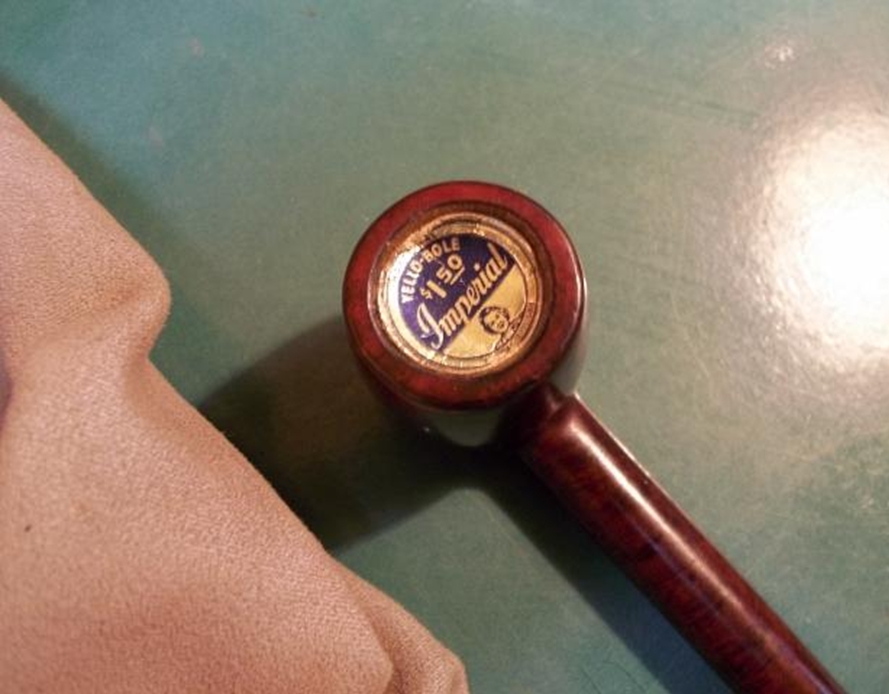
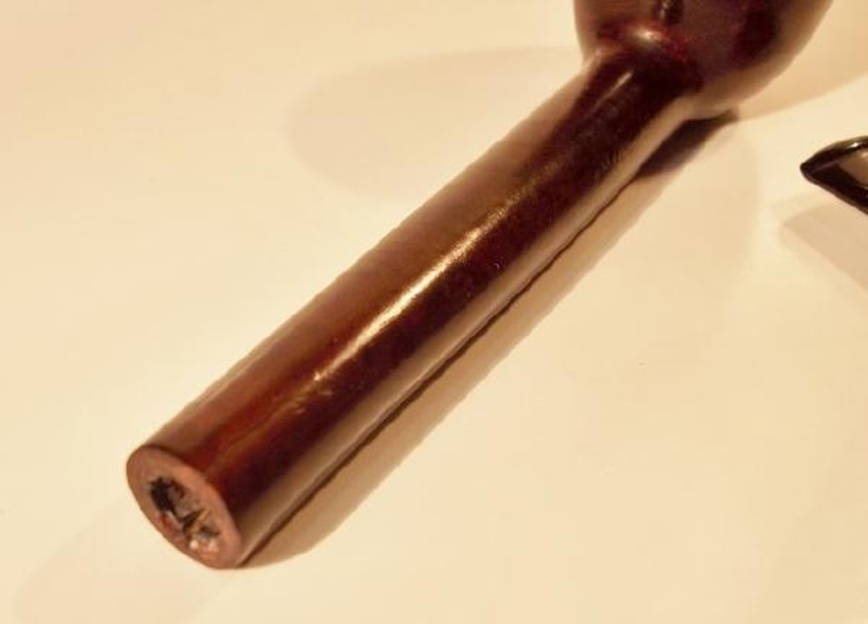
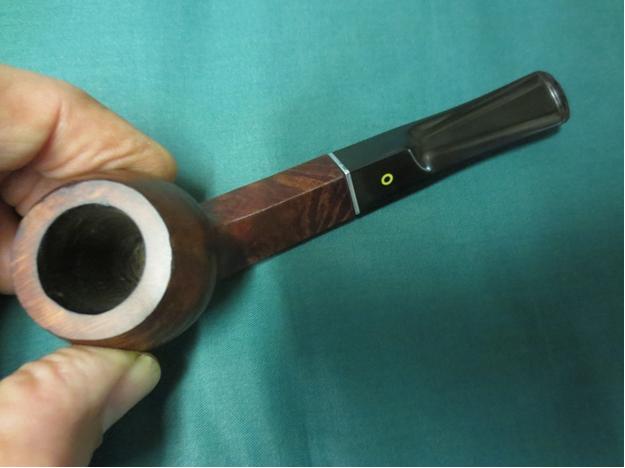
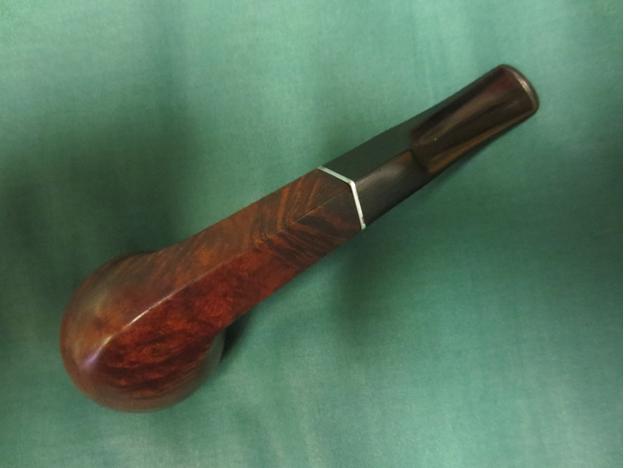
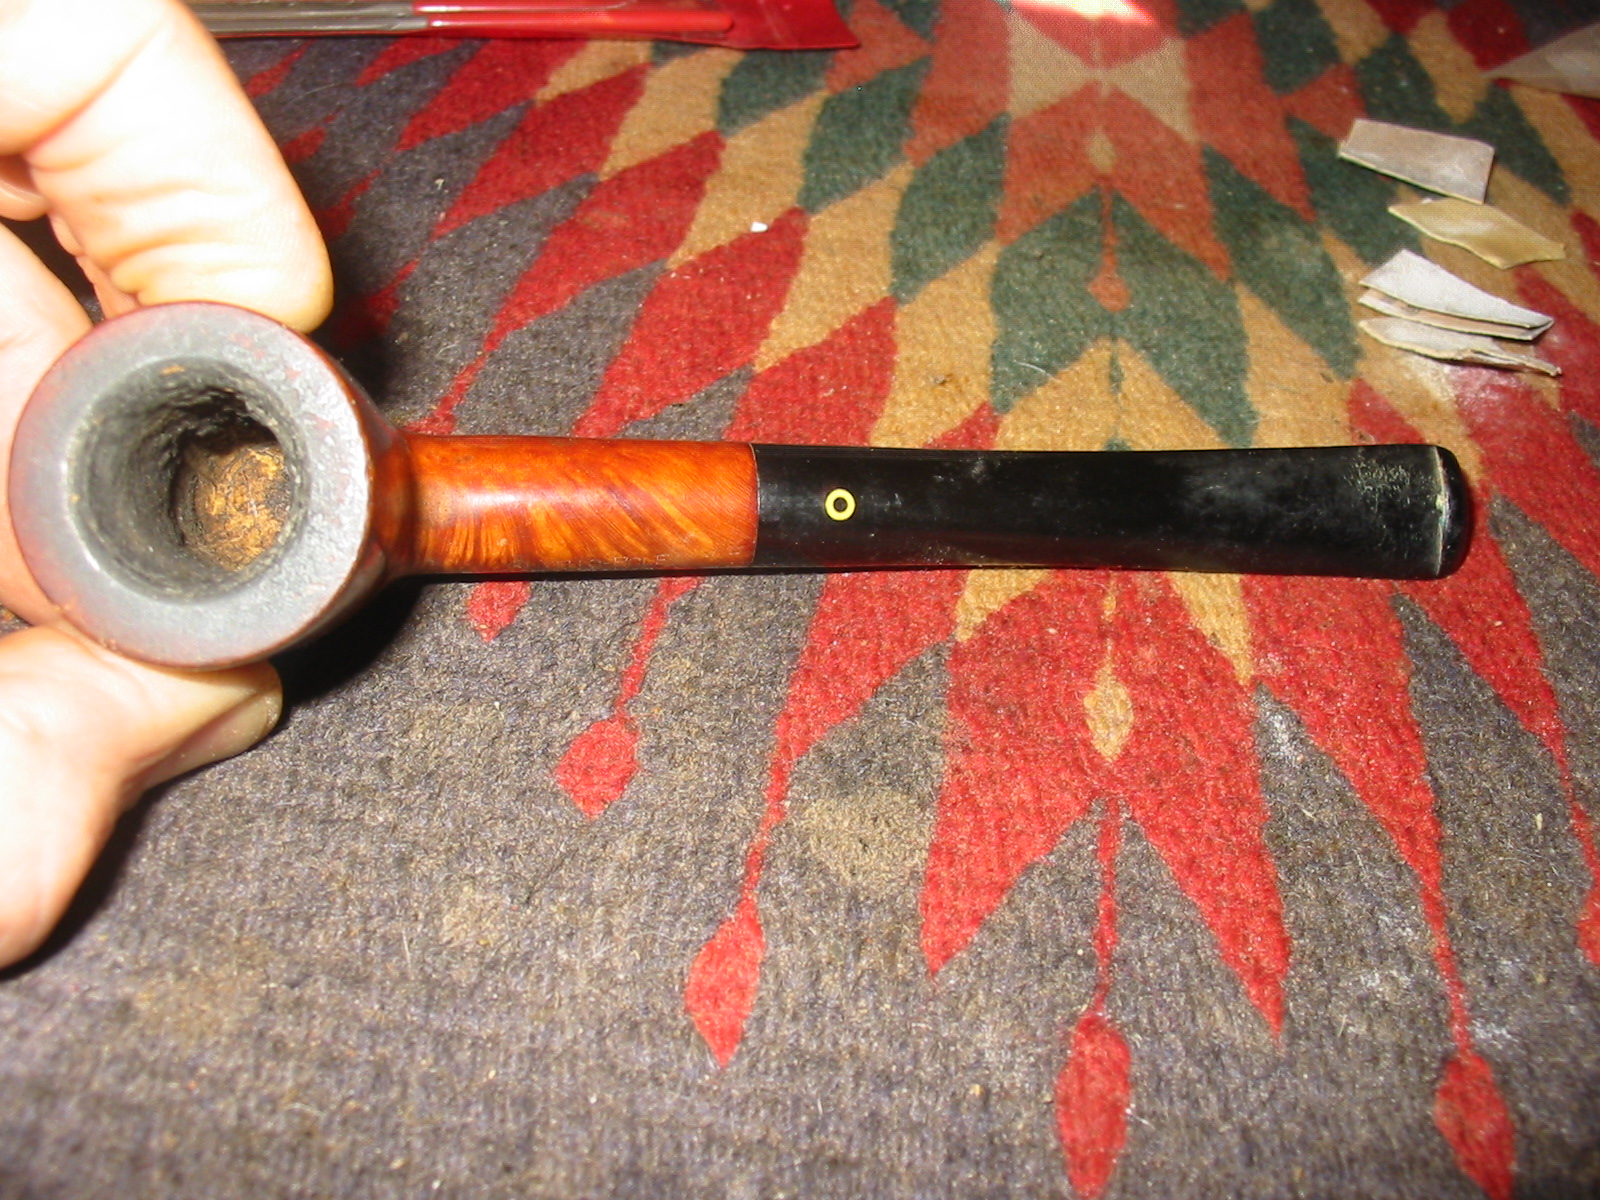
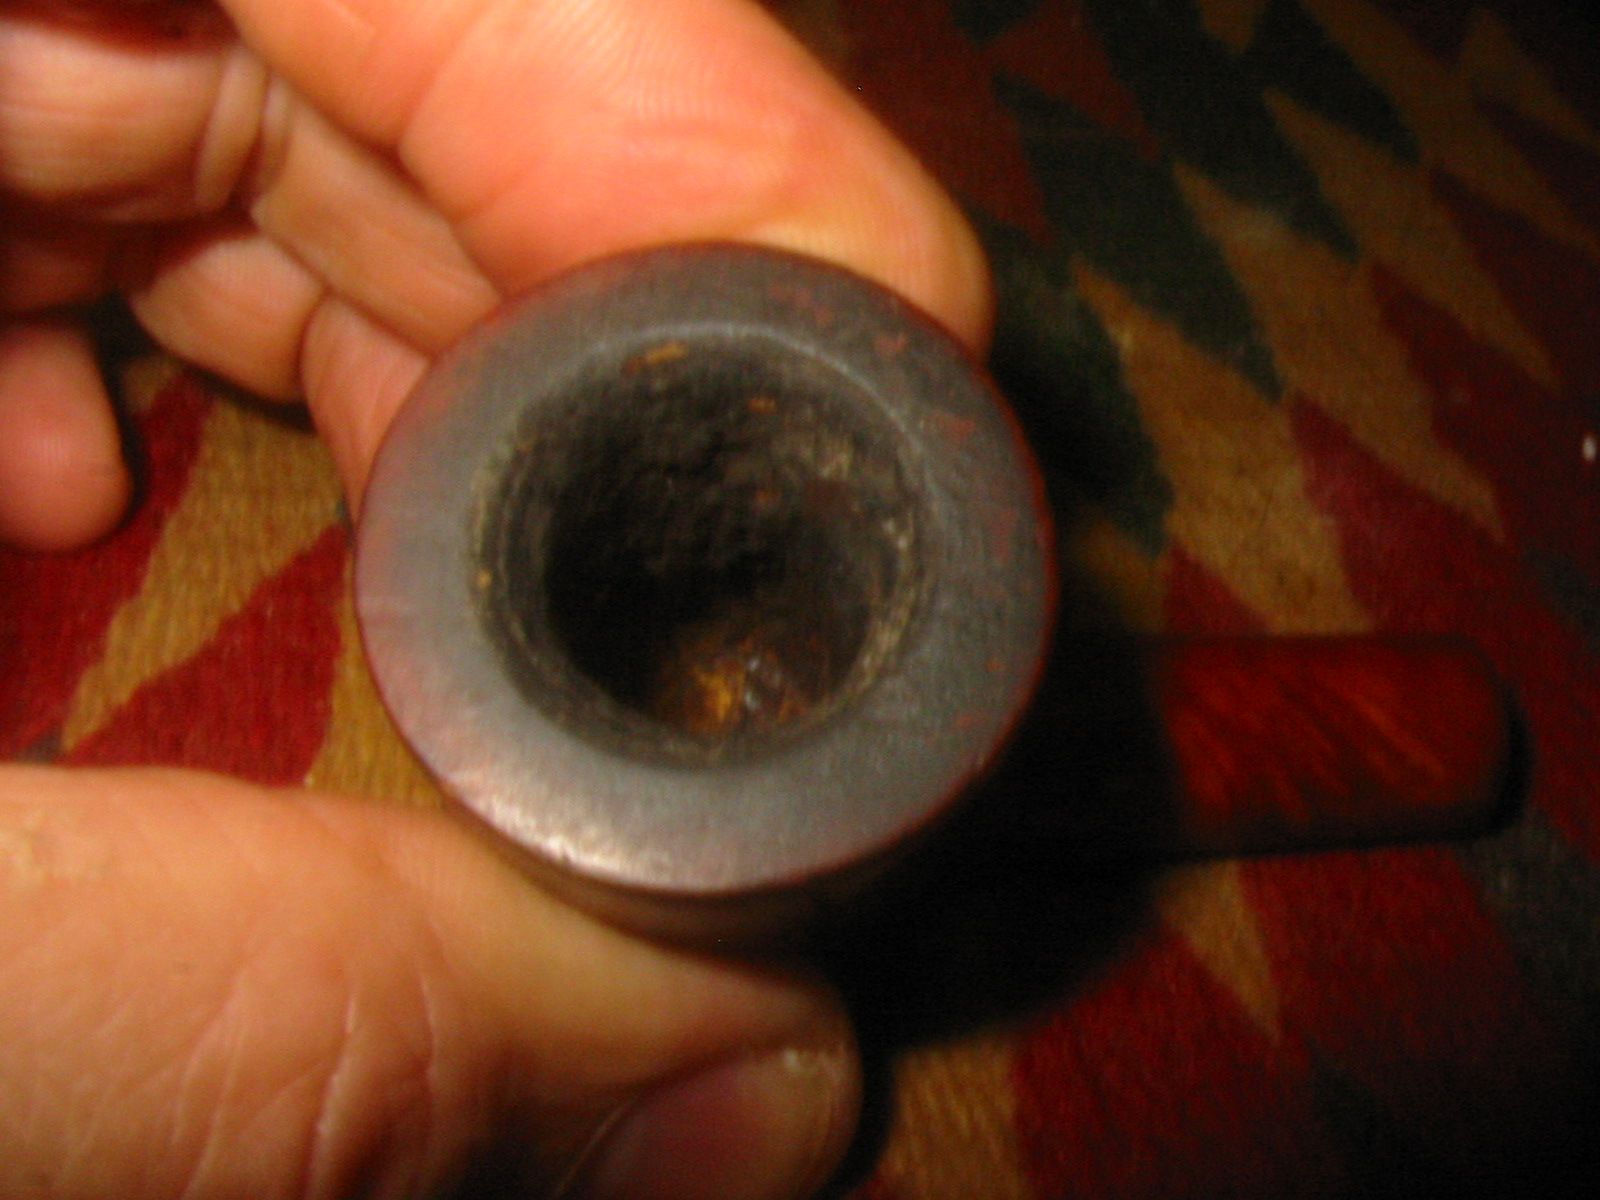
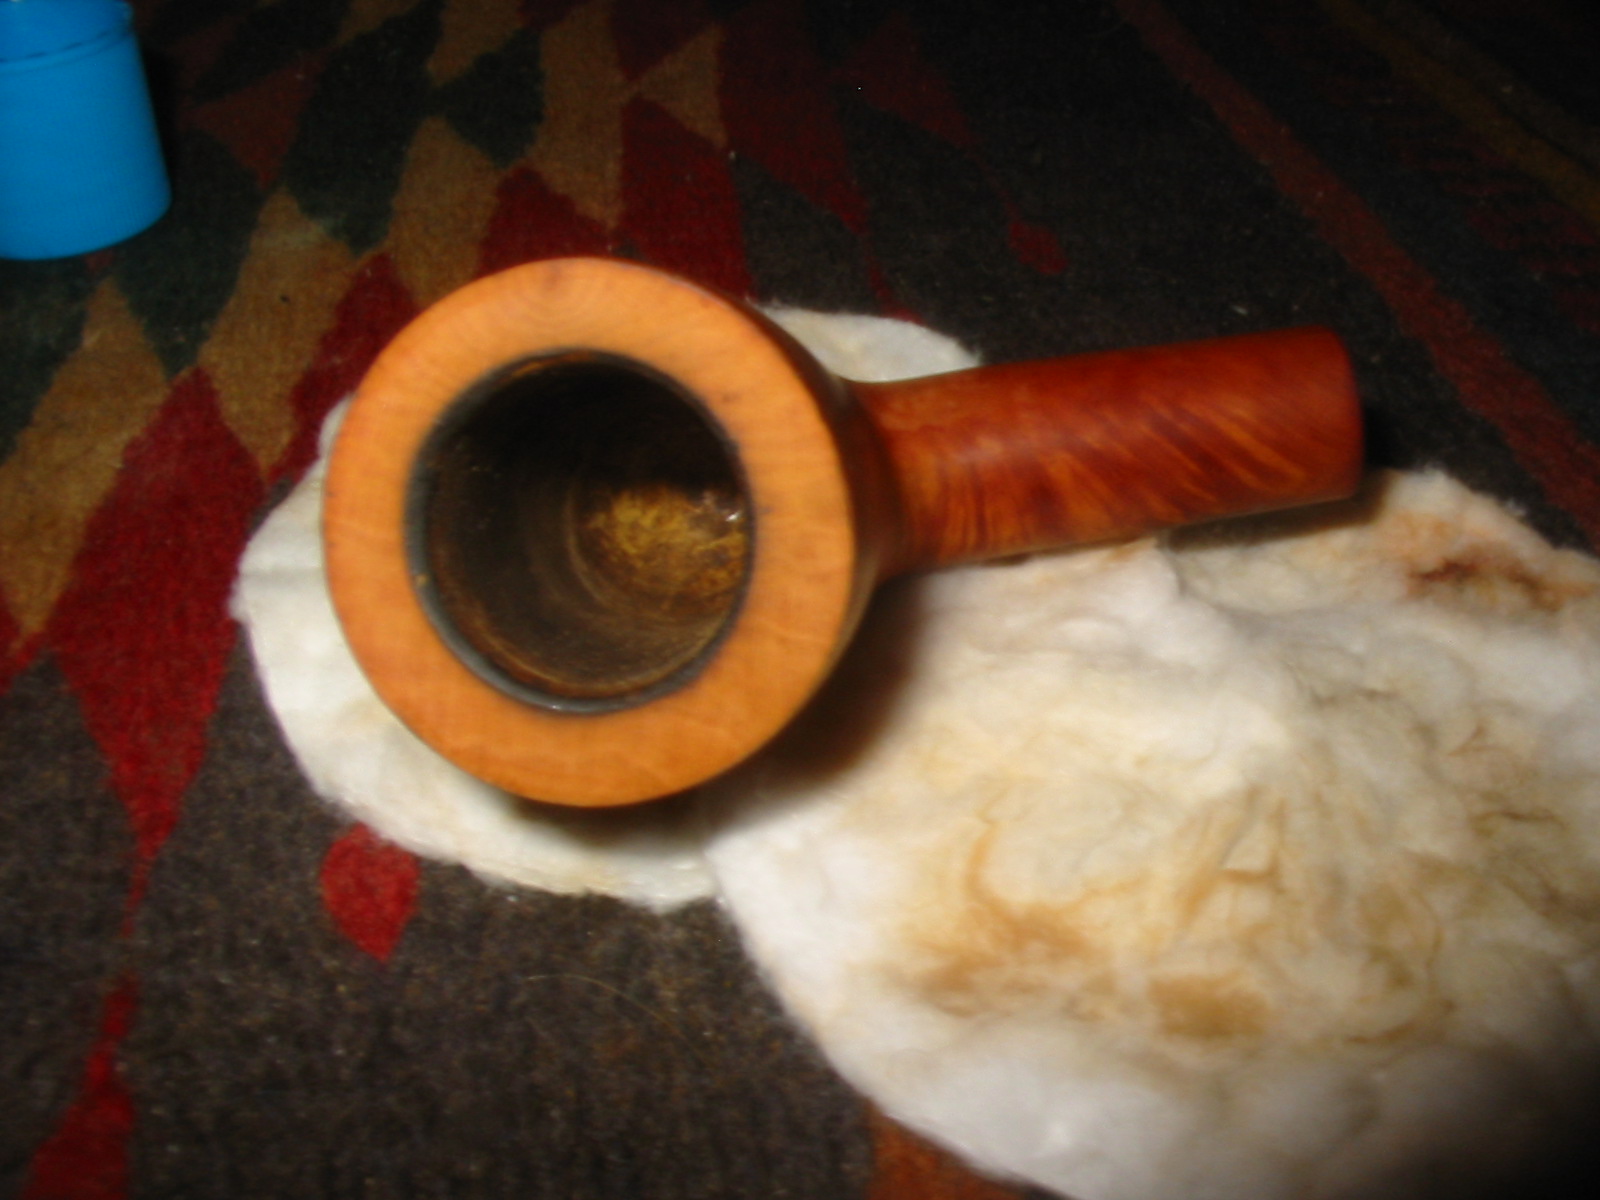
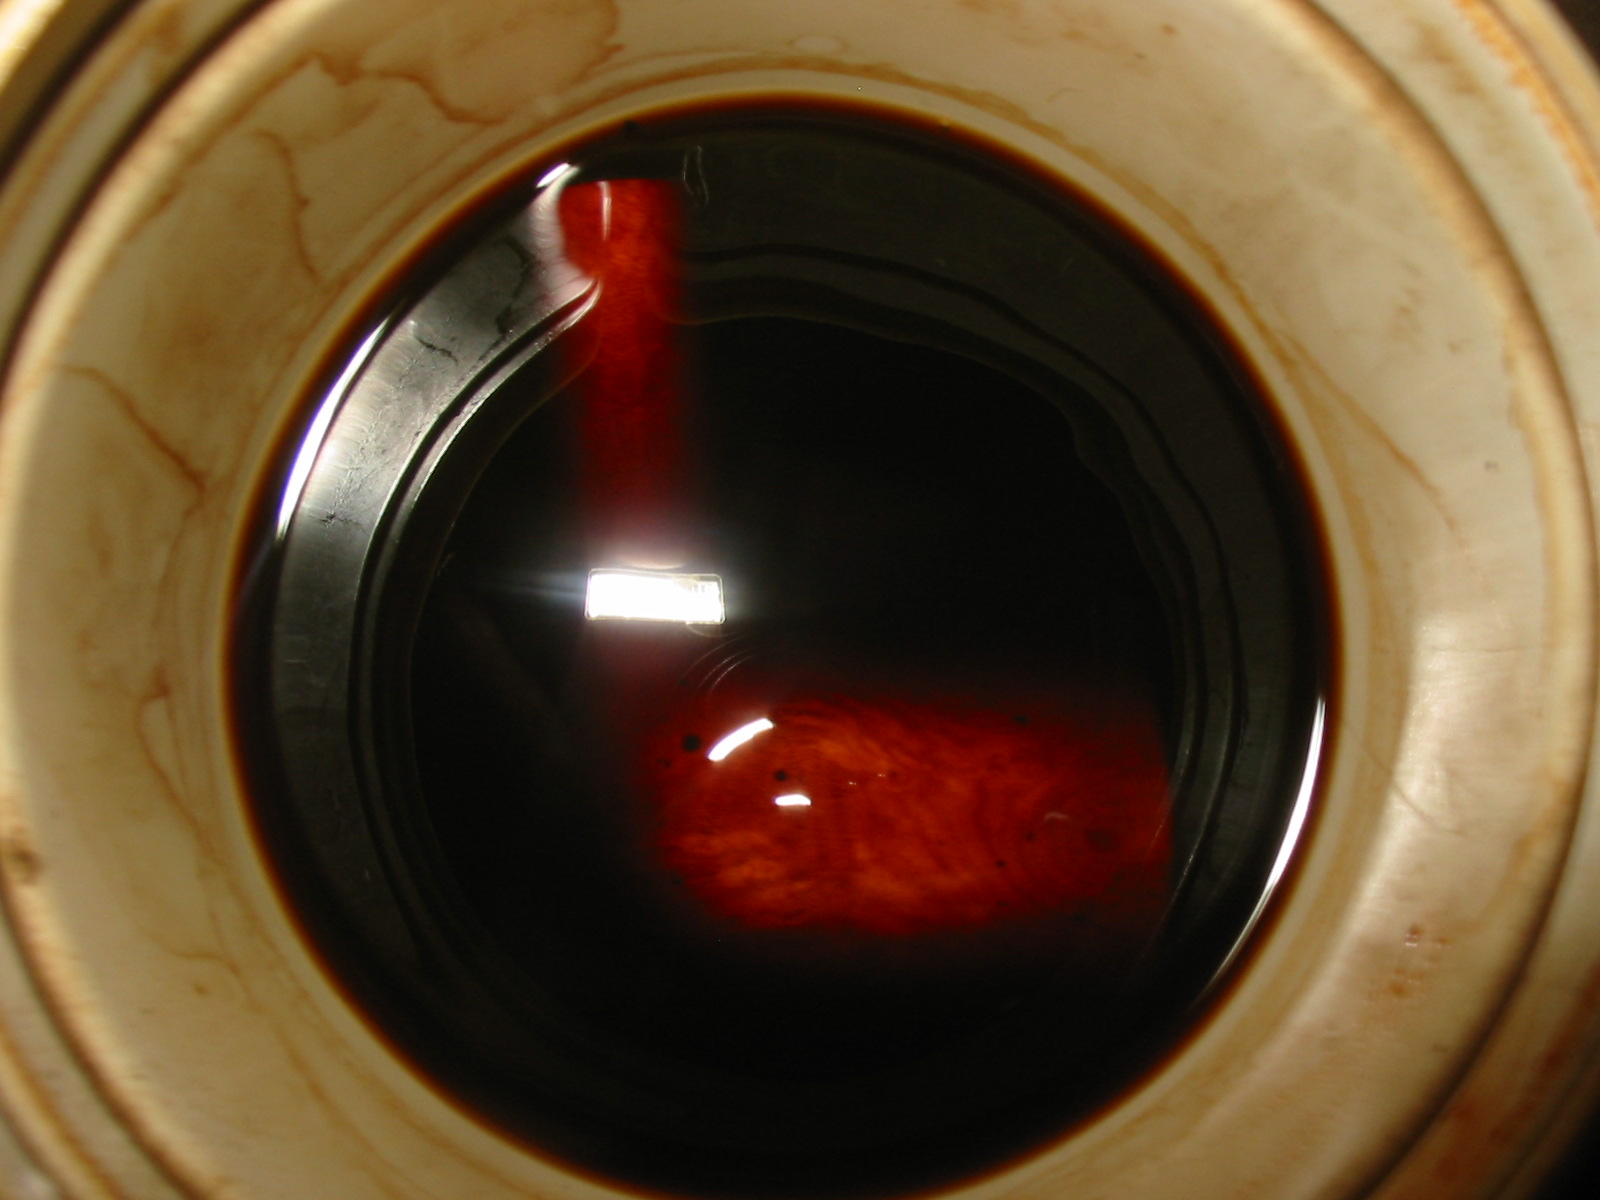
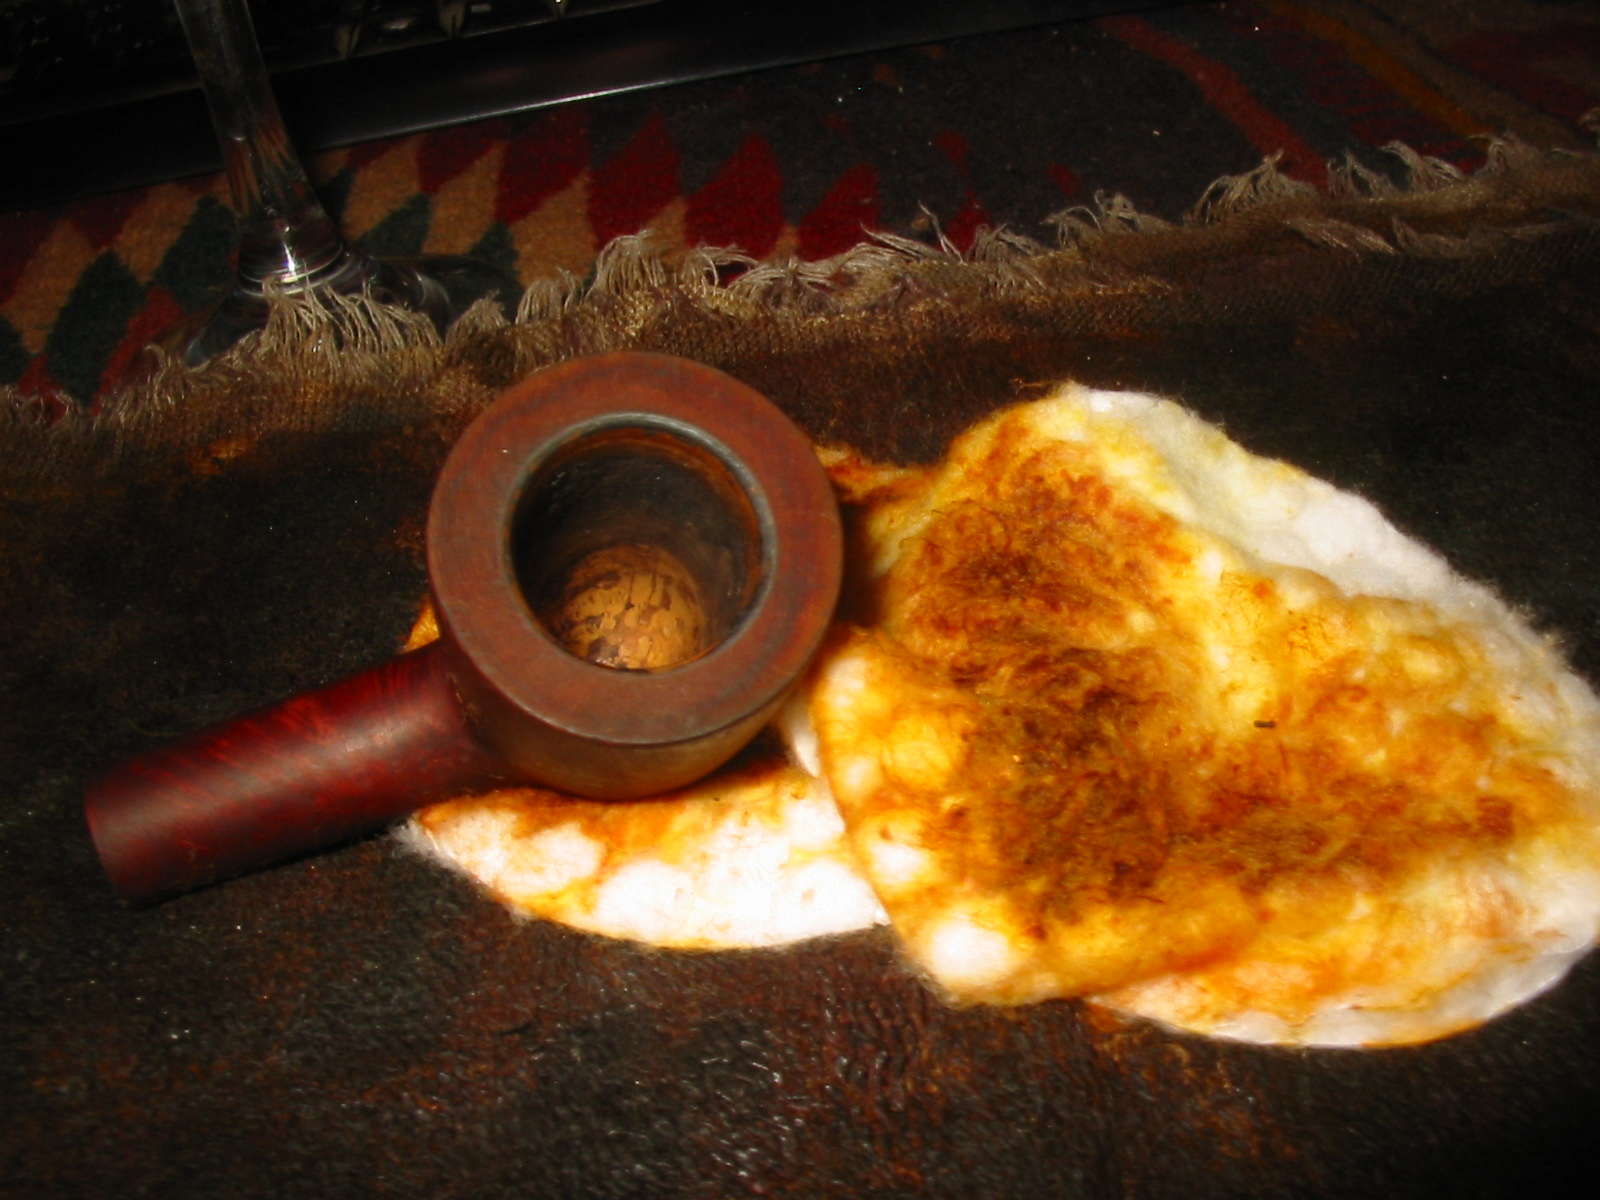
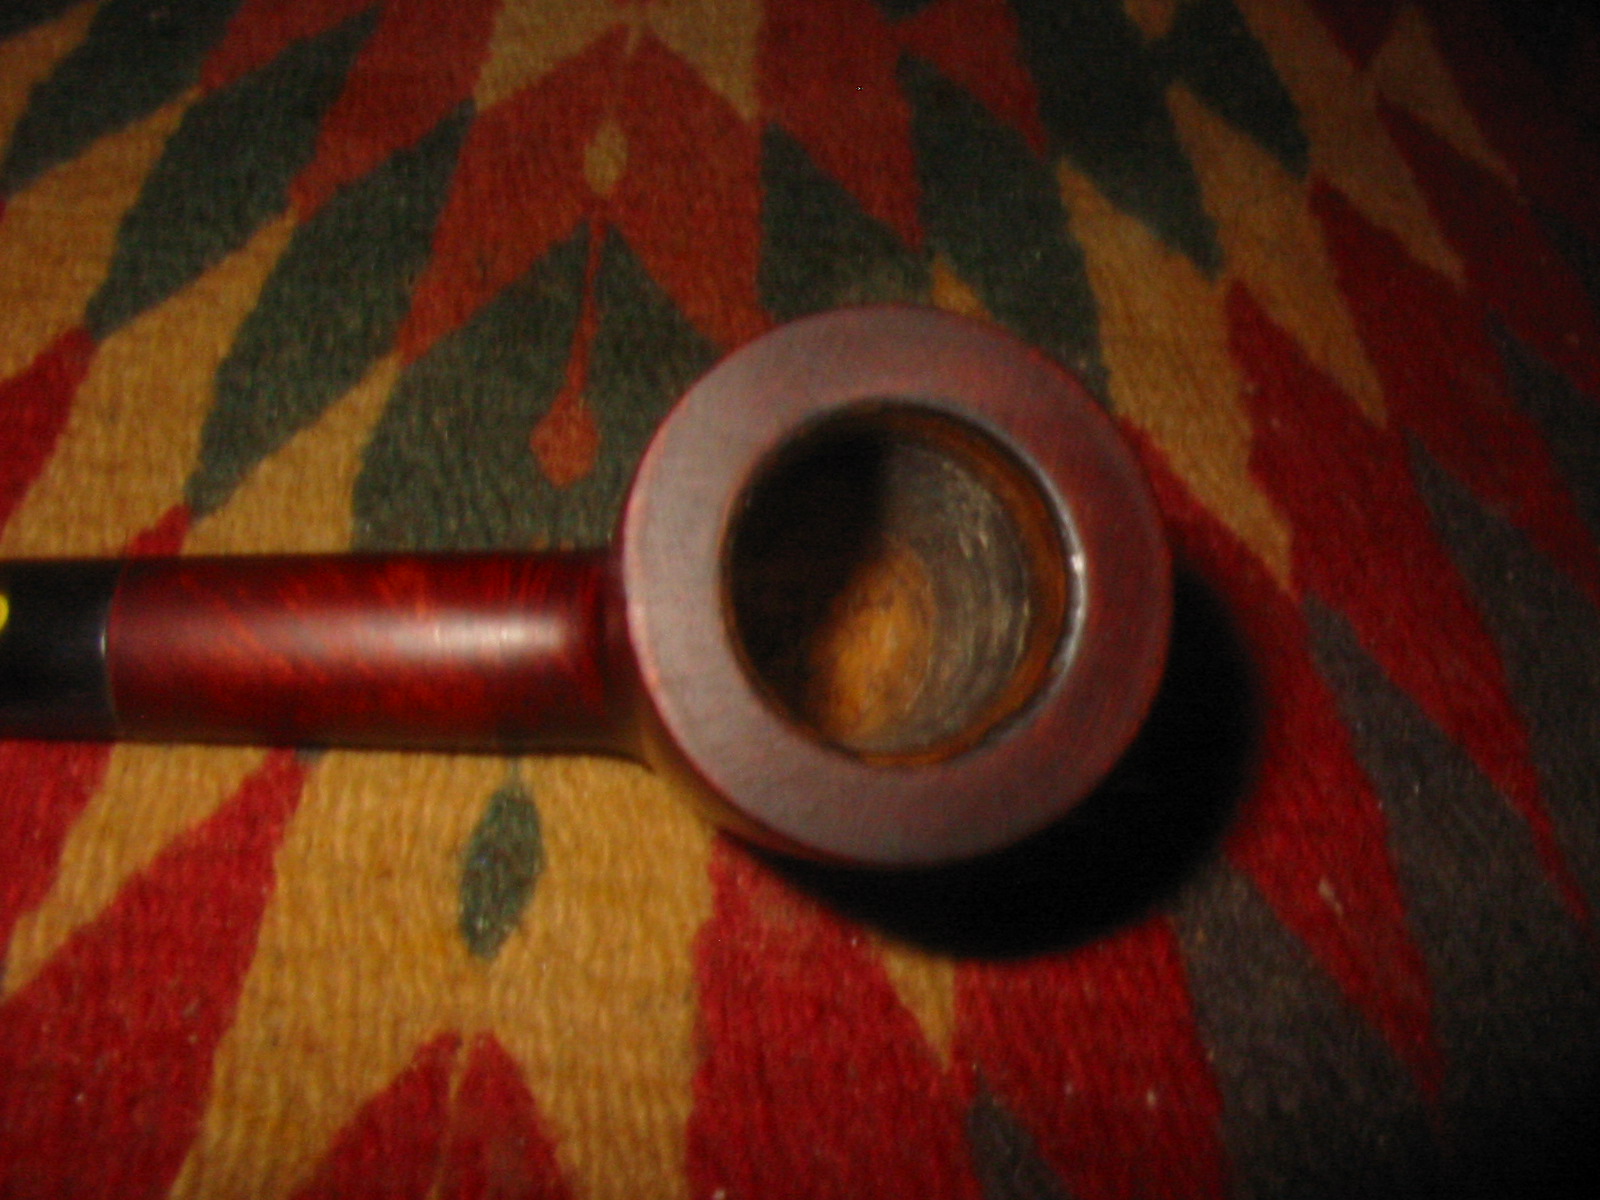
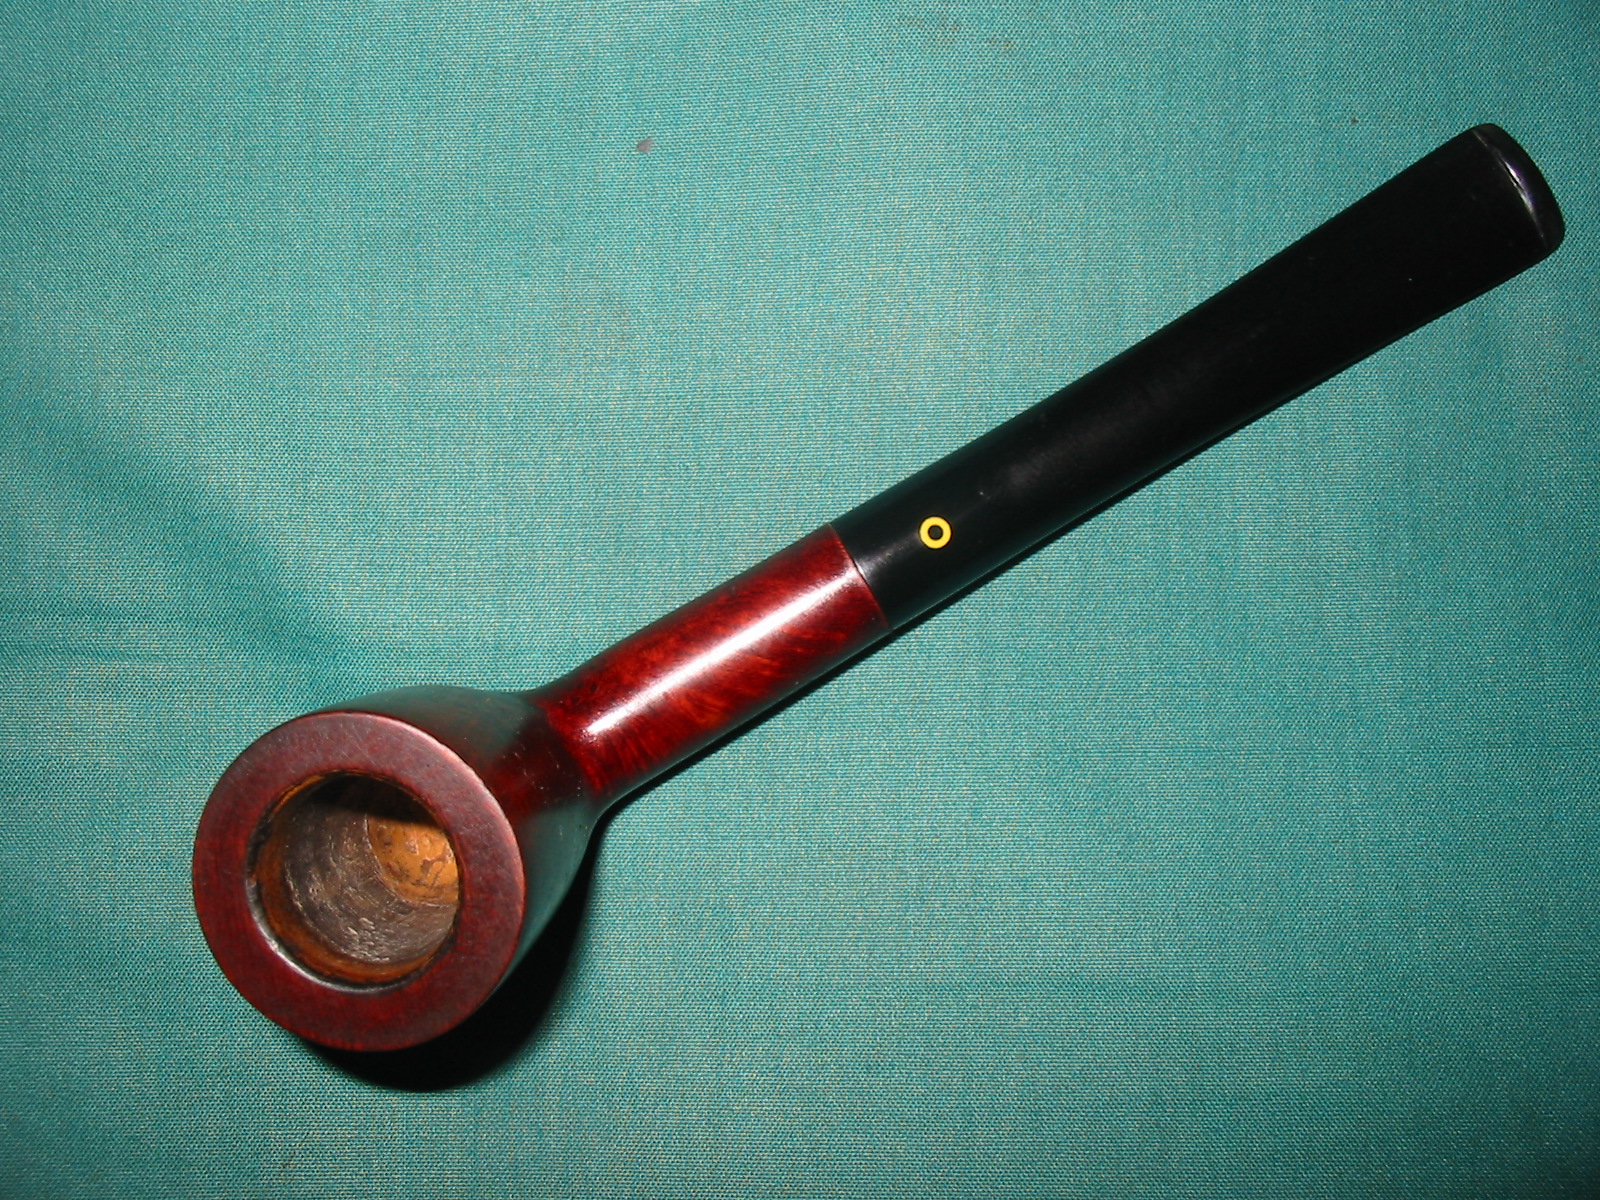
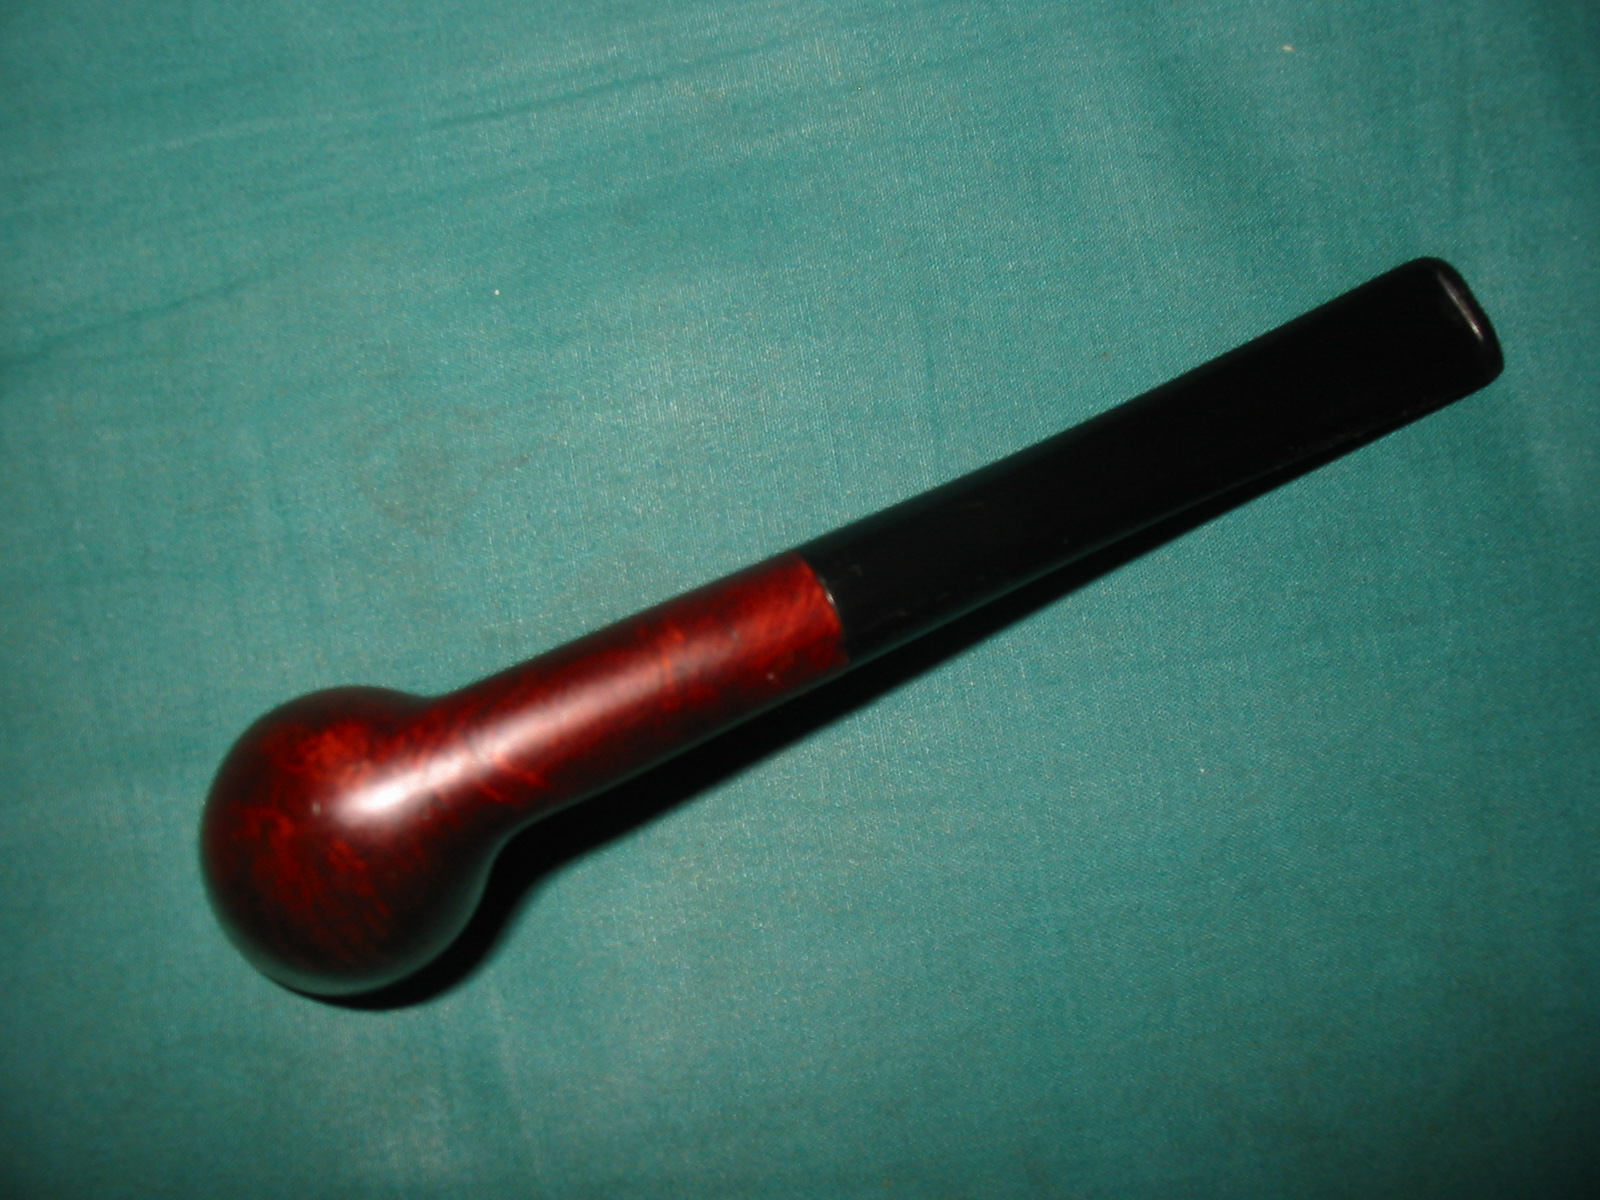
The next two photos give a top and underside view of the pipe. You can see the ring of cake in the bowl around the middle and lighter on the top and bottom edges. You can see the metal disk in the bottom of the bowl. I have purchased a few of these over the years and almost all of them were missing the metal disk that sat in the base between the bowl and base. The stem shows some tooth marks on the top and underside.YB3 YB4
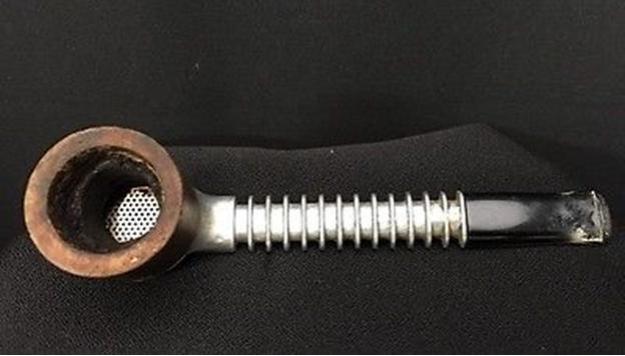
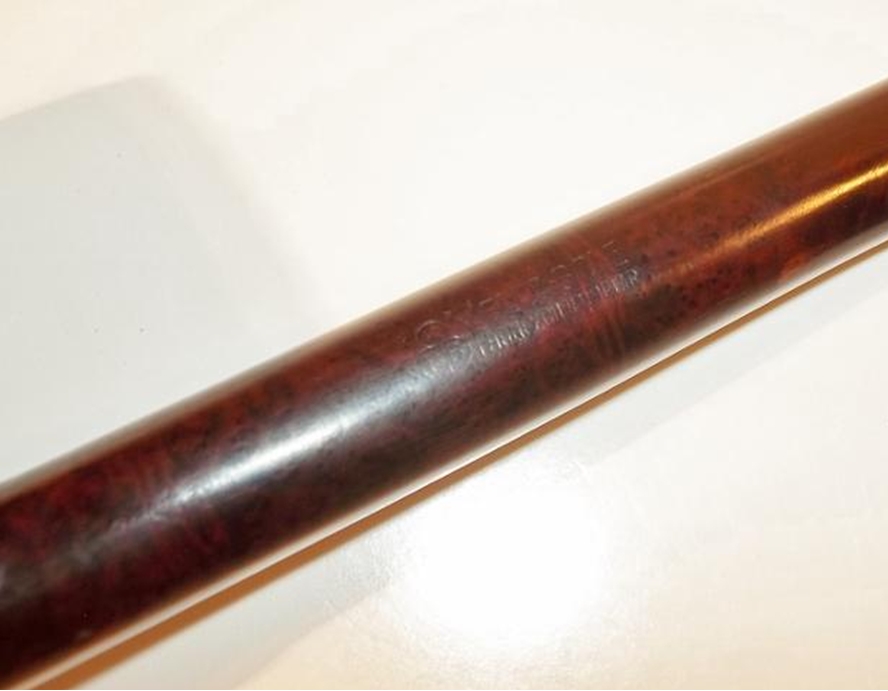
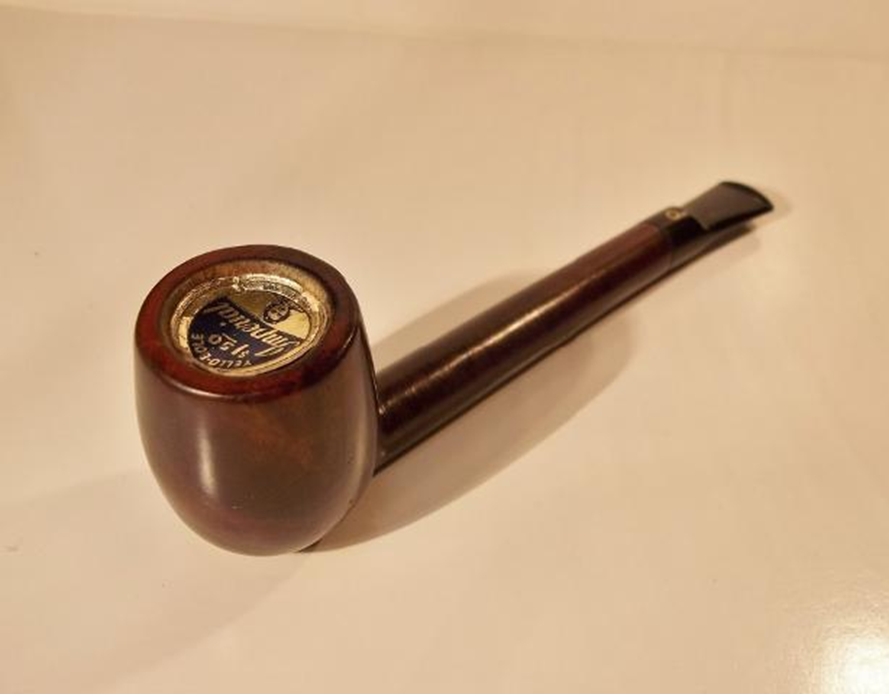
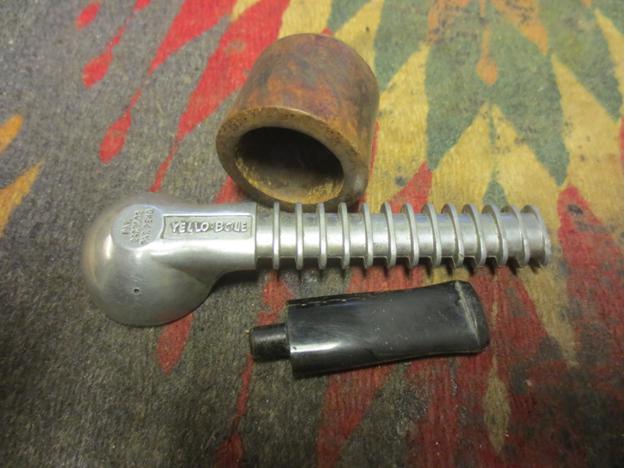
The final photo included by the seller showed the stamping on the underside of the base. It read Yello-Bole horizontally along the bottom of the shank. It also gave the patent number on the bottom of the base. It read PAT. over 2467002 over PAT. PEND. That was enough data to do a patent search on the US Patent Information site. http://www.uspto.gov/patents-application-process/search-patents. From there I copied the patent drawing and included it below.YB5The diagram and the accompanying documents show the conceptual and descriptive narrative of what the pipe was about and what its maker hoped to achieve with his design. The inventor was a Samuel Laurence Atkins of New York. He filed his patent application on July 14, 1945. The patent was granted April 12, 1949. The pipe that I have is stamped Patent Pending thus it is easy to extrapolate that it was made between the dates July 14, 1945 and April 11, 1949 which are the dates before the patent was granted. That makes this pipe between 67-71 years old. It is in pretty decent shape for a pipe of that age.YB6 YB7
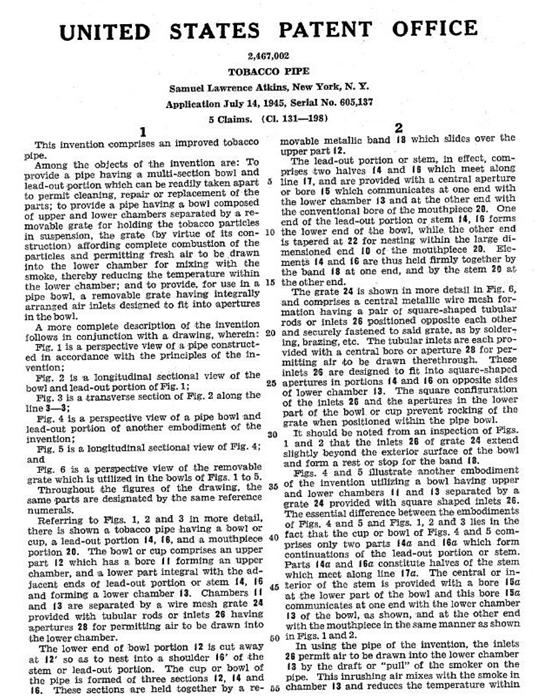
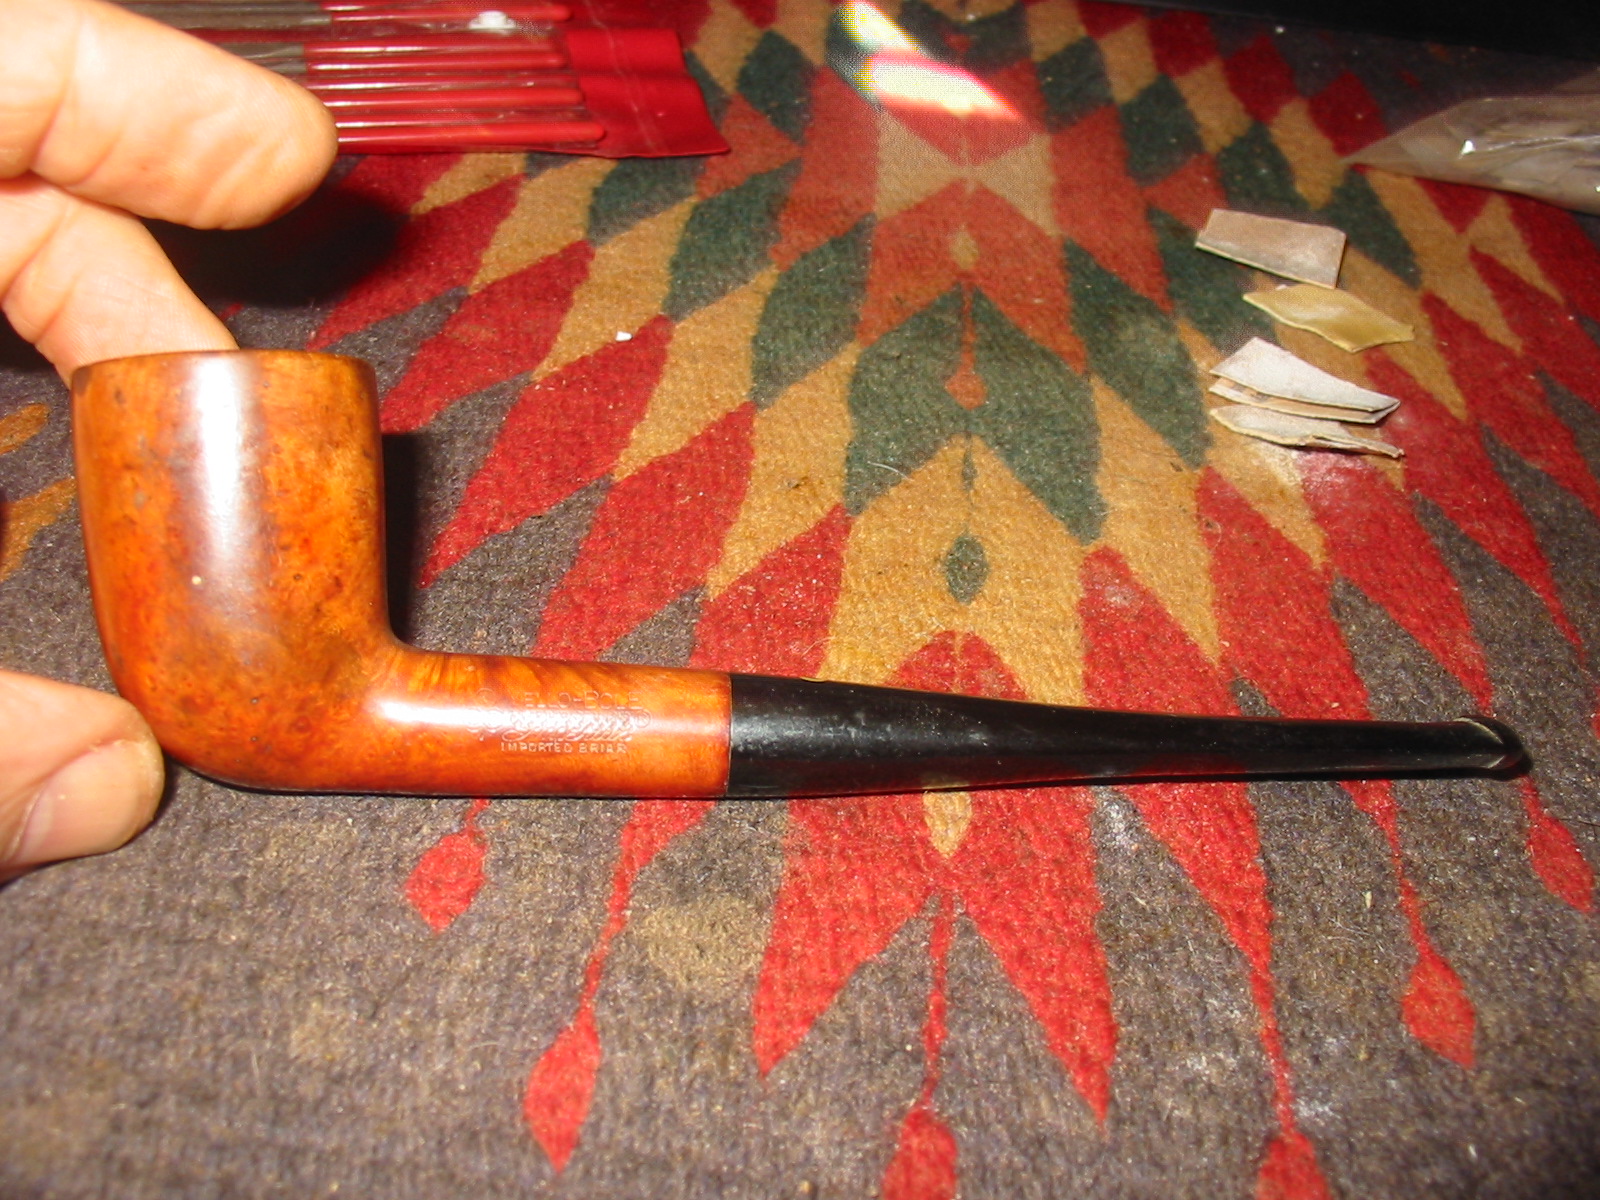
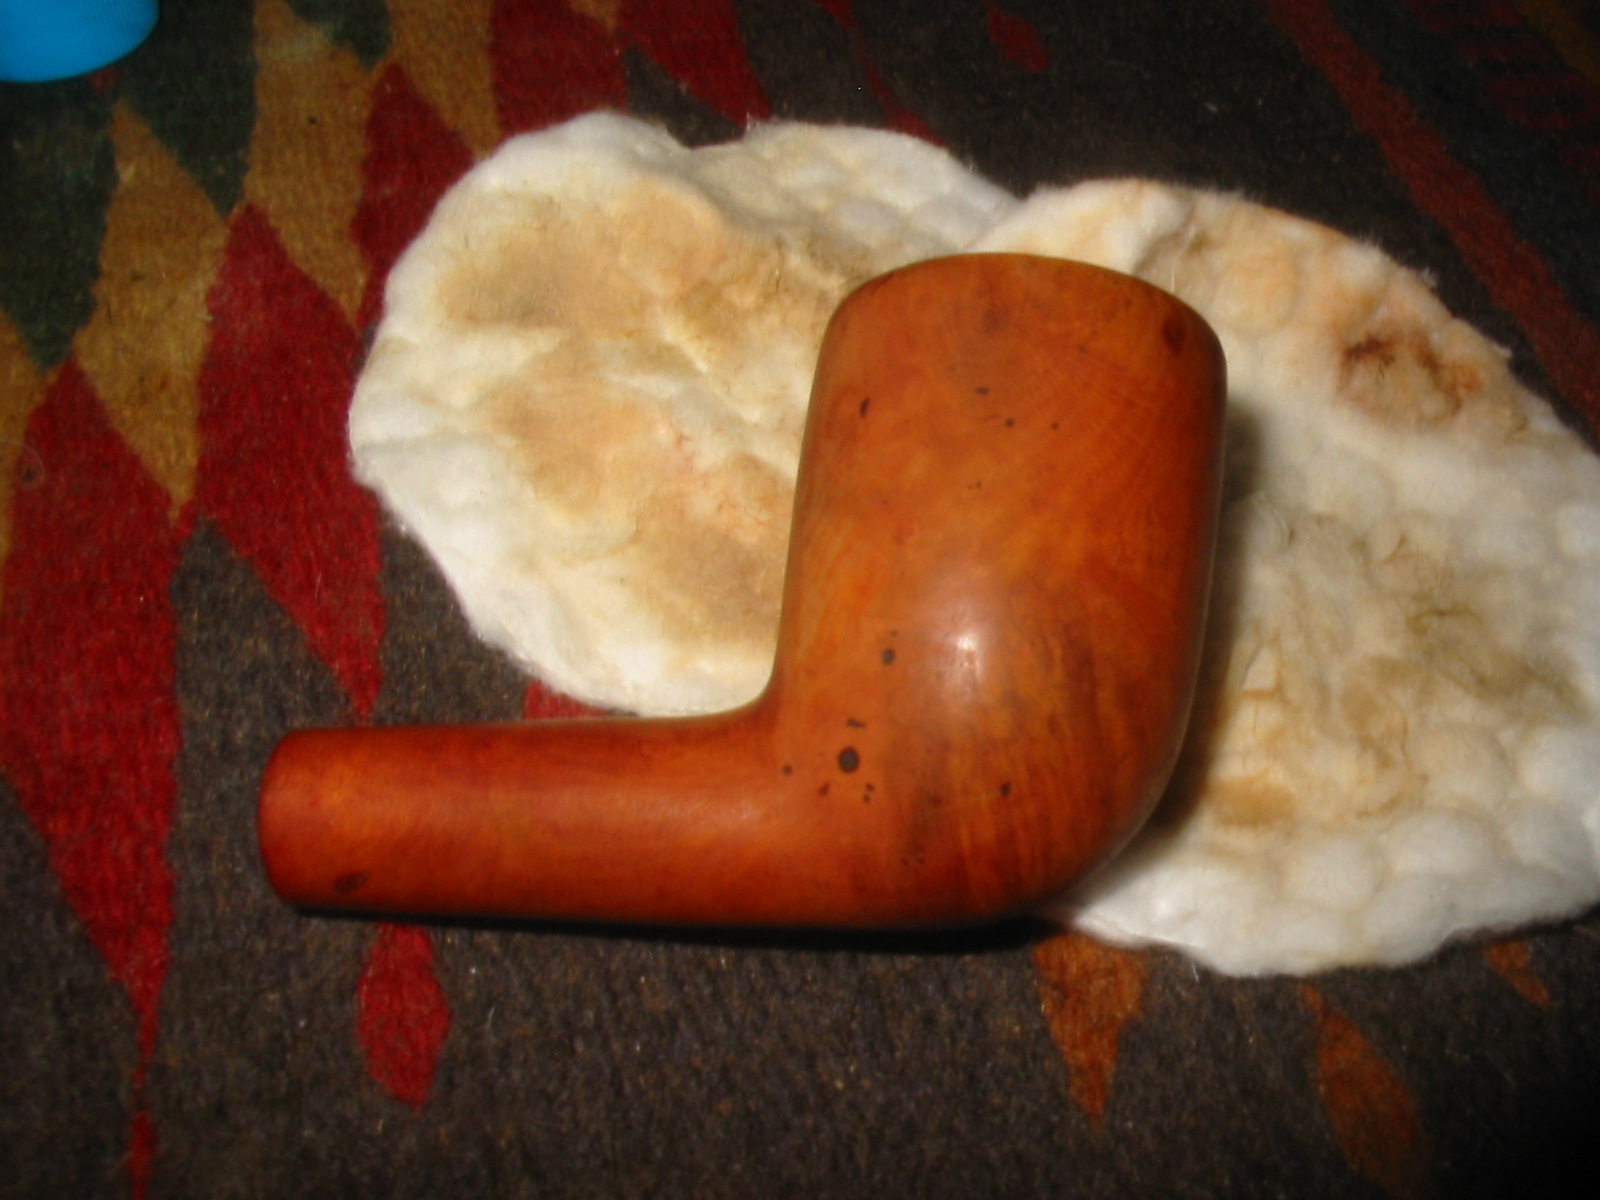
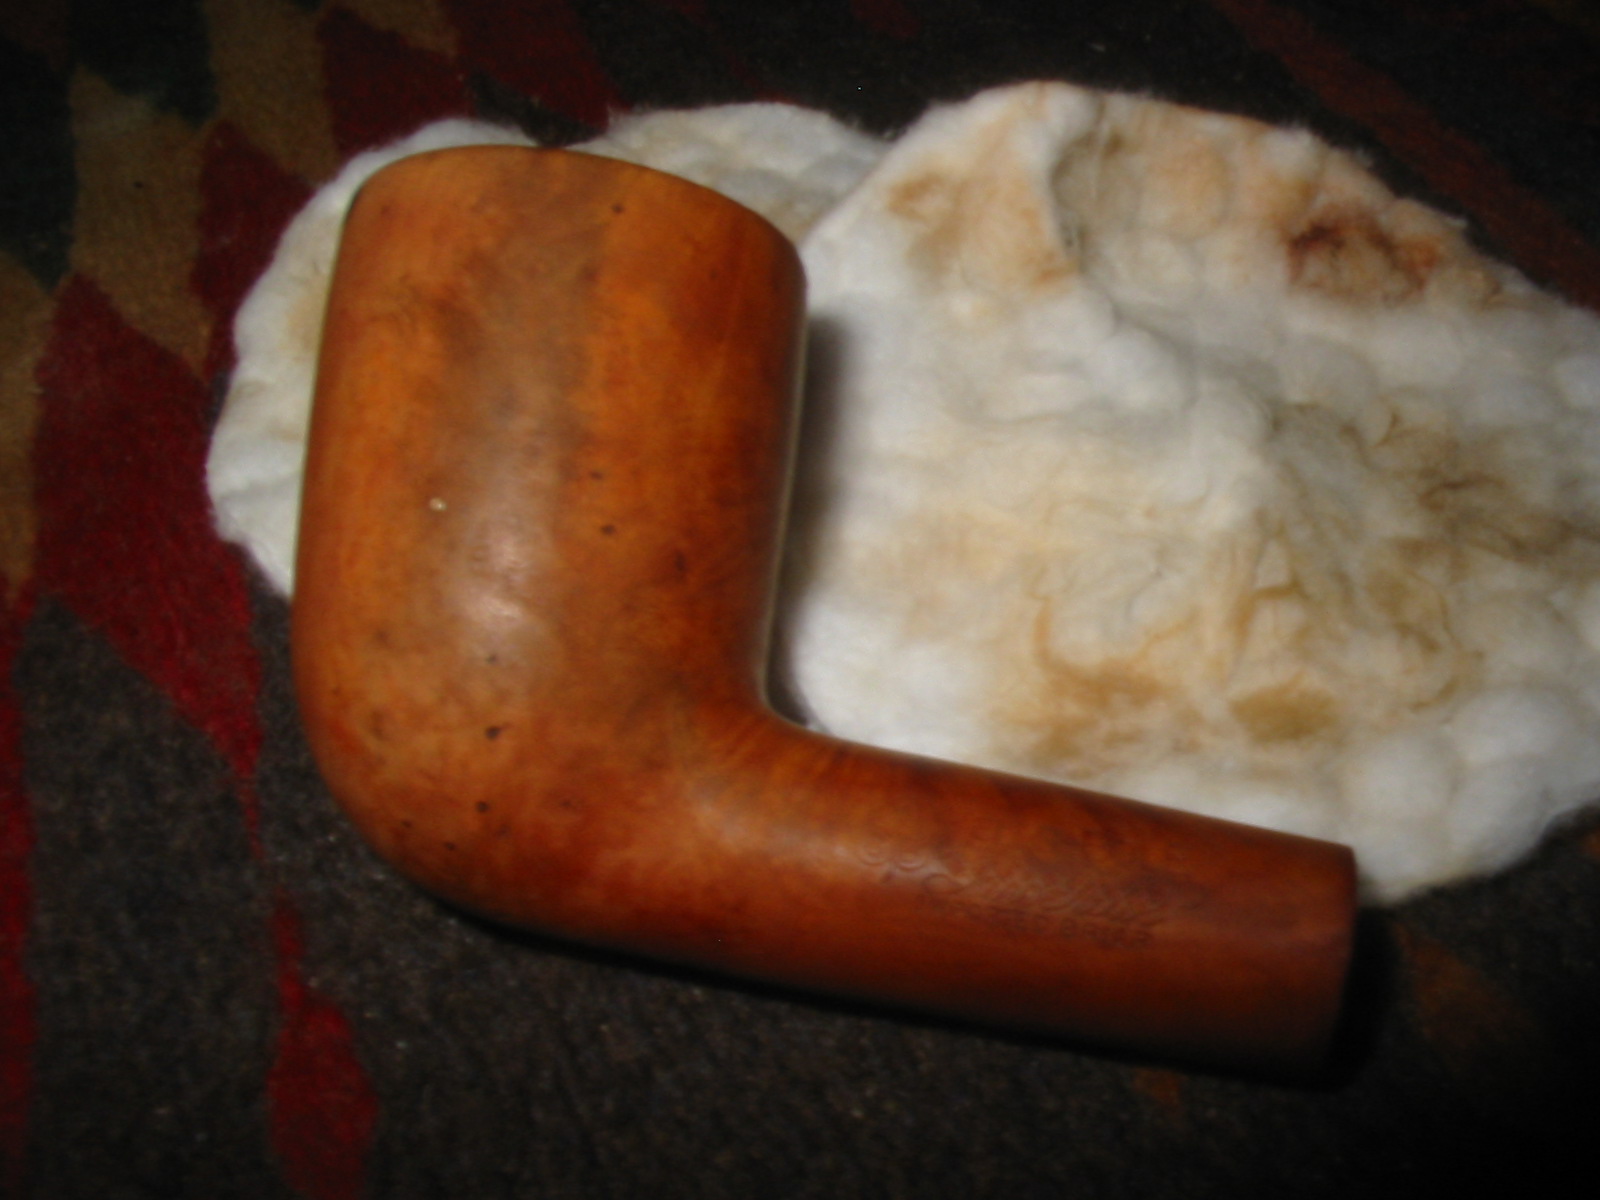
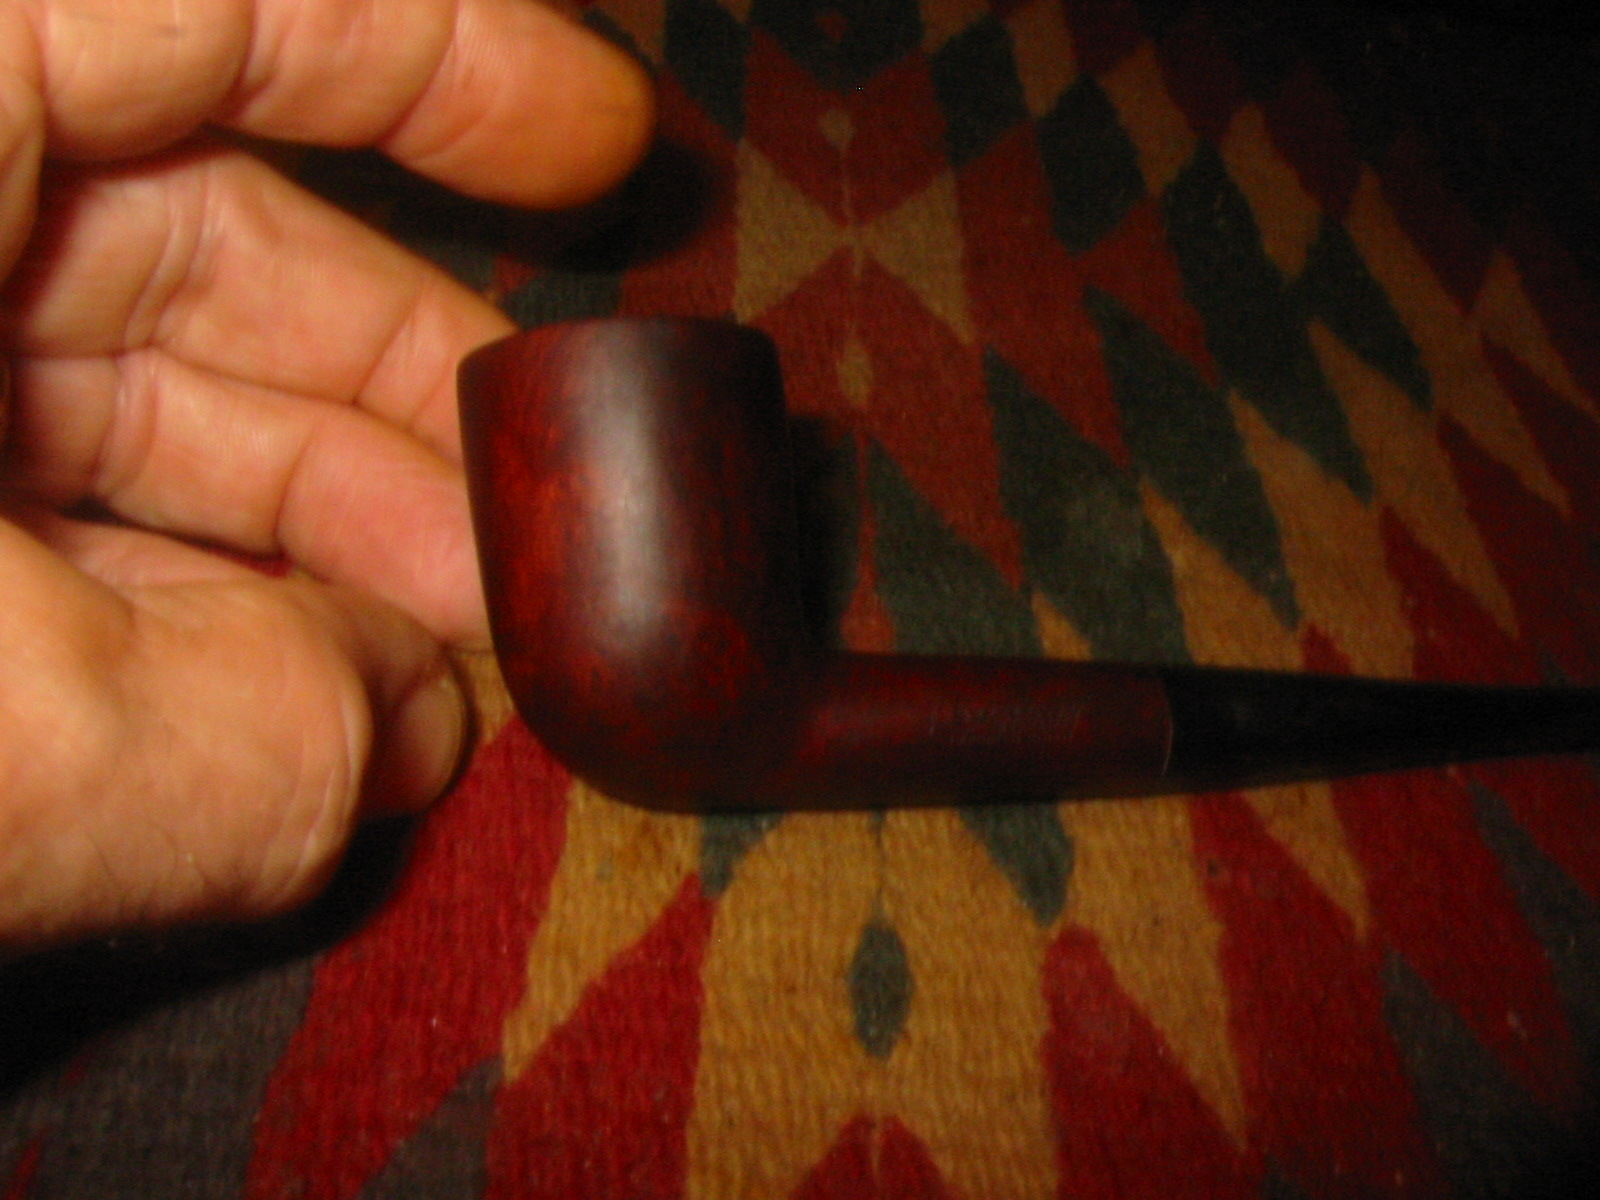
I took the following photos when the pipe arrived. The seller’s photos were pretty good at showing the issues with the pipe. All the things noted above were correct.YB8 YB9 YB10 YB11
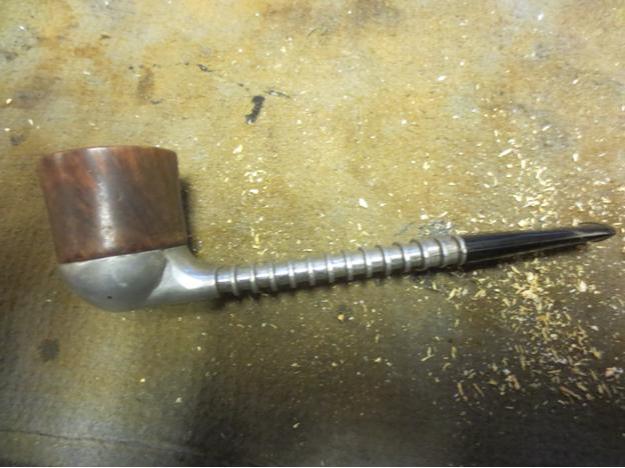
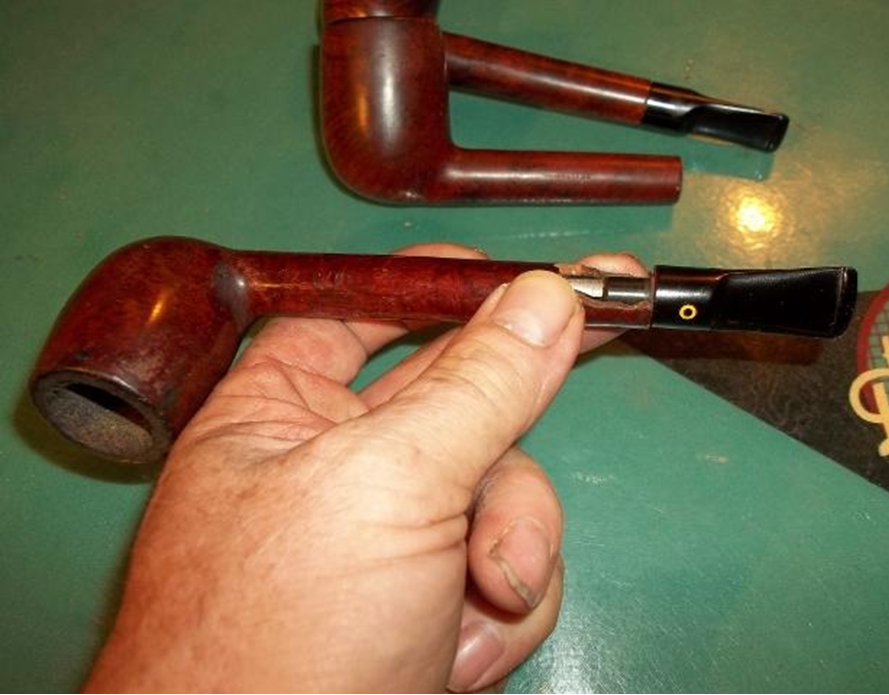
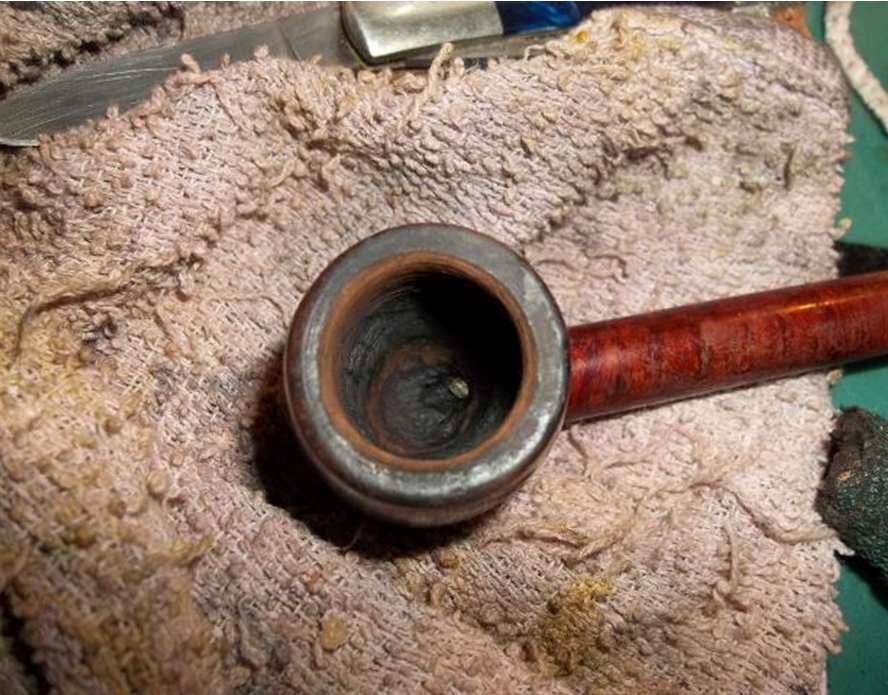
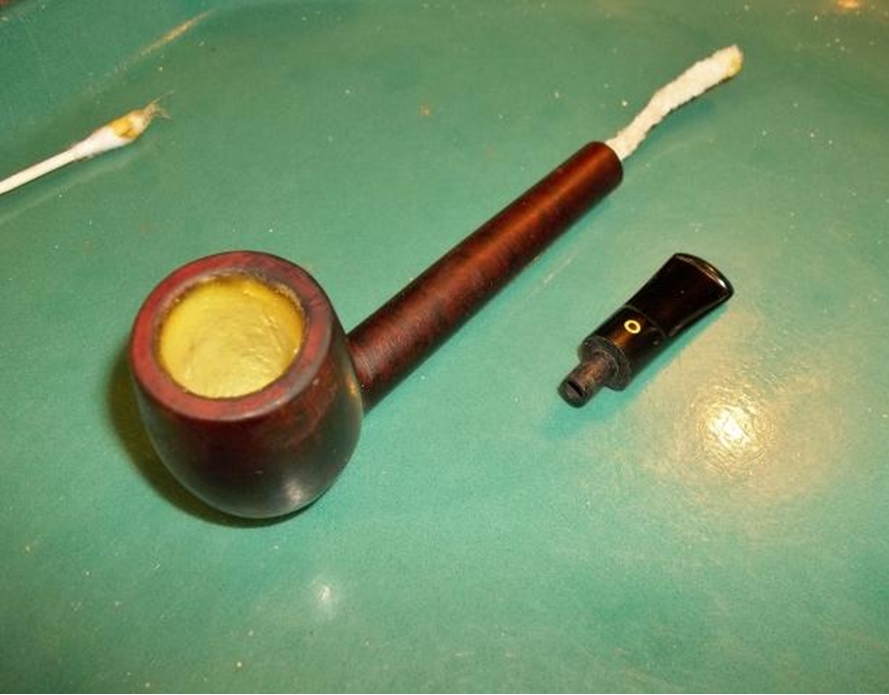
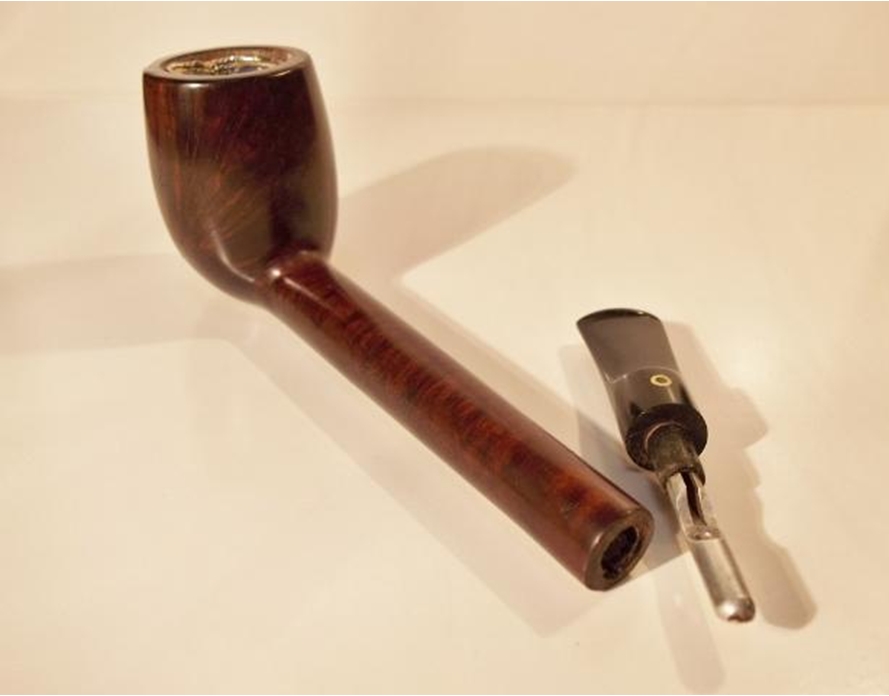
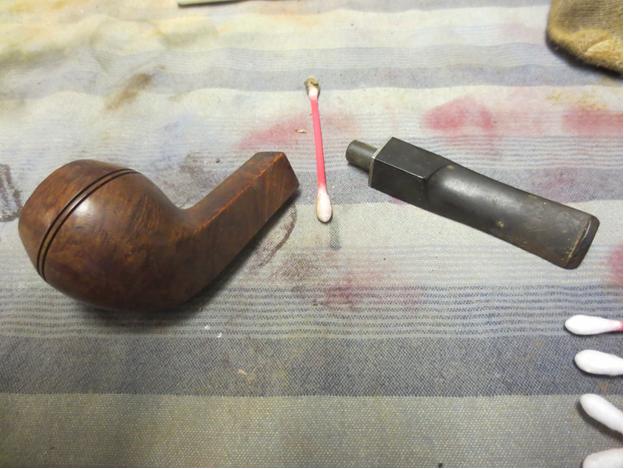
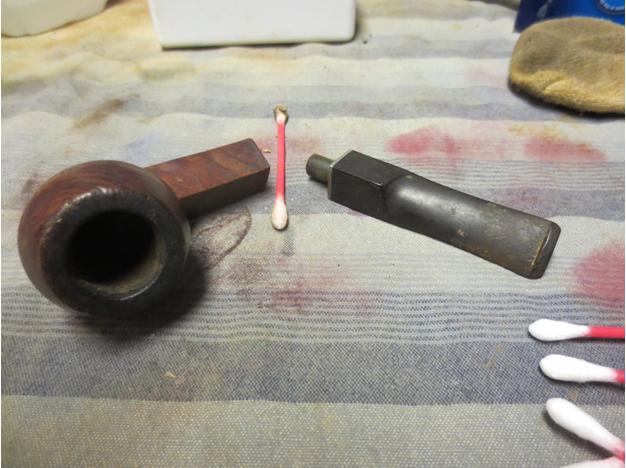
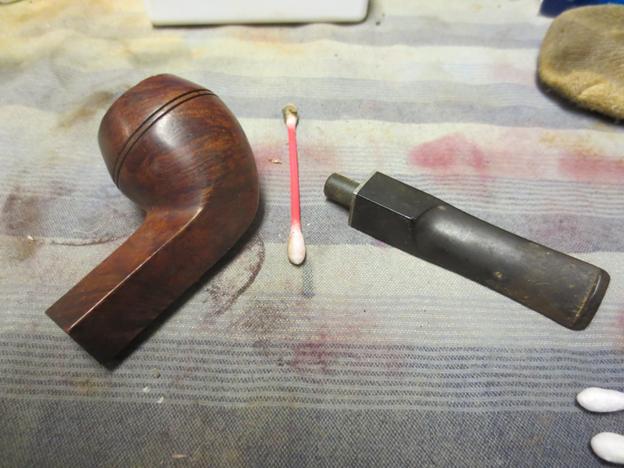
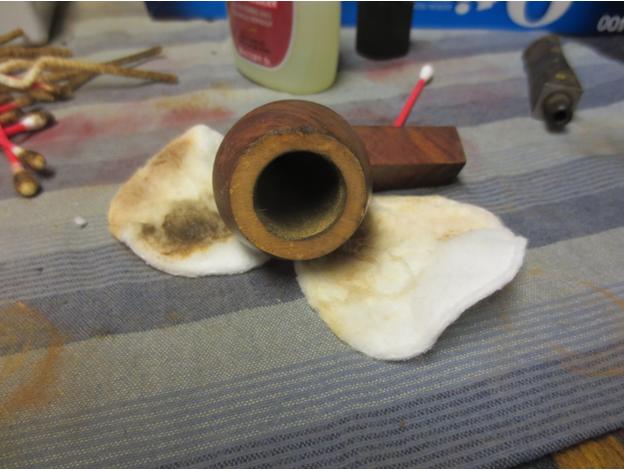
The pipe was quite easy to take apart. I unscrewed the bowl and tapped out the disk in the base. The stem came out of the shank with little effort. I took the photo below to show the parts. The second photo shows the cake in the bowl.YB12 YB13
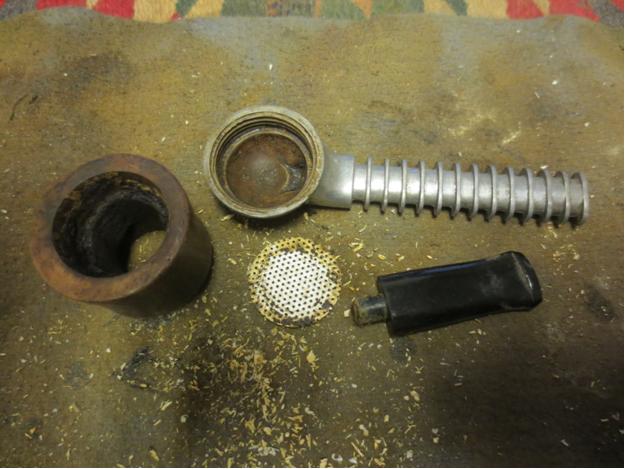
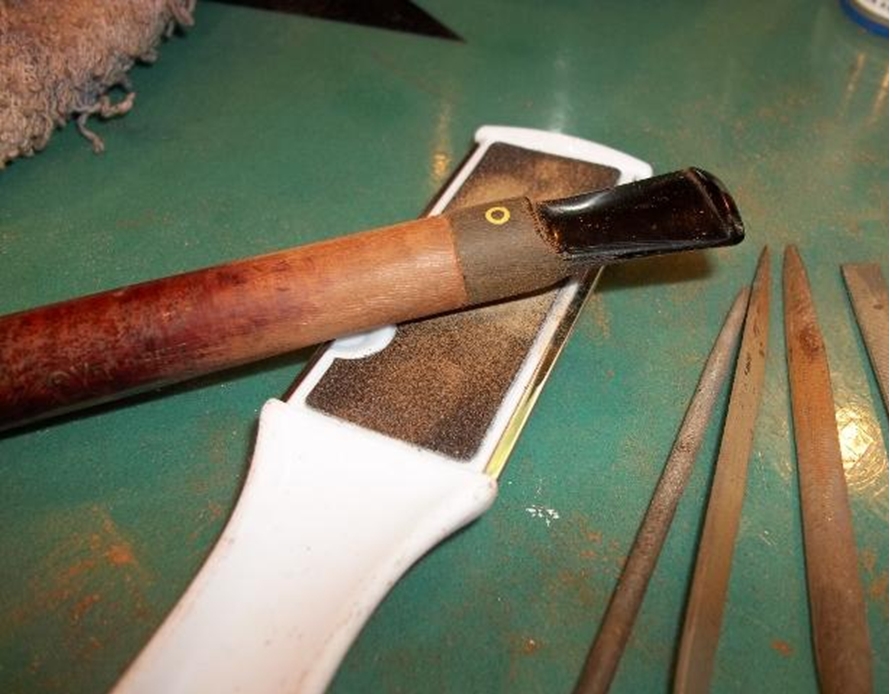
I started the clean up with reaming the bowl. I used the PipNet reamer and the largest cutting head to ream from the top of the bowl. I used the second head to ream the bowl from the bottom. I reamed it back to bare briar. There was still some of the signature Yello-Bole bowl coating showing near the top just below the rim.YB14 YB15I scrubbed the bowl base with a brass bristle brush to loosen up the dried tars and oils in the base. I used a dental pick to clean out the threads. I also scrubbed the disk with the brush. YB16 YB17
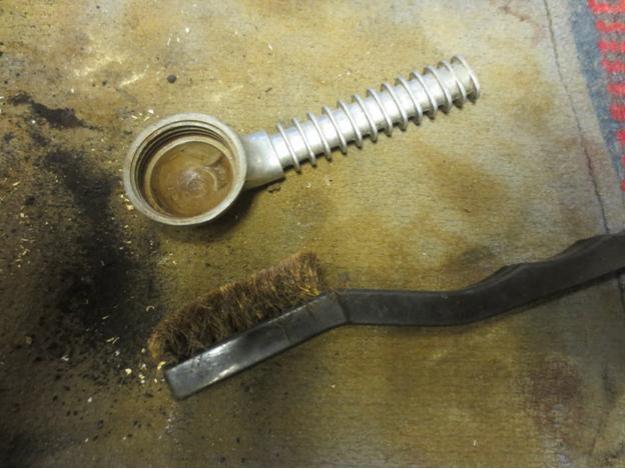
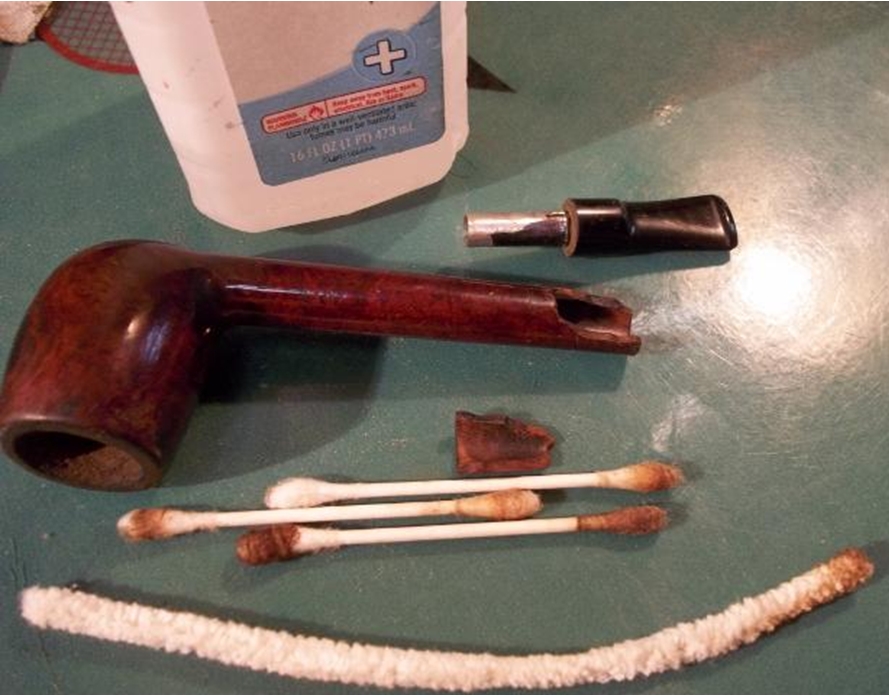
I used pipe cleaners, cotton swabs and alcohol to clean the surface of the disk and the inside of the base and airway.YB18 YB19

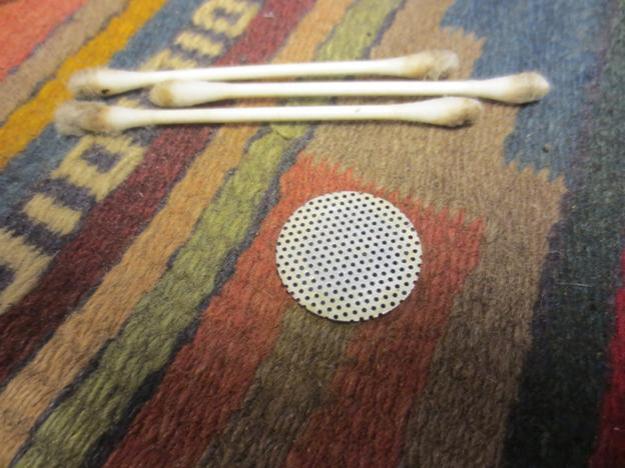
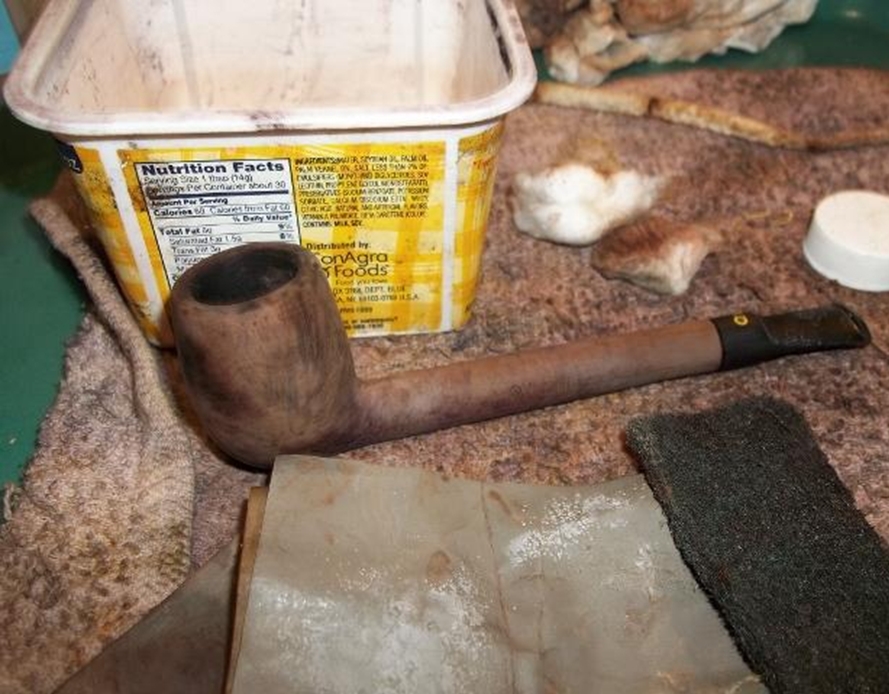
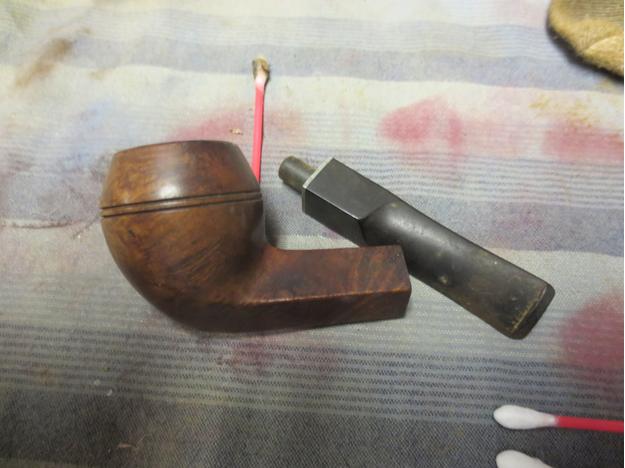
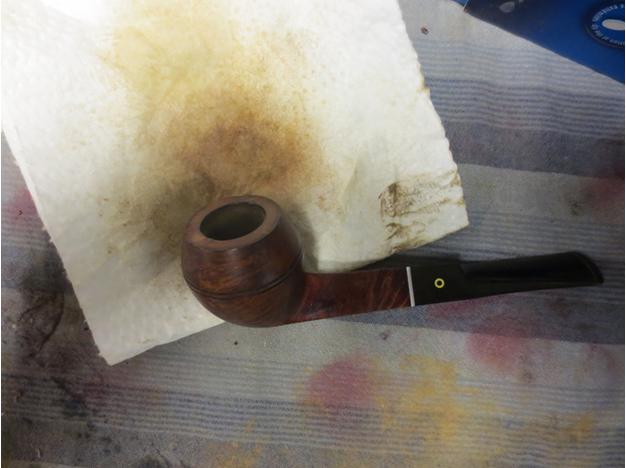
I scrubbed the interior and exterior of the stem with alcohol and pipe cleaners to remove the build up on the outside and the oils on the inside.YB20With the cleanup finished I set the parts on the table and took a few photos of the cleaned up pipe. Now it was time to restore it.YB21 YB22
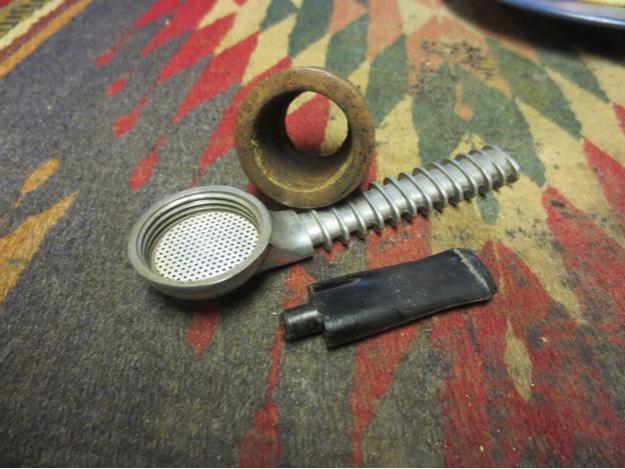
I wiped down the bowl with cotton pads and acetone to remove the grime and the remaining finish on the bowl.YB23

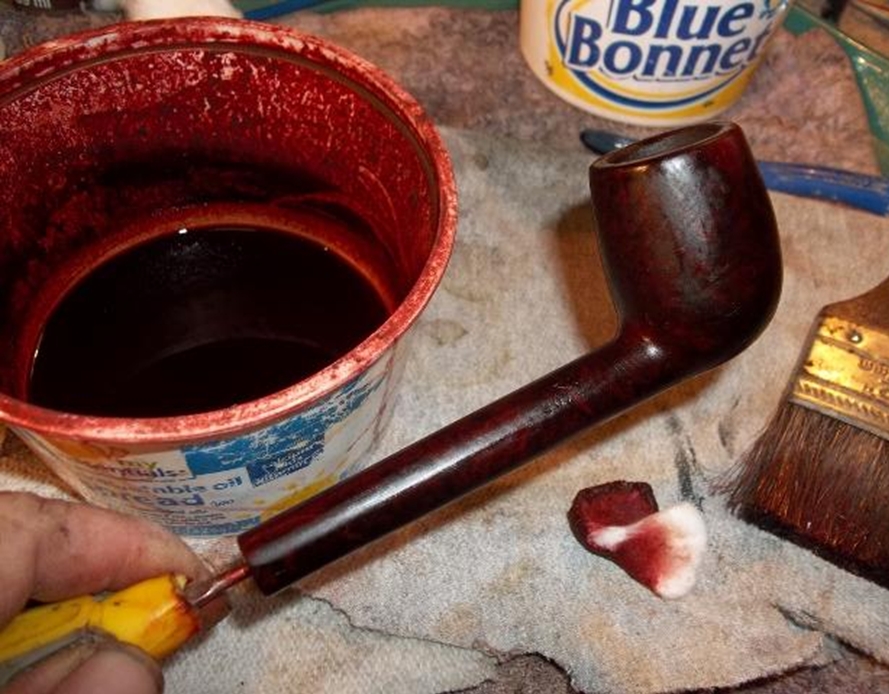
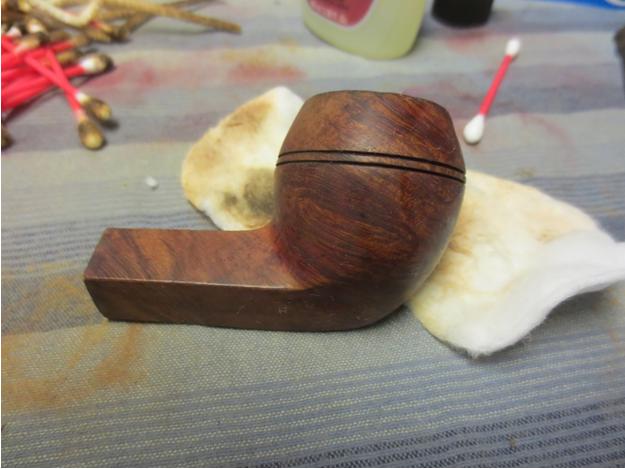
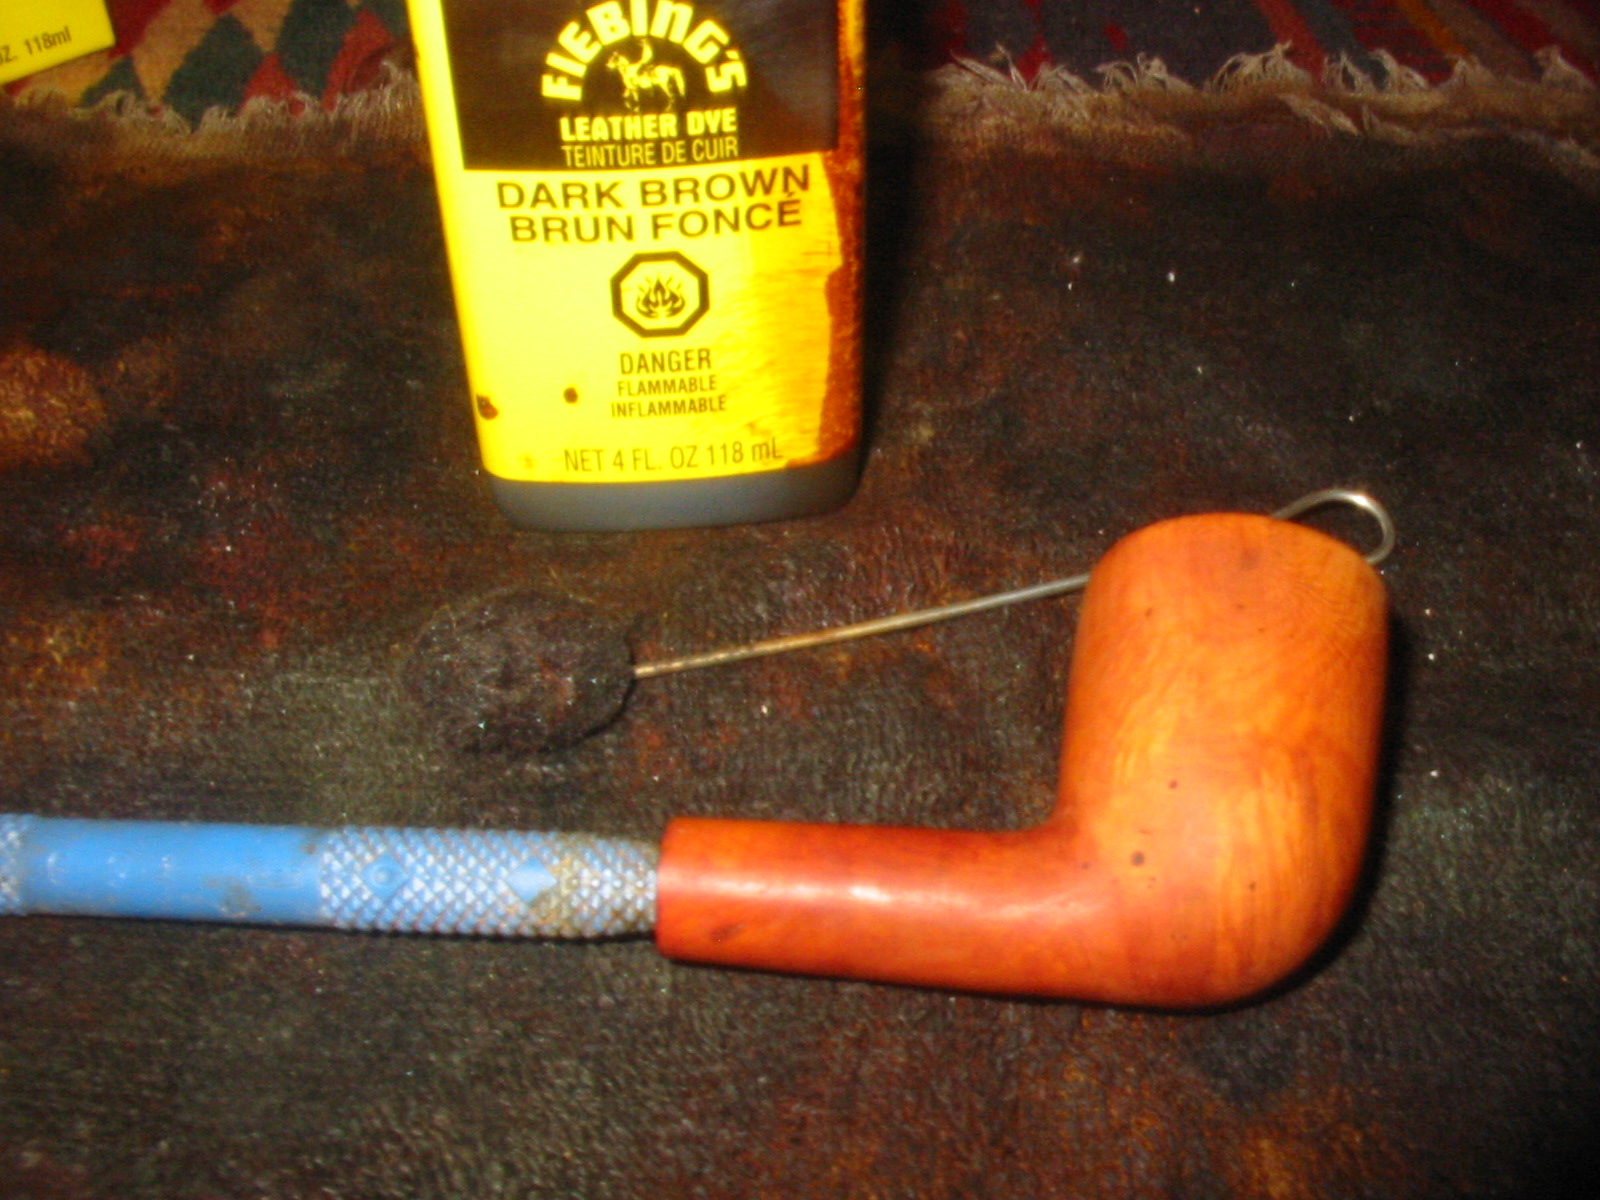
I stained the bowl with a dark brown stain pen.YB24 YB25
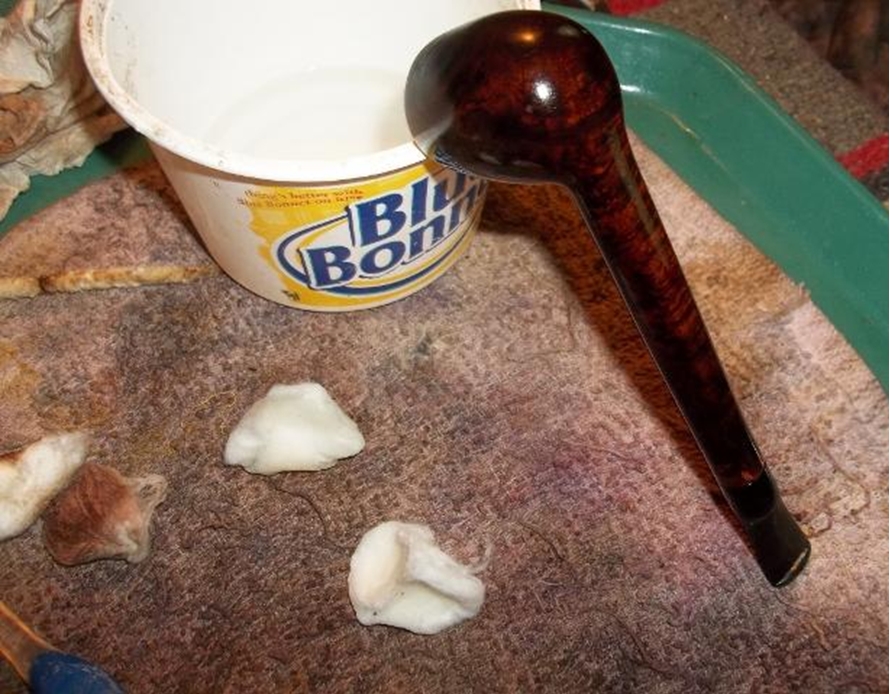
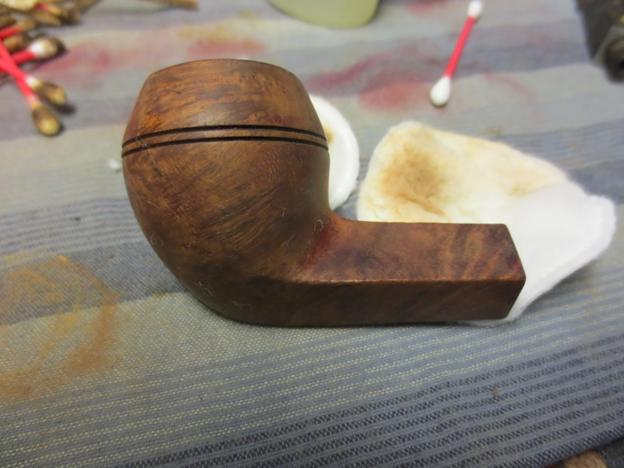
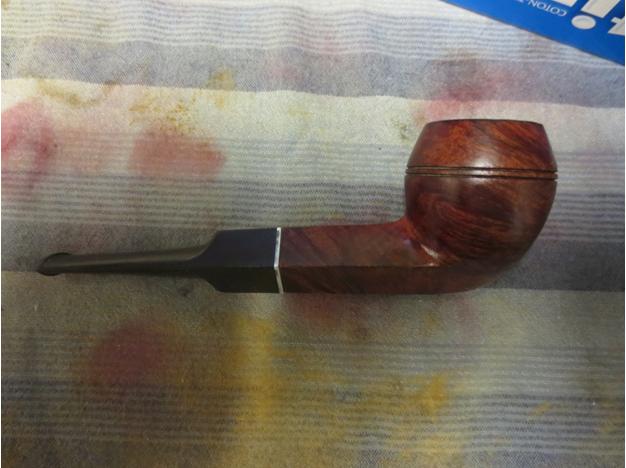
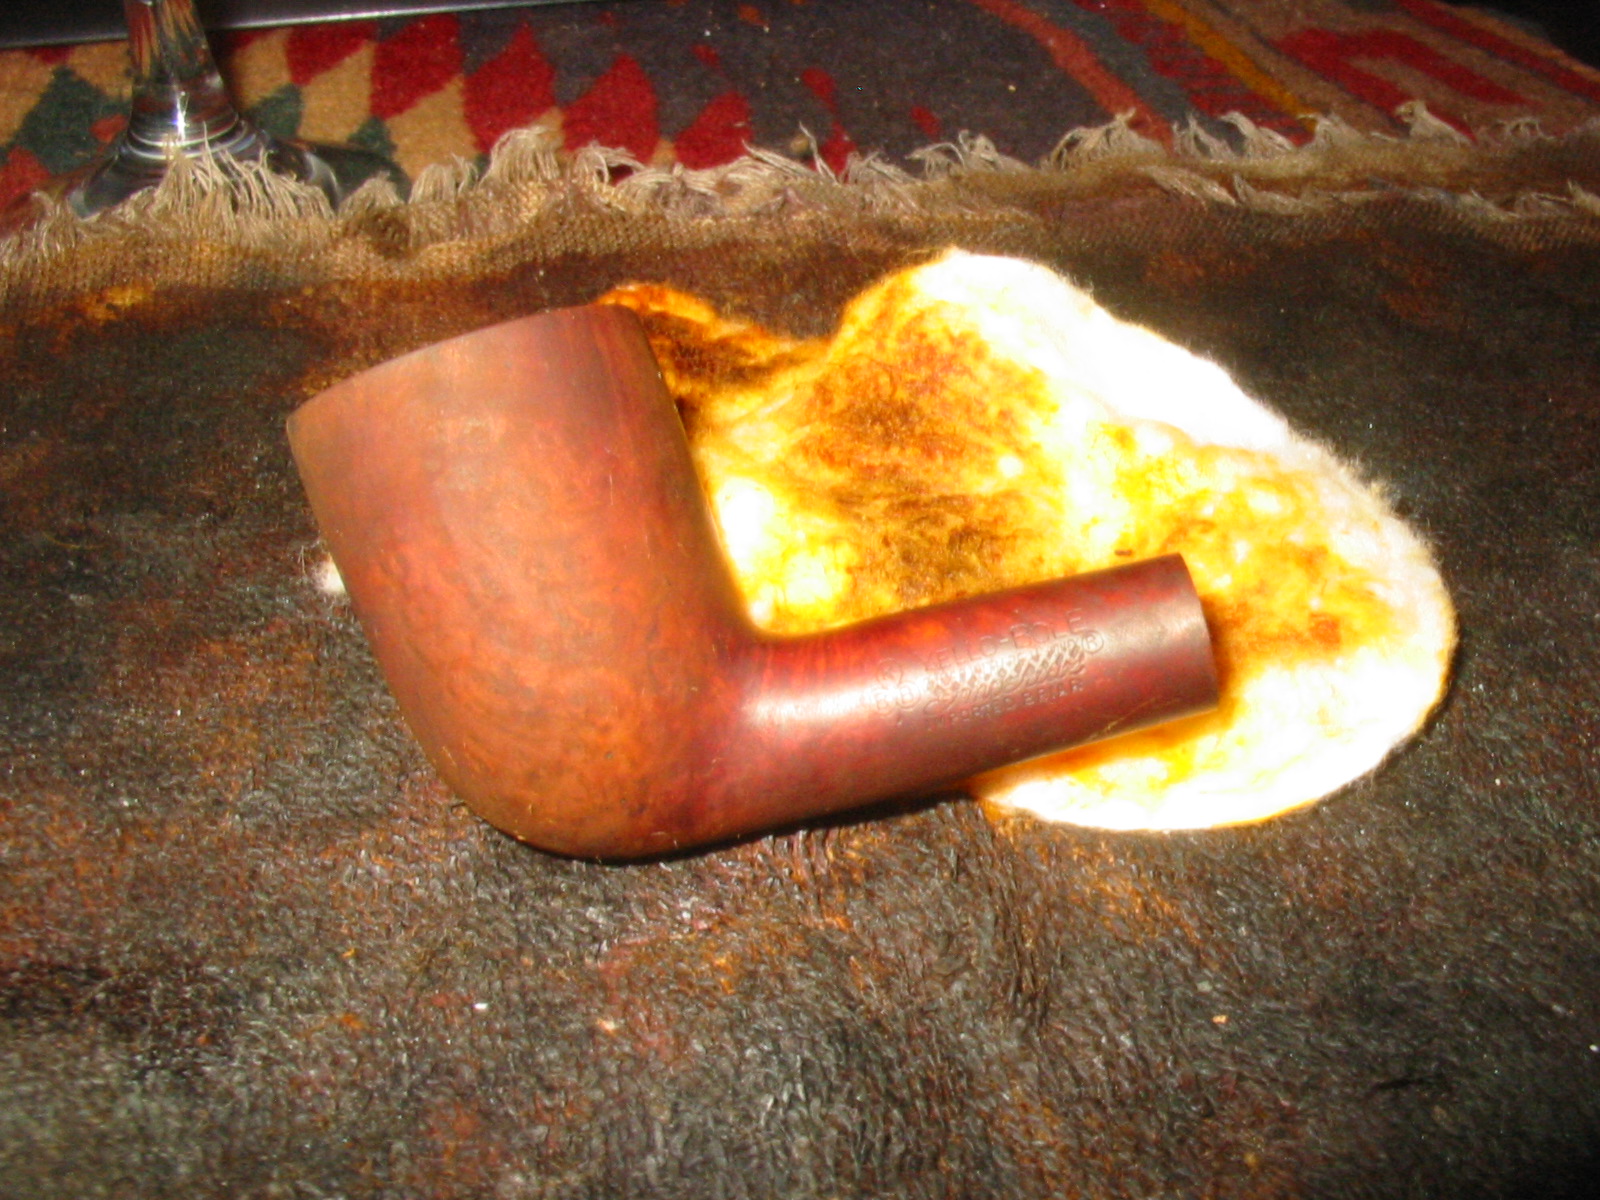
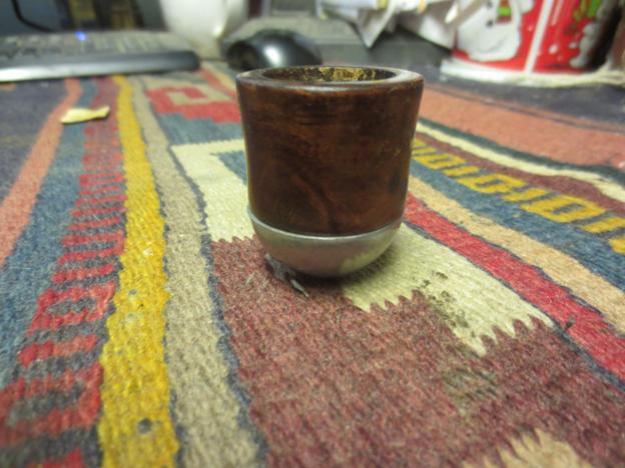
I buffed the bowl with red Tripoli to spread and polish the stain. I buffed it with Blue Diamond and rubbed the bowl down with a light coat of olive oil. At this point in the process the bowl and the metal base was complete. I took the following photos to show the state of the progress thus far.YB26 YB27 YB28 YB29 YB30
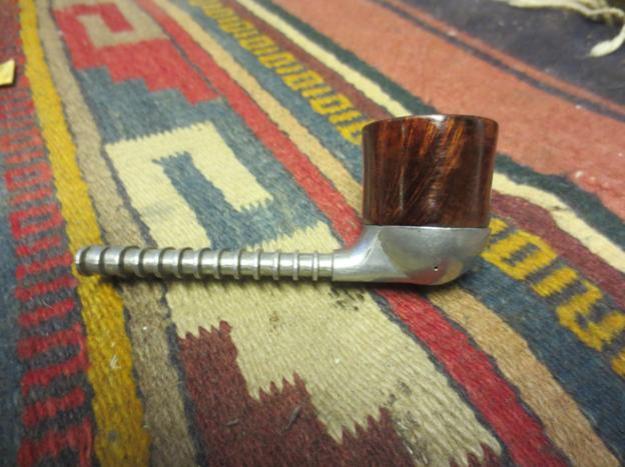
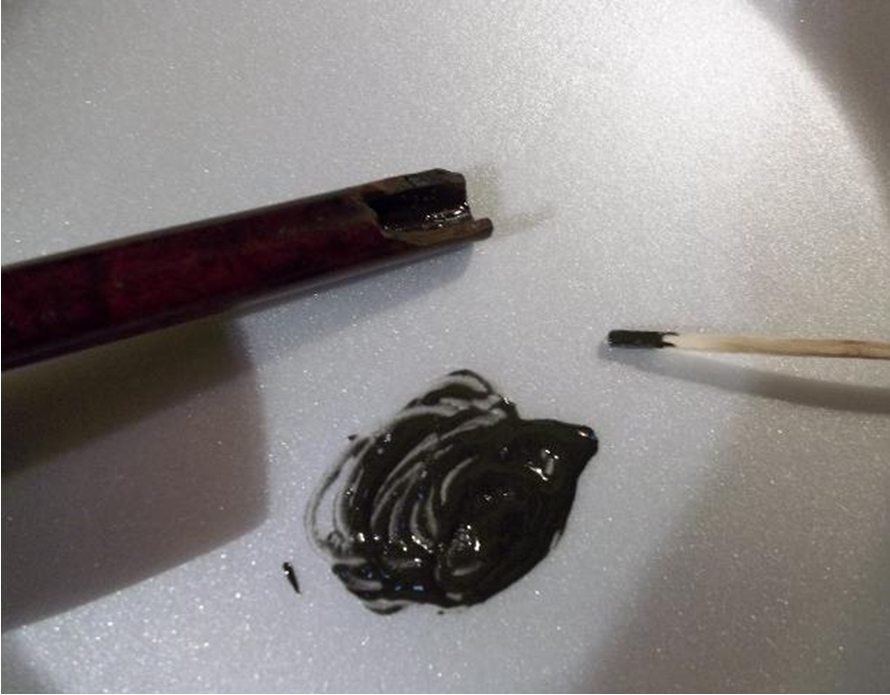
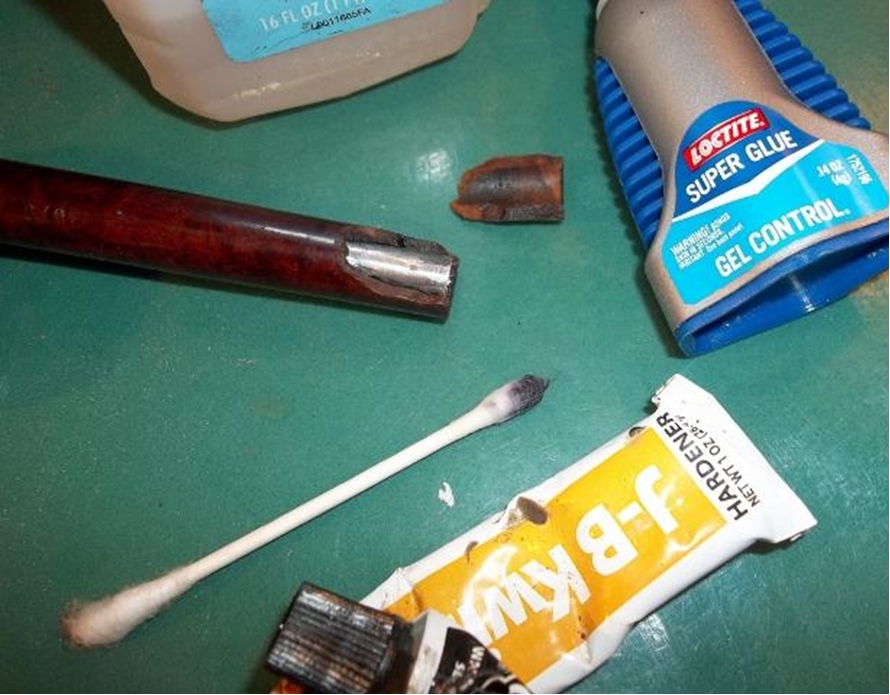
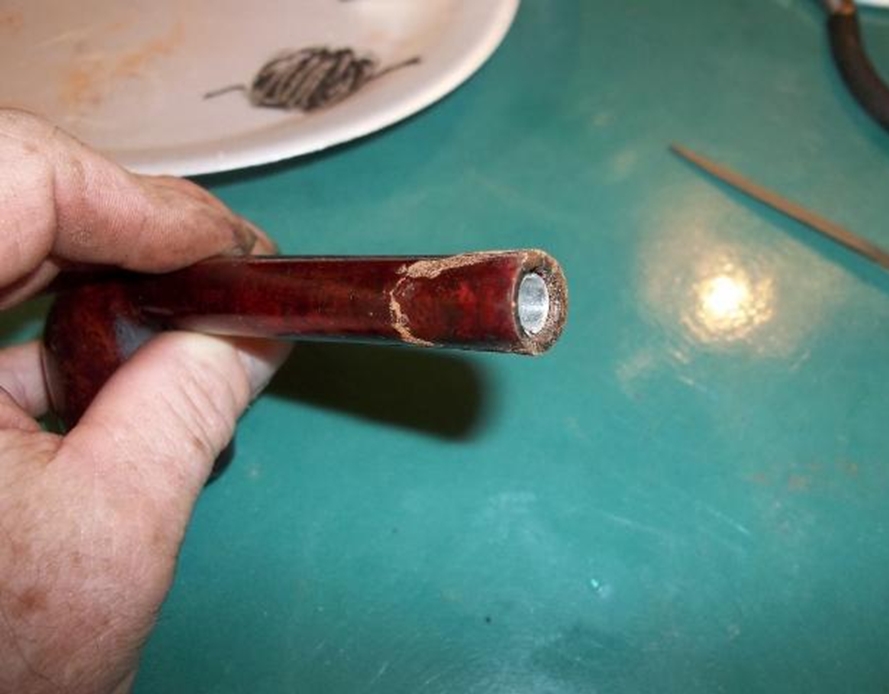
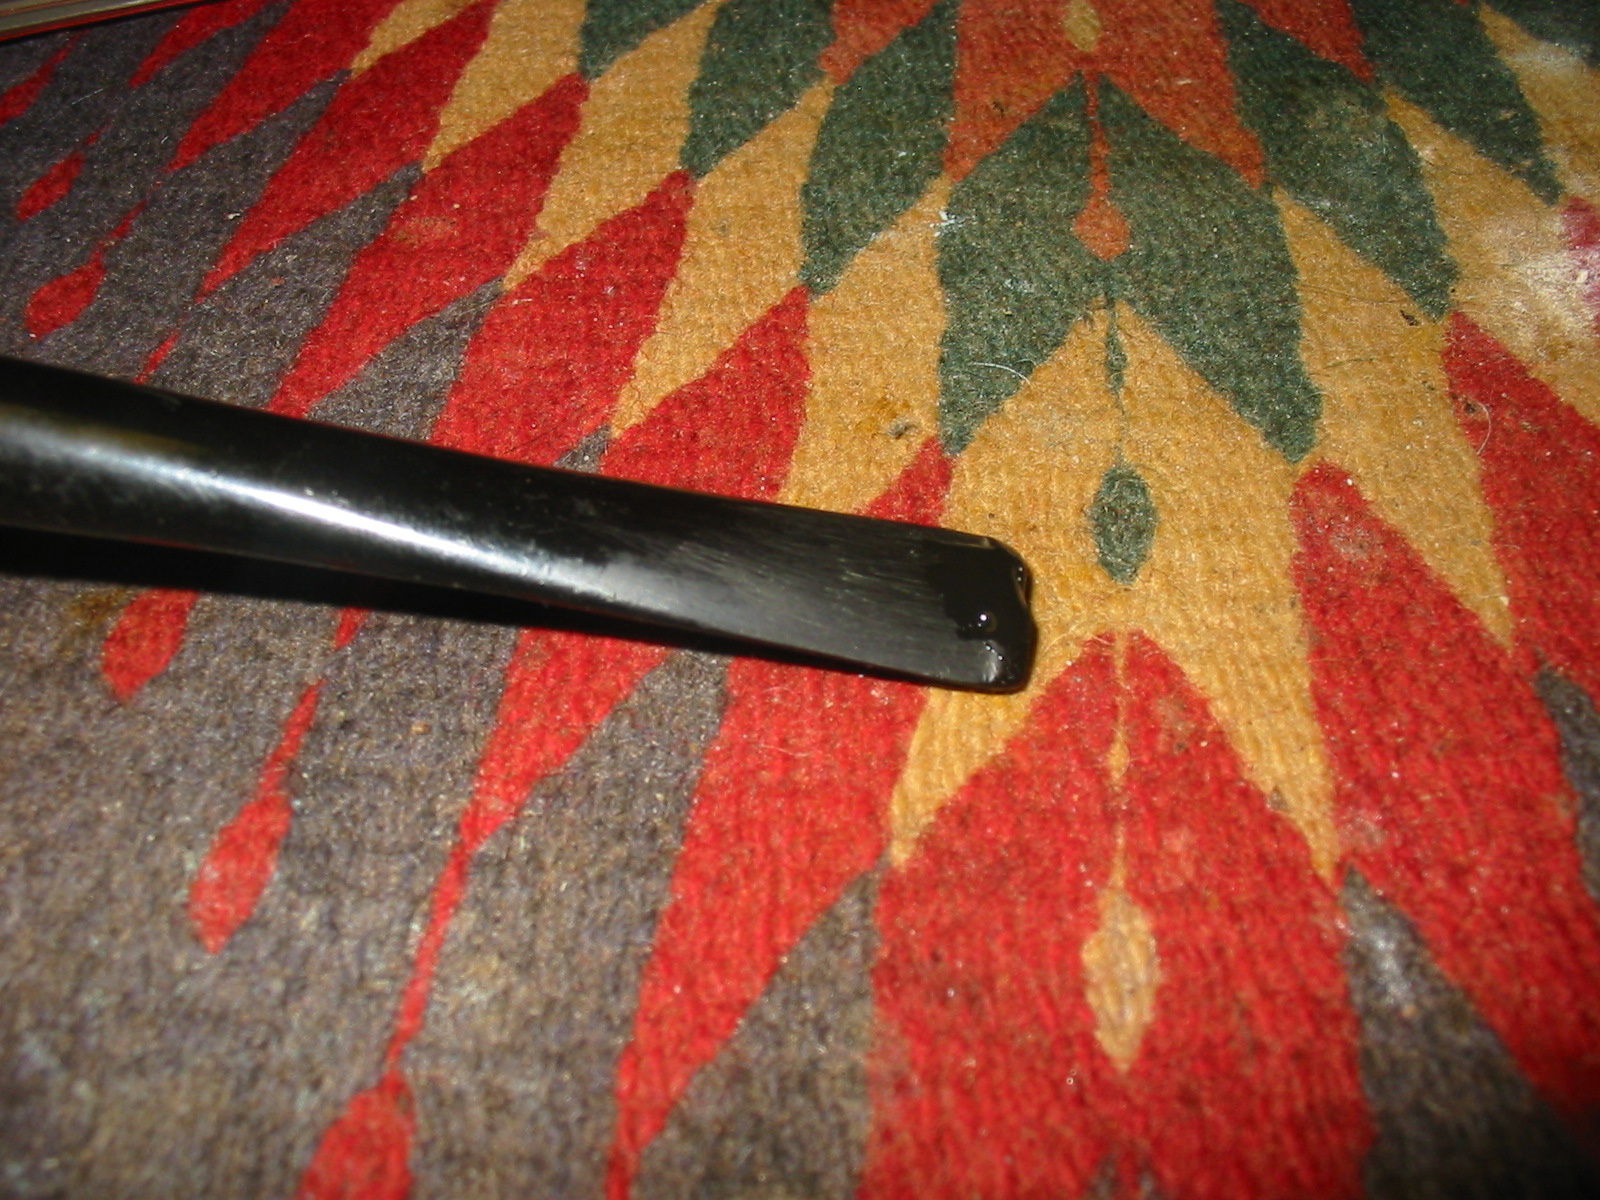
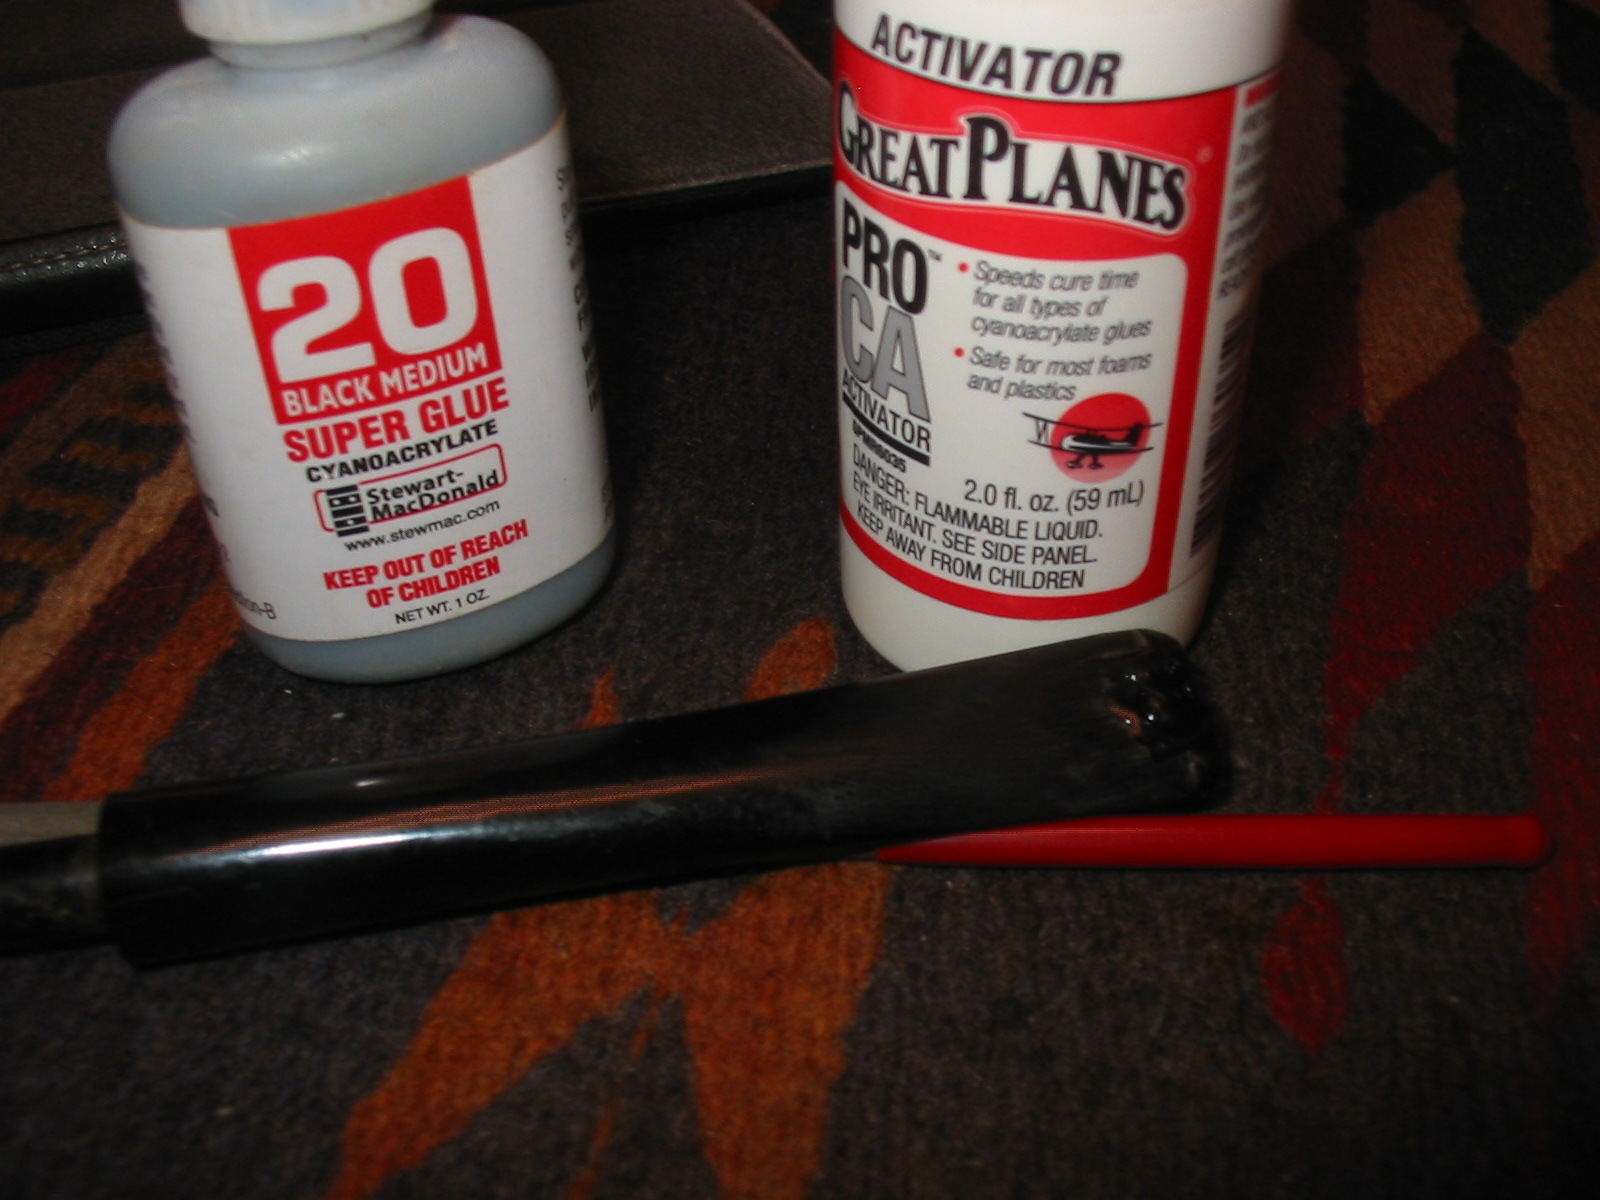
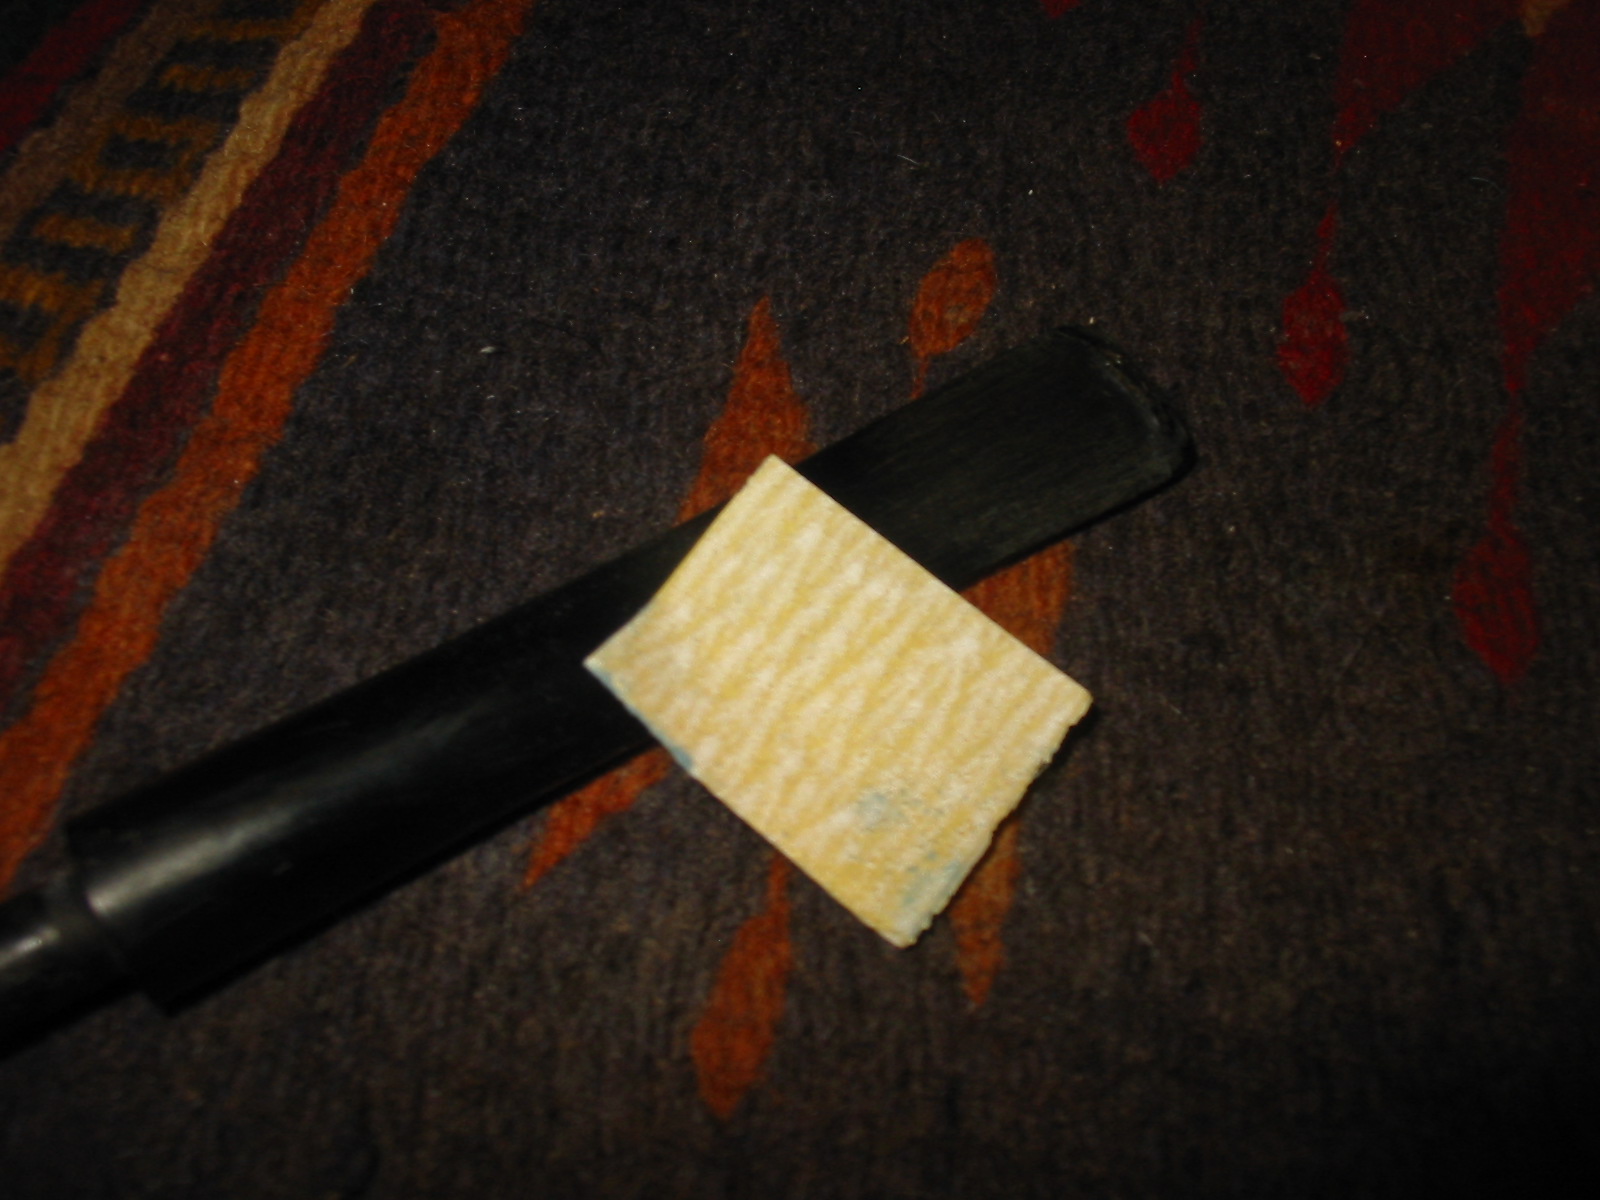
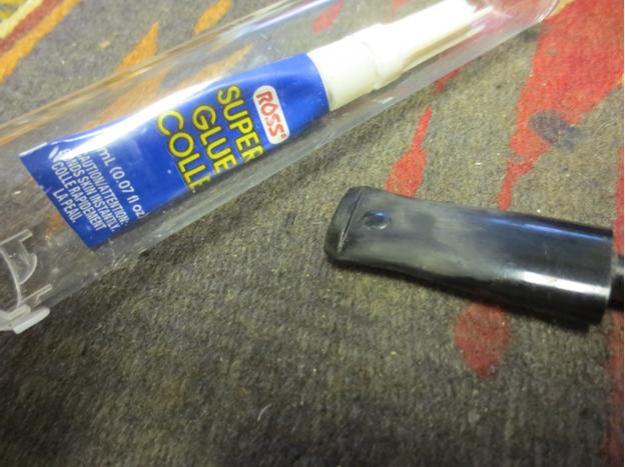
I cleaned the stem and used a clear super glue to repair the deep tooth marks in the top and underside of the stem near the button.YB31 YB32
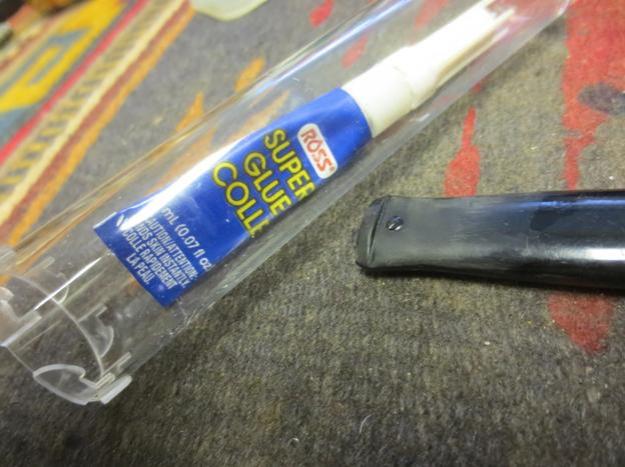
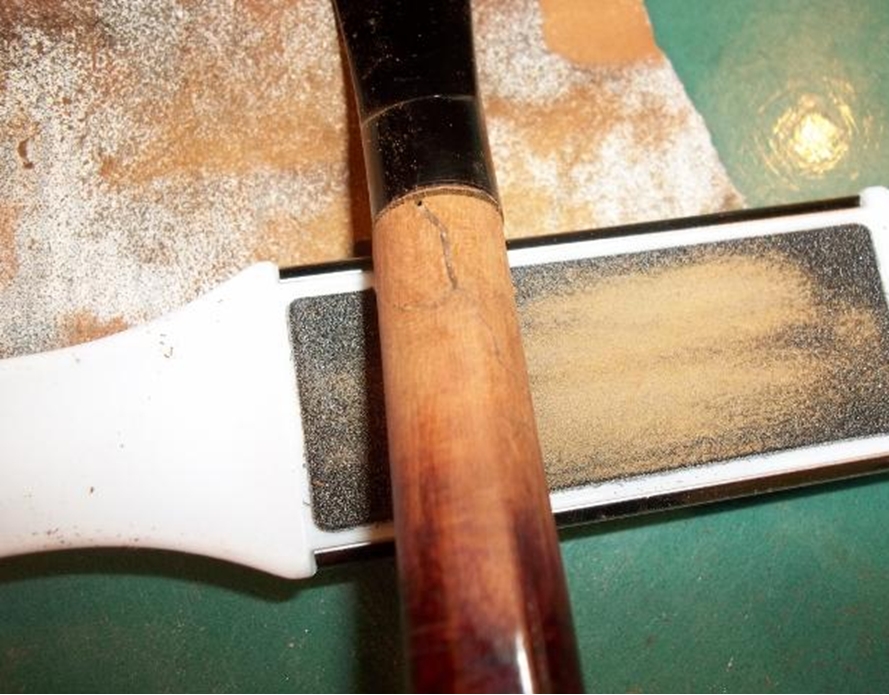
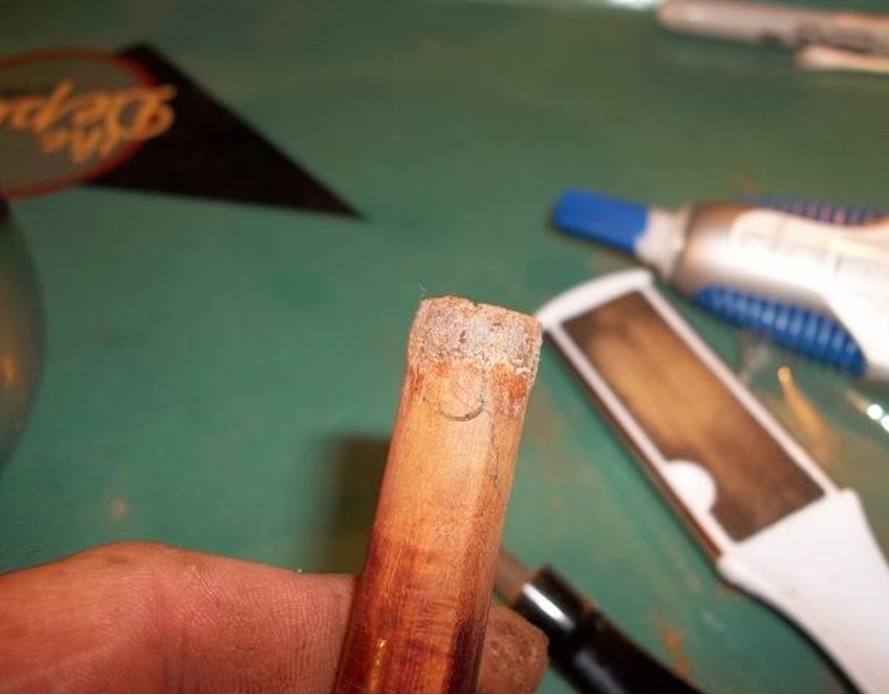
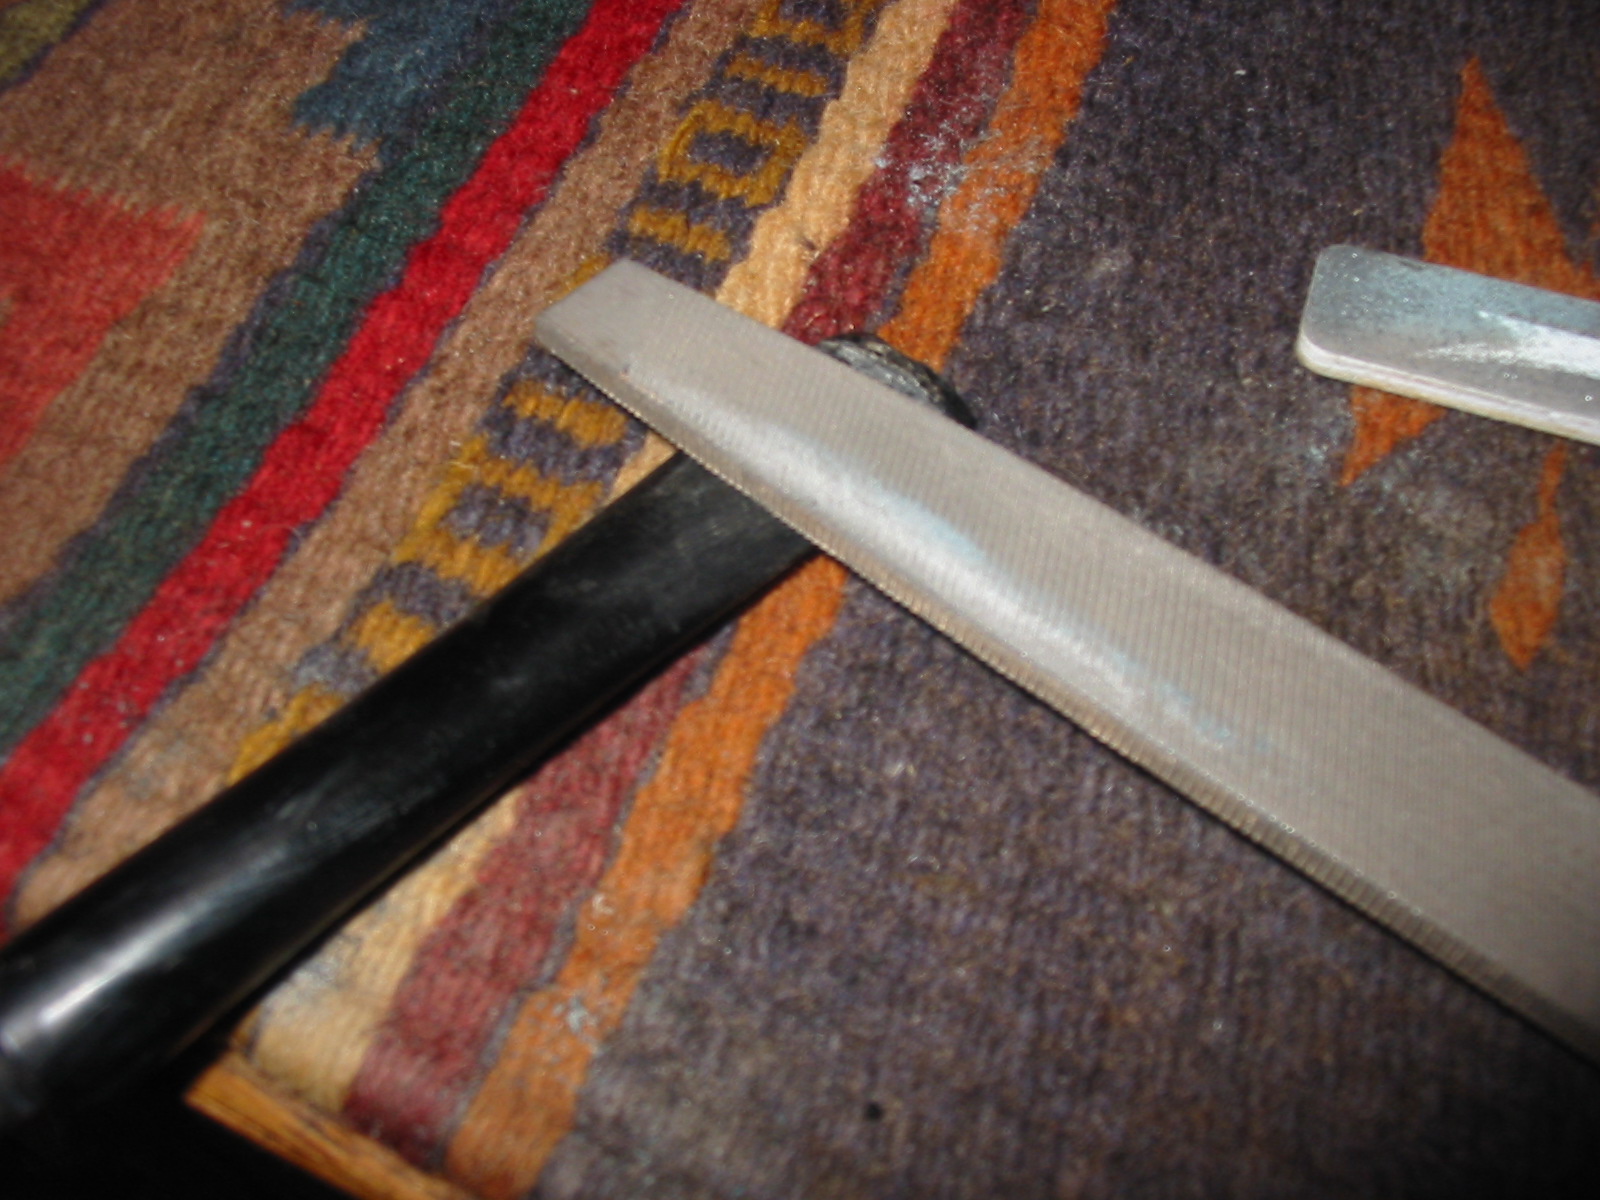
I sanded the repairs with 220 grit sandpaper to blend it into the surface of the stem. YB33 YB34
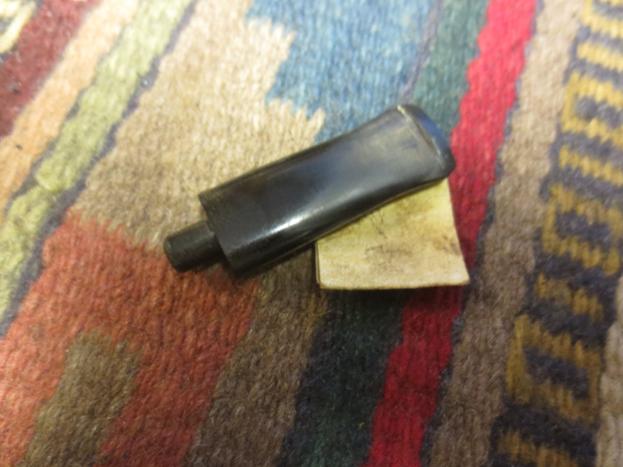
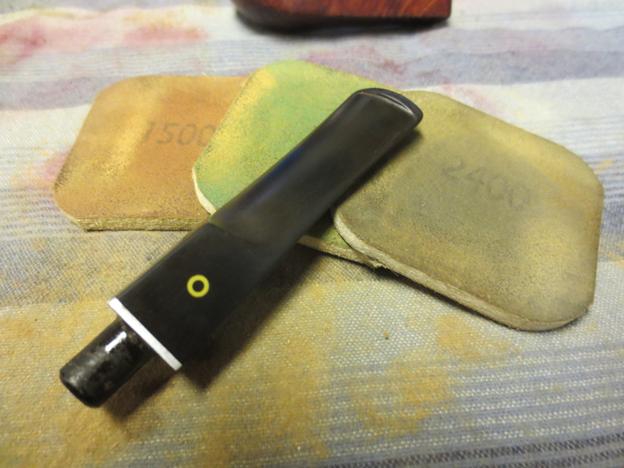
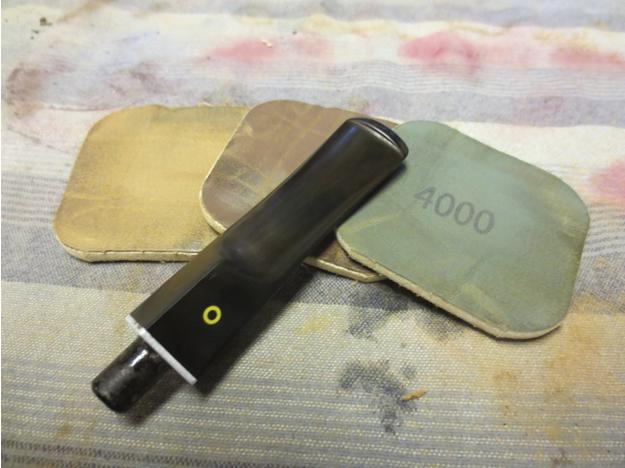
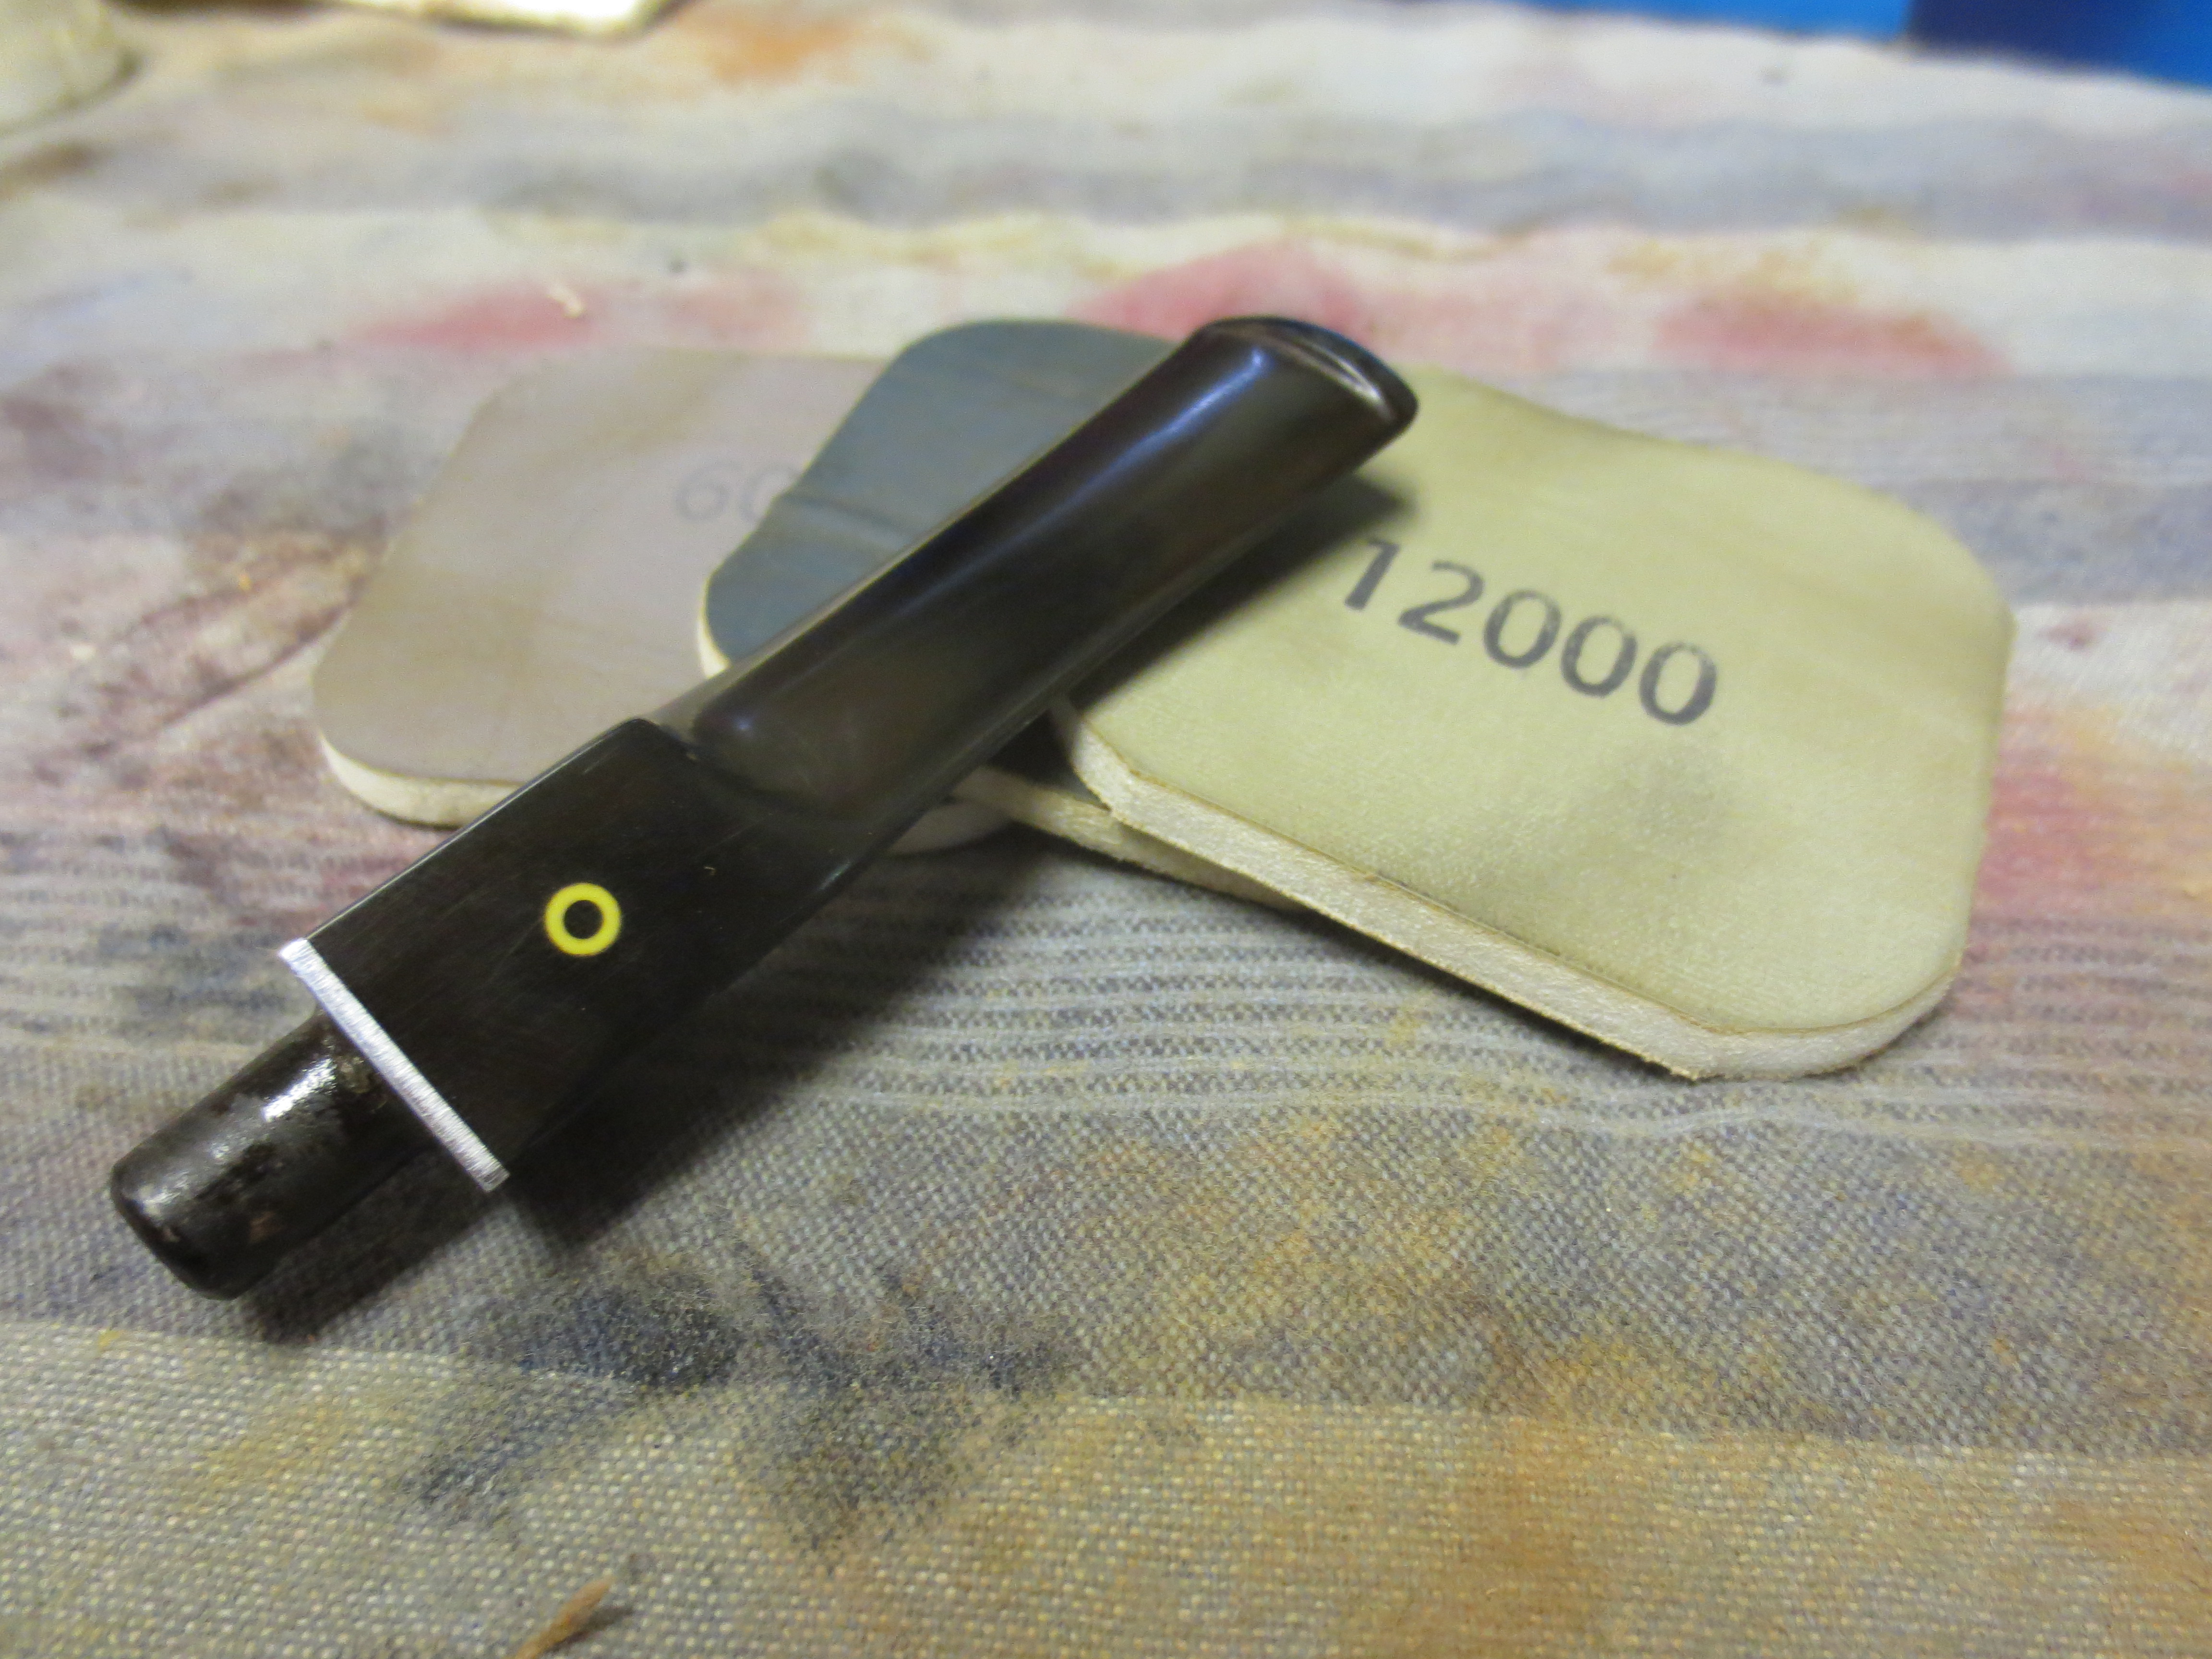
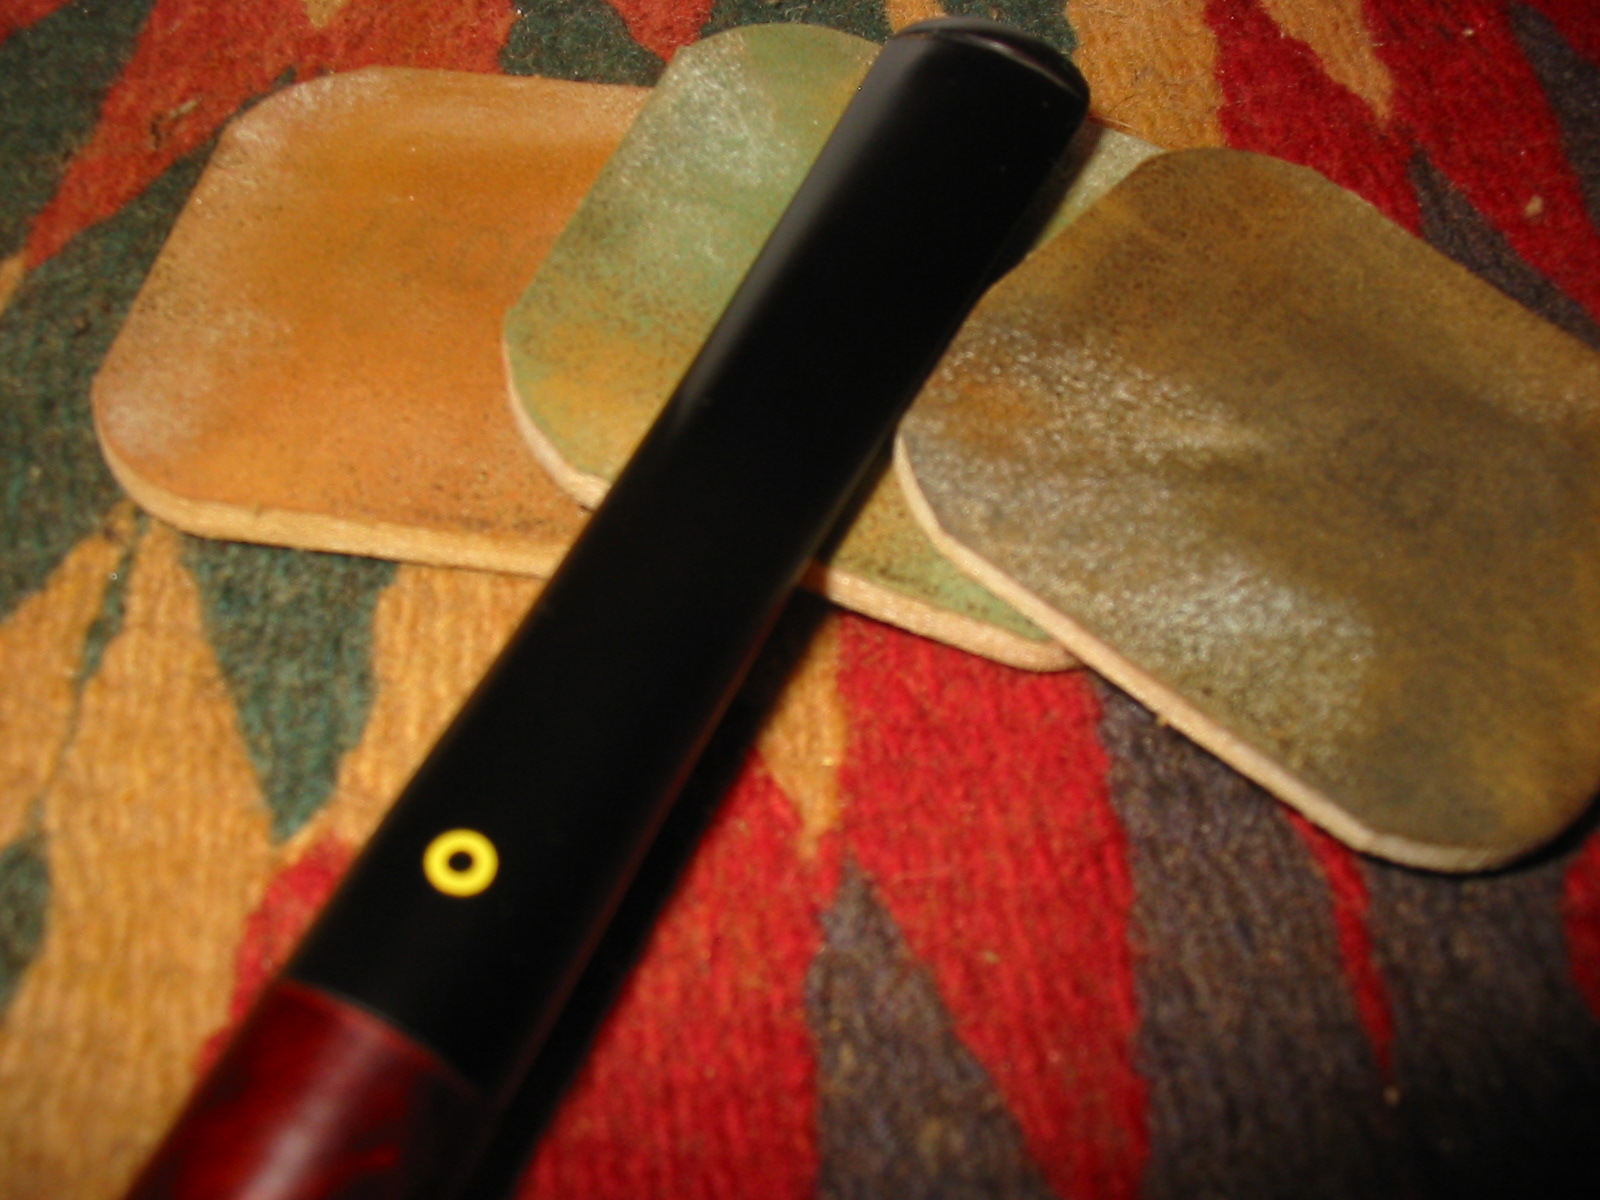
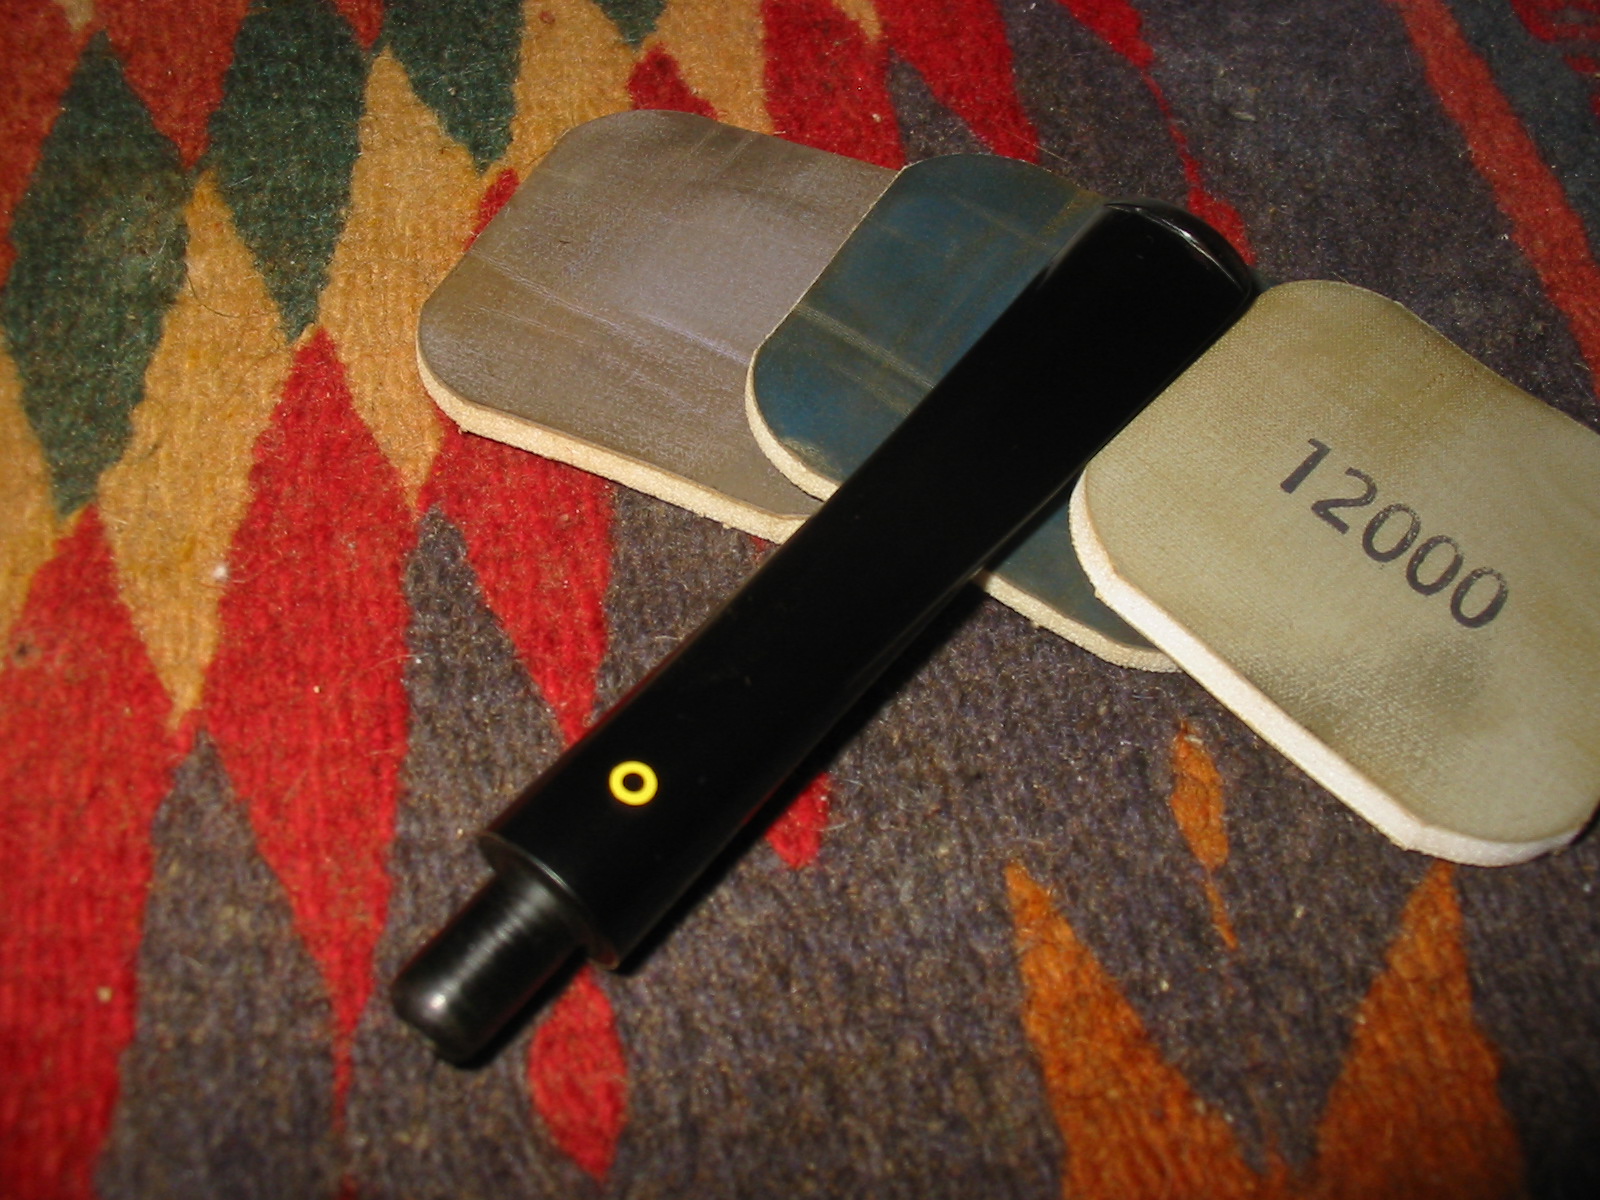
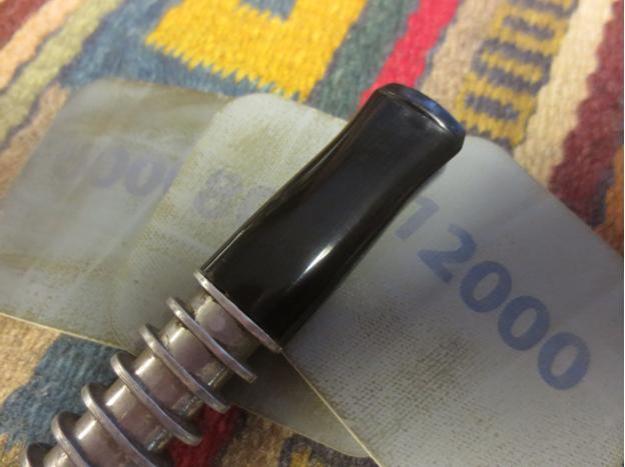
I worked on the stem with micromesh sanding pads. I wet sanded with 1500-2400 grit sanding pads and then rubbed the stem down with Obsidian Oil. I wet sanded with 3200-4000 grit pads and gave it another coat of oil. I finished by dry sanding with 6000-12000 grit pads. I gave it a final coat of oil and let it dry.YB35 YB36 YB37
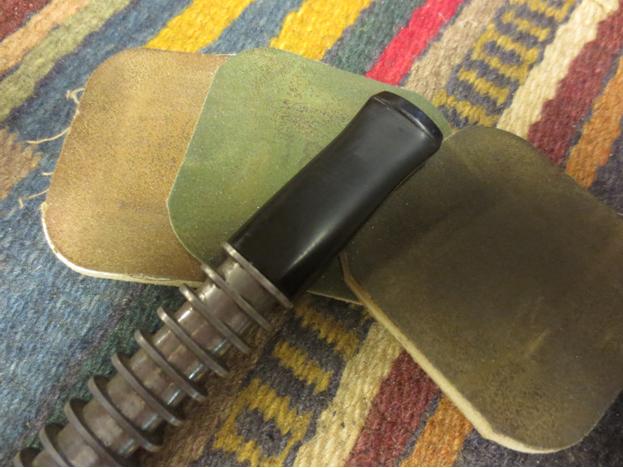
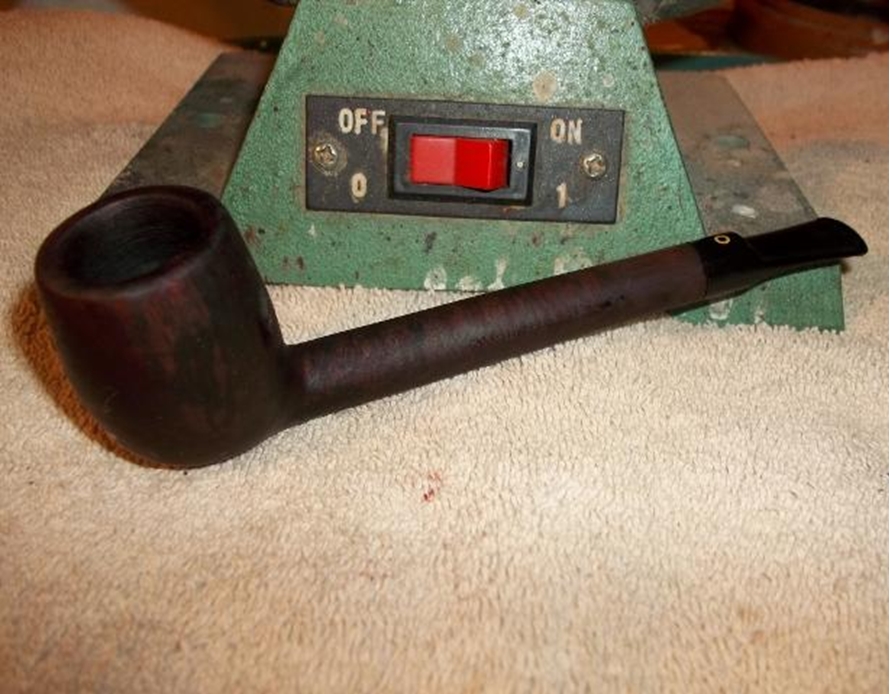
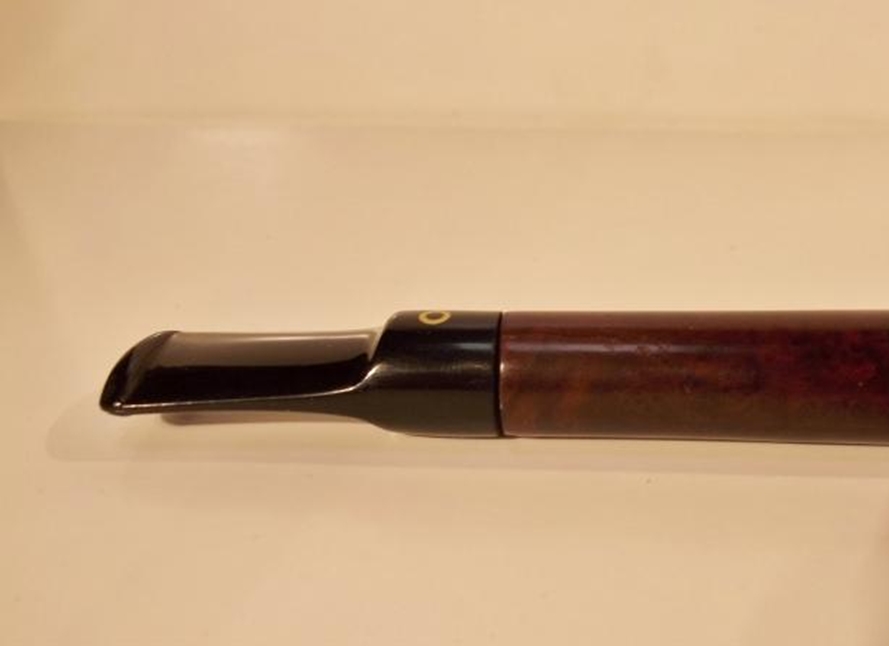
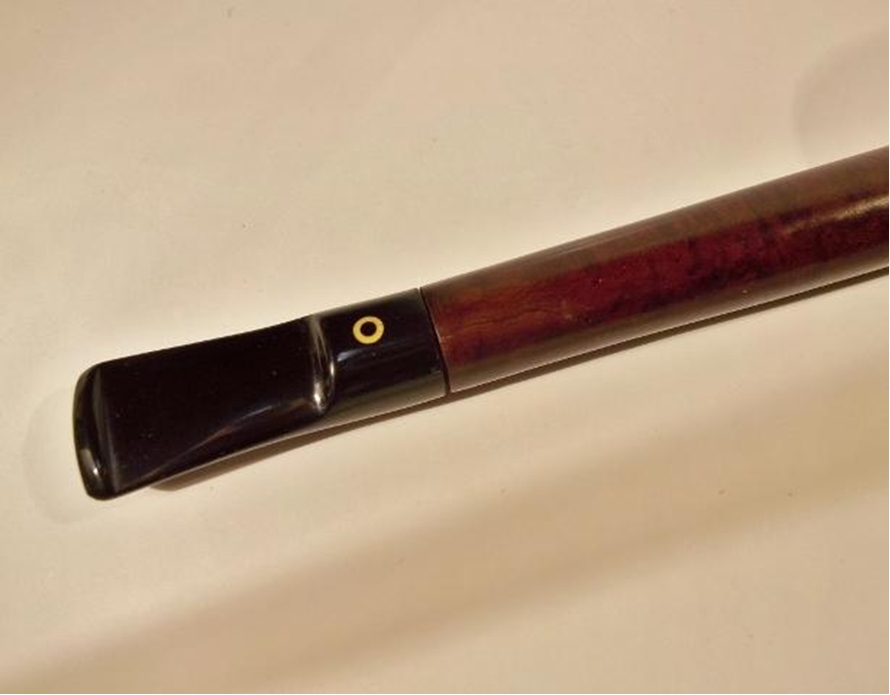
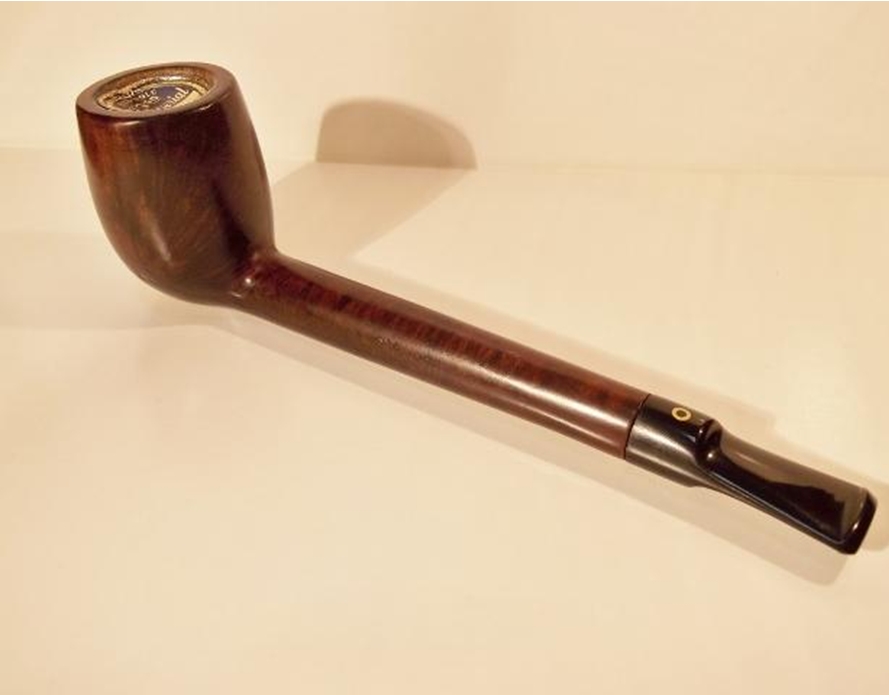
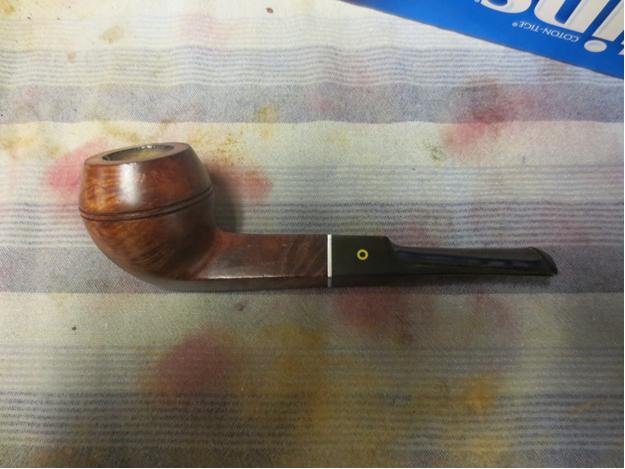
I buffed the bowl and stem with Blue Diamond on the wheel and then gave both multiple coats of carnauba wax. I buffed it with a clean buffing pad and then by hand with a microfiber cloth. The finished pipe is shown in the photos below. Thanks for looking.YB38 YB39 YB40 YB41 YB42 YB43

Doing an interior shank repair and restemming a KBB Yello Bole Lovat


Blog by Troy Wilburn

I got this pipe from a member of Dr. Grabows Collector Forum, John McP. He hails from across the pond in Scotland. He had contacted me about a old KBB Yello Bole pipe that he had picked up that did not have a stem and wanted to know a little about it and what kind of stem it originally had. He also informed me it had an old repair of a cracked shank.

It is stamped 2079 and had the “Honey Cured Briar” under the KBB Yello Bole, which made it a pre 1936 model. I then checked my Kaywoodie charts. It’s a large bowl, long shank Lovat saddle bit. Even though the KW shape charts call it a Canadian I don’t think so because of its round shank. I’ll never consider a round shank as a Canadian.K1 I informed him that it was a nice pipe and should be a good smoker once cleaned up and a replacement stem found. Unfortunately for John the old repair was not a good one and it had made the shank weak. When John tried to fit some stems to it, a piece broke out of the shank. He asked me if I wanted it free of charge as he did not want to tackle repairing the pipe.

The pipe as John showed me before he sent it.K2 I agreed that I would see what I could do with it. Well after over a month in the mail it finally arrived and I got a good look at it and found a donor saddle bit from another Yello Bole.K3

K4 The bowl had some black scorch marks from smoking hot.K5 I was going to get this pipe blasted after repairs to help hide them and cover some dark burn marks on the bowl. After much thought I decided to restore it close as factory as I could. The possible history of this pipe was just too good to alter it. In the short time of my possession of this pipe it had already been half way around the globe. That’s just a fraction of the long life that this pipe has had over it’s at least 80-year-old life. Maybe it was taken over by an allied soldier and left behind as a gift of friendship? Maybe it was carried by an OSS agent behind German lines during the war? Maybe not but its fun to think of the possibilities.

So all the sand pits and small fills were left as is and not covered or filled. After all it’s a Yello Bole if it did not have these imperfections it would have been a Kaywoodie. The old war horse has some scars from repairs and wear. The stamping’s are quite worn but it’s a pipe someone had thought enough of to repair it once before. Hopefully it has many more years left in it.

I decided to do an inner band like Steve did on a YB I sent him for repair. I found an old metal tenon from a Grabow filter stem I had.K6 I filed out the inner shank and broken shank piece to clean up and to give the glue something to grab too.K7 After grinding the metal tenon to fit inside the shank. I cleaned up the shank and broken piece with some 91% alcohol and marked the best way it fit with a black sharpie so I know where to place it when glued.K8 I mixed up some two part epoxy and then set the inner band in the shank.K9 After it set up I got ready for the broken piece and cleaned off the Sharpie from the metal band to ensure a good bond. I put two part epoxy on the metal band then super glue on the briar edges and set the broken piece. Then I applied briar dust before the glue set. I had to work fast so no pics during this process, only before and after.K10

K11

K12 I then sanded the repairs; the old repair had a bad high spot and took some filing.K13 I had to build up the bottom from making the old repair flush again. It was a bit lower than the stem.K14 I then filed the stem to match the shank.K15 After cleaning out the shank and bowl I noticed that all the old YB coating was gone from wear or scraped out over time. I decided to remove all the cake and address this later.K16 I then stripped off the old finish with warm water and Oxy Clean bath. I did some light scrubbing with a toothbrush and a Scotch Brite pad used on the stubborn spots. I then wet sanded repairs and bowl with various grits of wet dry paper from 600 – 2500.K17 After this I wiped the pipe several times with household bleach to lighten the dark spots and repairs so it would be harder to spot with the dye.K18 After bleach bath the pipe is ready for dye.K19 I then mixed up some dye close to original stain but slightly darker to help cover the repairs and black marks. I applied three coats.K20 Pipe dry and ready for some base wax.K21 After applying three coats of wax to lock in the dye I mixed up some homemade Yello Bole bowl coating.K22 I applied the bowl coating and found a Yello Bole paper cover from a NOS pipe I have. The cover is from an Imperial but I thought it would look nice for the pictures.K23

K24 After several more coats of wax the pipe is done. First off the repairs are not perfect and I wish I could have gotten a tighter fit with the stem. This was my first inner banding so I didn’t get the band quite as square as I should have making the stem fitting a bit difficult .The more I tried to get a tight fit the more gap I would get on one side, so I settled for a uniform gap. I’ll know better next time and should get a better fit. Here are some pics of the finished repairs.

As Steve pointed out to me on the Dr. Grabow Collectors Forum, if you flare the tube it will make it fit more squarely. I think showing your mistakes is as important as showing your successes for the next person trying to do a similar repair. So if you are doing an inner band repair soon I suggest you flare the end before you set it with epoxy.K25

K26

K27

K28 I did manage to save what little of the stamping’s were left.K29

K30 Pictures of whole completed pipe K31

K32

K33

K34

K35

K36

K37

K38

K39

K40

K41 Even though this was a tough and time consuming refurbish it was quite fun and wish to thank John for sending me this old soldier to be used and enjoyed again.

Restoring a Yello-Bole Imperial Bulldog for John


Blog by Steve Laug

The last of John’s pipes that I worked on while he was working on the Danish Sovereign Peewit was a beautiful old Yello-Bole Bulldog. It was stamped KBB in a cloverleaf on the left side of the shank next to four lines of stamping. The first read Yello-Bole and underneath that was stamped Cured with Real Honey and an R in a circle. The third line read Imperial in script and the fourth read Imported Briar. The stem had a push tenon and had the yellow circle inset in the vulcanite. It is shown in the photo below – it is the last pipe in the column on the left side of the photo.IMG_2050 This pipe actually was one of the free ones that came with the pipe rack that John purchased. It was sitting on the rack without a stem. The stem was inside the humidor jar. I had seen it before and had assumed that the tenon was broken but it was not. It was just very loose and would not stay in the shank. The metal spacer that separates the shank and stem was attached to the stem and not to the bowl. The bowl itself was very dirty and caked. The finish was not too bad and there were no deep dents of scratches in the briar just some ground in grime. The rim was caked with a thick buildup of tars and oils that had almost fossilized. The stem was in good shape other than being oxidized. There was tooth chatter on the top and underside of the stem.

I used cotton swabs, pipe cleaners and isopropyl alcohol to clean out the bowl, shank and the inside of the stem. I worked them until them came out white. I scrubbed the aluminum space with alcohol and then with a metal polishing cloth to bring back the original shine.IMG_2088 IMG_2089 IMG_2090 IMG_2091 I wiped down the briar with acetone on cotton pads to remove the grime from the finish of the bowl and the grain underneath really popped.IMG_2092 IMG_2093 The rim buildup was so hard that I used the topping board and sandpaper to remove it and lightly sand the rim surface itself to remove the pitting. I sanded the outer edge with a folded piece of sandpaper to minimize the rough spots on the edge.IMG_2094 IMG_2095 I sanded the rim with a medium and a fine grit sanding sponge and then wet sanded it with 1500-2400 grit micromesh sanding pads. I touched up the rim with the stain pens until it matched the stain colour on the bowl. I then wiped down the pipe with some olive oil on a paper towel and let it soak into the finish.IMG_2098 IMG_2096 IMG_2097 I sanded the stem with 220 sandpaper to remove the tooth chatter and oxidation and then with a medium and fine grit sanding sponge. I wet sanded the stem with 1500-2400 grit micromesh sanding pads and dry sanded it with 3200-12,000 grit sanding pads. I rubbed it down with Obsidian Oil after each set of three pads. When I had finished with the sanding I buffed the stem with White Diamond. To make the stem snug in the shank I used a cotton swab and water to wet the mortise in the shank to swell the briar. This helped a lot and the stem was much tighter. It was still too loose to my liking so I ran clear superglue around the tenon and lightly sanded it to obtain a snug fit on the stem.IMG_2099 IMG_2100 IMG_2101I put the pipe together and buffed it with White Diamond. I gave it multiple coats of carnauba wax to seal and protect the stem and bowl. I buffed it with a soft flannel buff to get the shine. The finished pipe is shown below and is yet another clean and ready pipe for John to load and smoke. I look forward to hearing what he thinks of the smoking characteristics of this old timer. It turned out to be a beautiful pipe with nice looking mixed grain. The old vulcanite was interesting to me in that it had pieces of metal that were part of the casting of the stem. I remember reading somewhere that these occurred in stems that were made during the war years when rubber was at a premium. To my thinking that helps to date this bulldog to the late 1940s or early 1950s. Enjoy your “new” pipe John and be sure to let us know how it smokes for you.IMG_2102 IMG_2103 IMG_2104 IMG_2105

Restoring an older KBB Yello-Bole Imperial Dublin


Blog by Steve Laug

This is the last of the pipes I picked up when I was down in Washington State with my wife for 38th Anniversary. It is an older KBB (no ampersand between the two B’s). It had no shape numbers on the right side of the shank, but on the left side it had the KBB in the cloverleaf/club and next to it was stamped Yello-Bole over Imperial over Imported Briar. The Imperial stamping had been over-stamped with a cross hatch pattern. The bowl was in decent shape. The finish had dark soiling and oils on both sides of the bowl. There were also some dark spots on the sides of the bowl. There was a heavy coat of varnish over the bowl except for the worn spots where the oils and darkening was. The rim was heavily caked with tars and oils. The bowl was caked from the top half way down the bowl, though the yellow honey coating was still visible on the bottom half of the bowl. There were some burn marks along the outer edge and top of the rim.

Again since Yello-Bole is one of my favourite older US brands I did some more reading online to see if I could narrow down when this one was made. I have come to understand that these older Yello-Boles are great smoking pipes and underrated. I turned to one of my go to sources of information on all things KBB and Kaywoodie – the Kaywoodie forum http://kaywoodie.myfreeforum.org/ftopic13-0-asc-0.php. There I found a very helpful article by Dave Whitney that helped narrow down the date. The pipe I have has the shovel drinkless mechanism, the KBB-in-a-clover logo on the left side of the shank and the yellow circle on the stem. From what I can ascertain from Dave’s information it seems to have been produced between the years of 1938-42. I am fairly certain that it did not come from the later period of 1945-50 (World War II) since it did not have the aluminum stem ring and the aluminum drinkless mechanism which came out during those years.

The photos below show the pipe as it was when I found it in the antique shop. IMG_7924 IMG_7926 IMG_7923 IMG_7927 The stem is made of nylon rather than vulcanite. It has the yellow circle inset in the top near the shank of the pipe. The button area was chewed and dented. There was a shallow dent on top of the stem and deeper ones on the underside of the stem next to the button. The button had been chewed down and had deep dents on the underside while the slot had been dented in so that it was not longer straight. IMG_7920 IMG_7922 I sanded the stem down and was able to remove the dents on the topside. The underside tooth mark was too deep to sand or even heat and raise. IMG_7929 I sanded it with 220 grit sandpaper to clean up the chatter further up the stem and then picked the area clean around the large dent with a dental pick. I wiped the stem down with alcohol to clean off the dust and then filled it with black super glue that I purchased from Stewmac online. I filled it the first time and sprayed it with an accelerator. Once it dried it had shrunken and left a divot in the stem surface. I refilled it with the glue and then sprayed it again with the accelerator. I set it aside overnight to cure and worked on the bowl. IMG_7928 IMG_7942 The bowl and rim were caked with an uneven cake so I reamed it with a PipNet pipe reamer to take it back to the briar. The cake was soft and once I removed it from the middle portion of the bowl I could see the yellow coating on the bottom half and partway down from the rim. The only portion that was darkened was in the centre of the bowl. IMG_7930 IMG_7931 I set up my topping board to remove the hard tars on the rim and also the burn damage. Fortunately the burn damage did not go too deep but merely sat on the surface under the tar coat. IMG_7932 I wiped down the bowl with acetone on cotton pads to remove the finish and as much of the dark staining on the side of the bowl as possible. The dark spots were deep in the finish of briar so I was not sure I would be able to remove them. IMG_7937 IMG_7934 IMG_7936 IMG_7939 Even after wiping down the bowl repeatedly the dark stains on the sides remained, lighter though still present. The dark spots appeared to be ink stains and they too remained. I decided to let the bowl soak in an alcohol bath overnight and address it again in the morning. IMG_7941 The next morning I removed the bowl from the alcohol bath and found that it had done its magic. The stains were gone and the ink stains were significantly lighter. I cleaned out the shank with cotton swabs, pipe cleaners and alcohol. I kept cleaning until the pipe cleaners and swabs came out clean. IMG_7946 I stained the bowl with Fiebings Dark Brown aniline stain. I applied the stain and then flamed and repeated the process until the coverage was even. IMG_7947 IMG_7948 I wiped it down with alcohol on cotton pads to remove some of the opaque colour of the stain and to make the grain more visible. IMG_7949 IMG_7950 IMG_7951 I buffed the bowl with White Diamond. The next three photos show the bowl at this point in the process. IMG_7953 IMG_7954 IMG_7957 Once I had finished the work on the bowl to this point I decided to work on the stem. I used a coarse grit sanding stick to cut the sharp edge of the button. While it worked relatively well I could see that the hardened super glue needed something with more teeth to cut into the repair. I used a file to take off the overfill on the repair and then followed that with the sanding stick and 220 grit sandpaper. IMG_7963 IMG_7964
IMG_7965 I sanded the stem further with the 220 grit sandpaper and then with medium and fine grit sanding sponges to remove the scratches in the surface. I wet sanded with 1500-2400 grit micromesh sanding pads and dry sanded with 3200-12,000 grit pads. Between each grit of micromesh I wiped the stem down with olive oil. I have found that the olive oil allows the micromesh sanding pads to really cut into the surface of the nylon stem. I cleaned up the stinger with alcohol and cotton pads and then 0000 steel wool. IMG_7972 IMG_7979 IMG_7983 I gave the bowl a coat of walnut stain and boiled linseed oil to bring out a shine. I wanted the pipe to have a similar shine to what it originally had when it left the factory but did not want to use a varnish coat. I wiped it on the bowl with a cotton pad and then set it aside to air dry. IMG_7975 Once the finish had dried I buffed the pipe with White Diamond and then gave it several coats of carnauba wax and buffed to a shine with a soft flannel buff. I hand waxed the stem with Paragon Wax as I find that the nylon stems are hard to buff. Without a light touch the wheel can do irreparable damage to the nylon stem. The heat generated by the buffer will actually cause the stem to melt. The final photos below show the finished pipe cleaned, polished and ready to enter into the next years of its life. I think that this one will outlive me if properly cared for by the next pipeman after me. IMG_7986 IMG_7987 IMG_8003 IMG_8008