Blog by Steve Laug
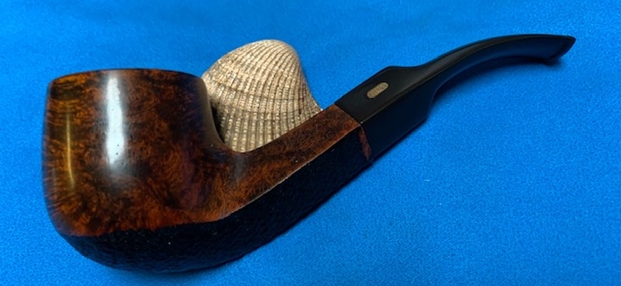
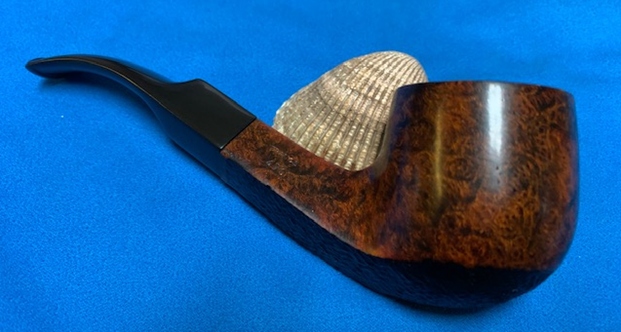
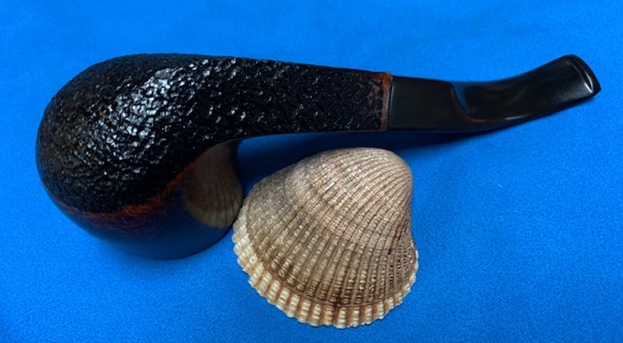
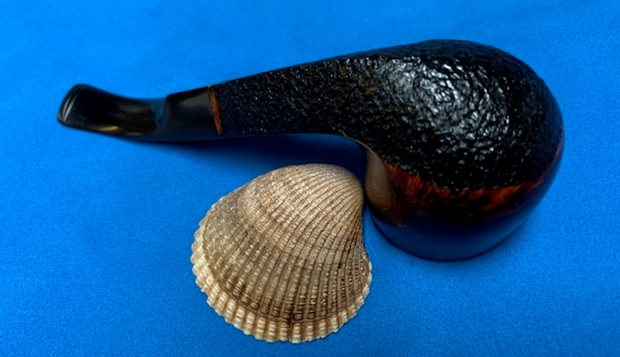
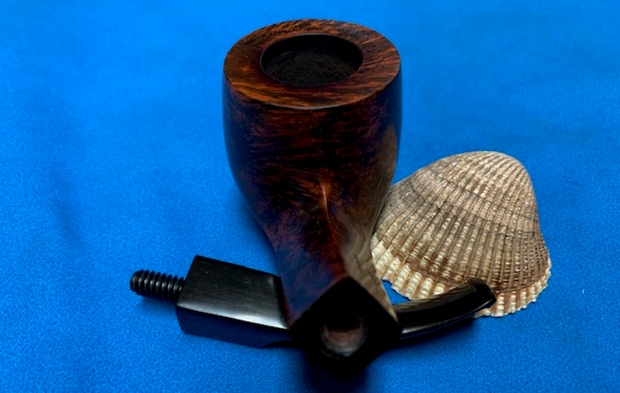
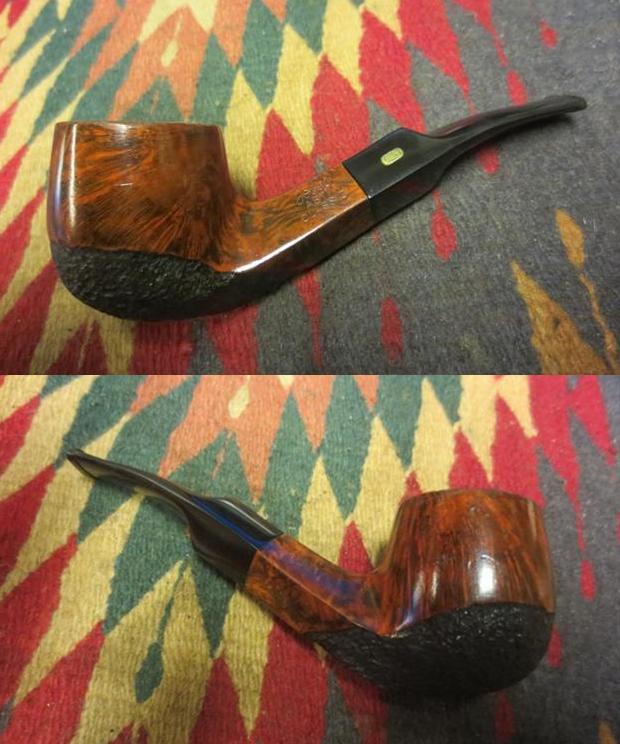
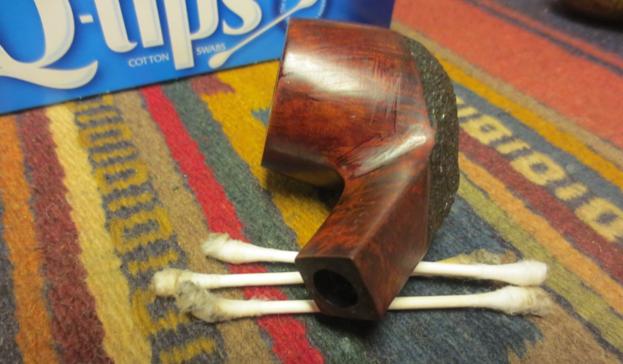
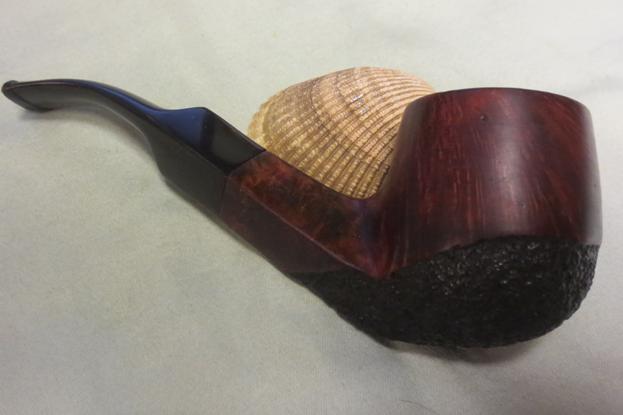
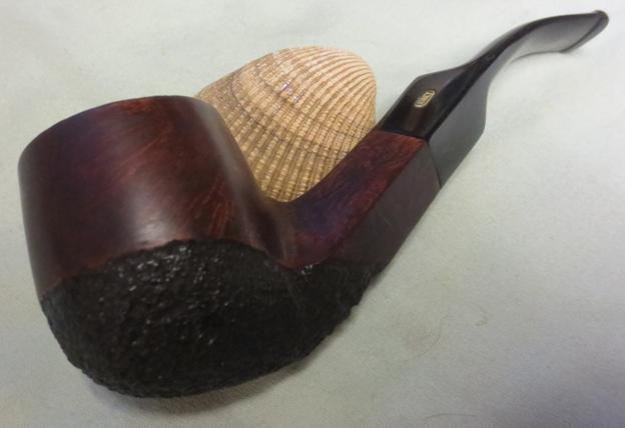
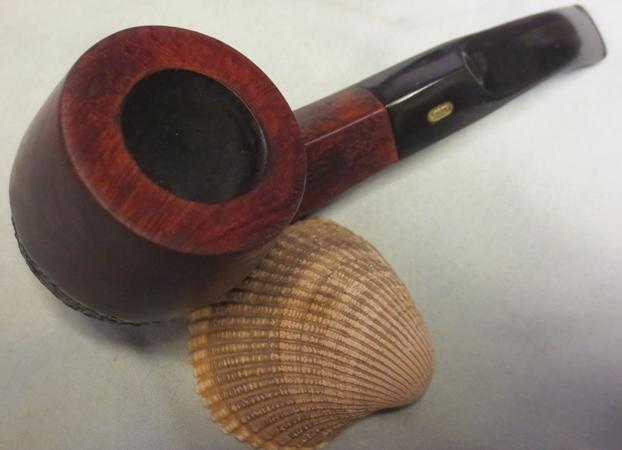
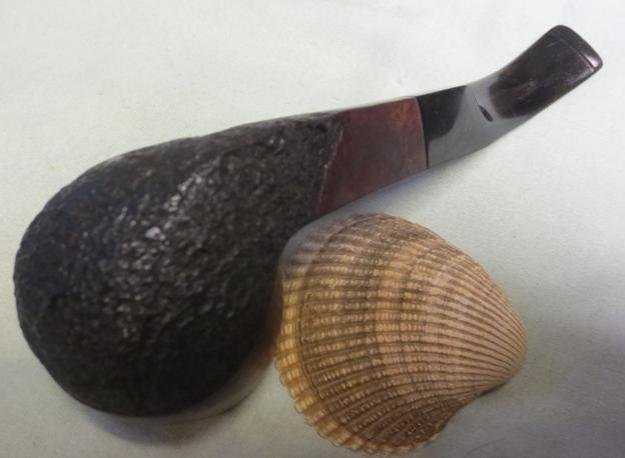
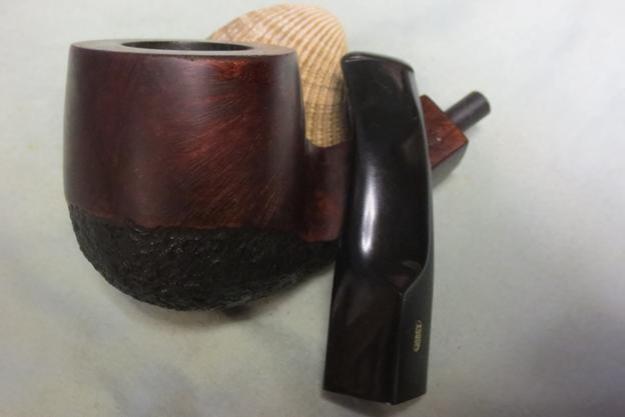
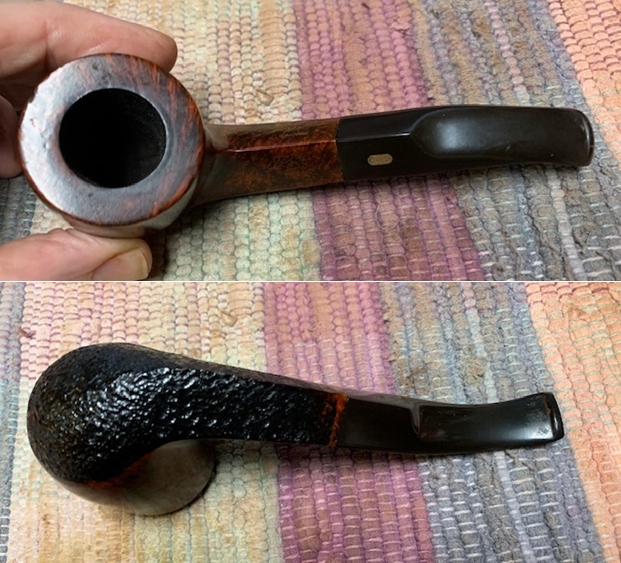
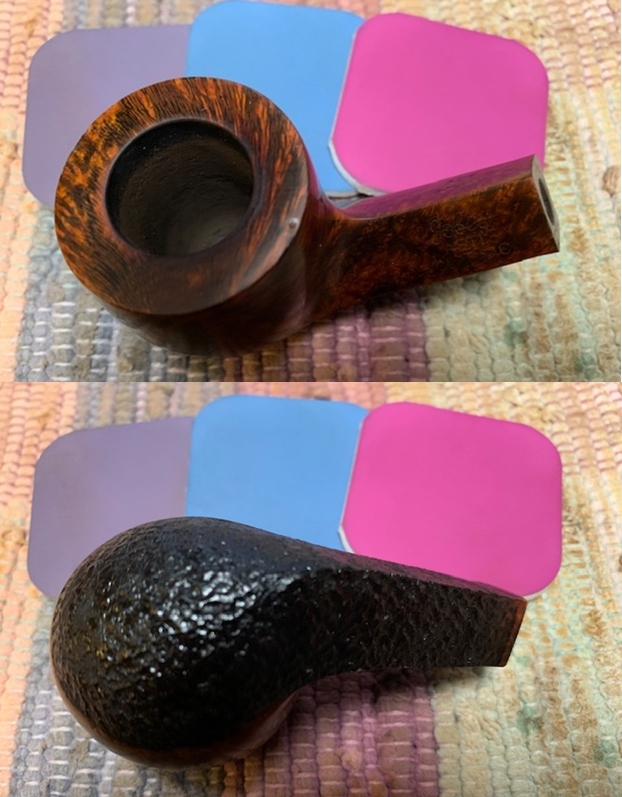
The next pipe on the work table is one that came to us from a pipe hunt along the Oregon Coast, USA. It is a nice looking bent pot shaped pipe with a mixed finish. It is stamped on the left side of the shank Jobey over Asti. On the right side it reads France [over] the shape number 470. The vulcanite saddle stem bears an inlaid brass Jobey oval. The pipe has an interesting mixed finish – smooth upper portion of the bowl and shank is smooth and nicely grained while the bottom of the bowl and shank have a tight dark rusticated finish. The finish is fairly clean so the grain stands out well. It has a shiny top coat of varnish which makes the finish look good on both halves of the bowl. There was a light cake in the bowl and some spots of lava onto the rim top. There were some nicks on the outer edge of the rim and the top itself but none were too bad. The stem was lightly oxidized and it had some shallow tooth marks and chatter on both sides near the button. The stem was screwed onto the shank with the Jobey Link system which was in excellent condition. I took some photos of the pipe before I did any clean up. 
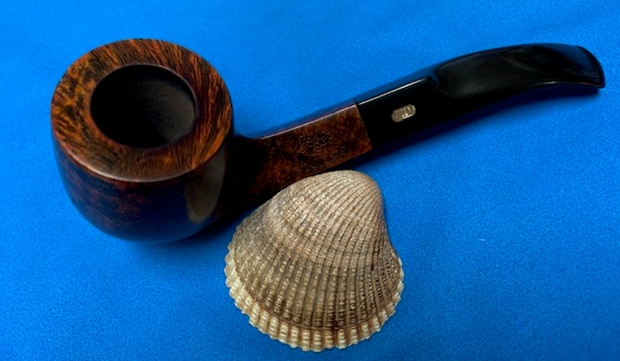
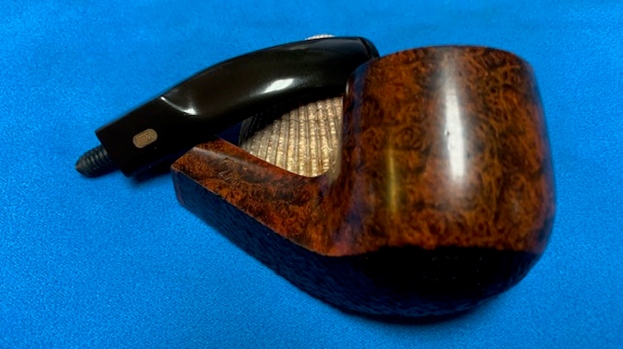
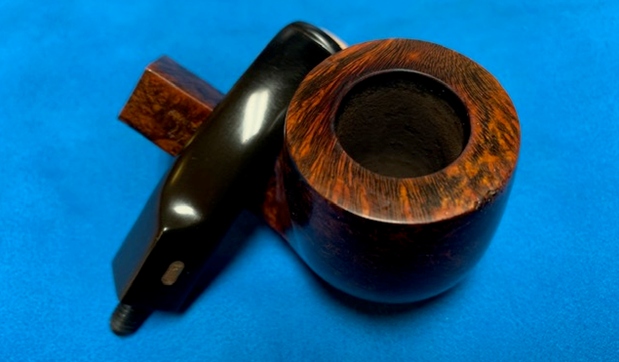
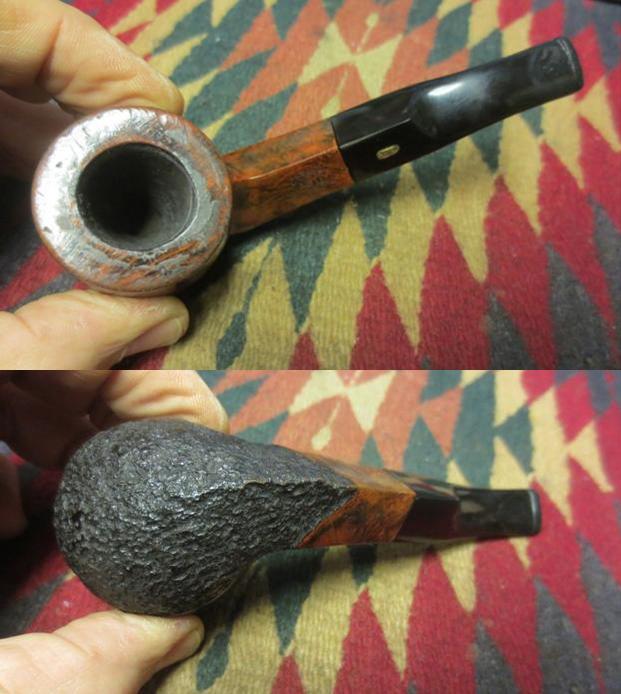
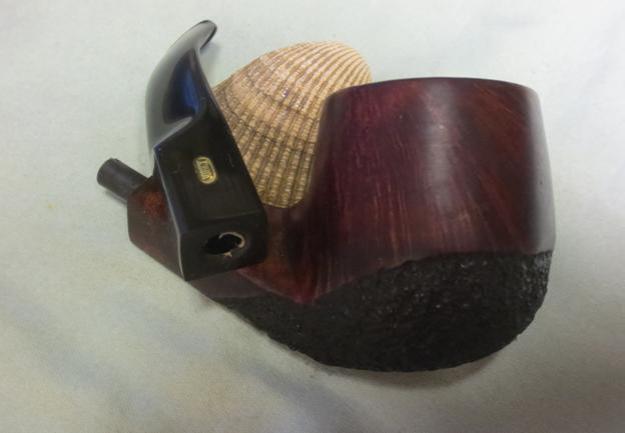
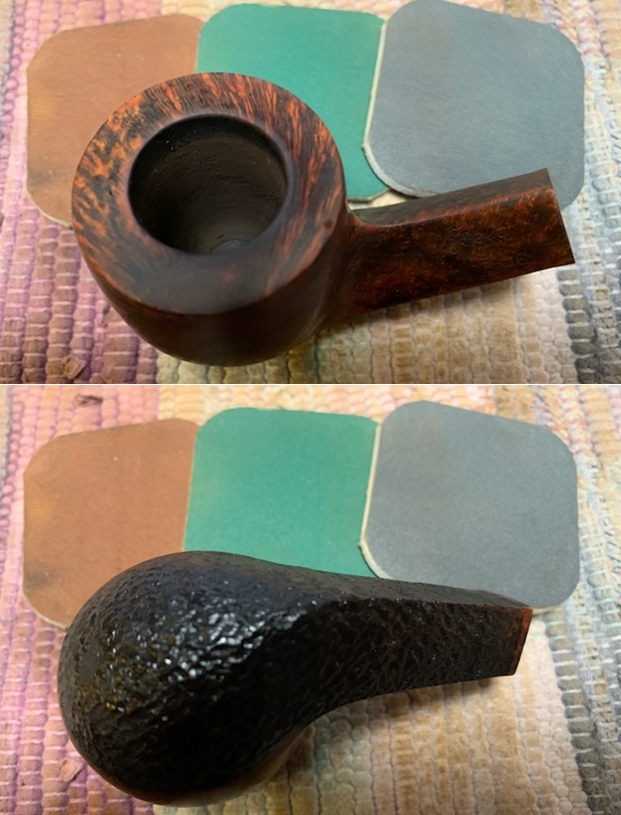
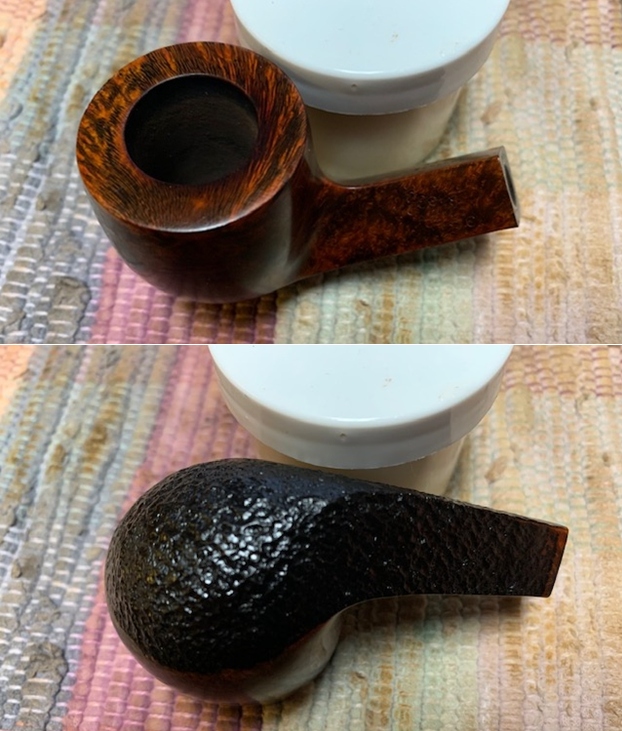
 I took photos of the rim top and the stem. The photo of the rim top shows the cake in the bowl and the light lava on the top as well as the nicks in the flat top of the rim. The stem photos show light oxidation and some tooth chatter and tooth marks.
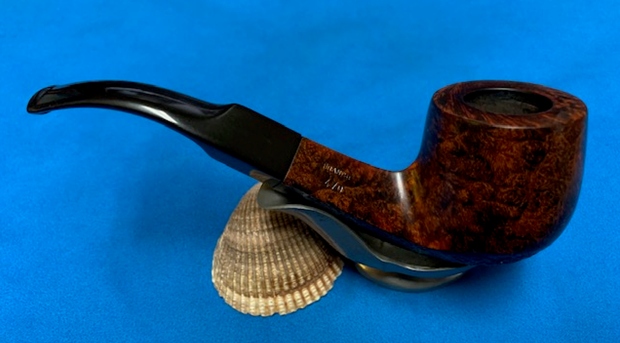
 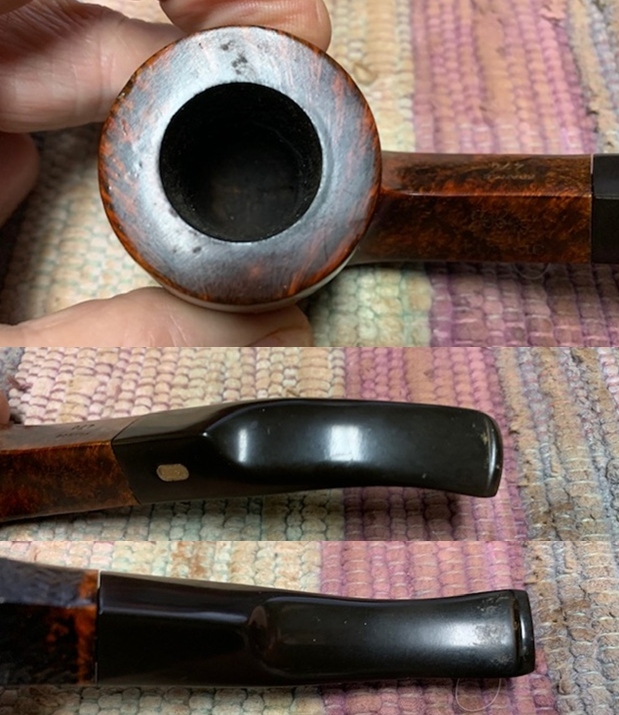 I took photos of the stamping on the right and left side of the shank. The stamping is clear and reads as noted above.
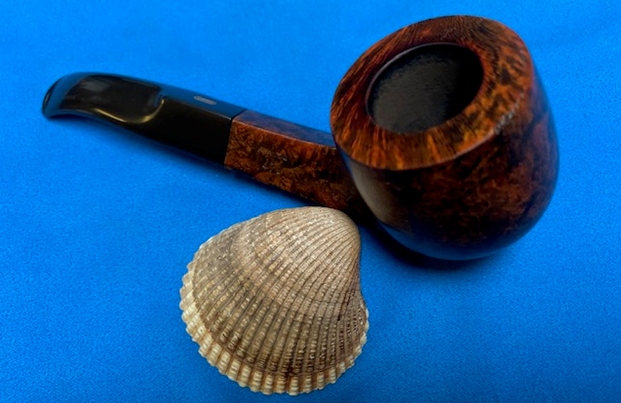
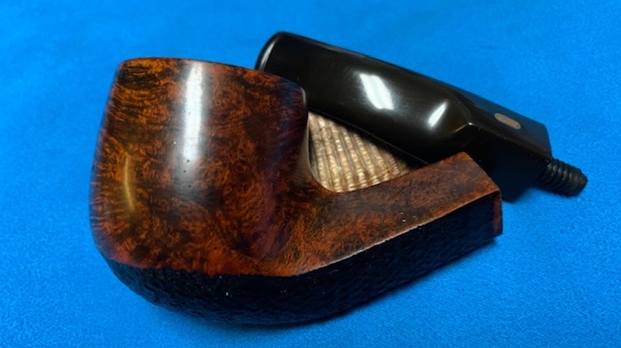
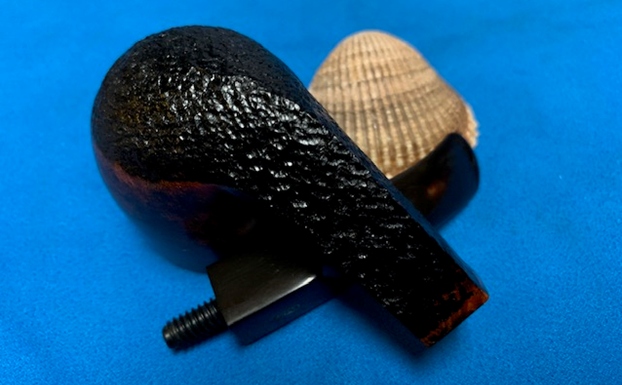
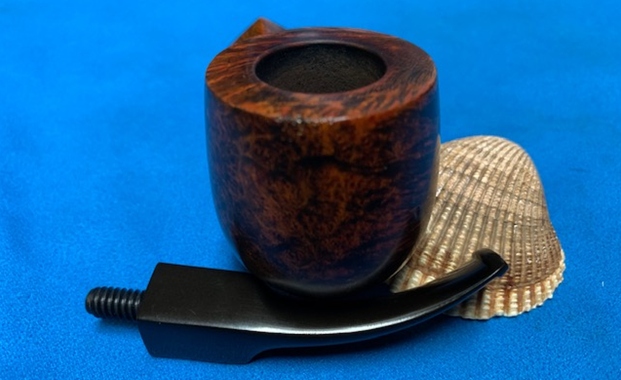
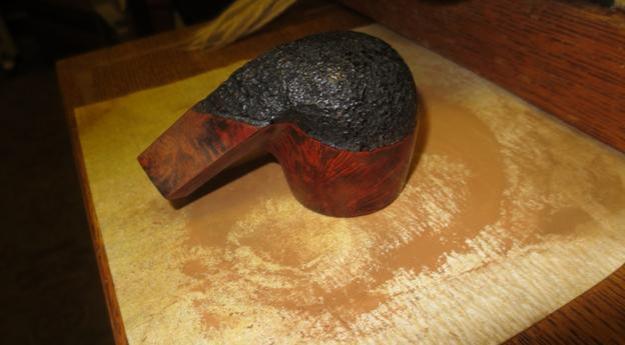
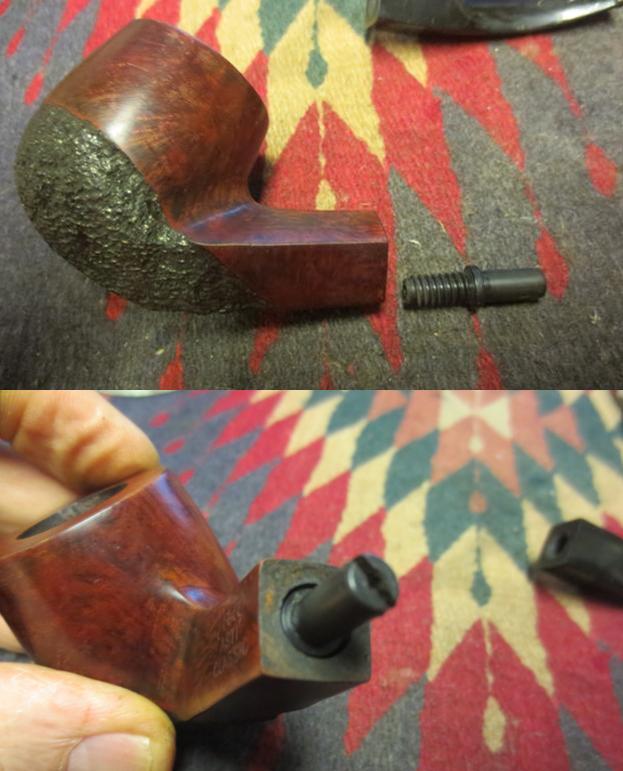
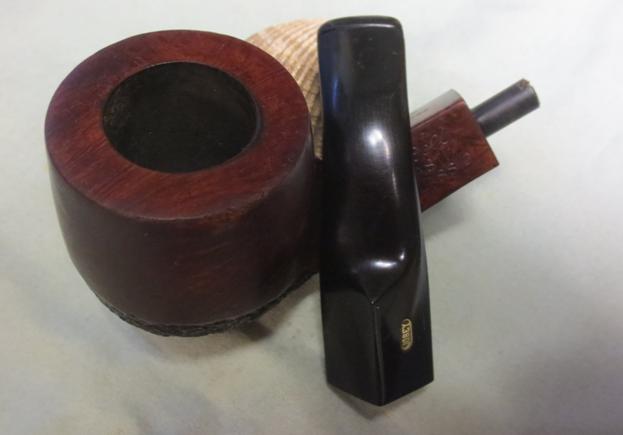
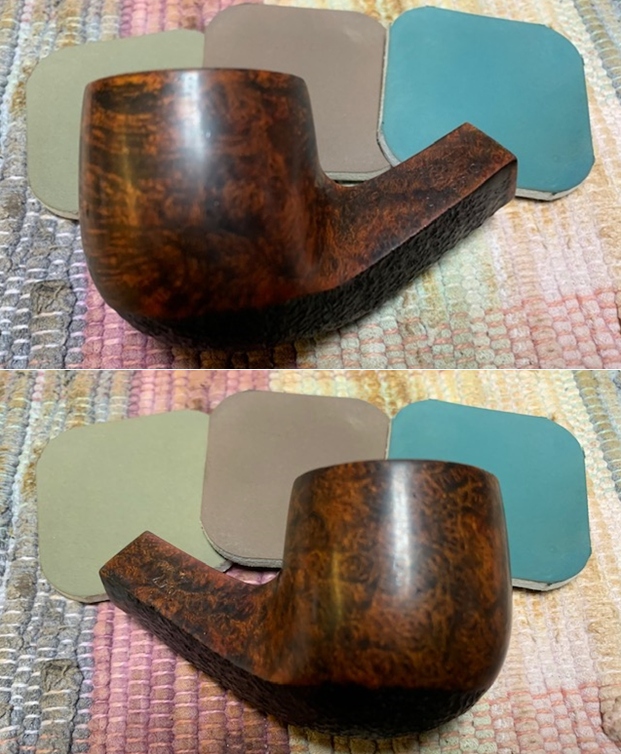
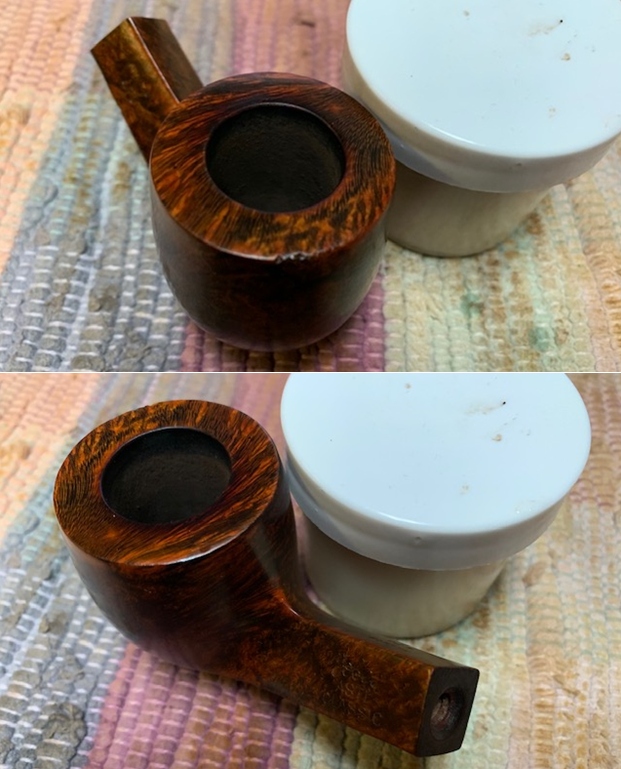
 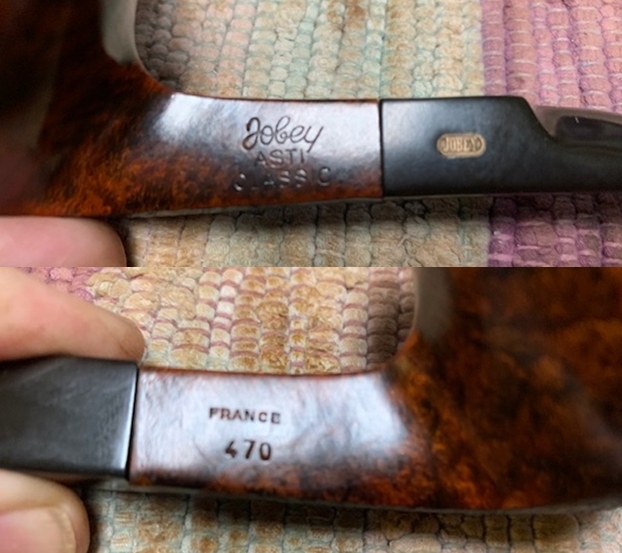 I removed the stem from the shank and took a photo of the parts to give an idea of the flow and form of the pipe. It is a nice looking bent Pot.
 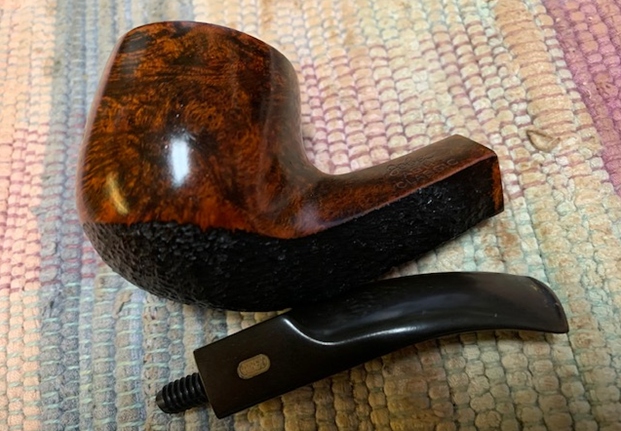 I reread several of the blogs I have written on the brand in the past restorations of Jobey pipes and decided to include the material on the brand before I write about the cleanup of the pipe. Here is the link to the blog (https://rebornpipes.com/2020/04/03/restoring-jennifers-dads-jobey-asti-245-pot/). I quote:
I turned to Pipephil’s site for a quick review of the brand (http://www.pipephil.eu/logos/en/logo-j3.html). I quote a section of the post on the Jobey brand: These pipes are made in St Claude (France) by Butz-Choquin (Berrod-Regad group) since 1987. Before this date some were manufactured in England and Denmark (Jobey Dansk).
I turned then to Pipedia to gather further information regarding the brand and quote the first part of the article (https://pipedia.org/wiki/Jobey).
English – American – Danish – French… Sadly, solid information about Jobey is scant…
Probably established in England around 1920(?) the brand hiked into the USA later. In the course of time owner, distributor and manufacturer changed repeatedly. As far as is known the following companies have been involved with the brand:
George Yale Pipes & Tobacco, New York (1942)
Norwalk Pipe Co., New York (1949)
Arlington Briar Pipes Corp., Brooklyn (when?)
Hollco International, New York (1969).
Weber Pipe Co., Jersey City, NJ (1970’s)
The Tinder Box, (1970’s – 80’s).
Throughout decades Jobey pipes were mainly sold in the USA, Canada and England but remained almost unknown in continental Europe. The bulk of Jobeys was predominantly made according to classical patterns and mainly in the lower to middle price range. The predominant judgment of the pipe smokers reads: “A well-made pipe for the price.” So there is hardly anything very special or exciting about Jobey pipes although a flyer from ca. 1970 assures: “The briar root Jobey insists upon for its peer of pipes is left untouched to grow, harden and sweeten for 100 years. […] Jobey uses only the heart of this century old briar and only one out of 500 bowls turned measures up to the rigid Jobey specifications.” 99.80% of cull… that makes the layman marveling!
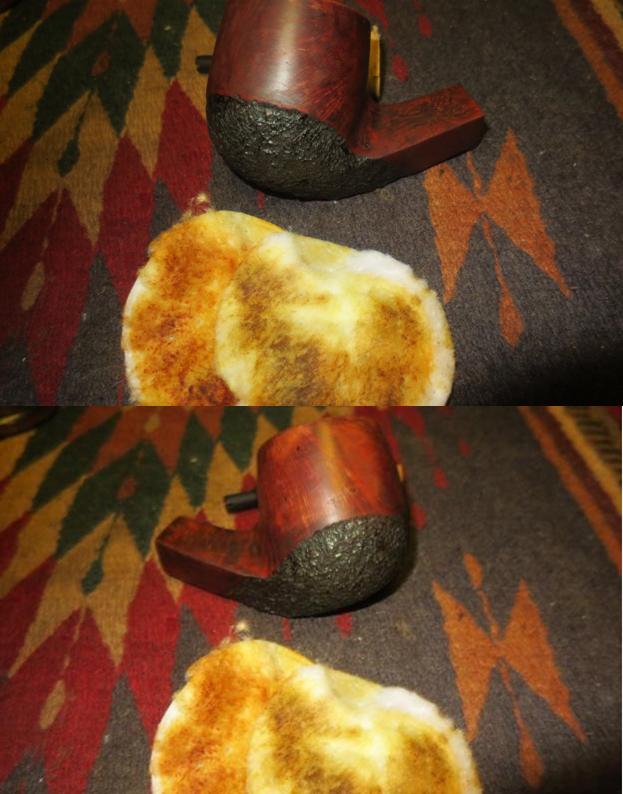
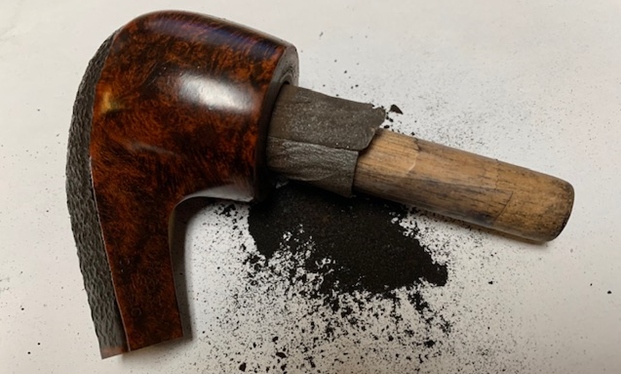
Now it was time to work on the pipe. I reamed the pipe with a PipNet Pipe Reamer and took the cake back to bare briar. I cleaned up the remnants of the cake in the bowl with a Savinelli Fitsall Pipe Knife. I sanded the bowl with a piece of 220 grit sandpaper wrapped around a dowel. 
 I used a folded piece of 220 grit sandpaper to clean up the damaged inner edge of the rim. I cleaned up the edge and removed the damaged briar on that portion of the bowl. Once I finished it looked much better than when I started.
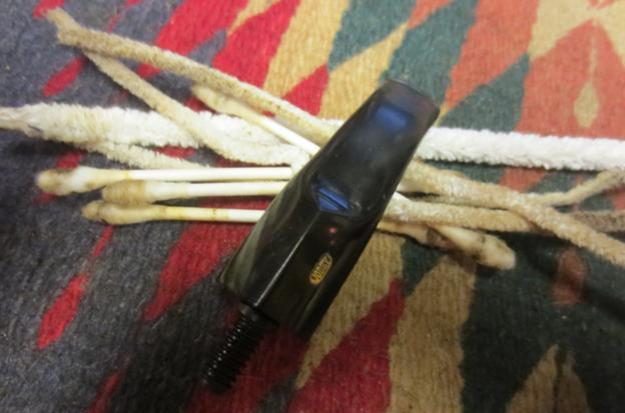
 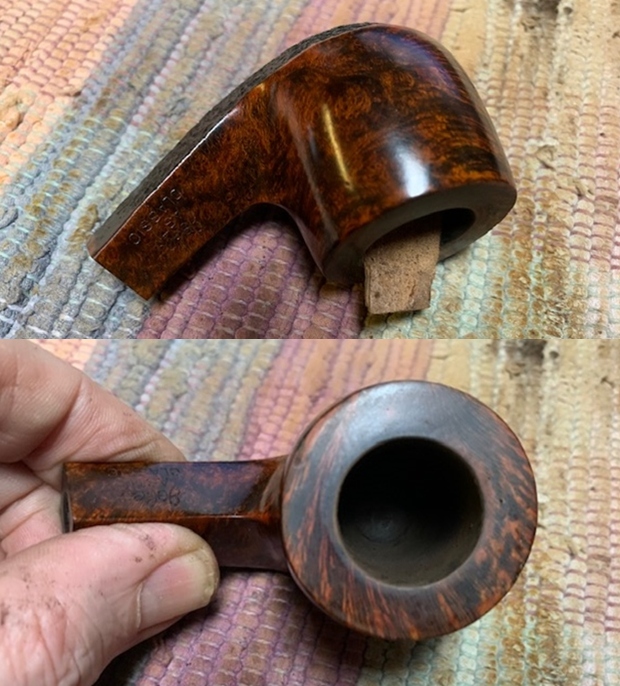 With the externals cleaned I moved onto the shank. I scrubbed the internals of the shank and mortise, the vulcanite stem and the shank with pipe cleaners, cotton swabs and alcohol. I worked on them until they were clean.
 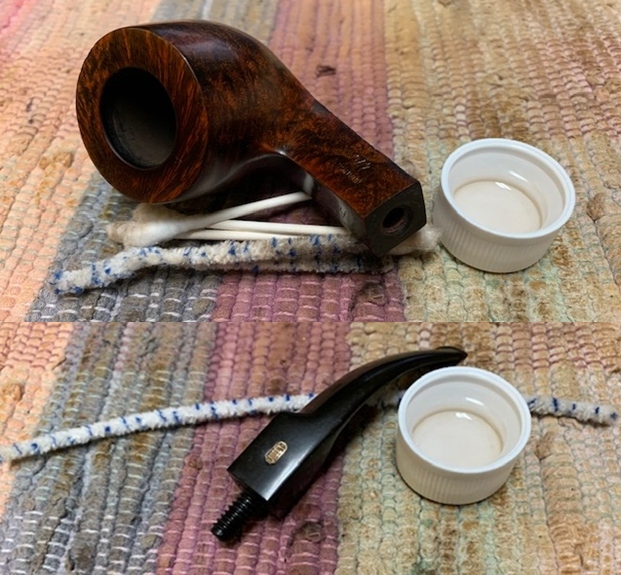 I polished the bowl and rim top with micromesh sanding pads – wet sanding with 1500-12000 grit pads and wiping the briar down with a damp cloth after each sanding pad.
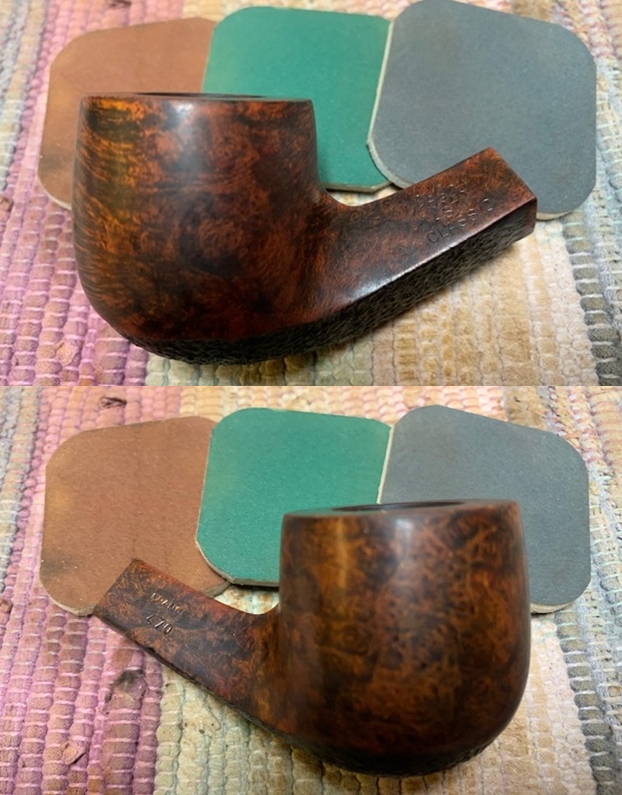


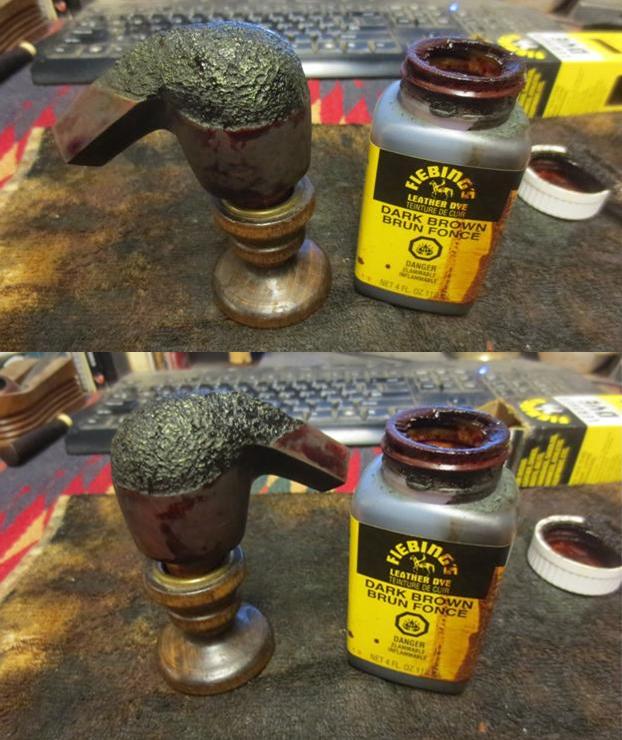
 I rubbed the bowl down with Before & After Restoration Balm. I worked it into the surface of the rustication on the underside of the bowl and shank and the smooth portion of the bowl and shank with my fingertips to clean, enliven and protect it. I let the balm sit for 15 minutes and then buffed with a cotton cloth to raise the shine.
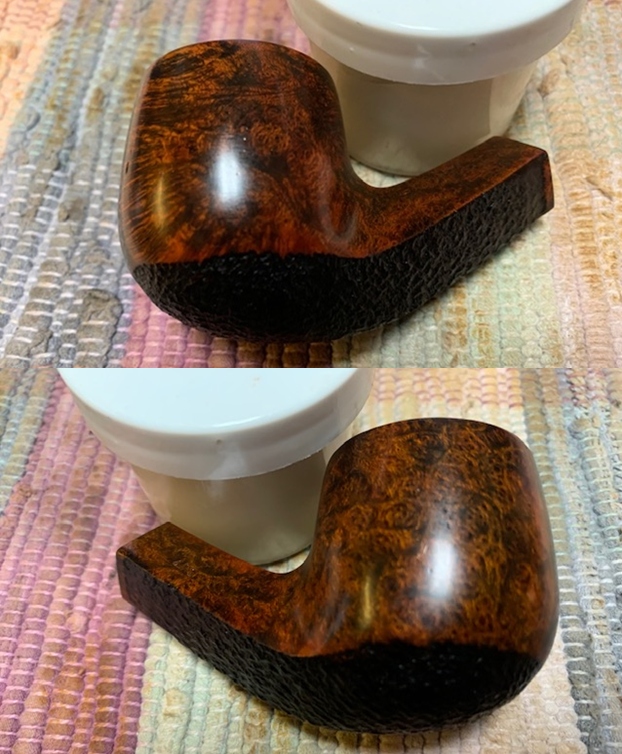
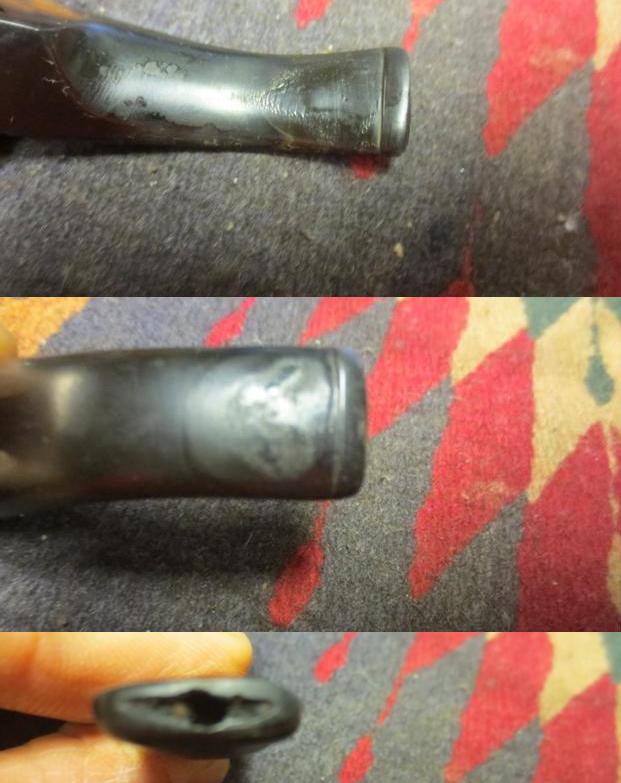
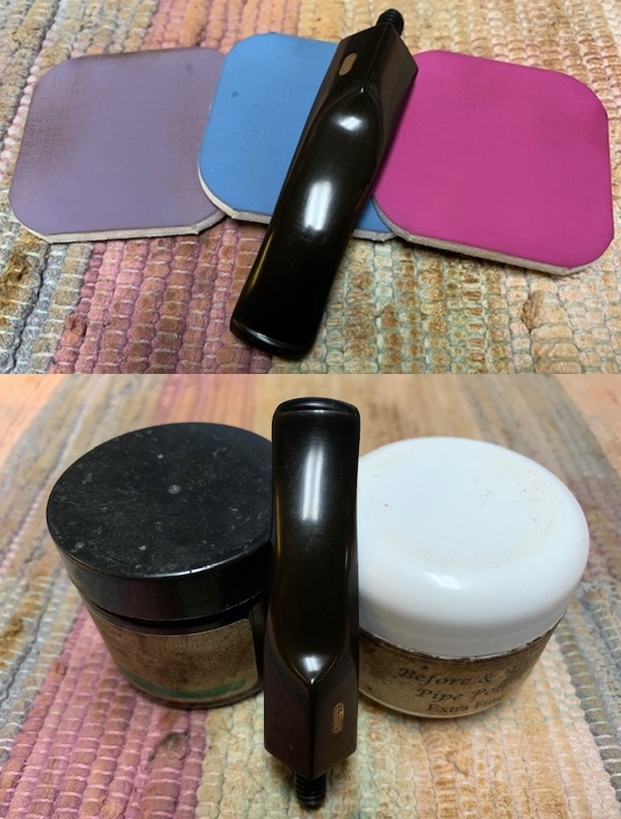
 I set the bowl aside and turned my attention to the stem. I sanded it with 220 grit sandpaper to remove the tooth marks and chatter and blend them into the surface of the vulcanite. I started polishing the stem with 400 grit wet dry sandpaper.
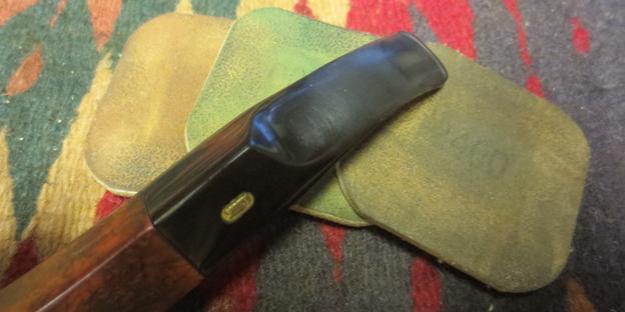
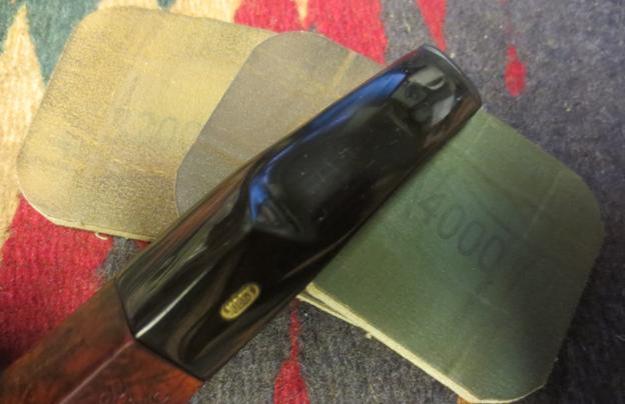
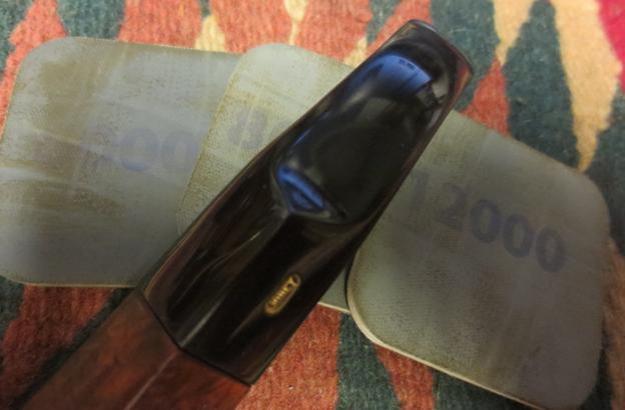
 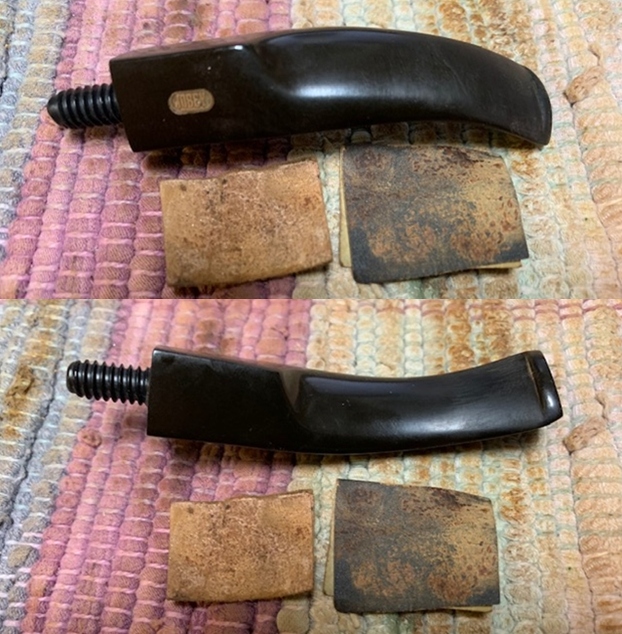 I polished the vulcanite with micromesh sanding pads – 1500-12000 grit pads. I wiped it down with a damp cloth after each sanding pad. I used Before & After Pipe Polish – both Fine and Extra Fine to further polish the stem.
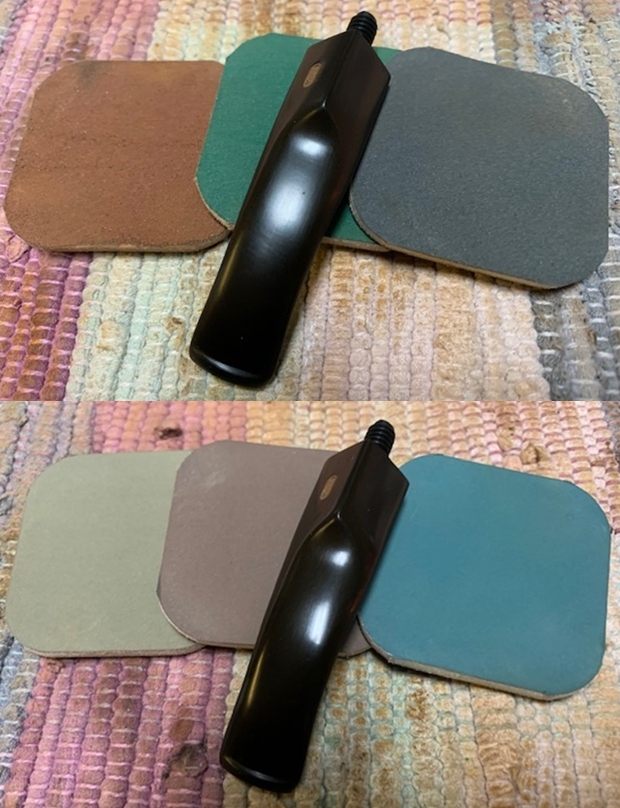
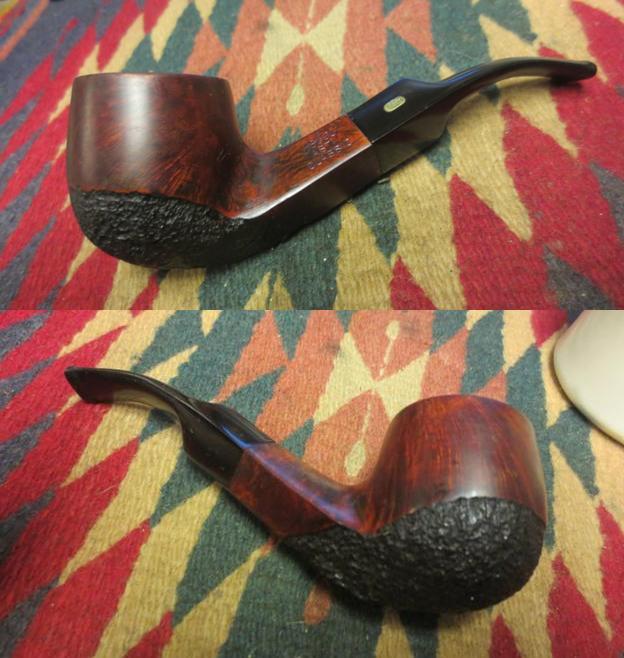
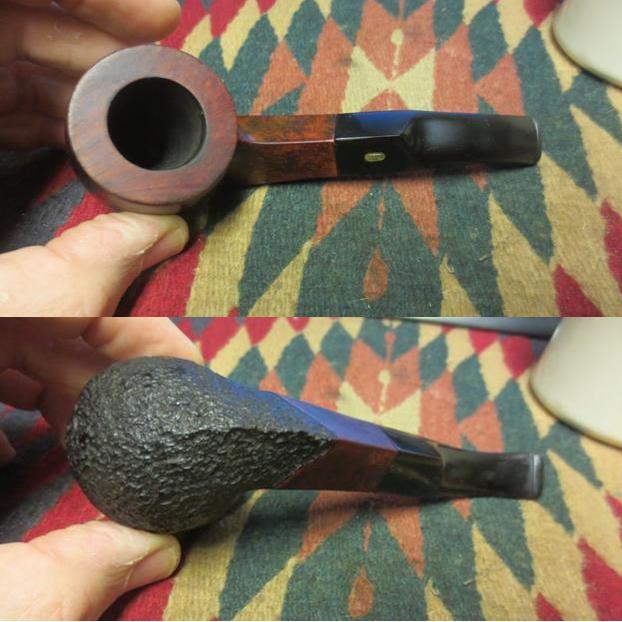
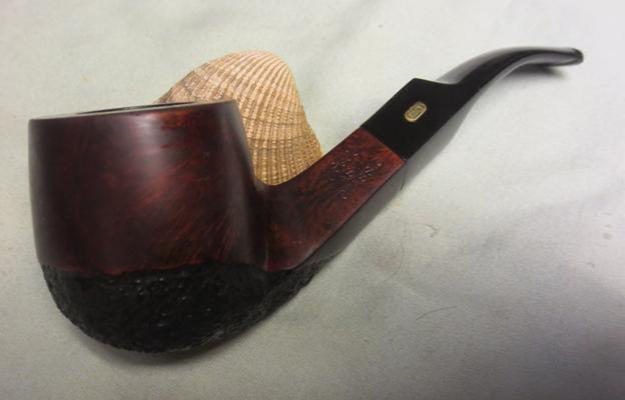
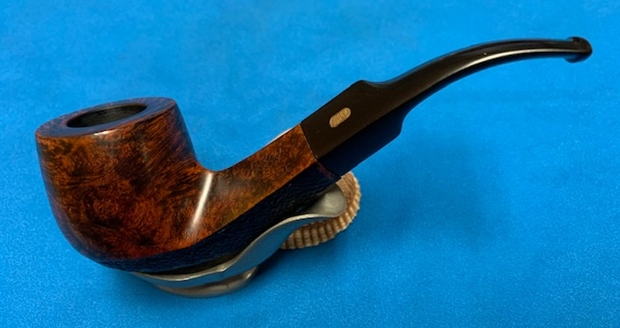
 Once again I am the part of the restoration that I always look forward to – the moment when all the pieces are put back together. I put the Jobey Asti Classic Pot back together and buffed the bowl and stem with Blue Diamond on the buffing wheel. I gave the bowl multiple coats of Conservator’s Wax and the stem multiple coats of carnauba wax. I buffed the pipe with a clean buffing pad to raise the shine. I hand buffed it with a microfiber cloth to deepen the shine. It is fun to see what the polished bowl looks like with the combination of rustication and smooth finishes. The black vulcanite stem stands out as a shiny black contrast to the colours of the bowl. It is a light weight pipe that could be clenched and smoked while doing other things. Have a look at it with the photos below. The dimensions of the pipe are Length: 5 ¾ inches, Height: 2 inches, Outside diameter of the bowl: 1 ½ inches, Chamber diameter: ¾ of an inch. The weight of the pipe is 58grams/2.01oz. This one will soon be on the rebornpipes online store. Thanks to each of you who are reading this blog. Remember we are not pipe owners; we are pipemen and women who hold our pipes in trust until they pass on into the trust of the next generation.