Blog by Steve Laug
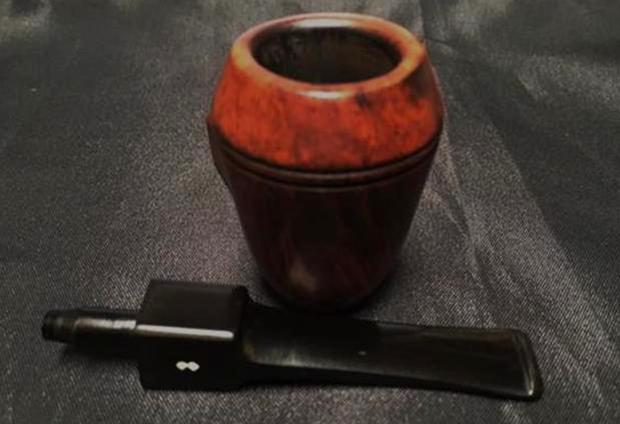
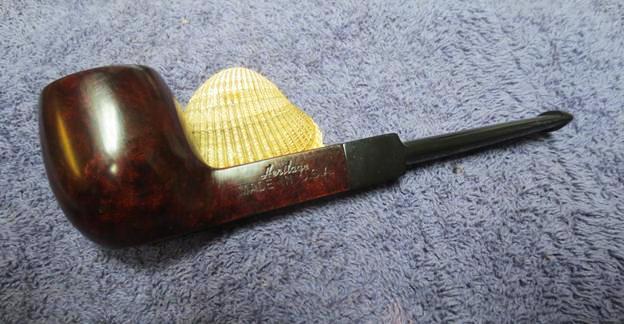
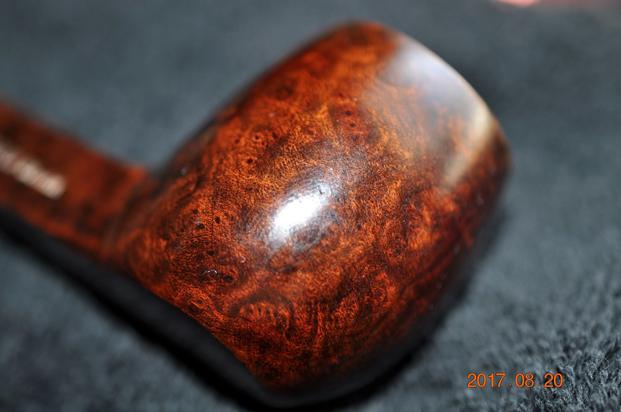
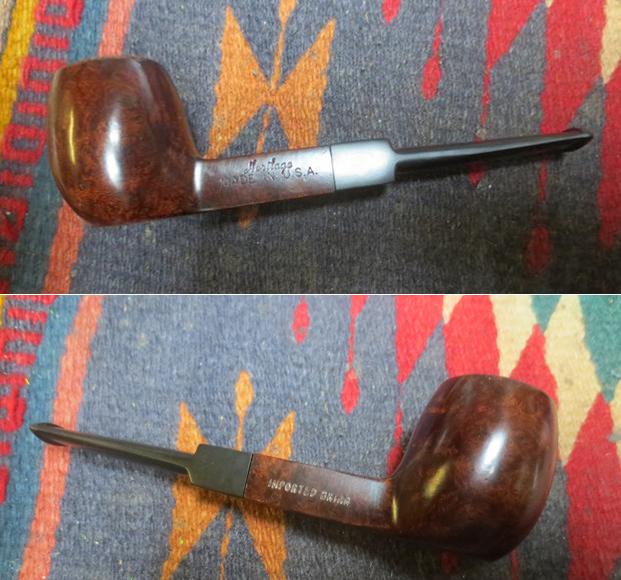
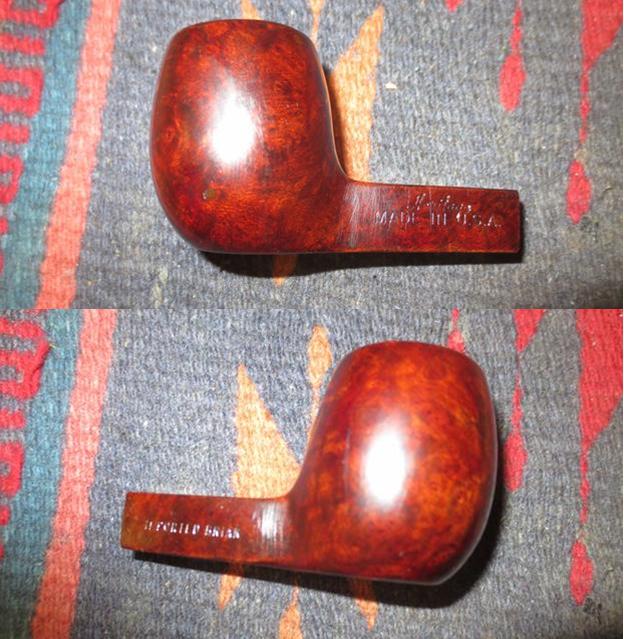
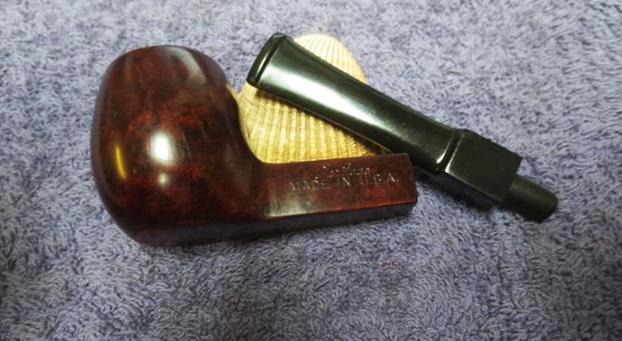
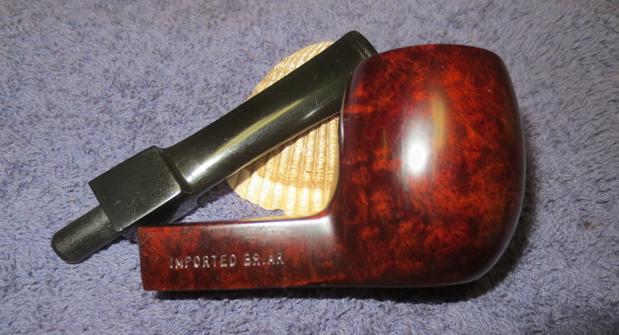
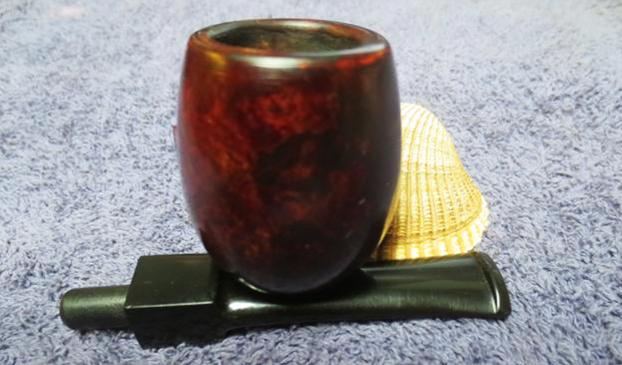
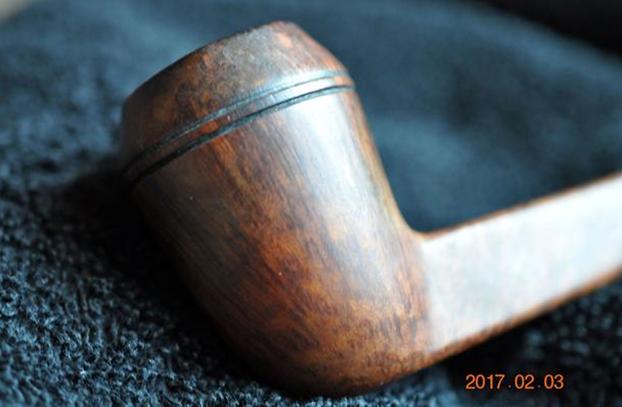
Jeff picked up the latest pipe that I am working from an antique shop in Freeland, Washington, USA in February of 2017. Once again he has proved to have an eye for the unique and unusual. The shape and the look of the pipe caught my eye when I was looking for a pipe to work on next. Jeff took photos of the pipe before he did his cleanup work. The 50S square shank Tall Bulldog pipe was in good condition. There was a thick cake in the bowl and a light overflow of lava on the rim. The inner edge of the rim appeared to have some reaming damage and perhaps some burn damage. The grain on the sides of the bowl is quite stunning and is straight and flame grain on bowl and shank with birdseye on the top and underside of the shank and bowl. The finish was dirty but appeared to be in good condition under the grime and grit the years. The exterior of the bowl and square shank were clean and undamaged. It was stamped Heritage over Heirloom over Imported Briar on the left side of the shank and has the shape number 50S on the right side of the shank. The stem had light oxidation, some tooth chatter and some deeper tooth marks on both sides of the stem just ahead of the button. The double diamond logo on the left side of the stem was in good condition. The quality vulcanite had held up well through the years.
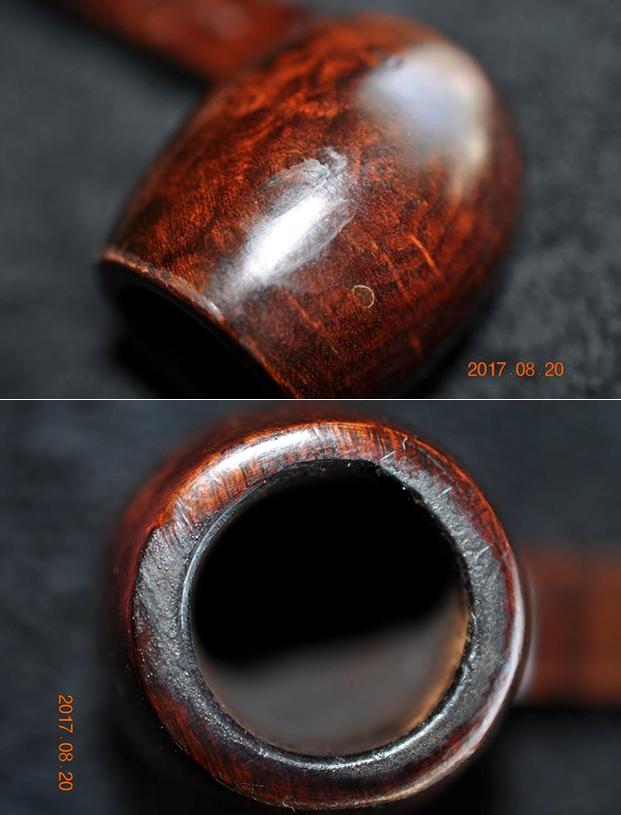
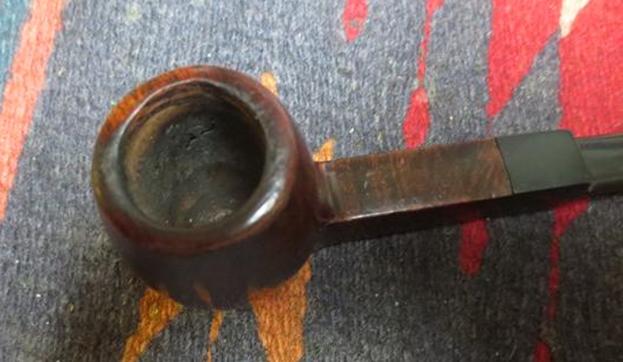
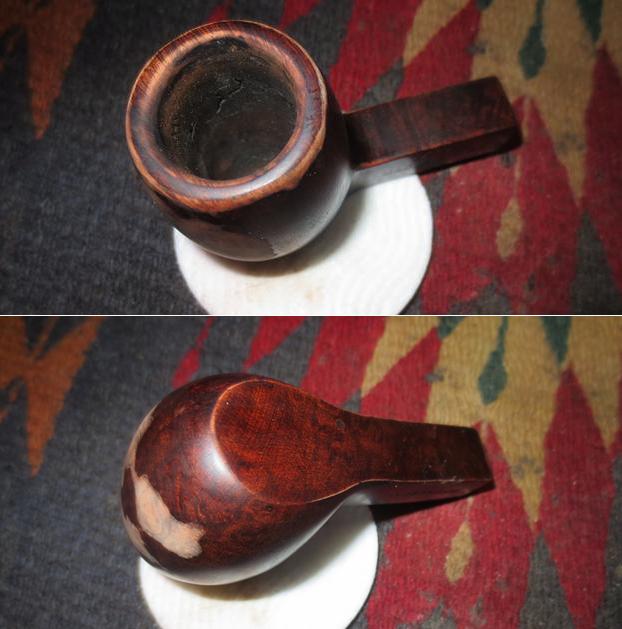
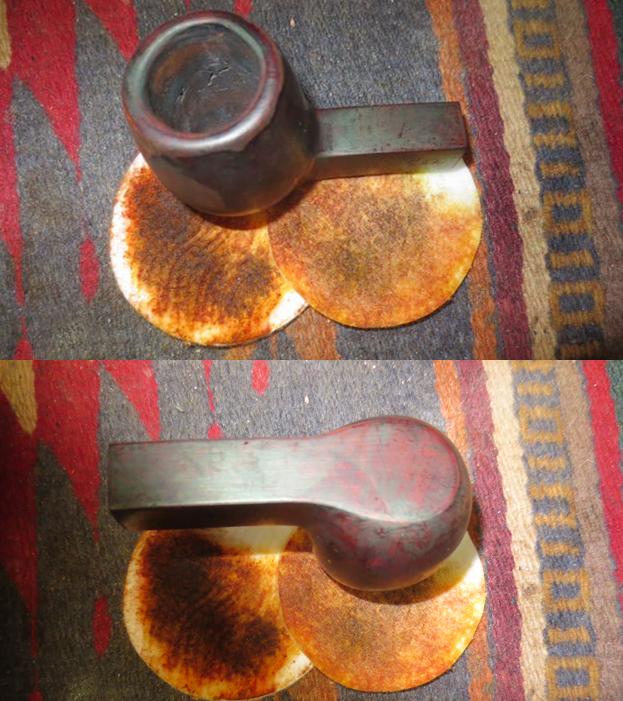
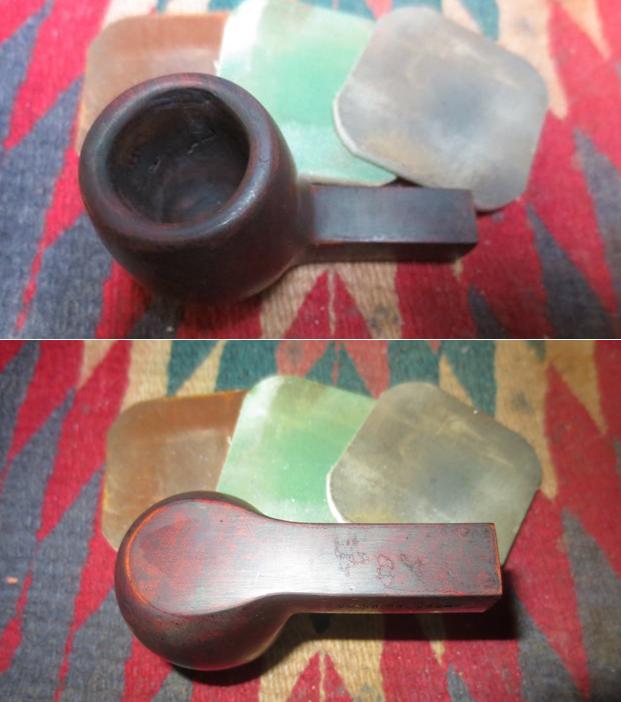
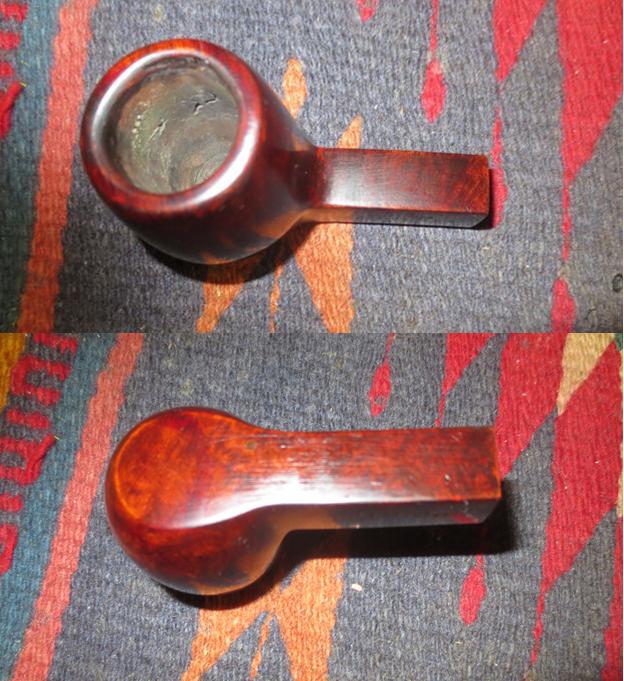
 Jeff took some photos of the rim top to show the tarry buildup on the flat surface and the potential damage to the inner edge of the bowl. There appears to be some damage on the inner edge at the back side of the bowl.
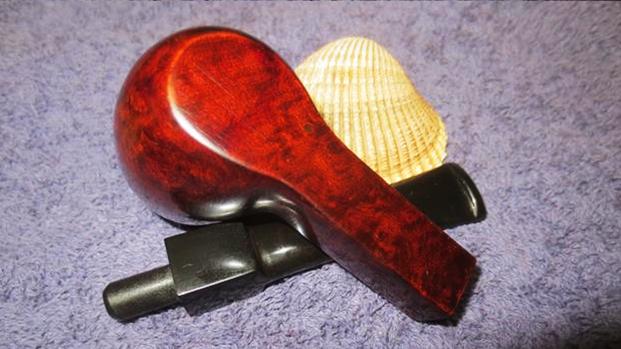
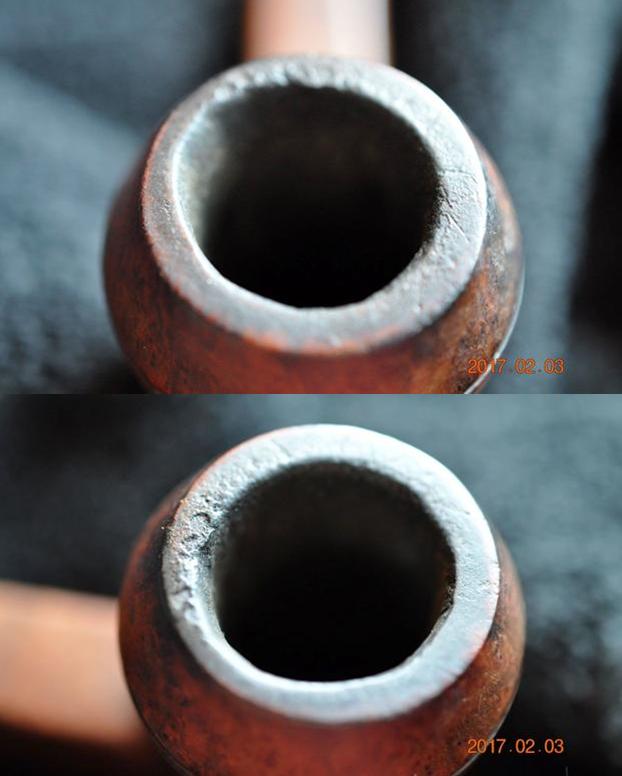 Jeff also took some photos of the sides and bottom of the bowl and shank to show the condition of the pipe and the lovely grain all around.
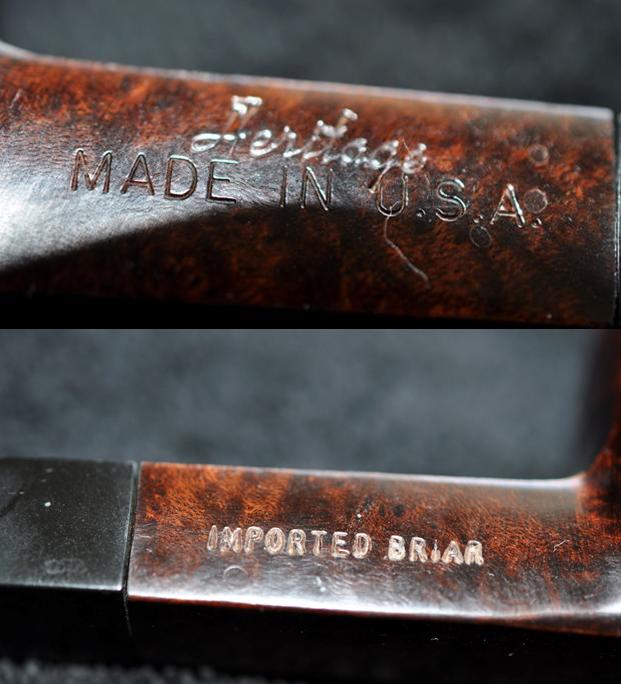
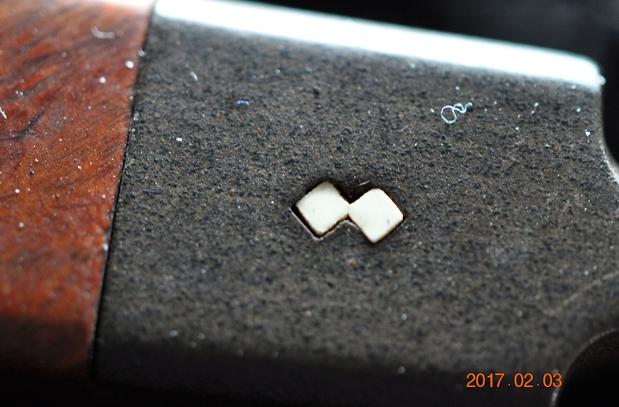
 The next photos show the stamping on the shank – both the left and right sides. The stamping is dirty and faint but readable. The left side reads Heritage over Heirloom over Imported Briar. The right side reads 50S which is the shape number. The double white diamond insert on the left side of the saddle stem appears rough under magnification.
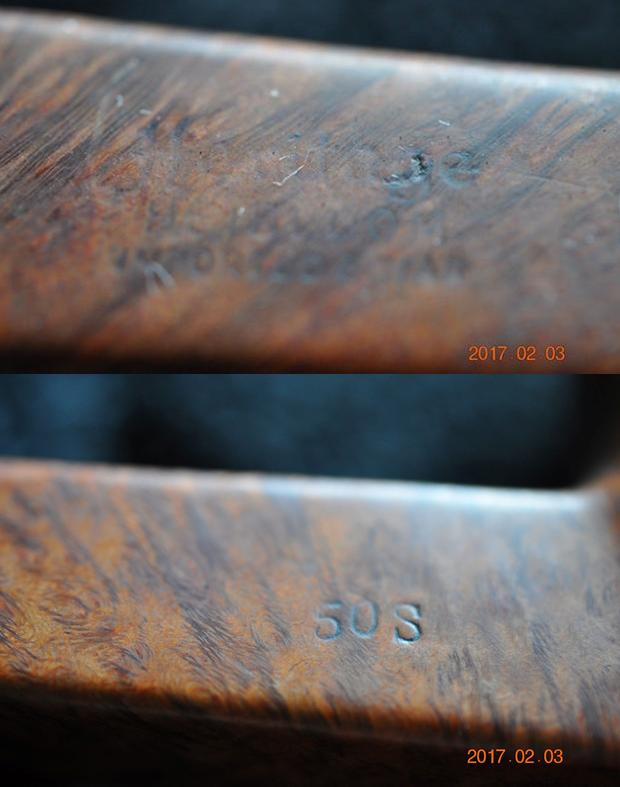
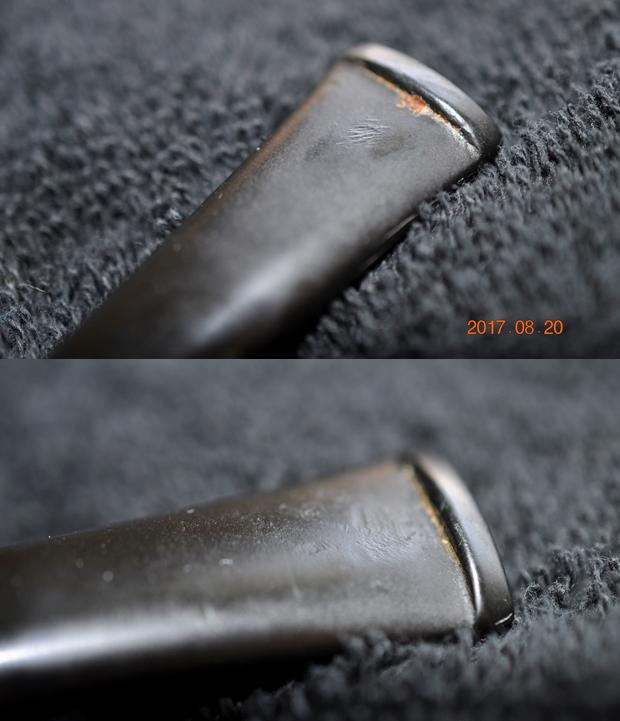
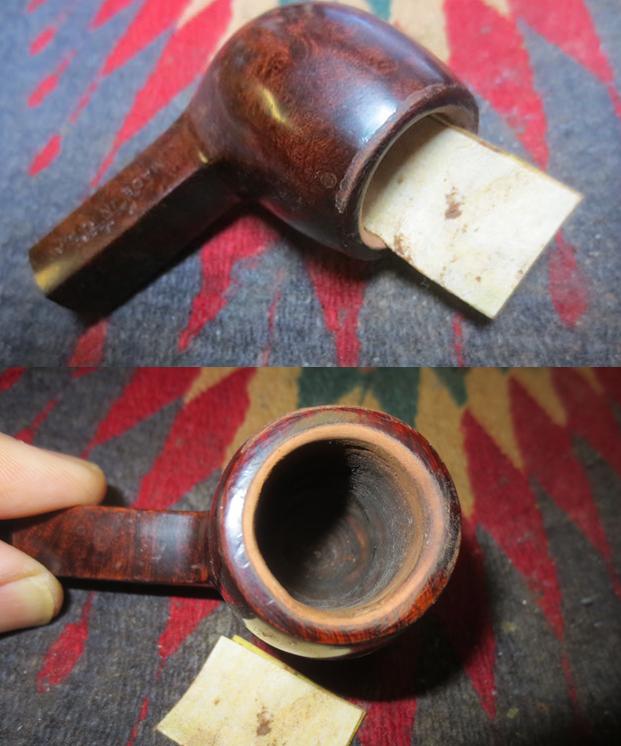
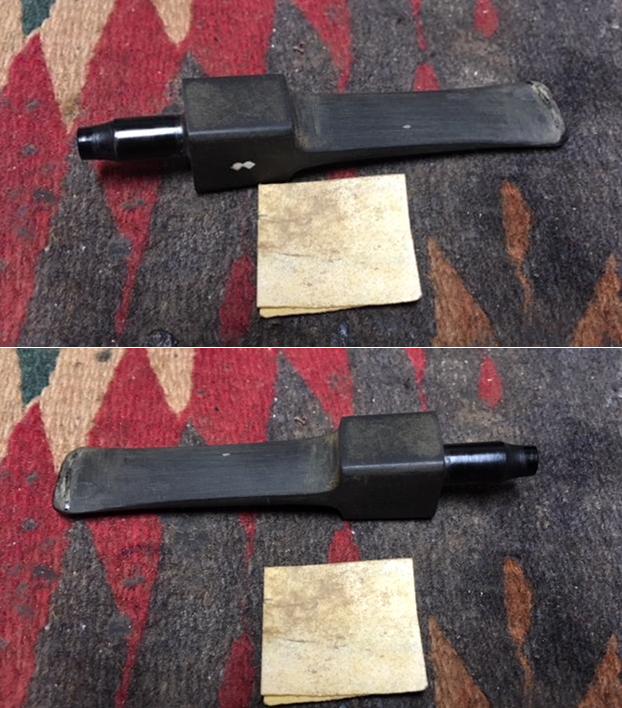
 He took photos to show the condition of the stem – the tooth marks and the worn edge of the button on both sides is very clear in the photos. The stem was also oxidized.
 I went back and read previous blogs I have written and others have written for rebornpipes on the Heritage brand of pipes. Andrew Selking did a great bit of research on the brand and did several blogs. I quote from his work at this link, https://rebornpipes.com/2014/12/23/refurbishing-a-heritage-heirloom/.
These pipes were made in the Kaywoodie factory, but on a completely separate line. Heritage pipes were Kaywoodie’s answer to Dunhill. According to one of their brochures, Heritage pipes were made from “briar burls seasoned and cured for up to 8 months,” with only “one briar bowl in over 300 selected to bear the Heritage name.” “Heritage stems are custom fitted with the finest hand finished Para Rubber stems. Mouthpieces are wafer thin and concave.”
The Heritage line began in the early 1960’s, with the trademark issued in 1964. The line was started at the request of Stephen Ogden, (who worked for Kaywoodie in 1962). Mr. Ogden had previous experience working for Dunhill, either running the New York store or working for Dunhill North America. Mr. Ogden was made President of Heritage Pi pes, Inc., Kaywoodie Tobacco Co. Inc. and Kaywoodie Products Inc. as well as a Vice President of S.M. Frank & Co. Heritage Pipes were produced from 1964 until 1970 (Source Kaywoodie.myfreeforum.org).
Andrew also included a copy of the Heritage brochure that I am also including below (Courtesy Kaywoodiemyfreeforum). On the fourth page I circled the 50S shaped pipe. This is the one that I am working on.


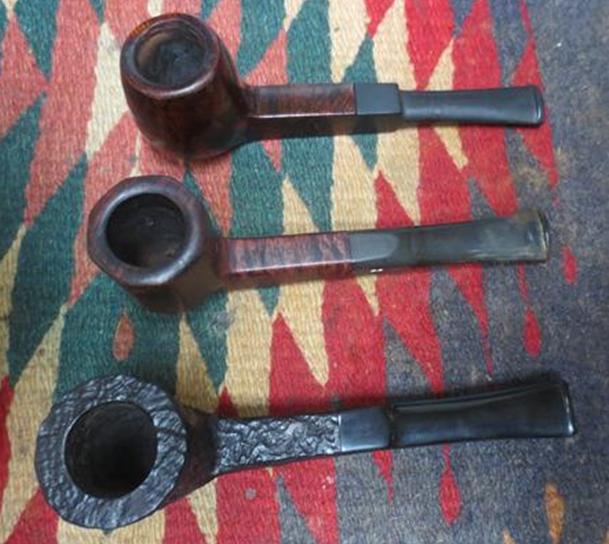
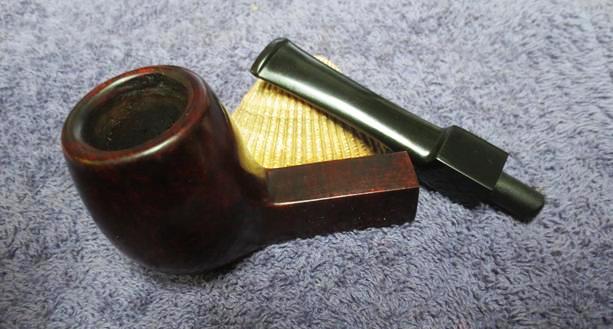
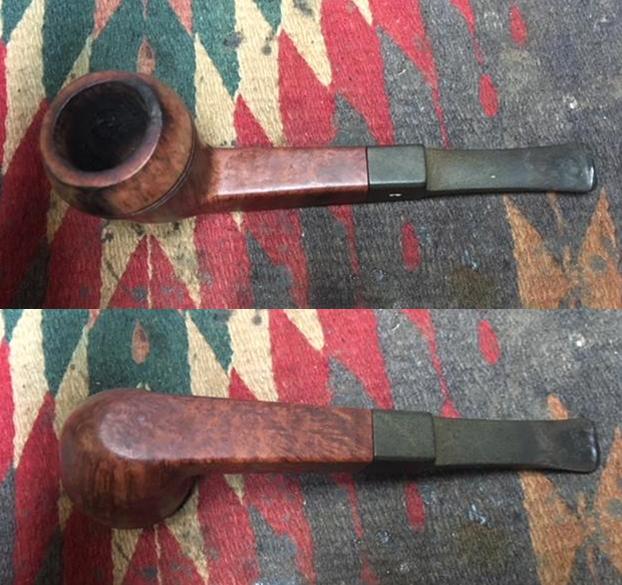
 Jeff had worked his magic in cleaning up this pipe. It is nice to work on pipes that he has cleaned up for a change. He reamed it with a PipNet reamer and smoothed the walls of the bowl with a Savinelli Fitsall pipe knife. He scrubbed out the mortise and the airway in the shank and the stem with alcohol, cotton swabs and pipe cleaners. He scrubbed the exterior of the bowl, rim and shank with a tooth brush and Murphy’s Oil Soap to the oils and tars on the bowl, rim and shank. He rinsed it under running water. He dried it off with a soft cloth. Once the grime was removed the finish underneath was in good condition. The rich patina of the older briar and the straight grain around the bowl and shank and the birdseye grain on the top and underside of the shank were beautiful. There were some dark spots on the left side of the cap and at a few spots around the edges. There was some damage to the rim top on the right rear. They appear to be burn marks or at least burn damage though the briar is solid. The cleaning of the stem left a light oxidation in the vulcanite. The tooth marks were clean but visible. I took photos of the pipe to show its condition before I started my work on it.
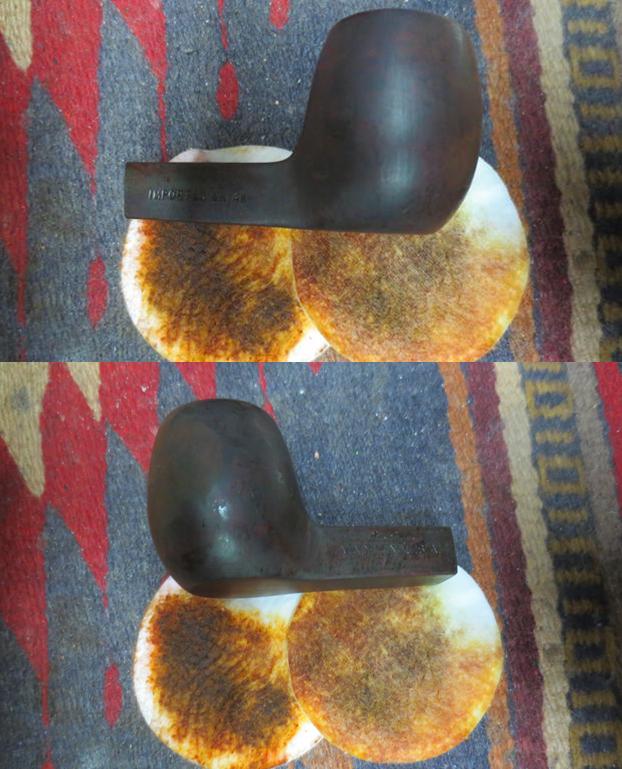
 I took some close up photos of the bowl, rim top and stem to show the condition of the pipe before I started to do the restoration work on it.
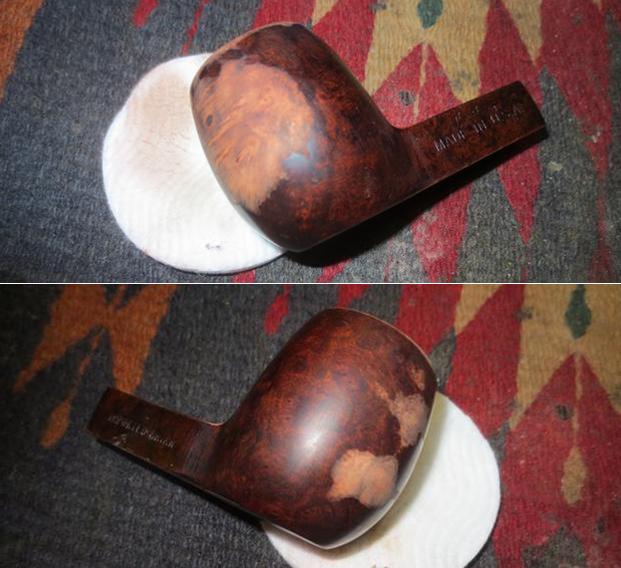
 I took close up photos of the burn damage to the left side of the bowl on the cap and double ring around the bowl. Fortunately the burn damage is not deep into the briar. The wood in the darkened portions is solid and not charcoal.
 To remove the damaged areas on the rim top I topped the bowl on a topping board with 220 grit sandpaper. You can see from the second photo that the damaged area on the right rear of the surface had been removed.
  I scraped out the remnants of cake on the walls of the bowl using my Savinelli Fits all Pipe Knife. I sanded the walls of the bowl with sandpaper wrapped around a piece of dowel.
 I used a folded piece of 220 grit sandpaper to smooth out the inner edge of the rim and give it a light bevel inward to deal with the damage on the edge. I sanded the burned areas on the left side of the bowl cap to try to minimize them and blend them into the surrounding briar.

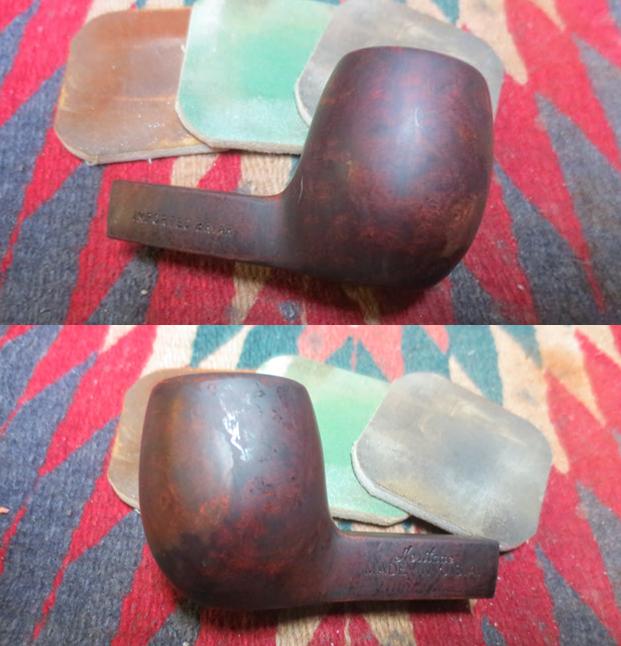
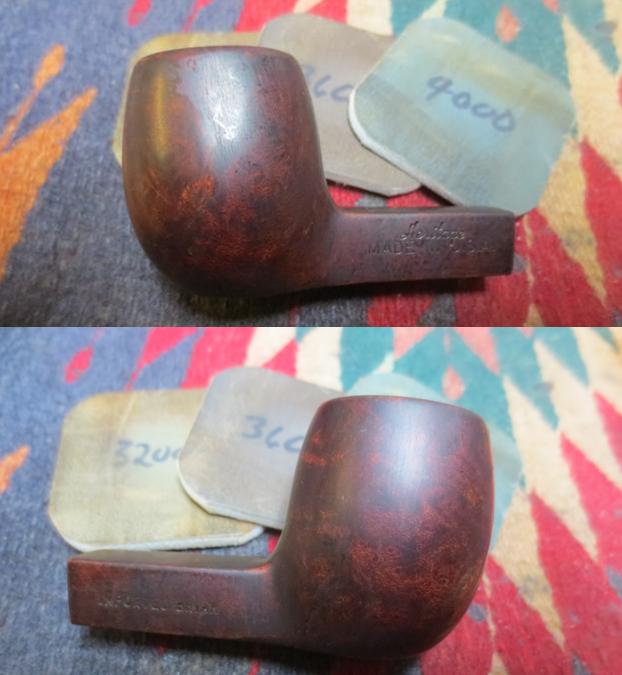
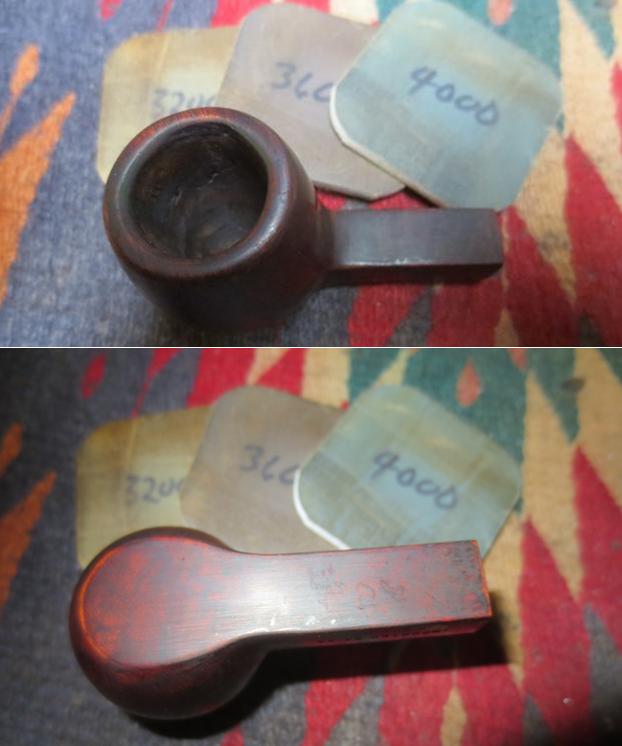
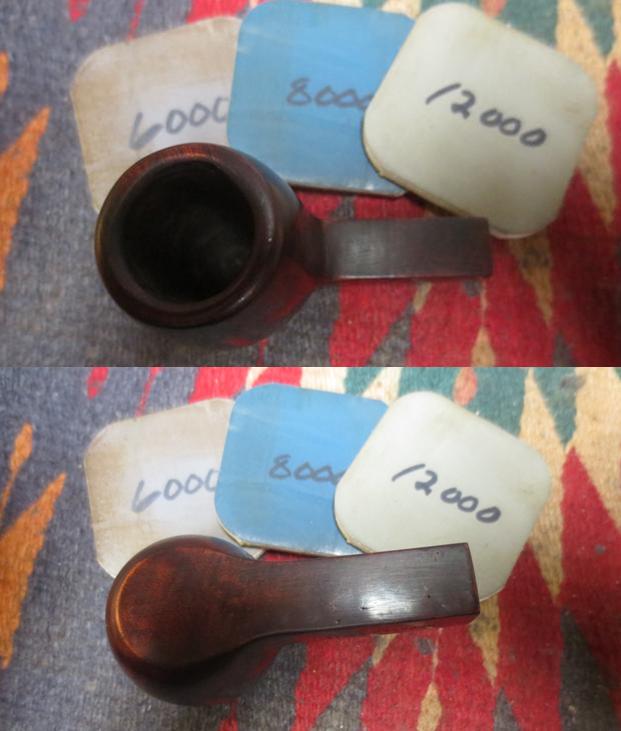
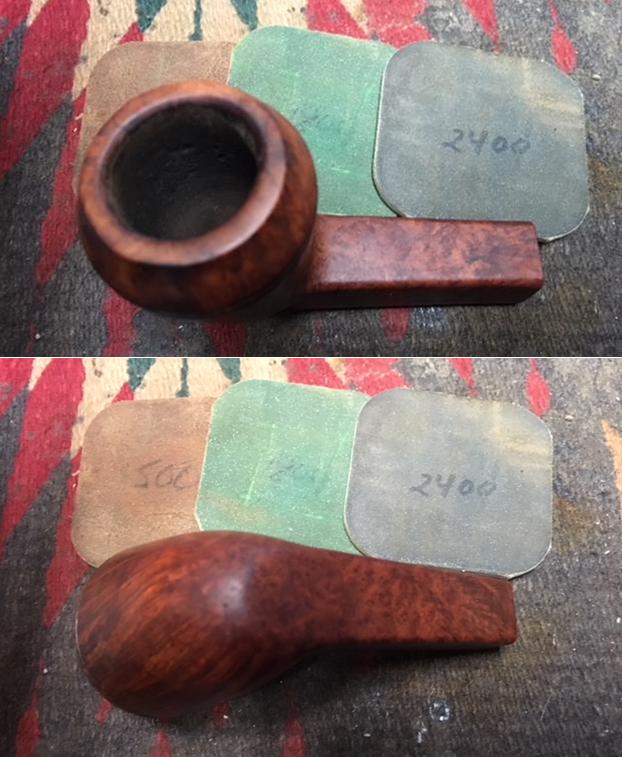
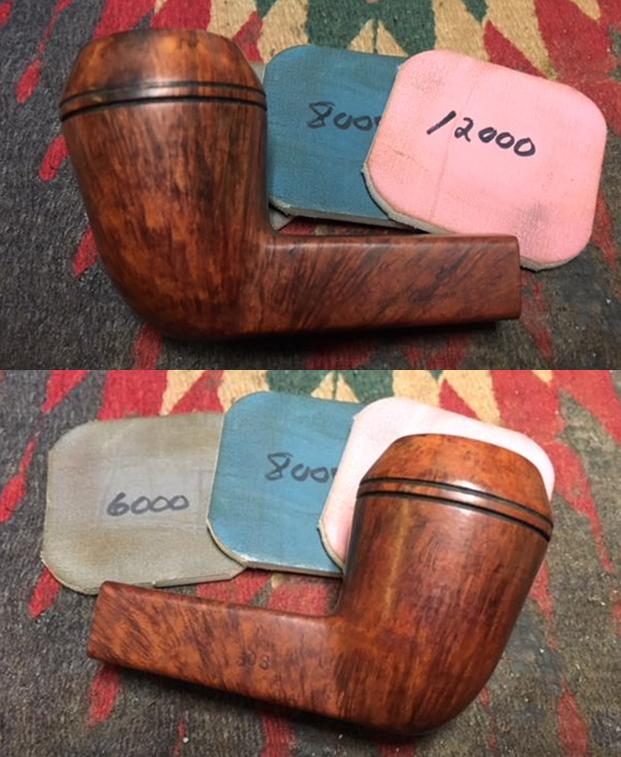
 I polished the exterior of the bowl and shank with micromesh sanding pads, carefully avoiding the stamping on the sides of the shank. I wet sanded the bowl with 1500-2400 grit pads and dry sanded it with 3200-12000 grit pads. I wiped the bowl down after each sanding pad with a damp cloth to remove the sanding dust.


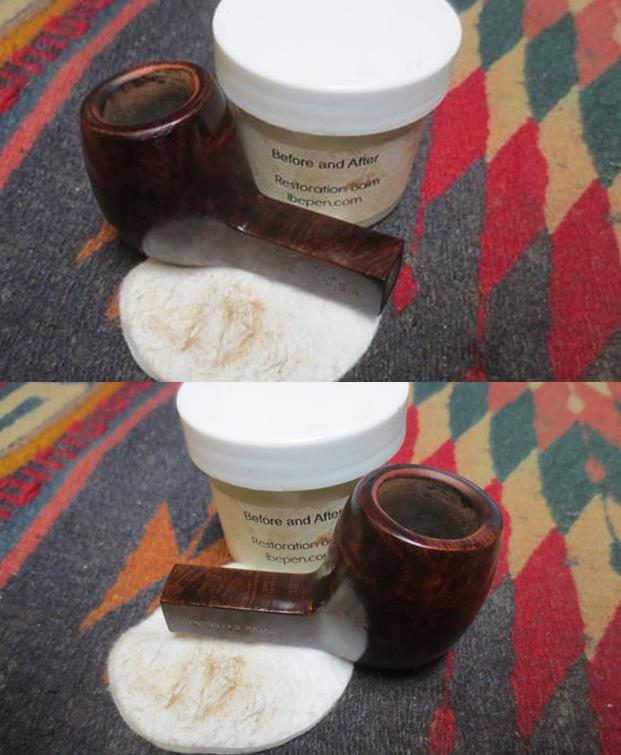
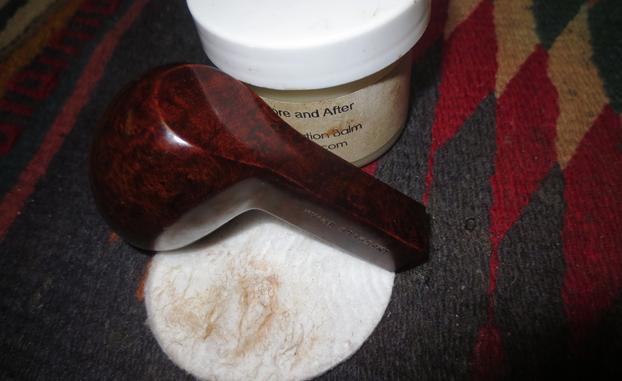
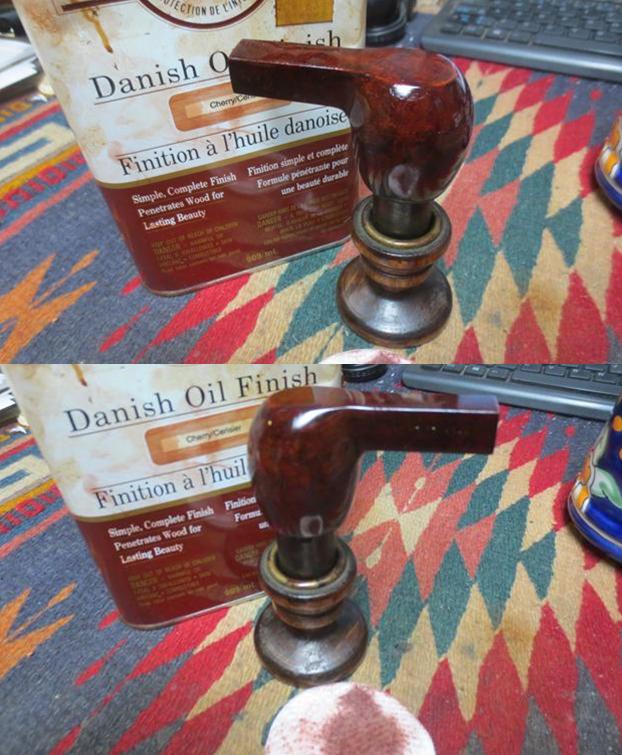
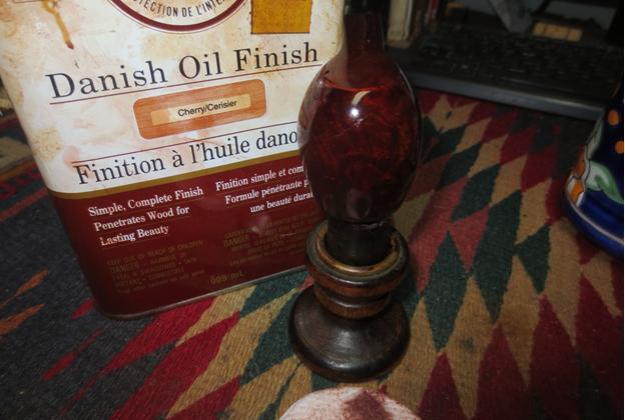
 I rubbed some Before & After Restoration Balm into the surface of the briar to enliven, clean and preserve it. I rubbed it in with my fingertips working it into the briar. I set it aside for a little while to let the balm do its work. I buffed it off with a cotton cloth and then buffed it with a microfiber cloth. The photos below show the pipe at this point in the restoration process.
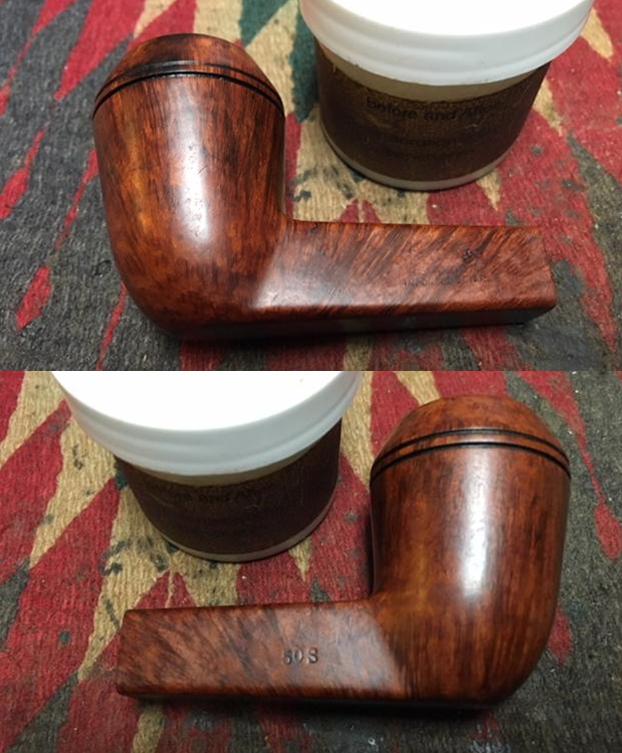
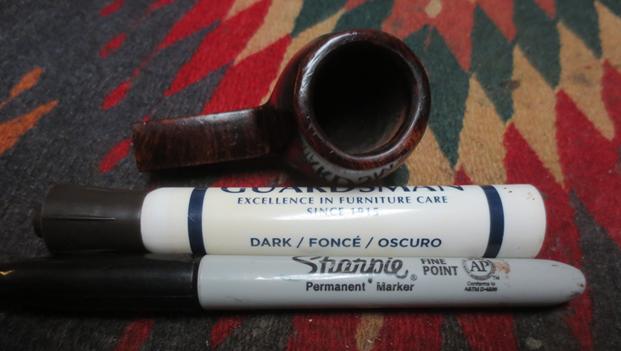
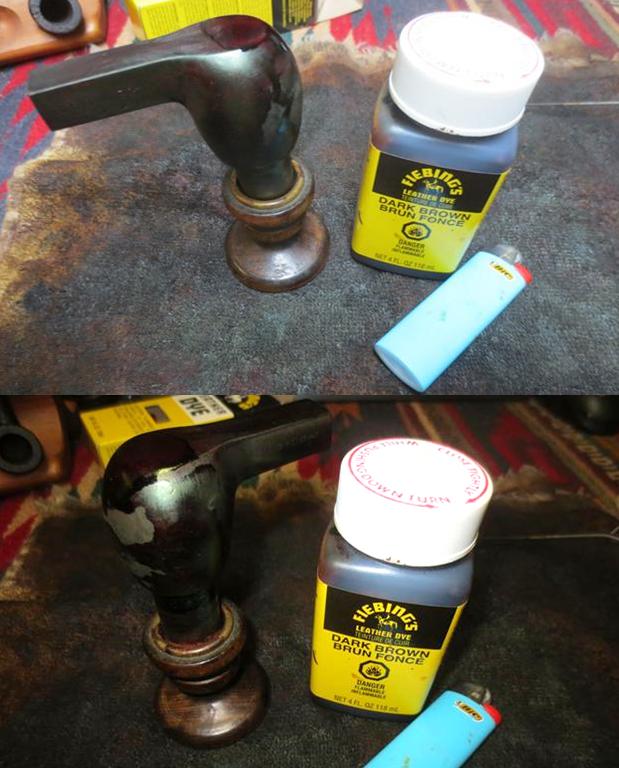
 I set the bowl aside to address the issues with the stem. I painted the surface of the stem with the flame of a Bic lighter to lift the tooth dents in the surface of the vulcanite. I was able to lift them quite a bit and then filled in the dents with black super glue.
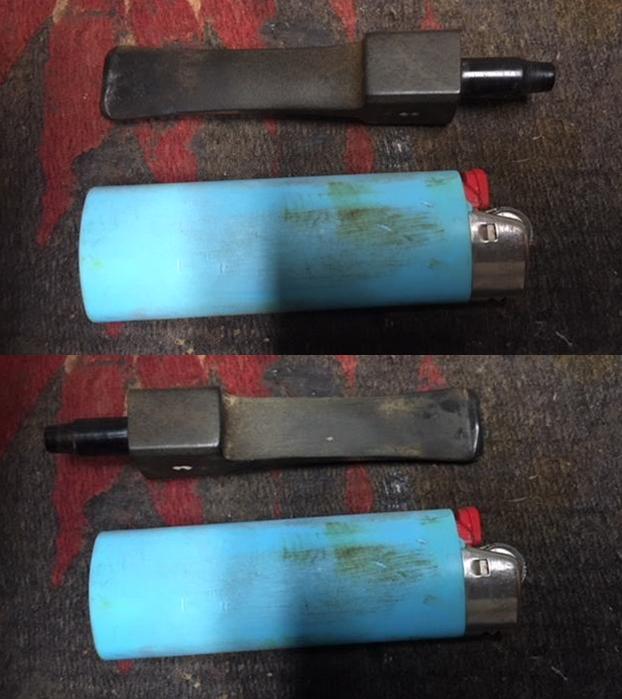
 When the repair had cured I recut the edge of the button with a needle file and flattened out the surface of the repair to match the rest of the vulcanite. I sanded the surface of the repairs and the oxidation on the stem with 220 grit sandpaper to smooth out the repairs and shape the button. It also removed the surface oxidation that was on the stem.
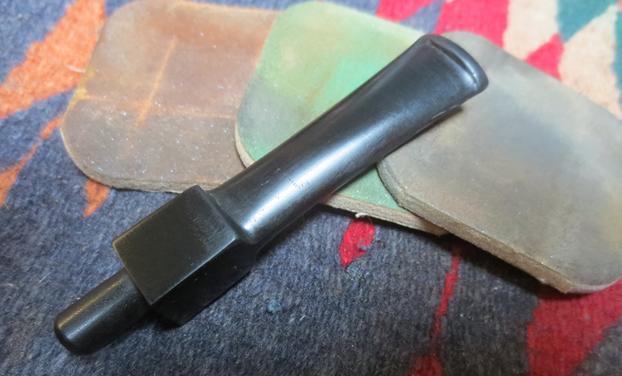
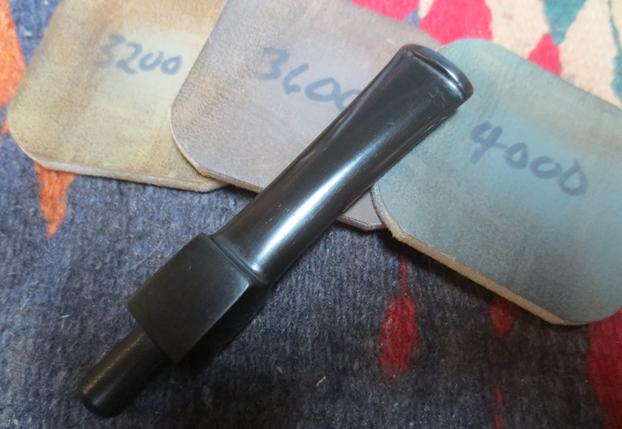
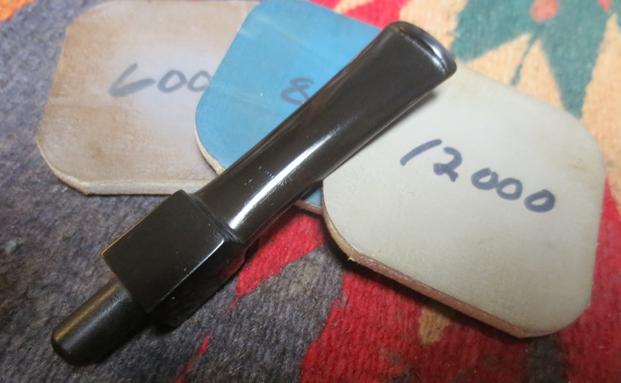
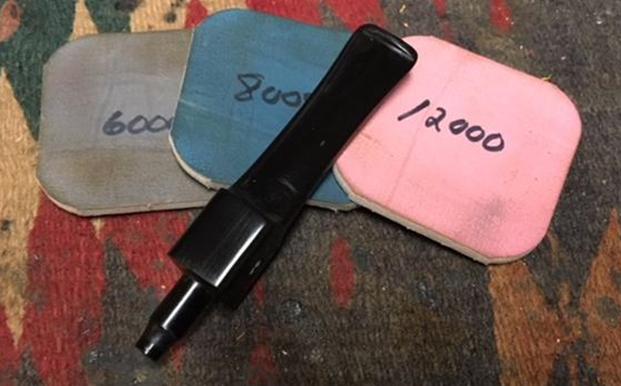
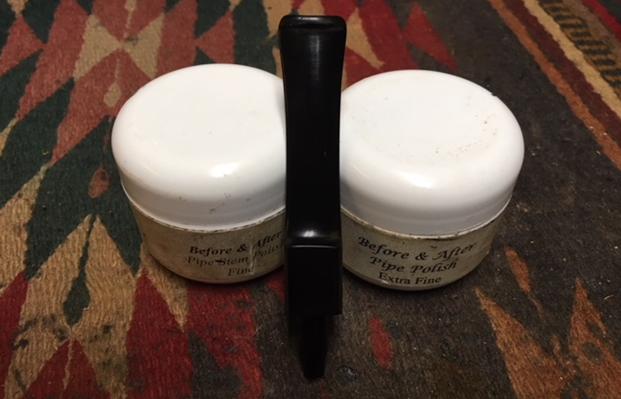
 I polished the stem with micromesh sanding pads – wet sanding with 1500-2400 grit pads and dry sanding with 3200-12000 grit pads. I wiped the stem down after each sanding pad with Obsidian Oil and after the final sanding pad I gave it a final coat of oil and set it aside to dry. I polished it with Before & After Pipe Stem Polish – both Fine and Extra Fine. I used it to polish out some of the remaining scratches. I gave it another coat of Oil and set it aside.

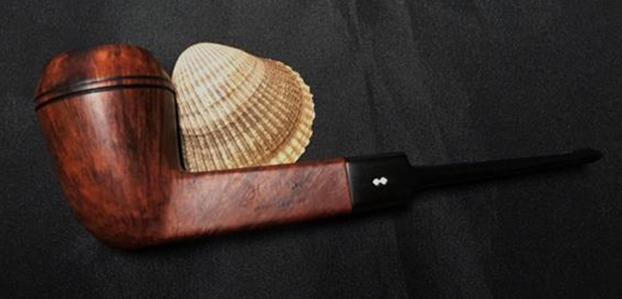
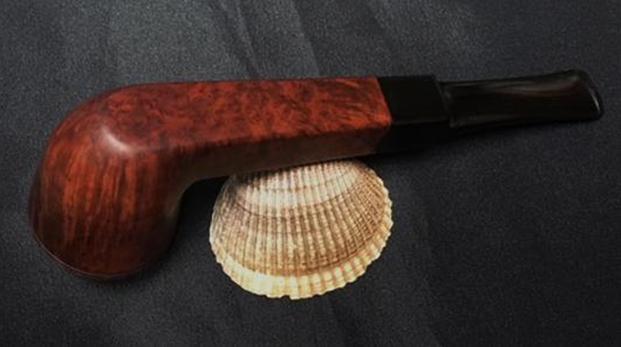
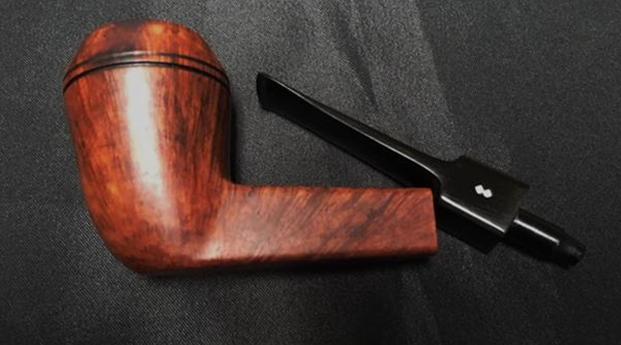
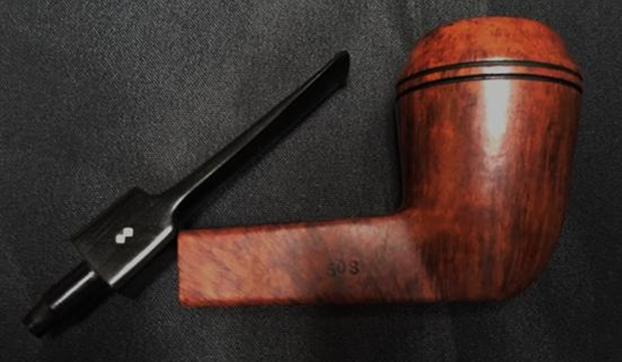
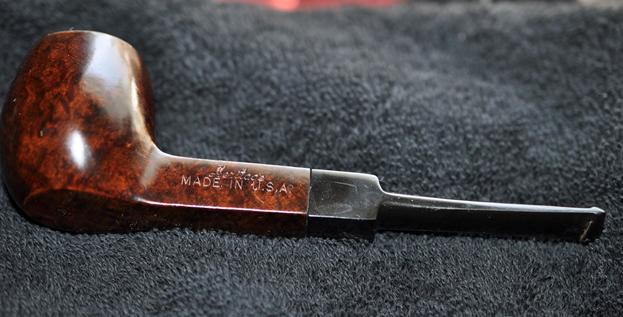
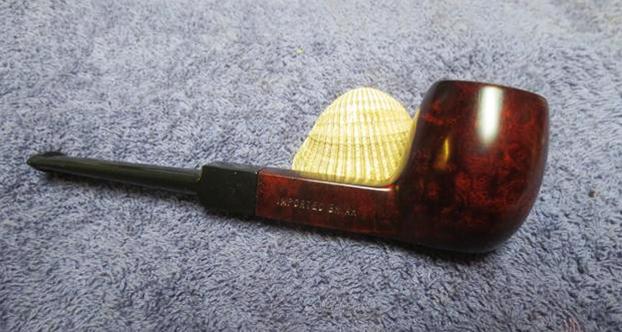
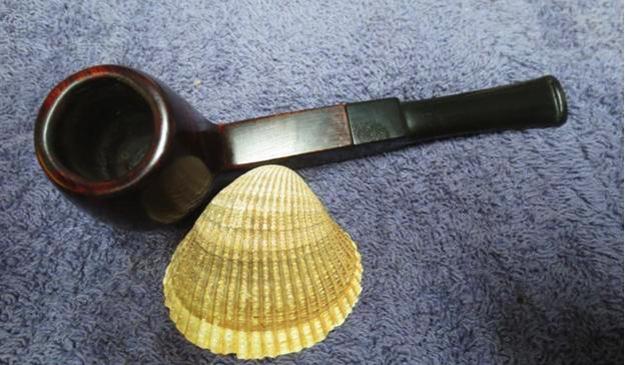
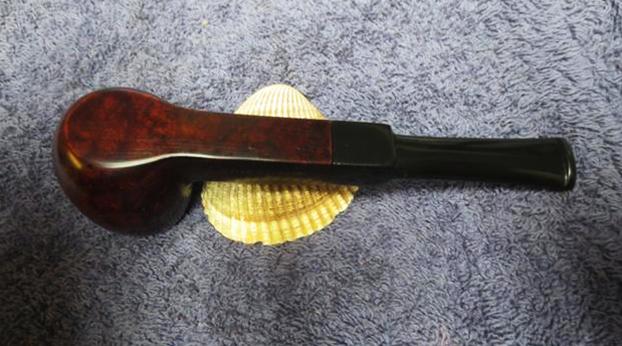
 This Heritage Heirloom Square Shank Tall Bulldog is a real beauty with straight and flame grain all around the sides of the bowl and shank. It also has some beautiful birdseye on the top and underside of the bowl and shank. The grain really is quite stunning. The rim top looks much better. The Heritage high quality vulcanite stem repaired easily and shined up well. I buffed the bowl and the stem with Blue Diamond polish to raise the shine on the briar and the vulcanite. I was careful to not buff the stamping and damage it. I gave the bowl and stem multiple coats of carnauba wax. I buffed the entire pipe with a clean buffing pad to raise the shine. I hand buffed it with a microfiber cloth to deepen the shine. The finished pipe is shown in the photos below. The rich patina of the original finish allows the grain to really stand out on this pipe and it works well with the rich black of the polished vulcanite stem. The dimensions of the pipe are: Length: 6 inches, Height: 2 1/4 inches, Outside Diameter: 1 1/4 inches, Diameter of the chamber: 7/8 of an inch. In my years of refurbishing pipes I have not seen one quite this shape. I have worked on quite a few Heritage pipes since Andrew brought them to my attention but none have caught my eye like this one. So, this beautiful Heritage Heirloom 50S will fit really nicely into my personal collection for now. I am looking forward to enjoying my first bowl in it soon. Thanks for walking through the restoration with me.