by Kenneth Lieblich
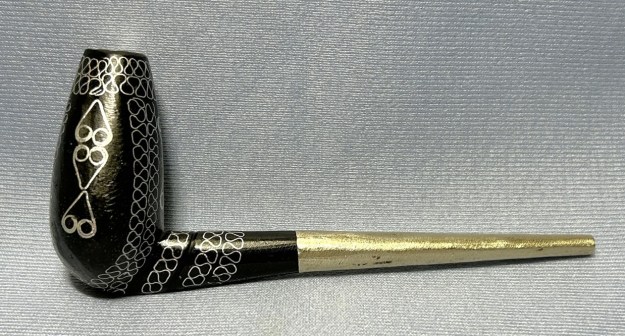
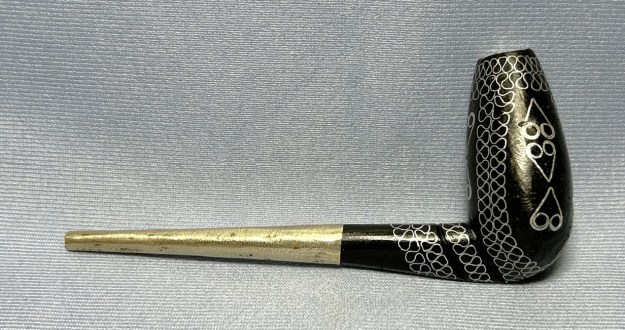
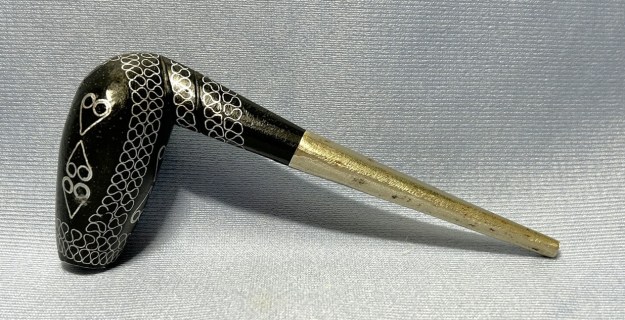
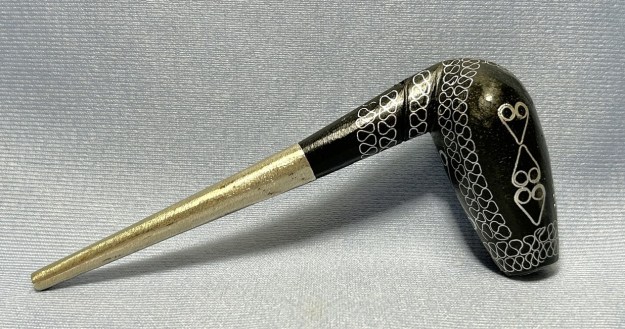
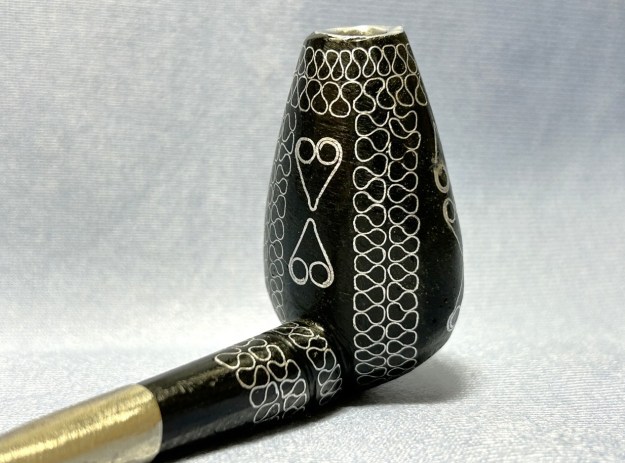
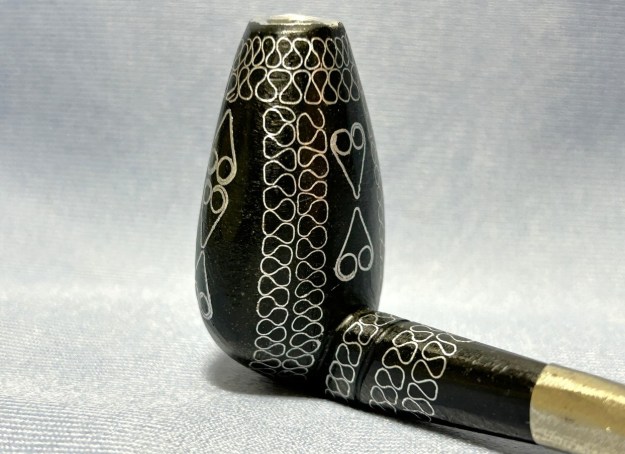
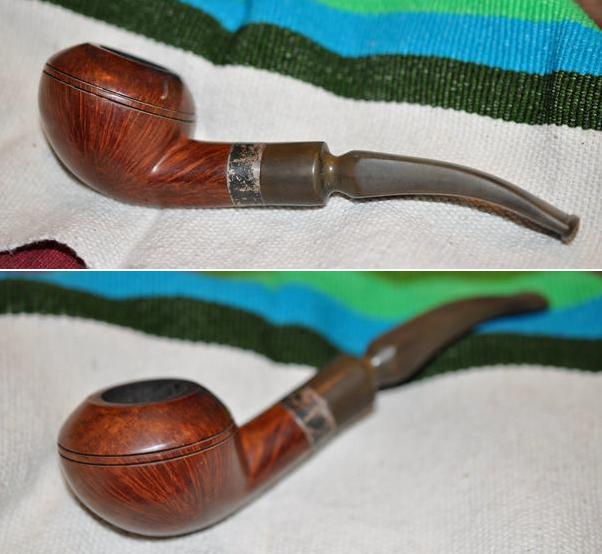
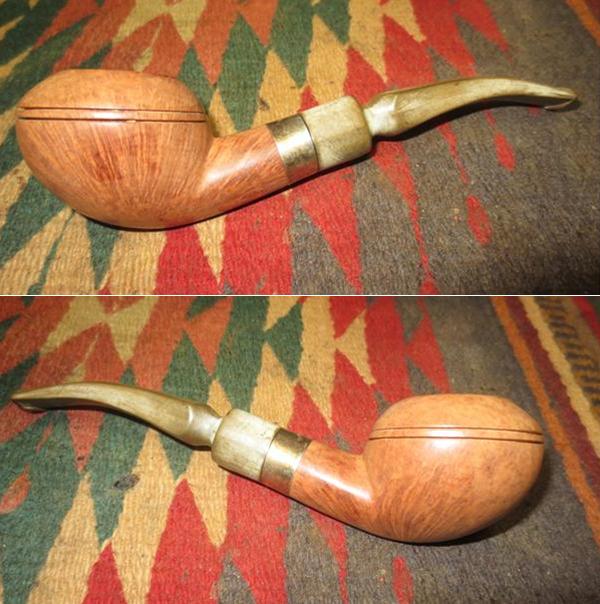
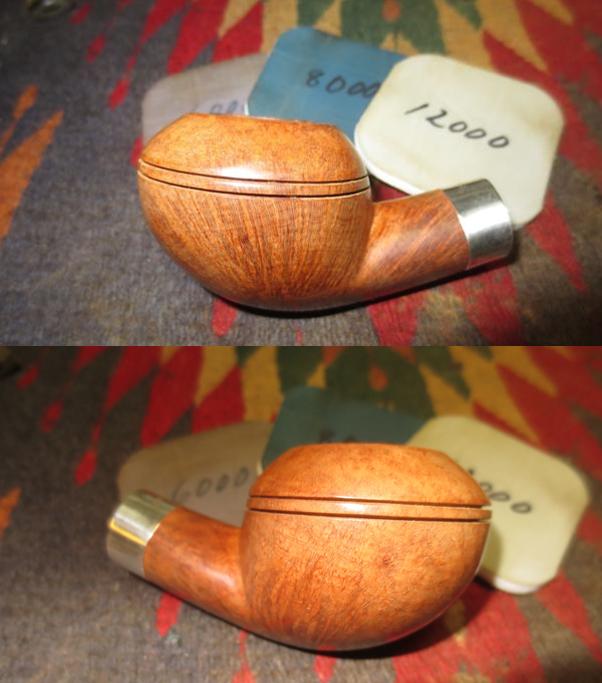
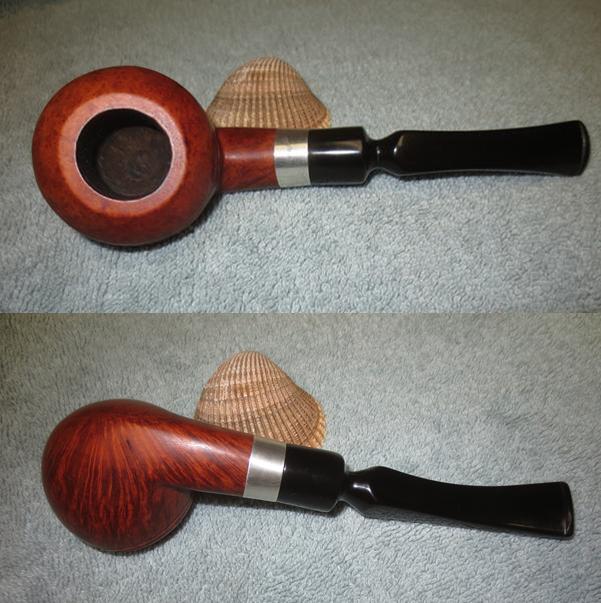
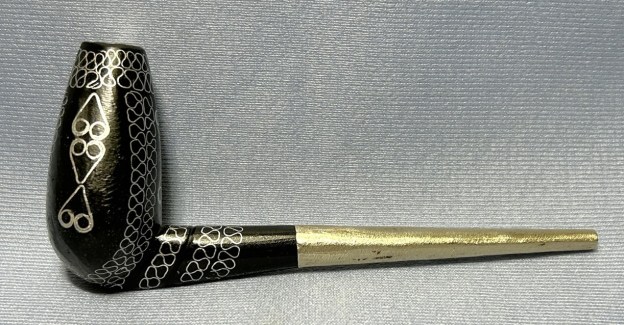
This remarkable and charming pipe came to me from an online auction, where it was described very simply as “Tuareg smoking pipe”. The seller had no more information. I was intrigued and tried to dig a little further. Most of the images I could fine online for pipes of the Tuareg people didn’t look like this. Tuareg pipes tend to be tubular in shape – but the materials used are similar to what I have here. The more I examined and studied this pipe, the more fascinated I became. It has a wonderful, rustic look and feel.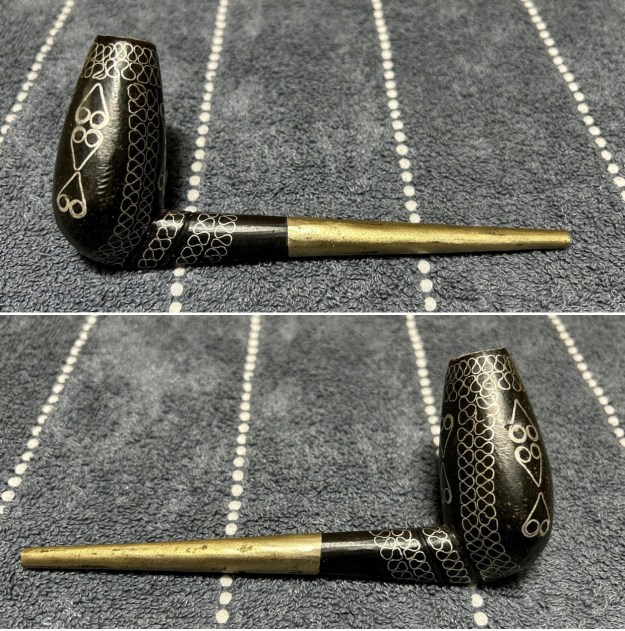
 Perhaps a brief word on the Tuareg people is in order. I was familiar with them, but only superficially. Here is a very brief summary of them, from the Bradshaw Foundation:
The Tuareg inhabit the Saharan regions of North Africa – Niger, Mali, Libya, Algeria and Burkina Faso. Tuareg is an Arabic term meaning abandoned by God. They call themselves Imohag, translated as free men. No one knows the true origin of the Tuareg, where they came from or when they arrived in the Sahara. Reputedly of Berber descent, the language of the Tuareg is Tamachek, with their own script known as Tifinagh, thought to have ancient Libyan roots. Their numbers are unclear, but estimates run between 300,000 and 1 million. The most striking attribute of the Tuareg is the indigo veil, worn by the men but not the women, giving rise to the popular name the Blue Men of the Sahara, or Men of the Veil. Men begin wearing a veil at the age 25.
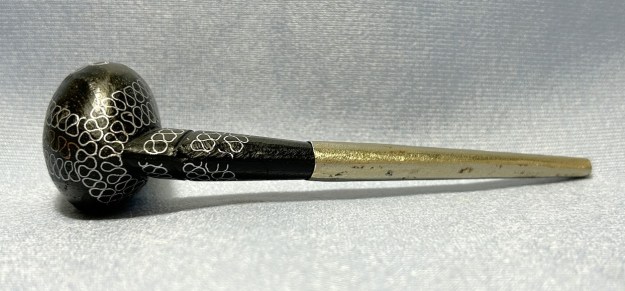
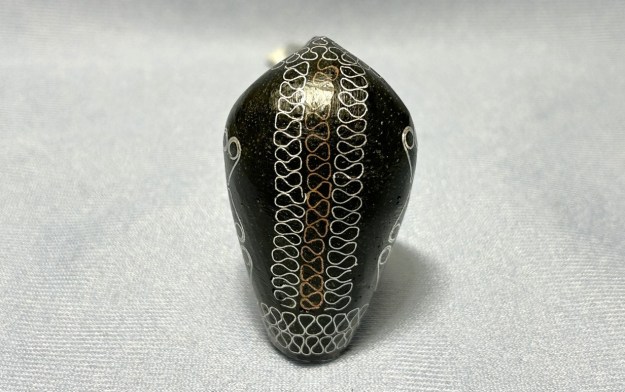
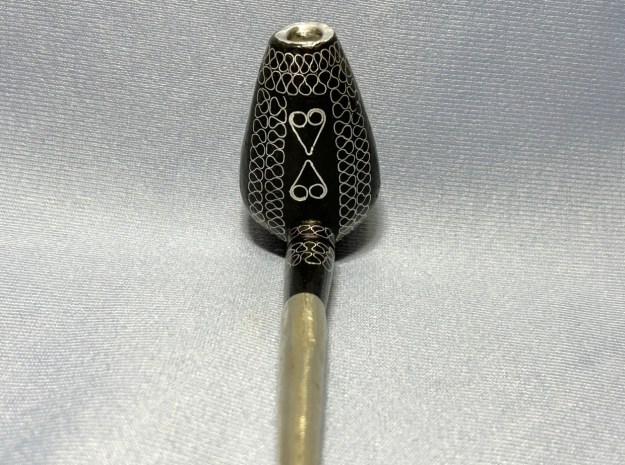
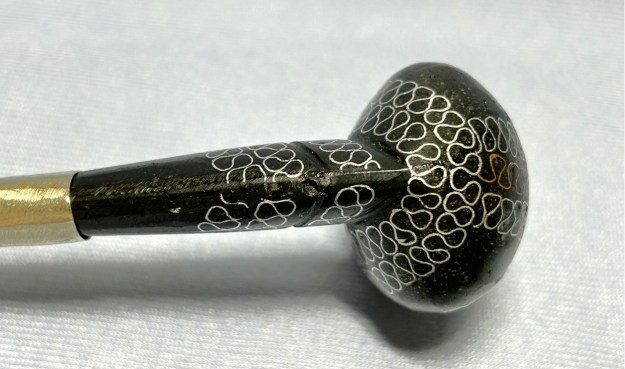
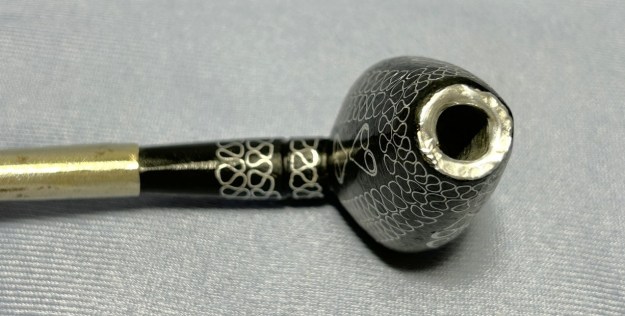
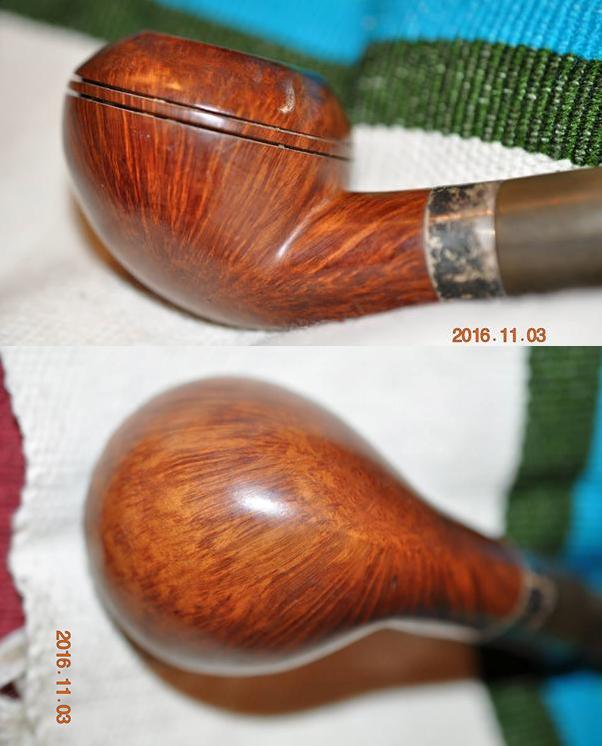
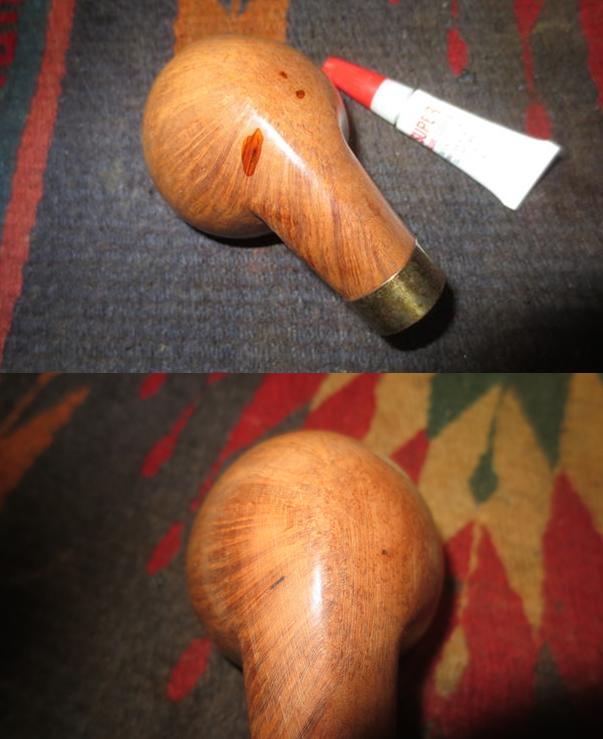
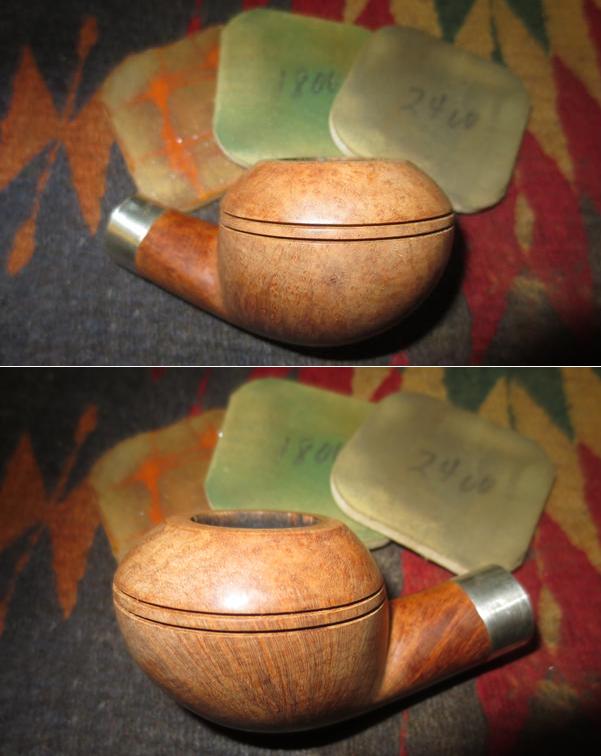
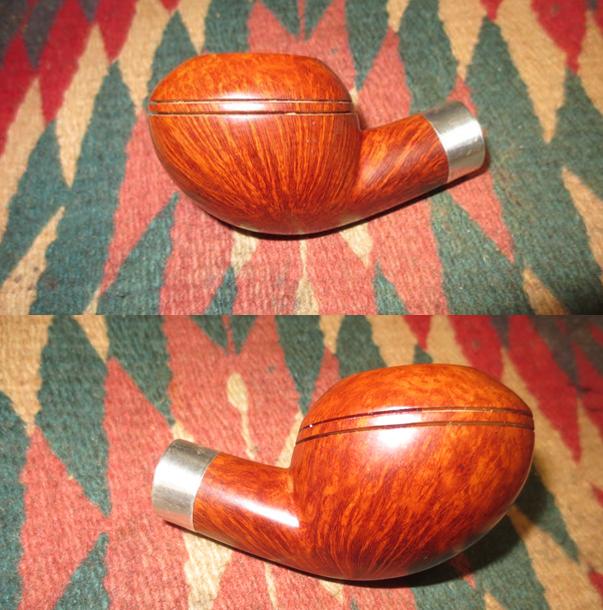
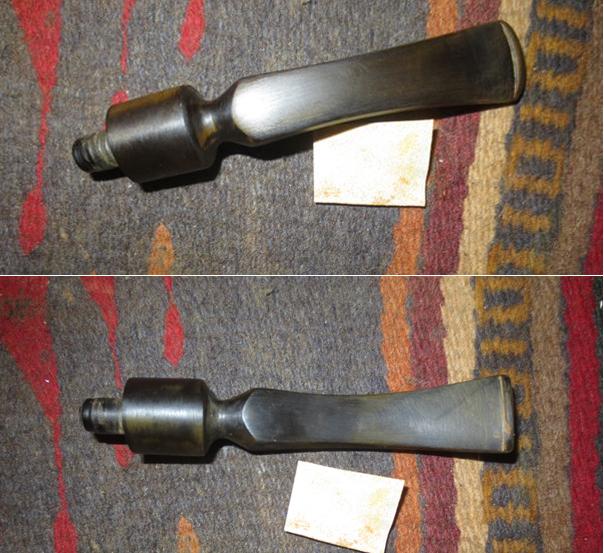
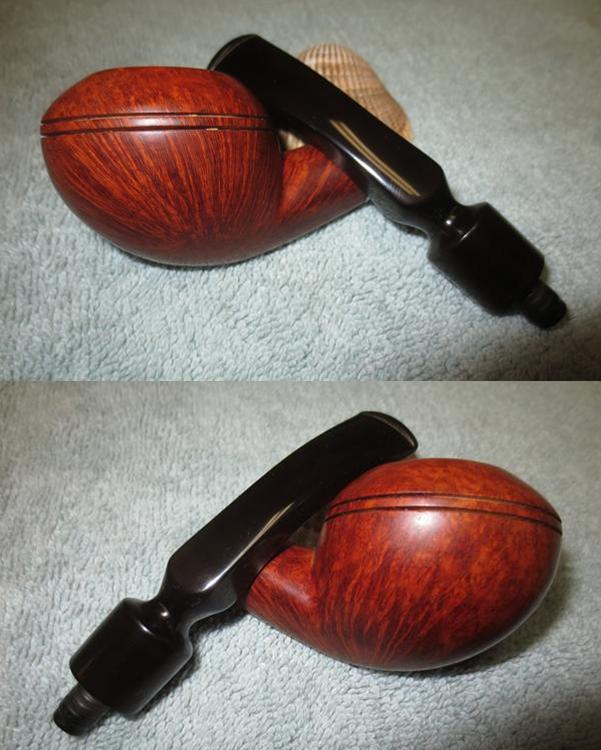
Let’s take a closer look at this pipe. The wood is dark, dense, and hard. I am no dendrologist, but my elementary research tells me that this wood is likely either African blackwood (Dalbergia melanoxylon) or African ebony (Diospyros crassiflora). Both woods are quite similar insofar as they are both thoroughly black, extremely hard and dense, very difficult to work, and among the most expensive in the world. Based on what I read, my educated guess is that this is African blackwood – but that is only a guess. Perhaps the loveliest feature of this pipe are the decorative lines all along its side. Amazing workmanship! 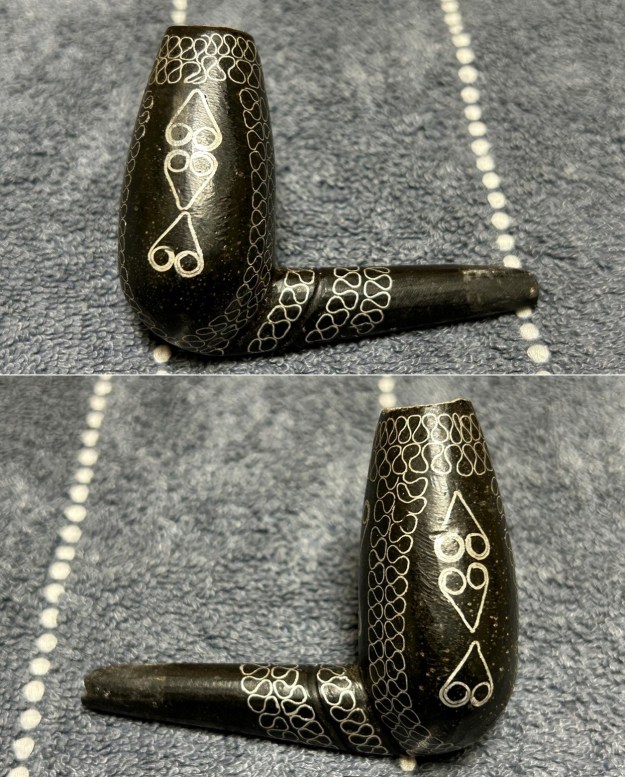
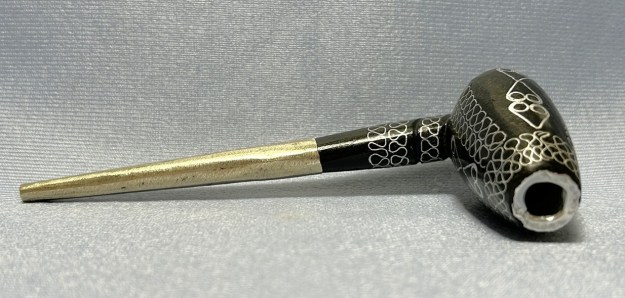
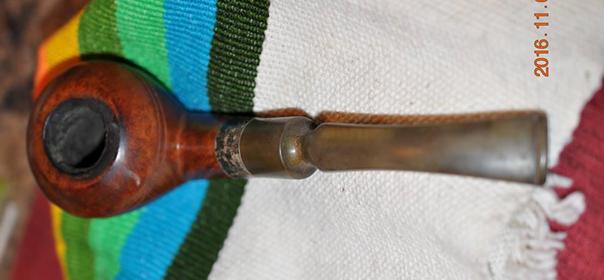
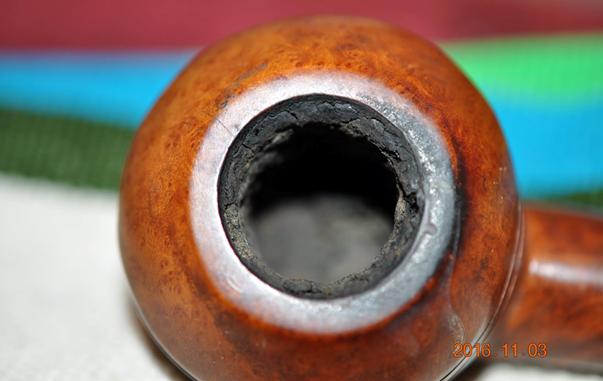
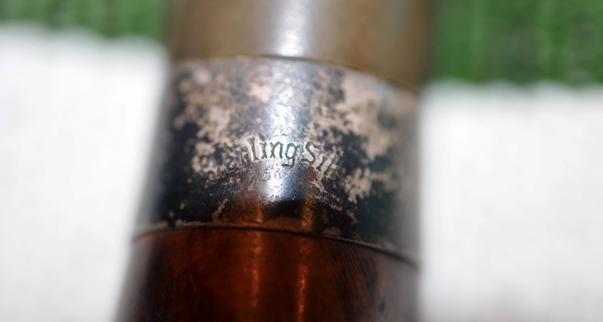
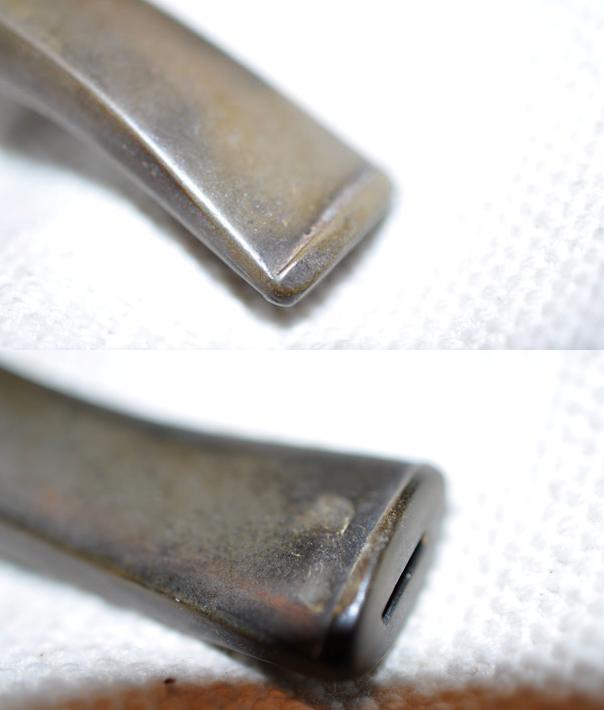
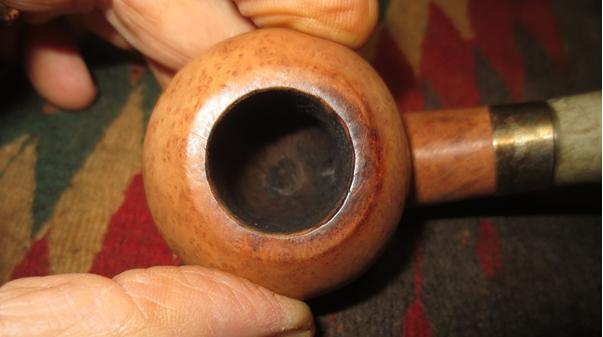
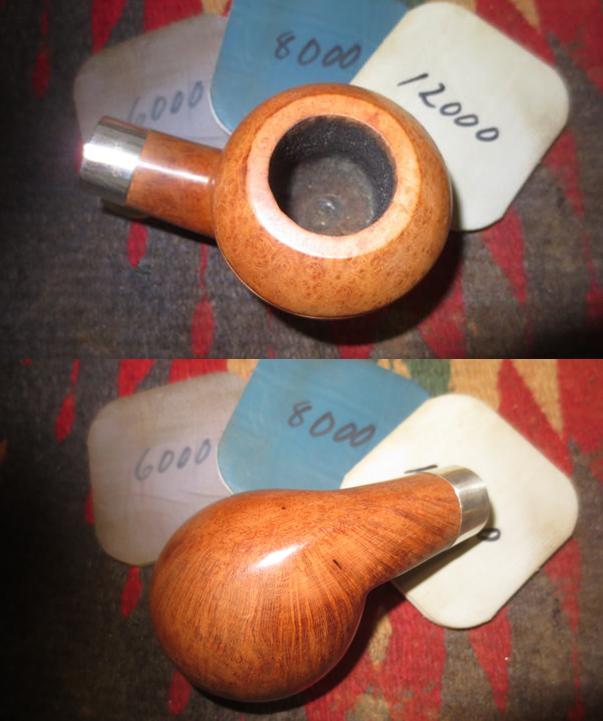
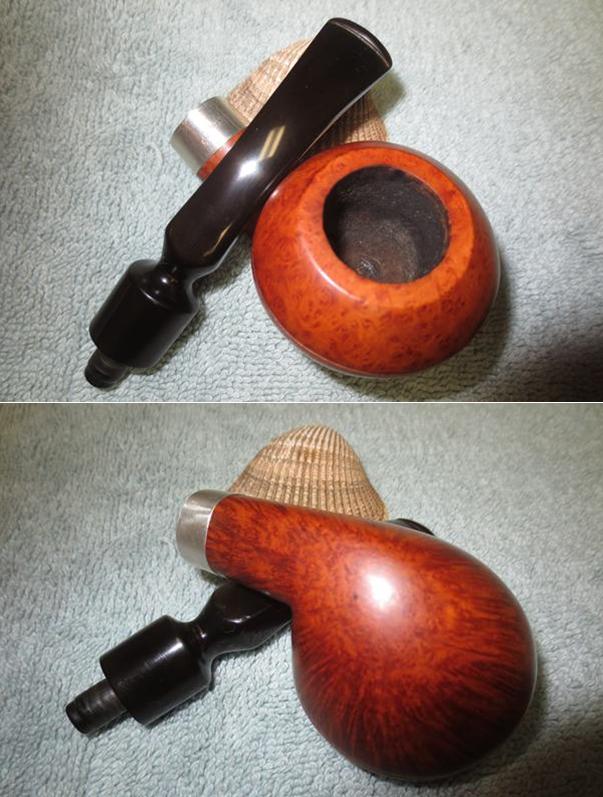
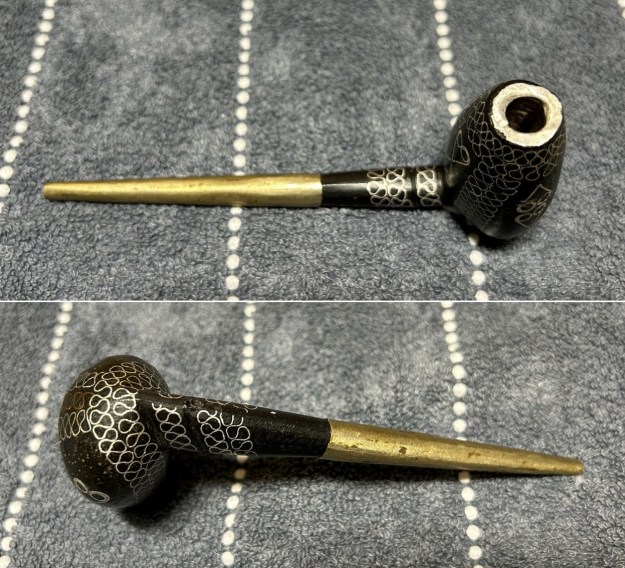
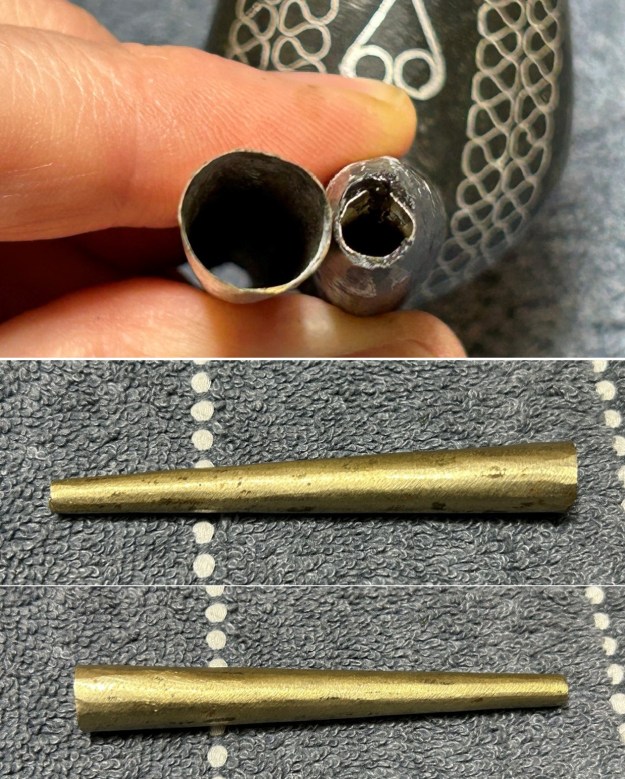
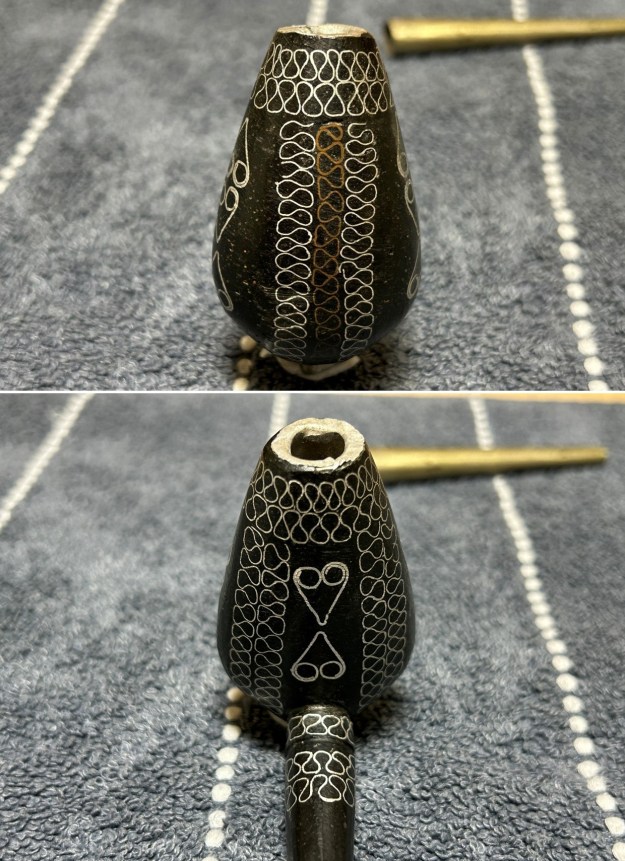 Both the stem and the inside of the stummel are made of metal – however, there are at least two metals involved (and possibly three). The metal inside the shank seems to be ferrous. I tested it with a magnet and it was strongly magnetic. However, neither the metal on the stem nor the metal inside the smoking chamber were magnetic. The metal Inside the smoking chamber seems soft – perhaps something like zinc. The stem, however, is clearly a different metal. It did have a bit of tarnish on it, and I think it is likely to be brass. But I don’t have a definitive answer.
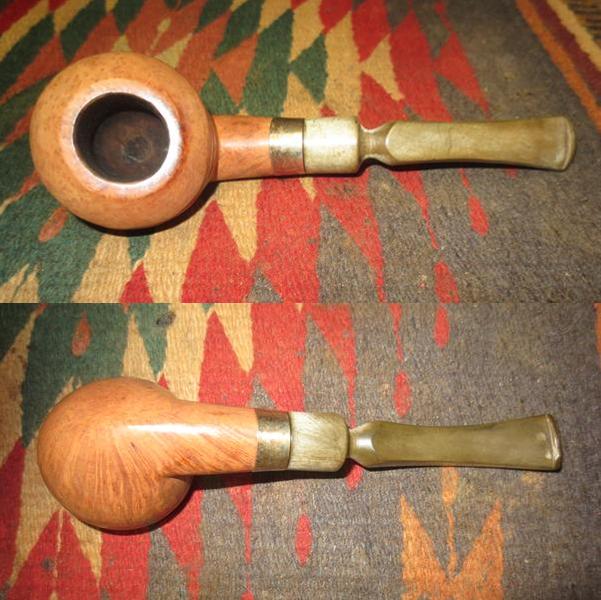
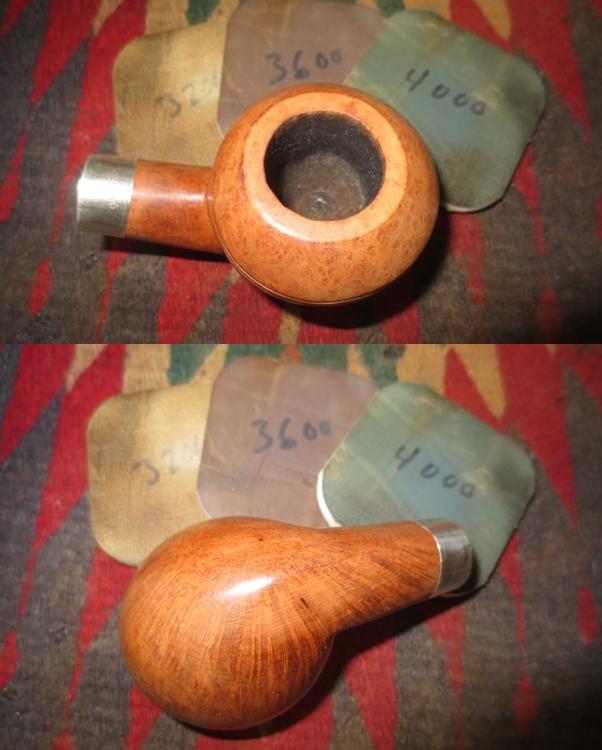
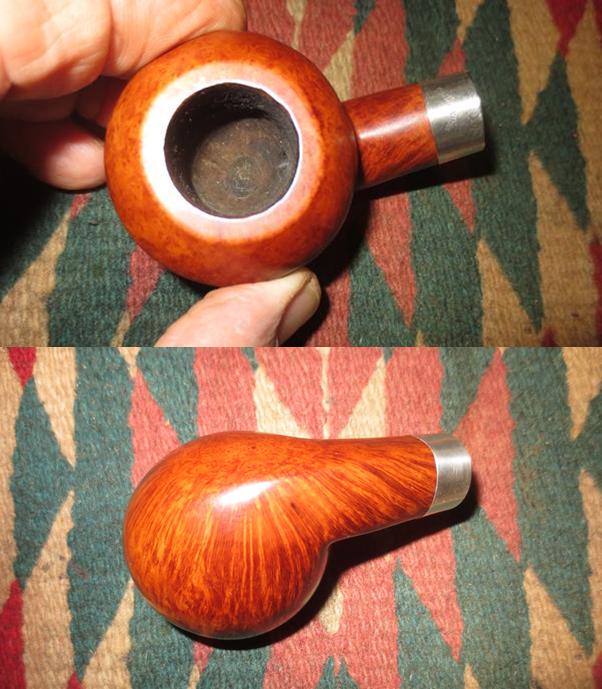
 The overall condition of this pipe was very good. No problems to be resolved and only a little cleaning. My gut tells me that this pipe was never smoked, but I couldn’t swear to that. The stummel was quite clean and without major issues. There is a small hole on the underside, but that is deliberately there – either as a ventilation port or as a means of accessing the inside. The stem is just fine and has no issues of note.
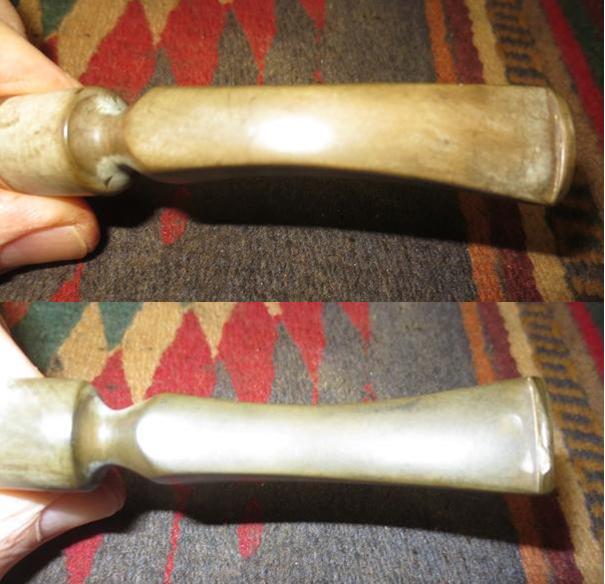
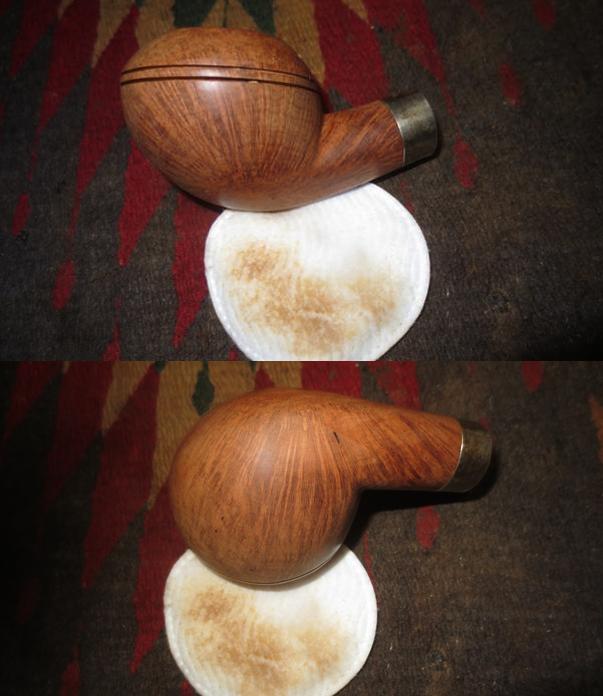
I disinfected the inside of the stem with both pipe cleaners and cotton swabs dipped in lemon-infused 99% isopropyl alcohol. I scrubbed thoroughly to make sure the interior was very clean. I used only a few pipe cleaners and cotton swabs.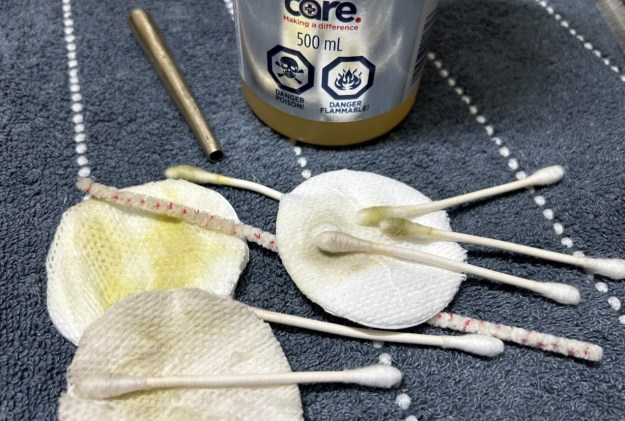 Going to my sink, I used cream cleanser, cotton rounds, and some tube brushes, and scoured the stem to remove as much grime as possible. This was pretty easy, as the stem was quite clean.
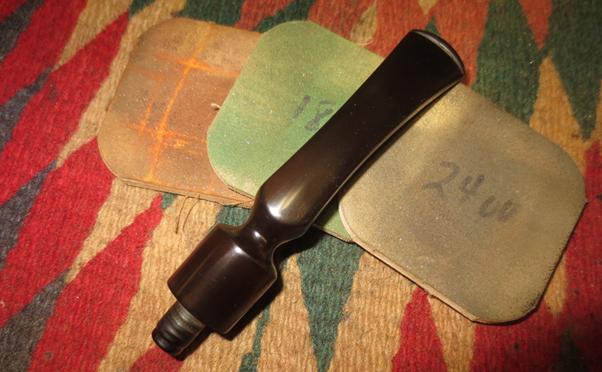
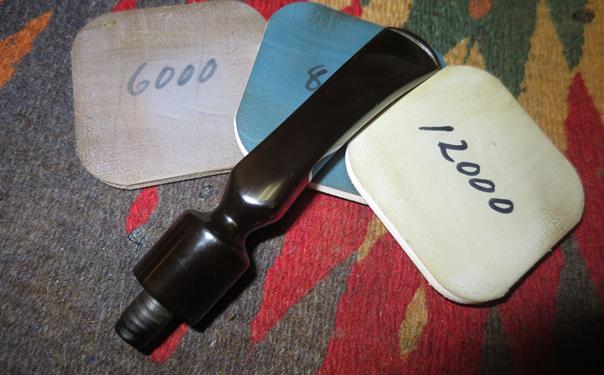
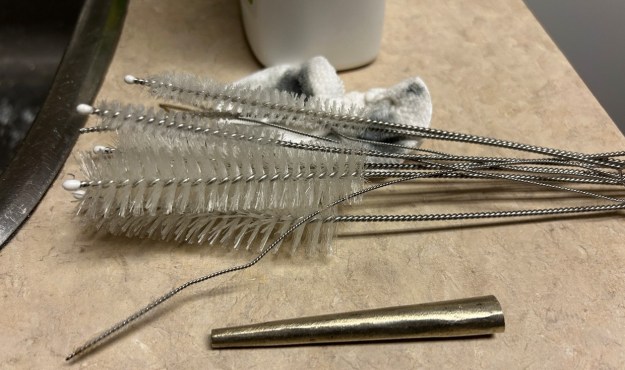 I deliberately did not sand either the stem or the stummel, as I wanted to maintain the hand-crafted nature of this pipe. Instead, I took the finest two or three micromesh pads and shined the surface. I also applied pipe-stem oil while using these pads. There was a wonderful, metallic shine to the stem when I was done.
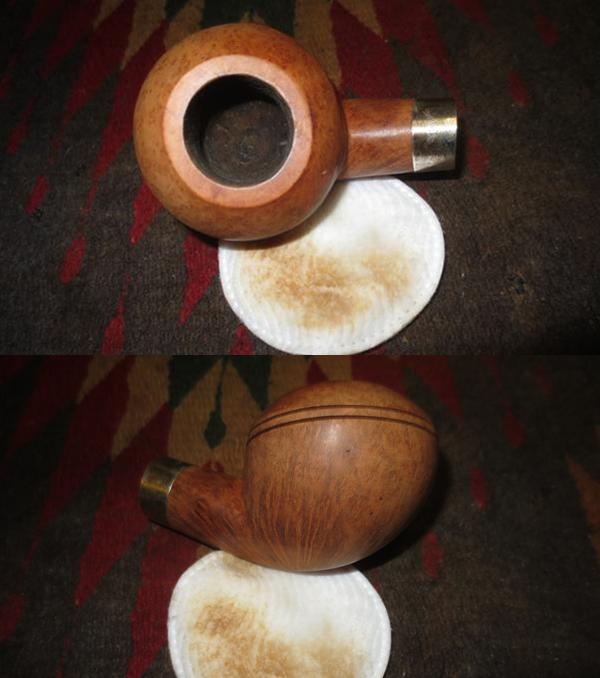
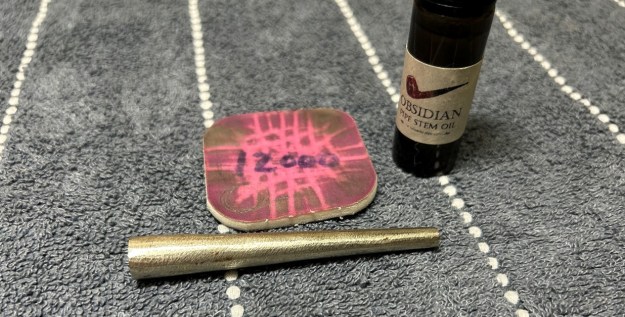 It was then a case of rinse-and-repeat for the stummel. I cleaned it with both pipe cleaners and cotton swabs dipped in lemon-infused 99% isopropyl alcohol. Just like the stem, not much work was needed, fortunately.
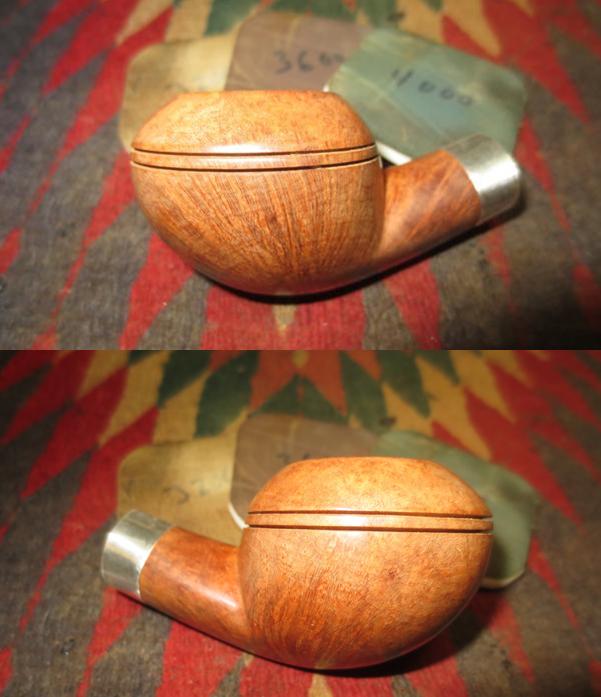
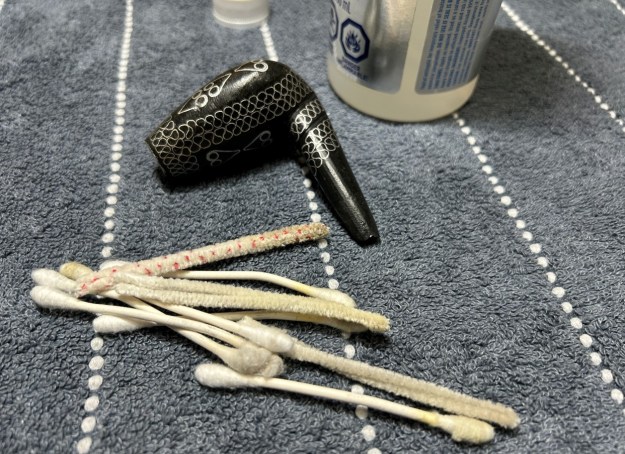 To tidy up the wood, I also wiped down the outside with some oil soap on cotton rounds. This did a good job of cleaning any latent dirt on the surface of the briar. I also very lightly smoothed out the overlapping edge of metal on the rim. I did not modify the look in any way – just wanted to make the transition slightly less jarring.
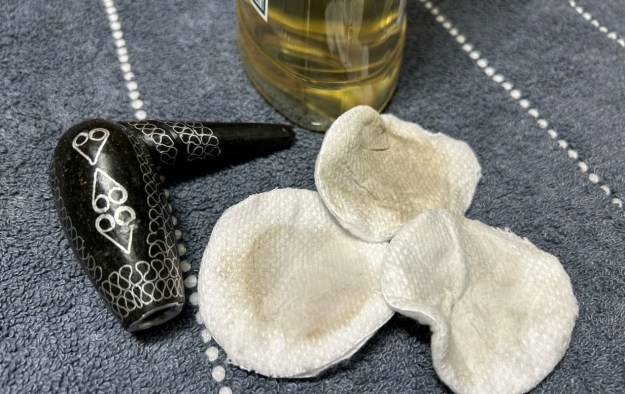 Then, again, just like the stem, I buffed the stummel with only the finest two or three micromesh pads. Maintaining the original look of the pipe was key for me. I rubbed some LBE Before & After Restoration Balm into the black wood and let it sit for 30 minutes or so. The balm moisturizes the wood and gives a beautiful depth to it. I then buffed the stummel with a microfibre cloth until it shone beautifully!
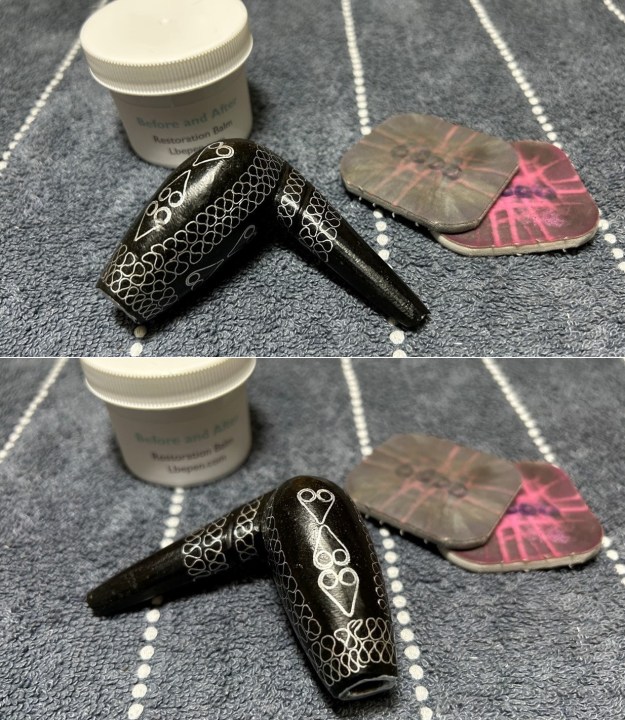
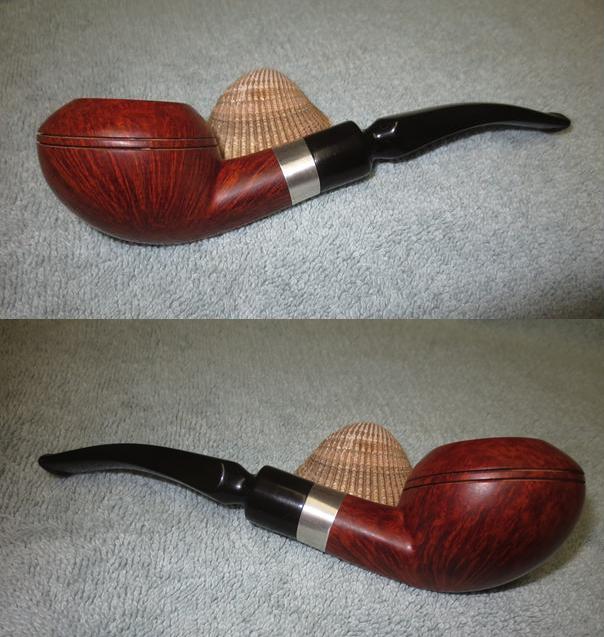
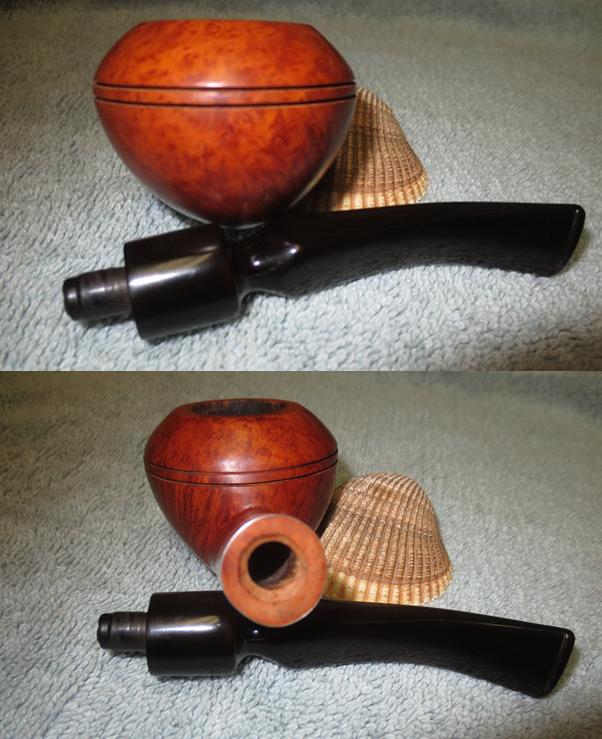
 All done! This Tuareg blackwood and metal pipe looks fantastic again and is ready to be enjoyed by its next owner. I am pleased to announce that this pipe is for sale! If you are interested in acquiring it for your collection, please have a look in the ‘Various Makers’ section of the store here on Steve’s website. You can also email me directly at kenneth@knightsofthepipe.com. The approximate dimensions of the pipe are as follows: length 5¾ in. (145 mm); height 2½ in. (64 mm); bowl diameter 1½ in. (38 mm); chamber diameter ⅓ in. (8 mm). The weight of the pipe is 1⅜ oz. (41 g). I hope you enjoyed reading the story of this pipe’s restoration as much as I enjoyed restoring it. If you are interested in more of my work, please follow me here on Steve’s website or send me an email. Thank you very much for reading and, as always, I welcome and encourage your comments.