Blog by Steve Laug
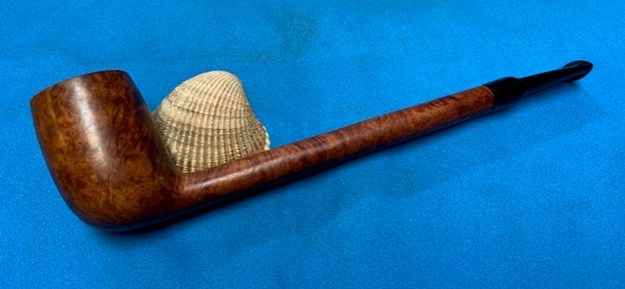
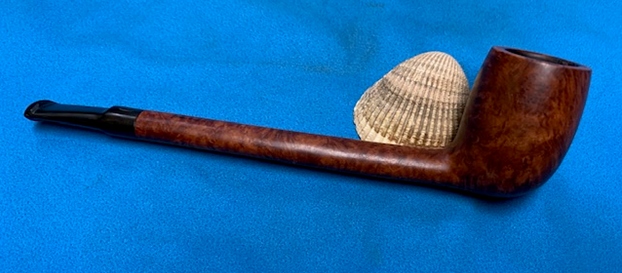
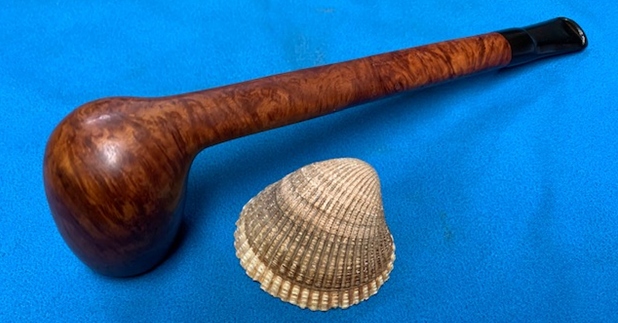
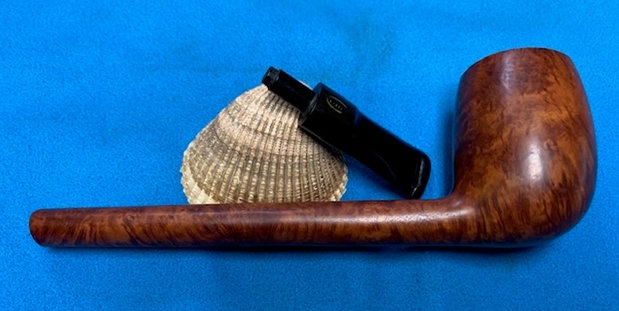
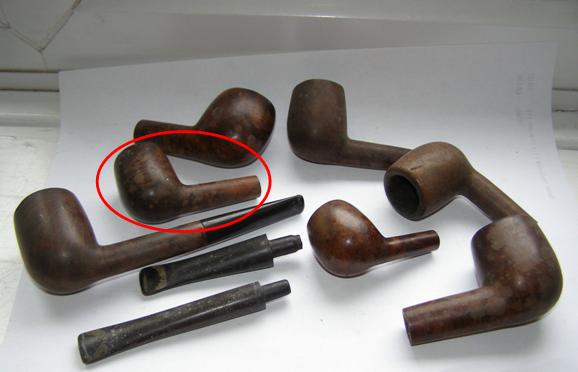
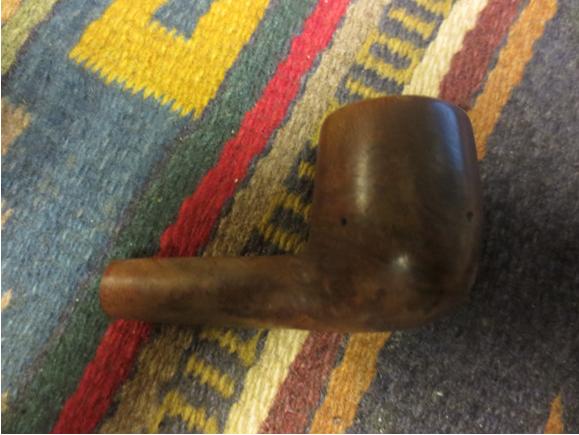
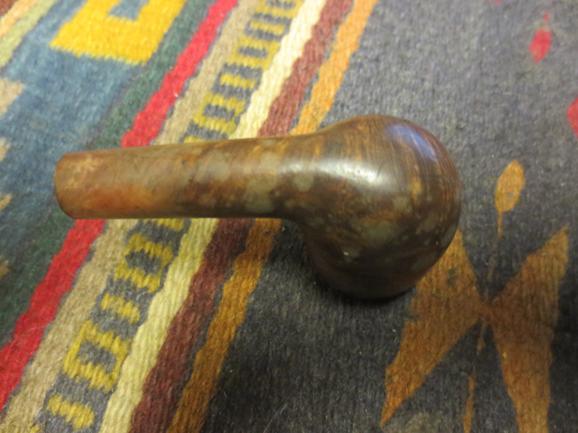
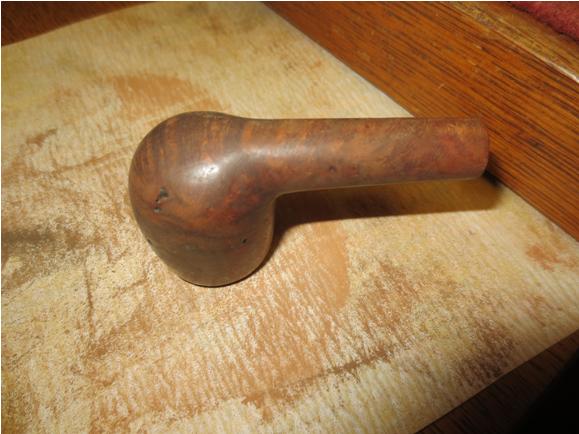
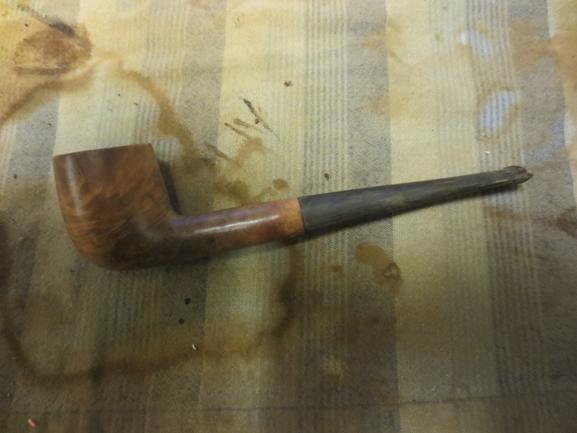
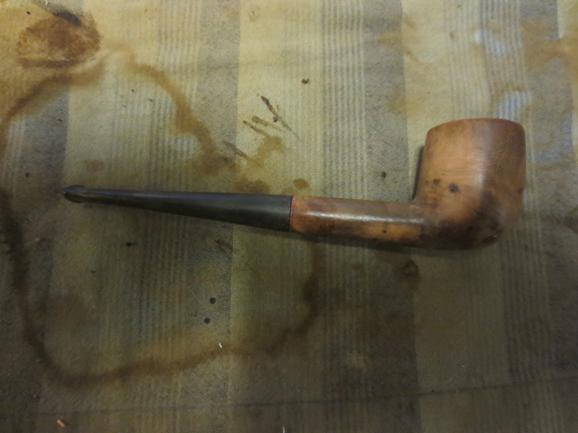
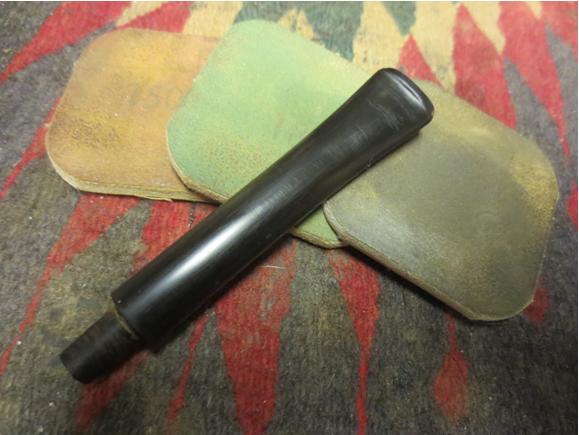
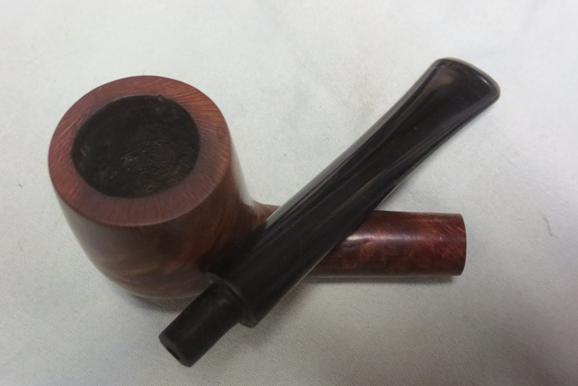
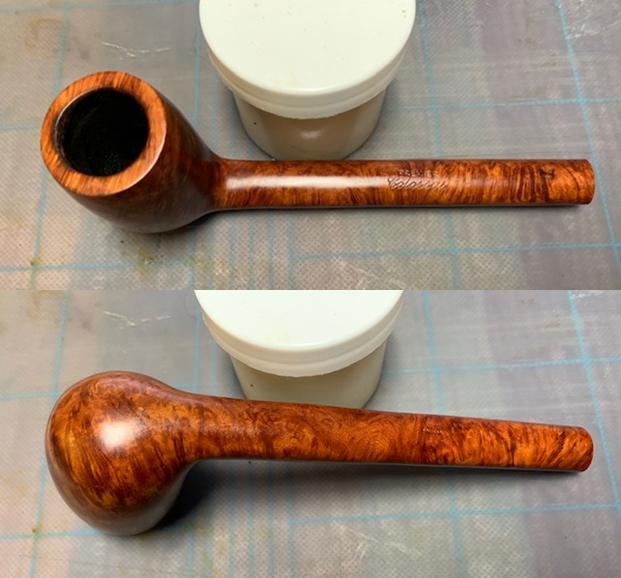
A fellow Vancouver Pipeman named Alex has been keeping me busy with working on the pipes he is picking up. He has picked up some interesting American and English made pipes. The next of those pipes is a long shank pipe that is a part of the Canadian family of pipes. The shank is oval and the stem is a saddle shaped one which makes it a Lumberman rather than a Canadian. I did a screen capture of the shapes from Pipedia (https://pipedia.org/wiki/Canadian). It is the second pipe in the picture below.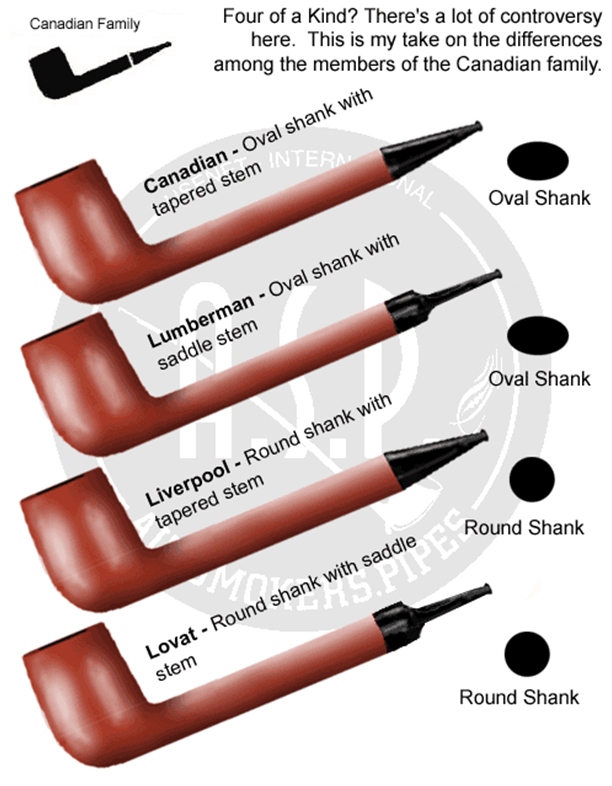 This long shank GBD Lumberman is quite a stunning pipe. The pipe is one large piece of briar with no joints on the shank. From what I can see there is one flaw on the top of the shank near the end. There are some small fills around the bowl that are blended in quite well. The pipe is stamped on the top and the underside of the shank. On the topside it reads GBD in an oval [over] Premier [over] Colossus. On the underside it has a circular COM stamp that reads Made in London in a circle [over] England. That is followed by the shape number 264 with some space and then the upper case letter “T”. There was a thick cake in the bowl and lava overflowing onto the rim top. The rim top has some scratching and dents that will be more visible once the lava coat is gone. It is hard to know what the beveled inner edge looks like because of the lava. The finish was very dirty with grime and oils ground into the smooth finish. The vulcanite saddle GBD Oval logo stamped on the topside of the saddle stem. The stem was calcified, oxidized, dirty and had tooth marks and chatter on both sides near the button. Here are some photos of the pipe when I first received it.
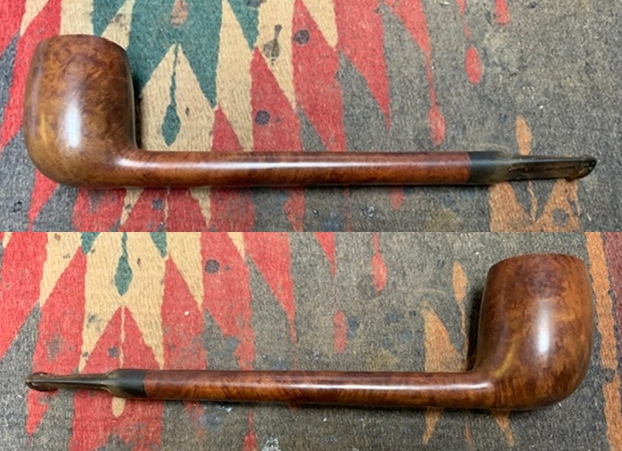
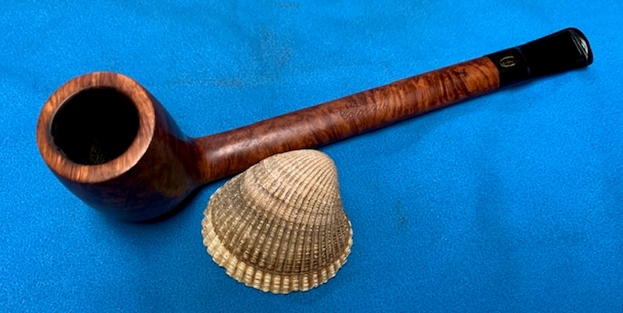
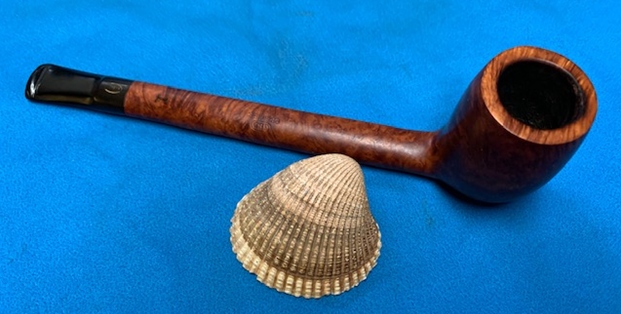
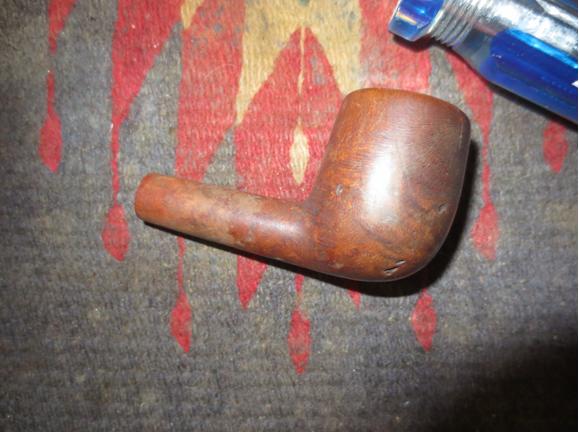
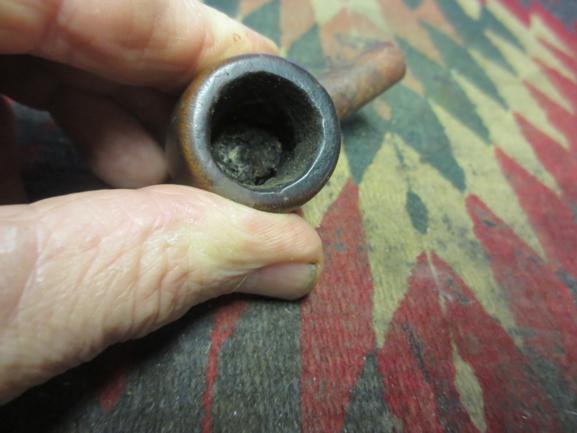
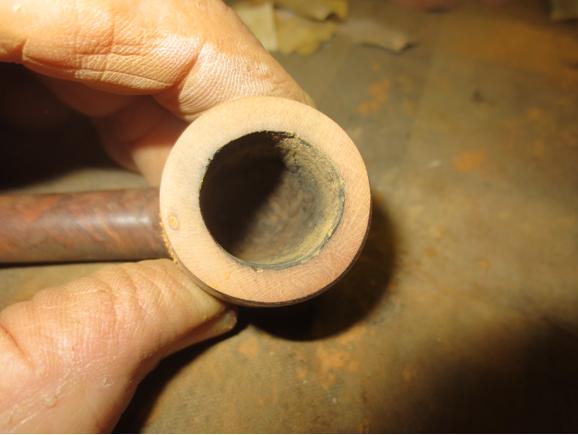
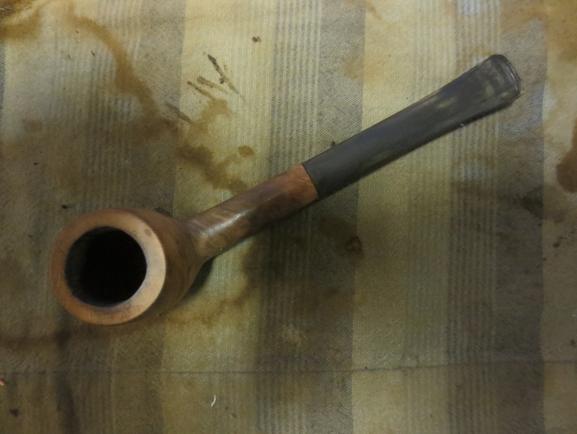
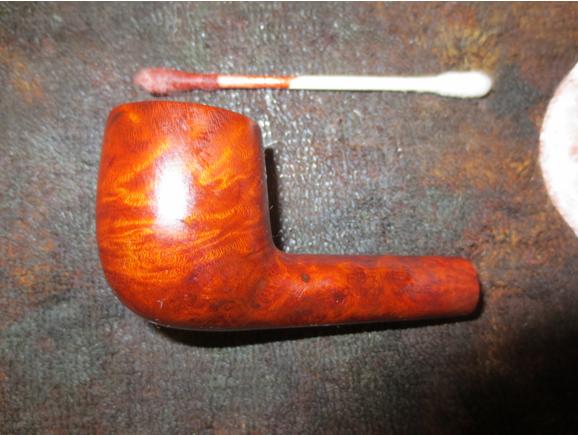
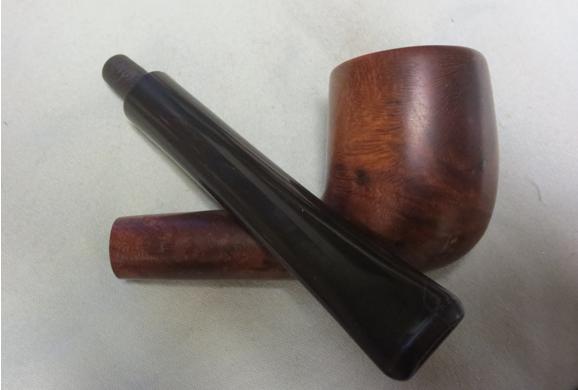
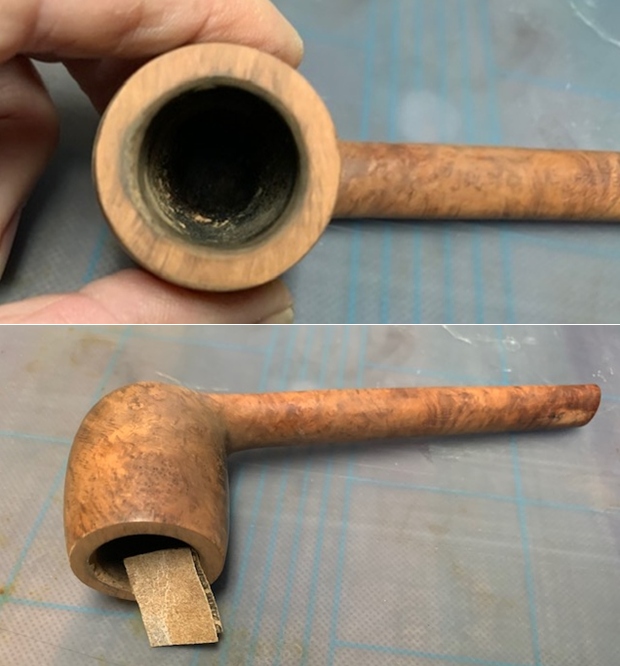
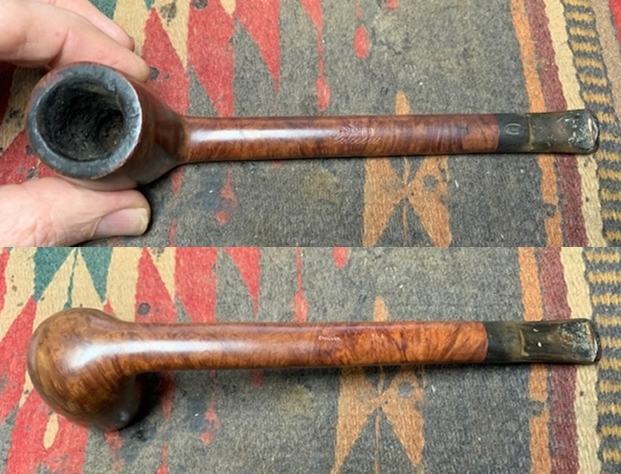 I took a close-up photo of the rim to show the condition of the rim top, bowl and the inner edge of the bowl. It was hard to know what was going on with the rim and edges because of the cake and lava overflow. The stem was a mess with tooth damage and chatter on the button edges and the stem ahead of the button.
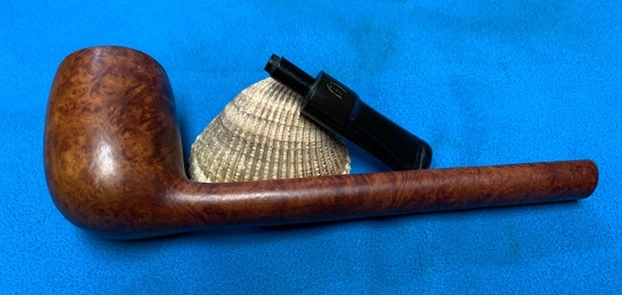
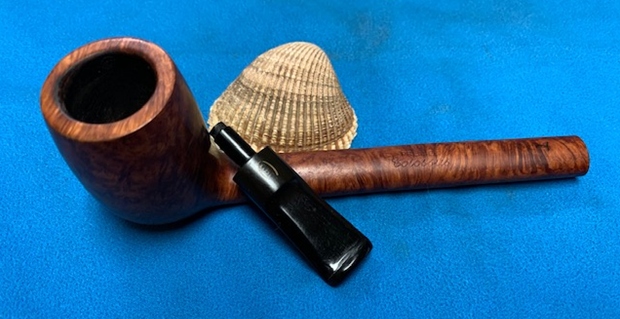
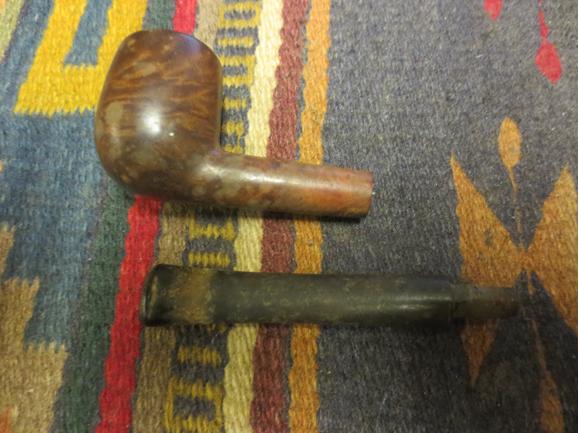
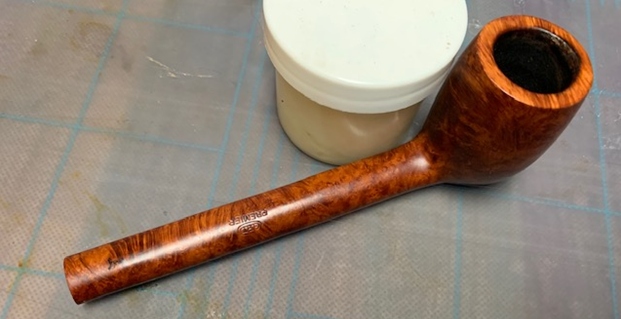
  The stamping on the topside and the underside of the shank are shown in the photos below. It reads as noted above.
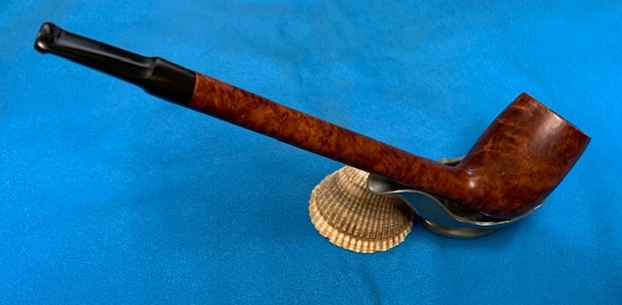
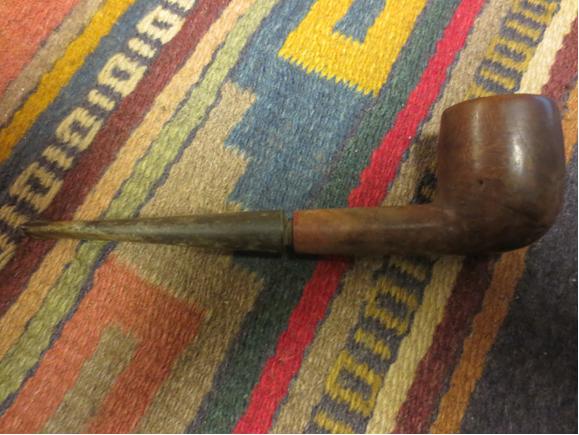
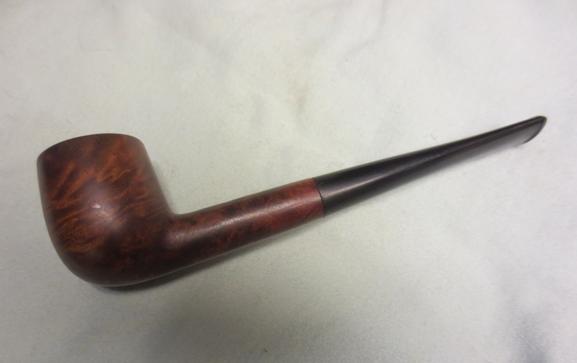
 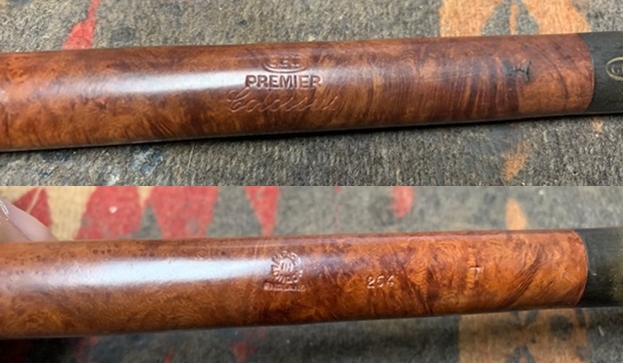 I removed the stem from the shank and took a photo of the flow of the pipe. The pipe was really going to look great once it was cleaned and polished. The long, oval shank Lumberman is a beauty.
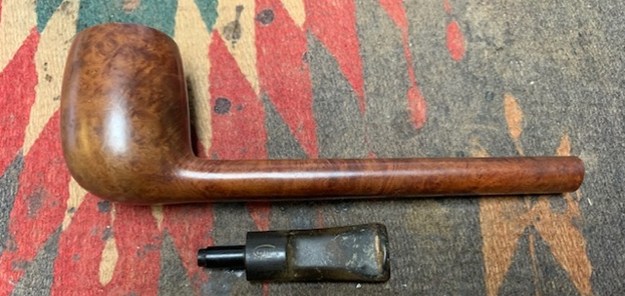 The history of GBD pipes is very well spelled out in multiple articles on Pipedia. I would encourage you to give them a read as they are well written and very readable. It is truly a grand old brand spanning France and England. I turned instead to Pipedias article on GBD’s various models (https://pipedia.org/wiki/GBD_Model_Information). I did a screen capture of the write up on the Premier Line.
![]() The pipe is a Premier which is noted above as a flagship to their pipes. It says that it is stained with a unique fiery Autumn colour combination that has a hand finished mouthpiece.
The pipe is a Premier which is noted above as a flagship to their pipes. It says that it is stained with a unique fiery Autumn colour combination that has a hand finished mouthpiece.
The second stamping on the top of the shank was Colossus. I knew that this stamp was used on larger or what GBD called “plus sized pipes”. I read through the above link and found the information below.
Plus Sized Pipes
In addition to the pipe line and shape information stamped on the pipe GBD also had codes for plus sized pipes. These codes in ascending order of size were…
- Conquest
- Collector
- Colossus
Perspex refers to the lucite/acrylic bit material GBD used, the clear bits used on various models are Perspex. Metal rondelles were discontinued after the merger with Comoy.
From this I know that the pipe is a larger, plus sized pipe that was at the top of the plus sizes – a Colossus. The Premier was the high in the hierarchy as well. I also knew that because of the circular COM stamp and the lack of a metal rondelle that the pipe was made after the merger with Comoy.
Now it was time to work on the pipe itself. I reamed the thick cake back to the walls with a PipNet pipe reamer using the first two cutting heads. I followed up – cleaning the remnants of cake on the walls with a Savinelli Fitsall Pipe Knife. The final step for me to assess the condition of the walls of the bowl is to sand it with 220 grit sandpaper on a piece of dowel. I sanded the walls smooth. I was happy with the condition of the inside walls of the chamber. 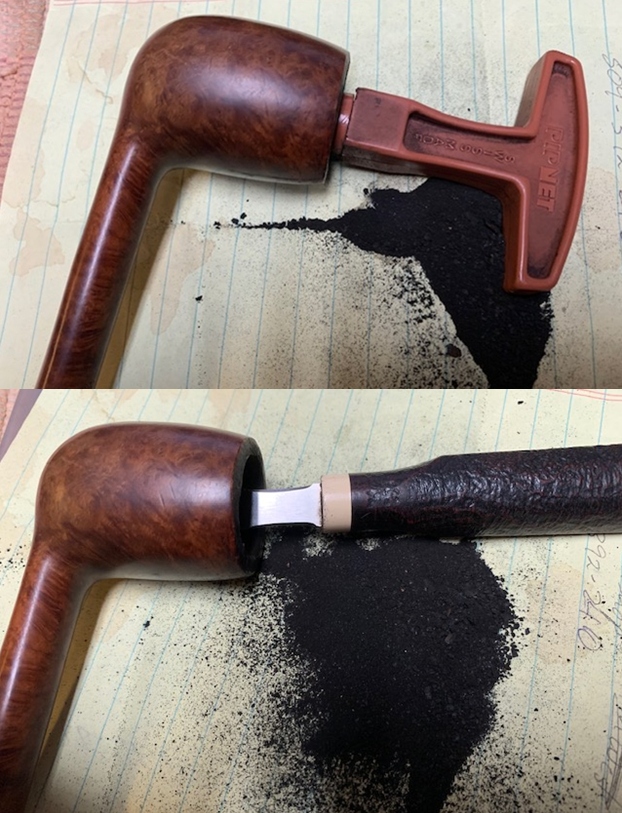
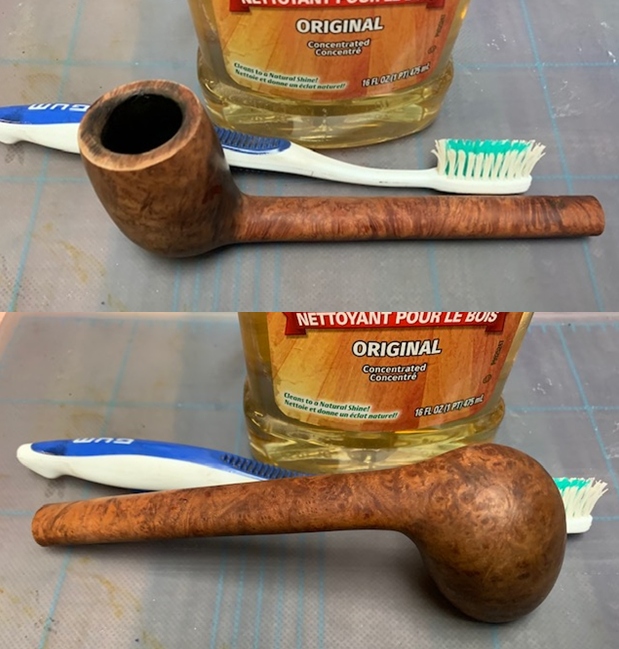
 I scrubbed the exterior of the bowl with a tooth brush and undiluted Murphy’s Oil Soap to get the grime and debris out of the briar. I rinsed it with running water and dried it off with a towel. With that the outside was clean… progress!
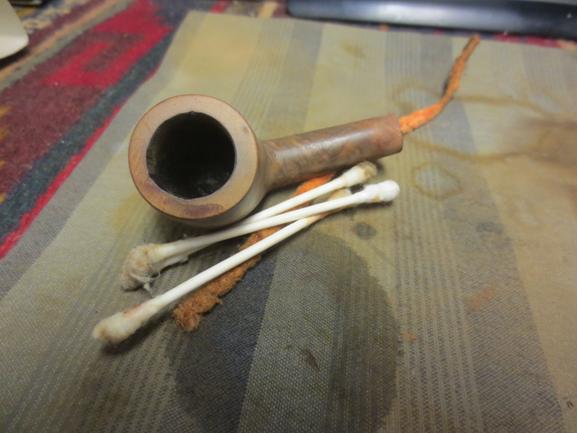
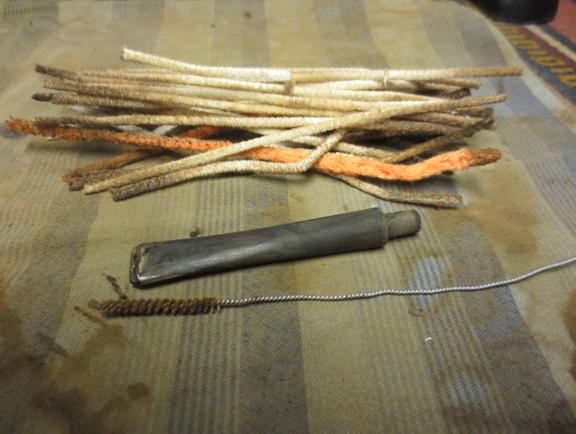
 I cleaned out the mortise, shank in the briar and airway in the stem with pipe cleaners, cotton swabs and 99% isopropyl alcohol. The pipe was dirty with lots of tars and oils.
  I worked on the damage to the rim top to remove the darkening, charring and dents and nicks. I topped it on with 220 grit sandpaper to remove as much of the damage as possible. There was still some damage to the front edge of the rim. I filled in the damaged bevel with briar dust and super glue. I took a photo of the rim top after the cleanup and then worked on the beveled rim with a folded piece of 220 grit sandpaper.
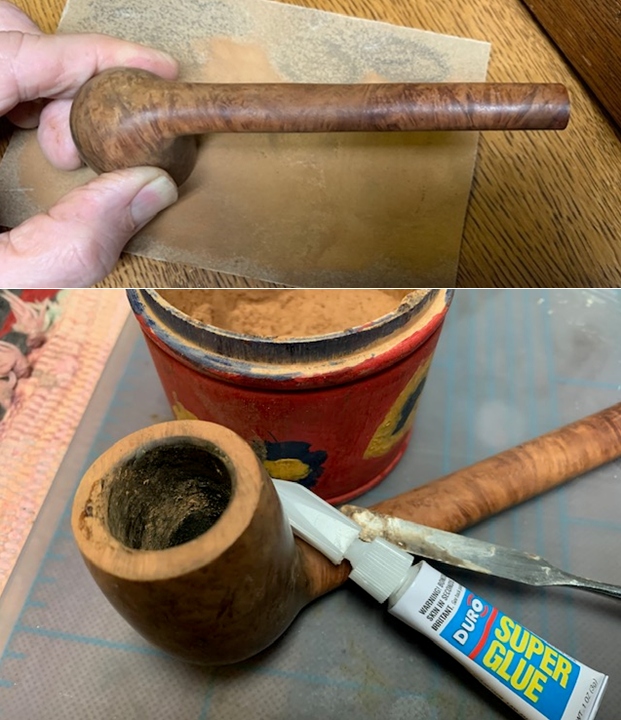
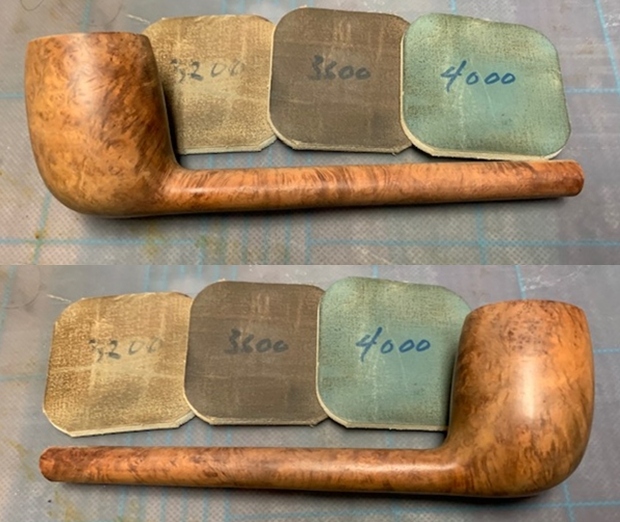
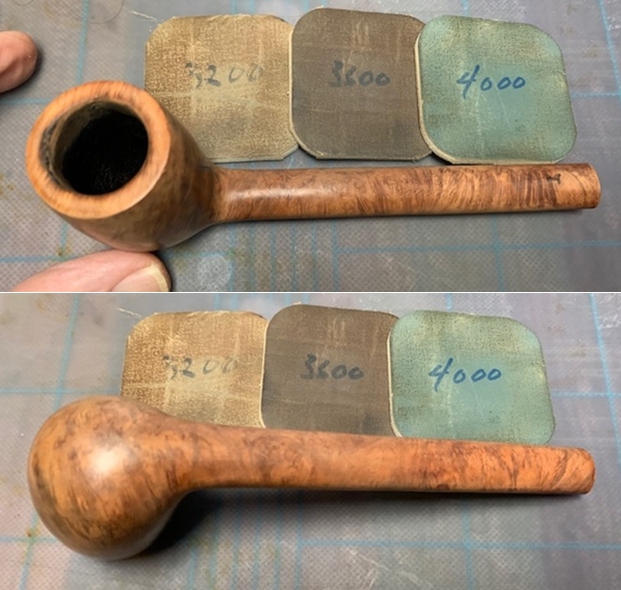
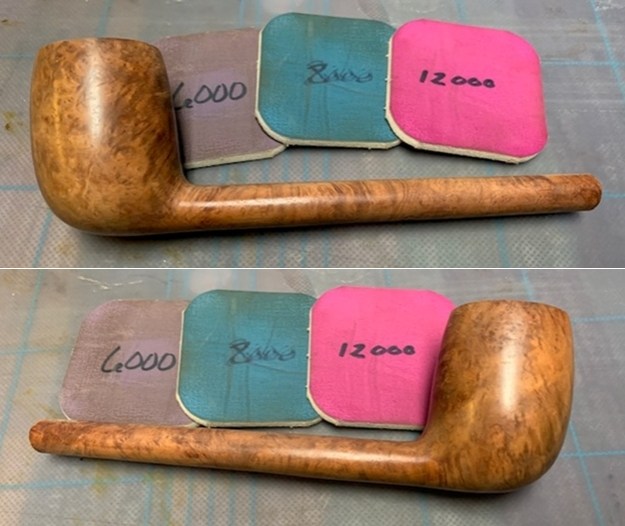
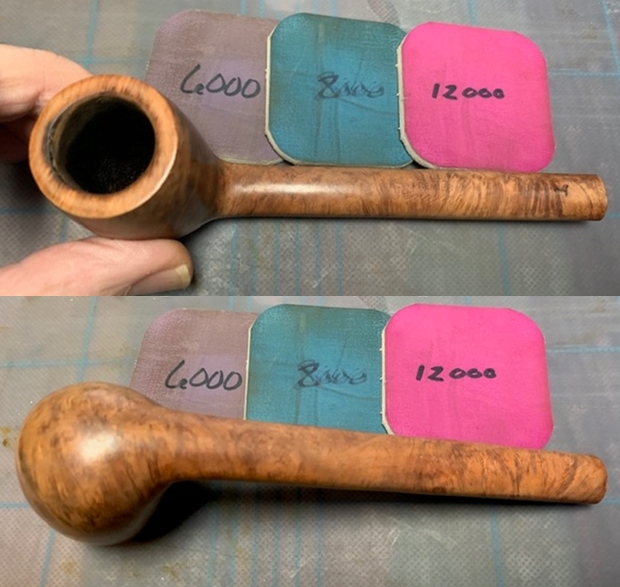
 I polished the briar with micromesh sanding pads – wet sanding with 1500-12000 grit pads and wiping the bowl down with a damp cloth after each pad. The grain is really beginning to stand out and the rim top is blending in quite well.
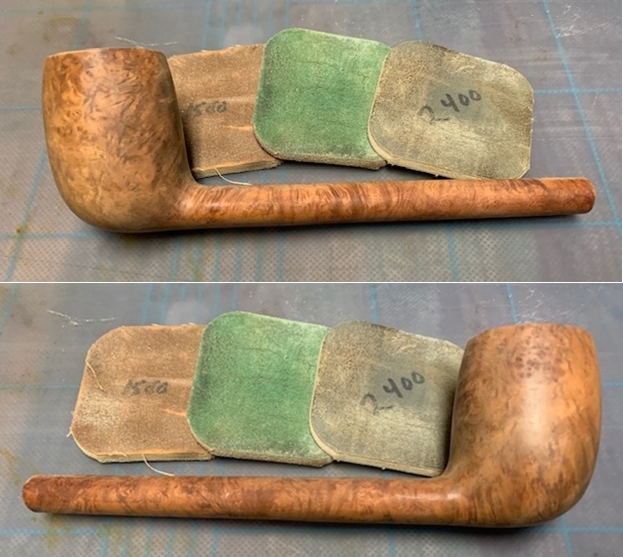
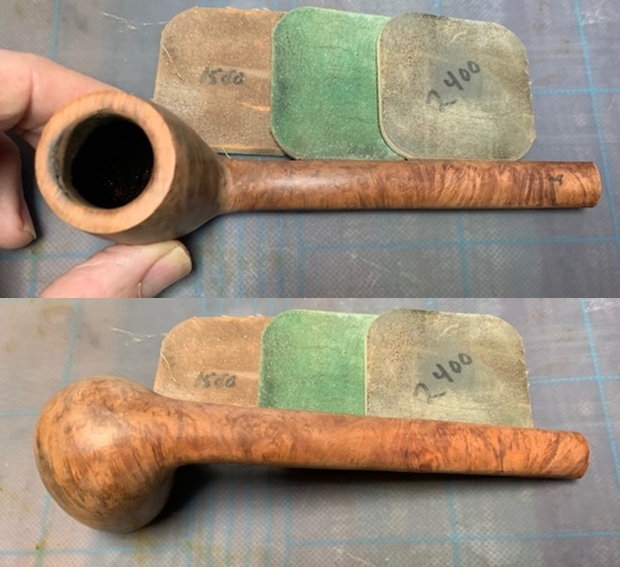
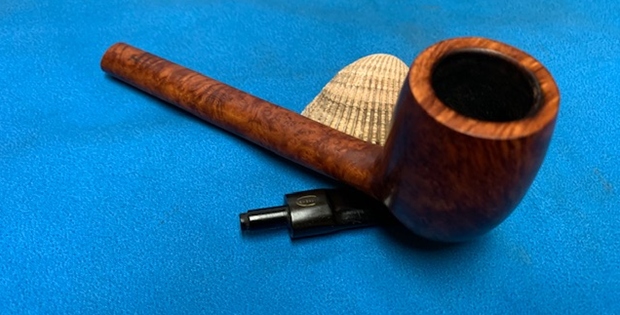
 I worked some Before & After Restoration Balm into the surface of the briar with my fingertips to clean, enliven and protect it. I let the balm sit for a little while and then buffed with a cotton cloth to raise the shine. The following photos show the bowl at this point in the restoration process. I am very happy with the results.
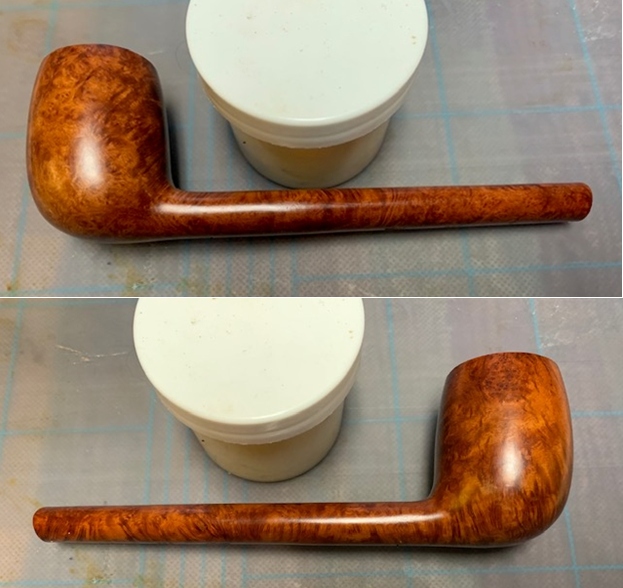

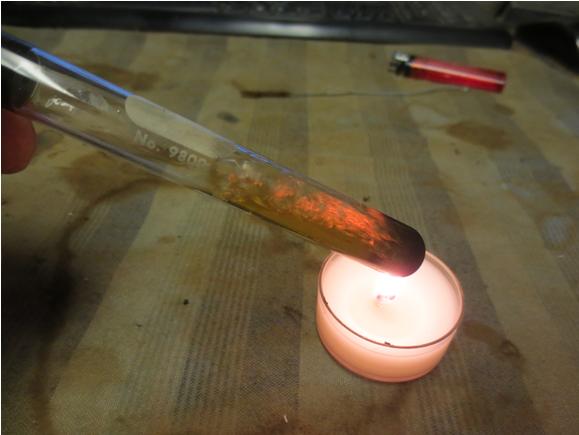
 I set the bowl aside and turned my attention to the stem. I repaired the tooth marks in the vulcanite and rebuilt the edge of the button with Black Loctite 380 Adhesive. Once the repairs had cured I used a needle file to recut the edges of the button and flatten out the repairs.
 I sanded the stem surface and button with 220 grit sandpaper to smooth out the repairs and blend them into the surface. I also worked to remove the remaining oxidation on the stem surface. I started the polishing with 400 grit wet dry sandpaper.
 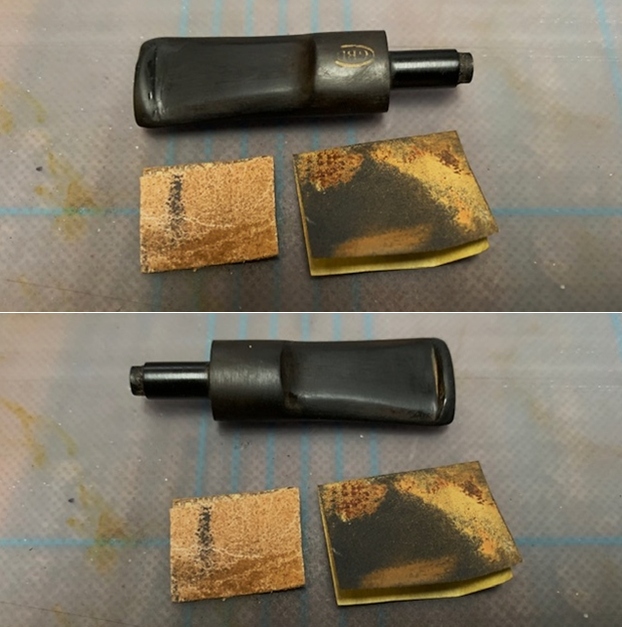 I polished the stem with micromesh sanding pads – wet sanding with 1500-12000 grit sanding pads and wiping it down after each pad with a damp cloth.
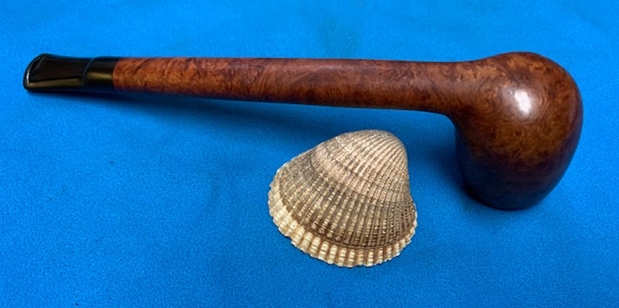
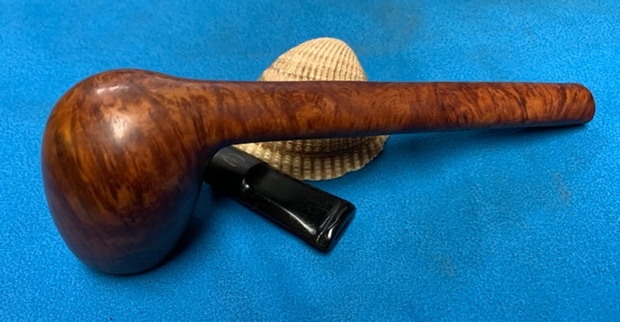
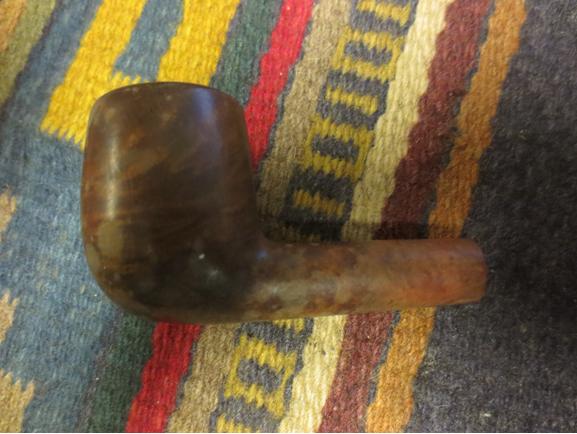
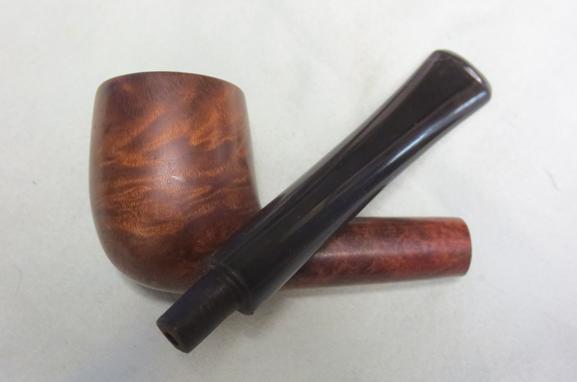
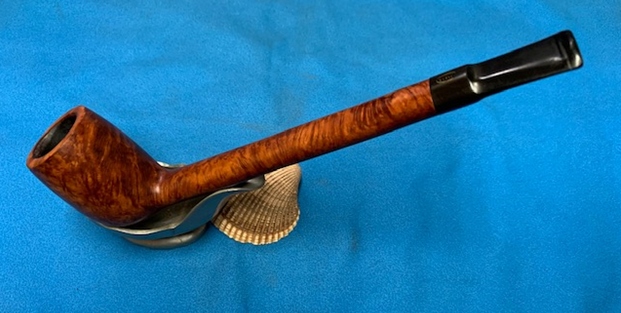
 This GBD Long Shank Premier Colossus Lumberman with a vulcanite saddle stem turned out to be a real beauty. The long shank and bowl is a single unit that speaks of nice, large piece of briar. GBD really maximized the grain with the shape of the pipe. Everything about the pipe – the finish, the crowned rim top and the cut of the briar work well to highlight the grain around the bowl. I polished stem and the bowl with Blue Diamond polish on the buffing wheel and the finish just popped and came alive. I gave the bowl and the stem multiple coats of carnauba wax. I buffed the pipe with a clean buffing pad to raise the shine. I hand buffed it with a microfiber cloth to deepen the shine. The pipe polished up pretty nicely. The pipe took on life with the buffing. The rich brown finish works well with the polished vulcanite stem. The finished pipe has a rich look that is quite catching. Have a look at it with the photos below. The shape, finish and flow of the pipe and stem are very well done. The dimensions are Length: 7 ½ inches, Height: 2 inches, Outside diameter of the bowl: 1 ¼ inches, Chamber diameter: 7/8 of an inch. The Premier Colossus GBD Lumberman will back in the box of pipes that I am working on for Alex. I am looking forward to what he will think of this one. Thanks for walking through the restoration with me as I worked over another estate pipe.