Blog by Robert M. Boughton
Member, International Society of Codgers
Member, North American Society of Pipe Collectors
Member, Facebook Gentlemen’s Pipe Smoking Society
https://www.facebook.com/roadrunnerpipes/ Now Open!
http://about.me/boughtonrobert
Photos © the Author except as noted
“Who are you?” [Inigo Montoya screamed to the man in black.]
“No one of import. Another lover of the blade.”
“I must know!”
“Get used to disappointment.”
— William Goldman (b. 1931), U.S. novelist, playwright, screenwriter, in The Princess Bride, Ch. 5, 1973
INTRODUCTION
Having a firm belief that no one and nothing in this world exists without importance and consequence, although whether for good or bad is debatable, I have developed a certain passion for inquiring of those I think might have the answers I seek. When on frequent occasions that approach fails, I research. By no means do I always find conclusive documentation, but I’m with Inigo Montoya in the great story of the power of true love referenced above, rejecting the worldview of growing accustomed to disappointment. When successful, I tend to be thorough; when I strike out, it’s more like crashing and burning.
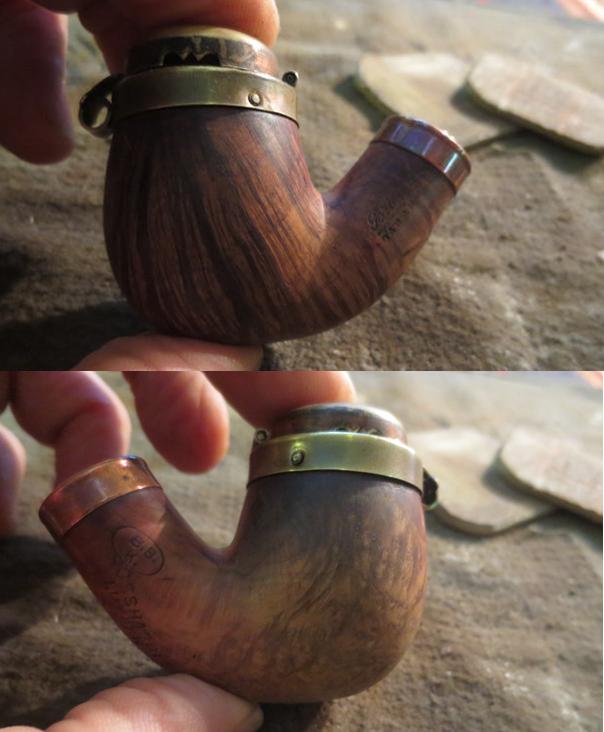
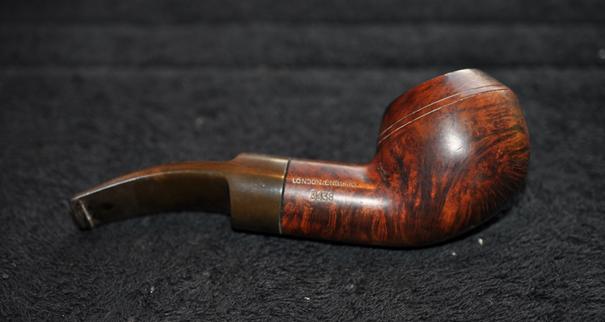
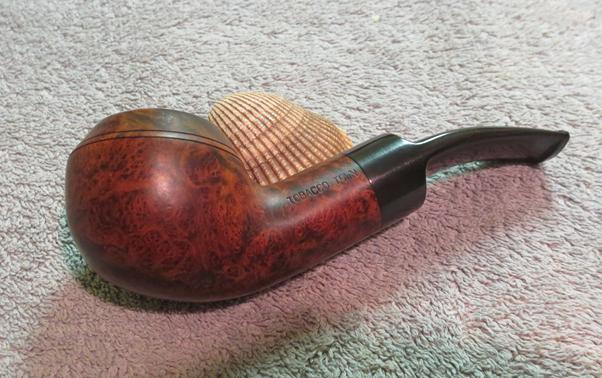
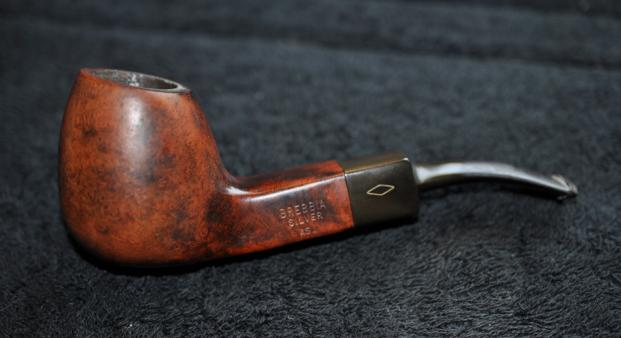
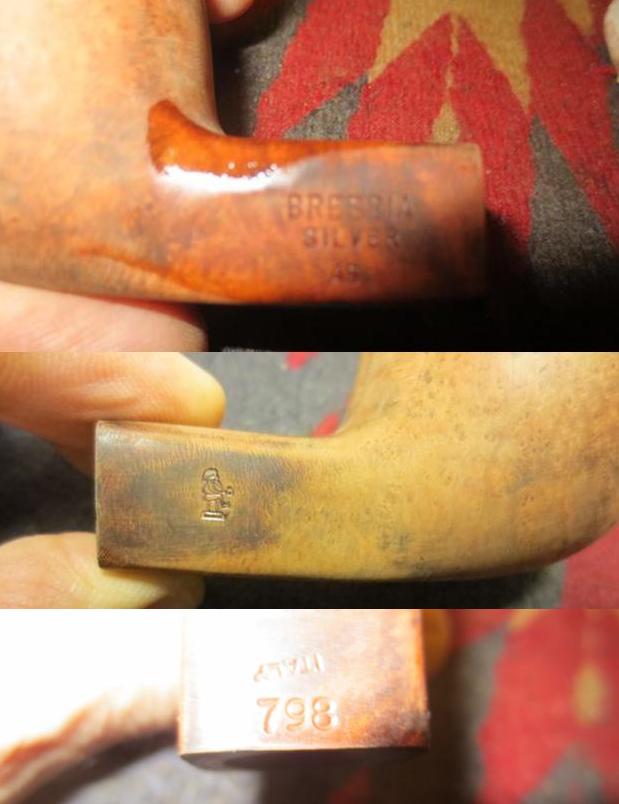
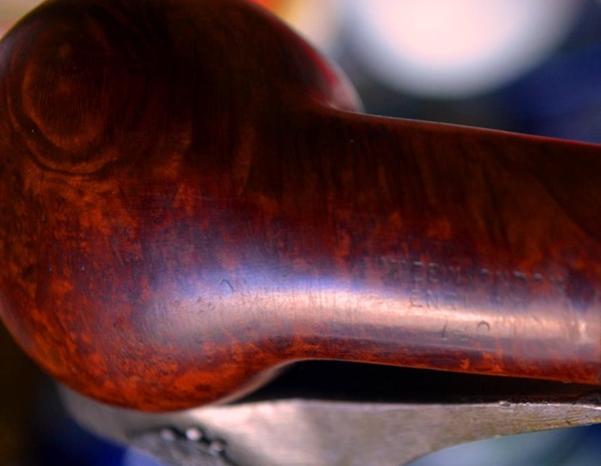
By way of an example of a success story, I found myself unable to make out any nomenclature on the pipe this blog concerns other than Made in London above England, and below that what looked like 140. I went on a hunch that it might be a Comoy’s and consulted a meticulous list of that maker’s shape numbers. They skipped from 133 to 158. At this early, eyes-on exam stage of the refurbish, I was not even convinced the first digit of the shape was a 1 – it might have been a mere scratch – and so I looked for just 40. Both that and 41 were missing. Thus, for the sake of pure curiosity, I made my way all the way up through the 800s and discovered that Comoy’s has a 340 and a 440, both straight and with an M denoting Medium (the former a billiard and the latter a Rhodesian, FYI).
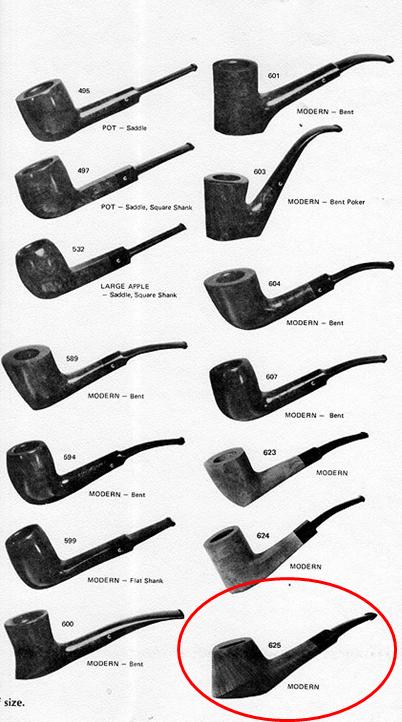
Nowhere near the point of declaring defeat, I took what some Internet search engines refer to as the “I’m Feeling Lucky” approach and Googled “tobacco pipe 140 shape number.” I should have been in Vegas with the hit I got that was luckier than my wildest dreams, for at the top of the list on the first page was “Images of tobacco pipe 140 shape number.” The third of these in the preview window was the spitting image of my pipe, albeit a sandblasted version.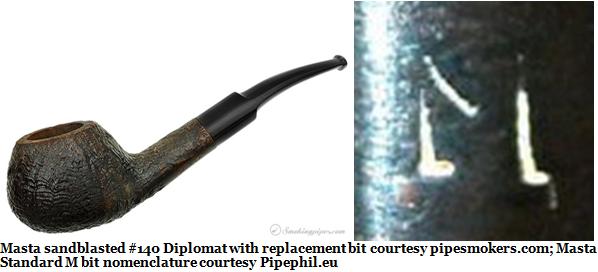 Armed with a brand name, I looked first in Pipephil, where I read of Masta being a British pipe brand founded in about 1900 that was “integrated to Parker-Hardcast[le] Ltd in 1967.” Pipephil, as it turned out, had a shape chart that was not savable. That’s why I tracked down this copy elsewhere, showing shape 140, a Diplomat, relegated to the end under “Other Shapes.”
 Here is a 1938 bill of sale from the Masta Patent Pipe Co. Ltd. to Las Vieilles Bruyères de Corse. (Old Briars of Corsica).
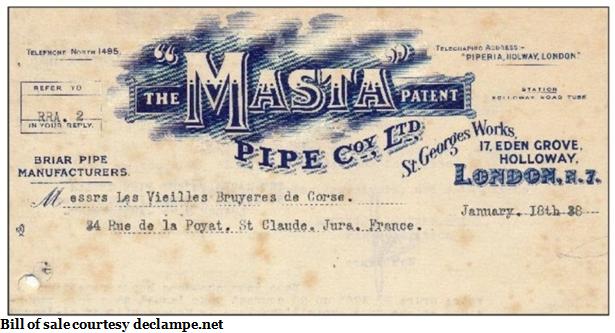 Once again I found discordant information on a brand, and this time differing views of its quality. Moving to Pipedia provided the fullest overall account of Masta’s lineage, with the same approximate information as Pipephil, but noted the complete full name as the Masta Patent Pipe Company Ltd. Pipedia goes still further in pointing out that the brand seems to be out of production, and since Dunhill owns Parker/Hardcastle, it is therefore a big part of the picture. Claiming, without source citation, that as part of Parker/Hardcastle, Masta was produced “primarily for the Scandinavian market,” the Pipedia entry concludes with an unfortunate appraisal that “Masta was at the end rarely the equal of a Parker.”
This last rather snarky comment, which paints Masta as inferior rather than superior to Parker (but leaves Hardcastle unmentioned), is also vague and raises several issues. One, when indeed did the manufacture of Masta pipes end? Two, in what way or ways was the brand somehow less than the implied superlative qualities of a Parker? Three, given Dunhill’s standards during the period of time in question, which I acknowledge is uncertain but clear enough, why would that great pipe maker assign an insignificant brand to Parker/Hardcastle, much less make such a careless purchase in the first place? Four, for argument’s sake (and I am not making this argument), let me throw in the key question: if Pipedia is right, could an antipathy of the two proud old British pipe houses toward the perceived interloper, Masta, have affected a decline in the quality of the new kid on the block? The last part is thrown in as something to chew on, that’s all.
I propose the following answers to these basic questions.
1. The end of the line for Masta remains undetermined, but the probable answer is sometime in the early to mid-1970s.
2. In no way whatsoever are Masta pipes either inferior or superior to Parker. Both brands are often sandblasted to hide blemishes or stained dark enough that any irregular grain is obscured. There are, of course, gorgeous exceptions in both brands.
3. Dunhill’s acquisition of Masta was anything but uncalculated. The reasons Dunhill purchased Masta were premeditated to cash in on the market for well-made pipes that could be offered at lower prices, and to eliminate one more of the many competitors of the day.
4. Addressing the possibility that an overblown and unwarranted competitive drive could have existed, with Parker and Hardcastle gunning to discredit and eliminate the hapless Masta, all I can do is resurrect the great line from “Rowan and Martin’s Laugh-in”: You bet your sweet bippy it could have. But to be fair, there is a lack of strong support for this theory.
 An account of the – ahem – sticky history between Dunhill and Hardcastle comes from the trustworthy source of Iwan Ries and Co. Ltd., tobacconists since 1857. Founded in 1908, Hardcastle made for itself a solid reputation “among the numerous British mid-graders.” [Emphasis added on the final word.] Then, in 1935, Dunhill made a somewhat bold challenge to Hardcastle, throwing down the glove as it were, by commencing construction of a new factory smack next-door. Within a year, the Hardcastle family had sold 49% of the interest in its business to Dunhill.
In 1946, Dunhill delivered the final blow to Hardcastle, buying its remaining shares and consuming it altogether into a mere Dunhill subsidiary. Members of the Hardcastle clan were allowed to continue serving on its board and retain a semblance of independence that came to an end in 1967 when – you guessed it – Hardcastle was put to the final indignity of being merged with the likes of Dunhill’s Parker Pipe Co. created in 1923. On top of everything else, being forced to tolerate close-quarters with a riff-raff commoner such as the Masta Patent Pipe Co. Ltd. must have been the harrowing final straw for both Parker and Hardcastle.
Now we come to another authority concerning Masta: a British seller of estate pipes called Reborn Briar (no relation to this forum). Call me biased if you like, but this site being situated in the same country of manufacture of all four of the related brands mentioned, I suspect it might have an upper hand as far as insights are concerned.
According to Reborn Briar, Dunhill acquired Masta in 1960 as one of its own seconds, seven years before the Parker/Hardcastle additions and reassignment of the Masta name. A splendid-looking Masta Patent Pipe Co. natural tall billiard sitter that was sold by Reborn Briar for GB£40 (a tad more than US$51 at today’s exchange rate) can be seen at the first source link below. An obvious smooth version of the sandblast pictured above, the pipe has beautiful birds-eye grain and a sleek but sturdy look to it, by every angle shown ready to provide a cool, pleasant tobacco enjoying experience. I would, in fact, be happy to add the pipe to my own collection at that price.
Last but not least is the telling information about Dunhill’s low view of Parker pipes that is related with chilling, blunt eloquence by Cup o‘ Joes. To begin, consider Dunhill’s word for the pre-worked stummels it passed on to Parker as “its failings,” rather than the standard term seconds, for stummels deemed less than ideal for use with its own name under the quintessential English pipe maker’s exacting standards of excellence. In fact, during the early relationship between Dunhill and Parker, many of the unfinished pipes it dumped on Parker bore a large X over the Dunhill stamp. Even “Damaged Price” with the actual revised amount was made a permanent imprint in the wood. What’s more, not just a minor flaw or two separated a pipe destined to be a Parker instead of a Dunhill. The crude shapes passed off to Parker would have been rejected altogether after the initial turning process because of significant flaws. Perhaps most telling of the Dunhill-Parker unhappy connection is a lack of any documentation that Dunhill ever marketed or advertised Parkers in its catalogs or stores. For more details on this no-doubt stressed liaison, see the last source link below.
Nuff said about that.
RESTORATION
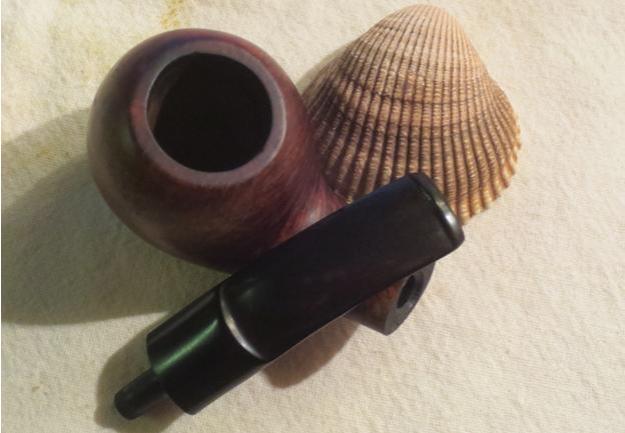
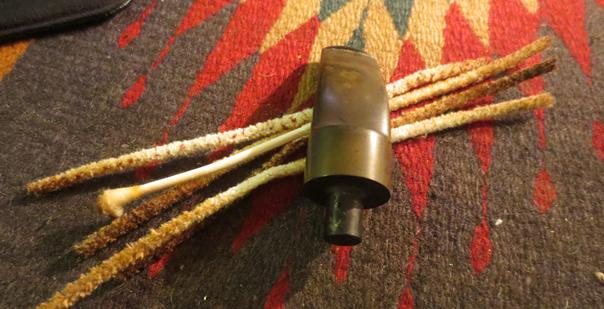
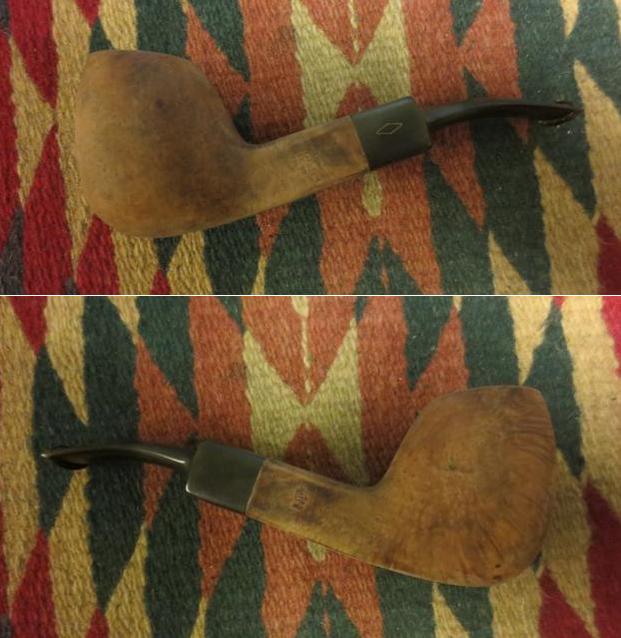
 The first order of business was scooping out old tobacco that had the unusual appearance of being better suited for cigarettes.
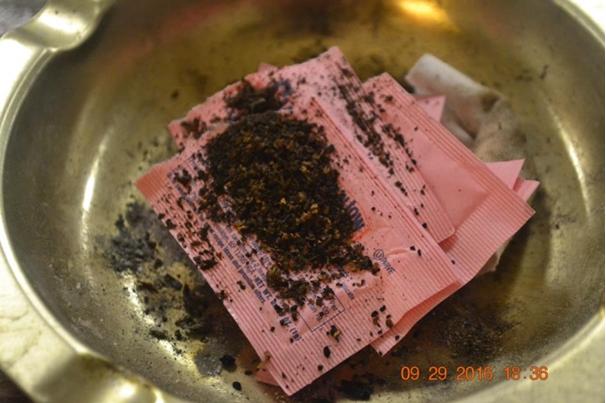 I ran a few Everclear-soaked cleaners through the shank and bit before giving most of the stummel a nice, long soak in alcohol, careful to an almost neurotic state not to leave the shank submerged. I will never forget the GBD Prestige debacle in which I obliterated the last remaining revenant-like nomenclature, and was determined to avoid the same mistake. I made periodic turns of the bowl in the Everclear to keep the stripping of old finish even. I have heard that using strong alcohol to clean Lucite air holes can lead to severe damage to the polymethyl methacrylate plastic (the same as Perspex). Perhaps that is so, but in my experience a quick job of it is safe and effective. No harm was done to this bit in its refurbish.
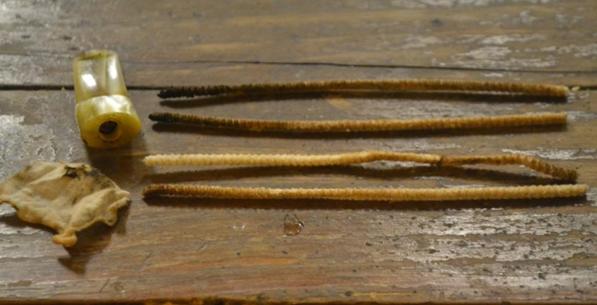
 After about an hour and a half, I removed the stummel from the alcohol, worked one regular pipe cleaner (not bristled and not extra fluffy) through the shank and another through the bit, to dry the inside of the plastic and ensure no damage; stuffed a small soft cotton gun cleaner cloth into the chamber and scrubbed that area dryer while doing the same to the outer part of the wood. I took off the remaining stain with 320-grit paper.
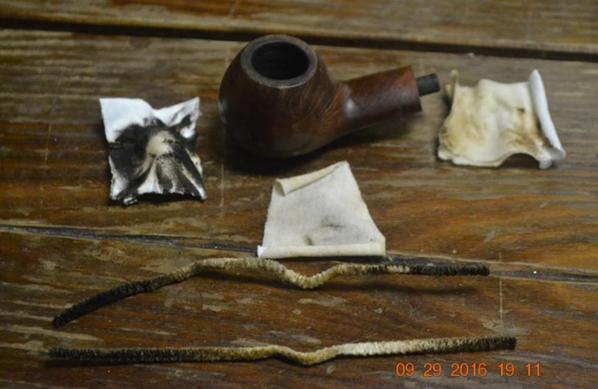
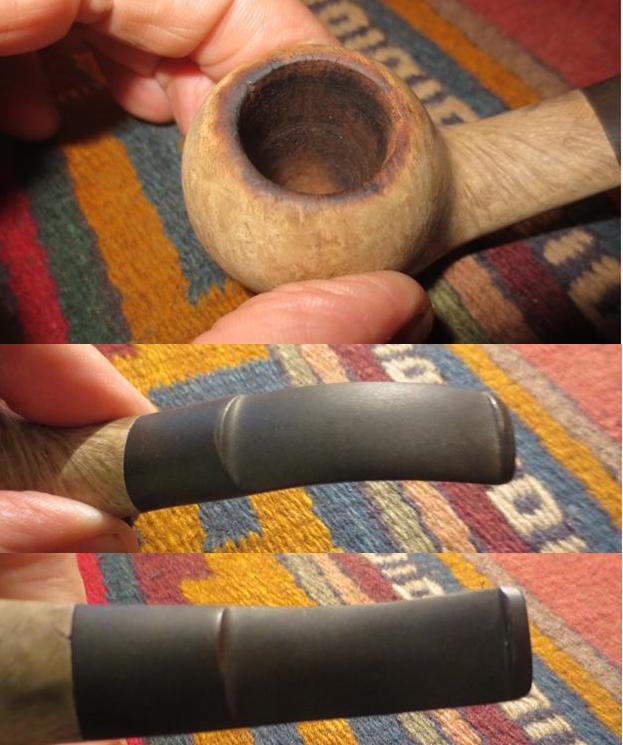
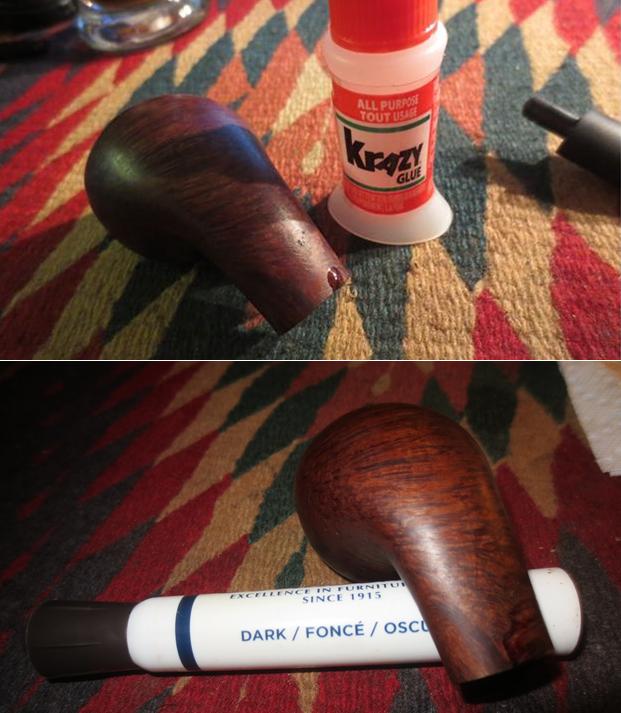
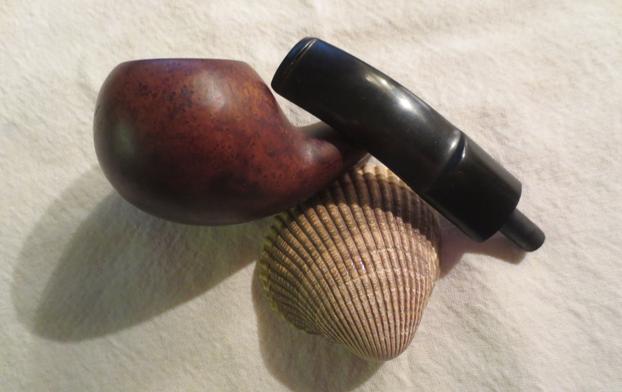
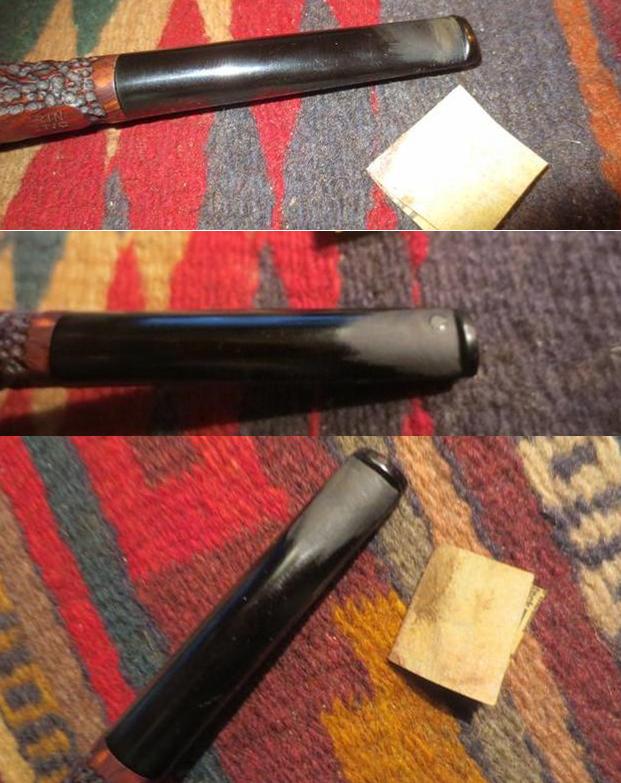
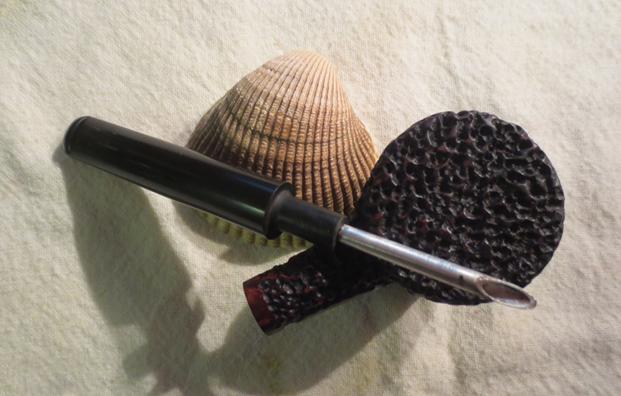
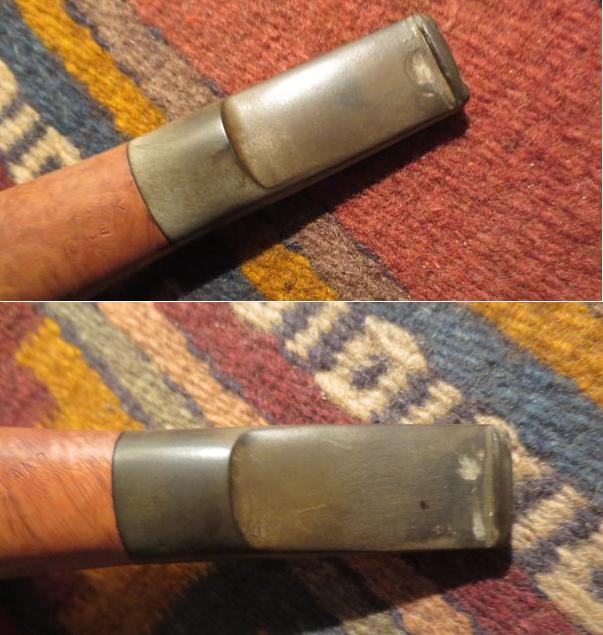
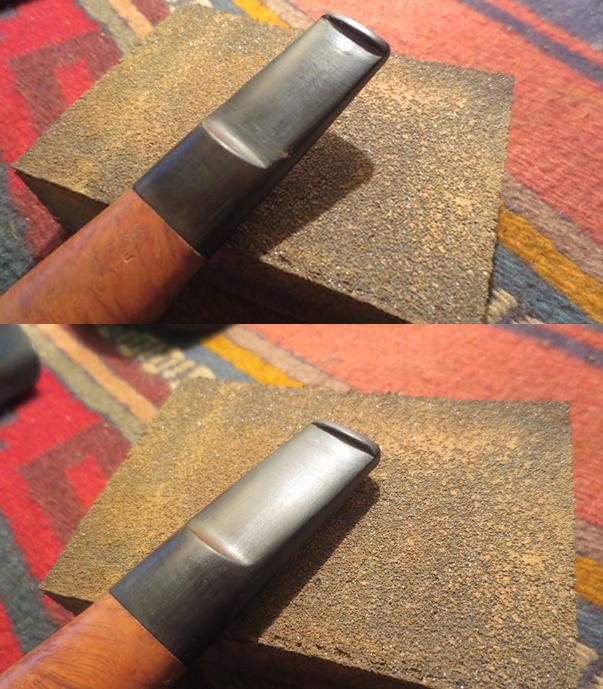
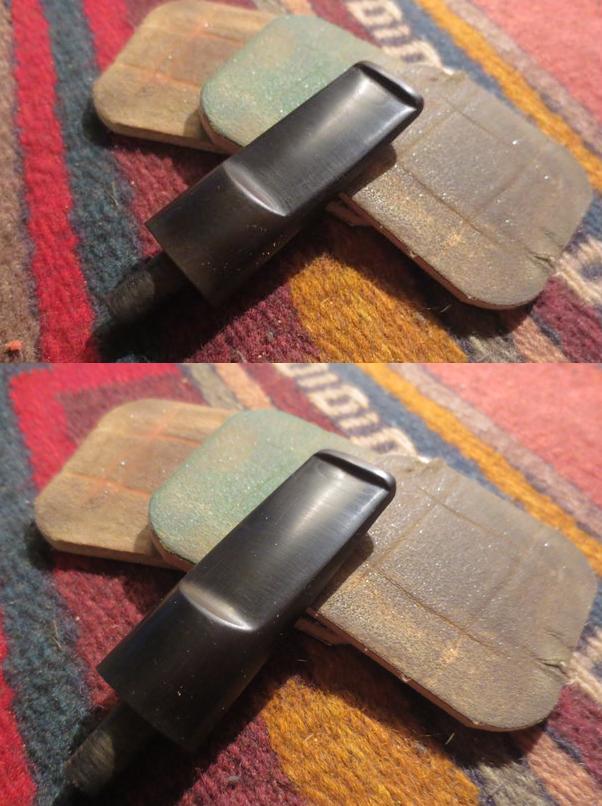
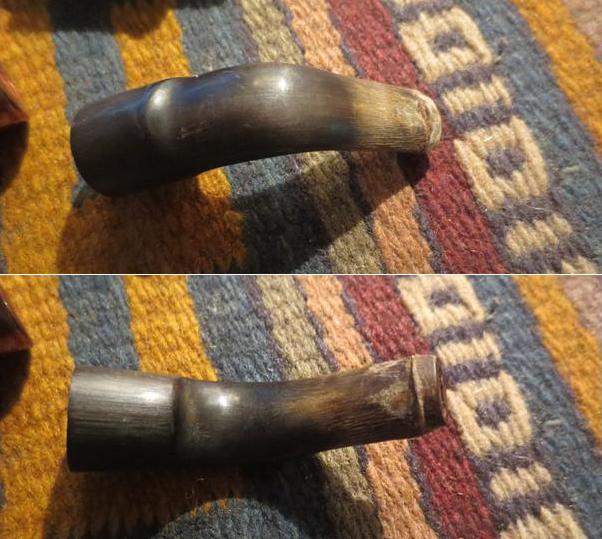
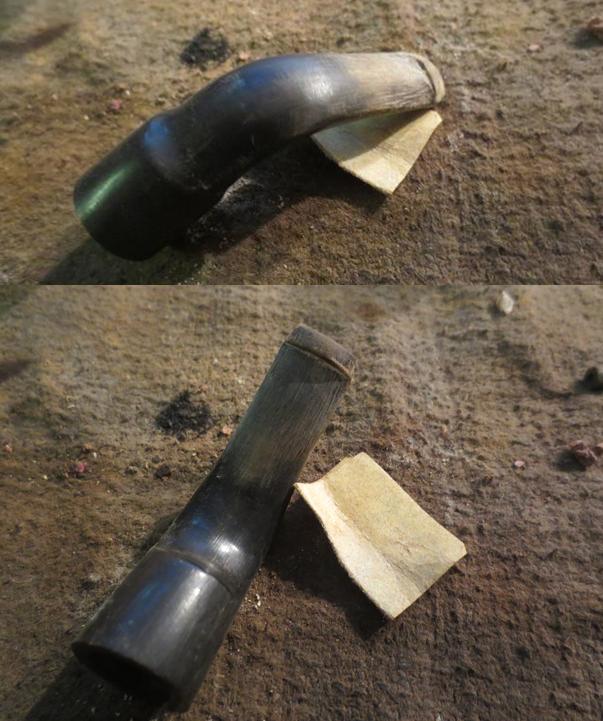
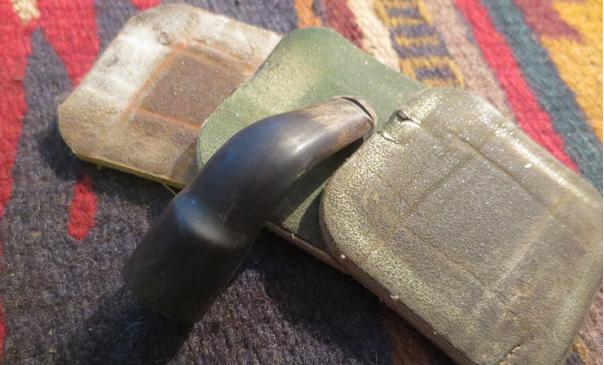
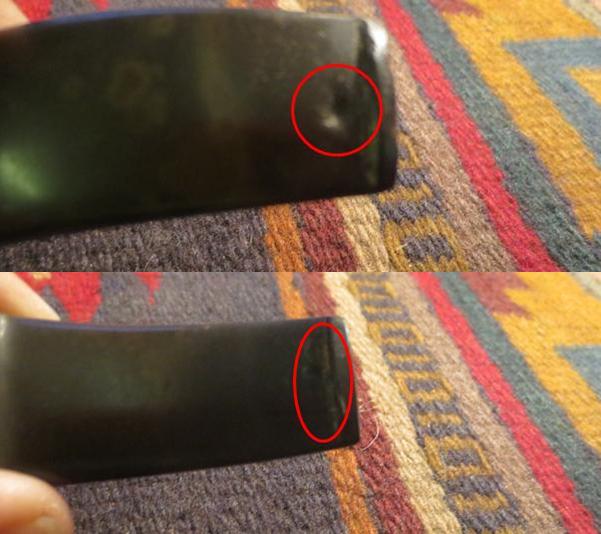
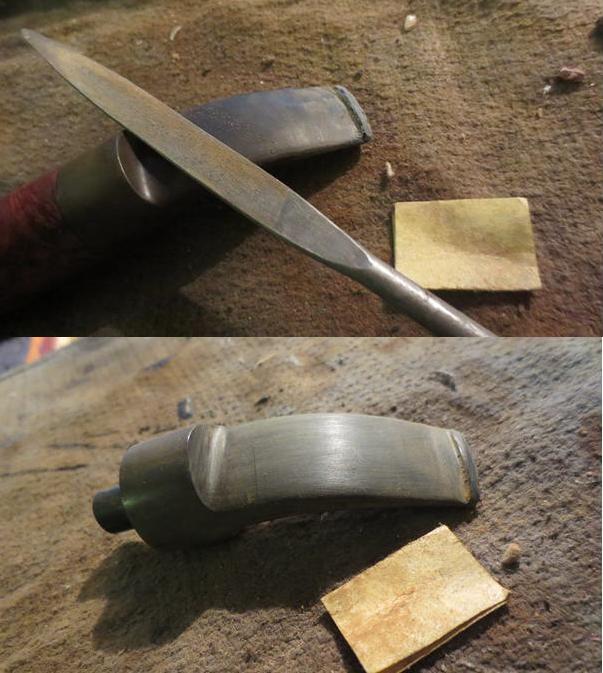
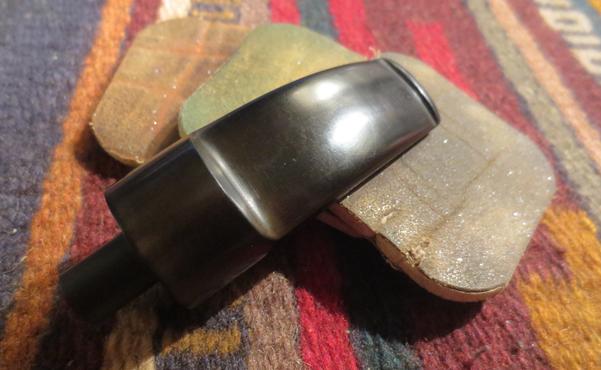
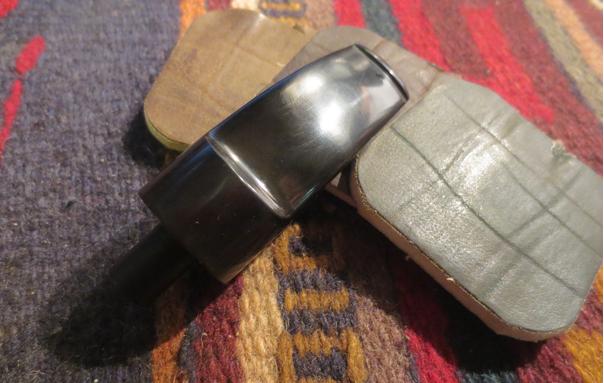
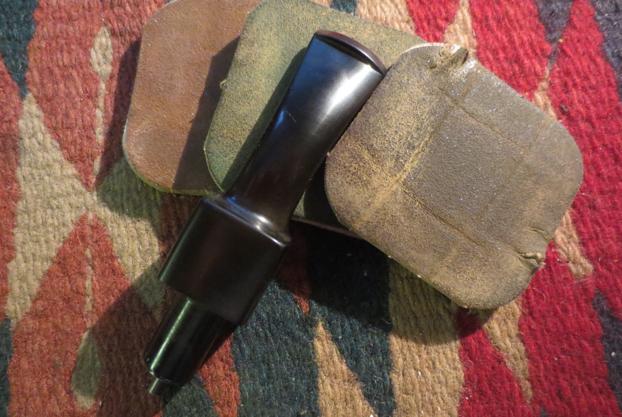
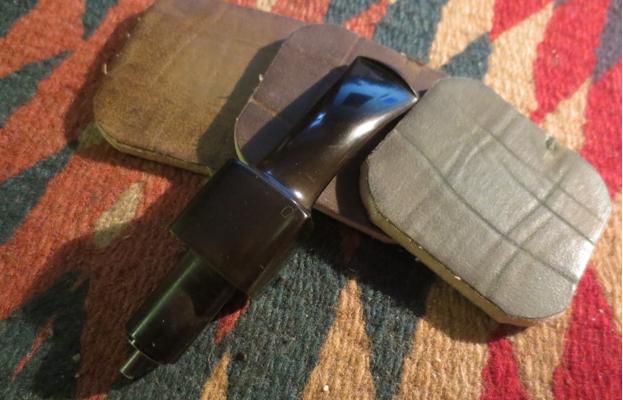
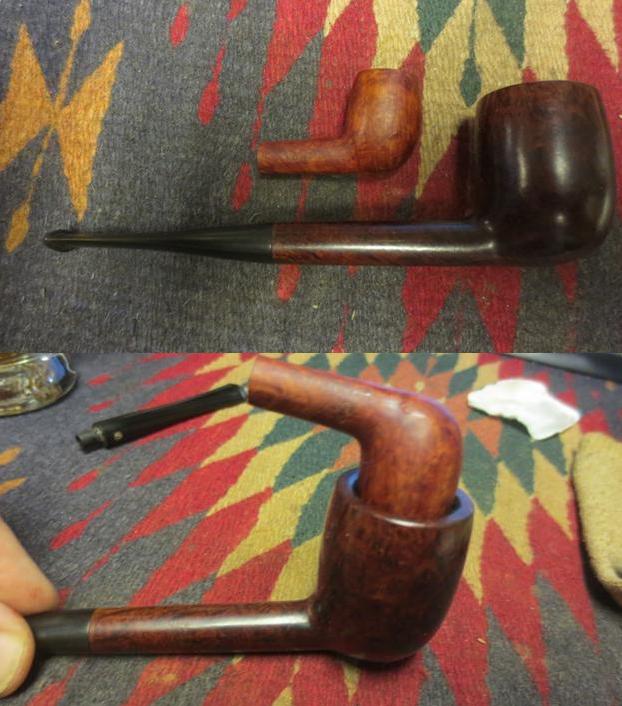
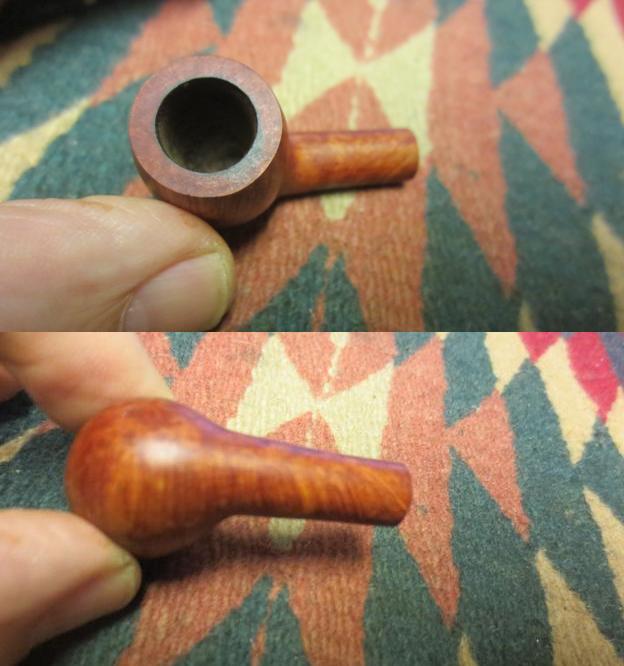
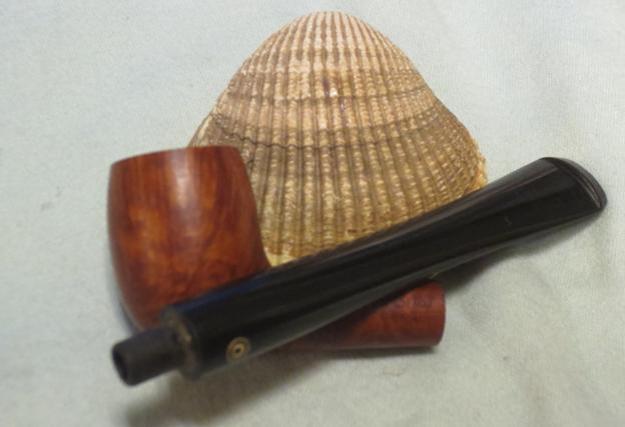
 The bit, while a good match for the easy bent Diplomat shape of the original Vulcanite one that came engraved with an M on the pipe, was not an even fit to the shank. Note the gap. Holding the bit and the opening of the shank side by side up to a light, I saw the problem was in the bit that was uneven on the right side of the second picture below (the left in the photo). I admit I still have trouble with the counter-intuitive nature of thinking my way through how to adjust this kind of misalignment, but I used 150-grit paper in slow, patient steps until it fit.
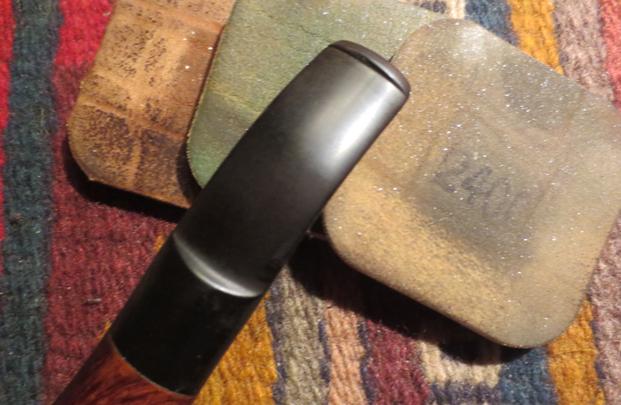
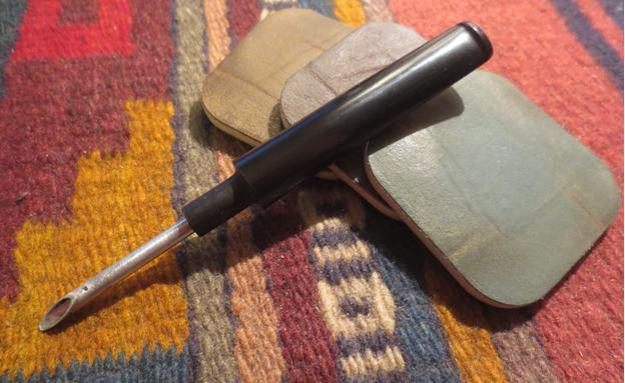
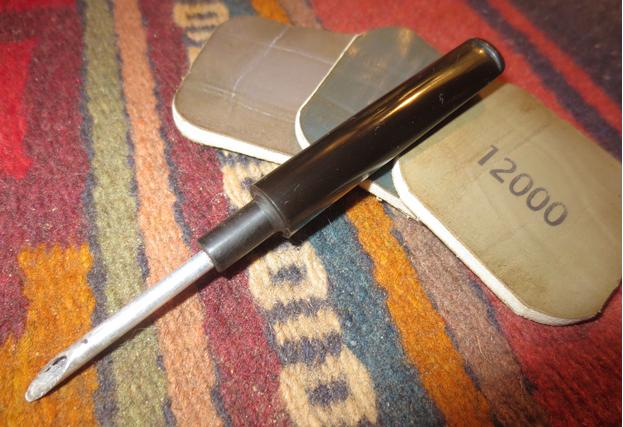
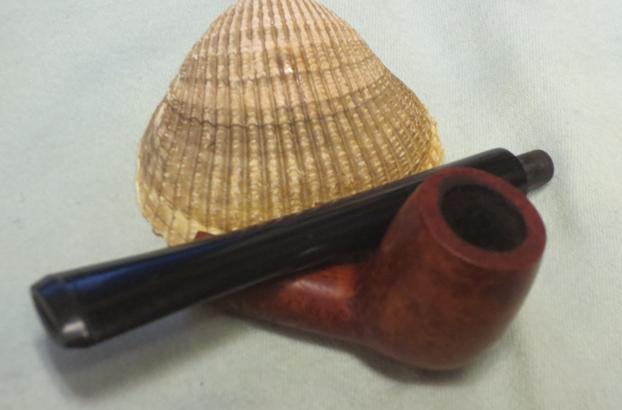
 Then I reamed the chamber and sanded it with 150-, 220- and 500-grit paper.
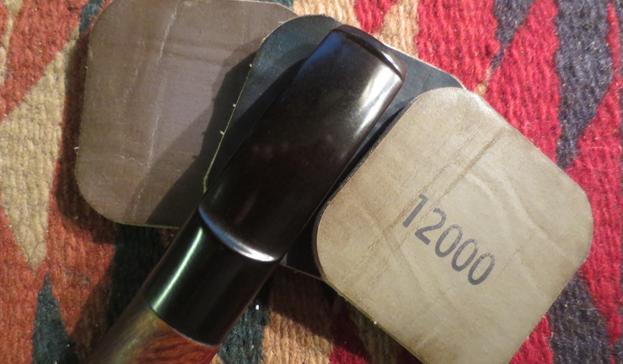
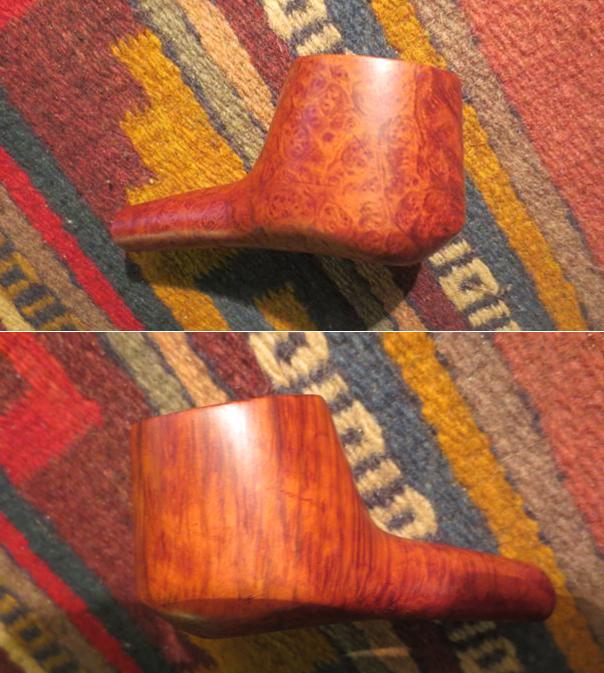
 Micro meshing the stummel all the way from 1500-12000, the briar took on a nice, darker shine.
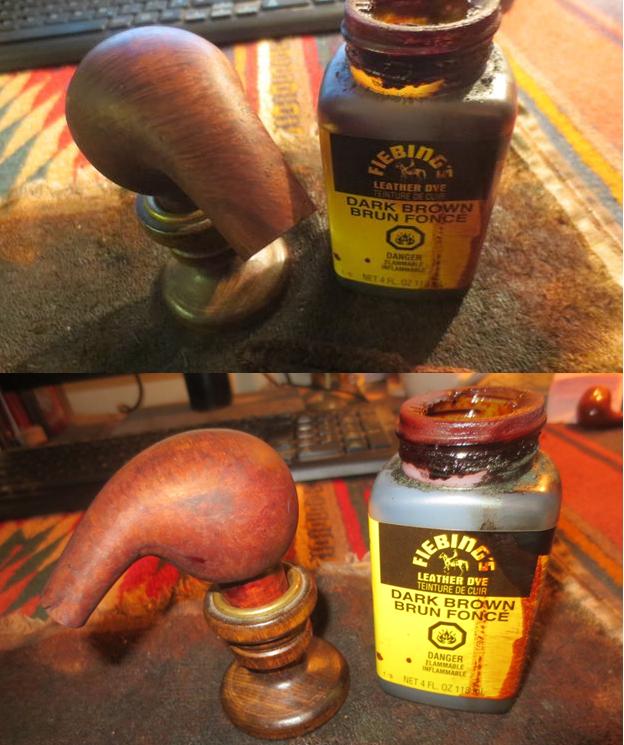
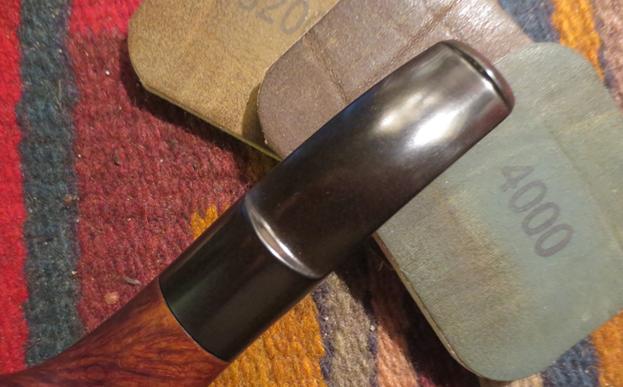
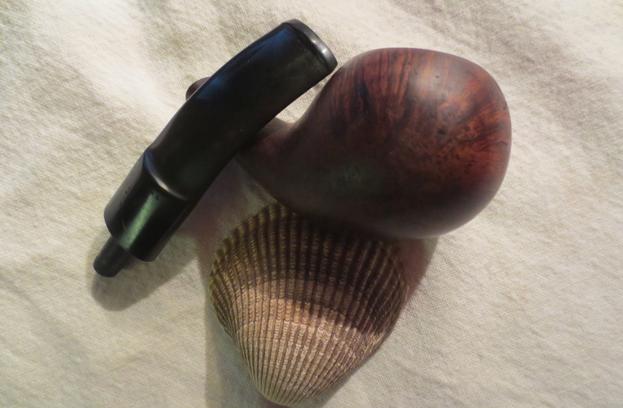
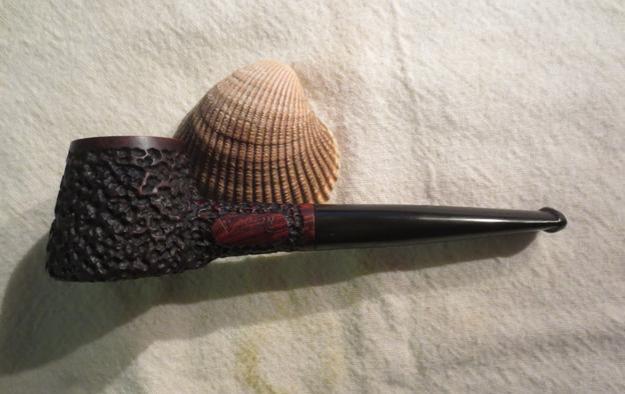
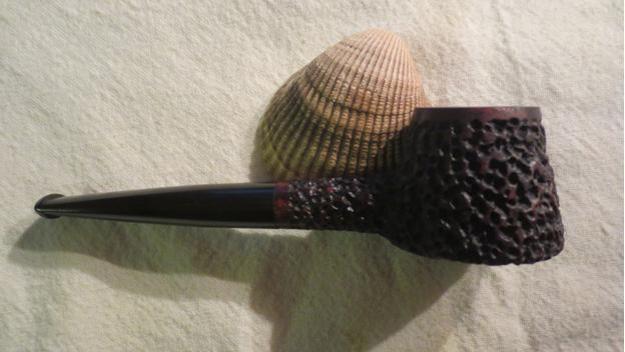
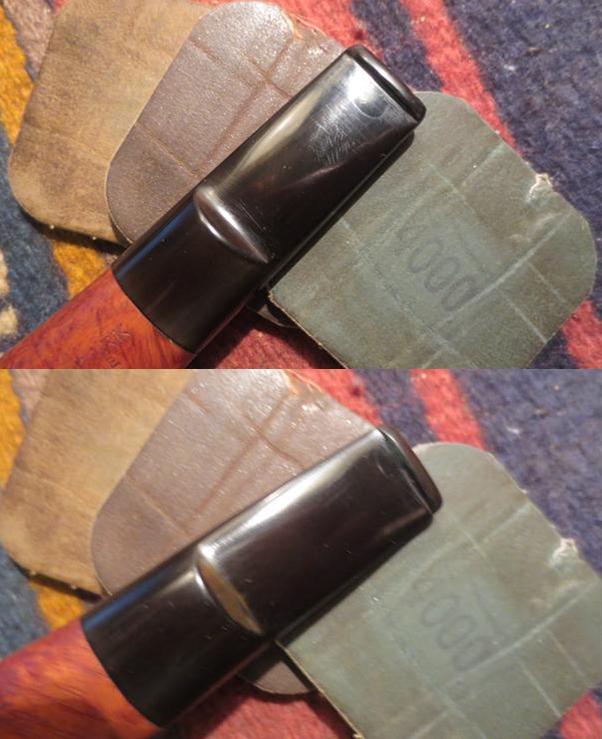
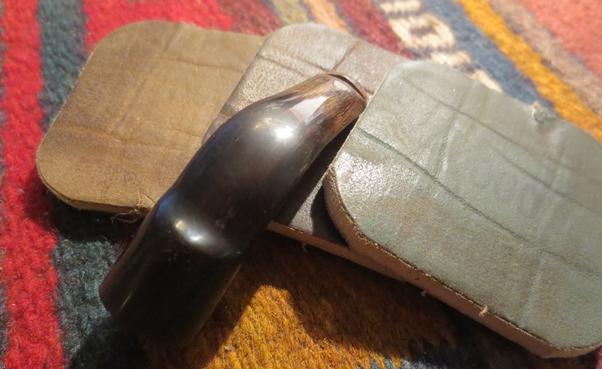
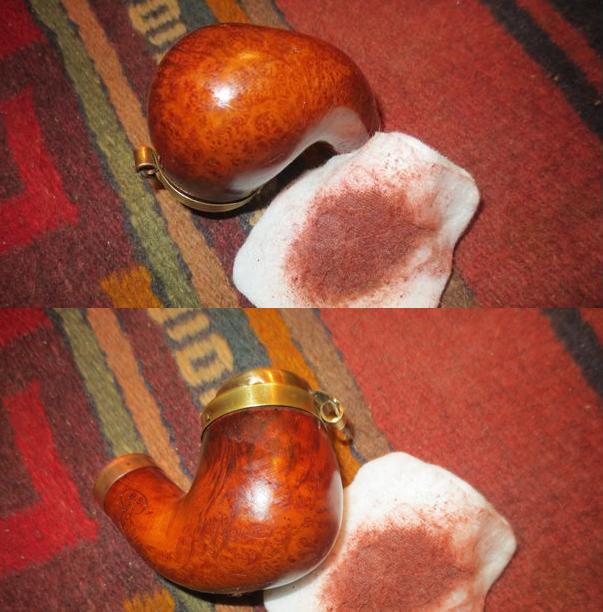
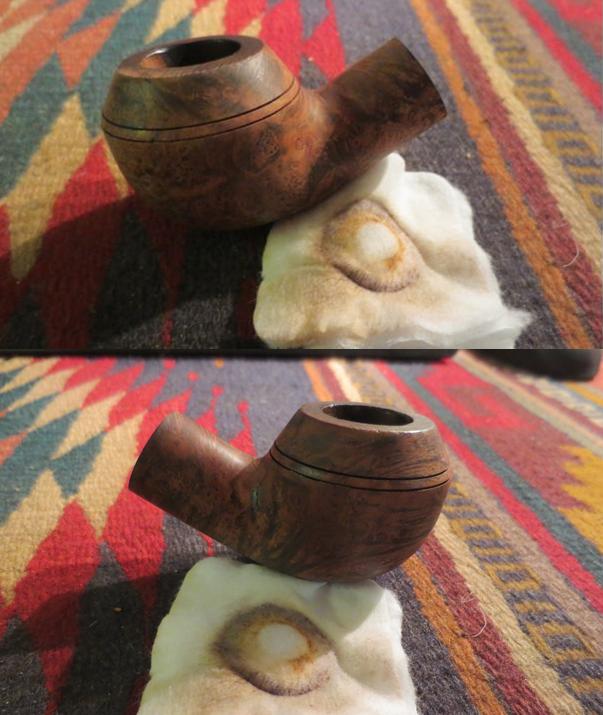
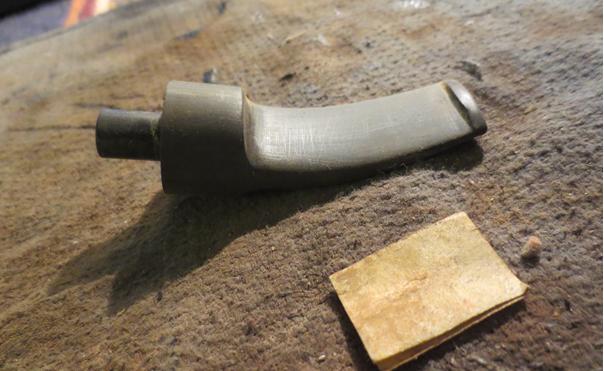
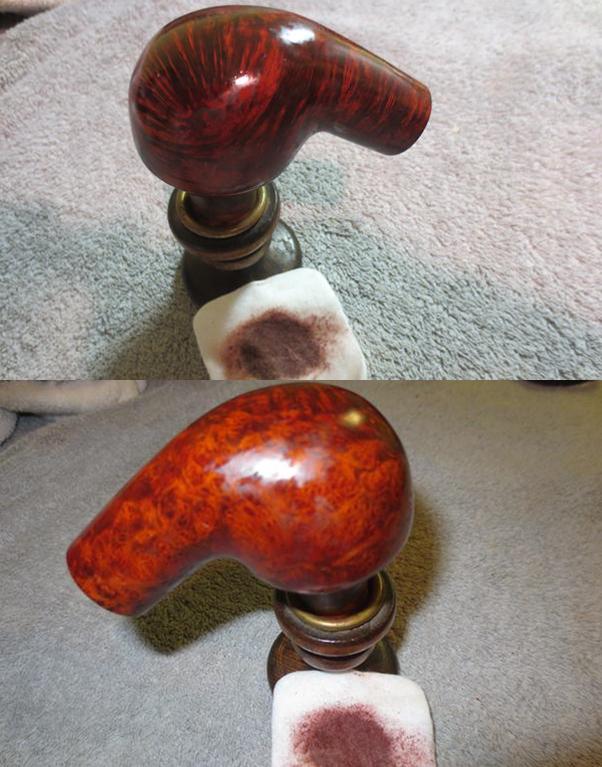
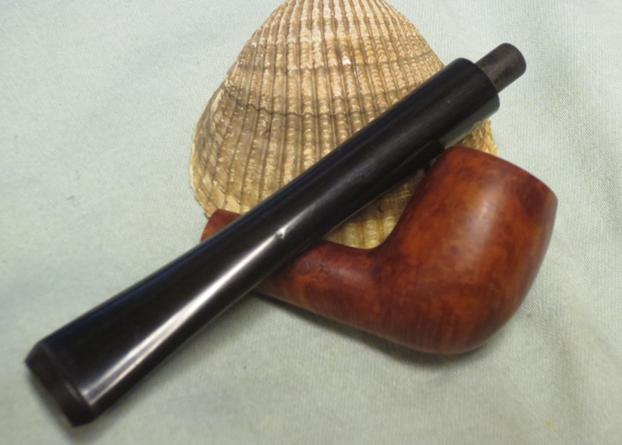
 After applying Fiebing’s medium brown boot conditioner and flaming the alcohol out of it, I progressed from 3600-12000 micromesh before achieving the lightness I wanted with superfine “0000” steel wool.
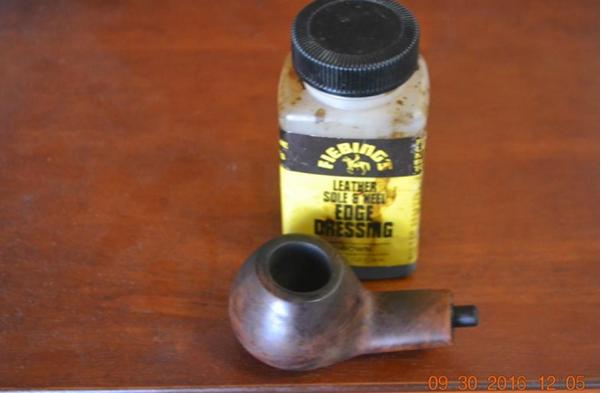

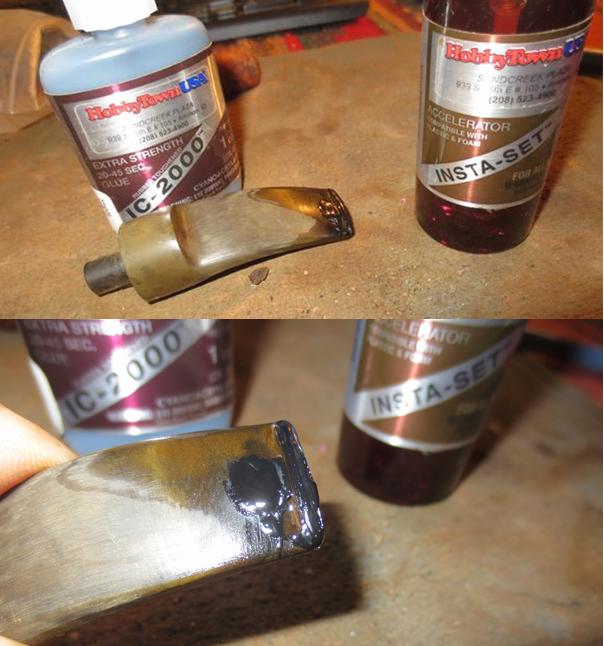
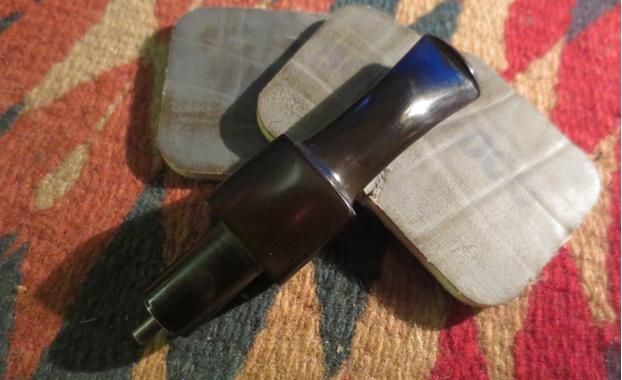
 The tenon was undersized, making the bit spin, and so I added a small layer of Black Super Glue. After it dried, I retorted the pipe – again violating established practice by boiling the Everclear through the Lucite bit and into the chamber, but also again with complete success.
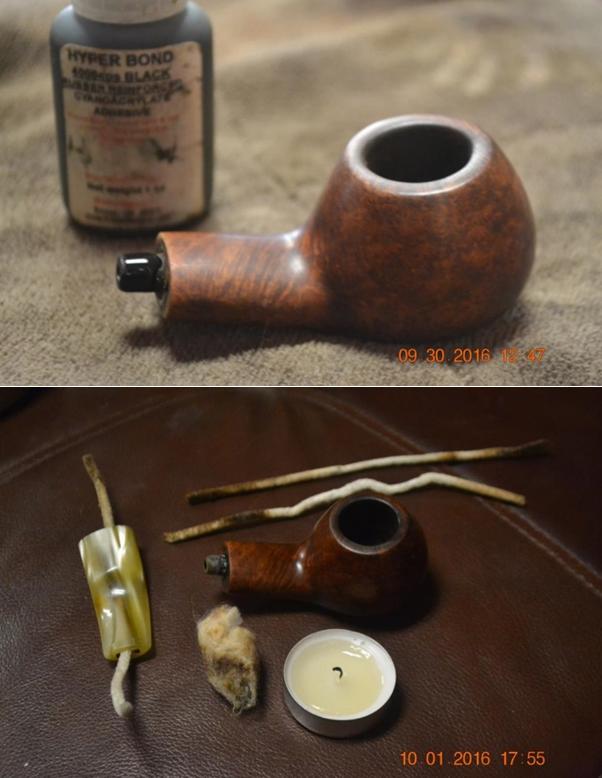 Very gentle turning of the steel wool around the tenon took it from an over-tight fit to just right, twisting onto the bit with ease. When the retort was finished, I once more ran a cleaner through the bit’s air hole to assure it stayed in shape, and both ends of two more in the shank until they came out clean.
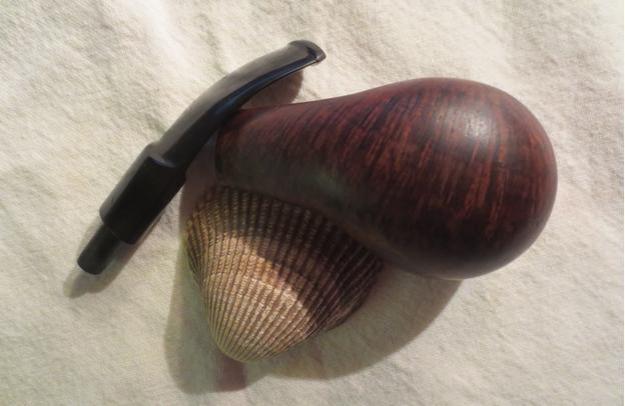
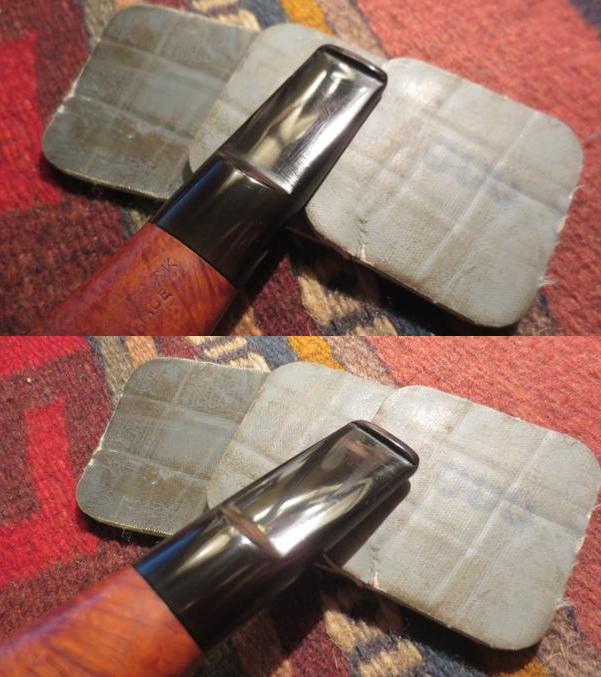
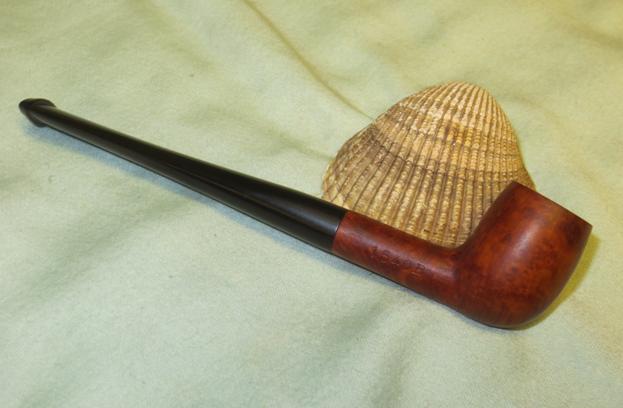
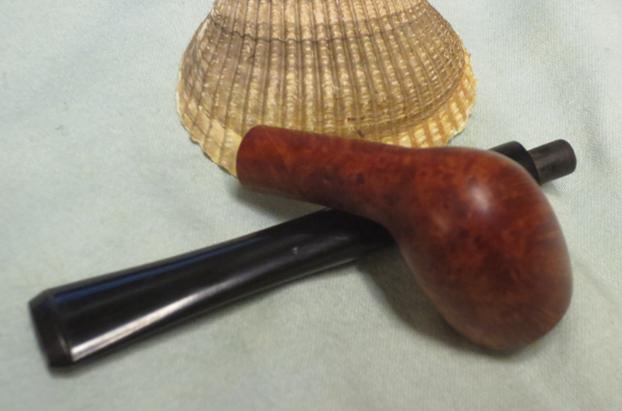
Thinking the bit was done, upon closer examination I noticed very fine scratches. I decided to see if an OxiClean soak would work those out, and indeed it did. I completed the project by running the bit on the clean electric buffer and the stummel using brown Tripoli and carnauba, alternated on the “clean” buffer, which, by the way, I do in fact clean on a regular basis.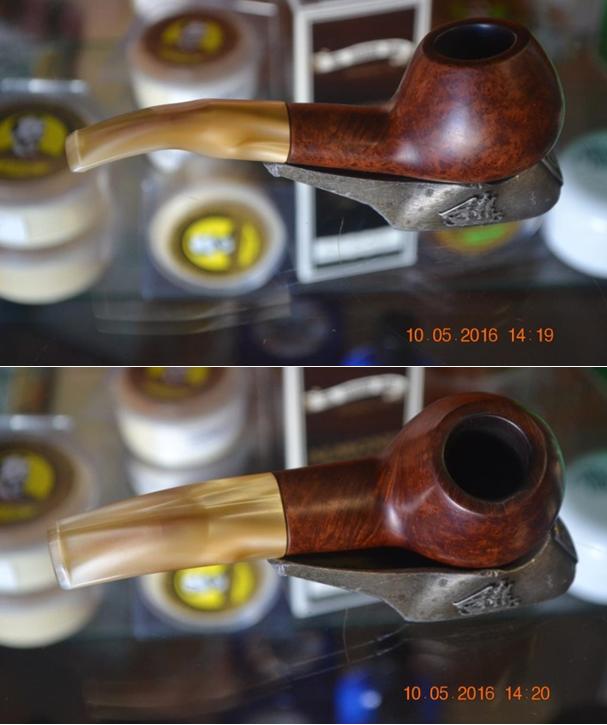
CONCLUSION
Masta pipes, before and during their affiliation with Dunhill/Parker/Harcastle, were well-crafted instruments for enjoying tobacco and, in many cases, beautiful pieces of work. Whatever the reason for its eventual demise, the Masta Patent Pipe Co. Ltd. name should be remembered, and the examples of its creations available for purchase today are more than worthy of consideration by pipers in general and collectors in particular. Or maybe vice-versa.
SOURCES
http://estatepipes.co.uk/shop/Masta-Patent-Standard-Tall-Billiard-588
http://www.pipephil.eu/logos/en/logo-m3.html
https://pipedia.org/wiki/Masta
http://www.iwanries.com/Hardcastle_C1516.cfm
https://www.delcampe.net/en_GB/collectables/invoices-commercial-documents/united-kingdom/facture-de-la-manufacture-de-pipes-the-masta-patent-pipe-coy-ltd-st-georges-works17-eden-grove-holloway-london-n-7-216950551.html
http://www.cupojoes.com/pipes/parker/
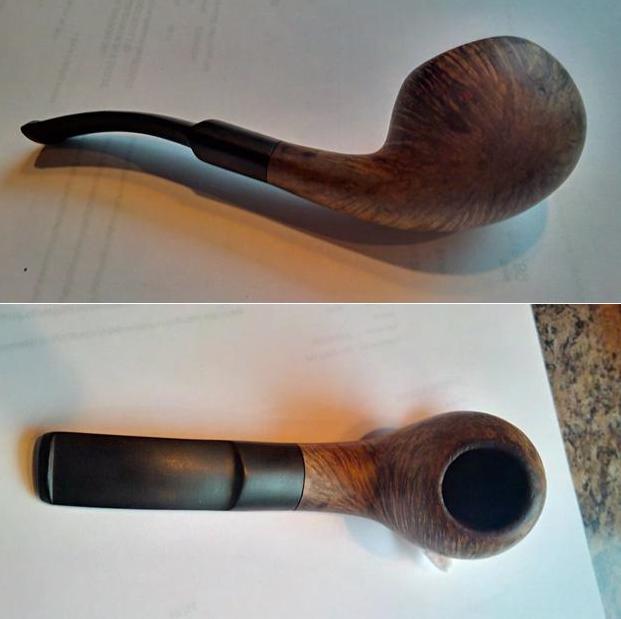
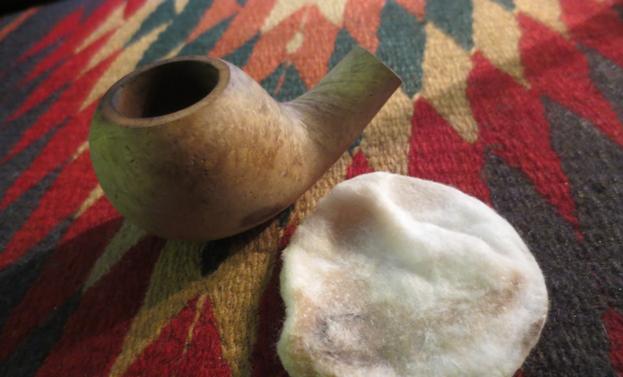
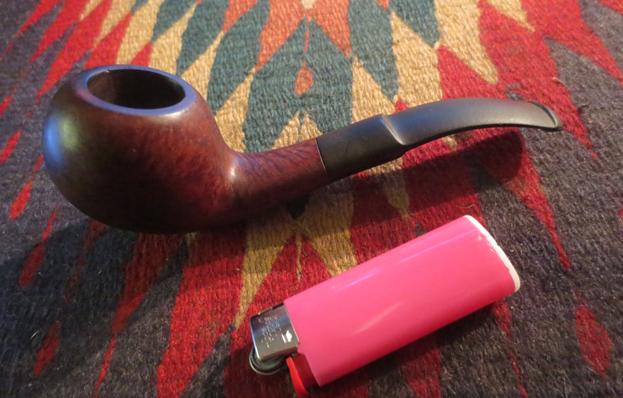
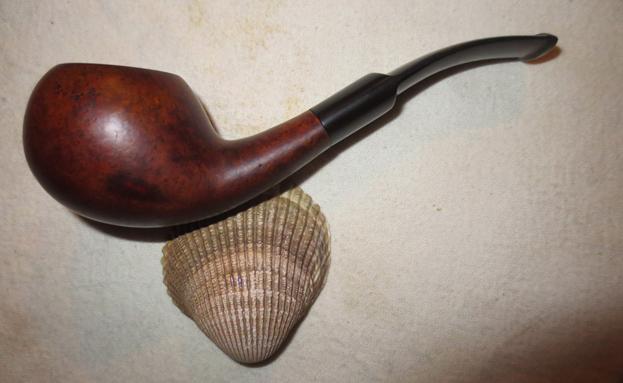
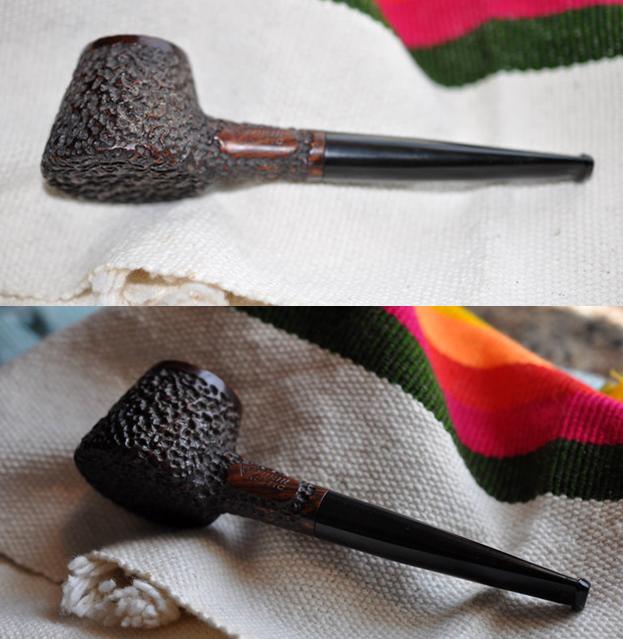
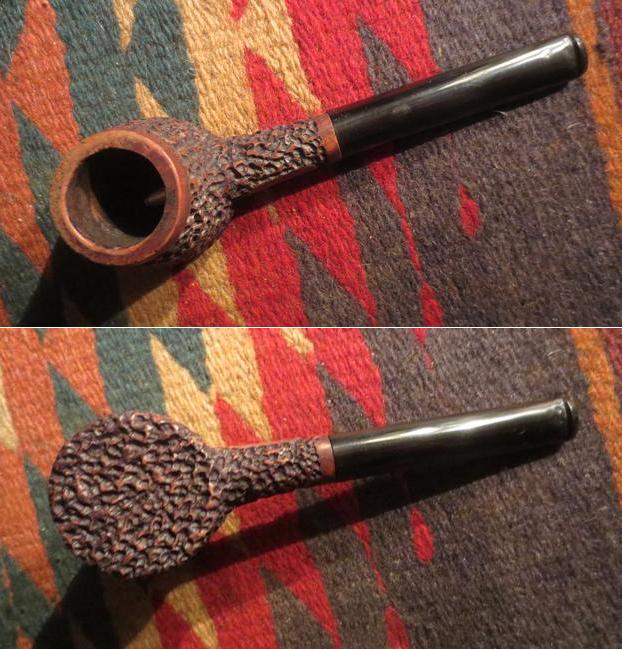
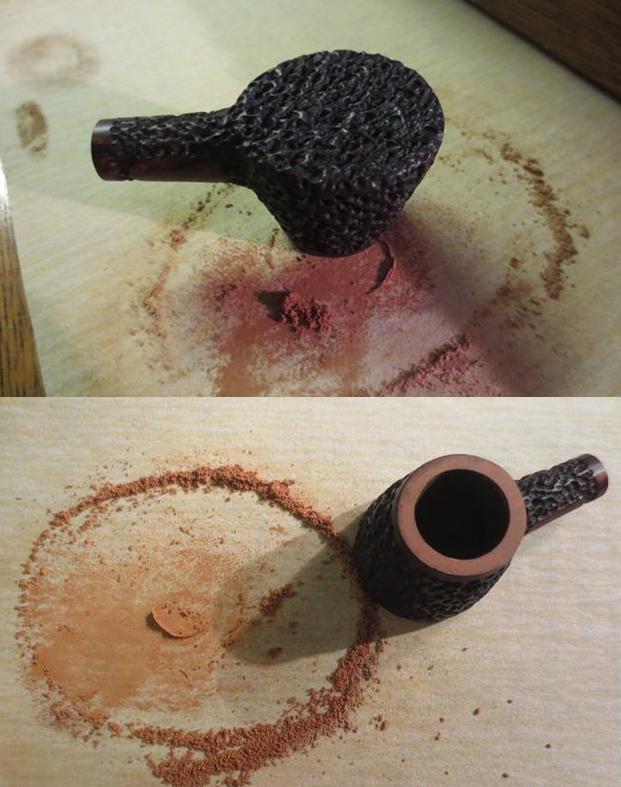
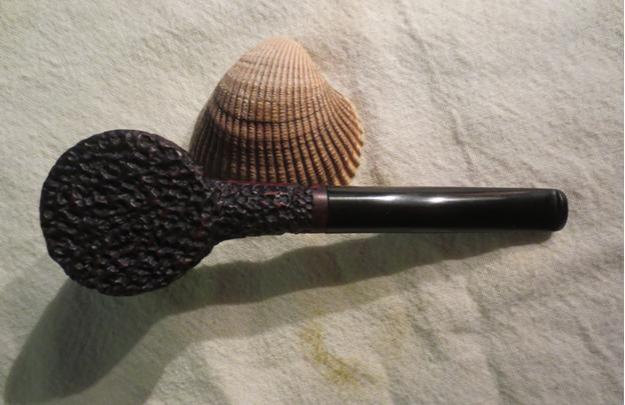
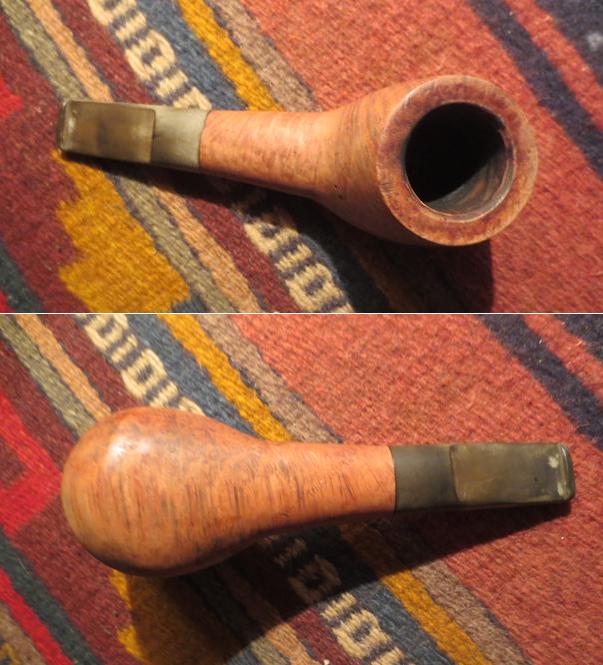
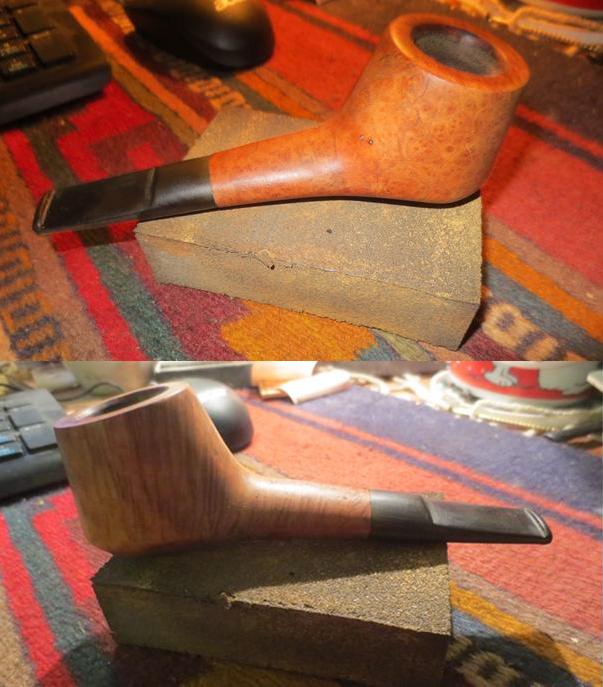
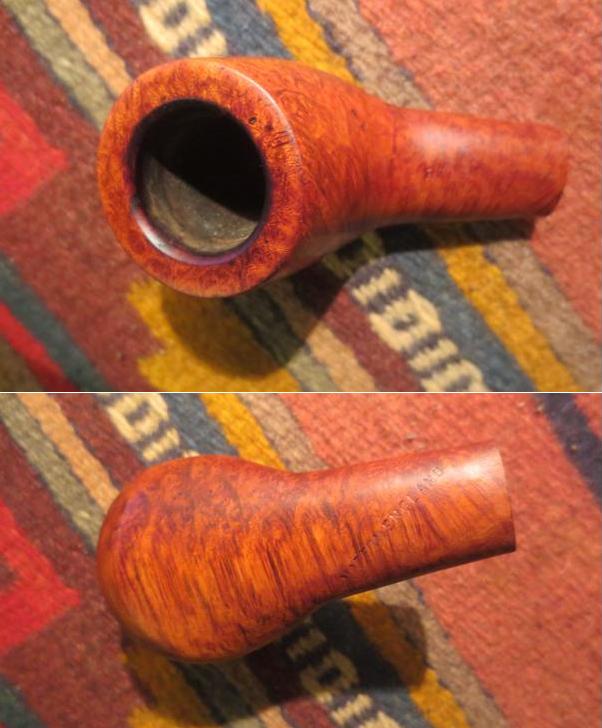
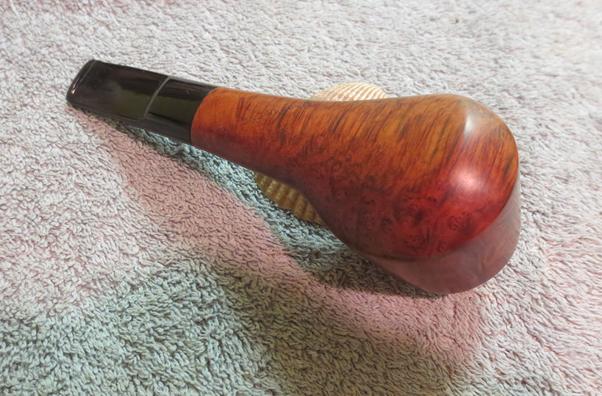
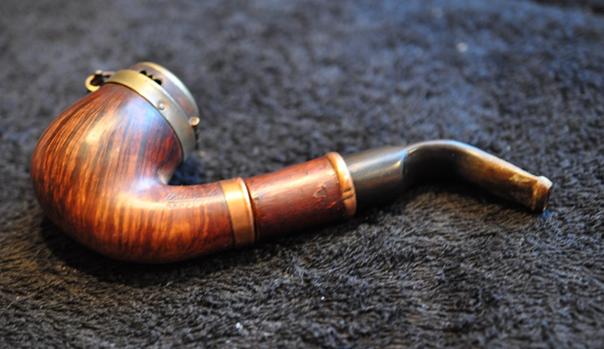
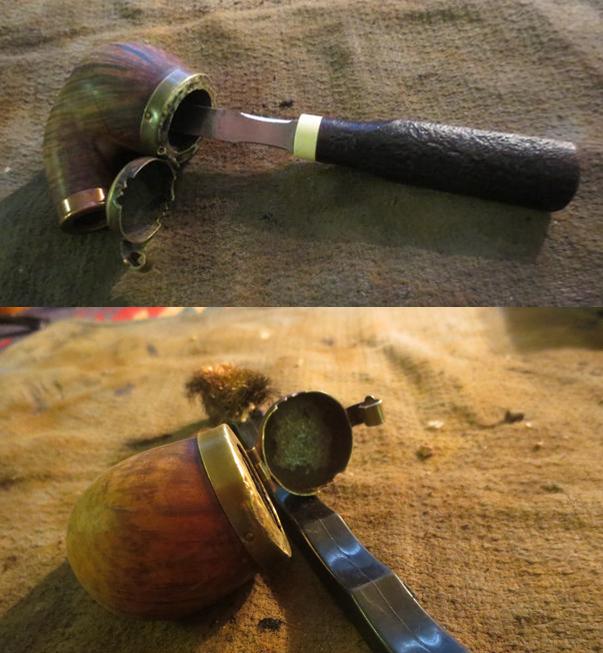
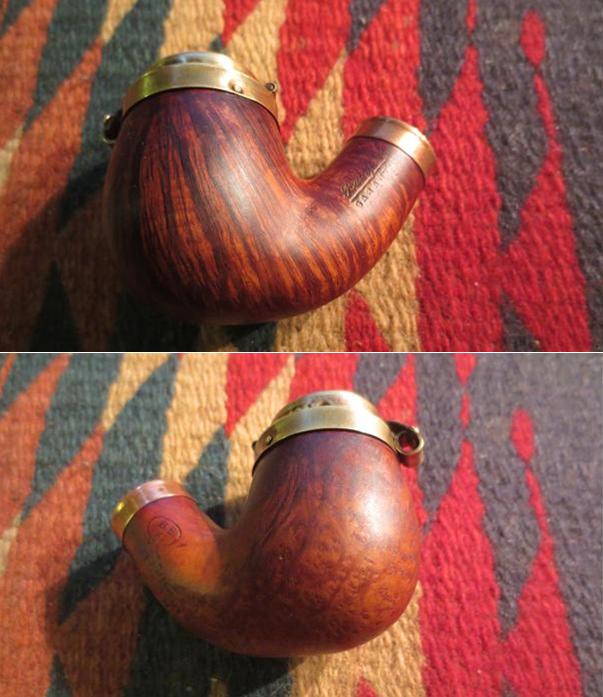
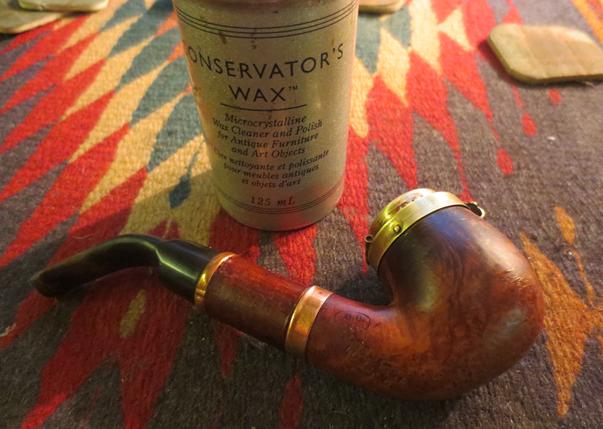
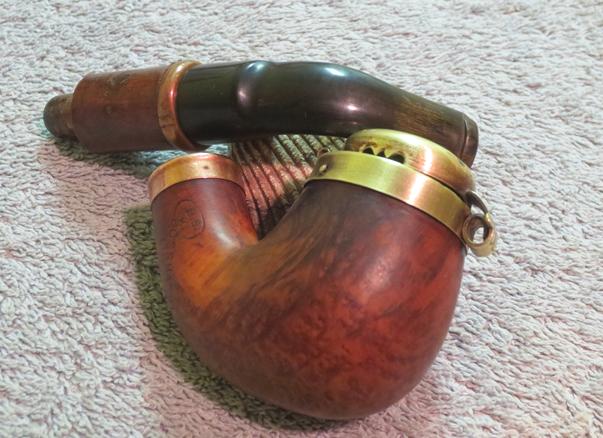
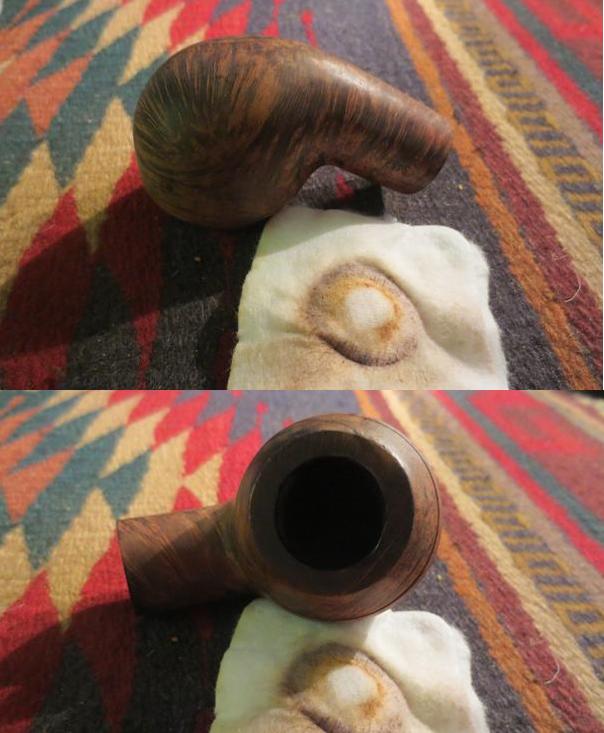
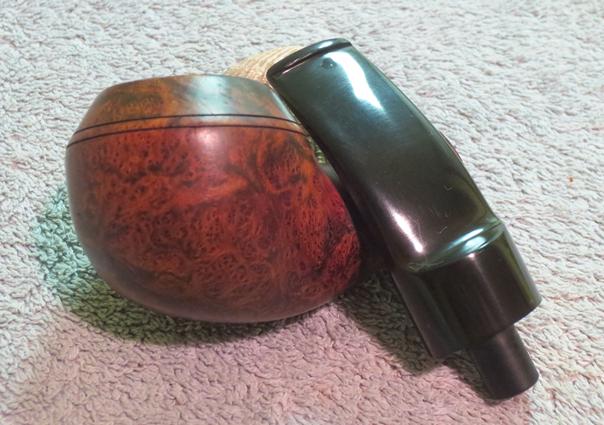
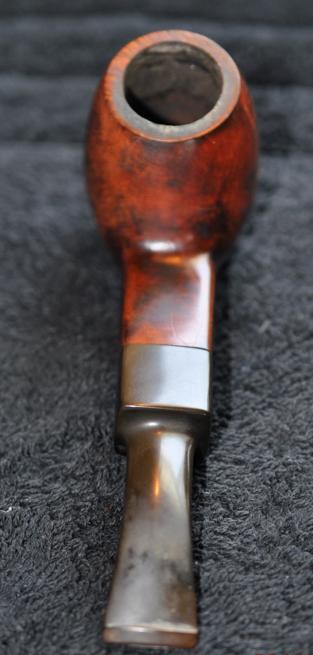
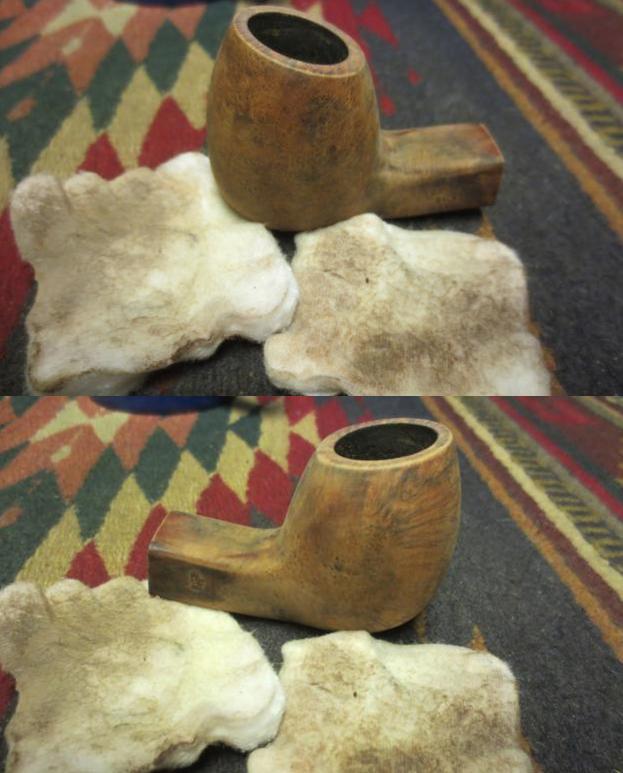
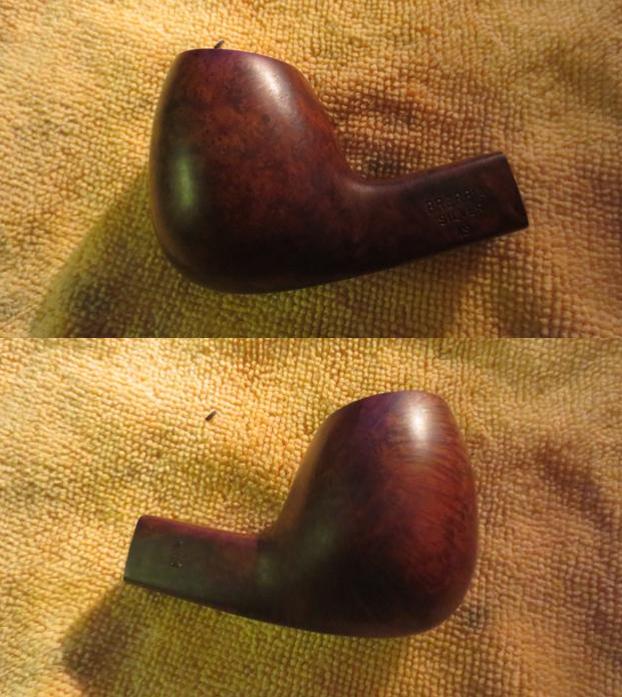
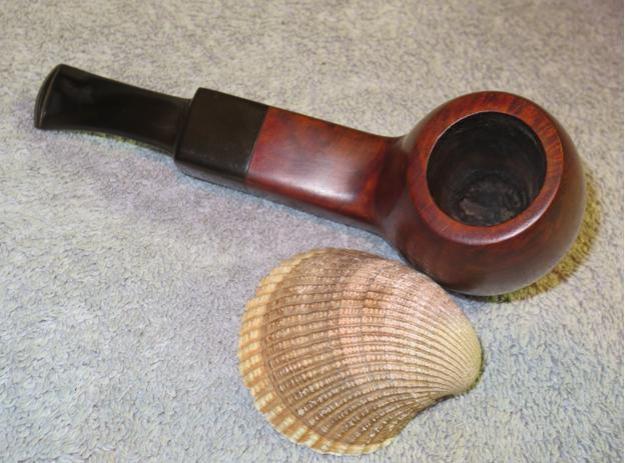
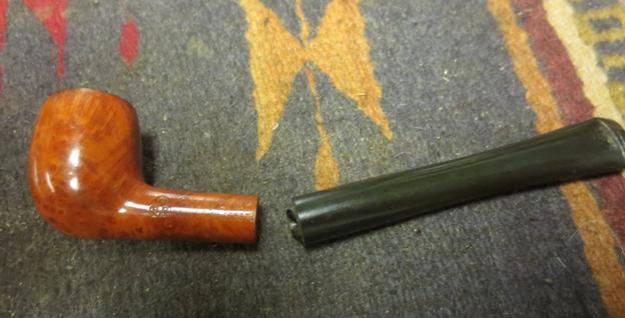
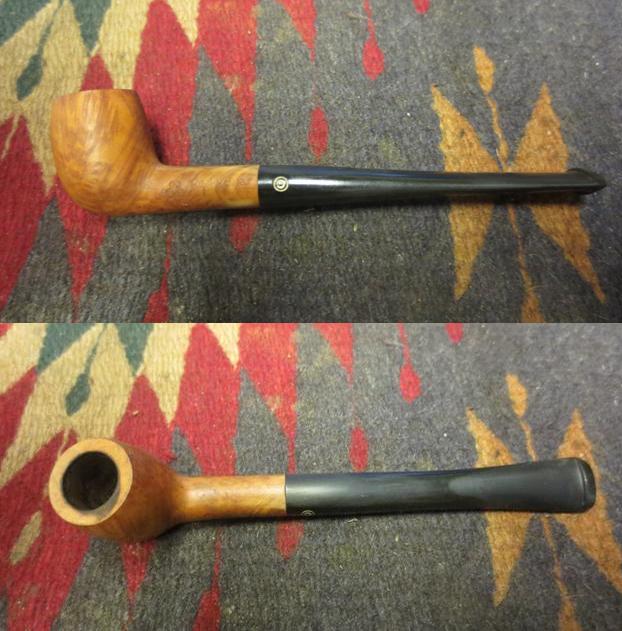
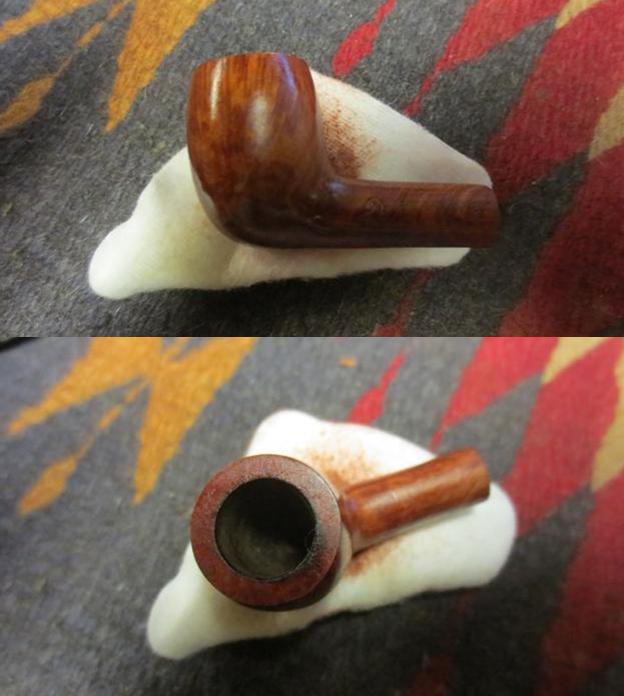
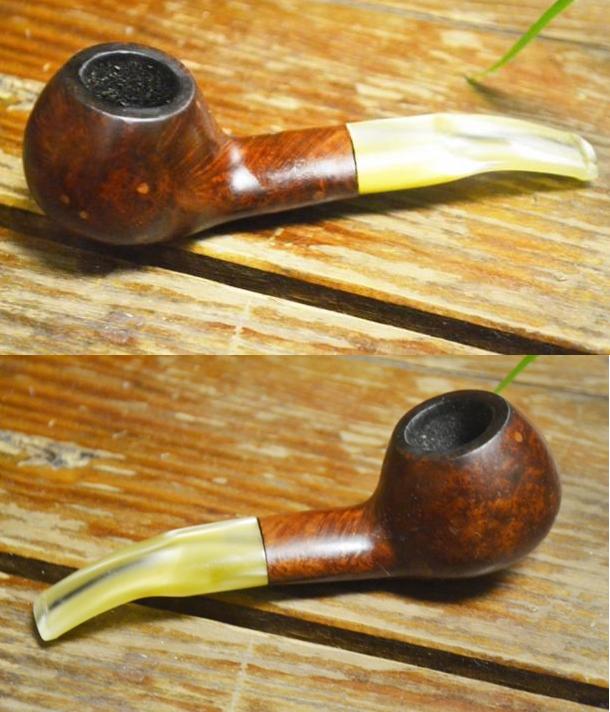
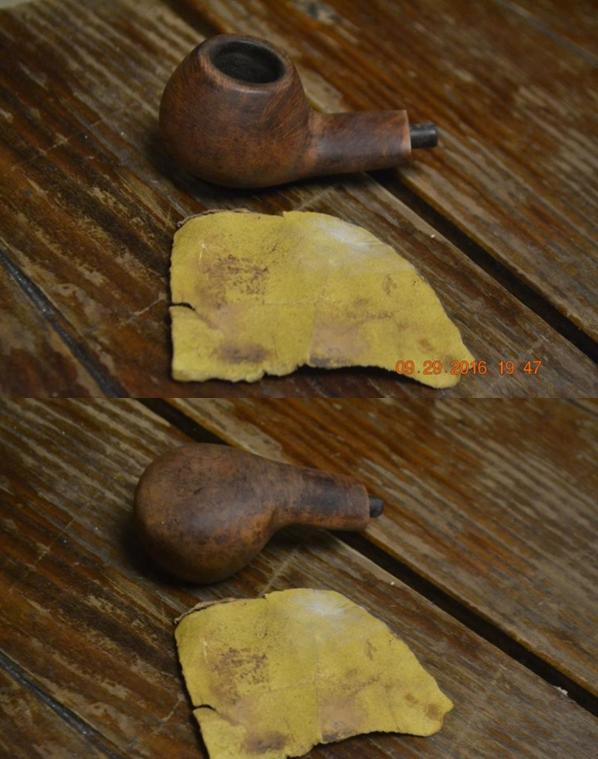
 I start this pipe as always by soaking the bowl in the alcohol bath. Here is the pipe right after it came out.
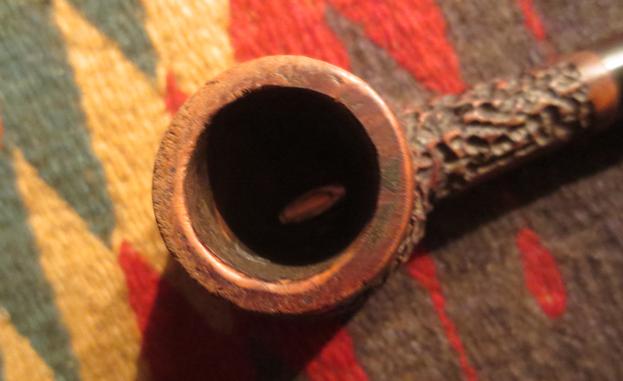
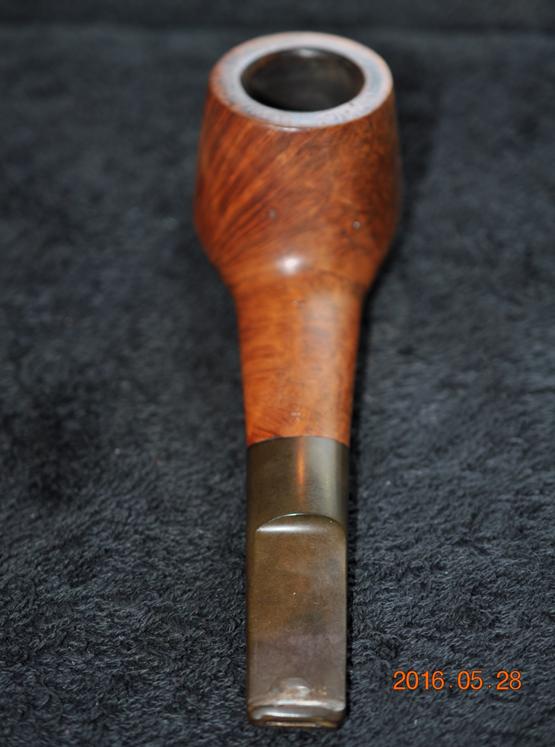
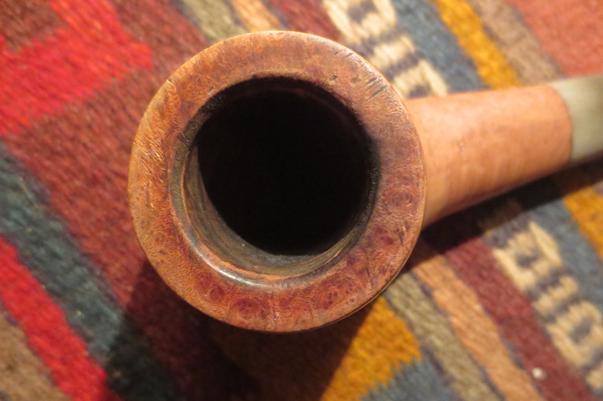
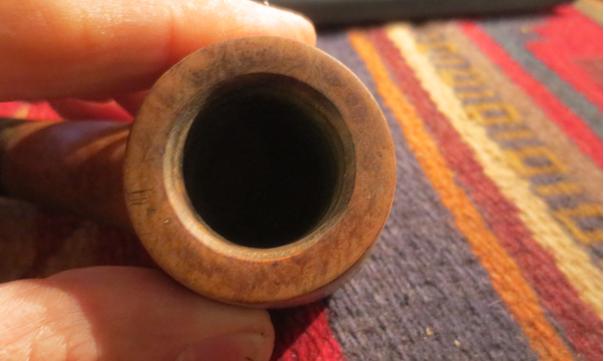
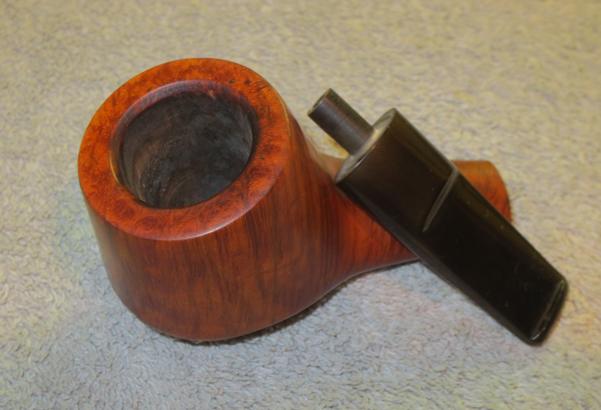
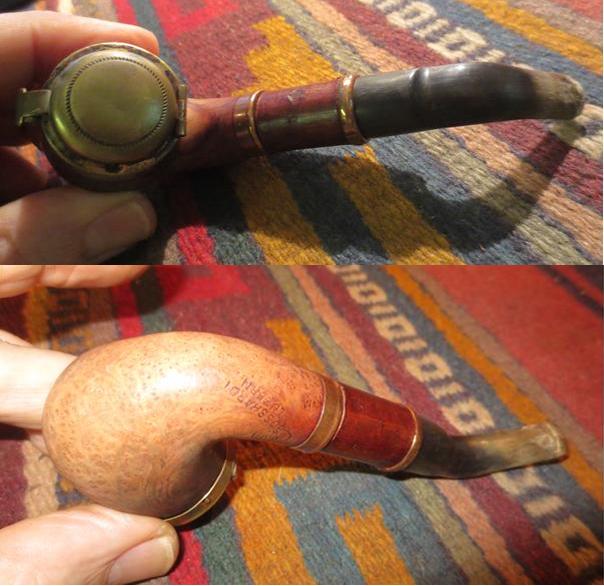
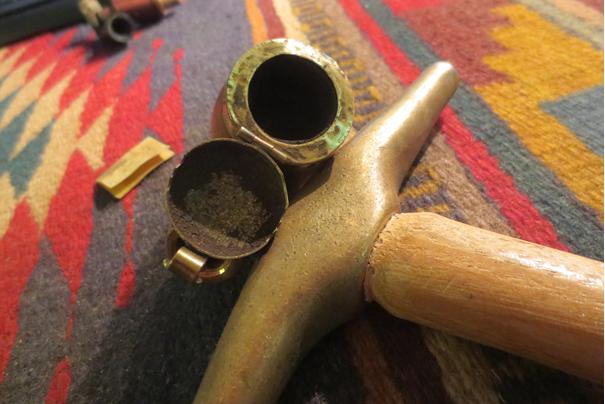
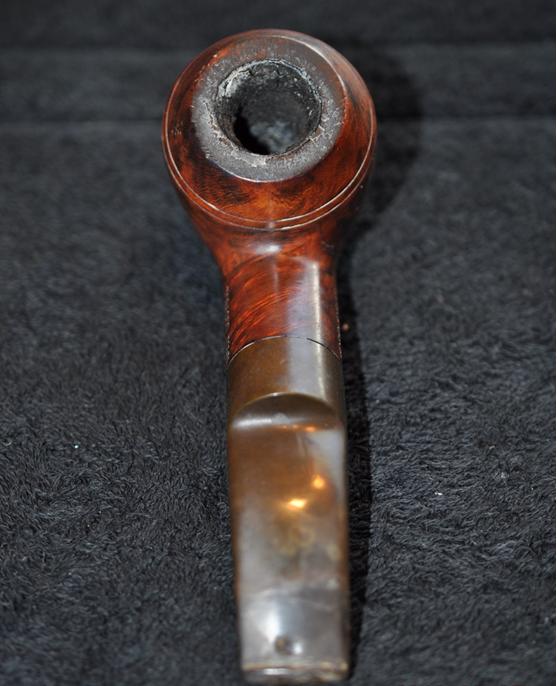
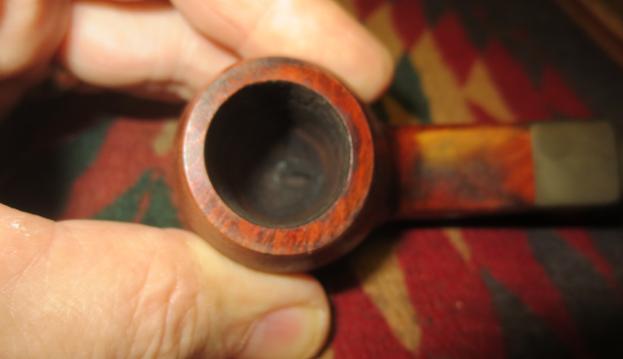
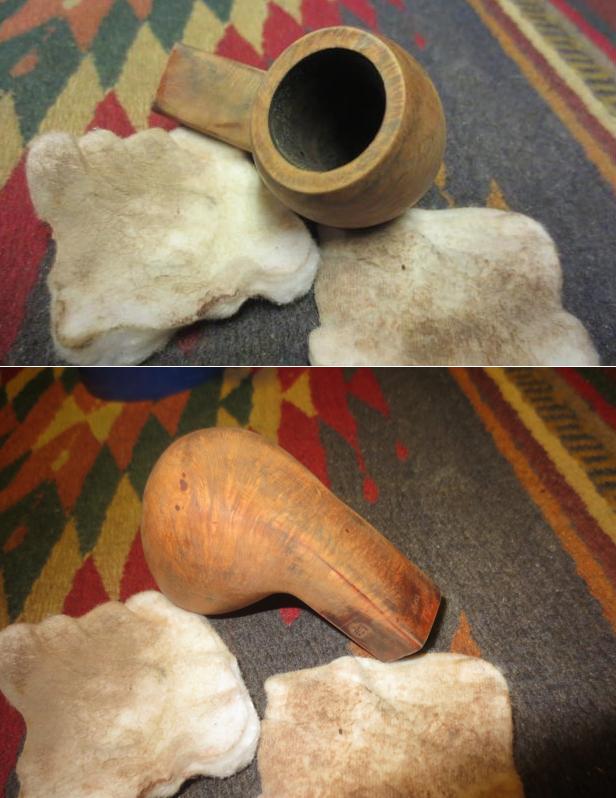
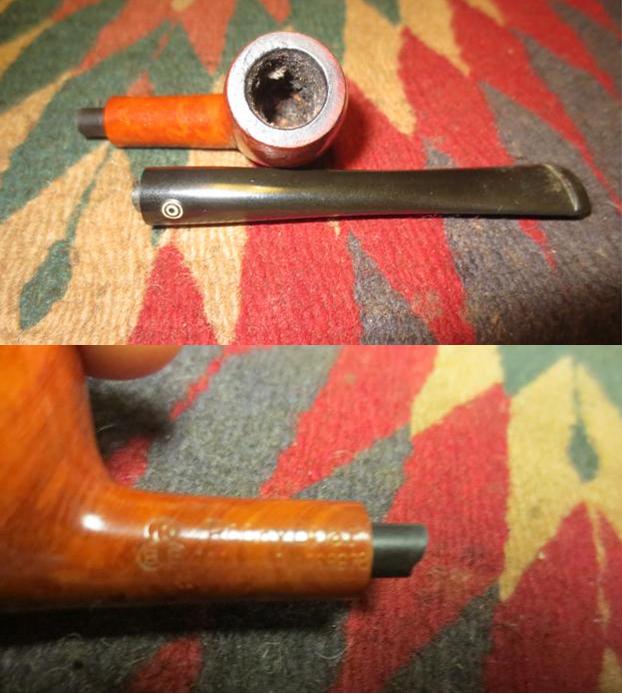
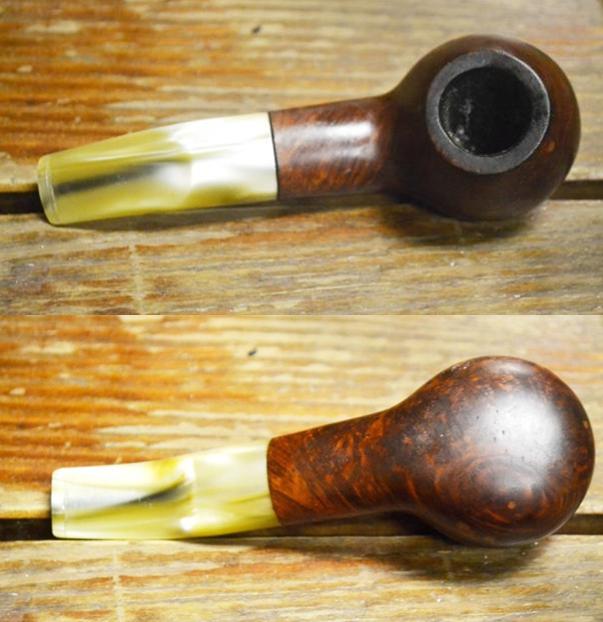
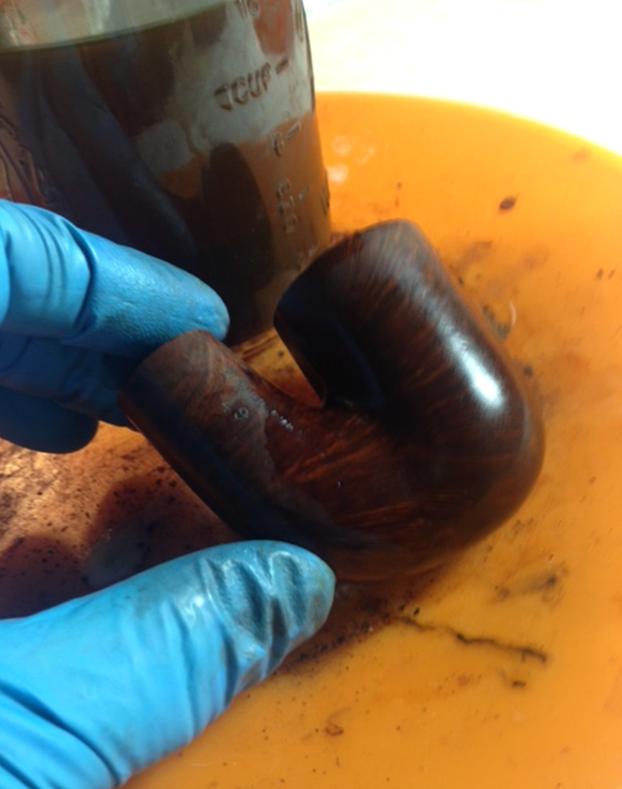 Next I reamed the bowl. As you may have noticed this is a rather large bowl, my reamer barely reached the bottom. This also accounts for the reaming damage done to the rim.
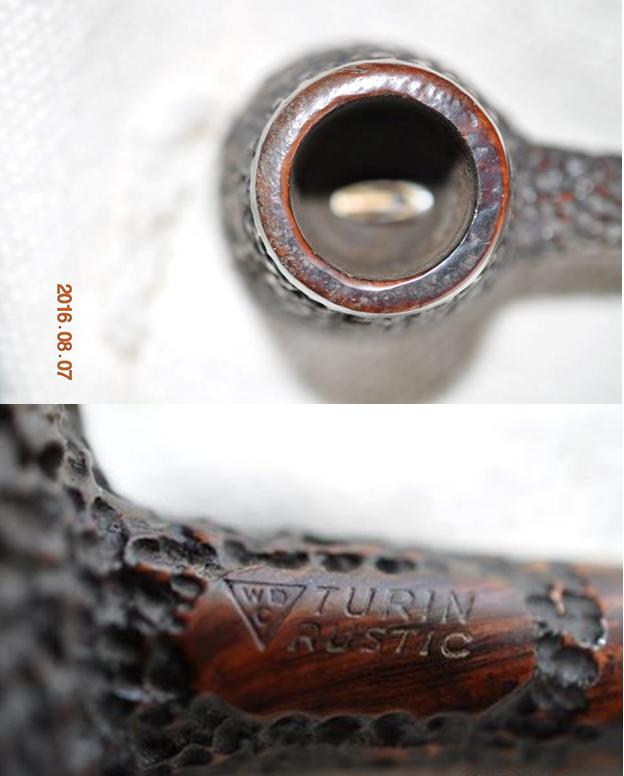
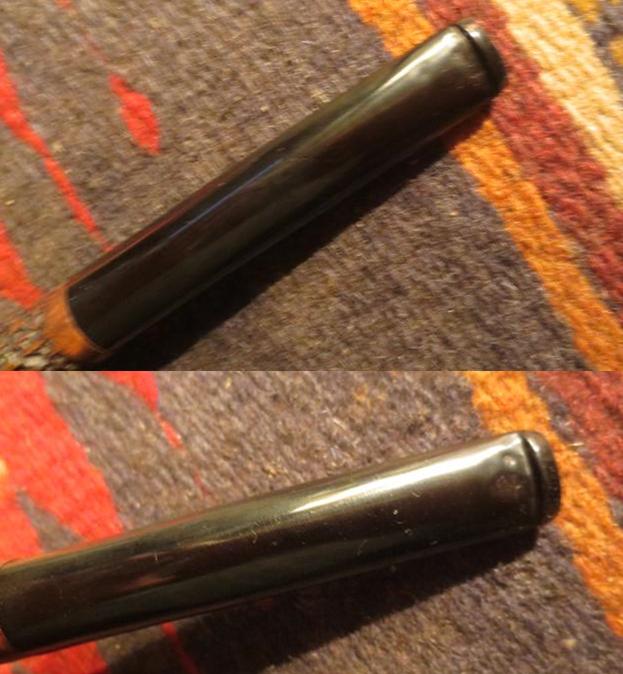
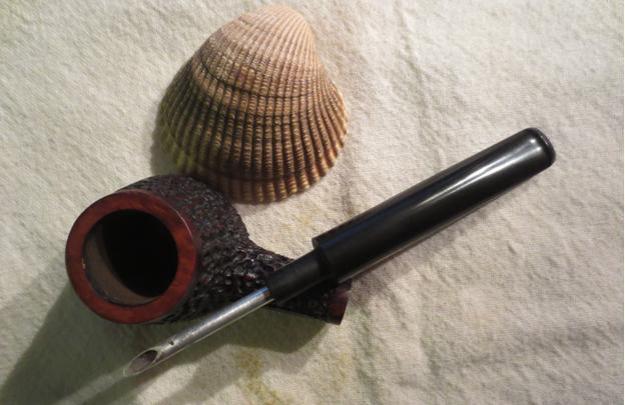
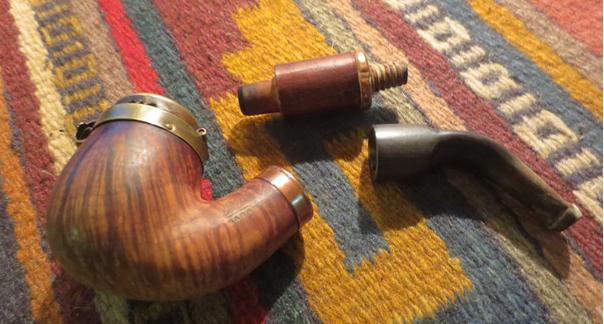
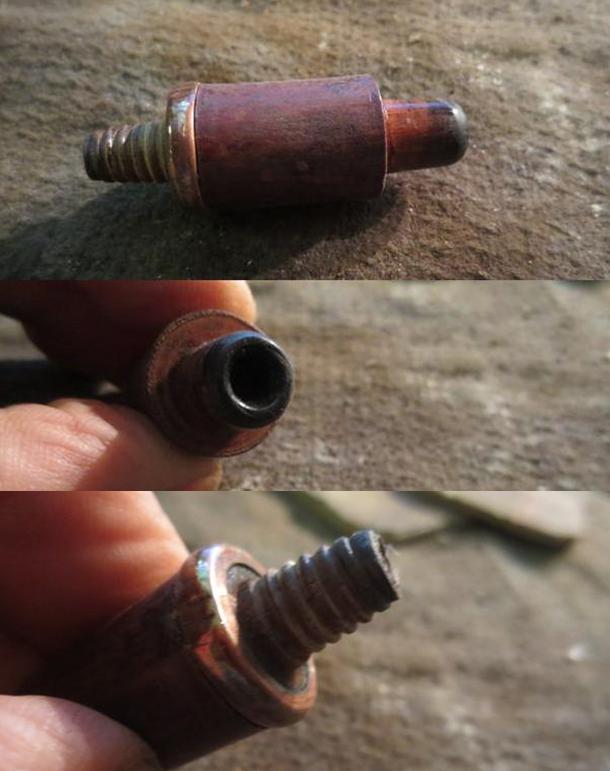
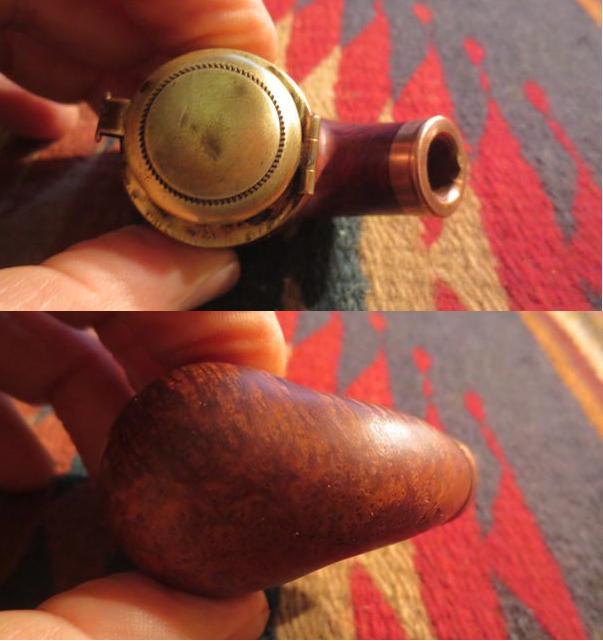
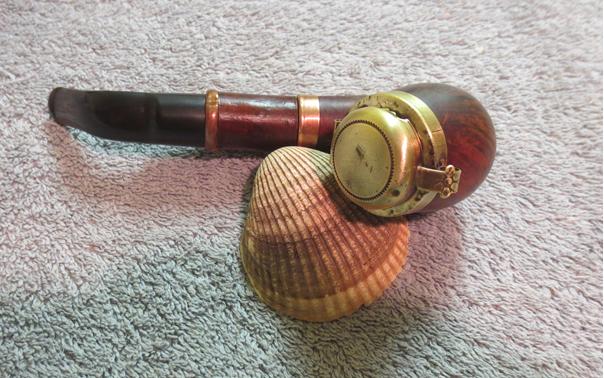
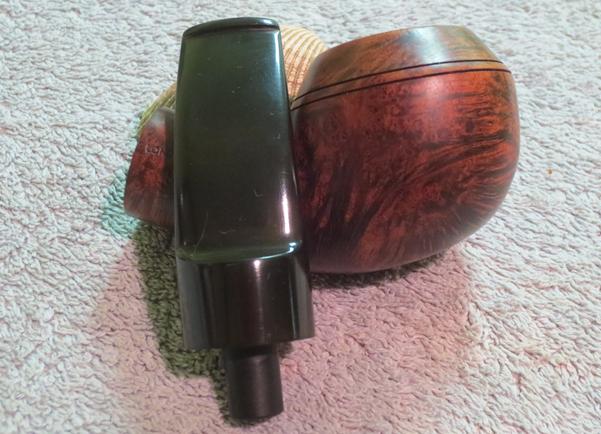
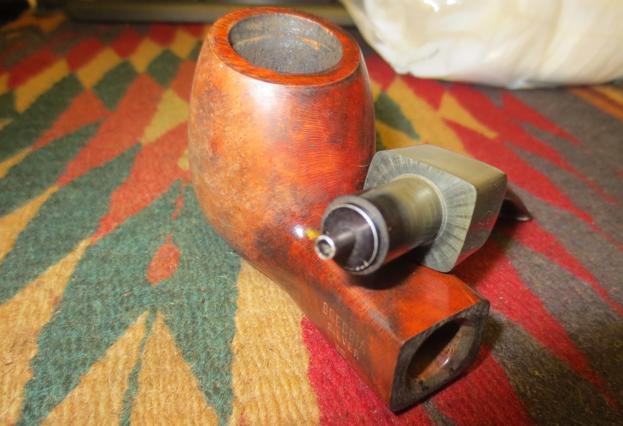
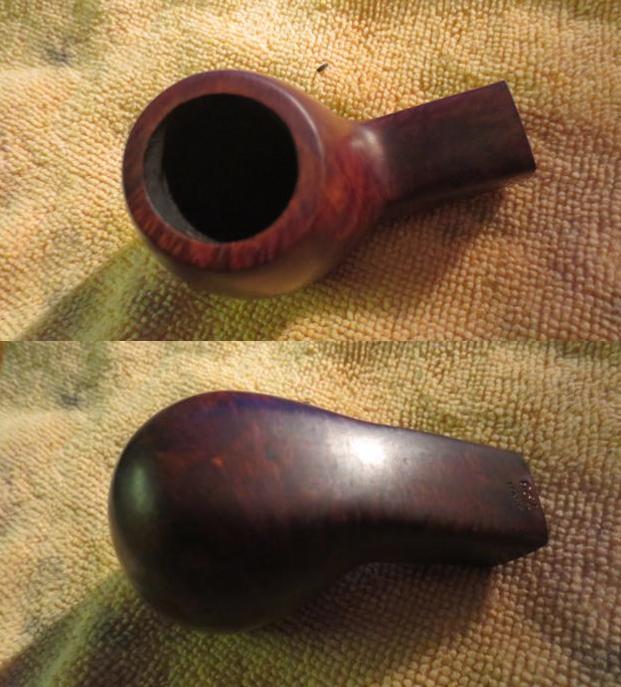
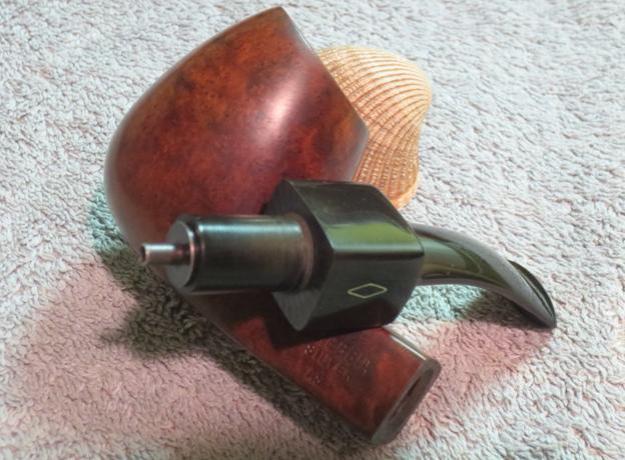
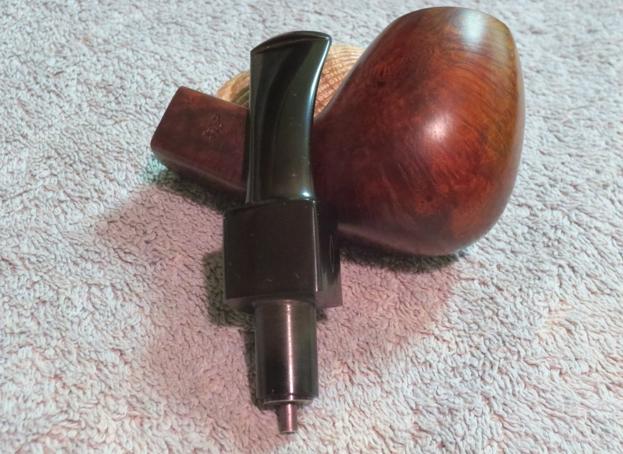
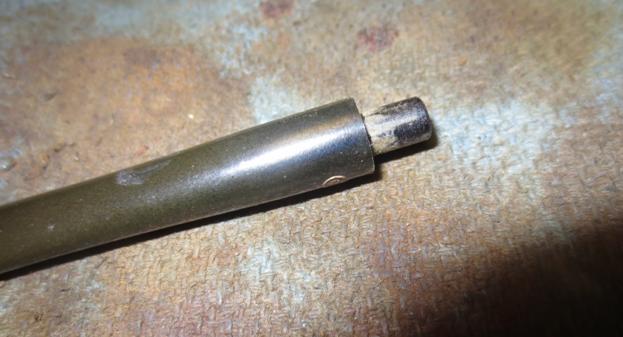
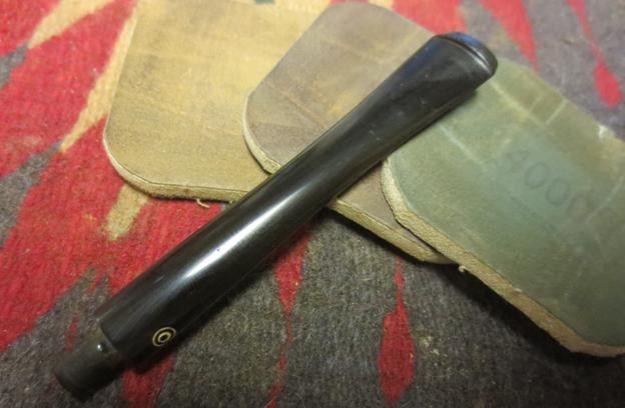
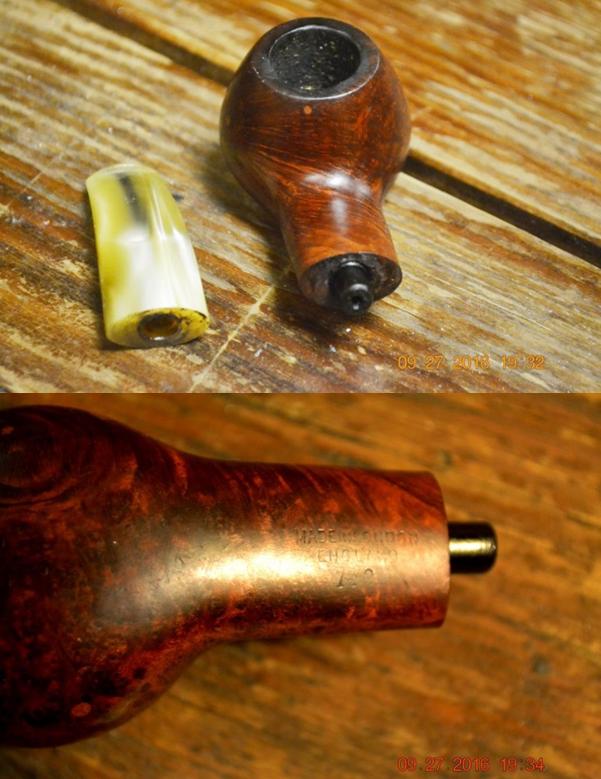
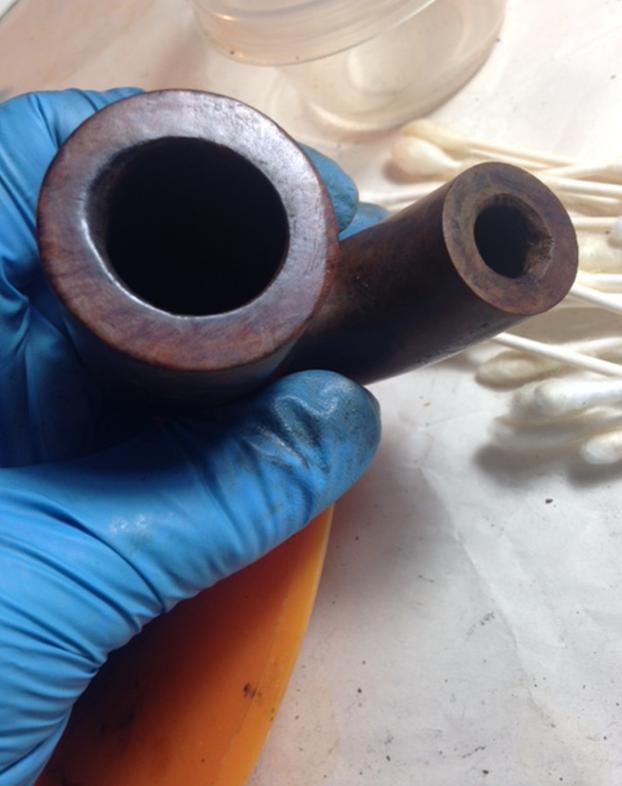 The pipe has a replacement push stem, which initially caused me to think it was an export model, but looking at the shank you can see the groves that the stinger originally screwed into.
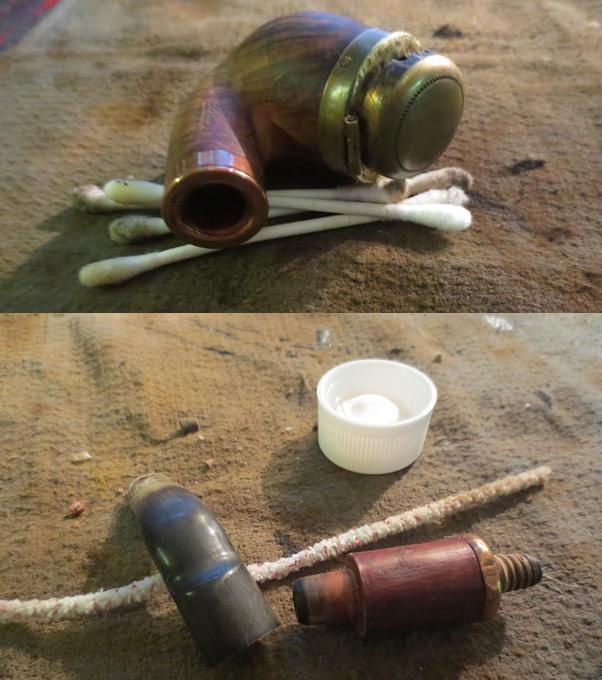
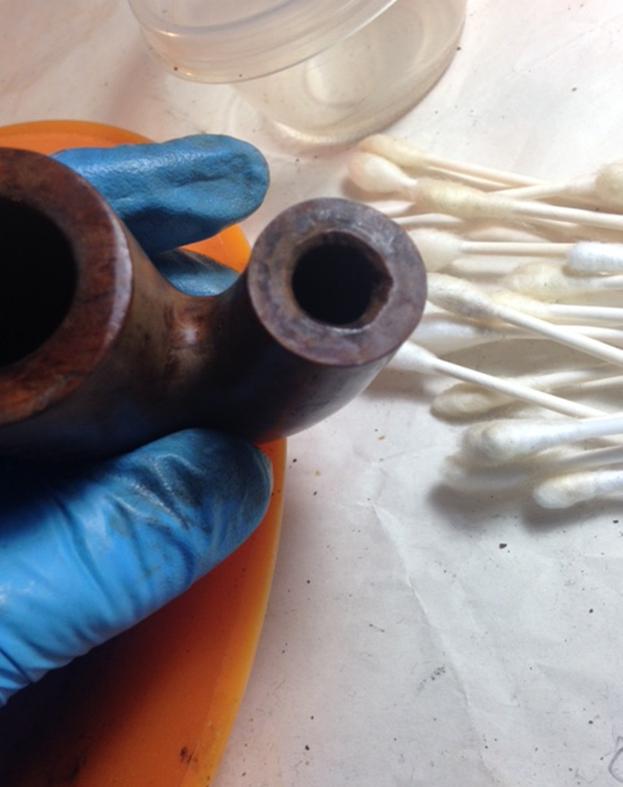 I find that the alcohol bath does a nice job of softening any protective coating or wax. In order to remove the rest, I used 0000 steel wool and acetone.
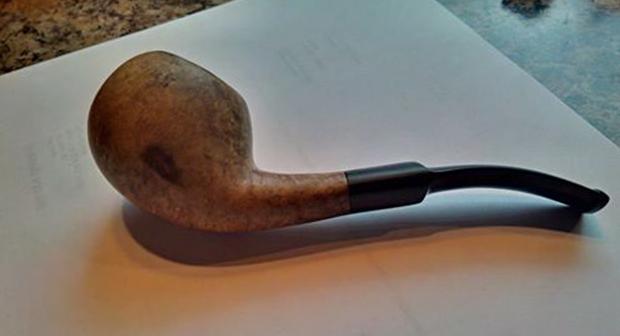
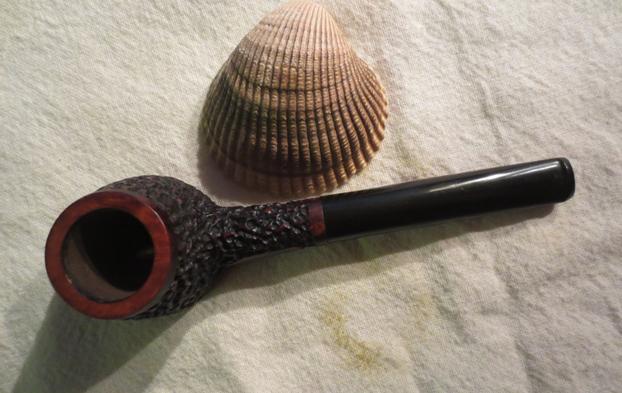
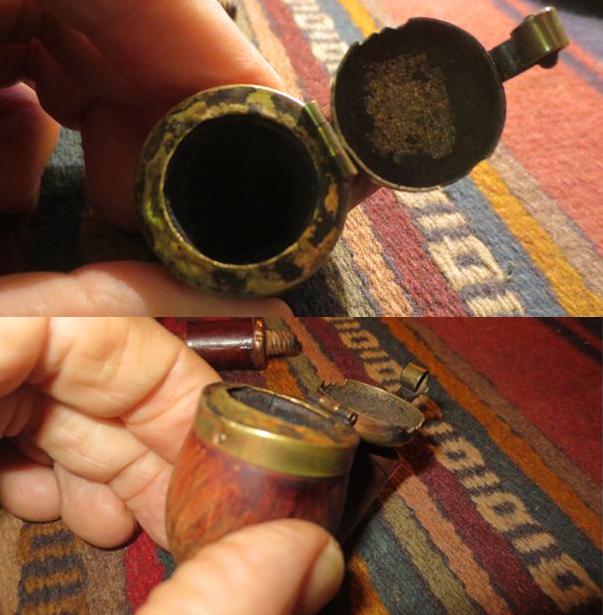
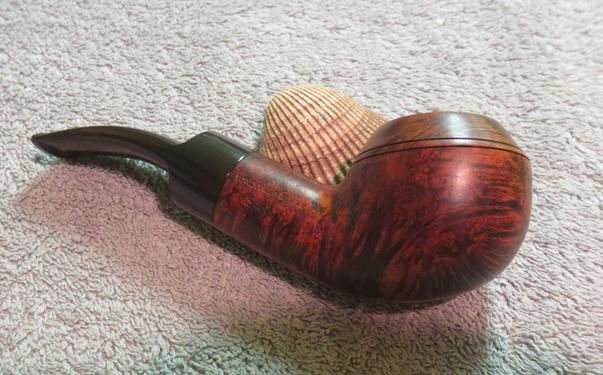
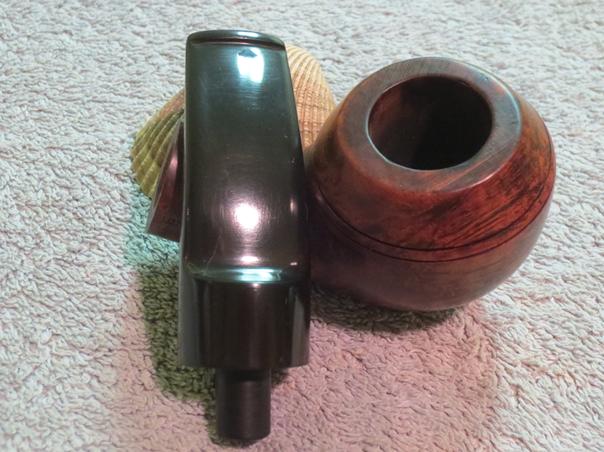
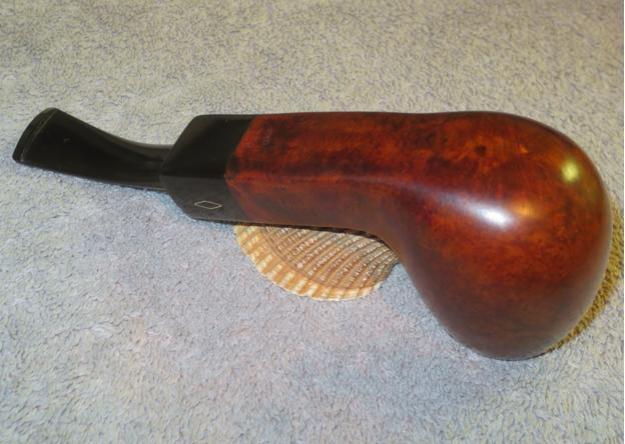
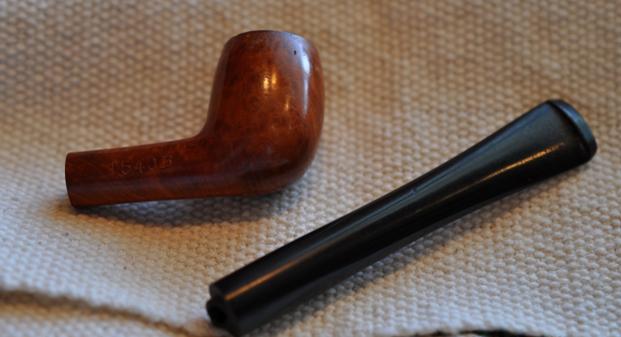
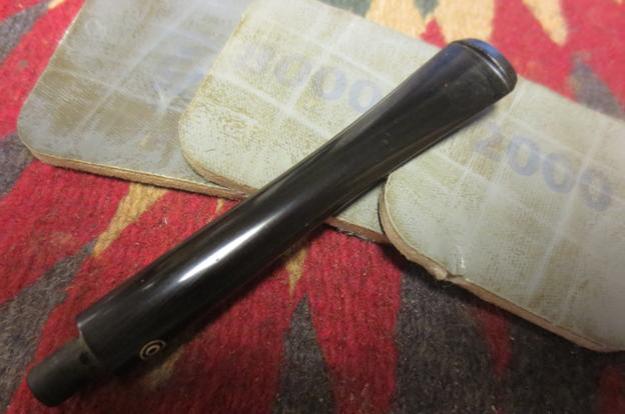
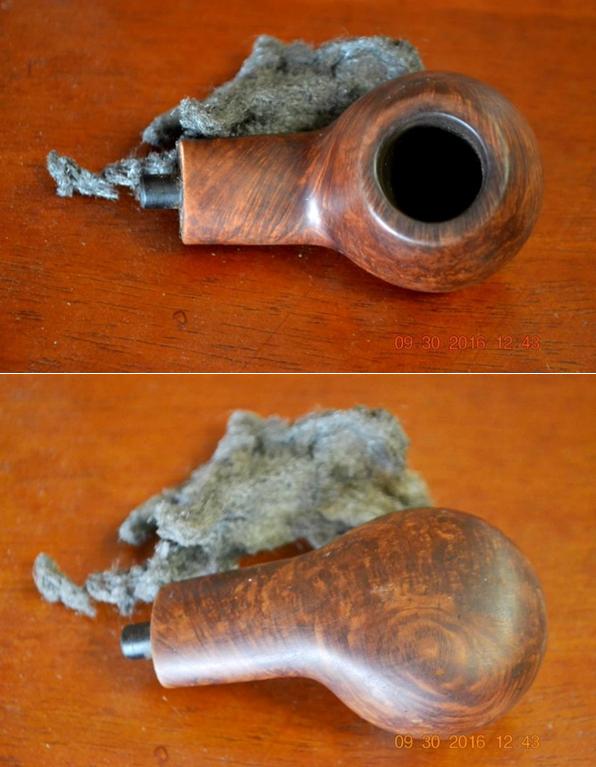
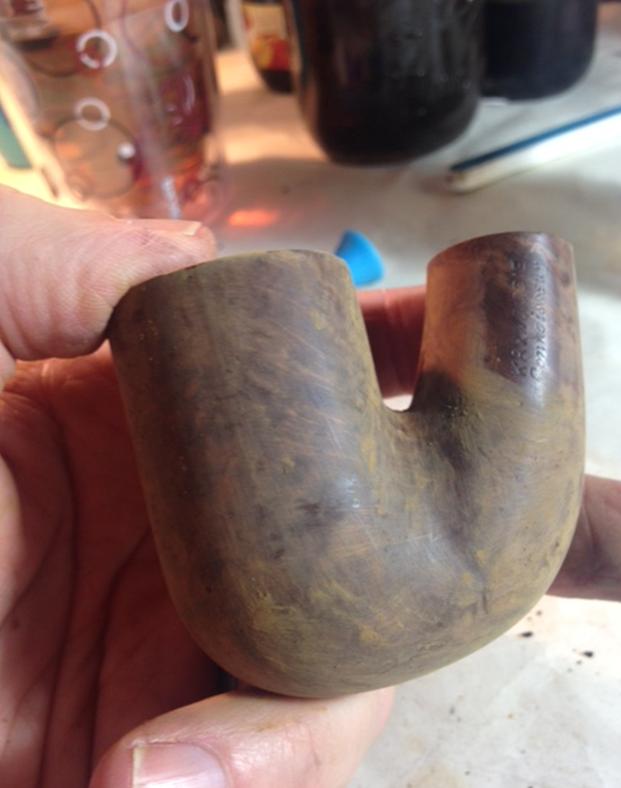
 Here is what the pipe looked like after removing the finish.
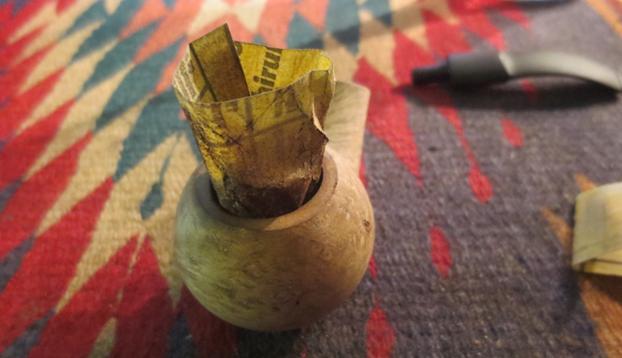
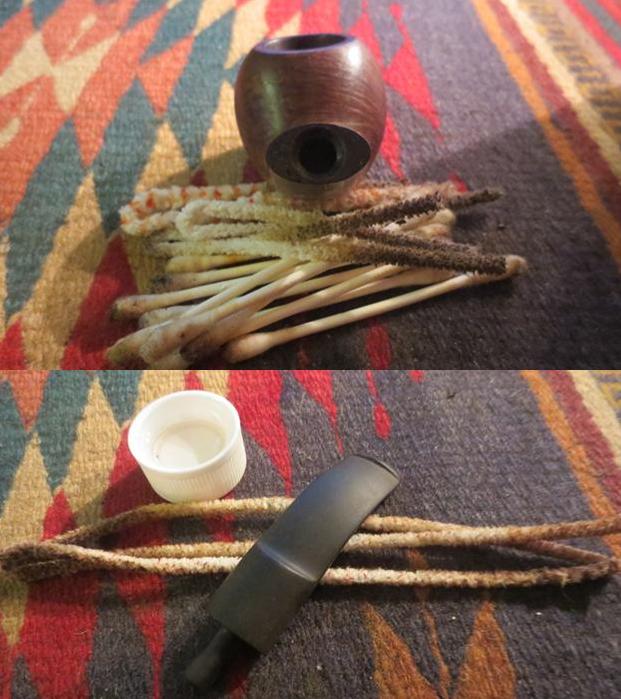
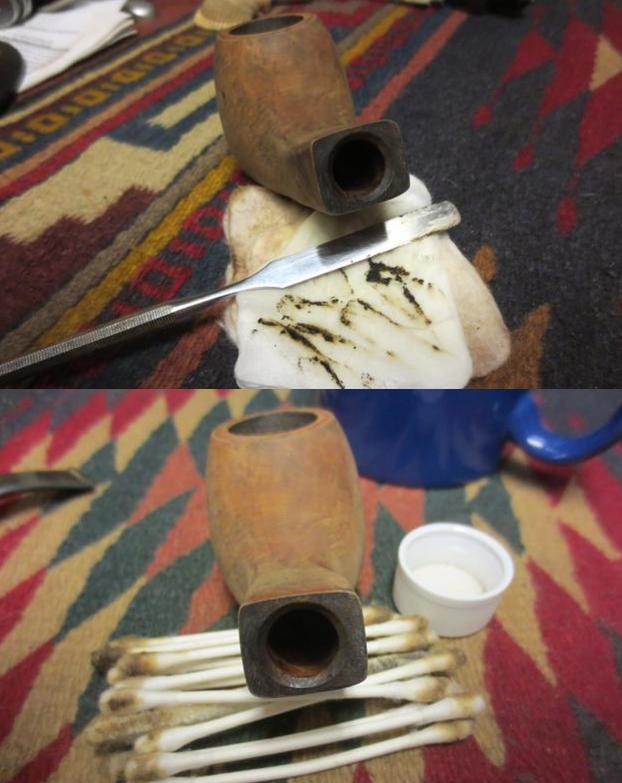
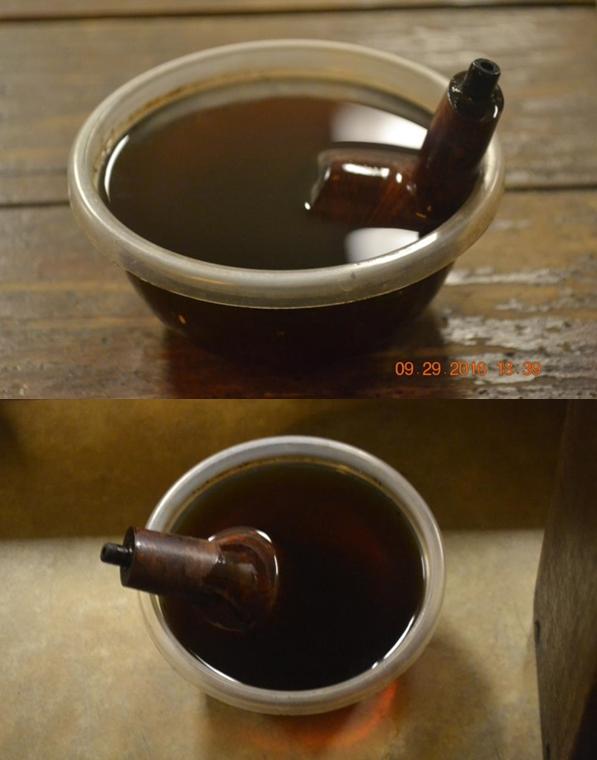
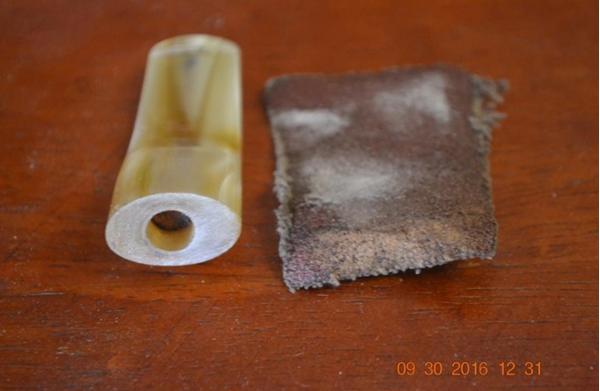
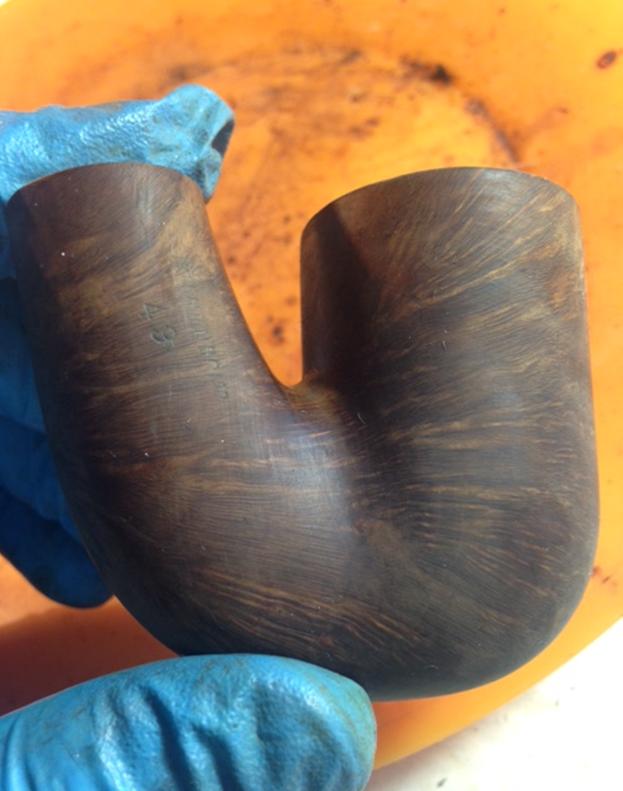 My next step was to further clean the insides of the pipe and stem using a retort.
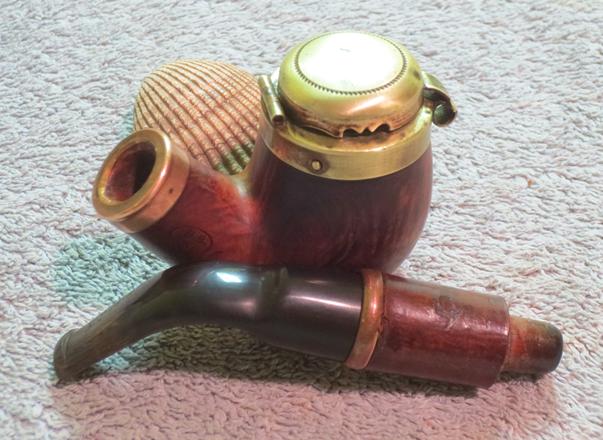
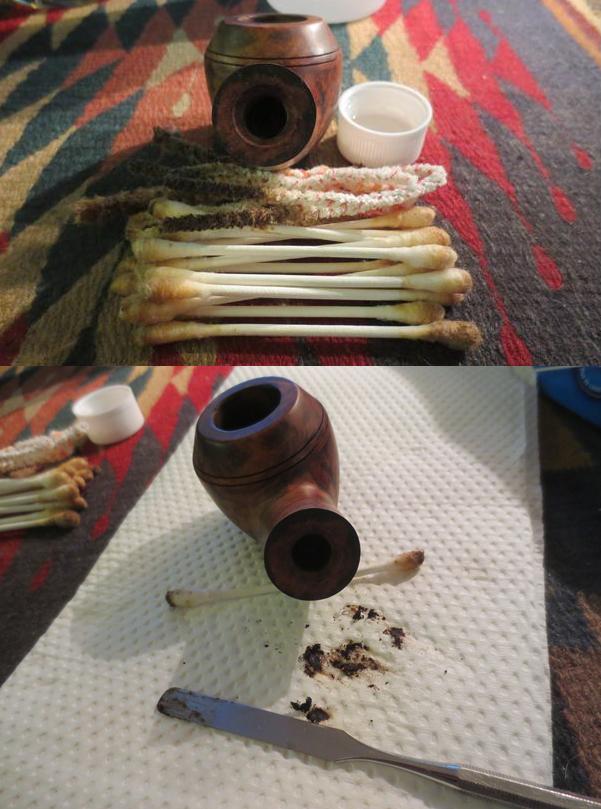
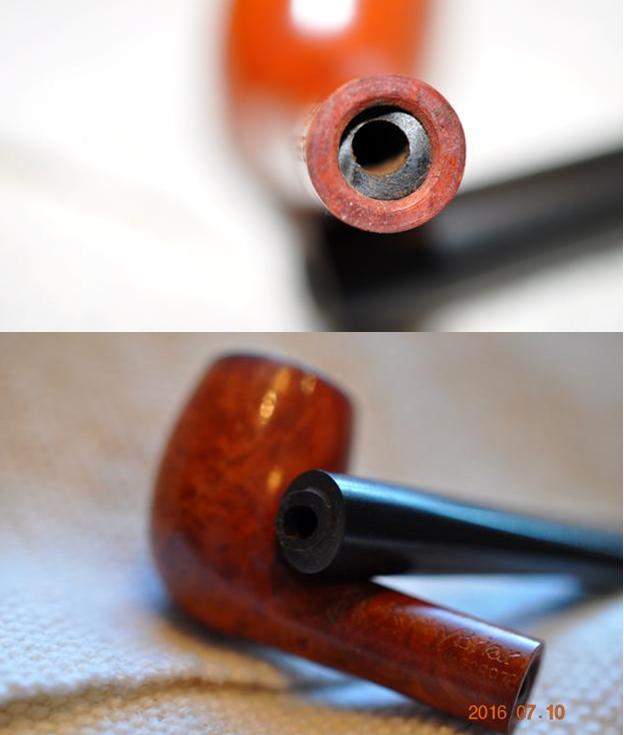
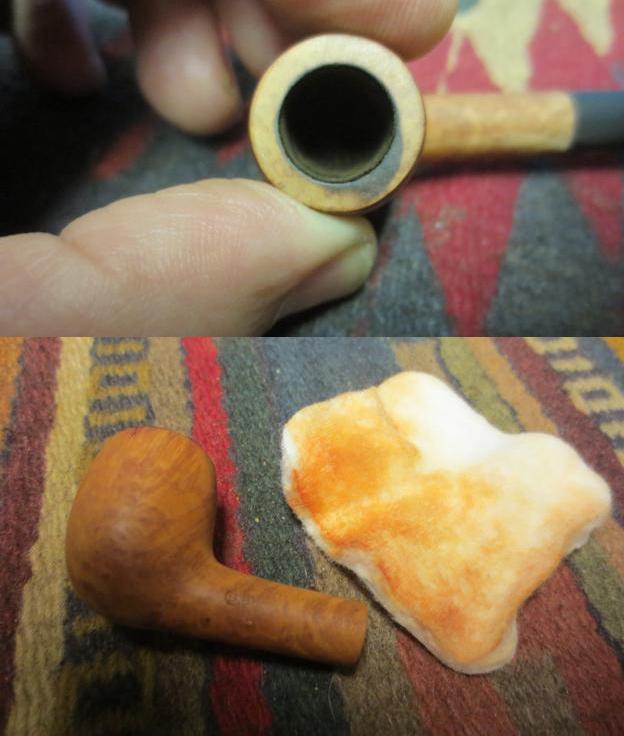
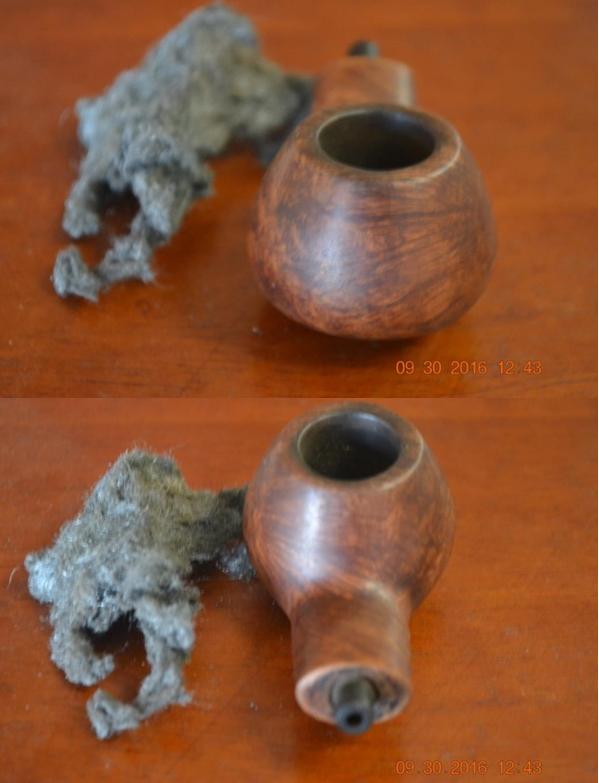
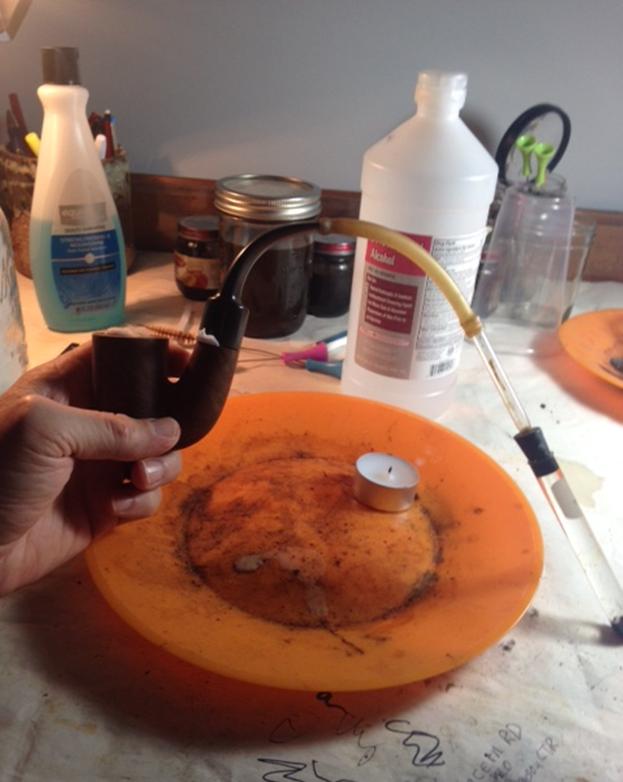 The average bowl takes two cotton balls to fill it, three if it’s kind of big. This bowl swallowed four cotton balls. Here is a picture of them after the retort (notice how the boiling alcohol pulled the tar out of the wood).
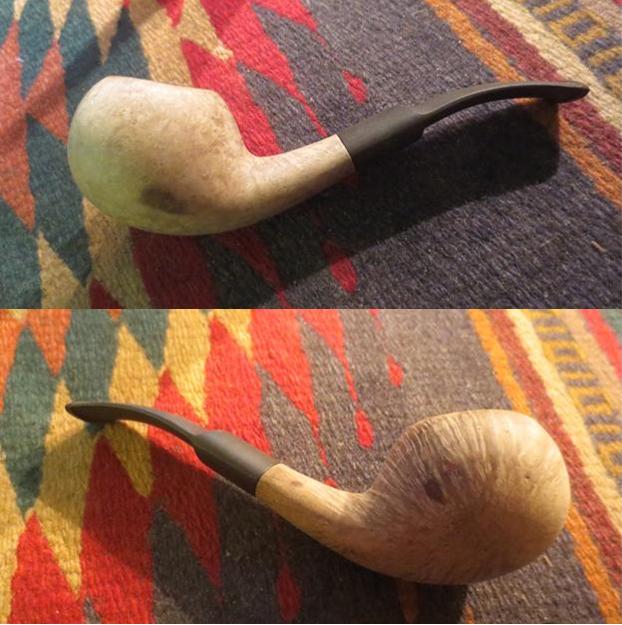
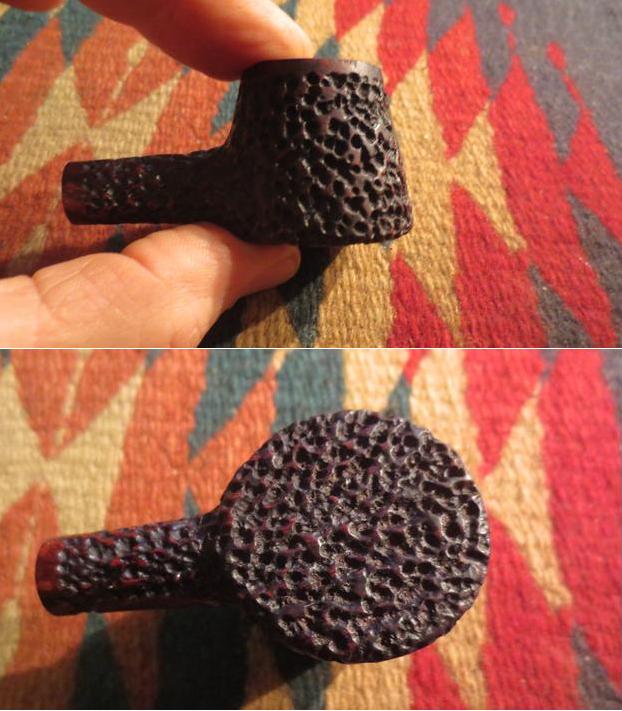
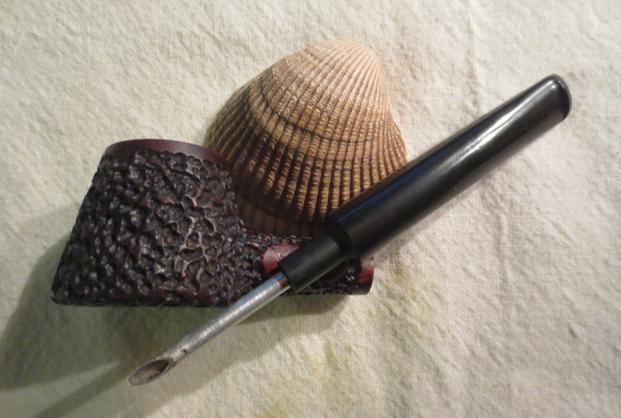
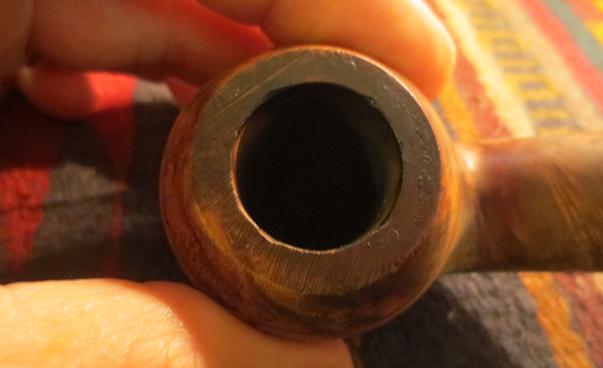
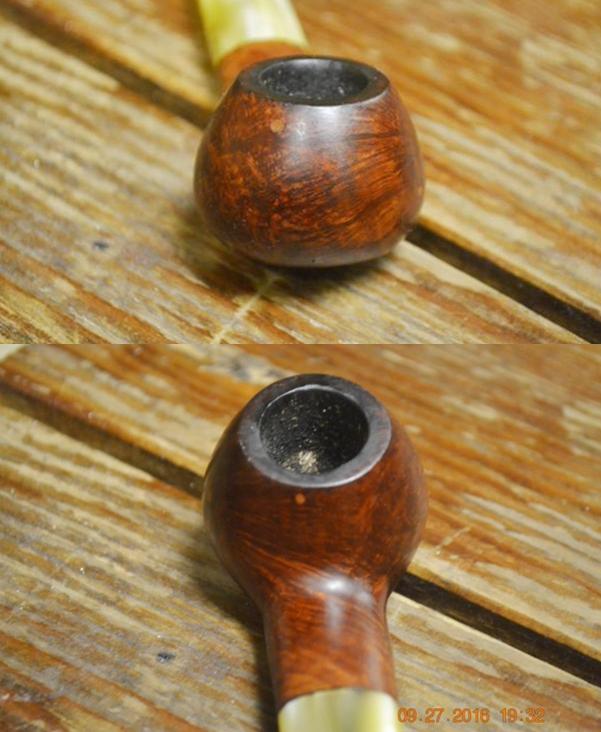
 As you may have noticed in previous pictures, the rim on the bowl was in rough shape; scorching, reaming damage, and deep dents. I planned to top the rim and the end of the shank to remove some of the worst damage, but I decided to leave the dimensions as close to original as possible; so I refrained from getting crazy with the sand paper.
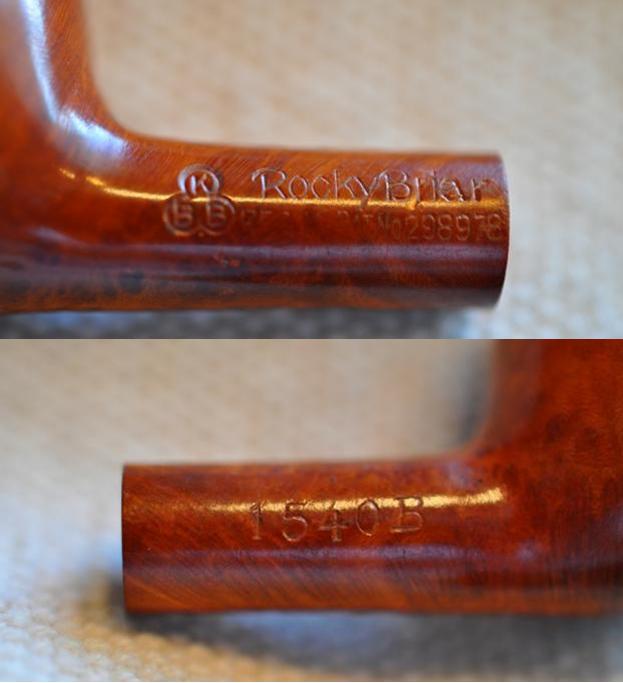
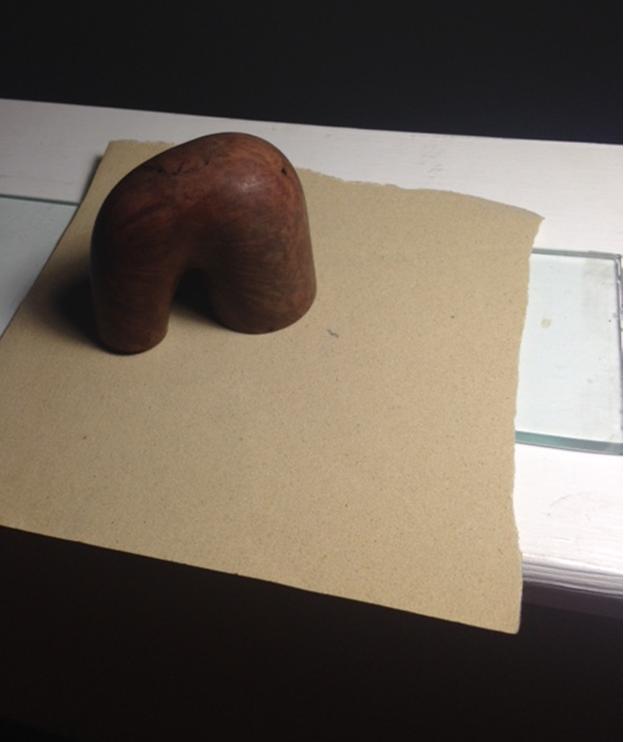 Once the rim was to my liking I started on the bowl with the 400 grit wet/dry. I sanded around the marking on the shank and kept the stem inserted while working on the end of the shank to prevent rounding.
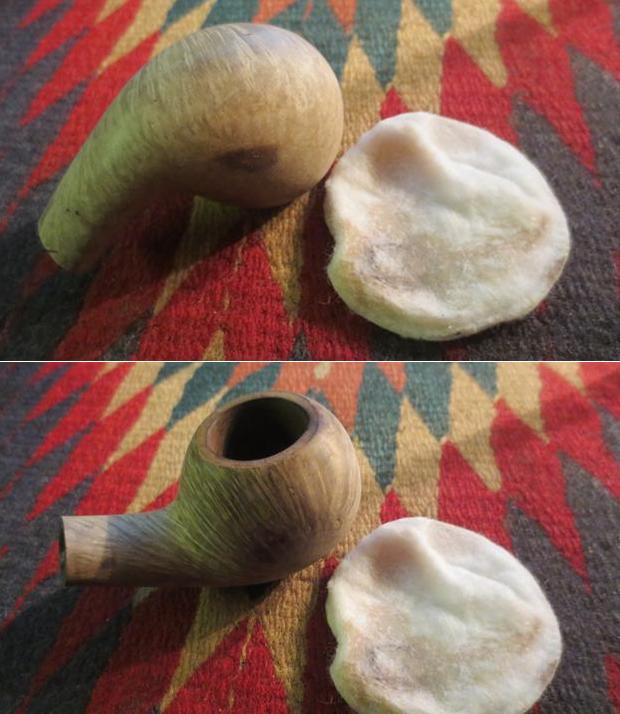
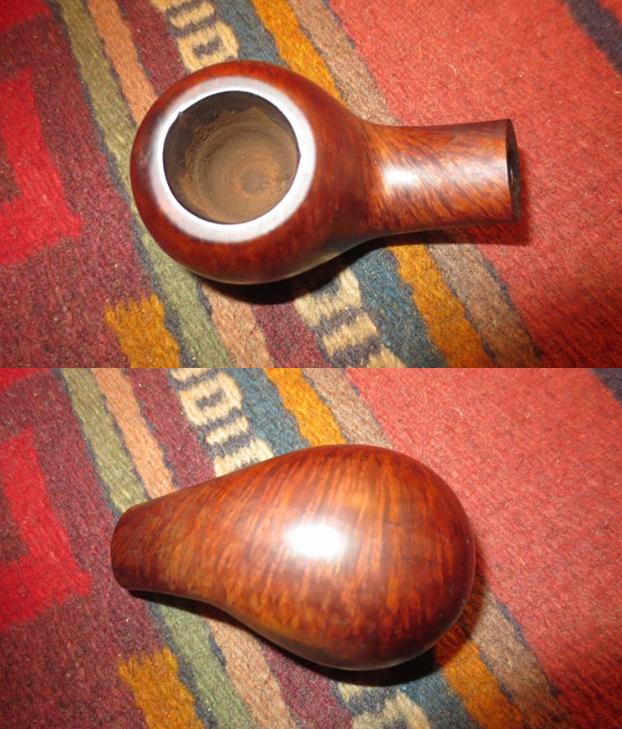
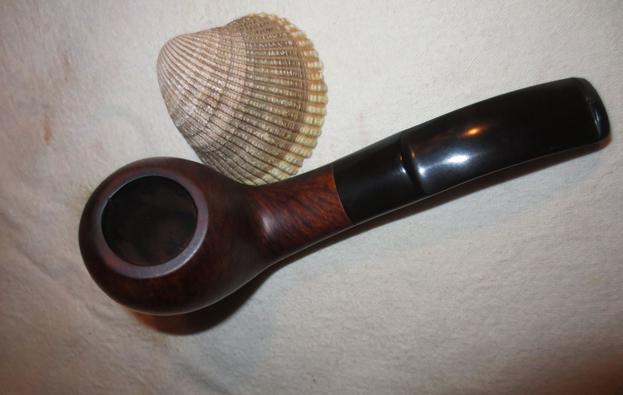
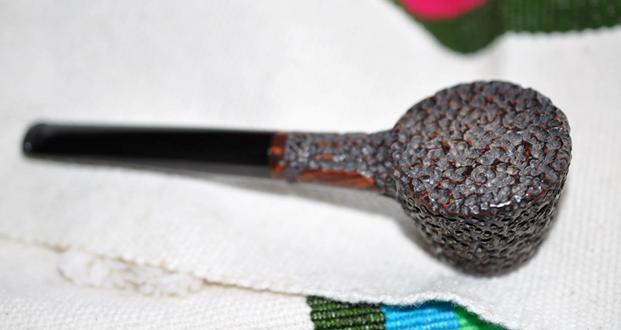
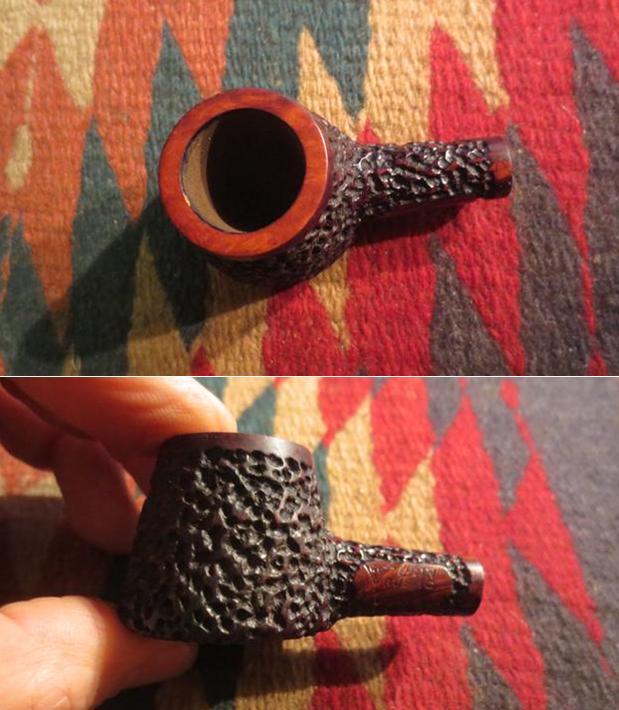
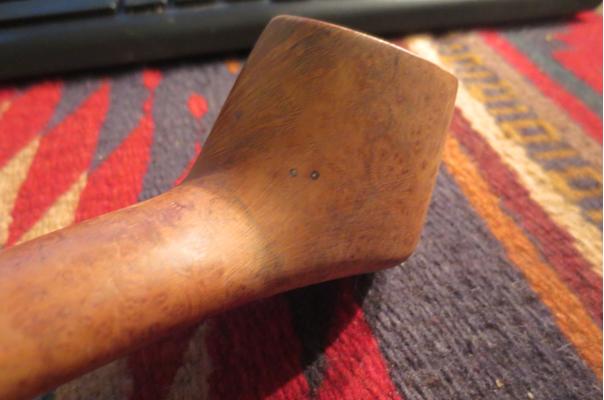
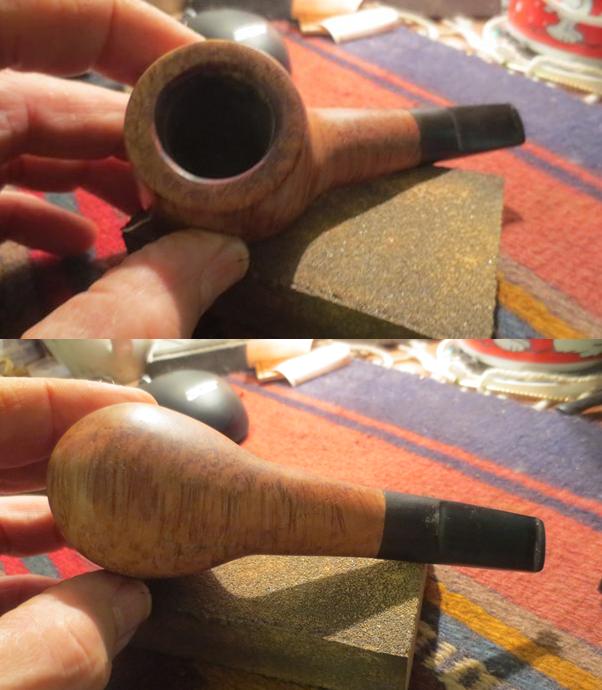
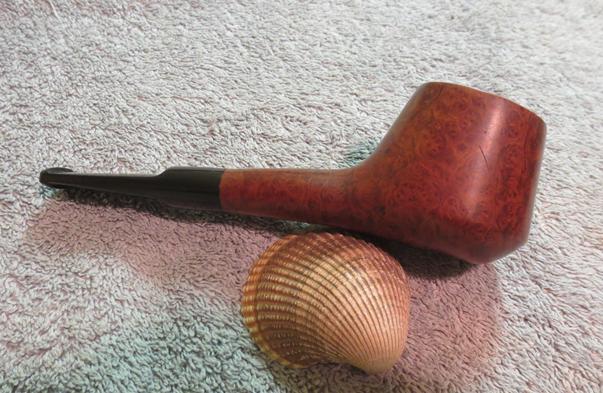
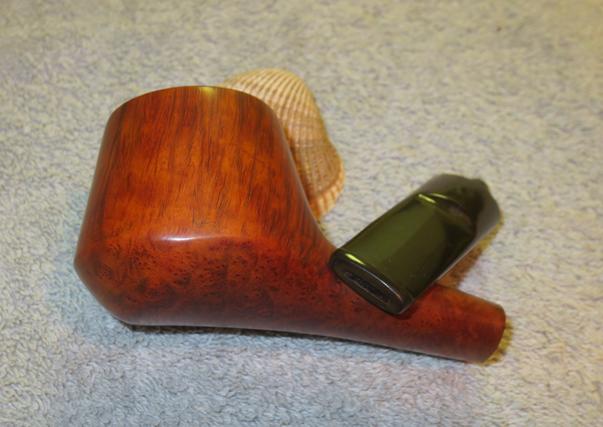
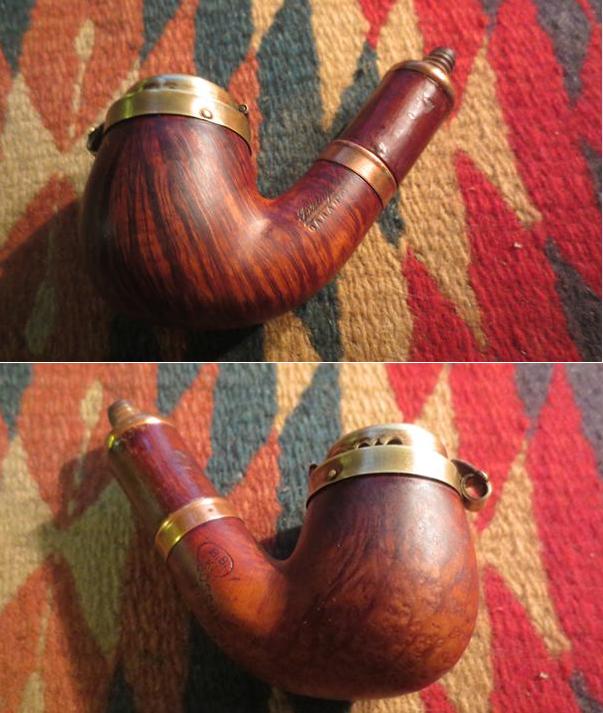
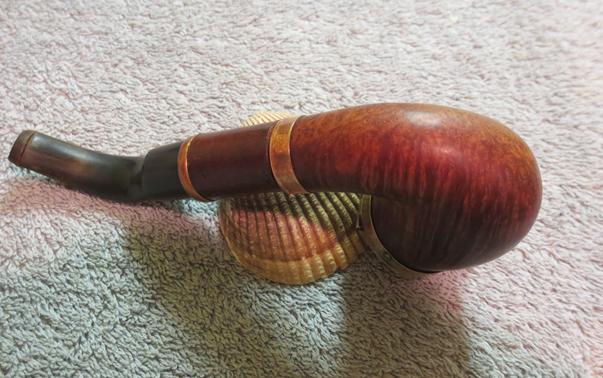
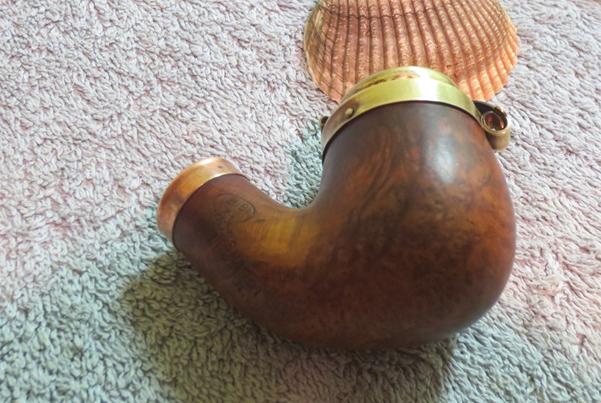
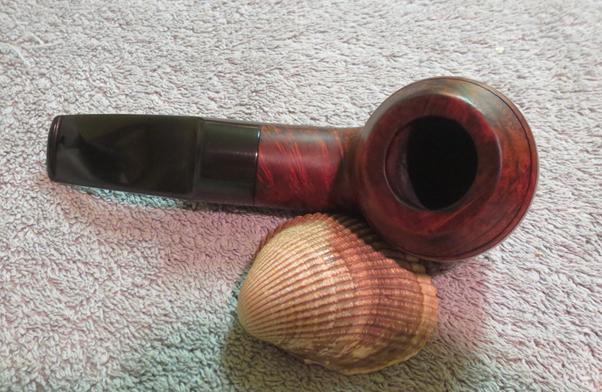
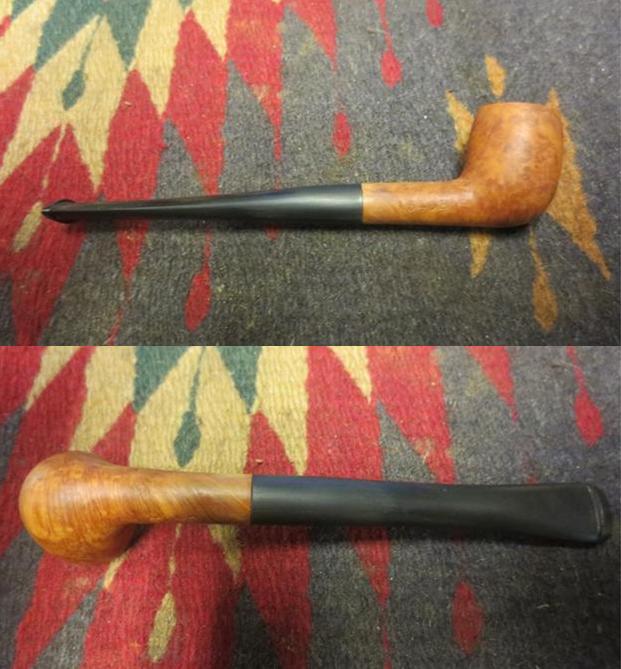
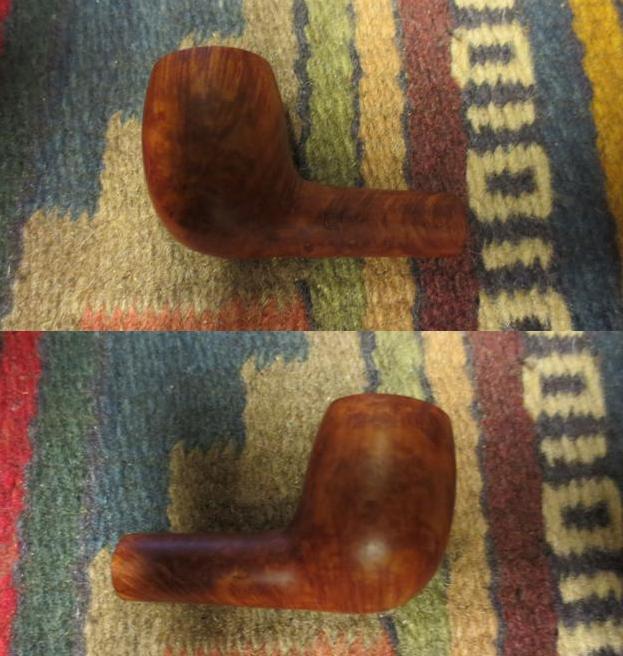
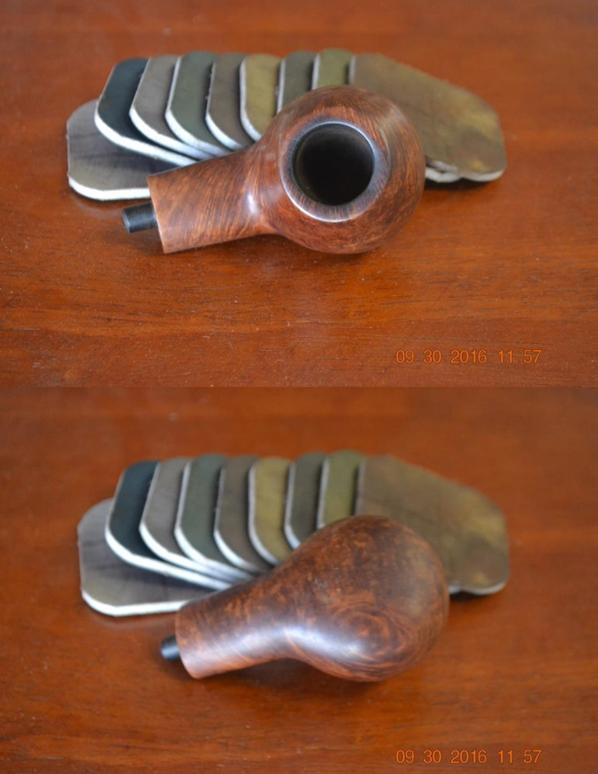
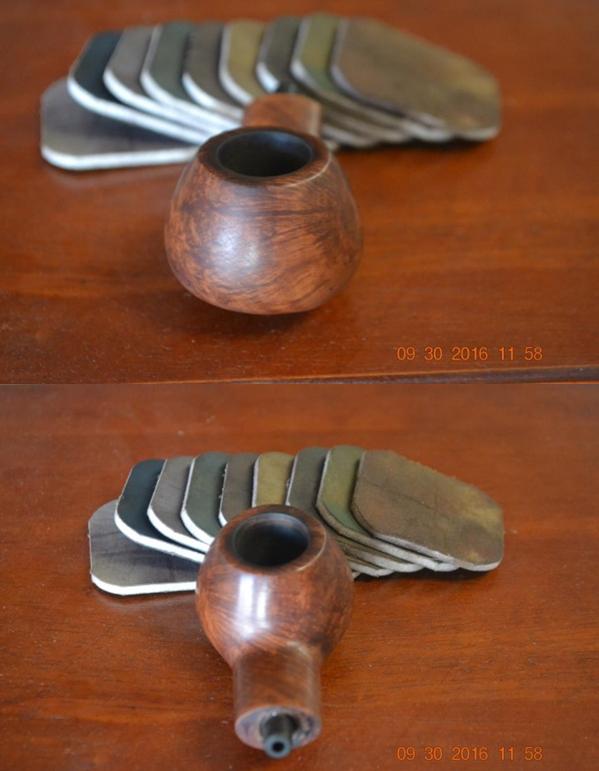
 Here is the bowl after the 400 grit.
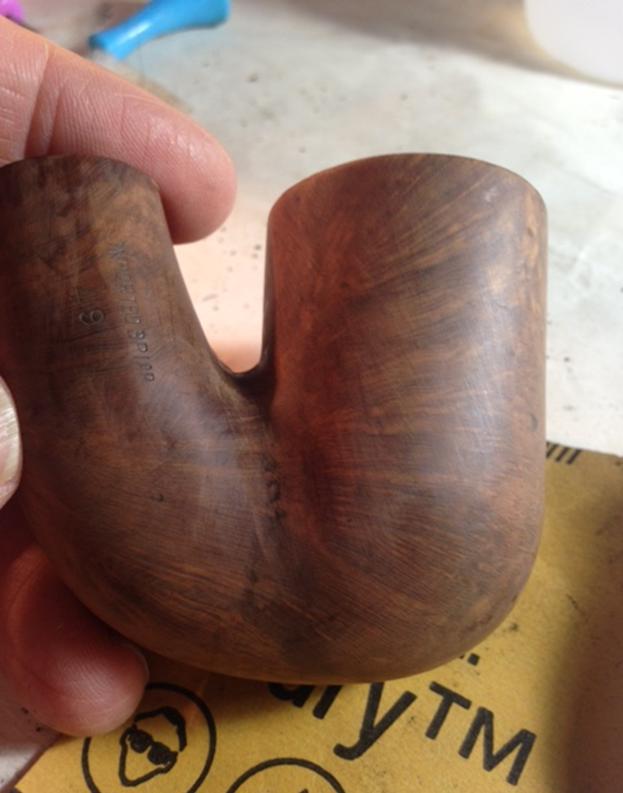 After the 400 grit I turned to a progression of micro-mesh pads (1500-12,000 grit) to polish the wood.
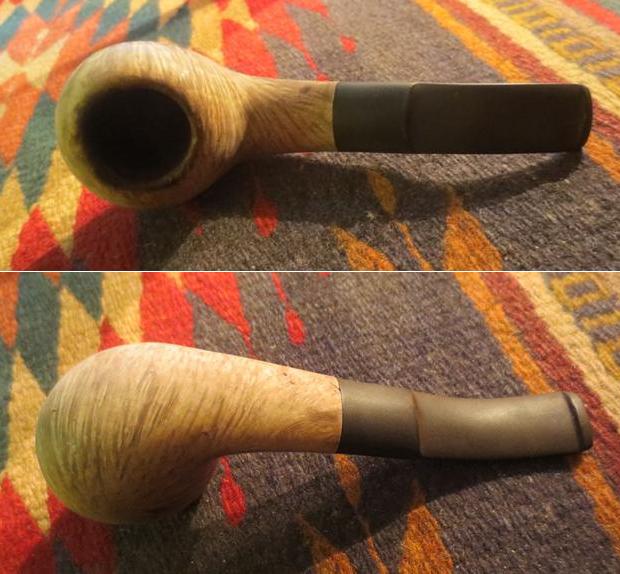
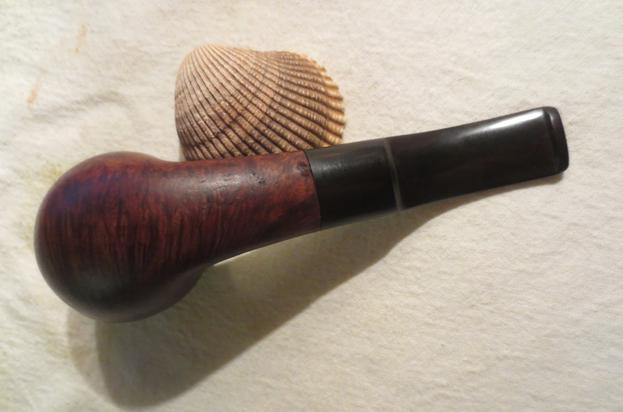
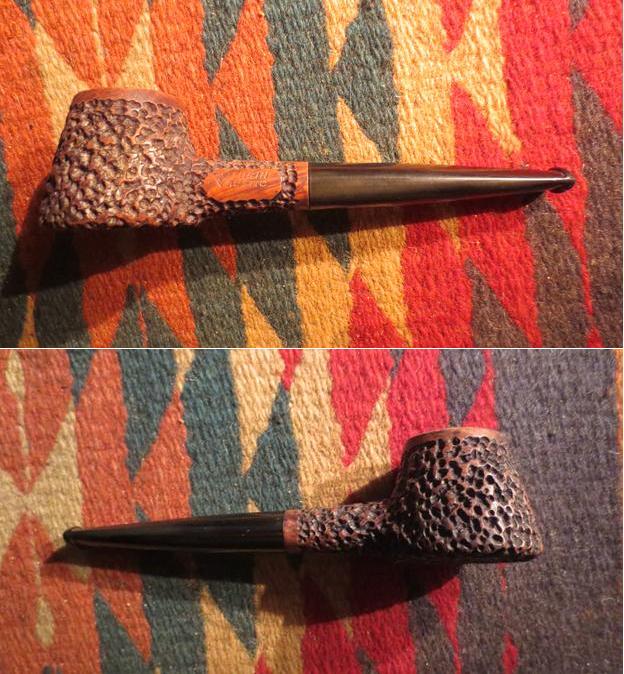
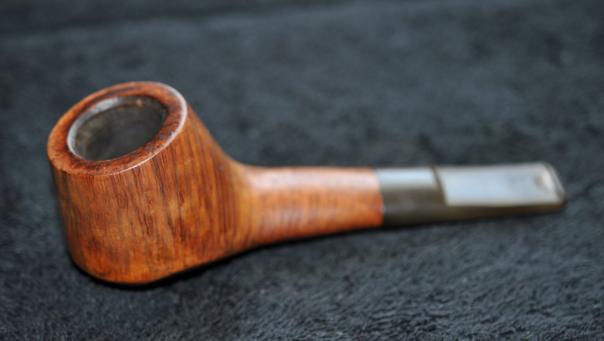
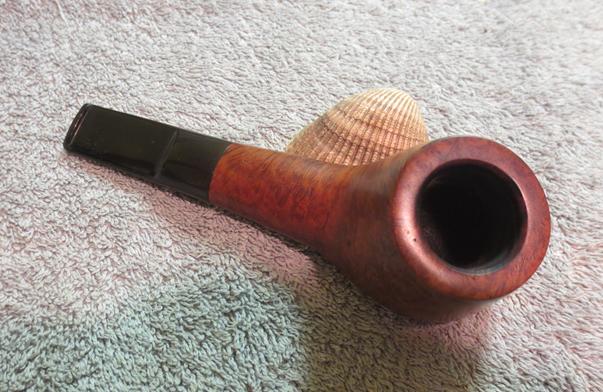
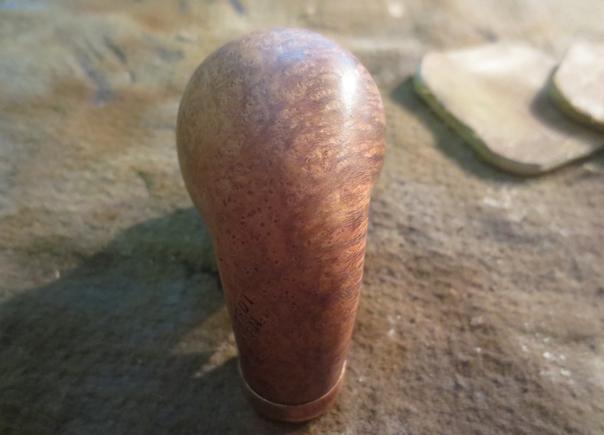
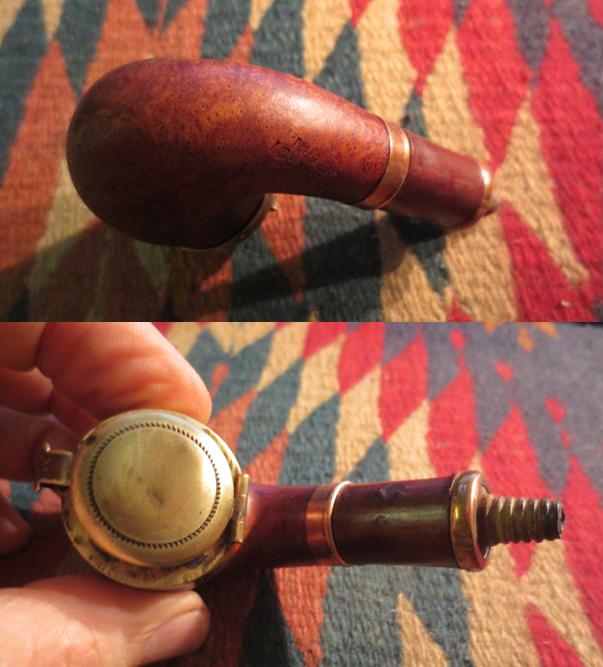
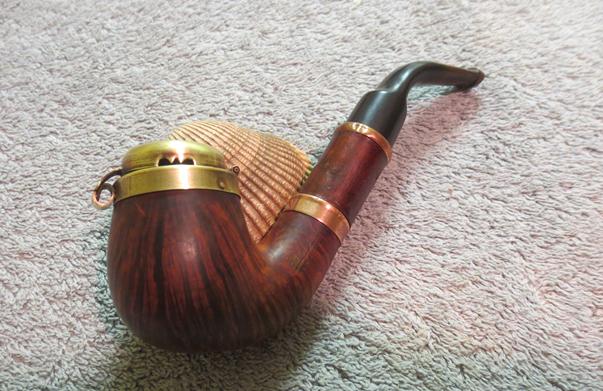
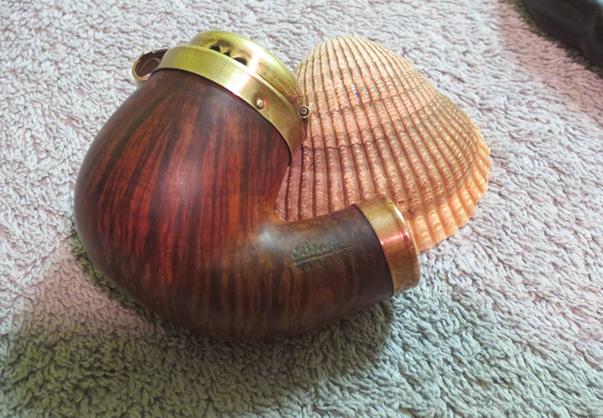
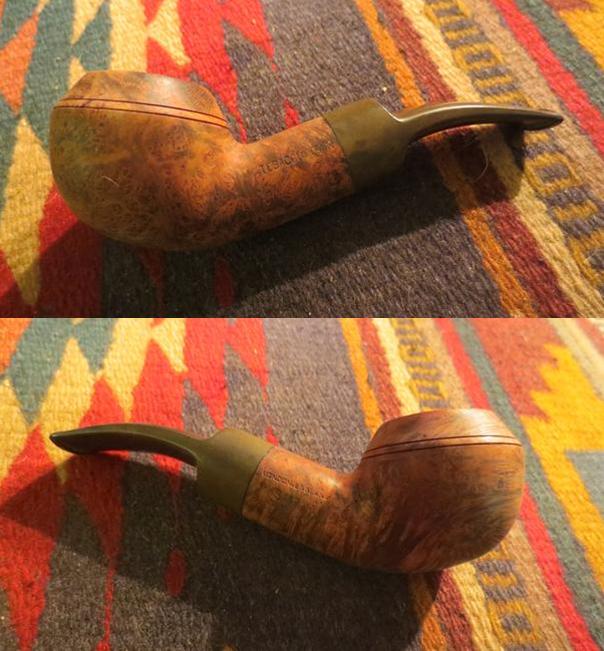
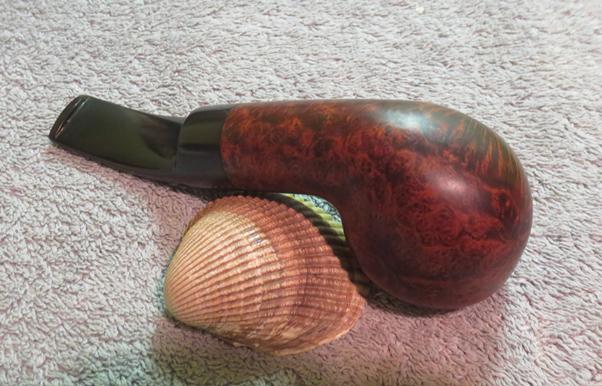
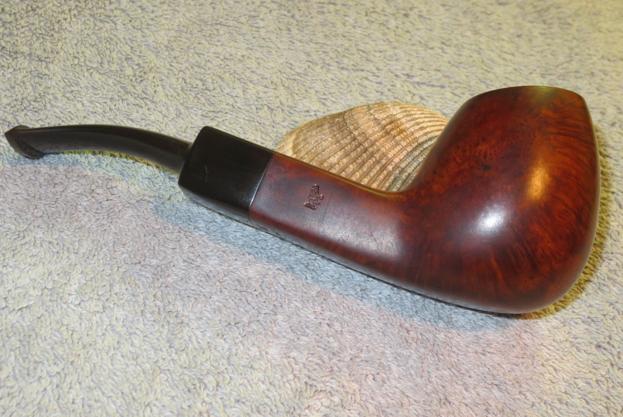
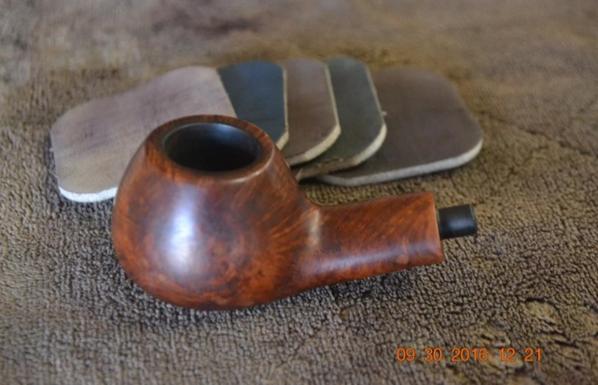
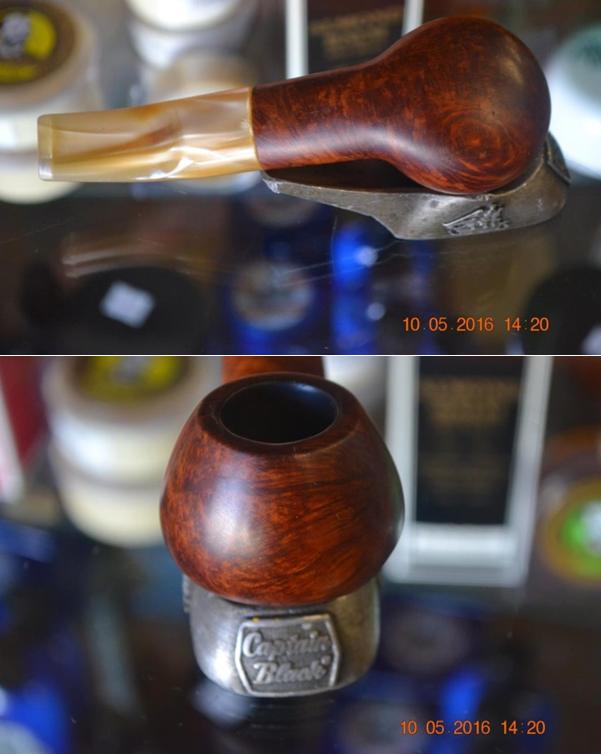
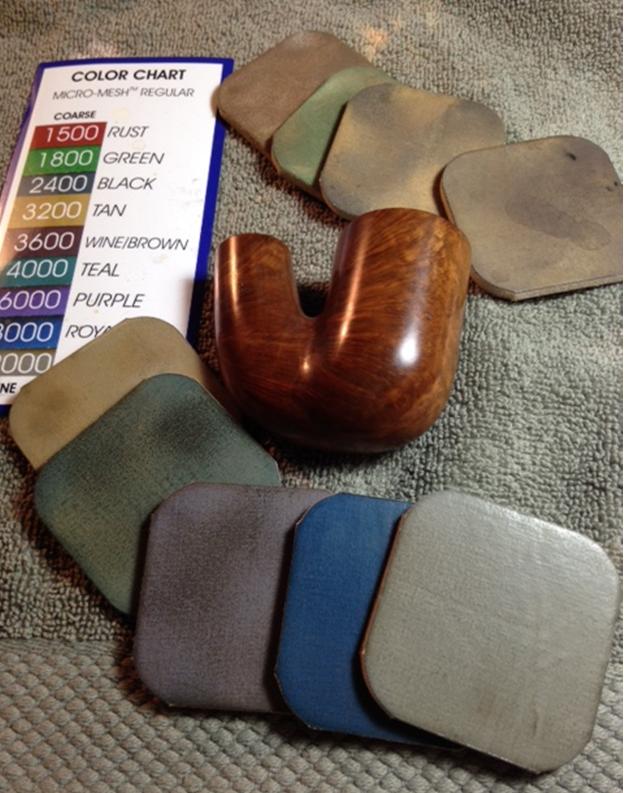 I used the same progression on the stem. I polished the stem using a rotary tool set on the lowest speed with white rouge and carnauba wax. I used my buffing wheel (aka heartbreaker) with white rouge and carnauba wax on the bowl. I reassembled the pipe and wiped on a couple of light coats of Halcyon II wax. Here is the finished result.
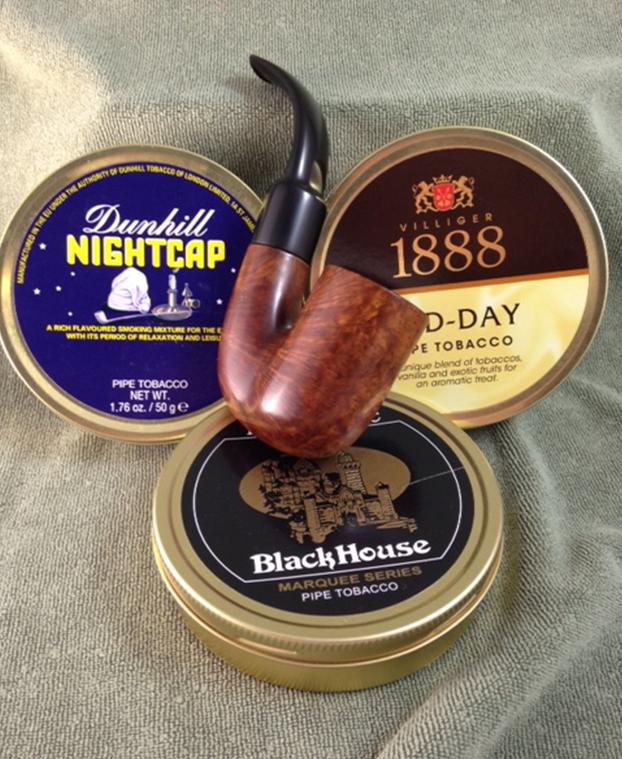


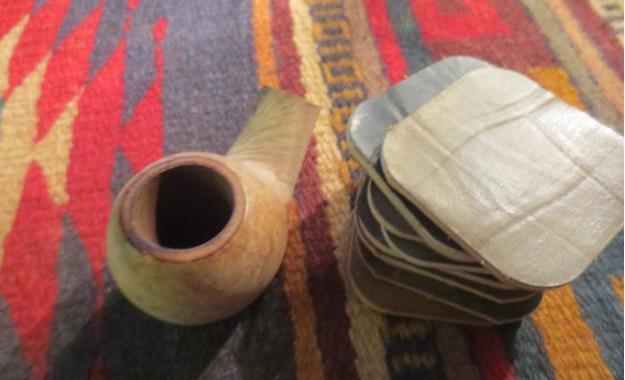
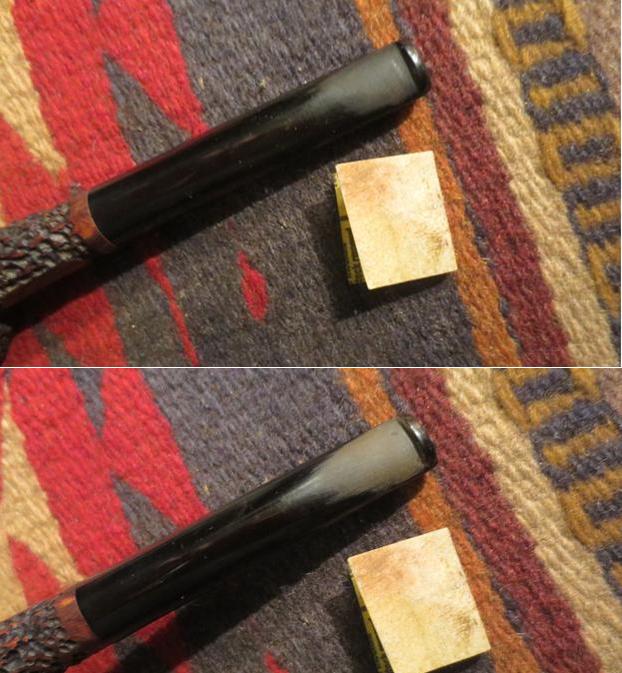
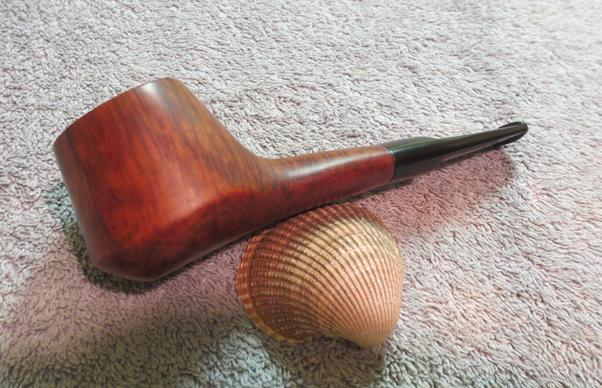
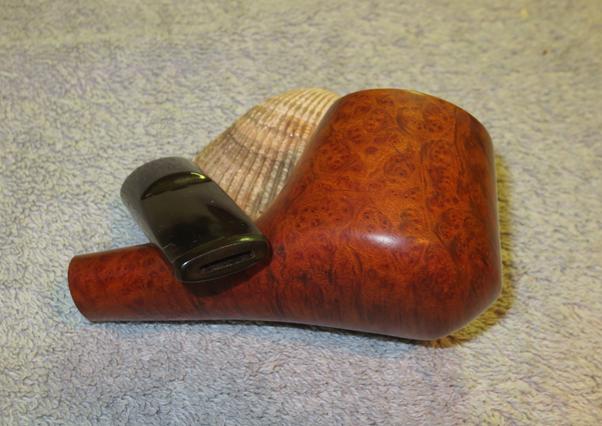
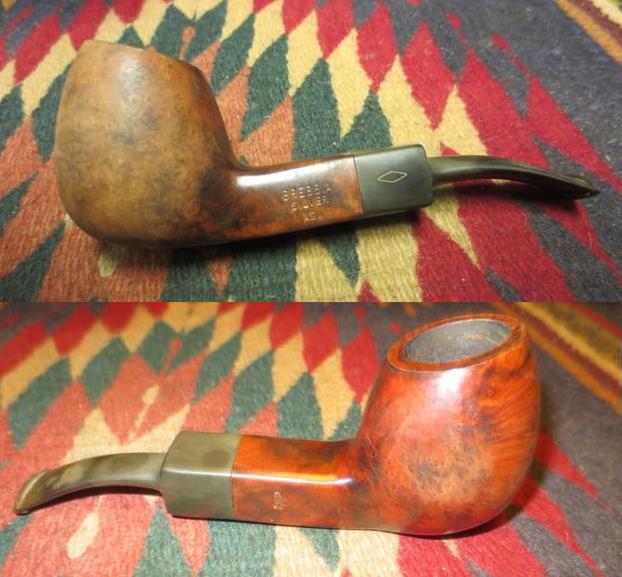
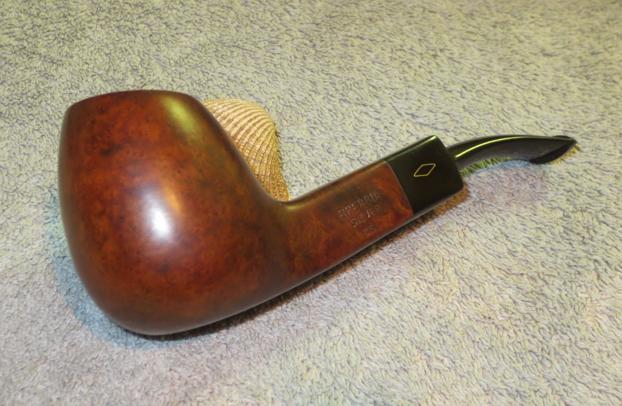
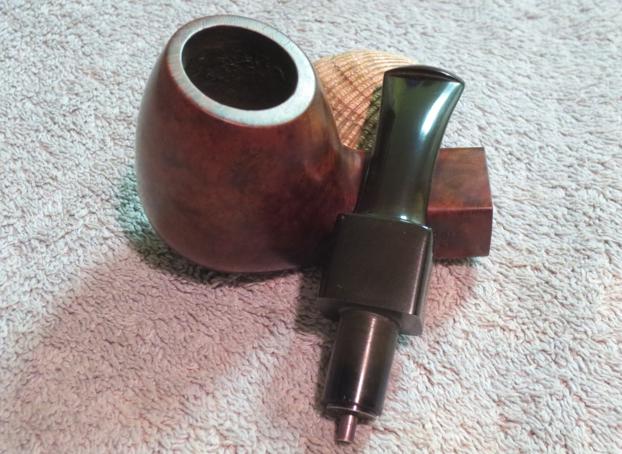
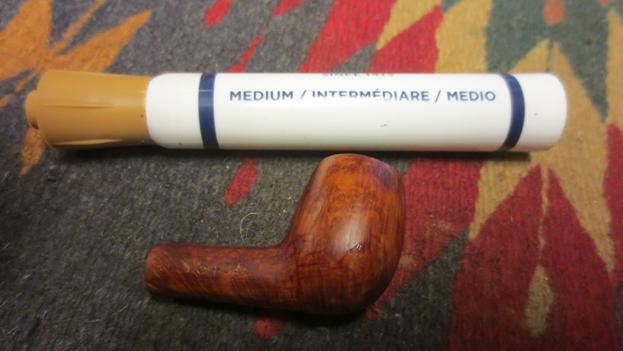
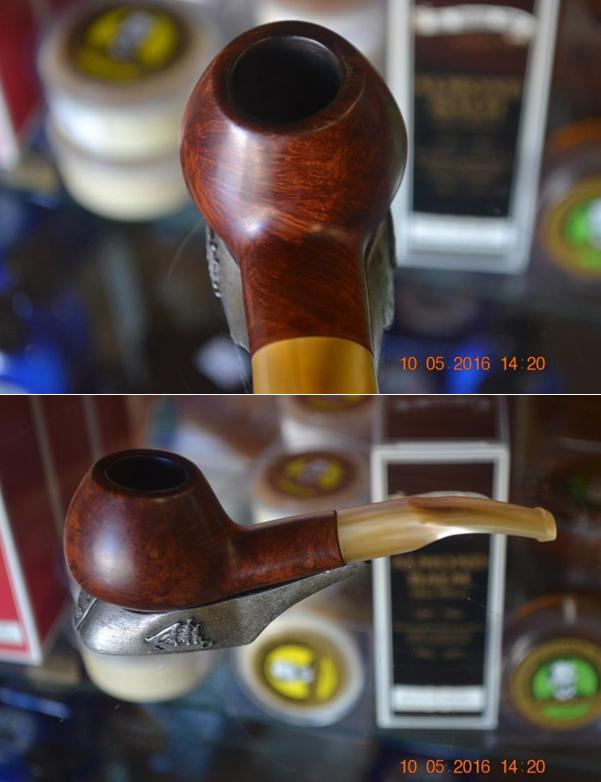
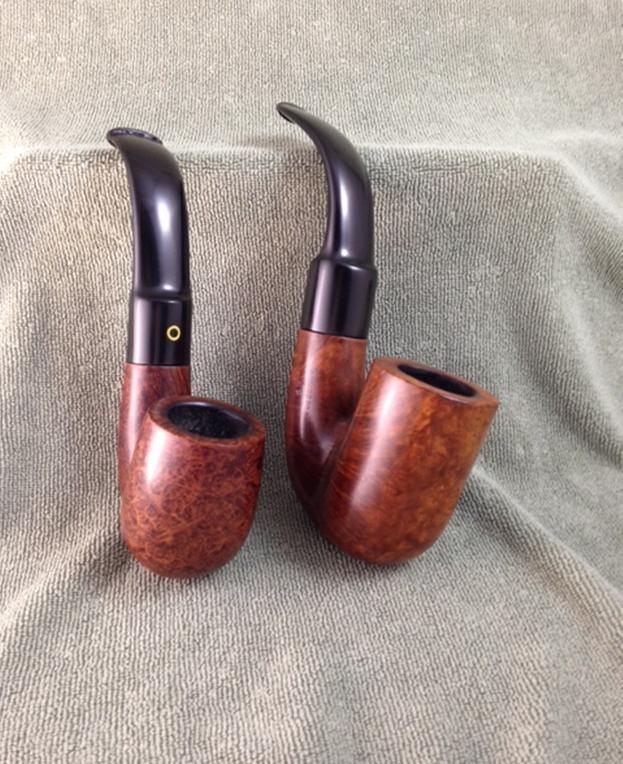
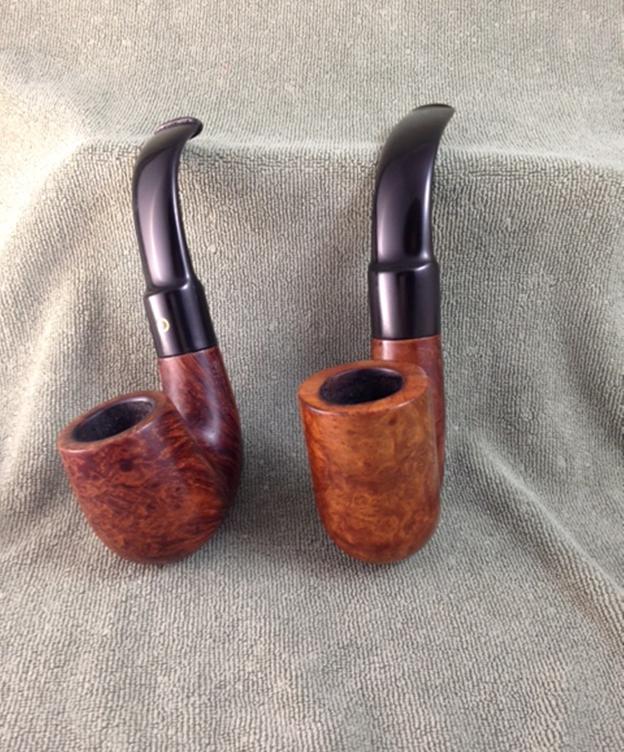
 Just to give some perspective on the size of this pipe, here is my four-digit yellow bowl for comparison.

 Normally I wait to smoke a restored pipe until after taking pictures, but we were without power this morning so I loaded the bowl with some Dunhill Early Morning Pipe and commenced to smoke. The draw is fantastic! After about an hour I thought I must be getting close to the bottom of the bowl so I got my pipe cleaning tool and started to clean the bowl. I had only smoked half the bowl! This the first pipe I’ve encountered that has a basement!