by Steve Laug
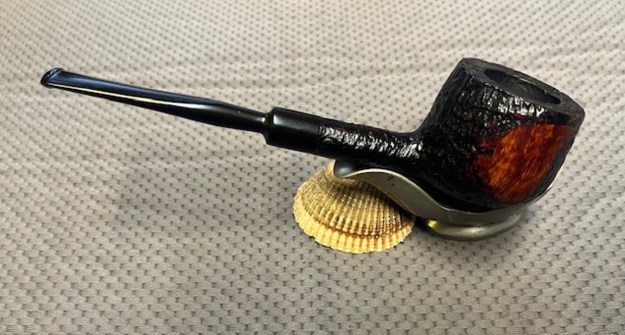
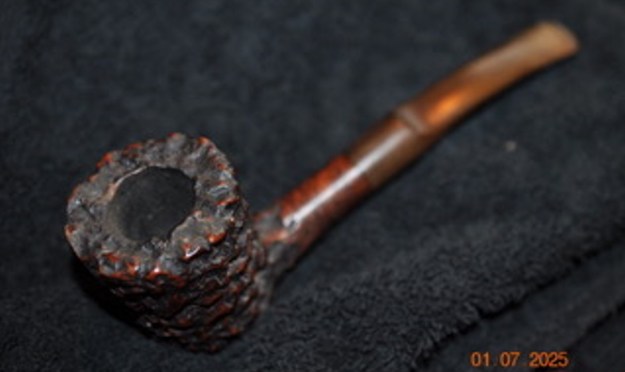
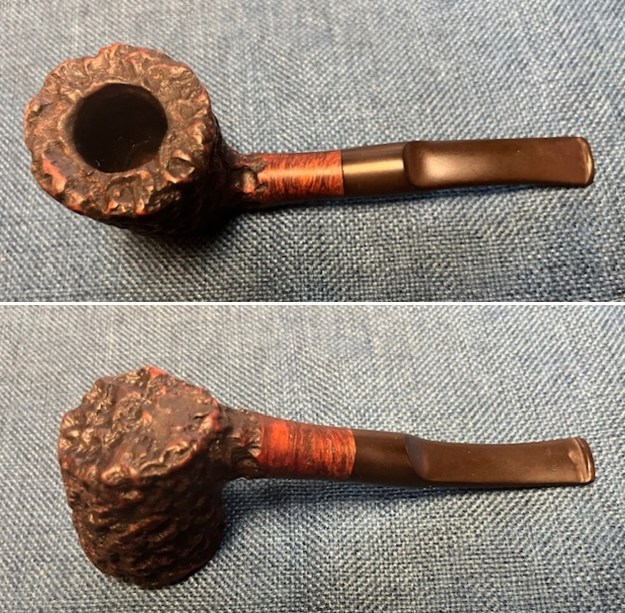
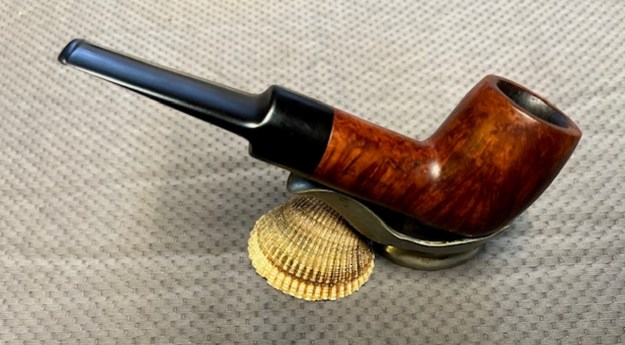
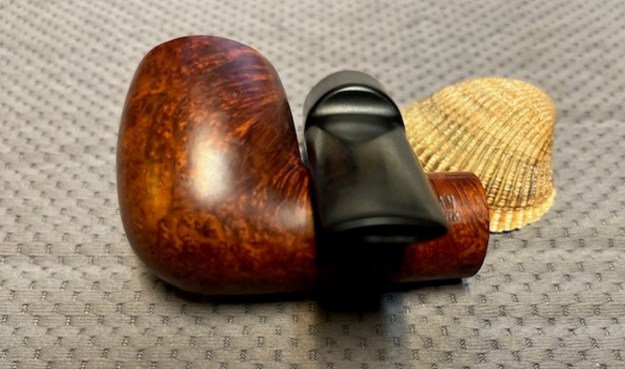
This particular Freehand pipe was purchased as part of a lot from seller in Wilkes Barre, Pennsylvania, USA on 09/26/2018. It really is a Freehand pipe that combines a plateau rim top and shank end with feet like the fins of a rocket on the bottom making it a sitter. The front of the bowl is smooth and the back is sandblast. The blast carries through the shank as well. It is stamped on a smooth panel on underside of the shank and reads Soren [over] Hand-Carved [over] Made in Denmark. The finish is dirty but does not hide the beautiful grain around the bowl and shank. There is a vulcanite shank extension. The pipe had a moderate cake in the bowl but the rim top and inner edge of the bowl looked good. There is some dust in some of the plateau. It is heavier toward the back half of the bowl. There was grime ground into the sandblast finish and dust and debris in the plateau valleys. The fancy vulcanite shank extension and the saddle stem was oxidized and had light tooth marks and chatter on both sides near the button. Jeff took photos of the pipe before he started his work on it.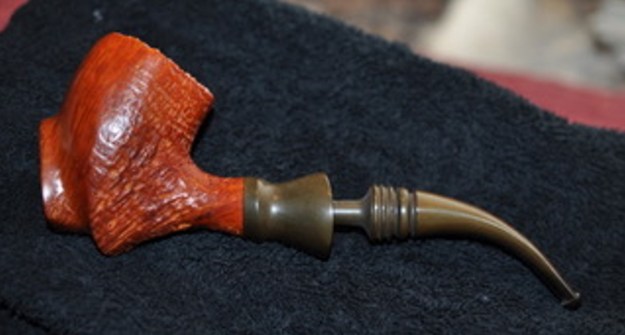
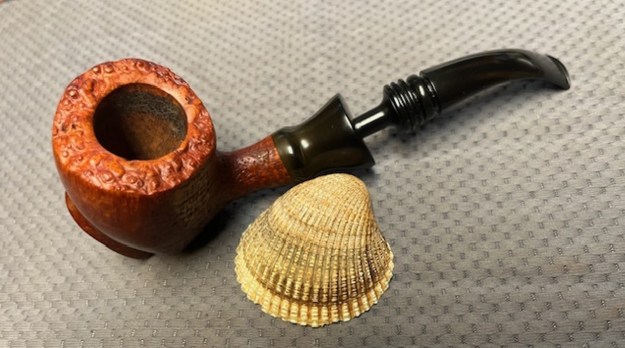
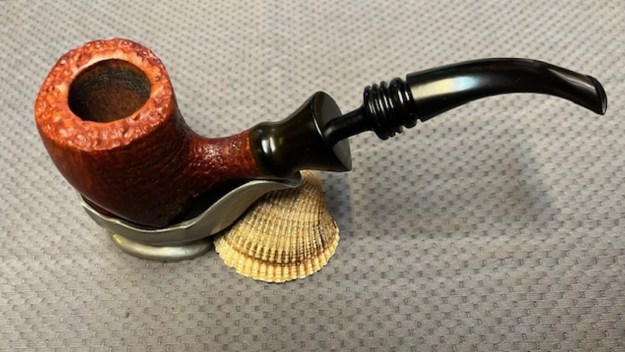
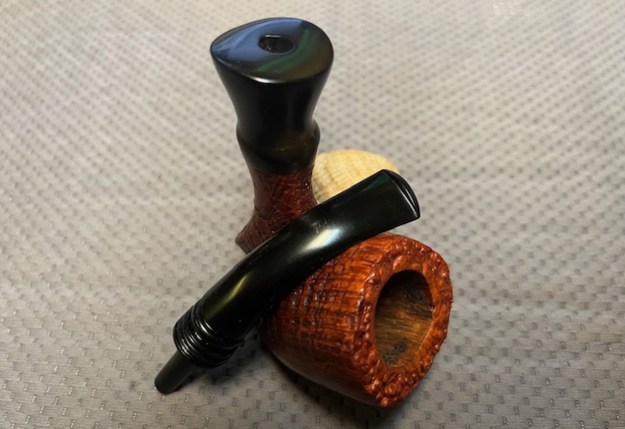
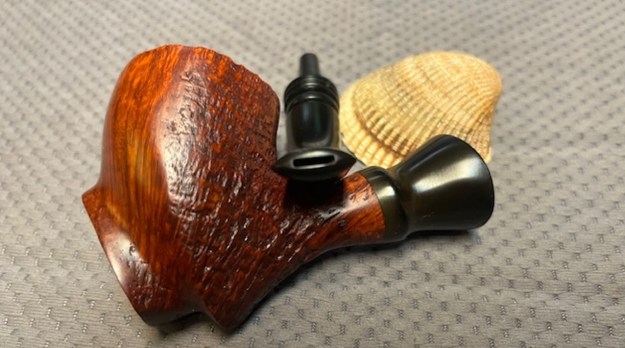
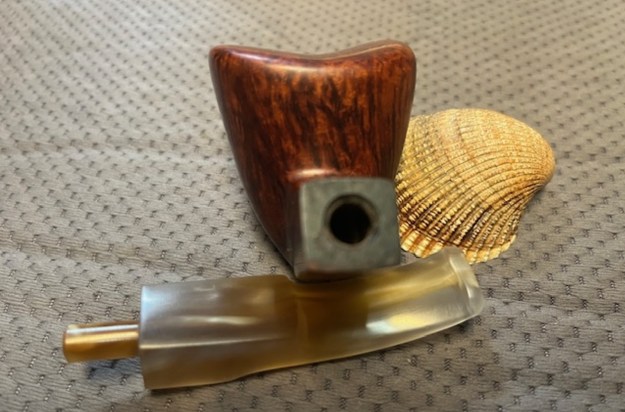
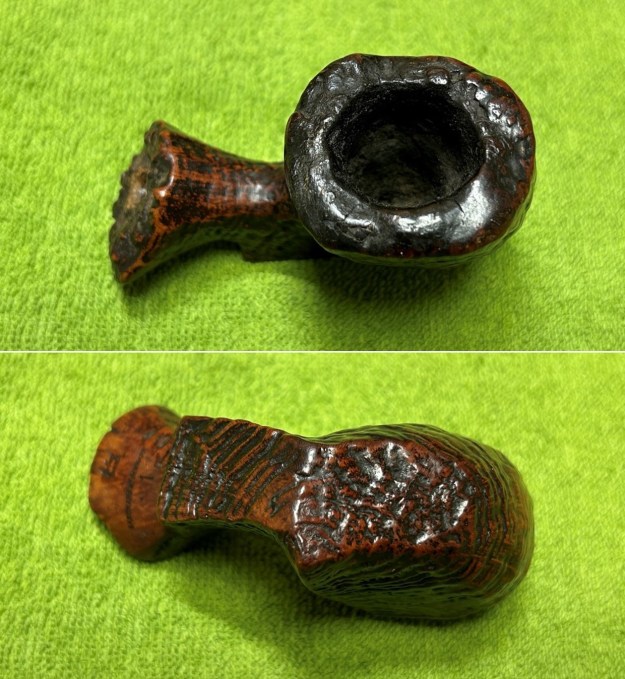
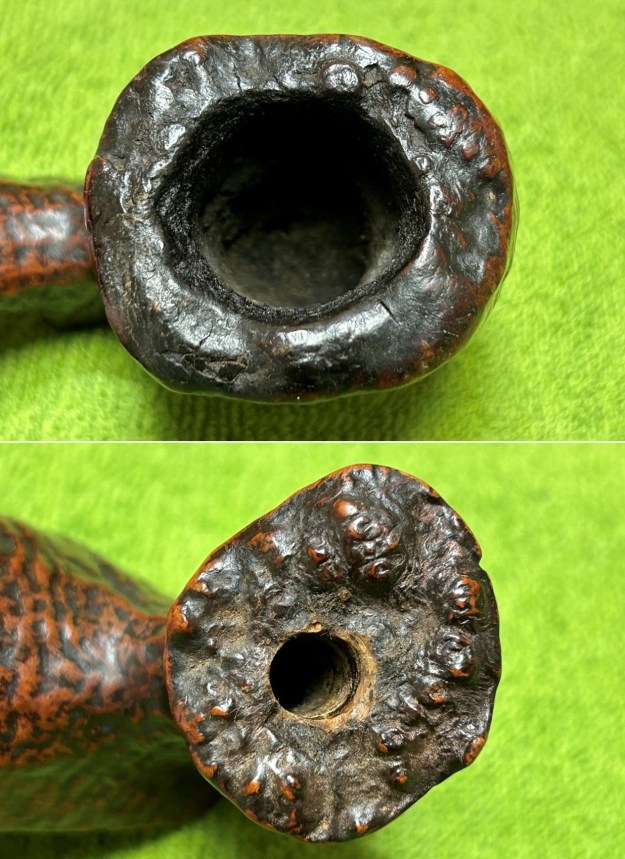
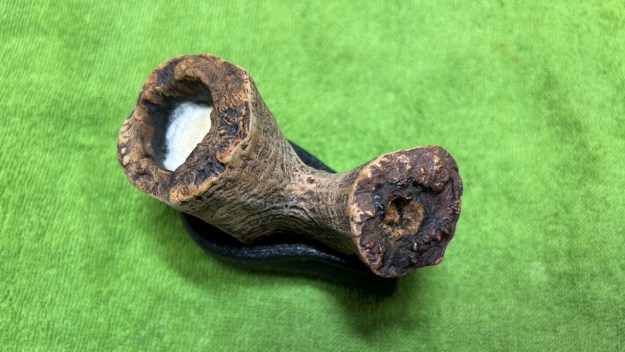
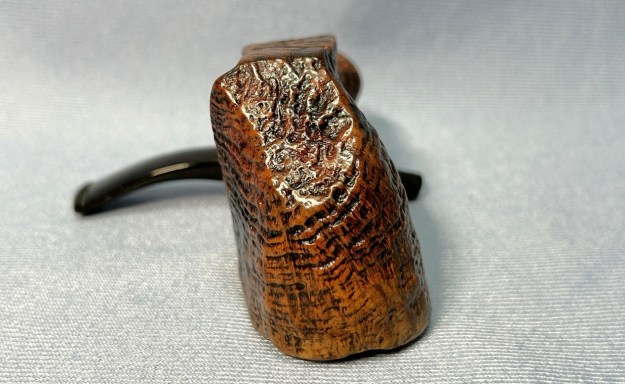
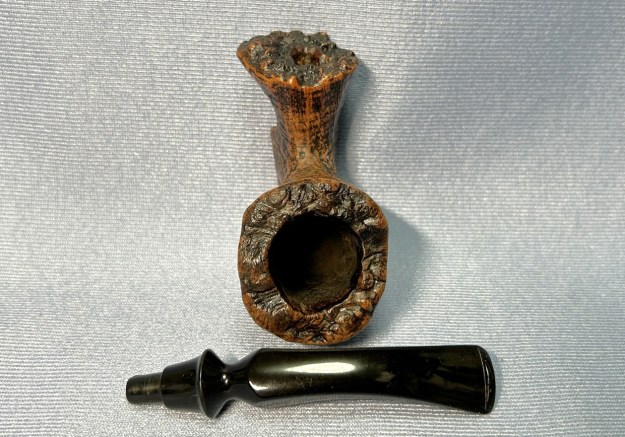
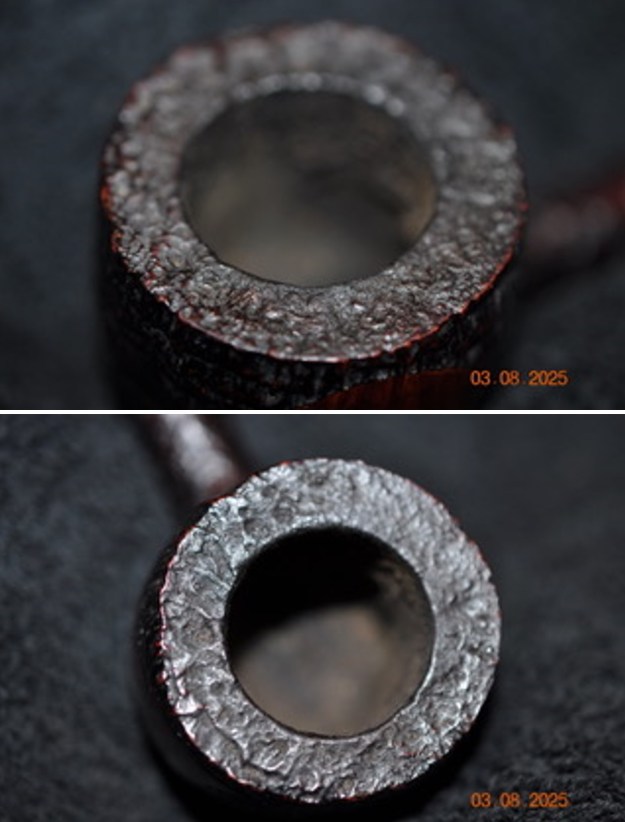
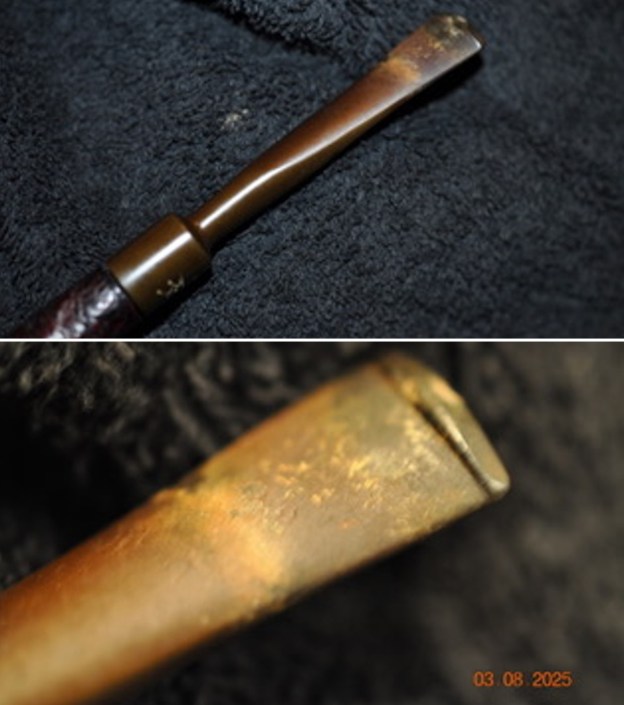
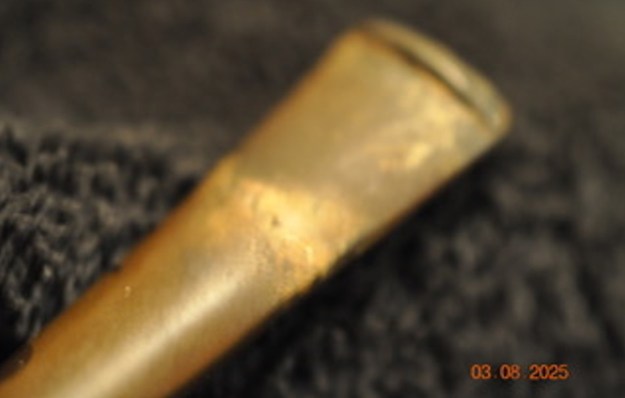
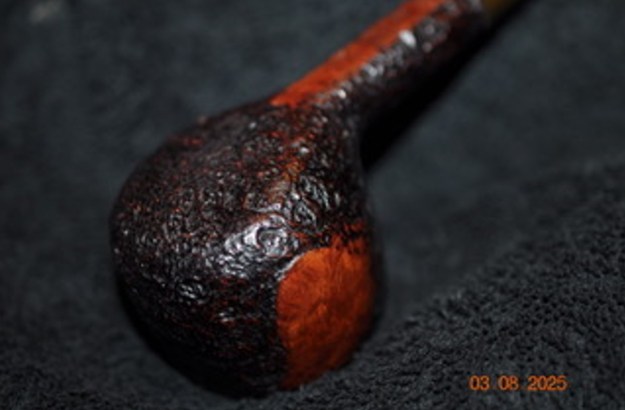
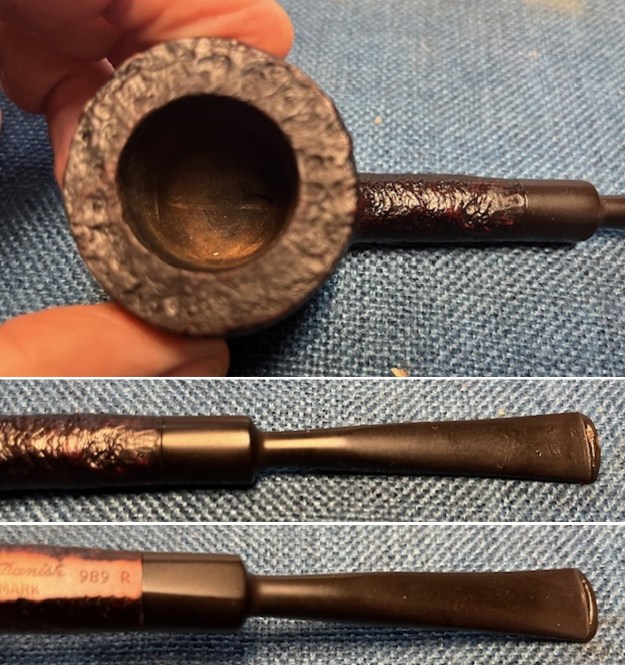
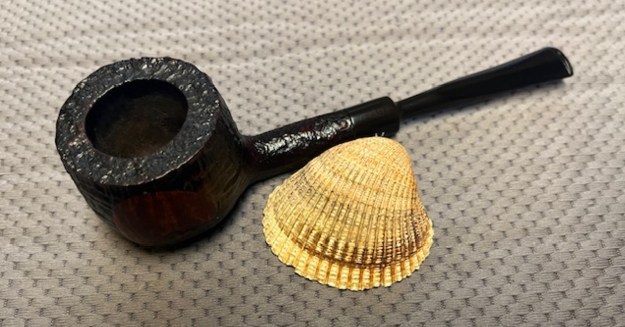
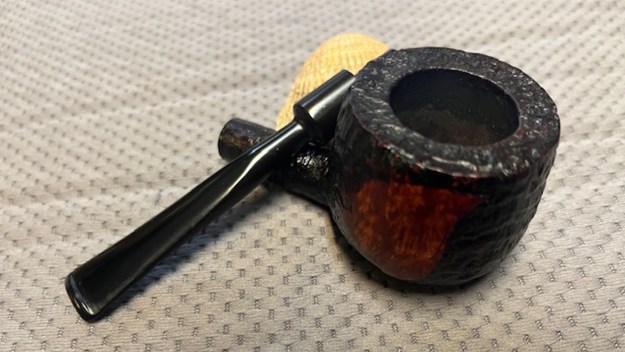
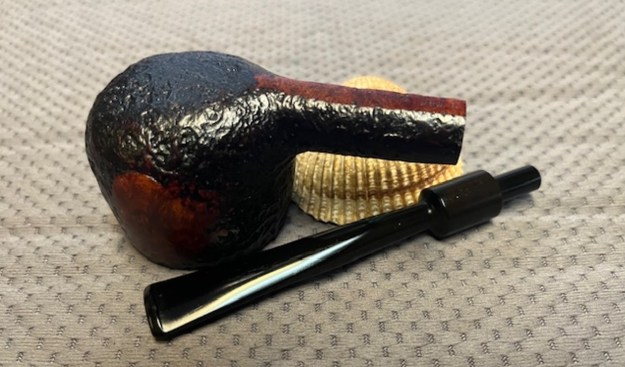
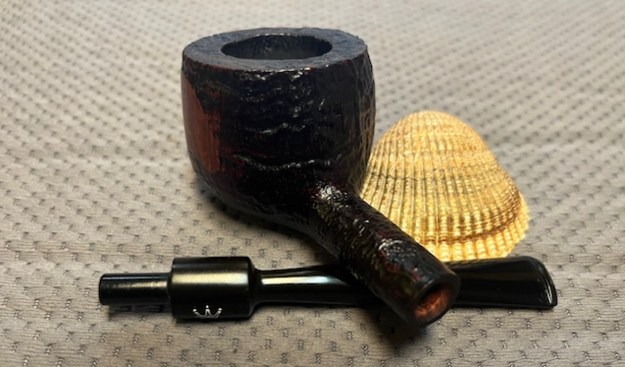
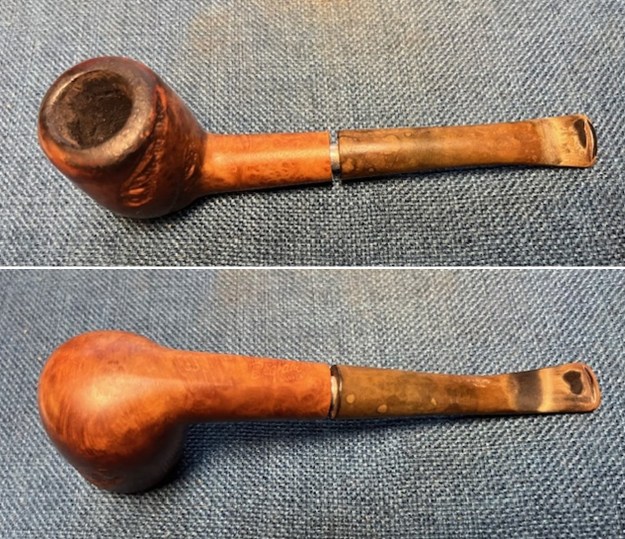
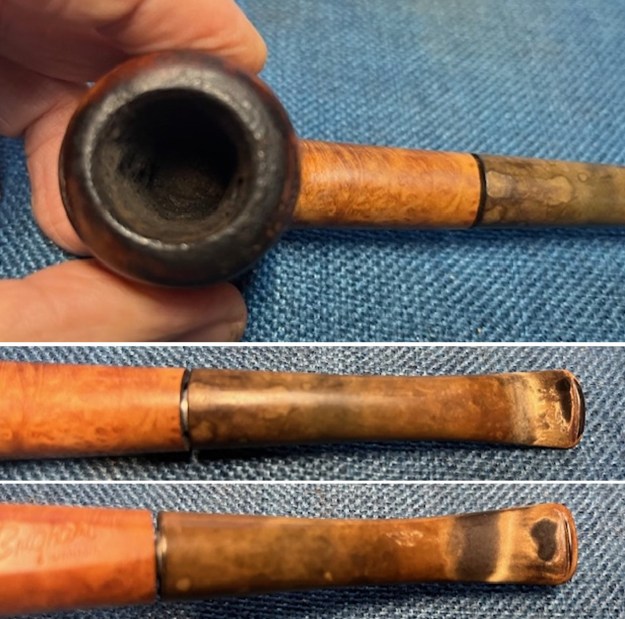
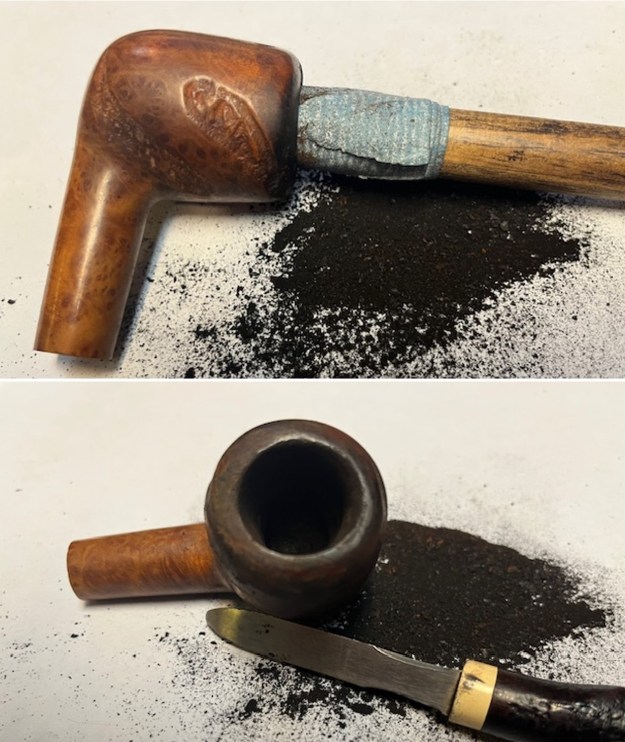
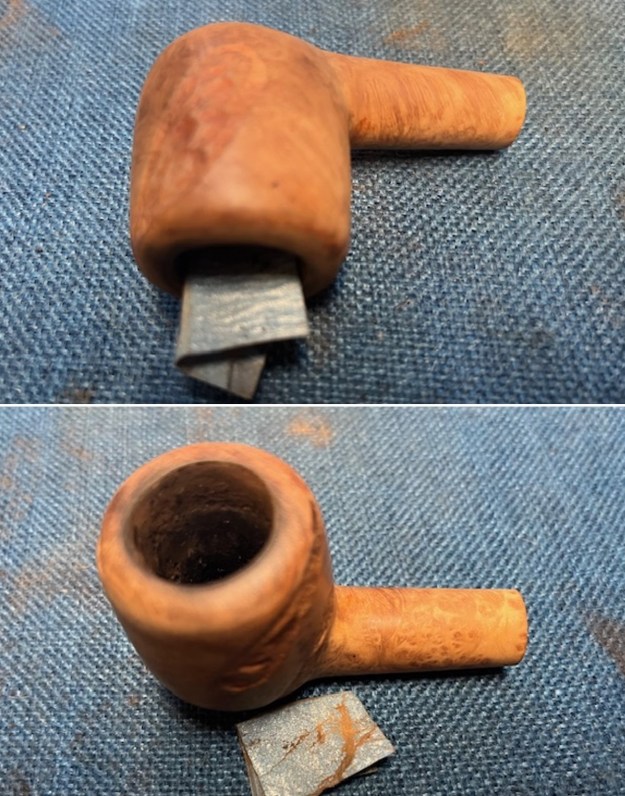
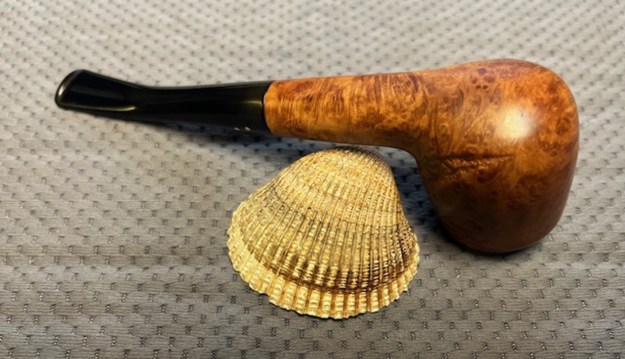
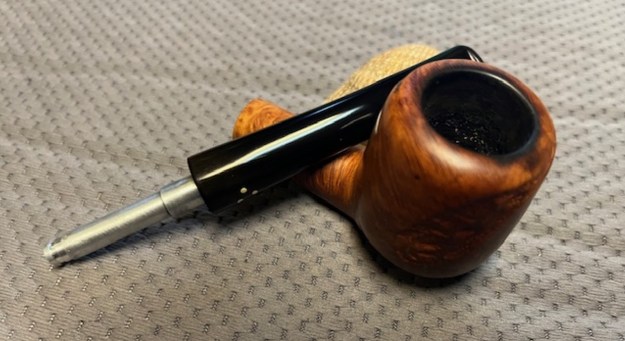
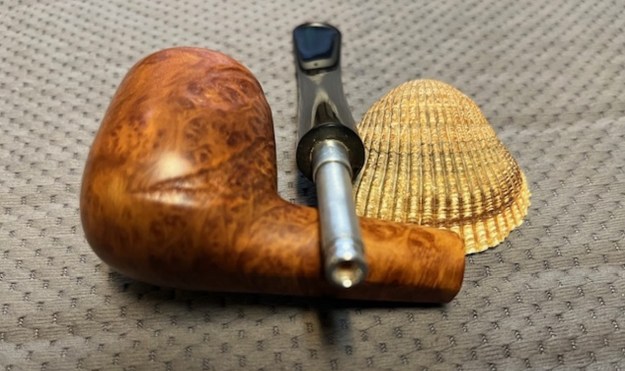
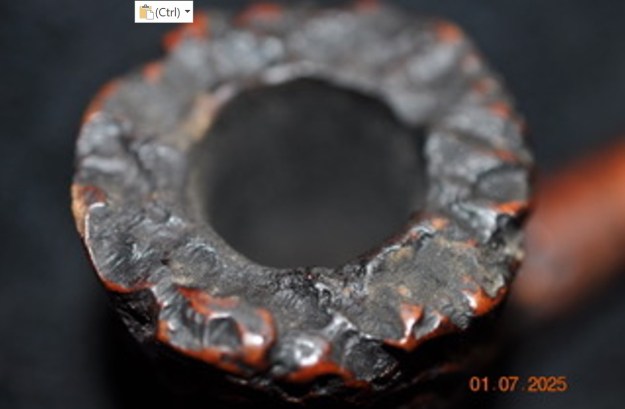
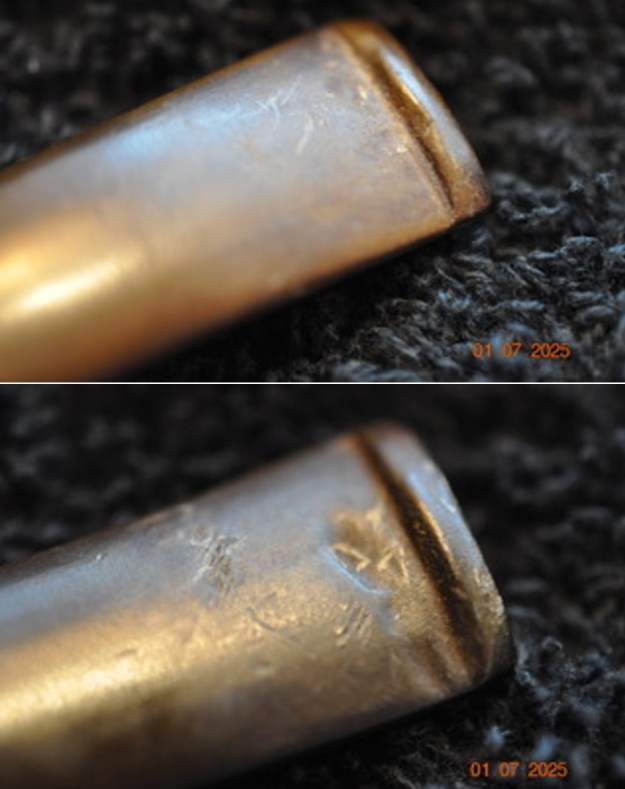
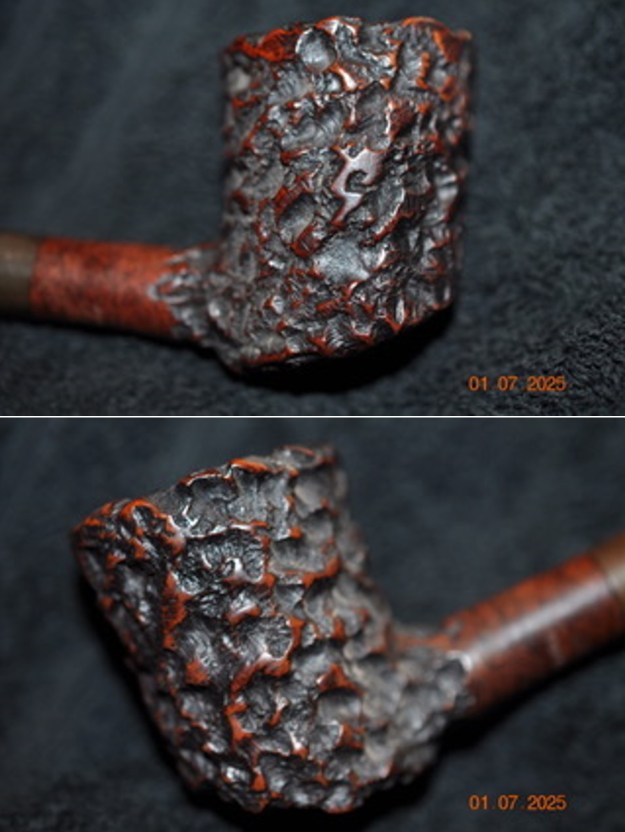
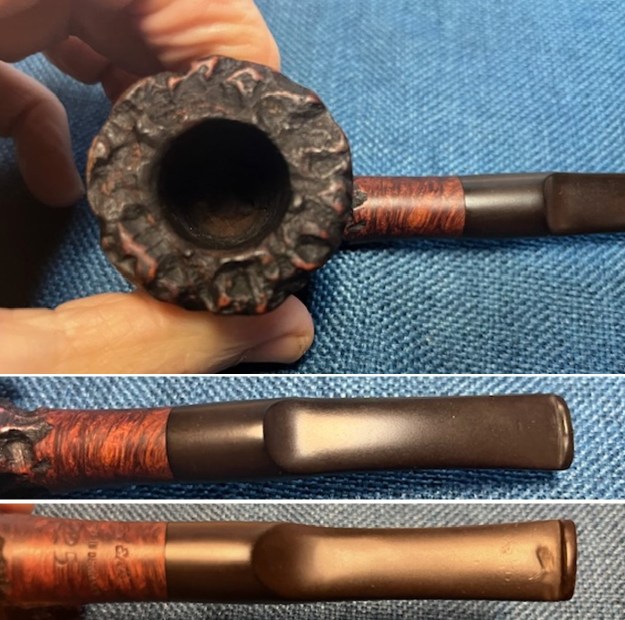
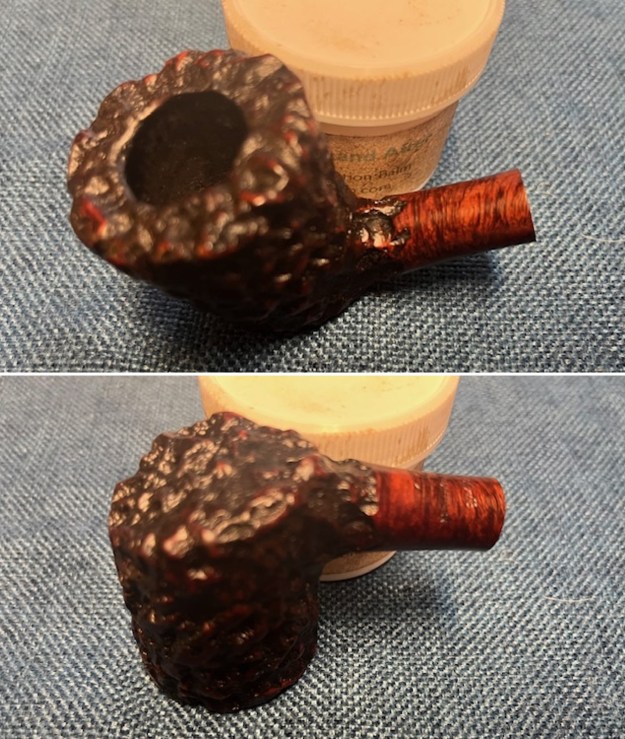
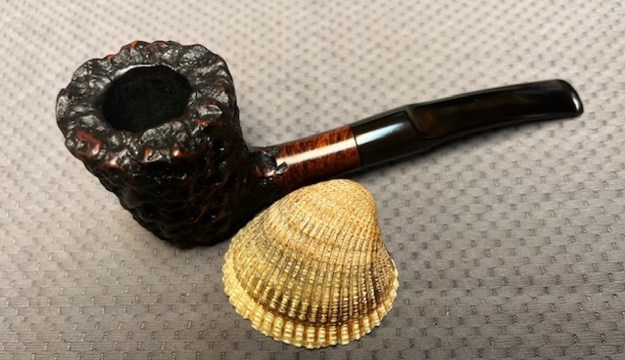
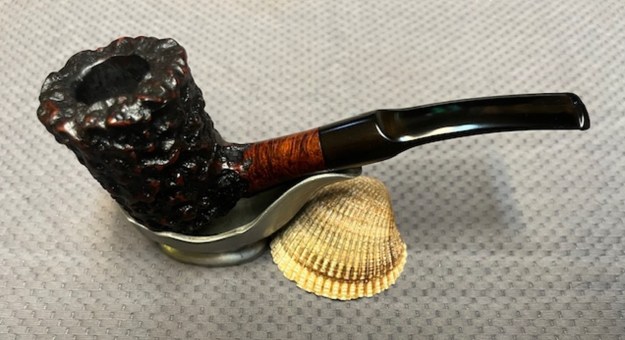
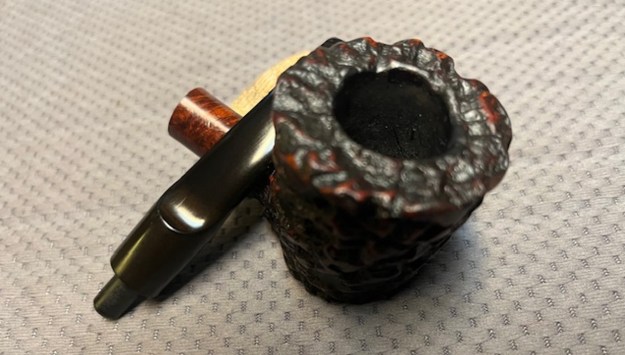
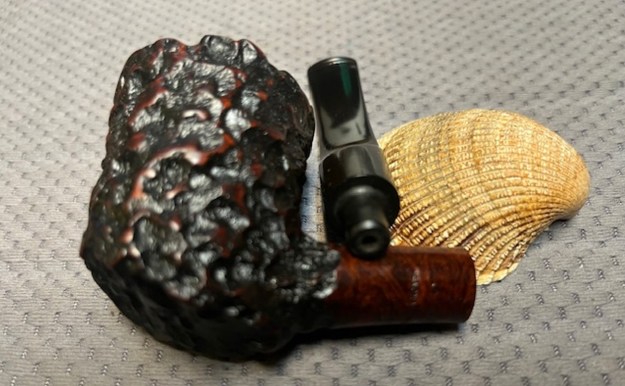
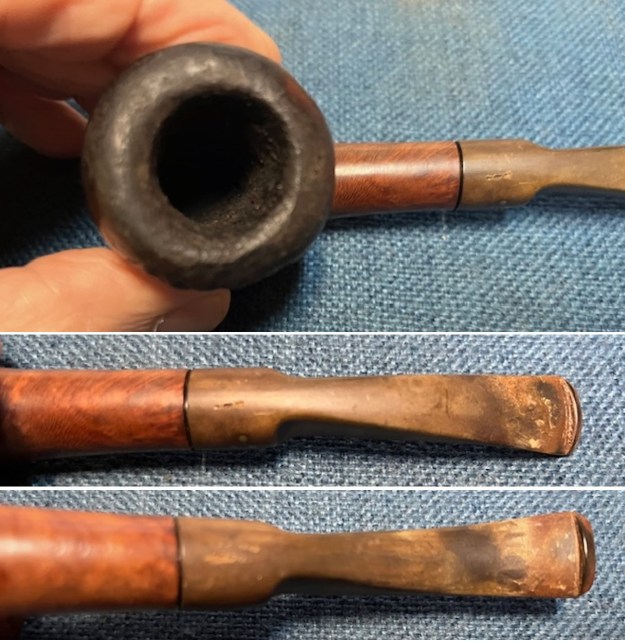
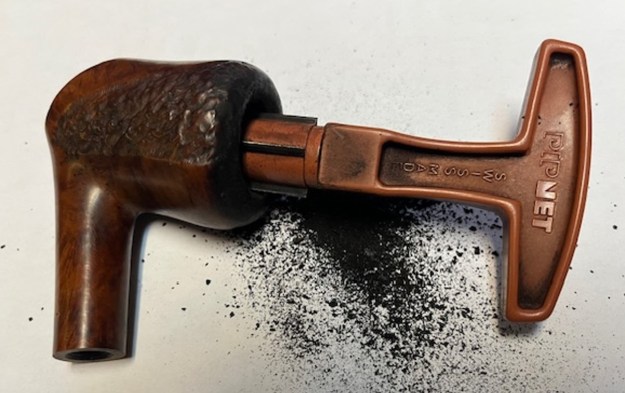
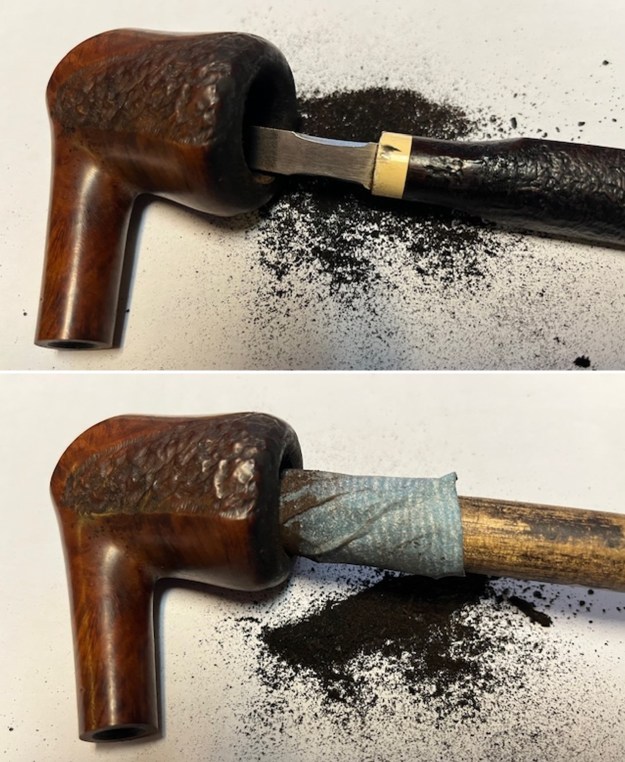
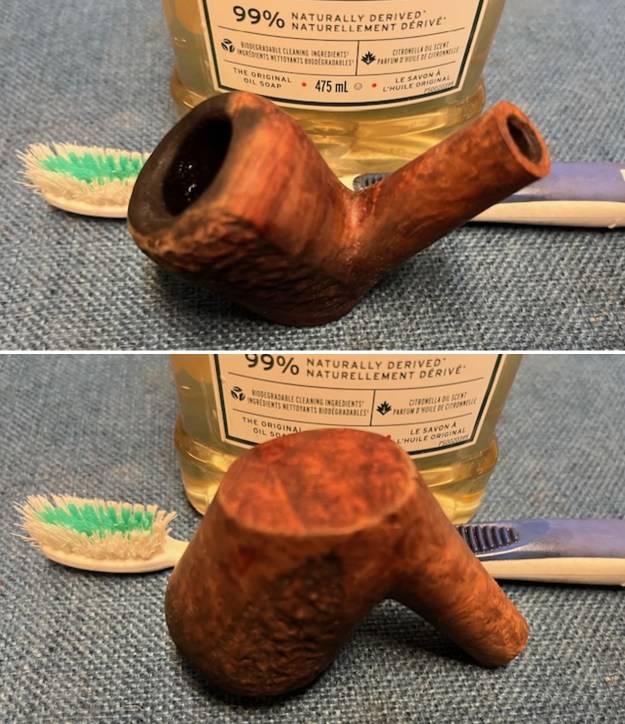
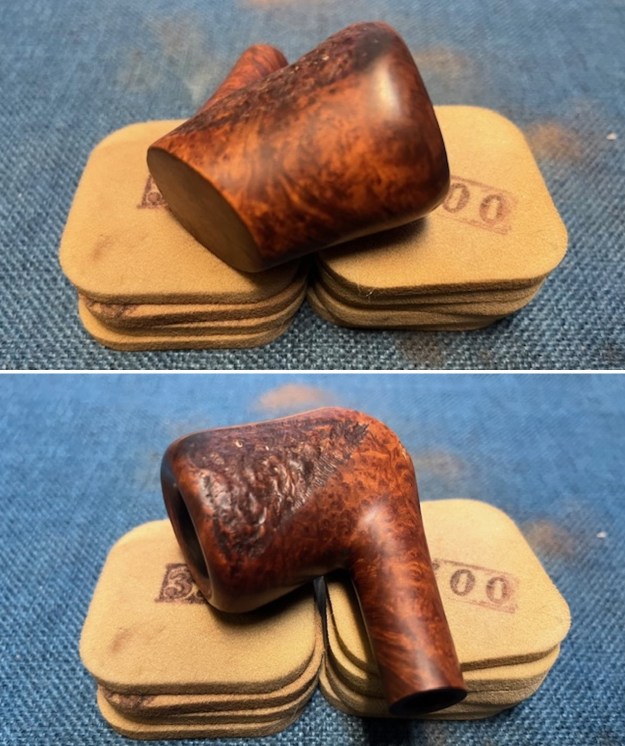
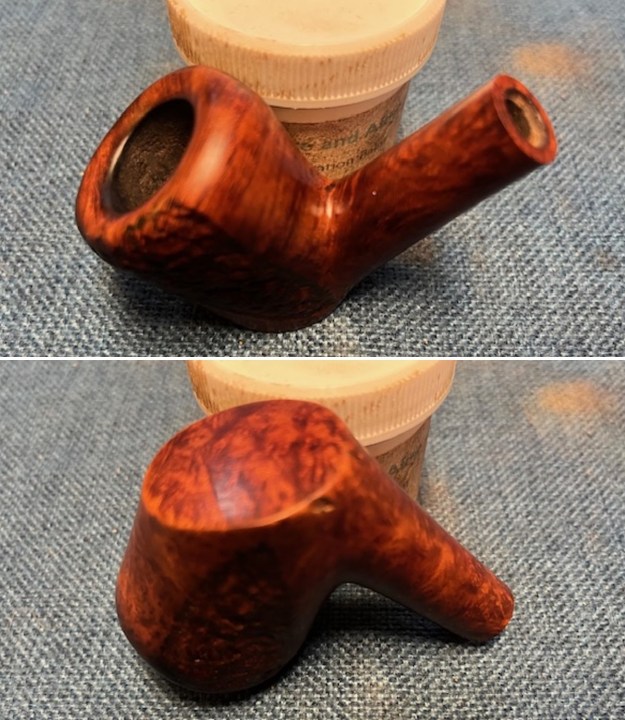
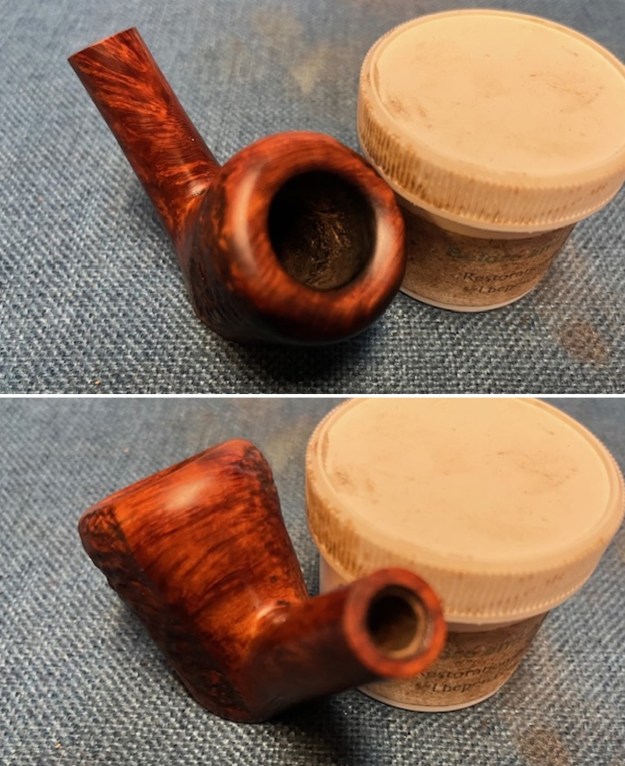
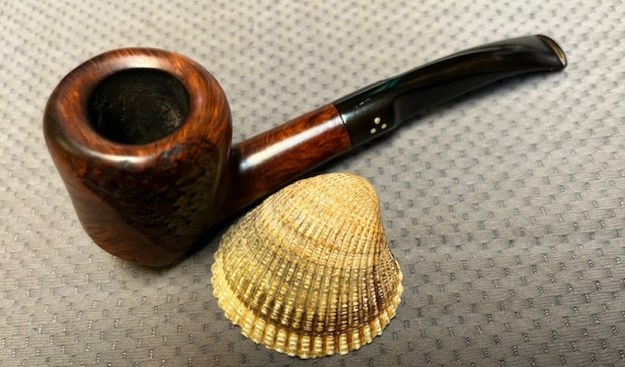
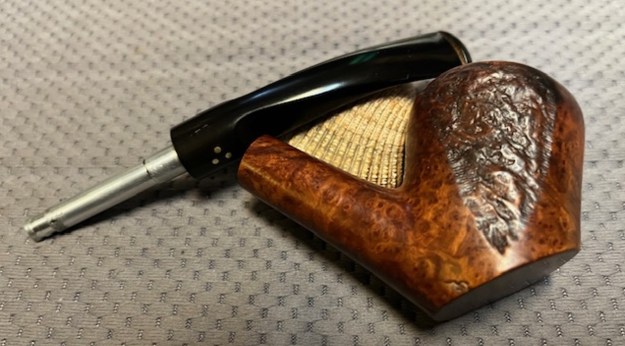
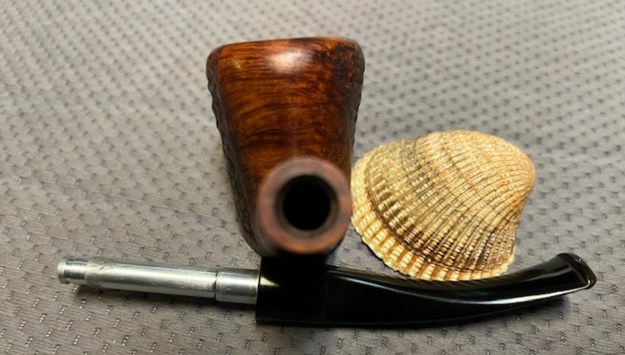
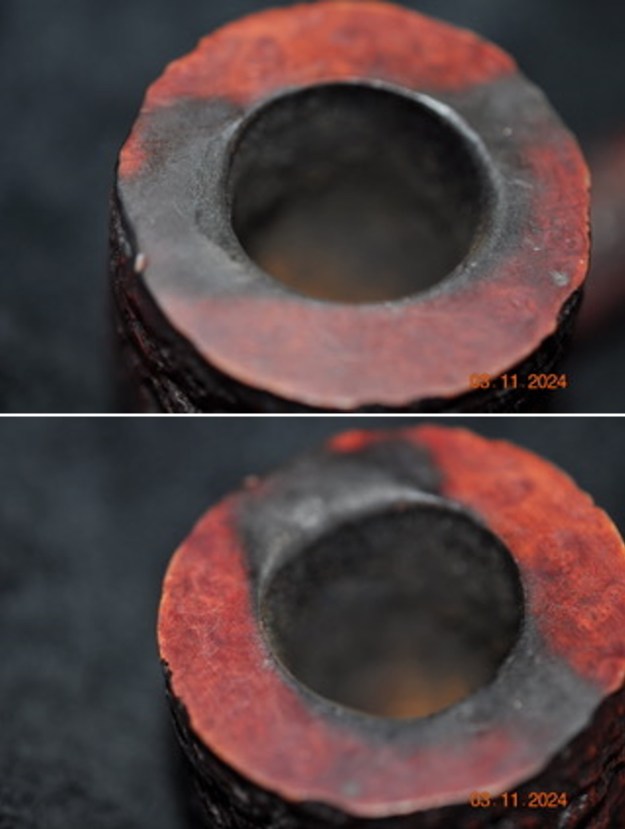
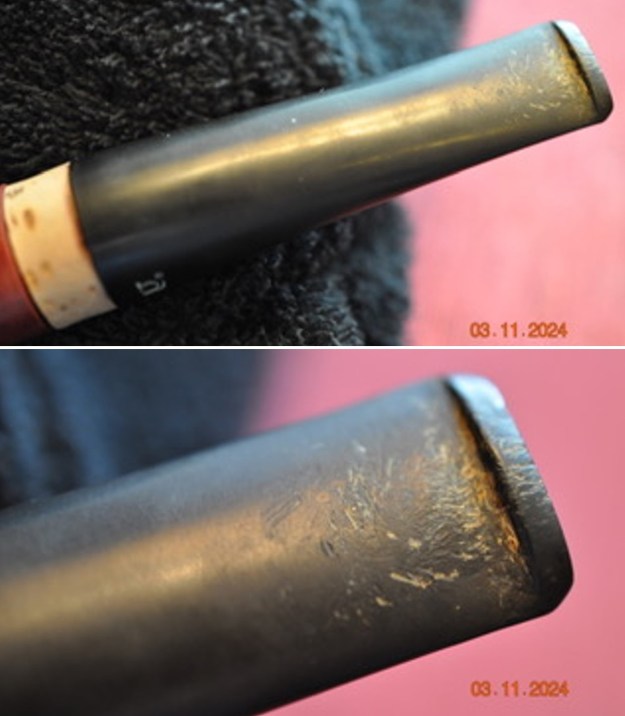
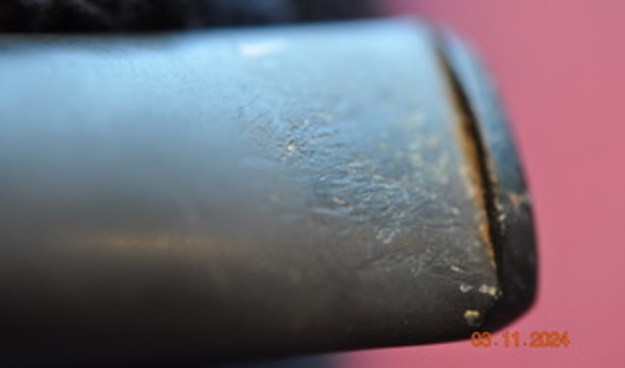
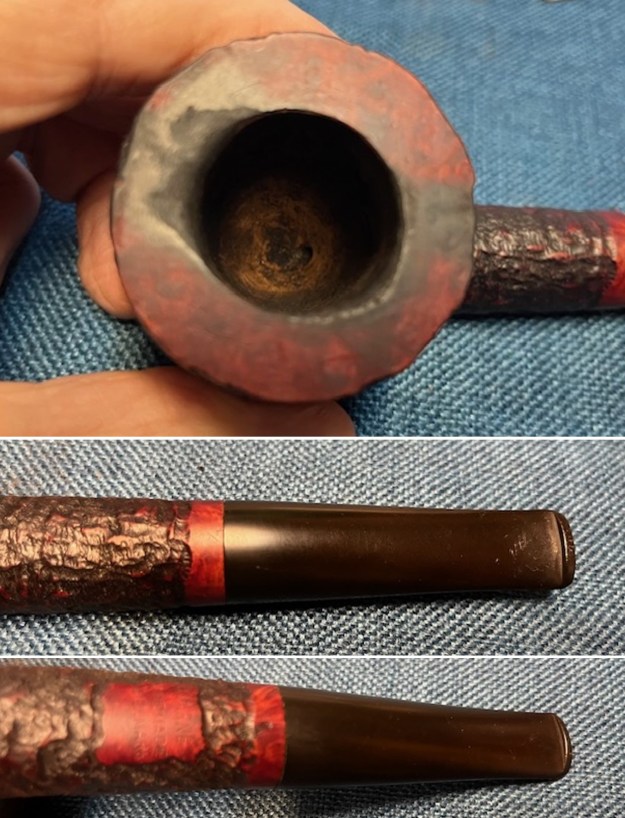
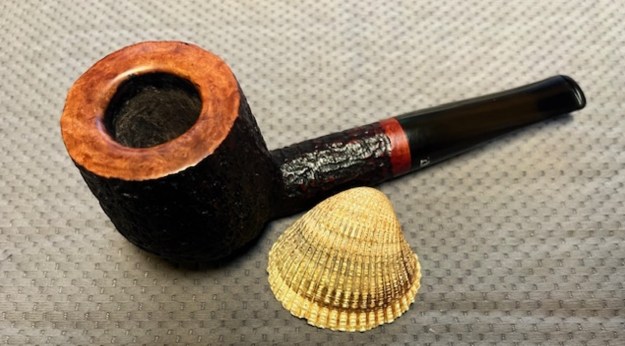
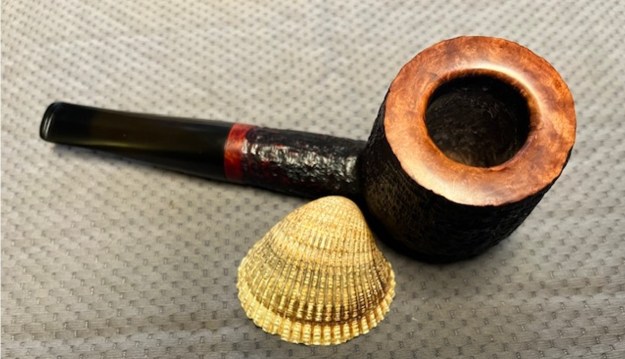
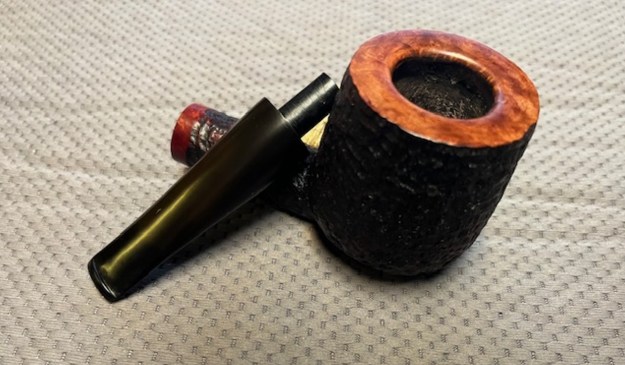
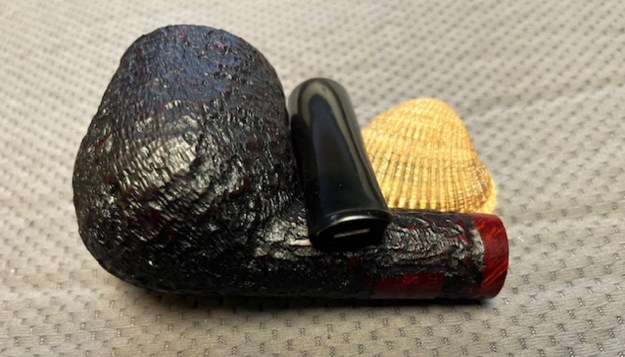
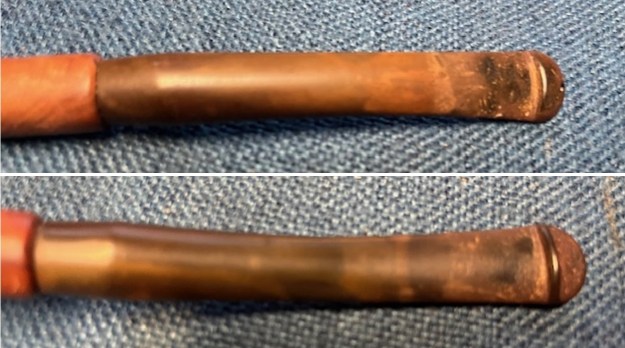
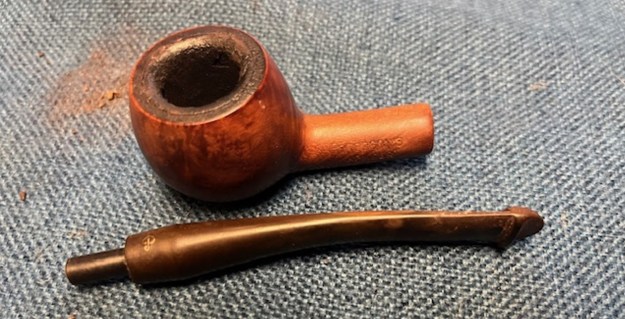
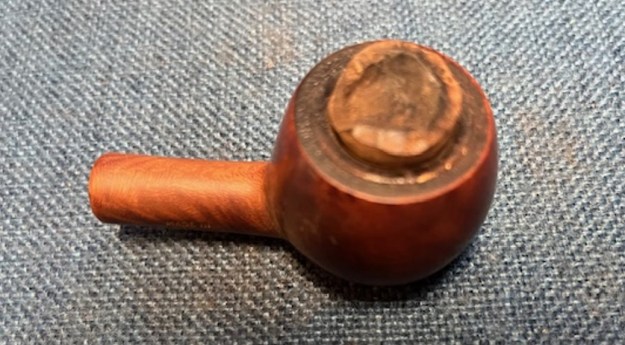
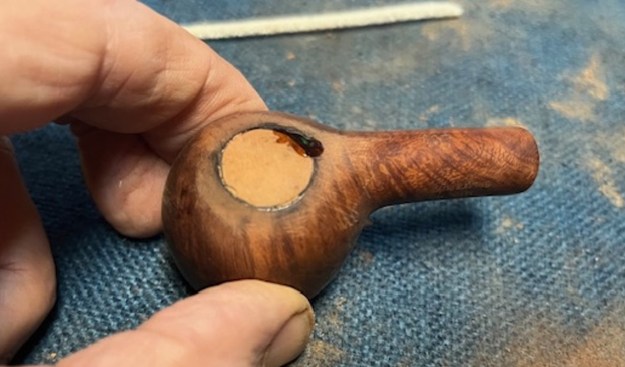
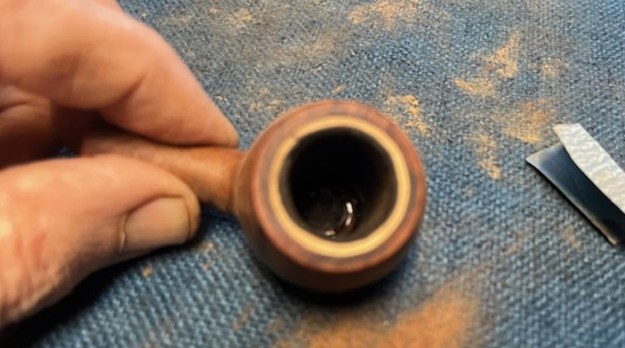
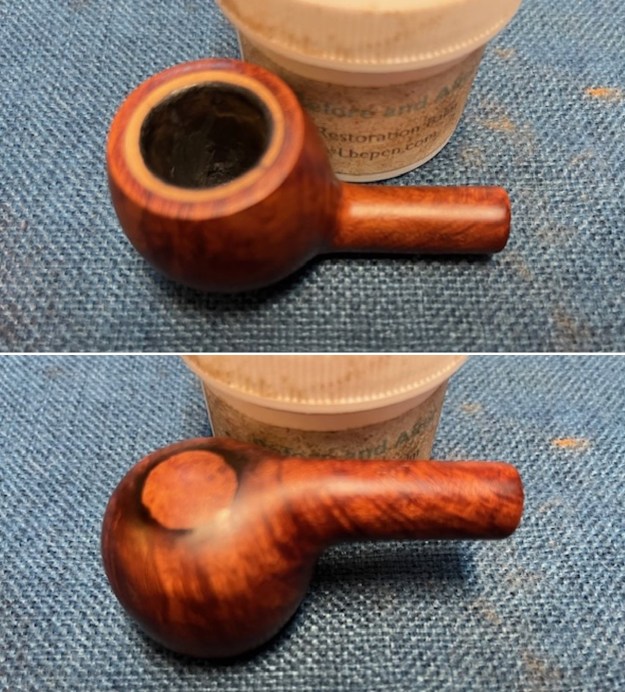
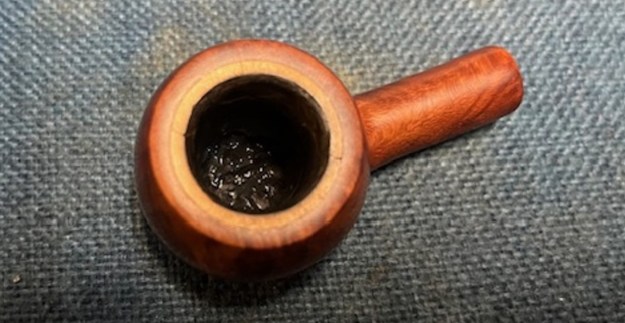
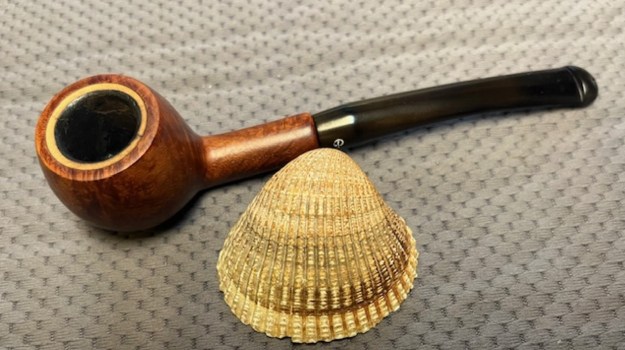
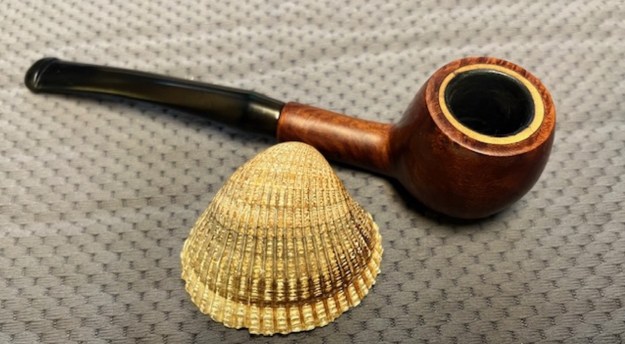
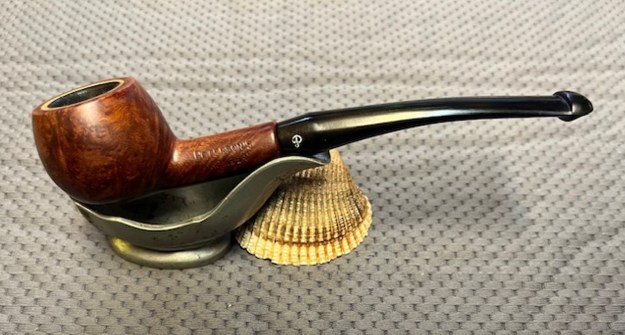
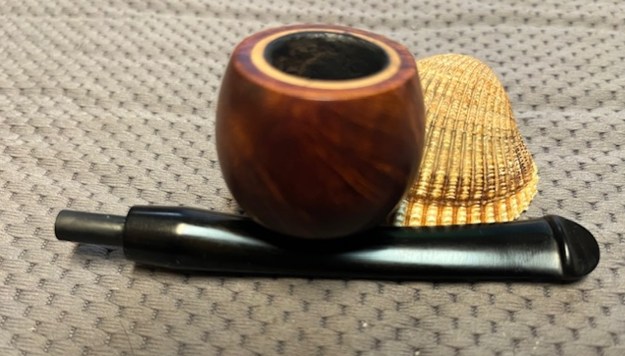
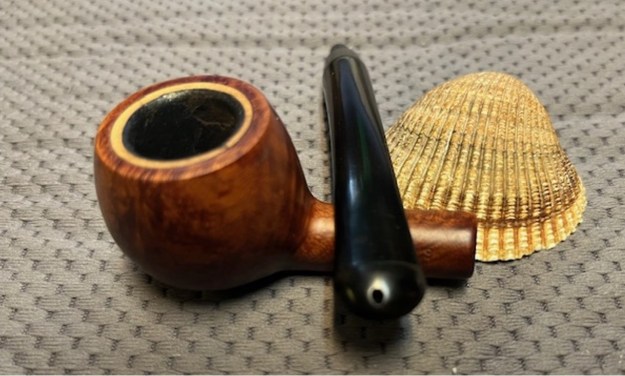
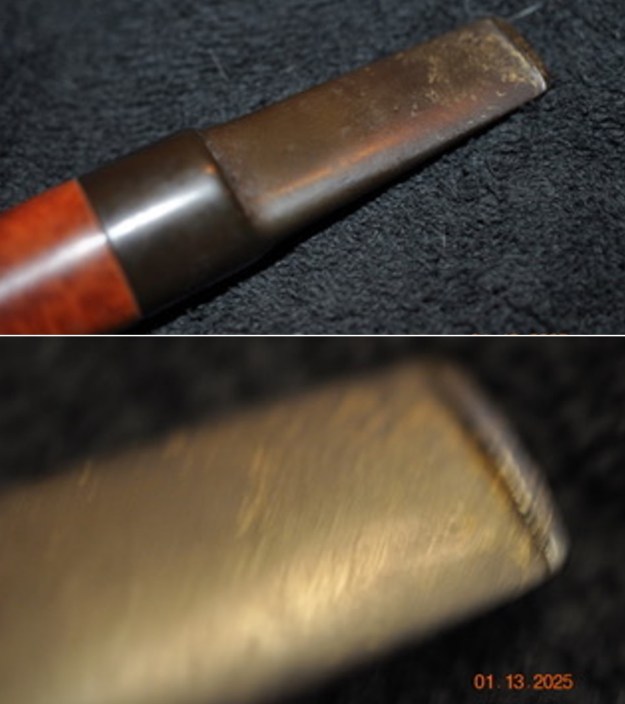
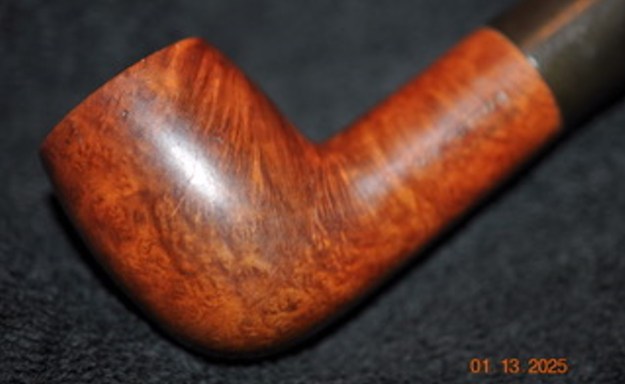
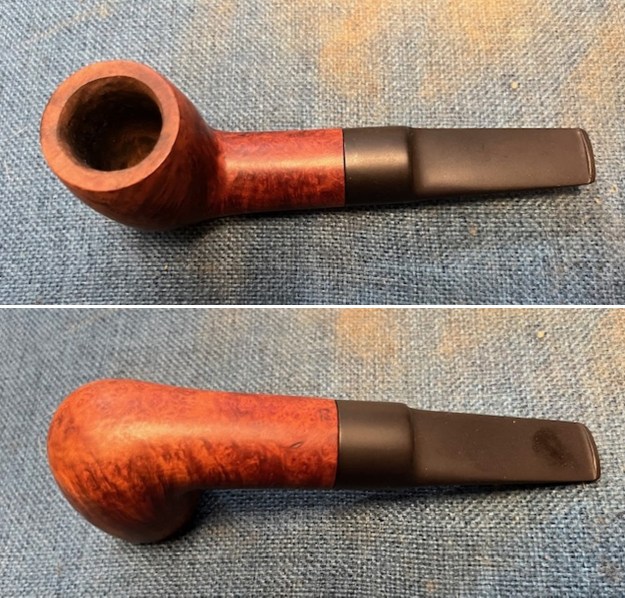
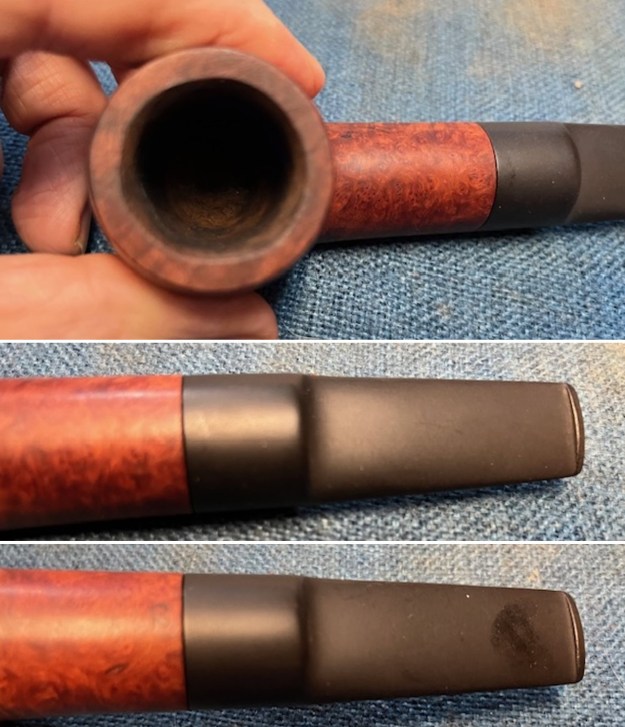
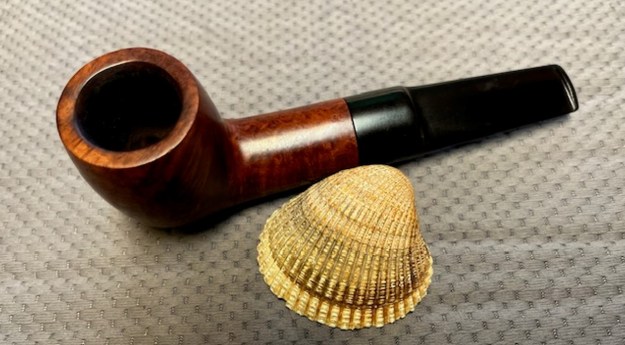
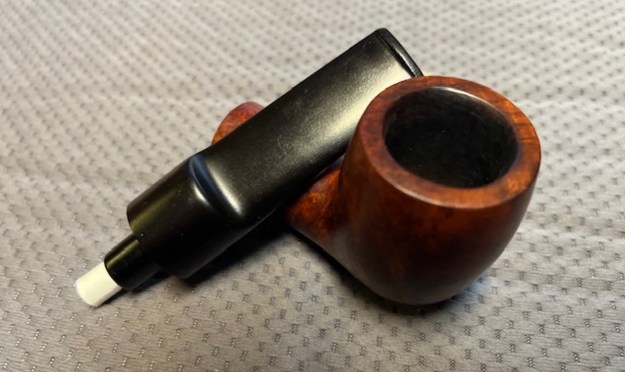
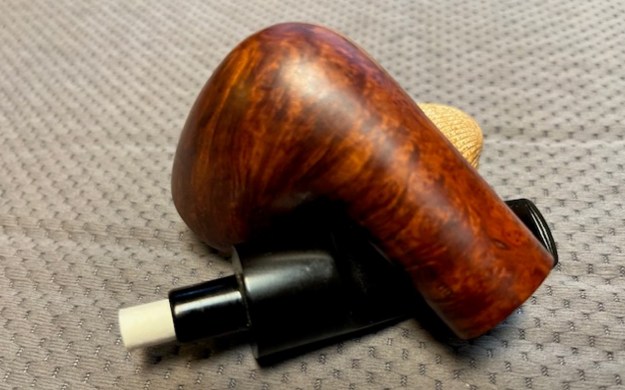
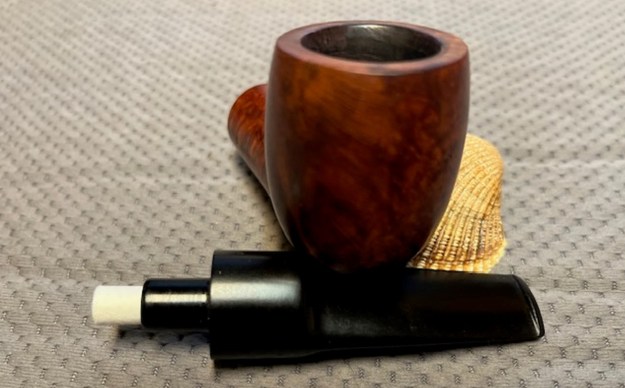
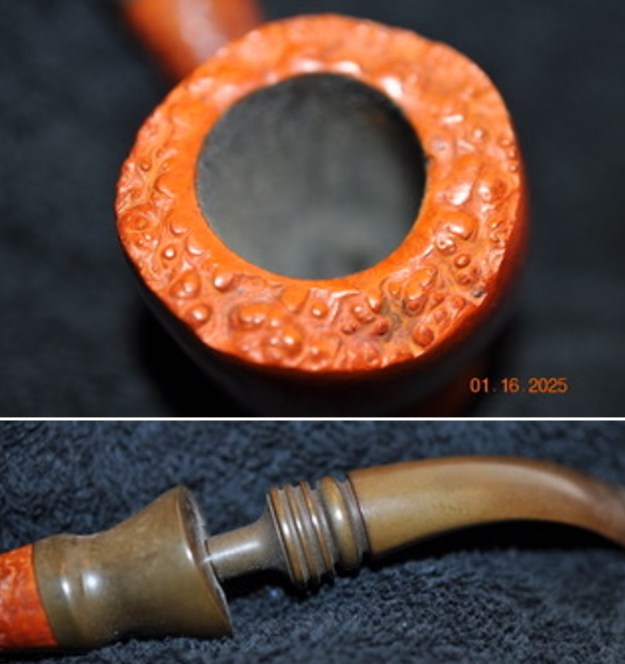
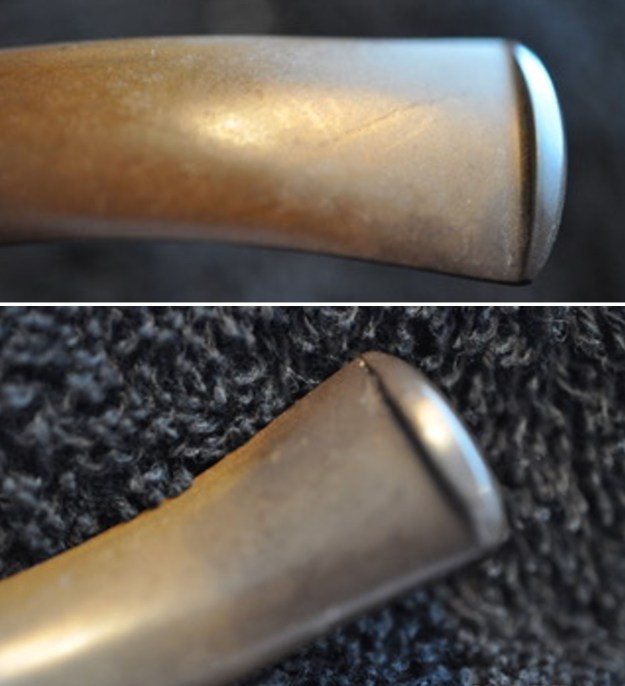
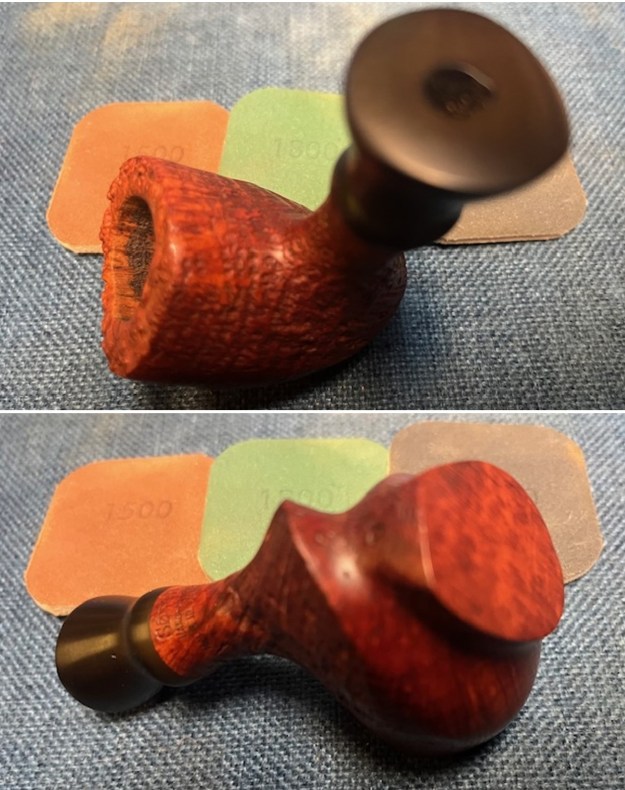
 Jeff took photos of the rim top and the stem to show the condition of the pipe when we received it. You can see the moderate cake in the bowl and the dust and debris in the plateau rim top and inner edge of the bowl. The turned vulcanite stem was oxidized, dirty and had light chatter and tooth marks on both sides near the button.
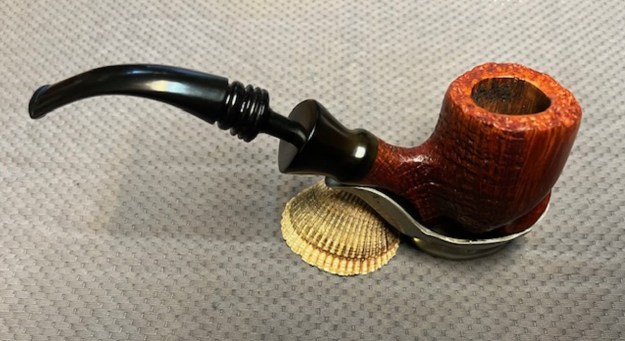
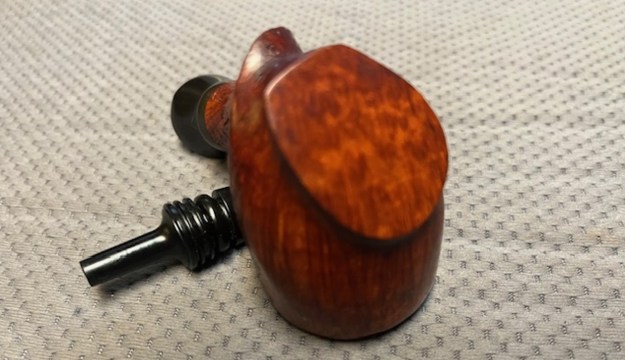
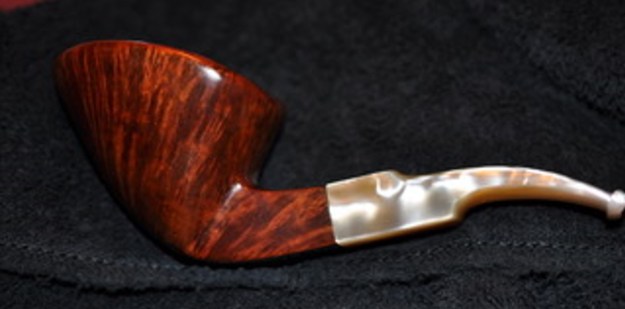
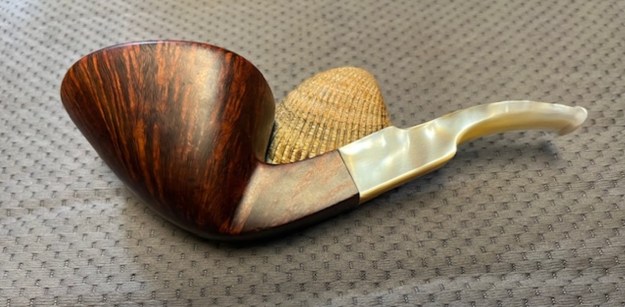
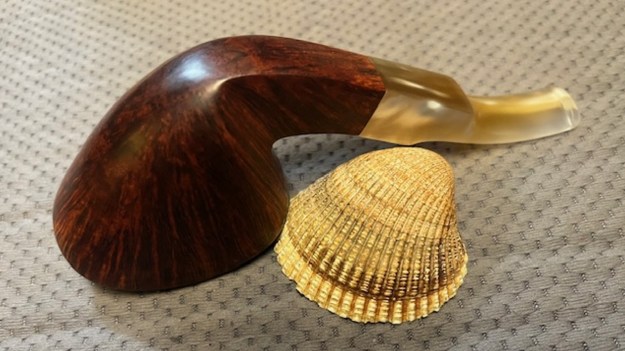
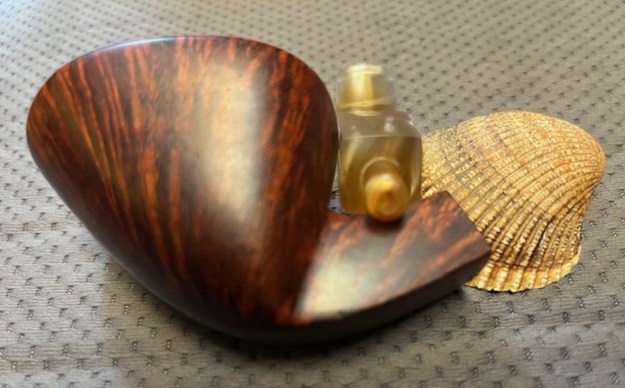
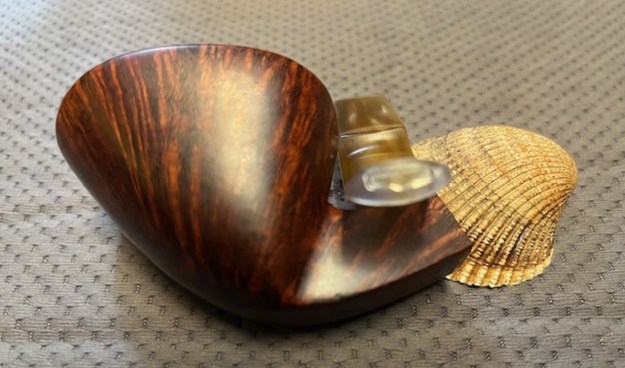
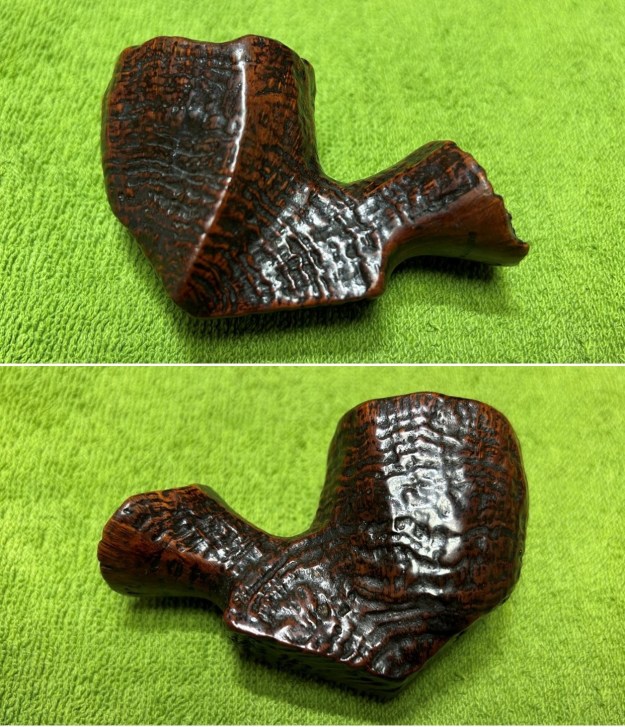
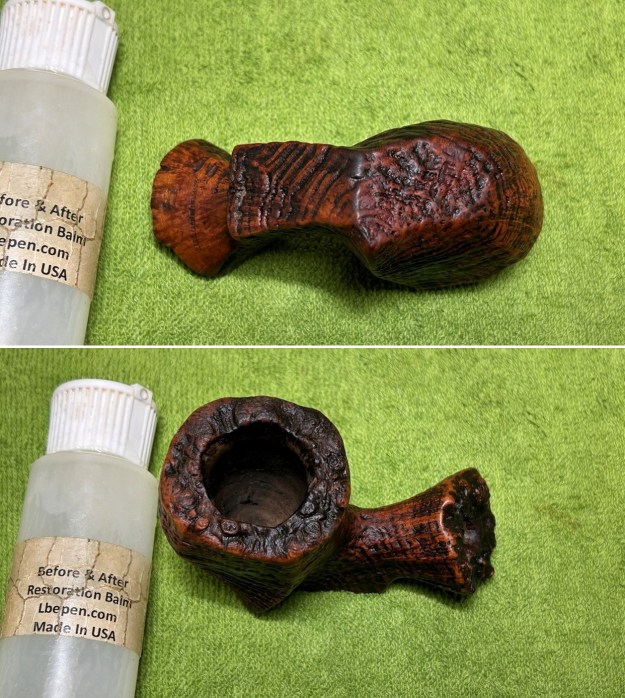
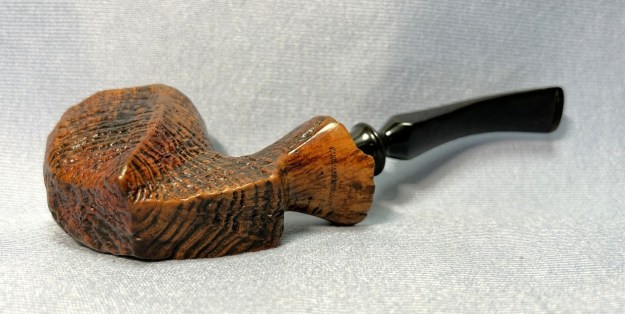
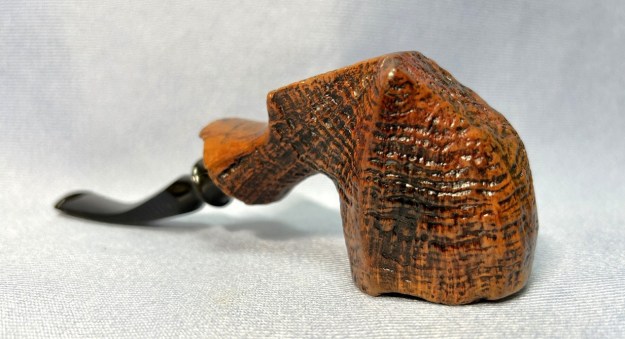
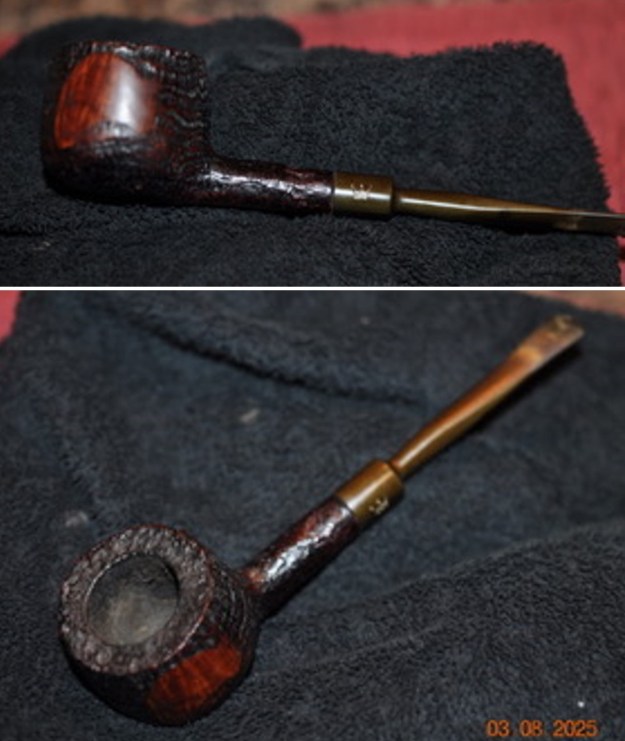
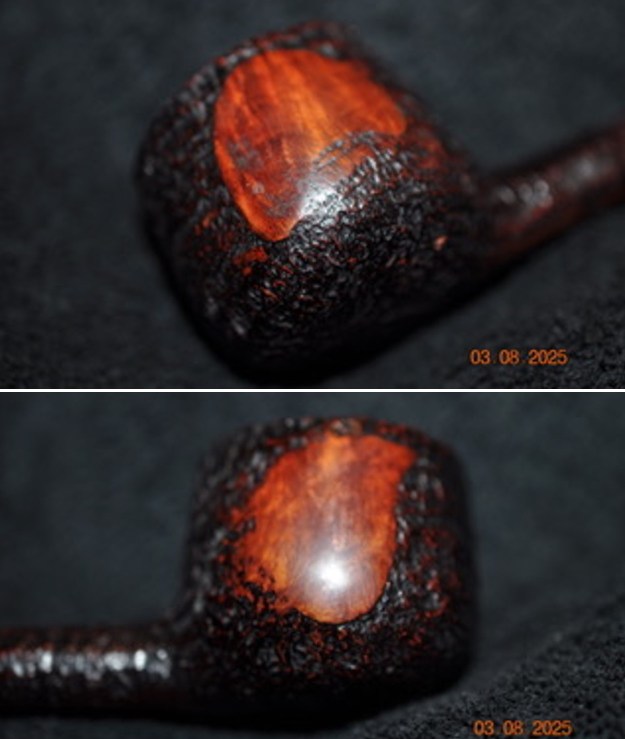
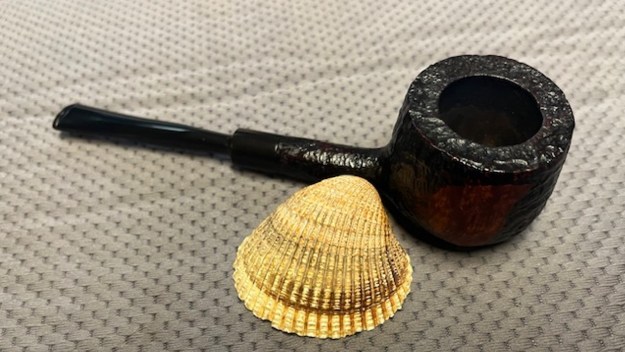
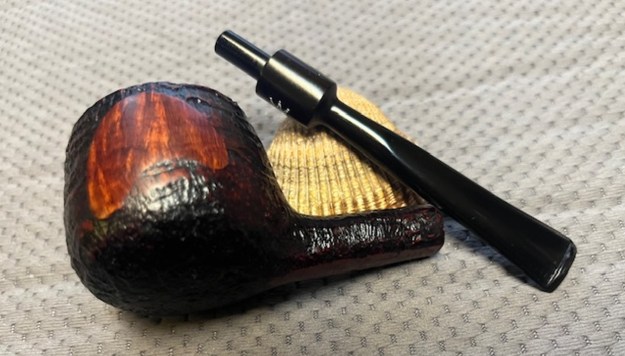
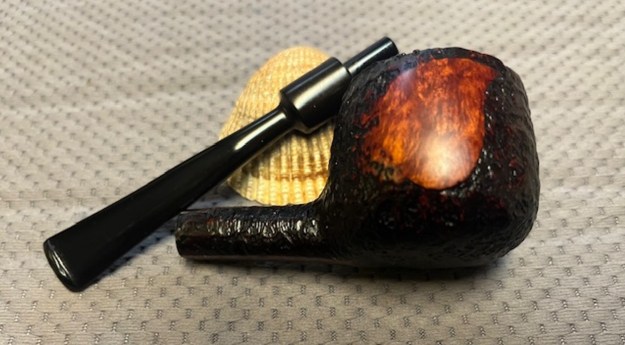
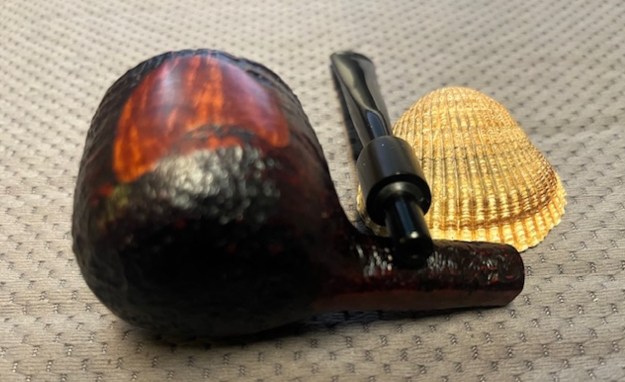
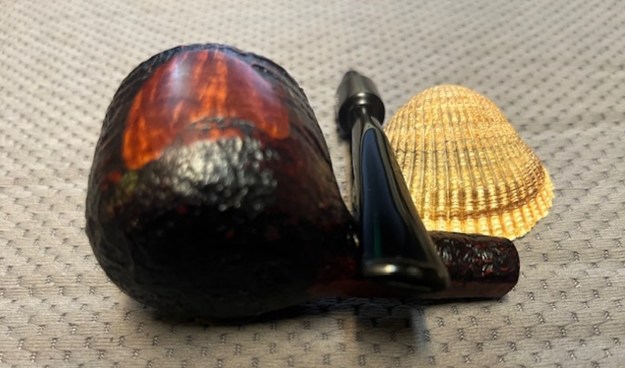
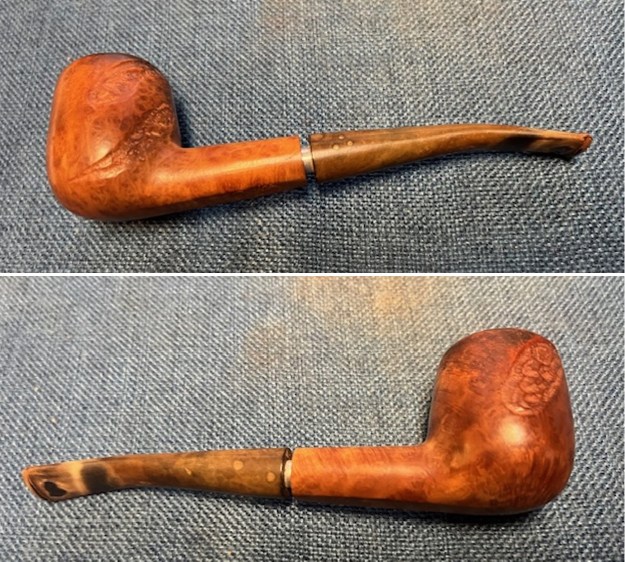
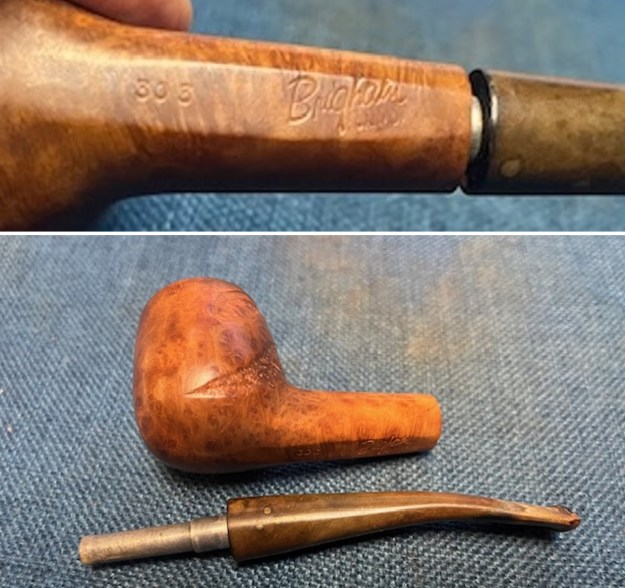
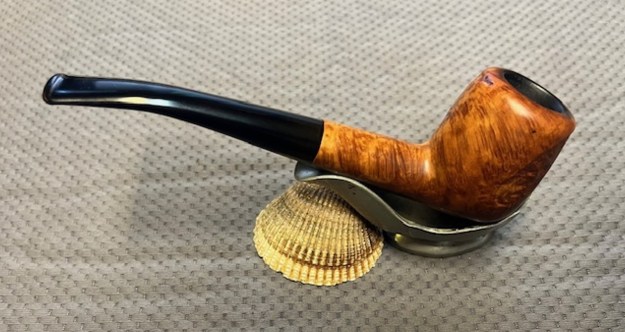
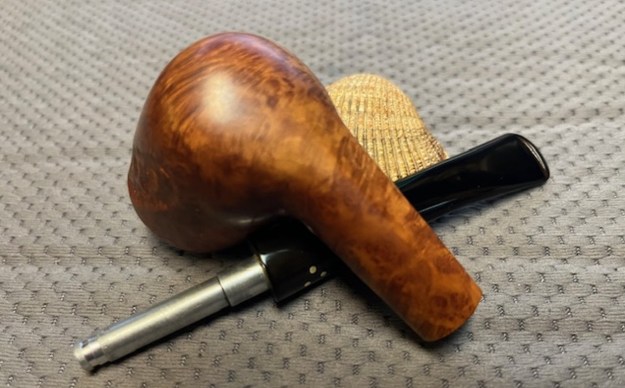
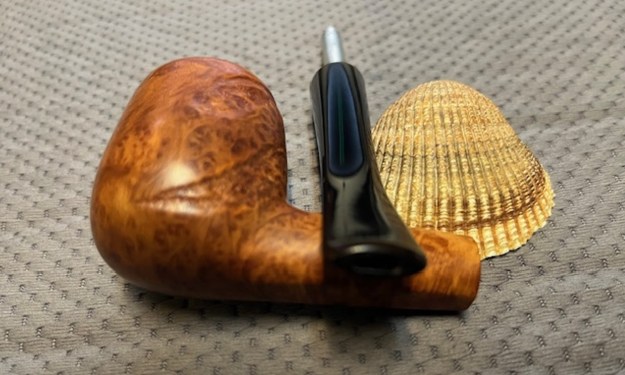
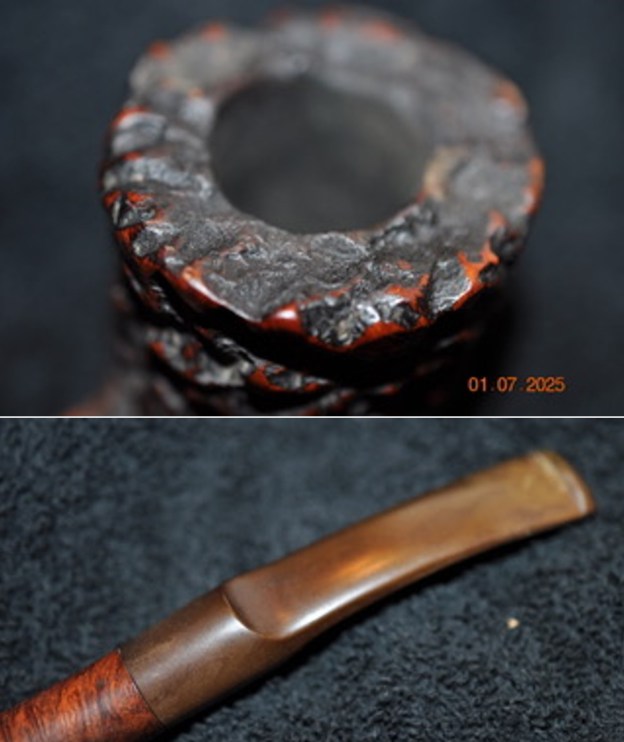
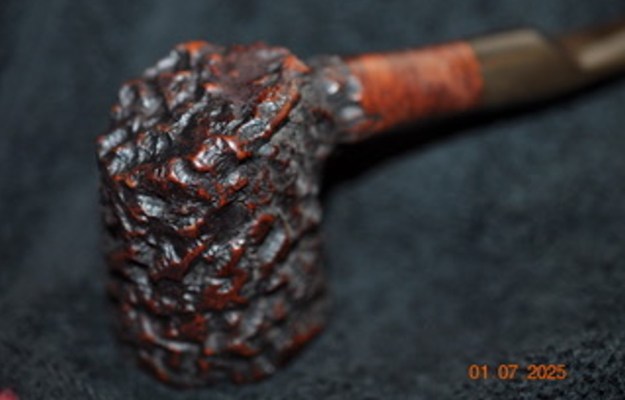
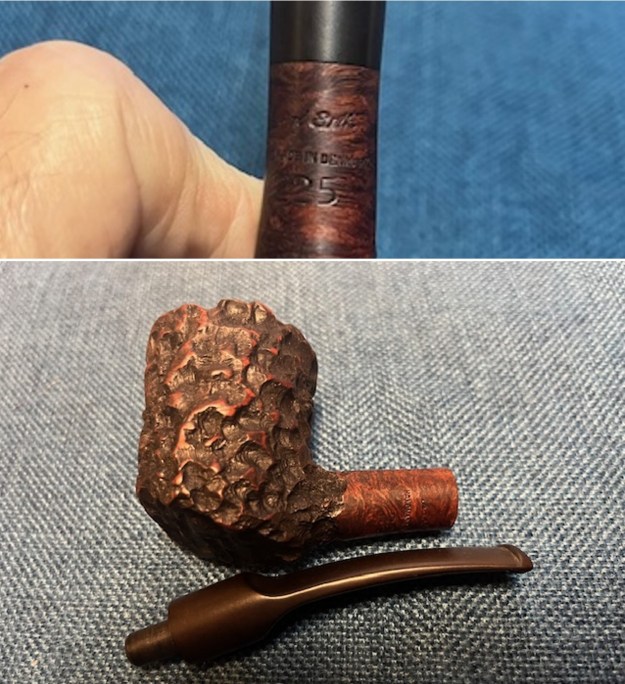
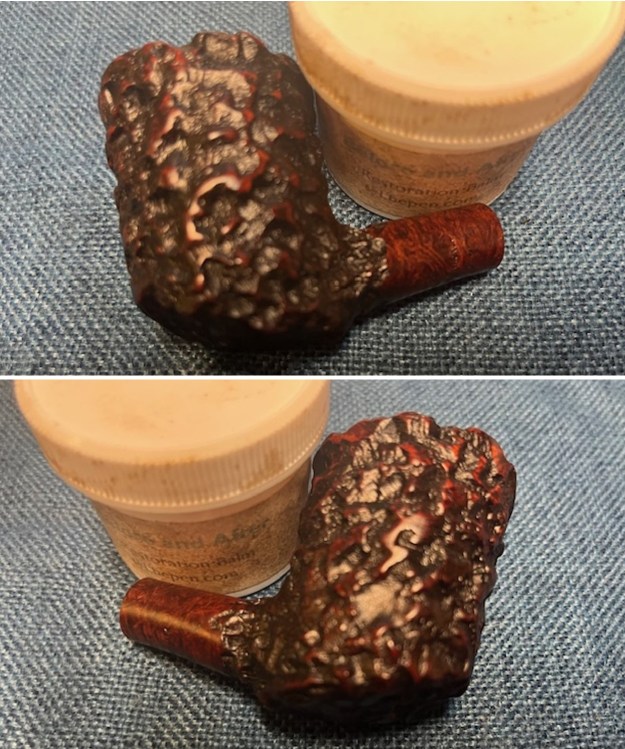
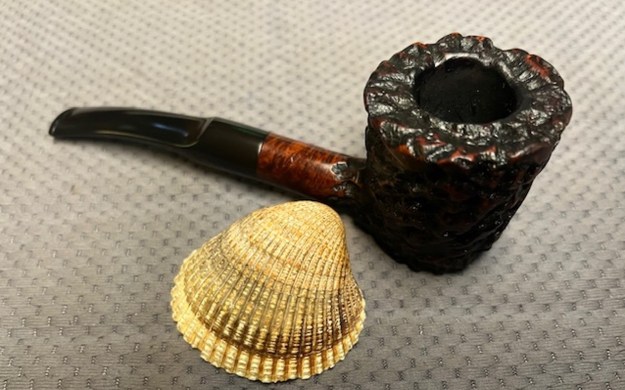
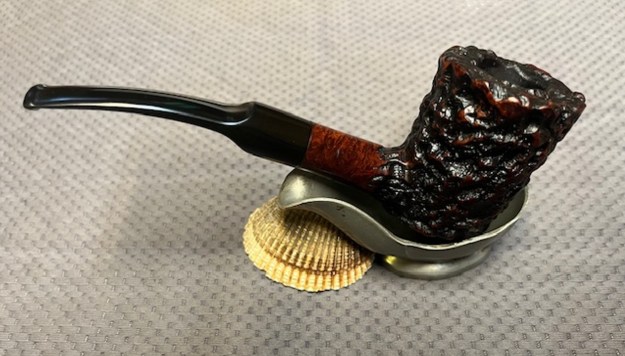
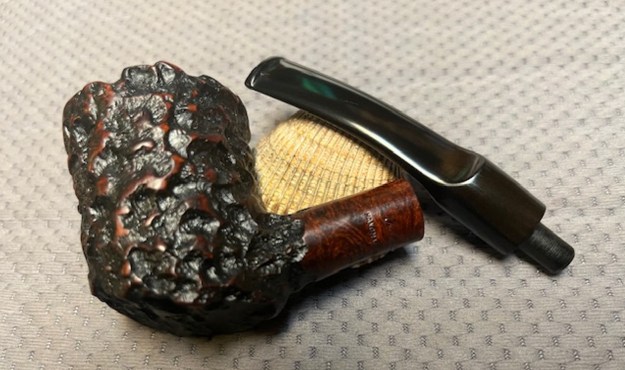
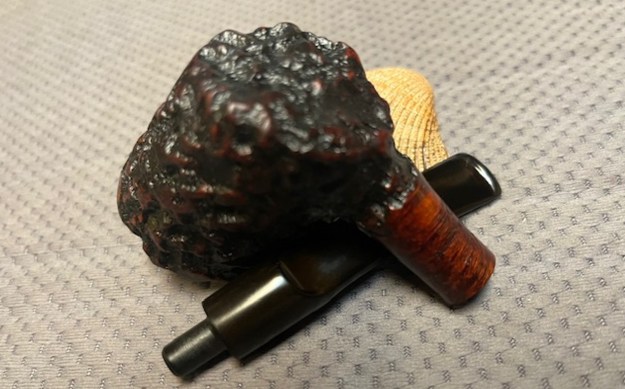
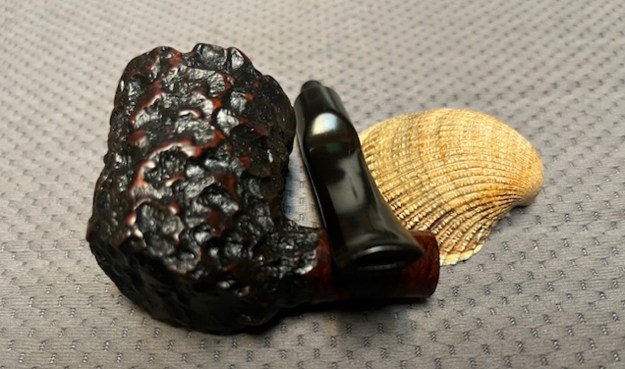
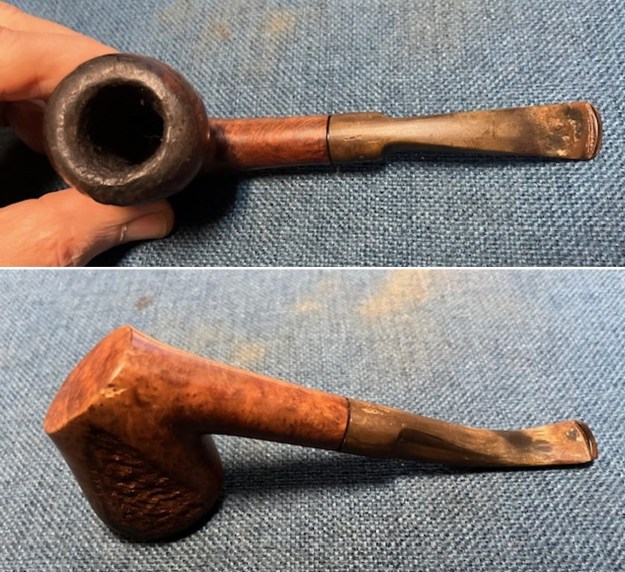
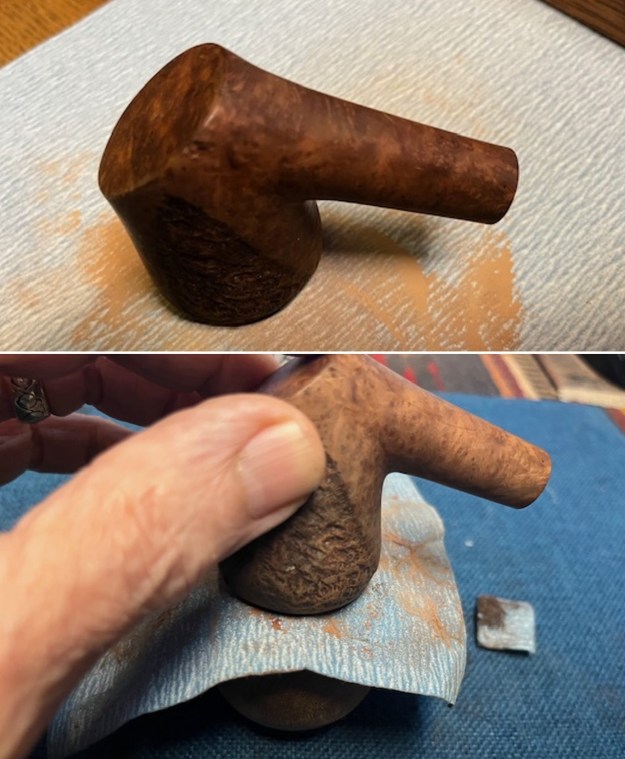
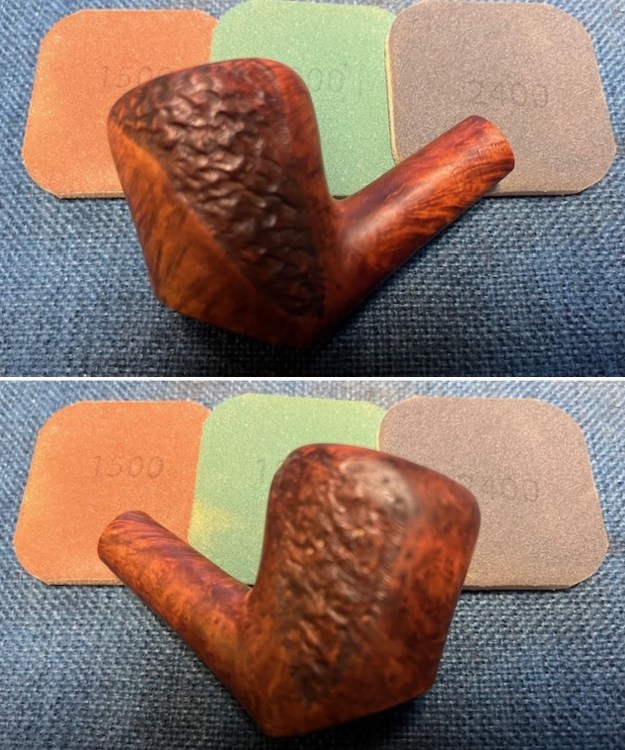
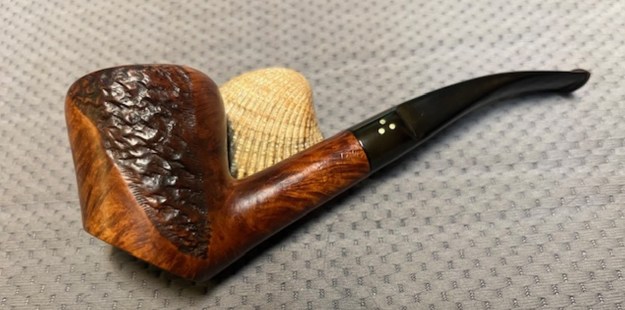
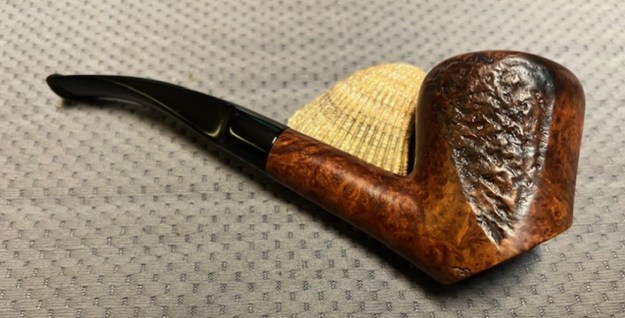
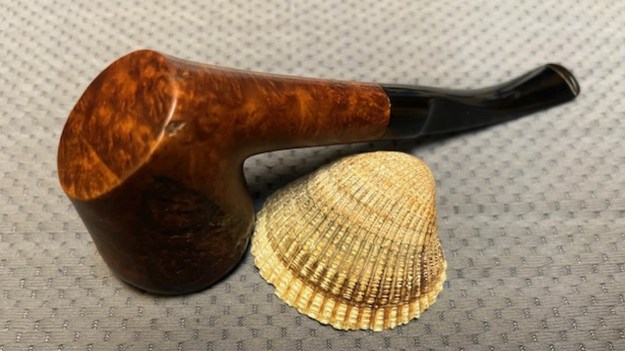
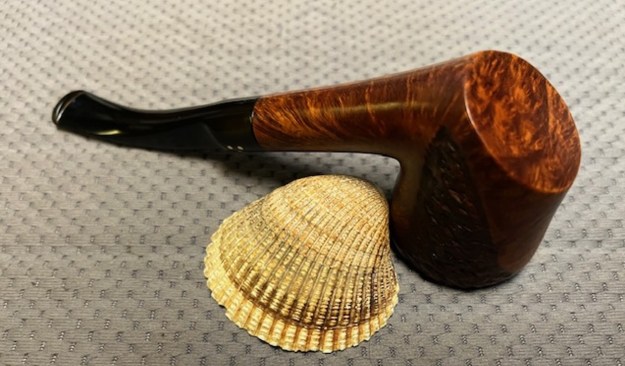
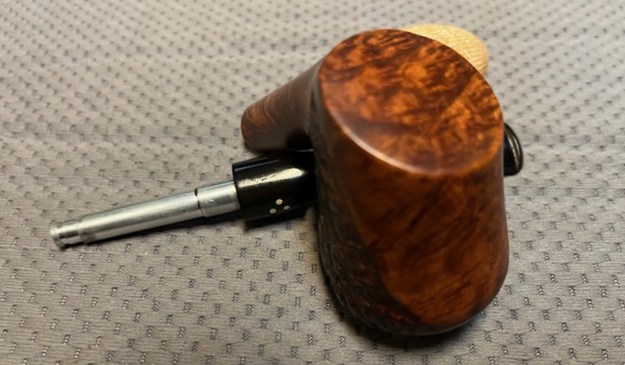
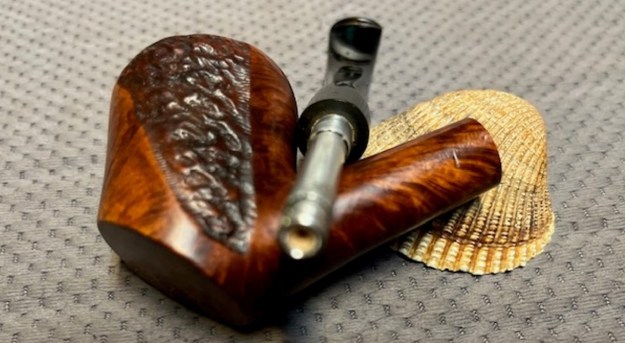
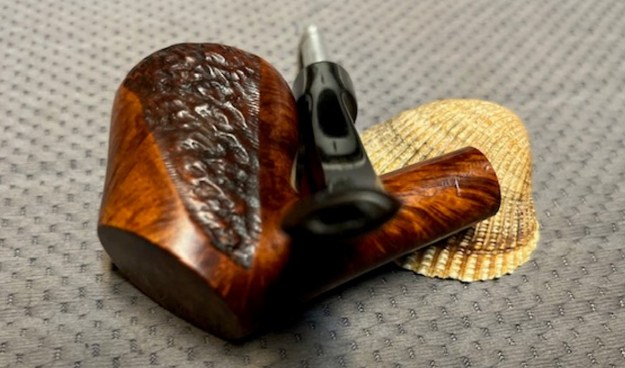
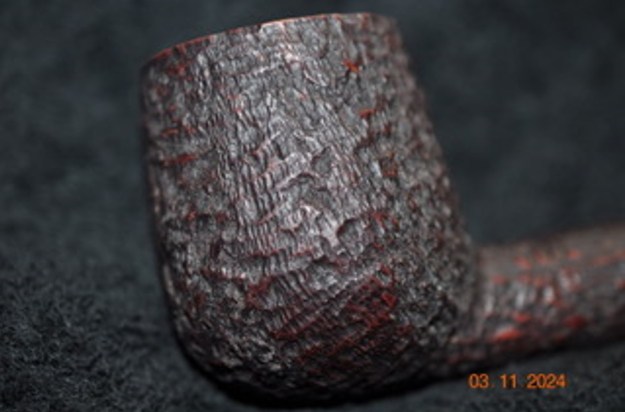
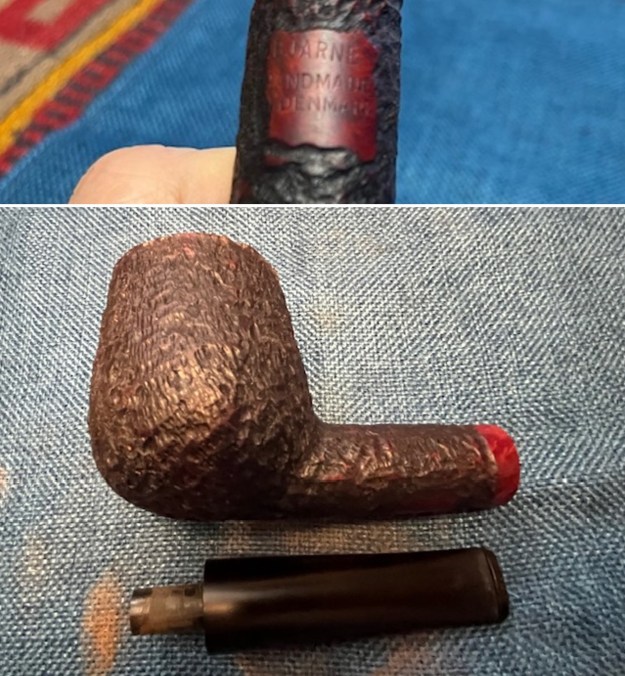
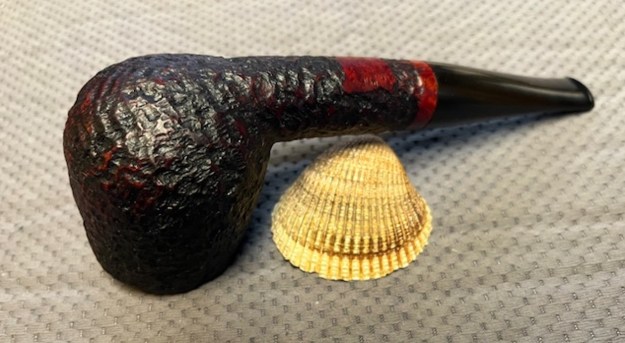
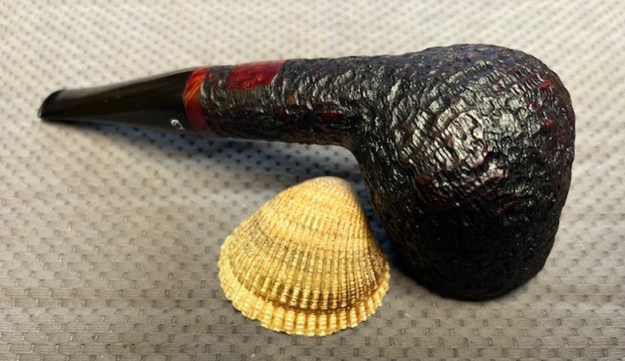
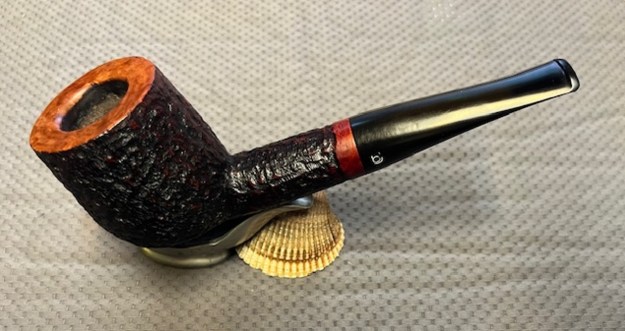
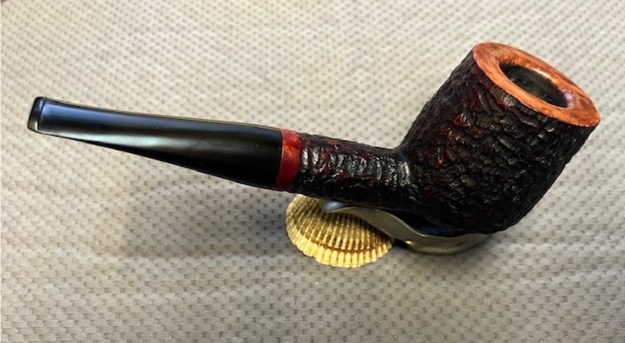
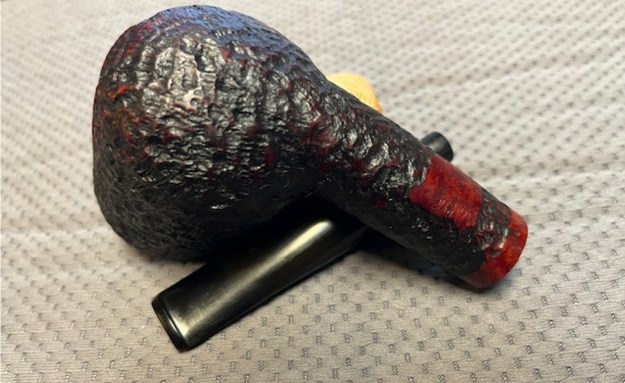
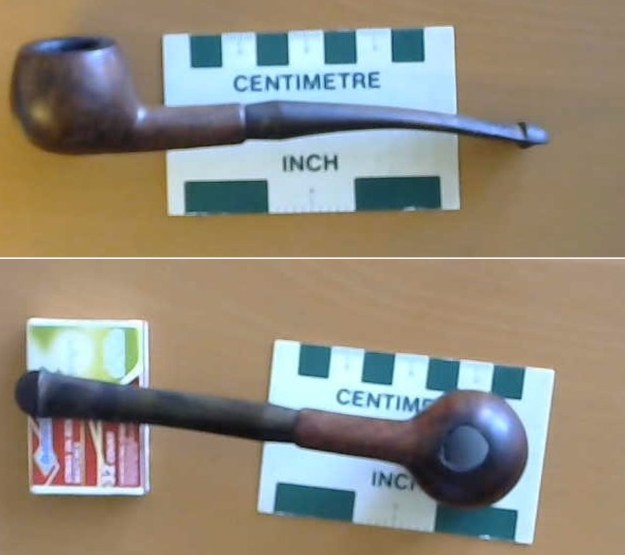
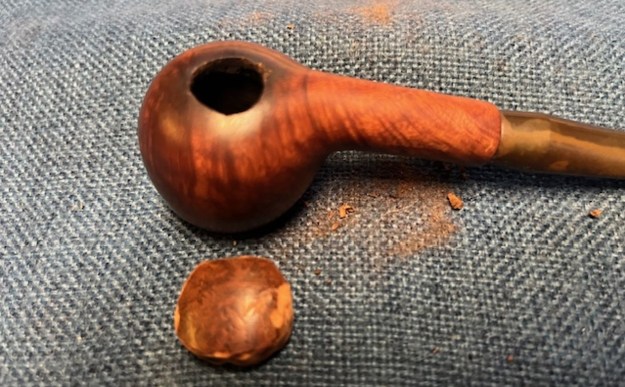
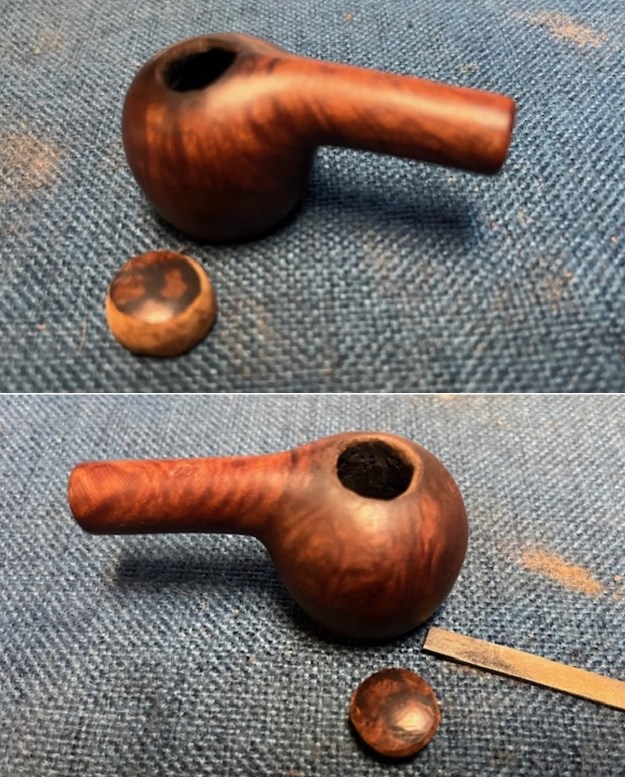
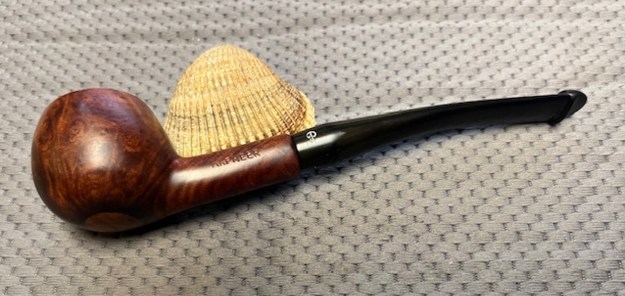
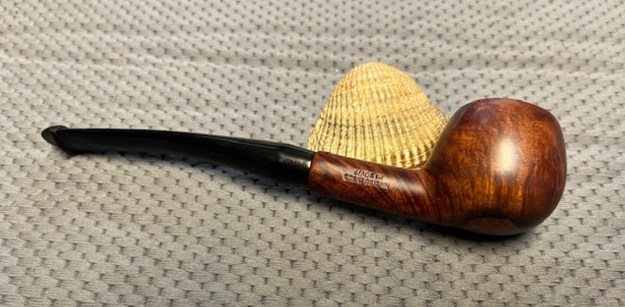
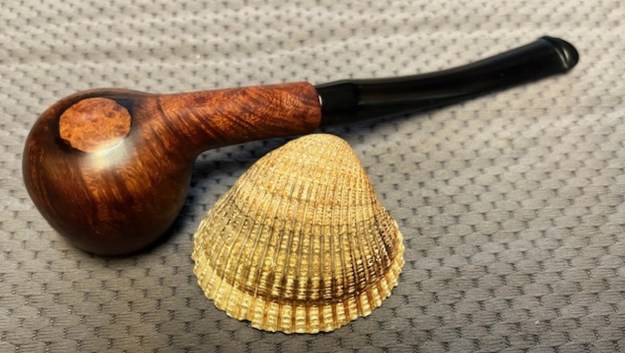
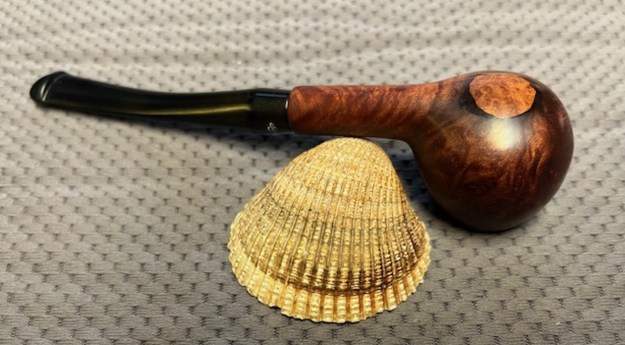
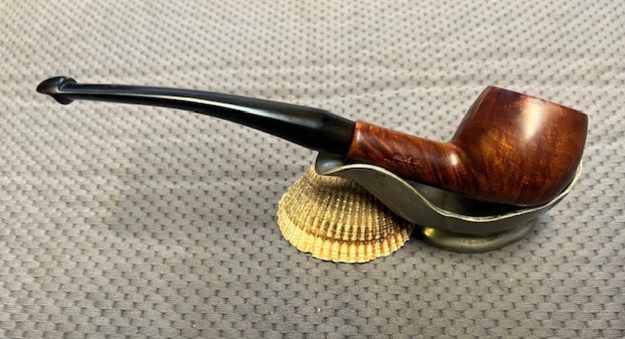
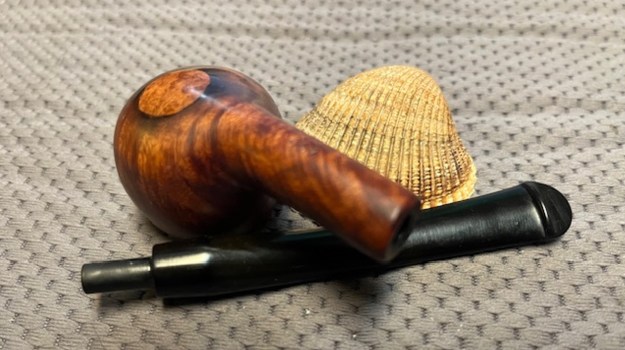
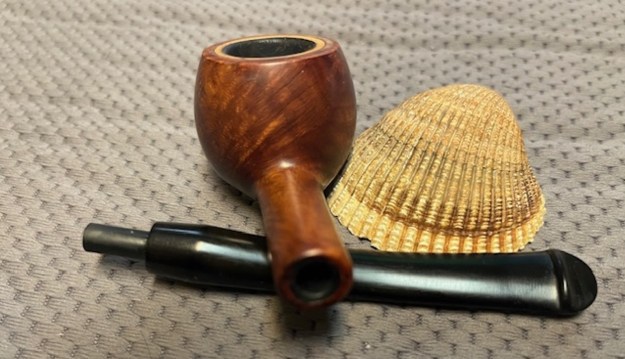
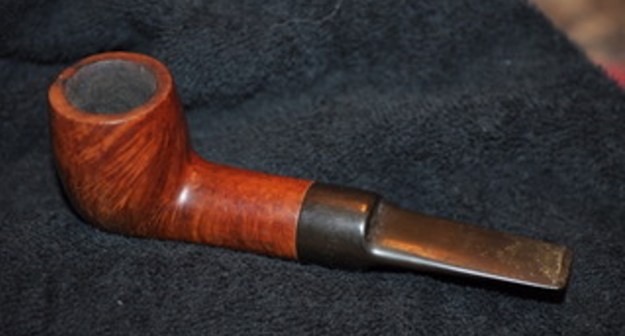
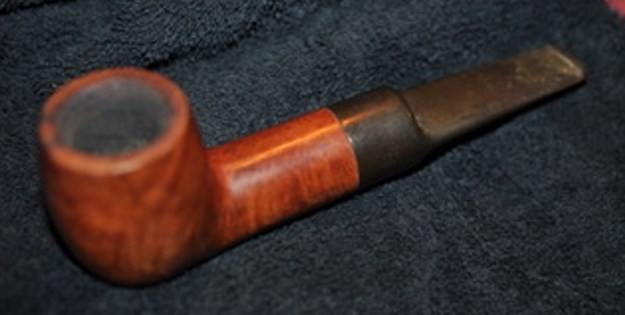
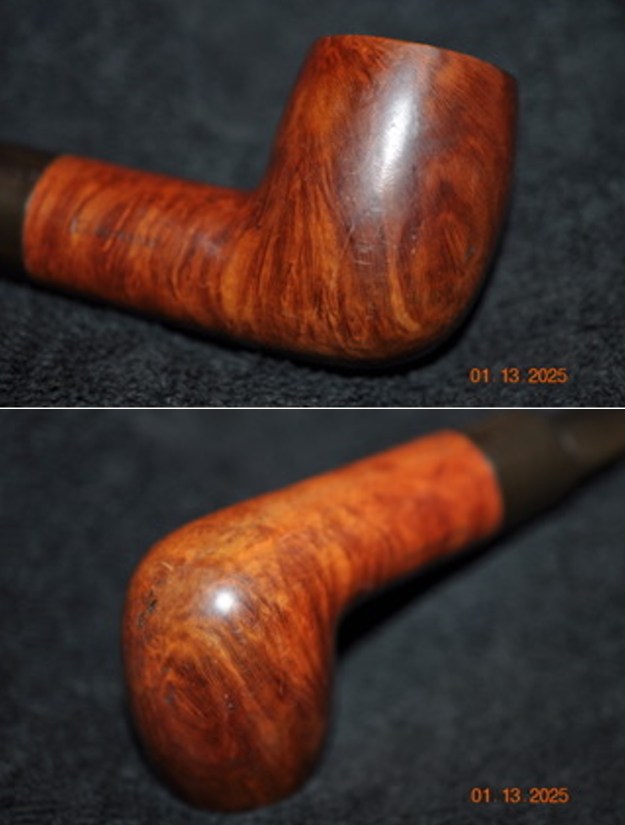
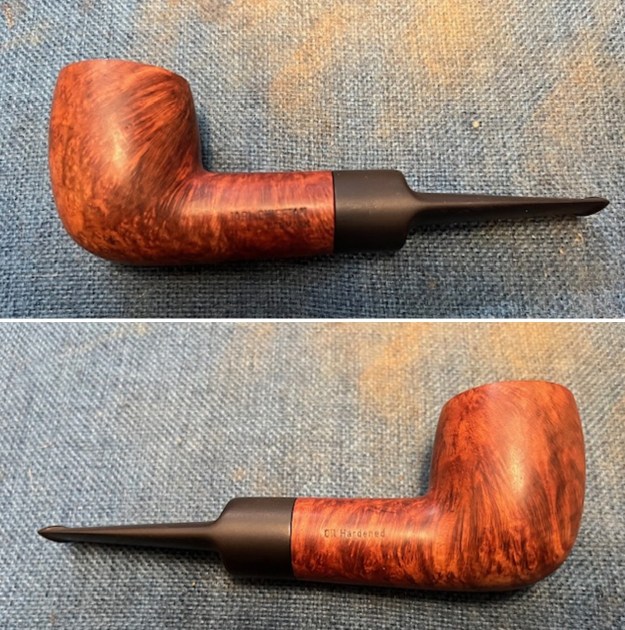
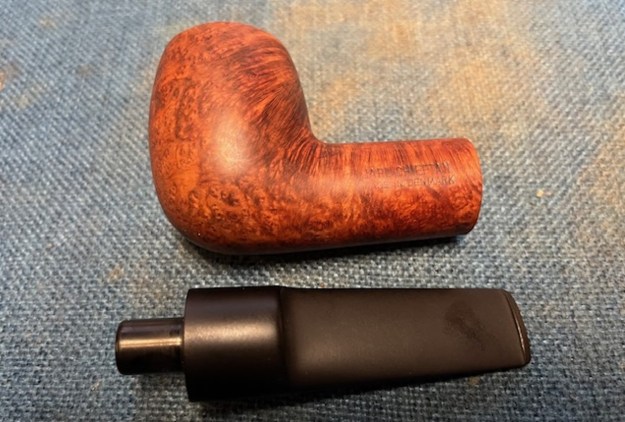
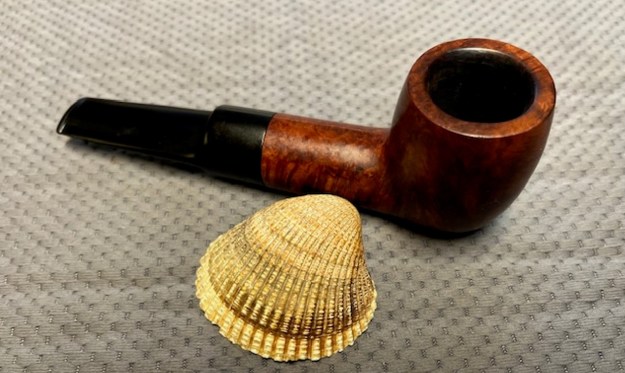
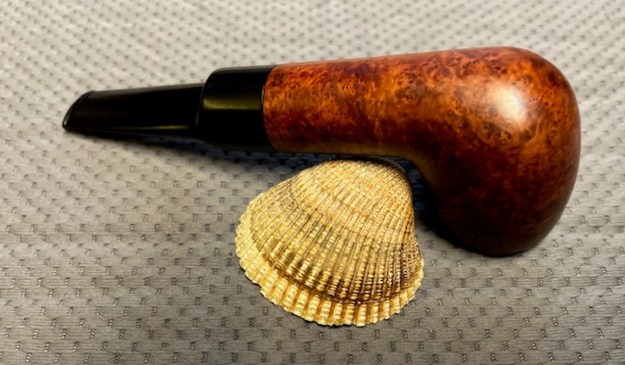
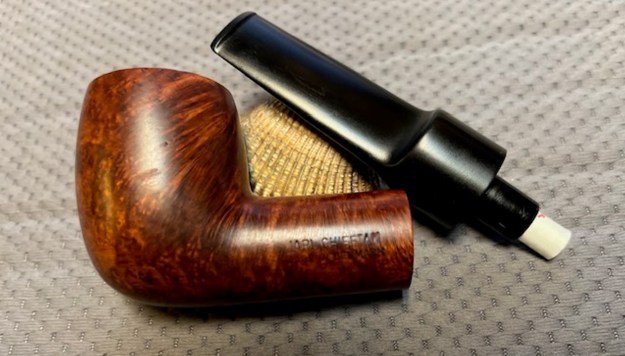
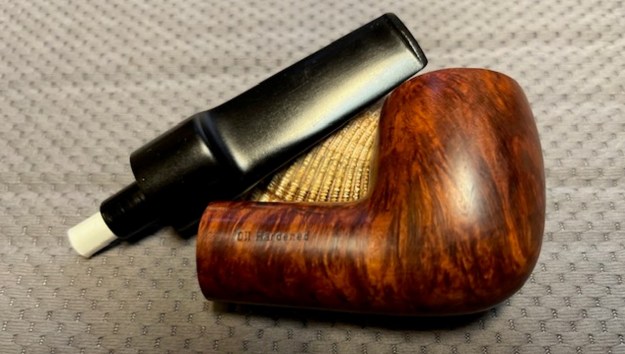
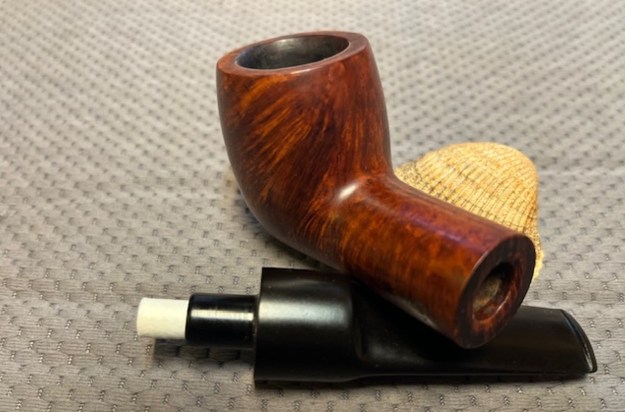
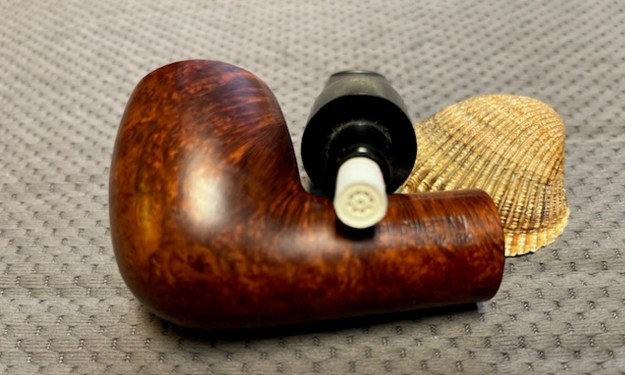
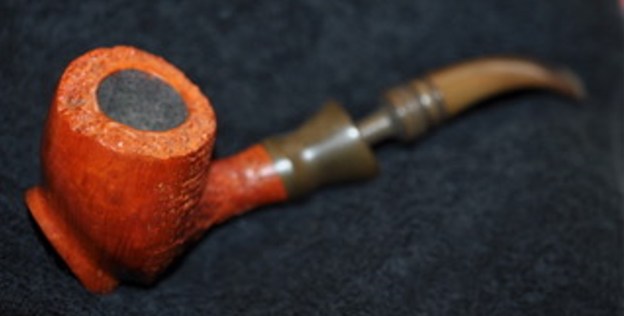
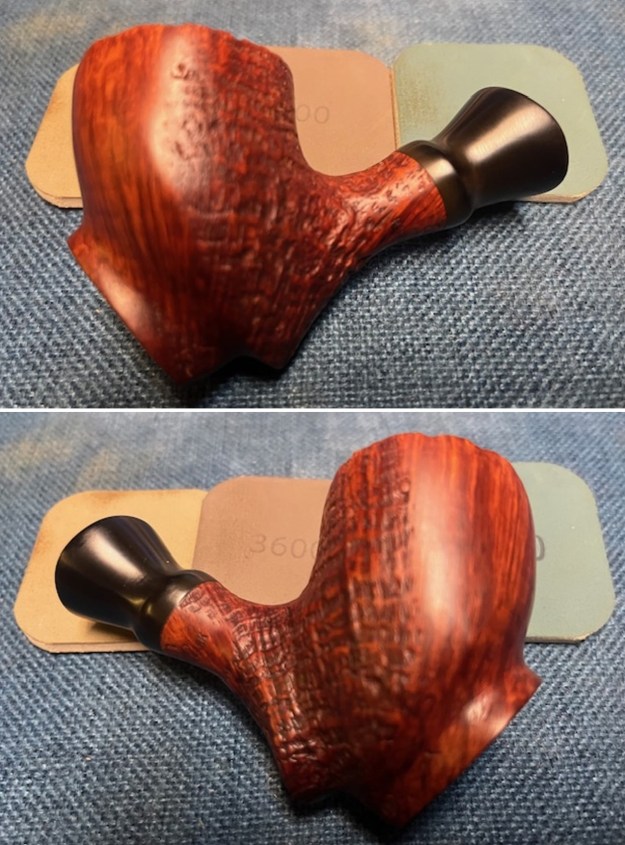
 He took photos of the sides and the heel to give an idea of the shape and the condition of the briar around the bowl. It really is a uniquely shaped pipe with the pedestal base on the bottom front of the bowl.
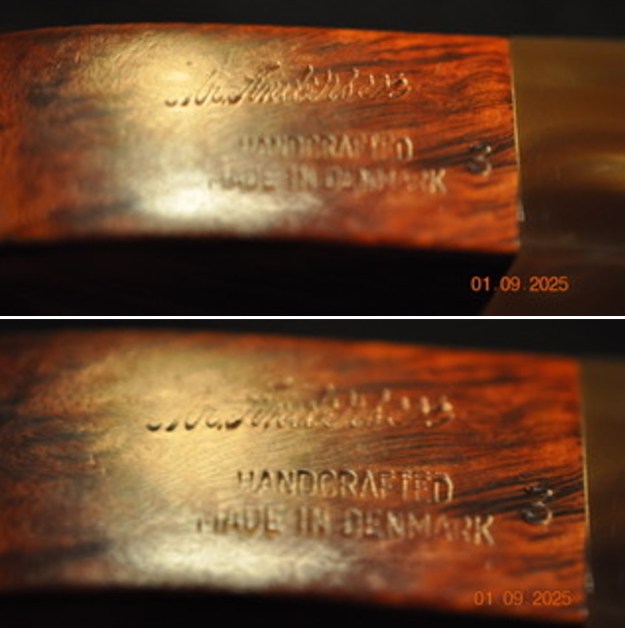
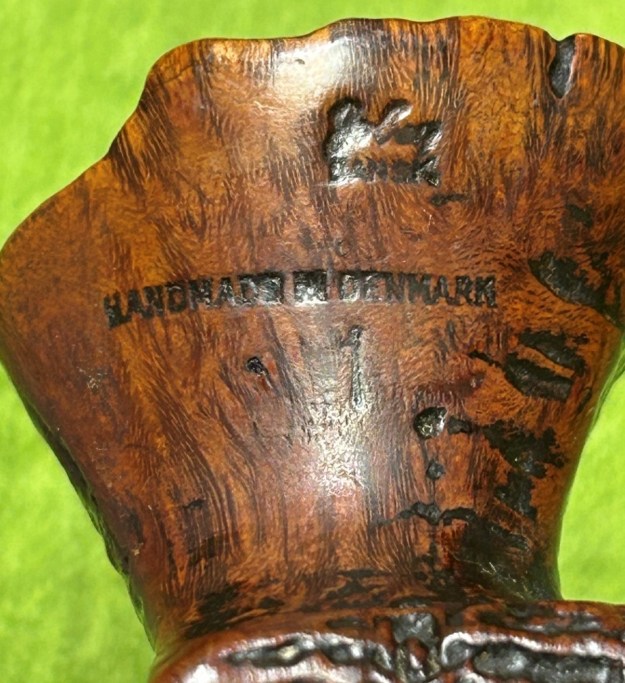
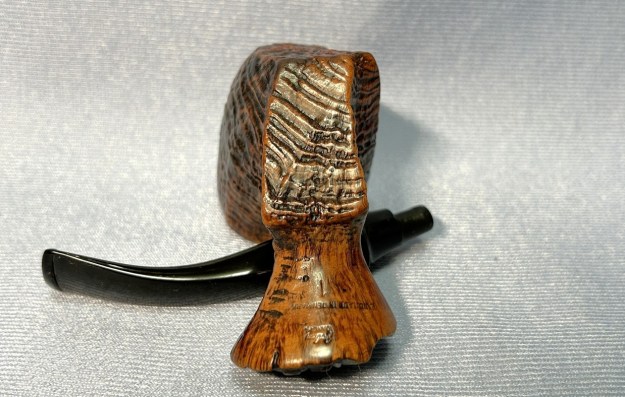
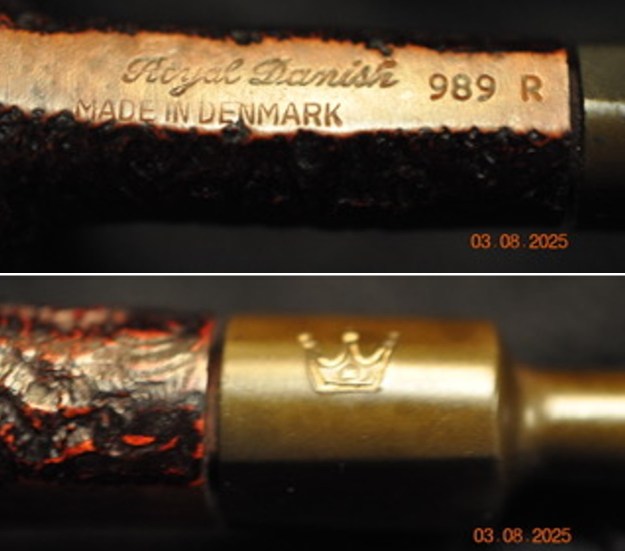
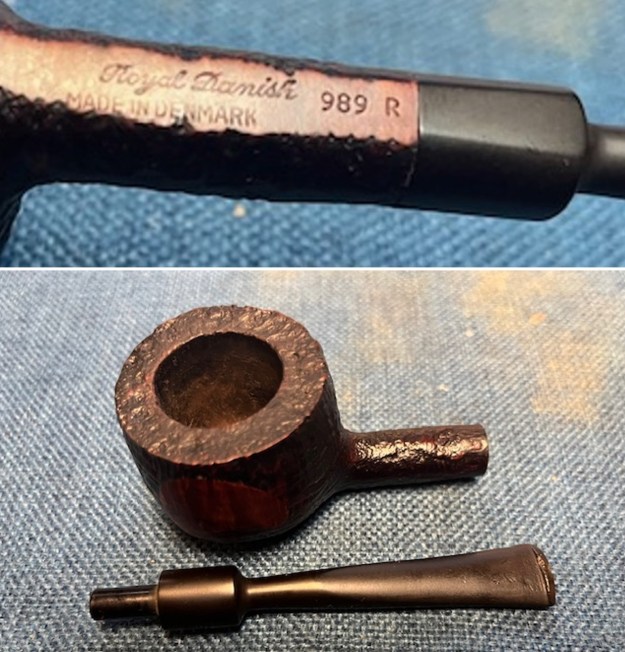
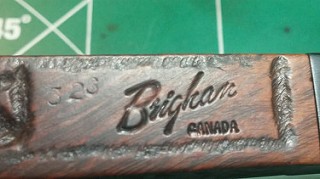
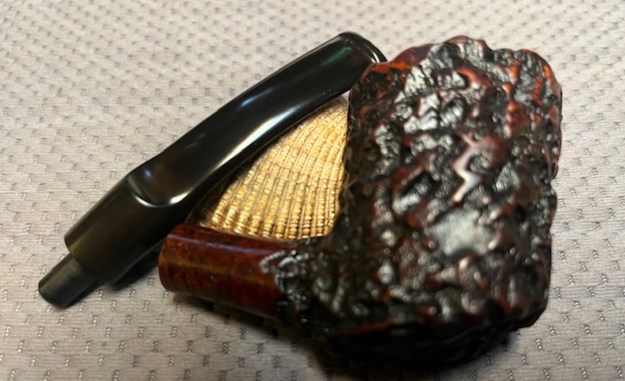
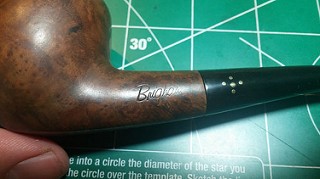
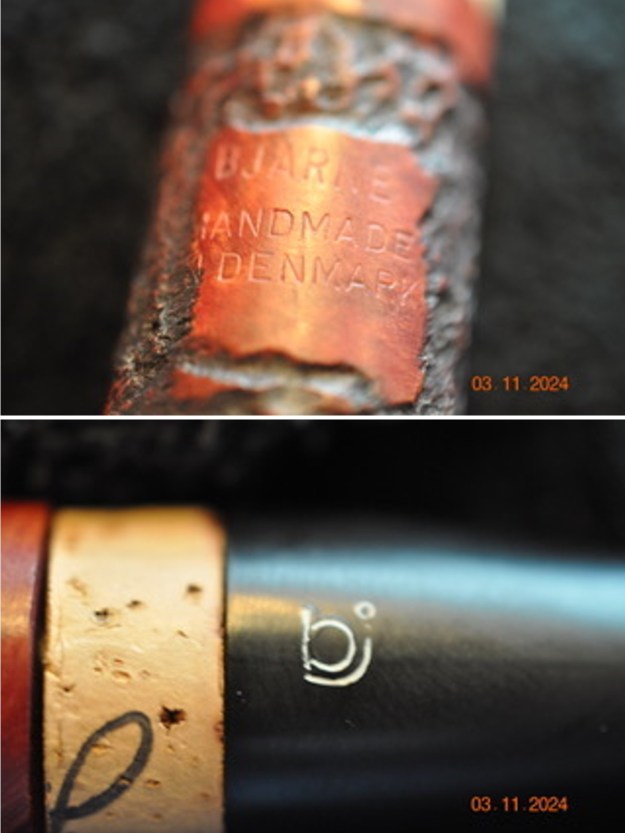
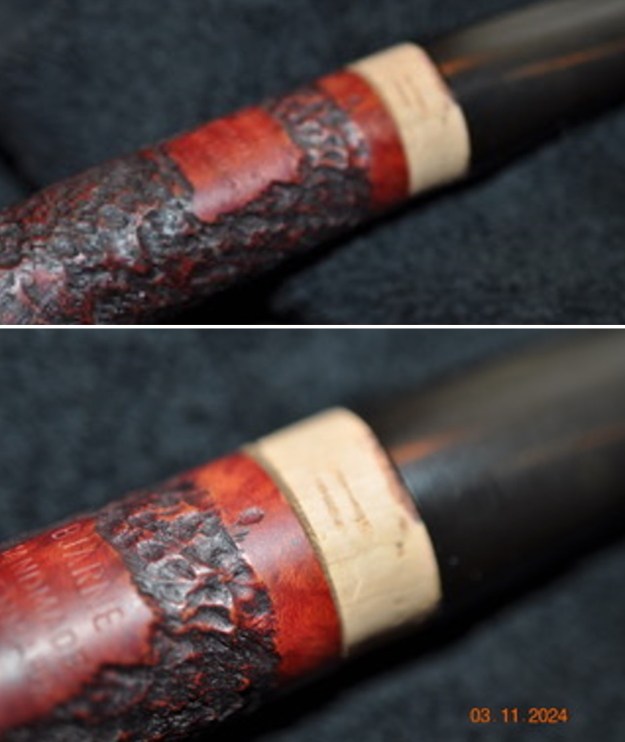
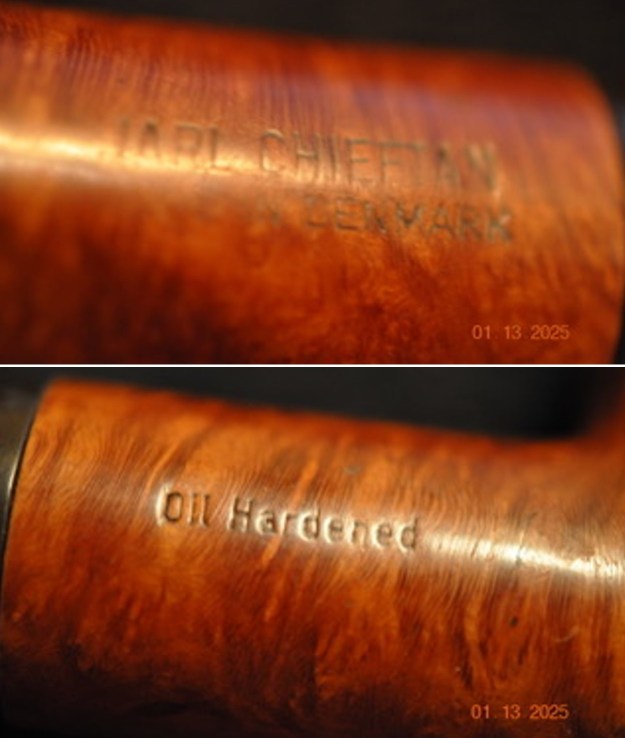
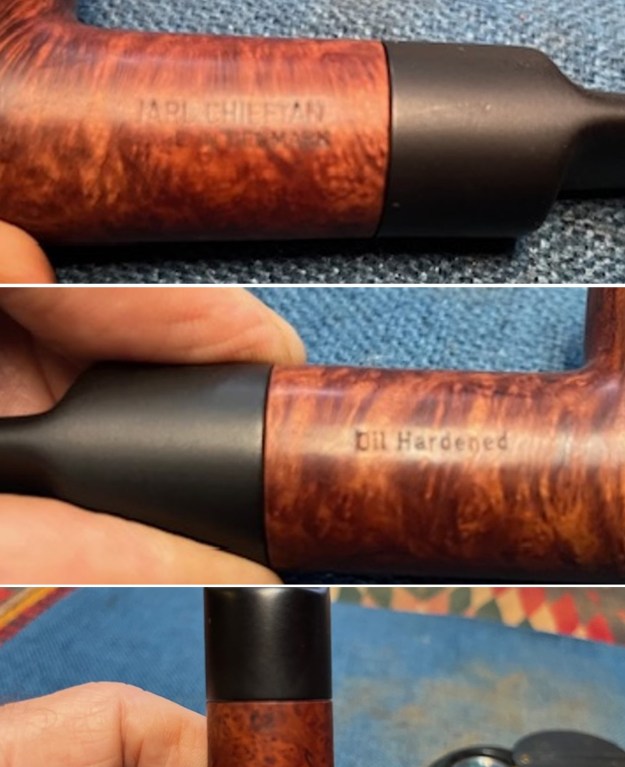
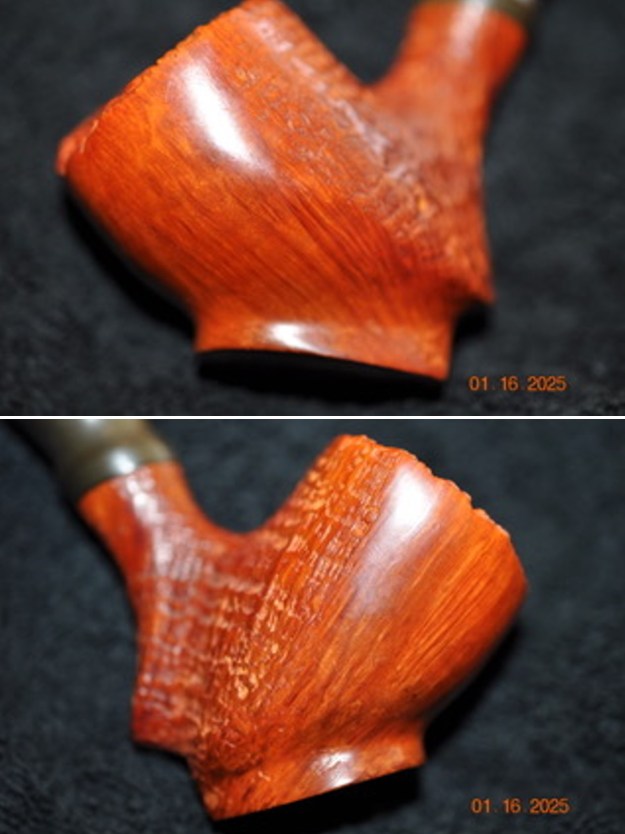 The next photos Jeff took shows the stamping on the underside of the shank. It is clear but faint in spots and read as noted above.
  I went to a previous Soren restoration blog and reread what I had written to reconnect the dots for me https://rebornpipes.com/2016/09/12/repairing-and-rejuvenating-a-soren-danish-freehand/. I quote from that blog post:
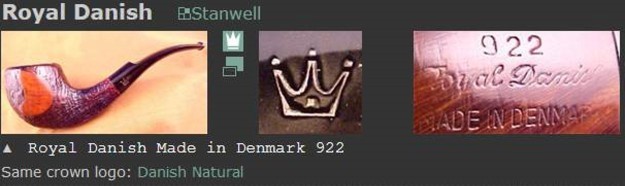
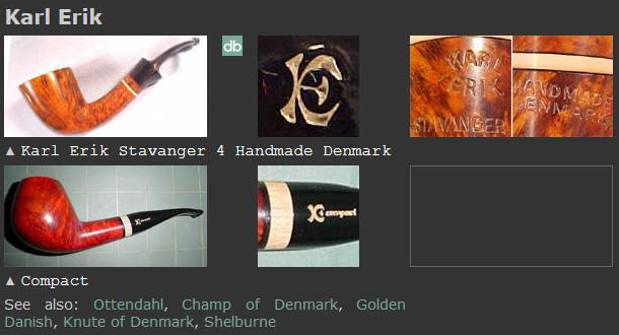
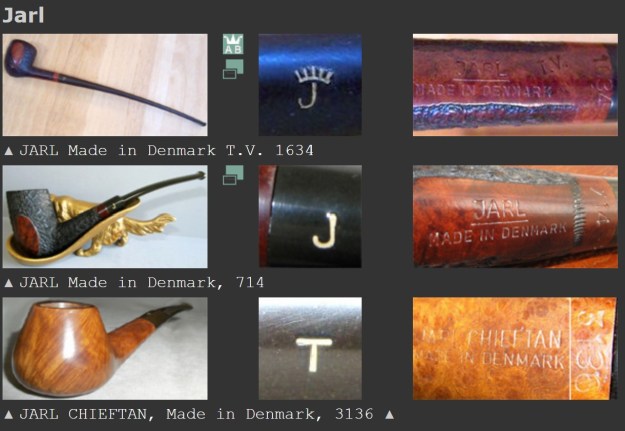
I looked up the brand on Pipephil (http://www.pipephil.eu/logos/en/logo-s10.html) and found that the brand was carved by Søren Refbjerg Rasmussen. Pipes that he made for the European market were mostly stamped “Refbjerg” while those made for the US market were stamped “Soren”. Thus, I knew that one I was working on was imported into the US market.
I was once again working on a pipe made by Soren Refbjerg Rasmussen for the US market as it was stamped Soren. I continued to do reading on another of my go to websites, Pipedia. Here is the link for the article there. https://pipedia.org/wiki/Refbjerg. I quote some of the more pertinent information.
Søren Refbjerg Rasmussen founded a company in 1969, which employed an average of 8 – 12 craftsmen in the 1970’s. The semi-freehands they produced were traded under his prename Søren. Rasmussen himself finished only the very best pipes. So, his way of pipemaking closely resembled the ways of Preben Holm, Karl Erik Ottendahl or Erik Nørding. Altogether more than 1,000,000 pipes were sold.
From that I knew that the pipe in my hands came from the 1970s. It bears the Soren signature stamp which also says that it was made for sale in the American pipe market. Armed with that information I turned my attention to restoring the pipe.
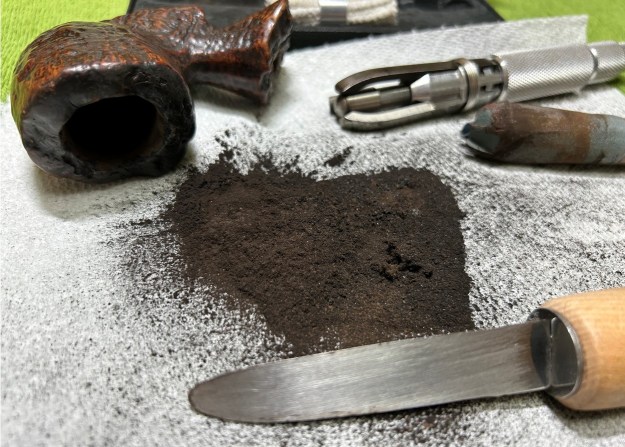
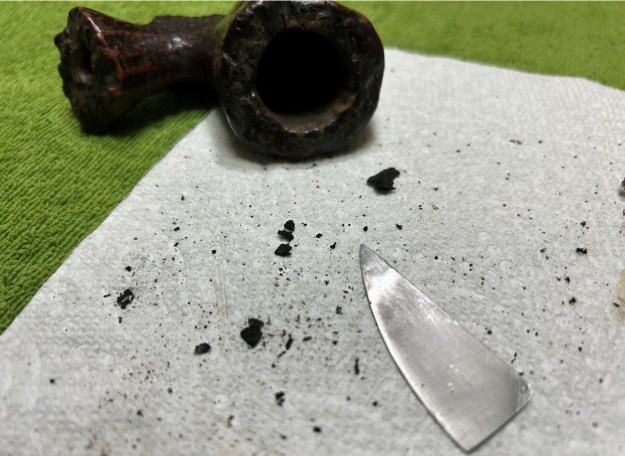
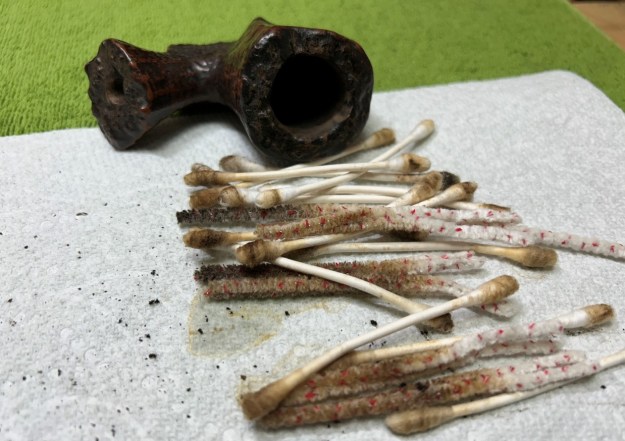
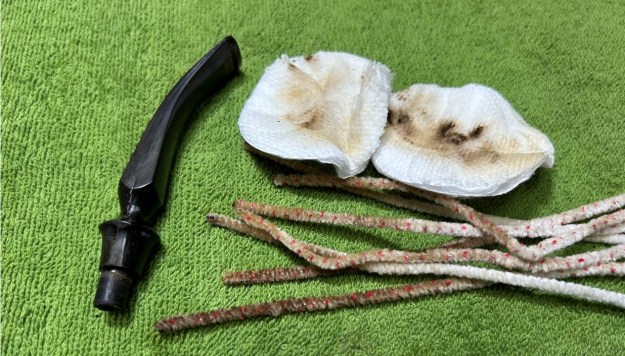
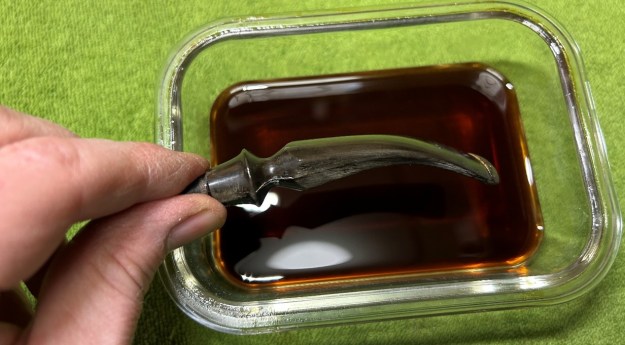
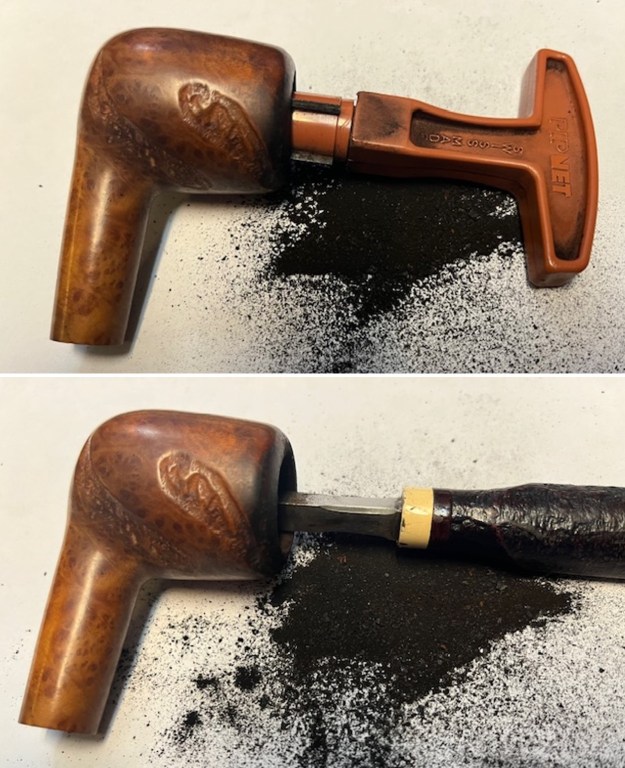
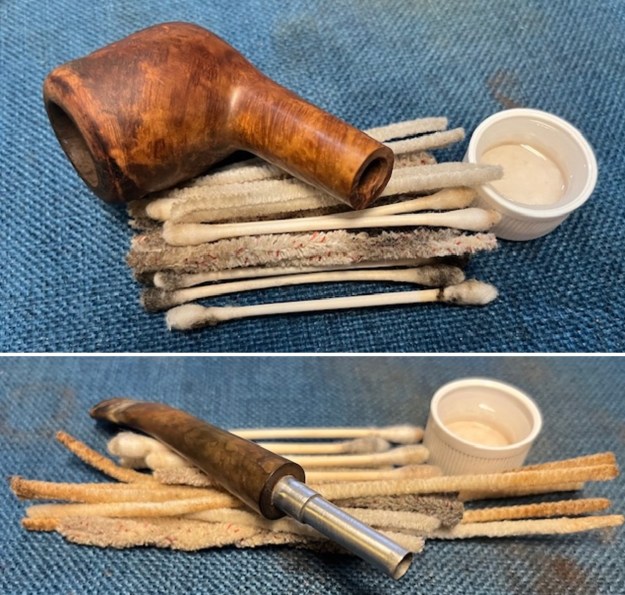
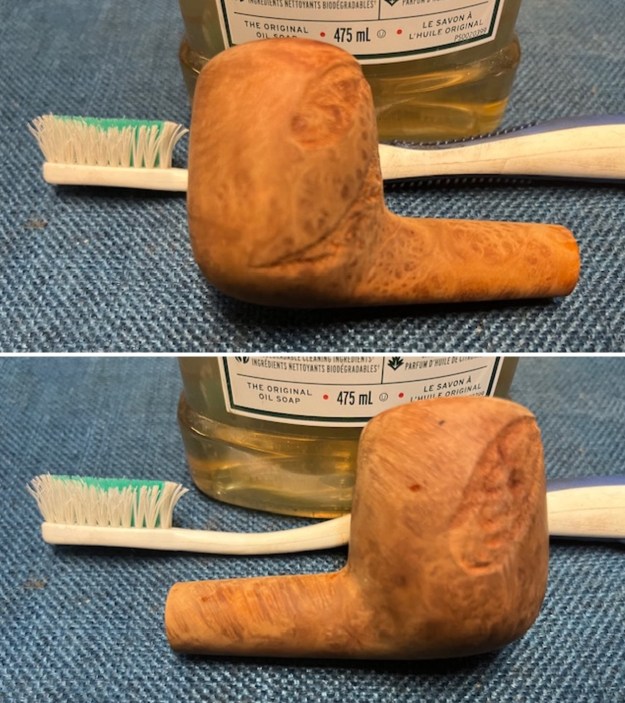
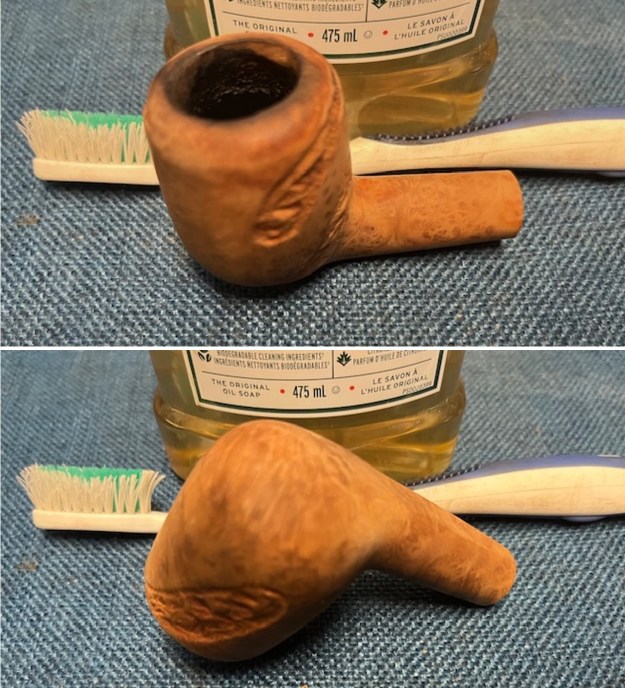
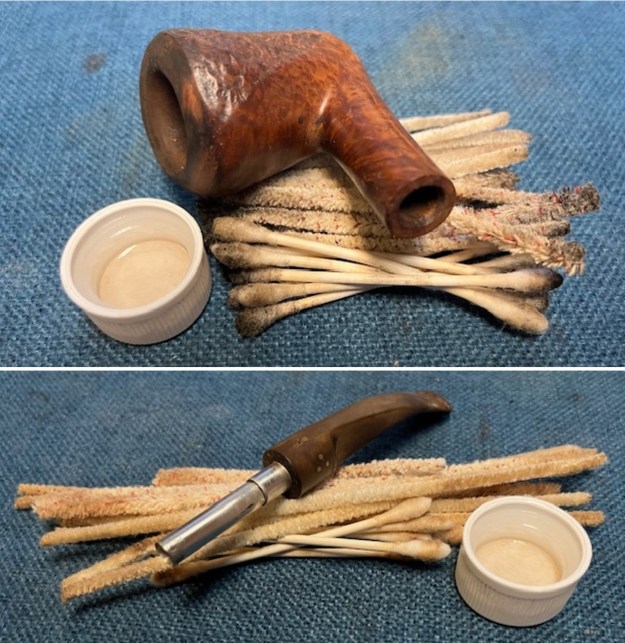
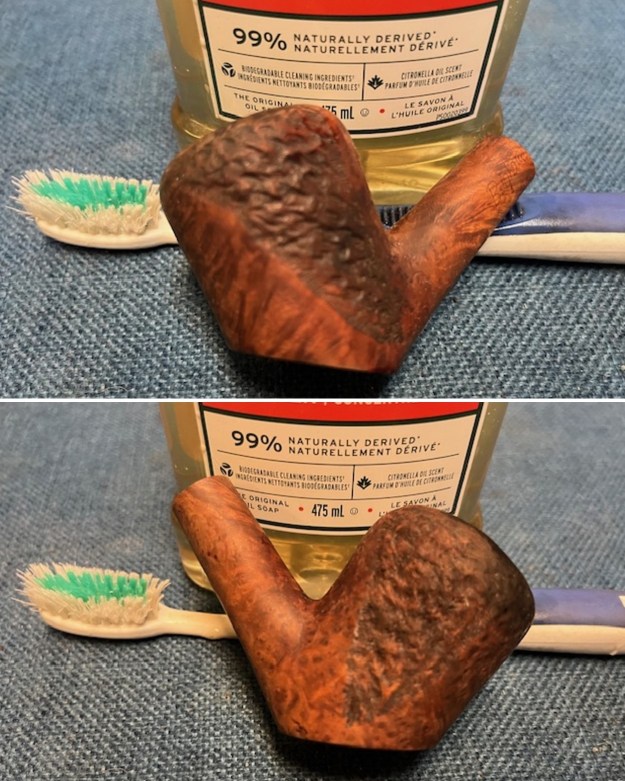
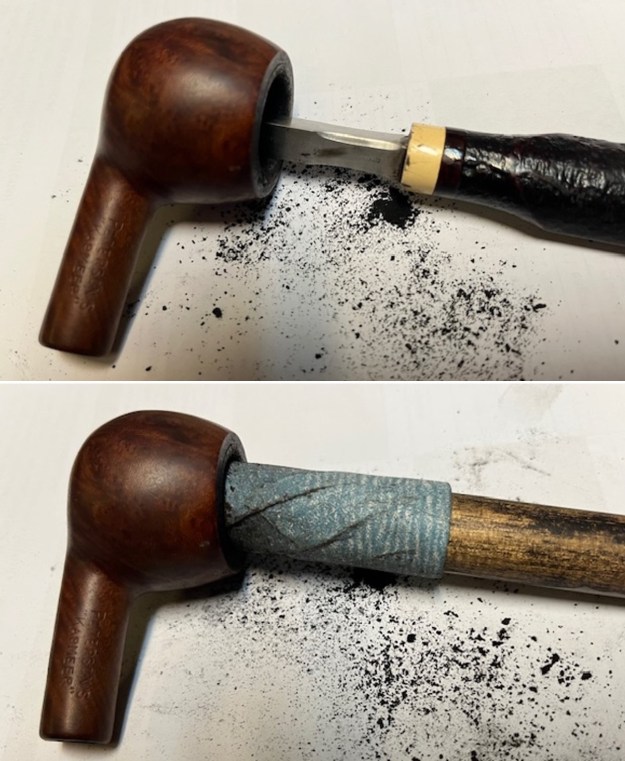
Jeff had cleaned up the pipe following his normal cleaning process. In short, he cleaned up the reaming with a Savinelli Fitsall Pipe Knife. He scrubbed the bowl with undiluted Murphy’s Oil Soap with a tooth brush. He worked over the lava and debris on the plateau rim top and shank end and was able to remove it. He rinsed it under running warm water to remove the soap and grime. He cleaned out the inside of the shank and the airway in the stem with alcohol, cotton swabs, shank brushes and pipe cleaners. He scrubbed the stem with Soft Scrub and cotton pads to remove the debris and oils on the stem. He soaked it in Briarville’s Pipe Stem Deoxidizer. He rinsed it with warm water and dried it off. The pipe looked very good and I was excited to start working on it. I forgot to take my usual photos of the pipe.
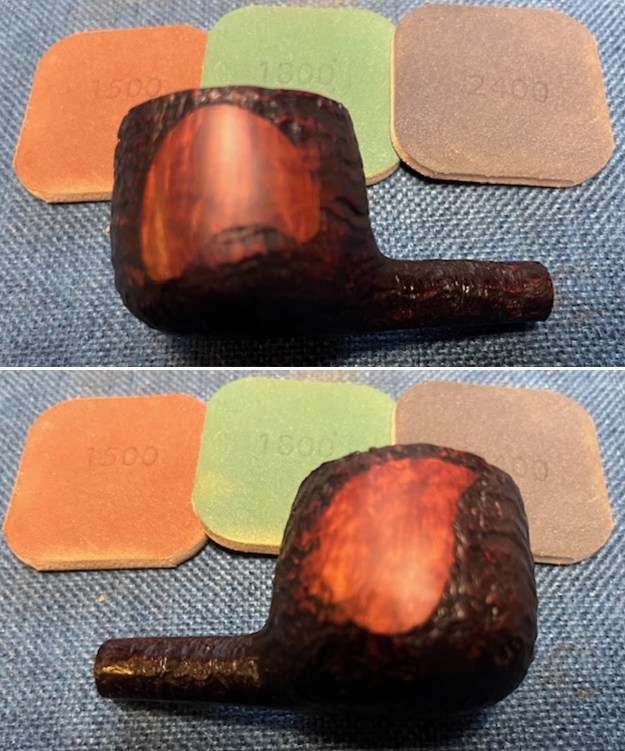
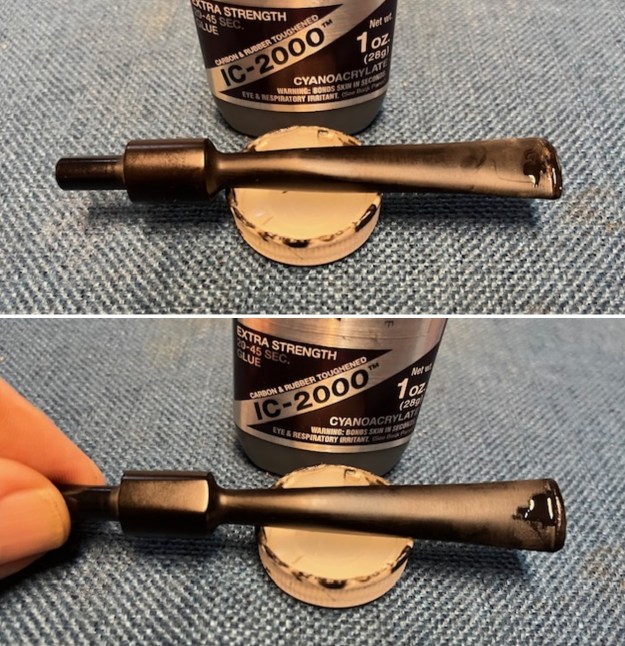
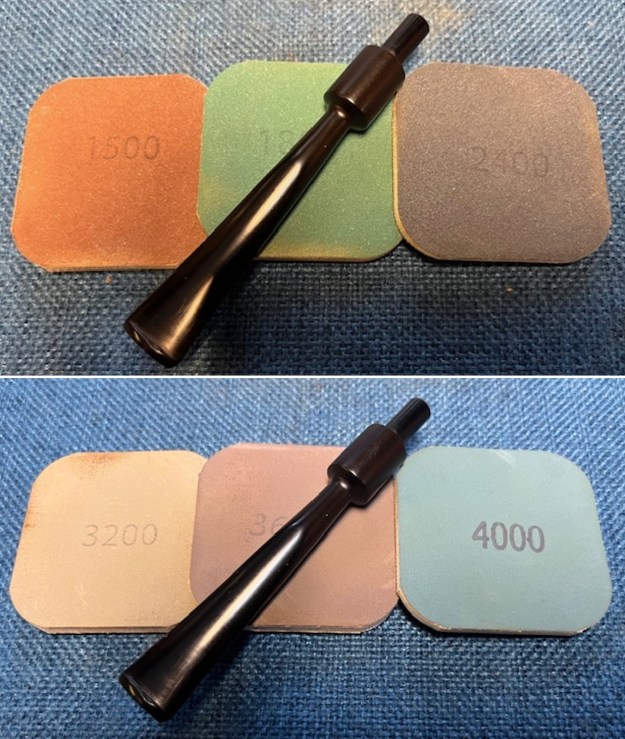
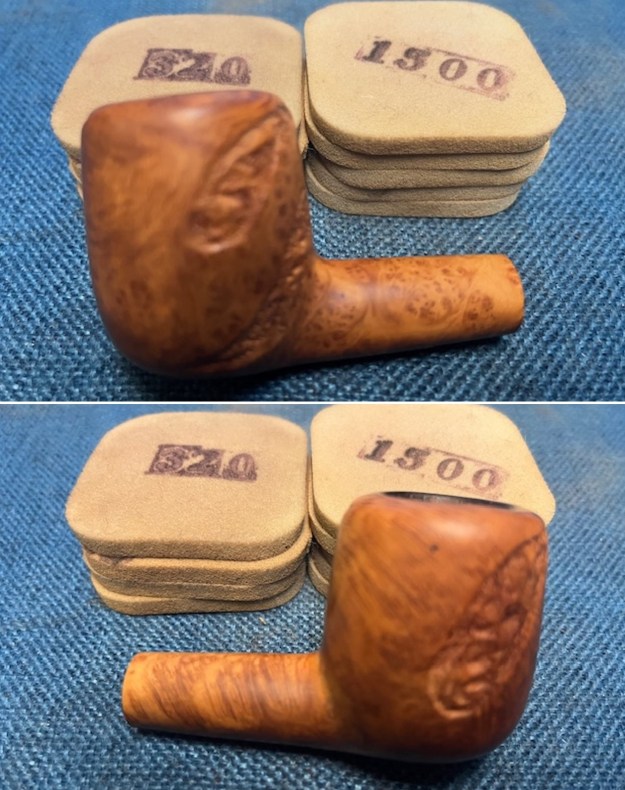
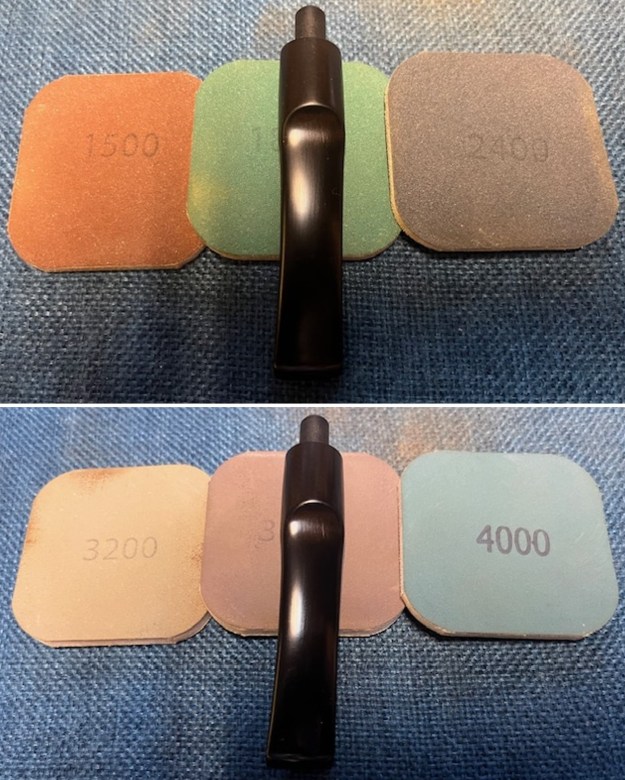
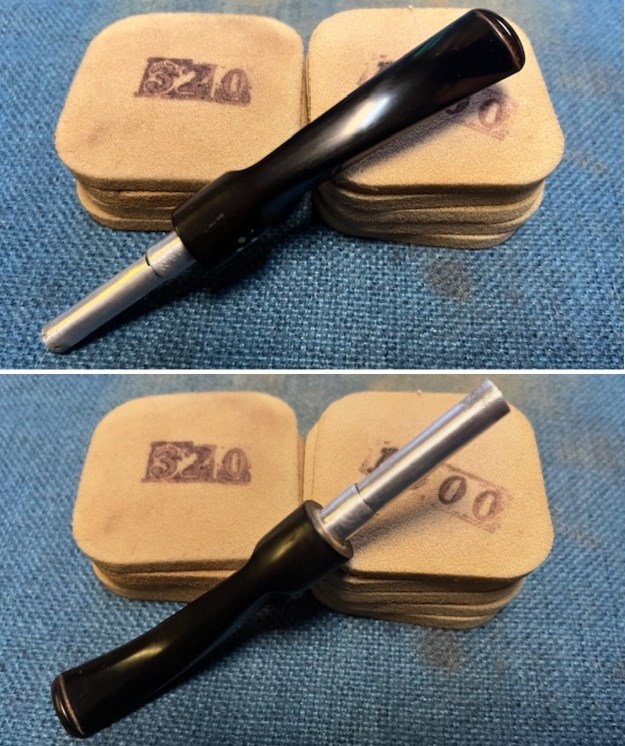
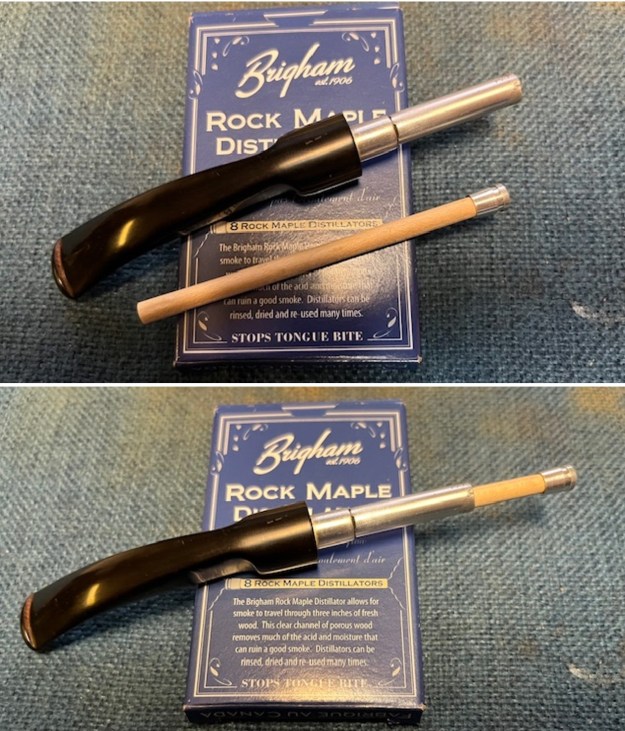
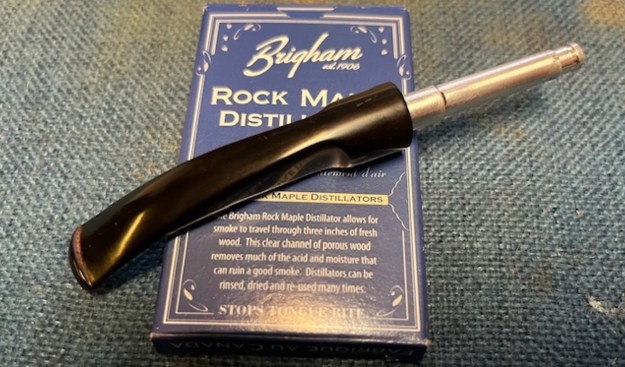
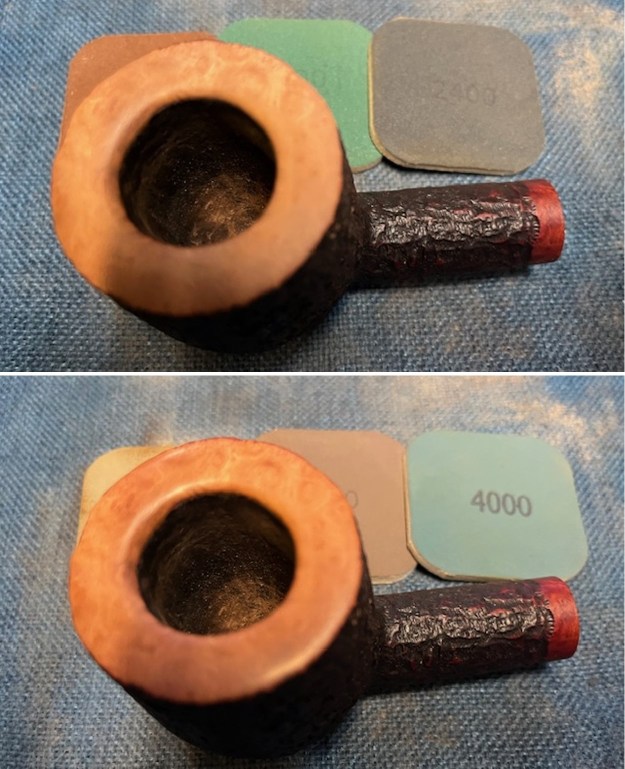
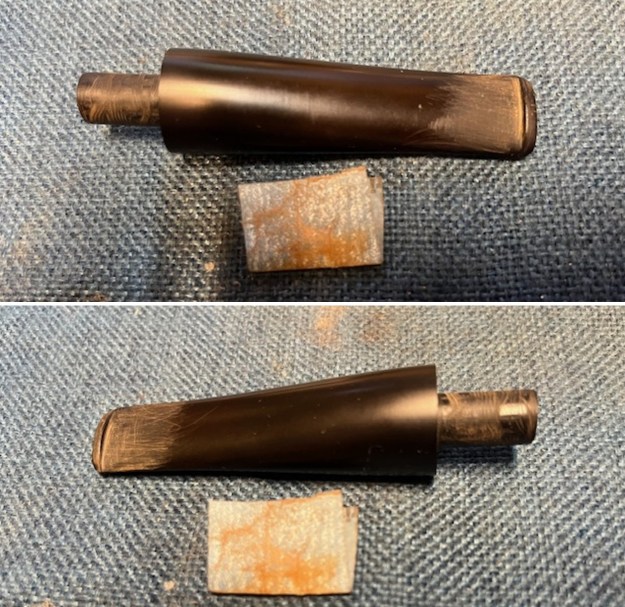
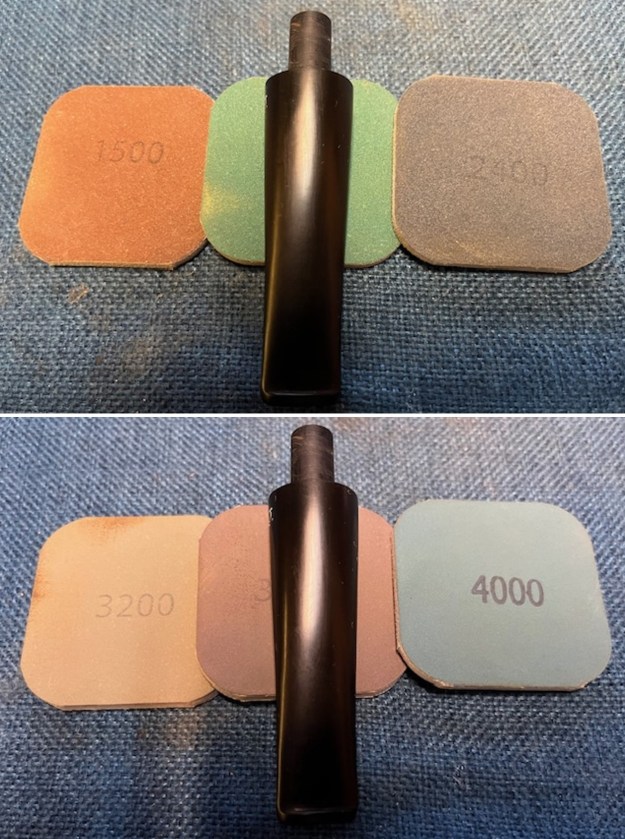
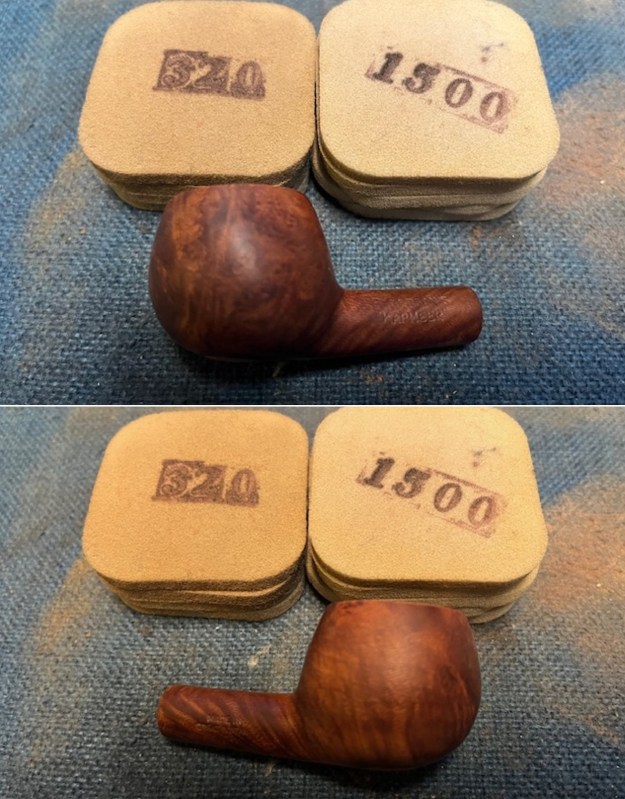
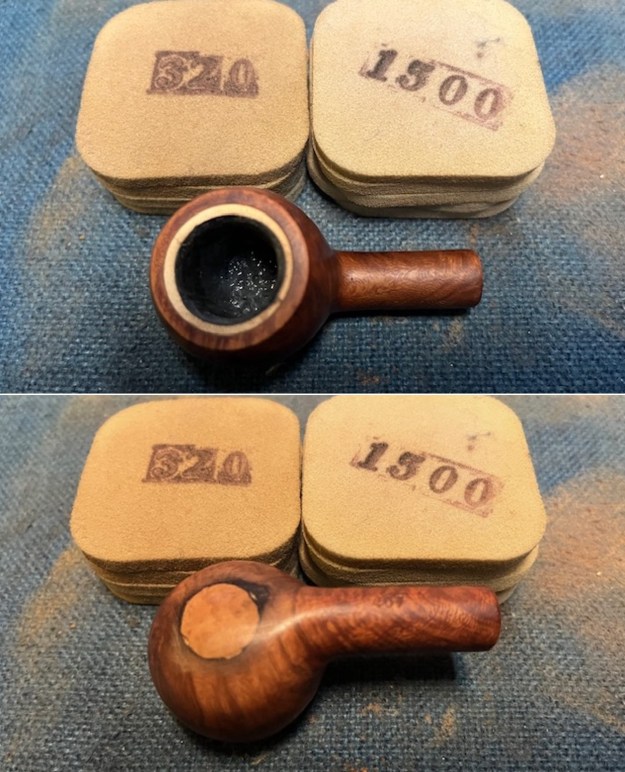
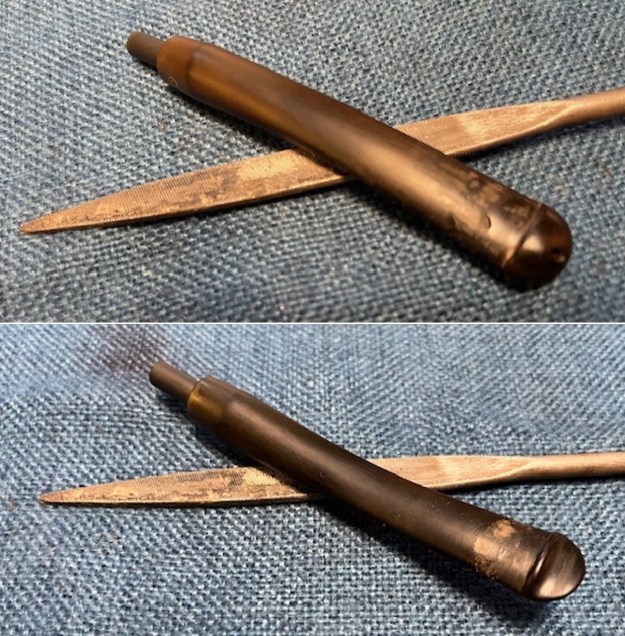
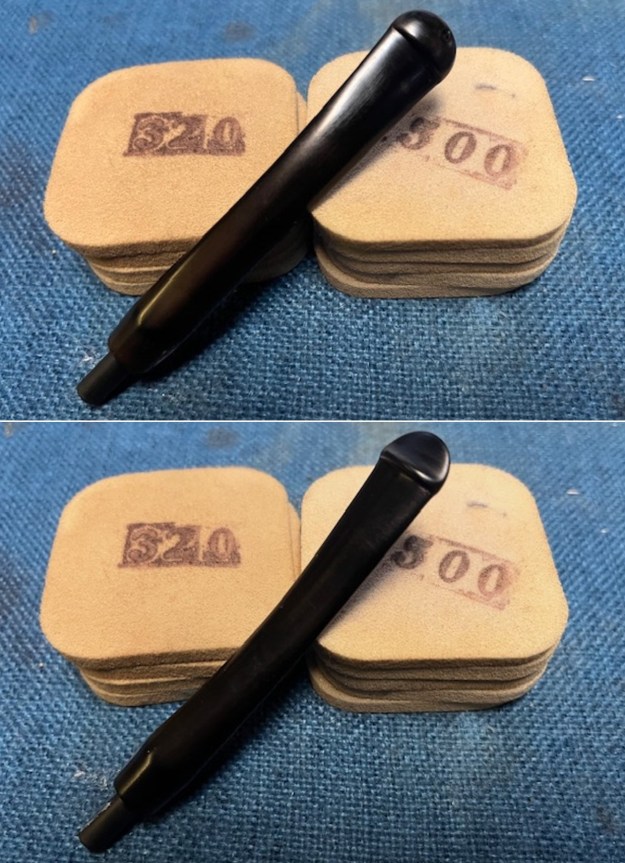
I started my work on the pipe by sanding the vulcanite shank extension with 320-3500 grit sanding pads to remove the residual oxidation that remained. I was able to remove it for the most part and what remained would come off with the micromesh pads and the Before and After Pipe Stem polish. It was a pretty pipe.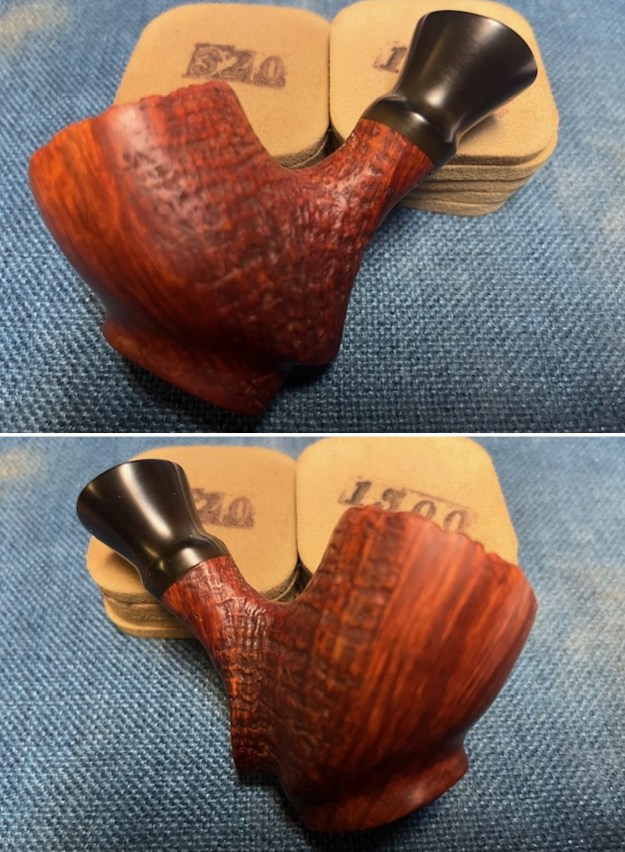
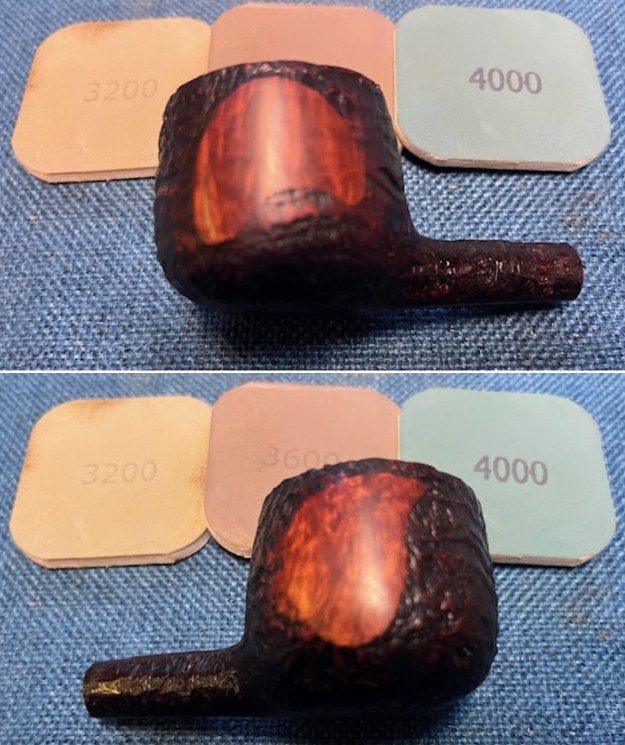
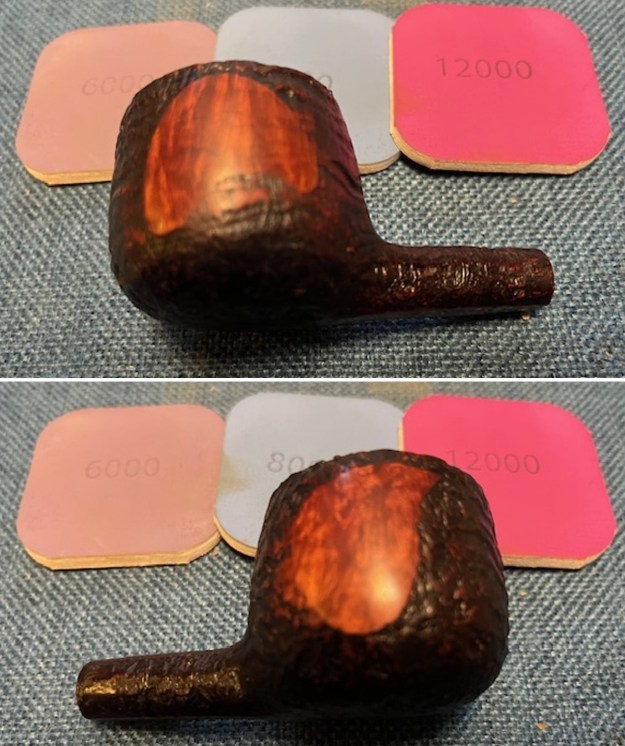
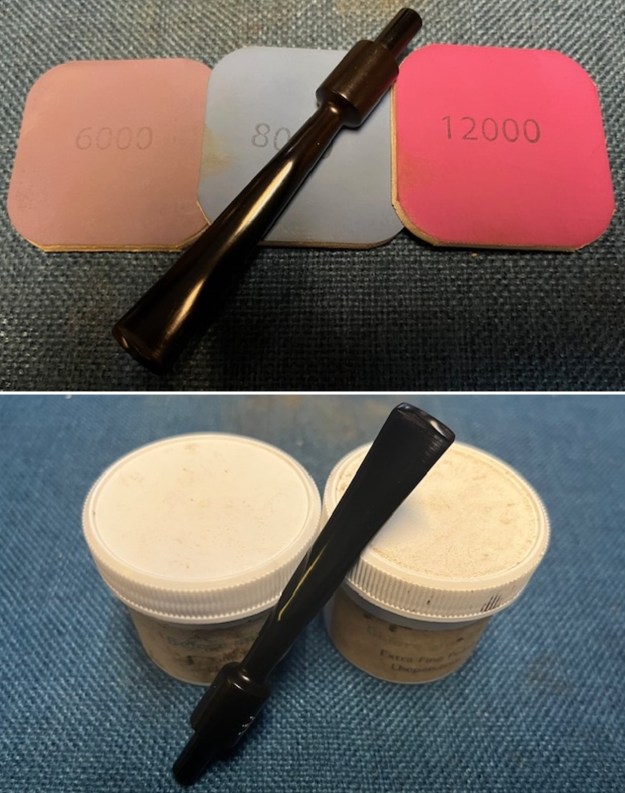
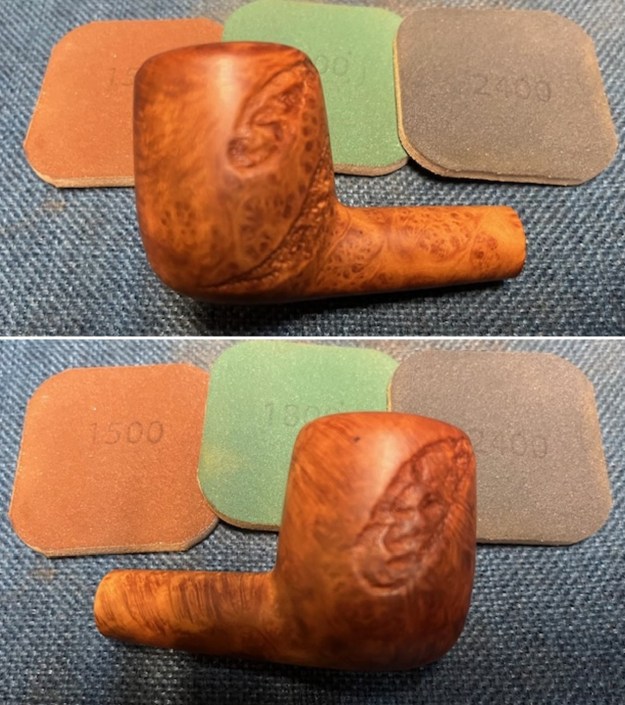
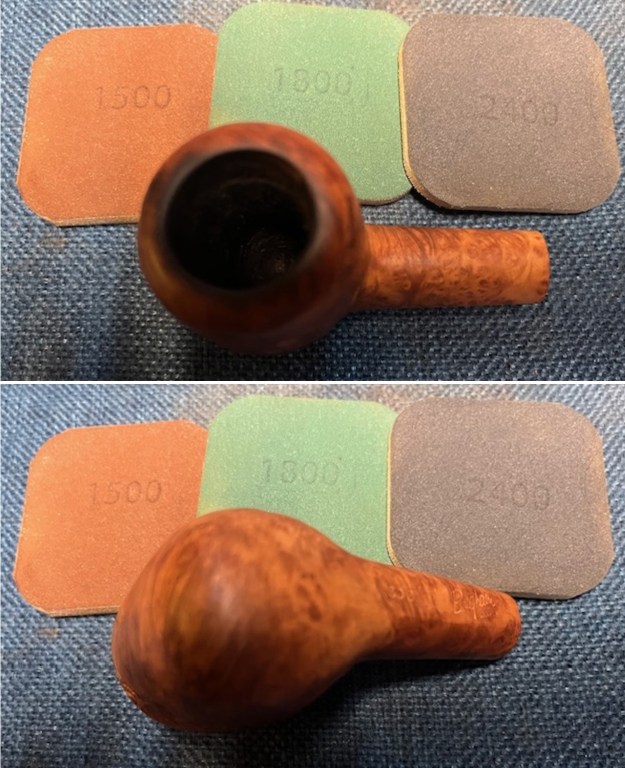
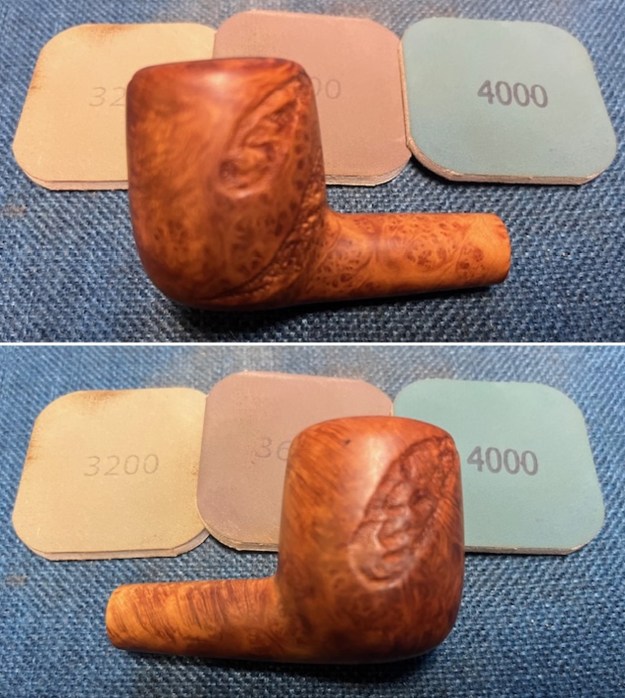
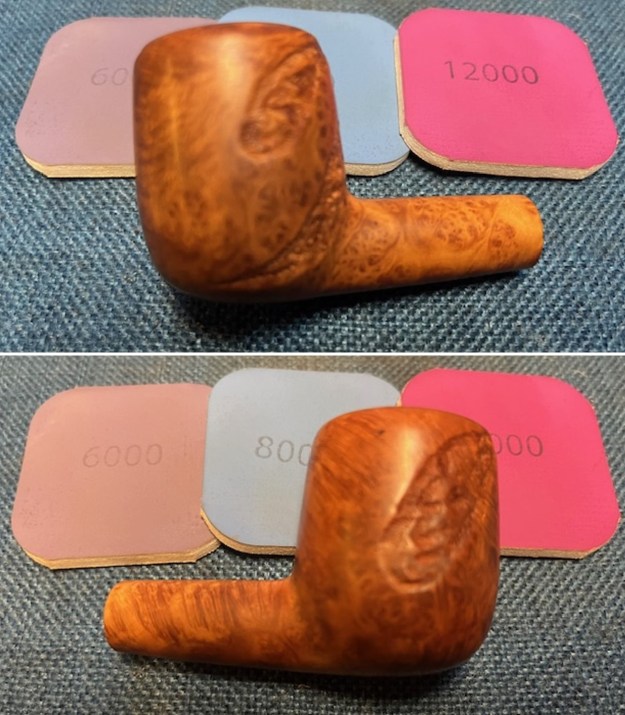
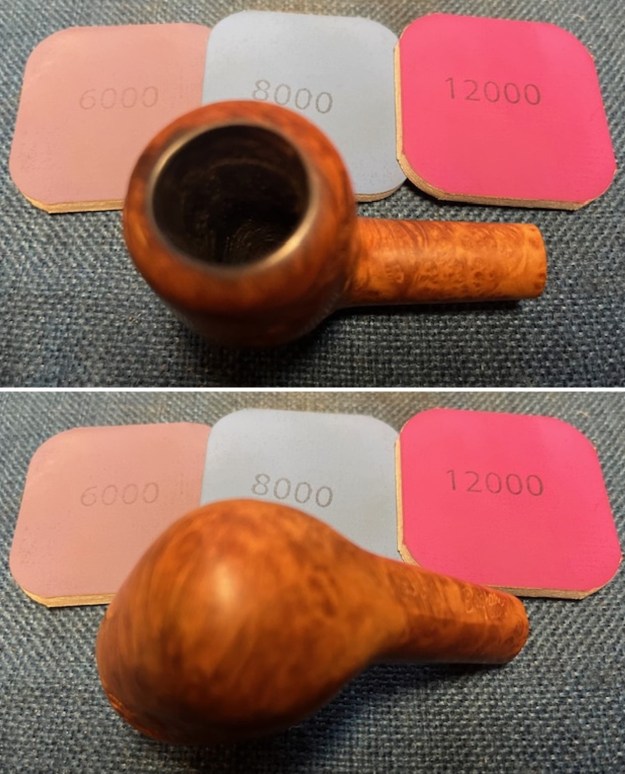
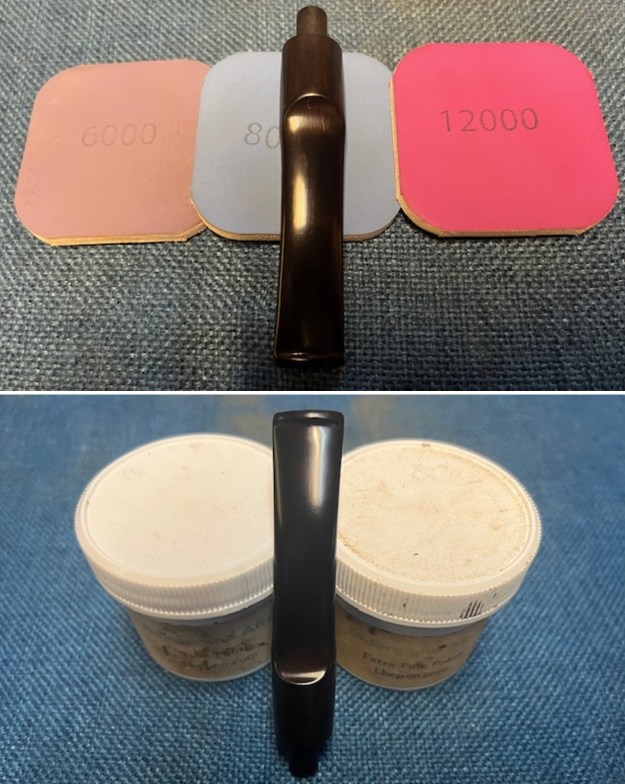
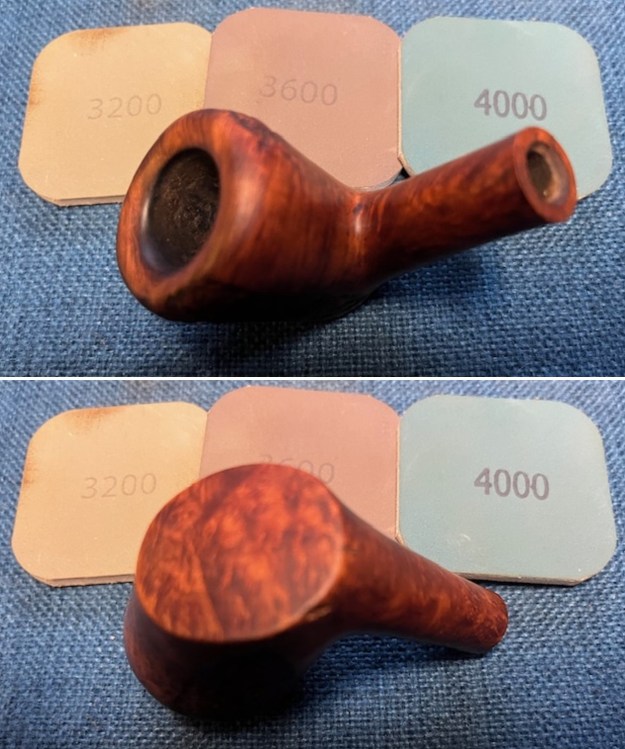
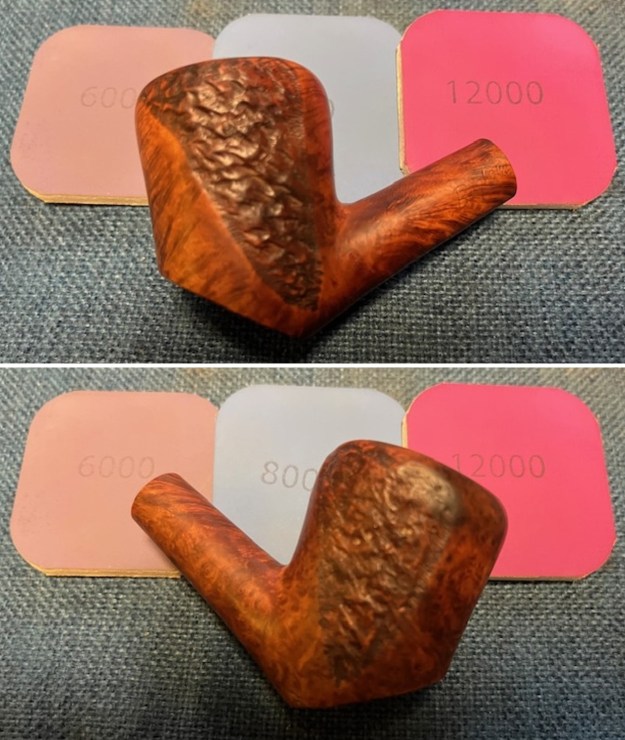
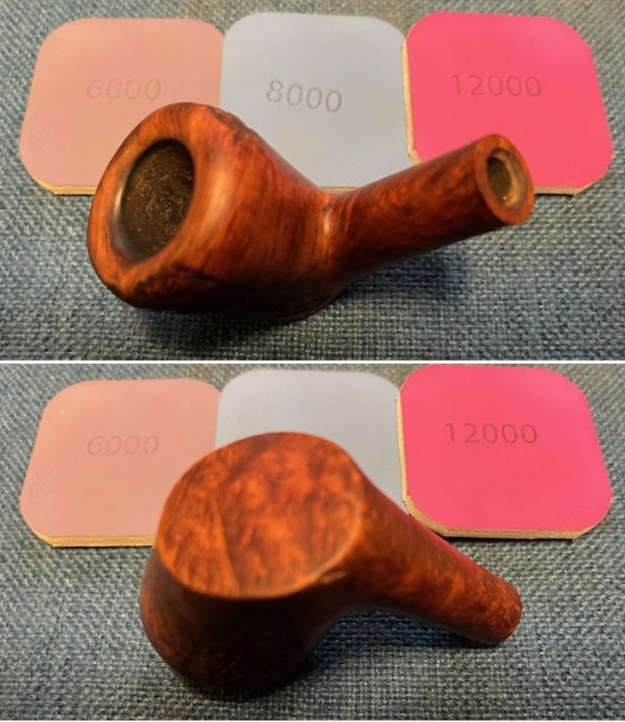
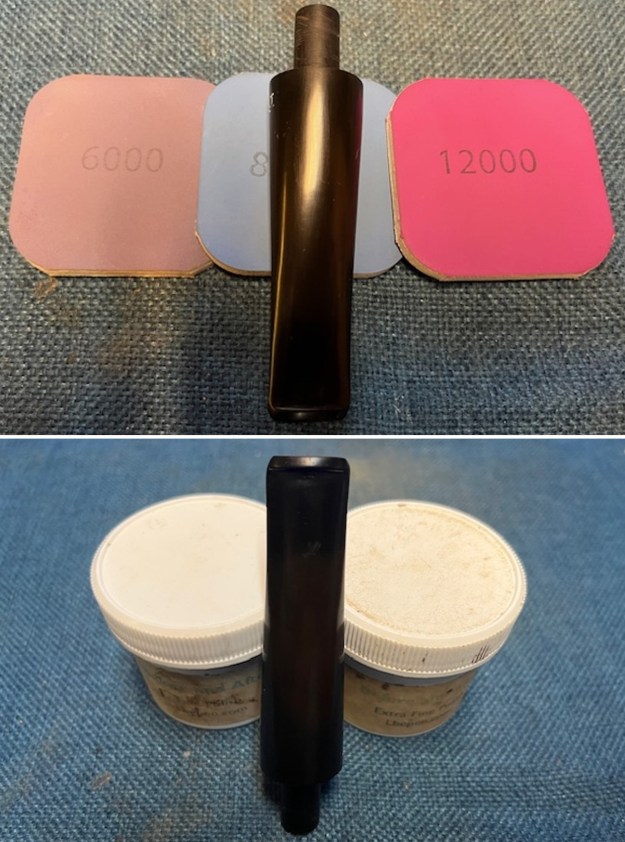
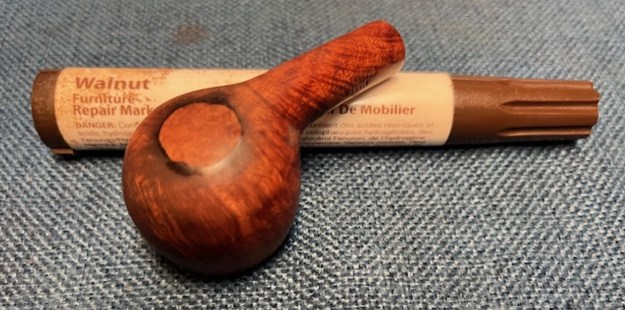
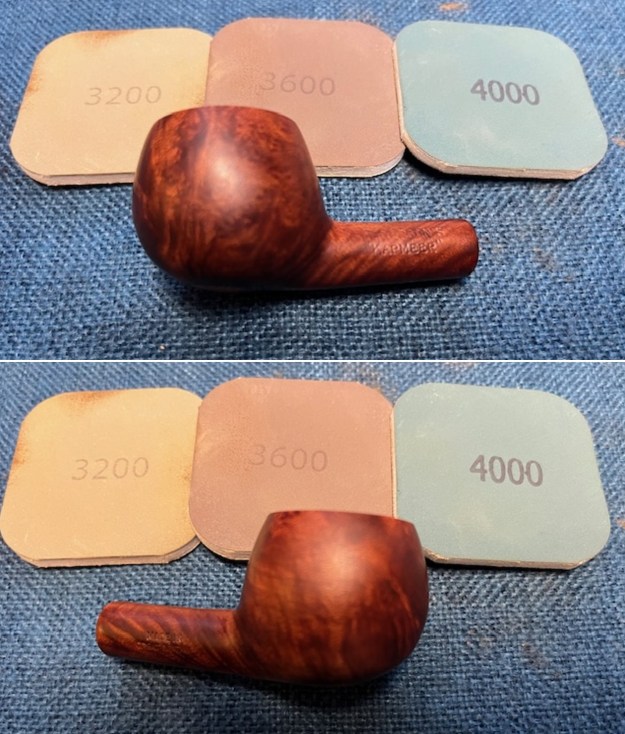
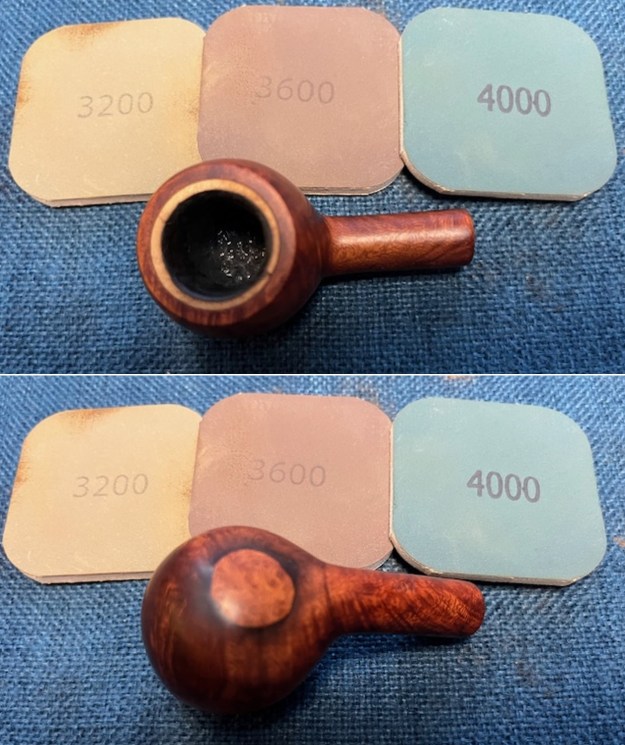
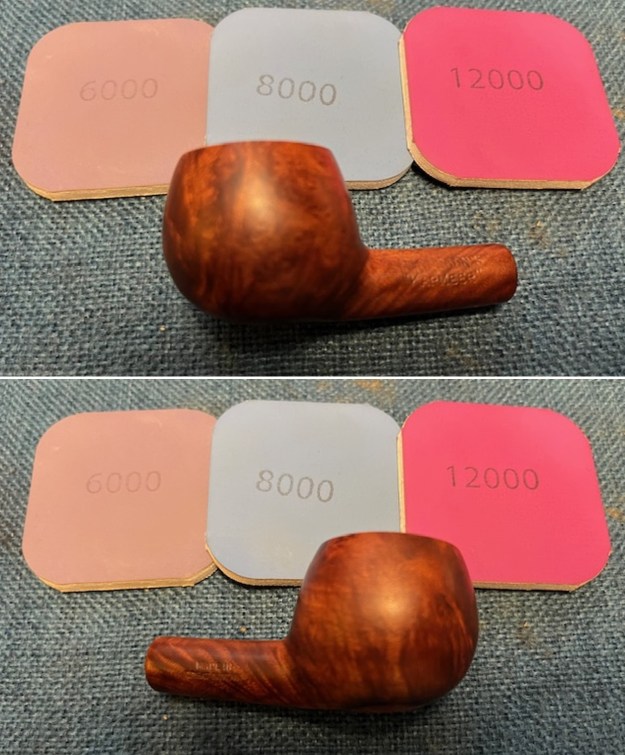
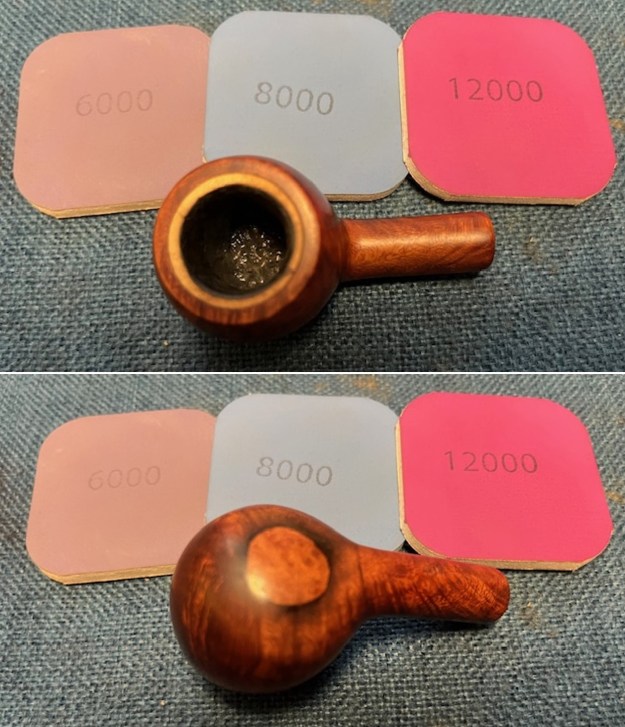
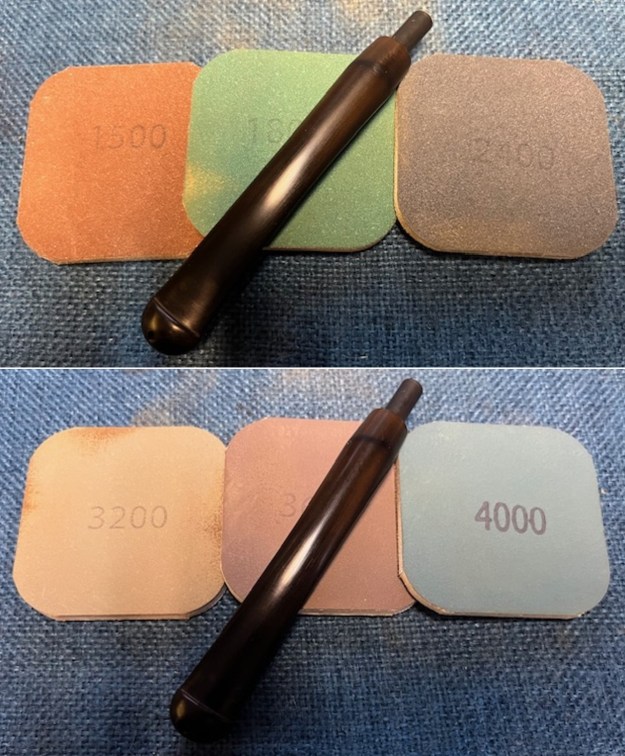
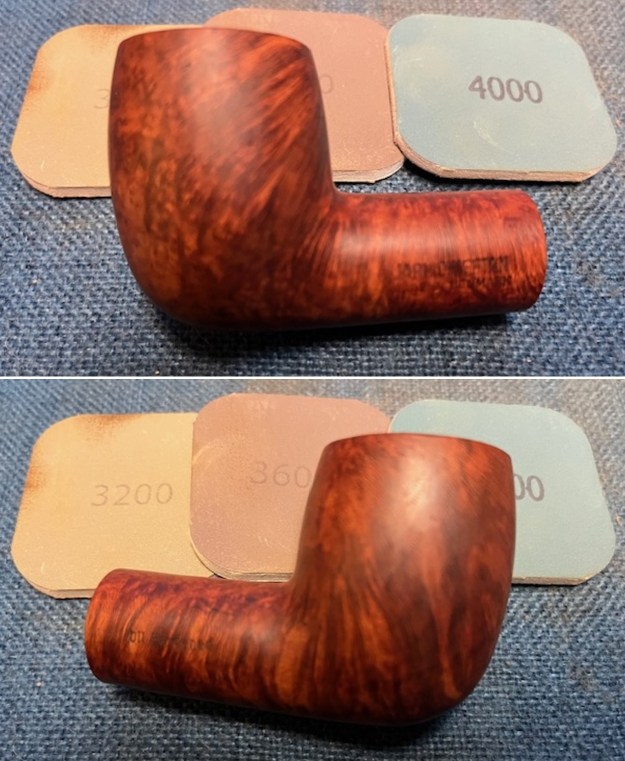
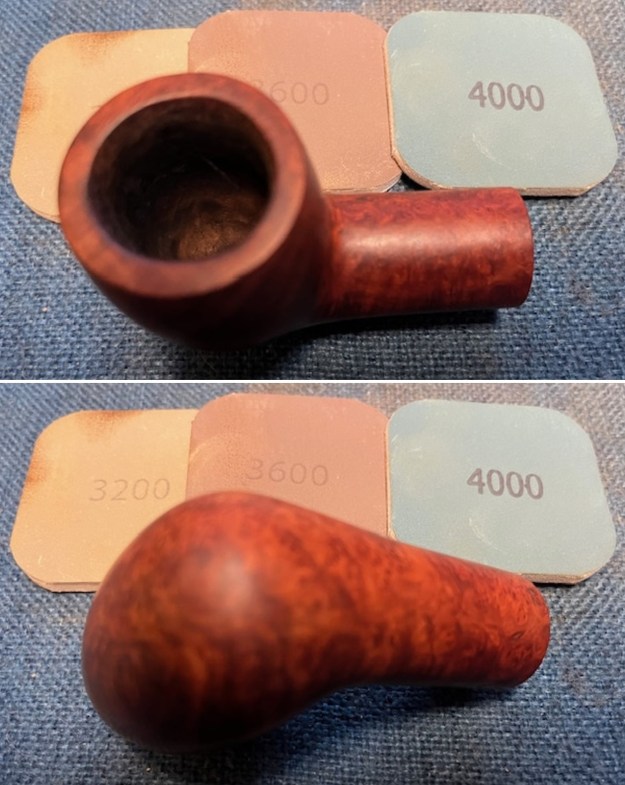
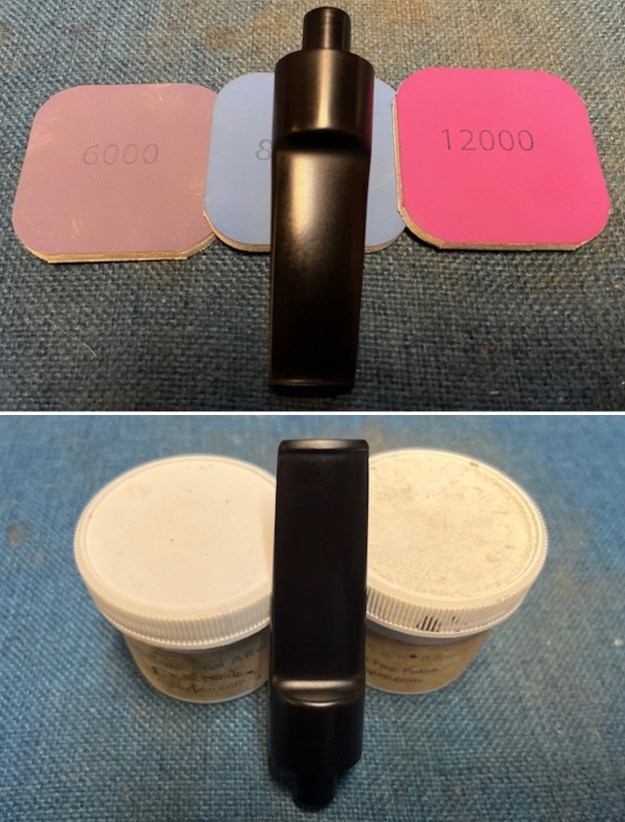
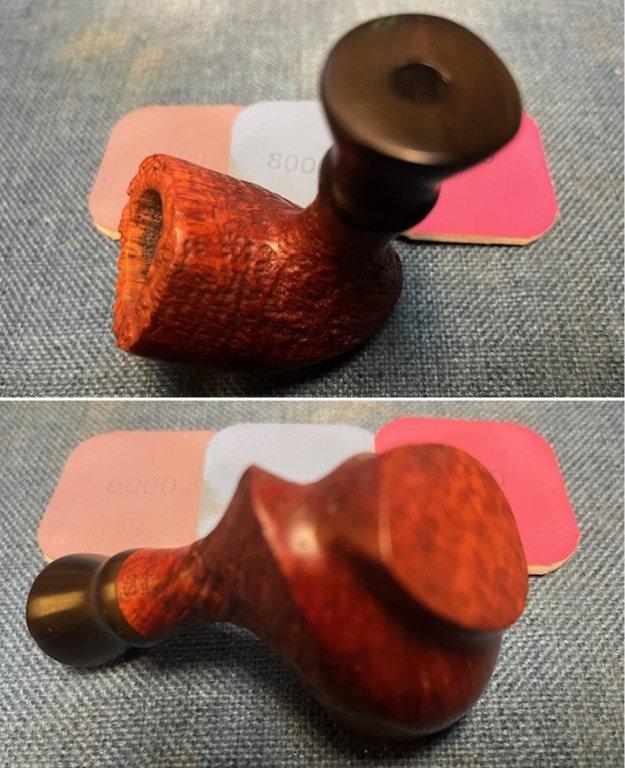
 I polished the vulcanite shank extension and the smooth portions of the bowl on the front and heel. I dry sanded it with 1500-12000 grit sanding pads. I wiped the sanded portions of the bowl off with a damp cloth to remove the sanding debris. I wiped down the shank extension with an Obsidian Oil cloth.
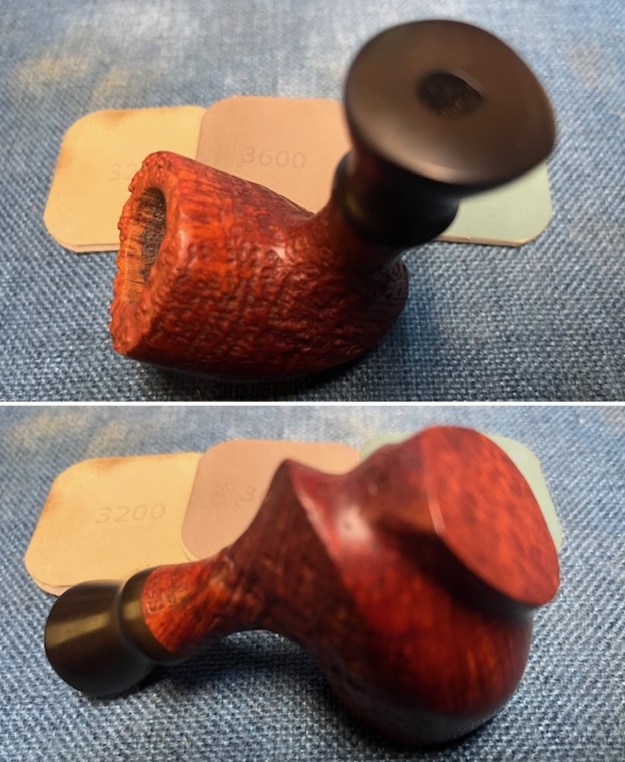
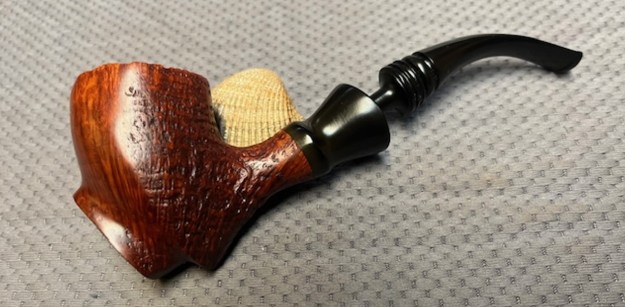
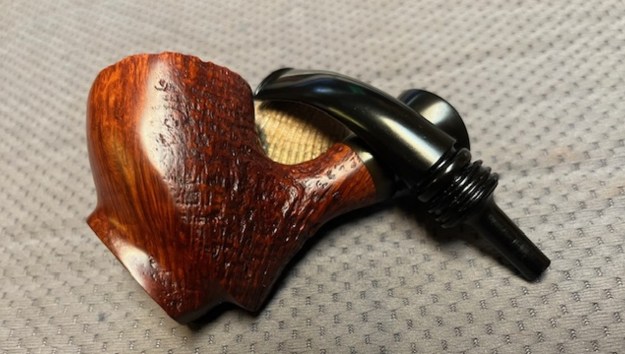
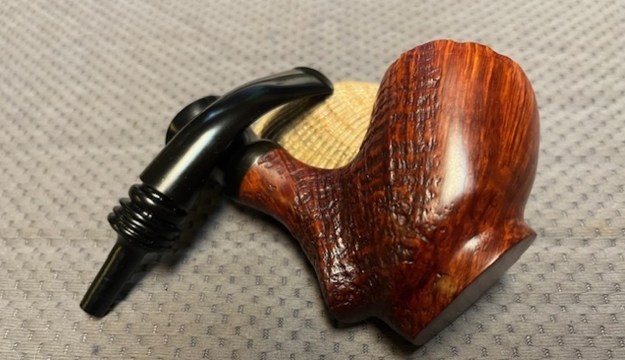
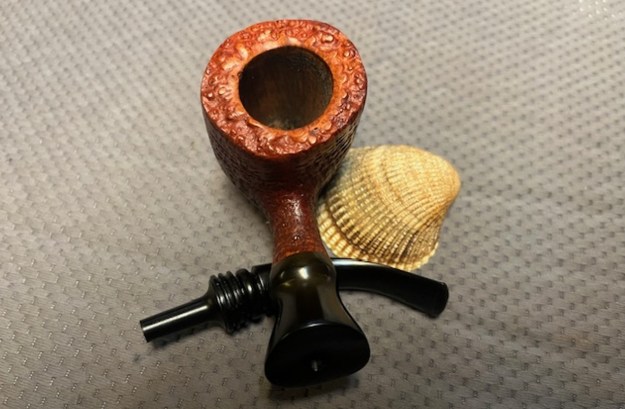
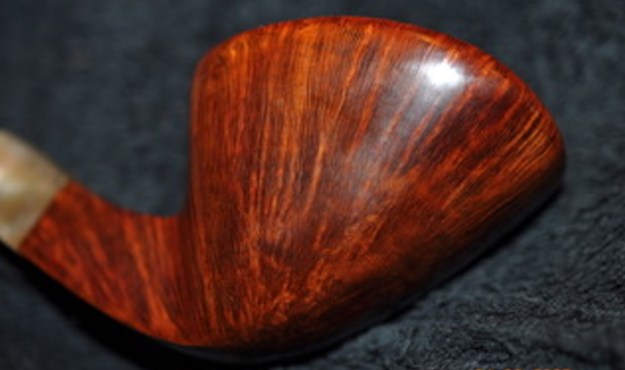
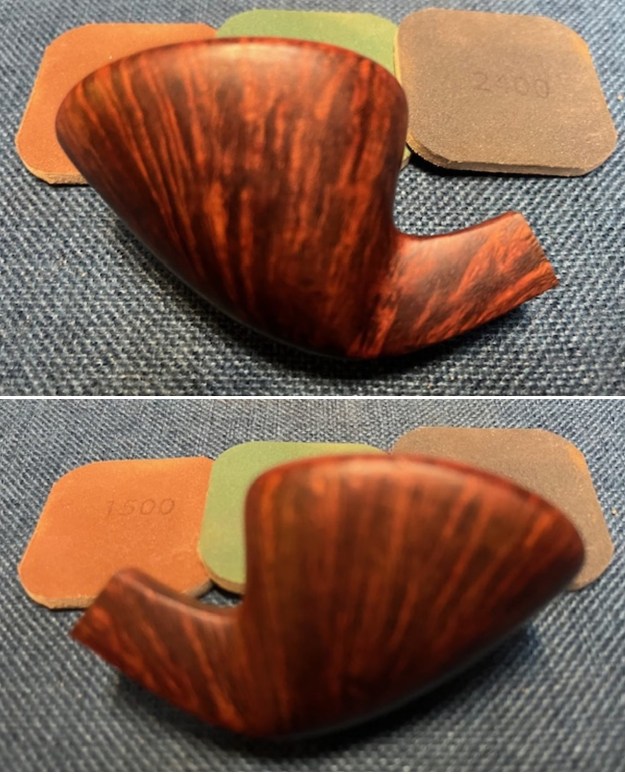
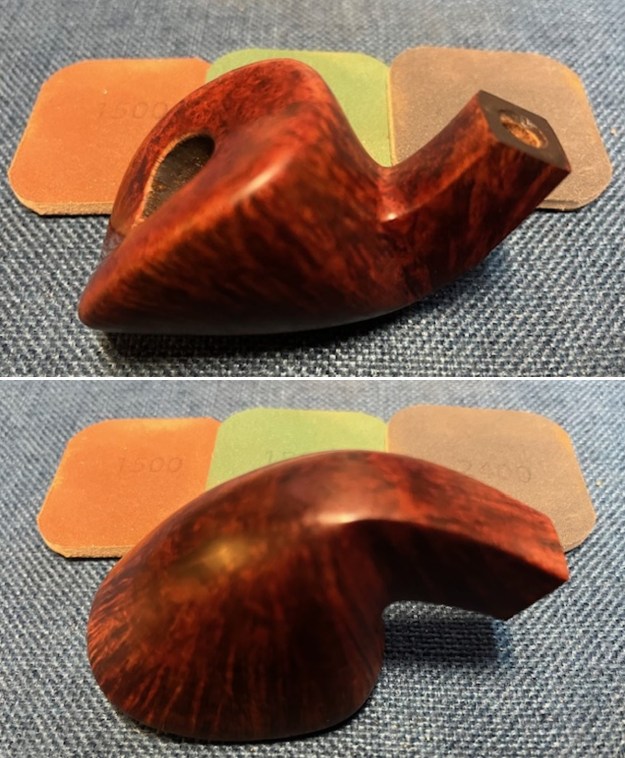
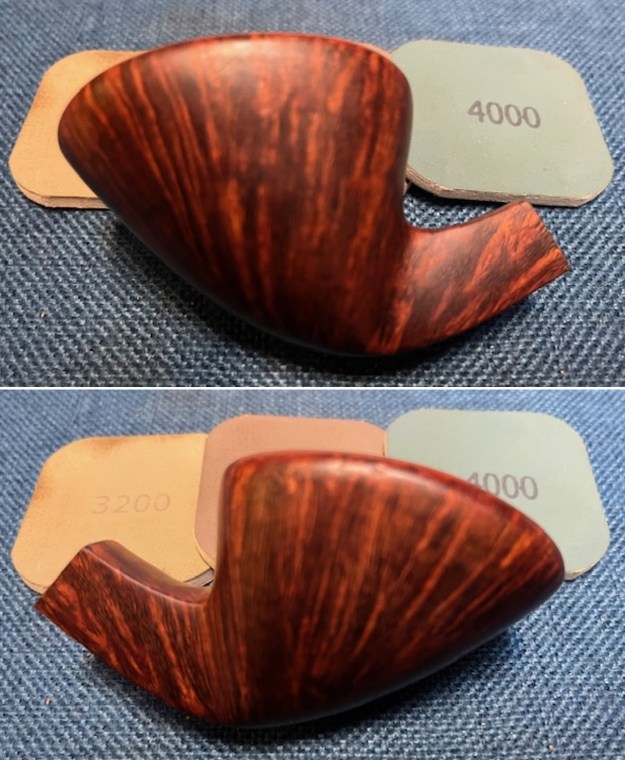
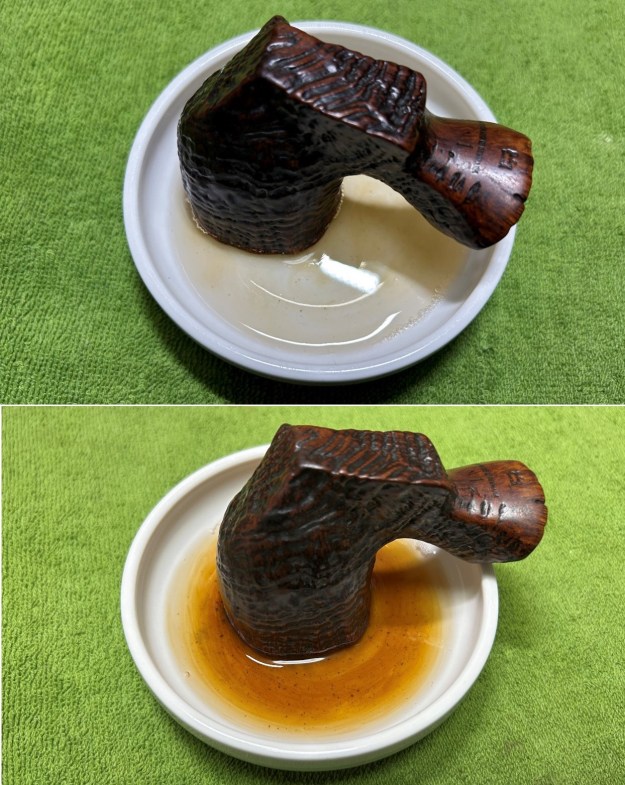
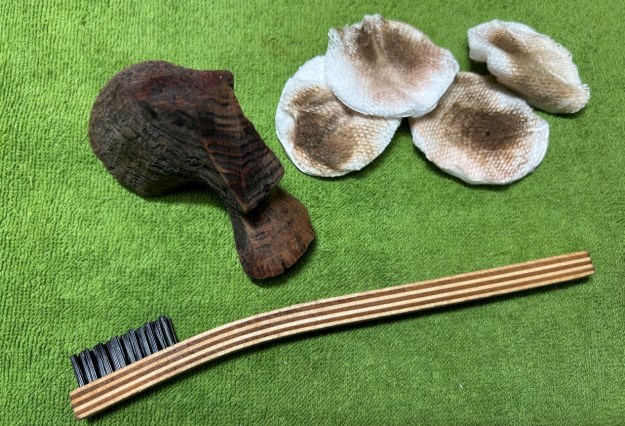
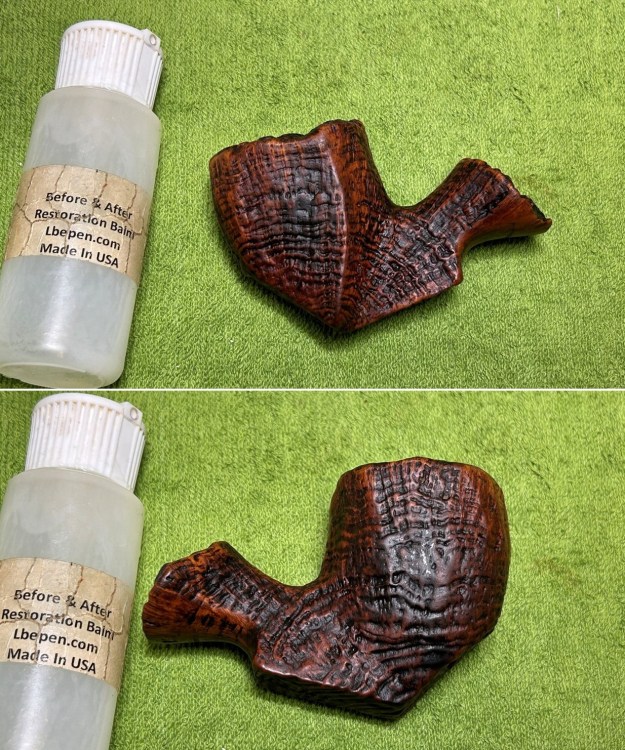
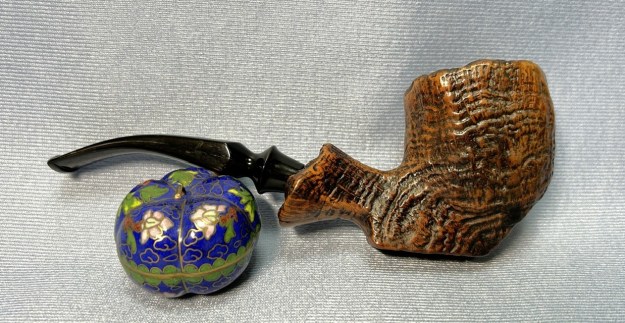
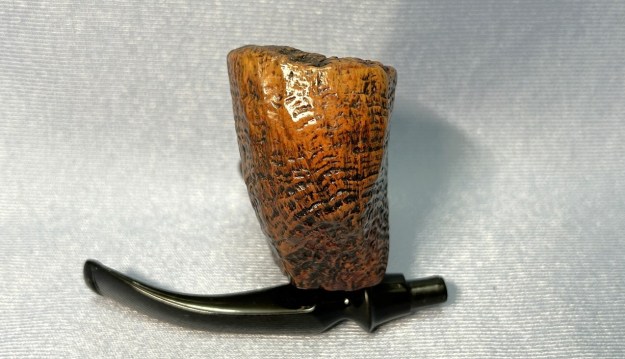
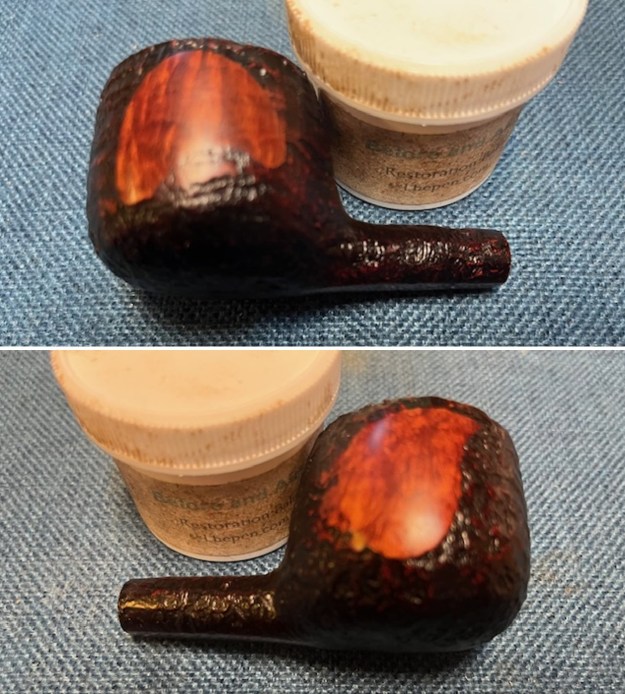
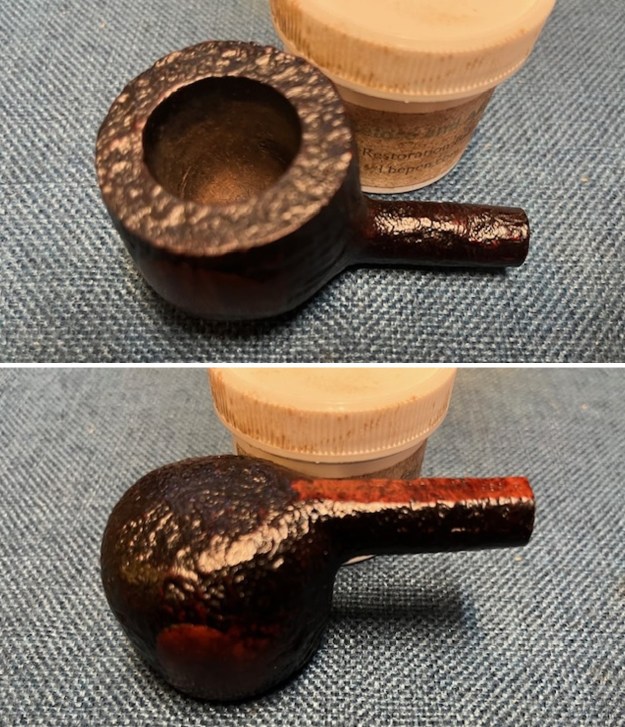
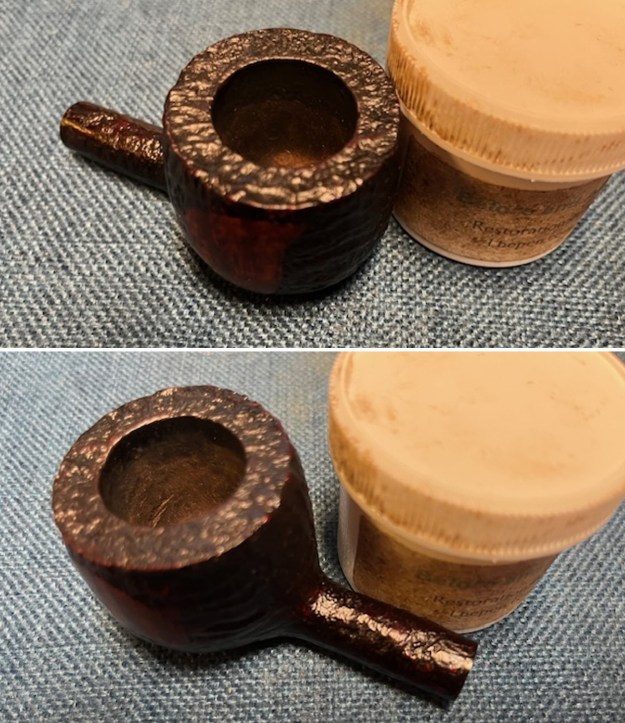
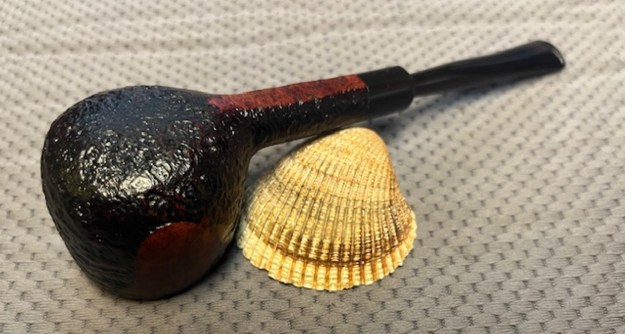
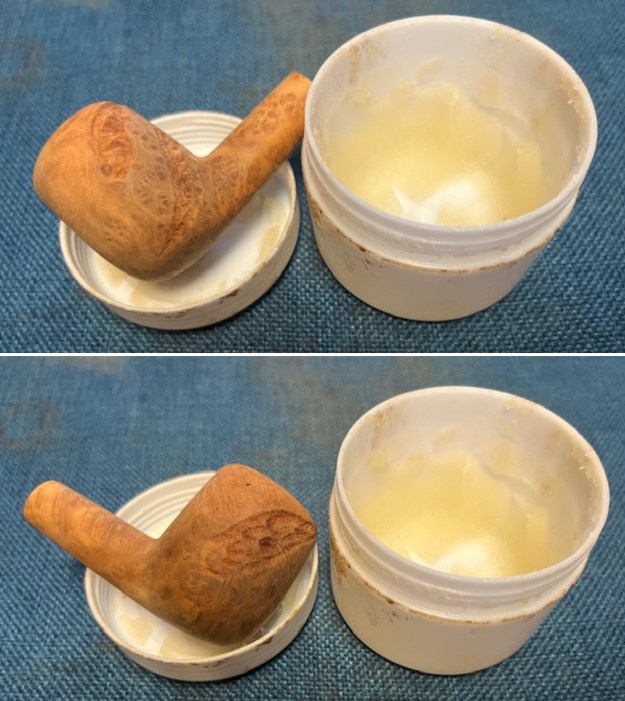
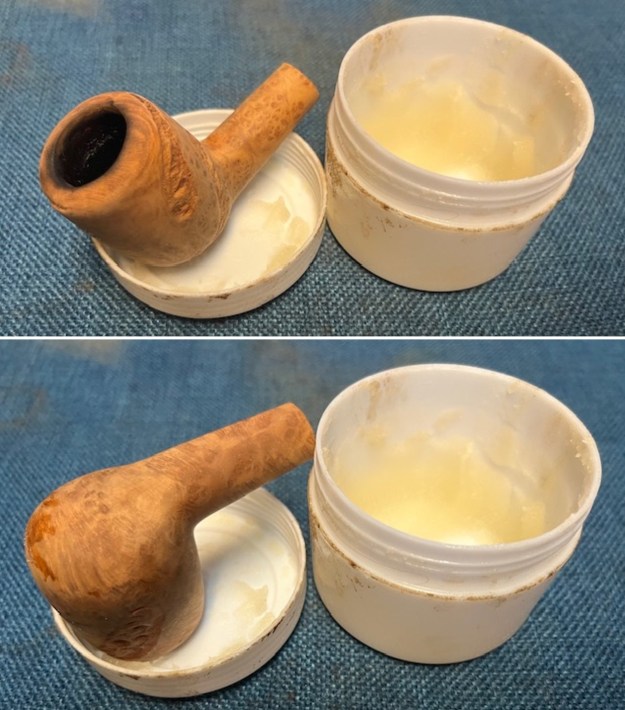
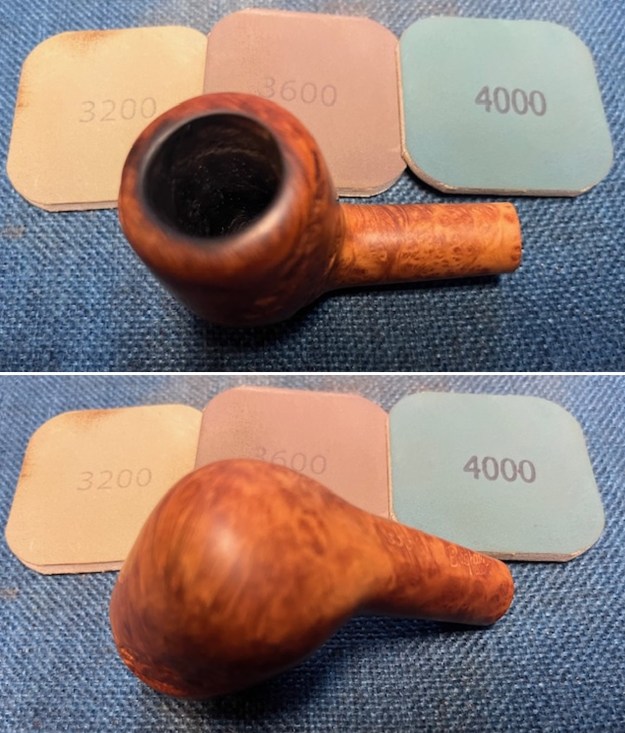
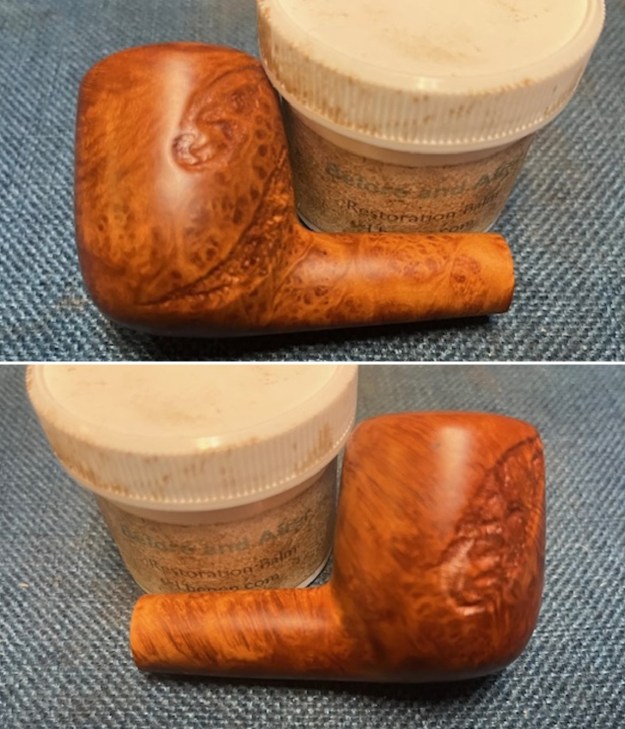
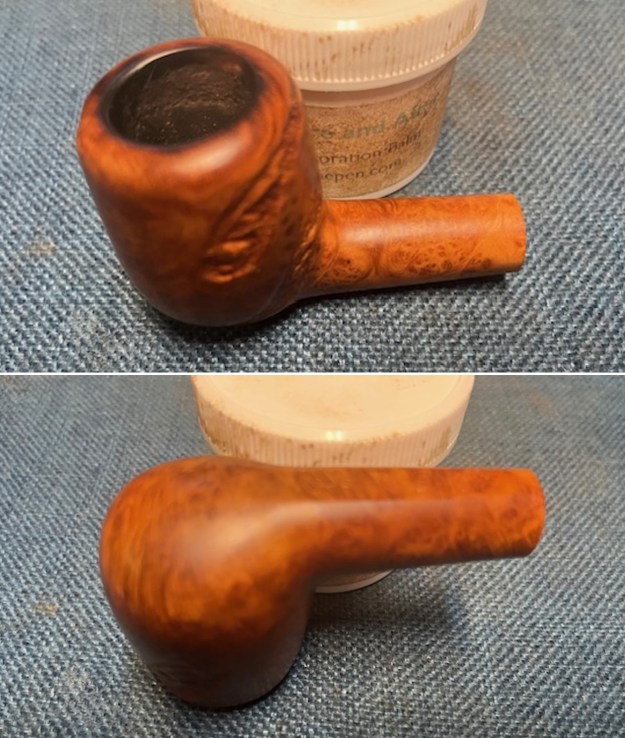
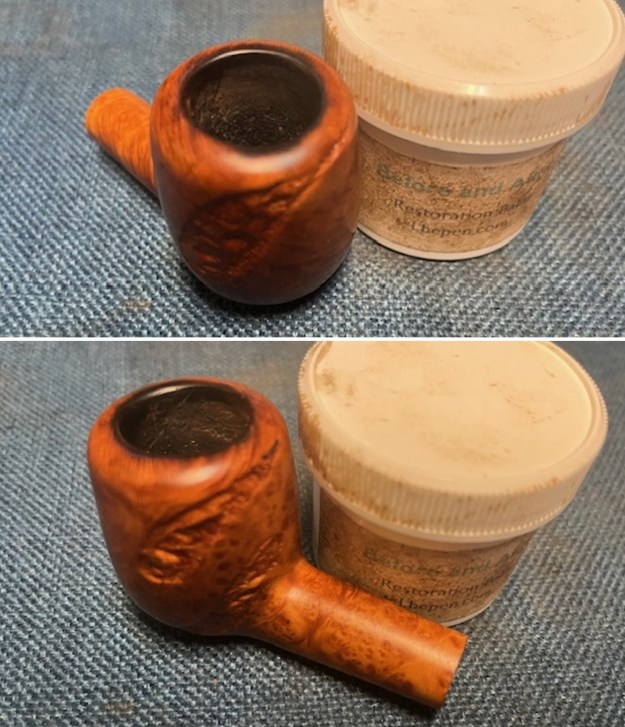
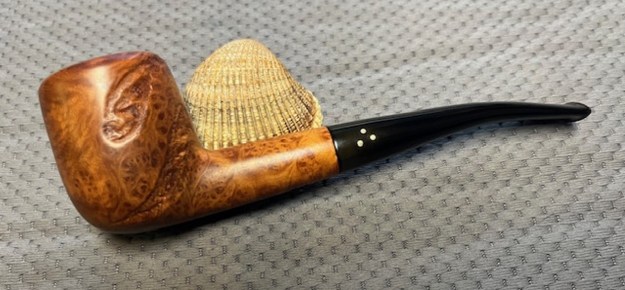
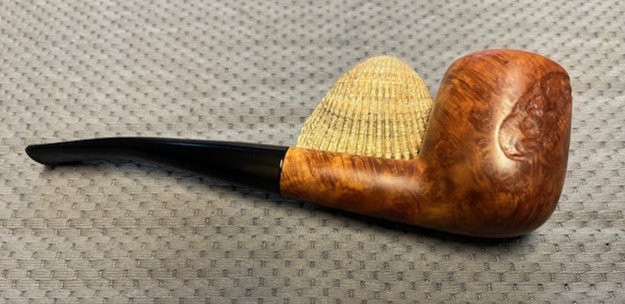
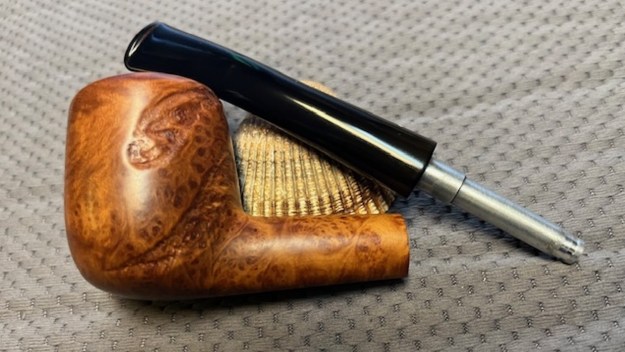
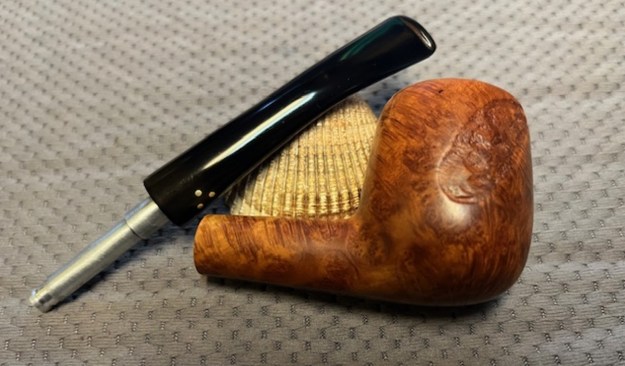
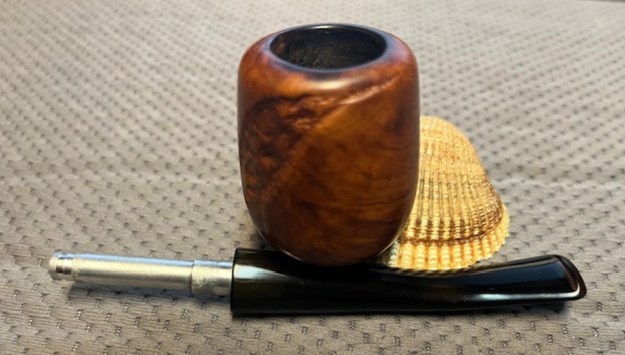
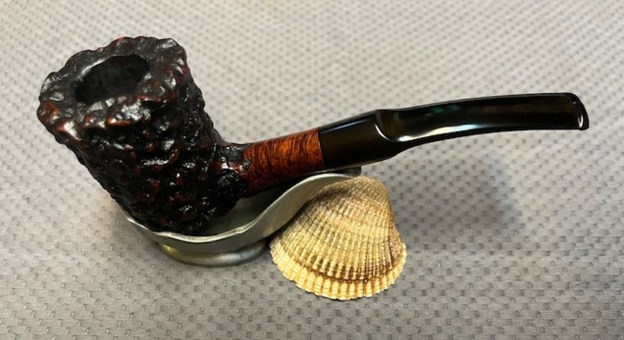
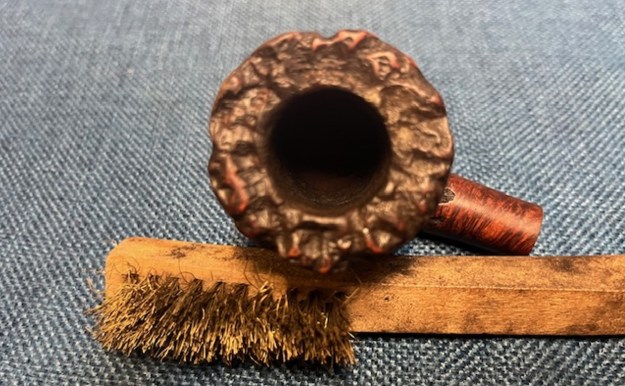
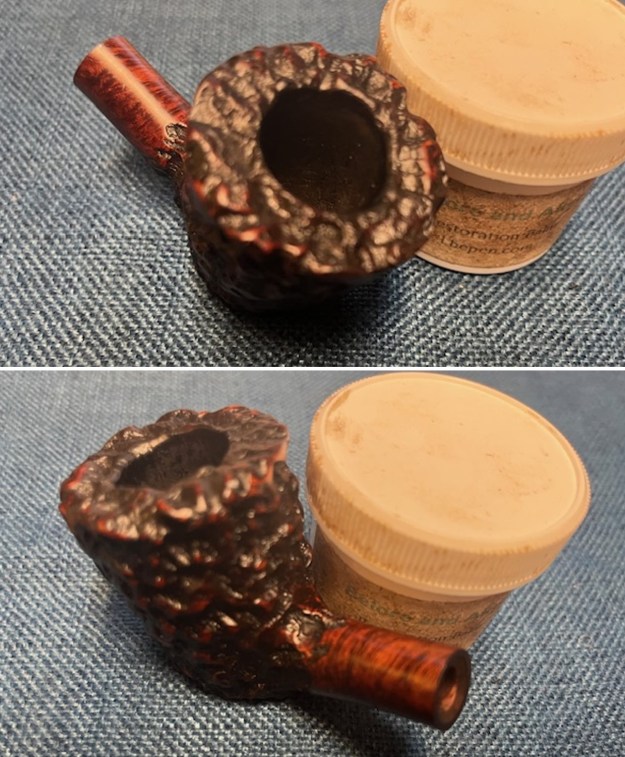
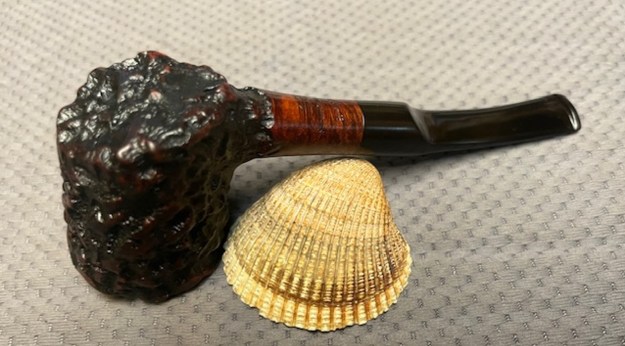
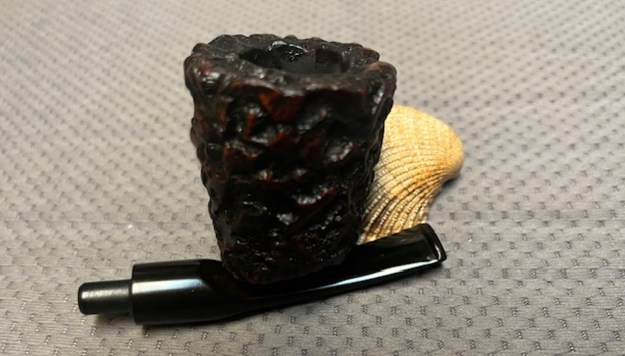
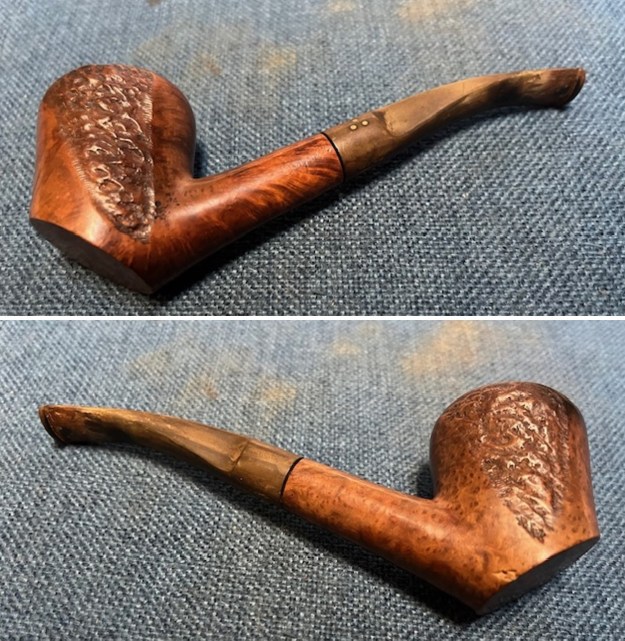
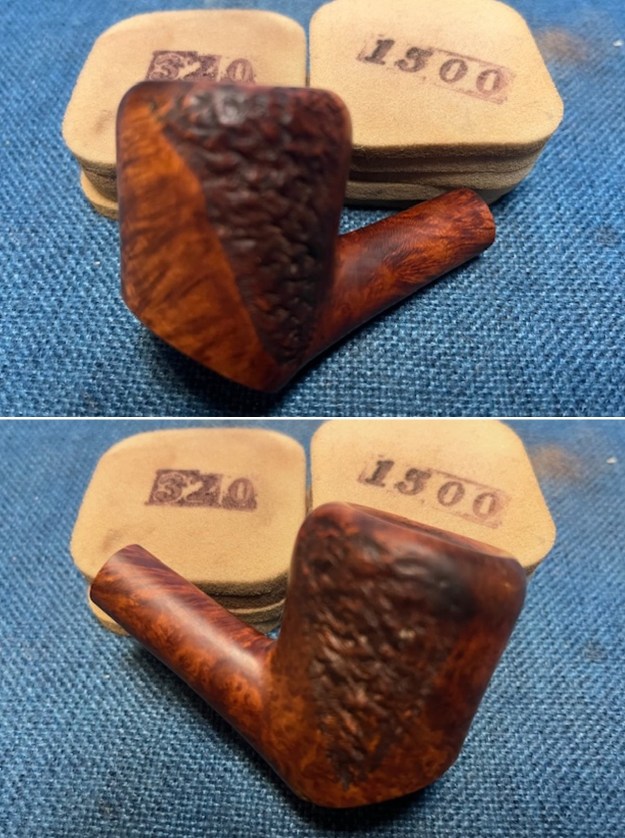
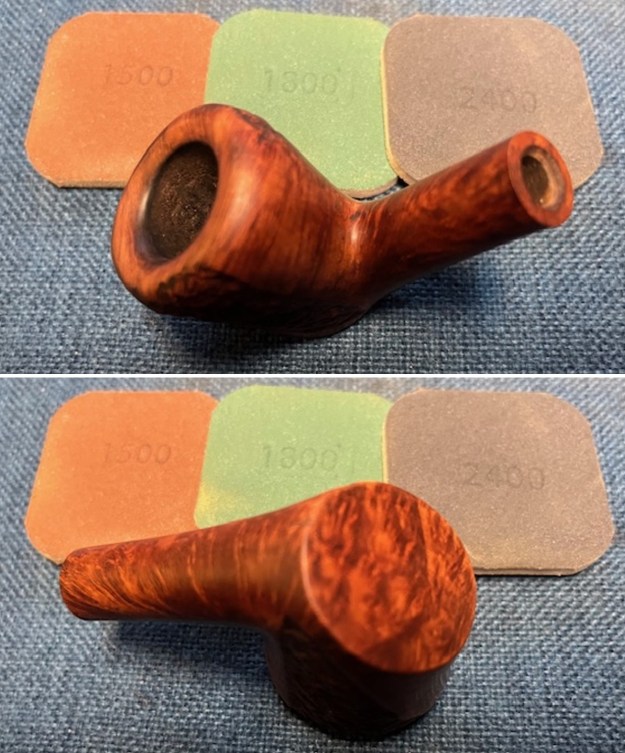
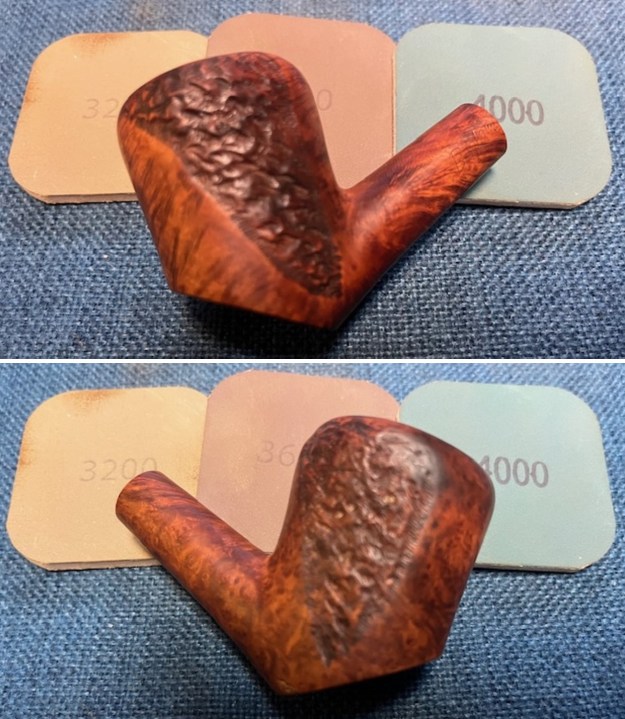
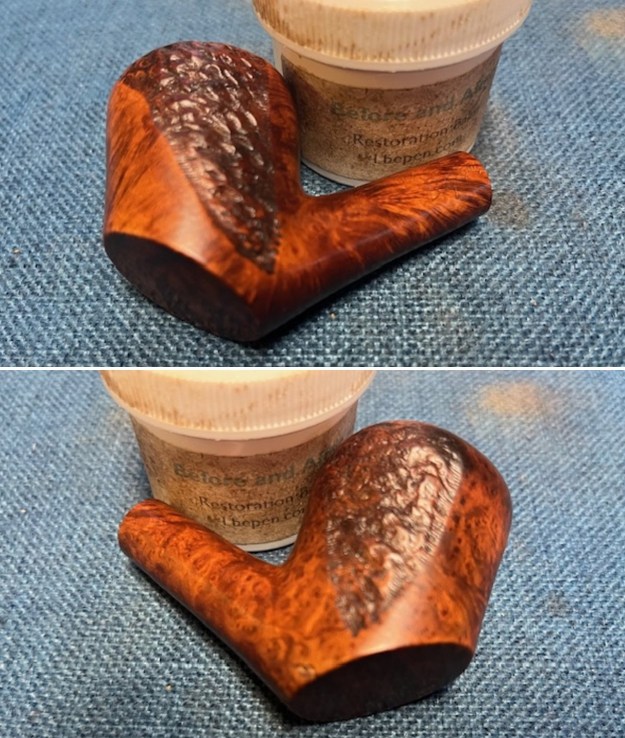
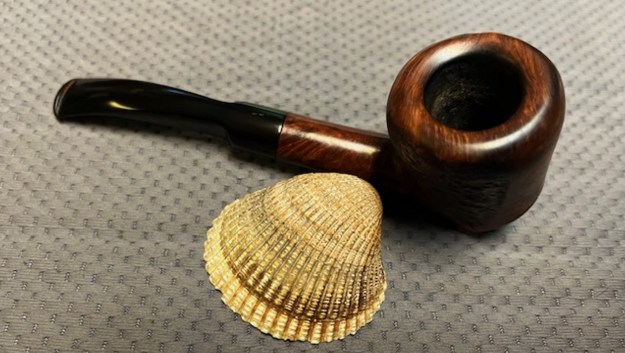
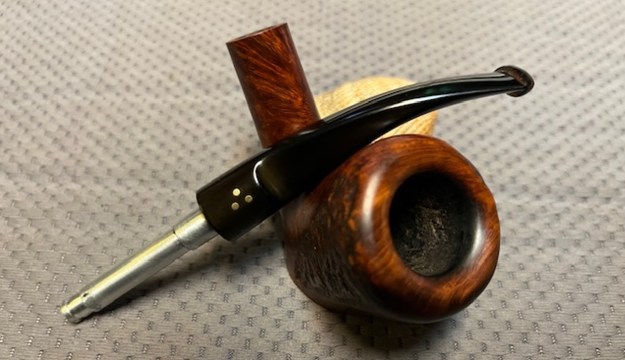
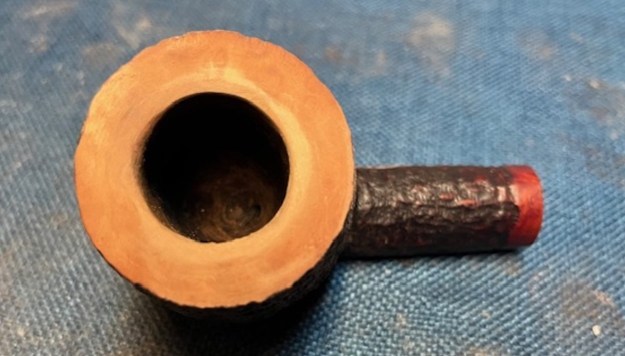
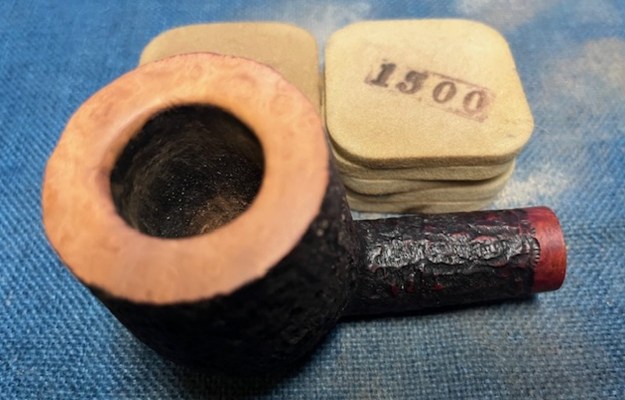
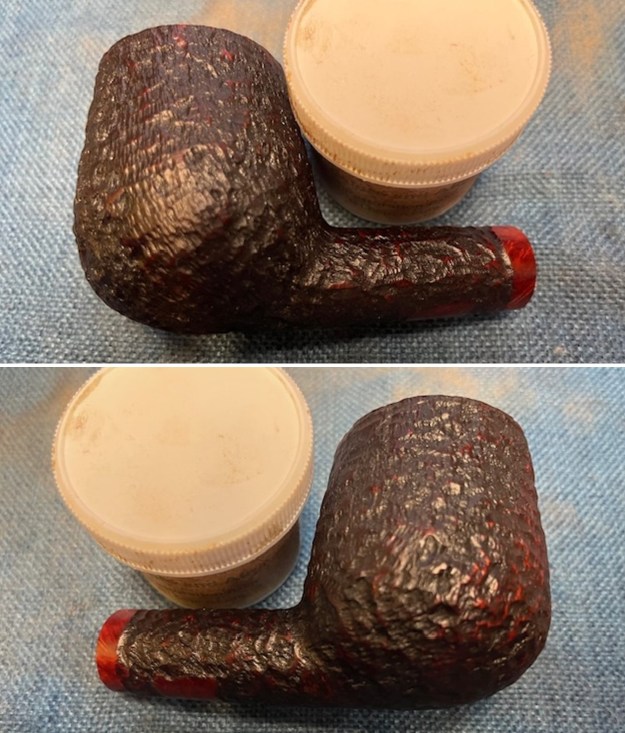
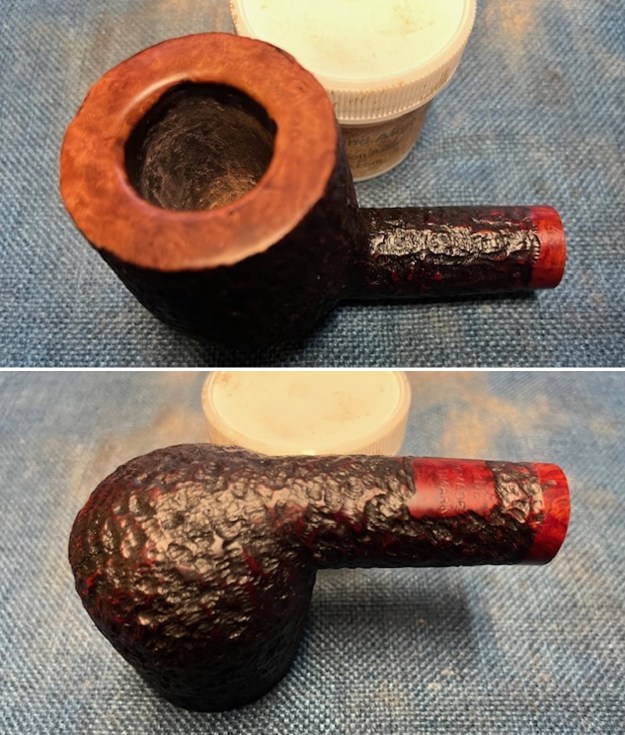
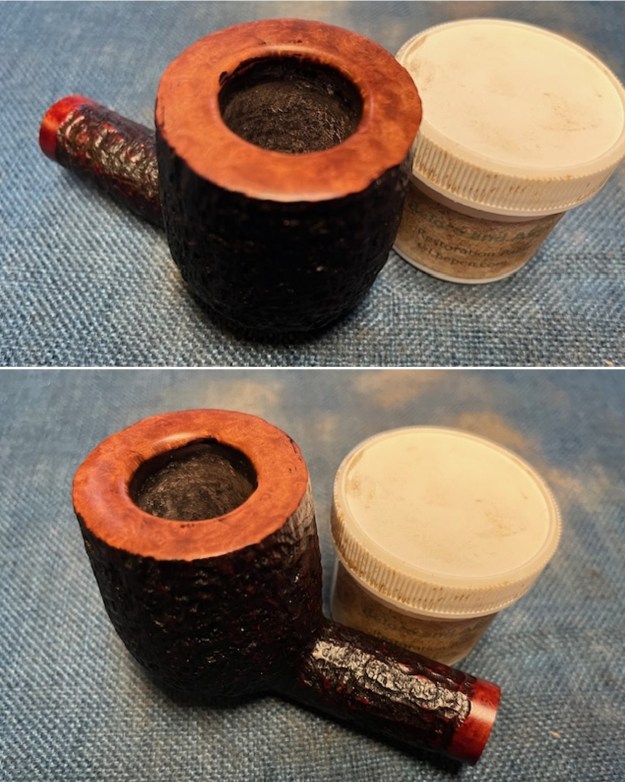
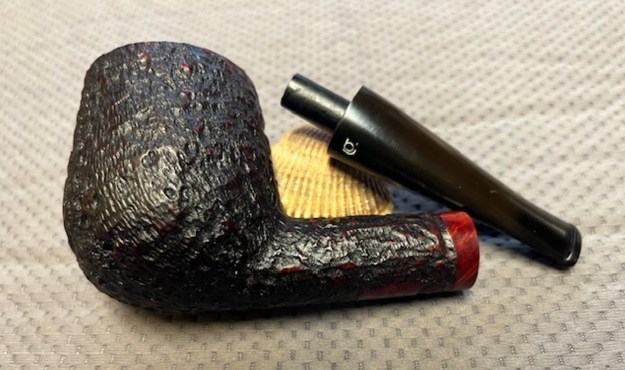
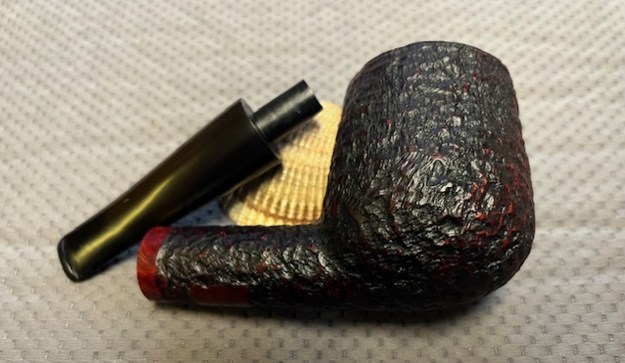
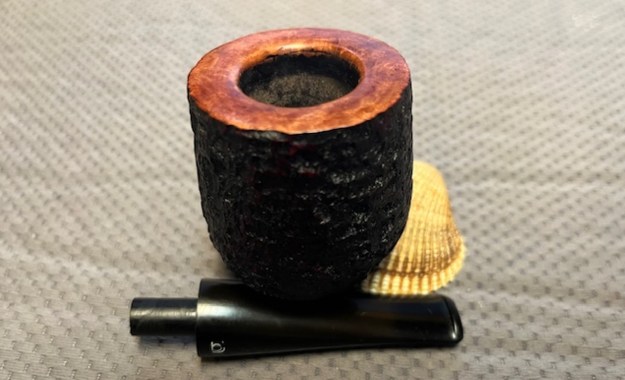
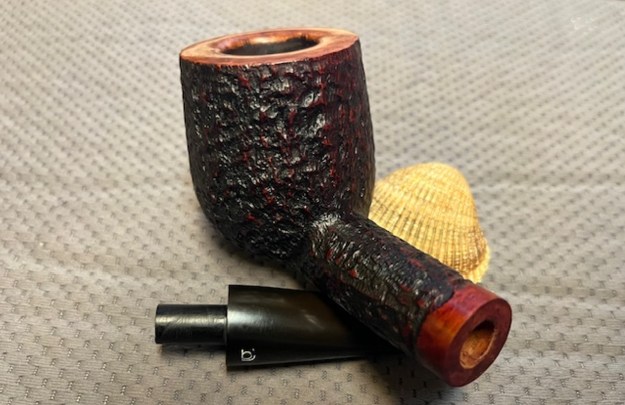
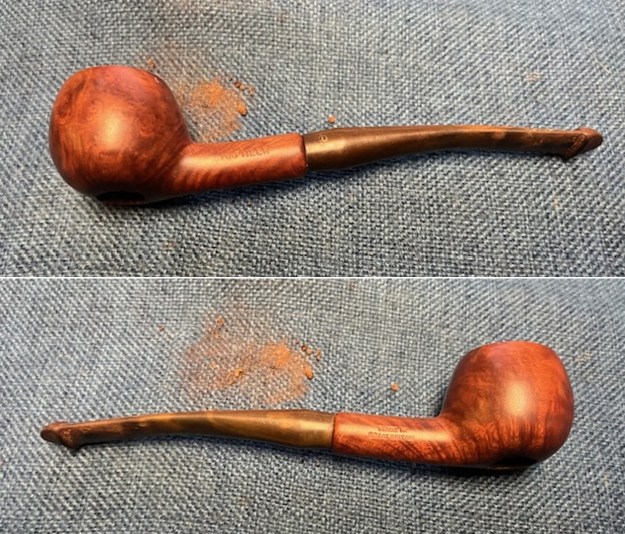
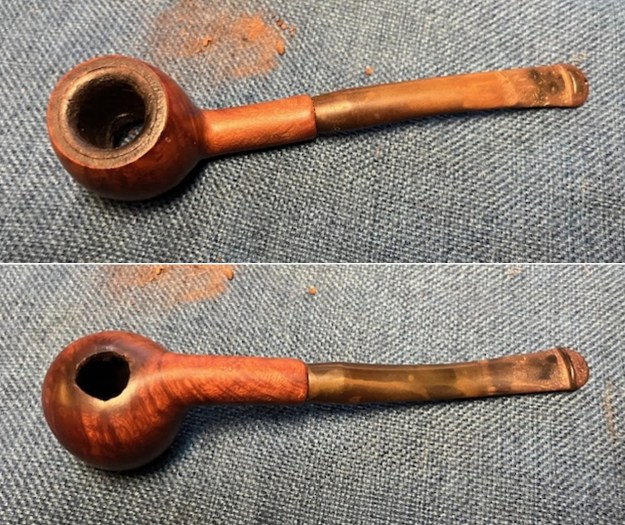
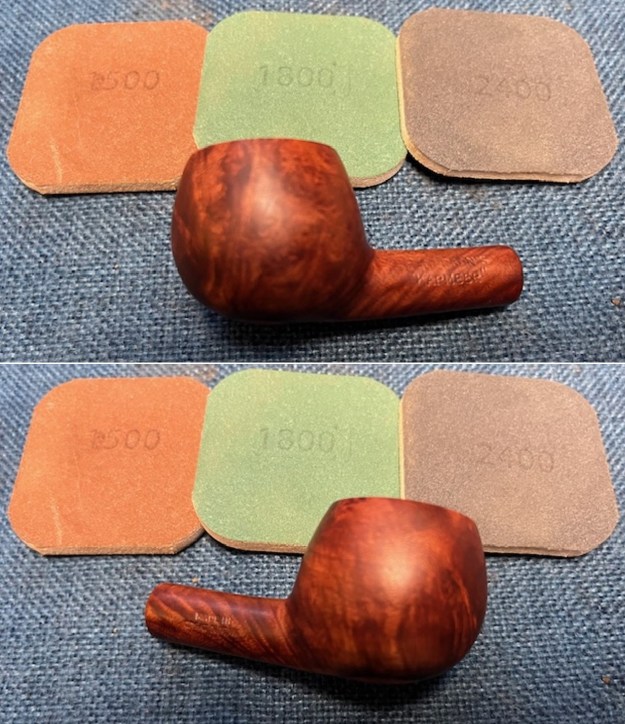
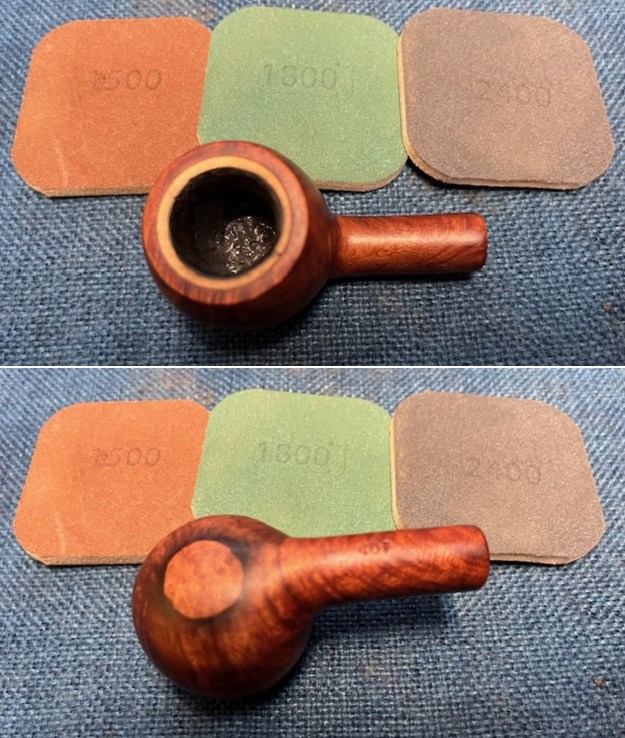
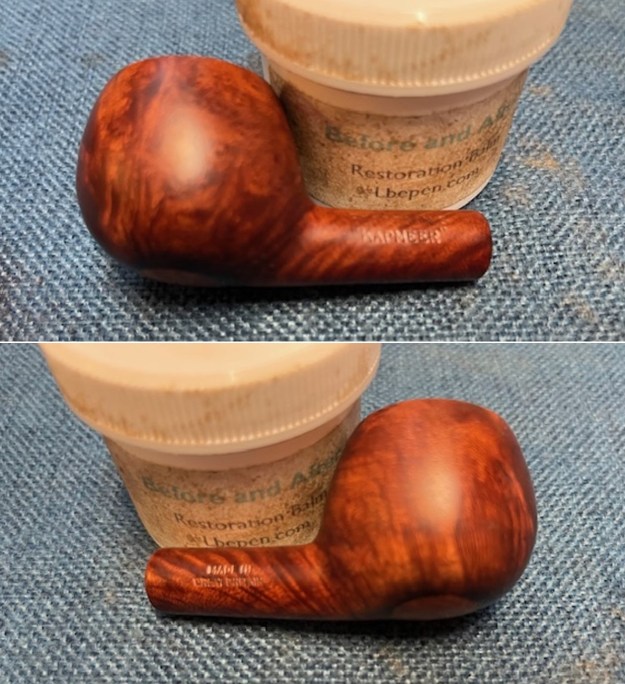
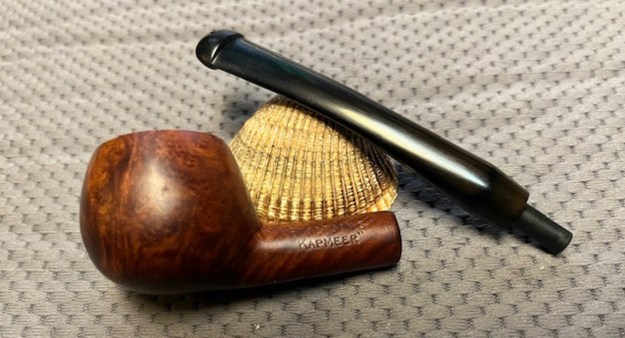
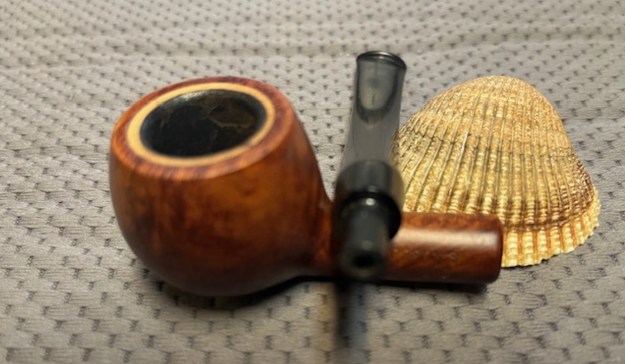
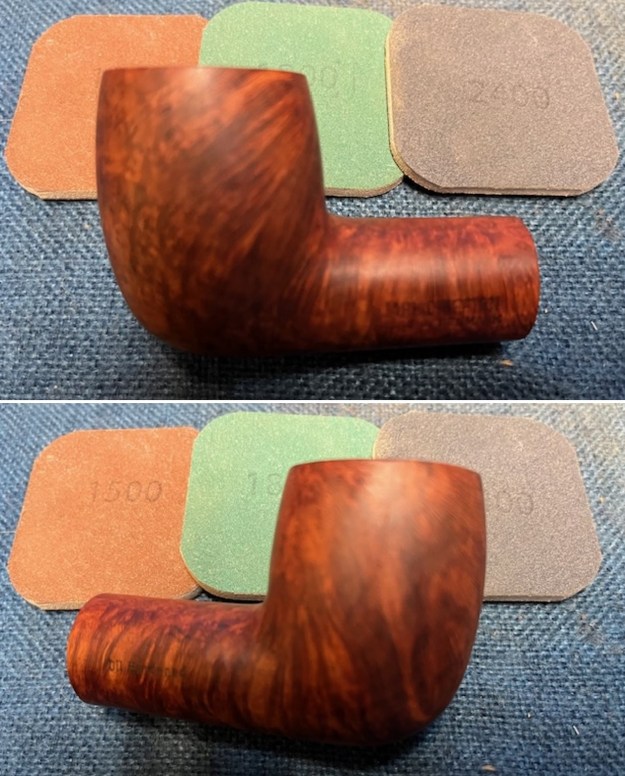
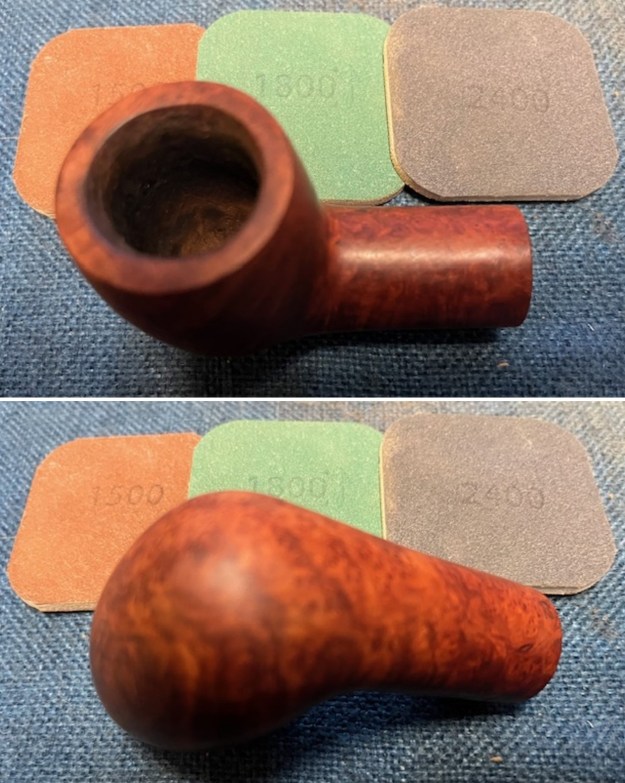
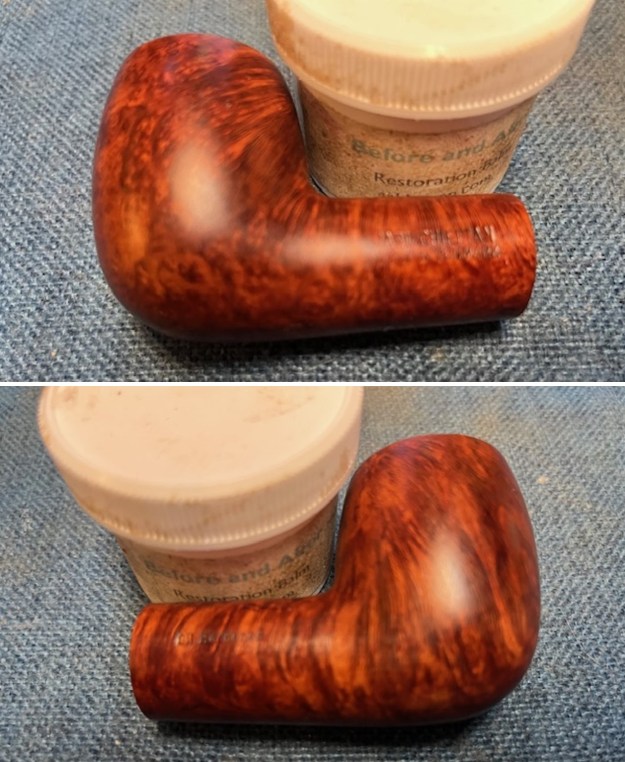
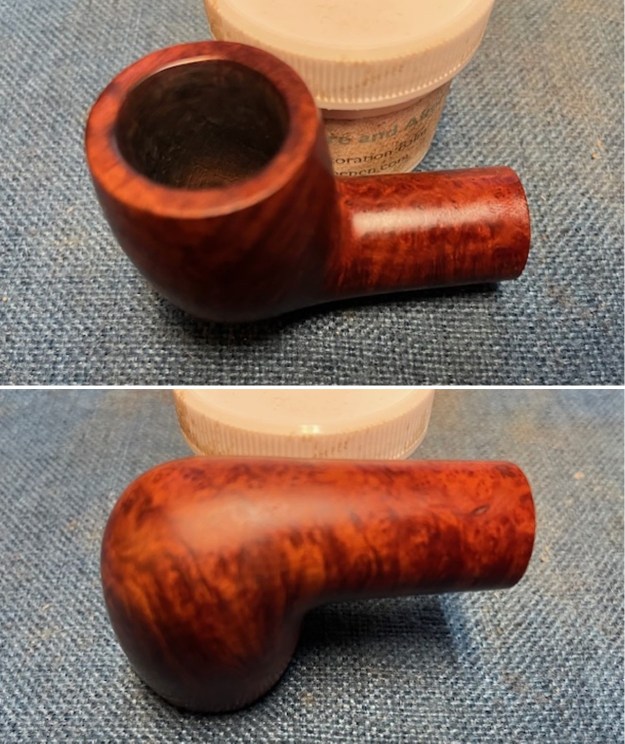
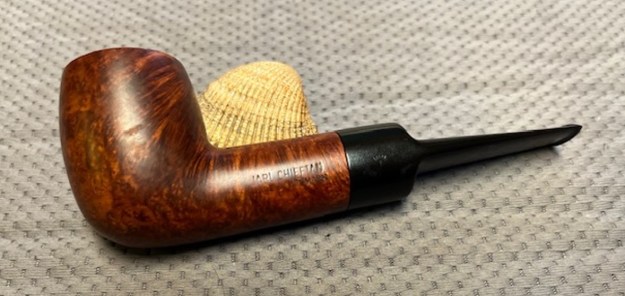
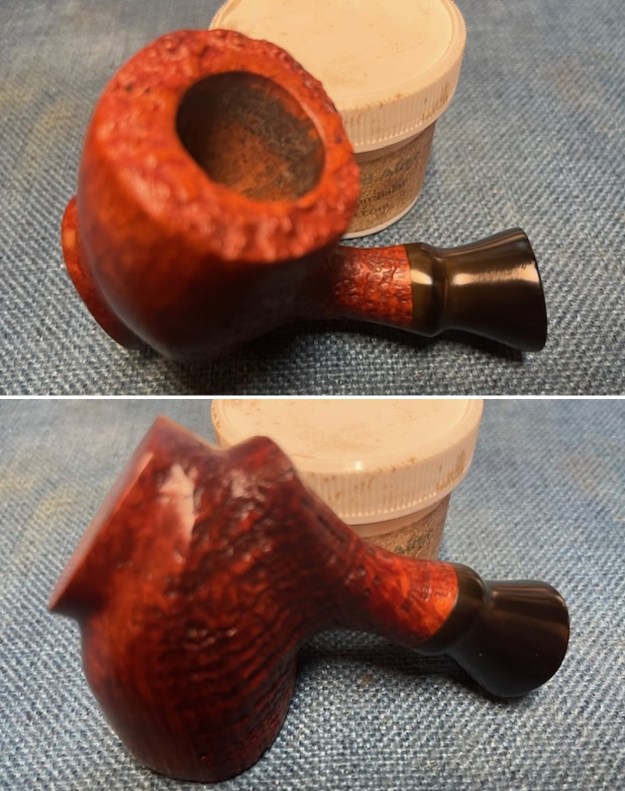
 I worked some Before & After Restoration Balm into the surface of the briar with my fingertips and a horsehair shoe brush to get into the plateau and the sandblast. The product works to clean, enliven and protect it. I let the balm sit for a little while and then buffed with a cotton cloth to raise the shine. The following photos show the bowl at this point in the restoration process. I am very happy with the results.
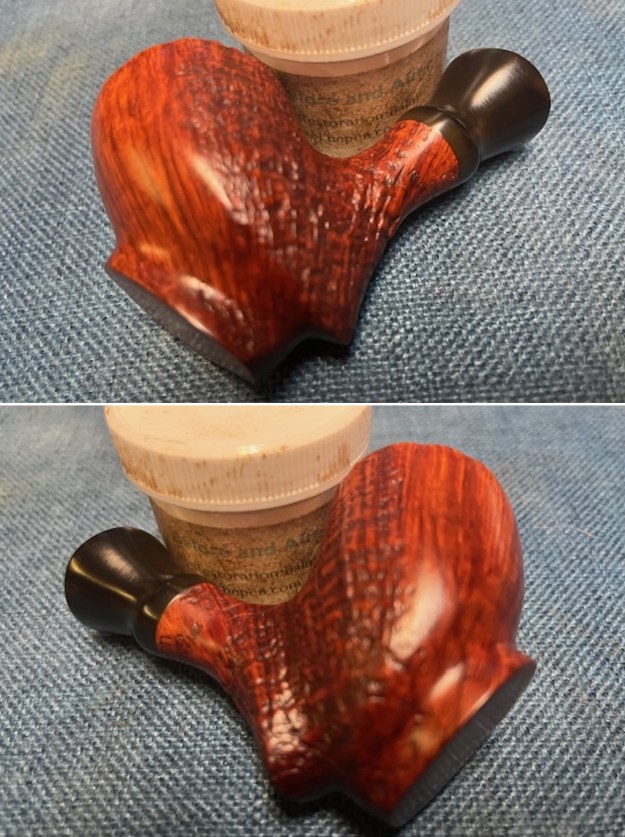
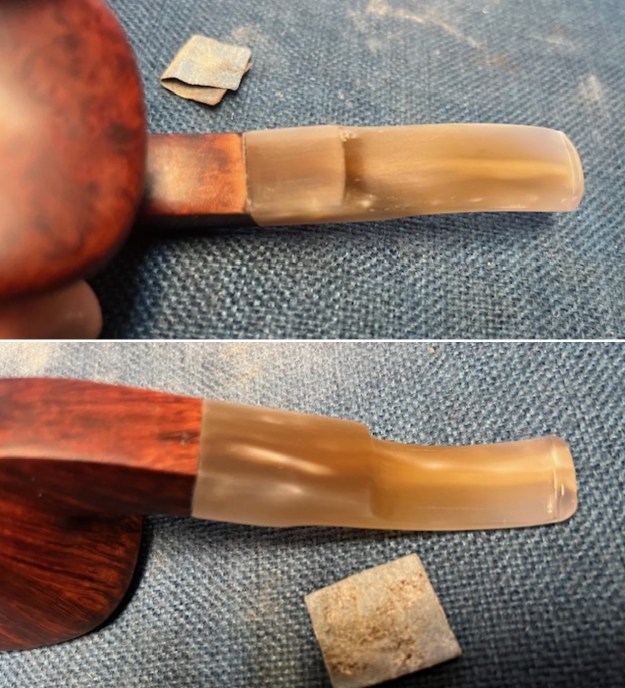
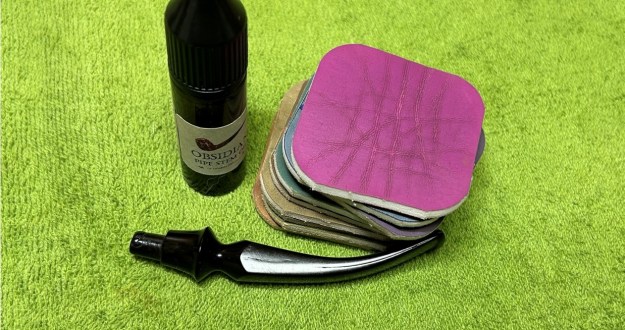
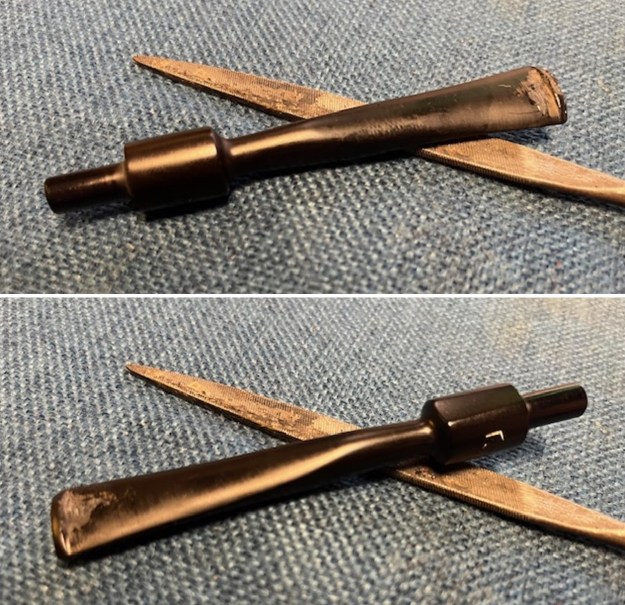
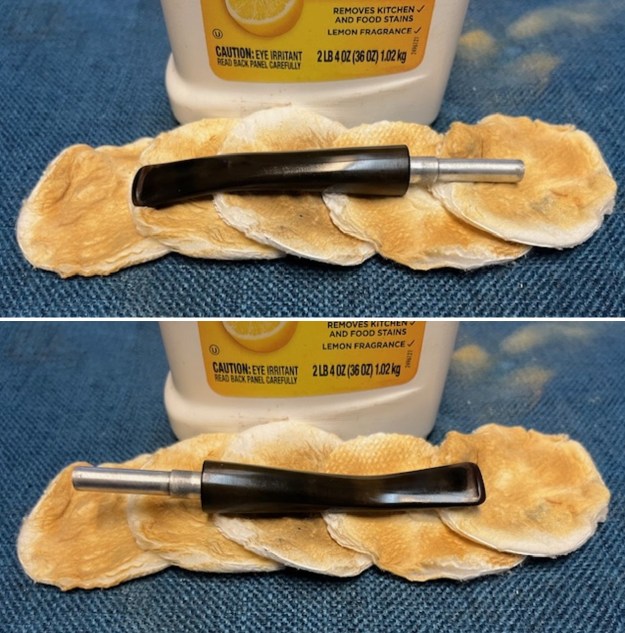
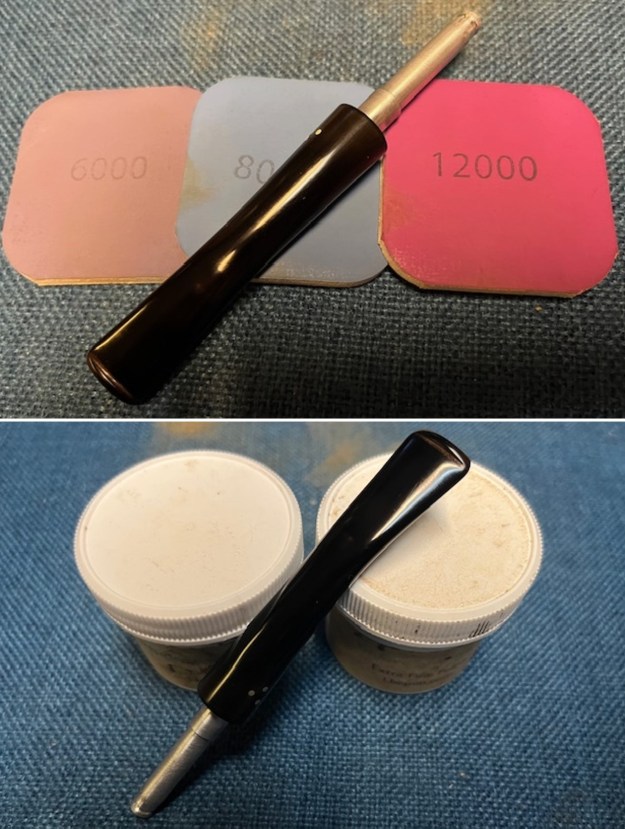
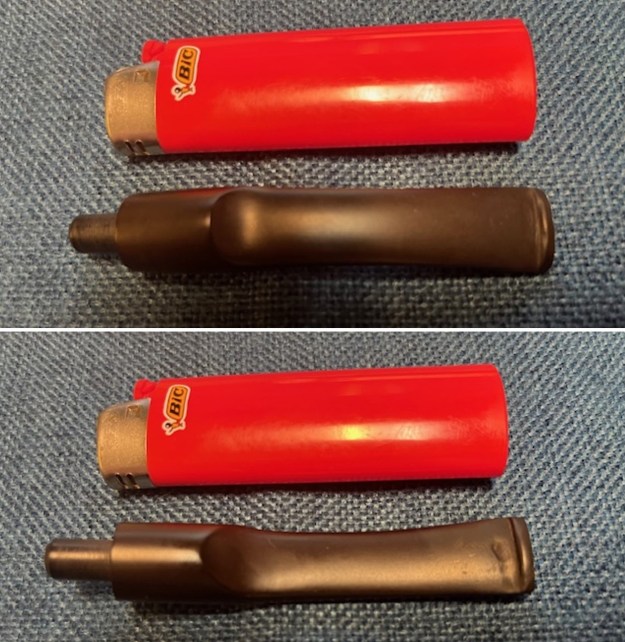
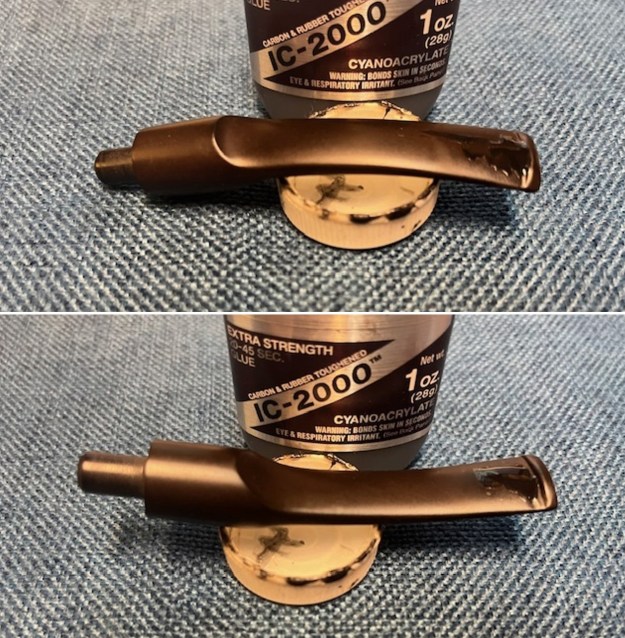
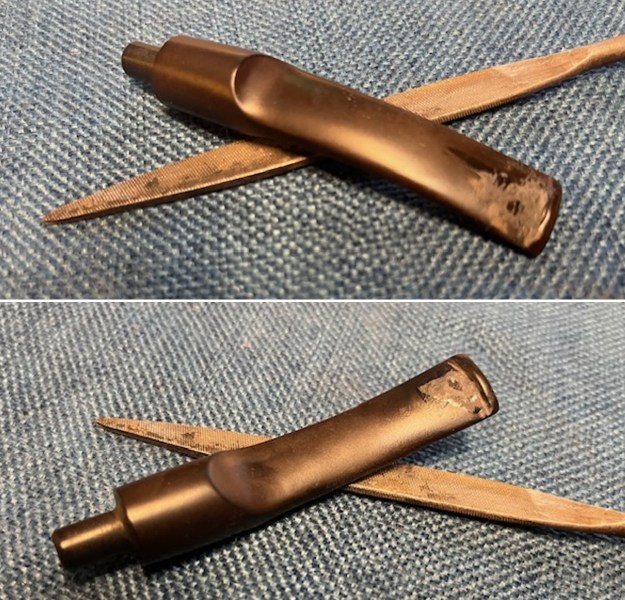
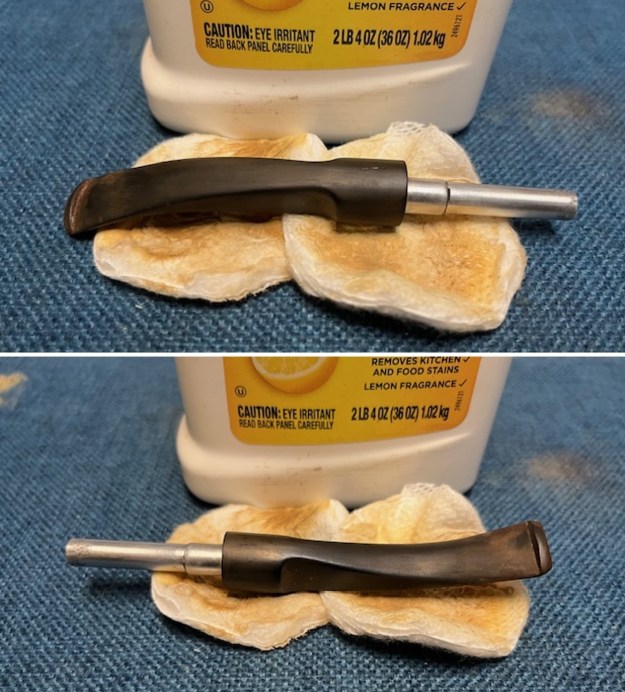
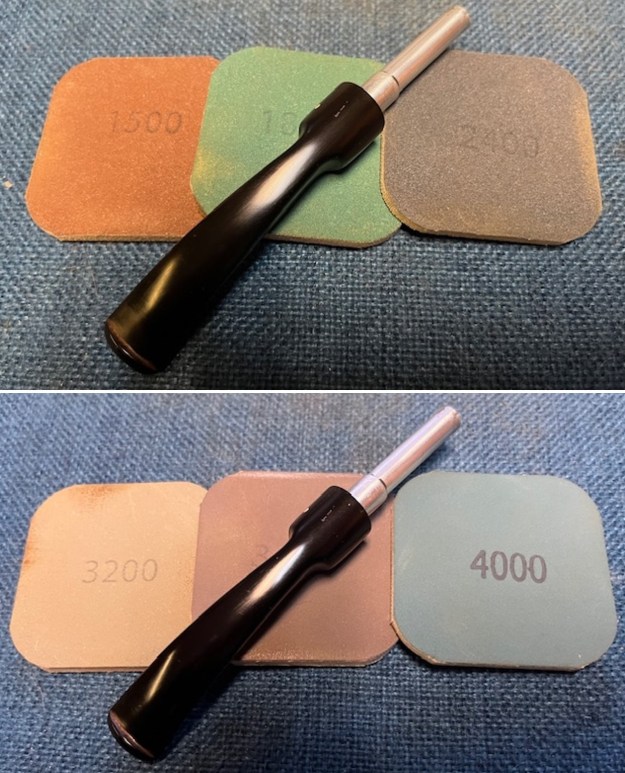
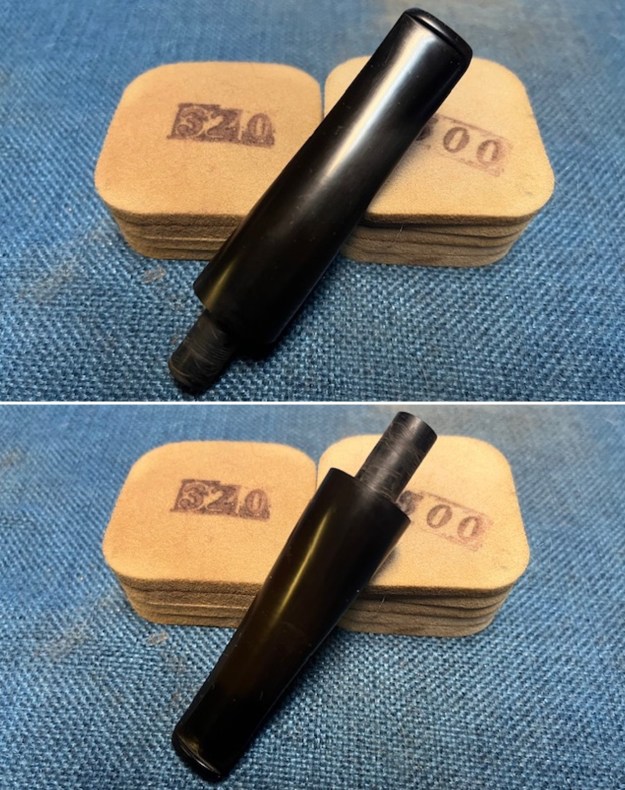
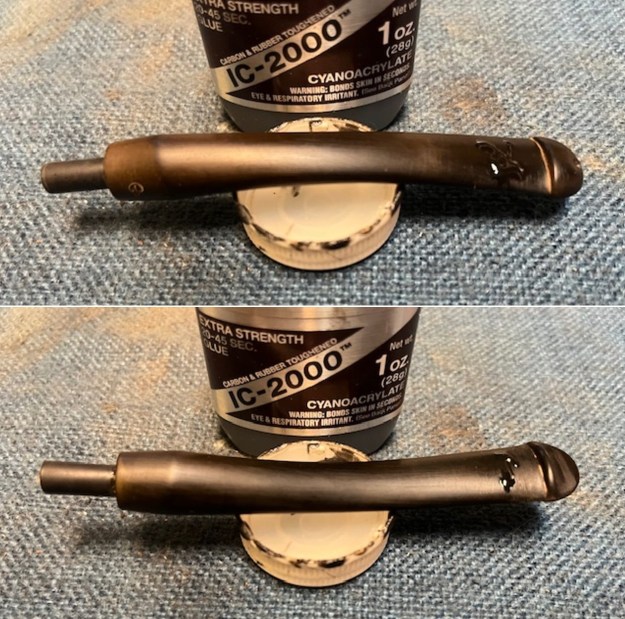
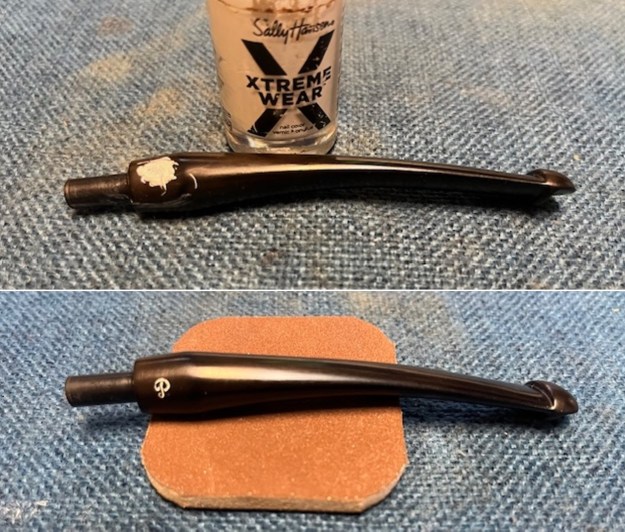
 I set the bowl aside and turned to the stem. I used 320-3500 grit sanding pads to smooth out the roughness on the surface of the vulcanite and remove the tooth marks and chatter. I wiped the stem down with an Obsidian Oil cloth after each sanding pad.
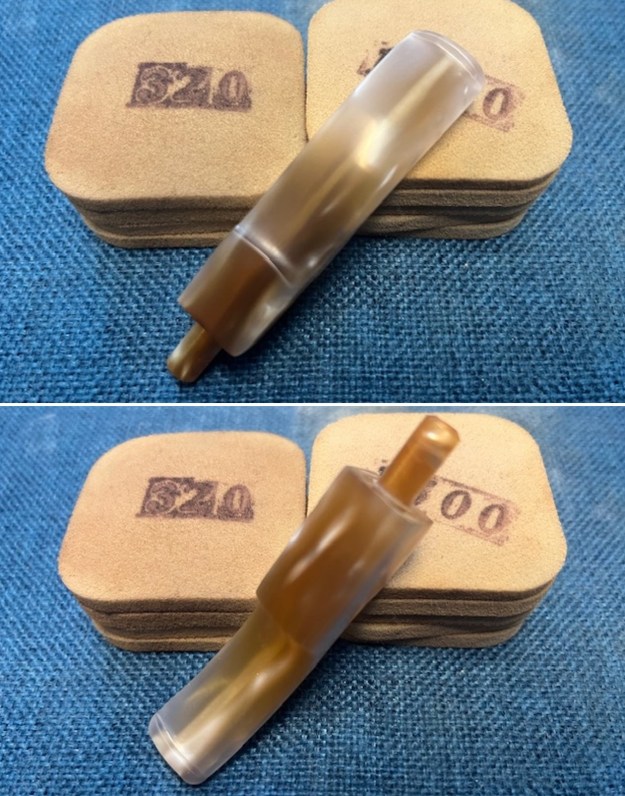
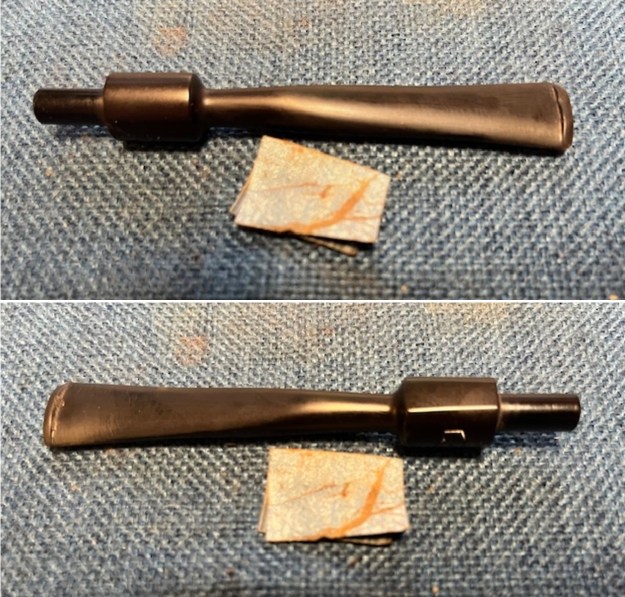
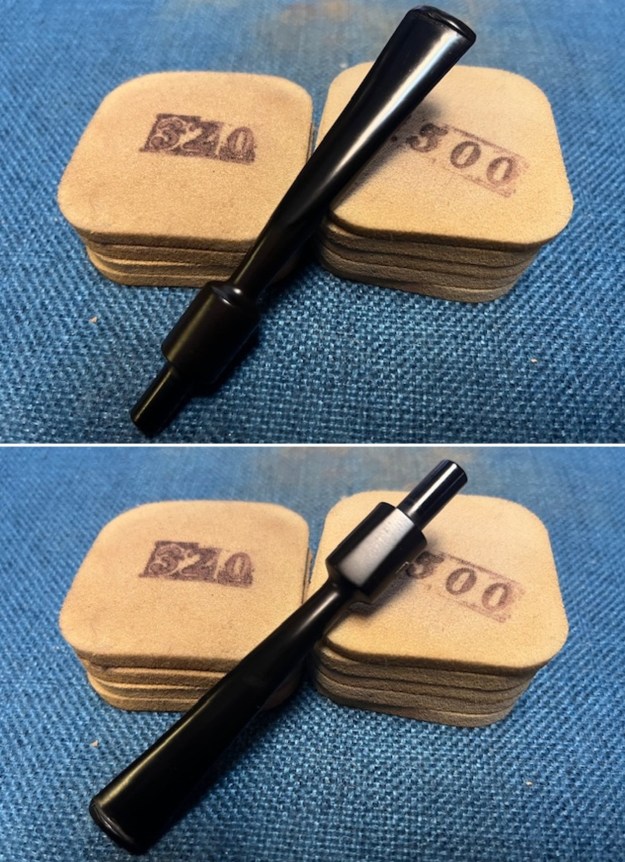
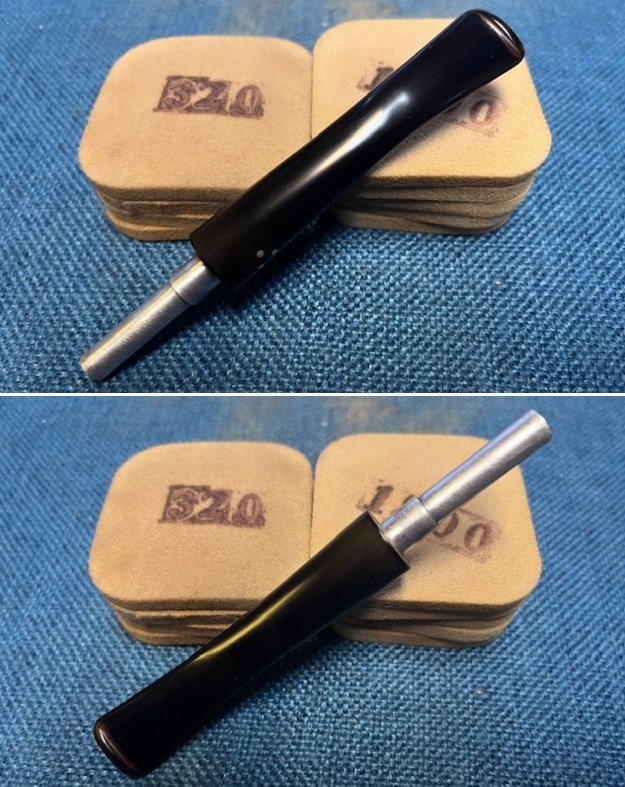
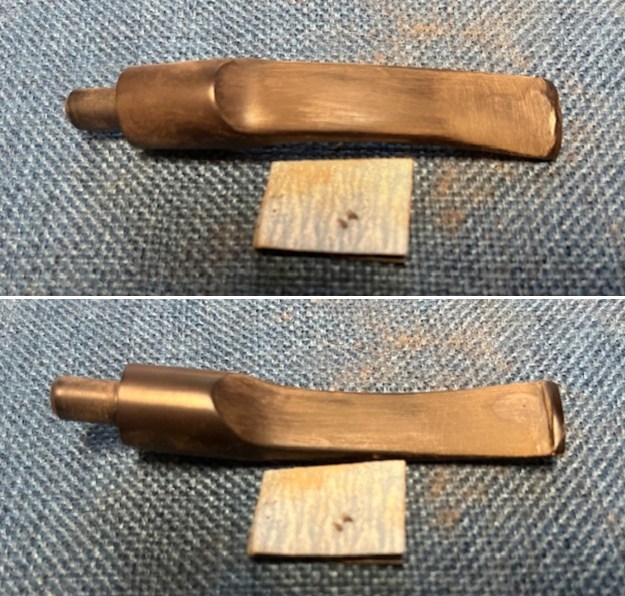
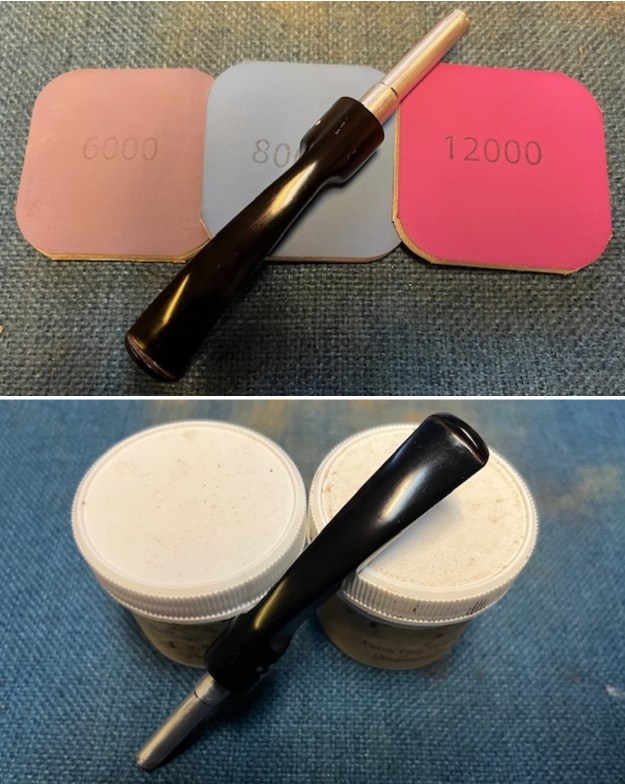
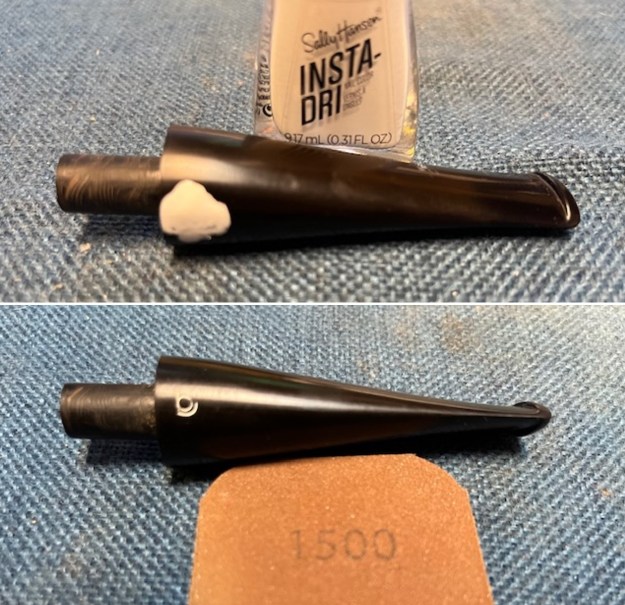
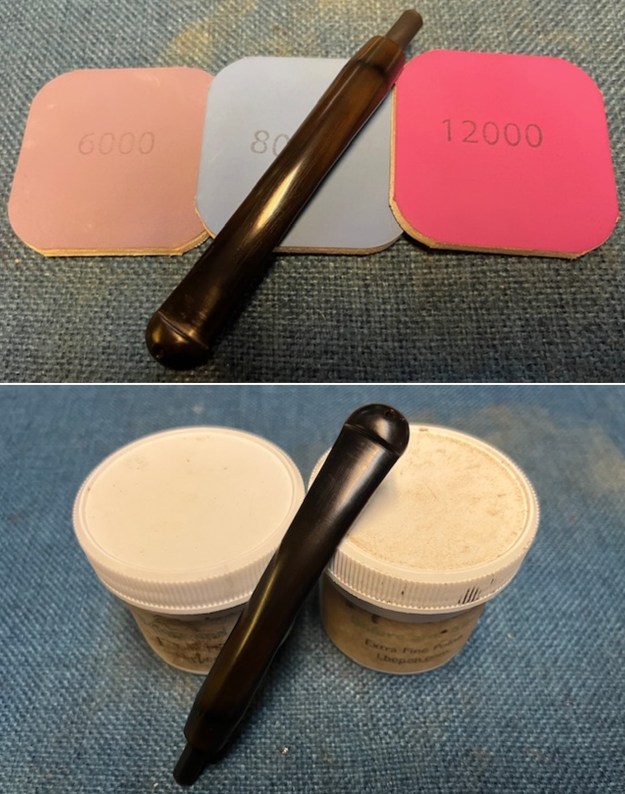
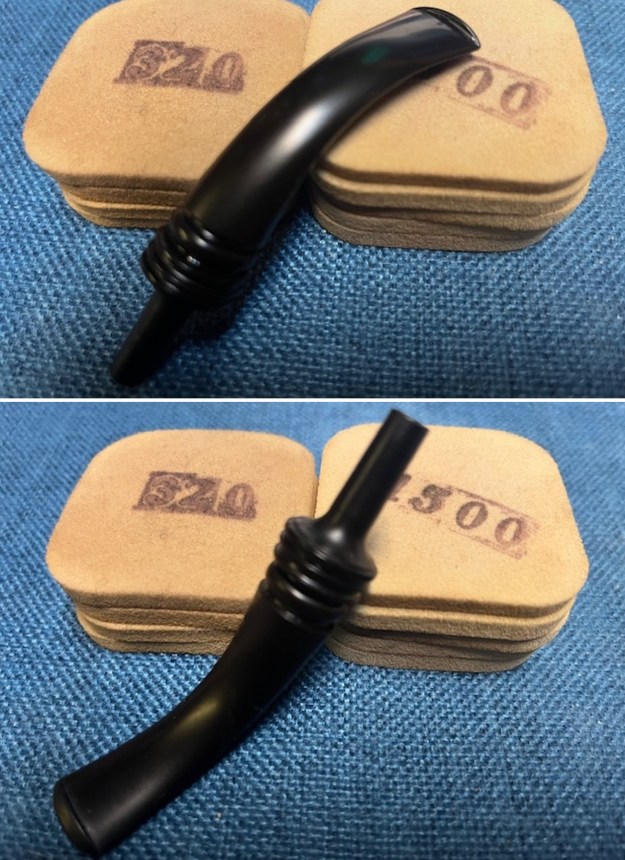 I polished the stem with micromesh sanding pads – wet sanding with 1500-12000 grit sanding pads. I wiped it down after each sanding pad Obsidian Oil. I finished by polishing it with Before & After Pipe Stem Polish both fine and extra Fine and then wiped it down with a final coat of Obsidian Oil.
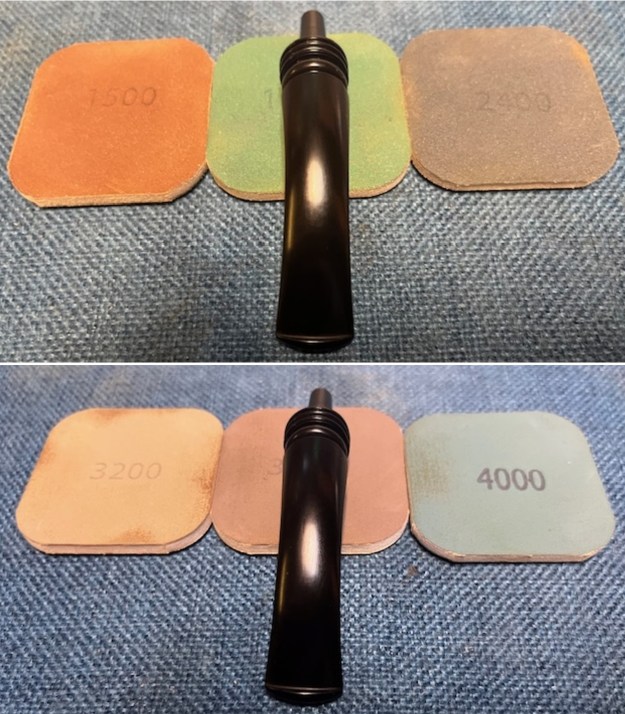
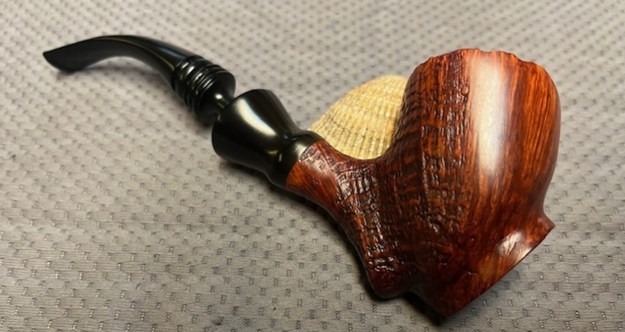
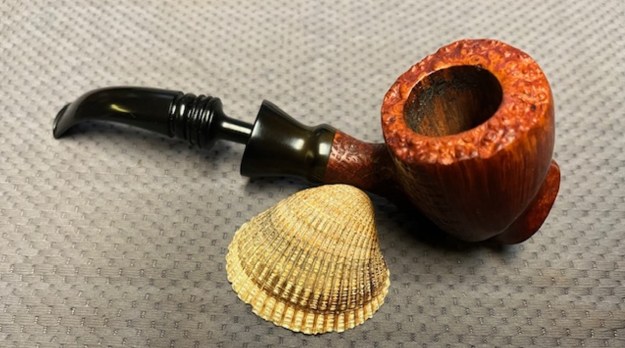
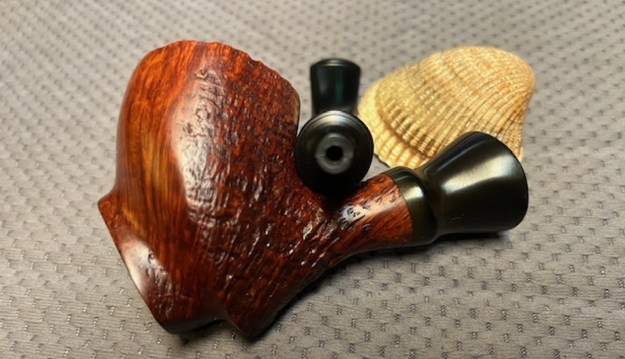
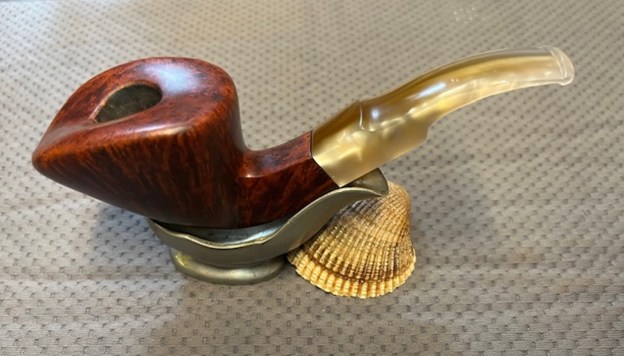
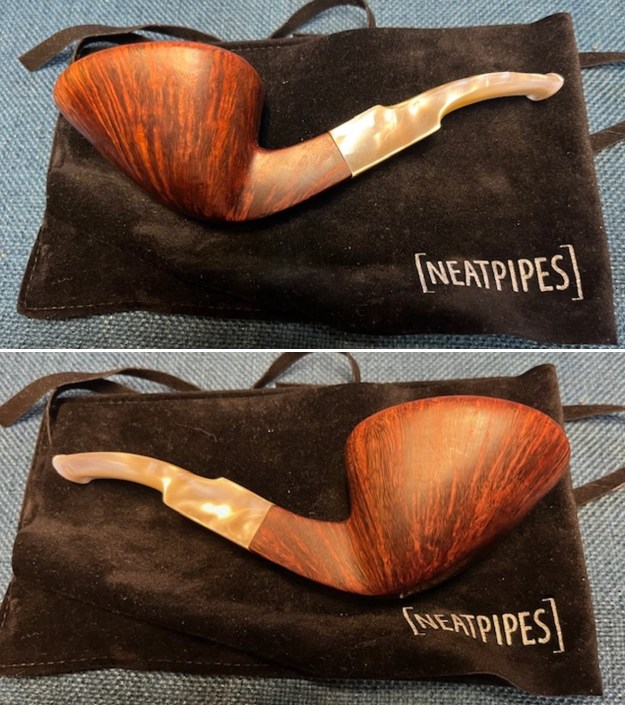
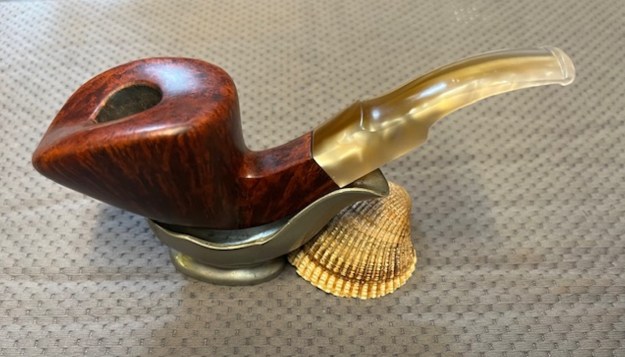
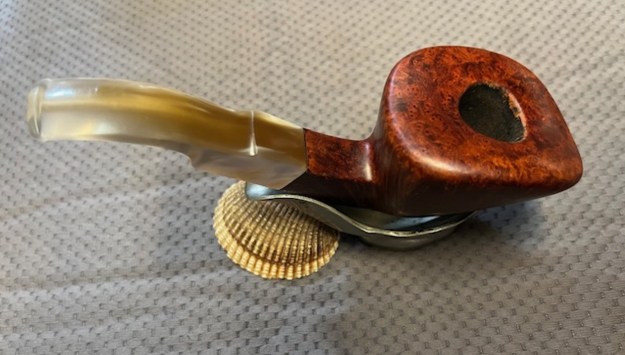
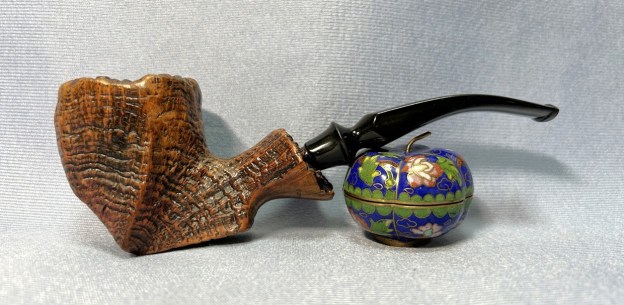
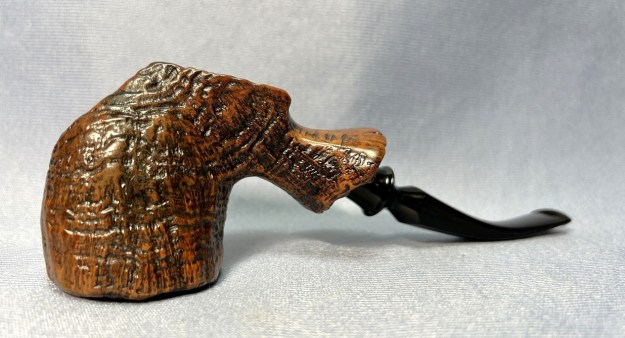
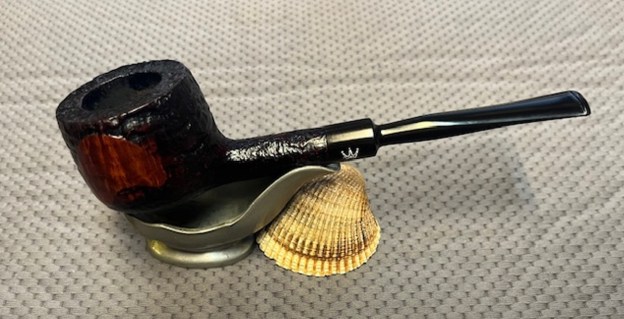
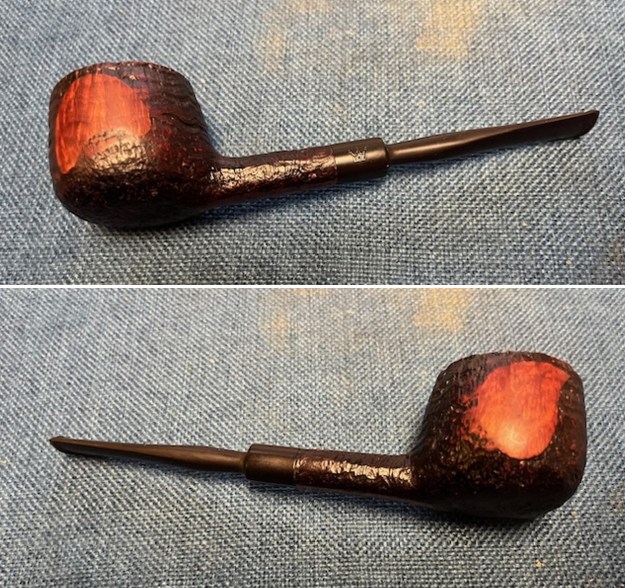
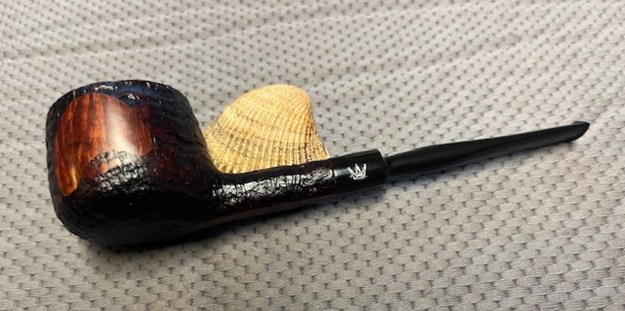
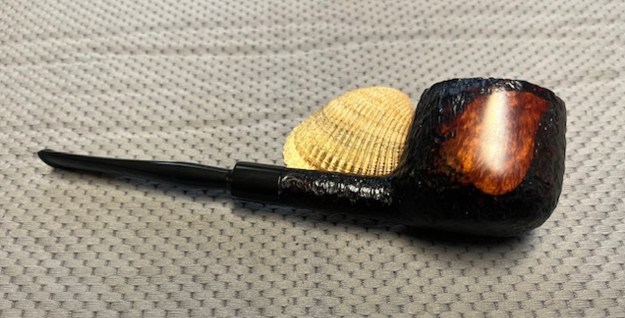
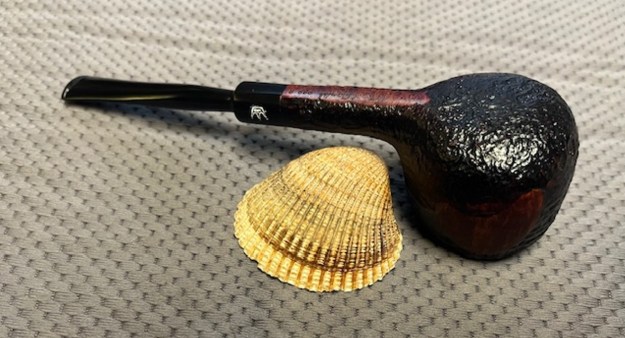
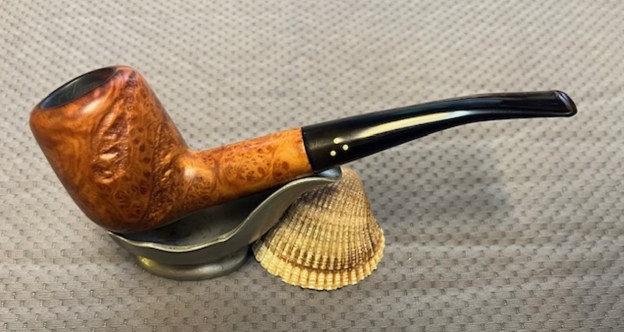
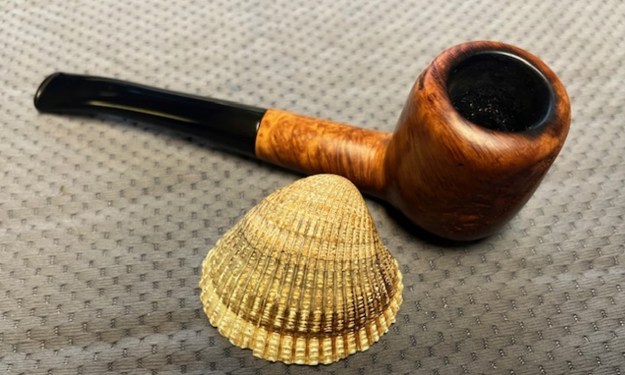
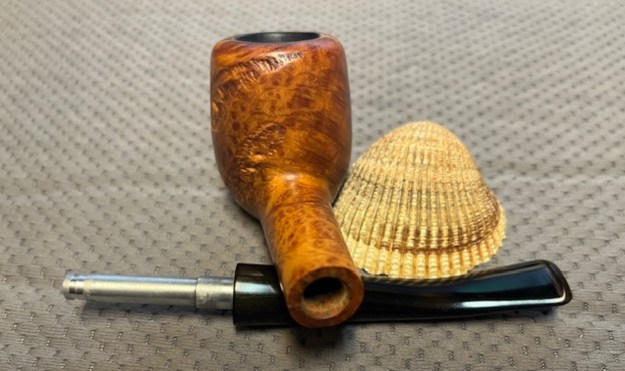
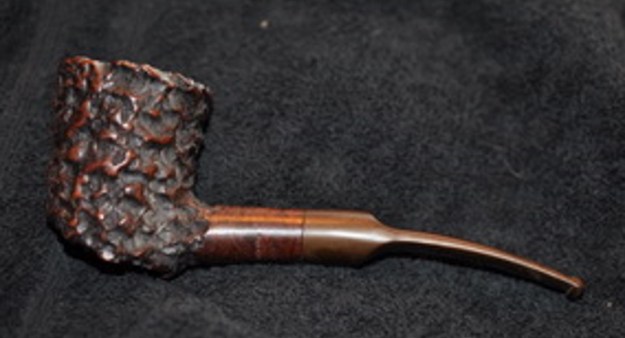
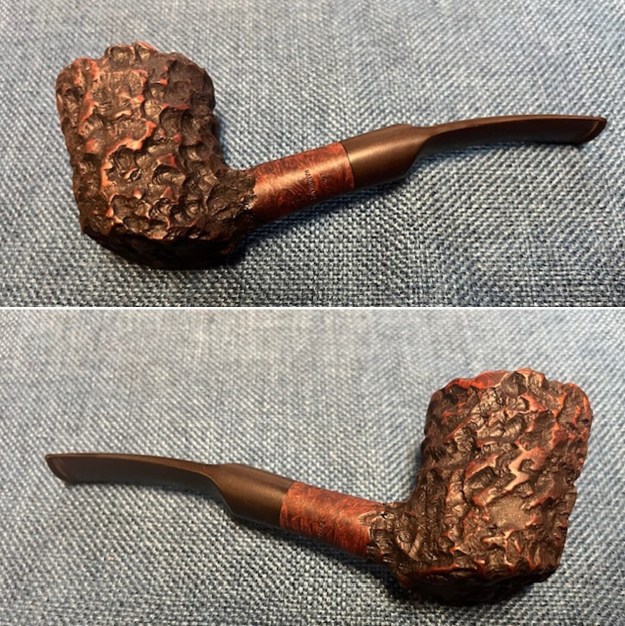
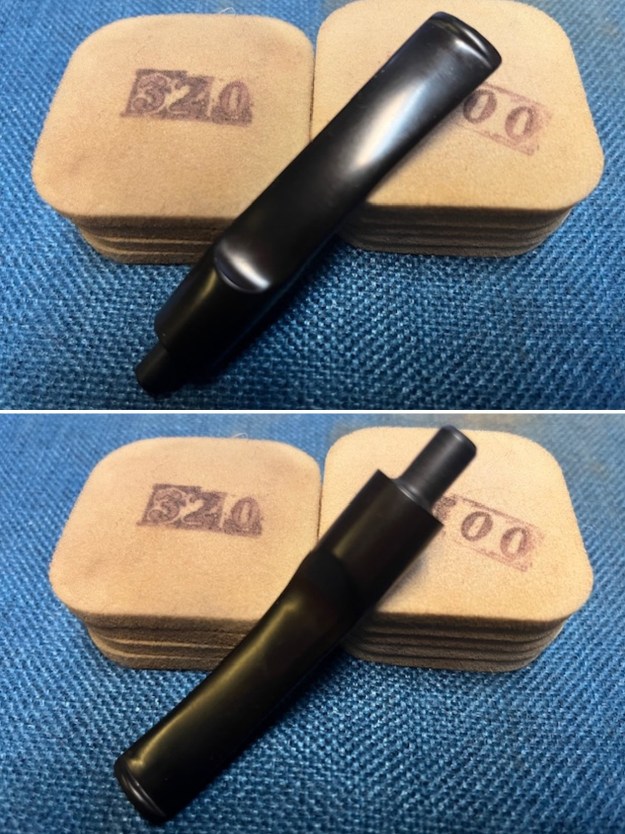
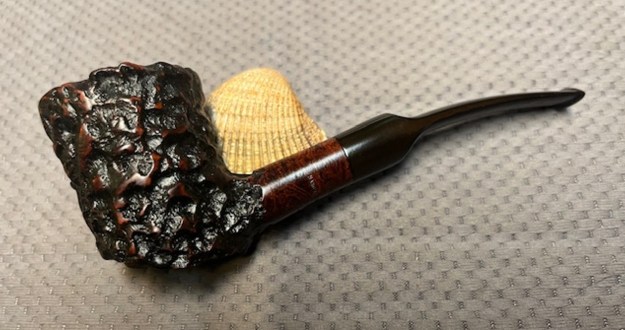
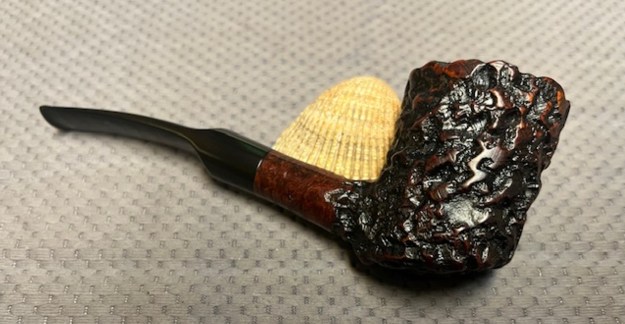
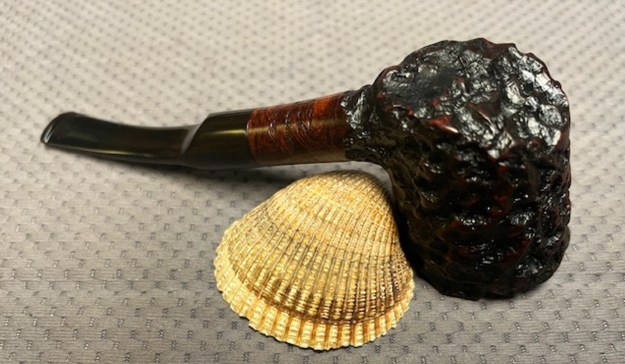
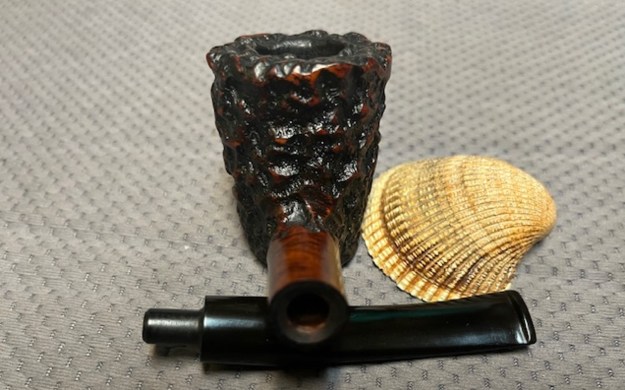
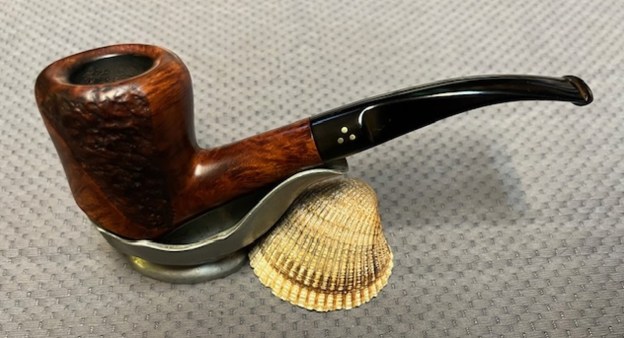
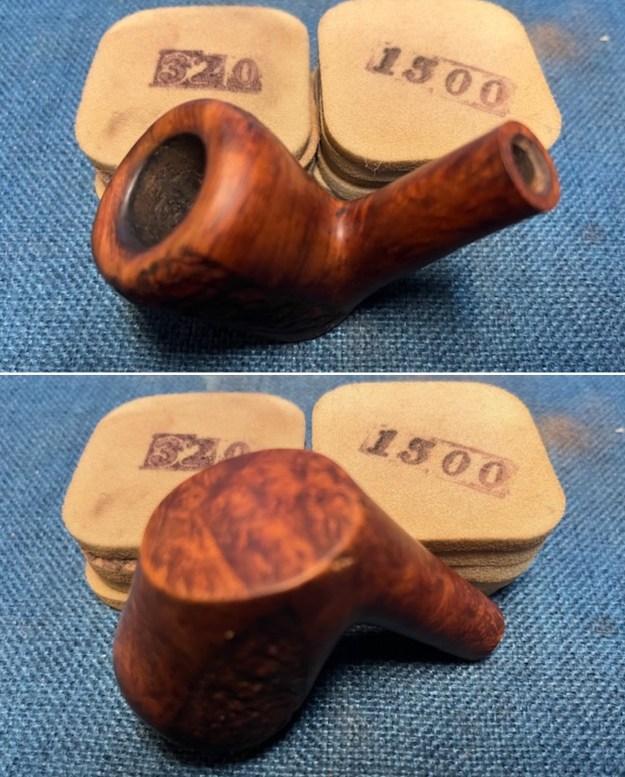
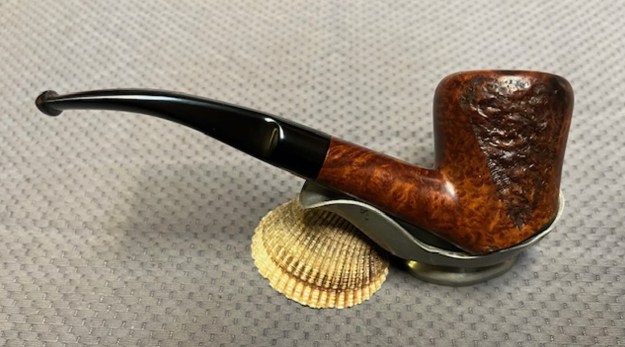
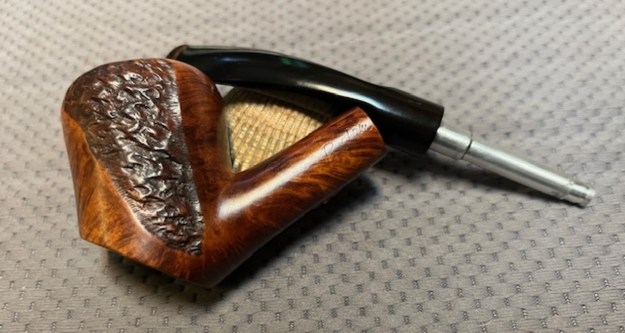
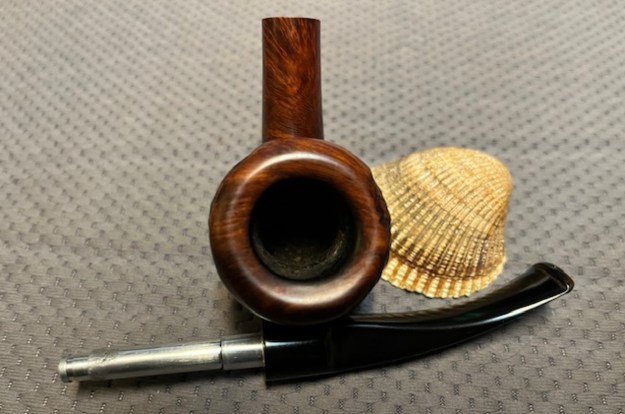
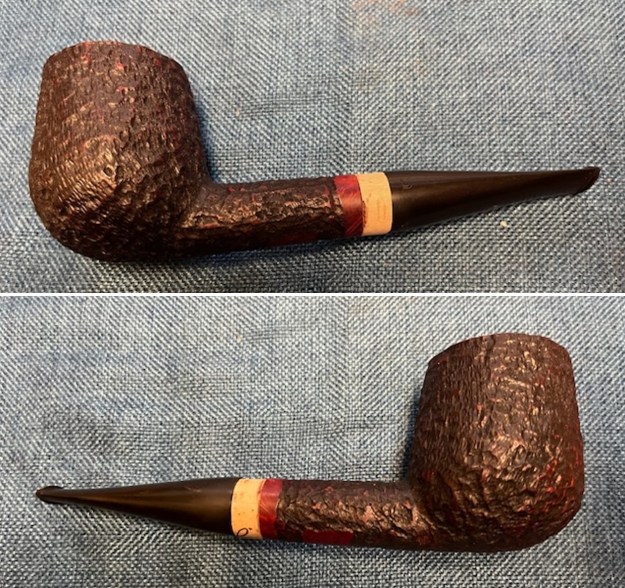
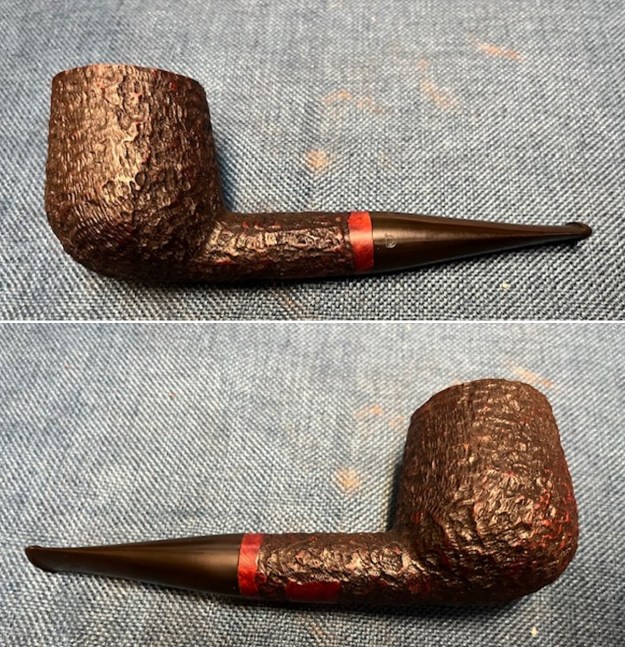
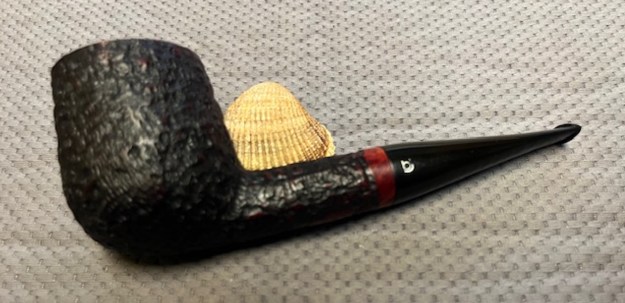
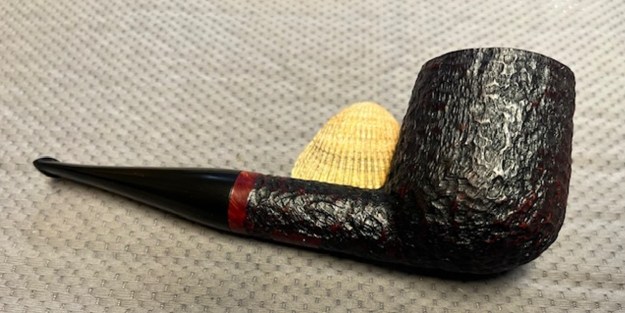
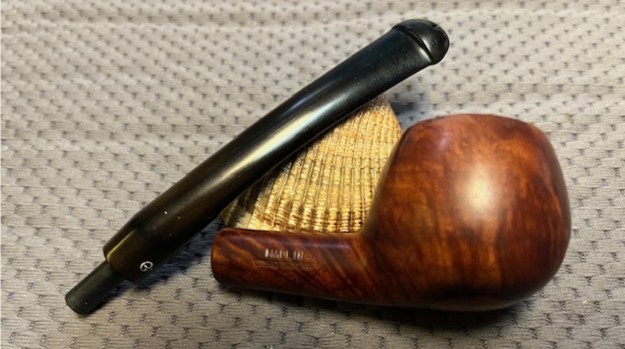
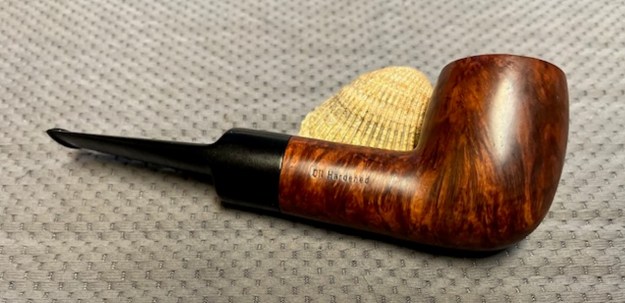
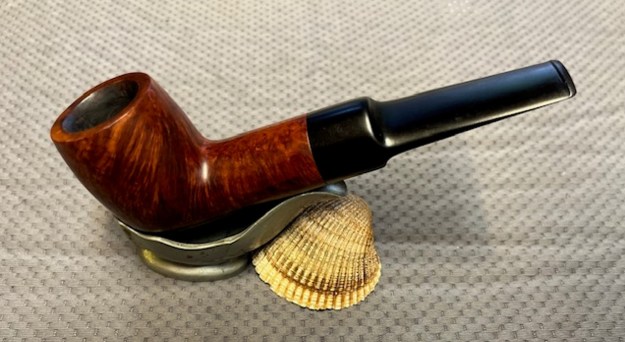
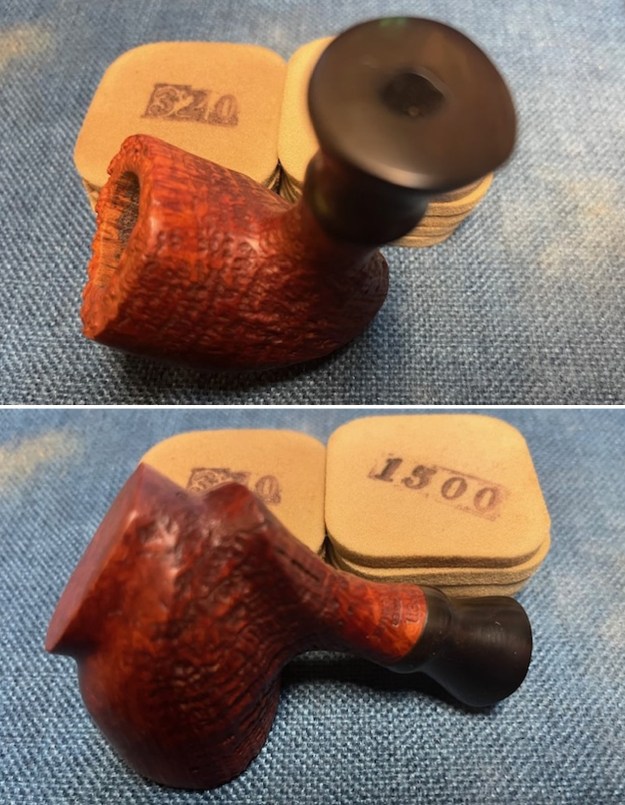
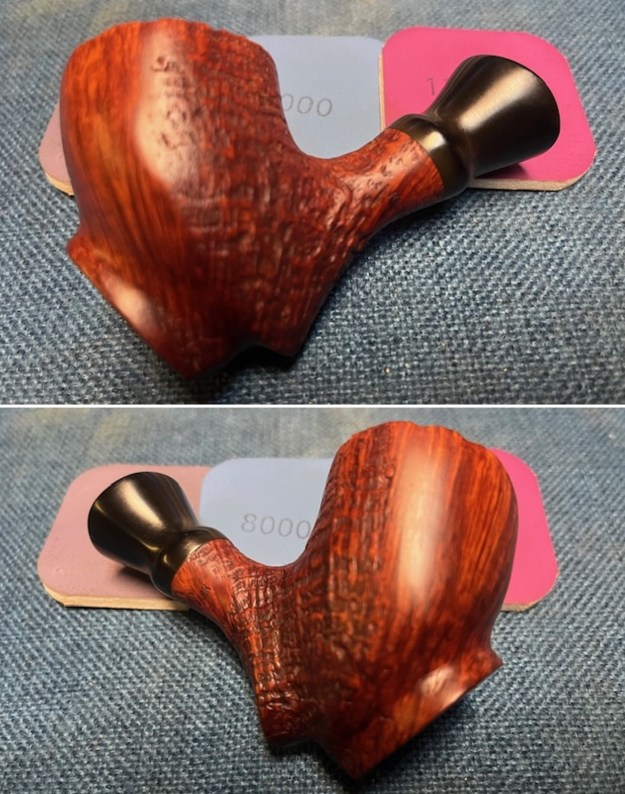
 This is a beautiful Soren Hand Carved Freehand Sitter with a vulcanite shank extension and a fancy saddle stem. It has a great look and feel. The shape of the bowl, the mix of sandblast and smooth finishes and the cut of the briar work well to highlight the grain around the bowl sides. I polished stem and the bowl with Blue Diamond polish on the buffing wheel. I gave the bowl and the stem multiple coats of carnauba wax. I buffed the pipe with a clean buffing pad to raise the shine. I hand buffed it with a microfiber cloth to deepen the shine. The Soren Hand Carved Freehand polished up pretty nicely. The grain took on life with the buffing. The rich stains work well with the polished vulcanite stem. The finished pipe has a rich look that is quite catching. Have a look at it with the photos below. The shape, finish and flow of the pipe and stem are very well done. The dimensions are Length: 6 ½ inches, Height: 2 ¼ inches, Outside diameter of the bowl: 1 ½ inches, Chamber diameter: 7/8 of an inch. The weight of the pipe is 2.43 ounces/69 grams. It is a beautiful pipe. I will be putting it on the rebornpipes store shortly in the Danish Pipemakers Section if you are interested in adding it to your collection. Thanks for walking with me through the restoration.