
By Steve Laug
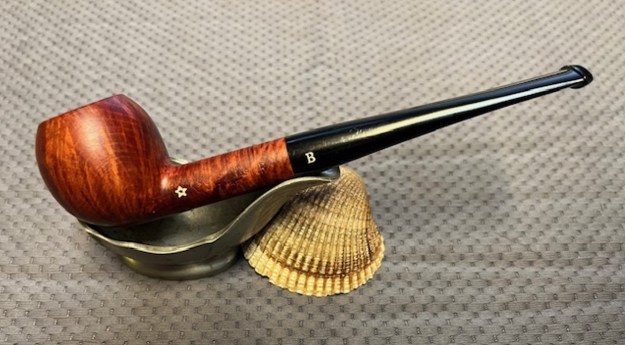
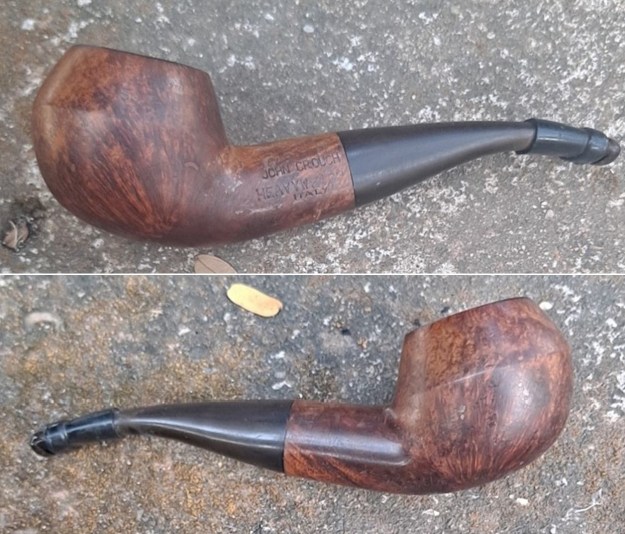
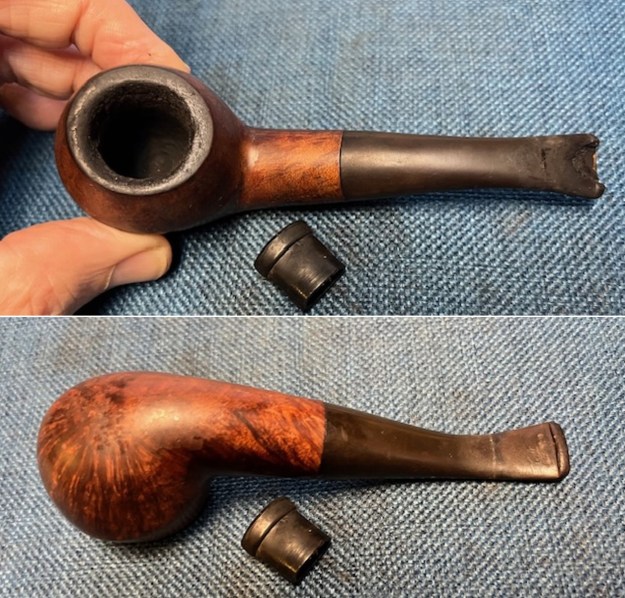
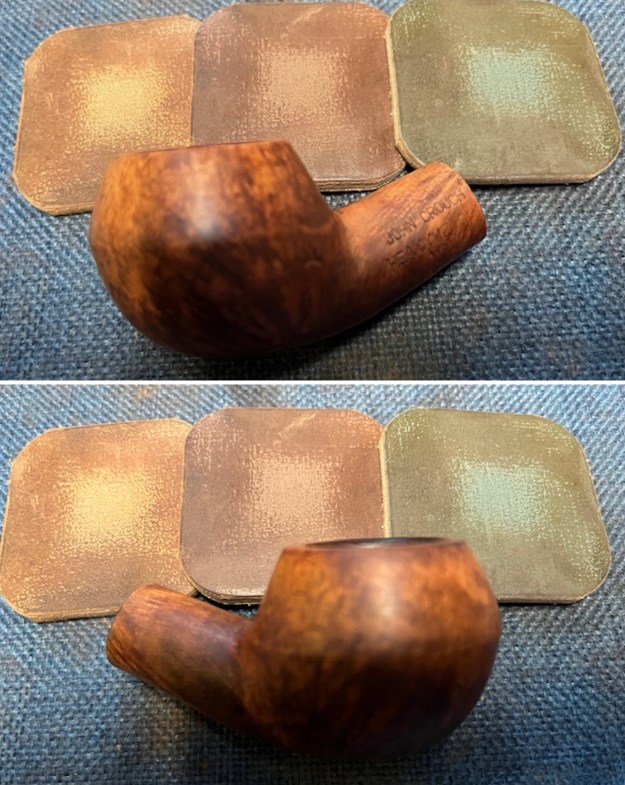
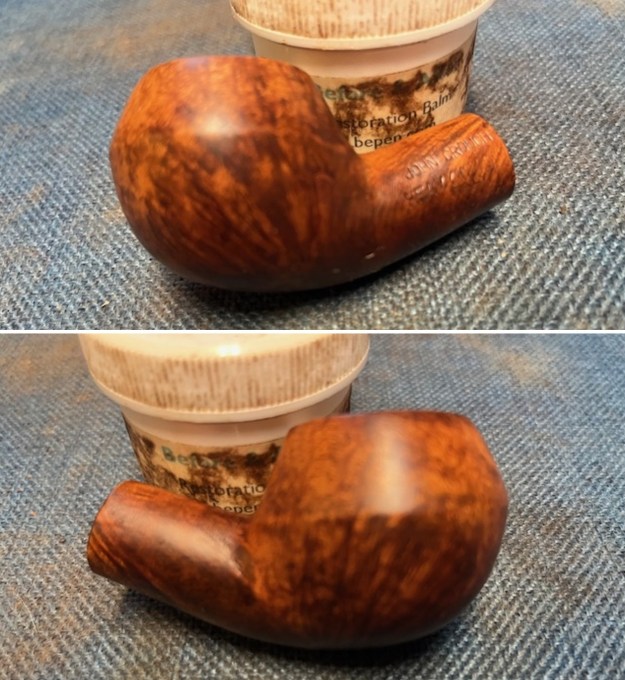
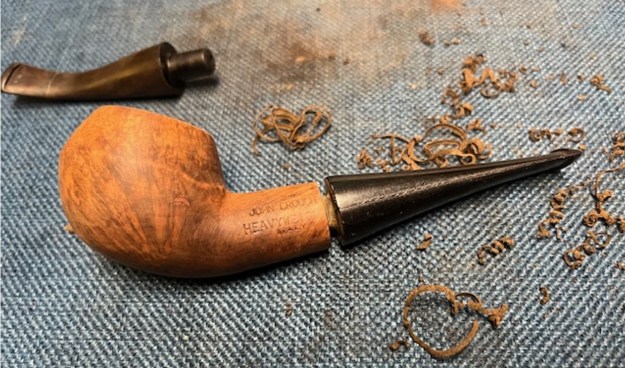
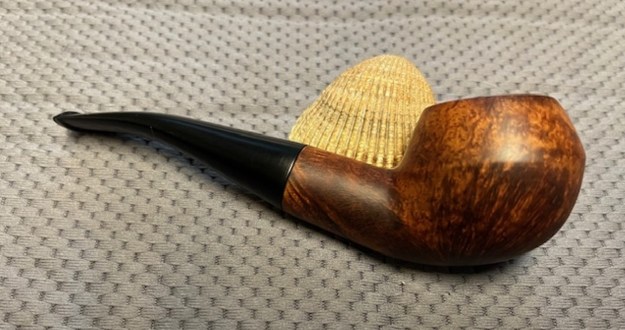
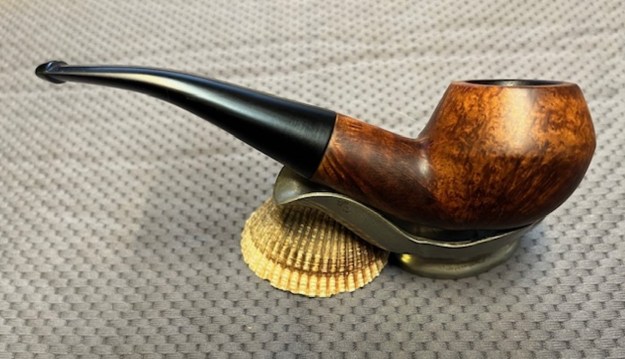
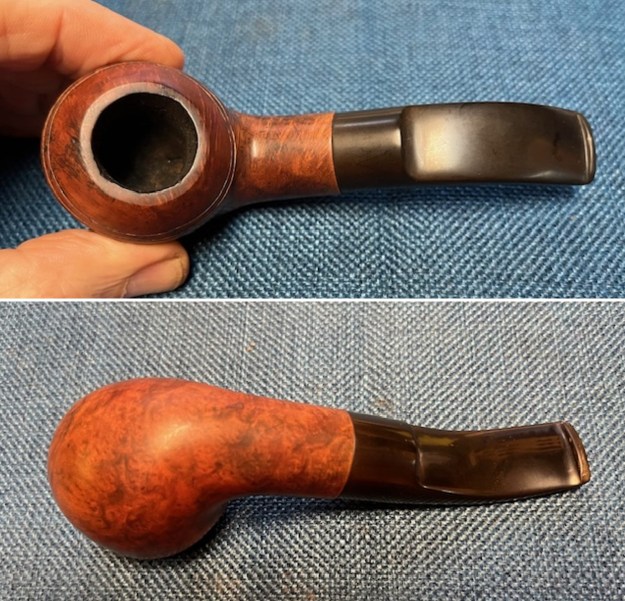
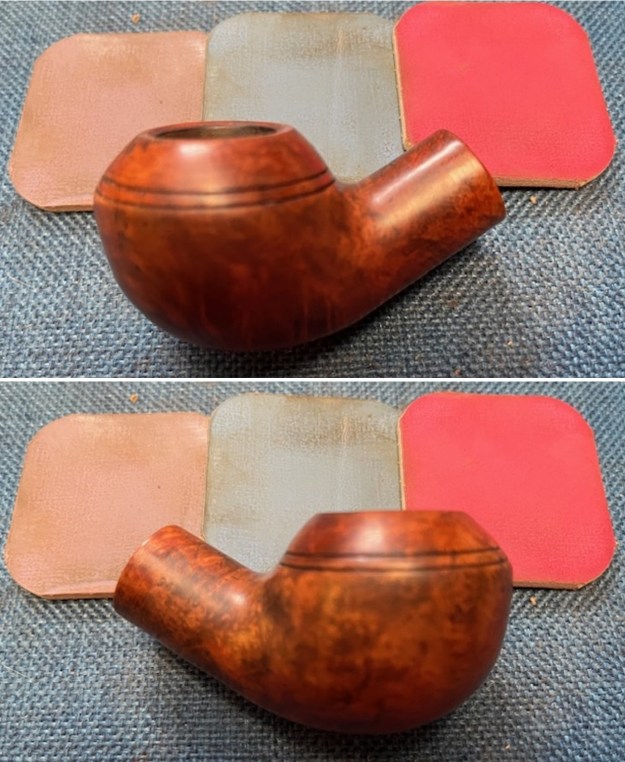
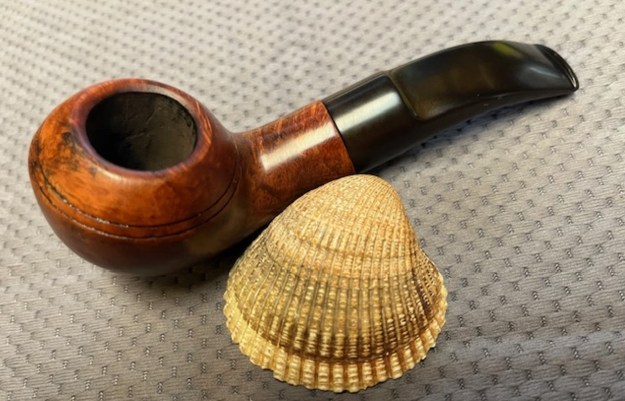
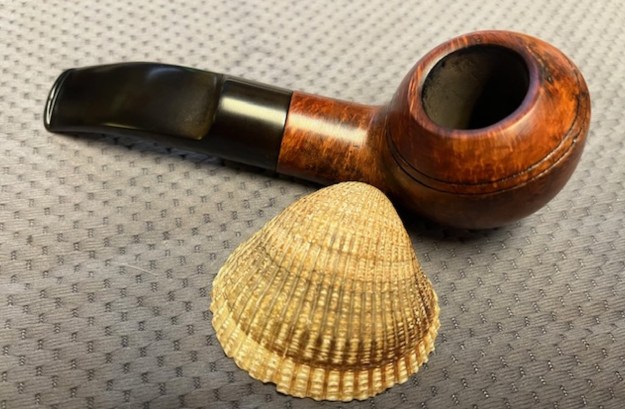
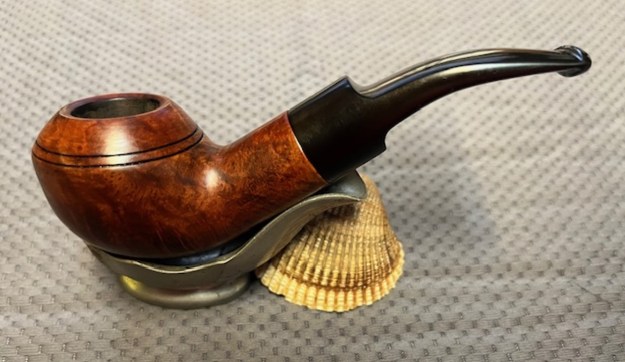
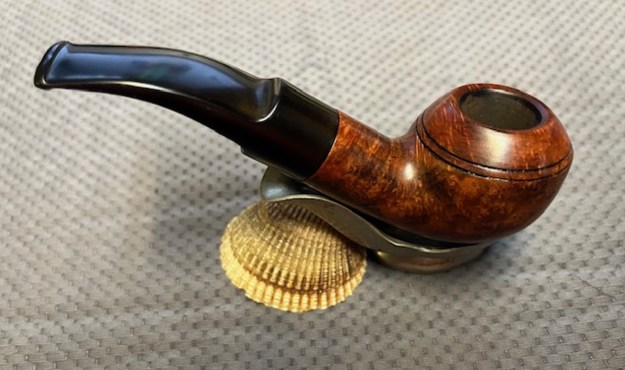
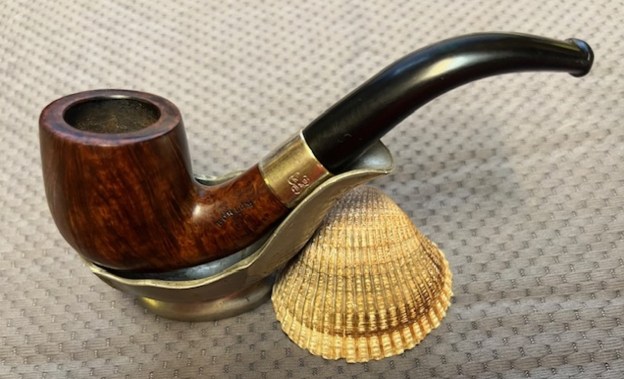
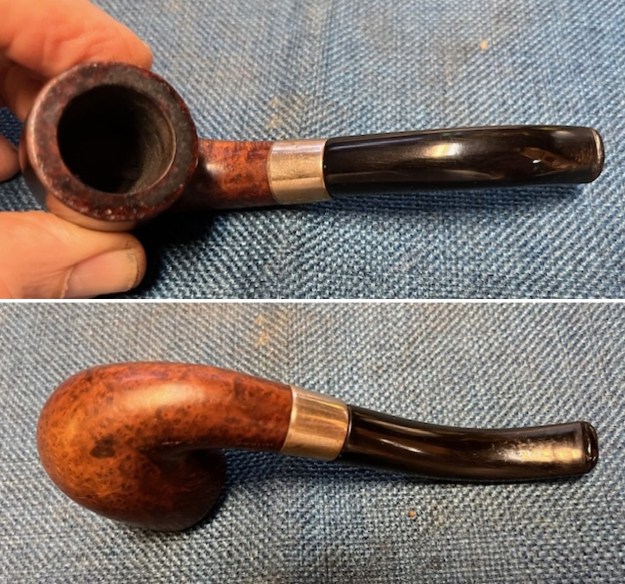
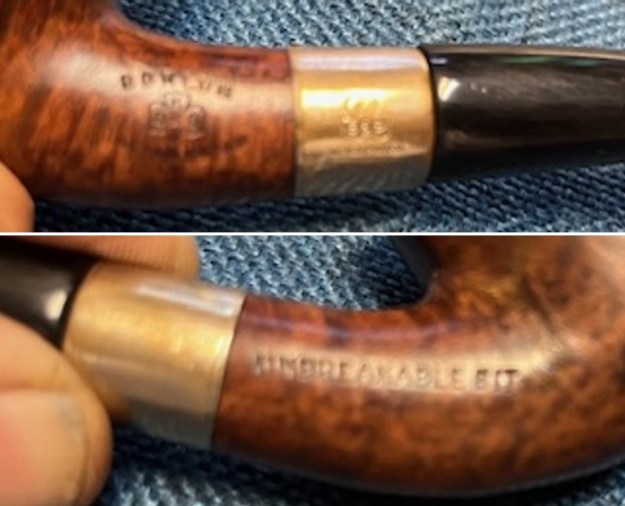
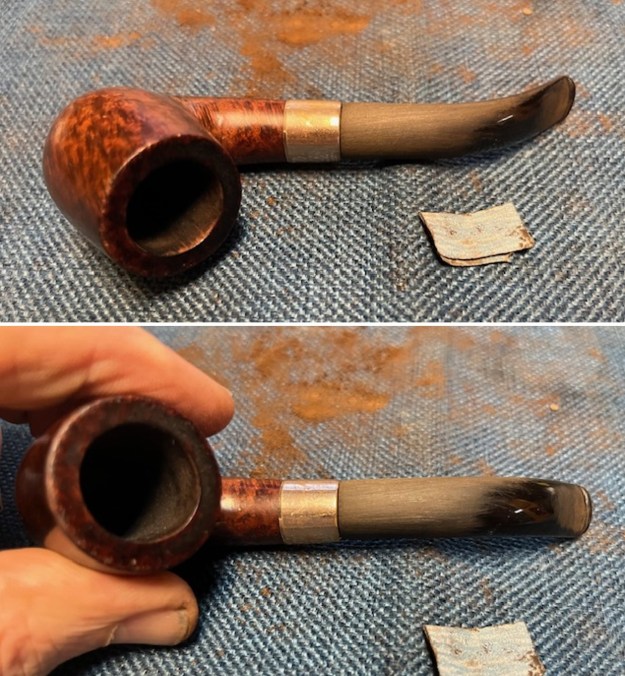
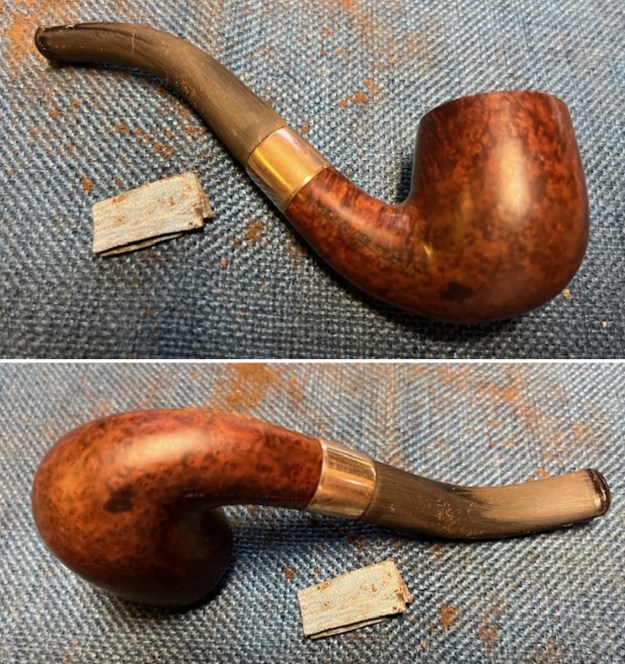
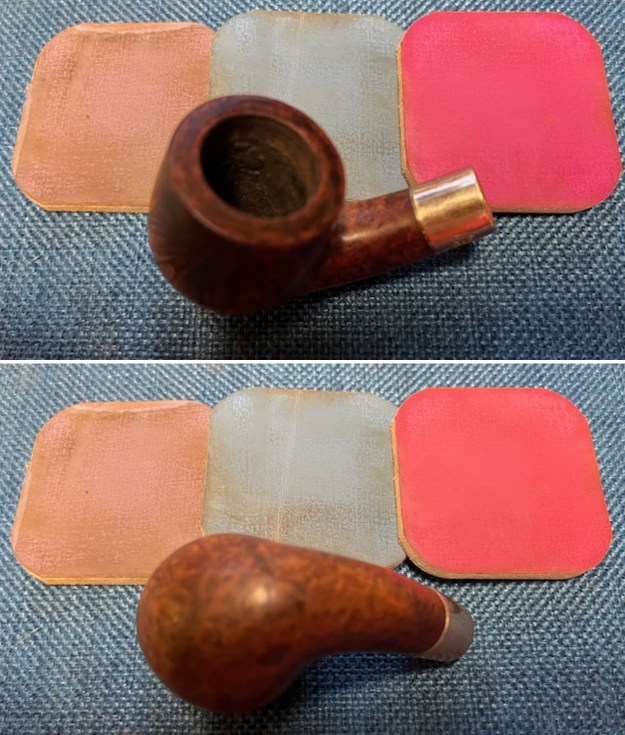
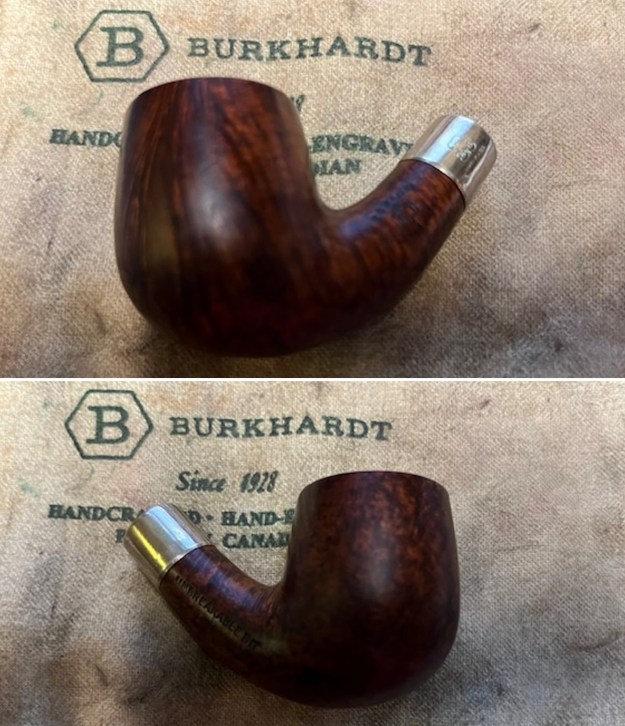
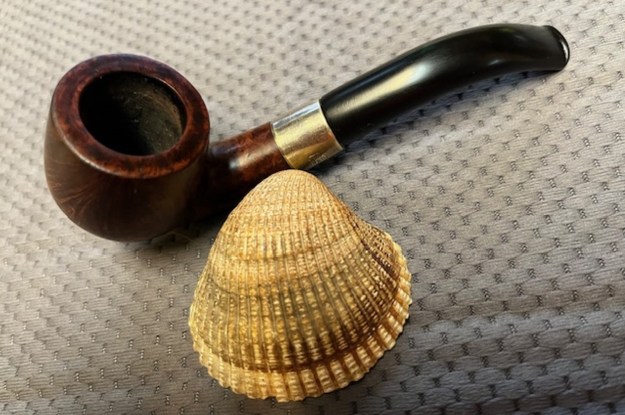
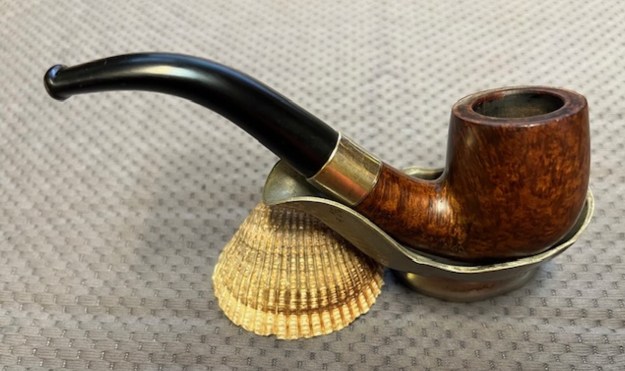
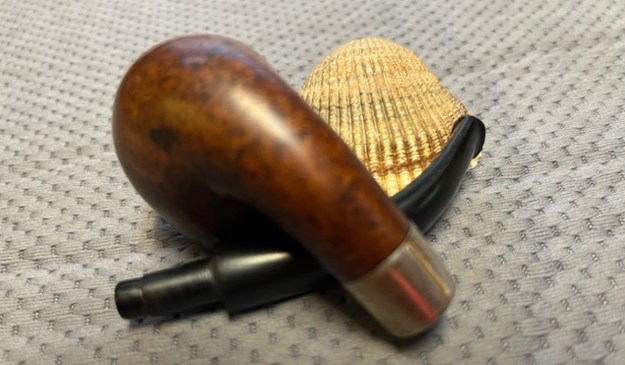
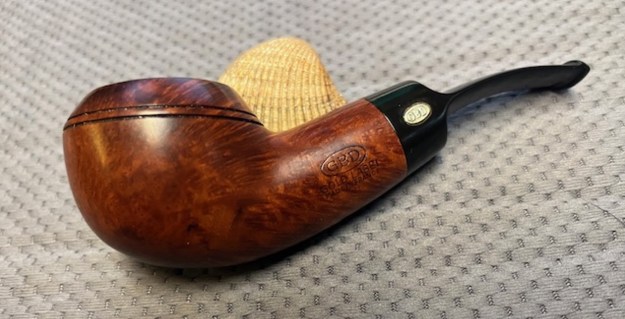
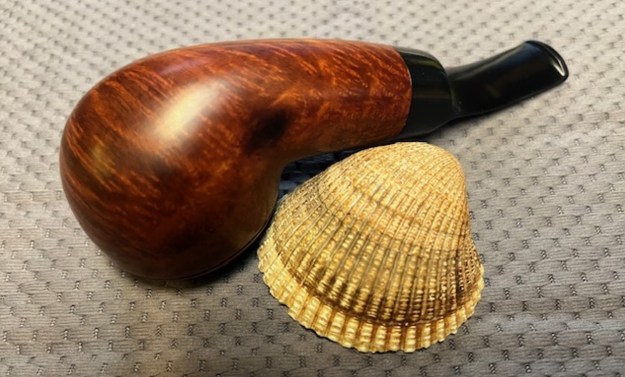
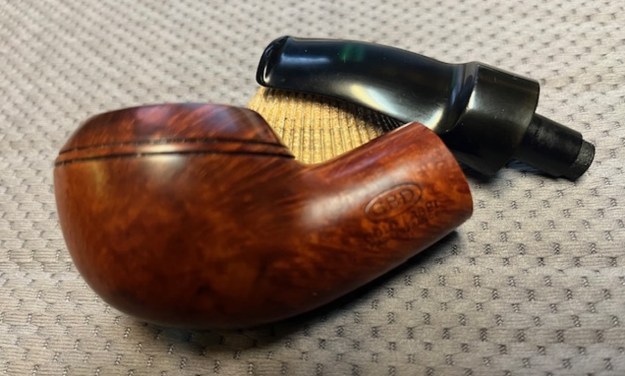
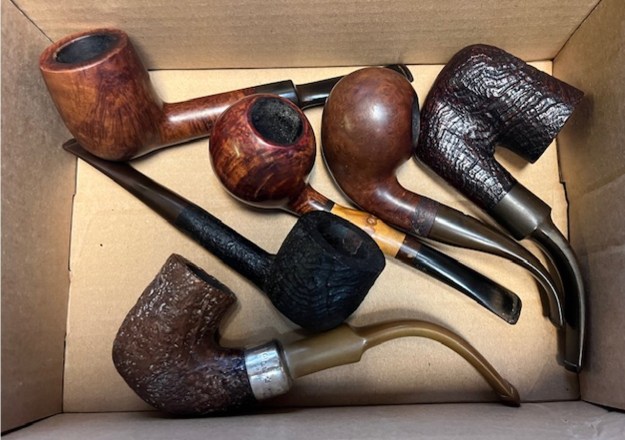
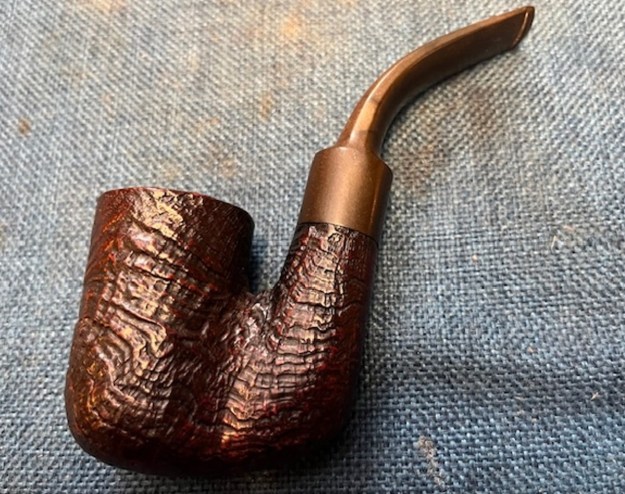
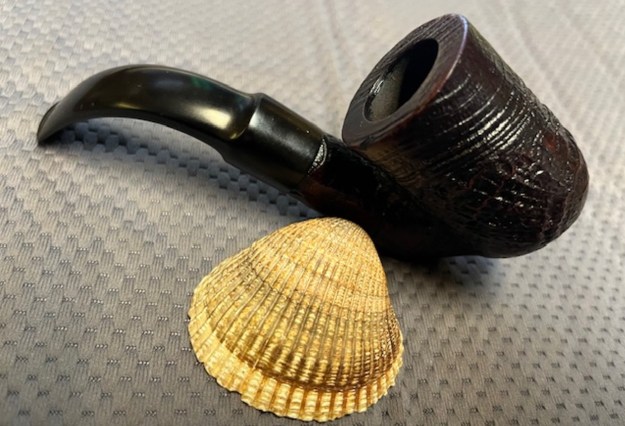
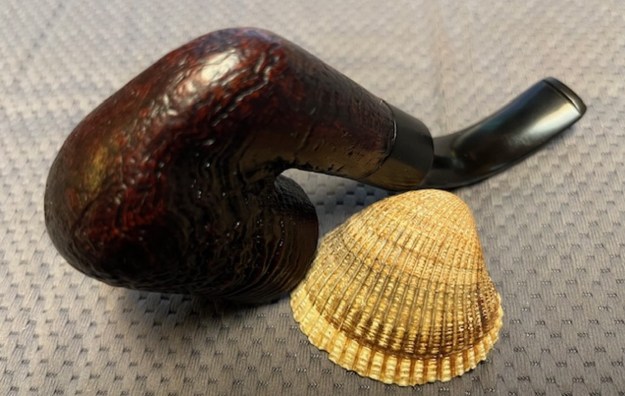
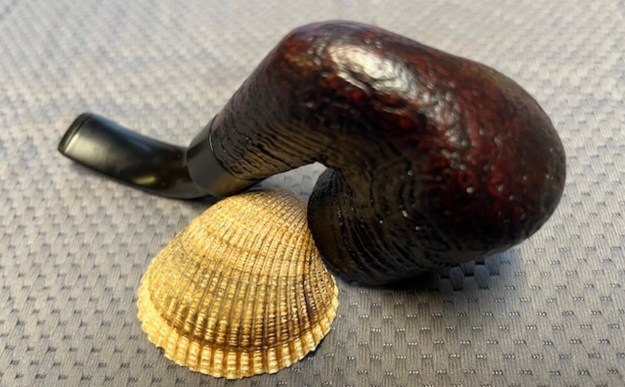
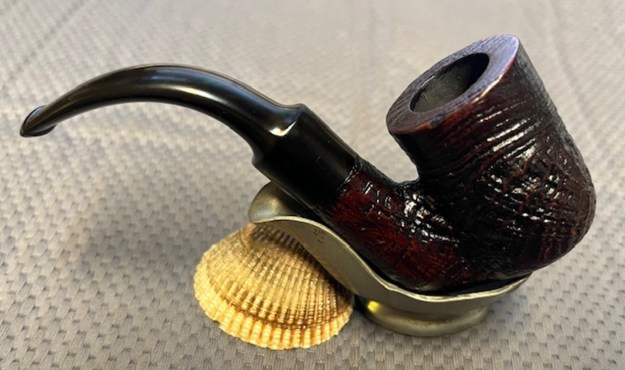
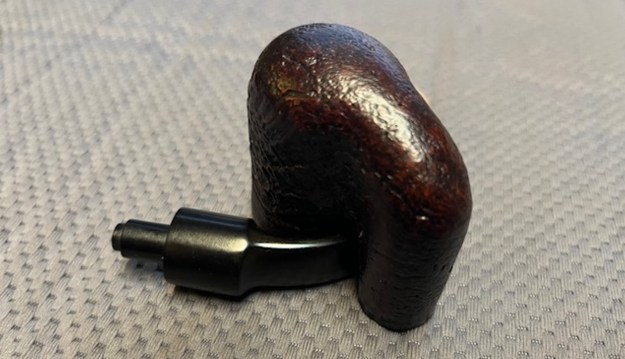
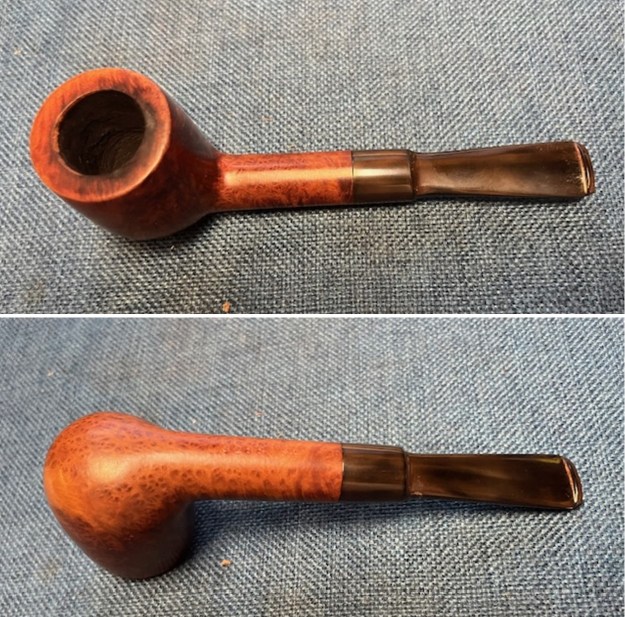
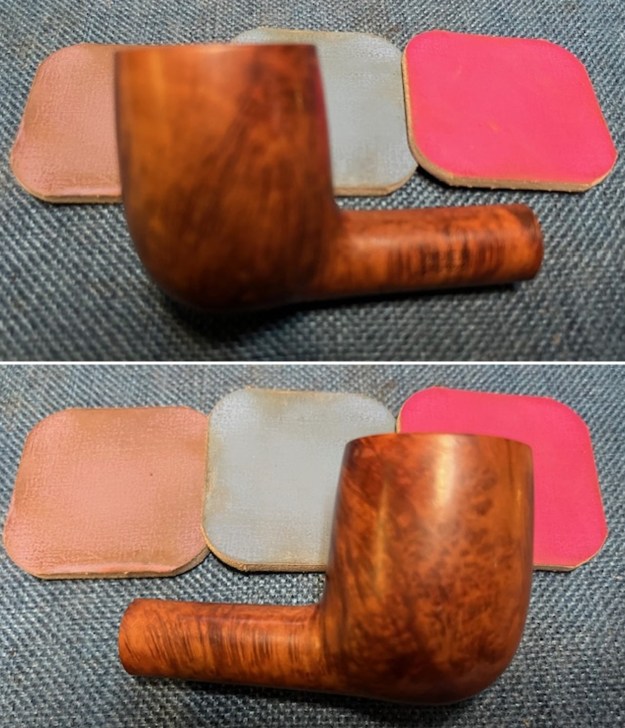
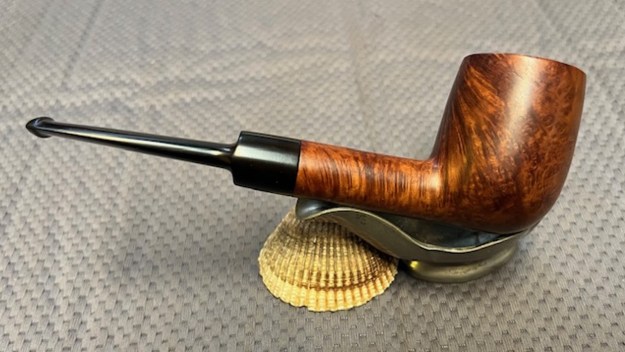
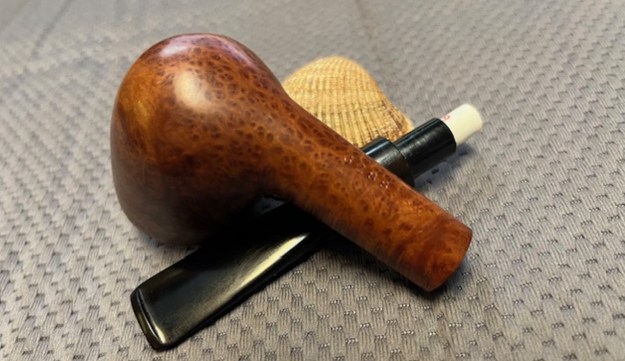
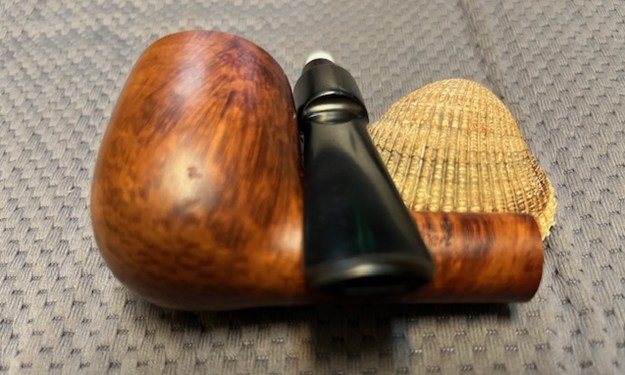
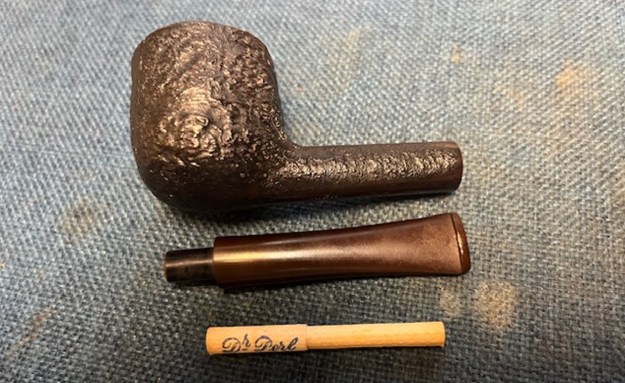
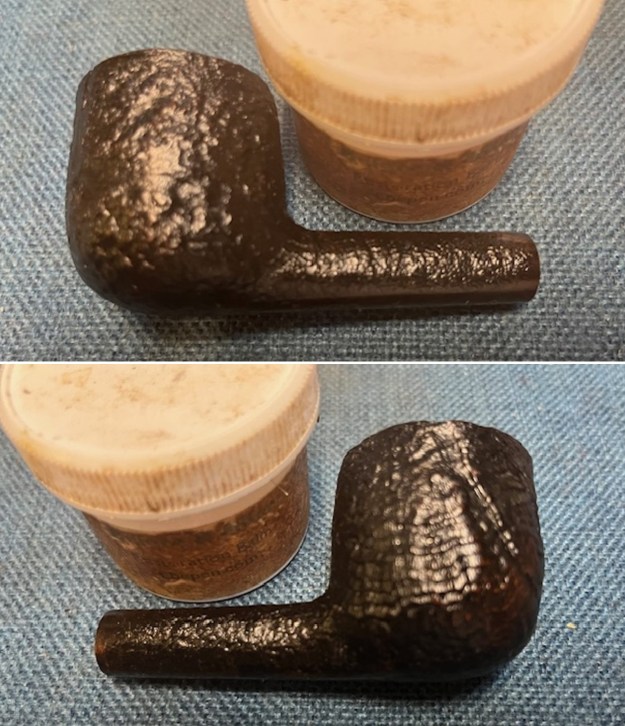
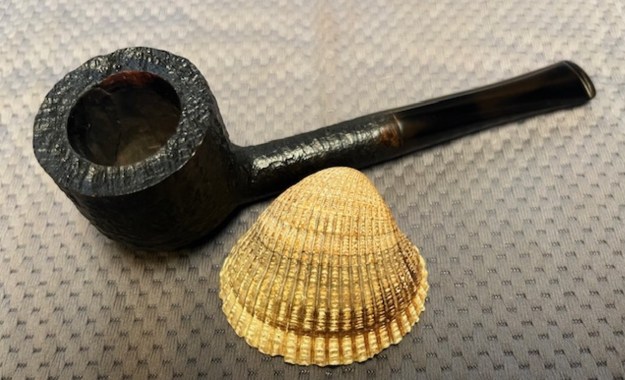
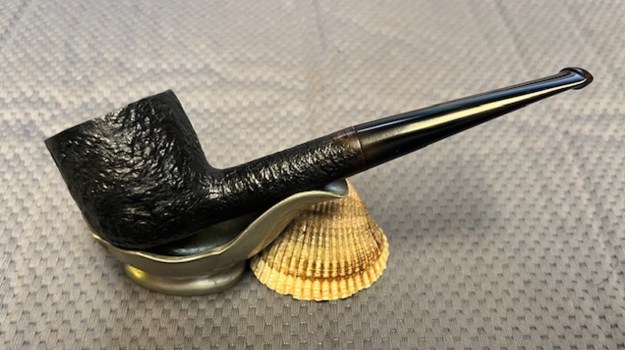
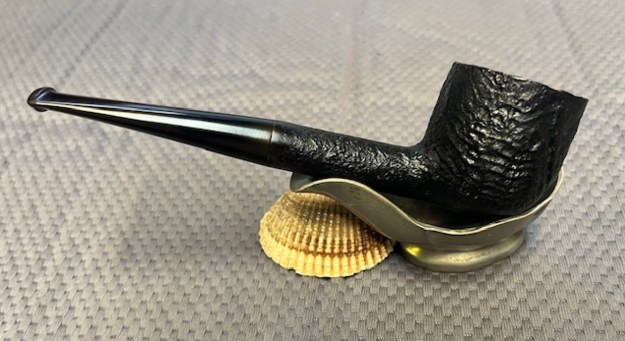
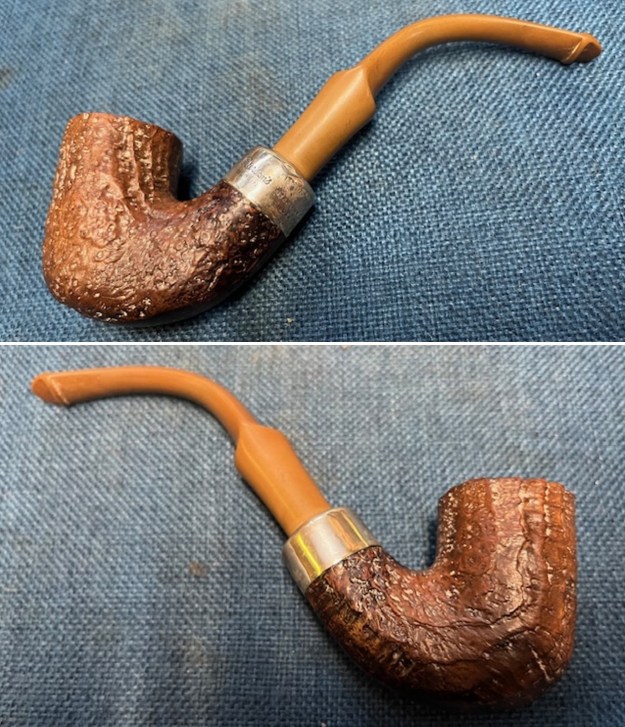
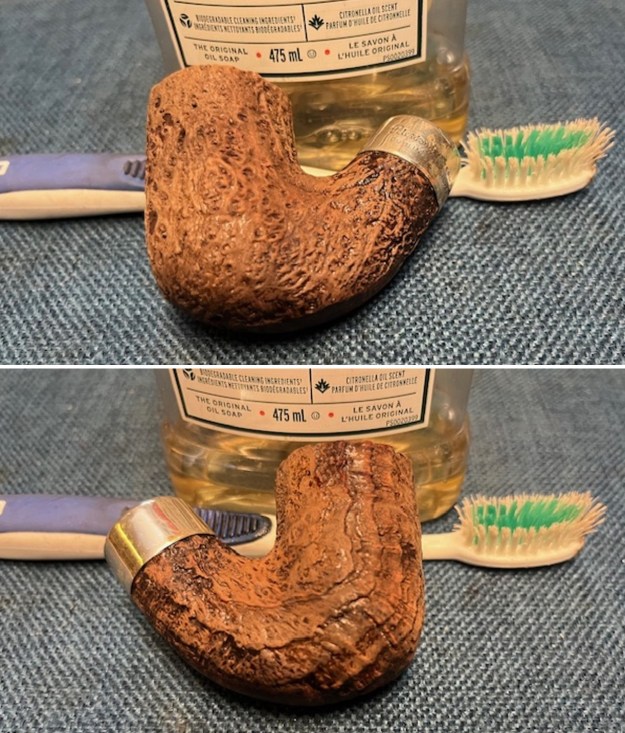
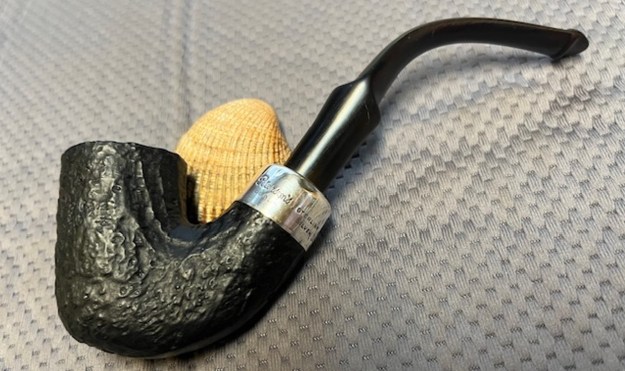
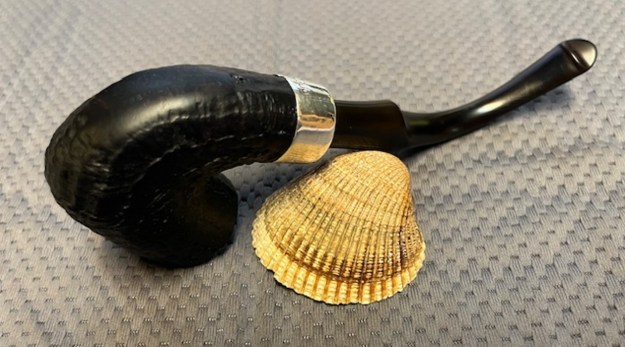
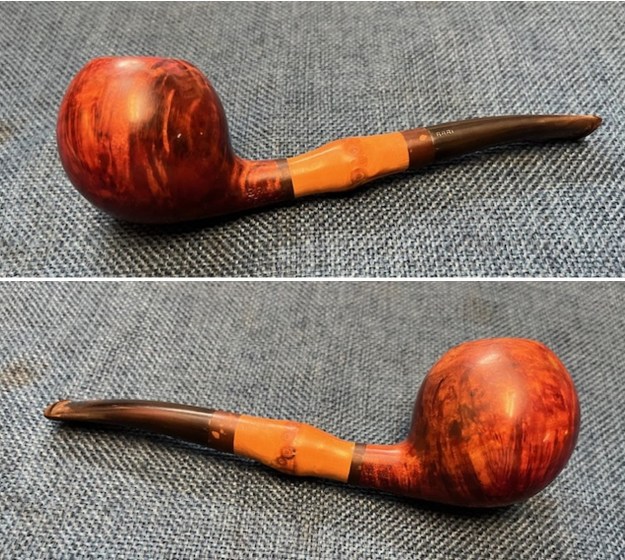
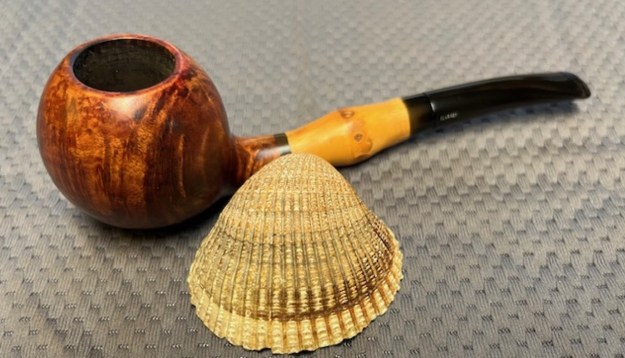
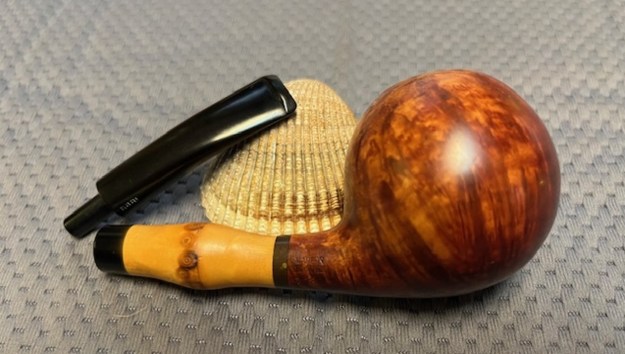
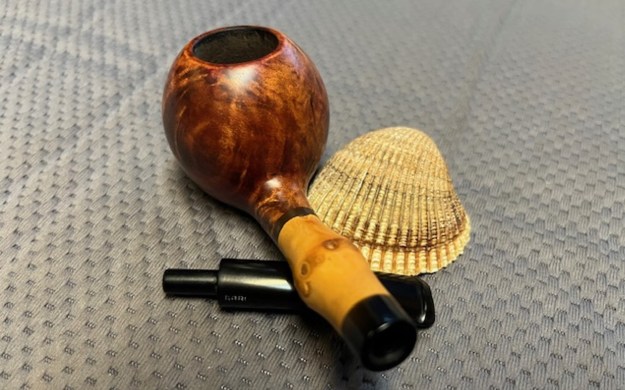
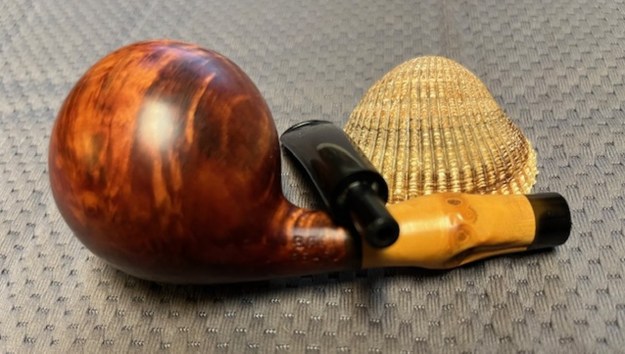
The next pipe is one that has been sitting here for quite awhile in a box of unsmoked/new old stock pipes that I have here. I went through them yesterday and sorted the out. I put all of them on the rebornpipes store but this one. There was just something about it that grabbed my eye. It is a classic apple shaped pipe that is stamped on the left side of the shank and has a white hollow star next to the shank followed by the Briarcraft logo – a B in a diamond. Next to that it is stamped Custom [over] SMOKEMASTER [over] Made. On the right side of the shank it was stamped Pat. 2.166.537. The was a white letter B on the left side of the shank – the Briarcraft logo. We picked up the pipe on 11/09/2023 from a seller in Nampa, Idaho, USA. The pipe is unsmoked and the bowl is fresh. The finish on the bowl and shank is very shiny with varnish or possibly shellac but it is peeling and cracking in places. The grain on the pipe was quite stunning and would really shine through once the finish was gone. It was an incredibly lightweight pipe to hold. The stem is dirty with some sticky stuff from possibly a price tag and some nicks and scratches from laying around a long time somewhere. I took photos of the pipe to show its condition before I started working on it. It was going to be a pretty simple cleanup. 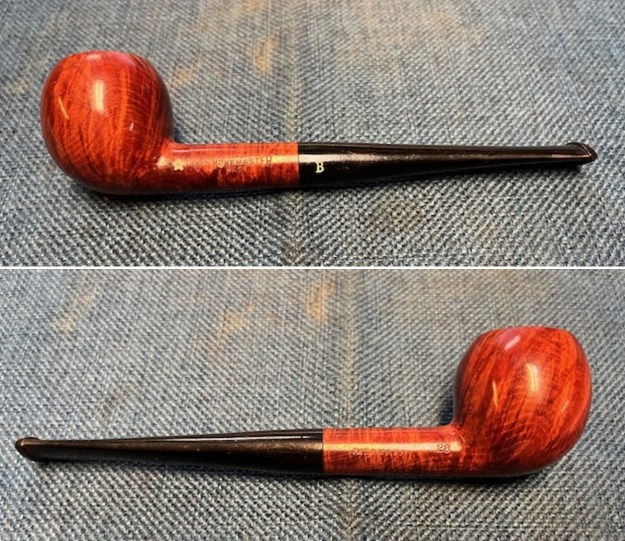
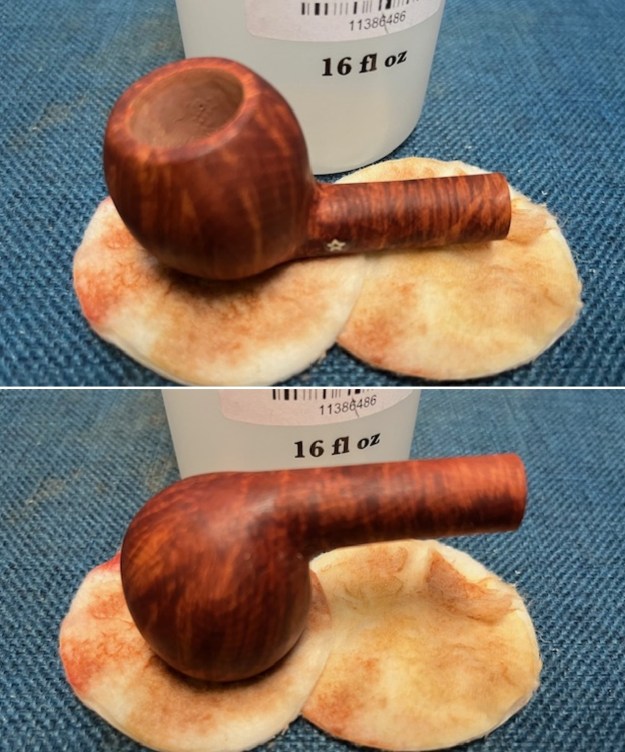
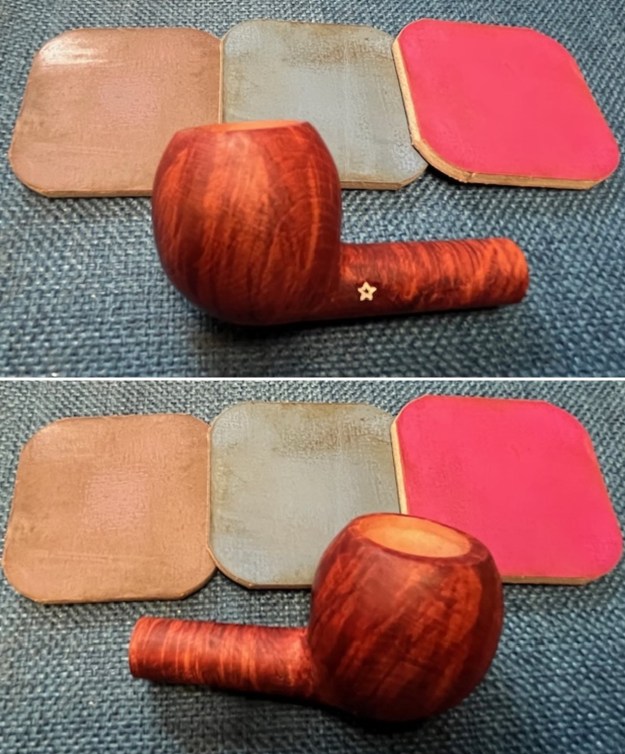
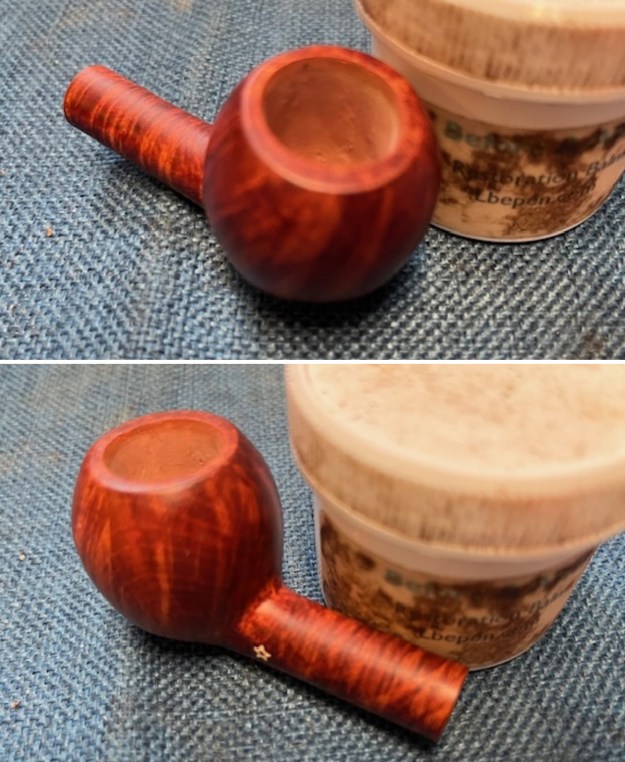
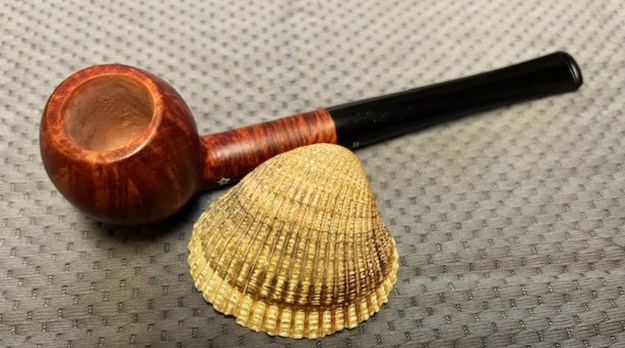
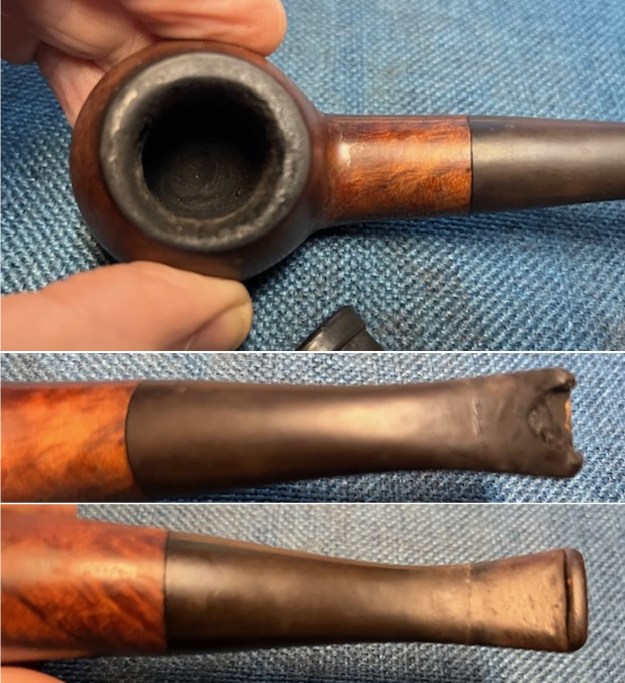
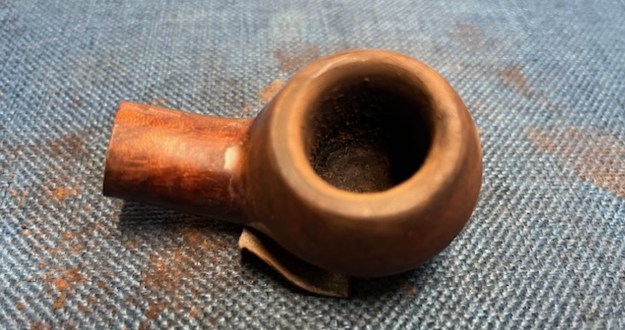
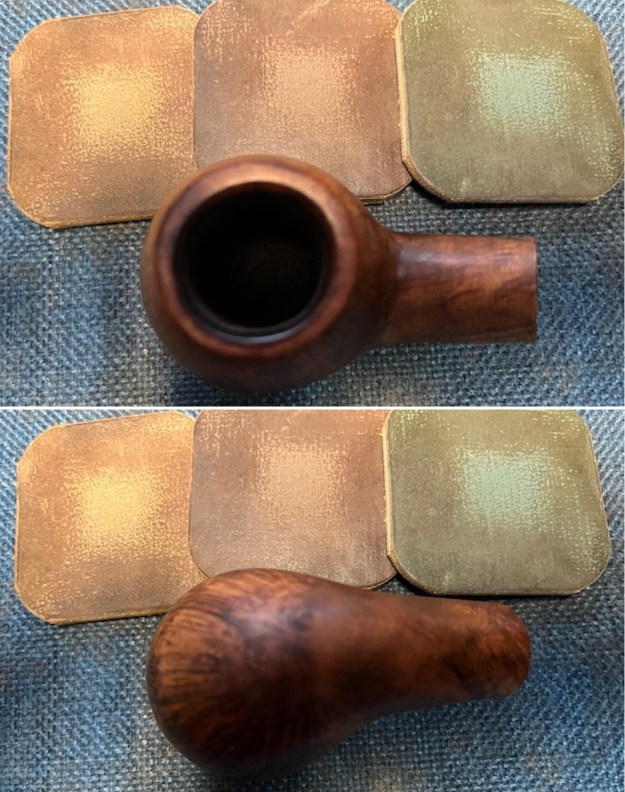
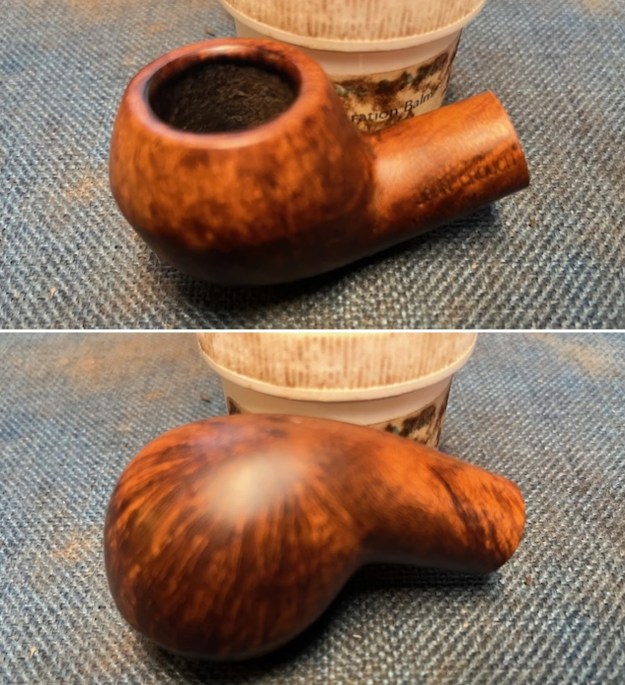
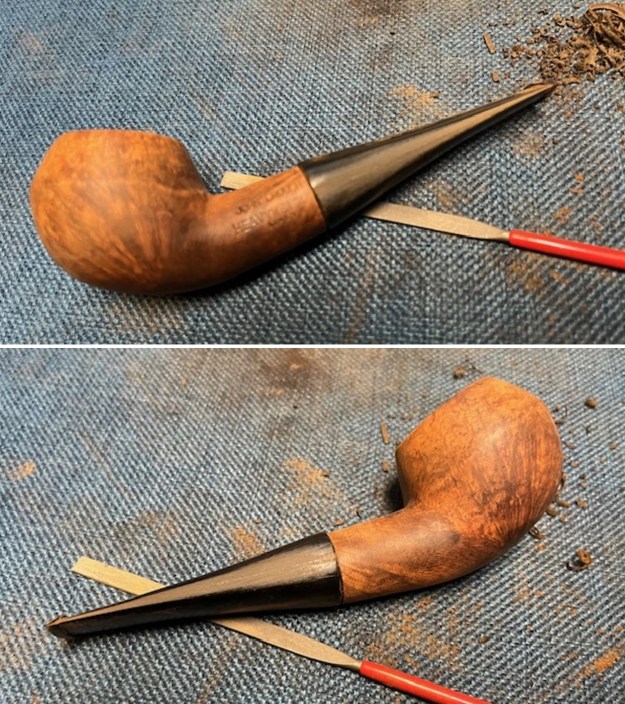
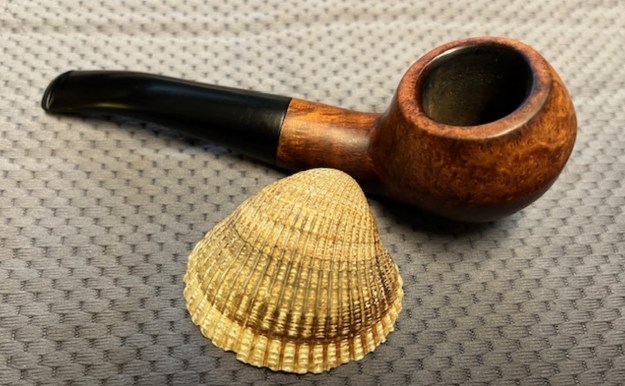
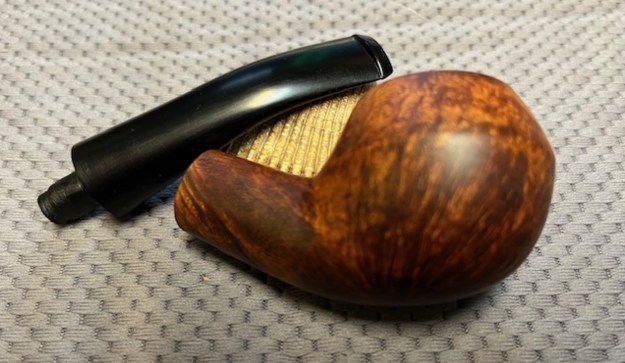
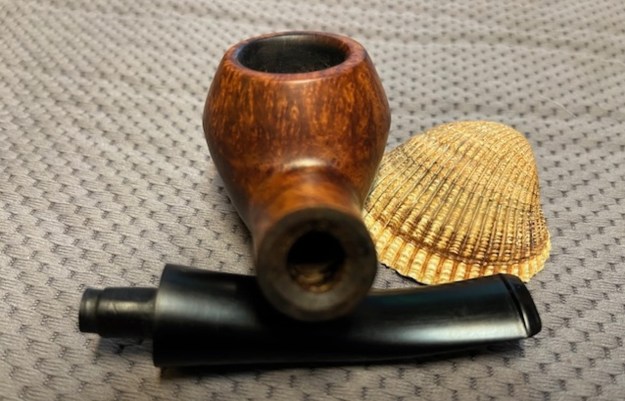
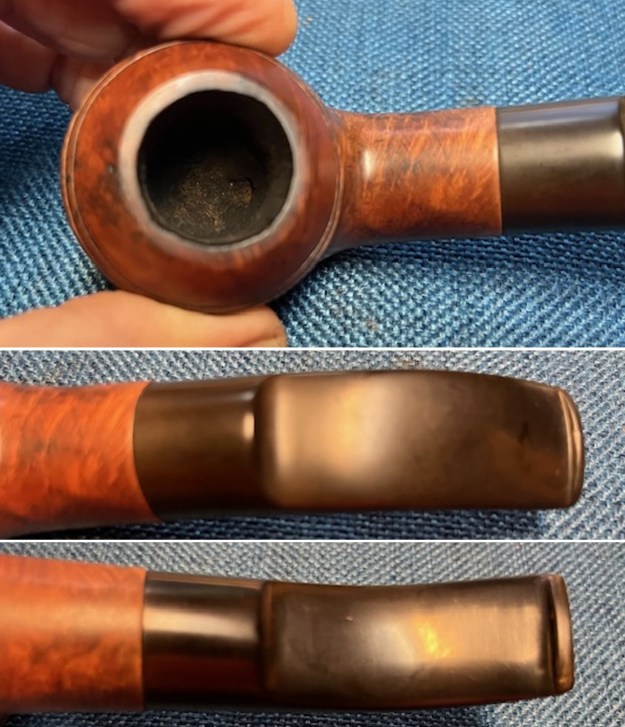
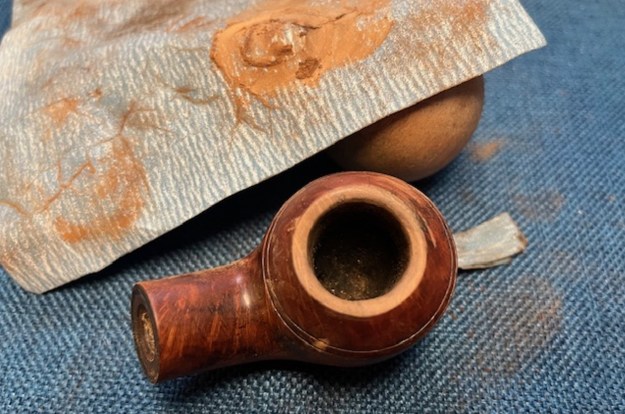
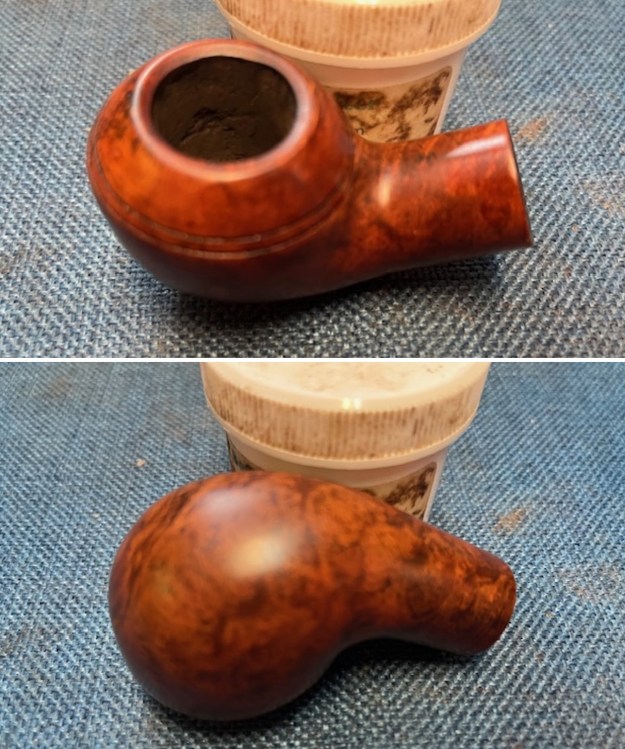
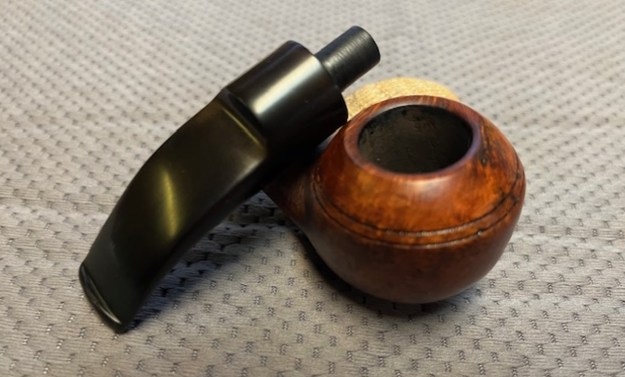
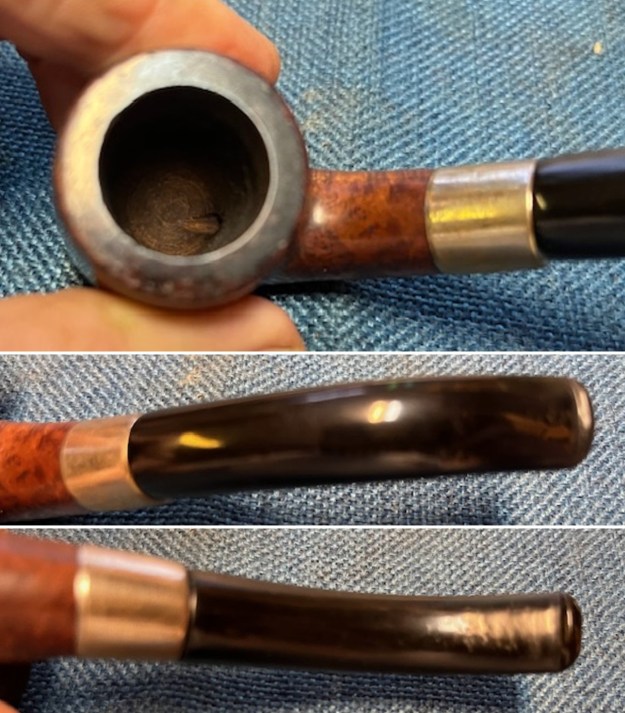
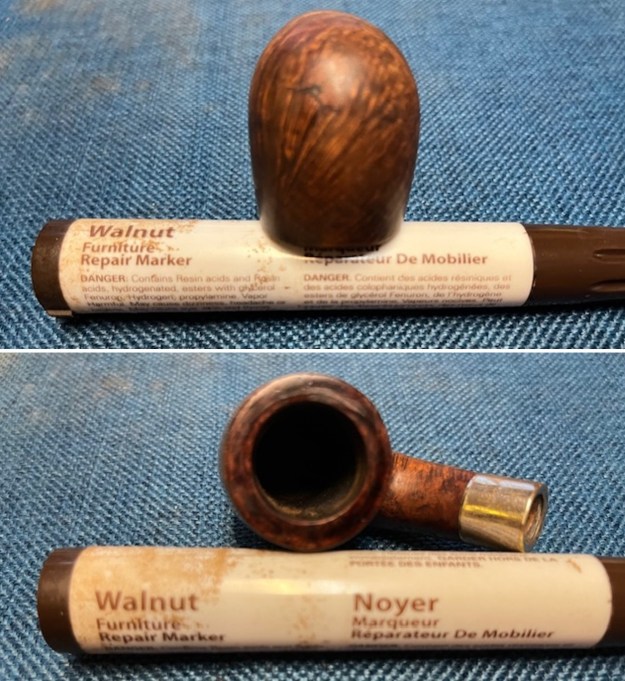
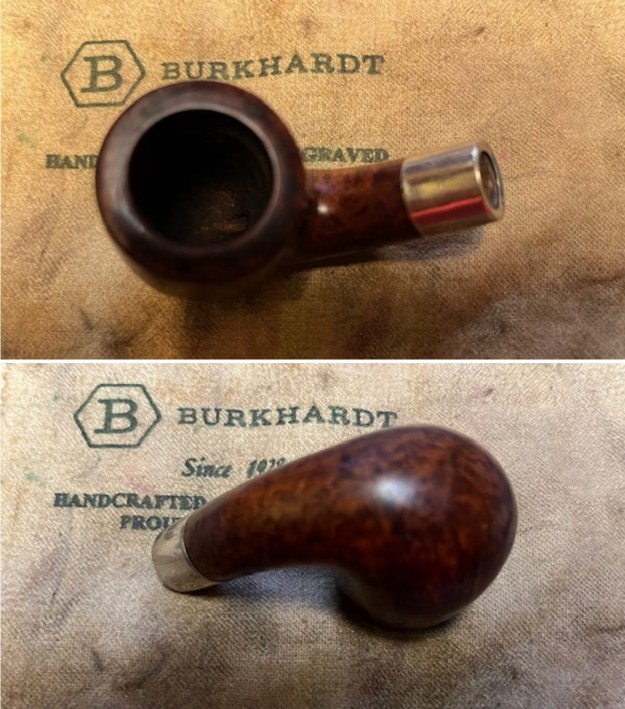
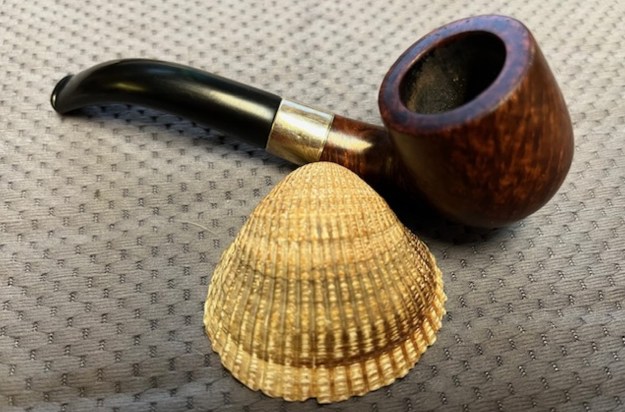
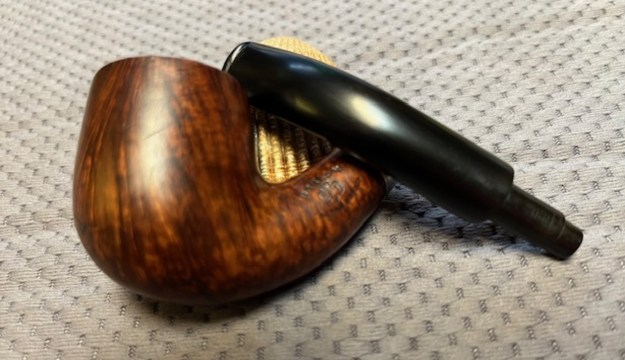
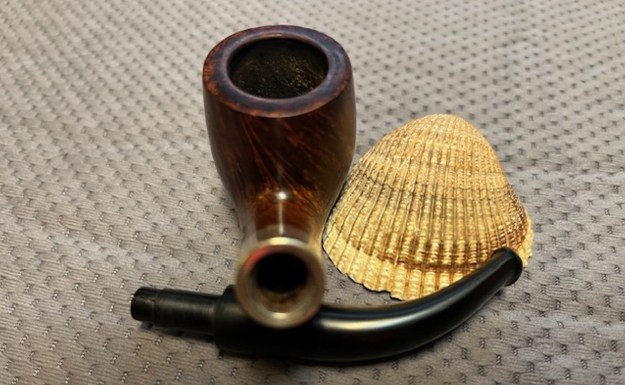
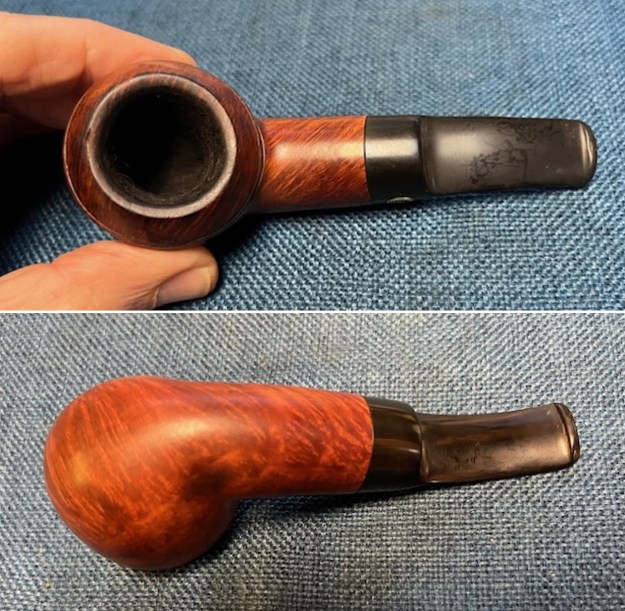
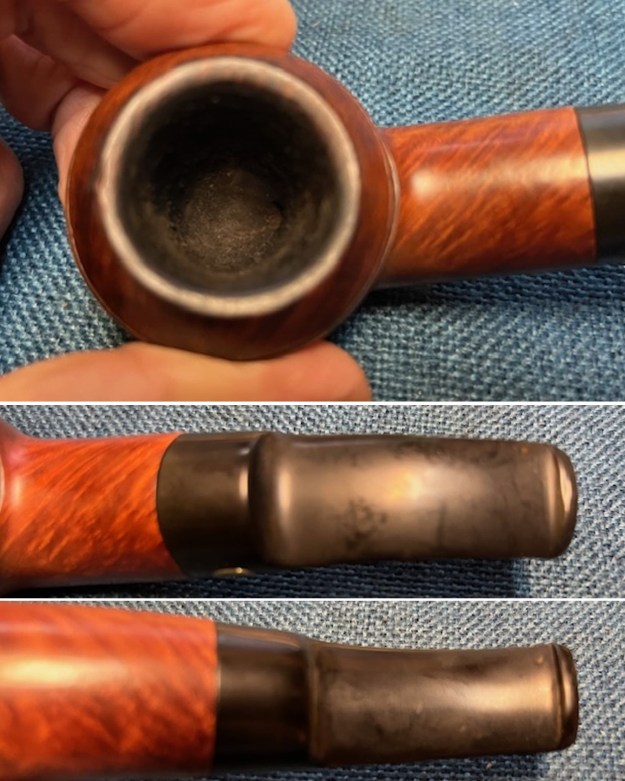
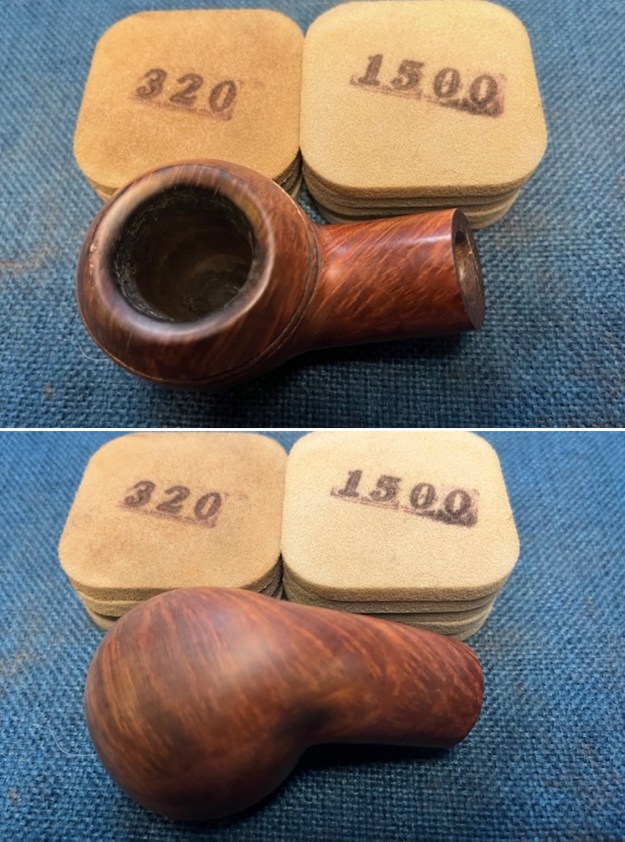
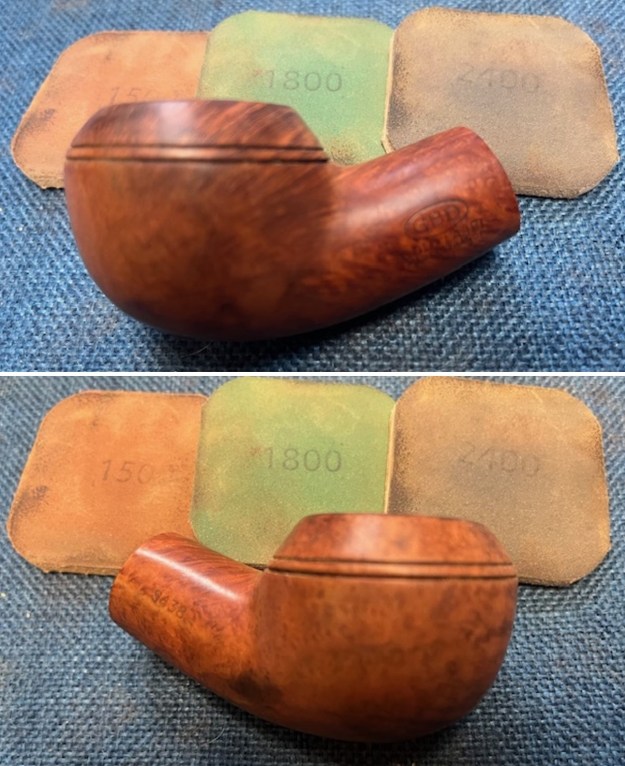
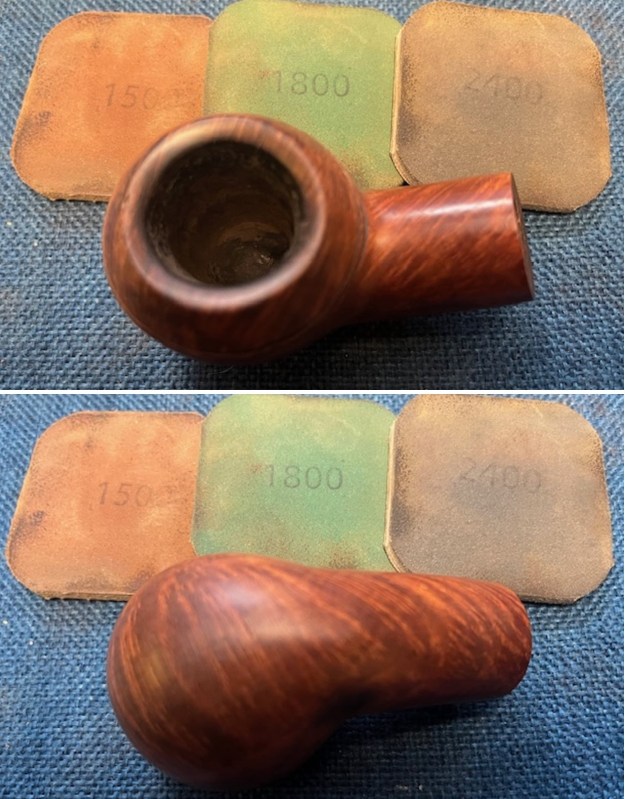
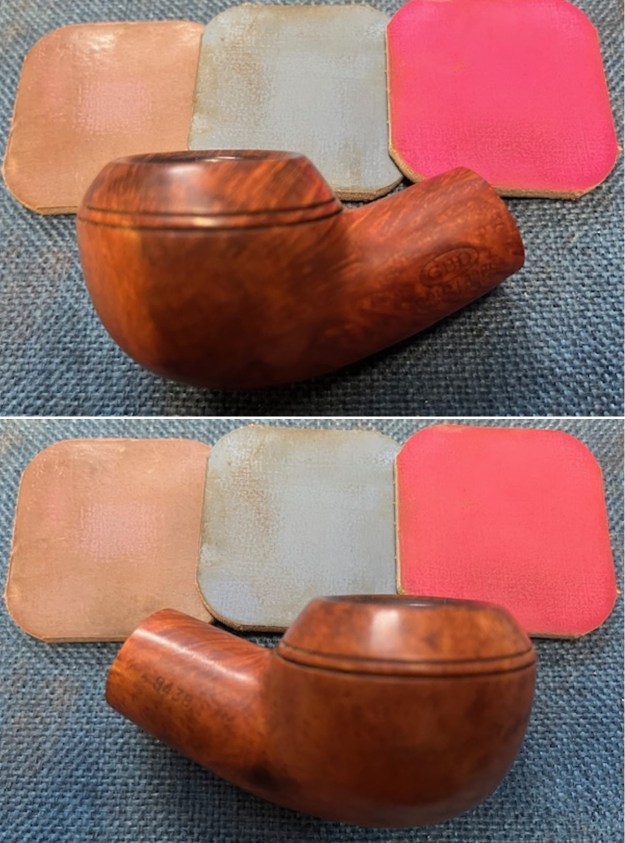
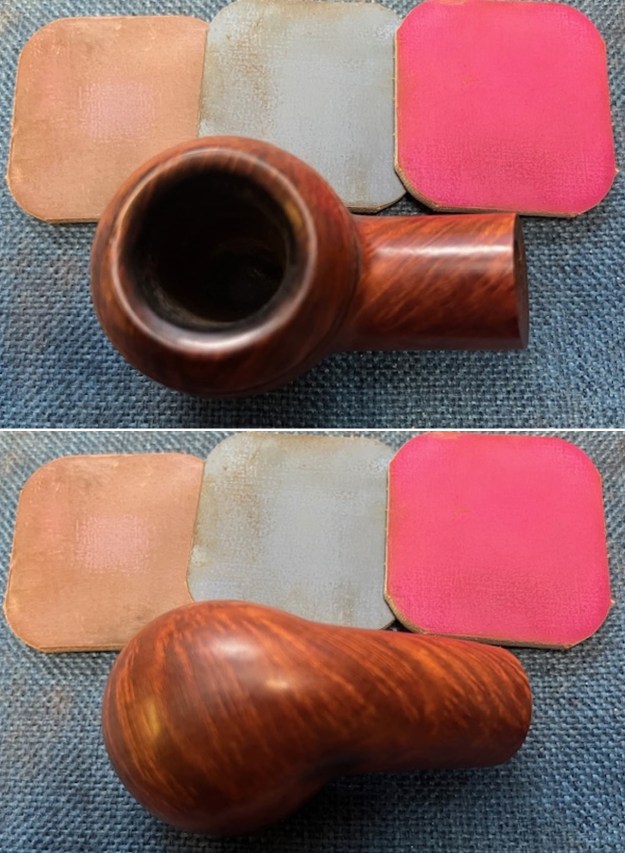
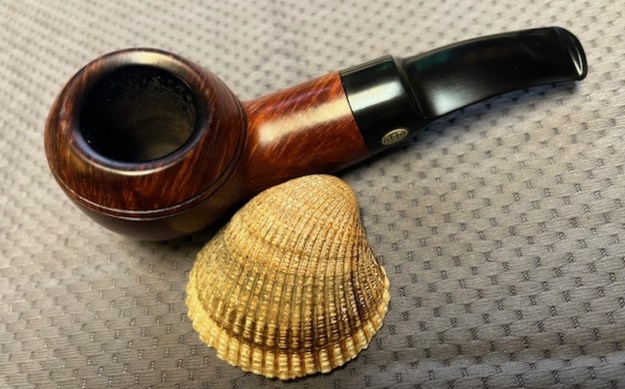
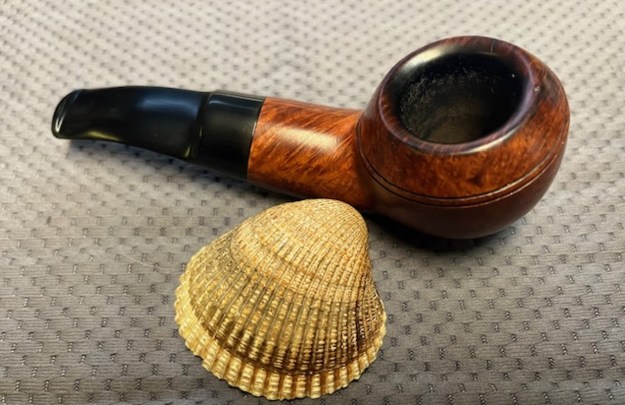
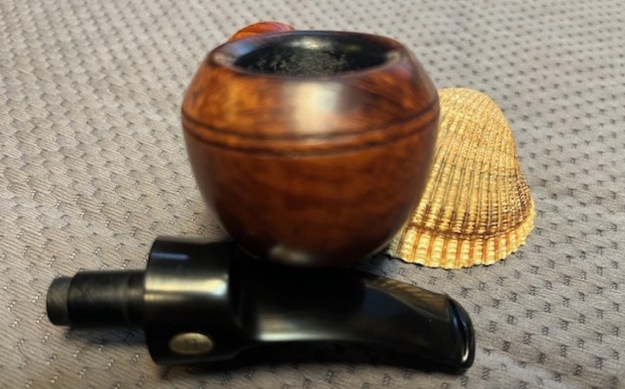
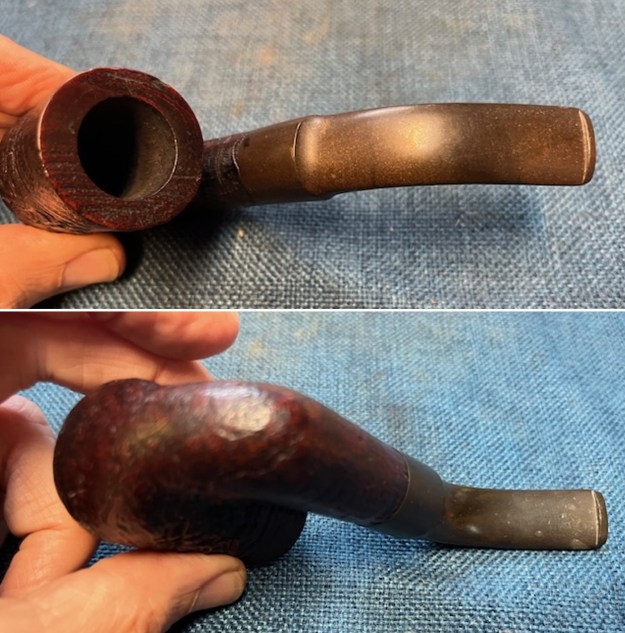
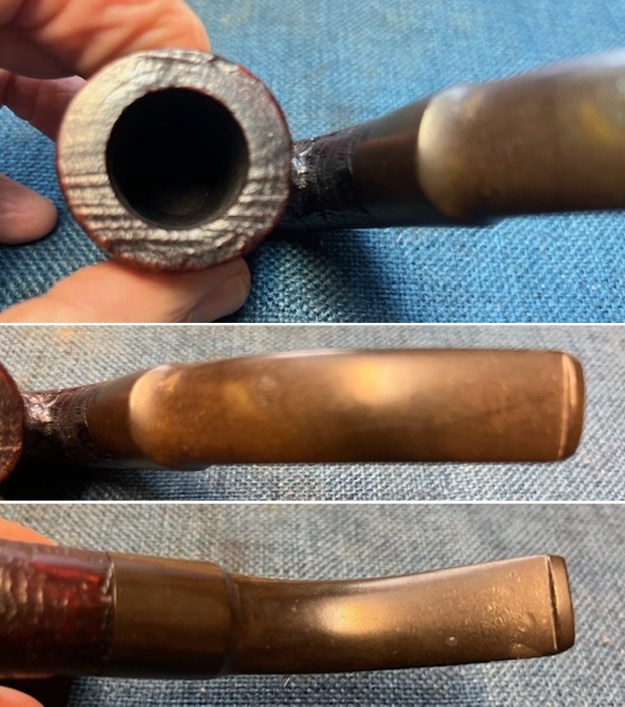
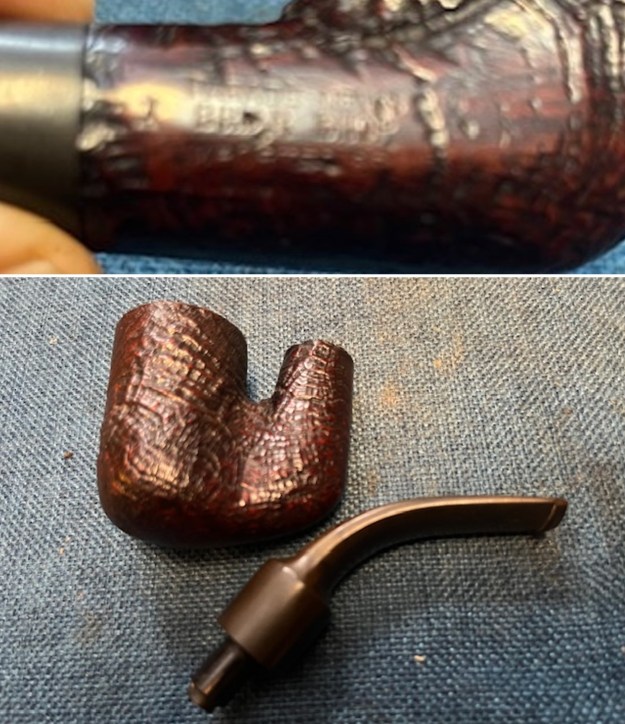
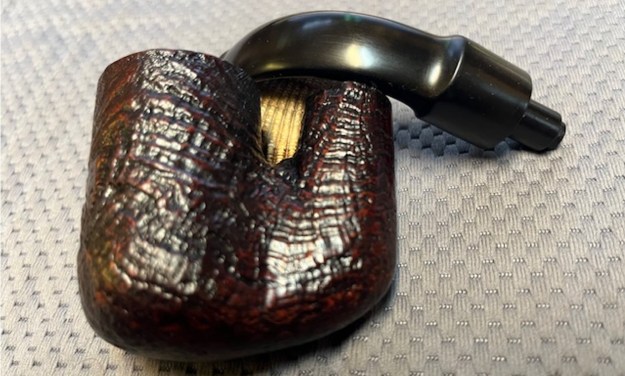
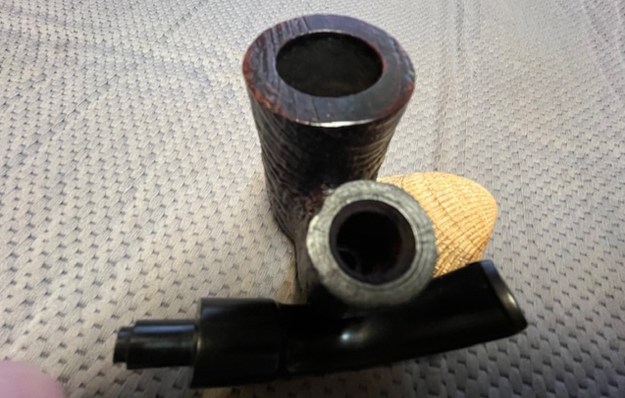
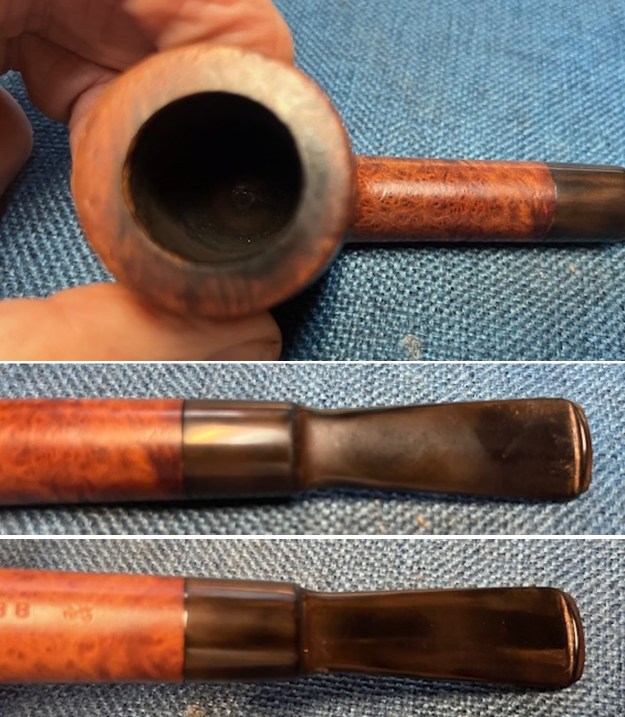
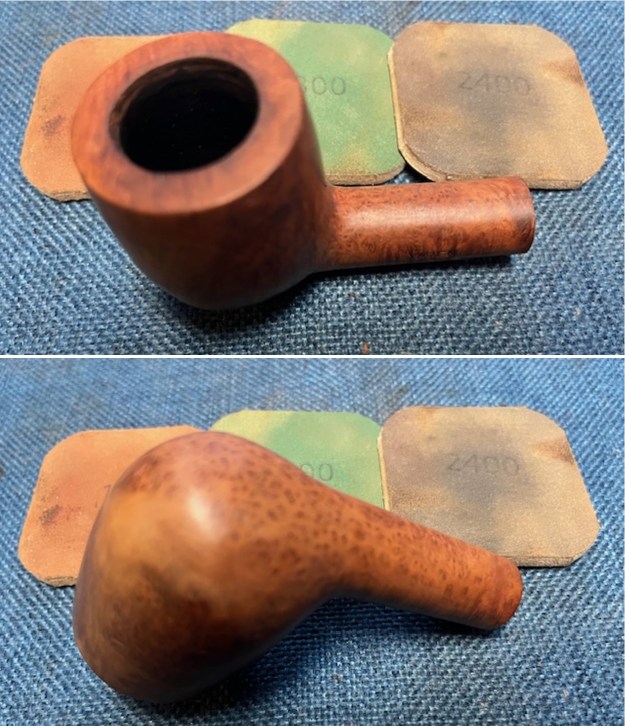
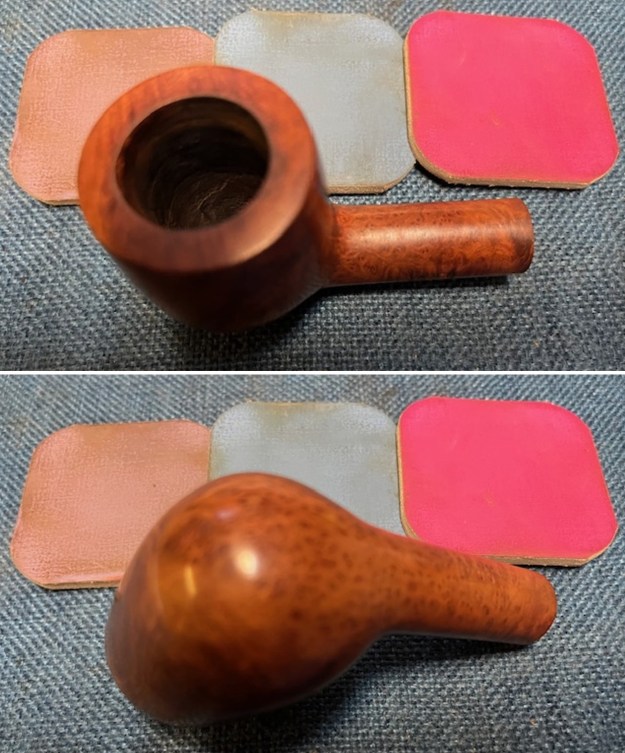
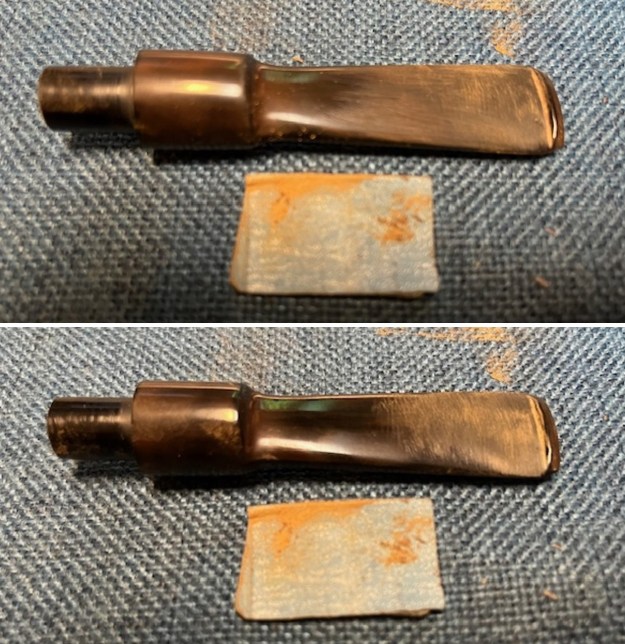
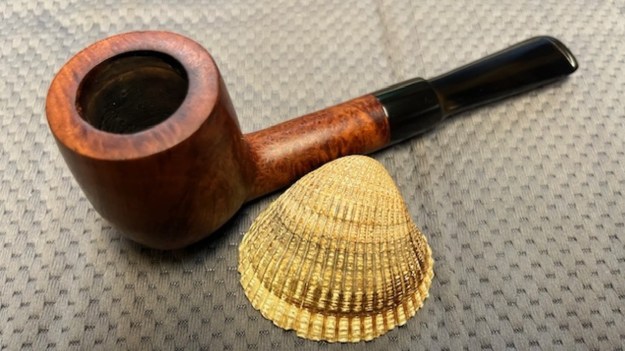
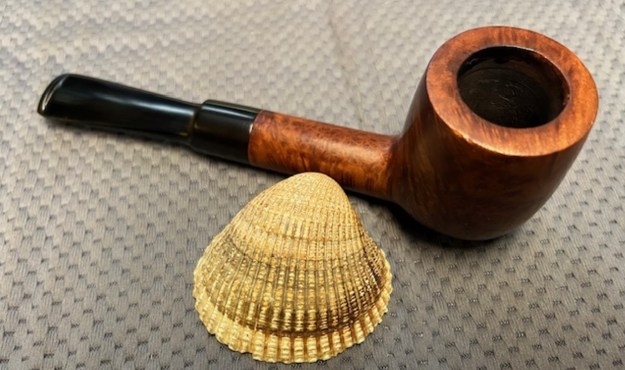
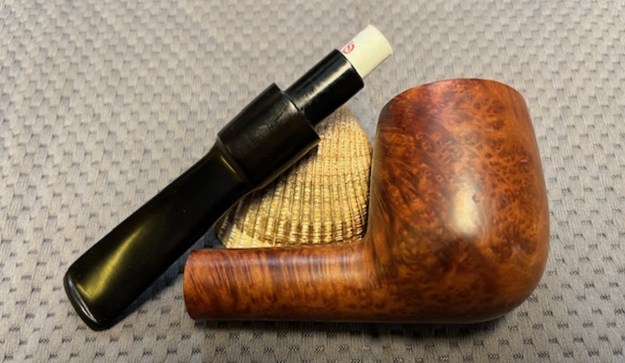
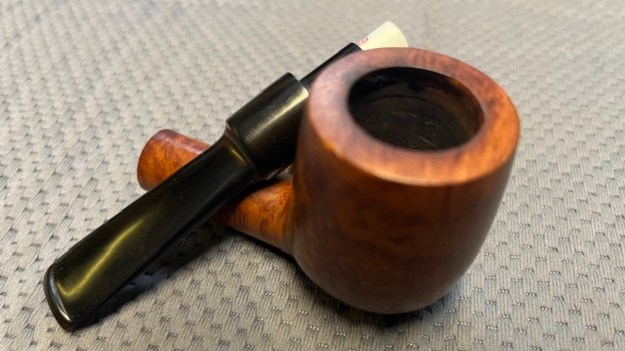
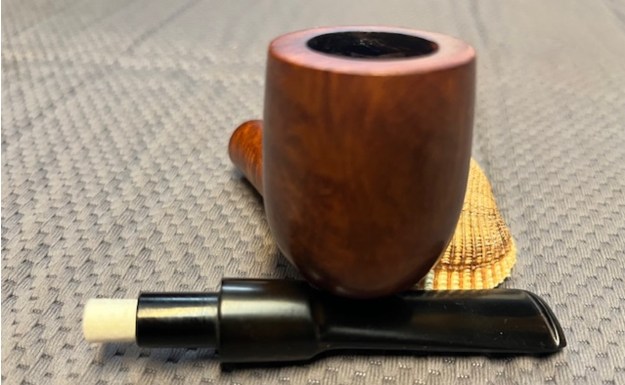
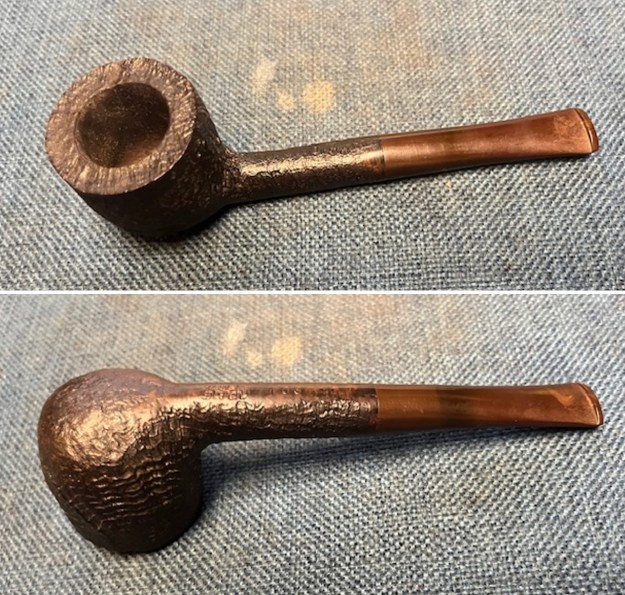
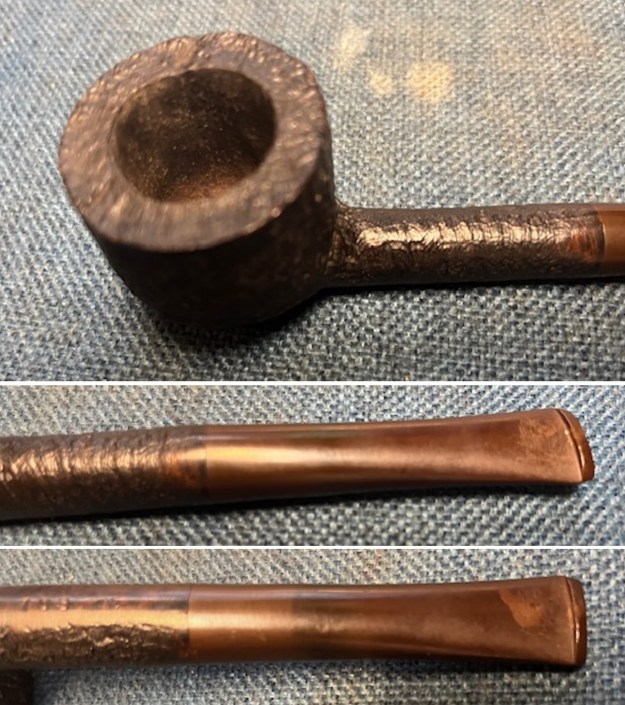
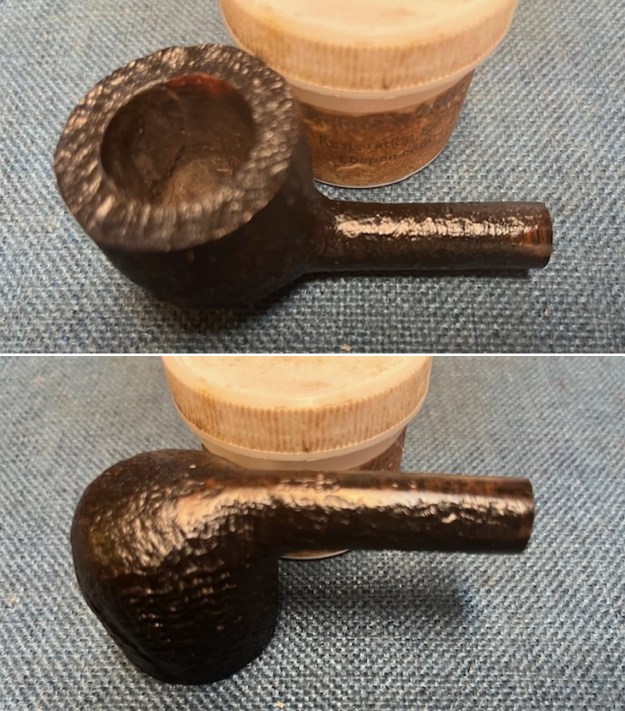
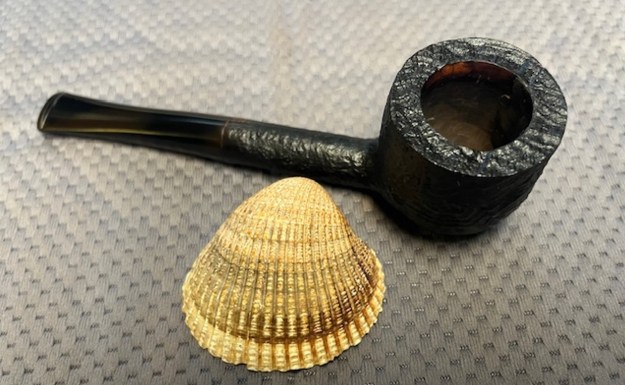
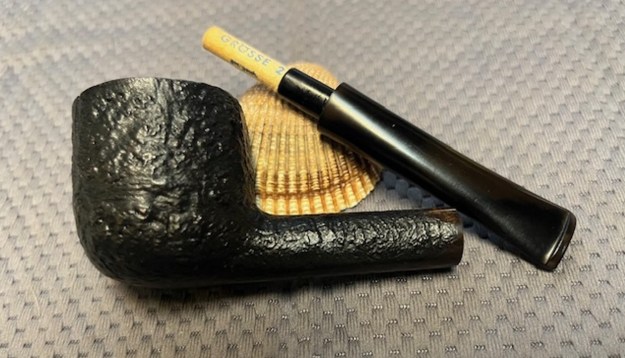
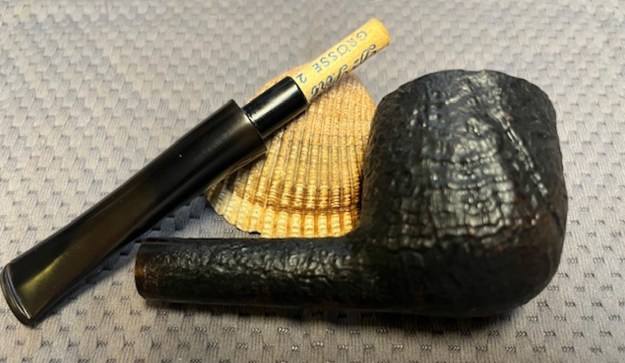
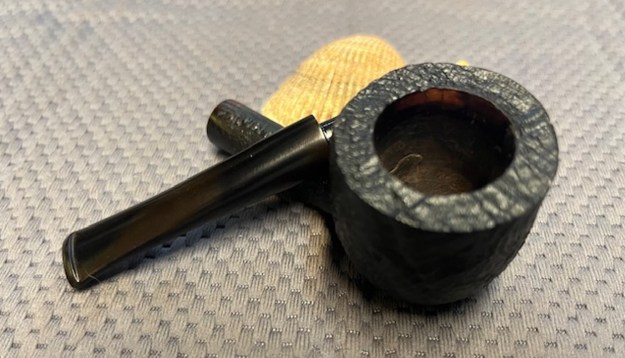
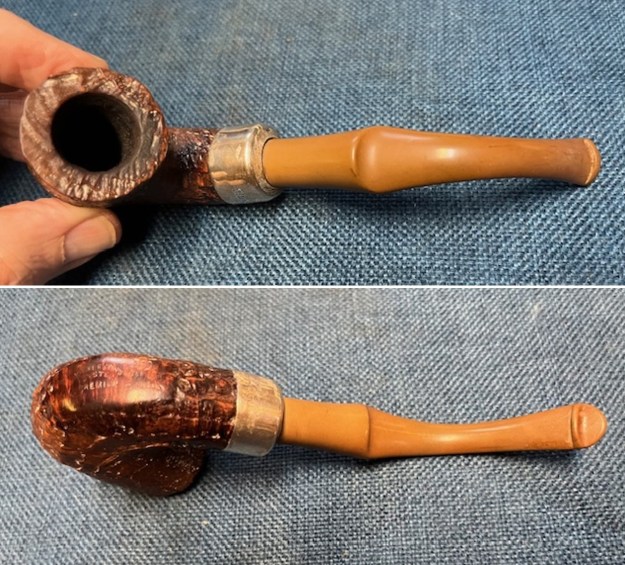
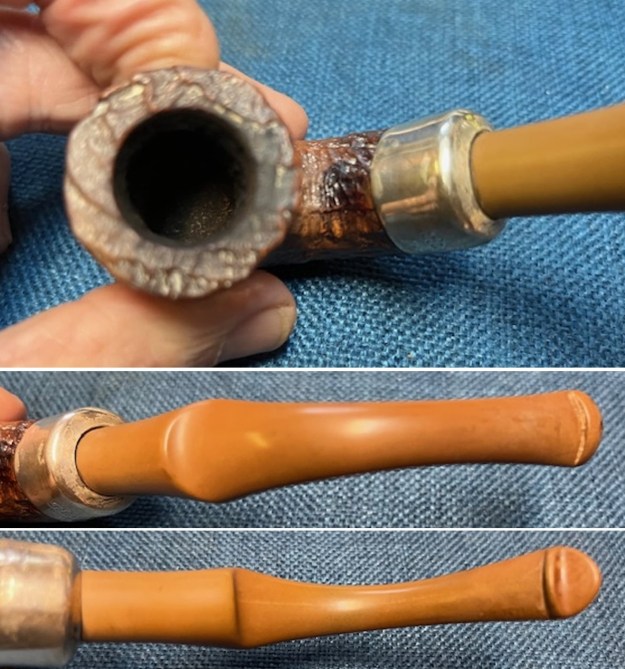
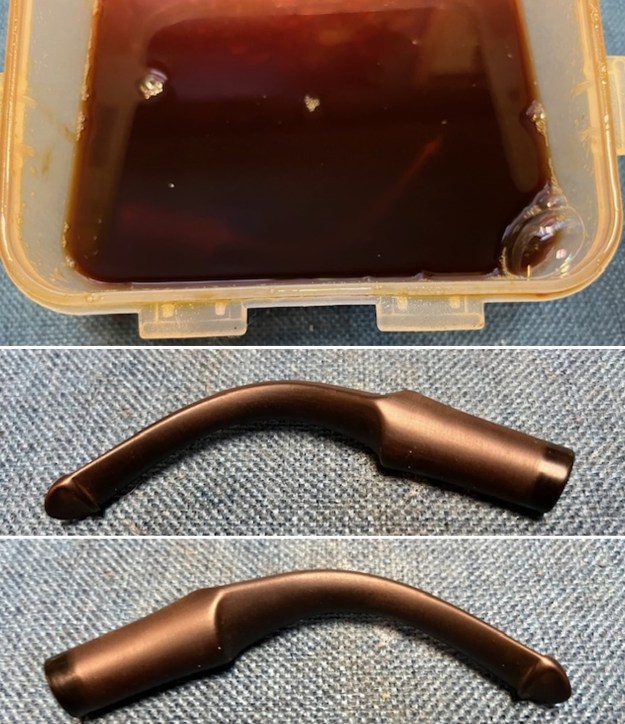
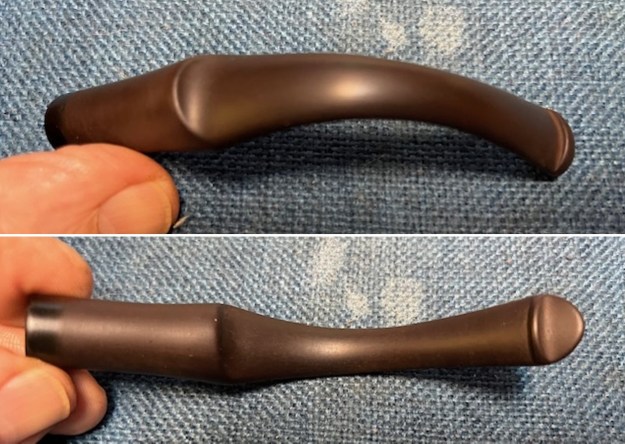
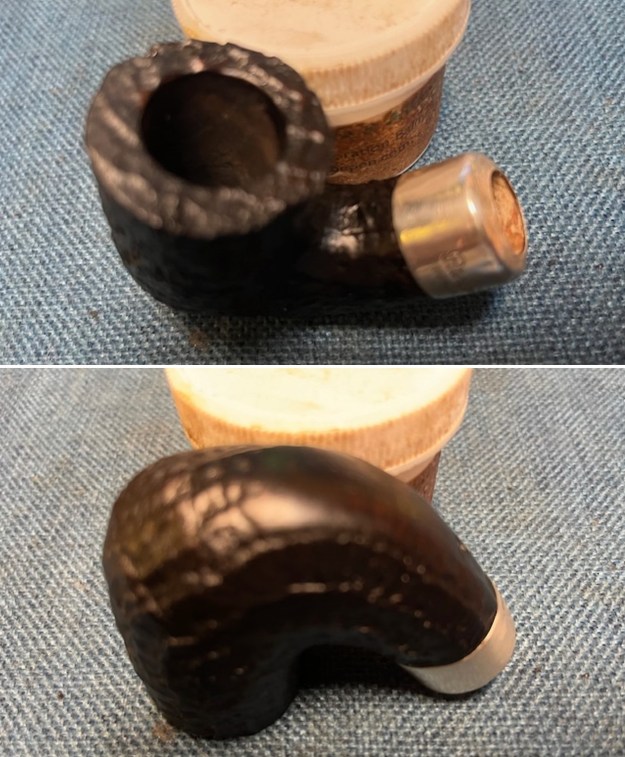
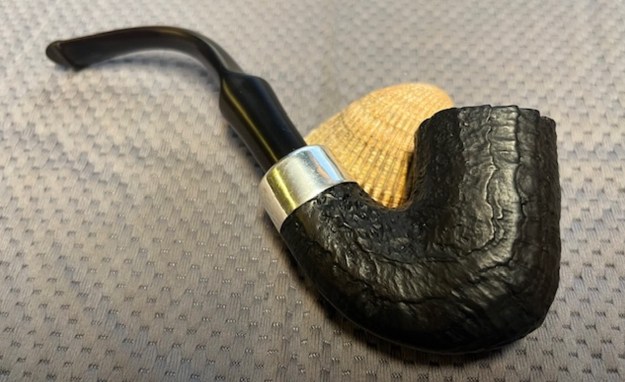
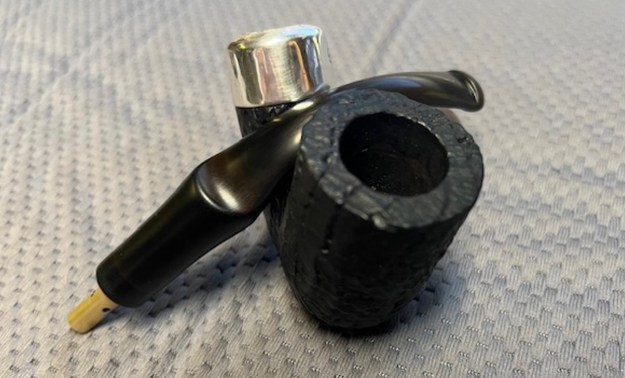
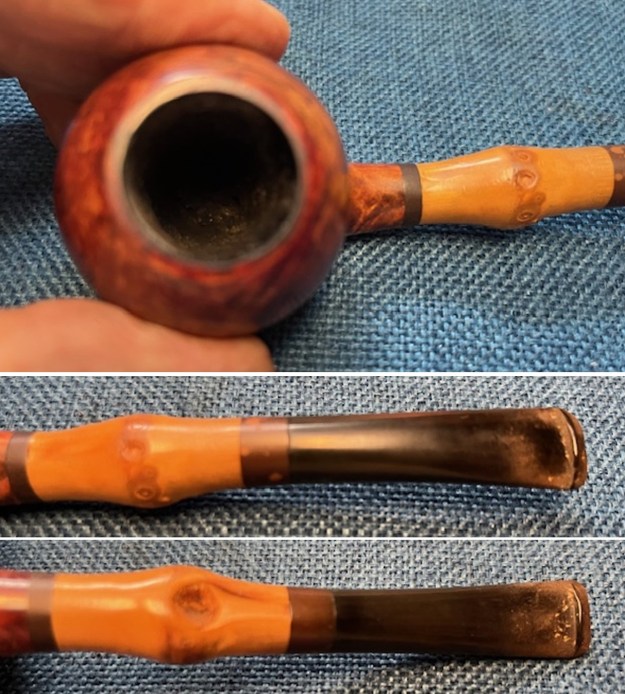
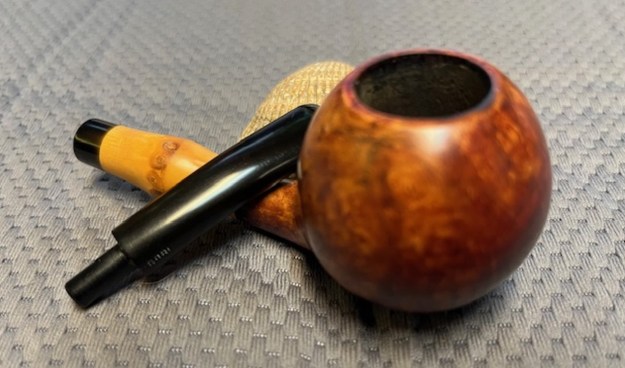
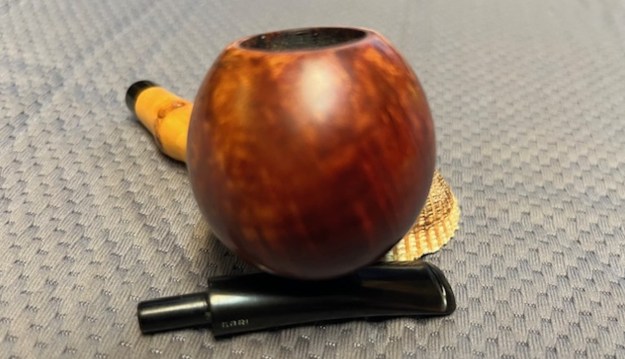
 I took closeup photos of the unsmoked, new briar bowl and rim top to clearly show the condition of both. The condition matches what I described above. I also took photos of the stem to show the sticky spots and scratches on the stem surface ahead of the button on each side.
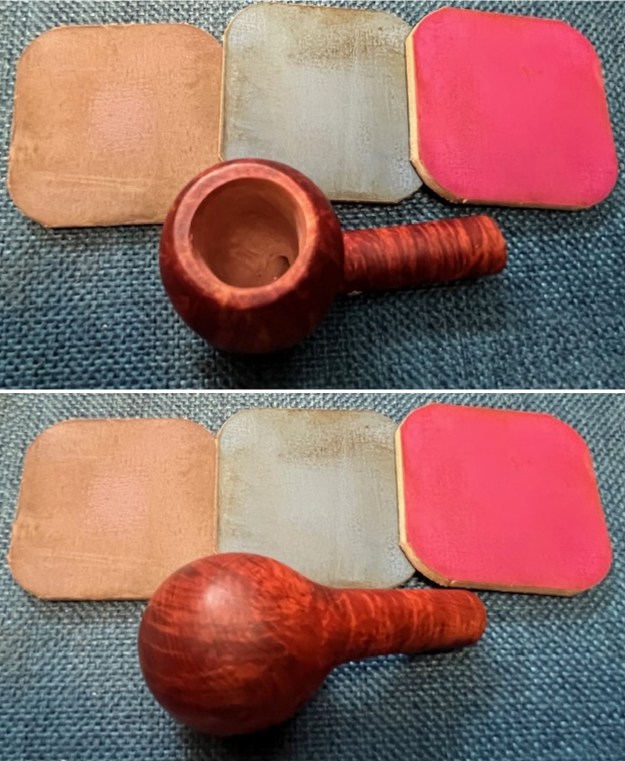
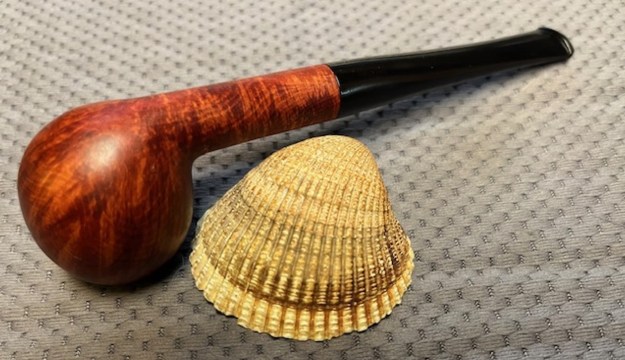
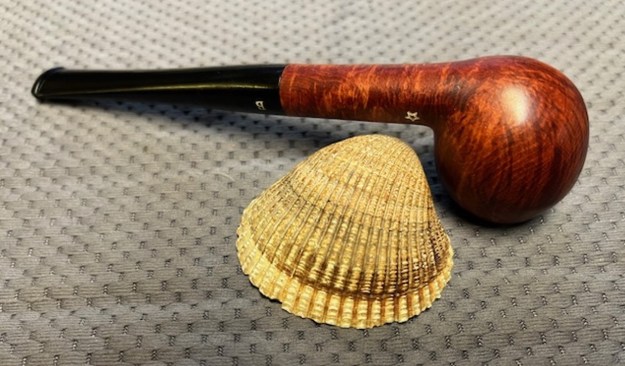
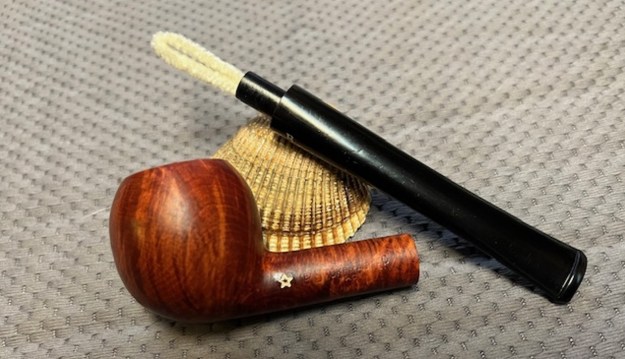
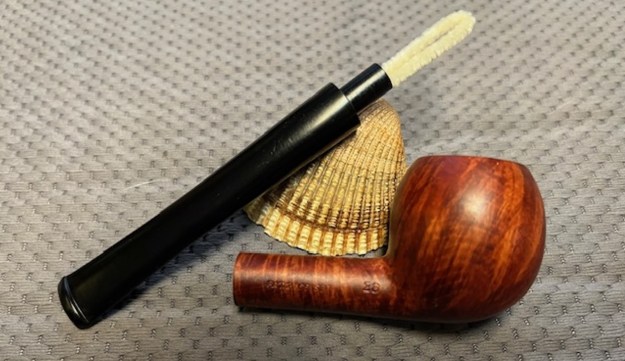
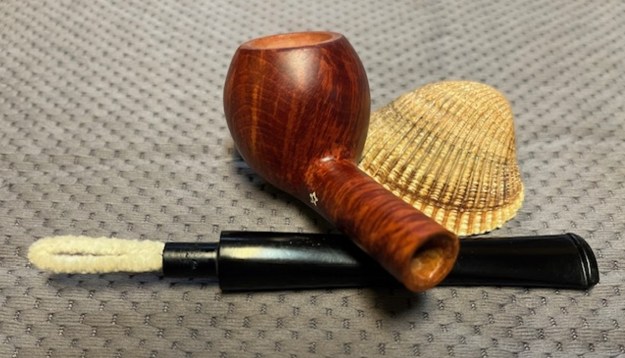
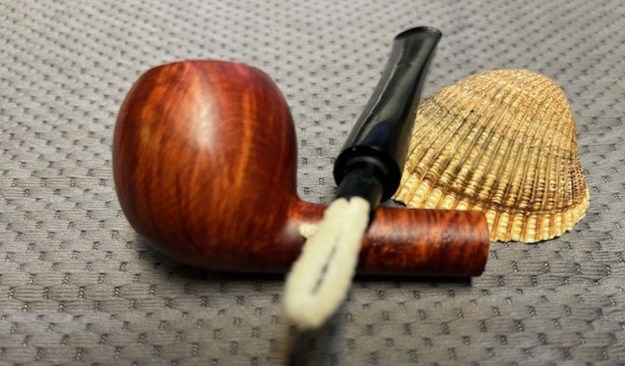
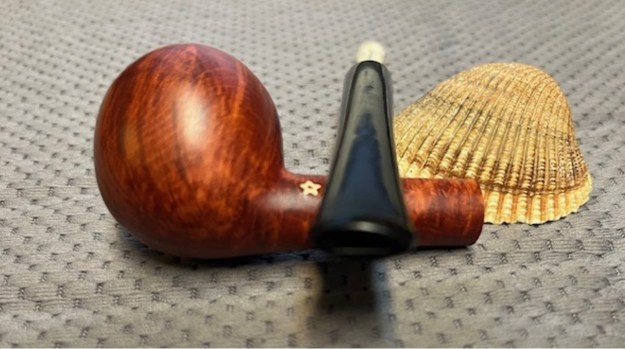
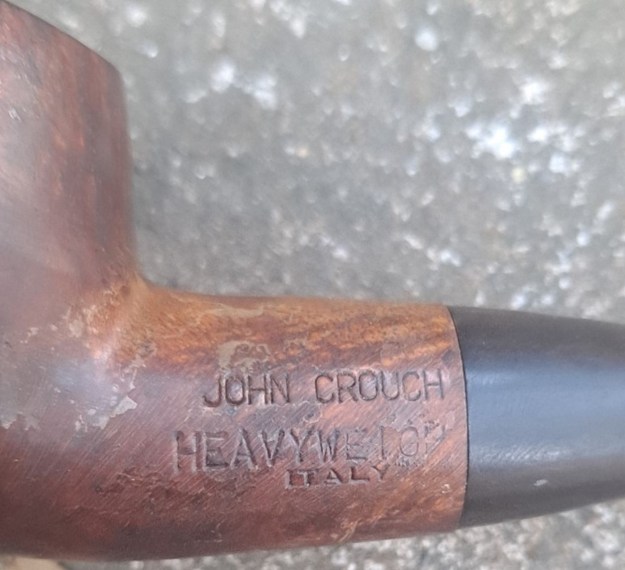
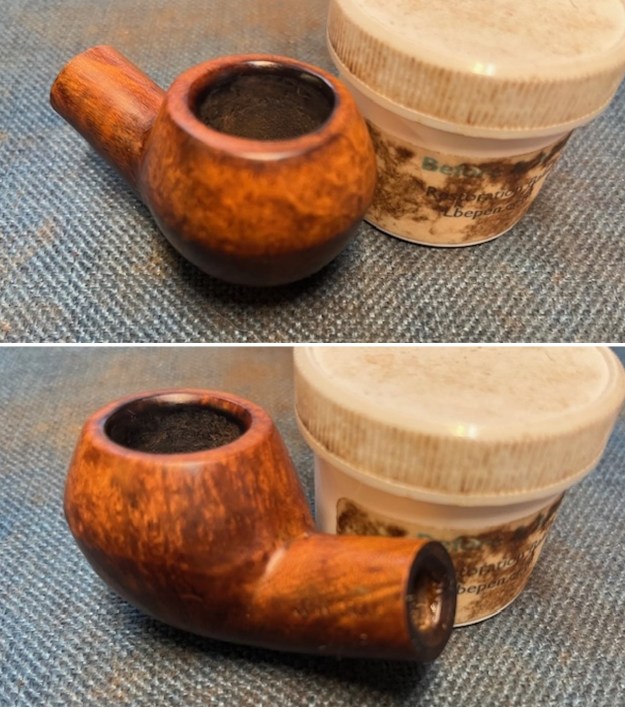
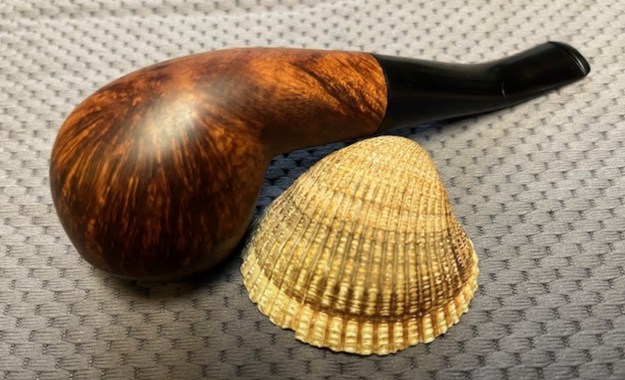
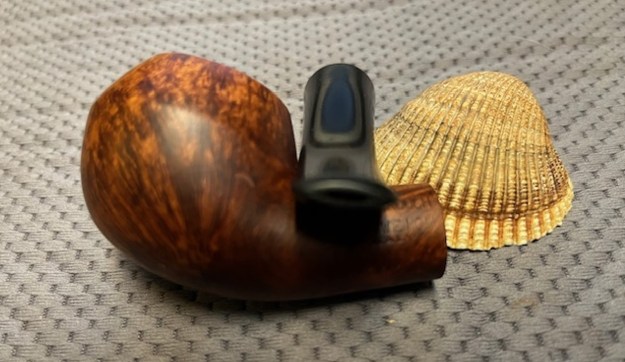
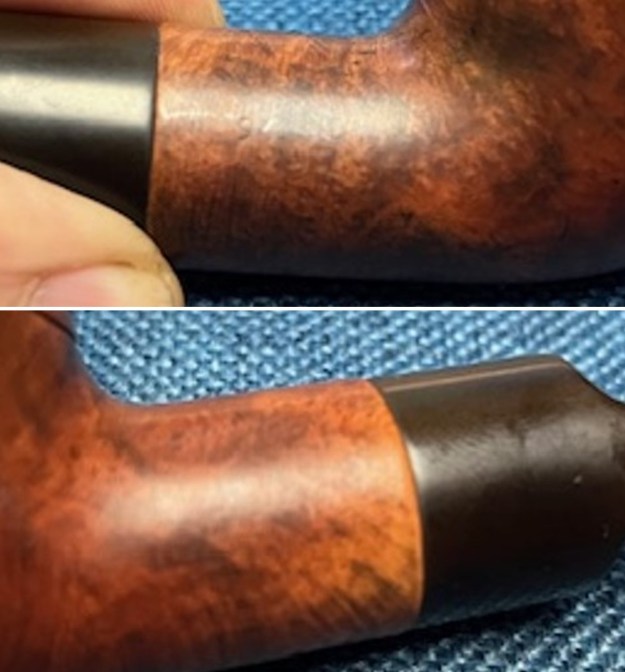
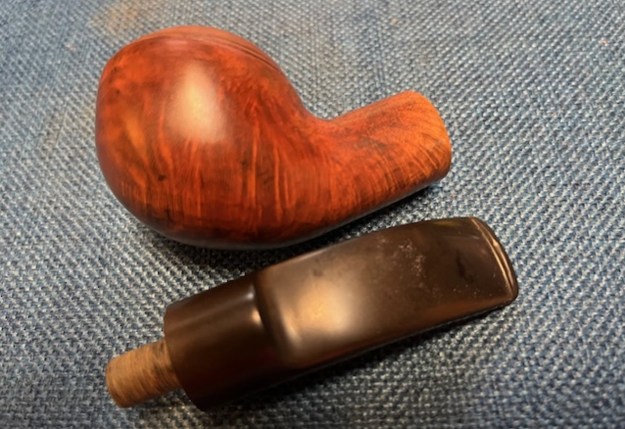
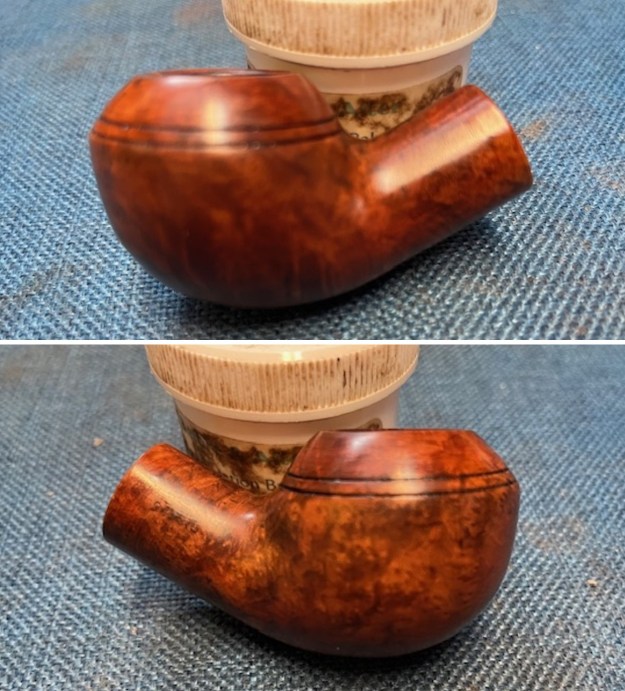
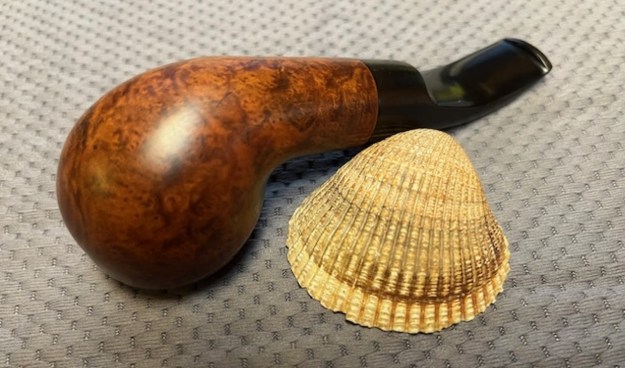
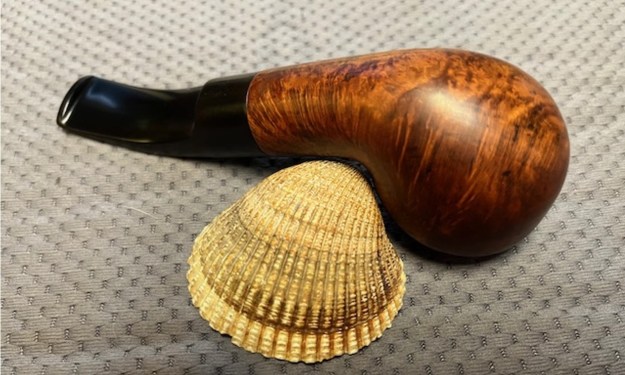
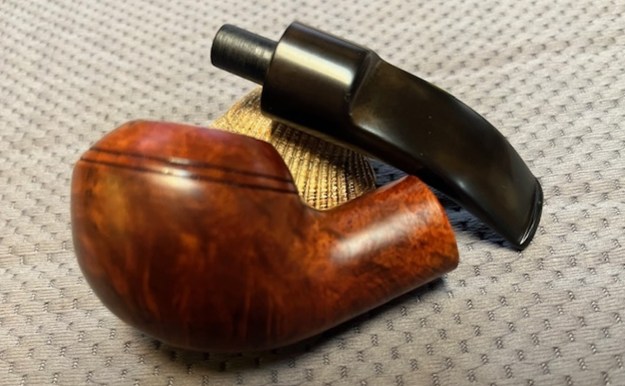
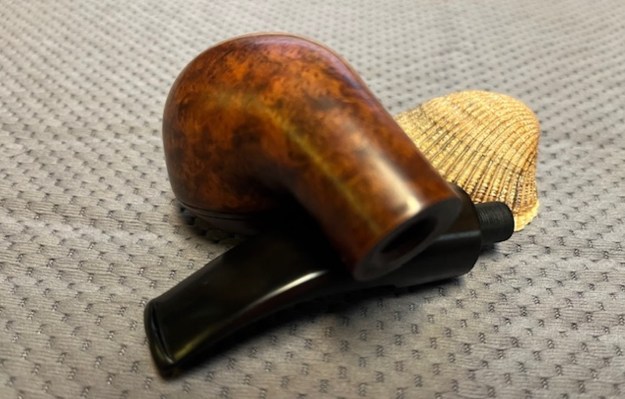
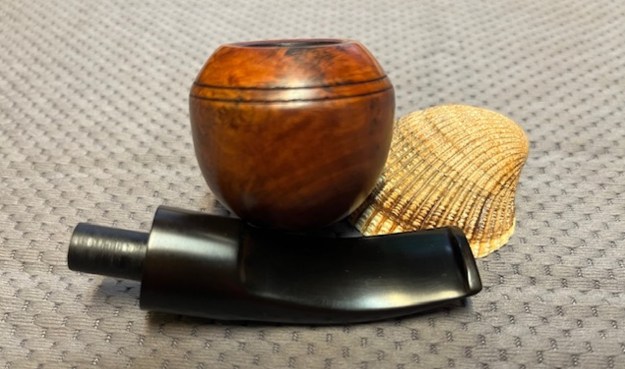
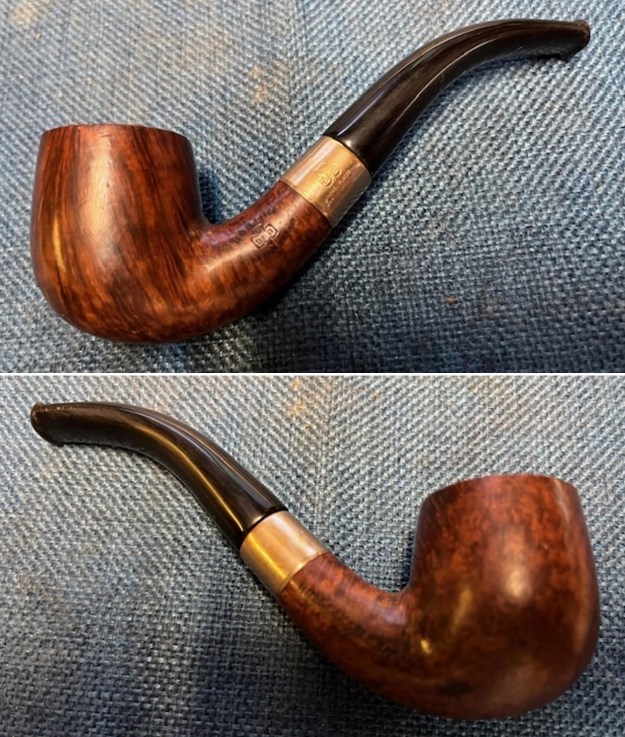
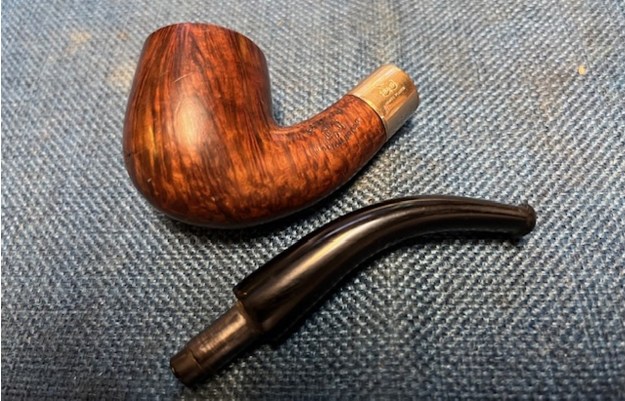
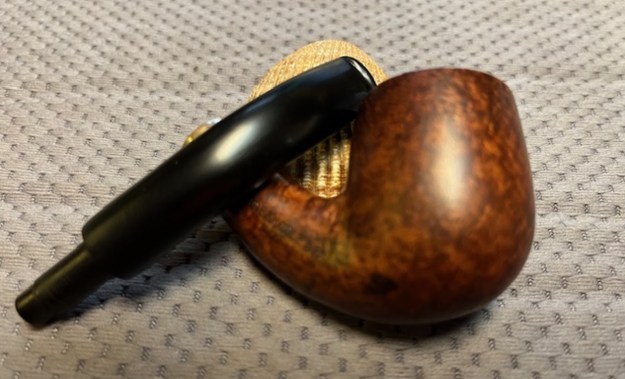
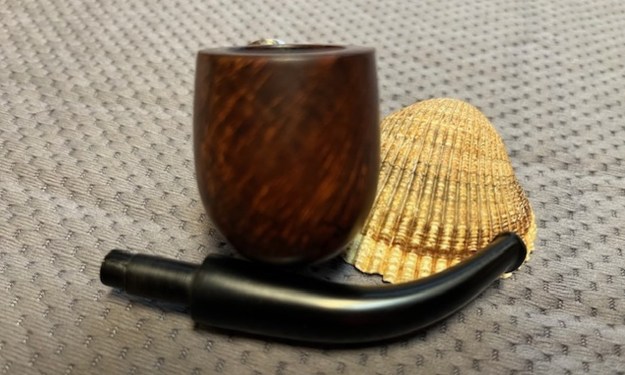
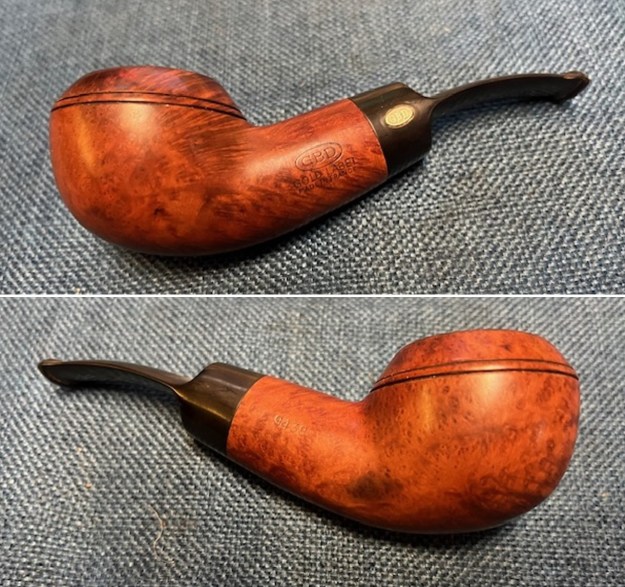
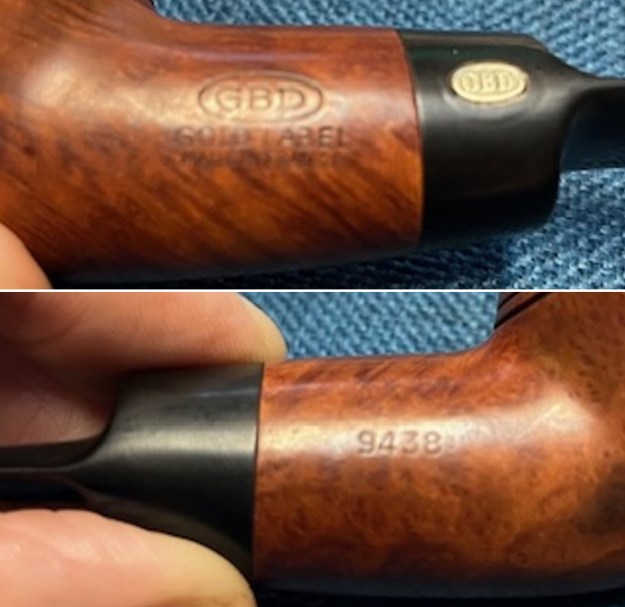
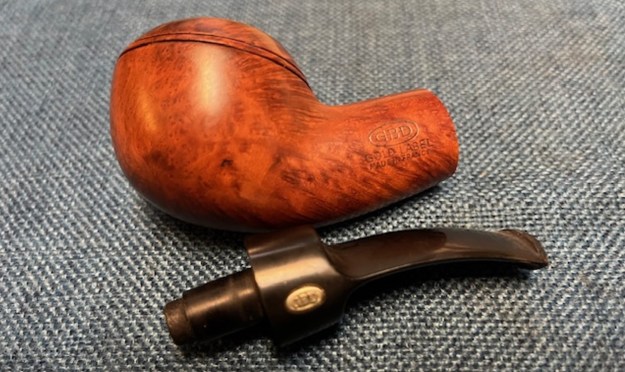
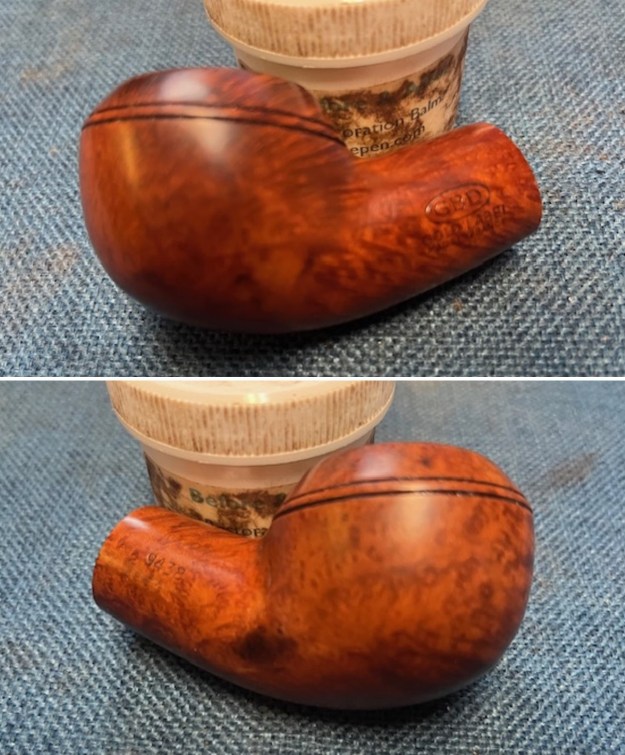
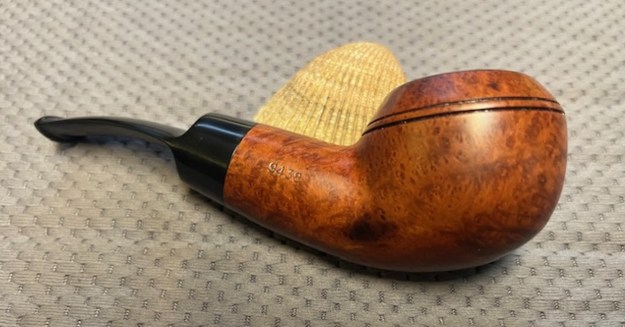
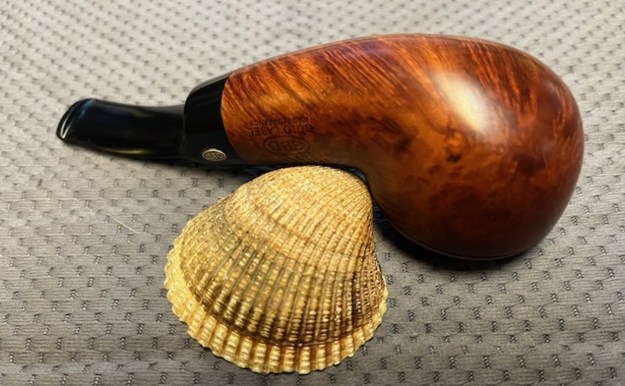
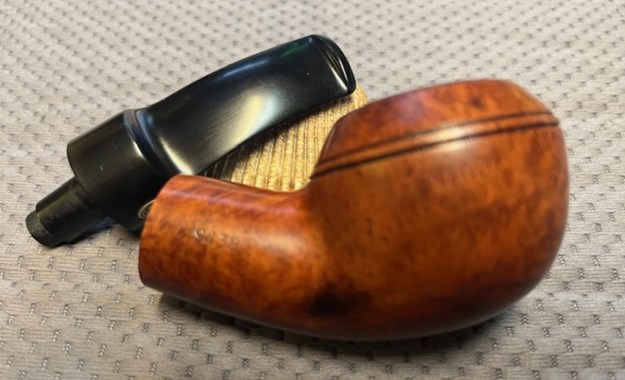
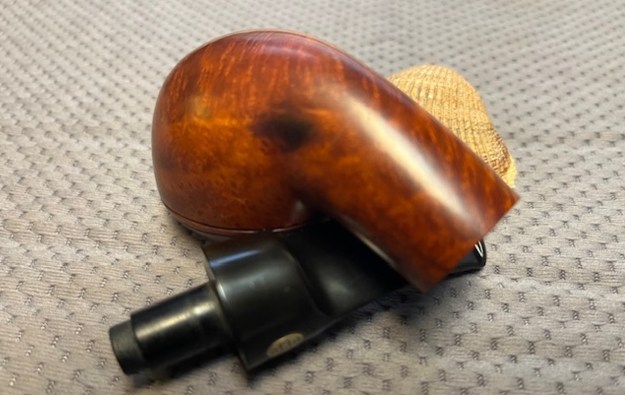
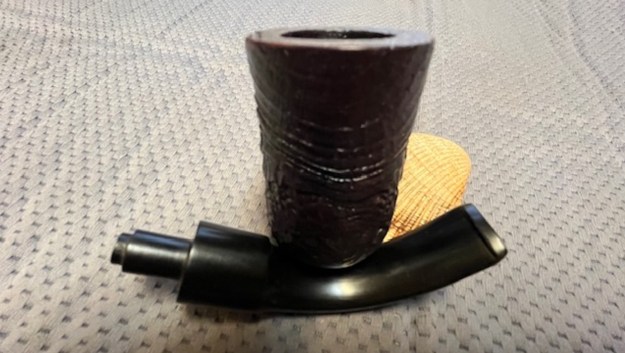
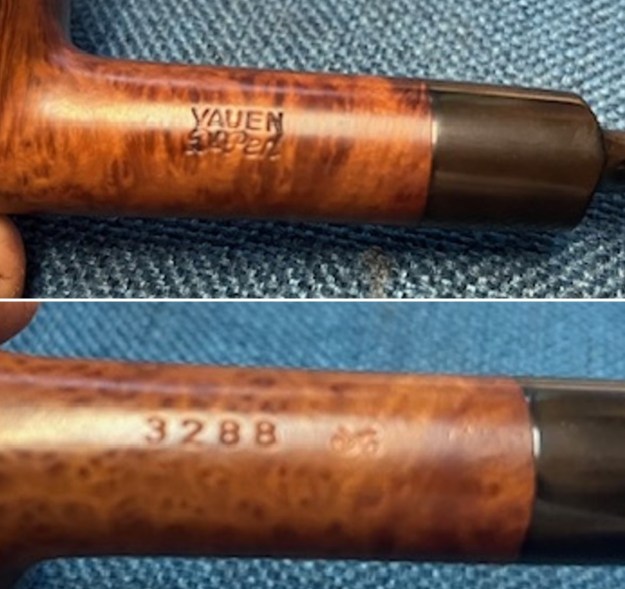
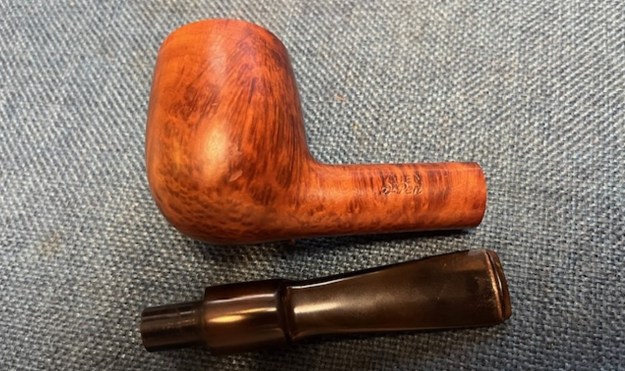
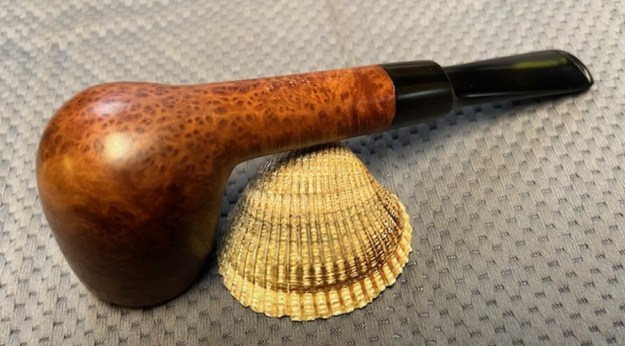
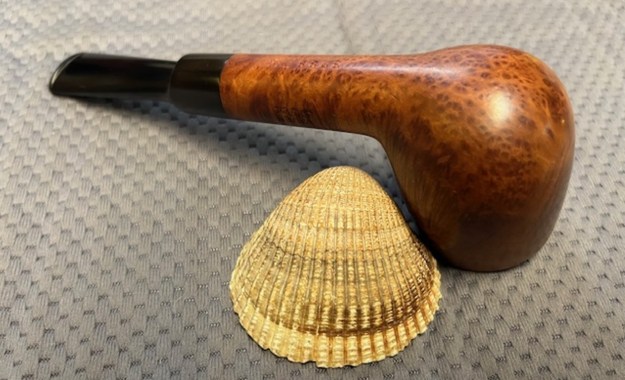
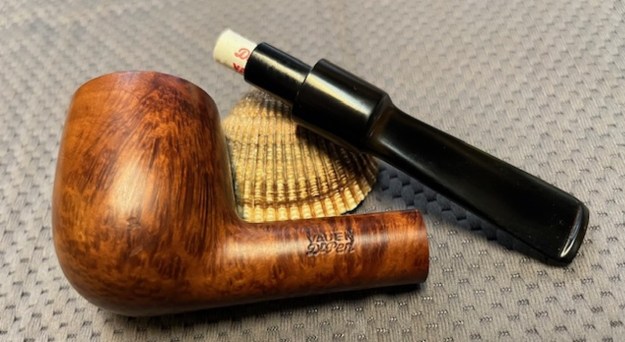
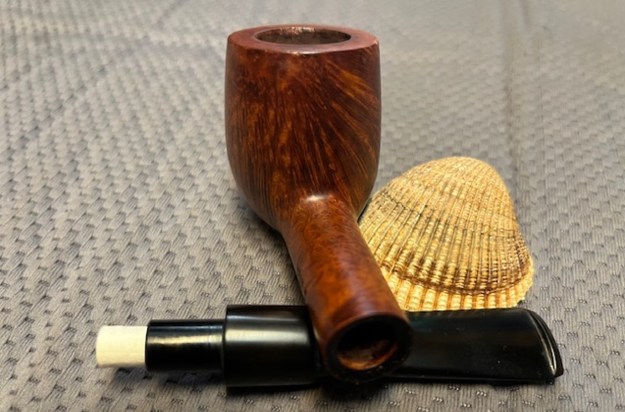
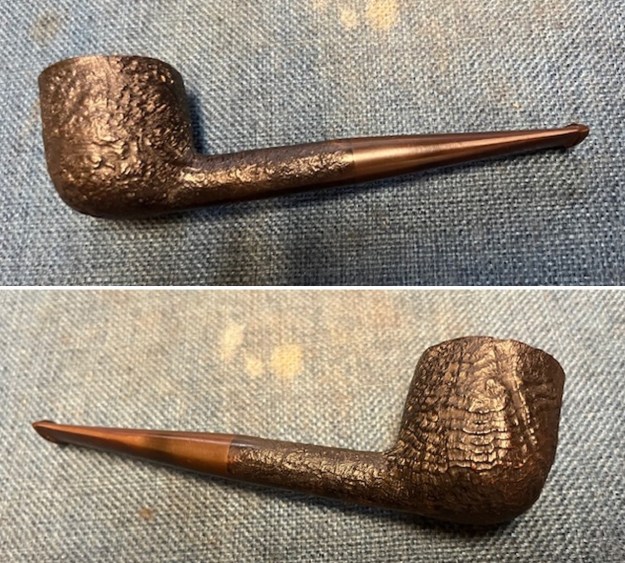
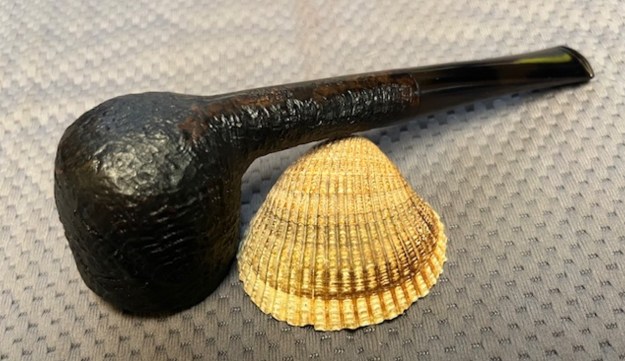
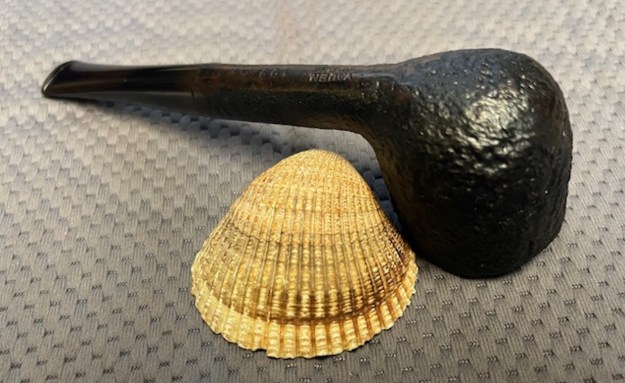
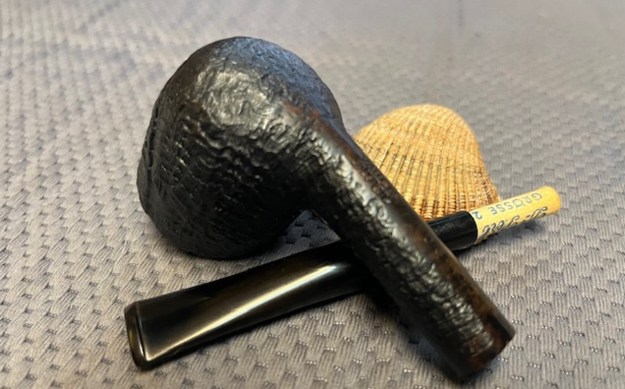
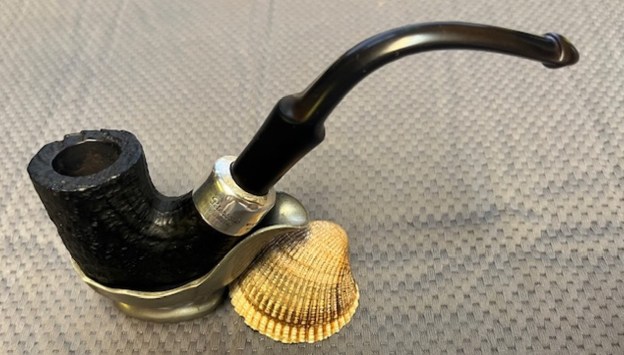
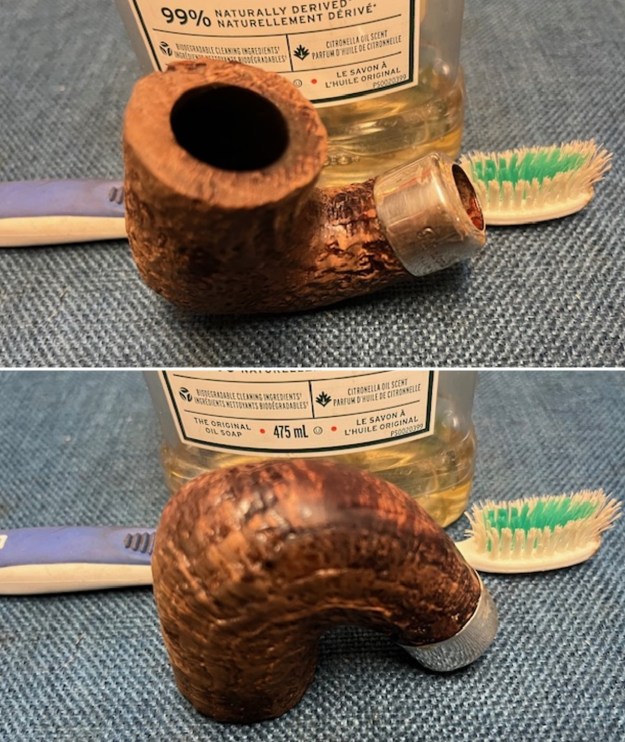
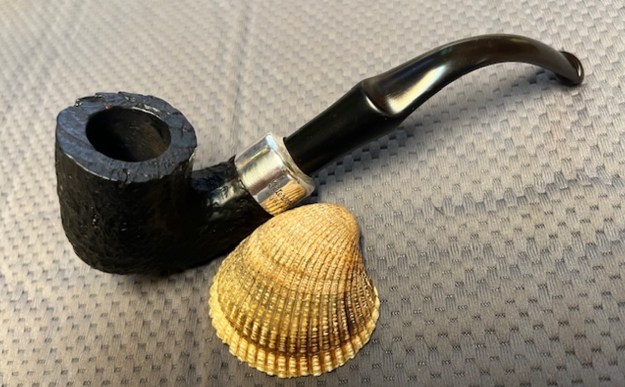
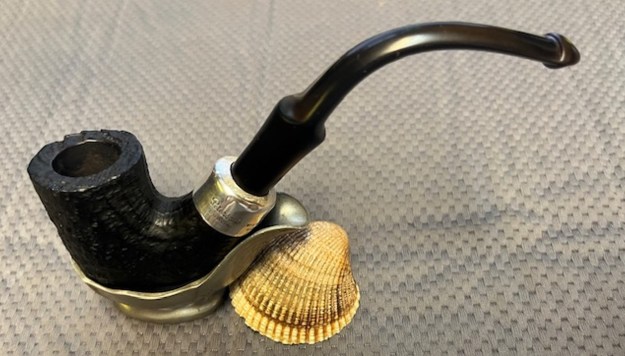
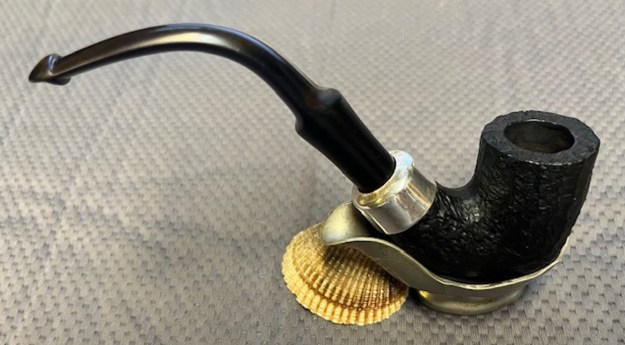
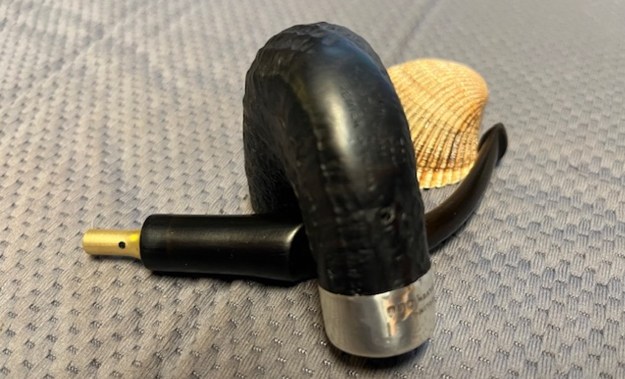
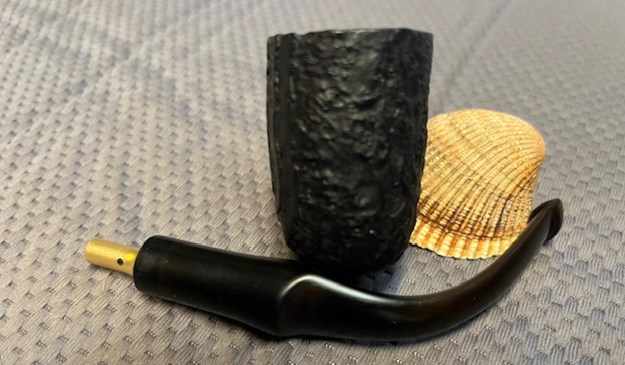
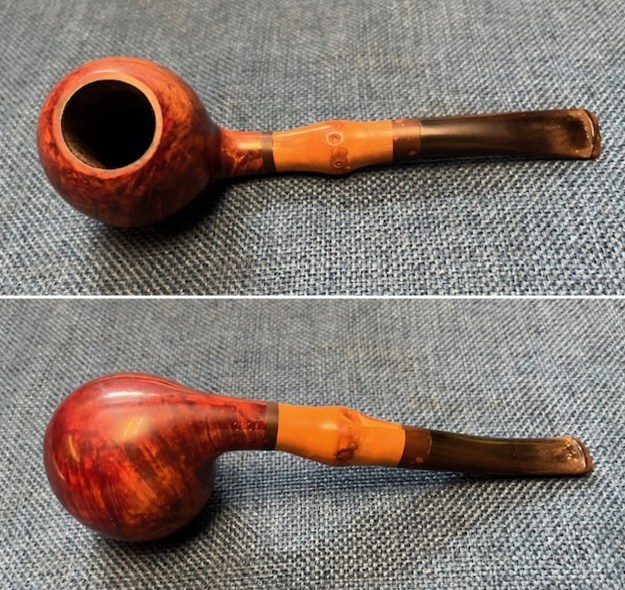
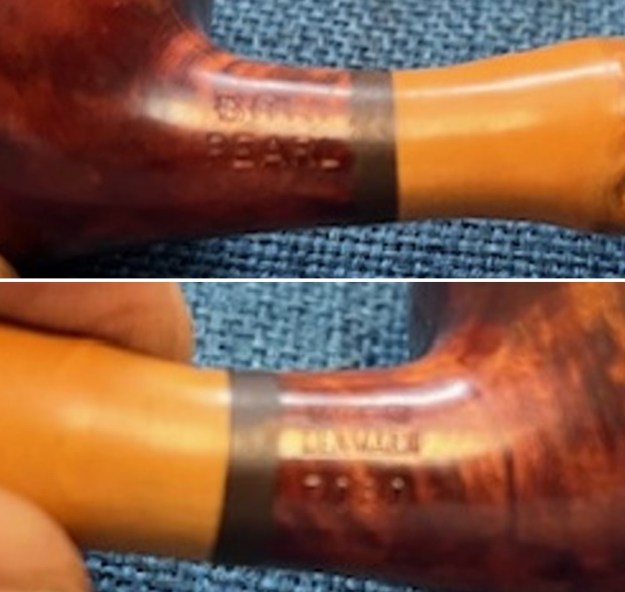
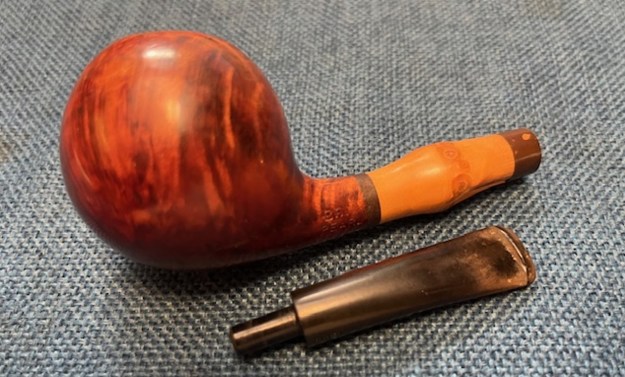
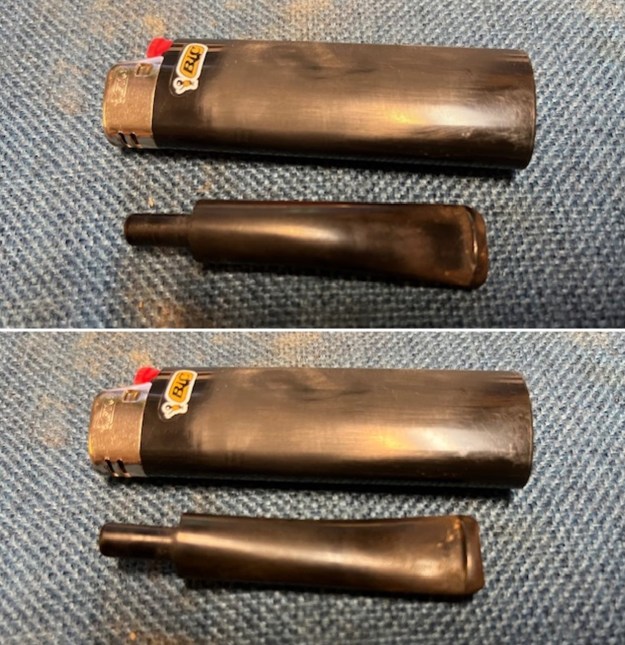
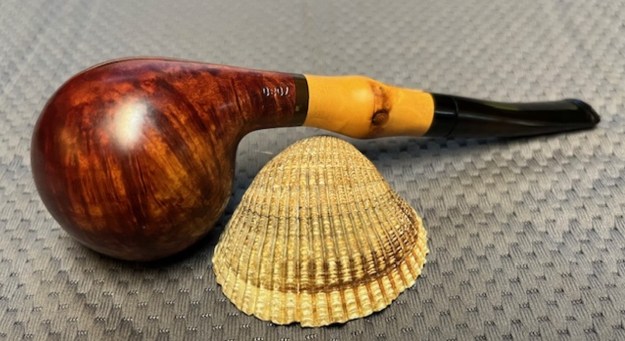
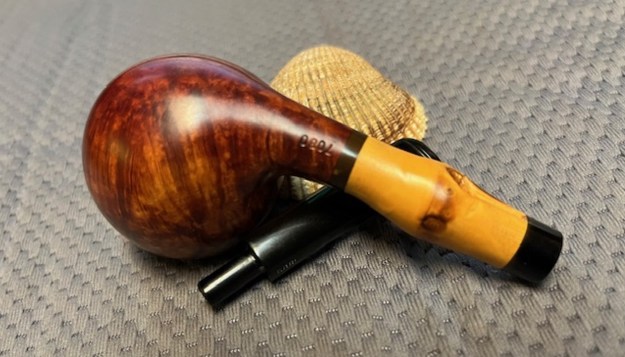
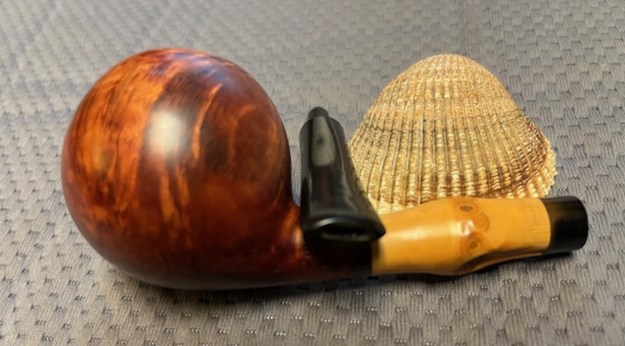
  I took photos of the stamping on the sides of the shank. It is clear and readable as noted above. The varnish around the stamping and the white star is peeling and crackled. The B logo on the left side of the stem is clear and in good condition. I removed the stem and took a photo of the pipe to give a sense of the proportions of the pipe.
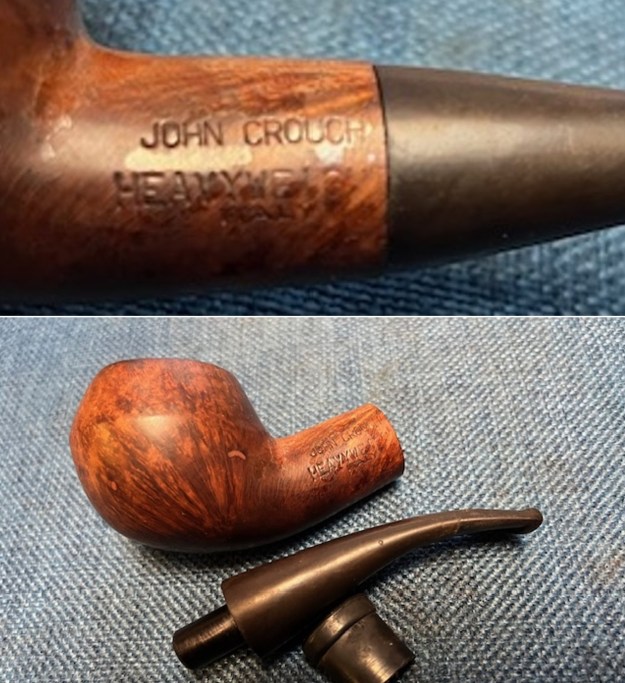
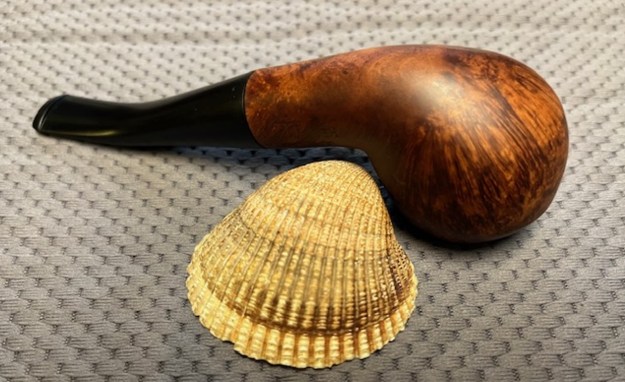
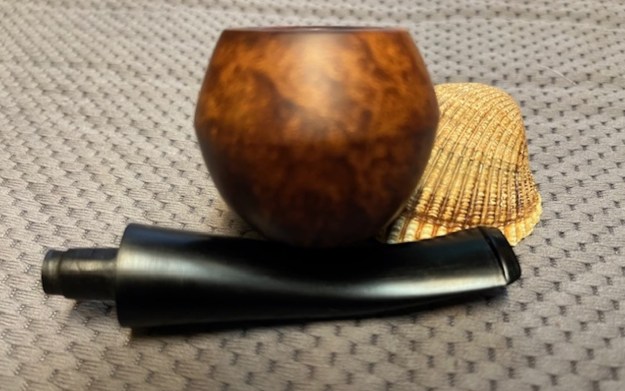
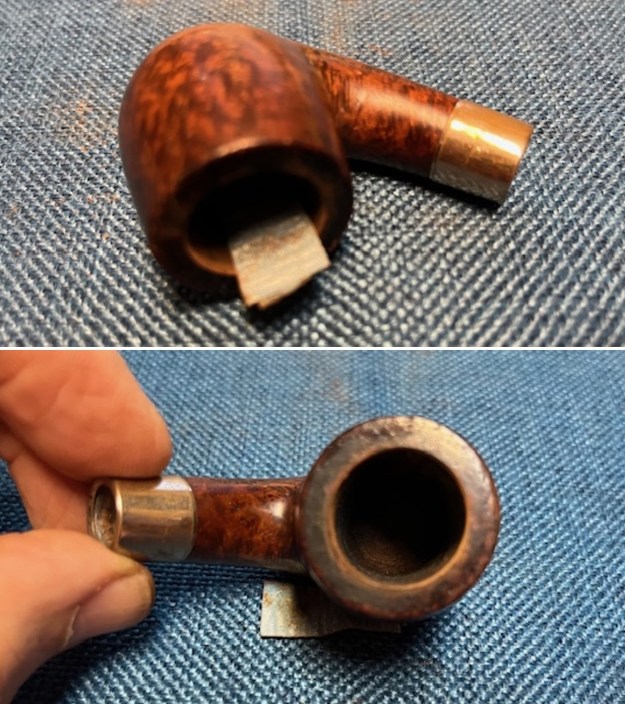
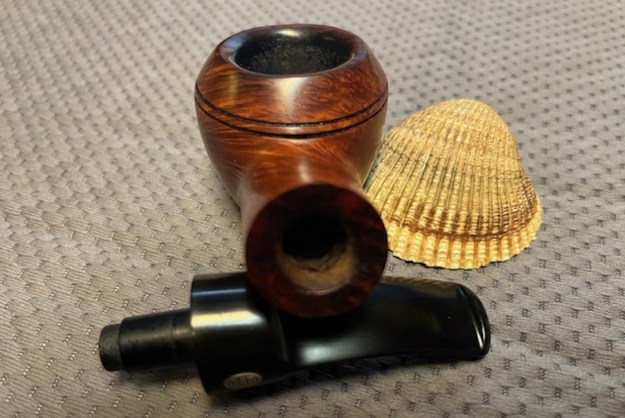
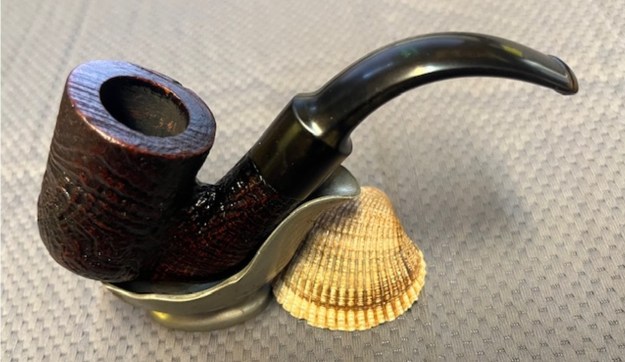
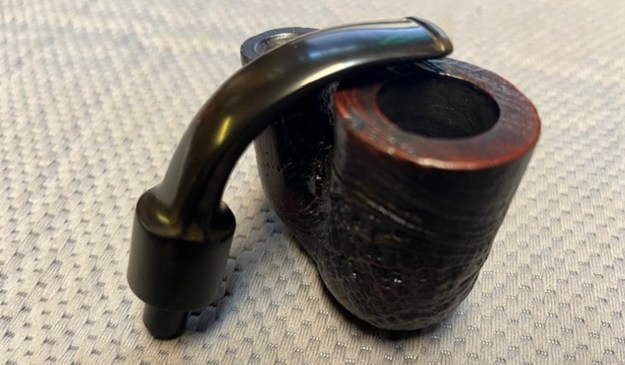
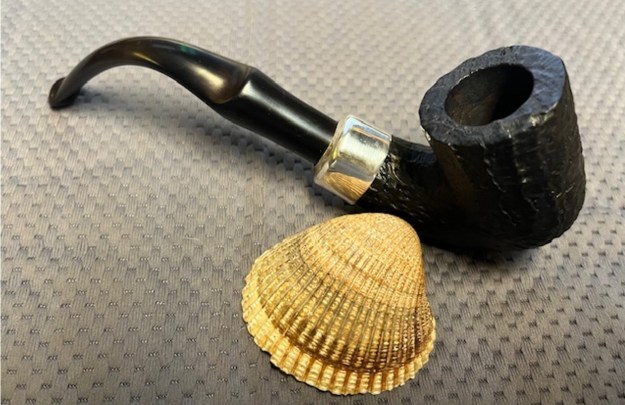
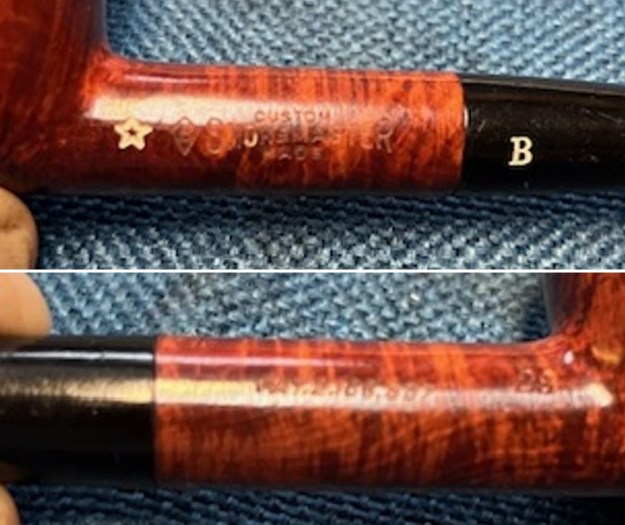
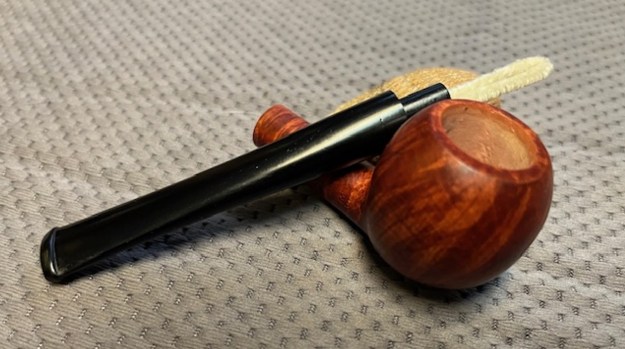
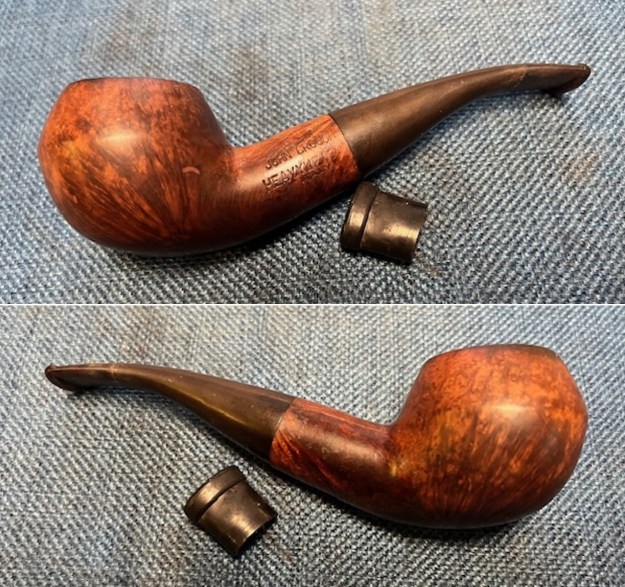
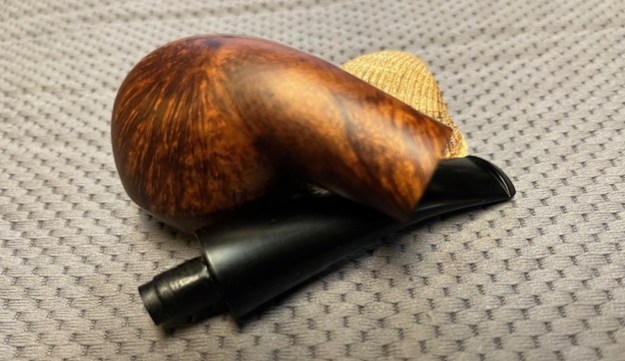
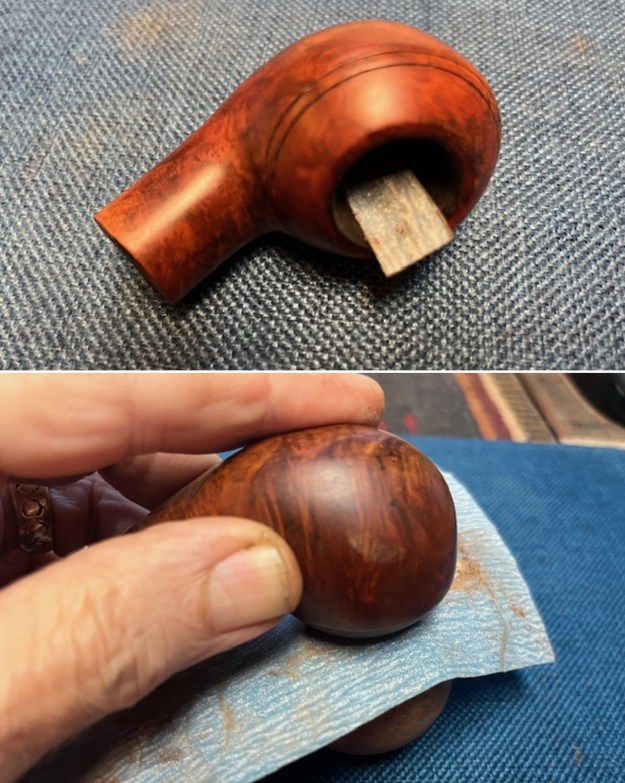
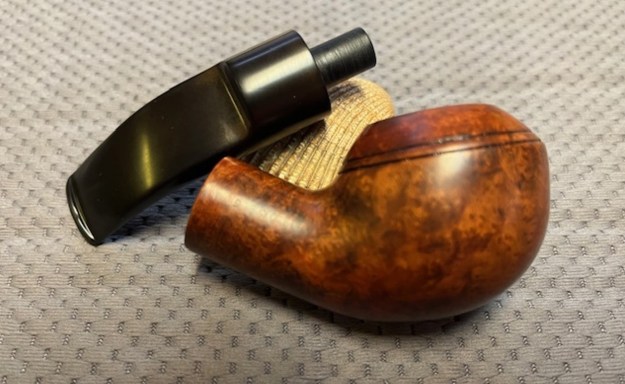
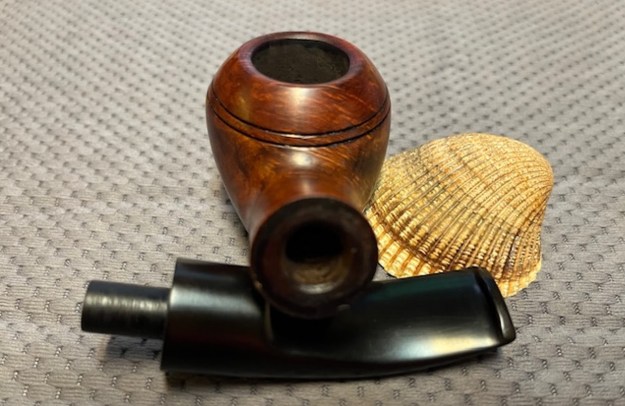
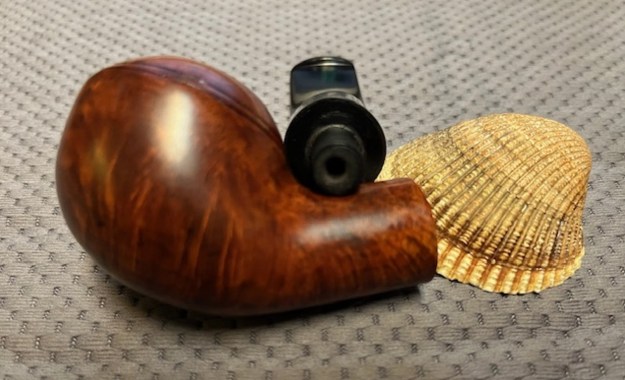
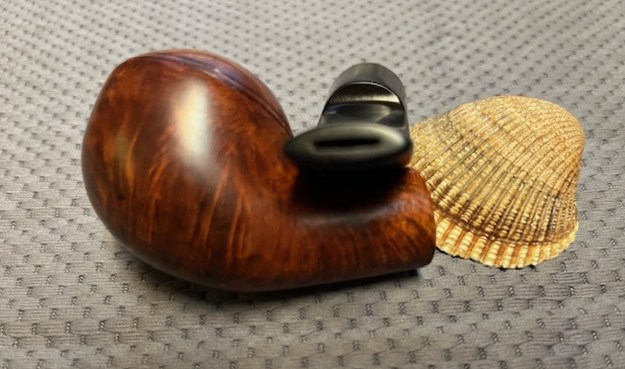
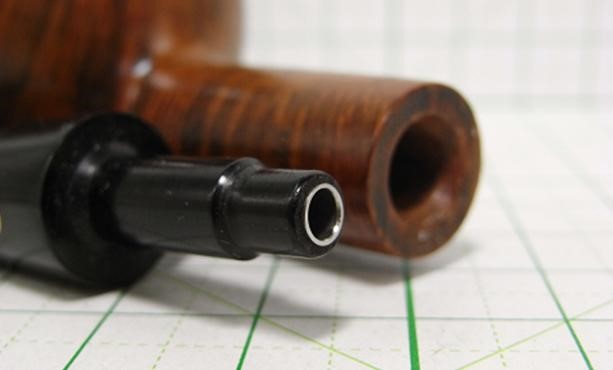
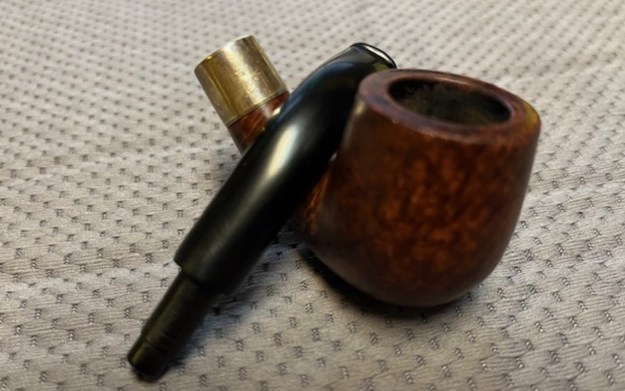
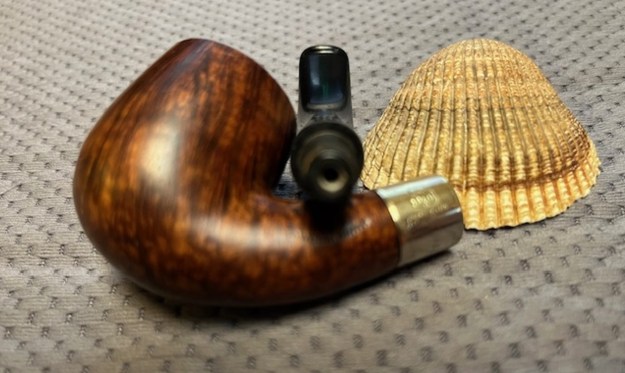
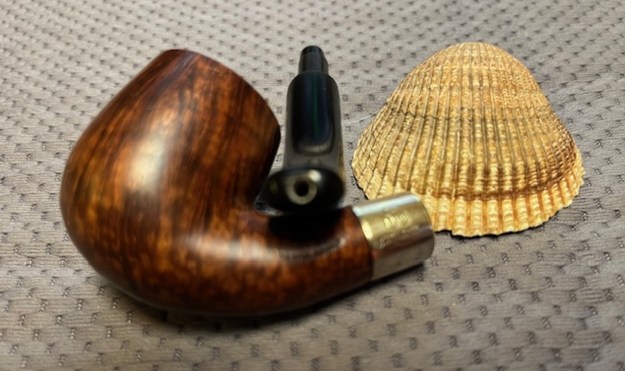
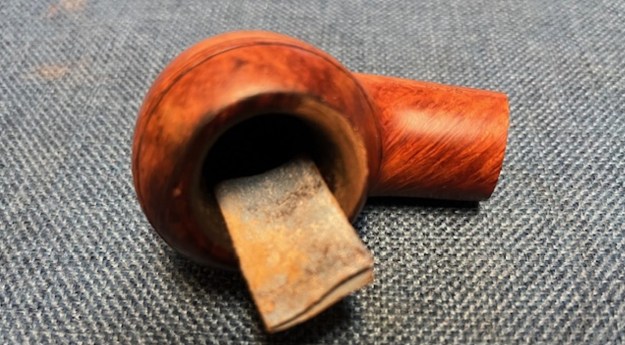
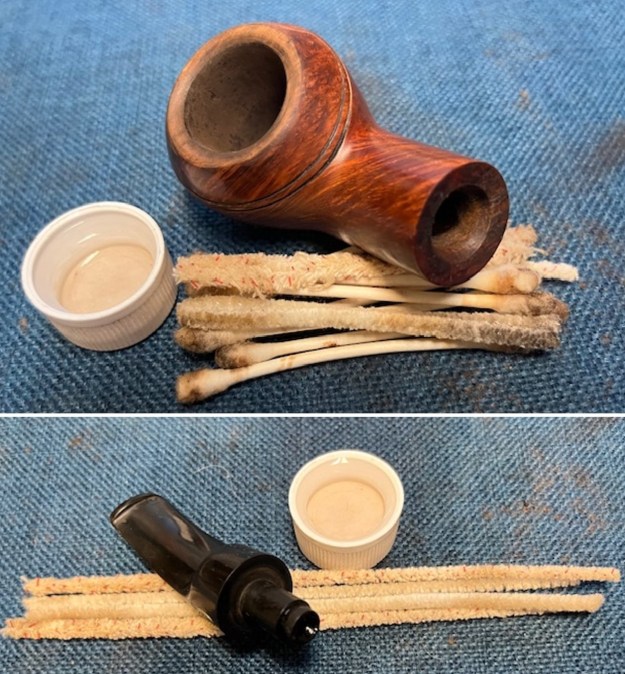
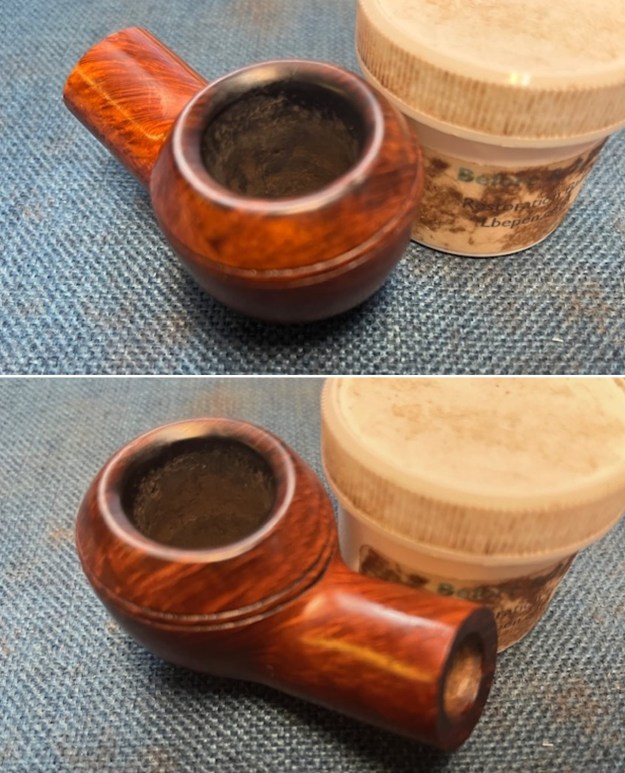
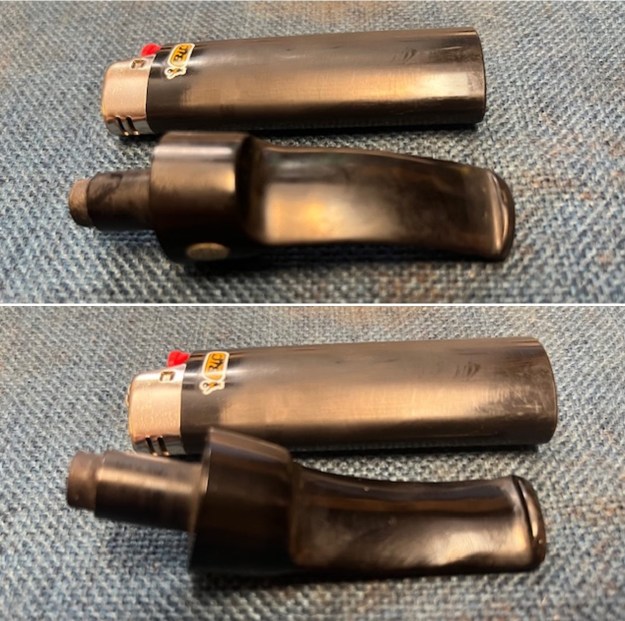
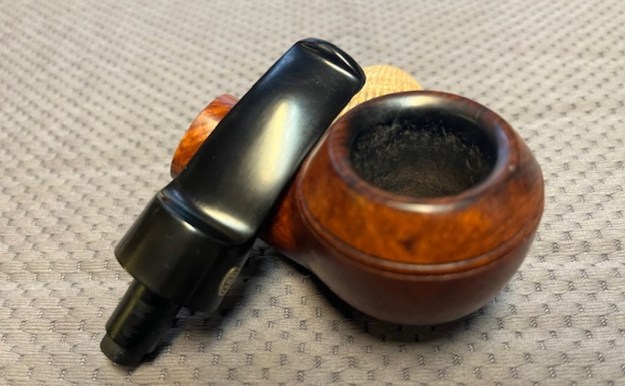
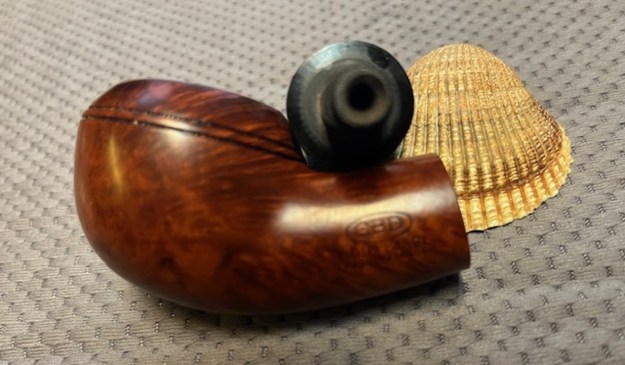
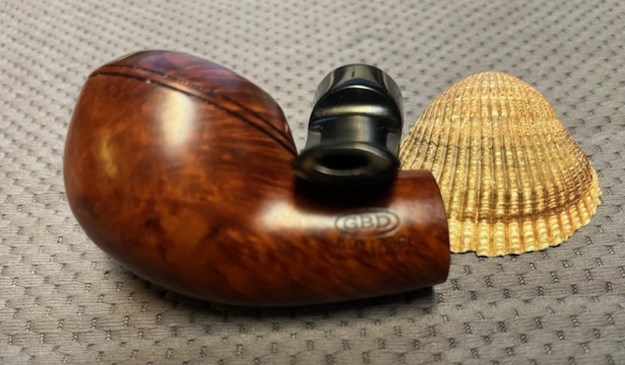
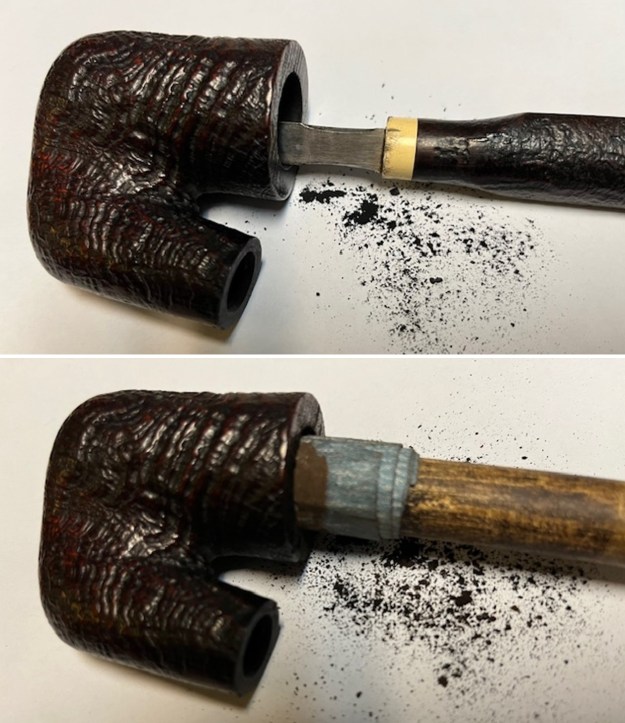
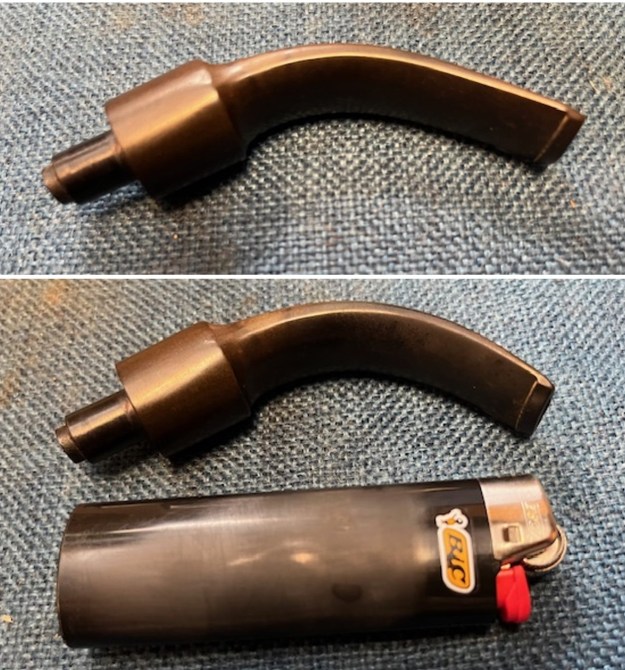
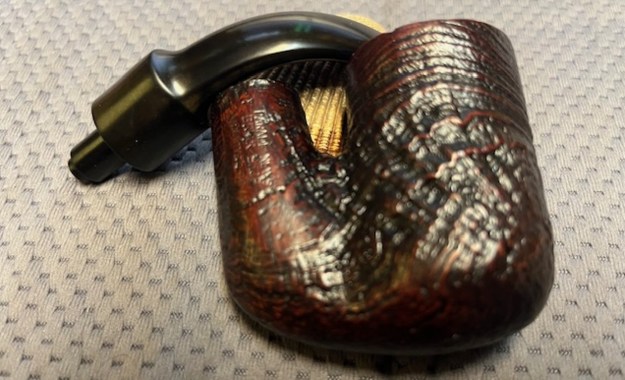
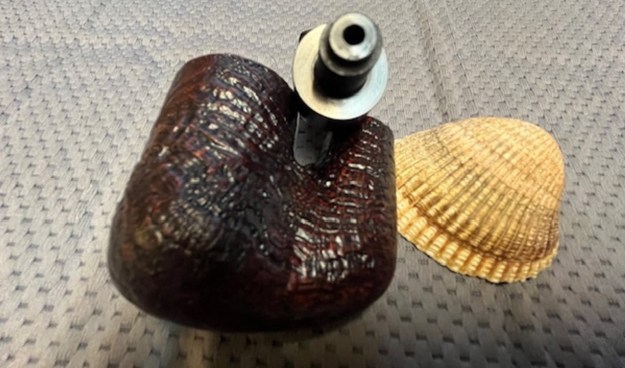
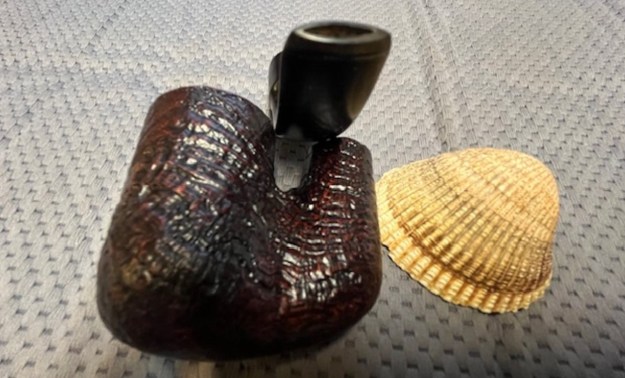
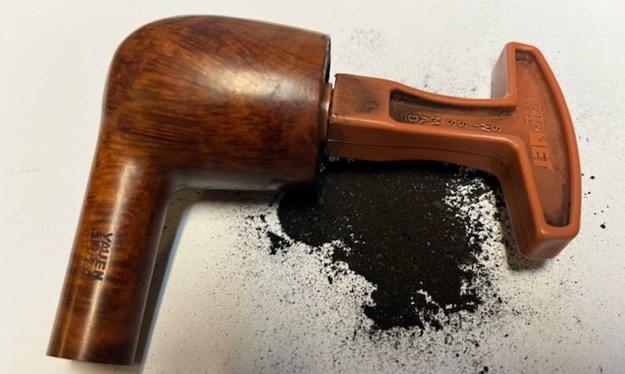
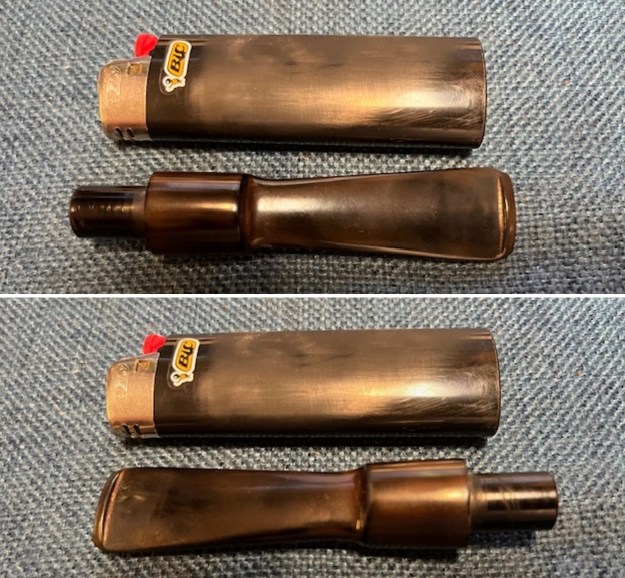
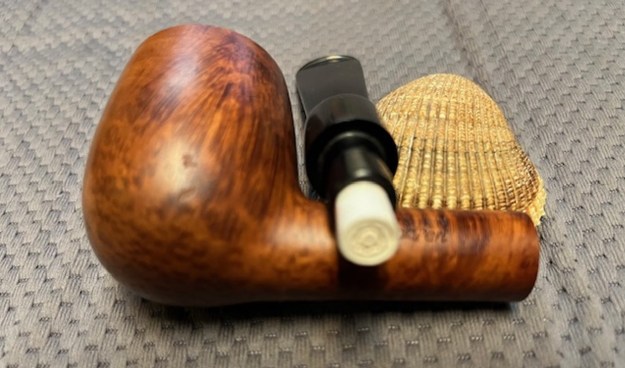
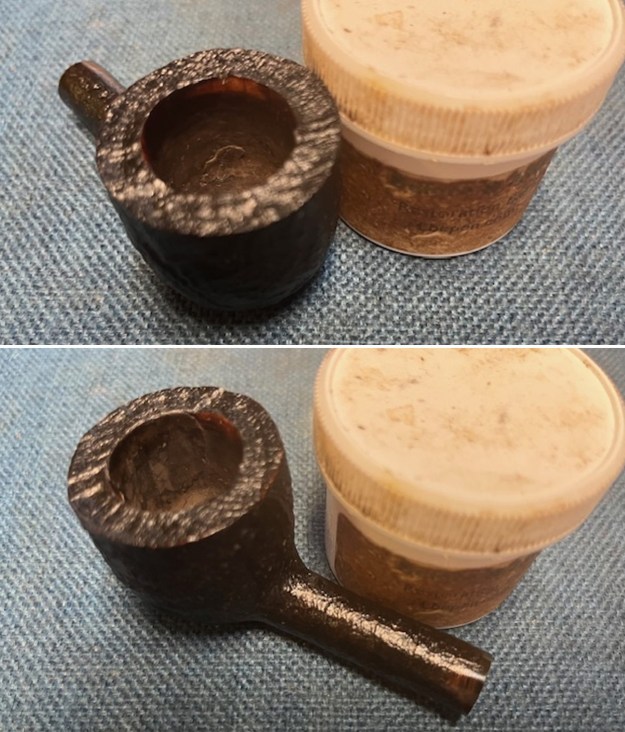
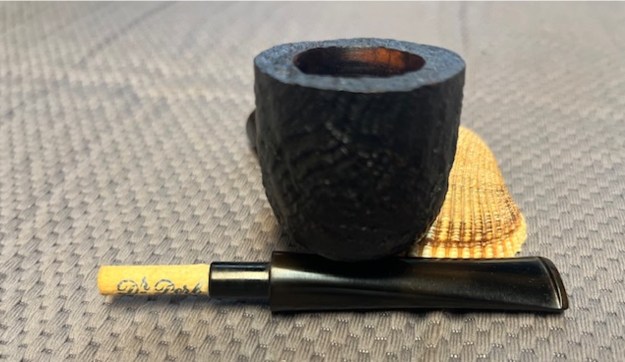
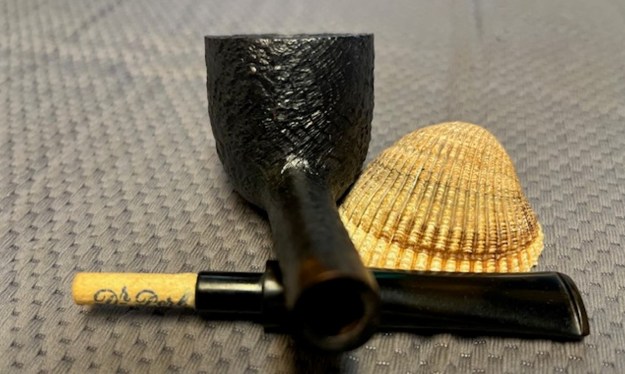
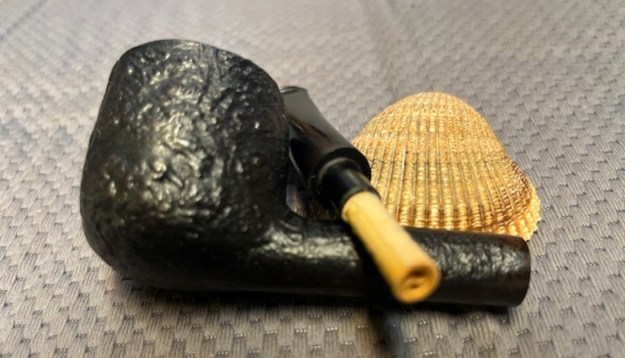
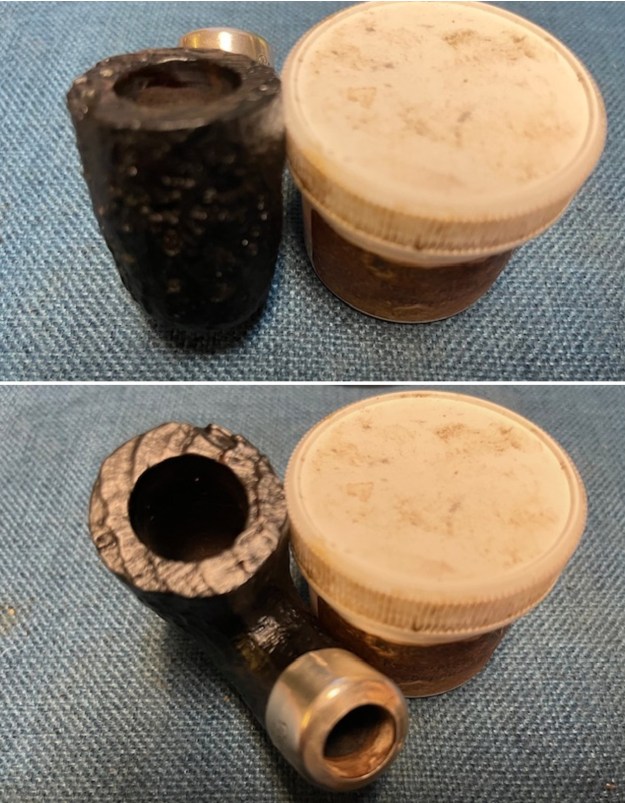
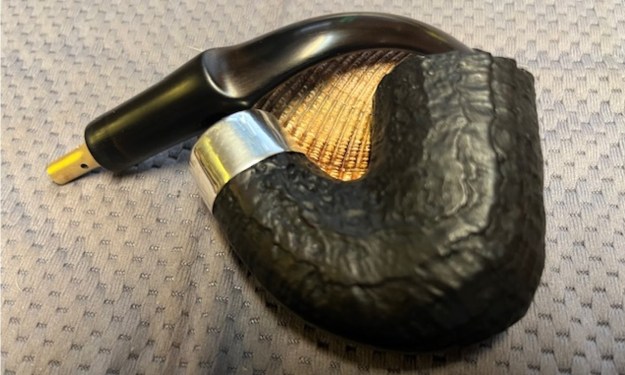
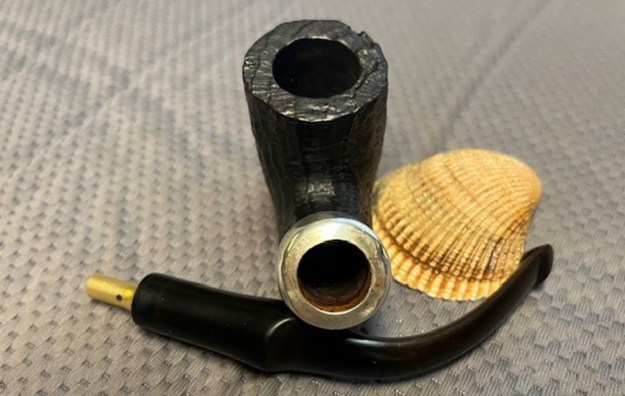
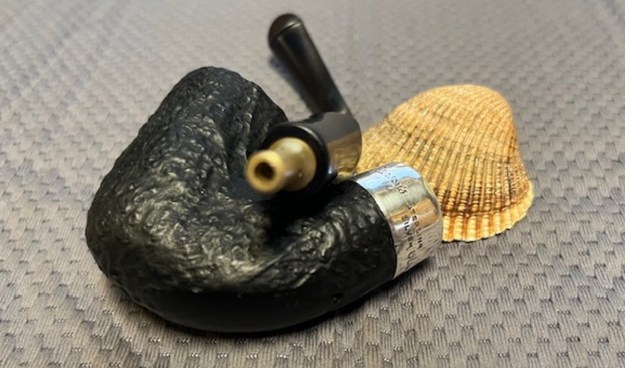
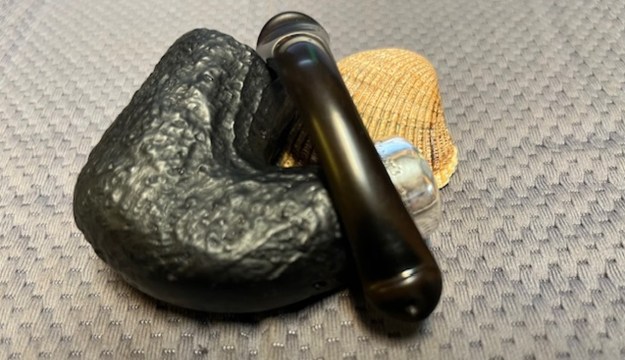
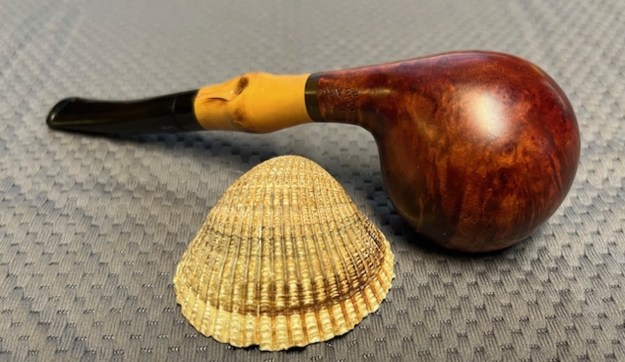
 I tried to capture the three holes in the end of the tenon. I laid the stem on the shank to try to capture it and I held it and took a photo of the tenon end. It is an interesting drilling that almost looks like a mouse head with the two ears.
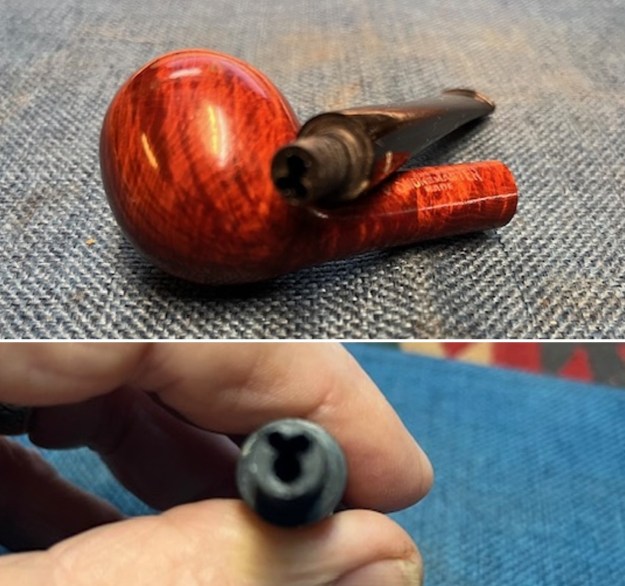 I had cleaned up a Smokemaster Bard Billiard in the past but it did no have the original stem like this one. I went back and reread the blog to remind myself of what I had learned in the process of working on that pipe (https://rebornpipes.com/2013/12/23/giving-a-smokemaster-bard-billiard-a-facelift/). I have included a bit of the information that I had included on that blog below:
I knew nothing about Smokemaster pipes and had no idea who made them. The finish and shape reminded me a lot of Dr. Grabow pipes that I have reworked but that was not enough for me. As has become my habit with pipes I don’t know about, I did a bit of research on the web and found out that the pipe was made by the Briarcraft Pipe Company. The Company was very prosperous between 1920 and 1940. They produced both Briarcraft pipes and a line of seconds under the following names: Airo, Arcadian, Briarmeer, Smokemaster, Cavalcade, Hallmark, Sterling Hall, Filter Kleen and Wimbledon. They closed their doors in 1950.
The pipe that I was working on currently was definitely made pre-1950 and the stamping was clearly made by Briarcraft. The beauty of that is that the pipe was clearly made between between 1920-1950 when they closed their doors. Perhaps when I check the patent information I will learn more and be able to pin down the date a bit more.
I turned to the article on Pipedia (https://pipedia.org/wiki/Smokemaster) to see what I could learn there. I was expecting a bit of info on both Briarcraft and Dr.Grabow. So it would take a bit of filtering.
Smokemaster pipes are unusual in that they had two different makers in different time periods, and in the style of their tenon.
The tenon had a single aluminum inner tube and two holes which were meant to hold a pipe cleaner folded in half, one end in each hole. The pipes were first made by Briarcraft, in lines including the Custom-made, Standard, and Bard. That company went out of business in the 1950s. In 1967 Dr. Grabow bought the rights to the name and the system, and began producing Smokemasters in three lines, stamped 100, 200 and 300. These pipes had a red diamond logo on the stem.
In addition, both Briarcraft and Dr. Grabow made Smokecraft pipes which were not stamped with that name, but with L. L. Bean. The pipes continued to be produced into the 1990s in Sparta, North Carolina, and were offered as a mail order pipe on packets of Dill Pipe Cleaners at one point. They are no longer produced.
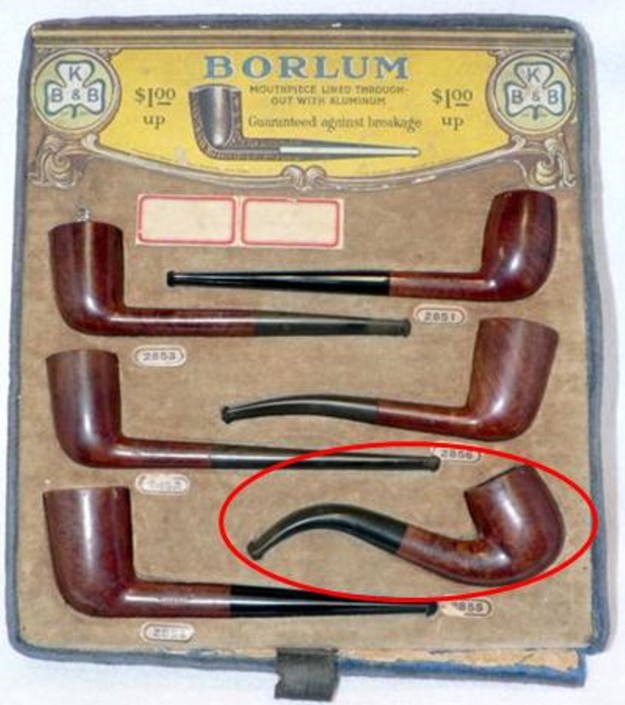
I have included two advertisements from the site that had helpful information on the special filter system using pipe cleaners. Read over the first advertisement below. It has the same patent number as the pipe I am working on. It also has a clear explanation of the unique pipe cleaner filter system in the stem. The second advertisement show the same pipe with the specifics of an L.L. Bean pipe that has the same pipe cleaner filtration system.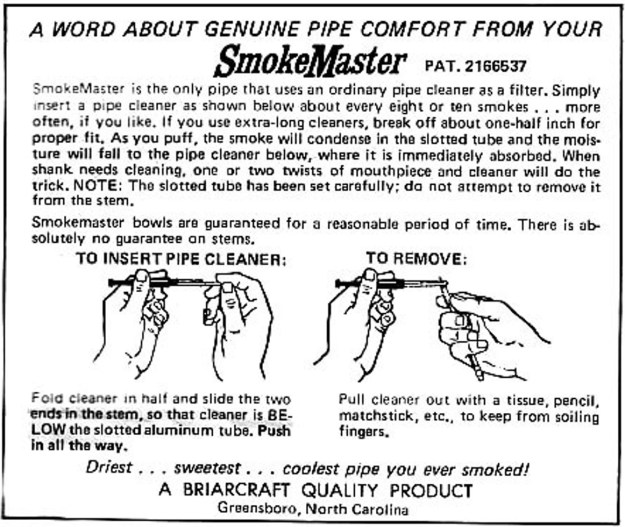
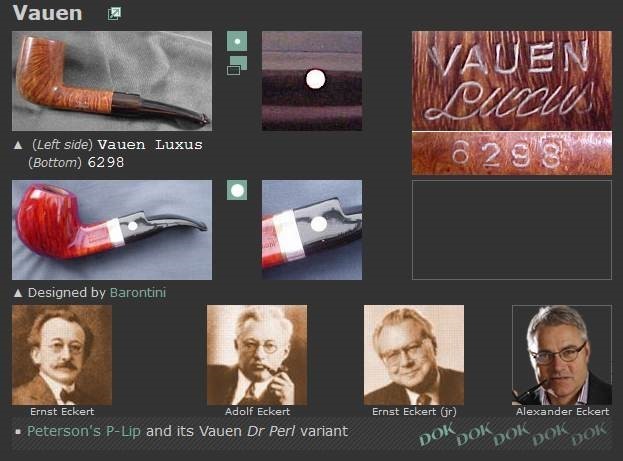
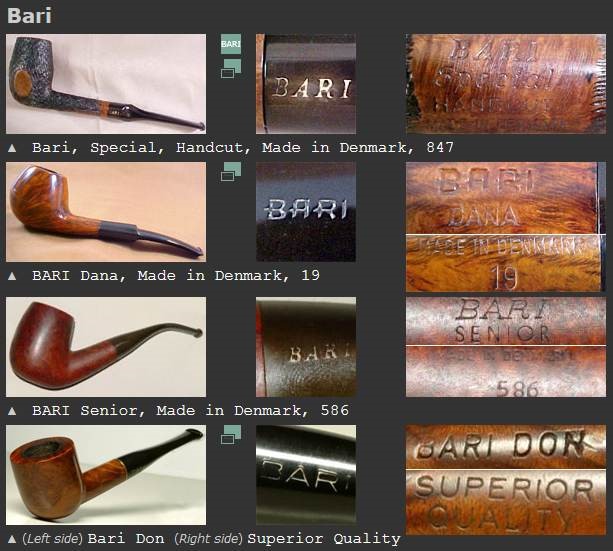
 I then turned to Pipephil’s site (http://pipephil.eu/logos/en/logo-s9.html) to have a look at the information included there. I have included a screen shot of the information there. The logo on the stem of the shank of the pipe I am working on is identical to the one shown in the first photos below. I have included only the section on the Briarcraft version of the pipe made prior to the buyout by Dr. Grabow.
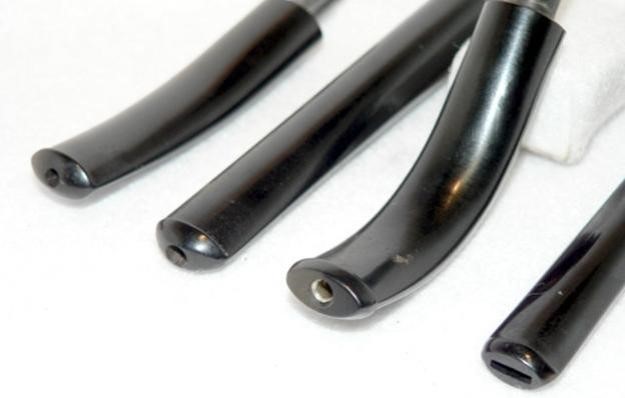
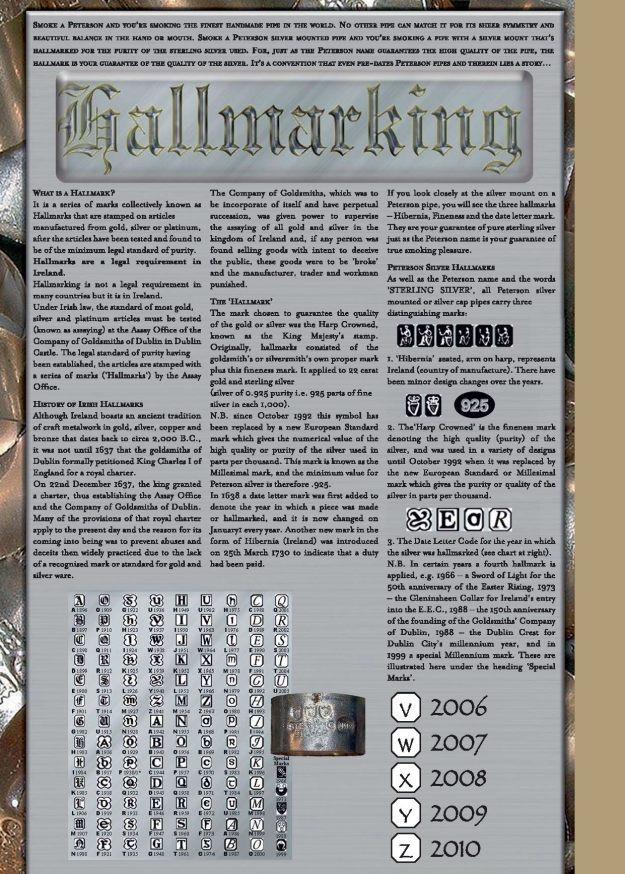
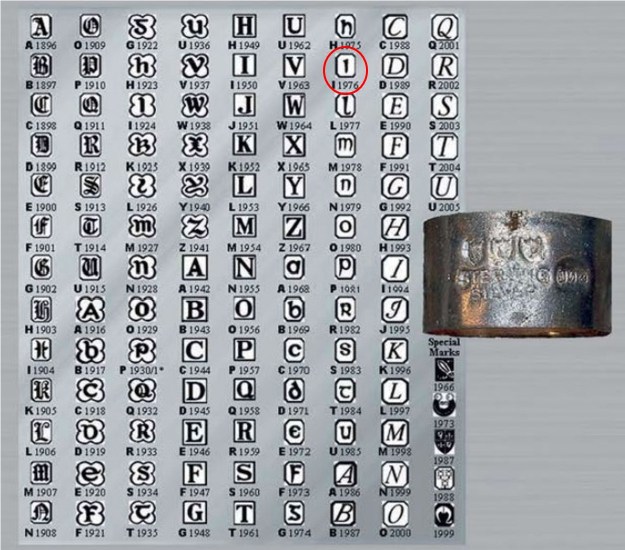
 I found out that the Smokemaster had a very unique filter system and was distinct from other filter systems in that it did not include a stinger apparatus. Rather it used a slotted tenon/tube that had two special holes in it (shown in red in the drawing below of the tenon end). A folded pipe cleaner was inserted into the two holes and extended the length of the shank. It collected the tars and moisture of the smoke and could be easily changed and replaced by the pipe smoker. The diagram below shows the design from the end of the tenon.
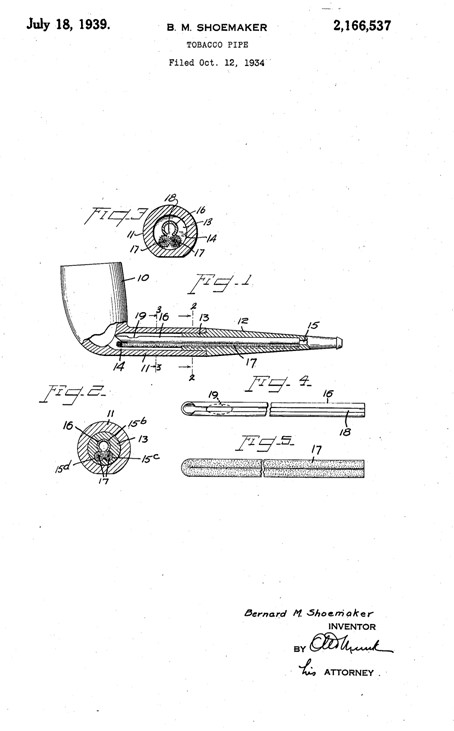
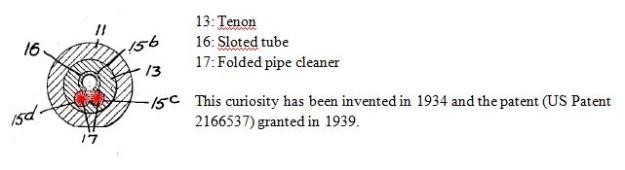 I did a patent search and it gave me the following information. This includes both the original description by the inventor and also a diagram submitted at the time of the patent application. I found it at this site:
I have included that information below on the same patent number:
Description
1939 – B. M. SHOEMAKER 2,166,537
TOBACCO PIPE Filed Oct. 12, 1934 crnar B.M. Shoemaker INVENTOR v ATTORNEY Patented July 18, 1939 UNITED STATES PATENT OFFICE
1 Claim.
My invention relates to tobacco pipes and more particularly to the type in which the bit and bowl portions are separately united to each other.
The principal object of my invention is to maintain the smoke passage in the pipe substantially free of solid deposits, making for general cleanliness in the interior of the pipe and sweet, cool smoking qualities.
I accomplish this object by arranging within the pipe a readily replaceable absorptive member which is designed to receive condensate and solid matter from the smoke as it passes through the pipe. The preferred form of such absorptive member is an ordinary pipe cleaner which, as is well known in the art, comprises a highly flexible metallic core portion carrying a large number of bristles extending there from.
One embodiment of the invention is illustratively exemplified in the accompanying drawing in which Fig. 1 is a longitudinal sectional view of a pipe; Fig. 2 is a transverse sectional view on the line 22 of Fig. 1; Fig. 3 is a transverse sectional view on the line 3-3 of Fig. 1; Fig. 4 is a broken elevation view of a metallic tube or liner constituting one of the pipe elements; Fig. 5 is an elevation view broken intermediate its ends, of the form of absorptive member used in the present construction.
Referring to the drawing, and more specifically to Figs. 1 to 3, denotes the pipe bowl, 1 the bowl stem, 2 the bit and 3 the tenon by which the bit and bowl stem are separately united. The bowl stem has the usual well l4 and the bit the usual smoke or draft passage 15. The bit 12 is further provided with three bores, 15b, c, d, and forming a continuation of the smoke passage 16. A metal tube 16 is provided which is longitudinally slotted at its lower portion and through the slot l8 the products of well be omitted. The tube l6 lies in the bore 15b. The pipe cleaner is doubled upon itself and the two legs or branches of the pipe cleaner enter the bores 15c and l5d and rest there during use of the pipe. The bores 15c and l5d parallel the bore 15b at opposite sides of its longitudinal centre. The embodiment of the invention described is a very desirable construction inasmuch as it receives a standard length pipe cleaner, which in its folded position in the passage 14 is offset from the axis thereof, and which when rotated or twisted with the tenon to seat the same the folded strands of the cleaner engage and brush or clean the wall of the bore.
The operation of the device is very simple. The pipe is sold complete with the pipe cleaner in position. After the pipe has been used for a length of time it will be found that the pipe cleaner is practically saturated with deposited matter. Thereupon the pipe cleaner is simply removed from the pipe and a new one inserted in its place. If desired, the cleaner may also be used in the ordinary manner, naturally before it has become fouled, by moving it back and forth once or twice through the draft passage l5 and/or tube.
What I claim is: In a tobacco pipe, a bowl portion having a stem provided with a central bore, and a bit portion for said stem, the bit having a centrally disposed smoke passage and grooves arranged in the bottom of said passage, a tubular liner mounted in the smoke passage and adapted to project into the bore of the stem, said liner having its underside provided with a longitudinal slot opening into the grooves and bottom of the central bore of the stem beyond the bit, and an absorptive member mounted in said grooves and arranged under the liner throughout its length to receive condensate from the liner and to wipe the wall of said bore when the bit is turned.
BERNARD M. SHOEMAKER.
Classifications
U.S. Classification 131/184.1, 131/203
International Classification A24F1/00
Cooperative Classification A24F1/00, A24F2700/03
European Classification A24F1/00
 I find that kind of information fascinating and am always intrigued by the ongoing urge of pipe designers to provide a cooler and cleaner smoke for the pipeman who uses their inventions. The patent information helped me to also pin down the date of manufacture. In this case I now knew that the pipe I had in hand was made between 1939 and 1950, a nice 11 year window. It was a real beauty and with the clean up it would only look better. Now it was time to work on the pipe itself.
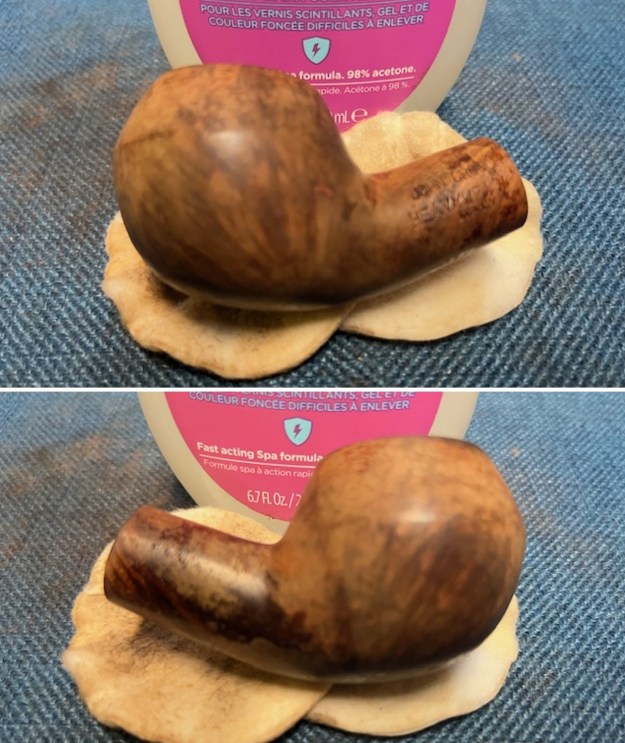
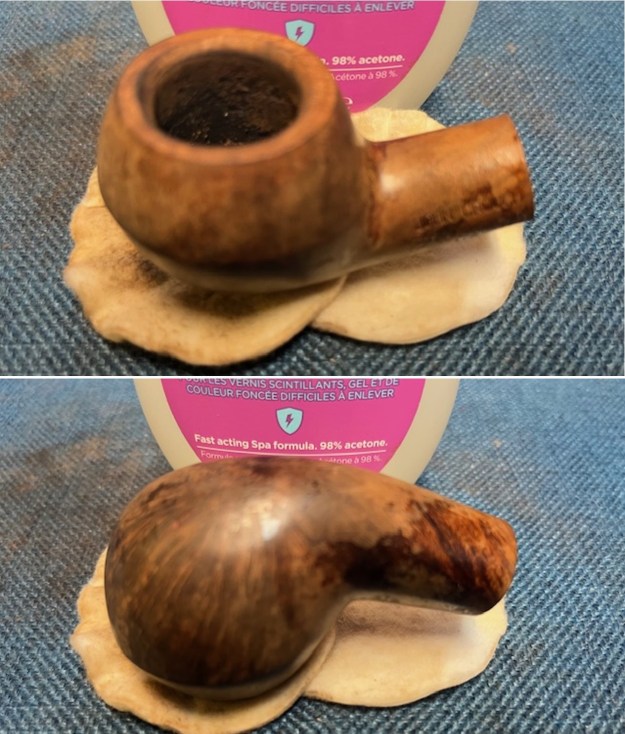
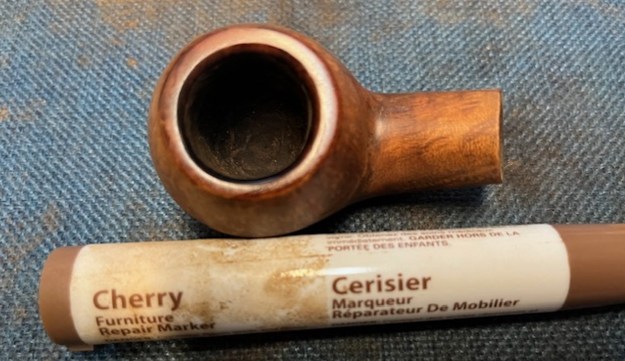
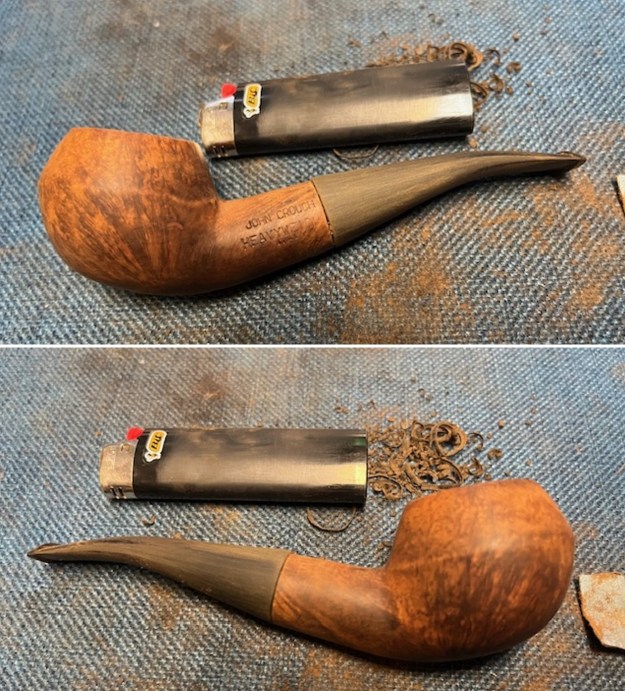
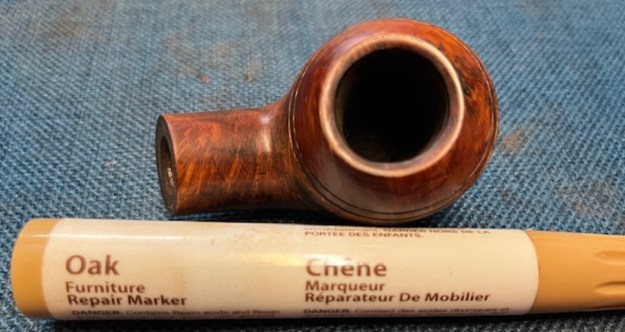
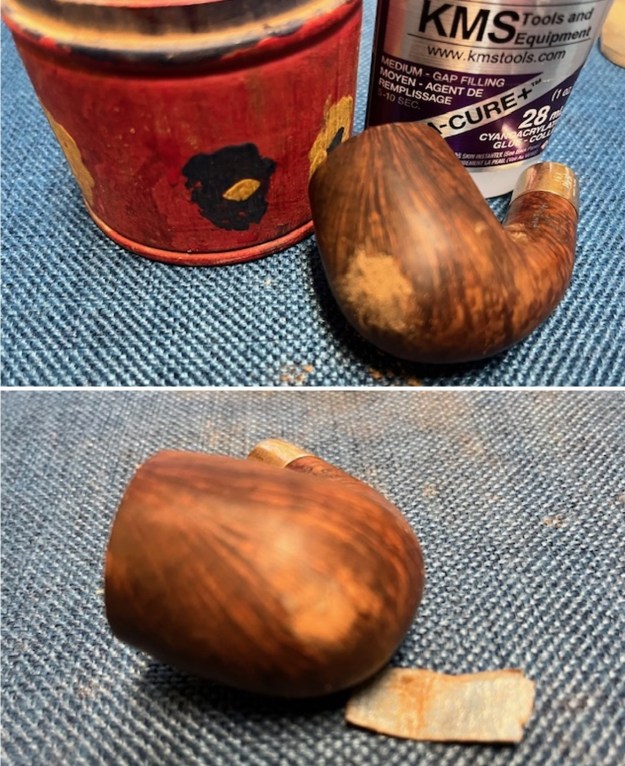
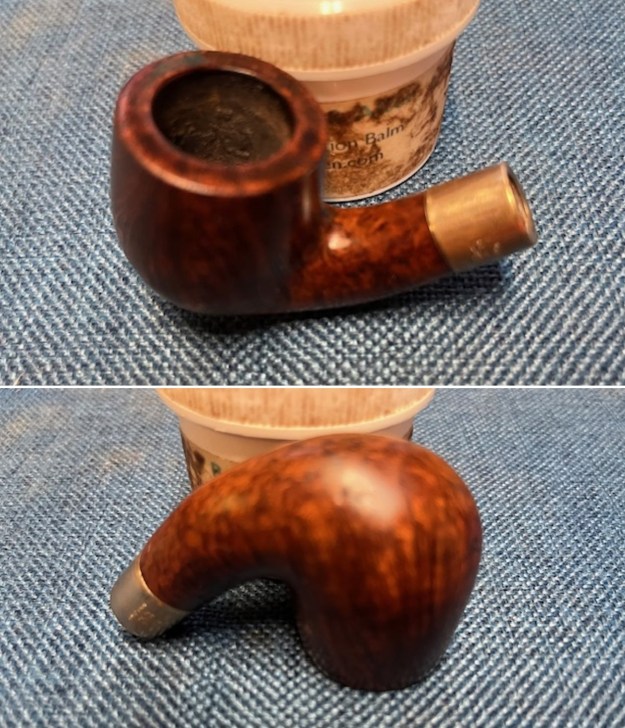
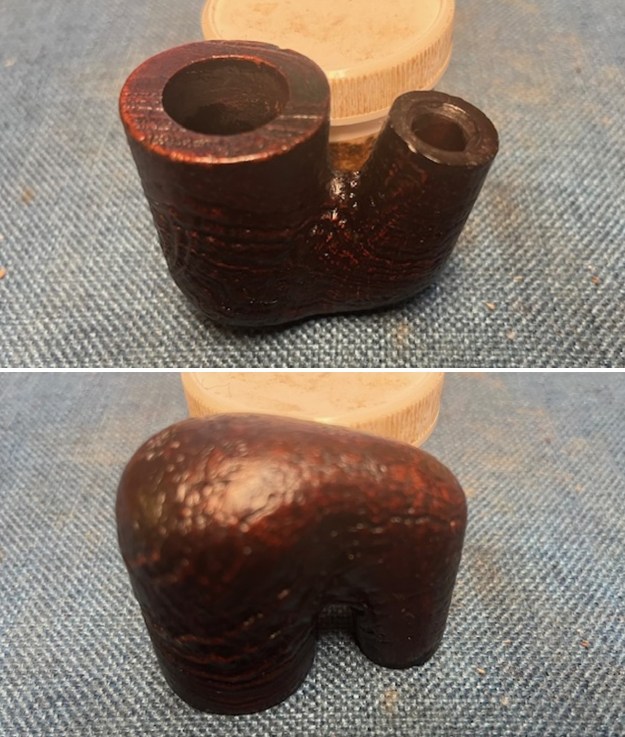
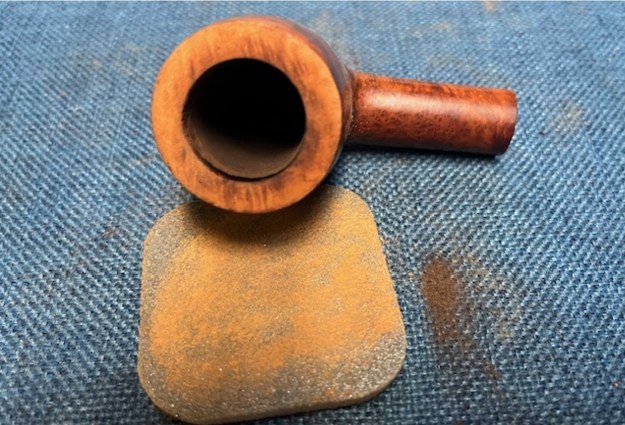
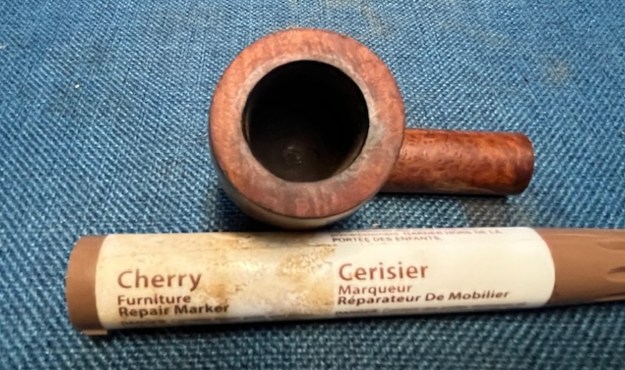
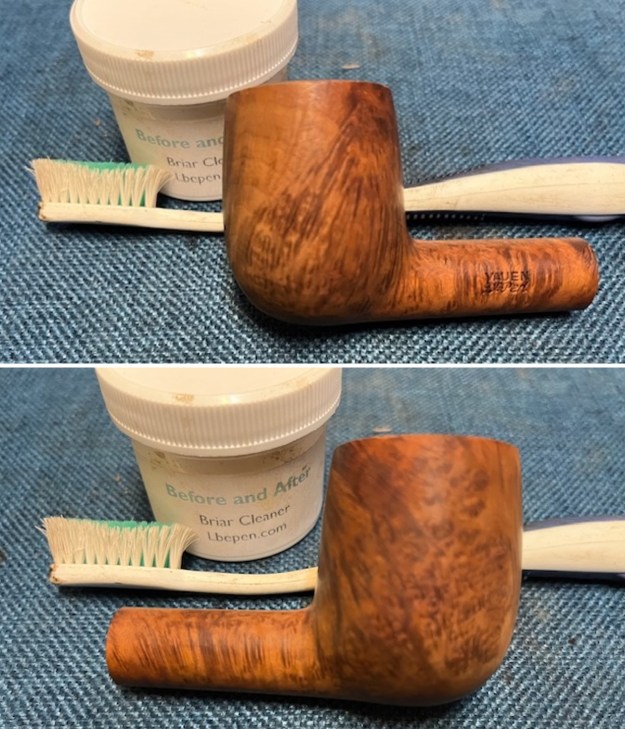
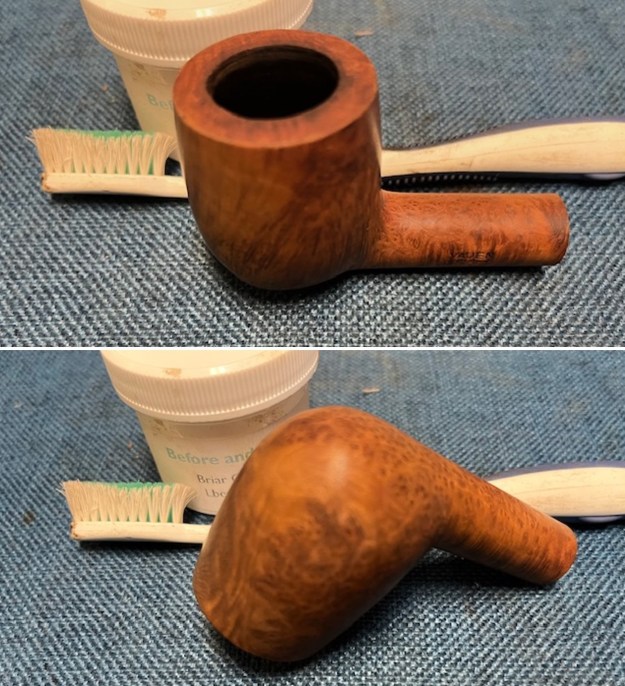
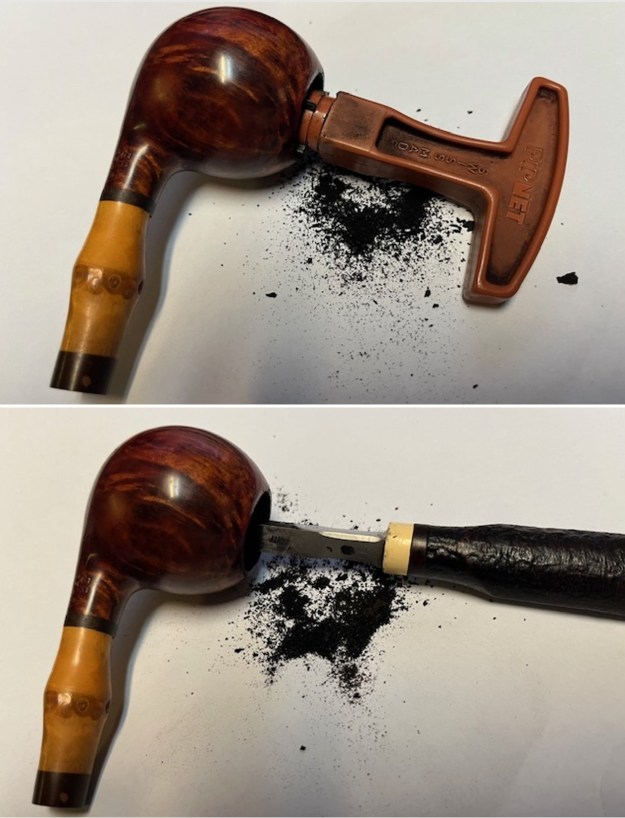
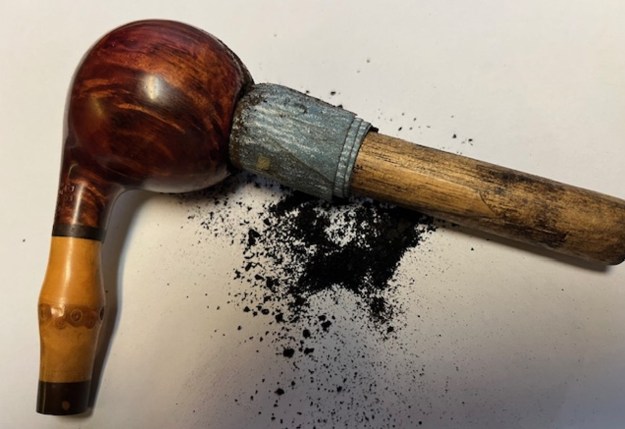
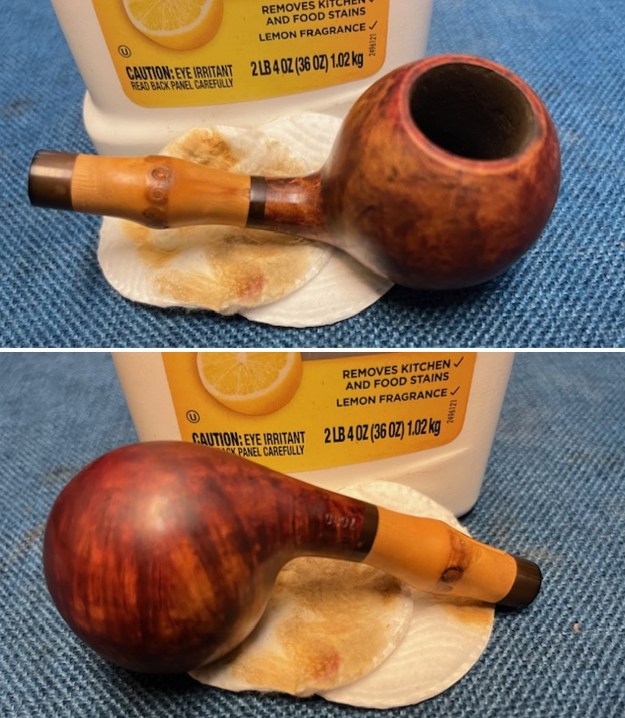
I began by removing the peeling and spotty varnish coat with acetone on a cotton pad. What made this a bit tricky was the white stamped star outline on the left side of the briar next to the bowl. It had been painted and I did not want to damage that colour.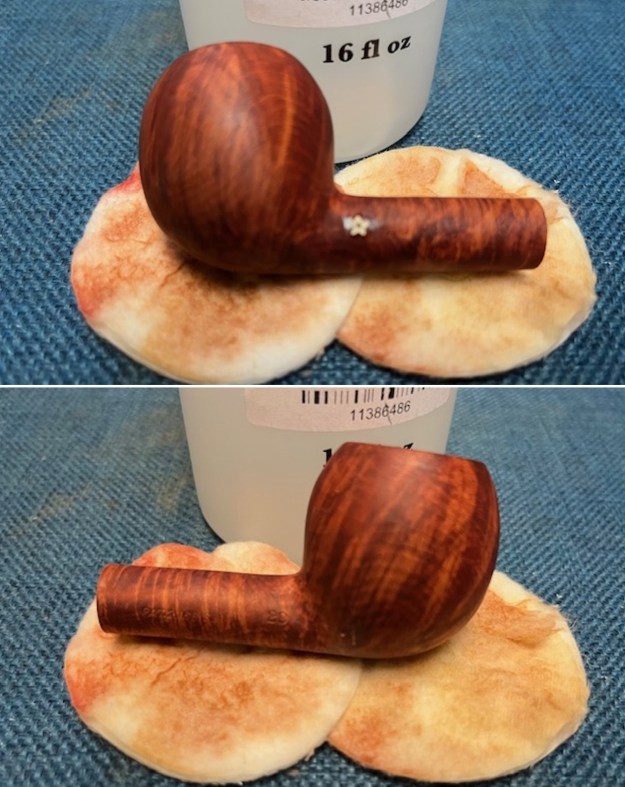
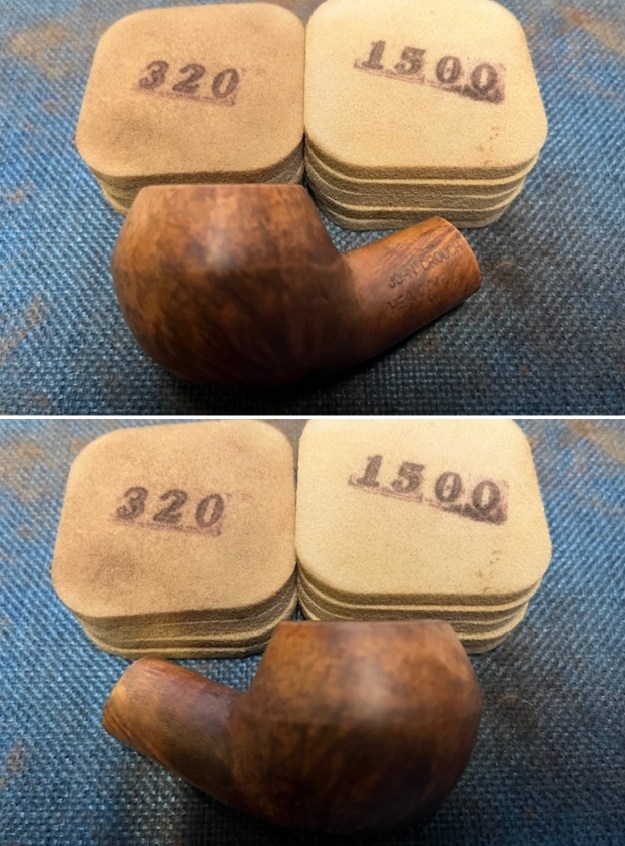
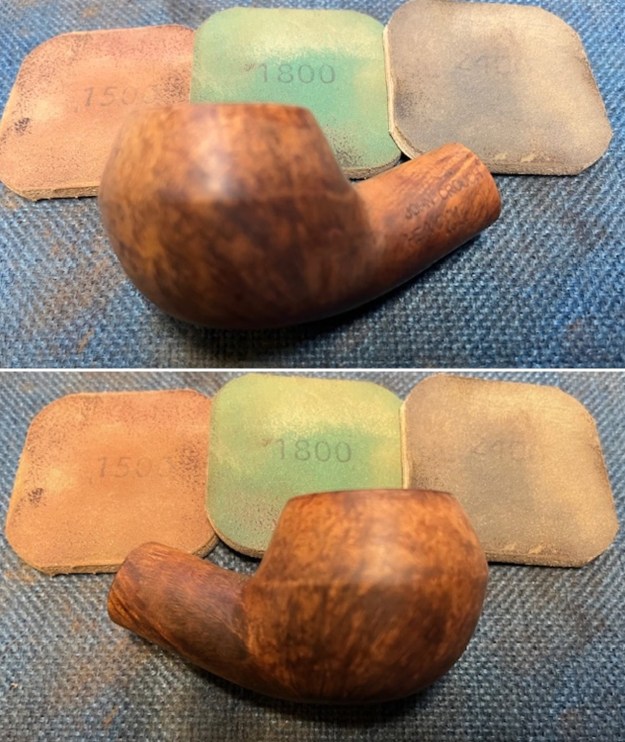
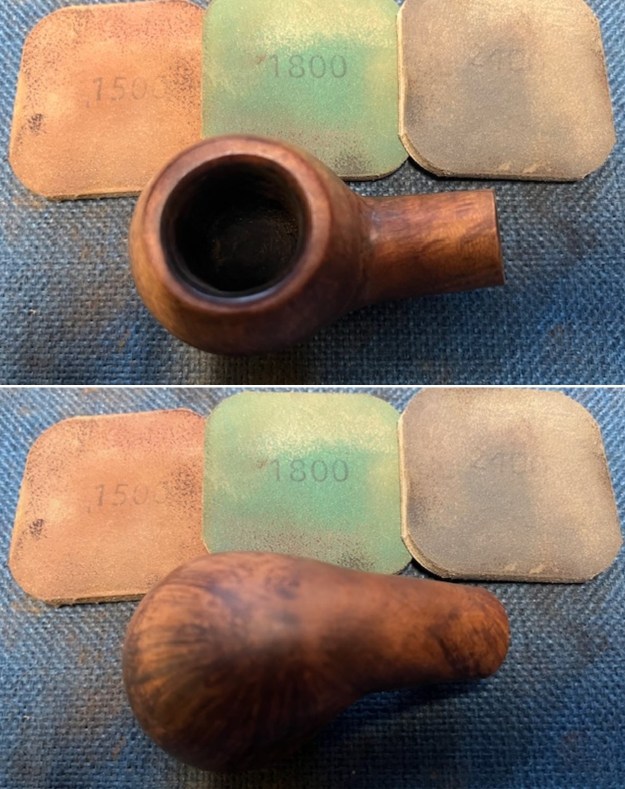
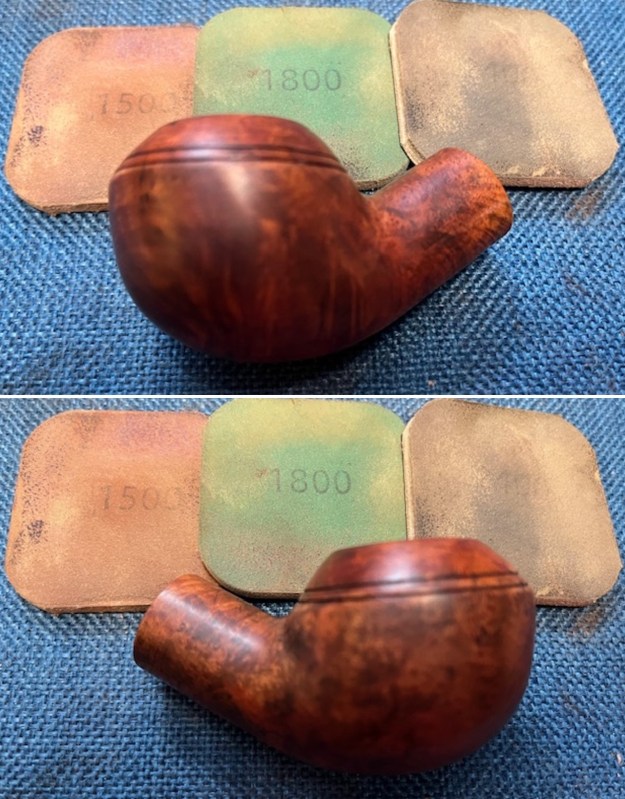
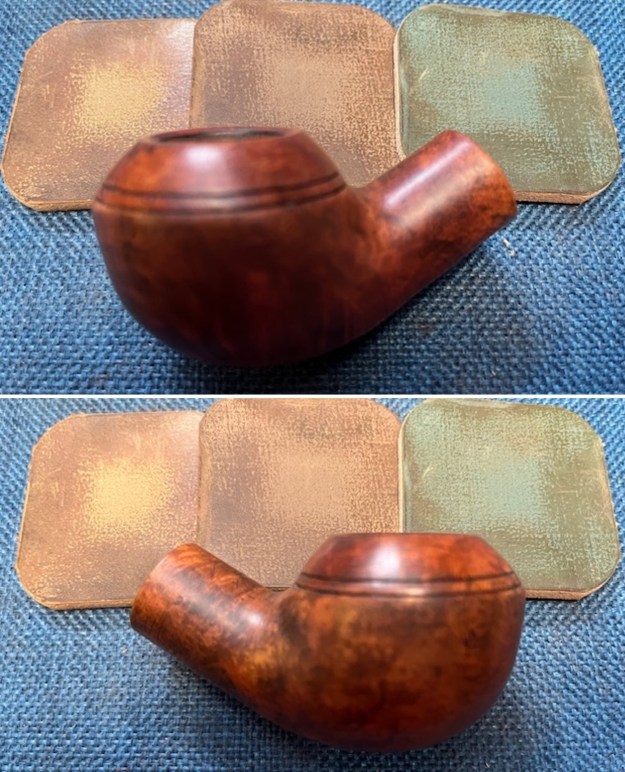
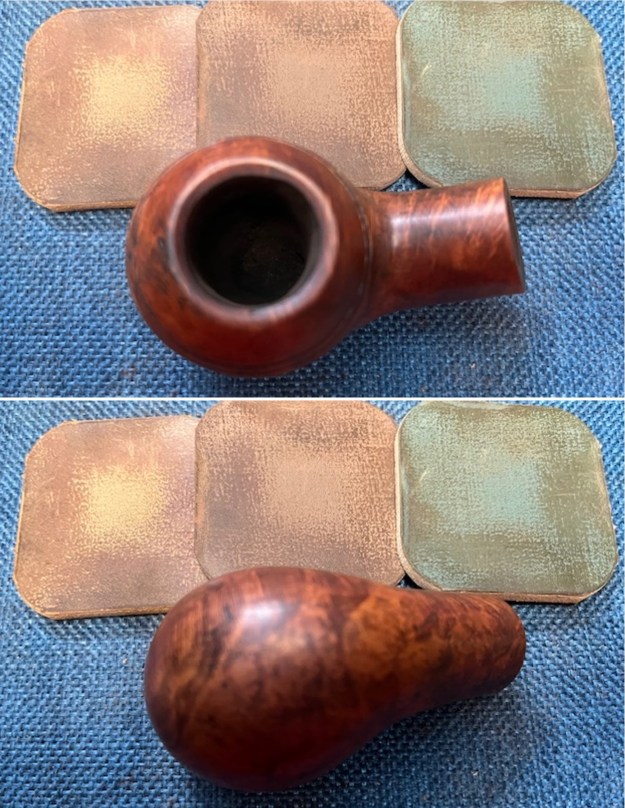
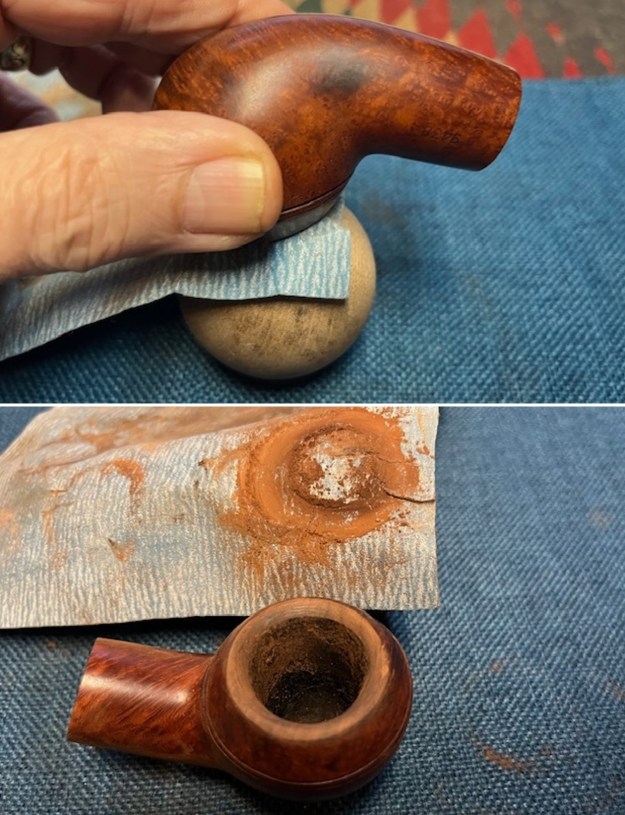
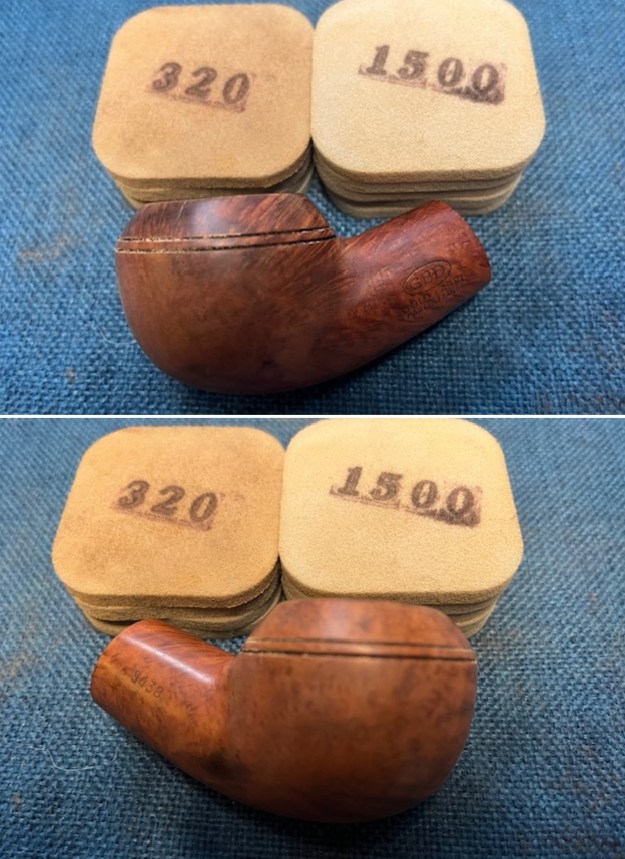
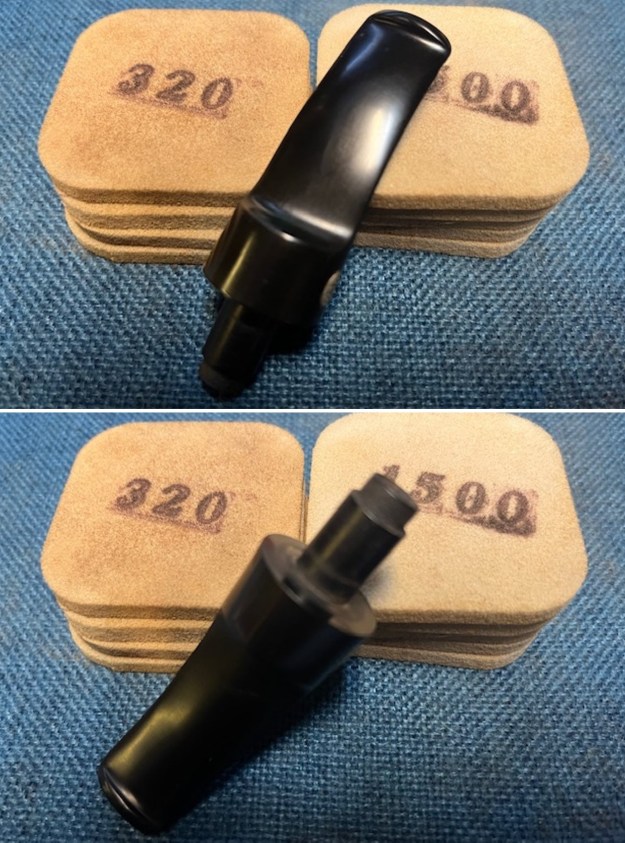
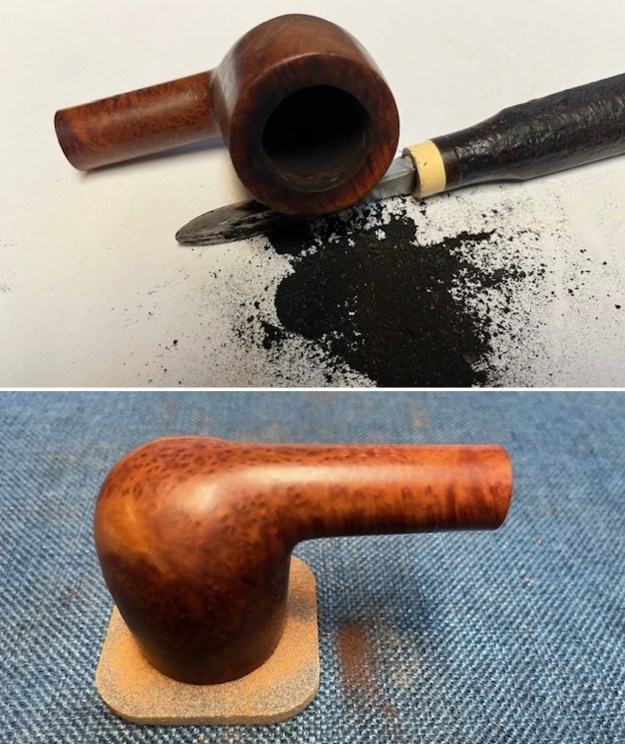
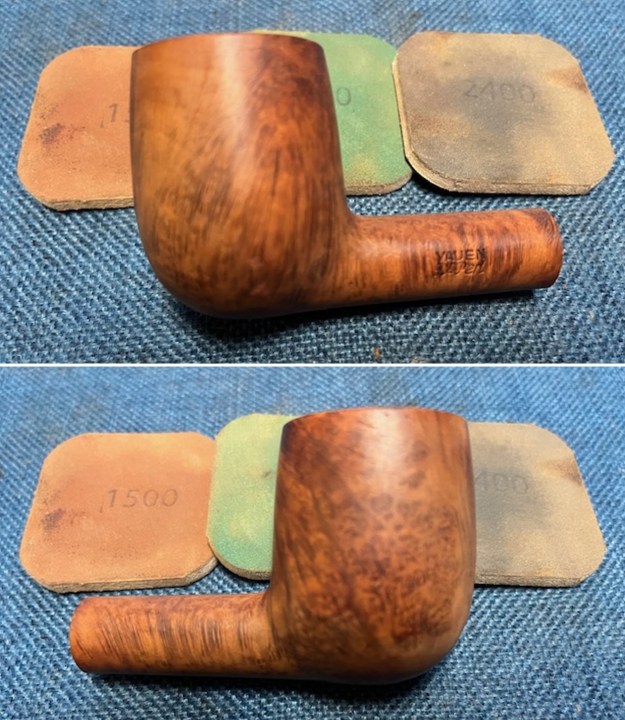
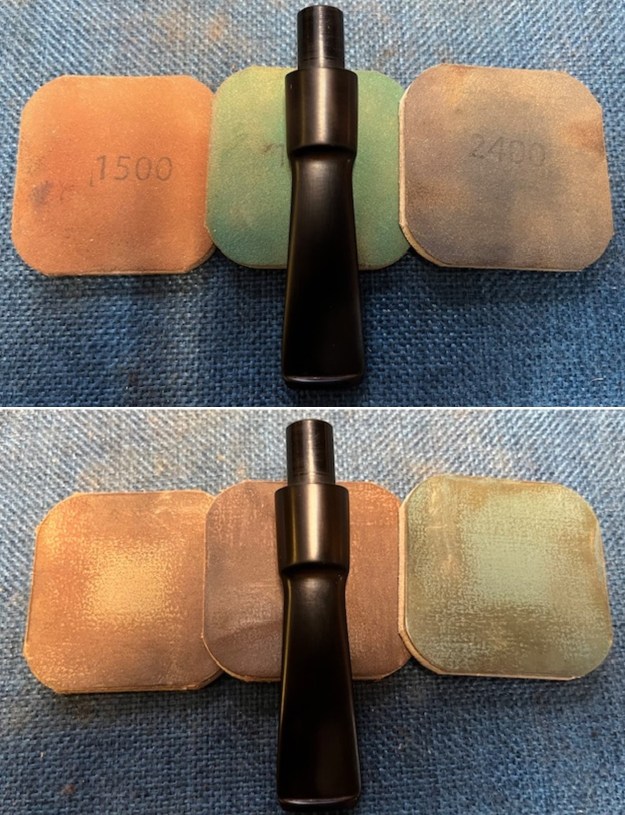
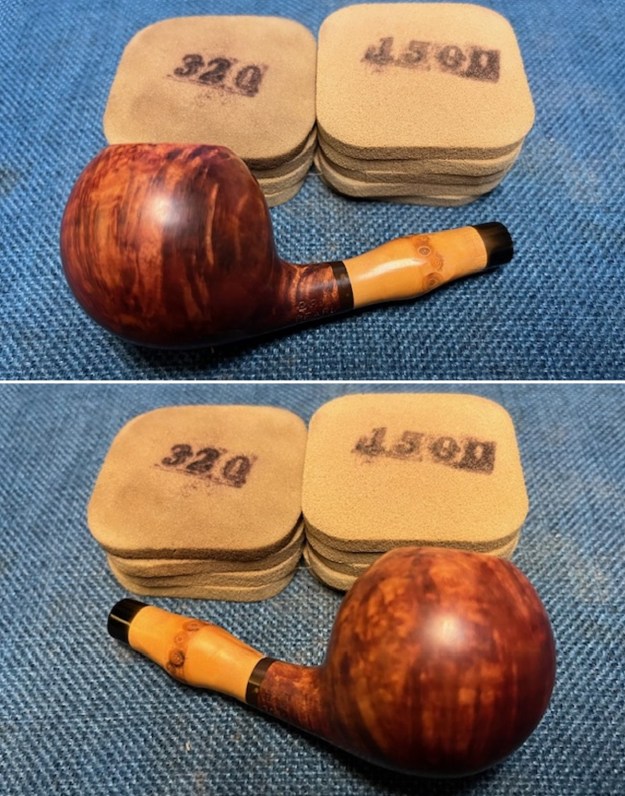
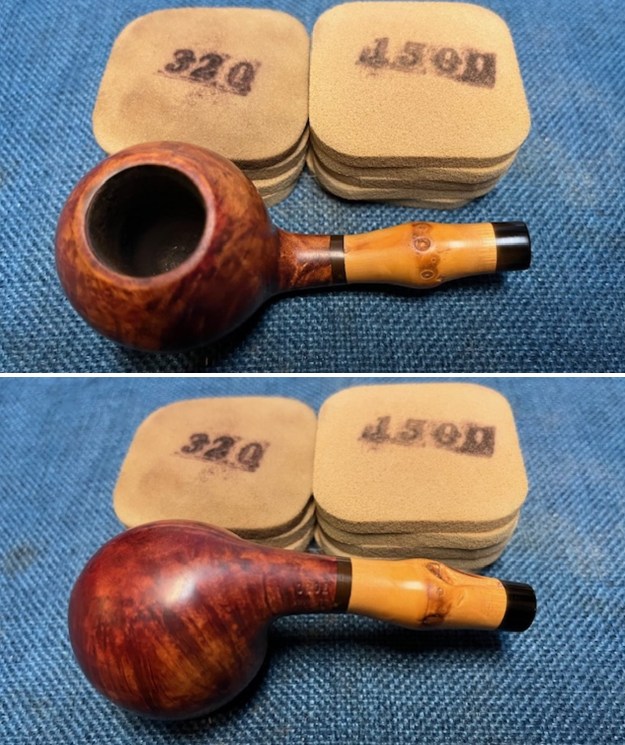
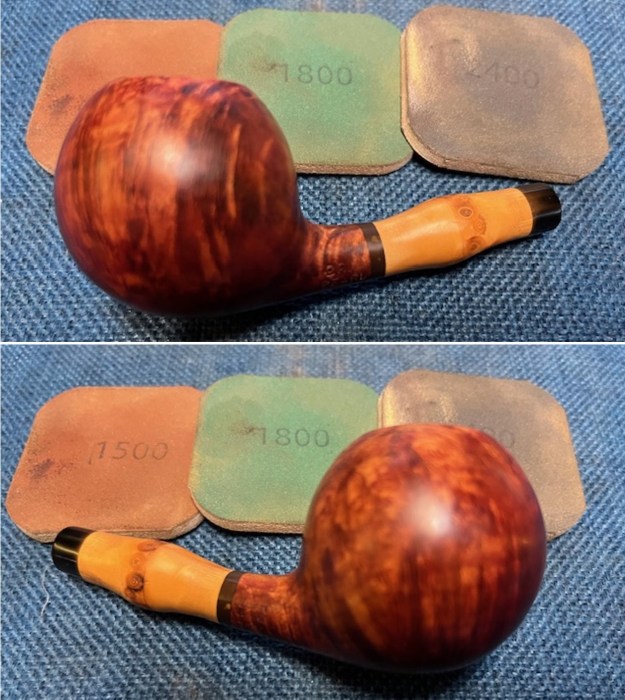
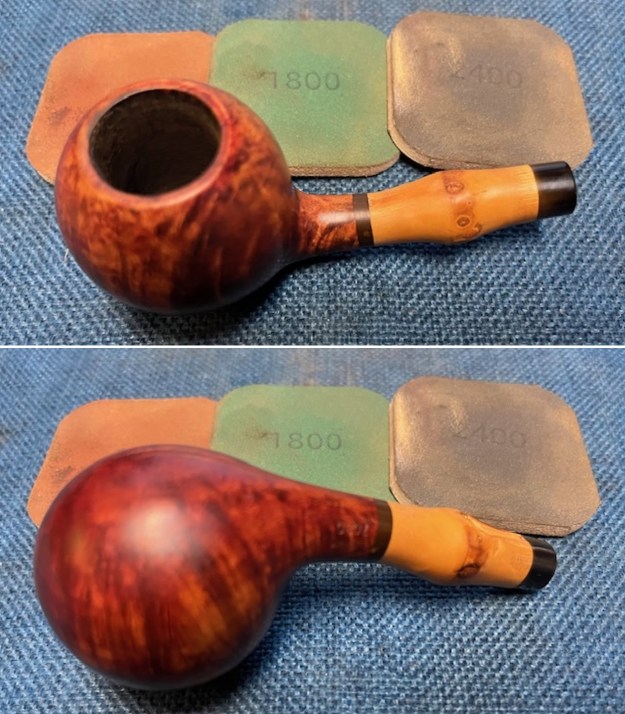
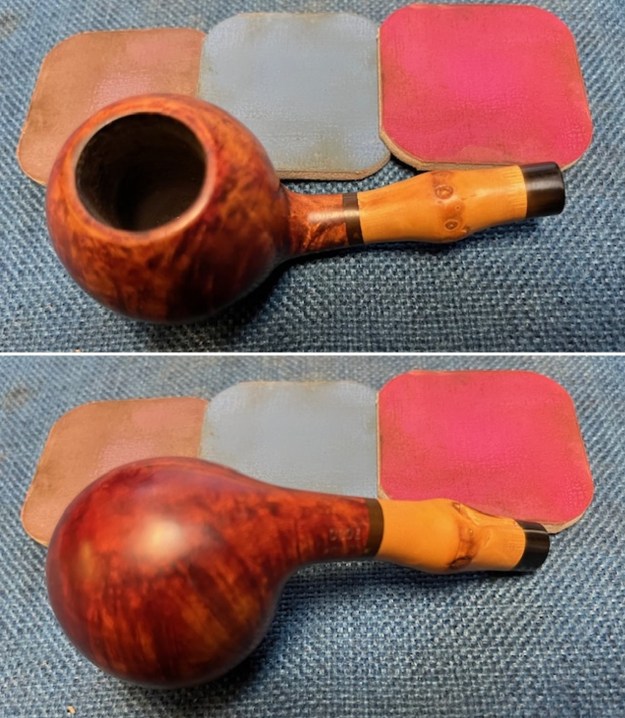
 Once the varnish coat was removed I polished the briar with micromesh sanding pads – dry sanding with 1500-12000 grit sanding pads. I wiped the bowl down with a damp cloth after each pad. By the end of the process it looked quite good.
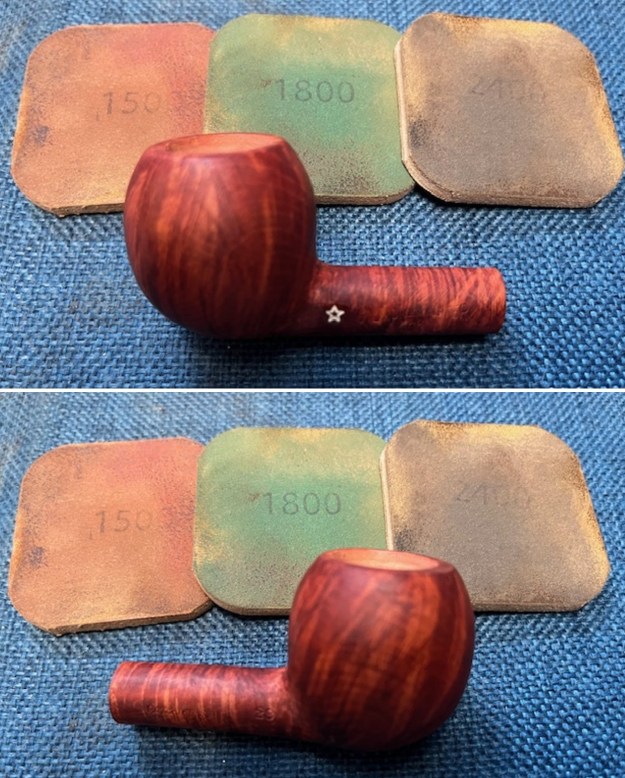
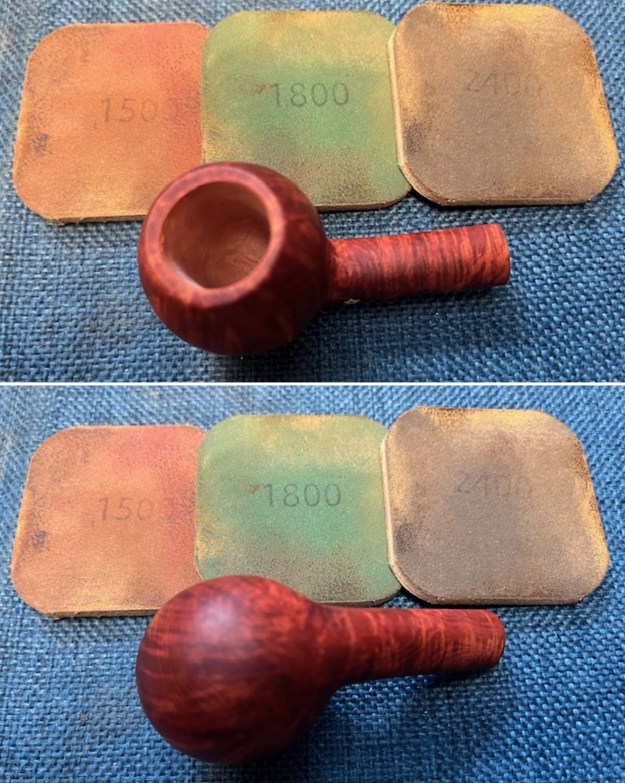
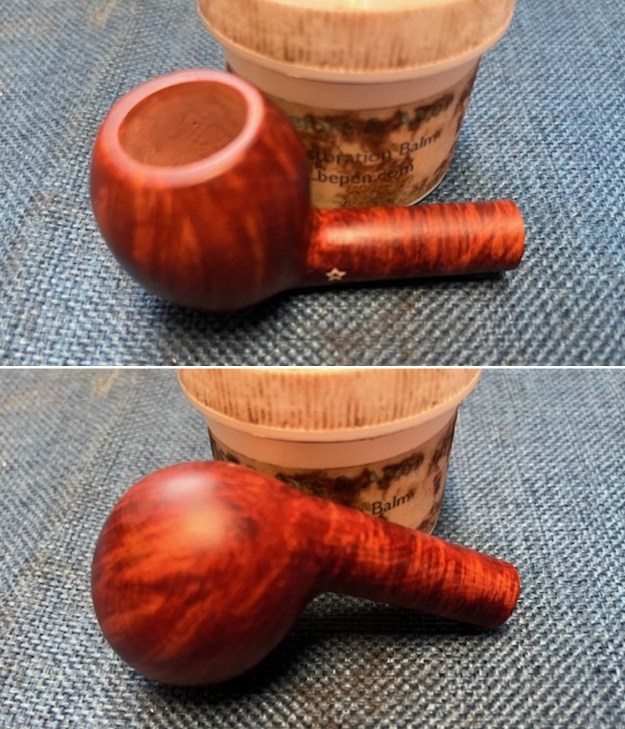
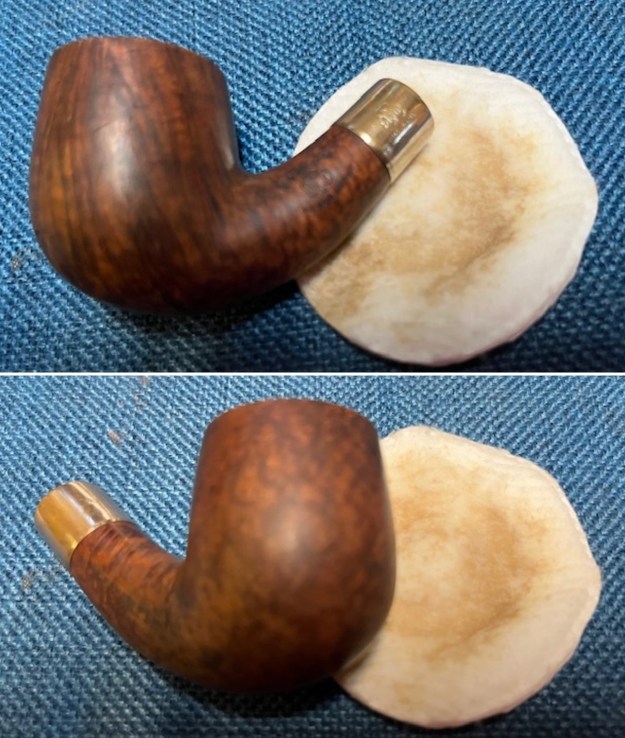
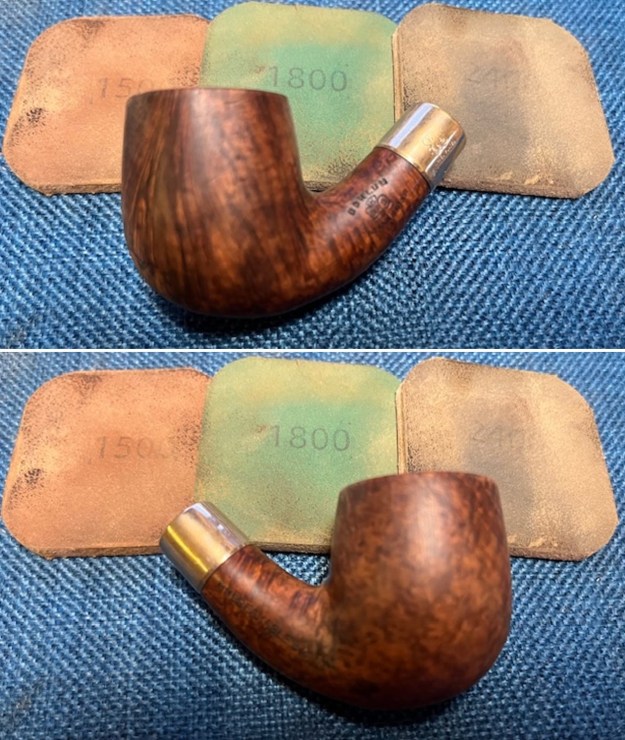
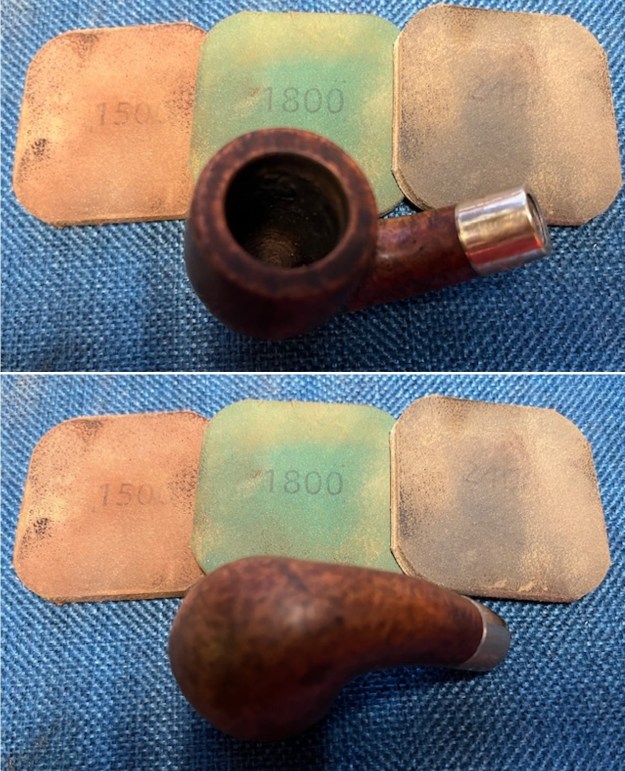
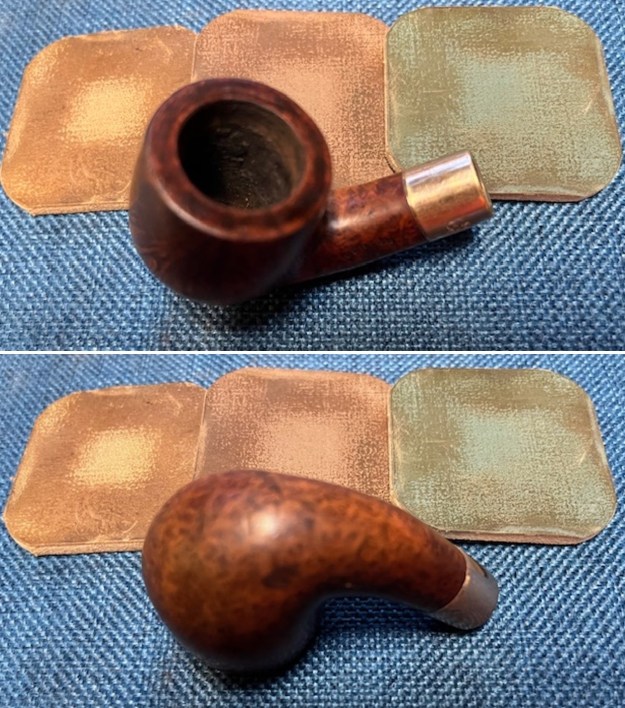
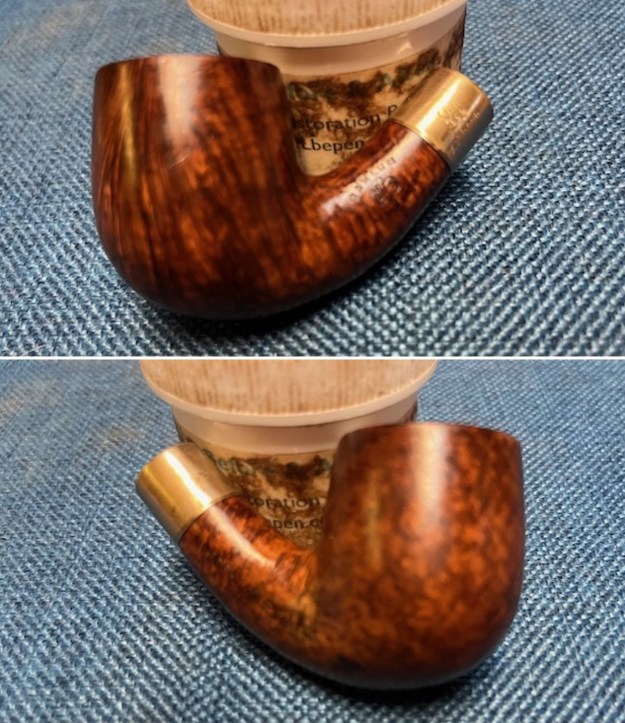
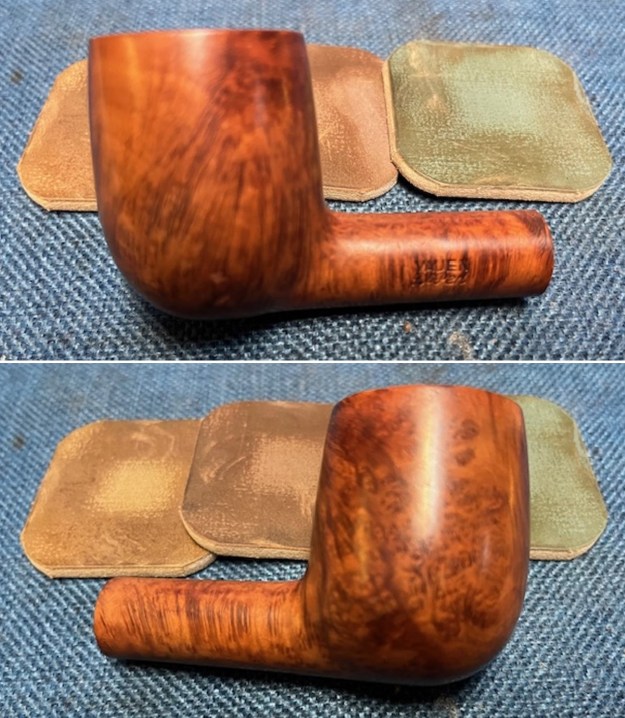
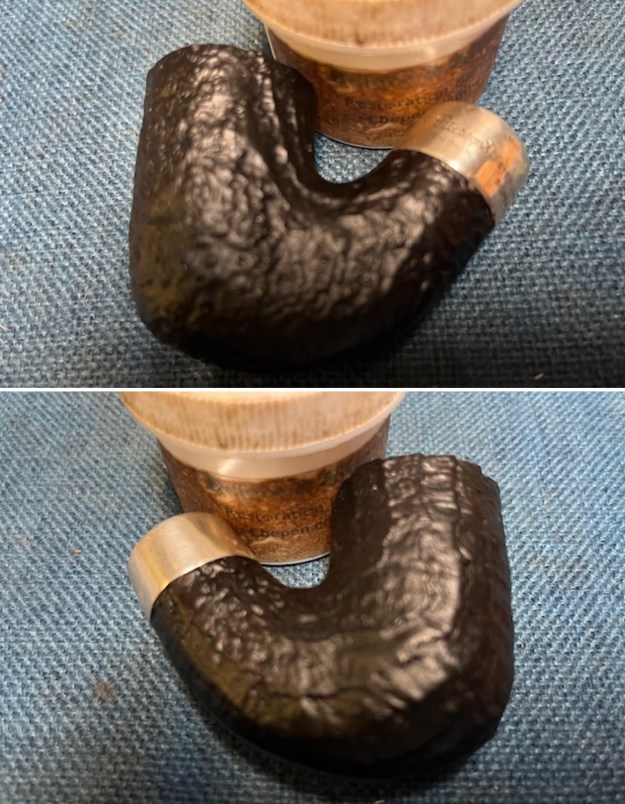
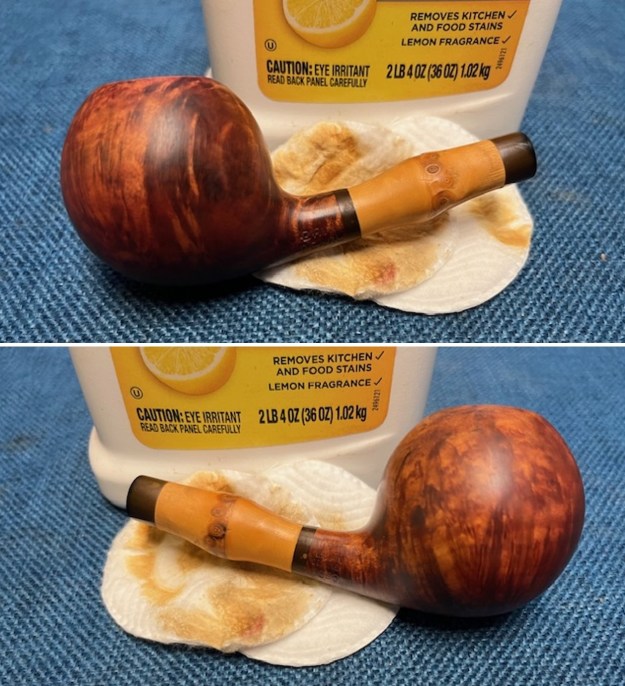
 I rubbed the bowl and shank down with Before & After Restoration Balm. I worked it into the surface of the bowl sides and shank with my fingertips. It works to clean, enliven and protect the briar. I let the balm sit for 15 minutes and buffed with a cotton cloth to raise the shine. The grain came alive.
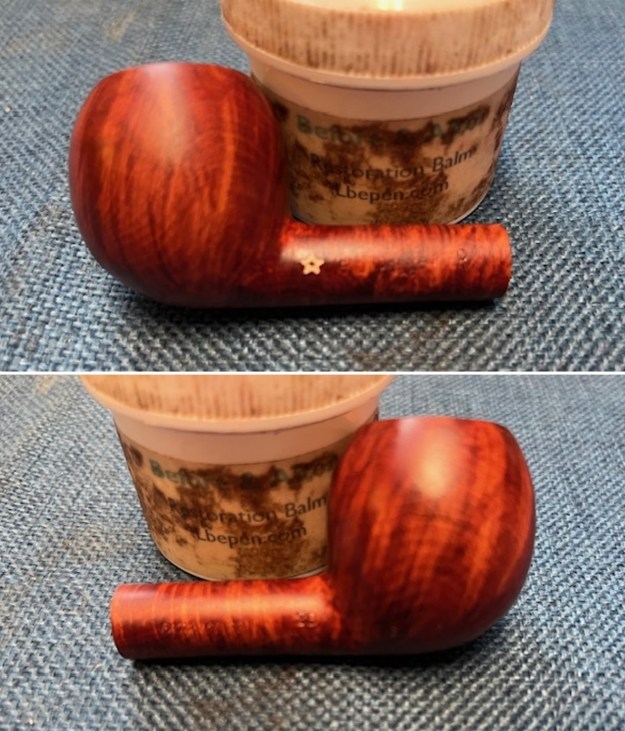
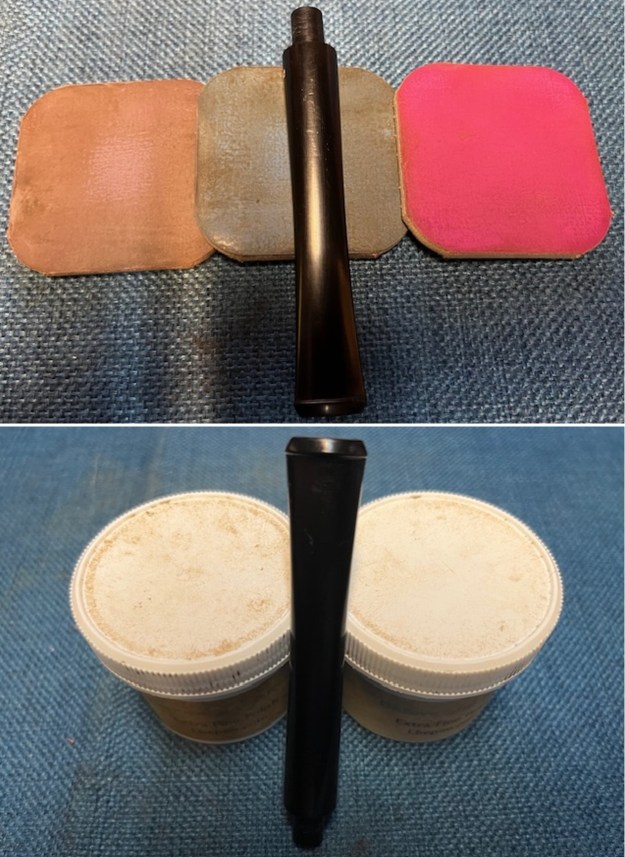
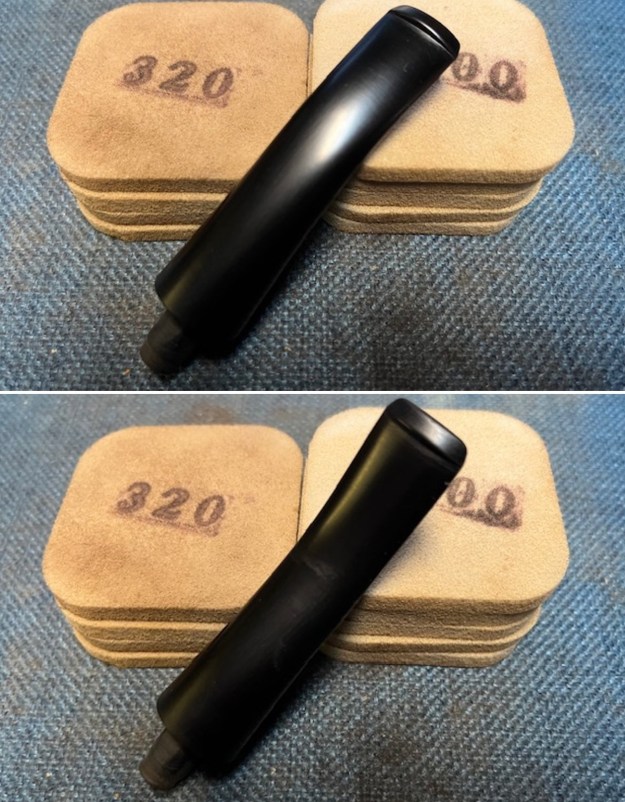
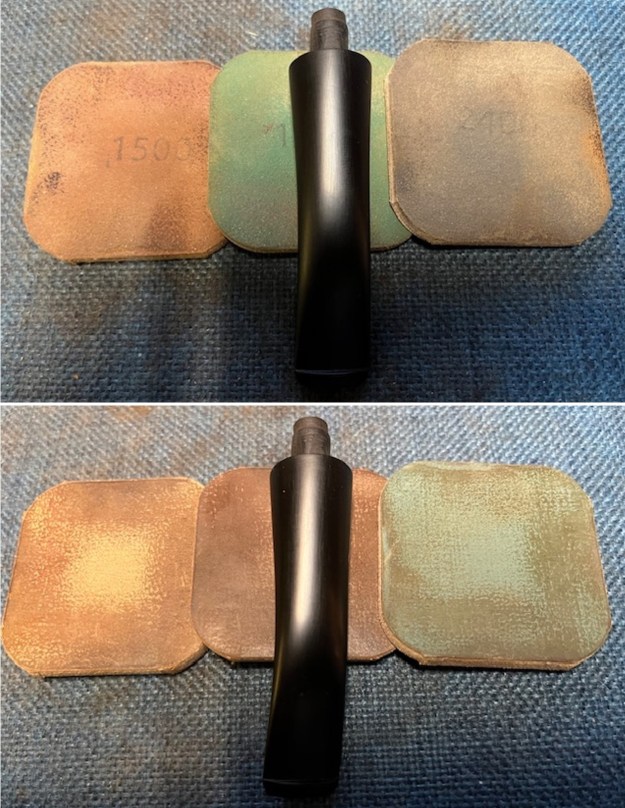
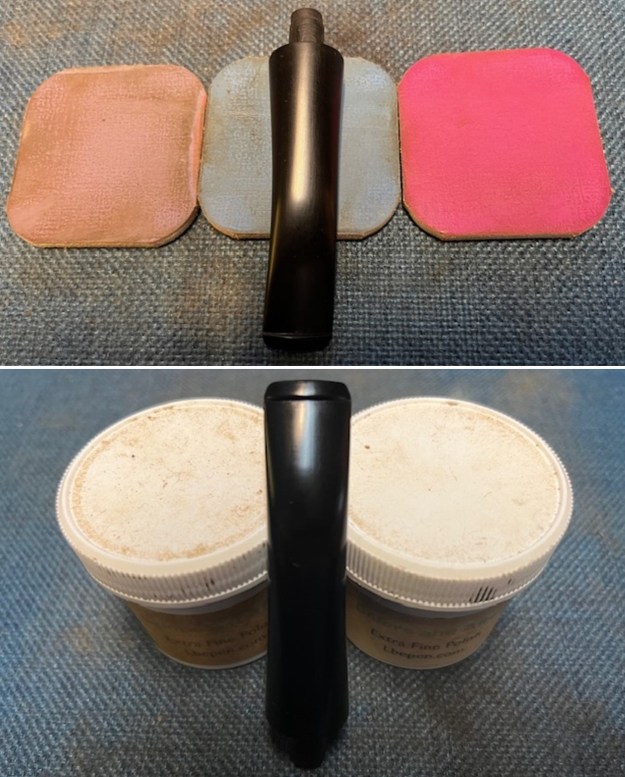
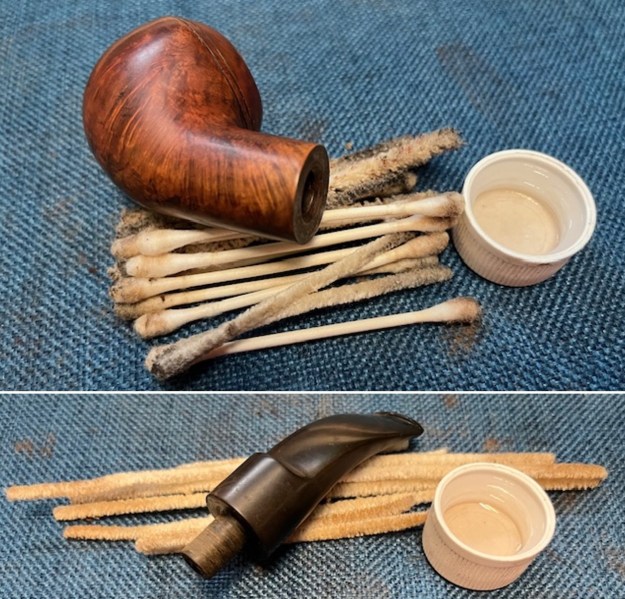
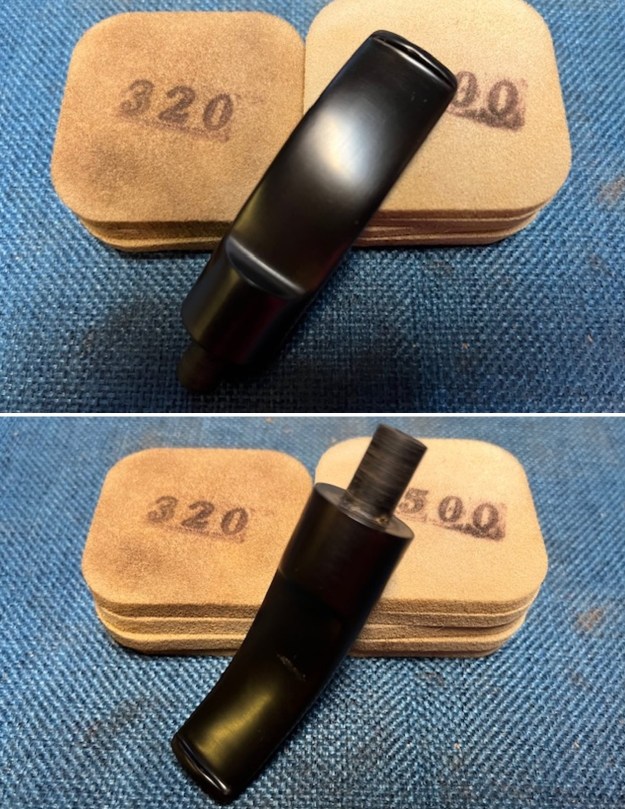
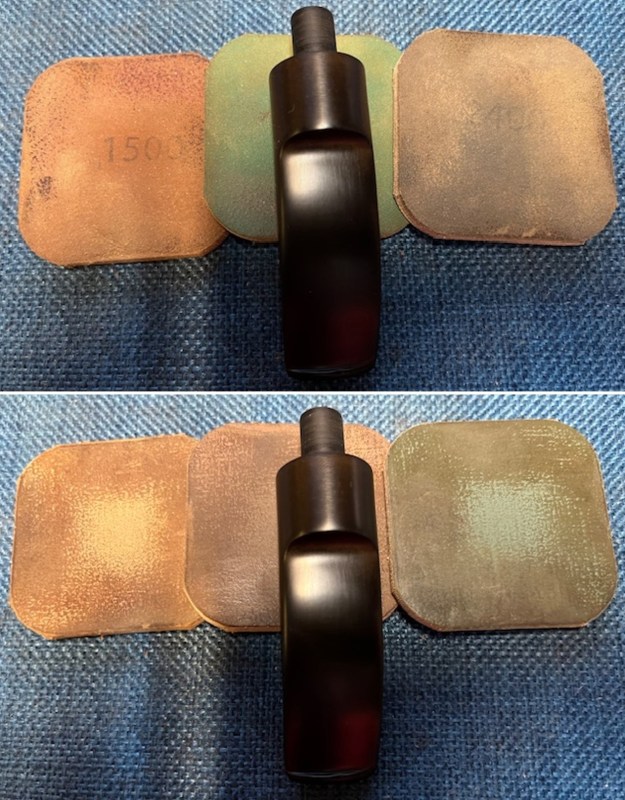
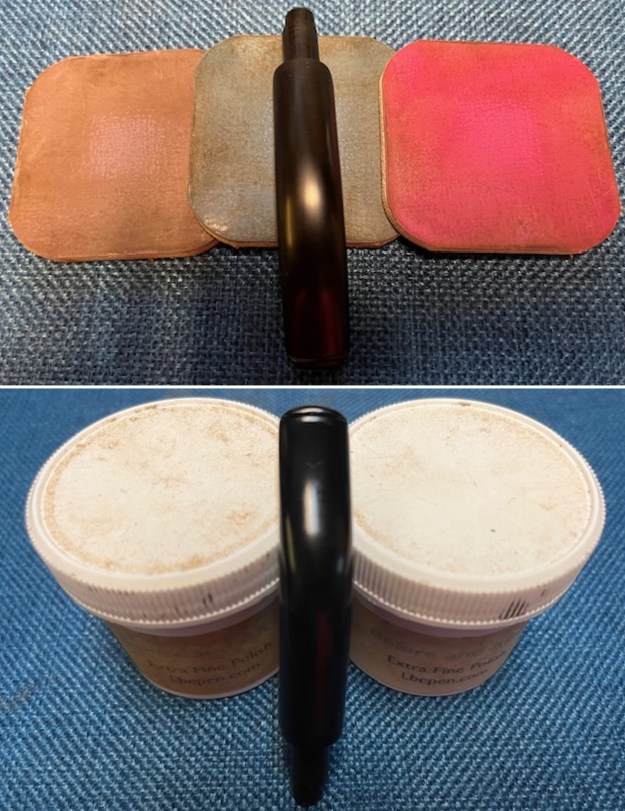
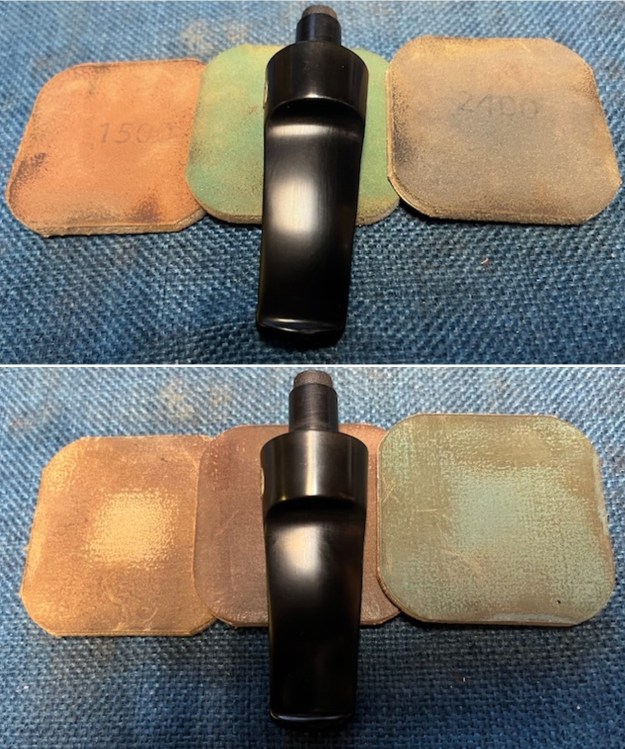
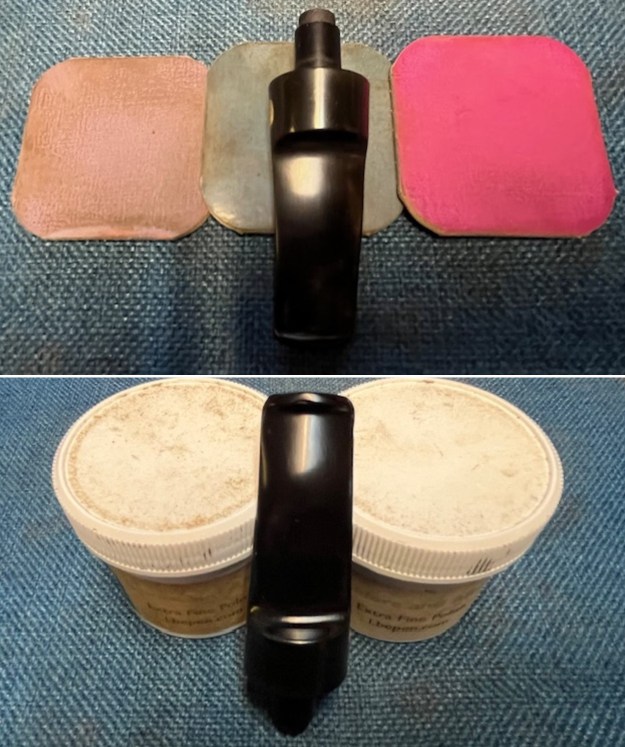
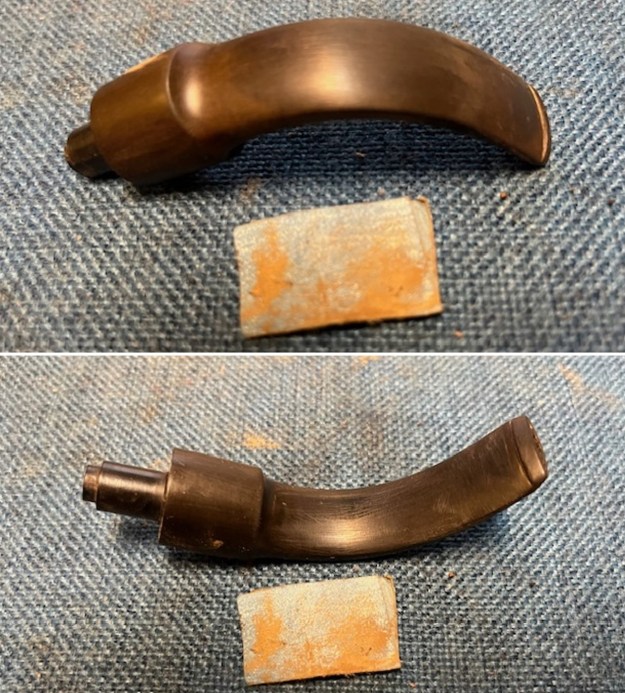
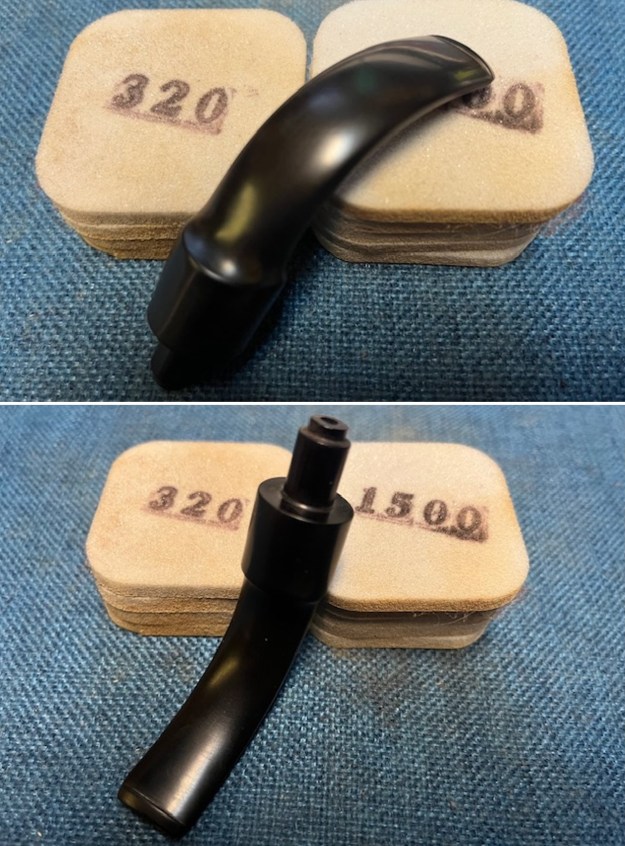
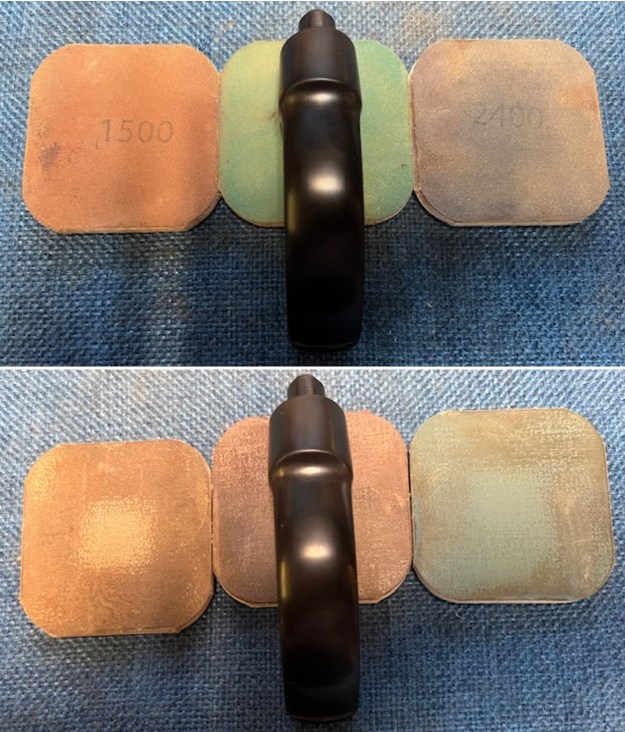
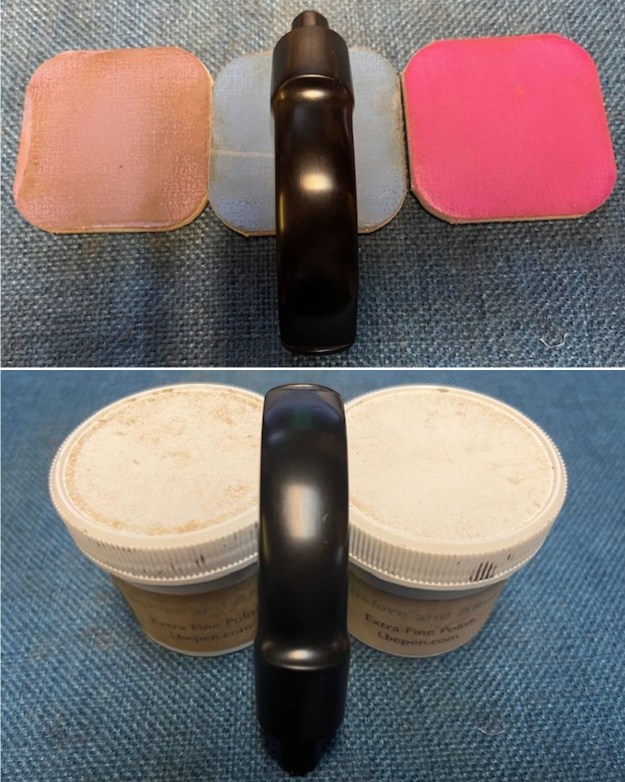
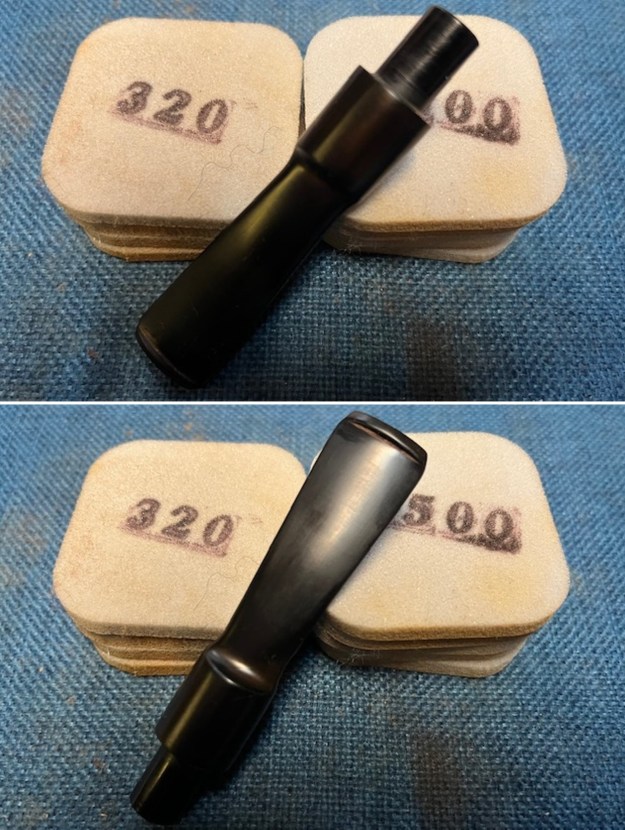
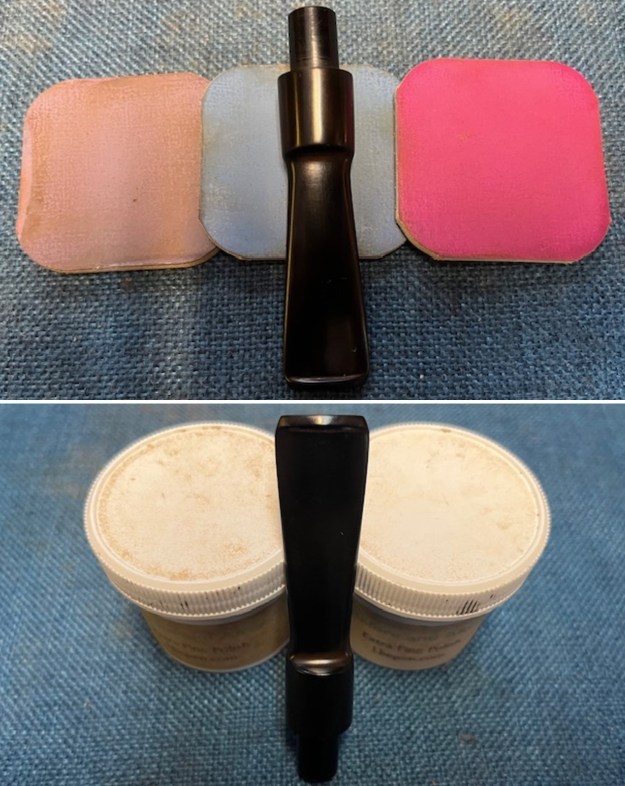
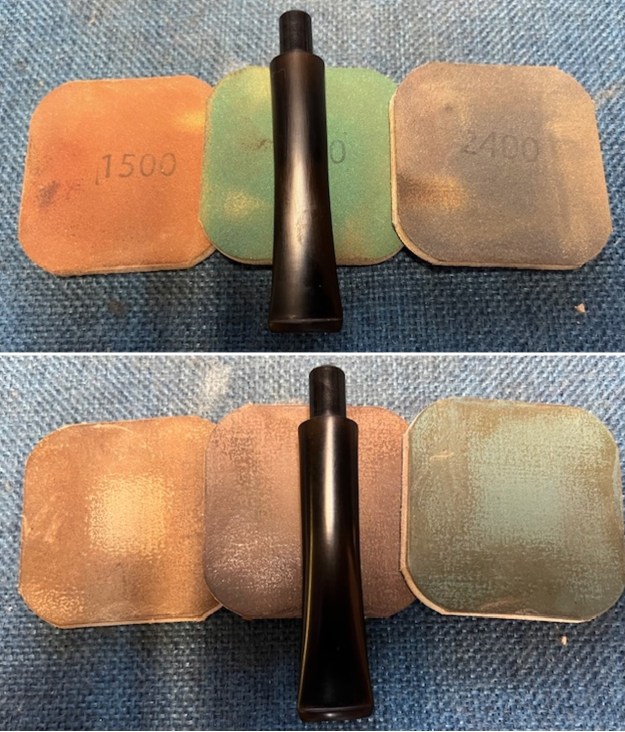
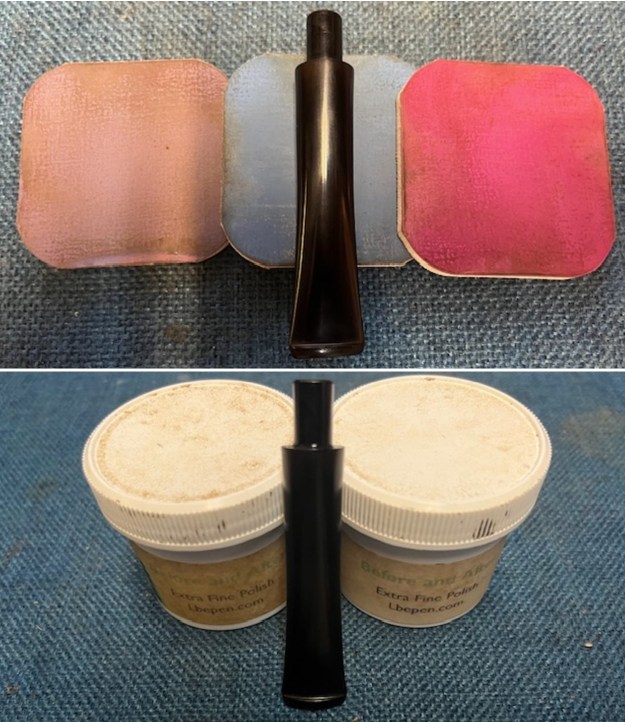
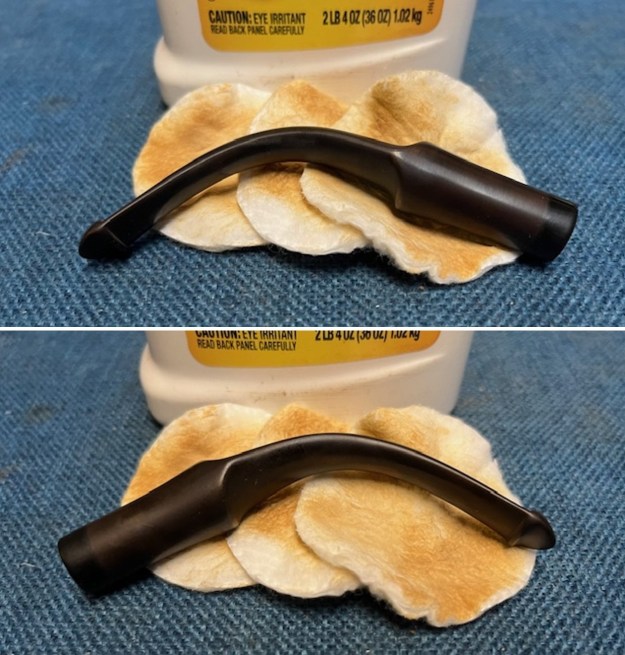
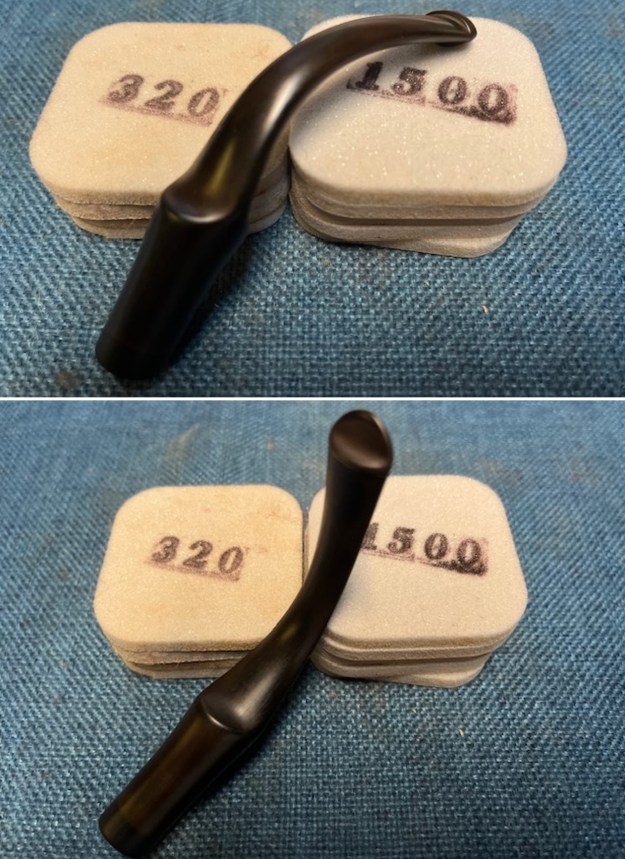
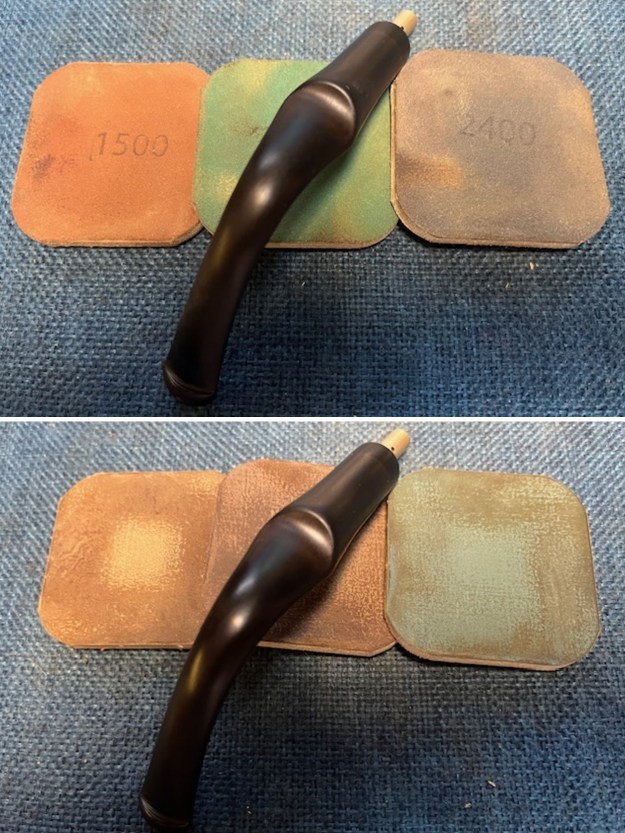
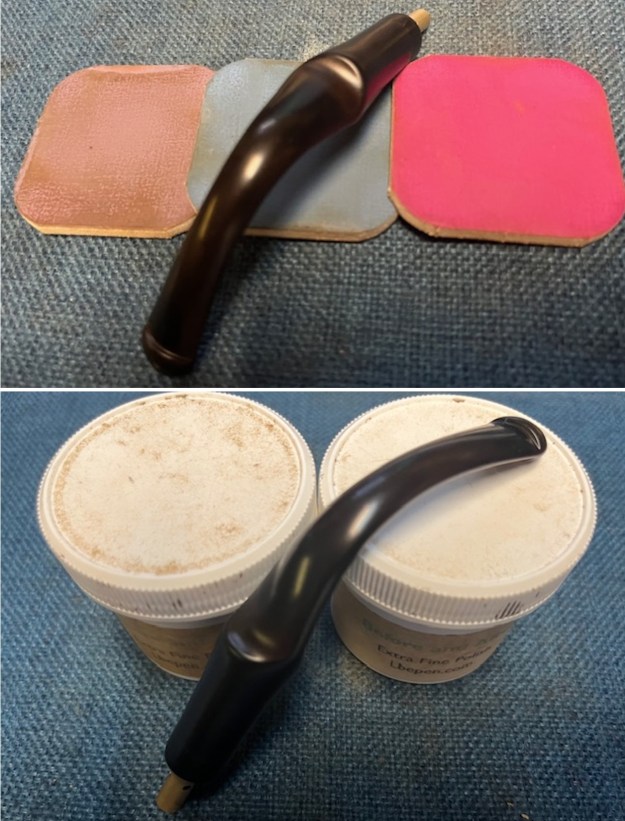
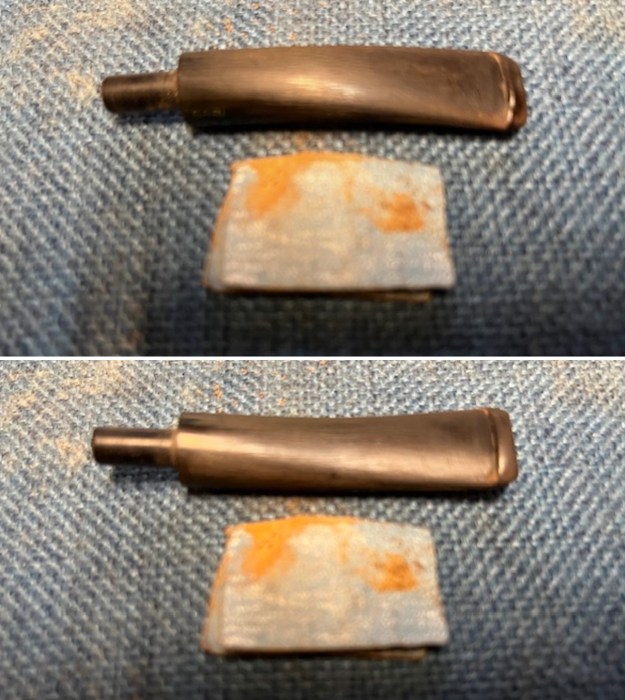
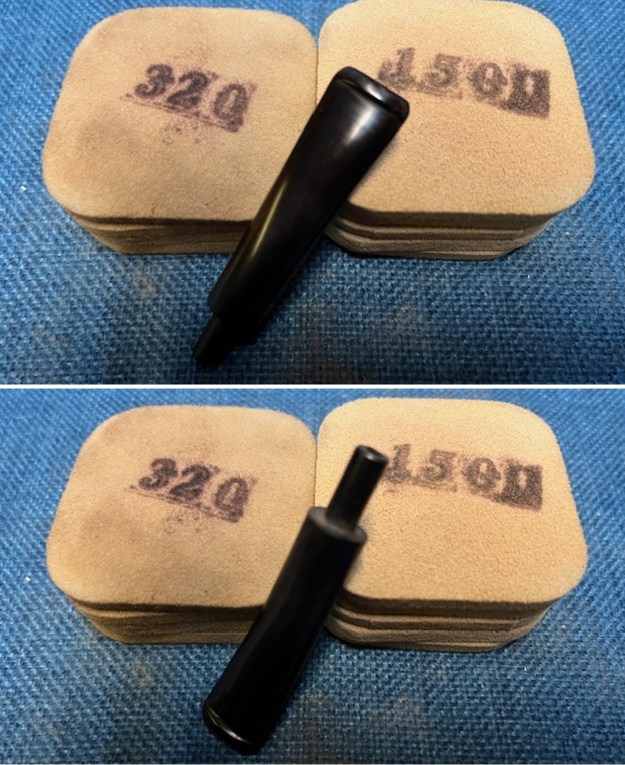
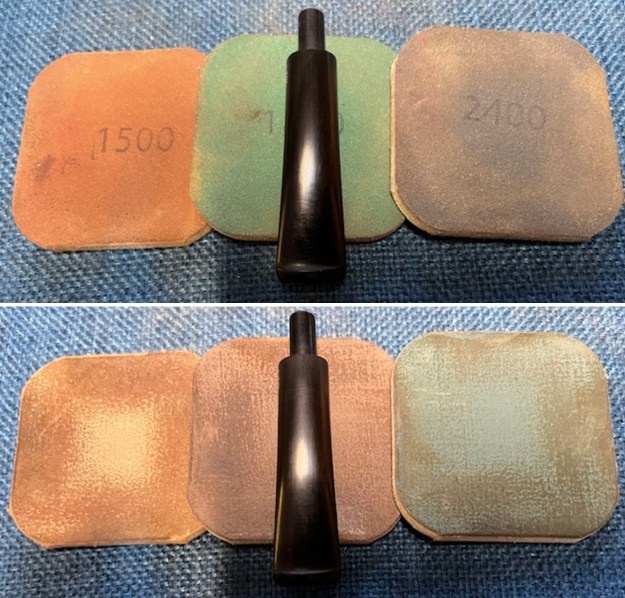
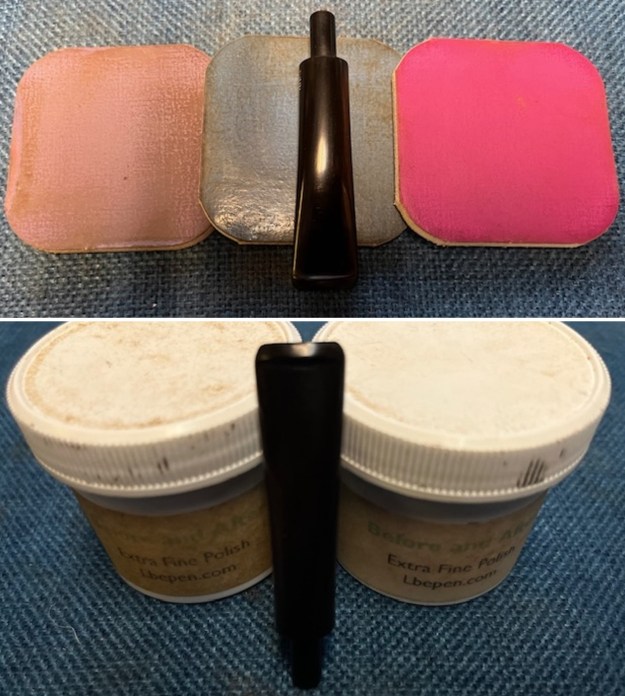
 I polished the vulcanite stem with micromesh sanding pads – 1500-12000 grit pads. I wiped it down with Obsidian Oil after each sanding pad. I used Before & After Pipe Polish – both Fine and Extra Fine to further polish the stem. I rubbed it down with a final coat of Obsidian Oil and let it dry.
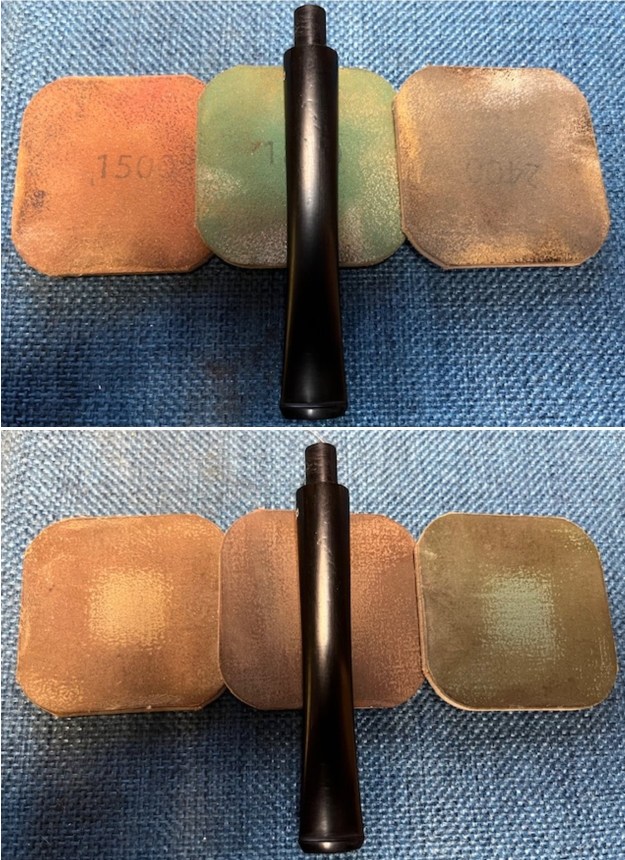
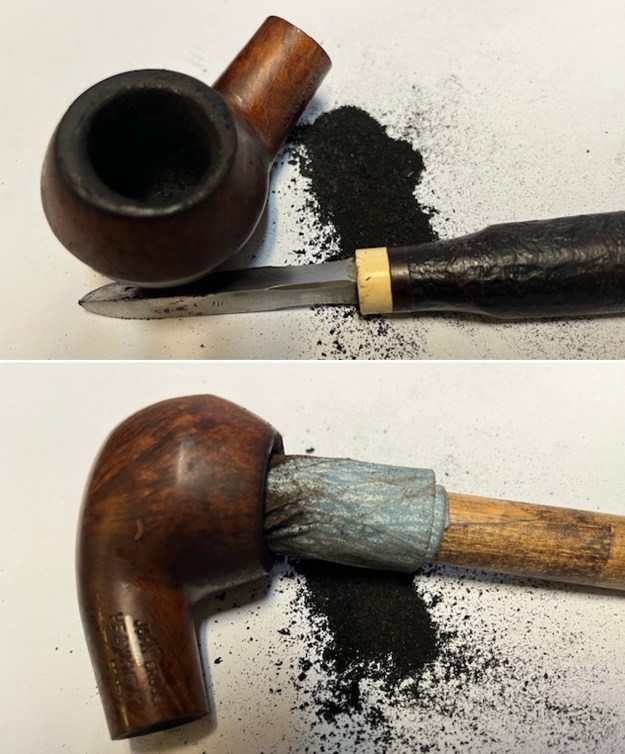
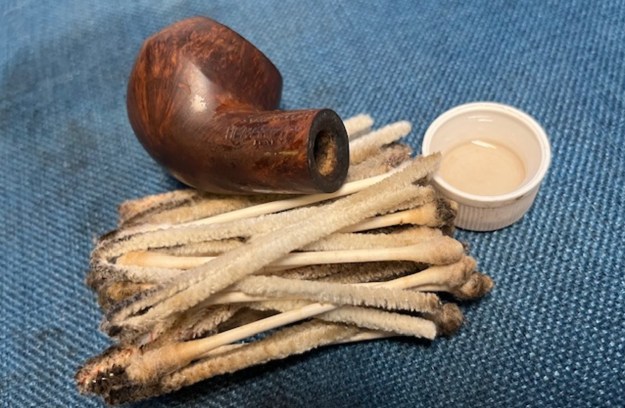
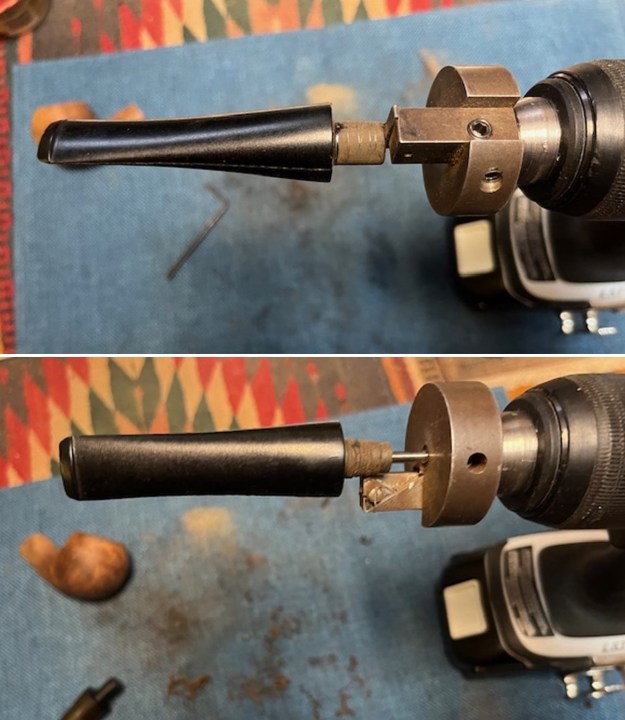
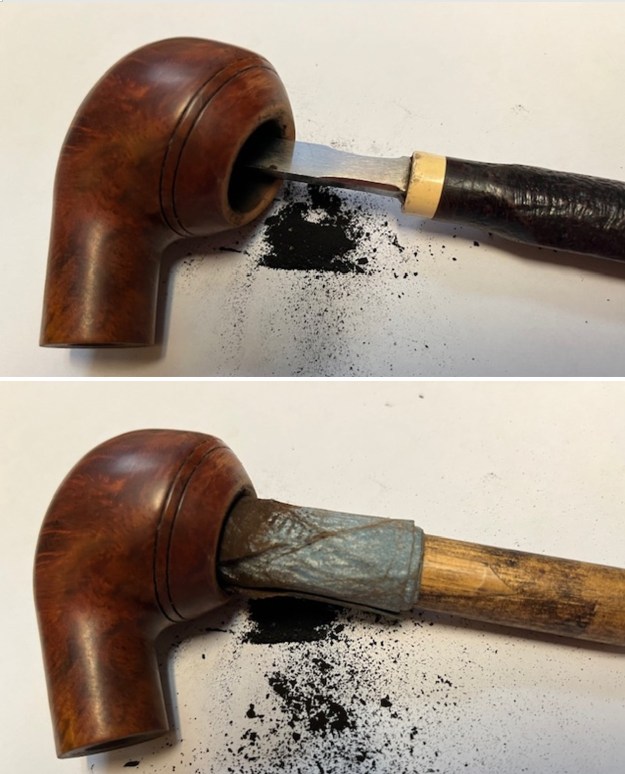
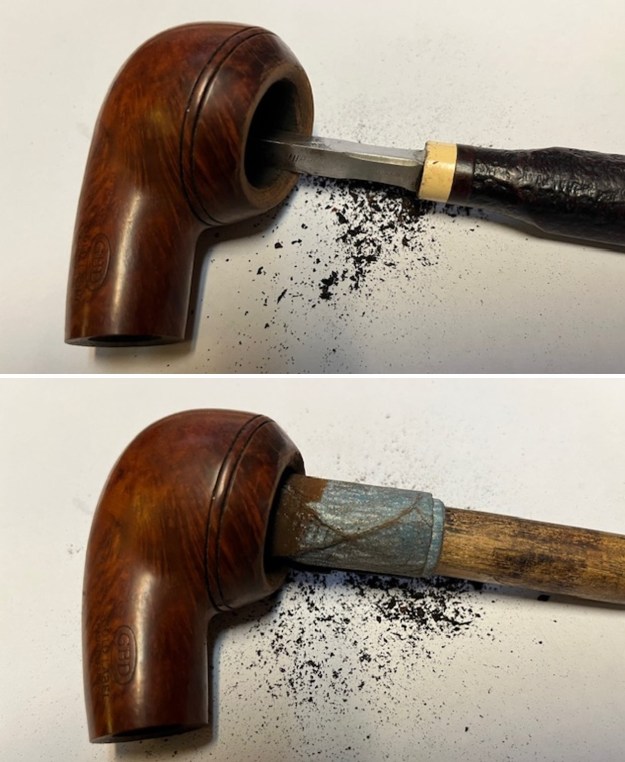
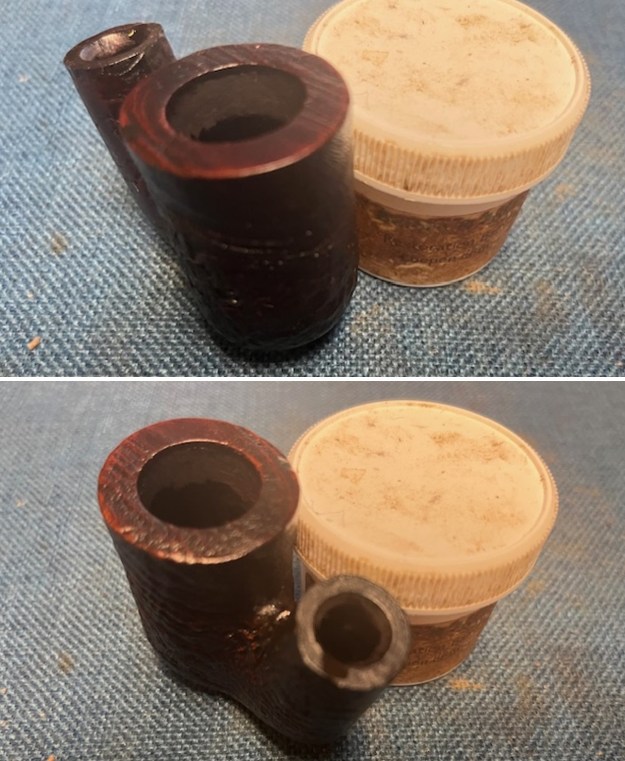
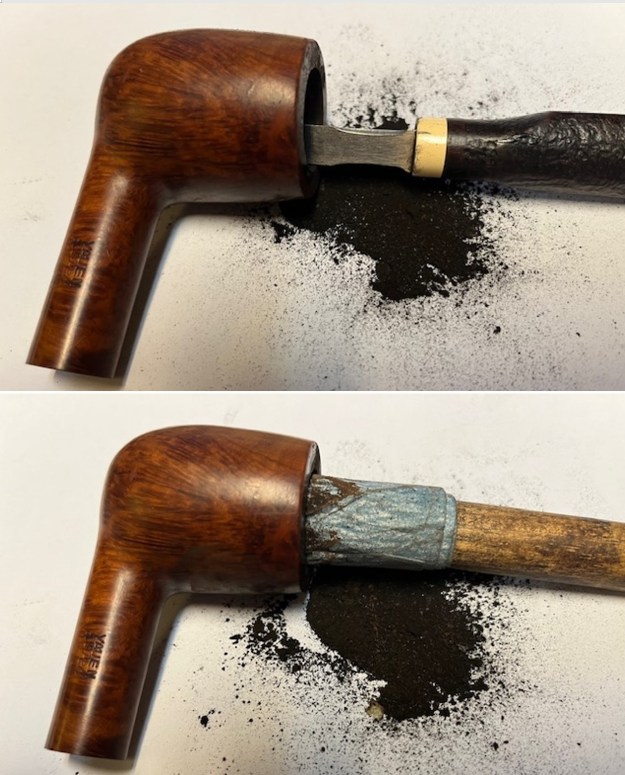
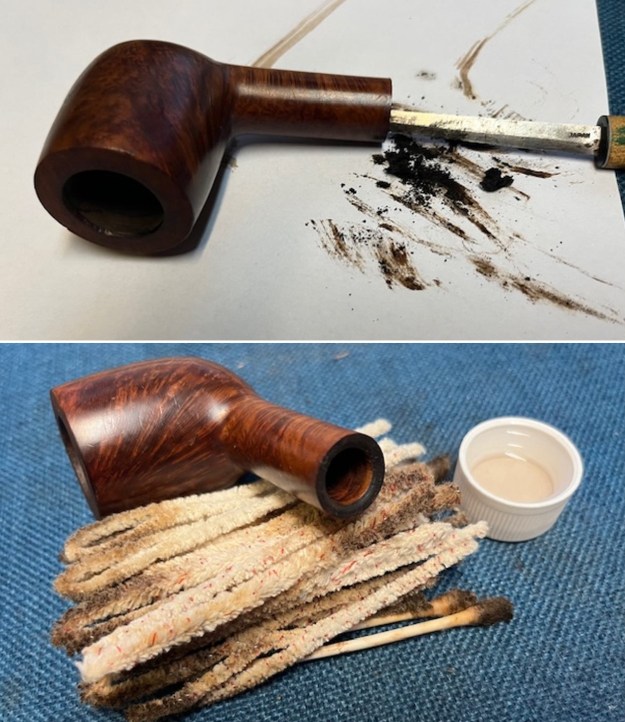
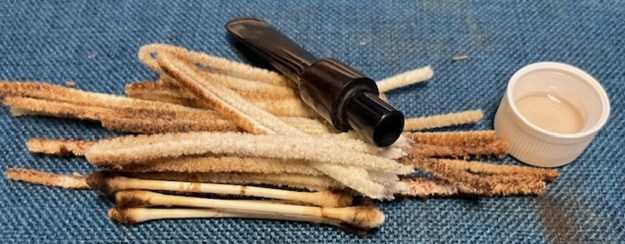
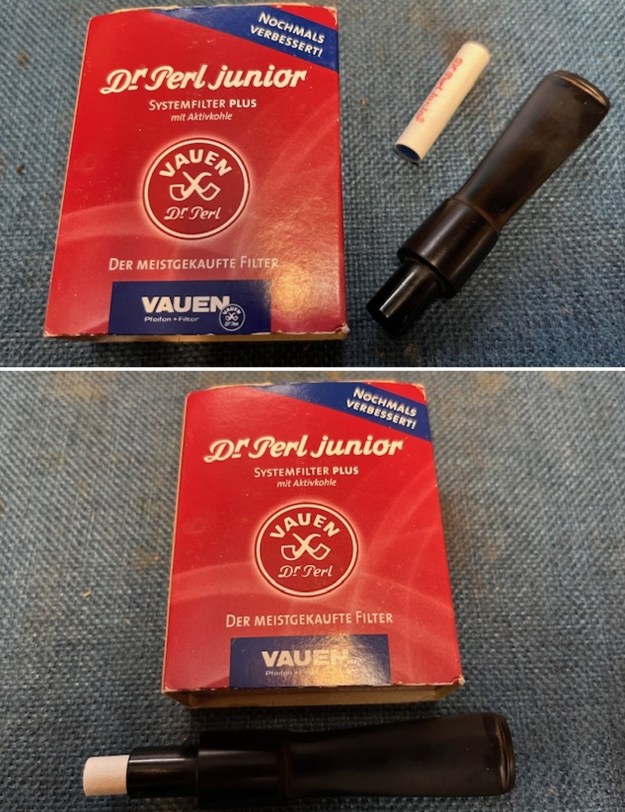
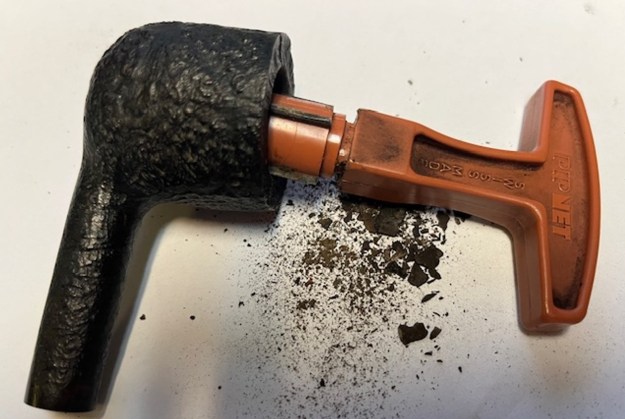
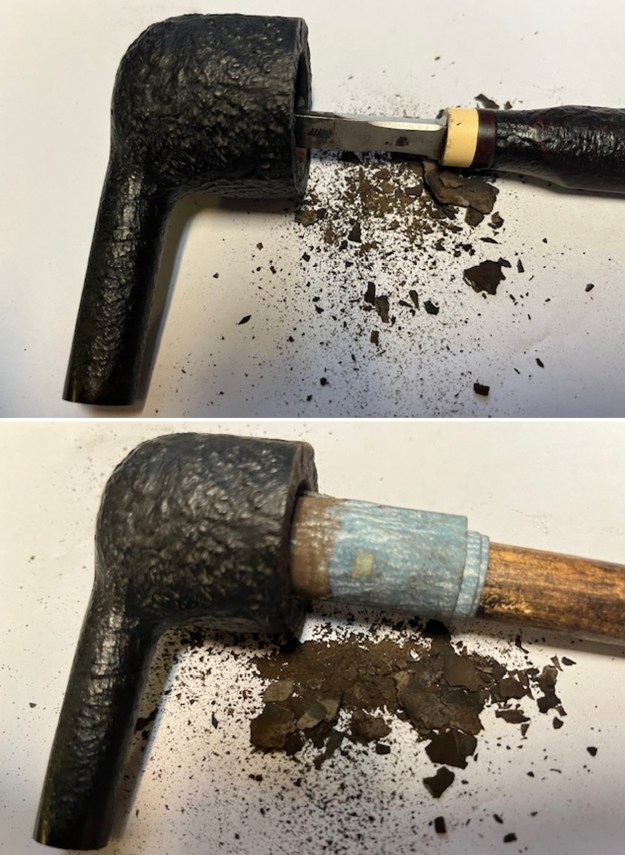
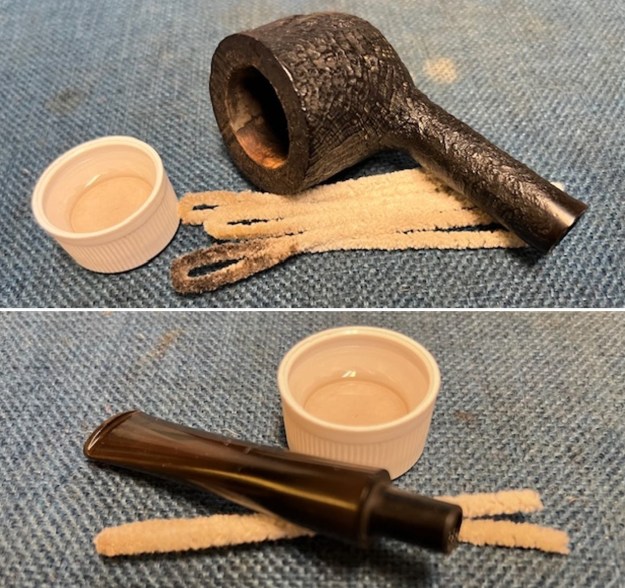
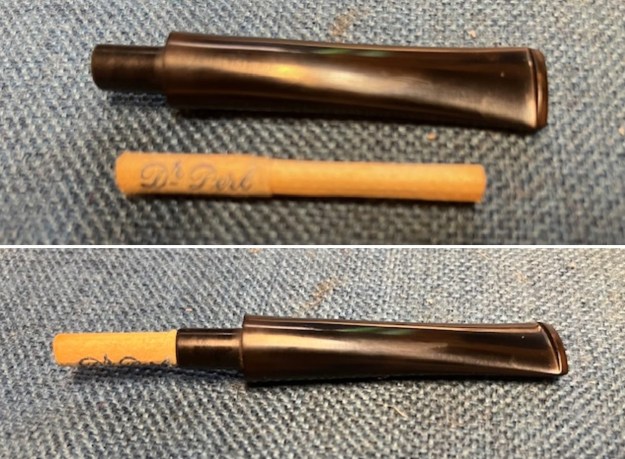
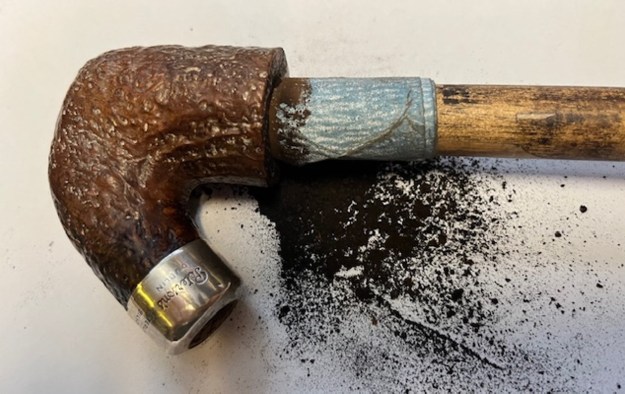
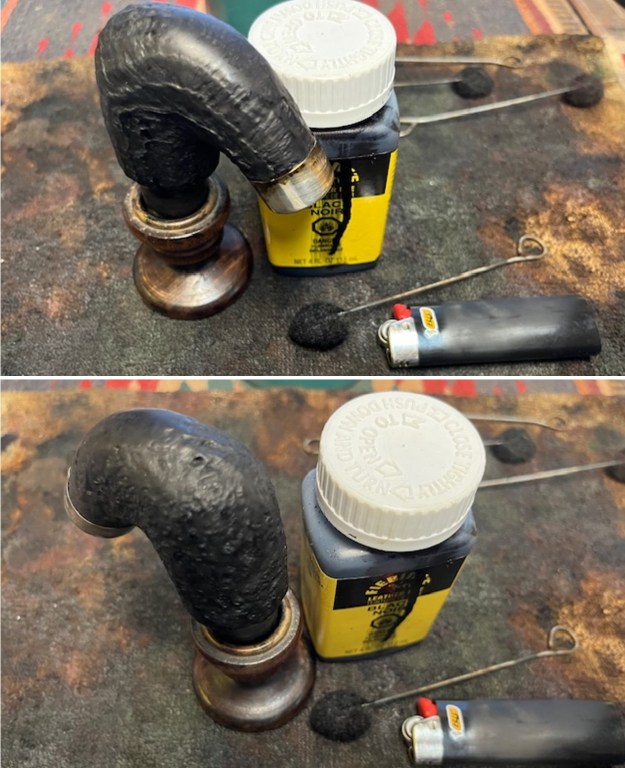
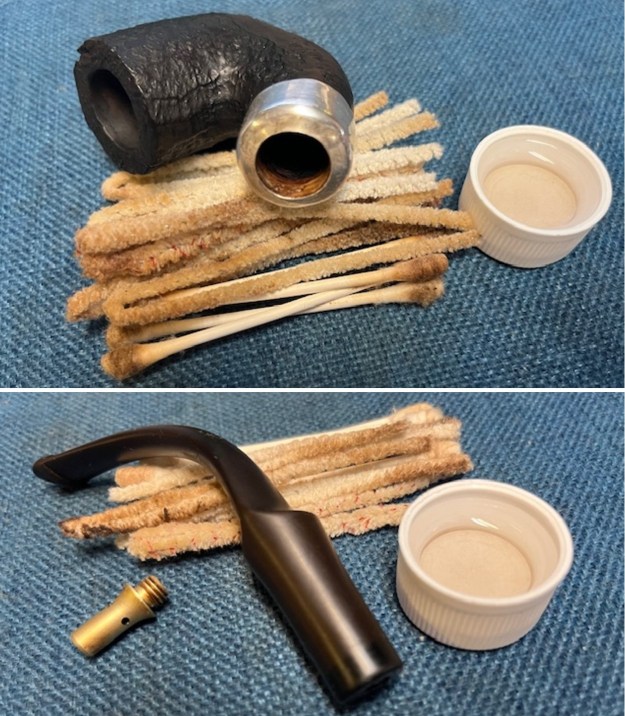
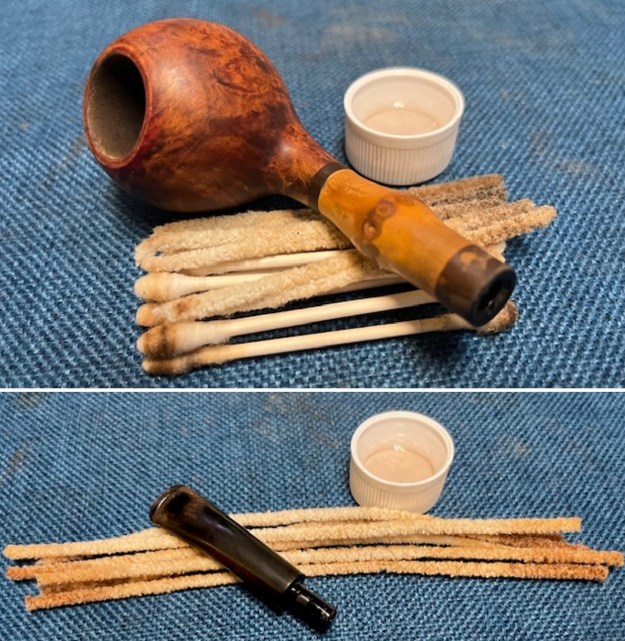
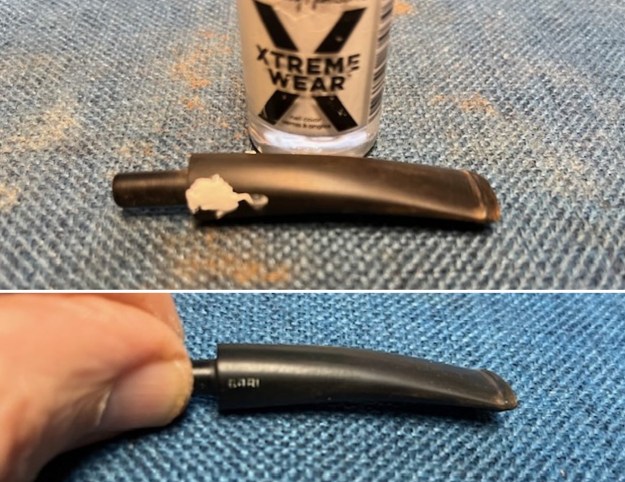
 With the stem cleaned up it was time to fit the tenon with the folded pipe cleaner filter as shown in the photos of the advertisements and also patent information. I took photos of the process.
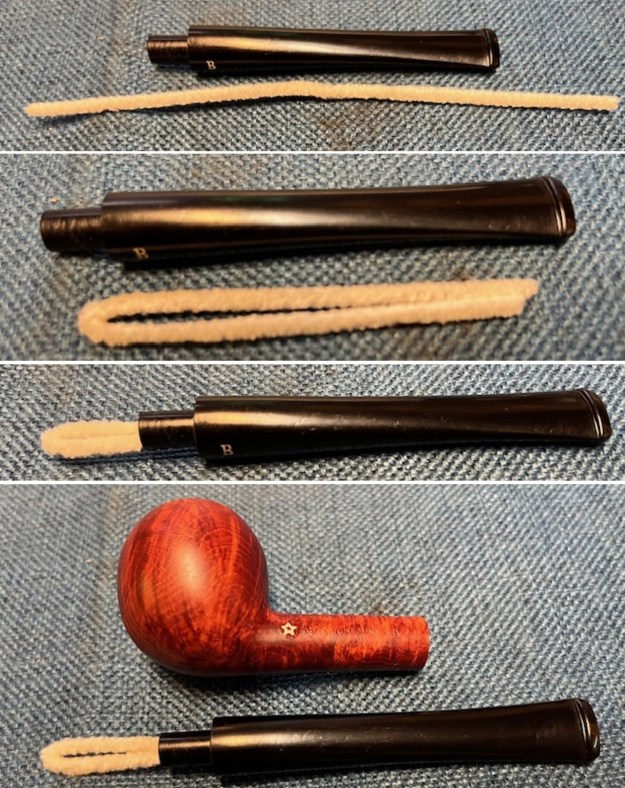
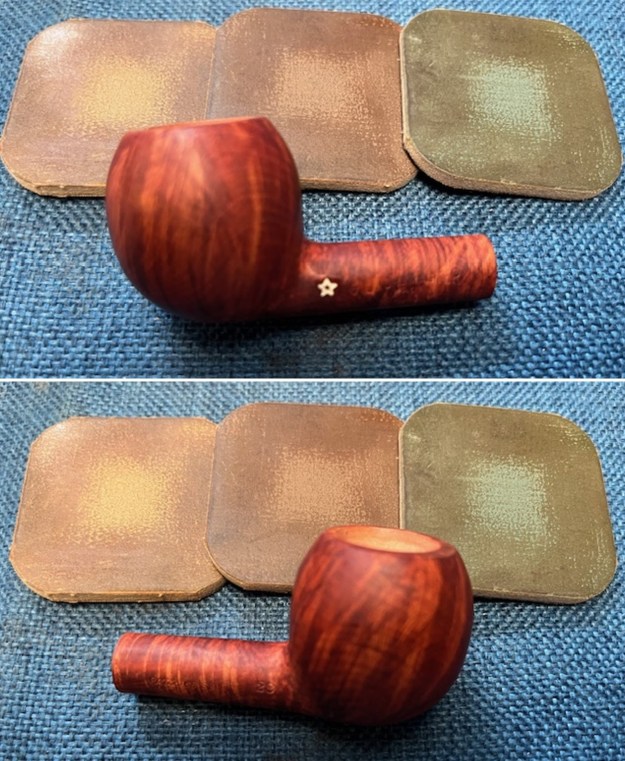
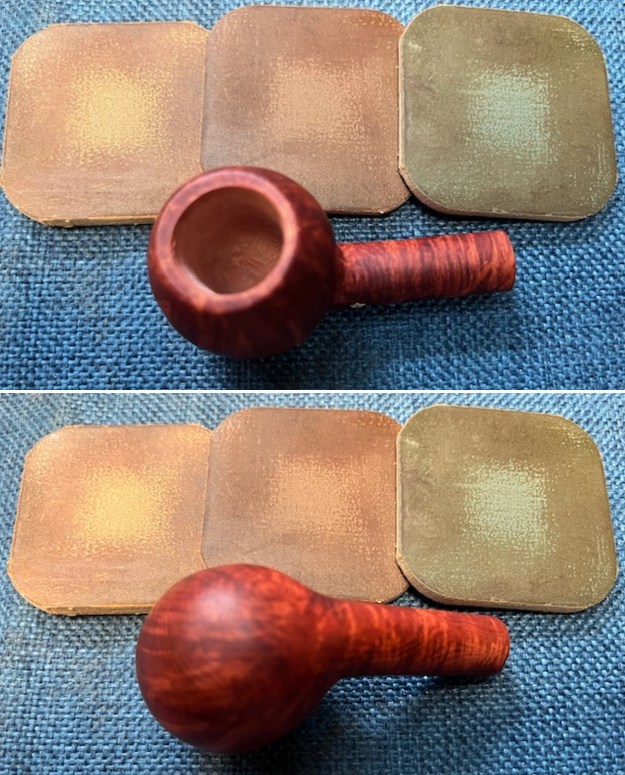
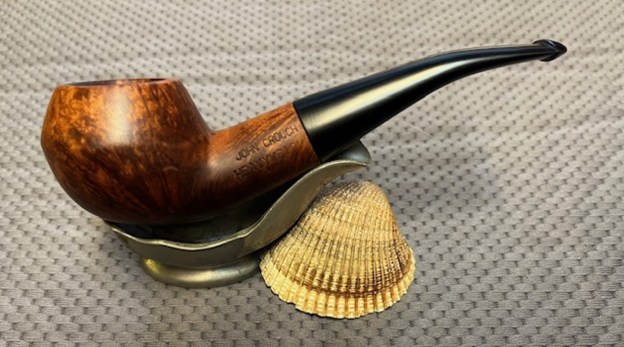
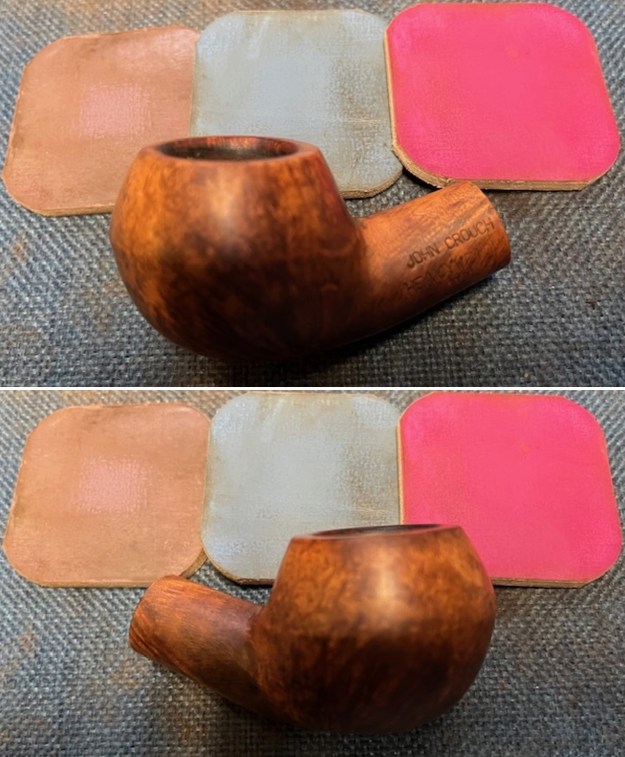
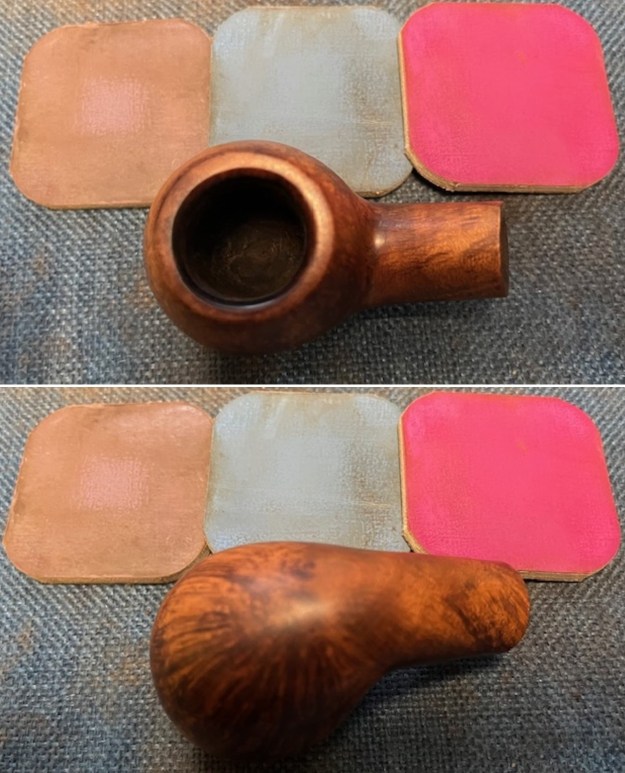
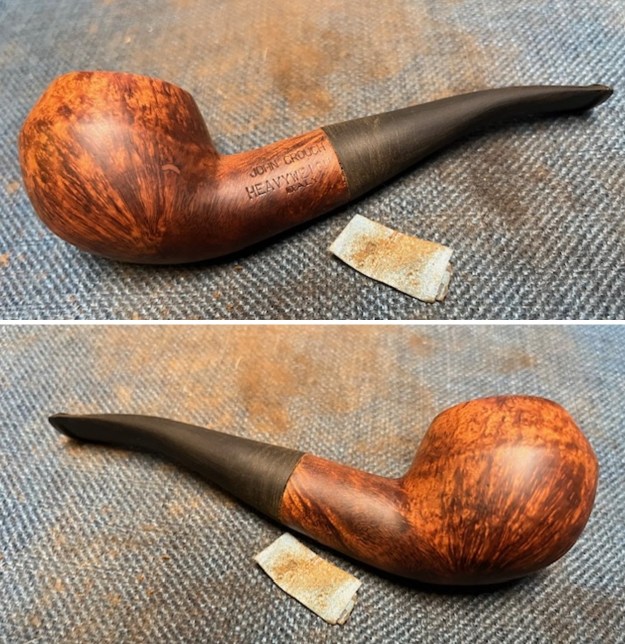
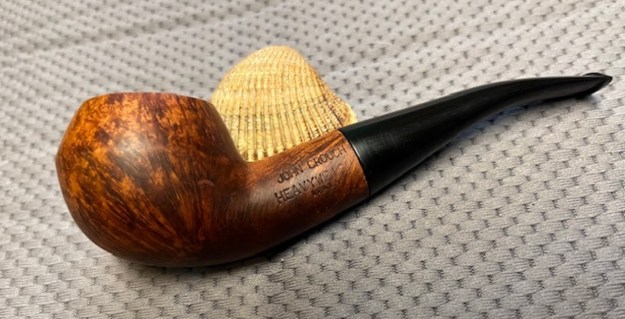
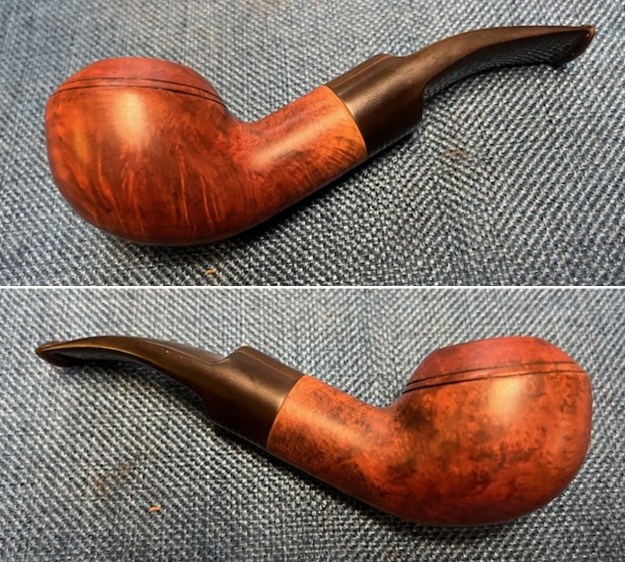
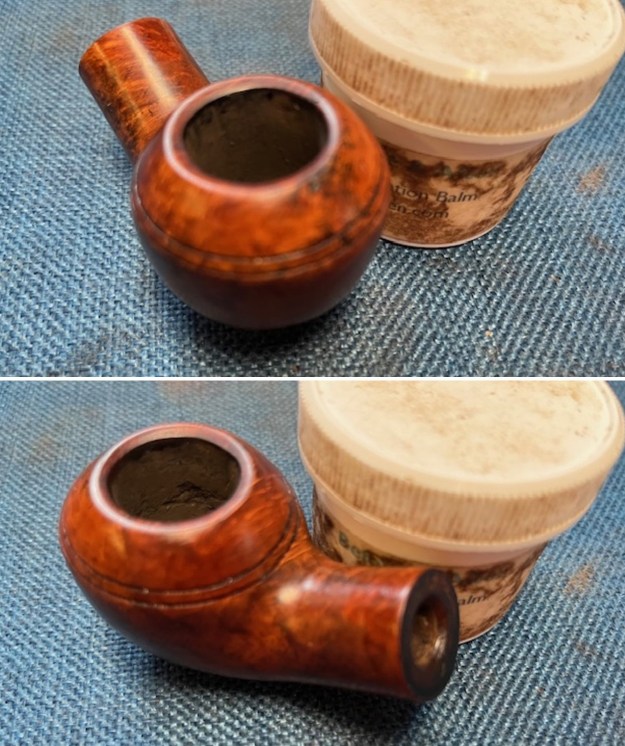
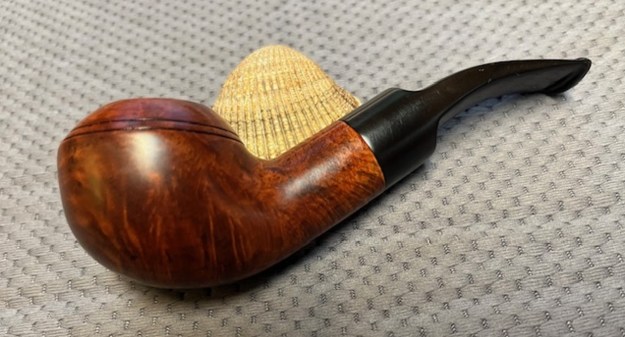
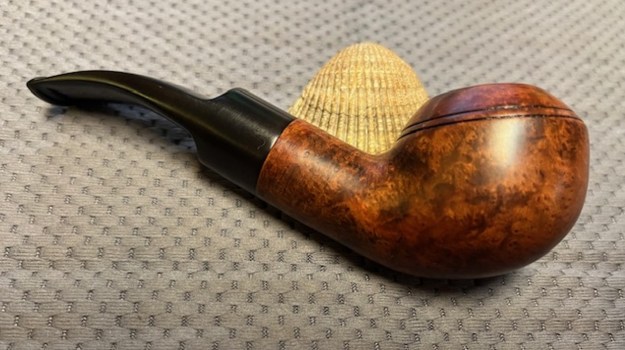
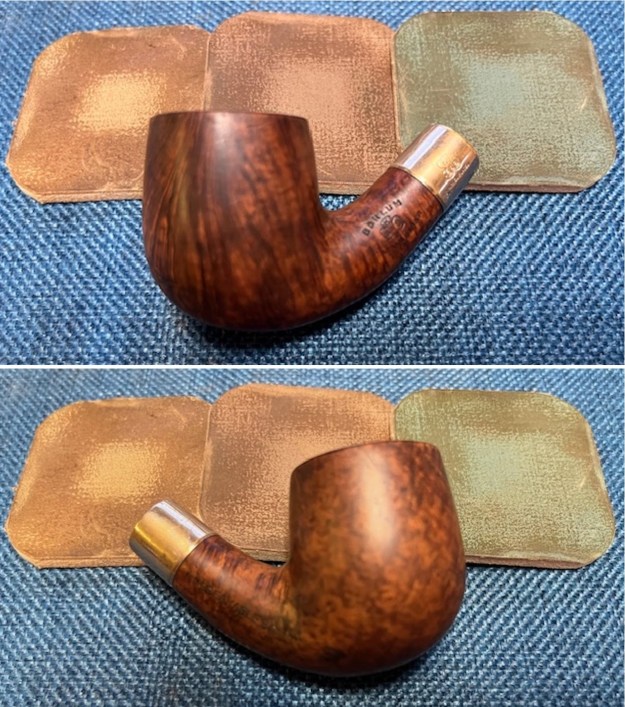
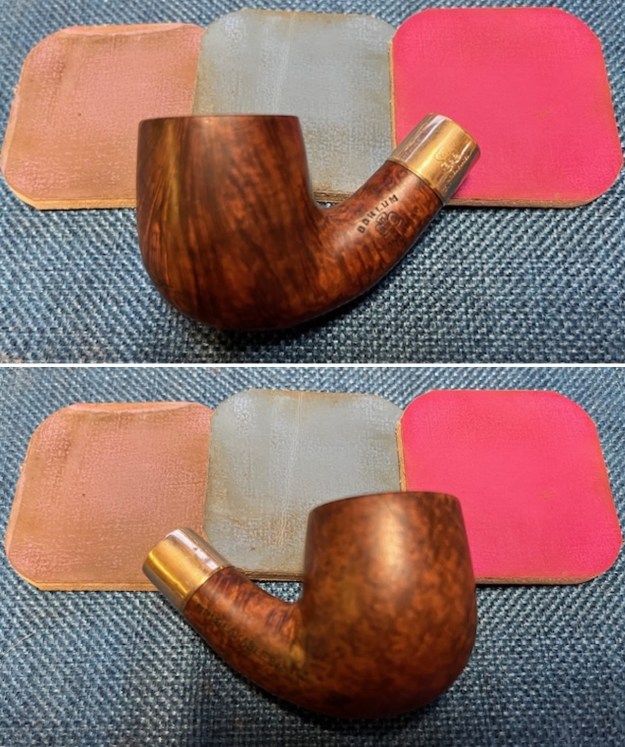
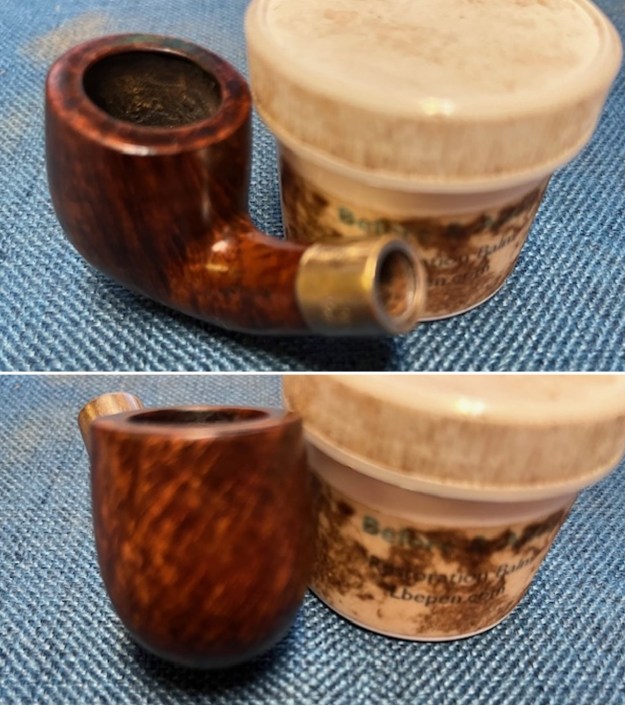
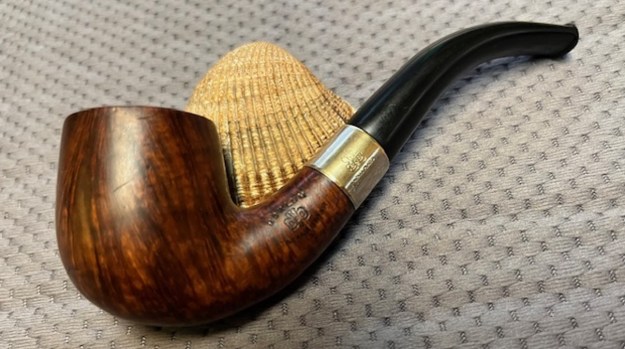
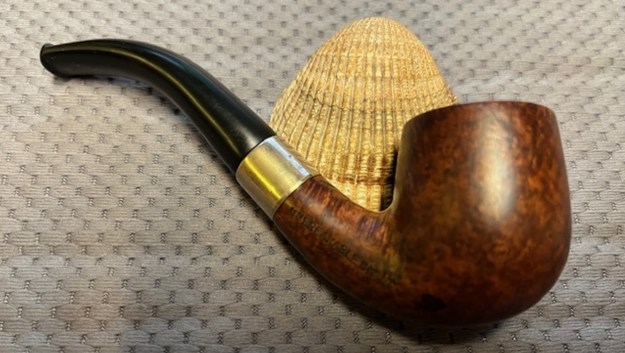
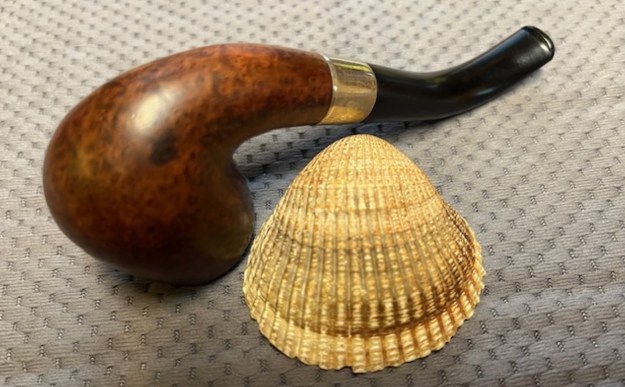
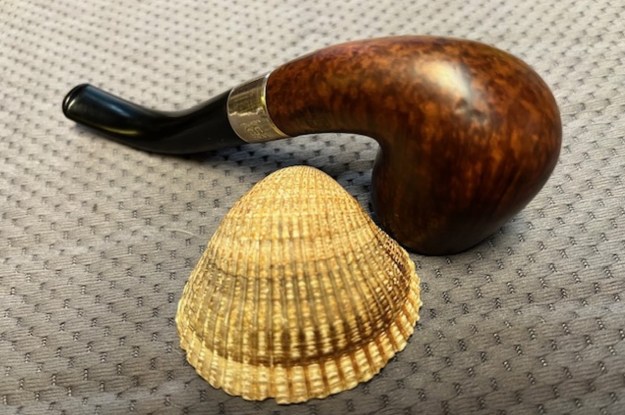
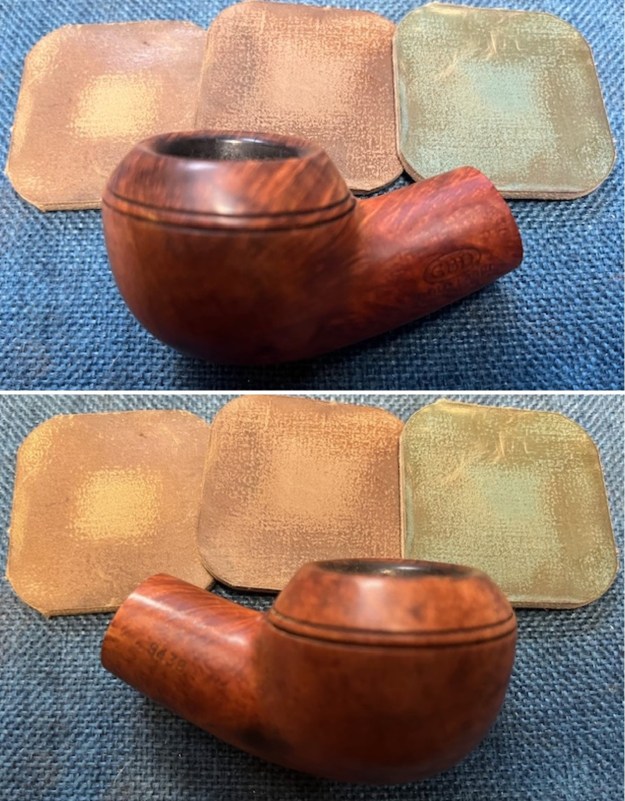
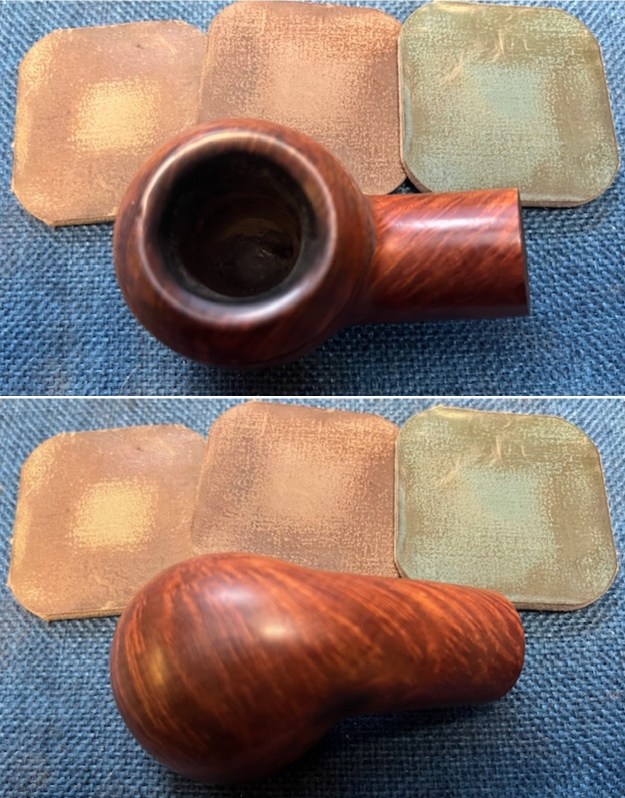
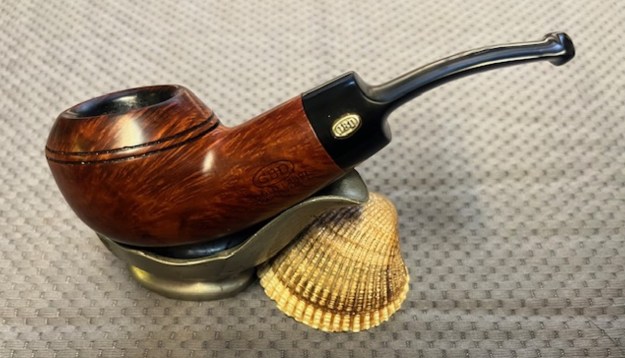
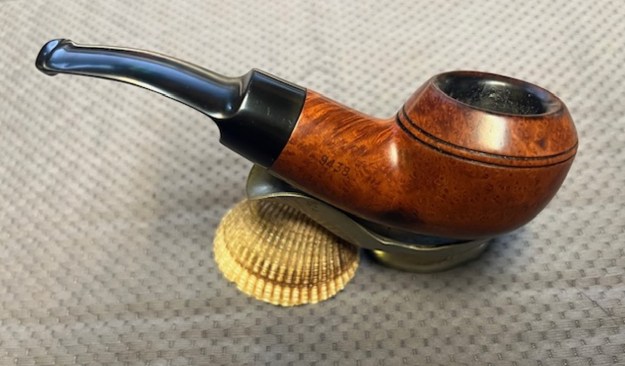
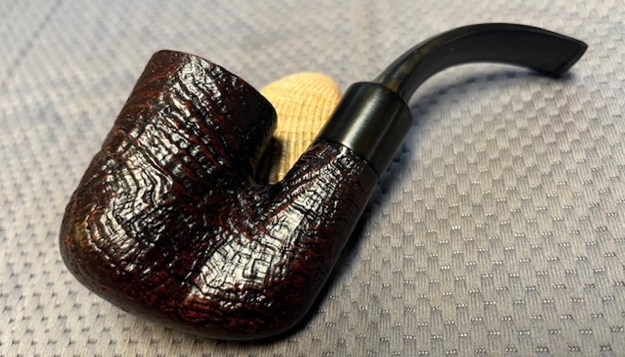
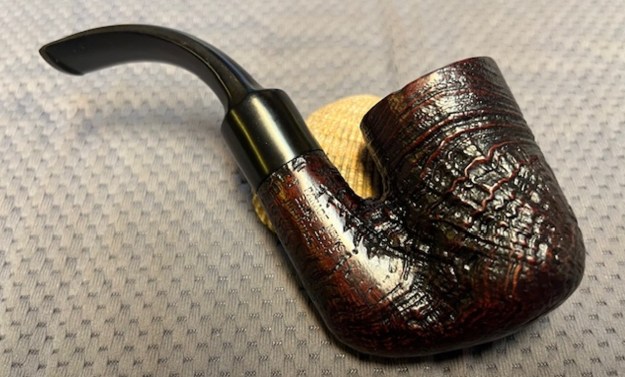
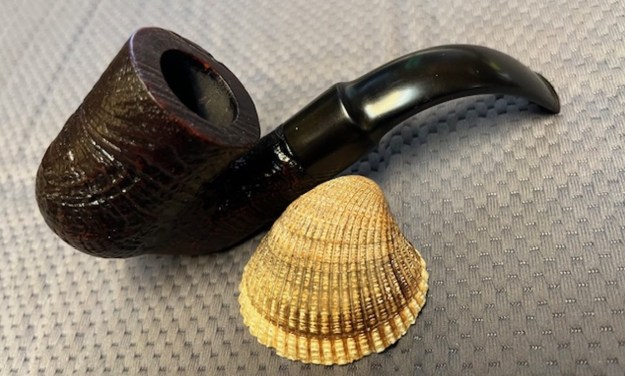
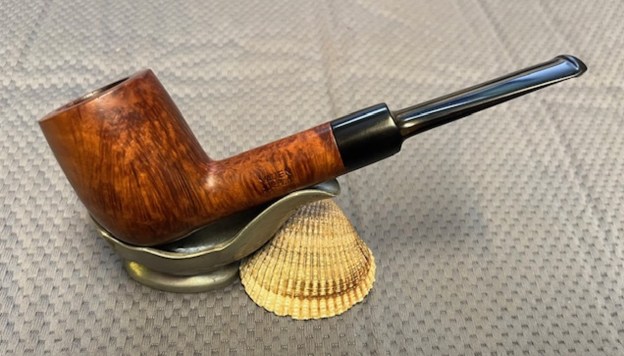
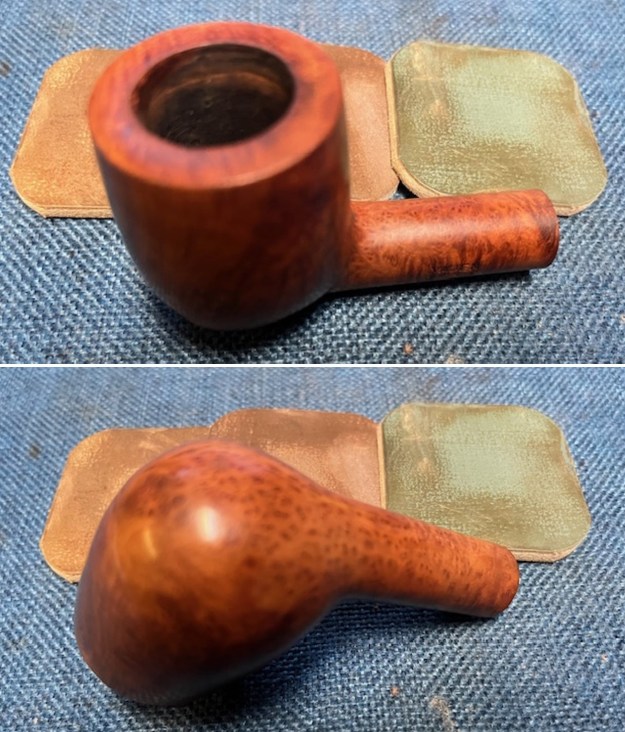
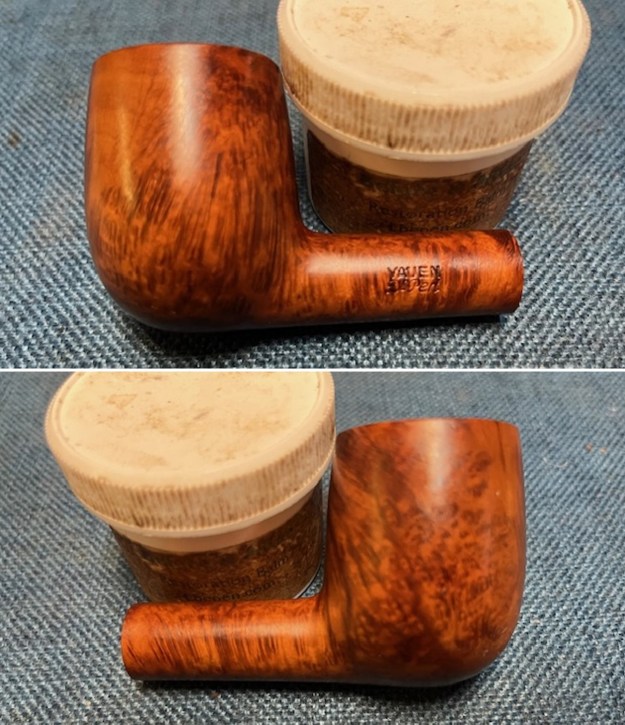
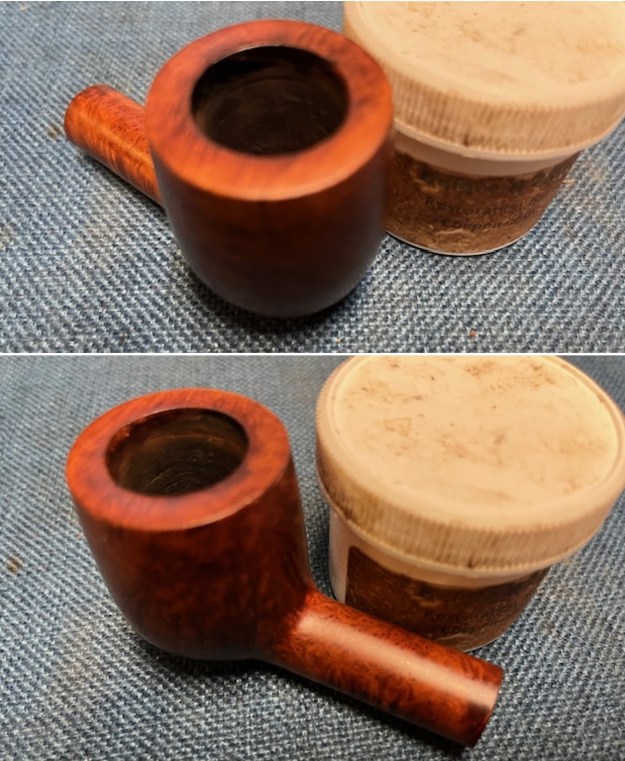
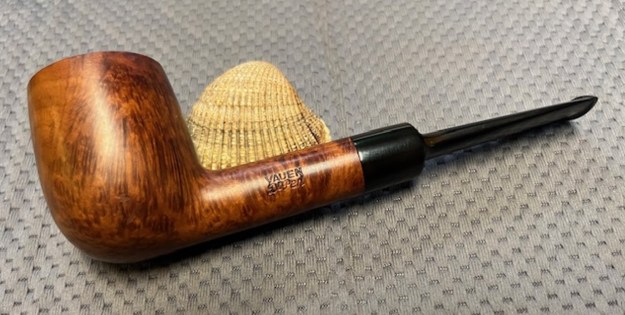
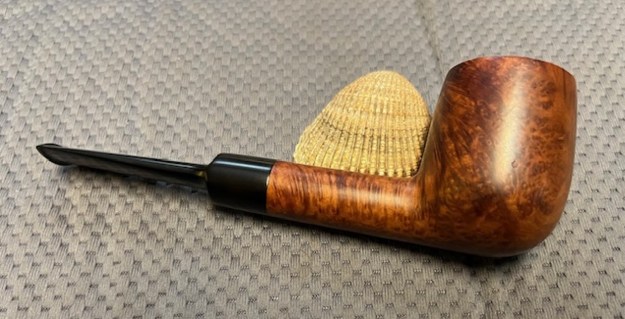
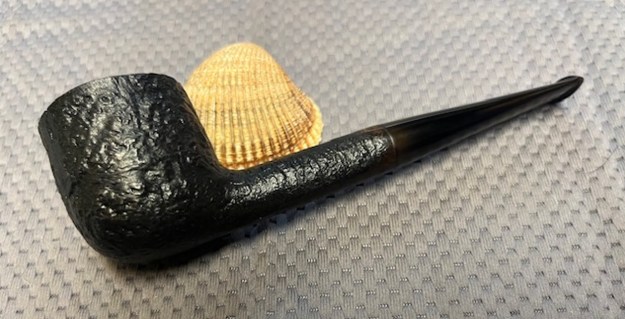
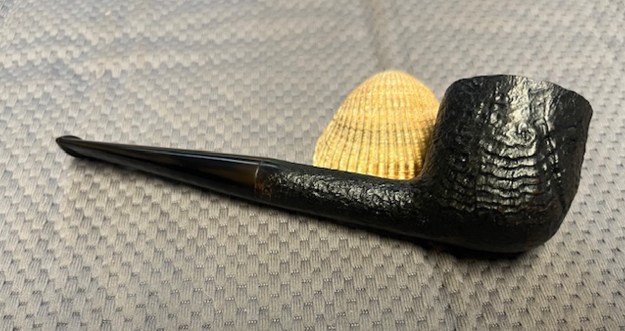
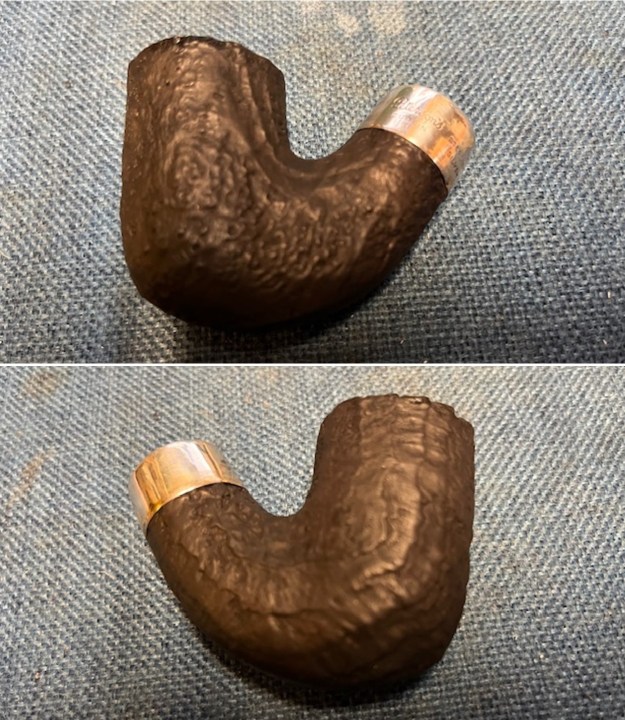
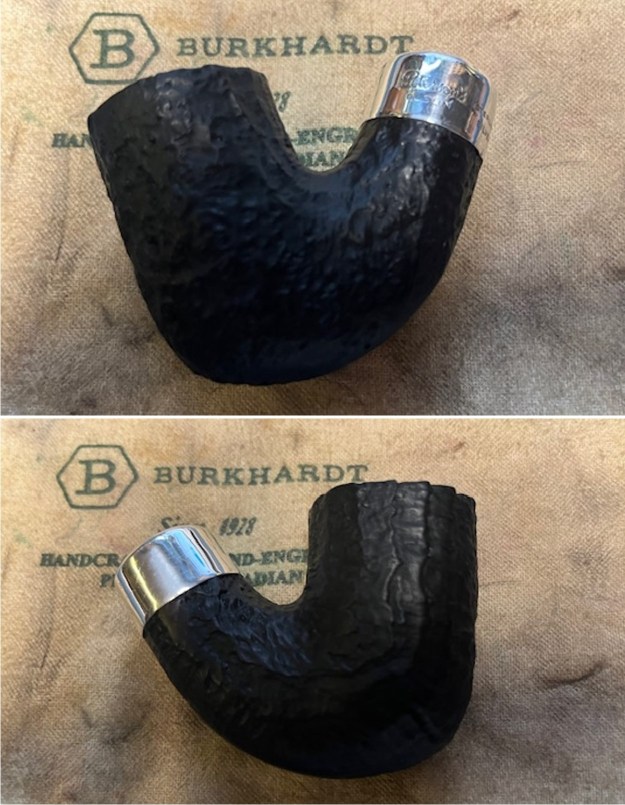
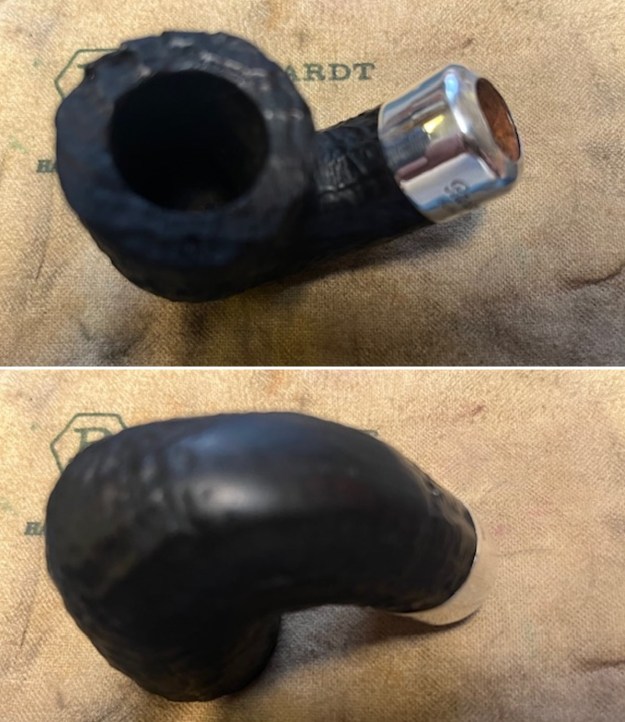
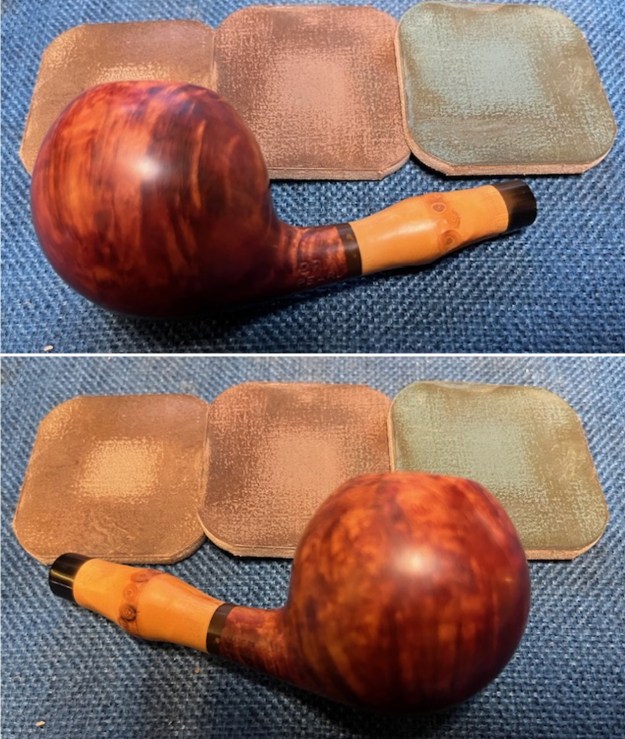
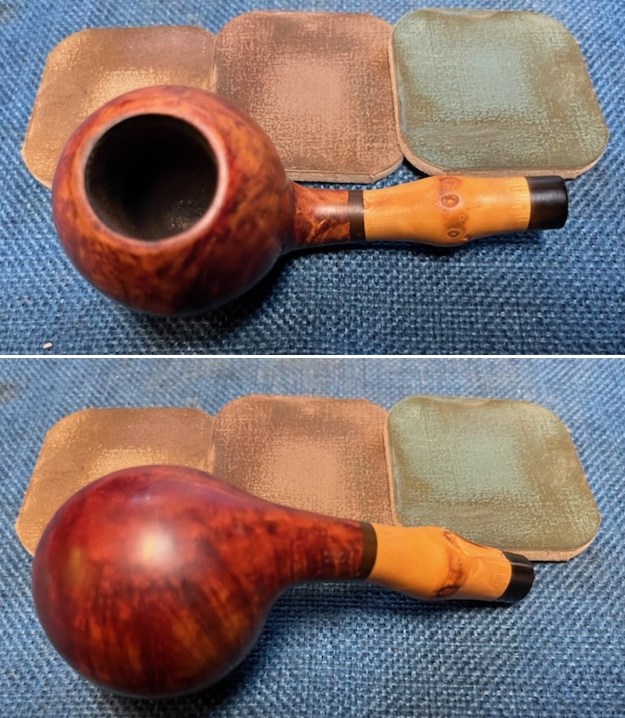
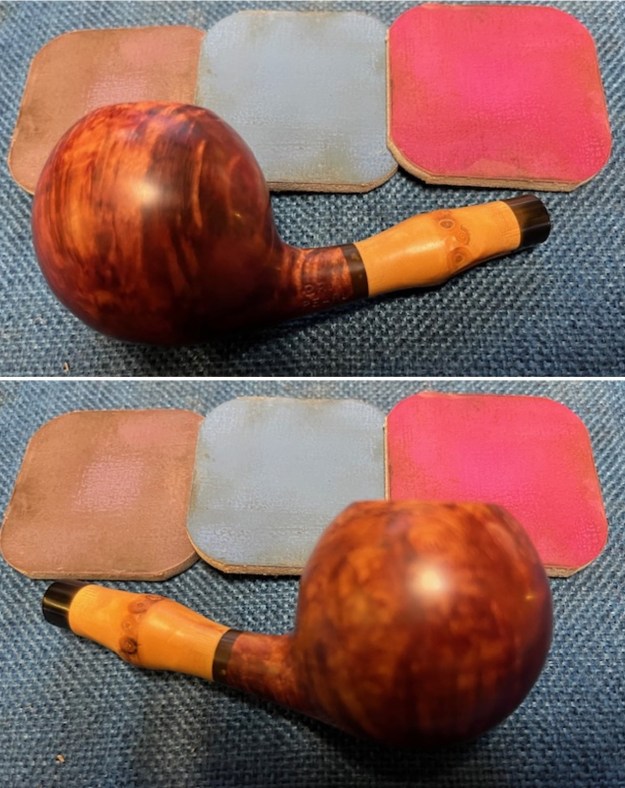
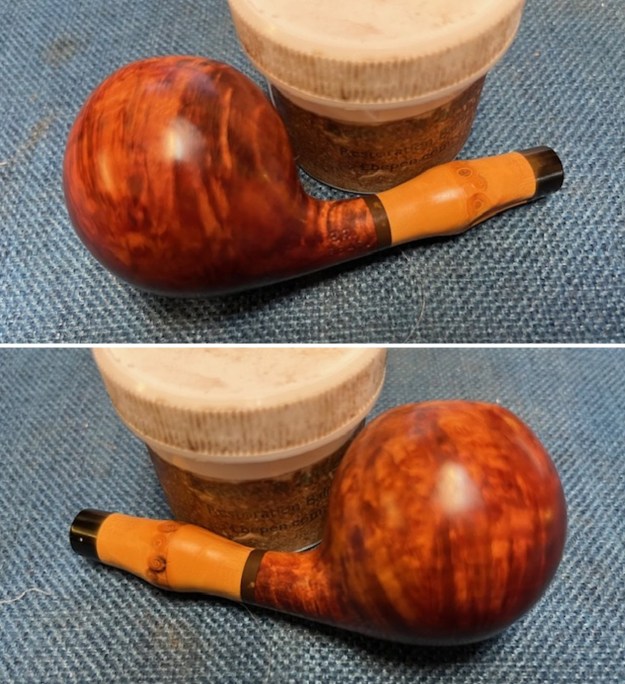
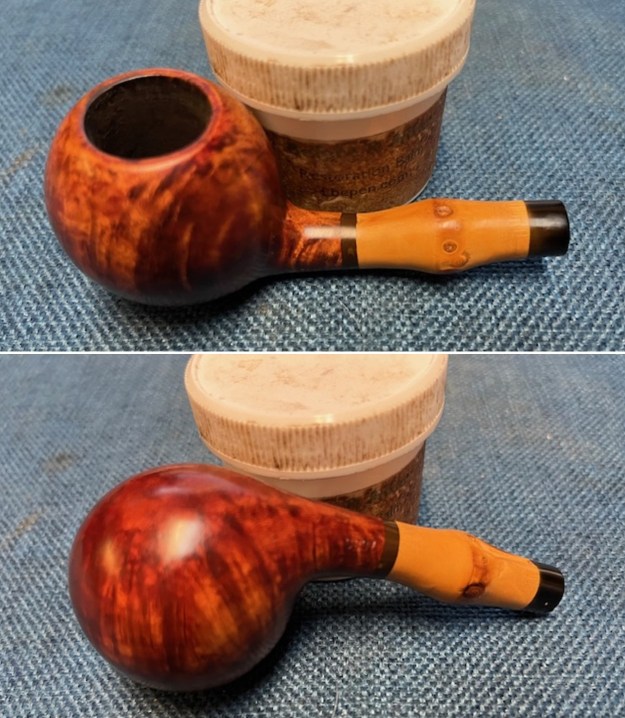
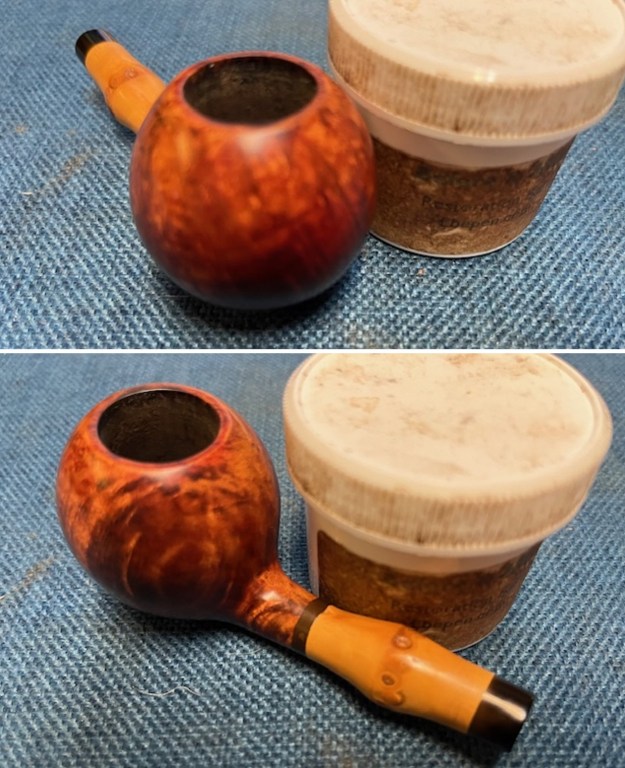
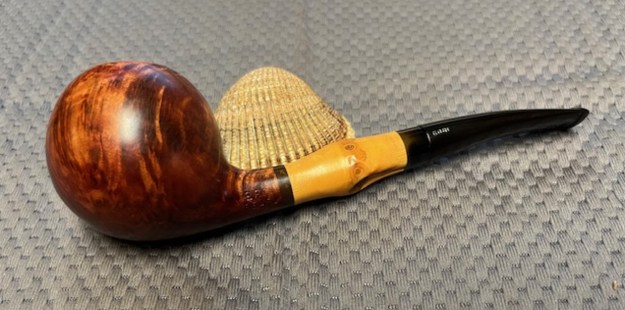
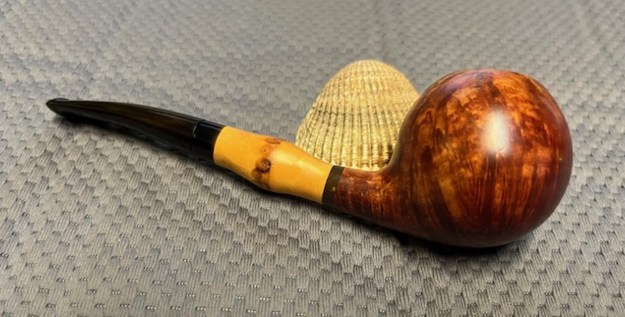
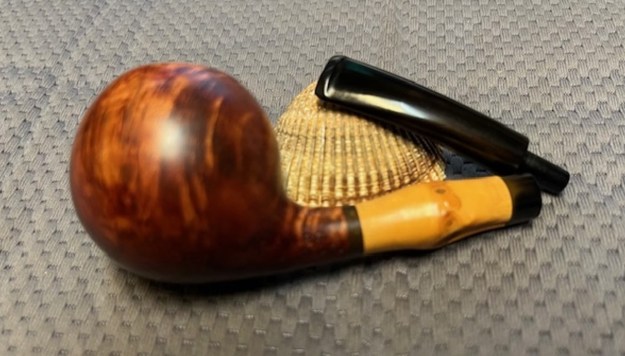
 This Unsmoked Briarcraft Smokemaster Custom Made Pat. 2.166.537 is quite a stunning pipe now that it has been stripped and restored. The beautiful grain around the bowl works well with both the shape and the polished vulcanite taper stem. I put the stem back on the bowl and carefully buffed the pipe with Blue Diamond on the buffing wheel using a light touch on the briar. I gave the bowl and the stem multiple coats of carnauba wax on the wheel and followed by buffing the pipe with a clean buffing pad. I hand buffed the pipe with a microfiber cloth to deepen the shine. The finished Briarcraft Smokemaster Custom Made Apple fits nicely in the hand and feels great. Give the finished pipe a look in the photos below. The dimensions of the pipe are Length: 6 inches, Height: 1 ½ inches, Outside diameter of the bowl: 1 inch, Chamber diameter: ¾ of an inch. The weight of the pipe is 22 grams/.78 ounces. I will be putting this interesting old timer in my own collection of unique pipes. Thanks for reading this blog and my reflections on the pipe while I worked on it. I appreciate your support and time!
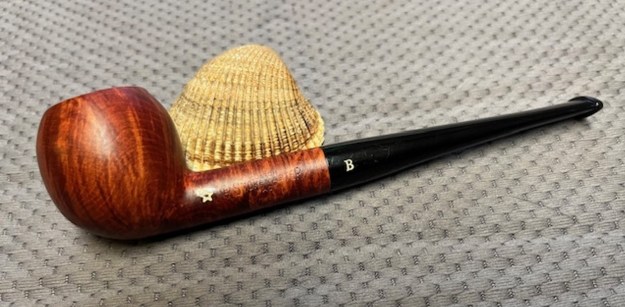


