Blog by Steve Laug
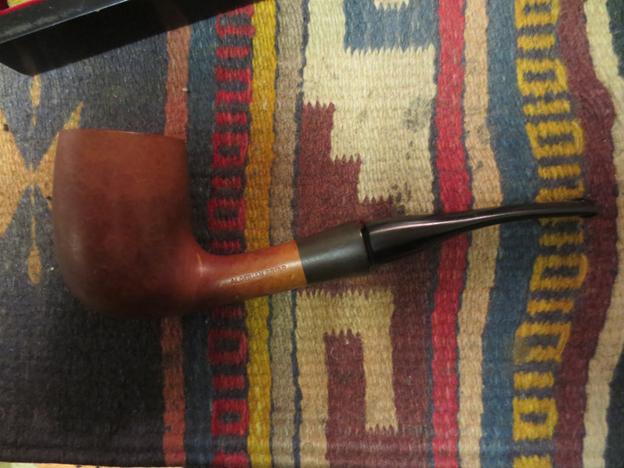
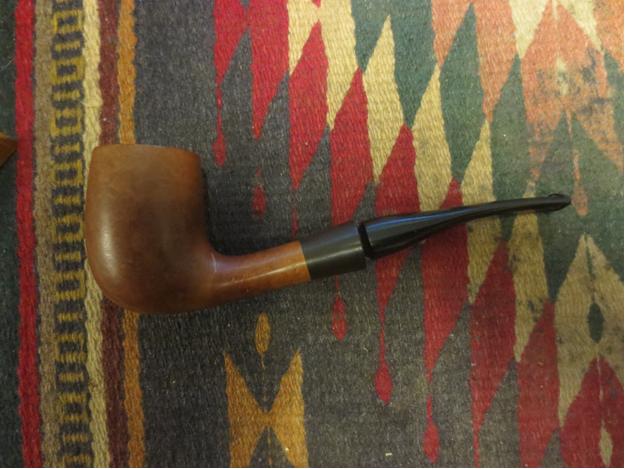
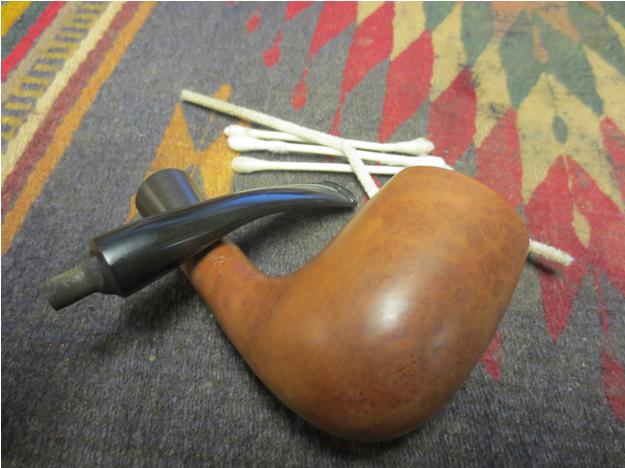
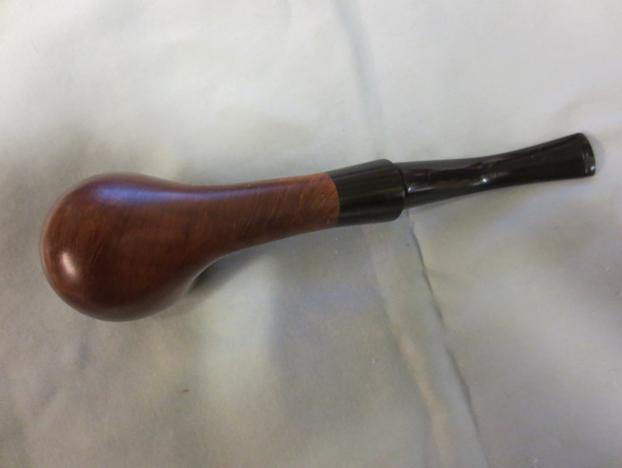
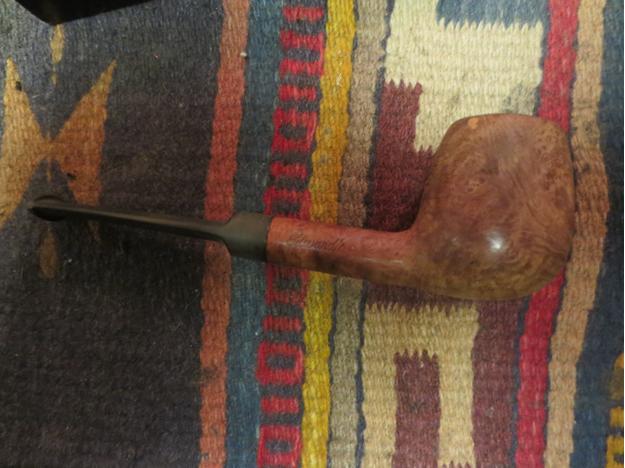
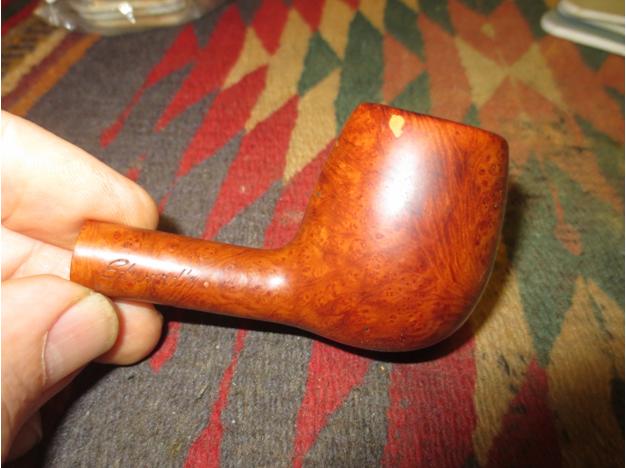
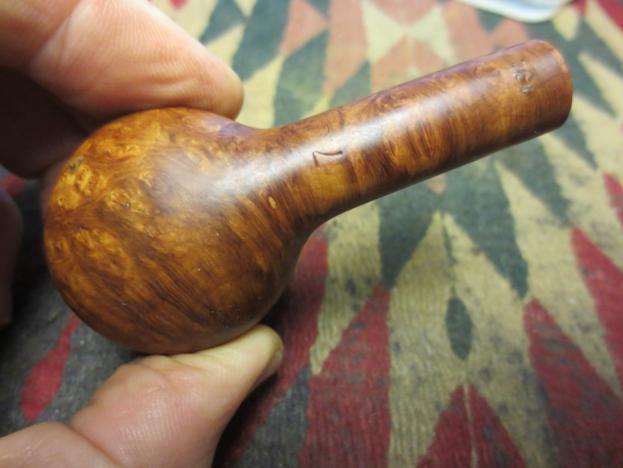
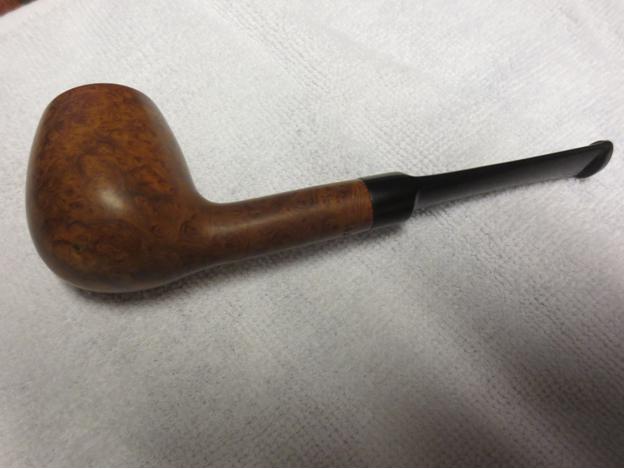
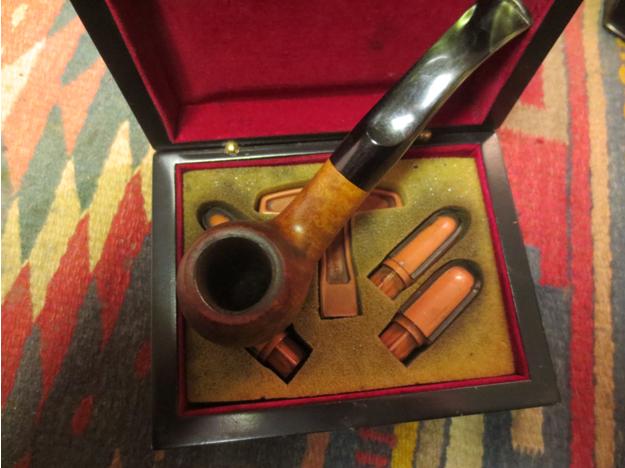
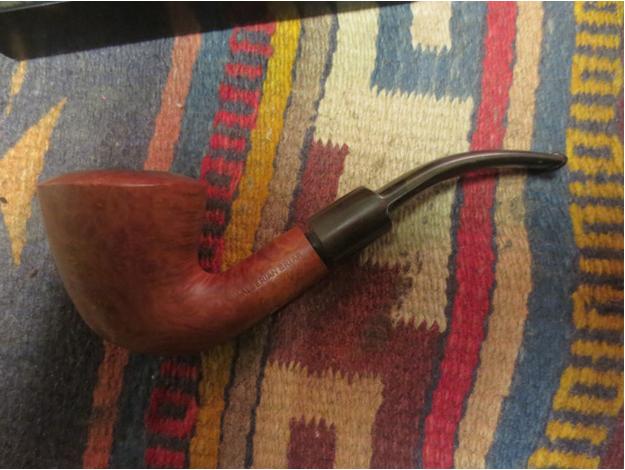
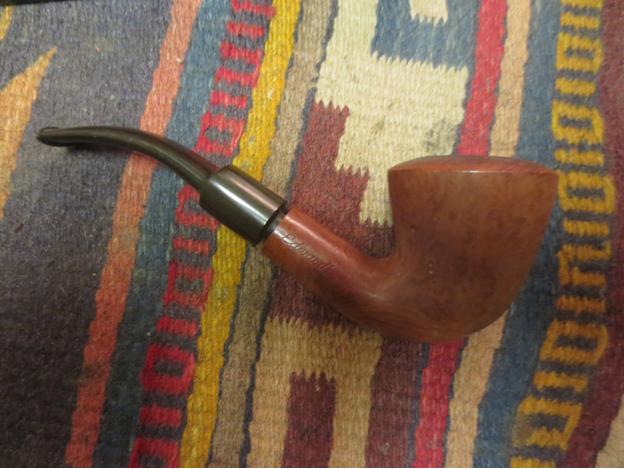
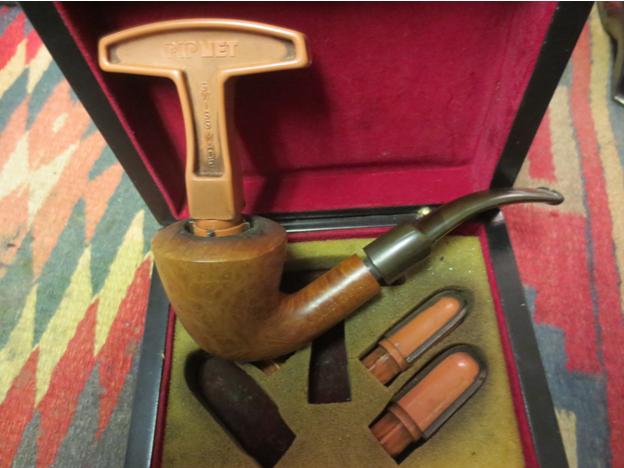
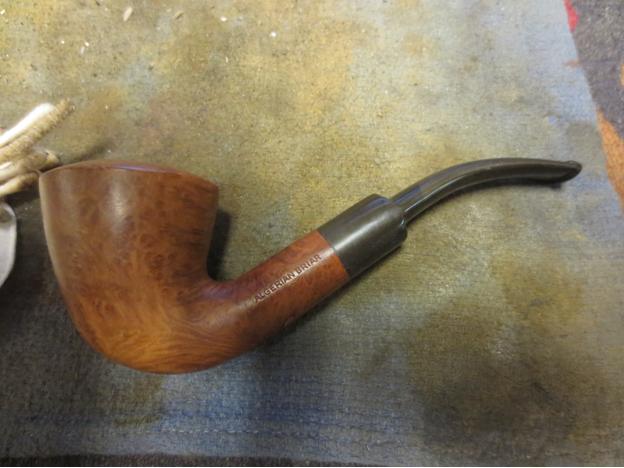
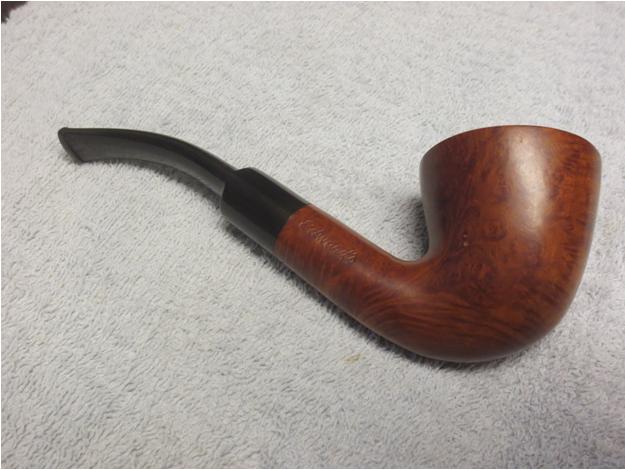
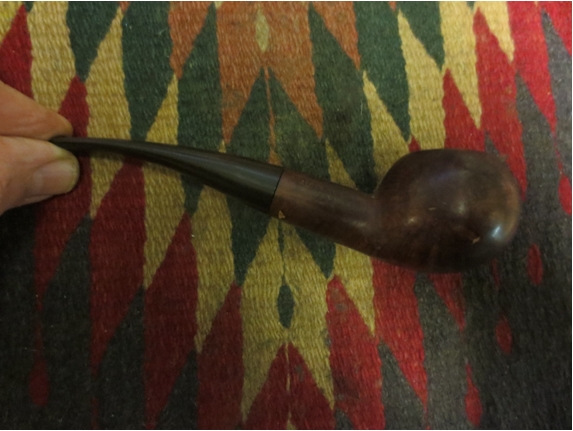
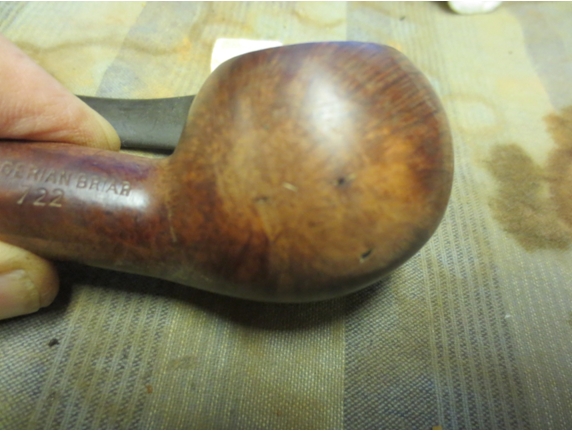
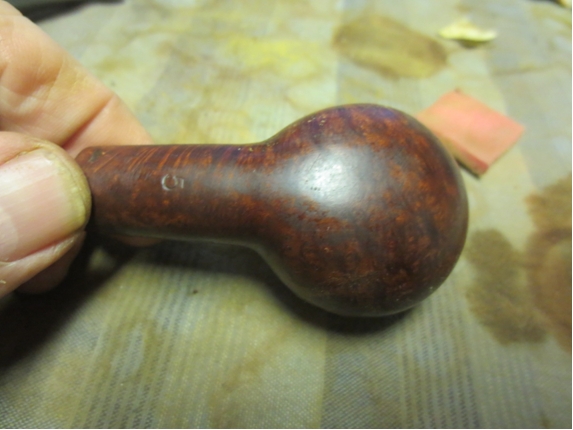
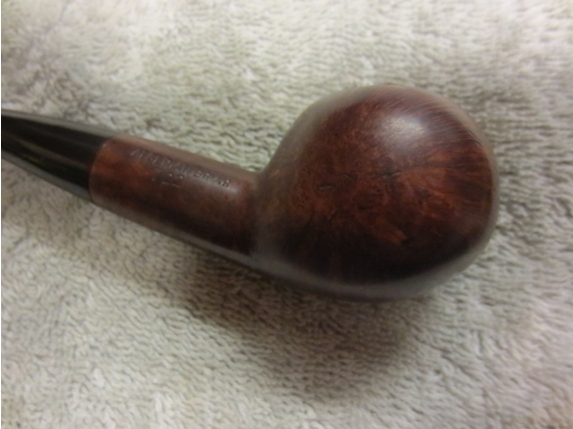
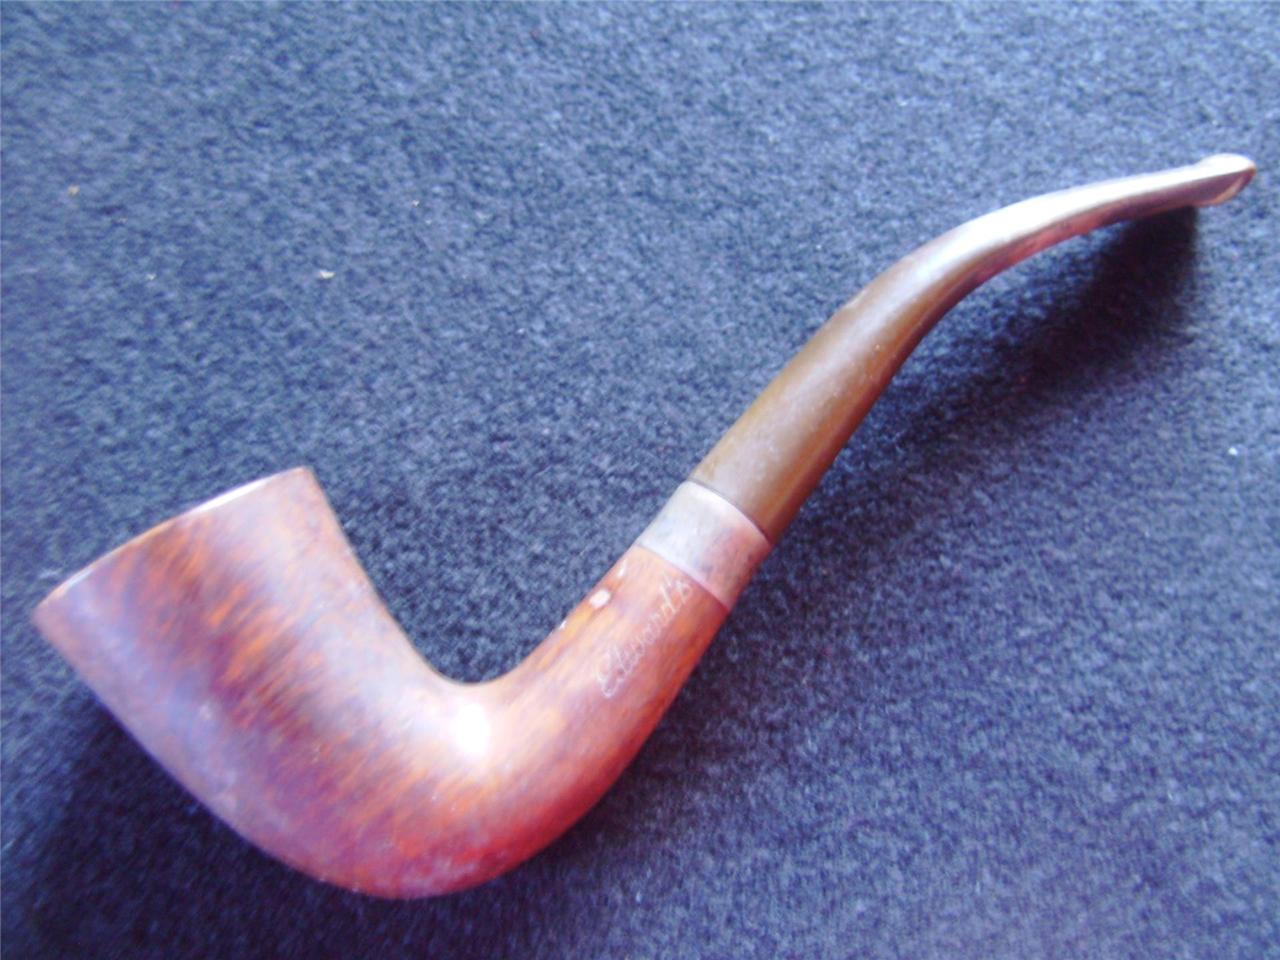
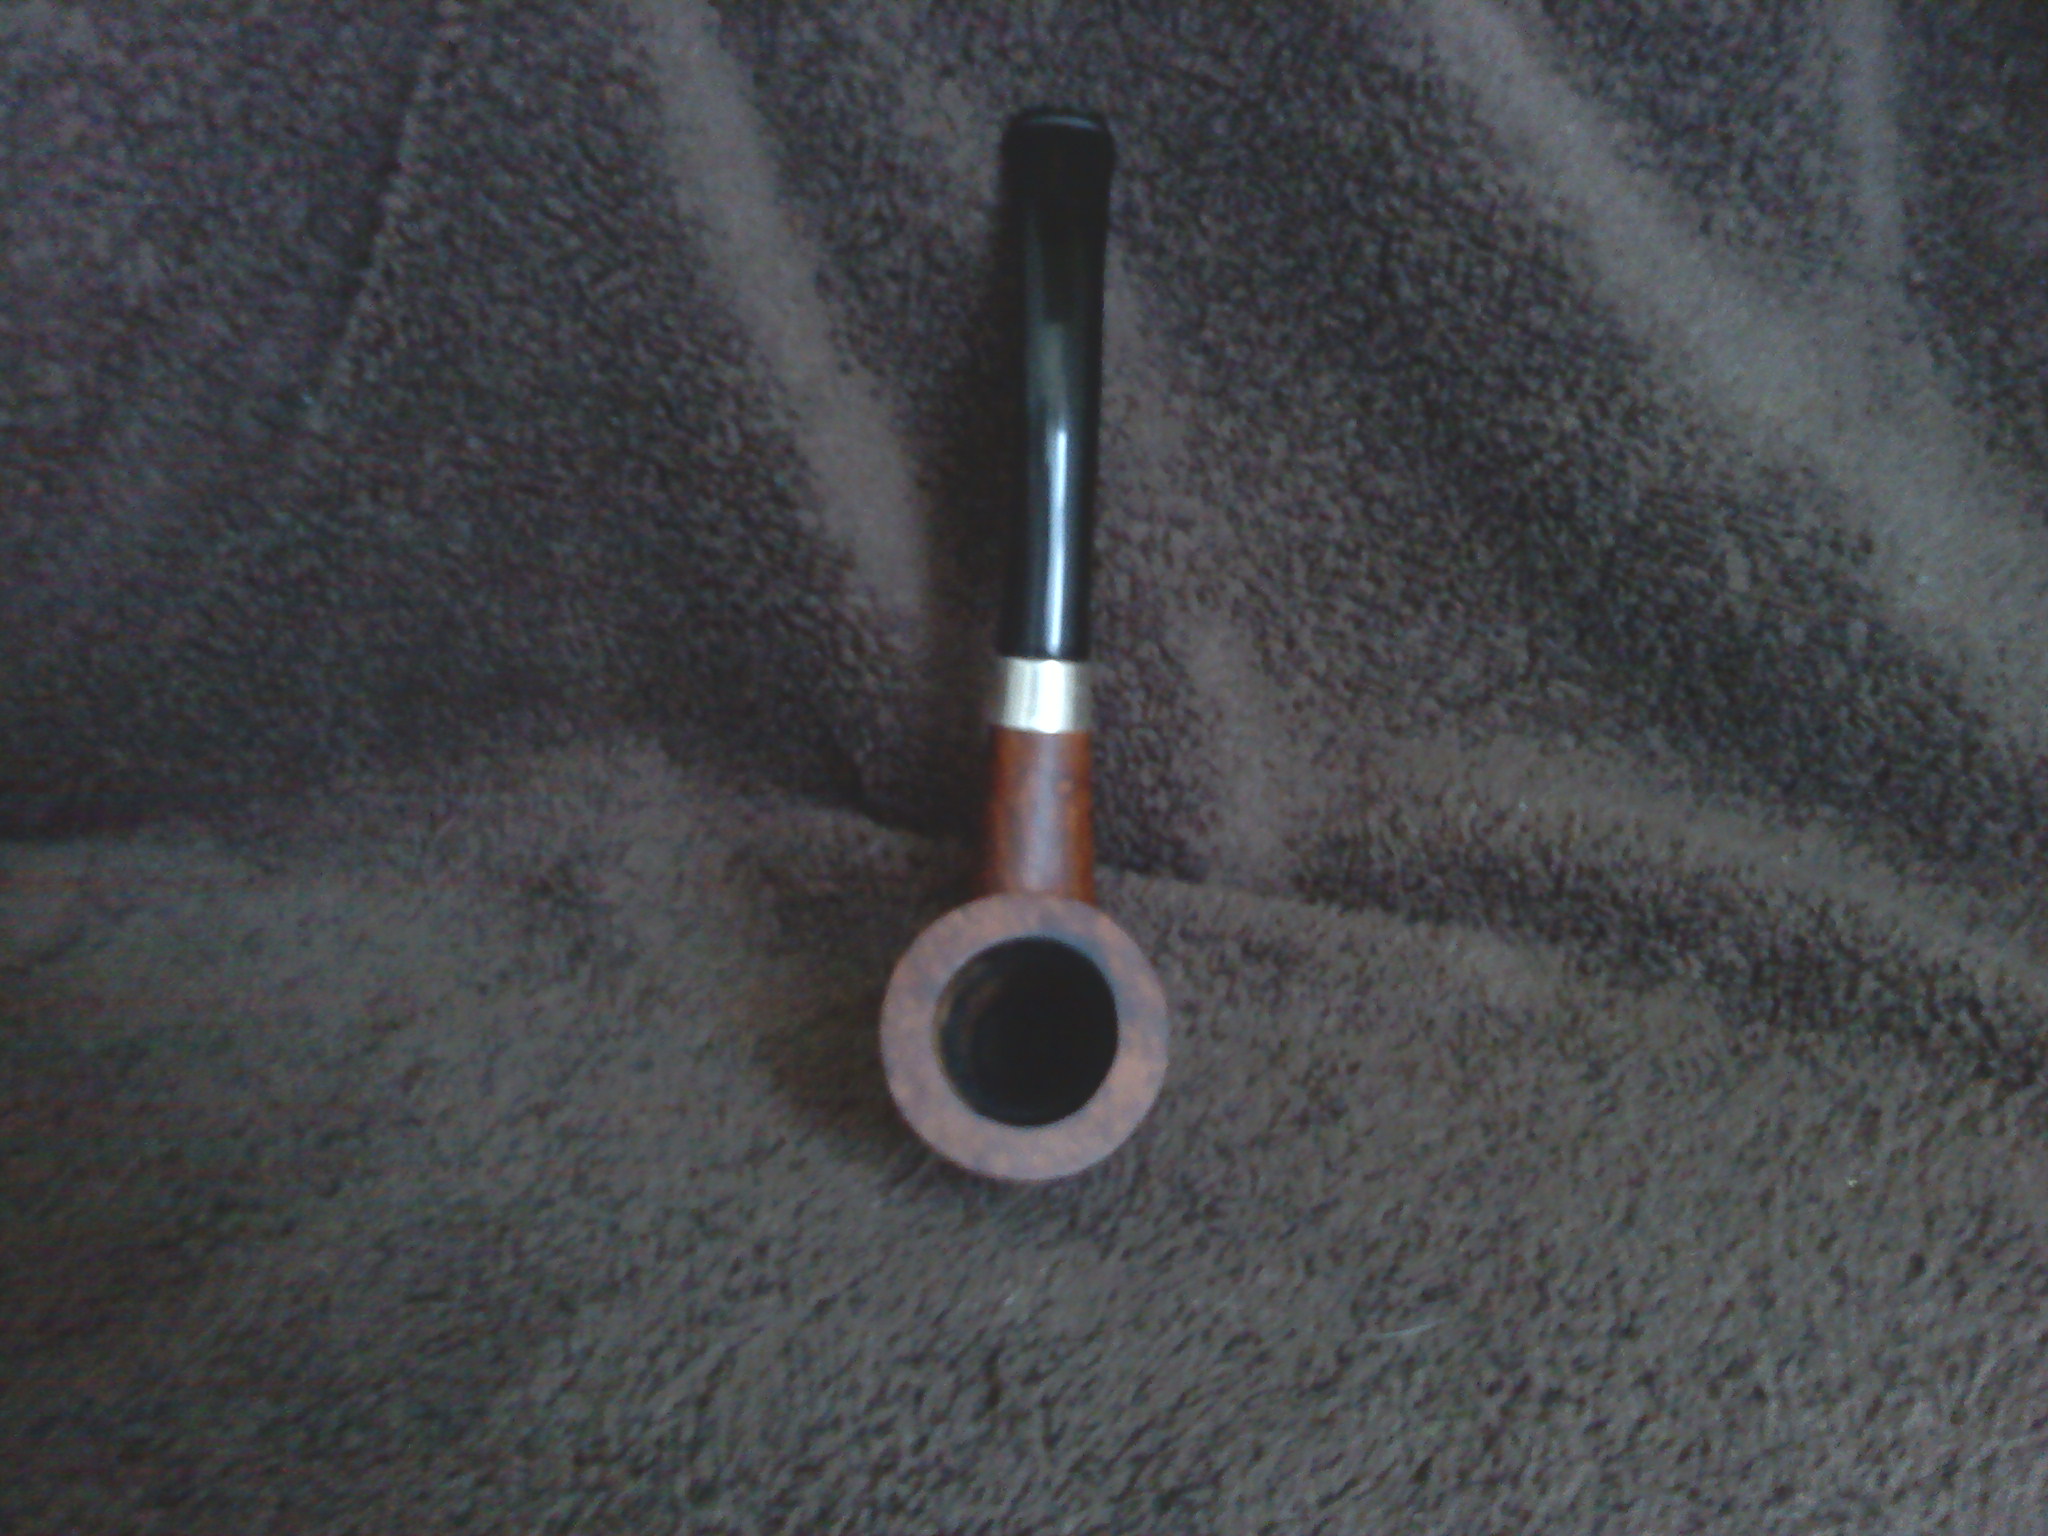
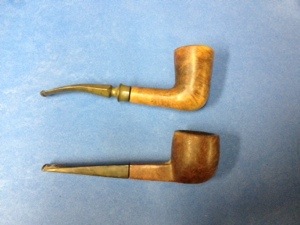
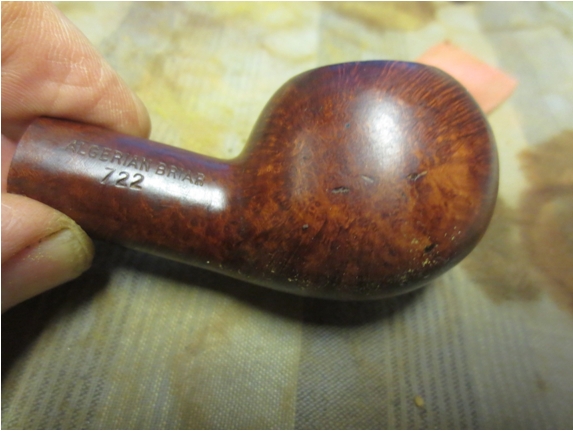
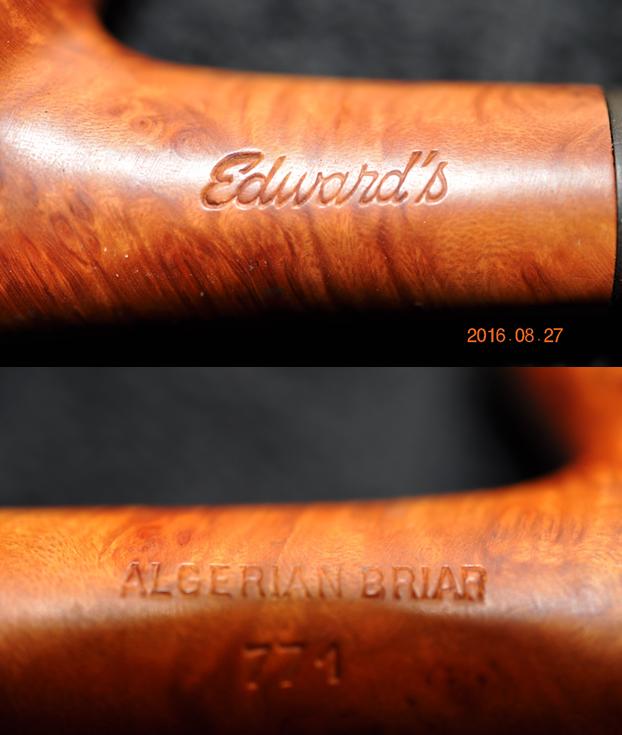
This Edwards Author 722 came to me in the gift box I received. The shape has always been one of my favourites. This one is stamped Edwards in script on the left side of the shank. On the right side it is stamped Algerian Briar over 722. I am guessing that the 722 is the shape number. I have looked but cannot find any information on the Edwards shapes. On the underside of the shank it is stamped with a large number 5. On the underside of the stem was stamped the word FRANCE.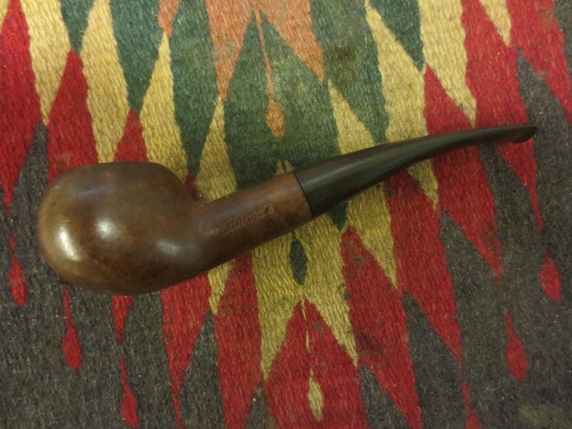
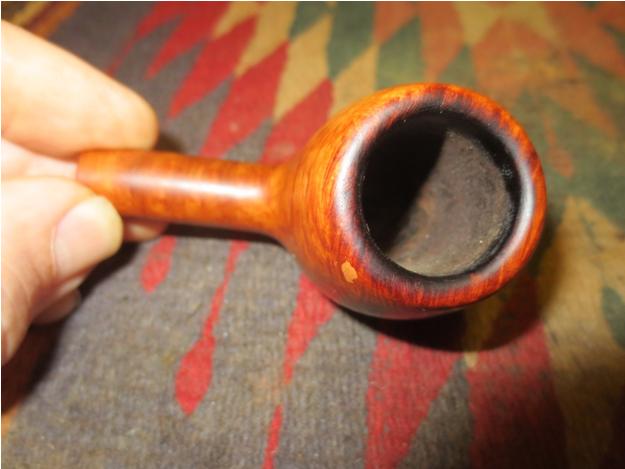
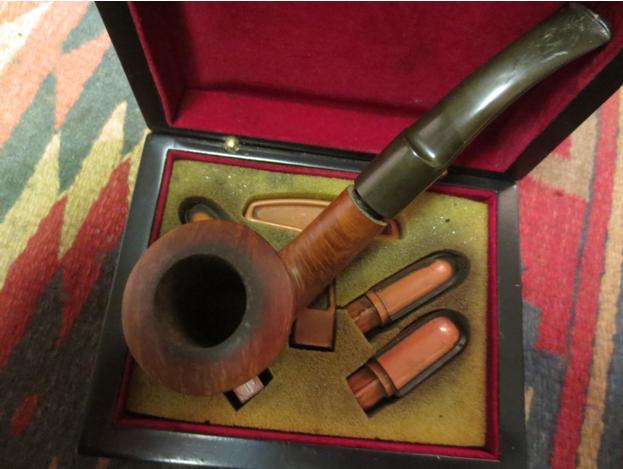
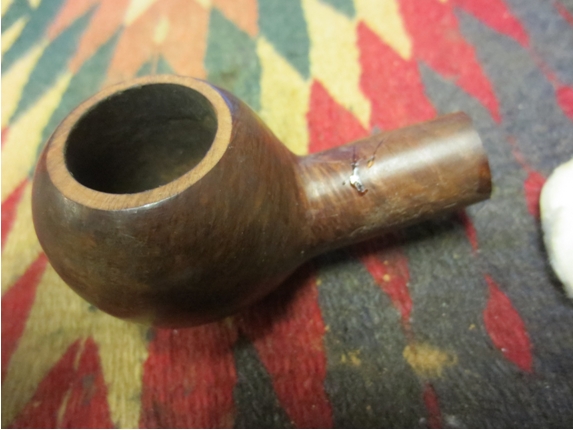
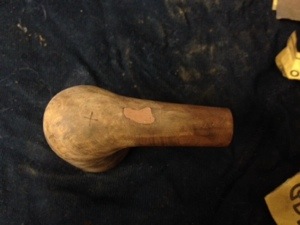
 From what I could find Edwards left all of their pipes with a natural finish, as was the case with this one. It was dirty and had darkened from smoking but it did not have a finish or stain on the briar. The bowl had been reamed and cleaned and the shank was clean. The briar had fills on the topside and the underside of the shank and on the left side of the bowl. They were white putty and some of them were shrunken and missing bits of the putty. The rim was dirty and slightly damaged.
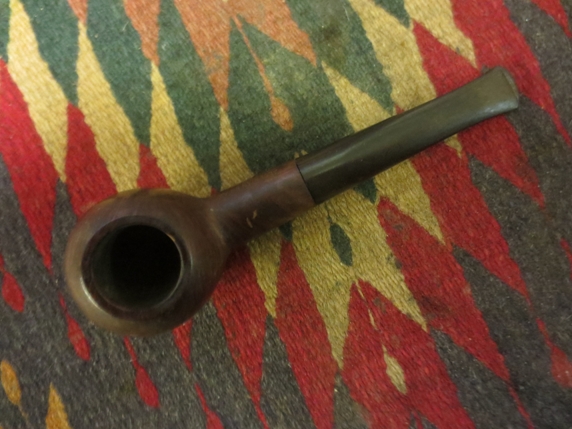
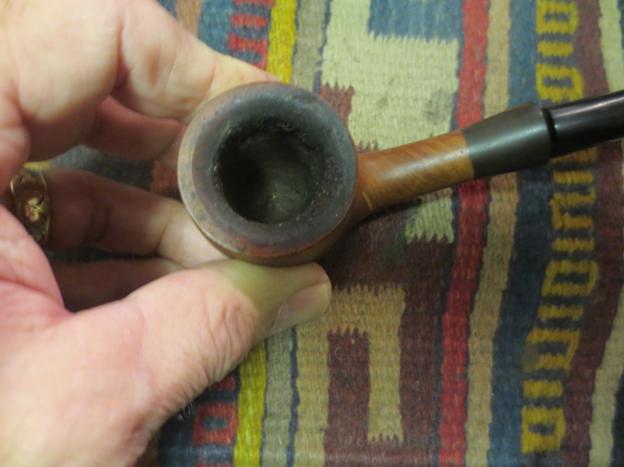
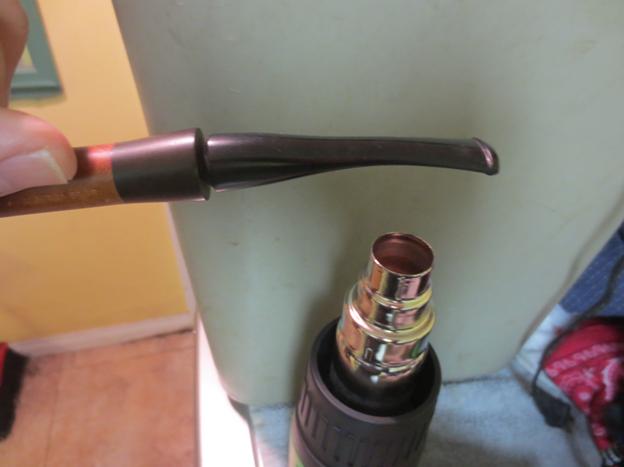
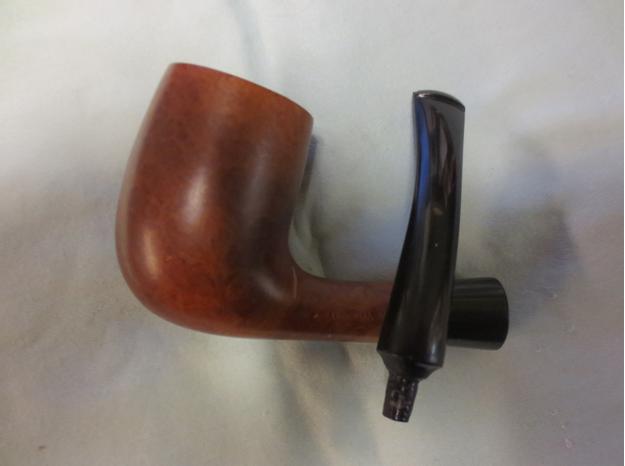
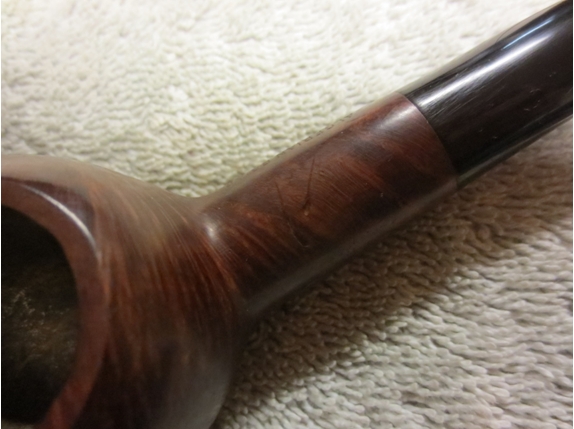
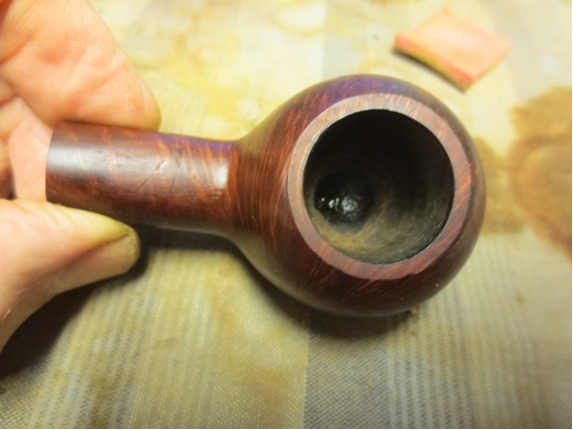
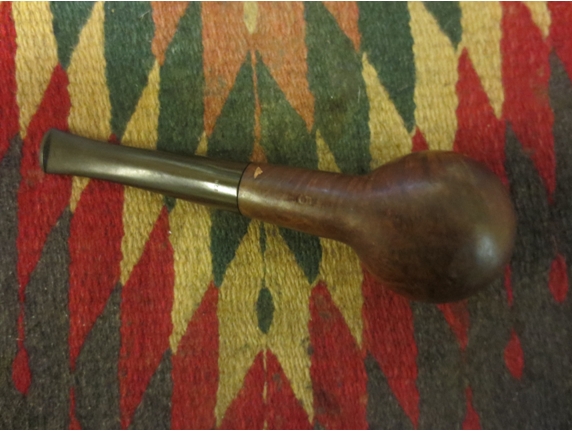 The stem was very tight in the shank and I carefully twisted it slowly from the shank. There was a yellow waxy substance on the tenon like old and dried beeswax. The mortise area was clean briar and was unstained by tars or oils. The fit of the stem to the shank was perfect. It was a smooth transition with no ridges or gaps.
 I wanted to know more about the brand. I have had several Edwards pipes over the years and still have them. I checked out my two usual sources Pipedia and PipePhil’s site. Reading on Pipedia I found the following information that I quote. http://pipedia.org/wiki/Edward%27s
“Edward’s pipes were originally produced in St. Claude, France when France actually was a world-class pipe maker with longstanding business & political connections to Colonial Algeria that allowed them to obtain the finest briar. During the tumultuous 1960’s, Edward’s created a business model to offer the finest briar available in both Classic and Freehand shapes – all at a fair price. They bought the company & equipment and cornered the market on the finest, choice Algerian Briar just before the supply vanished in political turmoil of Algeria’s independence. Edward’s packed up both machinery and briar-treasure to America, safely caching the essentials to create a new pipe-making dynasty. This was a coup, for the 70’s and 80’s were grim years for pipe smokers as quality briar all but disappeared.”
“Edward’s Design Philosophy is hard to pin down, think of their style as the “American Charatan” with unique & clever twists all their own. Today, they fashion pipes in several locations across the USA. All of Edward’s pipes are Algerian Briar – a fact very few pipe companies can claim, and all are oil-cured utilizing natural finishes – no strange concoctions are used to interfere in your tastebud’s dance with the briar. Algerian, Calabrian, Sardinian, Corsican – take your pick, but Algerian Briar is generally considered the finest smoking briar ever used. When combined with oil-curing, Algerian takes on a magical quality that even Alfred Dunhill recognized as far back as 1918 as the choice for both his Bruyere and Shell.”
There was also a non-working link to http://www.otcpipes.com that reference a collection of vintage Edward’s pipes and scans of Edward’s catalogs. I wish I could get that link to work. (If anyone has information on this please let me know as I would love to view this site and its information.)
I found a bit of additional information on the PipePhil site (http://www.pipephil.eu/logos/en/logo-e1.html). I quote it here as well.
“Edward’s Pipes, headquartered in Tampa, FL, got its start importing pipes from France and continued to do so from 1958 to 1963 when it started producing pipes in Florida from prime Algerian Briar, a practice they continue to this day (2010).”
I also found an interesting exchange on the Pipes Magazine site regarding Edwards that was posted three years ago. http://pipesmagazine.com/forums/topic/edwards-pipe I have copied one portion of that interchange by a poster named cypresspipe. He adds a personal dimension to the information having worked for Edwards in the 70’s. I quote him in full below.
“I worked at an Edward’s Pipe Shop in Jacksonville in the 70’s and I can provide more information about Edward’s pipes. Edward’s still exists with a few remaining shops around the country. Like the rest of the industry, they are primarily cigar stores and gift shops now. Edward’s pipes were and are their house brand and they were made in their factory in Tampa. I visited the Tampa store several years ago and they told me that Edward’s pipes are now made in Spain. They also told me that they were running out of Algerian Briar and, as a result, many of their pipes were no longer carrying that stamping.”
“If you are familiar with Randy Wiley pipes, he started out making pipes in the Edward’s factory in Tampa back in the 1970’s.”
“The models Skylark, Skipper, Royce, Benton, etc. are fairly recent name categories, probably starting in the 90’s. They didn’t use these names when I worked there, except the “Skipper” was a pipe with a particular style of etching on it. At the time they made some very nice high-grade freehands that sold in the $100-150 price range (several hundred dollars today).”
“While the individual Edward’s shops are franchisee-owned the parent company is FGT Enterprises of Tampa, Florida. The company makes pipes under the “Benton” brand for other shops around the country, and makes private label pipes for some shops as well. They are a leading wholesaler of smoking accessories. You can go to their website and download their catalog (www.fgtenterprises.com–you might want to check out the “About Us” page on the site. FGT at one time did not stress their connection to the Edward’s shops, as they wanted to downplay the fact that they were associated with stores that were competitors to some of their other customers.”
“I have about 20-30 Edward’s pipes from the time I worked there and they have always been good smokers. The only problem with them is that pipes in the 70’s tended to be smaller (about group 3) than they are today.”
“As far as I know, there are still Edward’s shops in Los Altos (CA), Englewood (CO), Tampa, Atlanta, Jacksonville, and Dallas. In case you are interested Edward’s was named after Edward Rowley, a Tampa TV personality of the 50’s and 60’s who founded the company in partnership with Frank Smith (“Smitty”). Rowley was essentially the “face” of the shops while Smitty was the tobacco and pipes guy. Smitty bought out Rowley’s interest in the company sometime in the late 70’s or early 80’s.”
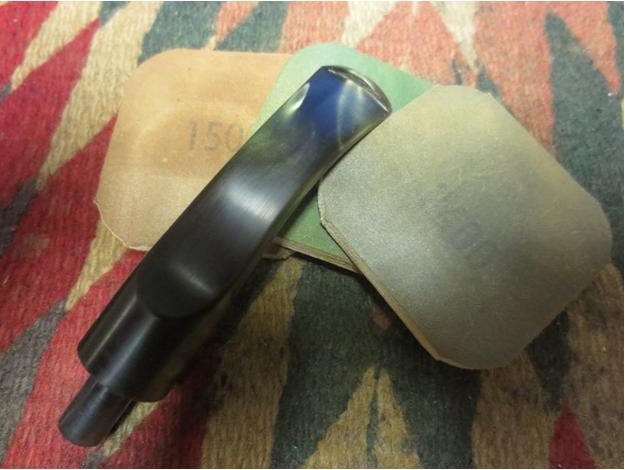
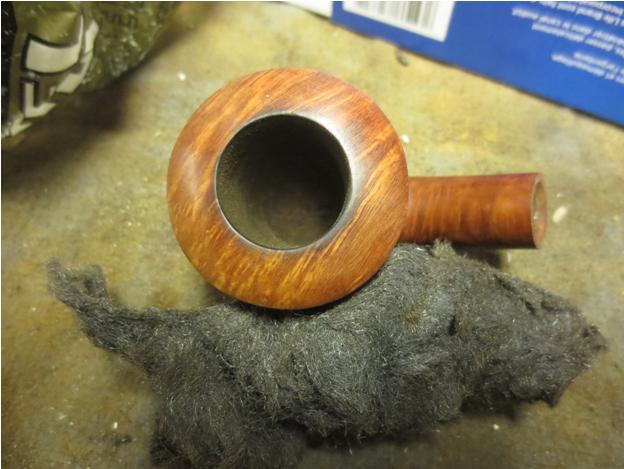
Armed with that information I went to work cleaning up the pipe. I started by topping the bowl with 220 grit sandpaper on a topping board to smooth out the rim and even out the smooth surface. I followed that by sanding it with a medium and a fine grit sanding sponge.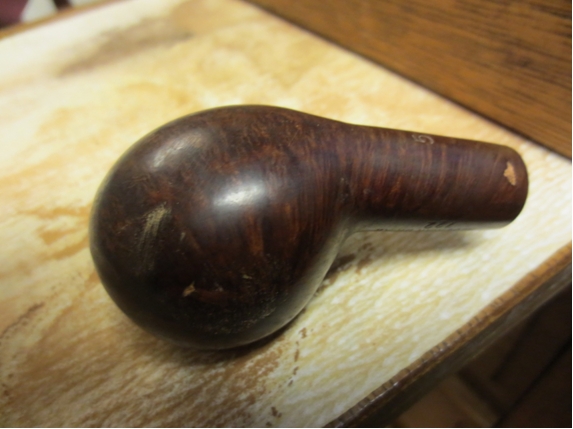
 I picked out the ugly pink/white fills with a dental pick. I scrubbed the bowl down with acetone on cotton pads to remove the grime and the dust from the fills. When the bowl was clean I refilled the sand pits with briar dust from the rim and clear super glue. I have learned that these turn almost black but that is far easier to work with than the pink/white putty.

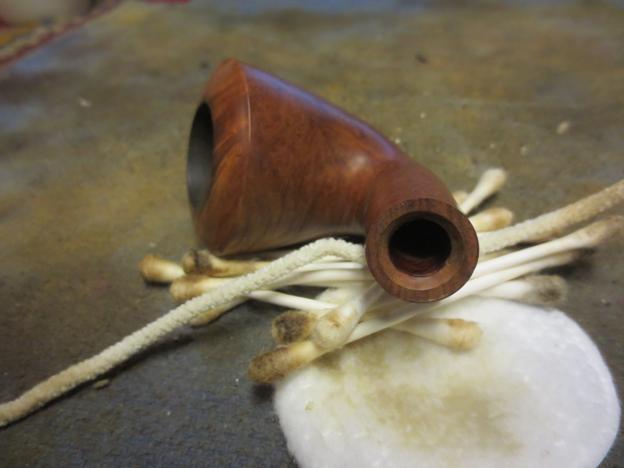
 I sanded the repairs with 220 grit sandpaper and then with a medium and fine grit sanding sponge. I followed that by sanding with 1500-2400 grit micromesh sanding pads.
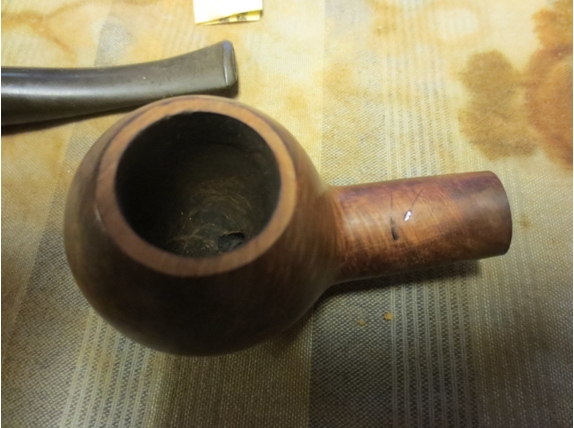
 I have a dark alcohol bath – I filter out the sludge monthly but leave the alcohol dark. I have found that a soak in it not only removes the finish but also gives a patina to the briar. It tends to make blending the repairs and the topped rim much easier.
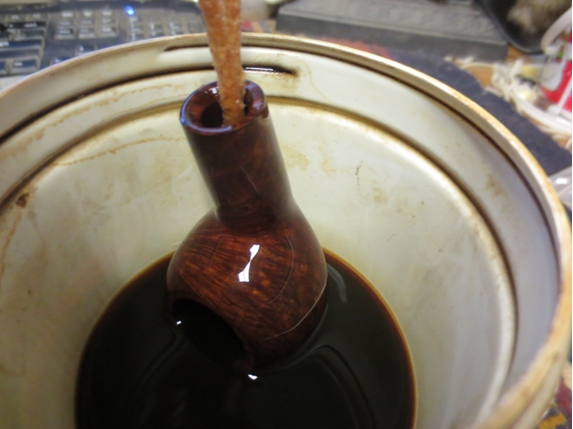 While the bowl soaked in the bath I turned to the stem. I sanded the tooth marks and tooth chatter on the stem with 220 grit sandpaper to remove it and smooth out the surface.
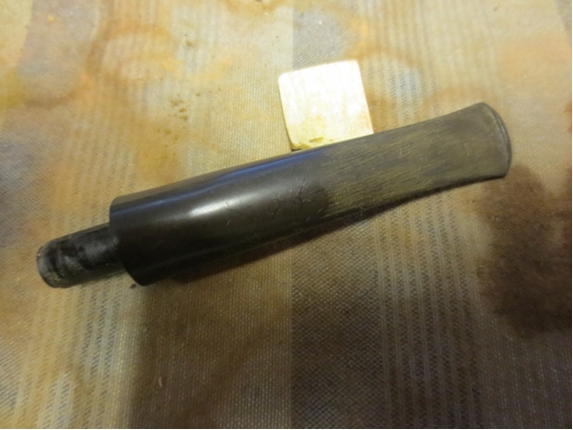
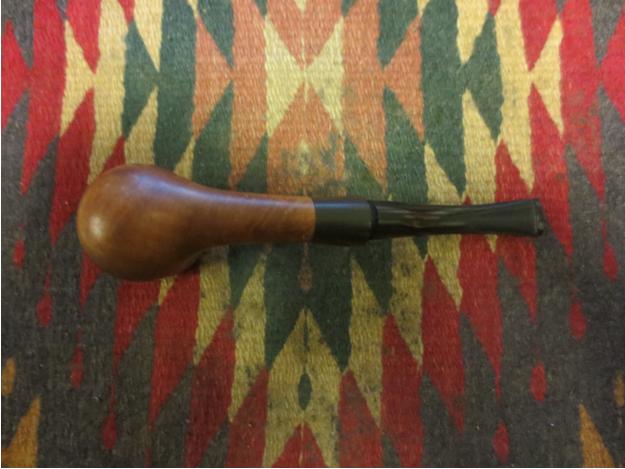
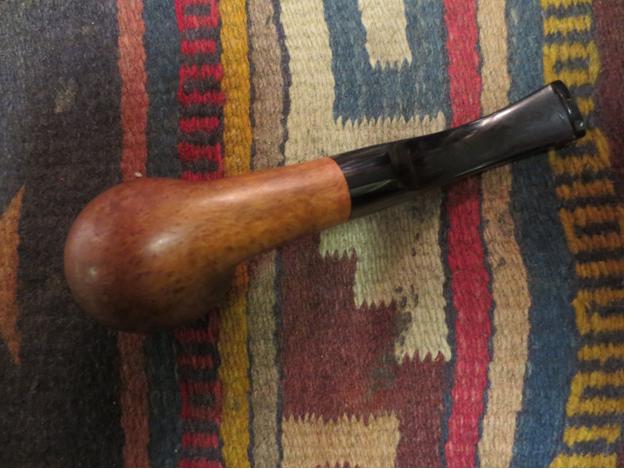
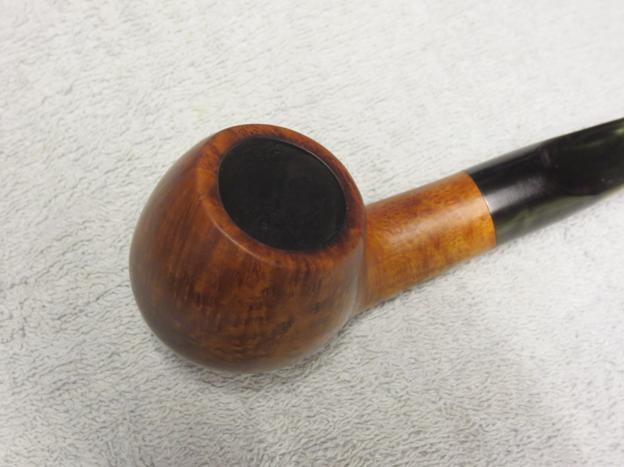
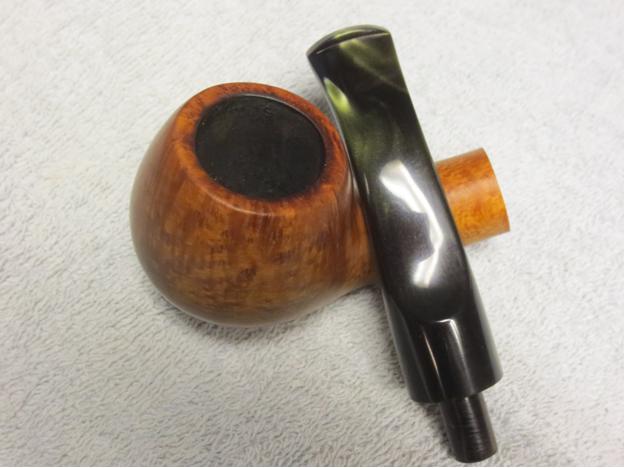
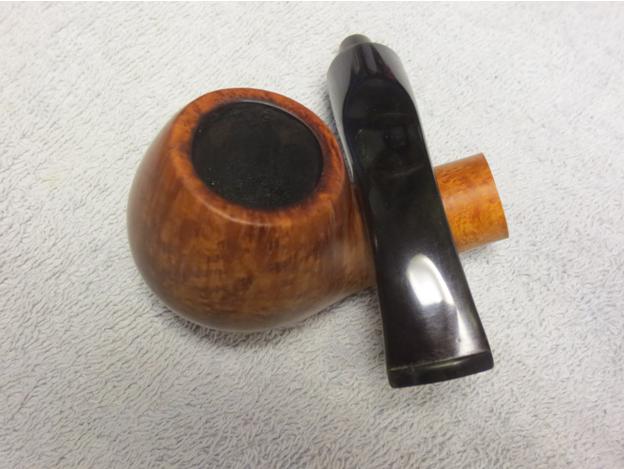
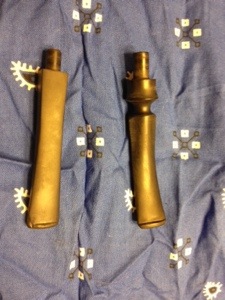
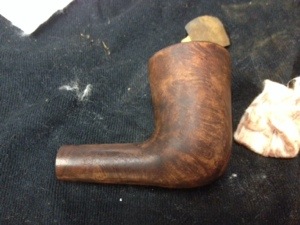
 By the time I finished the initial sanding of the stem it was time to remove the bowl from the bath. I dried off the bowl and took the photos below to show the colour that the bath added to the briar.
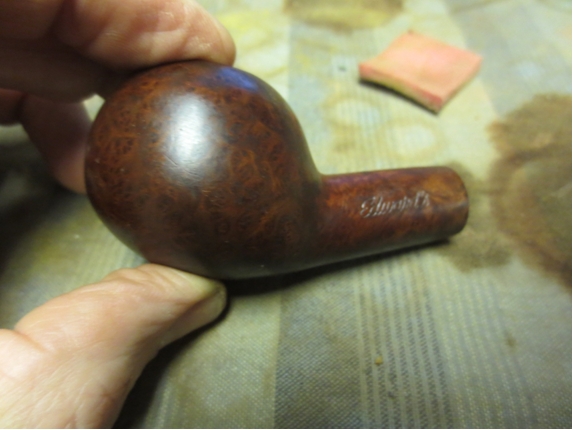

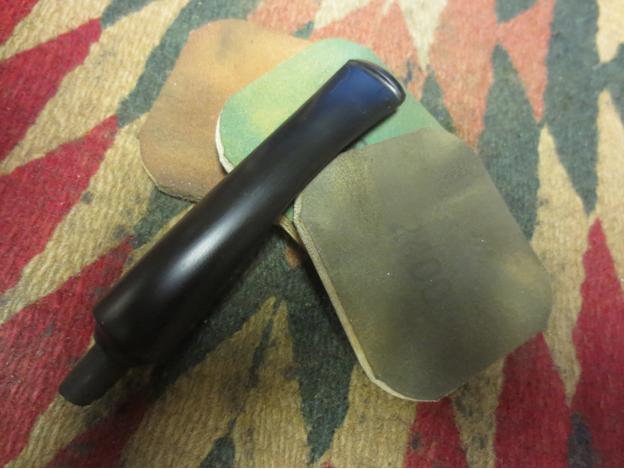
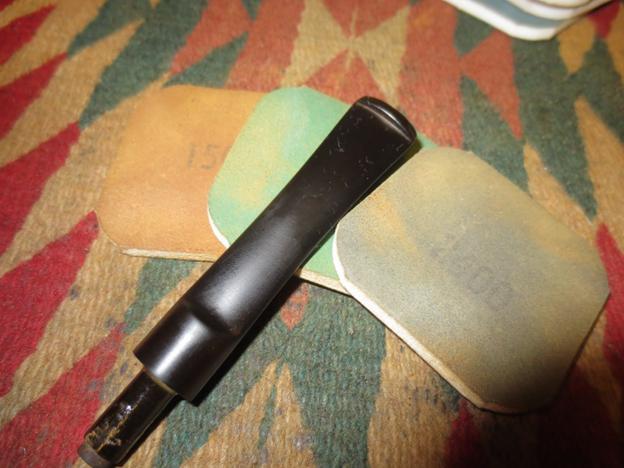
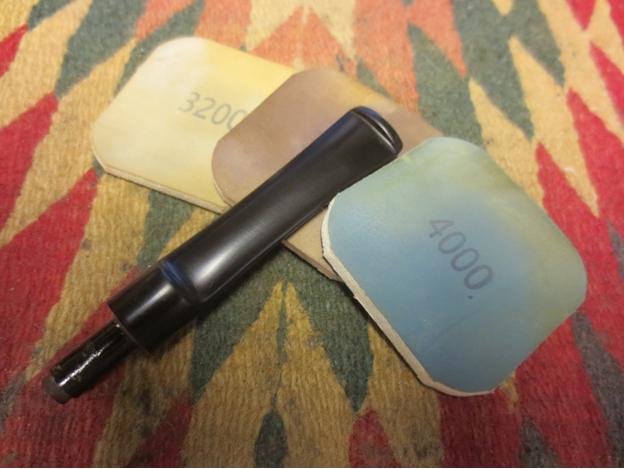
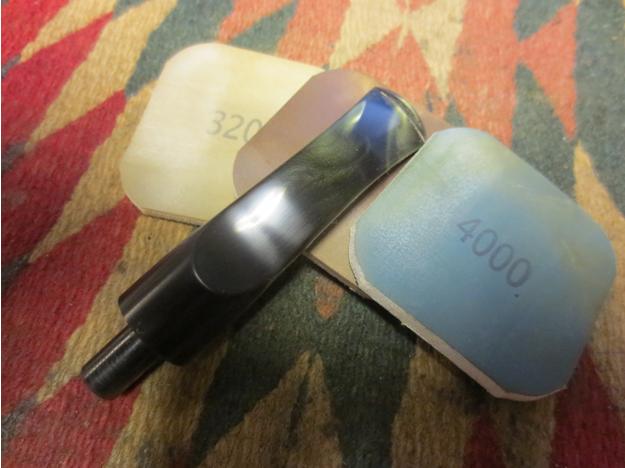
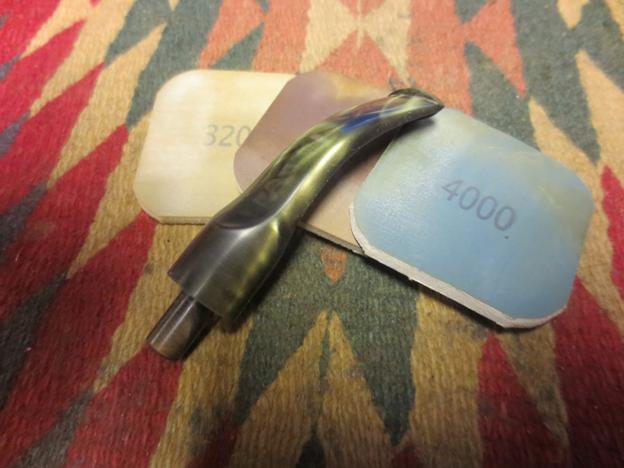
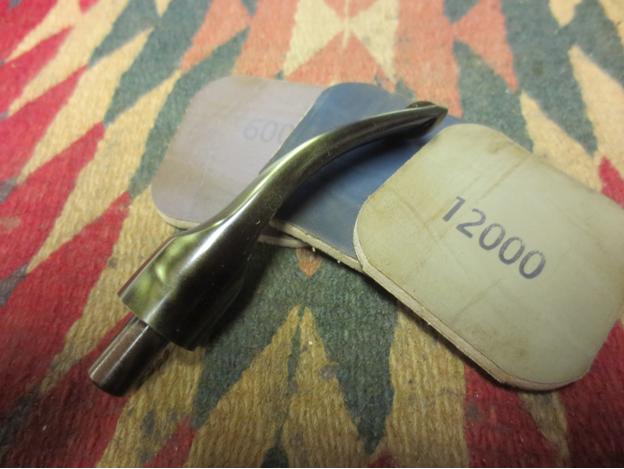
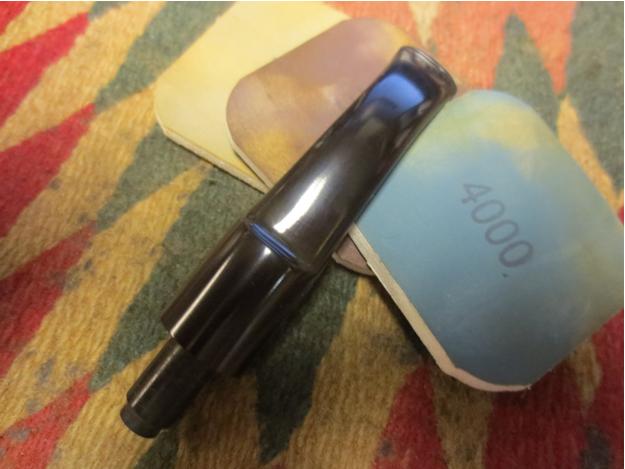
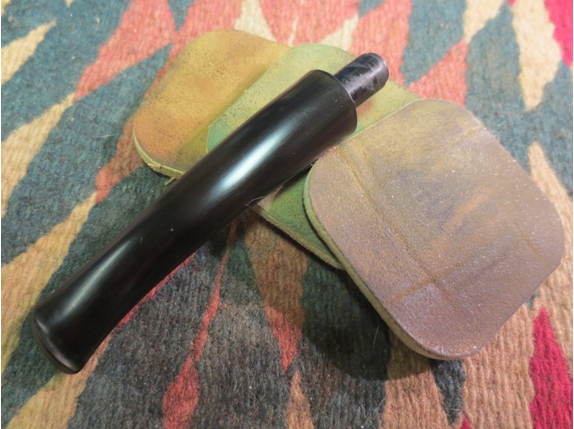
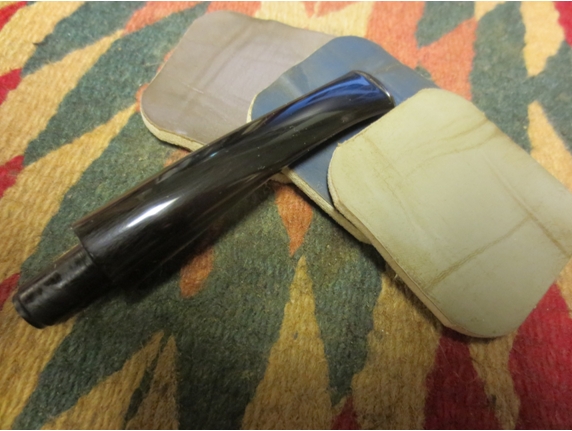
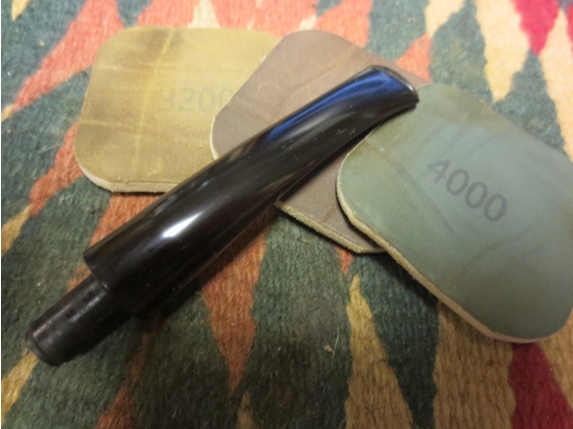
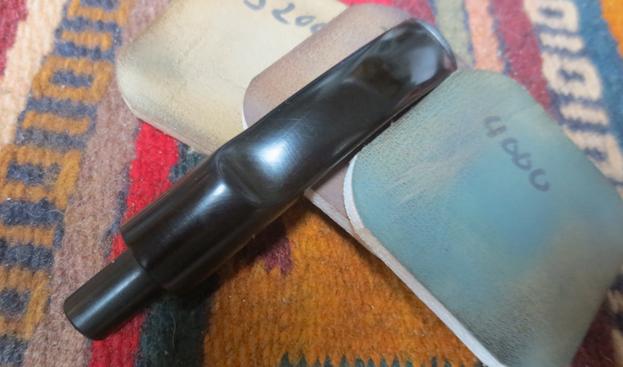
 I set it aside and finished working on the stem. I sanded it with medium and fine grit sanding sponges and then with micromesh sanding pads. I wet sanded with 1500-2400 grit pads and dry sanded with 3200-12,000 grit pads.
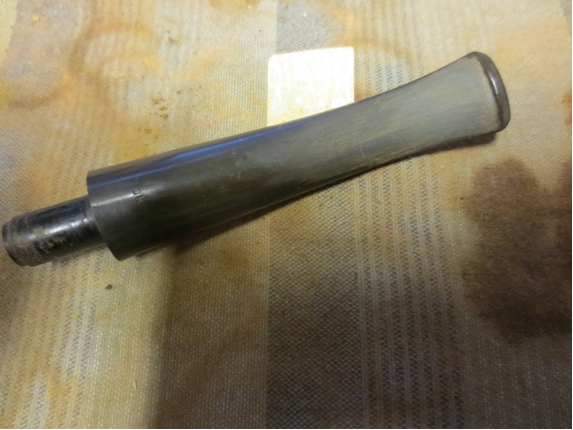
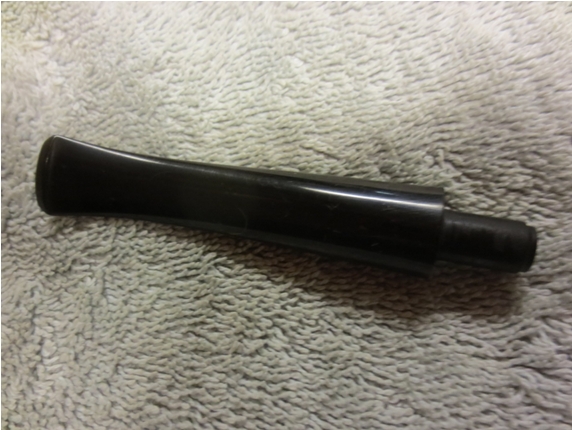
 I buffed the stem with White Diamond and Blue Diamond on the buffing wheel. I gave it several coats of carnauba wax and lightly buffed it with a flannel buff. I am always careful when buffing the stem without the bowl (in fact I rarely do it) because it is very easy to round the shoulders on the stem making a tight fit against the shank impossible.
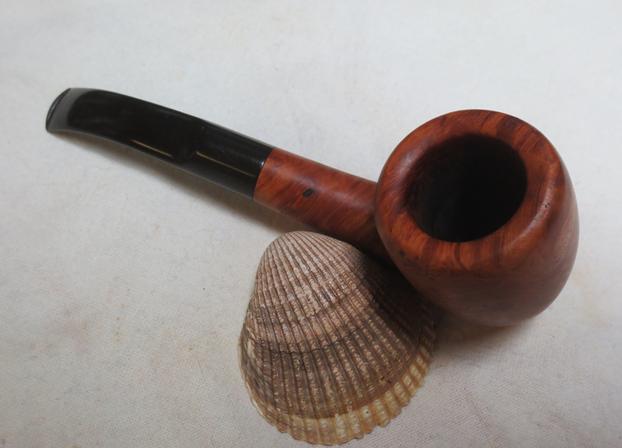
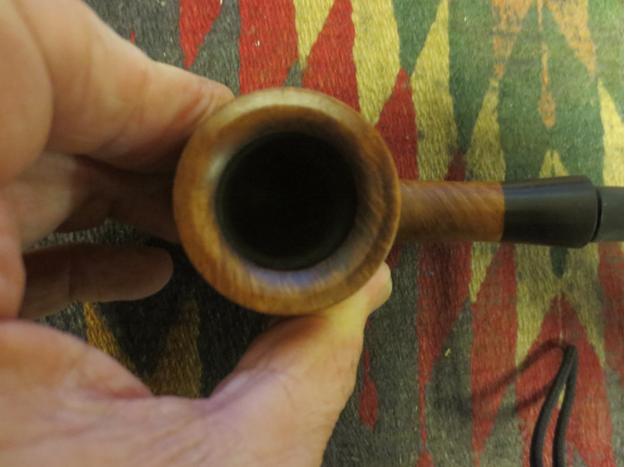
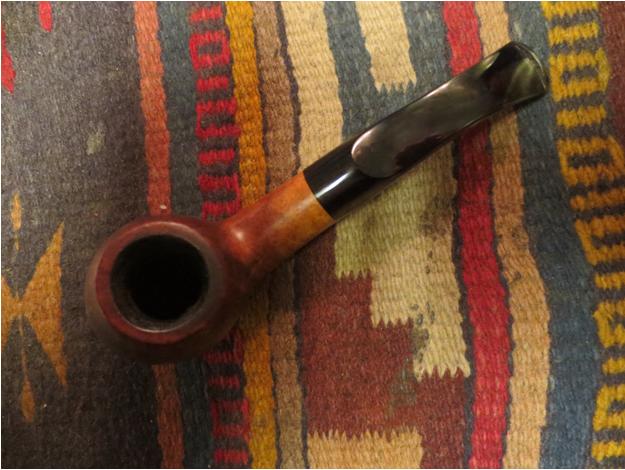
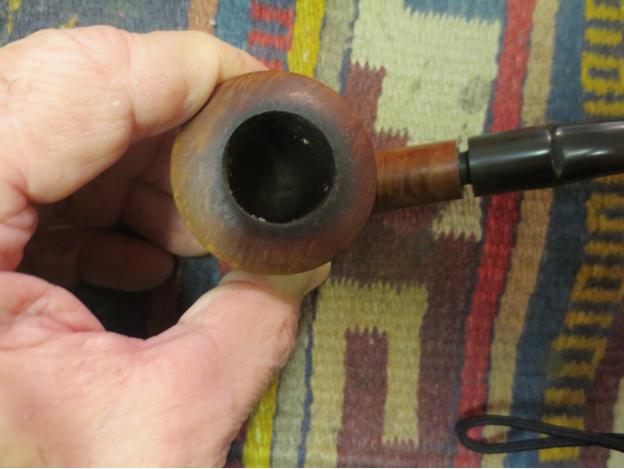
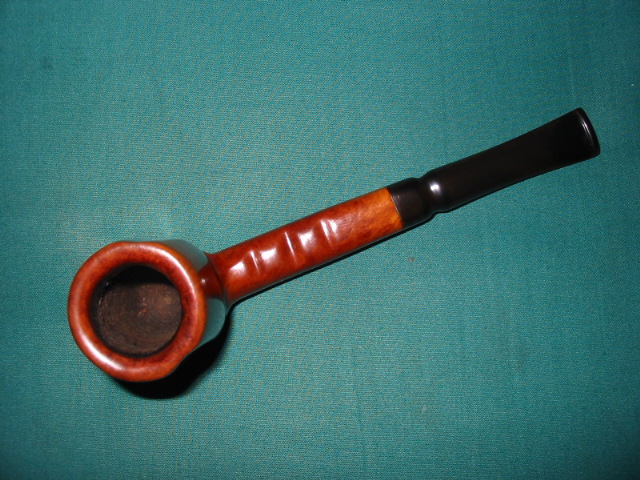
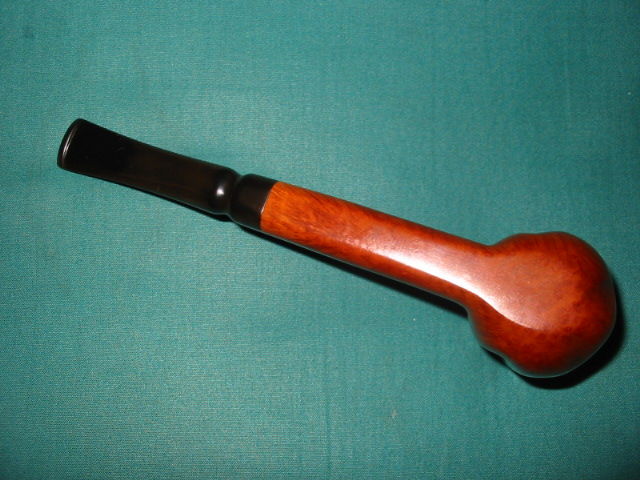
 I buffed the bowl with red Tripoli and White Diamond to remove the surface scratches around the patches. I buffed the rim carefully with the same product. I took the next two close-up photos of the rim to show the repaired and polished rim.
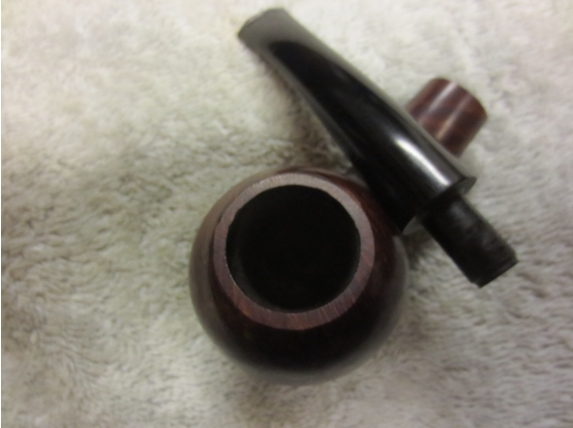
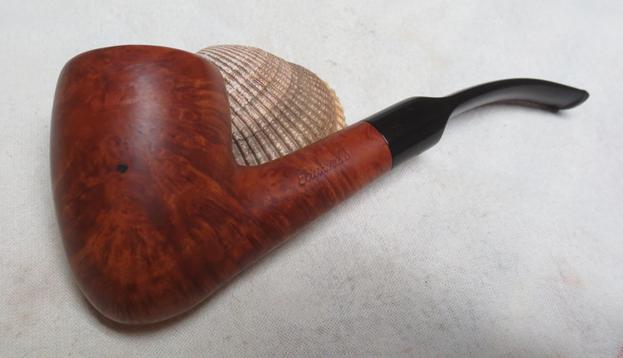
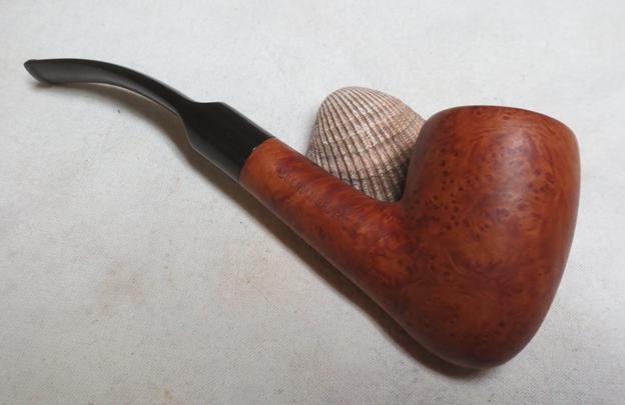
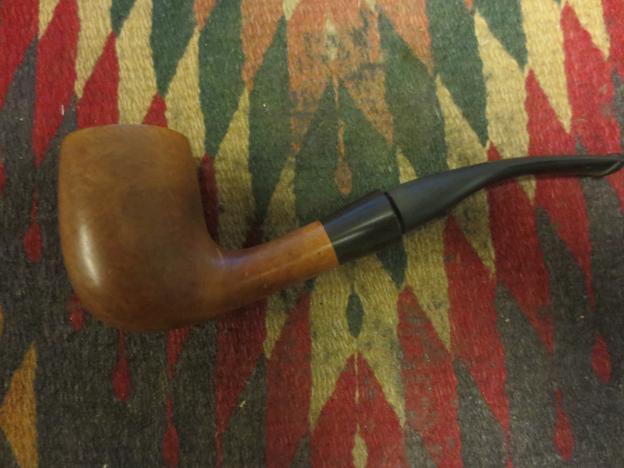
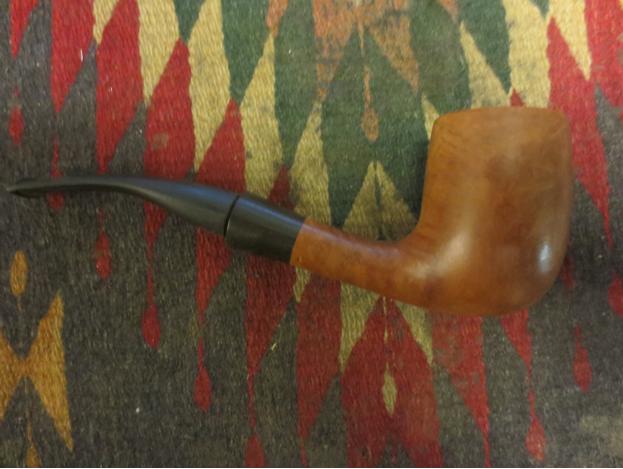
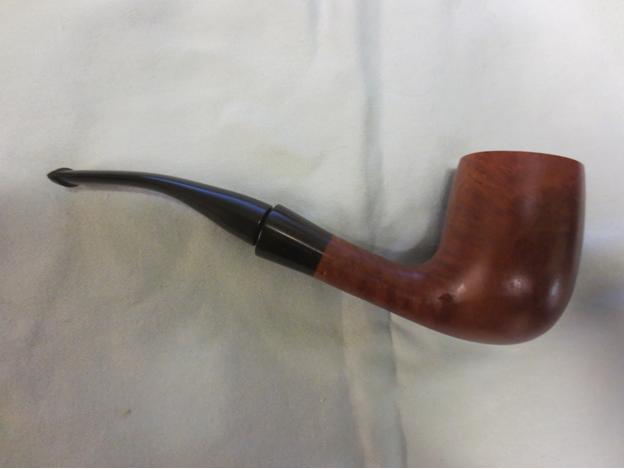
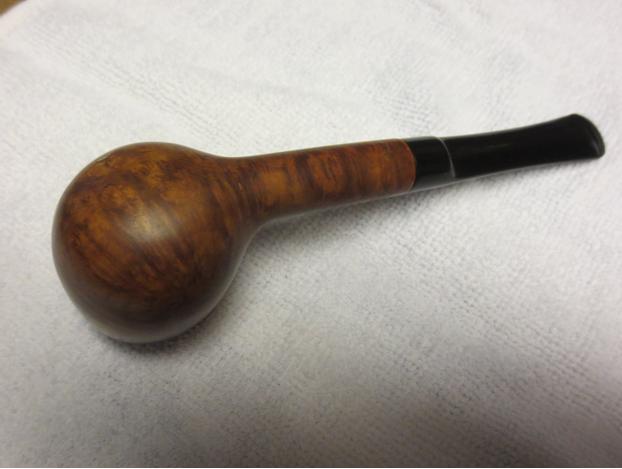
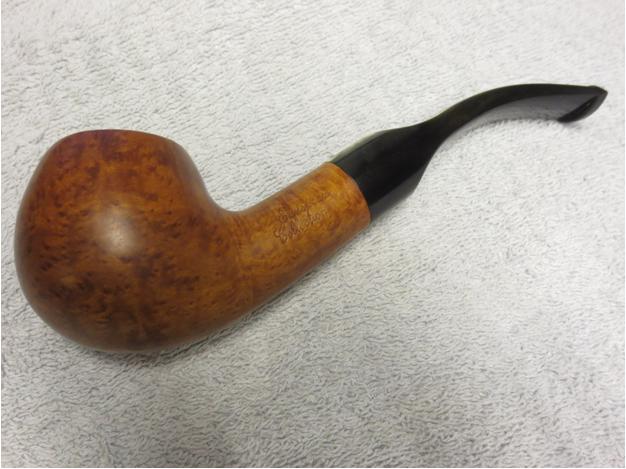
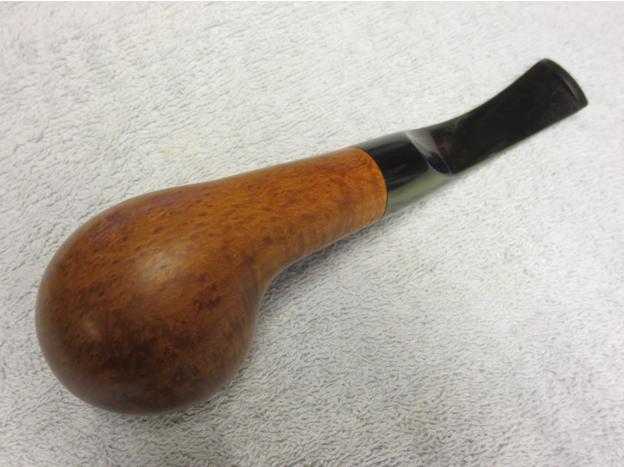
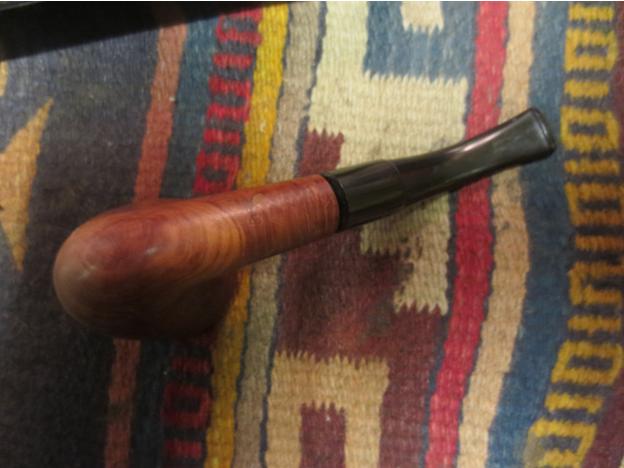
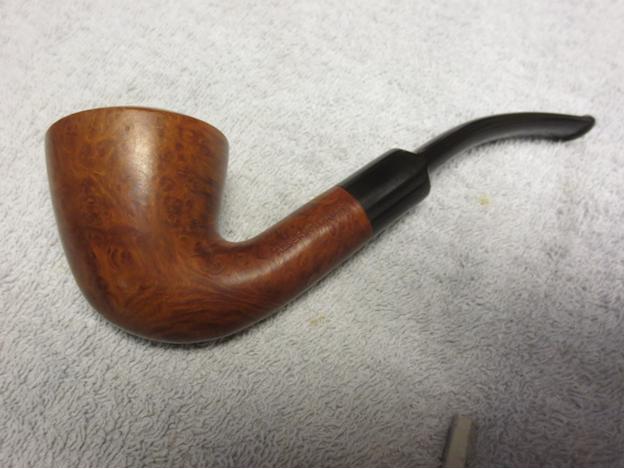
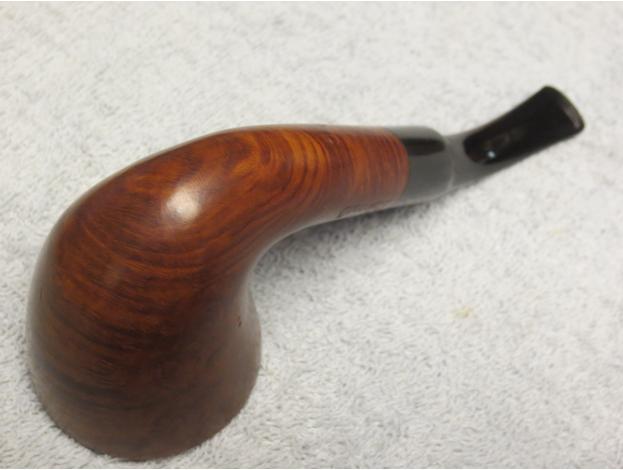
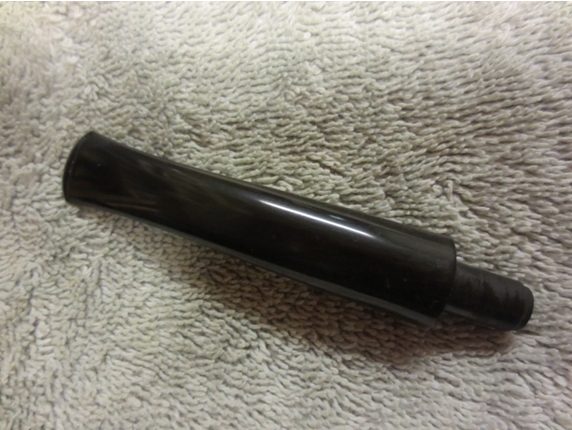
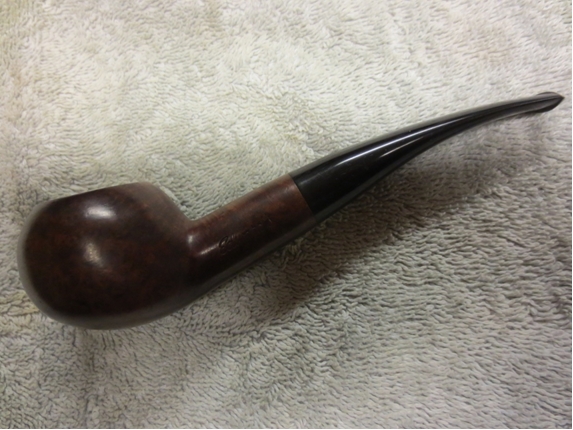
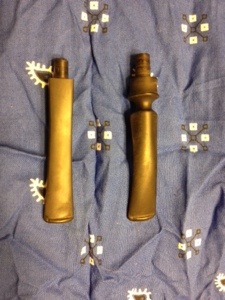
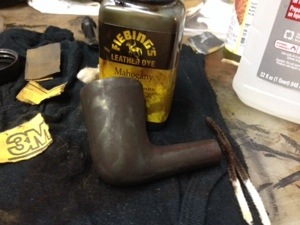
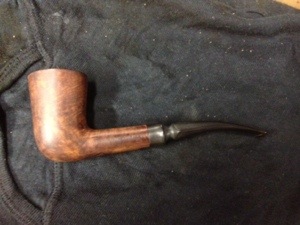
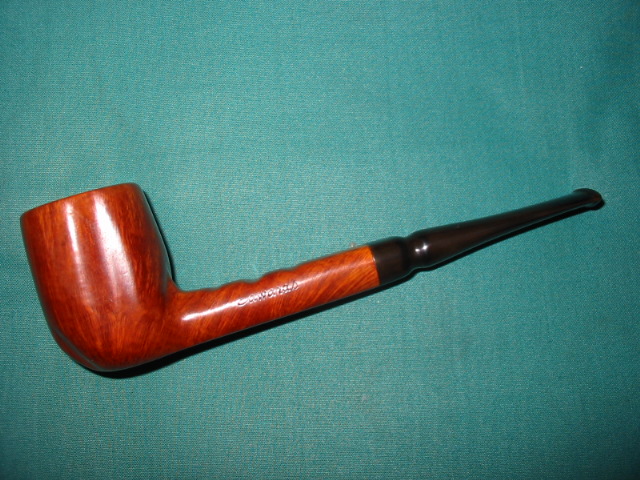
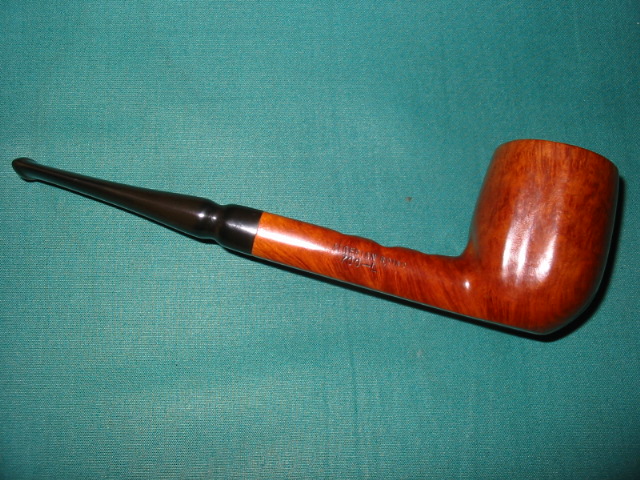
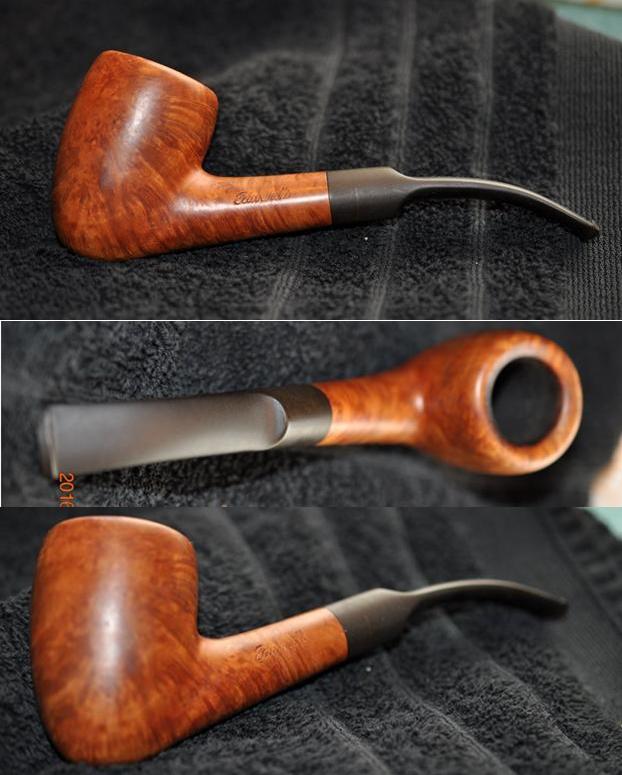
 The finished pipe is shown in the photos below. The rich patina is only from the alcohol bath. I used a stain pen to touch up the light spots around the patches on the right side of the bowl and shank. I gave the pipe several coats of carnauba wax and buffed it with a soft flannel buff to raise a shine. All that is left to do is to load the bowl and fire it up. Something I hope to do before the end of the week.


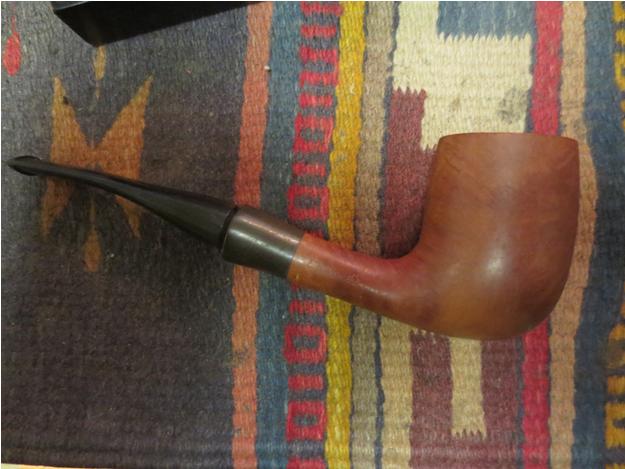
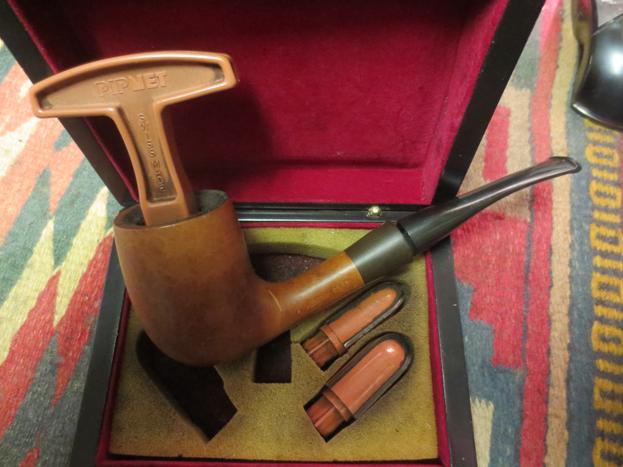
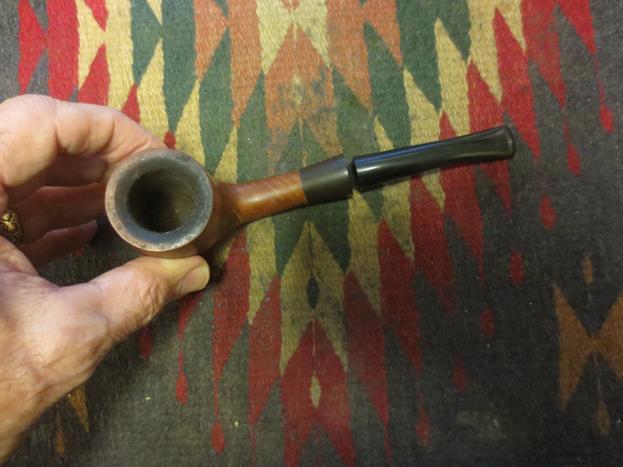
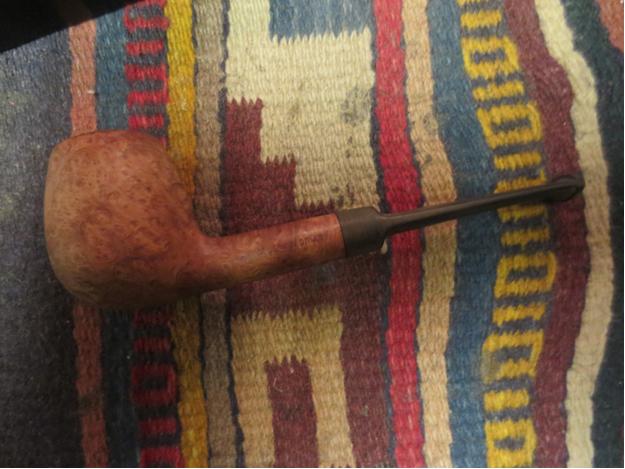
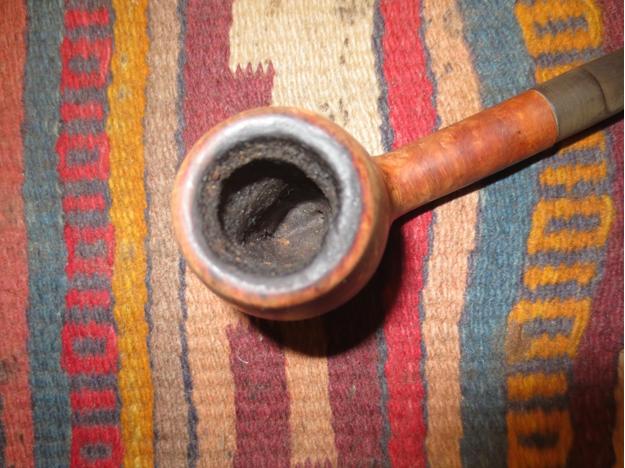
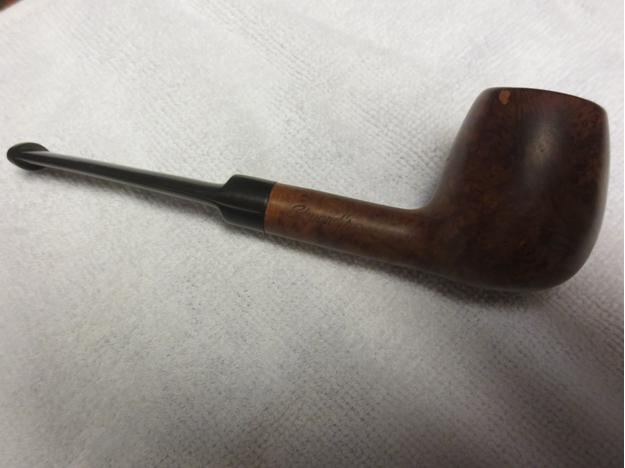
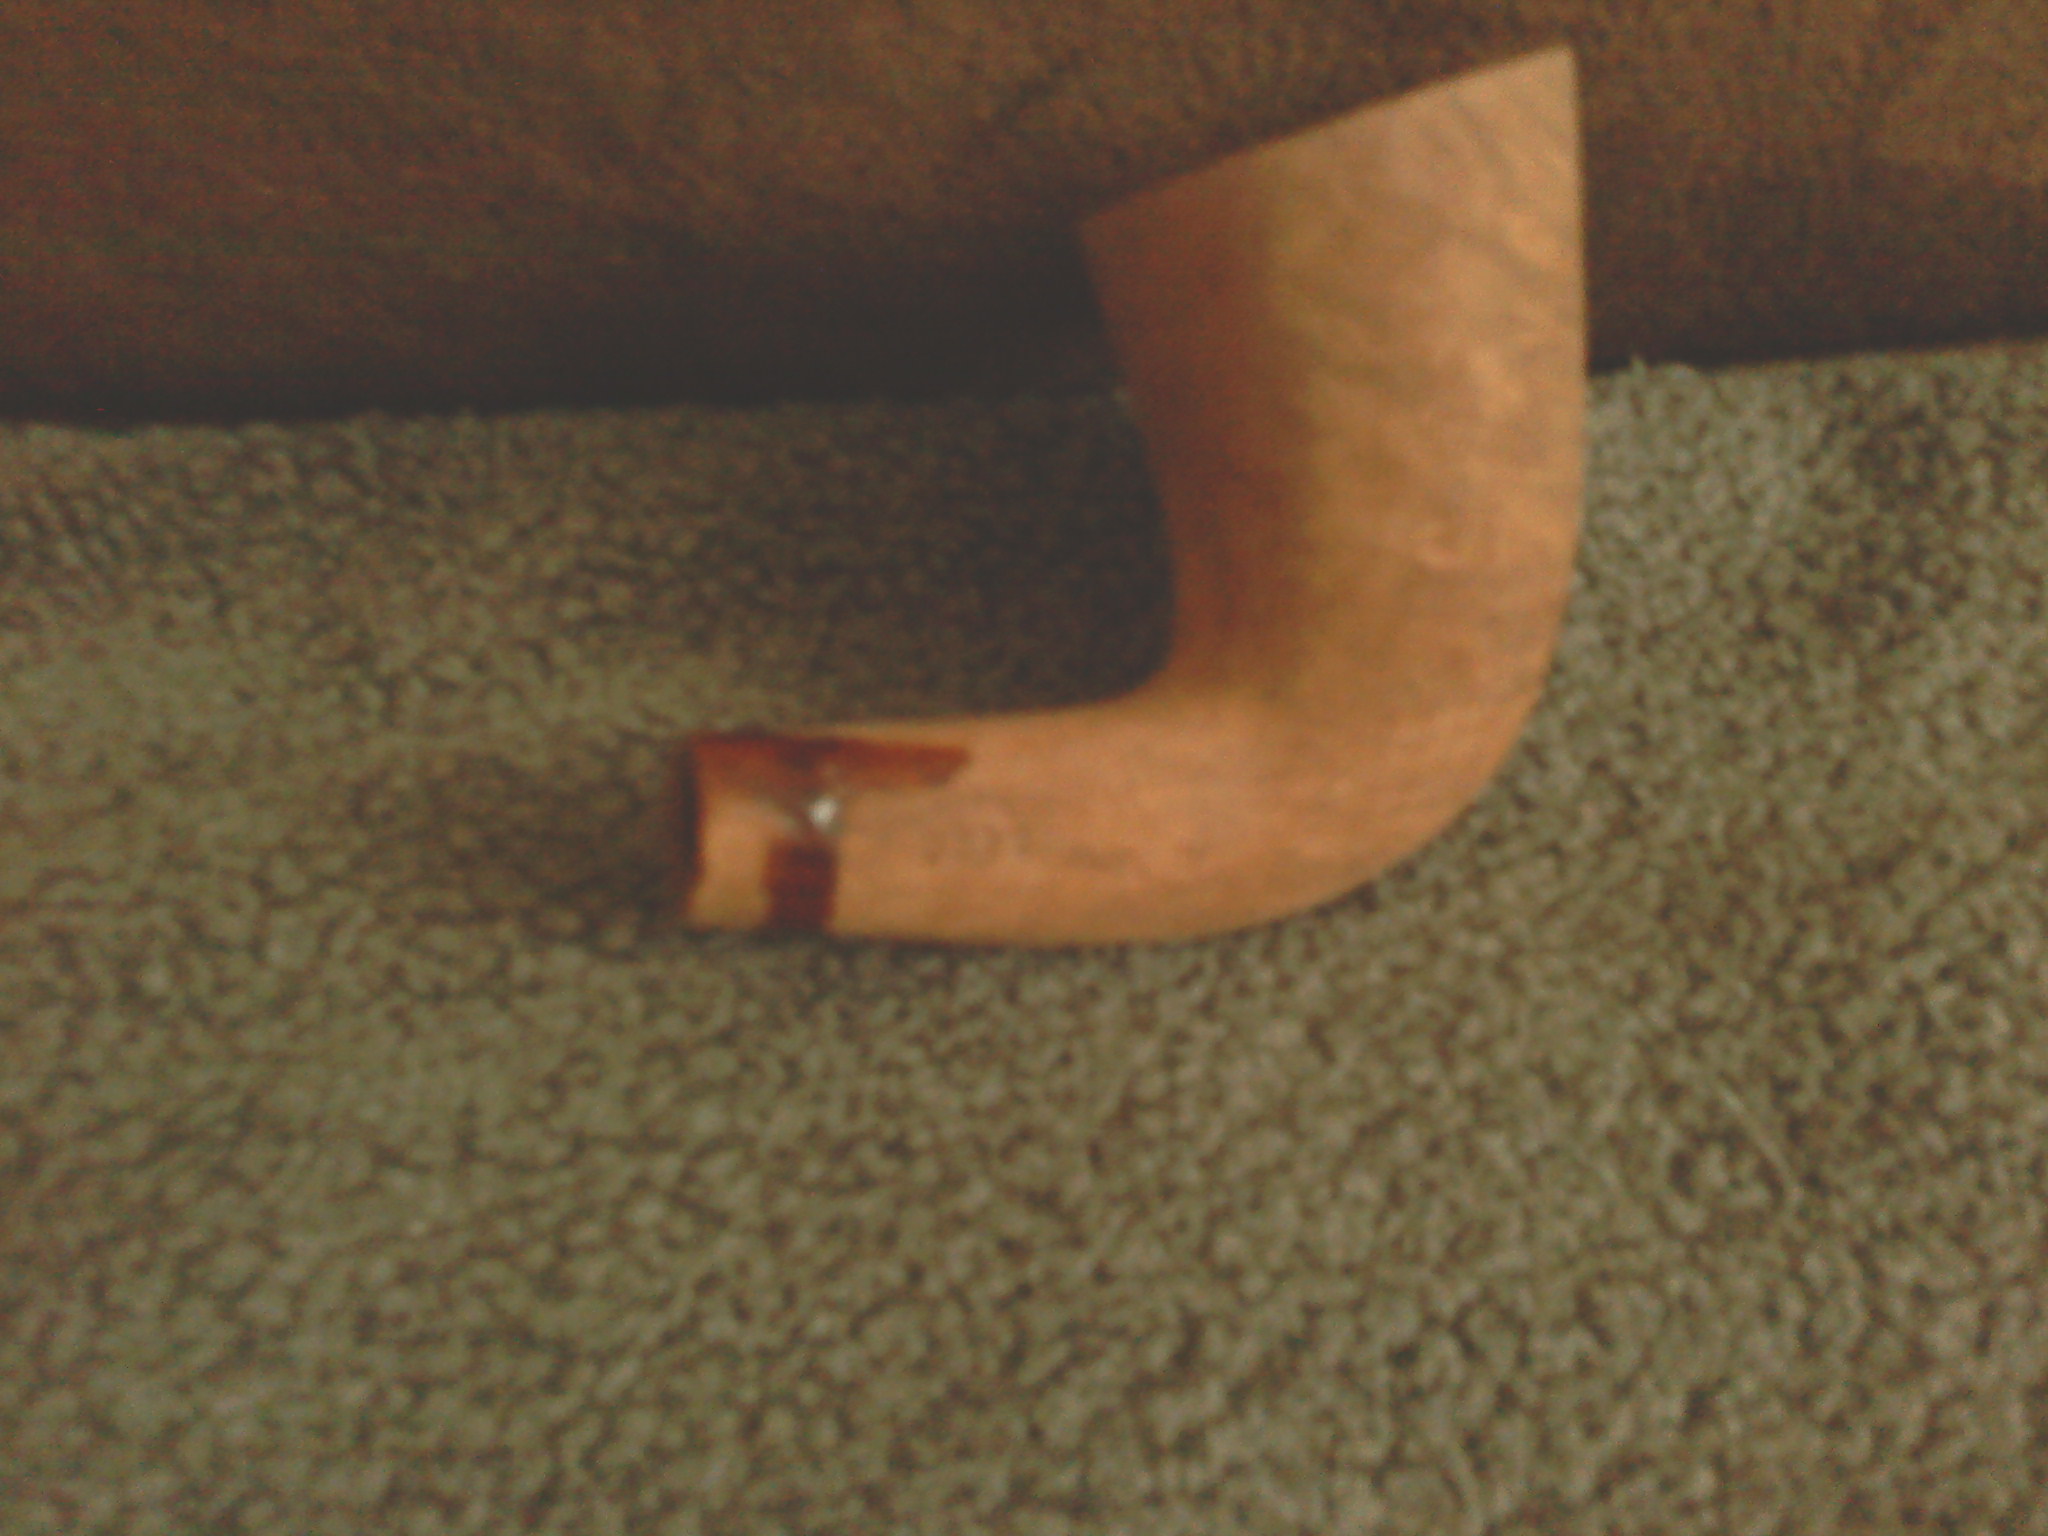
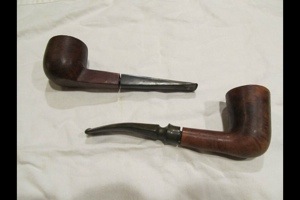
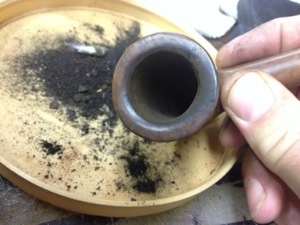
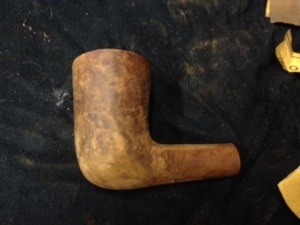
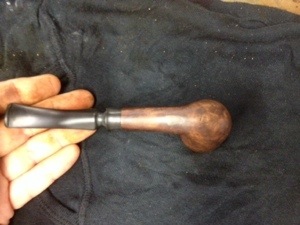
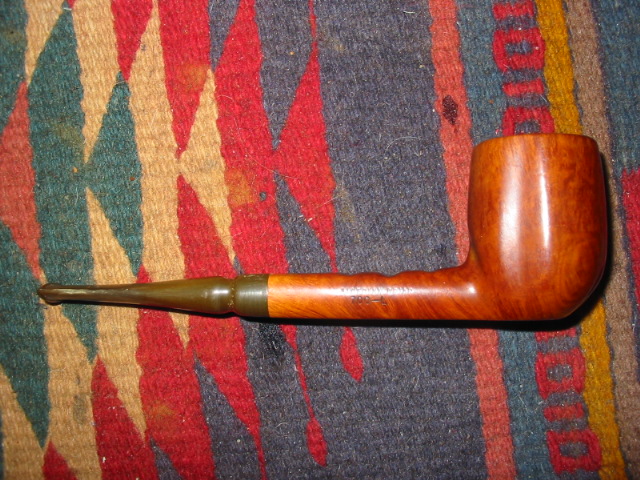
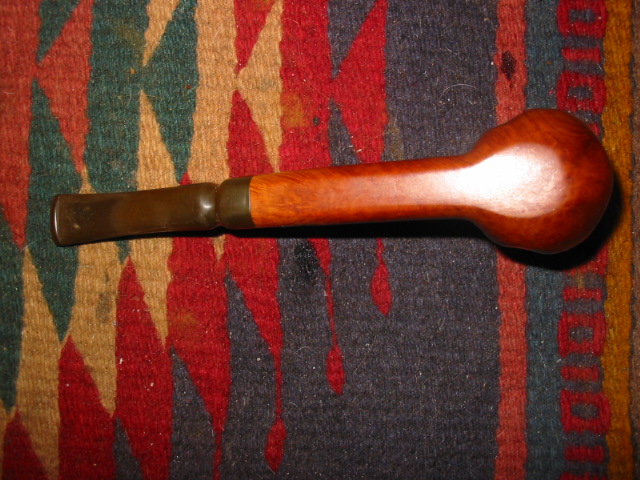
 My brother took some close up photos of the rim, the bottom of the bowl and the stampng on the sides of the shank. You can see from the photos that the pipe is in great shape except for the slight buildup on the back edge of the rim. There is a light cake in the bowl and the bottom third of the bowl appears to be raw briar that has not been darkened by smoking. I would call the pipe lightly smoked.
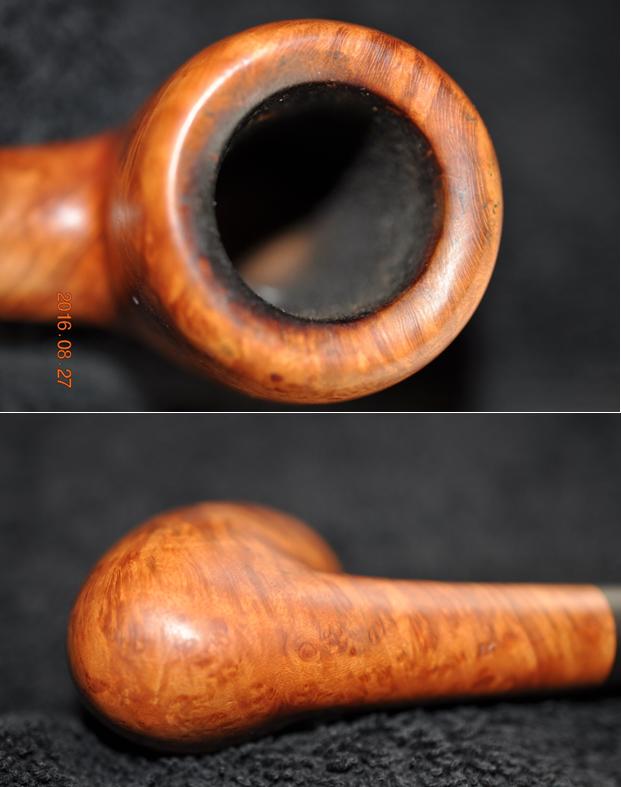
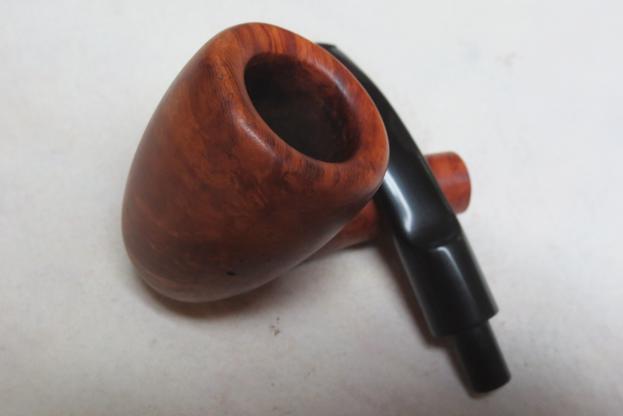
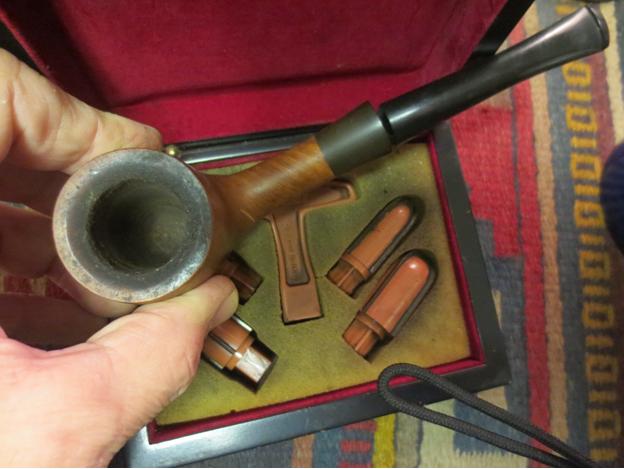
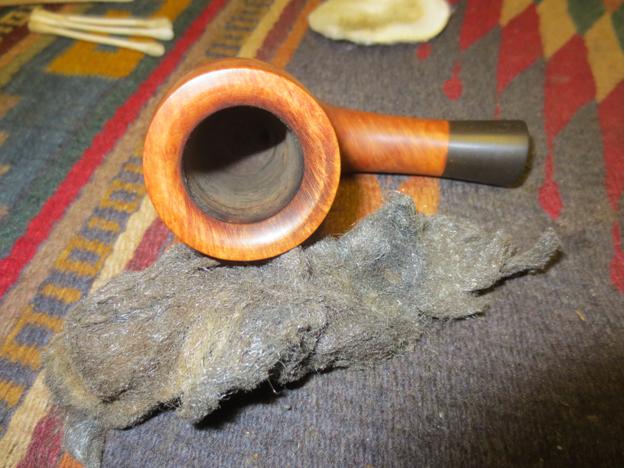
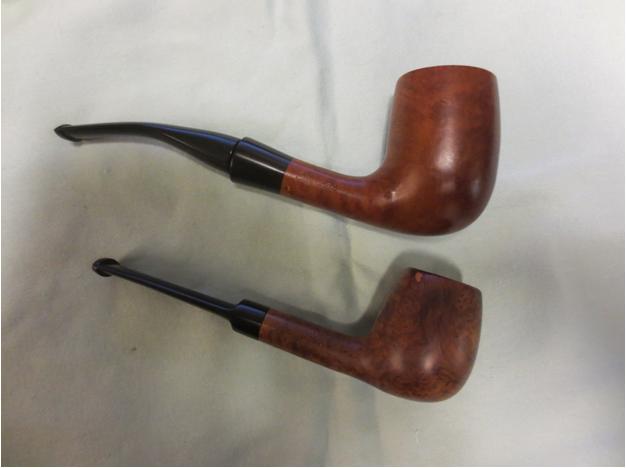
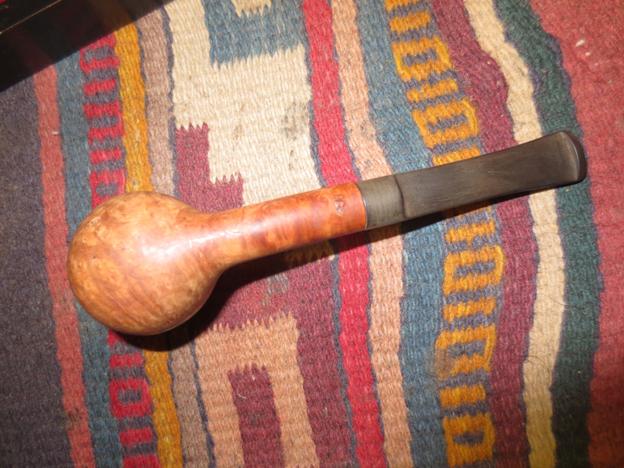
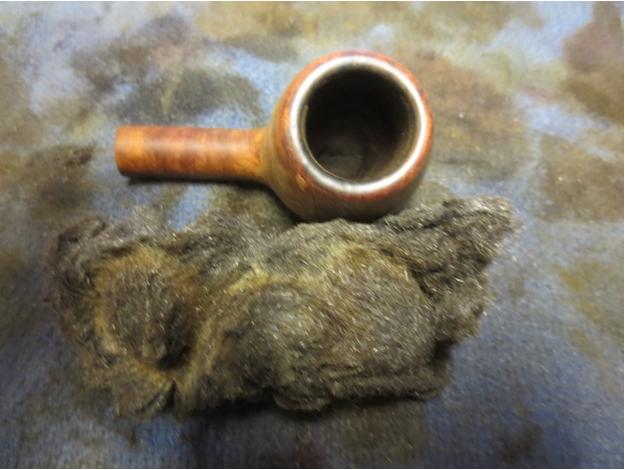
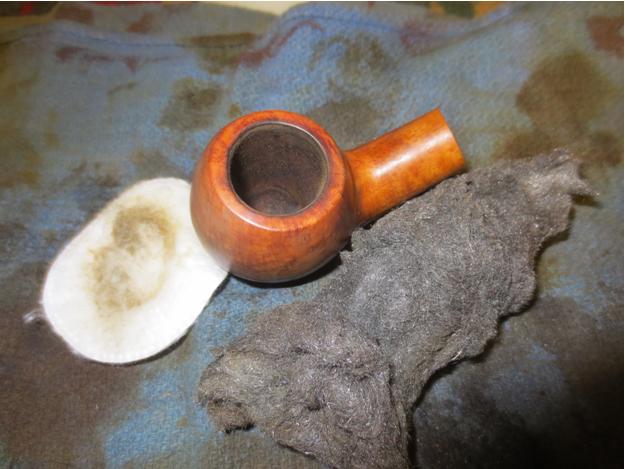
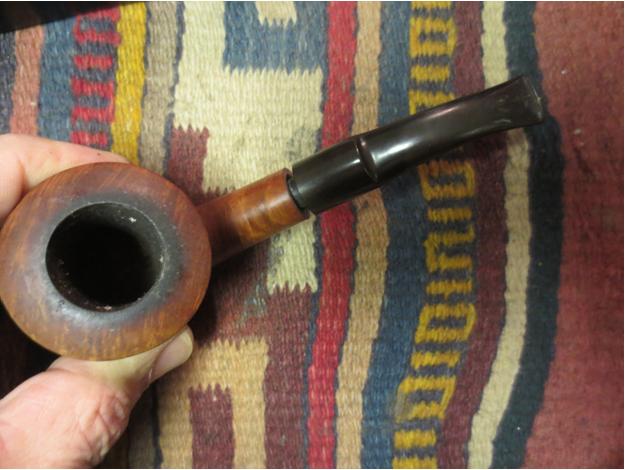
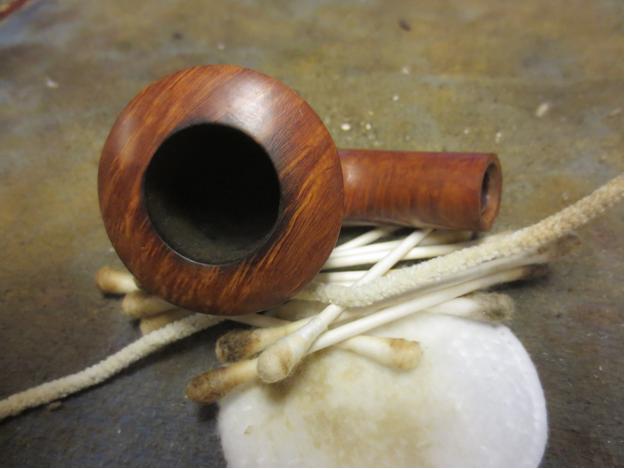
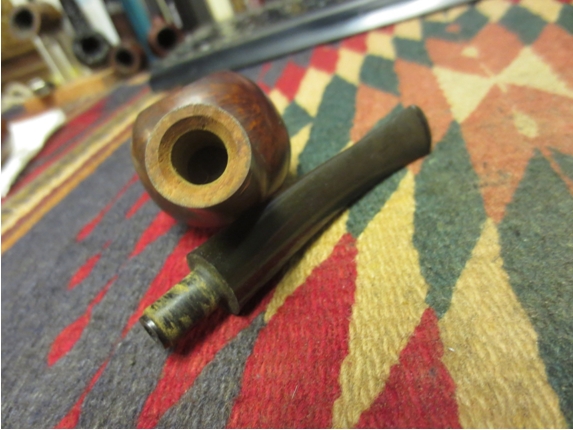
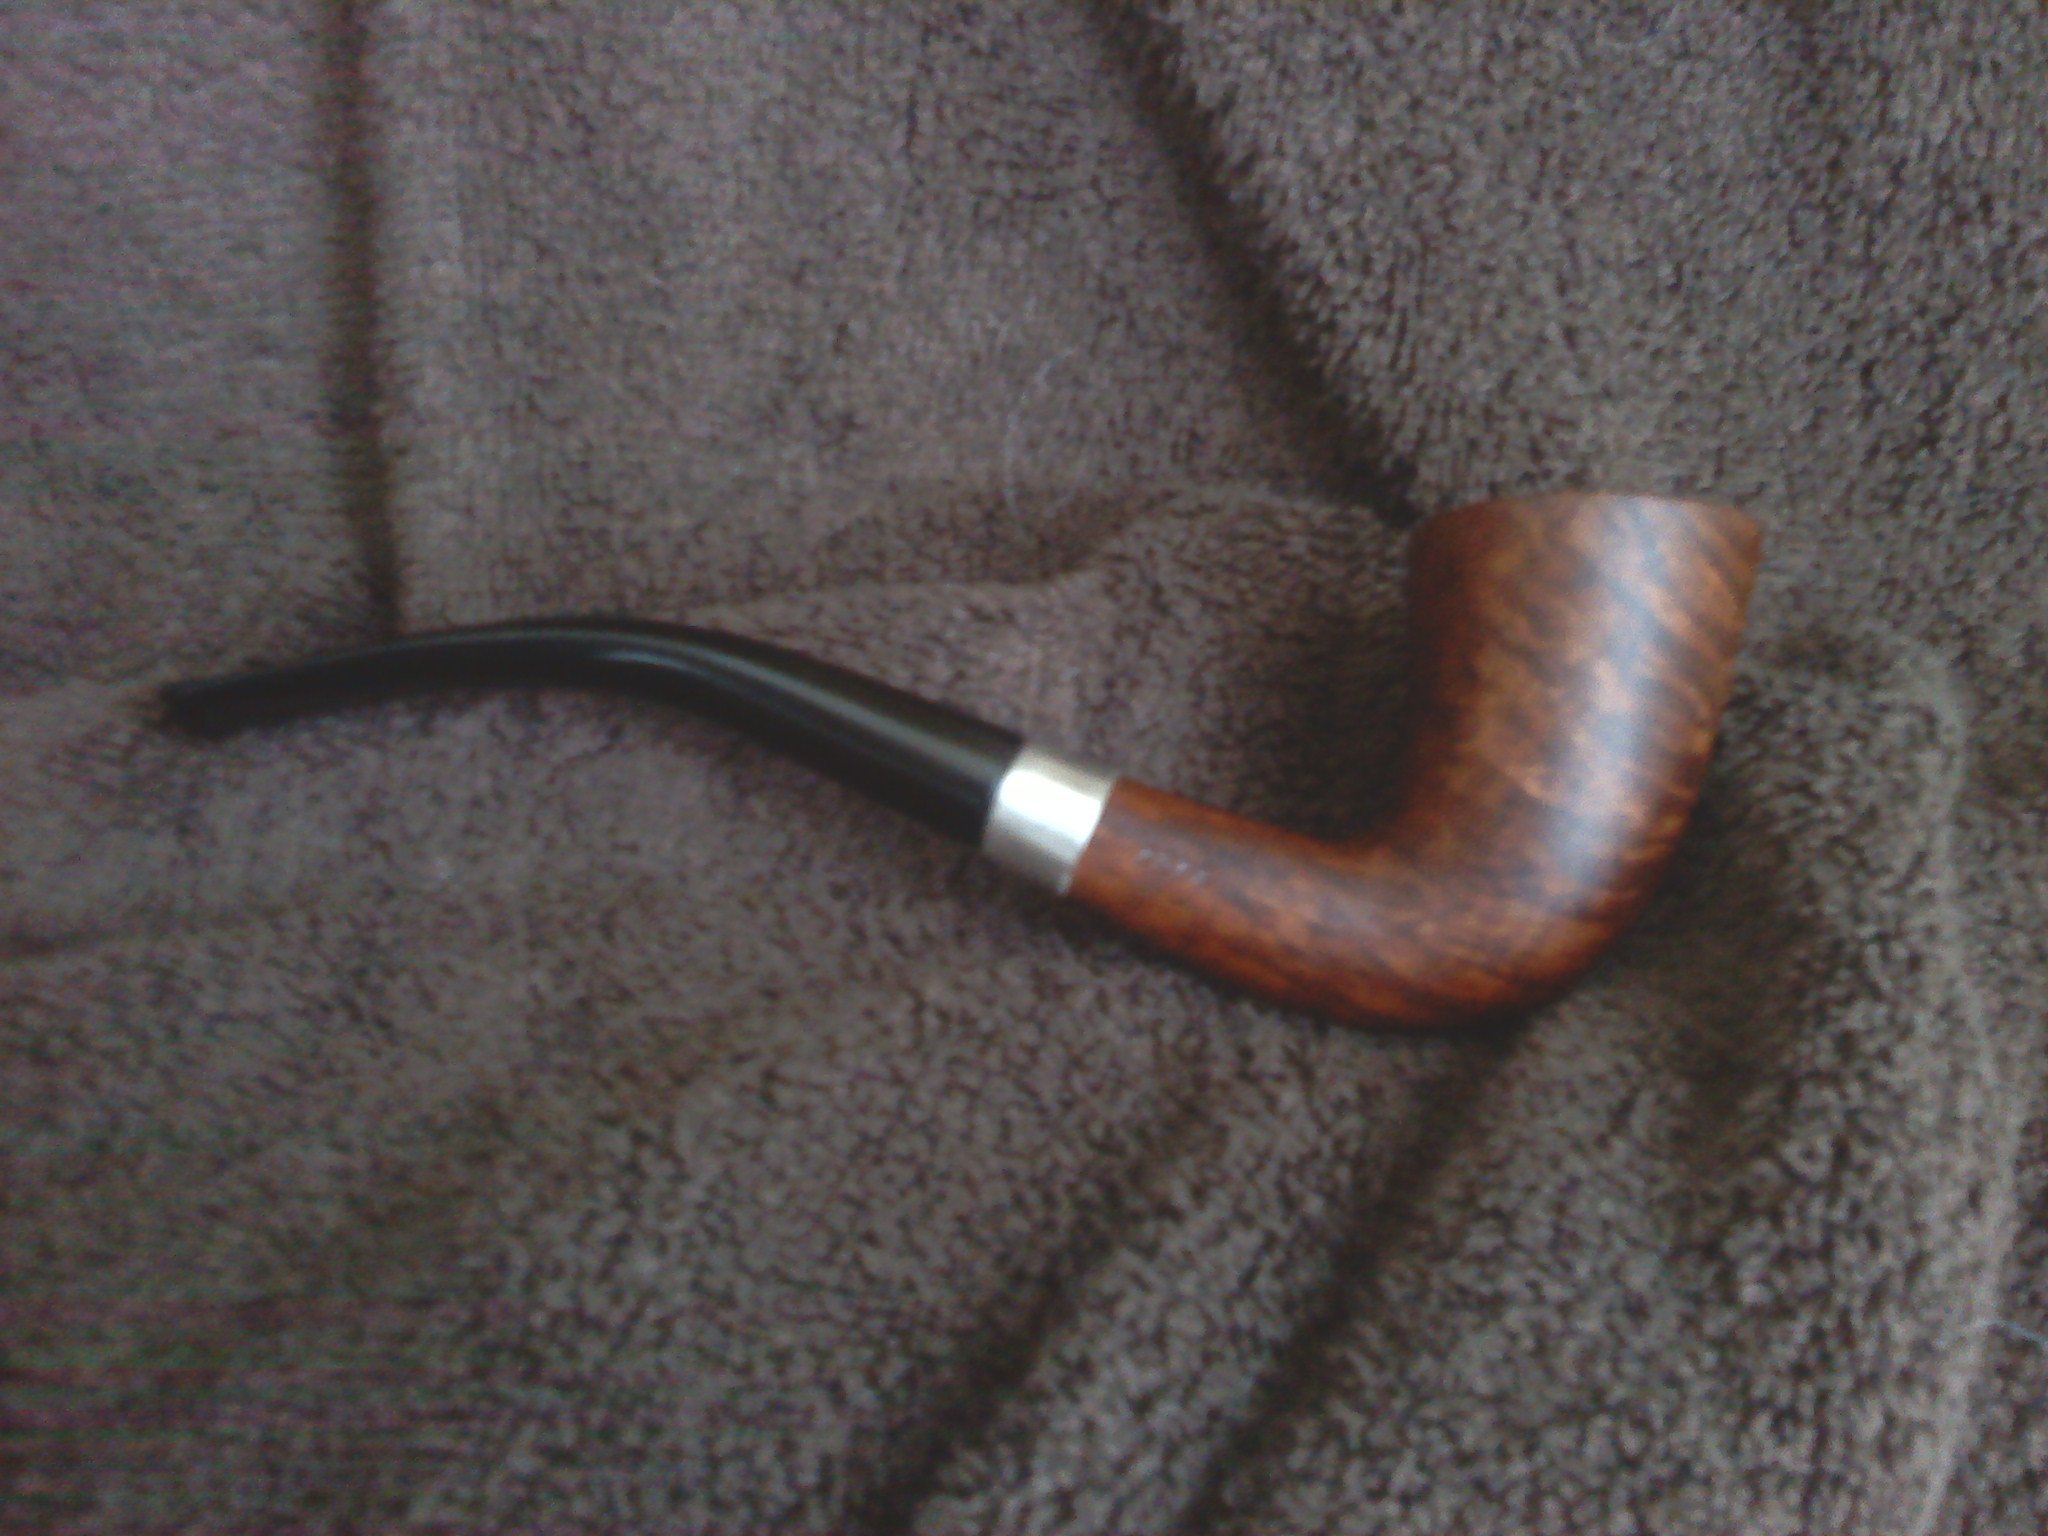
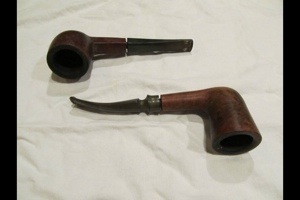
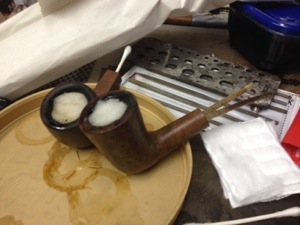
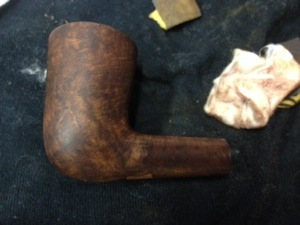
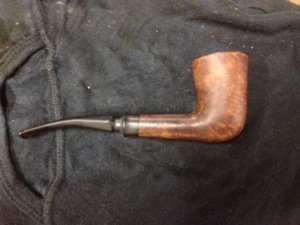
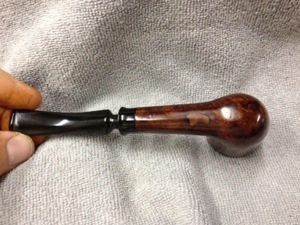
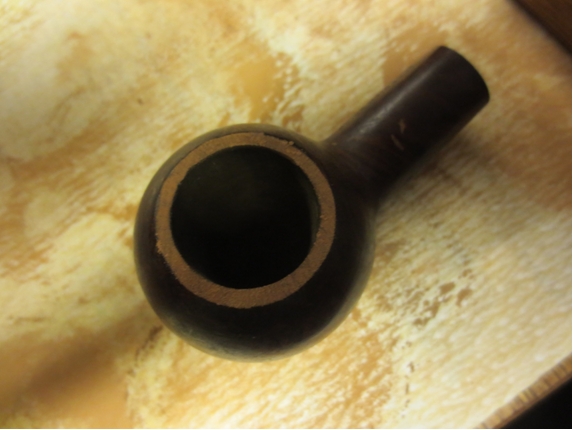
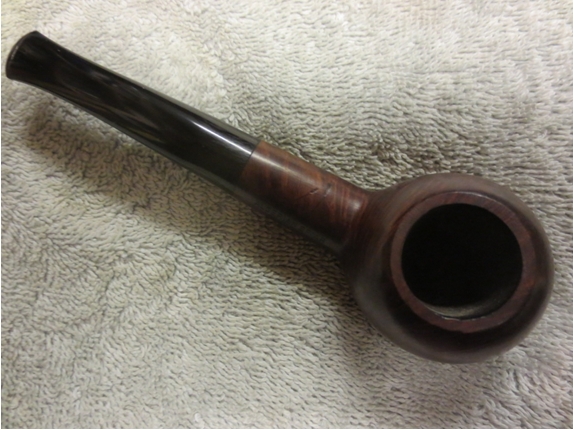
 My brother scrubbed the pipe with his usual mix of a tooth brush and Murphy’s Oil Soap. He rinsed it with water. The scrubbing removed all of the grime and oils on the bowl and removed the build up on the rim as well. The stem was lightly oxidized and there were some scratches around the circumference of the saddle portion of the stem. My brother also cleaned the interior of the airways in the stem and shank and the mortise area. I took some photos of the pipe when it arrived here.
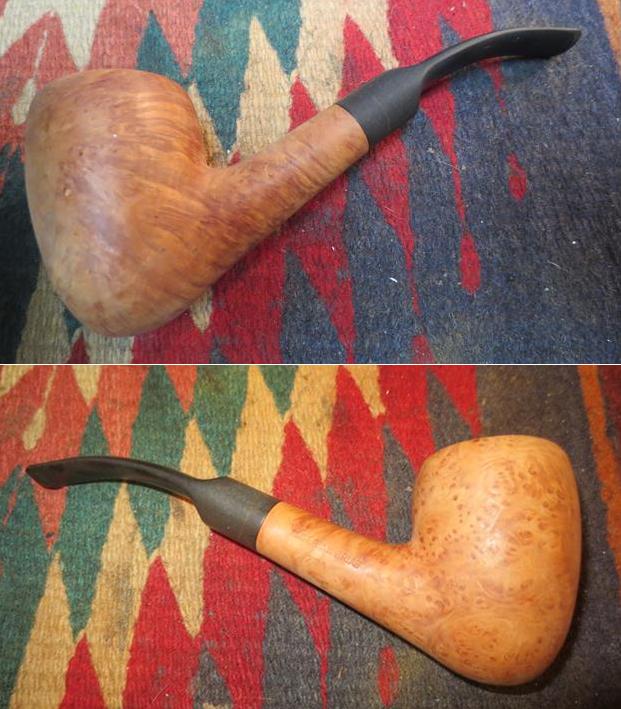
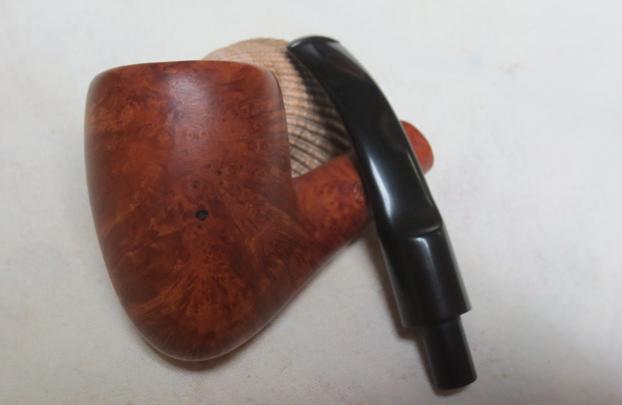
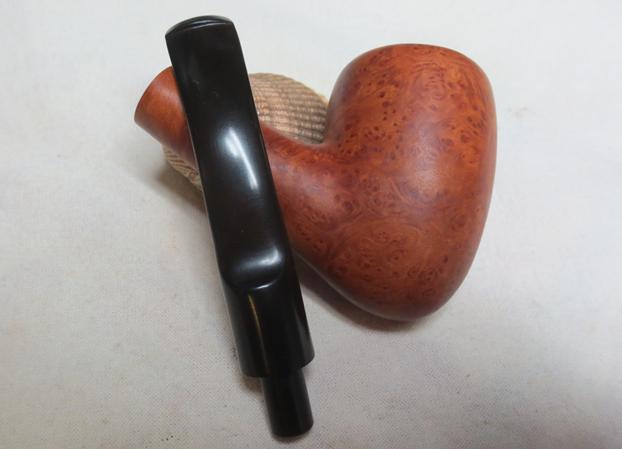
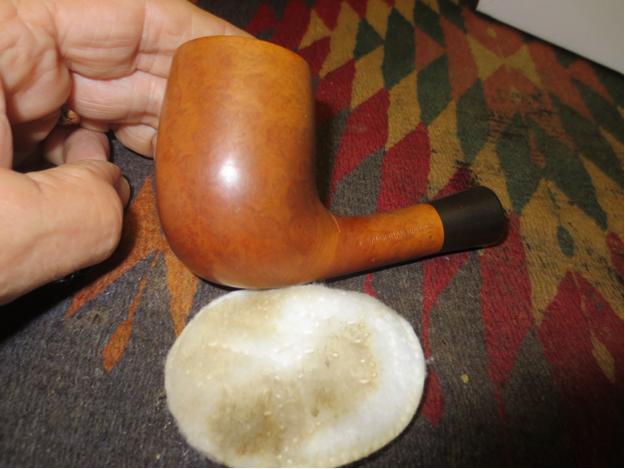
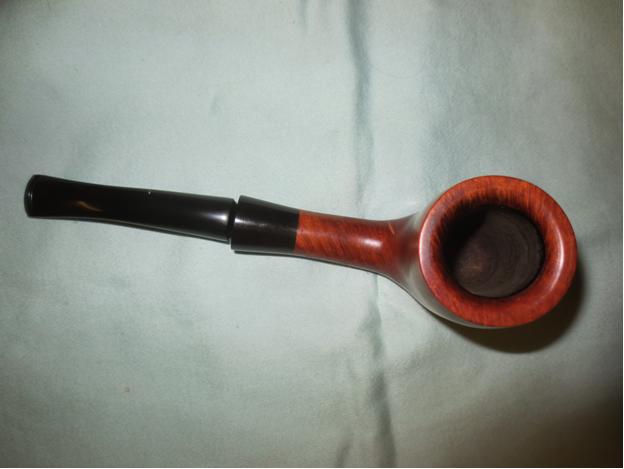
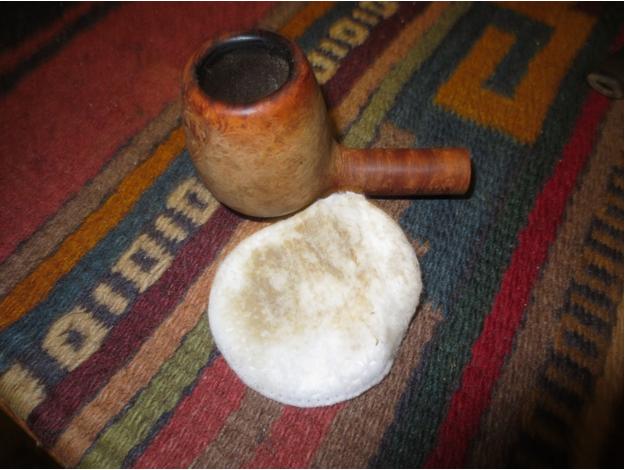
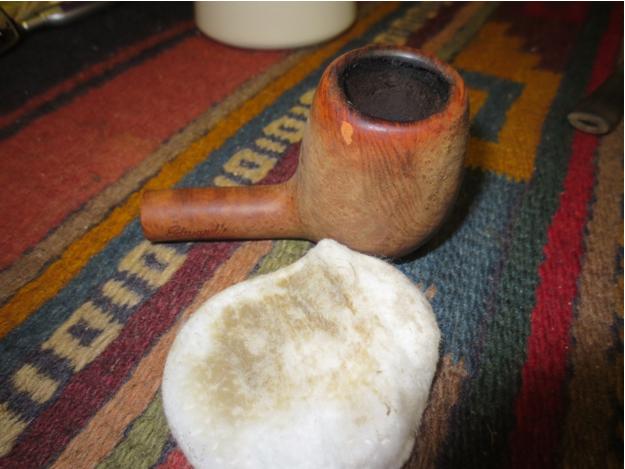
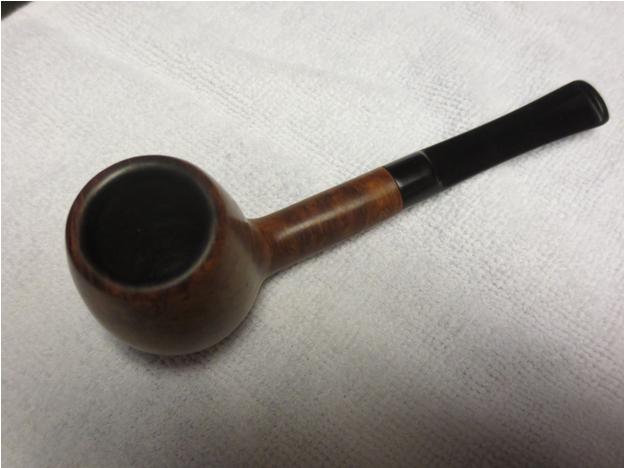
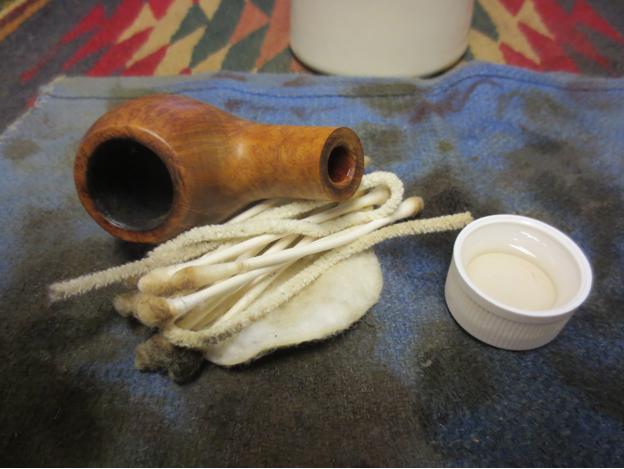
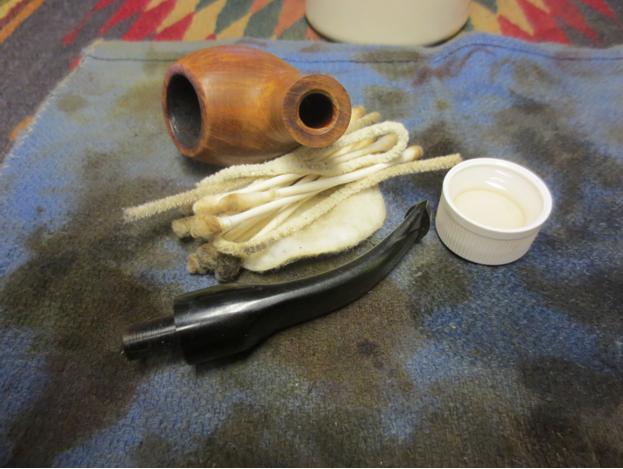
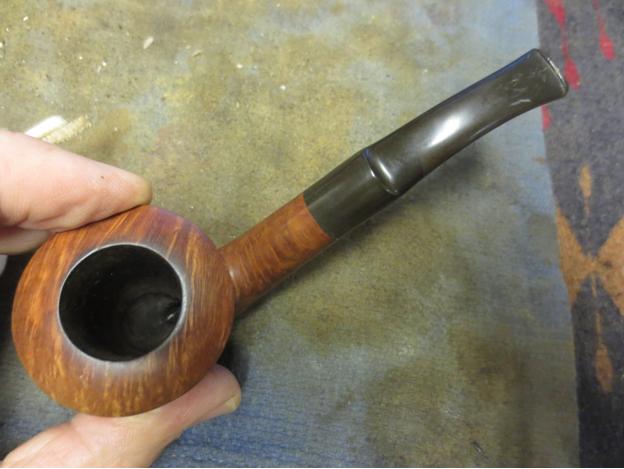
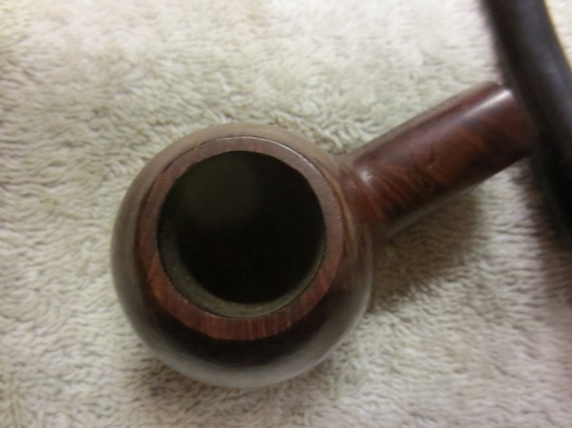
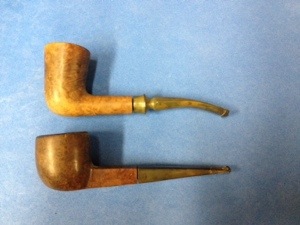
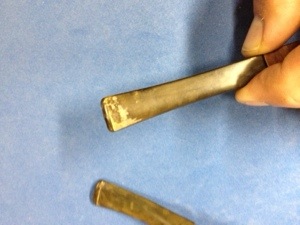
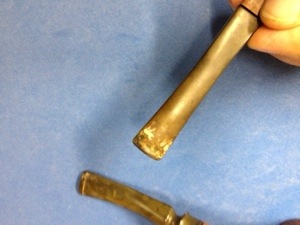
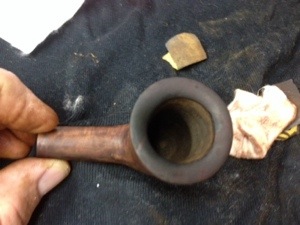
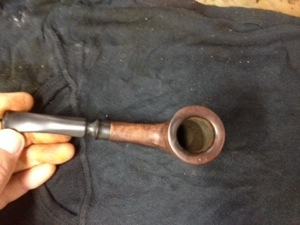
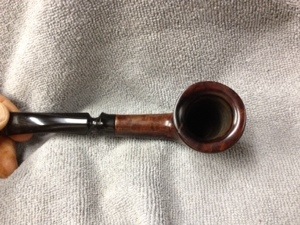
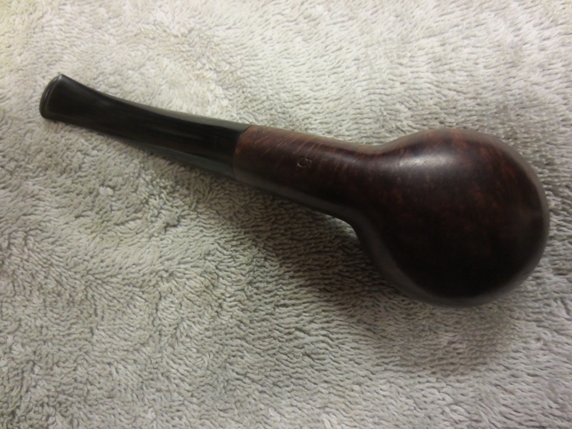
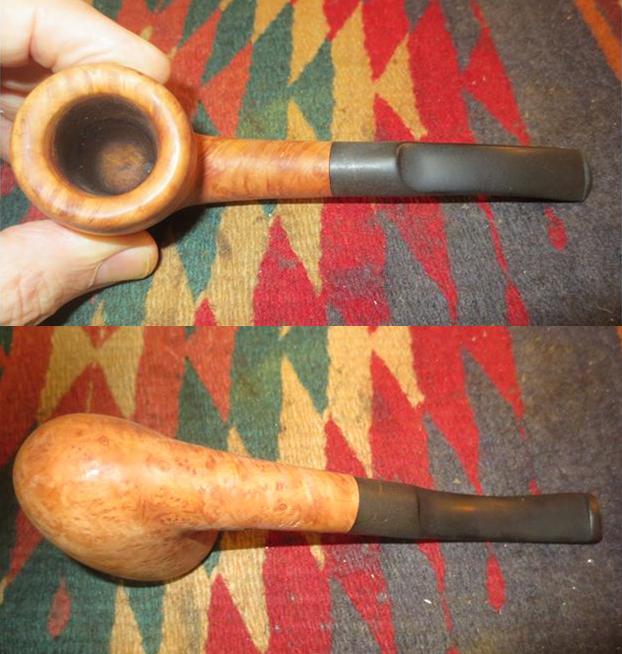 I took a close up photo of the rim to show how well it cleaned up after Jeff had scrubbed it. There is a shine to the rim that is unblemished by scratches or dents. I also took some photos of the stem to show the light oxidation and the absence of tooth marks or chatter. The stem is stamped on the underside horizontally across the saddle with the word France.
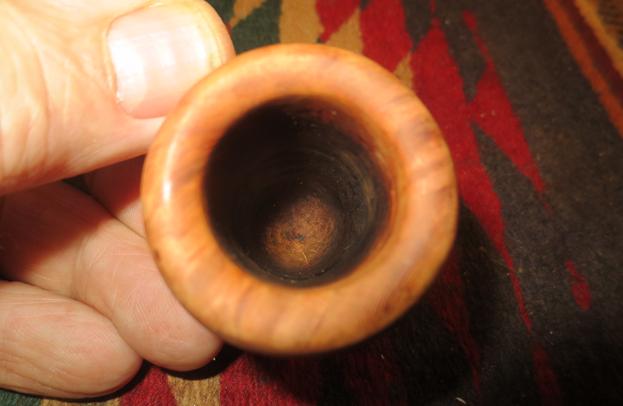
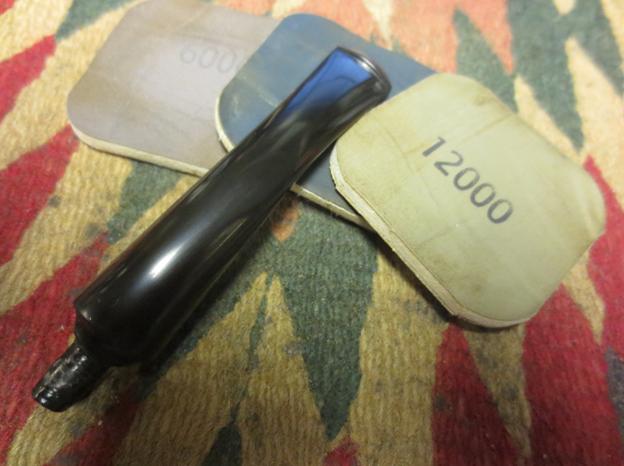
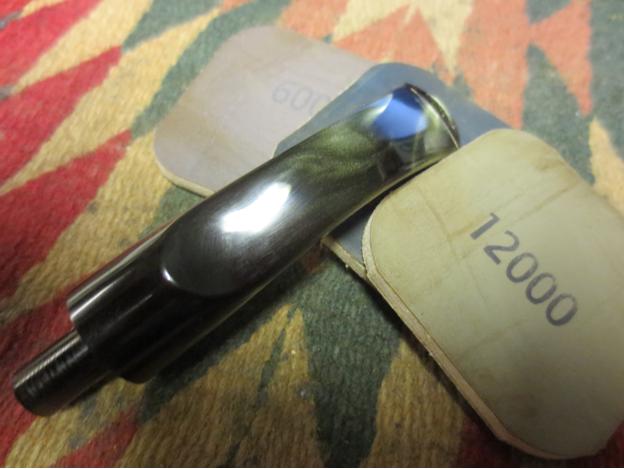
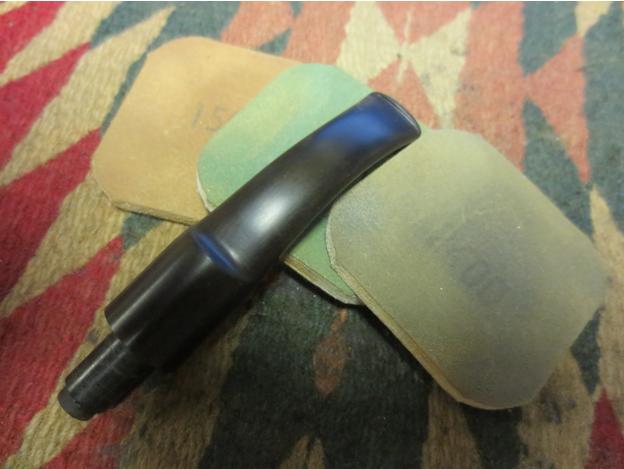
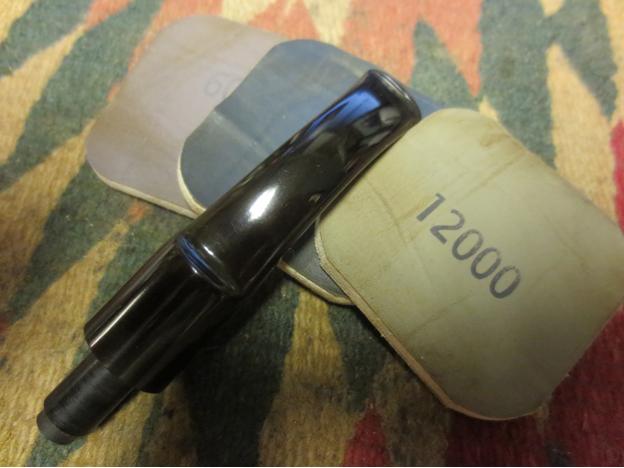
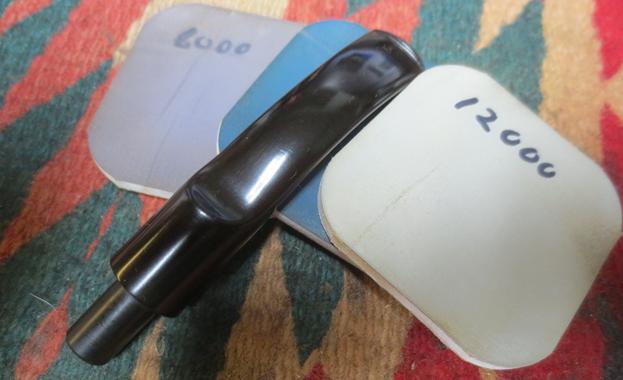
 I worked over the stem with micromesh sanding pads – wet sanding it with 1500-2400 grit pads and dry sanding with 3200-12000 grit pads. I rubbed the stem down with Obsidian Oil between each set of three pads. After the final micromesh pad I gave it a last coat of Obsidian Oil and set it aside to dry.
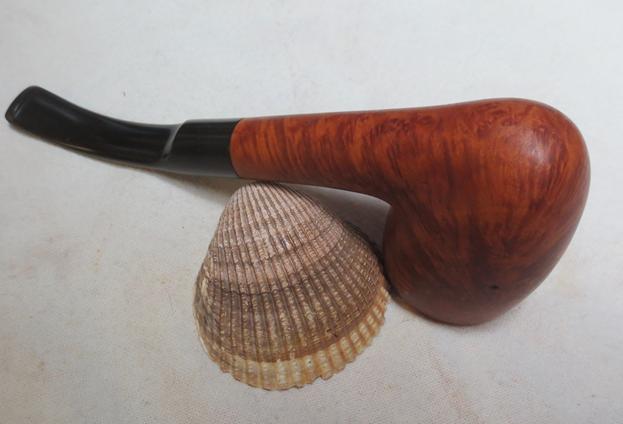
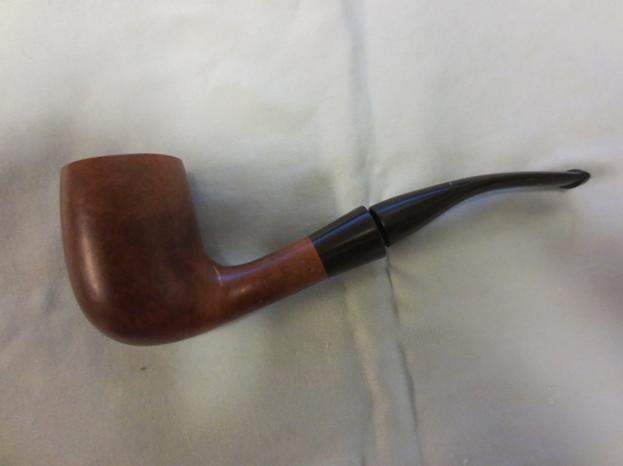
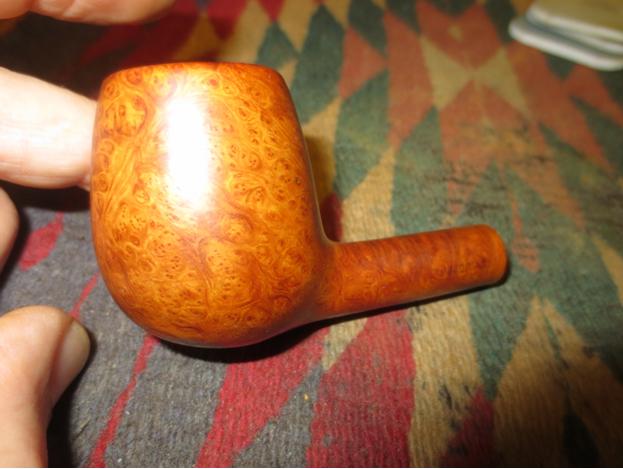
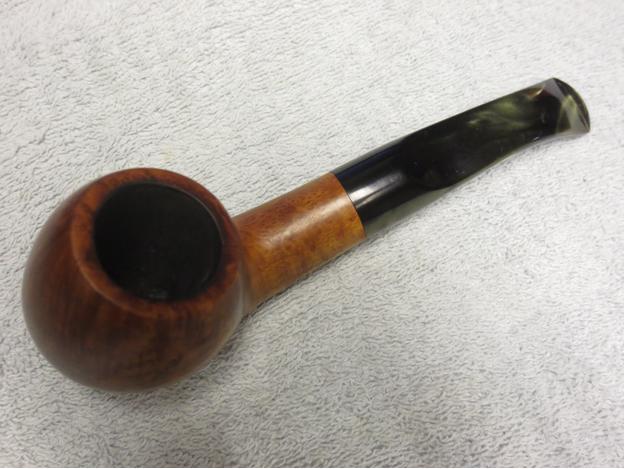
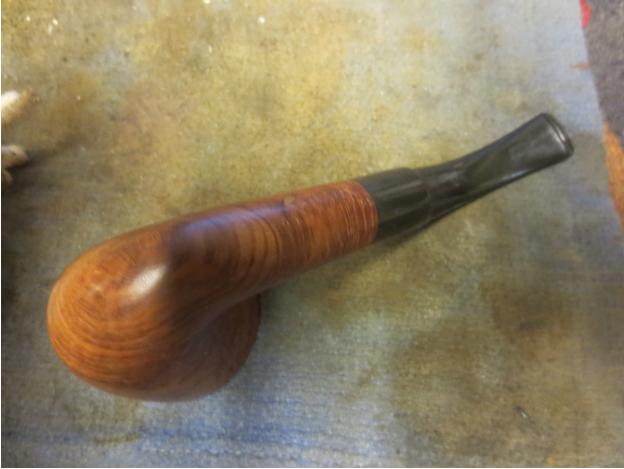
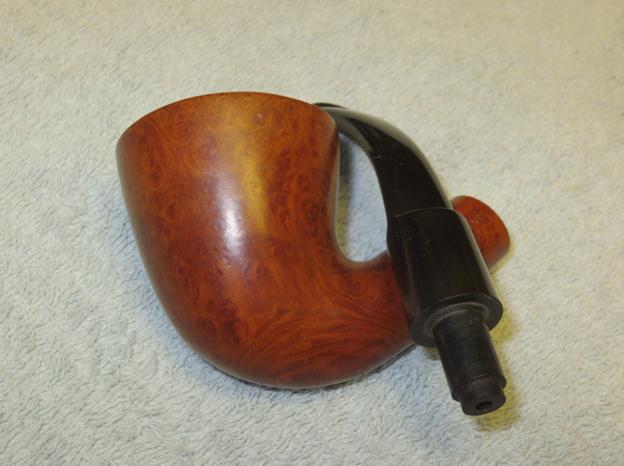
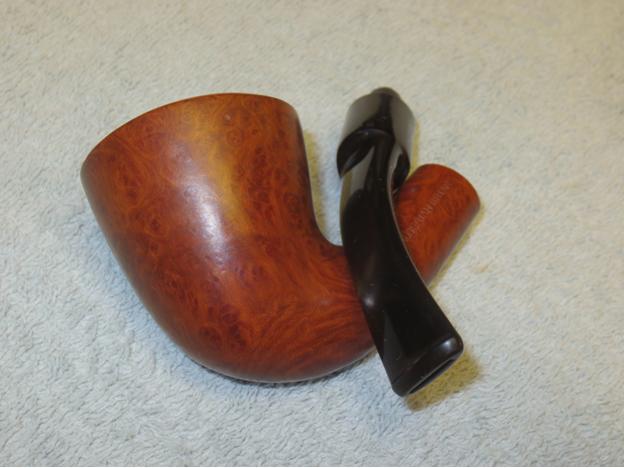
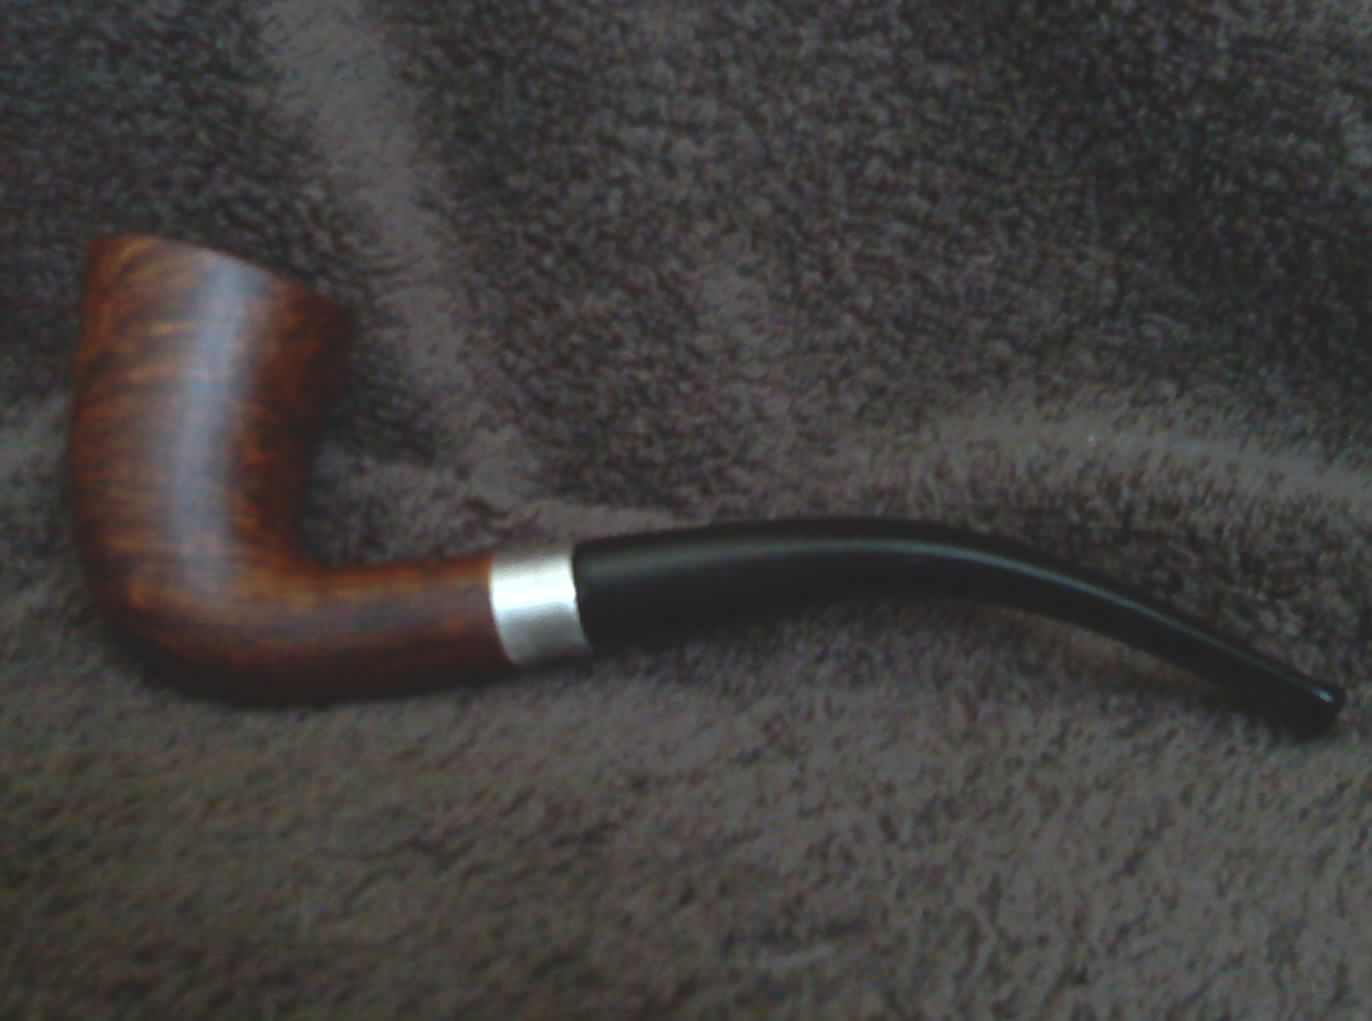
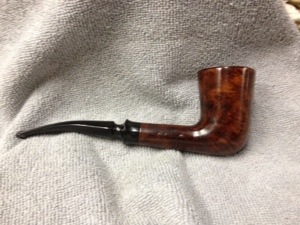
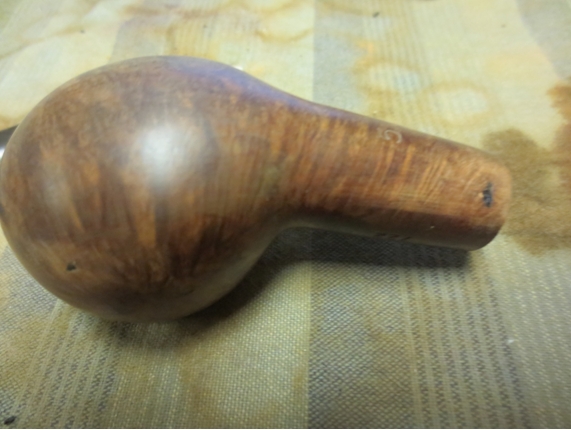
 I rubbed the bowl down with a light coat of olive oil to bring the grain to the surface. It also brought life to the briar. I buffed the pipe with Blue Diamond on the wheel and then gave it several coats of carnauba wax. I buffed it with a clean buffing pad. The finished pipe is shown in the photos below. It is a beautiful piece of briar, lightweight and well grained.