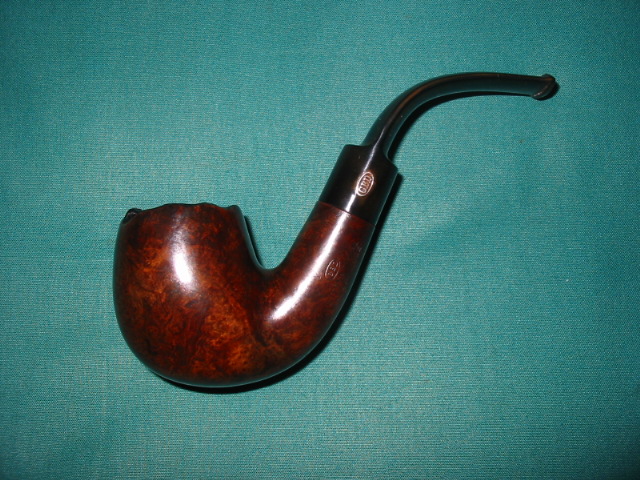
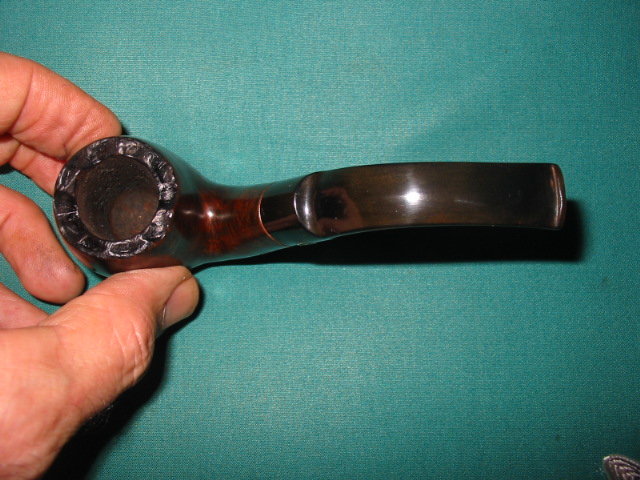
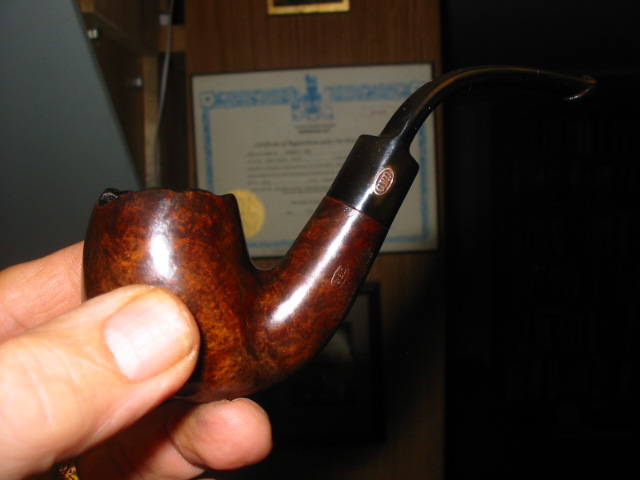
Tag Archives: contrast staining

Some of the pipes I have carved over the years


I thought I would post some pictures of the pipes I have carved over the years. Some are better than others and many are no longer in my collection as I have given them to friends. I post them here on the blog to show some of the possibilities with finishes – smooth, rusticated and semi rusticated – and with various stains and also as naturals.

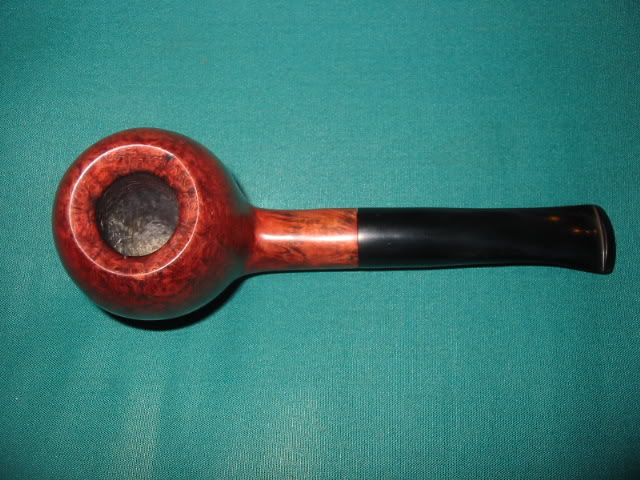
Pipe #1 (only in terms of pictures not in terms of creation). A quarter bent ball or apple with a chamfered rim. The stains include a black under stain and a medium brown over stain.ImageImage
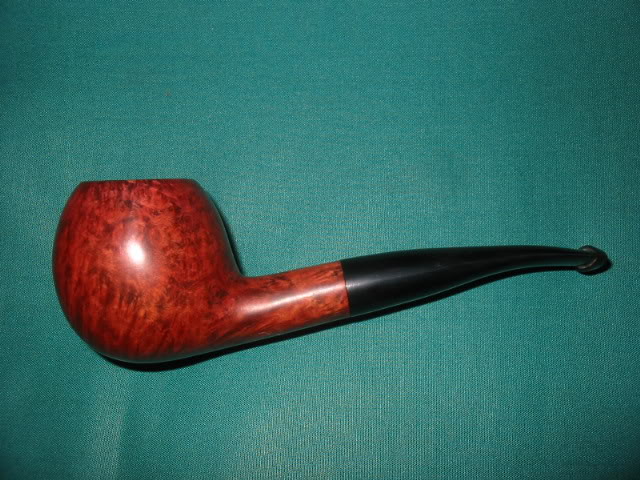
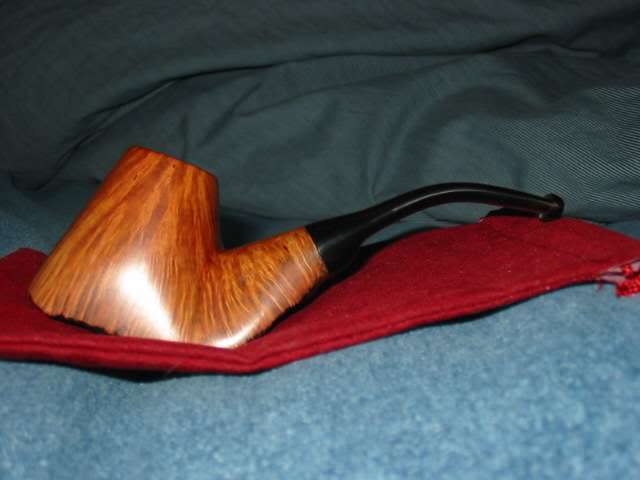
Pipe #2 – A ¼ bent tadpole. This is a great smoker and very light weight. The stains are a contrast of reds and browns.
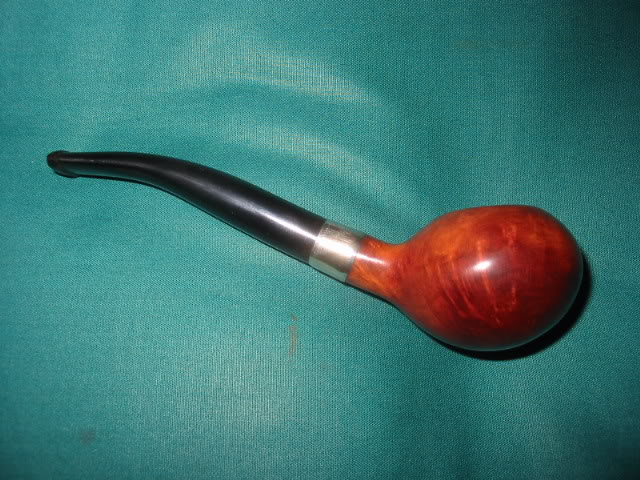
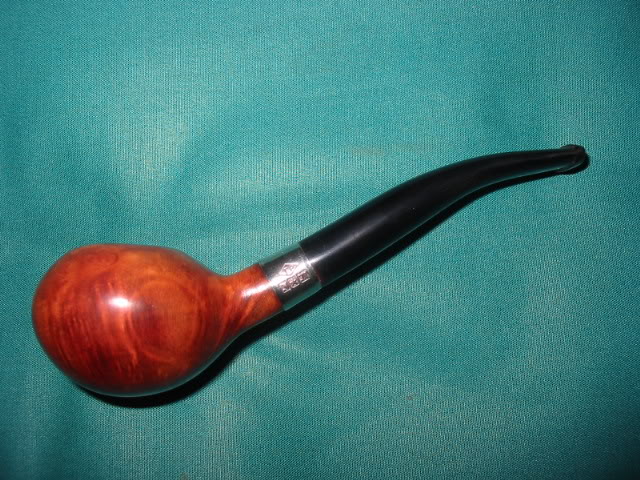
ImageImage

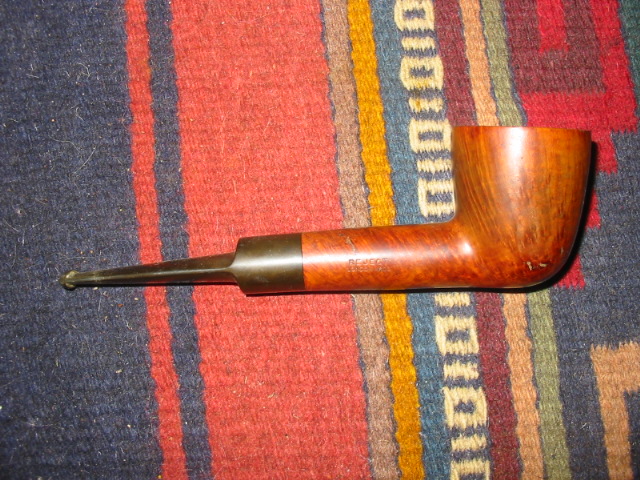
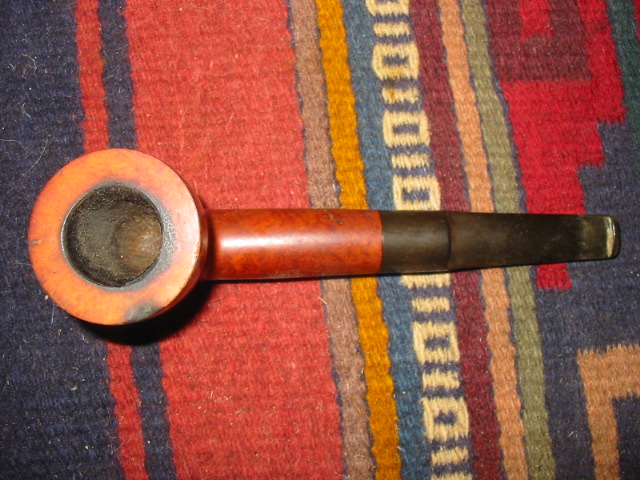
Pipe #3 – A saddle stem Dublin with a Medium Brown stain
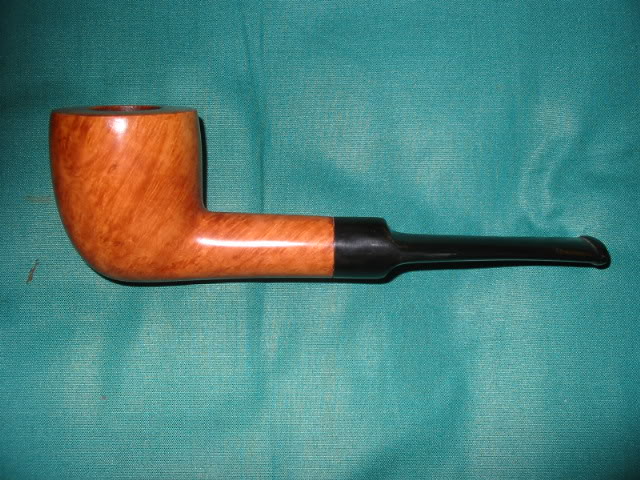
Image

Pipe #4 – a ¼ bent Tomato. This one is rusticated to look like old leather. The undercoat is black stain then it is buffed and given a top coat of Medium Brown stain.Image
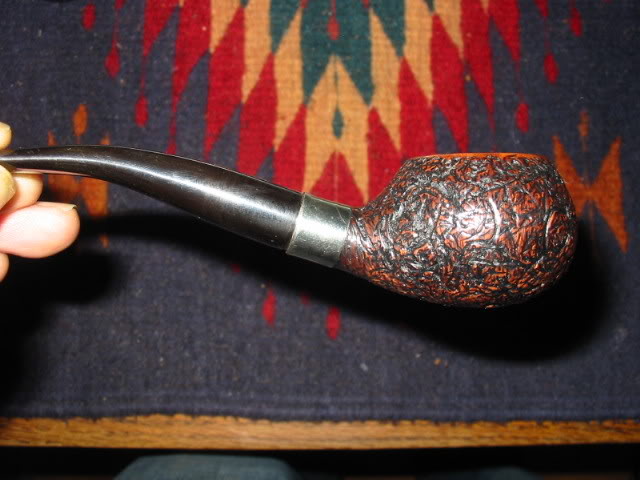
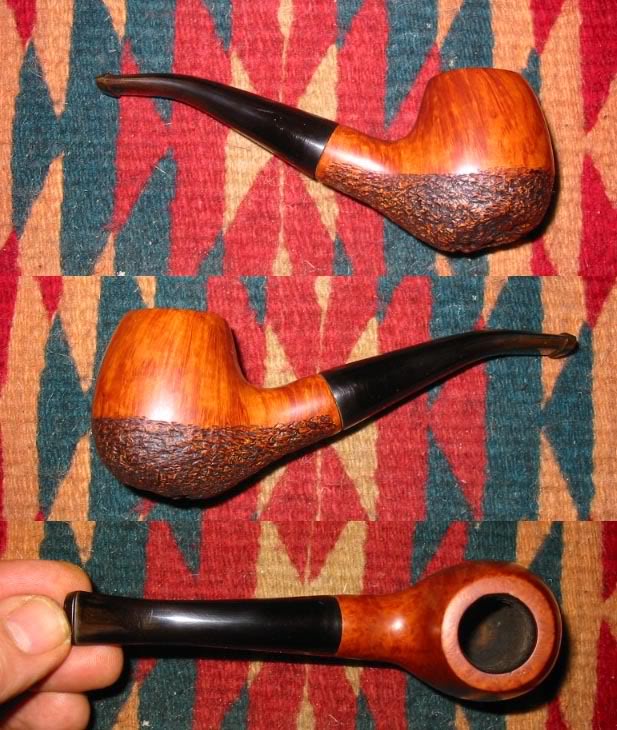
Pipe #5 – A semi rusticated apple. The bottom of this pipe is plateau briar and the rustication carries that theme upward to mid bowl. The rustication has a black understain and a medium Brown top coat. The smooth portion is medium brown. Image
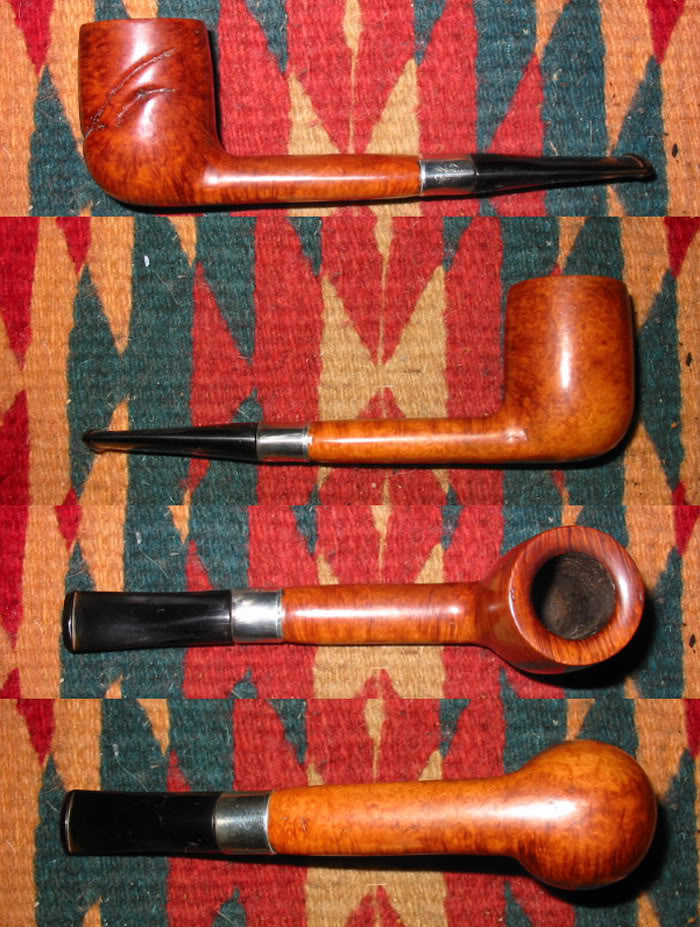
Pipe #6 – A Canadian with a leaf pattern carved over a flaw in the briar. The stain is a Medium Brown.Image
Pipe #7 –a bent Dublin. On this one I used a medium brown stain. I had Stephen Downie help me with the shank extension and work on this one. Image

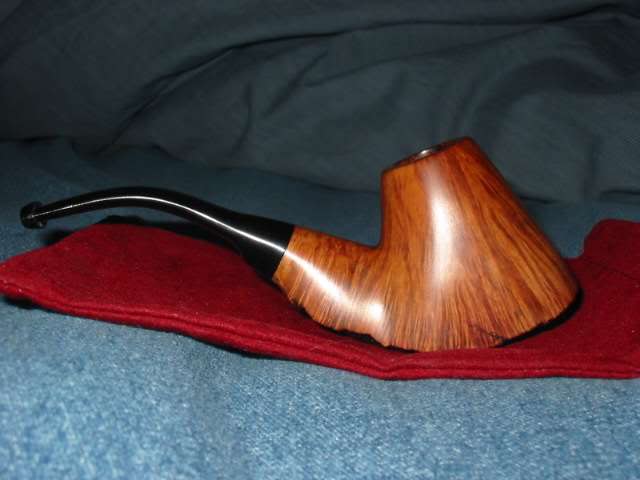
Pipe #8 – Volcano shape with plateau on the bottom. This one has a black understain to highlight the beautiful grain and then a medium Brown overstain. The stem is a modified saddle.ImageImage
Pipe #9 – ¼ bent egg. This one is stained with a black understain and then a tan overstain. The grain is very interesting on it.Image

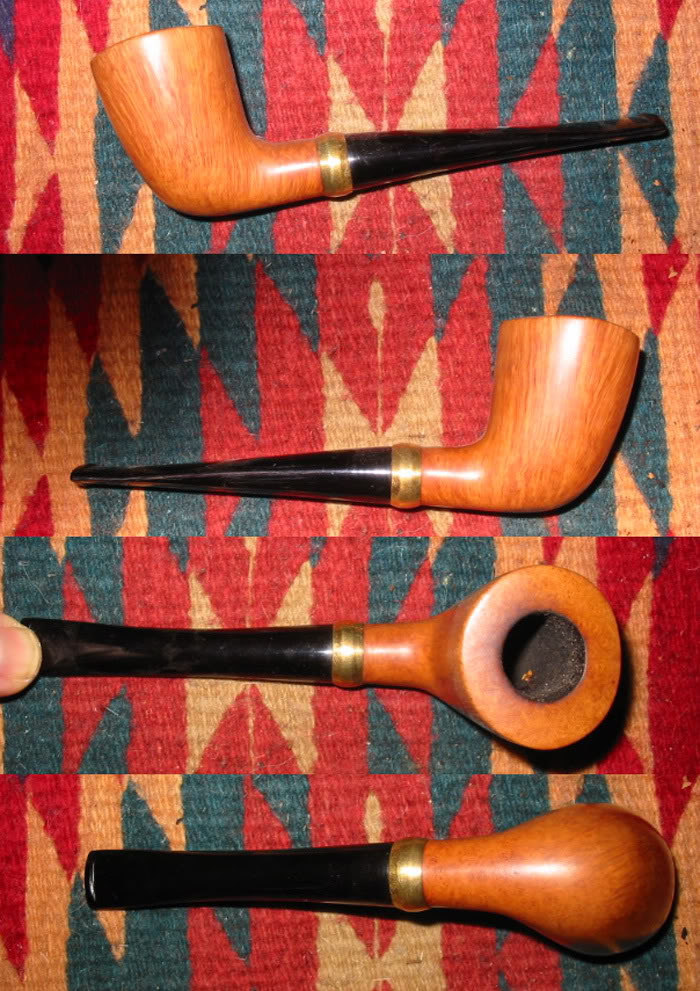
Pipe #10 is a natural Dublin with no stain. Many coats of carnauba wax were applied. The band is a brass pressure fitting that I shaped to give it character. Image
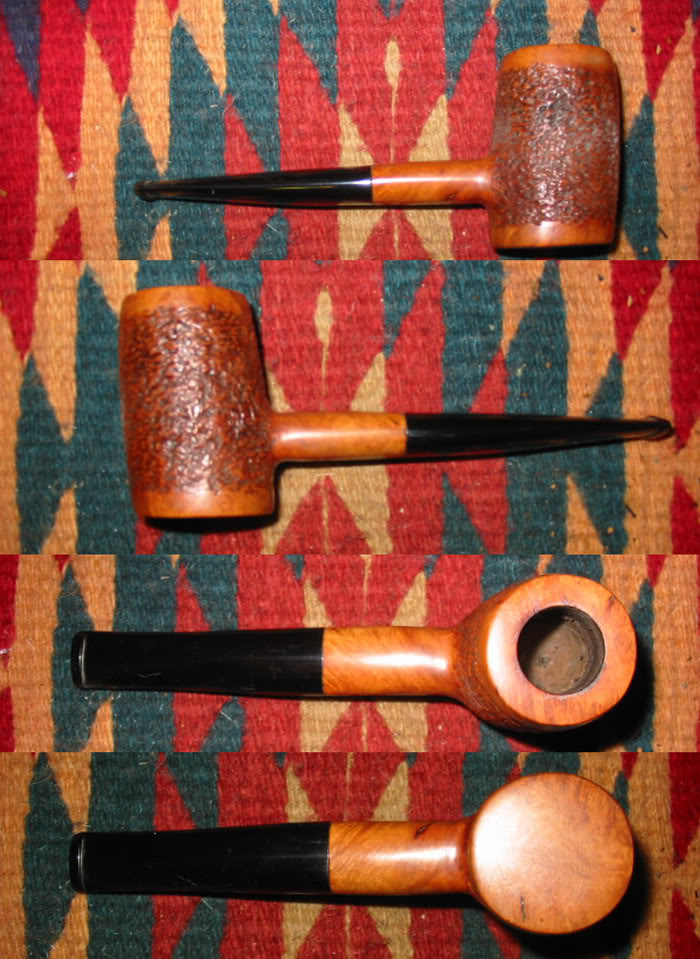
Pipe #11 is a poker with a mix of rustication and smooth. It was stained with a medium brown stain. And waxed with carnauba. Image
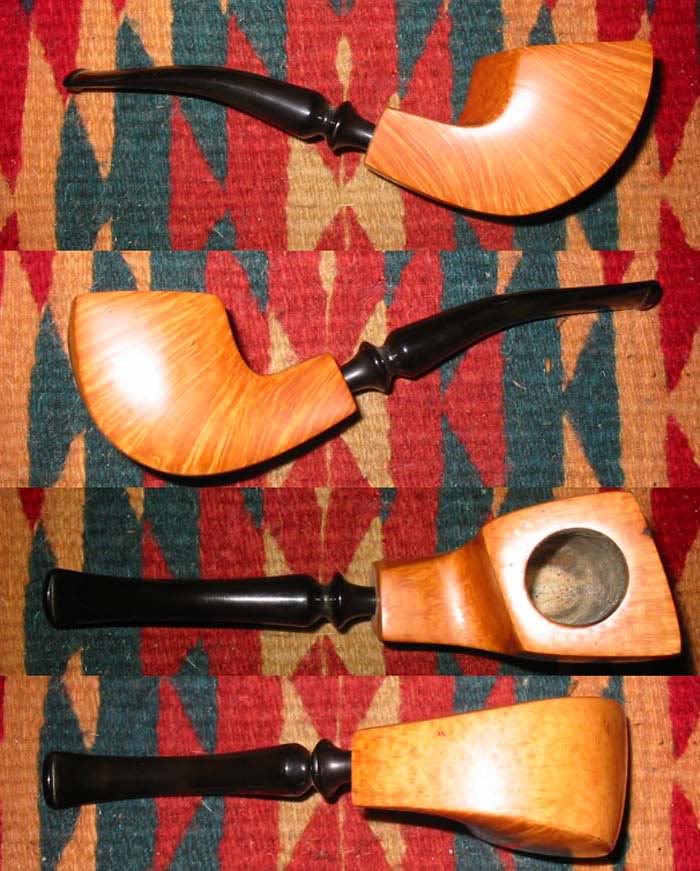
Pipe #12 is a fanciful freehand that I did to highlight the amazing grain that flows along the pattern. This one is also natural in terms of finish – no stains were used. Just wax.Image
London Made Reject – Hand Made


Blog by Steve Laug

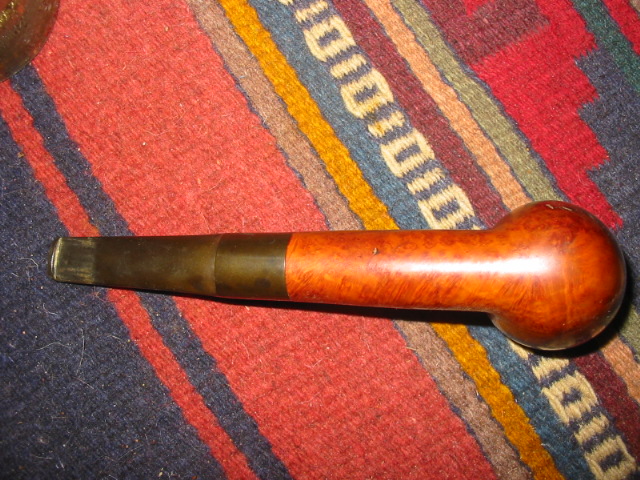
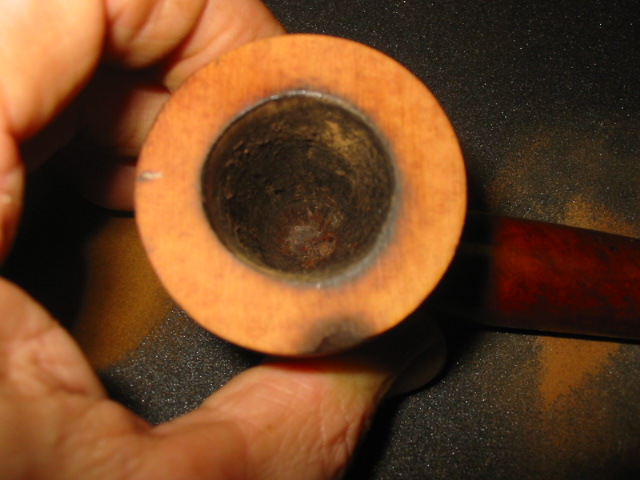
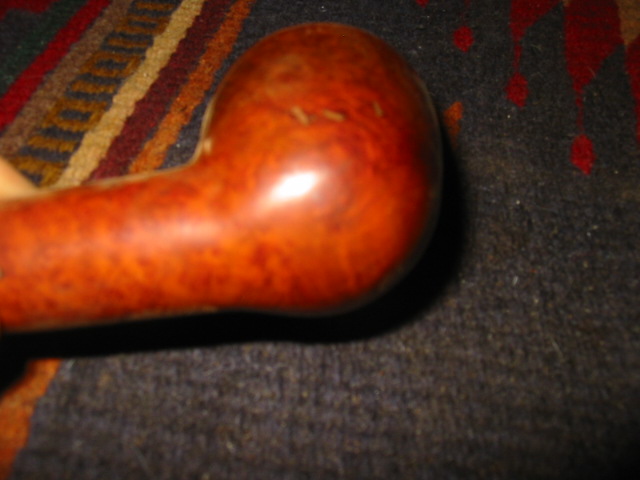
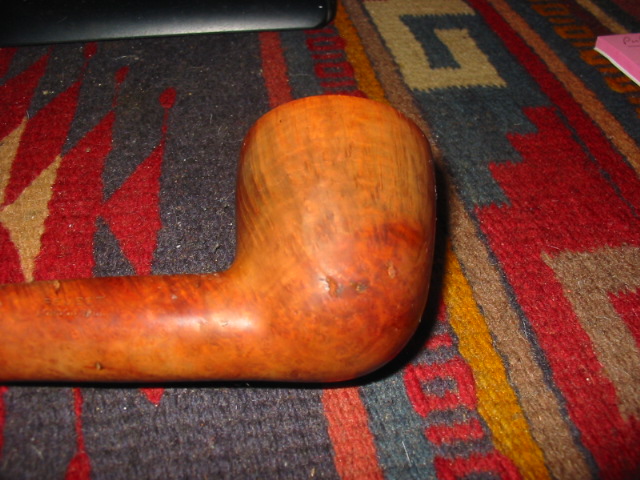
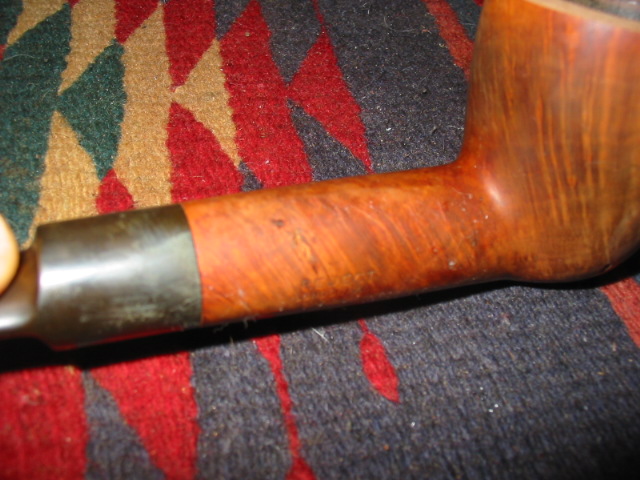
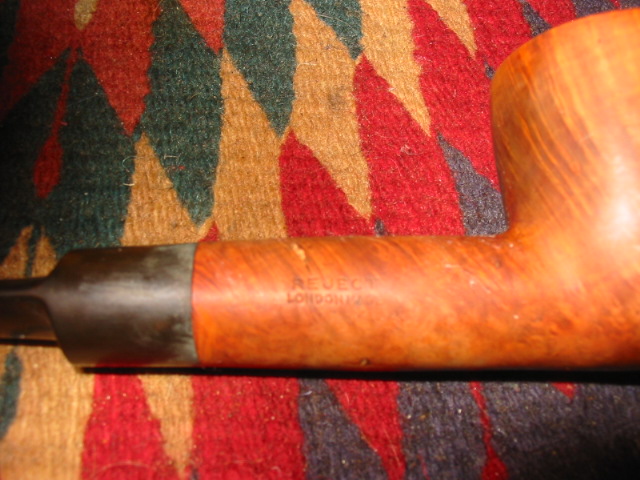
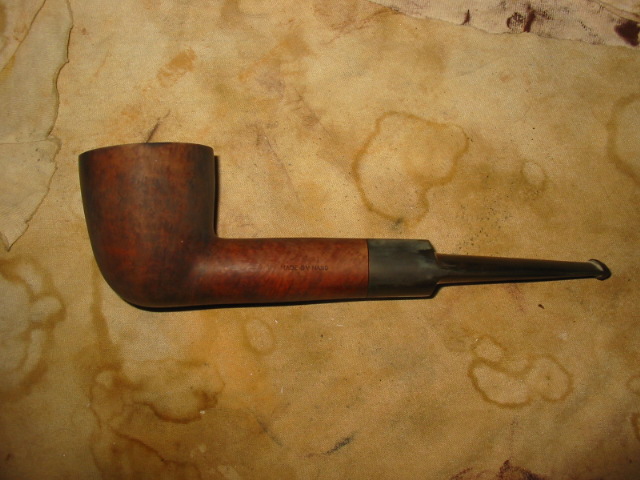
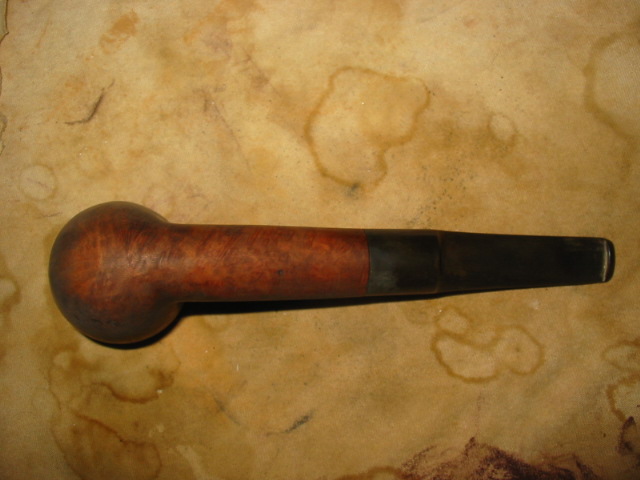
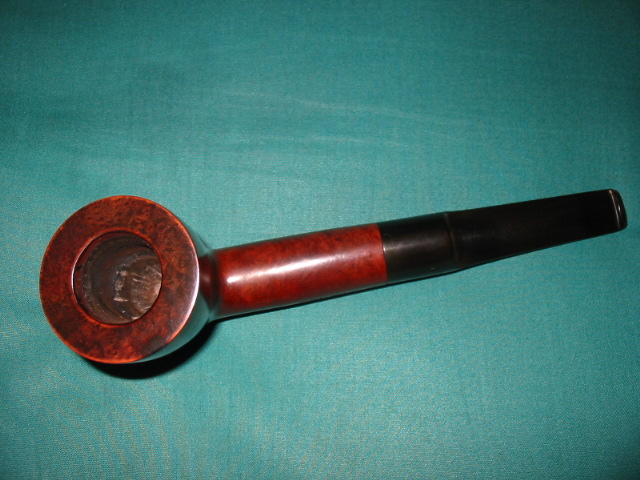
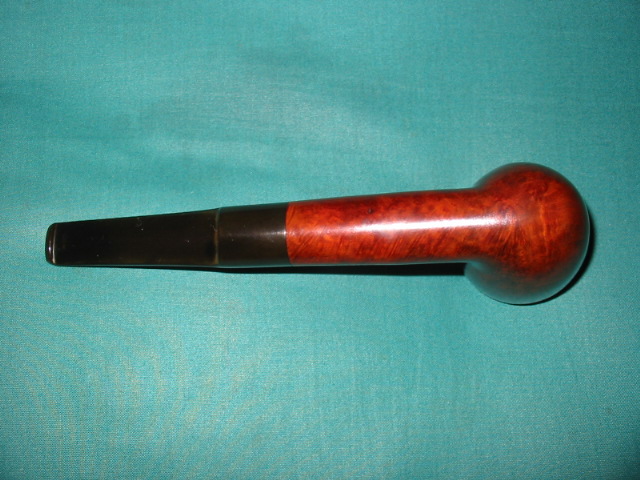
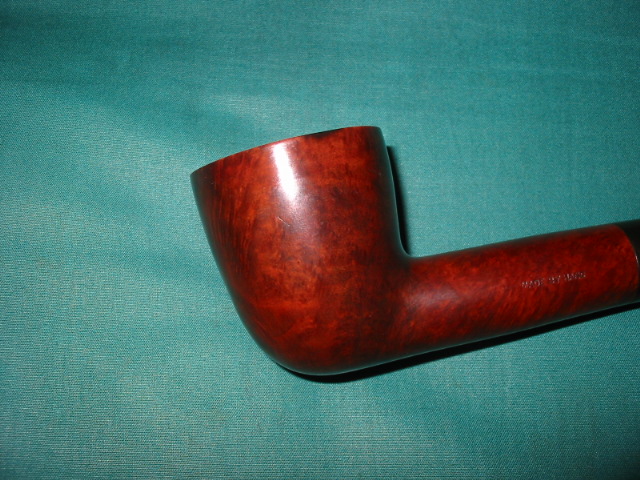
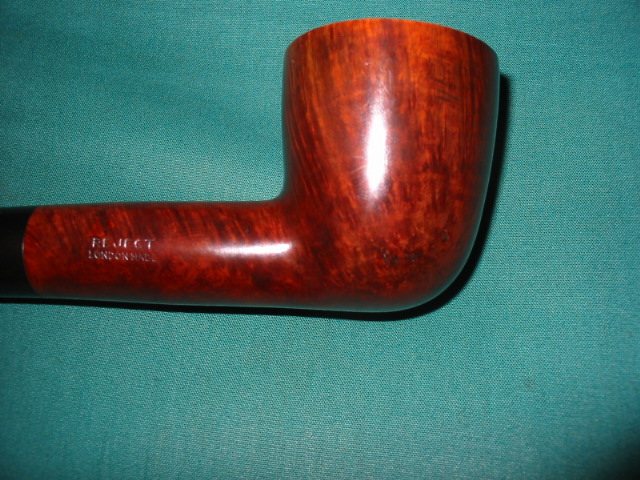
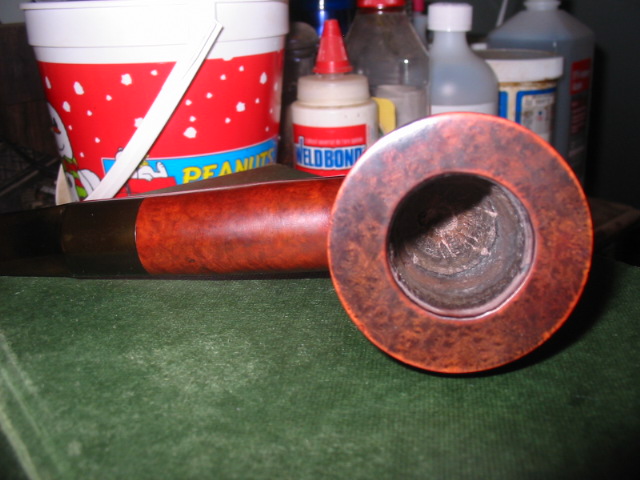
This is one big pipe. I got it in a group of pipes I bought on EBay. The others in the lot were Barlings and Bewlays. They were normal group 3 and 4 sized pipes. This one is just over 7 inches long and 2 inches tall. The outer diameter of the bowl is 1 ¾ inches and the inner diameter of the bowl is 1 inch. It presented some interesting issues that would need to be addressed in the refurbishing process. The biggest of those was a significant cigarette burn on the outer edge and the top of the rim. It was quite deep and was an actually divot in the surface of the bowl. The rim – inner edge toward the stem also was charred and tarred. The finish was actually worn and had lost most of the stain. There were some very obvious pink putty fills on the right side of the bowl near the bottom and on the top of the shank near the stem. The stem was oxidized and there was a bit of tooth chatter.

ImageImageImageImage

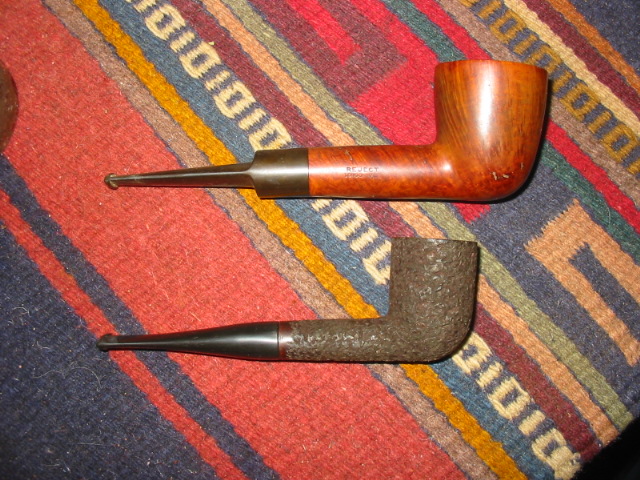
I have taken a picture of the pipe with a group 4 sized billiard to give an idea of the massive size of this old beauty. It is stamped on the left side of the shank “Made By Hand” and on the right side of the shank ‘Reject” over “London Made”.  I am pretty sure that it is a Charatan reject though I cannot be certain. What do you all think? Who is the maker? The only thing making this a reject are the few fills as it has some pretty decent grain all the way around.

Image

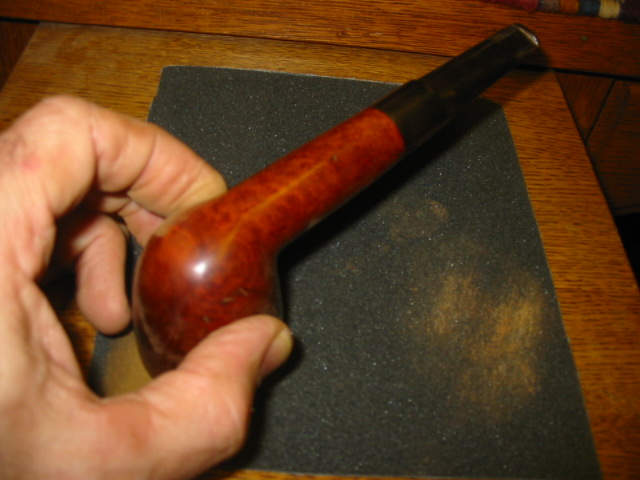
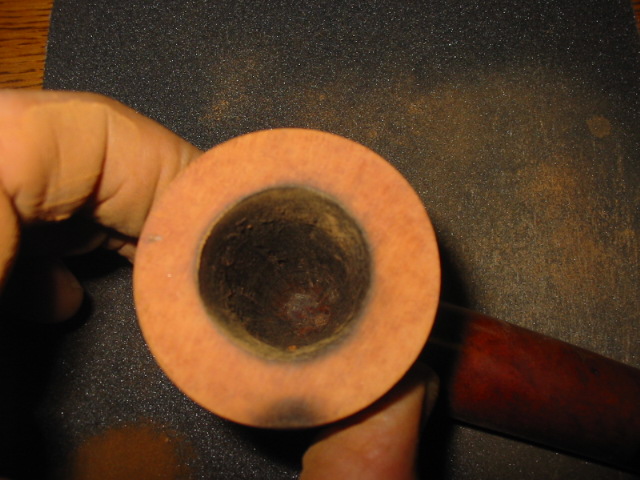
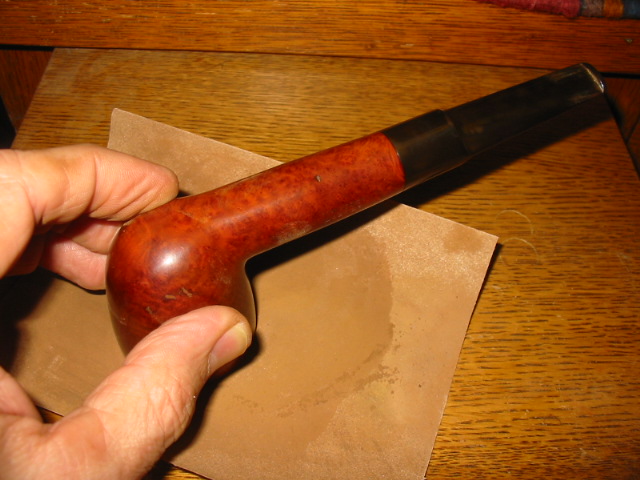
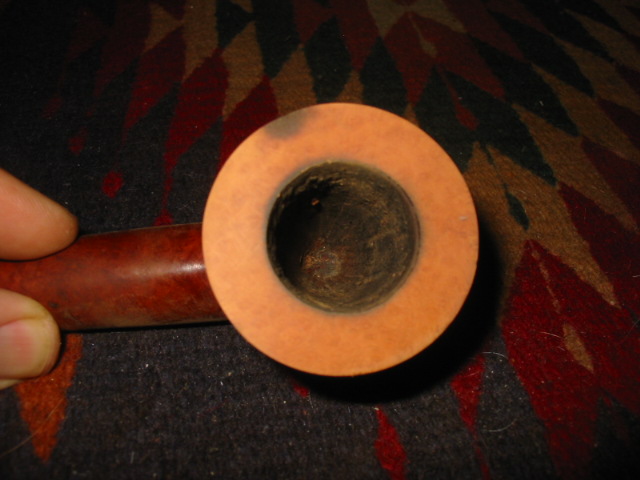
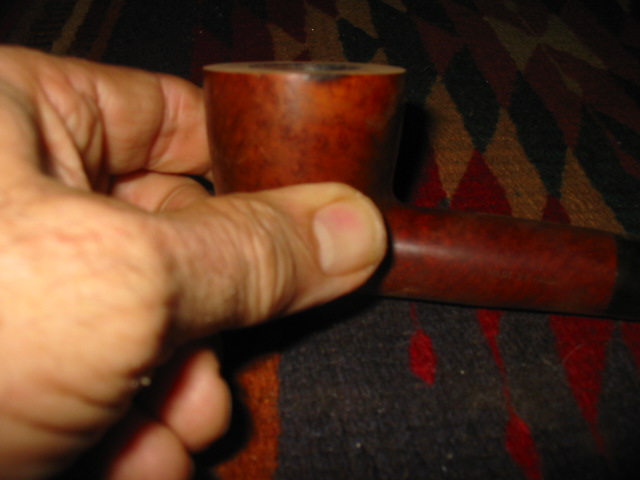
After I reamed and cleaned the pipe inside with isopropyl alcohol I decided to address the cigarette burn on the top and side of the rim. The only way to remove it was to top the pipe. The next series of four photos show the emery cloth attached to a cutting board so that I could work on the topping procedure. The first photo shows the angle of attack that I use on the bowl. I place it flat on the cloth and work it in circles on the paper. I keep the bowl rim flat on the paper to ensure that the surface does not become angled or slanted. The next three photos show the top after sanding. Each photo is sequential so that you can see the progress in removing the divot. The second photo below shows the side shot of the damage and you can see the depth of the burn. The next two show the gradual removal of the burn and the flattening out of the surface of the rim.

ImageImageImageImage

When I finished with the emery cloth I used 240 grit sandpaper to smooth out the surface and remove scratches left by the emery cloth. I used the same circular motion to sand the rim. I find that the circular motion leaves fewer scratches and also keeps the bowl flat as I work on it. The next series of three photos show the rim and side after sanding with the 240 grit sandpaper. The burn mark is now flattened out and the edge of the rim is smooth. The divot is gone. The decision I had to make at this point was whether to continue sanding to remove all of the darkening on the bowl rim or to use stains to hide it a bit and keep the profile at its current height. I opted to use the stains on the burn mark and leave it at this point. Once I had the bowl rim at this point I proceeded to use 400 and 600 grit wet dry sandpaper and then micromesh from 1500-6000 grit to smooth out the surface of the rim.

ImageImageImage

From there I decided to work on the fills. The pink putty just does not work for me. It does not take stain and it is always glaringly present in the finished pipe. The next two photos show the fills on the right side toward the bottom of the bowl and on the shank near the stem.

ImageImage

I wiped the bowl down with acetone (fingernail polish remover) to get the stain and finish removed. Then I used the dental pick to remove the fills. The next five photos show the opening up of the pits that were under the fills. I use the sharp point of the dental pick to pick away all of the putty and leave the holes open and free of debris. I also wipe the bowl down with acetone before filling them with the new patch.ImageImageImageImageImage

After wiping down the surface of the pipe and cleaning out any remaining debris in the pits or holes I filled the holes with briar dust that I had saved from sanding the rim. I packed the dust into the hole with the dental pick. I find that if I wet the end of the pick the briar dust clumps on the pick. I scrape it over the holes and then tamp them full with the briar dust. I purposely over fill them with the dust. Then I drip super glue onto the briar dust patch. In the three photos below you can see the patches after the initial sanding with a fine grit pink sanding pad. They are the dark spots on the right side of the photo and on the shank near the stem. These dark spots lessen with more sanding. The second photo also shows the state of the rim from the top shot.ImageImageImage

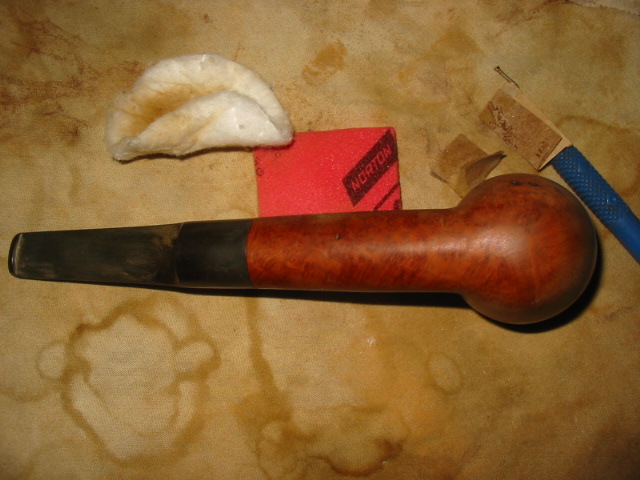
I heated the bowl so that I could do the contrast staining to highlight the grain. I used an artist’s brush to apply black aniline stain to the bowl. I follow the lines of the grain. I painted the bowl, shank and rim with the black stain. Then I lit it with a lighter to flame the stain and set it. Once it was dry I sanded the stain to remove the excess.Image

The next series of four photos show the bowl after the initial sanding. I had removed much of the stain. The reason I am showing these photos is to highlight how the fill on the side of the bowl and on the shank have faded into the finish of the pipe. The black stain not only highlights the grain but also blends in the fills with the contrast stain on the bowl. In the second and third photo I also wanted to show how the stain takes care of the burn mark on the bowl side and rim. It is still present in terms of the darkening but it is less visible at this point. That is what I was aiming for. From this point I took the pipe to my buffer and used Tripoli and White Diamond to buff out a bit more of the black so that it would highlight the grain but not be the overwhelmingly dark coat under the finish stain that I would later use. I also used micromesh pads from 3200 to 6000 grit to work out any of the remaining scratches on the rim and bowl surfaces.ImageImageImageImage

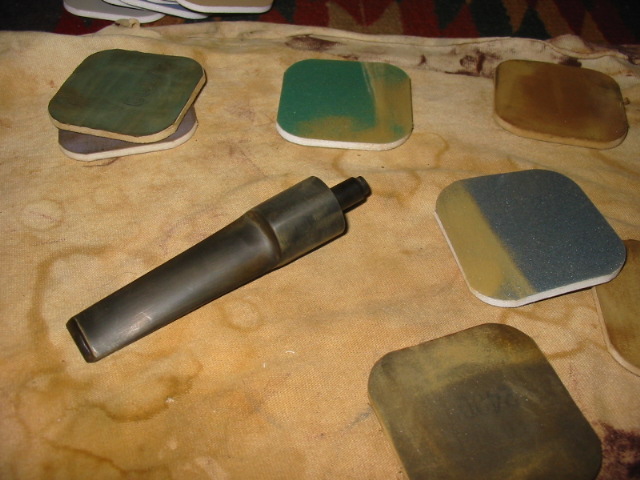
At this point I set the bowl aside and went to work on the stem. In the picture below you can see the variety of micromesh pads that I use to remove the oxidation. The brown dust on the pads is the oxidation that comes off with the sanding. I always have a bowl of water at the side of the table to dip the pads in and wash off the oxidation dust and grime and also to give the pads more bite when I am sanding the stem. I went back and forth through the pads and the buffer with Tripoli and White Diamond to bring the stem back to the rich black that it had originally. I always buff the stem with it back on the pipe. I do not want to risk rounding the edge at the point where it sits against the shank. Once it was shiny black and acceptable I took the pipe back to the work table to give it the final stain coat.Image

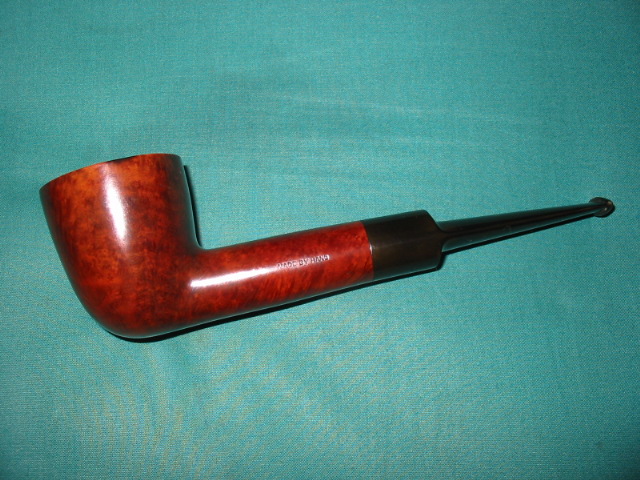
For a top coat of stain I chose oxblood coloured aniline stain. I find that the contrast between it and the black undercoat work well together. The next series of four photos show the finished pipe. The first shows the left side and what remains of the burn mark near the top of the rim. It is still present but certainly less visible and it is smooth to touch. The second photo shows the right side of the pipe and how well the stain has hidden the reworked fills on the shank and near the bottom of the bowl. If you did not know they were present you would have a hard time seeing them. The third photo shows the rim and how well the stain has hidden the burn mark and brought out the birdseye grain on the rim. The final photo shows the bottom of the bowl and is included to show the contrast stain and the graining on that part of the bowl.ImageImageImageImage

The next series of photos show closer views of the repairs that were down and how they blend in with the contrast stain. The first is the left side of the bowl and you can see the darkening of the rim where the burn mark was. It is smooth to touch and none of the profile of the pipe is affected. The second photo shows the part of the bowl where I removed the putty fills, refilled them with briar dust and superglue and then restained with the two coats of contrasting stain. The third photo shows the same repairs on the shank. The final photo is of the rim of the bowl. The birdseye grain is highlighted. In the slight glare at the top of the photo you can see the remaining mark from the burn. The black and oxblood stains minimize the visibility of the burn darkening. I finished the pipe by giving the entirety several coats of carnauba wax to give it a rich glow. The pipe is finished and ready to give many years of service to whoever becomes the next owner.

ImageImageImageImage

The ongoing evolution of a handmade pipe


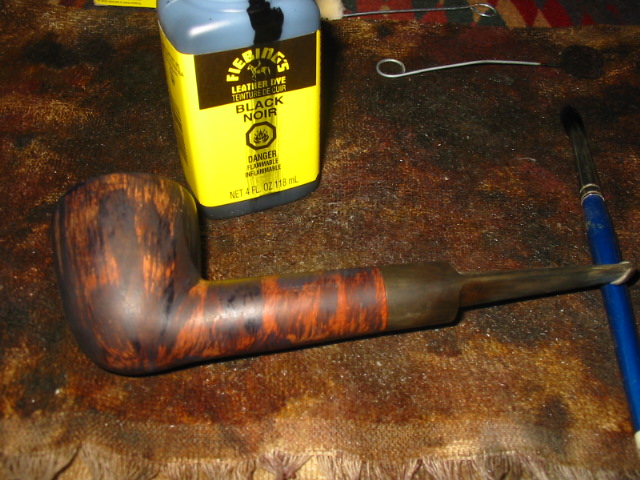
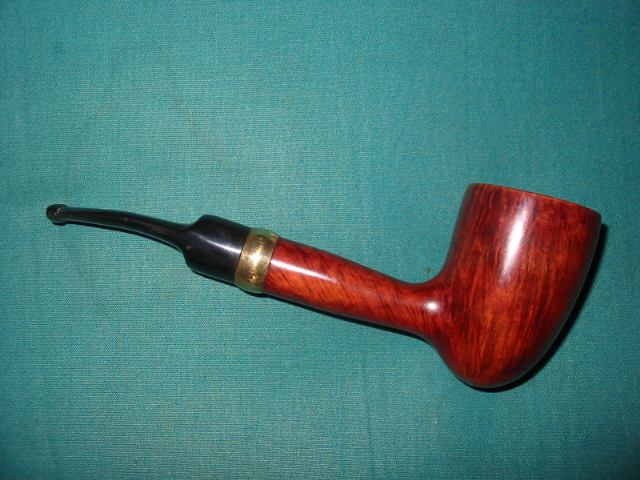
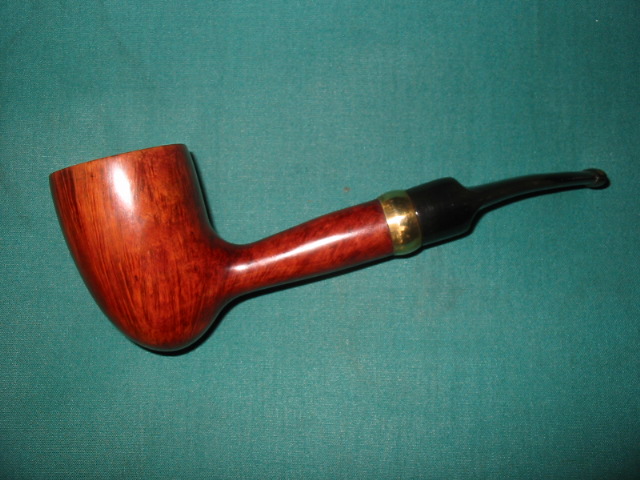
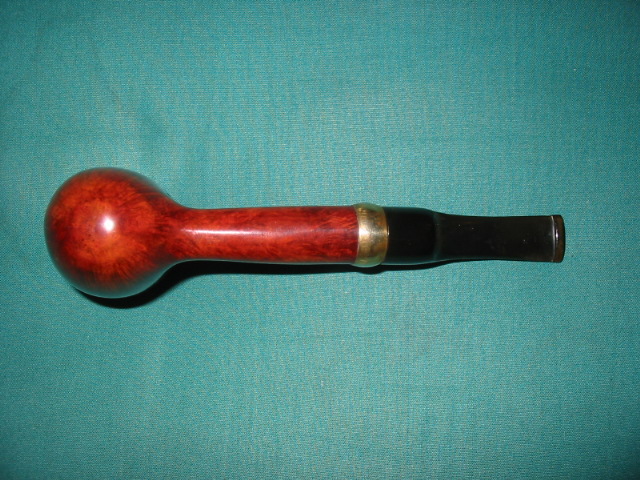
With all the refurbishing and staining I have done lately it is no wonder that when I pulled out this pipe from my rack it seemed just plain dull! This is a pipe I carved probably ten or more years ago and then reworked and thinned down in the past three or four years. It is great to be able to pull out one of my own pipes – carved by me – and rework it as the desire rises. I have no qualms about doing that as they are my creation and I am not changing someone else’s work. I had originally stained this pipe with a black understain and then used a very thin mix of medium brown stain on it. At the moment it looked good to me. But over the years that finish has grown faint and lack lustre. I have buffed it and given it new coats of wax but it still was lacking.

The morning I pulled it out was the day for a makeover. I finished the bowl I was smoking in it and while the briar was still warm I took it to the work table to restain. I decided to give it a coat oxblood aniline stain to liven it up and give it some warmth over the dark understain that had become more prominent with time. I rubbed on a coat of the stain and flamed it and then buffed it off so that the pictures below show its new look. I am enjoying its new look. I know it does not make it smoke better (it always has been a great smoking pipe) but the newness makes me reach for it more often.

I am thinking of restemming it now with a wider blade and tapered saddle but we shall see. These things seem to take a life of their own so truly there is no end to the changes that could be made over the years. Here it is now in its process of development!

ImageImageImageImage

UPDATE!!
Last evening (Aug. 8, 2012) after work I decided to cut a different stem for this pipe. The narrowness of the blade (flat portion of the stem from saddle to button) just did not look right to me. The more I looked at the pictures the less I liked it. I did not have any rod stock so I found a precast stem in my jar of stems that would work for now. I cut the tenon down so that it would fit and also reworked all the casting marks along the edges of the stem. I opened the draw and also reworked the slot and button for more comfort and ease of cleaning. Here are the pictures of how the stem looks now. I think it is better than before. Oh, I also decided not to bend the stem this time.

The stem looks shorter than the previous stem but it is actually the same length. The proportions are thicker and thus give the illusion of a more stubby looking stem.

Selected Straight Grain (Comoys) Restoration


By Al Jones

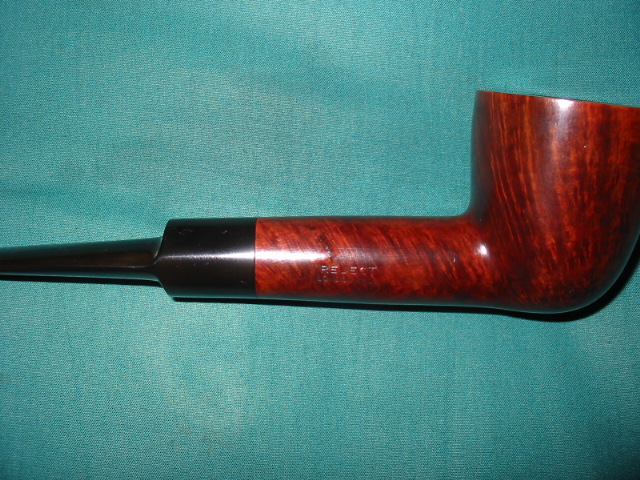
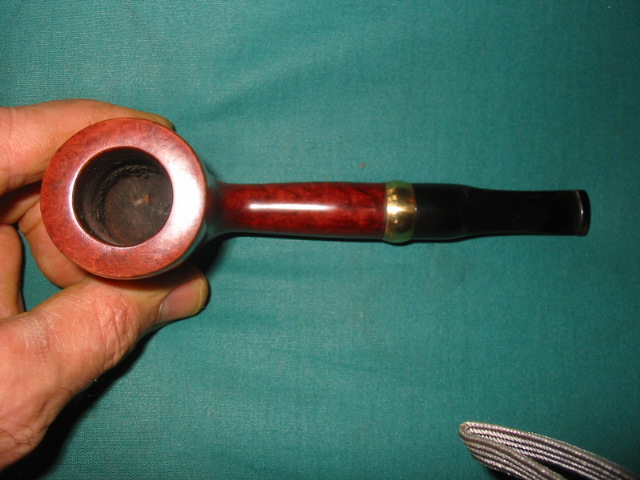
Several months ago, a thread on the SmokersForum.uk about the Comoys “Selected Straight Grain” pipes piqued my interest. Member Dirigo (Tom) was kind enough to share with me how to identify these interesting pipes. I was able to grab this Shape 13 via Ebay last week, which corresponds with the Comoys shape chart. That shape looked to be in decent shape, with the exception of one putty fill. I assume this flaw made the pipe unworthy of the Comoys stamping. There were only the slightest tooth marks and no pesky stem logo to worry about.

From the Ebay picture, you can see the ugly fill.

There was only minimal cake inside the bowl so it was lightly reamed and soaked with Everclear and sea salt. The top of the bowl was scarred, so that was going to take some work.

While the bowl was soaking, I started on the stem, which had been soaking in a Oxyclean solution. I went thru my usual 1500/2000 grit wet paper that onto the final four micromesh grades. The stem was then buffed with white diamond and a final plastic polish. Removing the light chatter was pretty straight forward. The button was worn, so I used a needle file to slightly reform the edges.  Unfortunately, I was unable to remove the oxidation without making the edge of stem slightly rounded.  I need to learn how to avoid this issue.

Once the bowl was done soaking it was moved to an alcohol bath to remove the stain. I spoke to Steve prior to this step and he recommended the fill be corrected using the superglue & briar technique he recently posted on Reborn Pipes. That solution worked well and I used two steps to fill in the pit. After restaining, the fill is just slightly visible, a big improvement from the factories solution using the bubble-gum putty.
The Super-Glue and briar dust patch.

I used a two-step stain process to highlight the grain, also a recommendation from Steve. First I “painted” on some black stain, after the bowl was warmed to open the grain. Then, the bowl was sanded with micromesh and a very diluted application of Medium Brown stain was applied. The bowl was than buffed with Tripoli and white diamond, followed by a final buff with Carnuba wax. I was careful on all steps not to diminish the stamping, which is quite legible.
Thanks to Steven Laug for his help with this one and Tom for information on this interesting Comoys niche.

Had fun with this one – GBD International


I just finished this beauty – a GBD International. It is a beautiful little pipe. The shape #9456 says it is a bent apple – I suppose that is so. I did some work on what they originally looked like. They had a plateau (Faux?? not sure) top that was stained black and the bowl was a medium warm brown.

This one was pretty well stained with dirt and grit. The finish was blown and the bowl was caked and dirty. The stem was brown and it was a pretty gross mess. It was one I was going to put off but today I decided to work on it. I am glad I did as it was actually quite fun to work on.

I cleaned the stem as usual. It was tough and still shows some oxidation under the flash of the camera. I will do a bit more in brighter light. But it looks good to the natural eye. The bowl was reamed and cleaned and put in the alcohol bath. I removed any of the bits of left over stain left. Then I used a pipe cleaner and stained the plateau black. Once I did that I had the notion to stain the whole pipe black as well. I then wiped off the stain on the bowl and washed it with a damp alcohol rag to get it to the tone of brown I was looking for. I am really pleased with the stain and how it came out. I love the contrasts of the brown undertones and the black overstain. The wipe and then sanding with micromesh really worked to highlight the birdseye and grain in it.

Thanks for looking.

ImageImageImage

Image

Here is a final picture to give you an idea of the size.