Guest Blog by Robert M. Boughton
Photos © the Author
Member, North American Society of Pipe Collectors
http://www.naspc.org
http://www.roadrunnerpipes.com
http://about.me/boughtonrobert
“…once I falsely hoped to meet the beings who, pardoning my outward form, would love me for the excellent qualities which I was capable of unfolding.”
― Mary Wollstonecraft Shelley (1797-1851), English novelist, in “Frankenstein; or, The Modern Prometheus,” 1818
PREFACE
I was, as my ancestors, a native of Redondo Beach and its environs, and most of my family born in that temperate South Bay region of the California Republic was by any appraisal undistinguished, indeed, a study in dysfunction. Whilst every genealogy has its heritage of eccentricity and neurosis, mine is cursed with a spasmodic line of schizophrenia.
My grandfather, the one shining beacon, remains known the world round for his pioneering and influential photography of the sport that is known as surfing, owing to the vernacular origin peculiar to the American colonies. The good gentleman was a lifelong champion and active participant, with vigor, flair and skill, both in the sport and his avid documentation of its participants, famous and obscure, and the attendant culture. Who knew, in its inception, that his physician’s prescription, ordered in the middle part of the late twentieth century, for a hobby to aid the old man in recovering from a particularly tenacious bout with peptic ulcers, would spawn a latent talent and lead to eternal glory?
Indeed, one beguiled writer at a magazine that showcased most of the great photographers of the previous century – which renowned publication, alas, has now passed almost as thoroughly as my grandfather, remaining for the living and breathing inhabitants of this wayfarer’s station, before the Great Unknown, to appreciate only in the ether realm known as the World Wide Web – was so beside himself with giddiness as to dub the much beloved old man “the godfather of surf photography.”
My mother, being the first offspring of the great man, was the only one of her siblings to pursue a noted career, as a nurse now retired. Together the patriarch and eldest daughter formed the bulwark of the otherwise mostly listless, melancholy clan.
On the subject of my own eclectic interests, I have, since childhood, had a consuming hunger for the study of diverse subjects. This omniology put me on my present path, that is, to understand every facet of human knowledge concerning everything, particularly, in my case, the often seemingly unfathomableness of information relating to the genesis, history, science, study, culture, enjoyment and preservation of smoking pipes. One could call me an omnitabacariusphile, although in my zeal for this inclination, however well-meaning and innocent its beginning, the pursuit lead me to a monster I shudder to recall and doubt in my constitution to do so.
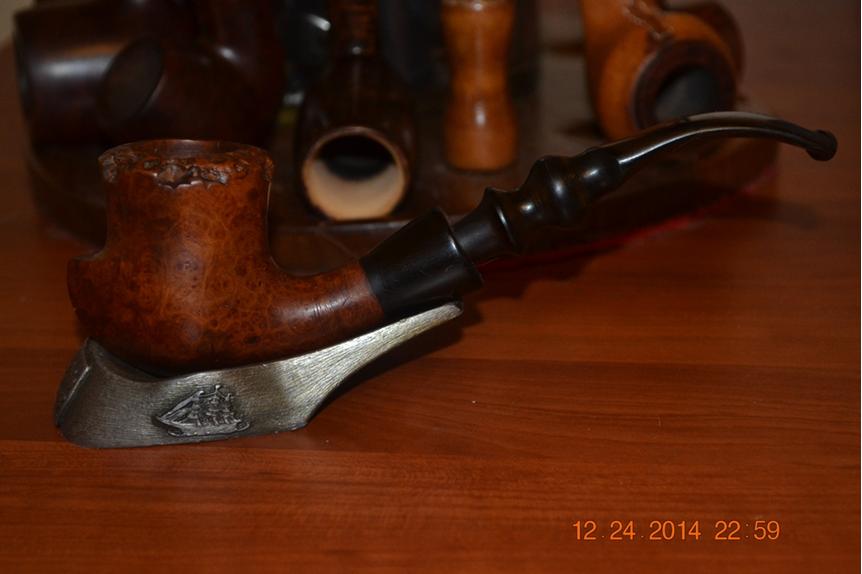
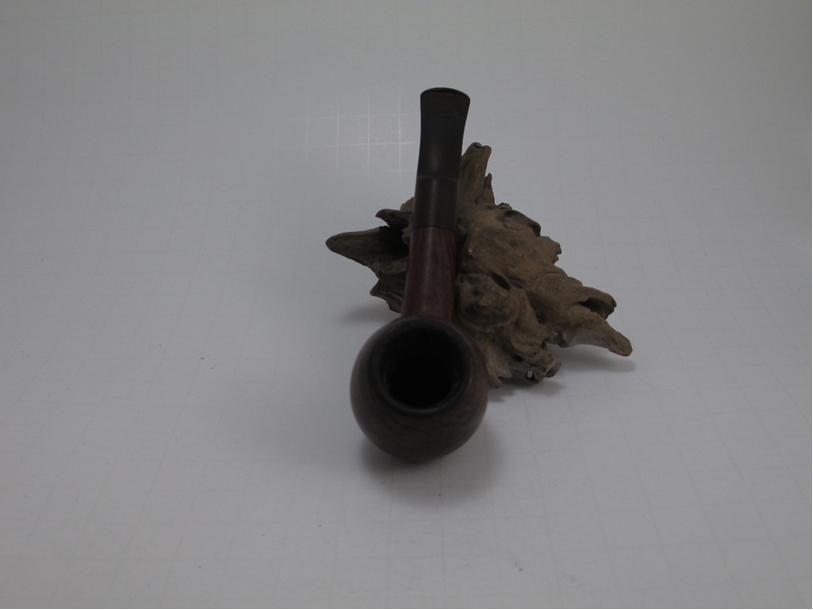
Some months have passed since I set upon the fearsome, God-like determination of restoring life to the creature that this narration shall endeavor to describe in the entirety of its awful nature, the frightful apparition of which you shall observe in its original form as I first perceived it in the mists of the cold, barren, lifeless wasteland that is called the Internet in these peculiar times we are fated to spend our lives. Nothing of that initial sighting, the image of the monster blurred by the swirling incorporation of sundry others similar in basic form yet far fairer in the details of their corporeal makeup, could prepare me for the spectre I beheld when the entire host of them arrived by poste.
Good God! Readers, had you been in my company at the instant when first I disrobed the fiendish animation that was hurled through space and time to alight in my quivering hands, then only would you comprehend truly the horror that consumed my entire humanity. Yet, think not for an instant that the visage I discerned was the genuine inception of my natural sense of loathing. The full nature of my revulsion sprang, as fast as the Trees of Truth and Knowledge, from the immediate and overwhelming understanding of the cruelty that was inflicted by Man upon this poor brute.
FIRST SIGHTING
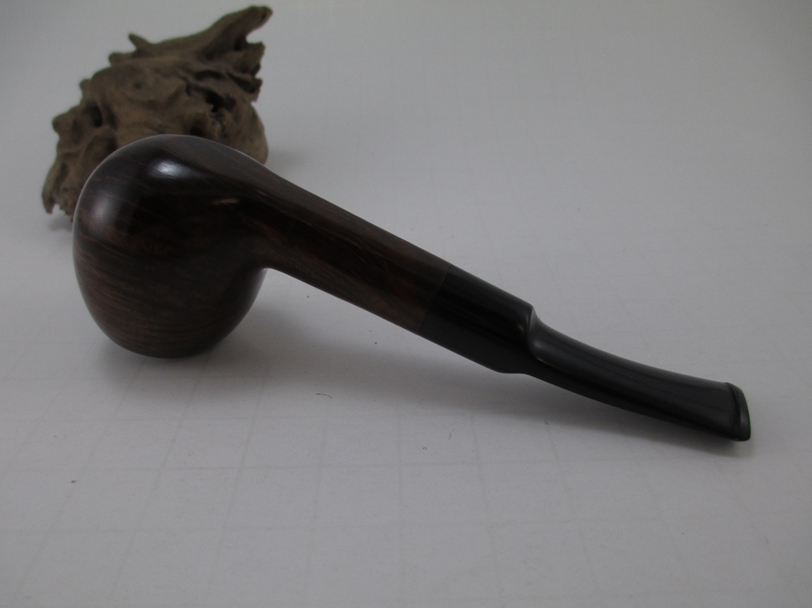
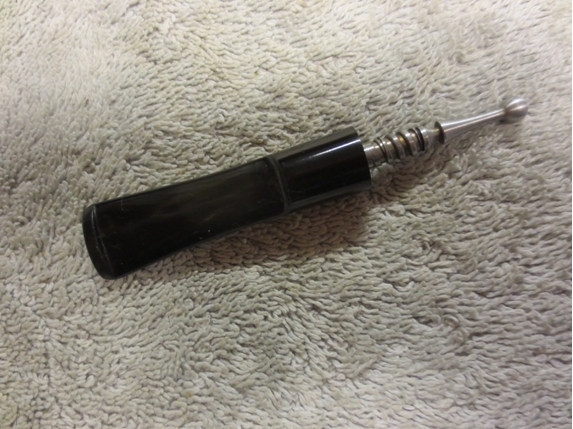
Now, at last, I have regained enough of my stamina – which, for all of my life prior to the advent of the incident which forms the central theme of this account, was as vigorous as that of any young man who plays cricket almost every day – to reveal the thing as I found it, through the following crude illustrations.


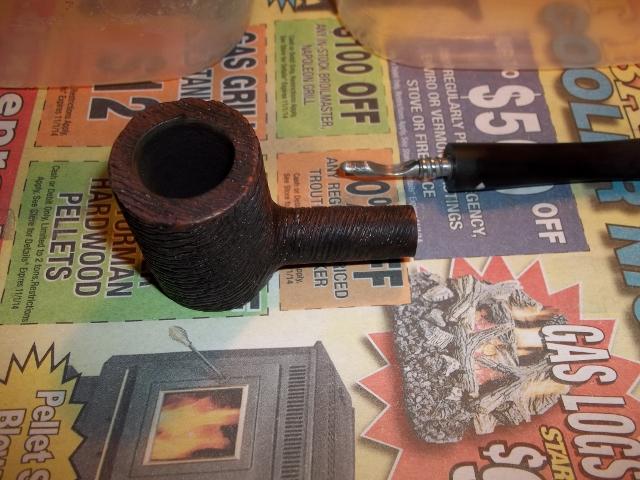
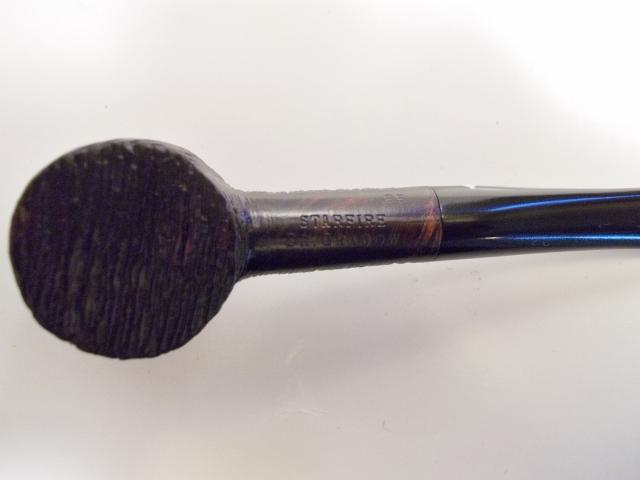
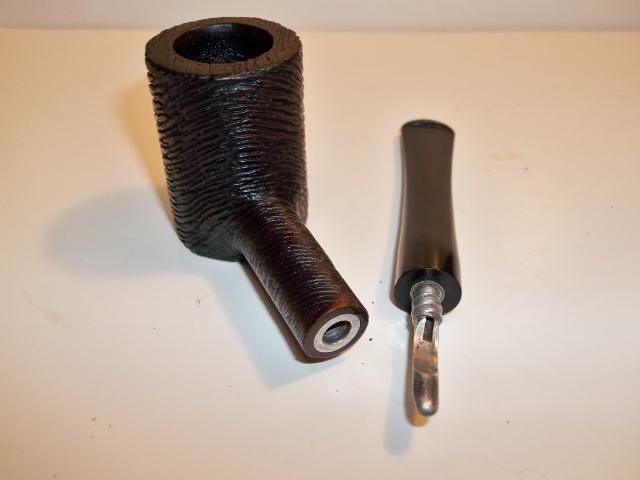
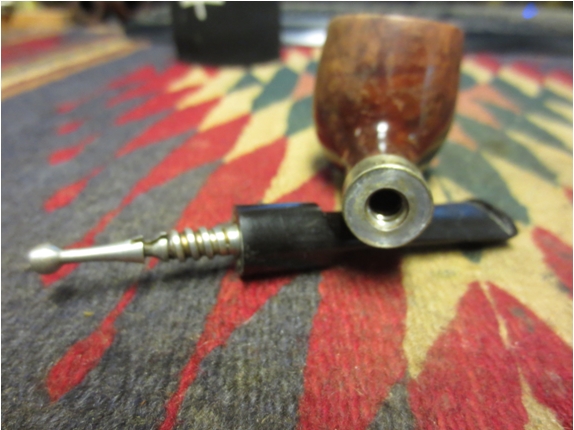
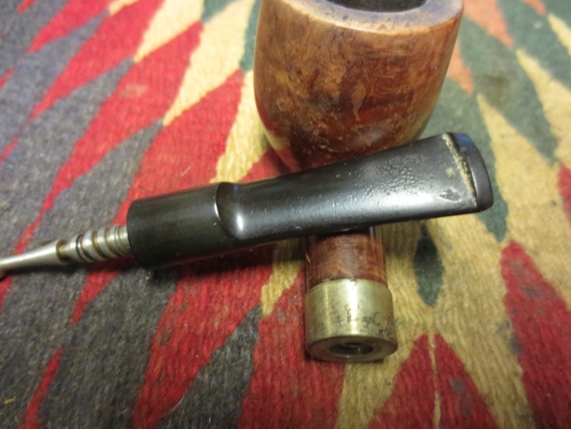
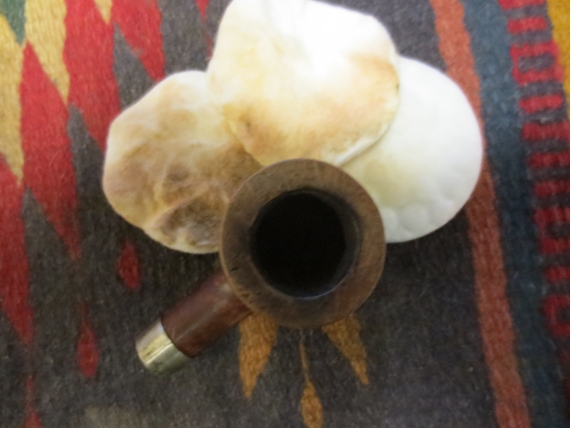
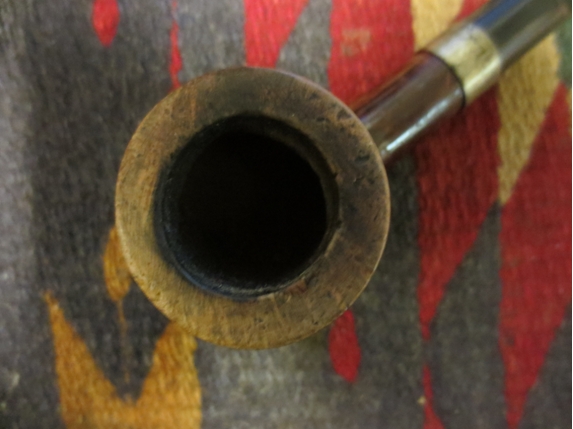
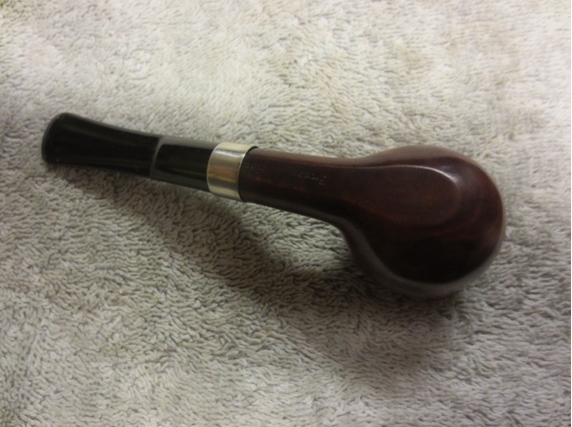
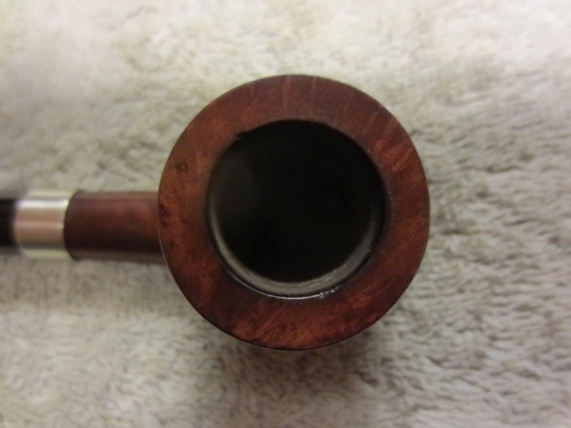
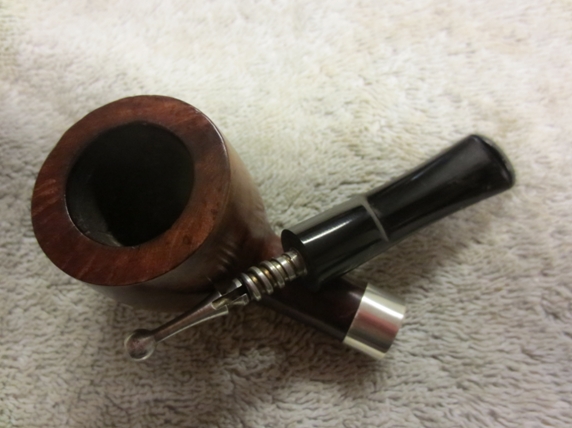
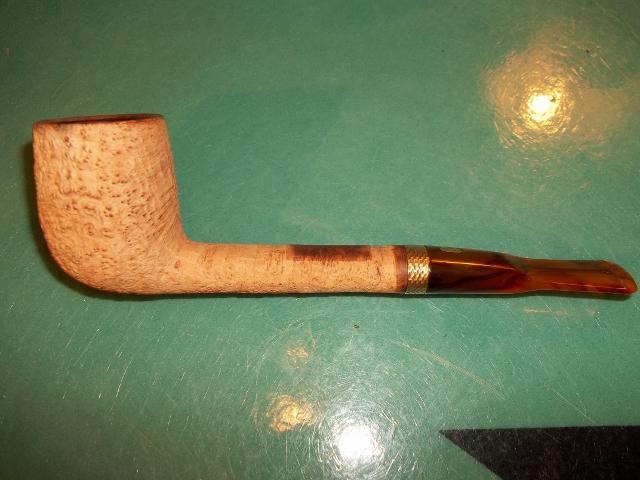
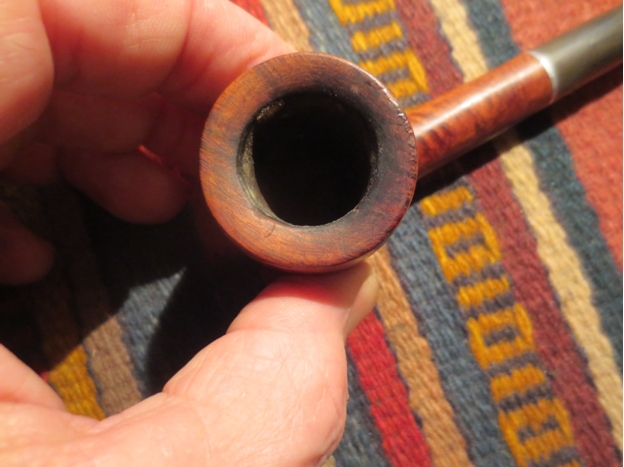
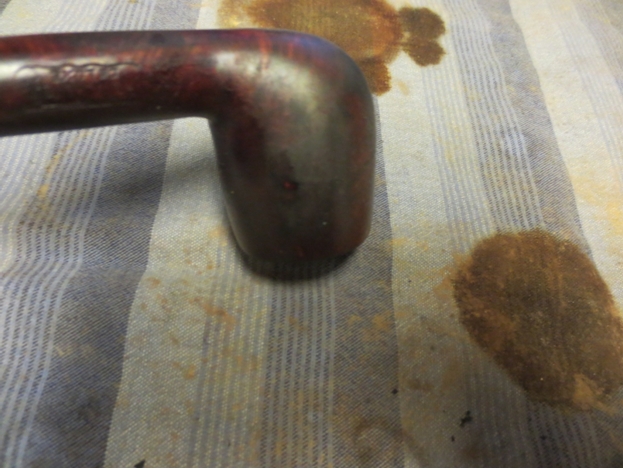
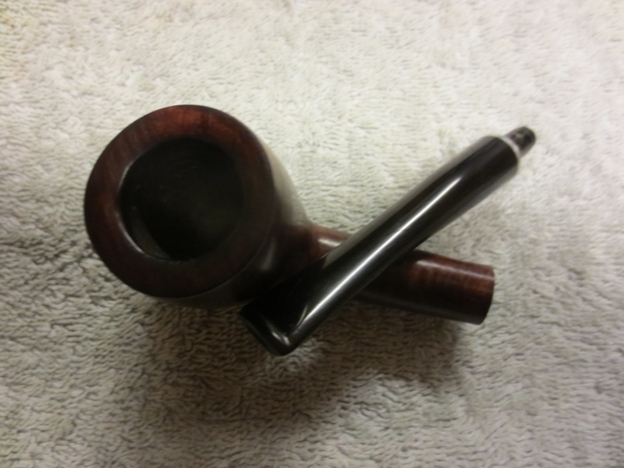
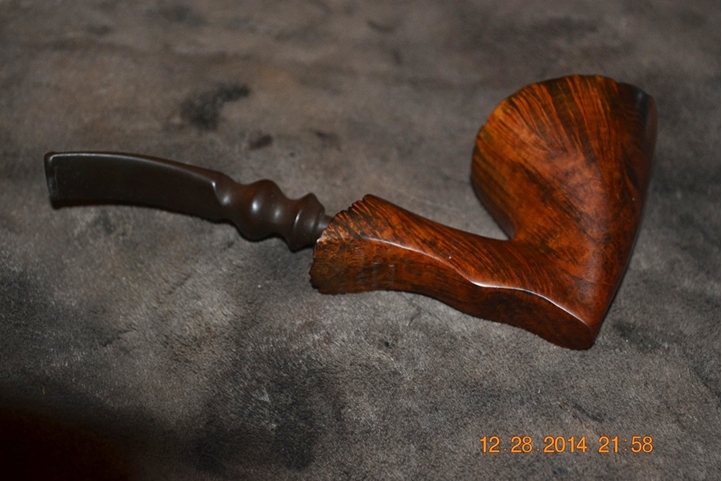
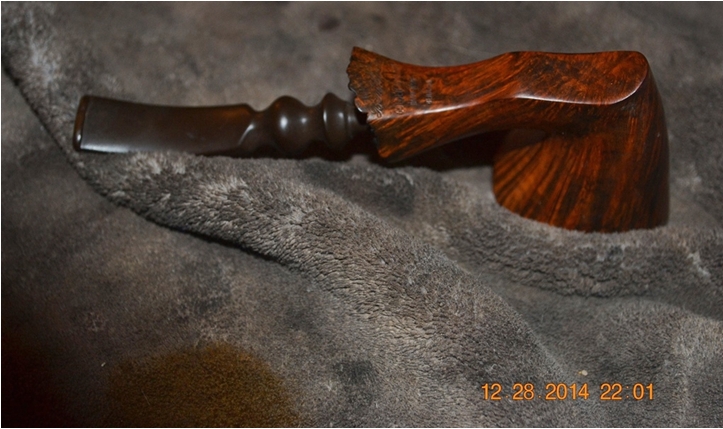
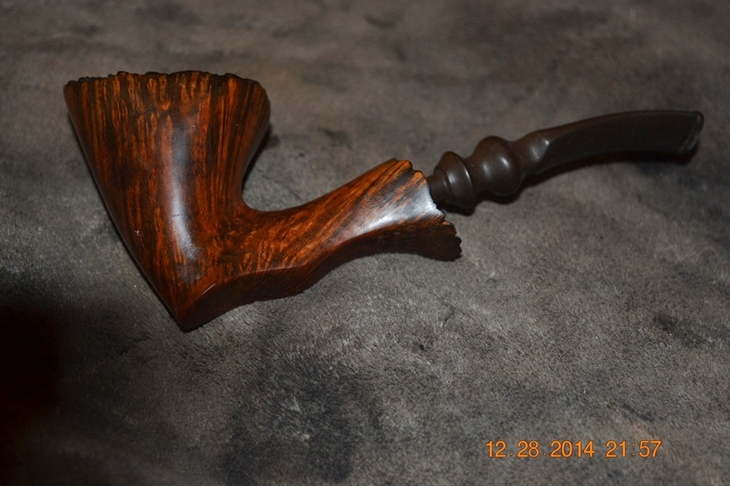
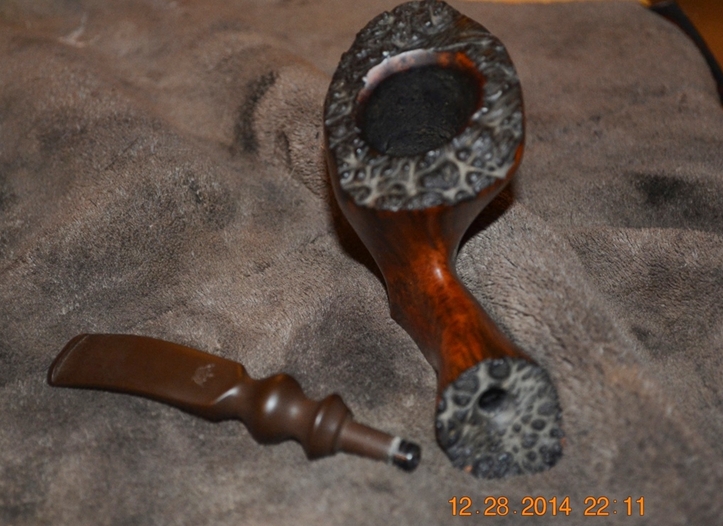
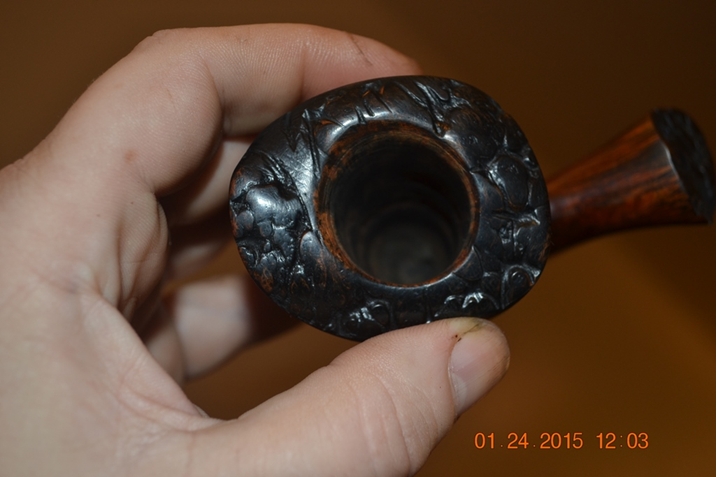
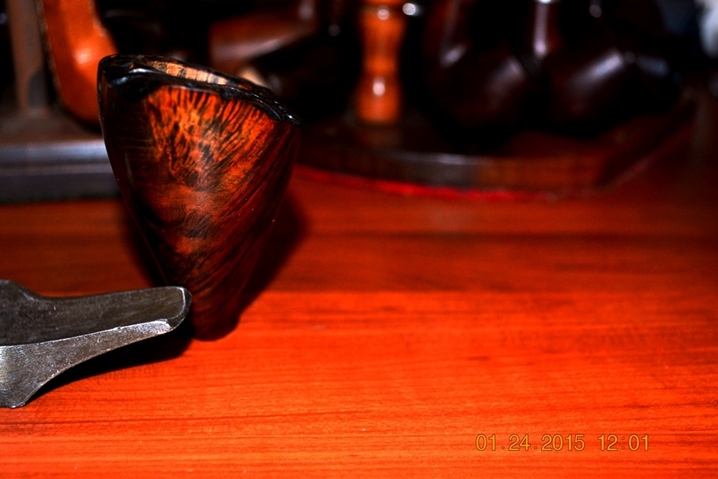
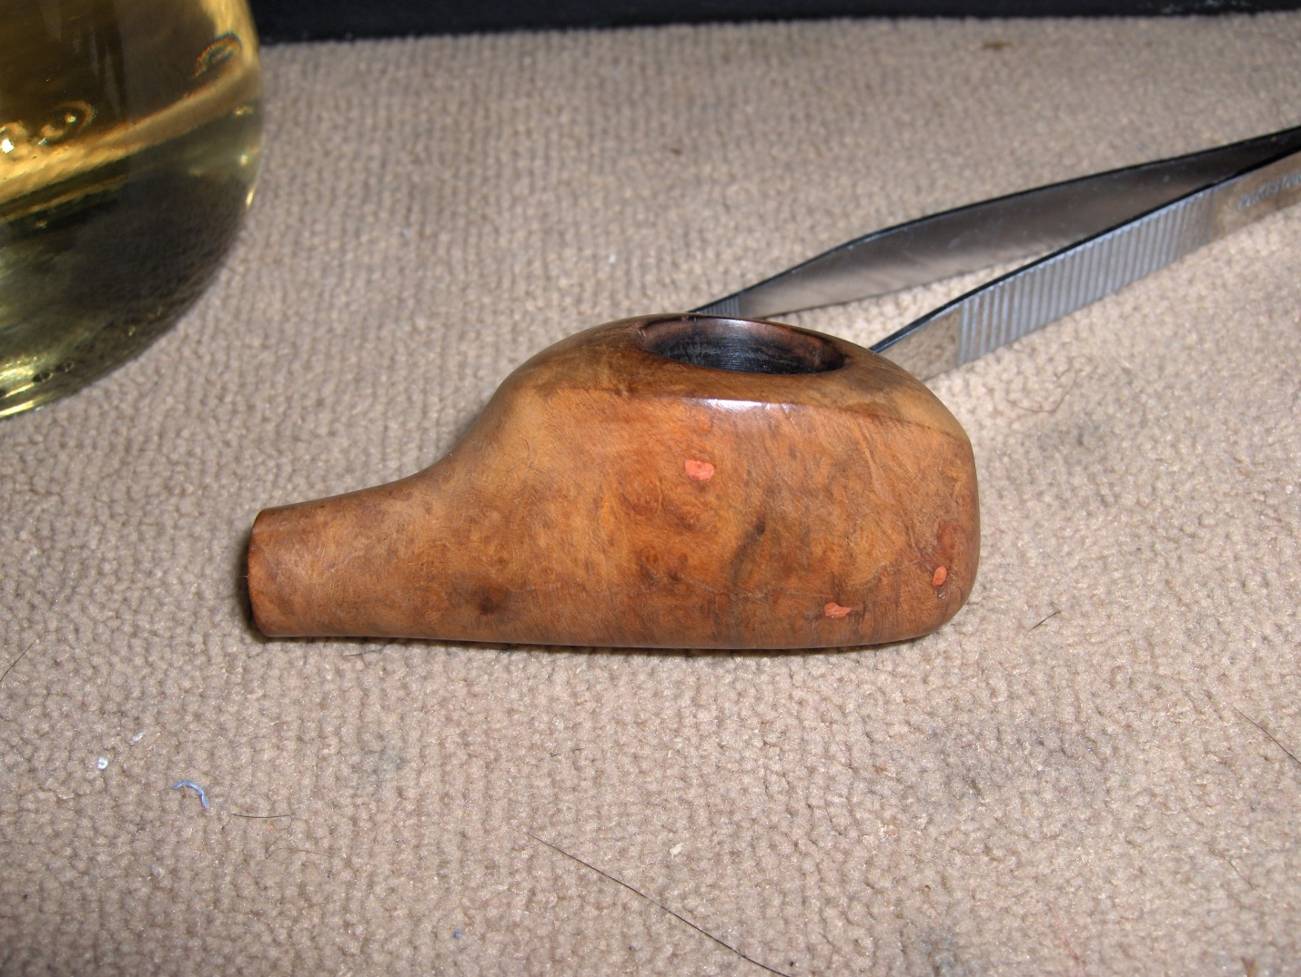
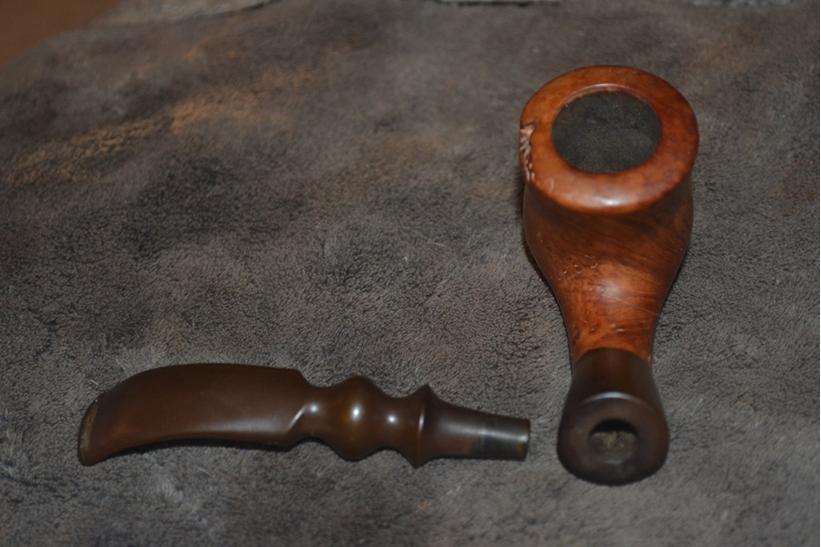
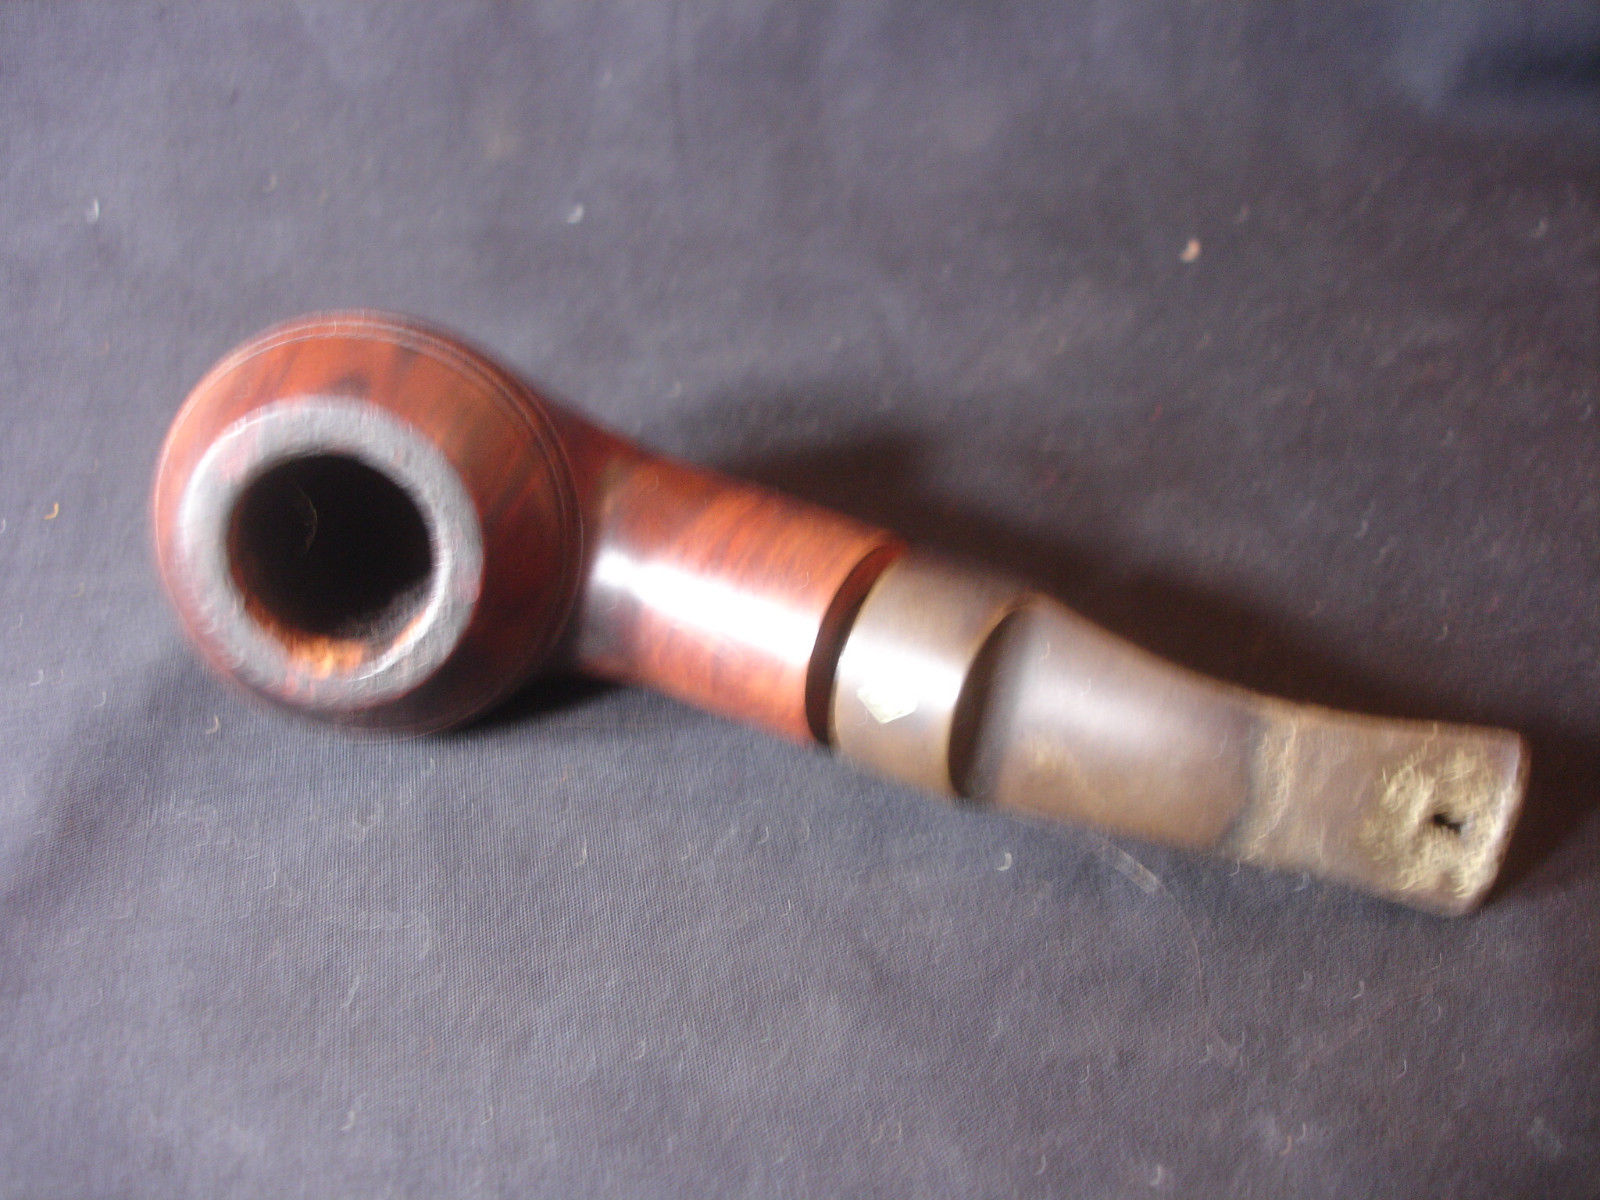
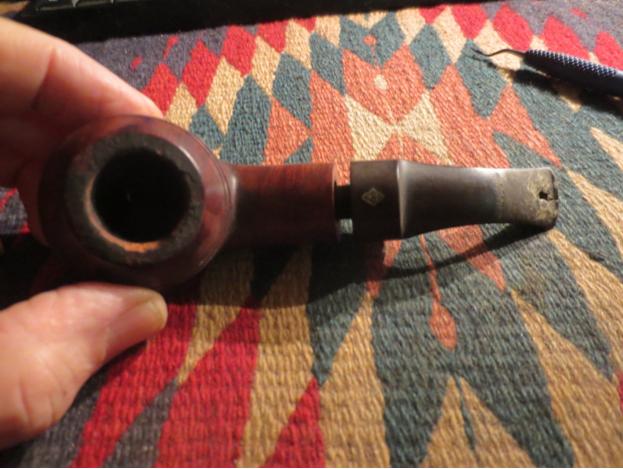
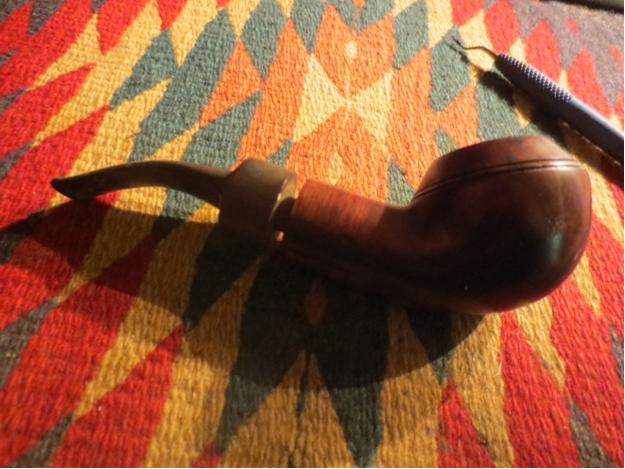
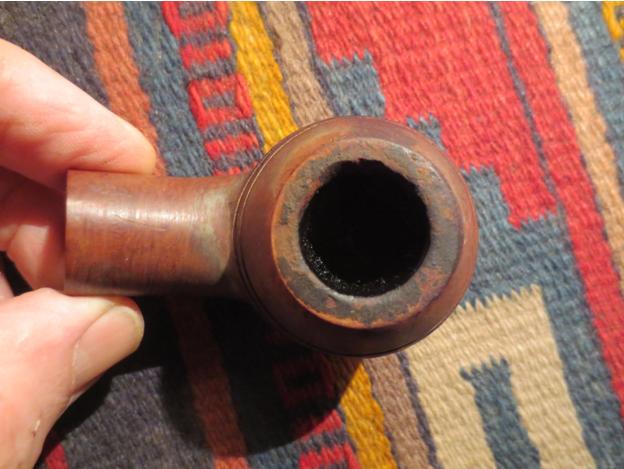
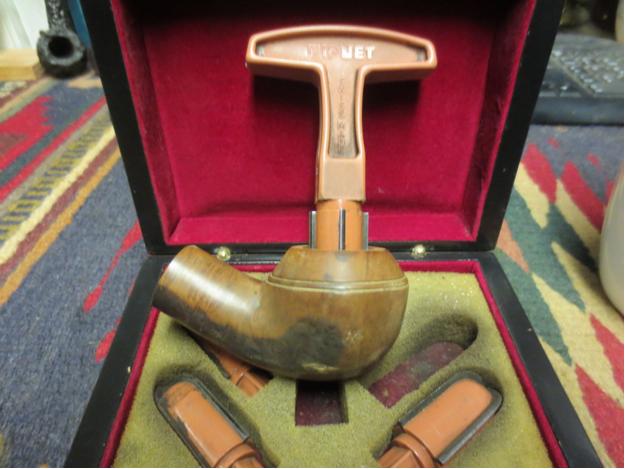
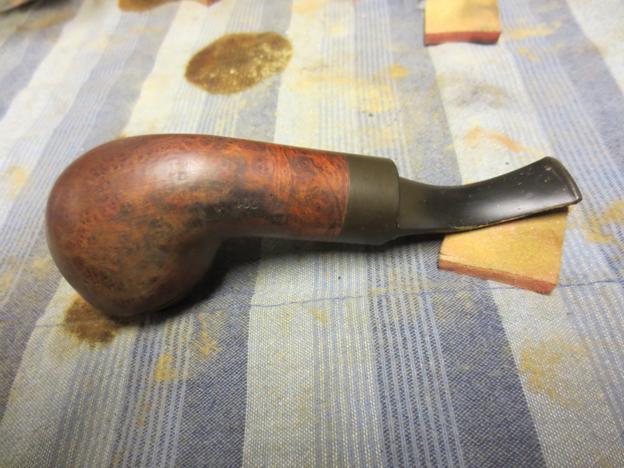
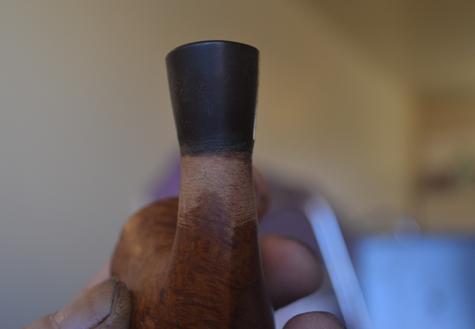
 I implore you, in the name of all that is Holy, to scrutinize the abominable disfigurements of the beast’s original form. Perceive with more than just your eyes, and especially with pity in your hearts, I further beseech you, the jagged wound inflicted just below its forehead, or rim; the dreadful rending of its skin from the right side of its torso – shank, rather – beside the artificial extension of the same, and lastly, the woeful bleeding of black stain, as blood, from this extension onto the very wood that was to be its natural makeup. At first I took the freak of nature, nay, far worse, the creation of a man, to be the first attempt of a novice at crafting a briar pipe of the freehand variety. Only later was I corrected by one whose opinion and experience in such matters I hold inviolate, my mentor and good friend Chuck Richards, who informed me to my astonishment and dismay that the egregious work was in fact of Italian descent with no name.
Read on at your own peril.
RESTORATION OF LIFE
Seeking no more than to breathe new life into the ruined corpse of a smoking pipe, one I envisioned in my mind’s eye as it could have been, had it been born into the good society so many take for granted, I proceeded with the course of action which I perhaps foolishly believed was pre-determined. Regardless of my motives, I felt a pull that led me inexorably to the conclusion I shall in good time reveal.
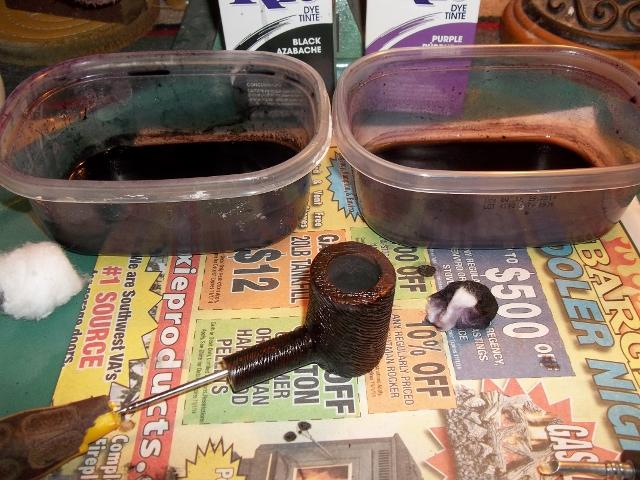
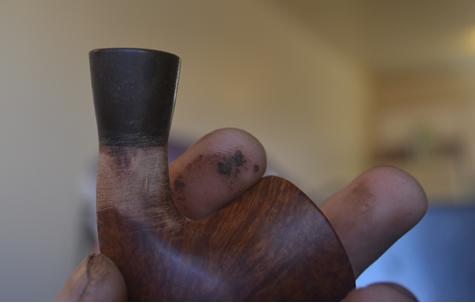
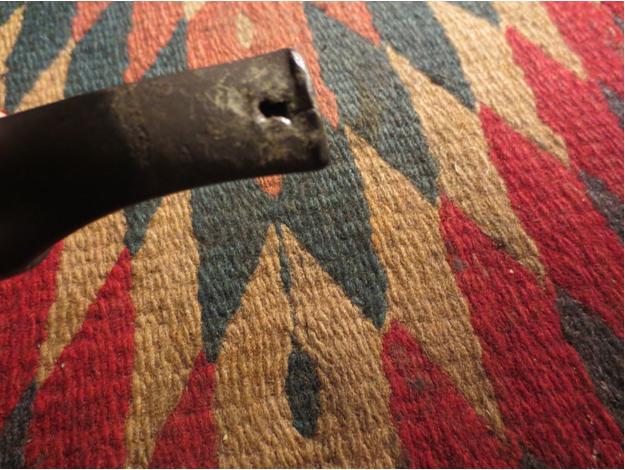
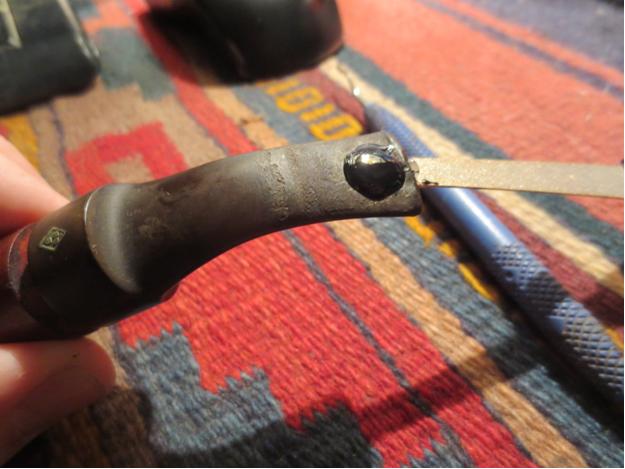
Having triaged the wounds to the unknown pipe, I found myself in the gravest sense of urgency whilst I resolved to expunge the haphazard spatter of bloodlike blackness betwixt the briar shank and its extension.
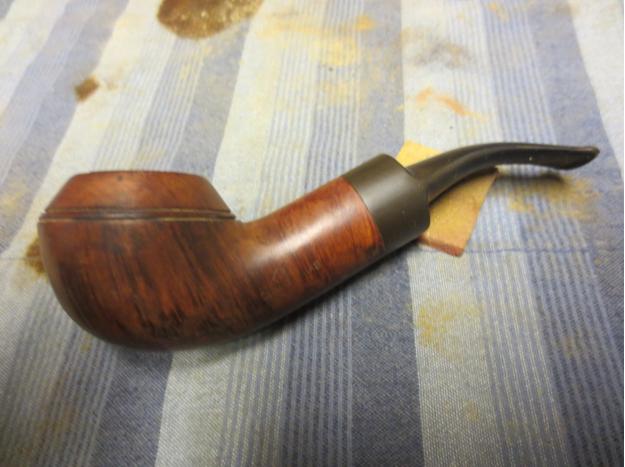
 With the utmost surgical care, employing 220-grit paper, I erased the accursed stains.
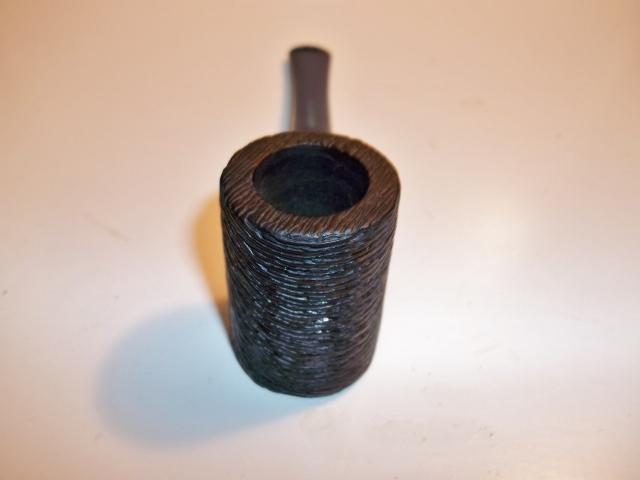
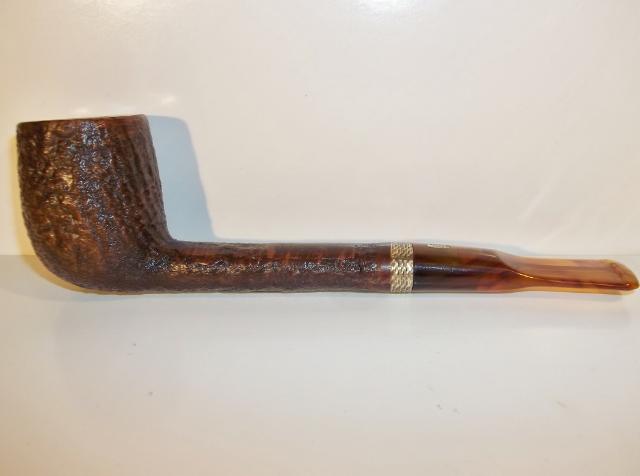
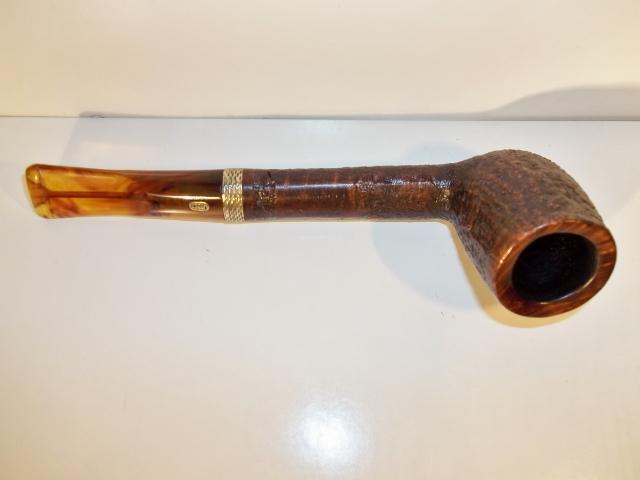
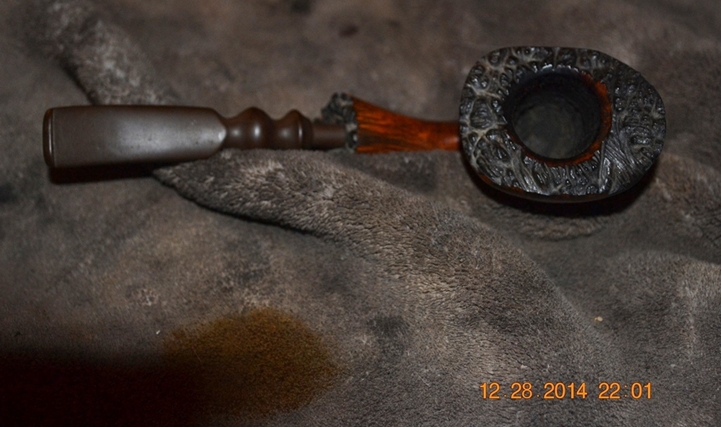
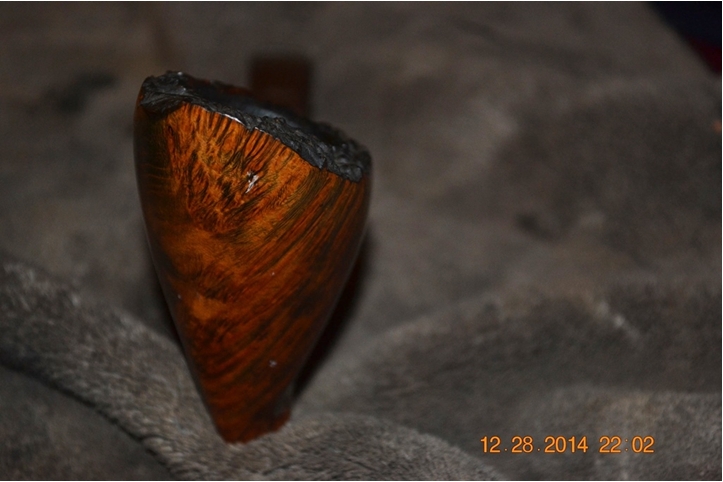
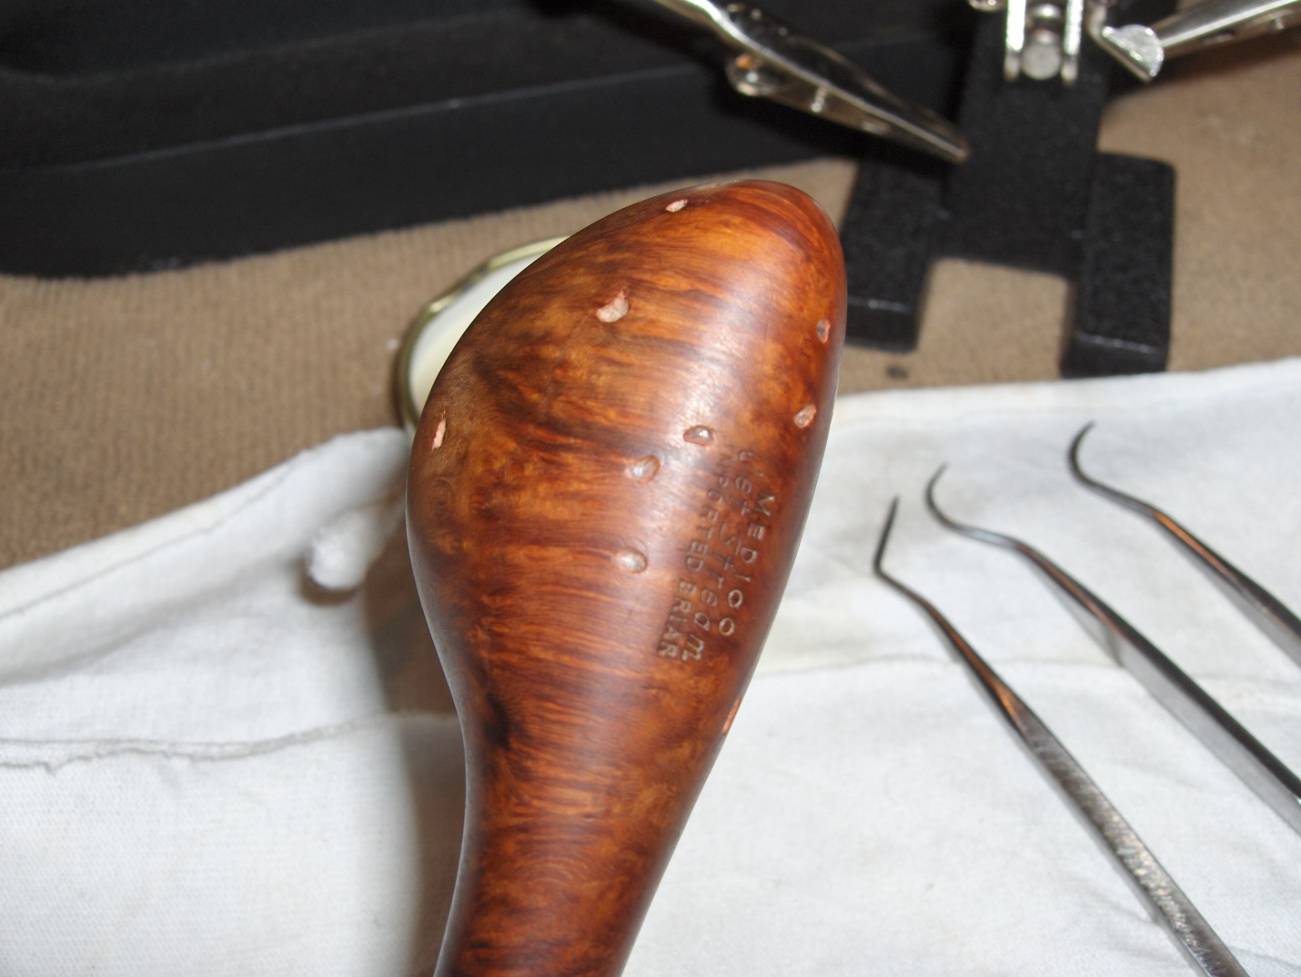
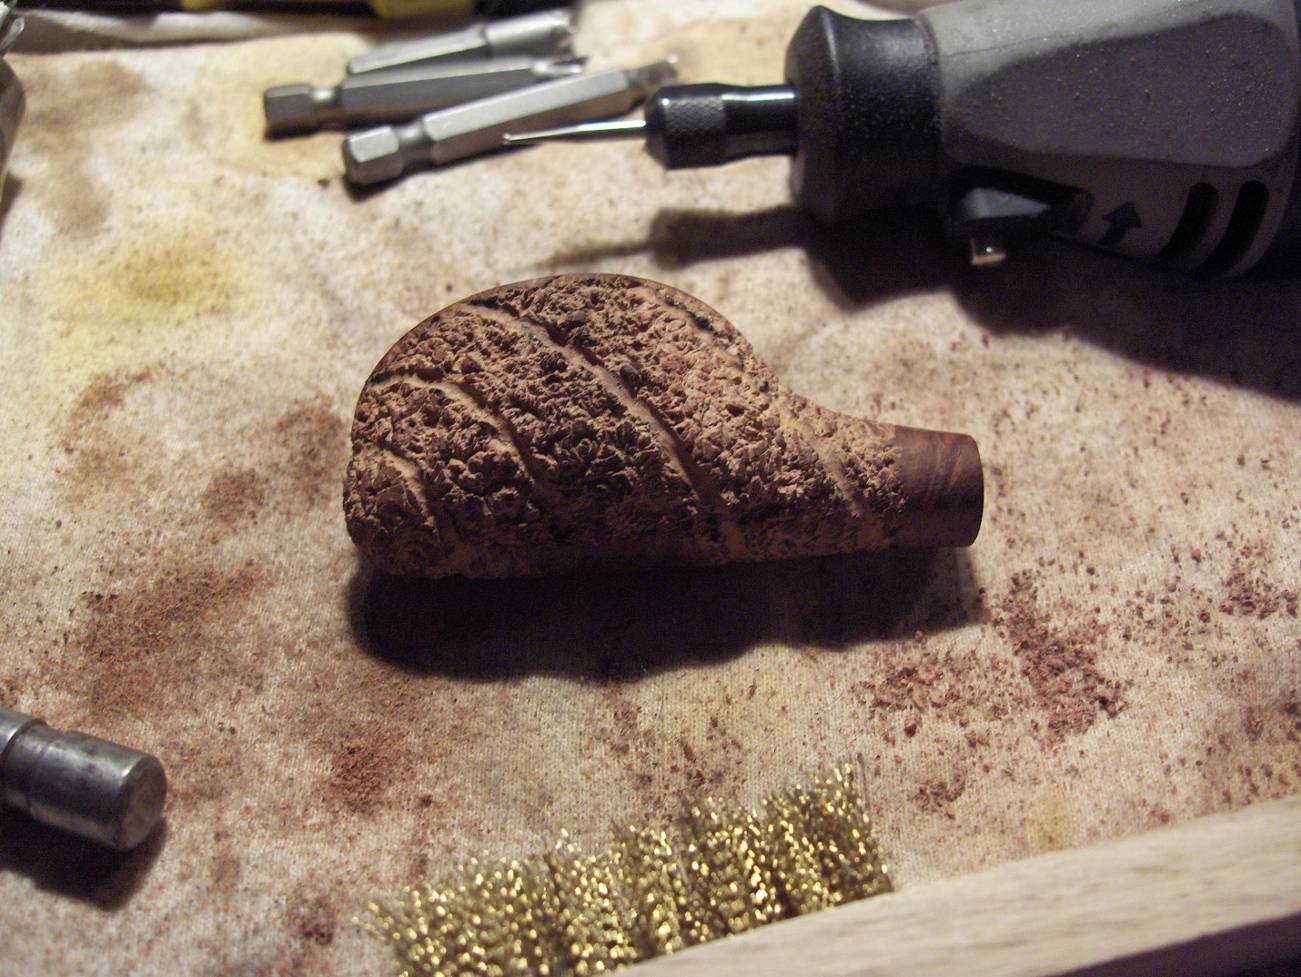
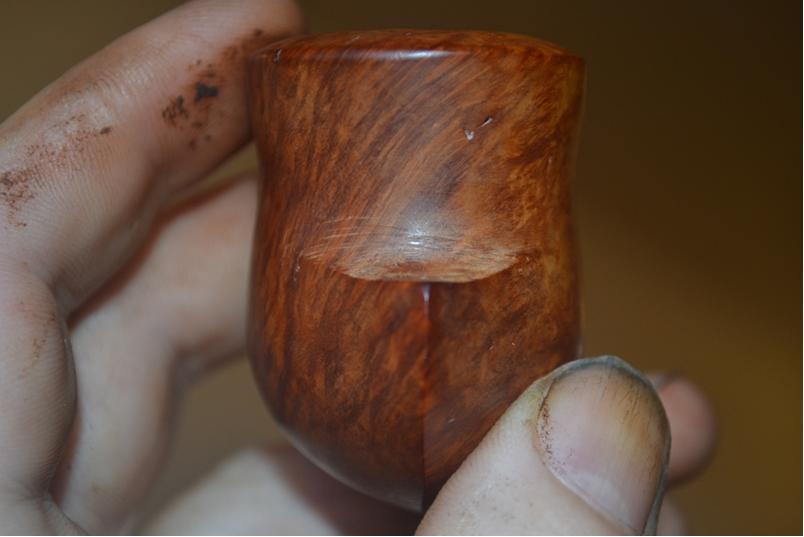
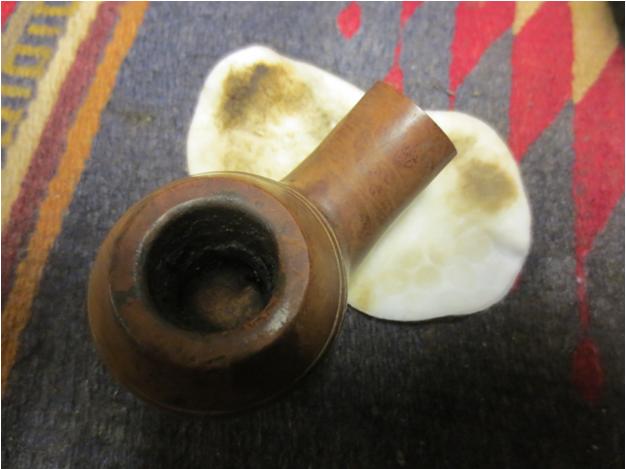
 Regarding the ridge of the odd, beak-like figure on the front of the bowl, the un-level aspect of the prominently scabrous feature was positively unnerving to behold. Though a full frontal view is not available before its correction, these left and right images reveal the disparity.
 The cruel hideousness of the misdeed inflicted upon a central feature of the freehand was so ghastly to behold, reminding one of the nose of an old man spotted and mangled by the advanced stages of alcoholism, that its repair was my second priority. With the aid of a flat filing tool, I corrected the flaw whilst also removing a gash above it.
 A cursory smoothing of the abraded surface resulted in the beginning of an almost intoxicating, God-like improvement, though minor work to finish the makeover I had begun was still necessary.
 Scarcely able to control my escalating excitement that was directed with all-consuming mania toward the ultimate re-animation of the pipe, I turned my gaze again to the frightful laceration to the cranium – that is to say, the rim.
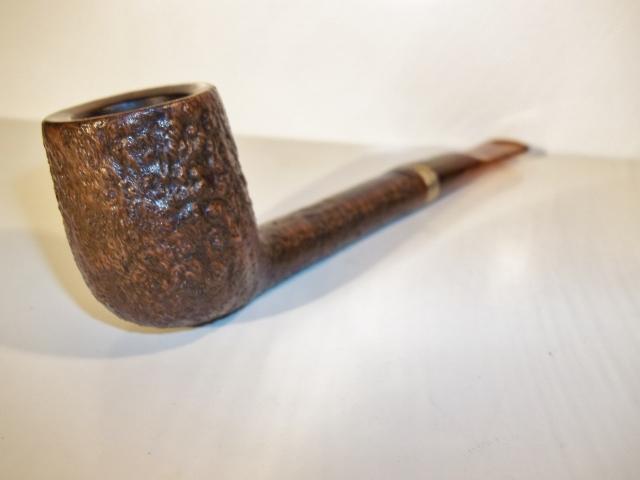
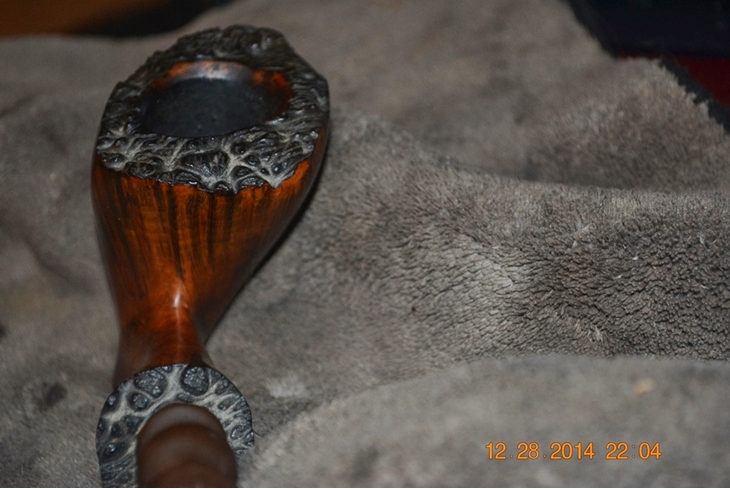
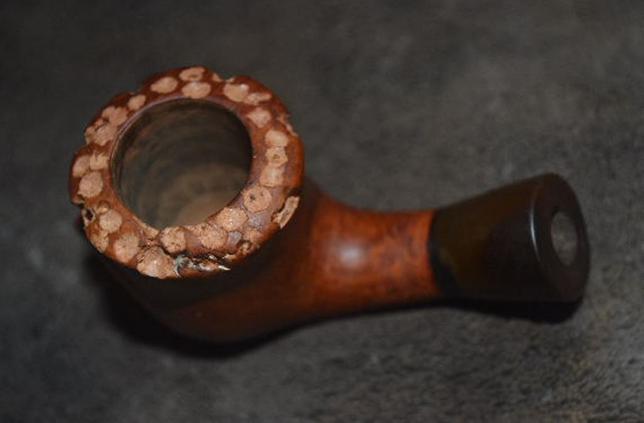
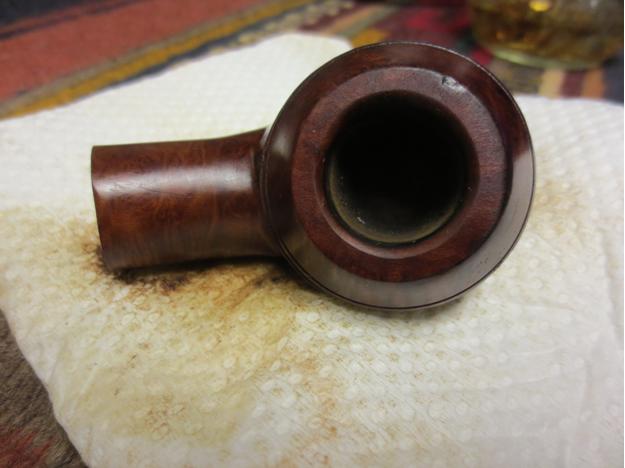
 Devoid of even a dash of hope for correcting the near fatal head wound, and directly upon the heels of the greatest battle between my ever-intensifying lust to restore the spark that is life to this wretched pipe versus my thoughts of utter failure and ruin, I could envision no measure short of inflicting a deliberate pattern of the very same gouges round the rim and the immediate area of the bowl beneath it. Toward this remarkably heady end, I embarked upon a slippery path of utter destruction of the rim with naught but prayers that I could complete and then reverse, as it were, the radical procedure. The only implement available being a spring-loaded round hole-puncher with a small but sturdy grip, I commenced the initial task of creating matching and equidistant blemishes round the top of the bowl.

 And then, with mounting glee at the sheer recklessness of the notion, onto the top of the skull – or rim – I repeated the same process with tighter punches.
 Oh, to formulate in words the wonder and terror that overwhelmed my senses is beyond the power of the greatest poet! In my crazed mind I entertained a vision of beauty like a newborn phoenix rising from the ashes! The mental snapshot was breathtaking in its audacity and execution! I was all but hopelessly mad in the ecstasy of the moment! I daresay some would now postulate that I had already surpassed that precipitant threshold.
Therefore it is without any sense of sin whatsoever that I confess my elation at the removal of the few remaining but festering sores that upon first sight of the beleaguered pipe put me in such a state of apprehension.
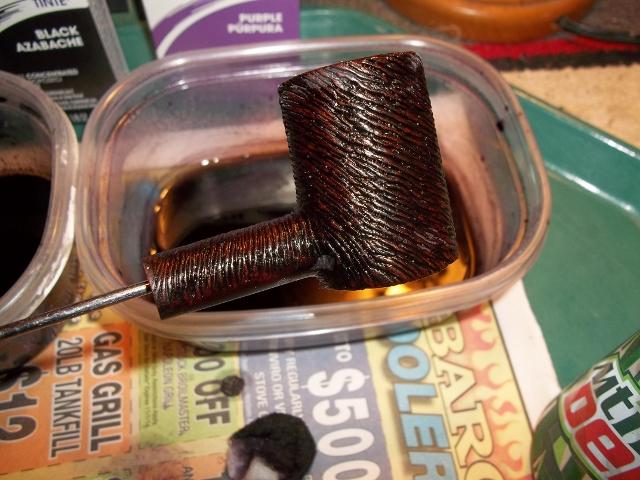
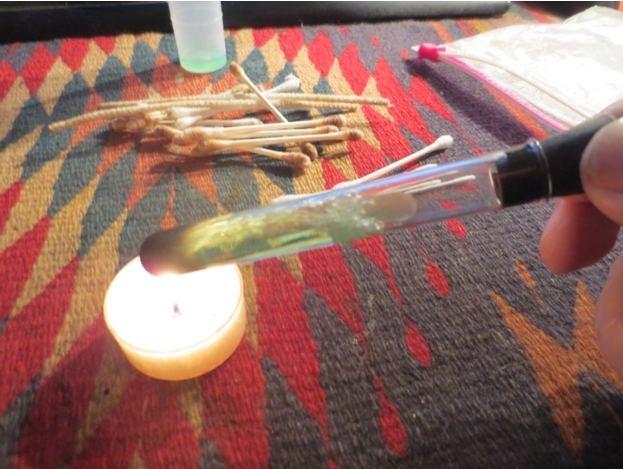
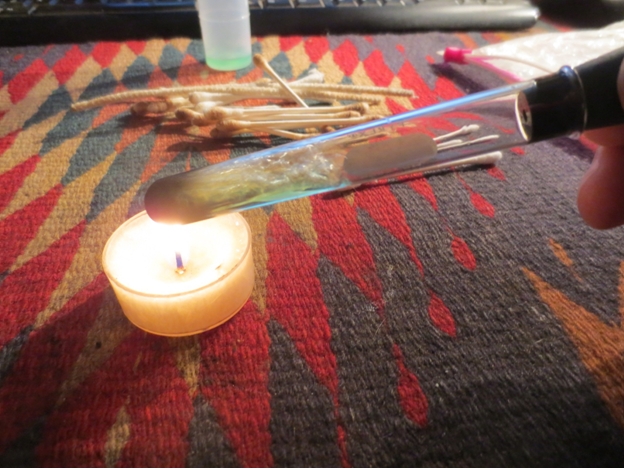
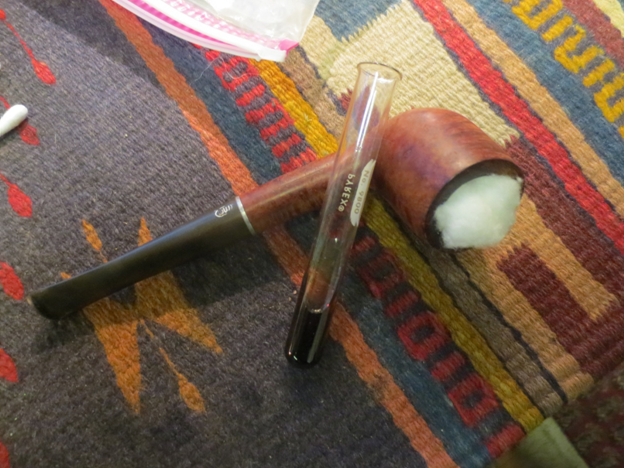
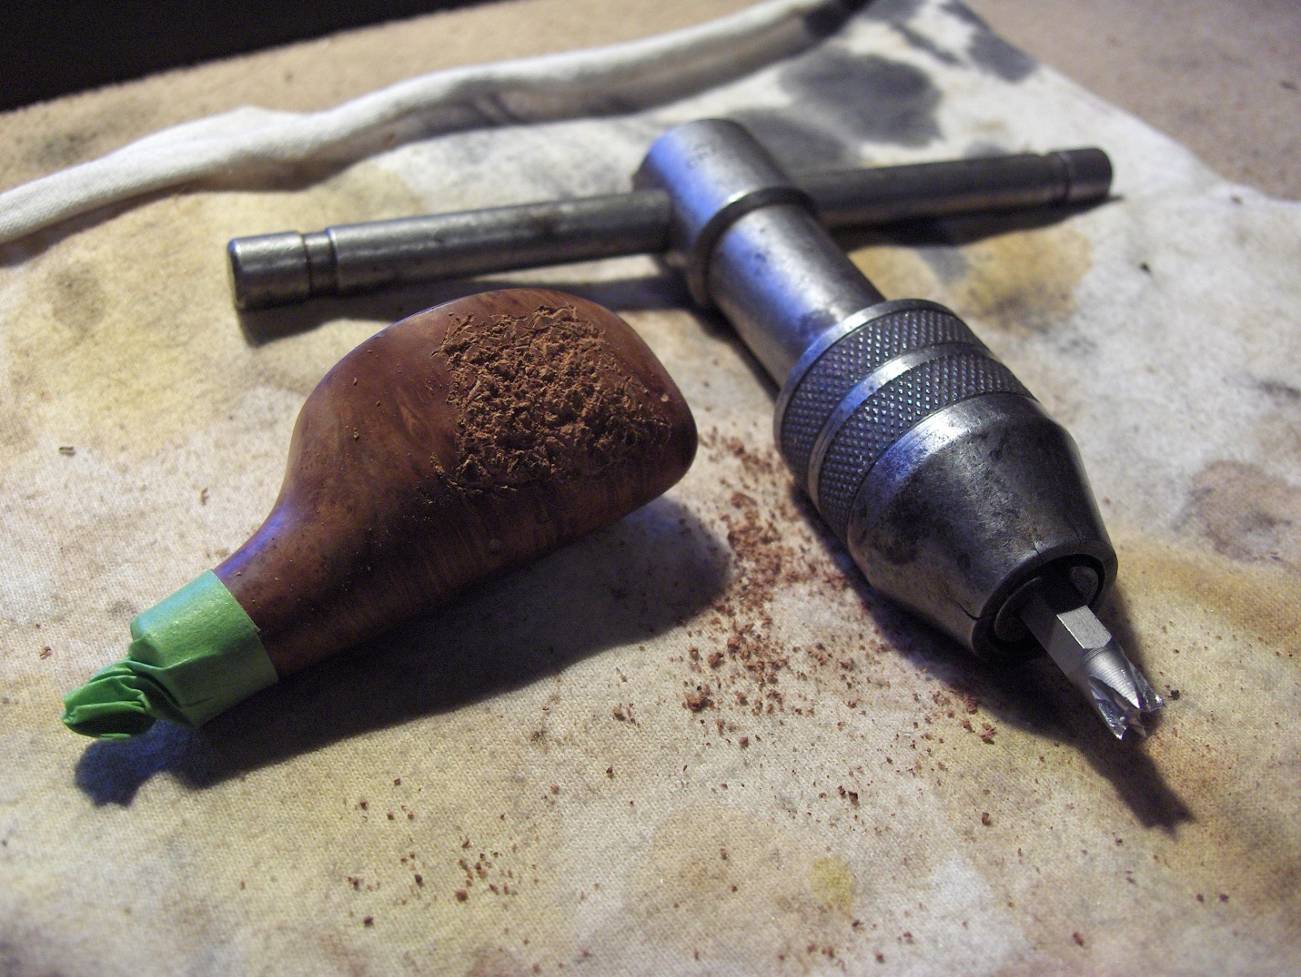
I performed a retort for a thorough purging of the accreted waste and other filth that continued to leech the innards of the reanimated Italian pipe with no name, though I retained hope that the poor thing would regain some of its more pleasant previous memories, if indeed it ever possessed any, as its recovery progressed.
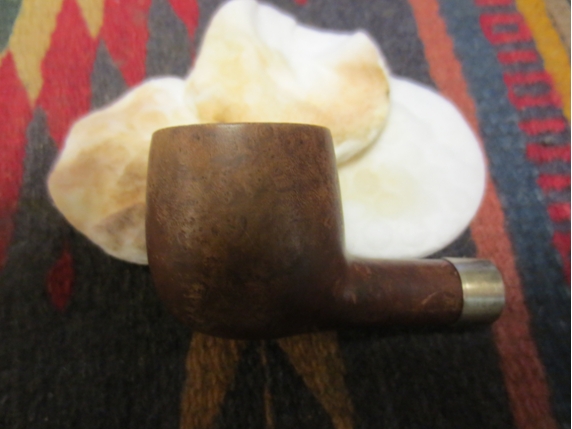
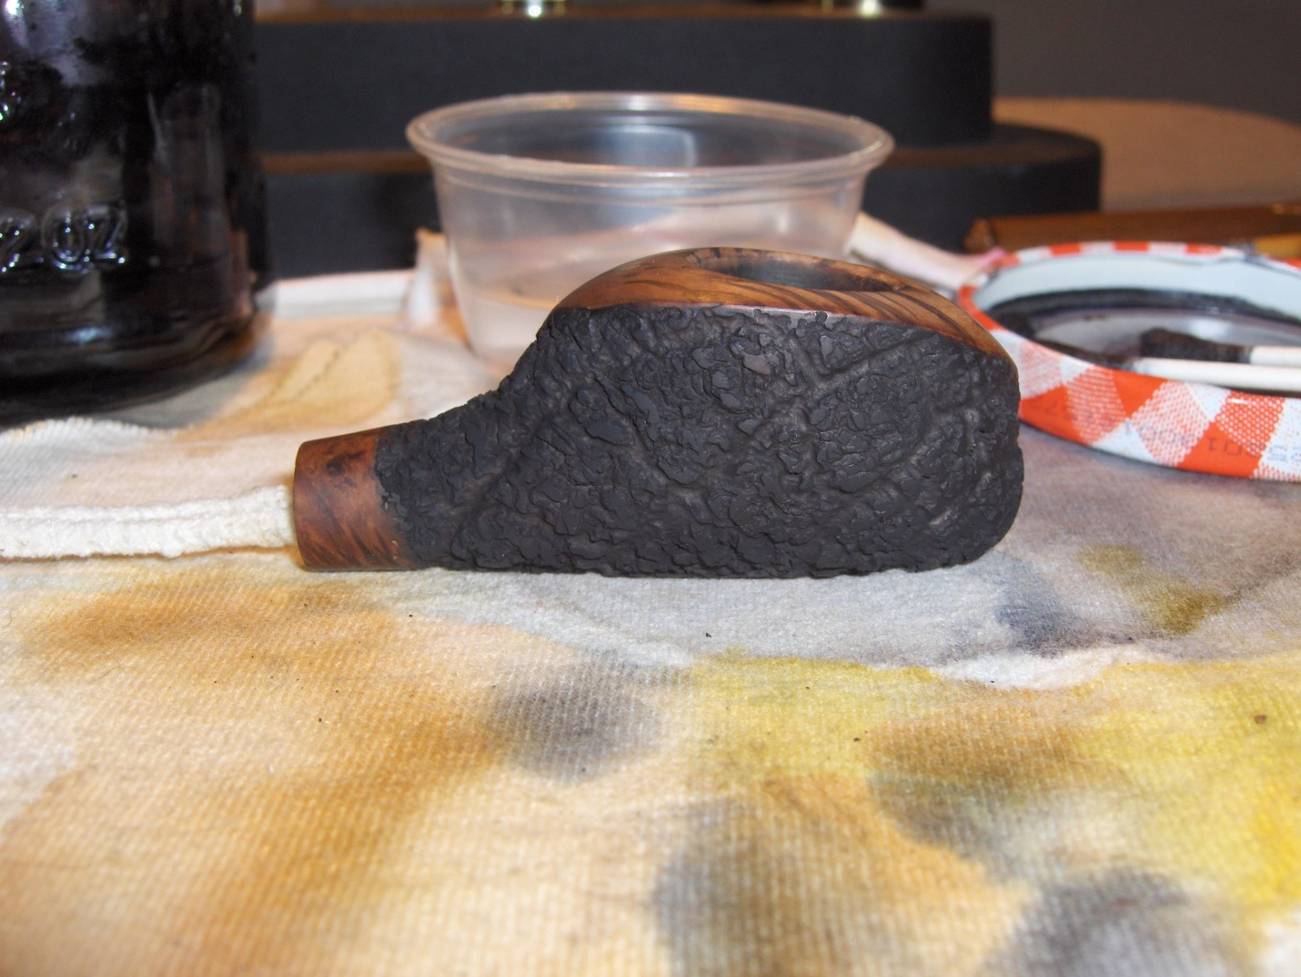
Wishing to be done forever with the coarse, disheveled appearance of the still recuperating pipe, I applied a progressive regimen of micromesh from 1500 to 4000 upon the unfinished pocks covering the rusticated dome and the pale, sickly spots at various intervals of the pipe’s wooden body where once had flourished cuts, scrapes and crevasses.
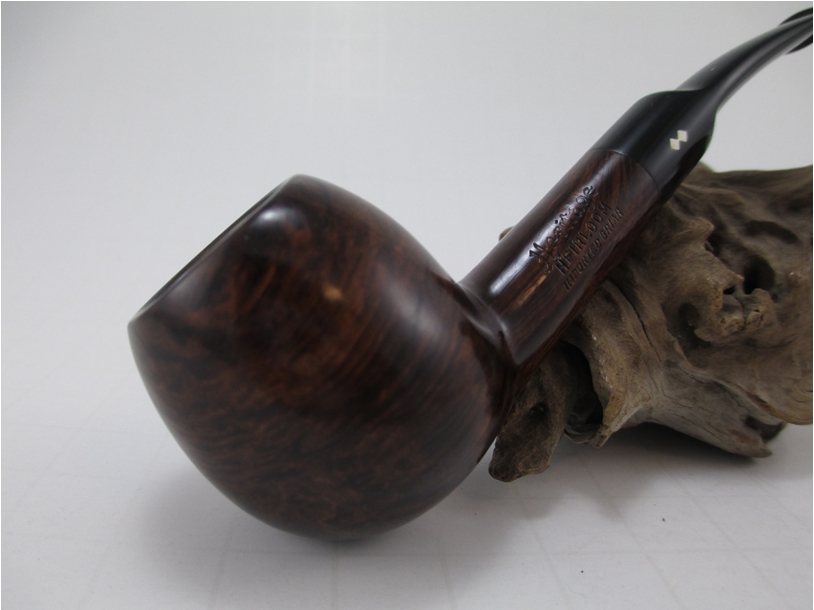
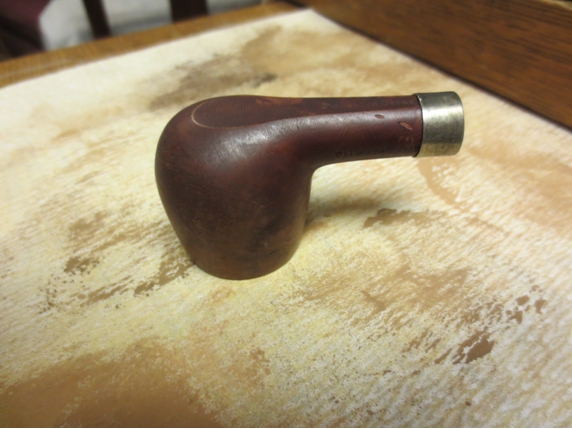
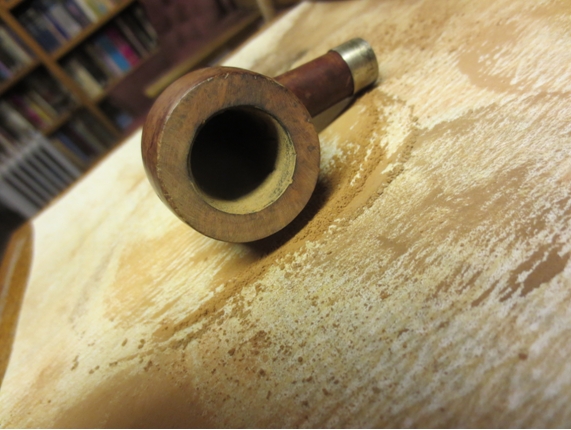
The quick application of a double-coat of medium brown leather stain to the areas of the wood effected by the various degrees of sanding and more aggressive restorative measures, and the immediate removal of the dye’s alcohol by ritual of fire left a meager residue of ash that was banished with ease using the 4000 micromesh pad.
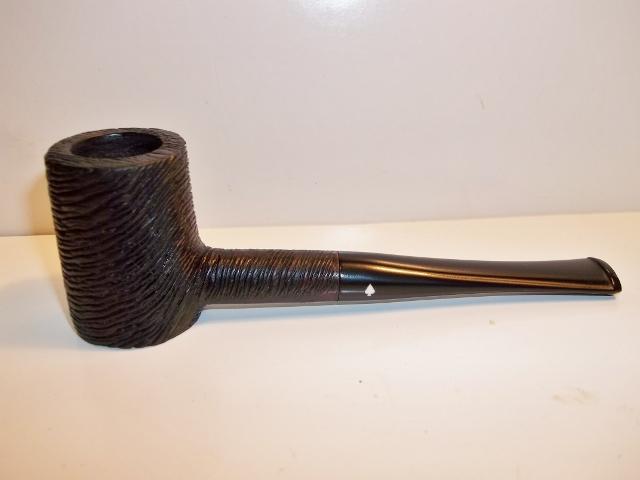
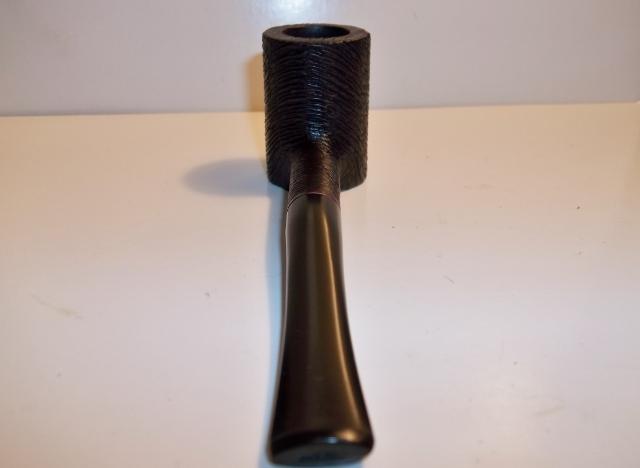
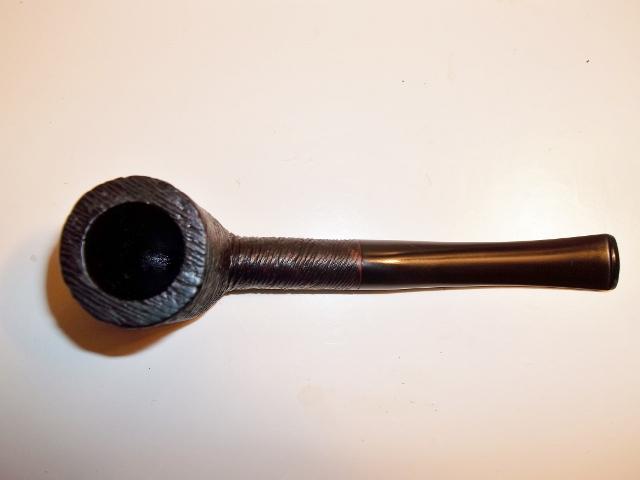
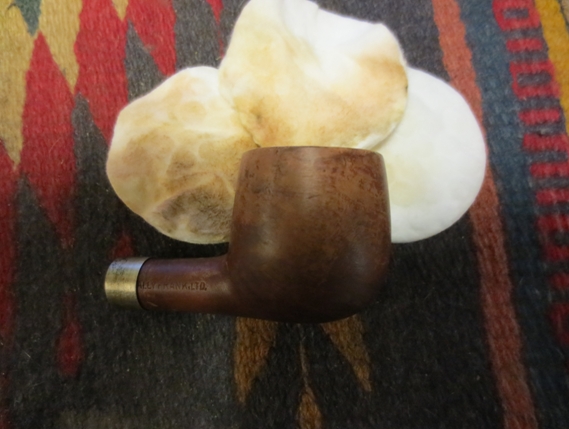
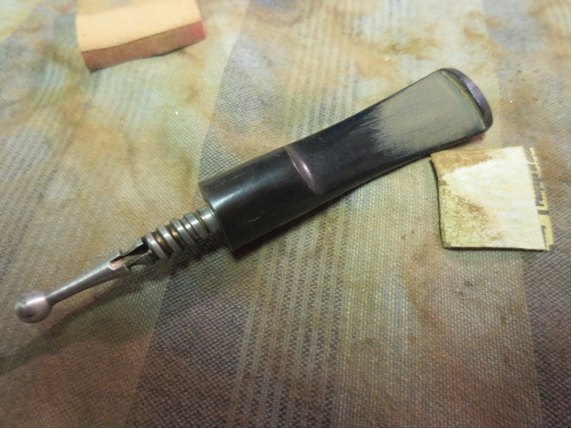
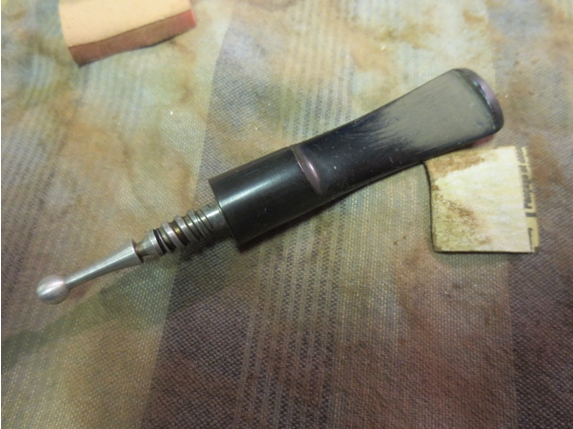
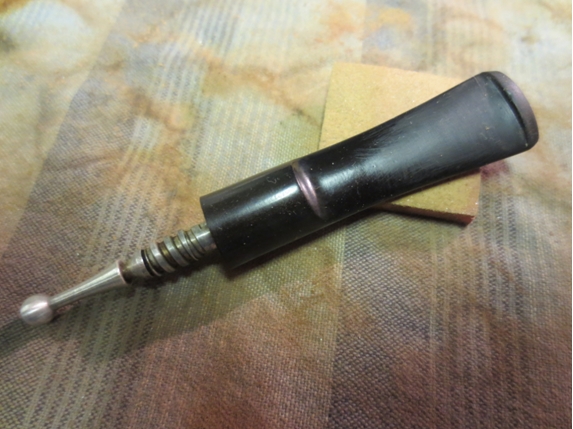
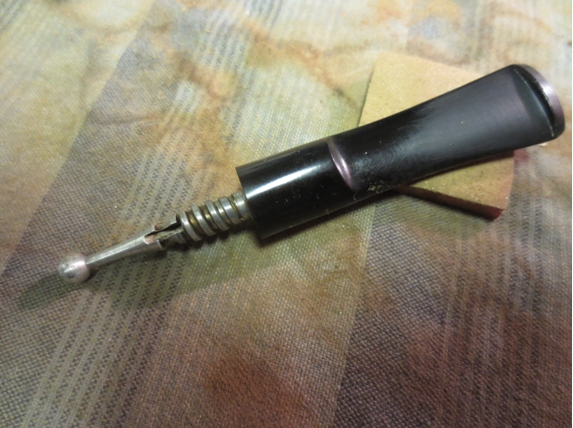
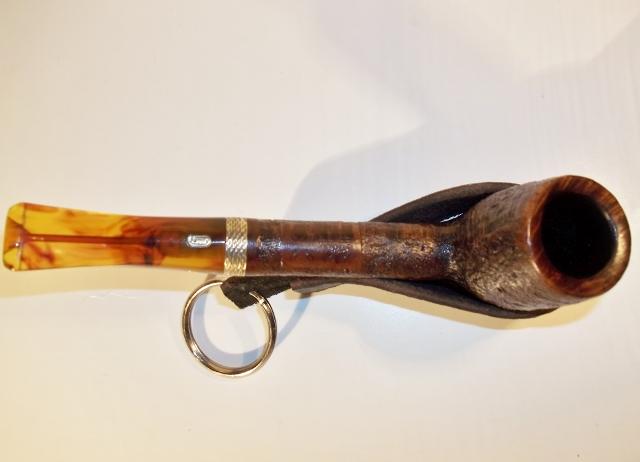
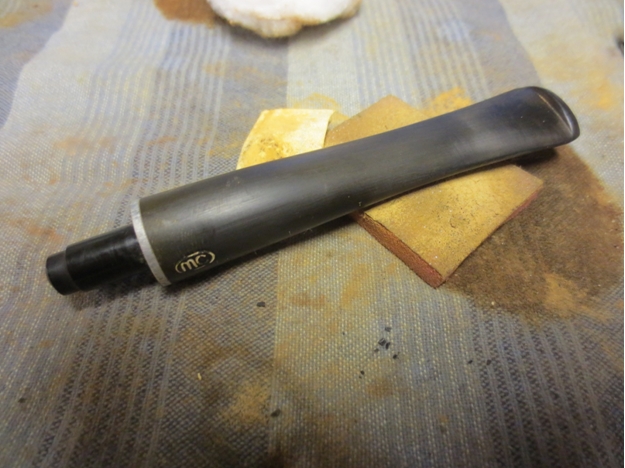
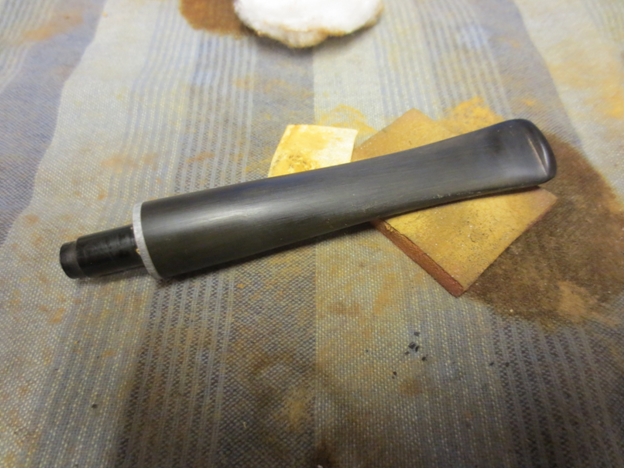
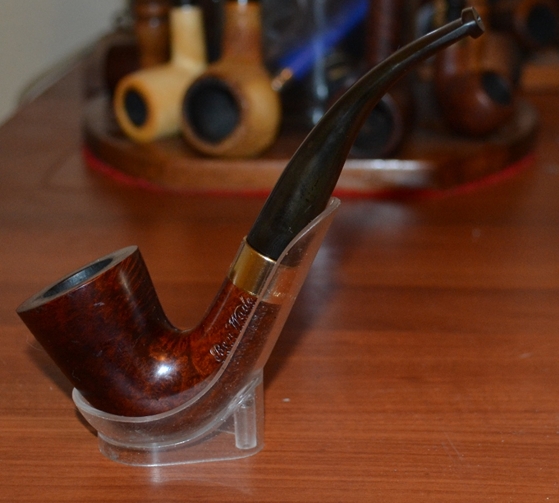
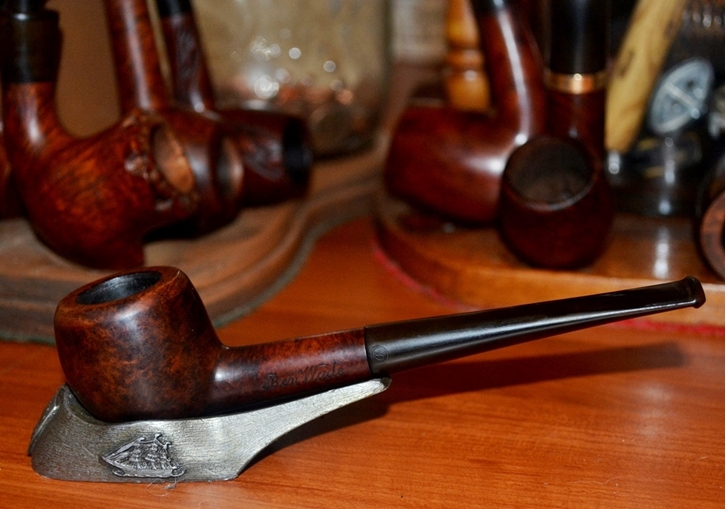
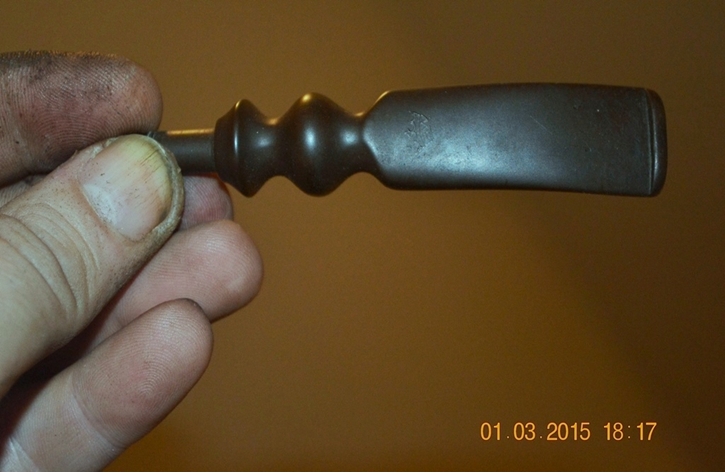
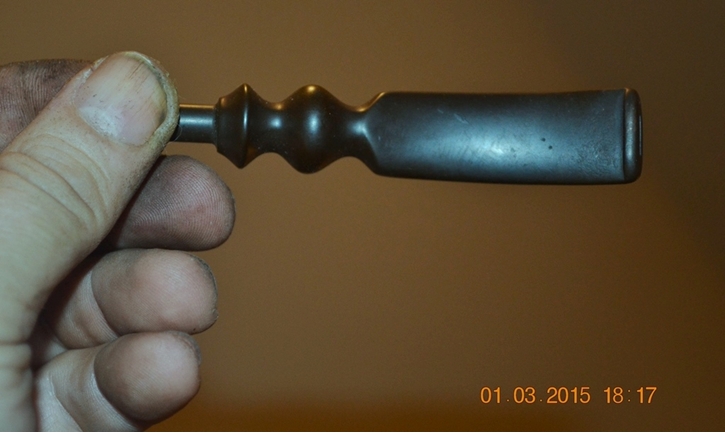
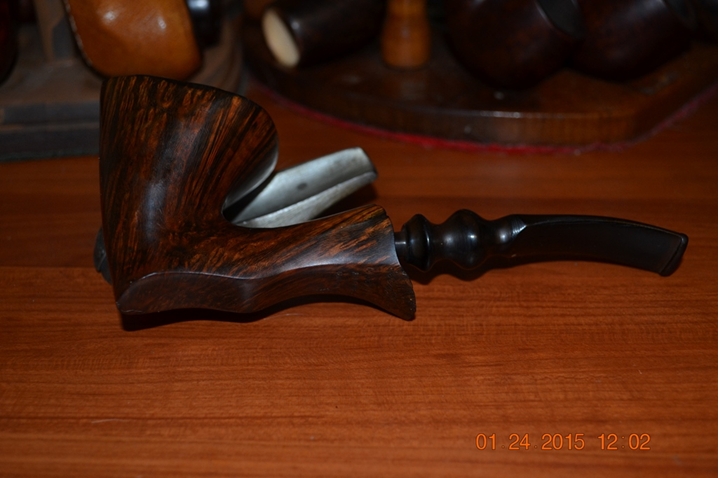
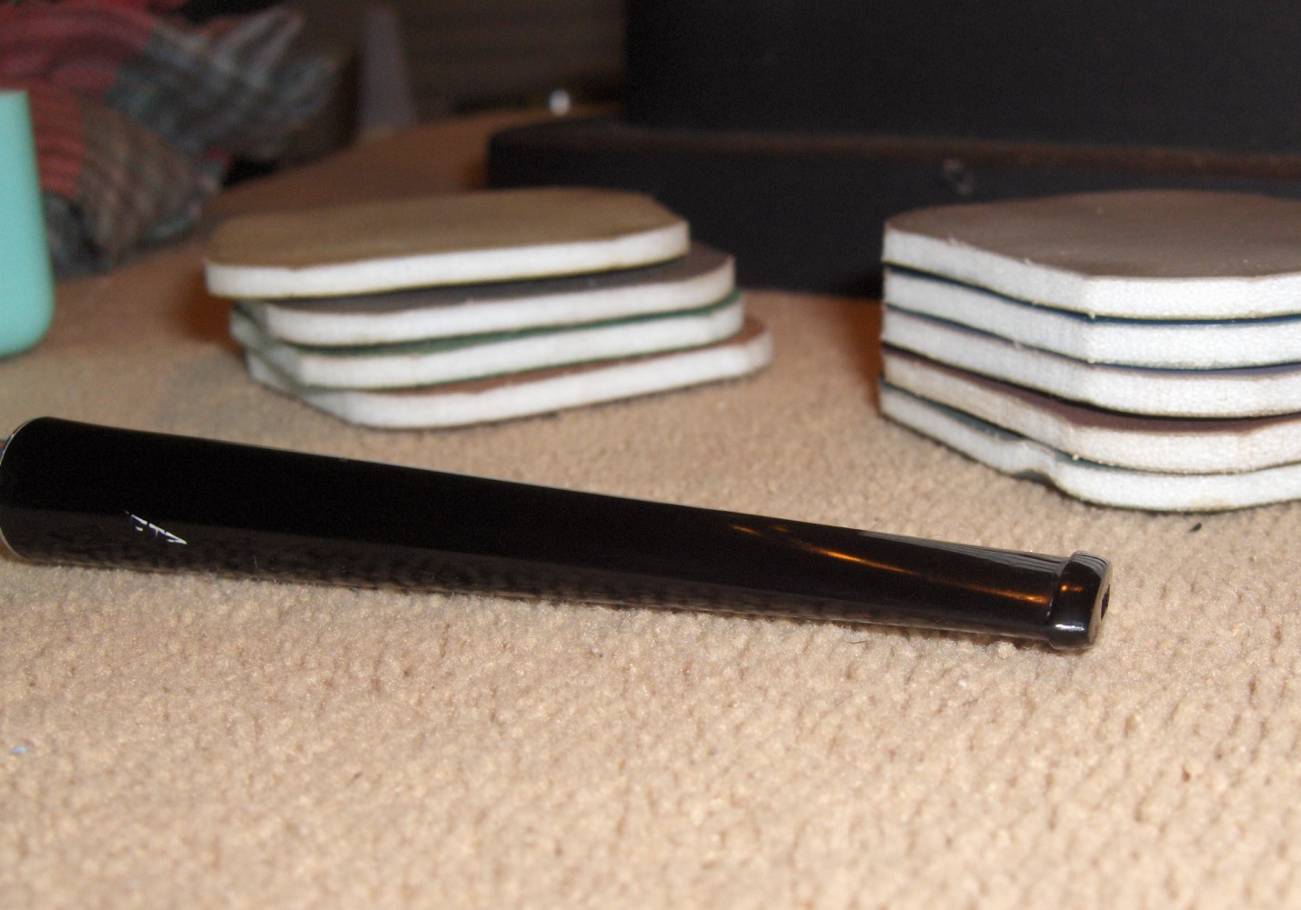
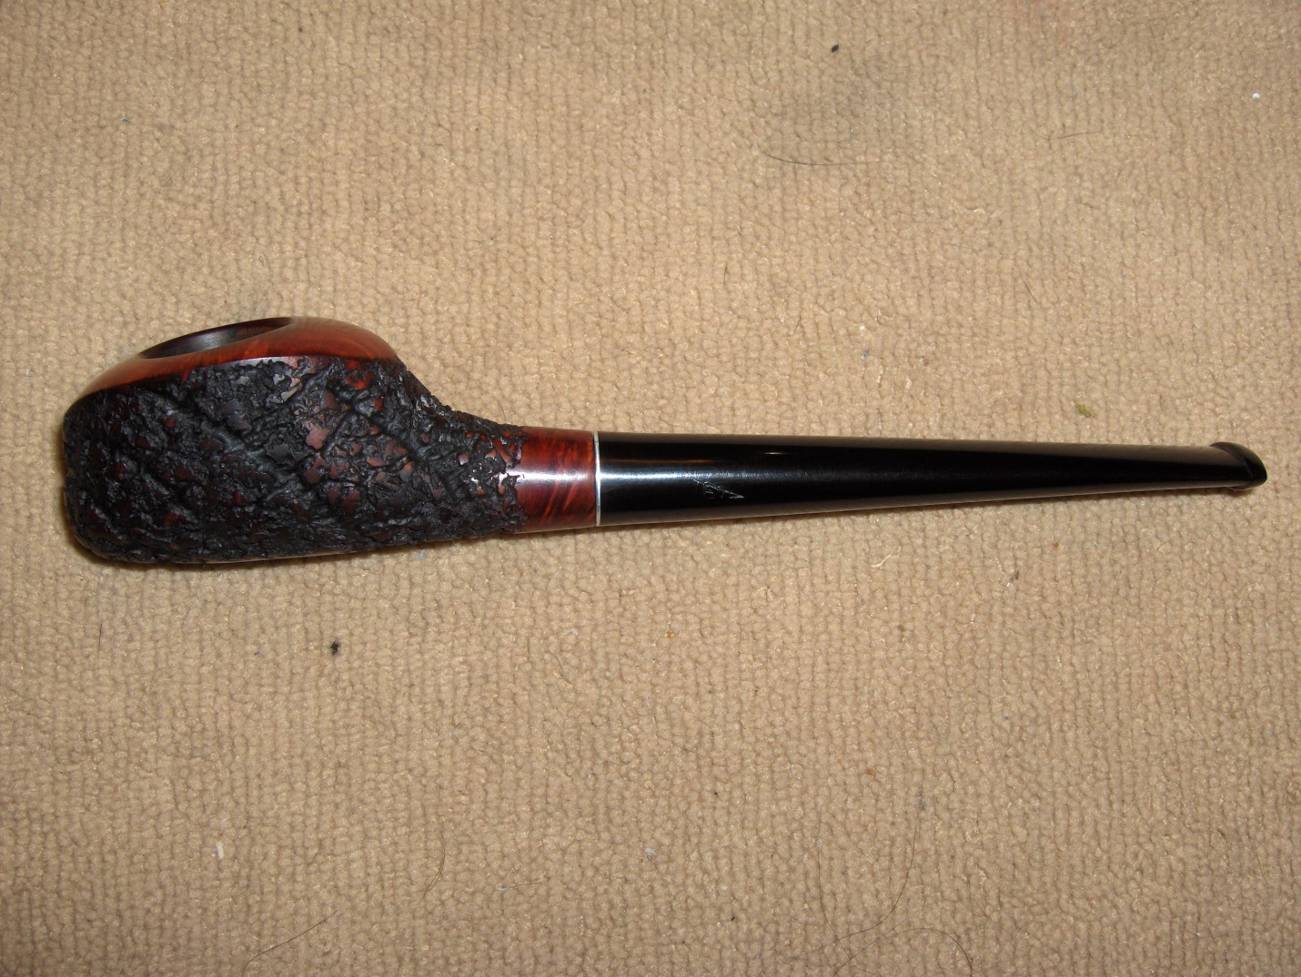
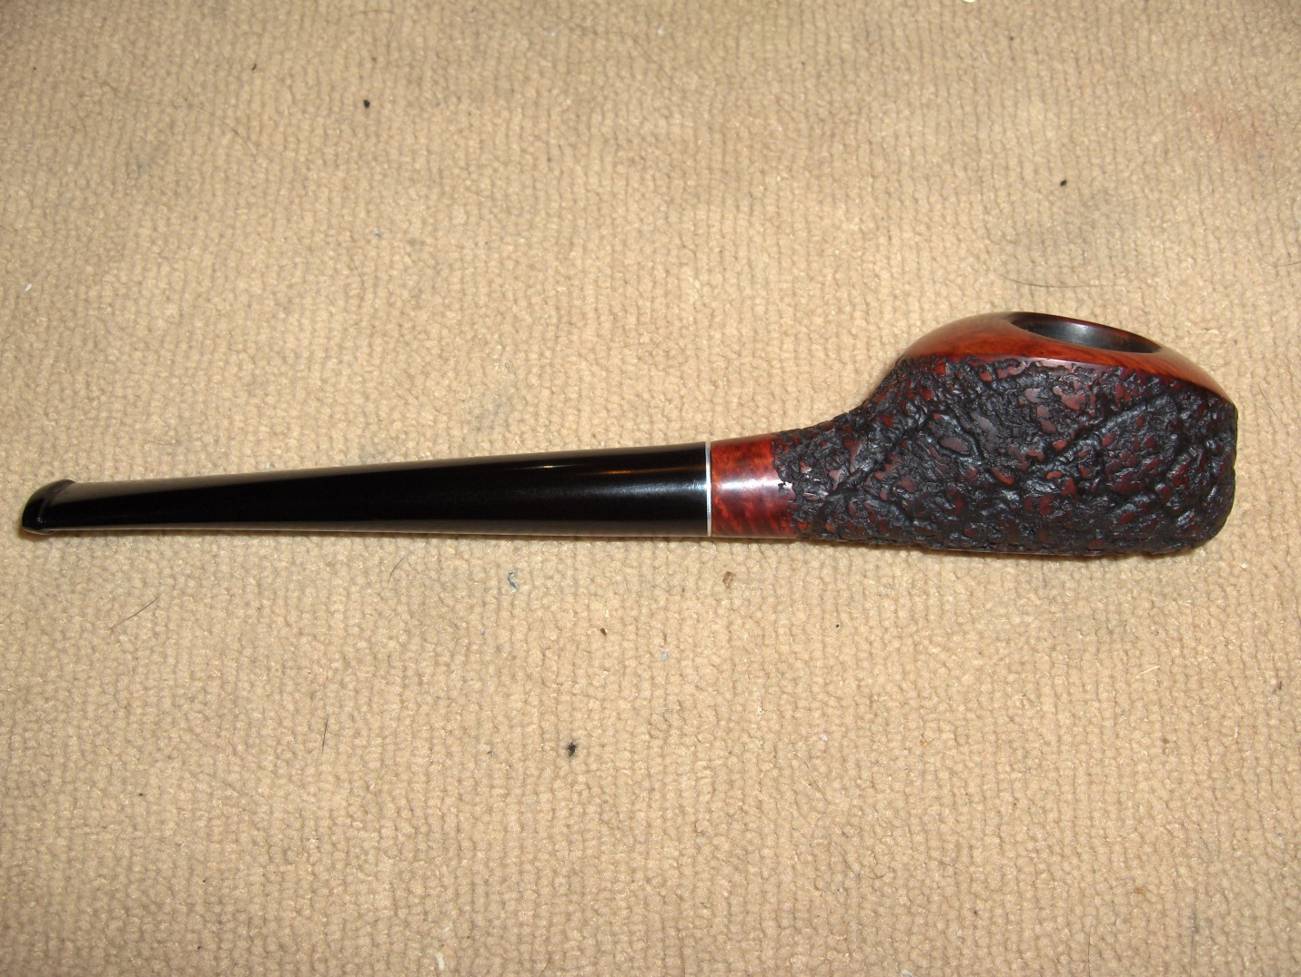
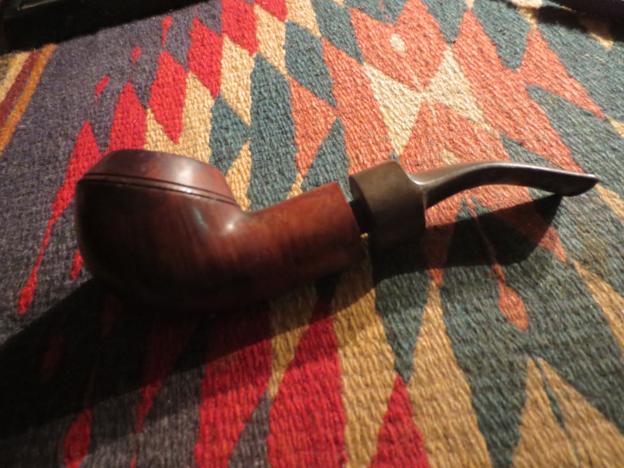
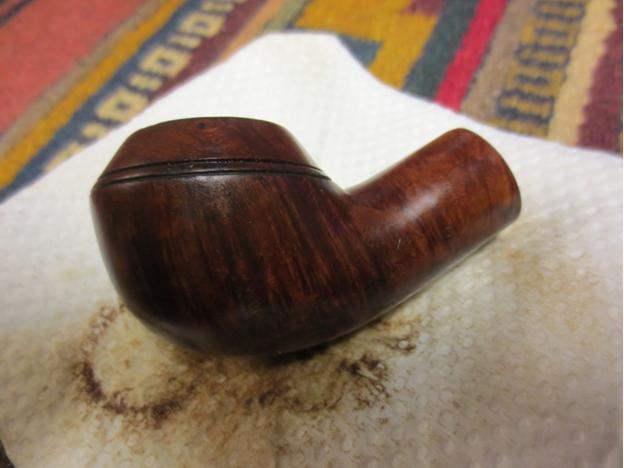
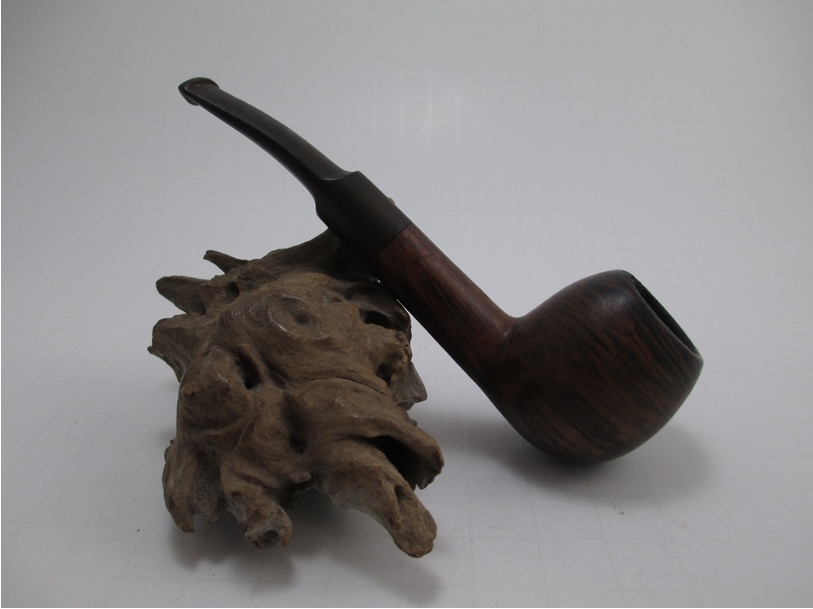
The stem, once oxidized to a uniform sickly green shade, glimmered again in its healthy black condition following a treatment with red and white Tripoli and White Diamond.
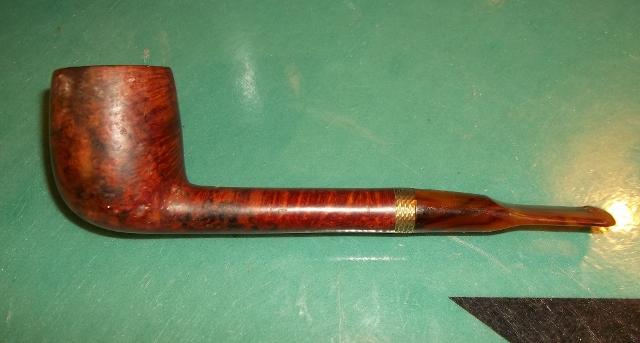
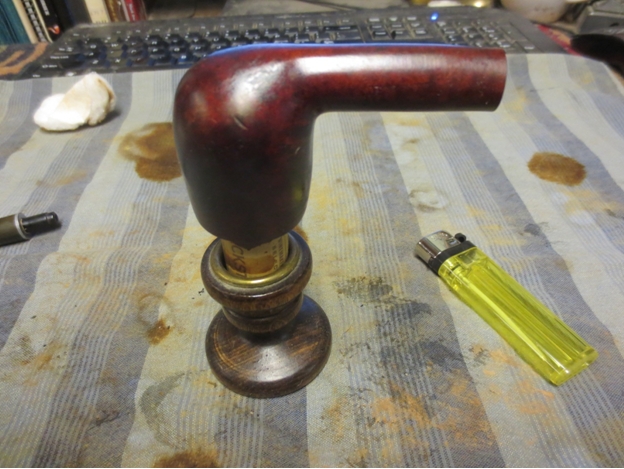
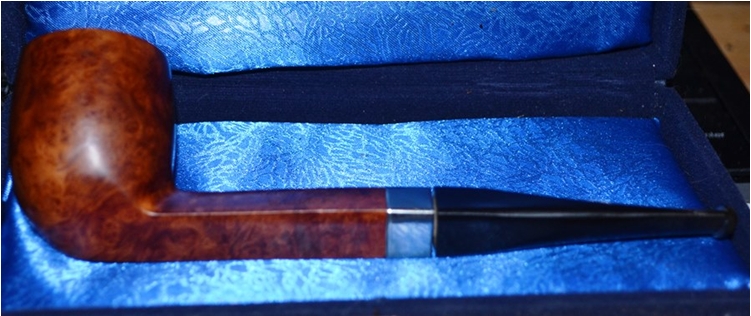
The wooden body, cured of every ailment that had at first glance so shocked me to the very core of my being, was ready for the final course of medicine, which included the same wholly natural elixirs and a gentle buff with carnauba.


 CONCLUSION
Though mighty powers of science, craftsmanship and other forces beyond the comprehension of Man indeed coexist on some unseen dual plain of reality, the awesome dynamism behind them must be harnessed by the guardians of restoration before they can be utilized on a regular basis. I count myself among the fortunate to have survived this harrowing ordeal with my body, mind and soul intact.
I entreat all those who read this to consider it with open minds, but as a cautionary tale.
*Reconstruction of Westminster Cathedral, the mother church of English Catholicism, began in 1895, but due to the cost has never been completed – leaving much of the interior unfinished brickwork.
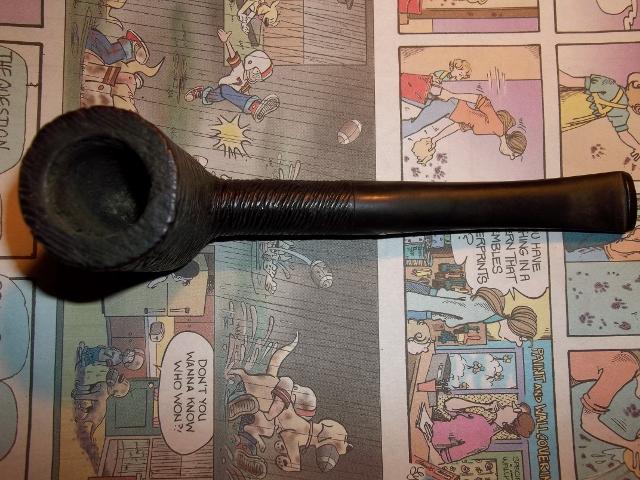
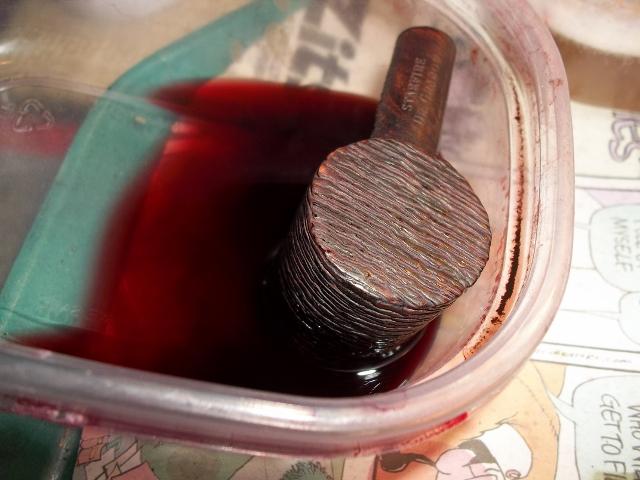
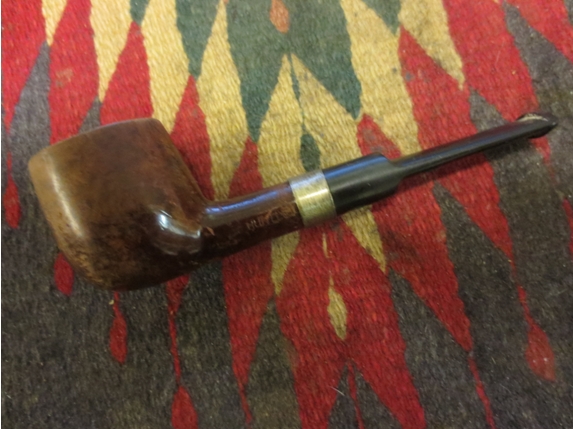
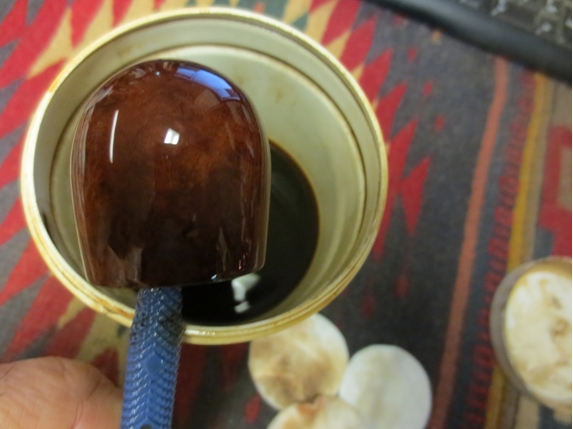
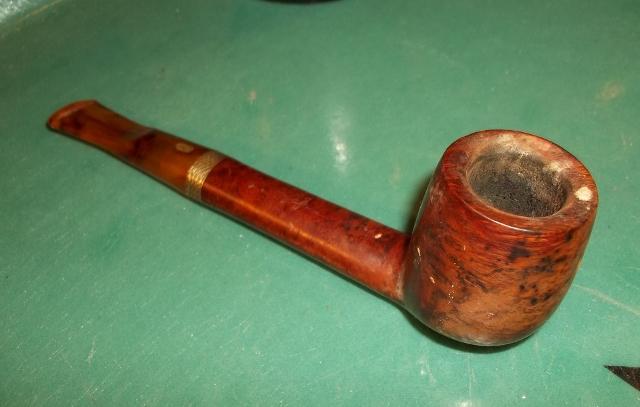
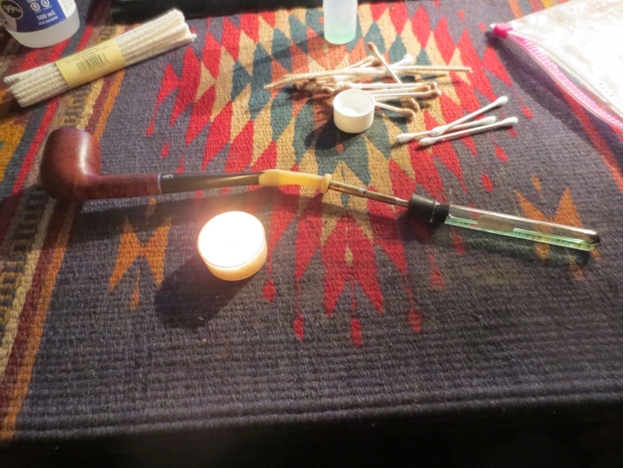
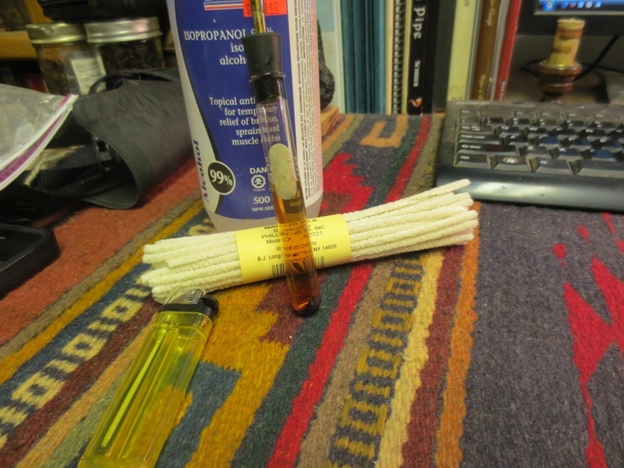
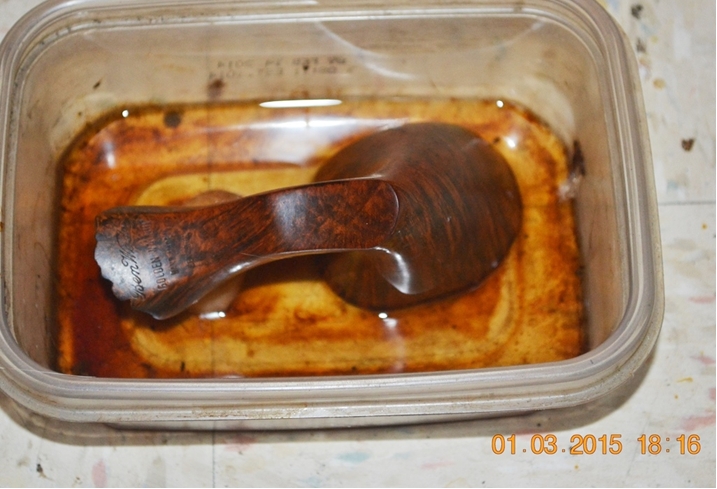
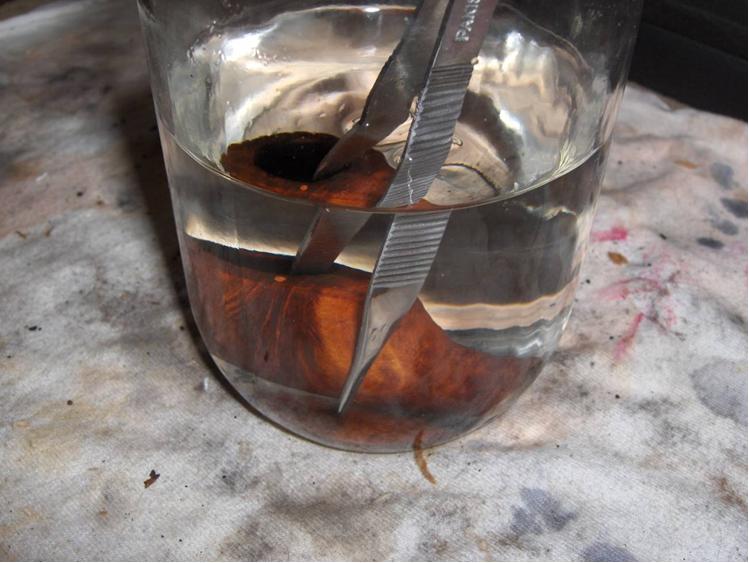
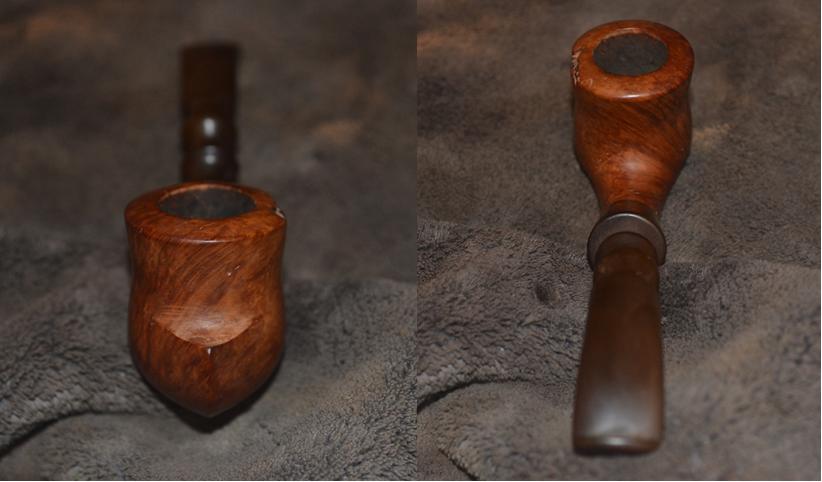
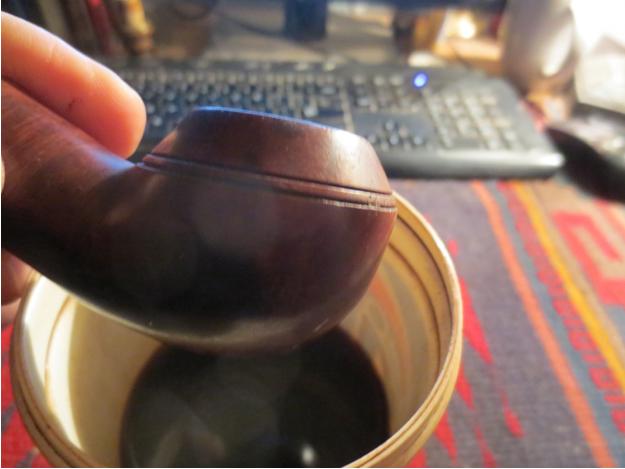
 I started by giving the bowl an alcohol bath. The purpose of the bath is not to sanitize the pipe, the alcohol just loosens up all of the crud (tar, cake, un-burned tobacco etc.).
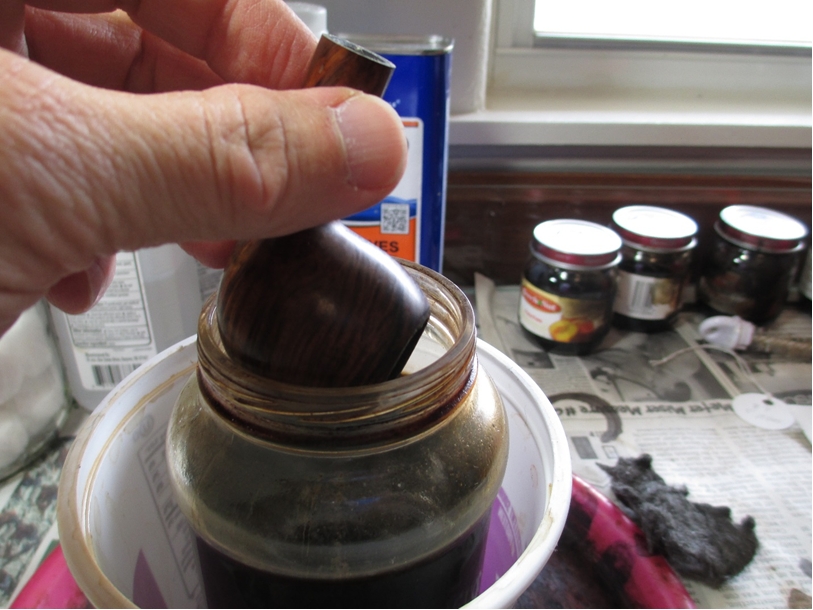 While the bowl marinated, I soaked the stem in Oxyclean.
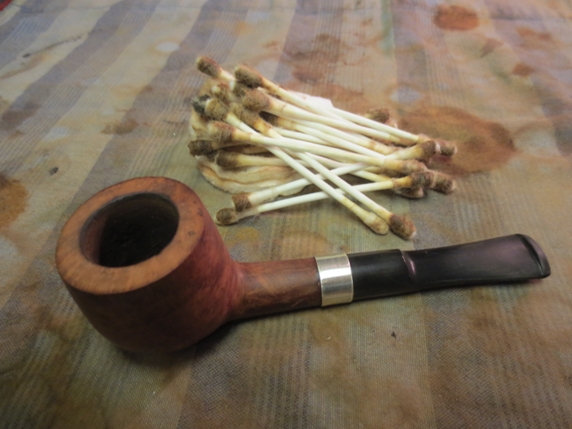
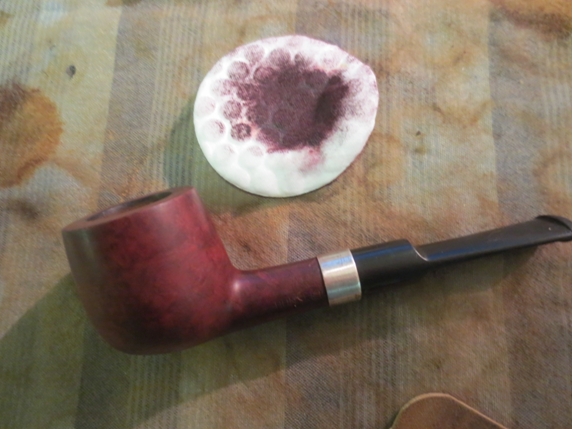
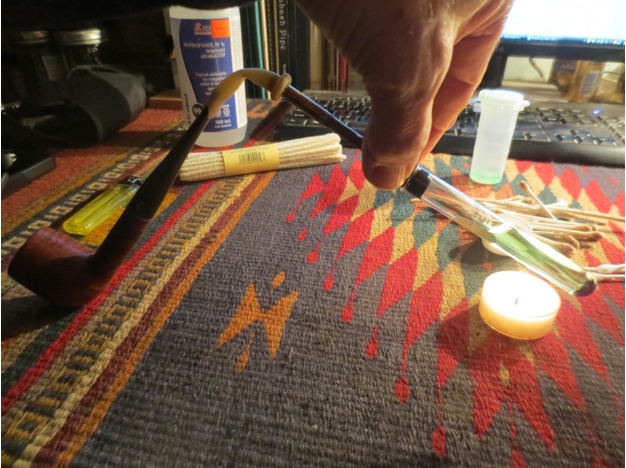
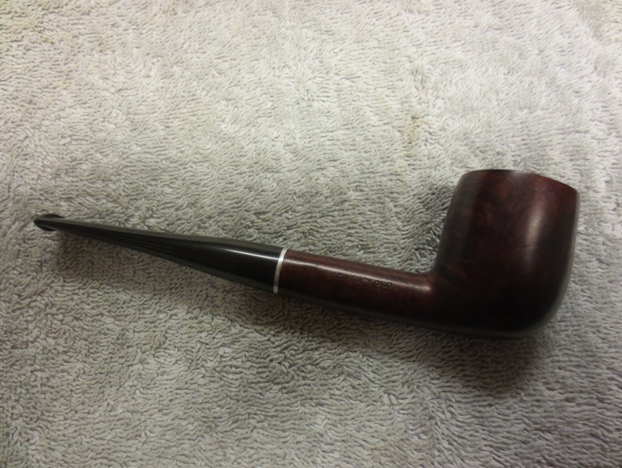
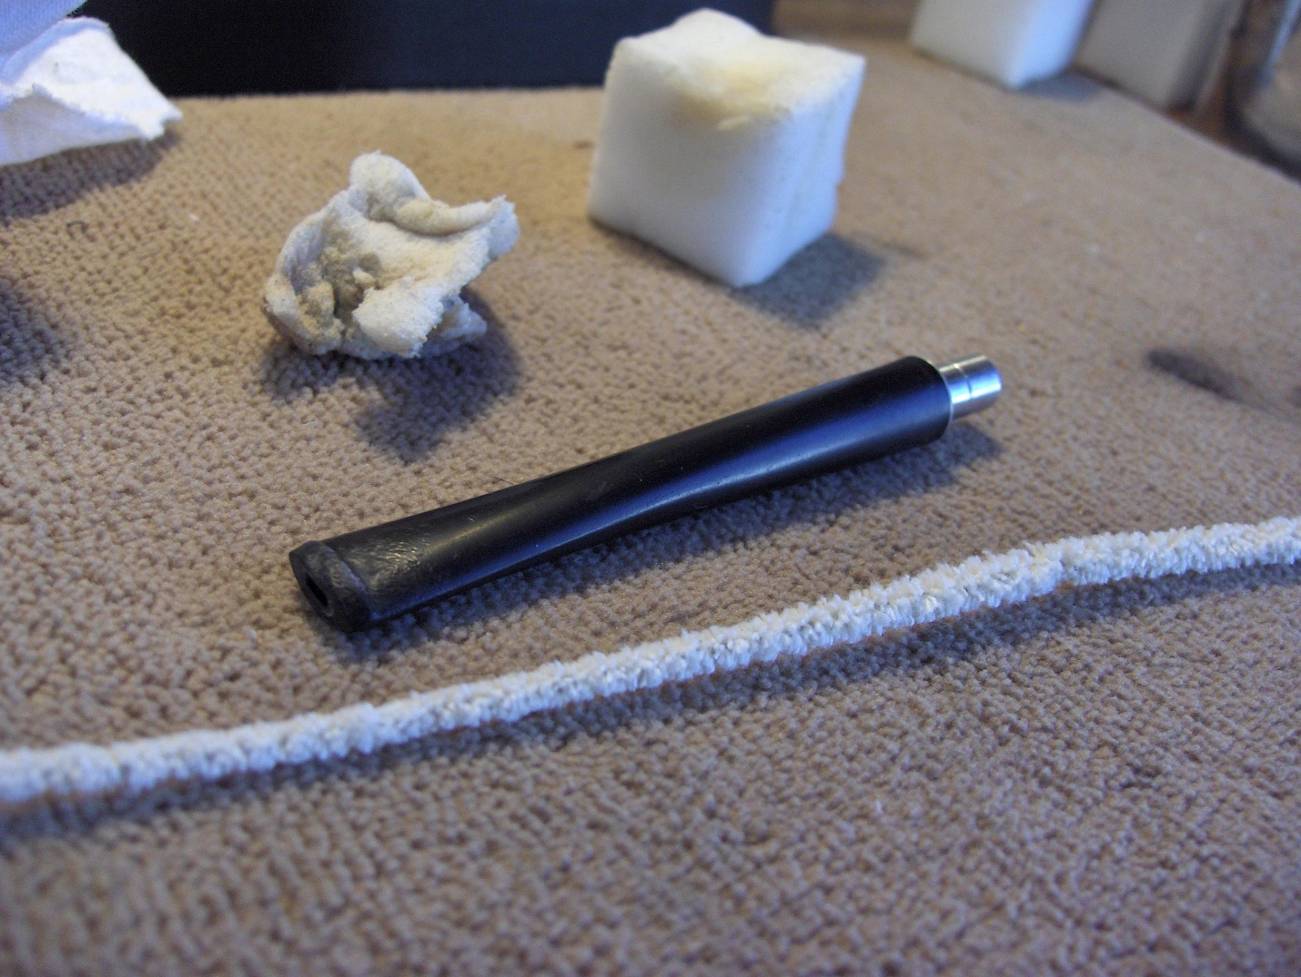
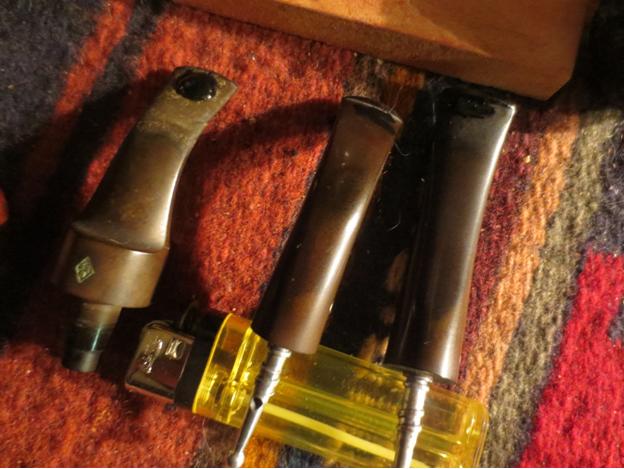
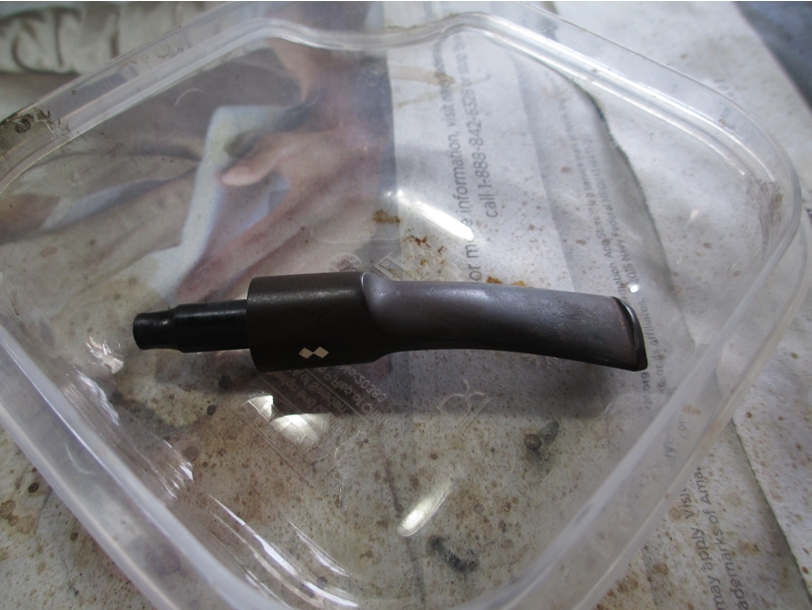 The Oxyclean brings out the oxidation and helps loosen the gunk inside the stem. I usually run a fuzzy stick through the stem while I still have the cleaning solution. That’s always a good indicator how much work I will have during the next step. Fortunately, this stem didn’t look too bad. Notice the brown oxidation. Once I finished the inside of the stem, I took an old tooth brush and some tooth paste and removed the worst of the oxidation. This also had the benefit of making the white inlay nice and bright.
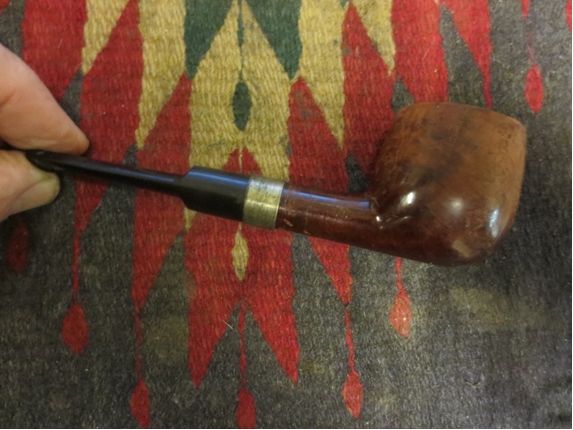
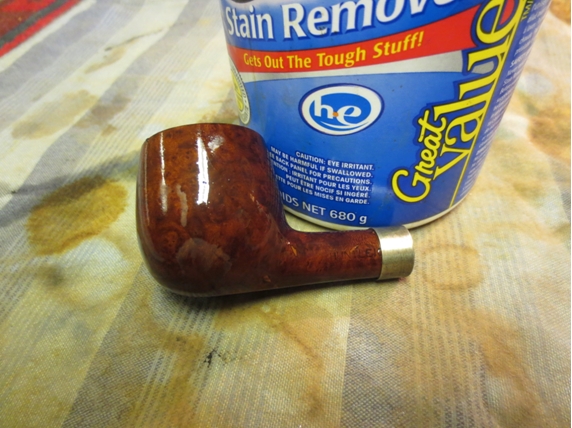
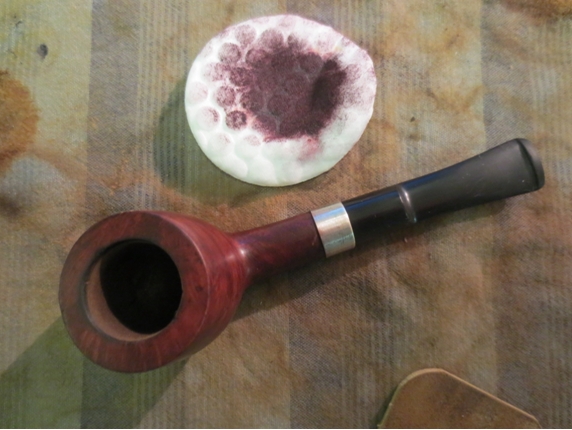
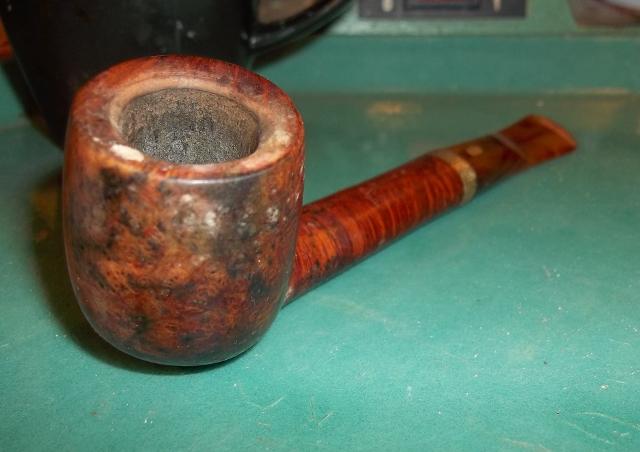
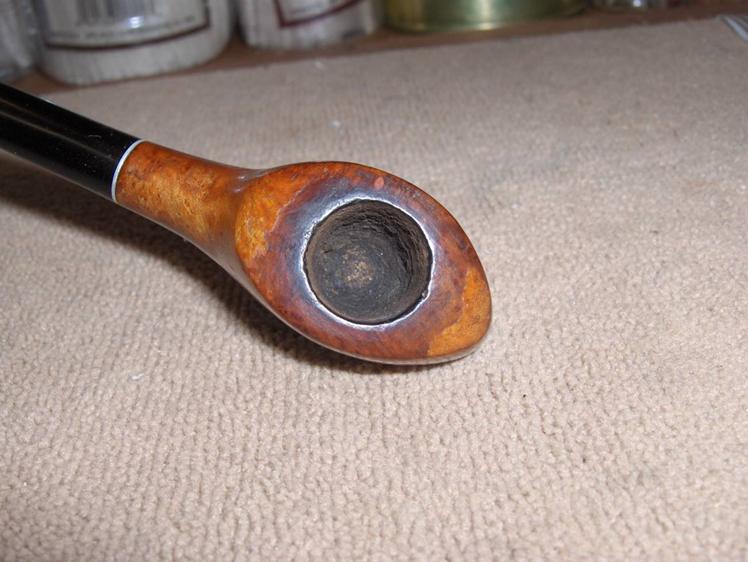
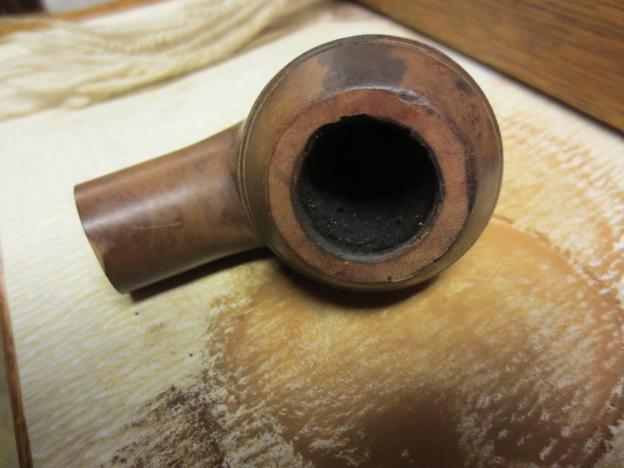
 Next up was removing the cake from the bowl. After a 24 hour soak, it is very easy to remove even the most stubborn cake.
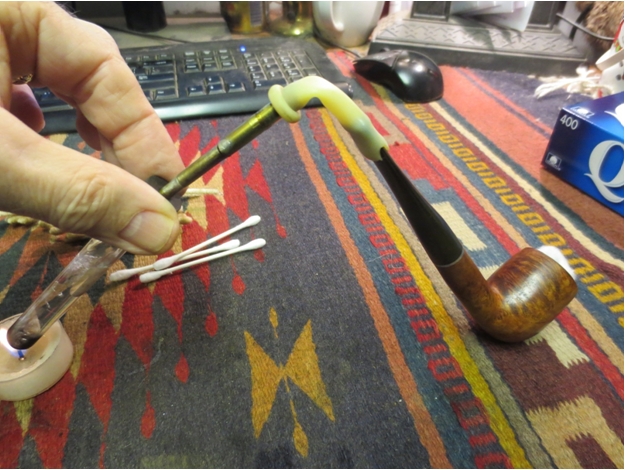
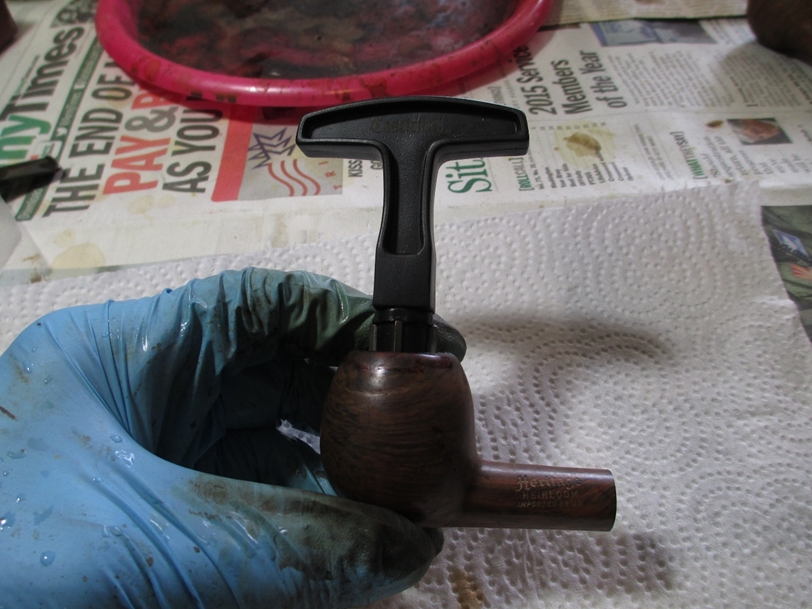 After removing the cake it was time to tackle the shank using the retort.
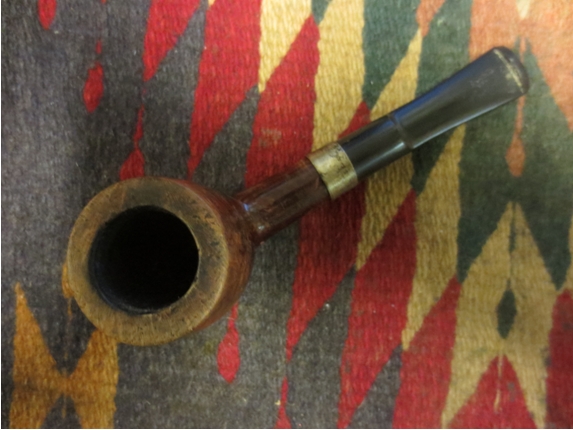
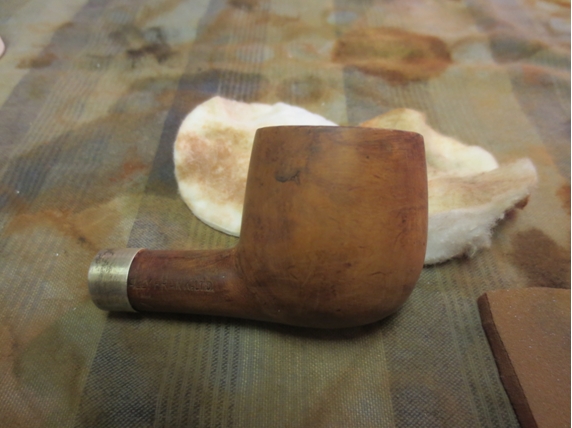
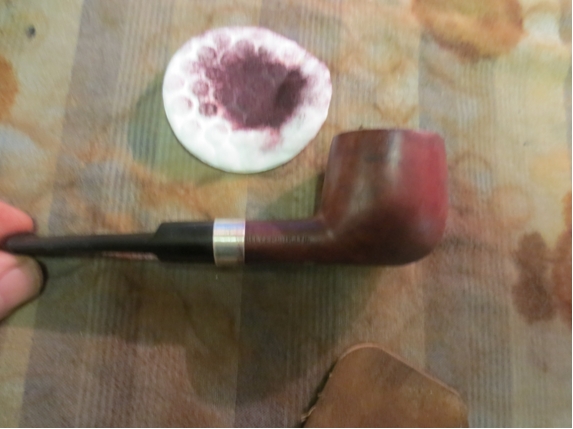
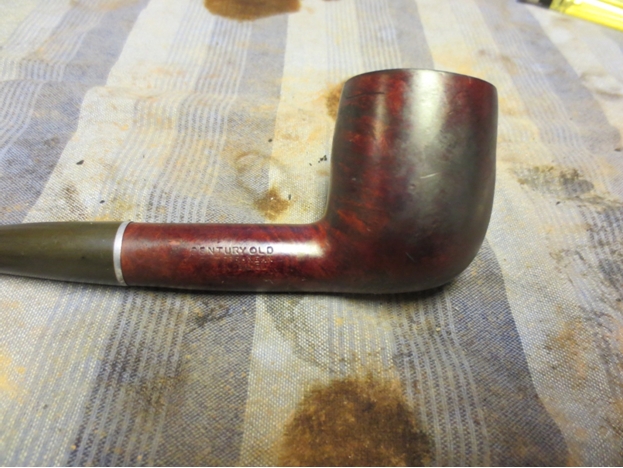
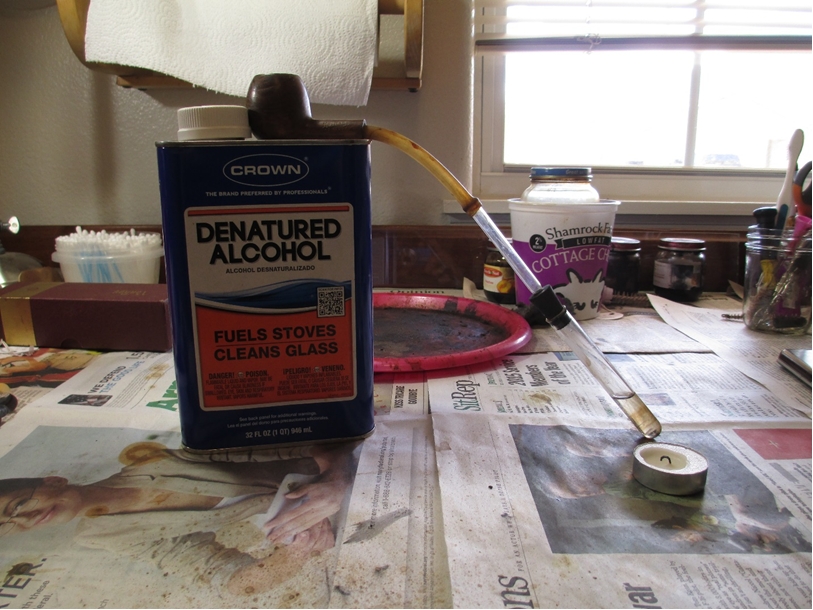 She was a dirty girl.
 I ended up retorting the shank five times! Not sure what kind of tobacco the previous owner smoked or if he ever used pipe cleaners.
 Fortunately most of the nastiness was in the shank and the stem only required one fuzzy stick.
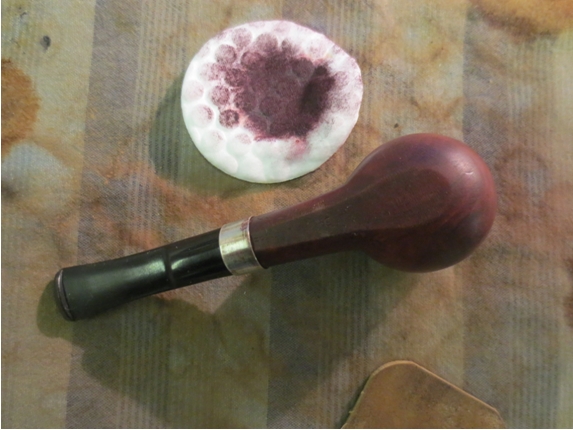
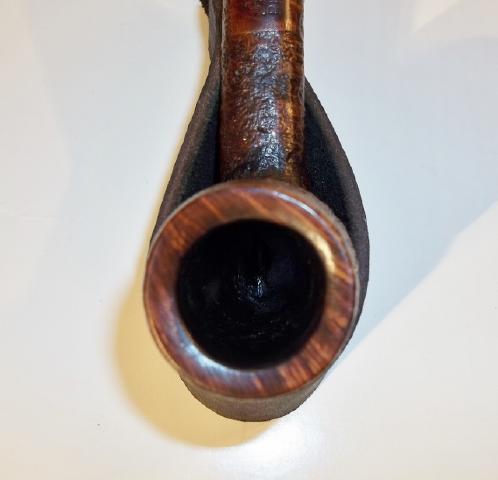
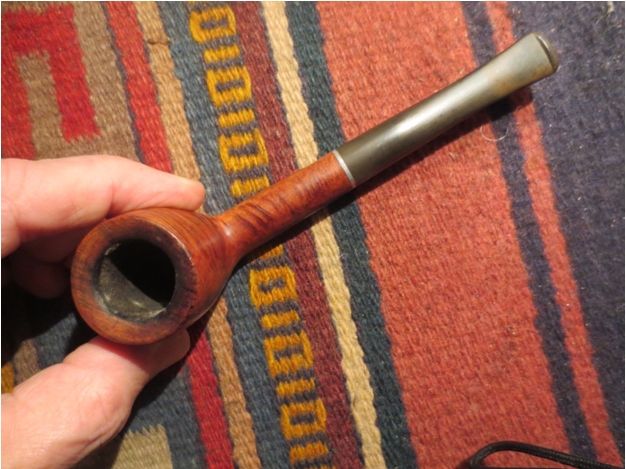
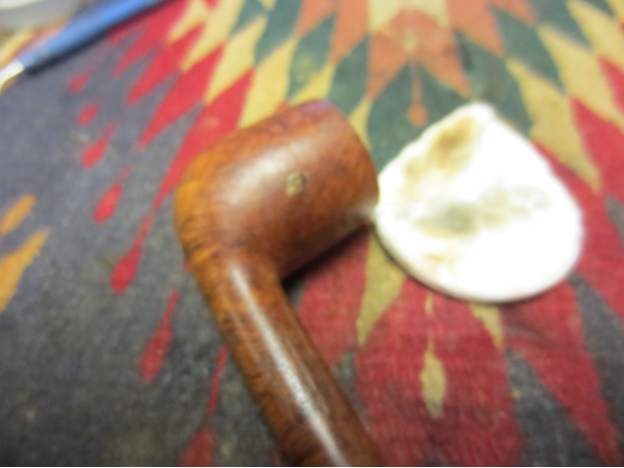
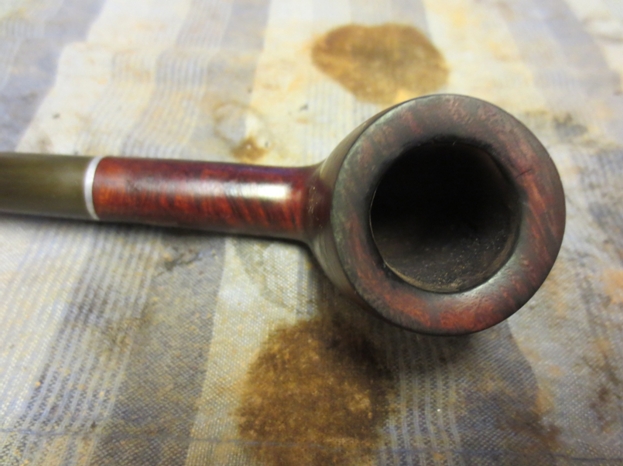
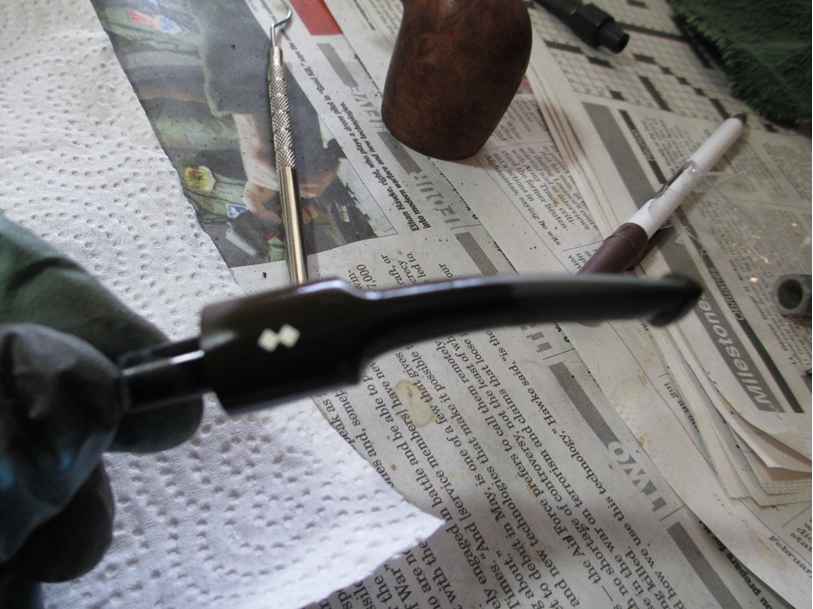
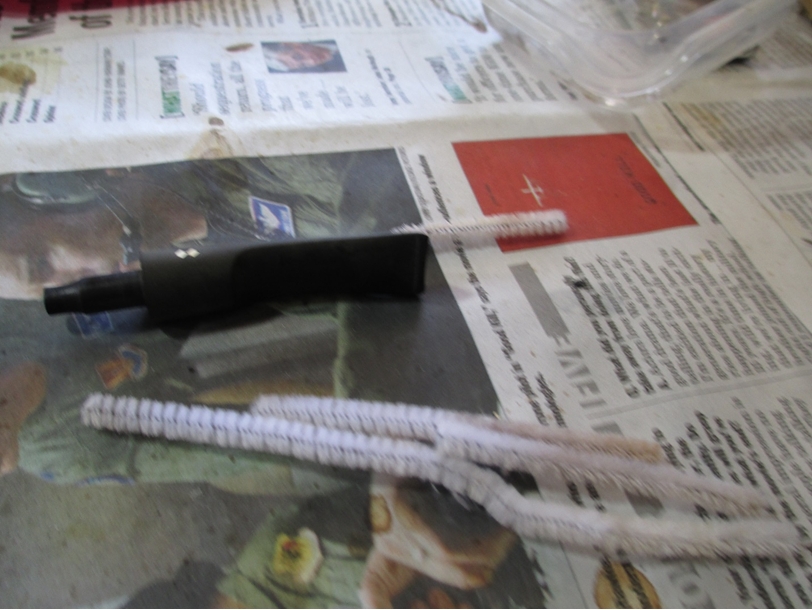 The final cleaning step was removing the tar and cake from the rim. I used 0000 steel wool and acetone. The steel wool does a nice job removing the tar without damaging the finish.
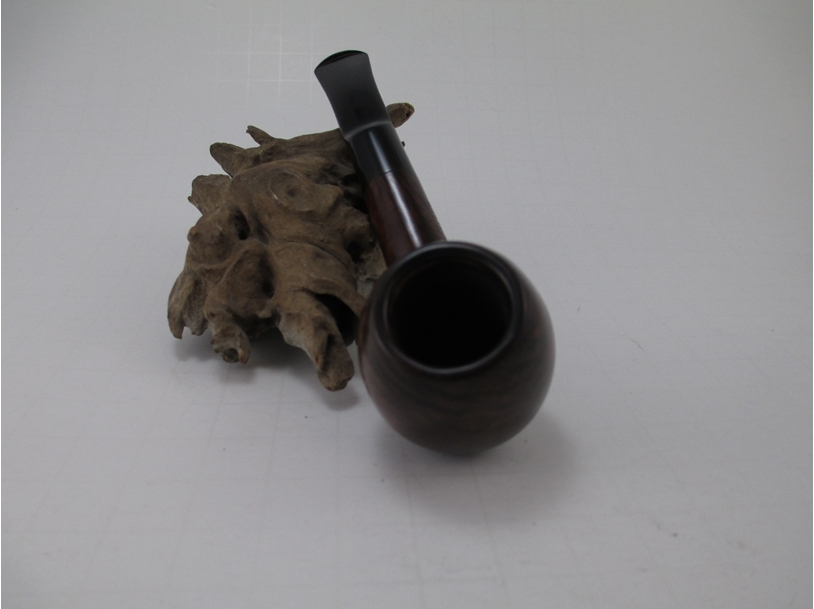
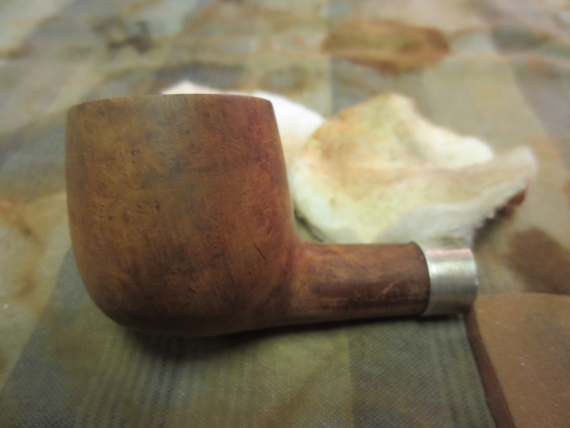
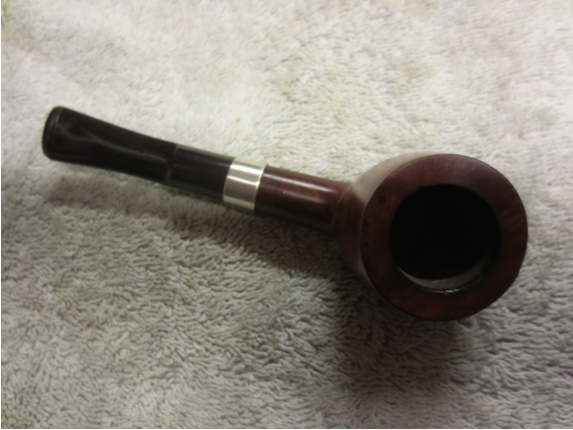
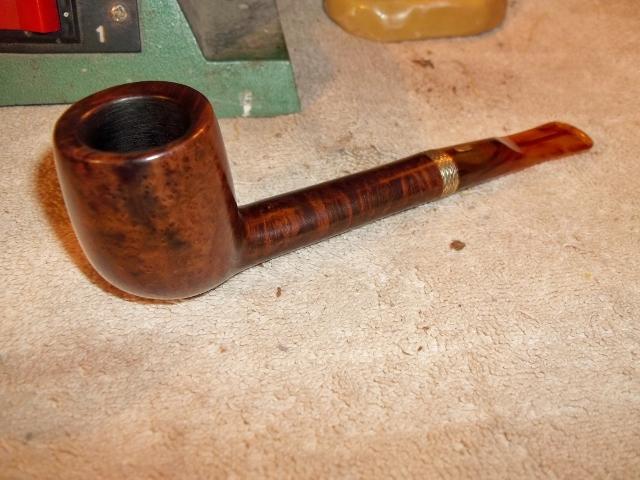
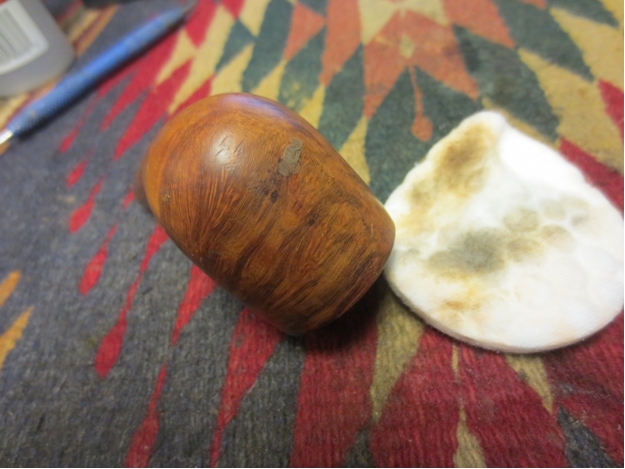
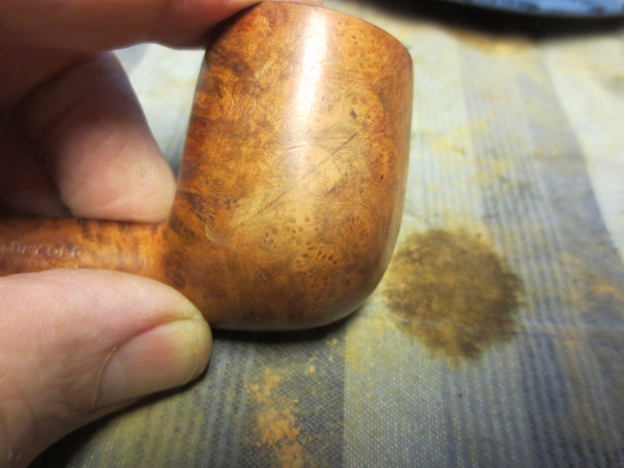
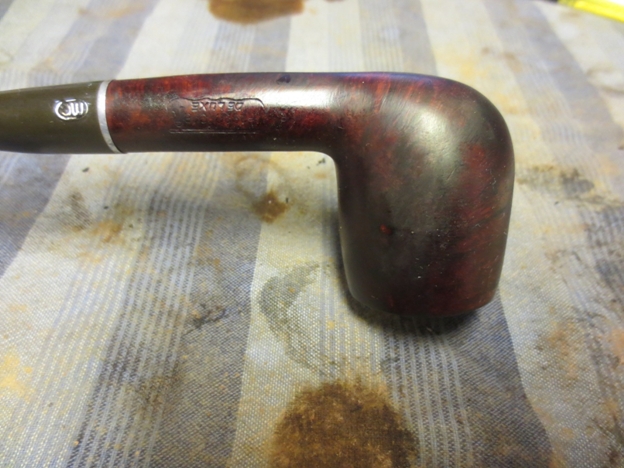
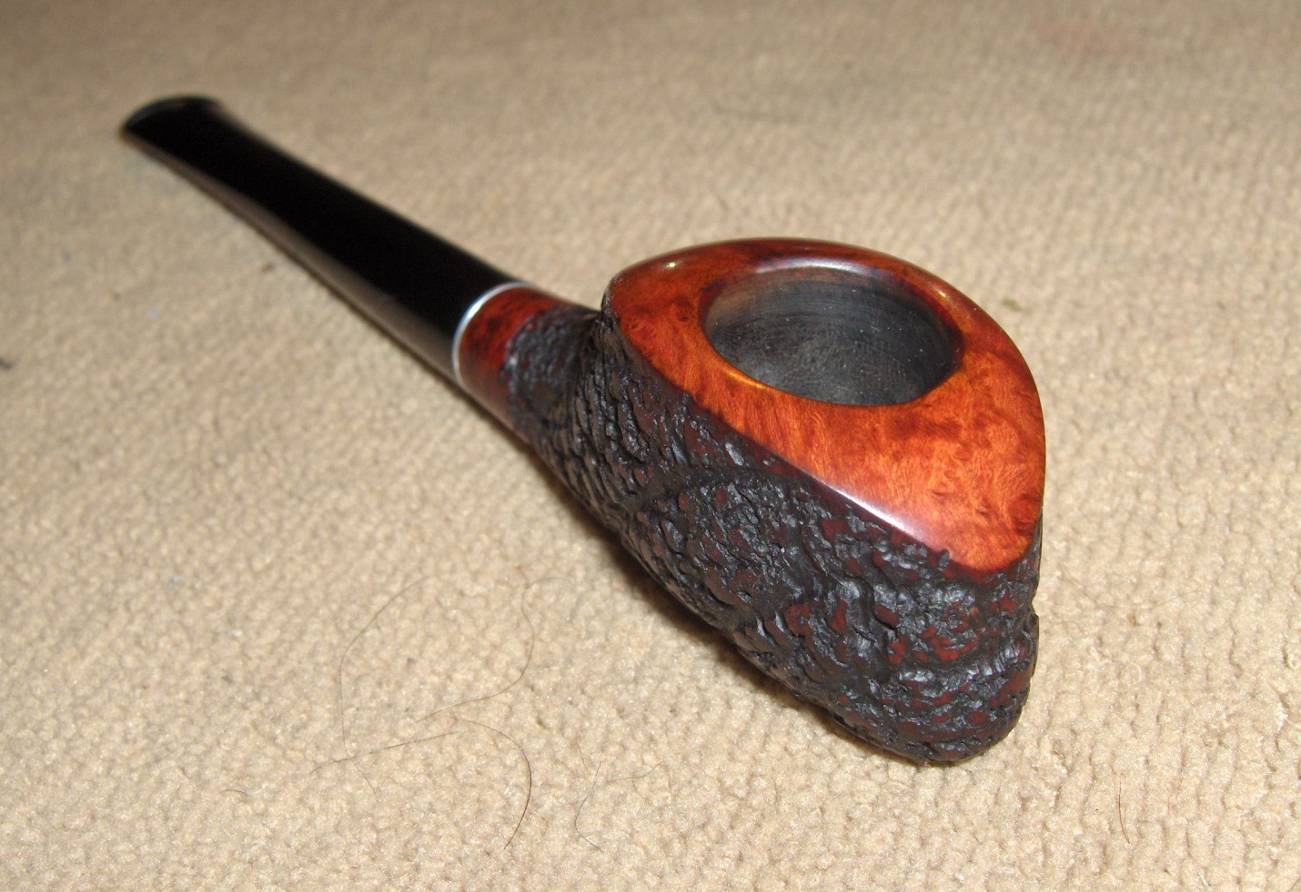
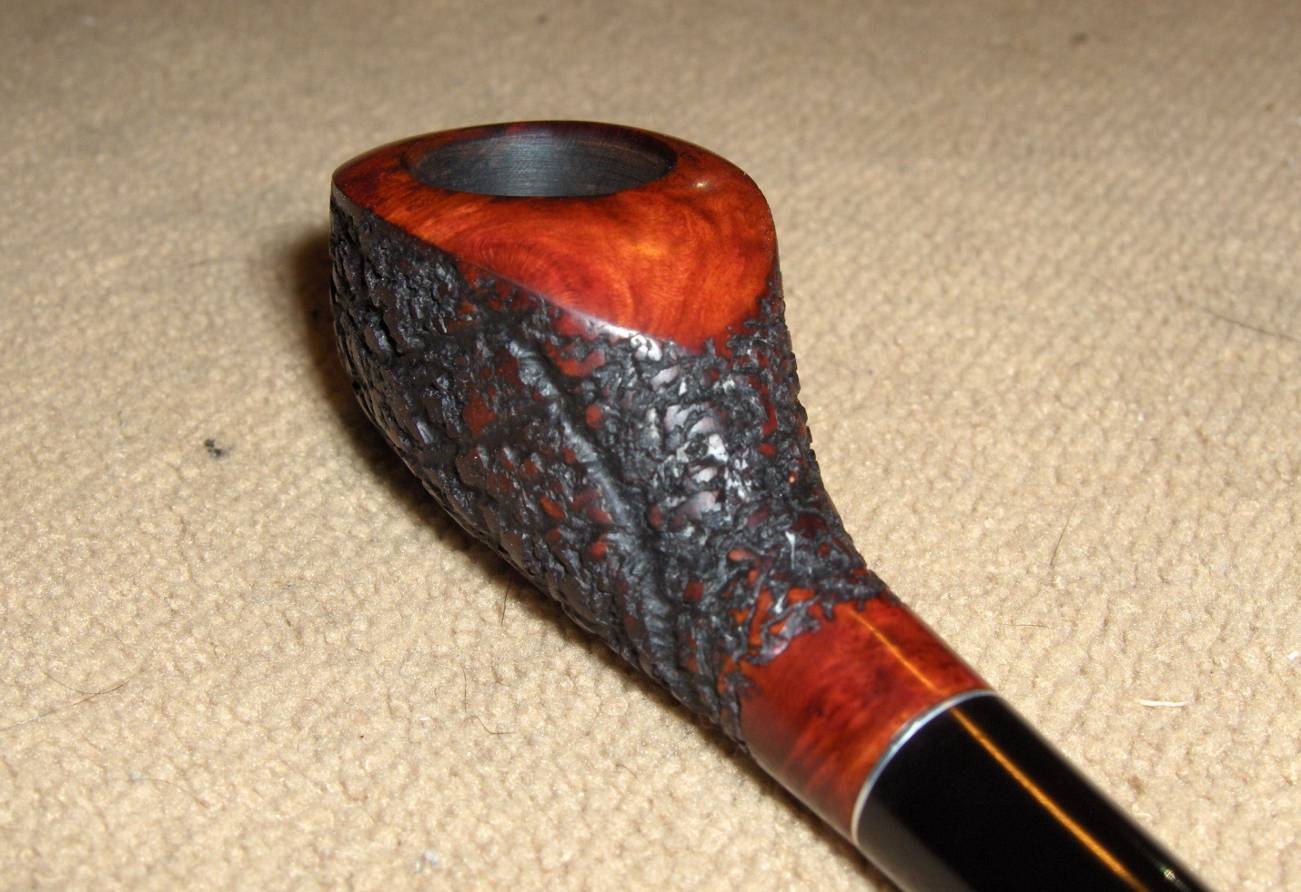
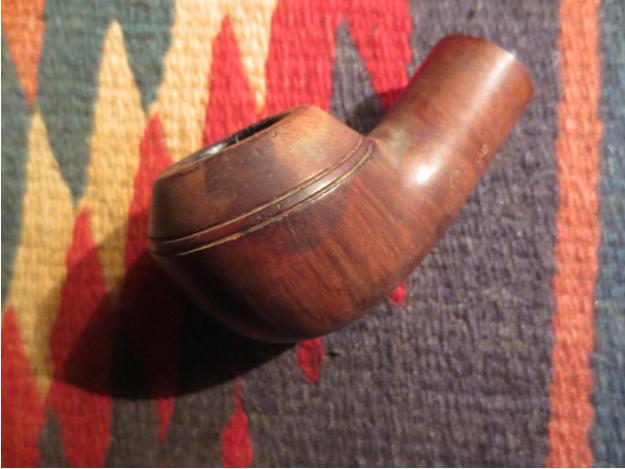
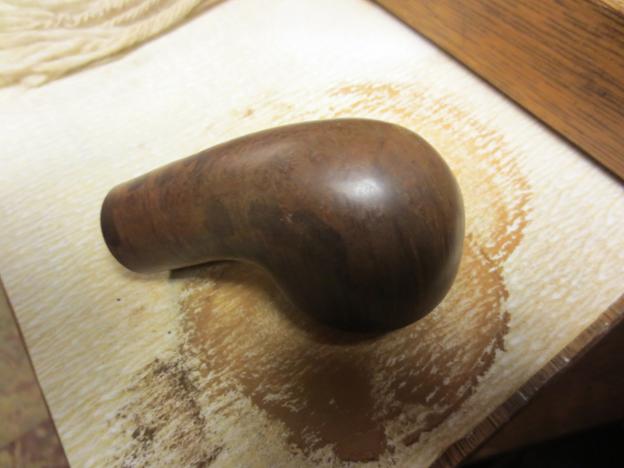
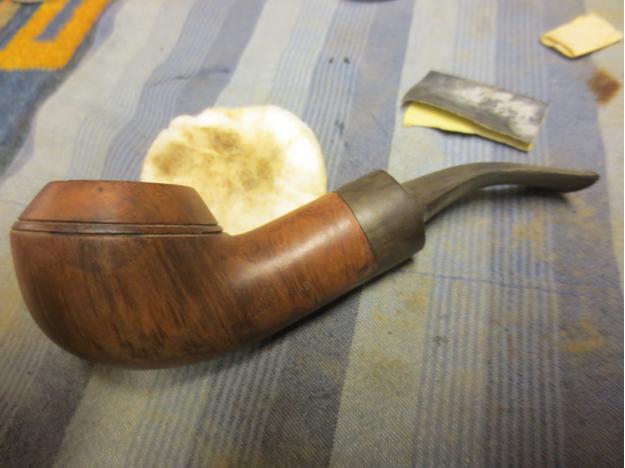
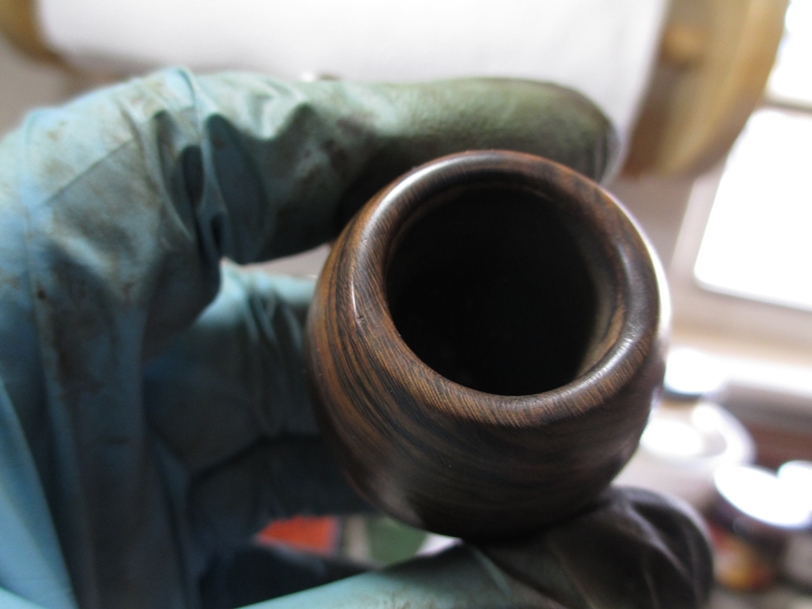 There were a couple of dents in the side of the bowl, so I used steam to raise the dents. I then used a progression of micro mesh pads, 1500-12,000 grit in preparation for staining. Here is the bowl ready for stain.
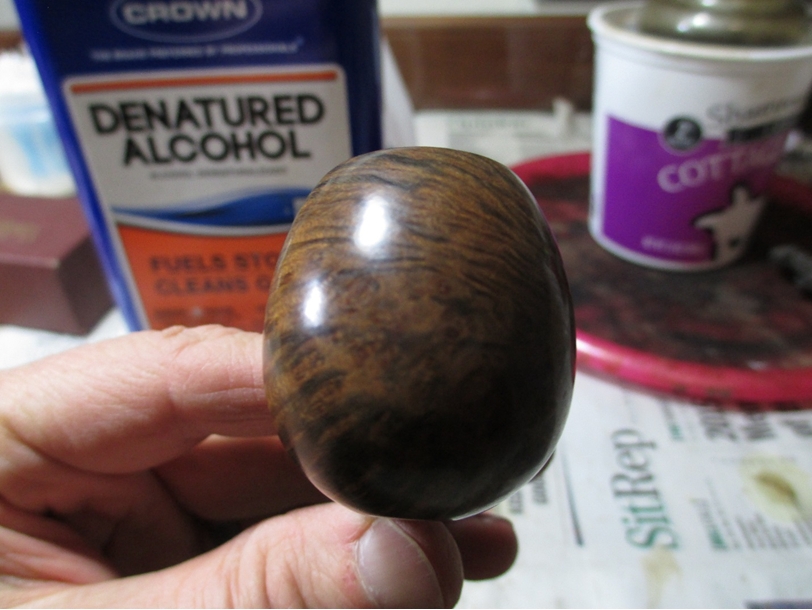
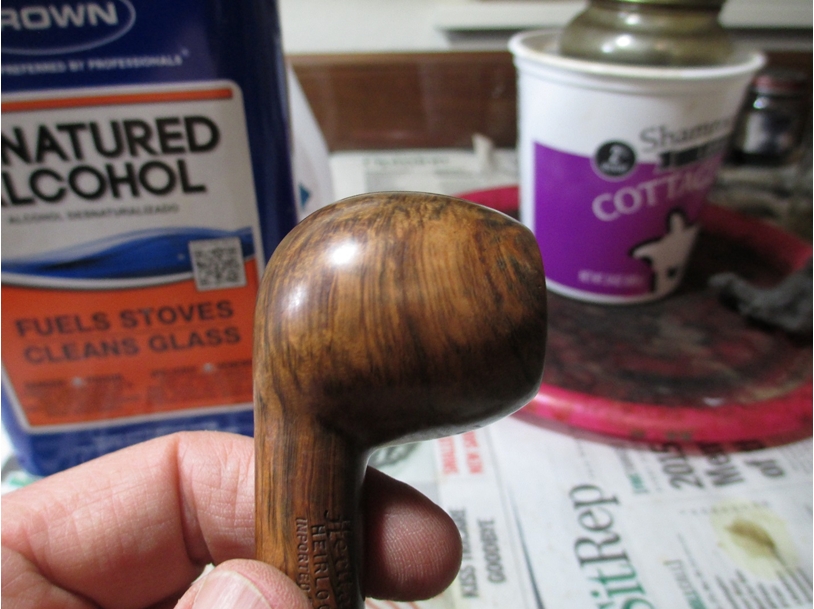
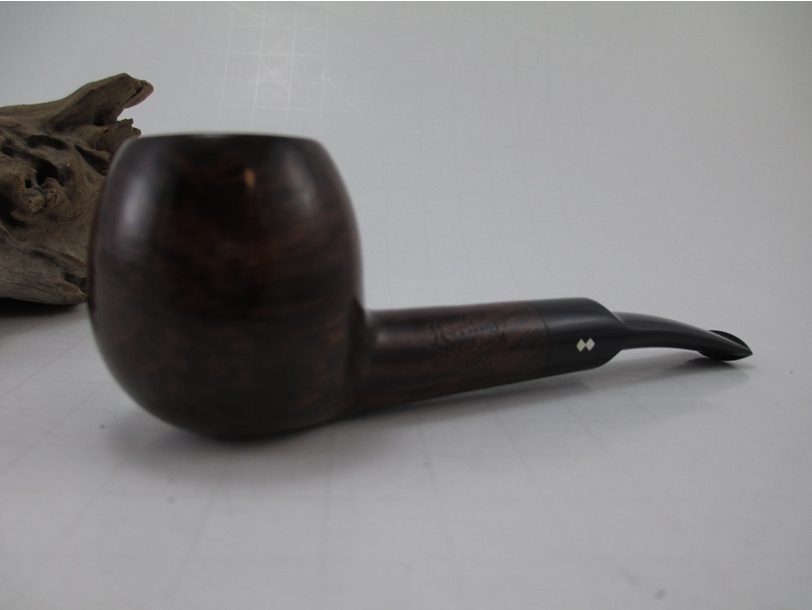
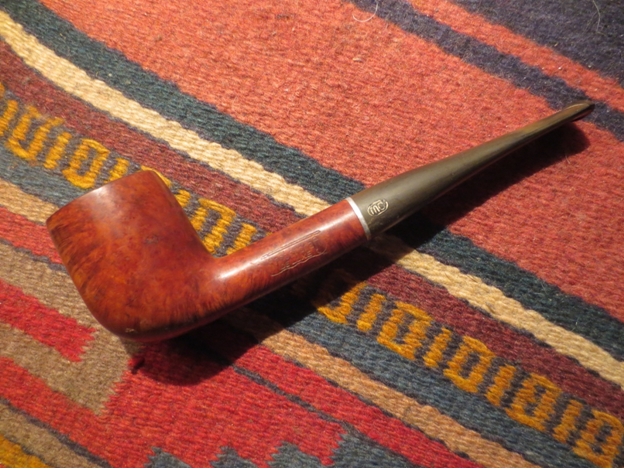
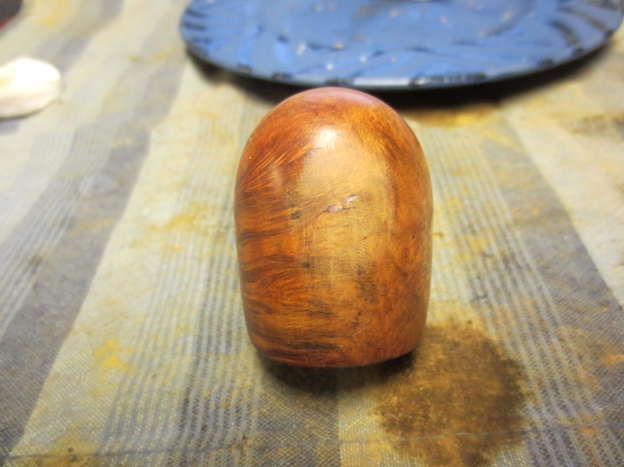
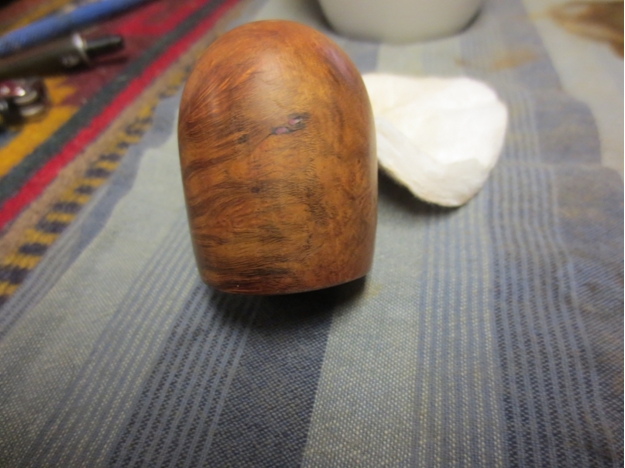
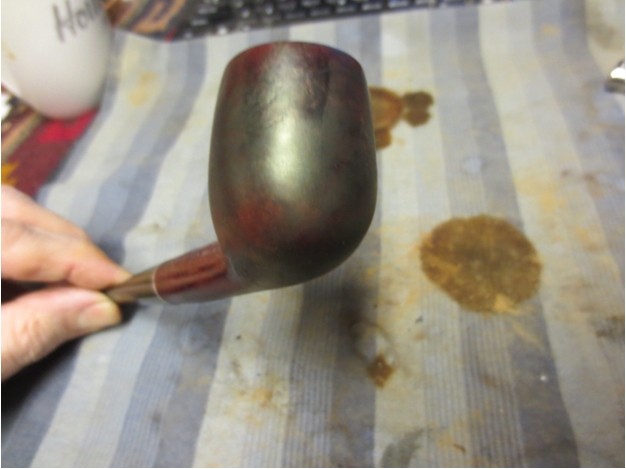
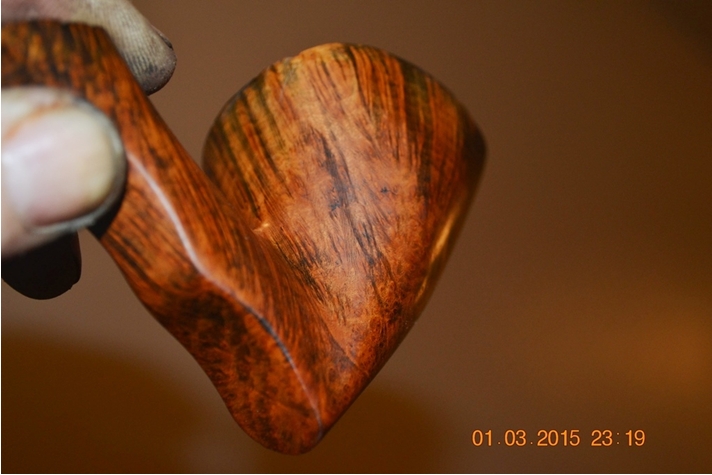
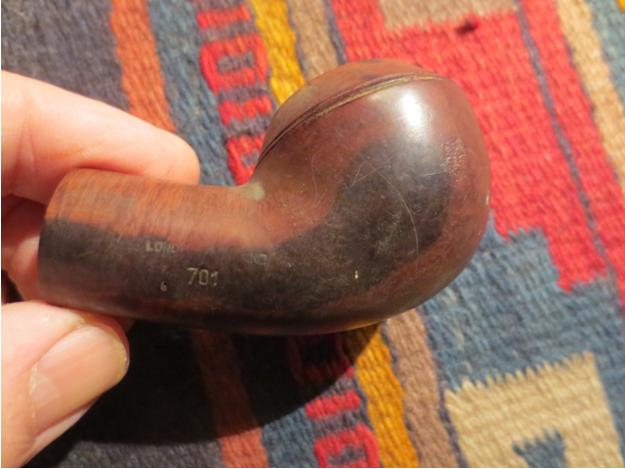
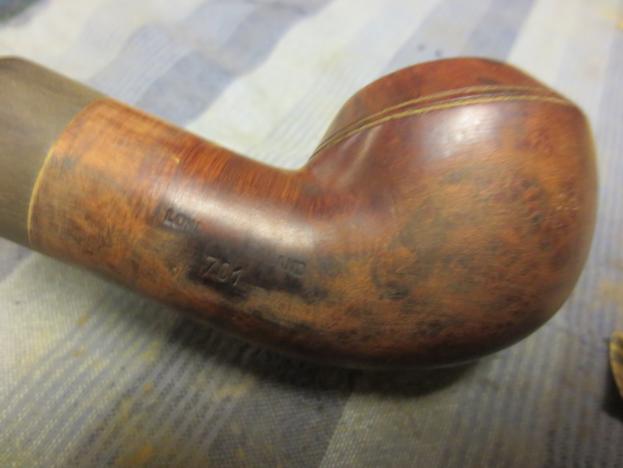
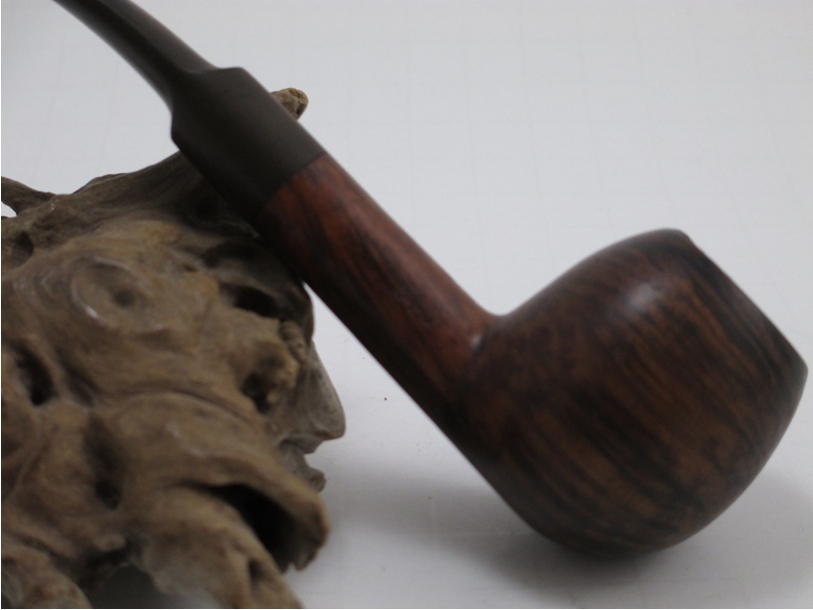
 You can see the grain is everywhere.
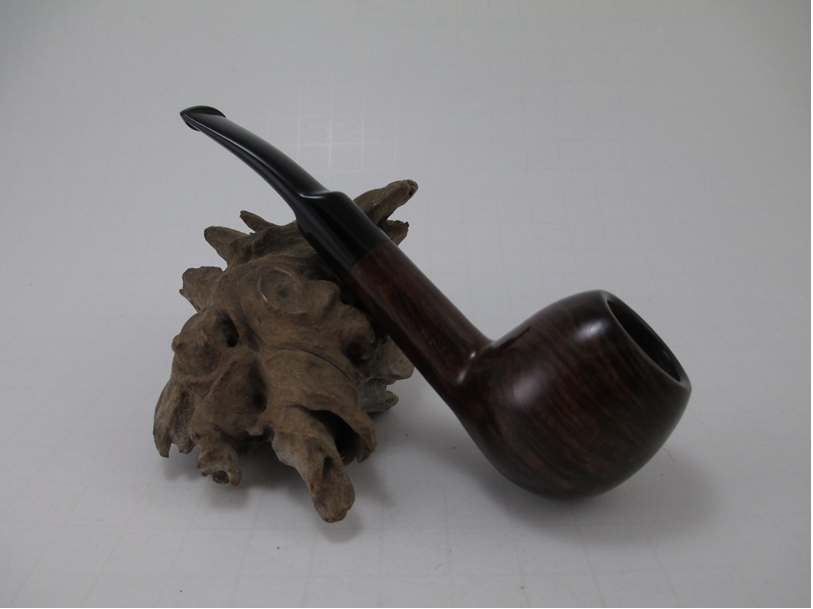
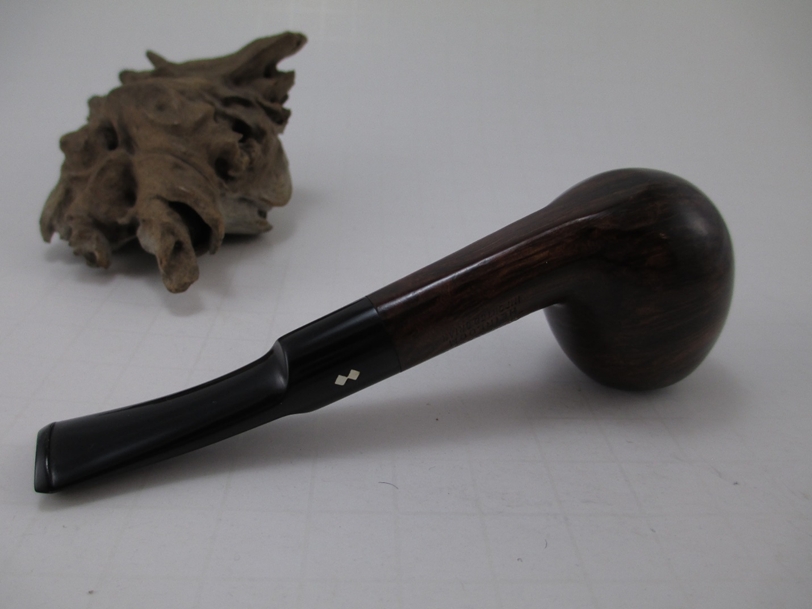
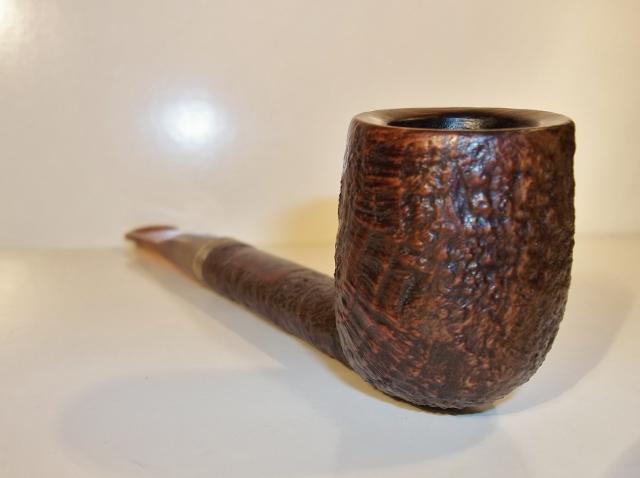
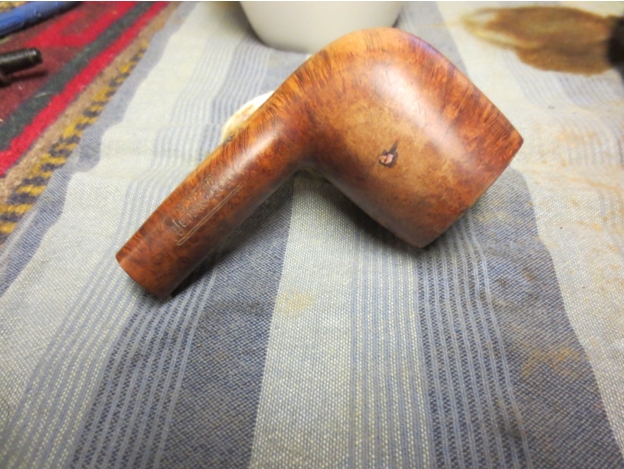
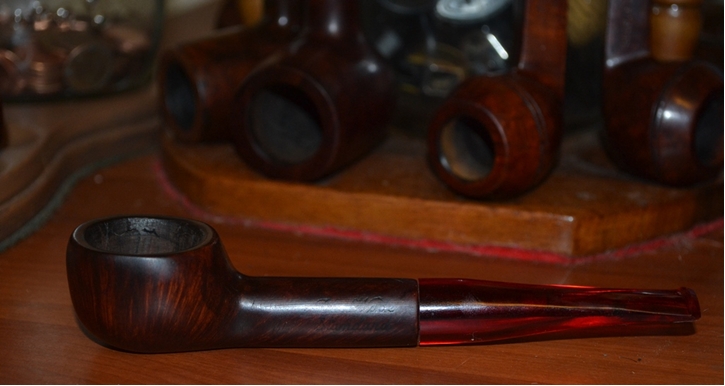
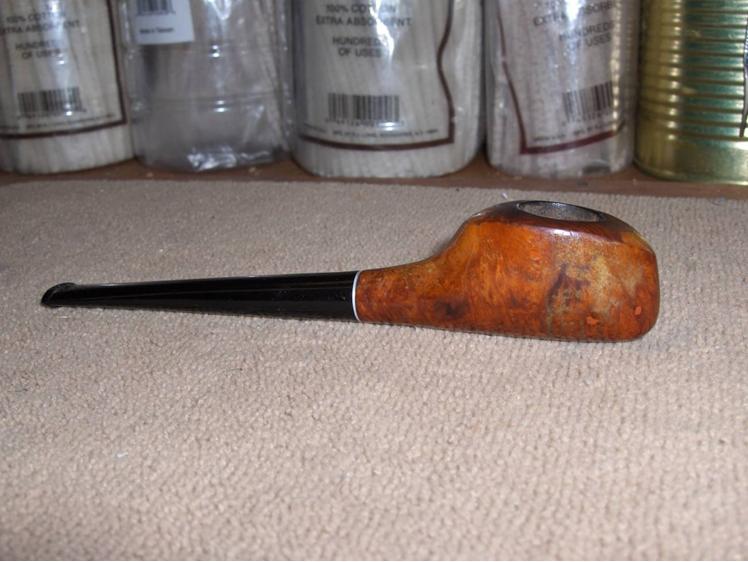
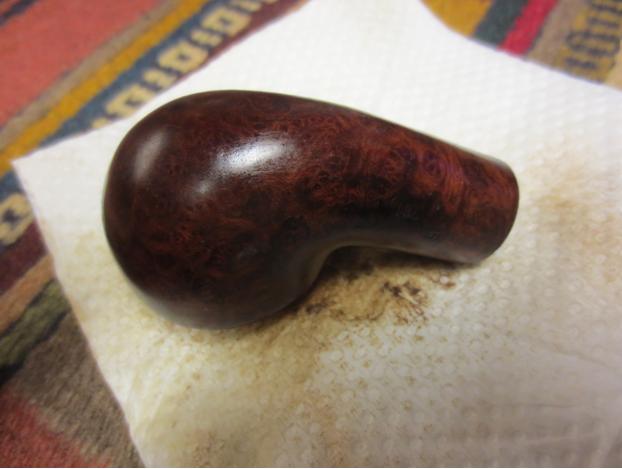
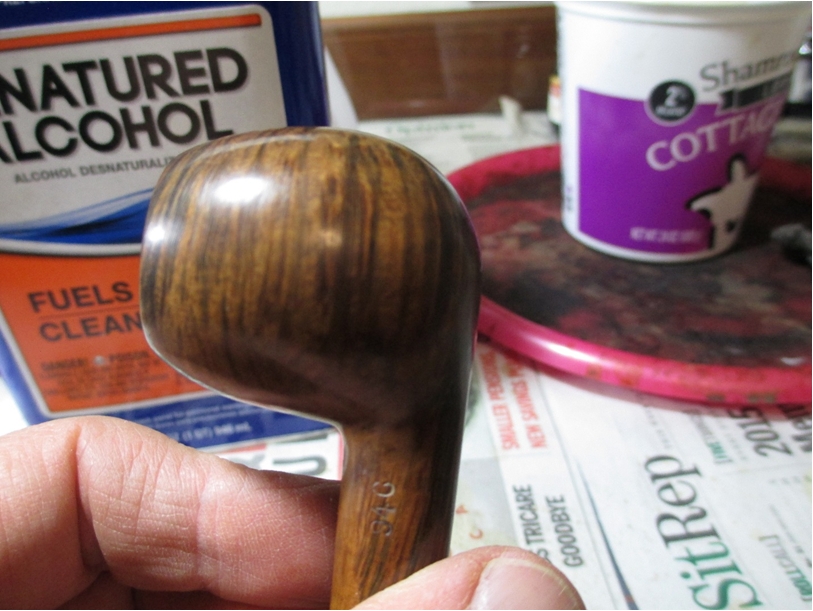
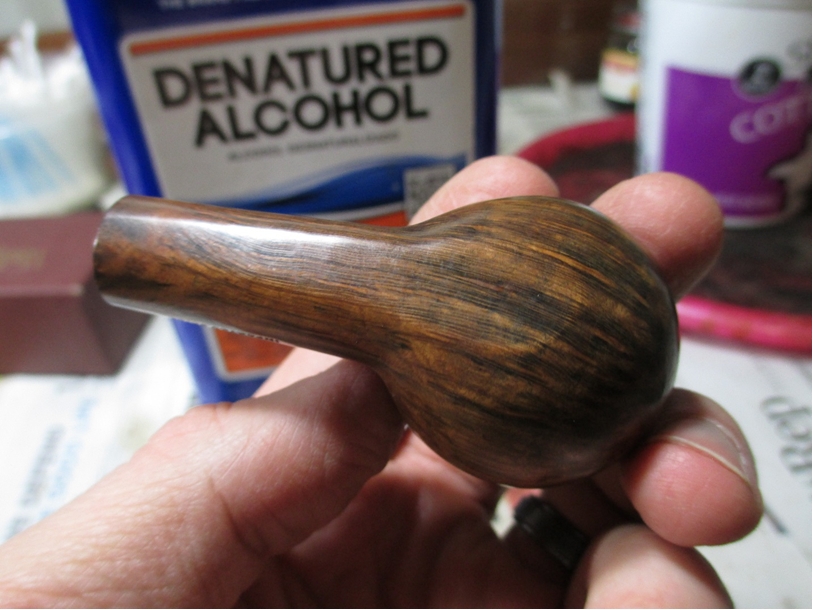 I used Pimo Pipe Supply medium walnut stain, diluted by 50%, to even out the color. Followed by a furniture pen to add a little bit of red tint. Here is the final result.
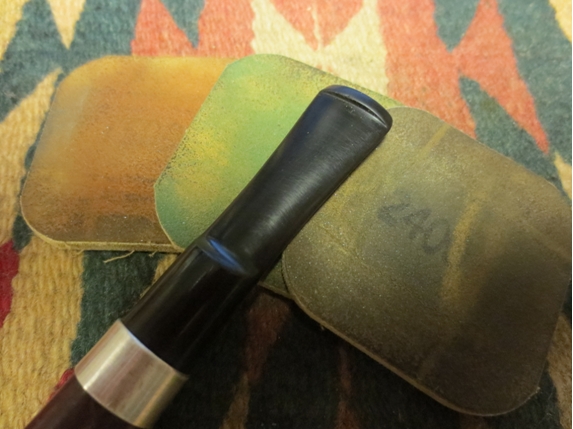
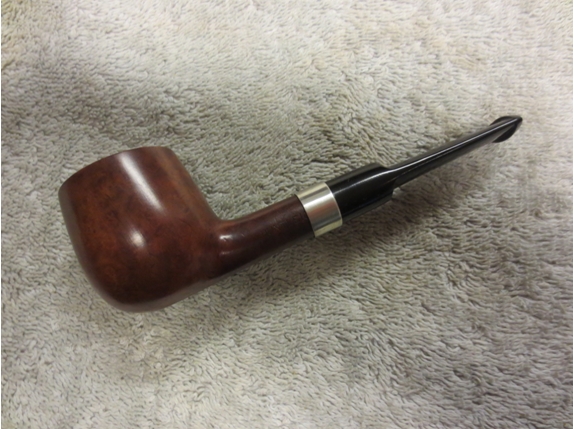
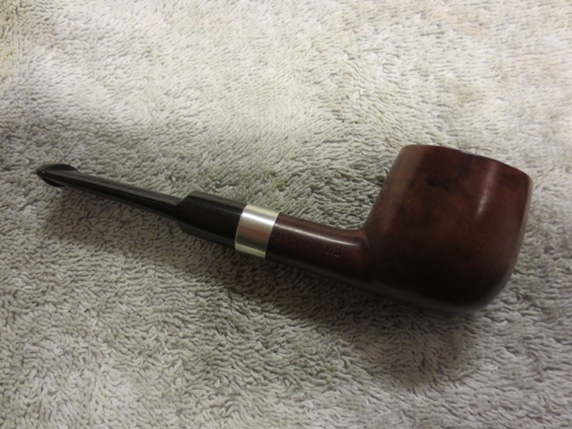
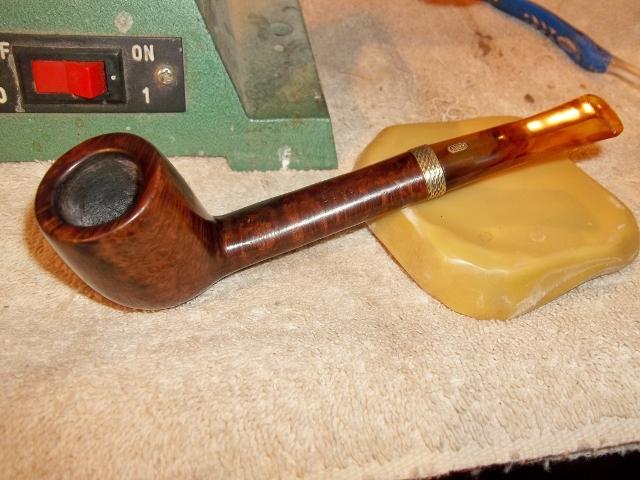
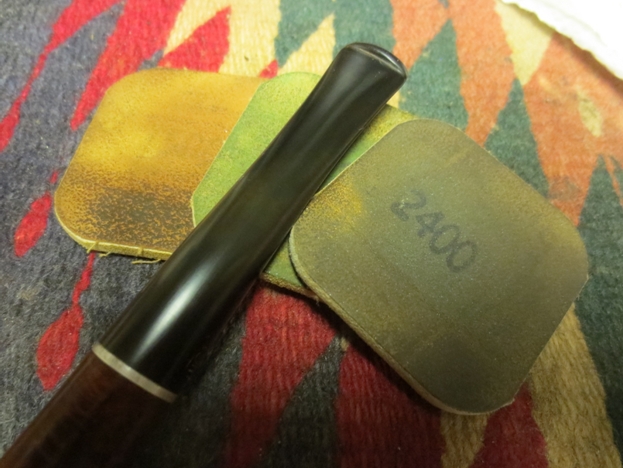
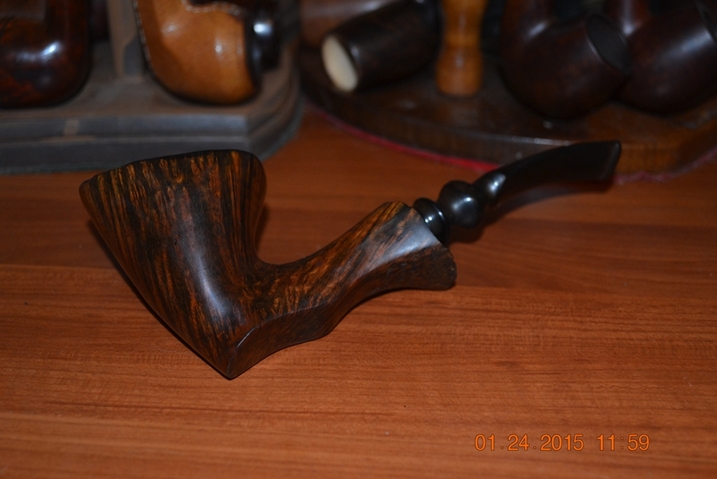
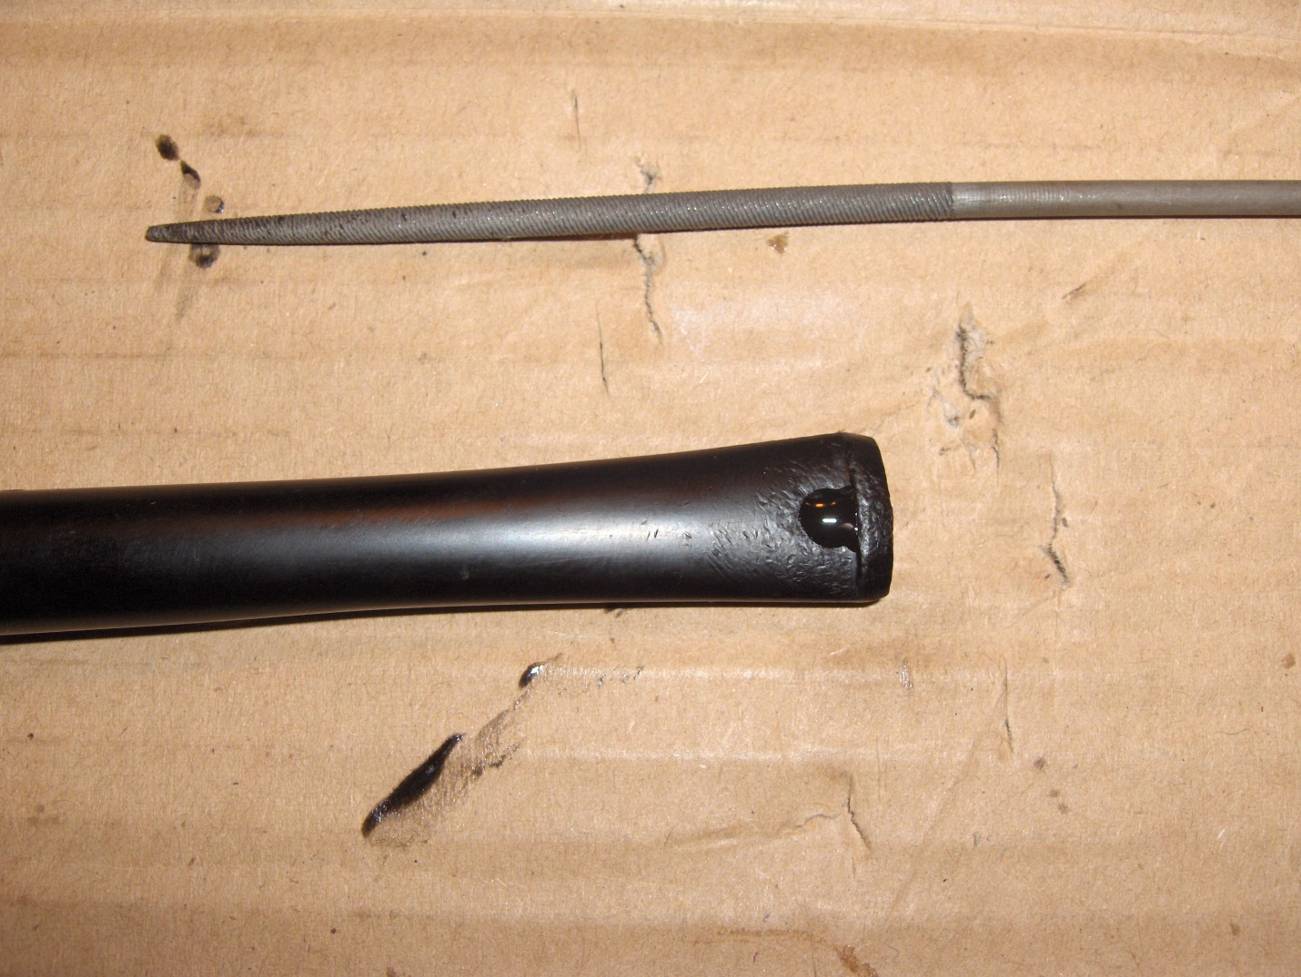
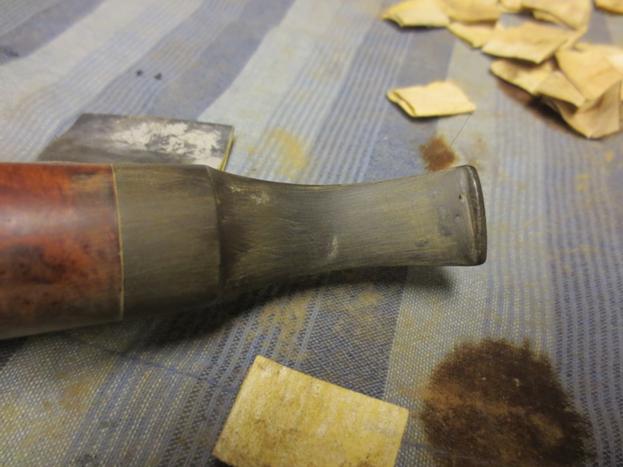
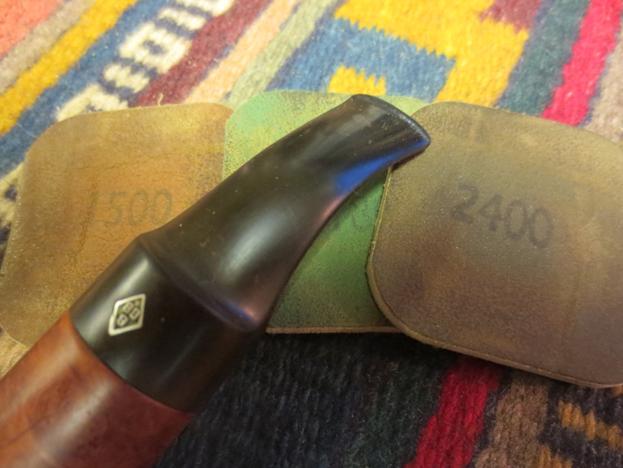
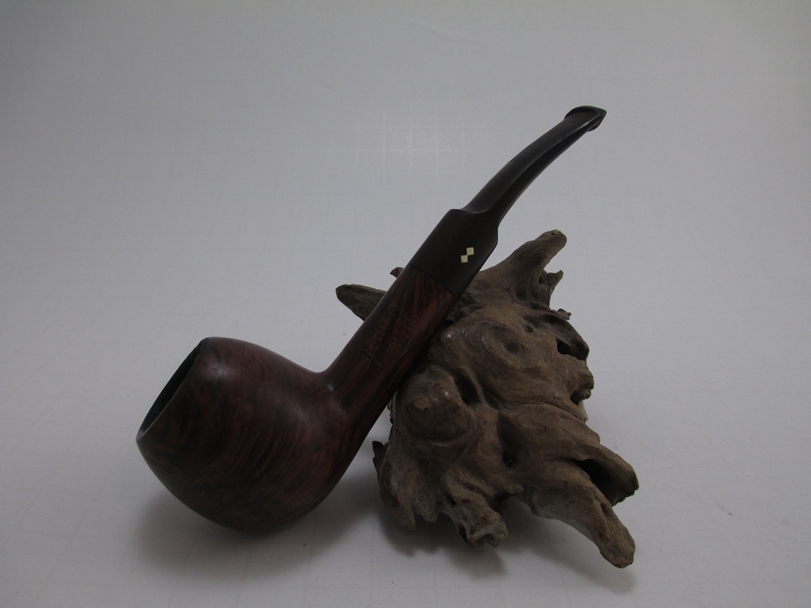
 I used 400 grit wet/dry sandpaper with water to remove the tooth mark and oxidation. I’ve started using a rubber washer, placed over the tenon, to make sure that I don’t round the edges of the stem while sanding. After the 400 grit, I used 1500, 1800, and 2400 grit micro mesh with water.
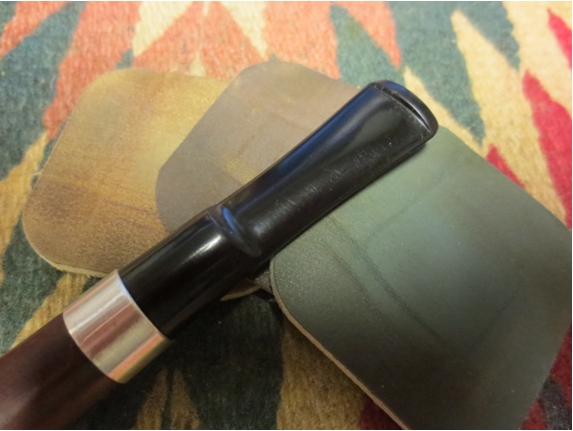
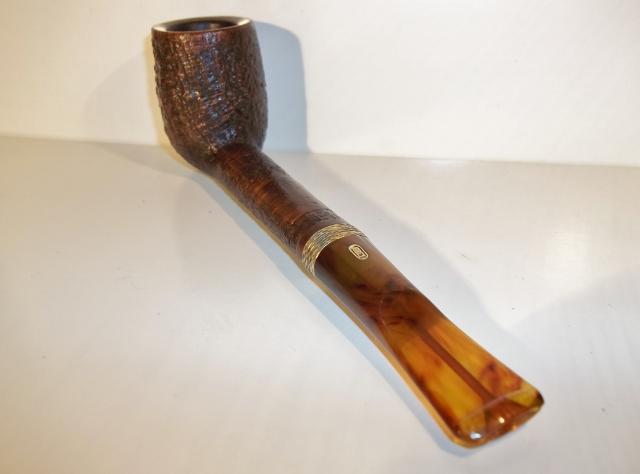
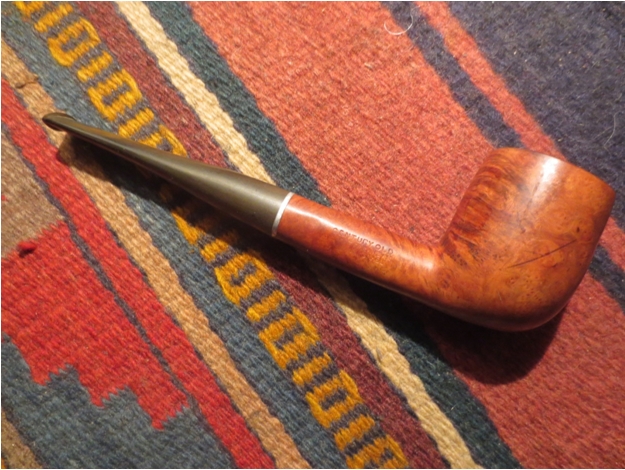
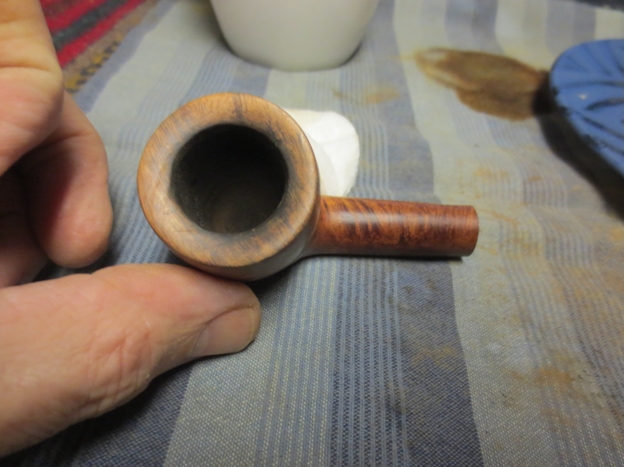
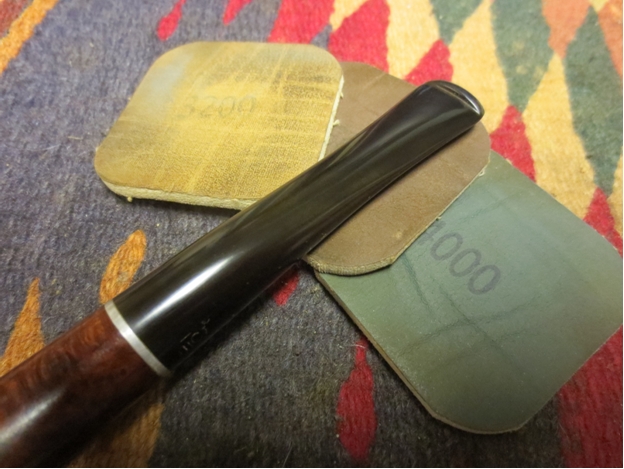
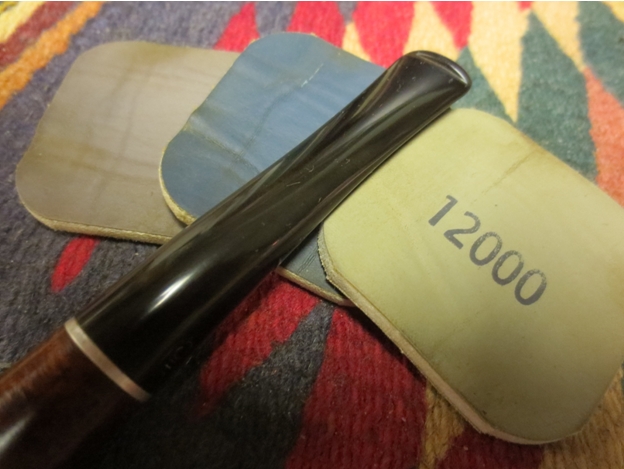
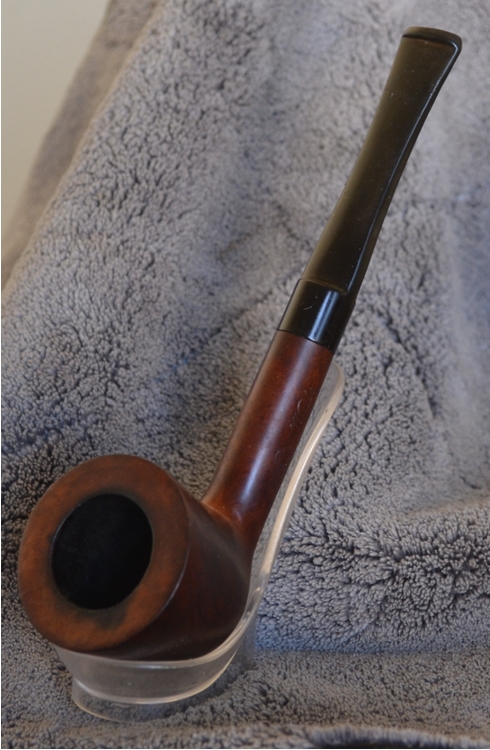
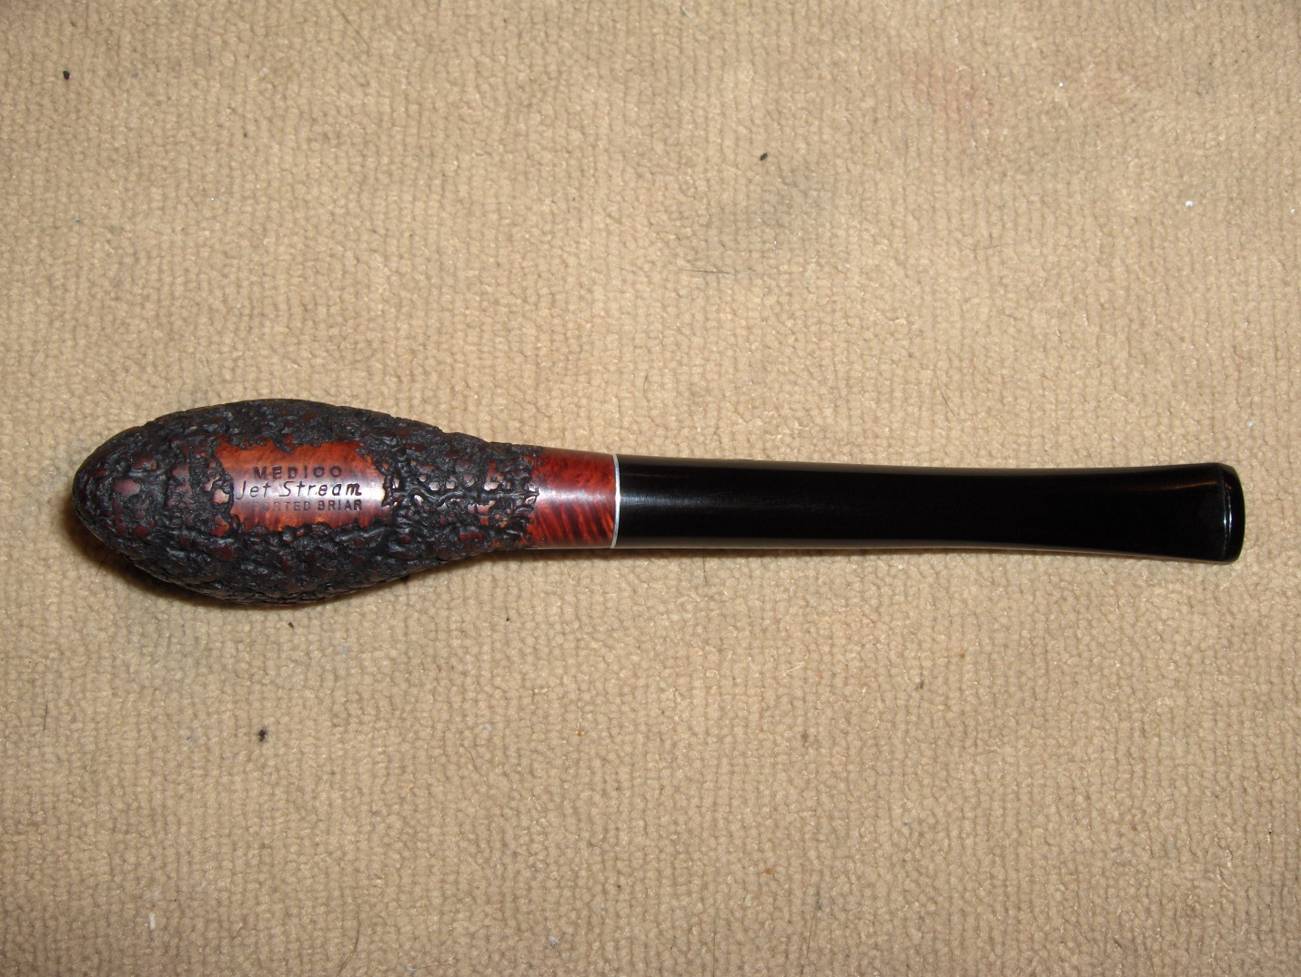
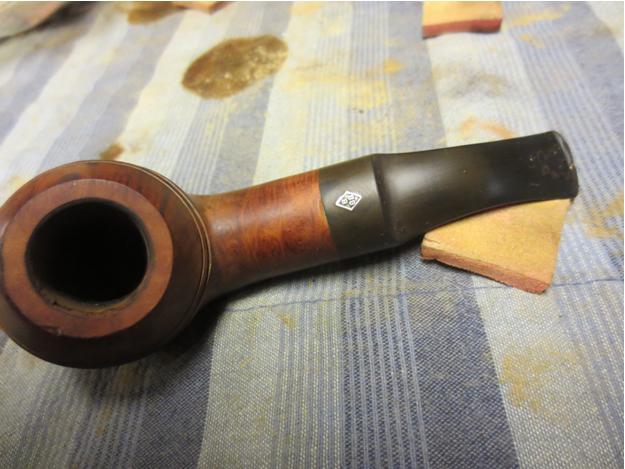
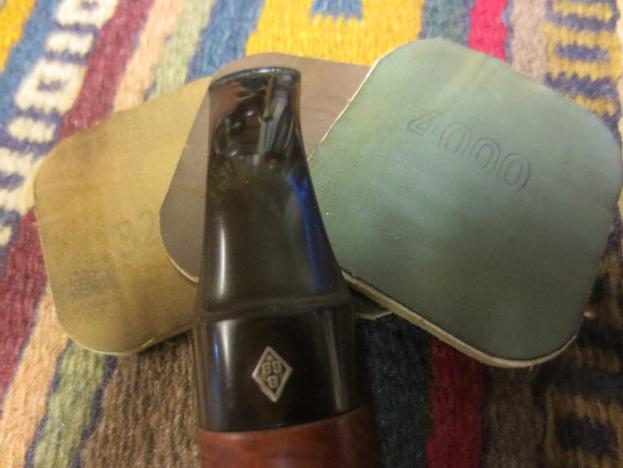
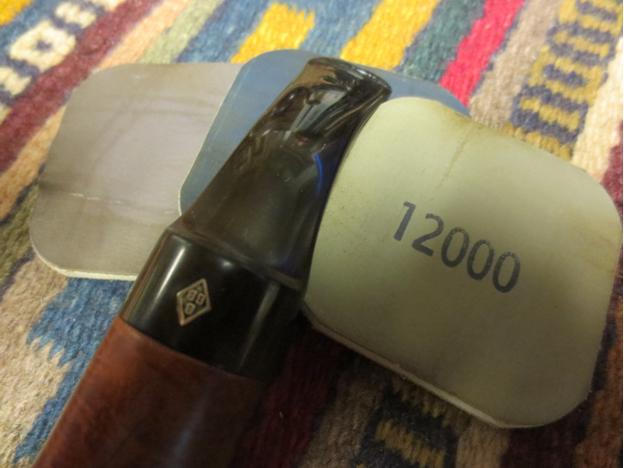
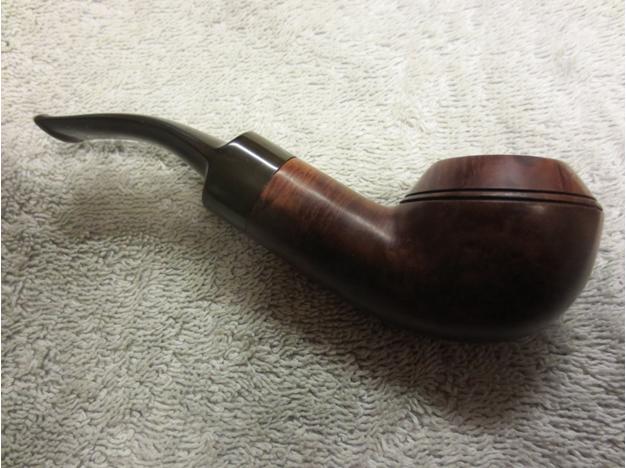
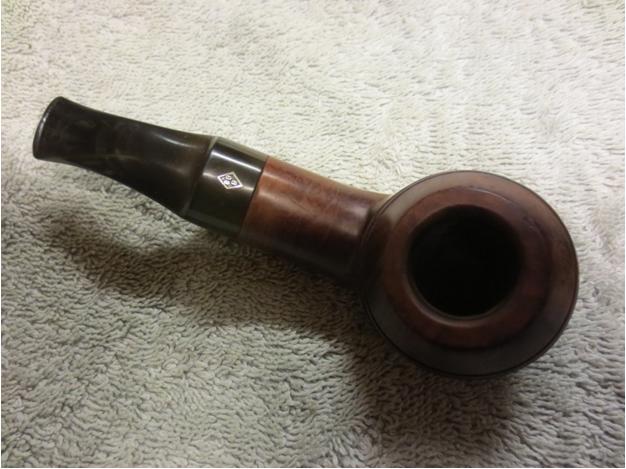
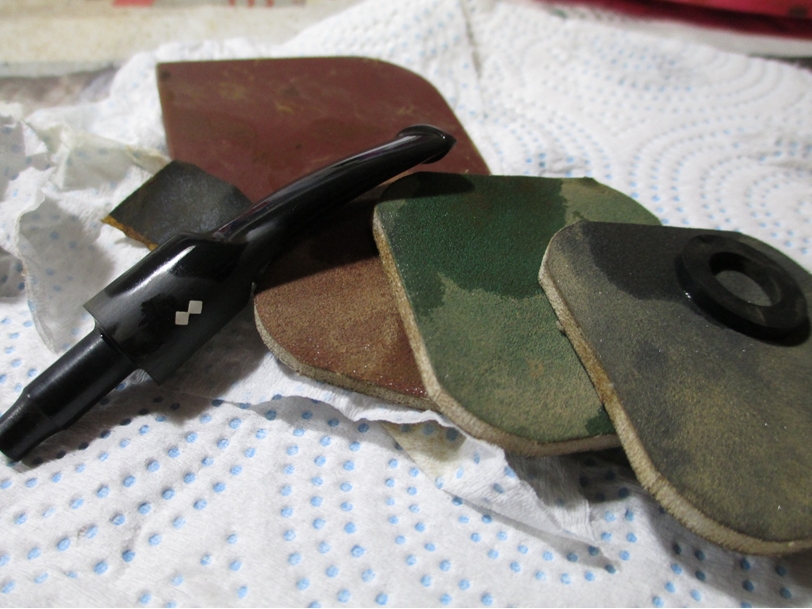 Once the stem dried I finished polishing it with a progression of micro mesh pads, 3200-12,000 grit, followed by white diamond and carnauba wax with my rotary tool. I buffed the bowl on the buffing wheel with White Diamond and carnauba wax. Here is the finished pipe.
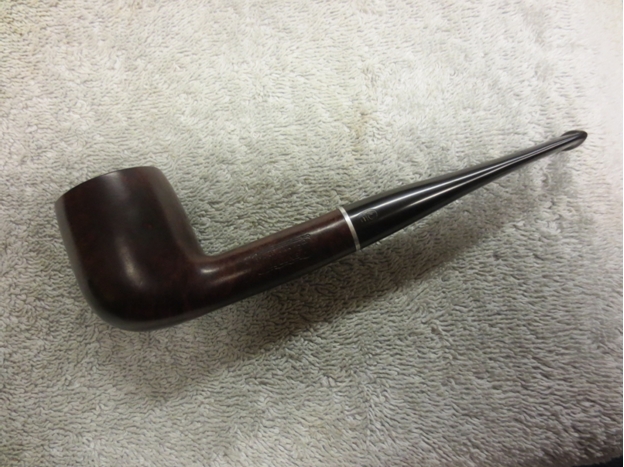
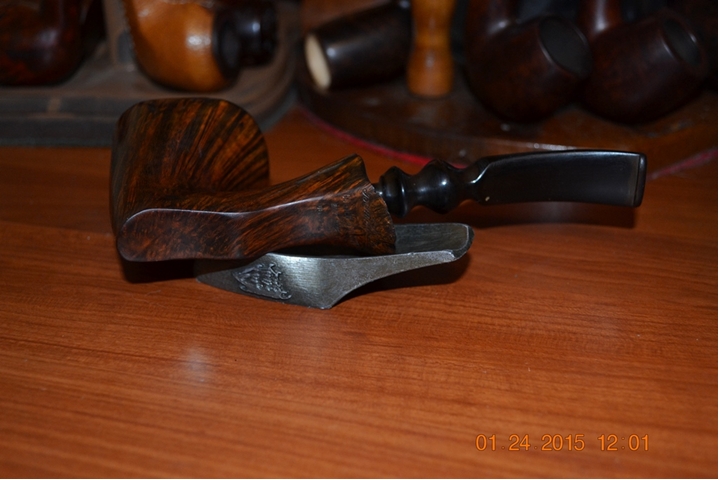