Blog by Steve Laug
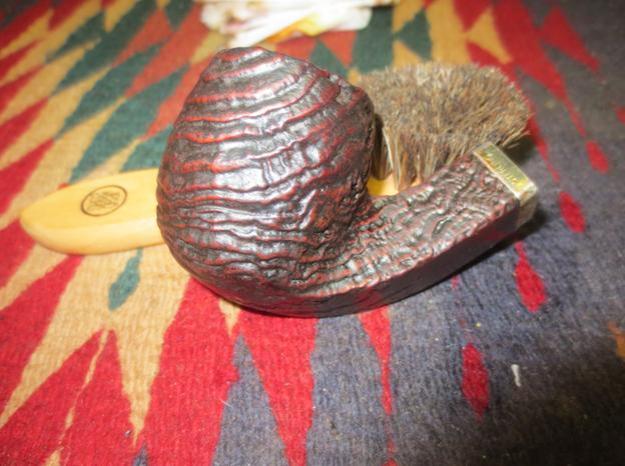
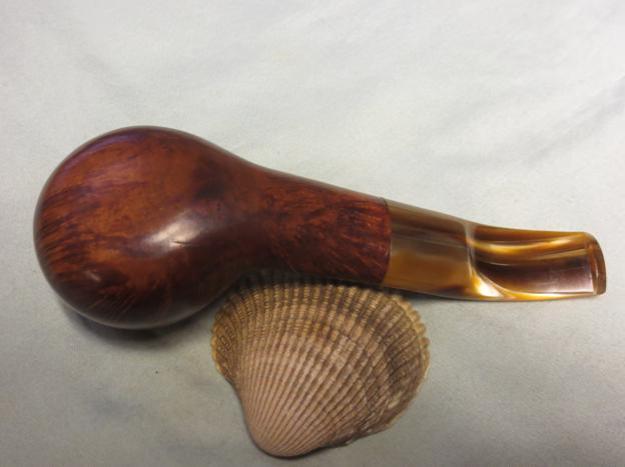
Charles Lemon of Dadspipes blog picked up a batch of pipes that included a lot of Danish made ones from an estate not long ago. He has been writing about their restoration on his blog. He sent me some photos of the pipes and offered to sell some to me. I chose two of them. The first one was the Larsen that is pictured below. The description of the pipe said that it was stamped on the underside of the shank 11 over W.O. LARSEN over Handmade over Made in Denmark. On the topside of the shank next to the stem/shank junction it was stamped SUPER. The stem had a broken tenon and it was stuck in the shank. Charles had mentioned that he thought it looked like it had been glued in so it would take a bit of work. When I saw the grain on it I decided that it would be a fun piece to work on for my own rack. It has some stunning flame grain on all around the bowl sides and birdseye grain on the rim and the bottom of the bowl and shank.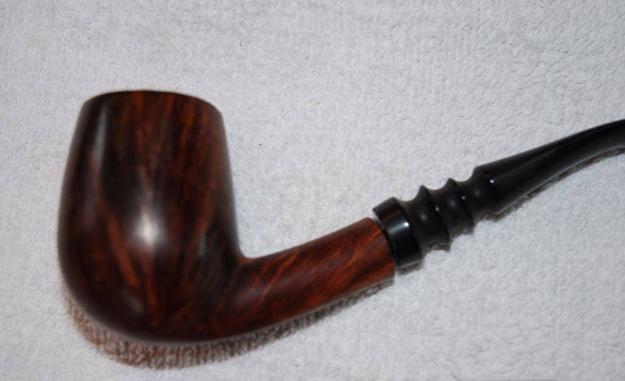 I looked up some background on W.O. Larsen and found a great summary on this site. It was helpful and brief so I quote it in full below: https://www.finepipes.com/pipes/danish/w-o-larsen?sort=20a&page=1&zenid=debcdee8f415c1977fb5c359652d6aeb W.O. Larsen was one of the most famous tobacco shops in Copenhagen, with a beautiful store located on Copenhagen’s famous “Walking Street.” During the flowering of the Danish pipe in the ’60’s, they first began retailing pipes by such carvers as Sixten Ivarsson, Sven Knudsen, Poul Rasmussen, and Brakner. Urged on by his store manager Sven Bang, the owner, Ole Larsen, decided to begin making pipes in the basement of the shop. He first hired Sven Knudsen as the pipe maker, who soon passed the job to his protégé Hans “Former” Nielsen. Larsen’s fortunes rose along with the rest of the Danish pipe business and Former was soon managing a group of carvers in the old Larsen cigar factory. Among these were Teddy Knudsen, Tonni Nielsen, Jess Chonowitch, Peter Hedegaard and others, who were responsible for the Select and Straight Grain series before they branched out on their own. After Former left to start Bentley pipes in Switzerland, his duties were taken over by Soren Refbjerg Rasmussen, while the straight grains were made by Teddy’s student Benni Jorgenson. As Ole’s health began to fail, the reins were taken over by his son Nils. Nils became convinced that the way for Larsen to prosper was by entering the low-end market, and acquired the Georg Jensen pipe factory to make an array of less expensive pipes. This turned out to be a fatal error, and Larsen was recently sold to Stanwell, who continue to produce so-called “Larsen” pipes in their huge factory. Thus ended an important part of Danish pipe history.
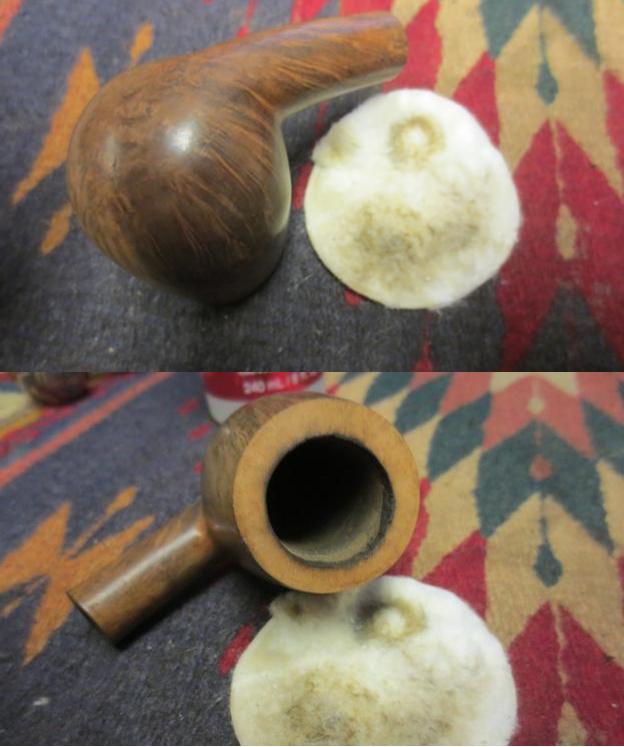
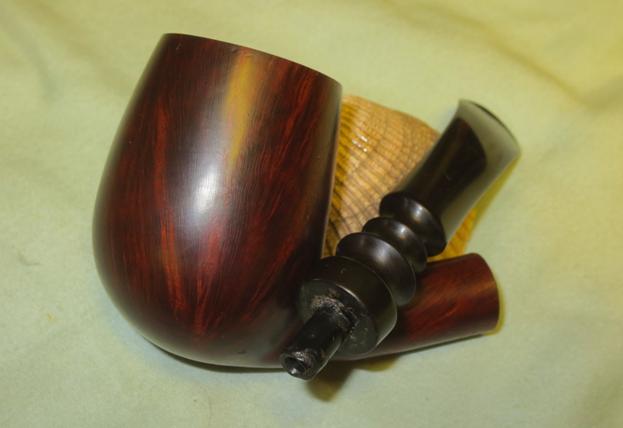
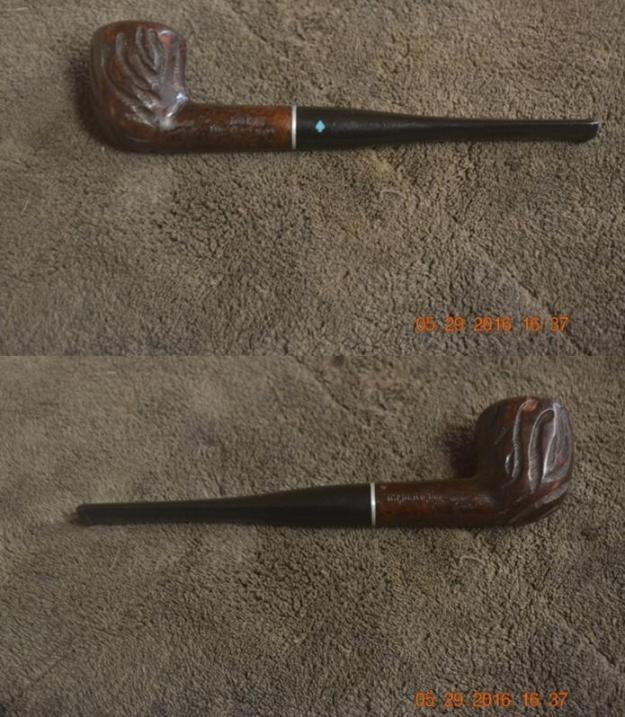
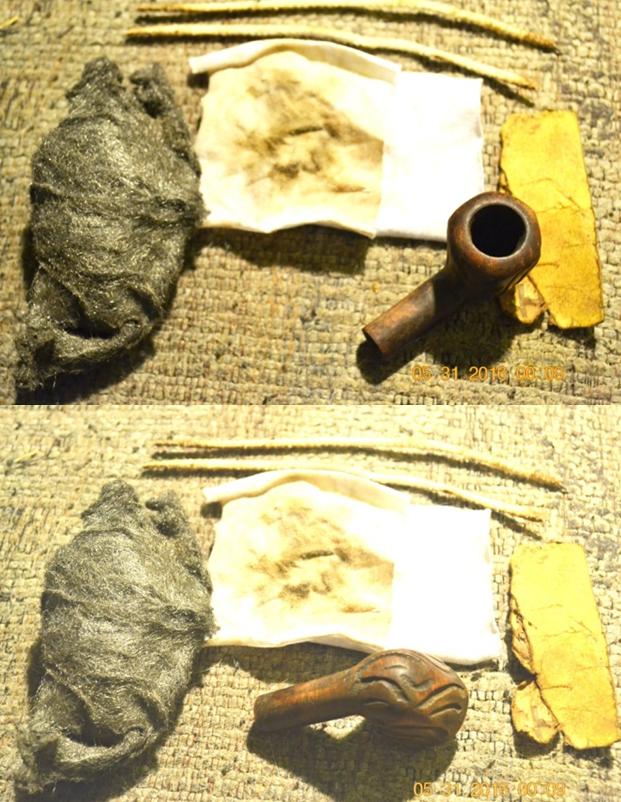
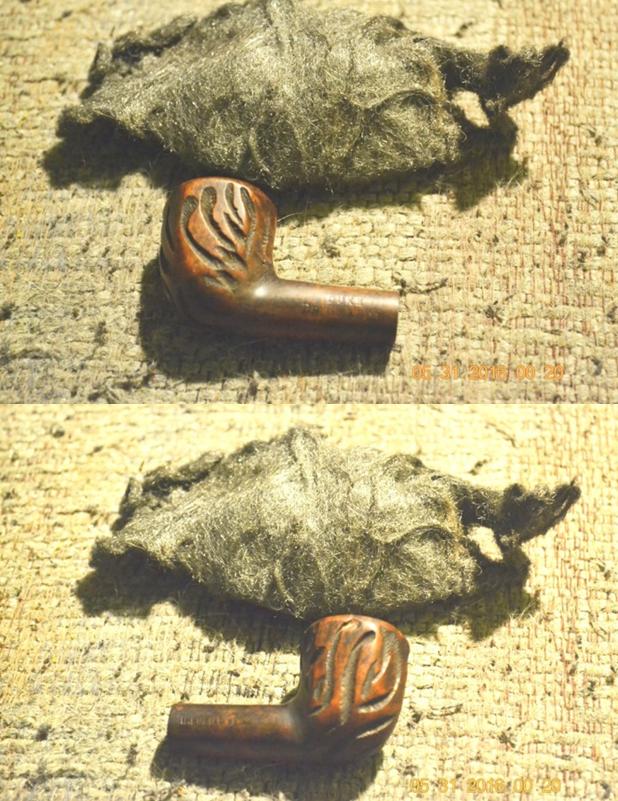
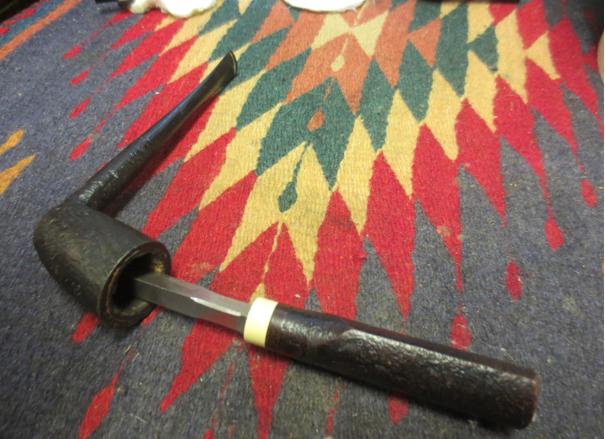
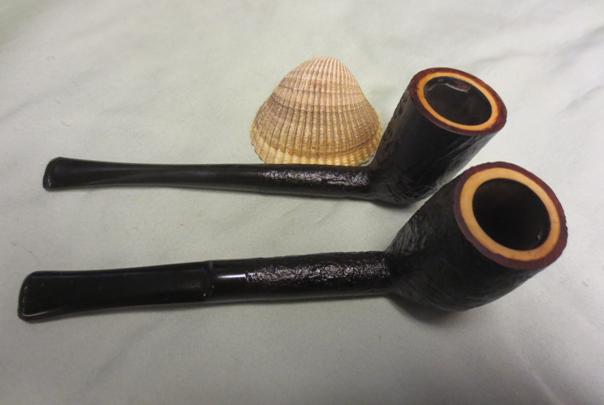
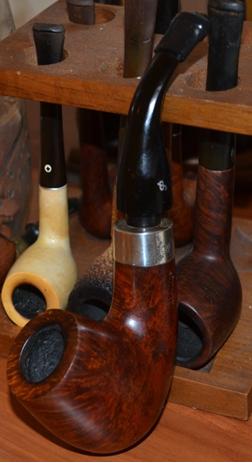
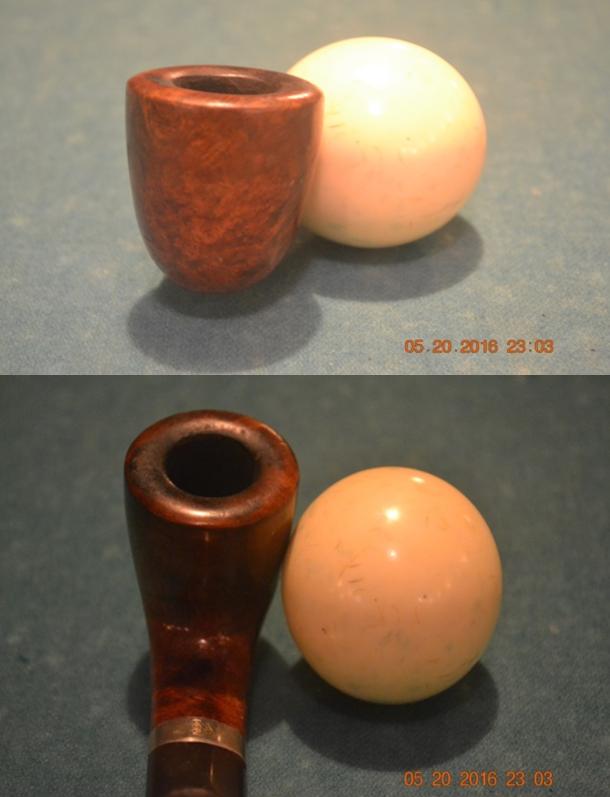
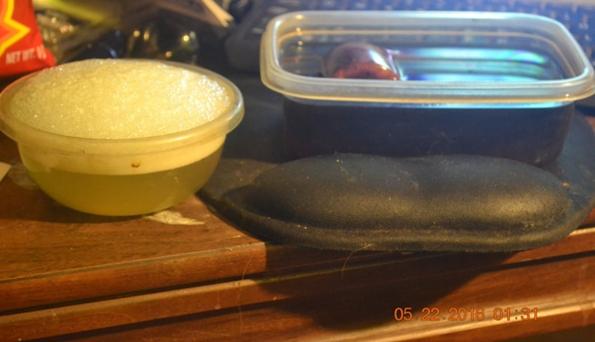
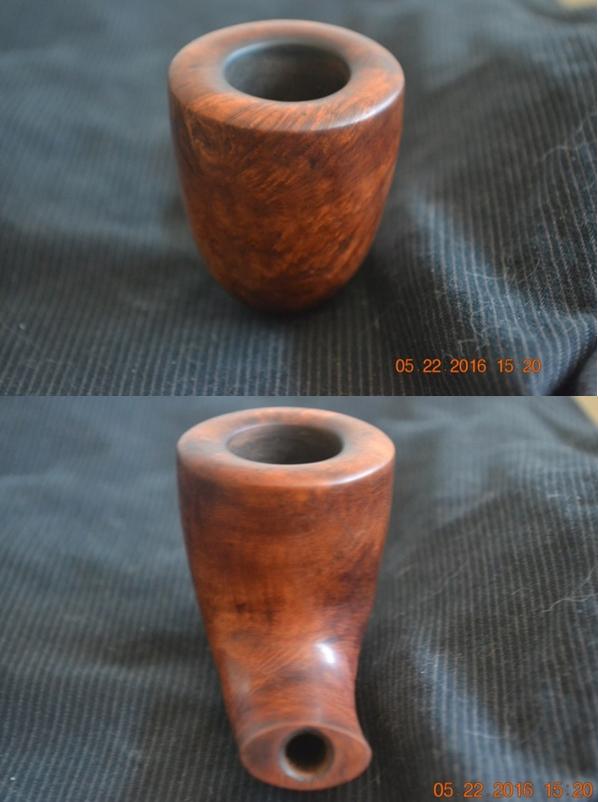
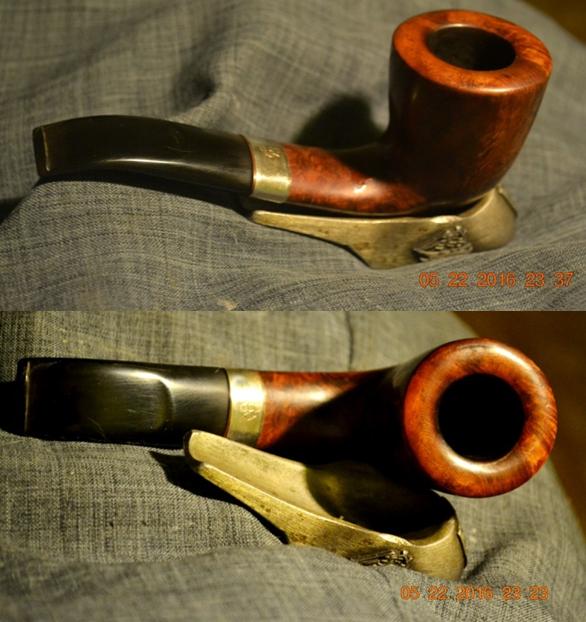
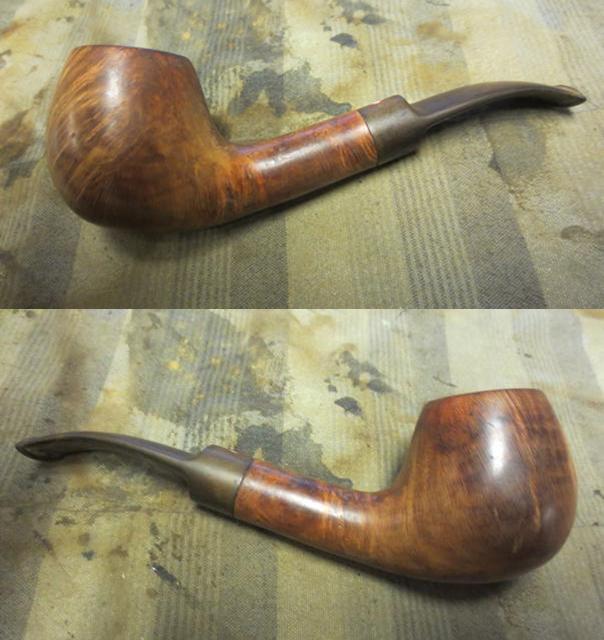
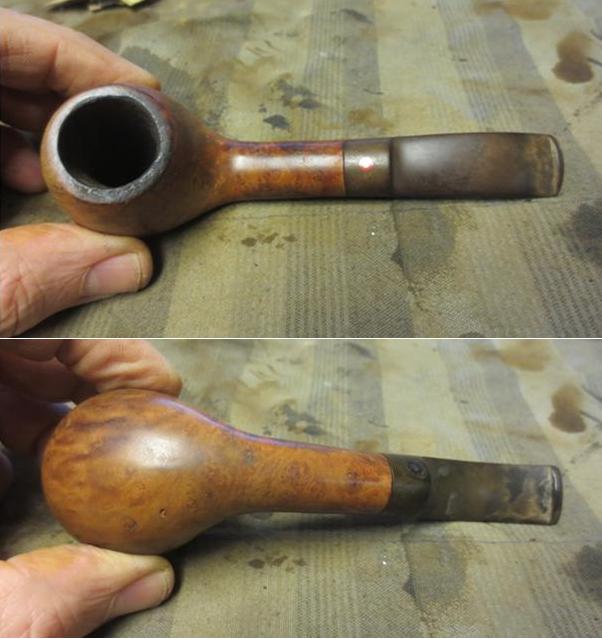
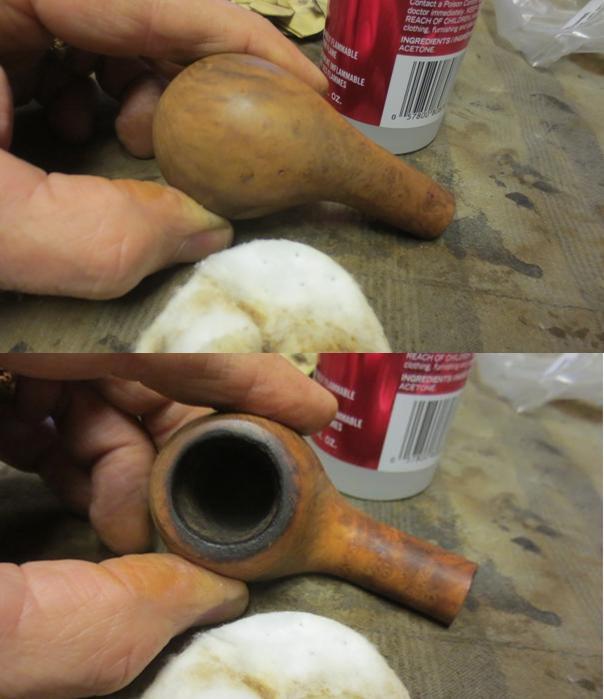
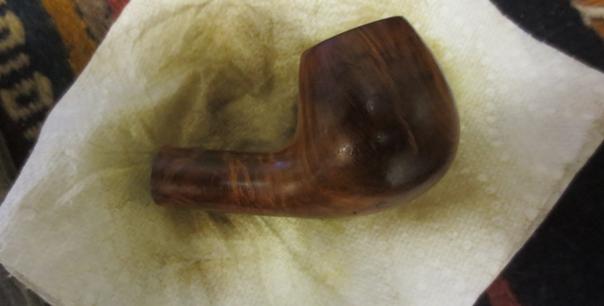
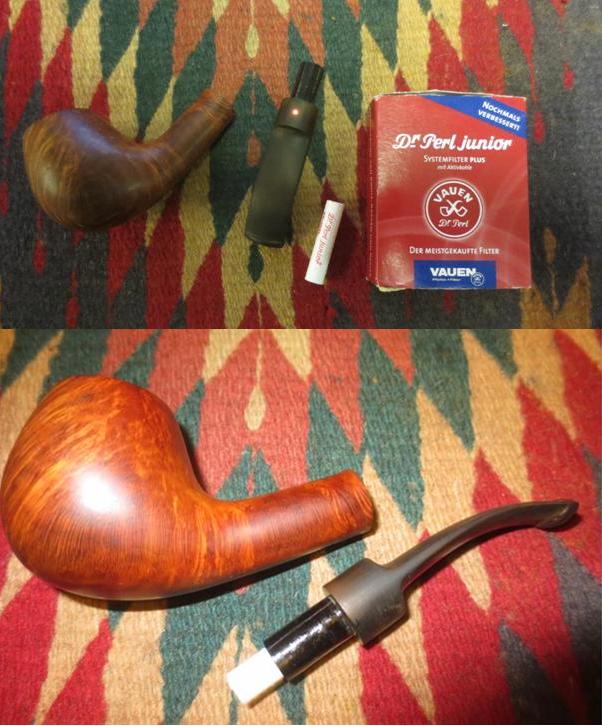
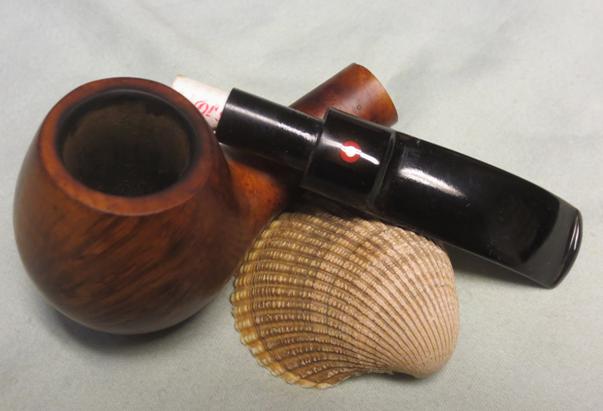
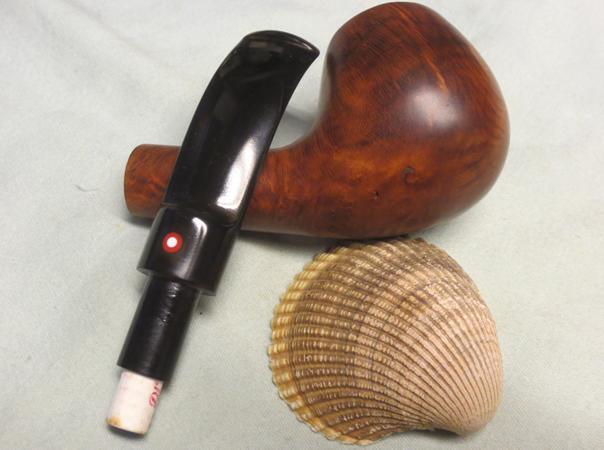
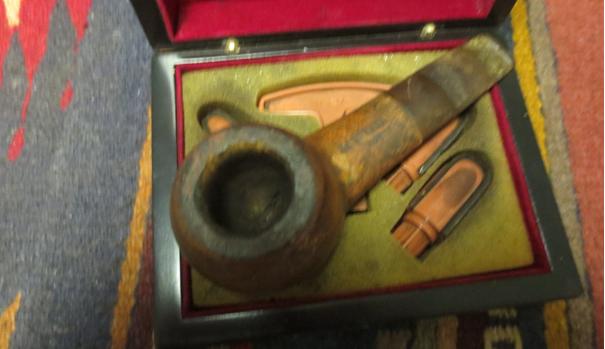
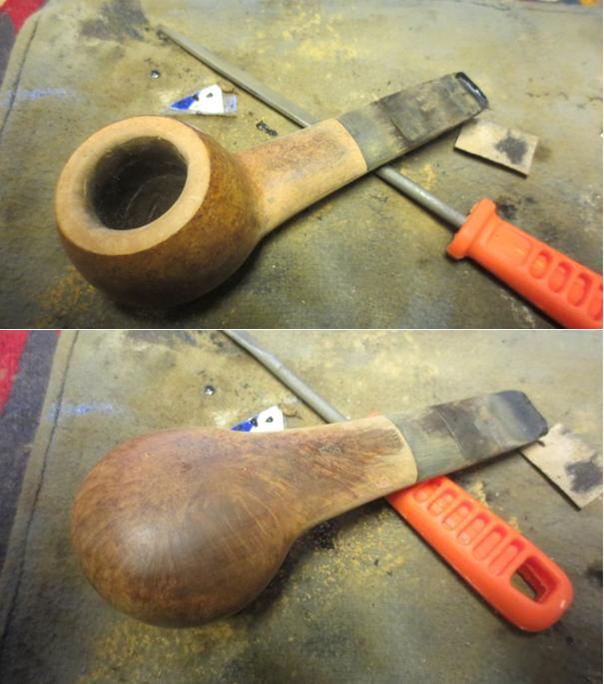
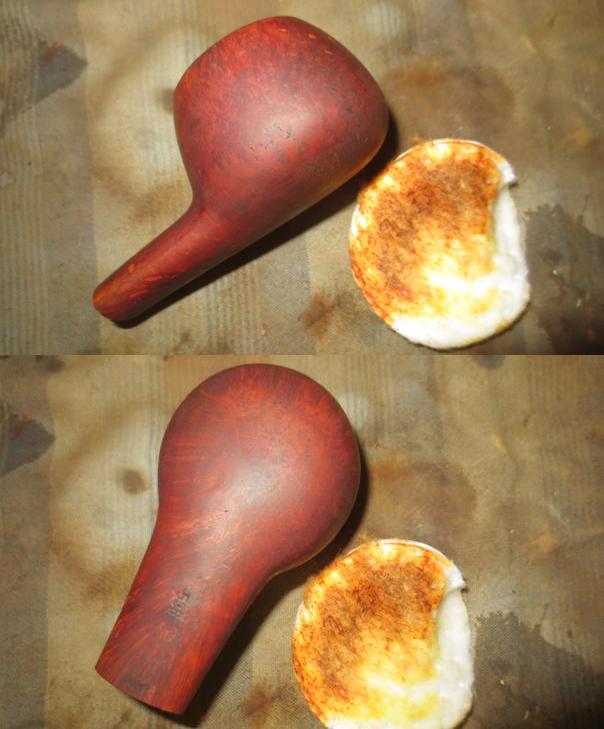
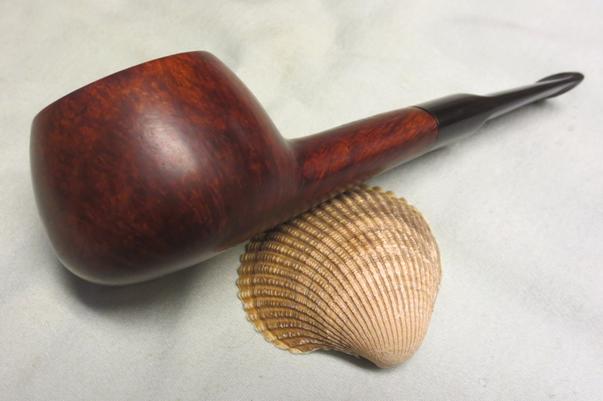
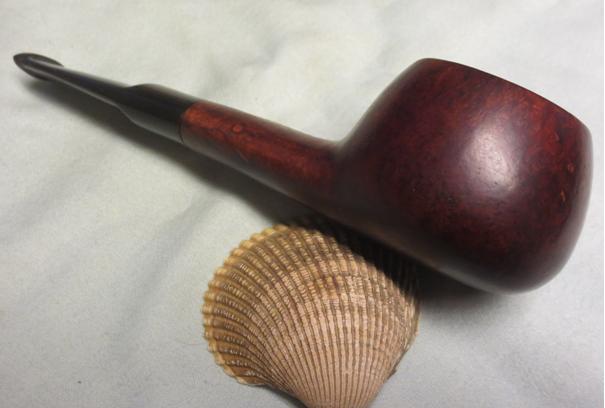
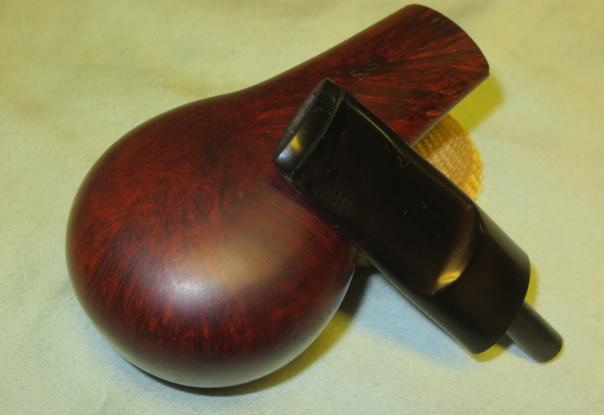
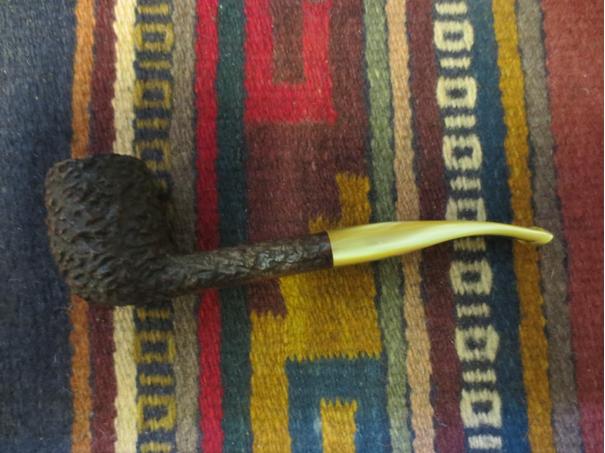
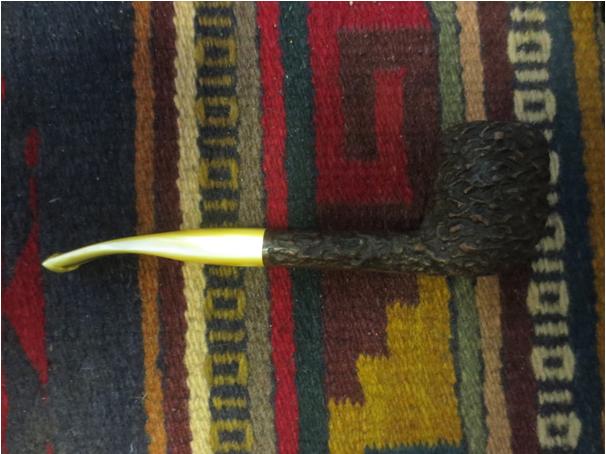
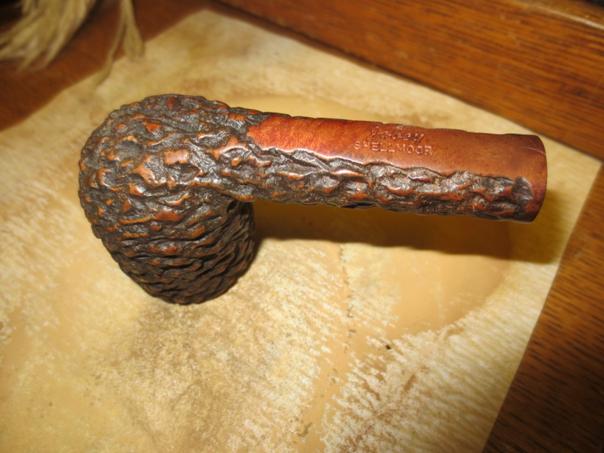
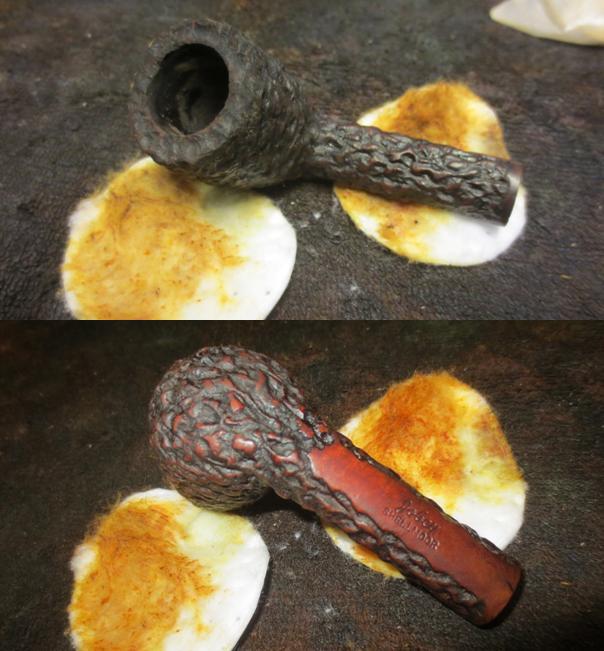
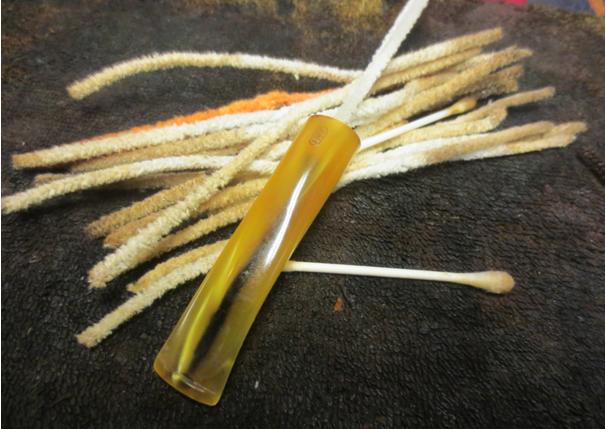
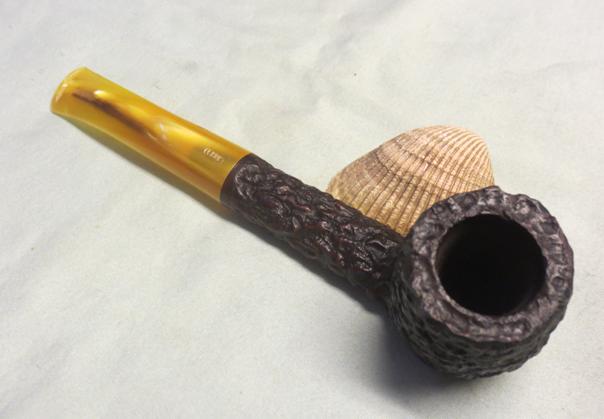
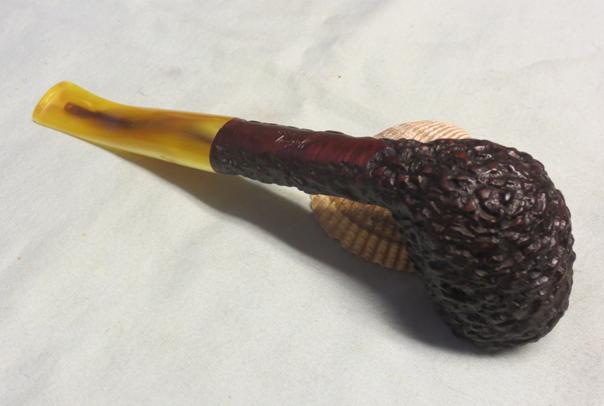
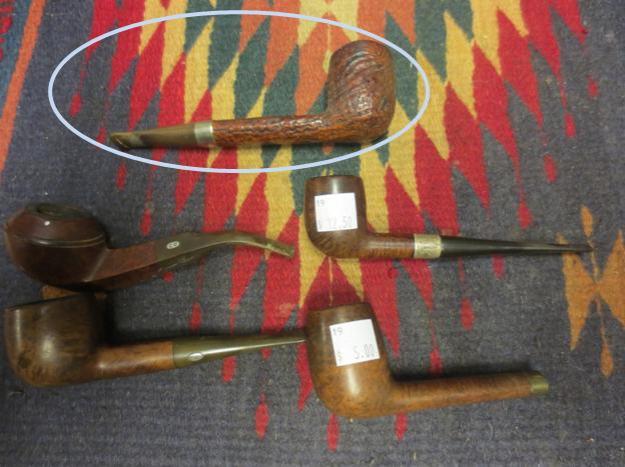
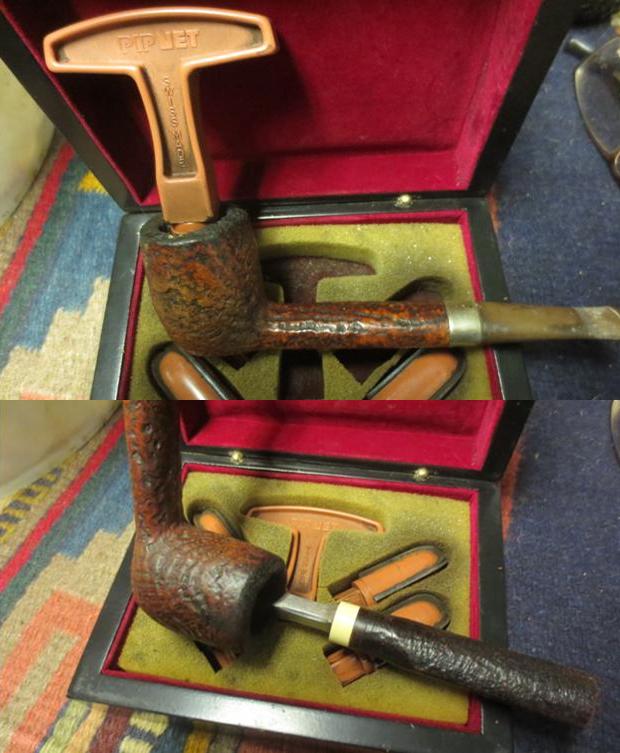
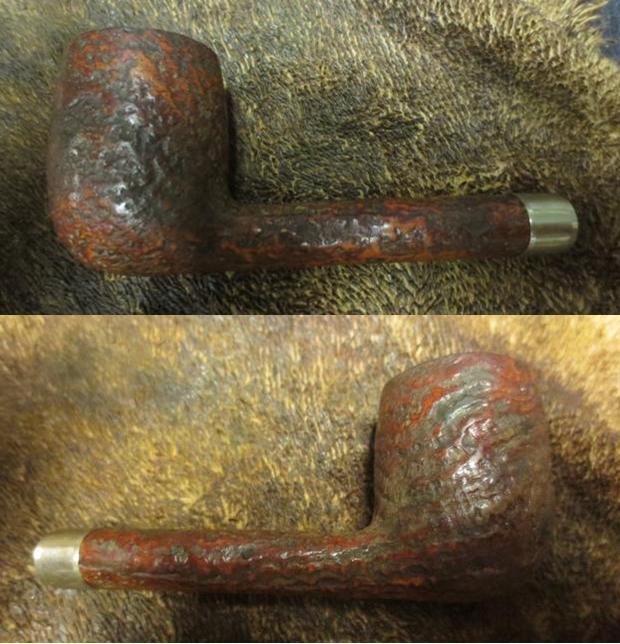
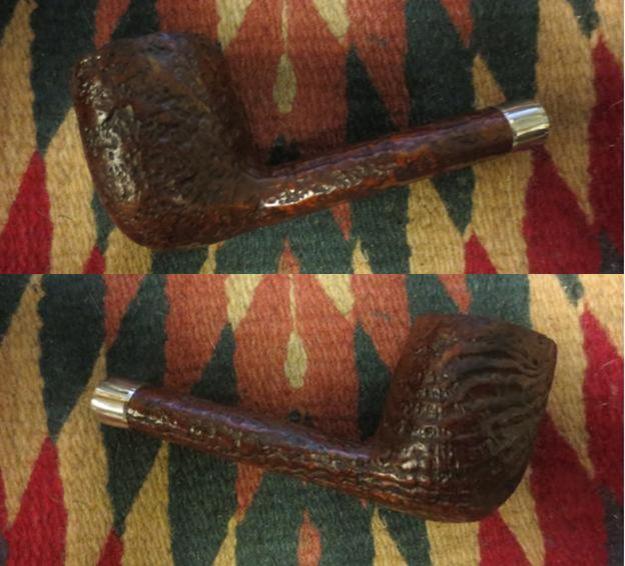
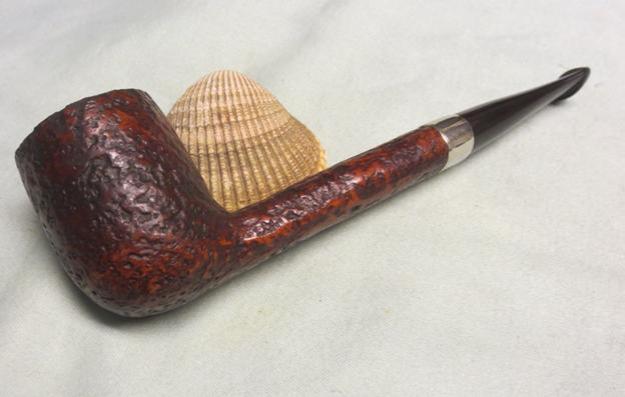
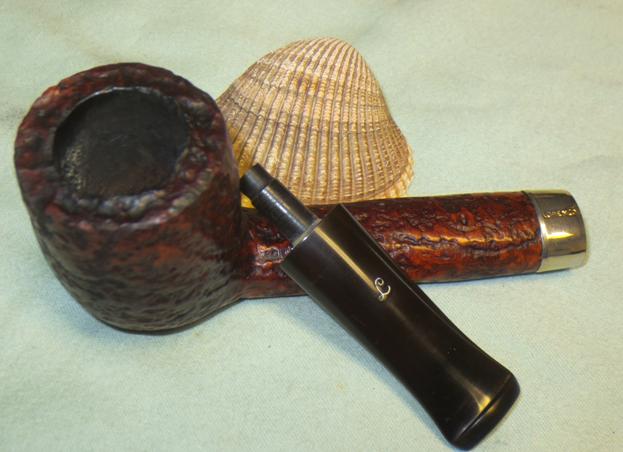
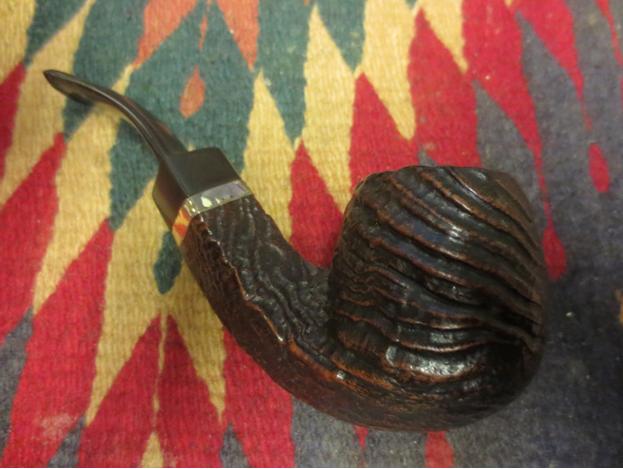
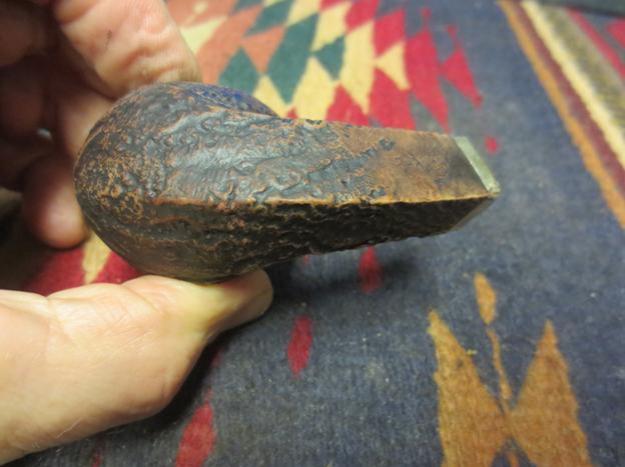
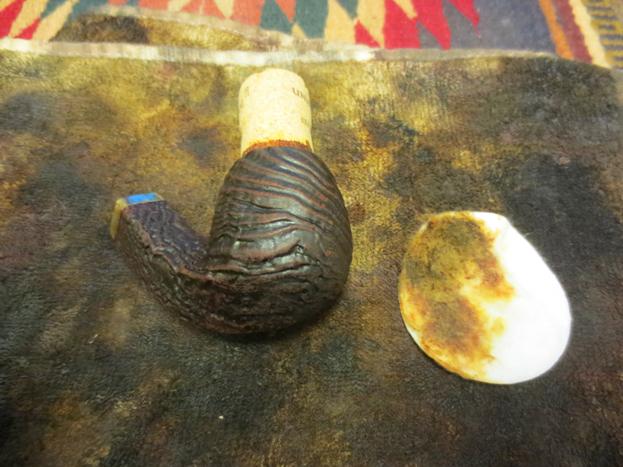
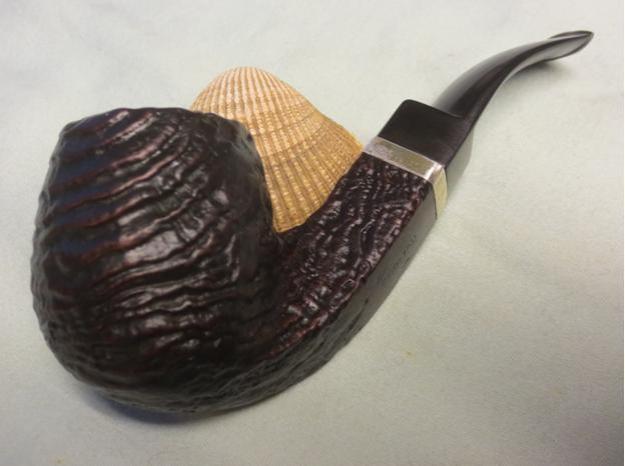
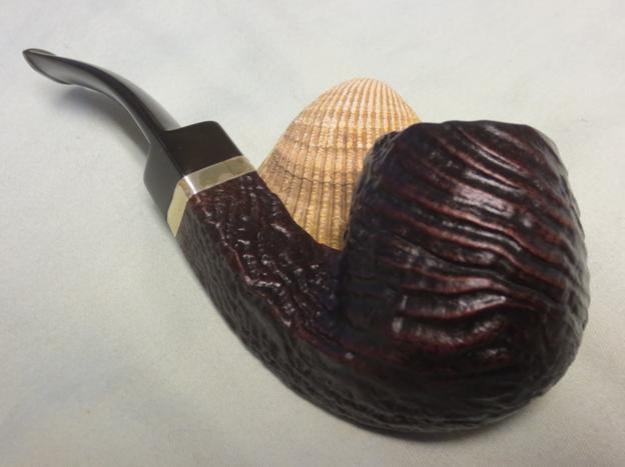
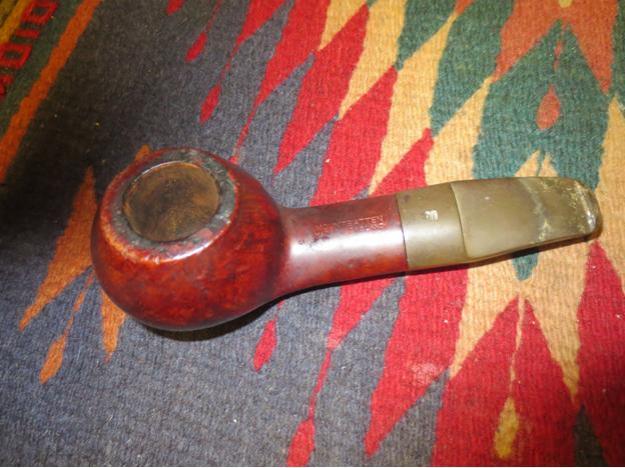
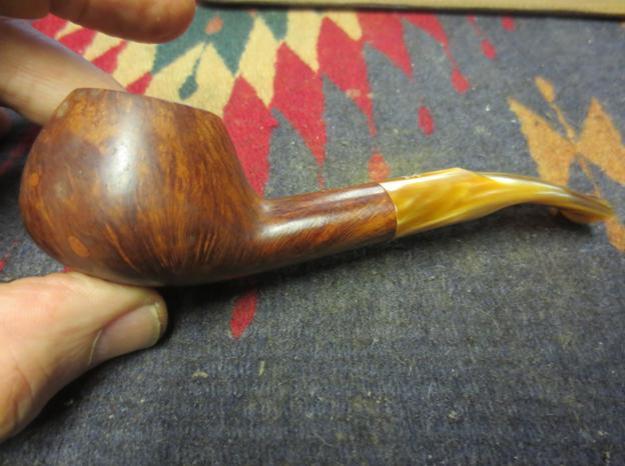
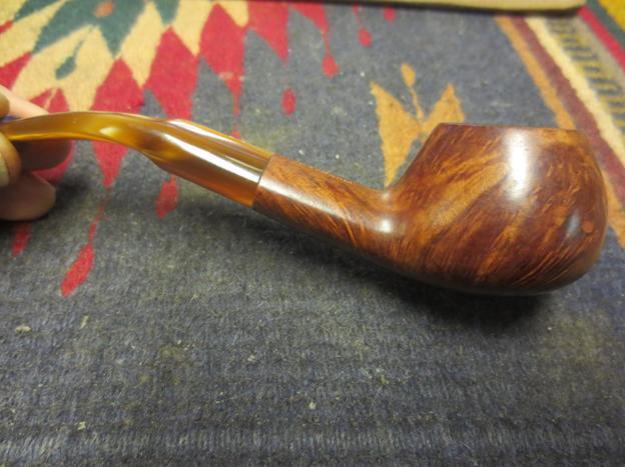
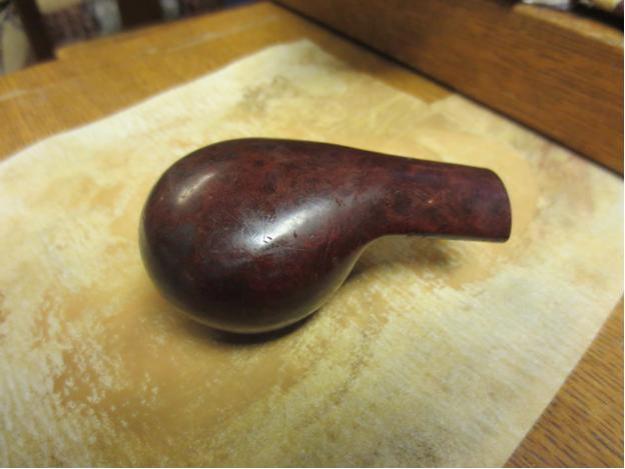
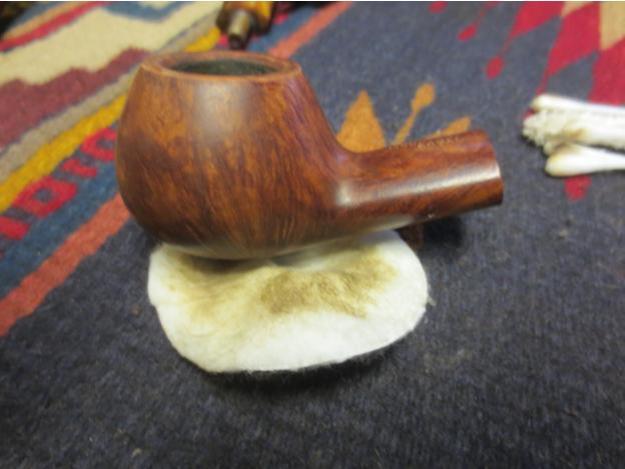
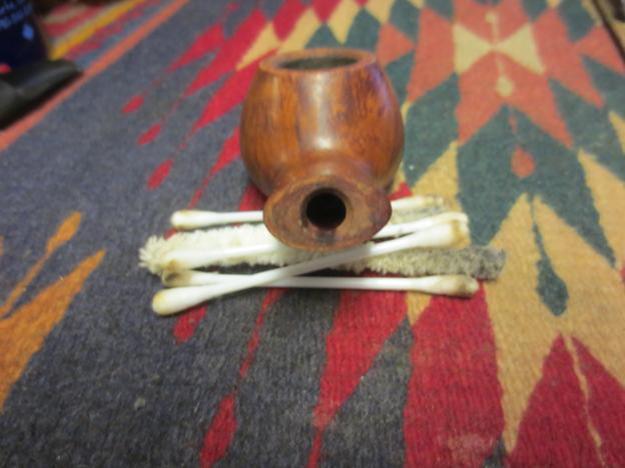
I was looking forward to seeing it firsthand so I paid Charles and he shipped it on Friday. Wonder of wonders, Canada Post delivered it on Monday. I came home from work to find the awaited box on the table. I opened it and found the Larsen in a bag with the label printed on the outside enumerating it’s stamping. I took it out of the bag and immediately took it to the work table. The photos below show the pipe as it looked when it arrived. It was much lighter in colour than the photo had led me to believe.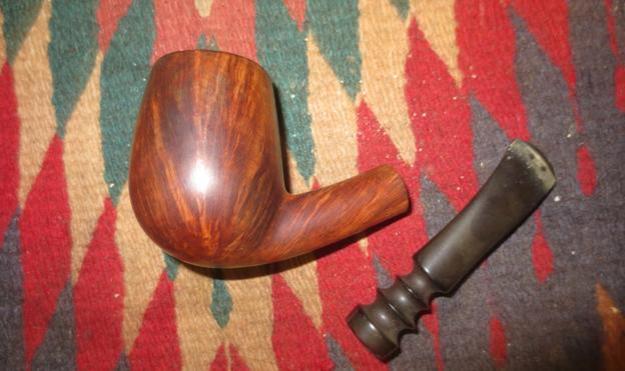 The bowl was dirty and there were some dents and marks in the briar. The rim had a thick coating of tars and the back edge of the rim was worn down from knocking the pipe out to empty it. There was an uneven cake in the bowl. The tenon was stuck in the shank and there were dried bits of glue on the end of the shank and around the end of the stem where someone had glued the stem onto the end of the shank. Fortunately the stem did not stick to the briar but the tenon certainly did. The stem was clean of bite or tooth marks and was lightly oxidized.
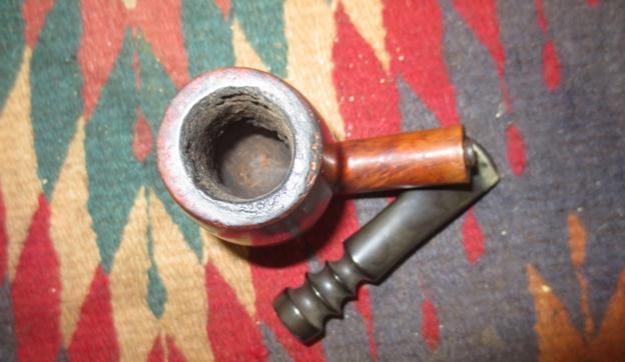
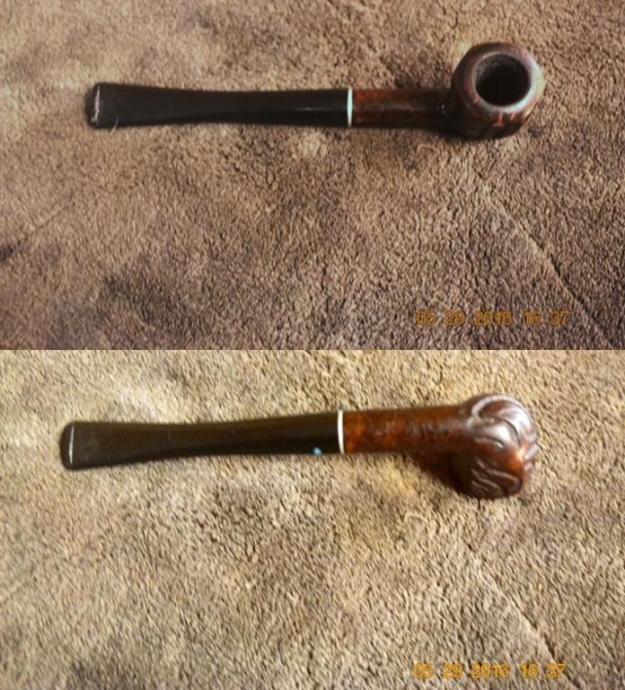
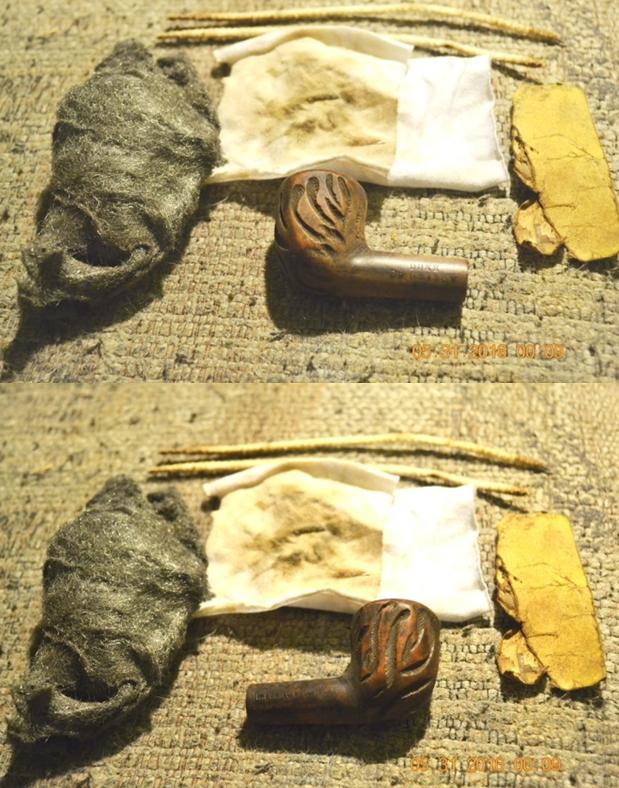
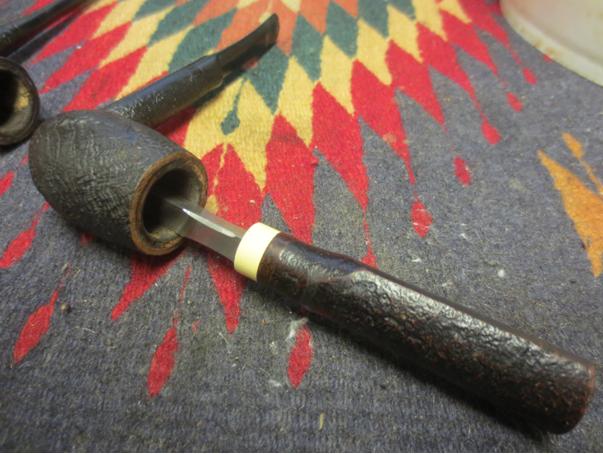
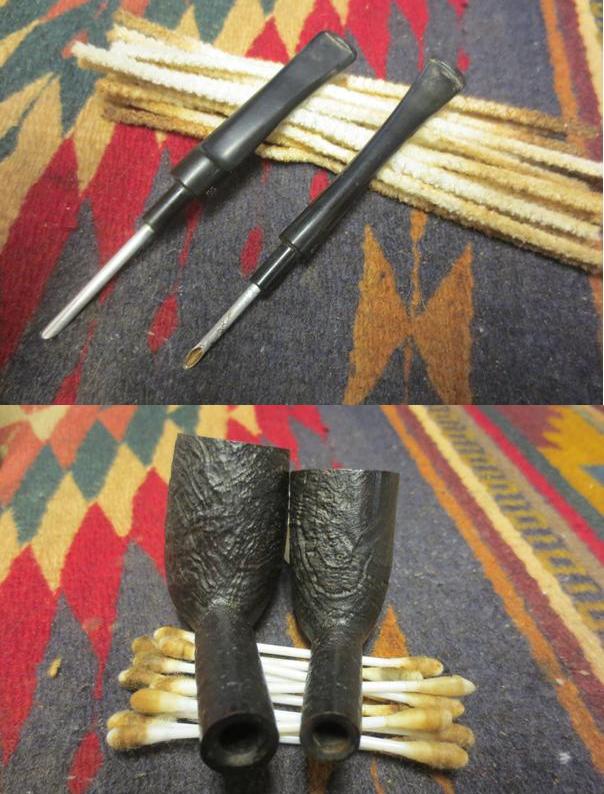
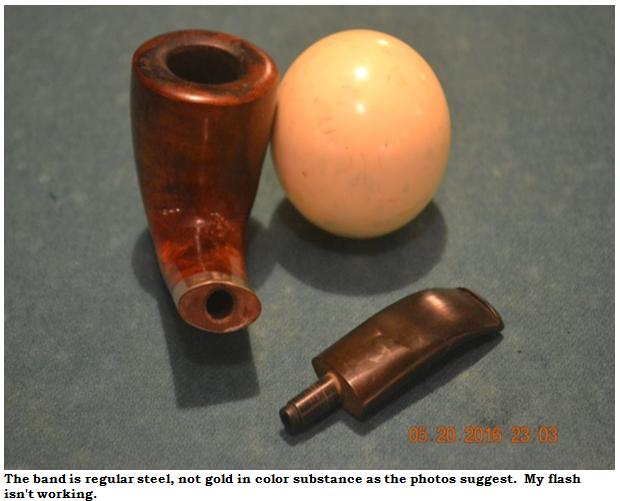
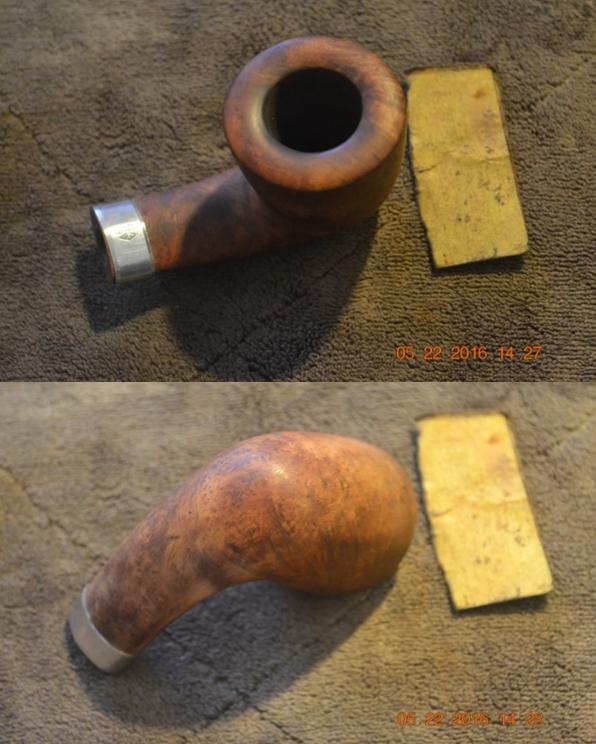
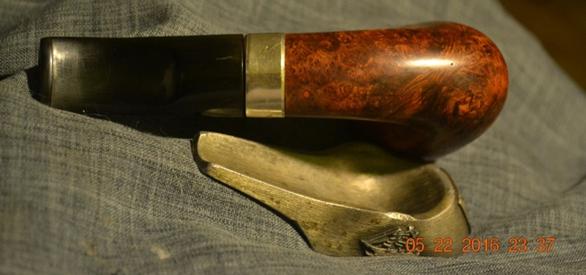
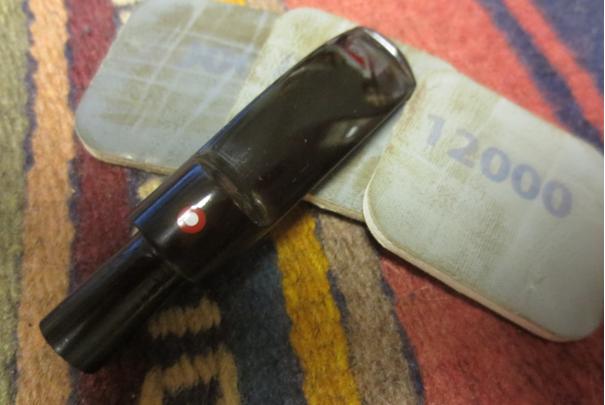
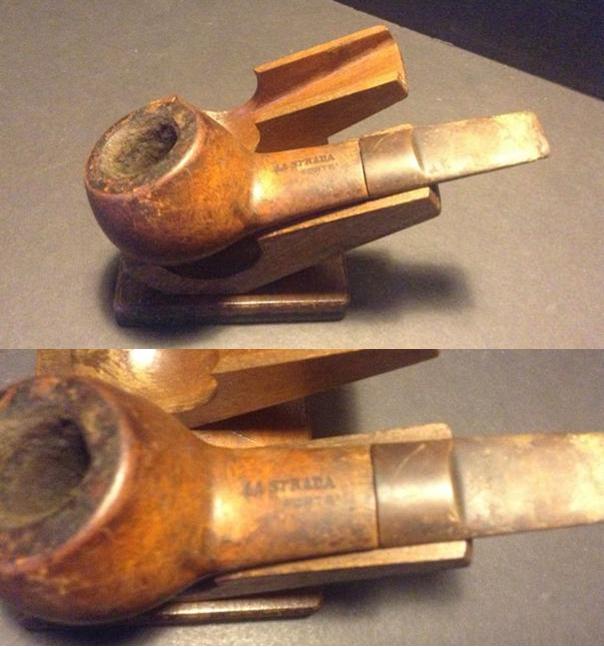
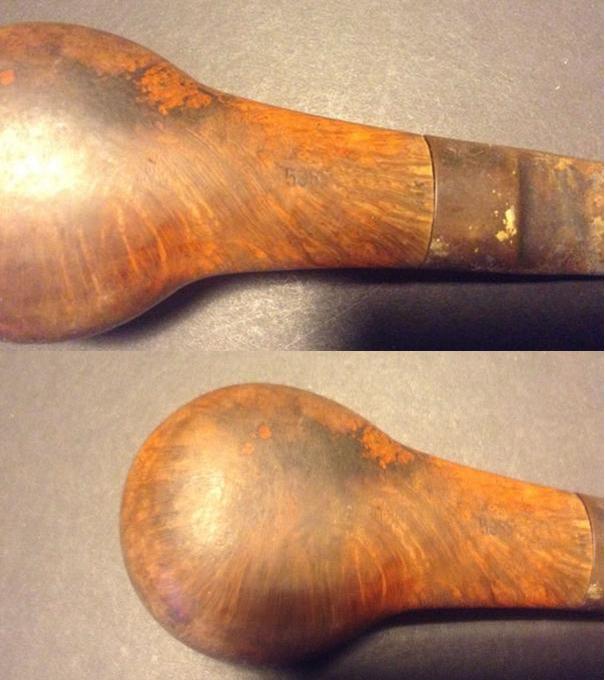
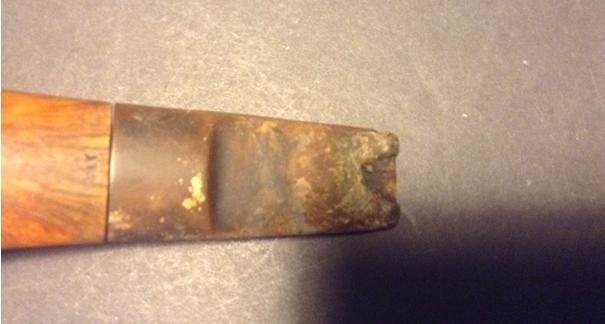
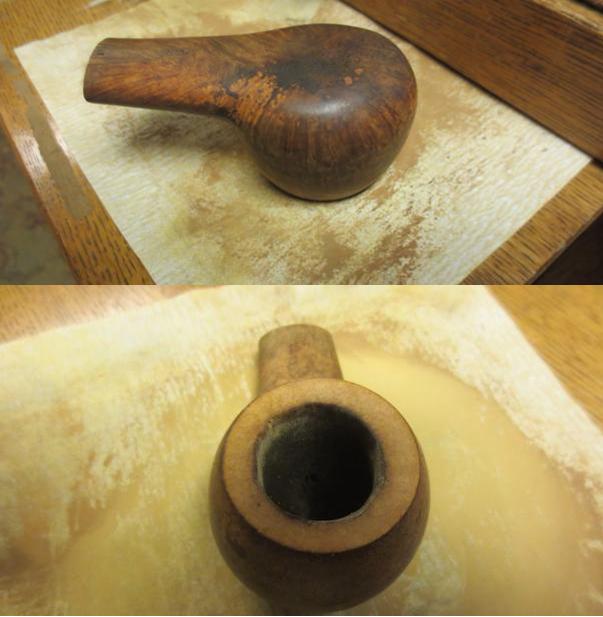
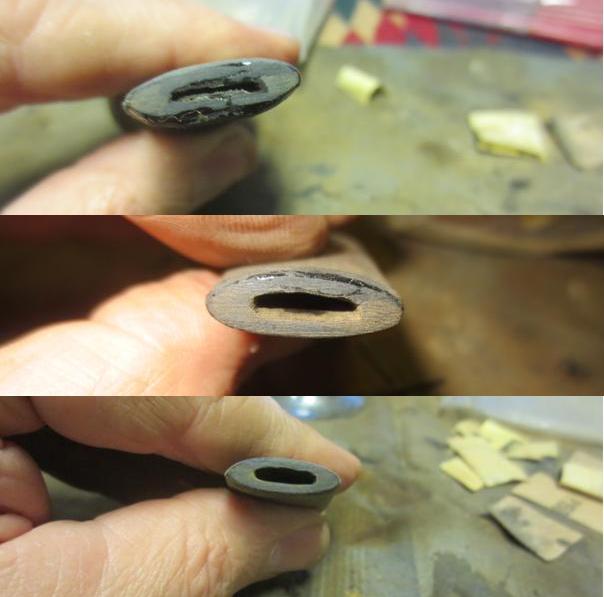
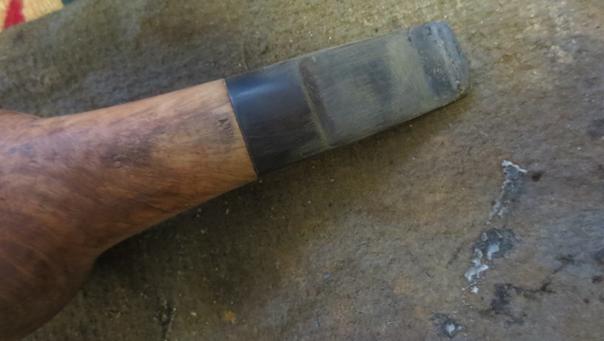
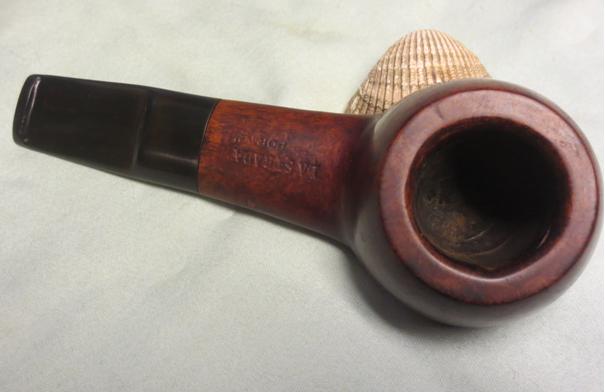
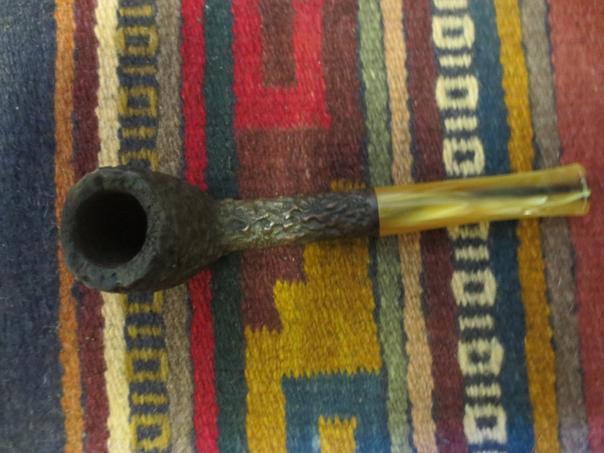
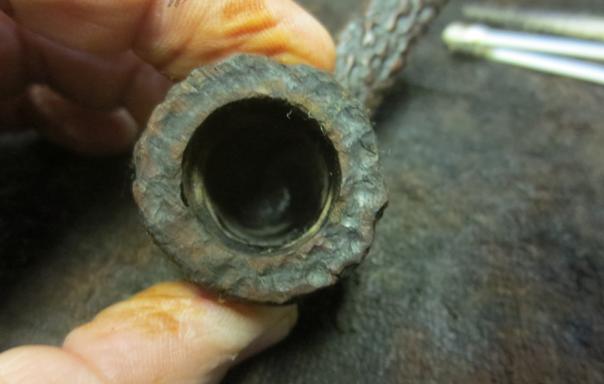
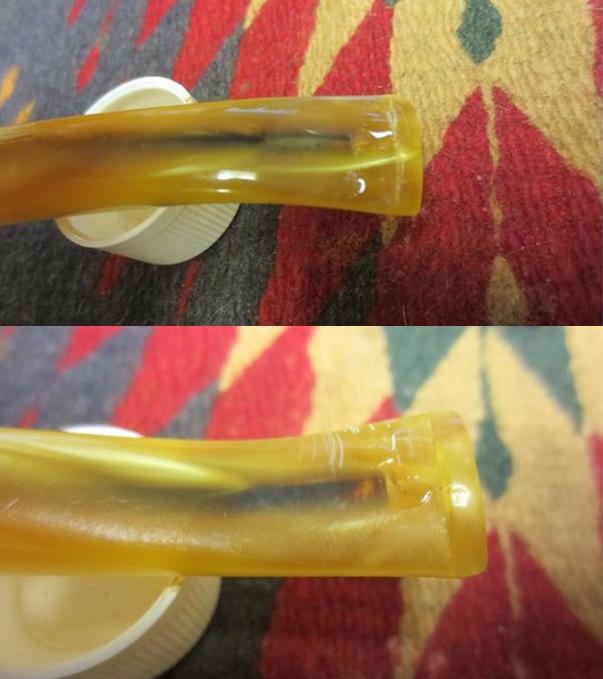
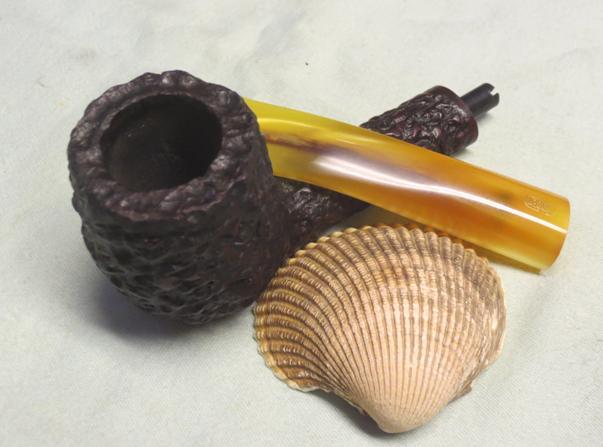
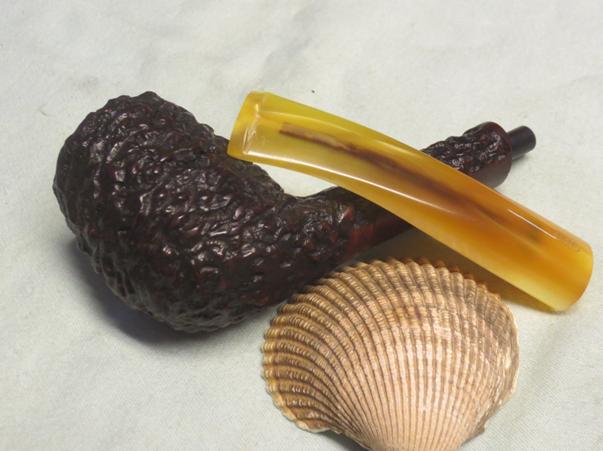
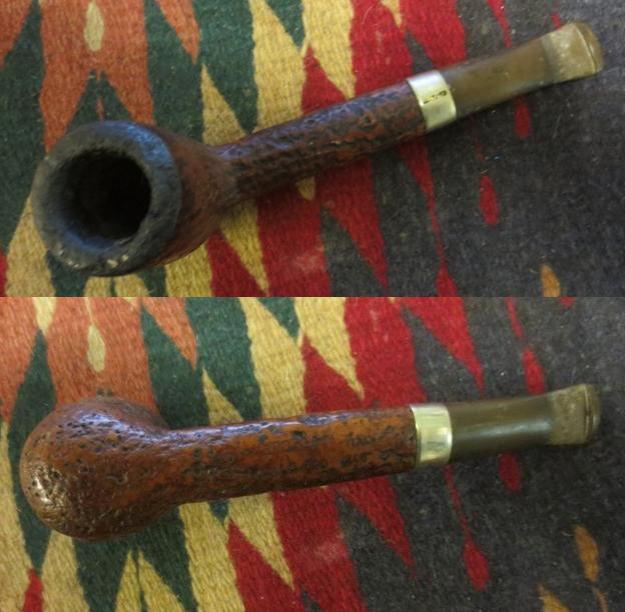
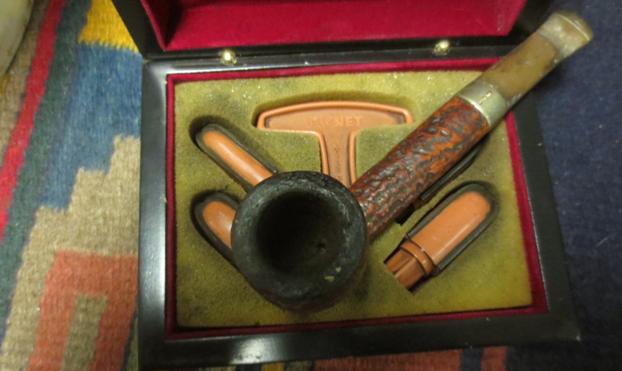
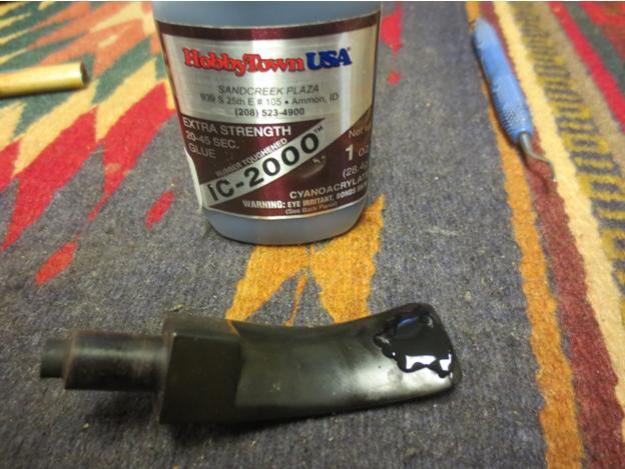
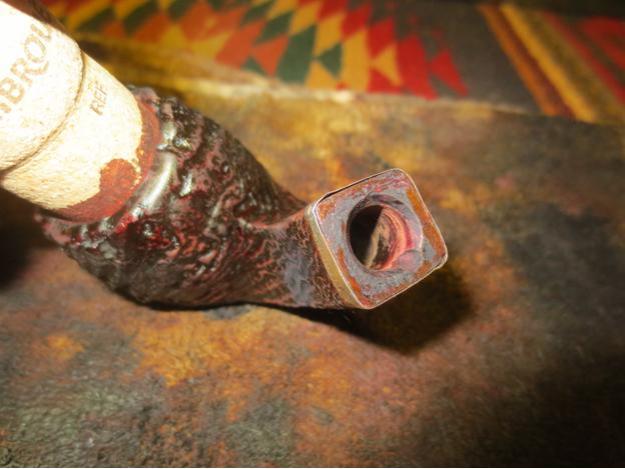
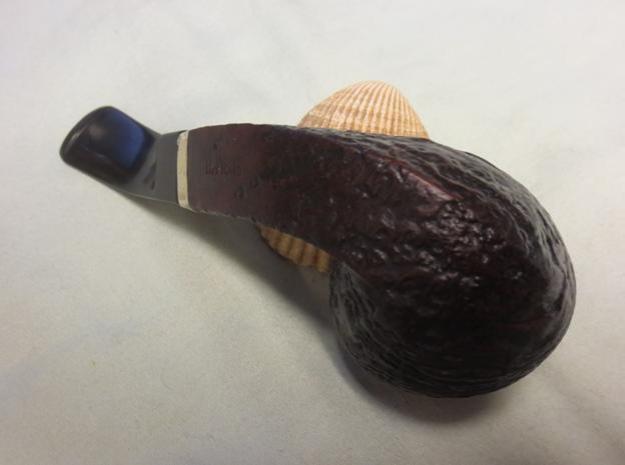
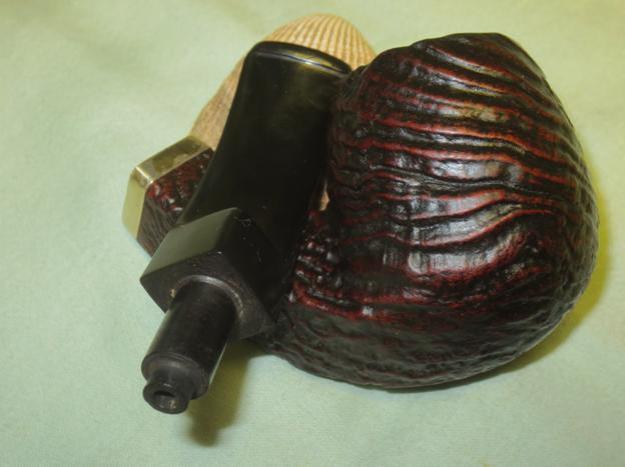
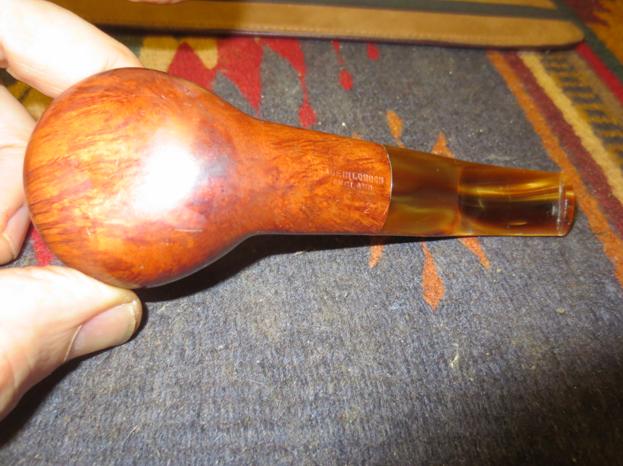
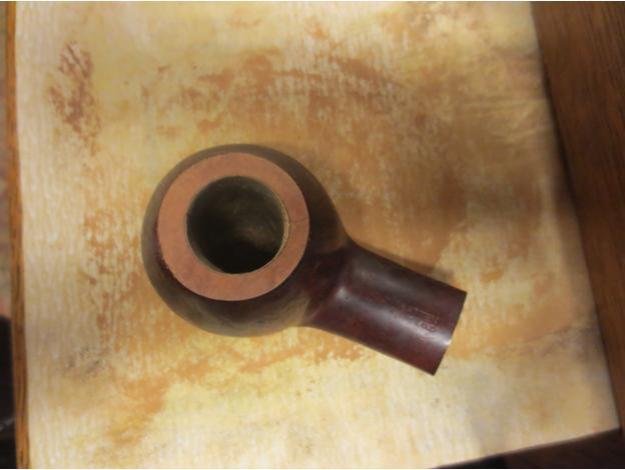
 I took a photo of the end of the shank to show the glue spots on the briar and around the broken tenon.
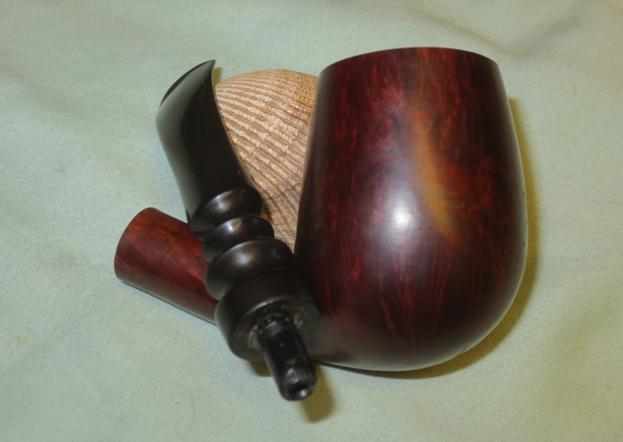
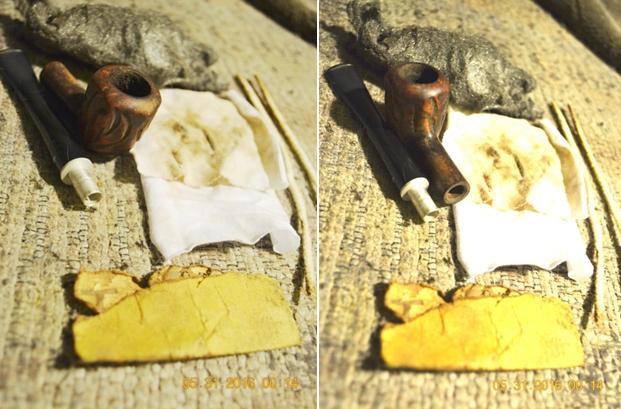
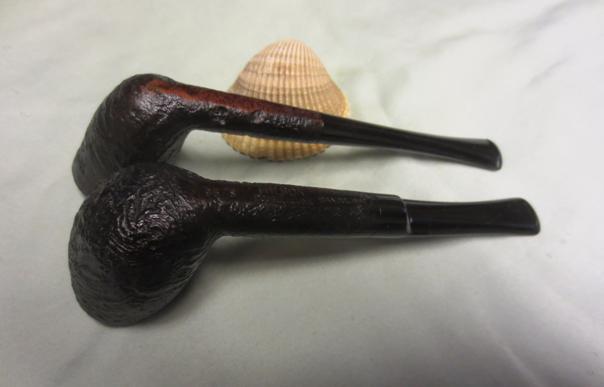
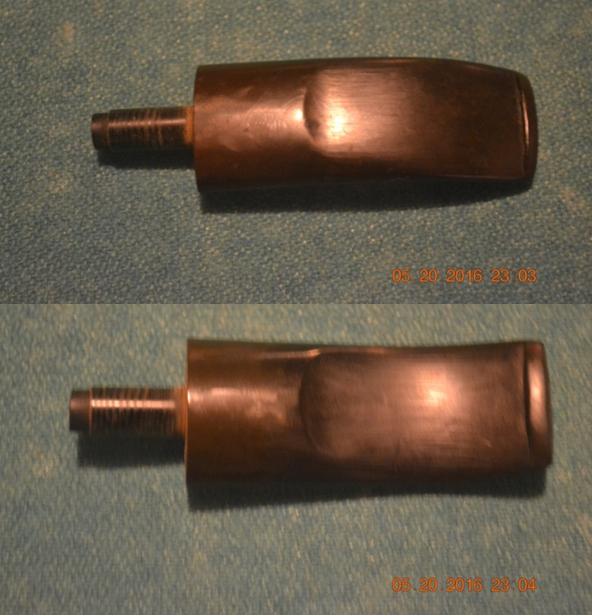
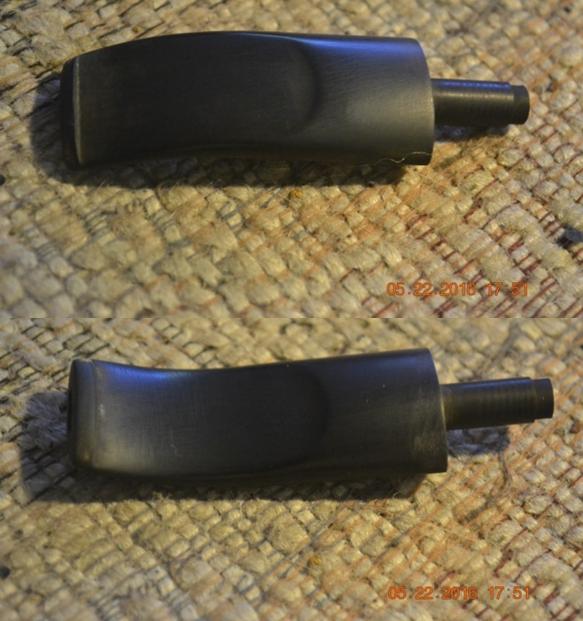
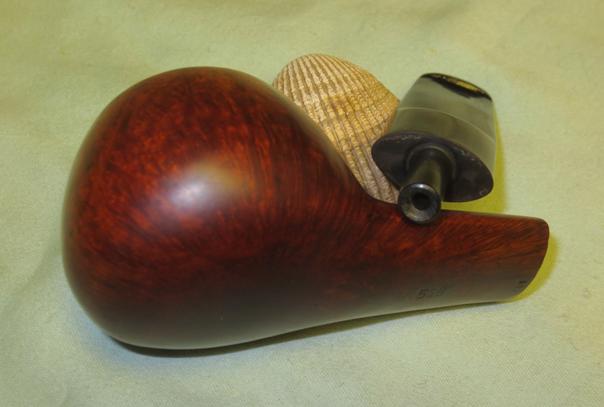
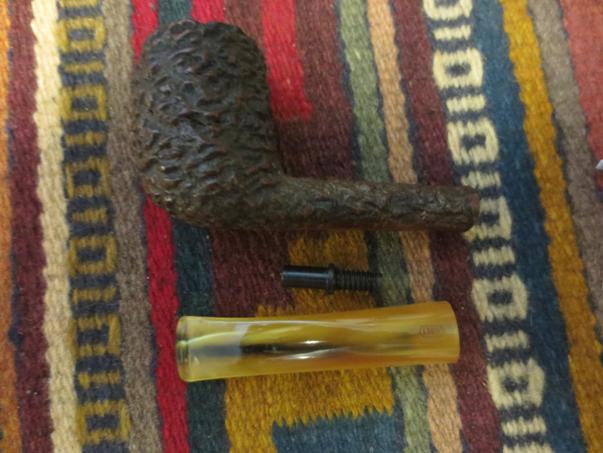
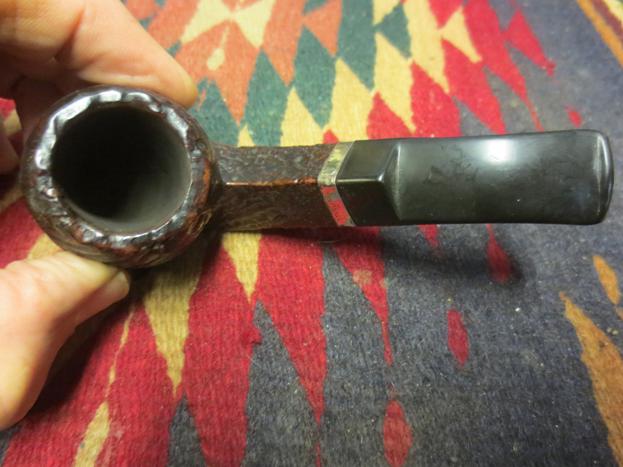
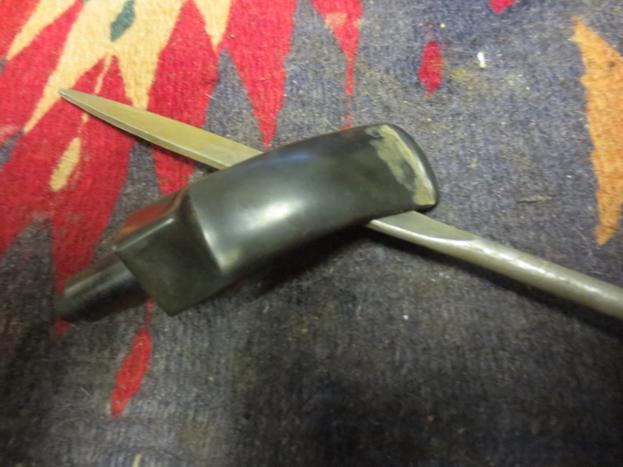
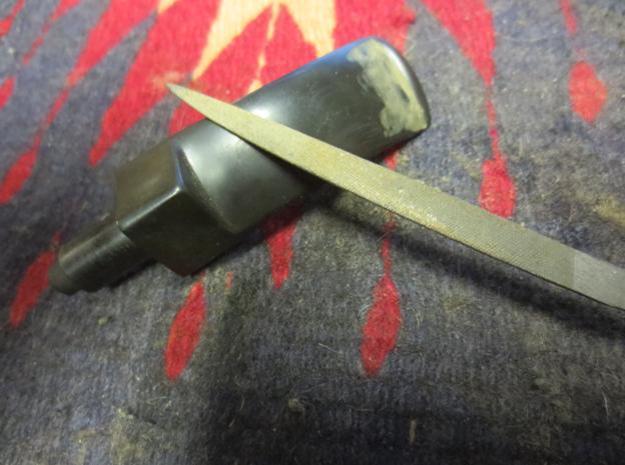
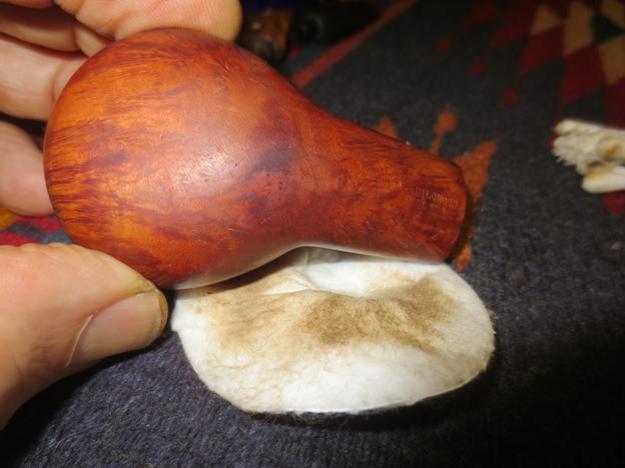
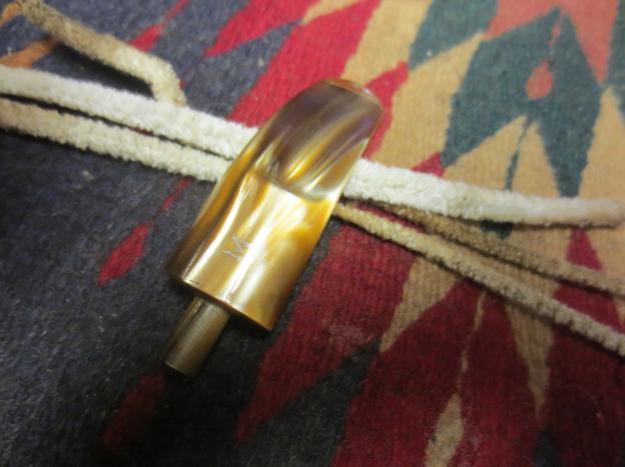
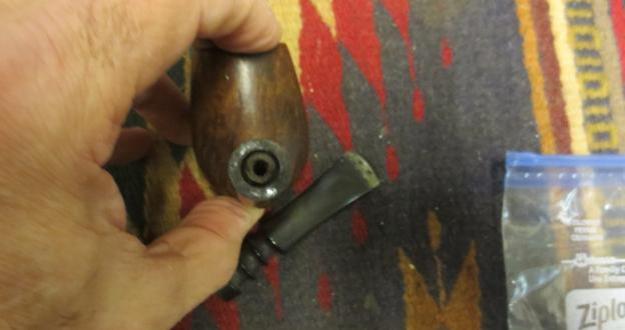 When I had looked at the initial photo I was uncertain that the stem was original as it looked to be bigger in diameter than the shank. I lined up the broken tenon in the shank with the rough end on the stem and took some photos to see if it actually fit the pipe.
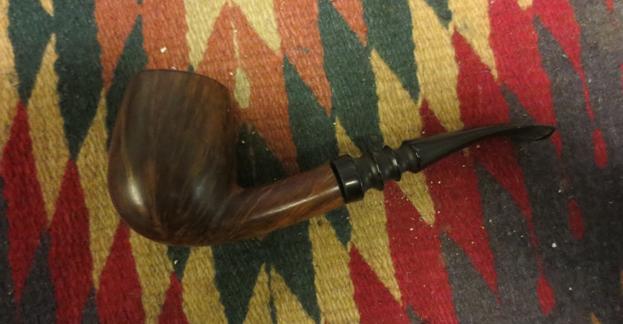 I decided to try pulling the tenon with my normal screw and it did not budge. It began to shatter and break apart.
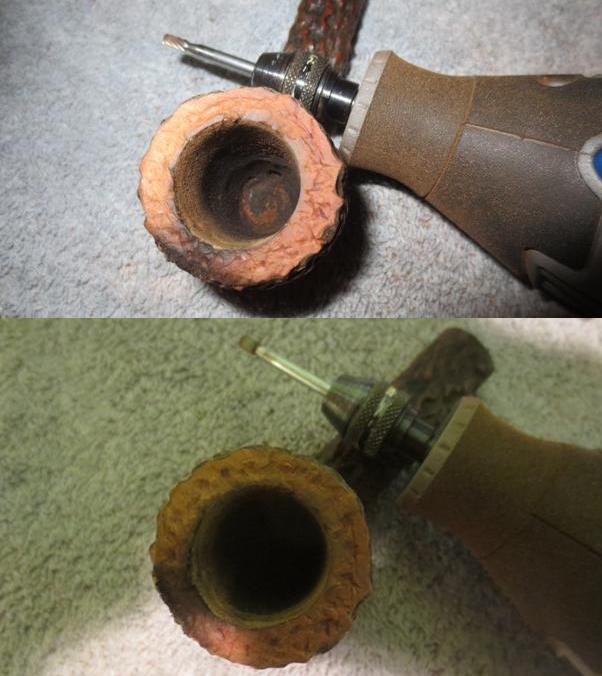
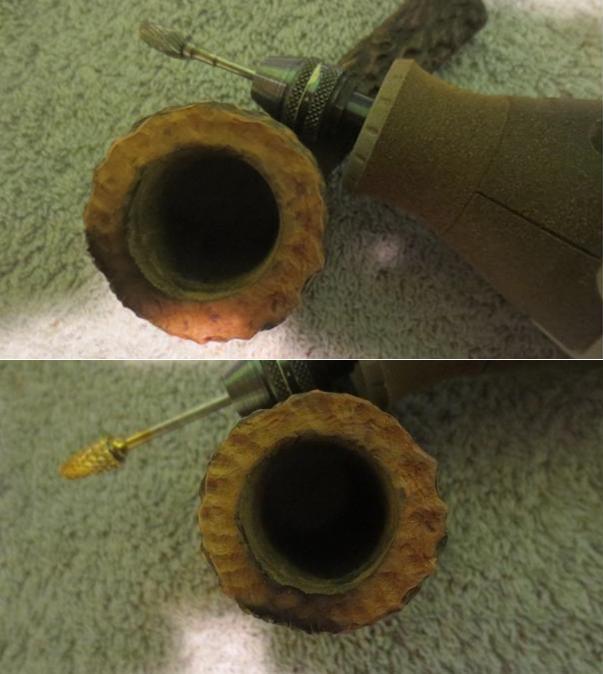
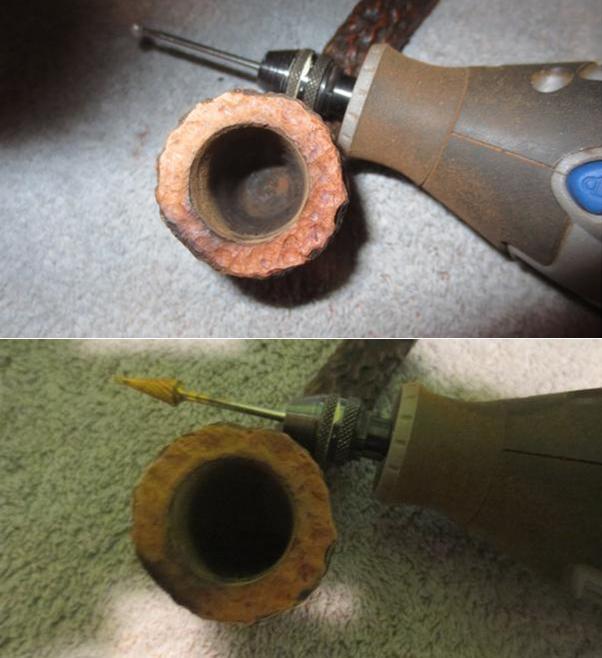
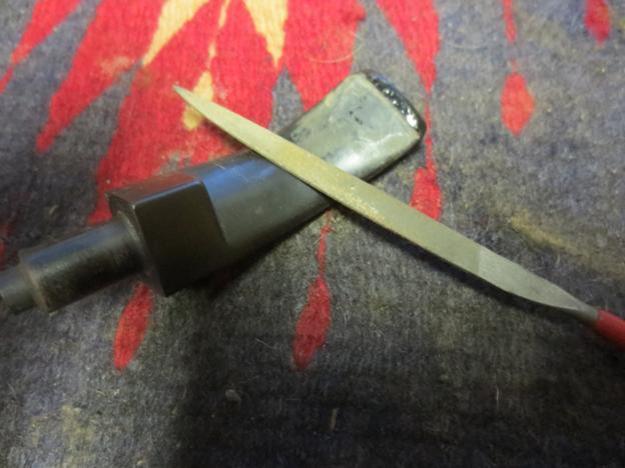
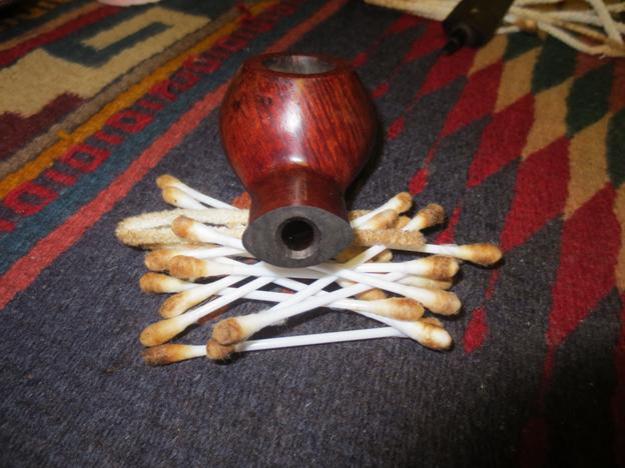
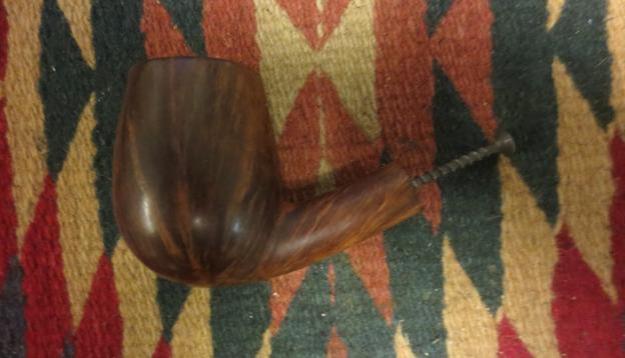 Thus I knew that I would have to resort to drilling out the broken tenon. I set up my cordless drill and put a drill bit slightly larger than the airway in the chuck. I slowly drilled out the tenon, increasing the size of the drill bit until it was the just slightly smaller than the mortise. The last bit I used broke the tenon piece free from the shank and the mortise was clear.
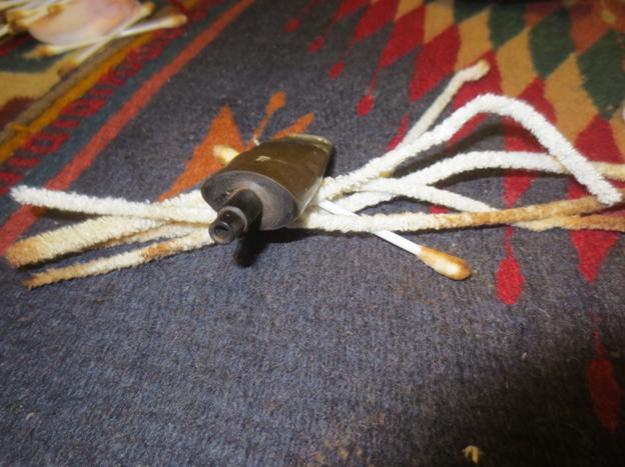
 While I had the drill out I also drilled out the broken tenon in the stem in preparation for the replacement tenon I would use.
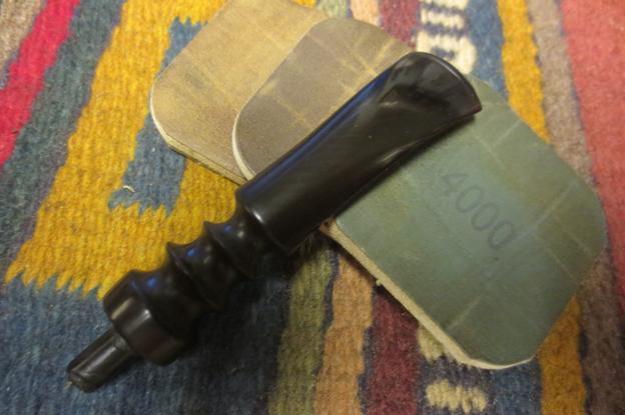
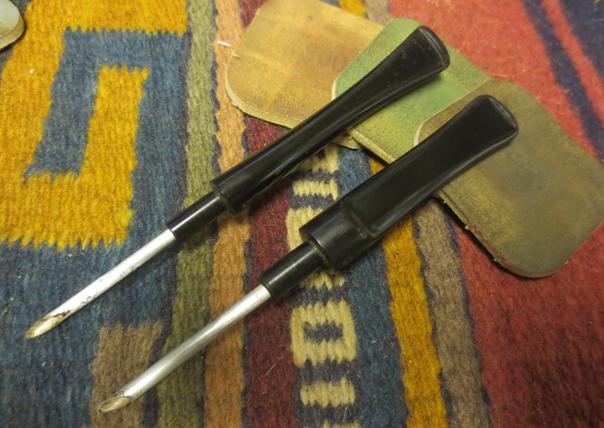
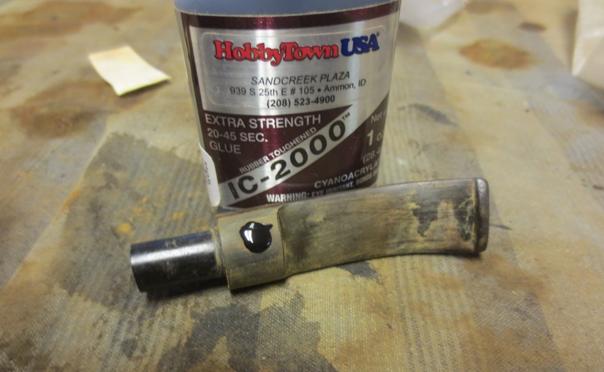
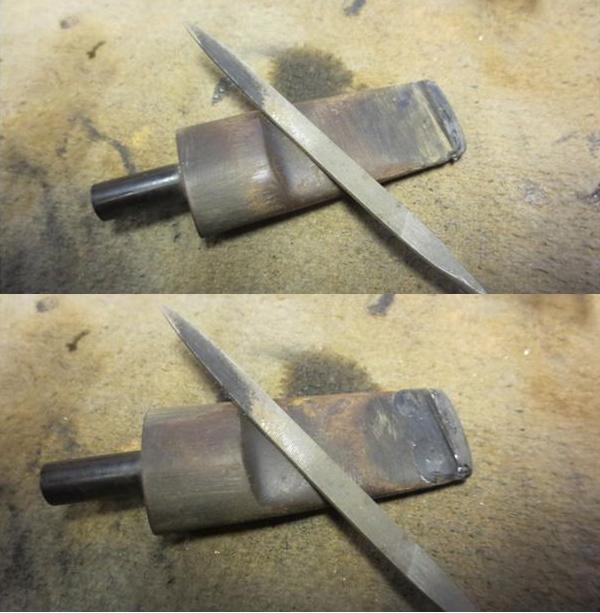
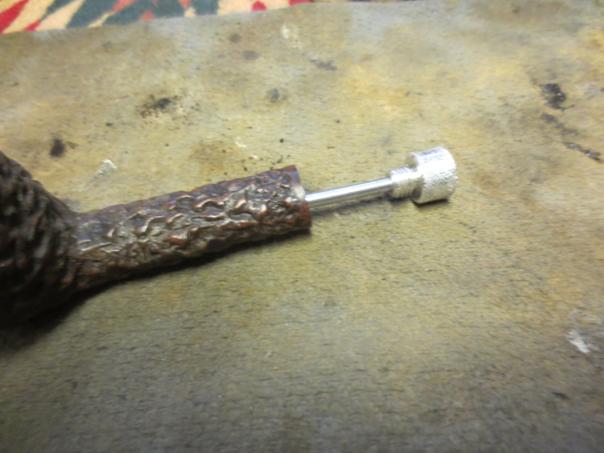
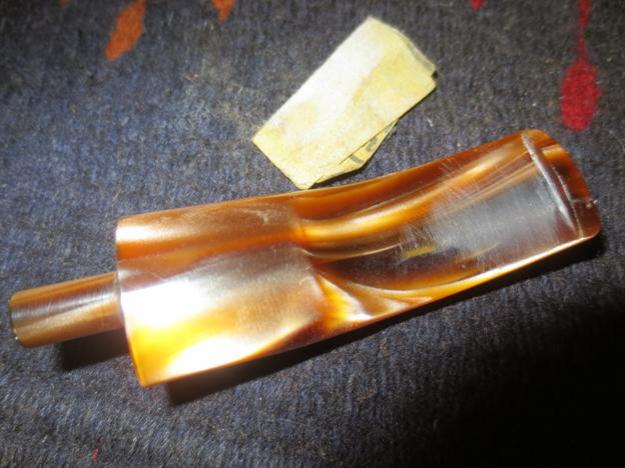
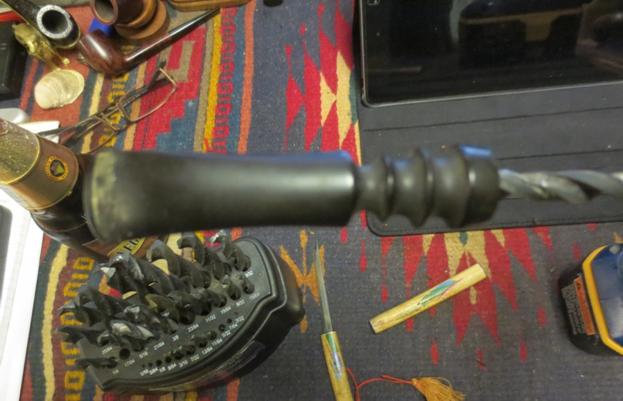 Once the airway was drilled out on the stem I used a tap to thread the newly drilled airway to accommodate the threaded replacement Delrin tenon.
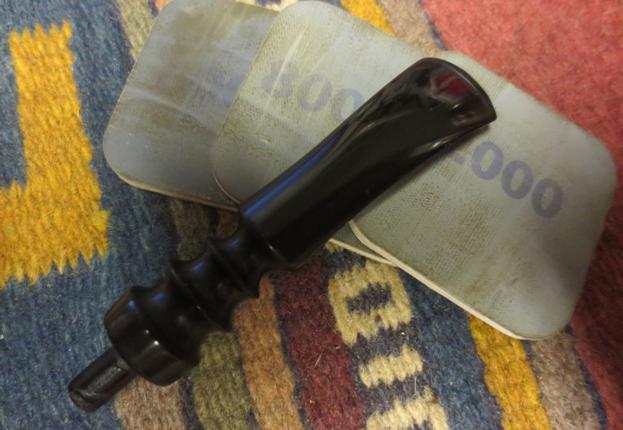
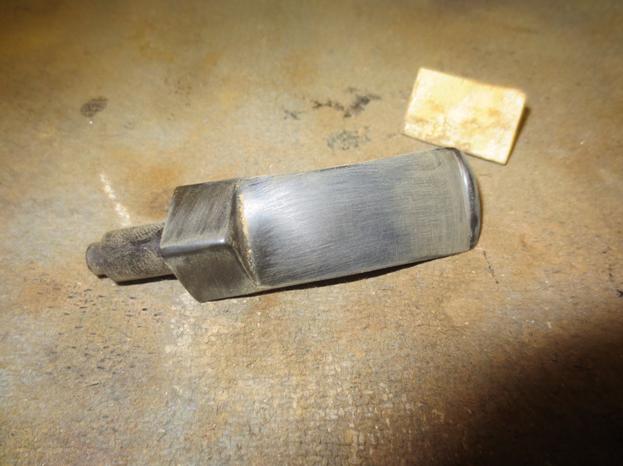
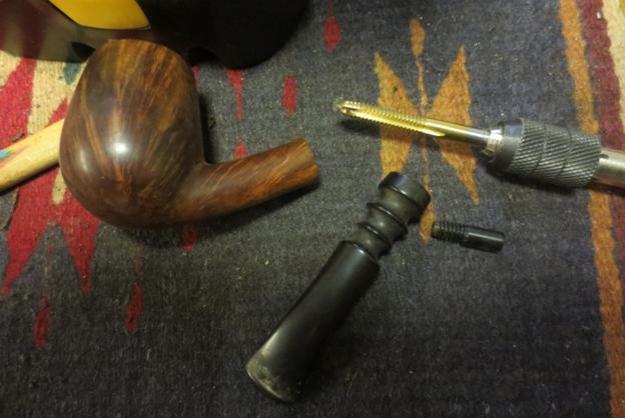 I used the topping board and 220 grit sandpaper to clean off the glue residue on the end of the stem before I put the new tenon in place. I want a clean, flat surface to work with against the shank when I was finished.
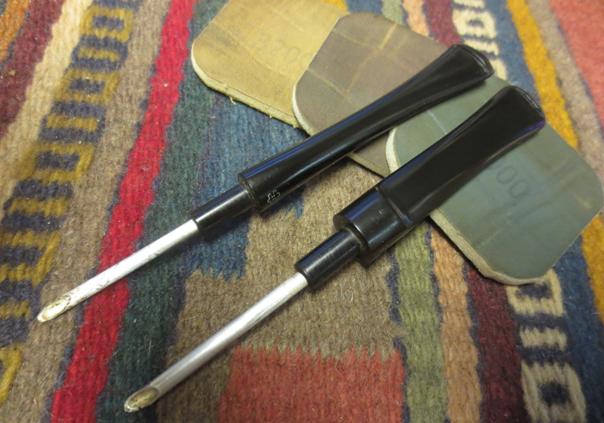
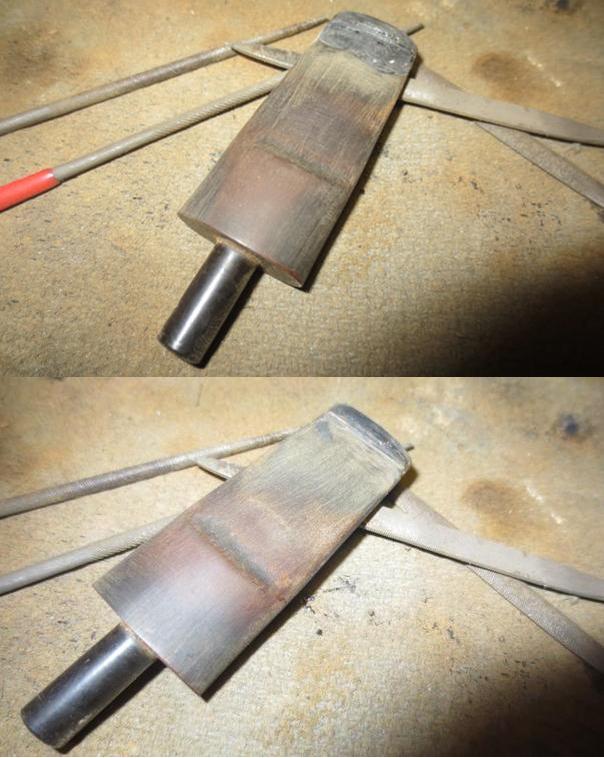
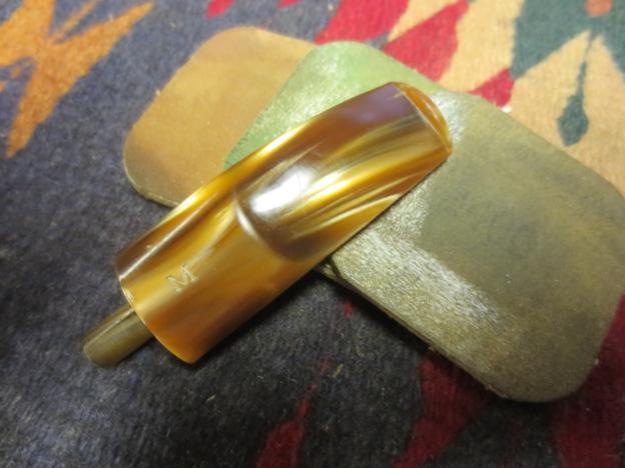
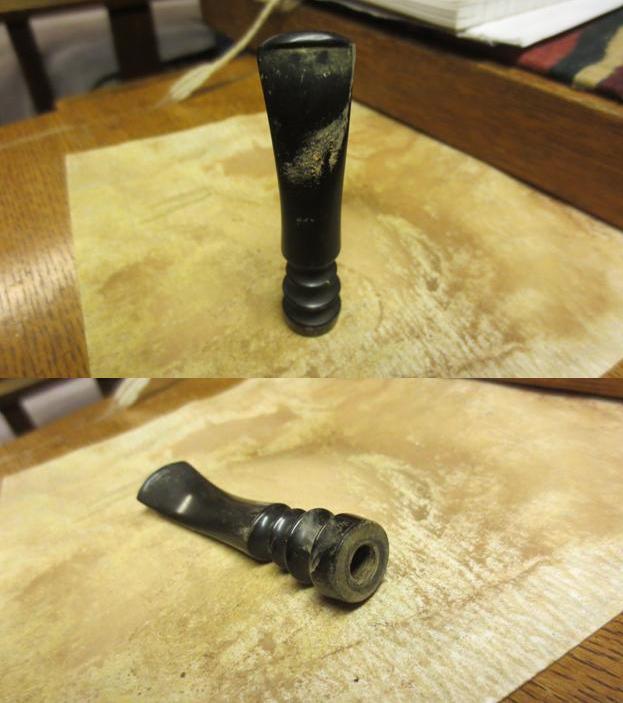 I used some clear super glue on the new tenon and twisted it into the stem. I put it in the shank to check the alignment several times before putting a few more drops of super glue around the tenon stem union.
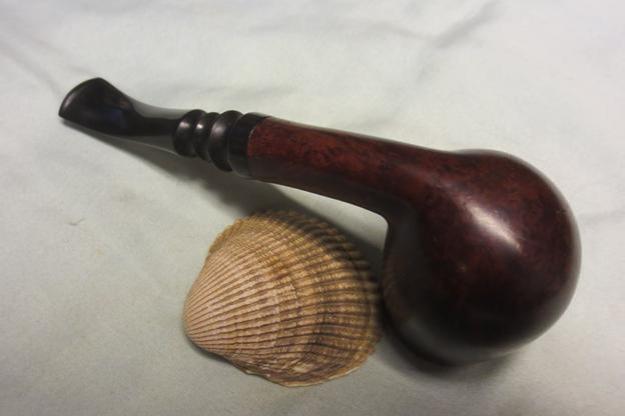
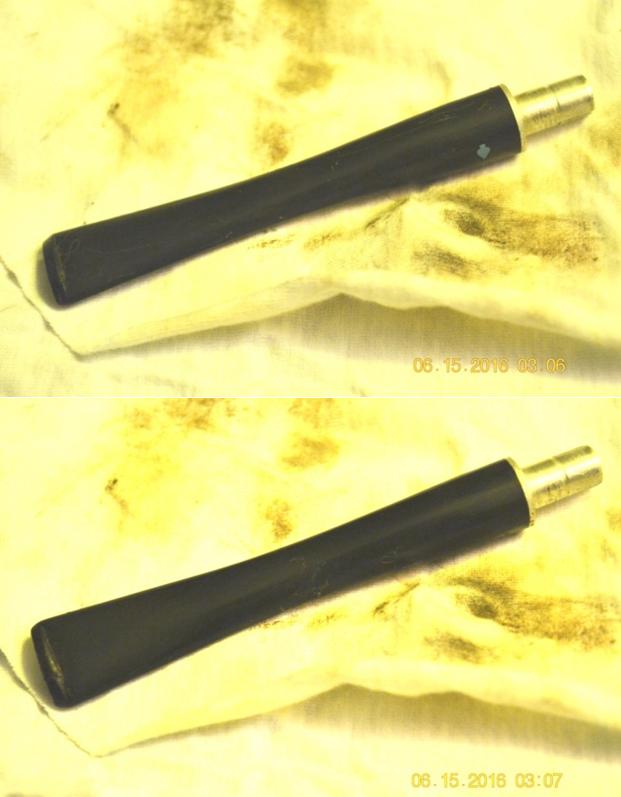
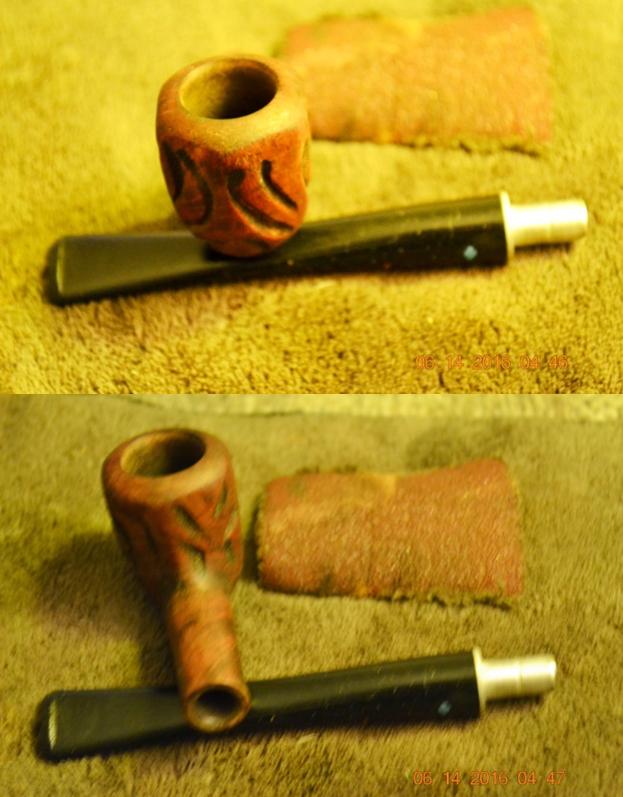
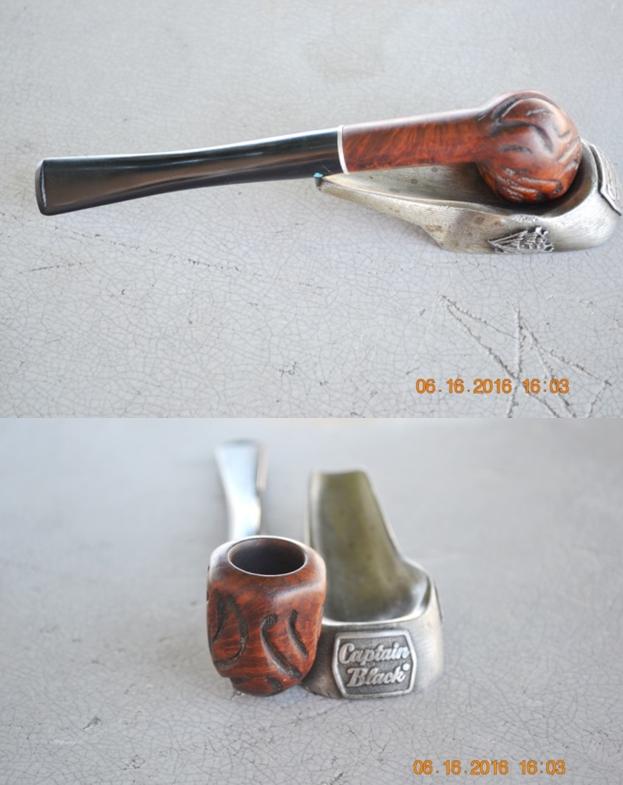
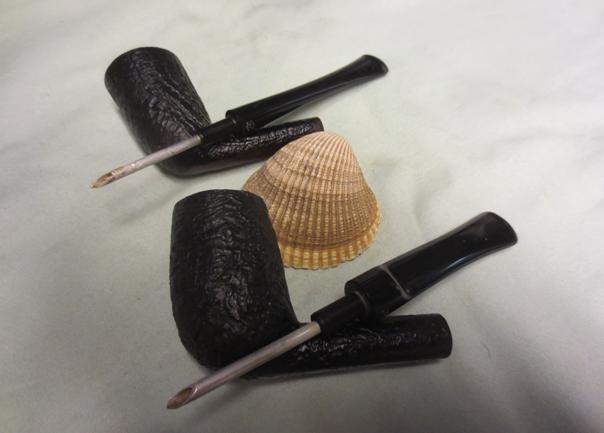
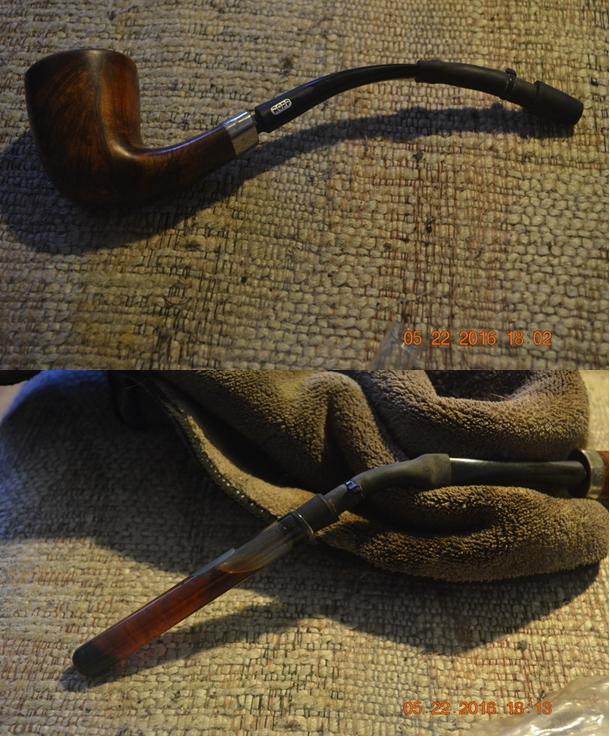
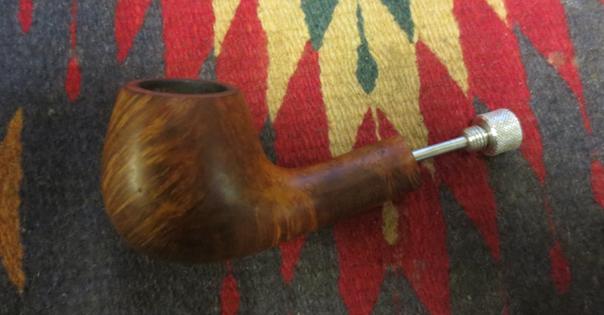
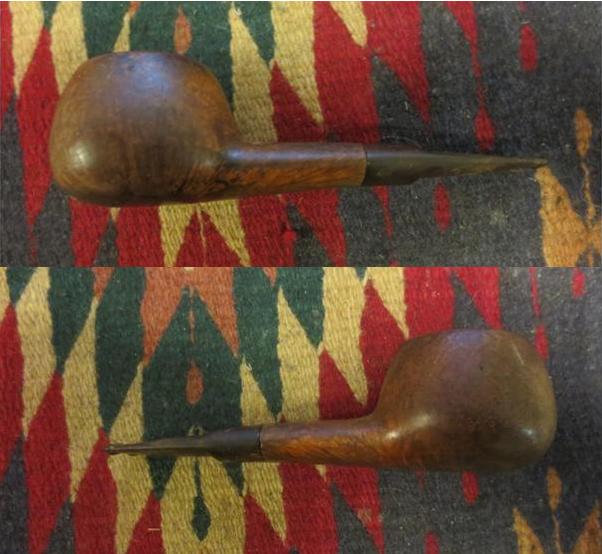
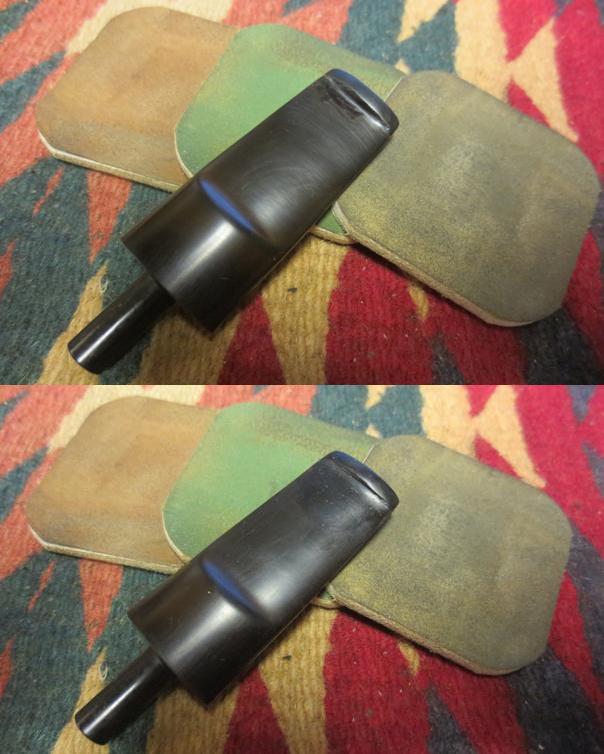
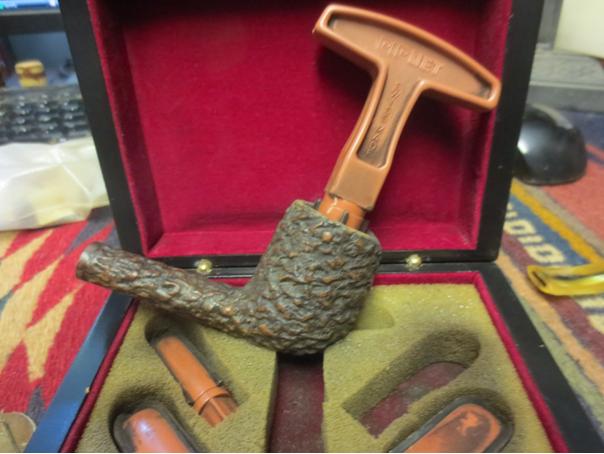
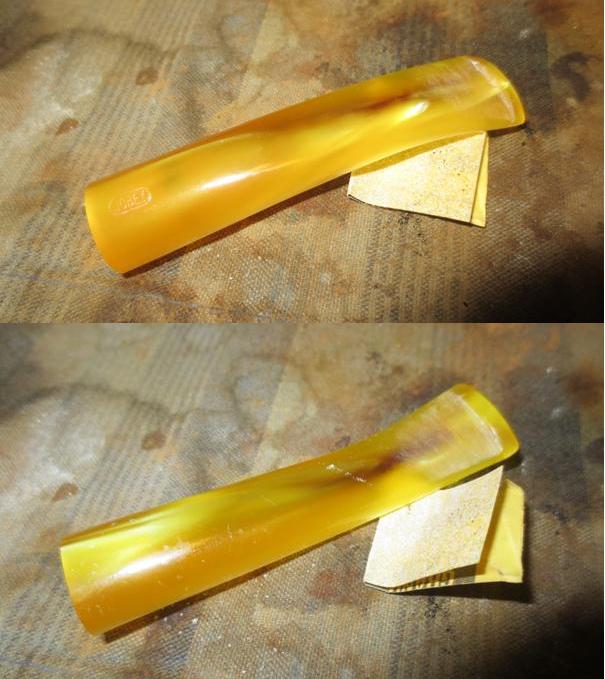
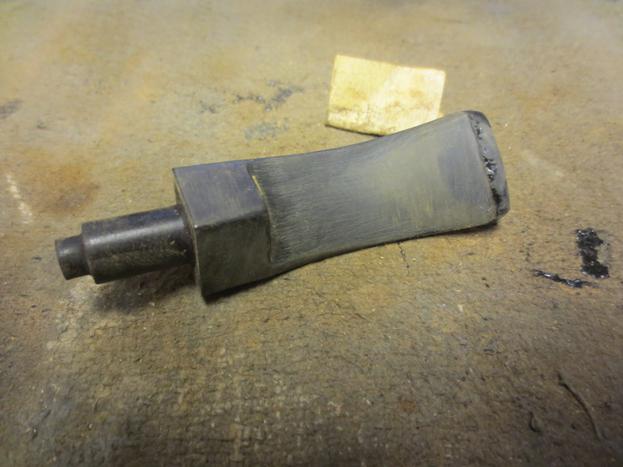
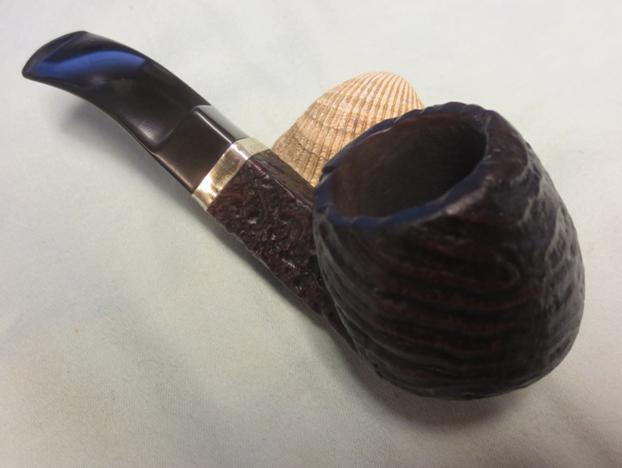
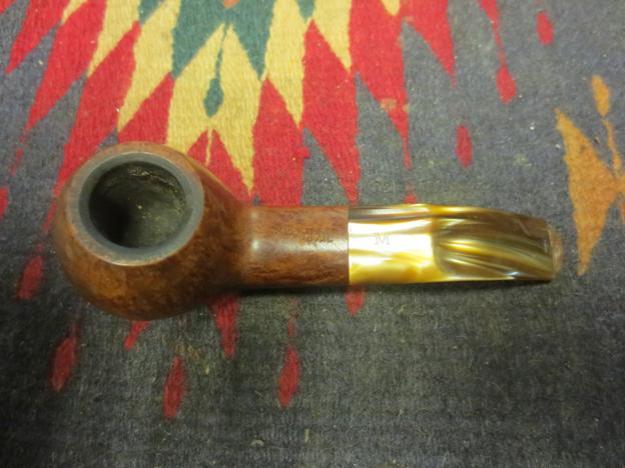
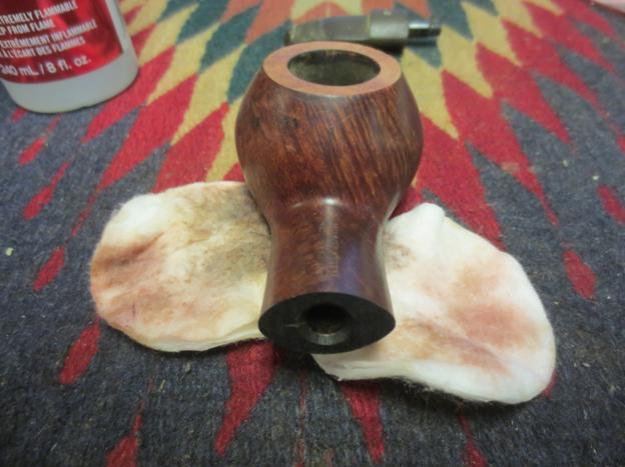
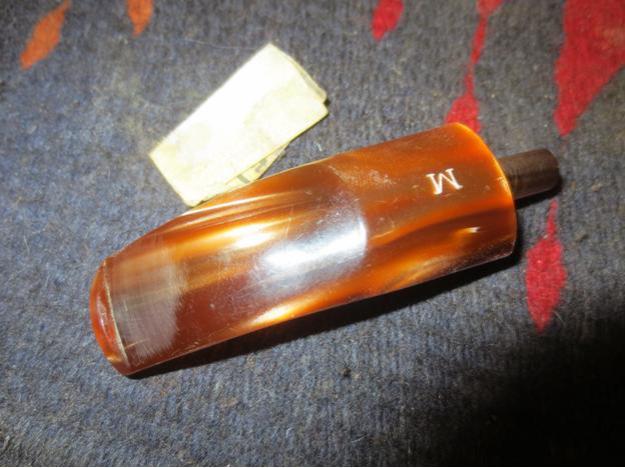
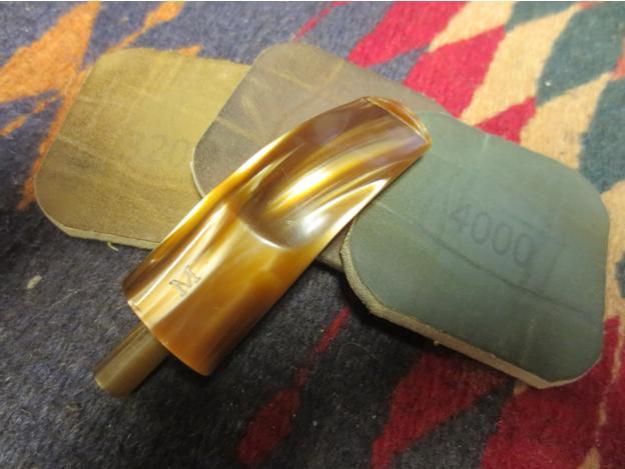
 Once the glue dried I put the stem in place in the pipe and took some photos to evaluate the fit.
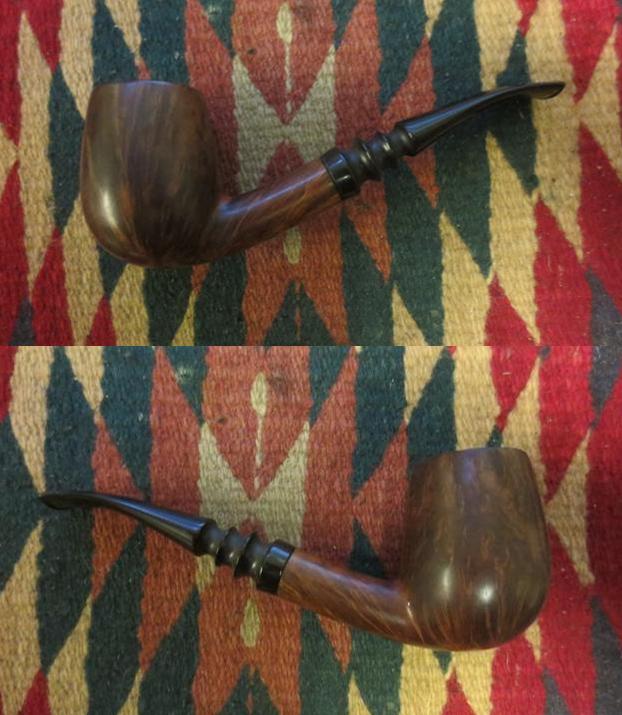
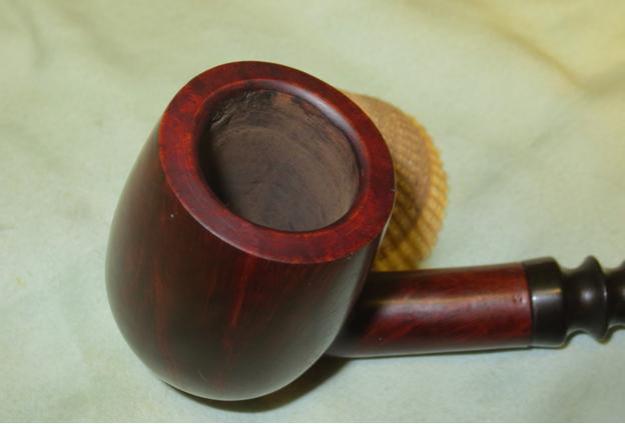
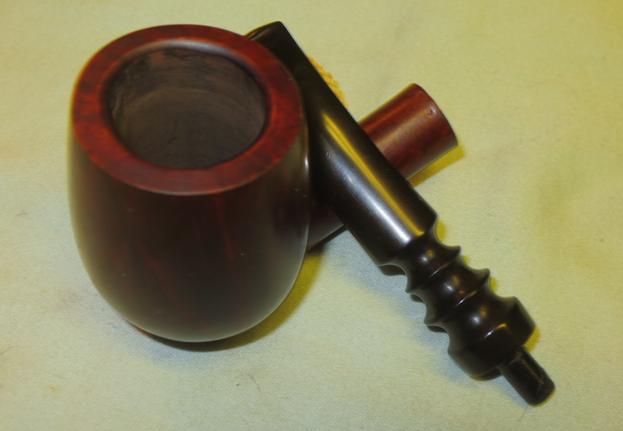
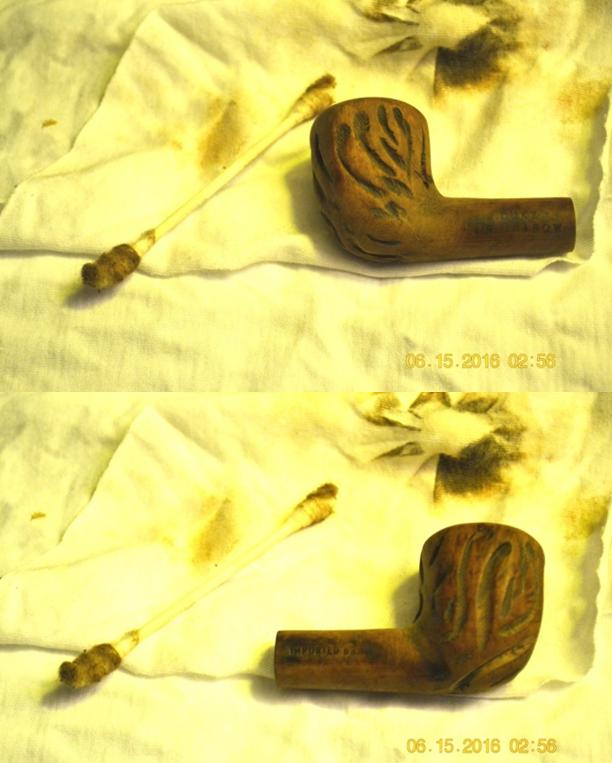
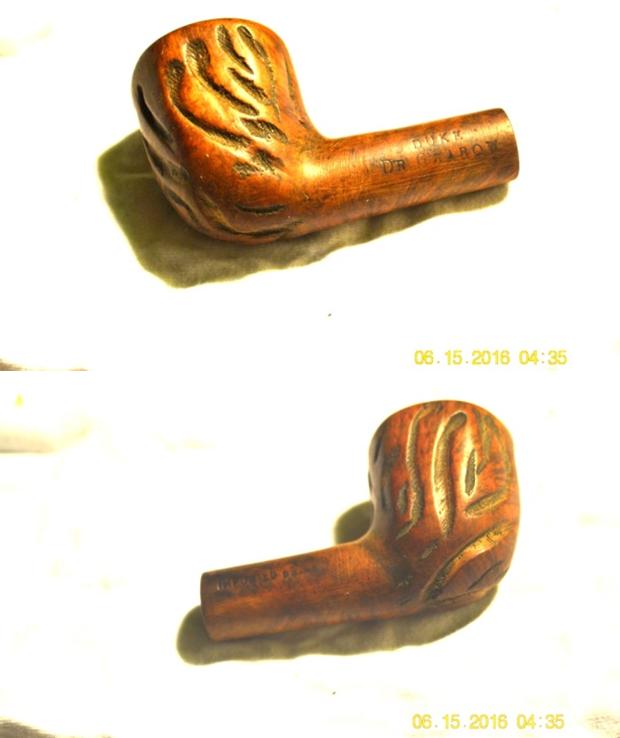
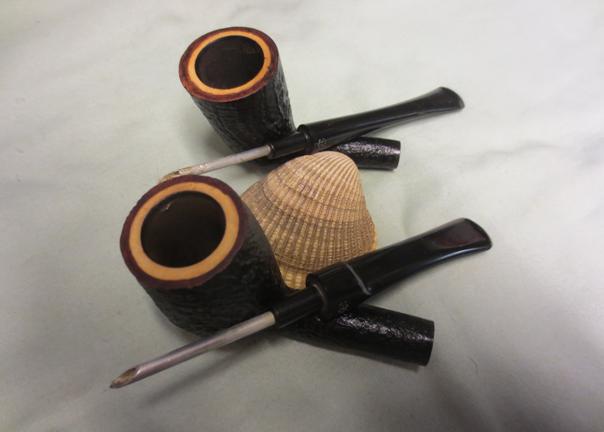
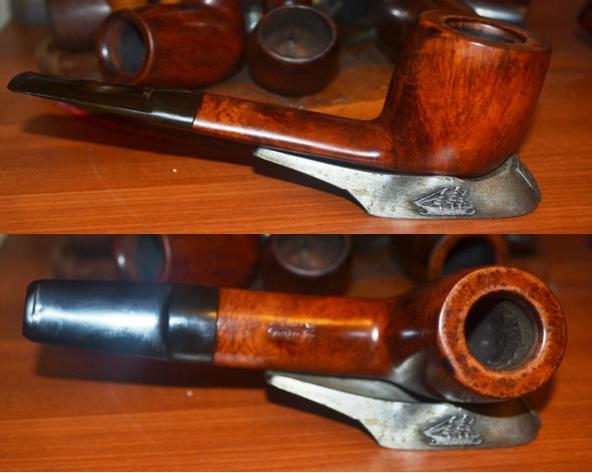
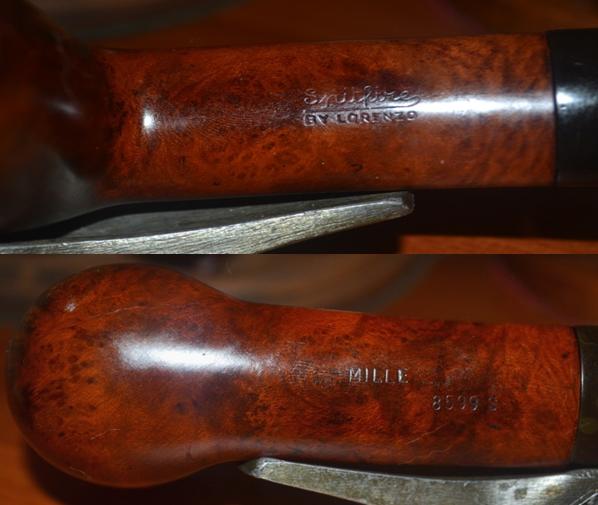
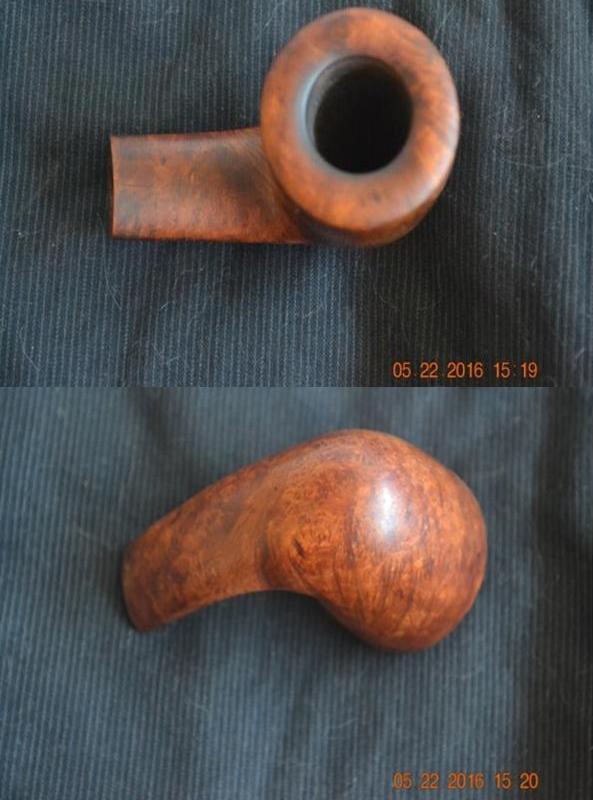
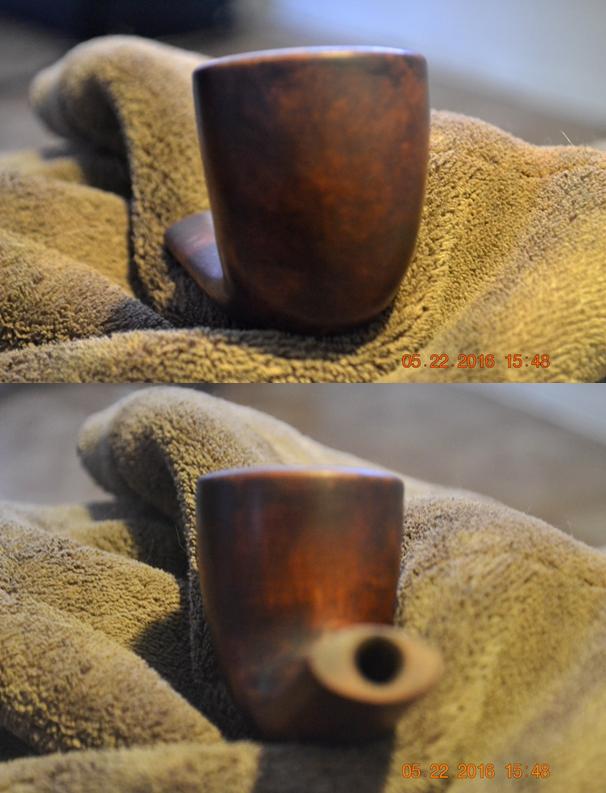
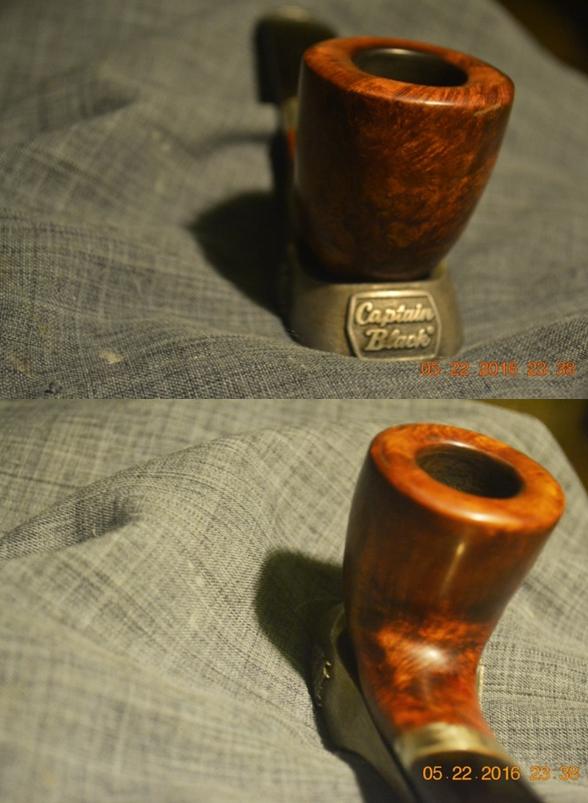
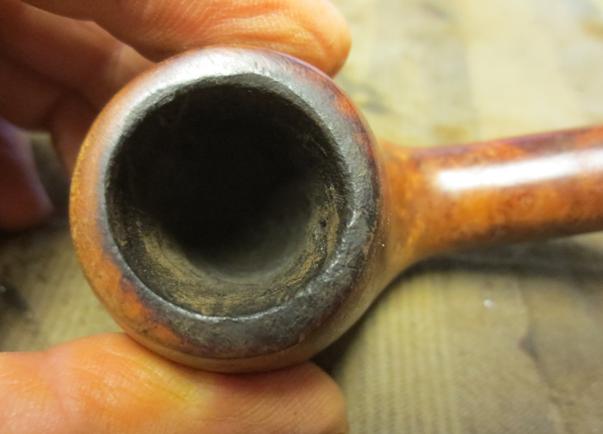
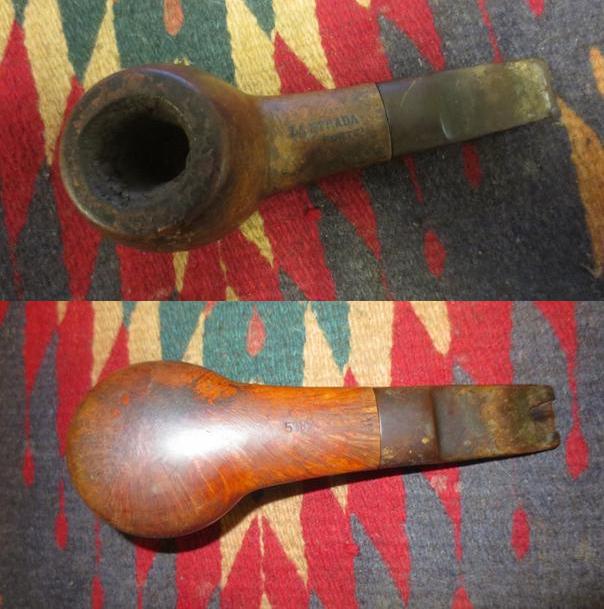
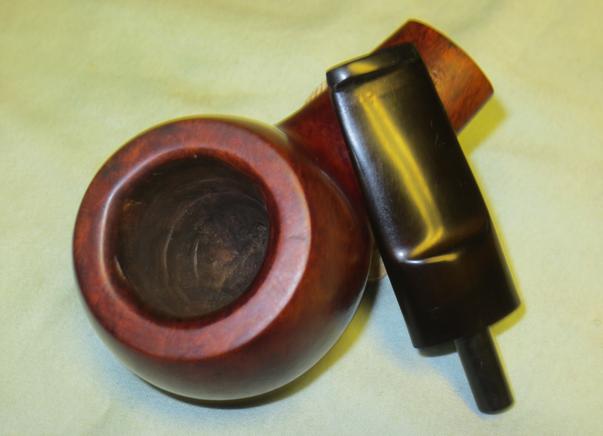
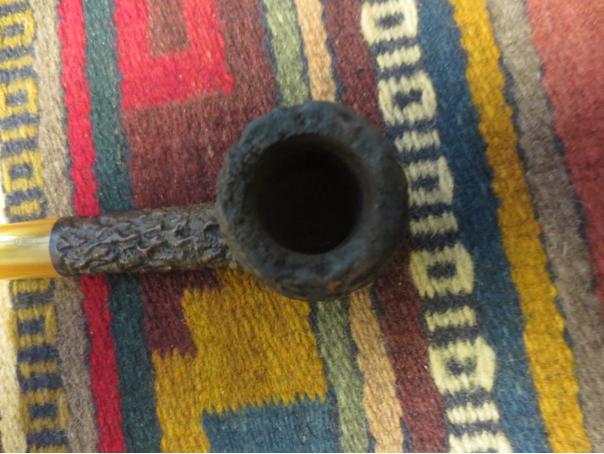
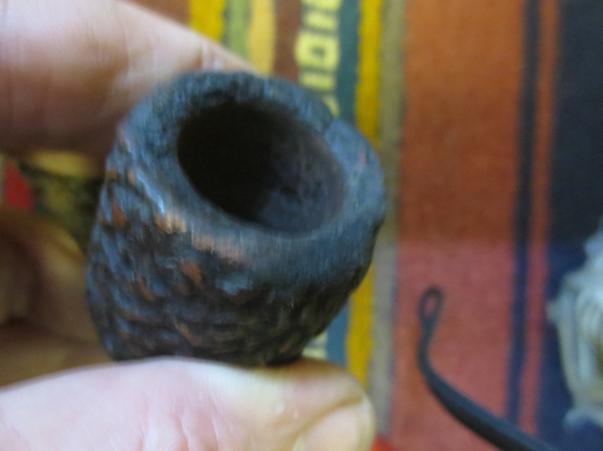
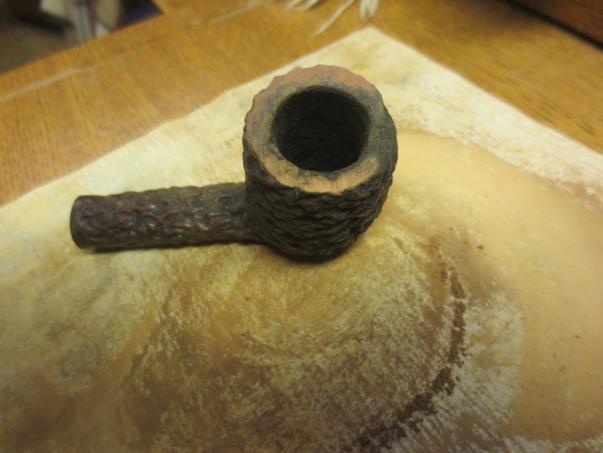
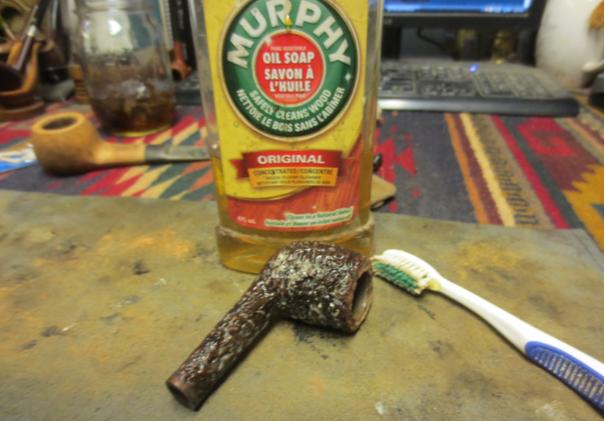
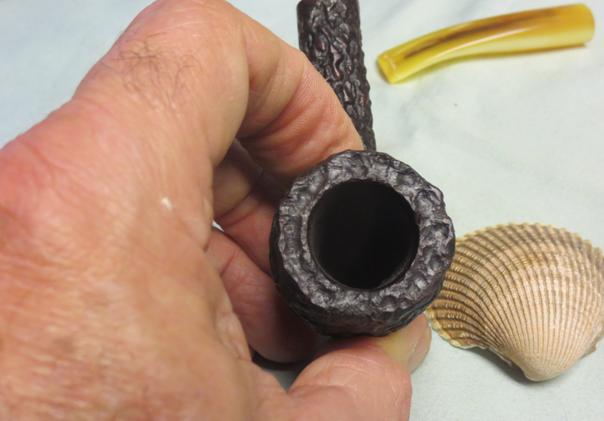
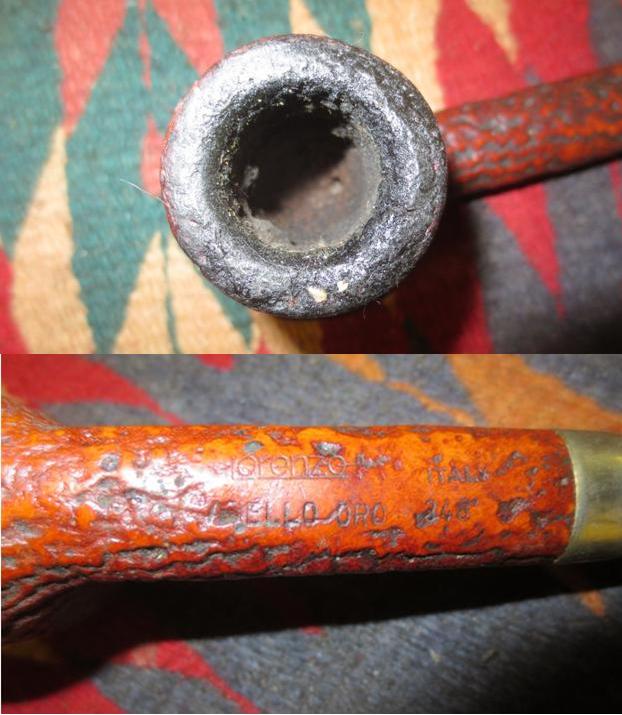
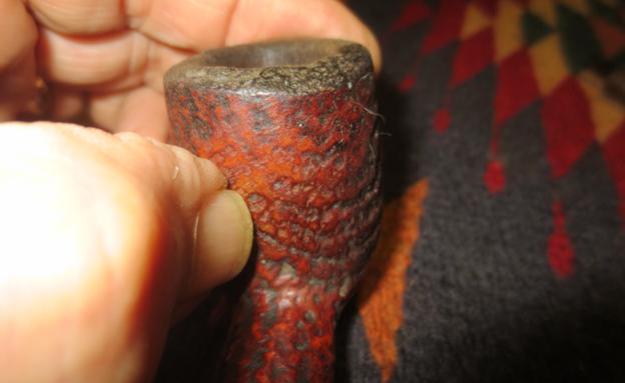
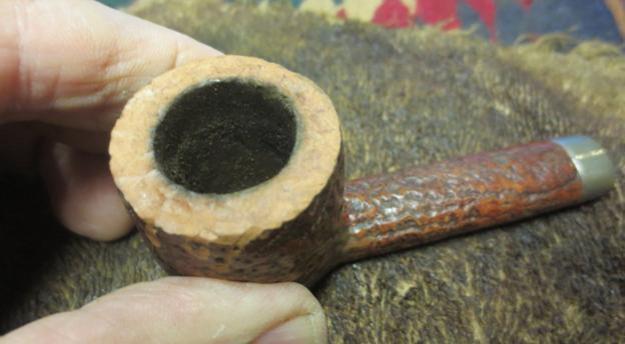
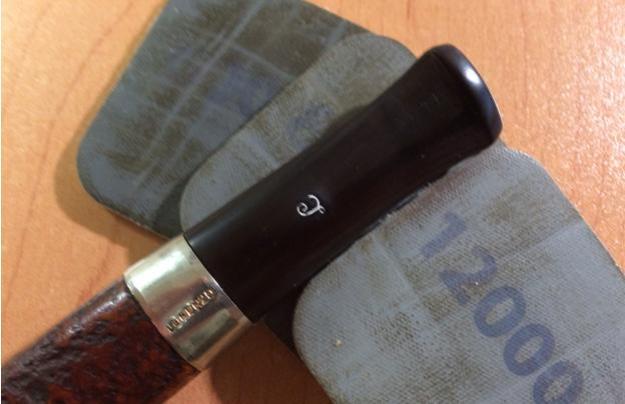
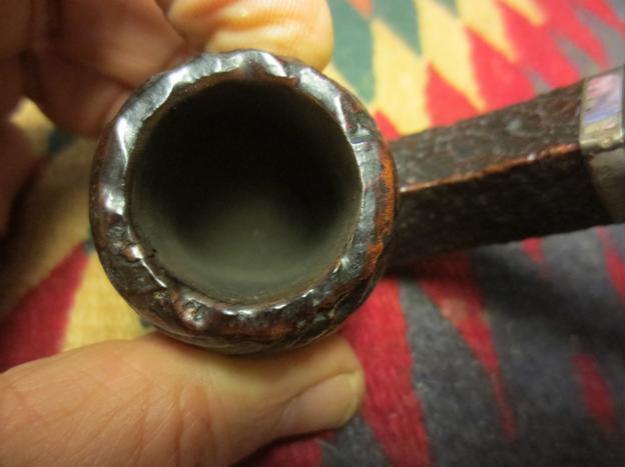
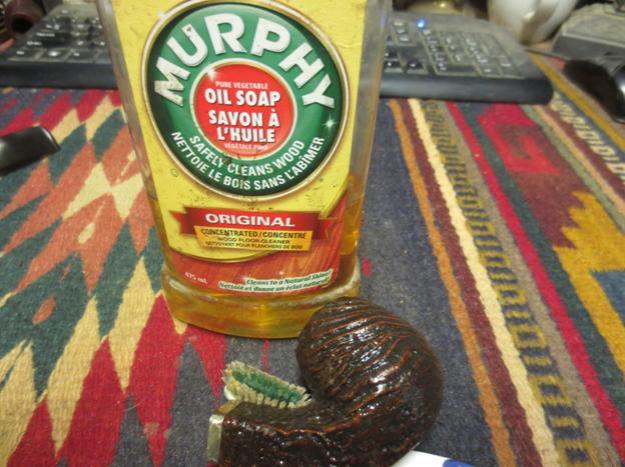
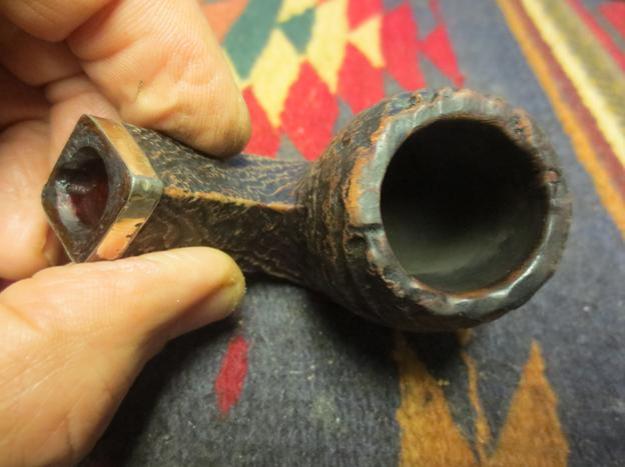
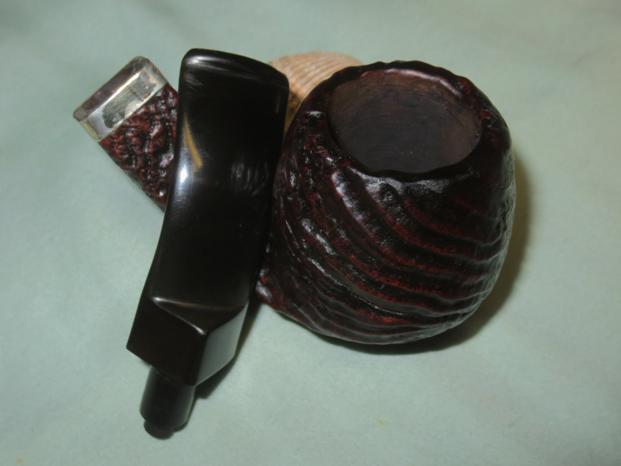
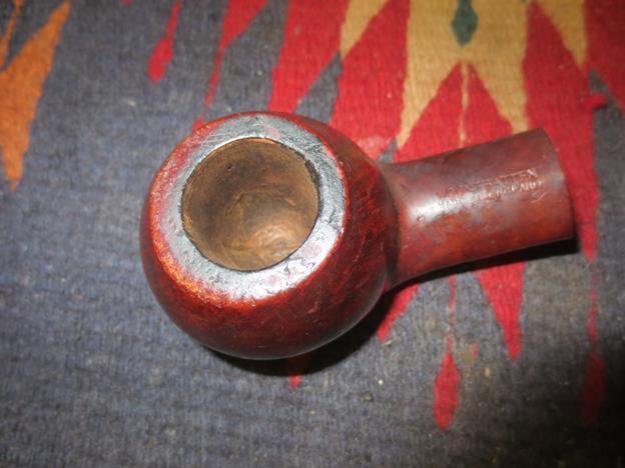
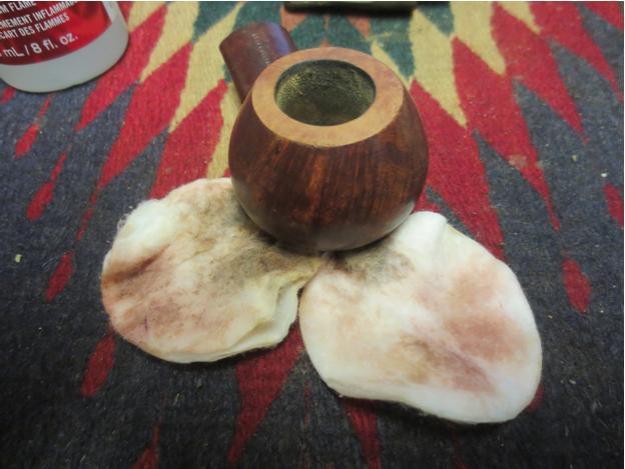
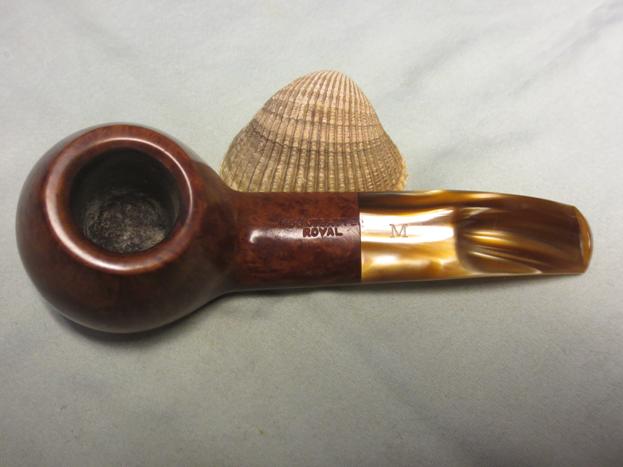
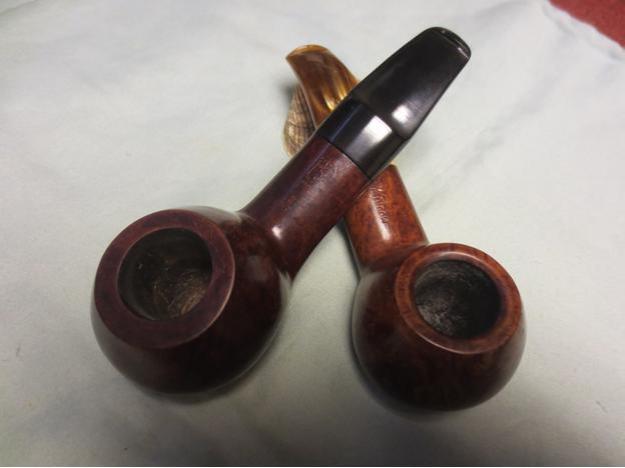
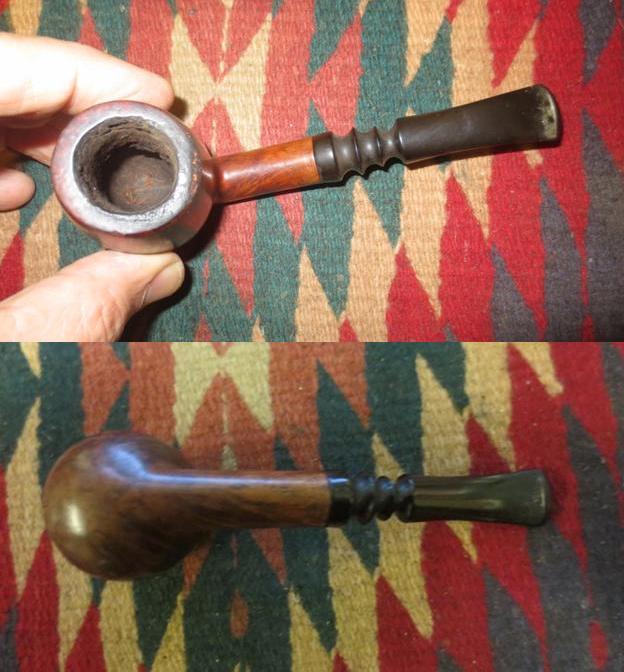 With the tenon repair completed it was time to address the bowl. I took some close up photos of the bowl/rim and the stamping on the shank.
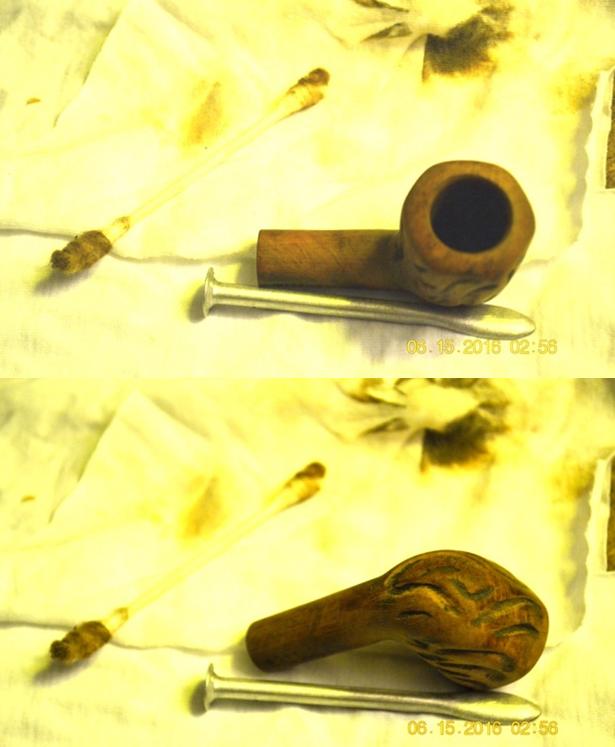
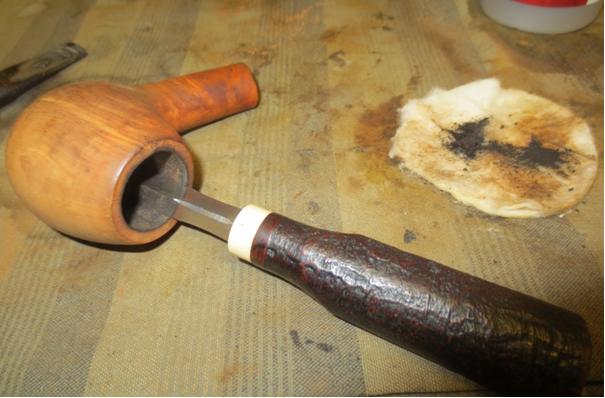
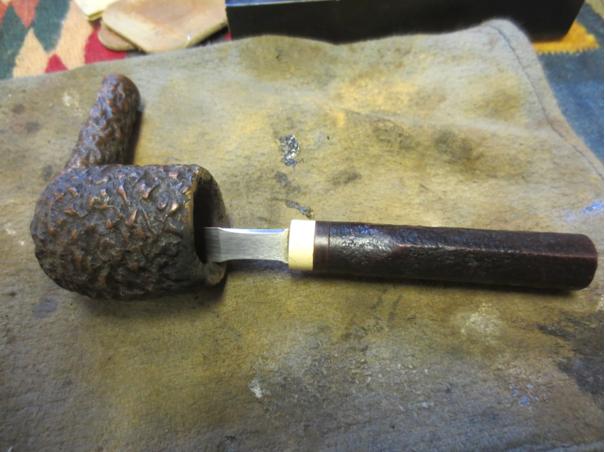
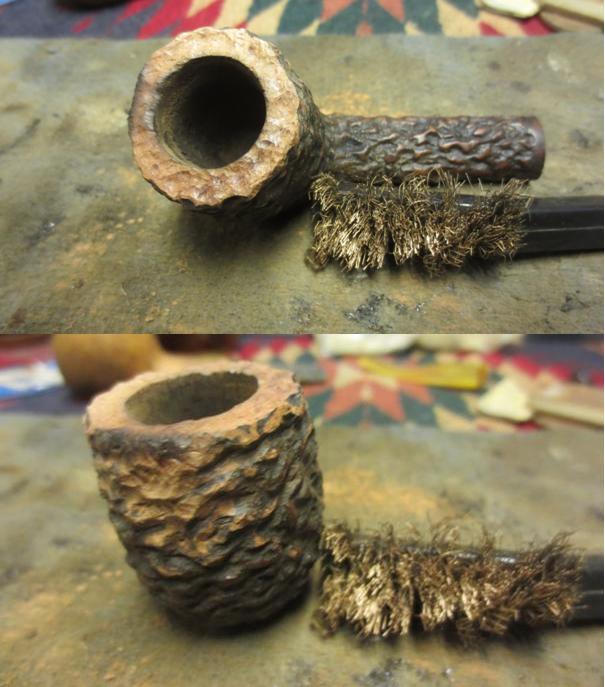
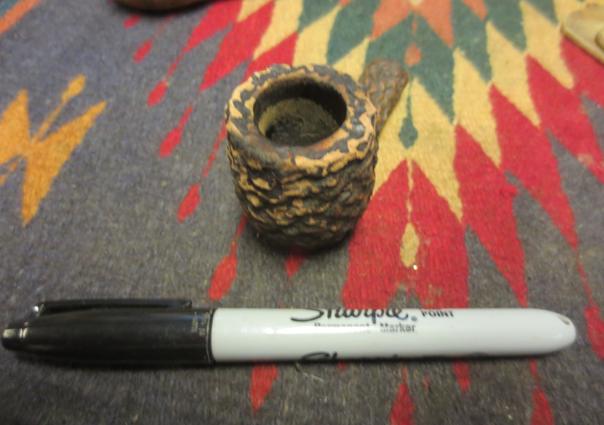
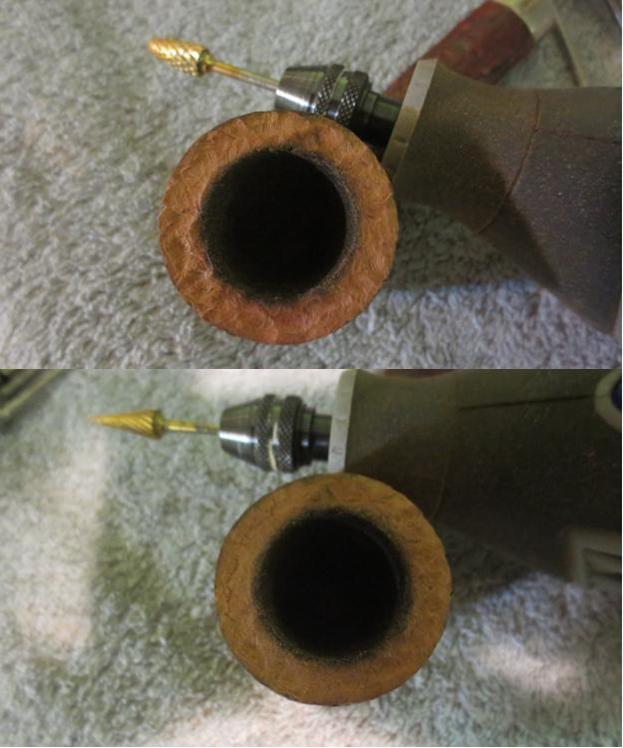
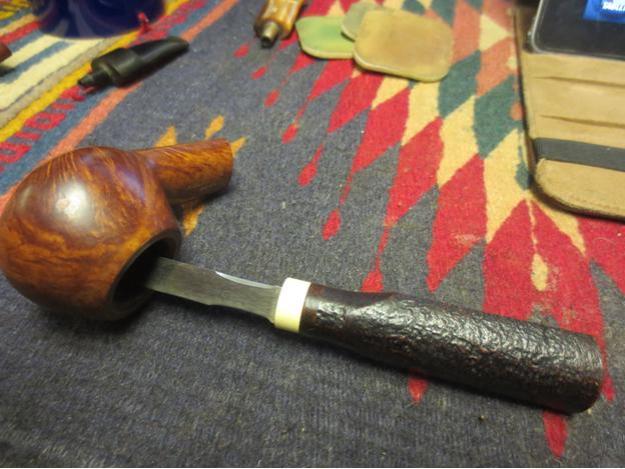
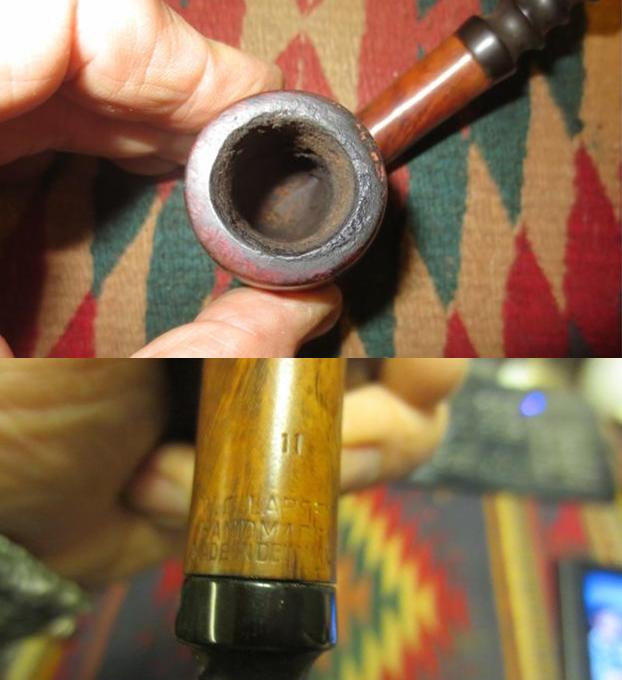 I reamed the bowl with a PipNet reamer using the third cutting head and took the cake back to bare briar. I cleaned up the reaming with a Savinelli Pipe Knife.
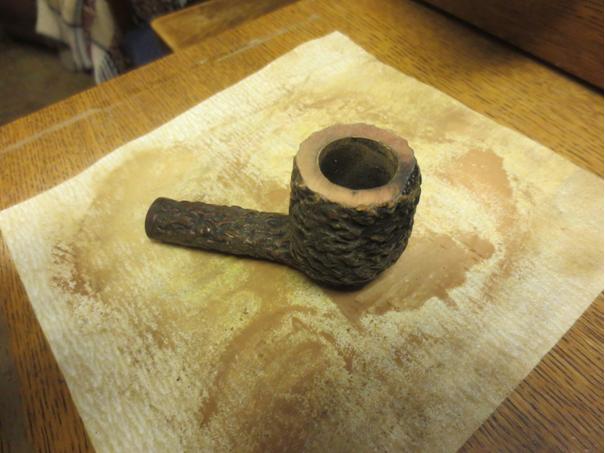
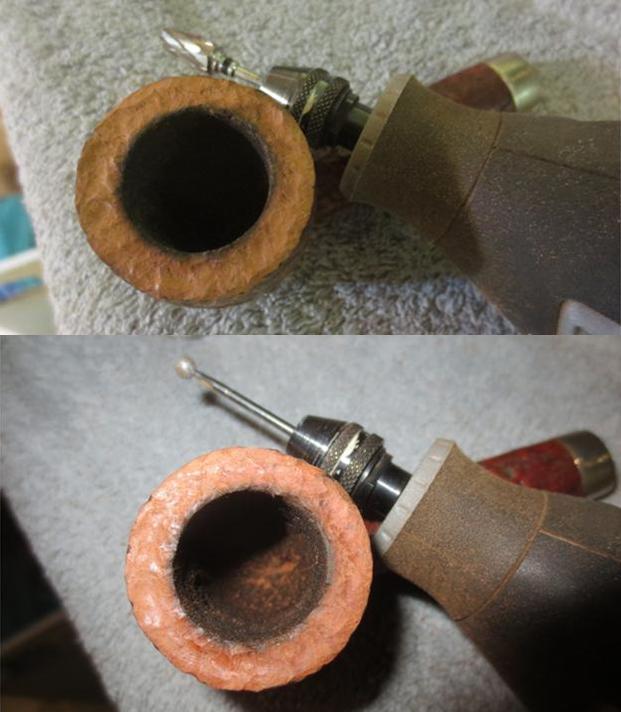
 I sanded the inside of the bowl with a tube of sandpaper. This smoothed out the walls of the bowl and began to clean up the damage on the inner edge of the rim.
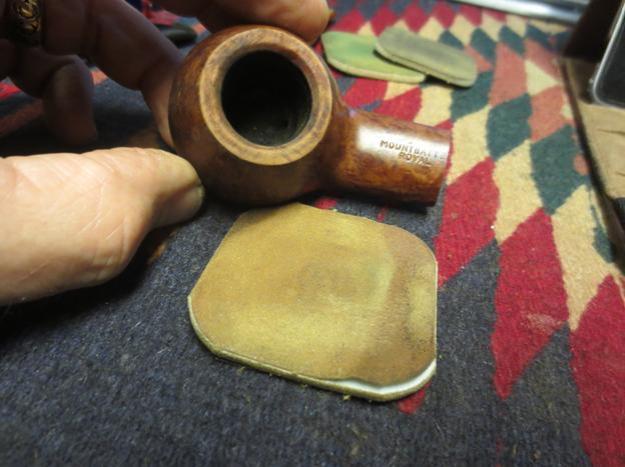
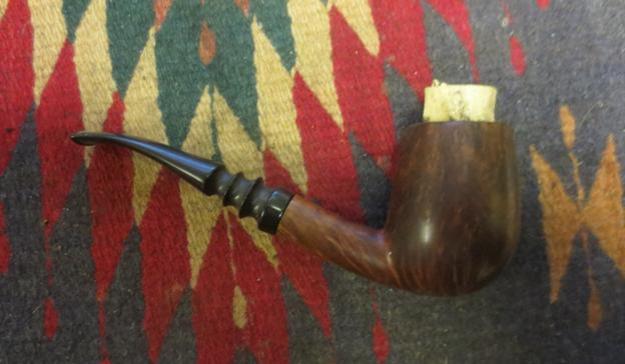 The rim damage on the back side needed to be dealt with so I topped the bowl to remove the damaged area.
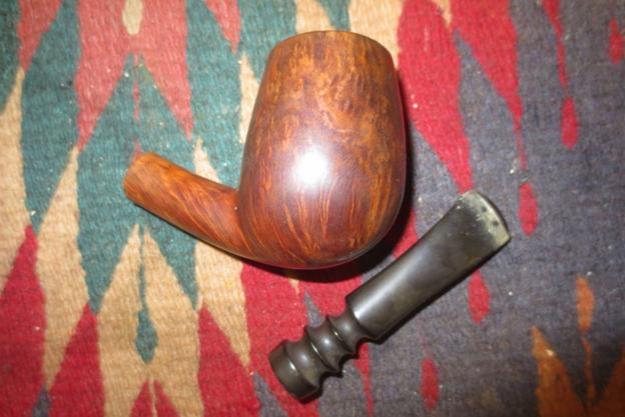
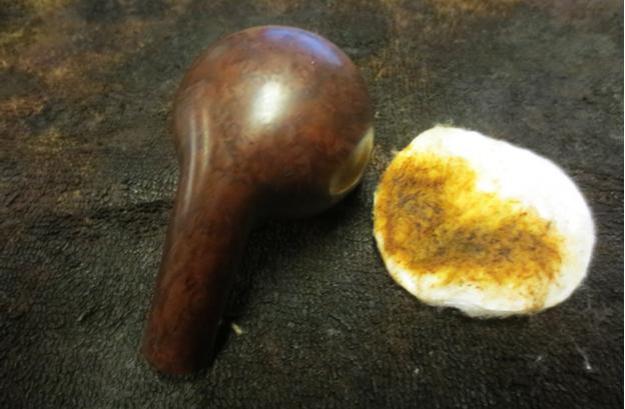
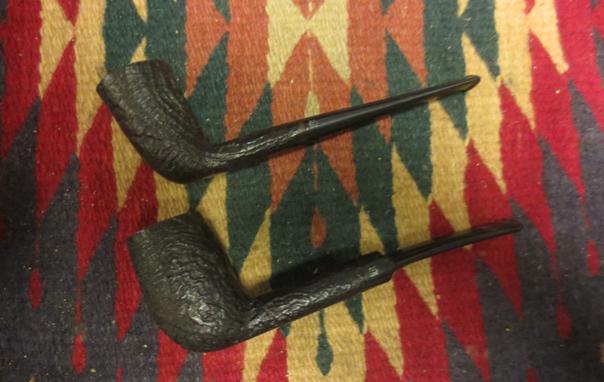
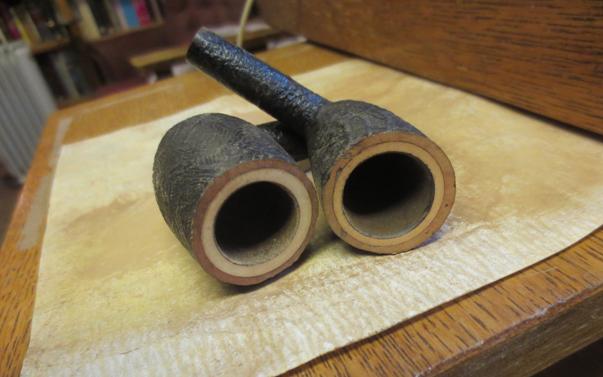
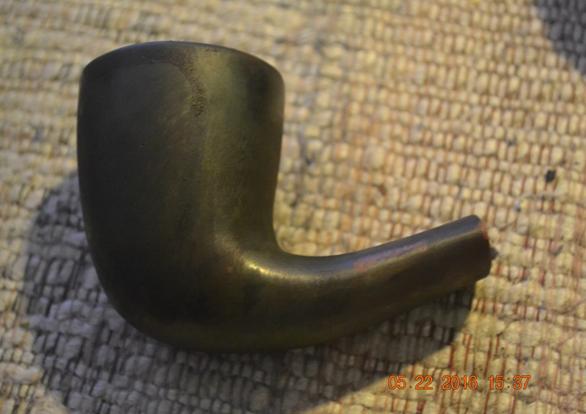
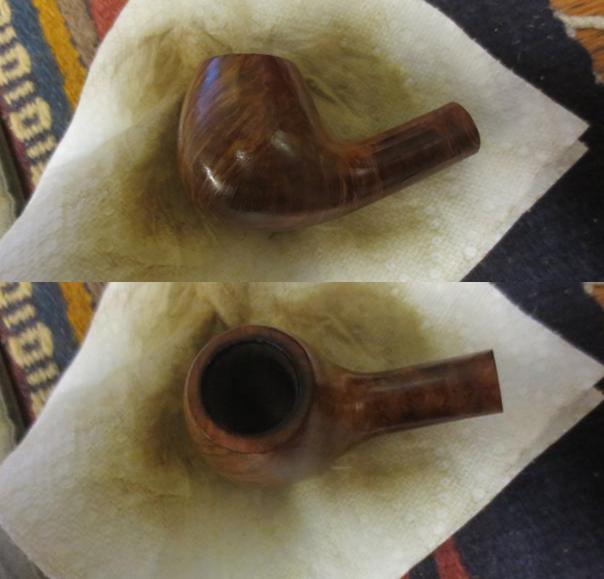
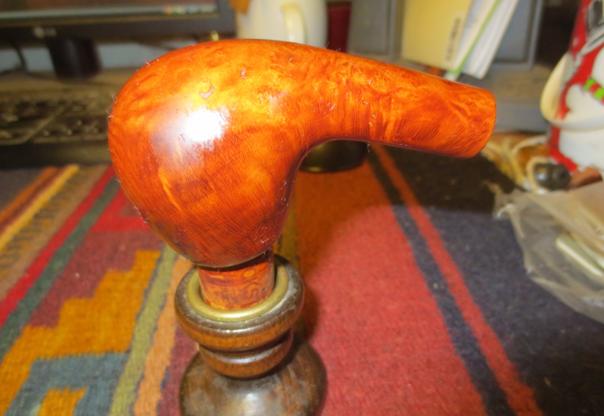
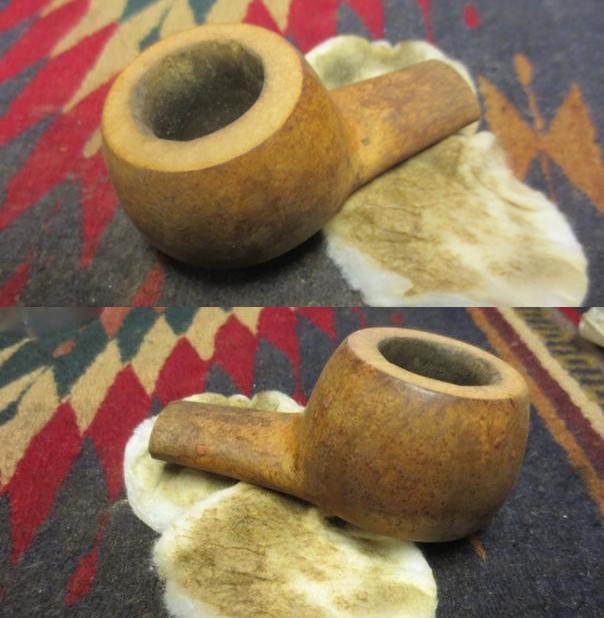
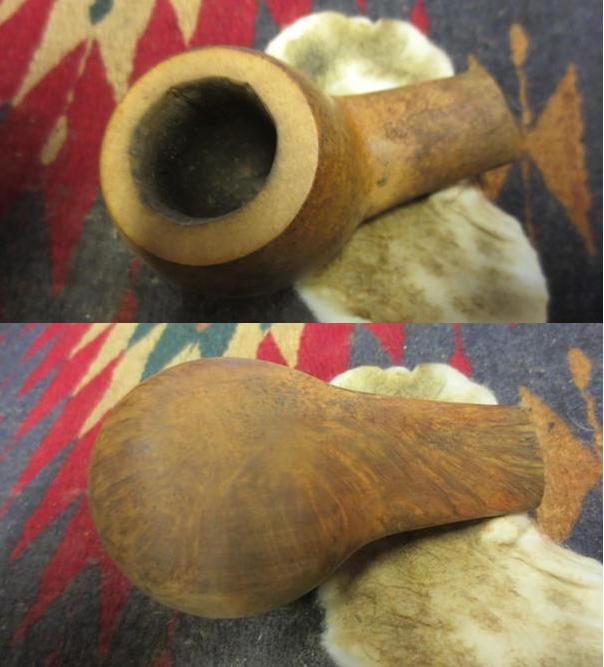
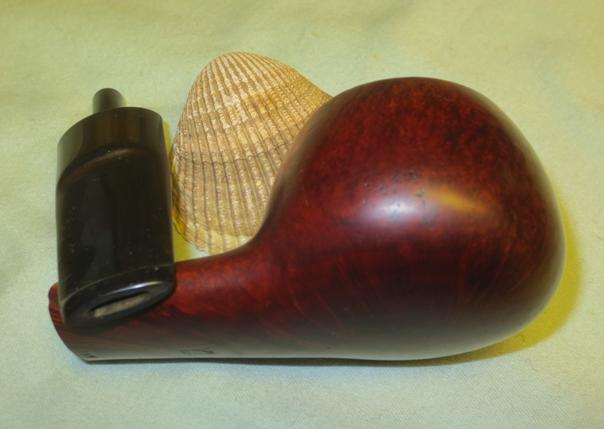
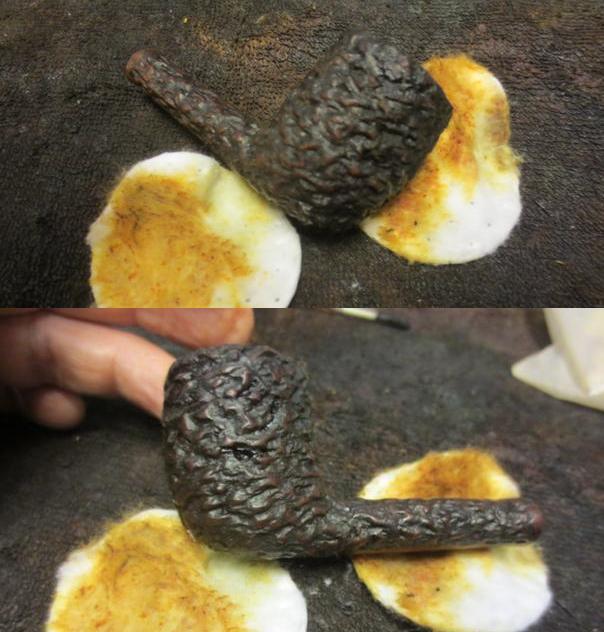
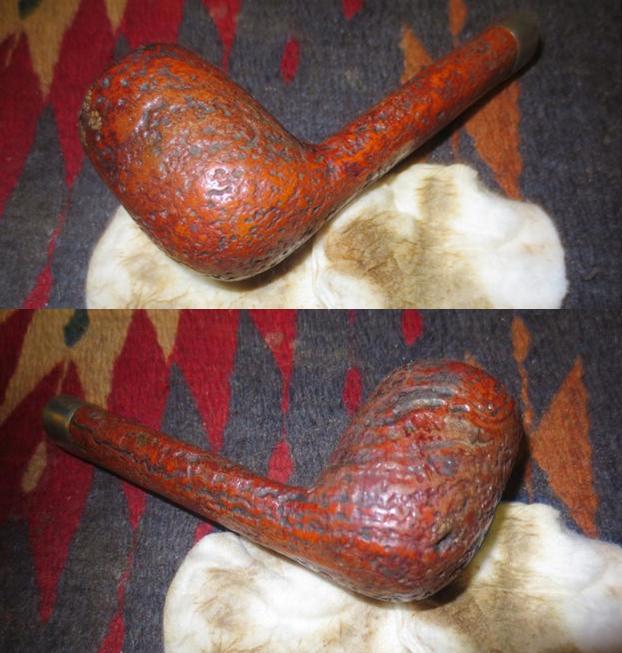
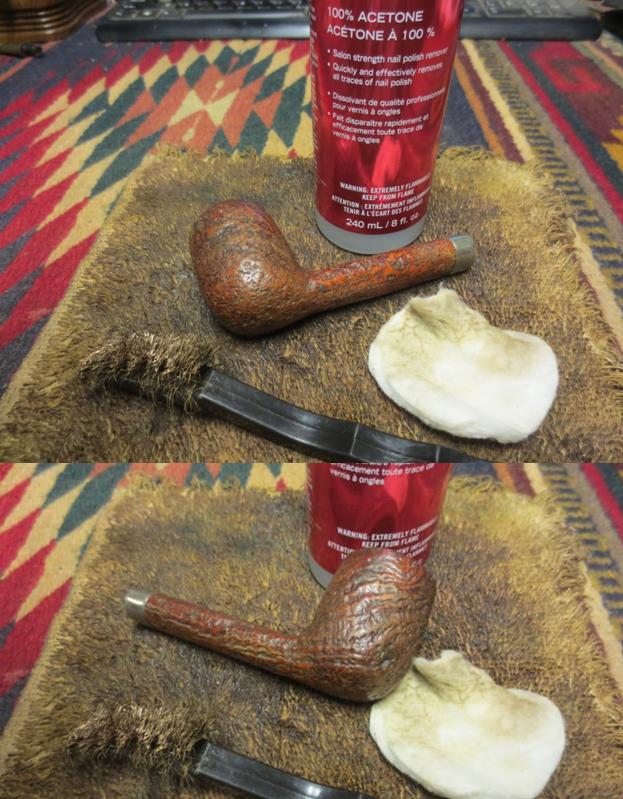
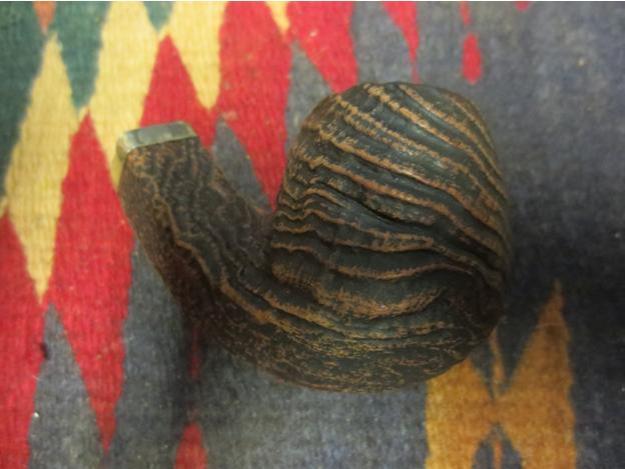
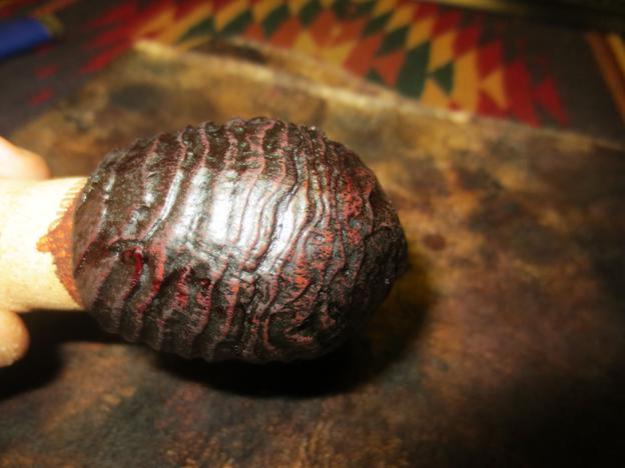
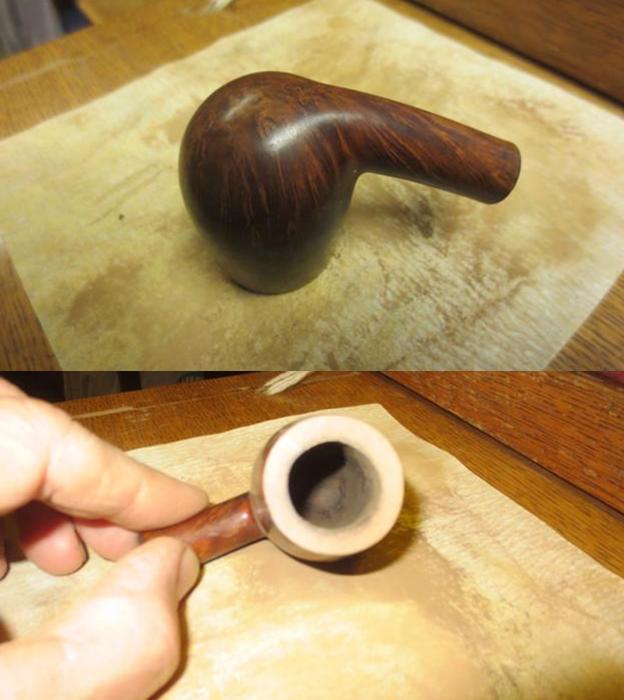 I scrubbed the briar with acetone on cotton pads to remove the wax, grime and oils in the wood. The grain is really beautiful in the photos below.
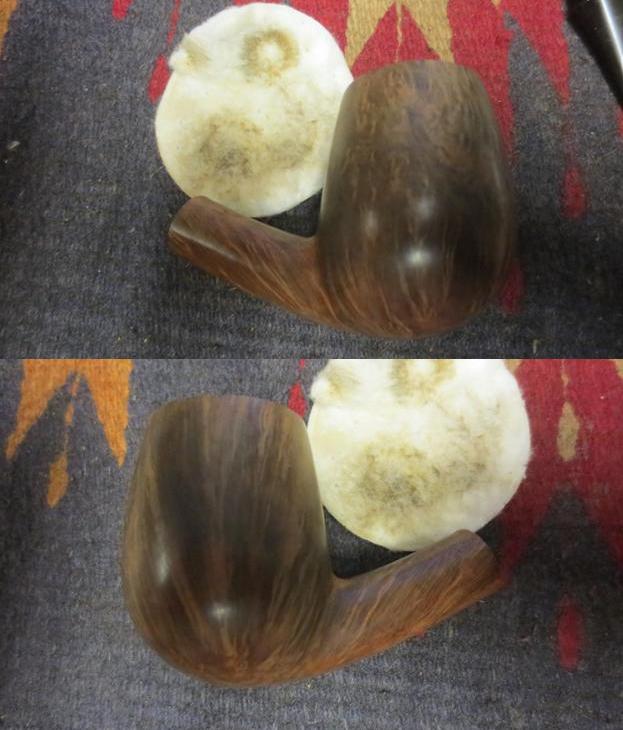
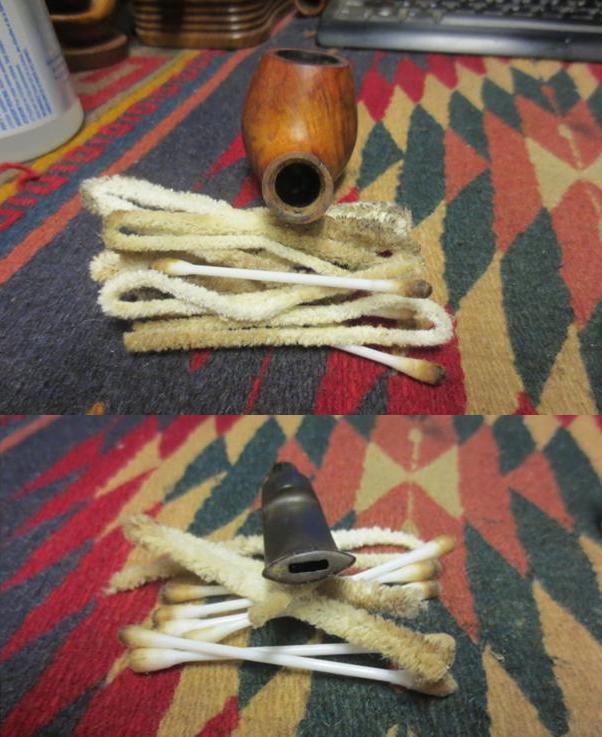
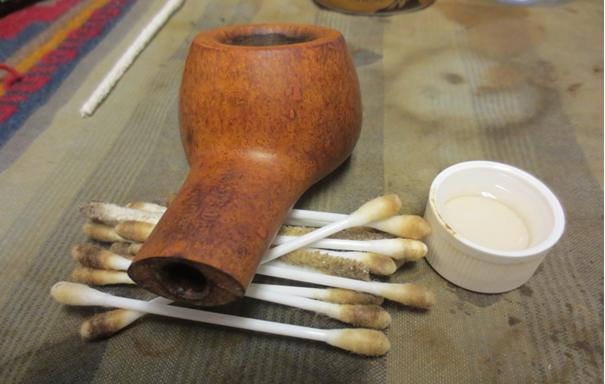
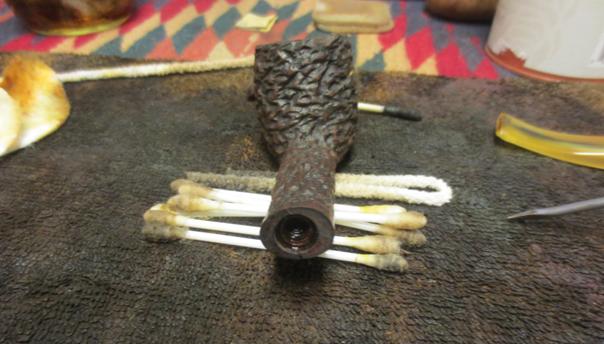
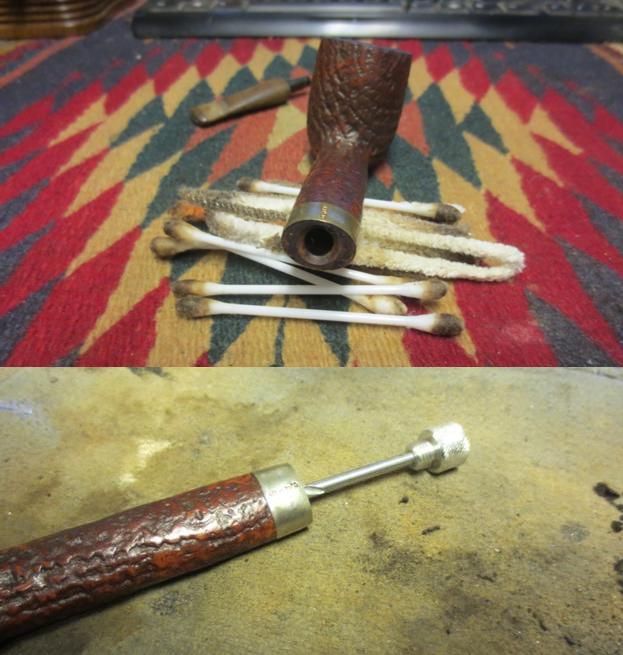
 I scrubbed out the mortise and airway in the shank and stem with alcohol, cotton swabs and pipe cleaners until they came out clean.
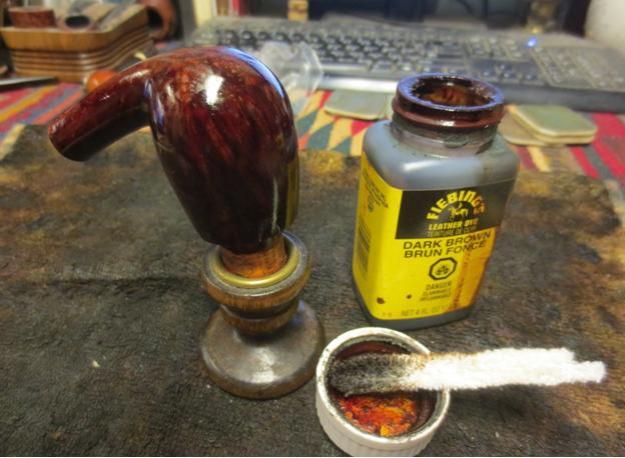
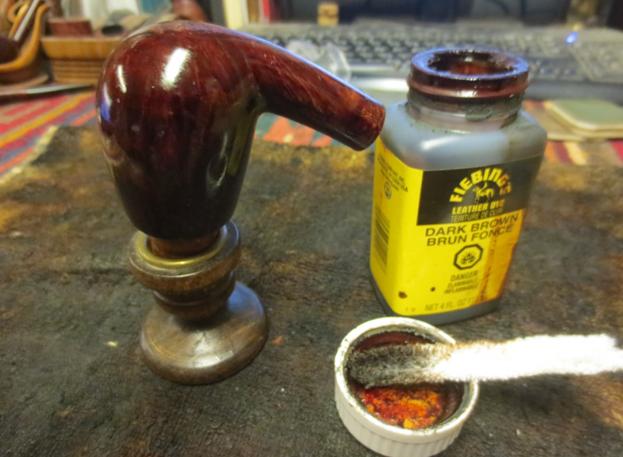
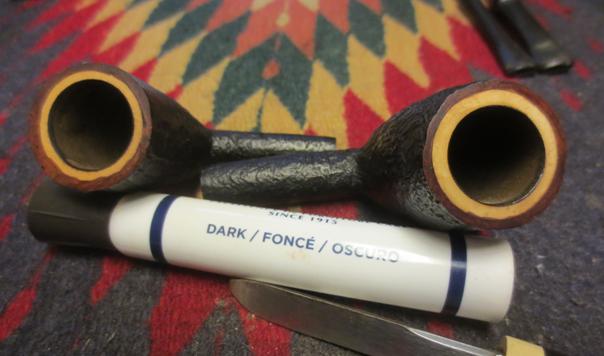
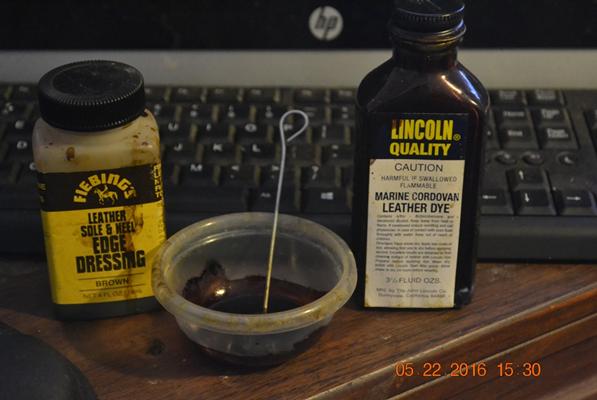
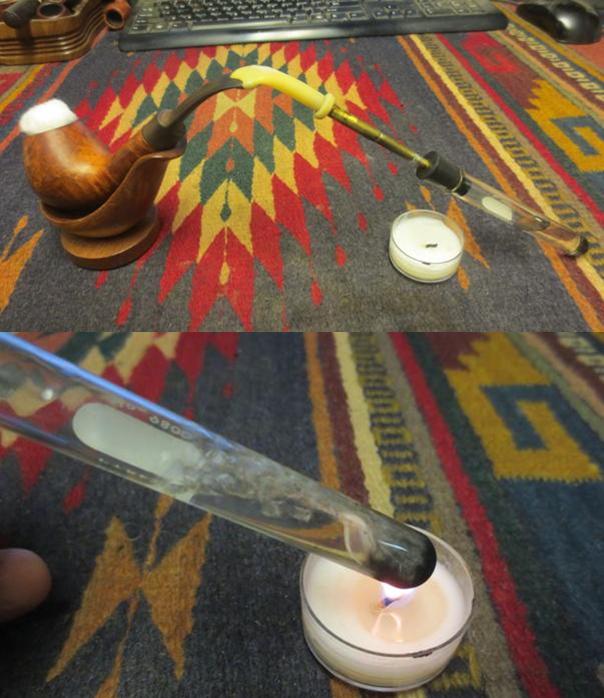
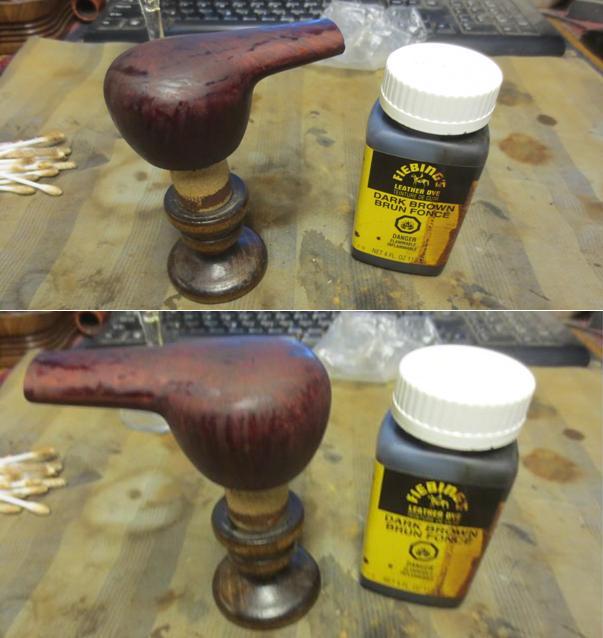
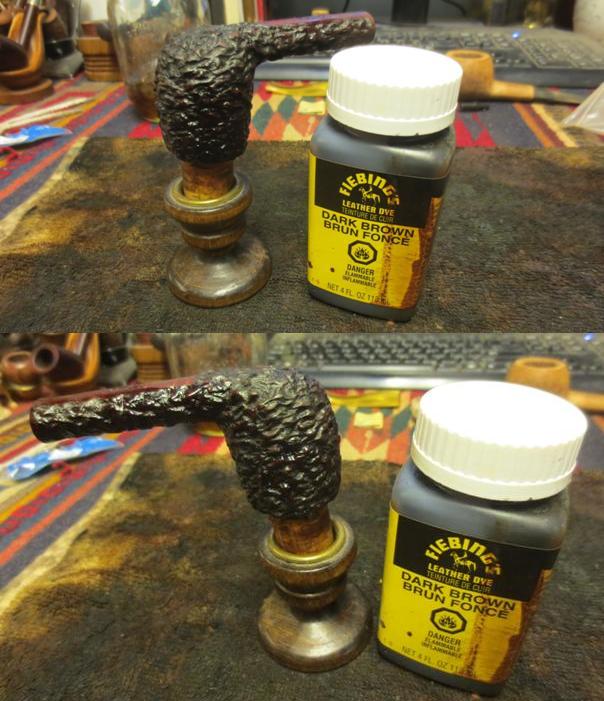
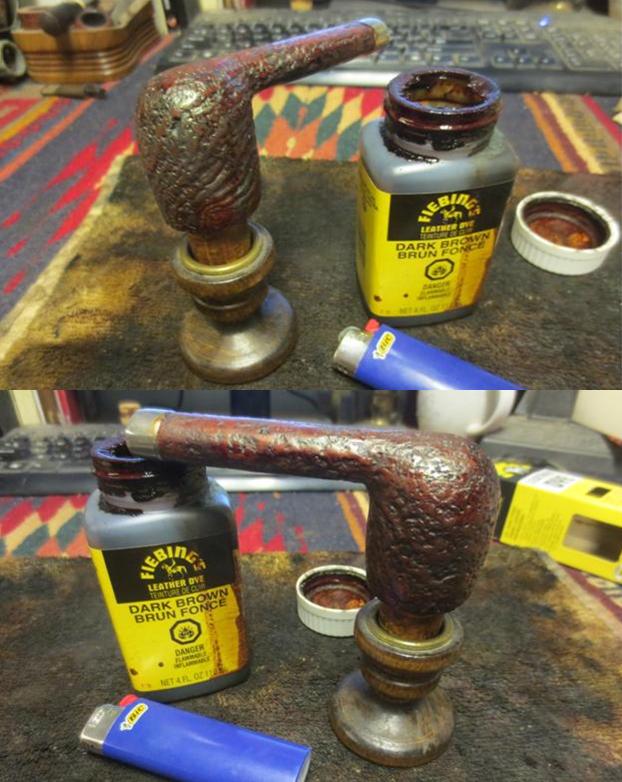
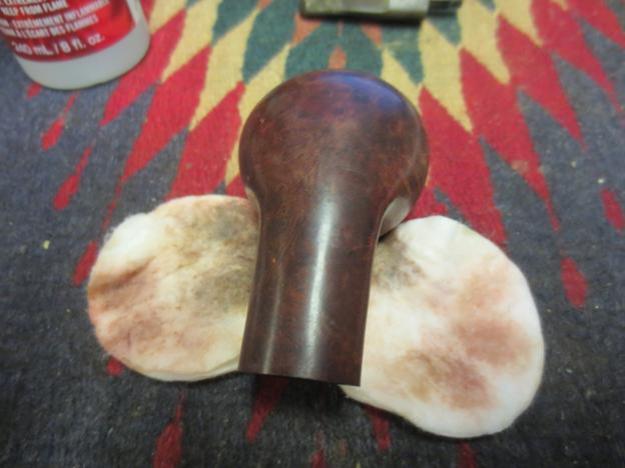
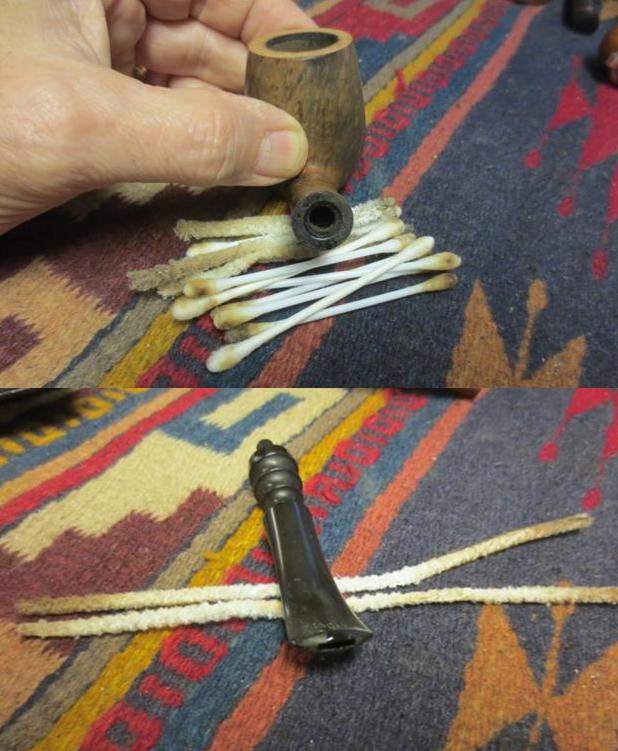 I mixed three of the stain pens together to get the correct brown on the rim. Once it was blended and sanded I stained the bowl with a dark brown aniline stain and flamed it. I repeated the process until the coverage was even on the bowl.
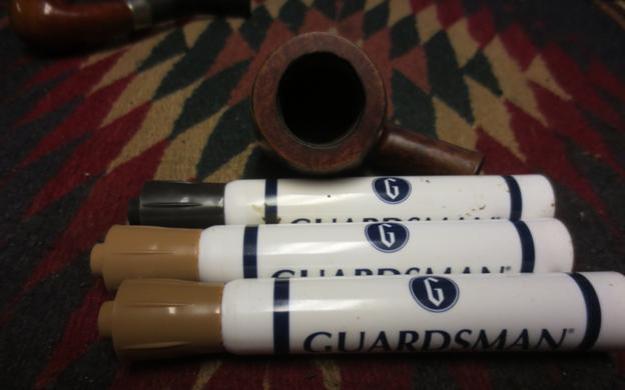
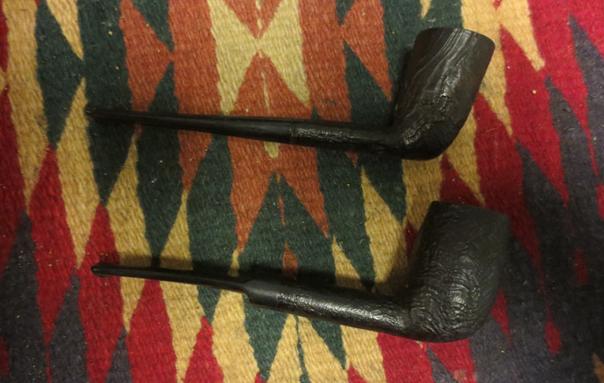
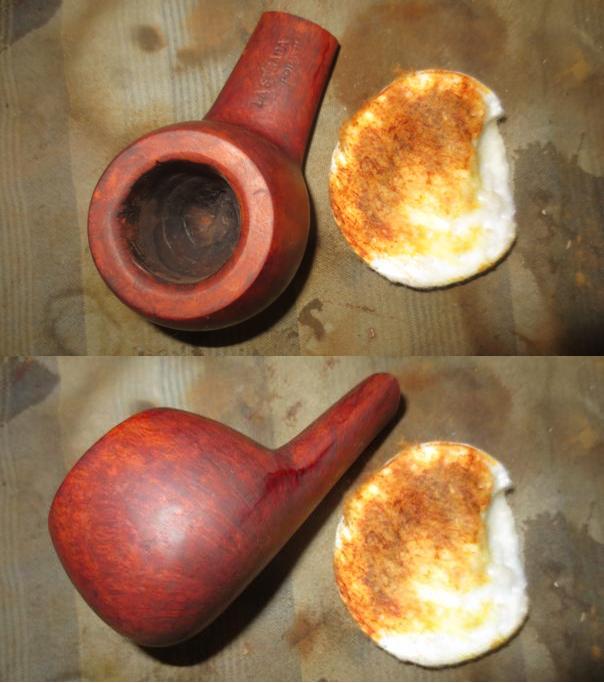
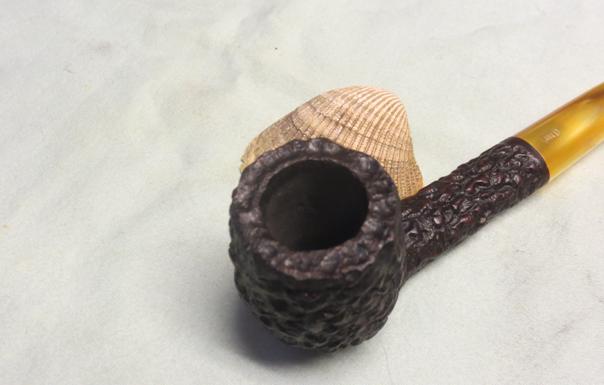
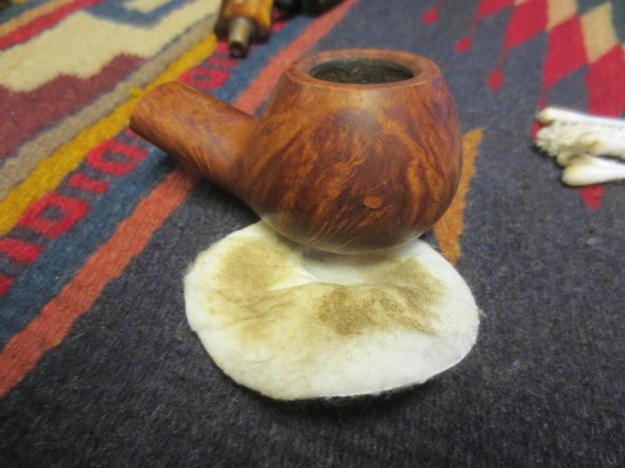
 I wiped down the bowl with alcohol on cotton pads to make it more transparent and make the grain show through. It still needed more work but it was definitely getting there.
 The inner edge of the rim needed more work to remove the damage but the colour was correct.
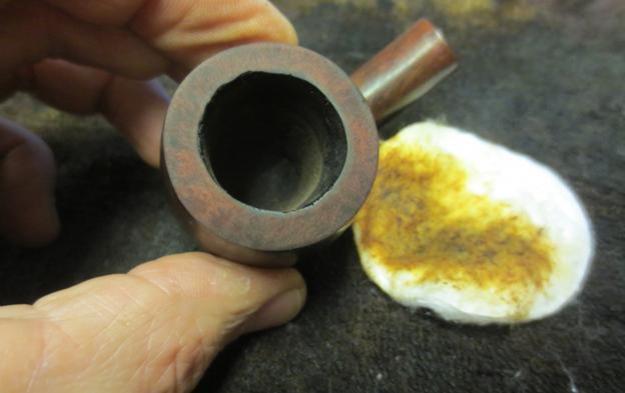 I used a folded piece of 180 grit sandpaper to bevel the inner rim of the bowl to remove the damaged areas. I followed up by sanding it with a piece of 220 grit sandpaper and continued to sand the inner edge. I sanded the inner edge and rim with 1800-2400 grit micromesh sanding pads. I restained the inner bevel with a dark brown stain pen to match the finish on the bowl.
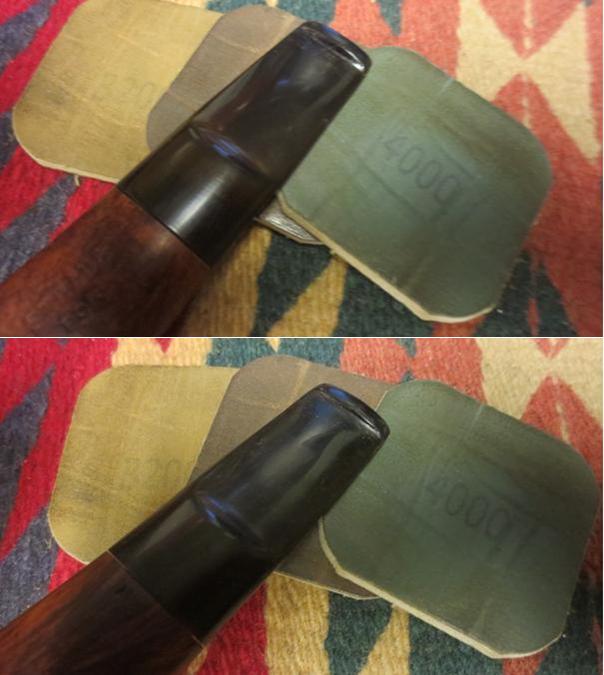
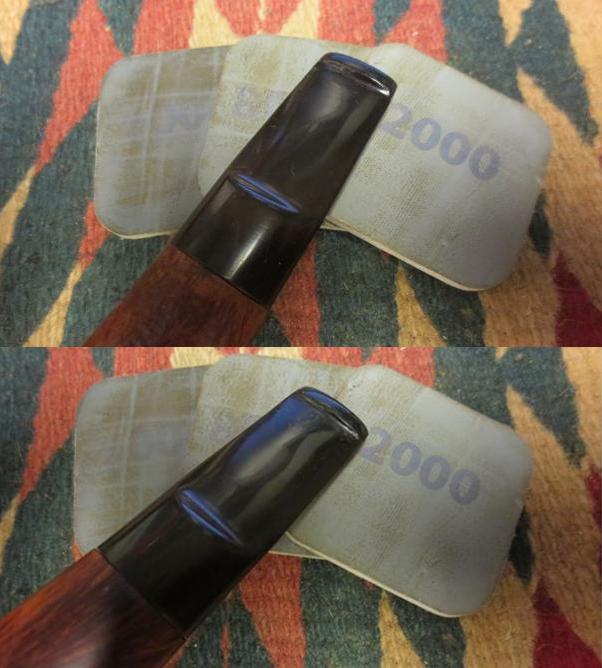
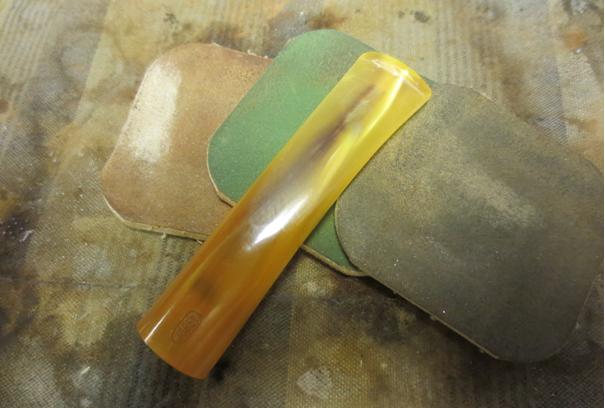
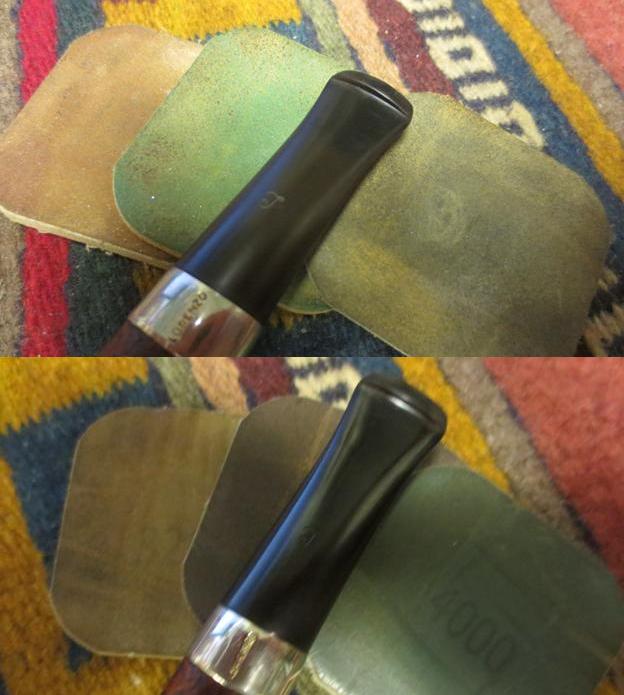
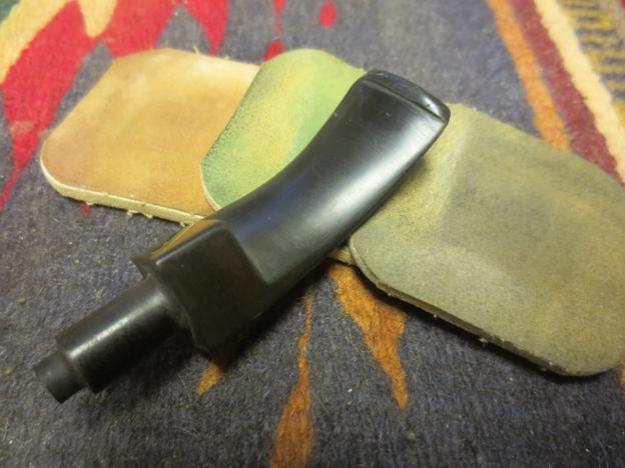
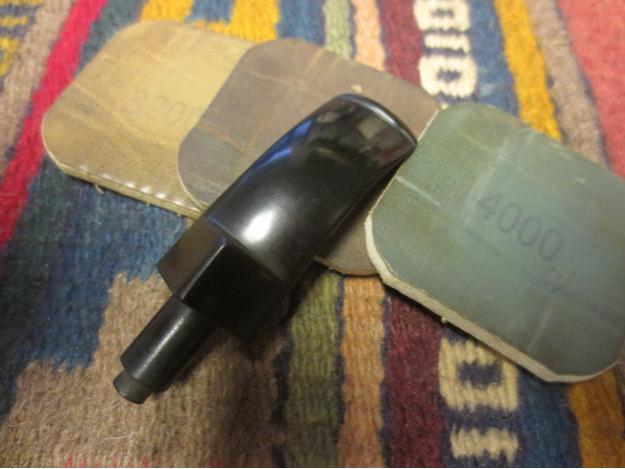
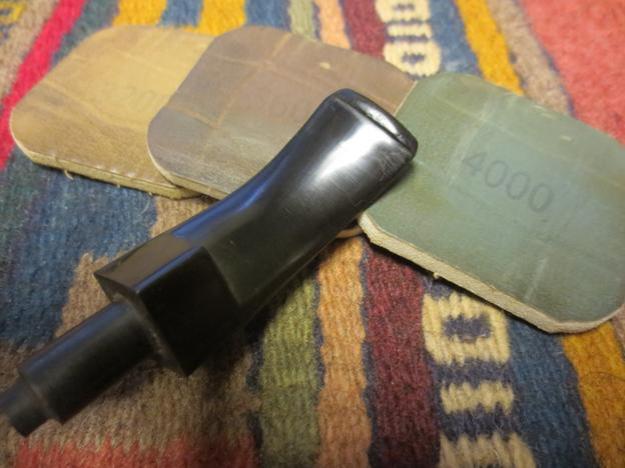
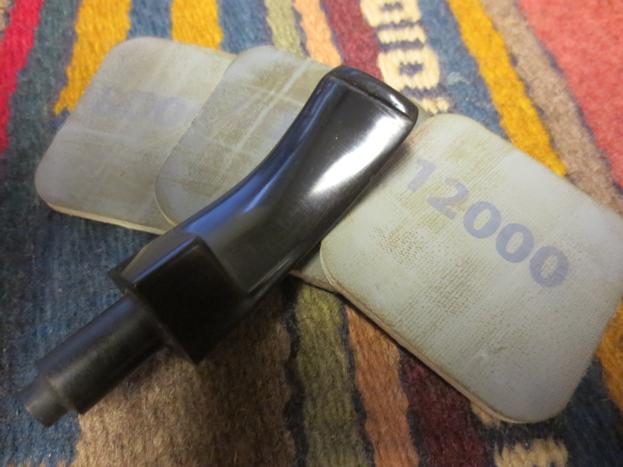
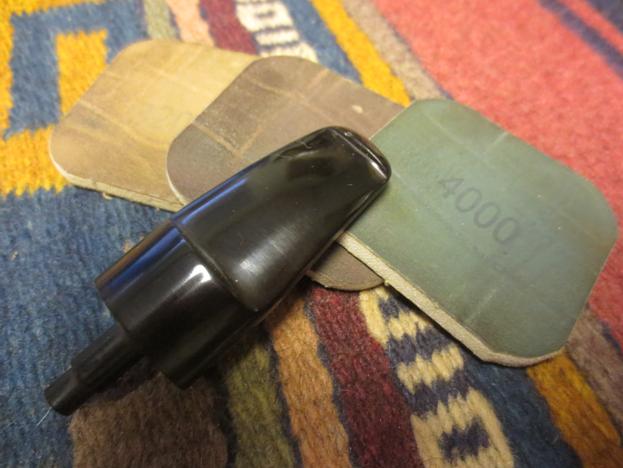
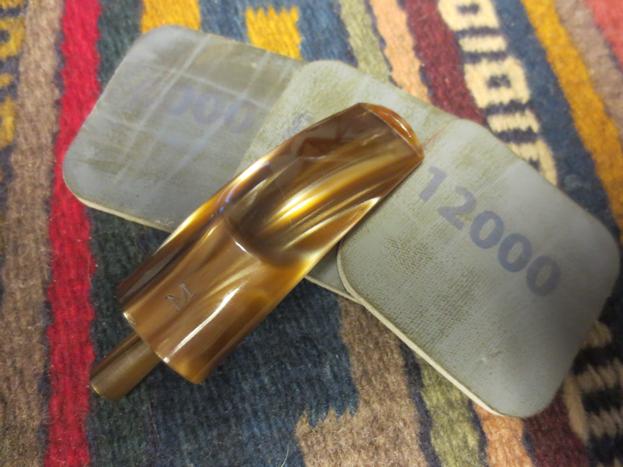
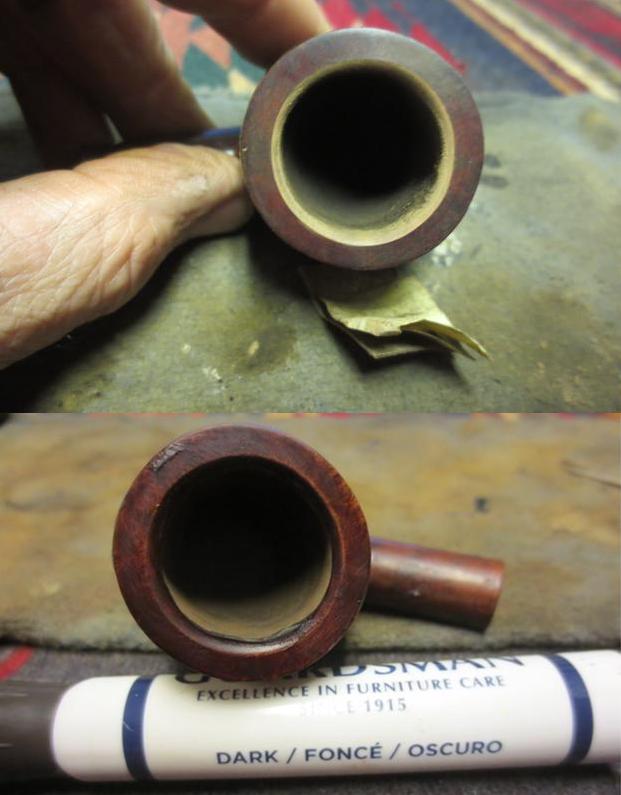 With the bowl finished I wet sanded the stem with 1500-2400 grit micromesh sanding pads. I rubbed it down with Obsidian Oil and dry sanded it with 3200-4000 grit pads. I gave it another coat of oil and sanded it with 6000-12000 grit pads. I gave it a final coat of Obsidian Oil and let it dry.
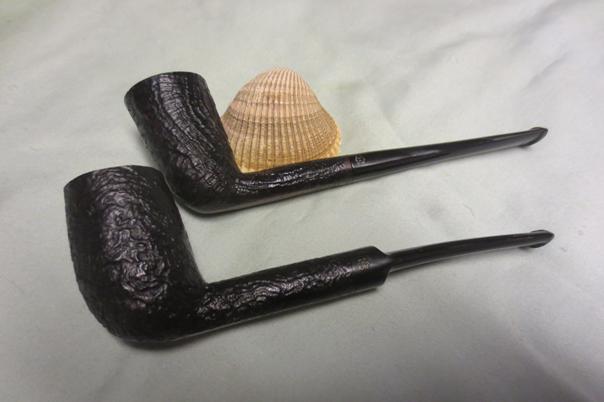
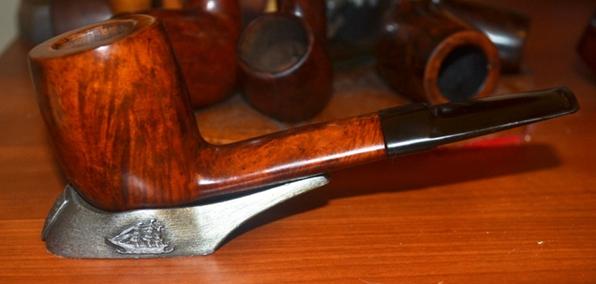
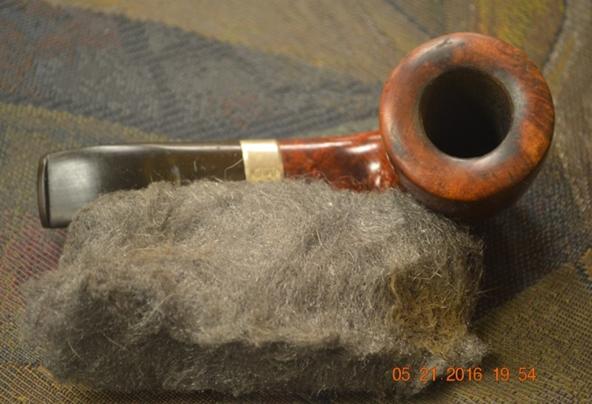
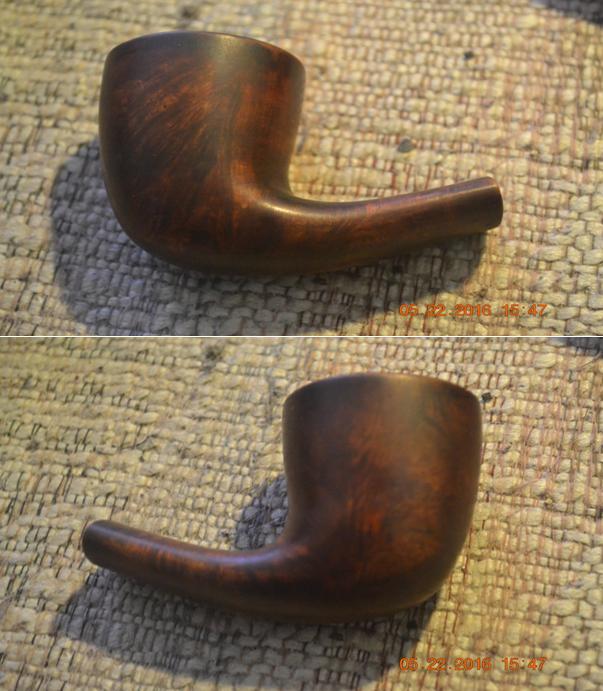
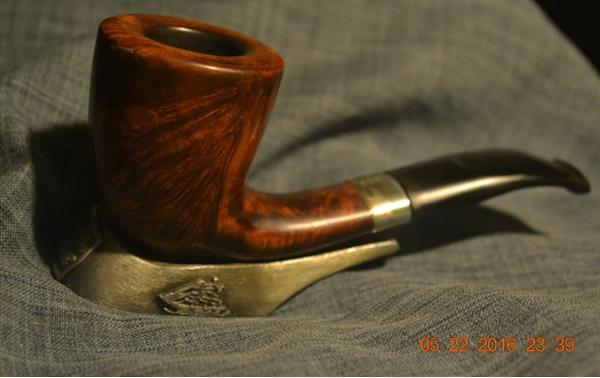
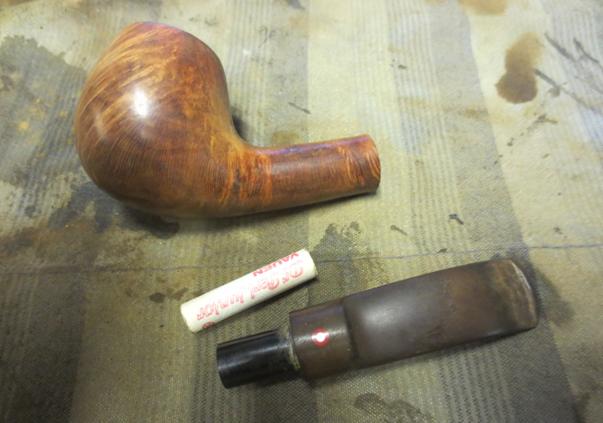
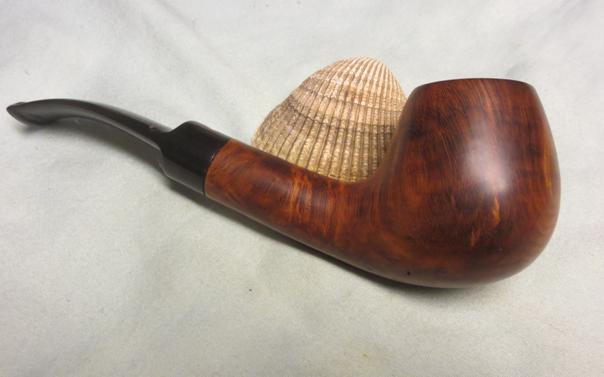
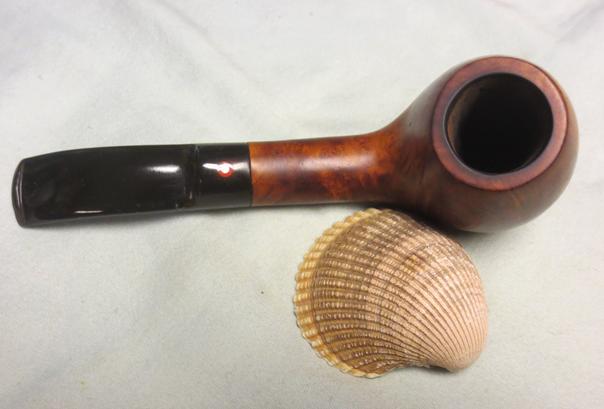
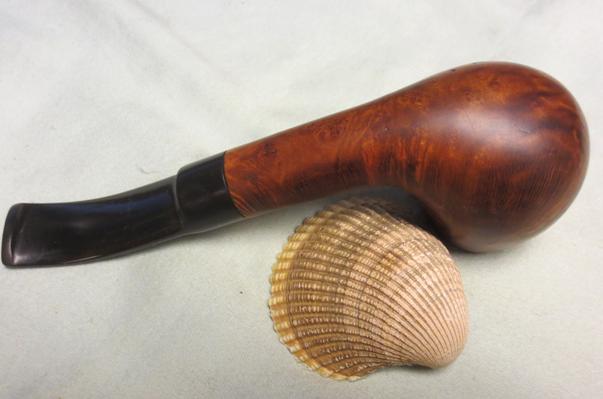
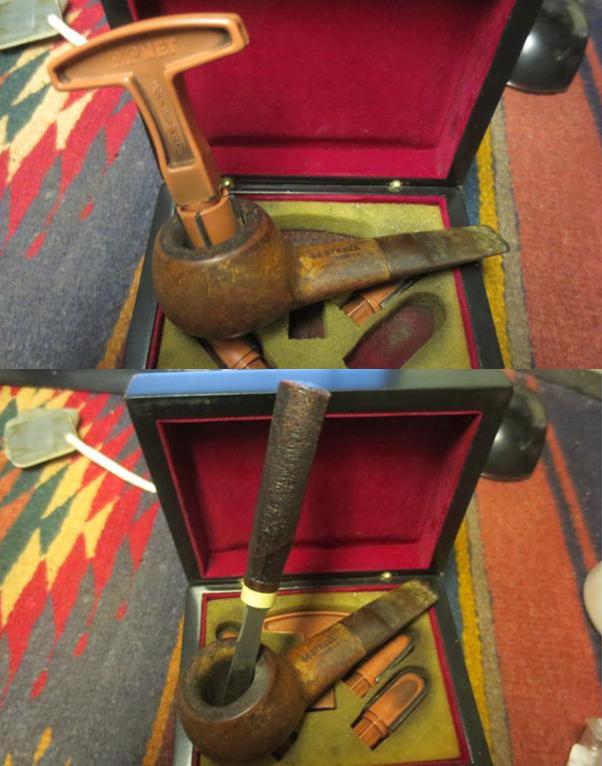
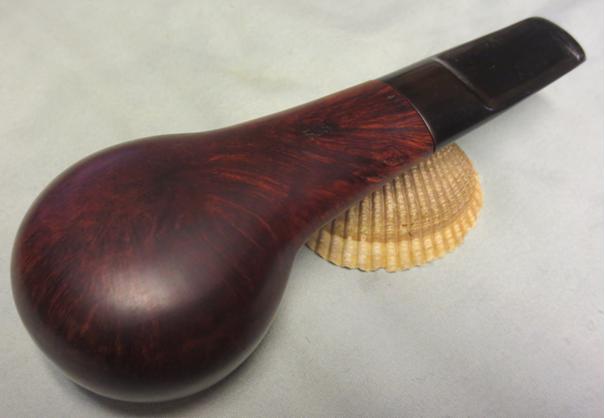
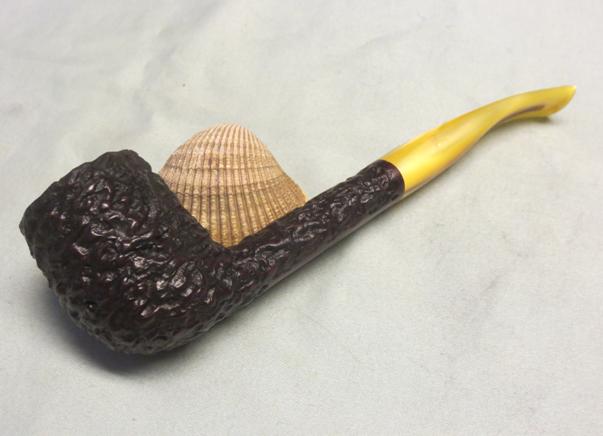
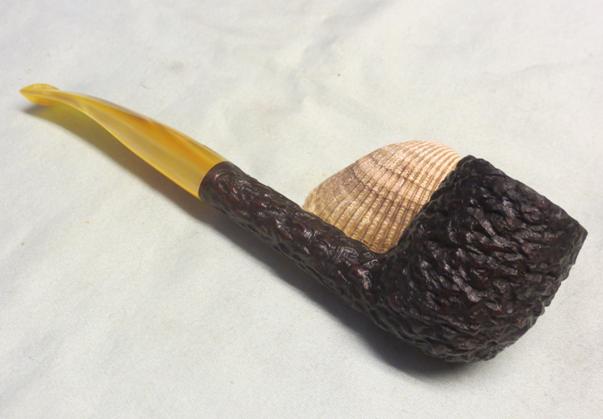
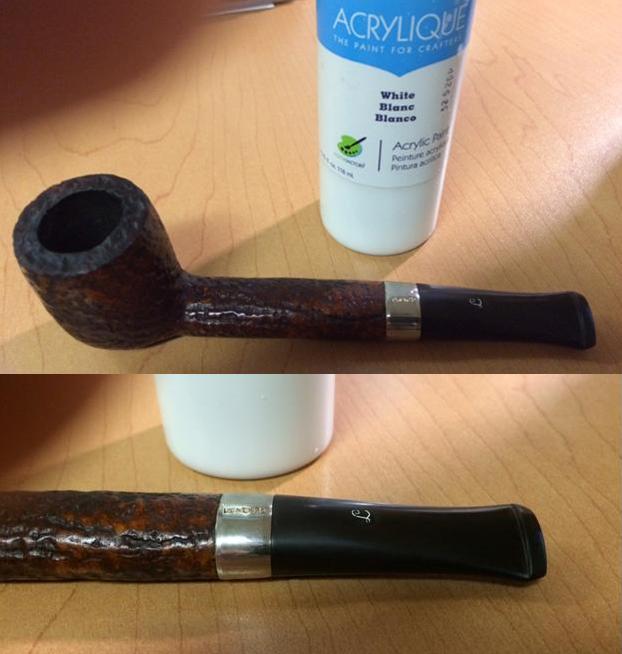
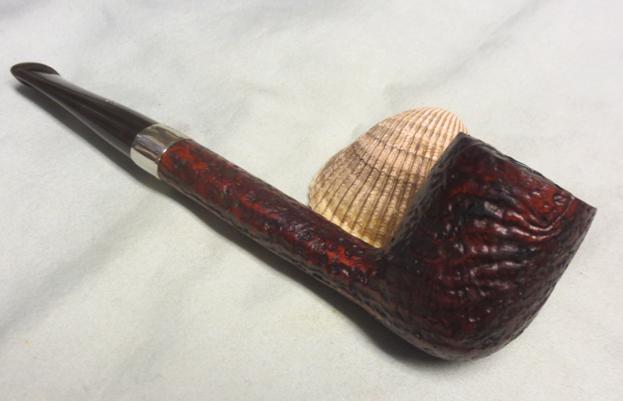
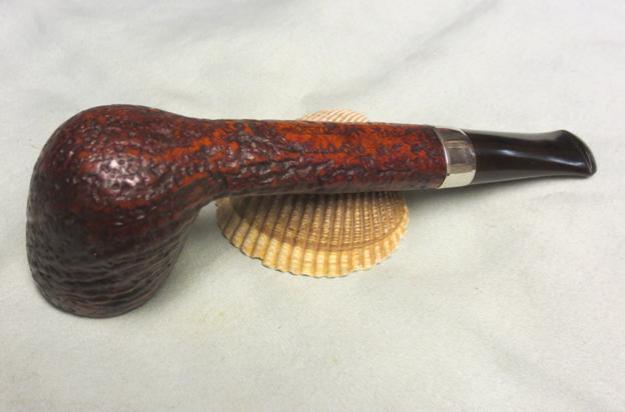
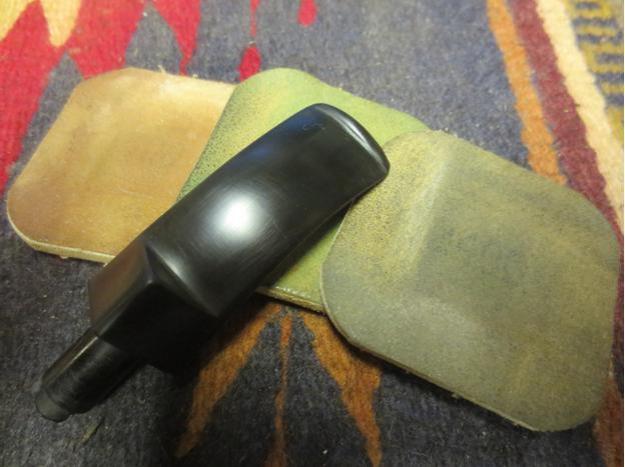
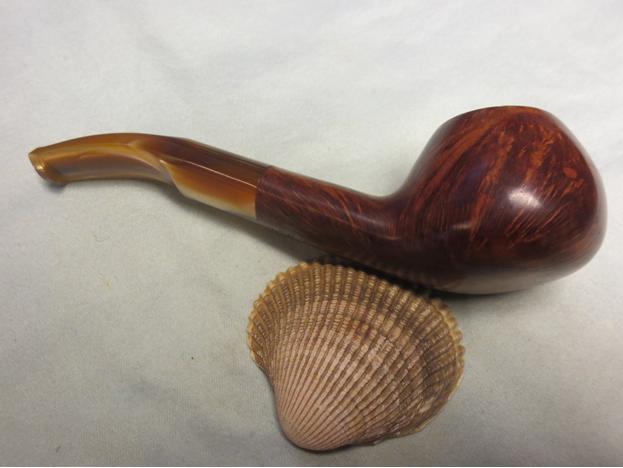
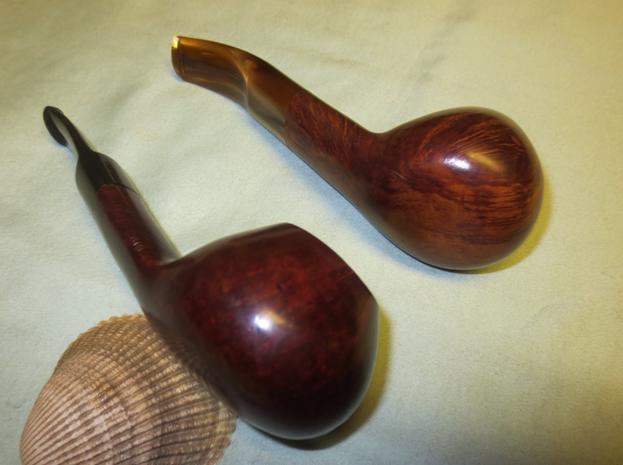
 I buffed the pipe with Blue Diamond on the buffing wheel and then gave the bowl and stem multiple coats of carnauba wax. By now you are all probably very familiar with my process. I buffed it with a clean buffing pad to raise a shine and then hand buffed it with a microfibre cloth to add depth. The finished pipe is shown in the photos below. It is one I plan on hanging onto for my own rack and I am happy with how it turned out. Thanks for looking.


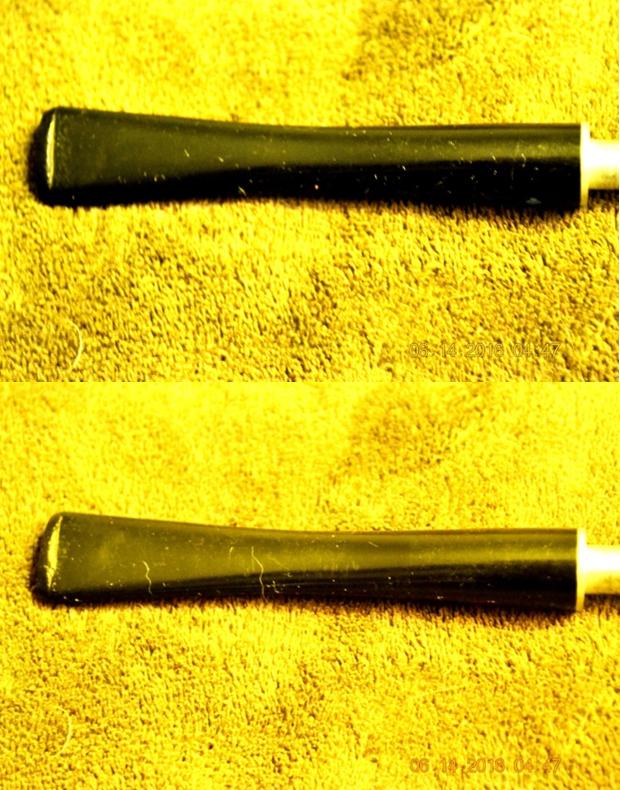


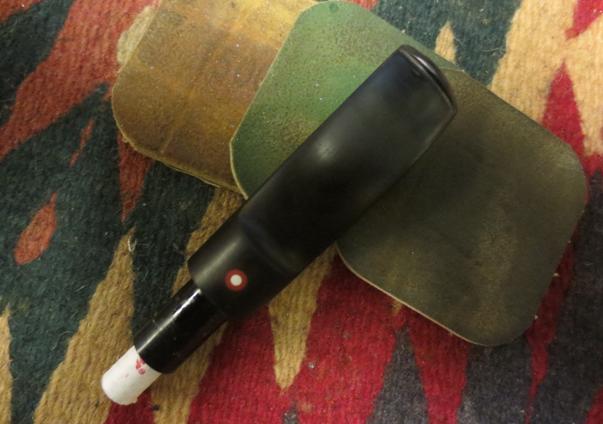
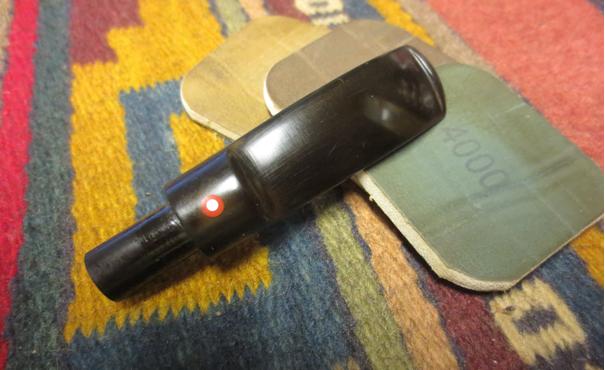
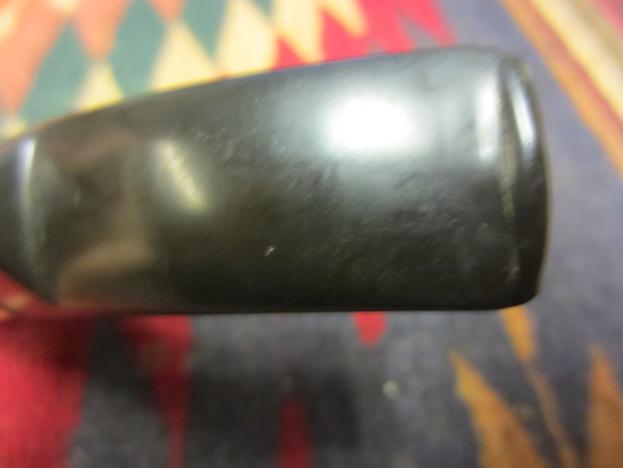
 On the underside of the right side of the pipe there was a burn mark in the vulcanite stem. It looked as if someone had laid the pipe down in an ashtray and a cigarette or ash had burned this spot on the stem. The first close-up photo below shows the burn mark. The second photo show the tooth chatter and marks on the stem near the button (The ones on the other side of the stem are not as deep). The third close-up photo below shows the rim of the pipe and the state of the bowl.
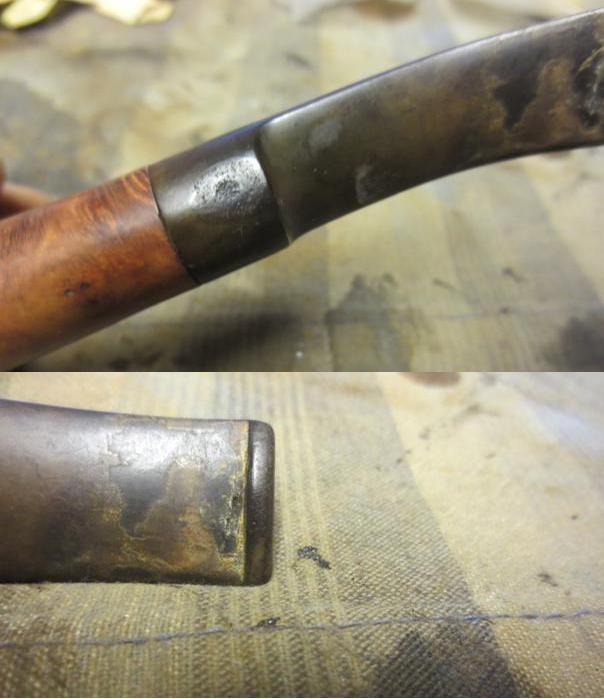
 I scrubbed the bowl surface with acetone on a cotton pad to remove the finish from the bowl. It removed the grime and oils from the original natural finish of the bowl and left it clean.


