Blog Steve Laug
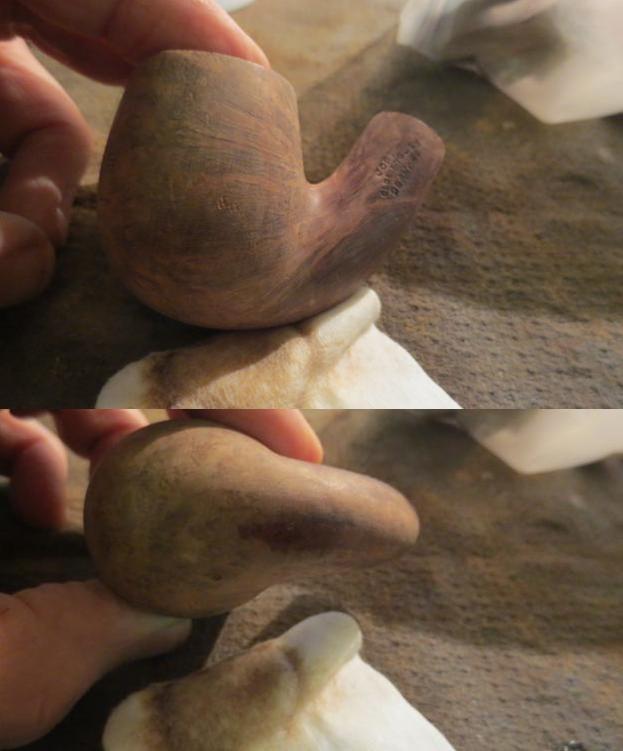
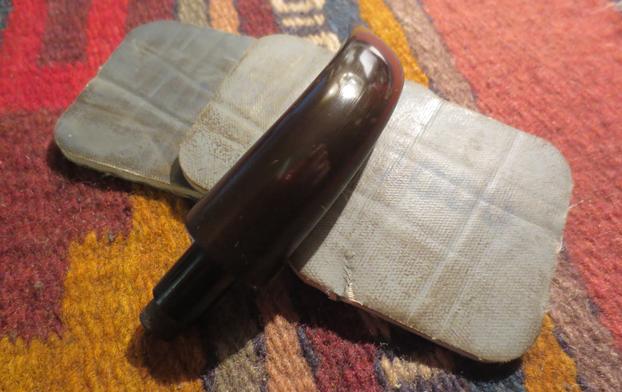
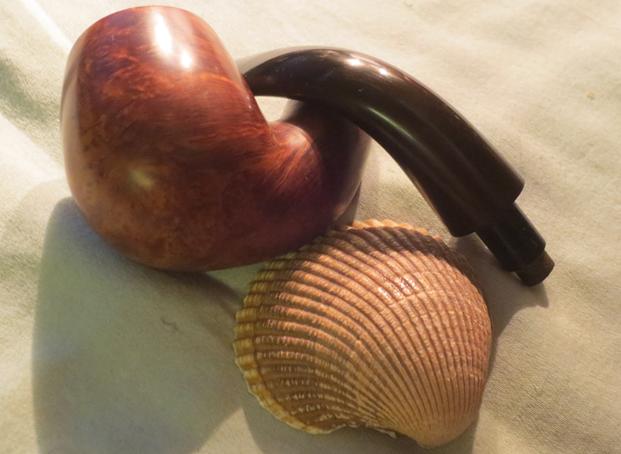
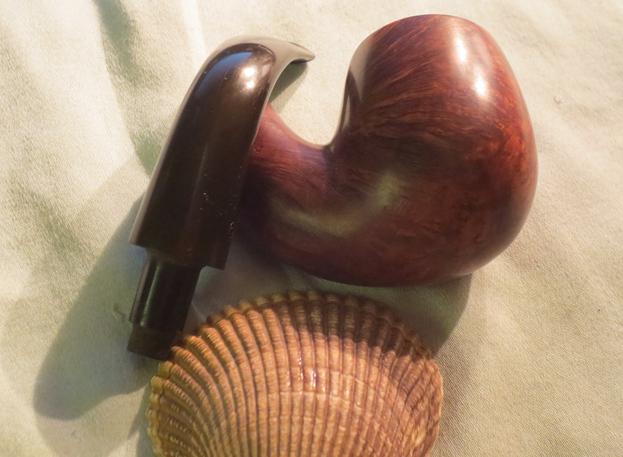
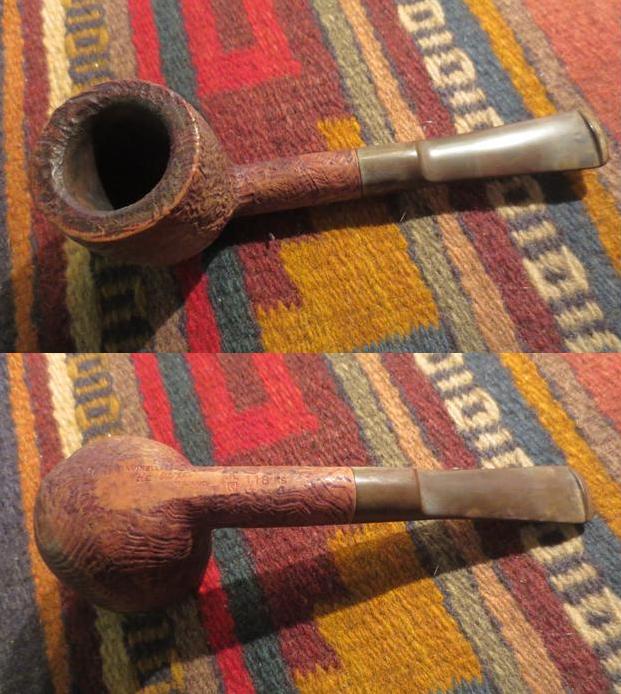
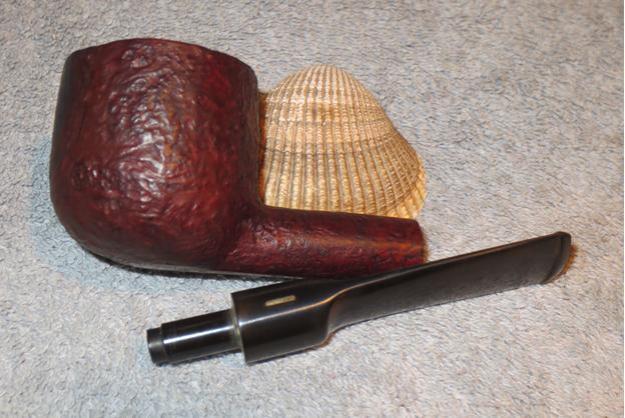
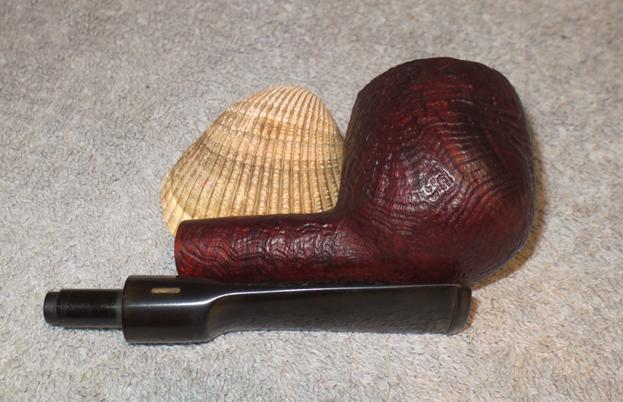
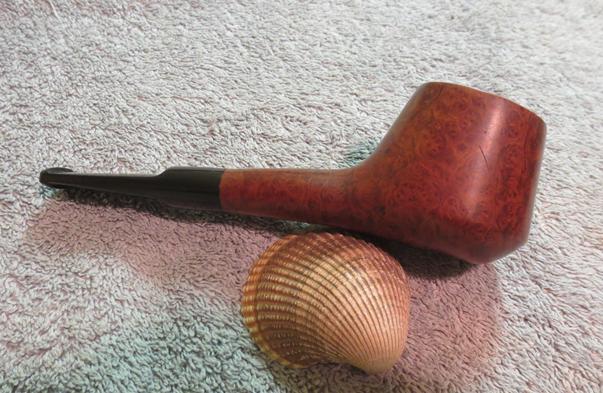
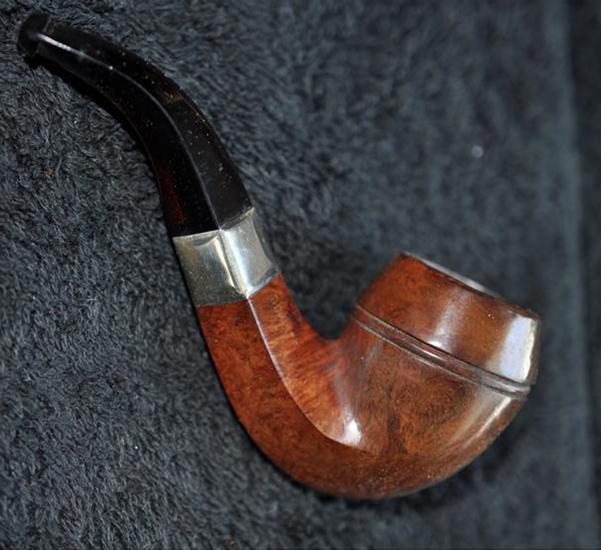
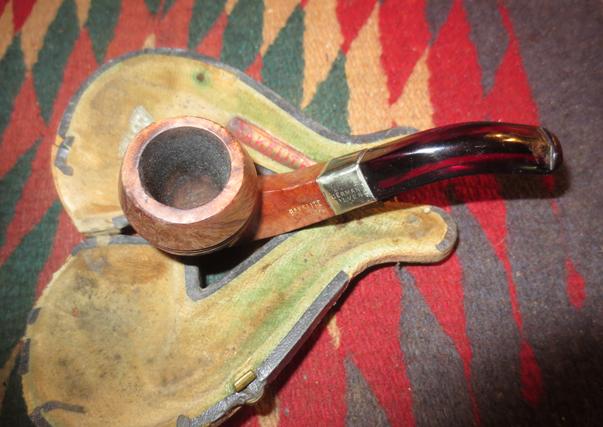
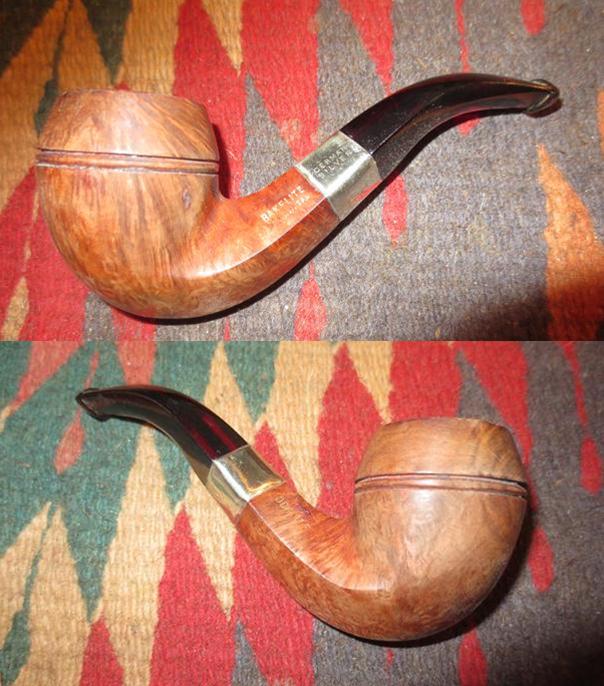
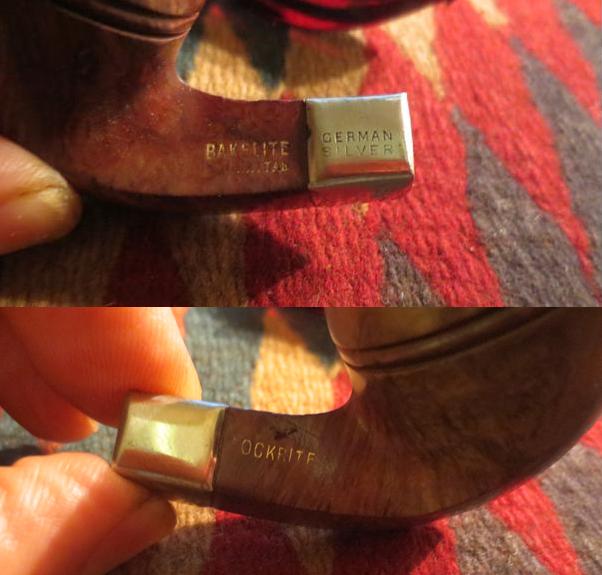
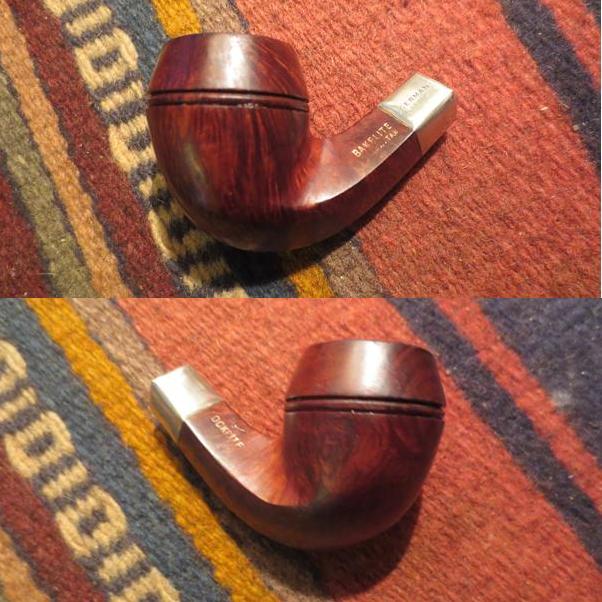
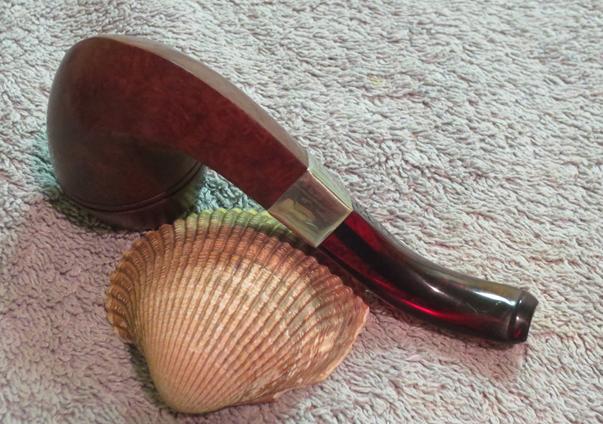
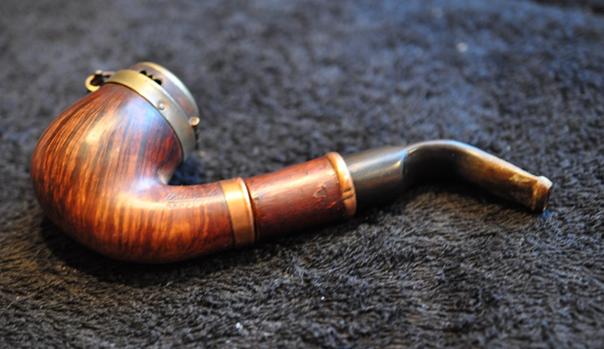
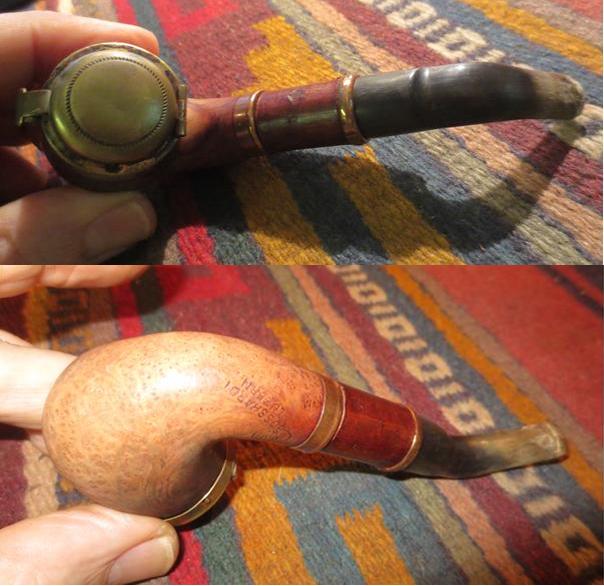
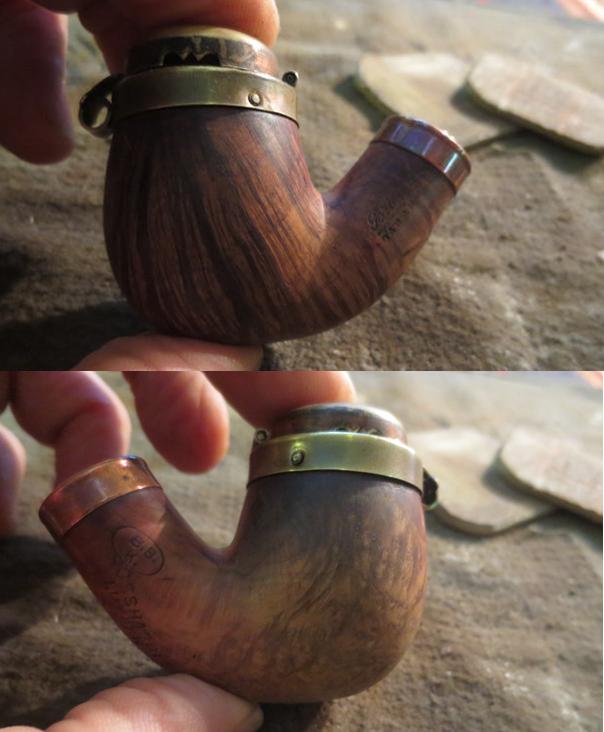
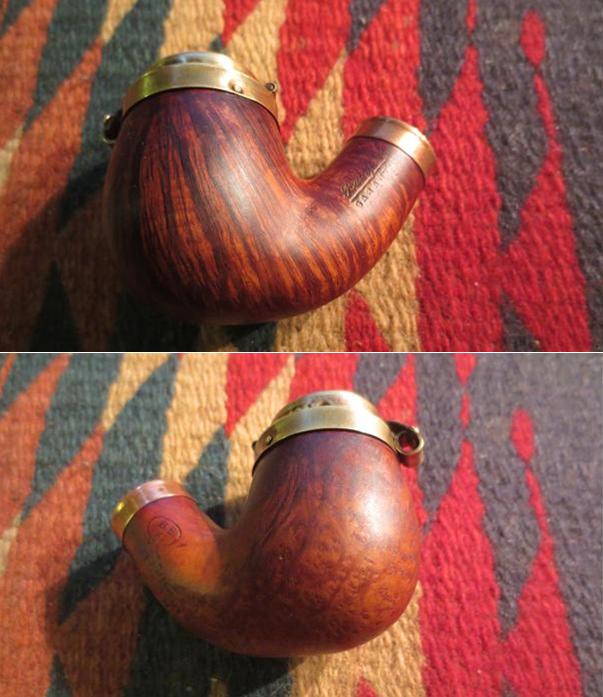
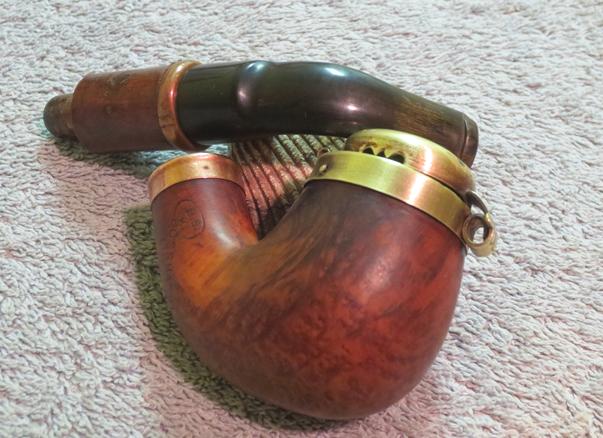
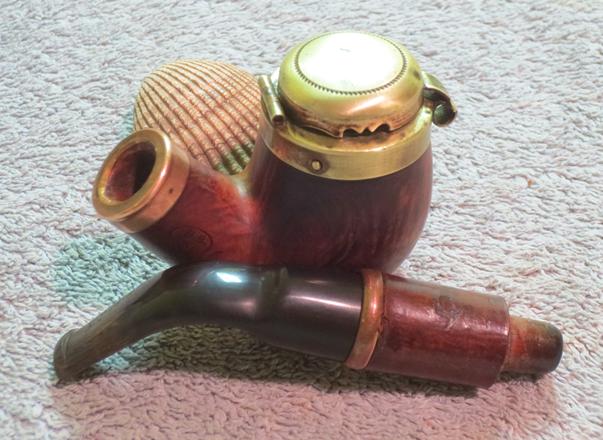
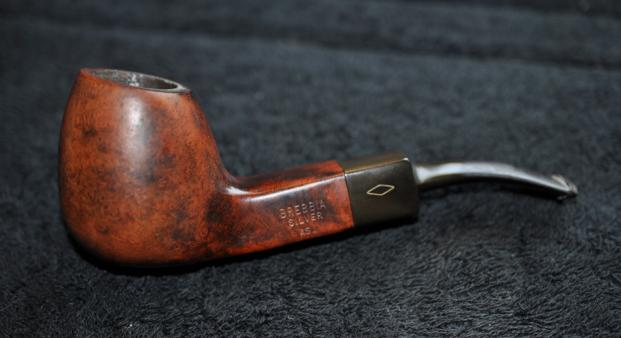
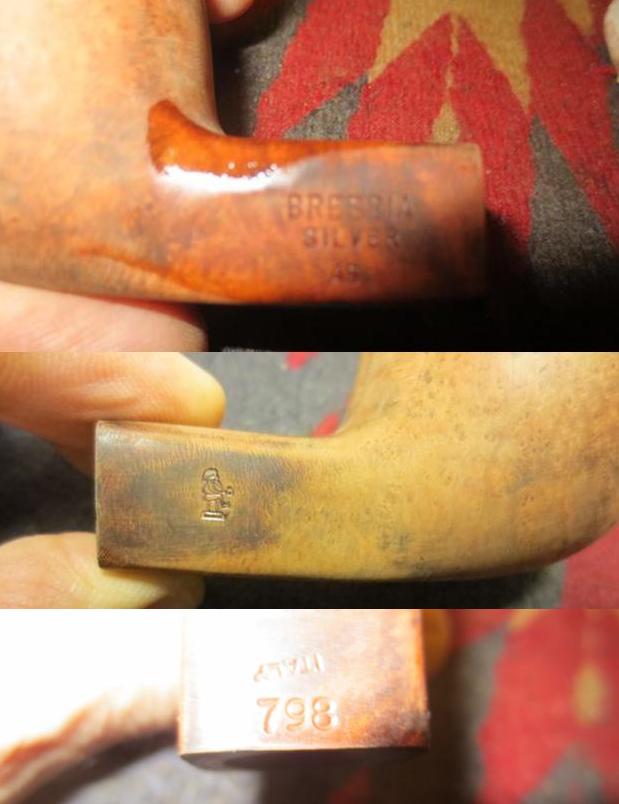
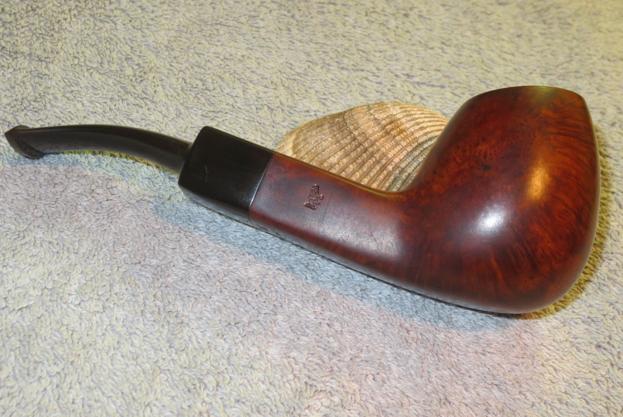
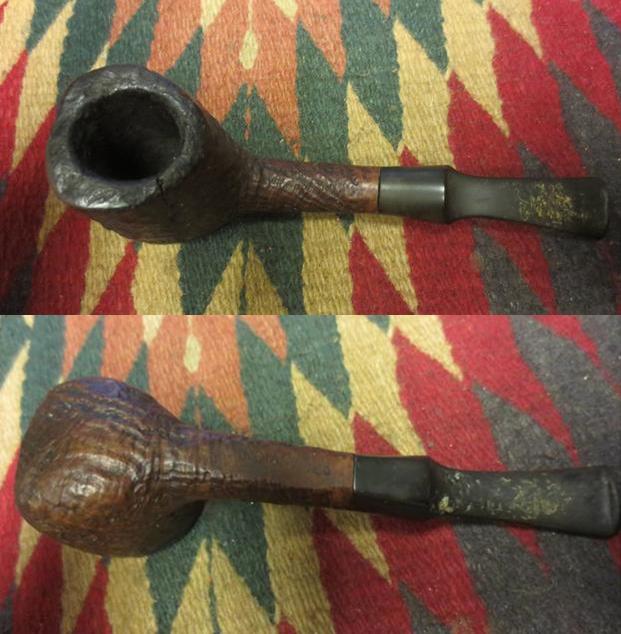
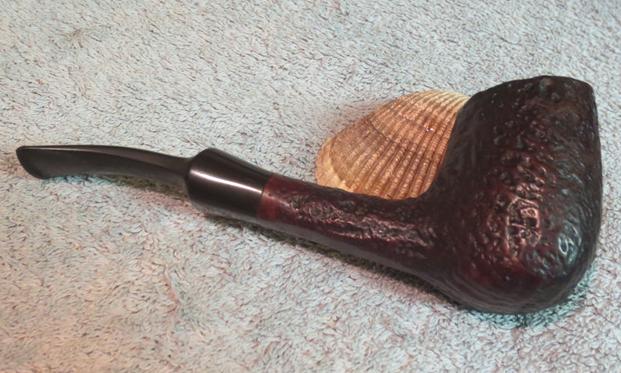
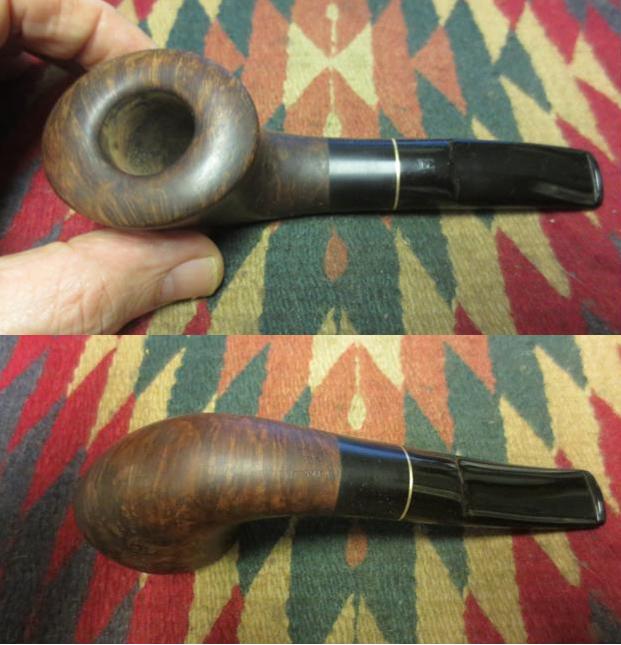
As I was looking through the bag of pipes that my brother sent to me from his hunting expeditions in antique malls, shops and on eBay there was one bent billiard that caught my eye. It had the classic bent billiard look that I had come to associate with Comoy’s pipes. At this point in my examination I had faint memories of Jost’s being a tobacco shop in the Midwestern United States but could not pin down the exact locale. I like the looks of the shape and grain on this old pipe so it became the next pipe that I would work on. I took it to the work table and did a bit of examination of the pipe. My brother included two photos of the pipe and what it looked like when he found it.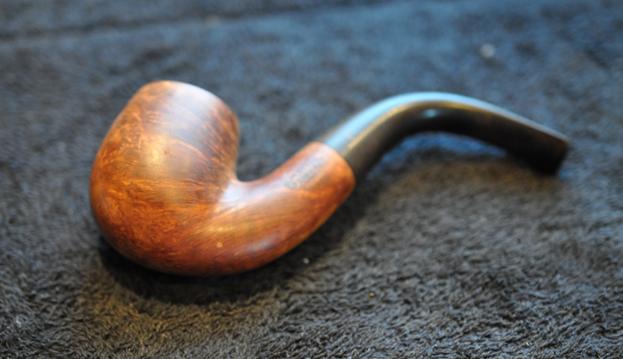 The stamping on the left side is quite clear and under a lens reads Jost’s over an arched Olde England and under that there is a bit of an issue. That part of the stamping on shank is the double stamped De Luxe/Supreme. It looks to me that Deluxe is stamped over the top of Supreme. At this point in the process I was not clear what the implication of that were. On the right side of the shank it is stamped Made in over England and the shape number J214. It is not the classic COM stamp on the Comoy’s pipes that I was familiar with. The stem also has a very faint circle J stamp.
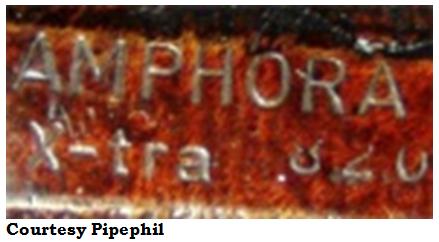
I loo ked up the Jost’s pipes on the pipephil site and found a pipe that had the same stamping on the left side of the shank as the one I was working on. The right side had slightly different stamping in that it had the classic COM stamp circle where the one I had was two lines Made in over England. It also had a picture of the circle J stamp on the stem. There was a note there the tobacco shop proprietor was Mrs. Henry A. Jost. Her resident carver was Harvey Raspberry.
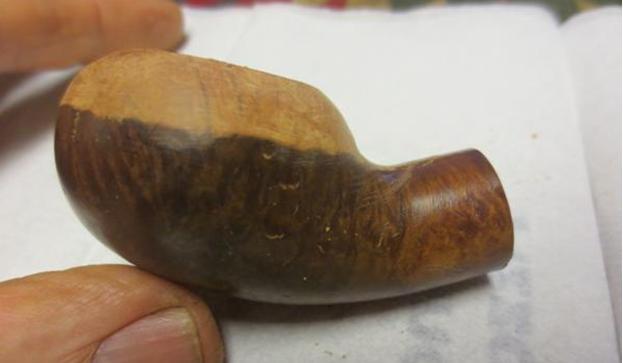
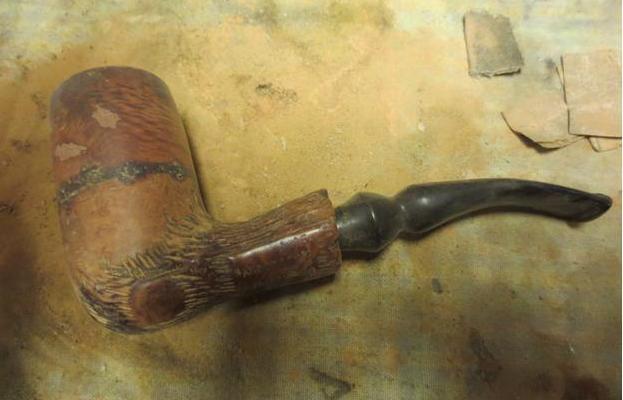
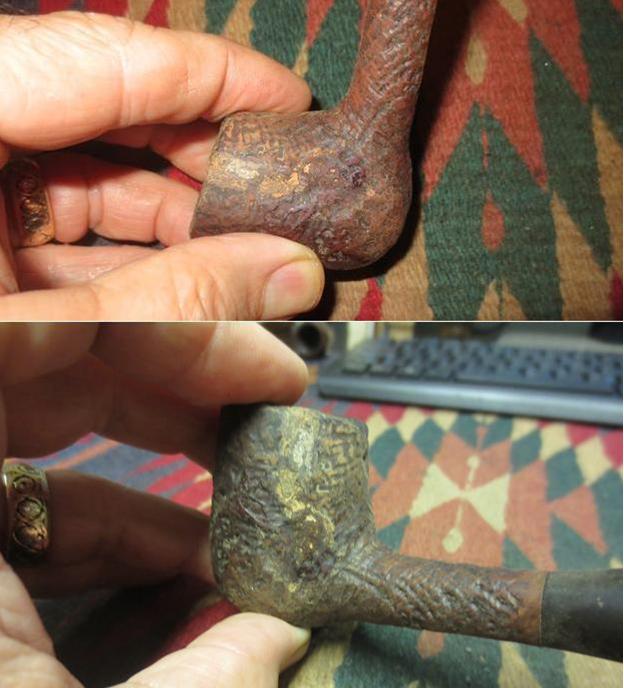
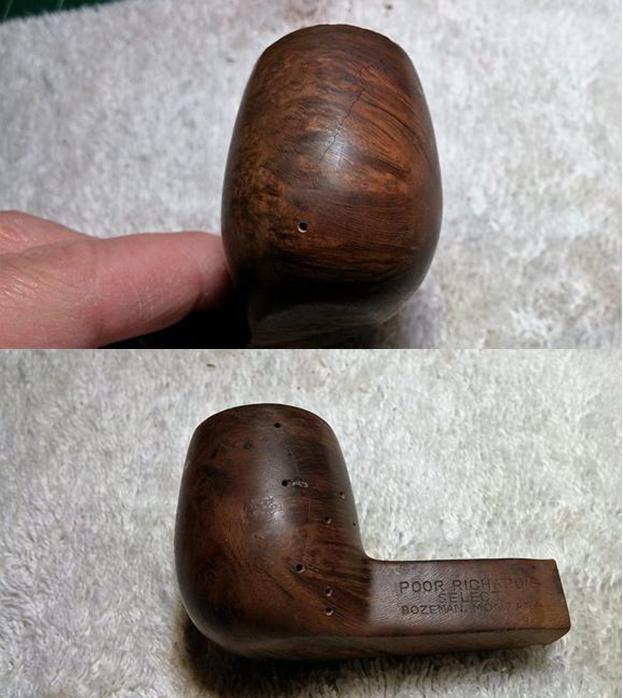
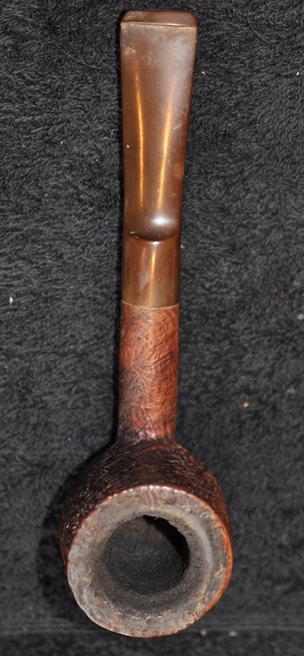
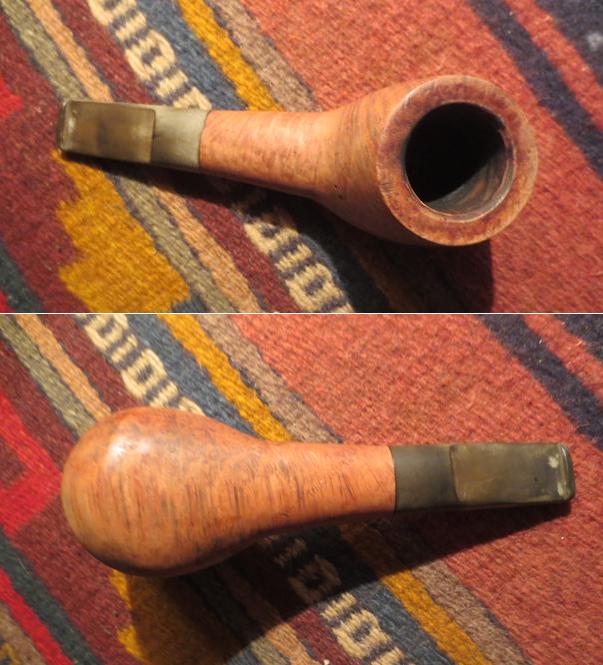
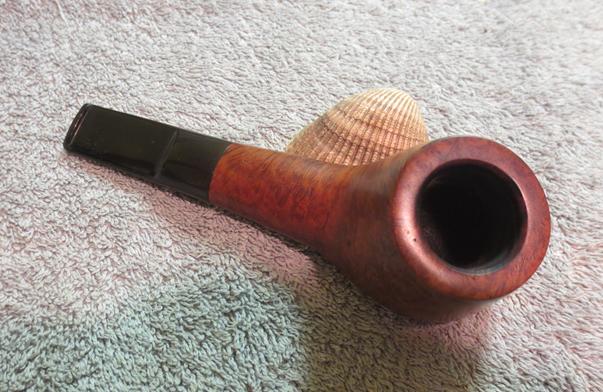
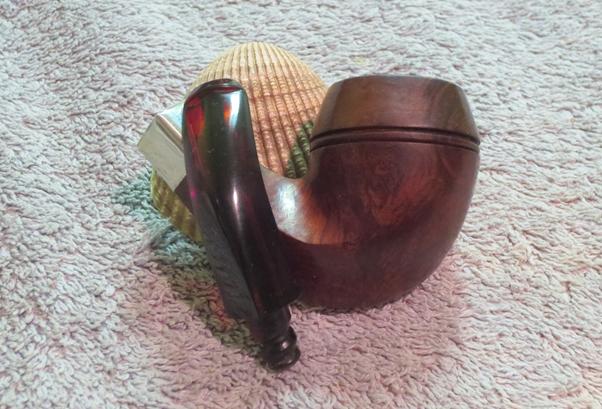
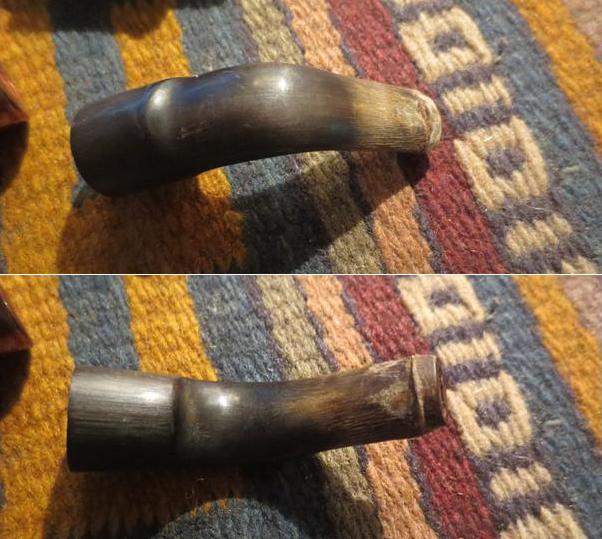
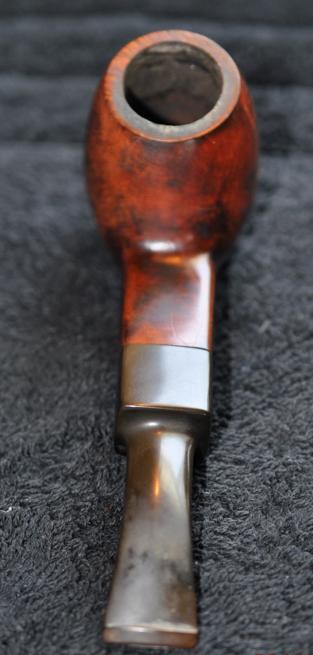
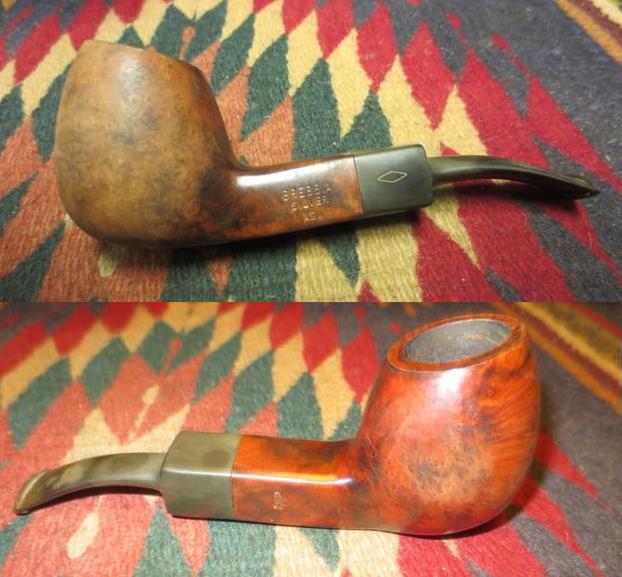
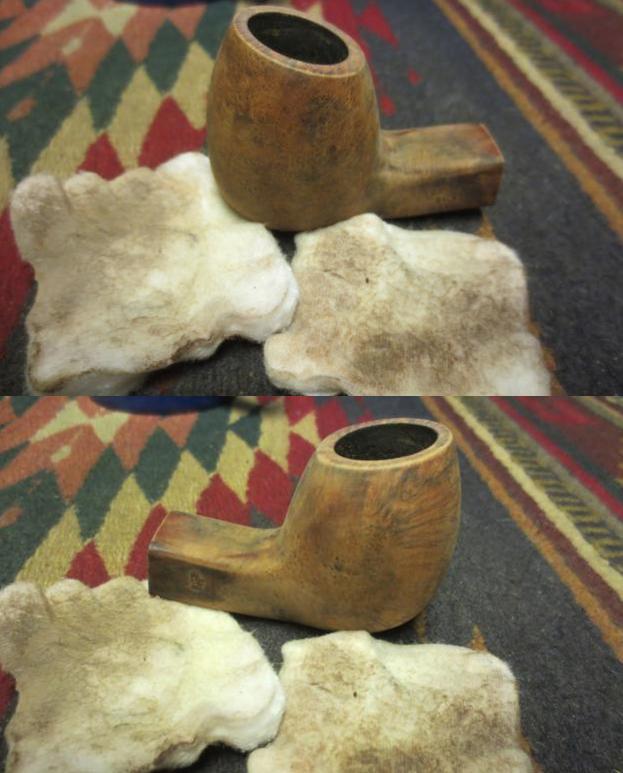
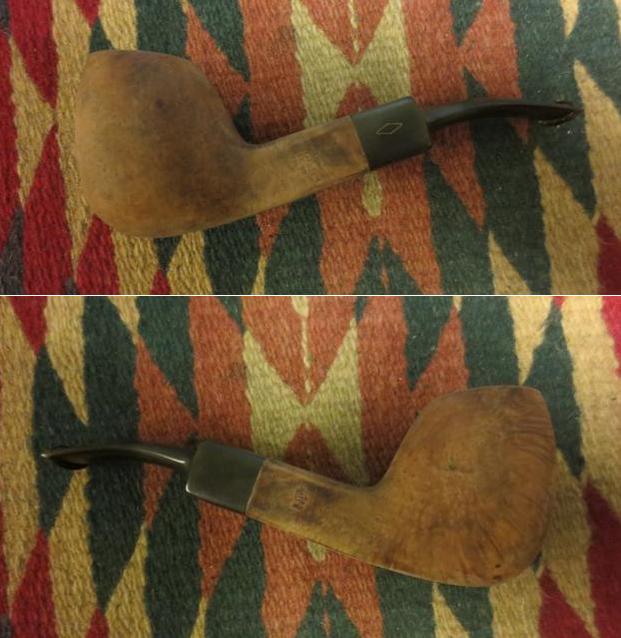
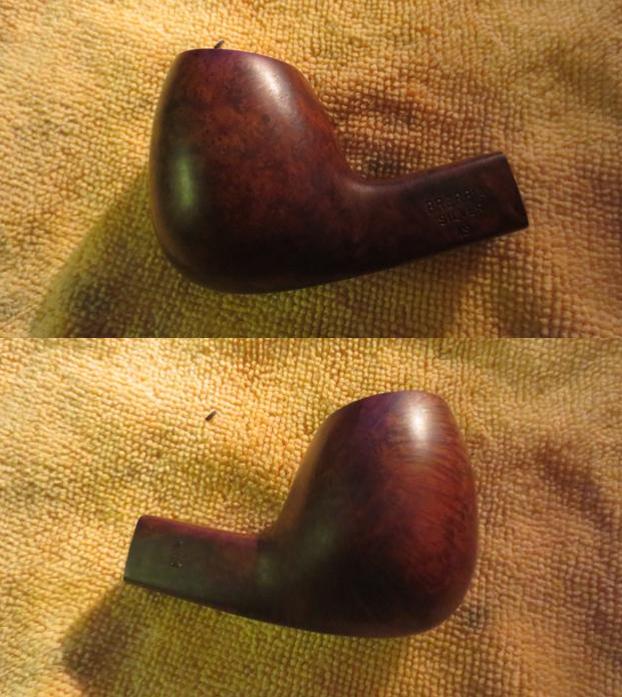
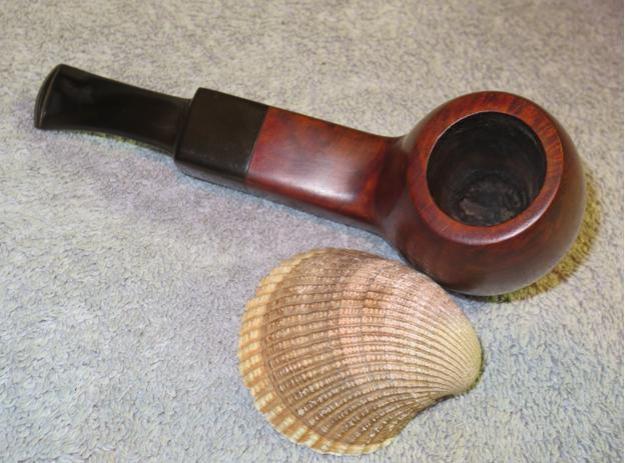
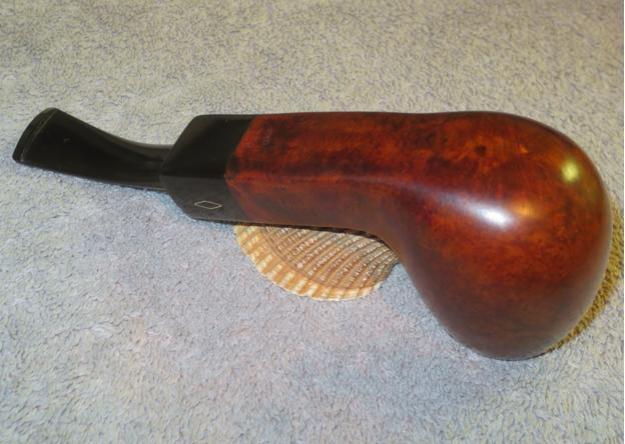
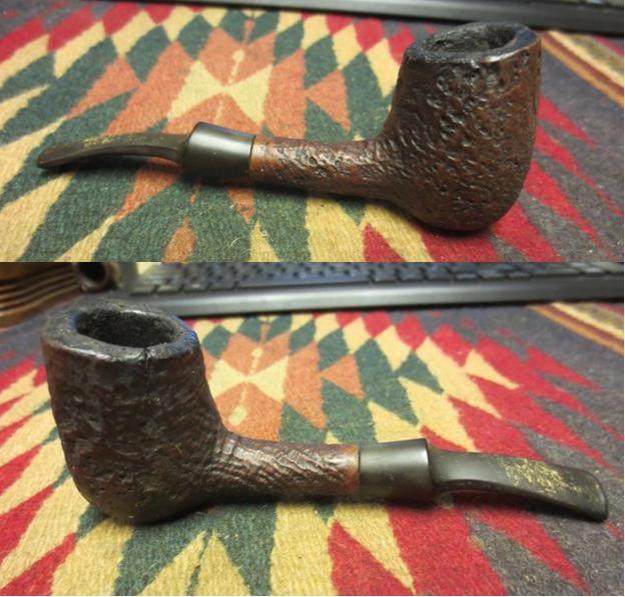
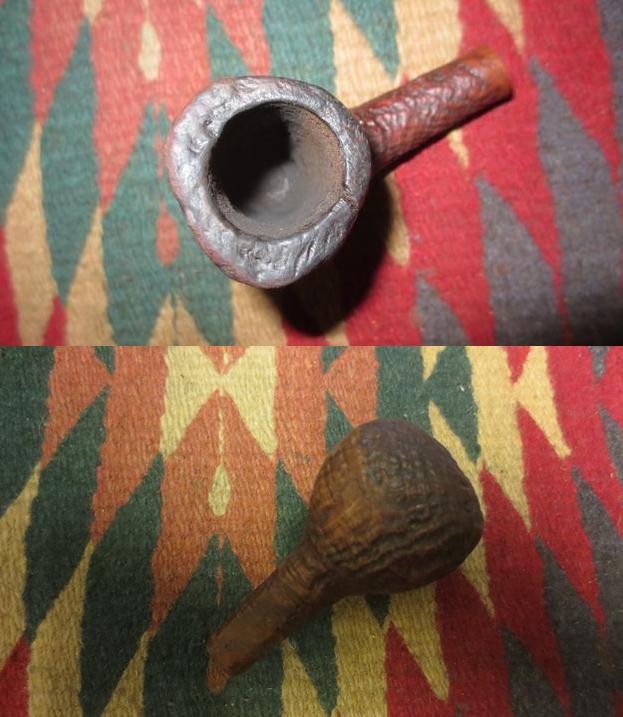
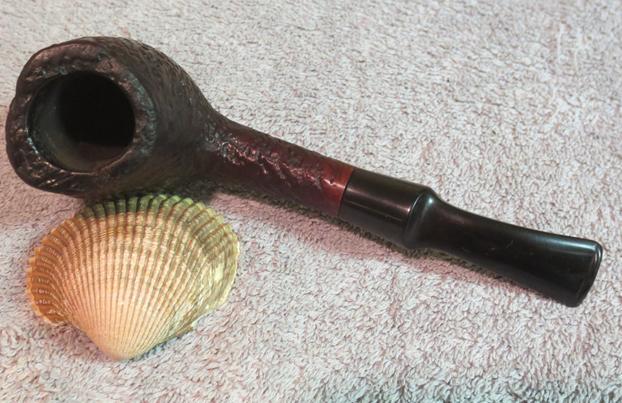
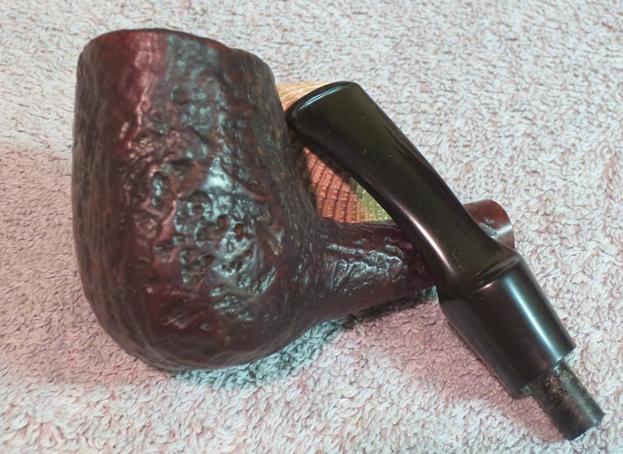
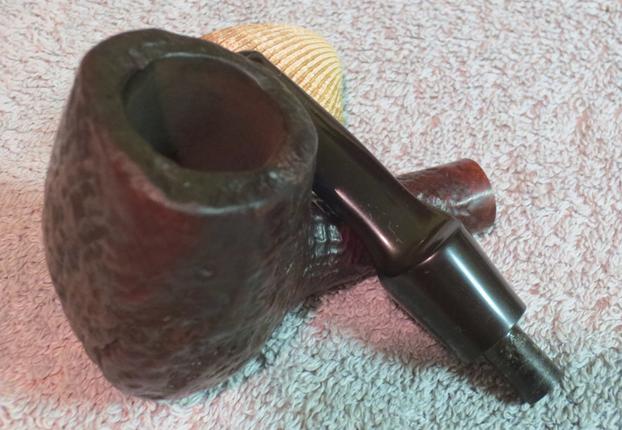
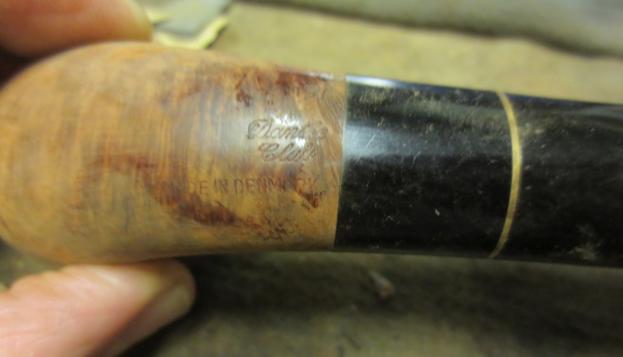
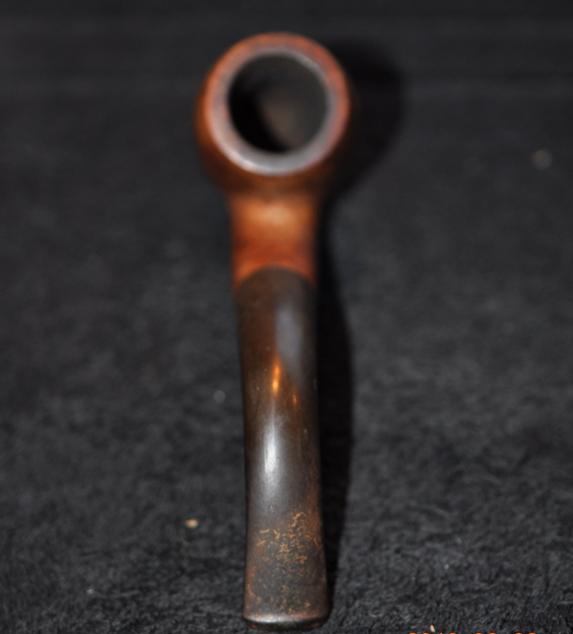 The above two photos were taken by my brother when the pipe arrived. The condition of the pipe was quite good. There was some darkening and lava on the rim top and the inner edge of the rim had some small nicks. The stem was oxidized and there was a lot of tooth chatter on the top and bottom sides near the button.
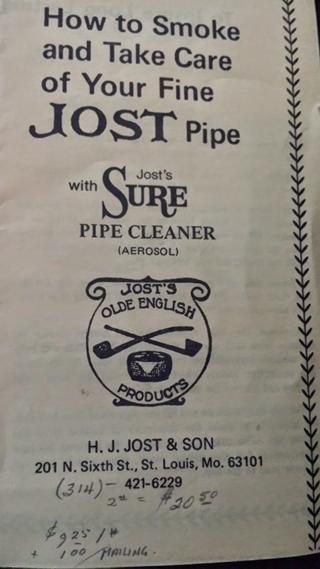
I did some more hunting online and I found a blog that did a great write up on Jost’s Pipe Shop and gave some definitive information on the brand and grades of the pipes. Here is the link if you wish to read a well written history of the brand and also some interesting details about shop blends of tobacco. http://classicpipeshop.blogspot.ca/2015/03/josts-pipe-shop-201-north-6th-street-st.html
I have included the section of the blog on the pipes. It covers a lot of information regarding the source of the pipes and the levels/grades of pipes. Remember that the one I am working on is a De Luxe/Supreme. I quote:
 Jost’s Pipes are closely tied to Comoy’s. Many of Jost’s pipes have the standard Comoy’s shape number and the “Made in England ” in a circle. If the Jost’s pipe doesn’t have the “Made in England” it is probably made by Harvey Raspberry.
If the pipe has a shape number that is preceded by a “J” that is a Comoy’s product without question. Typically these will have the words “Made in London England” on the reverse side of the shank from where the Jost stamp is made. There are always exceptions to the rule but 95% of the time, this is accurate.
Many different levels of pipes were offered by Jost’s Pipe Shop. From a 1950s catalog I have the following available:
Jost Old English De Luxe: $85.00
These were typically of the highest… Grain is stunning and the briar is flawless. These are the grade you should look out for as they are great smokers.
Jost Old English Supreme: (no pricing available)
The majority of the Old English version pipes you see are marked Supreme. These are stained in a darker color and are presumably from the same Algerian aged Briar as the De Luxe brothers. These are also of the highest quality available.
Jost Virgin Briar Supreme: $35.00
Don’t see too many marked as Virgin Briar Supreme but you will often find “Supreme” Jost pipes on the second hand market (see above). Excellent quality briar and displays the lighter toned finish of the De Luxe above. Grain is not as flashy or desirable as the De Luxe model.
Jost Thames Briars: $25.00
I’ve seen these offered as blasted / rusticated pipes and look quite nice. Most of the smooth finish Thames pipes are riddled with fills. Good smokers but not much to look at (smooth).
Jost Sandblast Briars: $25.00
These are a great value. The shop made sand-blasted pipes are usually quite large and snapped up very quickly by collectors. The Comoy’s versions (with J shape #s) are of excellent quality and typically rather small compared to the shop-made variety.
Dukes Briars: $15.00
These come up very rarely. The two I’ve seen in recent years are rather small in size. Smooth finish with light / honey stain color. Not sure what the story is behind these.
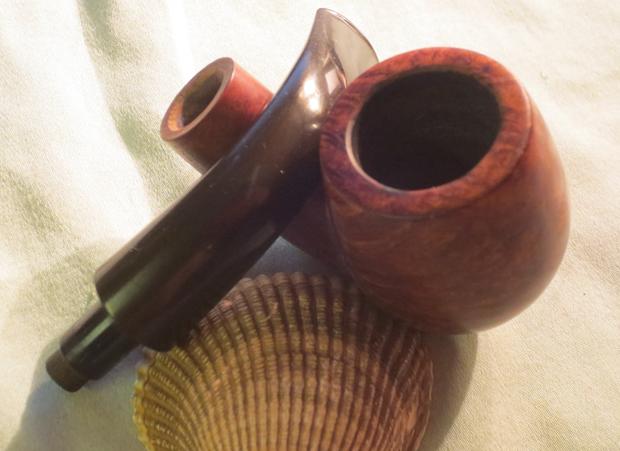
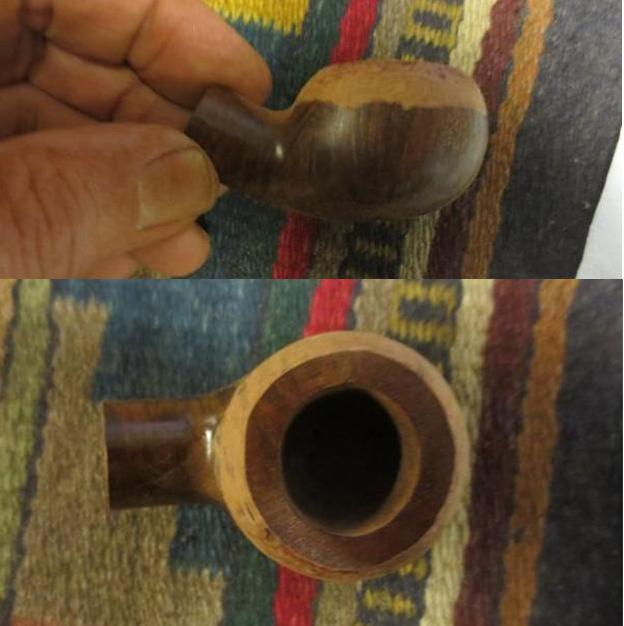
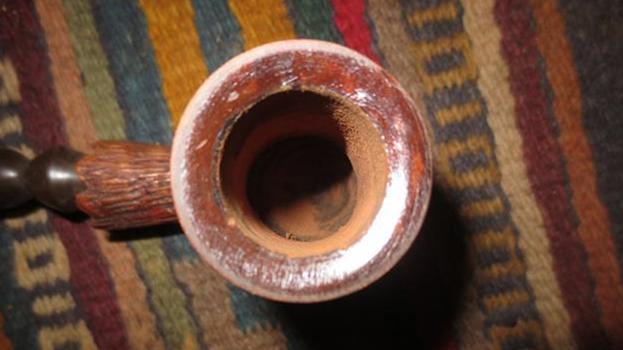
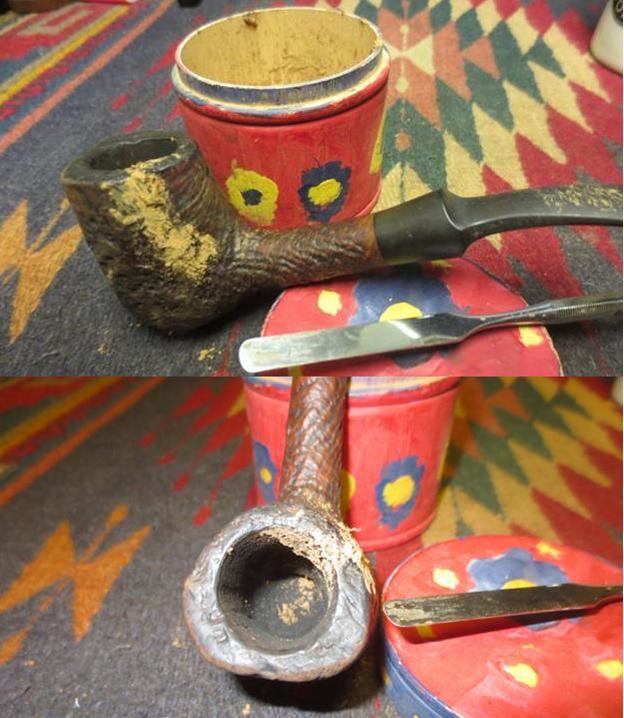
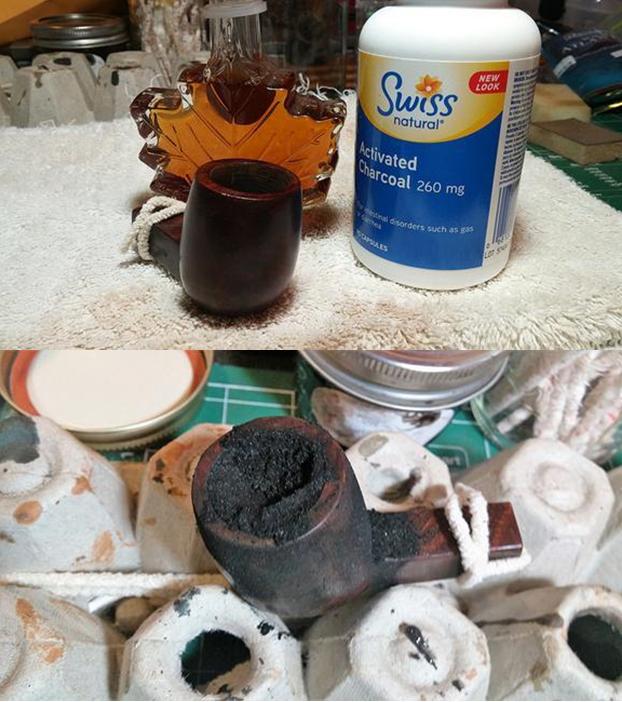
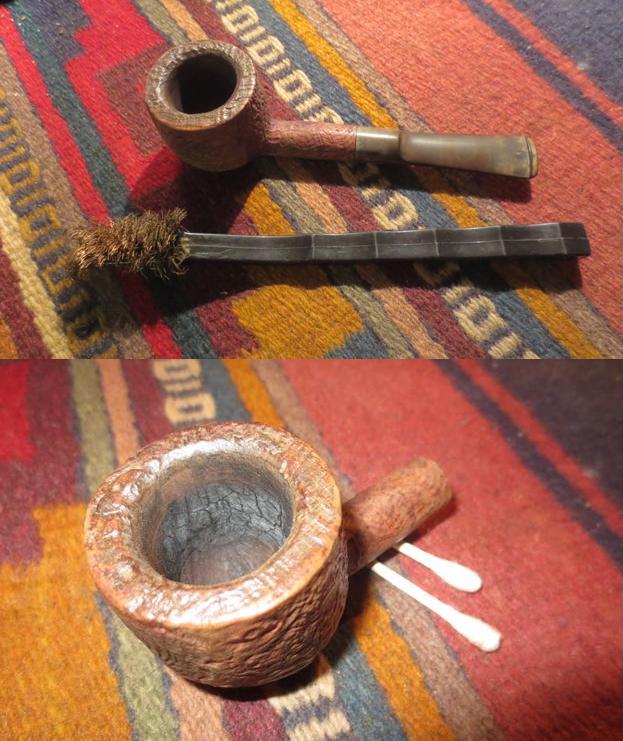
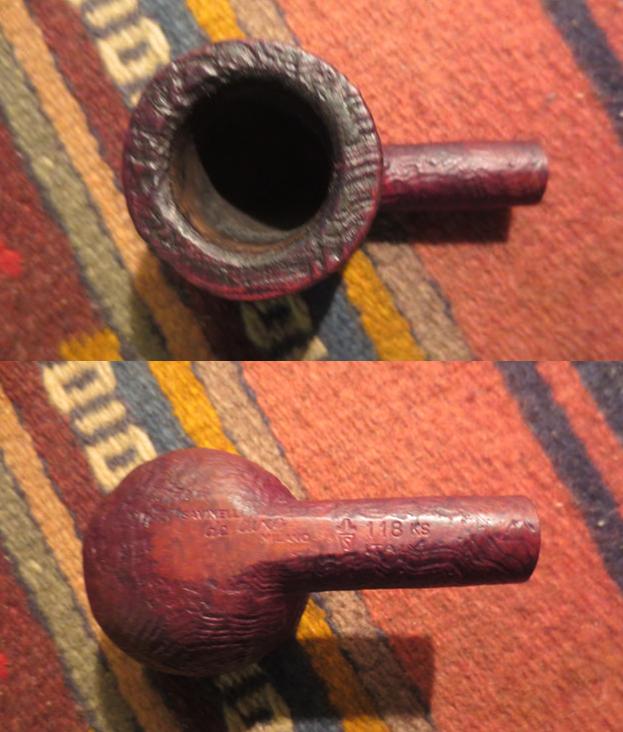
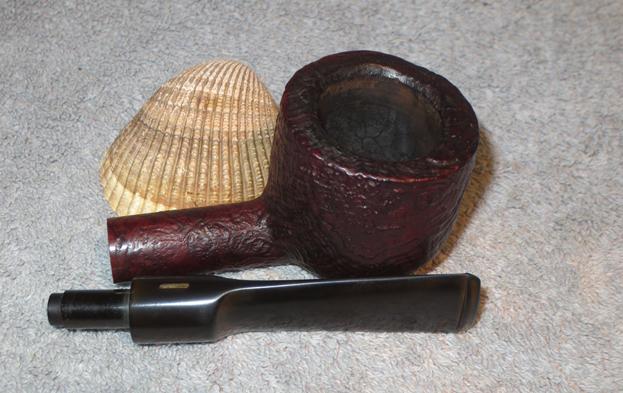
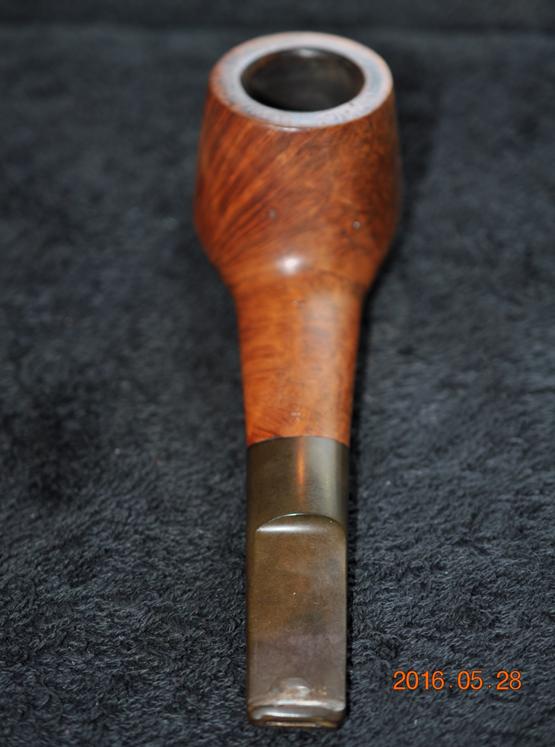
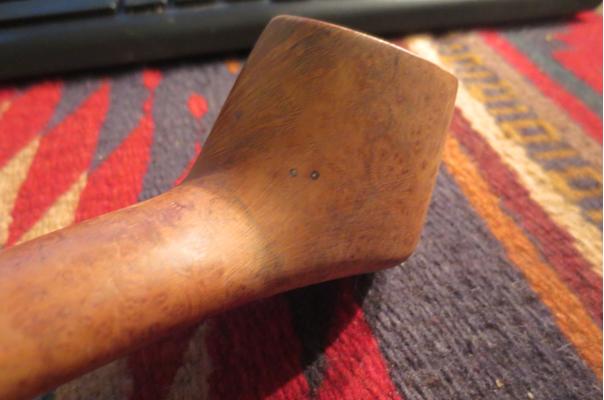
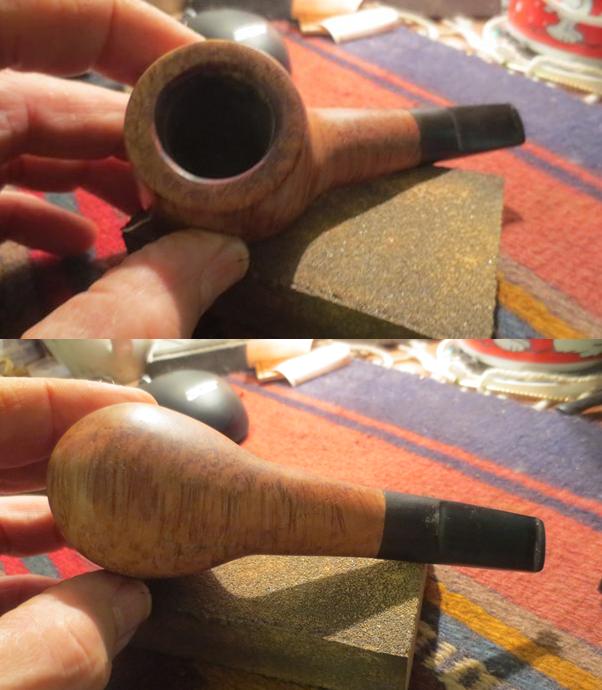
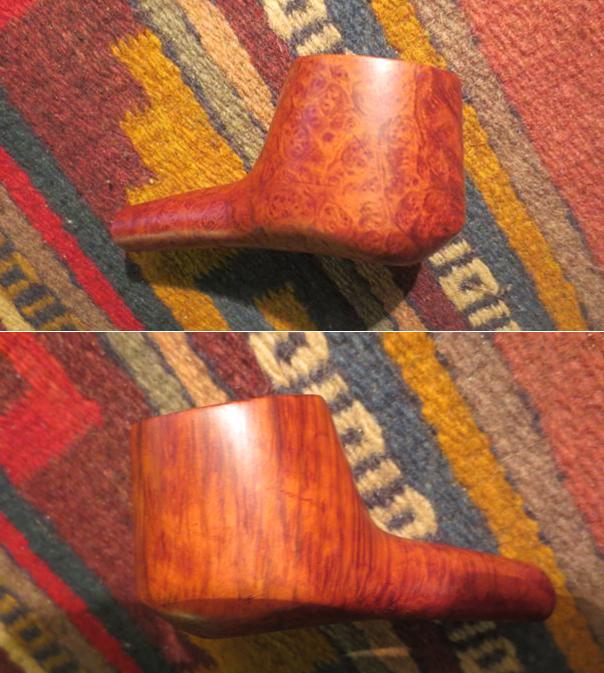
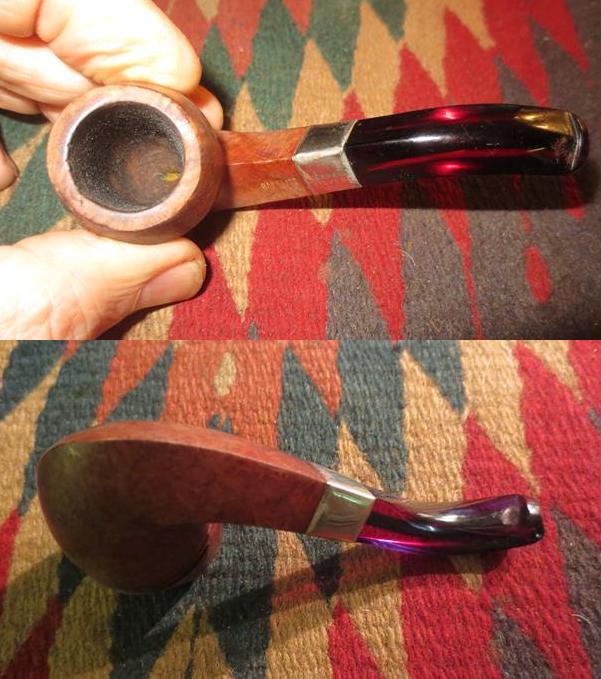
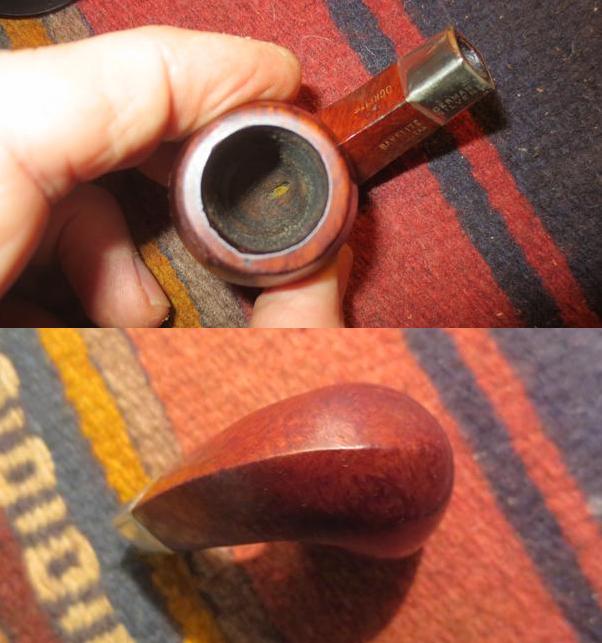
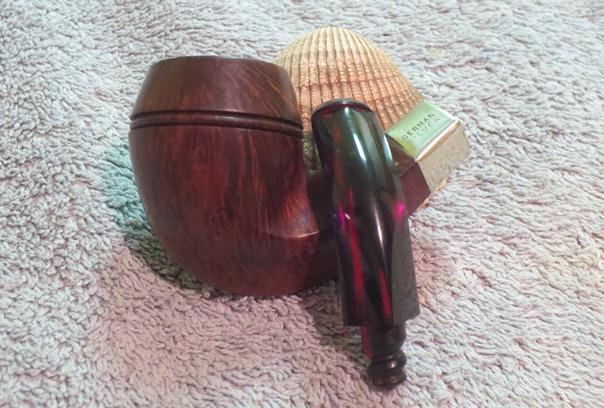
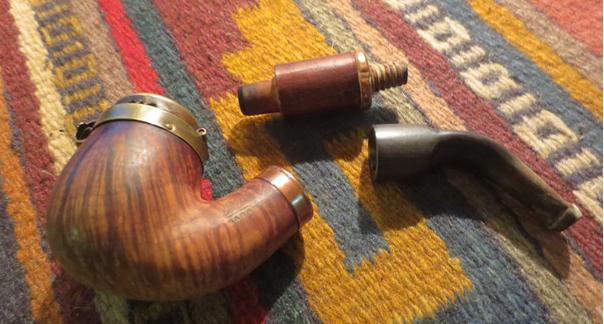
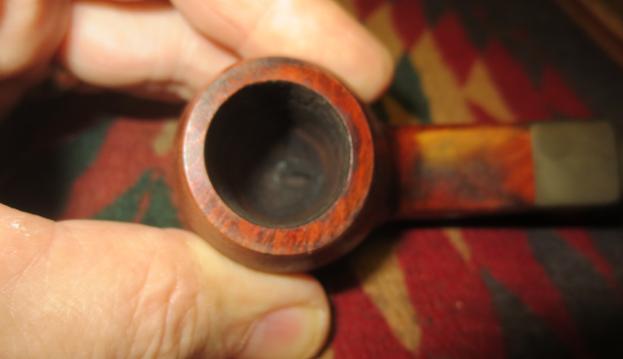
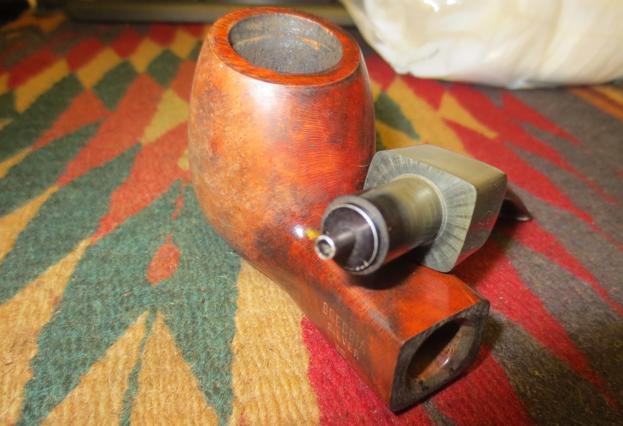
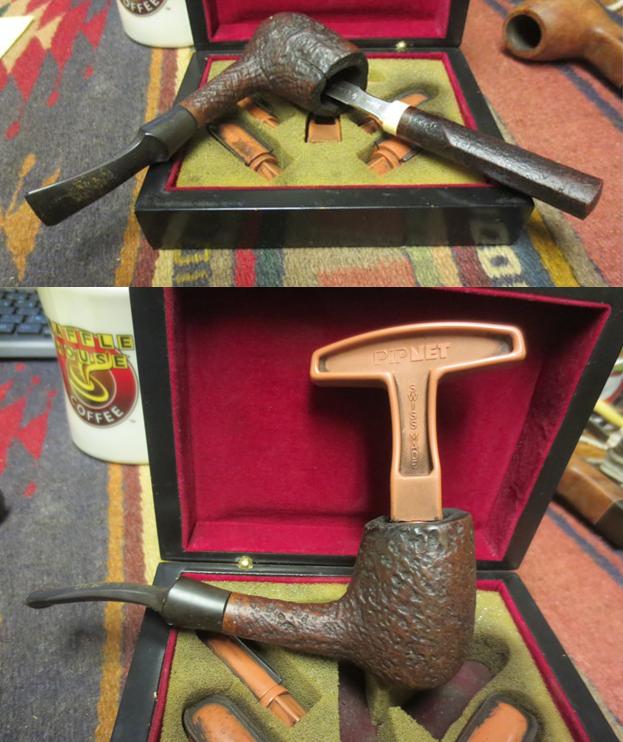
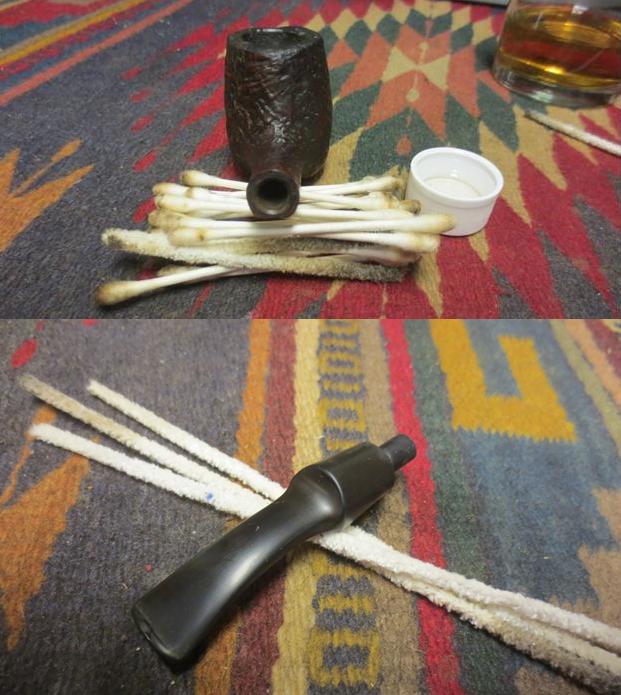
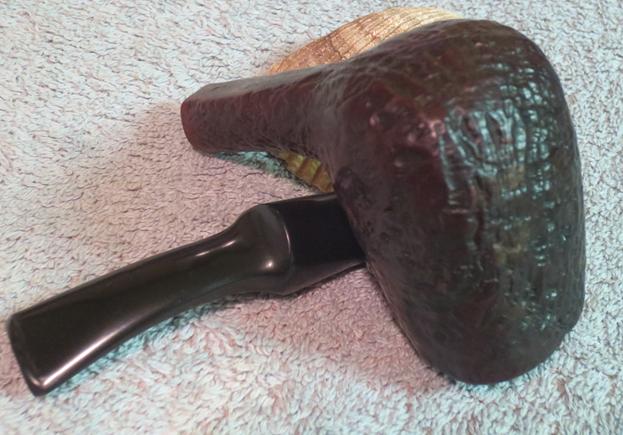
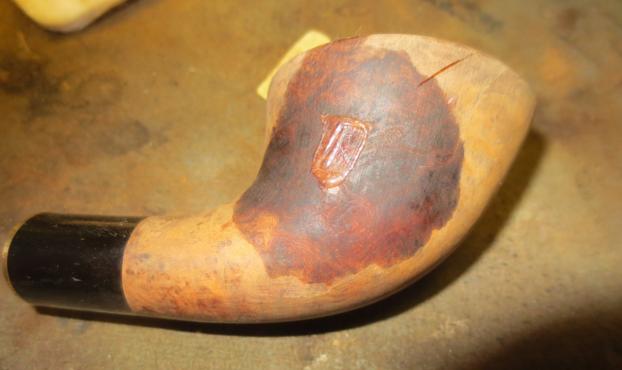
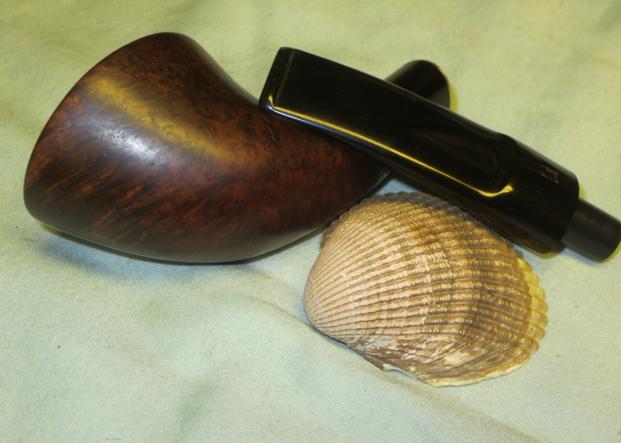
From the above information I knew that the pipe I had was one of the top two grades and it was a Comoy’s Made pipe from London. The unusual overstamping led me to believe that it was a De Luxe. My brother cleaned the pipe – reamed the bowl and cleaned out the internals. He scrubbed the exterior with Murphy’s Oil Soap. When it arrived in Vancouver it was in clean shape and ready to be restored. I took some photos of the bowl to show how it looked at that time.

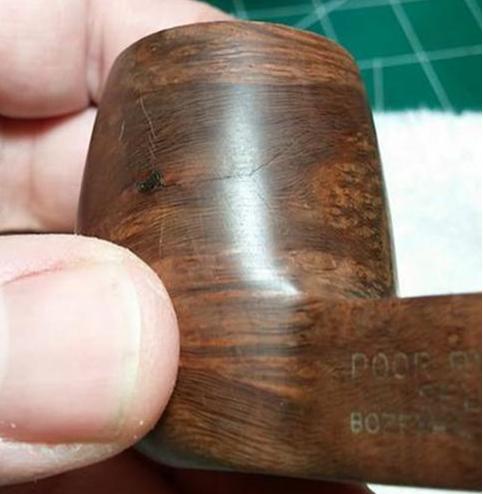
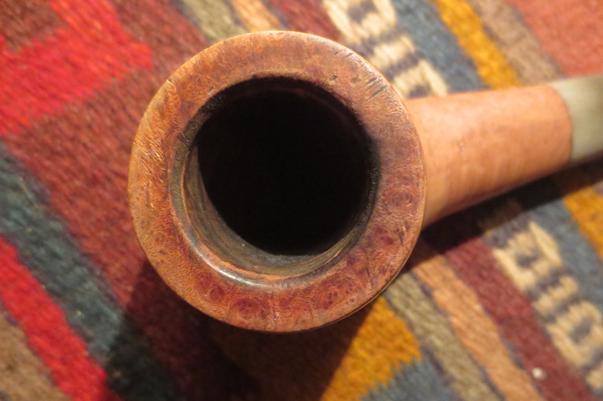
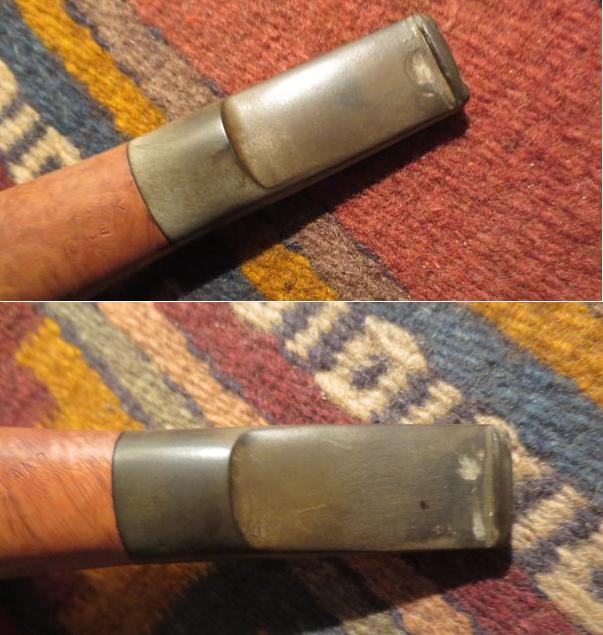
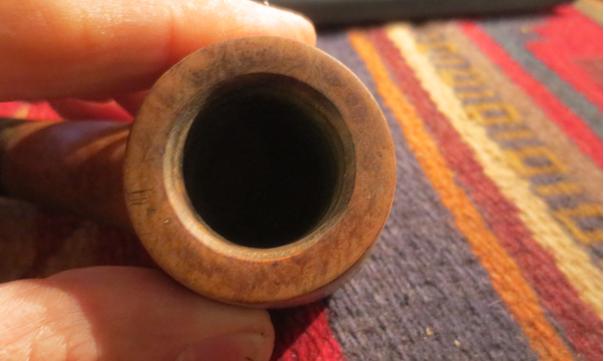
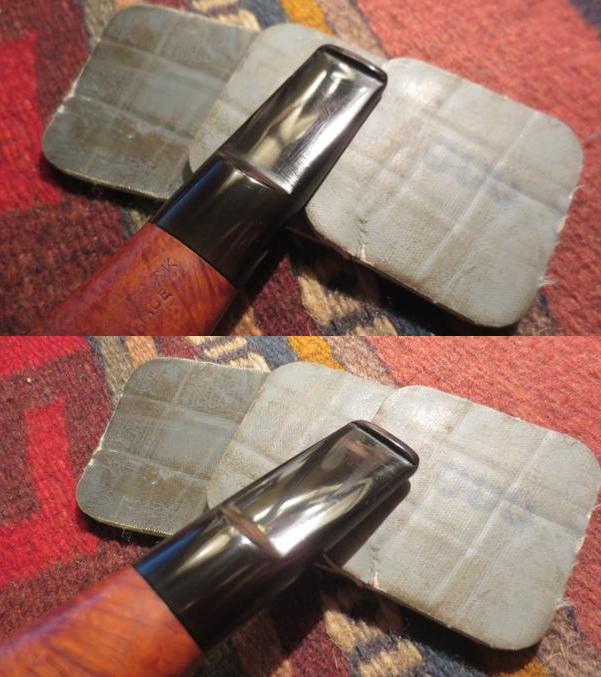
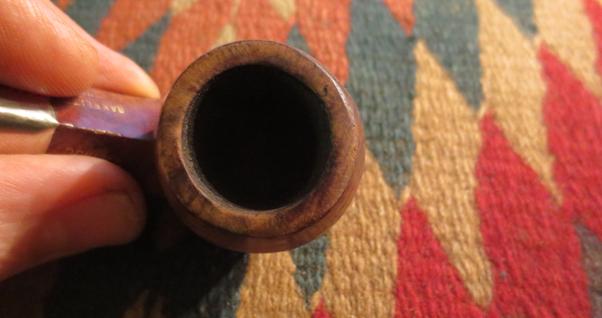
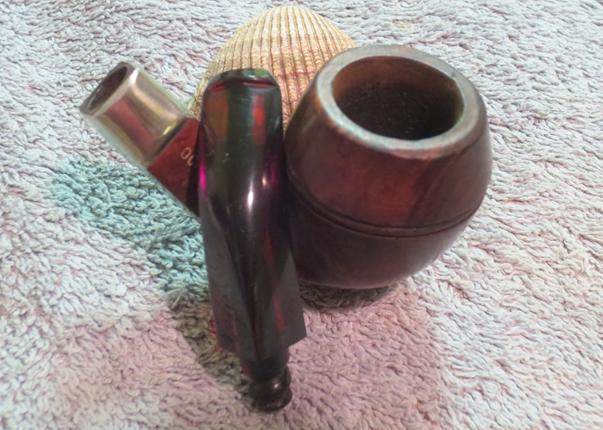
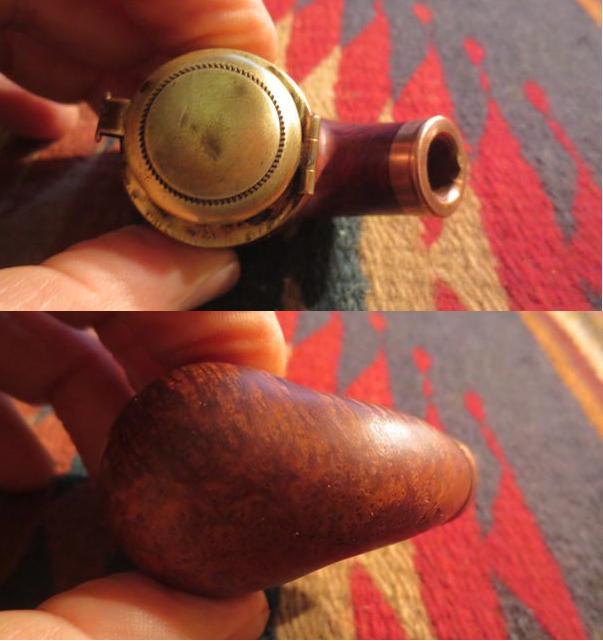
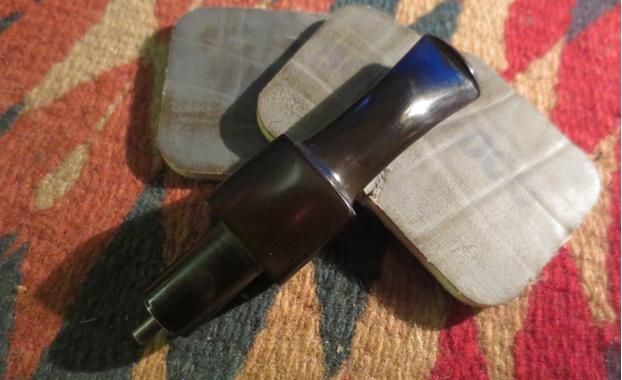
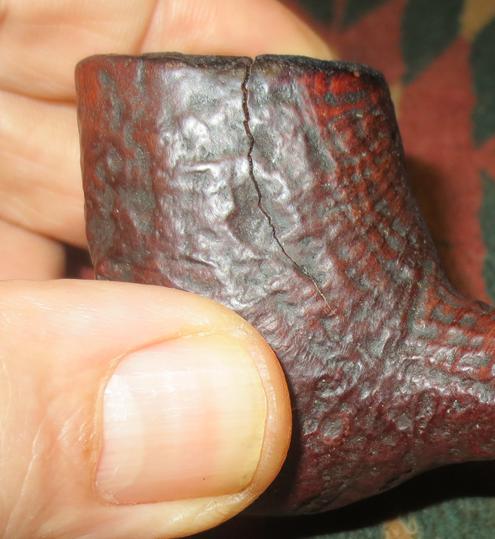
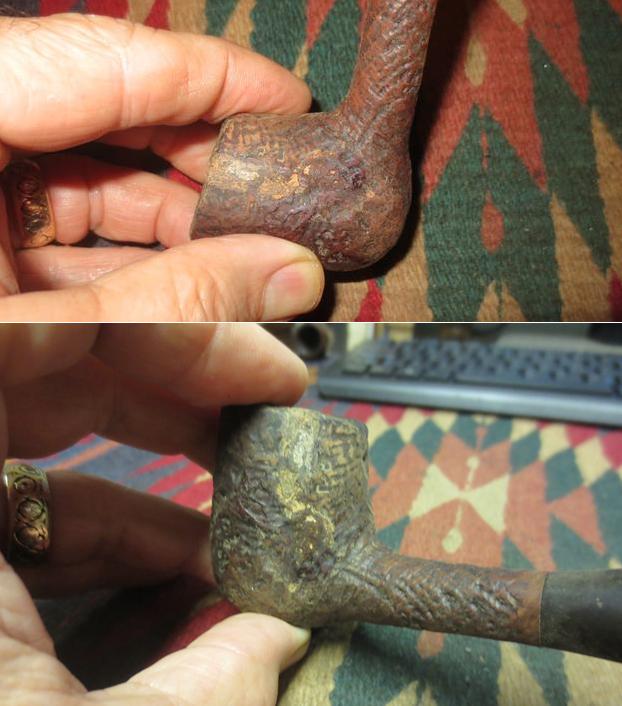
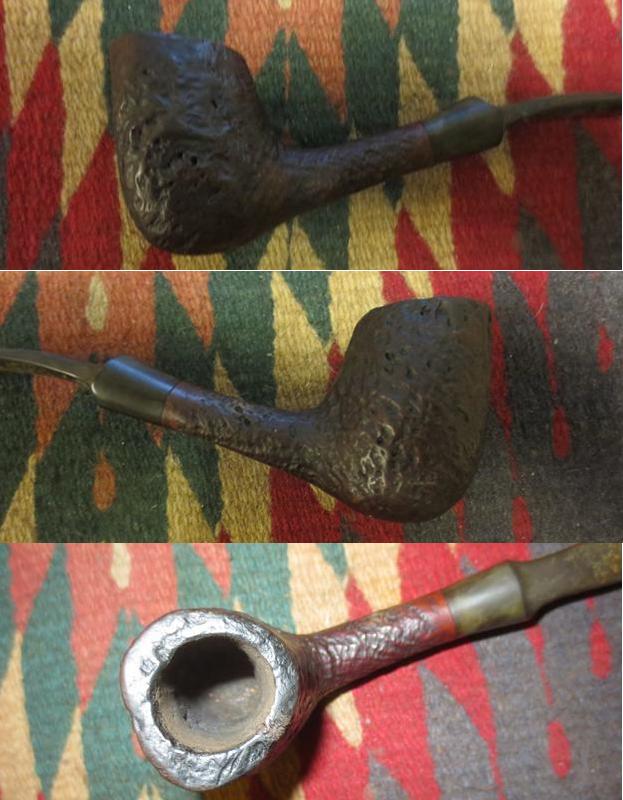
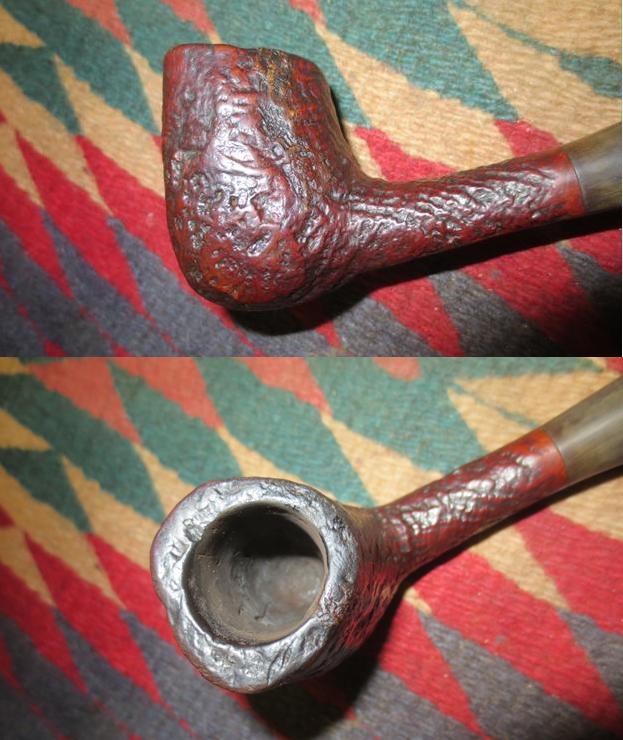
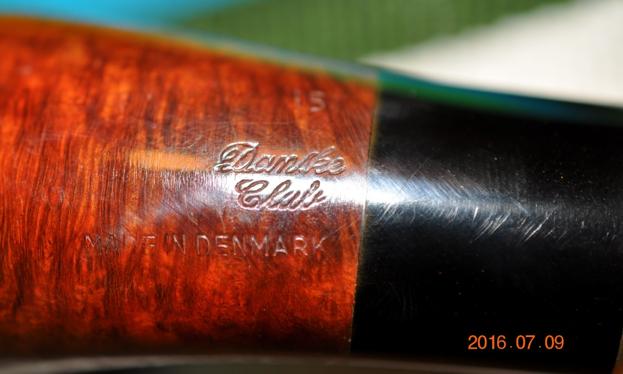
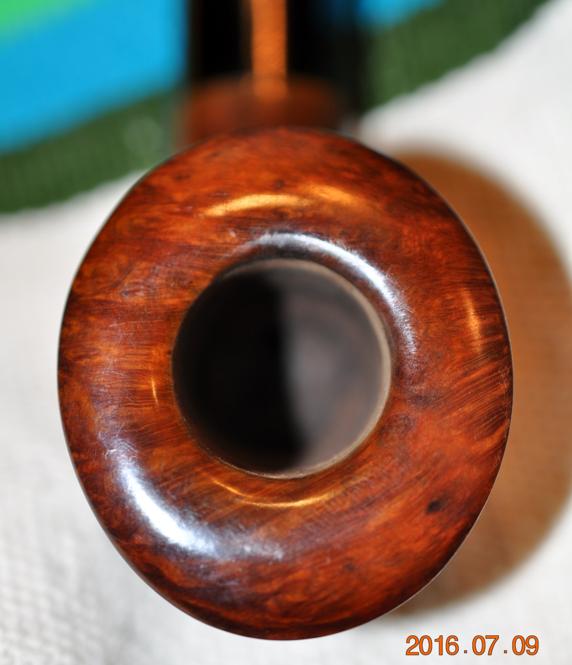
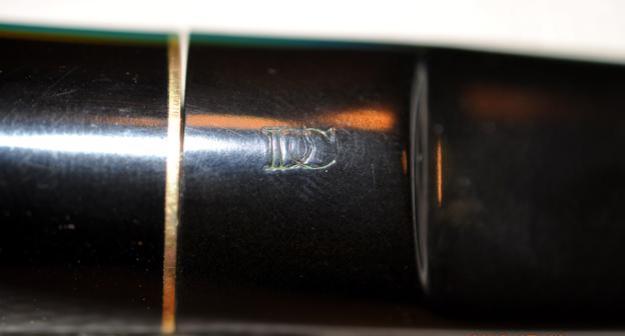
 I took a close up photo of the stamping to show the condition of the stamping and the overstamp of Deluxe and Supreme. I also took a close up of the rim to show the damage to the inner edge and also the hash marks on the top of the rim.
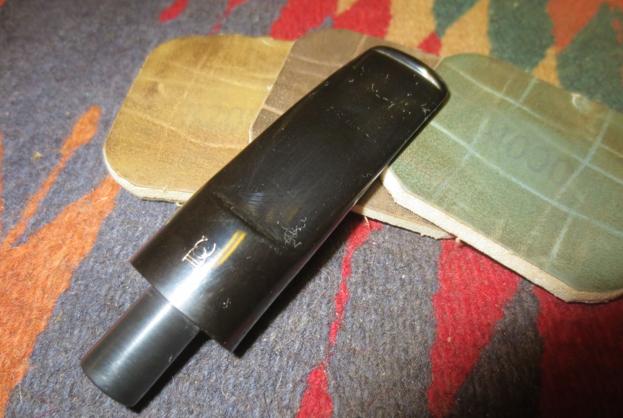
 The stem was in very good condition with some oxidation and tooth chatter on the end of the stem. The button was thin but from what I can find out it is original.
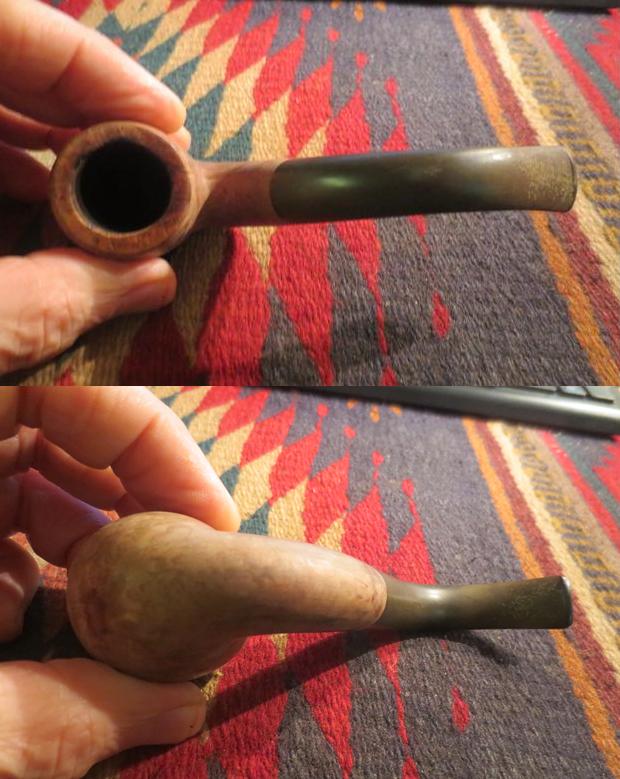
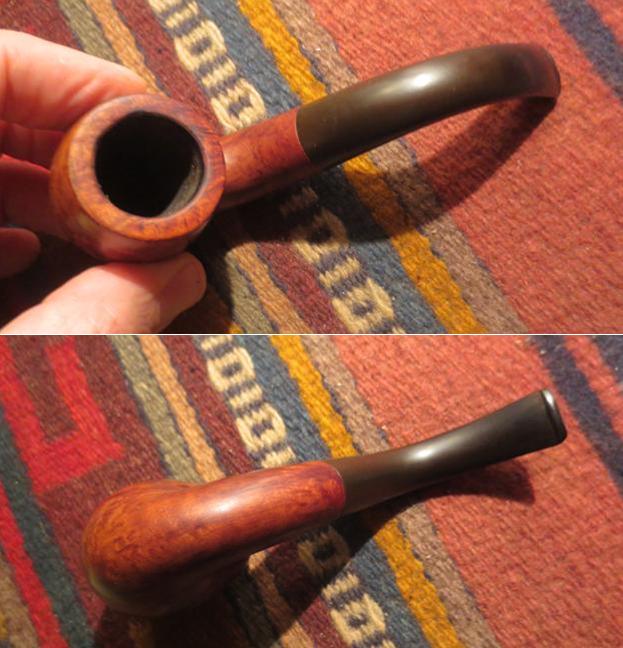
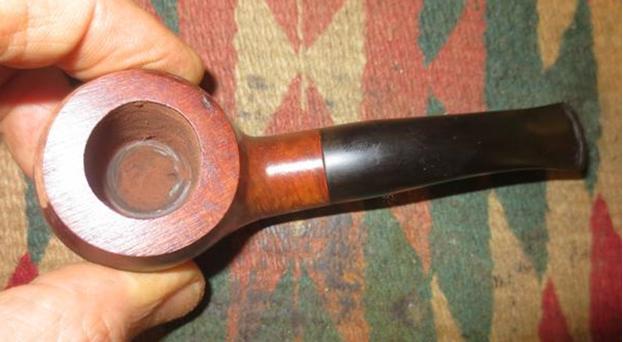
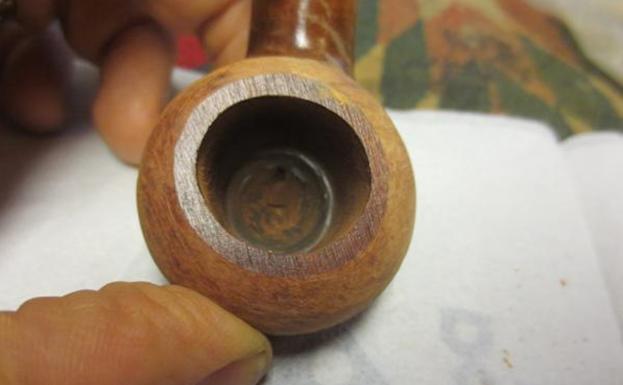
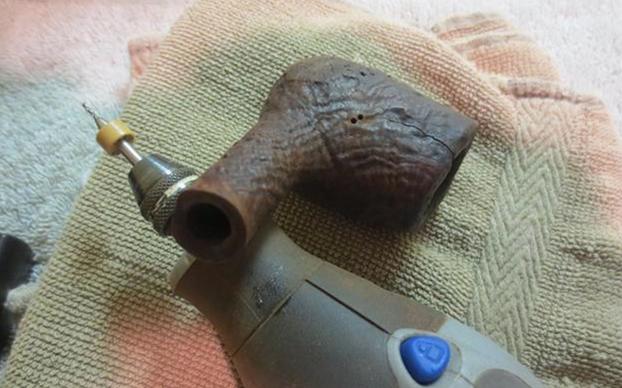
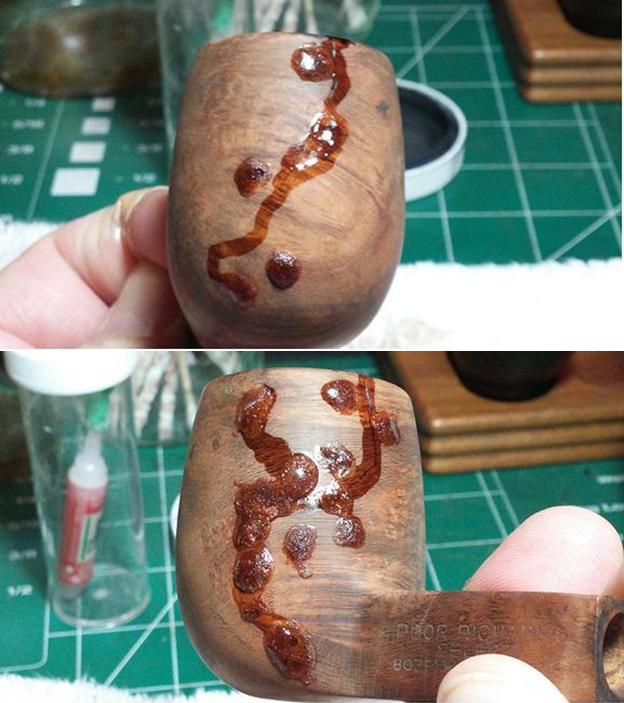
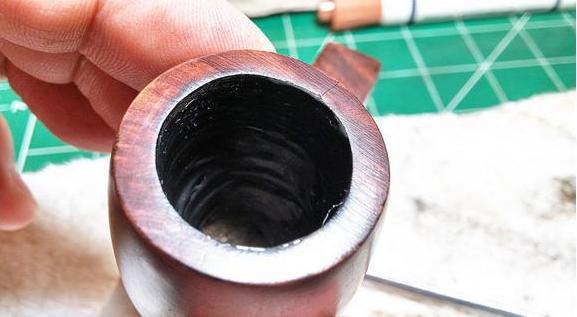
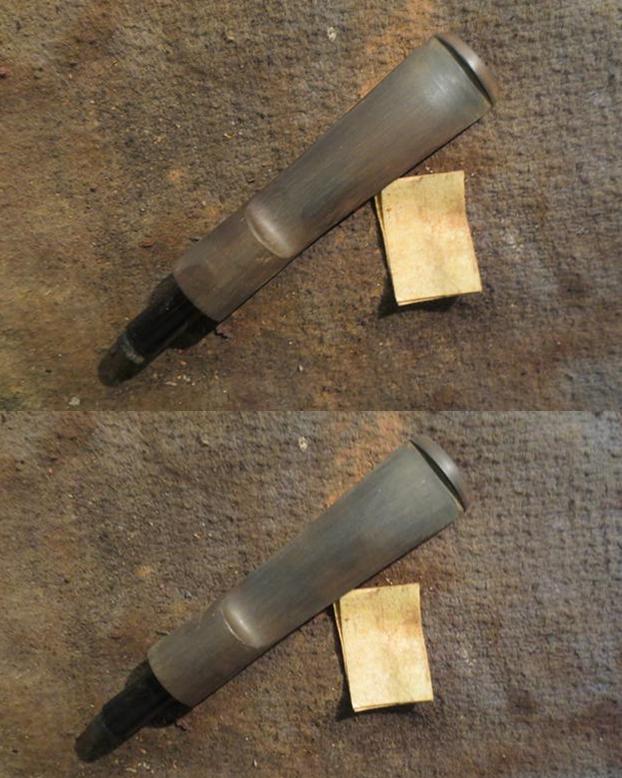
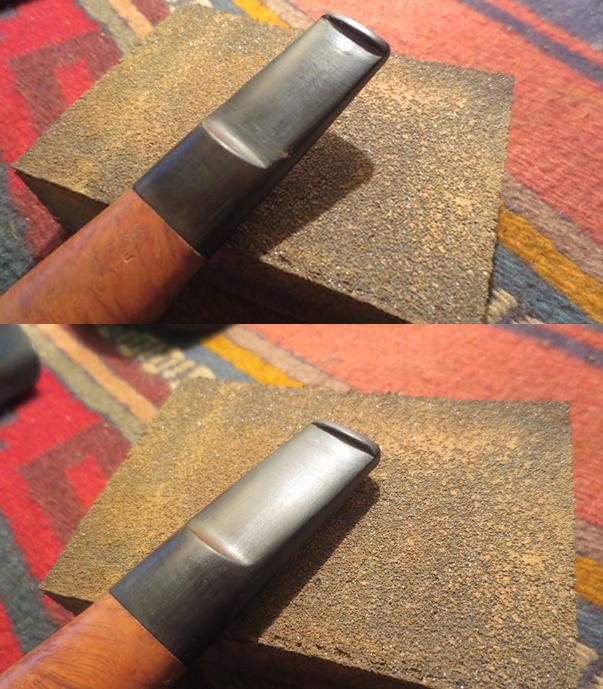
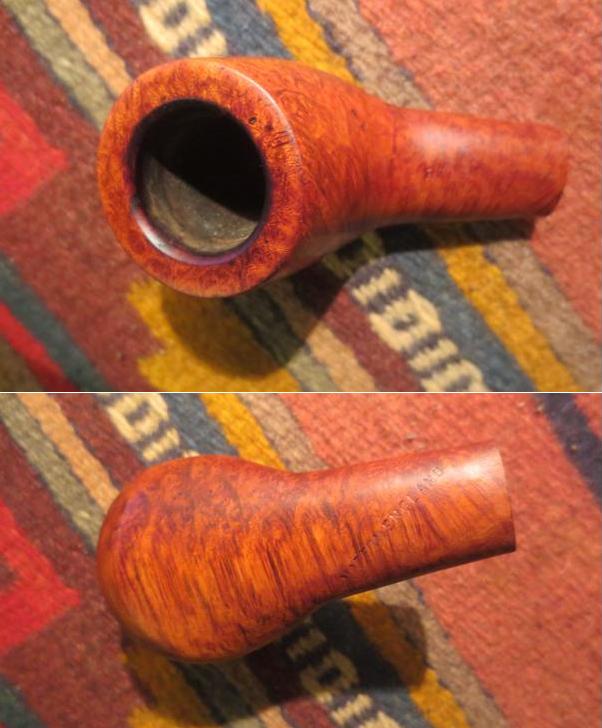
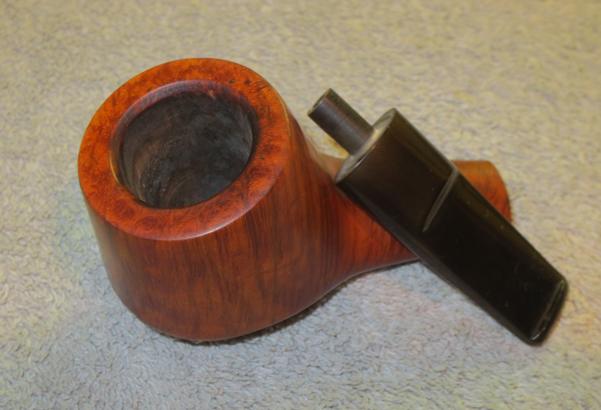
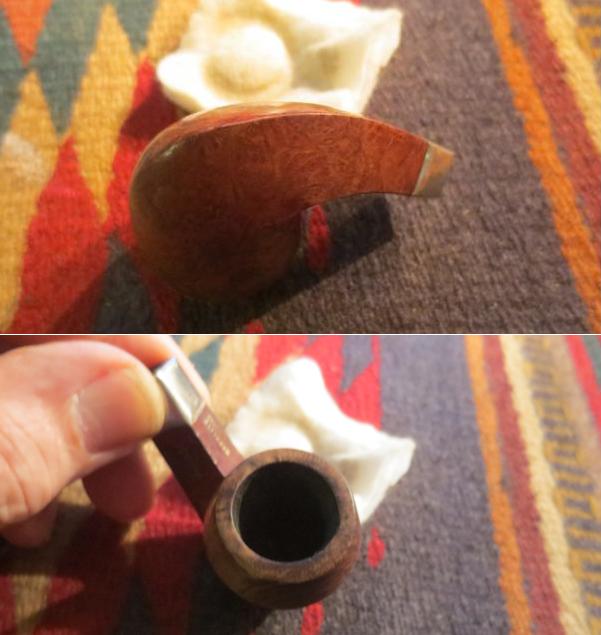
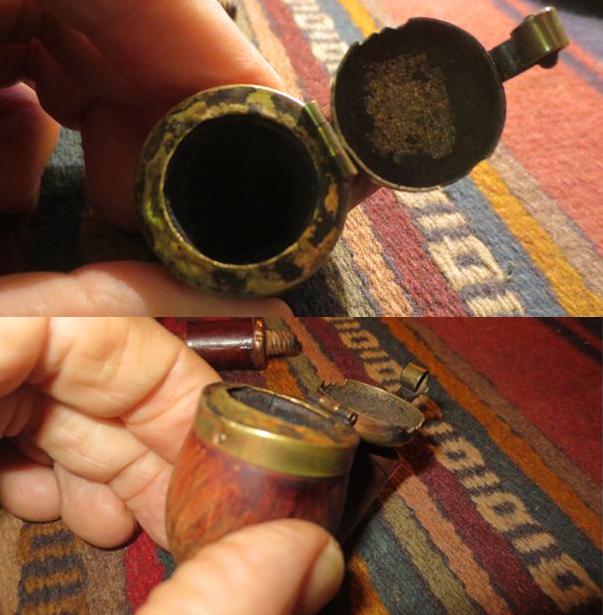
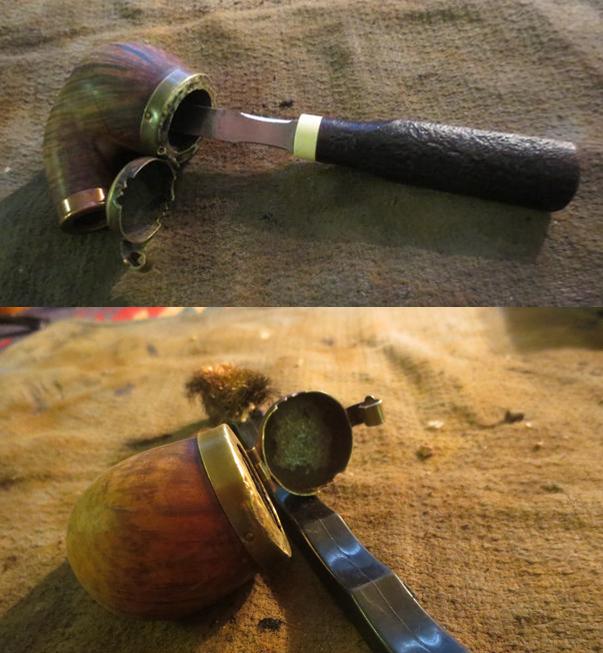
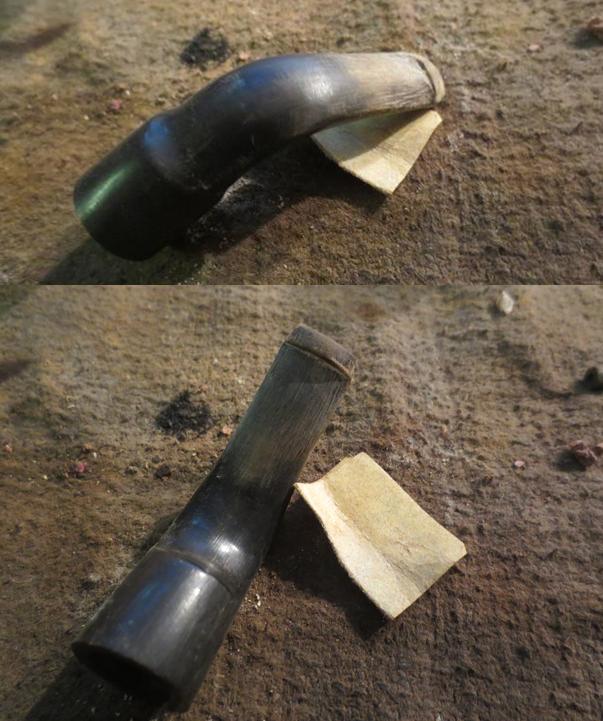
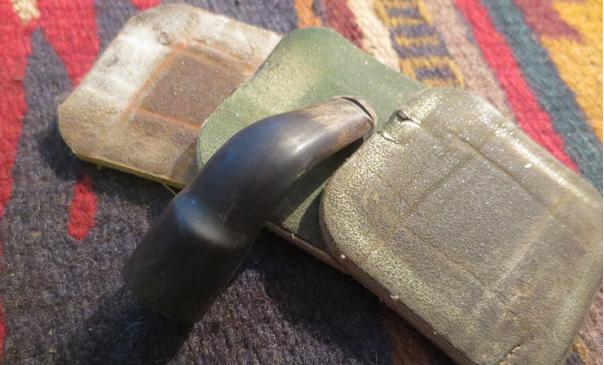
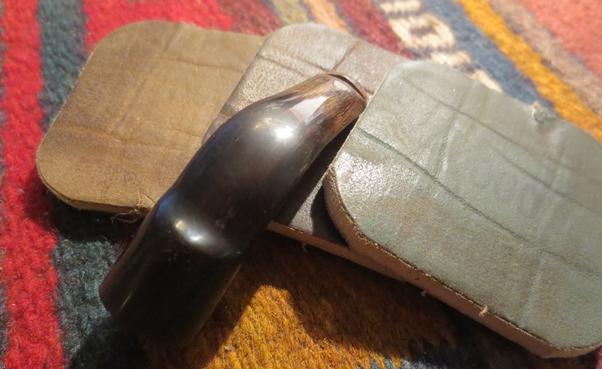
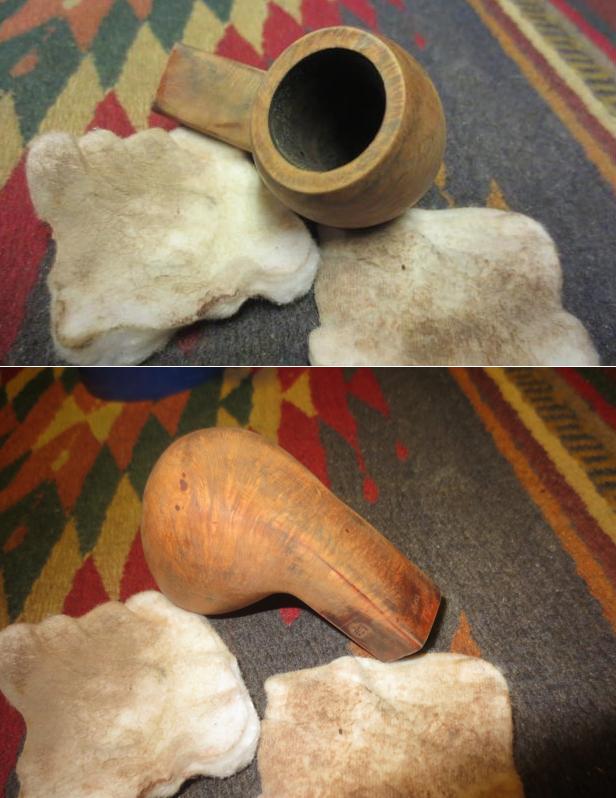
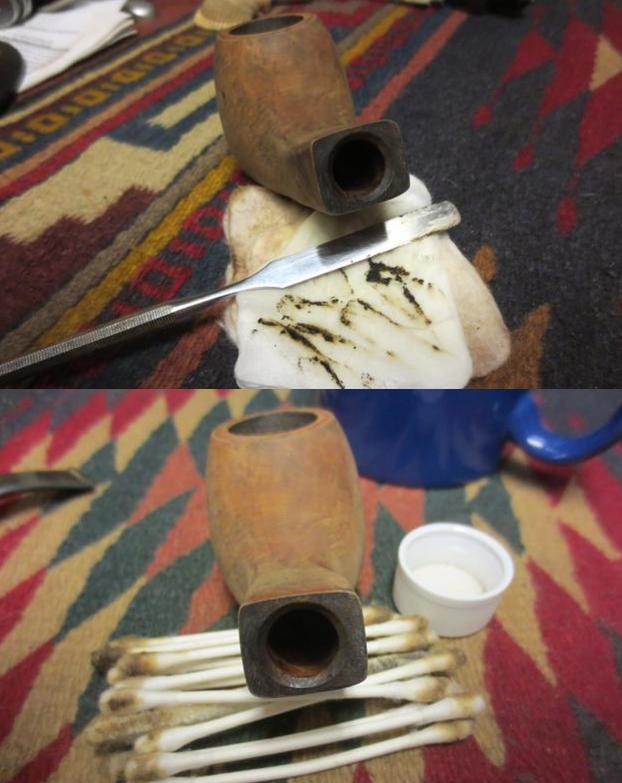
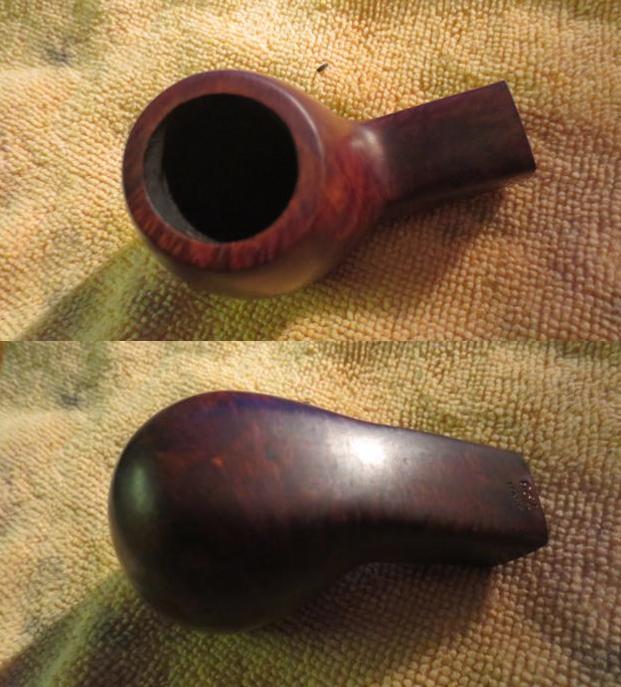
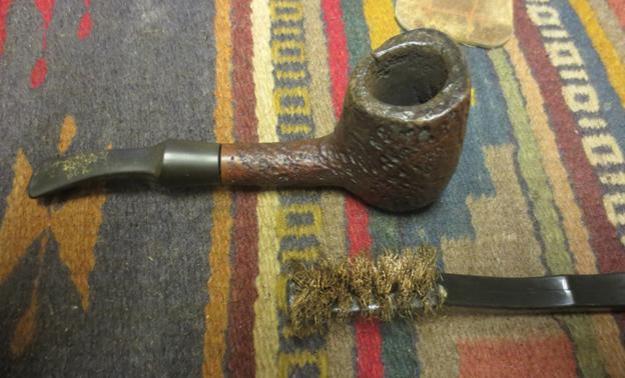
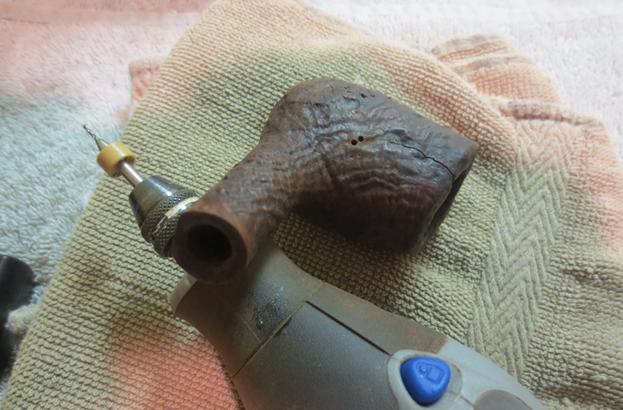
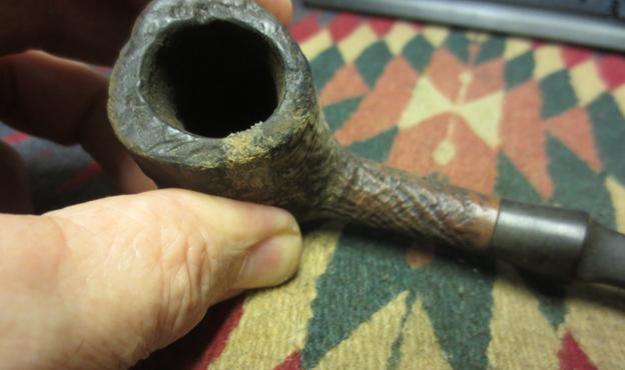
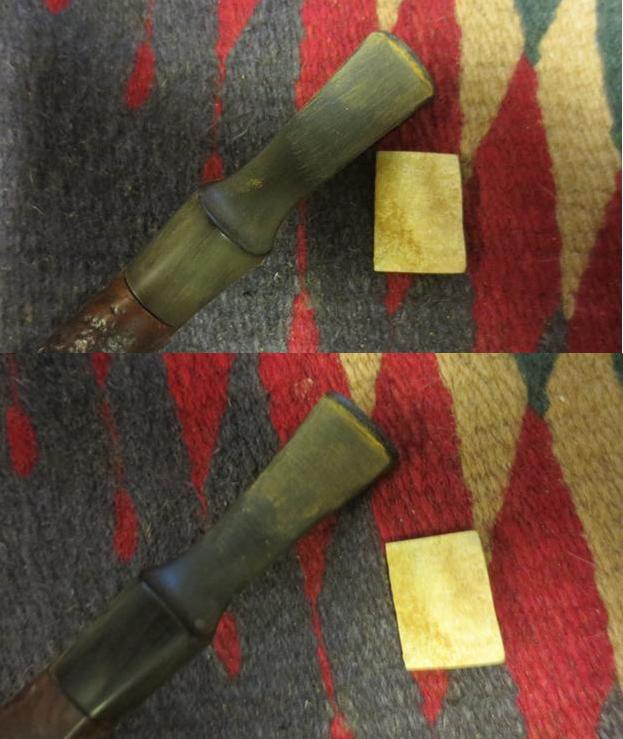
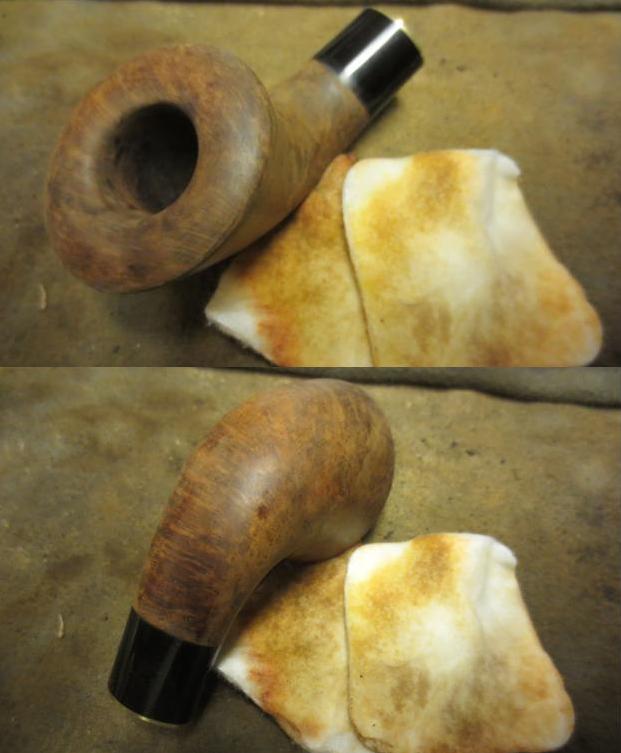
 I worked on the inner edge of the rim with a folded piece of 180 grit sandpaper. I beveled the inner edge to clean up the damaged area. The first photo below shows the paper in the bowl and the second shows the beveled edge.
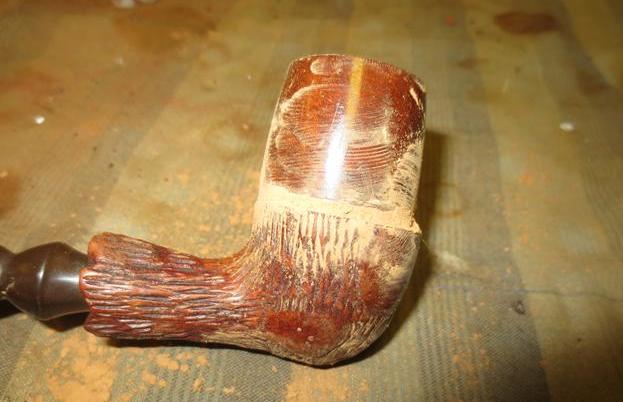
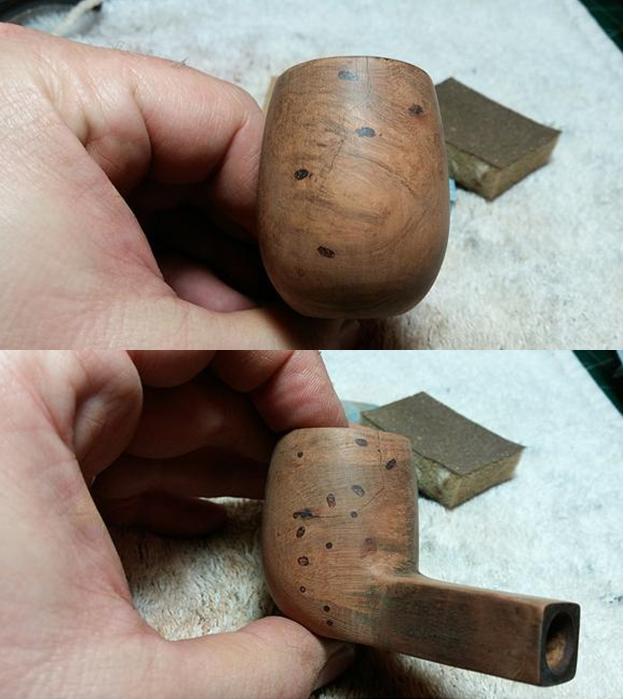
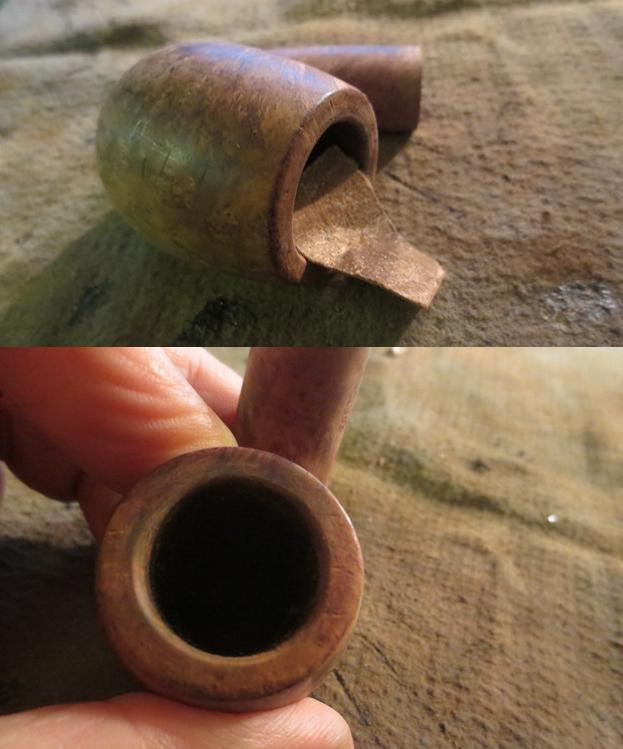 I sanded the bowl and the top and bottom of the shank with 220 grit sandpaper to remove the deep scratches and marks on the surface of the bowl. I did not sand the sides of the shank so as to preserve the stamping.
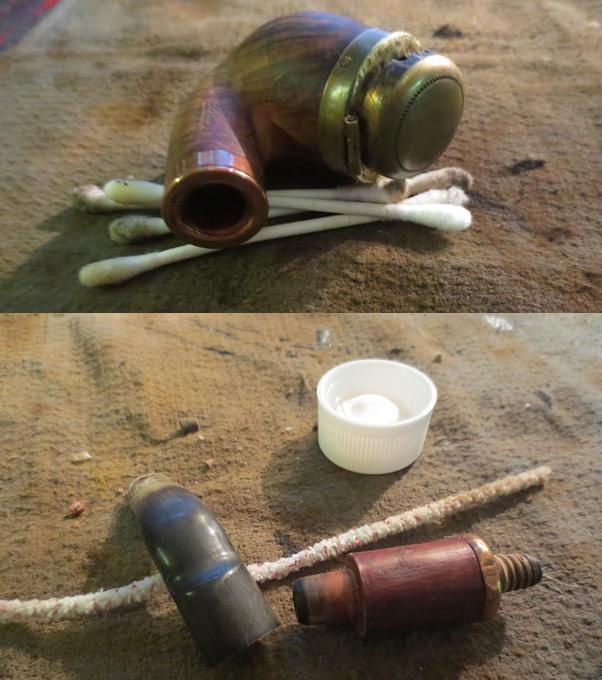
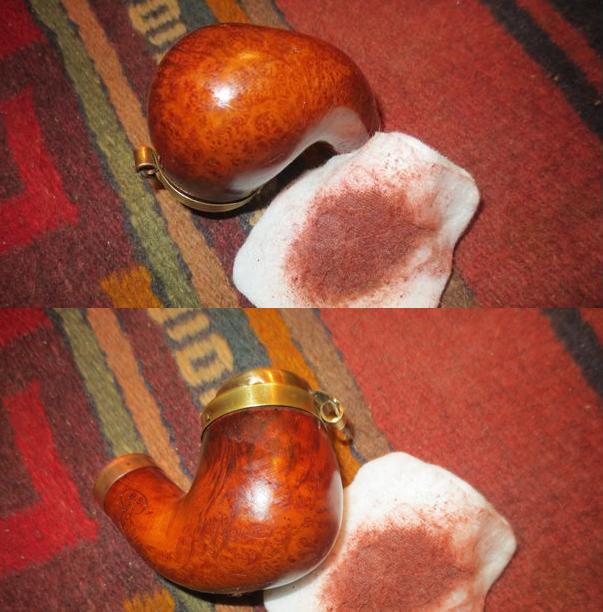
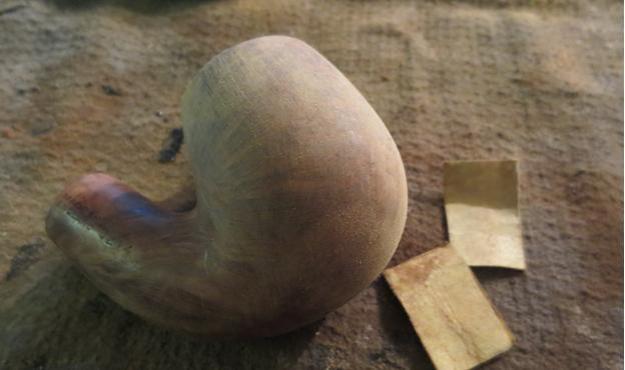 I wiped down the bowl with acetone on cotton pads to remove the sanding dust and to remove the remnants of the finish on the shank.
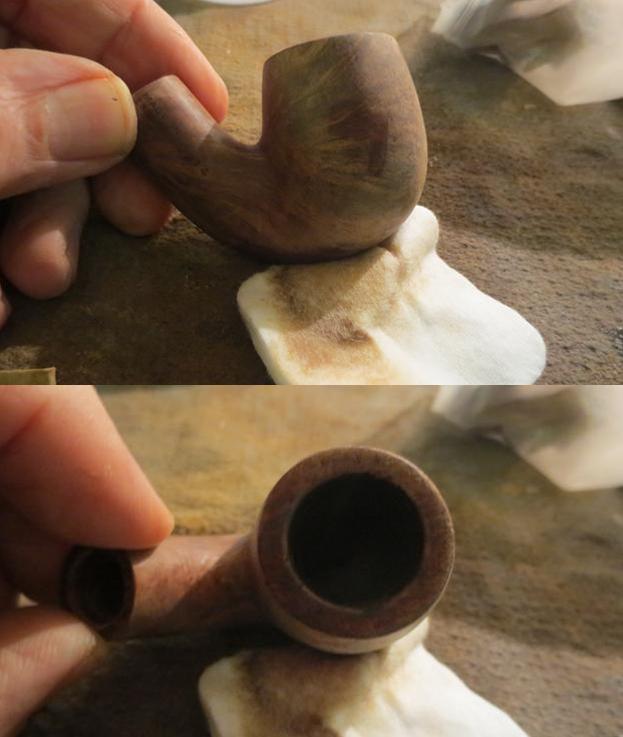
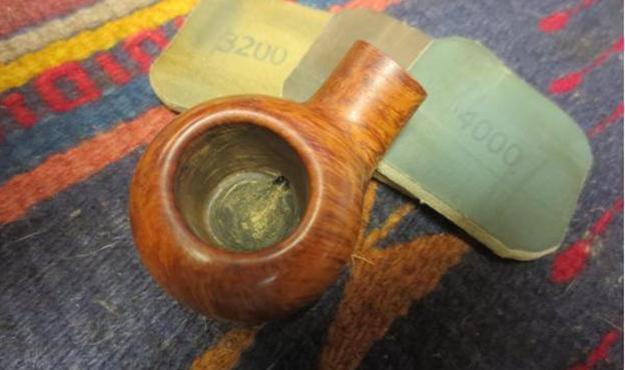
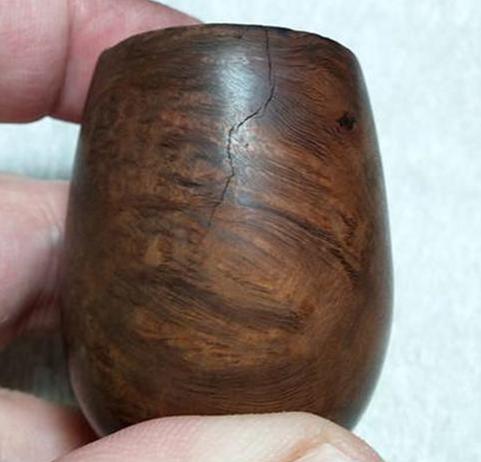
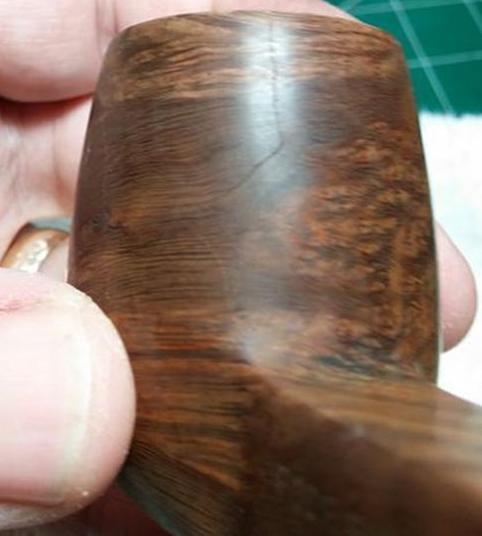
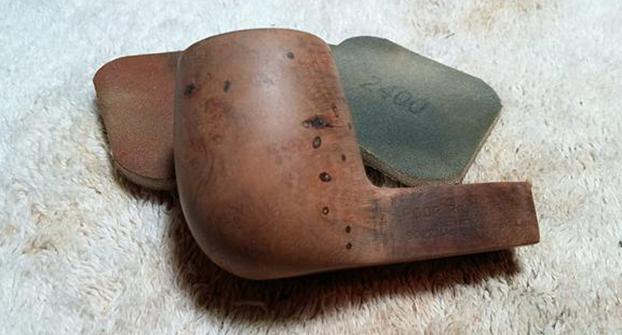
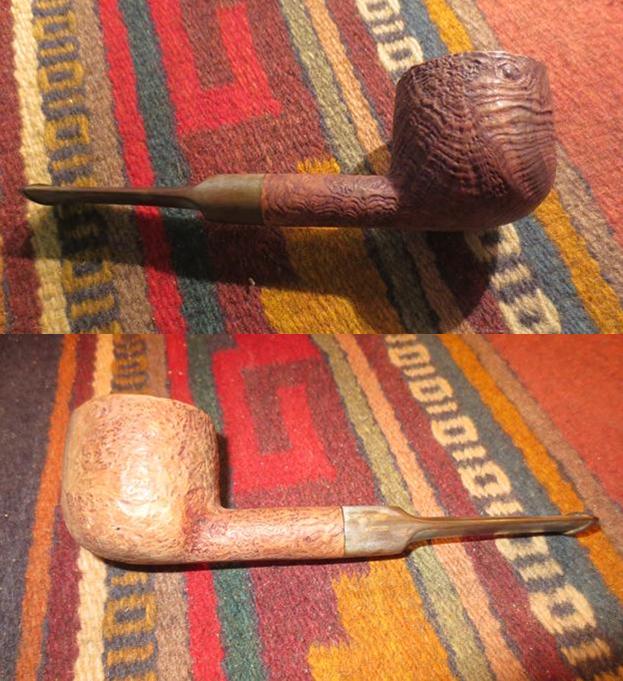
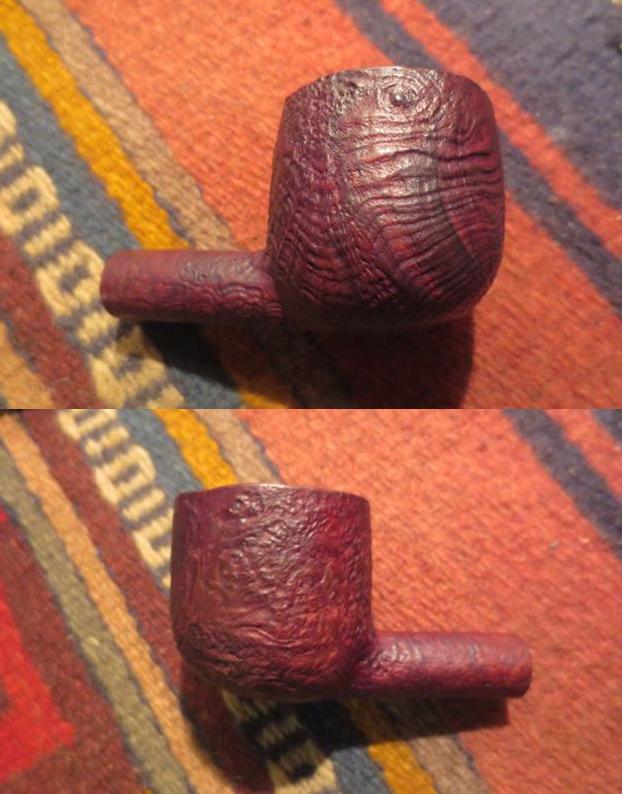
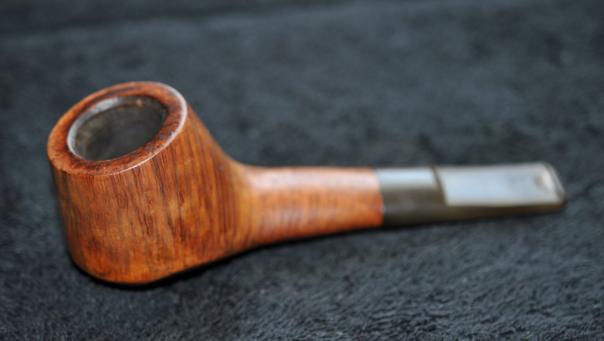
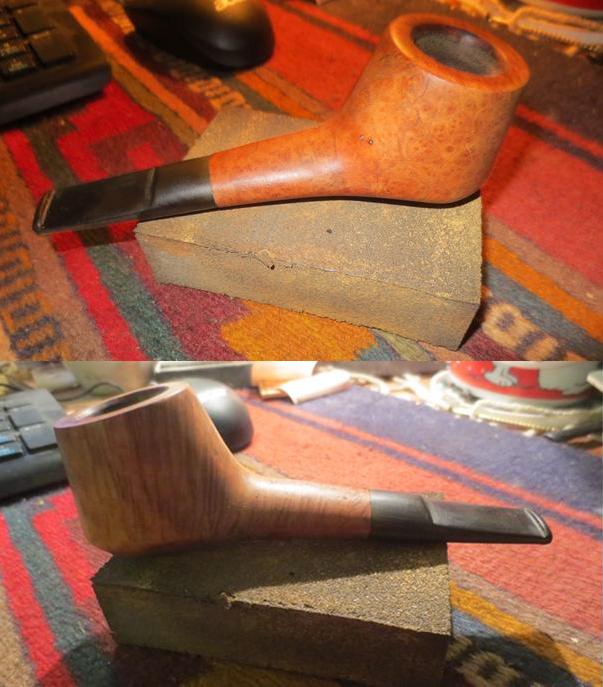
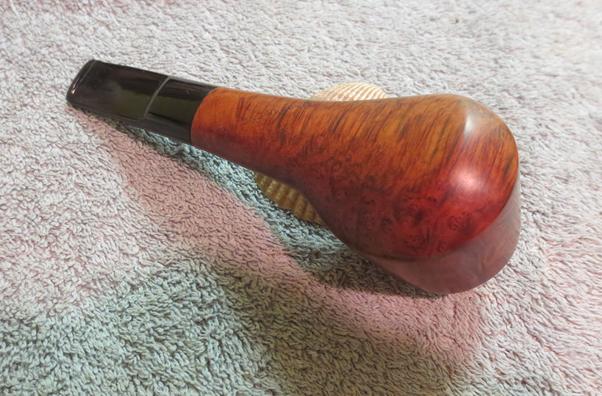
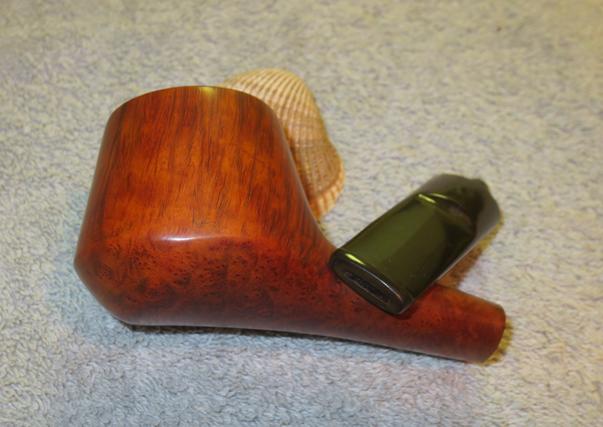
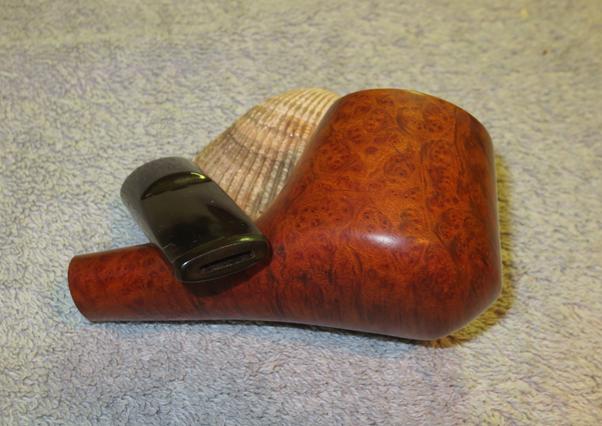
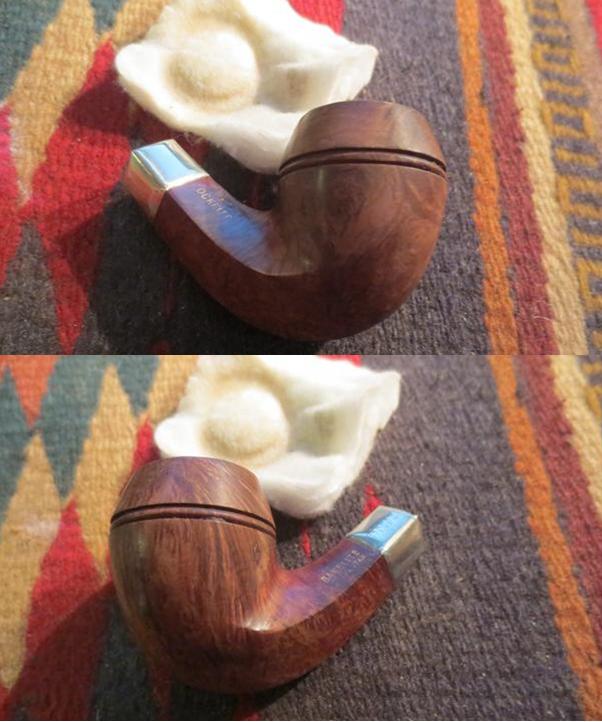
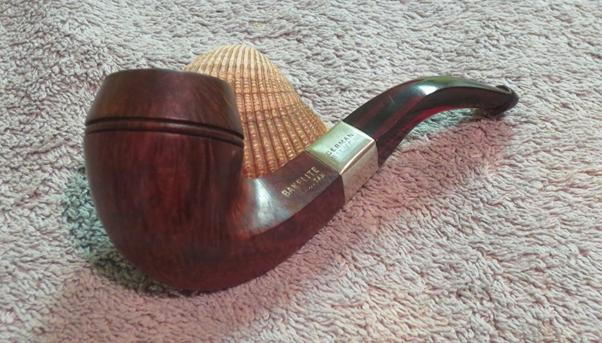
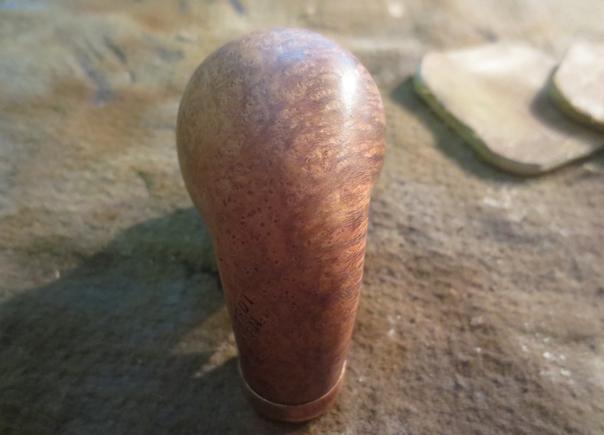
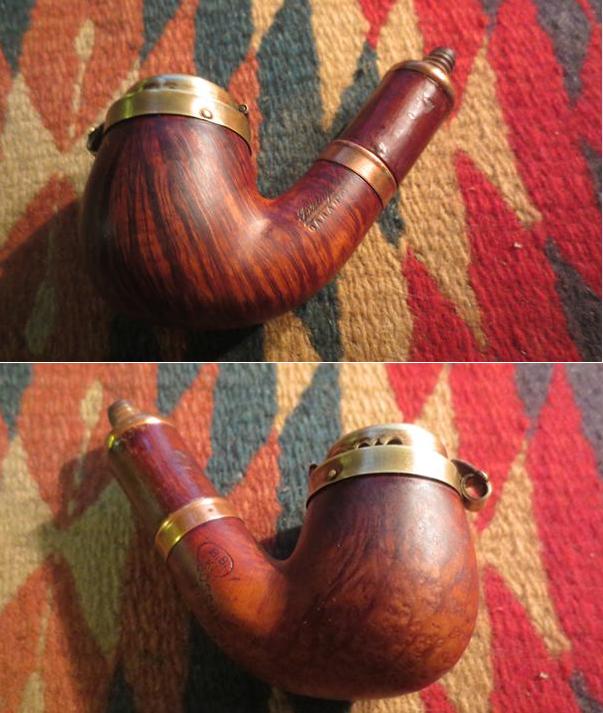
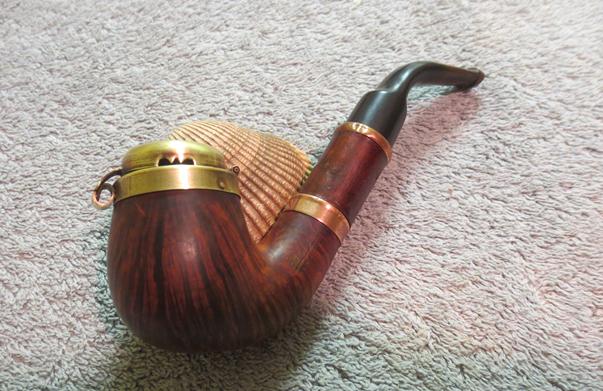
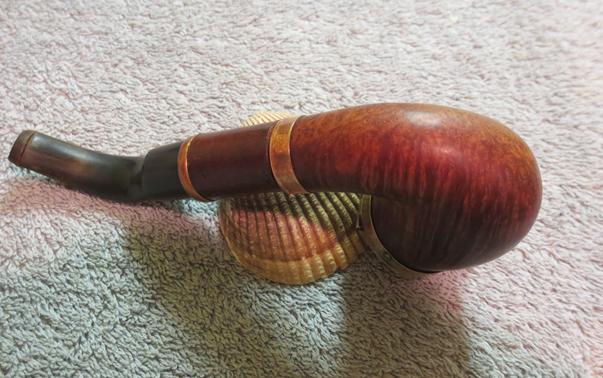
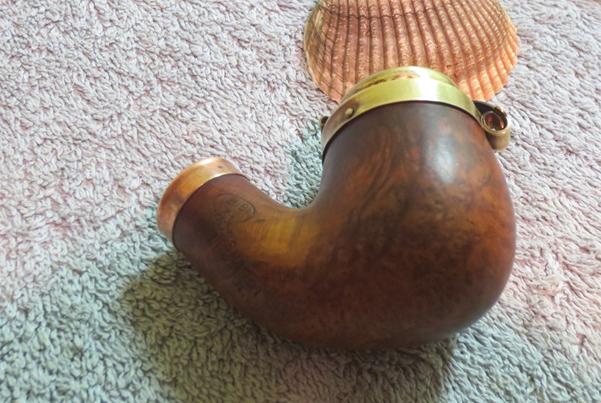
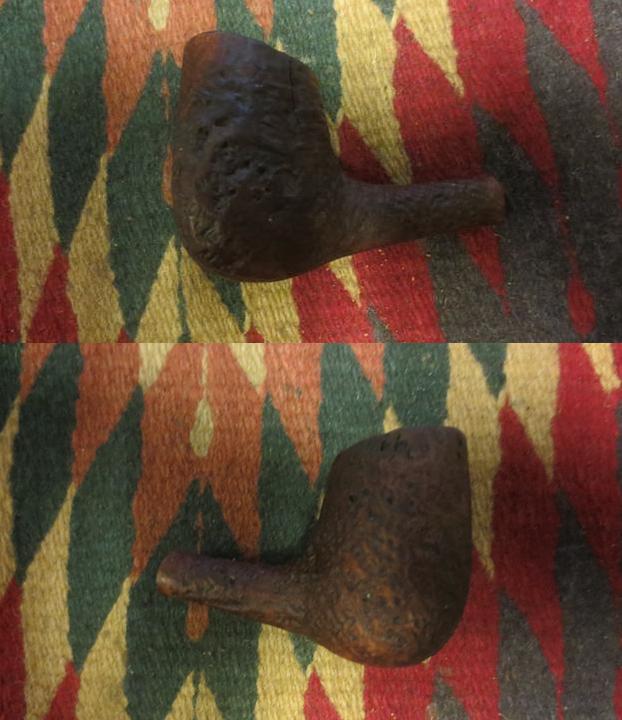
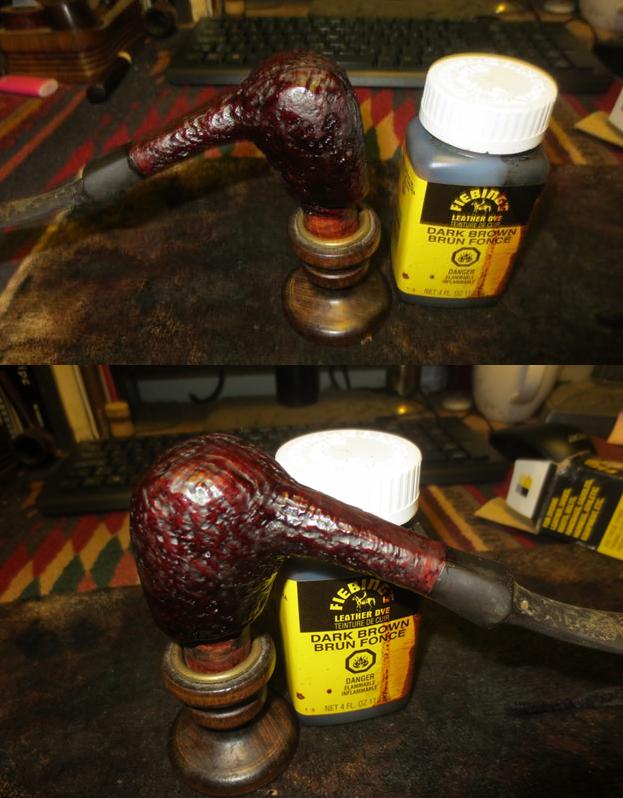
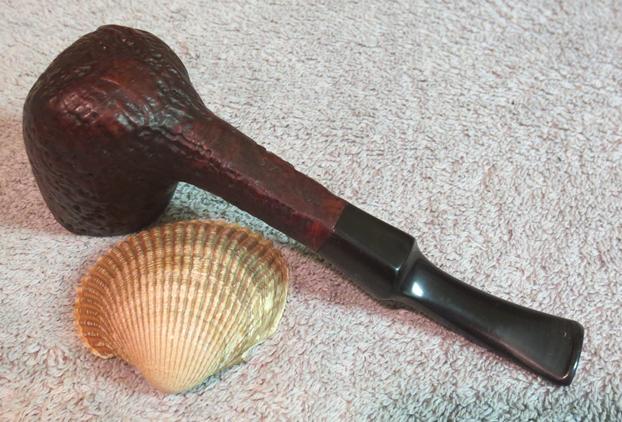
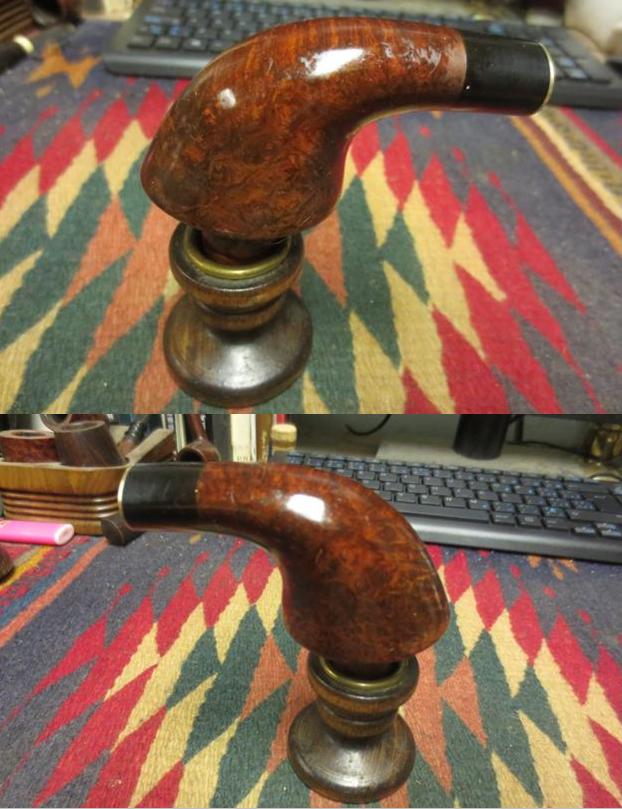
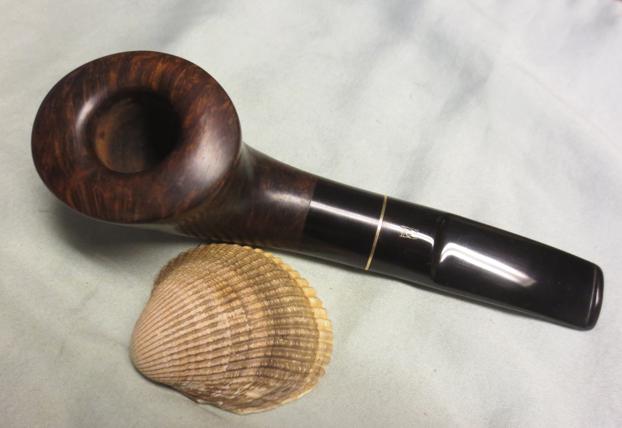
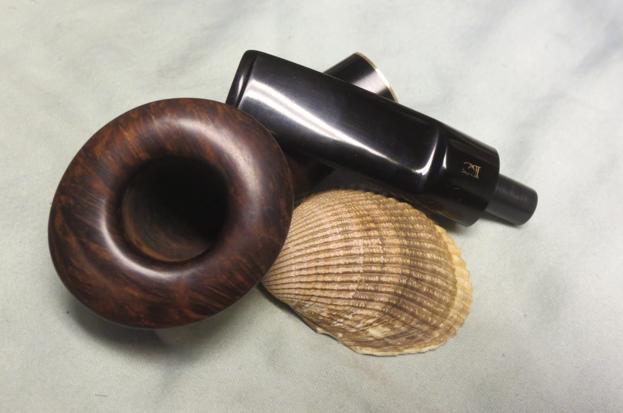
 I polished the briar with micromesh sanding pads – wetsanding the briar with 1500-2400 grit pads and dry sanding it with 3200-12000 grit pads. I wiped the bowl down with a damp cloth after each group of three pads. Once I had finished I wiped it down a final time with a dry cloth. The photos below show the bowl after the polishing. The polishing really brought out the grain in the briar. I decided not to stain the pipe but rather let it remain as it is in these photos.
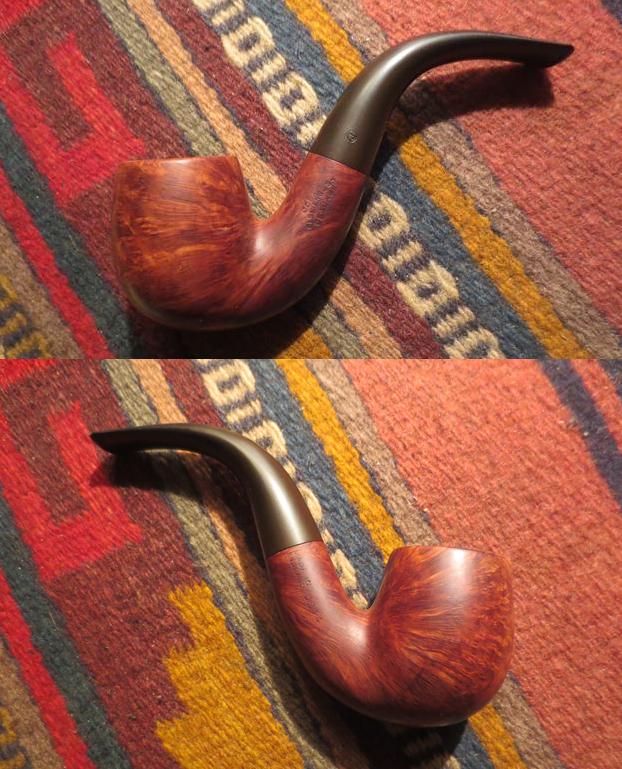
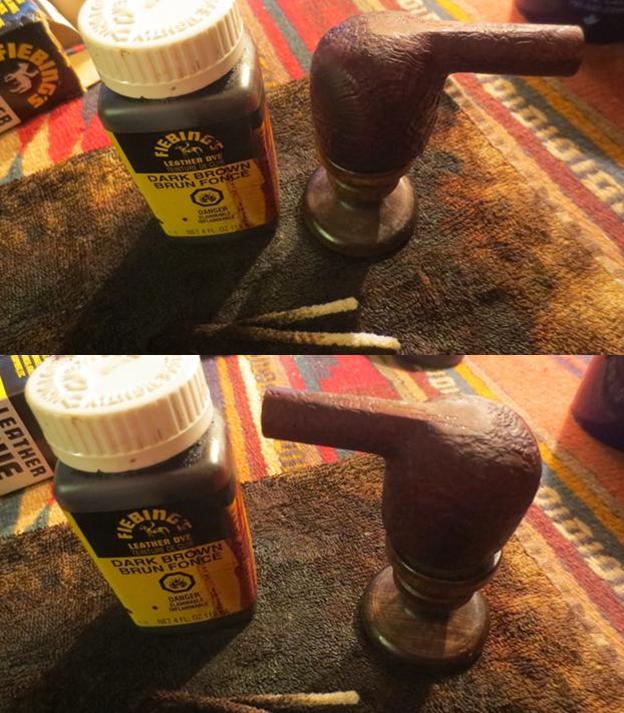
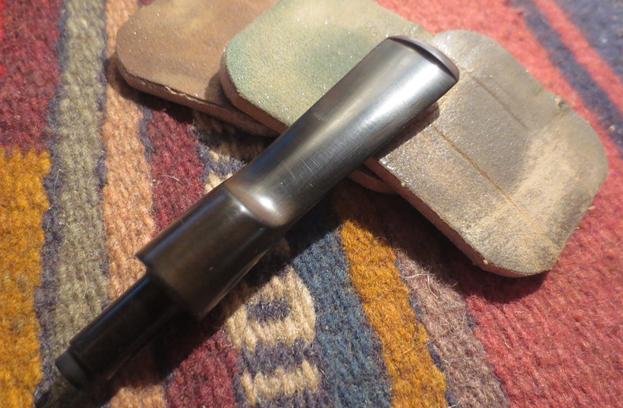
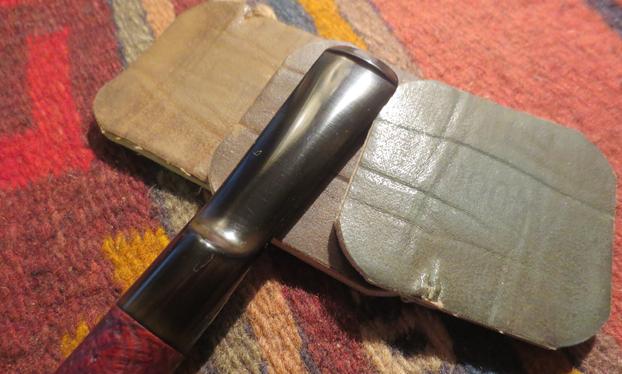
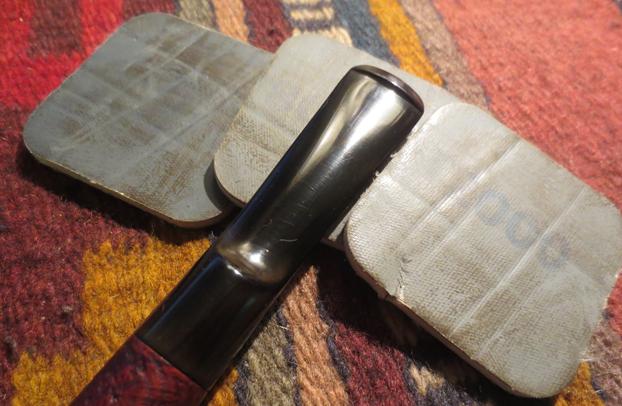
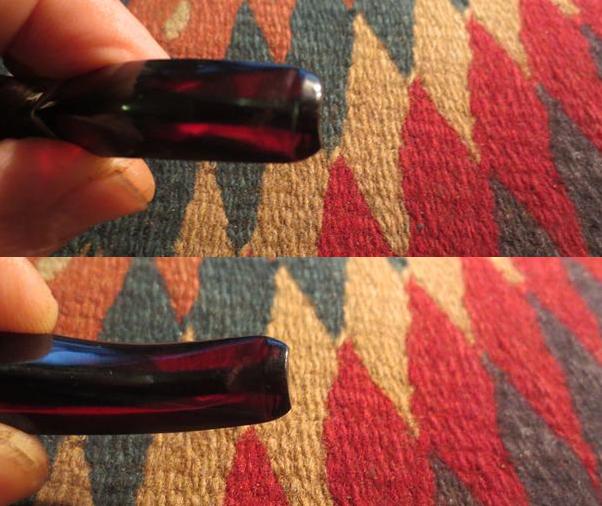
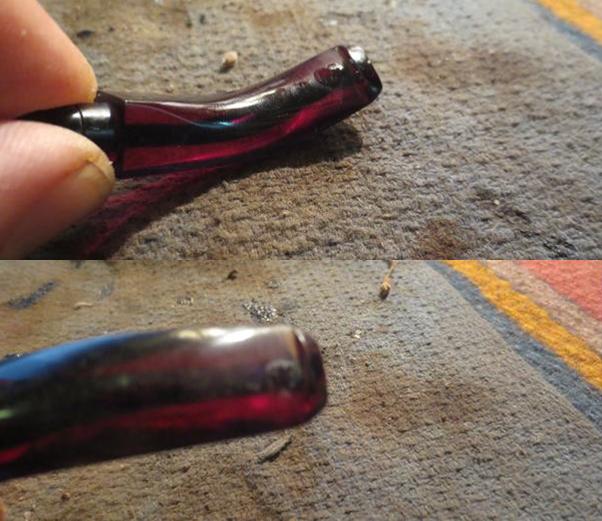
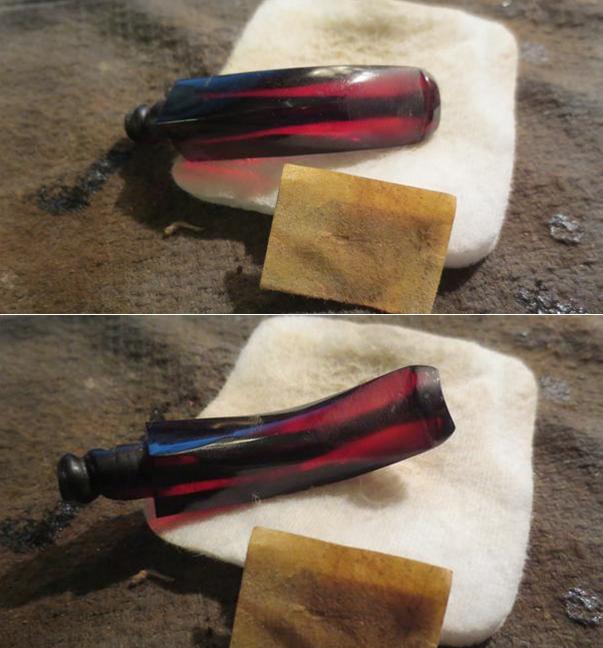
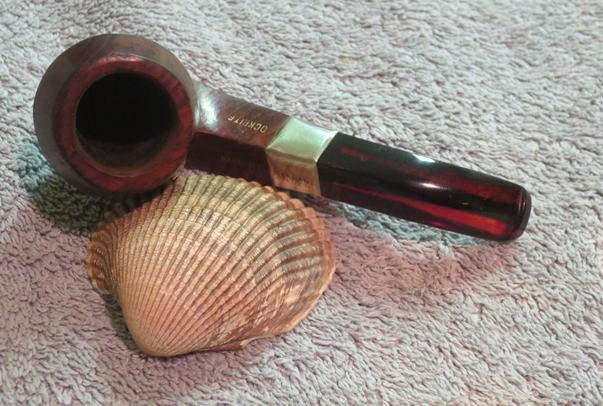
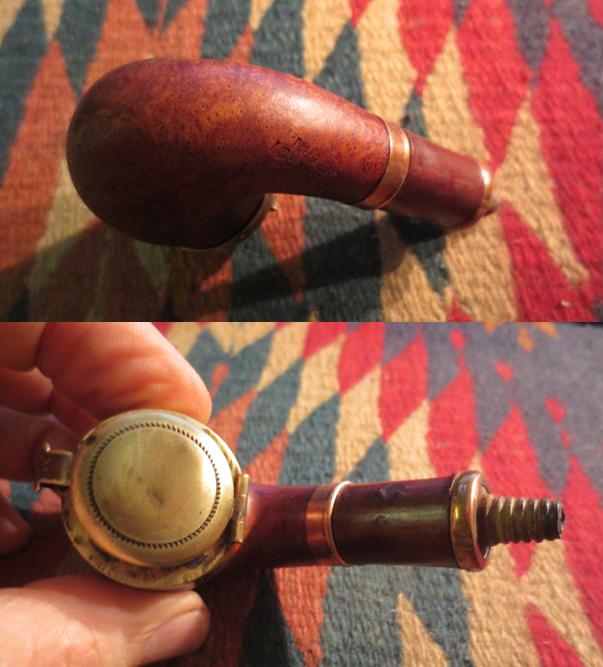
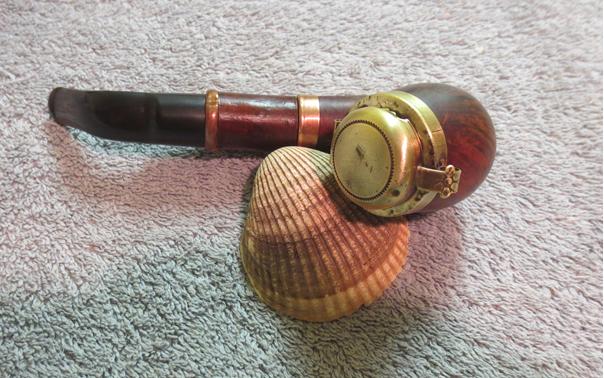
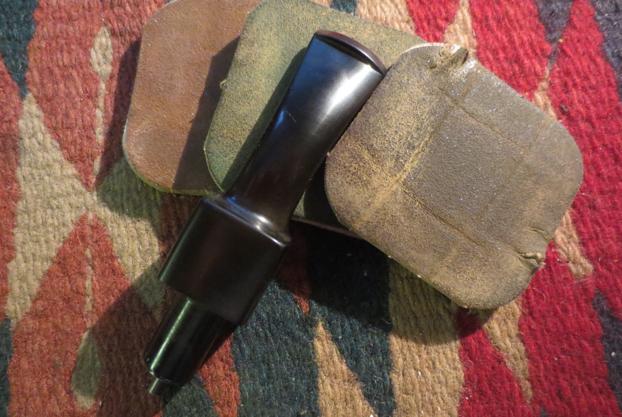
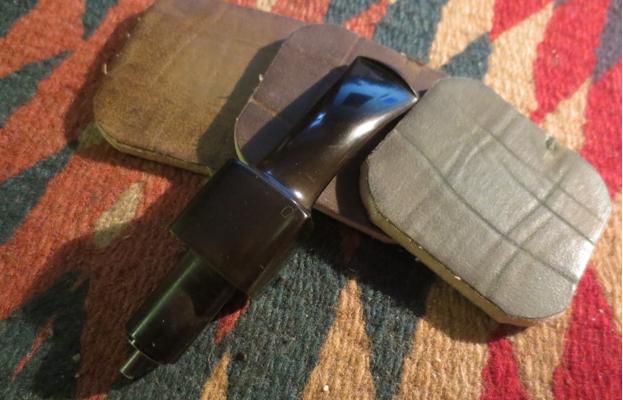
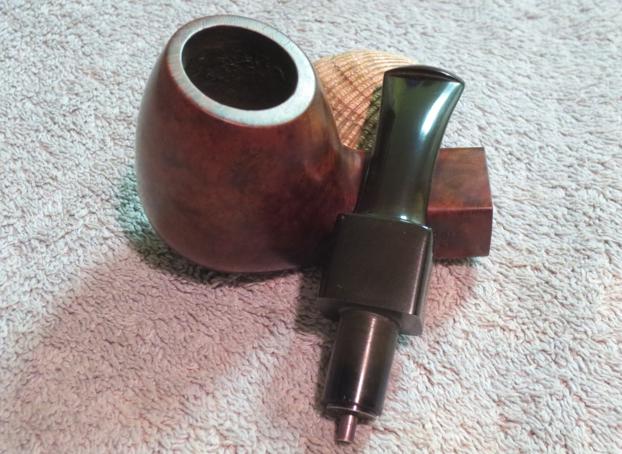
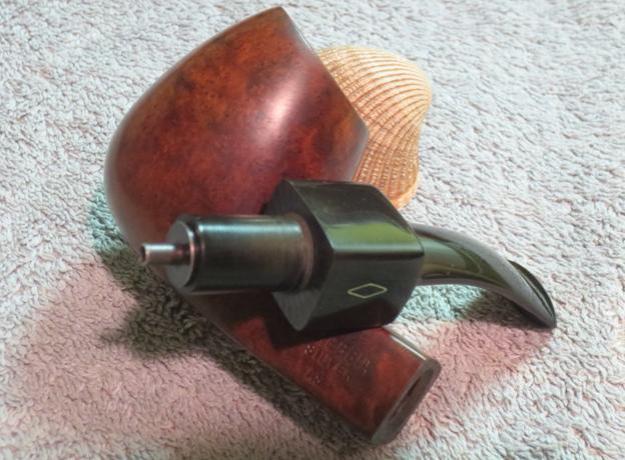
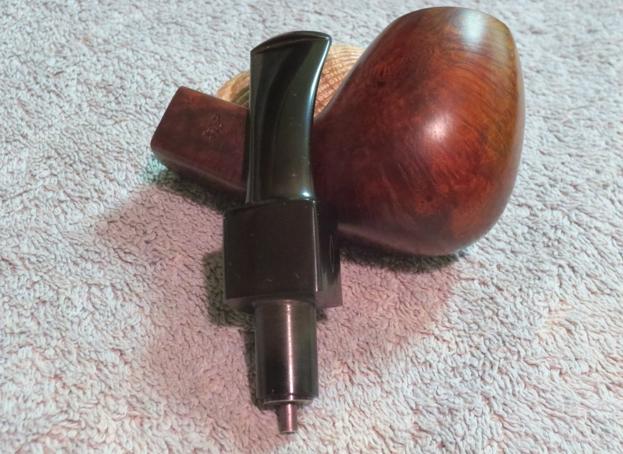
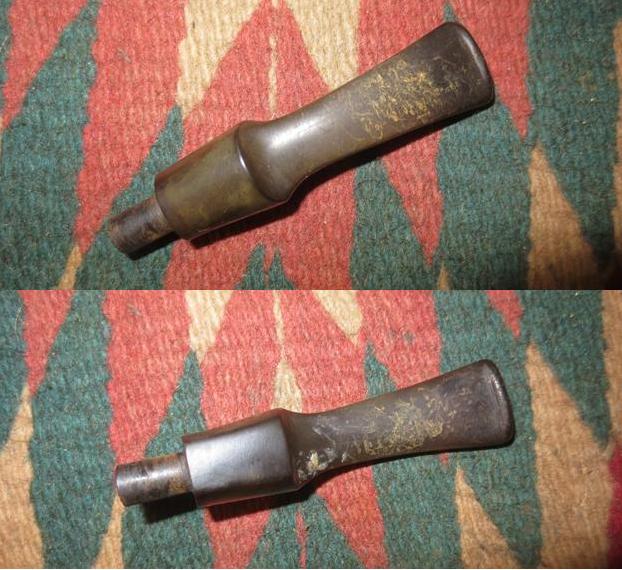
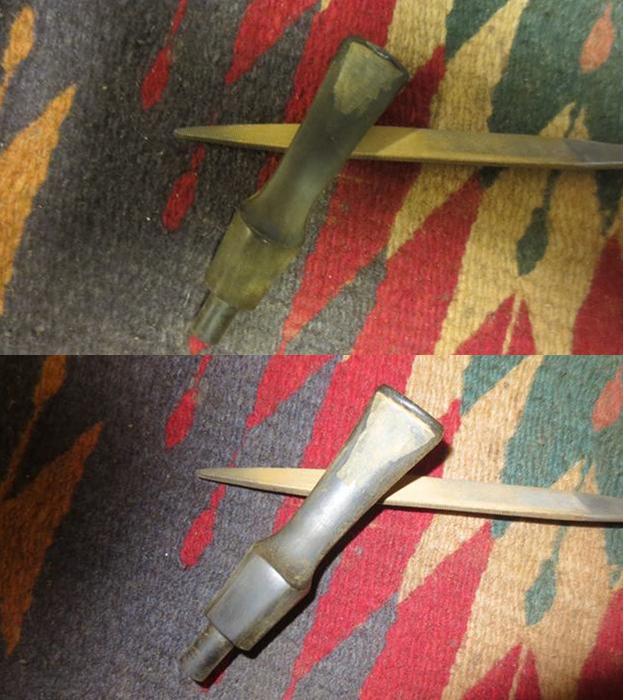
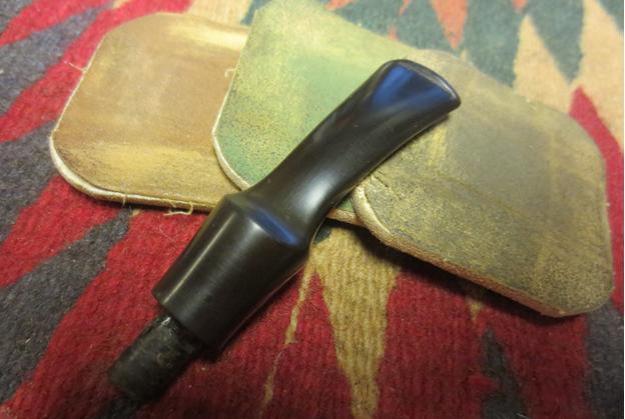
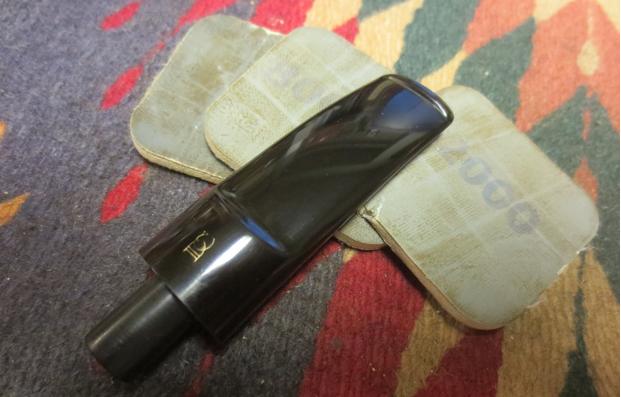
 I used a European Gold Rub n Buff to touch up the circle J stamp on the stem. I applied the product and buffed it off with a soft cotton cloth. The circle J is shown in the photo below.
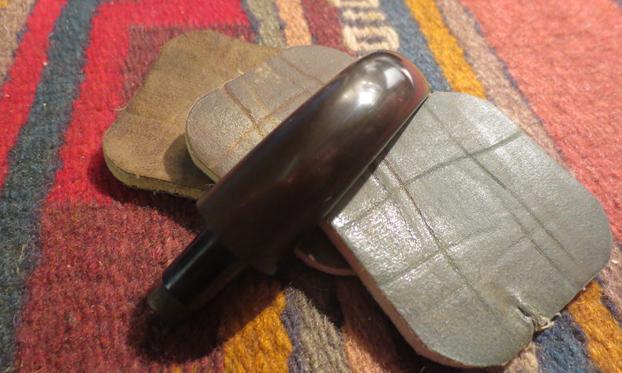
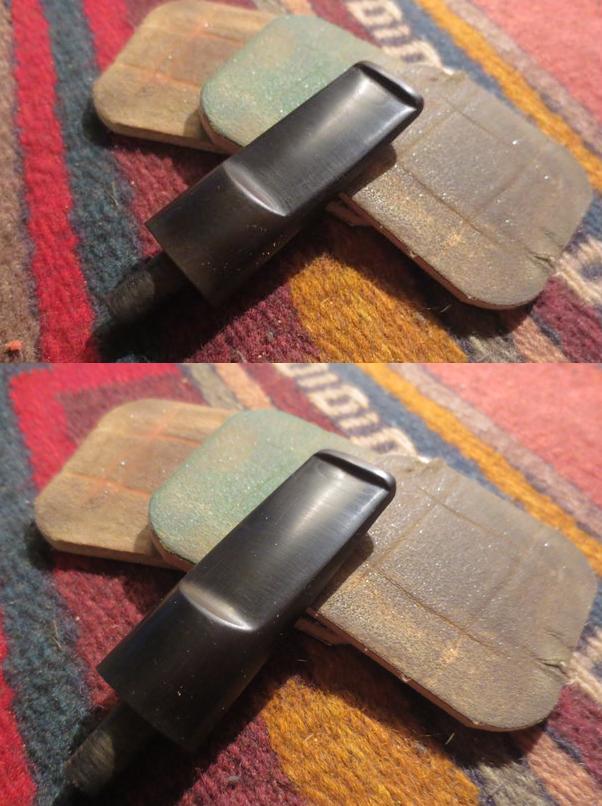
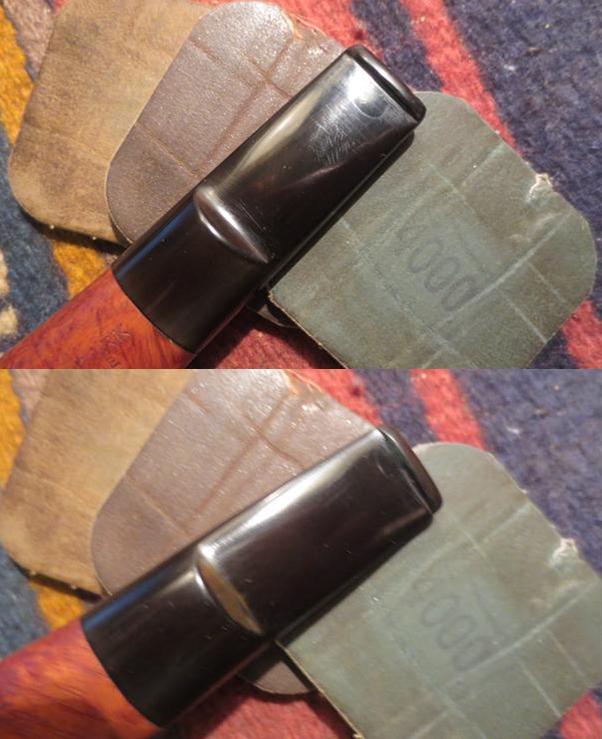
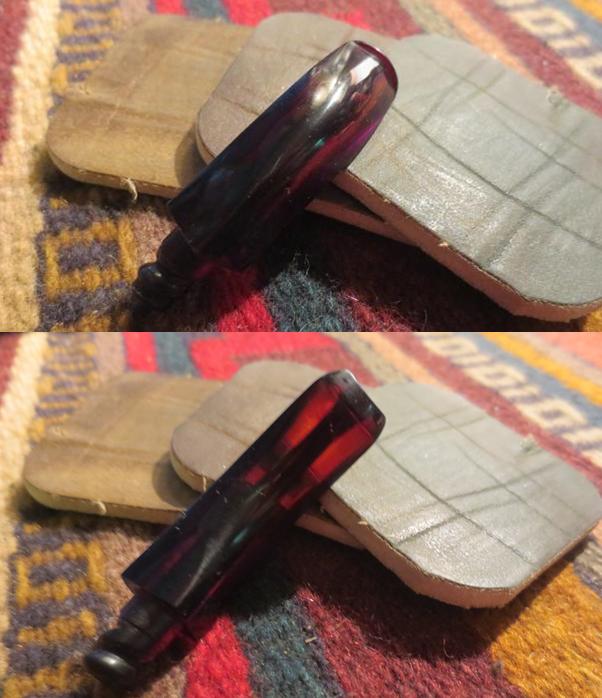
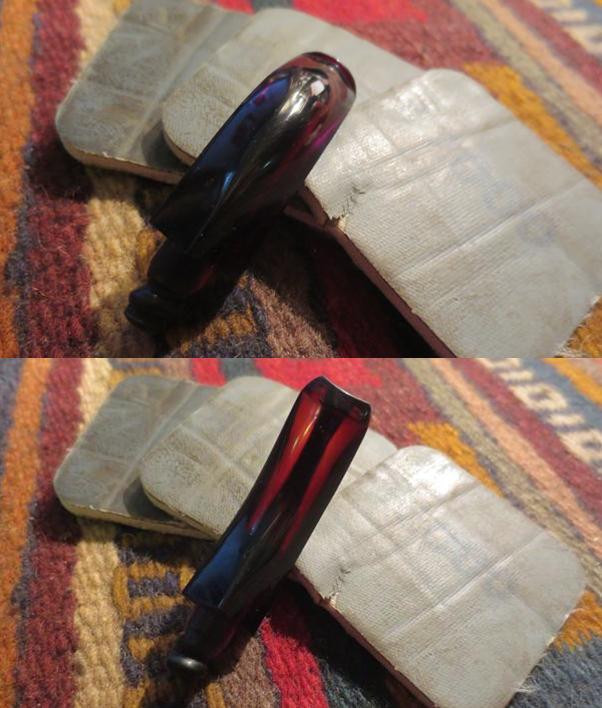
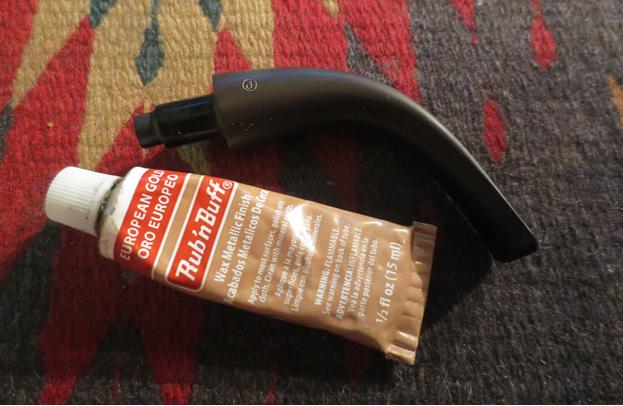 I wet sanded the stem with 1500-2400 grit micromesh sanding pads and rubbed it down with Obsidian Oil. I dry sanded it with 3200-12000 grit pads and rubbed it down with Obsidian Oil after each group of three pads. I gave it a final coat of oil and set the stem aside.
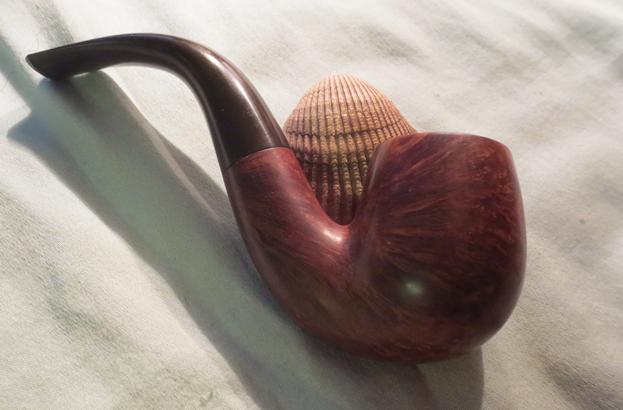
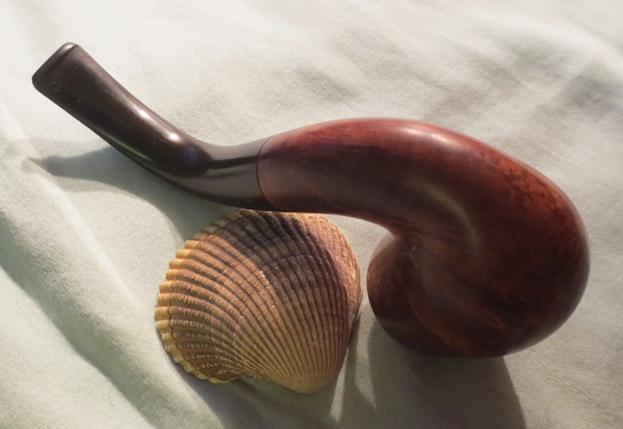
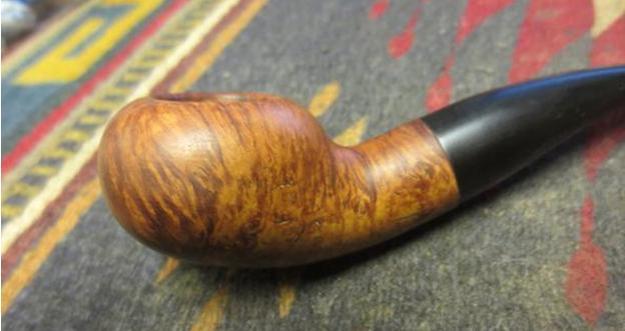
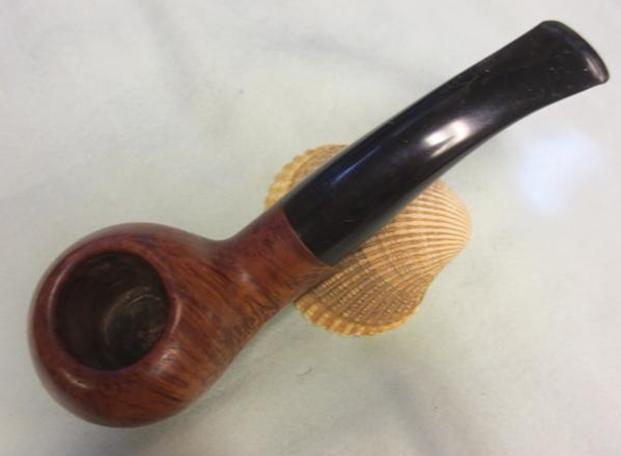
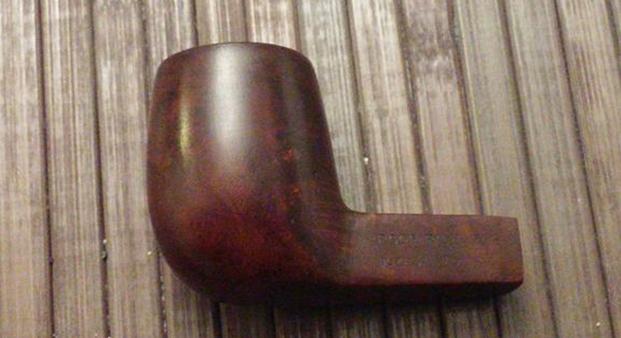
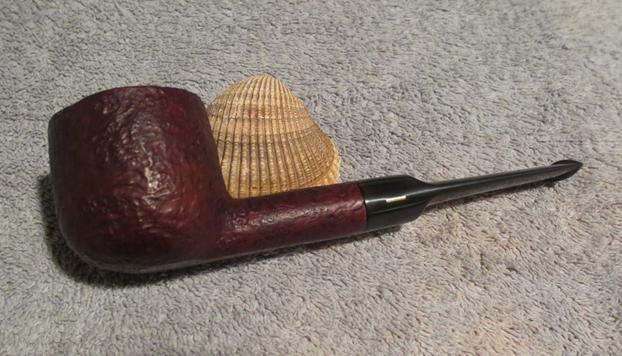
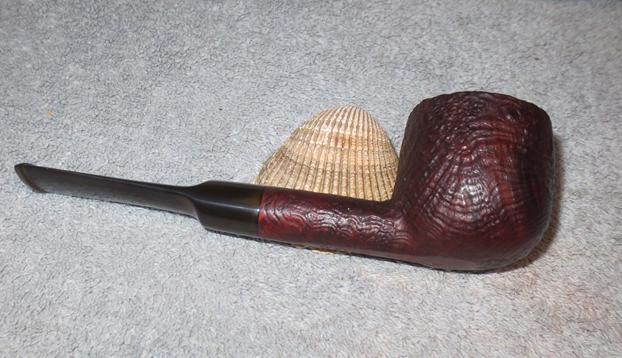
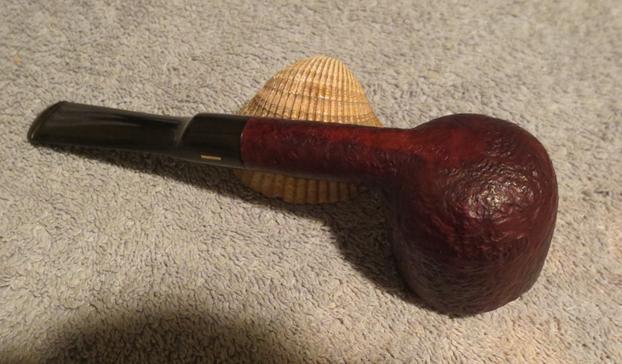
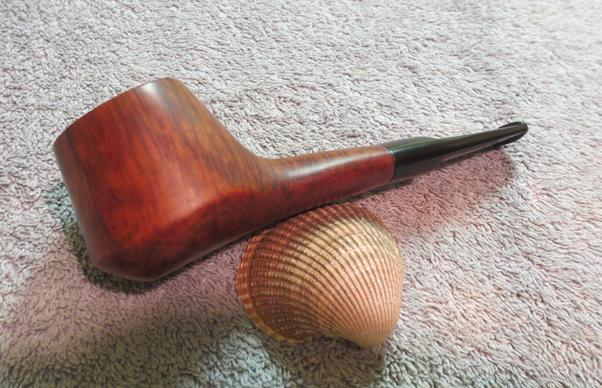
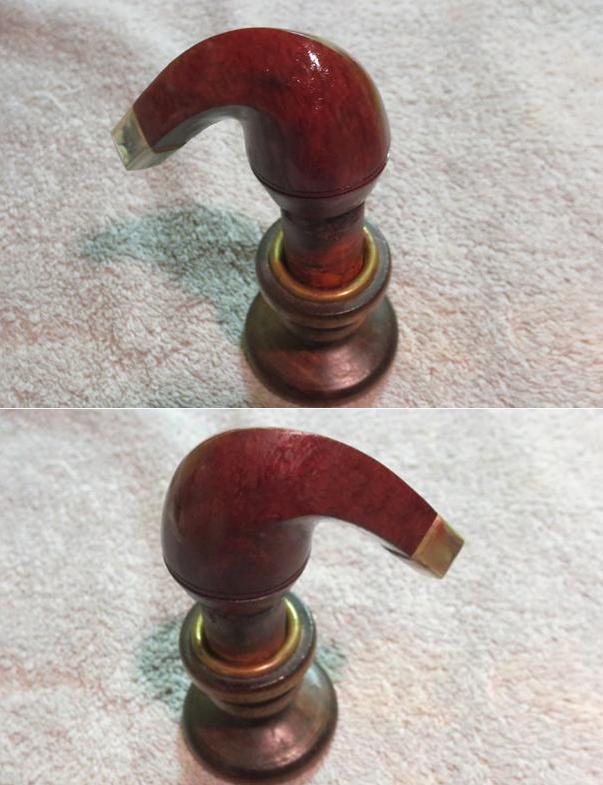
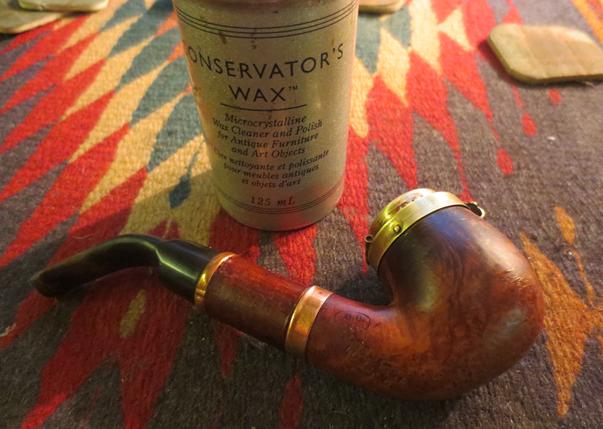
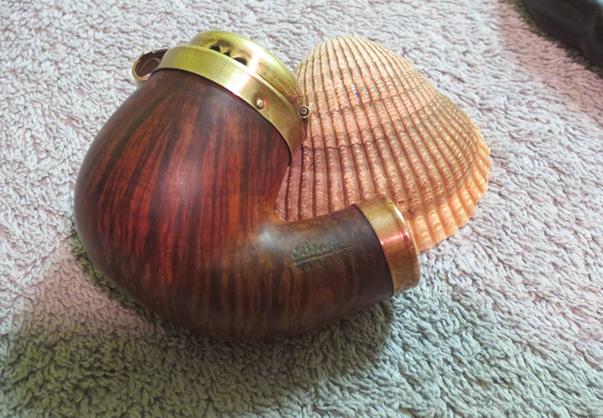
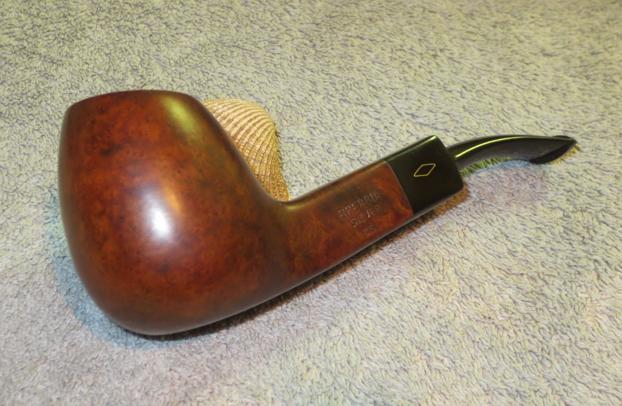
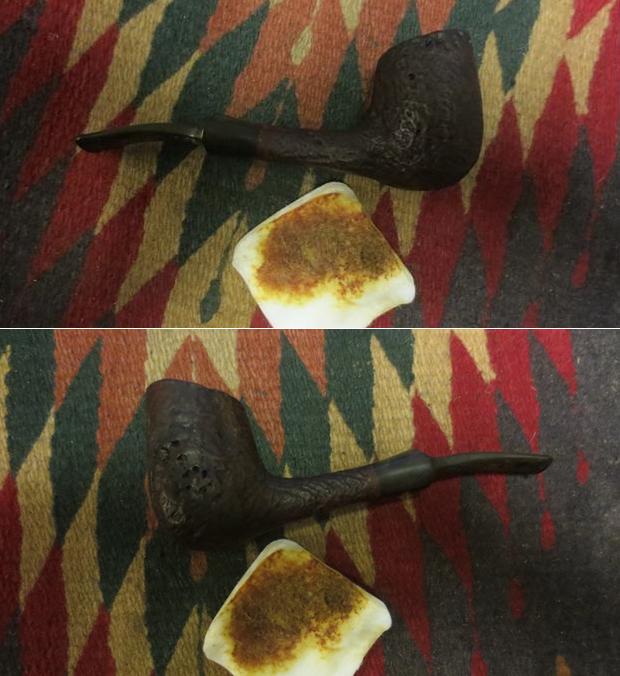
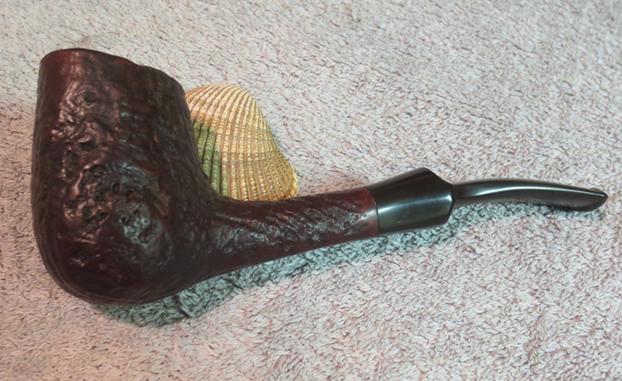
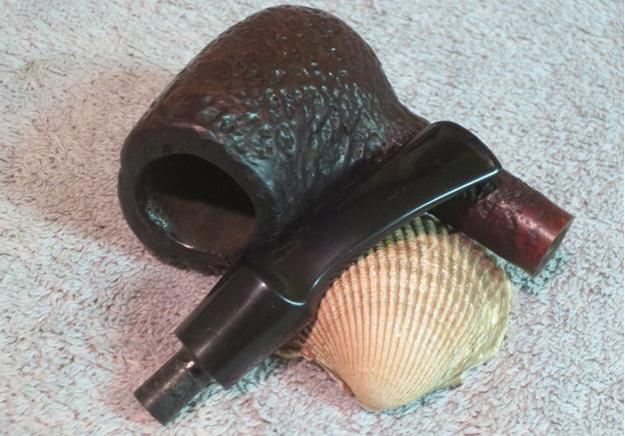
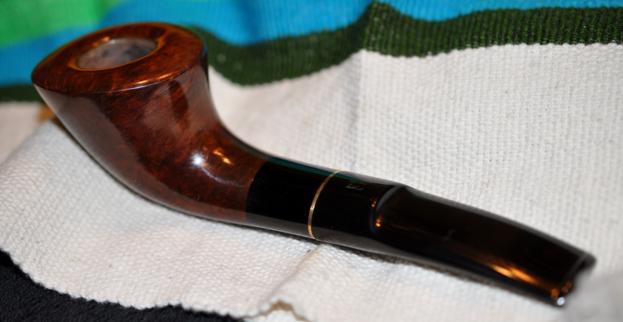
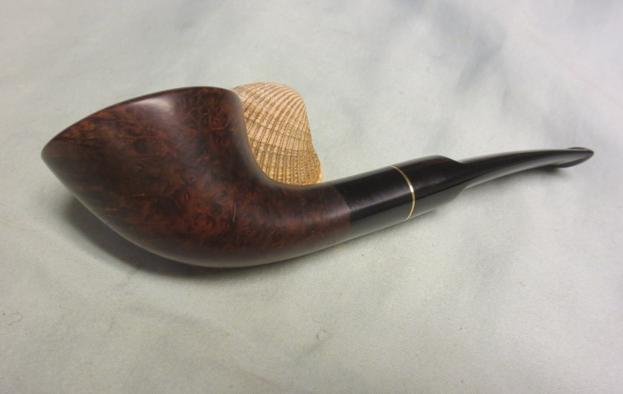
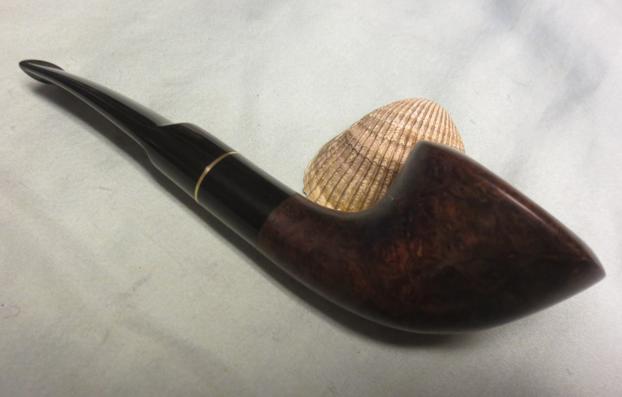
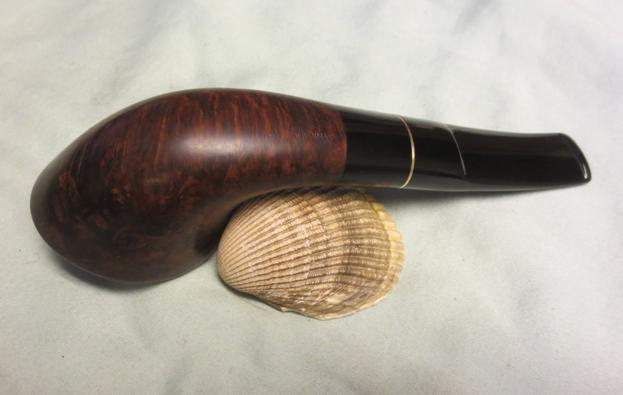
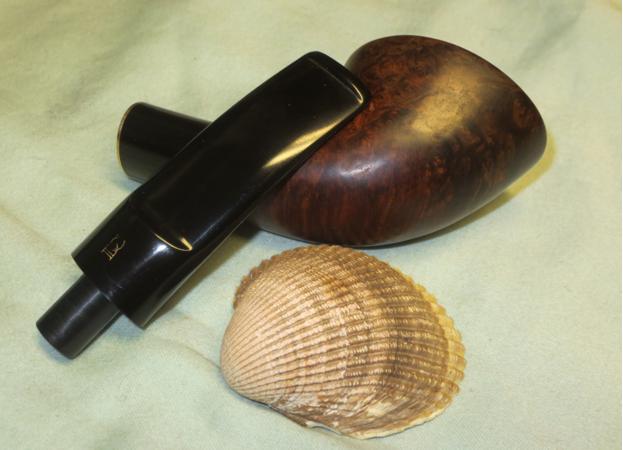
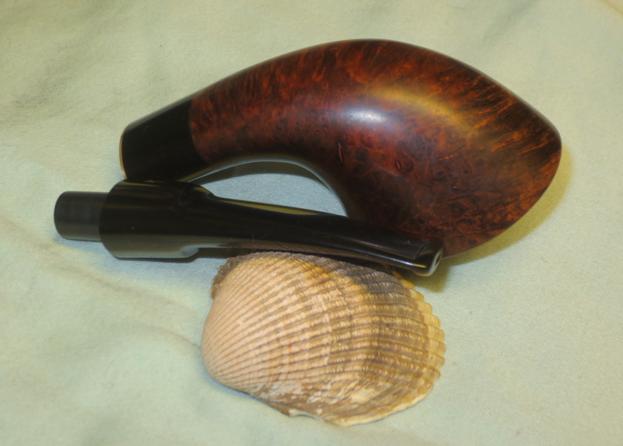
 I buffed the pipe and stem with Blue Diamond on the buffing wheel to polish both further. I gave the entire pipe several coats of carnauba wax and buffed it with a clean buffing pad. I hand buffed it with a microfiber cloth to deepen the shine. The finished pipe is shown in the photos below. It has the look of a Comoy’s exactly like the blog on the pipes mentioned. It is a beautifully grained pipe.
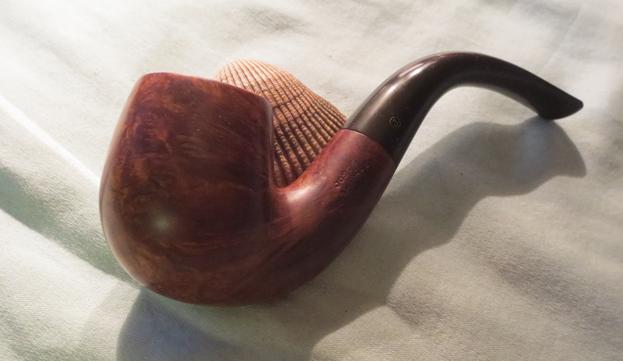


